


There is no control yet in this robot. However with the upgrades I'm planning for this robot, Synthiam ARC and the EZB are going to be center stage.
I was asked by a fellow Lost In Space and B9 Robot fan to help him rebuild his B9 Robot. He bought it a few years ago and was a bit overwhelmed in getting this poor old robot put together and working. I agreed to try to help and give it a try. I couldn't bring myself to see an old B9 Robot left to exist in boxes and never see the light of day again.
Hopefully this is the first of many videos documenting my journey rebuilding an old friend and a hero of my childhood.
Hopefully in a few months I can have him blinking, flashing and rattling off sound clips. Please enjoy this first of many video to come where I first see what I have to work with as I unpack and discover. LOL.
Discover more robots

Mickey666maus's ARC And Windows On Raspberry Pi 4
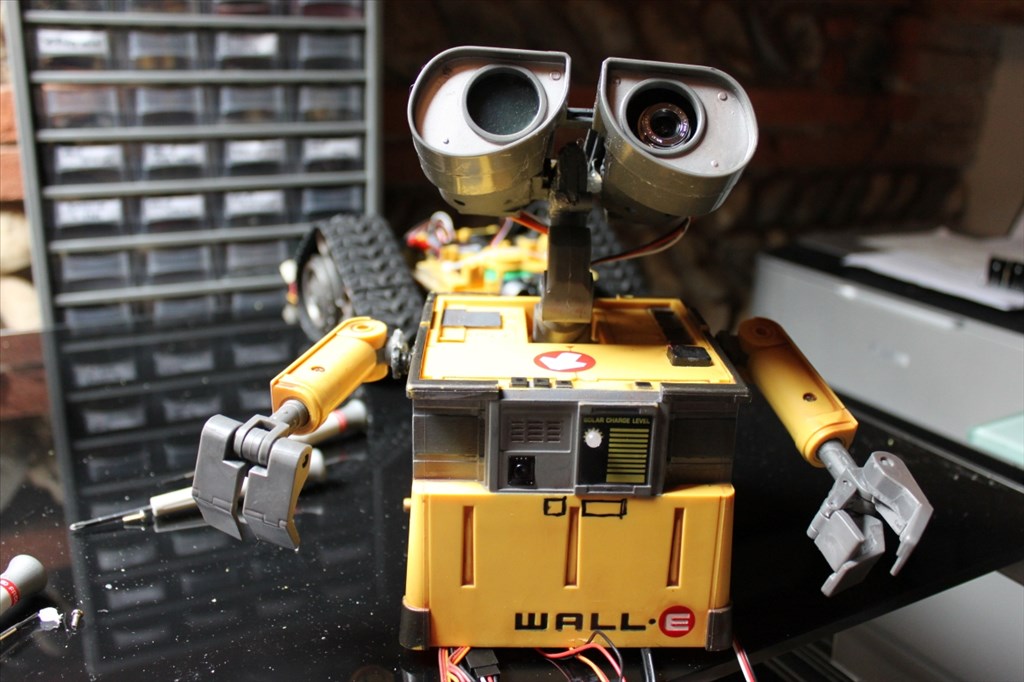
Fredebec's Another Wall-E. But French ;)


Thanks Dave, always a great build , you are truly a "robot builder".
EzAng
x Hi Builders,
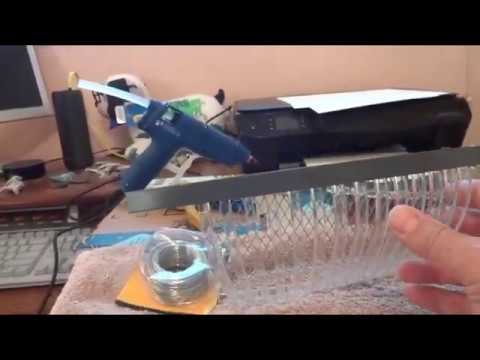
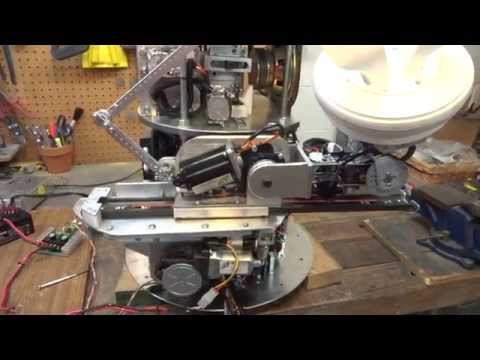
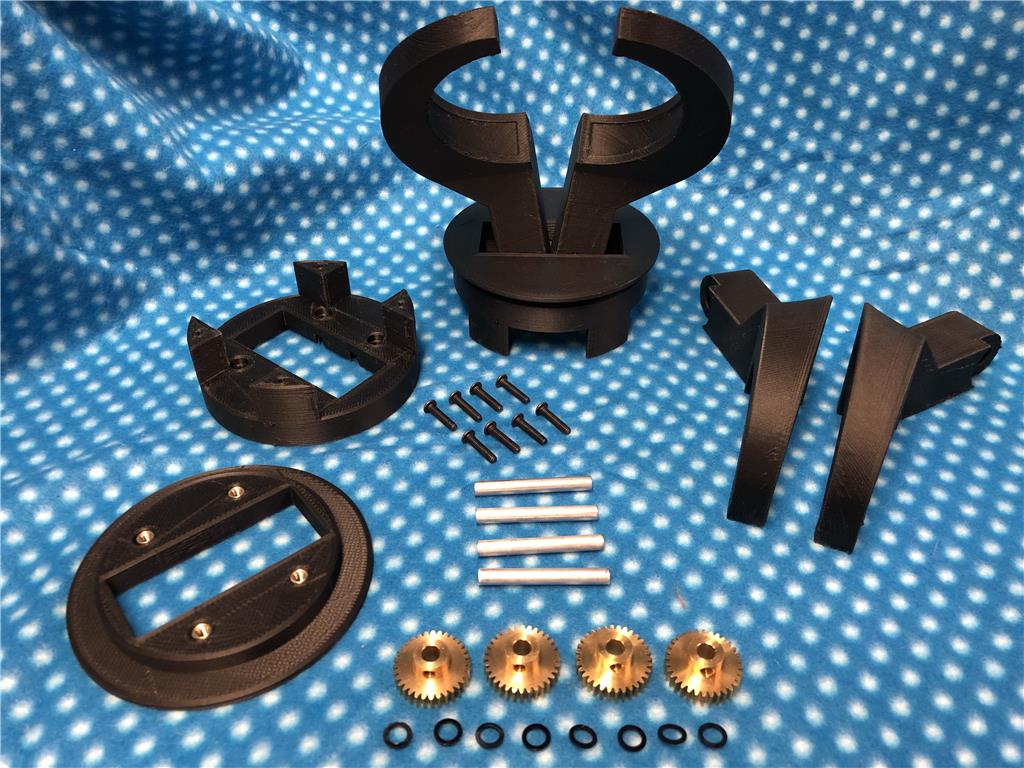
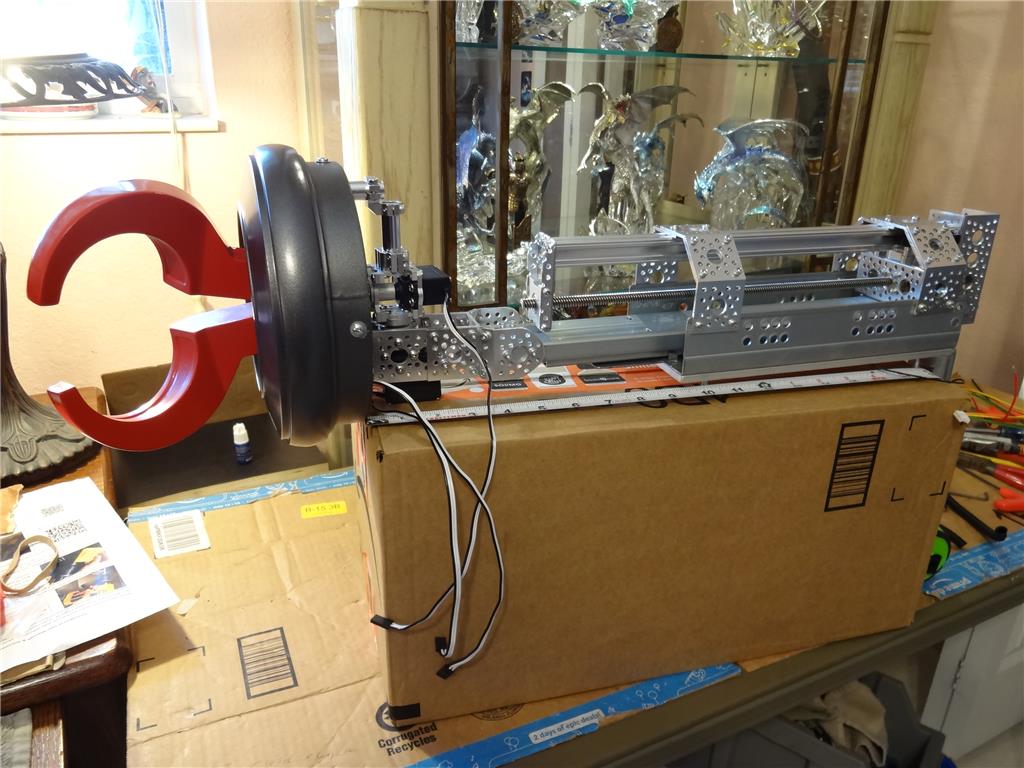
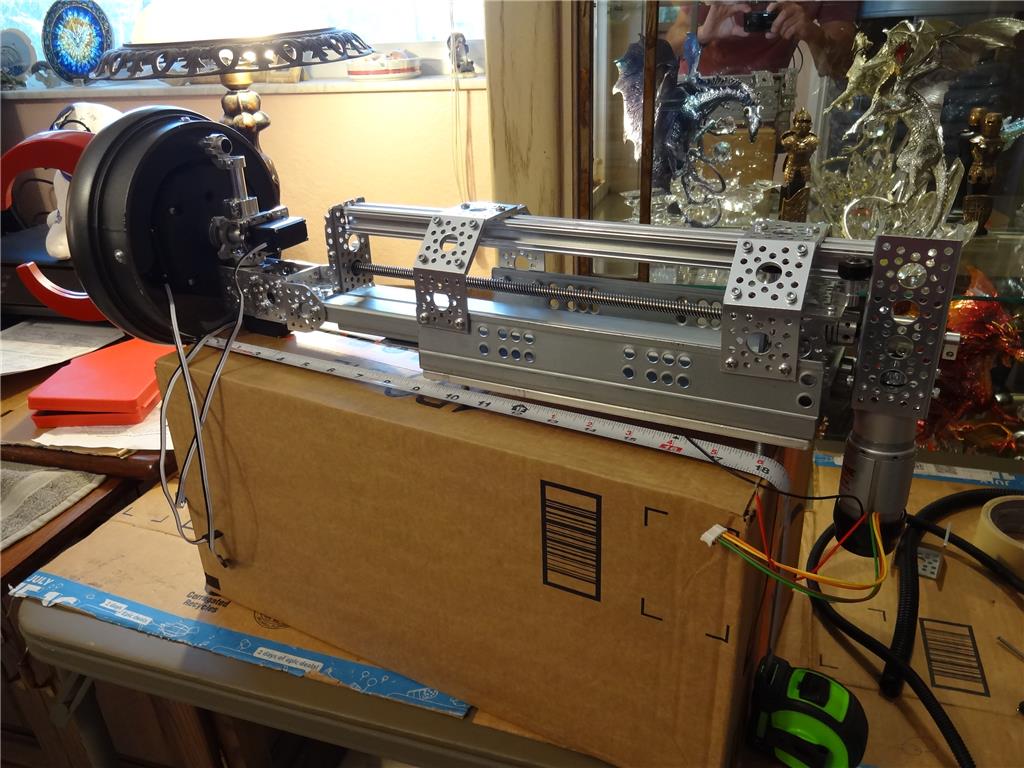
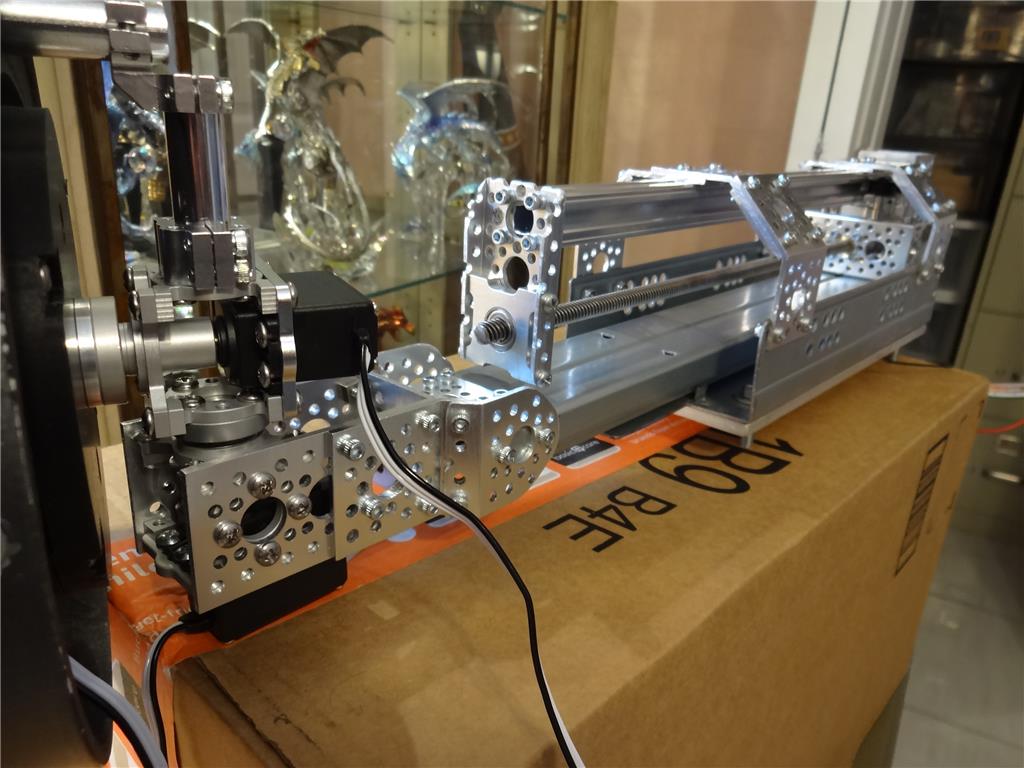
This post is not really about the electronic building of my robot but more about hands on building of the robot itself.
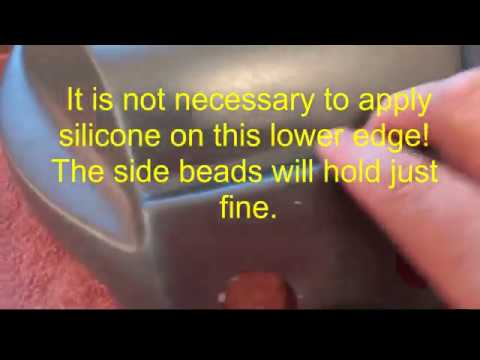
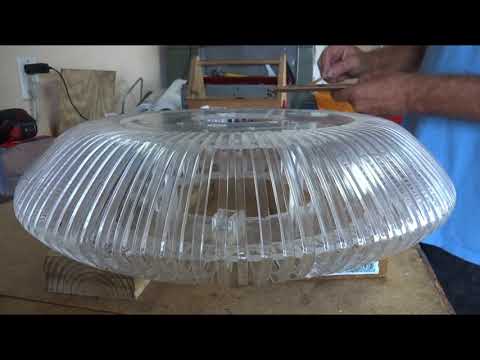
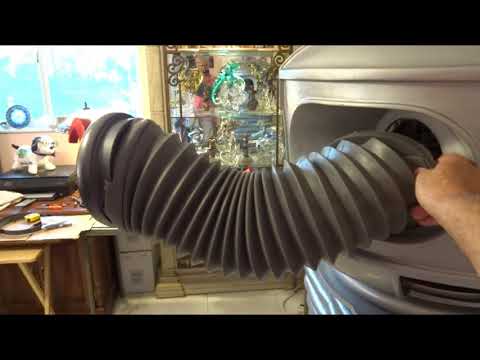
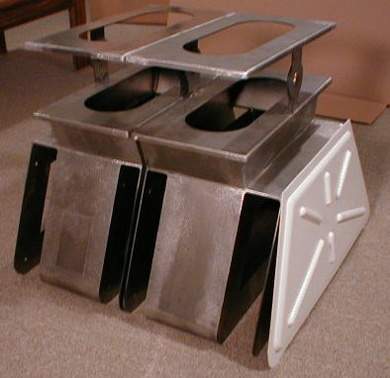
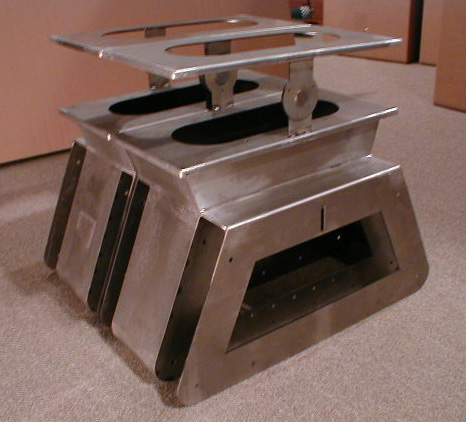
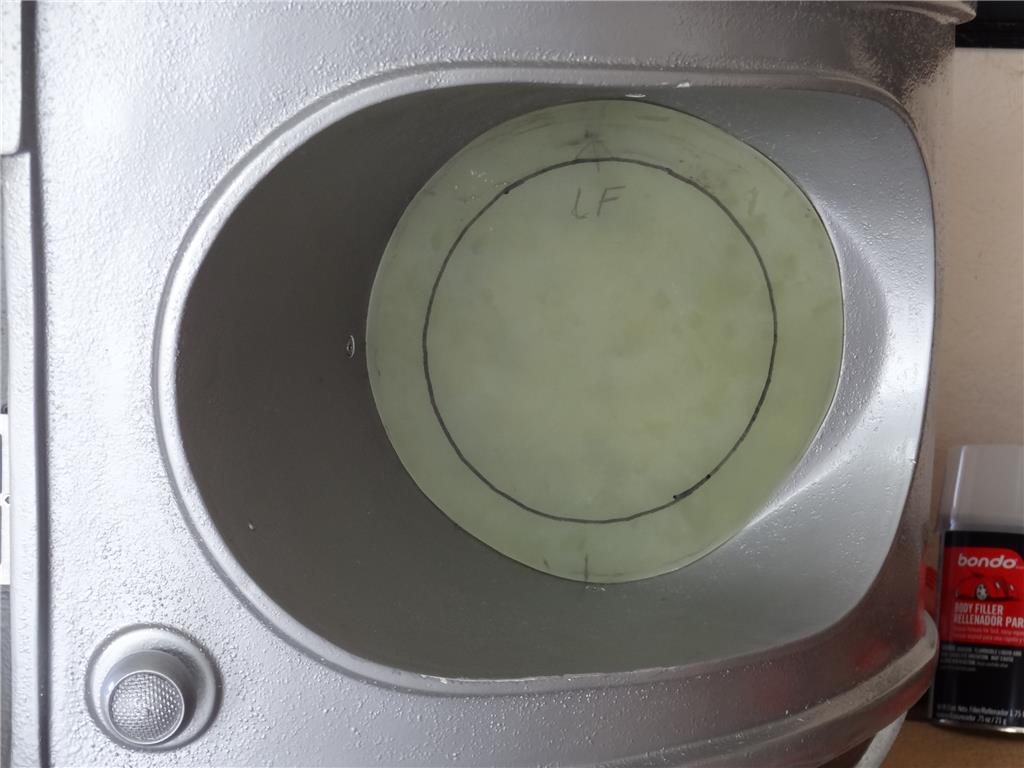
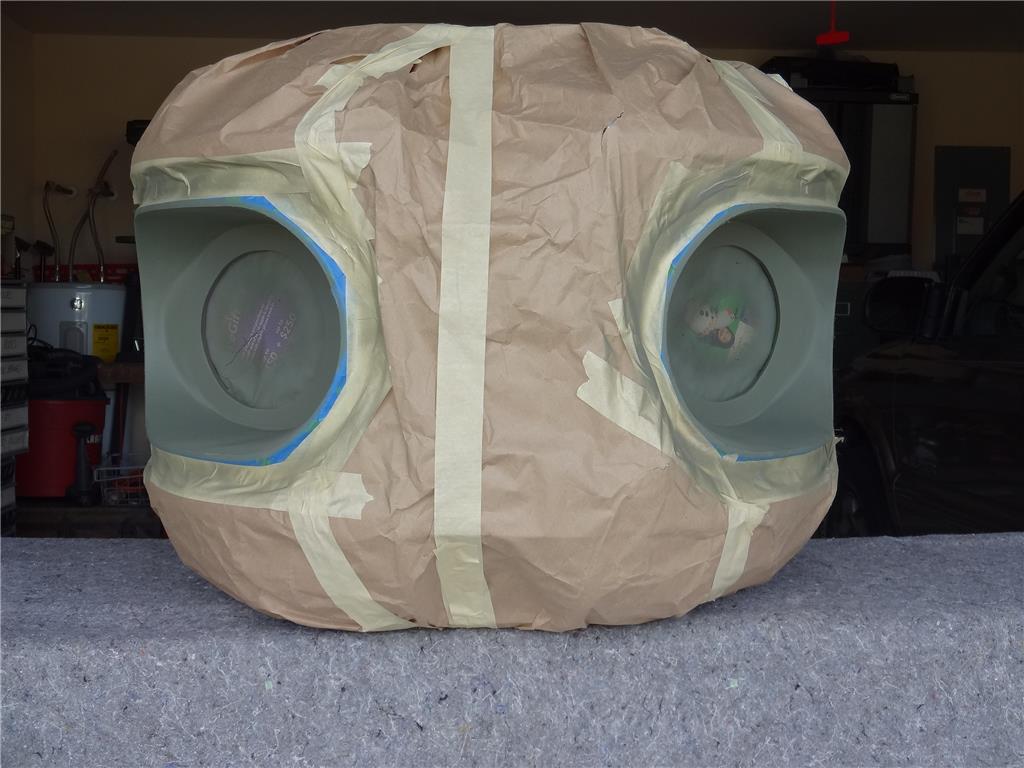
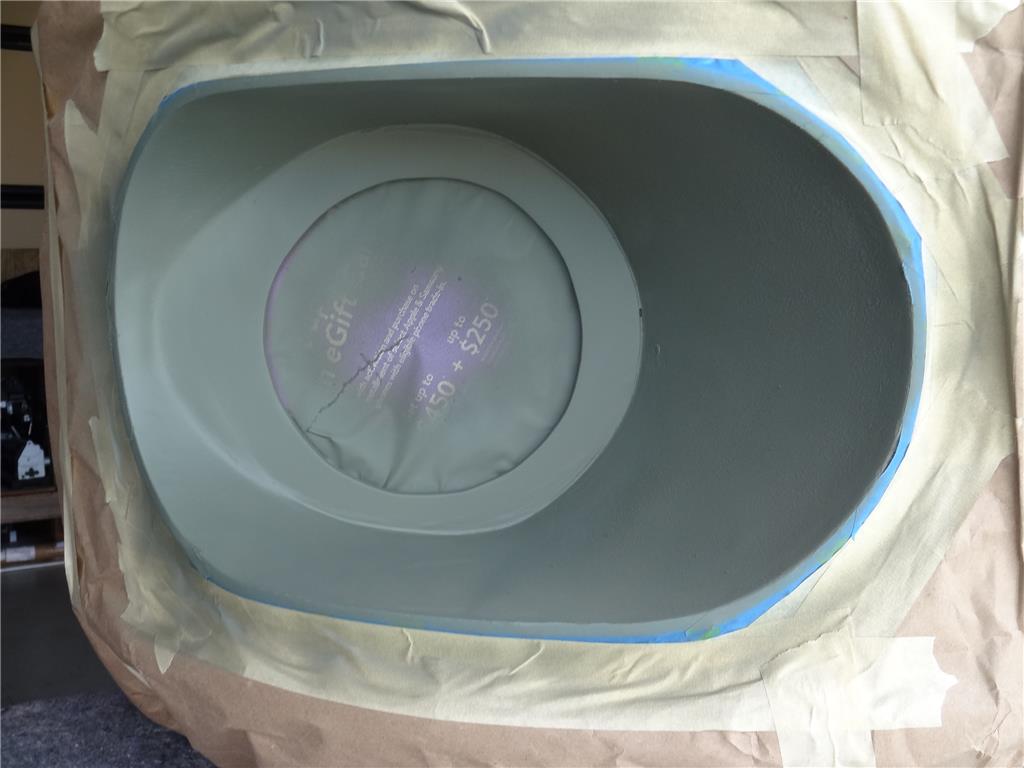
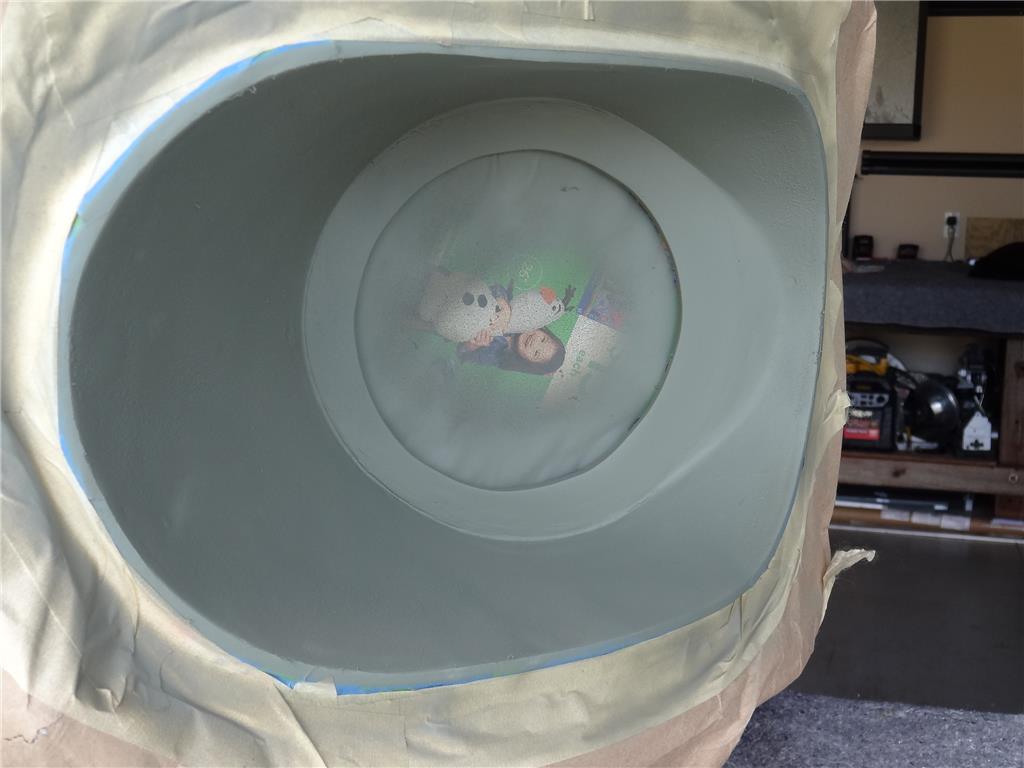
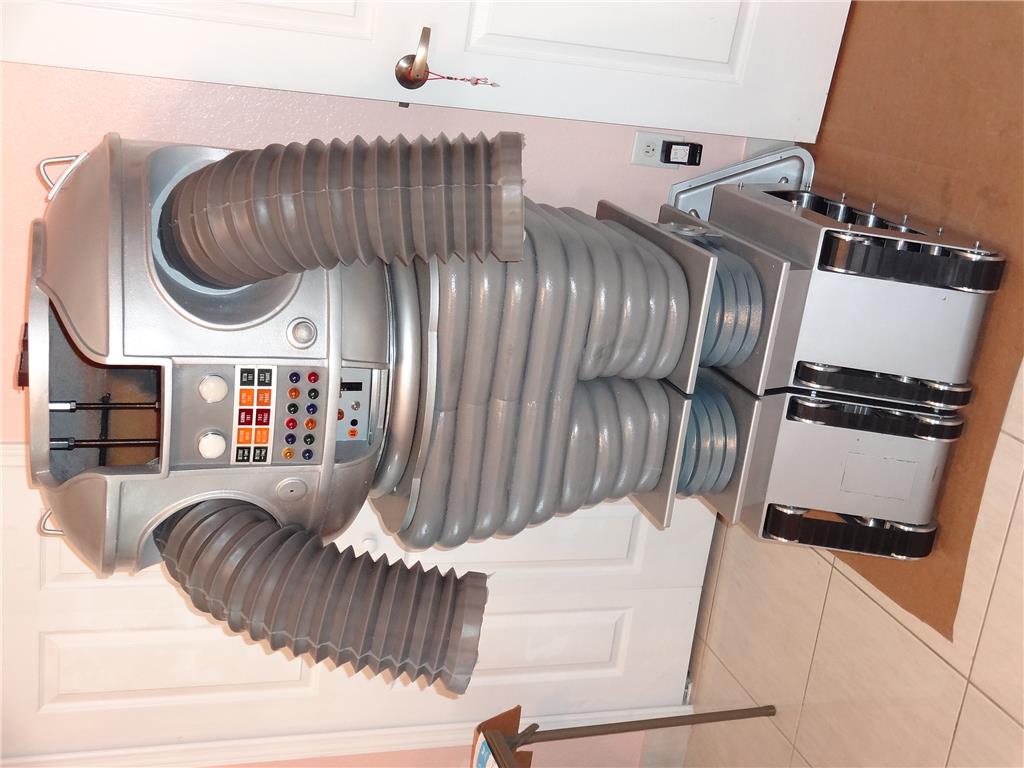
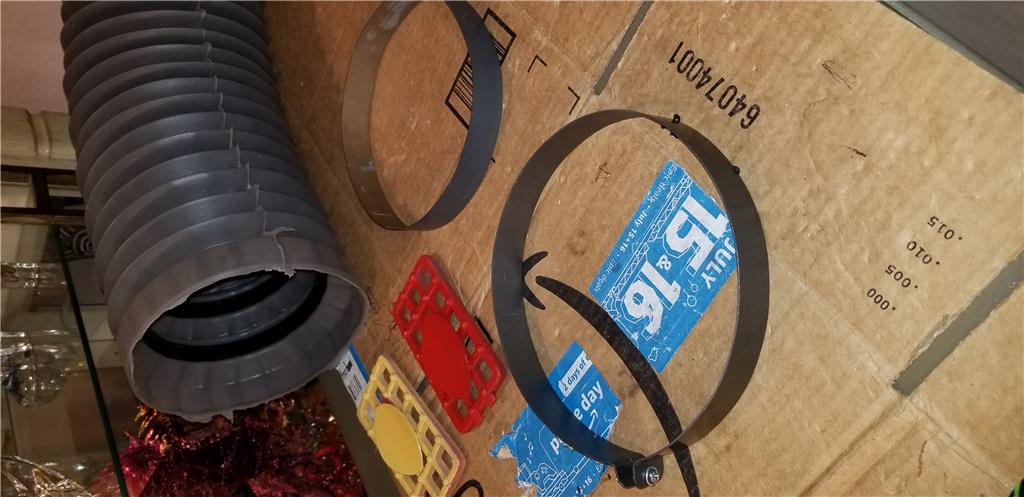
One of the jobs I've not been looking forward to is repairing the holes where the arms mount . This B9 Robot is from the 60's Lost In Space Tv program. The arm skins I have from (our very own Will Huff - fxrtst) just fall through the gaping holes. This torso is fiberglass and I've never really been a good fiberglass worker so I was a little worried about it. In the end I think I turned out pertty good. You be the judge. Here's a video and a few pictures:
Sorry, Don't know why the website turned this picture.
@Dave Schulpius I like your arm hole fix. looks great. Dave: Synthiam always turns my Pictures I would hope it would display them the way they were downloaded. What was the material you cut the new holes out of. if it was fiberglass sheets you could cut the pieces closer to the body and put a strip of resin soaked glass cloth around the edge on the inside to make it a permanent fix. Love your work.
@Dave and @Nallycat my iPhone always turns the pictures sideways unless I edit them (crop them a bit) and then they are fine. I have no idea why this happens but I'm guessing our programming friends know.
@Jeremie I guess you are seeing the pictures fine on your iphone, the same with my Samsung phone, sometimes I take the picture with the phone and post it from the phone, I don't want the hastle of editing a picture, before I post it. Yes I agree it is a programming error, it likes pictures to be sideways not up and down. lots of people use phones to take pictures. I have even taken pictures sideways with the phone and synthiam will still turn it the wrong way. please talk to your programming friends. I just thought of this have the programmers put a rotate option in he picture down load section.;)
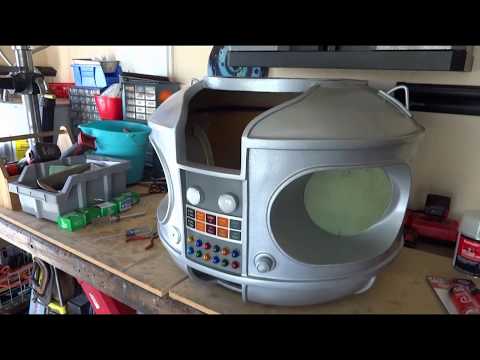
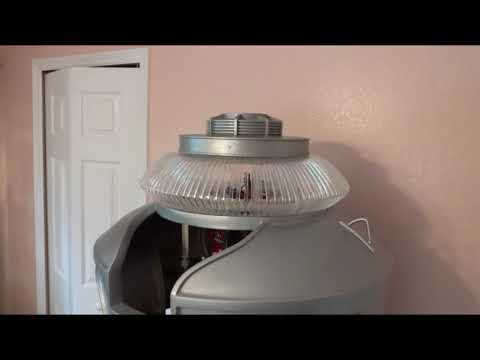
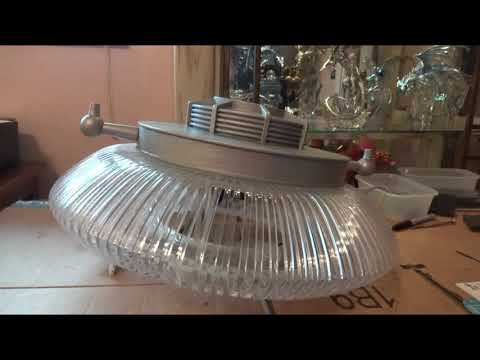
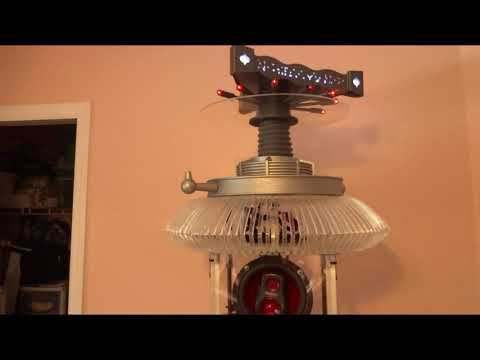
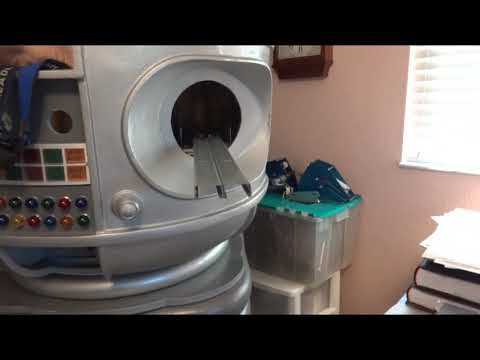
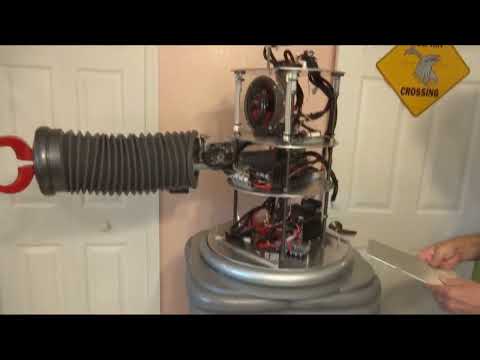
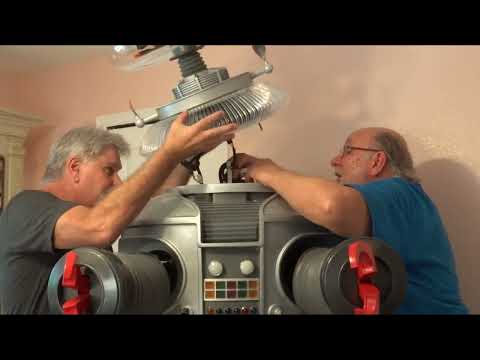
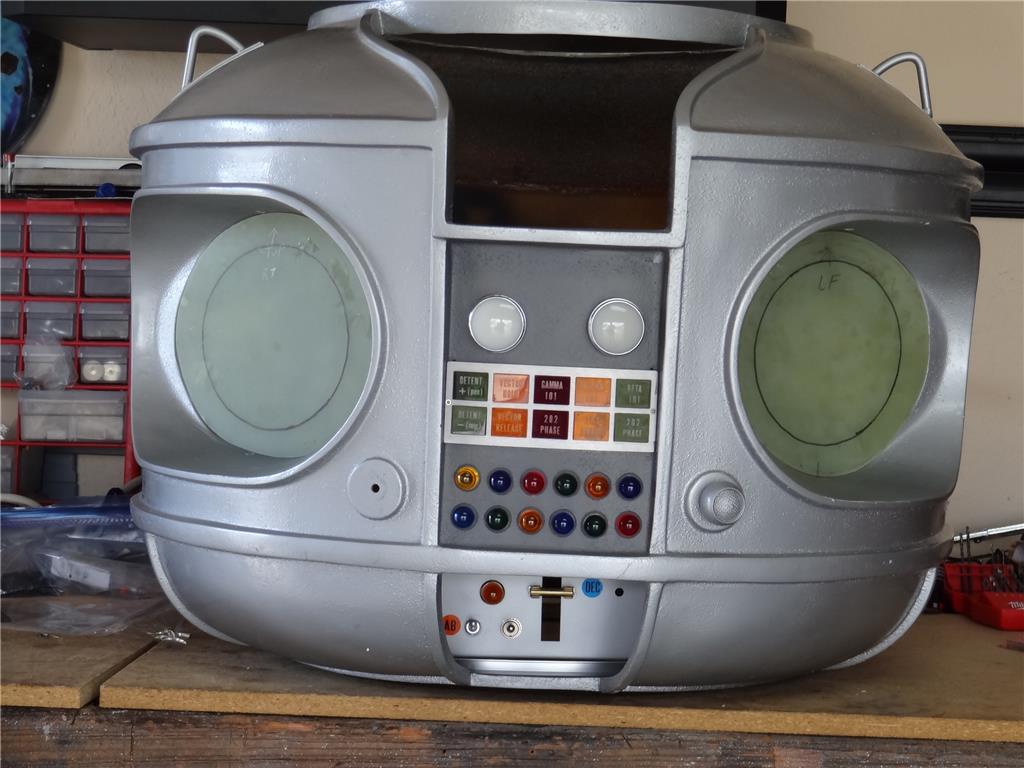
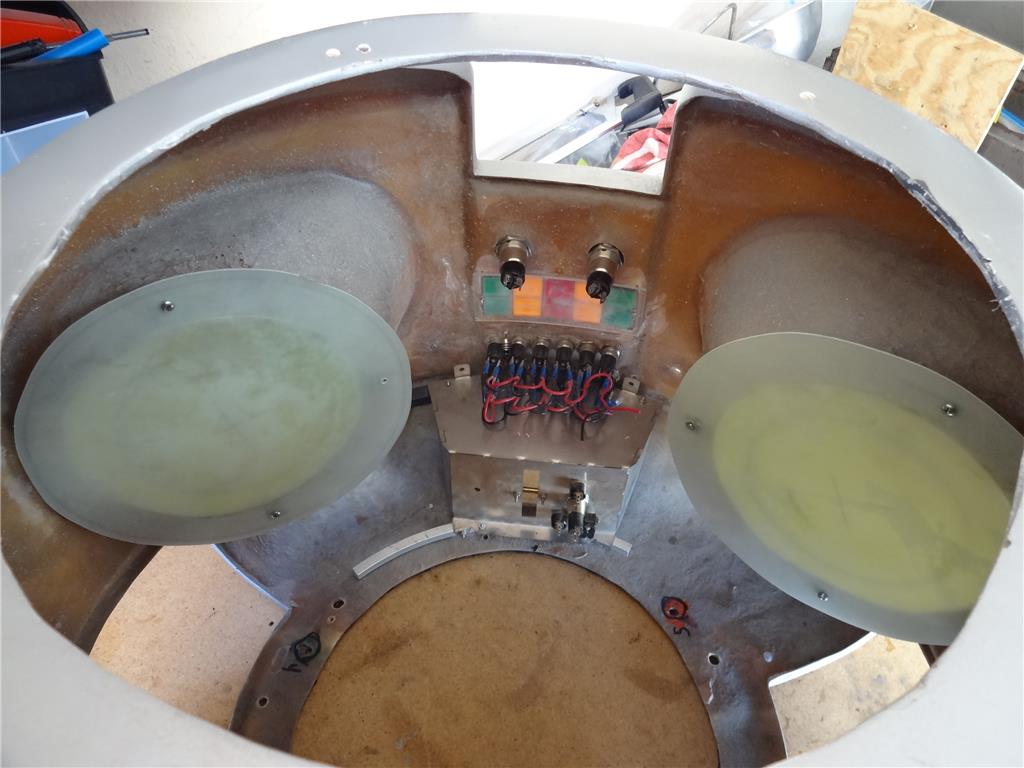
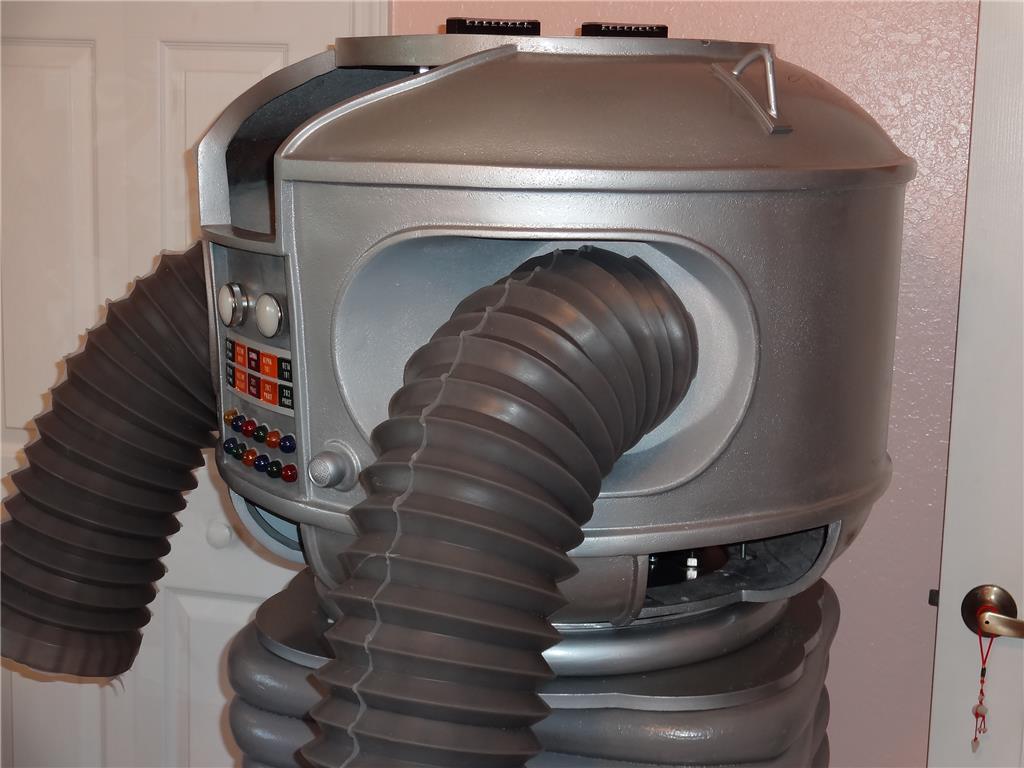
This is another update in a series of videos showing my progress on rebuilding a B9 Robot. I was sent this robot from a collector up in the NE USA to rebuild and get functional. Here I show my progress after installing all the lights in the chest area and how they look after power is switched on. I'm using Tom Wisnionski very cool and professional light board and wiring kit.
I also show how to find out how many amps they all pull so they can be fused properly.
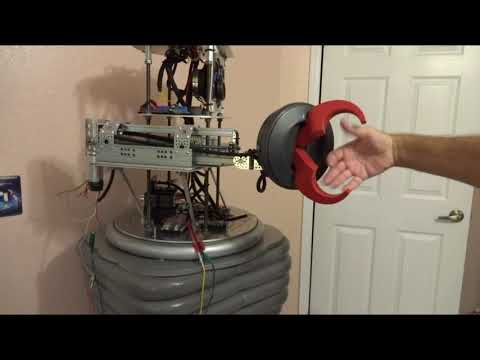
In addition I show a few issues I still need to overcome.
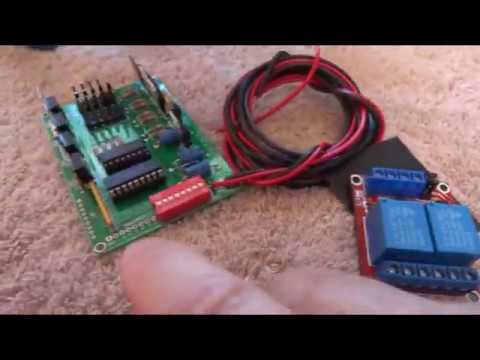
Next step will be installing the neon and interfacing it with the sound system. I'll be using Steve Neal's fantastic Neon-Voice Interface Board.
The above mentioned parts can be found on these vendor's vendor page at the B9 Robot Builders website. Go take a look when you have some extra time! B9 Robot Builders
Until then, thanks for watching this video.
hi dave
just what i needed.a nice long relaxing video about building robot.
thanks my good lookin friend.;)
Thanks Nomad. Just for you. LOL. I'm glad you enjoyed it.
I think you need your eyes checked though is you think I'm good looking. ;-)