


There is no control yet in this robot. However with the upgrades I'm planning for this robot, Synthiam ARC and the EZB are going to be center stage.
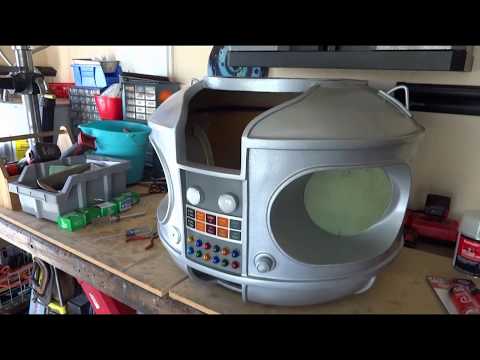
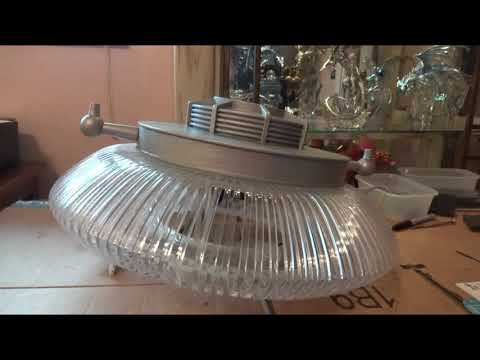
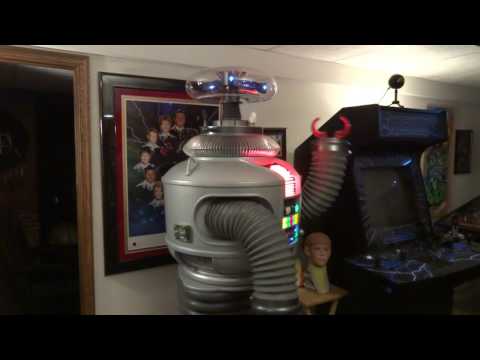
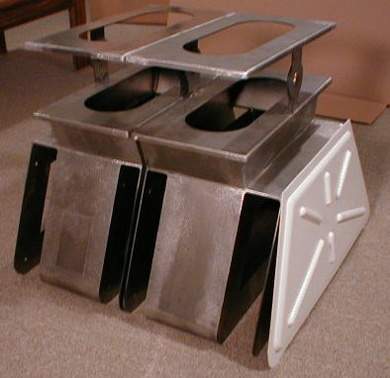
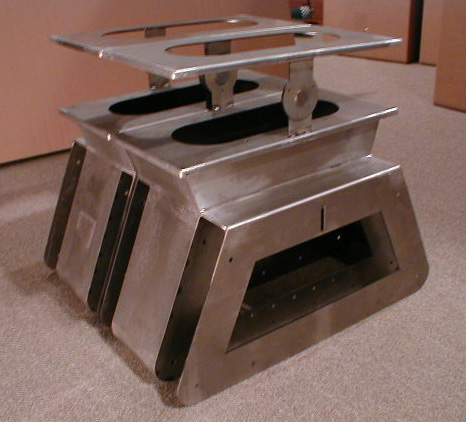
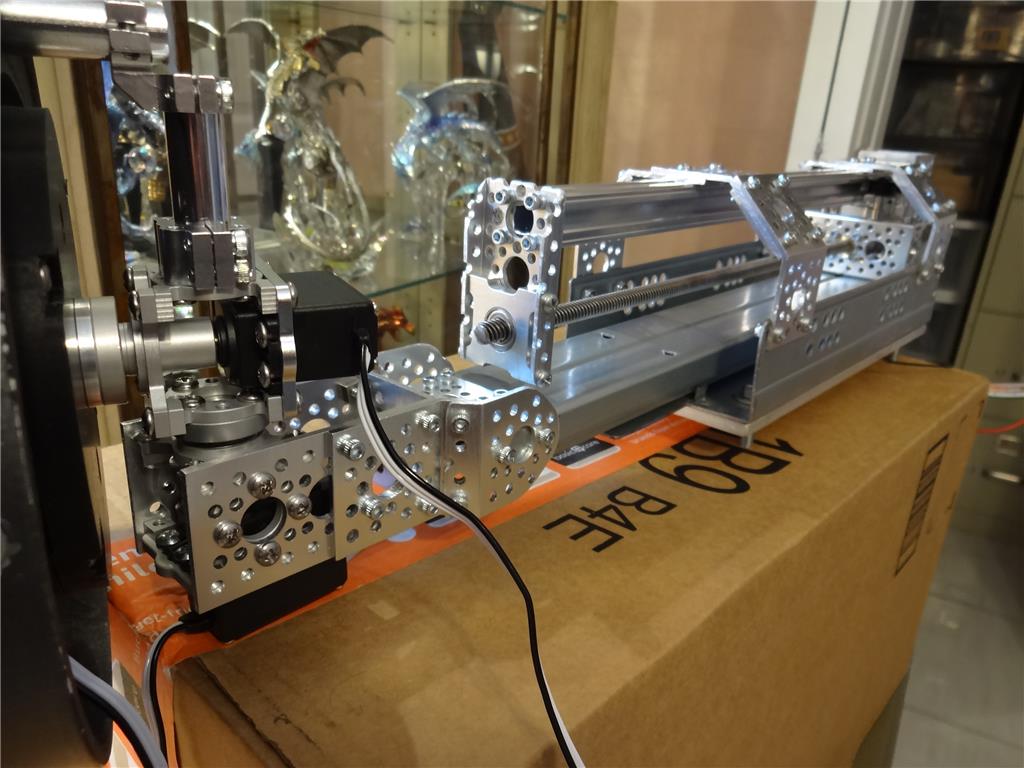
I was asked by a fellow Lost In Space and B9 Robot fan to help him rebuild his B9 Robot. He bought it a few years ago and was a bit overwhelmed in getting this poor old robot put together and working. I agreed to try to help and give it a try. I couldn't bring myself to see an old B9 Robot left to exist in boxes and never see the light of day again.
Hopefully this is the first of many videos documenting my journey rebuilding an old friend and a hero of my childhood.
Hopefully in a few months I can have him blinking, flashing and rattling off sound clips. Please enjoy this first of many video to come where I first see what I have to work with as I unpack and discover. LOL.
Discover more robots
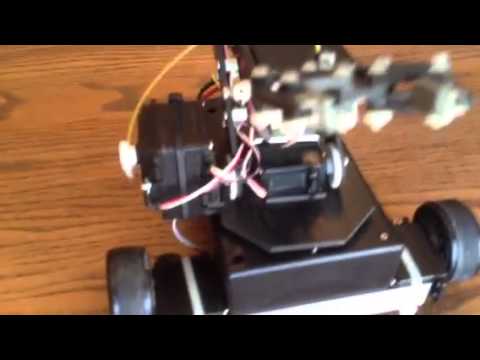
Steve's Lynx Robot 1996? Reborn W/Ez Robot
Animator28's AVA Advanced Visual Android

Thanks cem. I appreciate your comments.
Ya I have a few pinball tables. They are another interest of mine. I love to fix, repair and restore them. Probably more them playing them. Sadly when I moved down to Florida last year I had to sell 5 of my babies.
Great stuff, keep on Keeping on my friend
Angelo
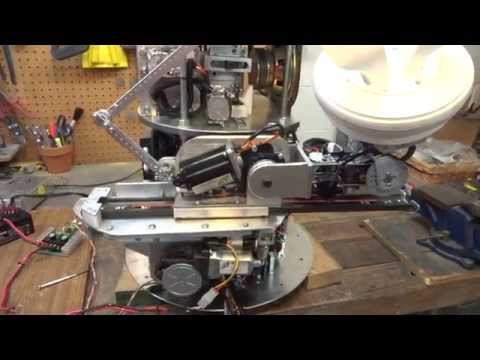
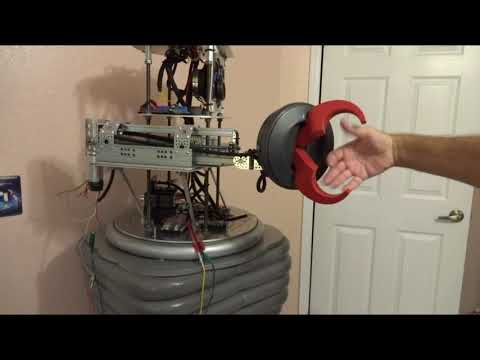
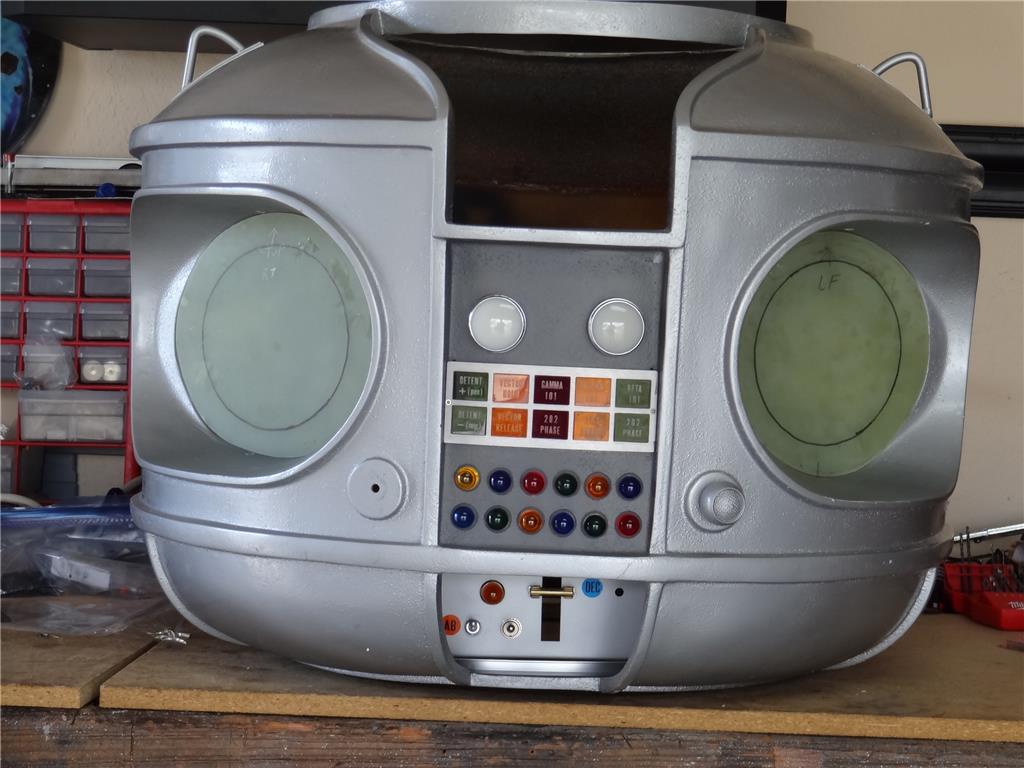
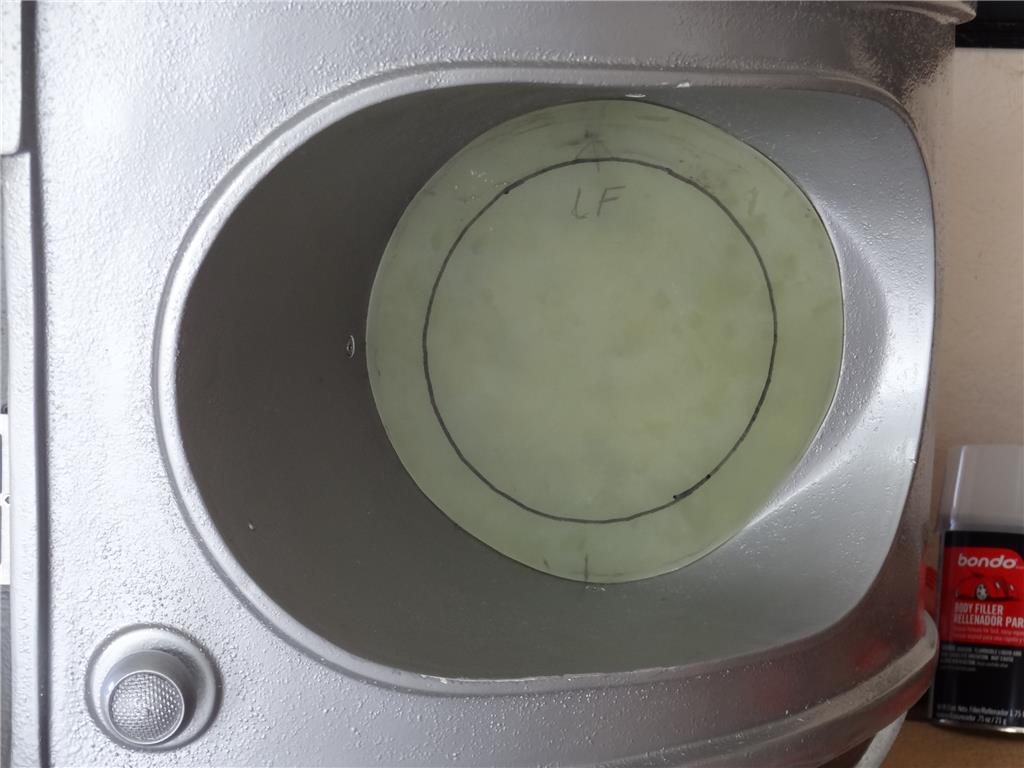
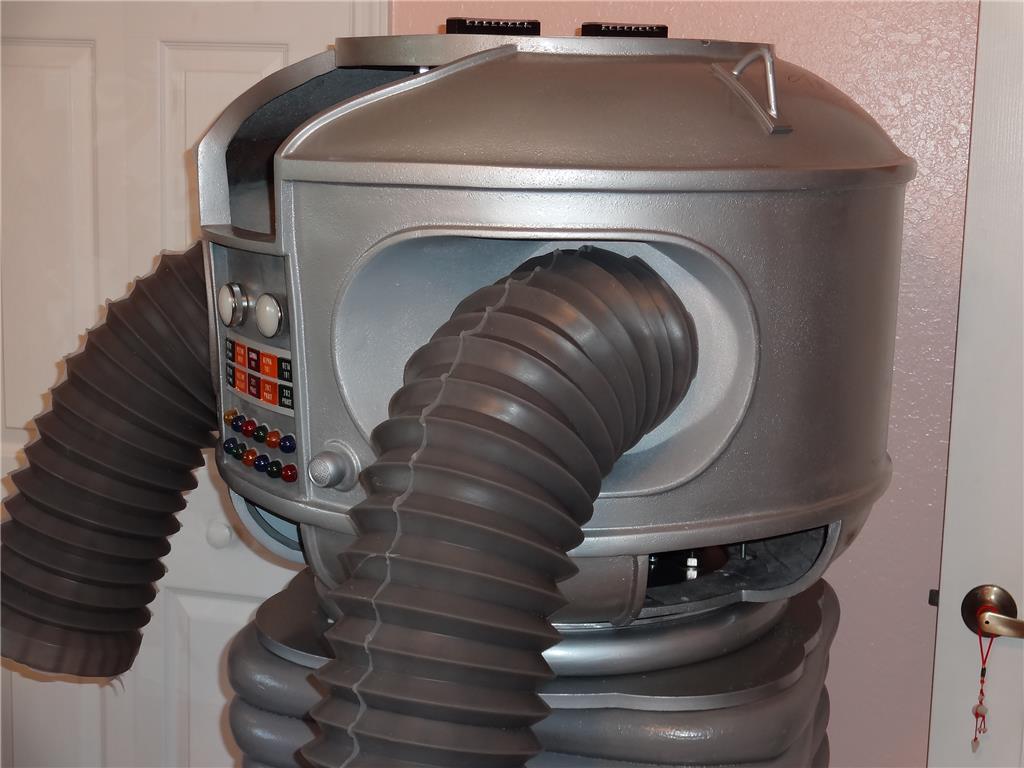
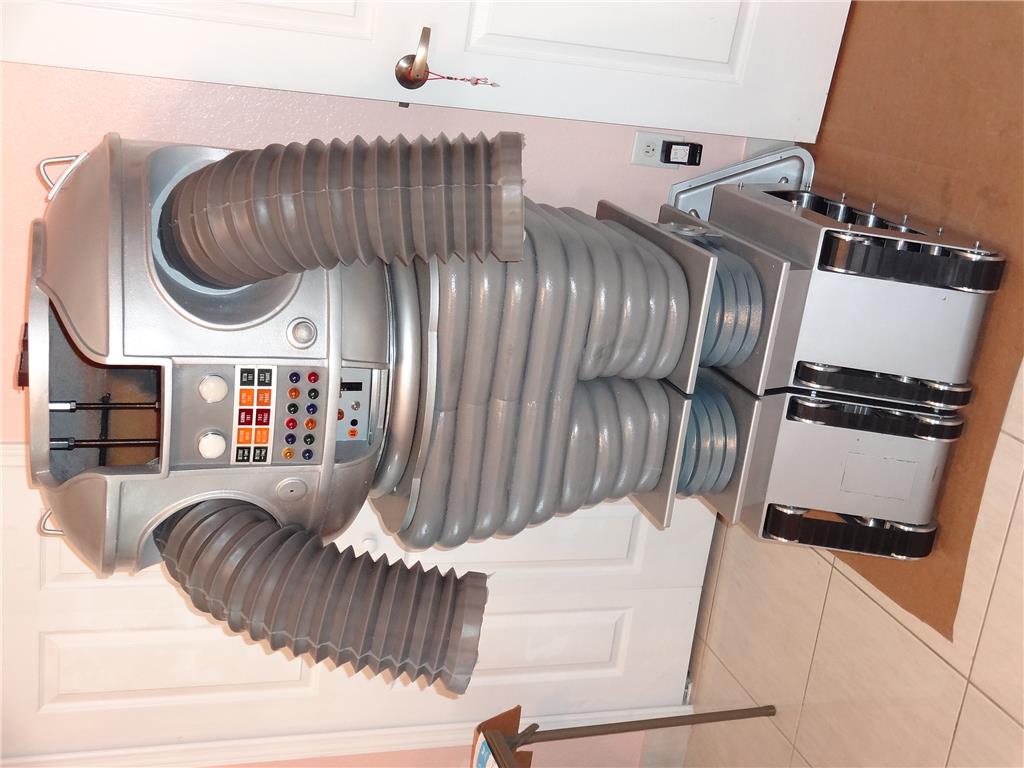
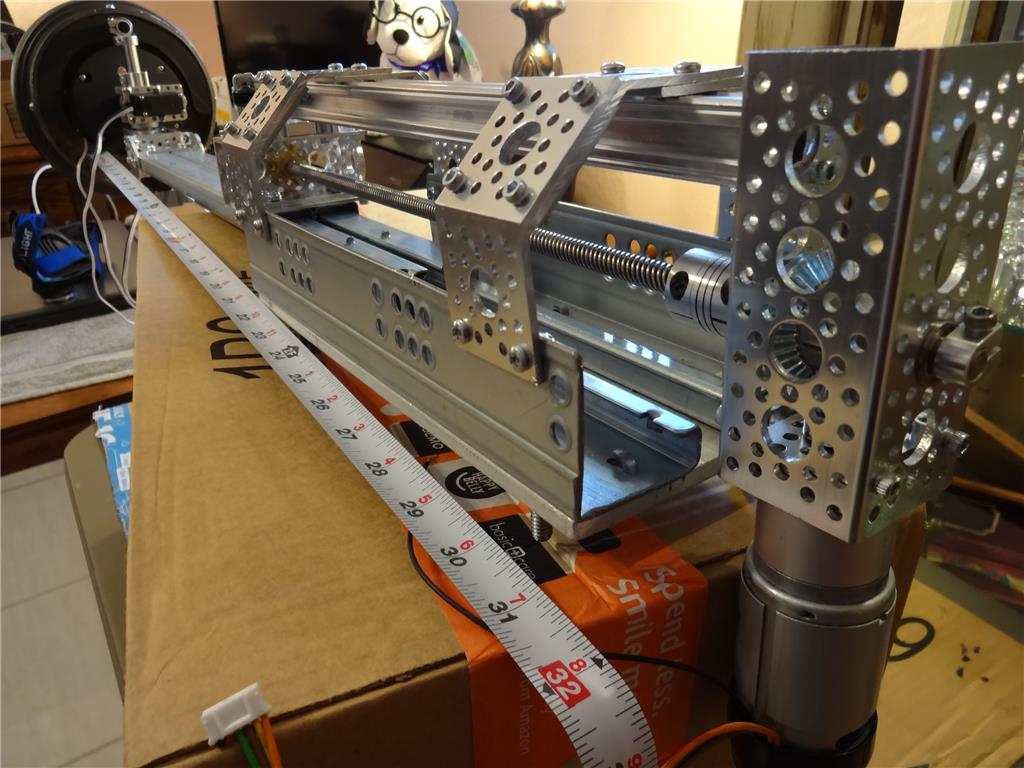
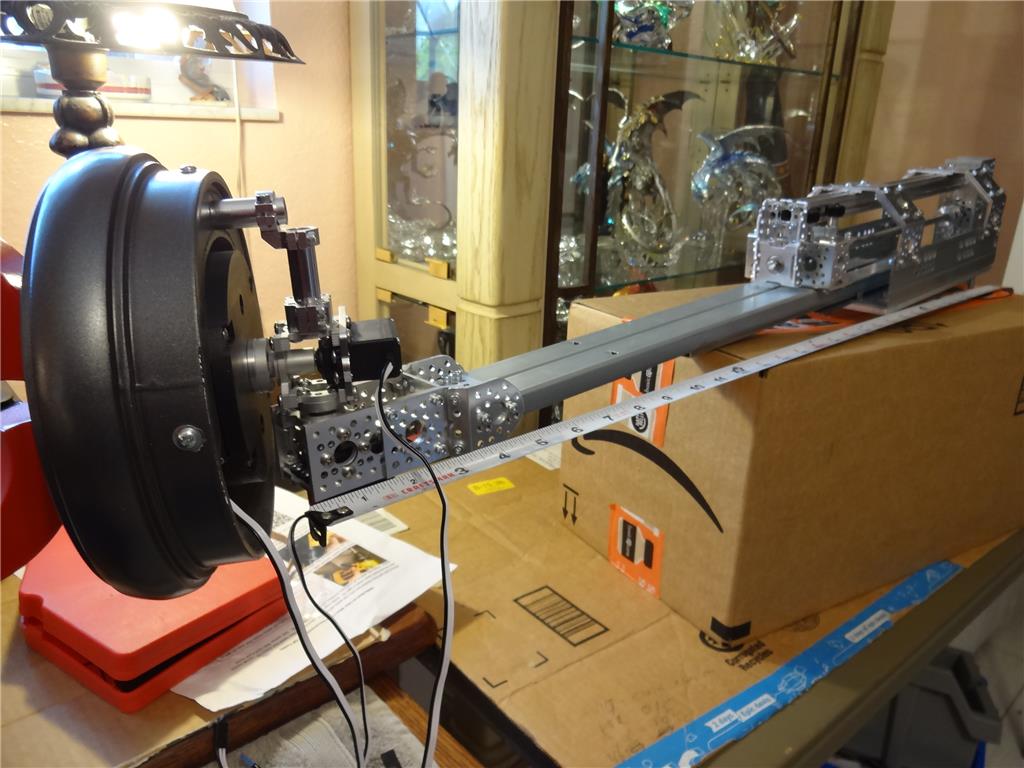
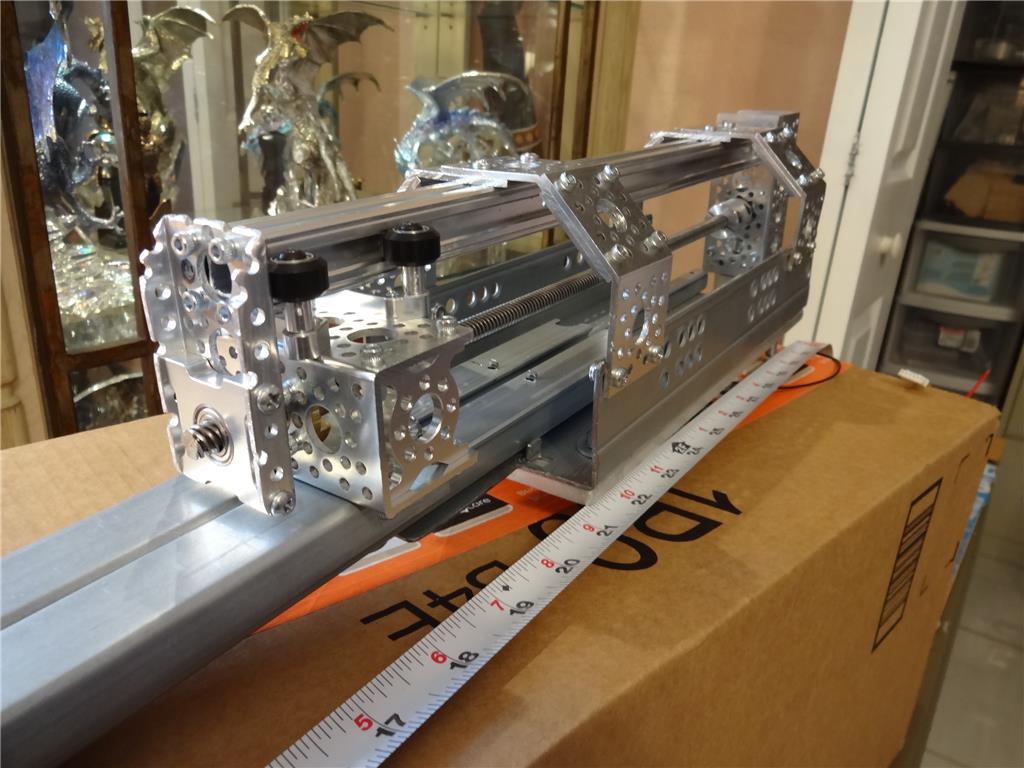
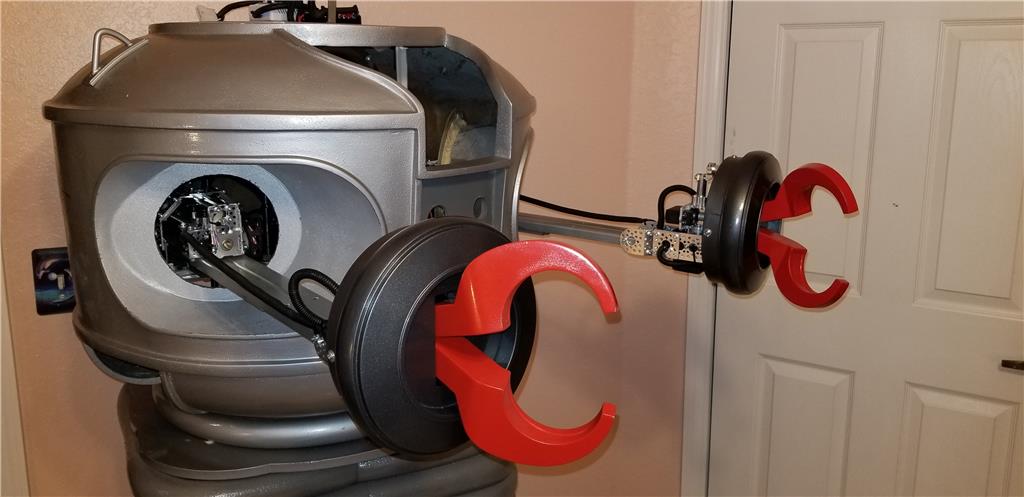
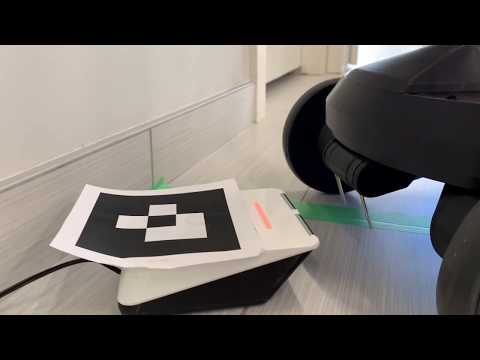
Hi Gang, Here's the third installment of this rebuild of a B9 Lost IN Space robot. A fellow Lost In Space fan sent me this robot to assemble and animate because I have some experience in this stuff. In this video I've completed the B9's waist turning mech and have computerized it with the aid of ARC and am EZB. I've also built a basic EZB mobile app that I can control the waist with my cell phone! Enjoy!
B9 Lost IN Space robot - great stuff - can't wait for 2020, only a few days, to see what is next, be well
Thanks EZang60! More to come............
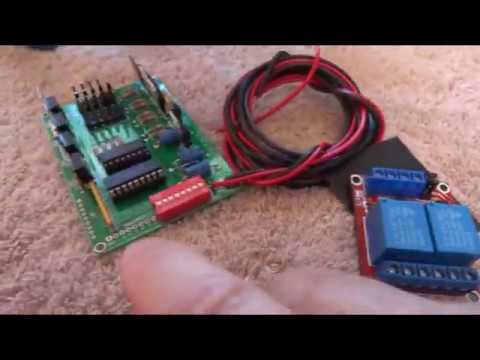
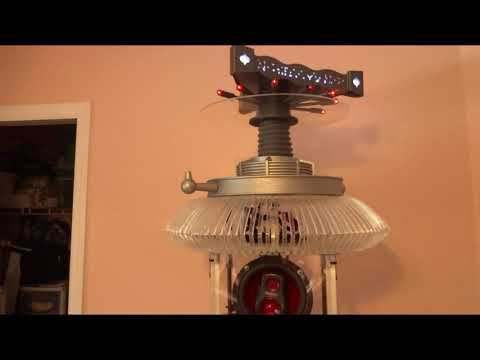
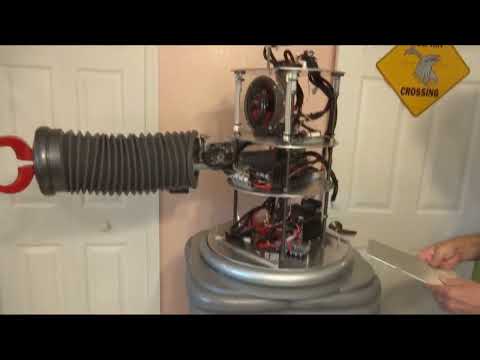
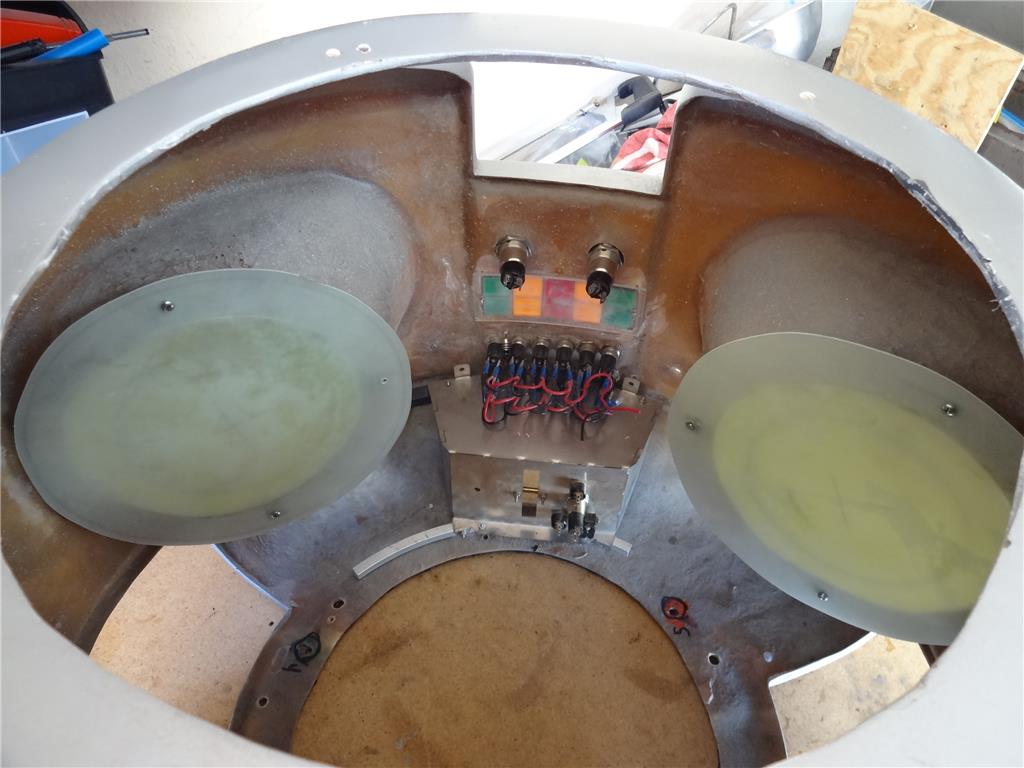
This is another video of the B9 Robot that I'm rebuilding for a fellow fan. I've been making videos of my progress since I received it about 7 months ago. If your interested you can check them out on my Youtube page from the link below. In this video I've added a second power supply and the supporting electrical. This was needed to make the electrical system stable as to not have any power brown outs, lights dimming or electronic issues. I'll be splitting up the power load between the two supplies when it's on external power. When it's on battery power everything will be running on just the one circuit. This is selected with a switch and relays.
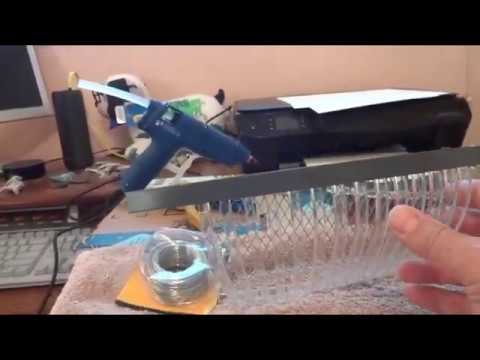
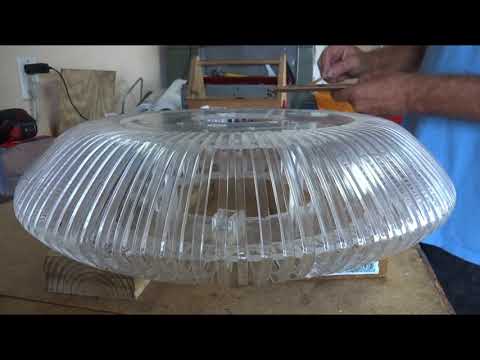
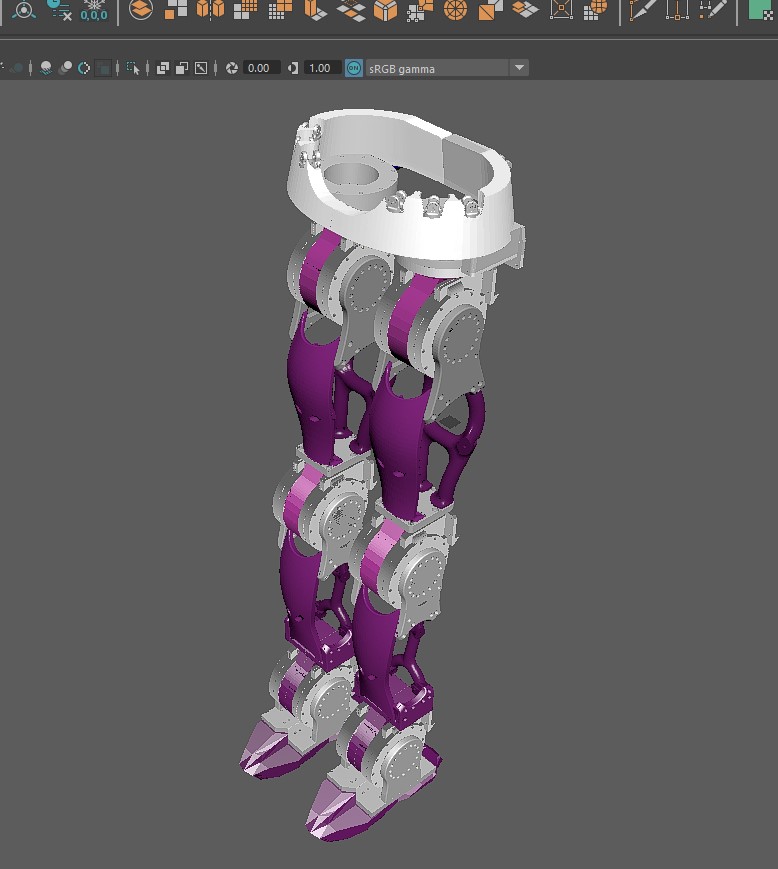
With this work the leg section is now complete and I can move upward into the torso.
Enjoy!
i was thinkin yesterday,when will the next video come.and there you are. its nice to see the build up .love the video's.thanks for charing.
Thanks brother Nomad!