

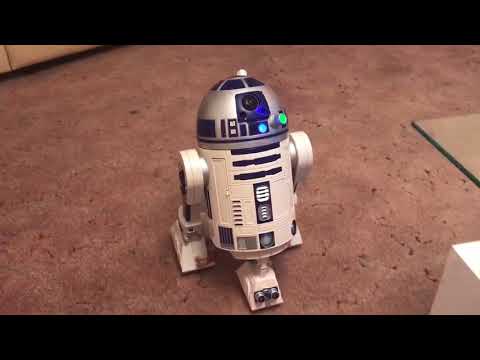


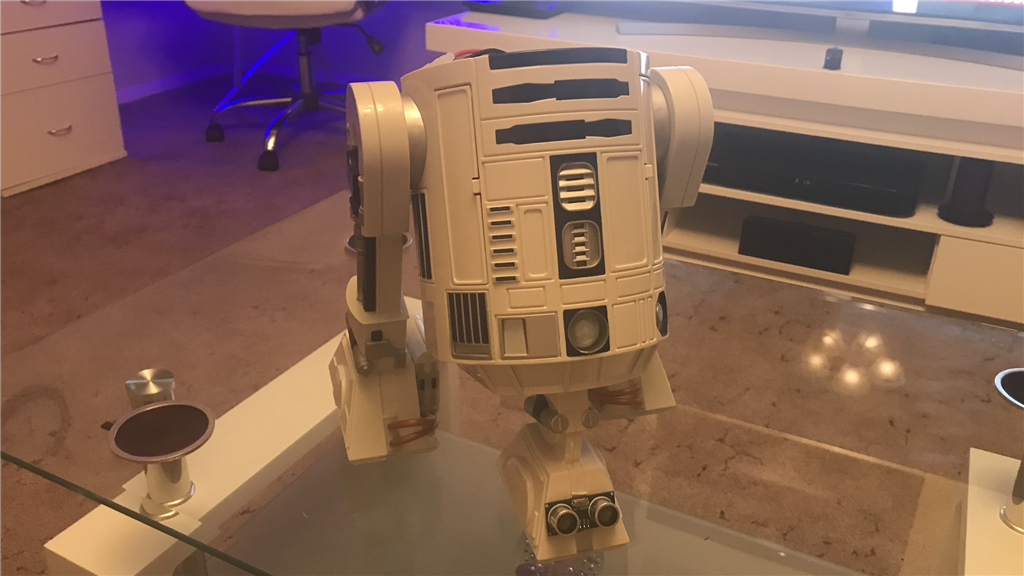
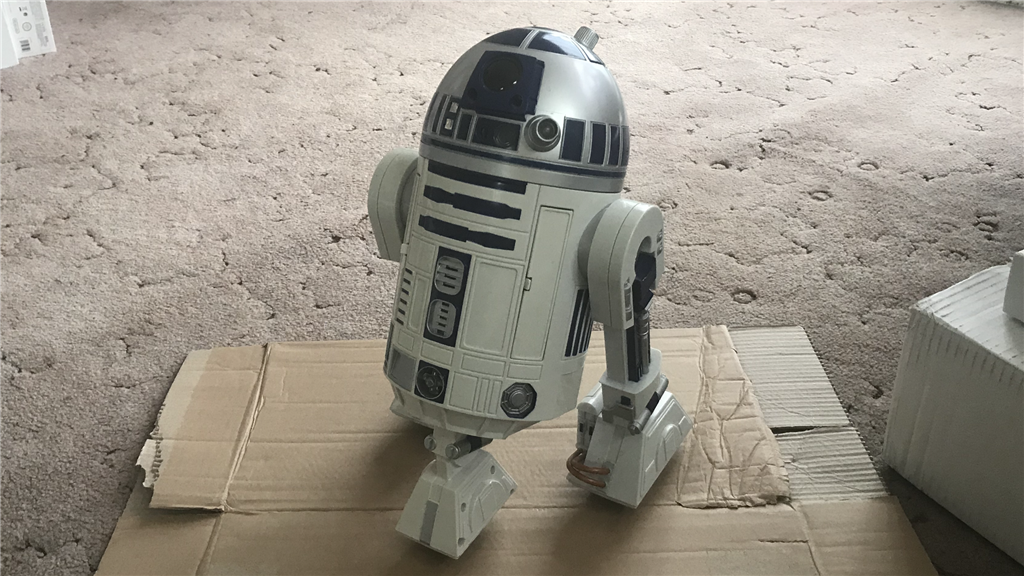
So, it’s been a while since I’ve had the screwdrivers and soldering iron out for fun, so figured I’d start a new project and share it with you guys. What I’m working on this time is a toy hack rather than a scratch build, and for this I’ll be using the R2-D2 Interactive Astromech Droid from Hasbro.
For those of you who don’t know, this was released in 2002 and was fully voice controlled (no smart phone or R/C controllers). I purchased this off eBay a couple of years back and after finding out that the voice recognition wasn’t that great (not for me anyway), I was going to do an EZ-Robot conversion similar to what DJ and a few others did... but, as some of you know, I ended up scratch building a full size droid instead so it got packed away and forgot about it.
Recently my girlfriends granddaughter has shown an interest in robotics so I have started helping her out and introducing her to EZ-Robot. While searching for robot bits and peices, I can across the little droid and have set about giving him a new lease of life and make him better than he ever was using a EZ-B v4/2 dev kit and a few sensors etc.
Here goes. Enjoy. 
Other robots from Synthiam community
Doombot's Archetype Finally Complete

DJ's Vision Tracking Robot

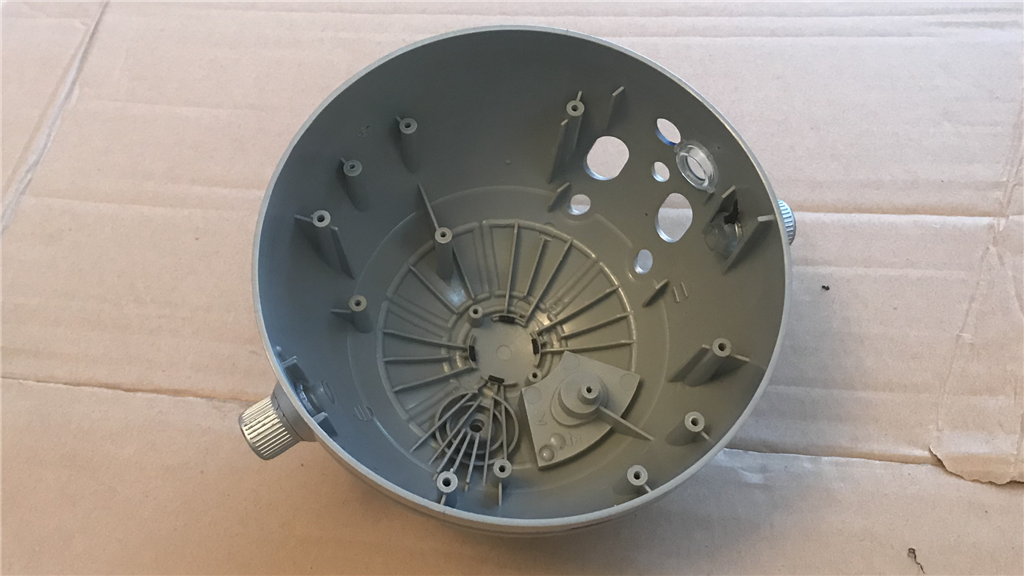
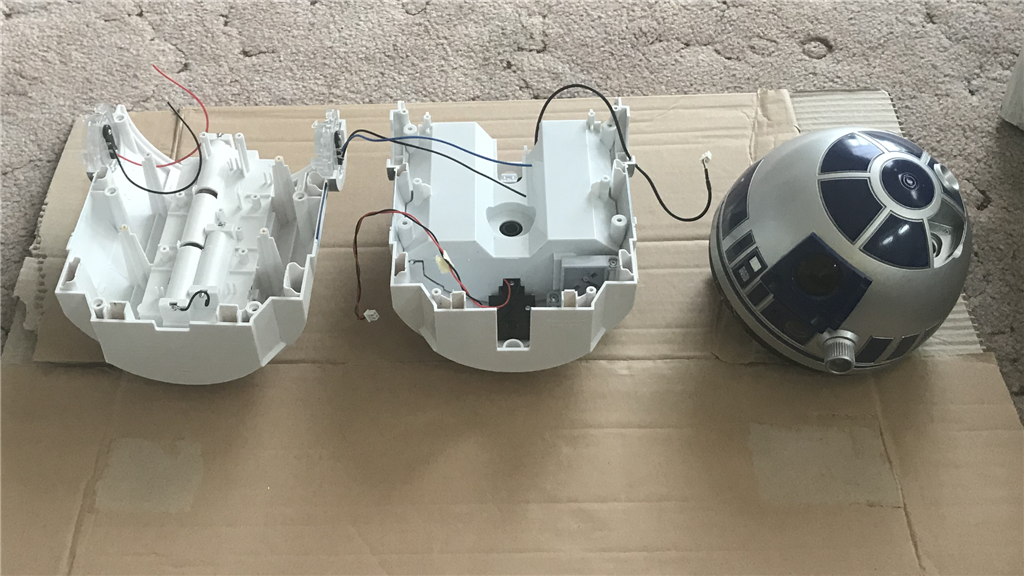
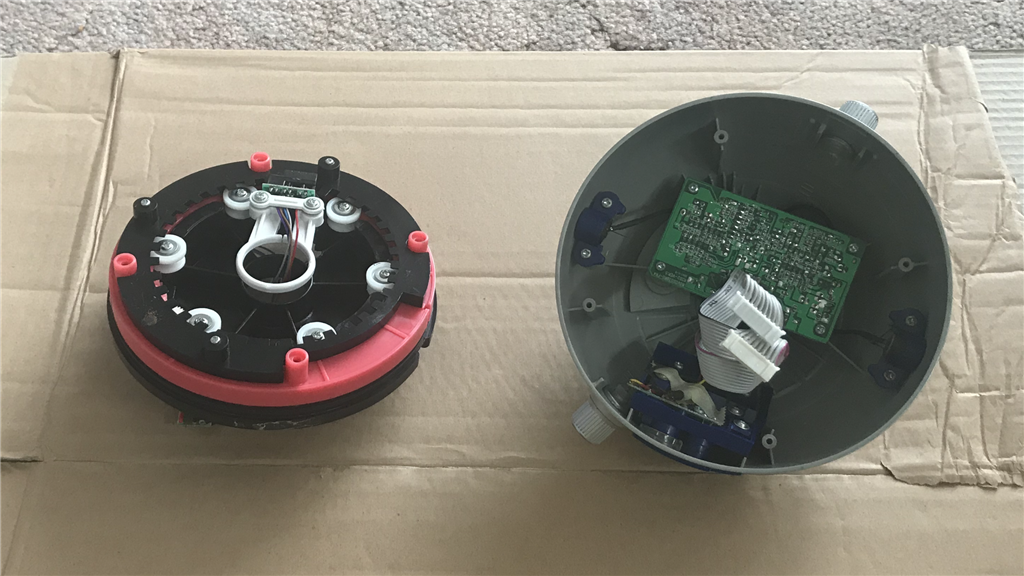
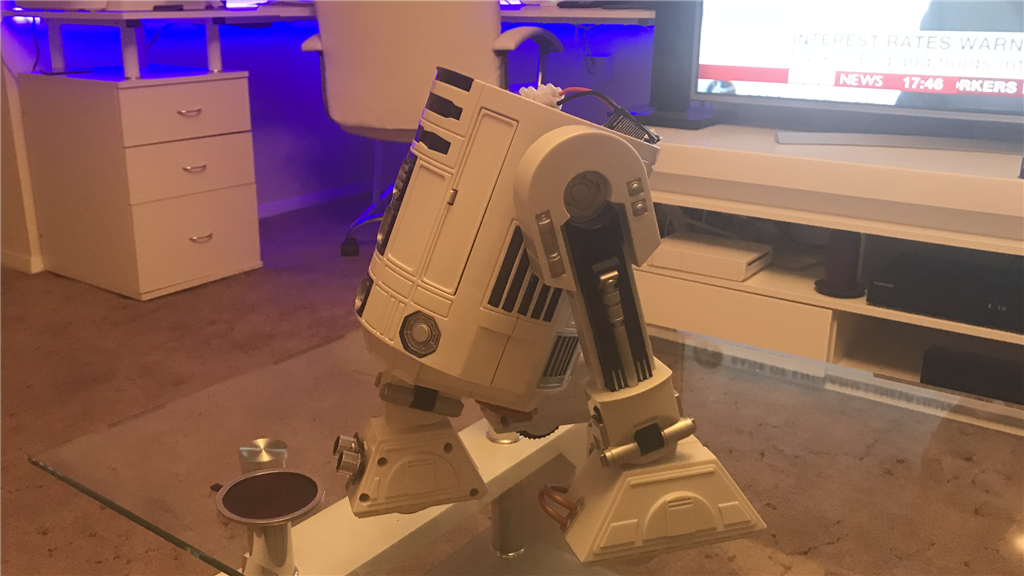
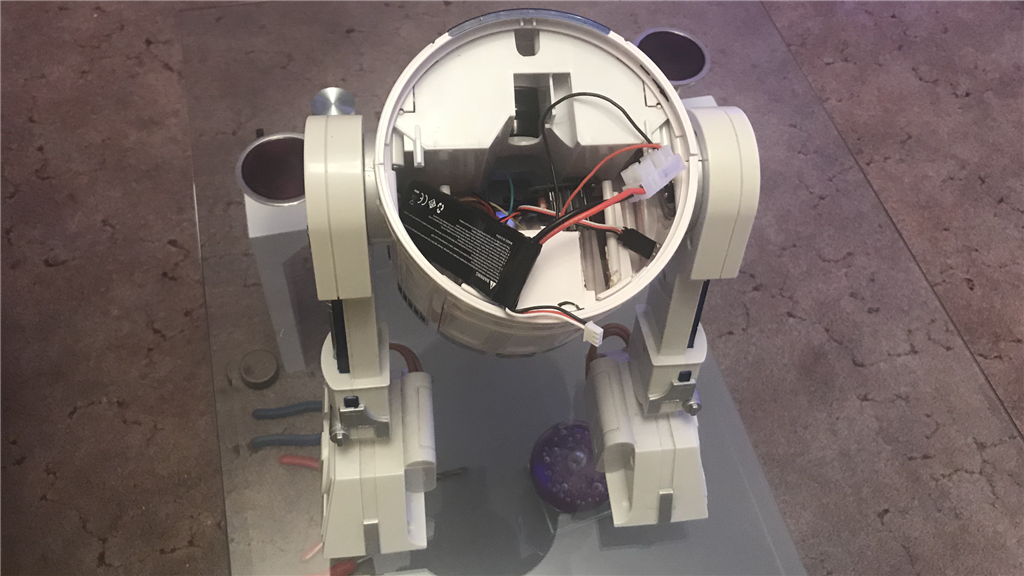
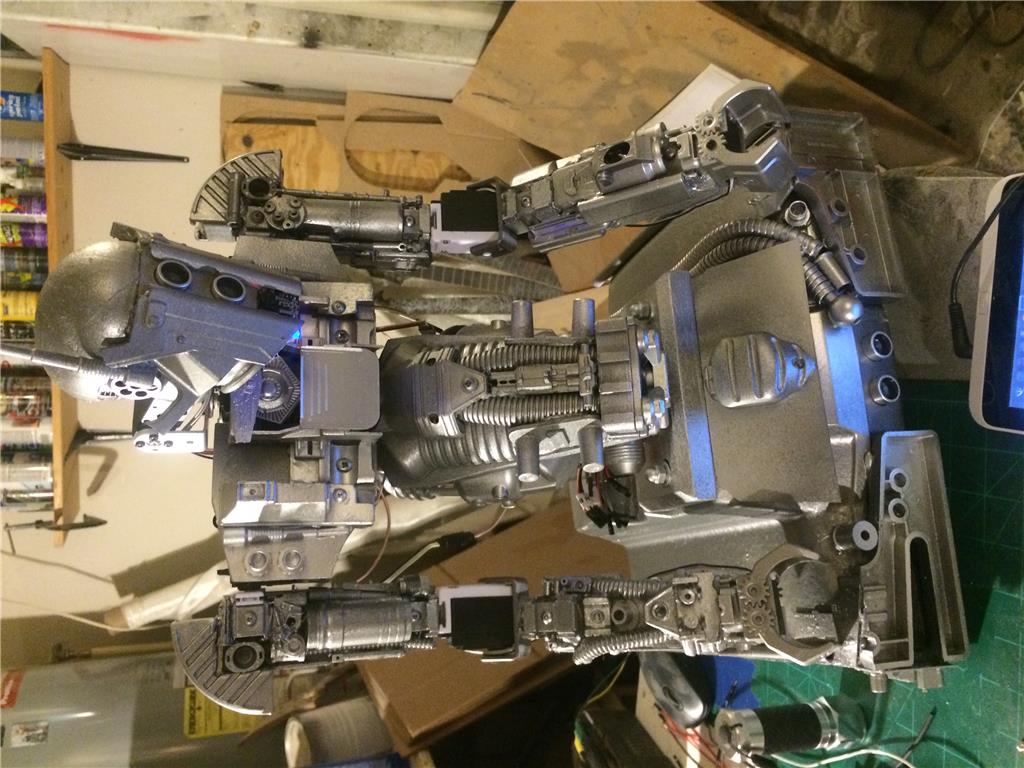
So, screwdrivers at the ready and R2 has now been stripped down...
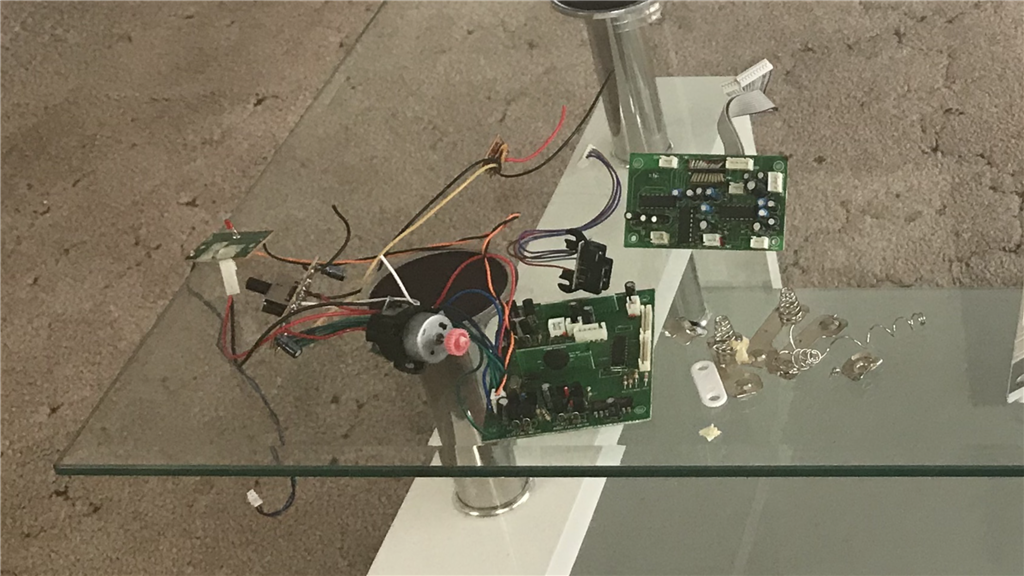
And gutted...
That’s the easy bit done .
.
Thinking about where to start, I figured I’d start with one of the important bits... making R2’s head turn.
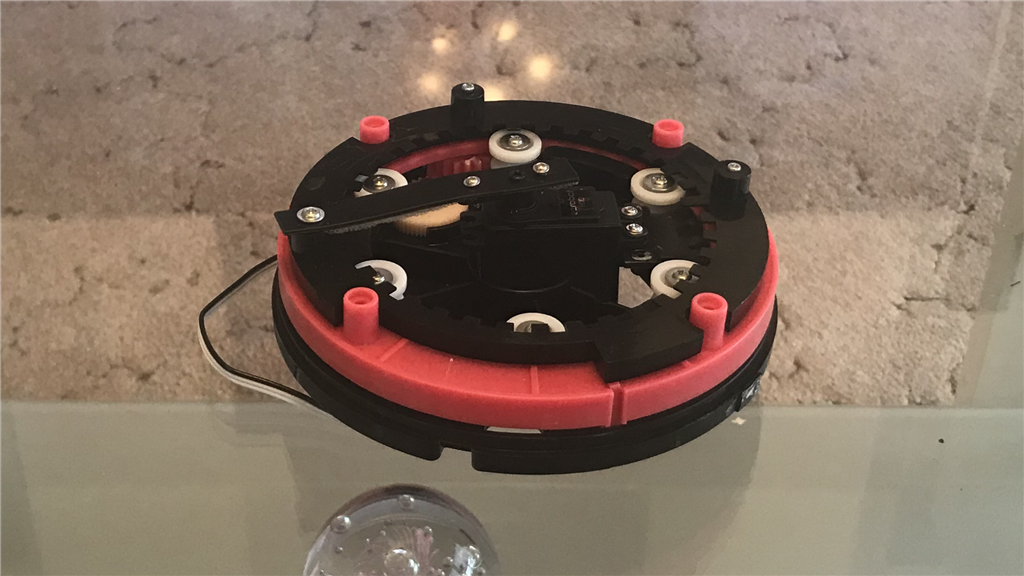
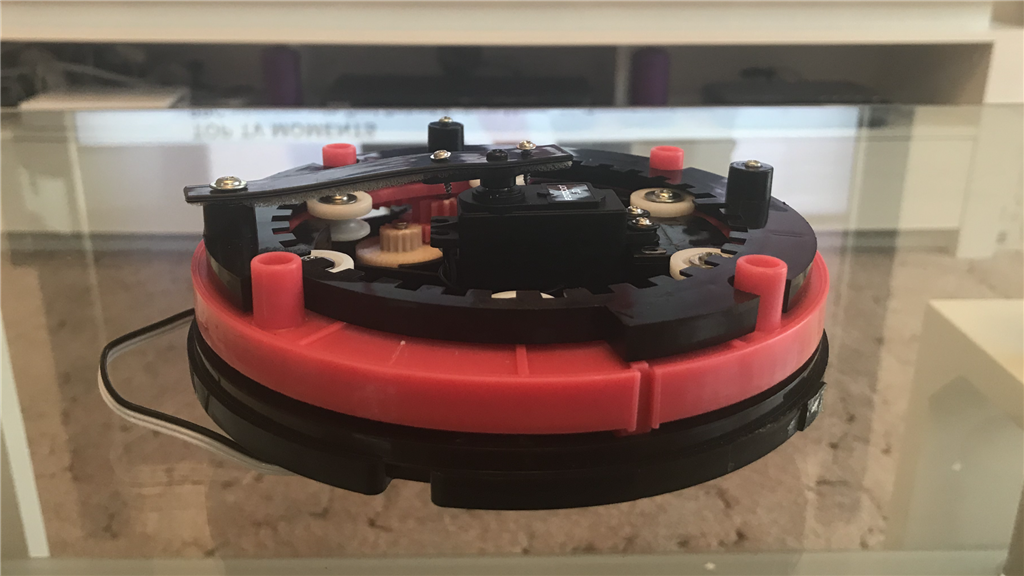
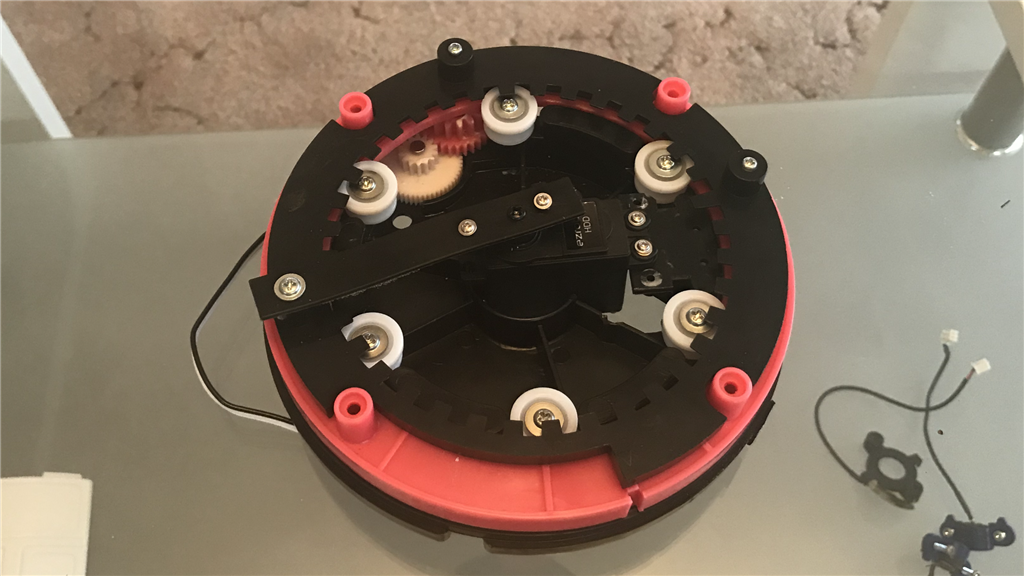
The Dome Slip Ring.
The first place I started was with the dome rotation....
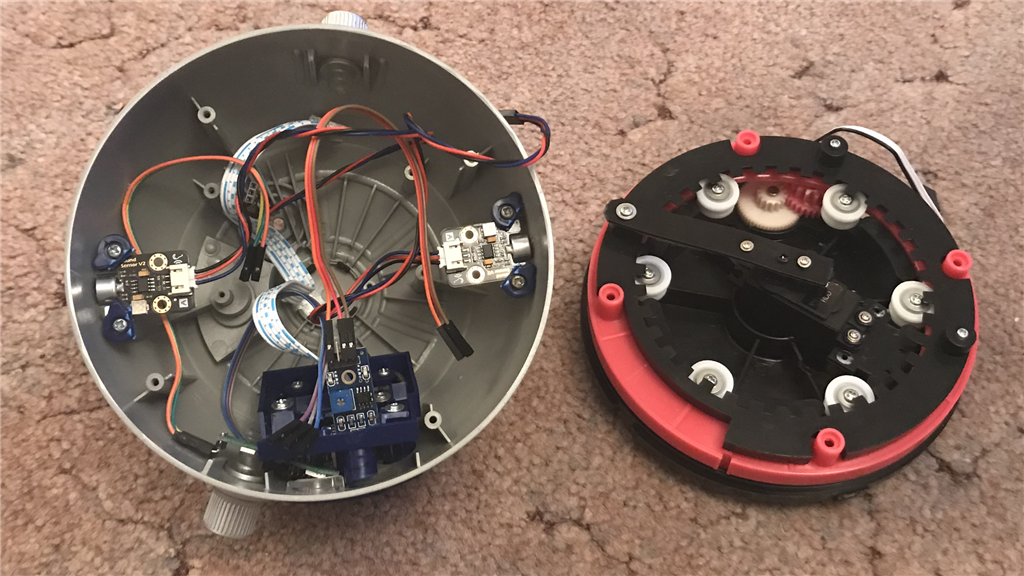
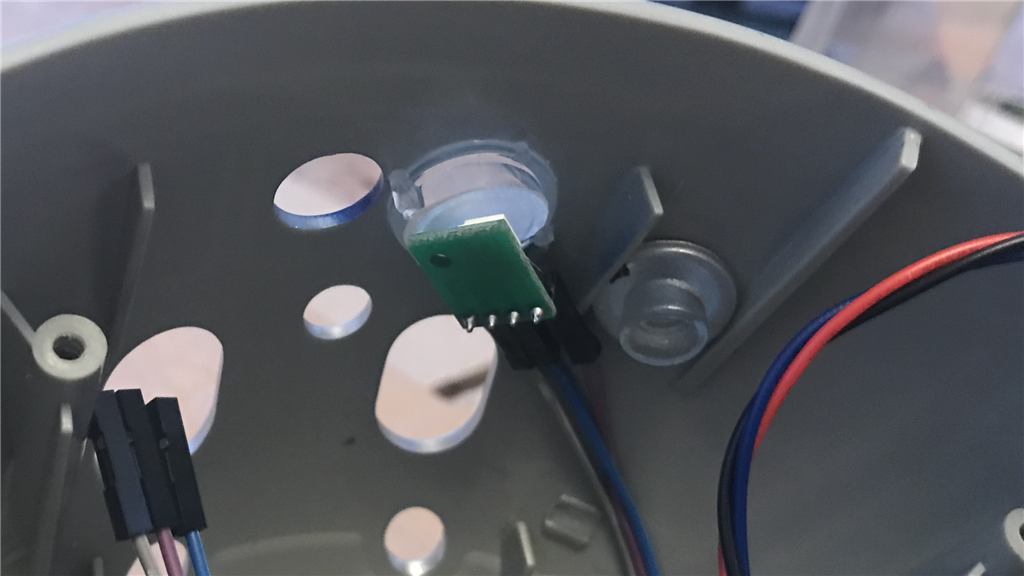
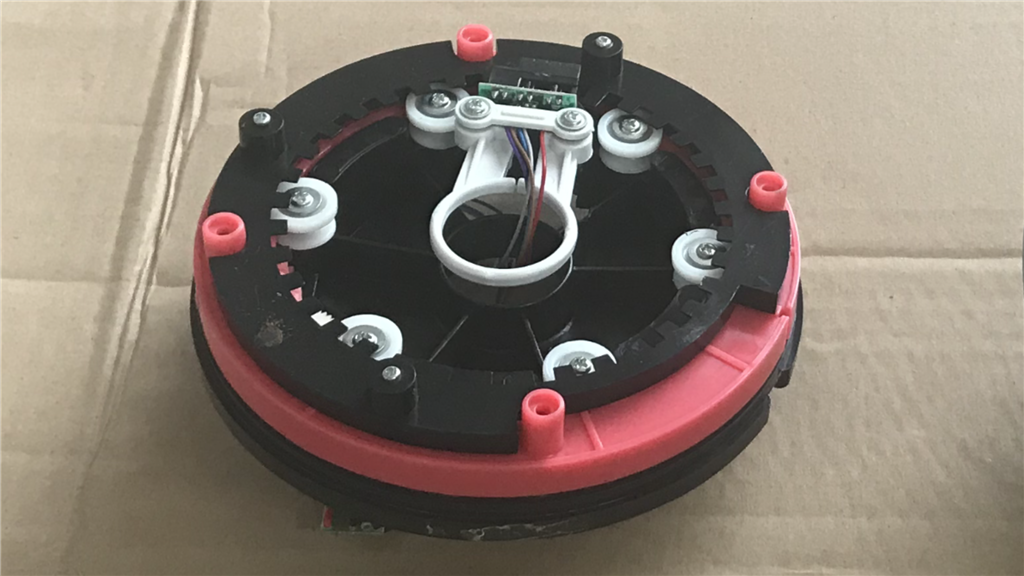
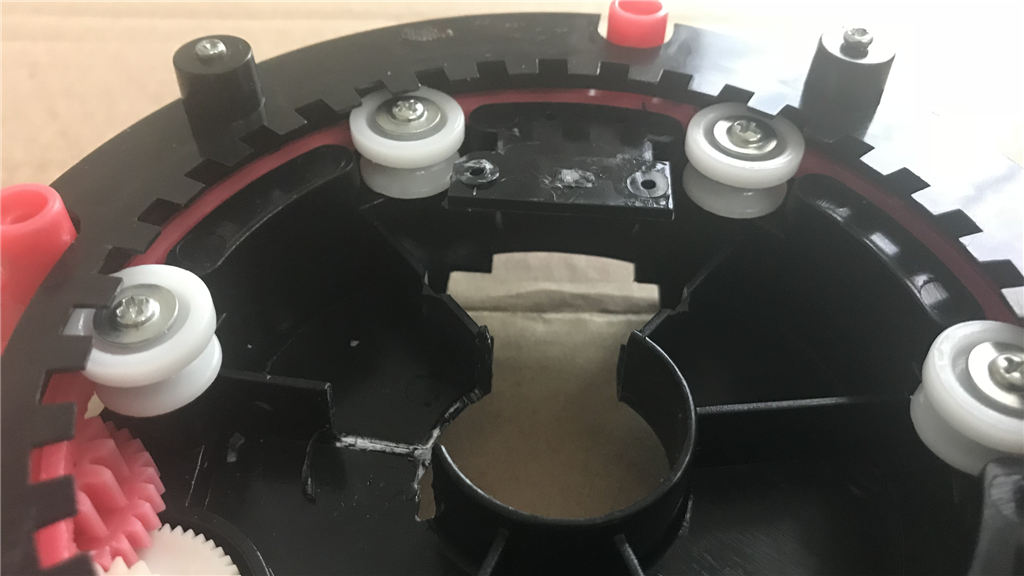
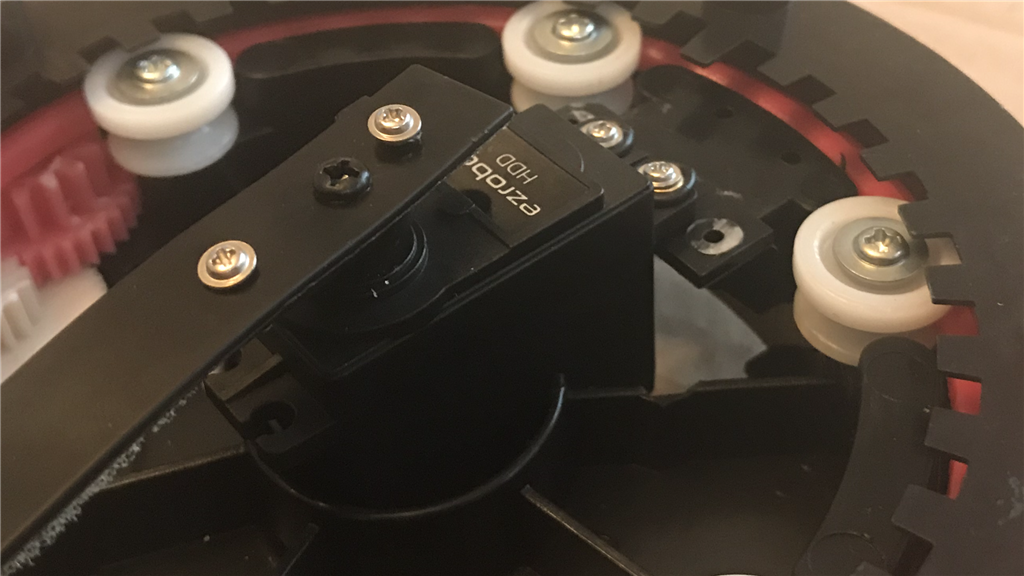
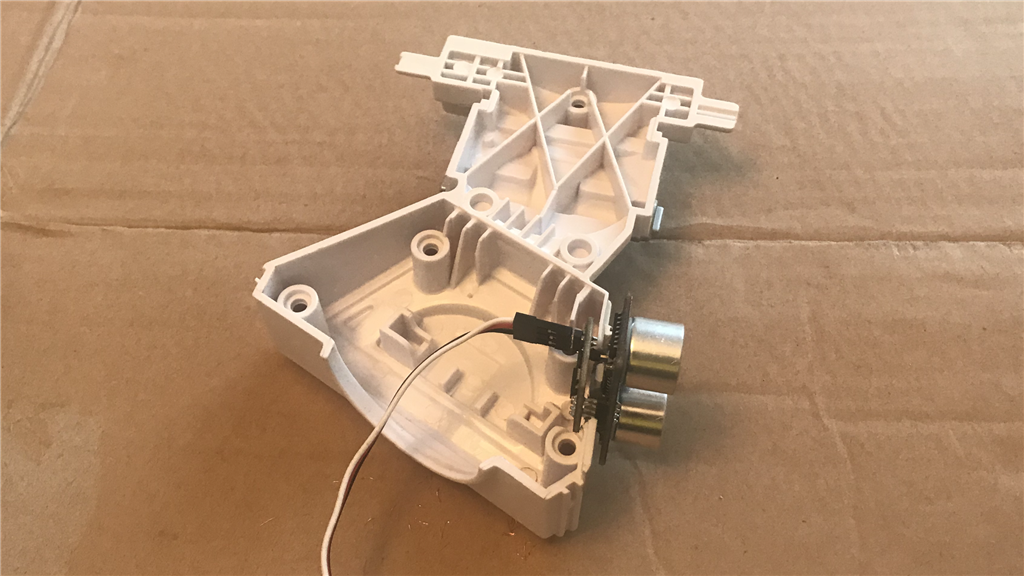
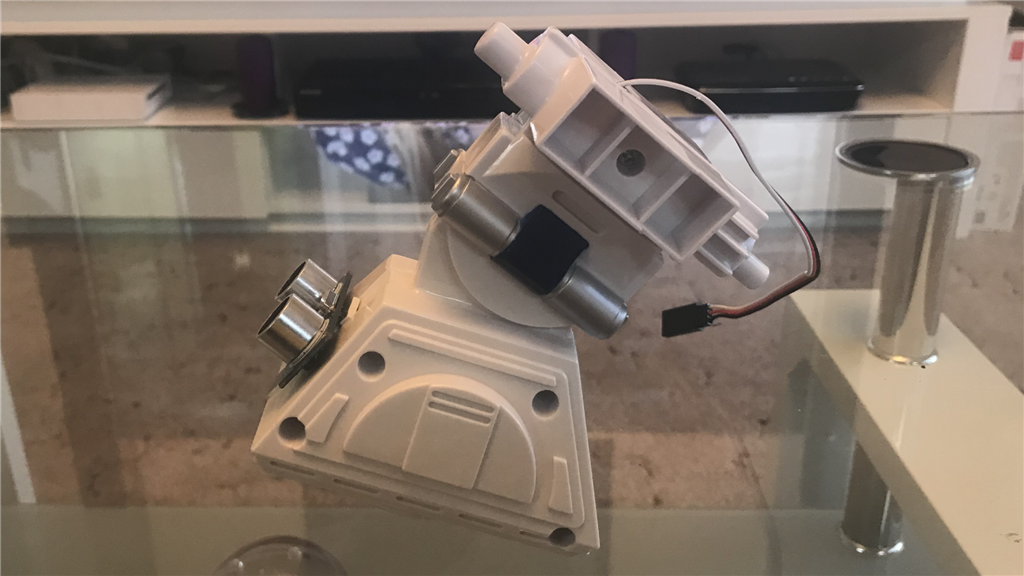
So with the original DC motor and optical position reader sensor removed, I found a nice little place to install a HDD servo (little bit of plastic cutting required)...
In the battery compartment, there is a black plastic flap which separates the AA batteries from the D cell batteries. This made a great servo arm extension which I screwed to the dome slip ring. Then with a quick successful test connecting the servo to an EZ-B, it could be put aside for now...
Next job, the dome itself.
The Dome.
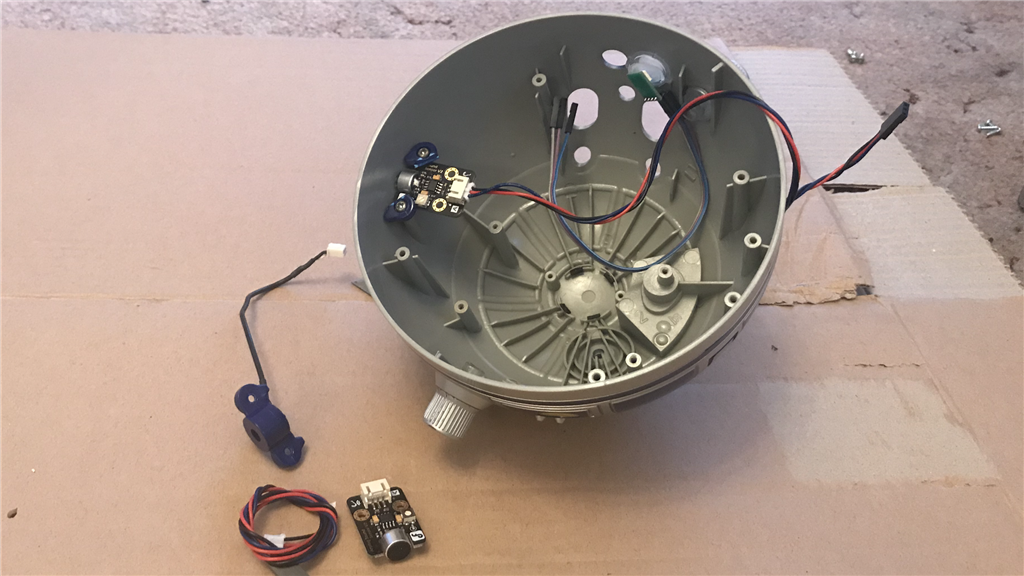
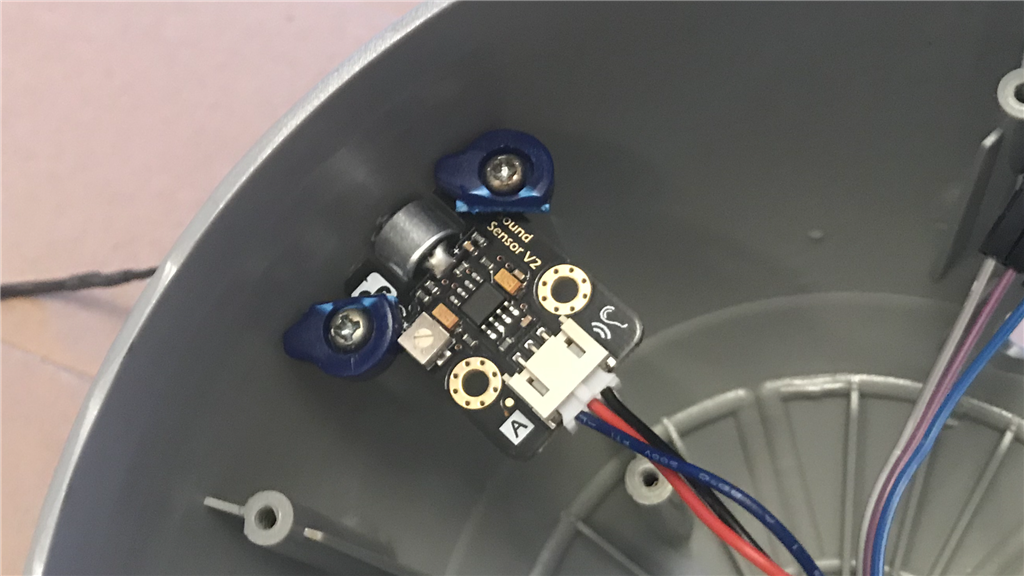
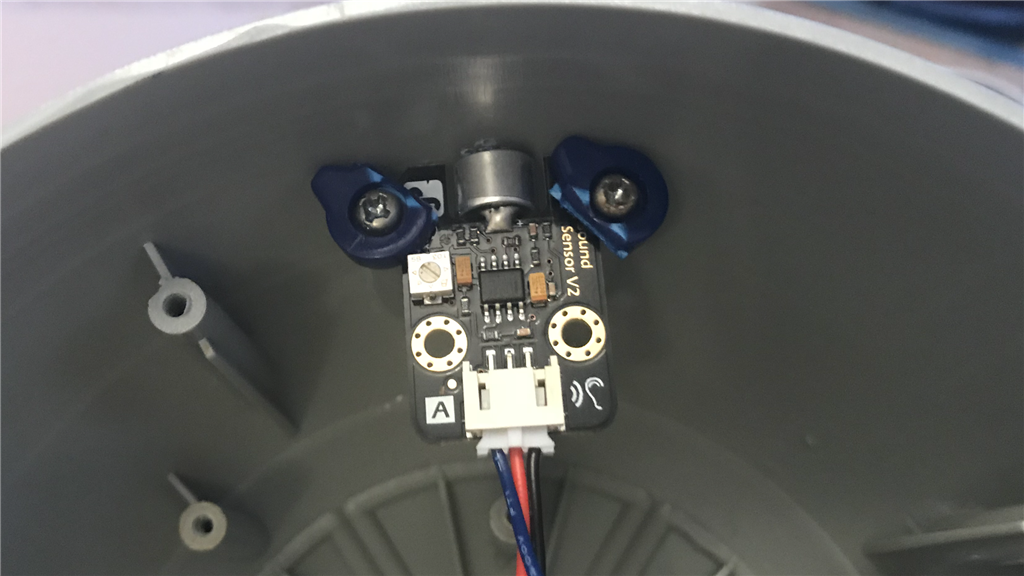
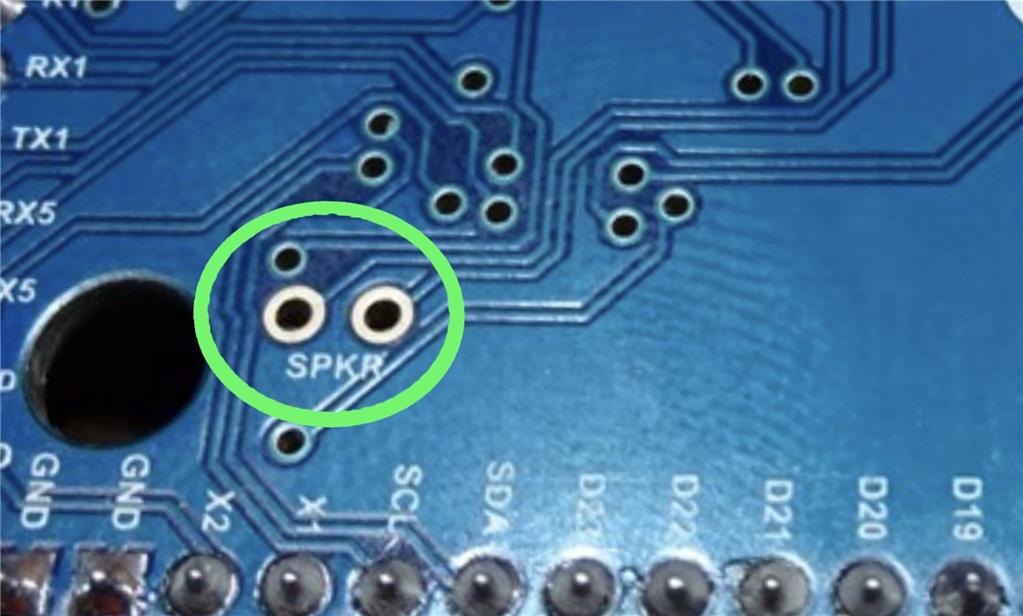
With the dome already stripped out, it’s time to put some goodies back in. First off, replacing the original sound sensors with new ones...
Using the original sound sensor mounts, I cut off the screw hole grommets and used them as washers to secure the new sensors...
Next job was to fit an RGB LED behind the front Process State Indicator, only using it as a bi-colour board using the red and blue diode pins (and ground of course) for originality. I also put a small peice of paper inside of the lens to defuse the light...
More to come.
The Dome (cont).
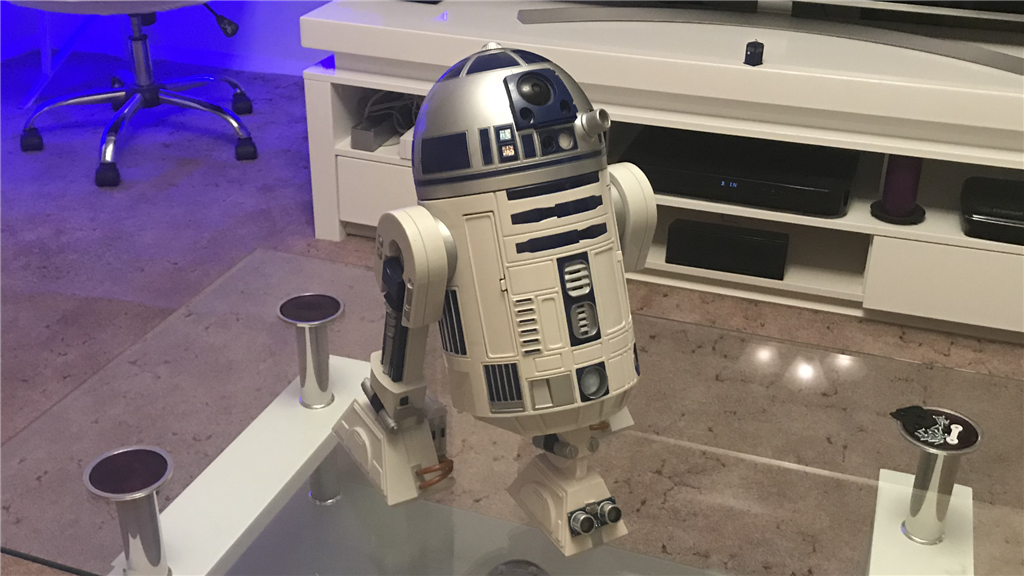
Next job on the list was to fit the EZ-Robot camera. DJ added a camera to his build where he cut a panel out of the dome and mounted the camera to a servo for up/down movement, which was really cool. I decided to go a different way as I didn’t want to cut into the dome on mine so I mounted mine in the eye panel.
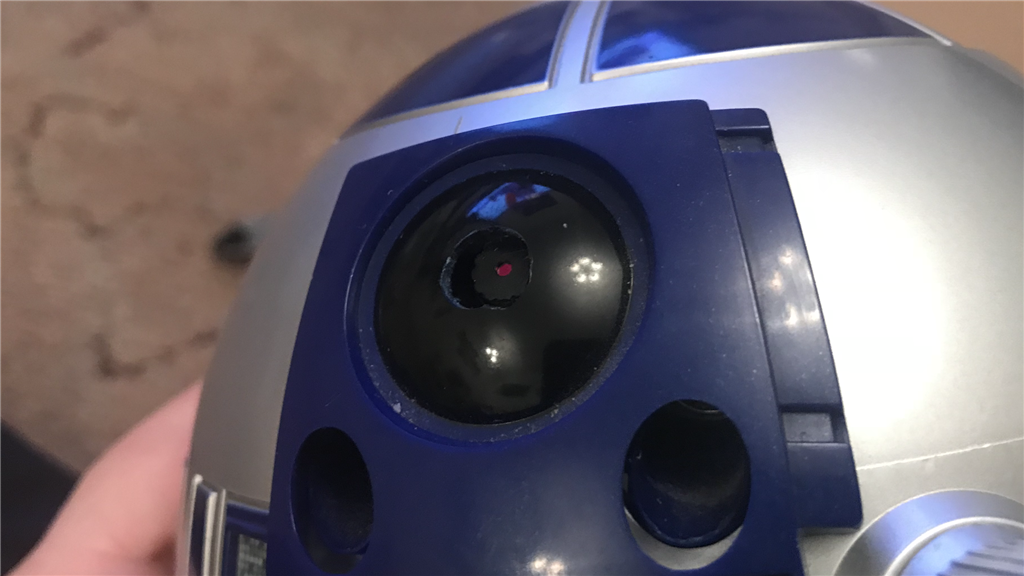
I removed the inner and outer eye panels, cut a hole into the dome (this will be covered by the outer panel later), then mounted the camera. I cut a hole through the inner eye panel, thread the camera cable through, and fixed the inner panel to the dome...
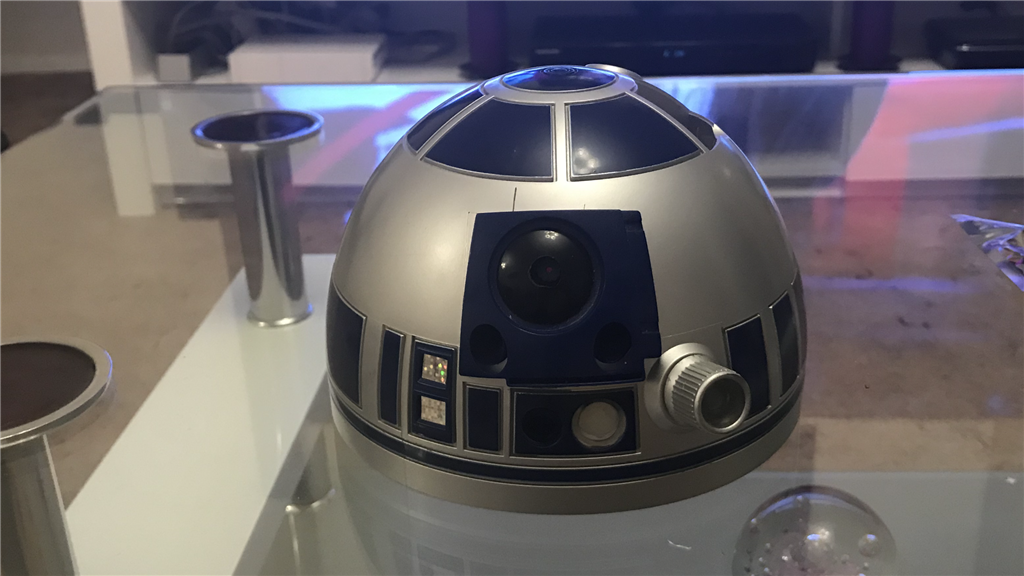
I then drilled a hole through the centre of the eye piece, just large enough for the camera lens to fit through. I fitted the outer eye panel to the dome then tested the camera with an EZ-B to make sure the lens wasn’t obscured. With the black eye piece and black camera lens, the drilled hole is not really noticeable...
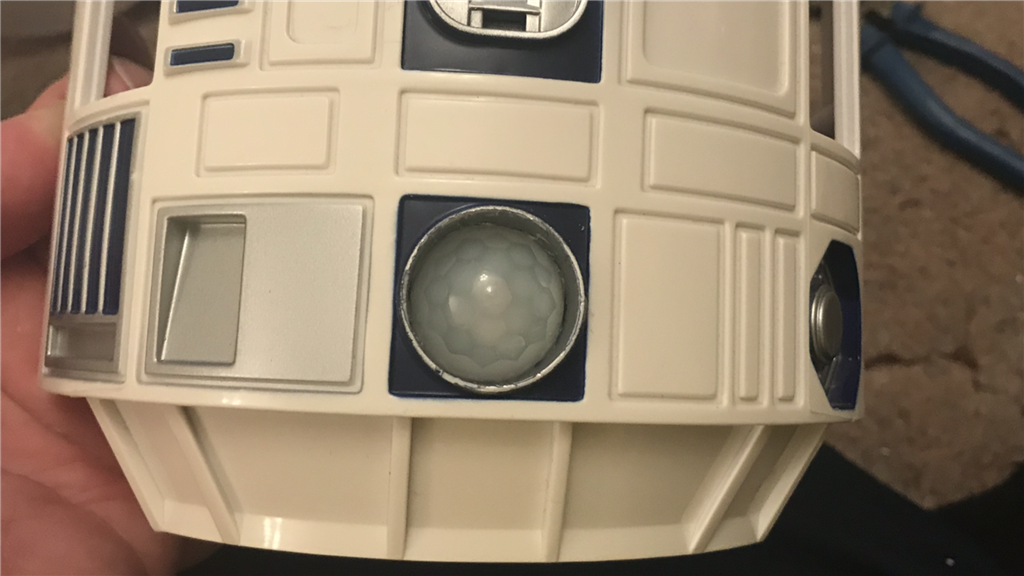
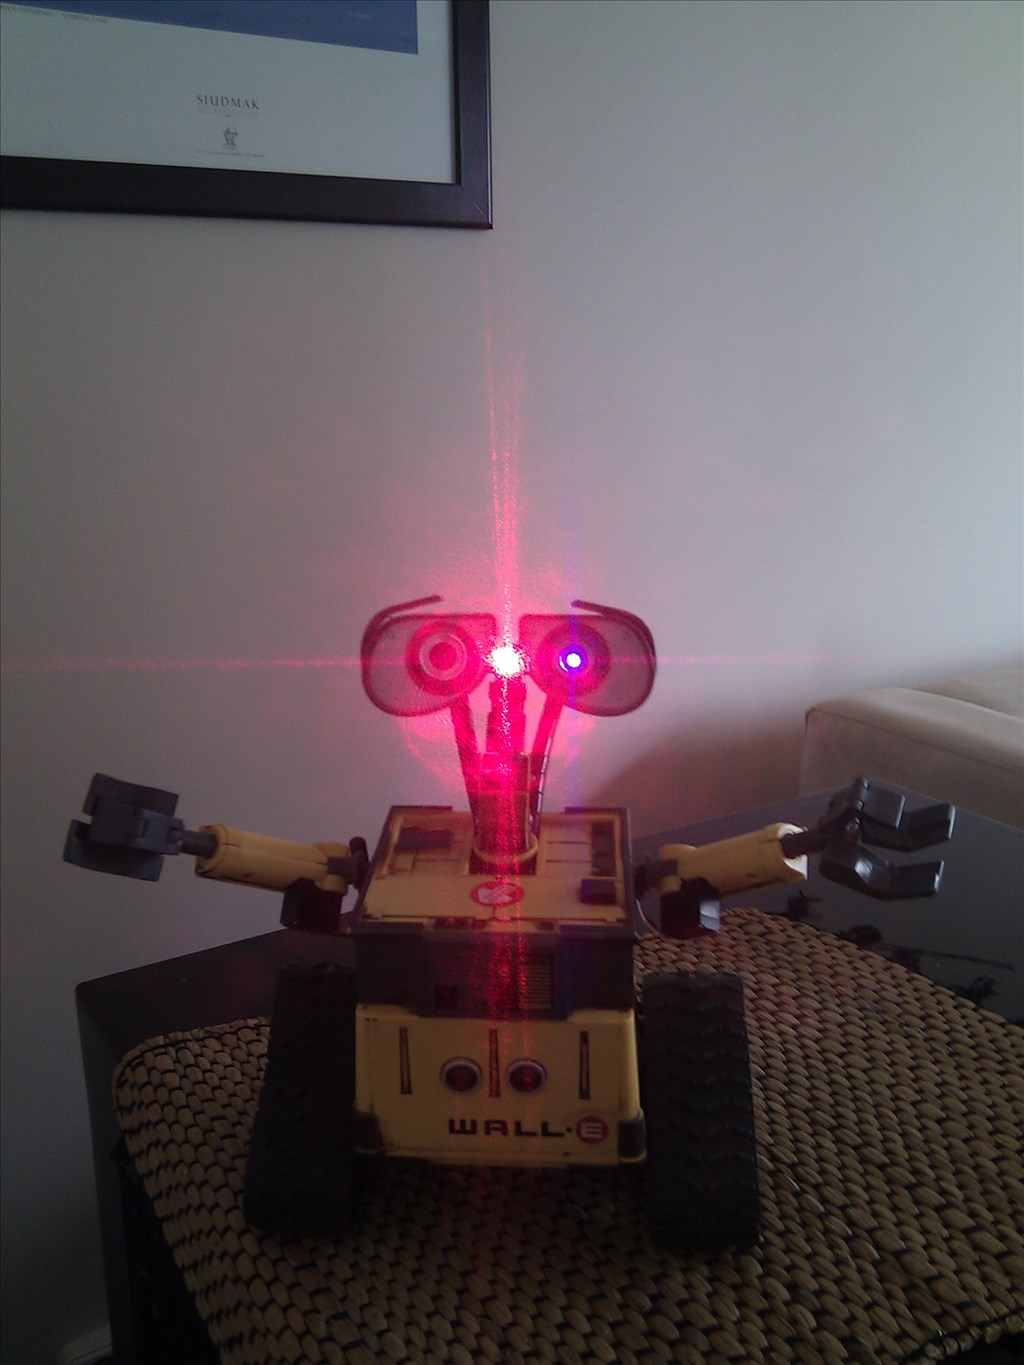
A couple more finishing touches for the dome was to add an analog light sensor just under the eye, and fitted another RGB LED behind the Holo Projector lens. This will be wired up as red and green and will flash (sound response) when R2 speaks.
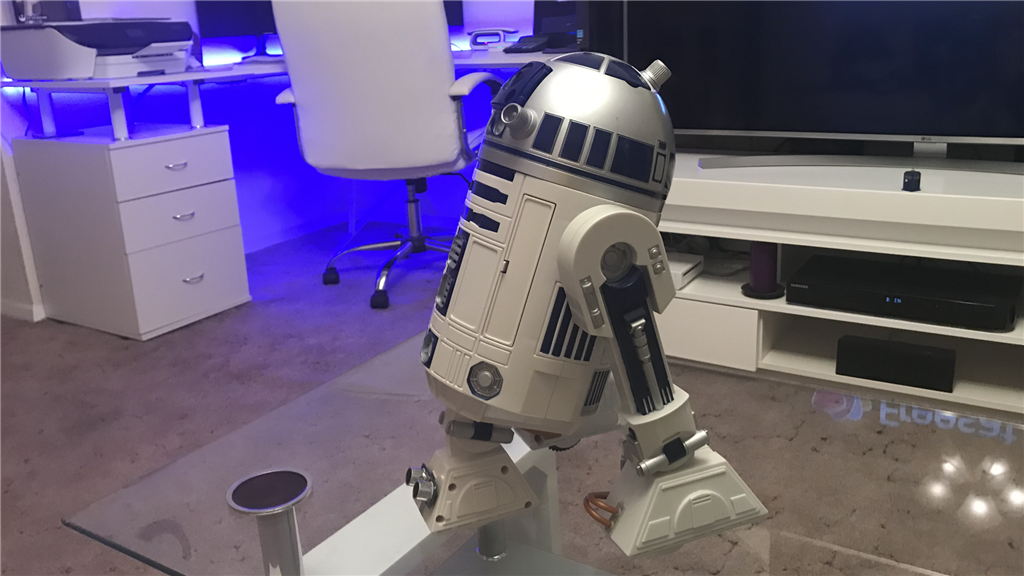
Final job was to fit the dome to the slip ring. I fed the wires through a gap in the slip ring, leaving enough length of wire in the dome for when it rotates. Then it was all screwed together and tested. Here’s a quick test demo video of the dome...
That’s me done for the day. I’ve made a start on the body, but will finish that tomorrow.
Smart way to mount the servo for the dome! That’s way better than what I did with a water bottle lol
Thanks DJ. I kinda liked the bottle idea though, very MacGyver’ish, lol.
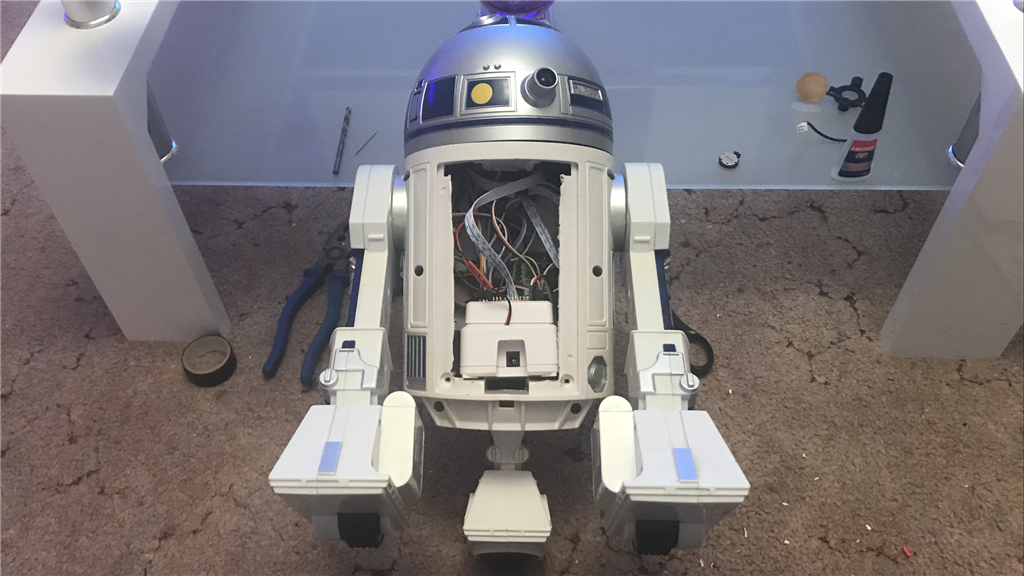
So made a lot of progress today. Main job to start with was to finish the body.
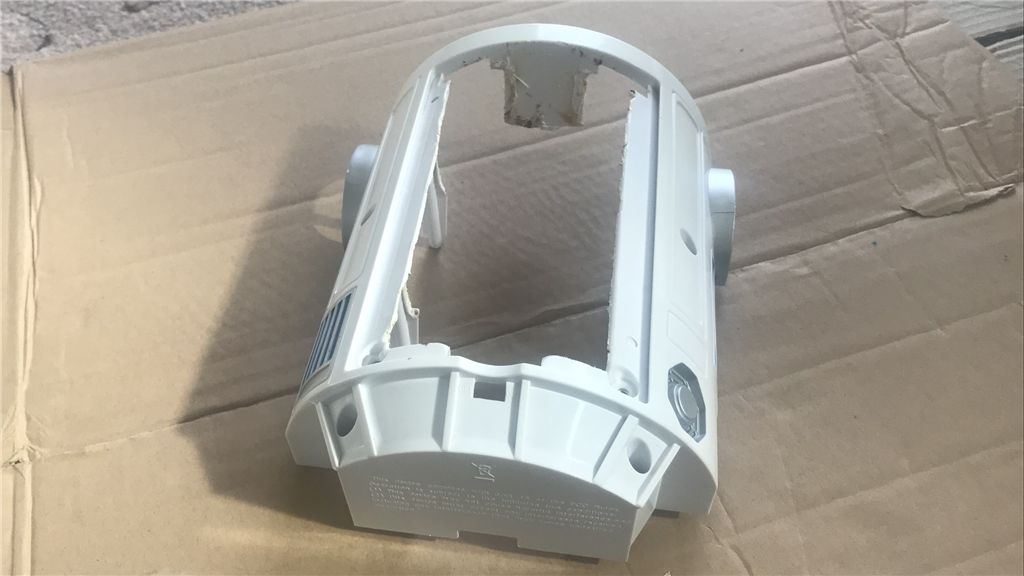
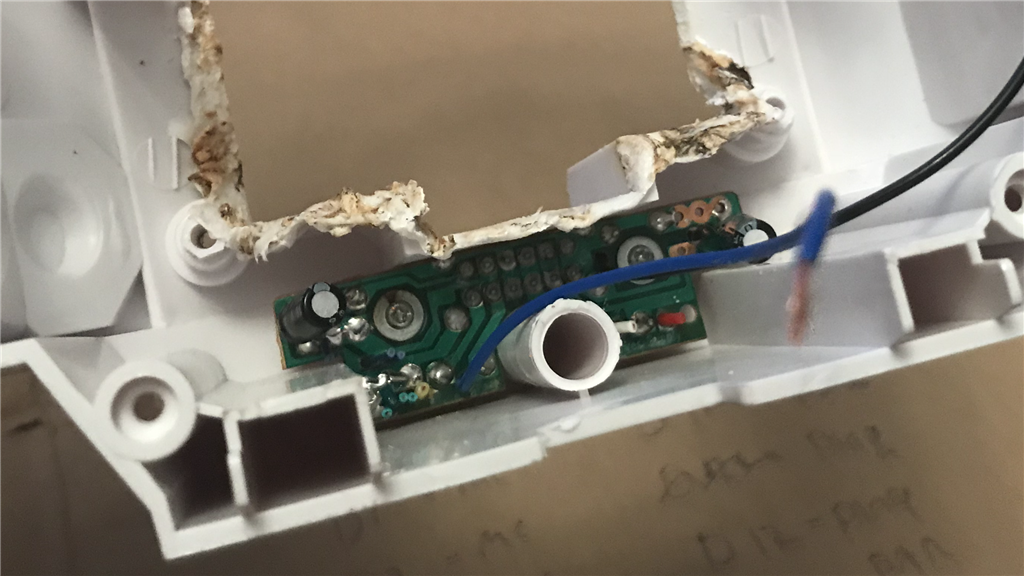
Rear Panel.
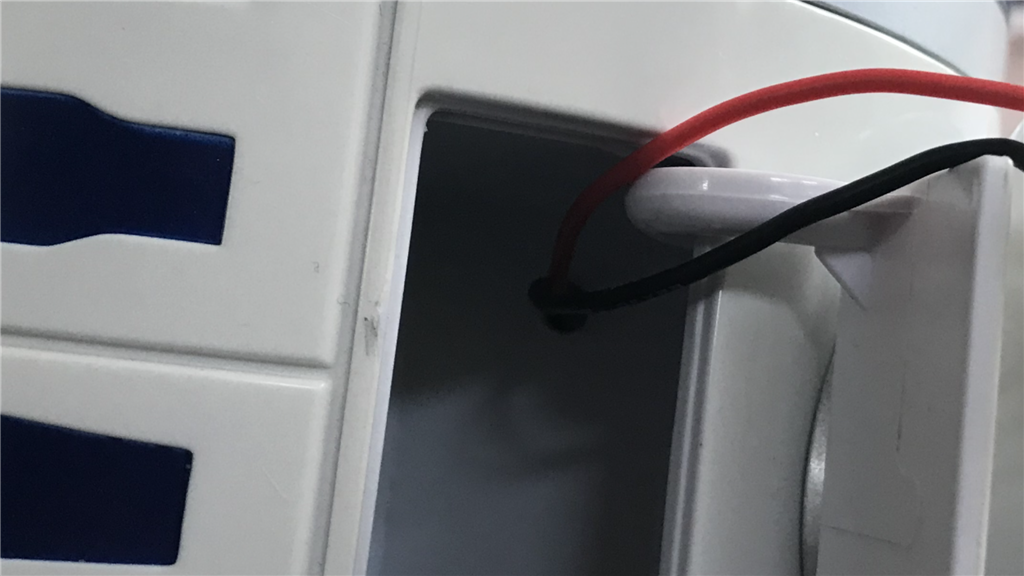
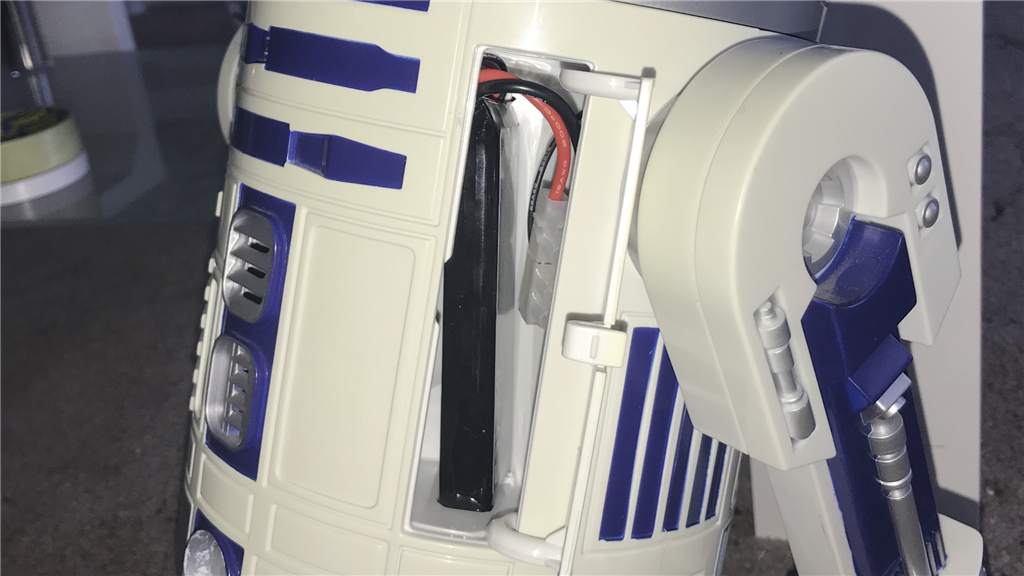
Didn’t have my Dremel to hand today, so with an old soldering iron, I cut out the battery tray to make some room...
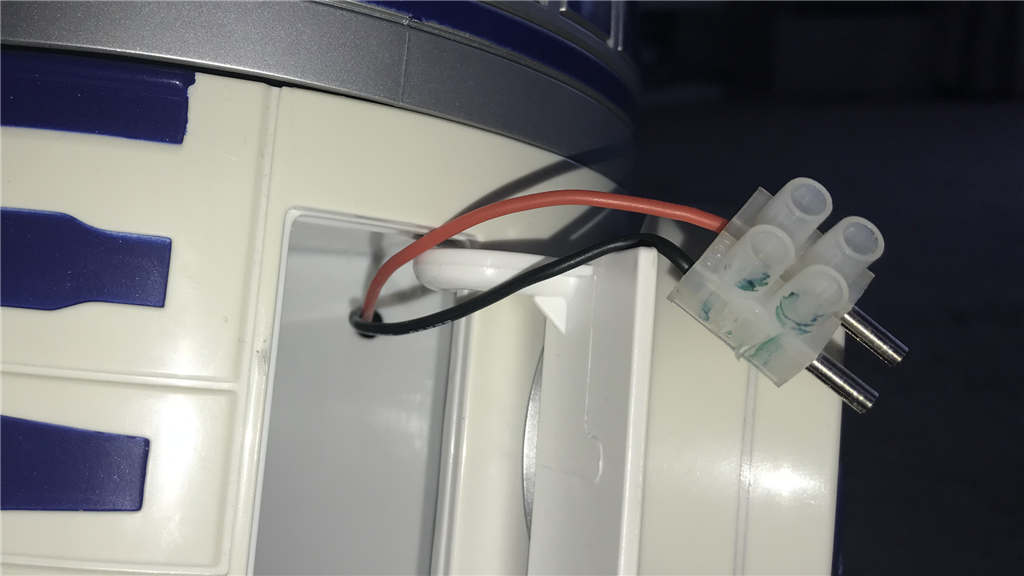
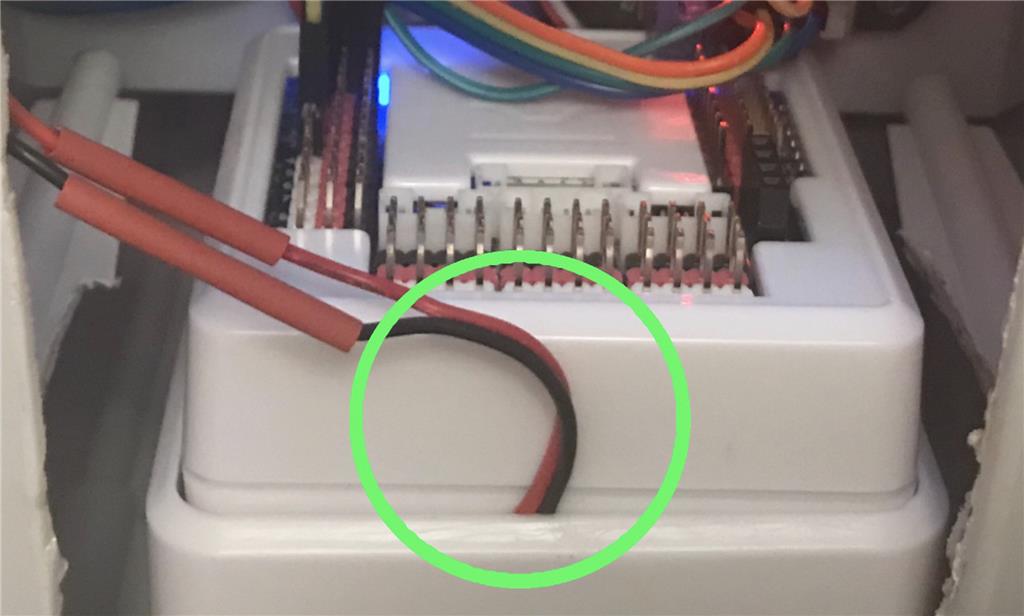
I managed to use the original power switch, tested what wires were on the switching circuit, cut away the rest, and fixed up the battery harness to it...
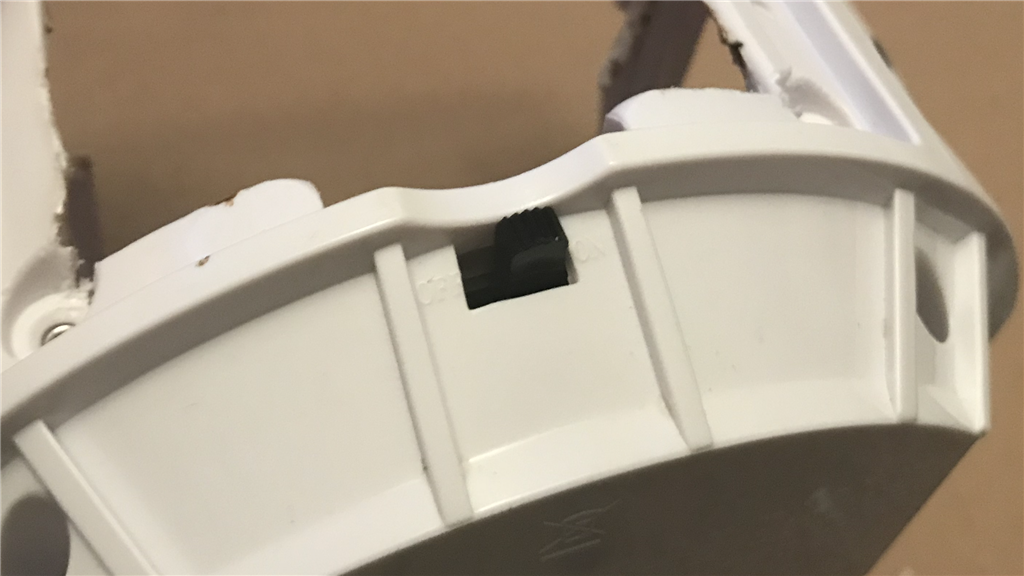
Front Panel.
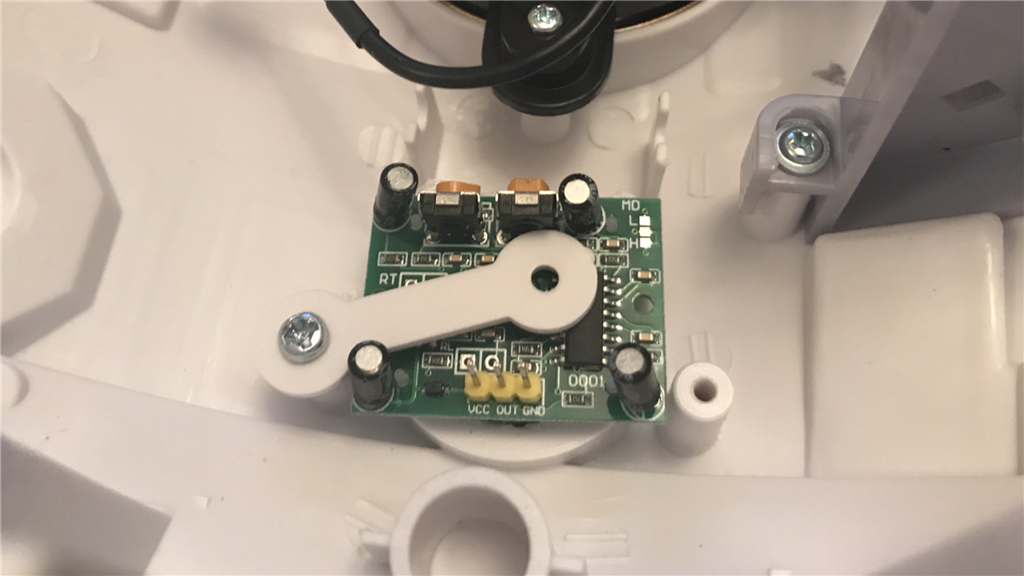
Where the wheel lock button was located, it turned out it was just the right size for a PAR sensor. Old school tec I know, but will be useful when R2 is on sentry duty in low power mode...
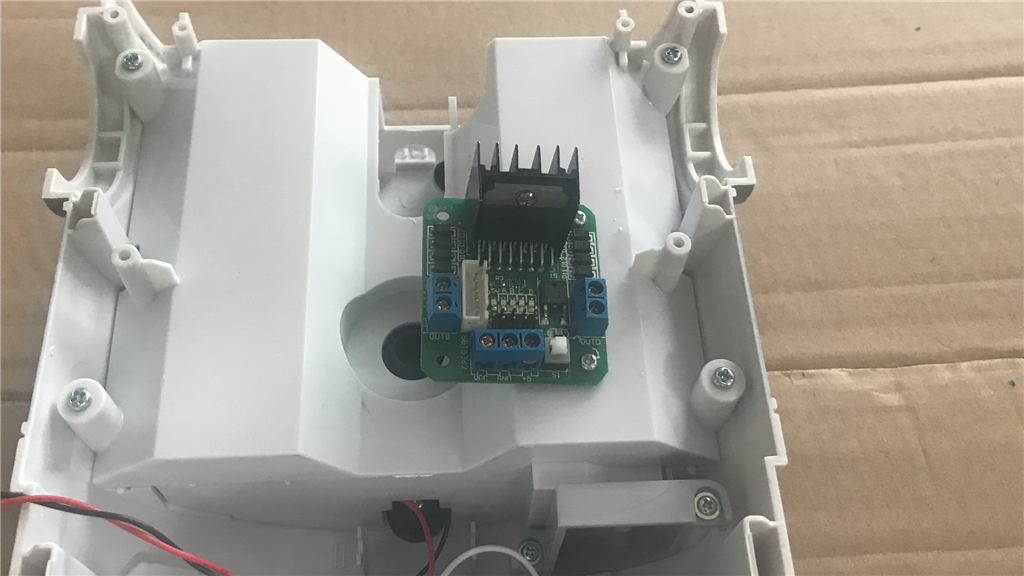
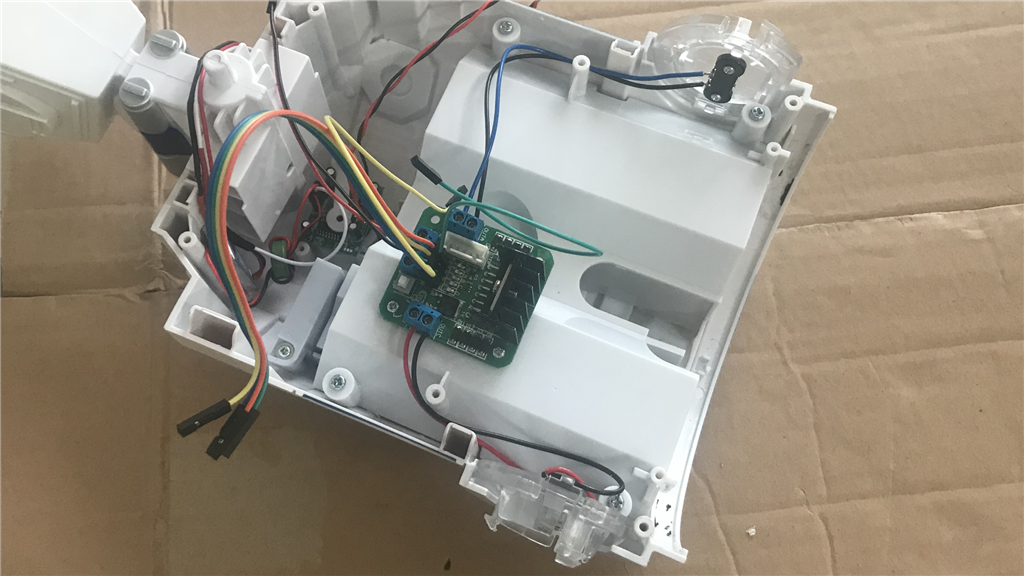
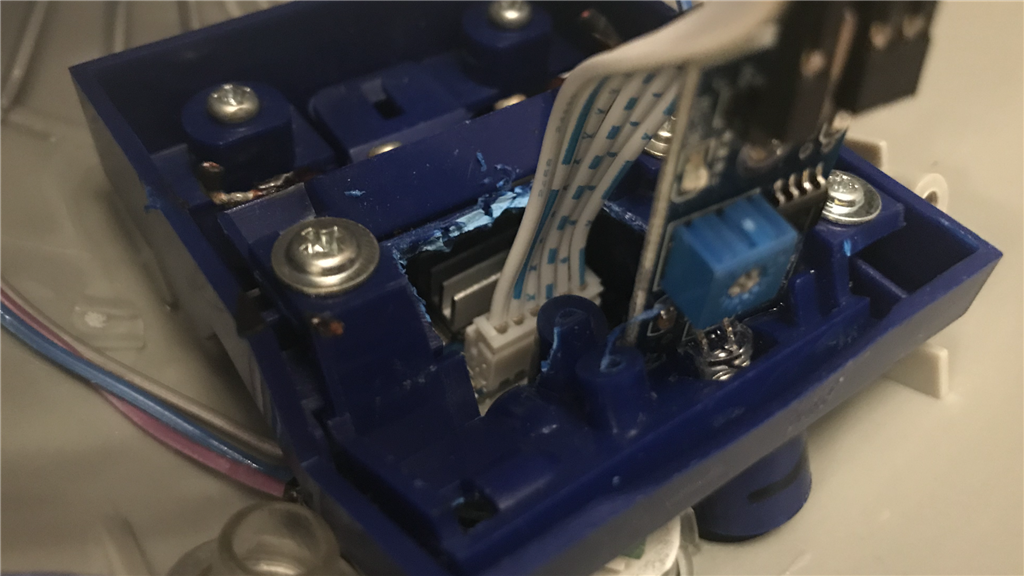
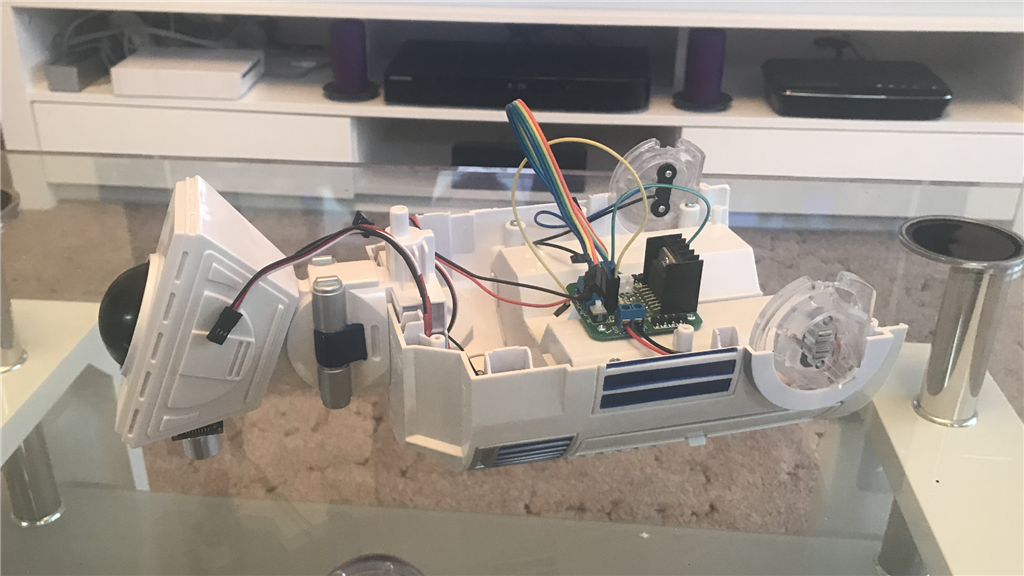
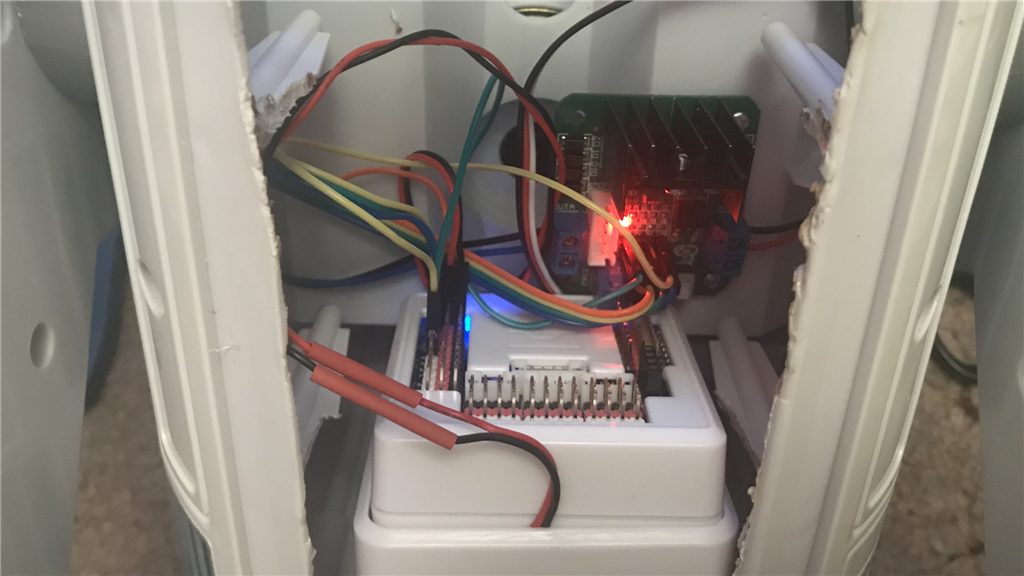
Then on the the motor controller. Using an L298 H-Bridge from EZ-Robot, I screwed it to the front panel...
Then connected some wires. I went for the 6 wire PWM setup and will use the 4 Wire H-Bridge with PWM control in ARC...
More to come soon.
Have you thought about putting the camera on a servo to look up and down? I found that the camera facing a static angle was difficult to use. Because i could only see up (people) or down (the ground), but not both. So i added the servo