
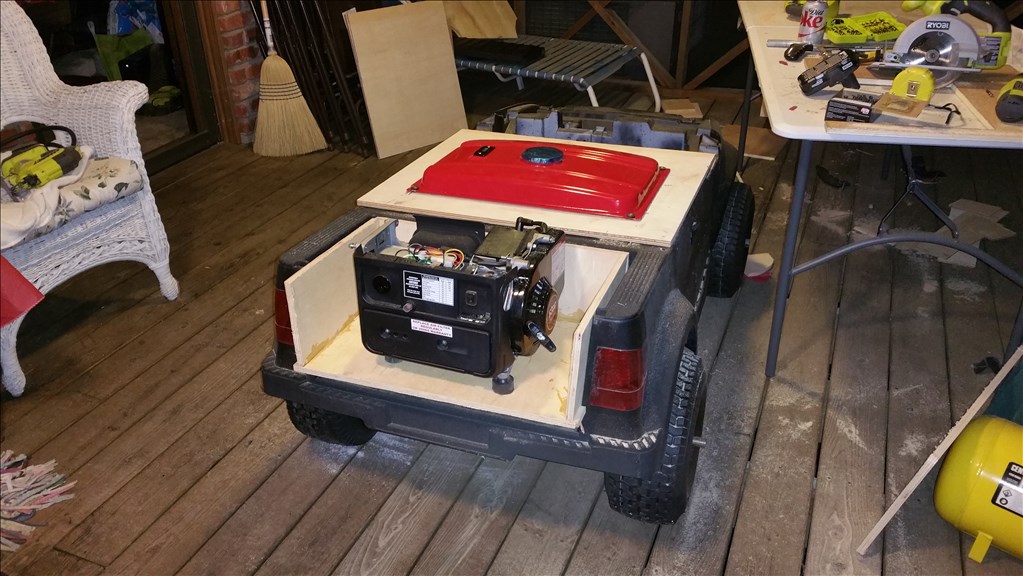
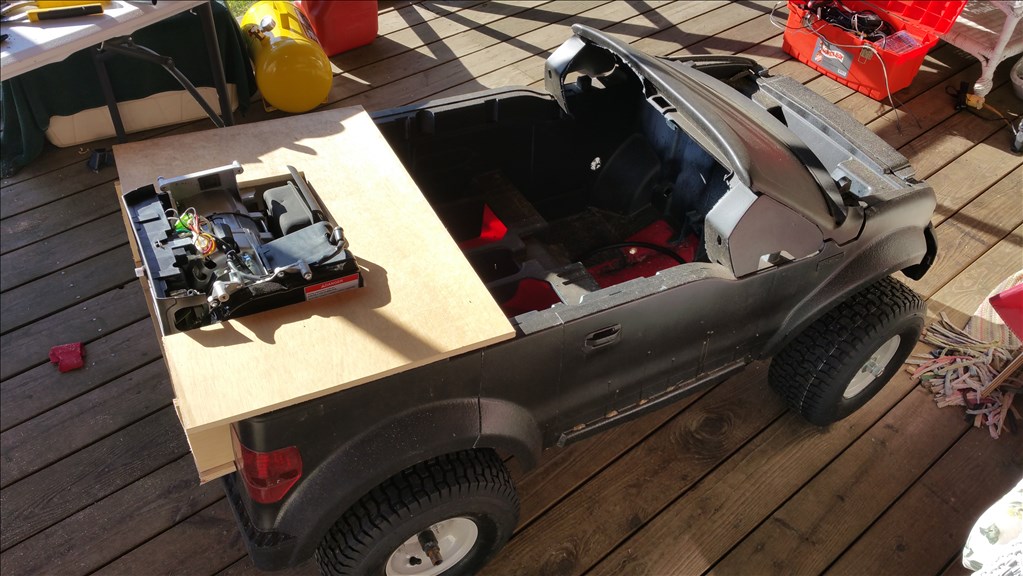


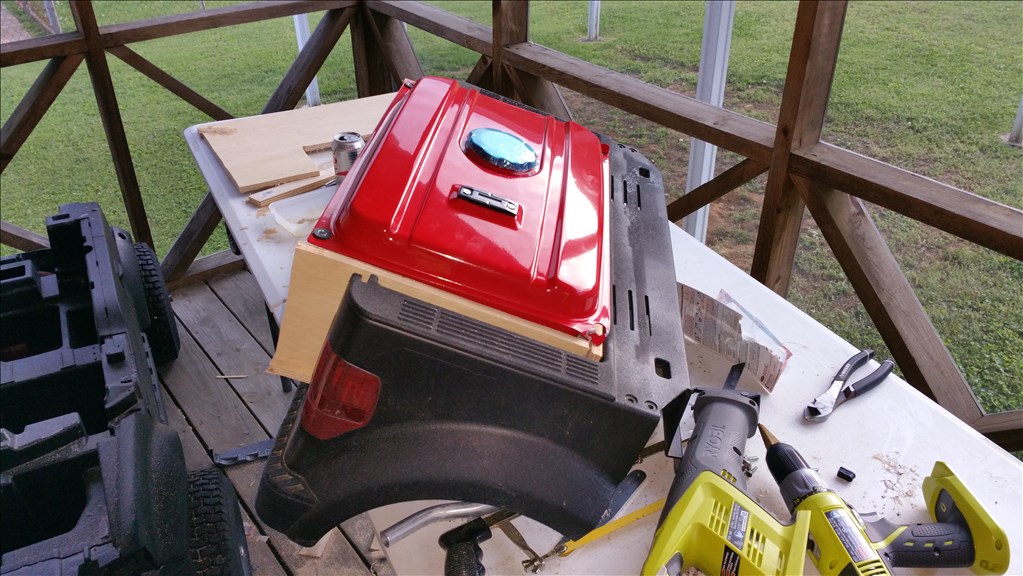


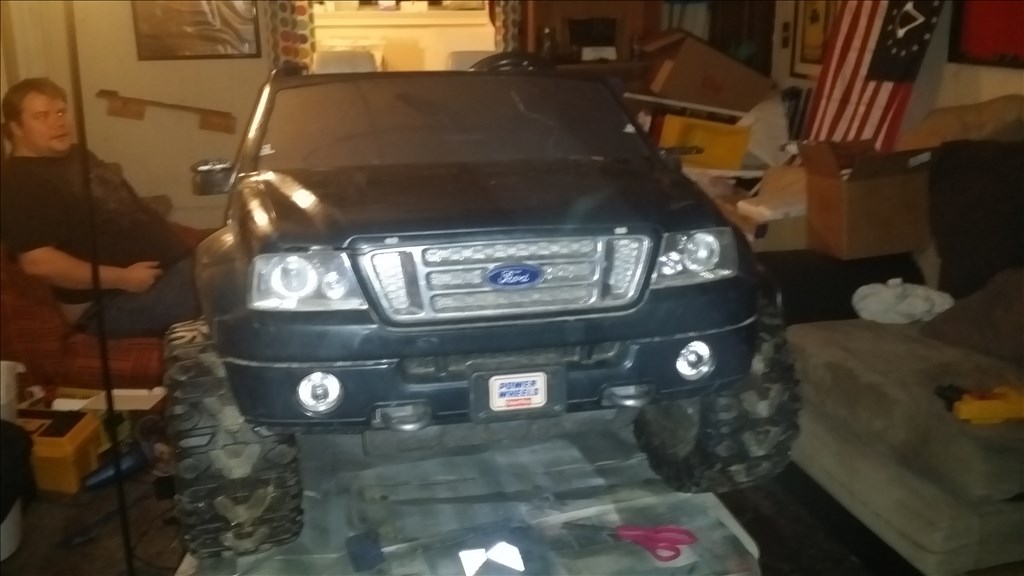
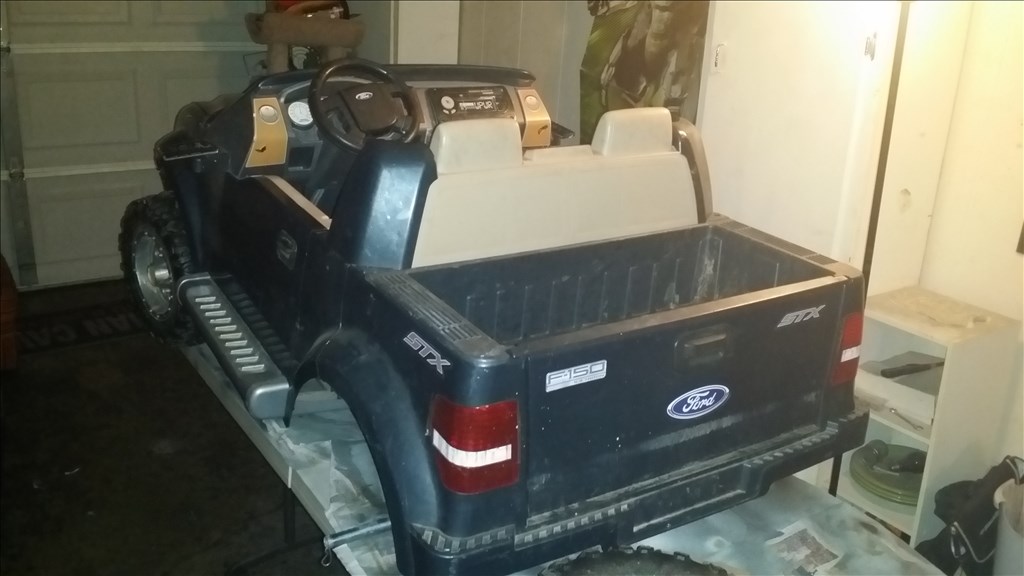
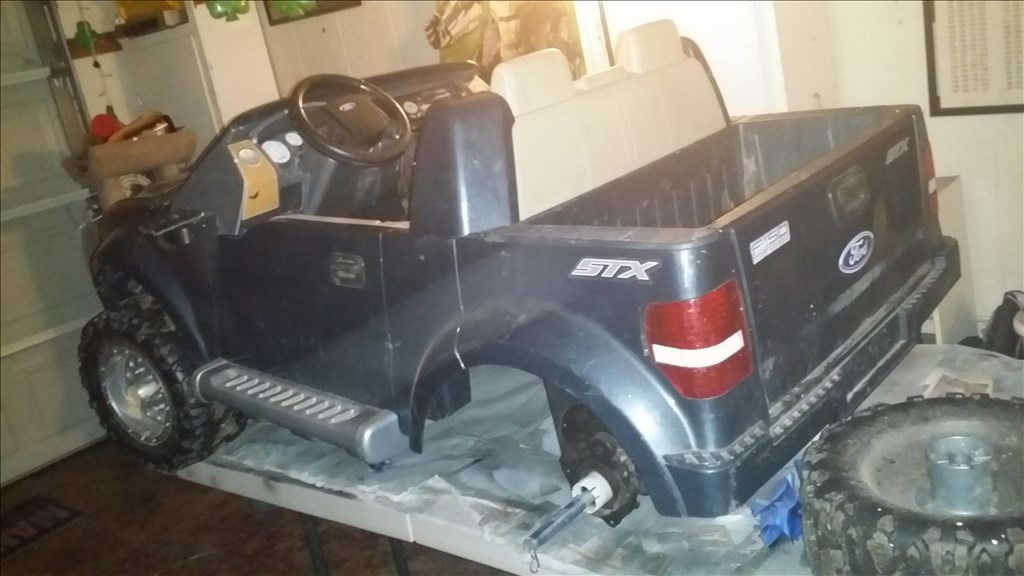


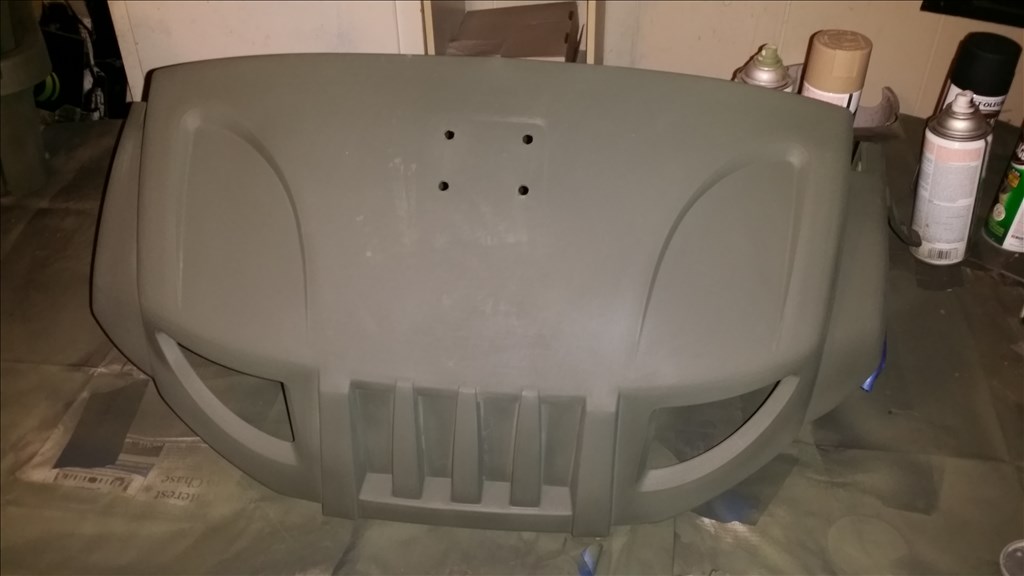
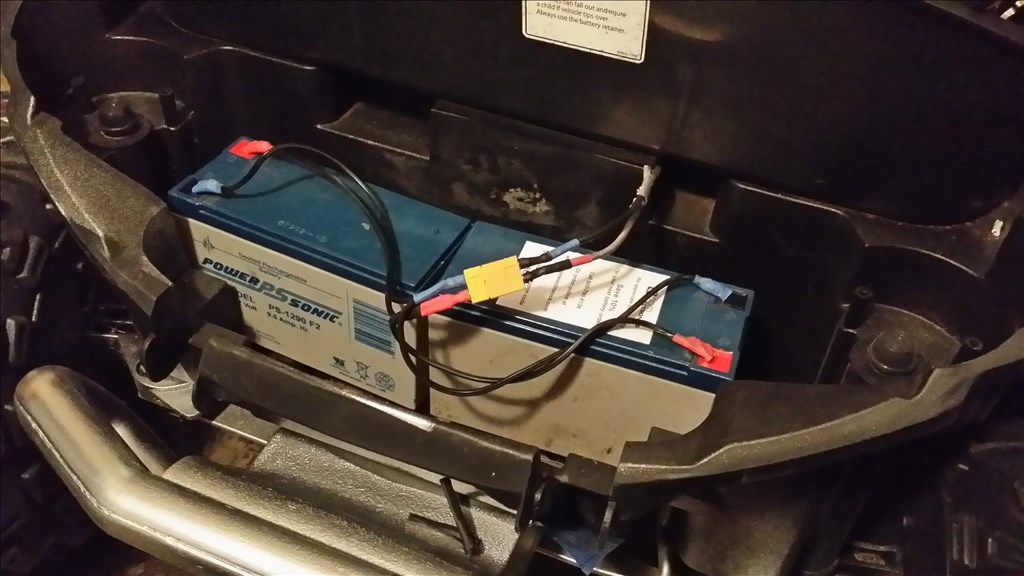
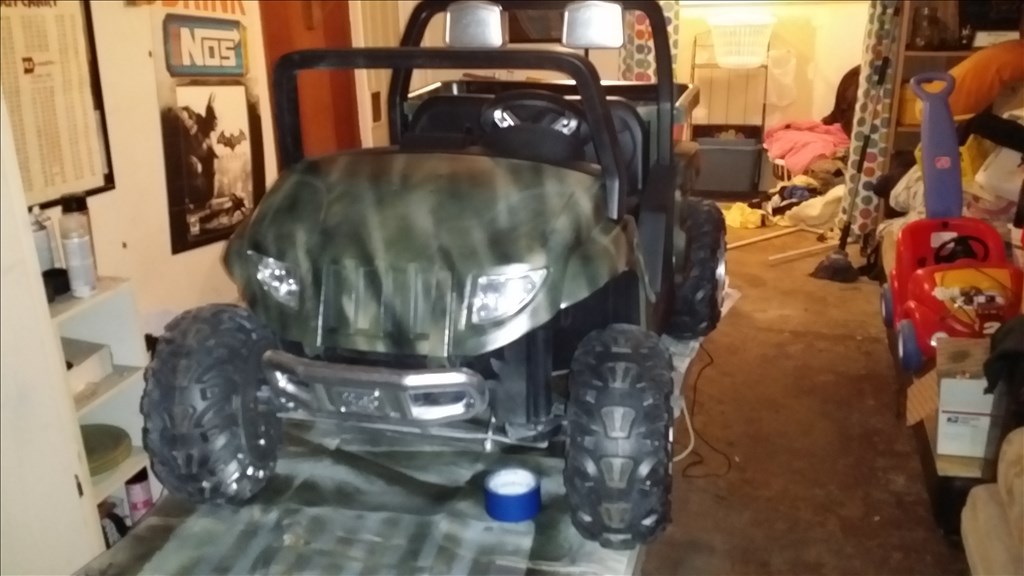
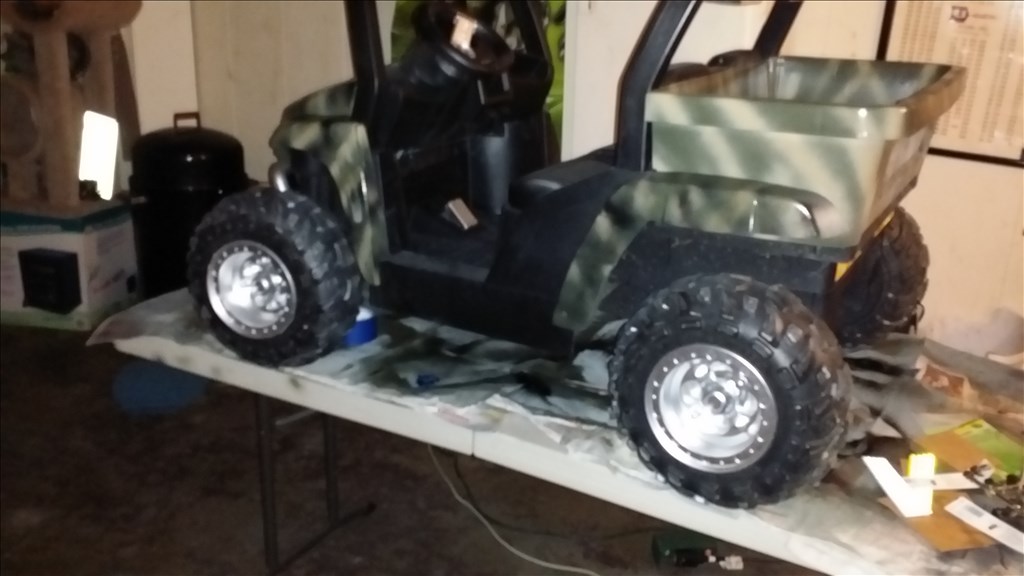
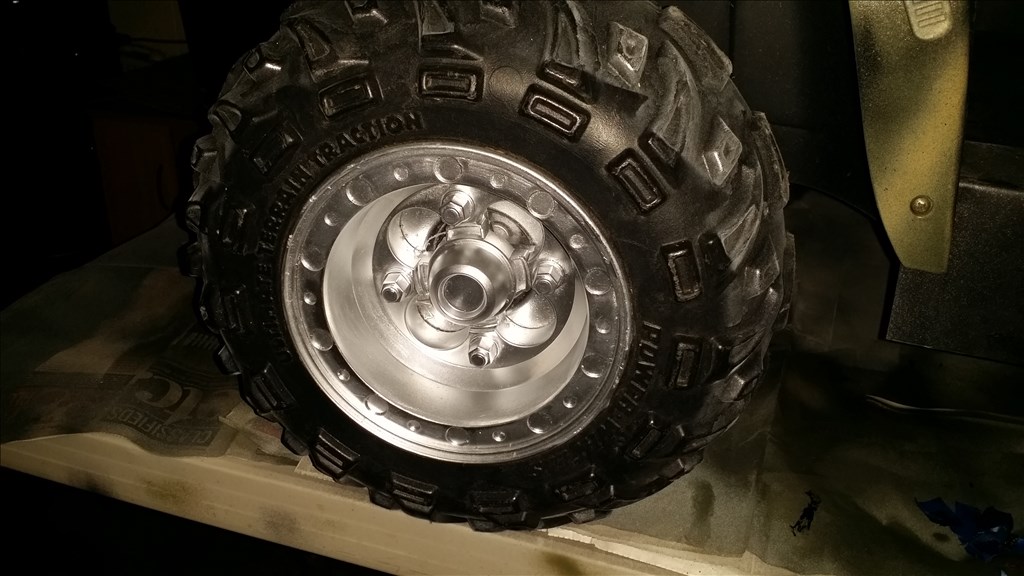
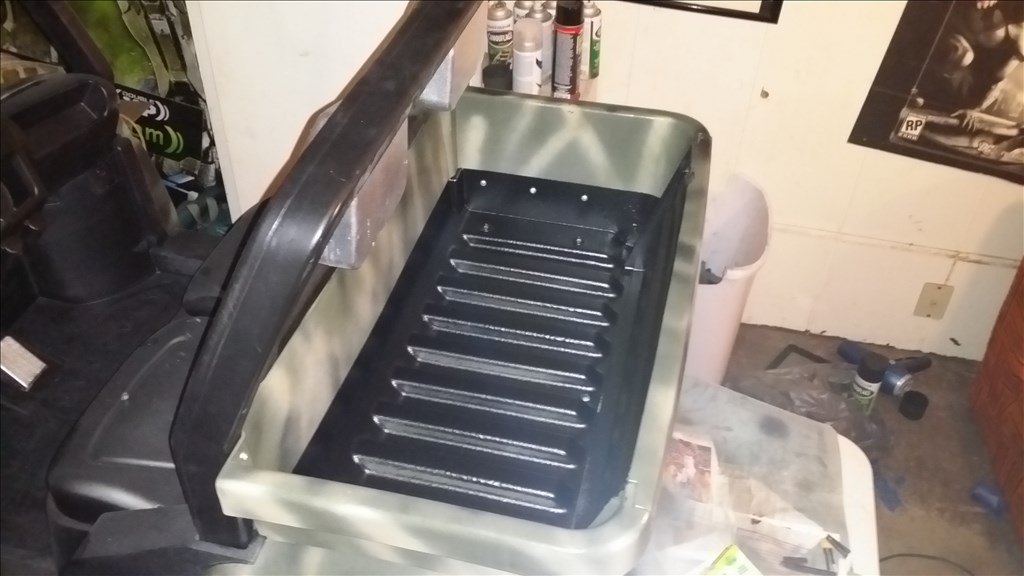
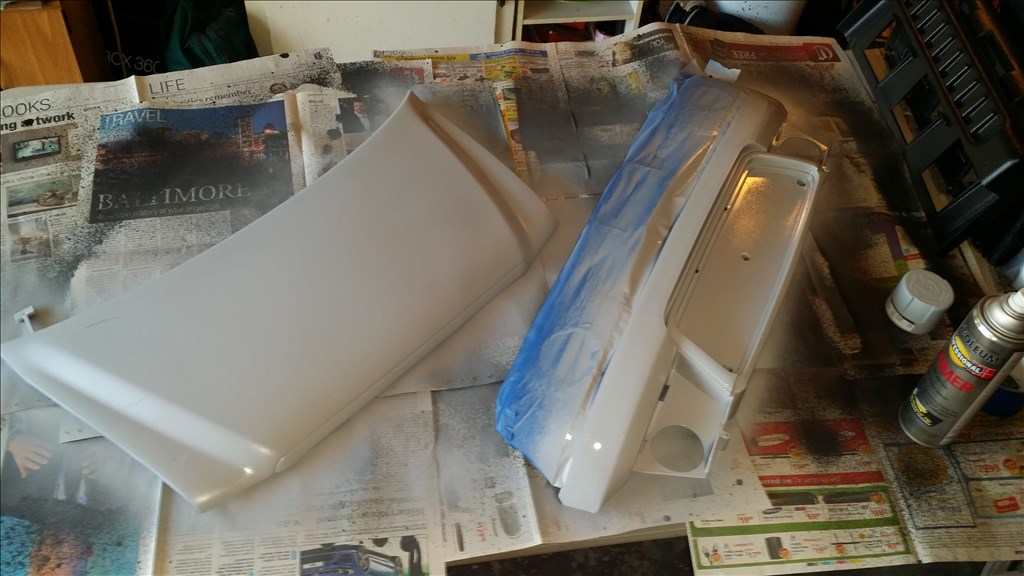
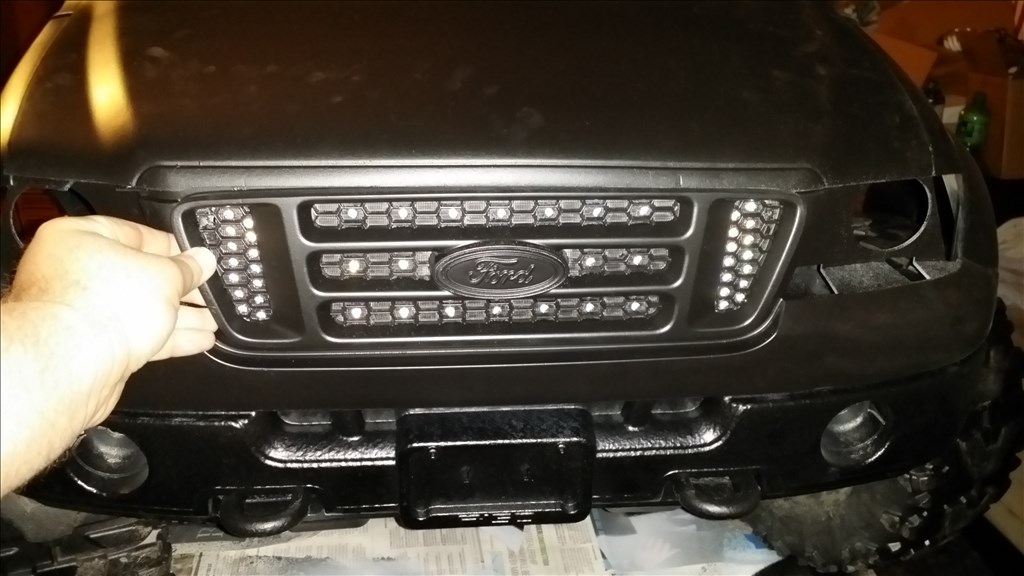
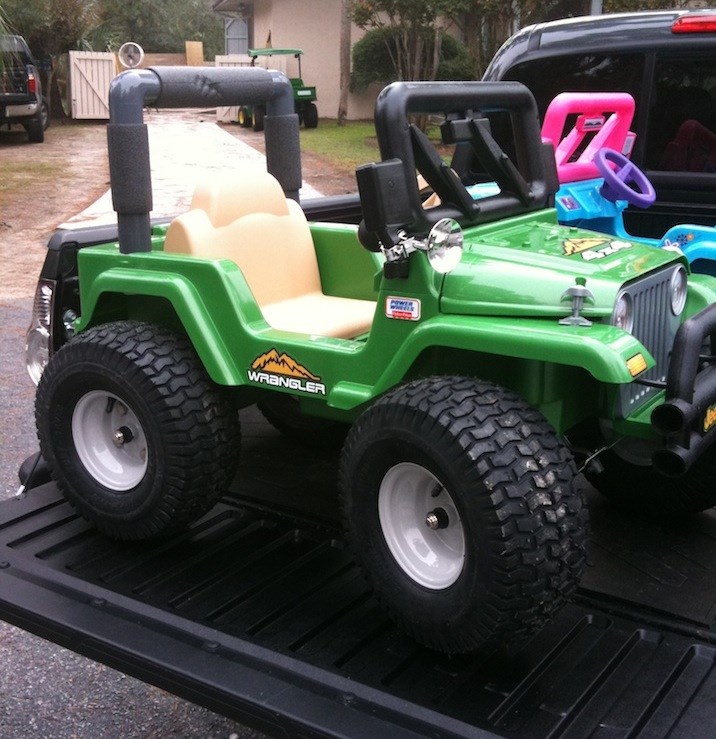
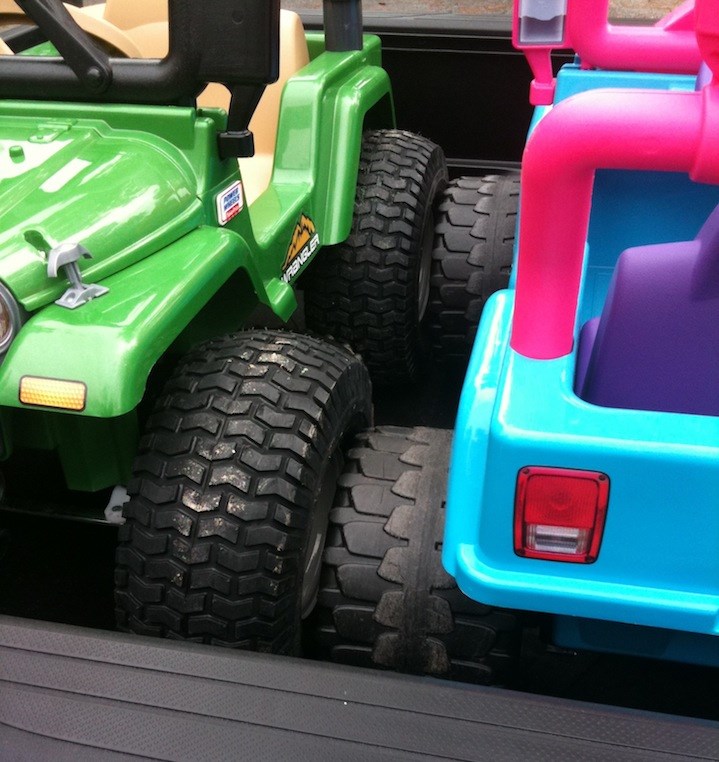


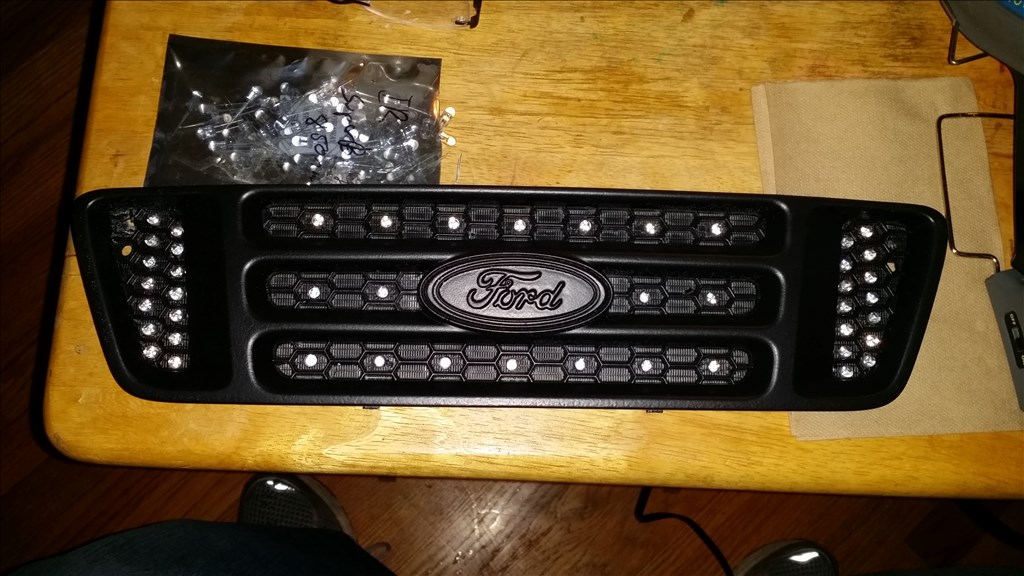
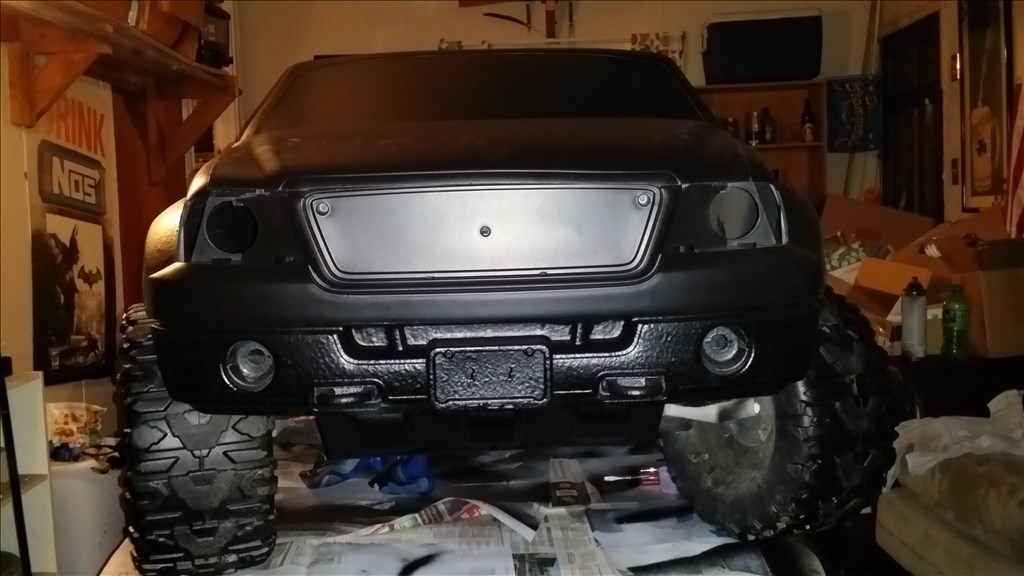
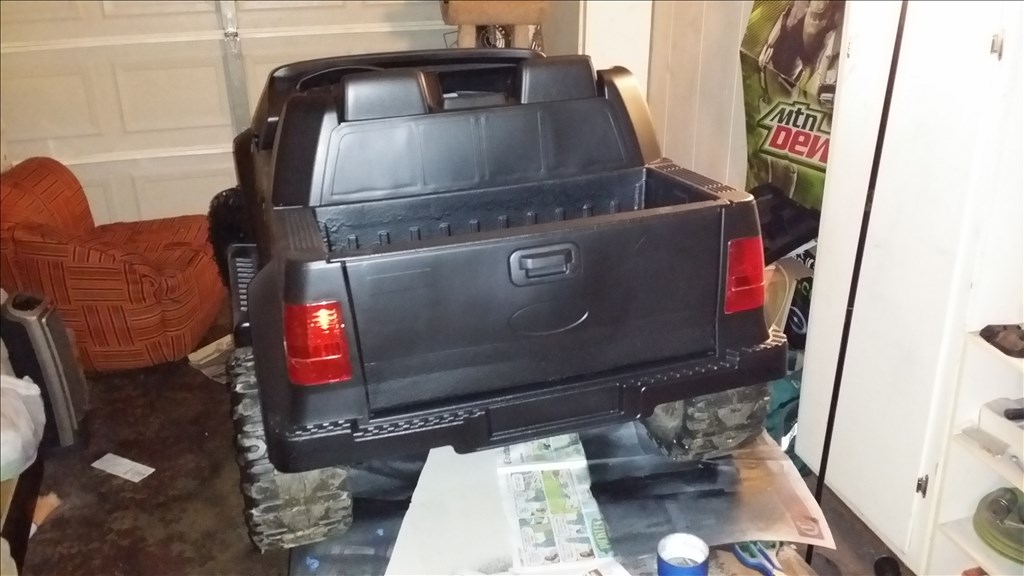
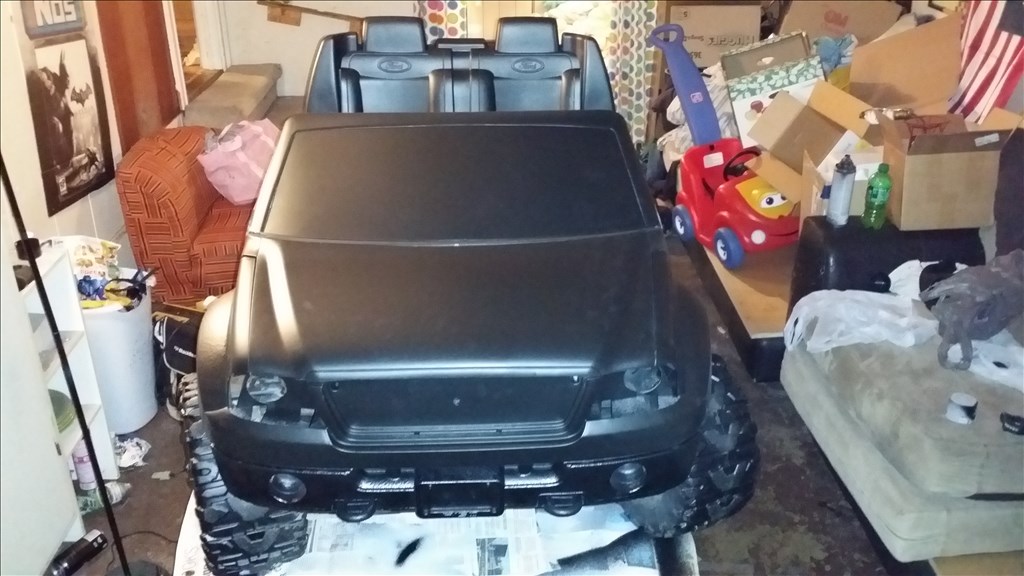
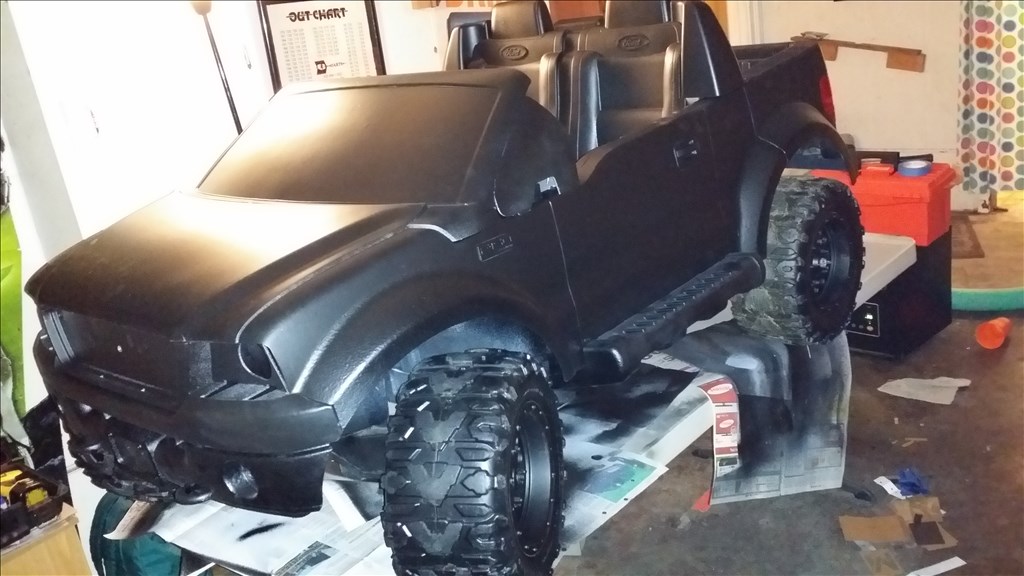


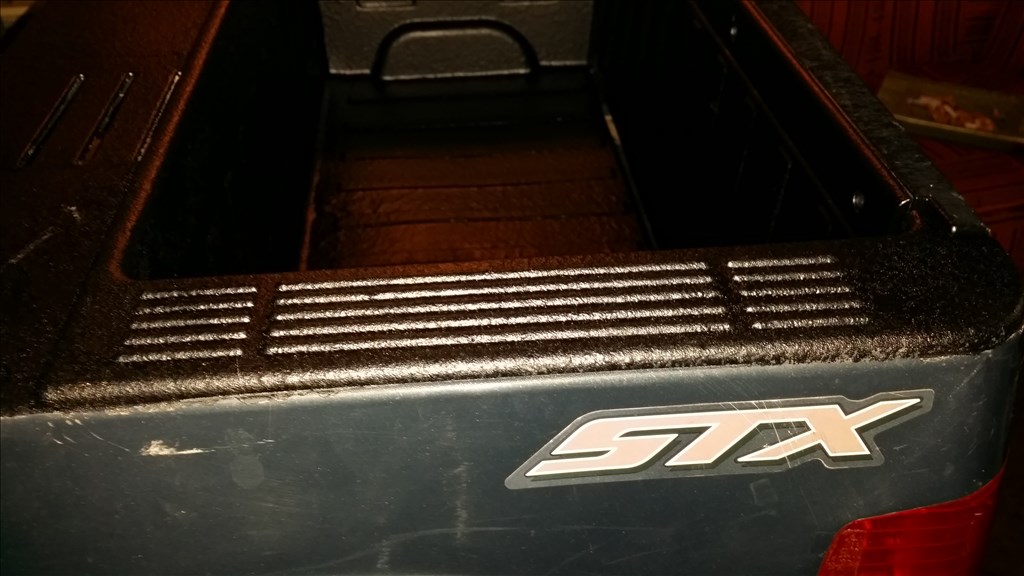
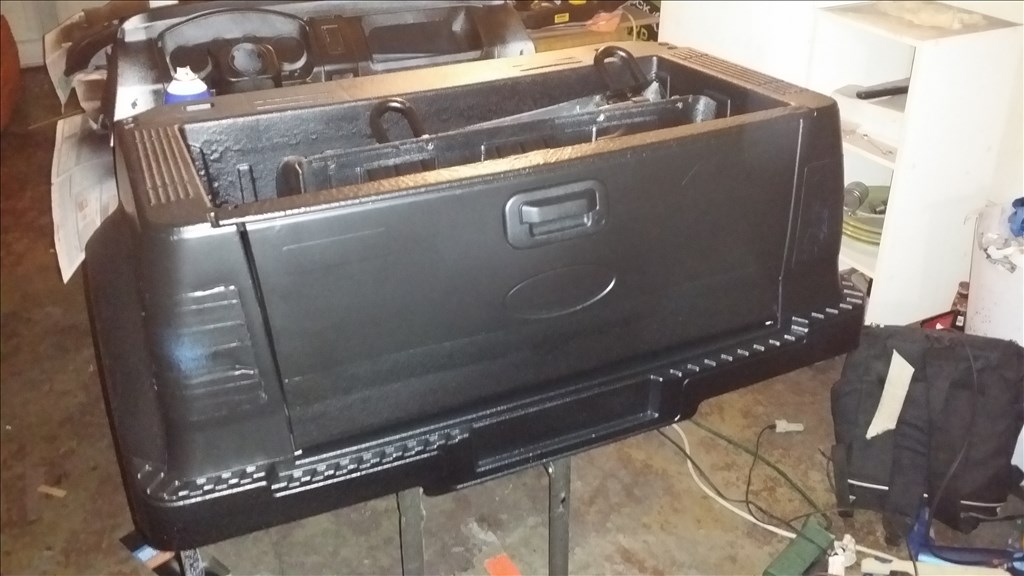
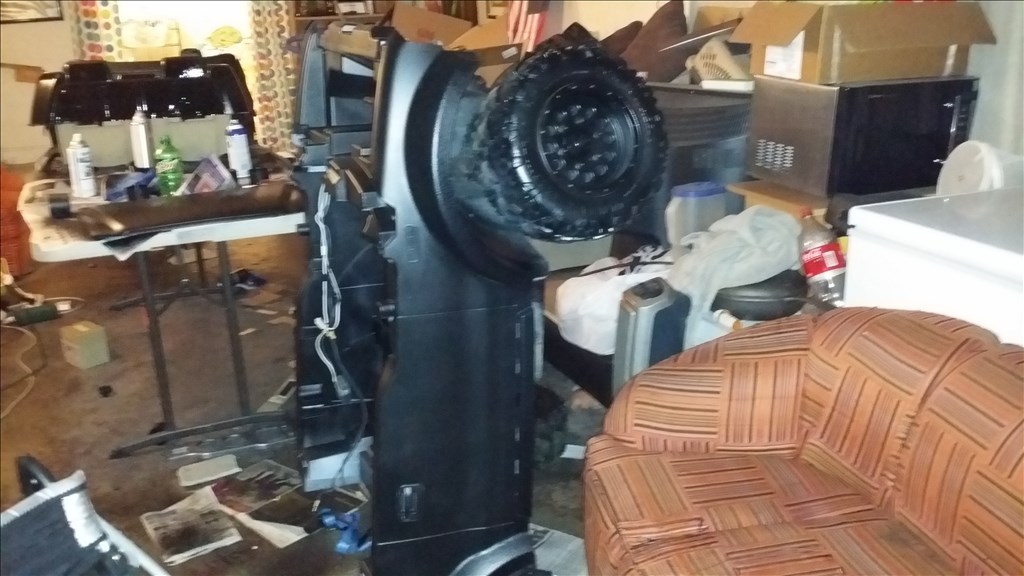
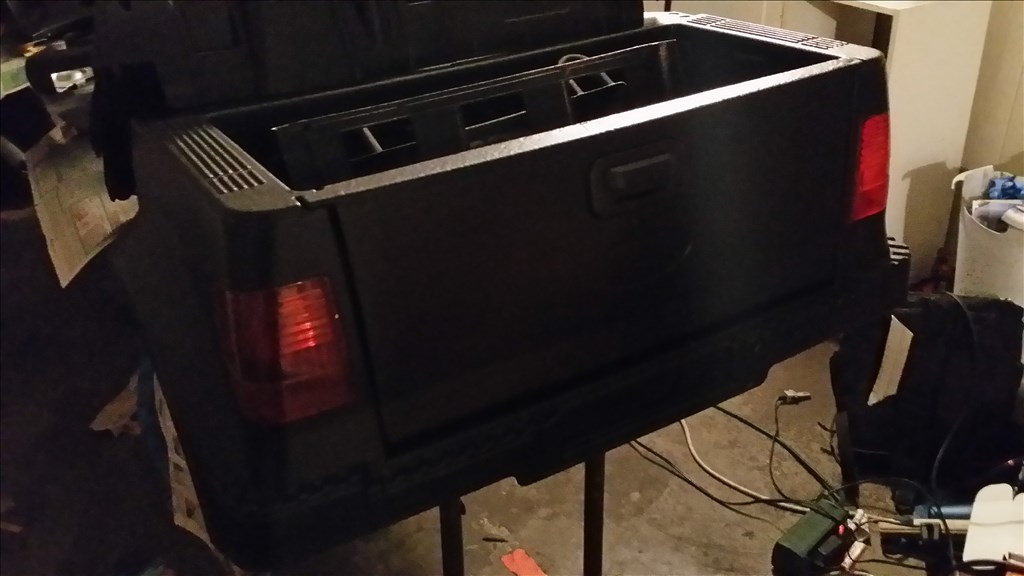
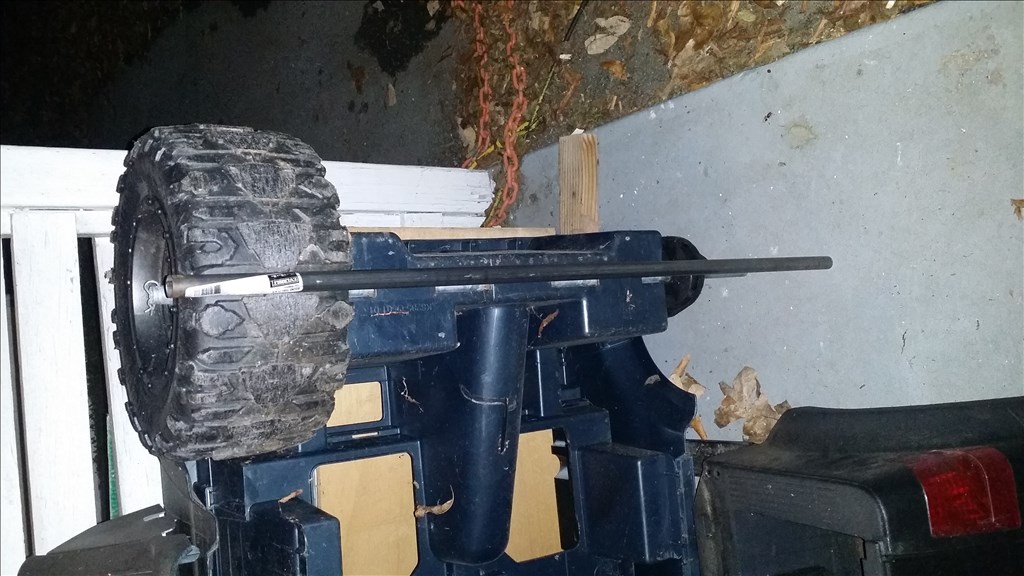

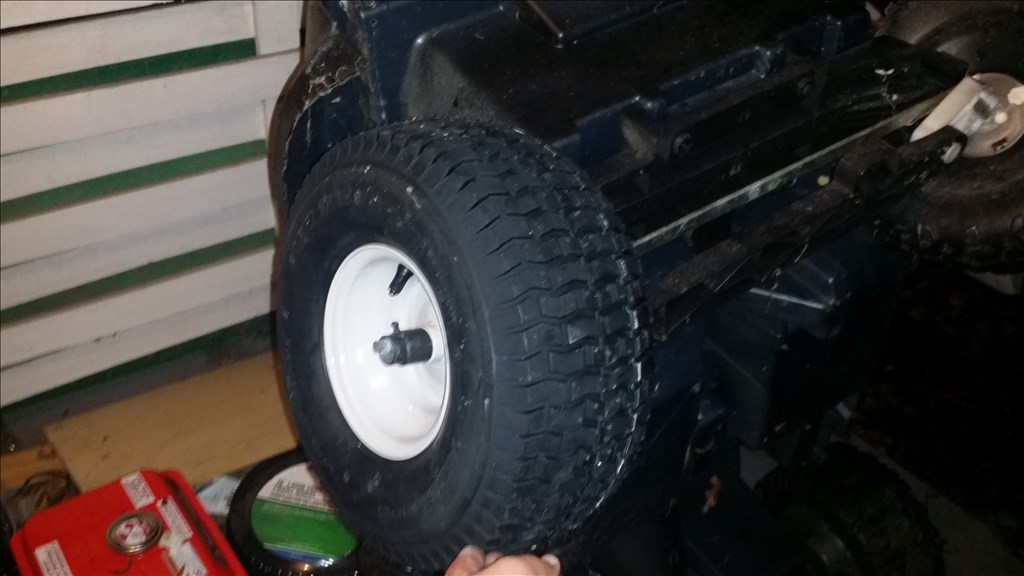


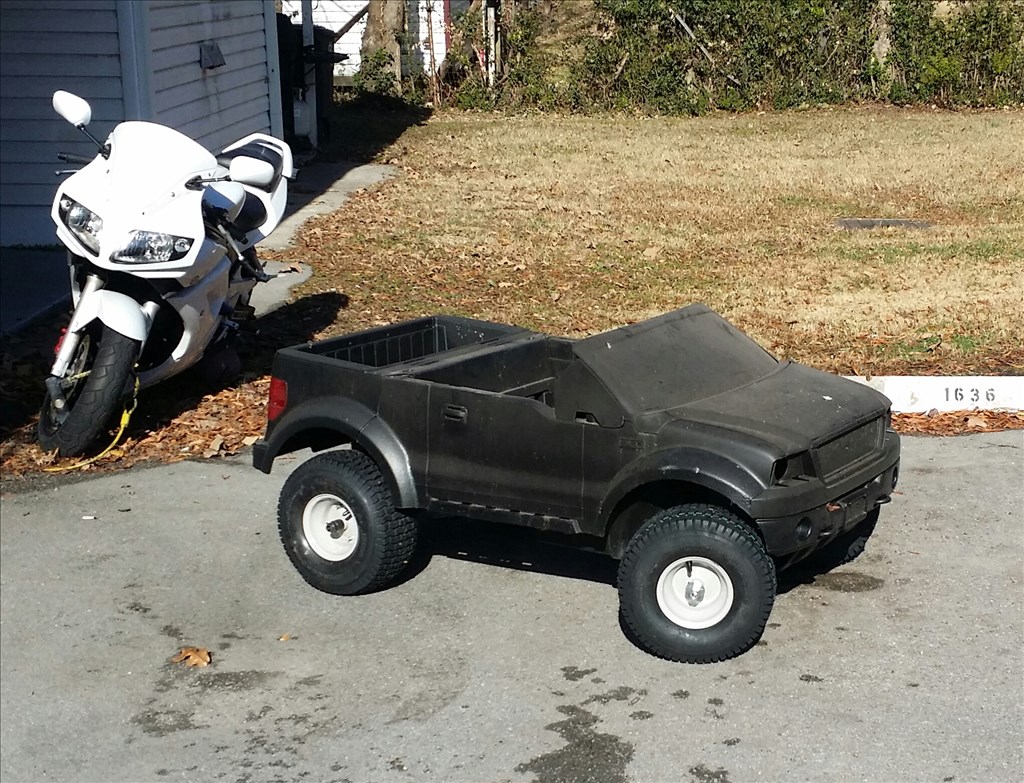
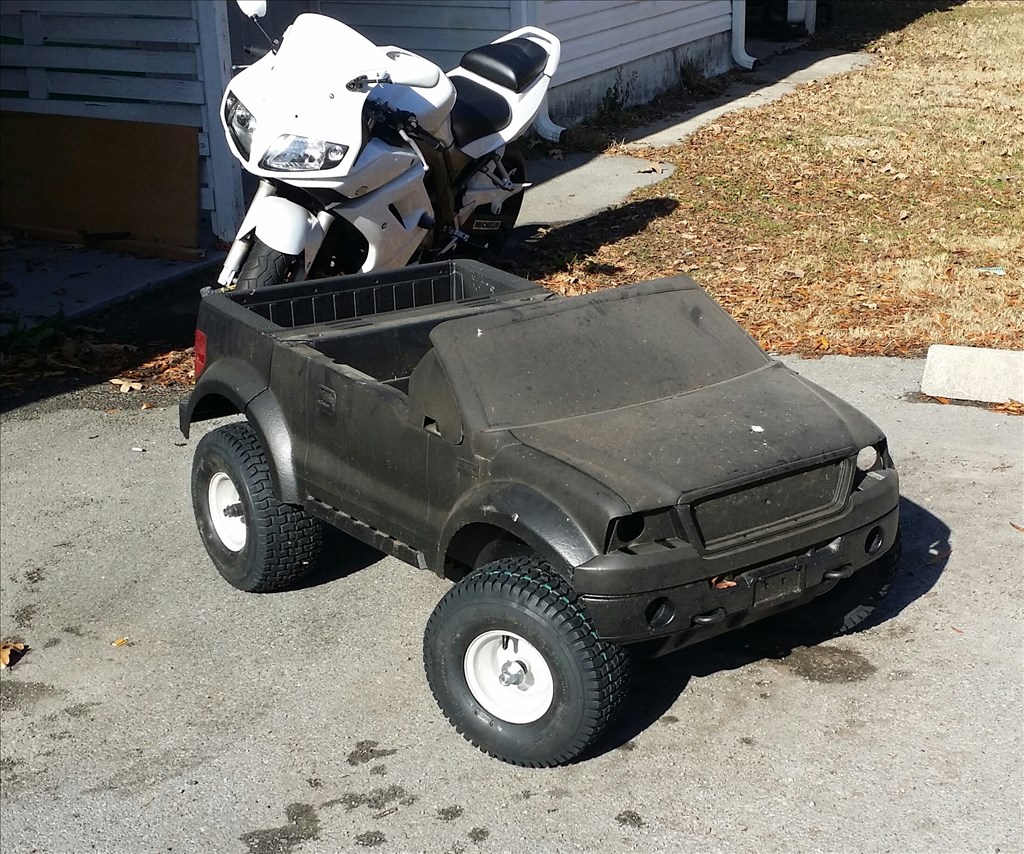
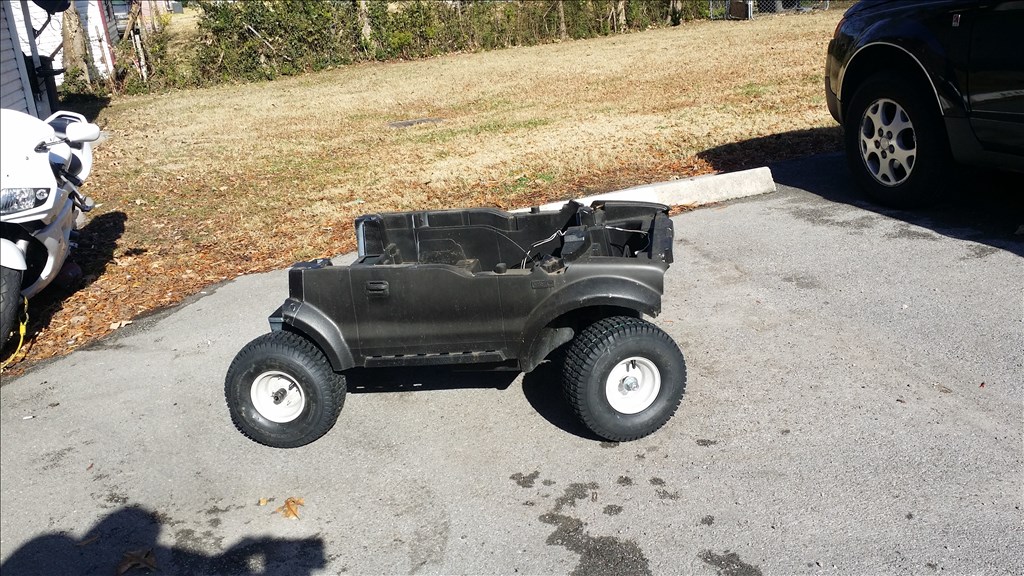
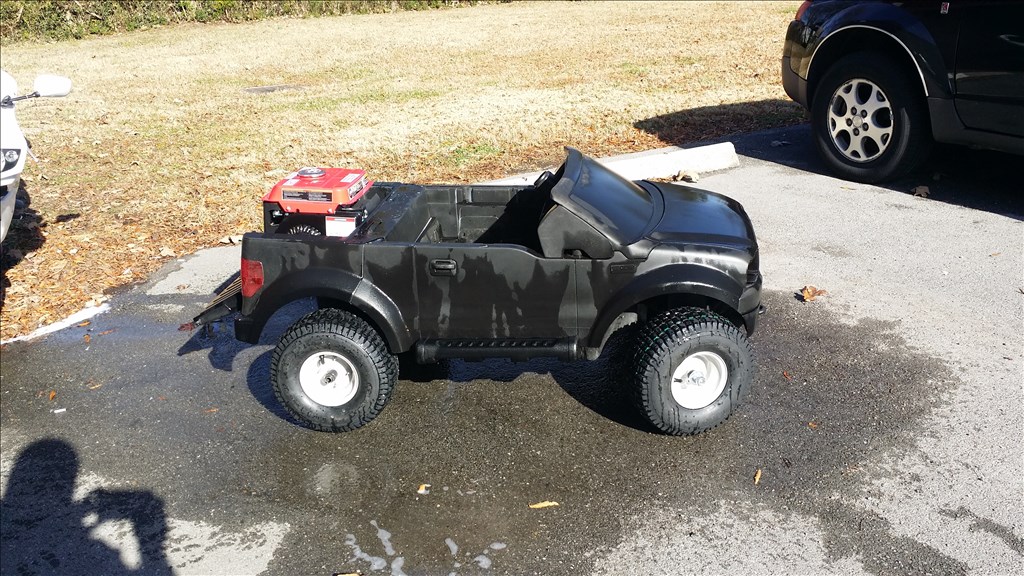
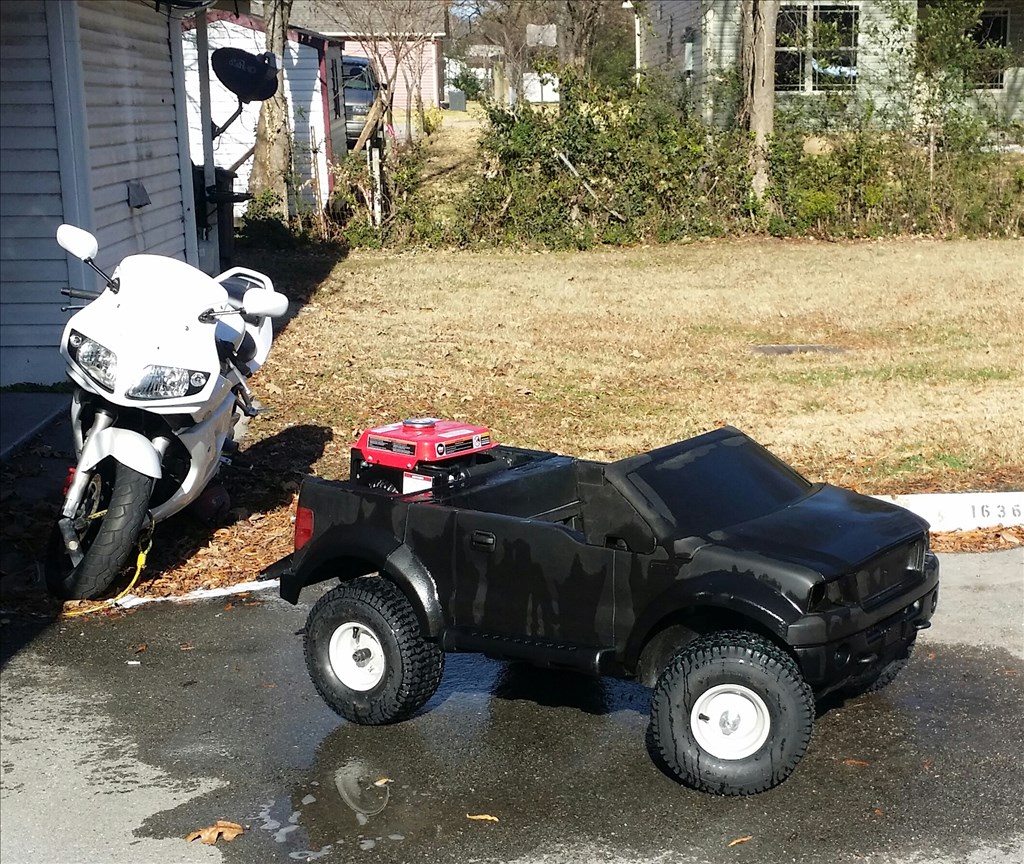

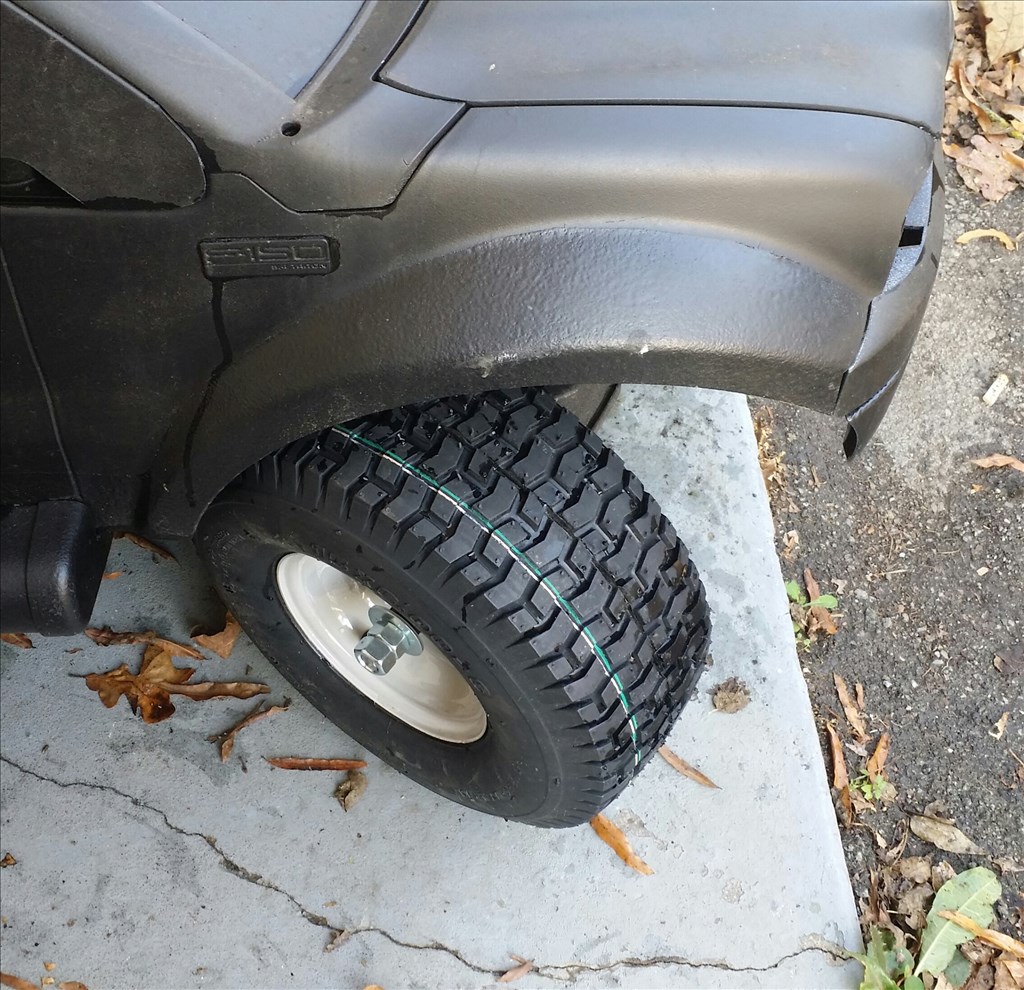
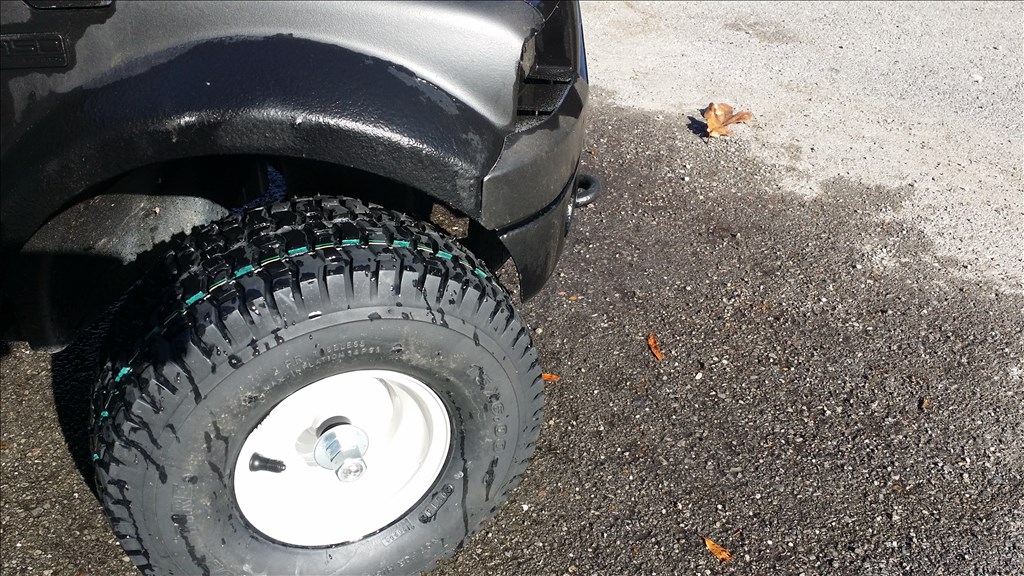
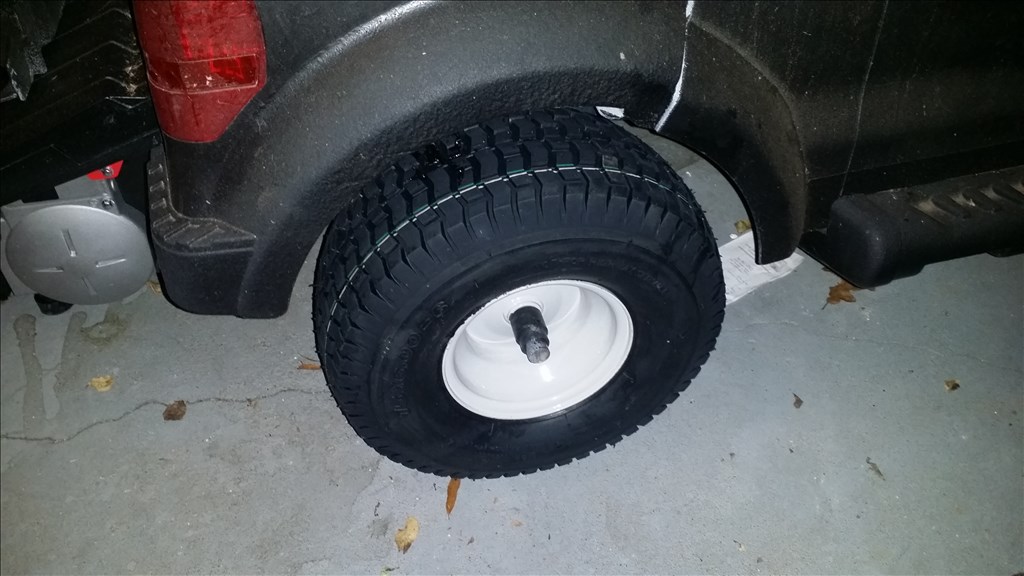
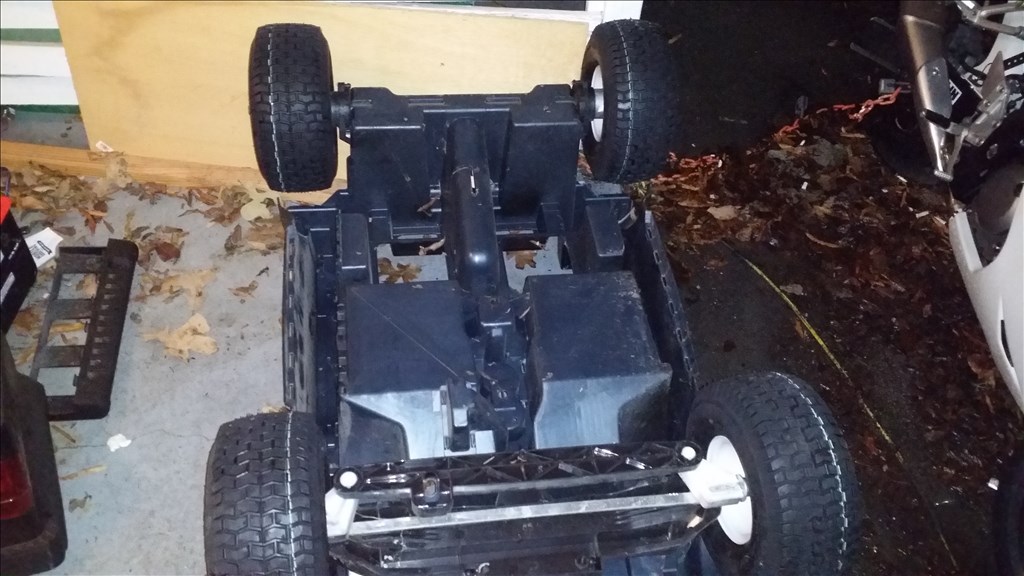


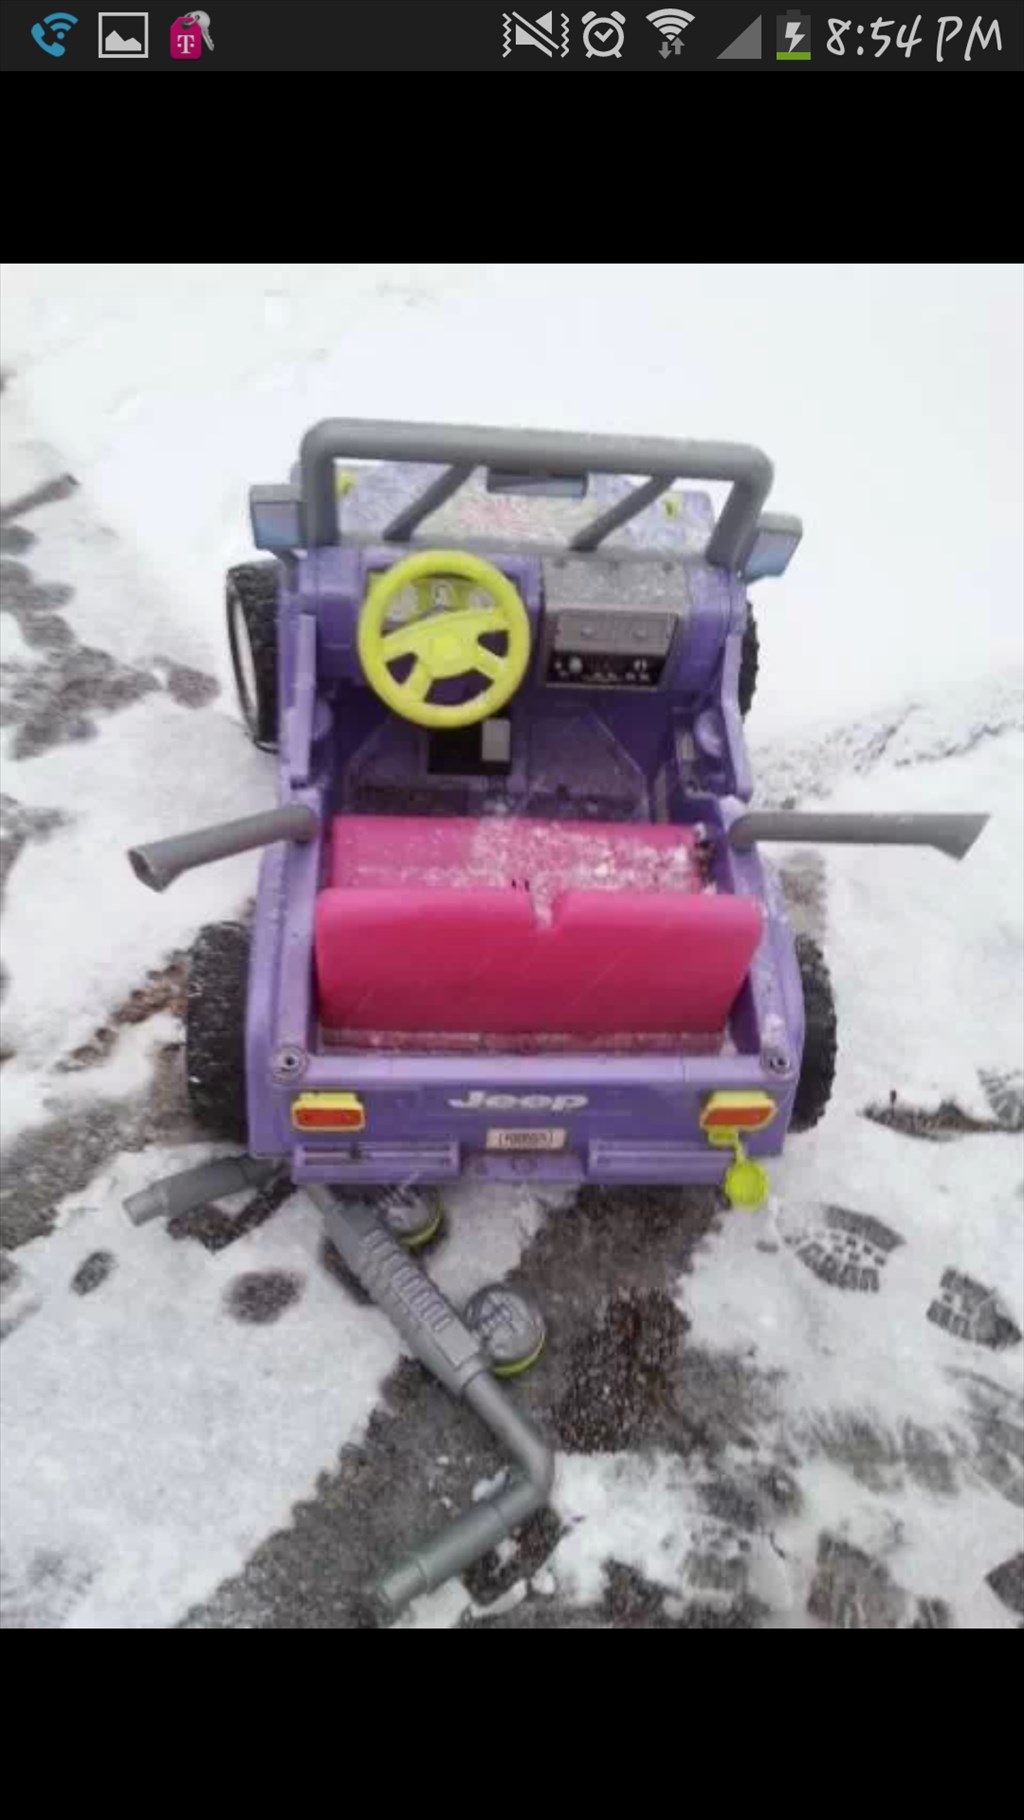

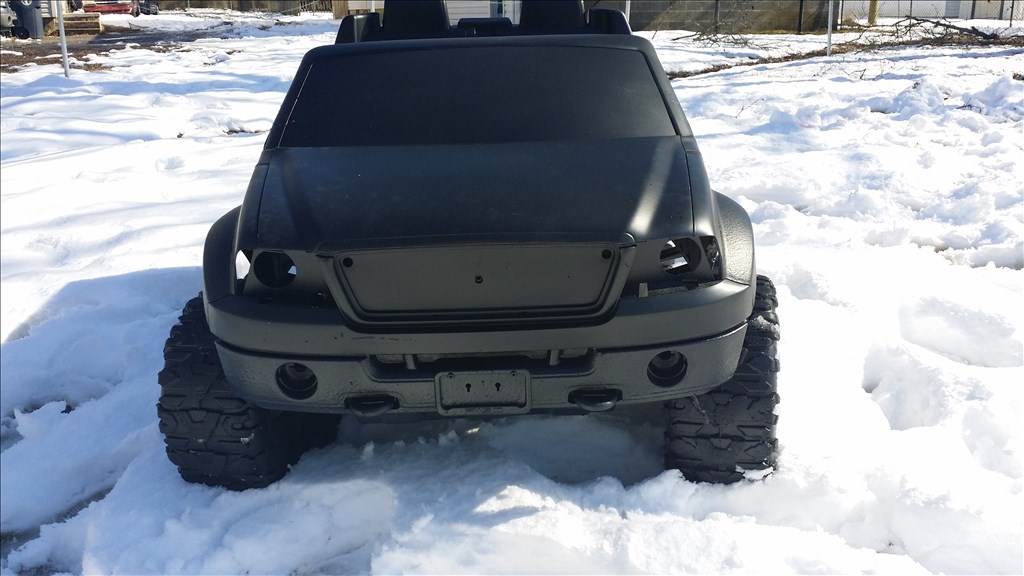


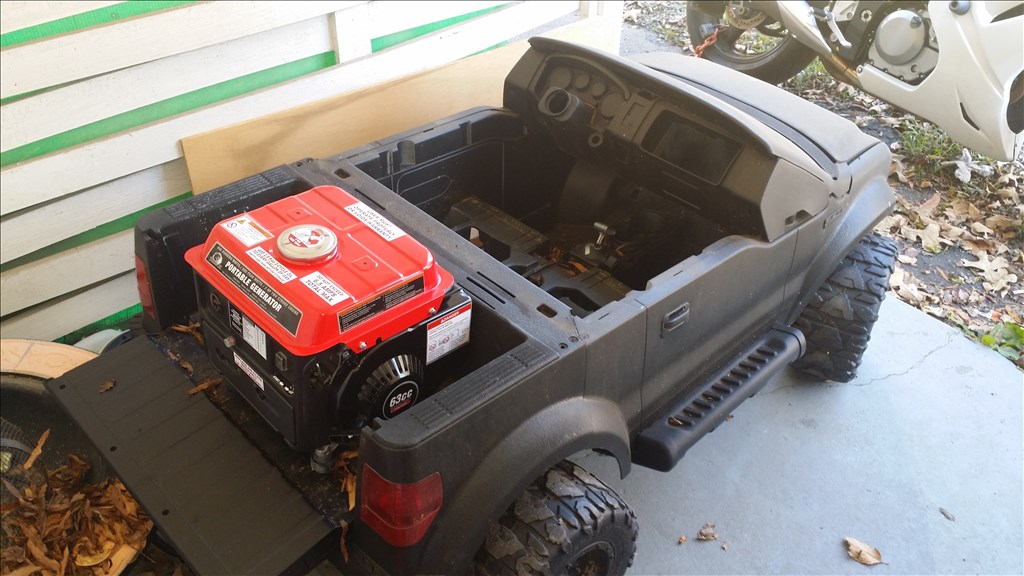
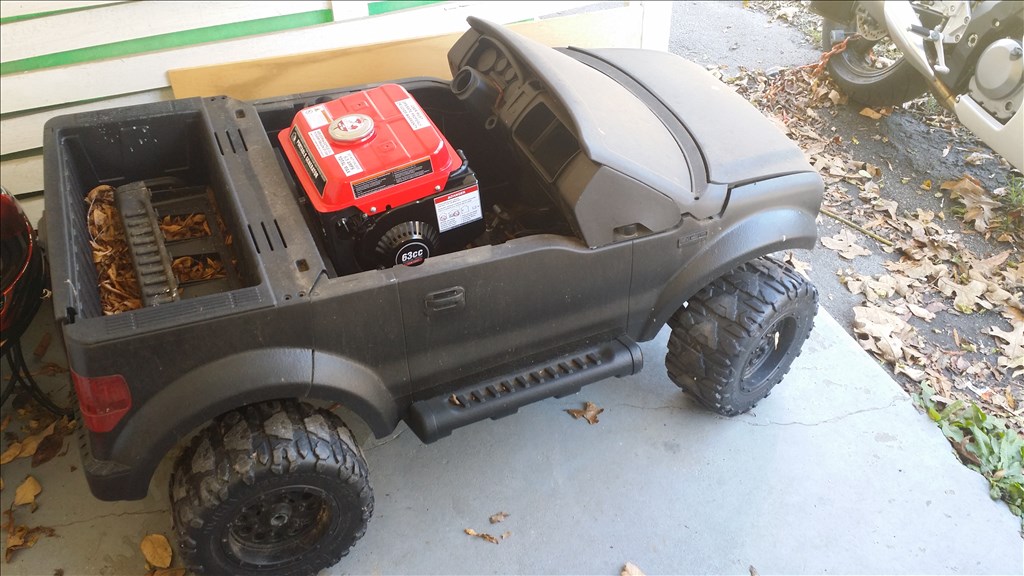


Hey Community , i really don't do enough fun projects. As you may notice many of my projects have a utility function. Squeegee mops, jarvis vacuums, smart marine fish tank is... well smart lol. So this is just for fun and I hope others enjoy it. I have already contemplated using it as a demonstration tool to get kids interested in technology. . Dang it! This is just for fun , ok I'll try not to get to serious with this. My friend Marty was talking about being able to drive the power wheels around while his kid was in it around the neighborhood. Or if his kid was driving and got to far he's just a button click away from stopping it. We found a free power wheels that had seen some rough years and we gave it a complete makeover. It looks better than new, new Gel cells from power sonic , smart charging and more. I gave it a cool high grass stripe camo.pattern and gave it to his son for his birthday. I'll post a couple pics. He's on the fence about doing the further mods so i searched craigslist.org for another power wheels that had been loved a little too hard. Searching for something with space and power I wanted I set my heart on a f150 , Toyota 4x or jeep 4x4. I didn't find a 4x4 model but f150 was the next best as it had dual gearboxes with rs585 motors. Also a good gel battery and charger was included. Here come some pics...
Discover more robots

Ezang's Roman With New Head Movements And More...

Mastersailor's Noisy Boi (Trademark Pending)

Awesome Josh. Glad to see you back in action, I hope your semester went well!
Hey , thanks Jeremy! And yes it did , all A,s , I managed to get an A on that project you helped me out with too. Thanks
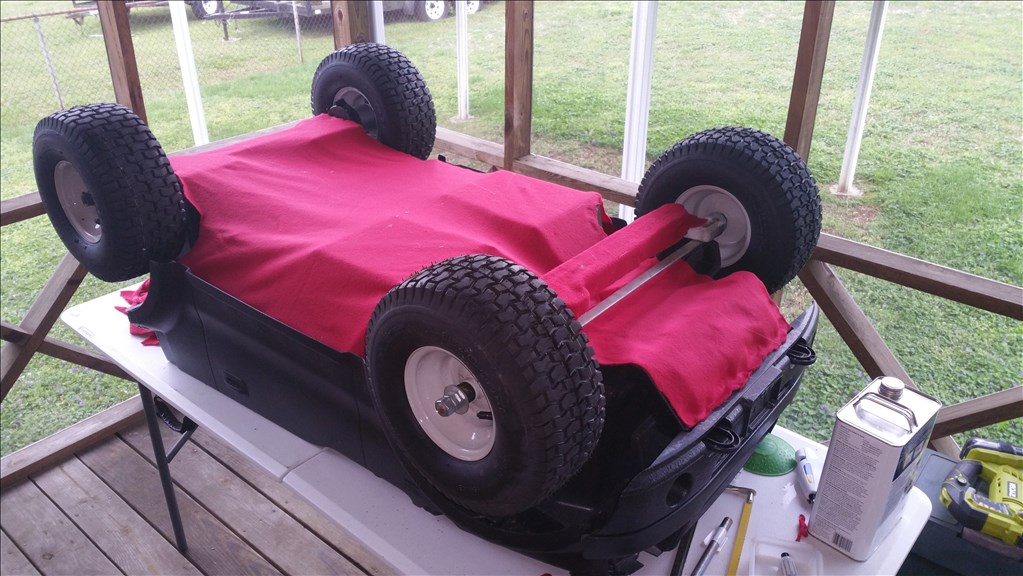
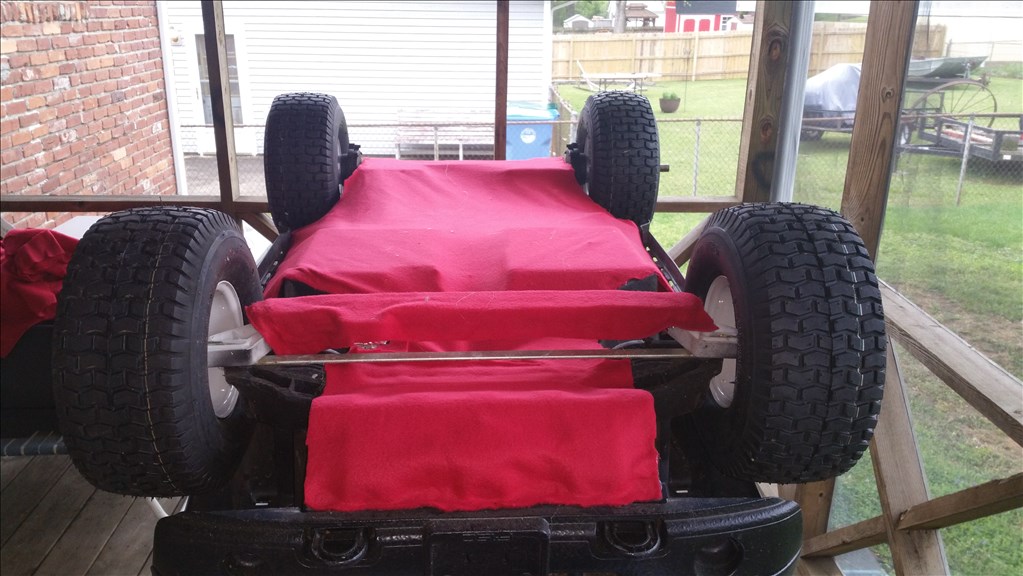
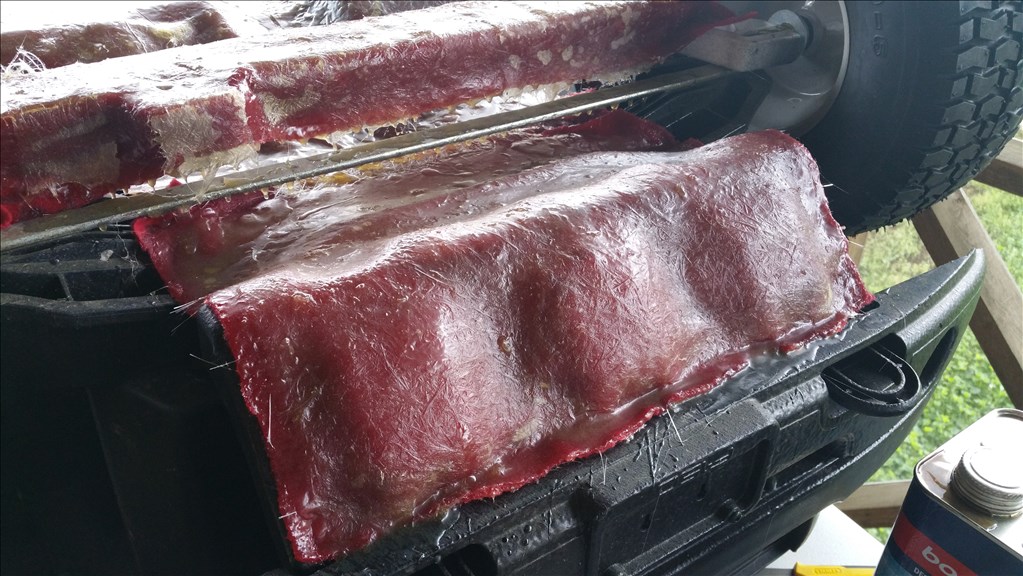
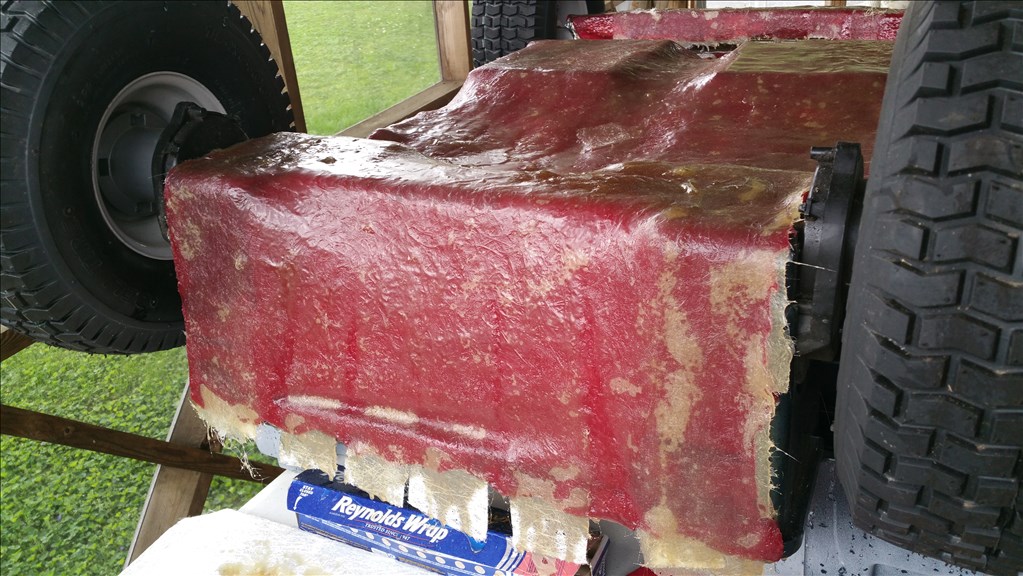
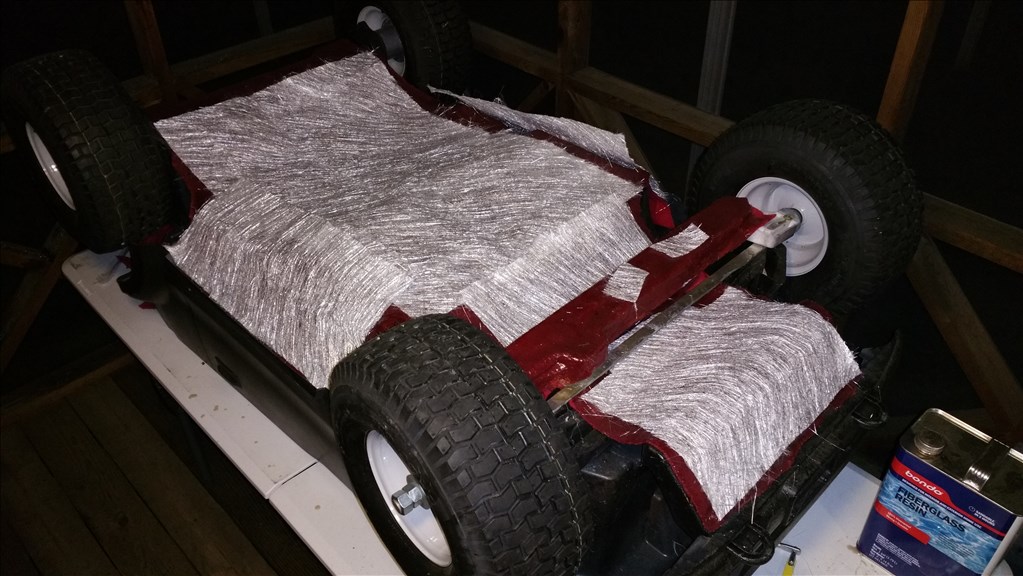
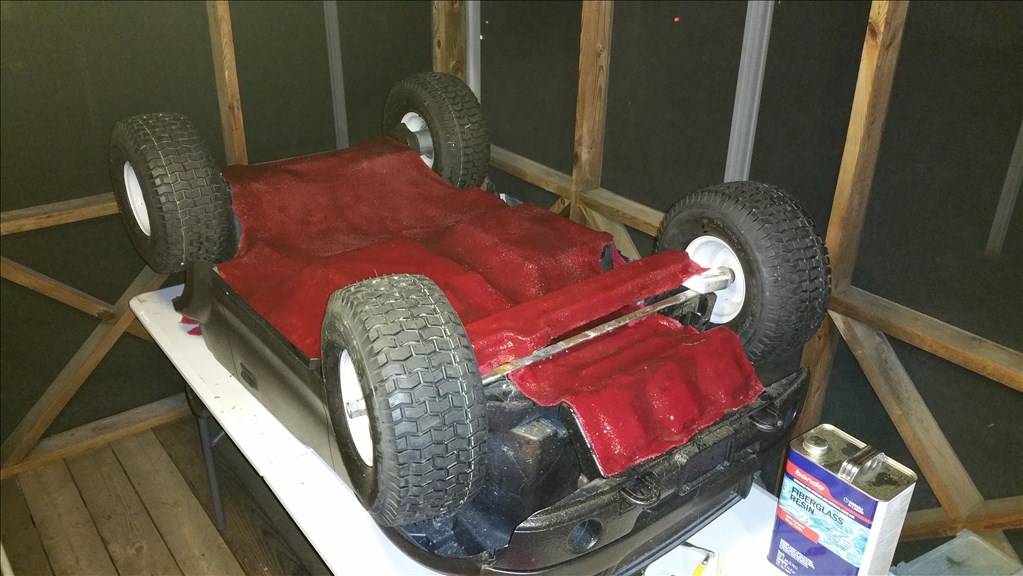
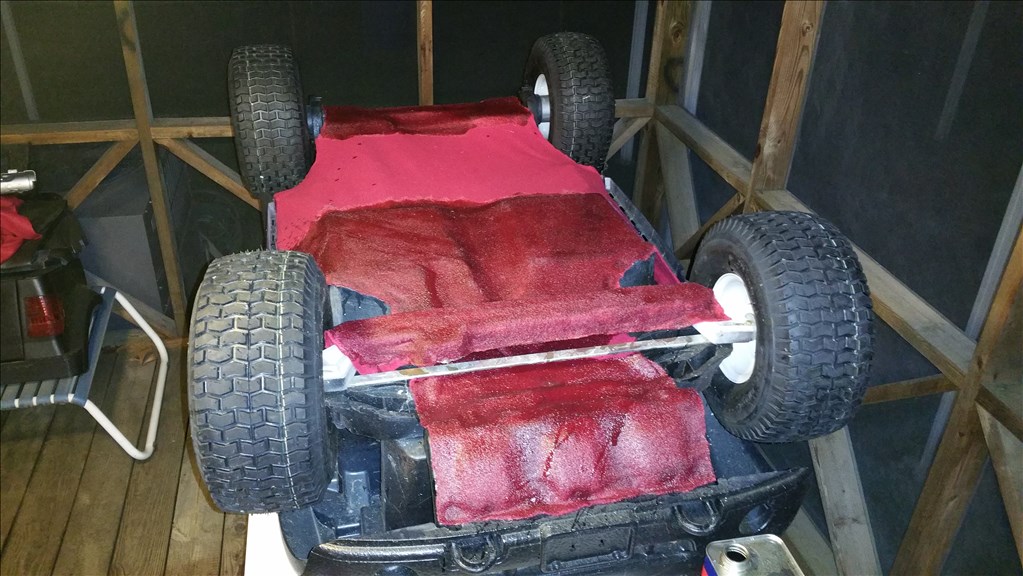
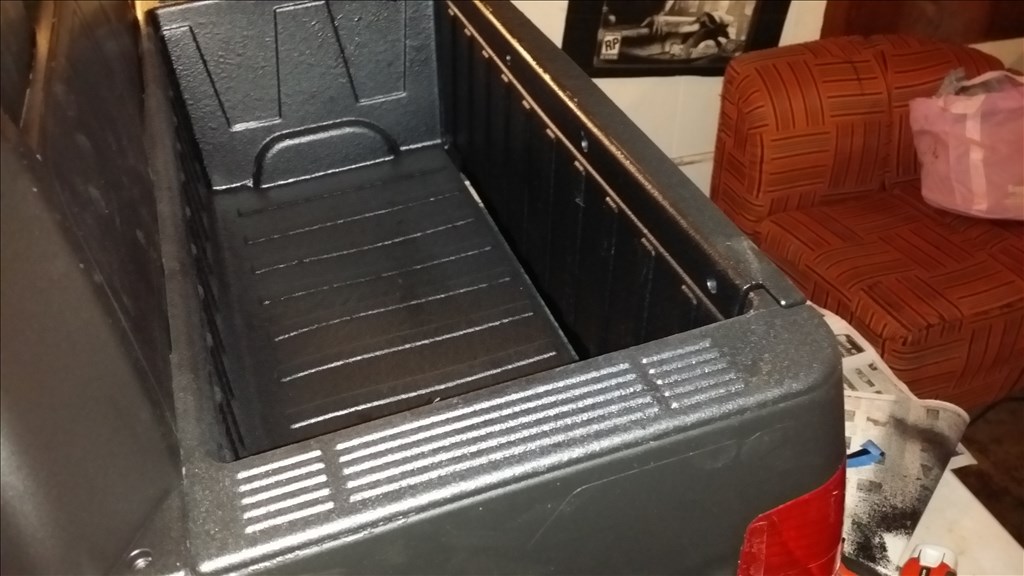
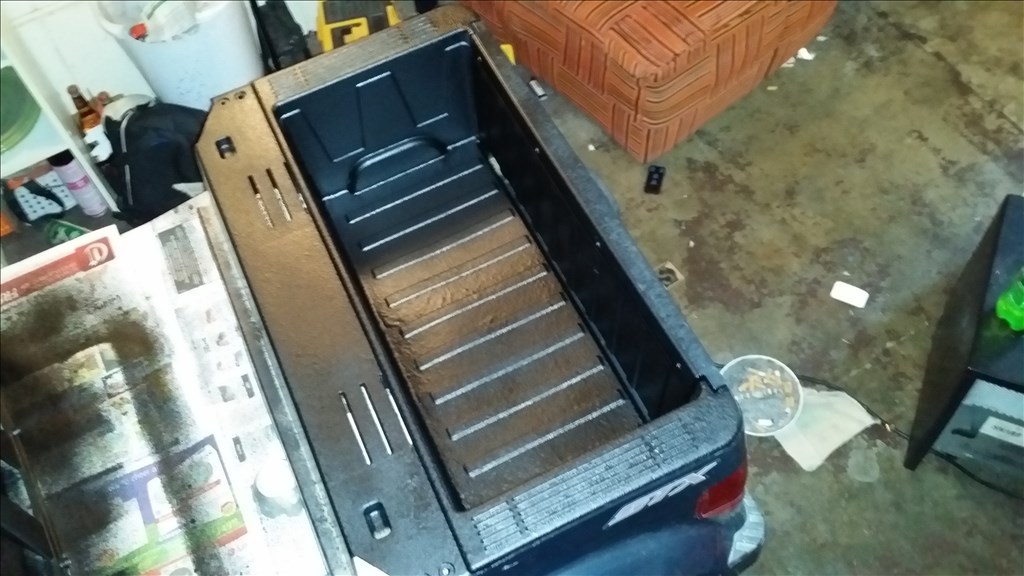
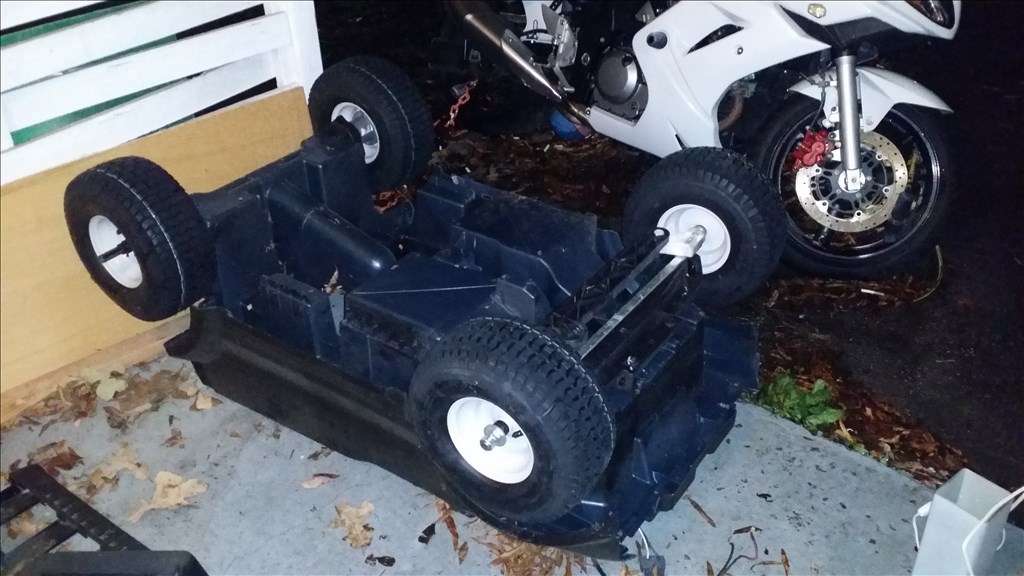
About 1/2 saturated with about 28 ounces of resin. The fleece really soaks it up! Taking a short break then I will finish soaking the base fabric. This base is the bottom layer that will support the actual "fiberglass" as it is being laid down in strips.
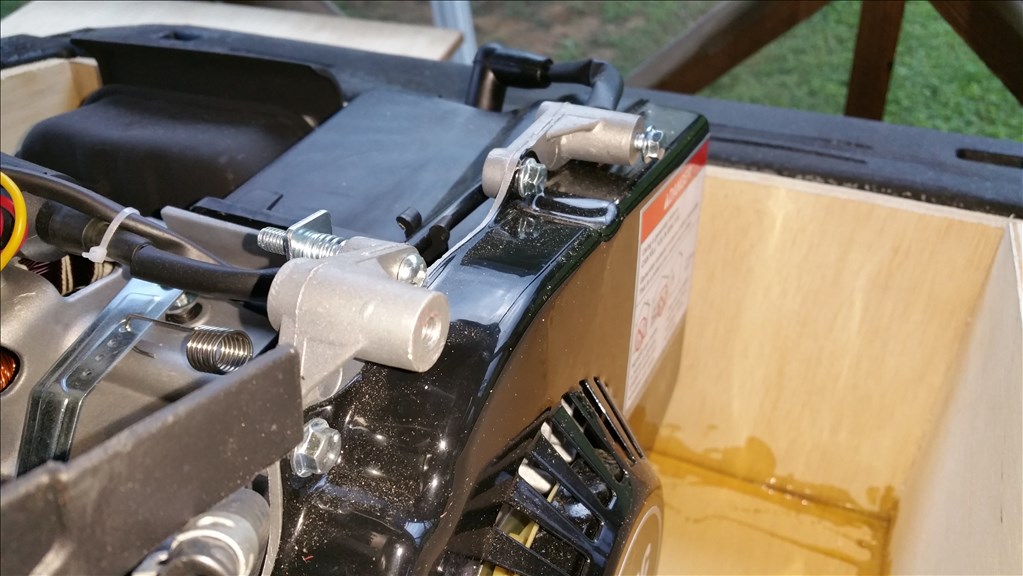
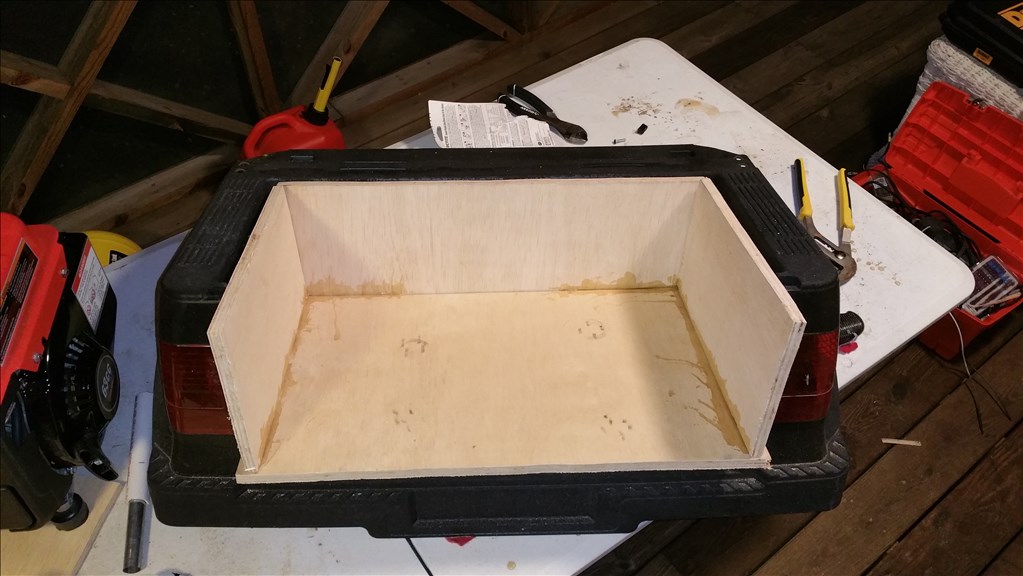
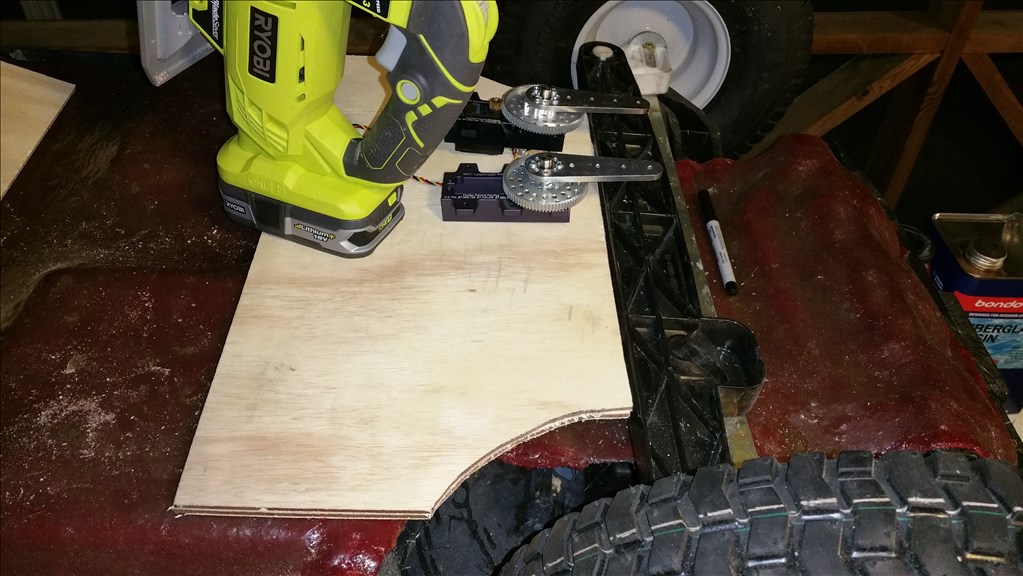
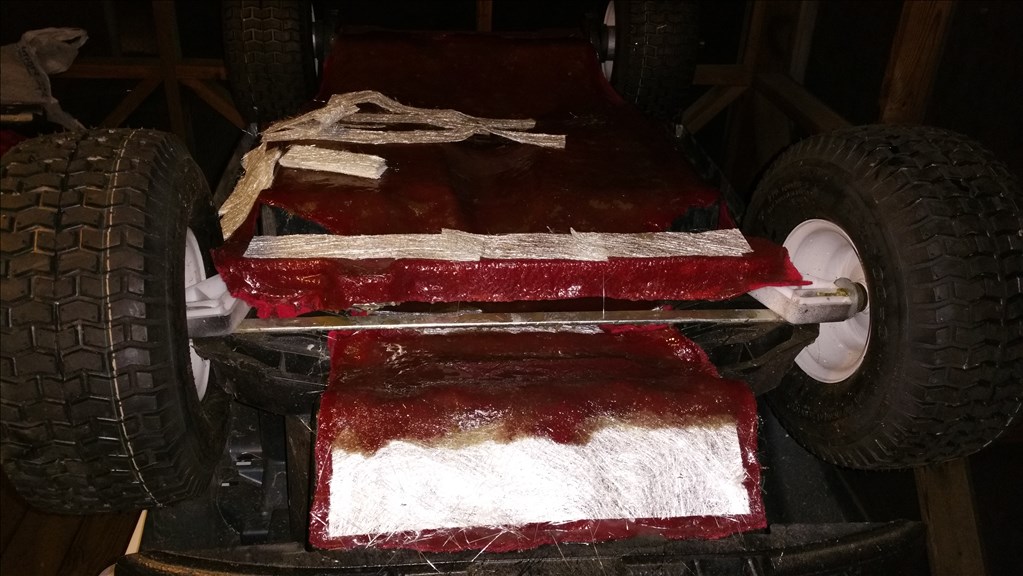
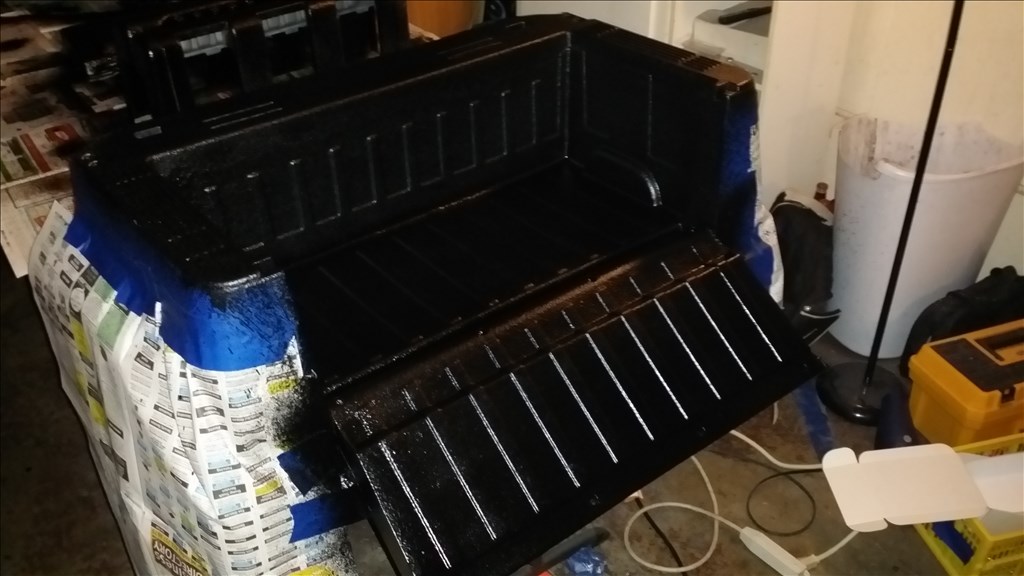
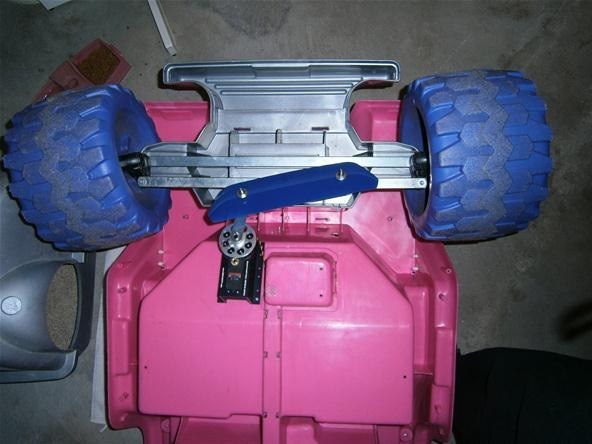
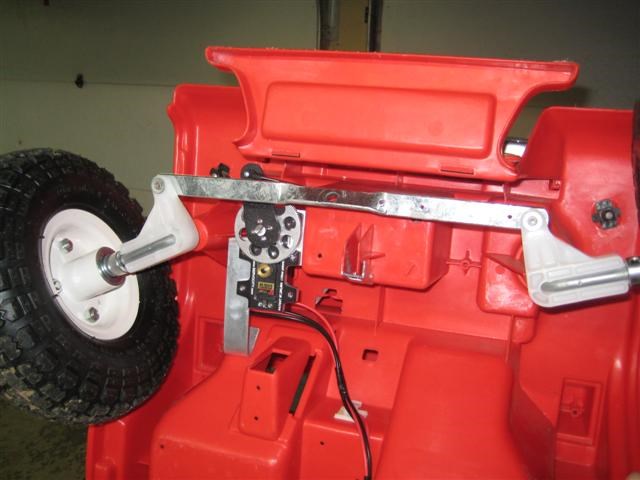
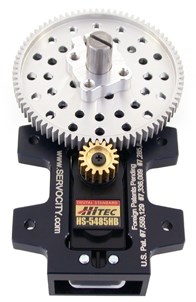
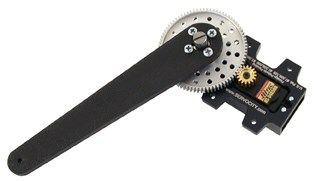
Ok , nearly a gallon of polyester resin later the whole bottom is soaked. 2 hours to harden and then I can add 1 or 2 layers of fiberglass matt. This does two things. The fiberglass bottom reinforces the suspension from flexing too much under weight. Secondly the bottom helps keep the car from getting caught on debris or uneven terrain. Tommorow I will cut out 1/4 inch wood into a mount for the two monster servo gearboxes. I will prop them up with dowl rods and fiberglass the mount on as well. As I have already been suggested , I am thinking of making a removable cover to protect the servos and the gears. The actuation arm will stick out where the steering rack is attached by the aluminum lever.
I've never worked with fiber glass before, looks like messy business I think I'd like to try one day.
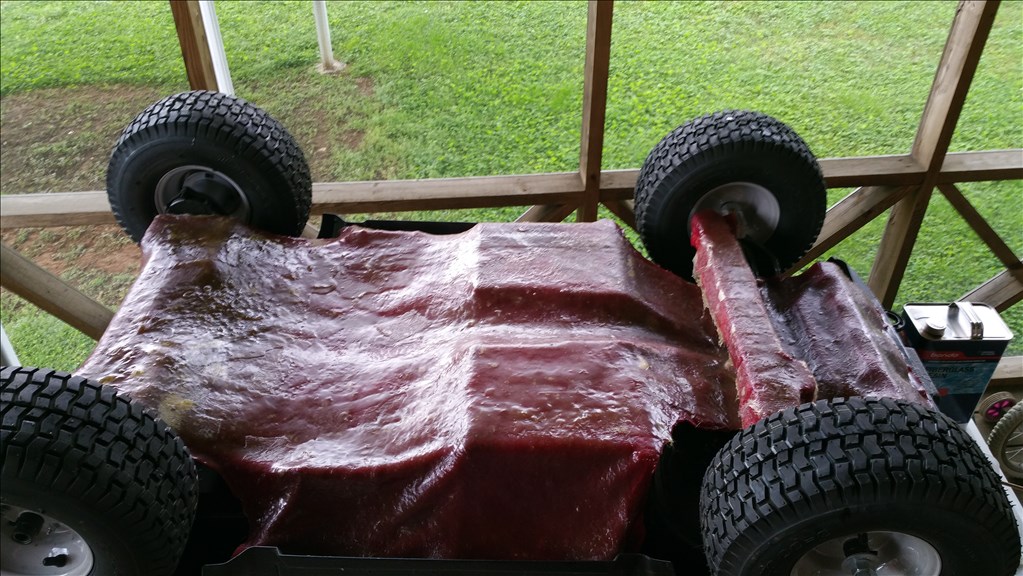
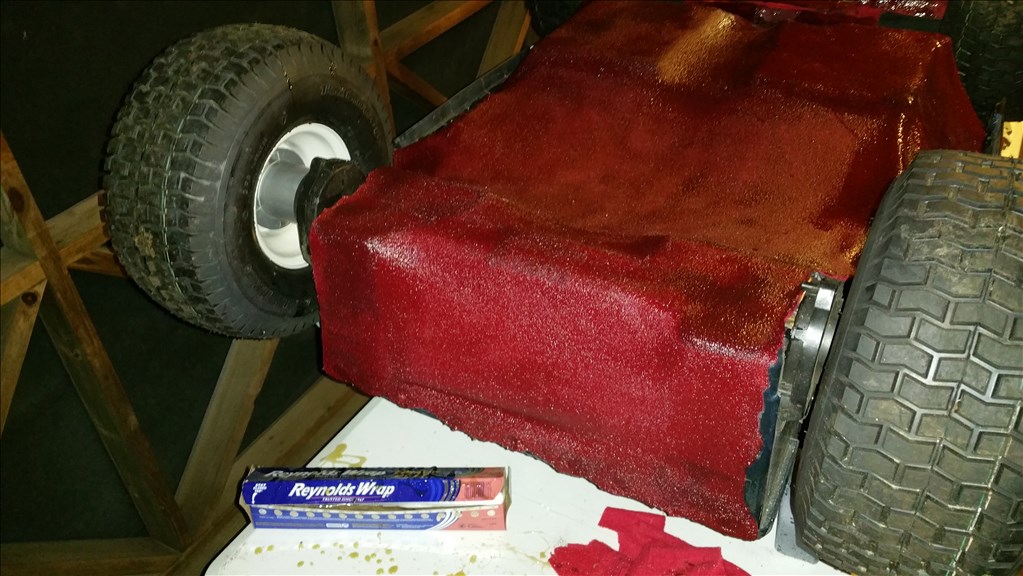
I really like the idea of keeping the underside protected like that, not only will it offer strong protection but it looks professional as well.
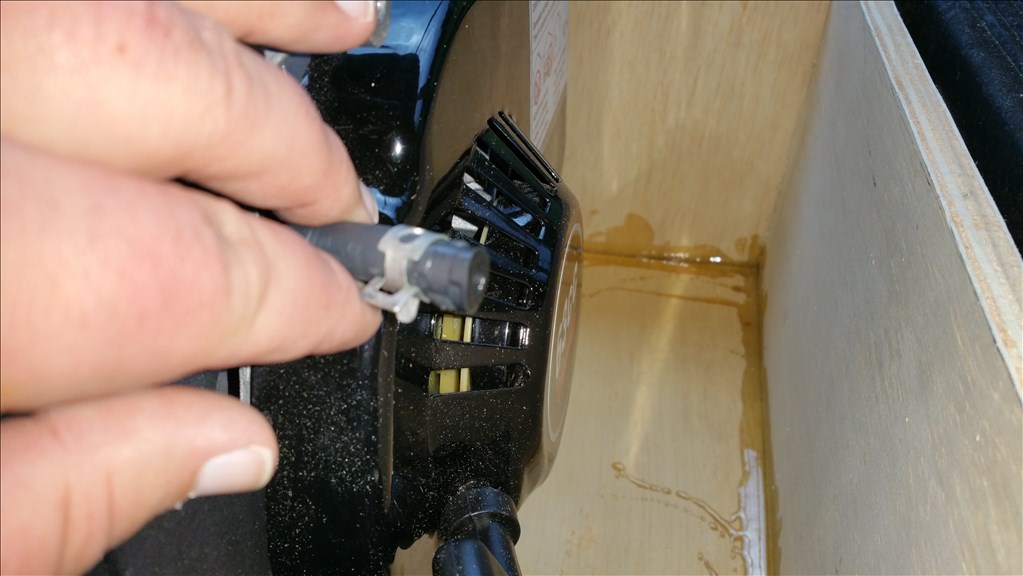
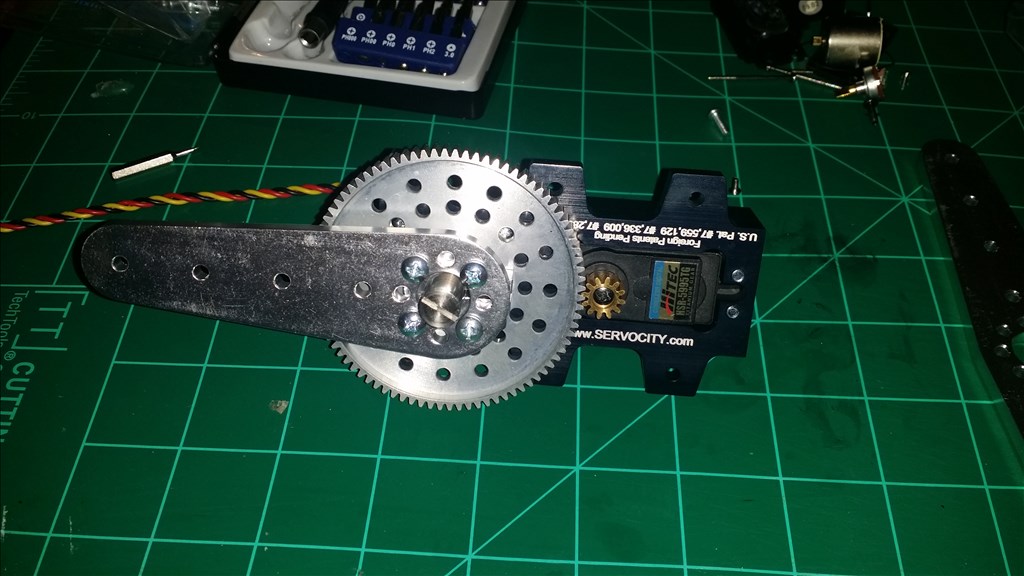
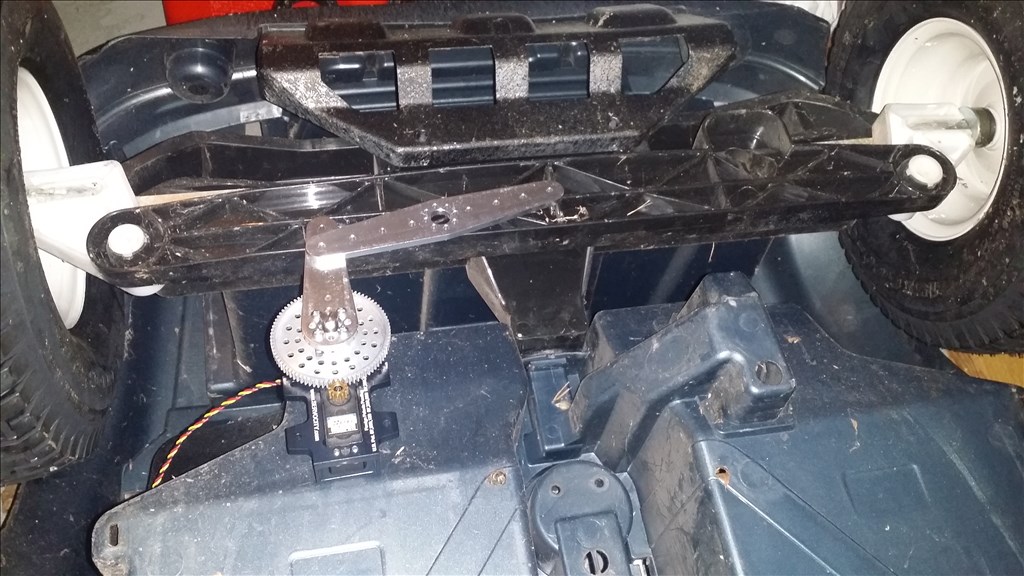
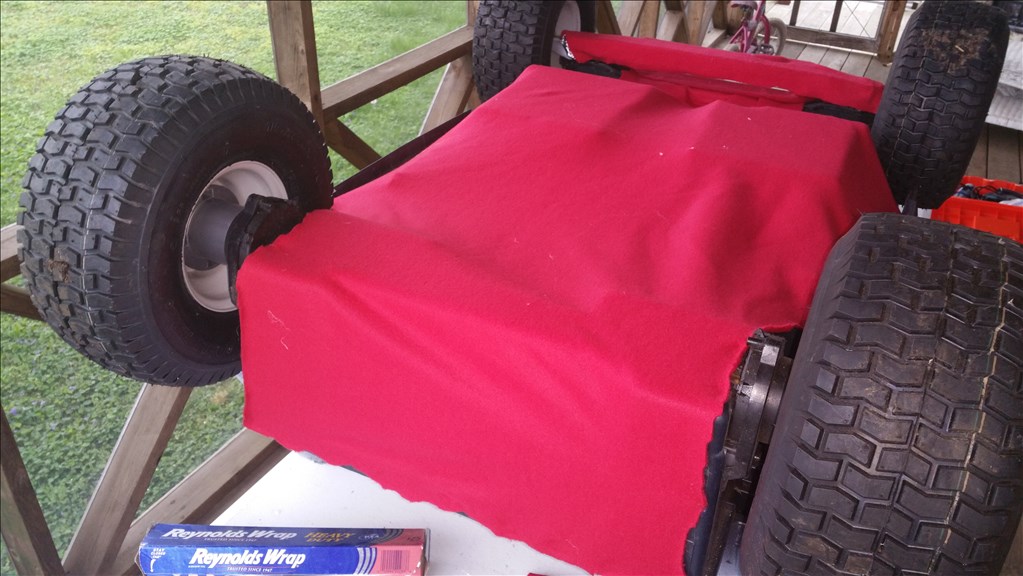
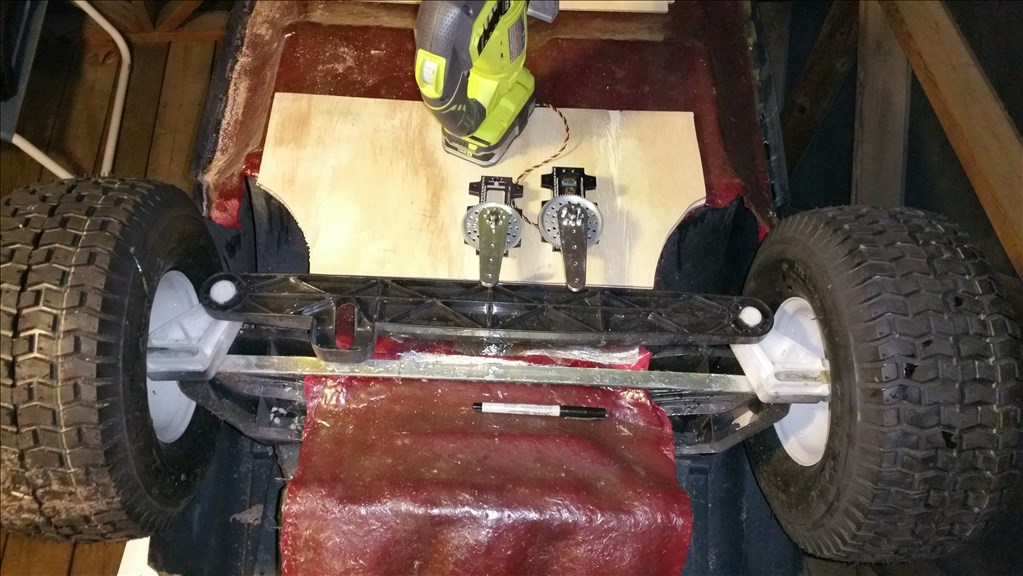
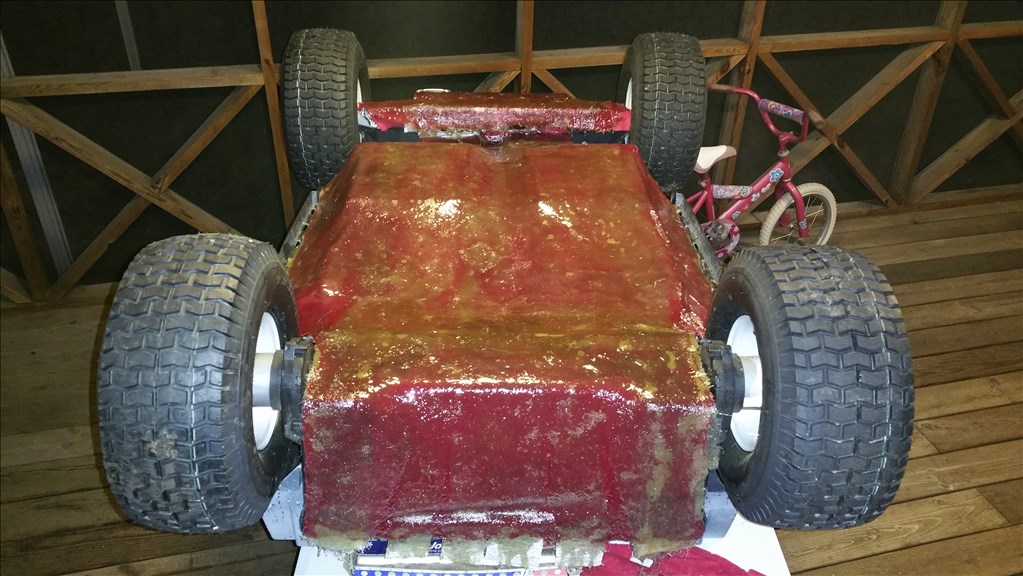
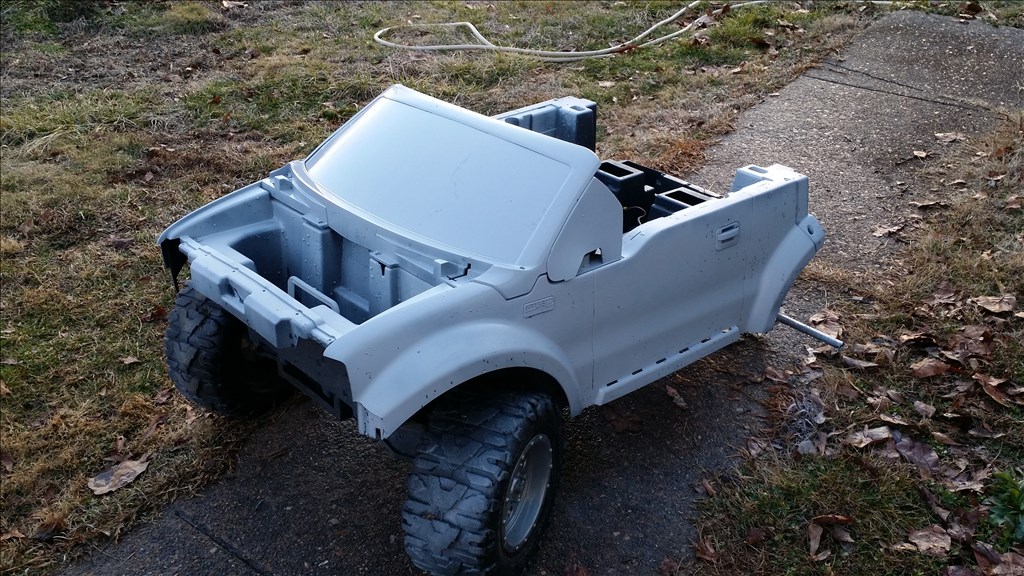
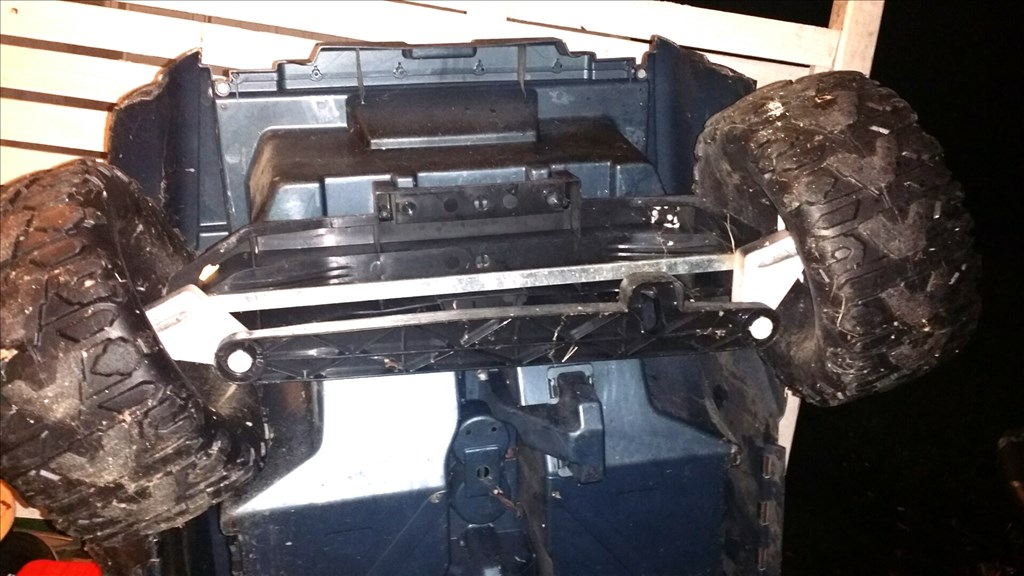
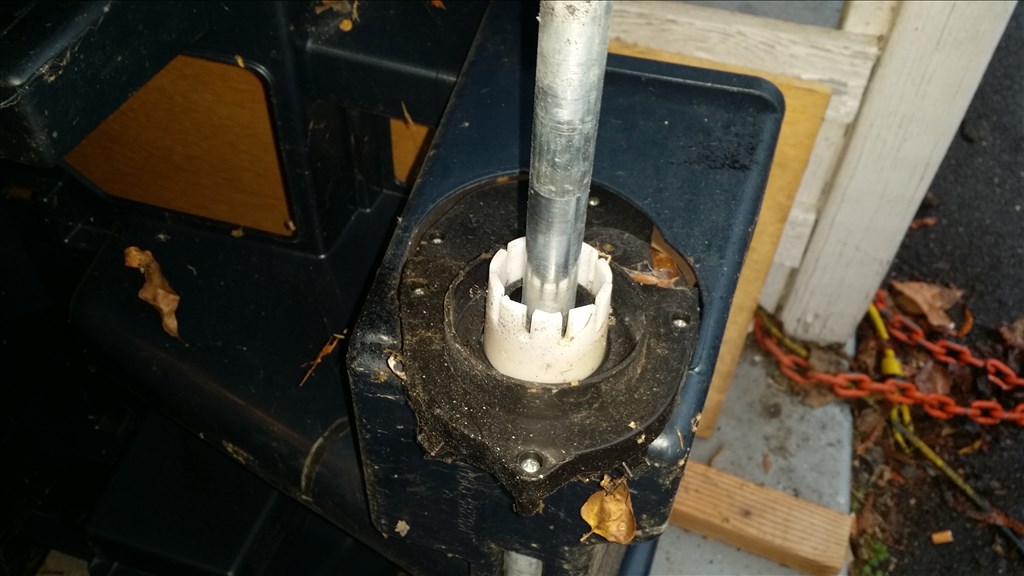
Now that underside fiberglass is done , now the power wheels has a "frame". I made it to be removable but at the moment it is tightly adhered to the bottom. A bit of prying carefully will pop it loose. One continous piece front to back makes the body rigid whereas it was very flimsy before. I'm doing as little modification to the actual car as possible though so I can still refer to it as a "power wheels" ride on toy. The steering must be hooked up and I have two servos to use. Now I am cutting a template for the actual servo gearbox mount, it must be as close to the steering arm as possible. This is so that the tip of the 3 inch aluminum servo arm is centered over the middle of the steering arm.