


cE9s4PsOgeBQIORwjd5!~~60_1-634818020230156250.jpg)


BO)Lupuc4g~~60_35-634706297915000000.jpg)
LupbT6!~~60_35-634706298769375000.jpg)


C5j!~~60_35-634655044863125000.jpg)


C5j!~~60_35-634659603510781250.jpg)


C5j!~~60_35-634651704046230469.jpg)
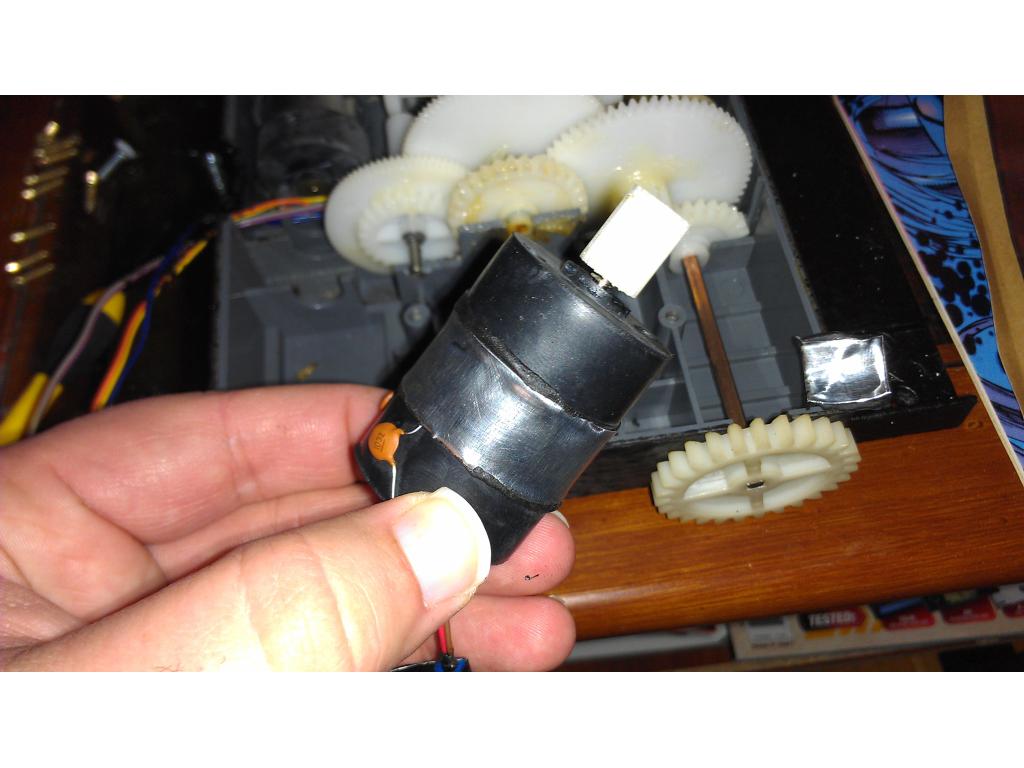


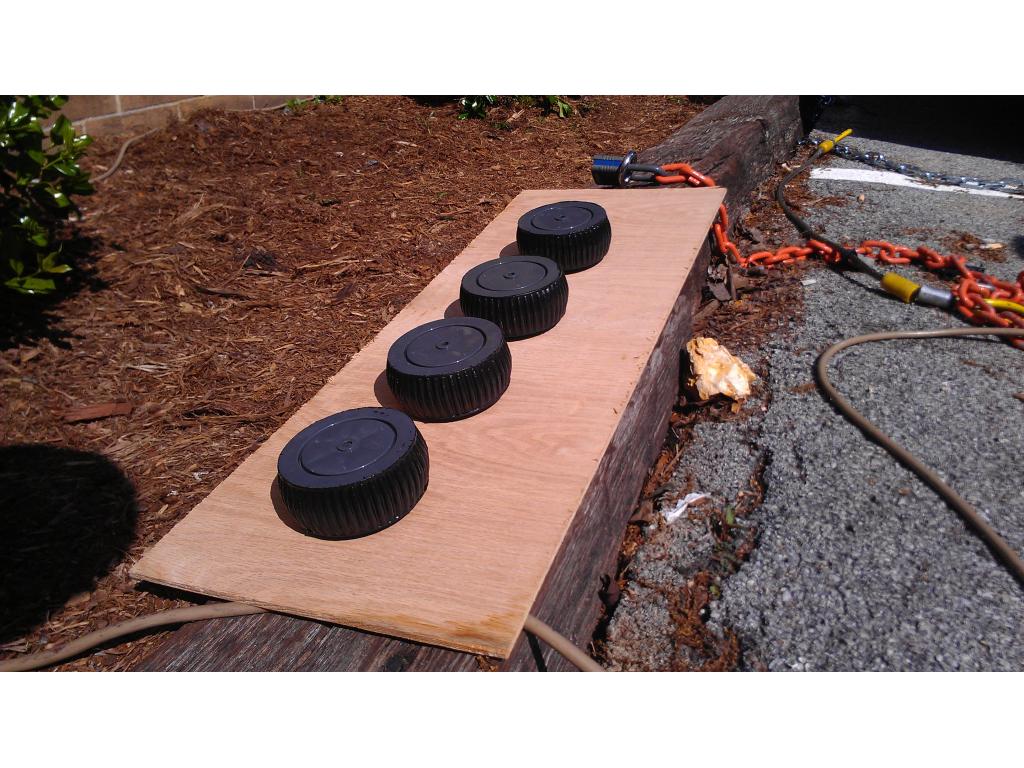

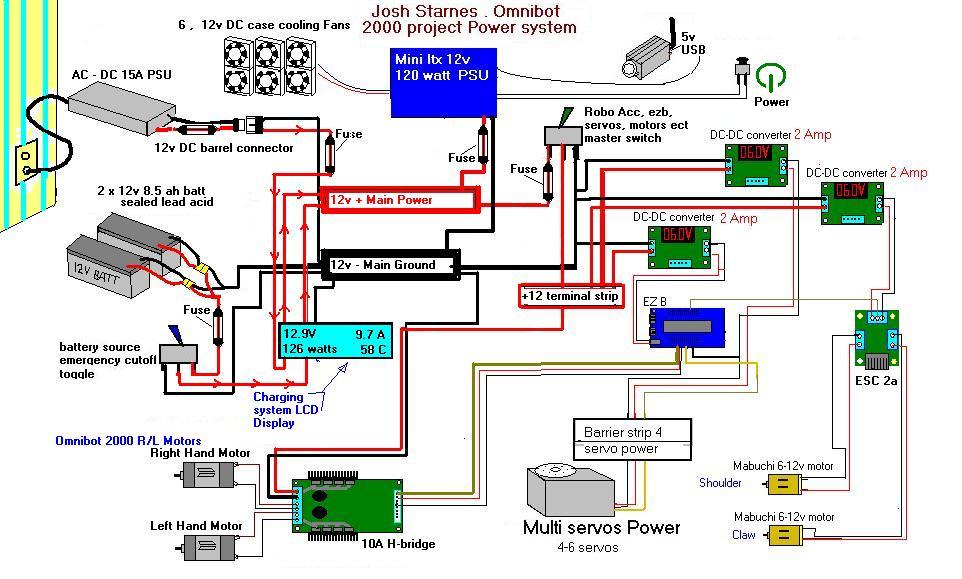


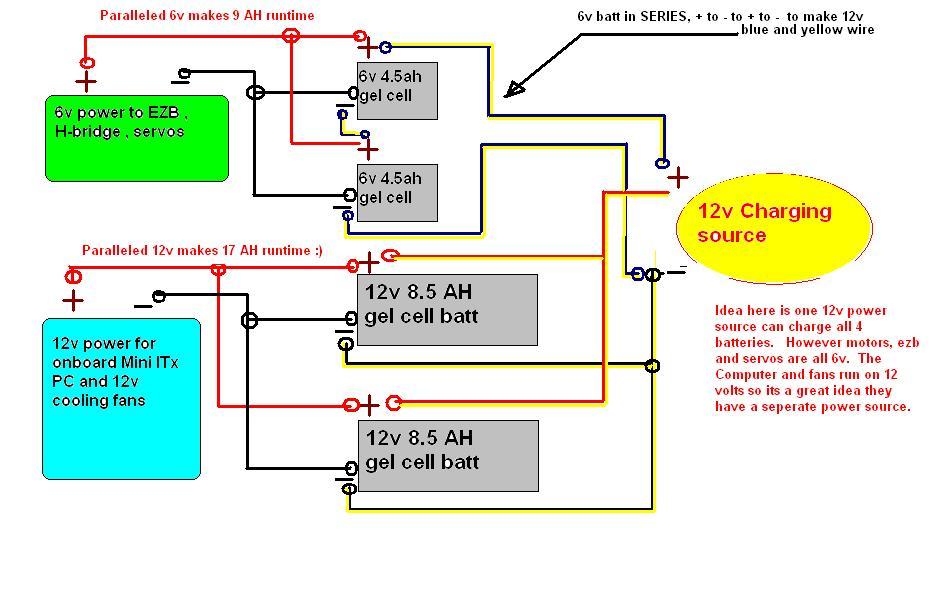


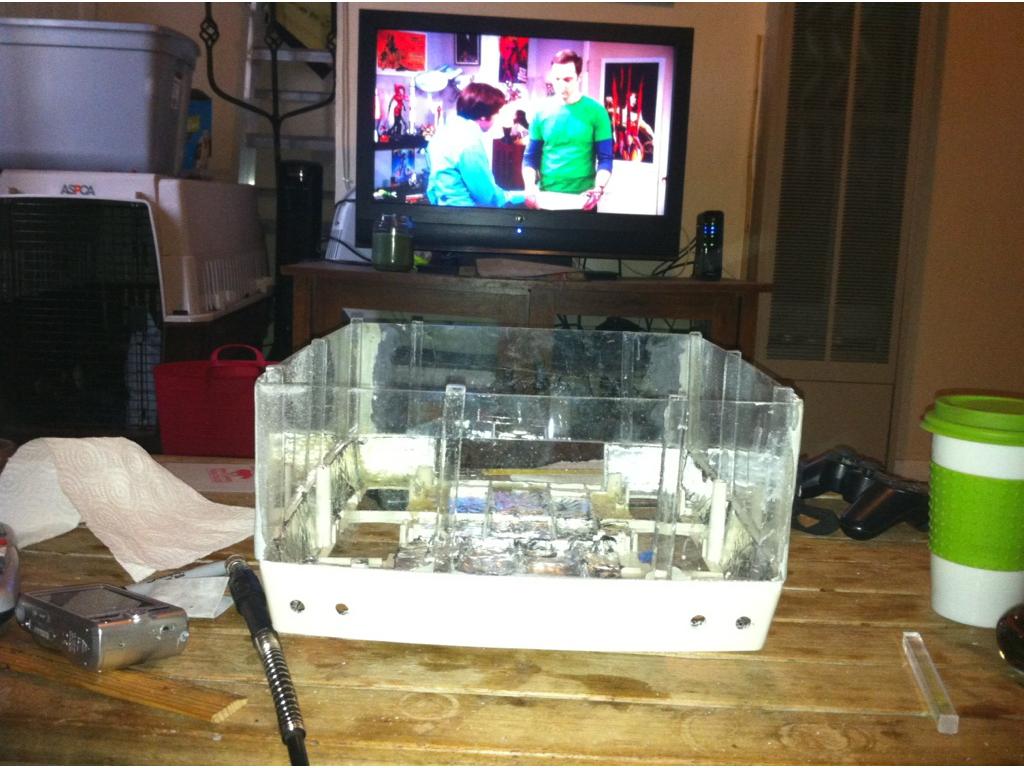


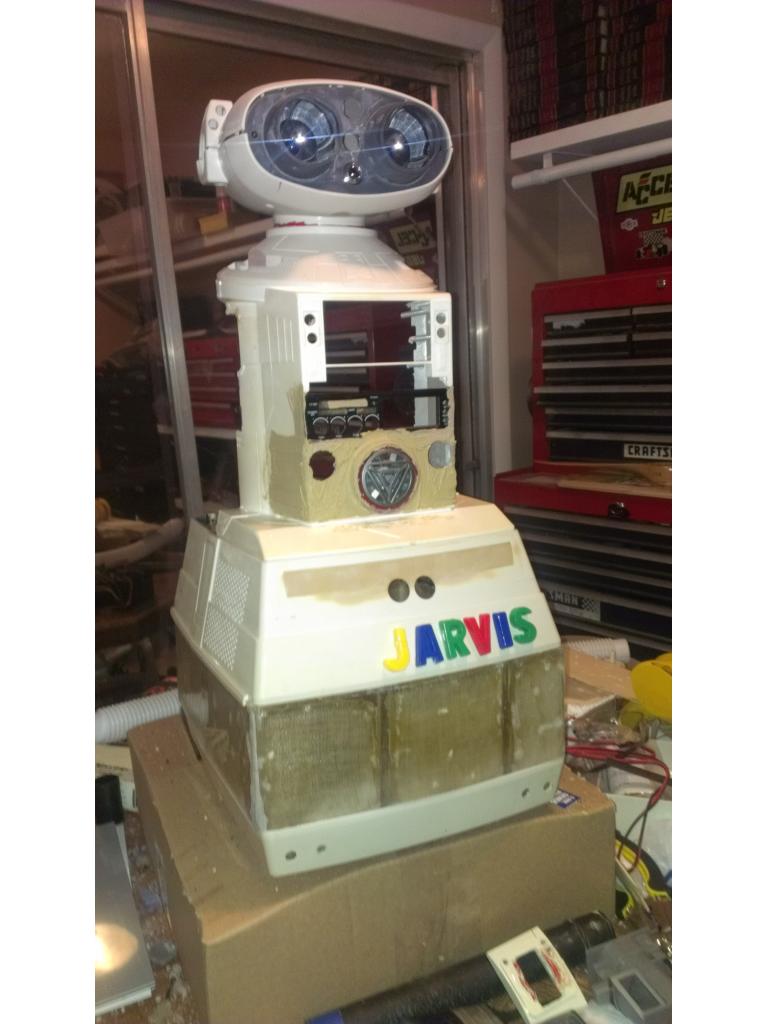


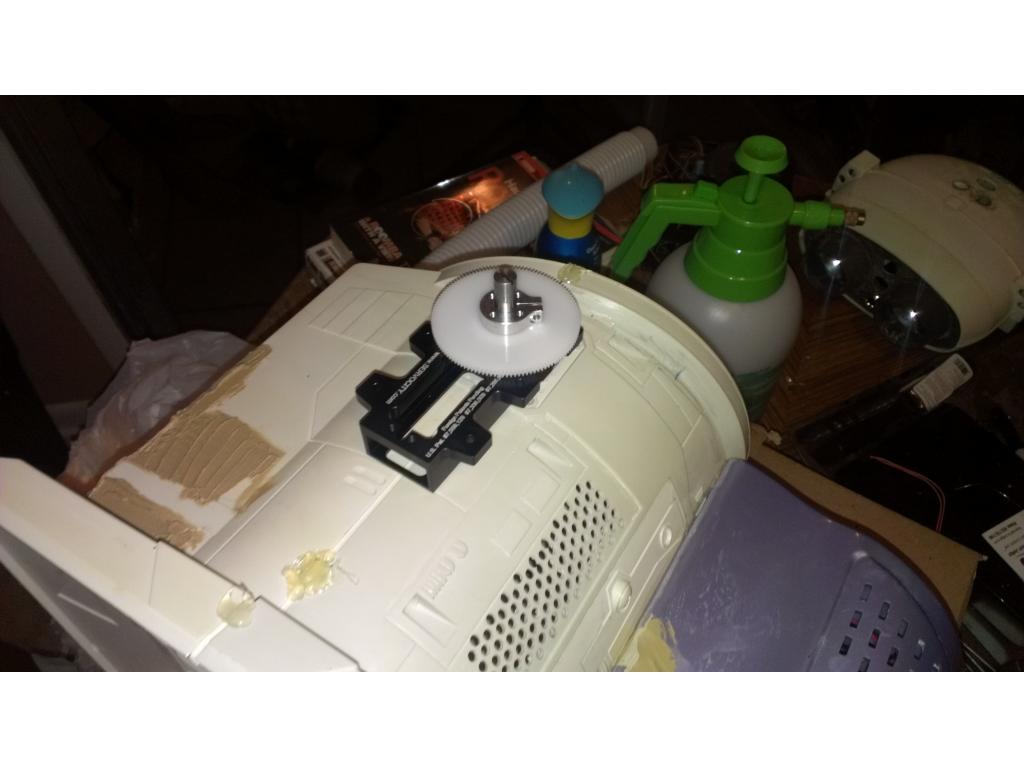
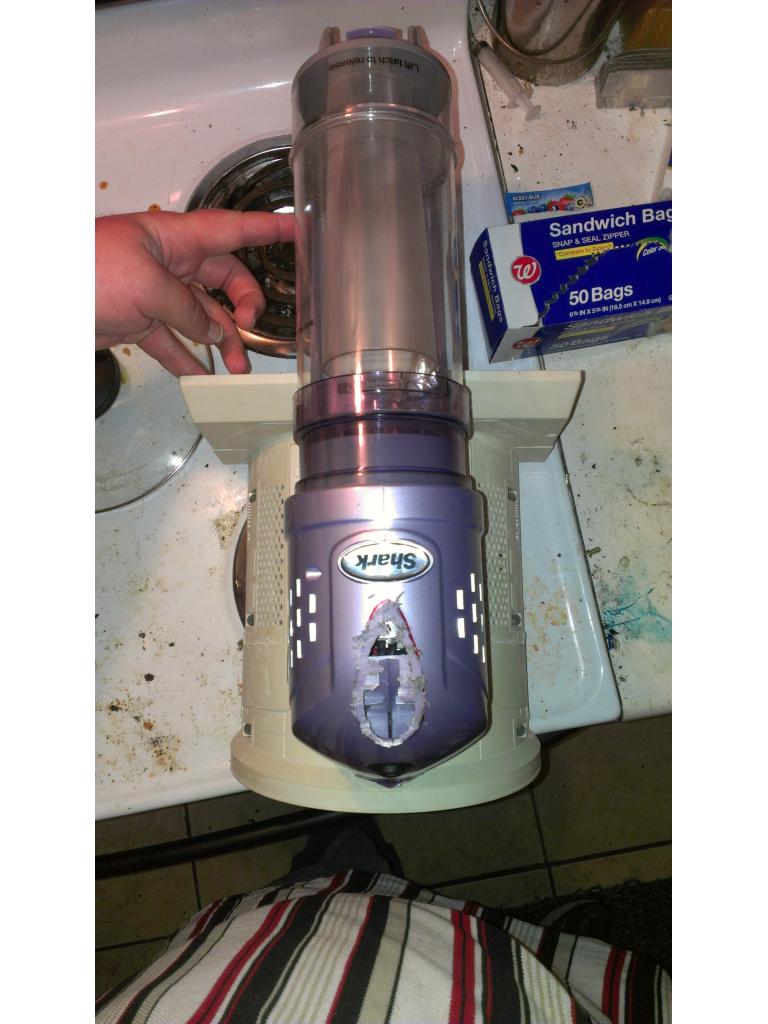

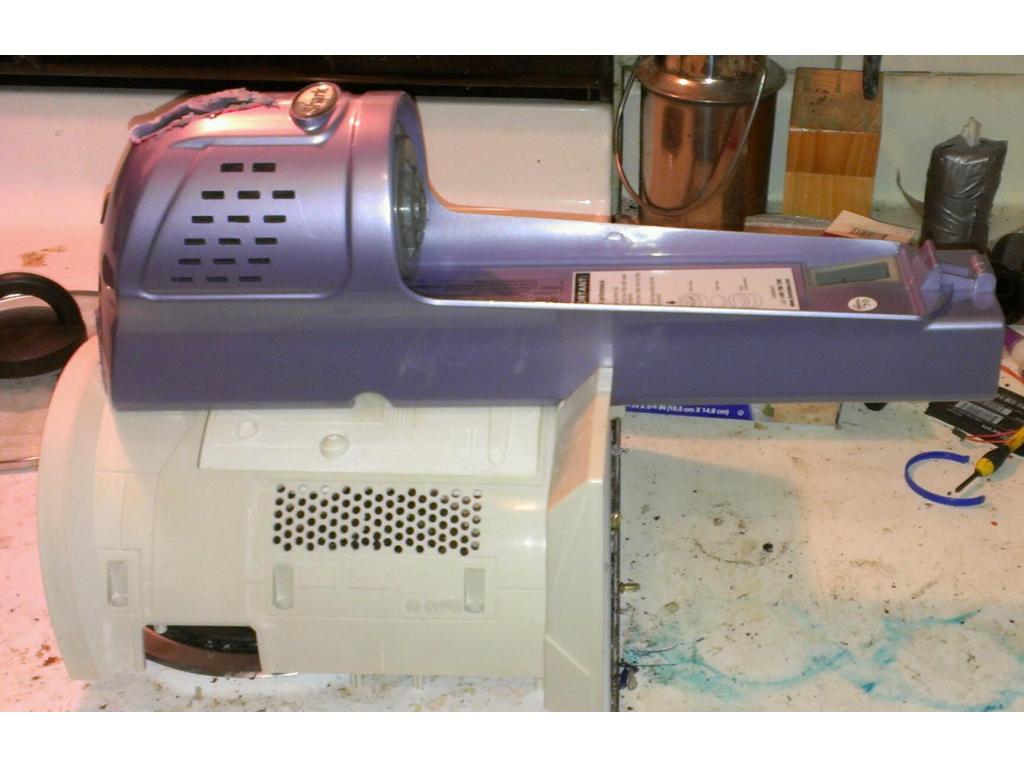


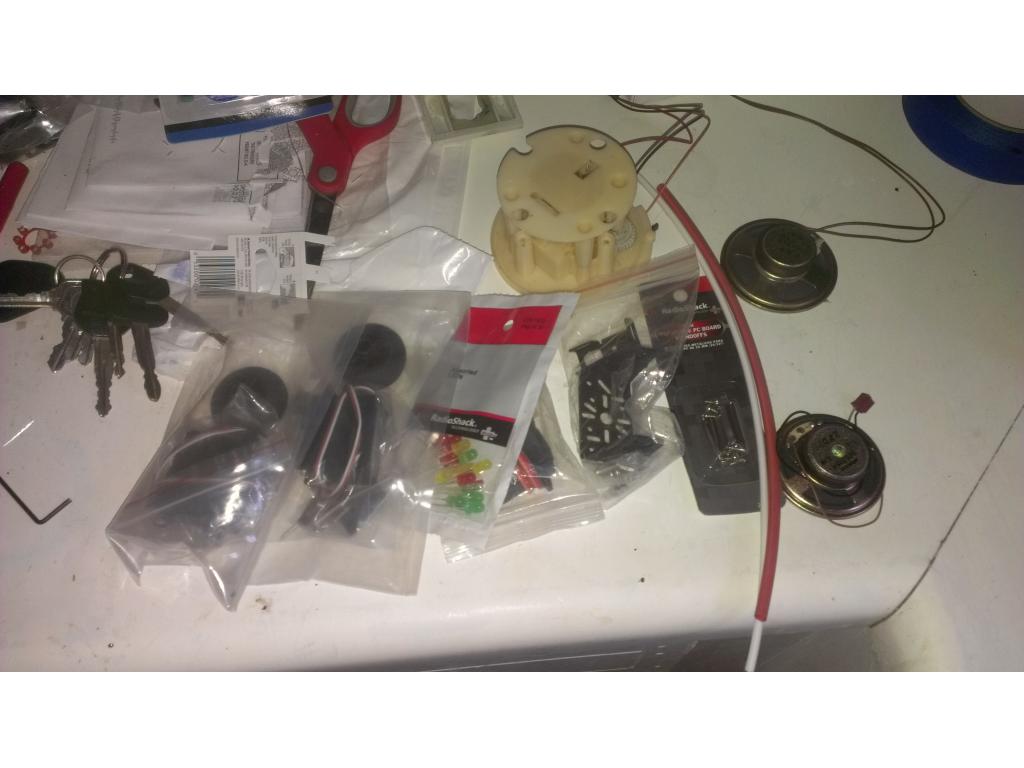
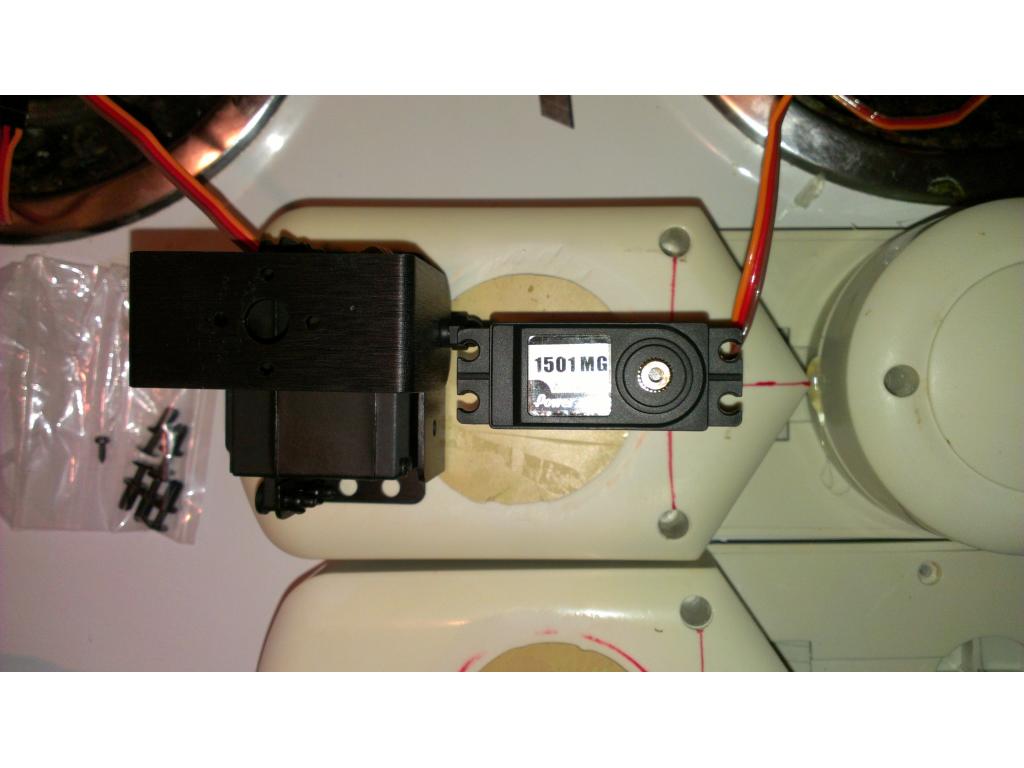
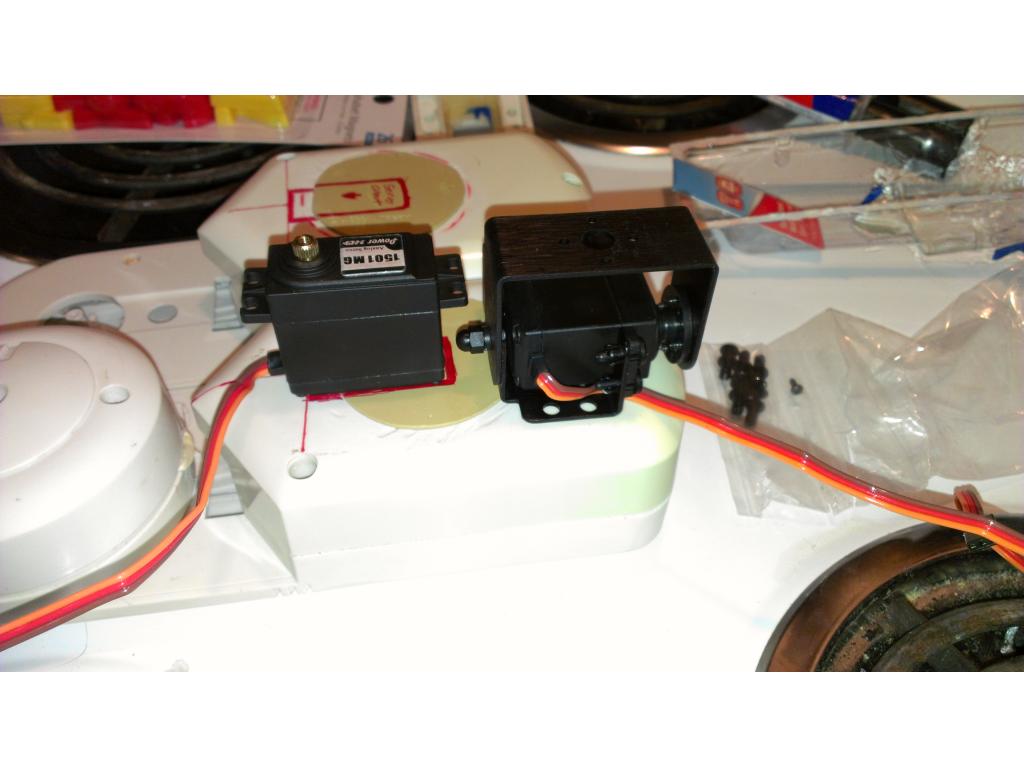
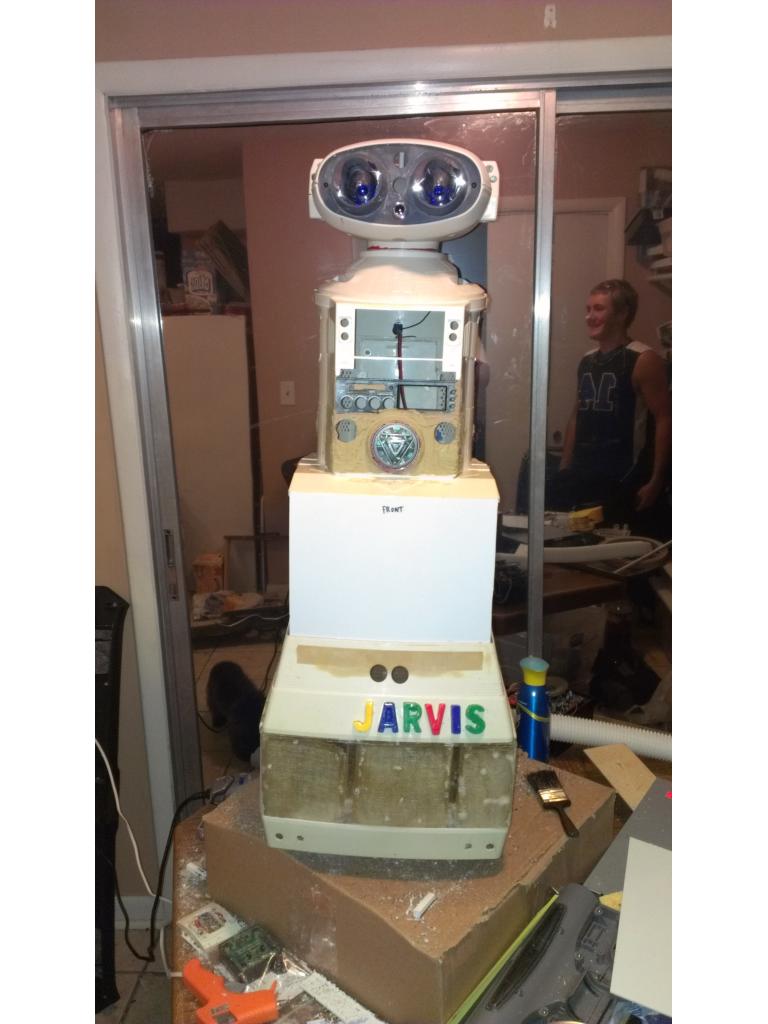

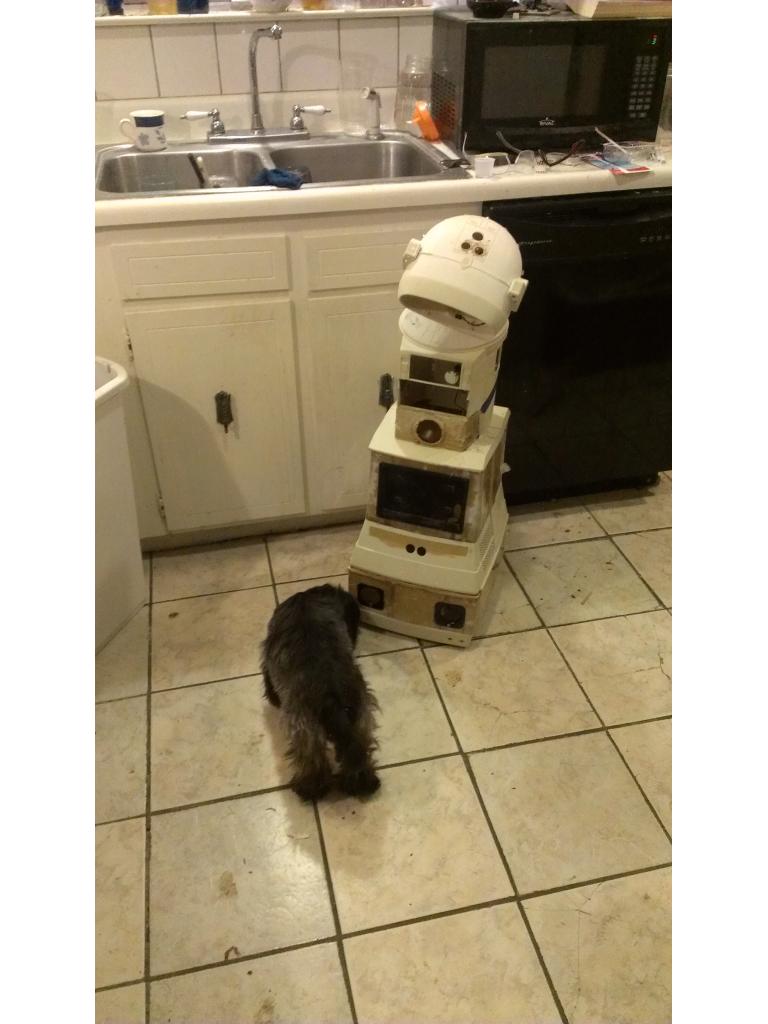
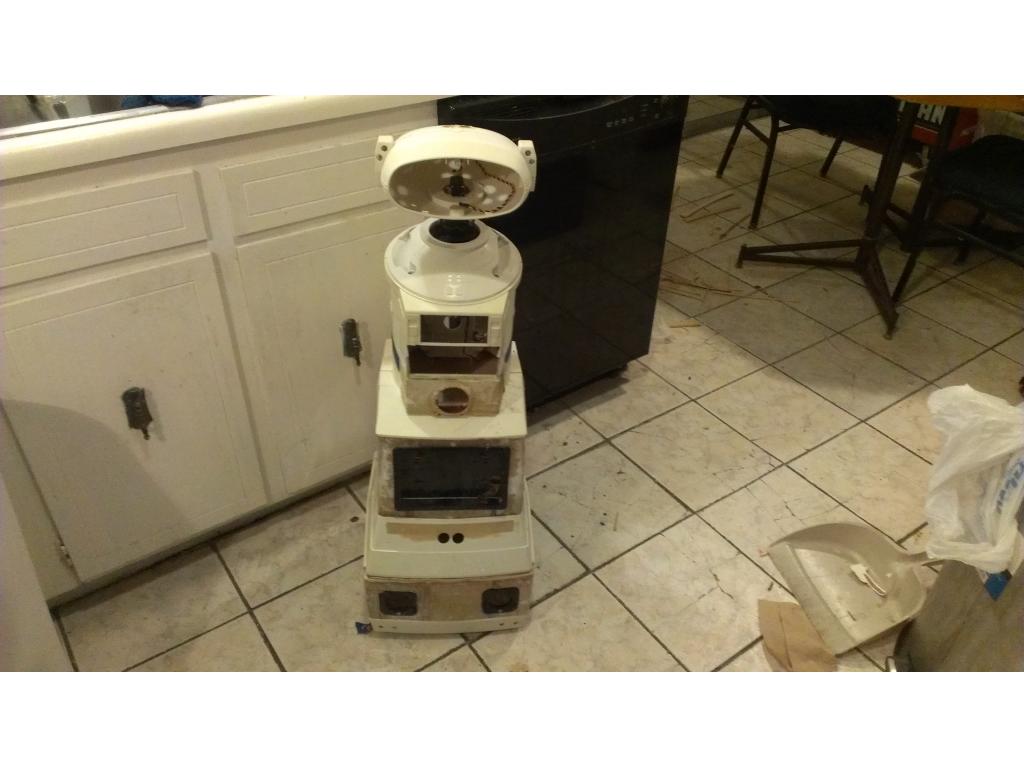


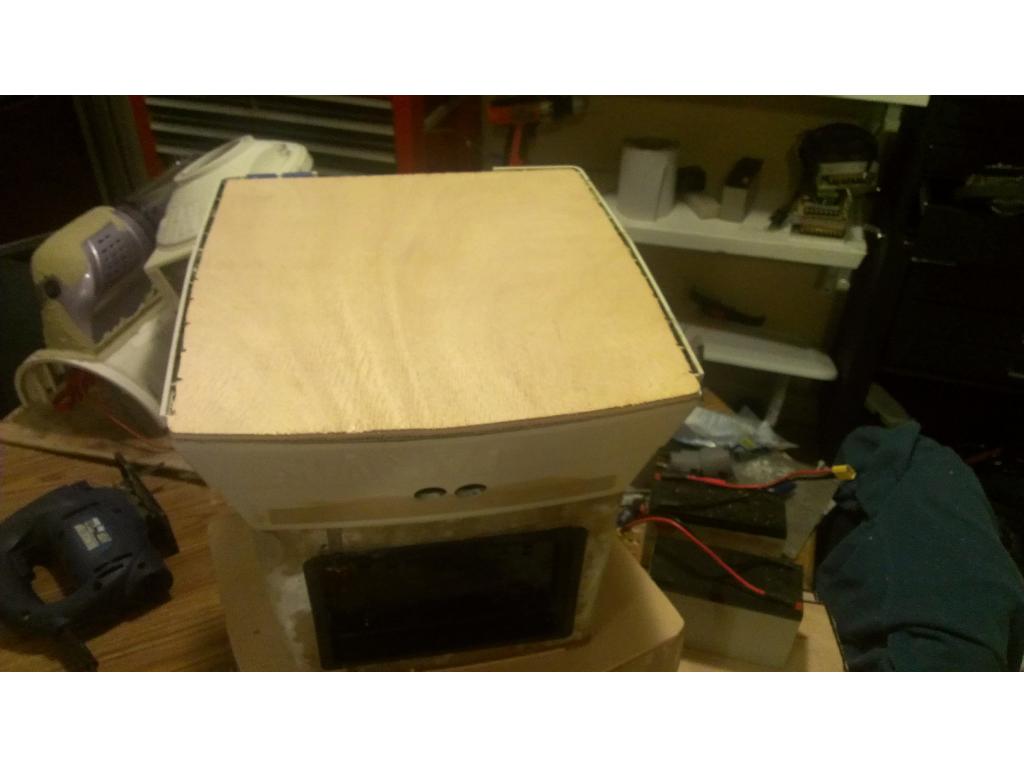
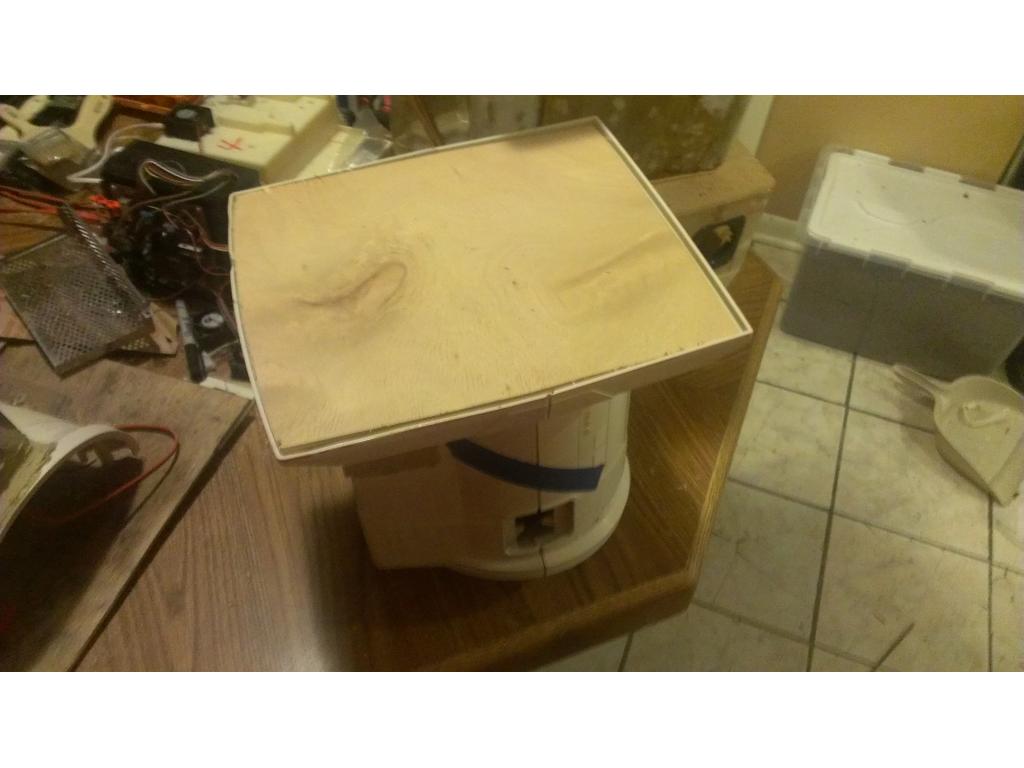

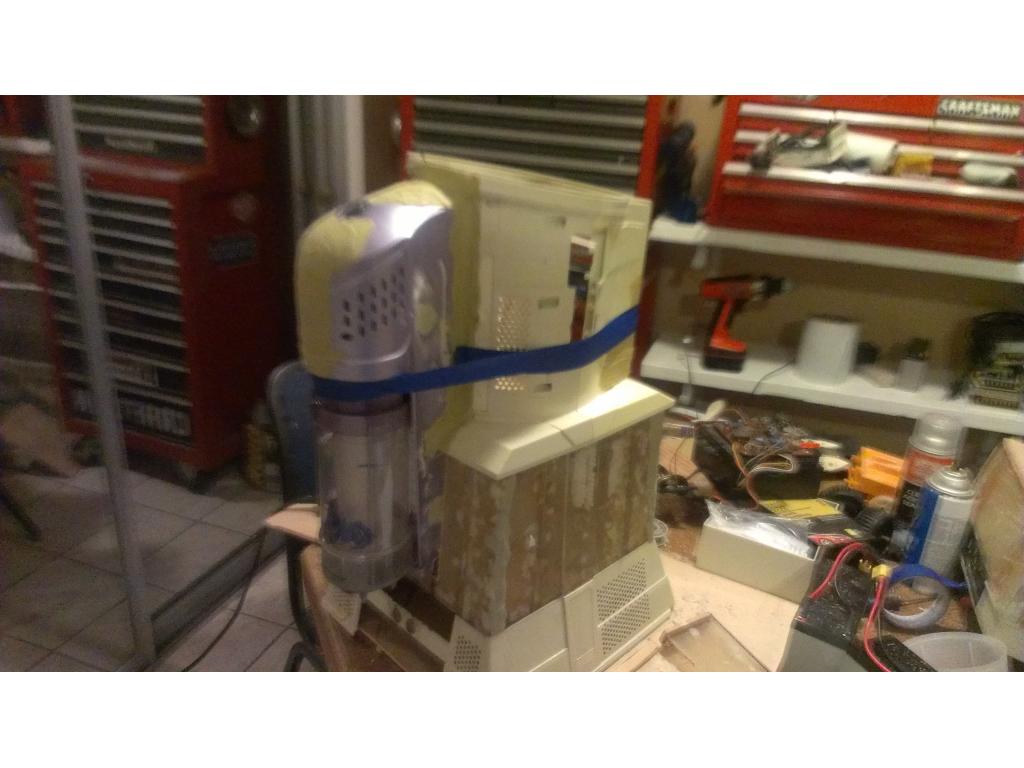
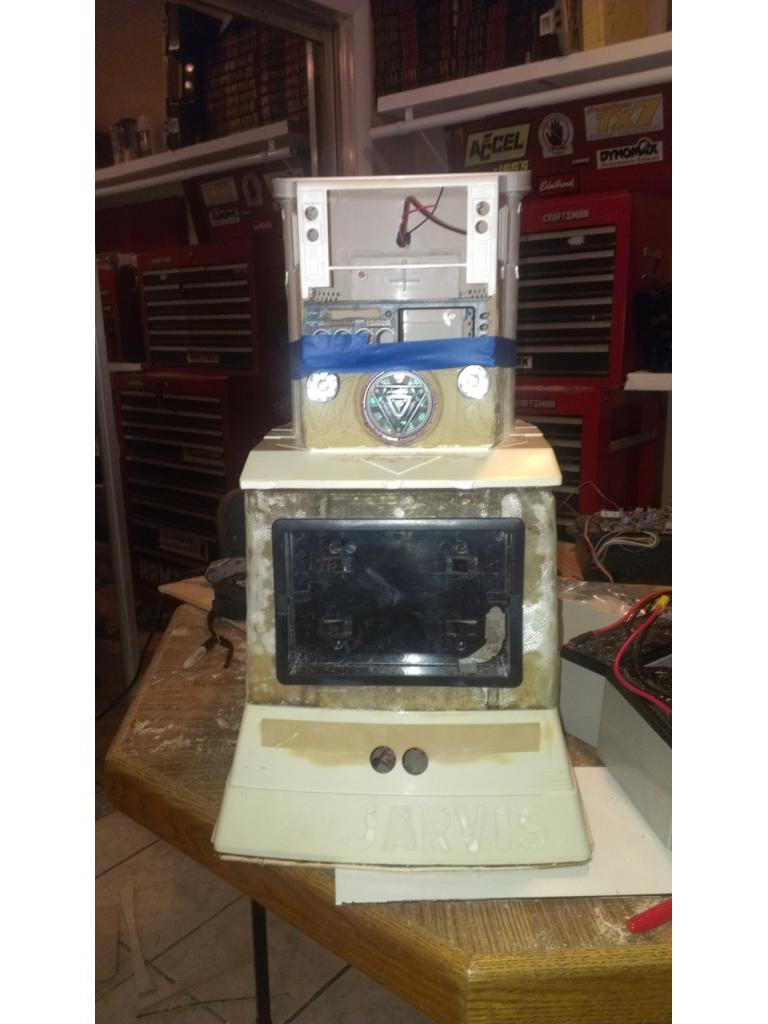

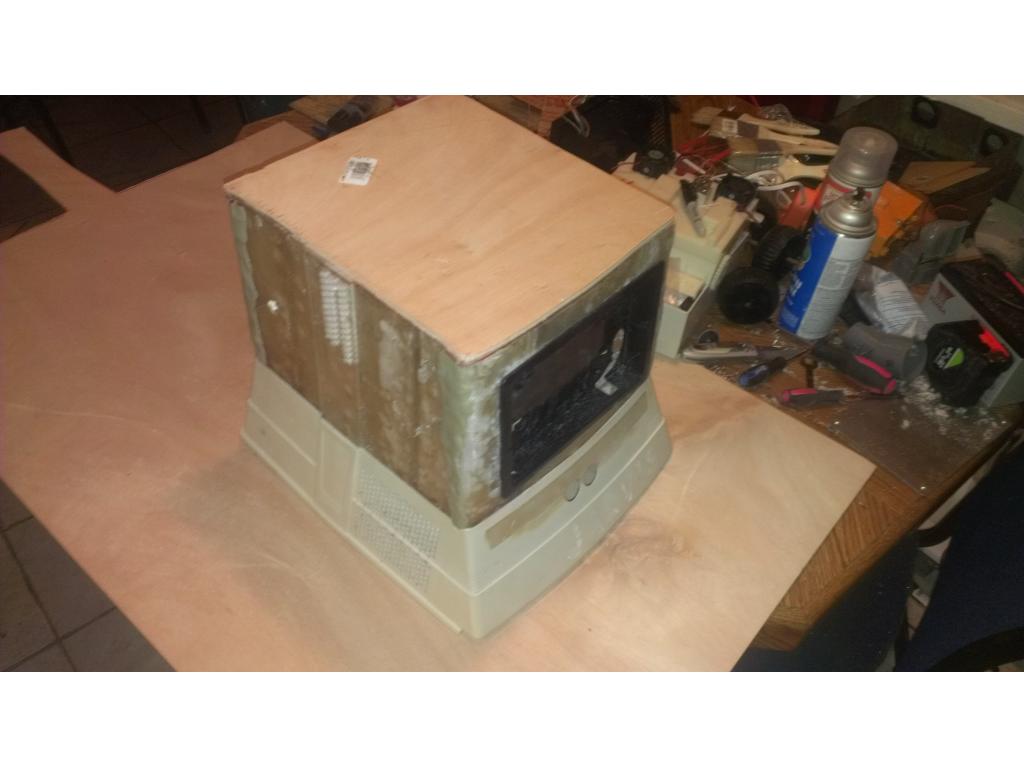
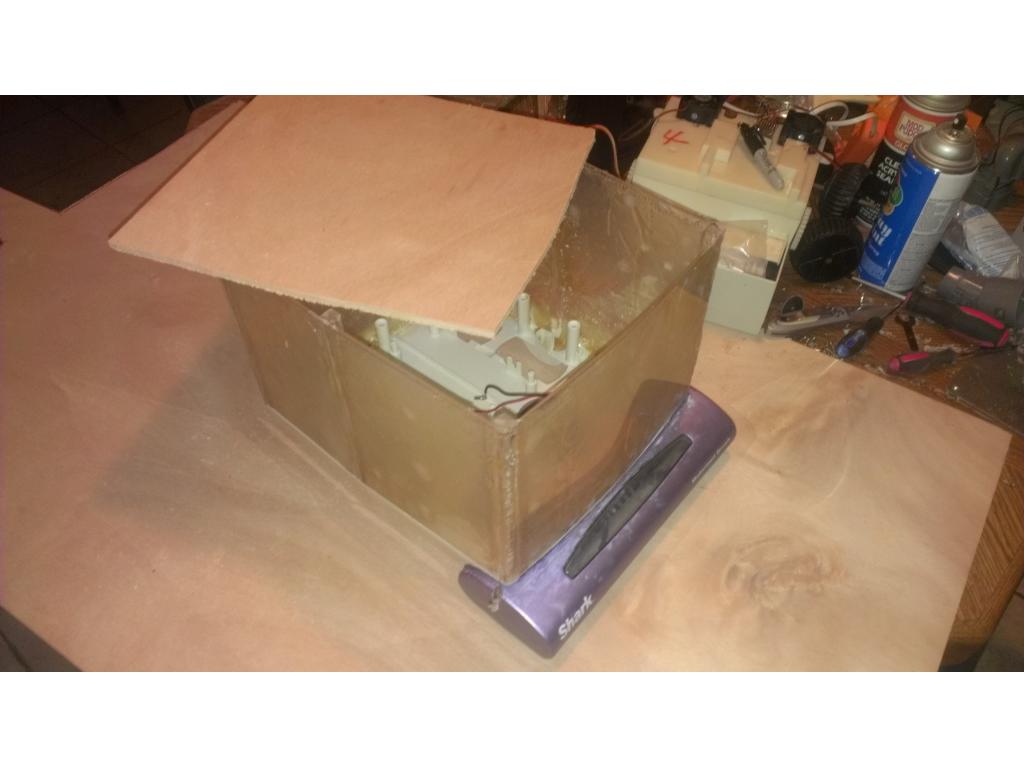
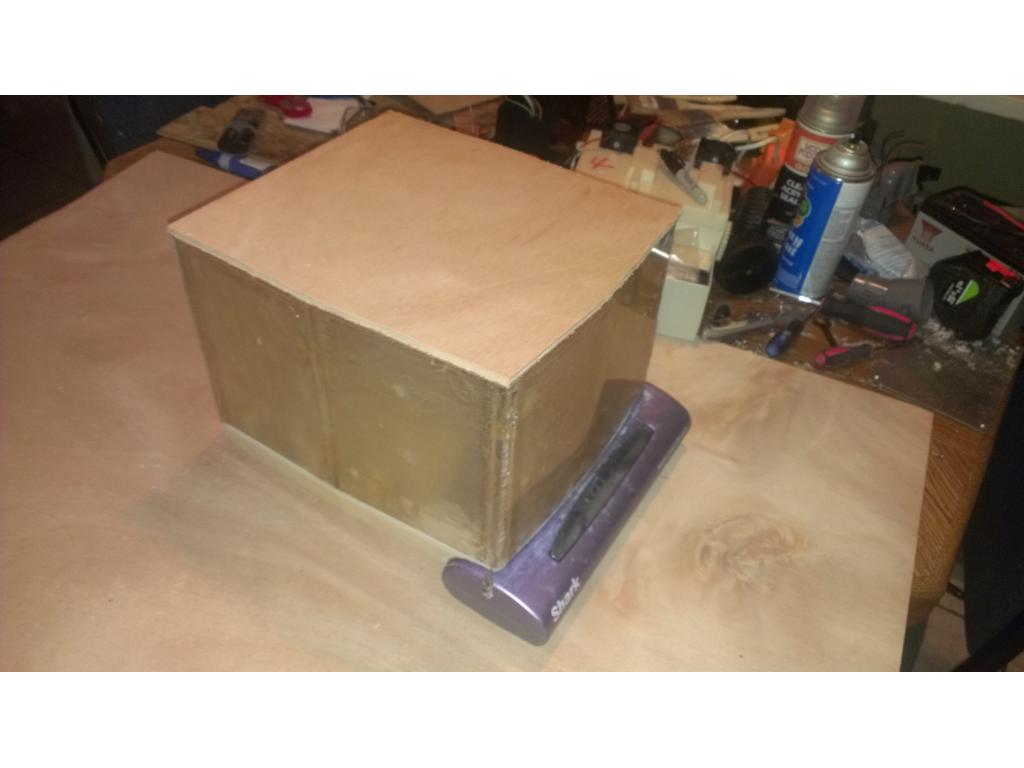

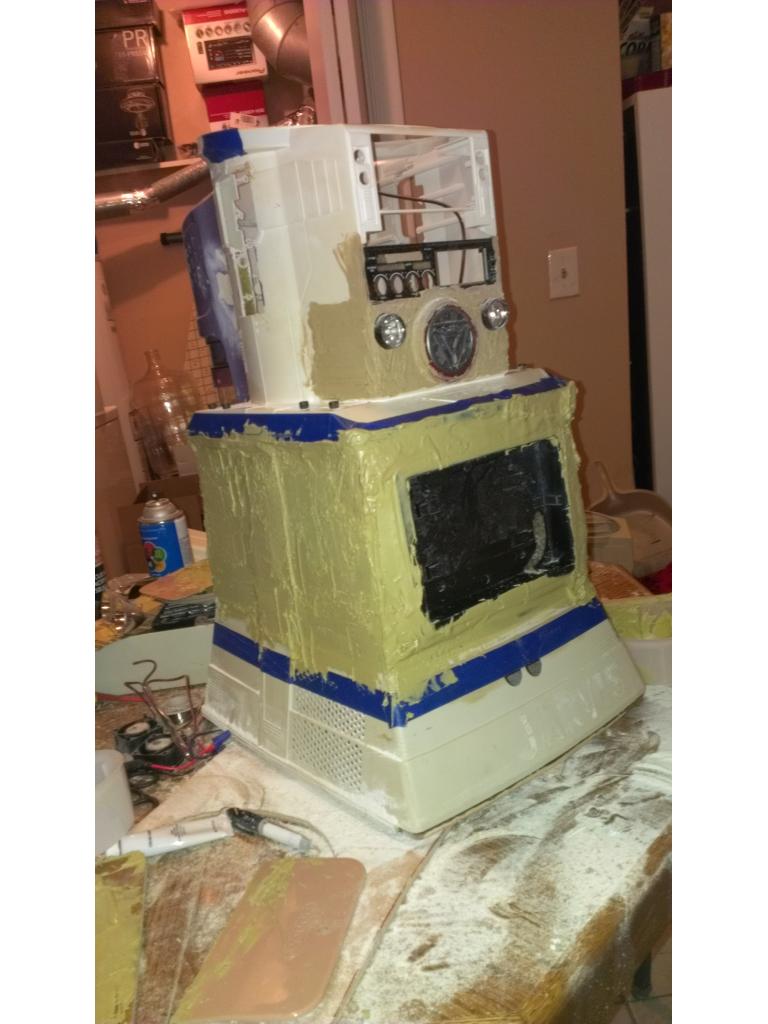
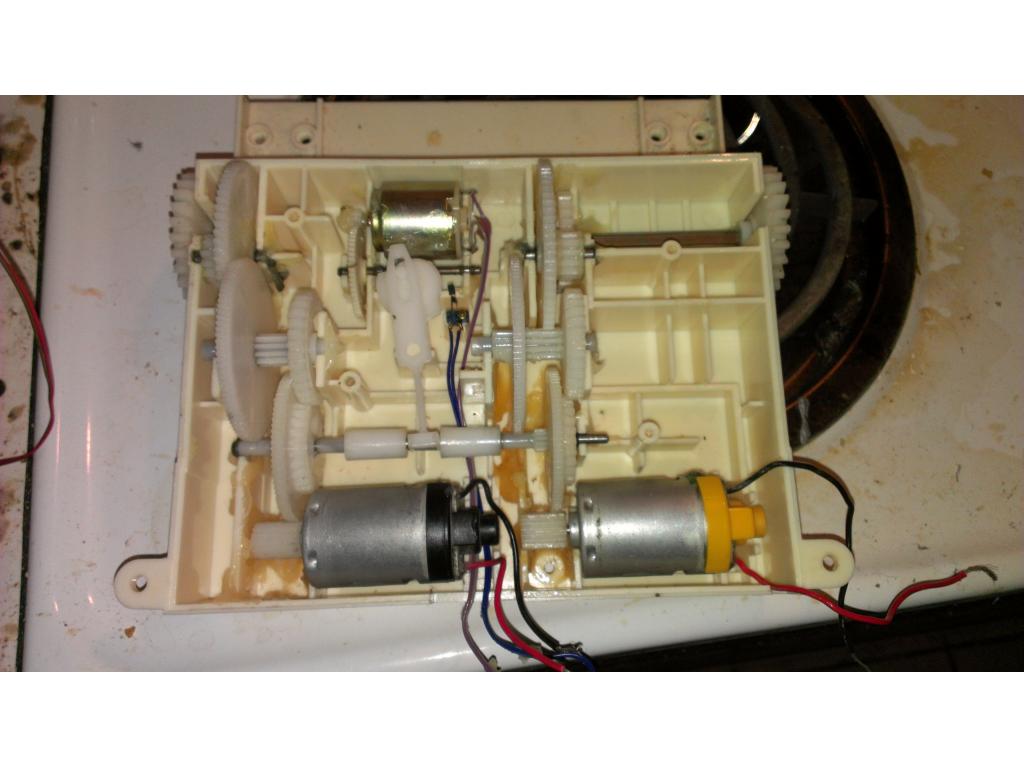
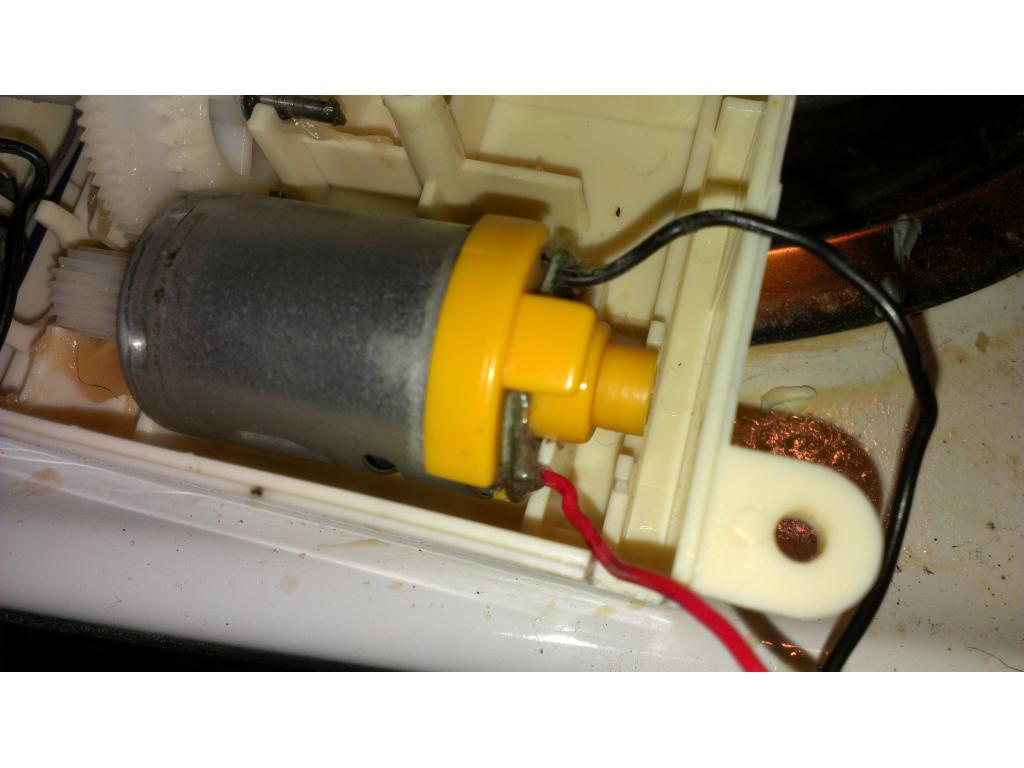
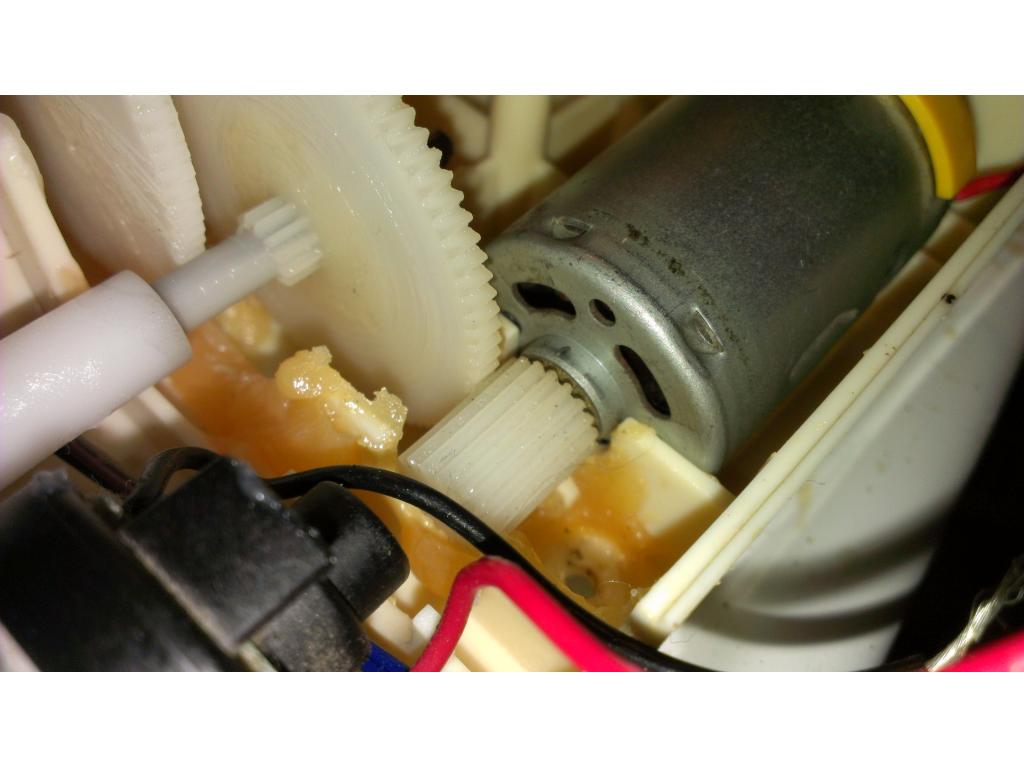
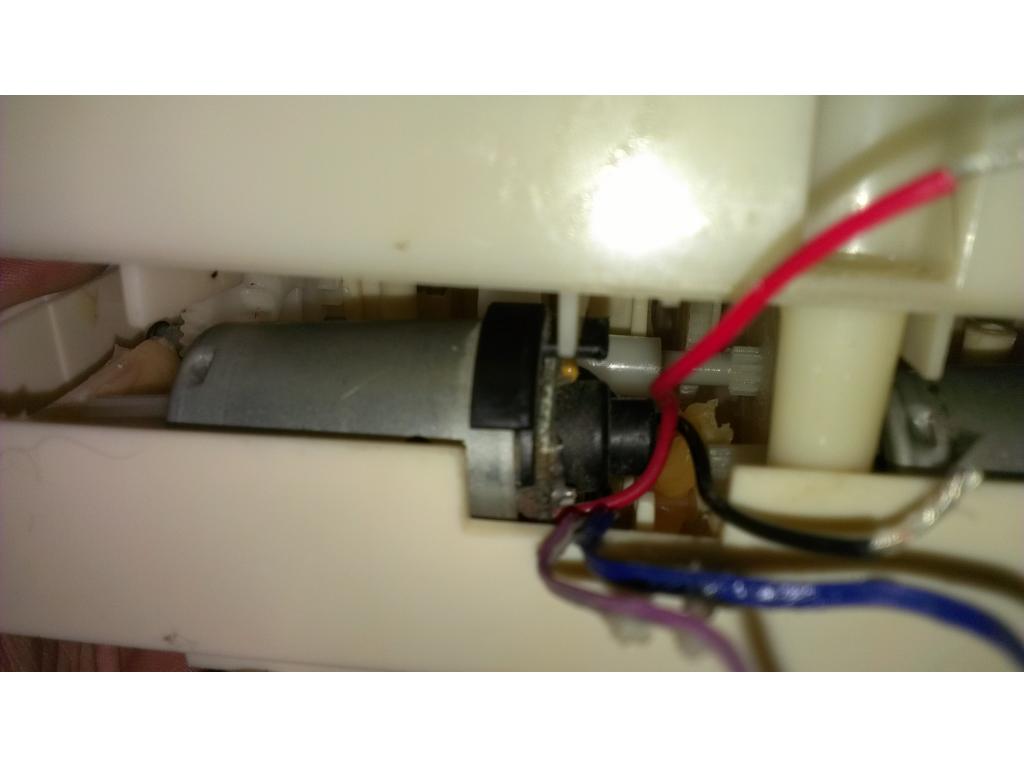
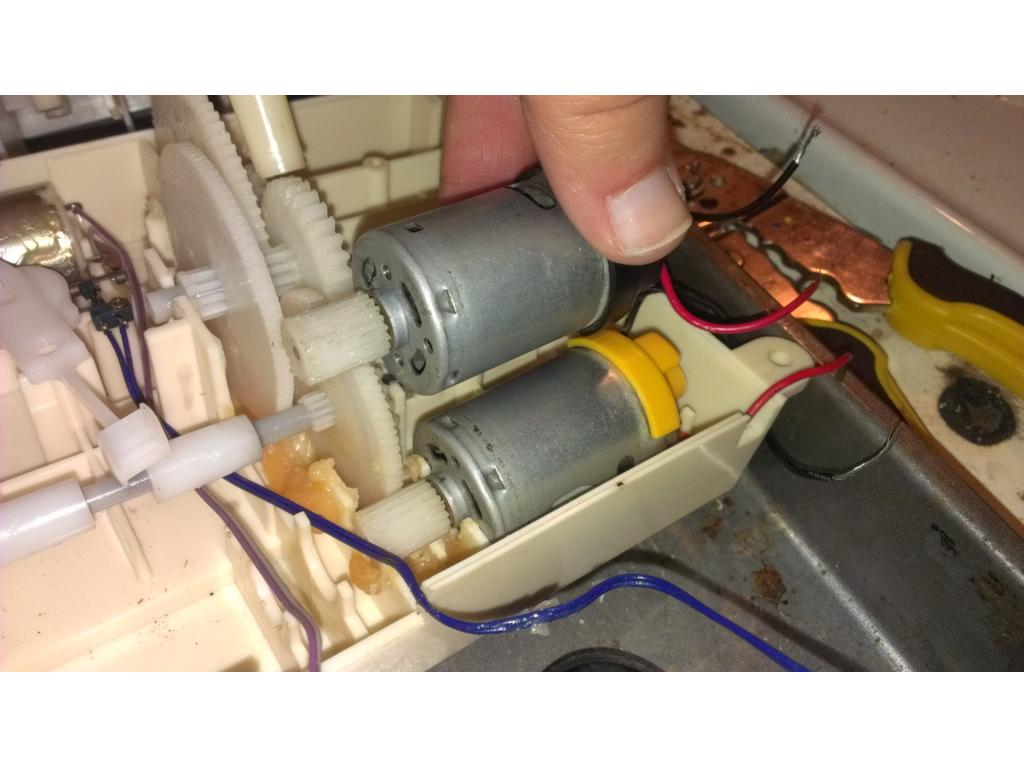
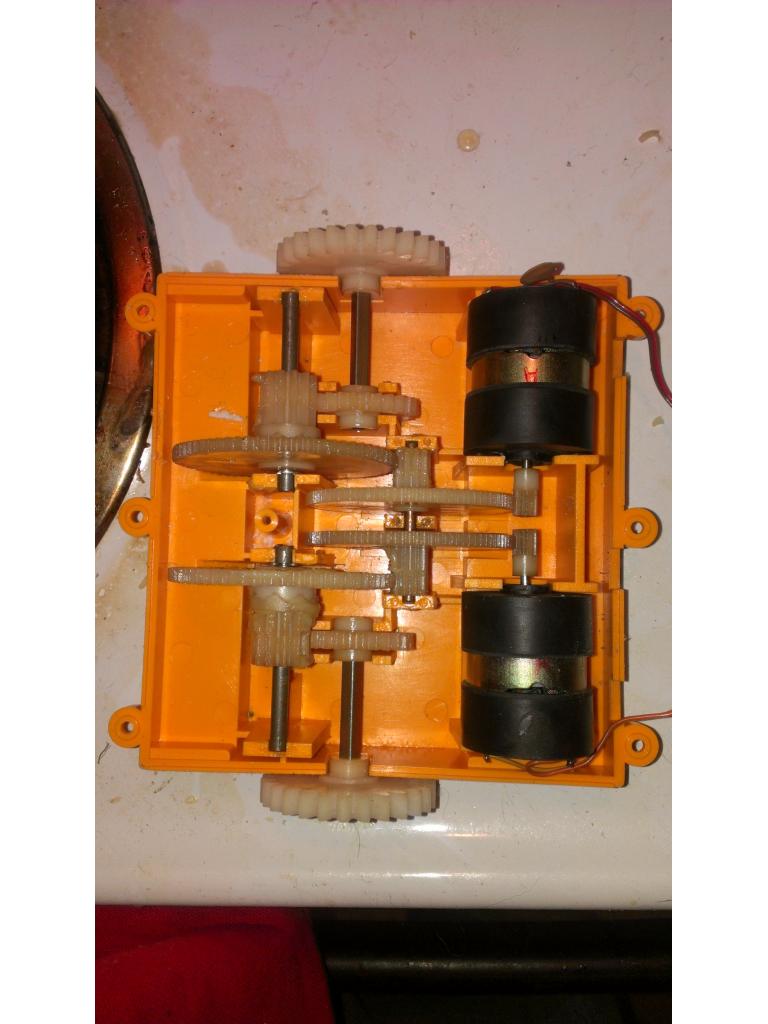


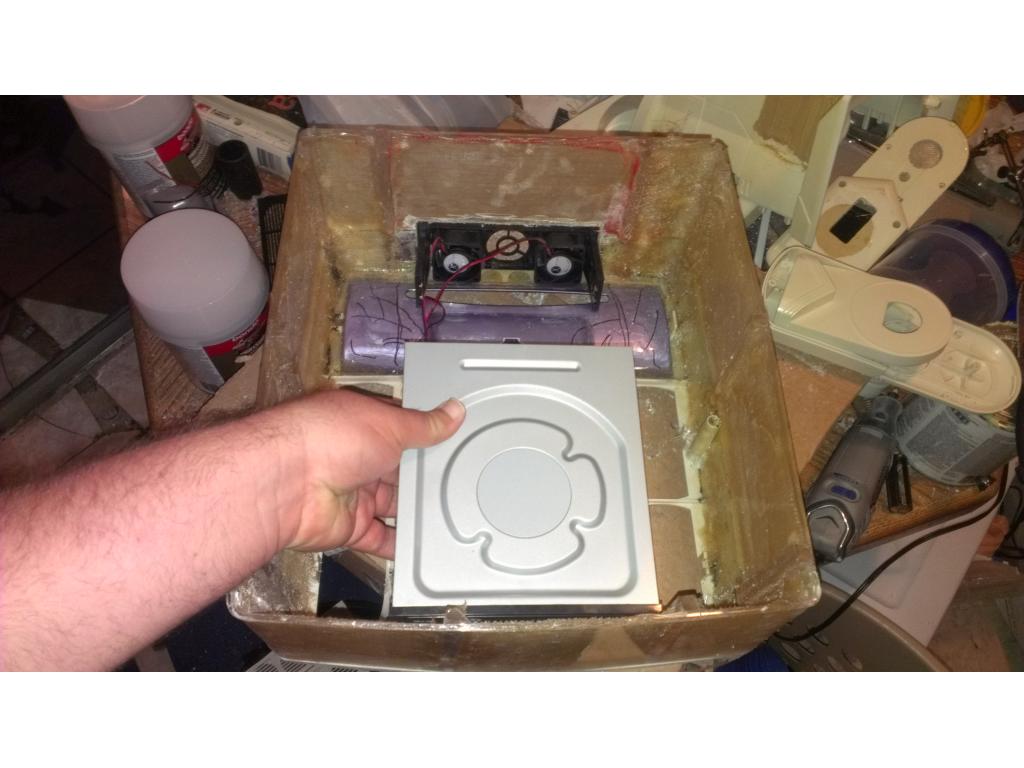


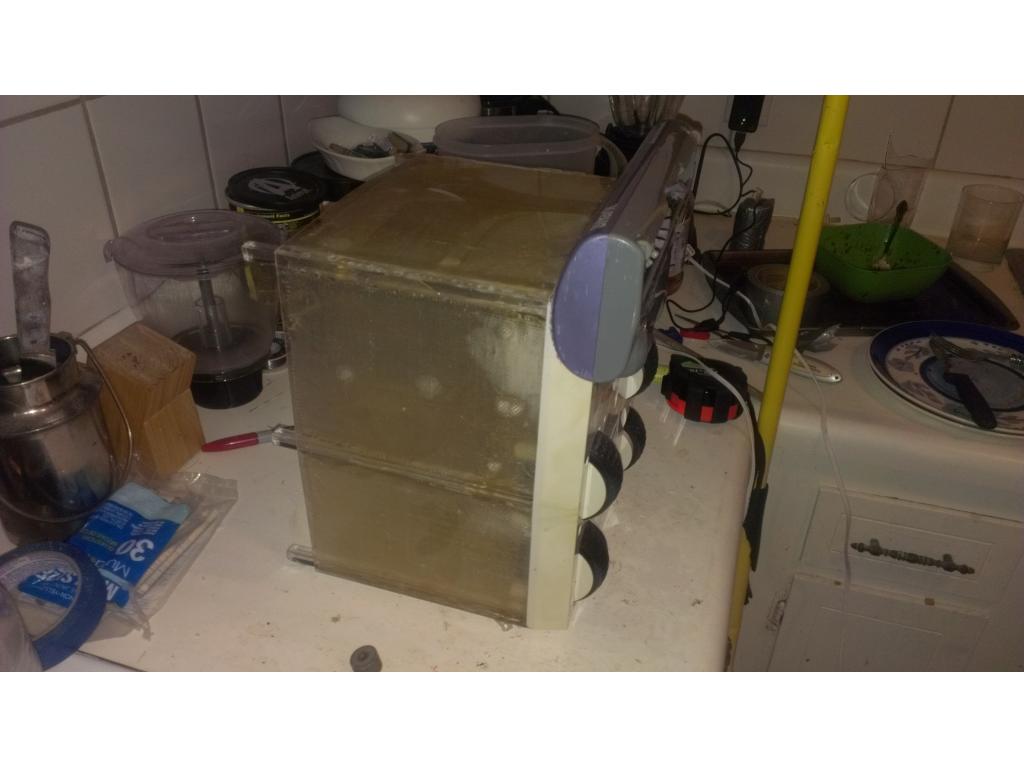
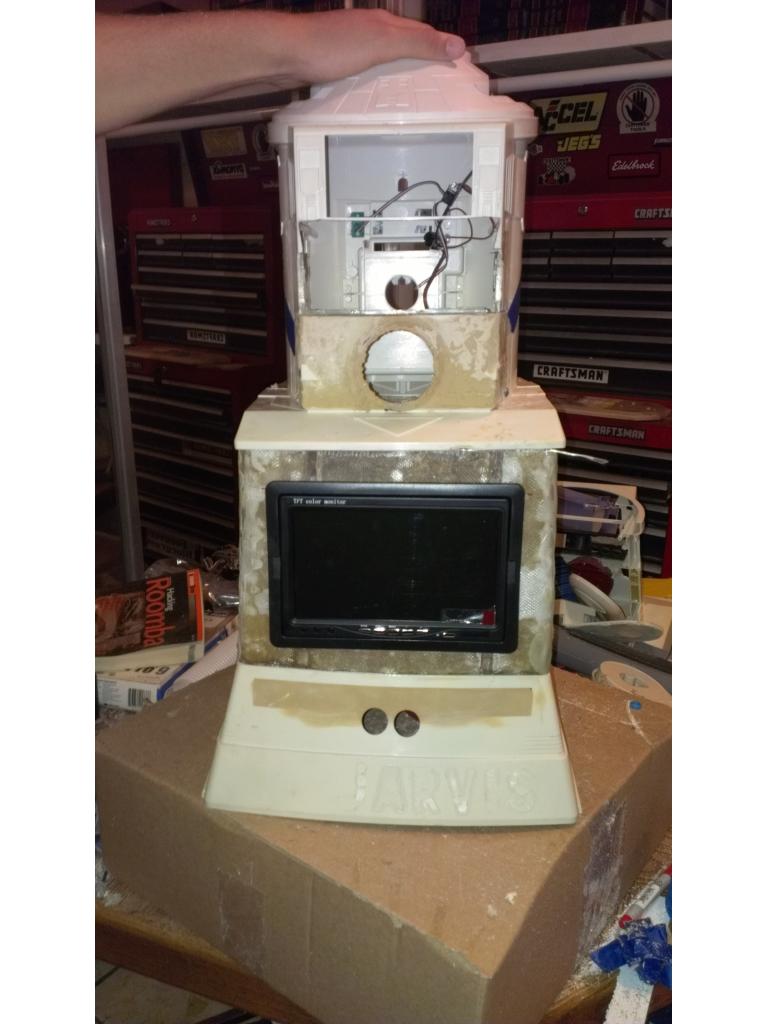


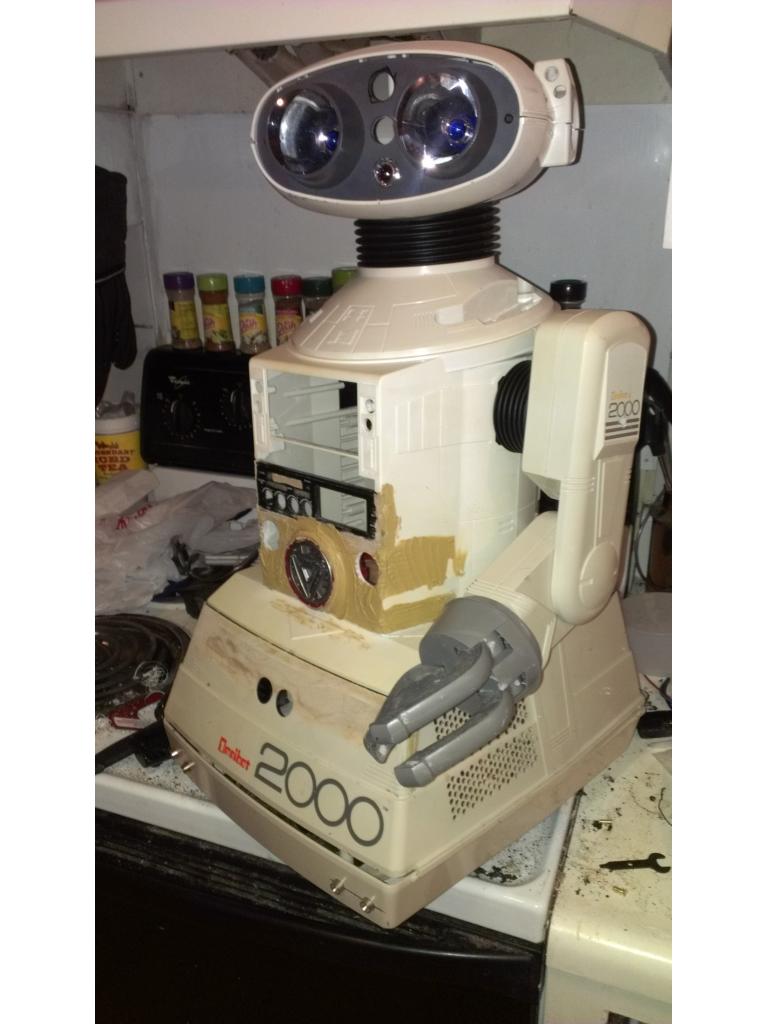
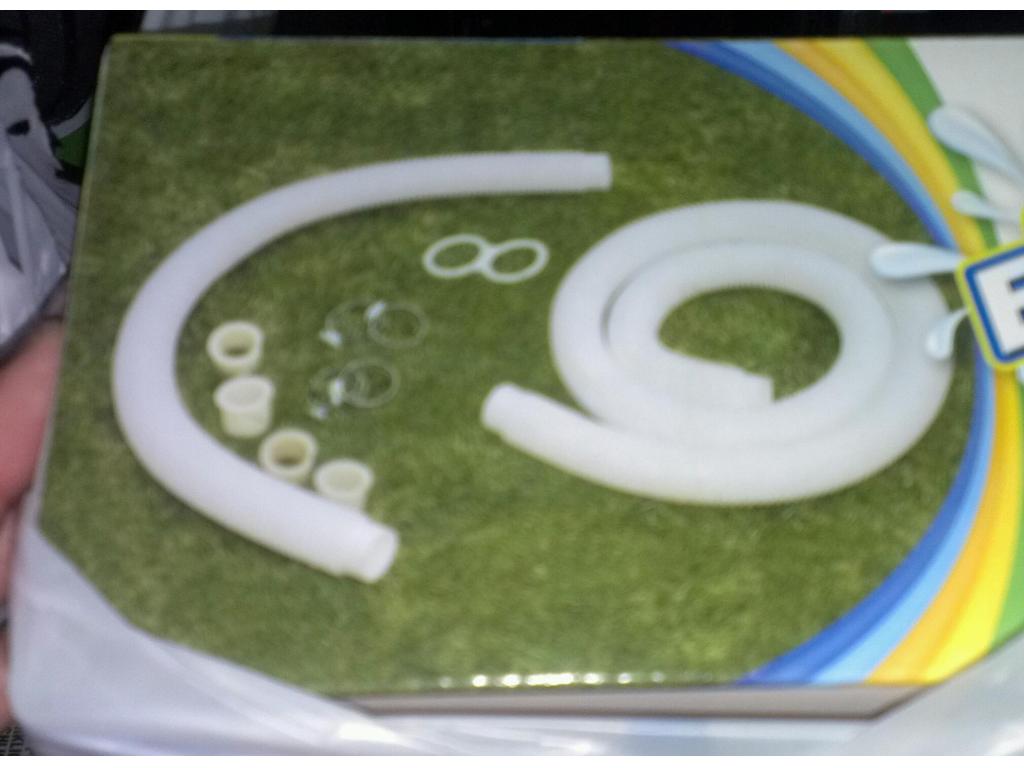

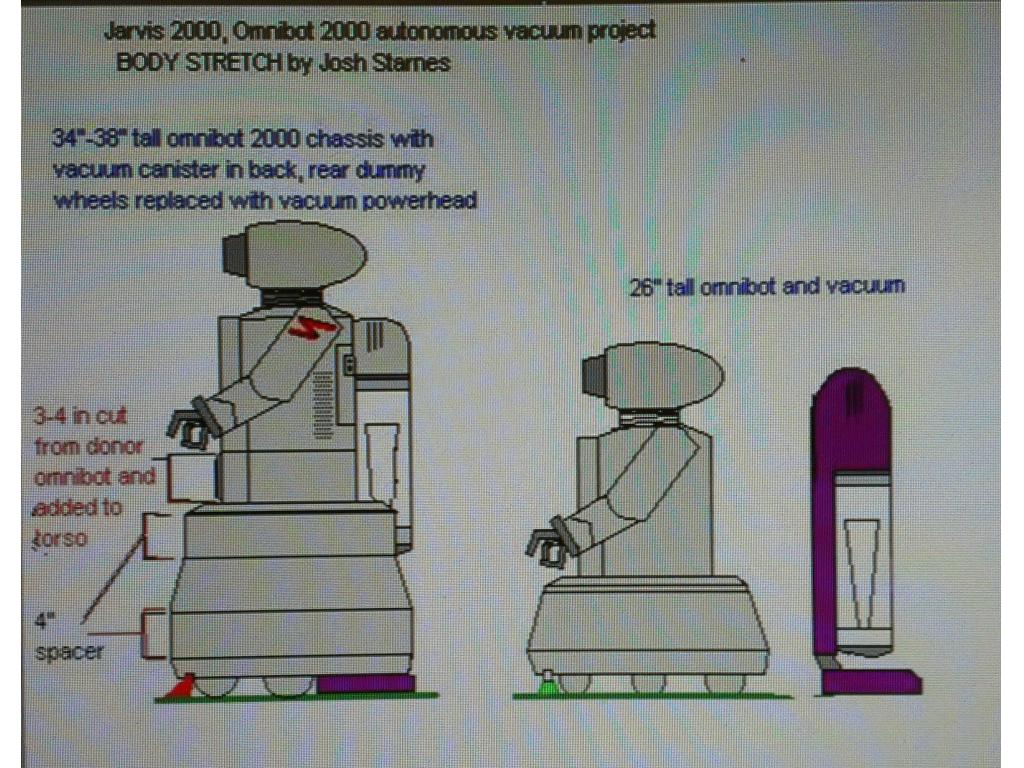


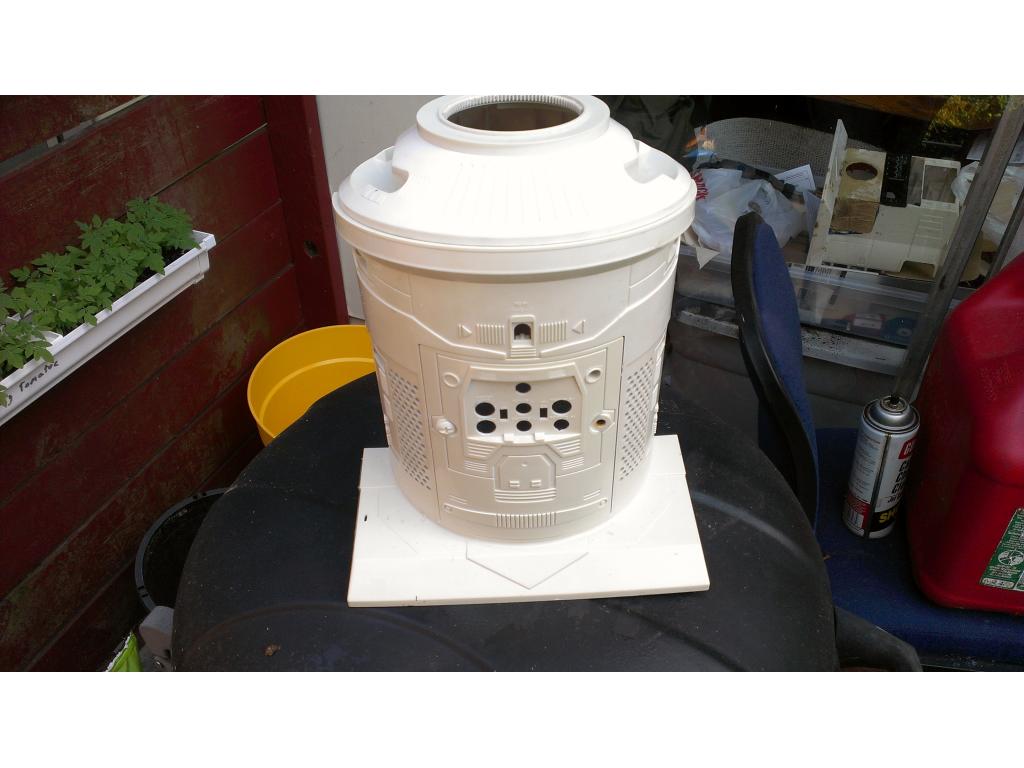


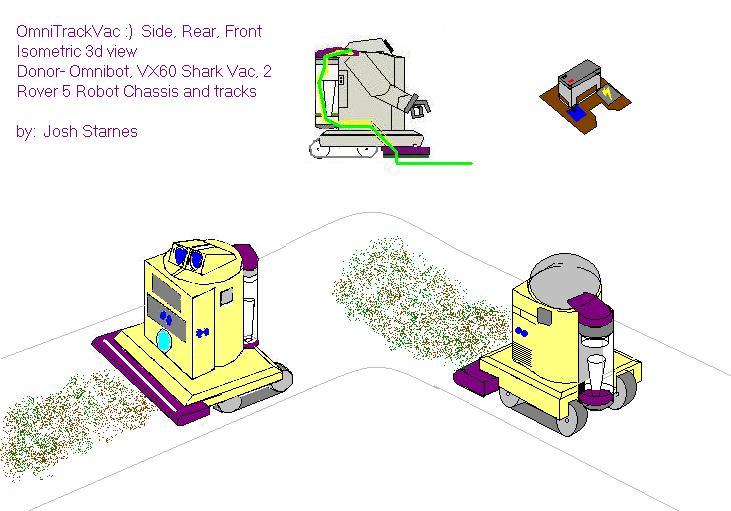
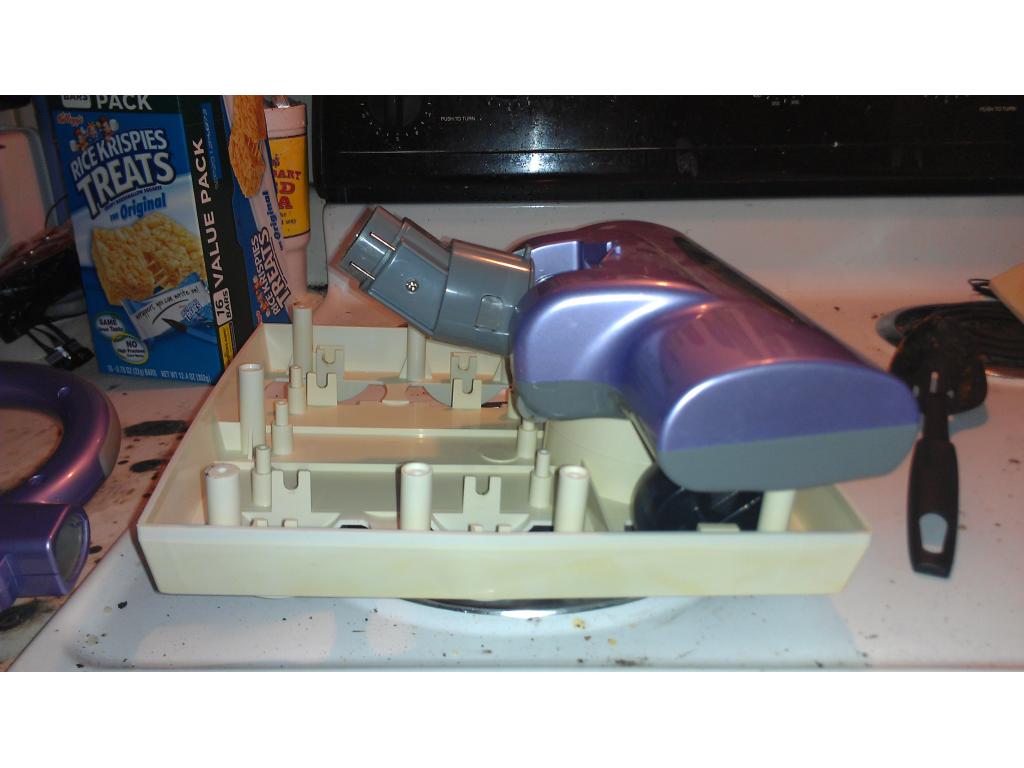
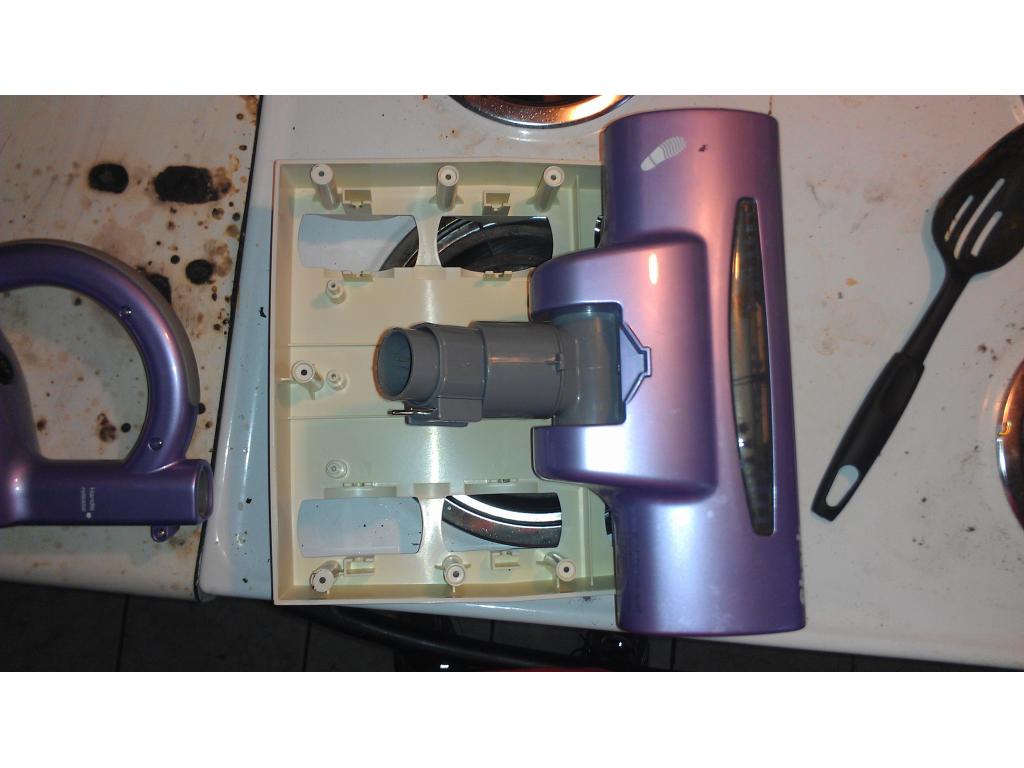

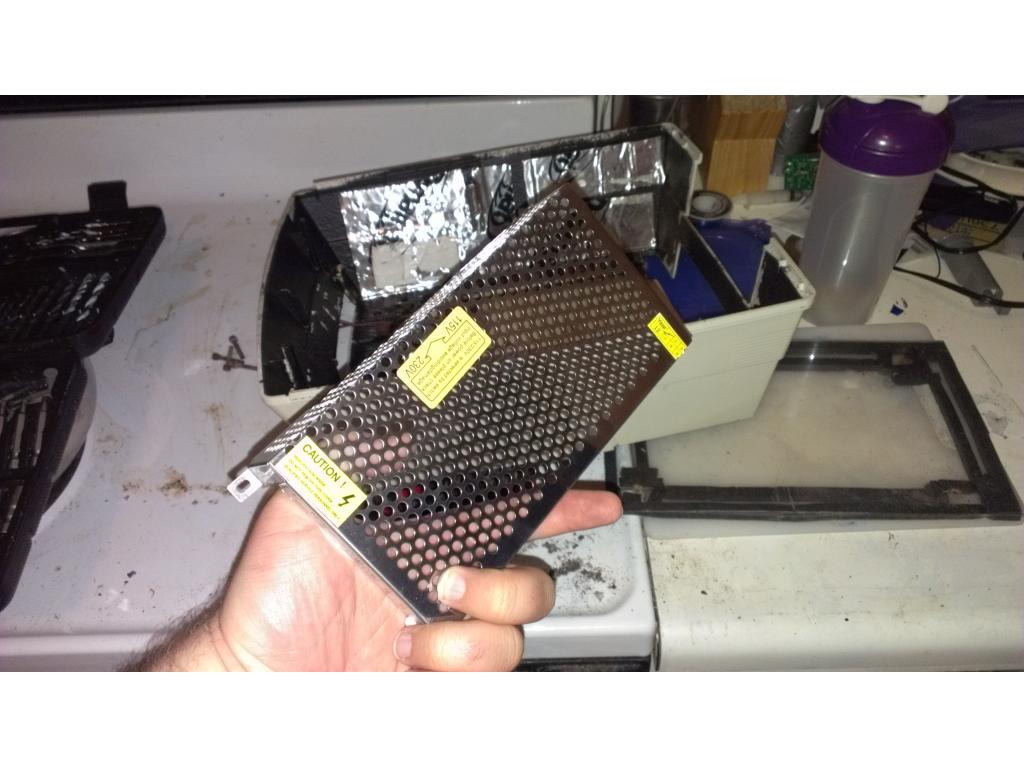
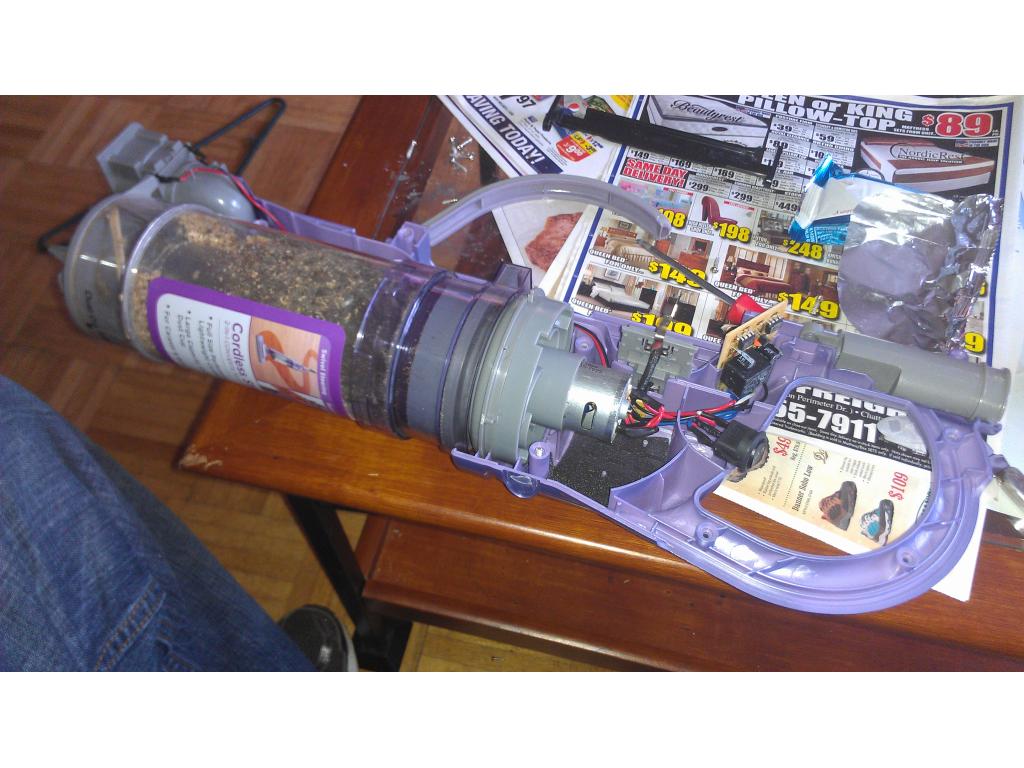

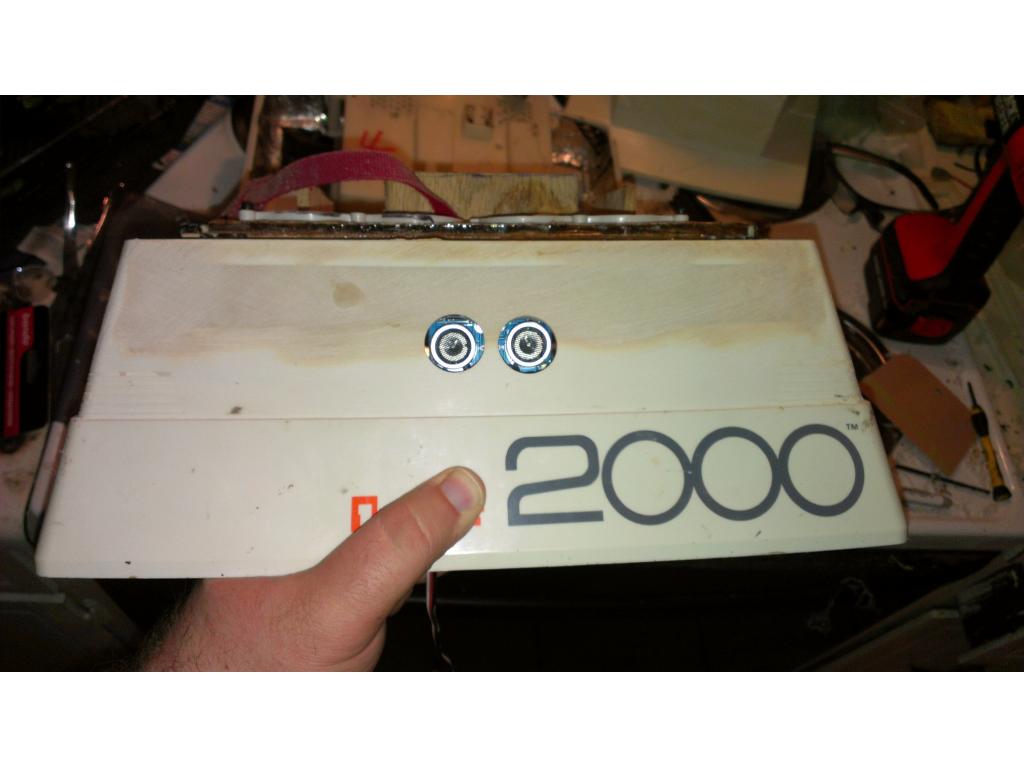
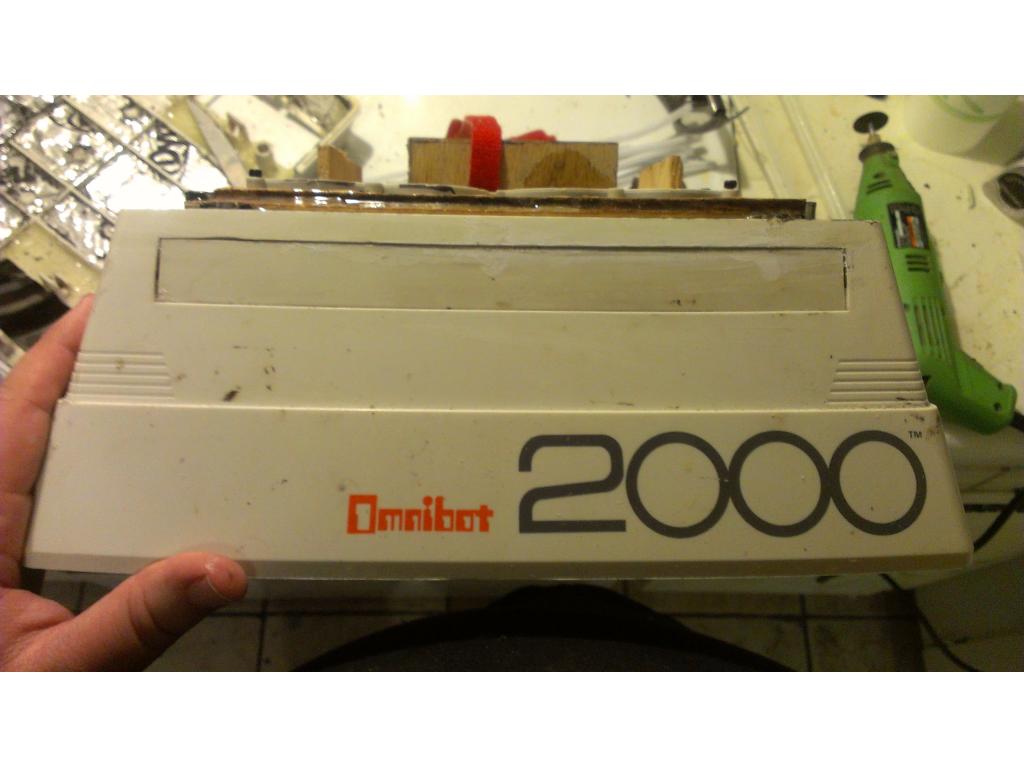
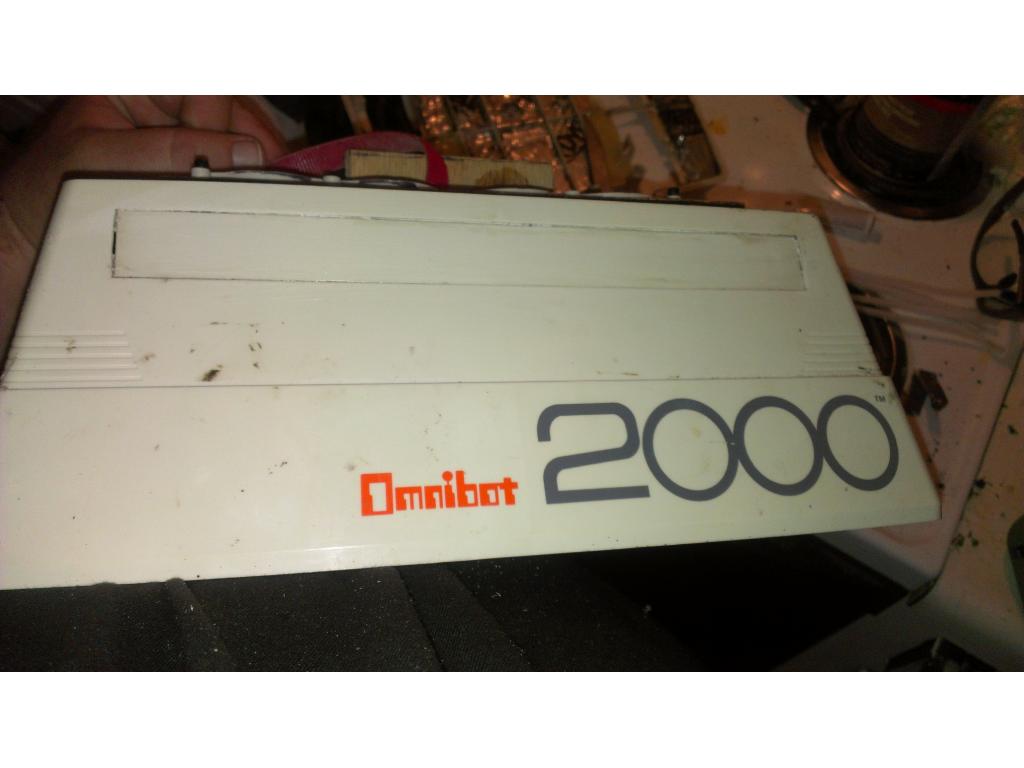
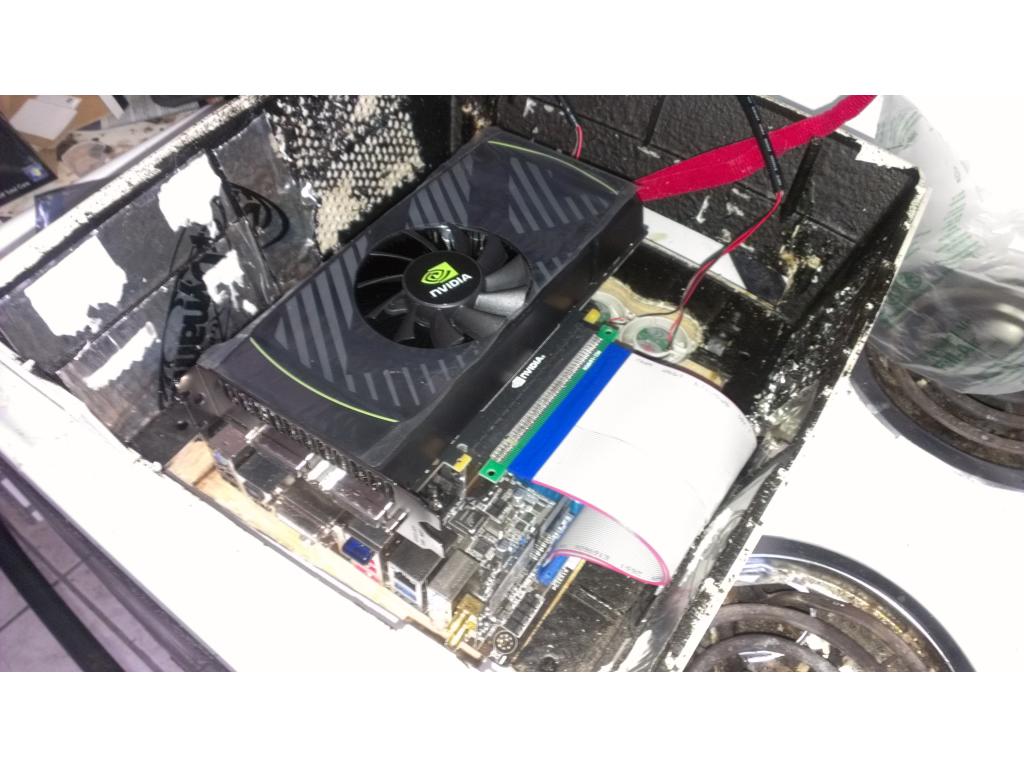


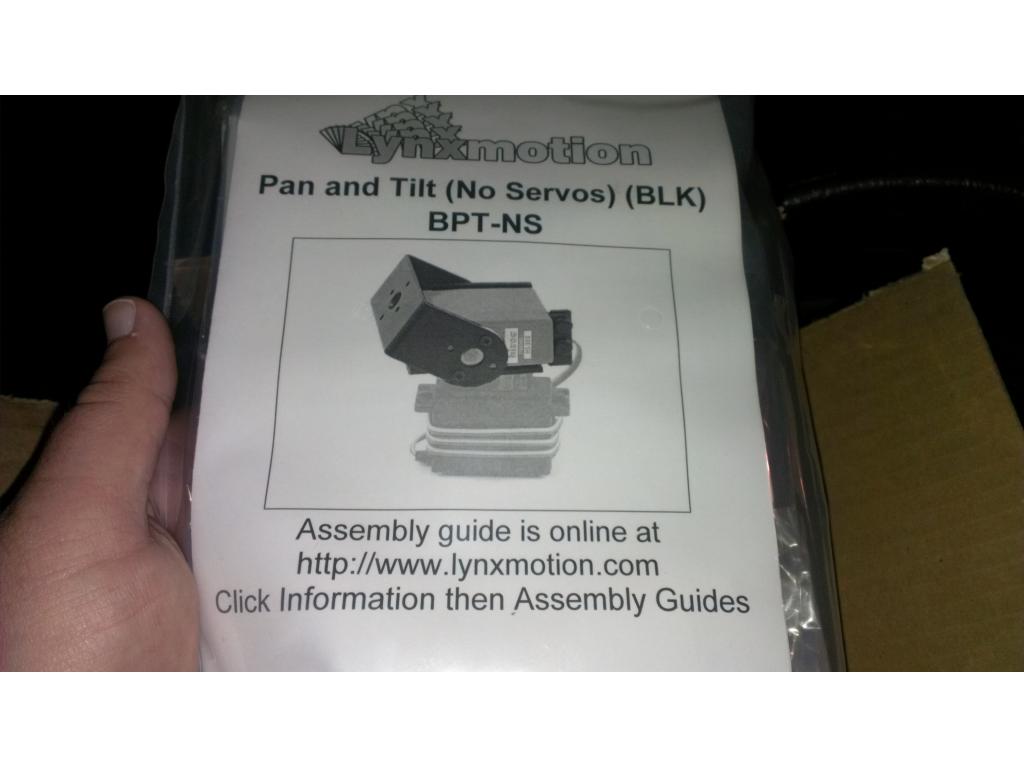
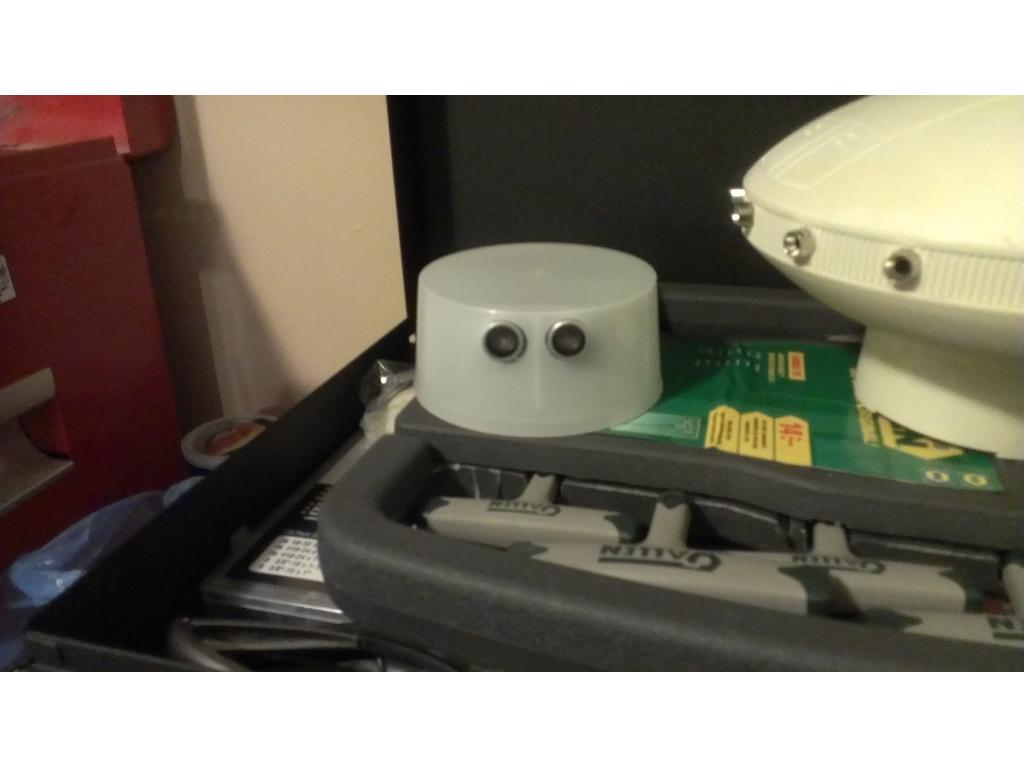


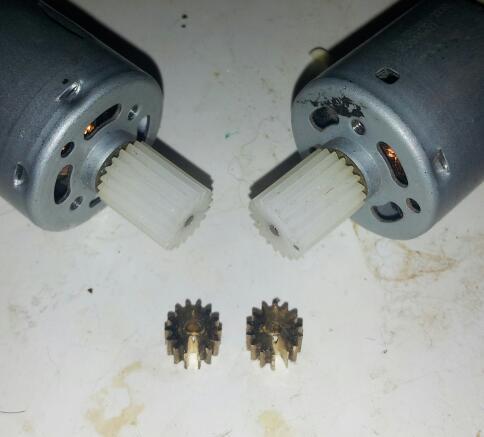
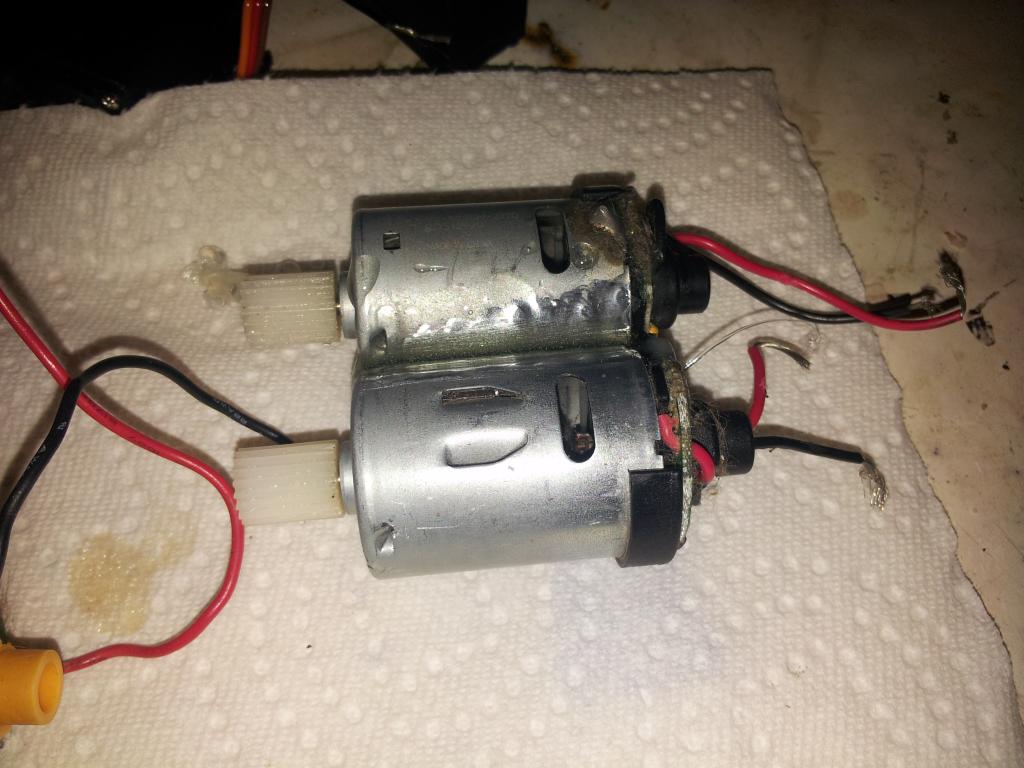
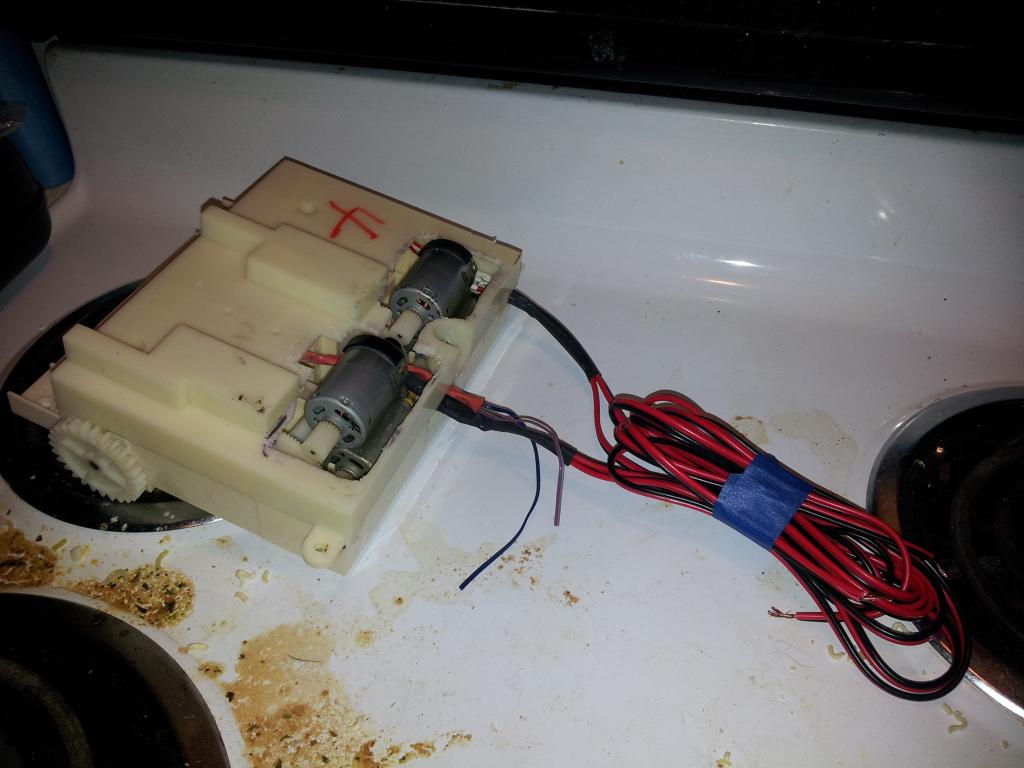
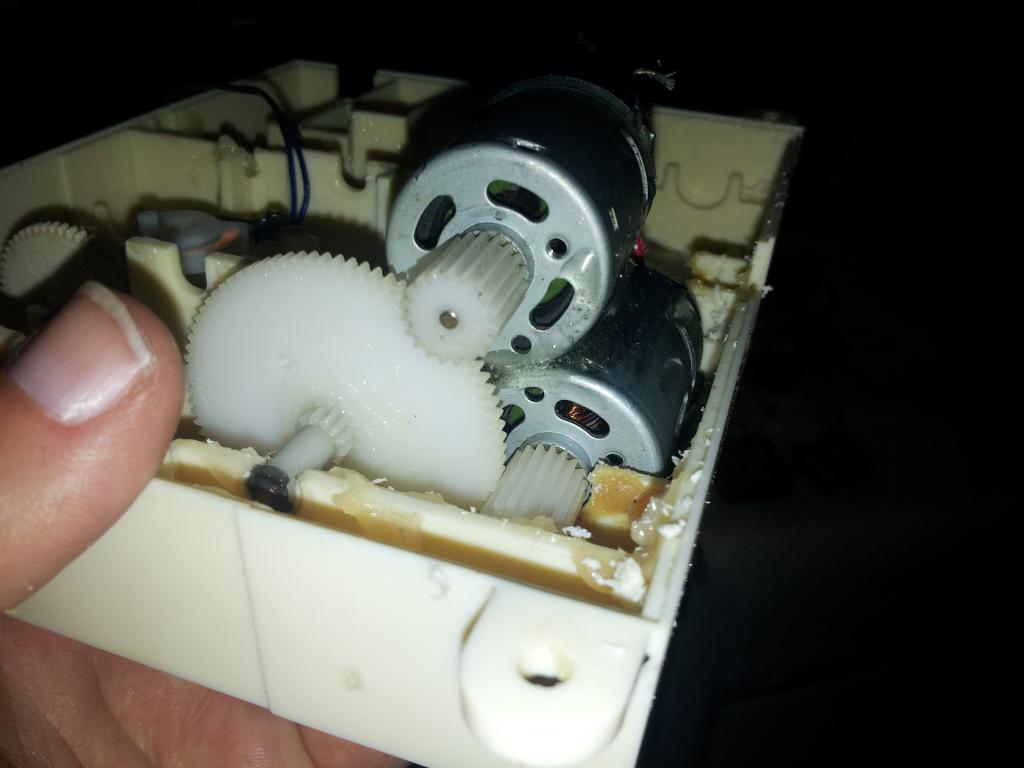
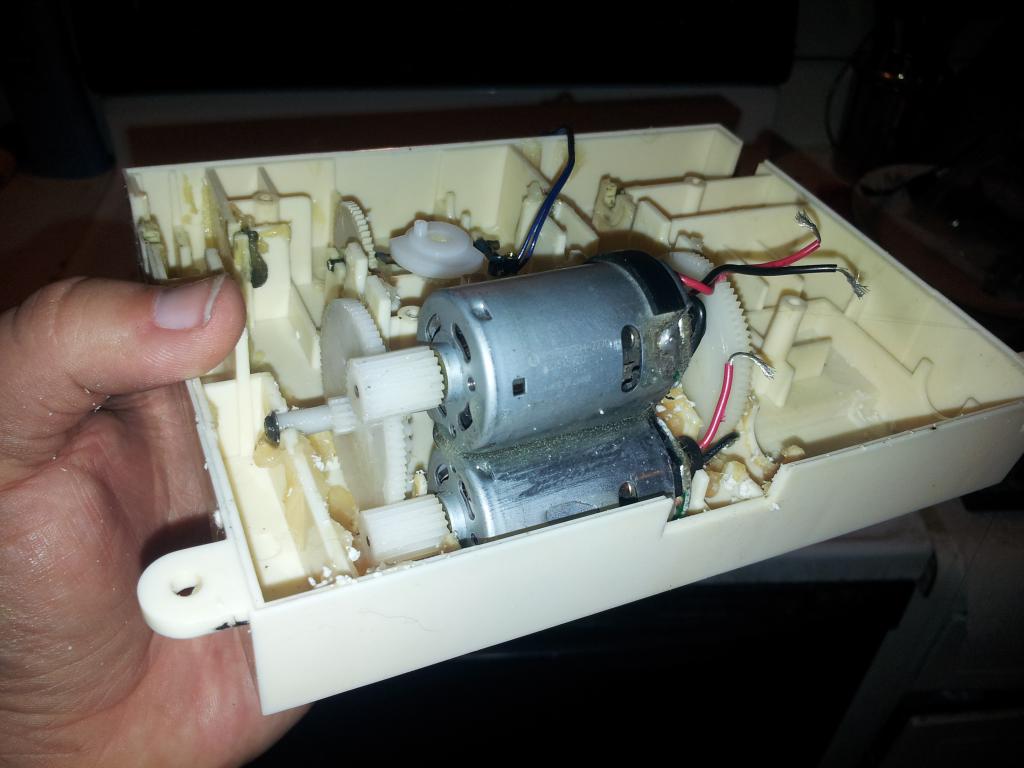
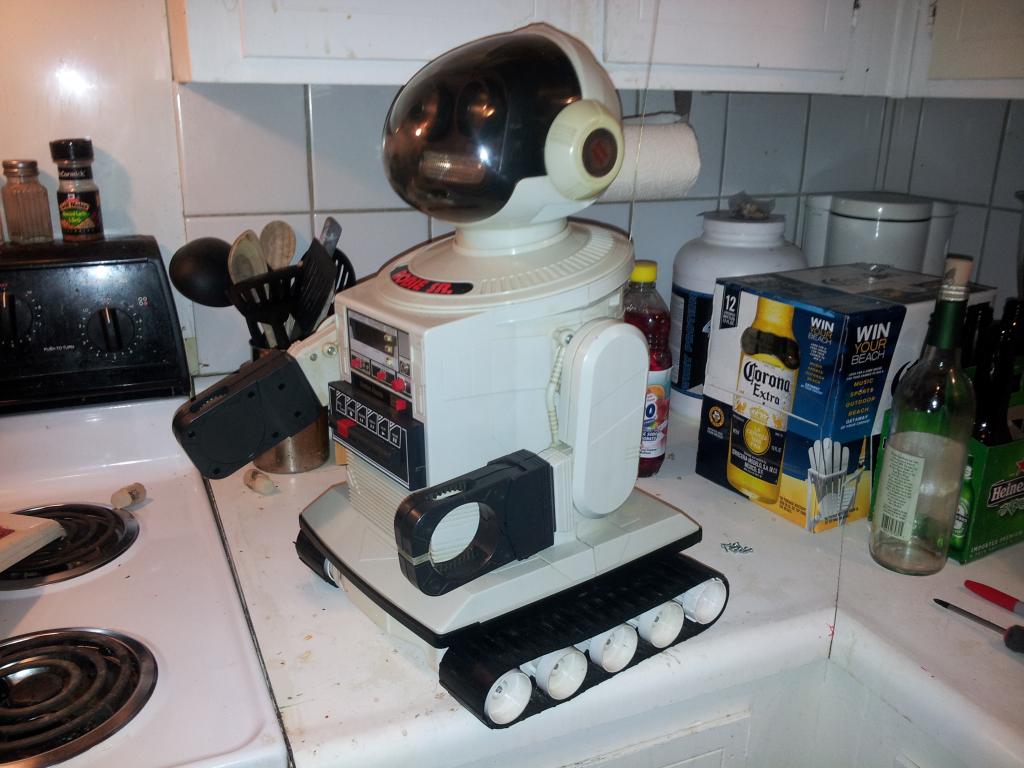
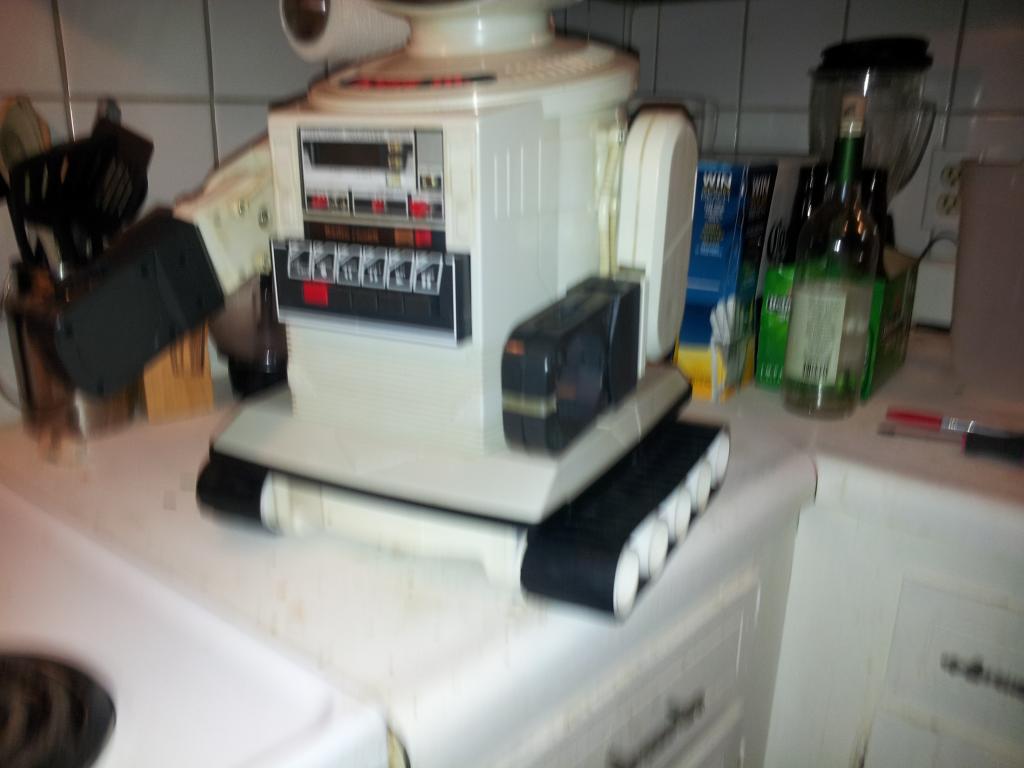
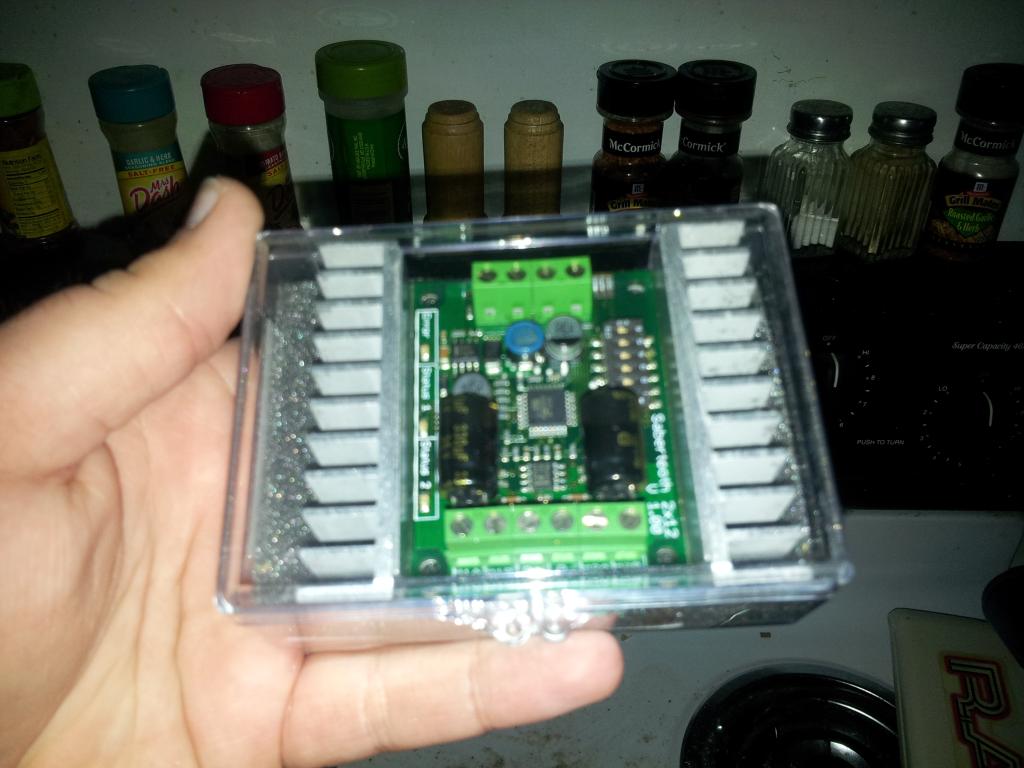
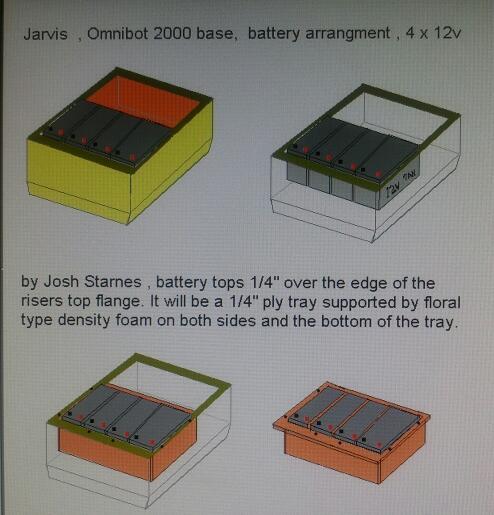
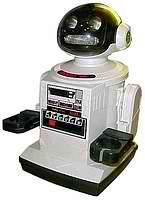
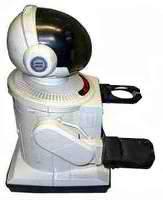
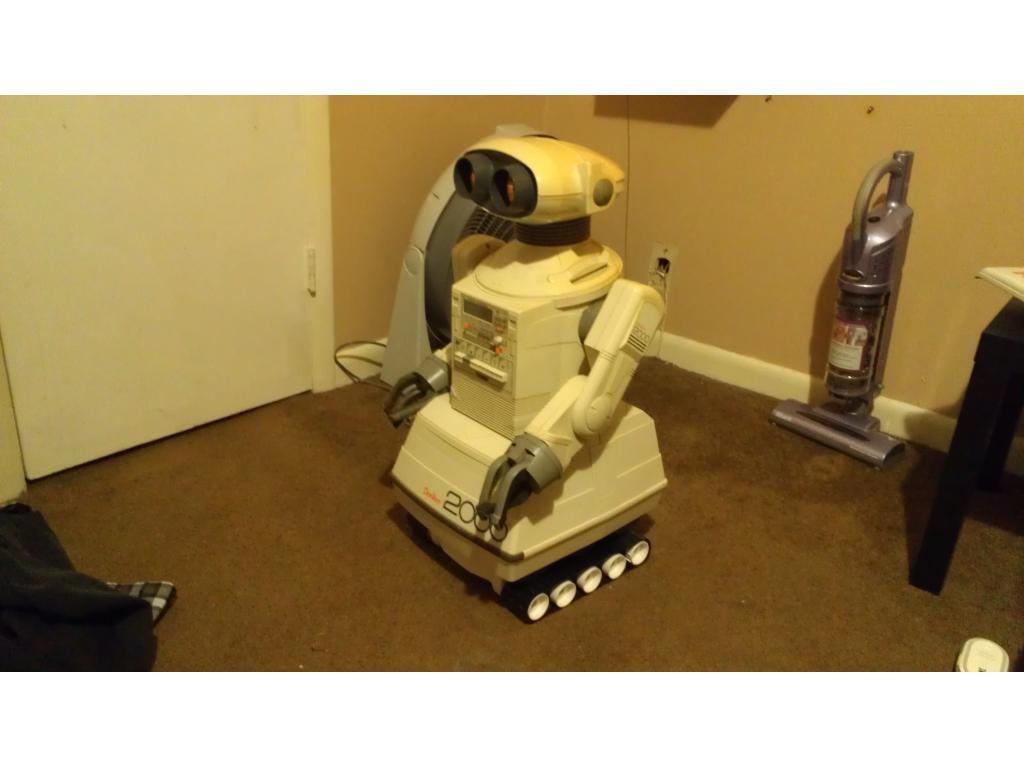
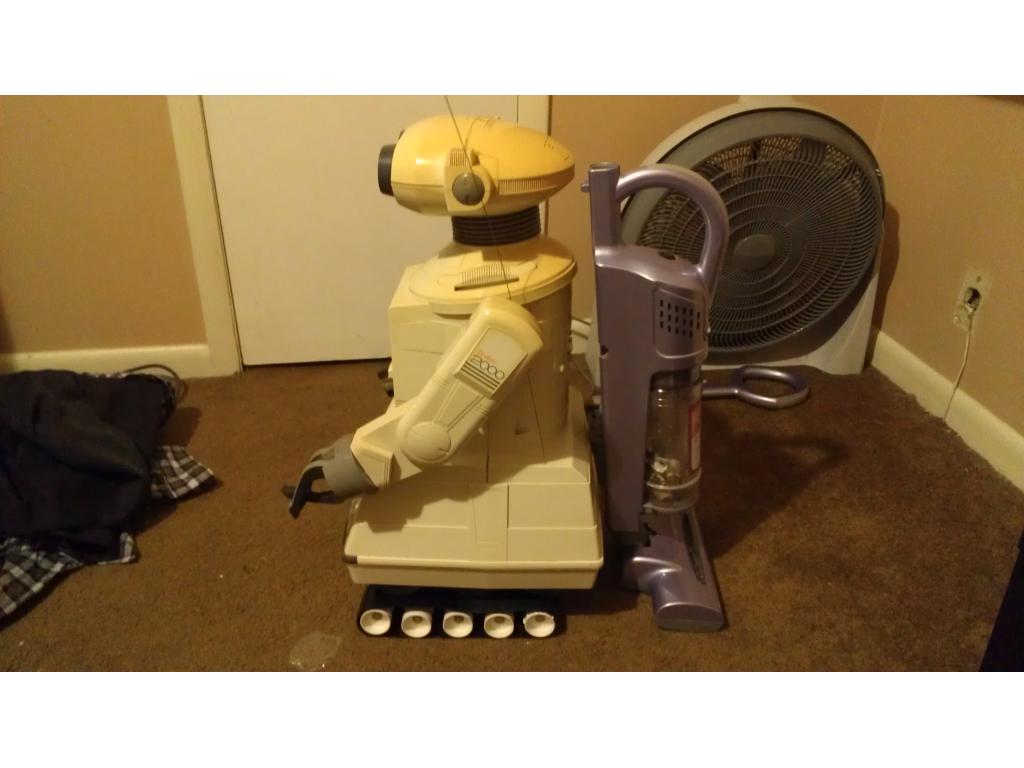
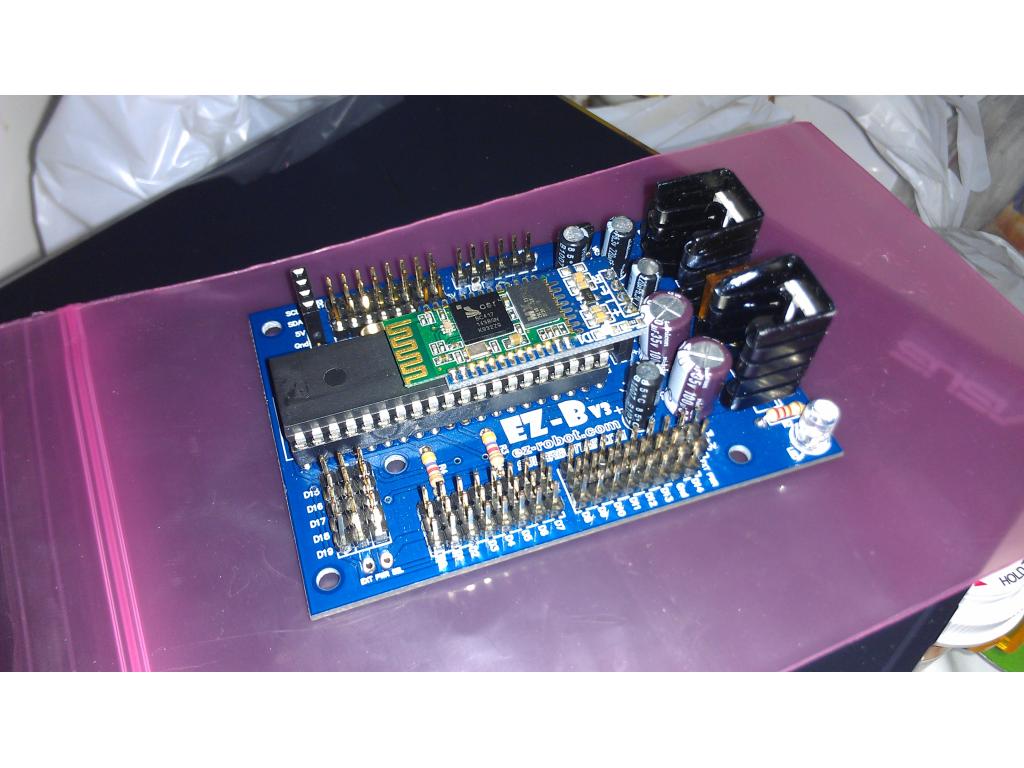
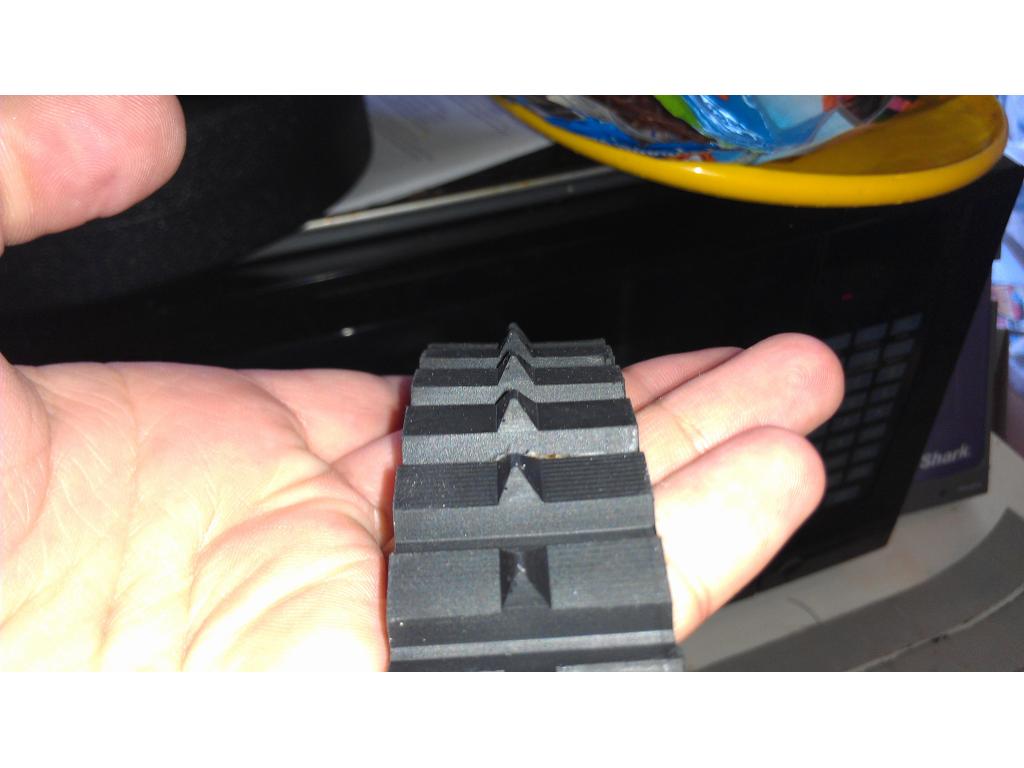
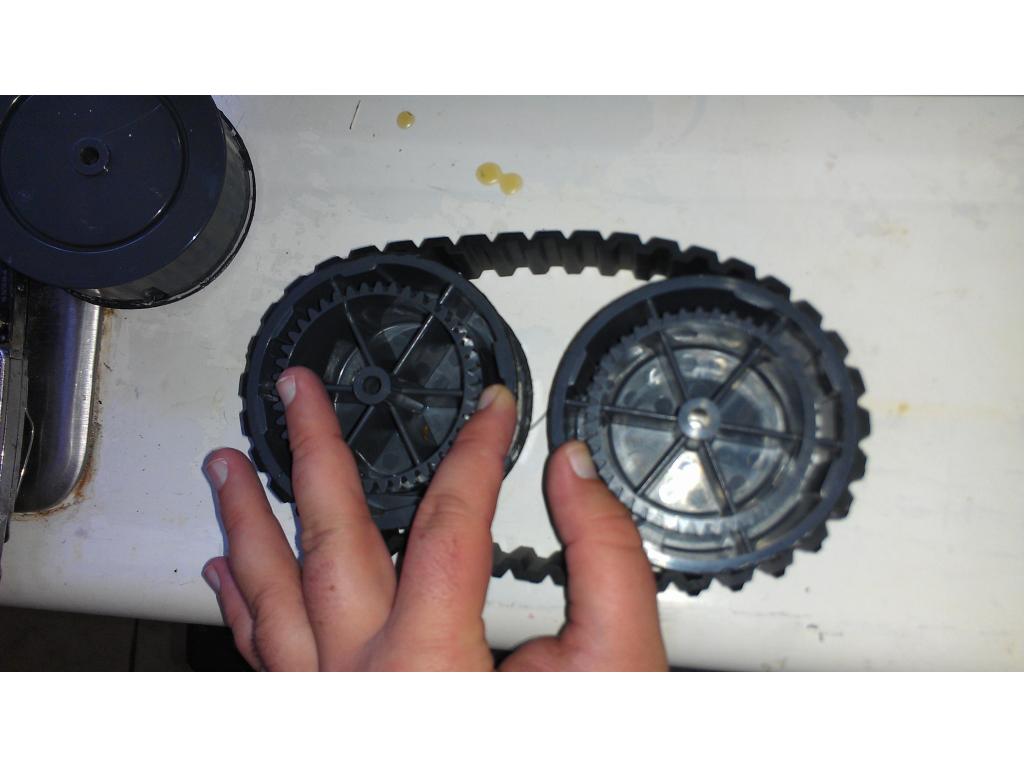
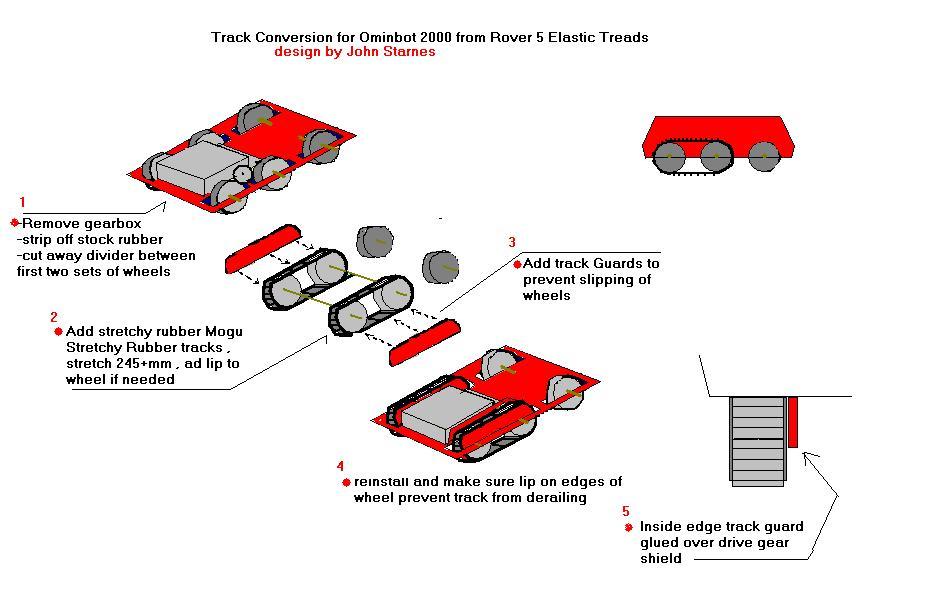
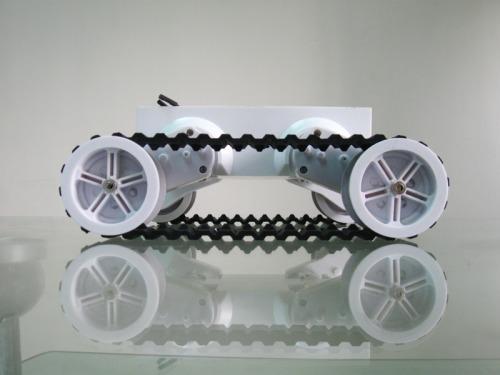
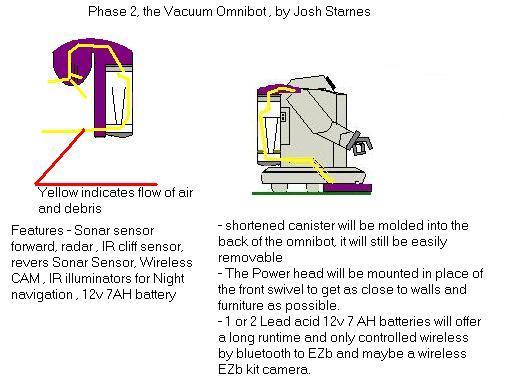
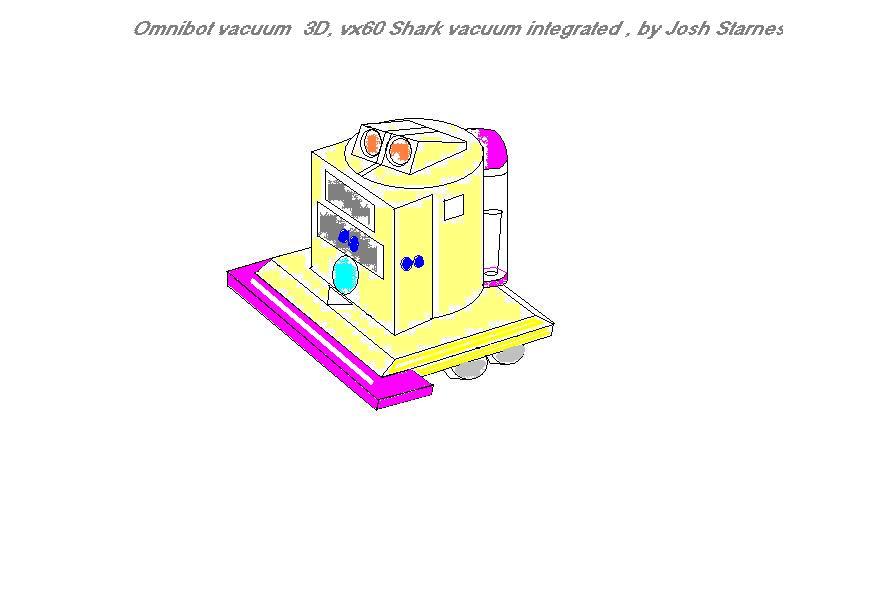
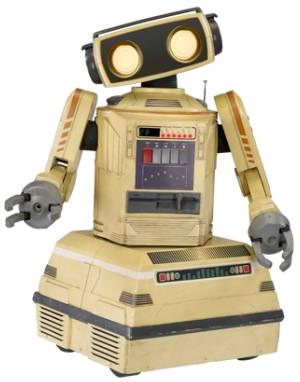
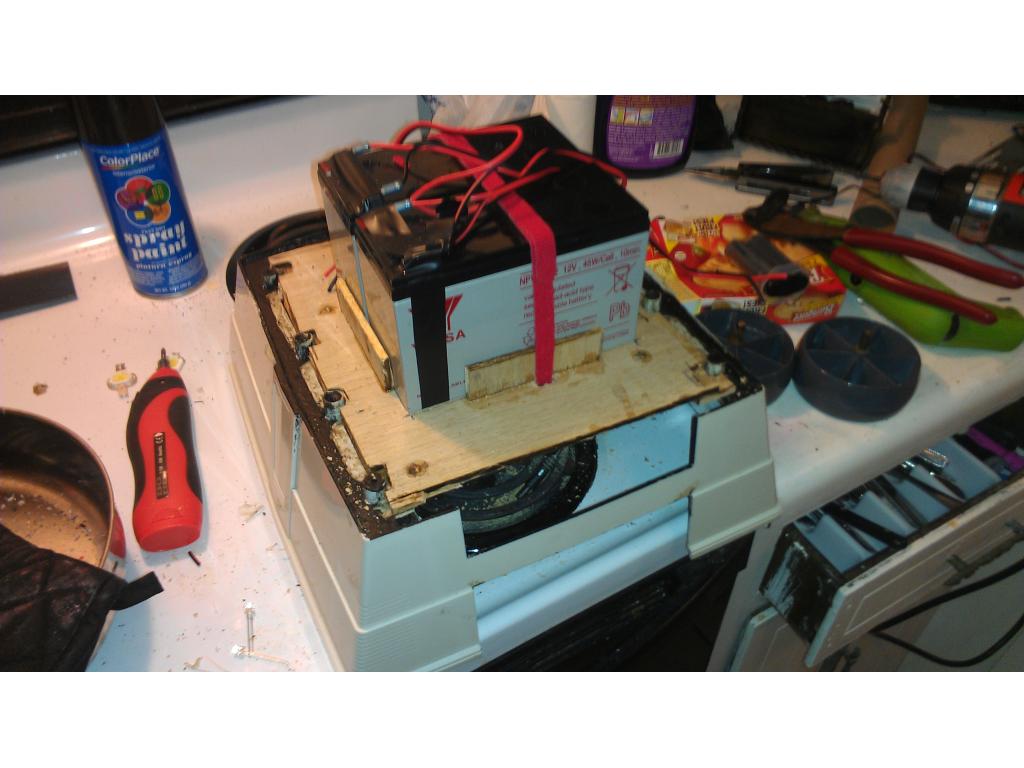
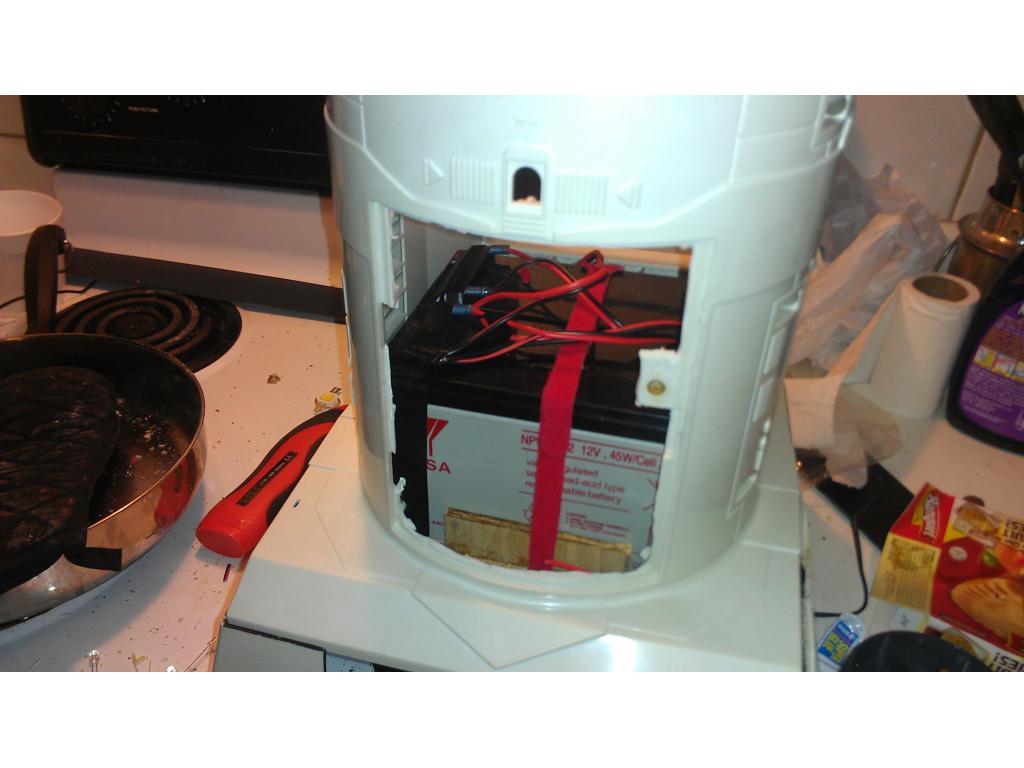
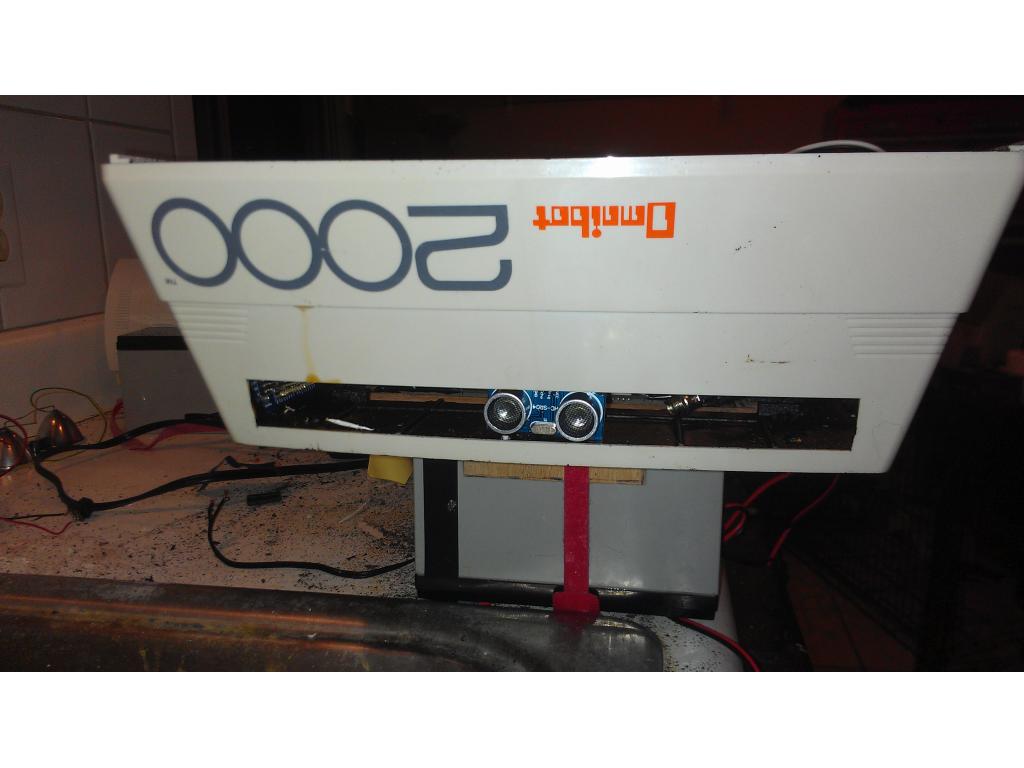
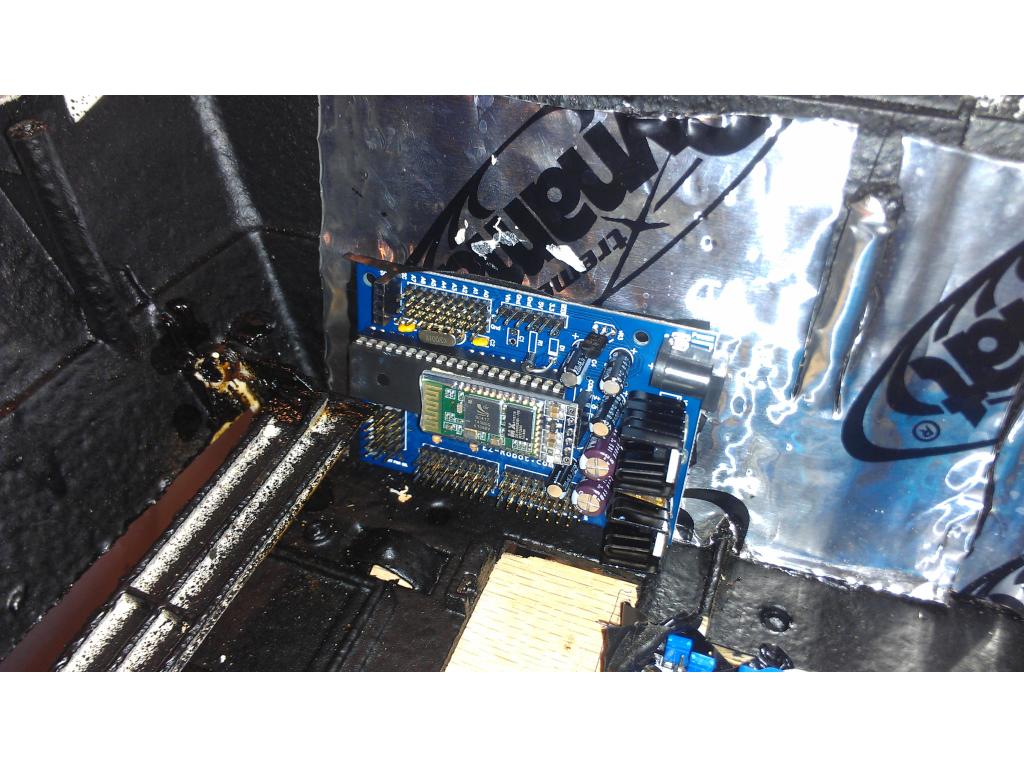
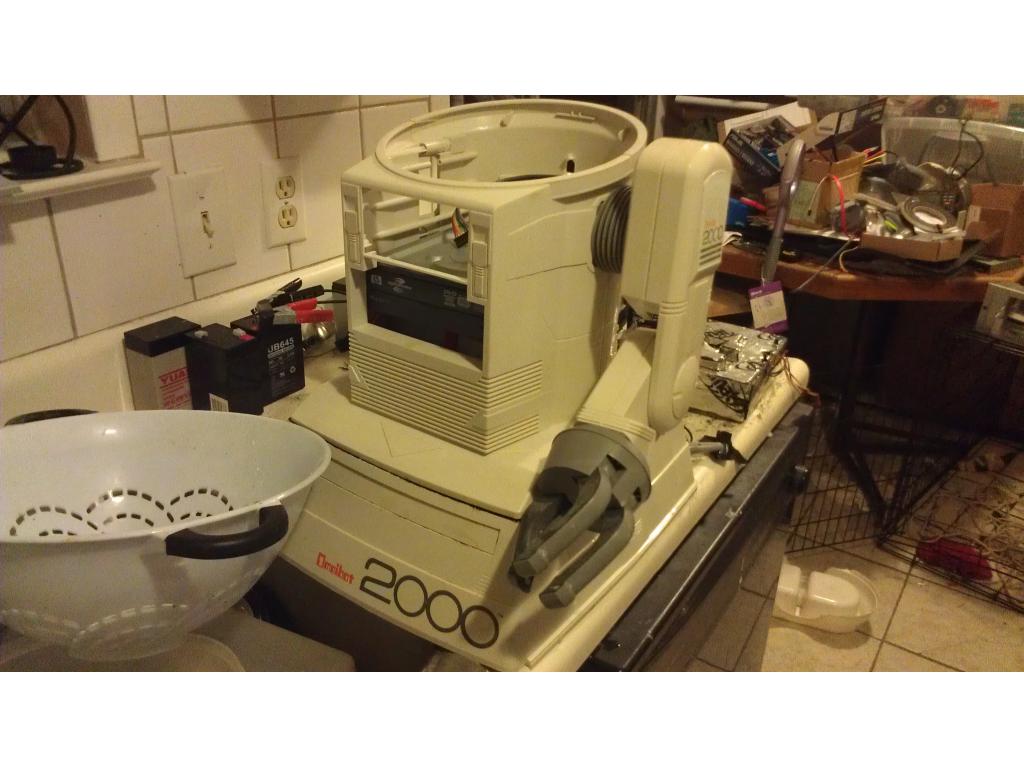
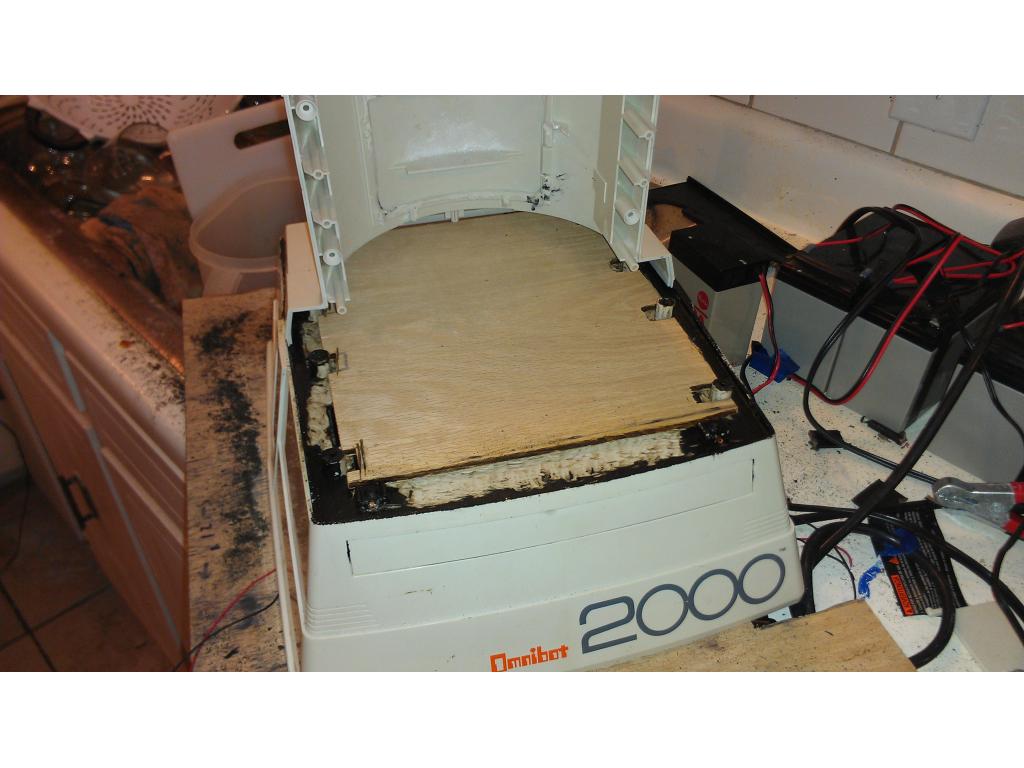
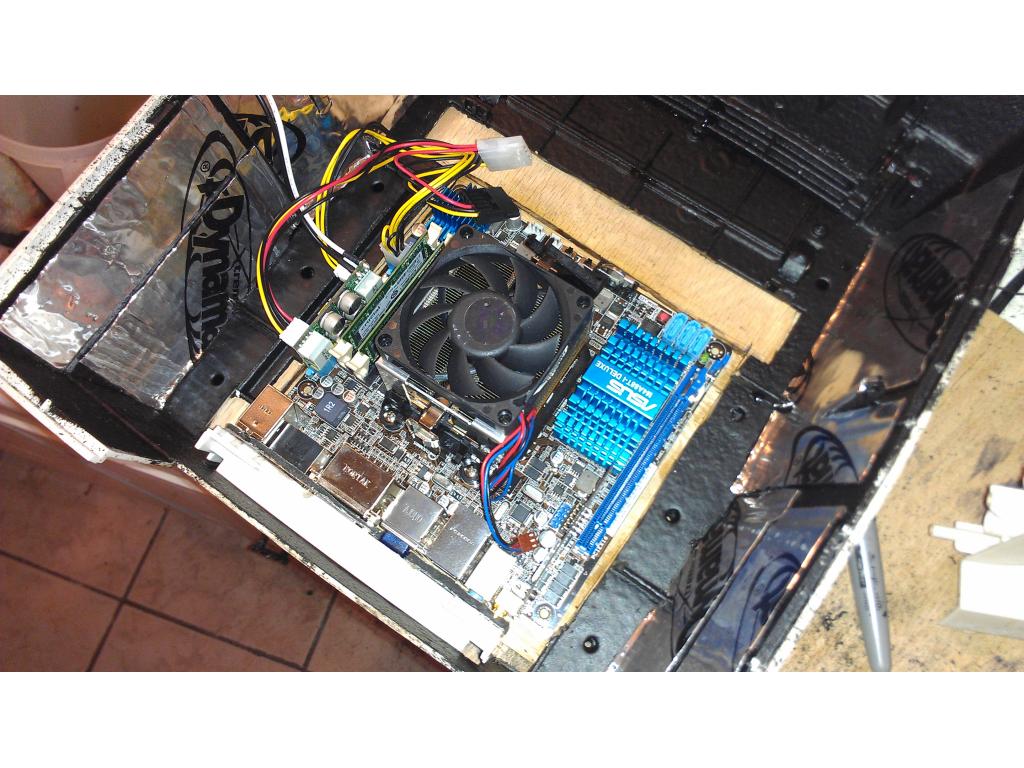
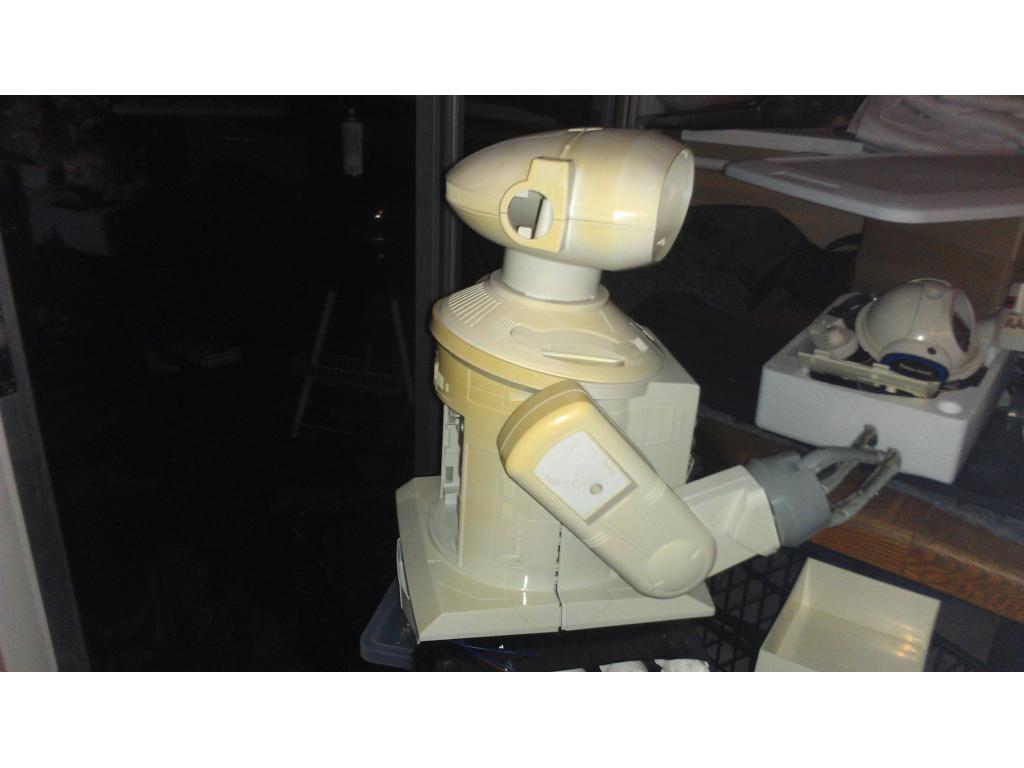
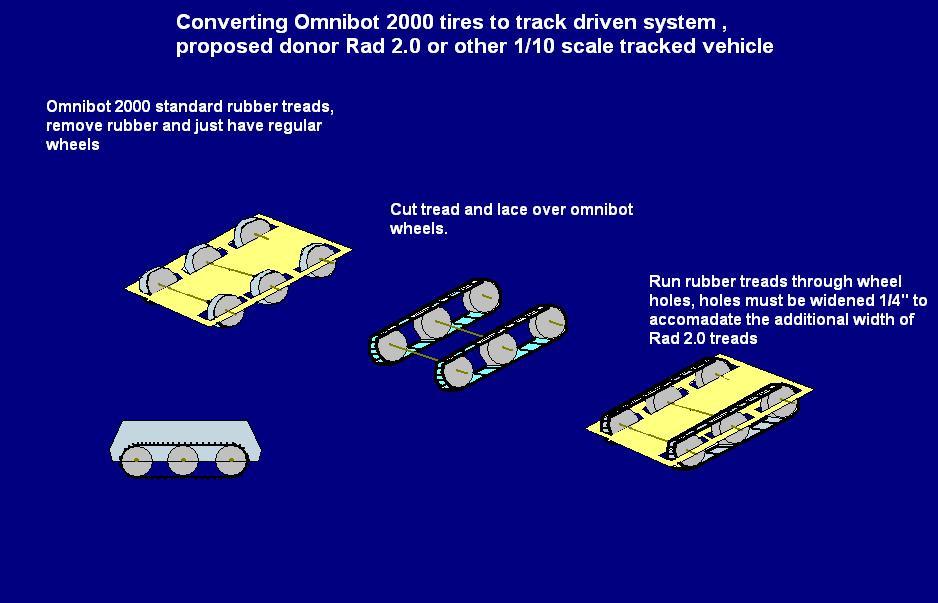
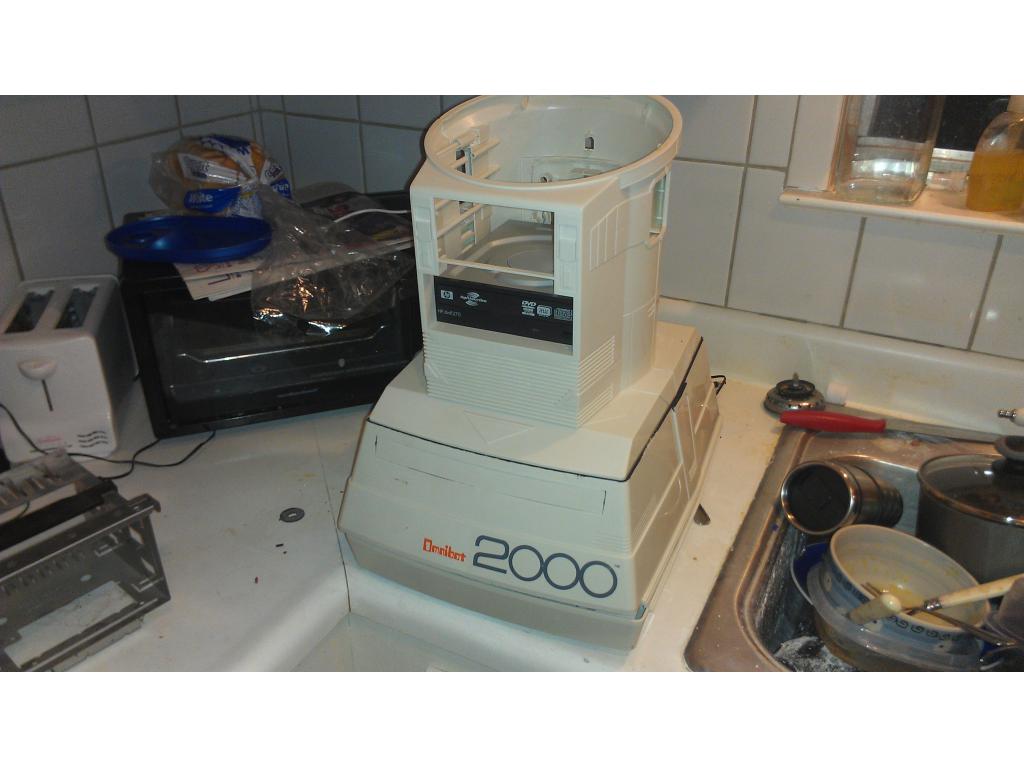
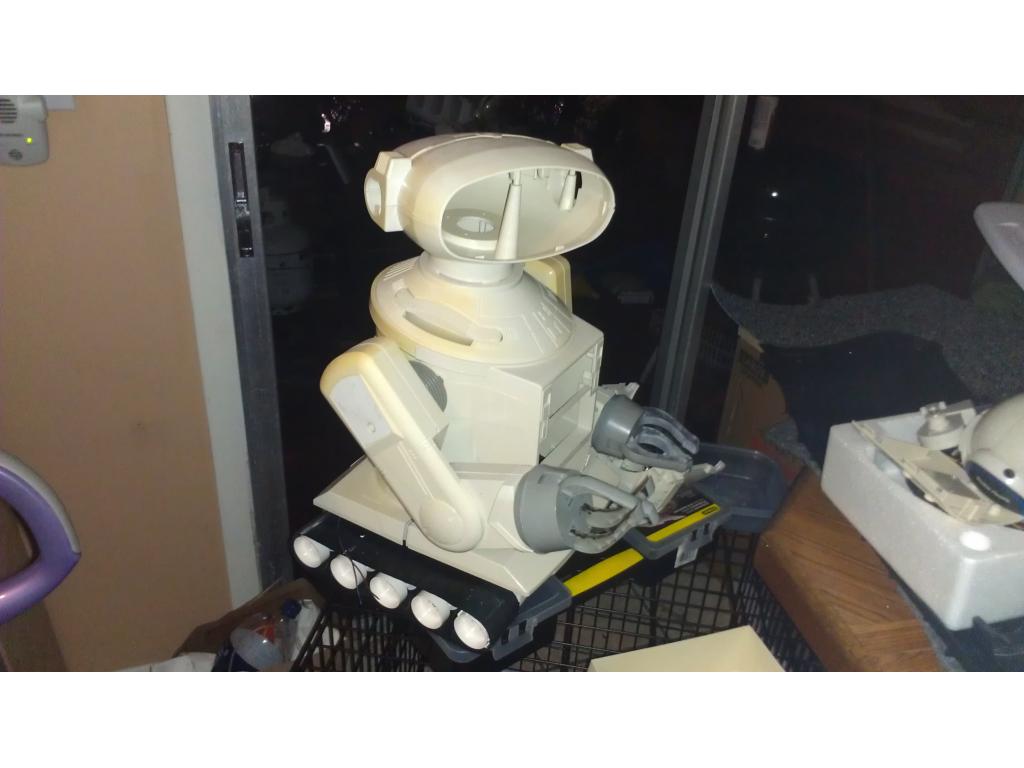
This project has evolved some , the basic rundown is I'm modding two Omnibots , one a regular the other a larger 2000 model. I will have two ezb kits , rad base idea was thrown out because of so much noise but could go back on the table if the omnibot drivetrain is too weak to pull it.


By jstarne1
— Last update
Discover more robots
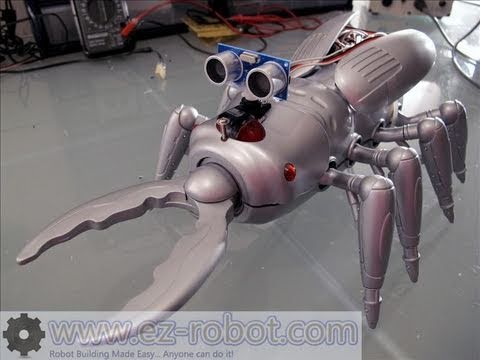
DJ's Scarab Creepy Robot
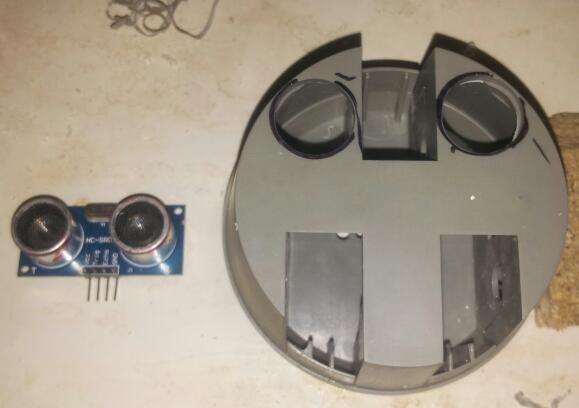
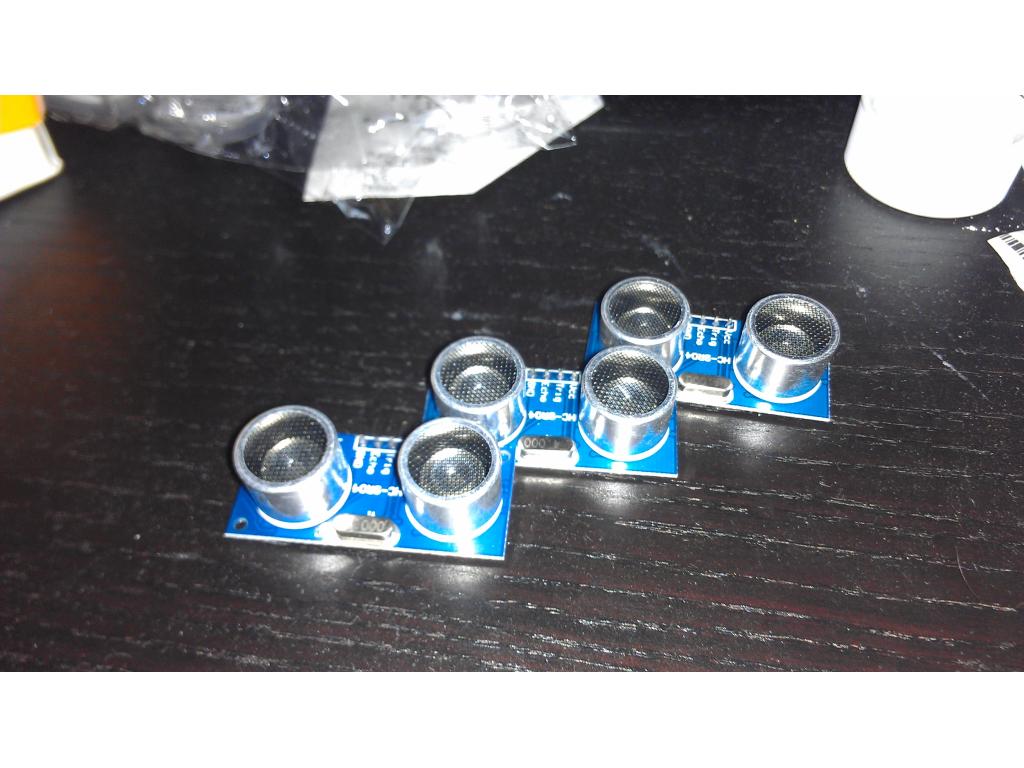
Scarab robot retrofitted with EZ-B and Synthiam ARC for remote control, HC-SR04 autonomous exploring, voice recognition...
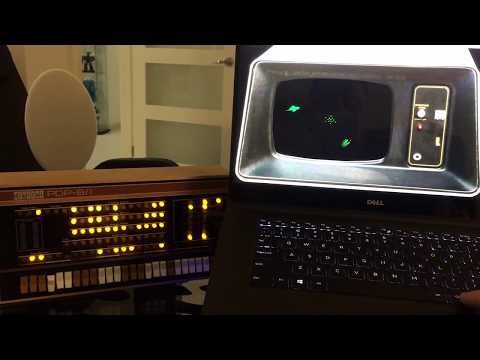
DJ's And Now For Something Completely Different (Pdp-8)
VC8E oscilloscope emulator for PiDP-8 using Synthiam ARC: phosphor fade, configurable refresh, pixel size, intensity,...
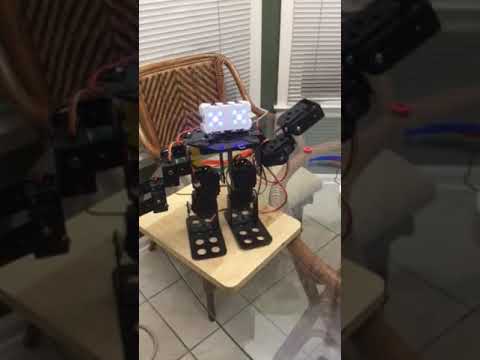
Ezang's My New Metal Robot With Voice Commands...
Metal robot upgraded with EZ-Builder, I/O Tiny, new speaker and RGB-more enhancements coming next week.

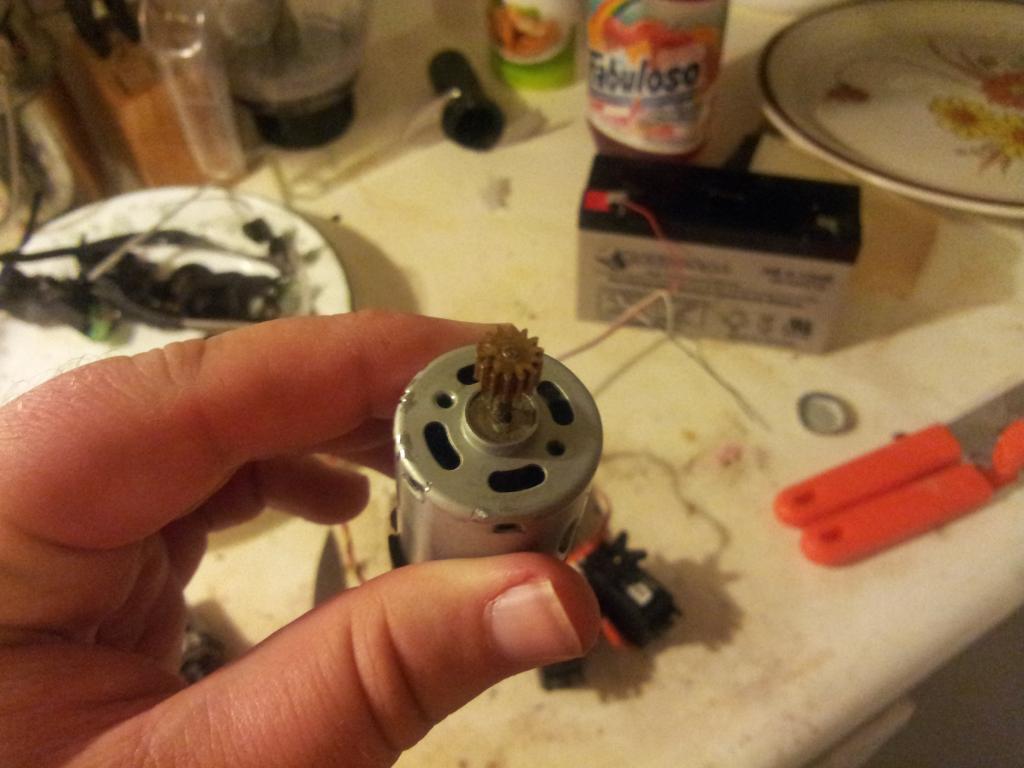
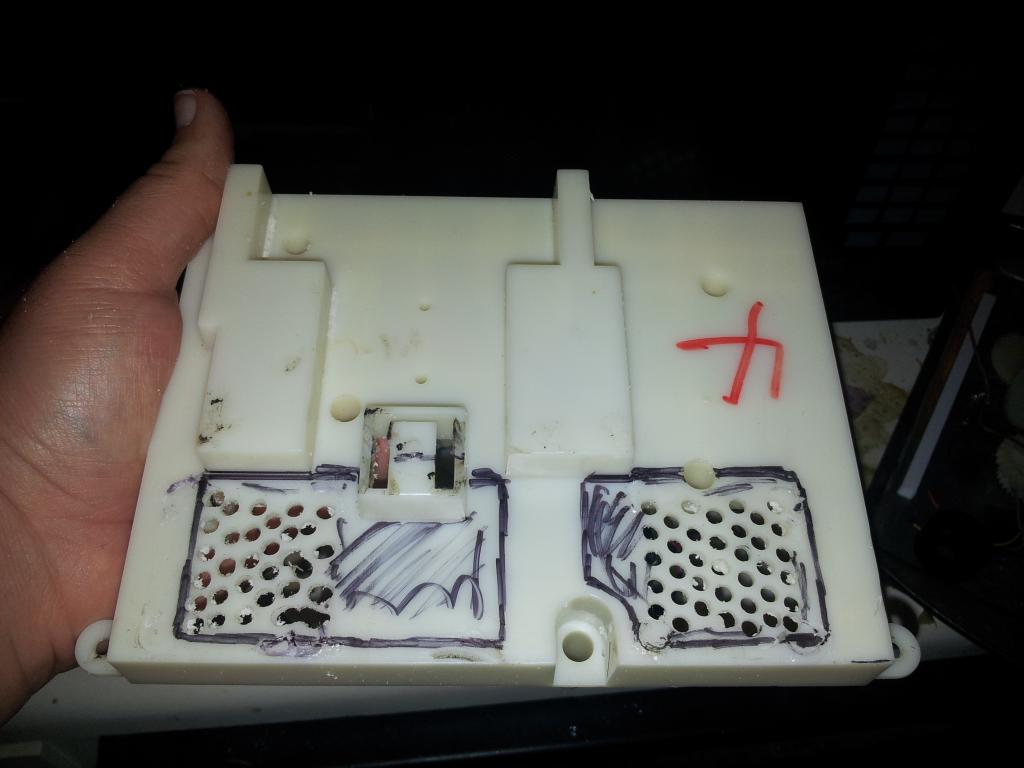
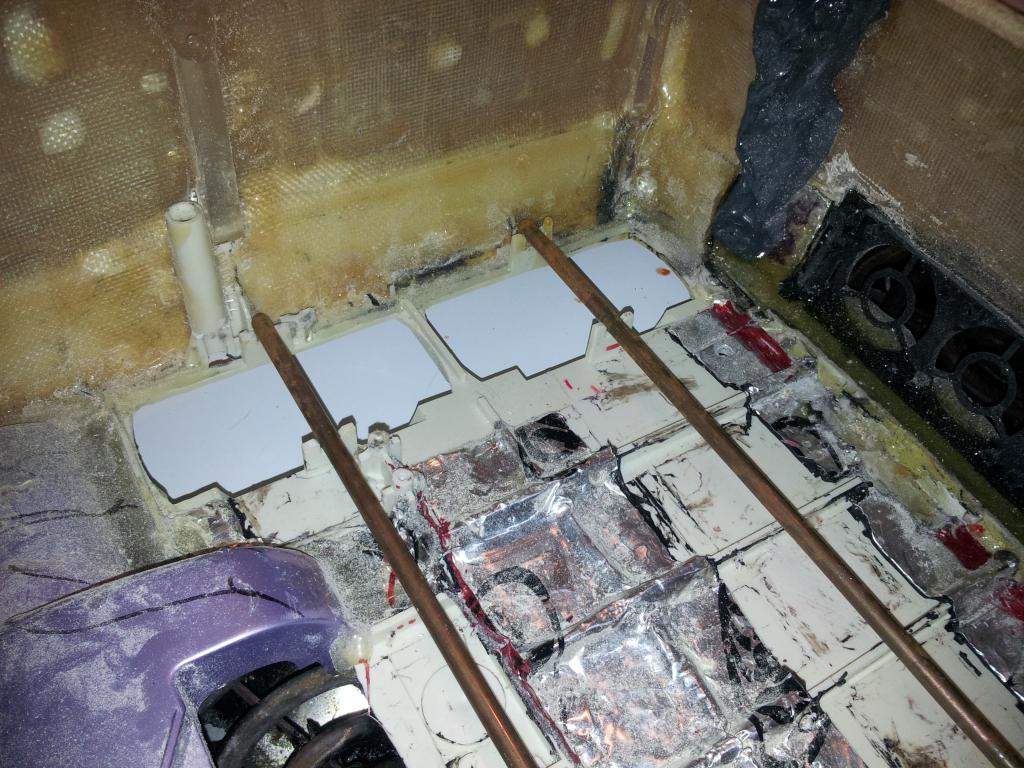
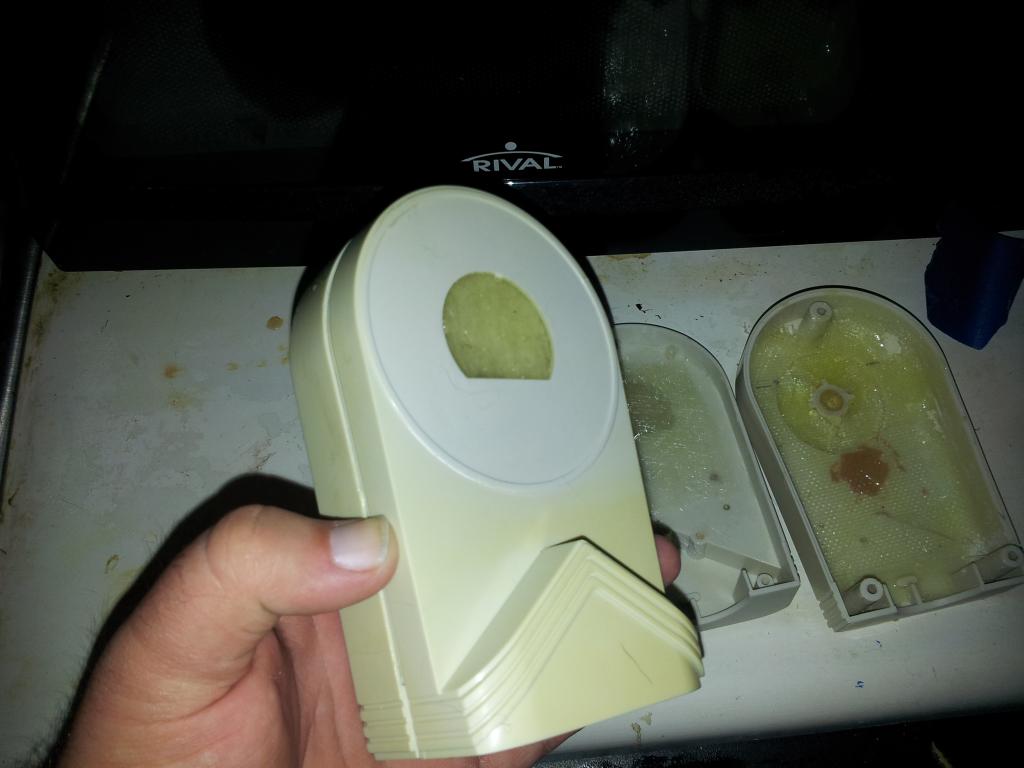
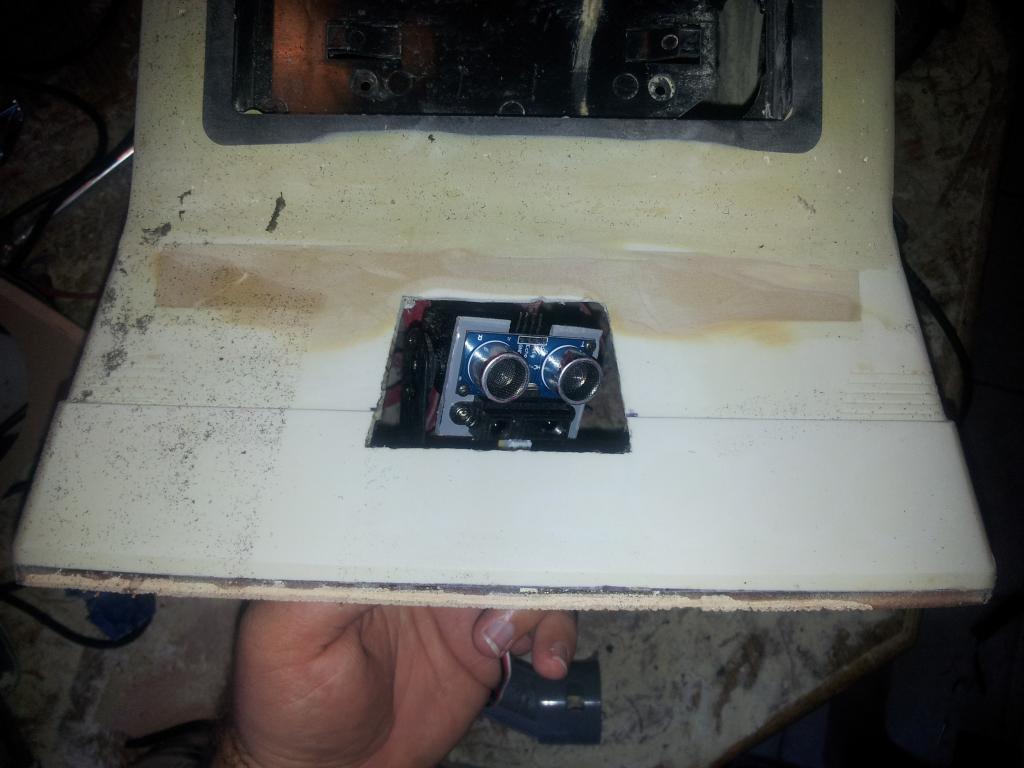
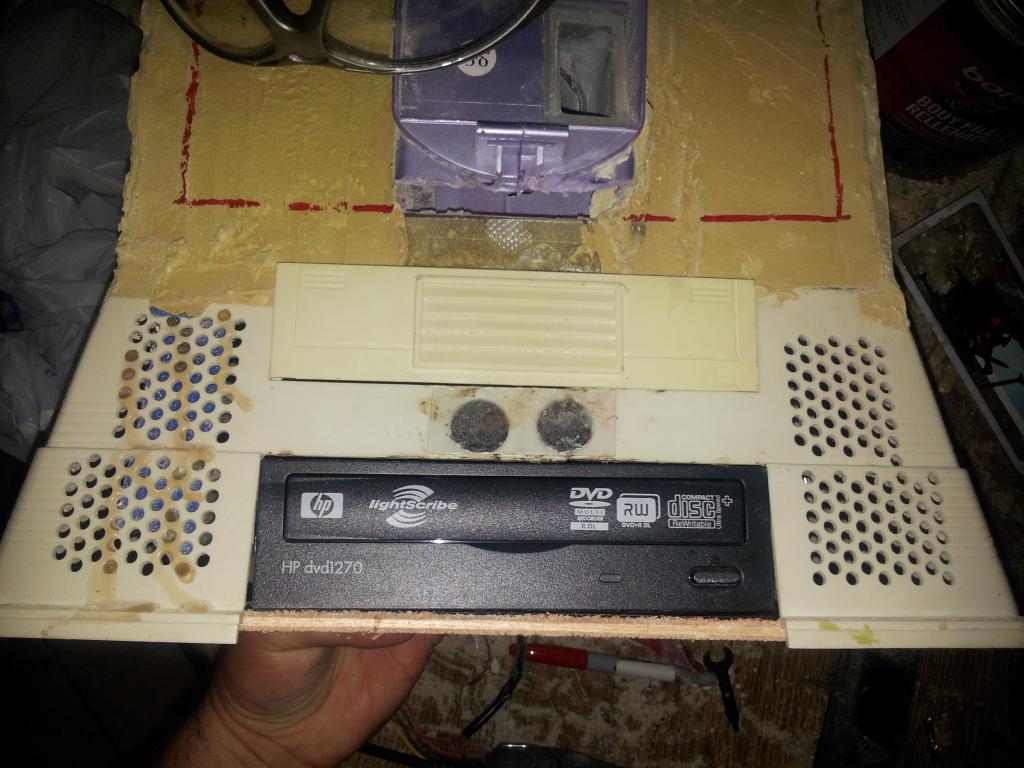
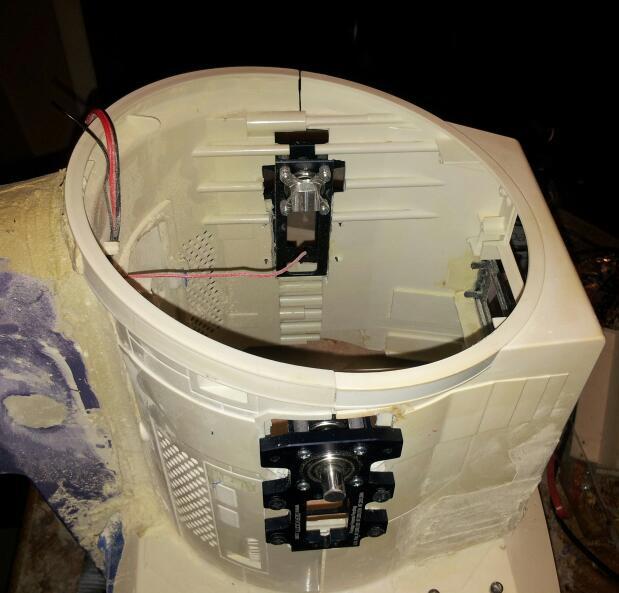
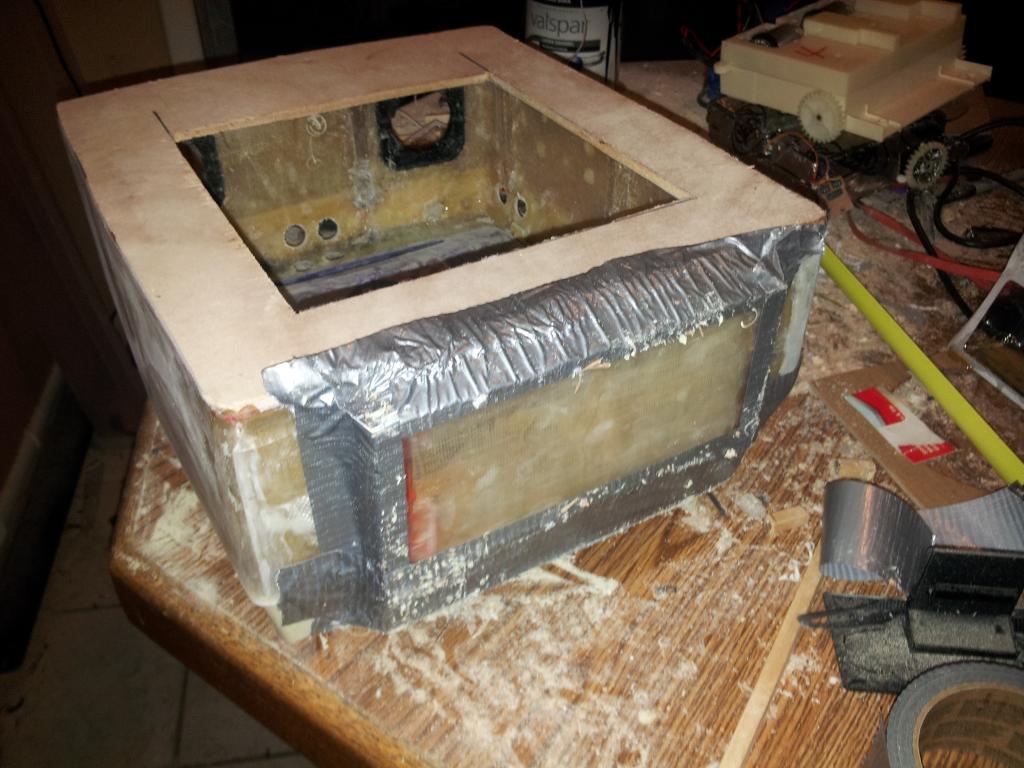
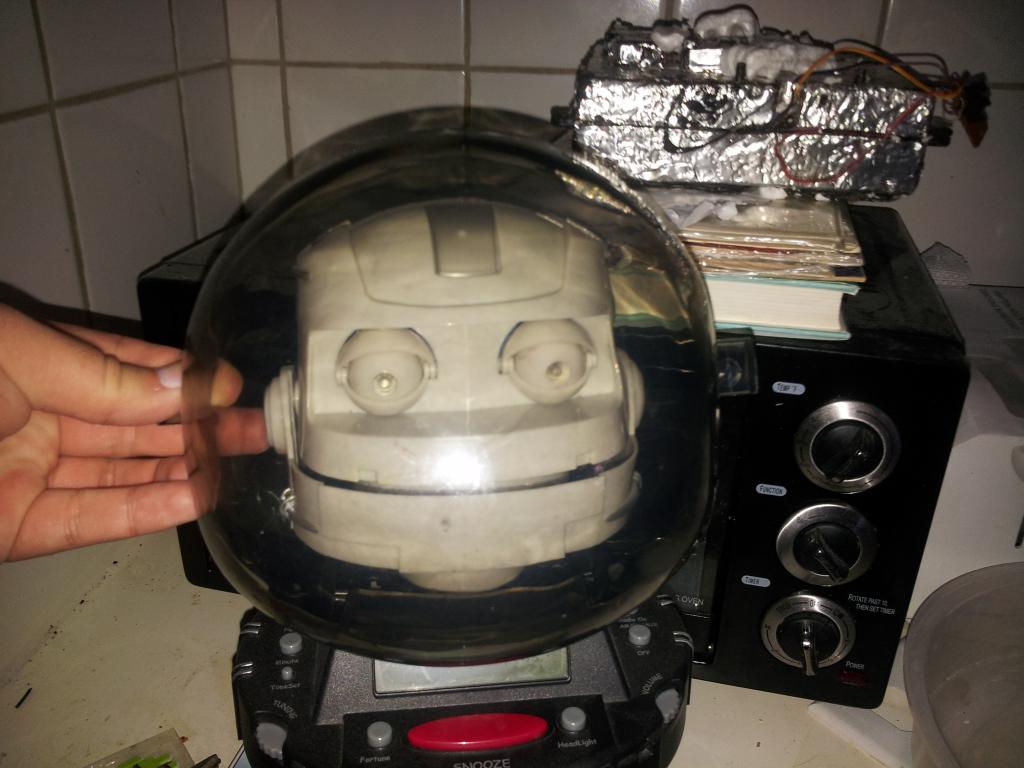
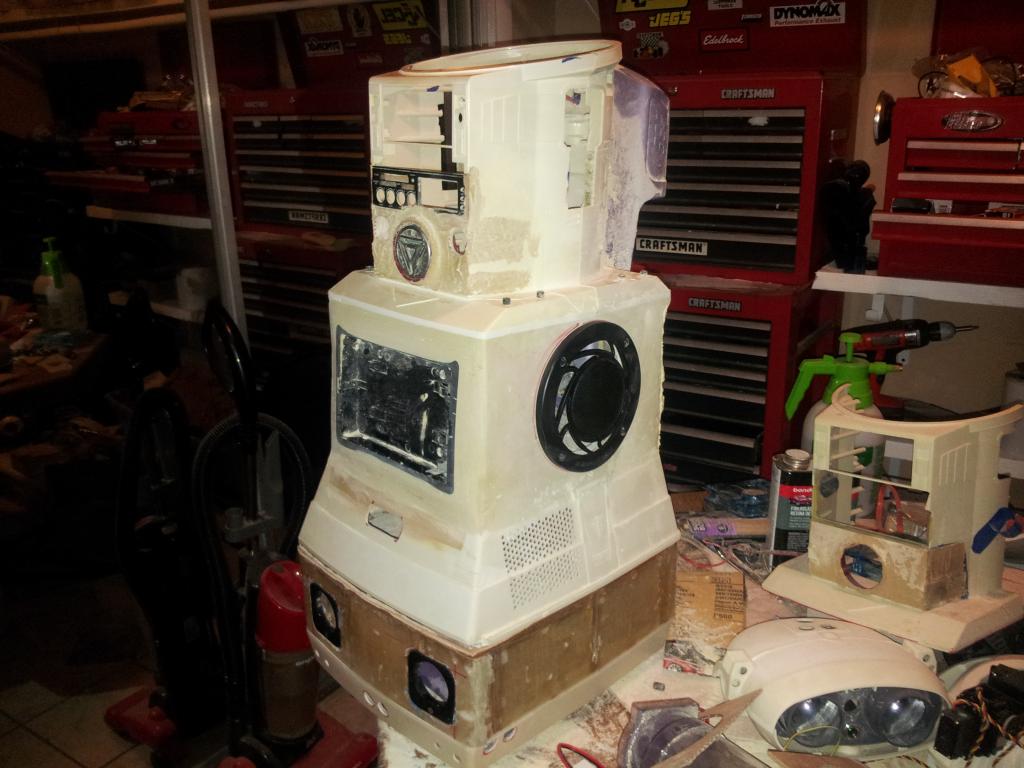
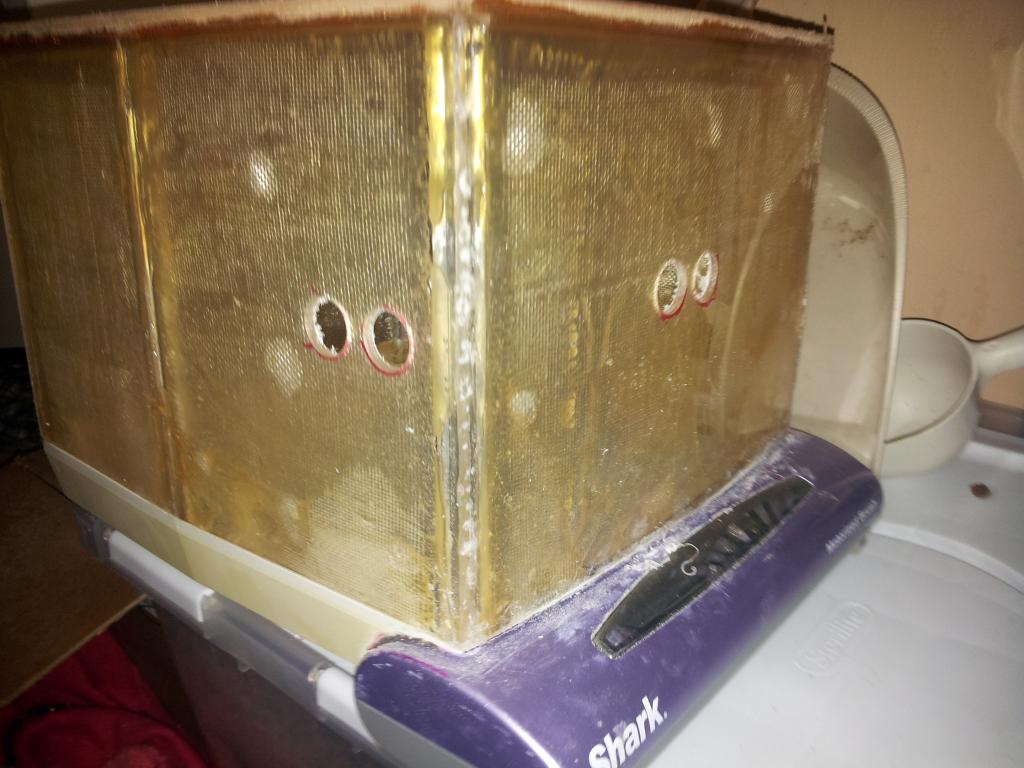
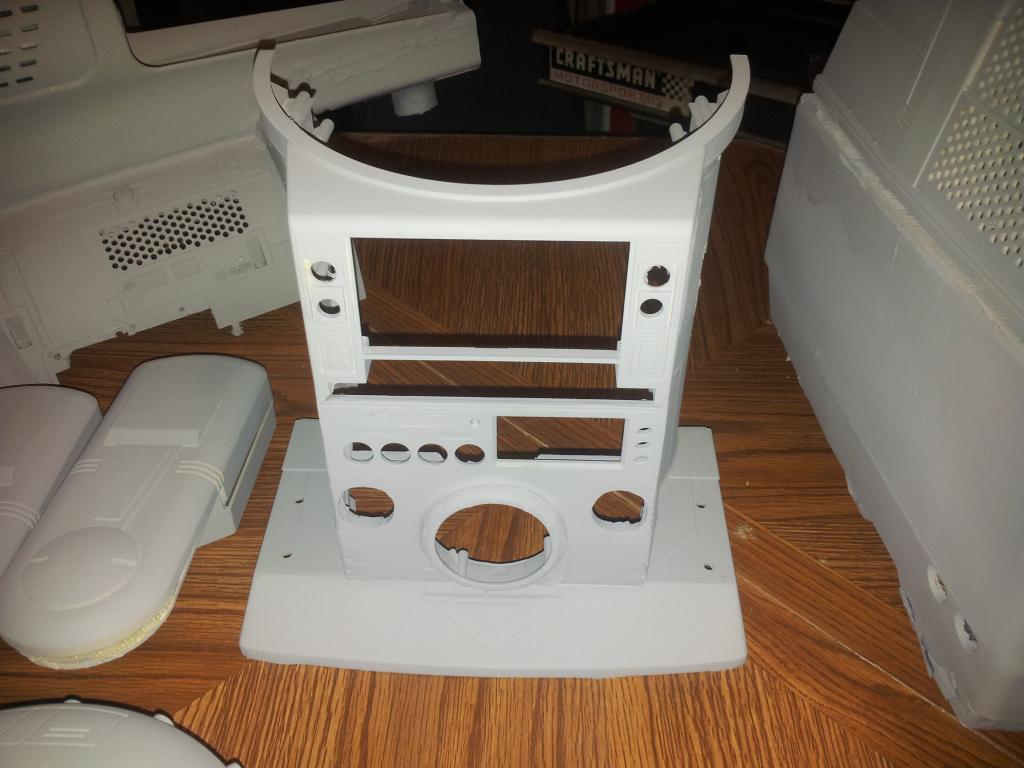
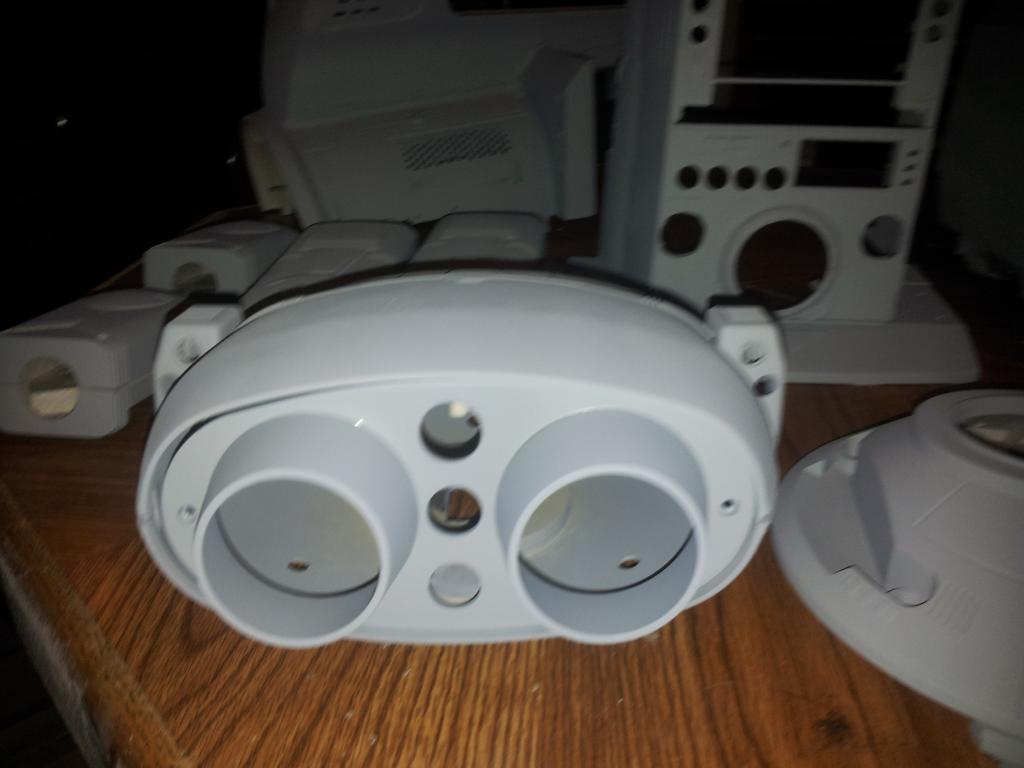
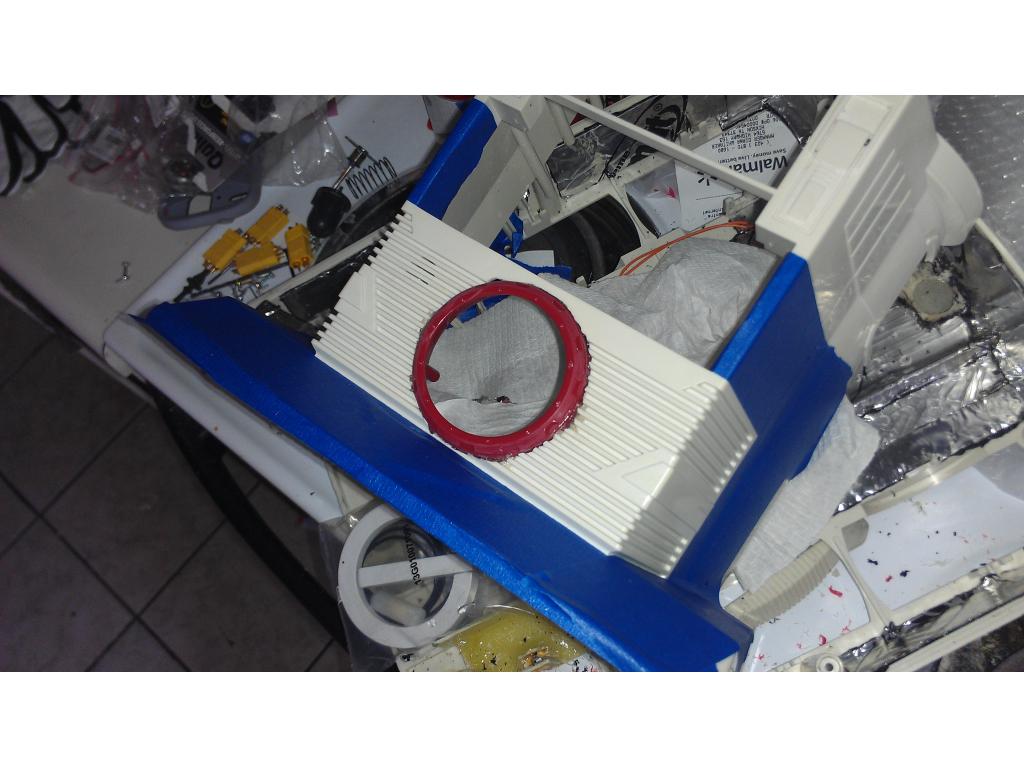
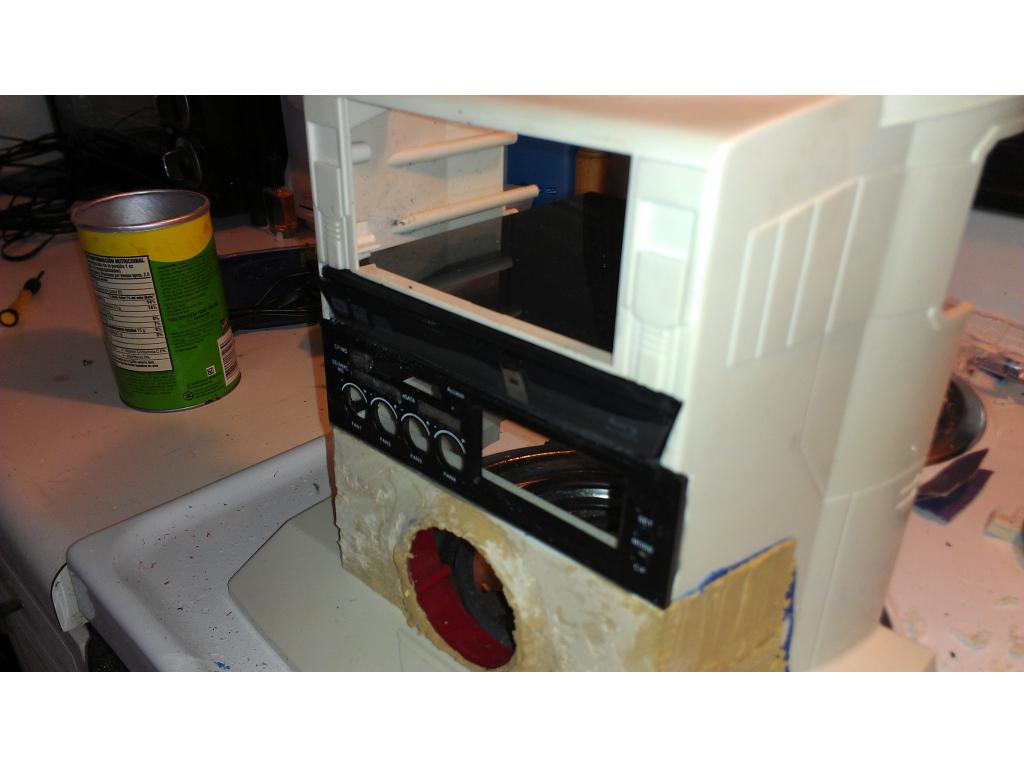
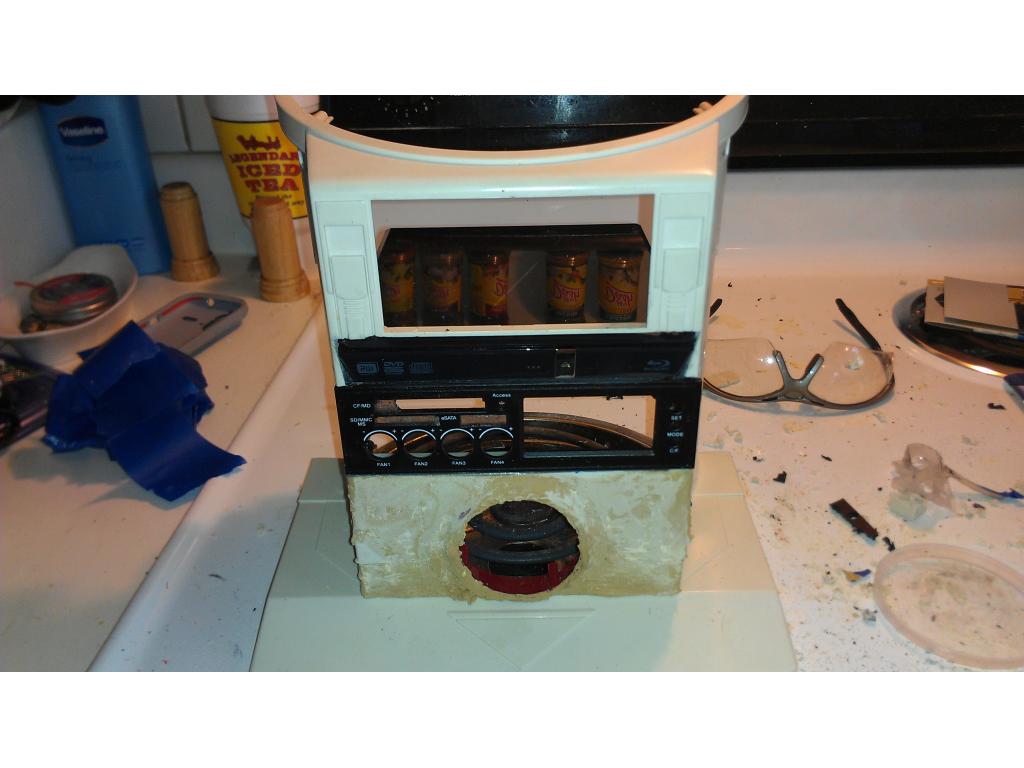
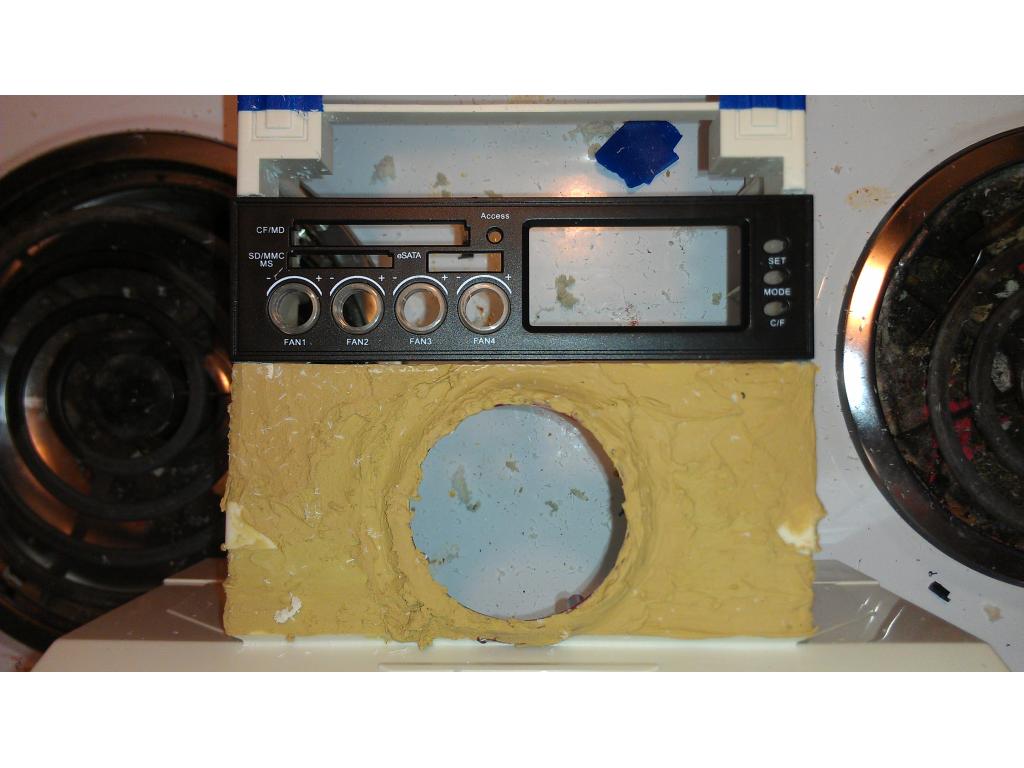
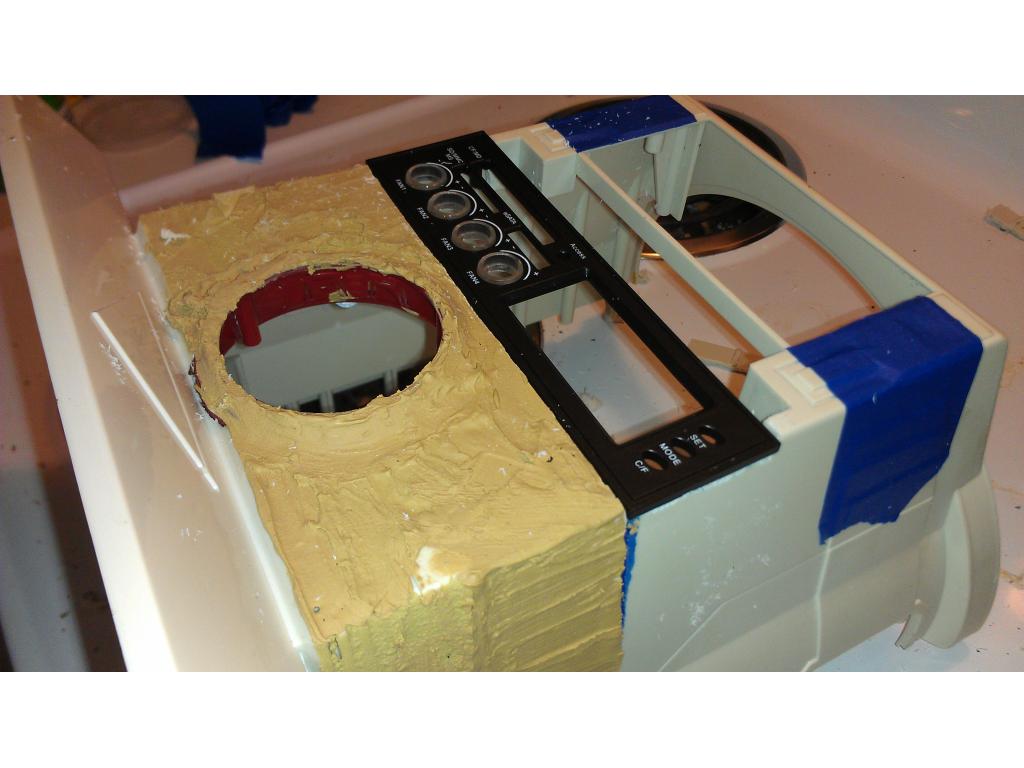
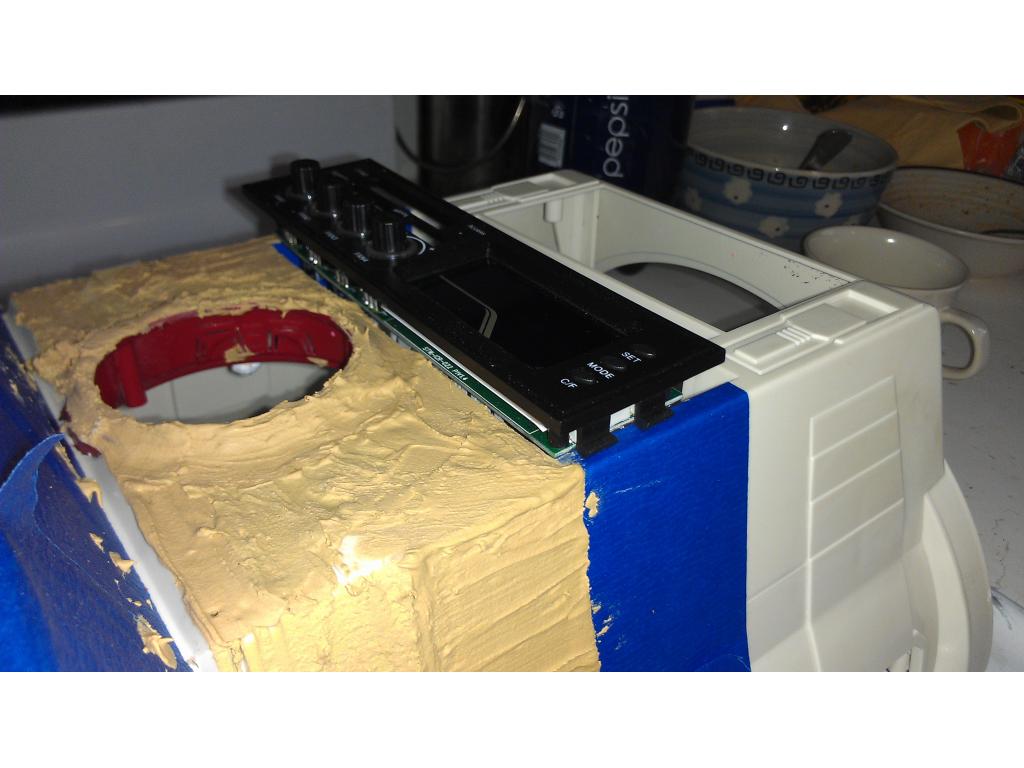
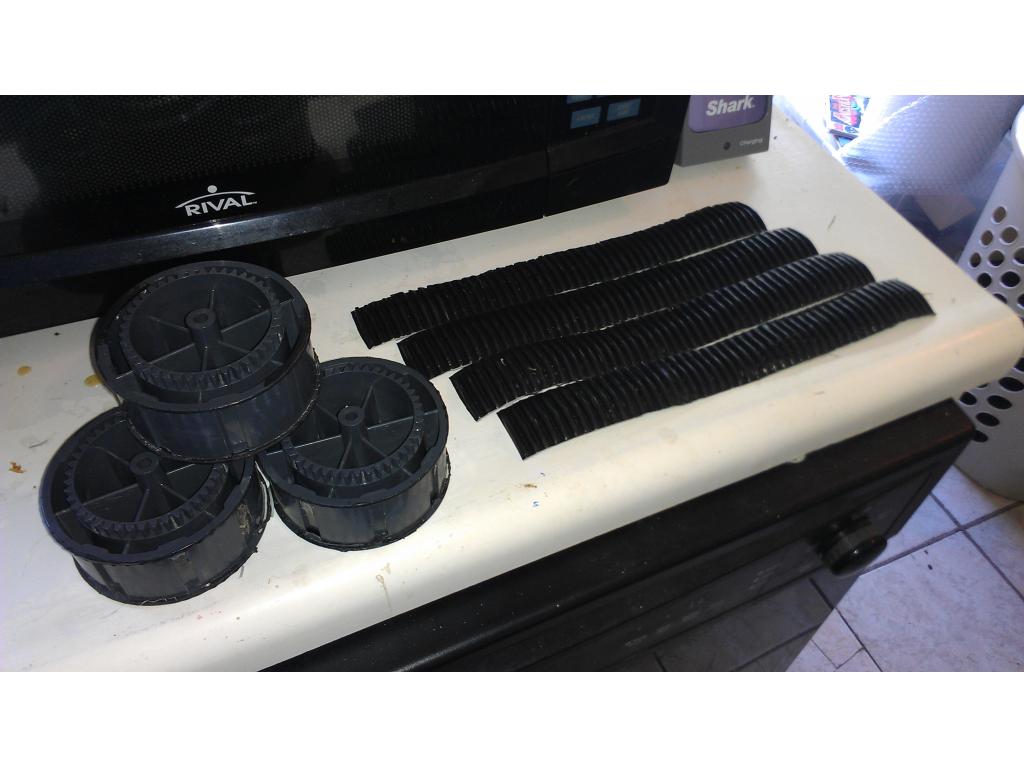
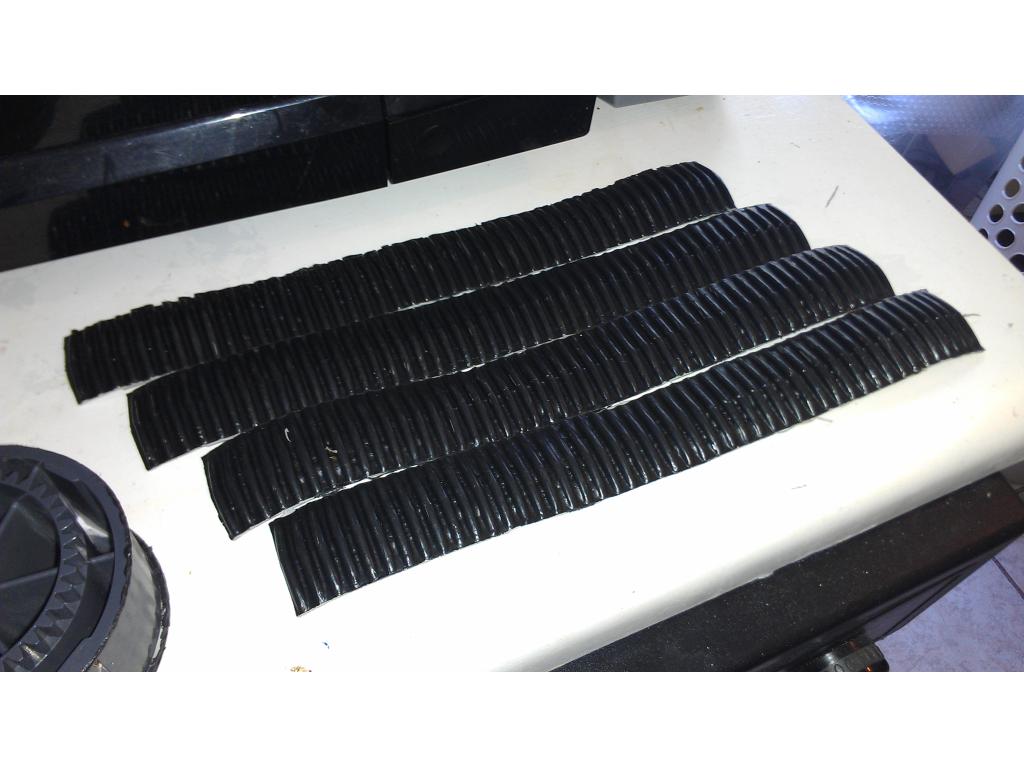
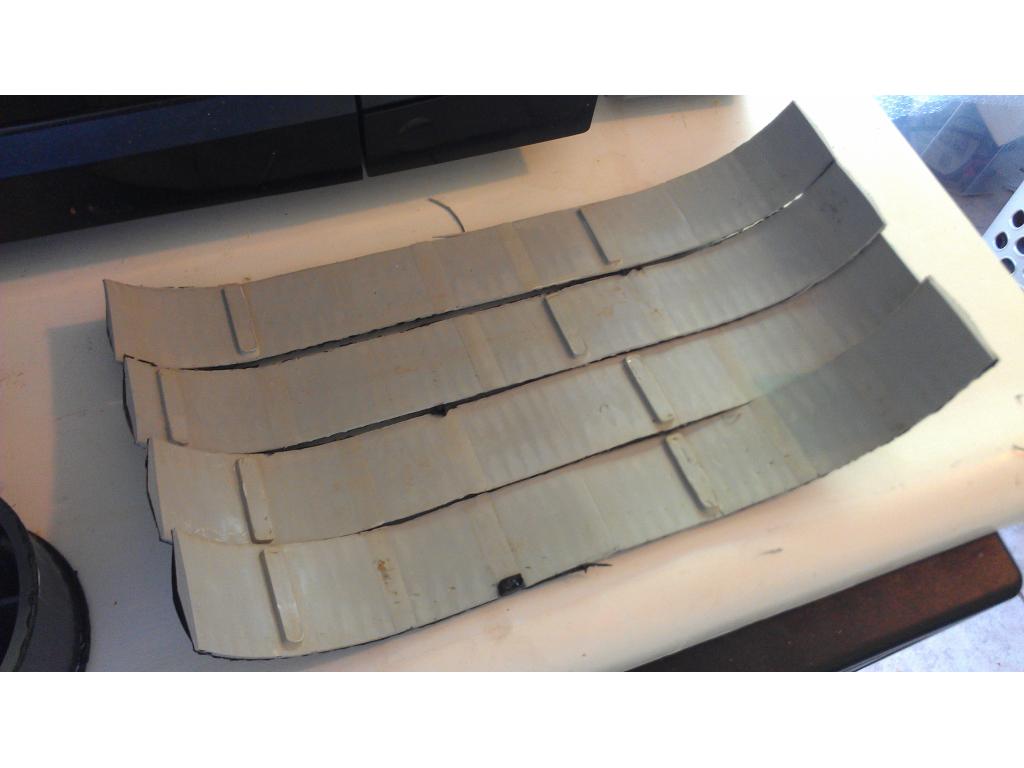
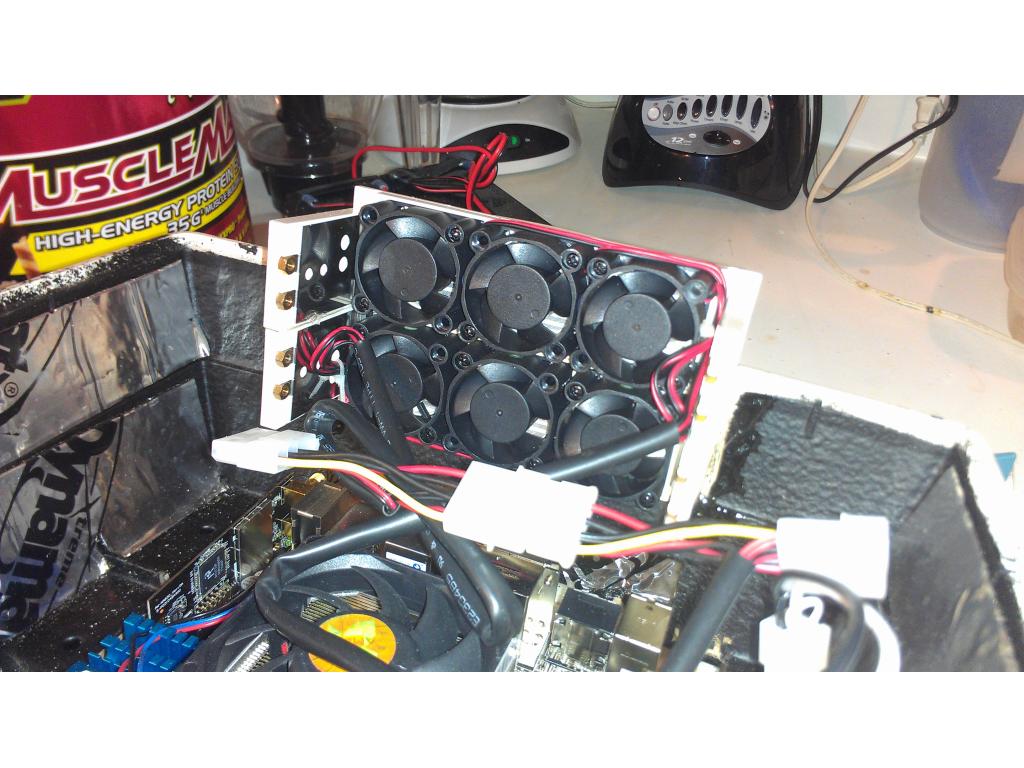
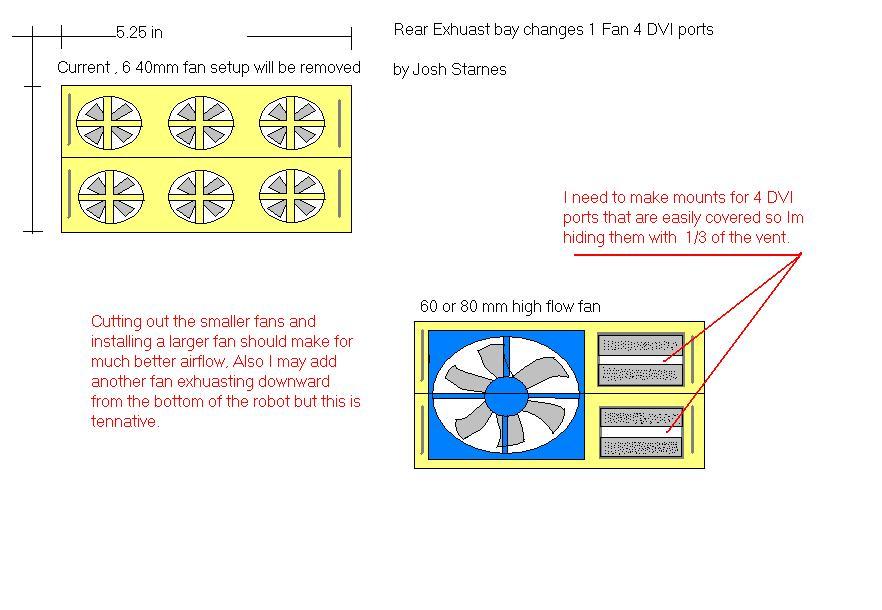
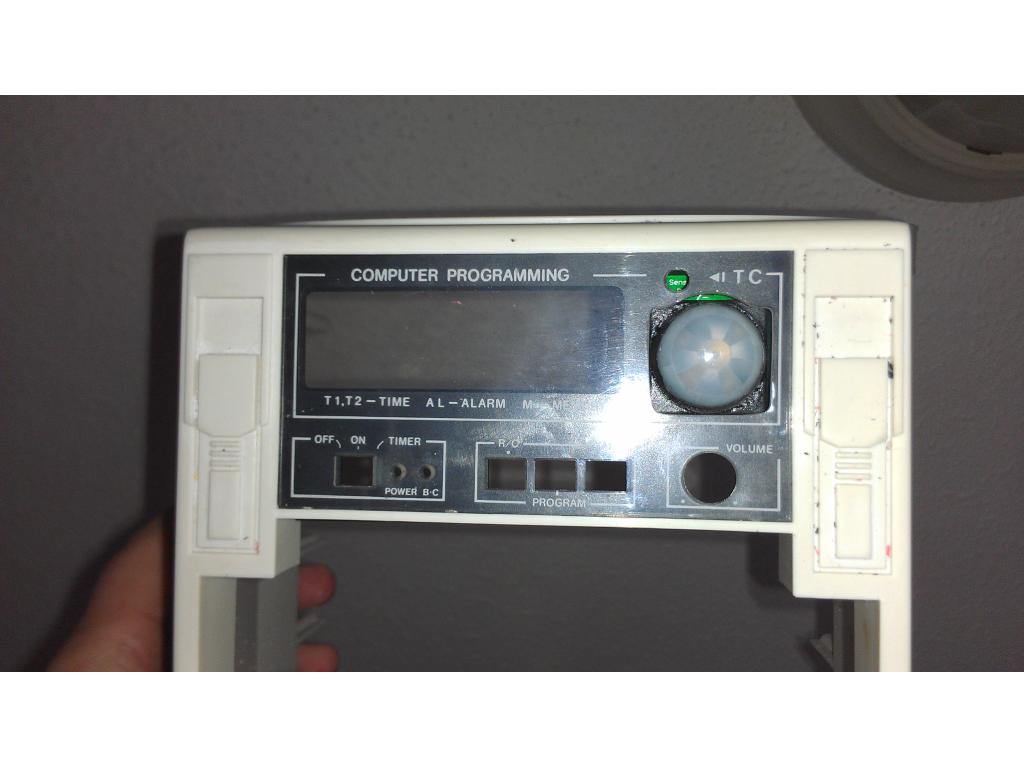
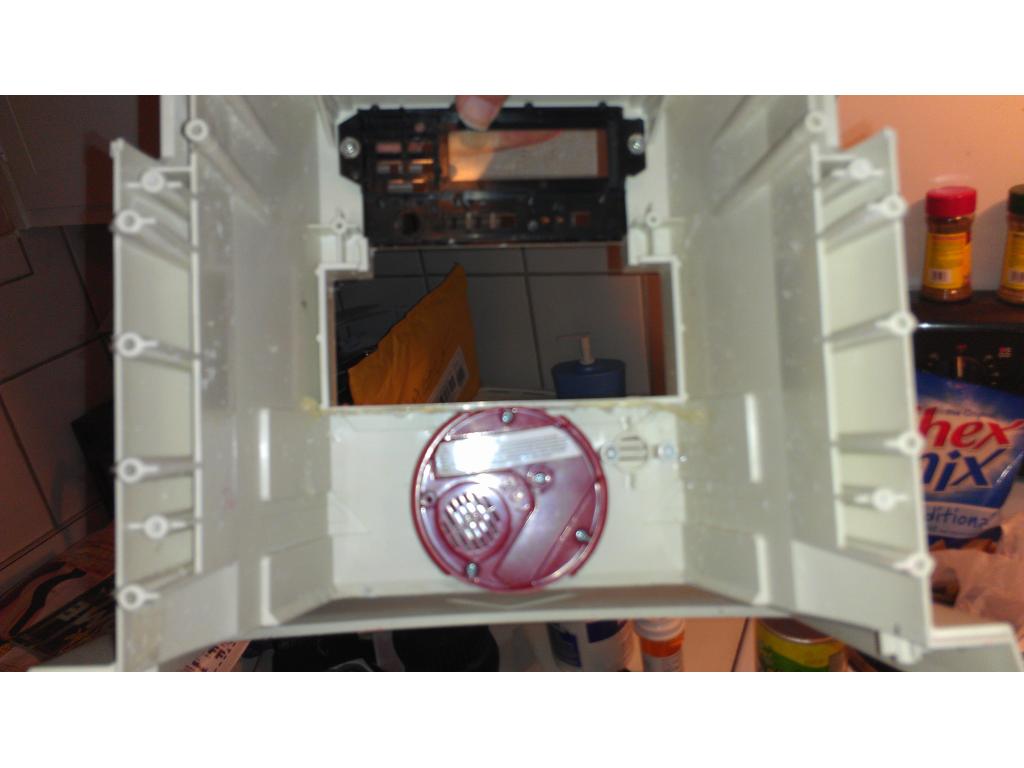
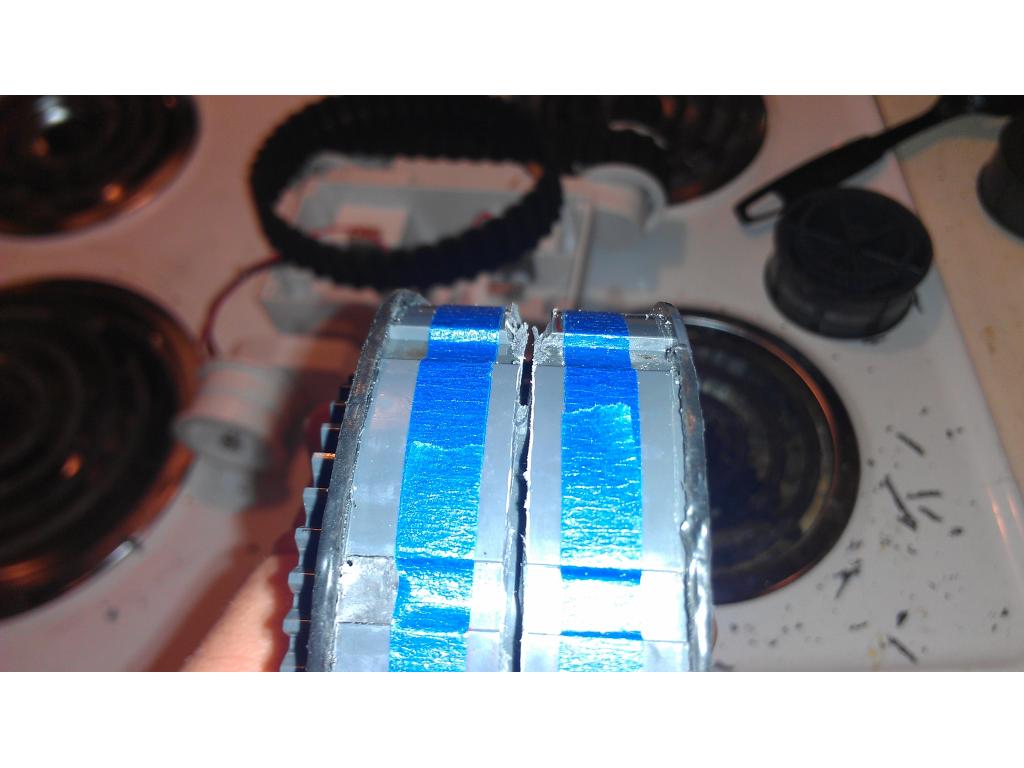
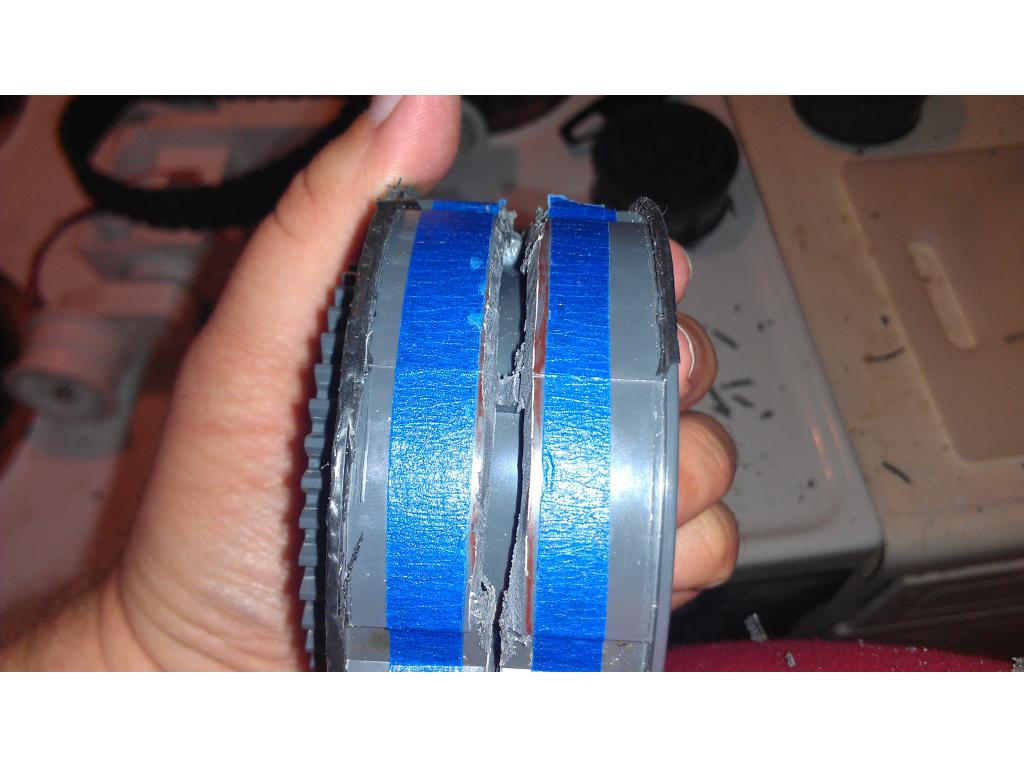
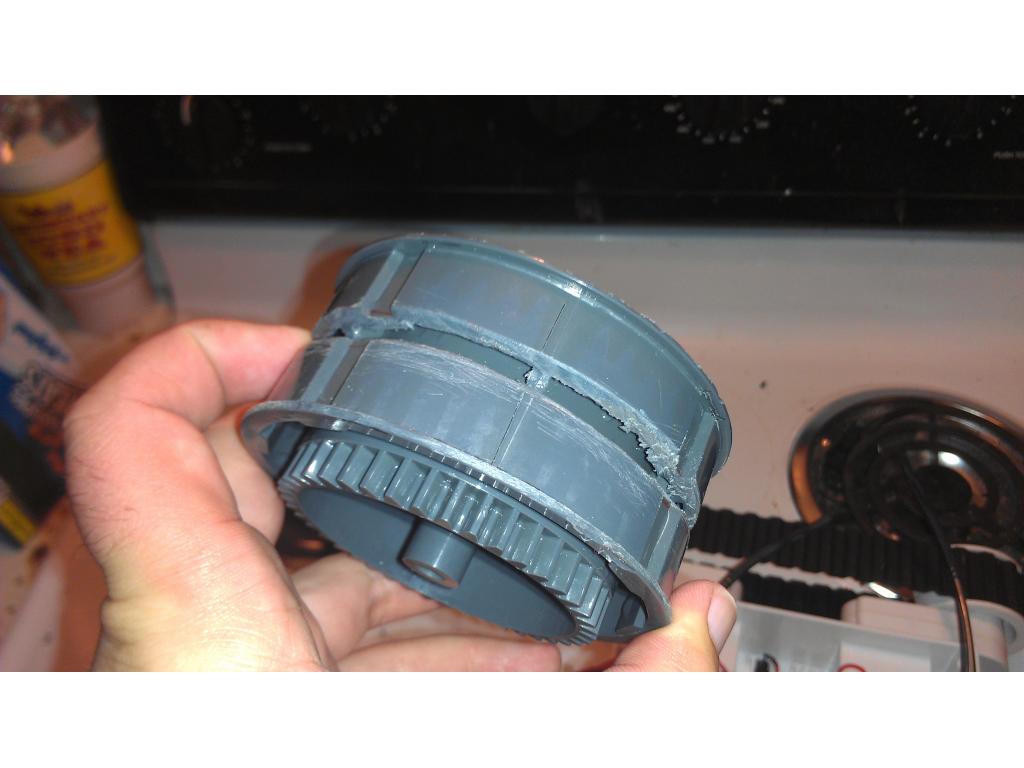
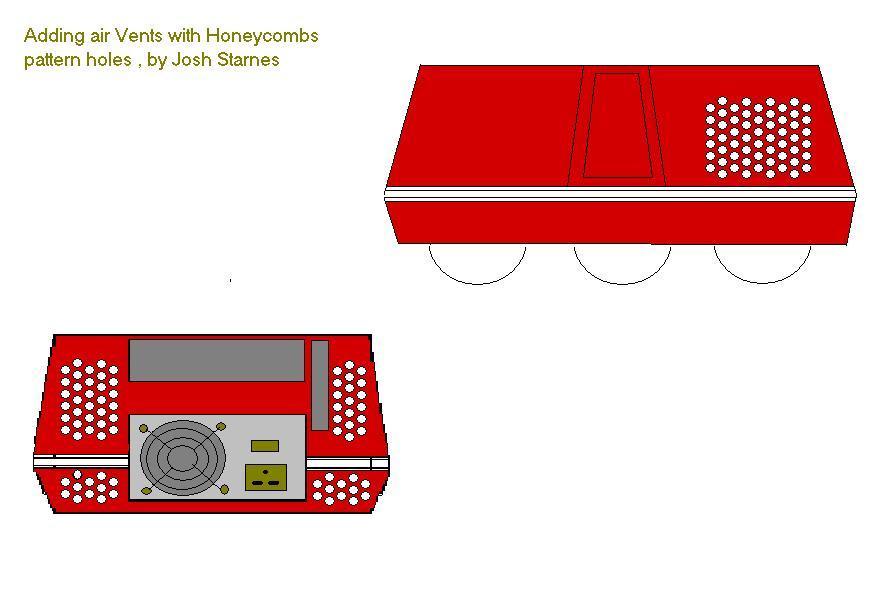
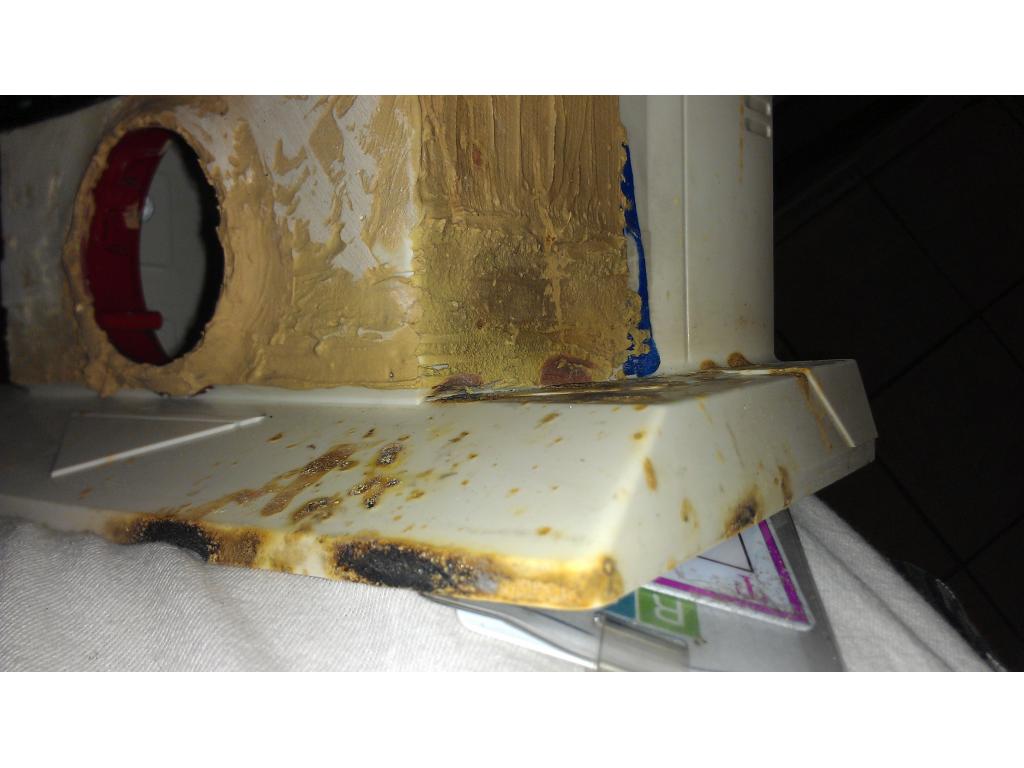
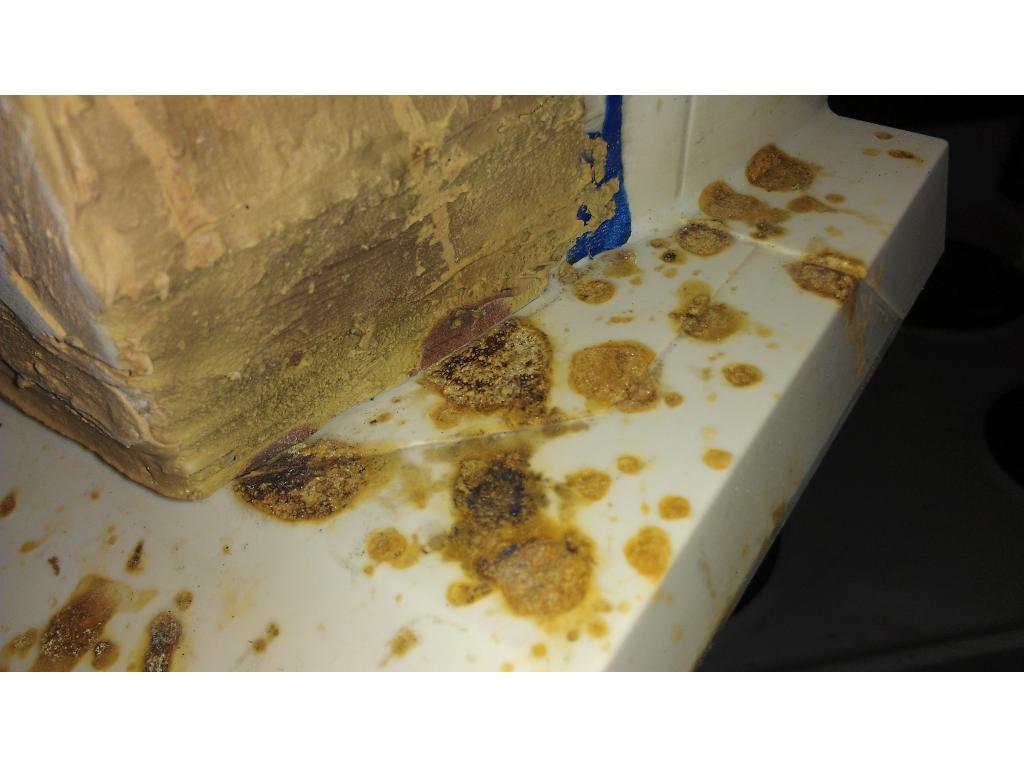
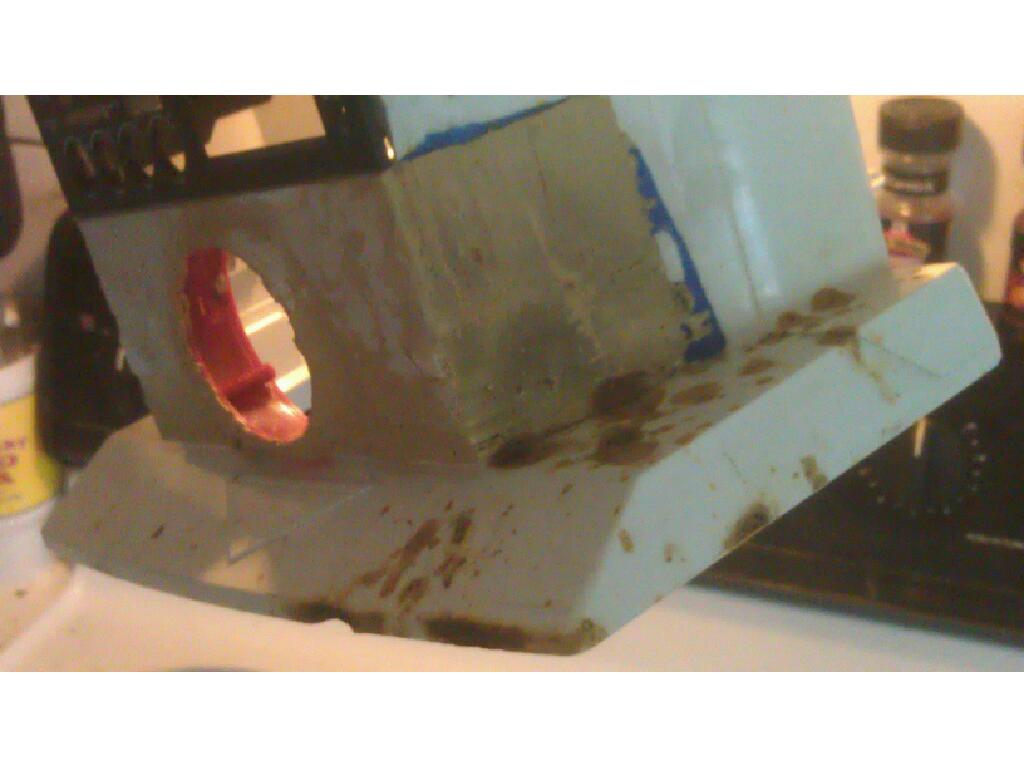
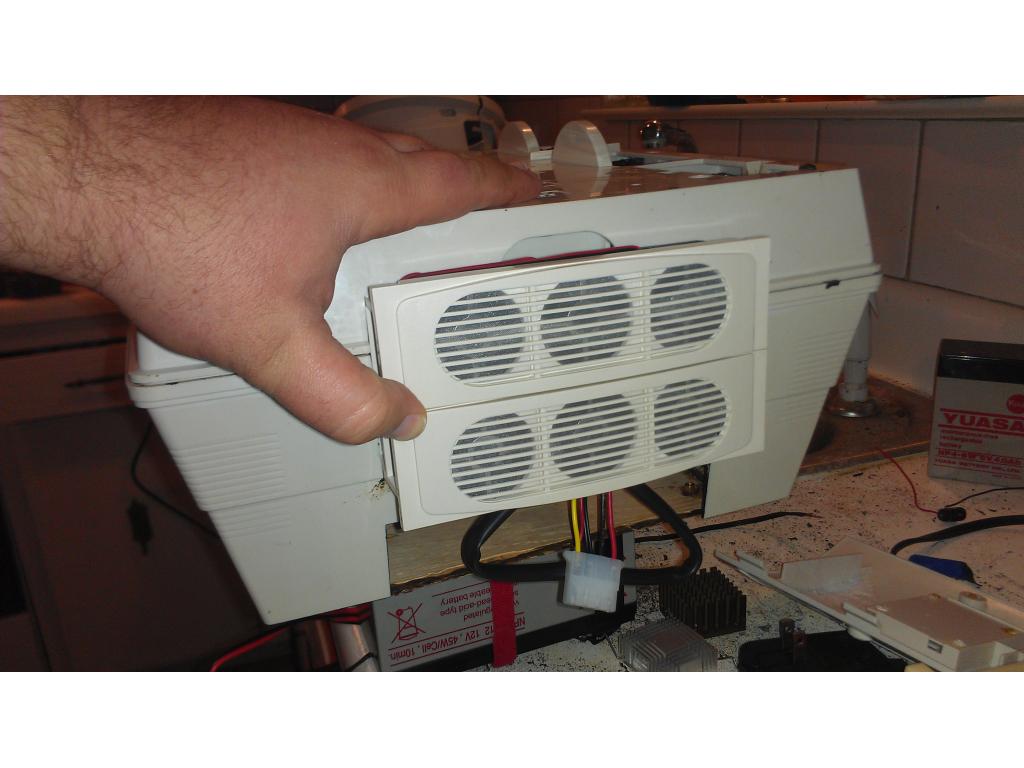
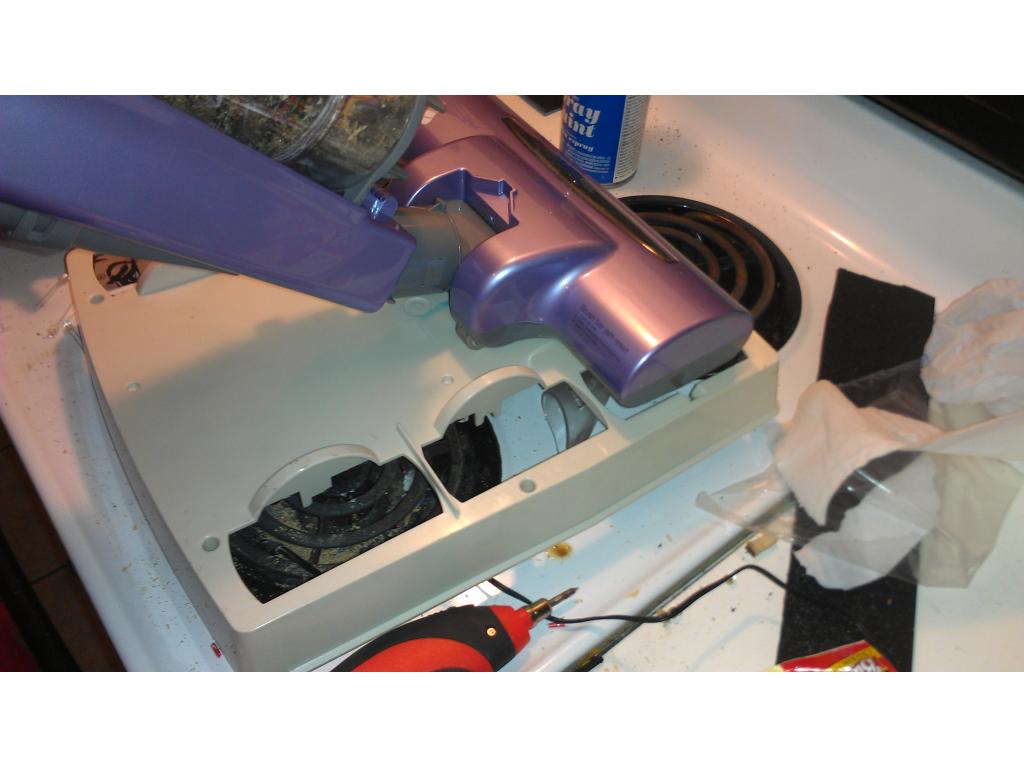
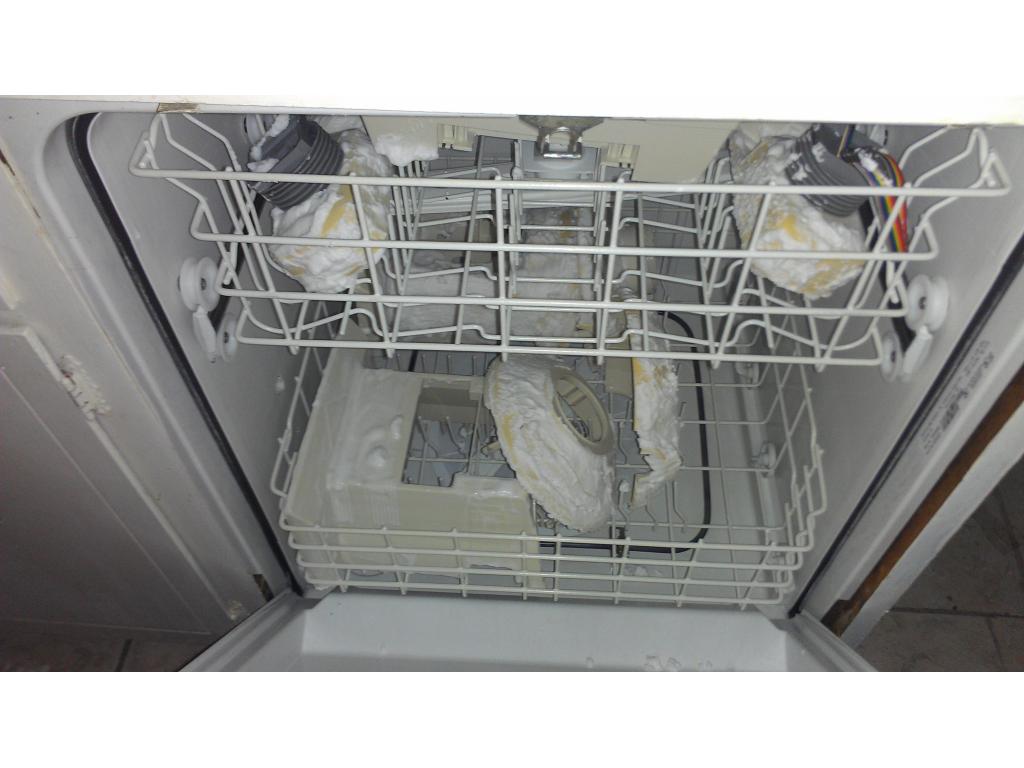
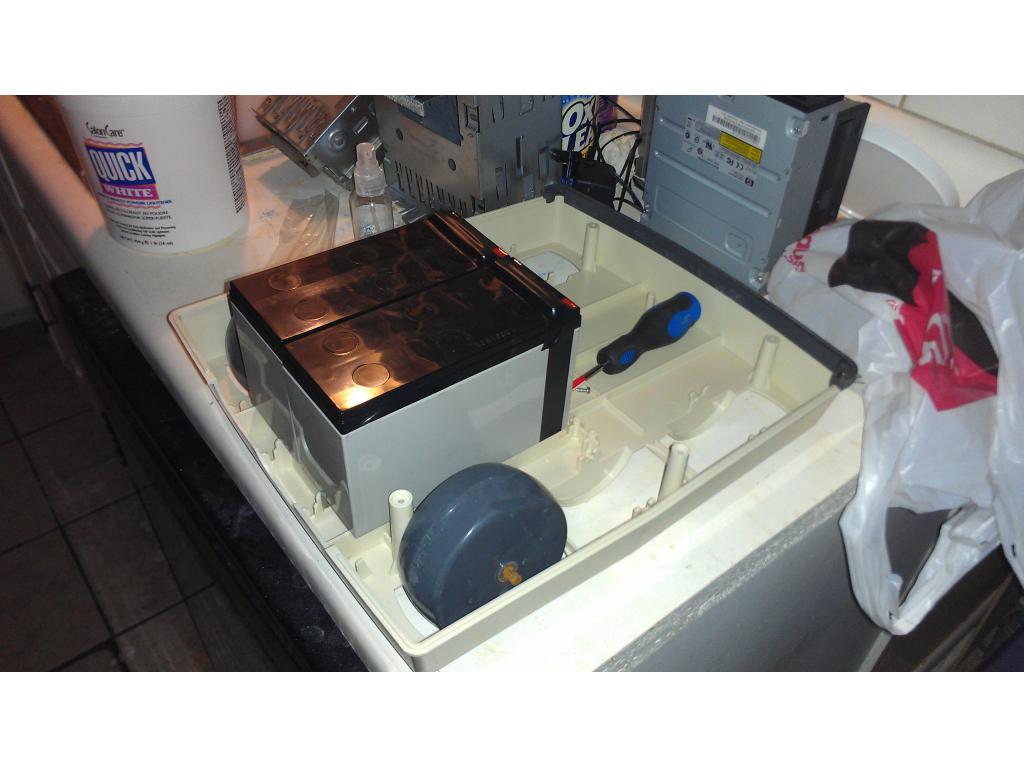
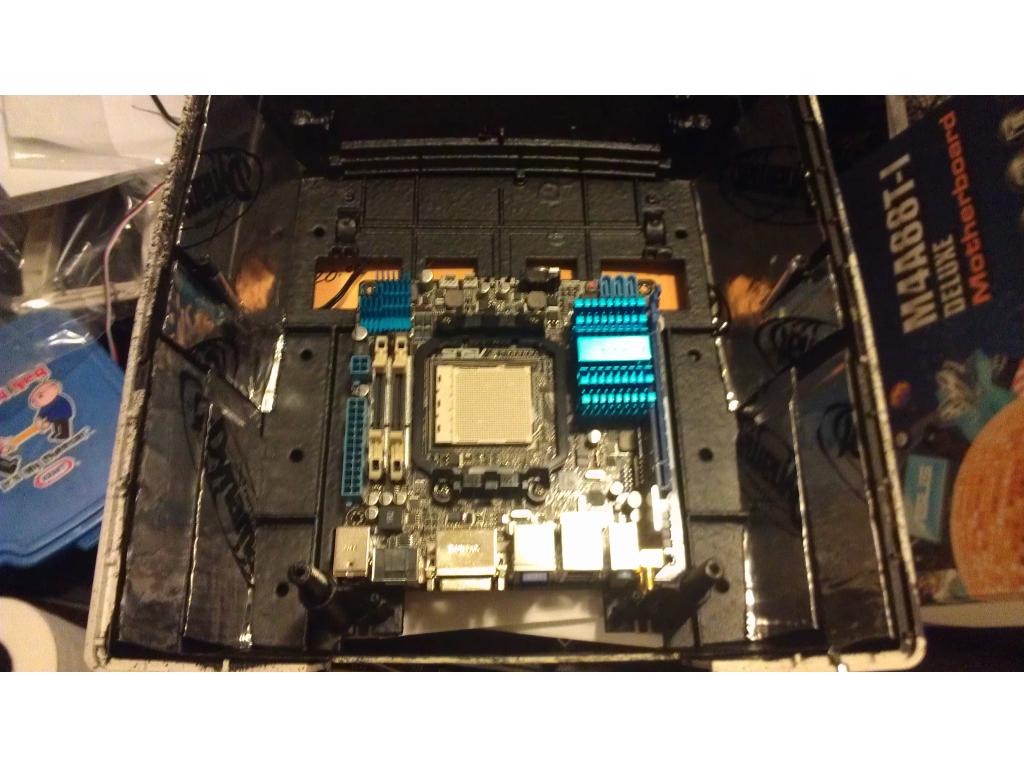
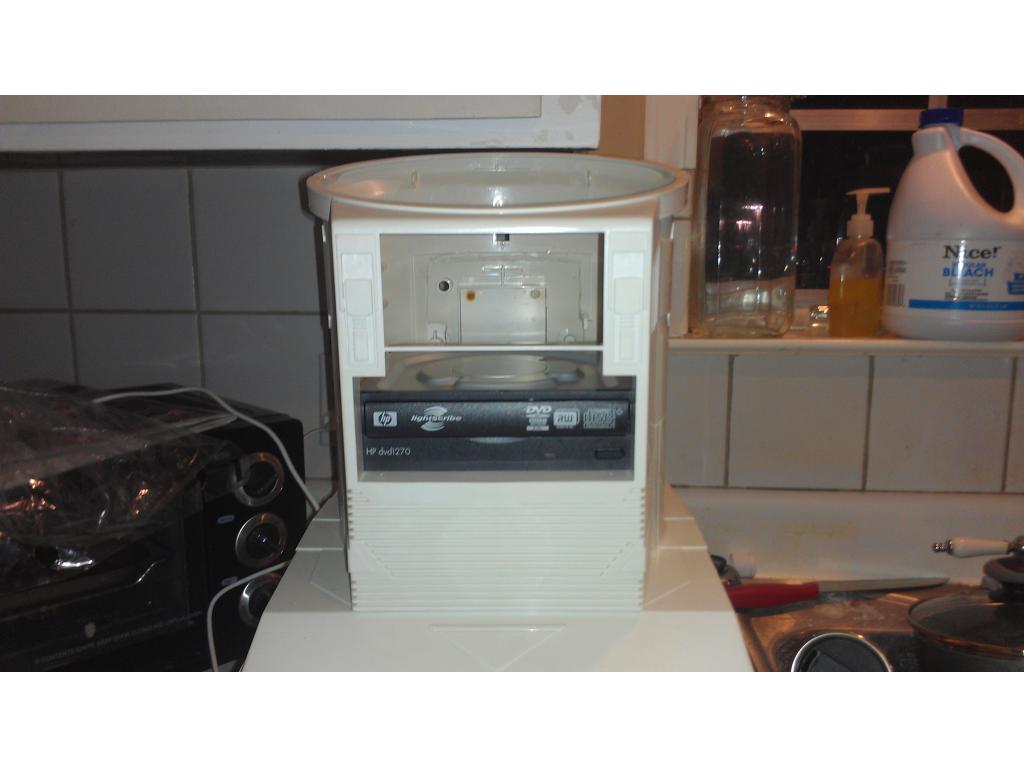
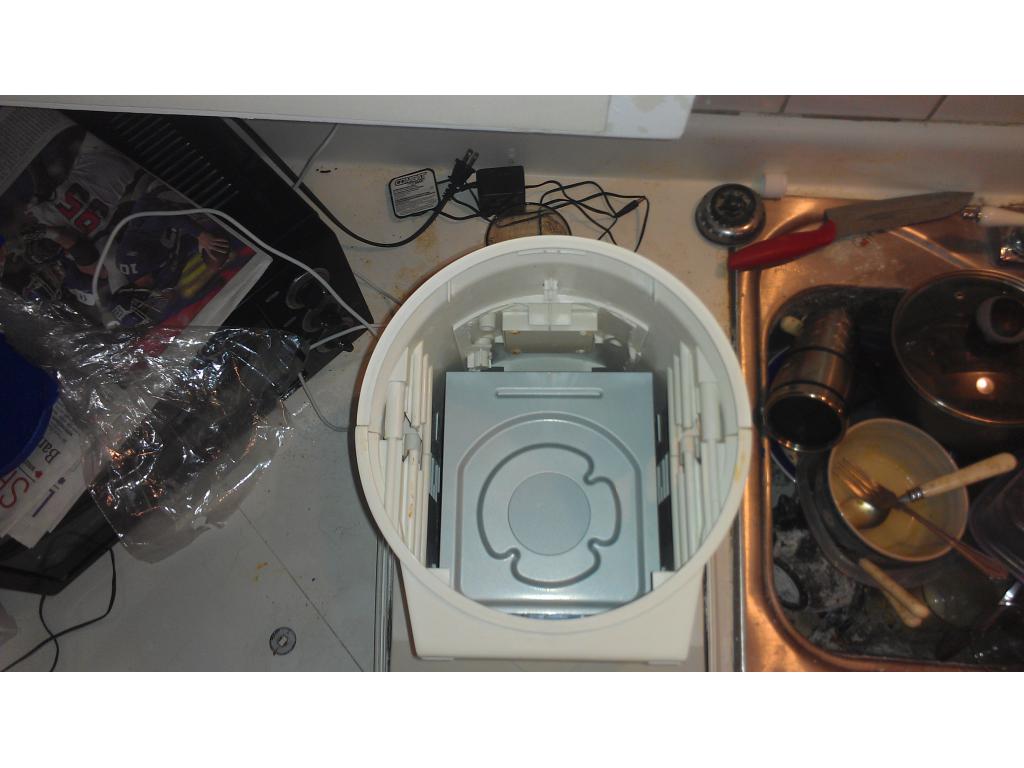
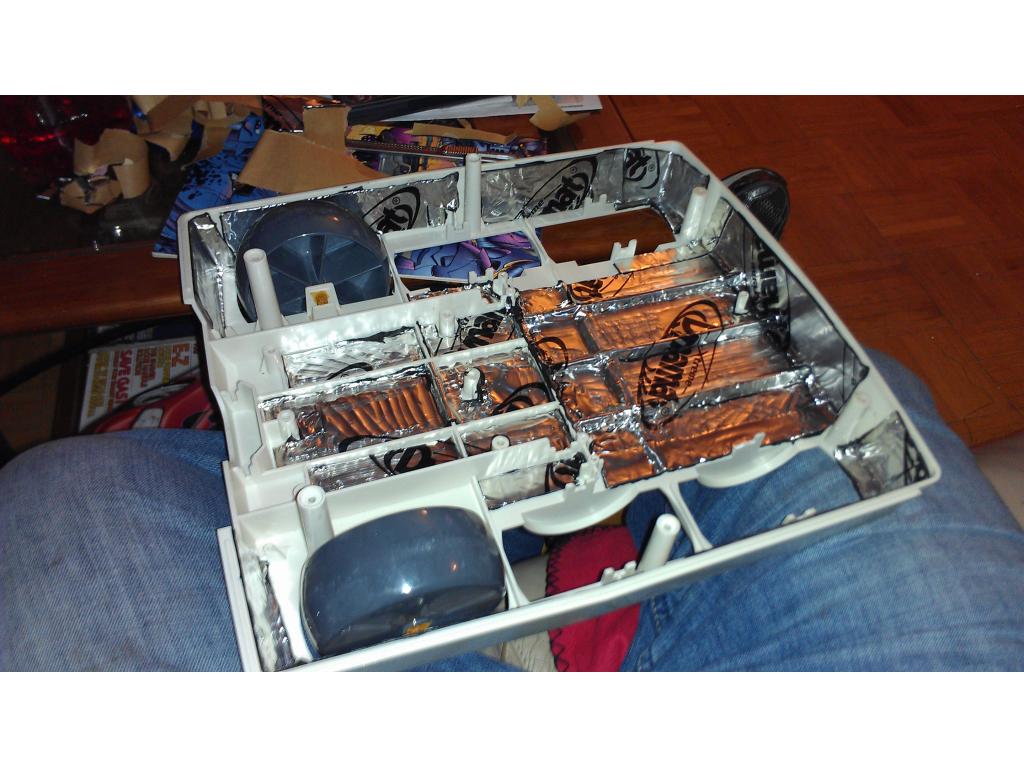
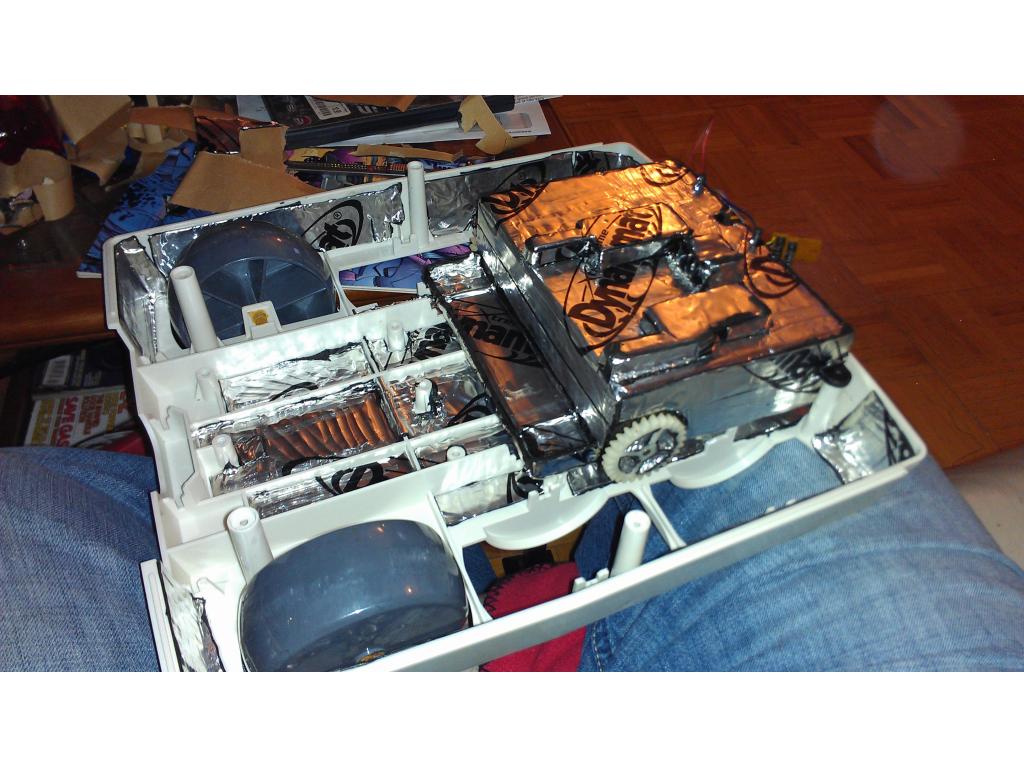
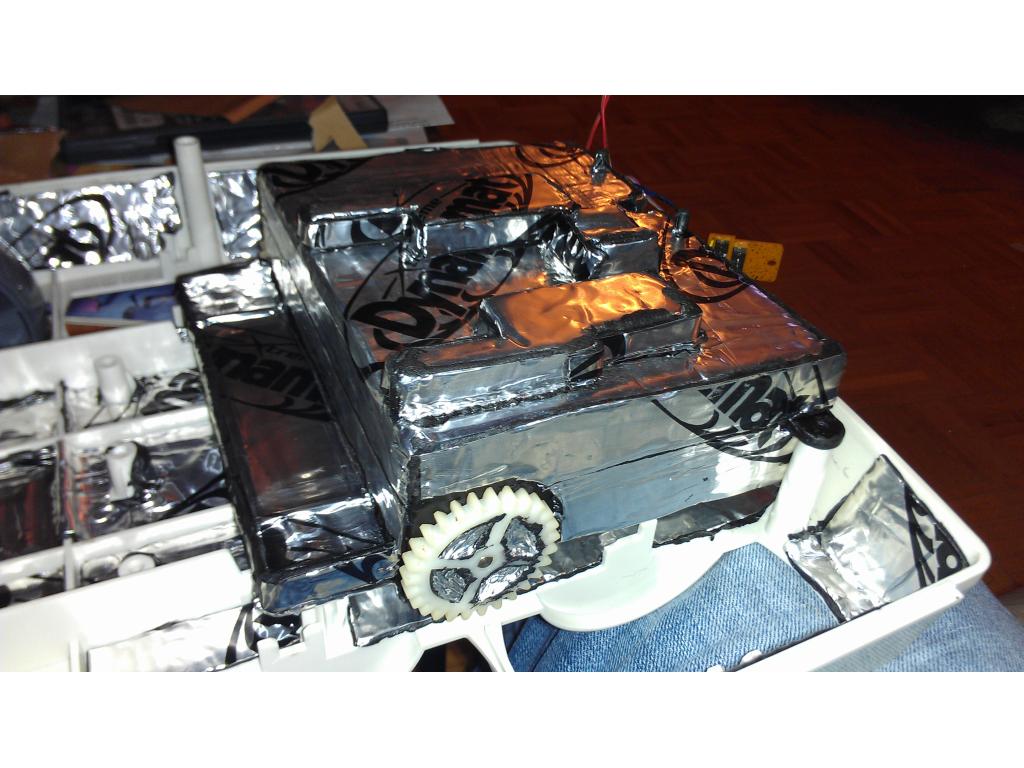
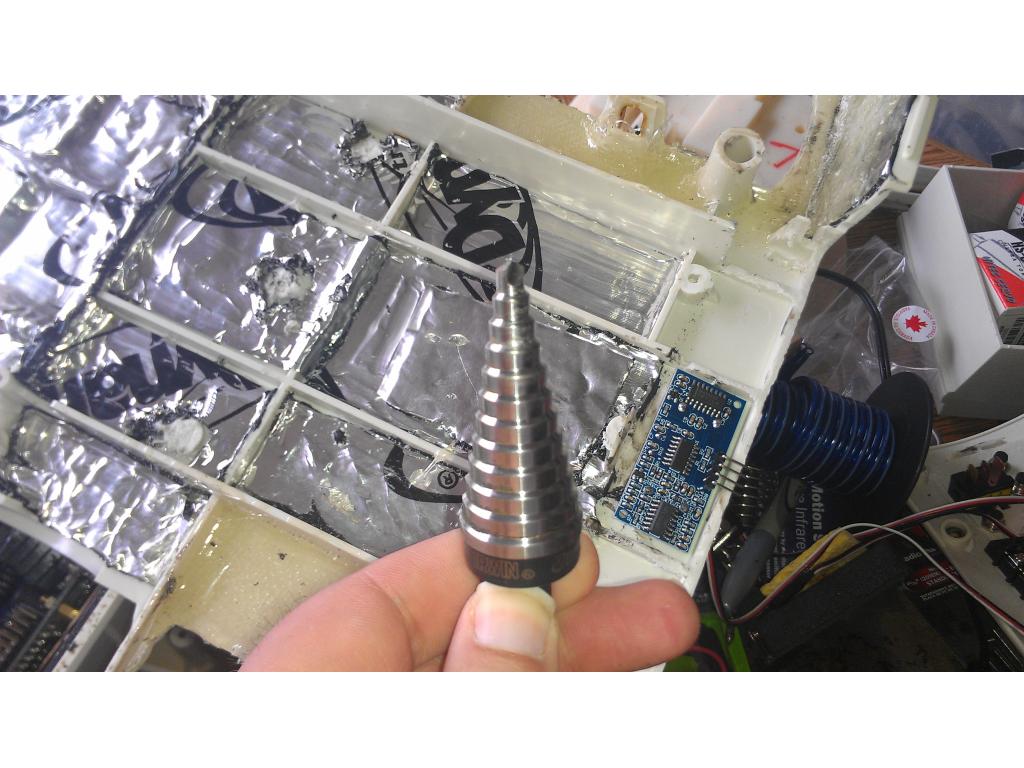
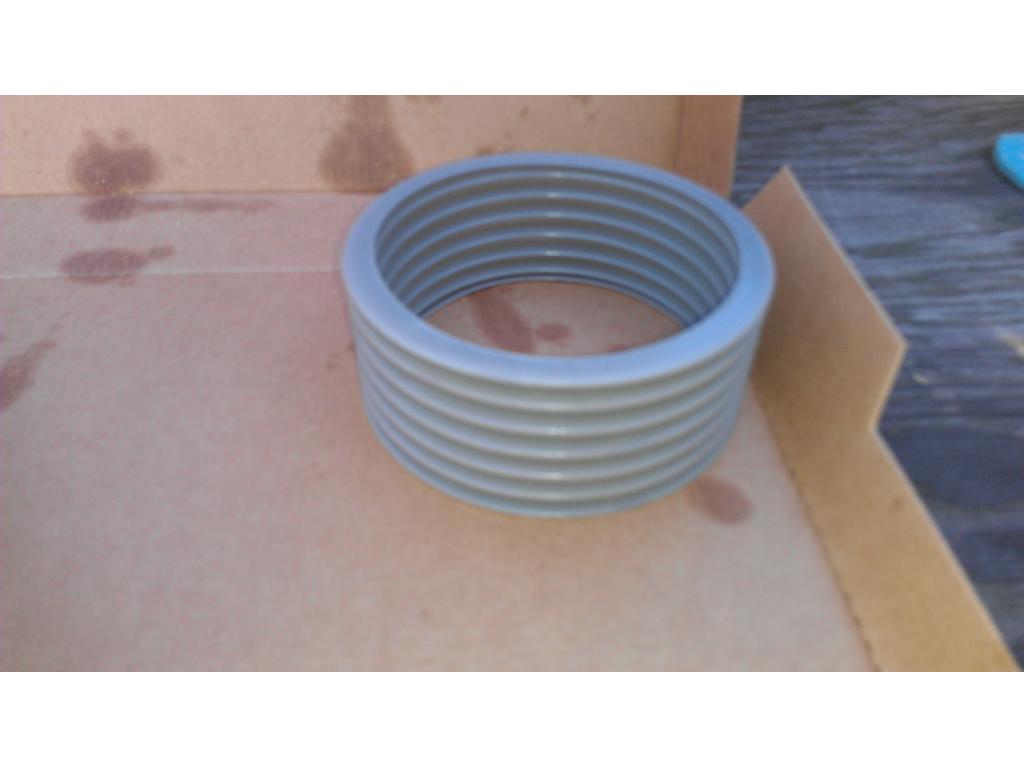
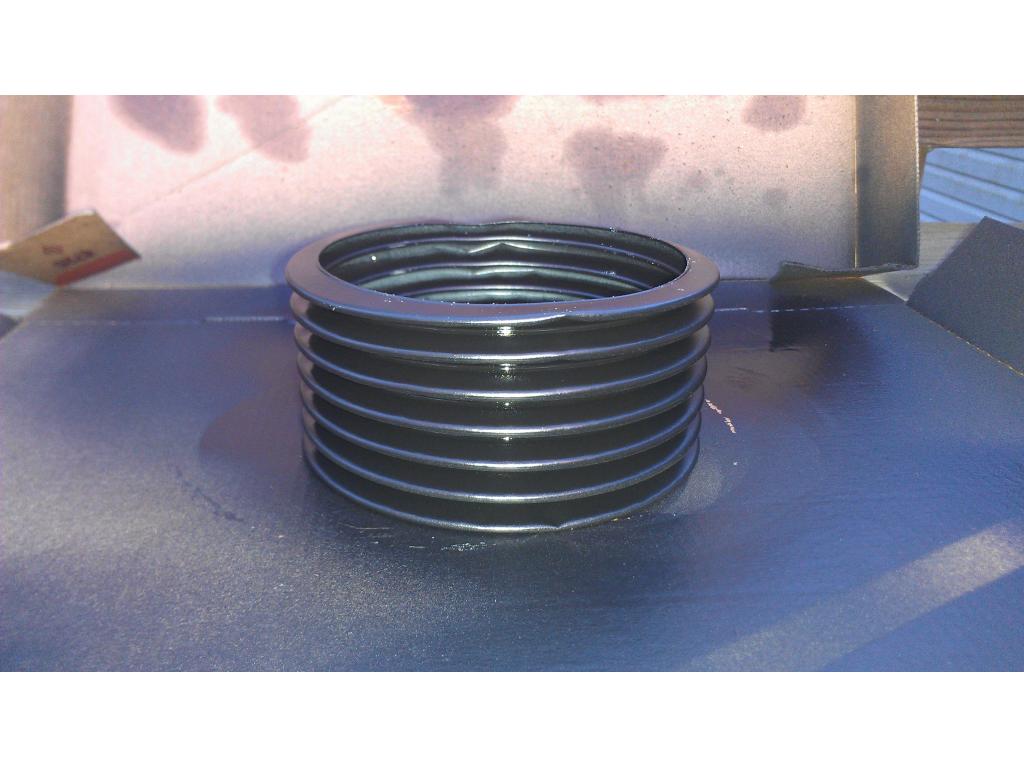
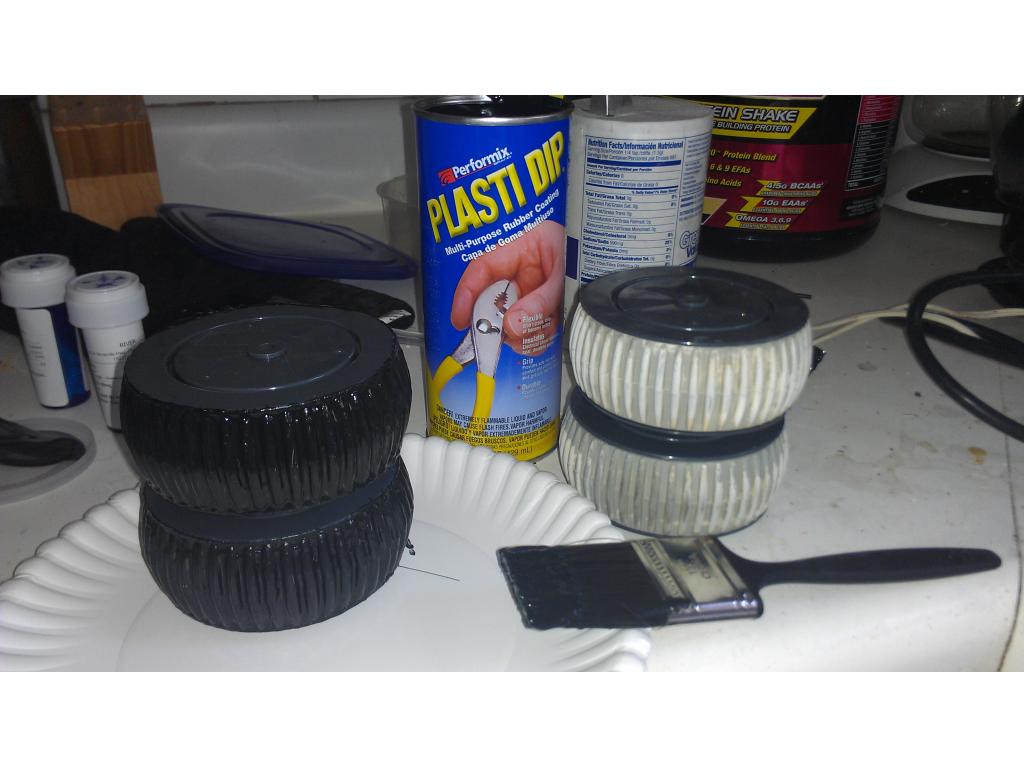
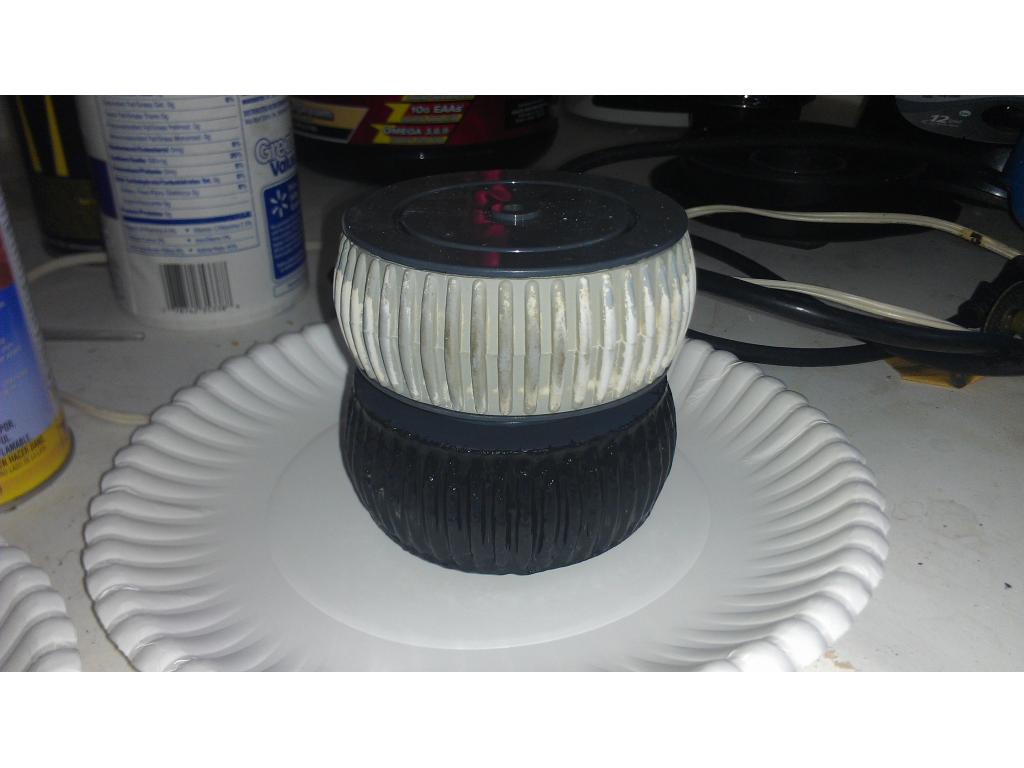
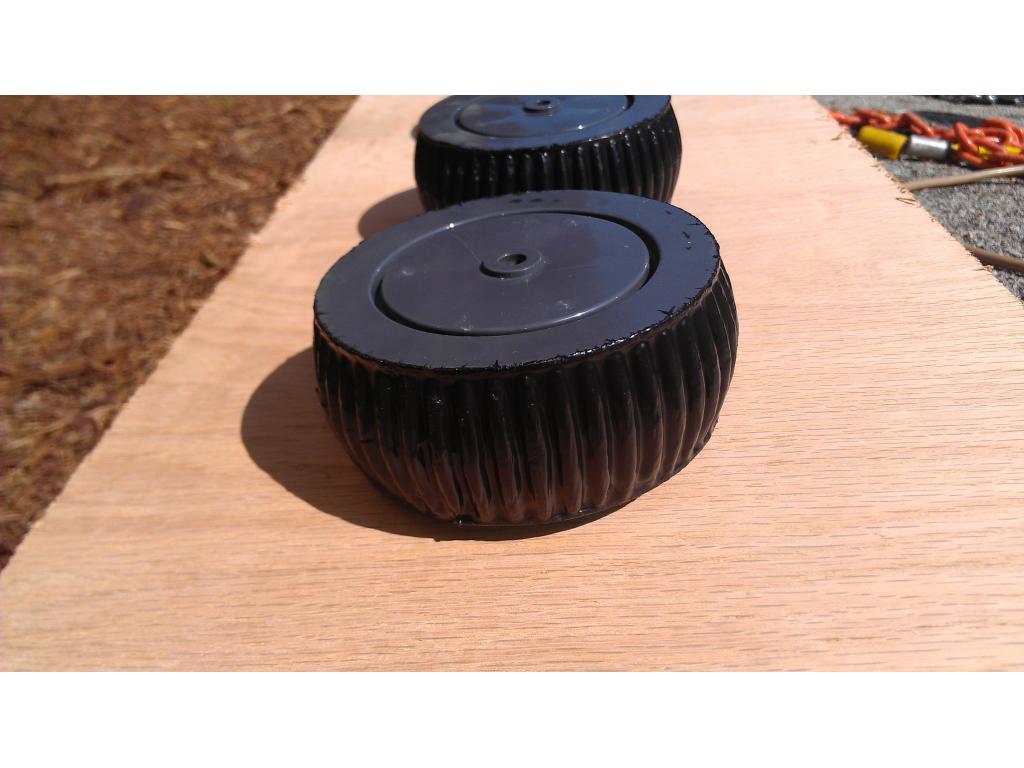
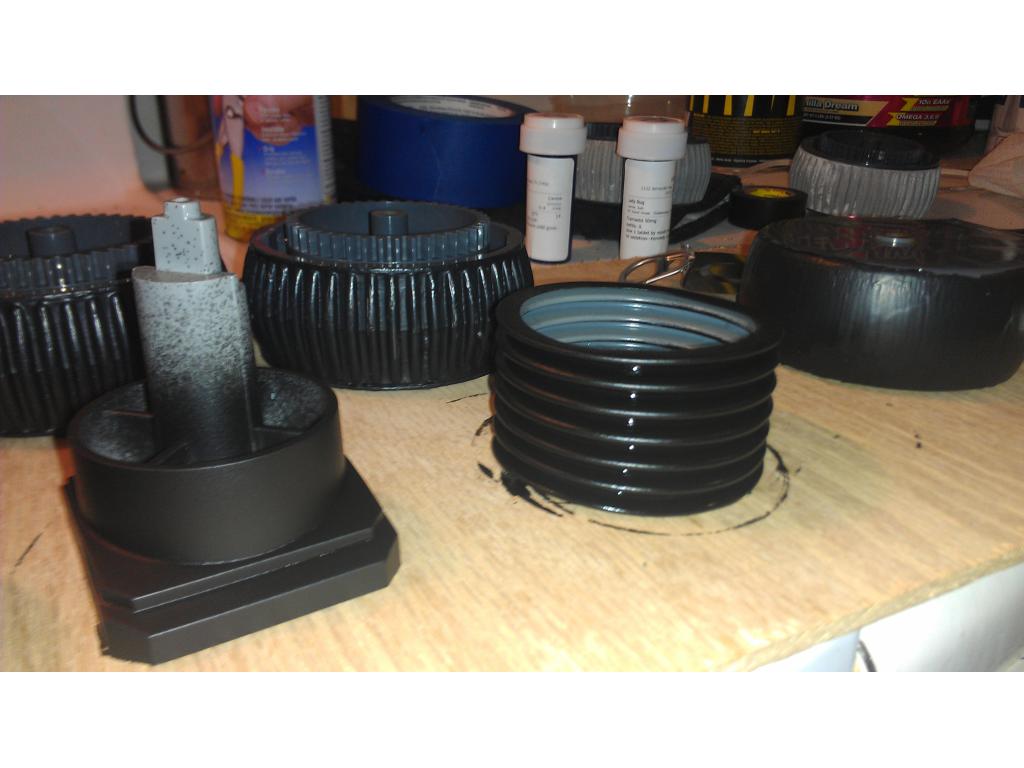
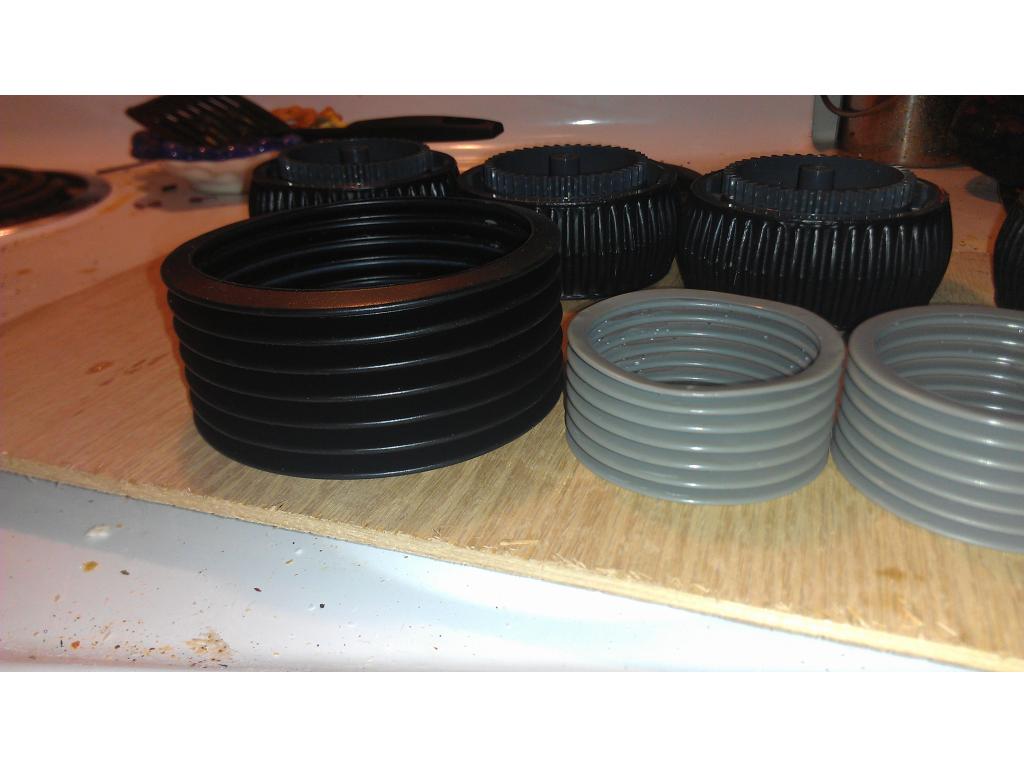
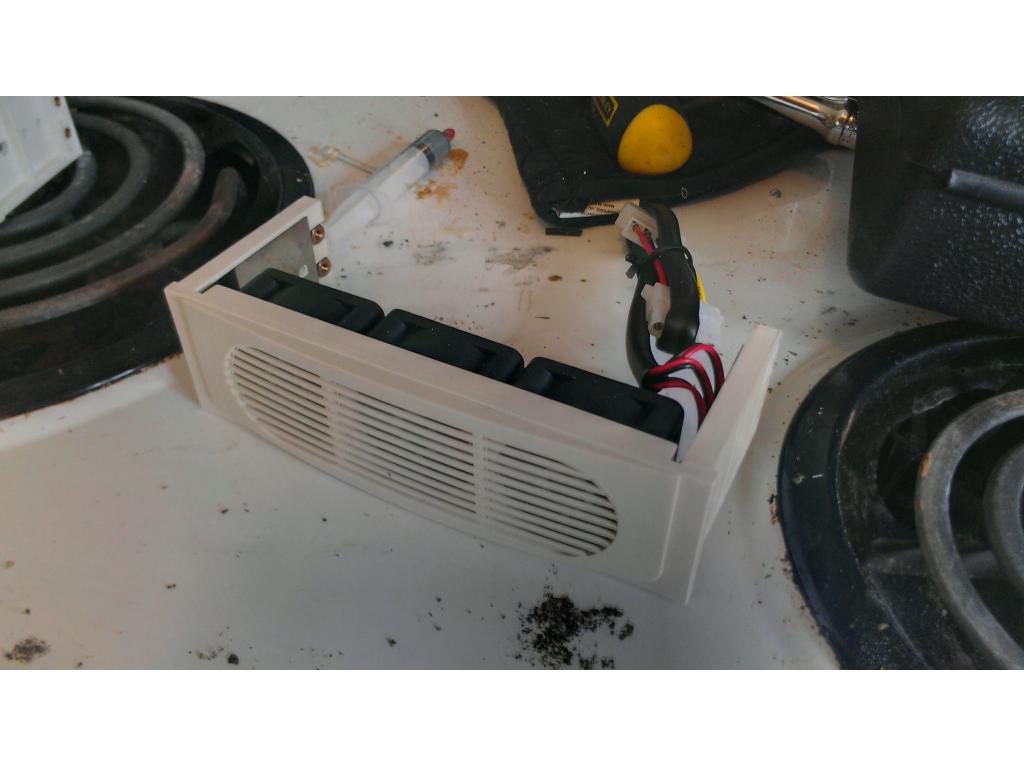
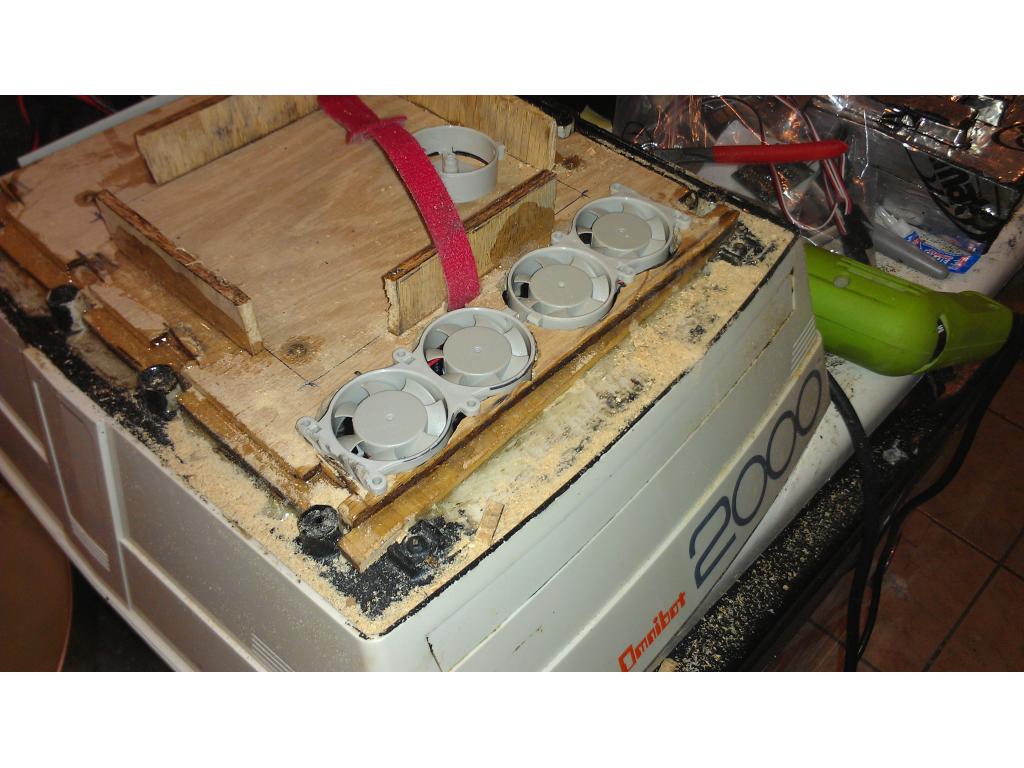
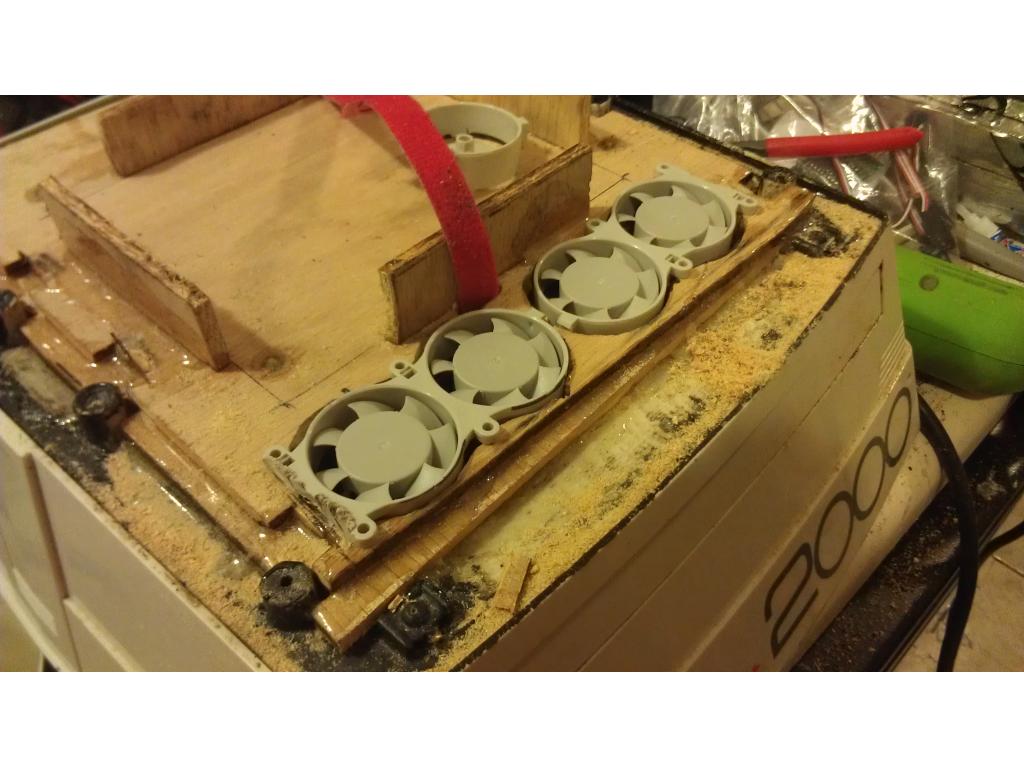
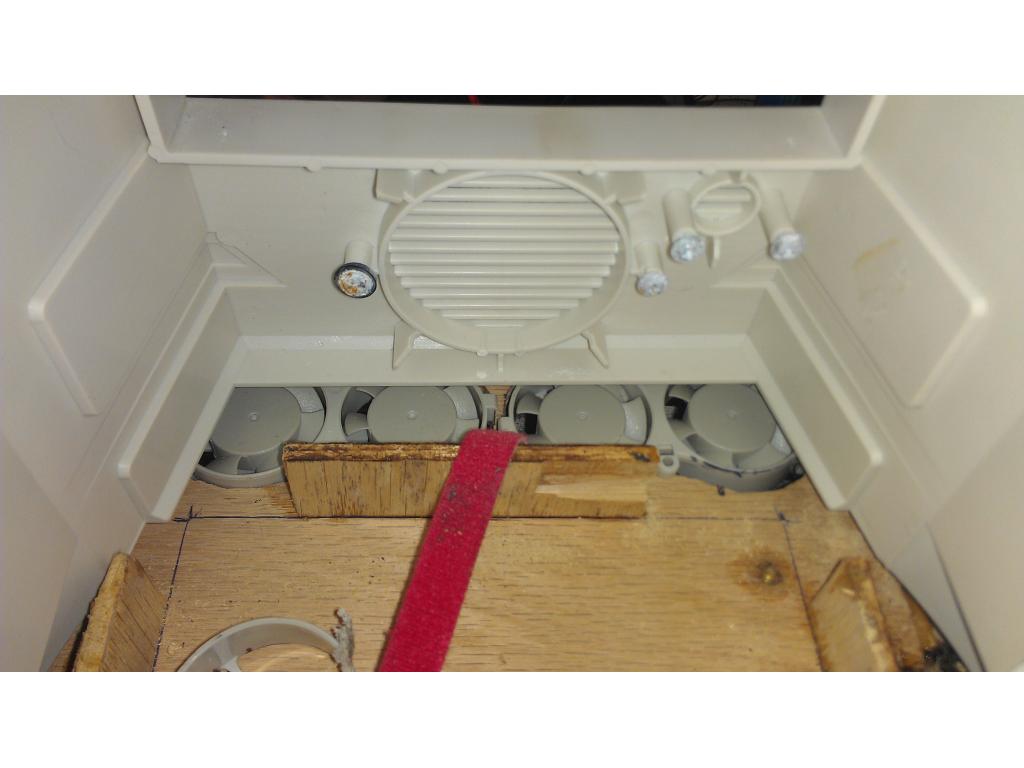
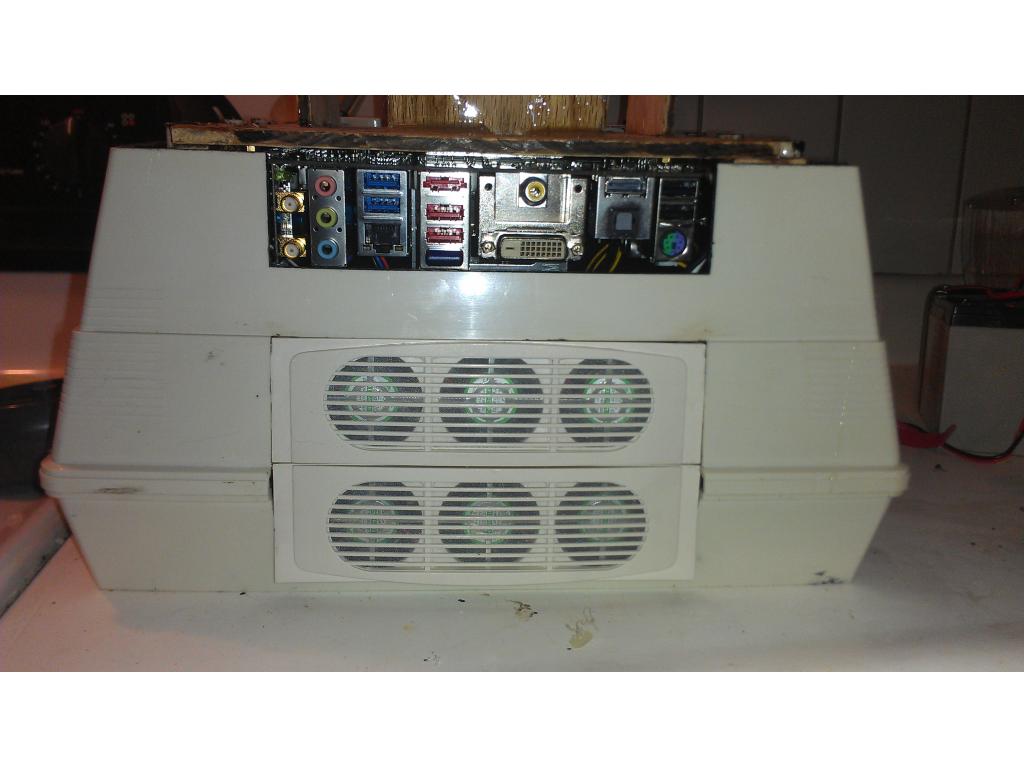
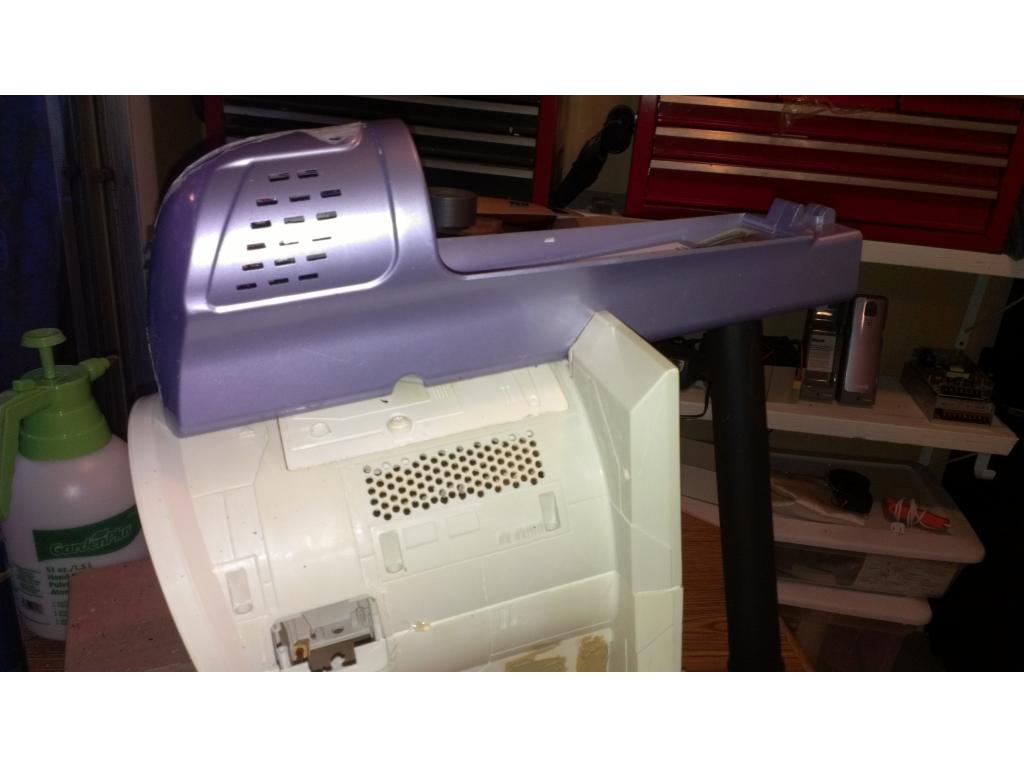
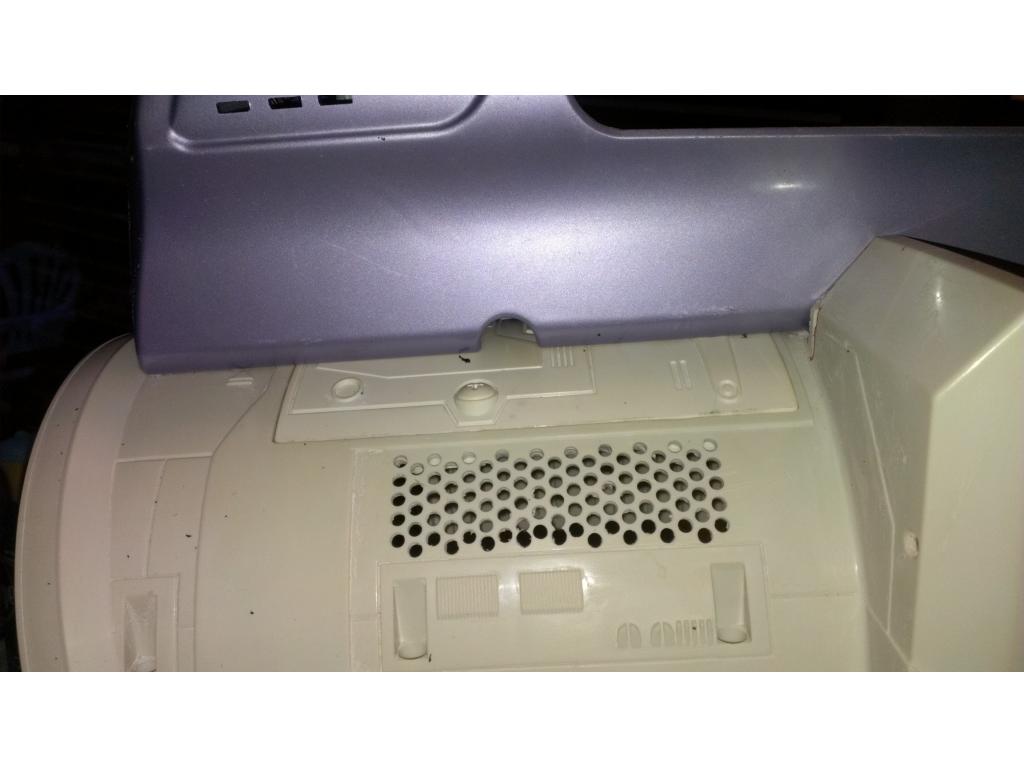
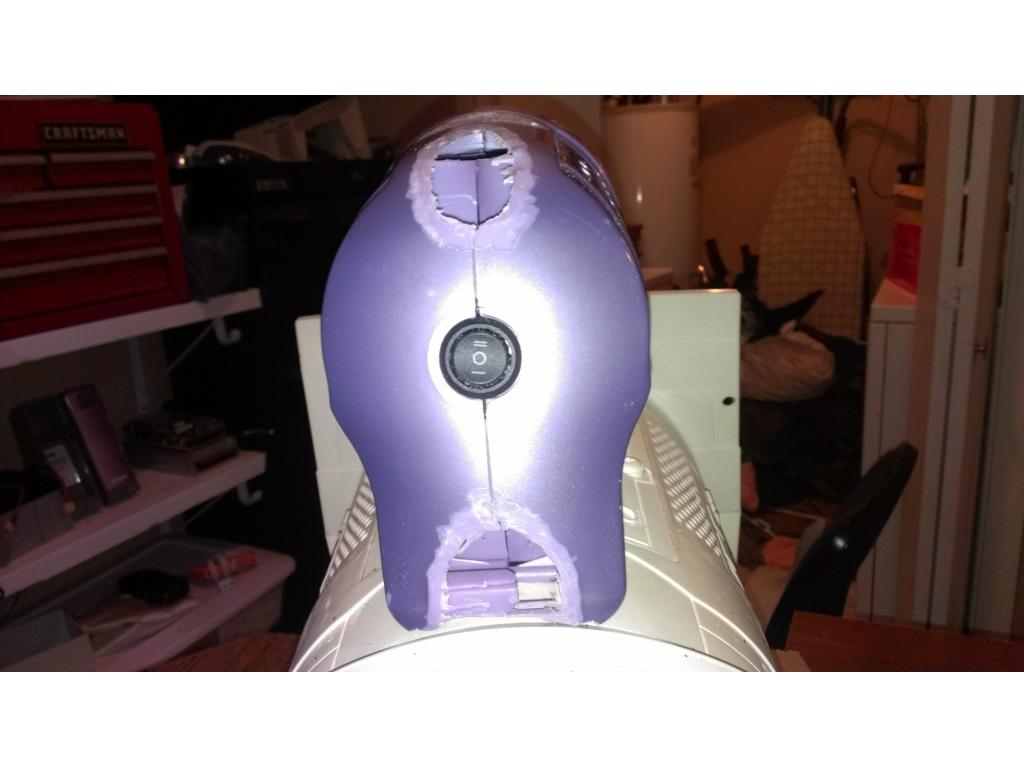
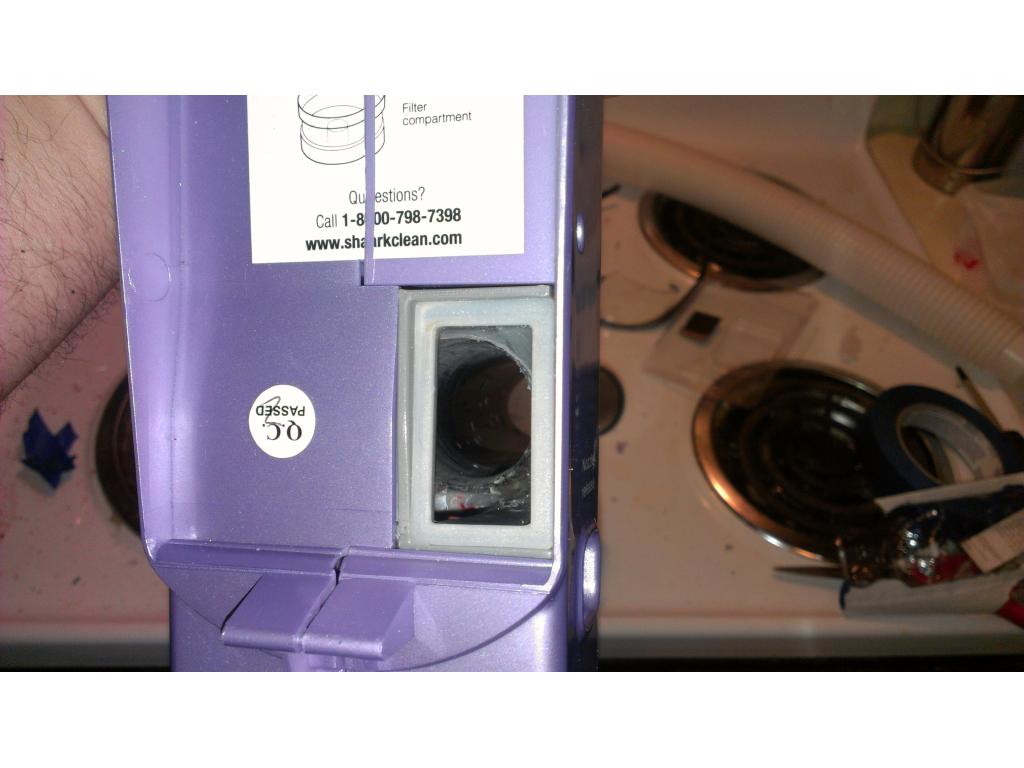
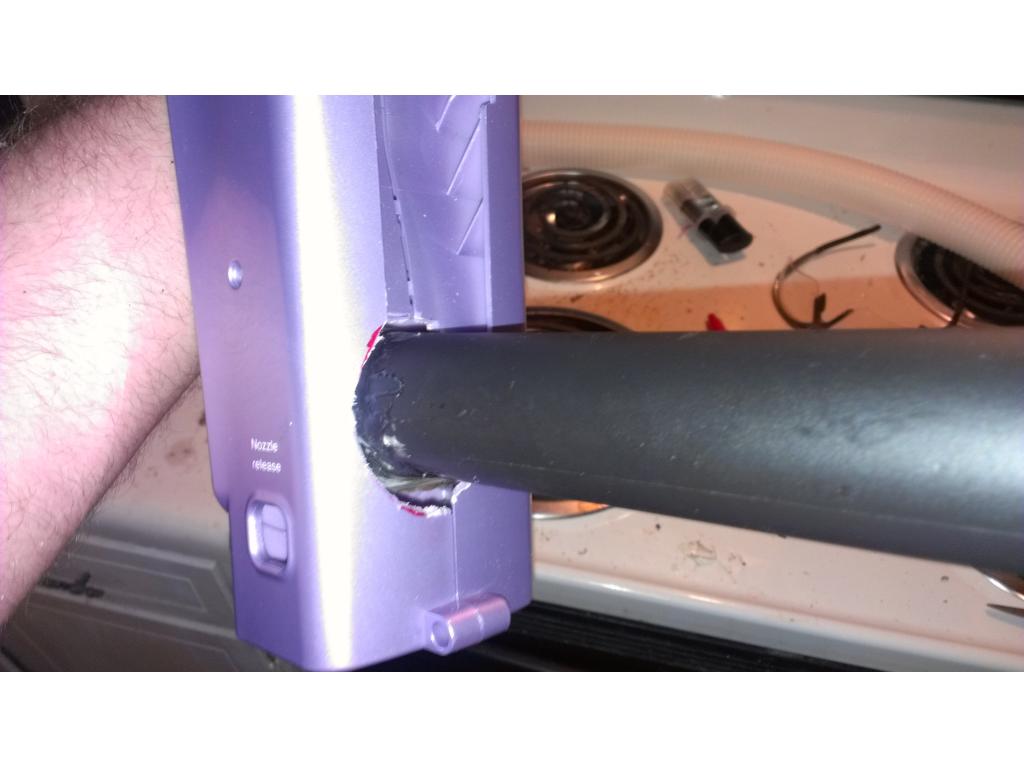
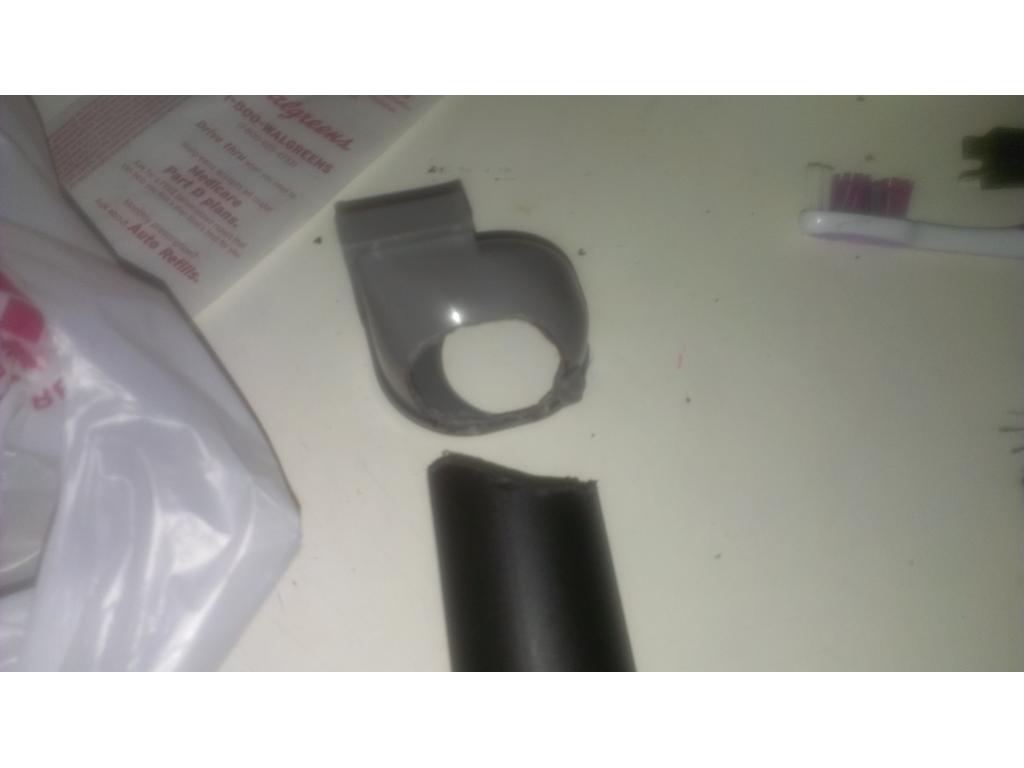
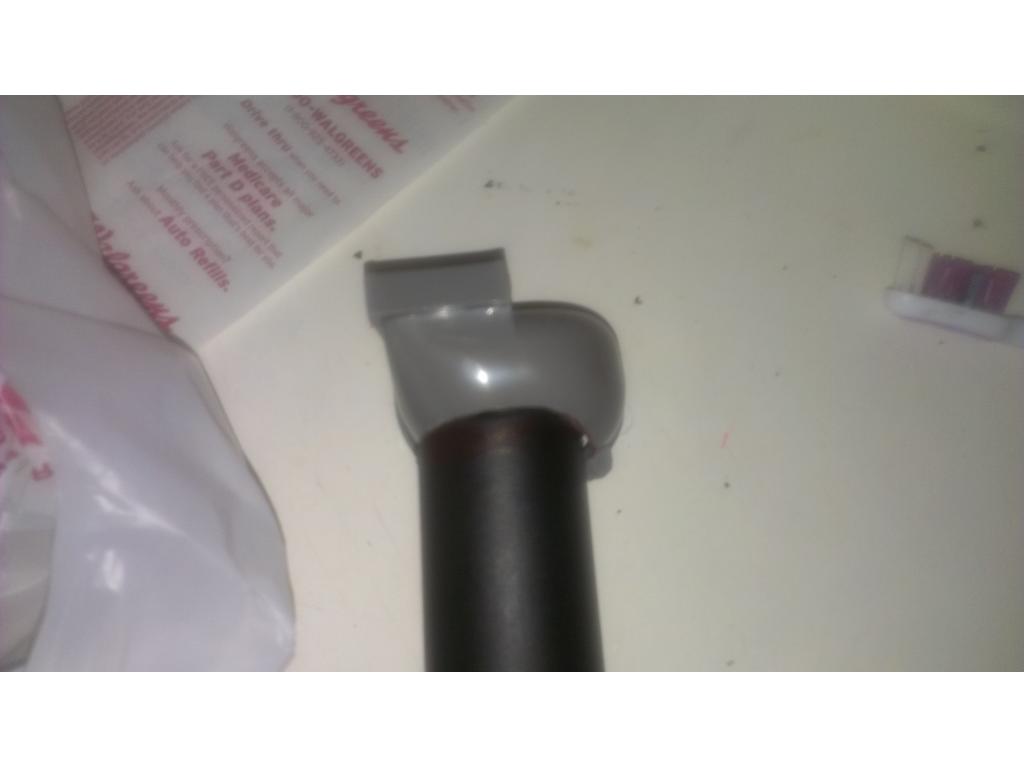
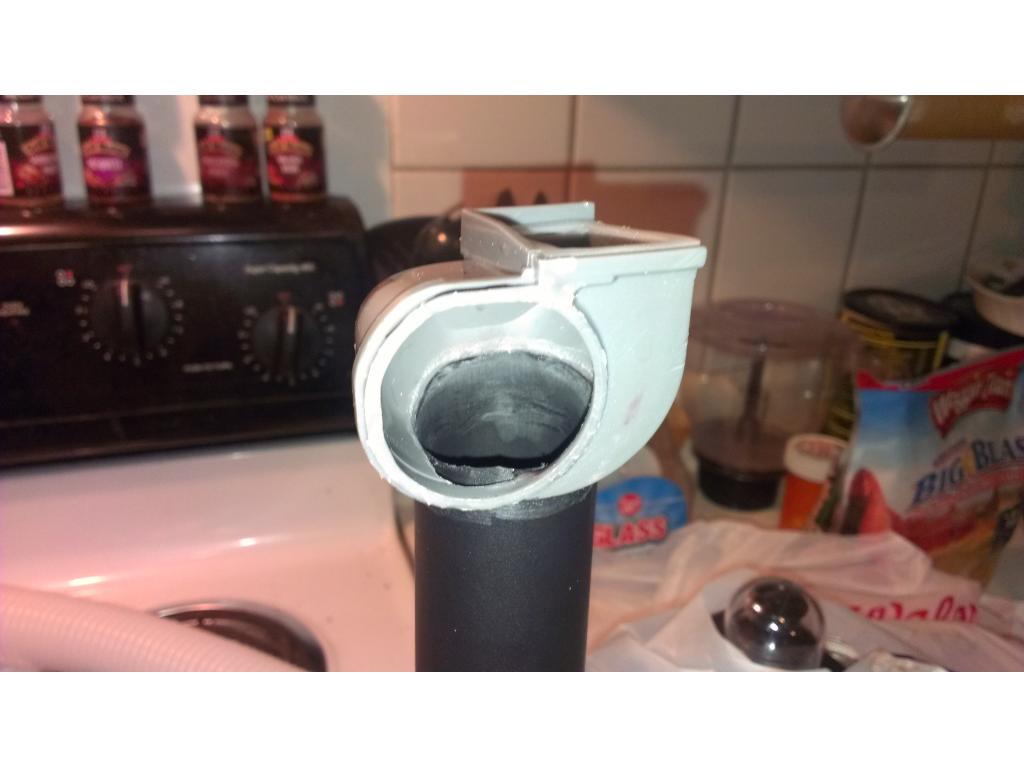
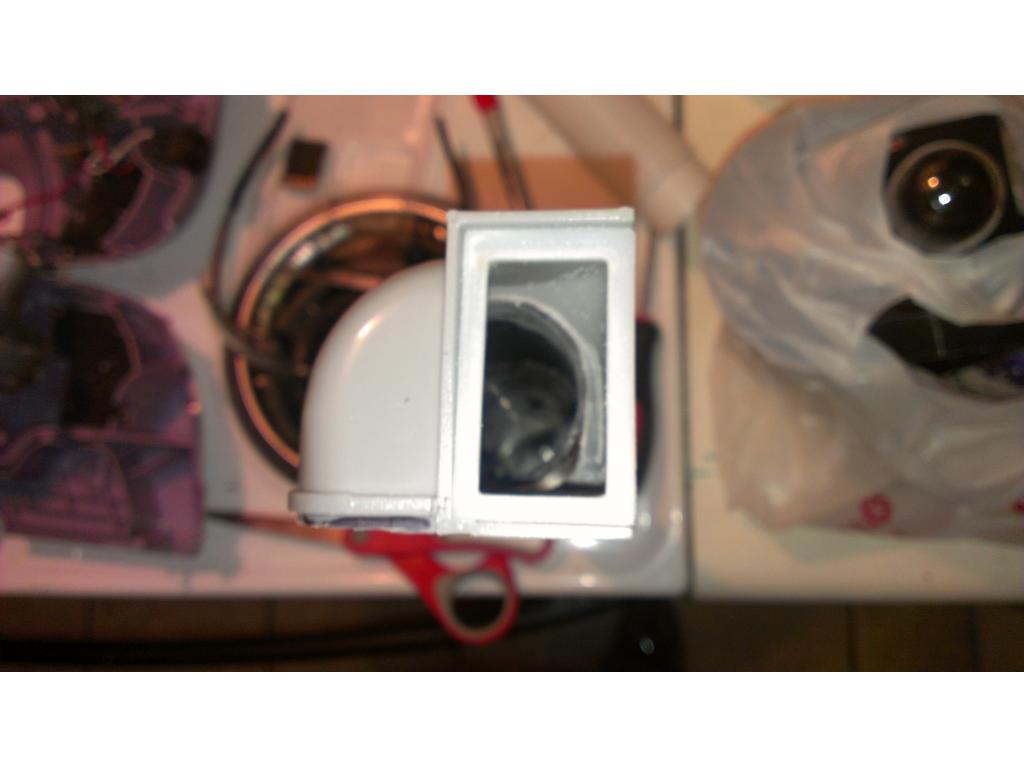
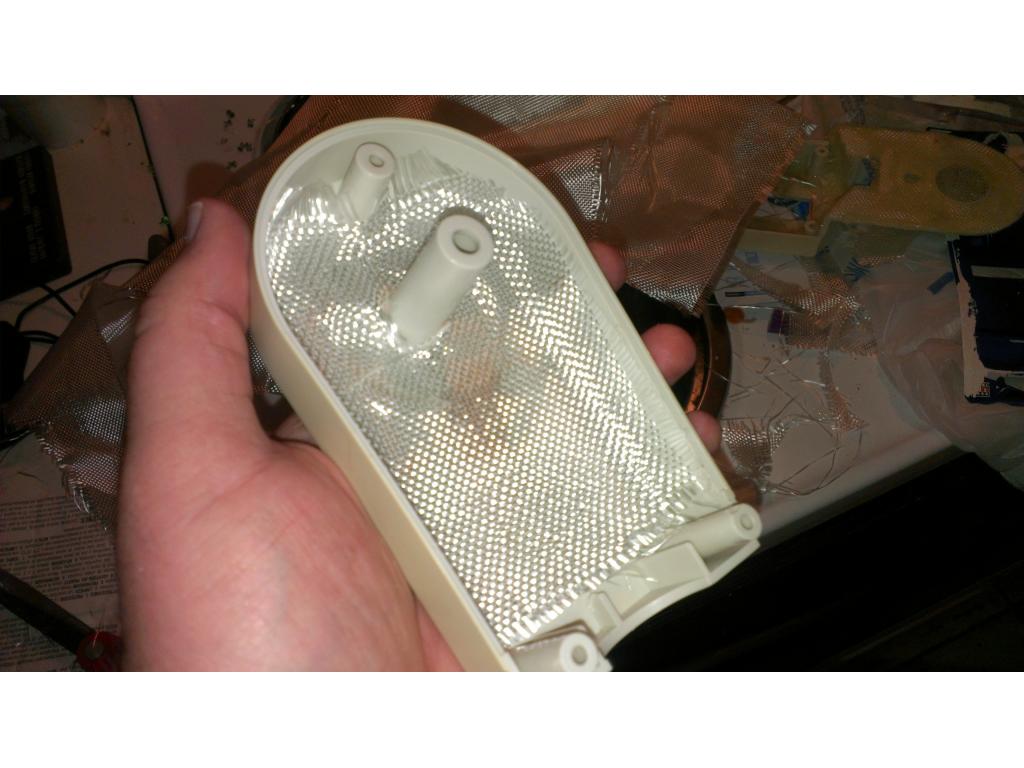
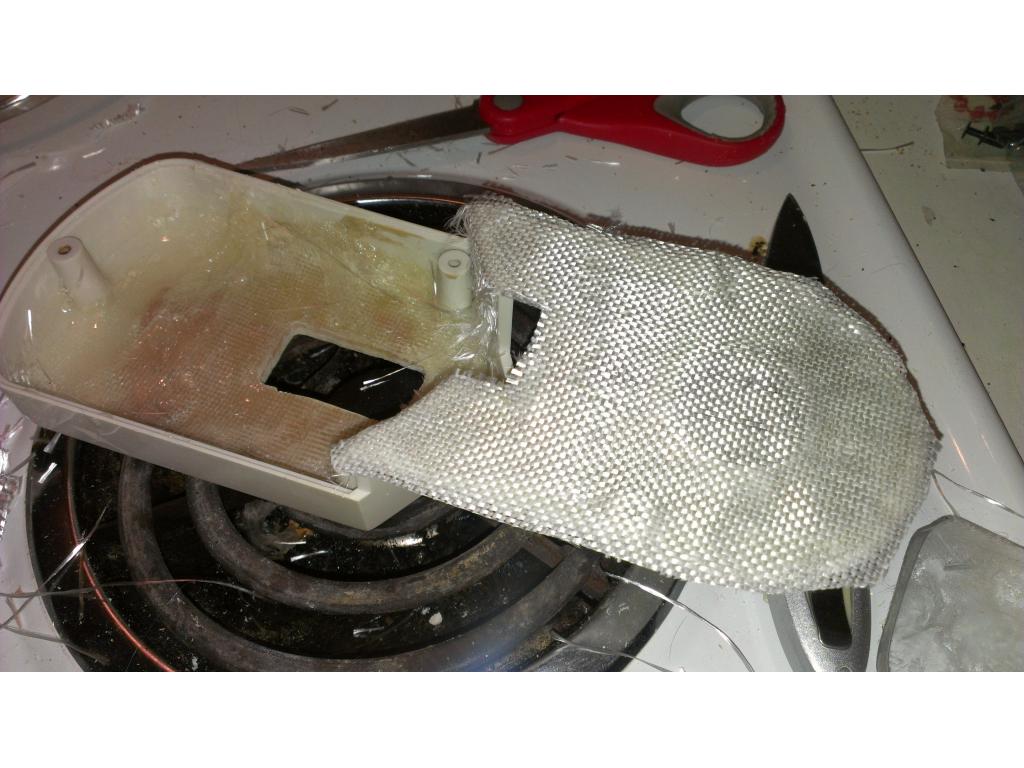
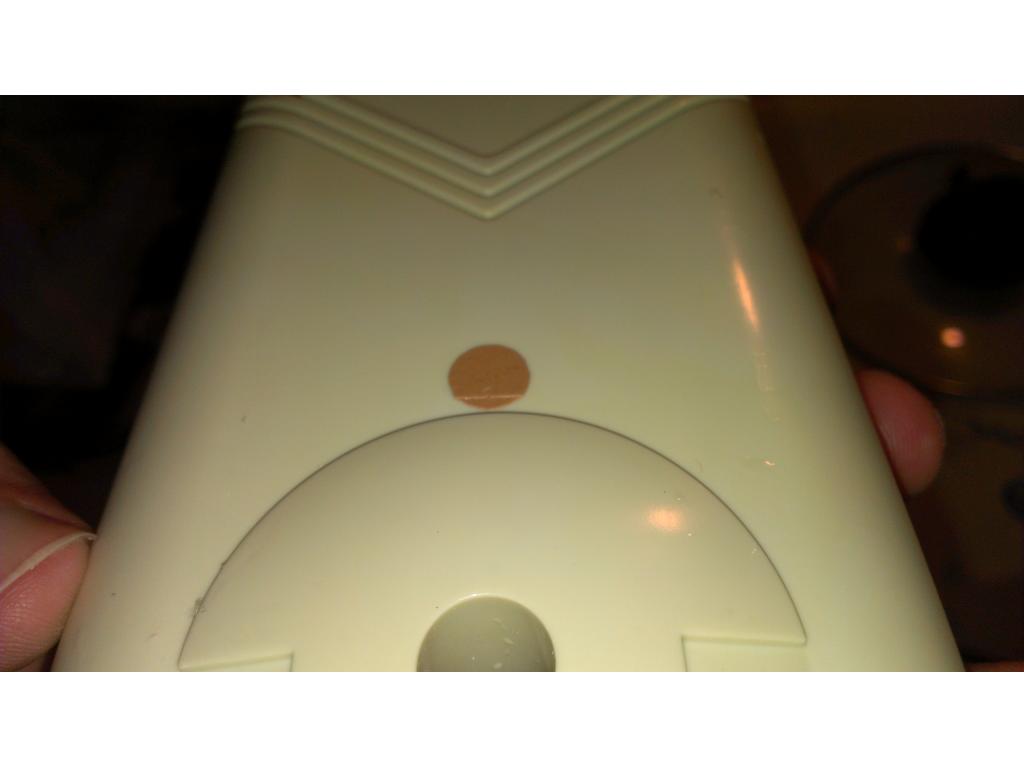
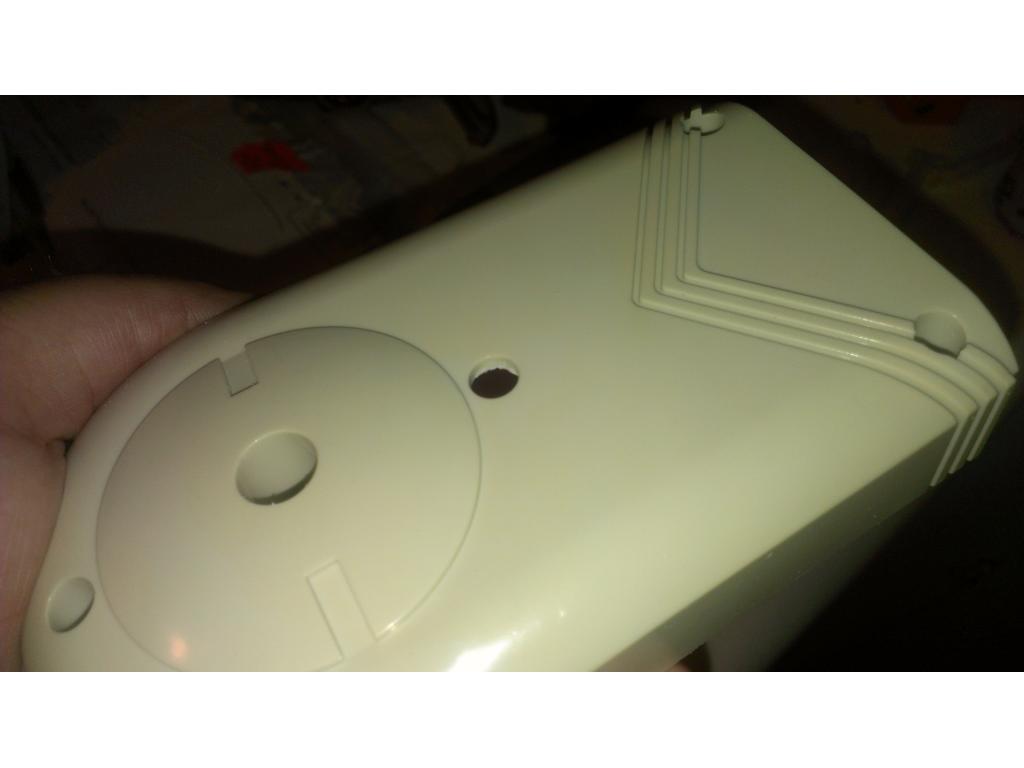
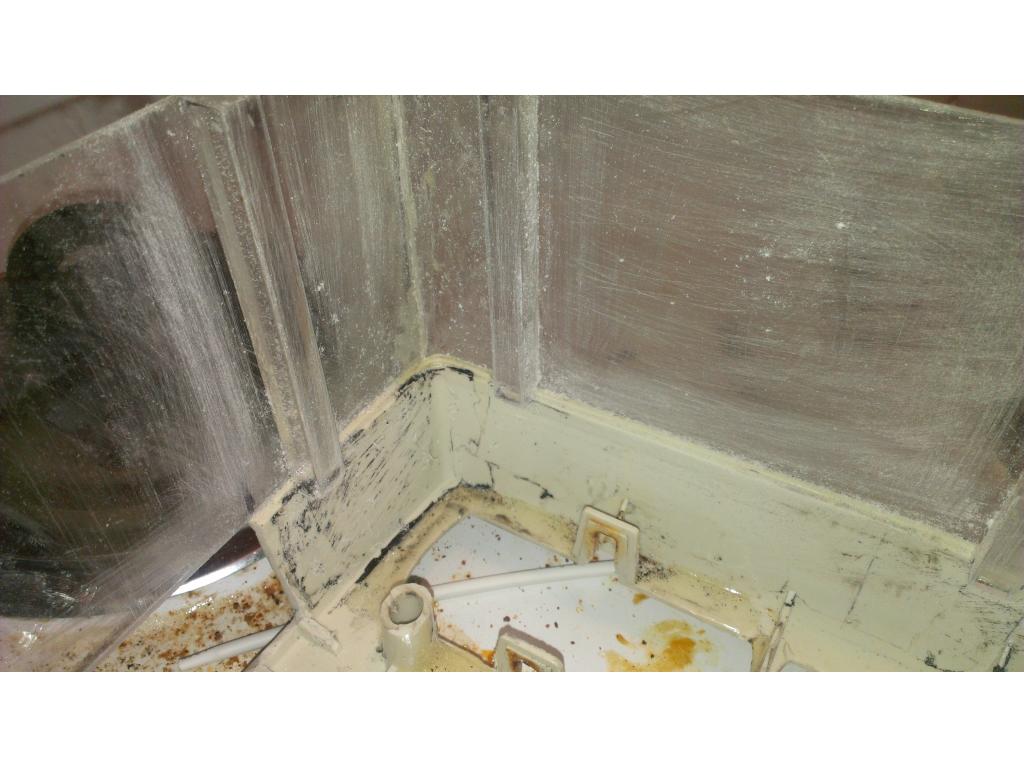
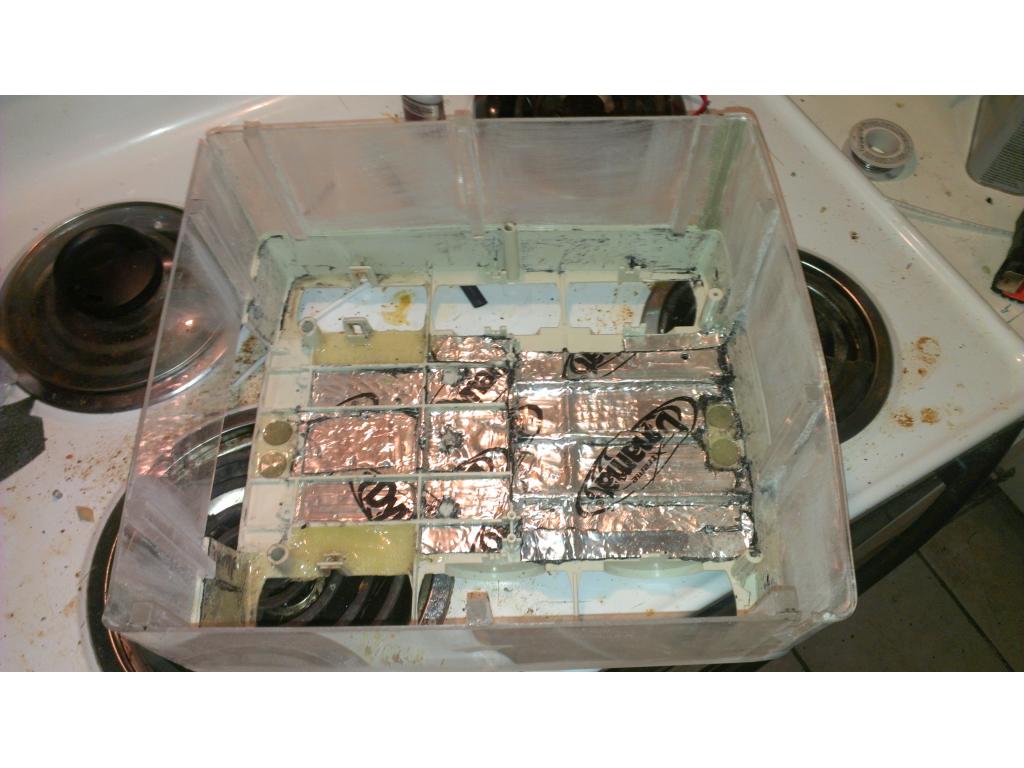
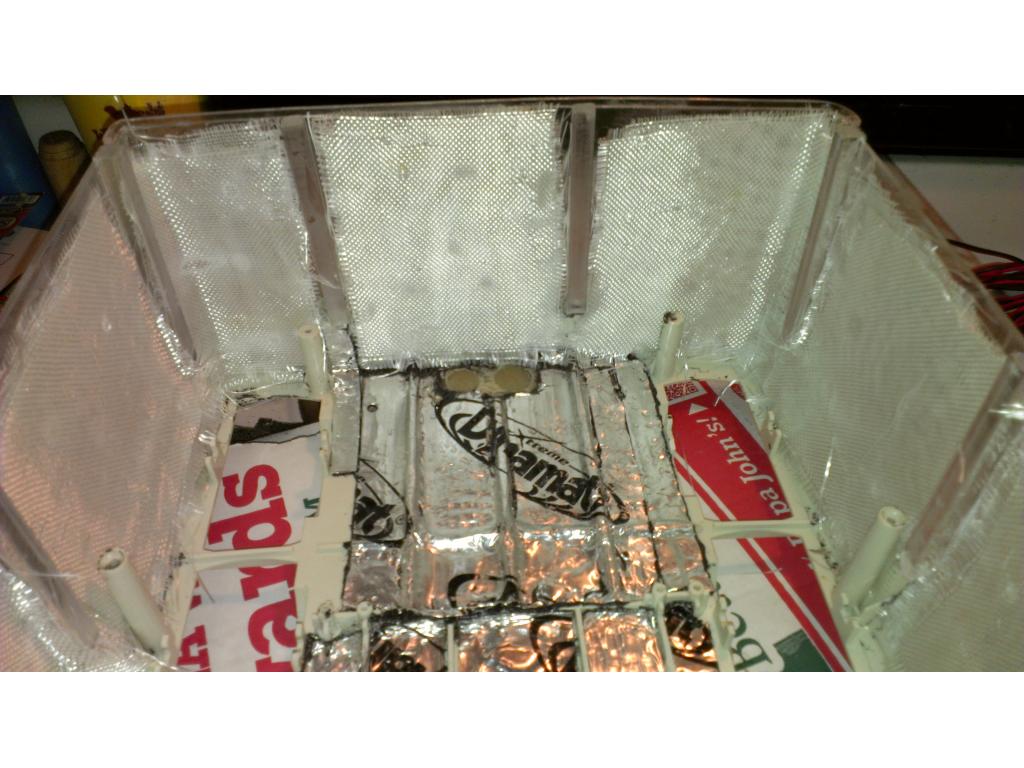
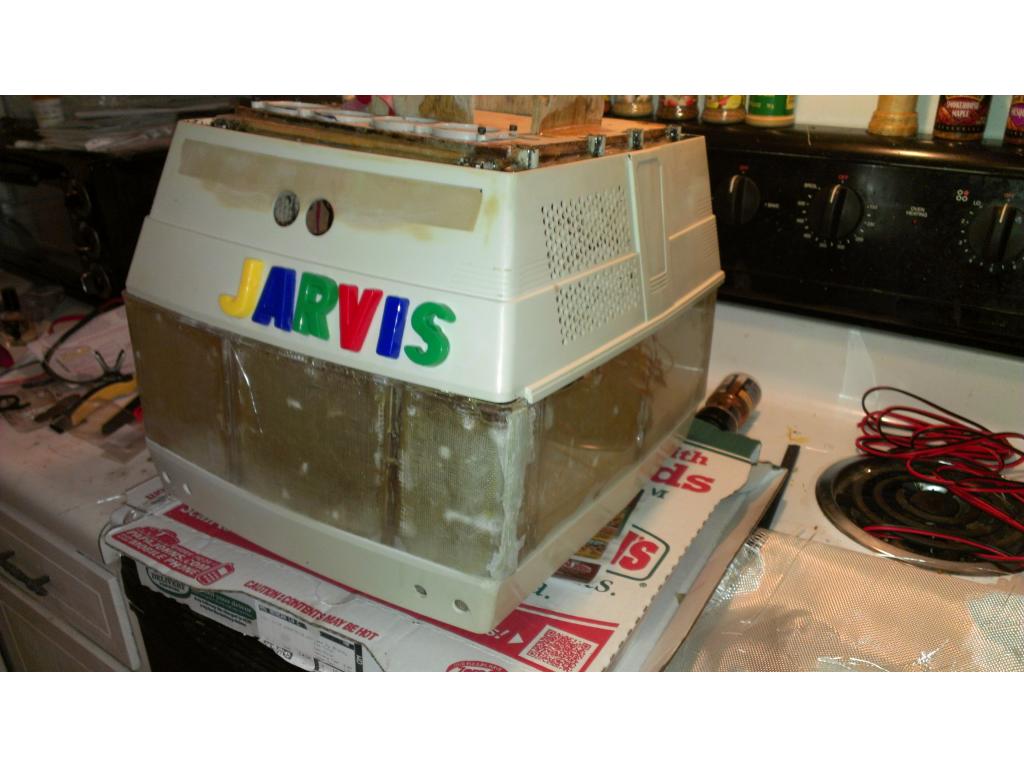
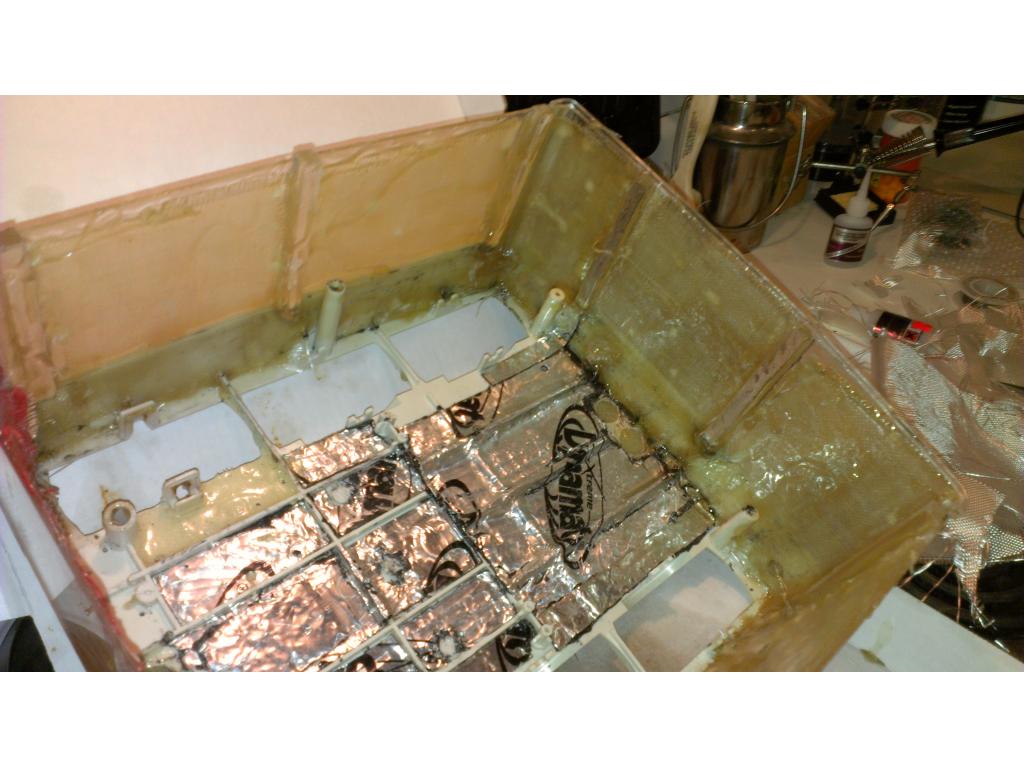
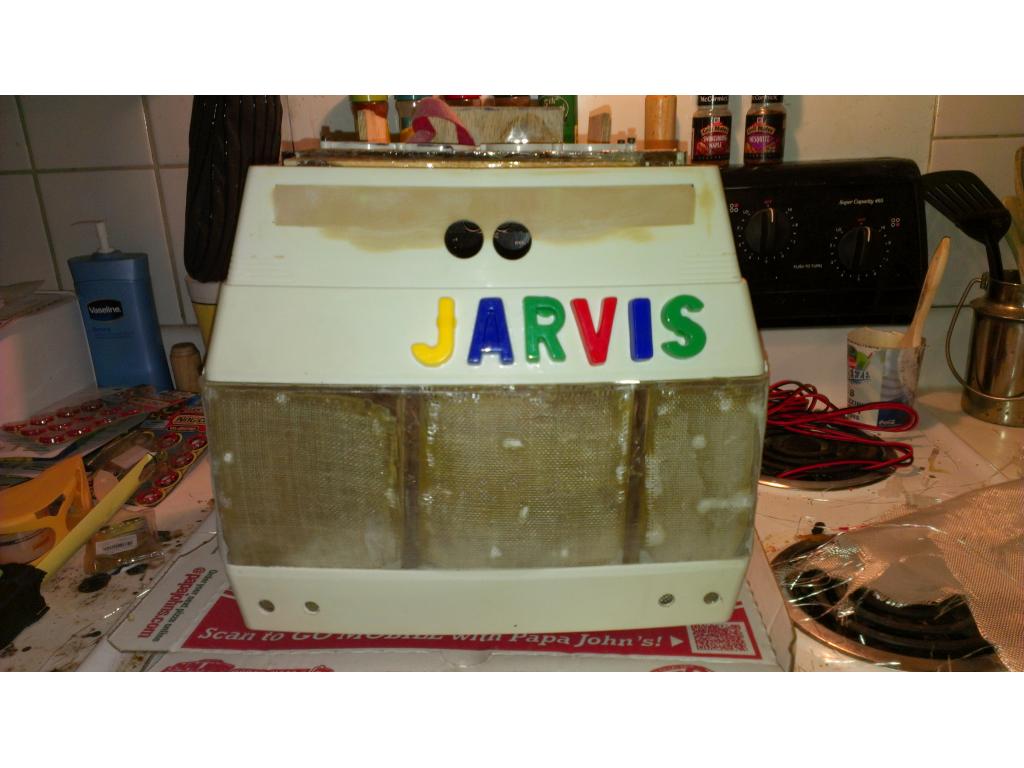
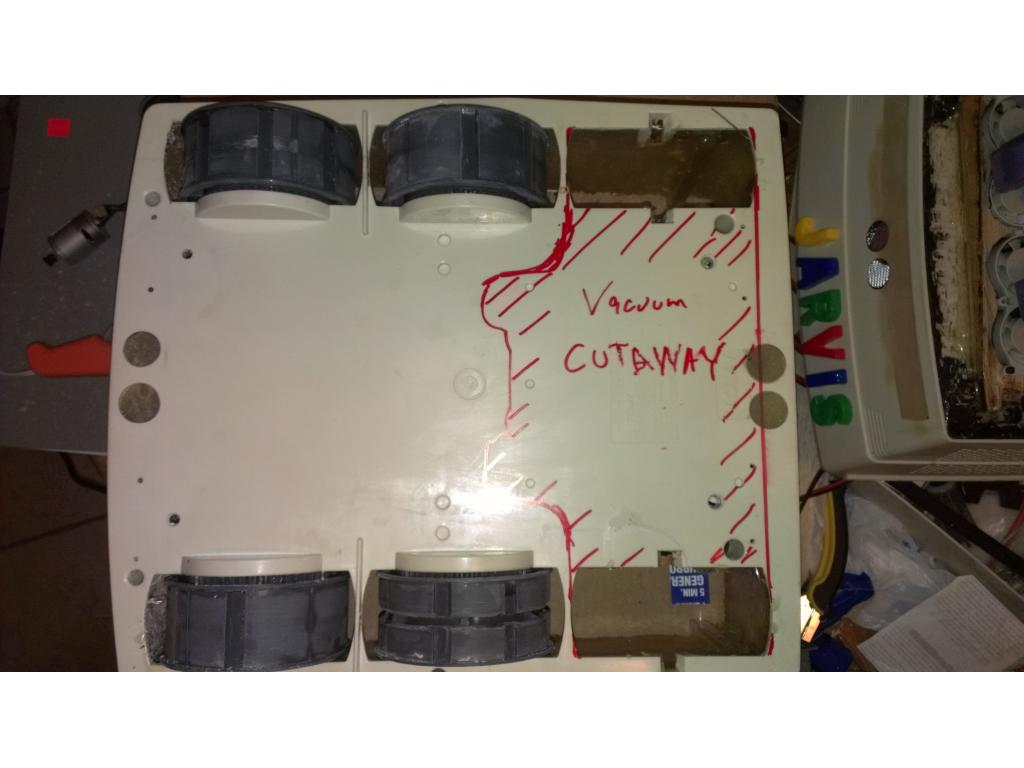
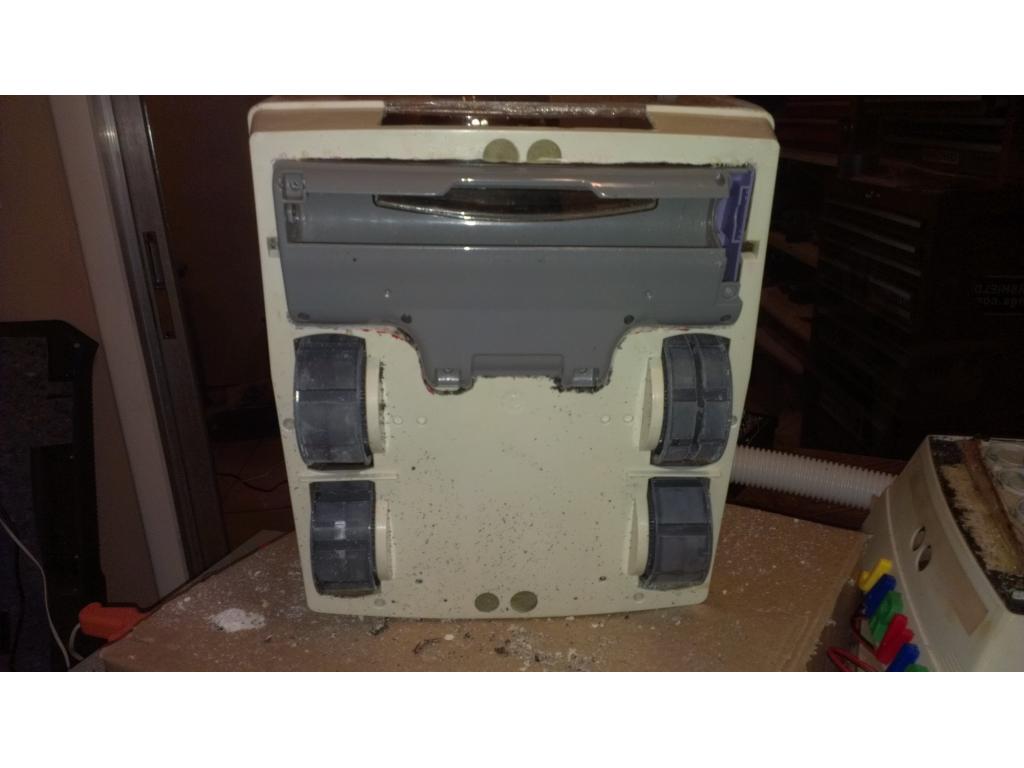
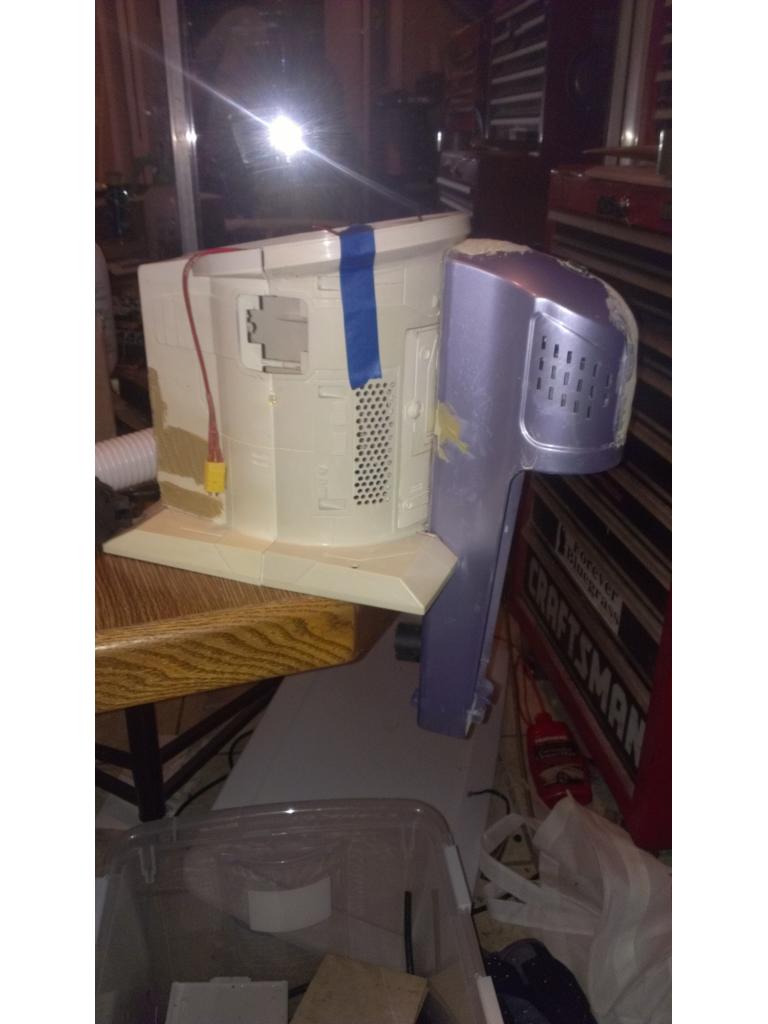
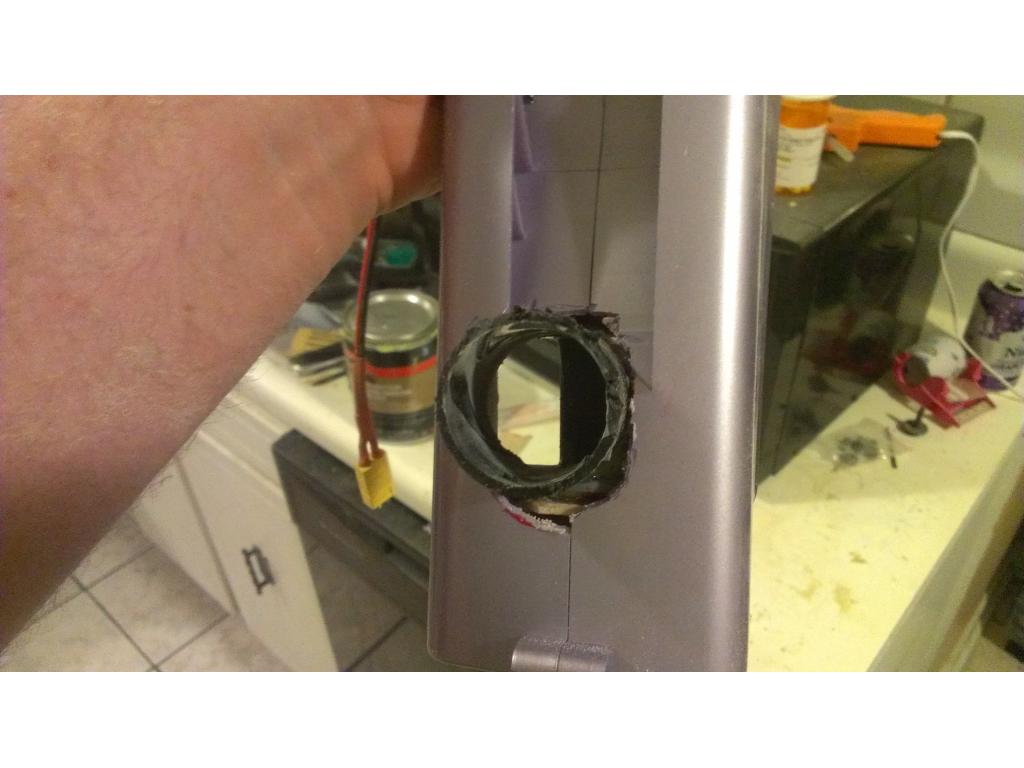
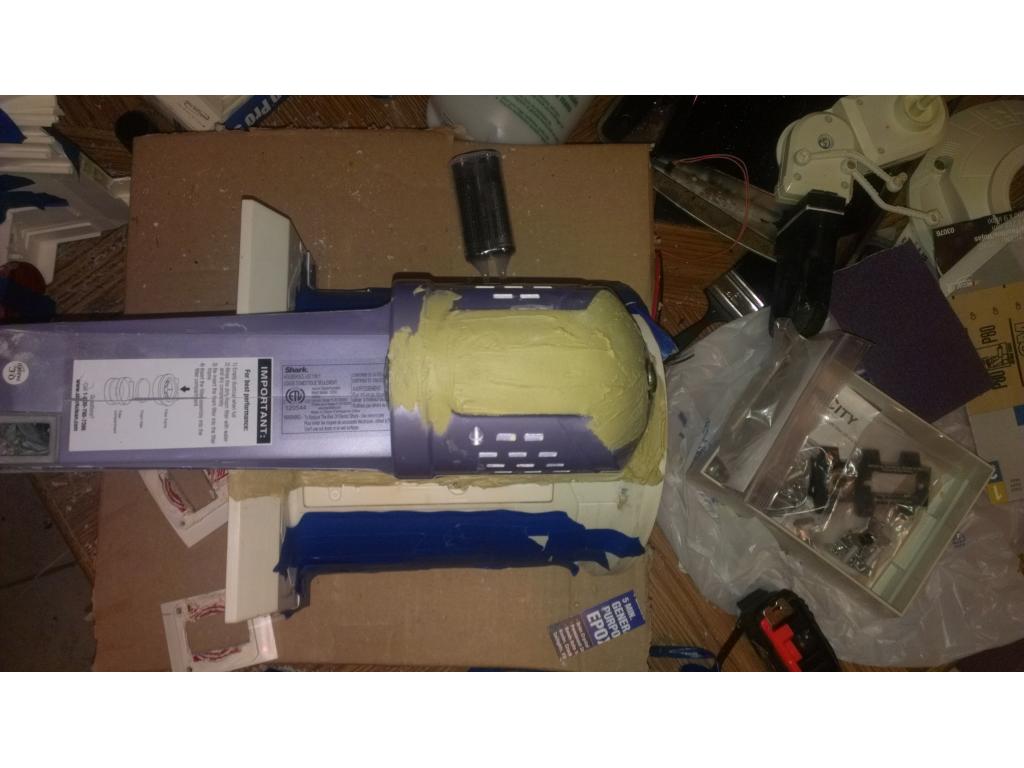
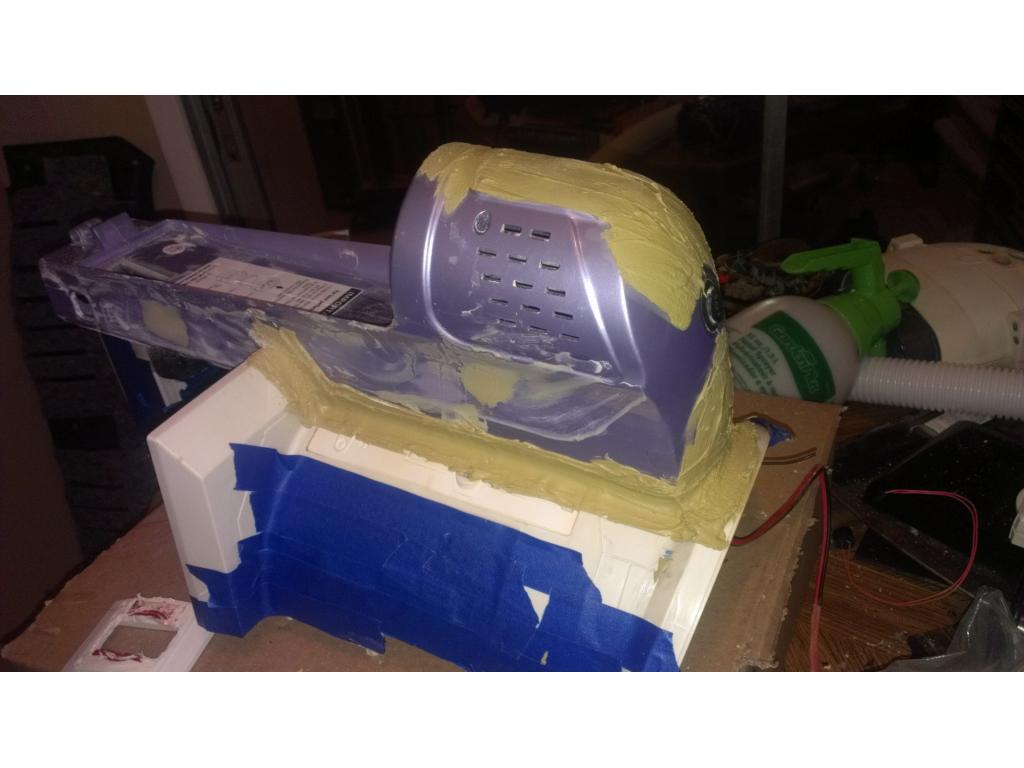
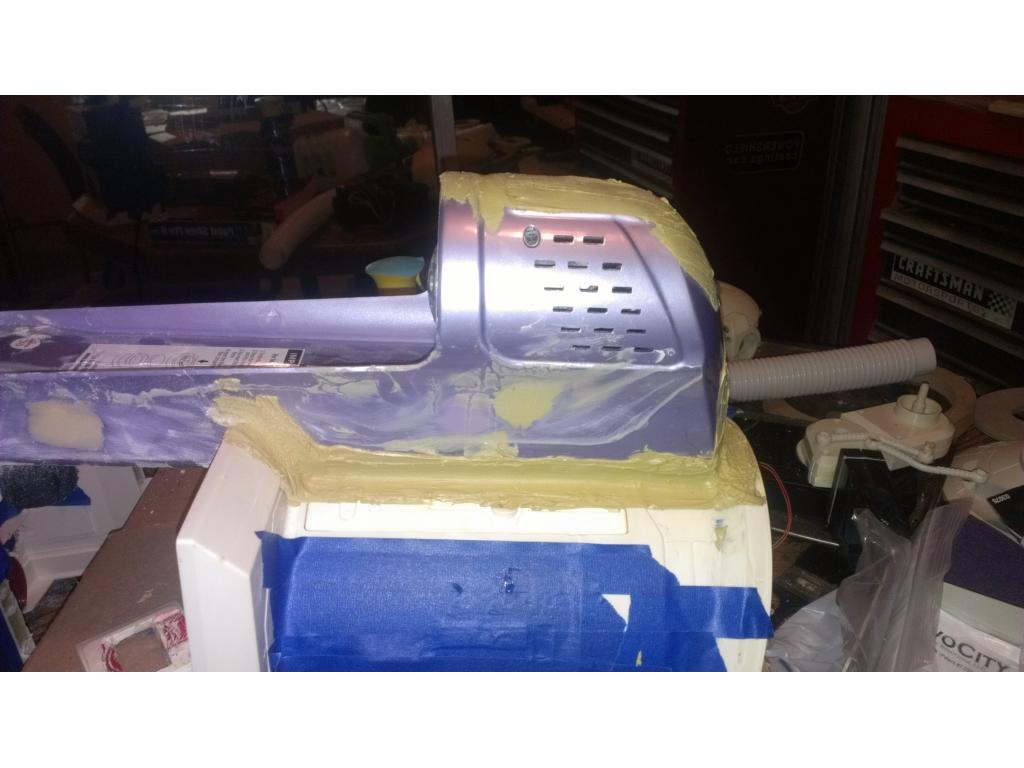
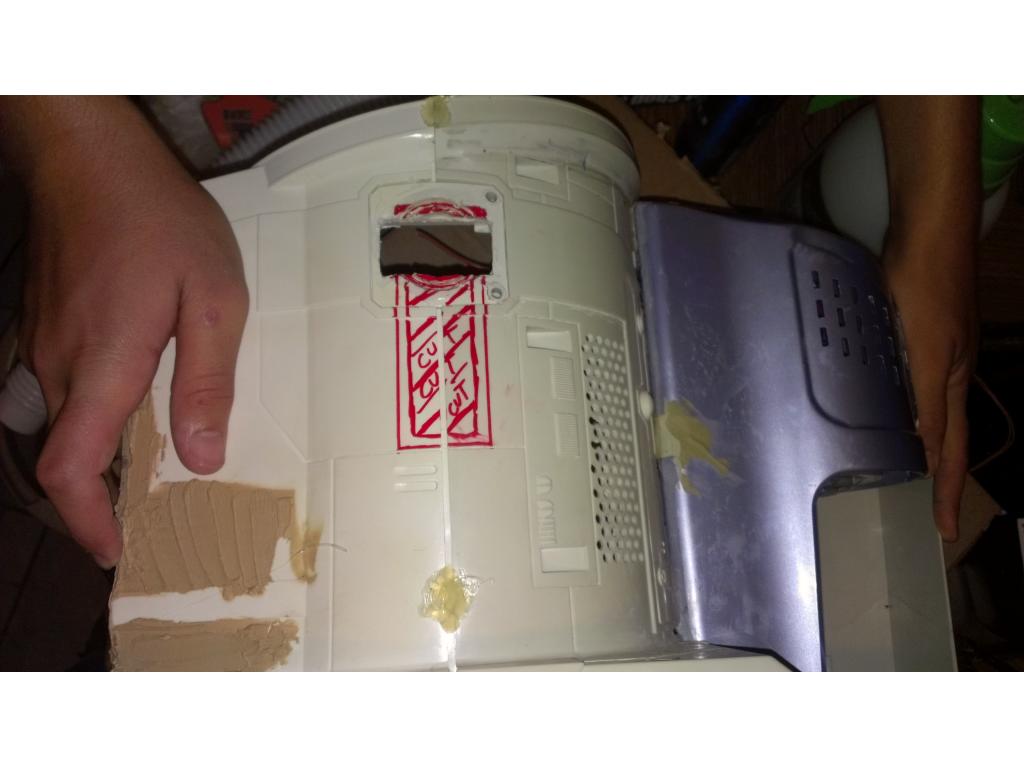
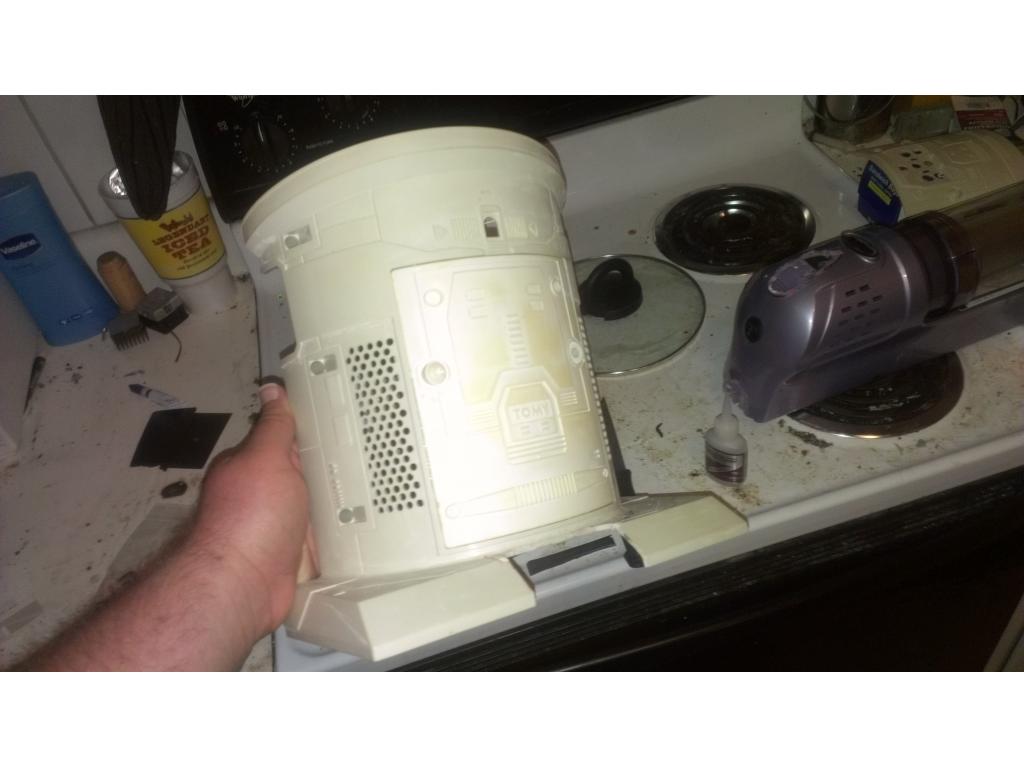
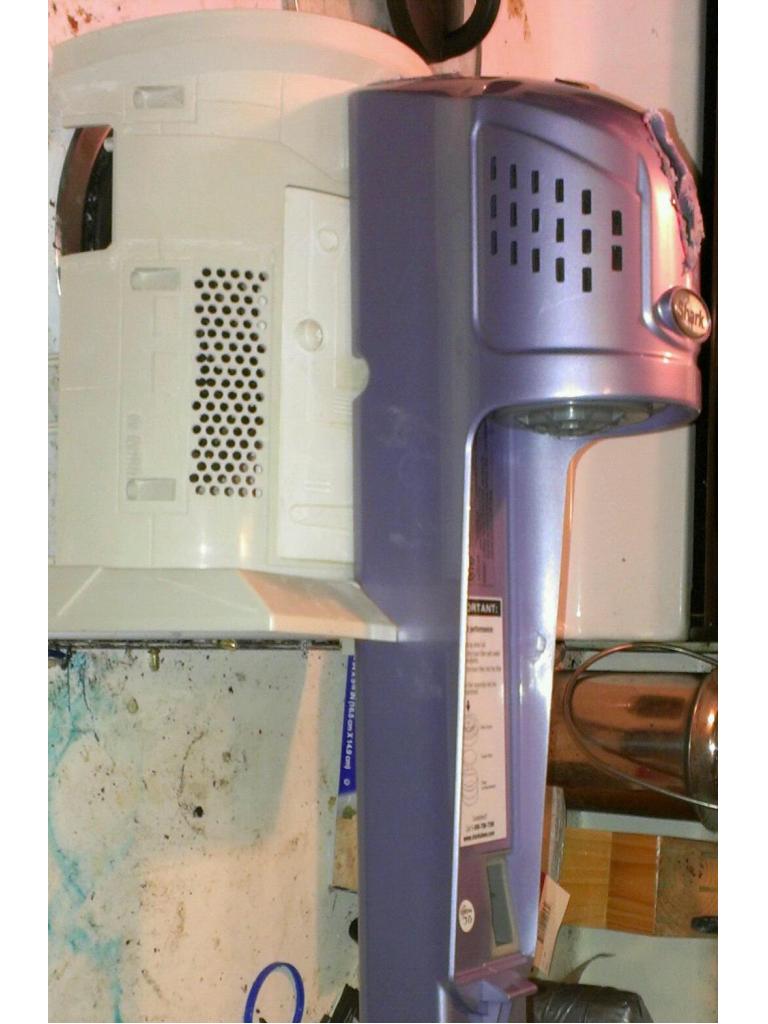
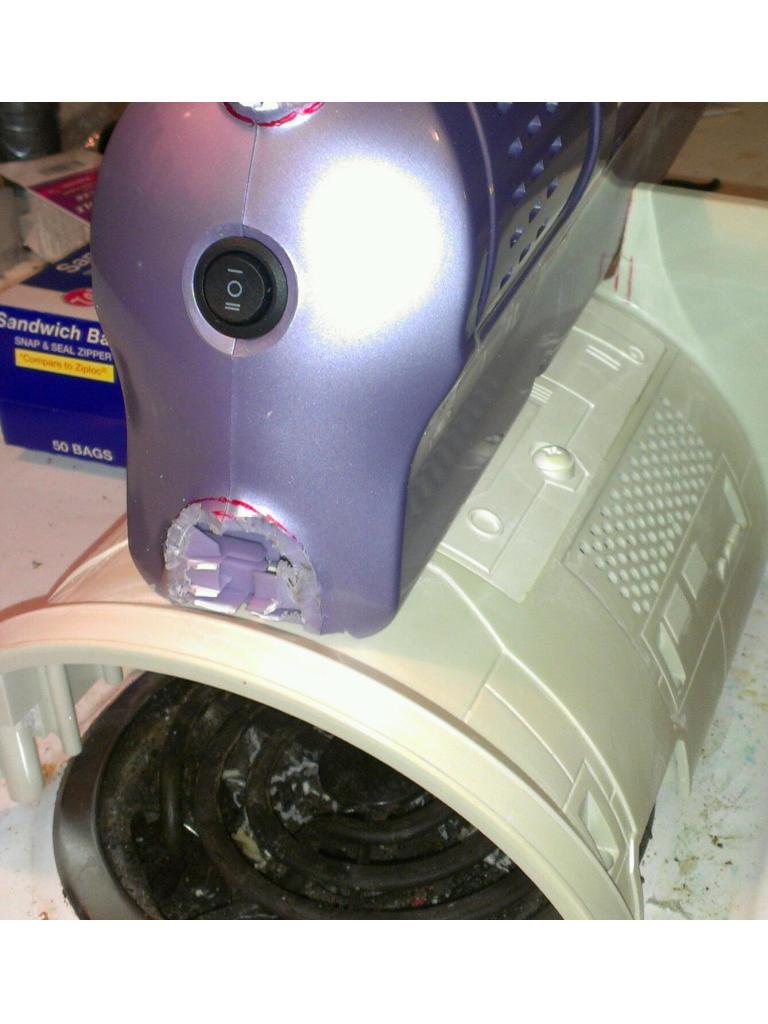
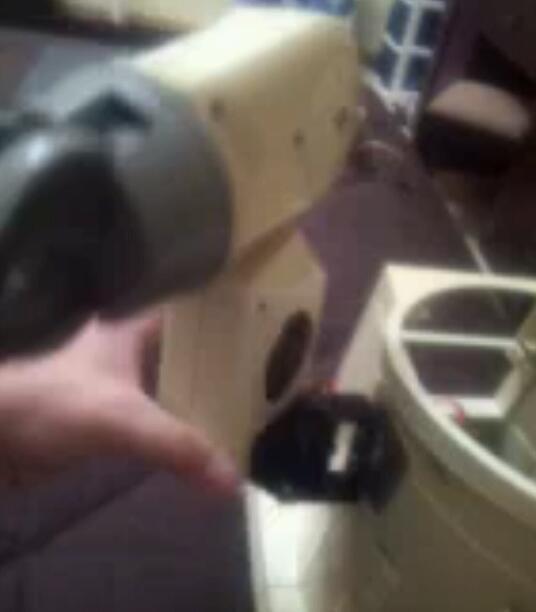
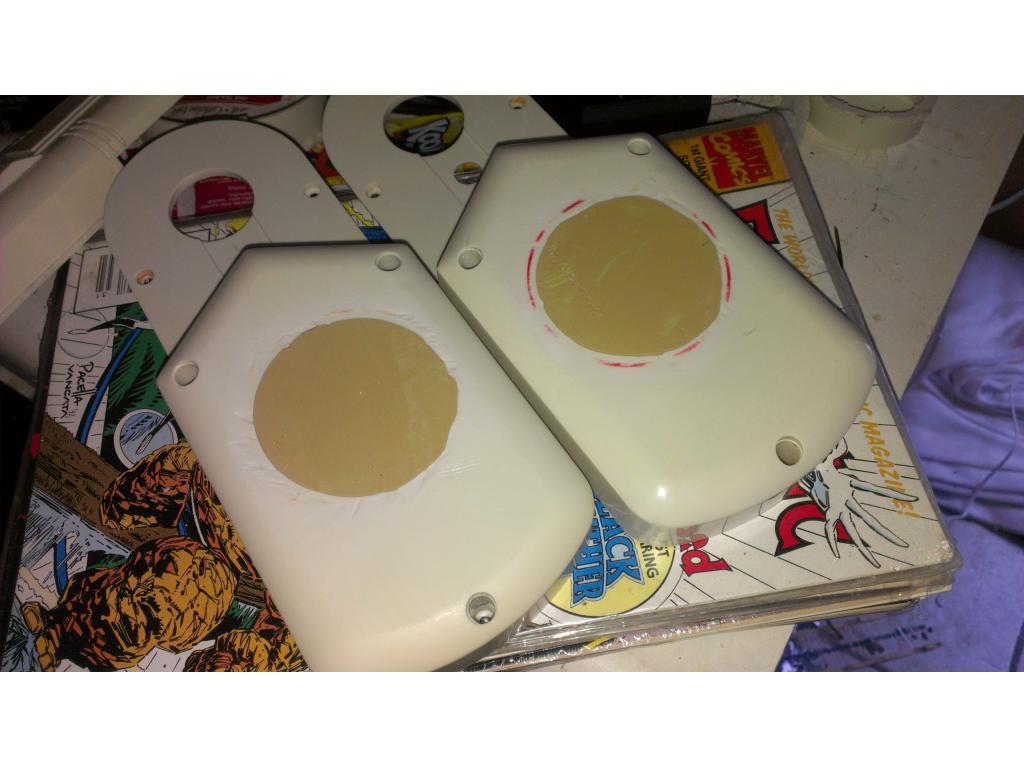
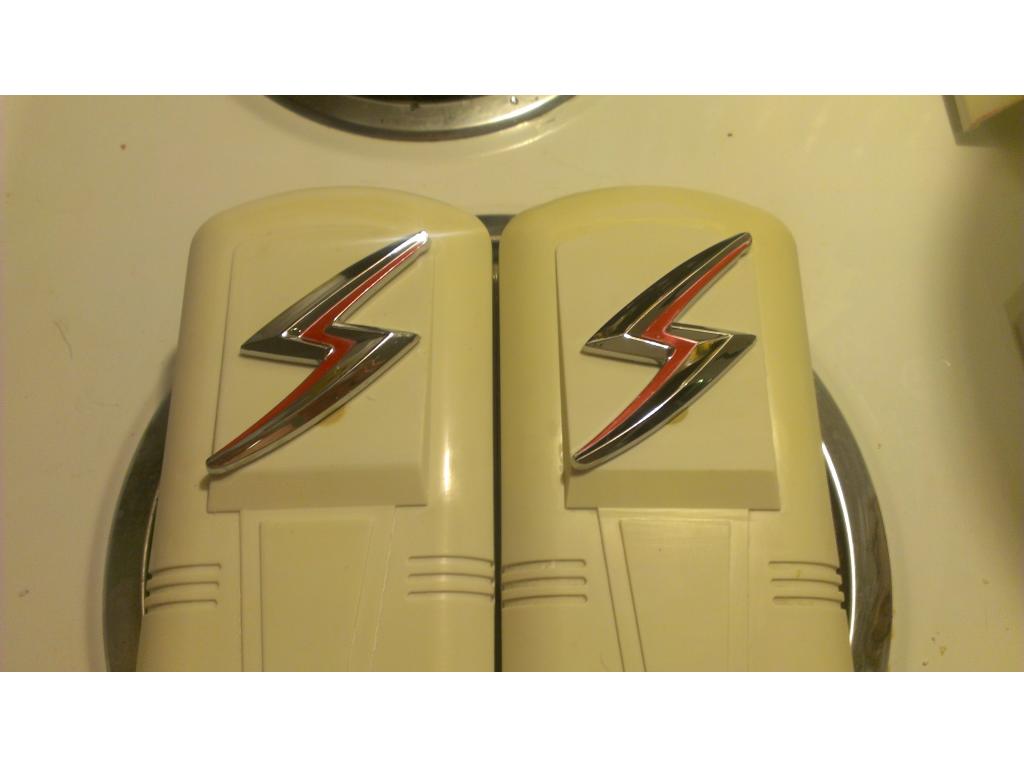
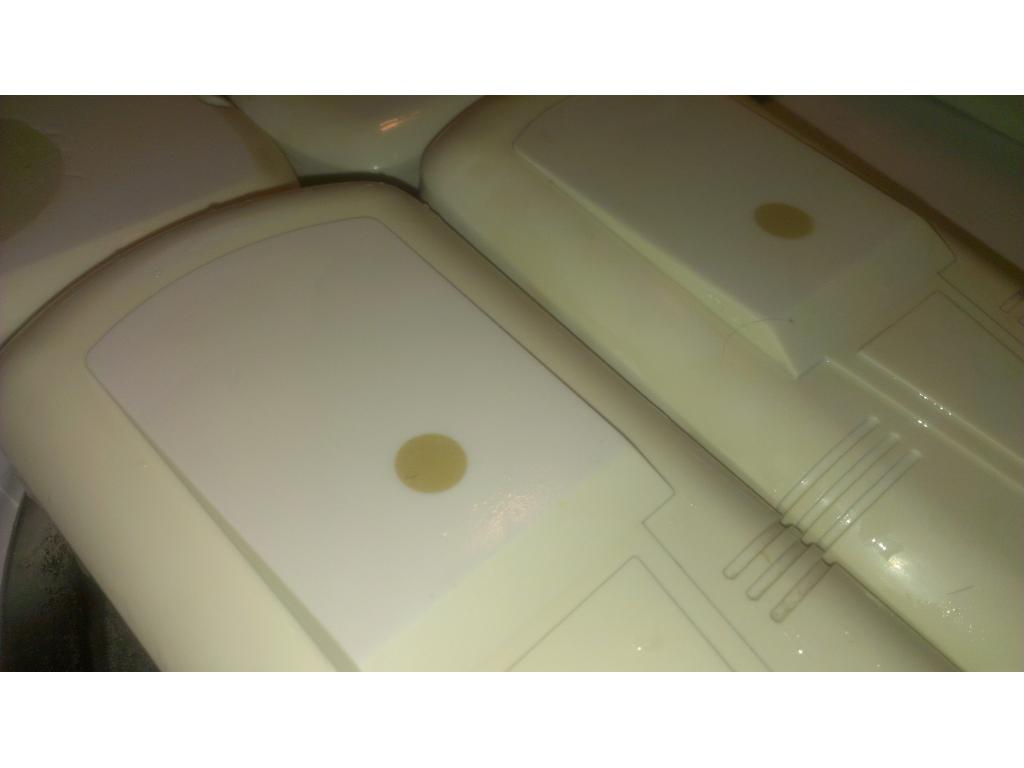
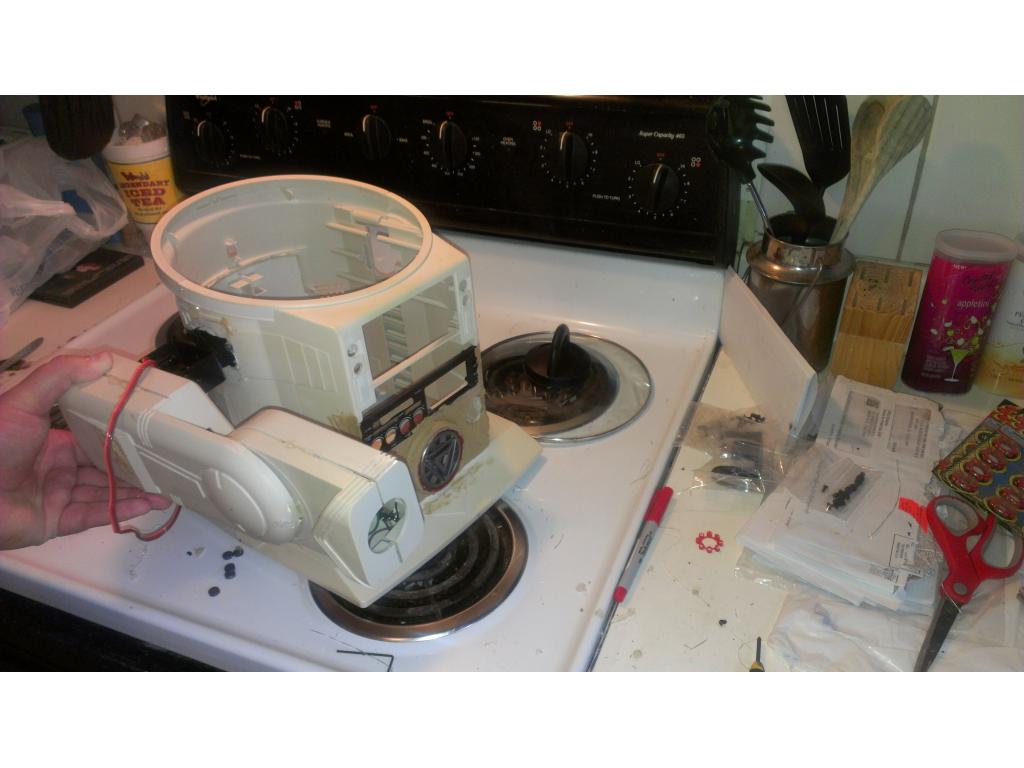
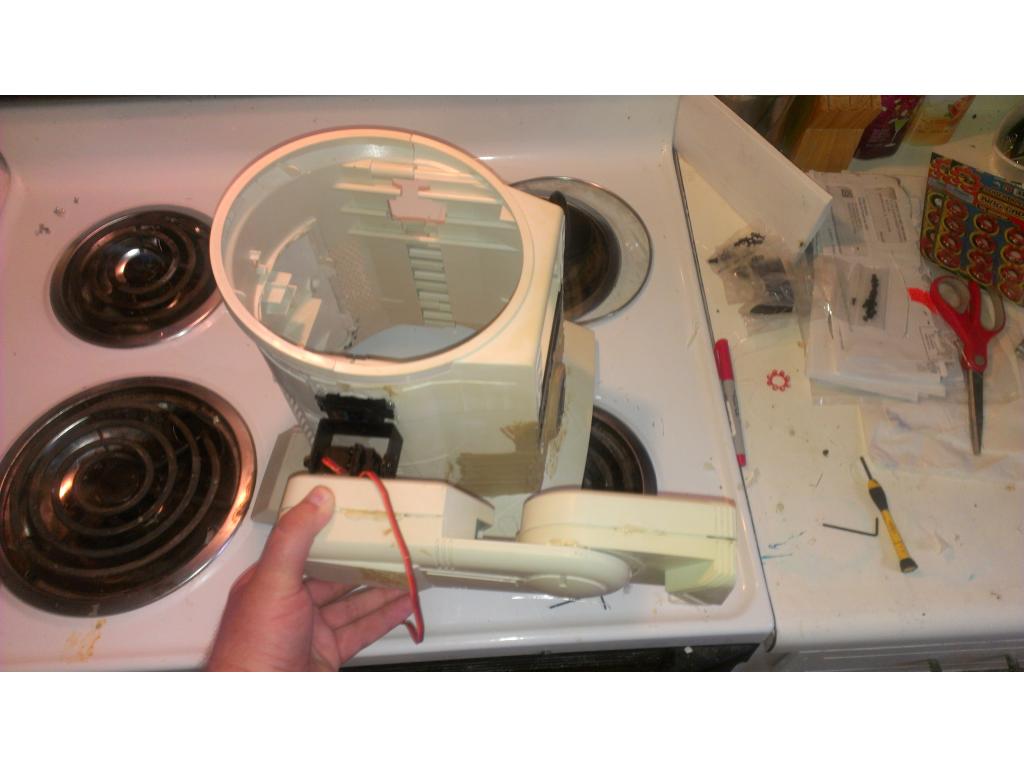
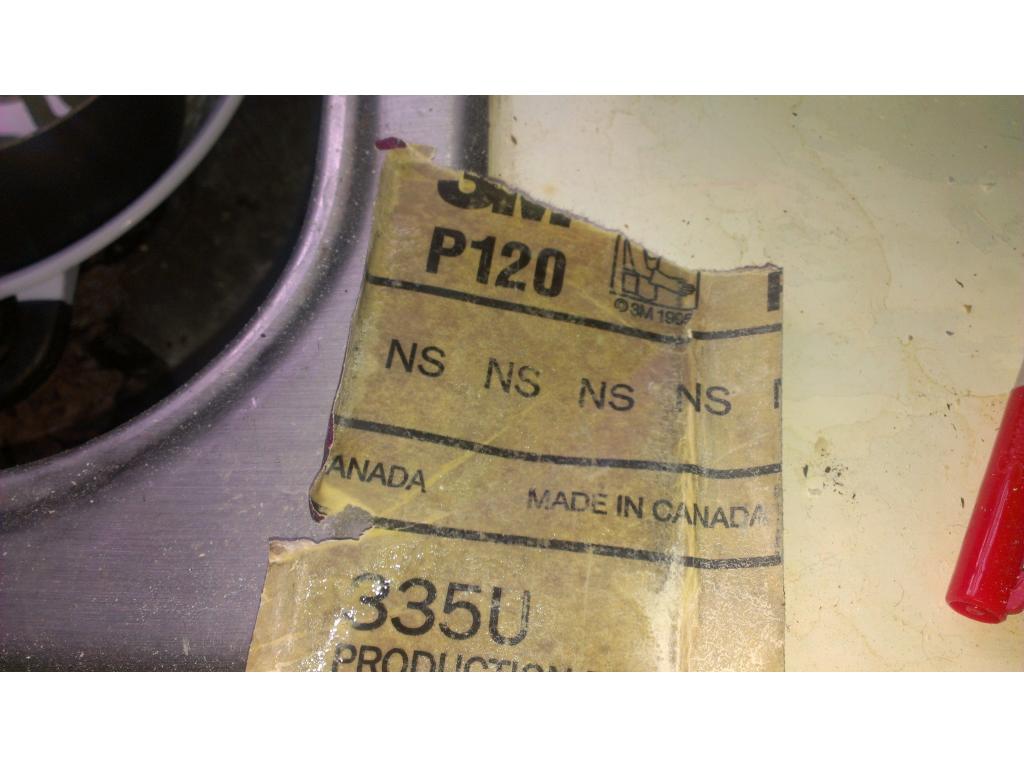
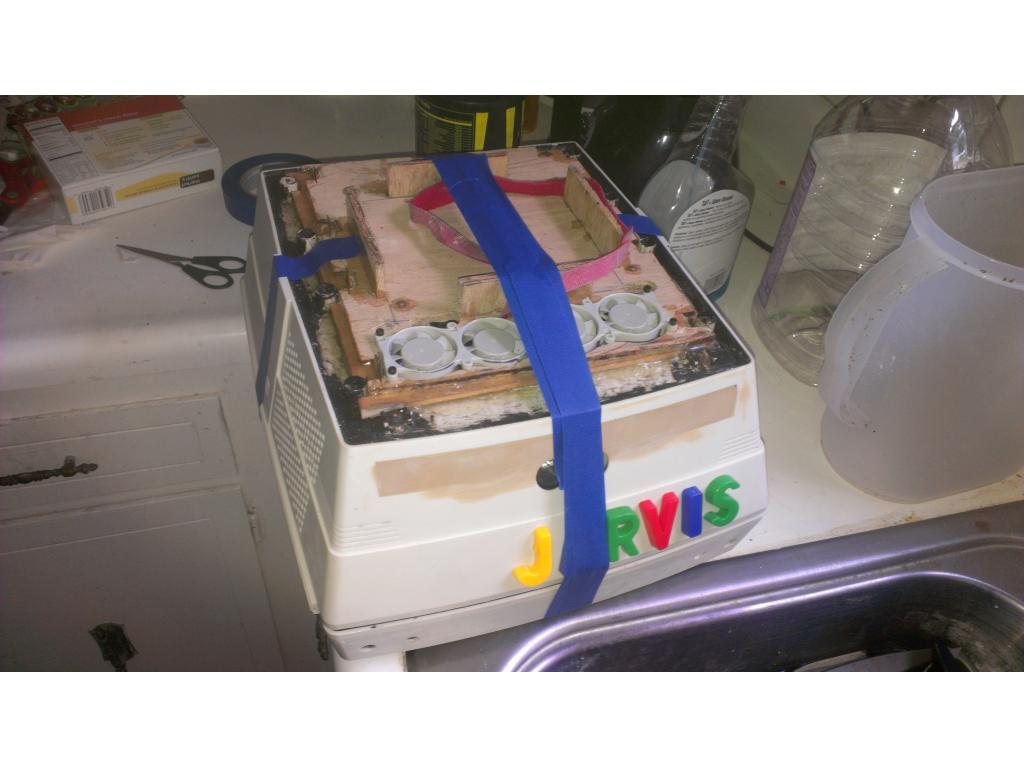
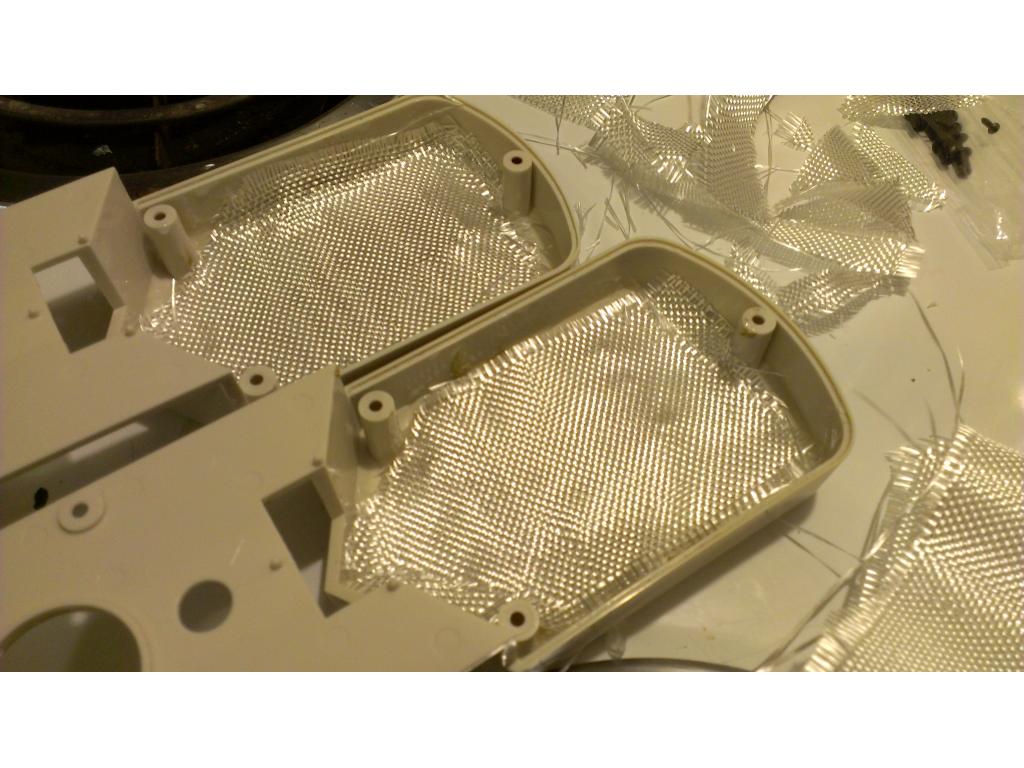
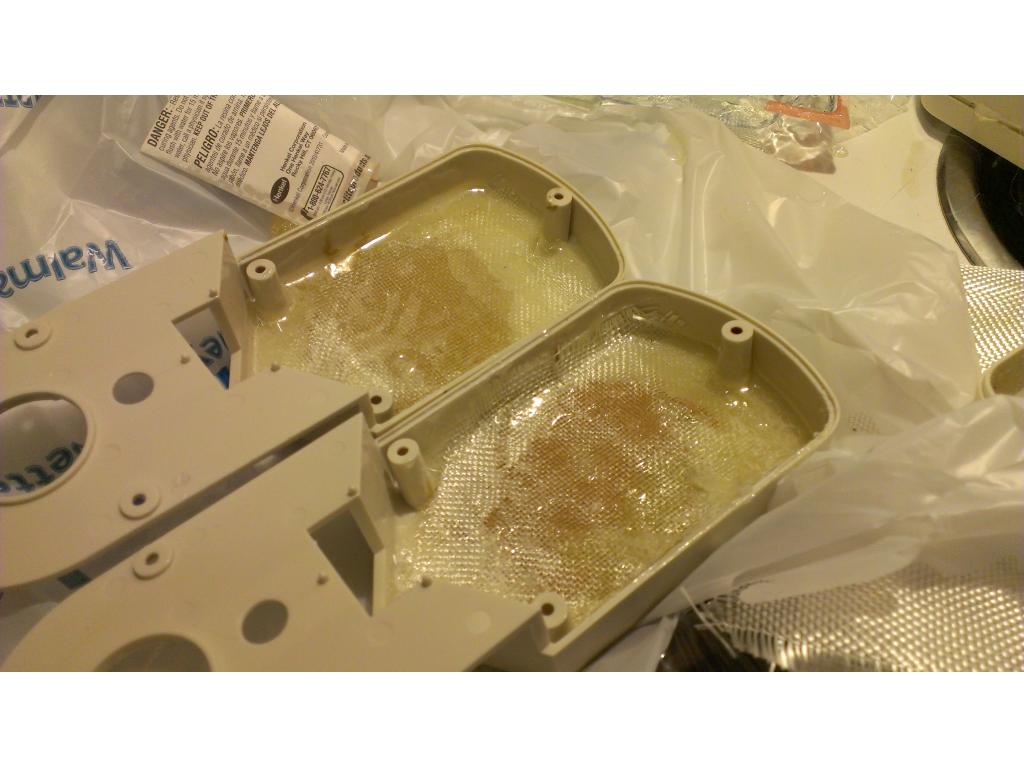
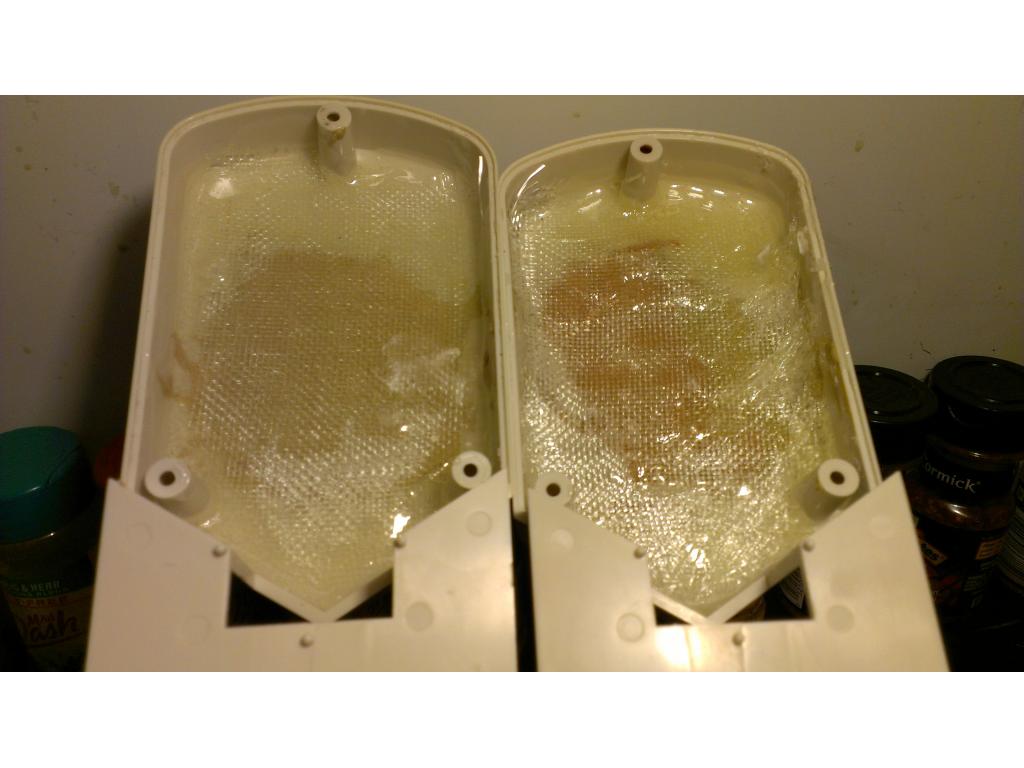
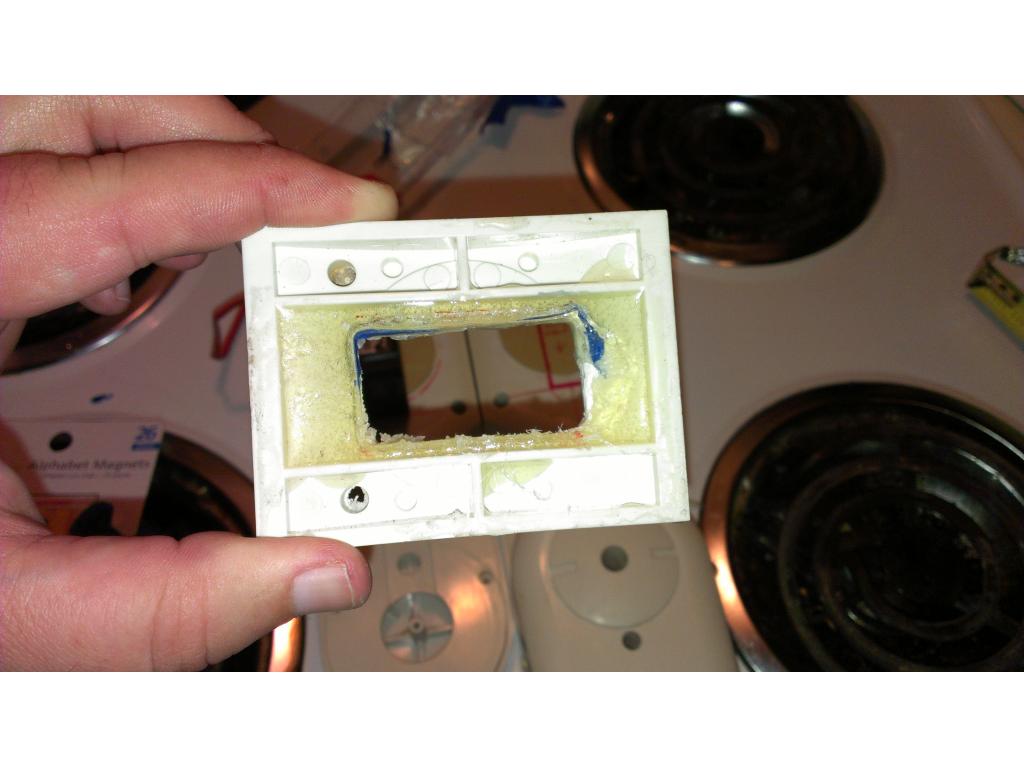
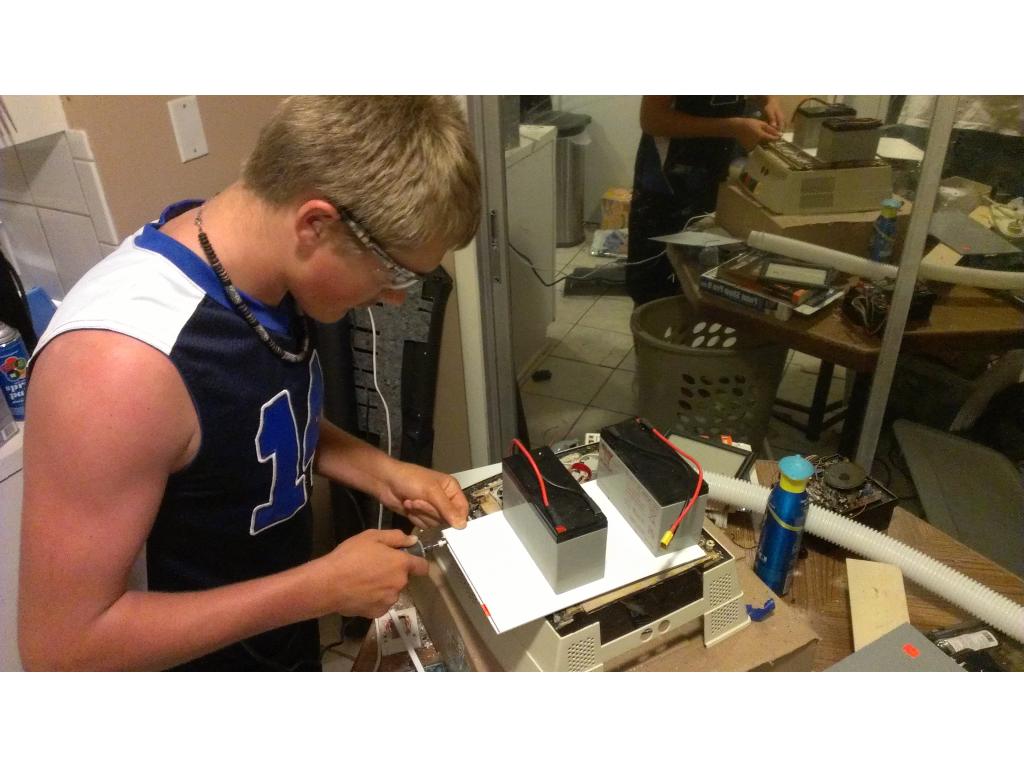
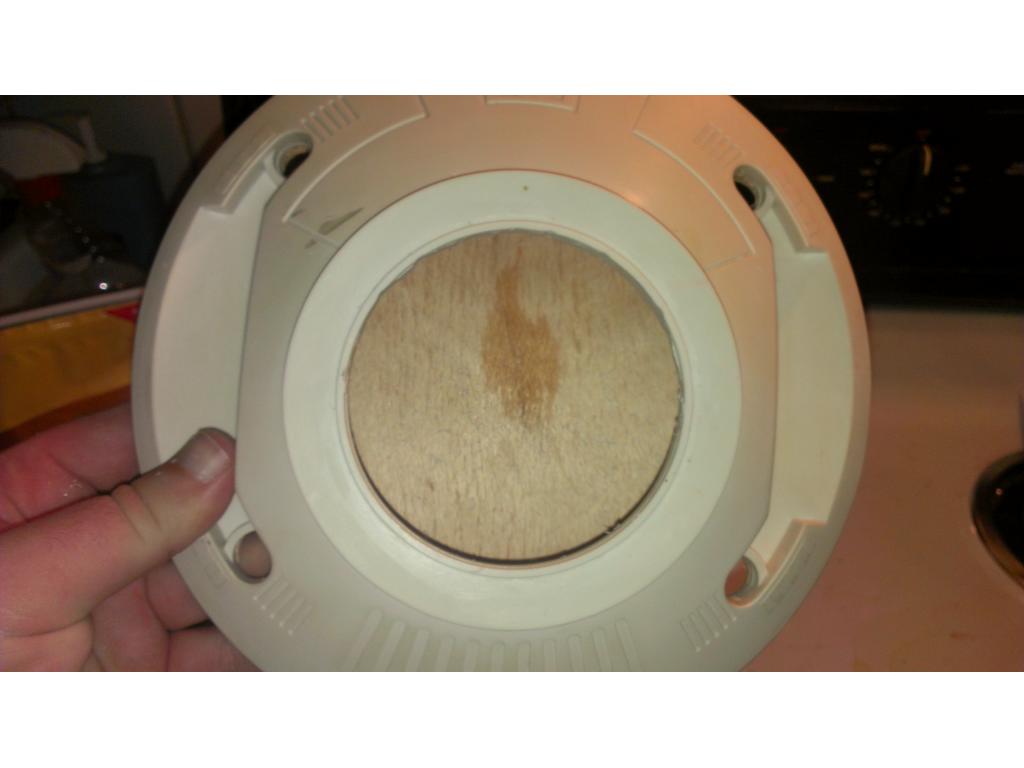
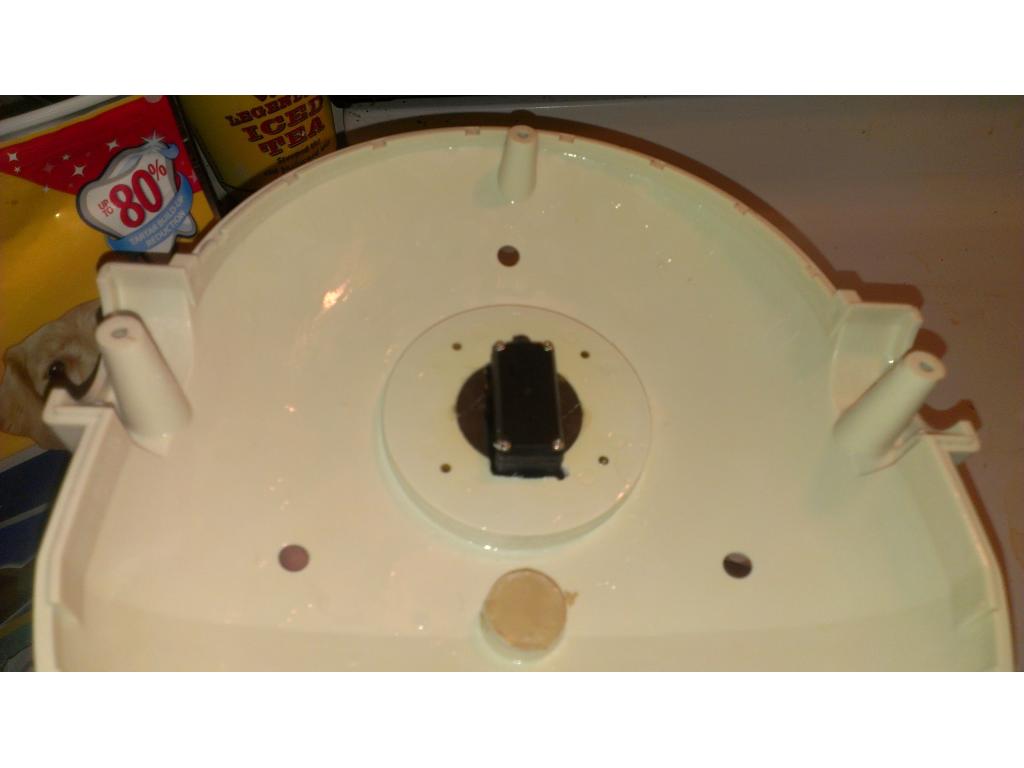
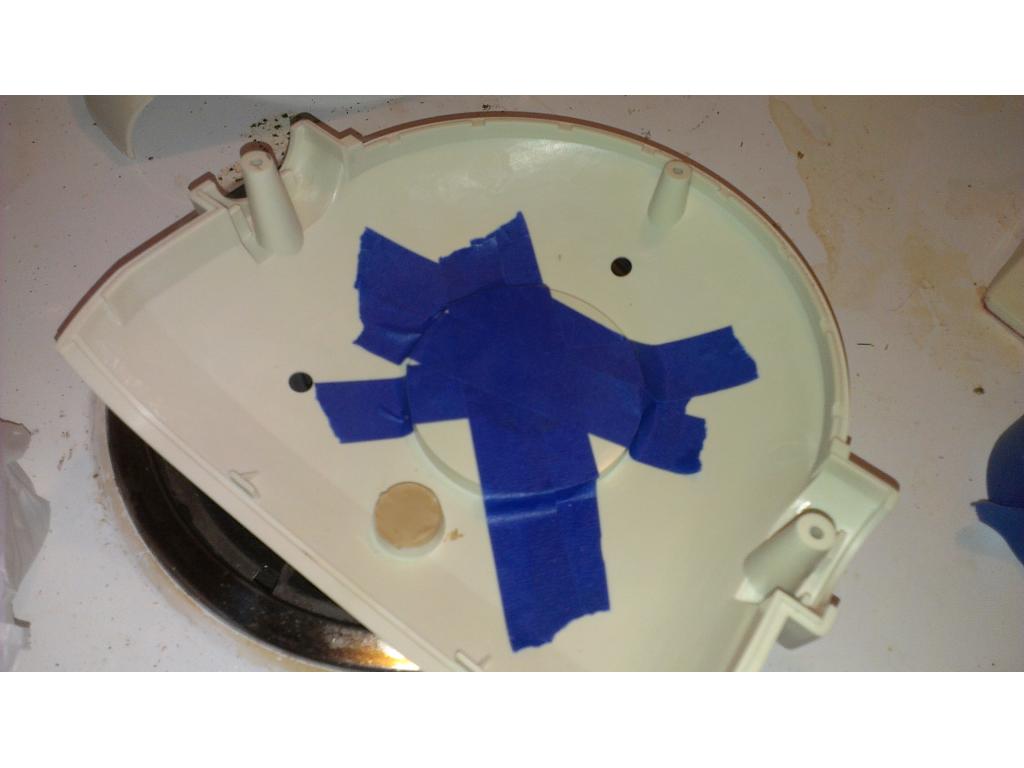
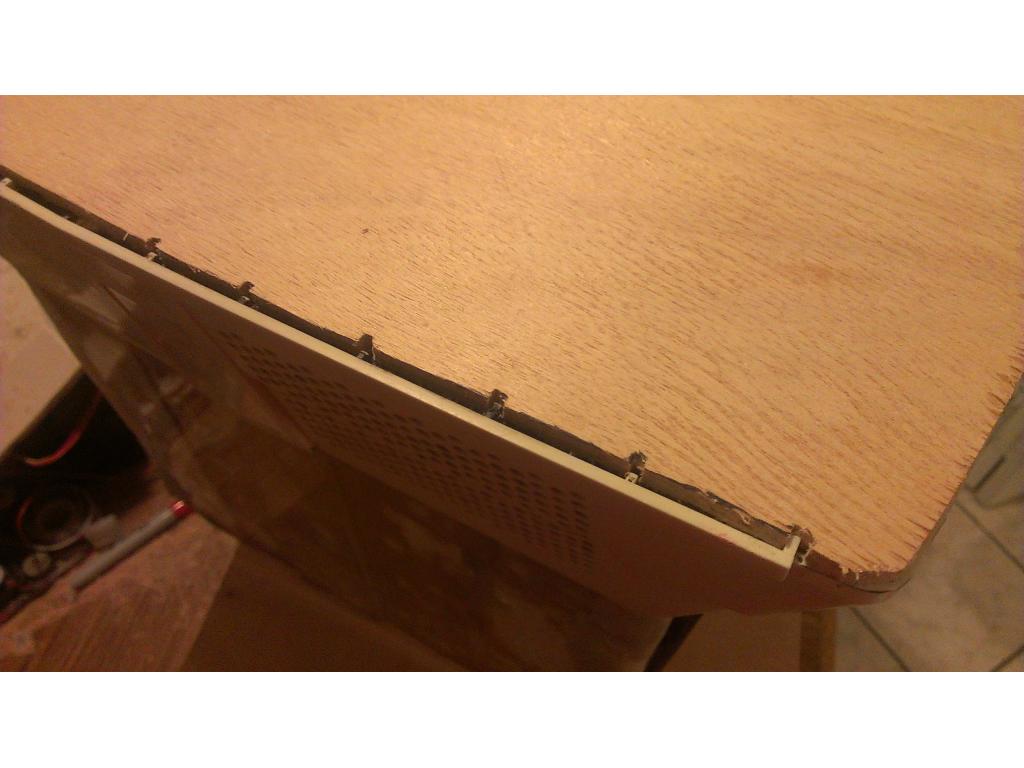
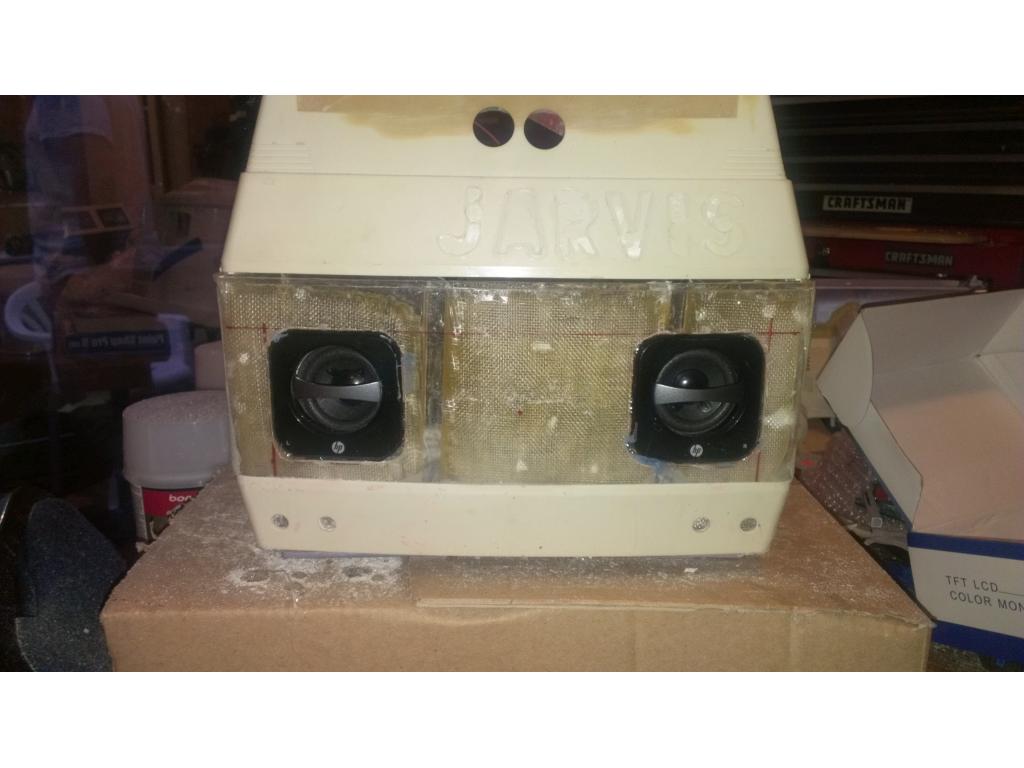
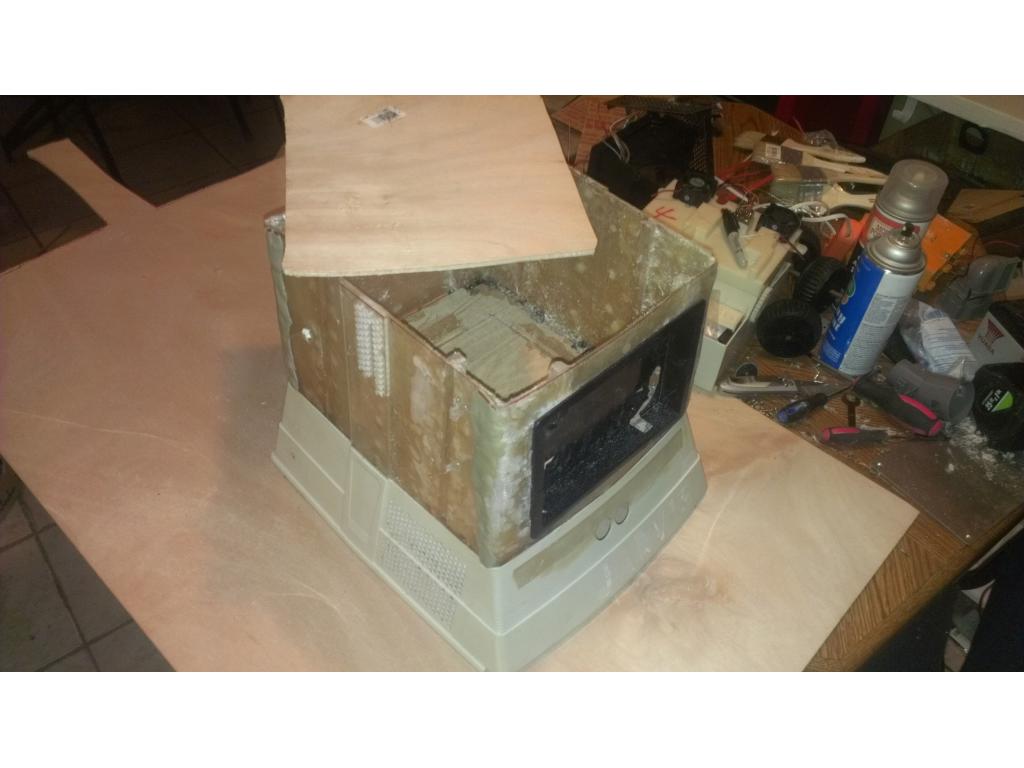
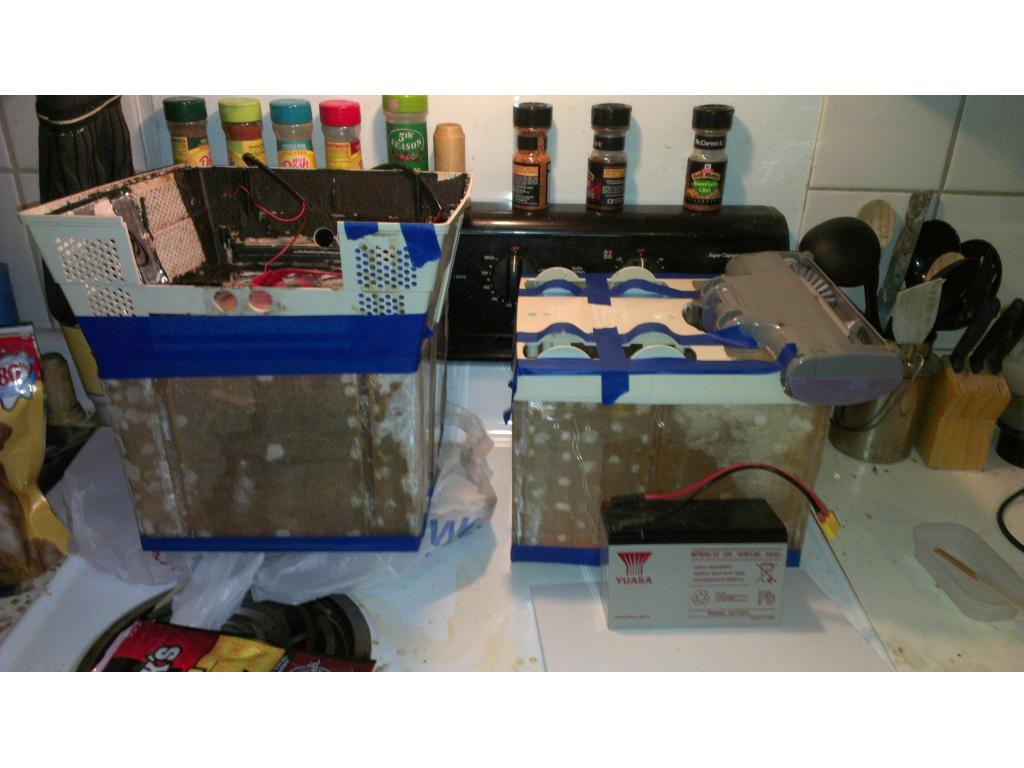
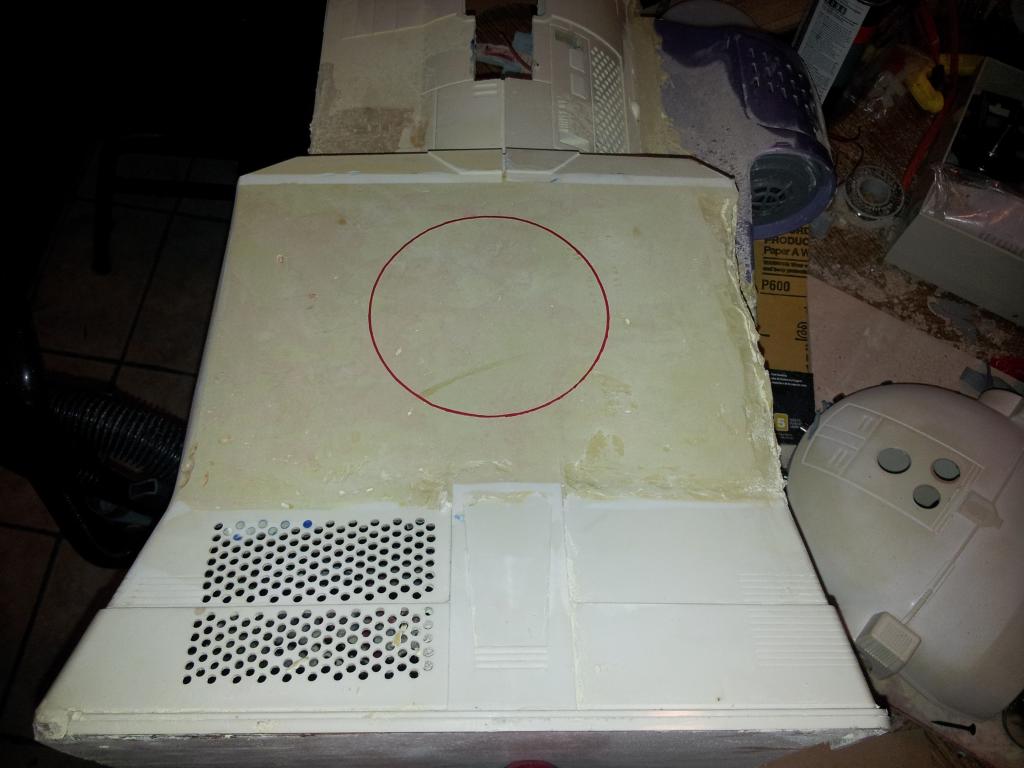
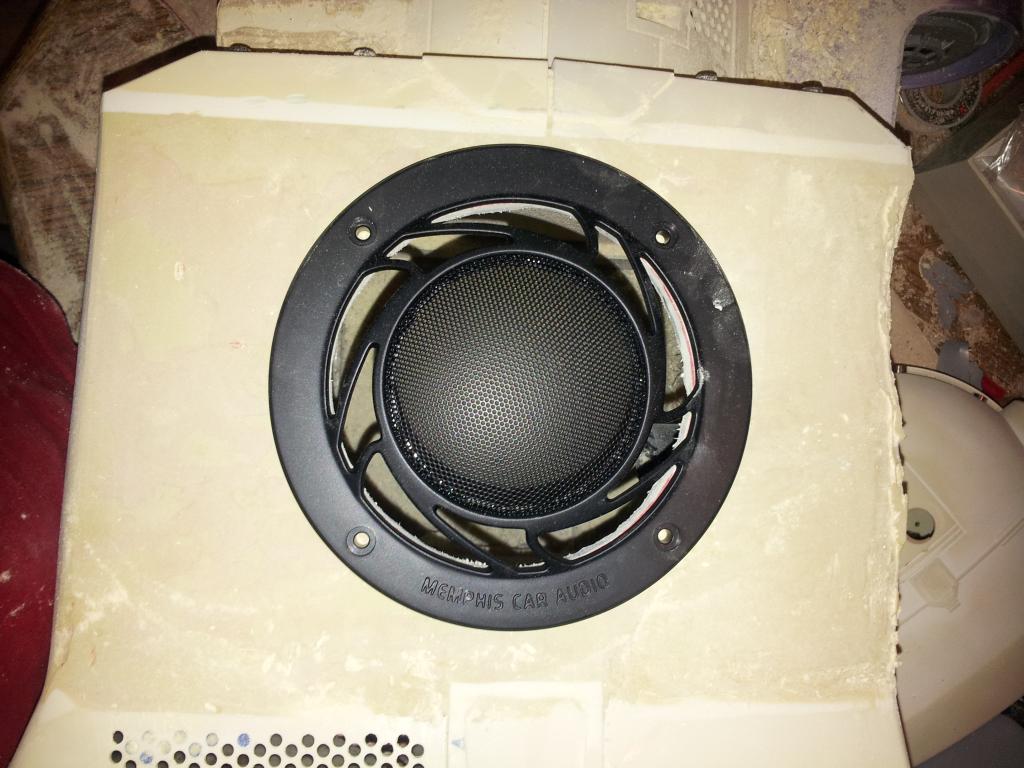
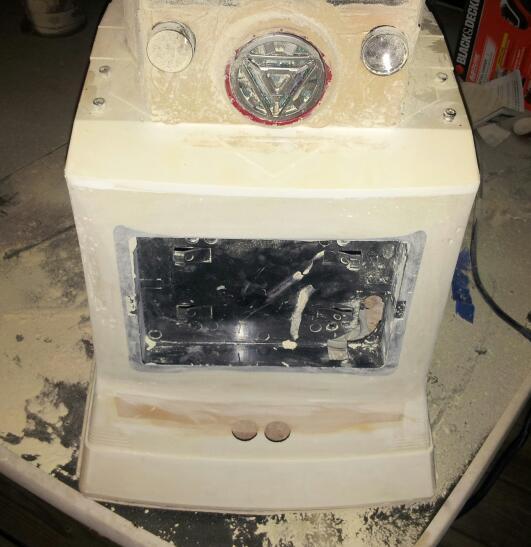
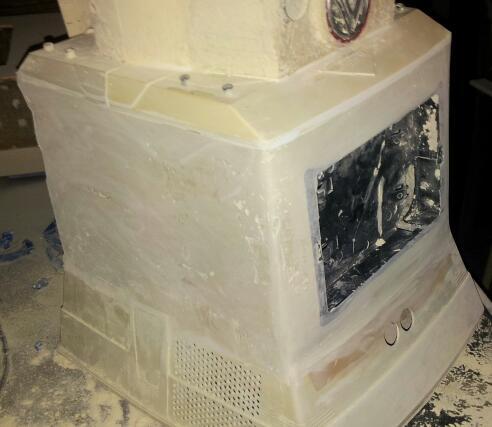
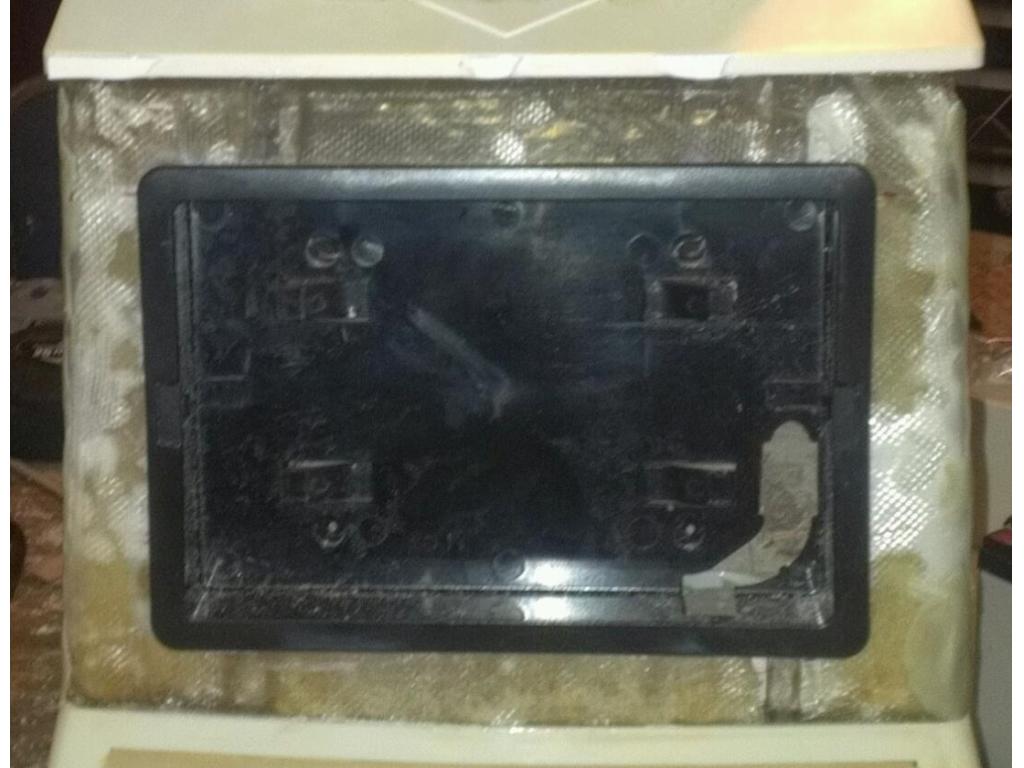
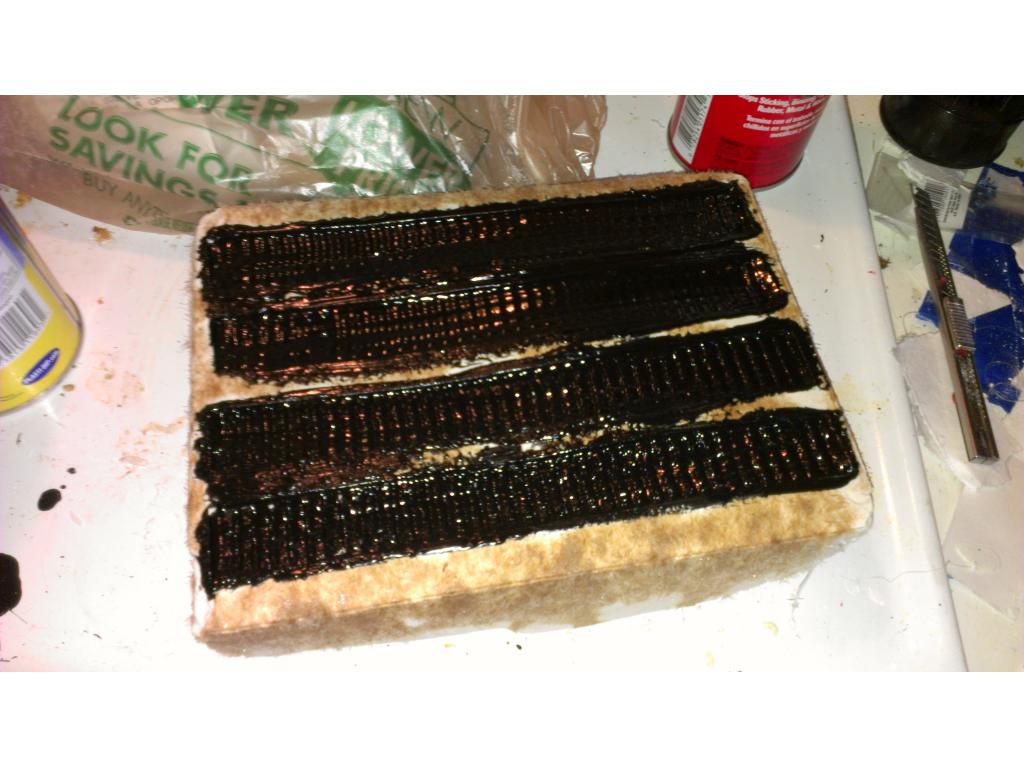
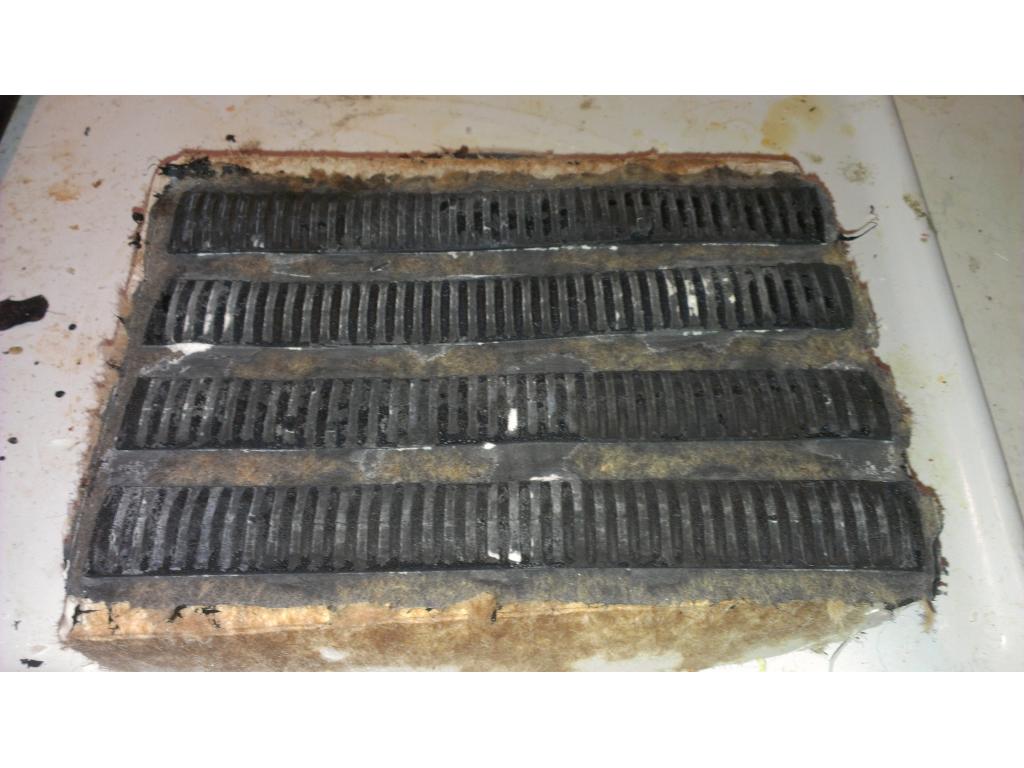
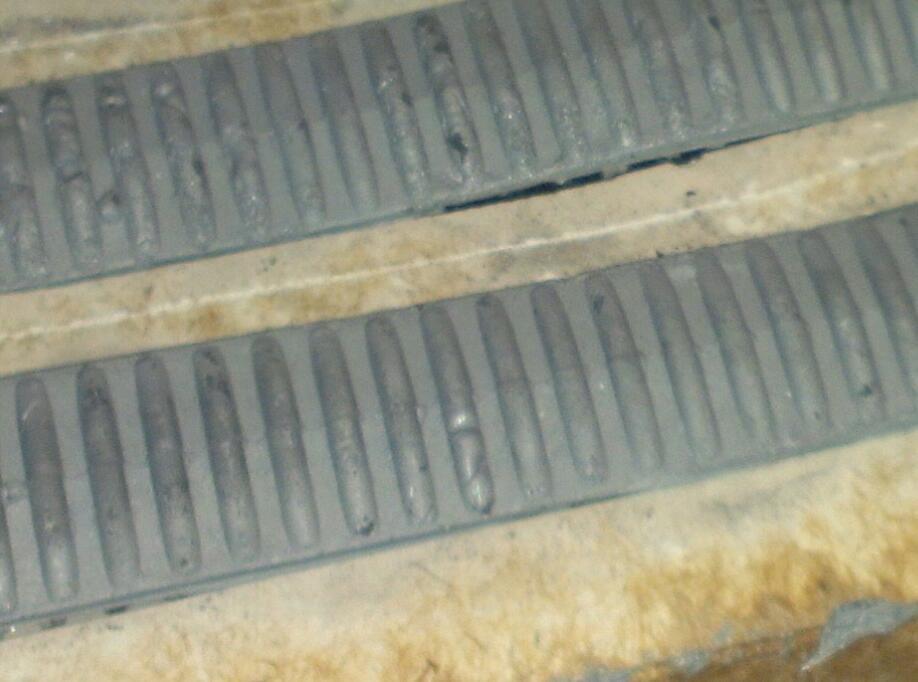
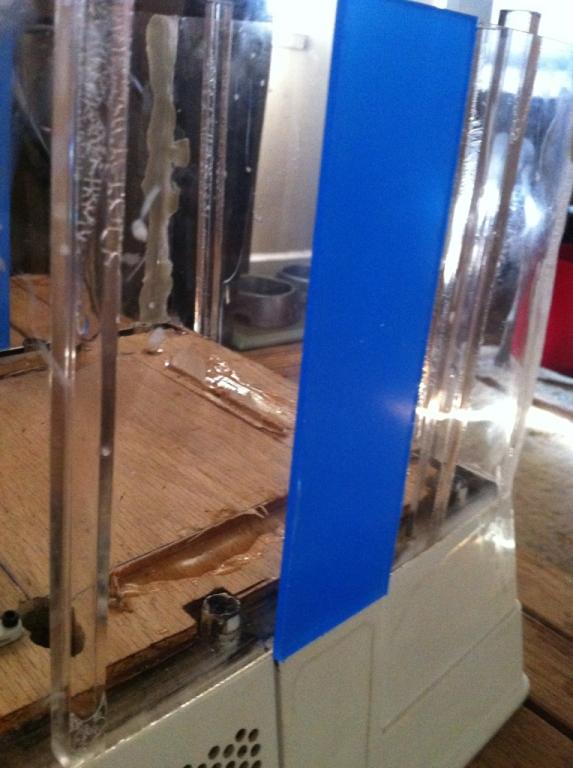
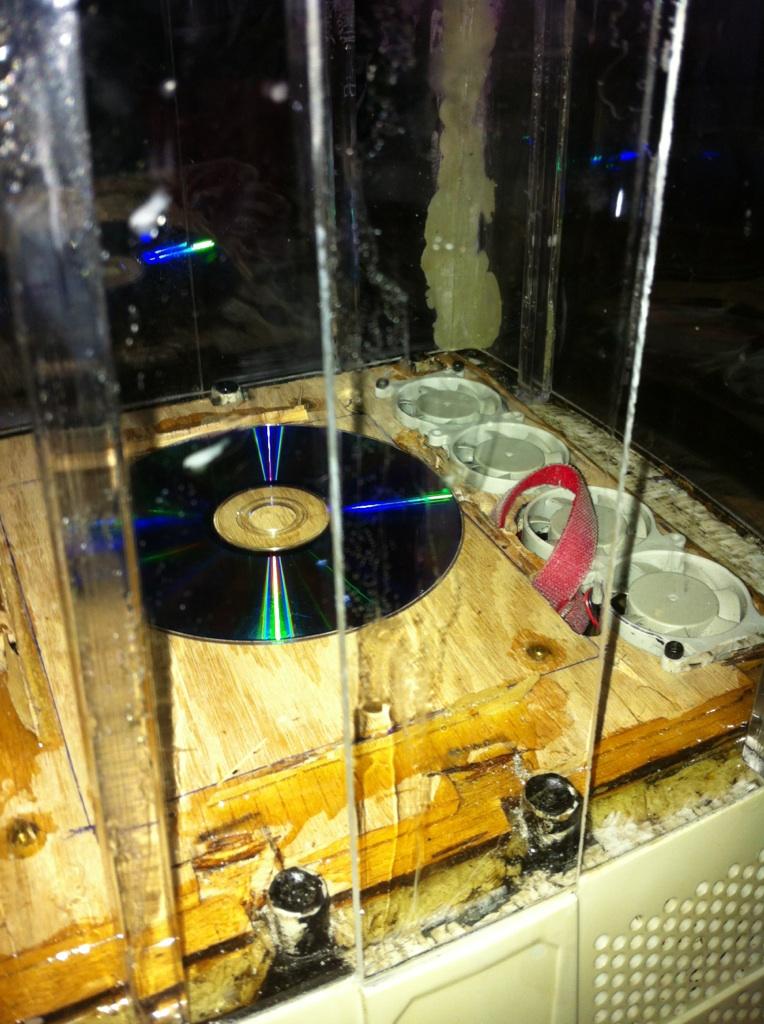
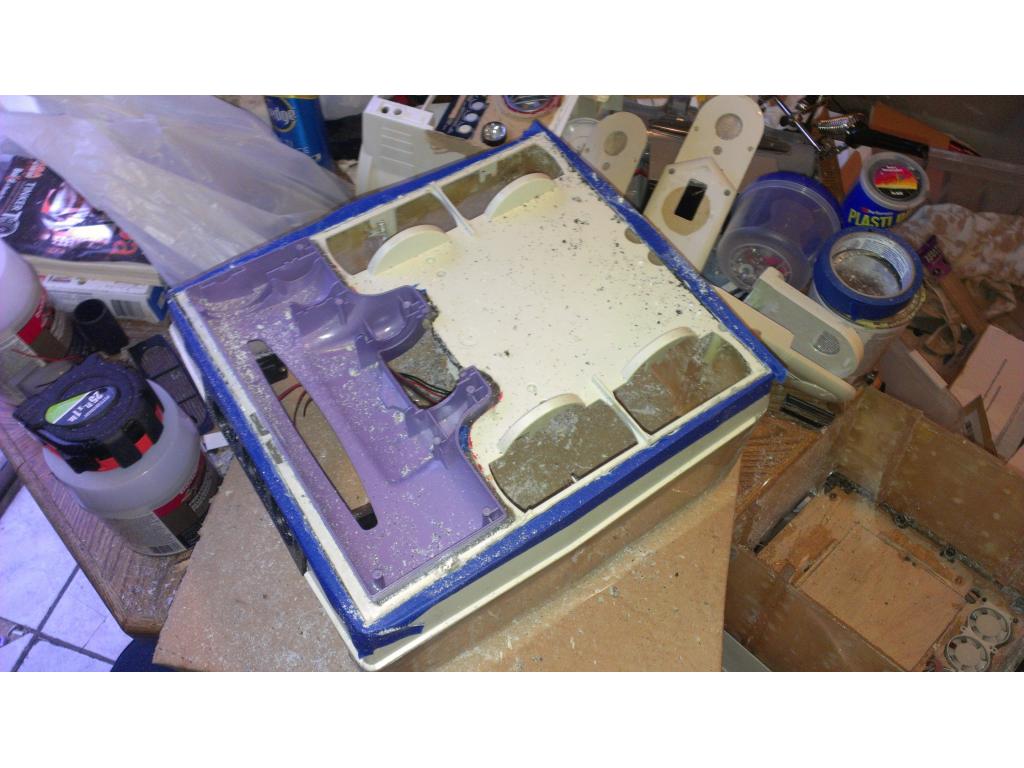
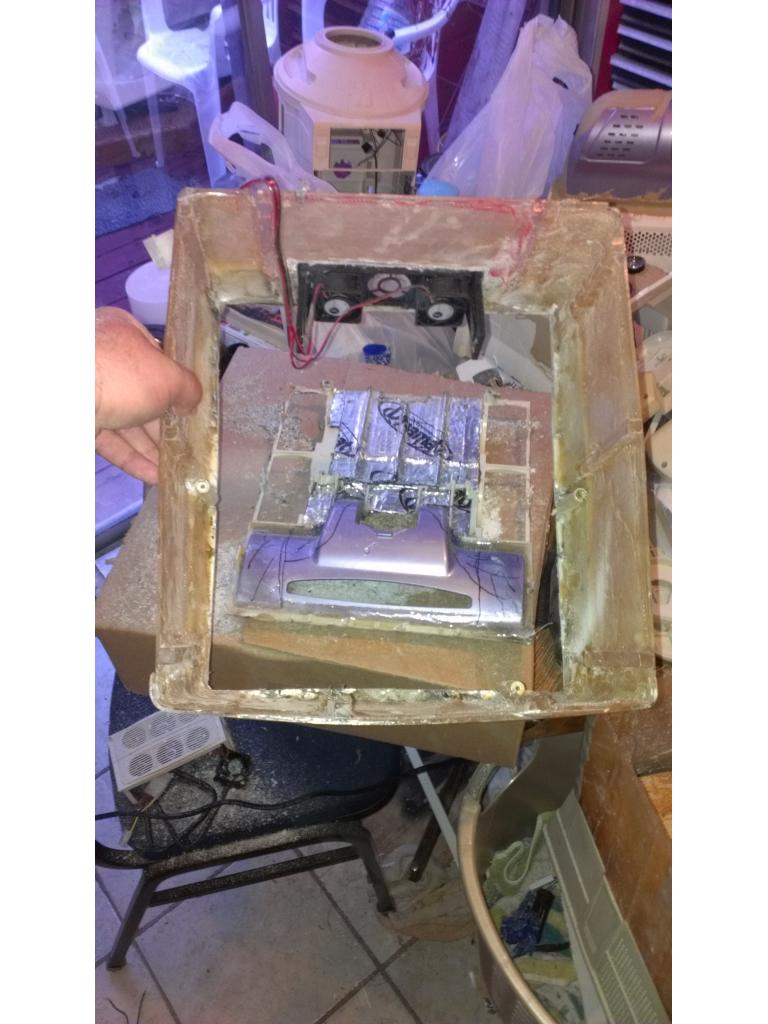
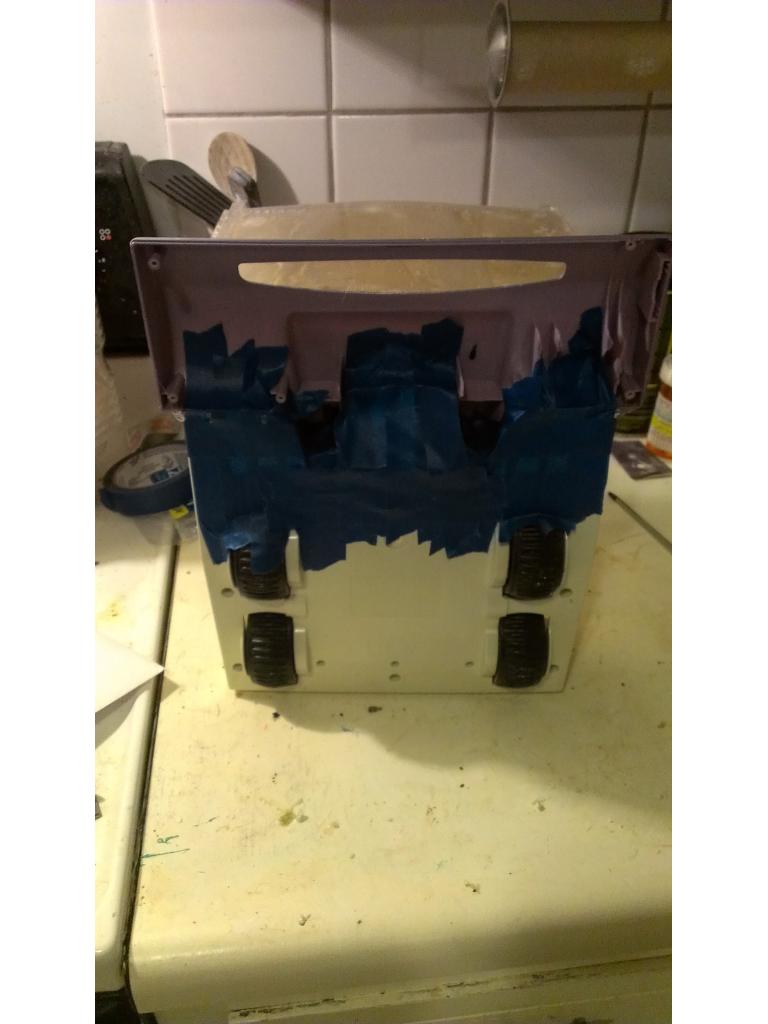
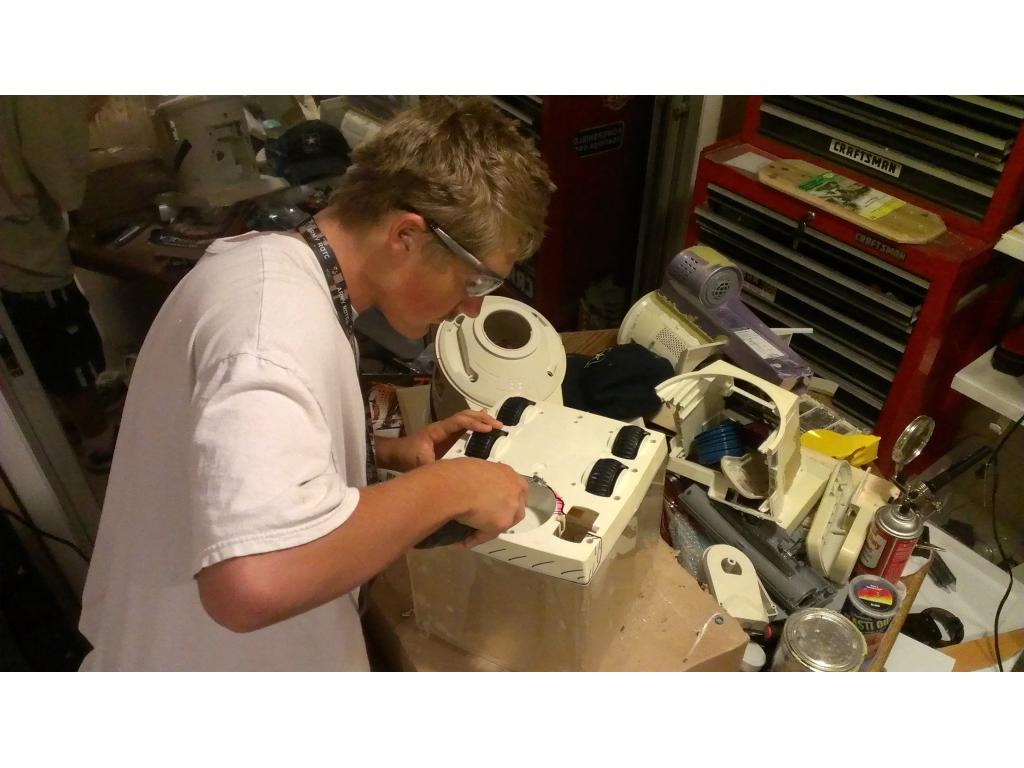
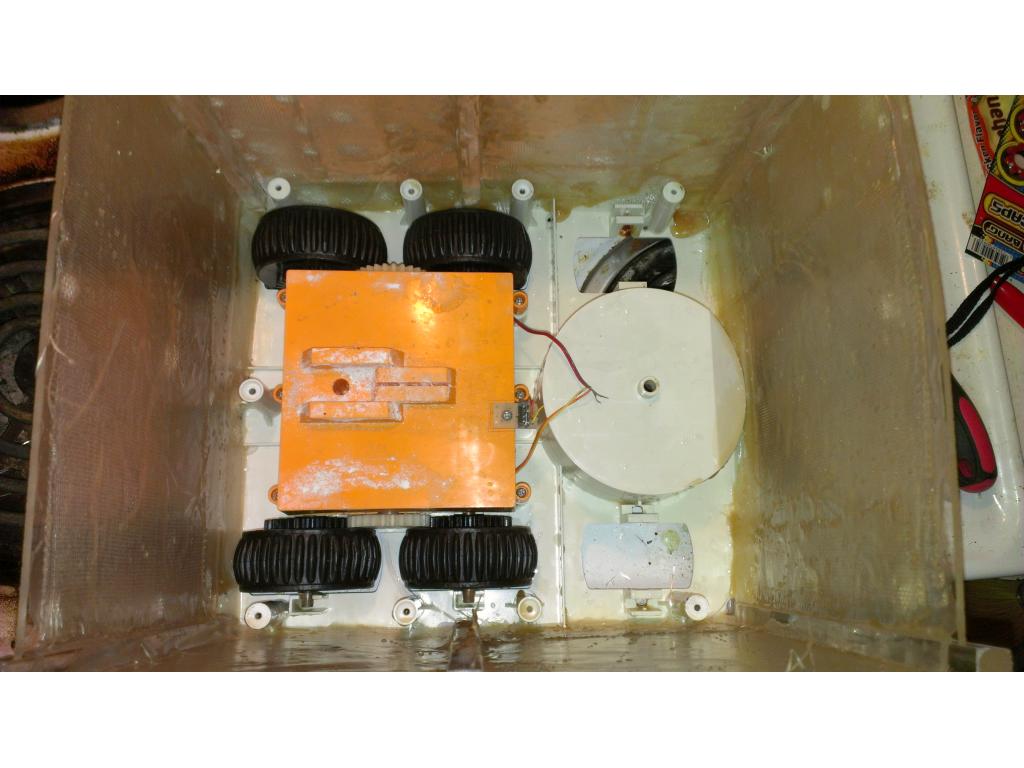
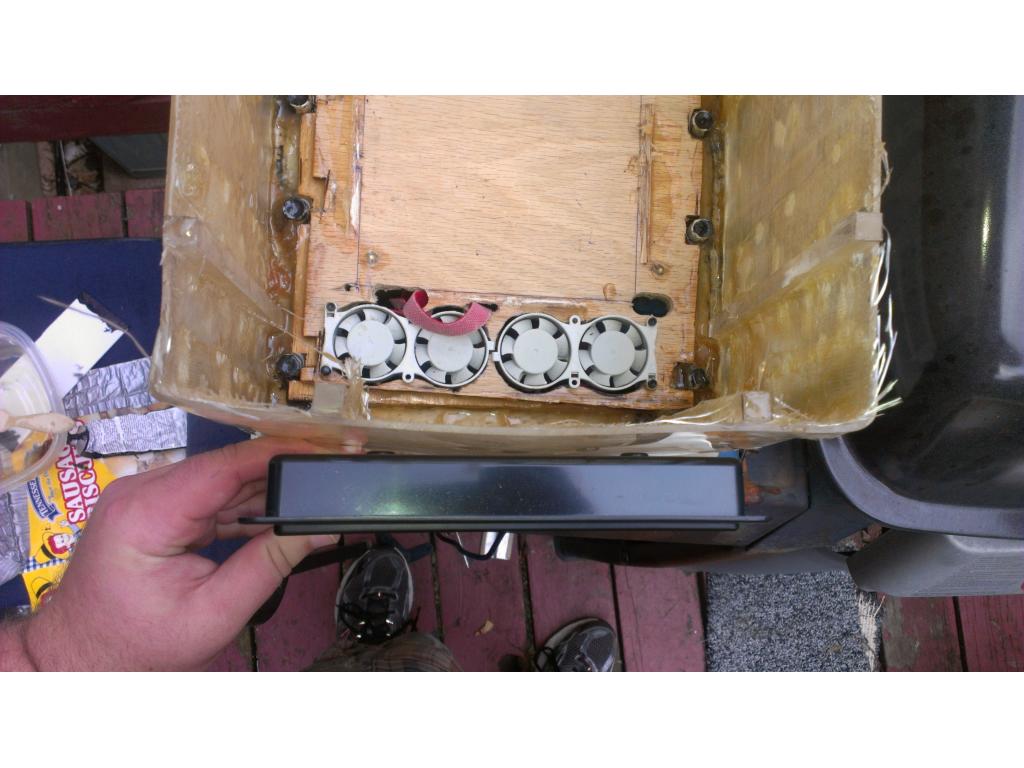
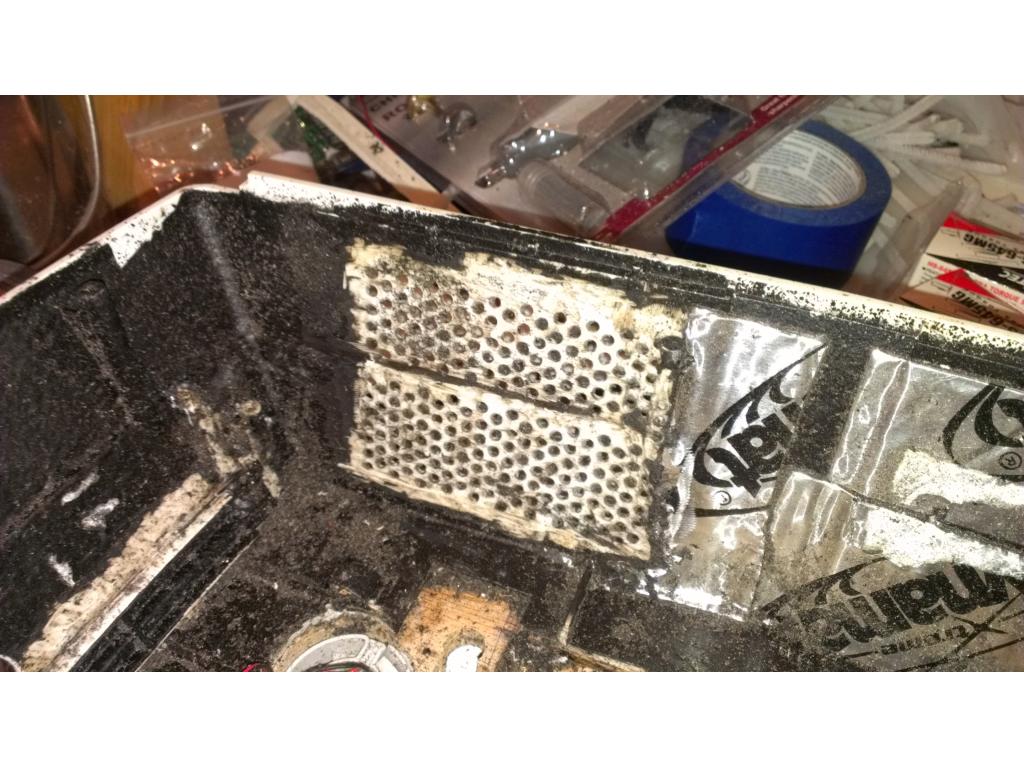
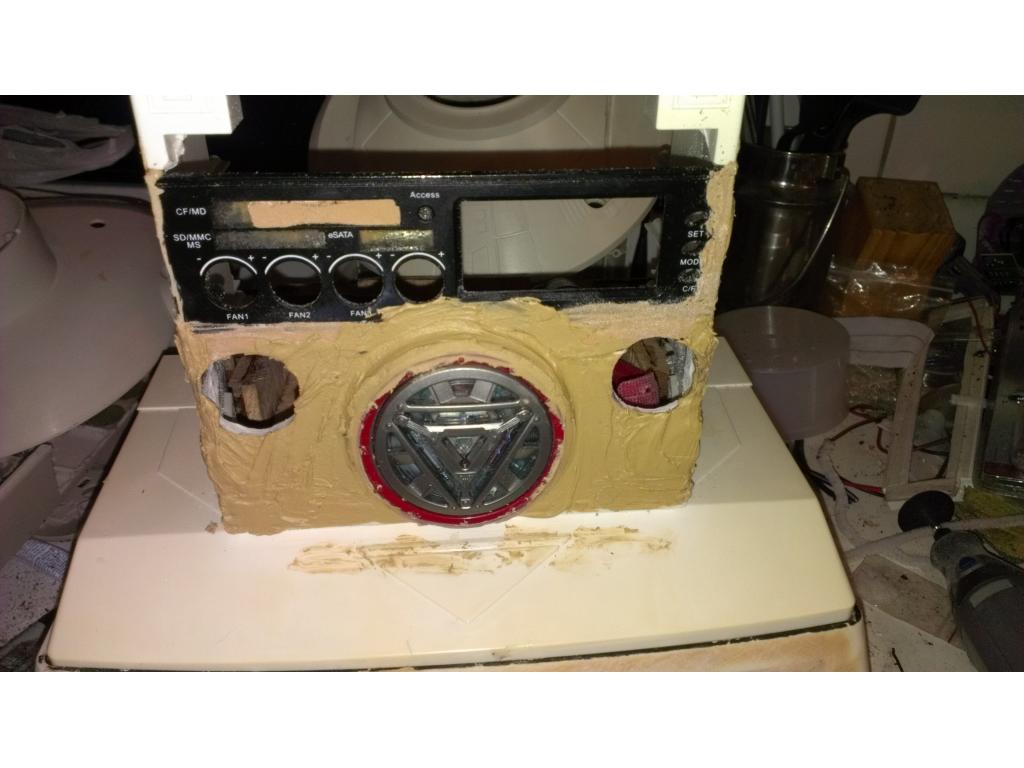
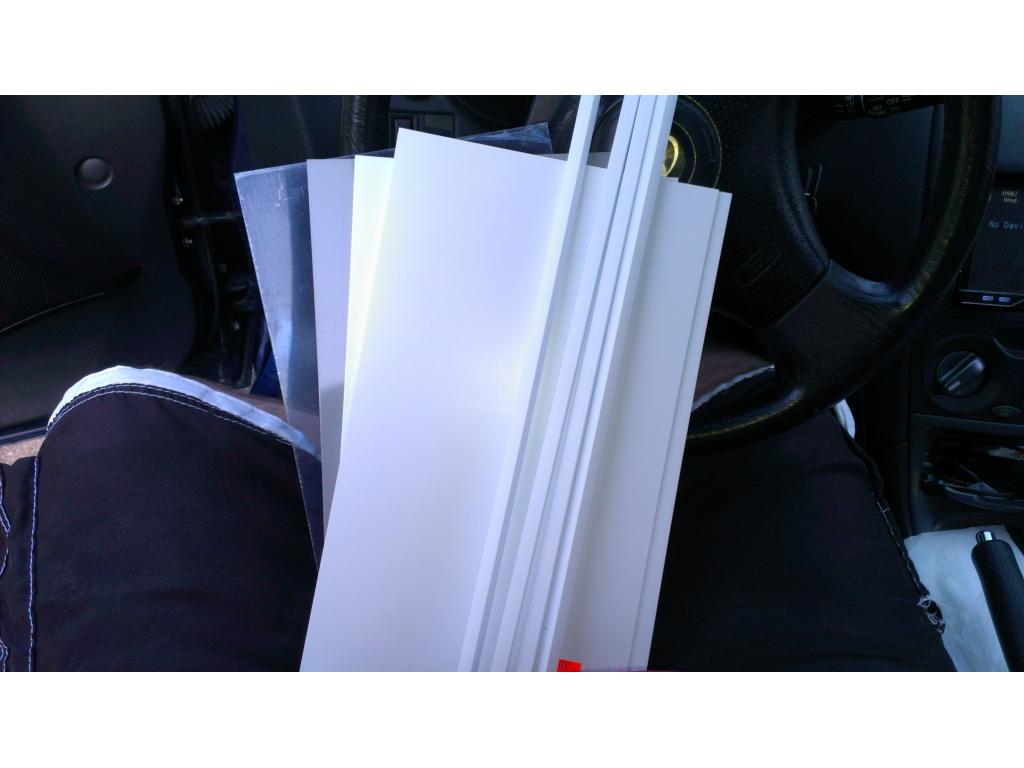
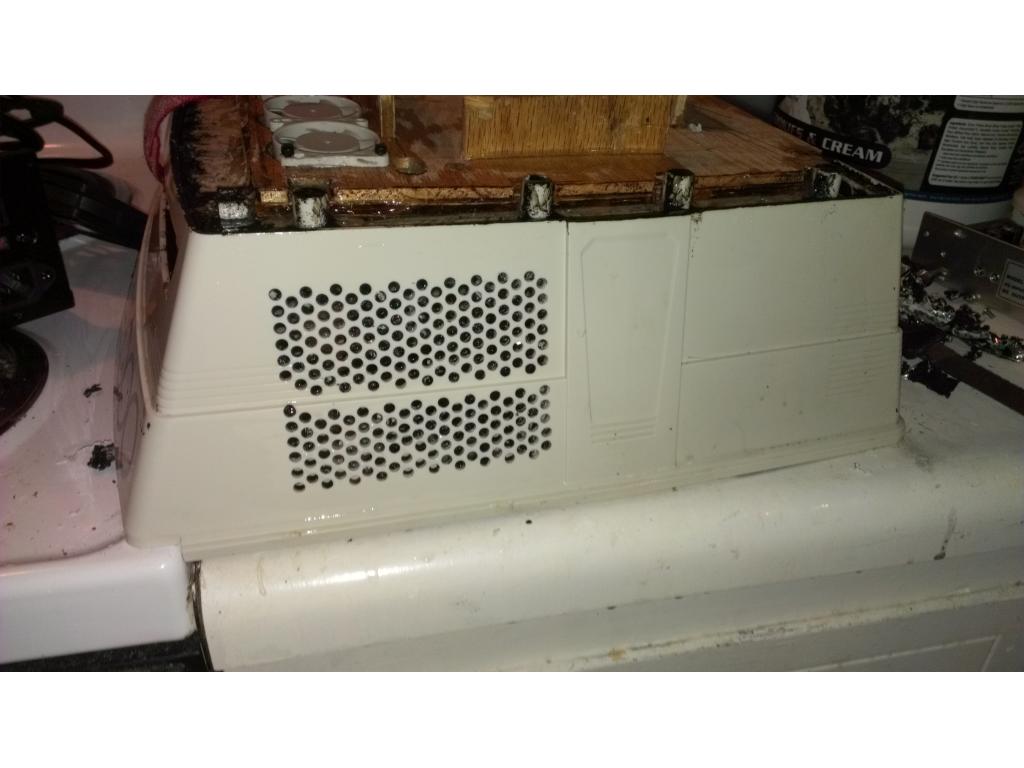
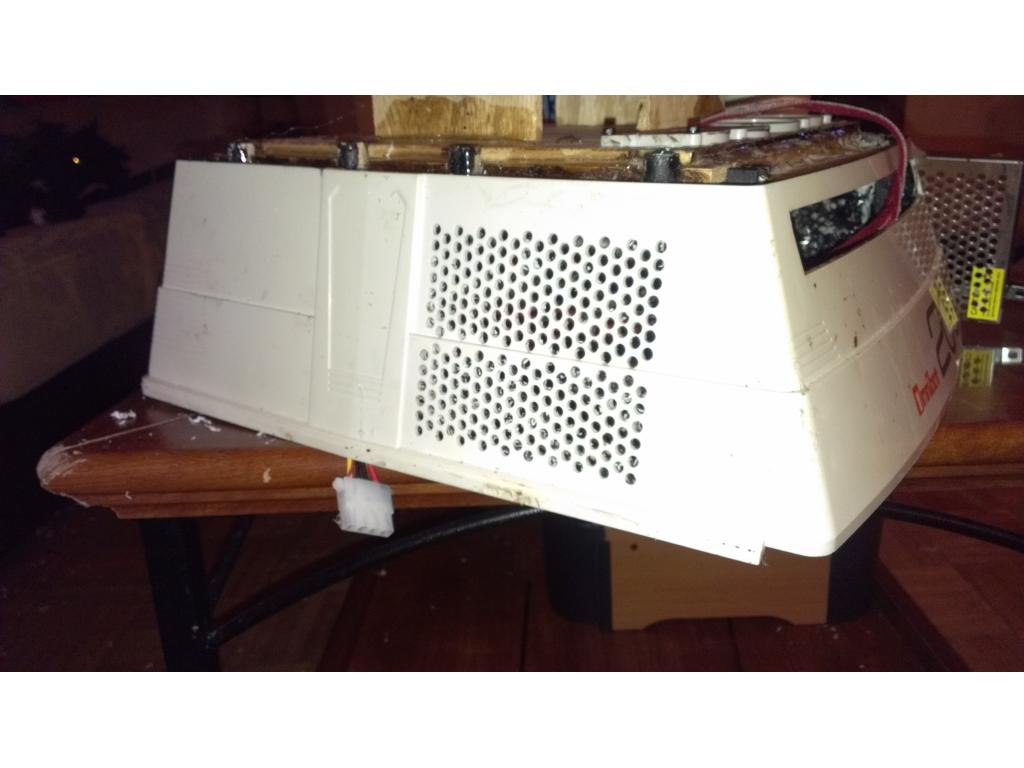
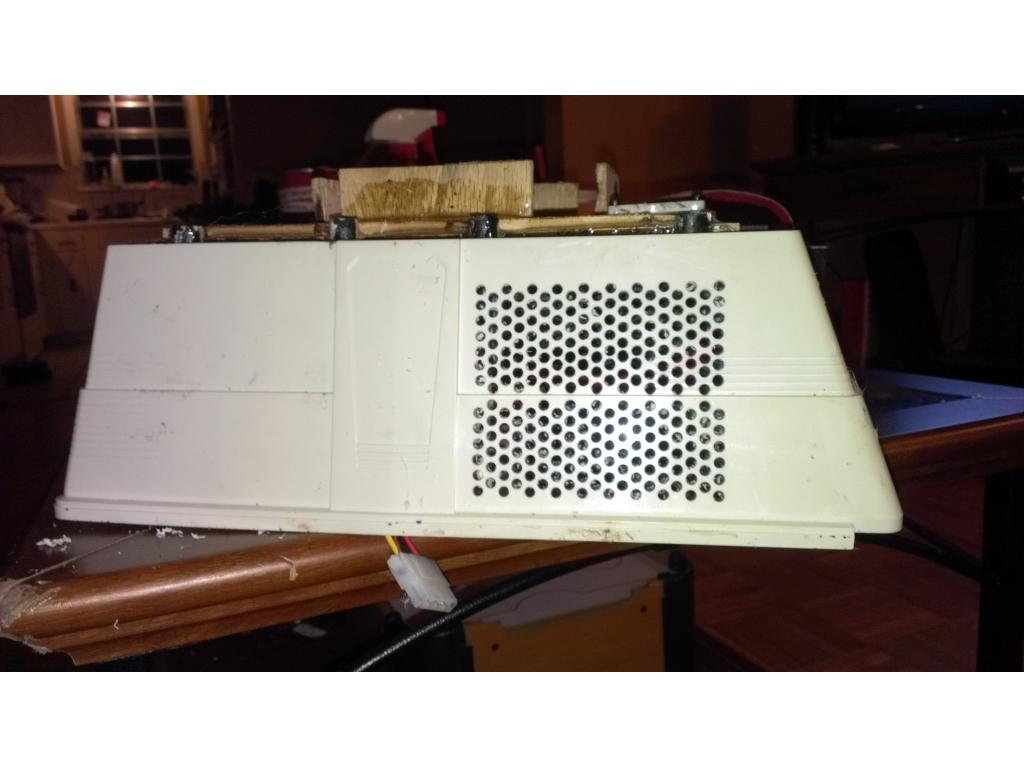
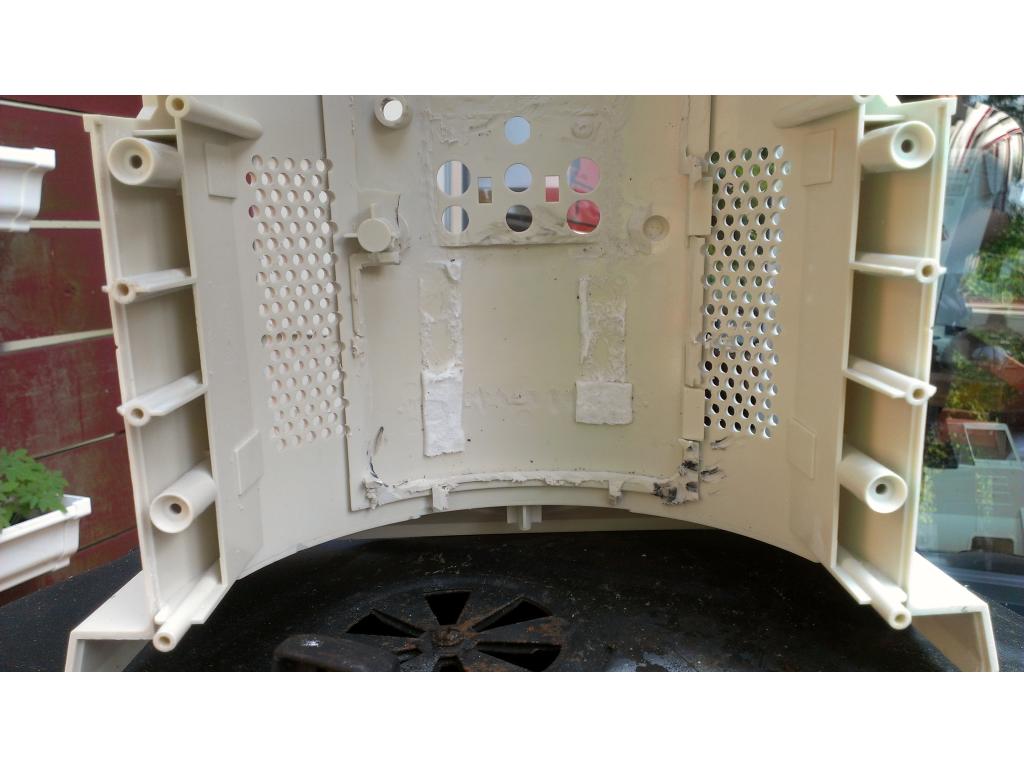
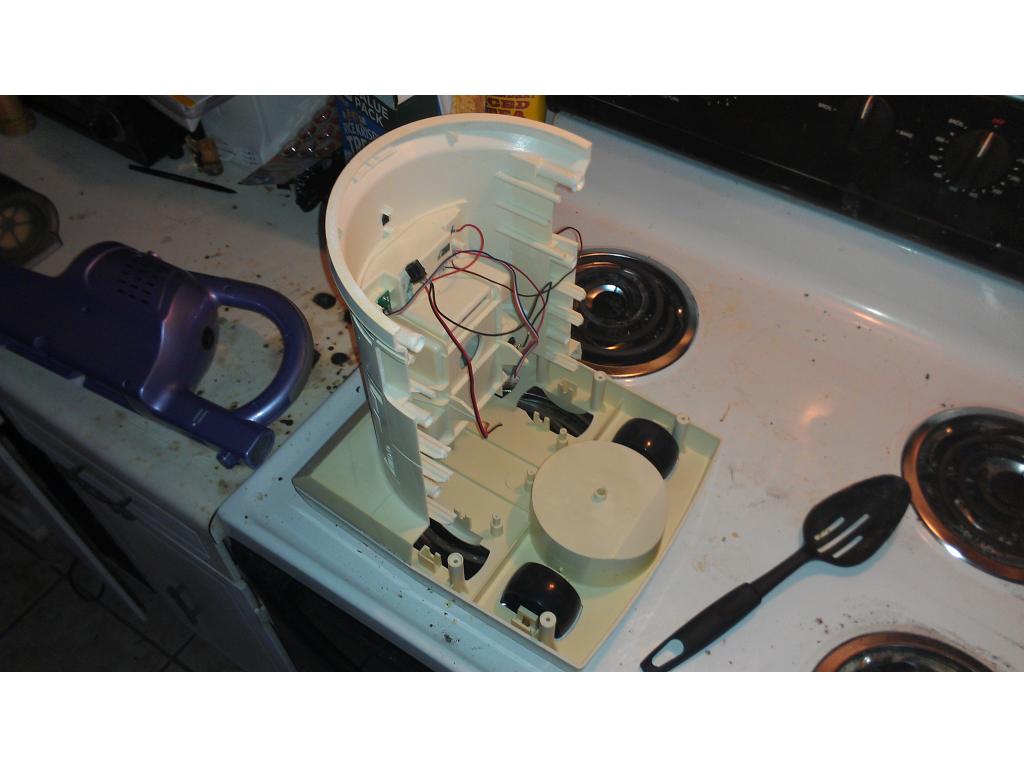
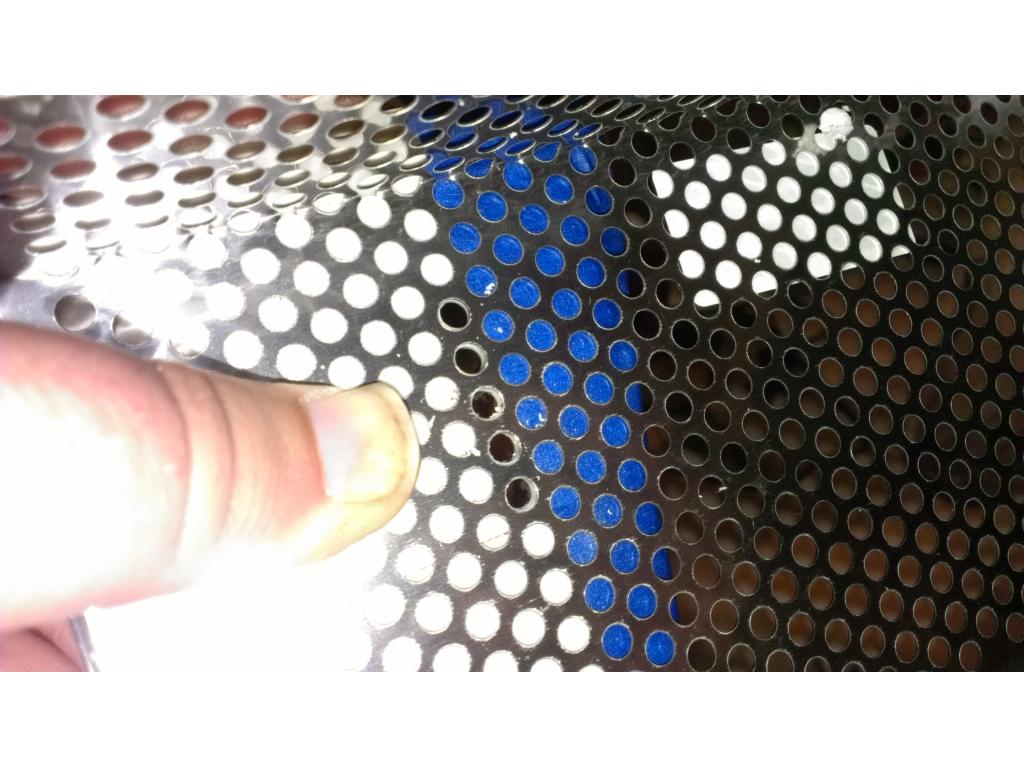
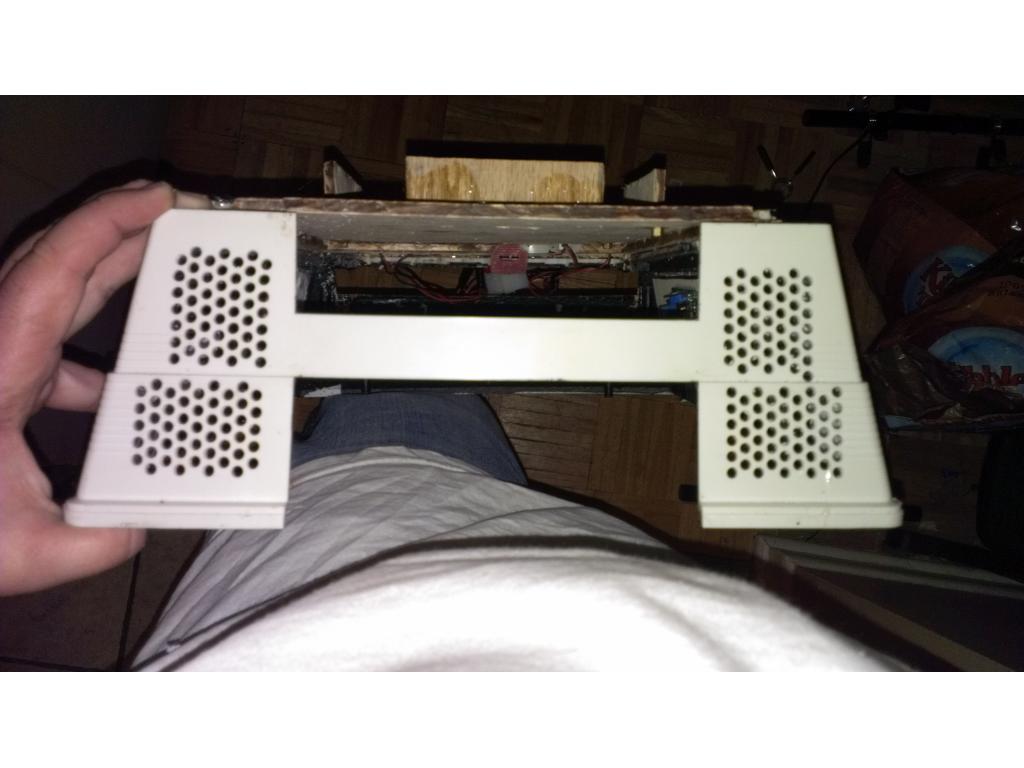
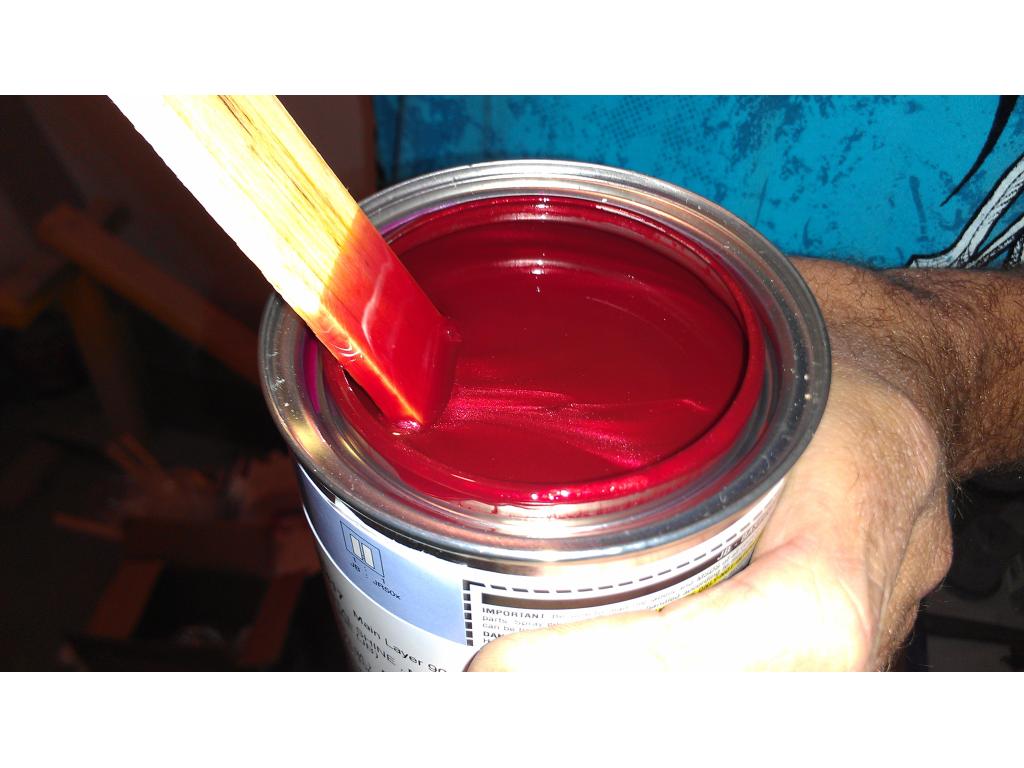
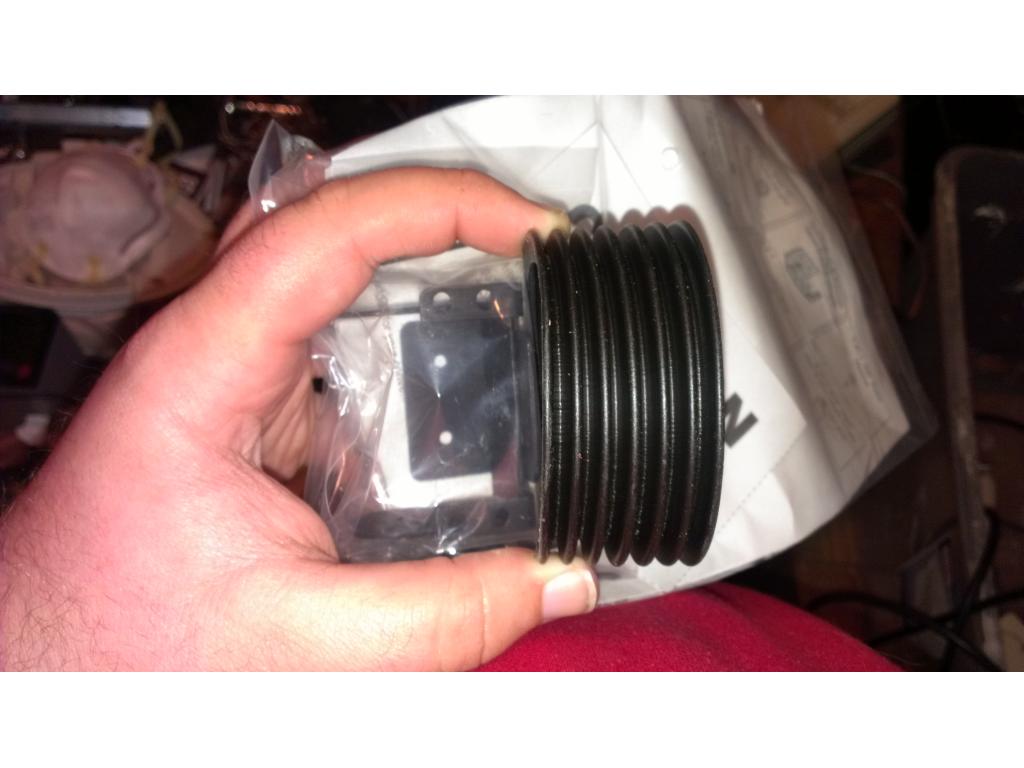
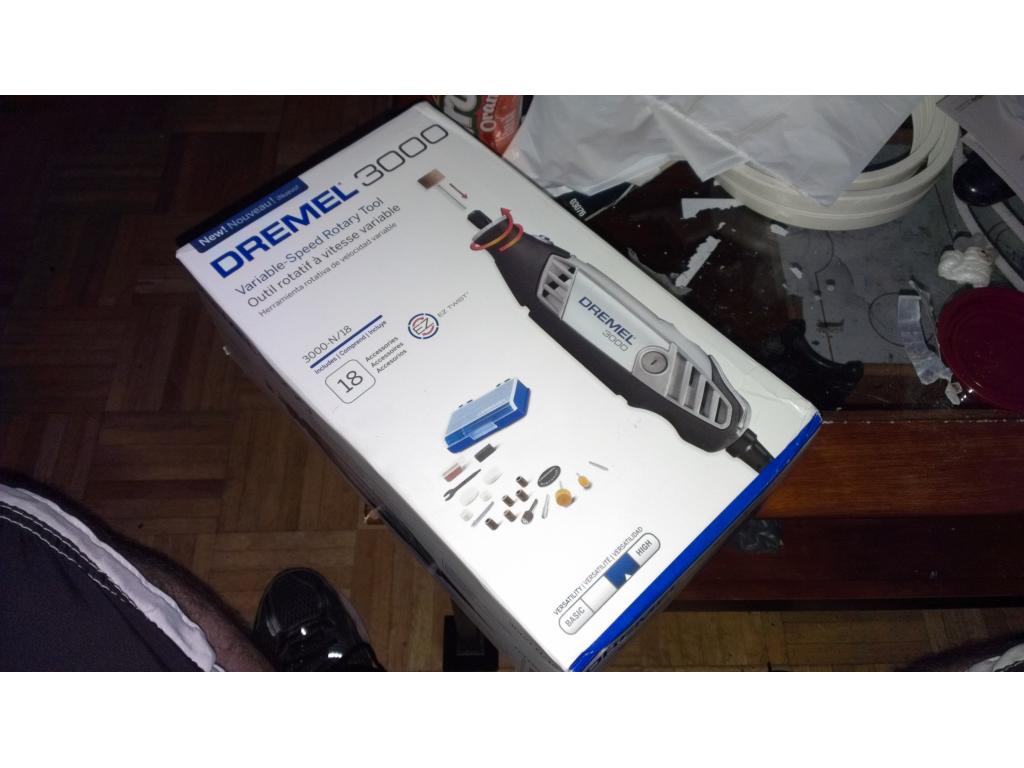
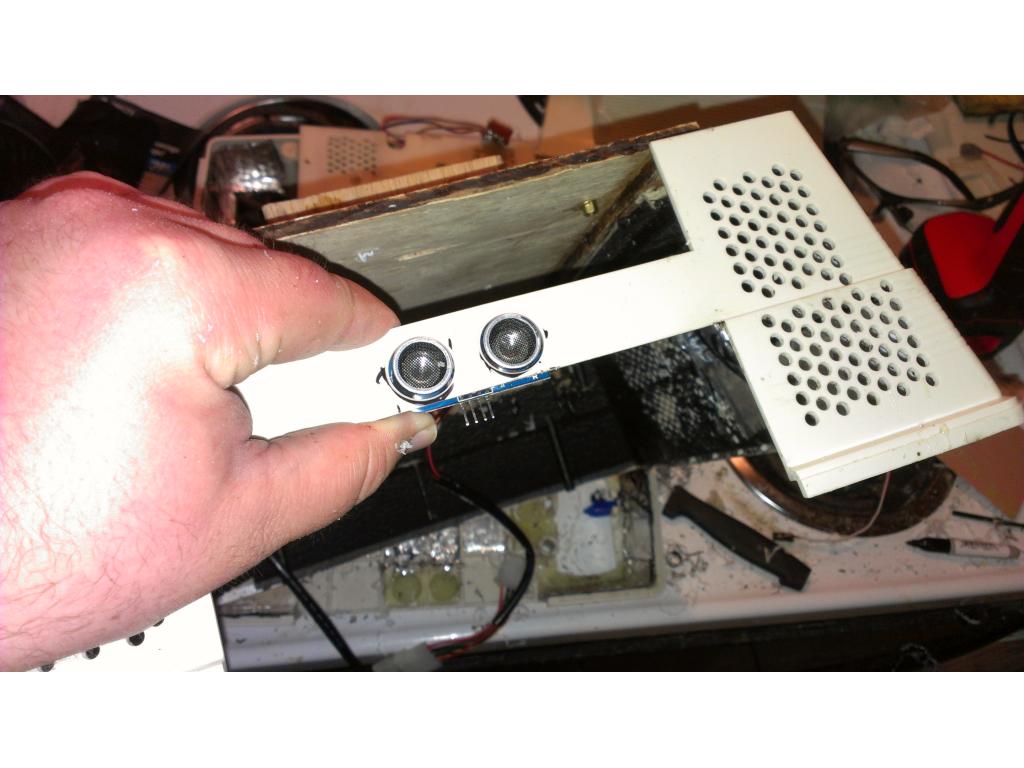
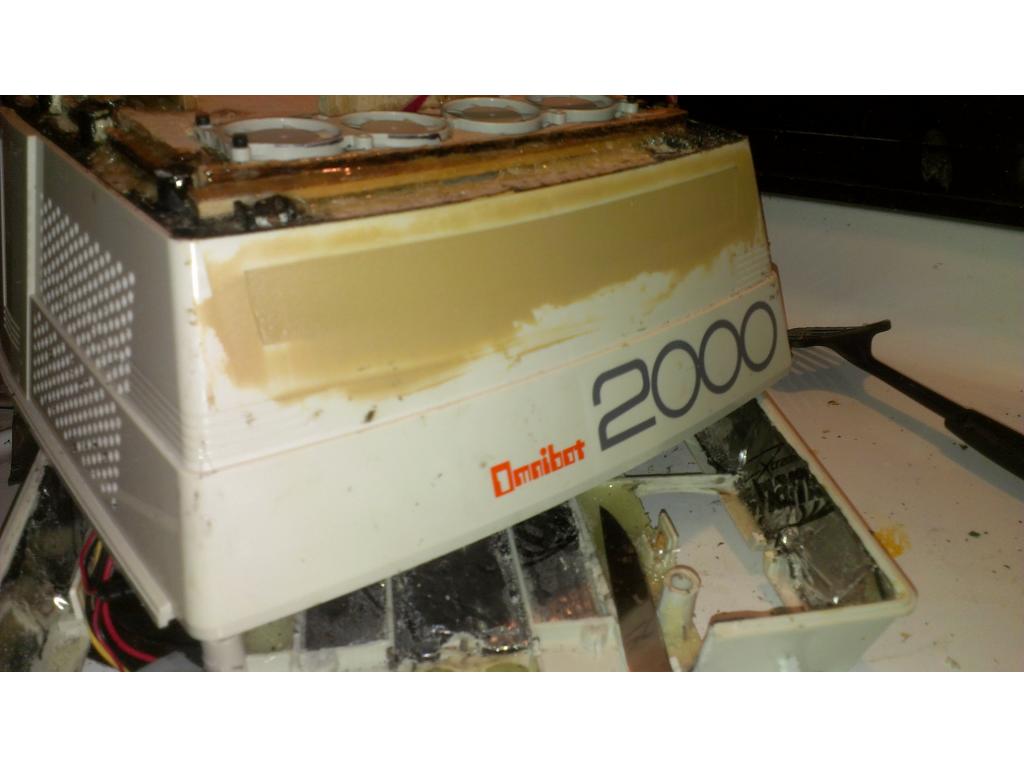
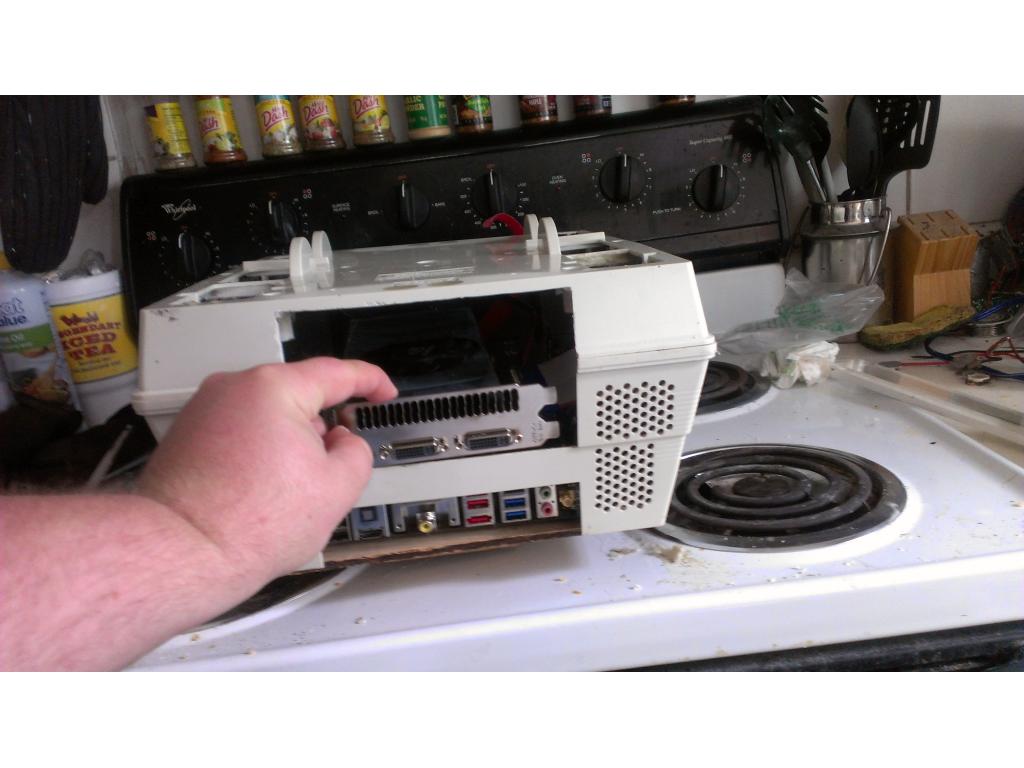
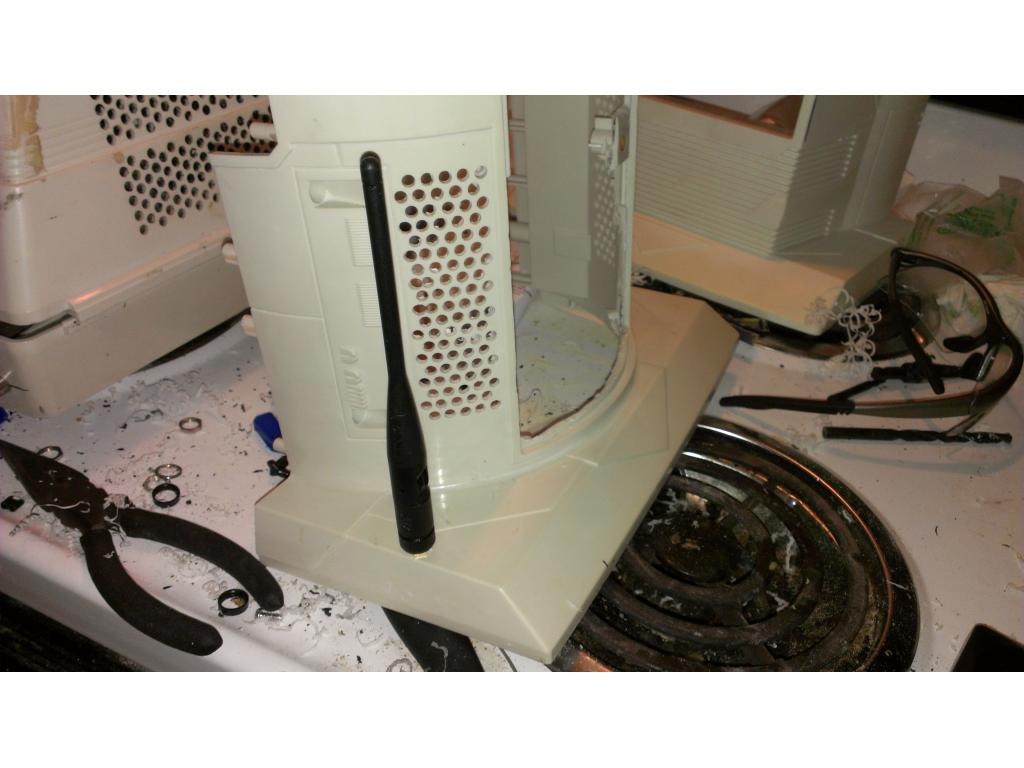
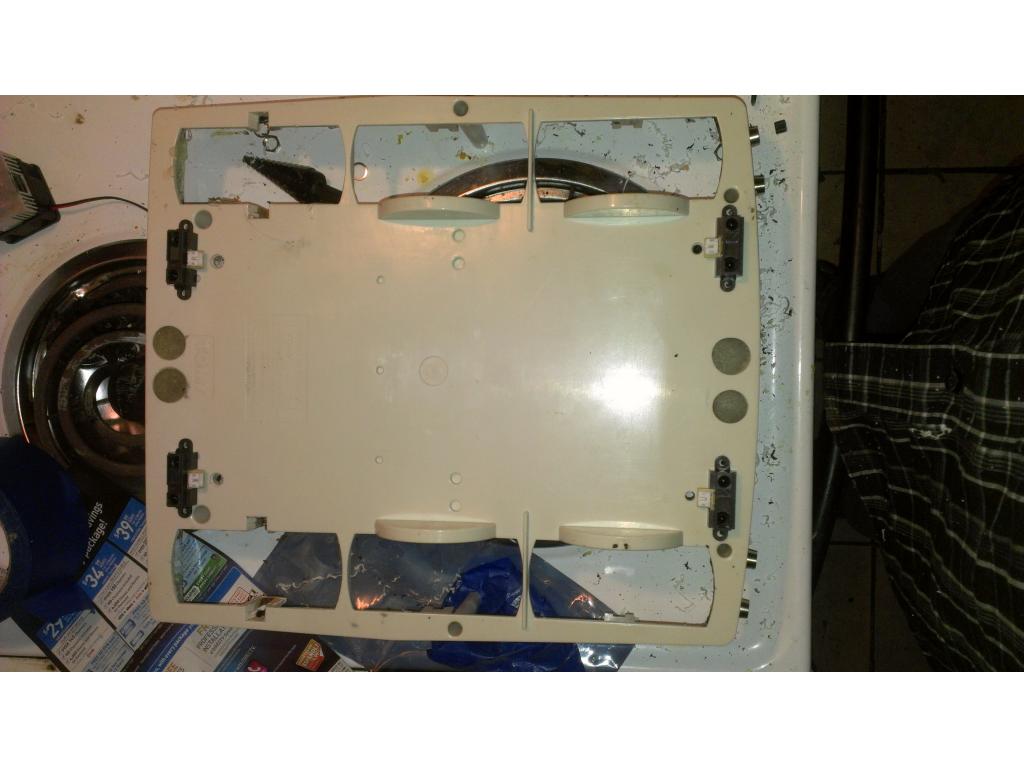
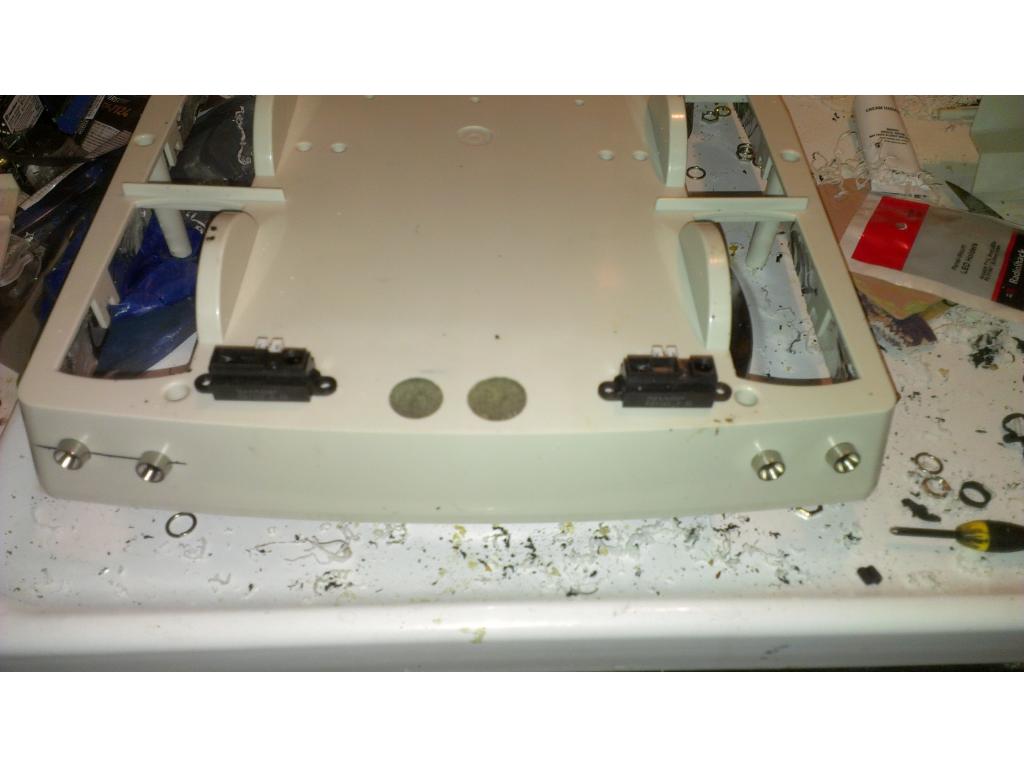
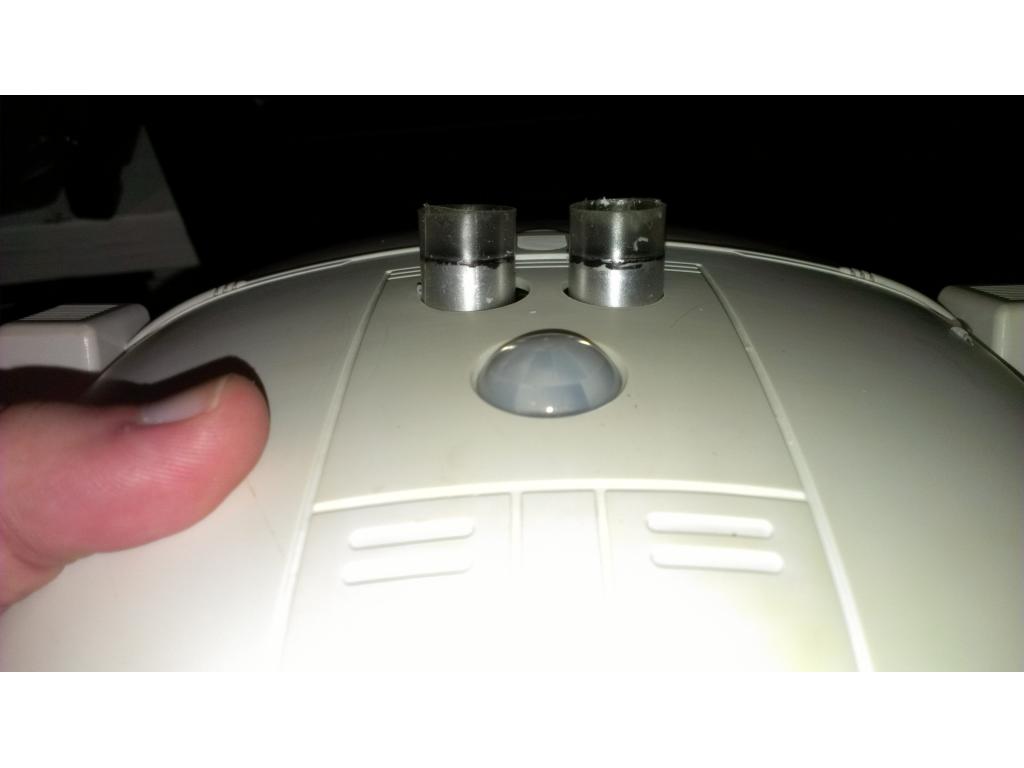
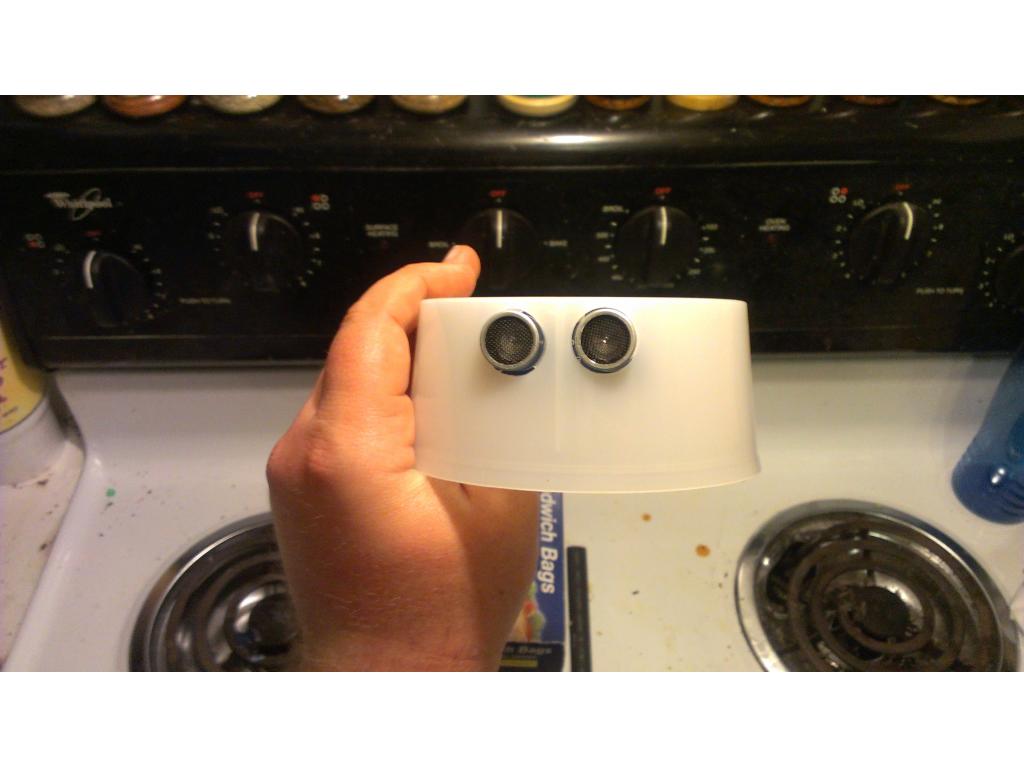
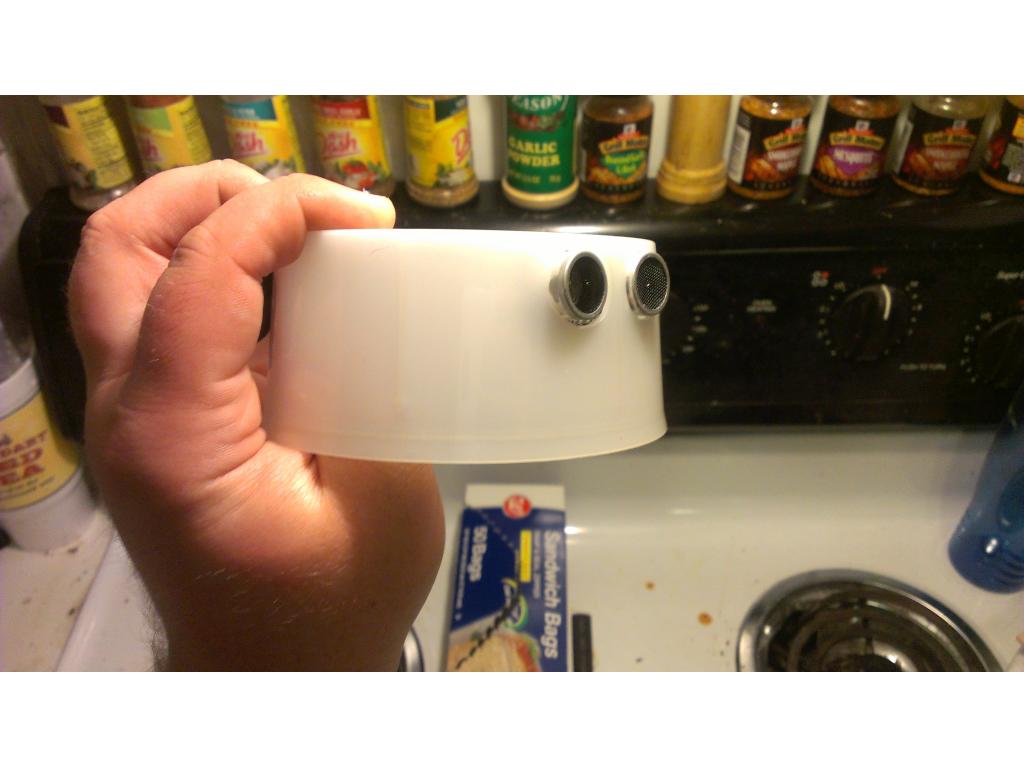
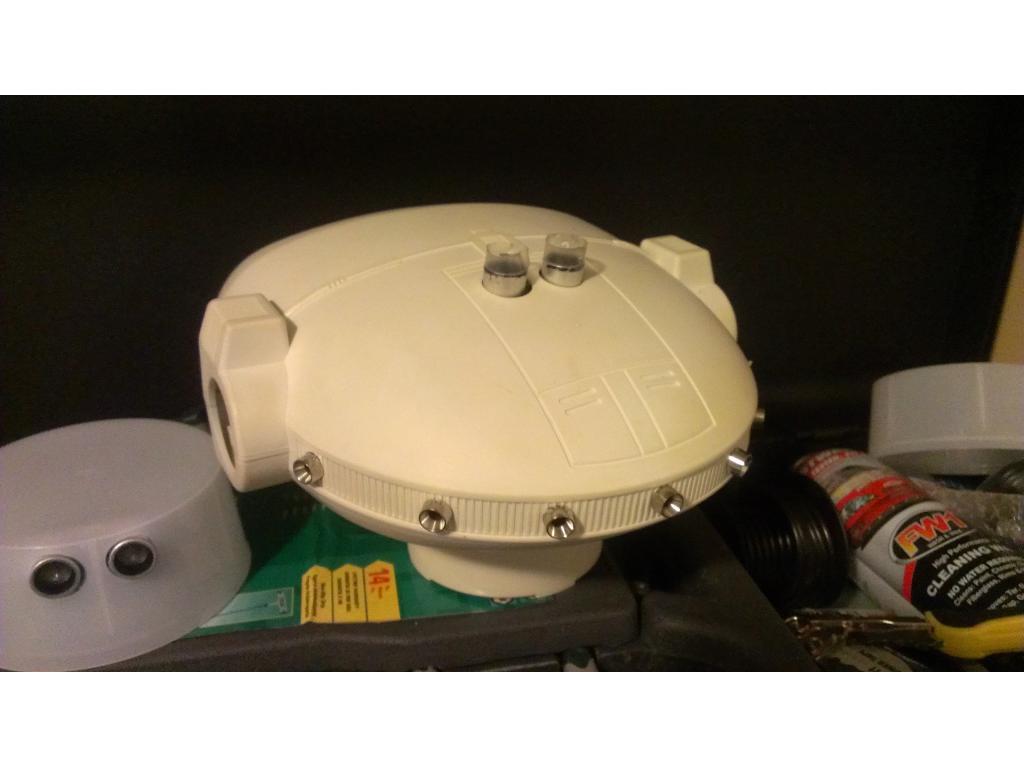
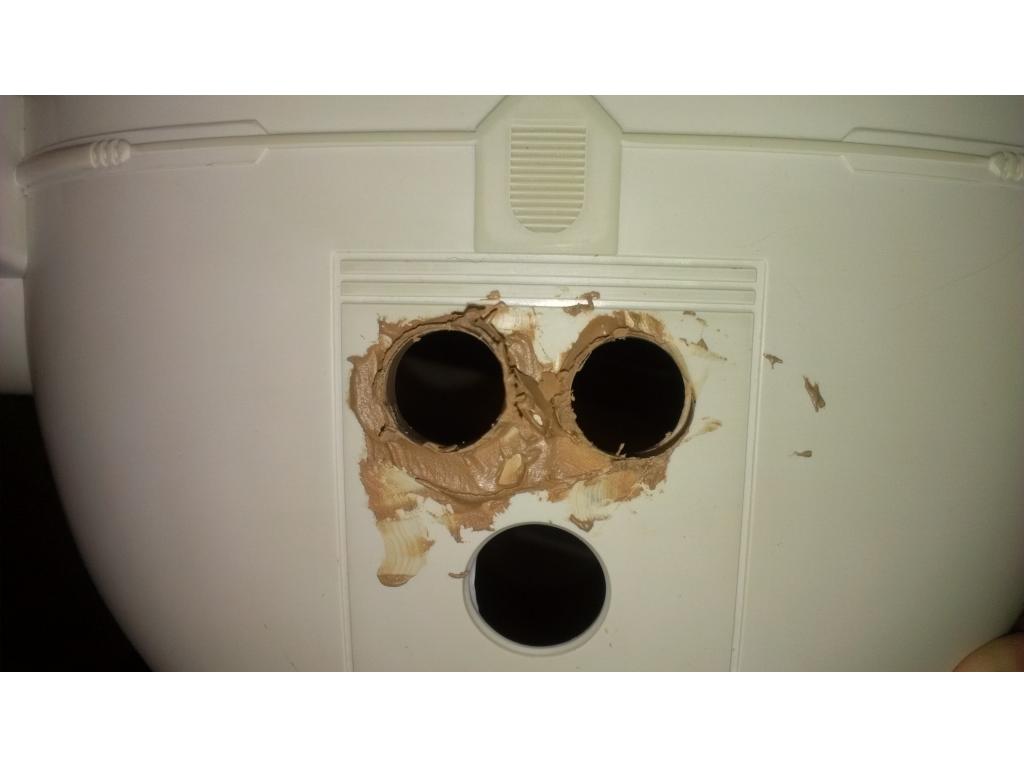
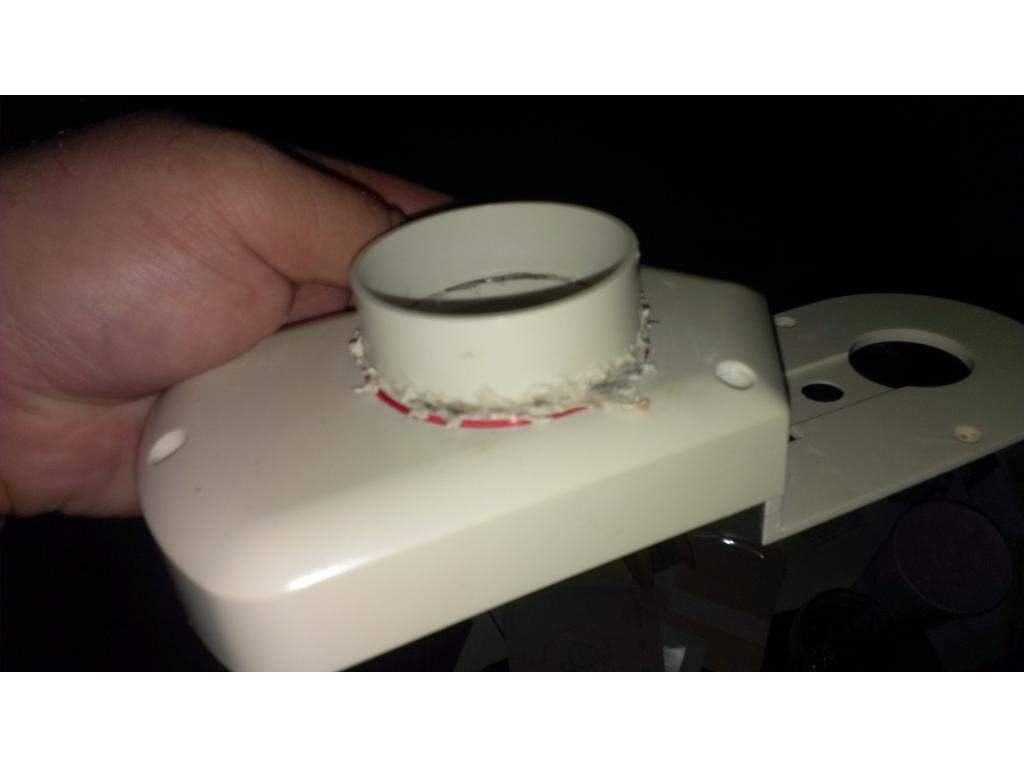
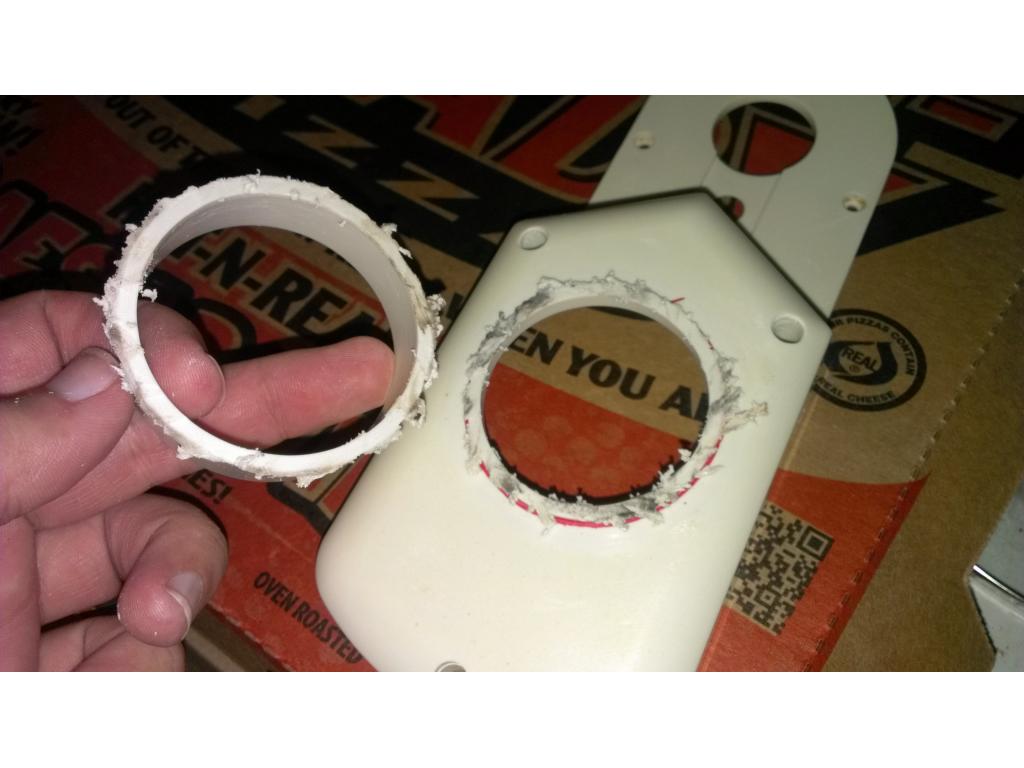
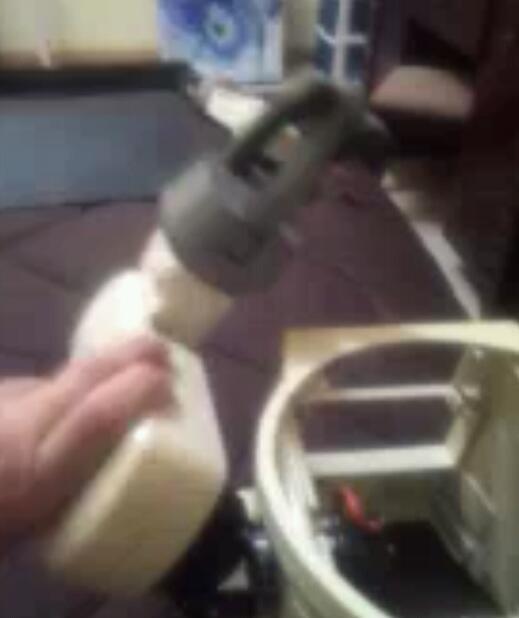
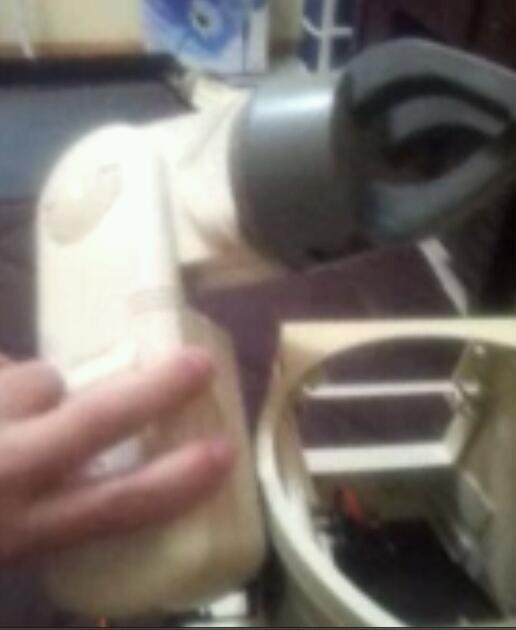
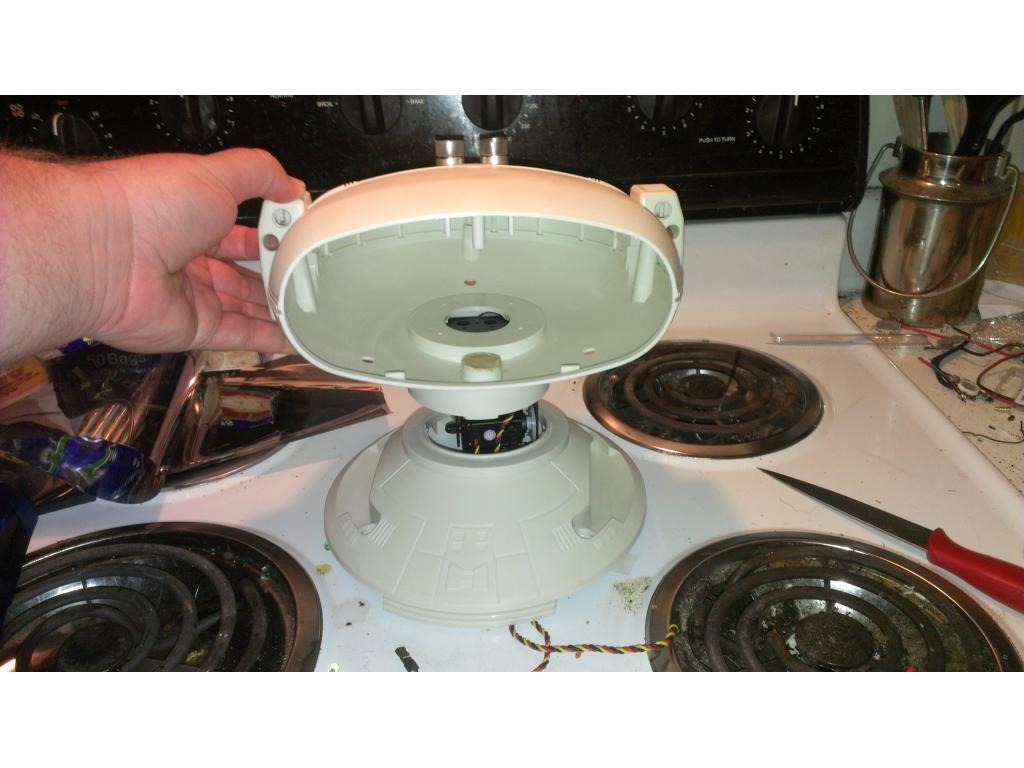
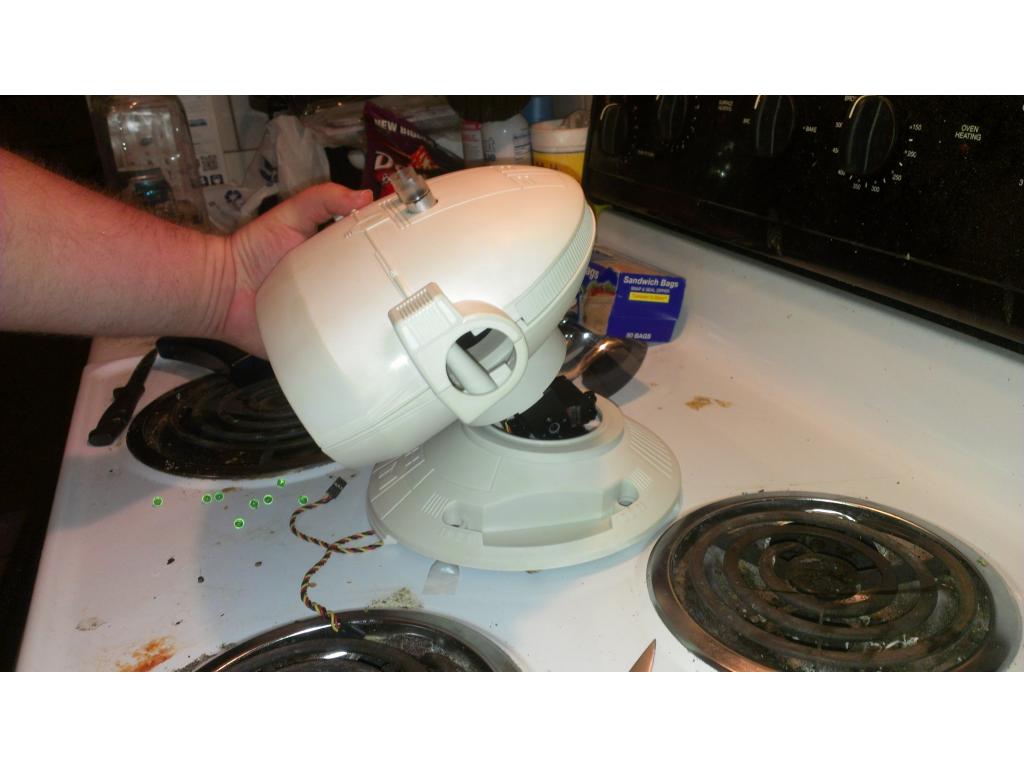
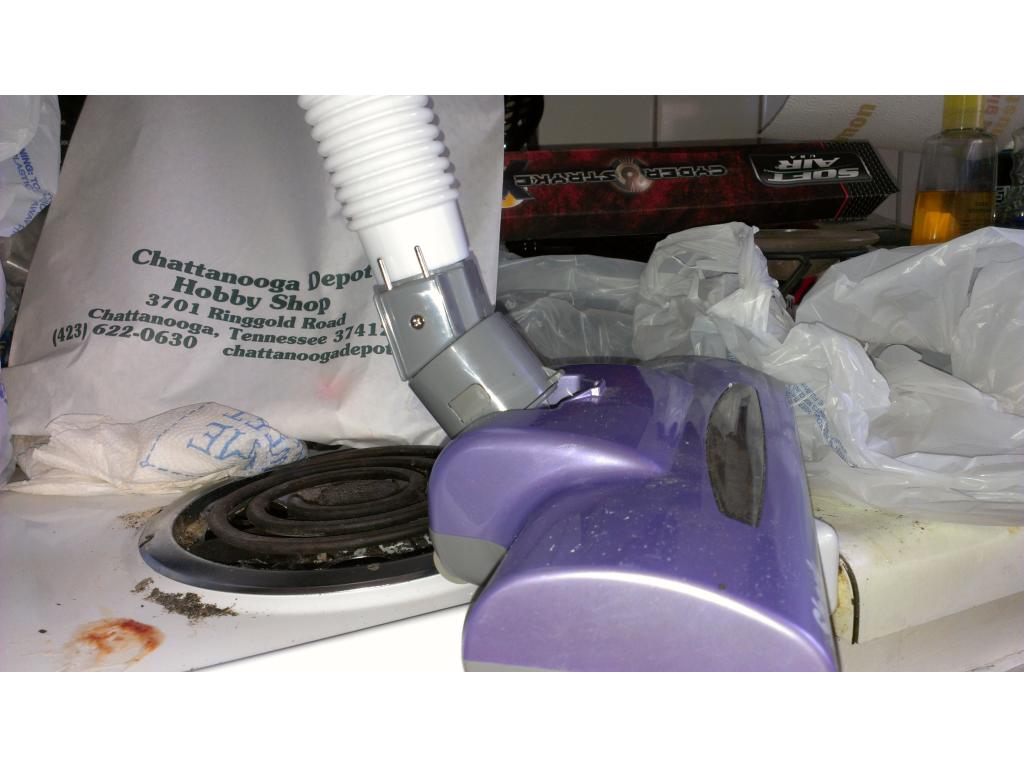
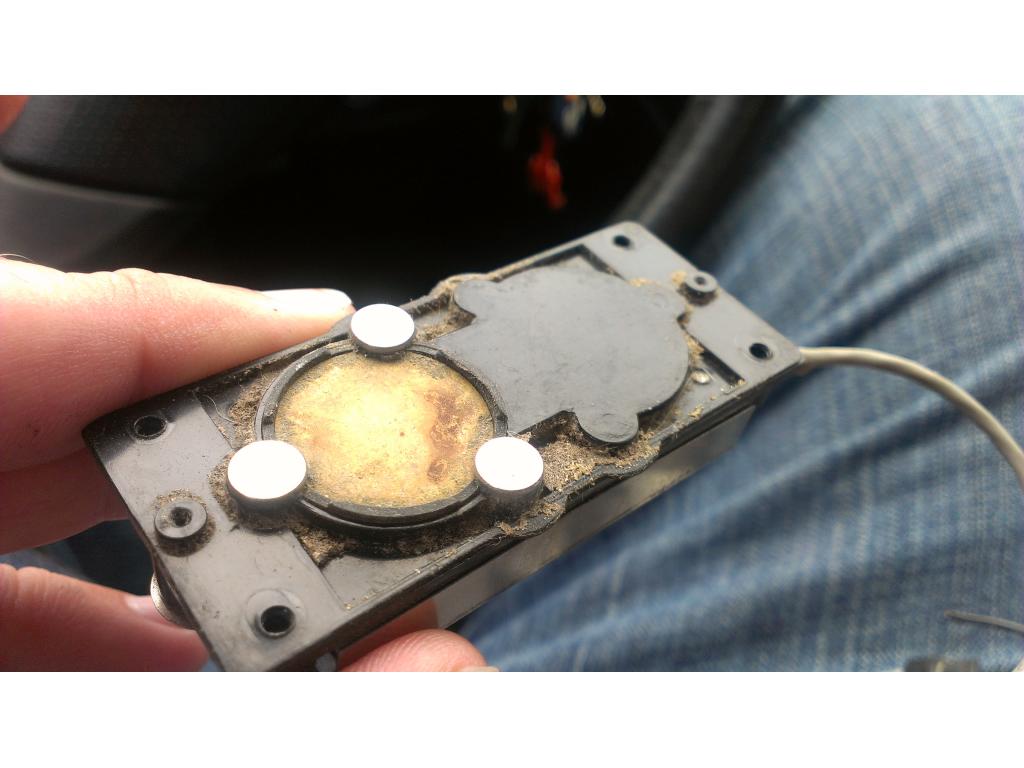
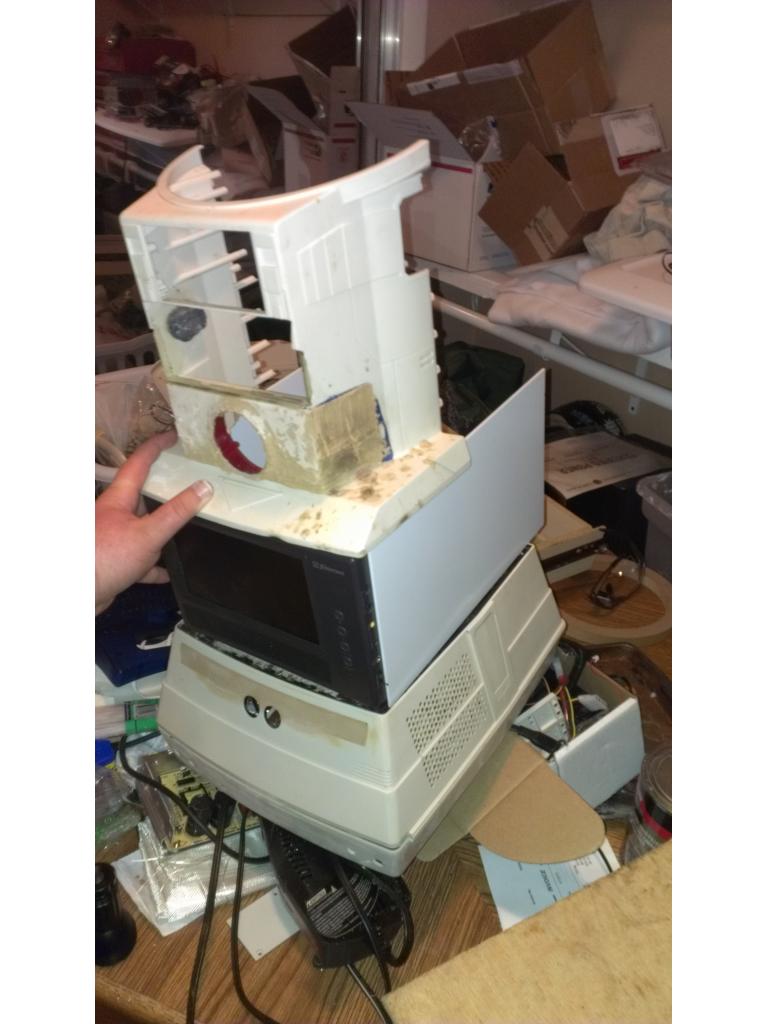
Ok I cleaned the rubber off the inside of the vent holes because each time I tried to cleaned out the holes I dragged some rubber residue from the inside back into the holes , so I used the dremel to clean away the rubber so I can get these holes clean and ready for paint to stick.

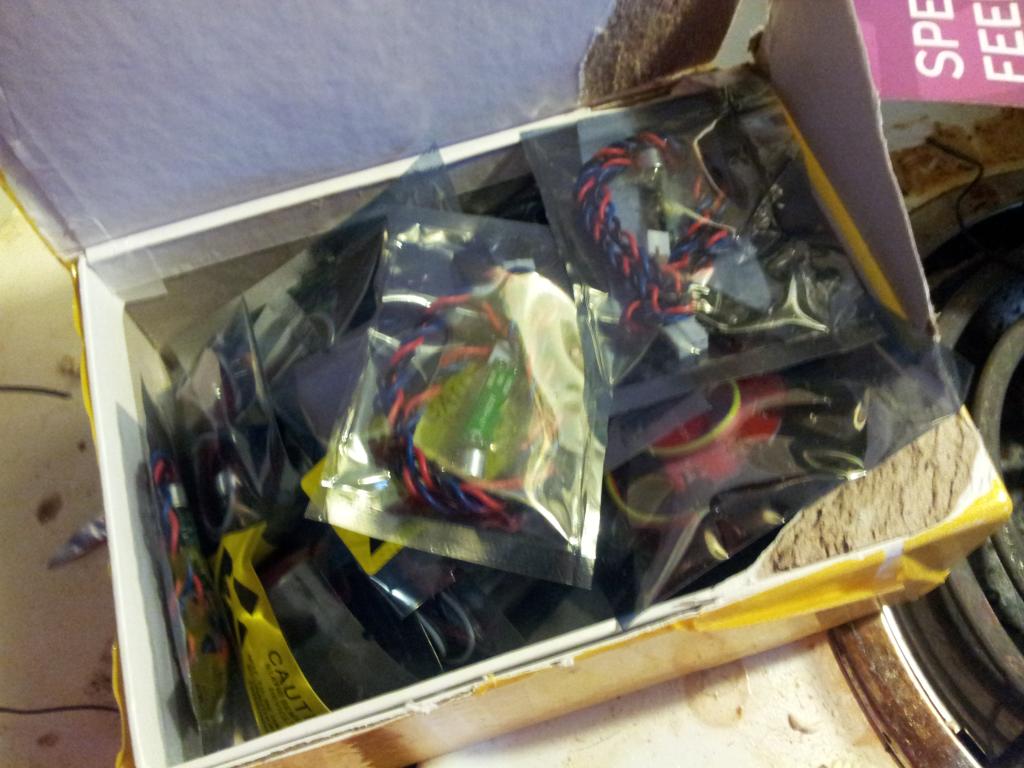
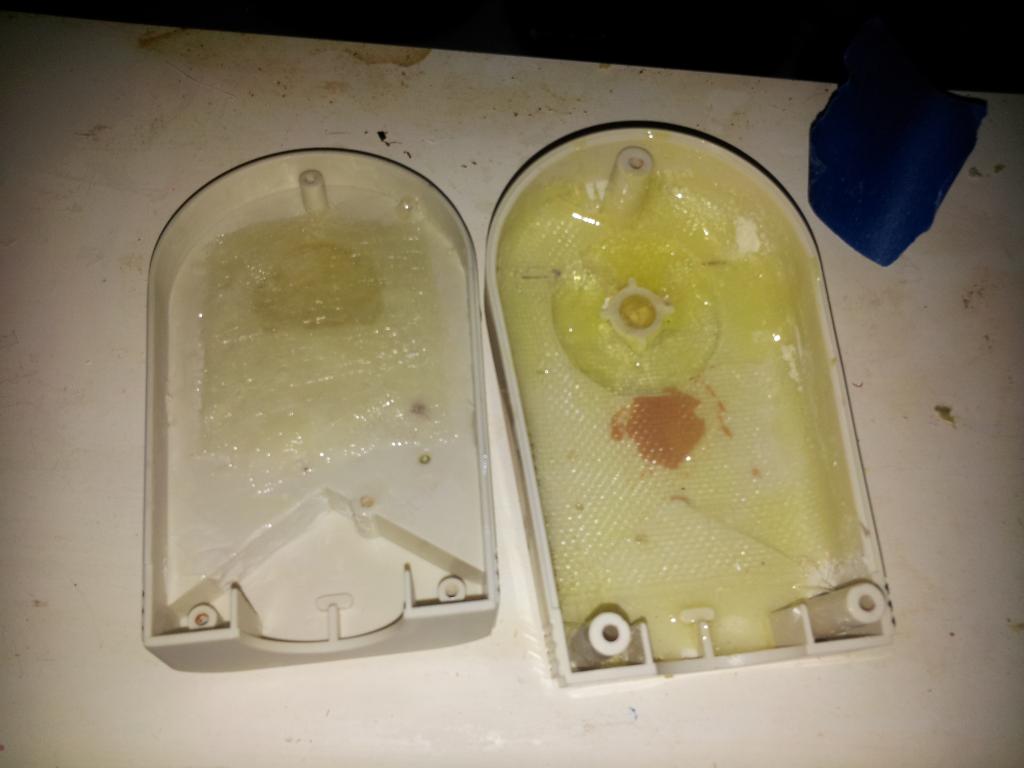
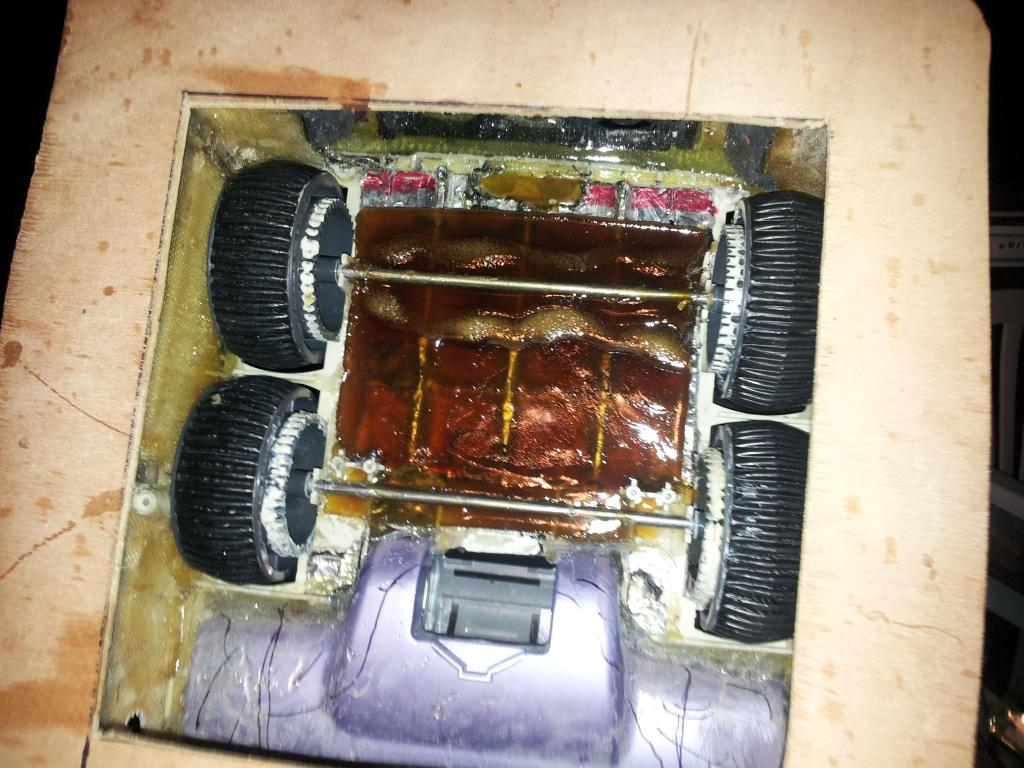
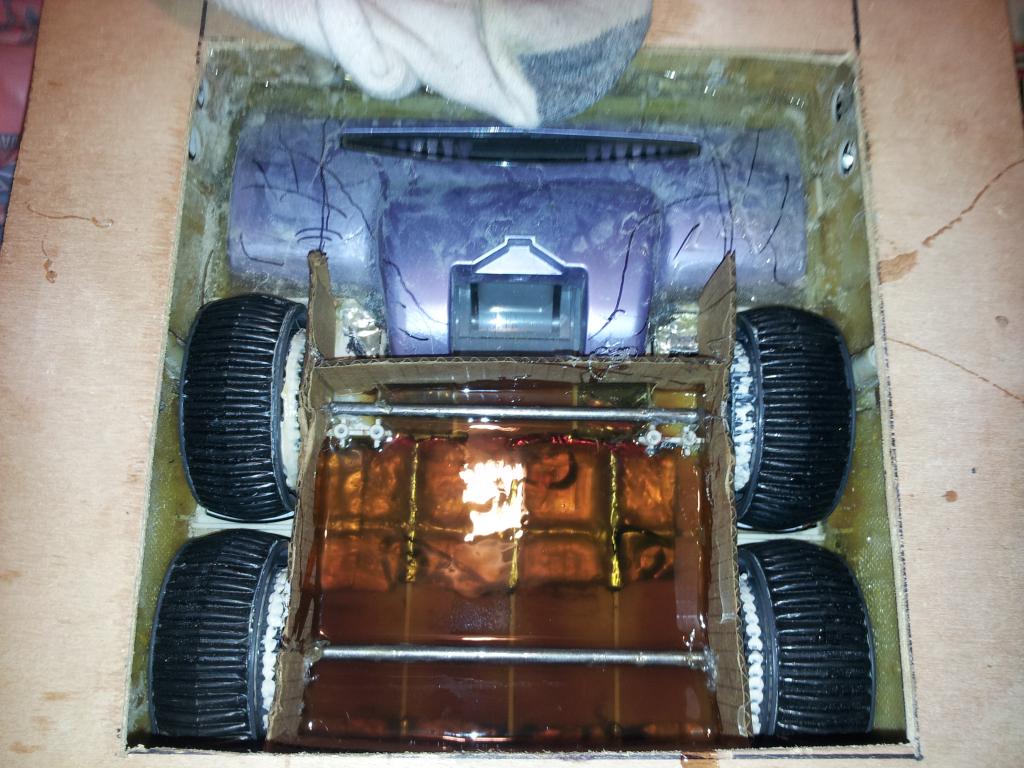
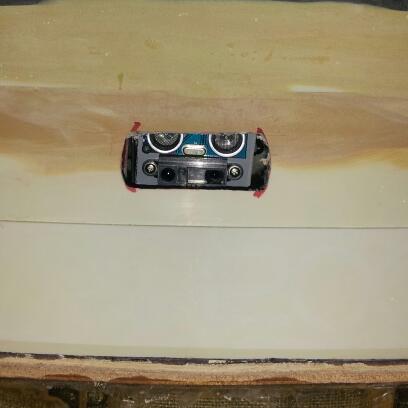
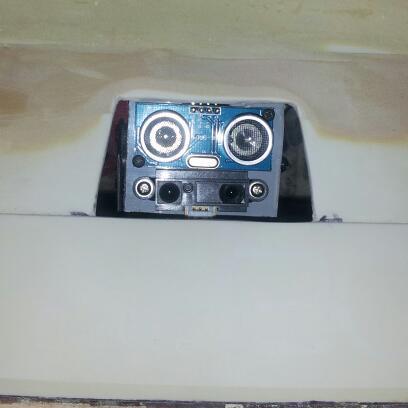
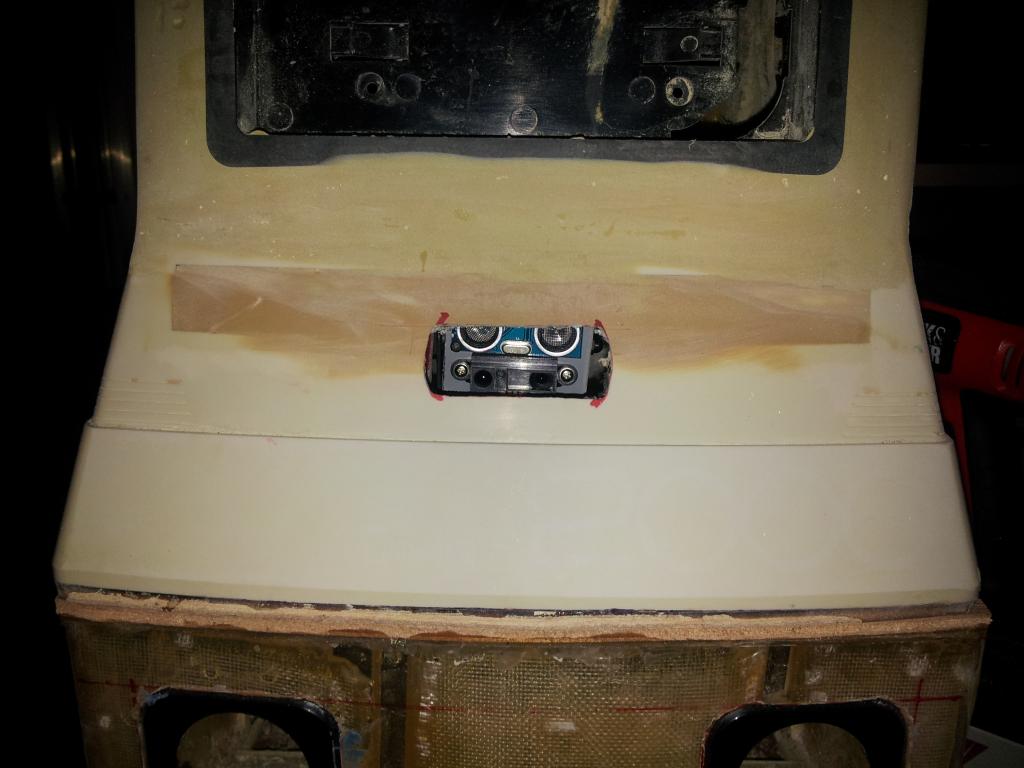
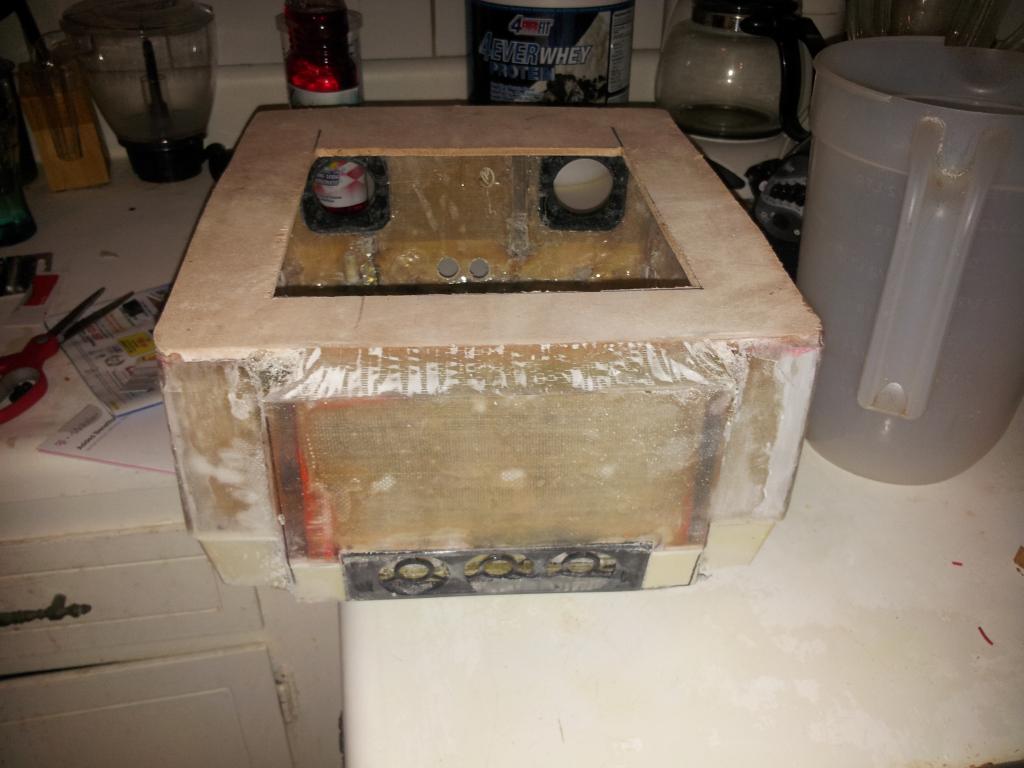
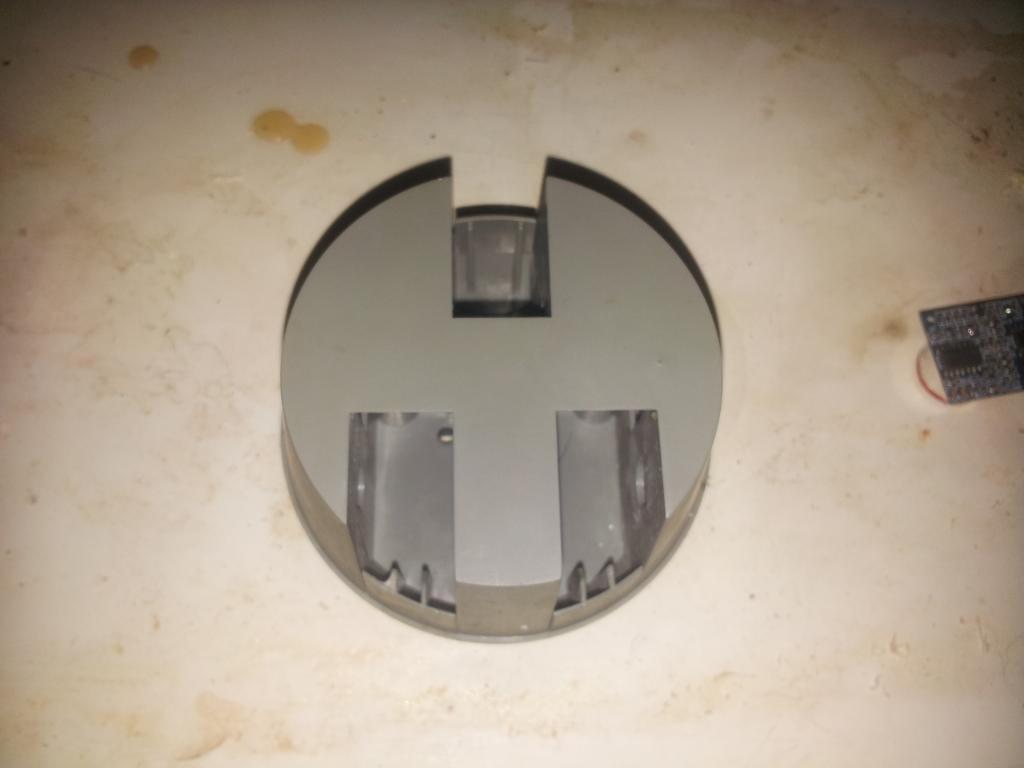
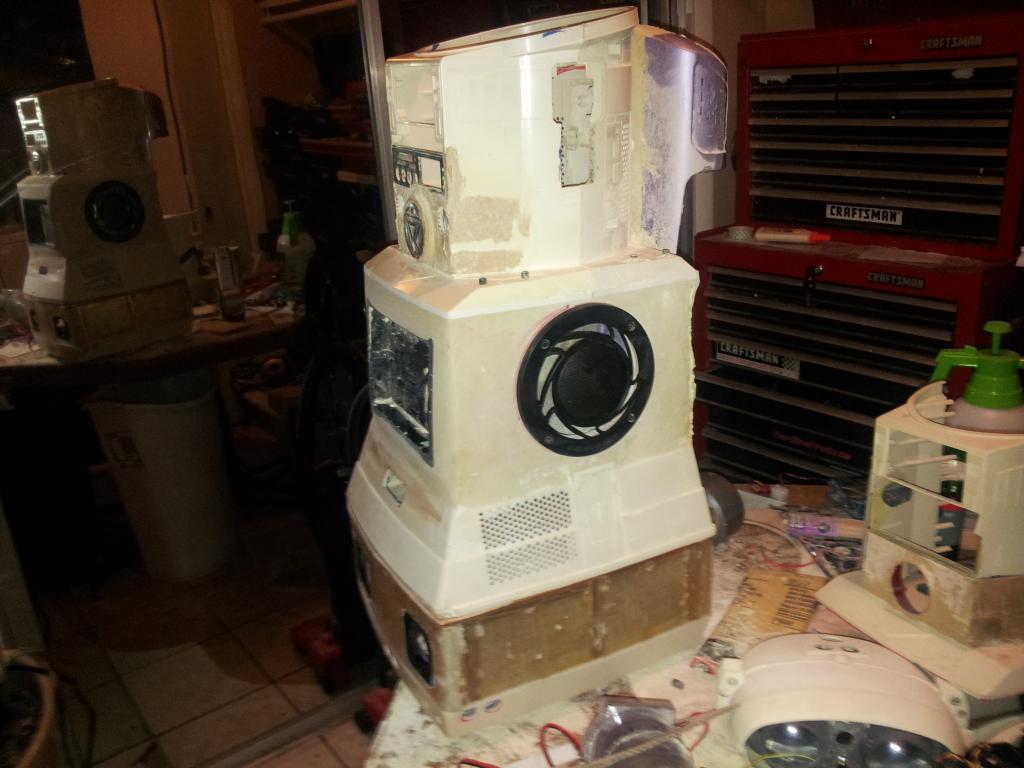
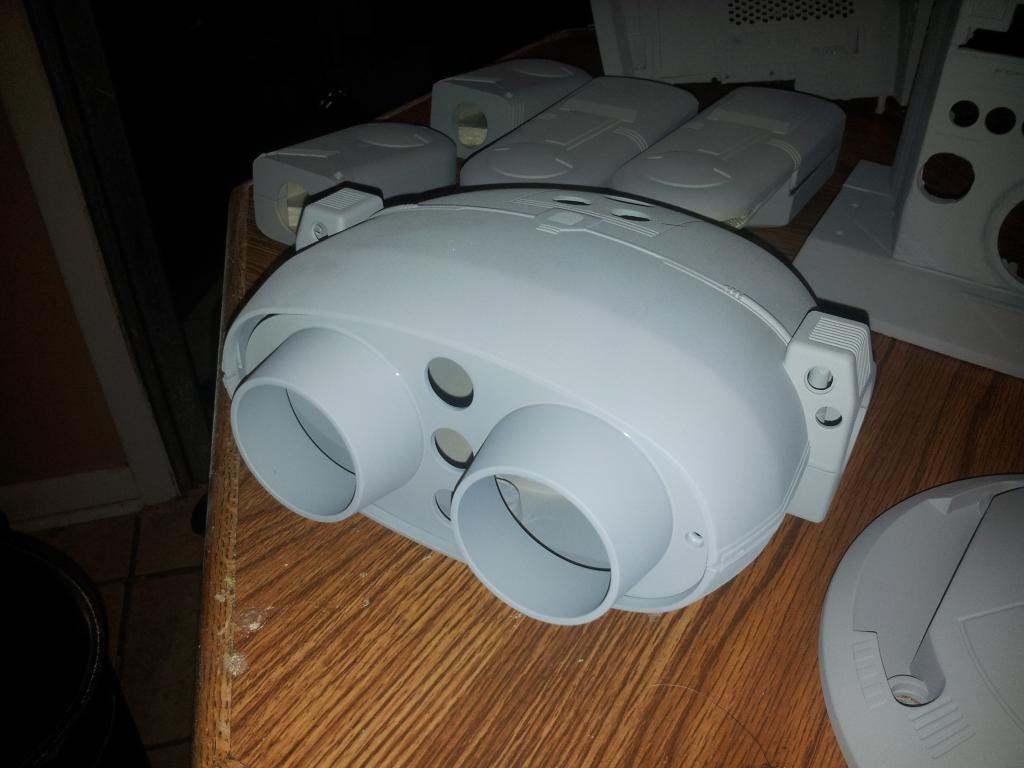
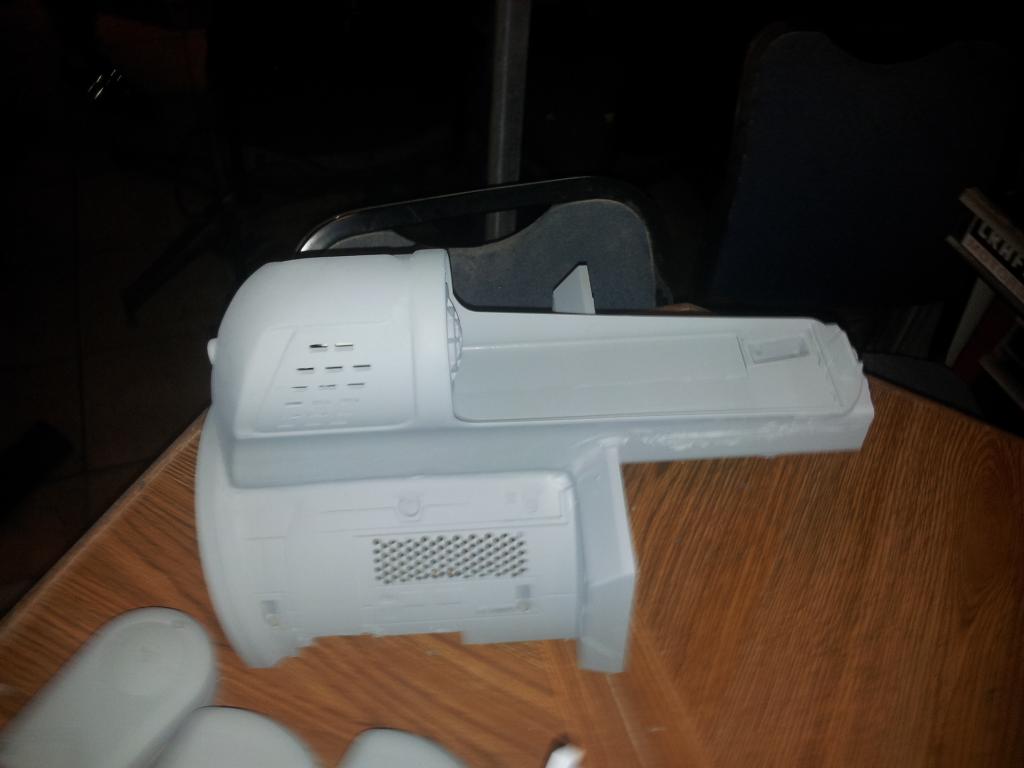
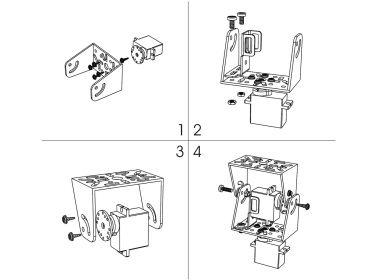
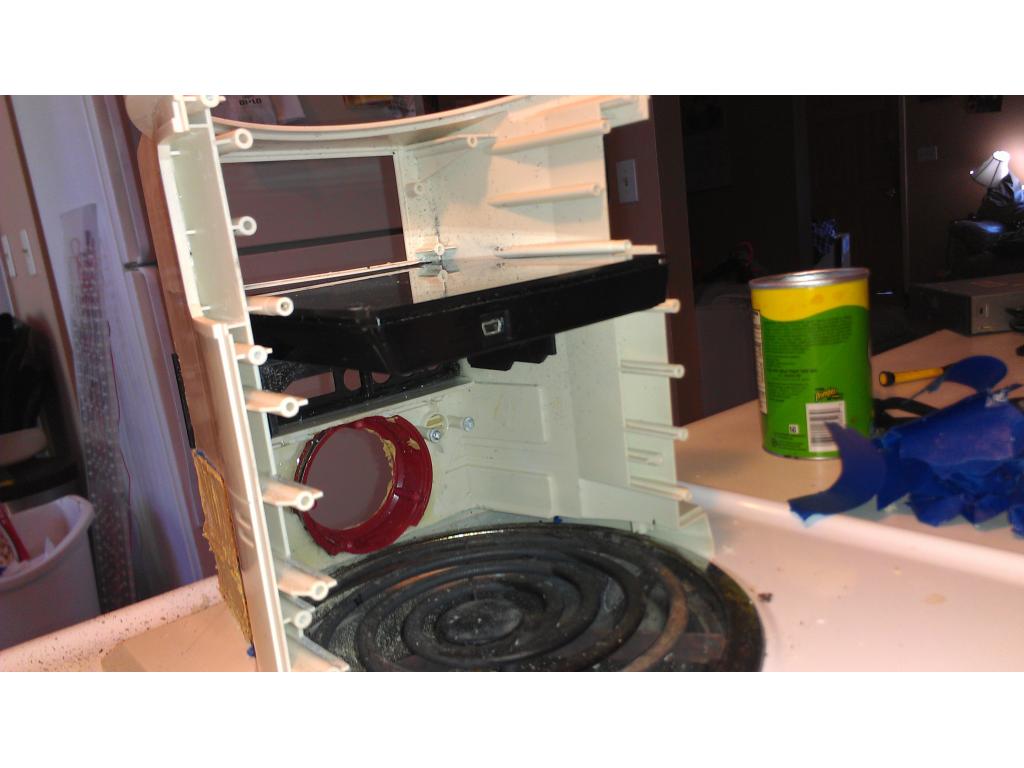
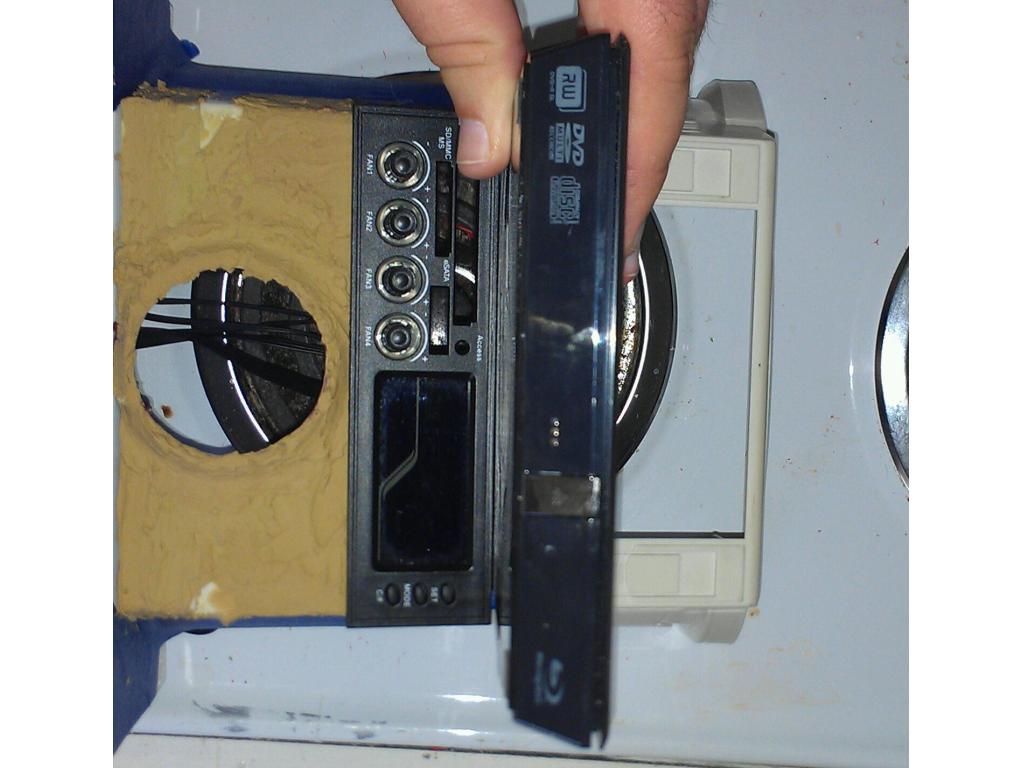
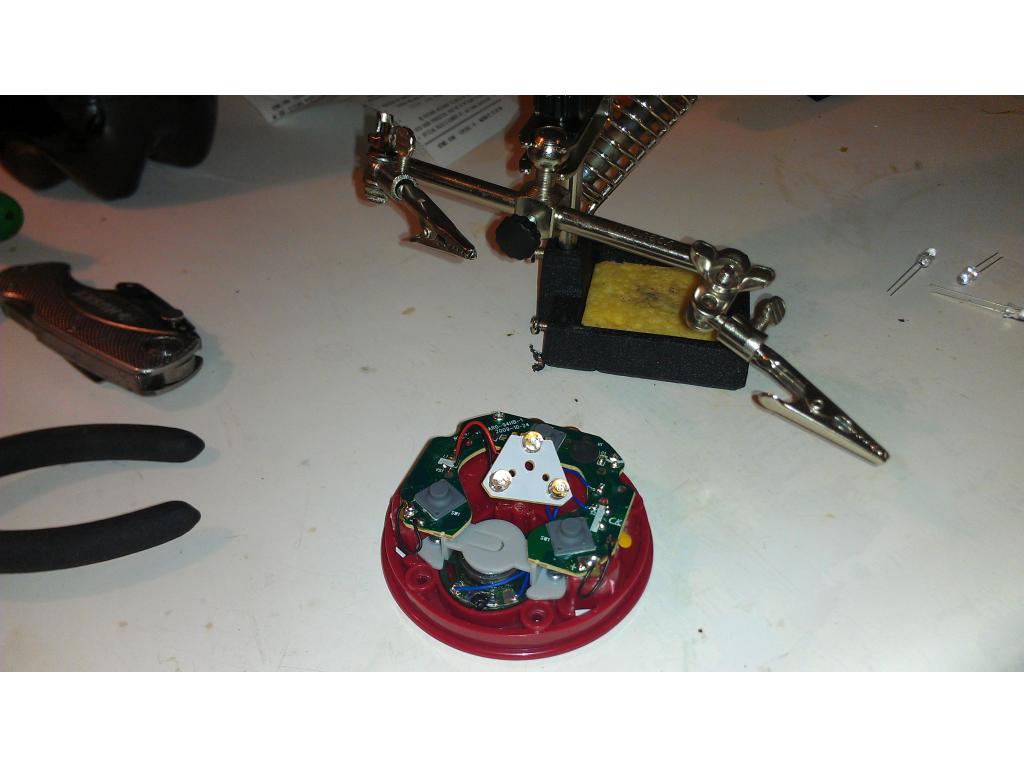
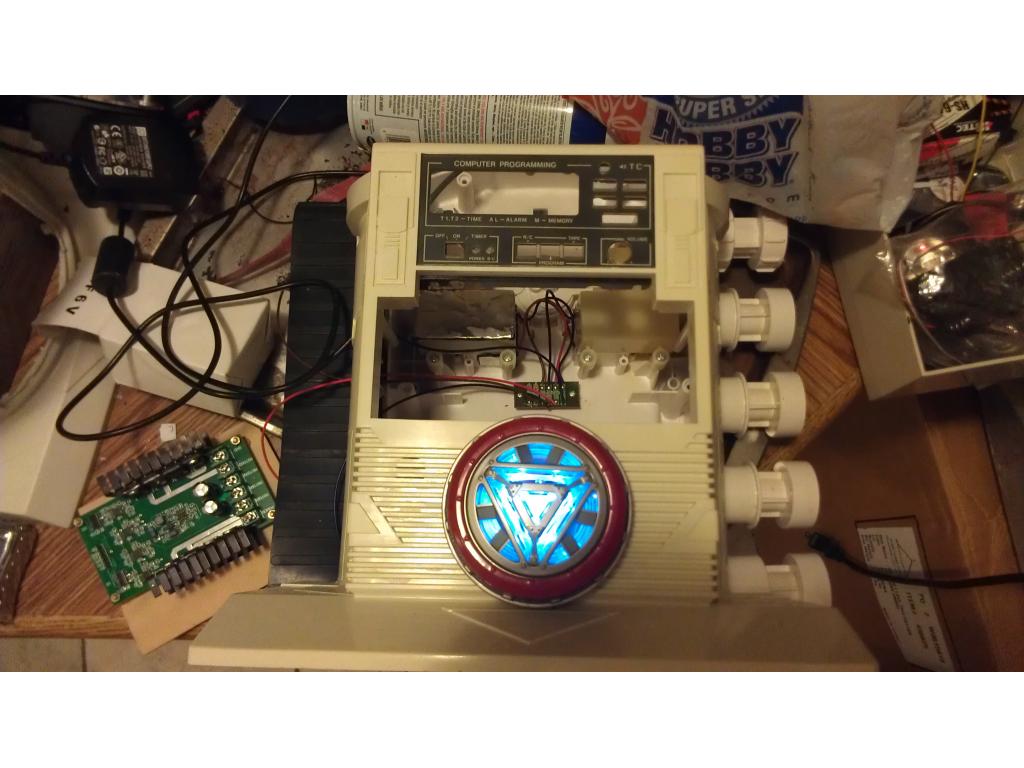
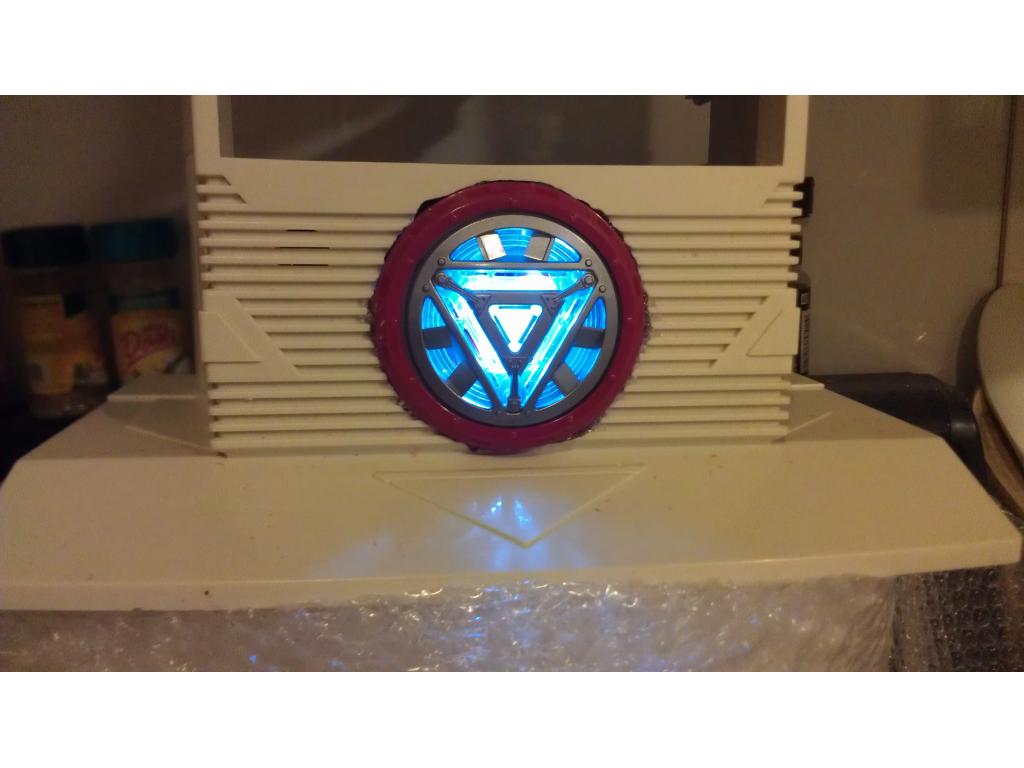
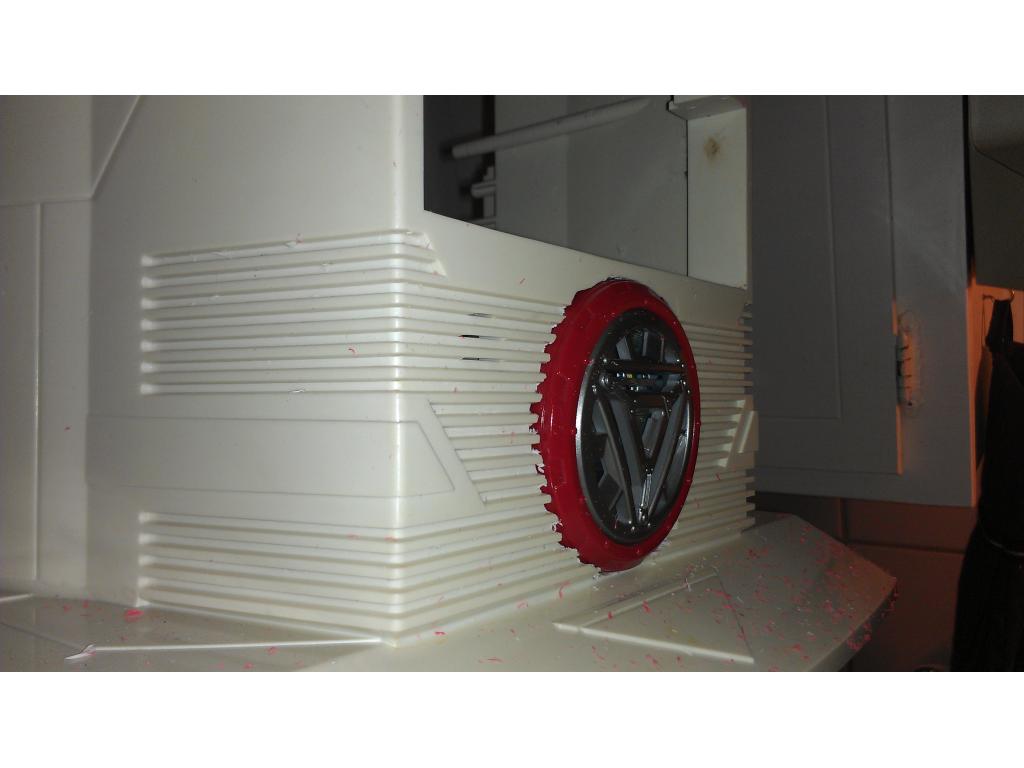
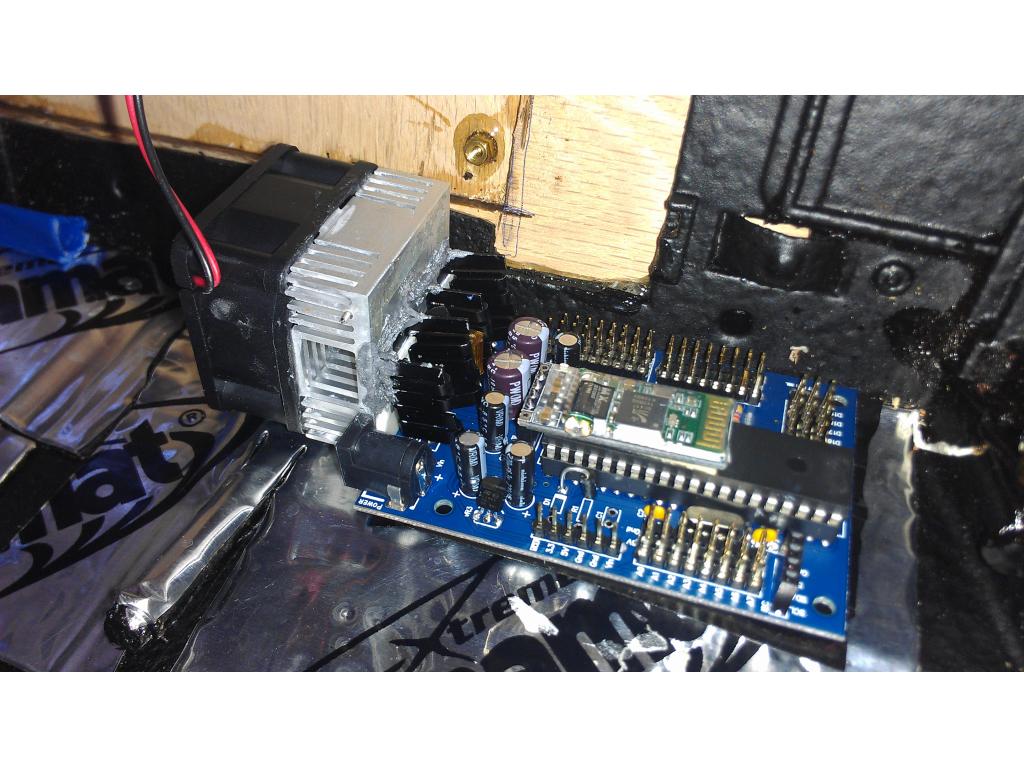
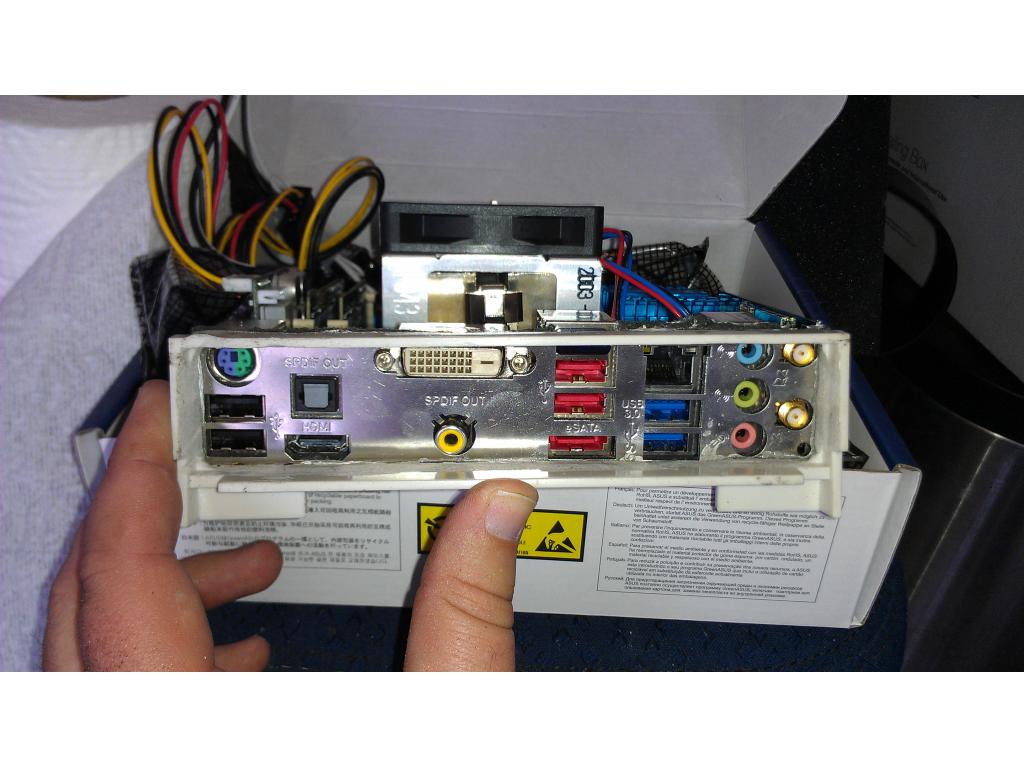
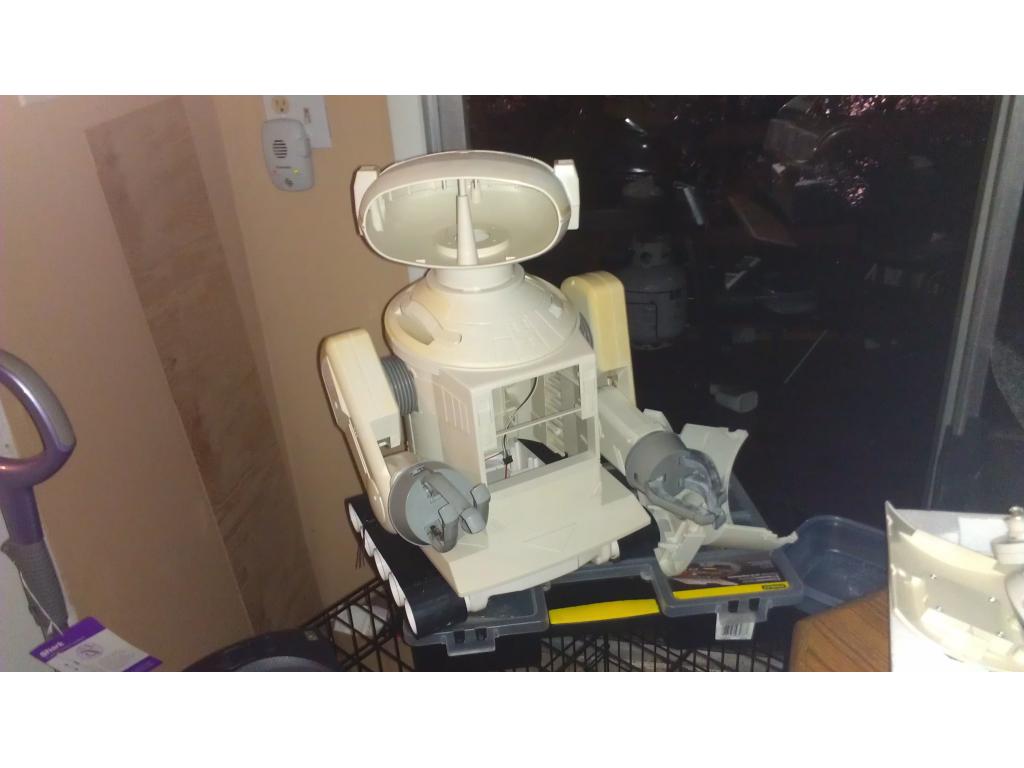
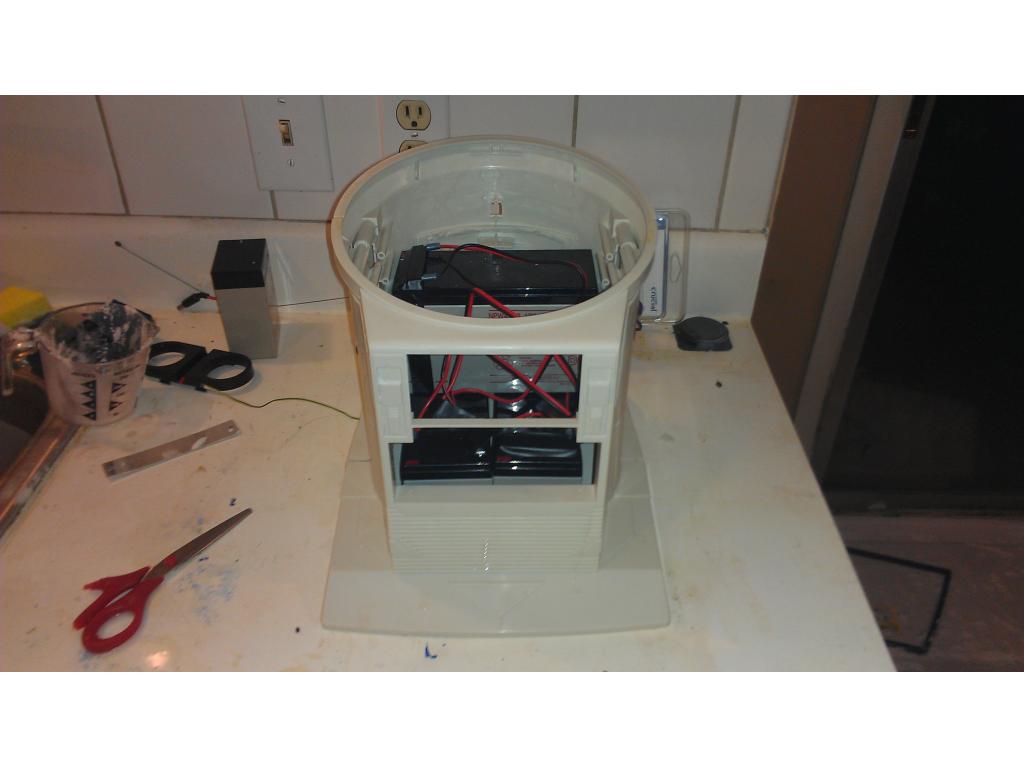
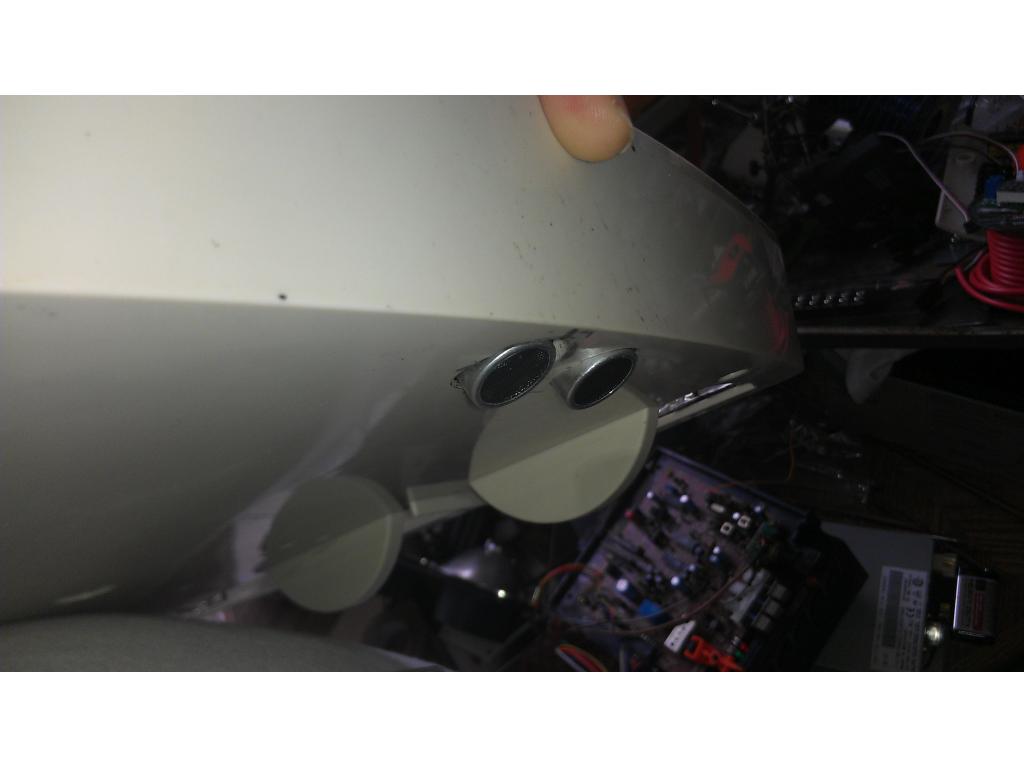
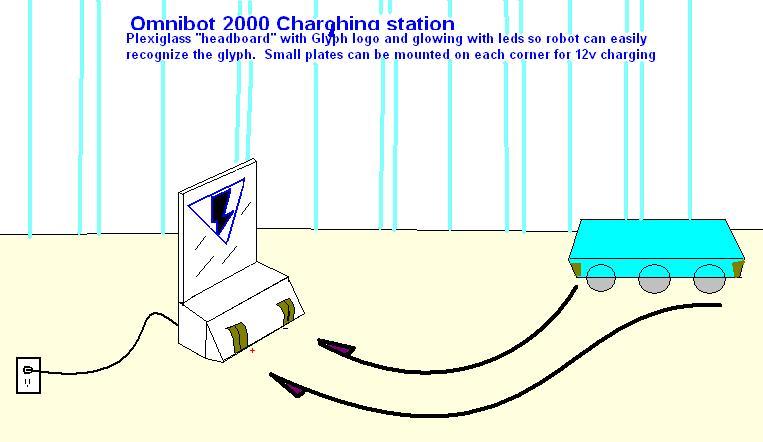
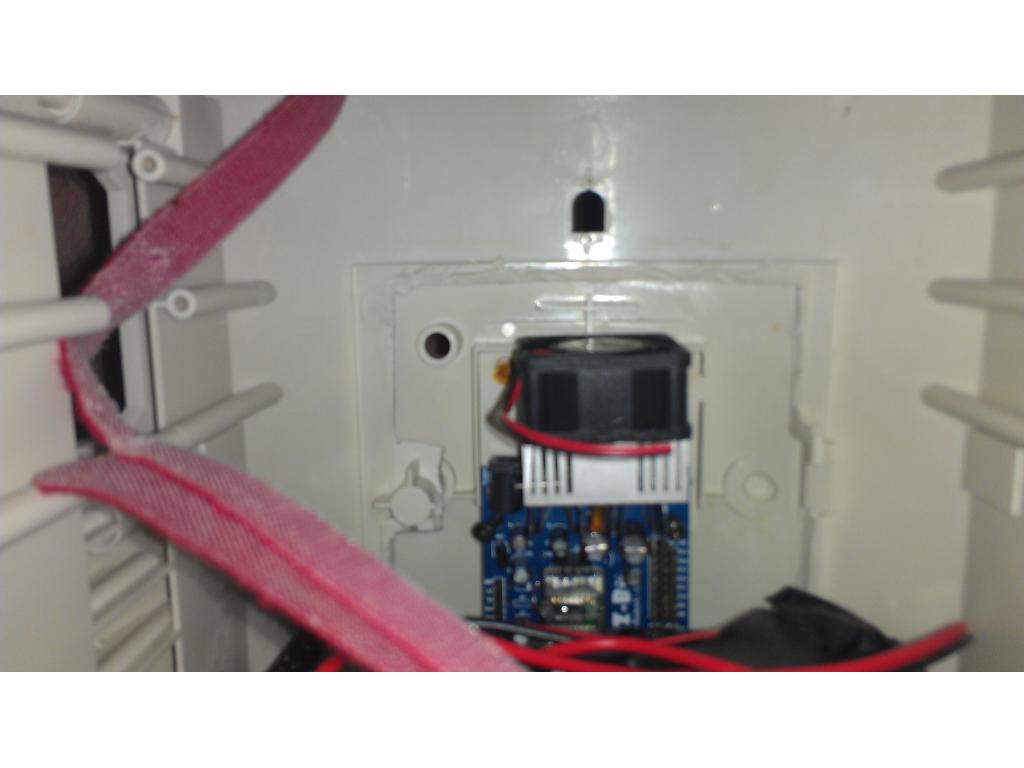
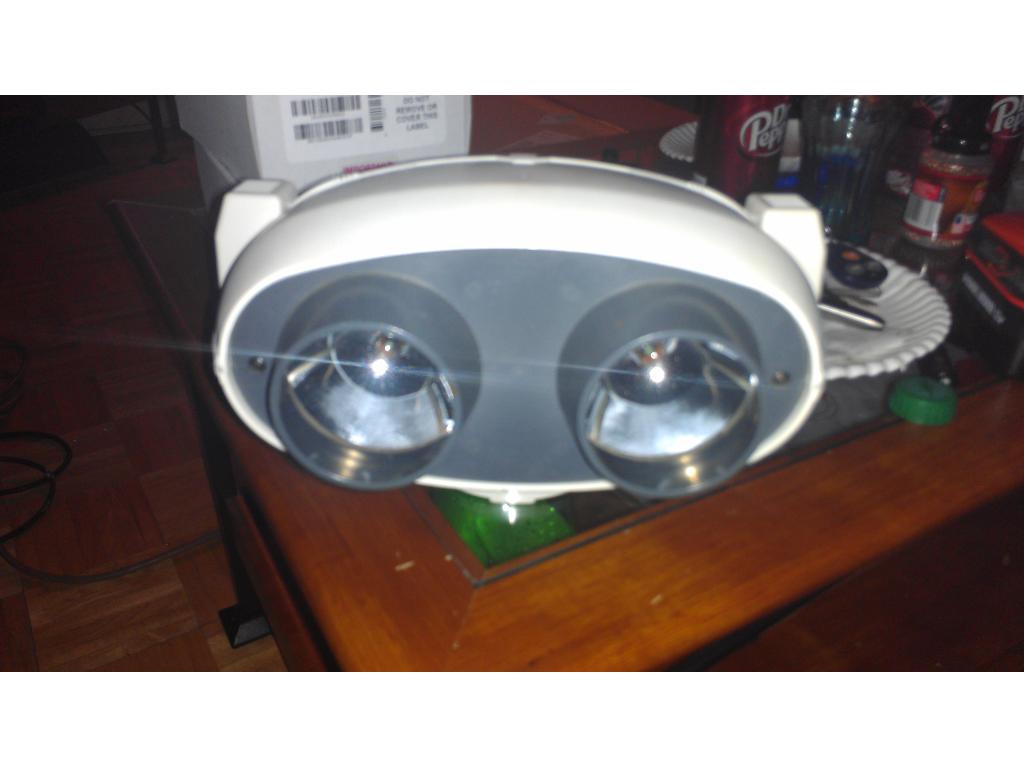
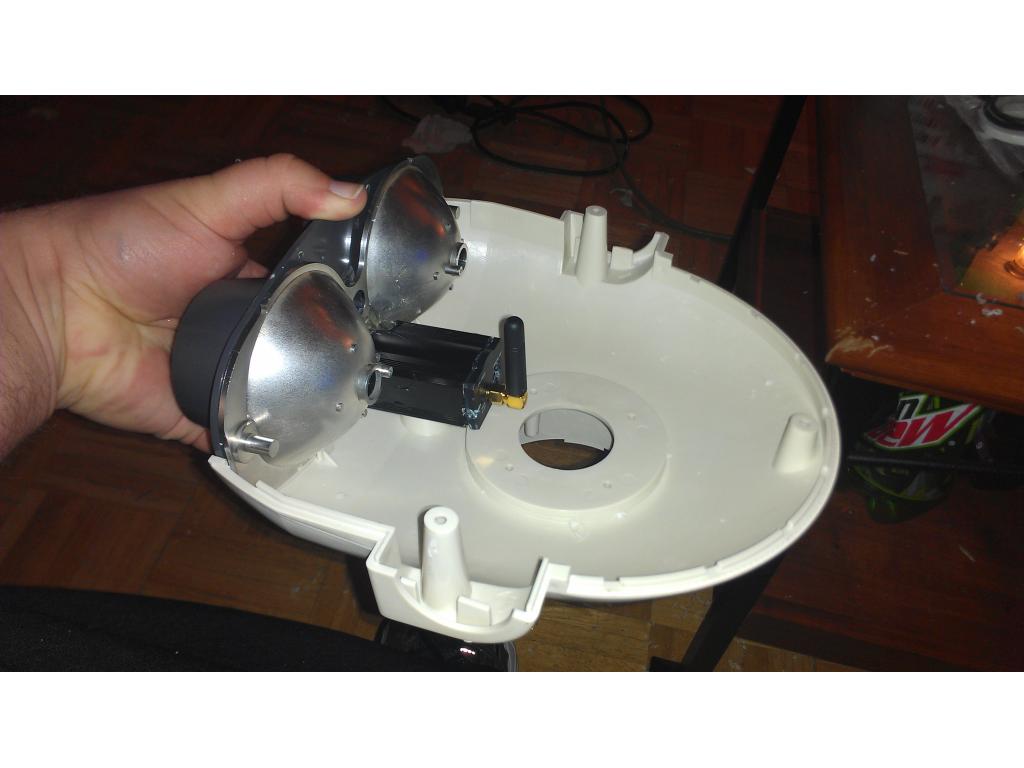
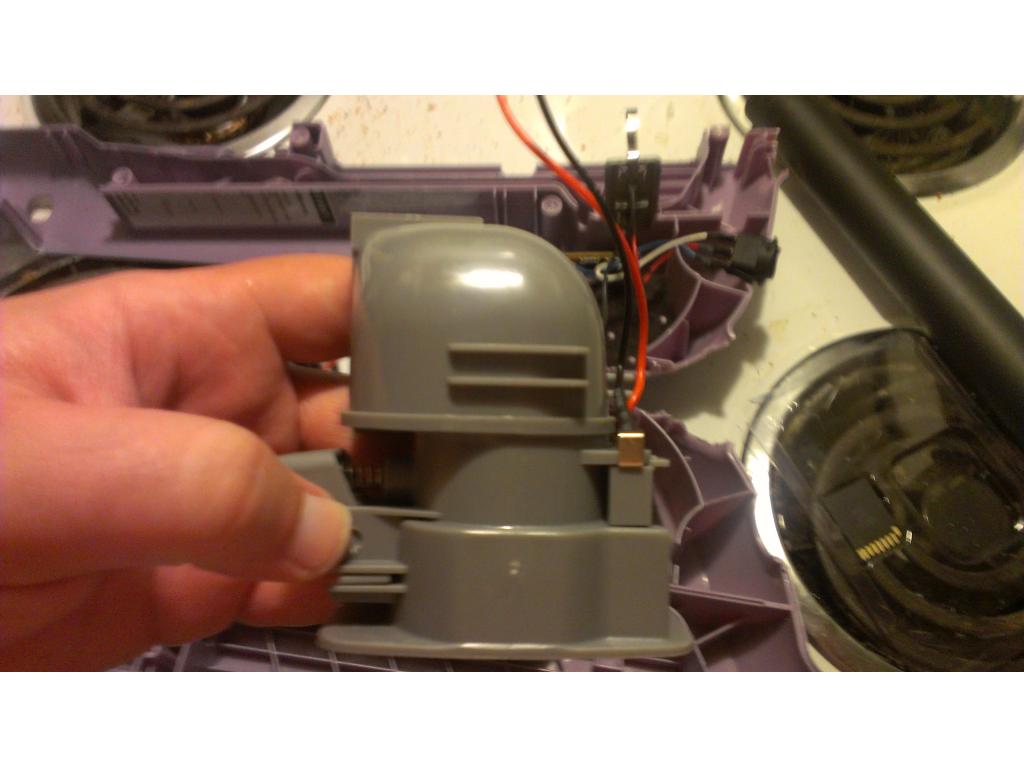
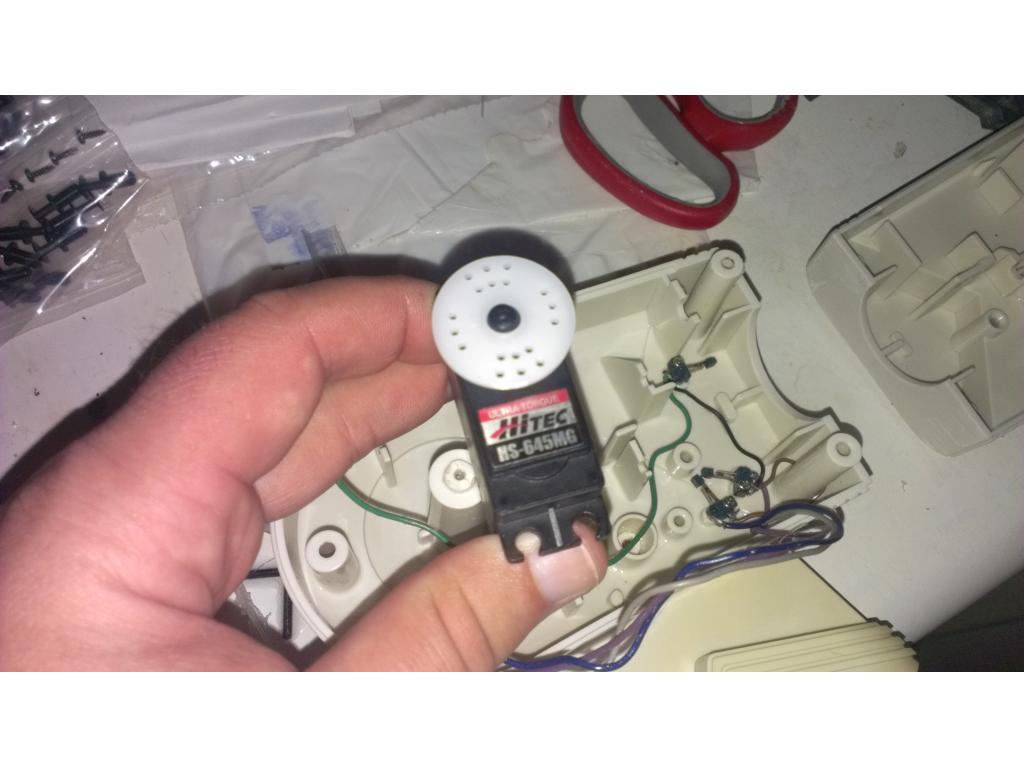
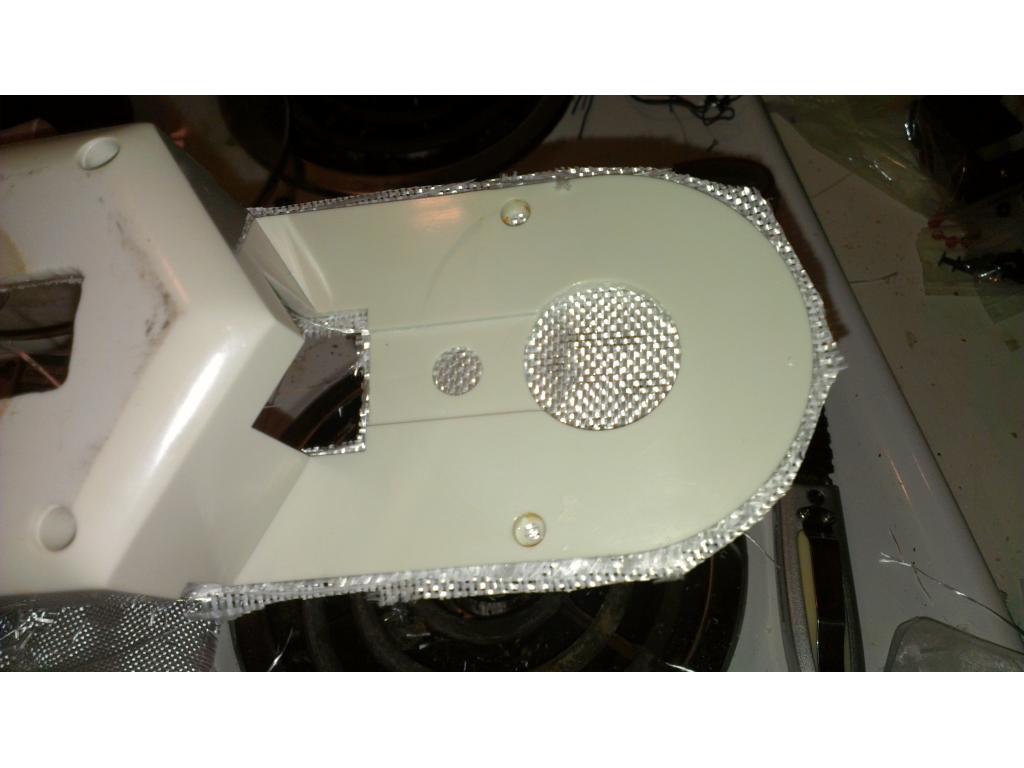
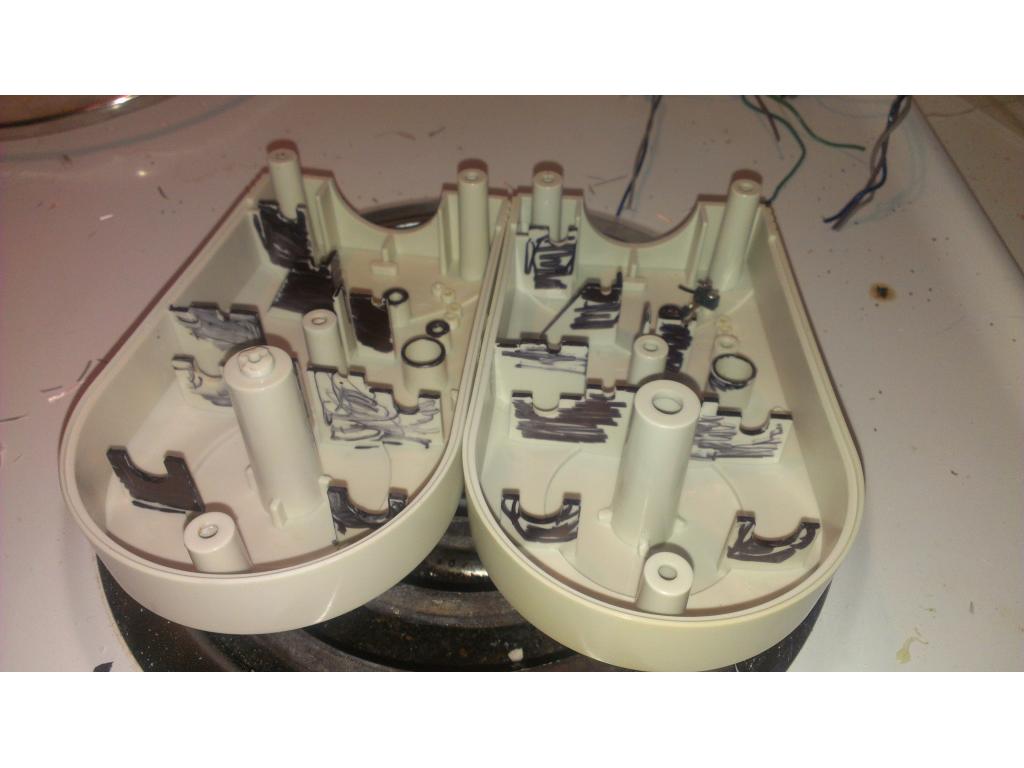
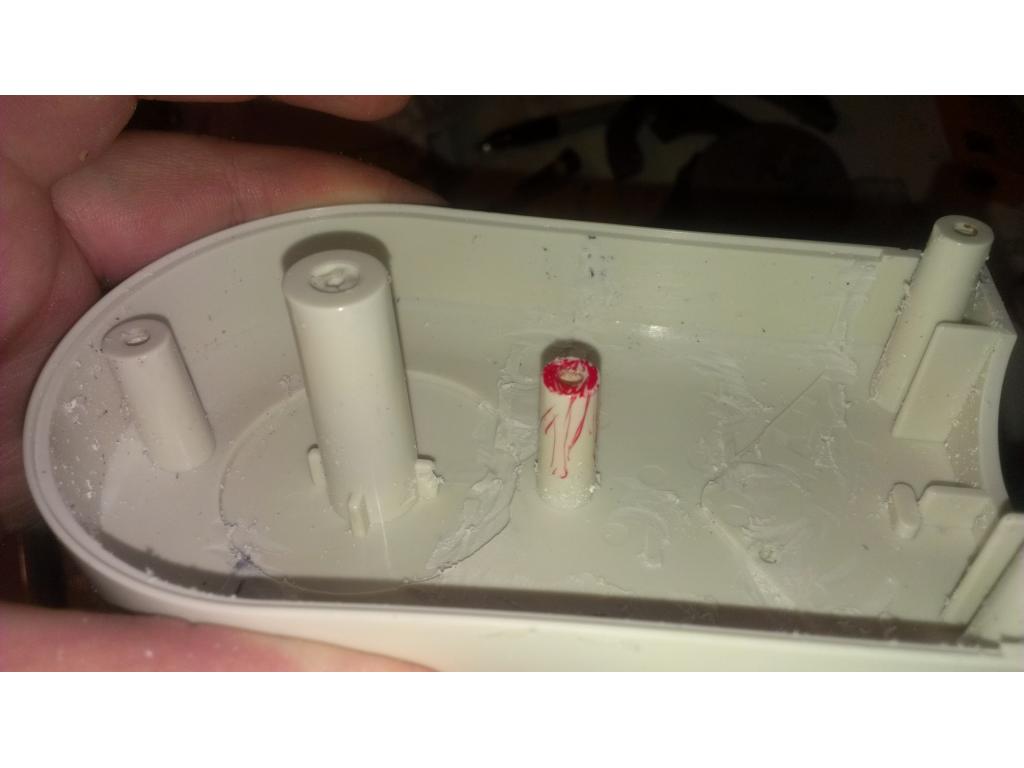
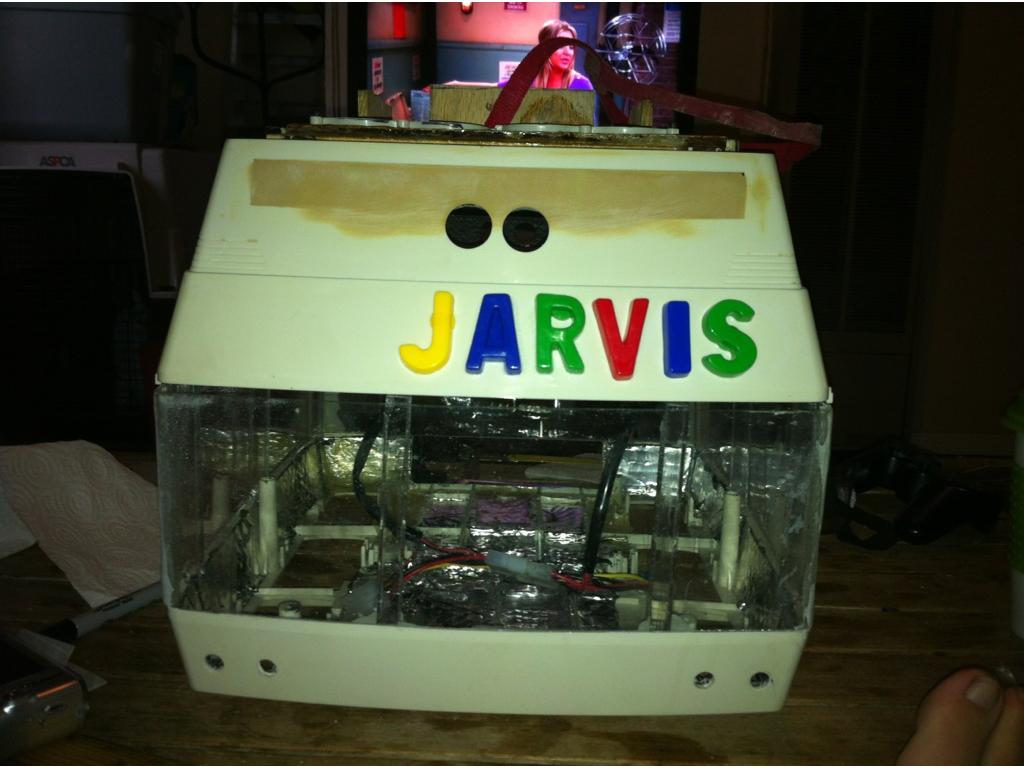
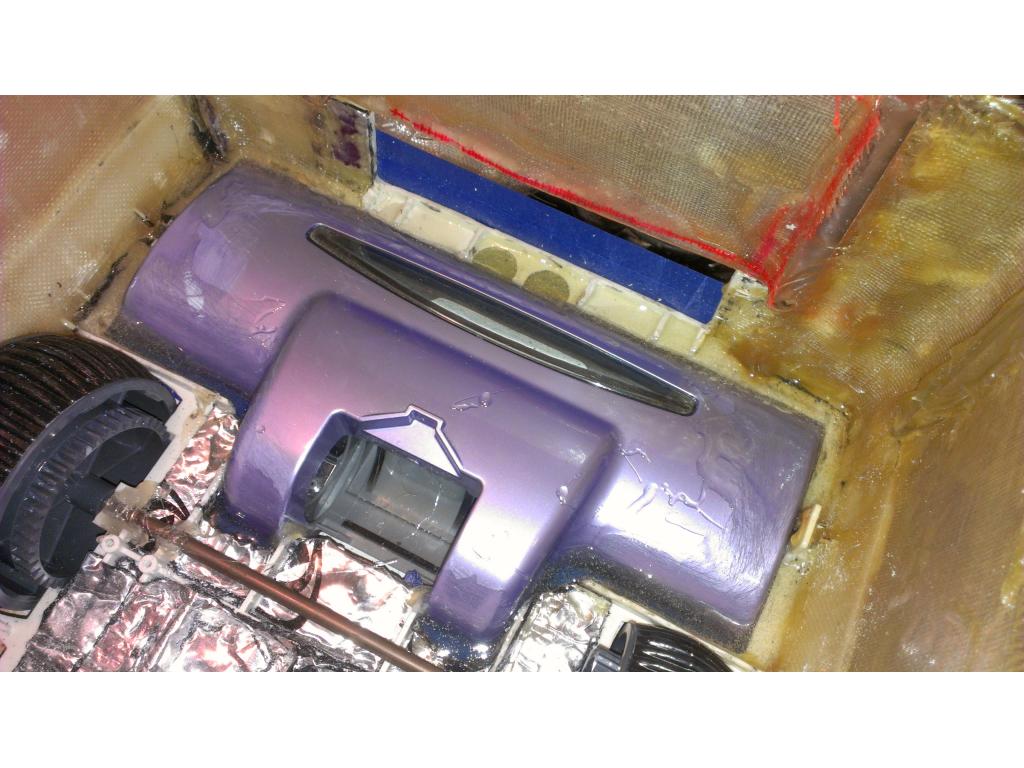
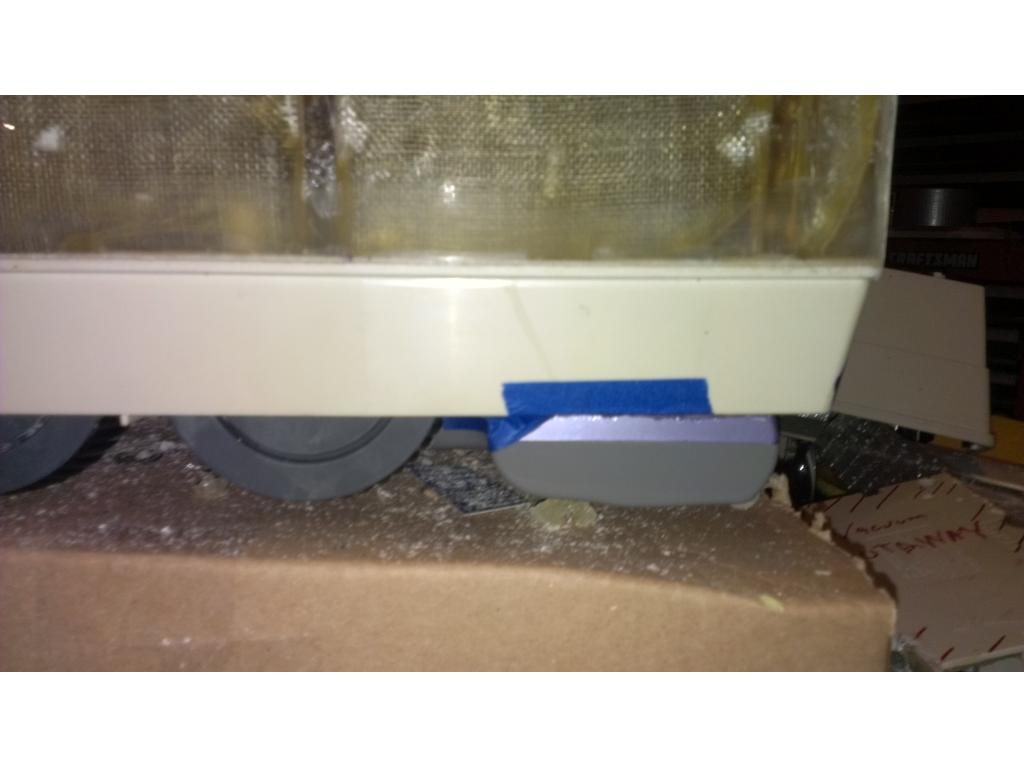
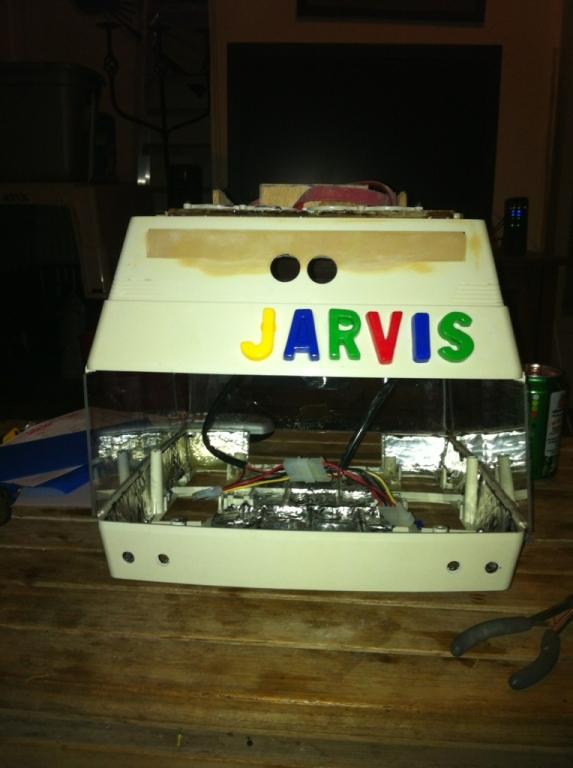
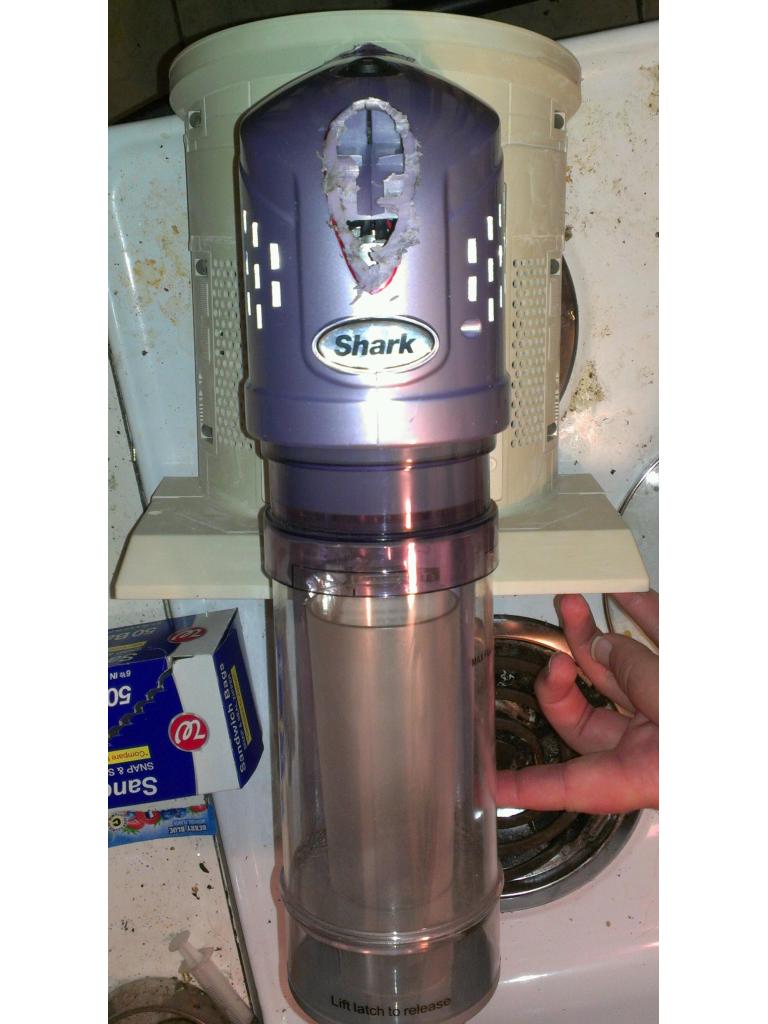
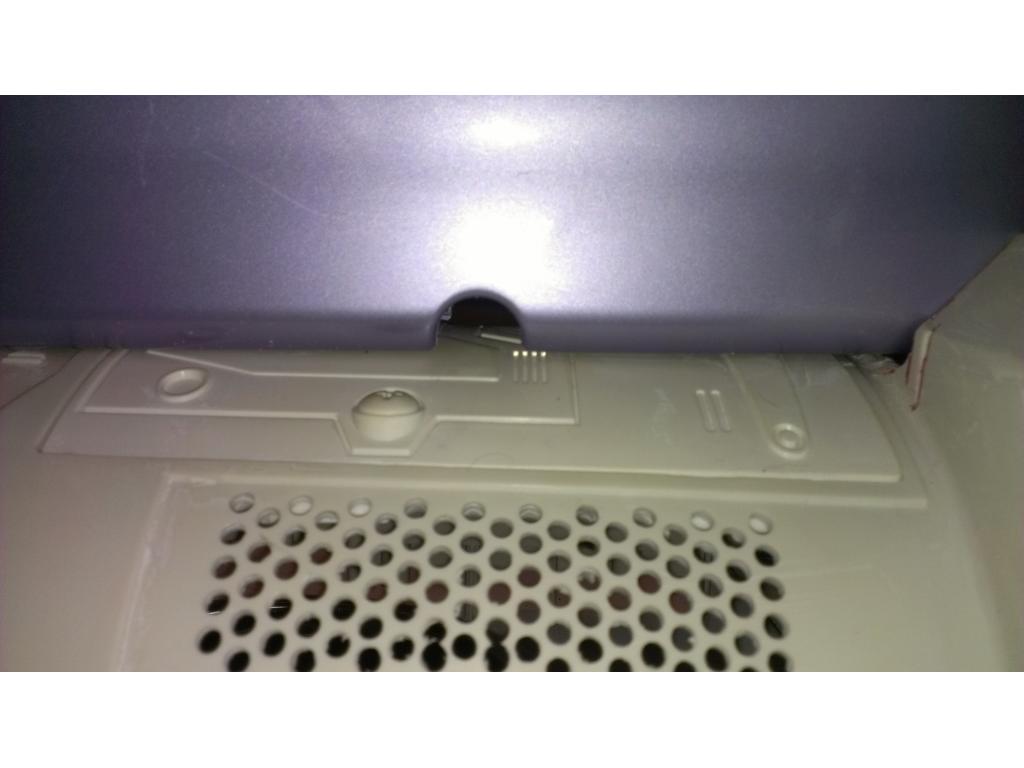
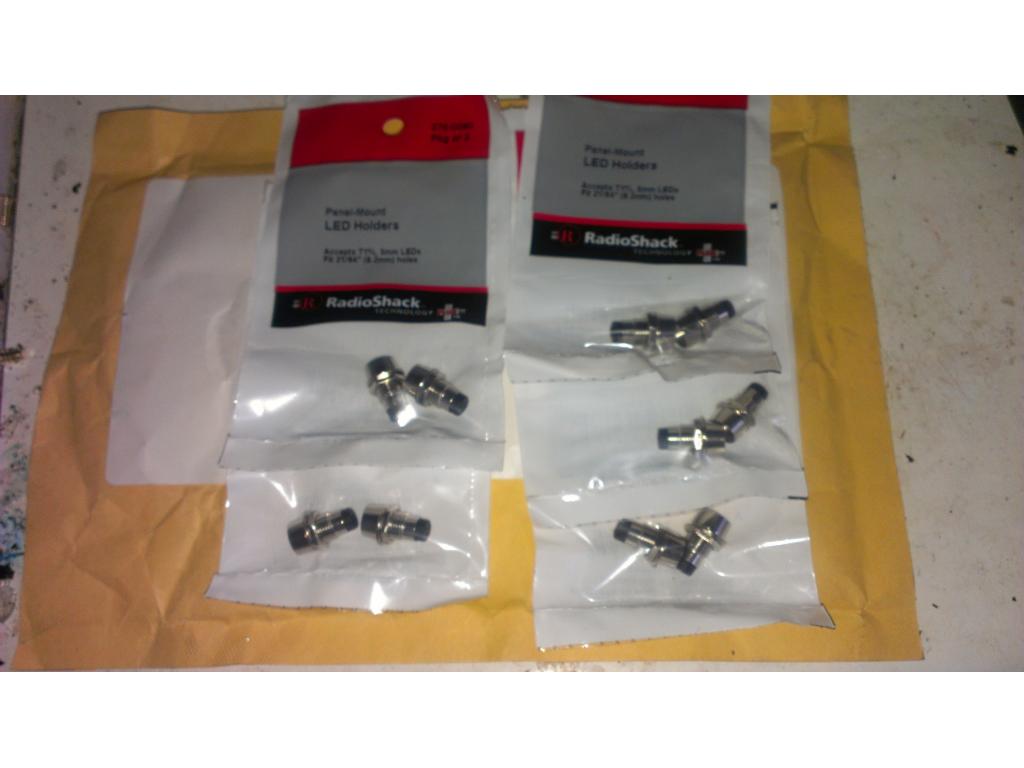
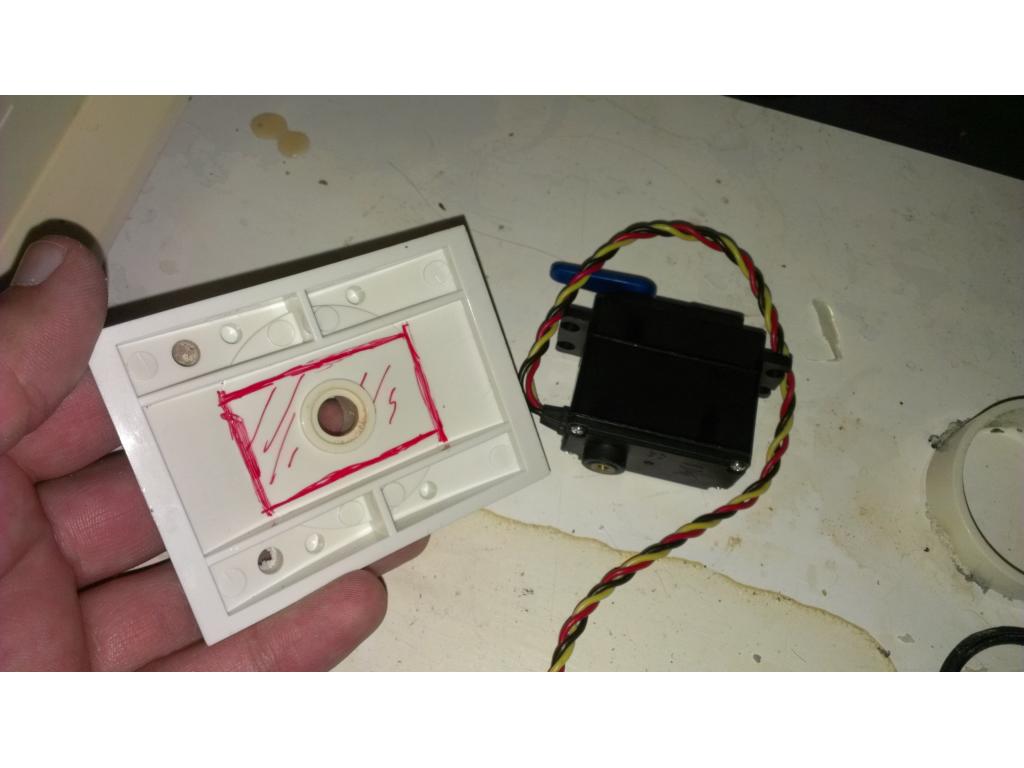
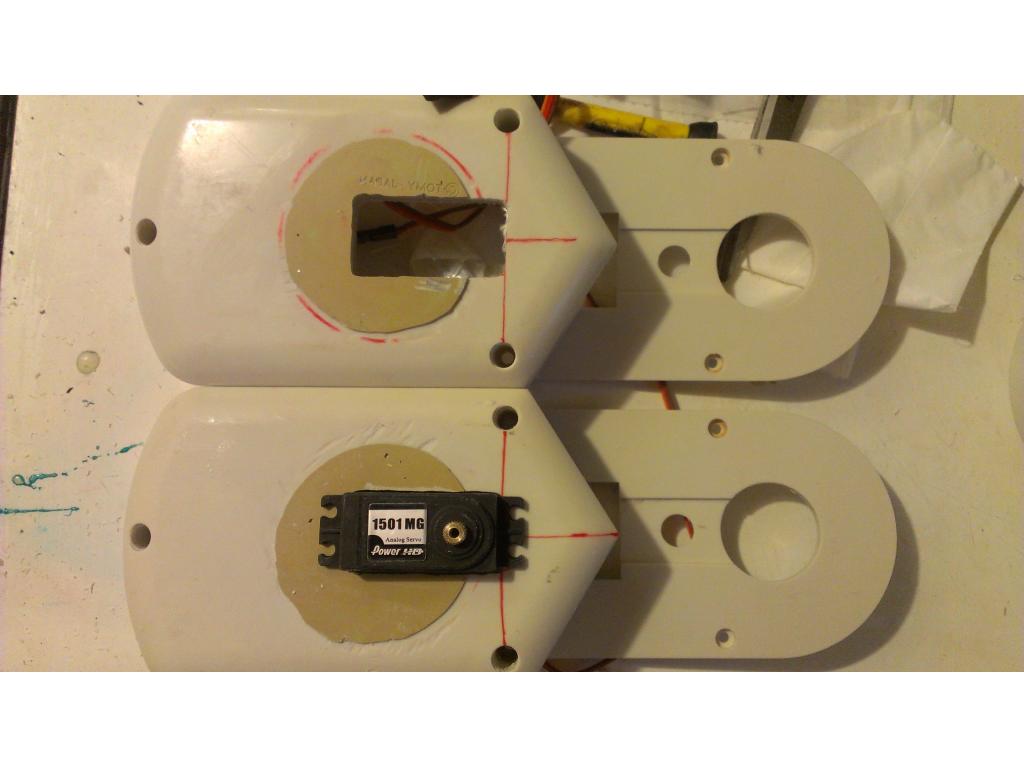
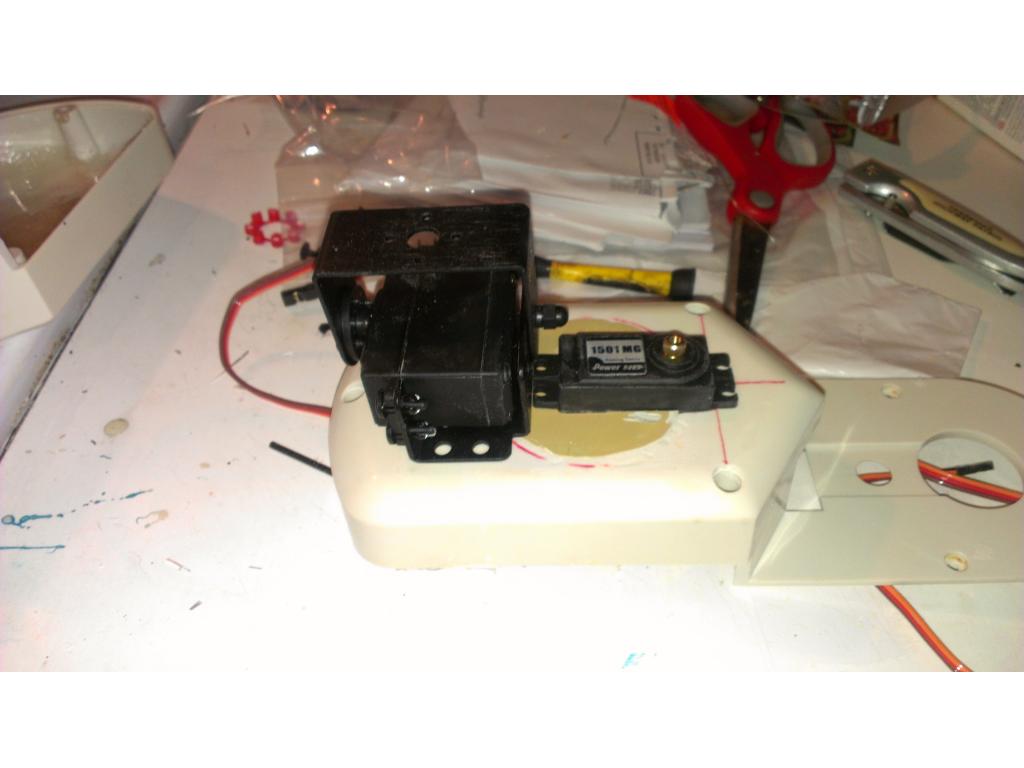
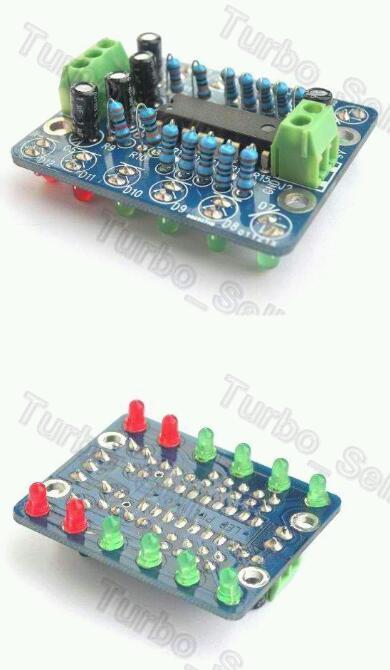
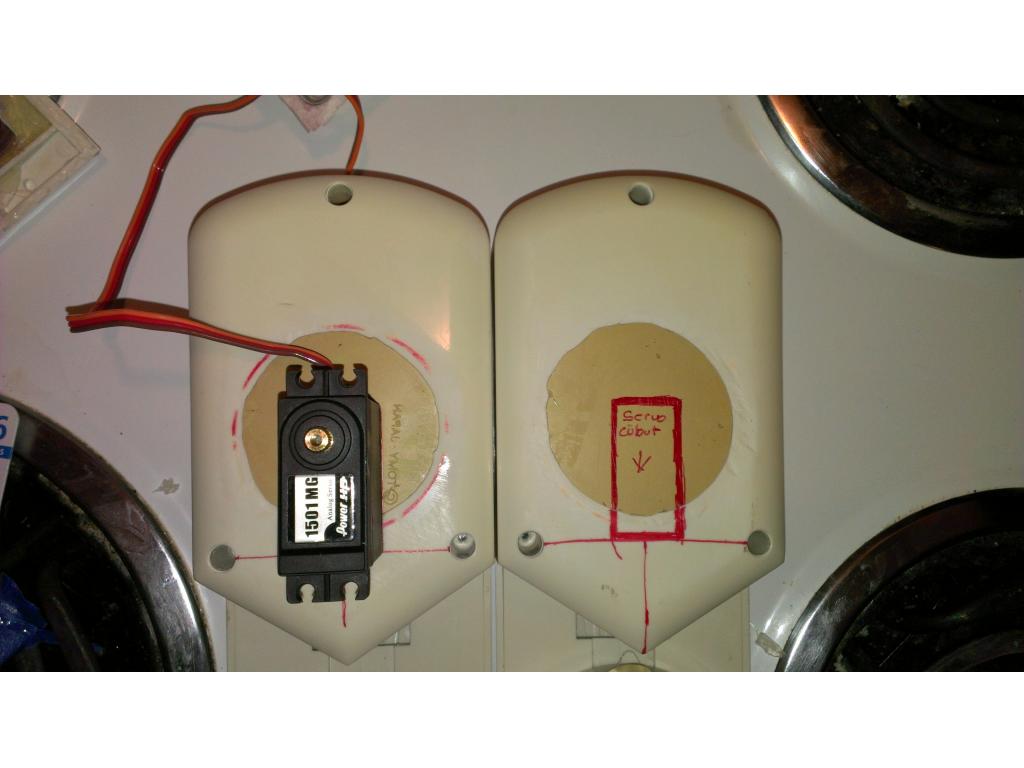
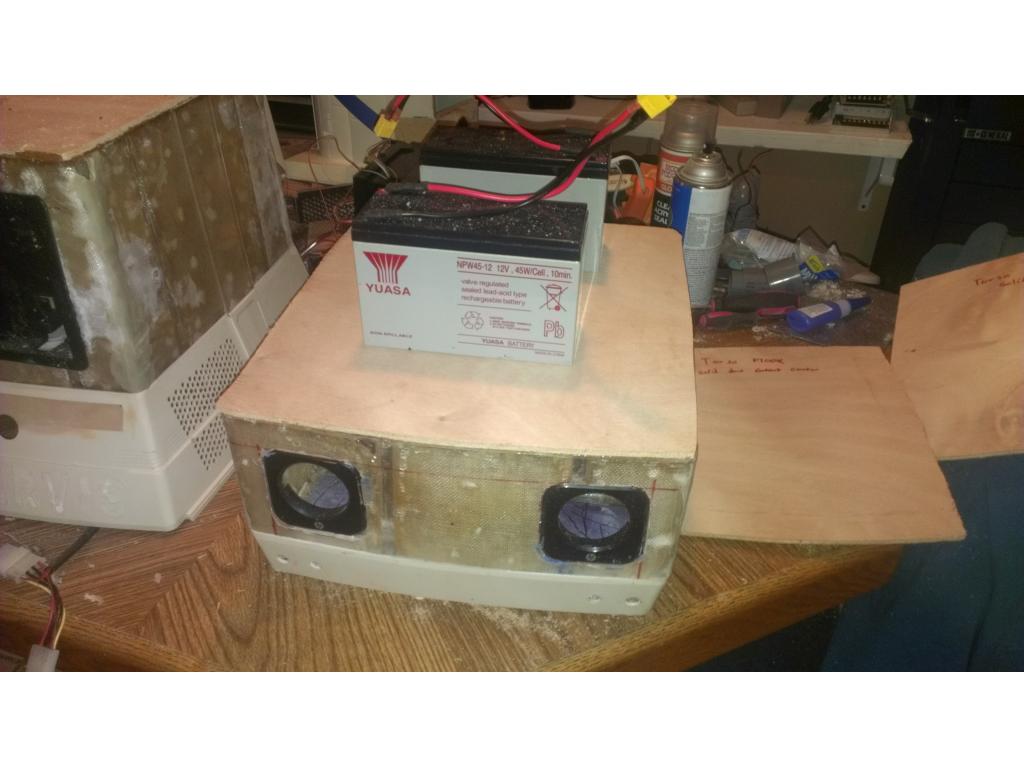
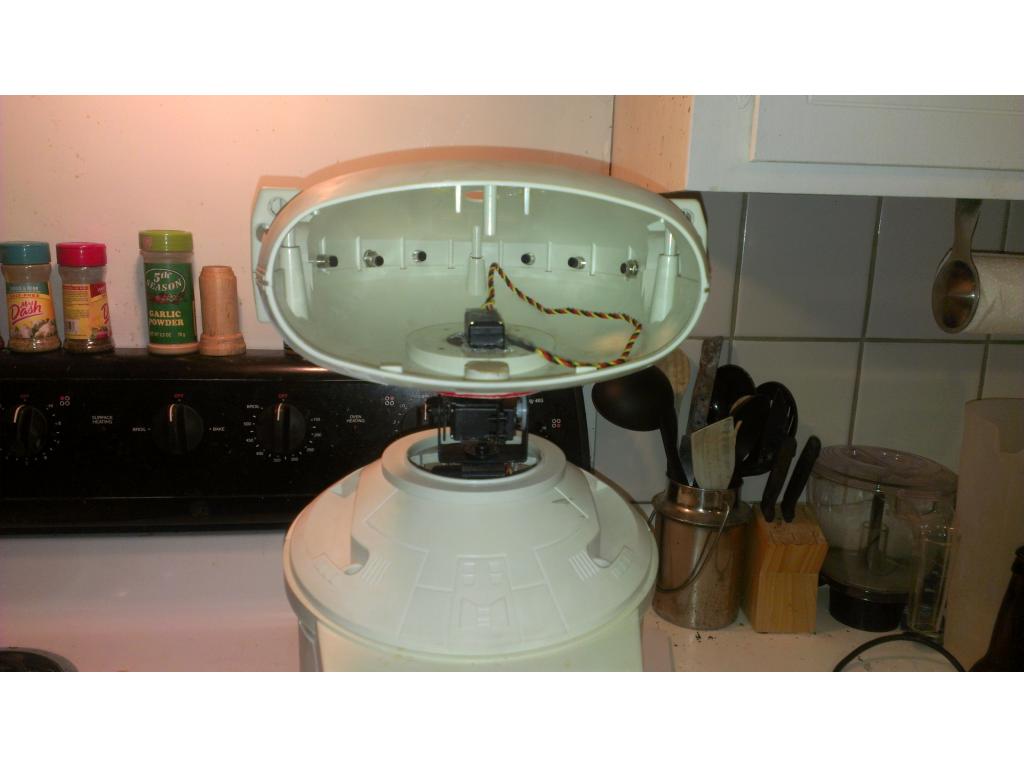
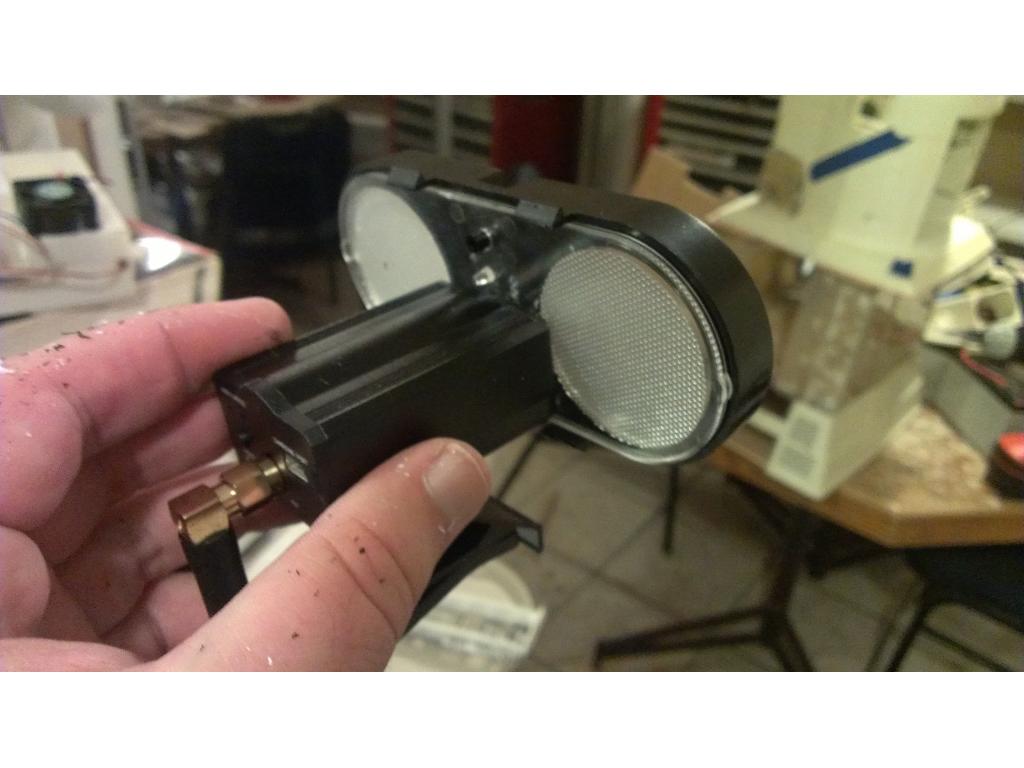
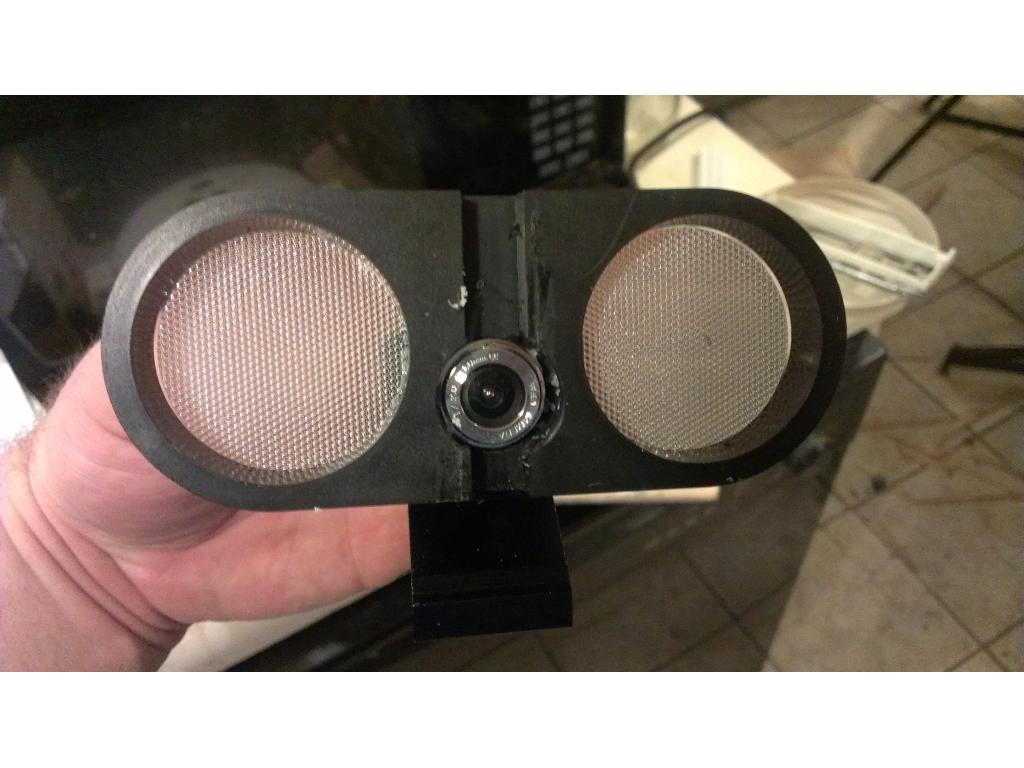
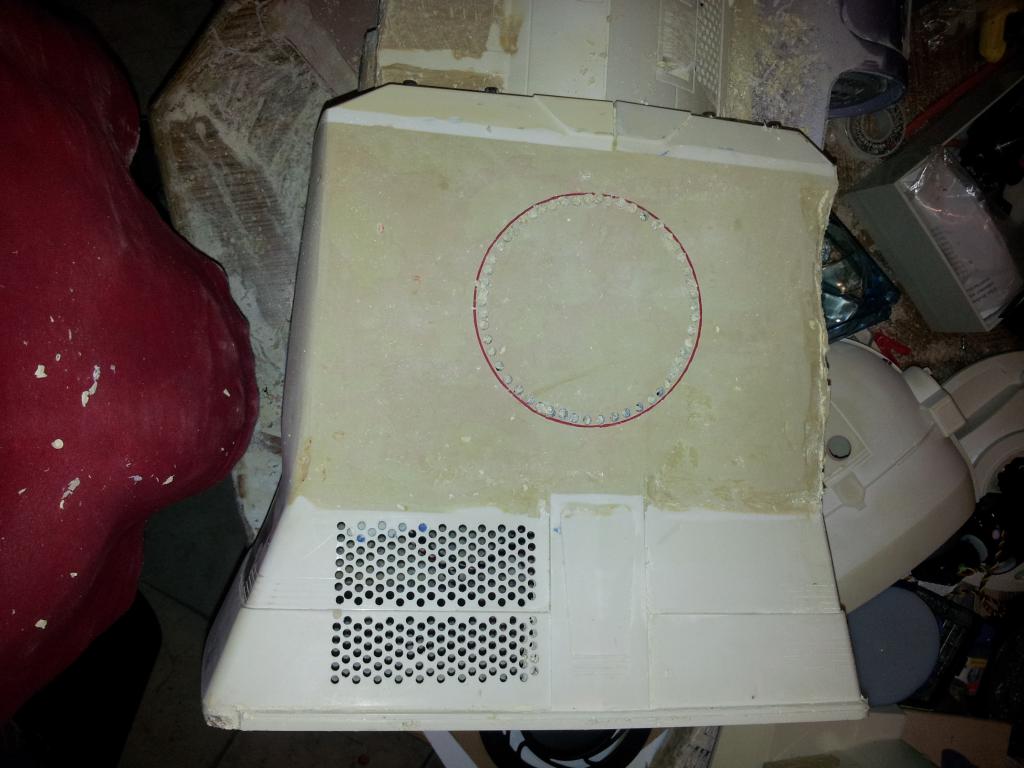
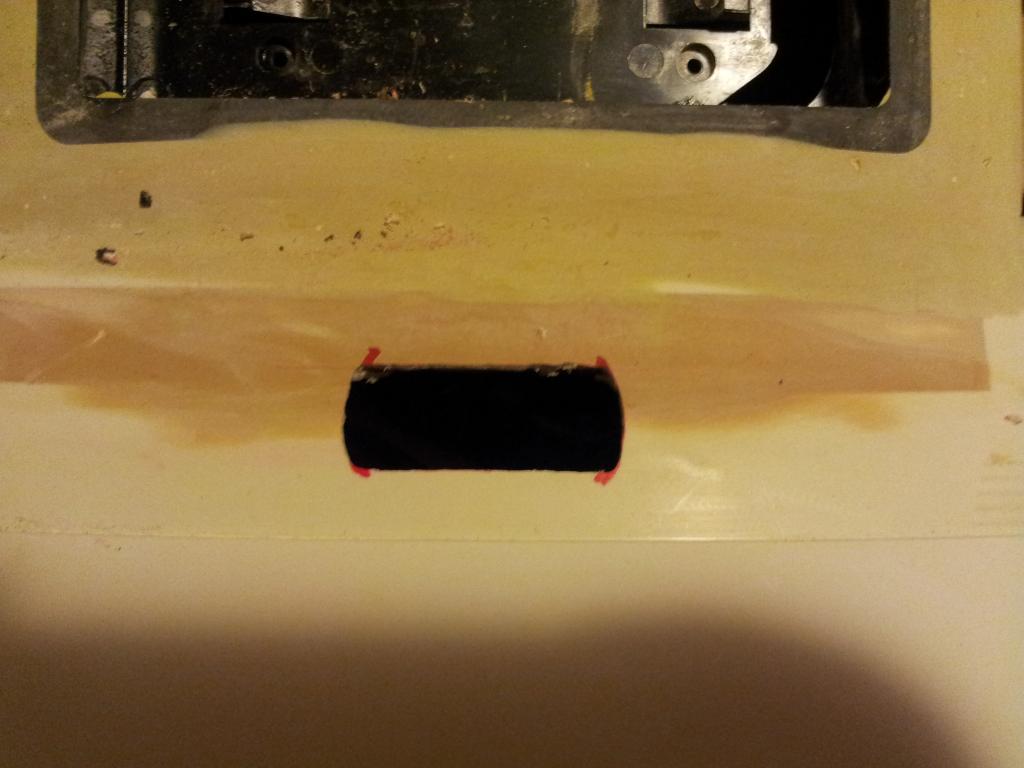
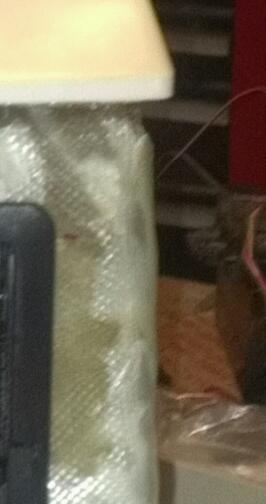
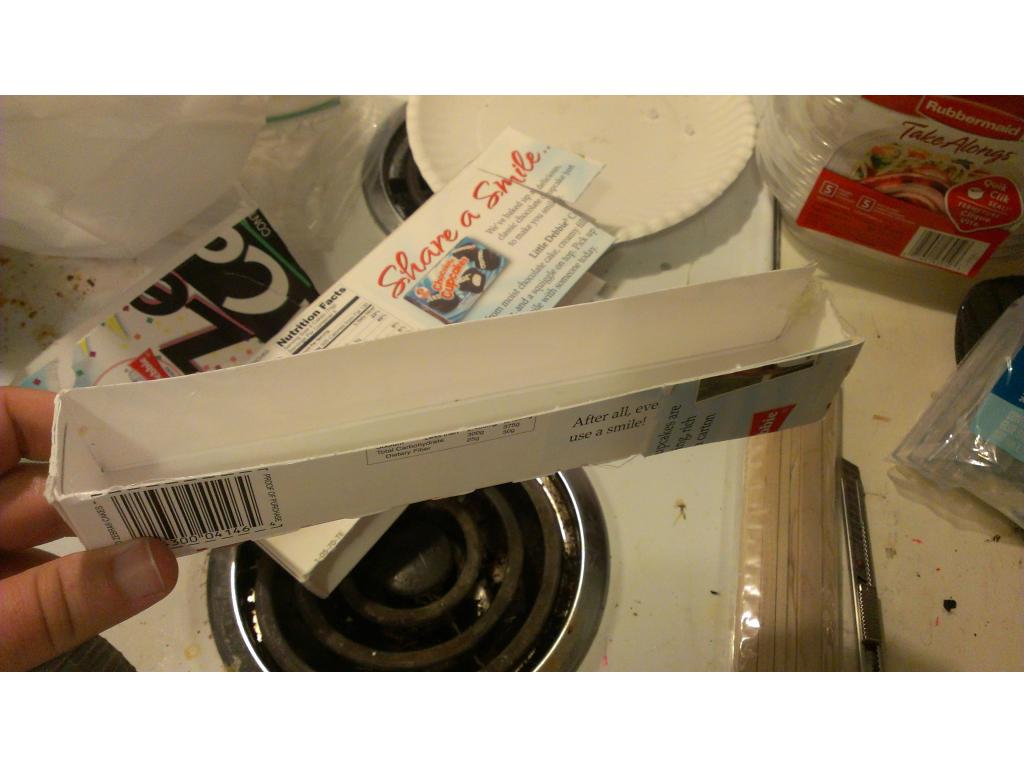
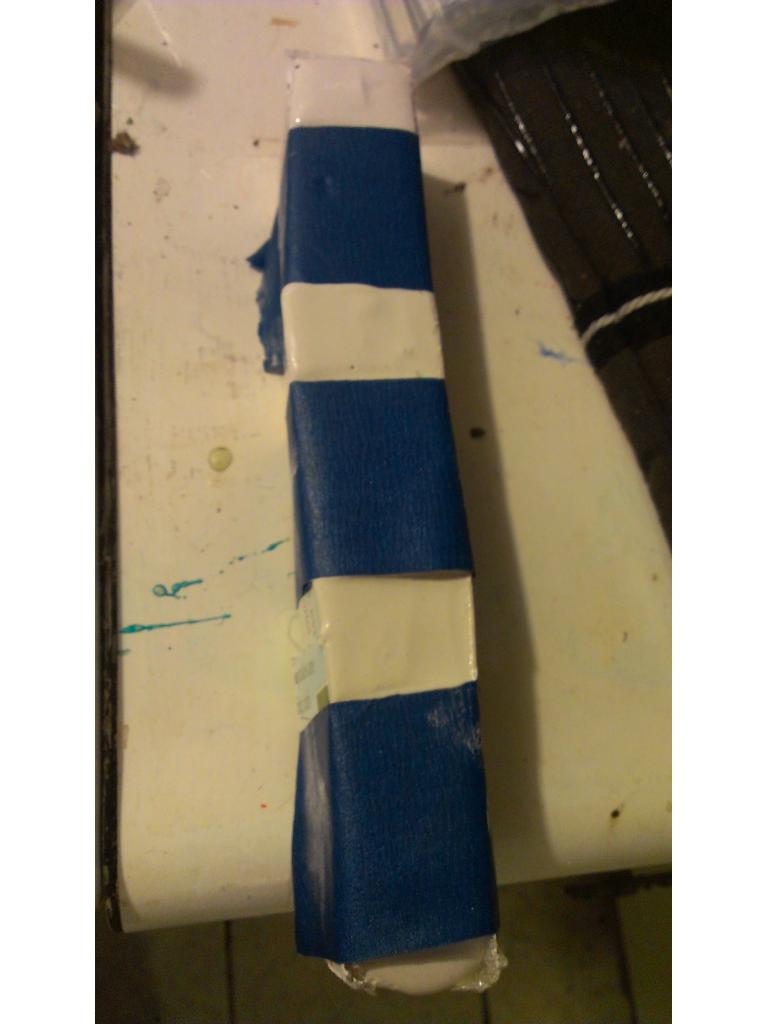
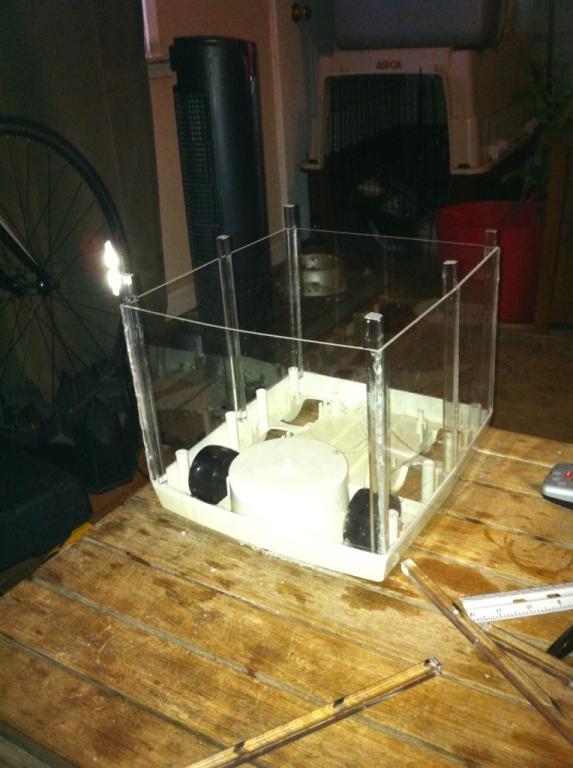
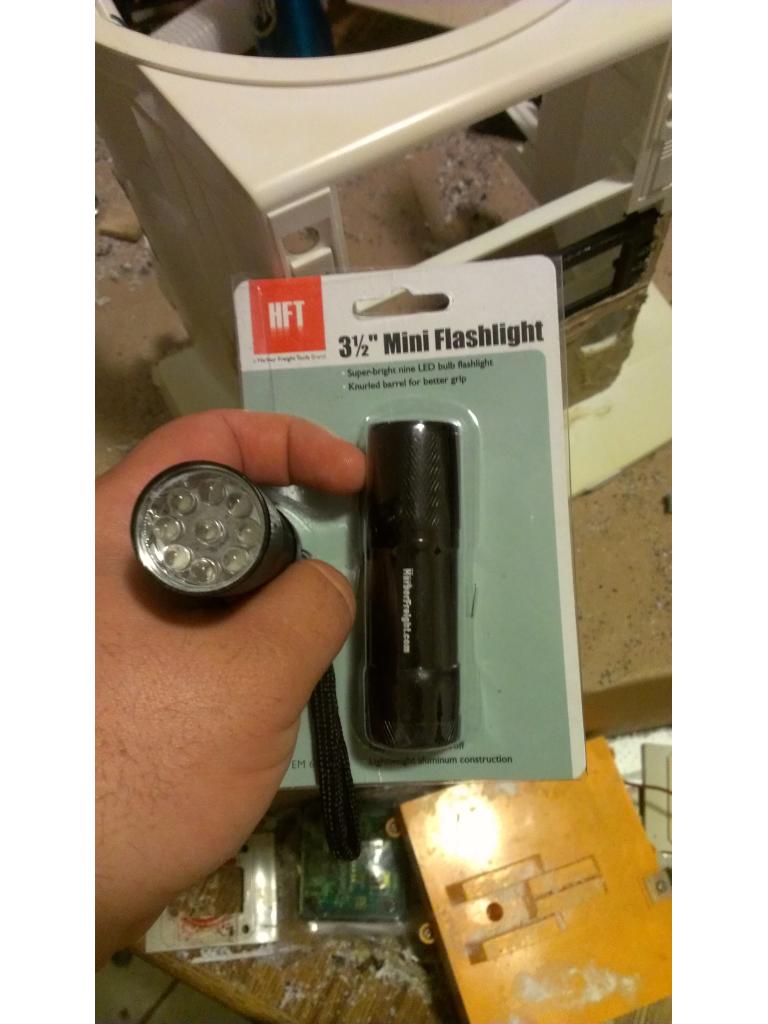
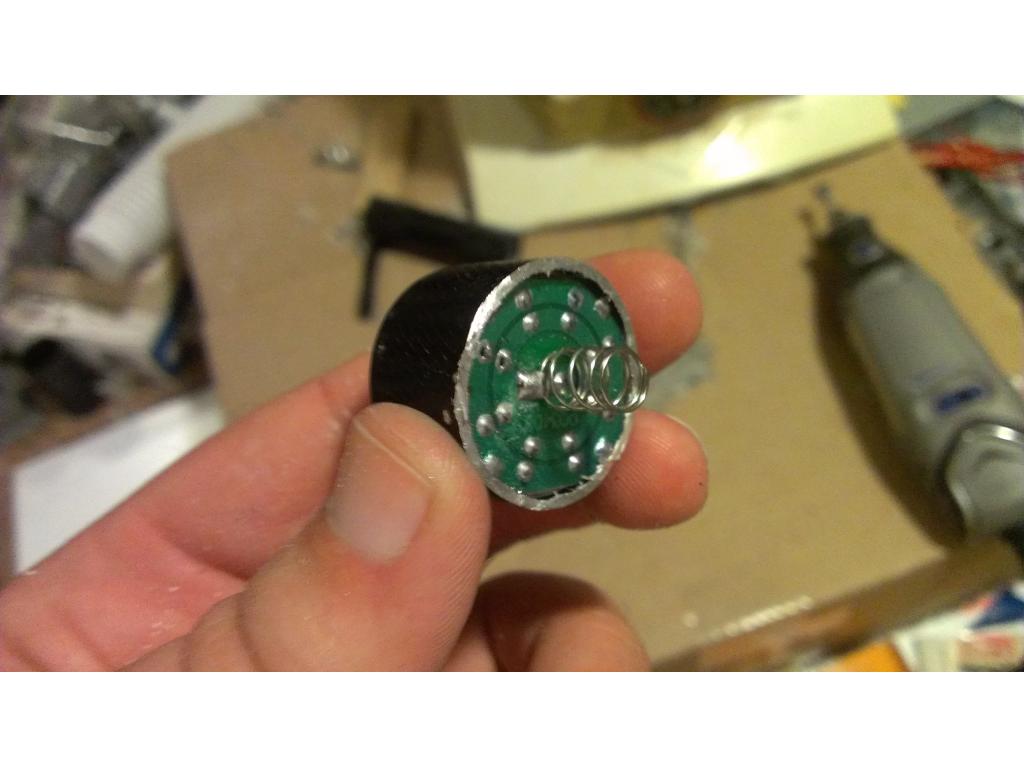
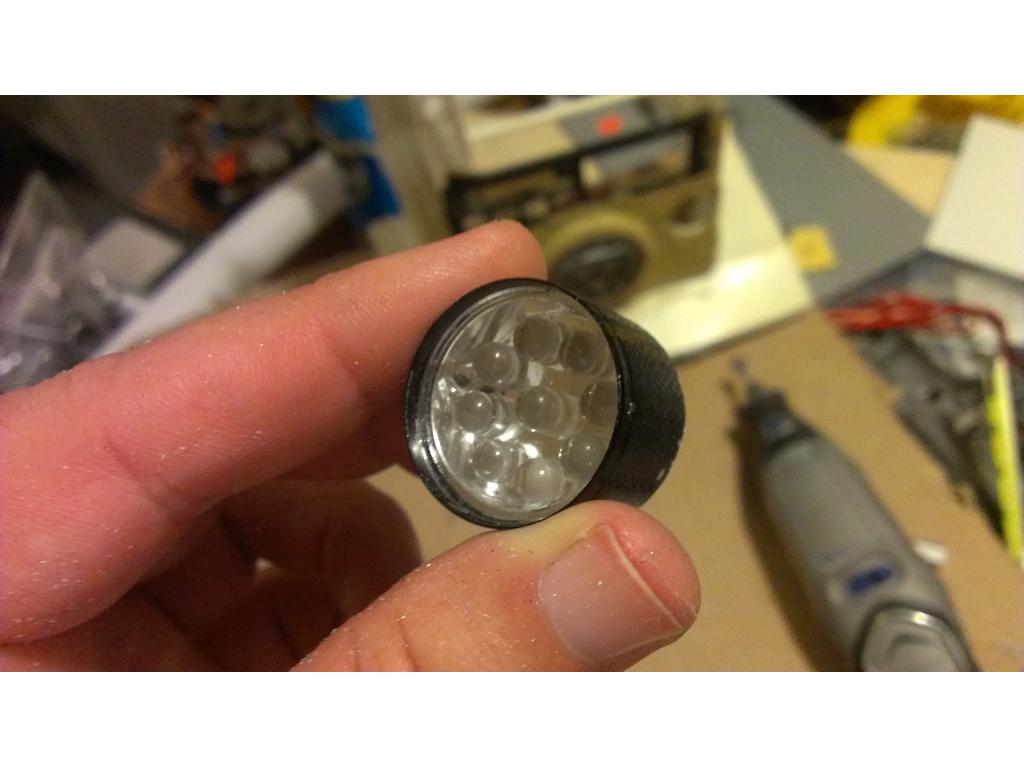
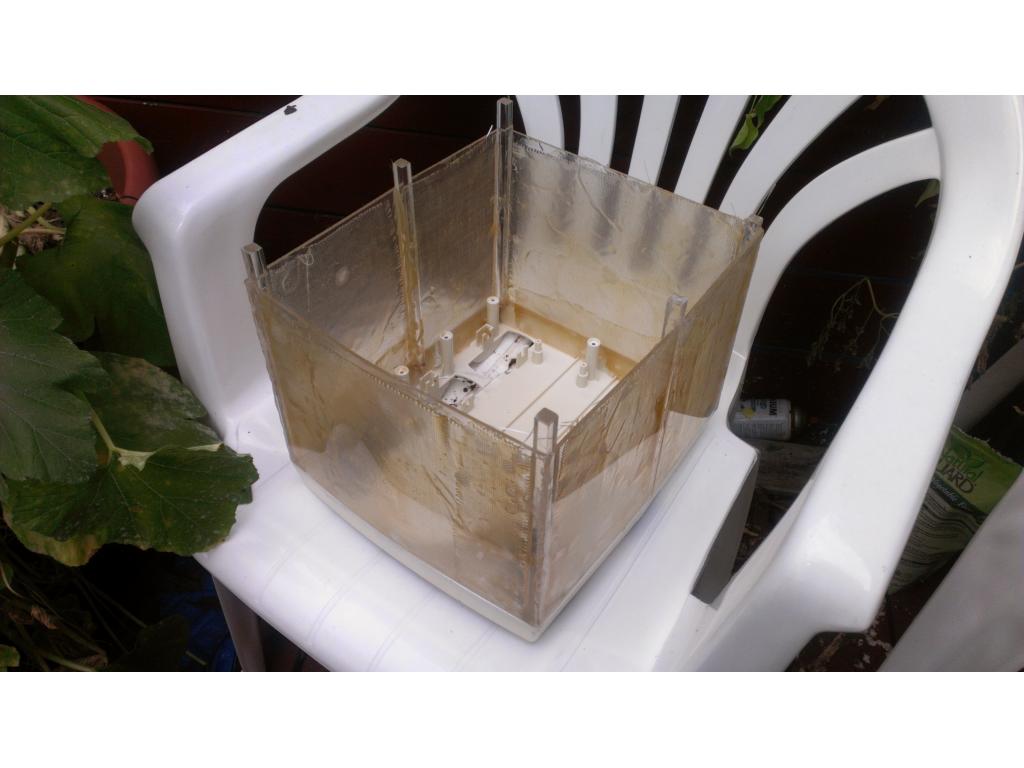
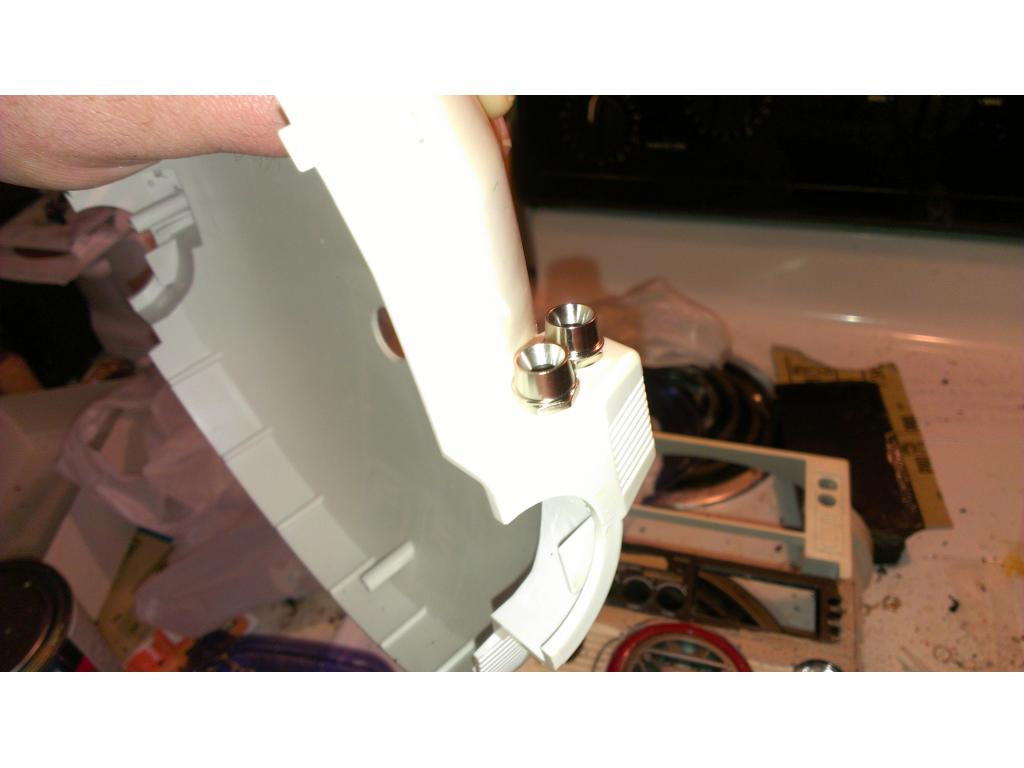
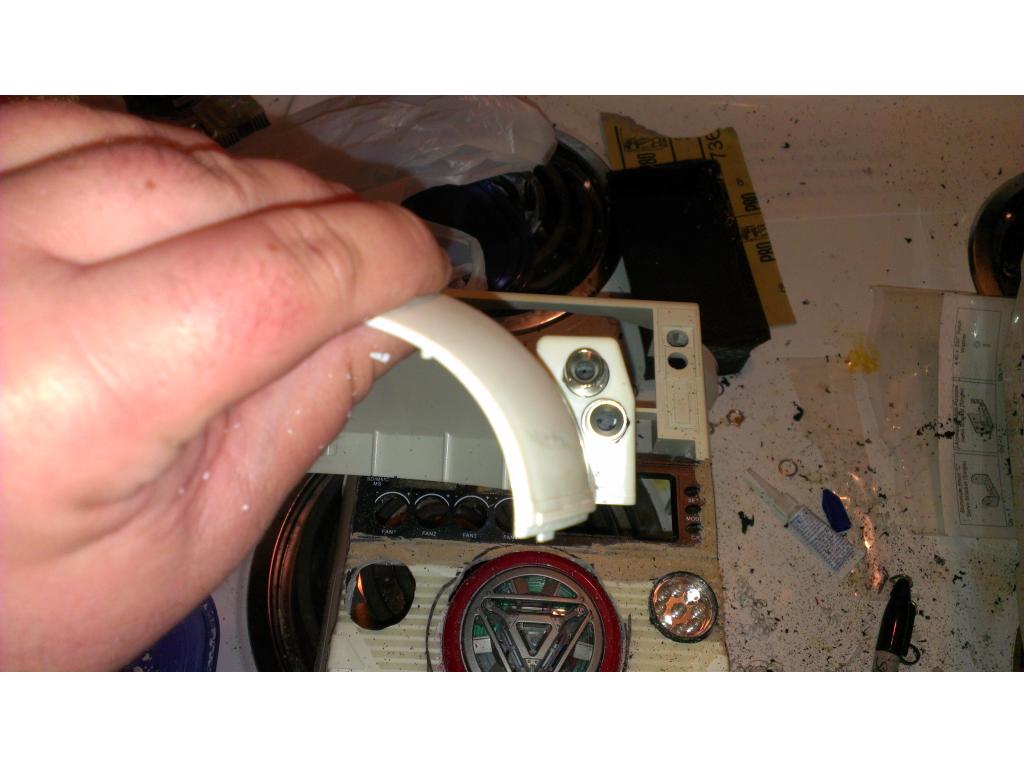
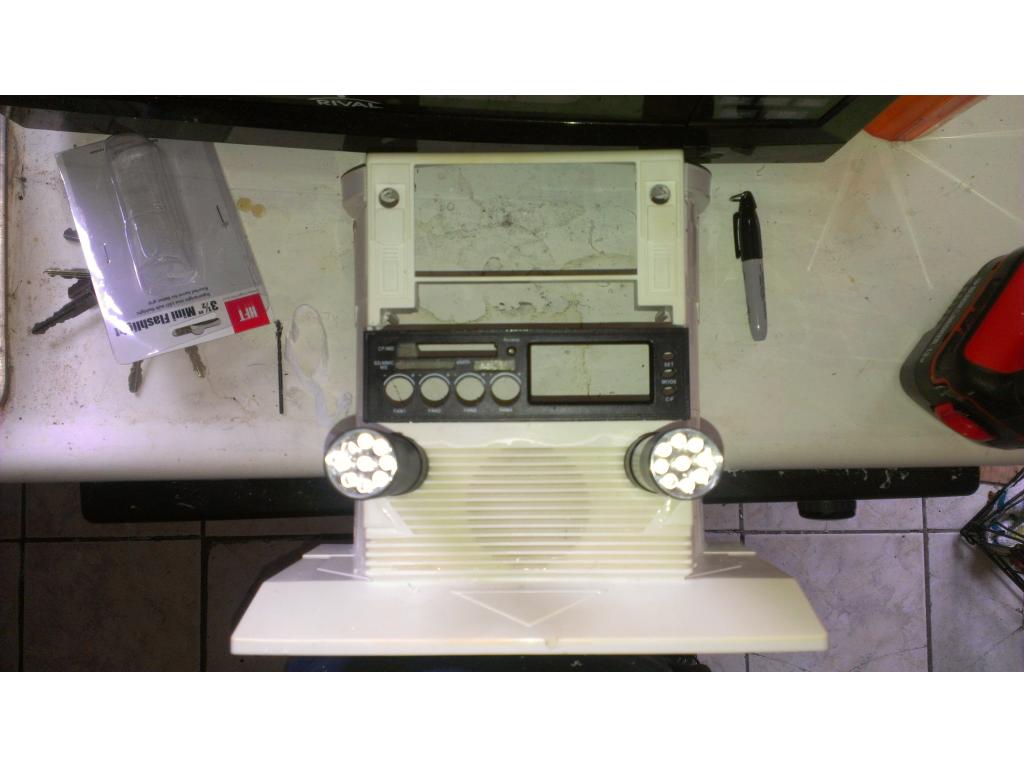
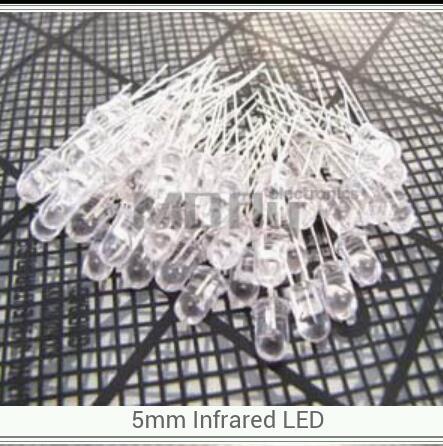
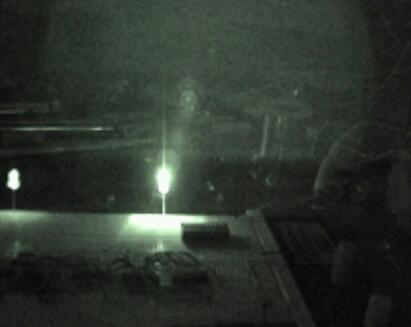
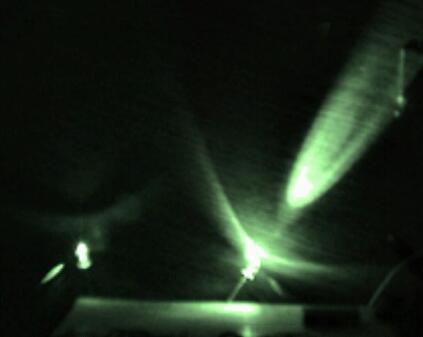
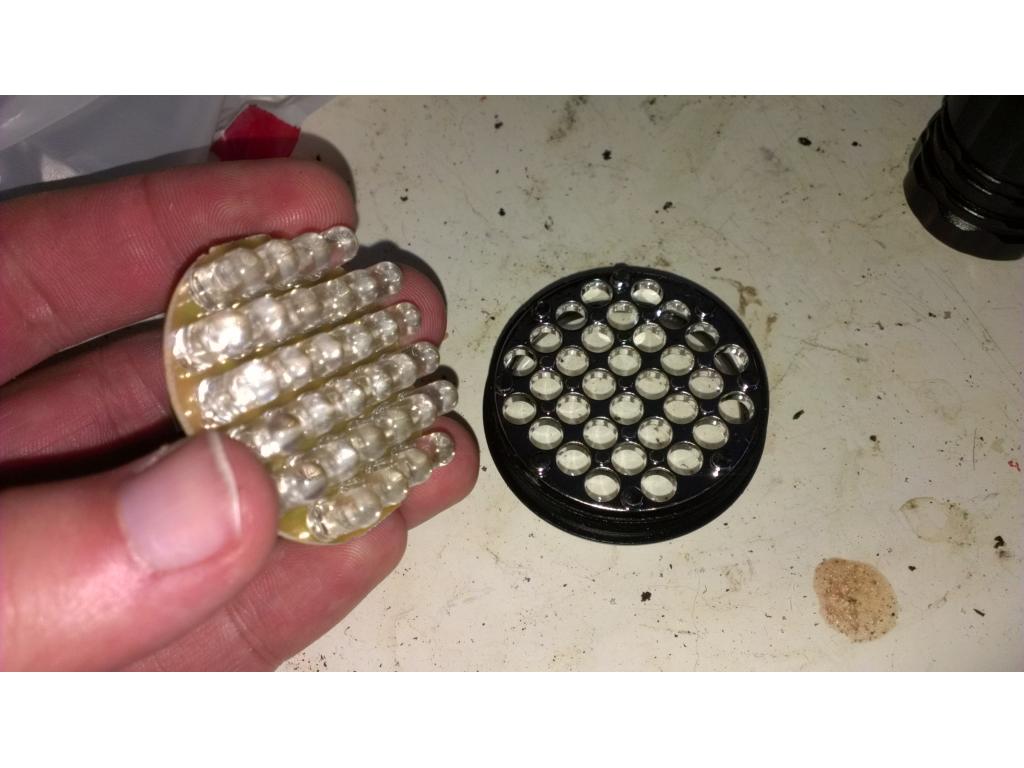
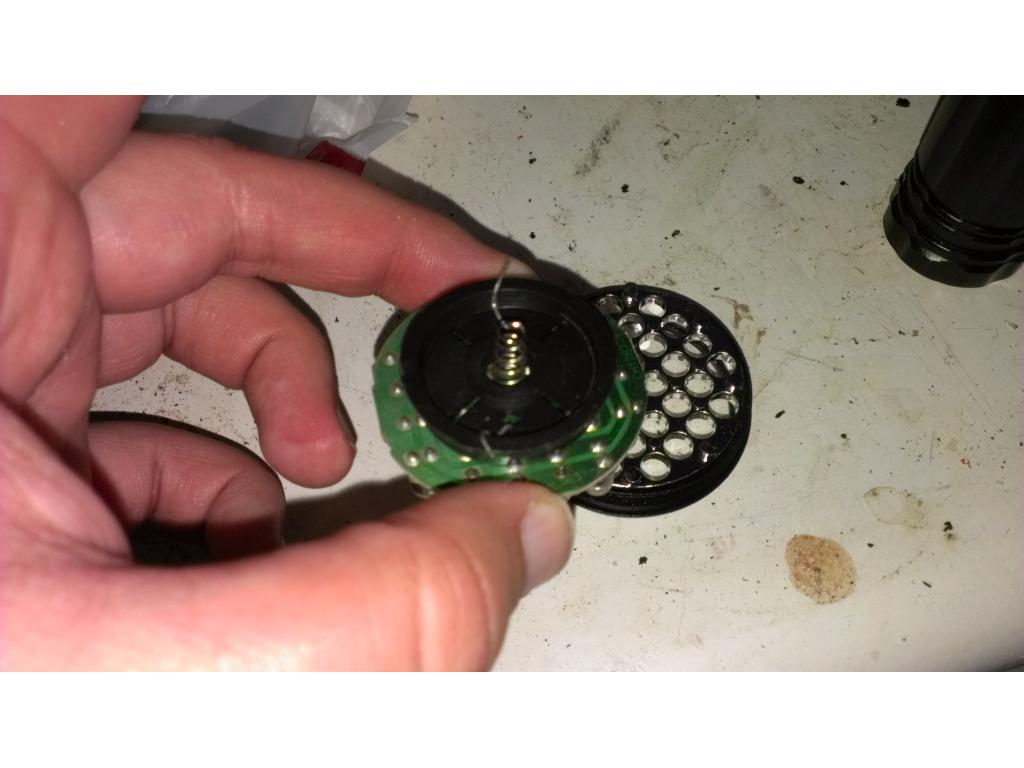
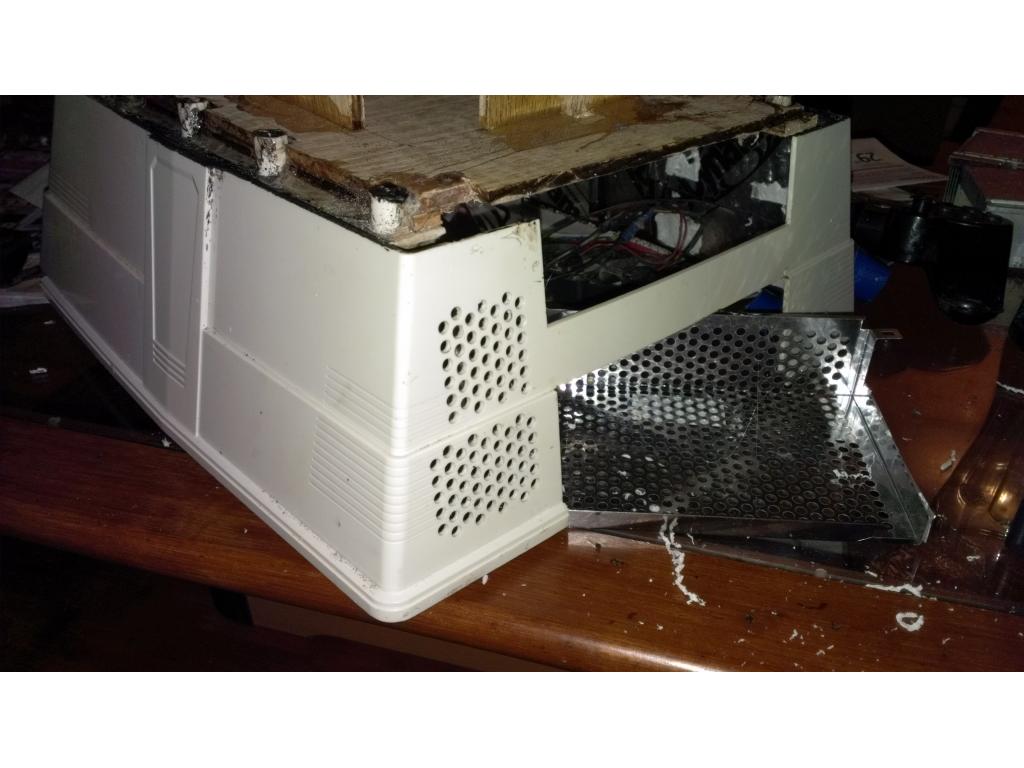
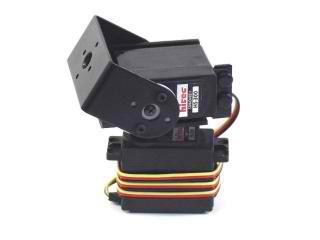
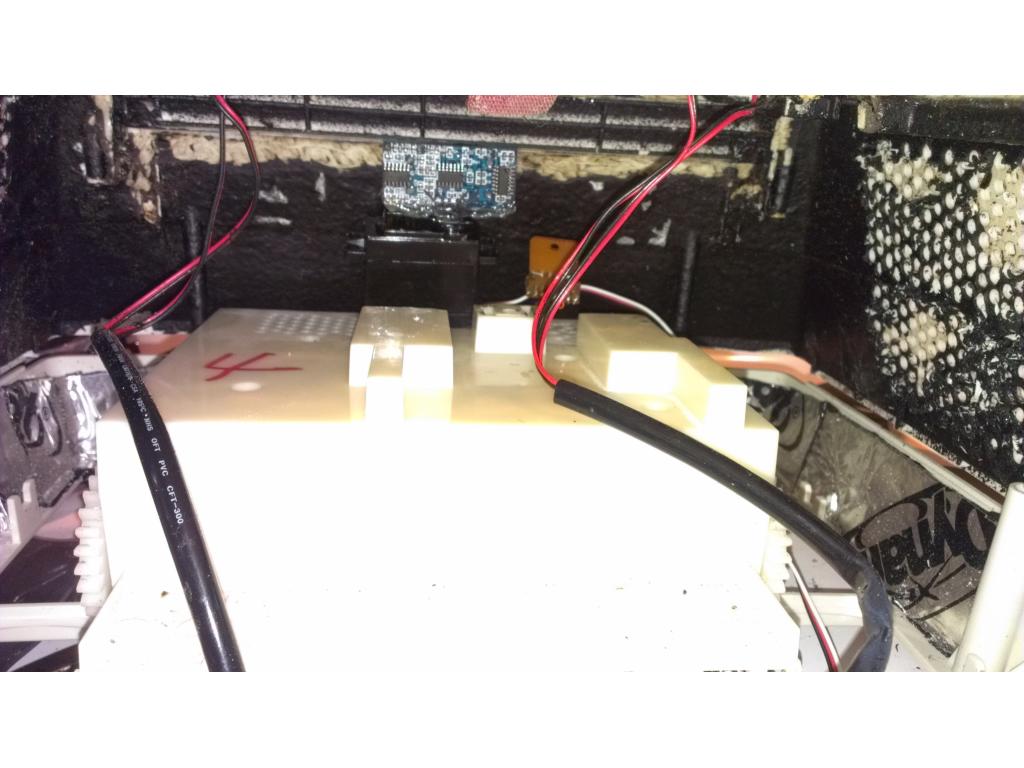
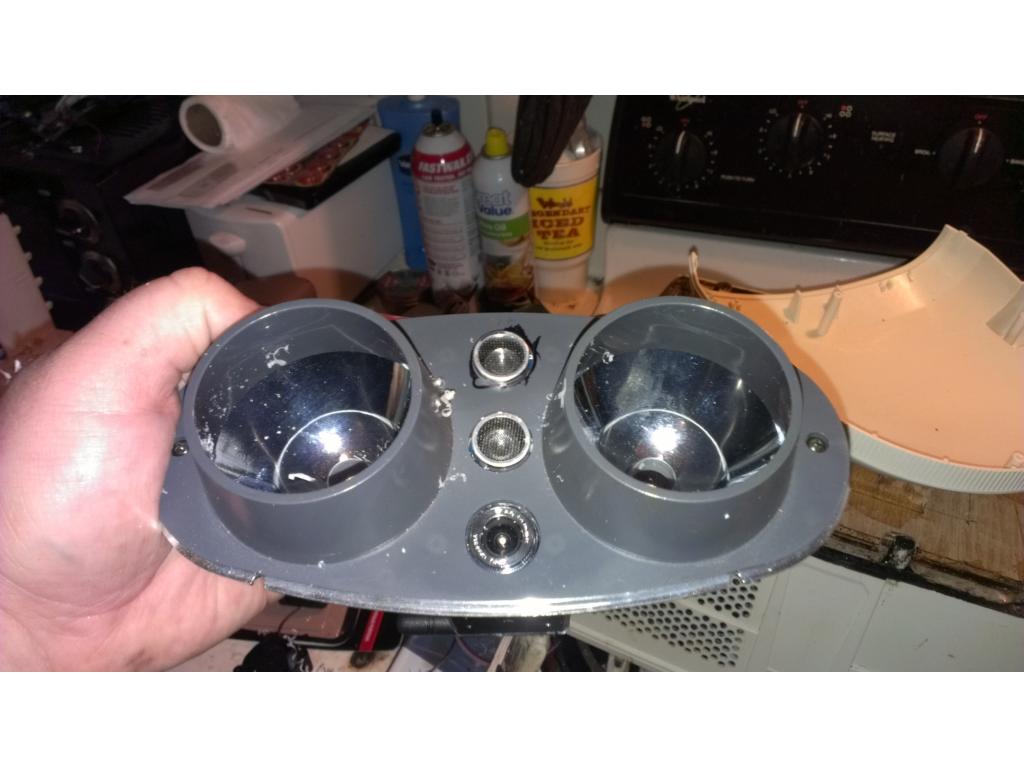
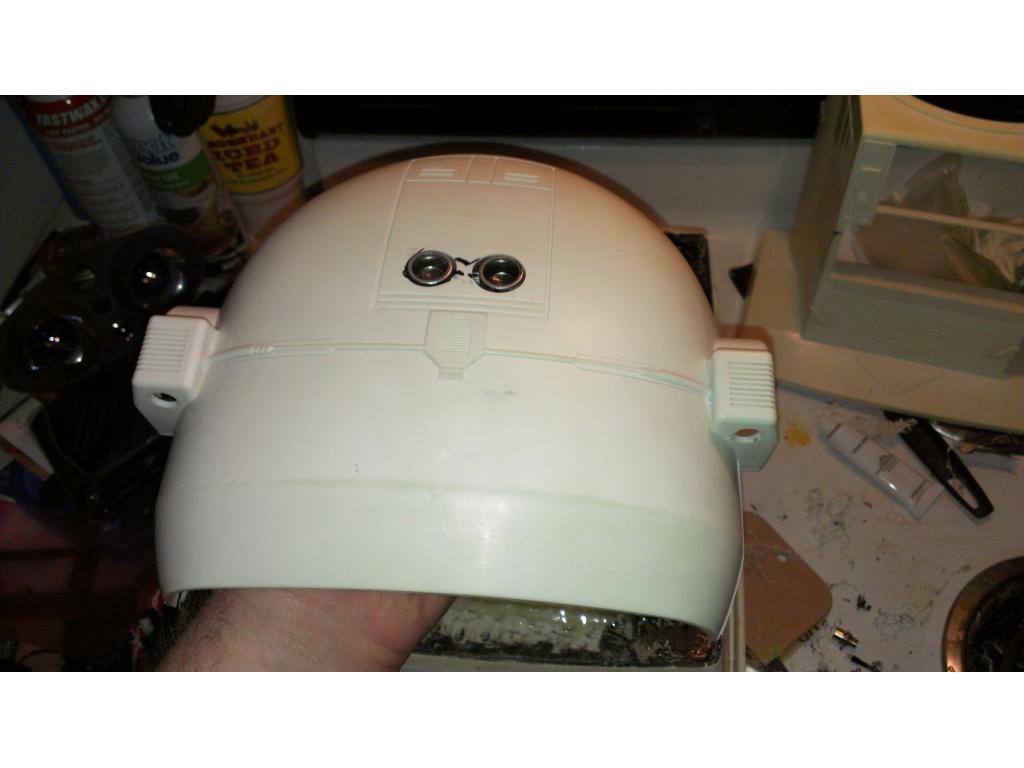
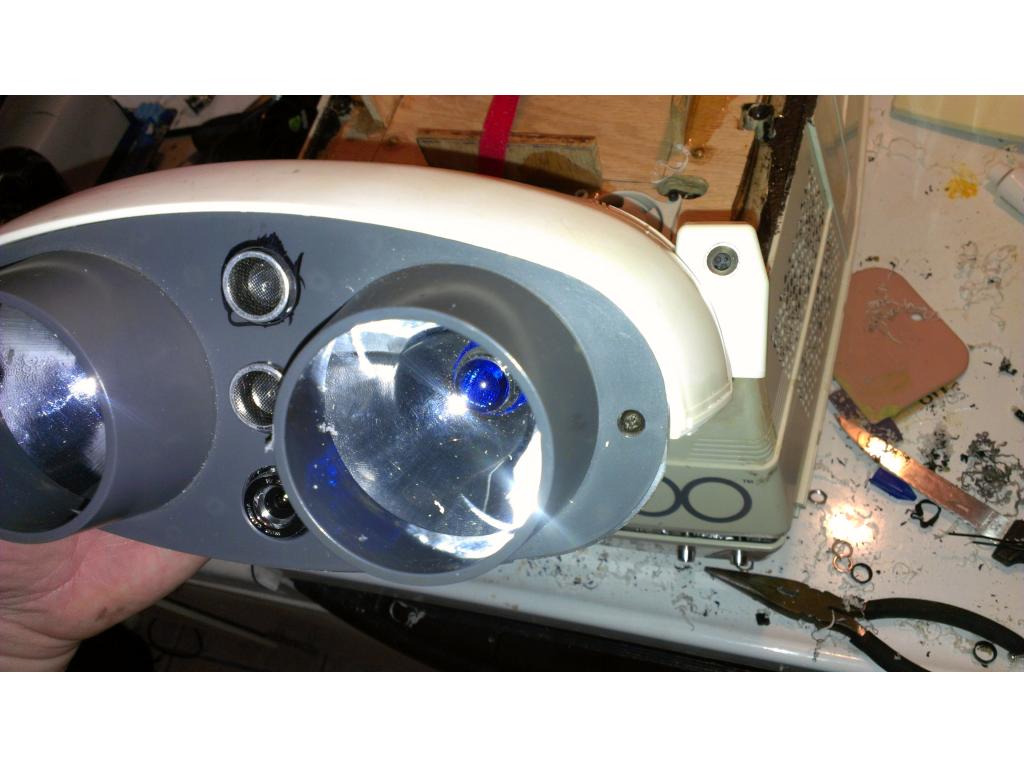
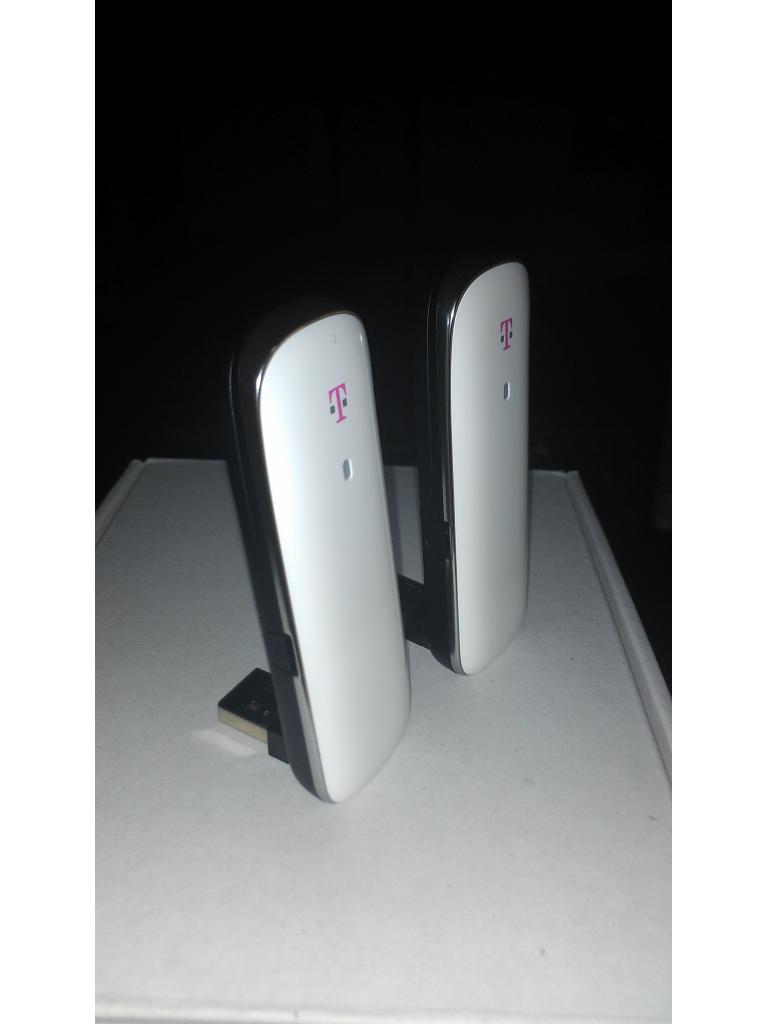
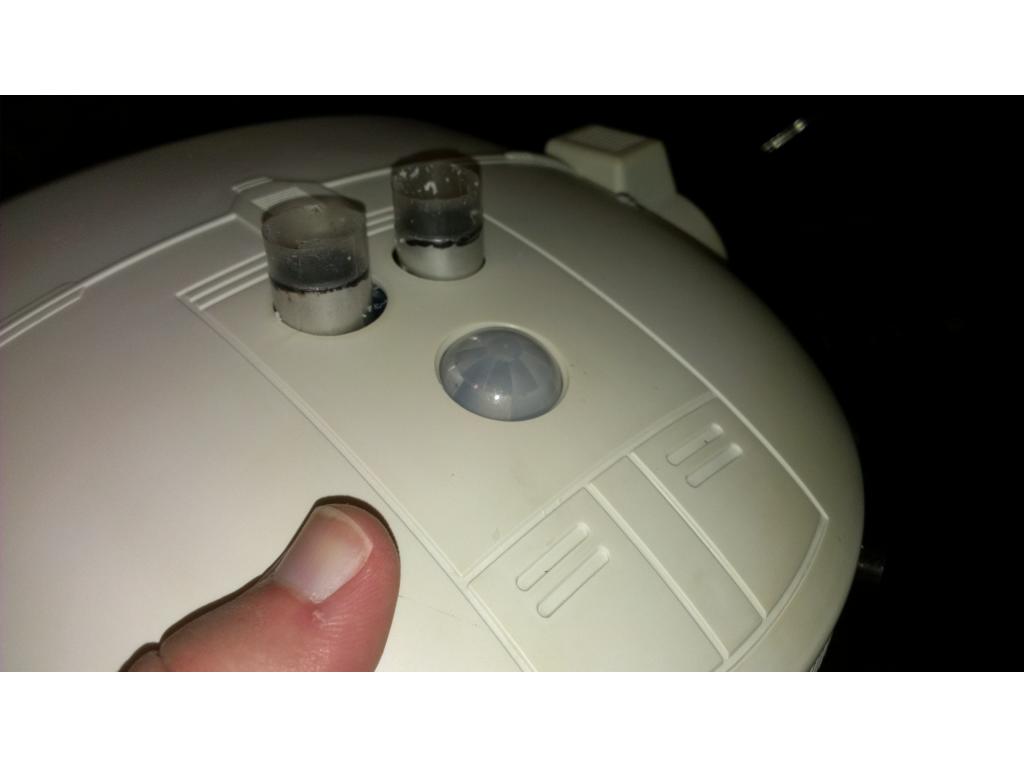
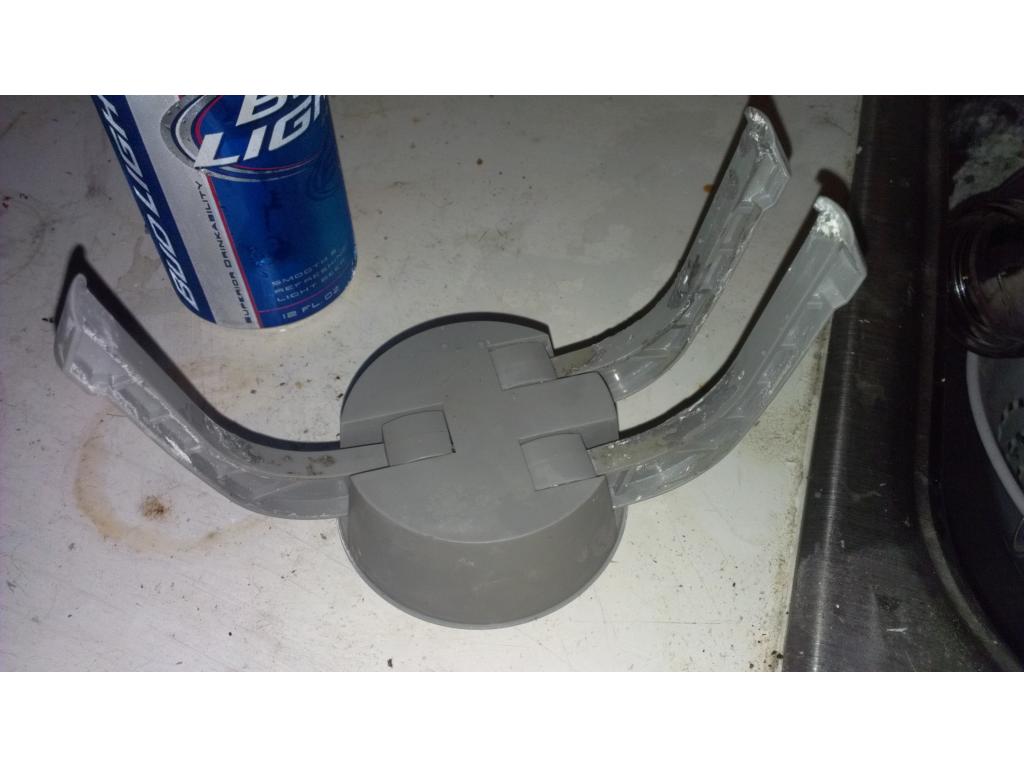
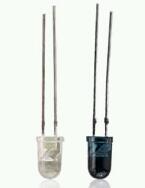
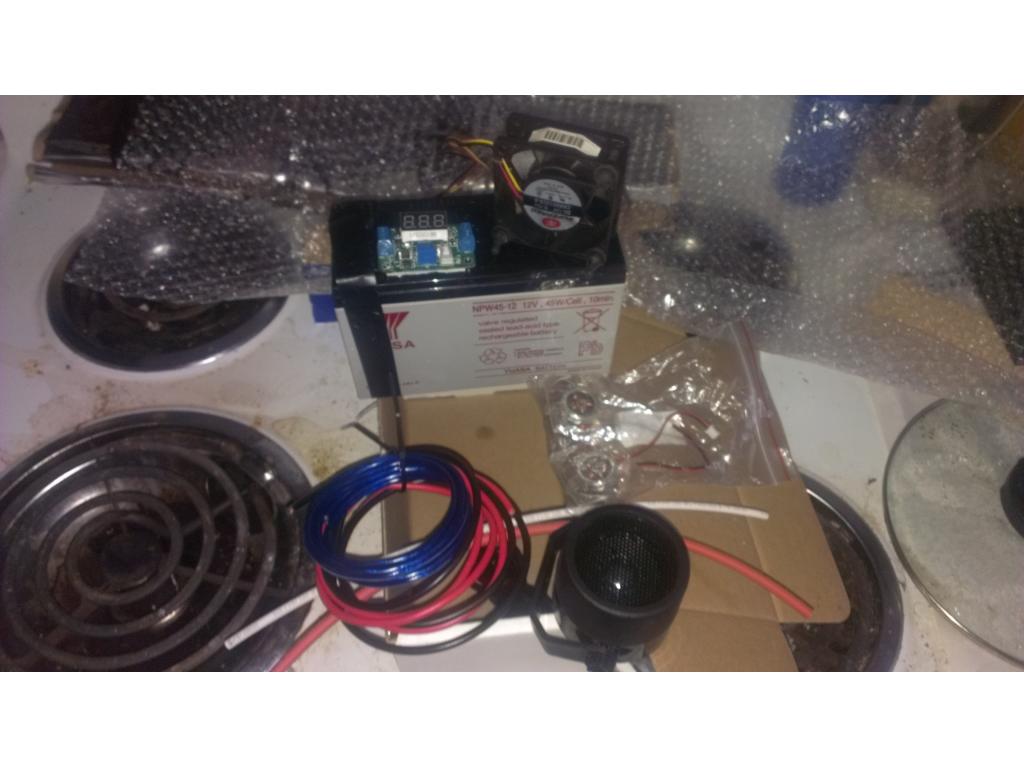
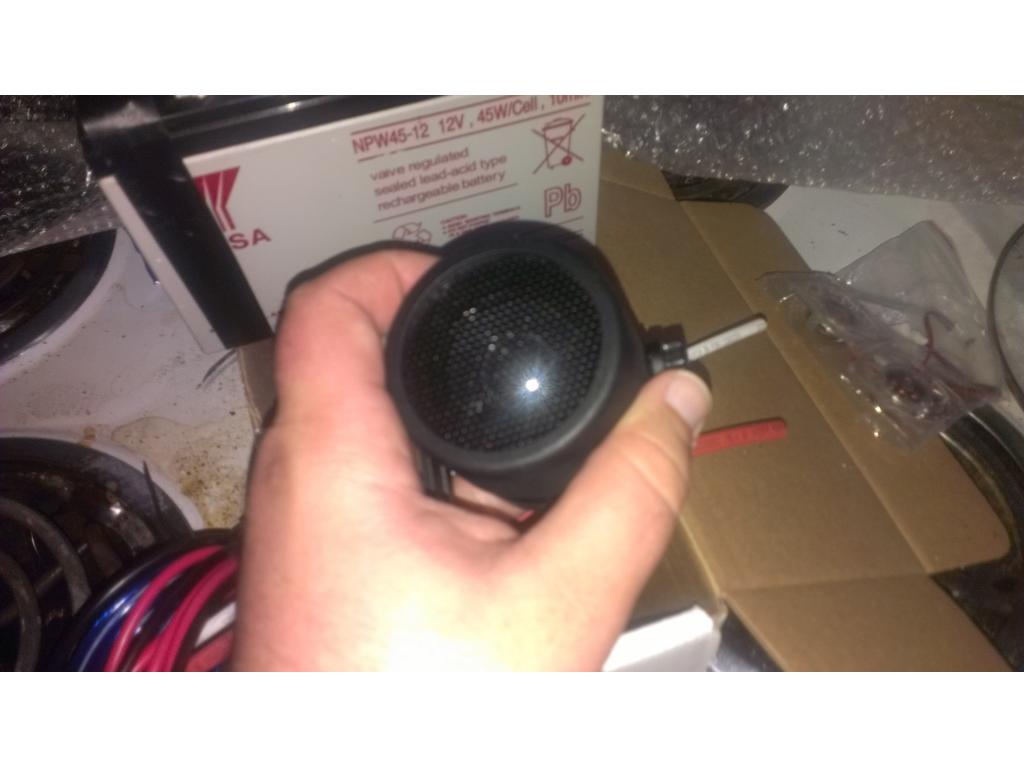
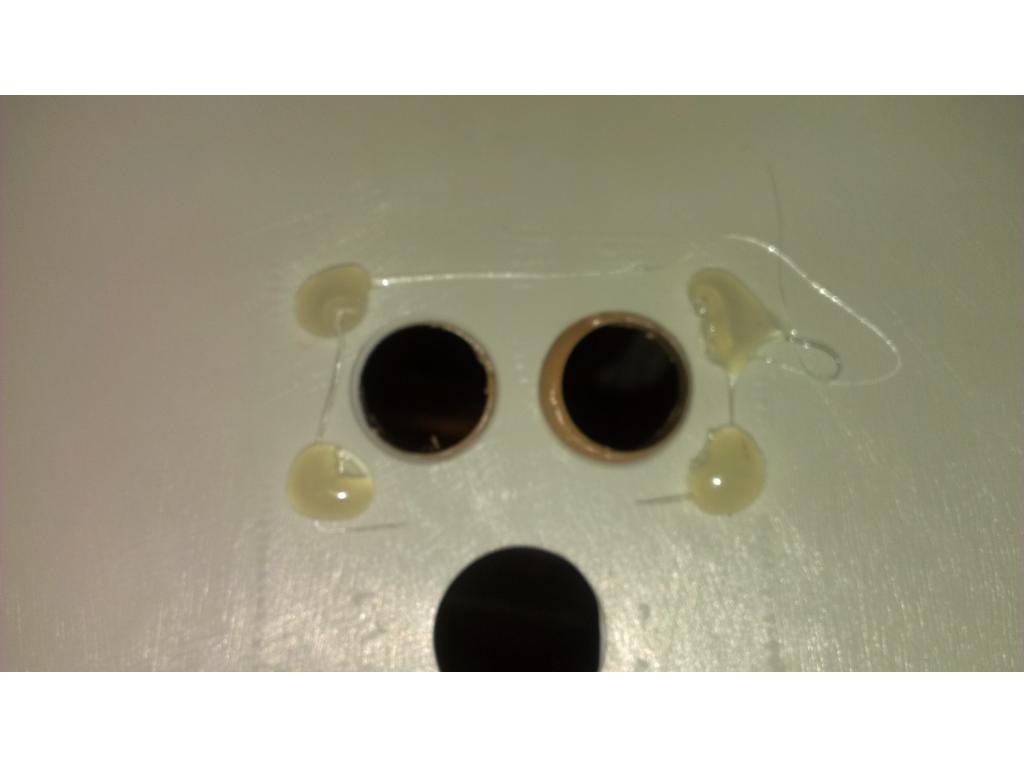
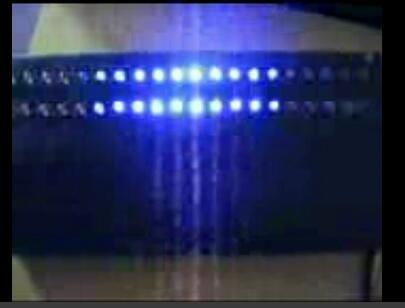
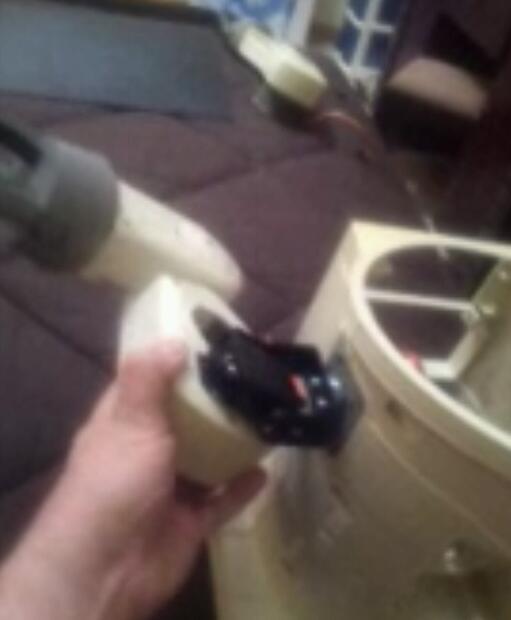
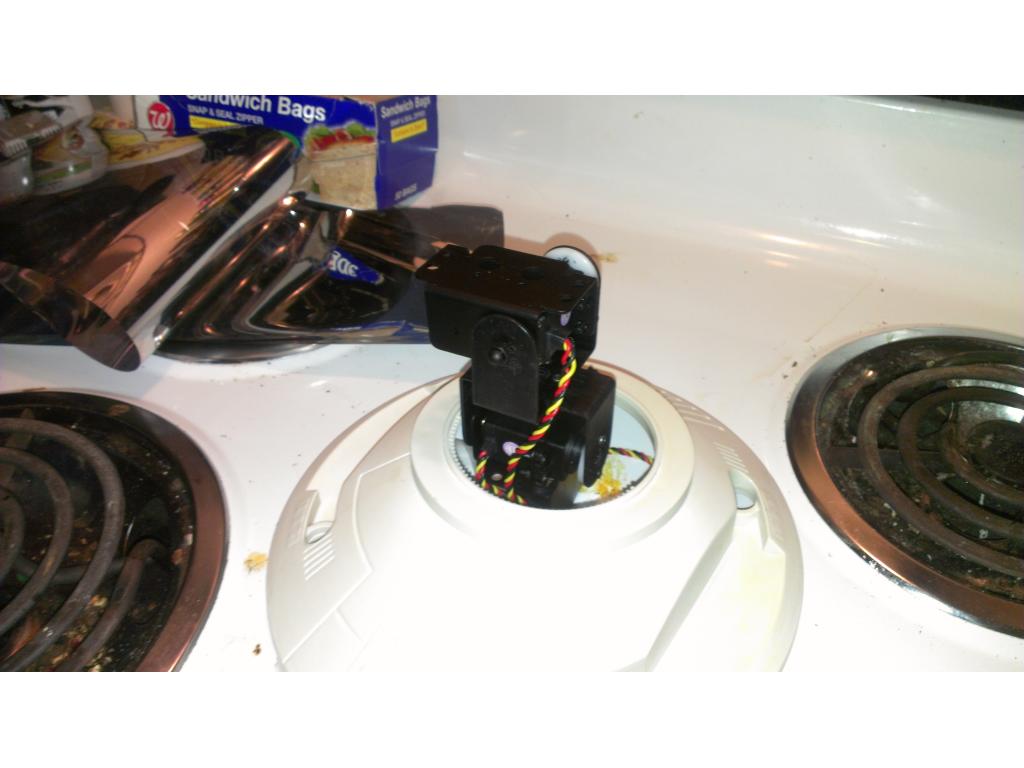
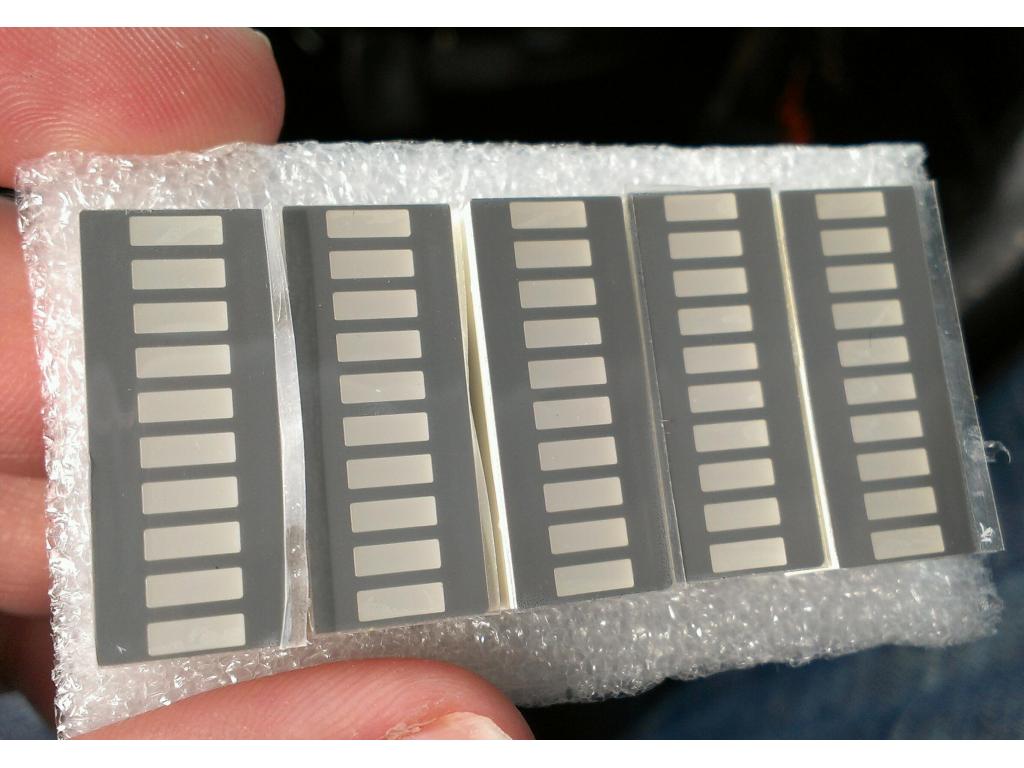
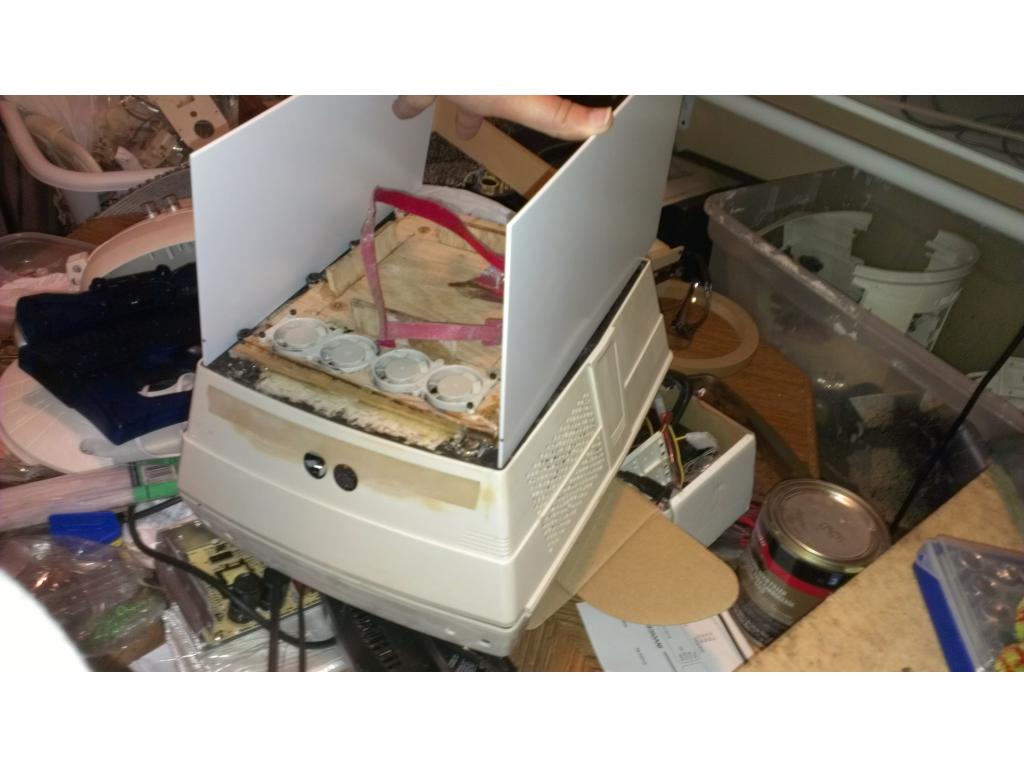
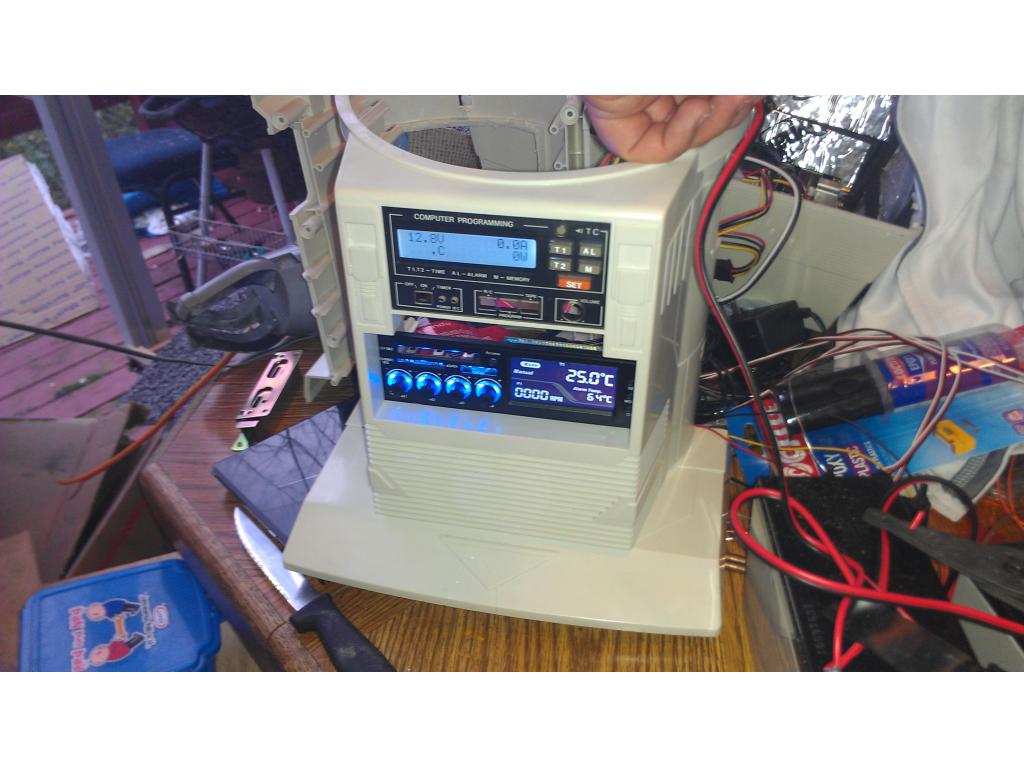
This is a bit of a secret weapon for presentation purposes , these are LEDs faced down under the head , I could use white or IR but its for dramatic look while being filmed for the videos later. It would be difficult for example to see the whole robot in night mode but this will fix that so I and everyone else can see the robot well even in low light. I even.thought about later putting.yellow LEDs in them as sort of a blinking cautioun light , jury is still out here and suggestions are welcome.
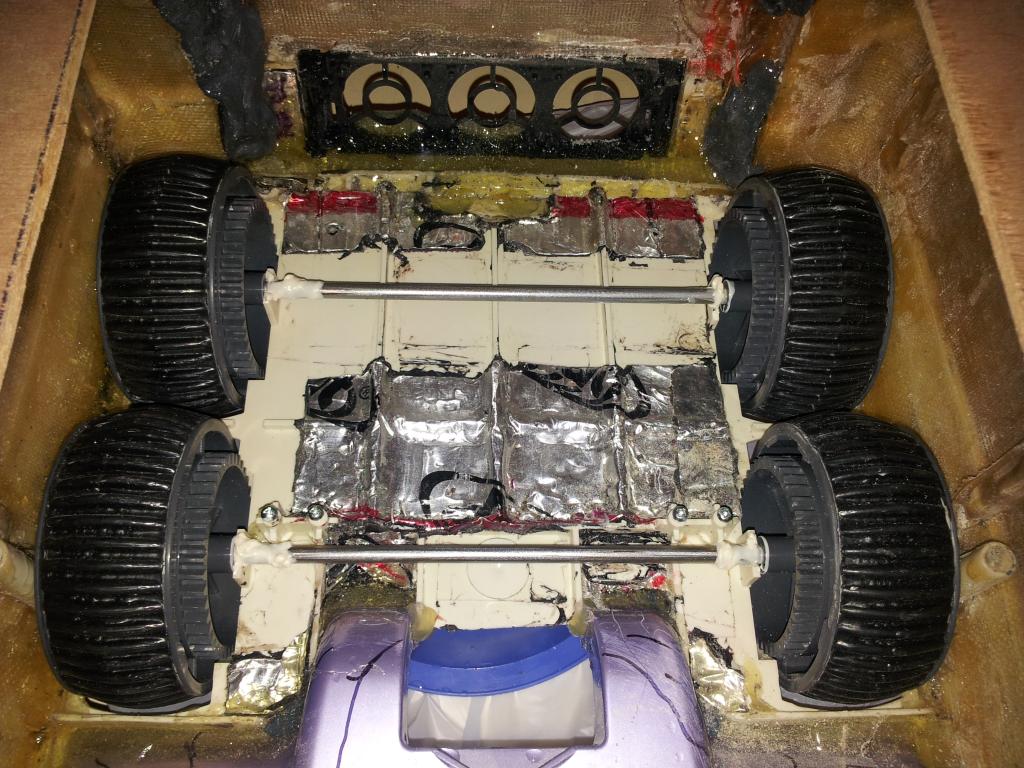
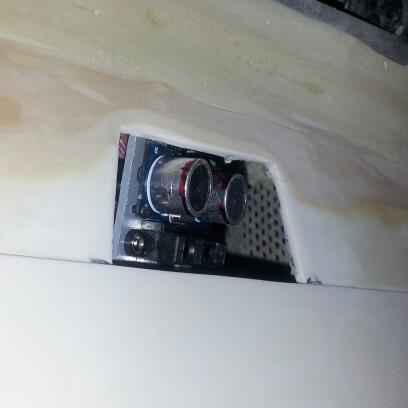
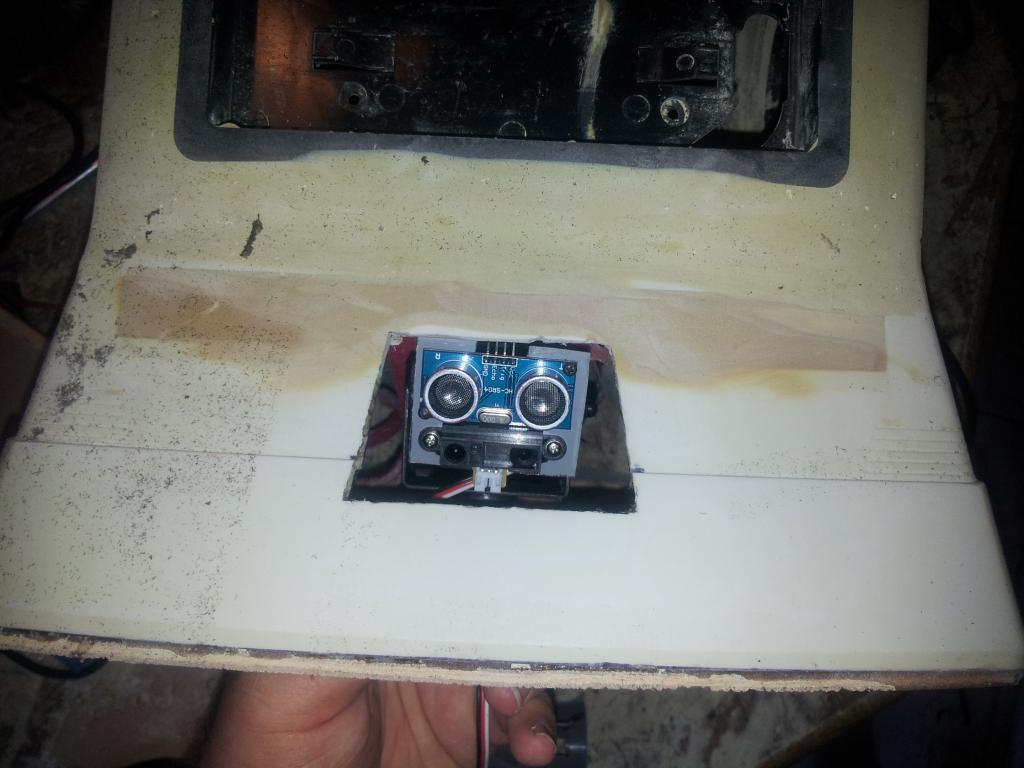
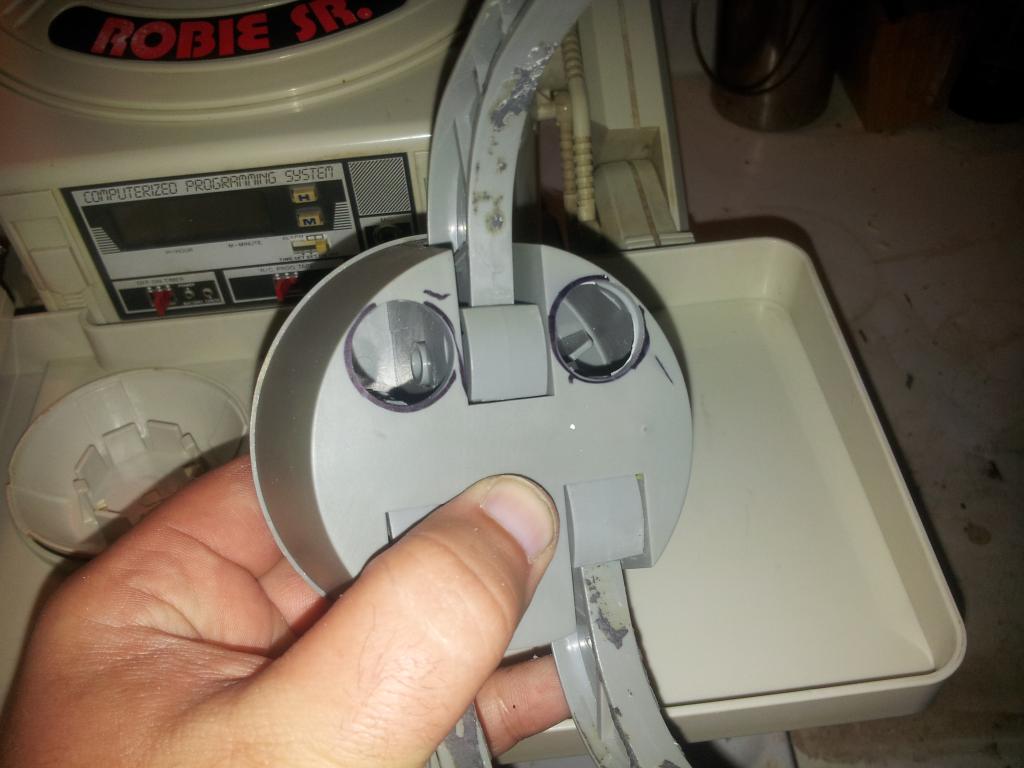
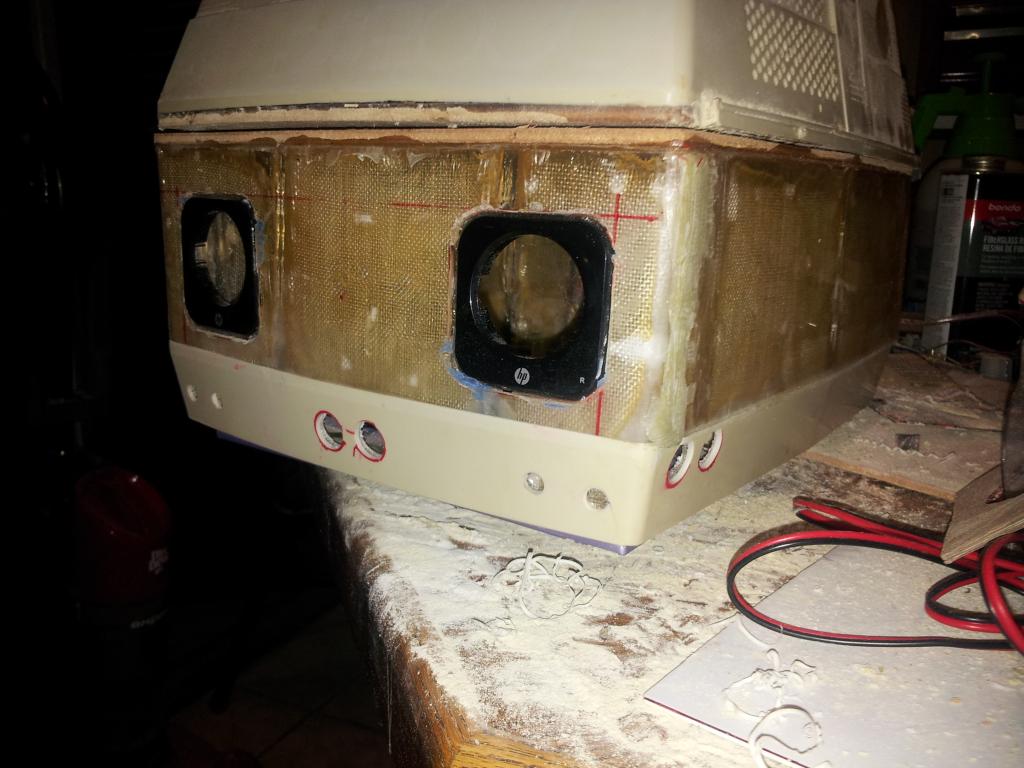
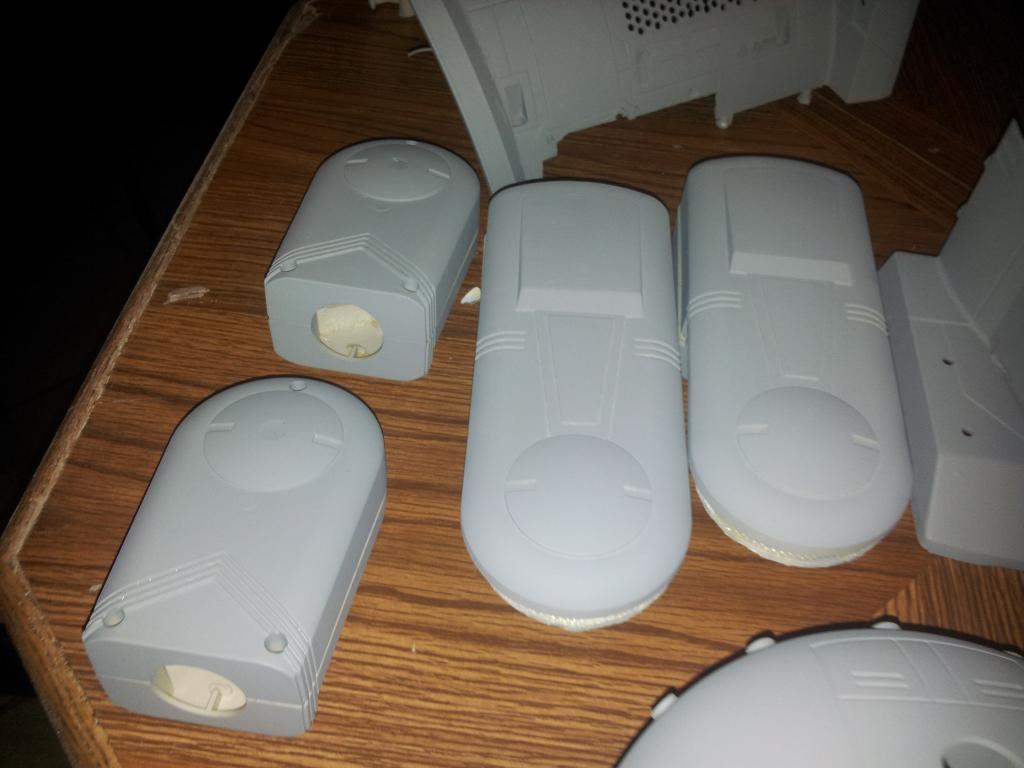
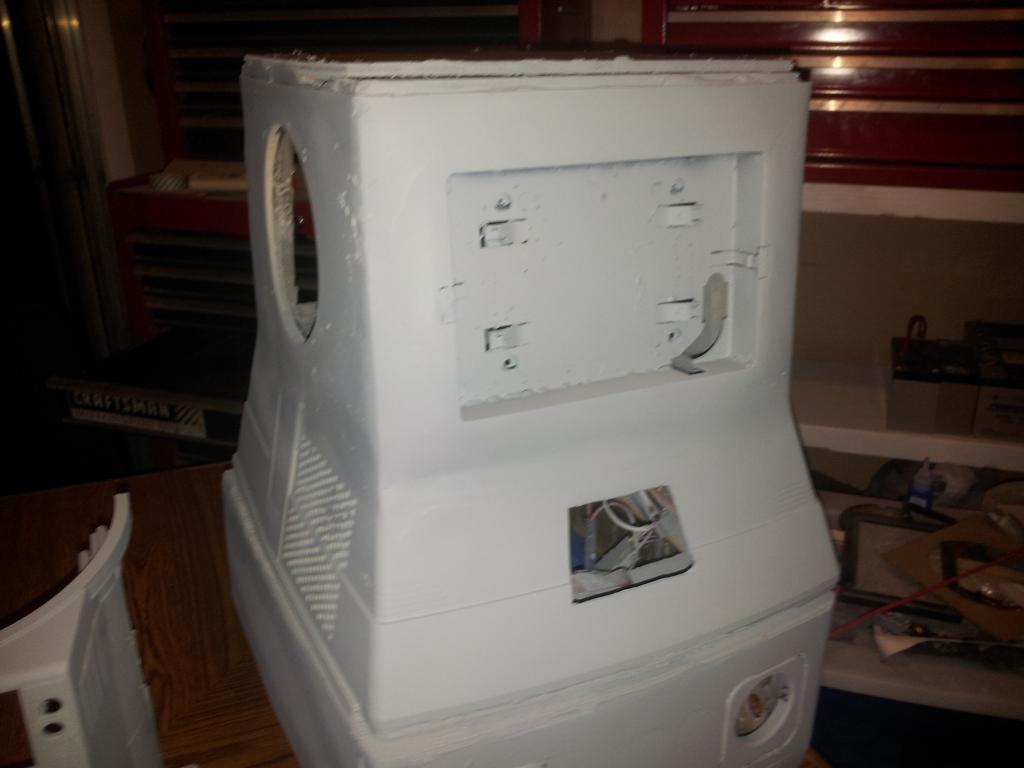
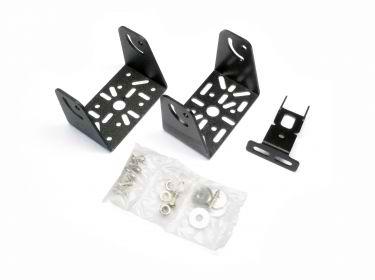
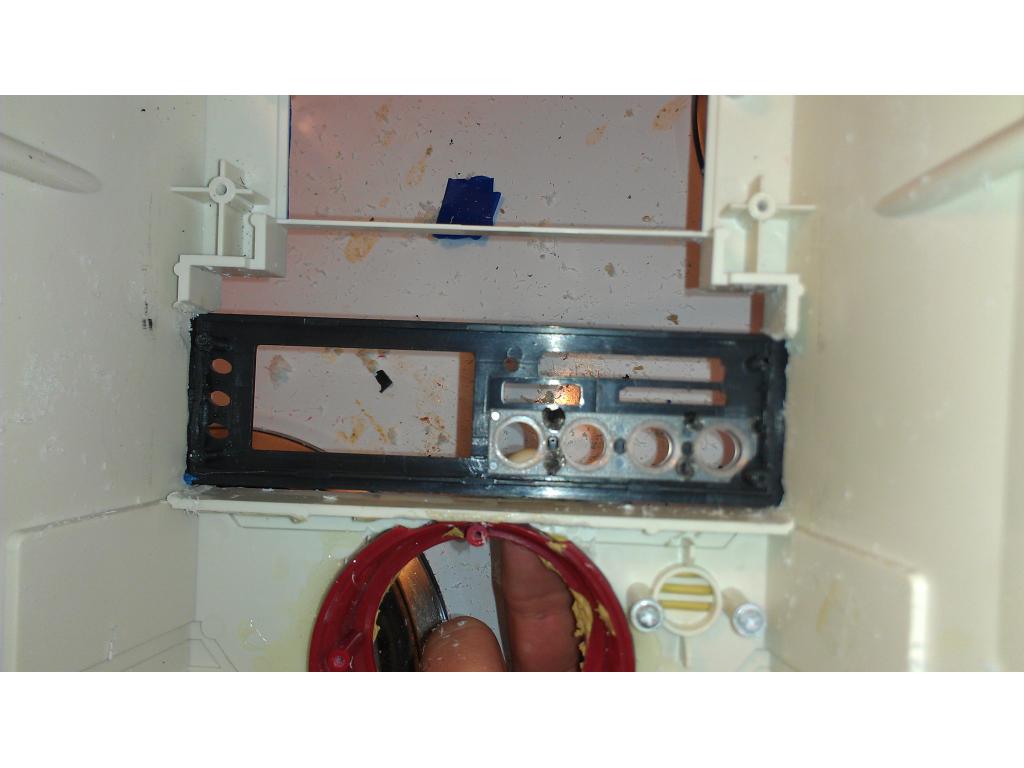
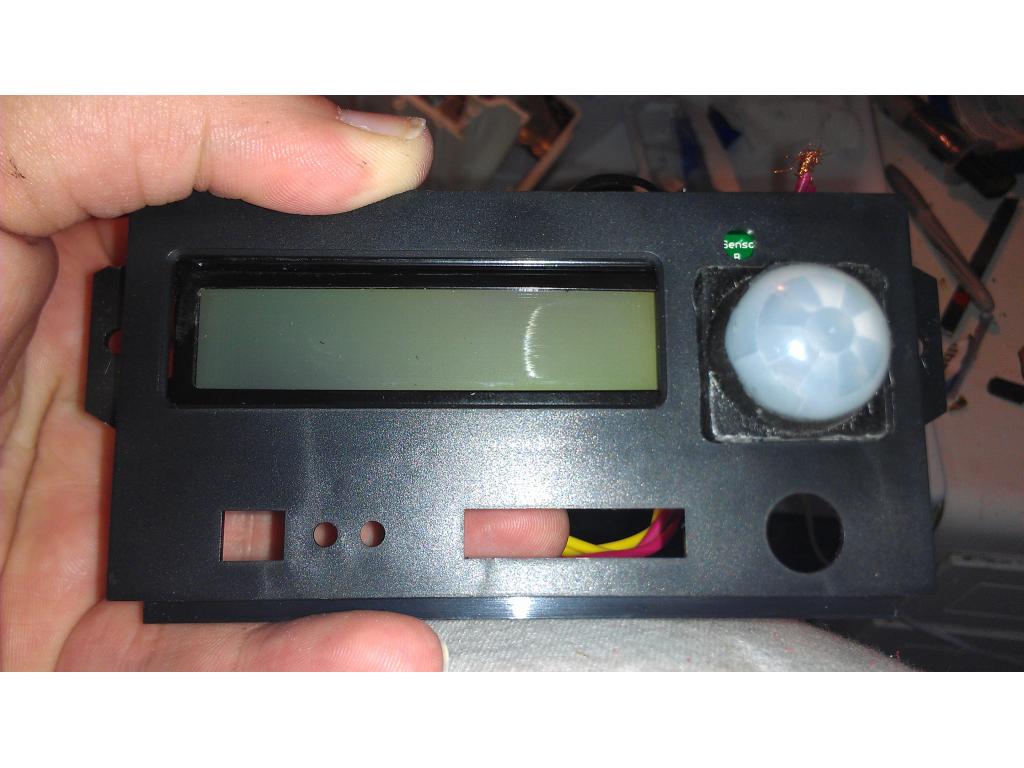
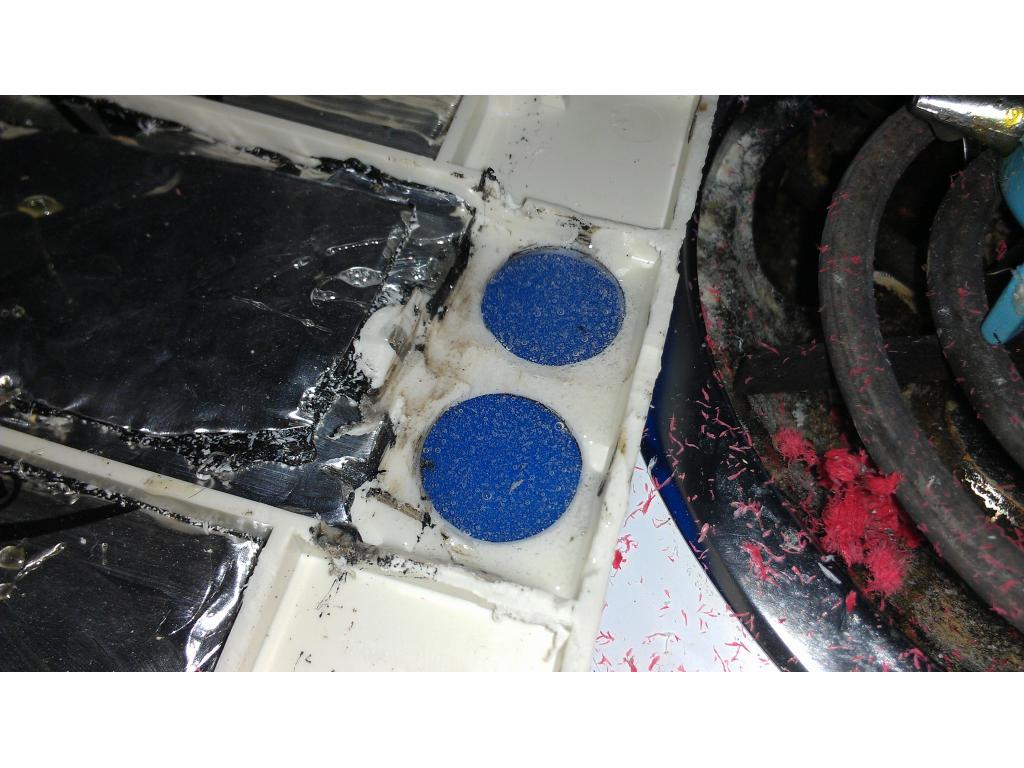
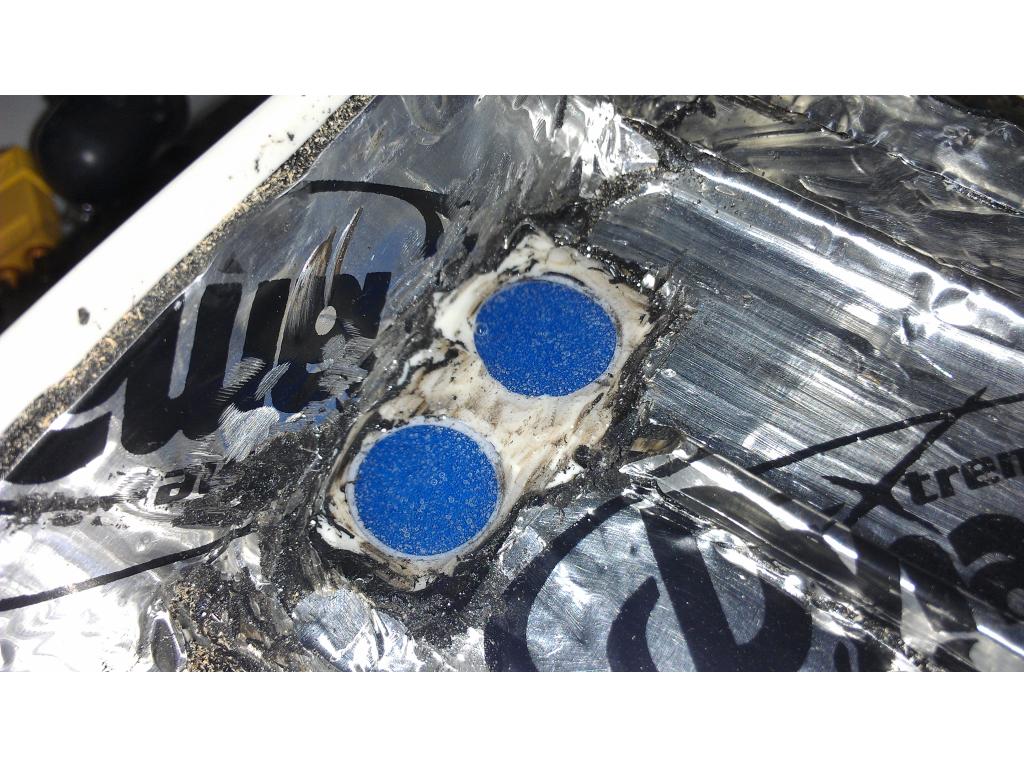
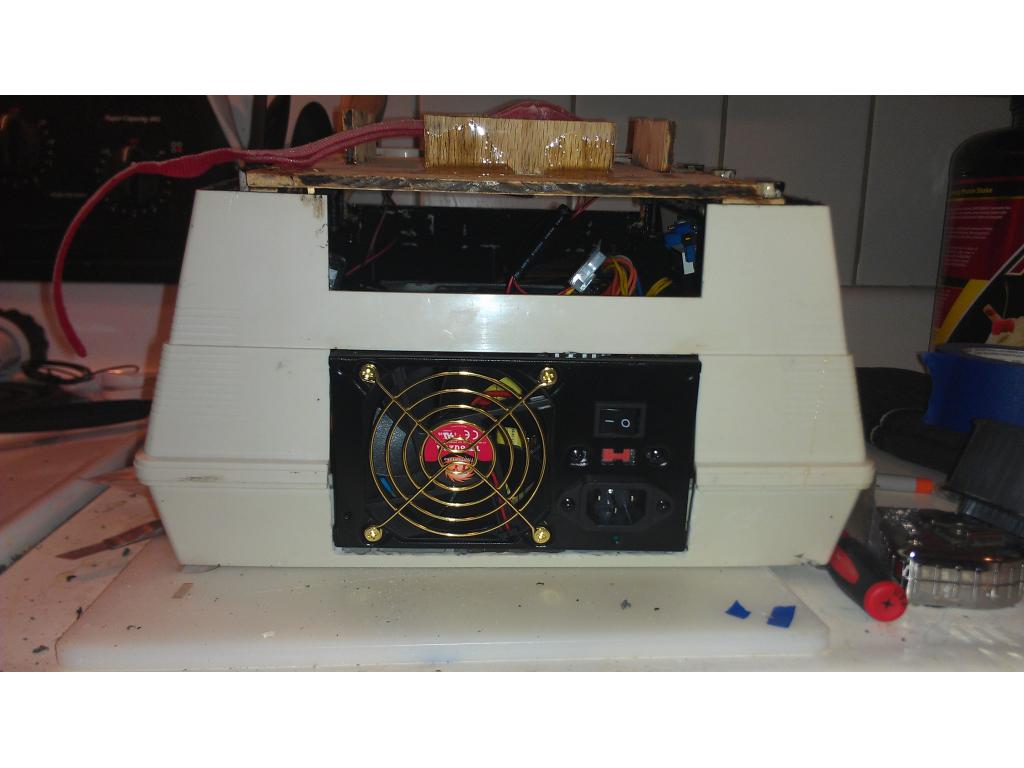
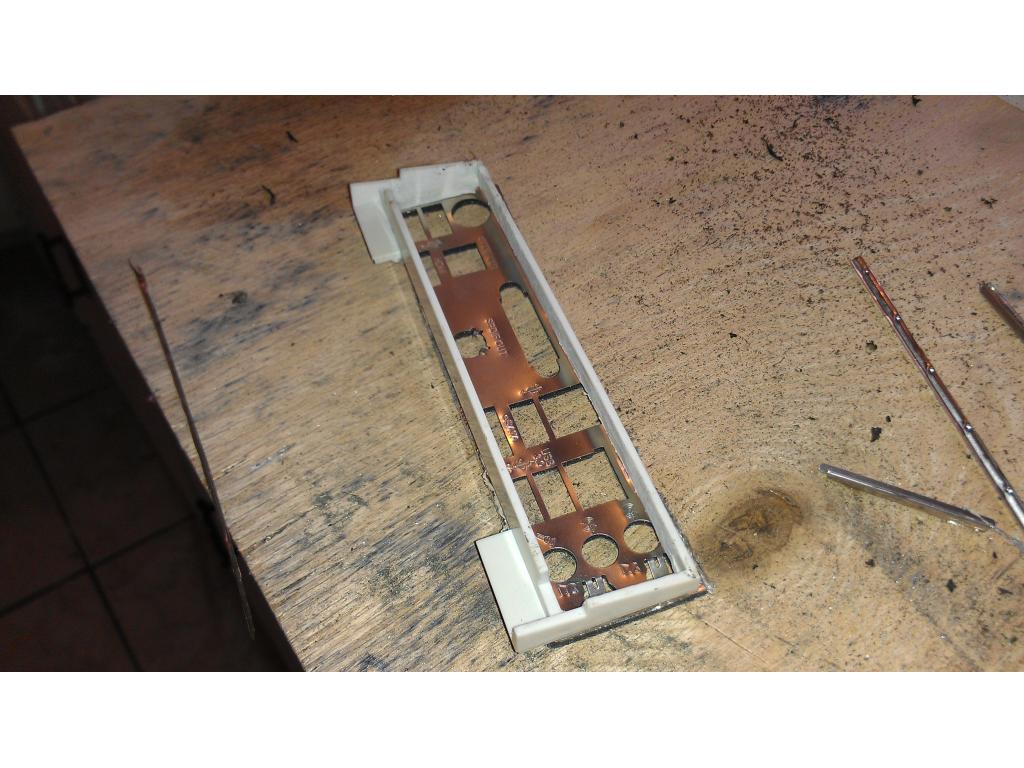
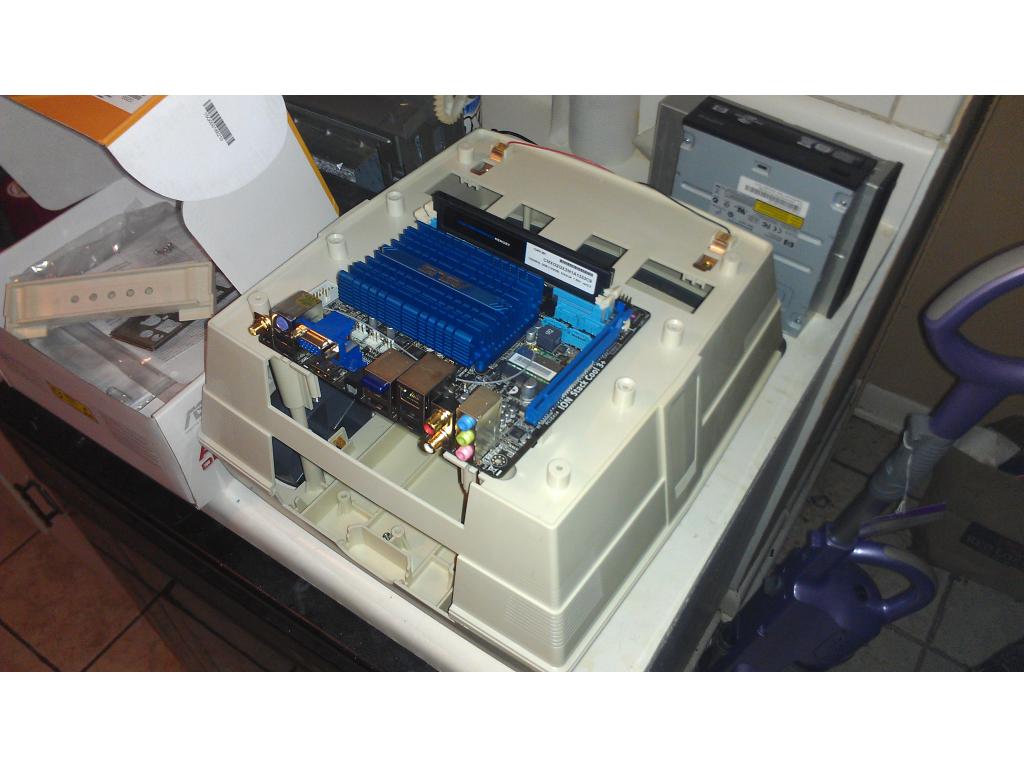
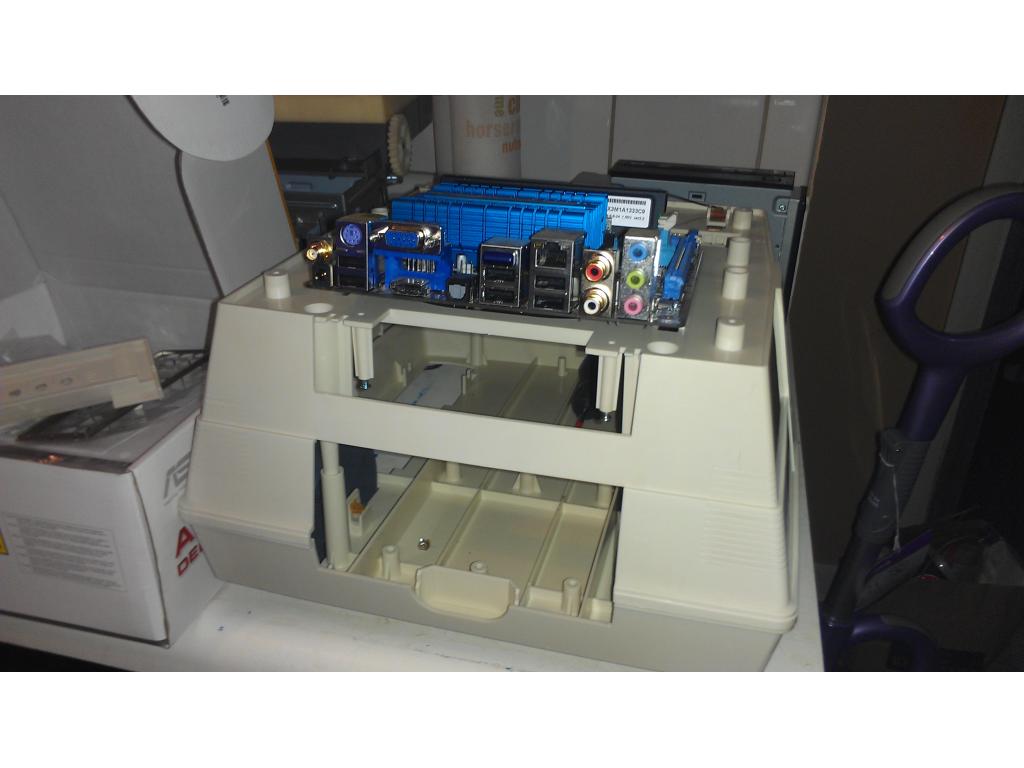
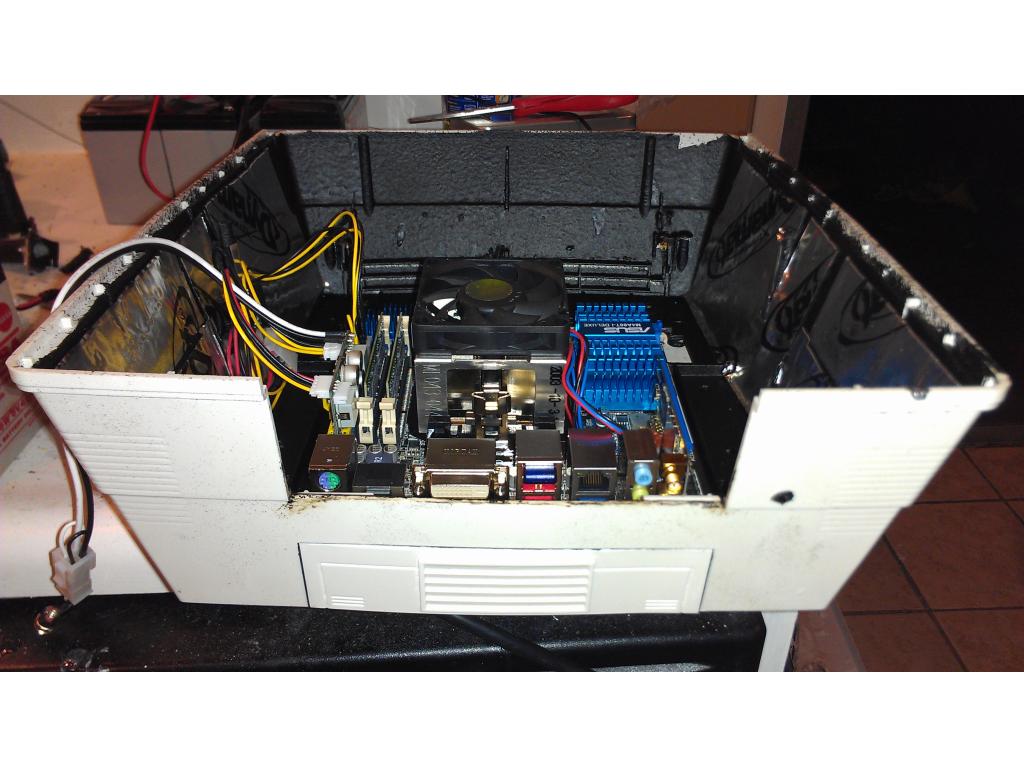
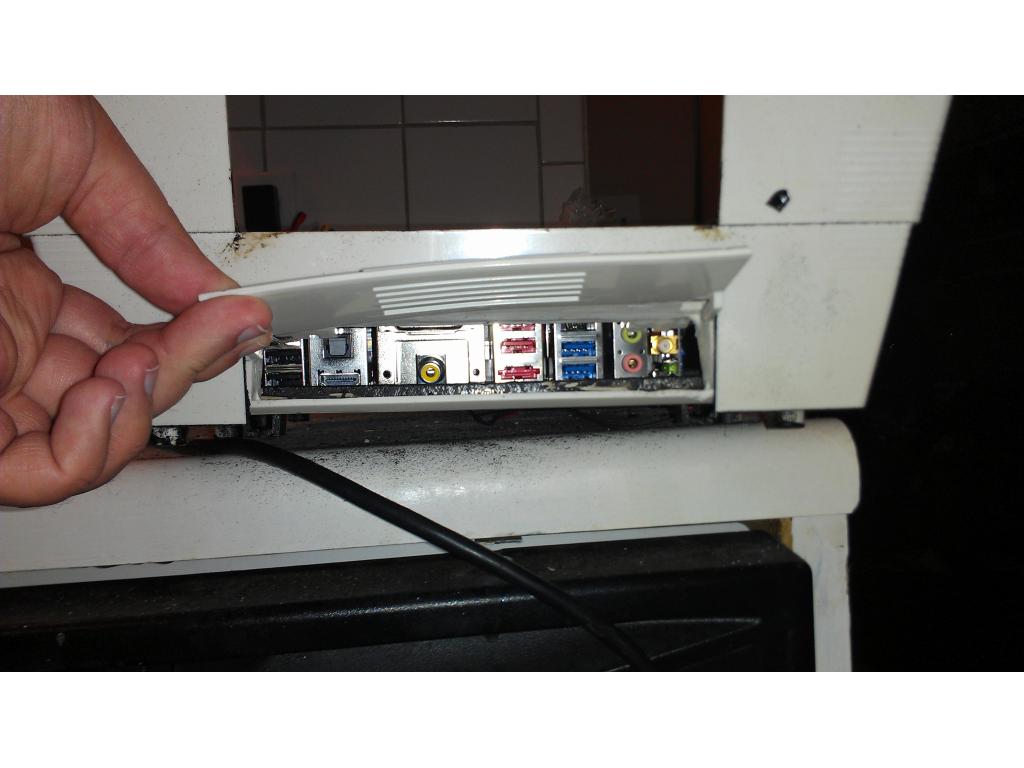
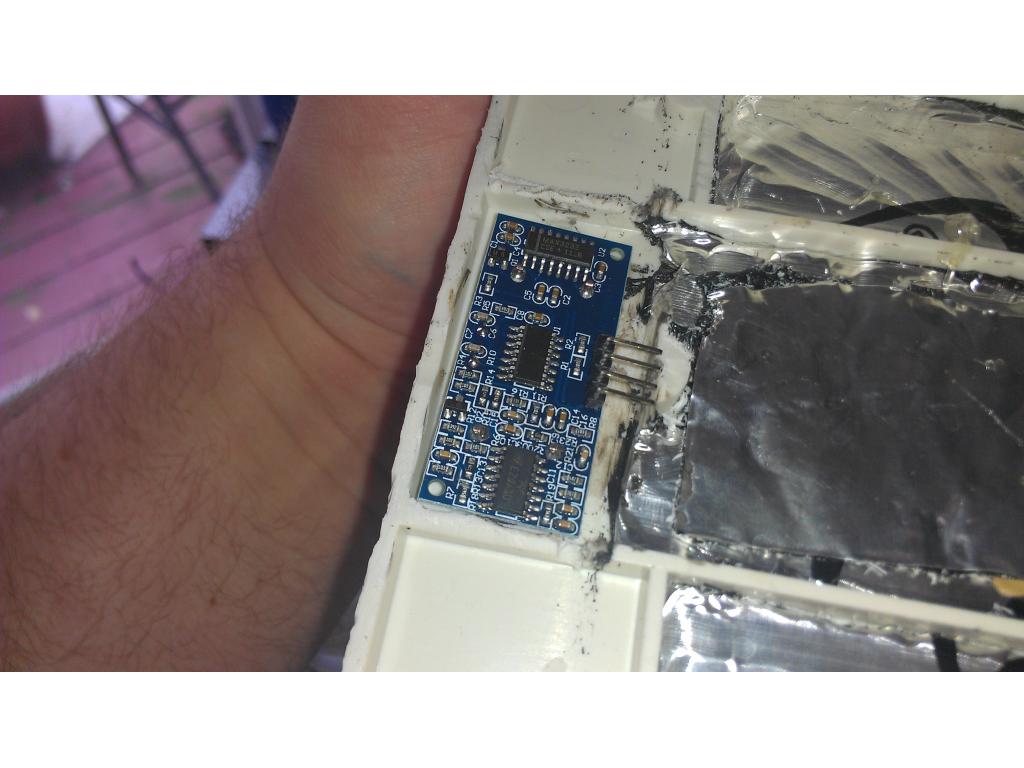
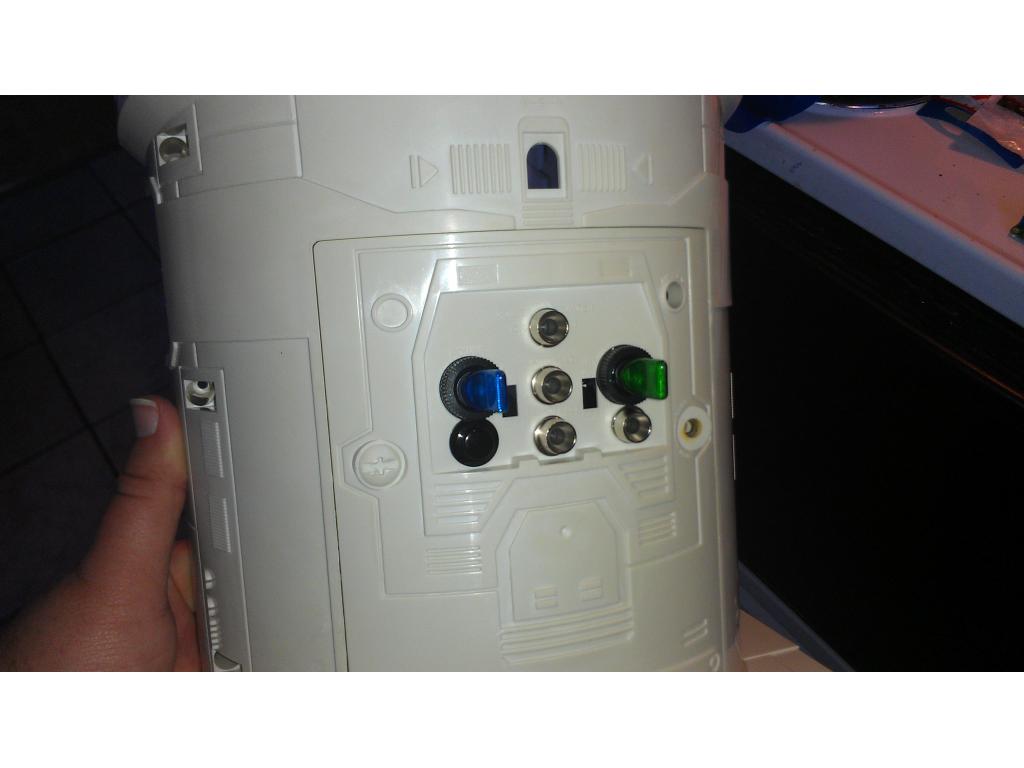
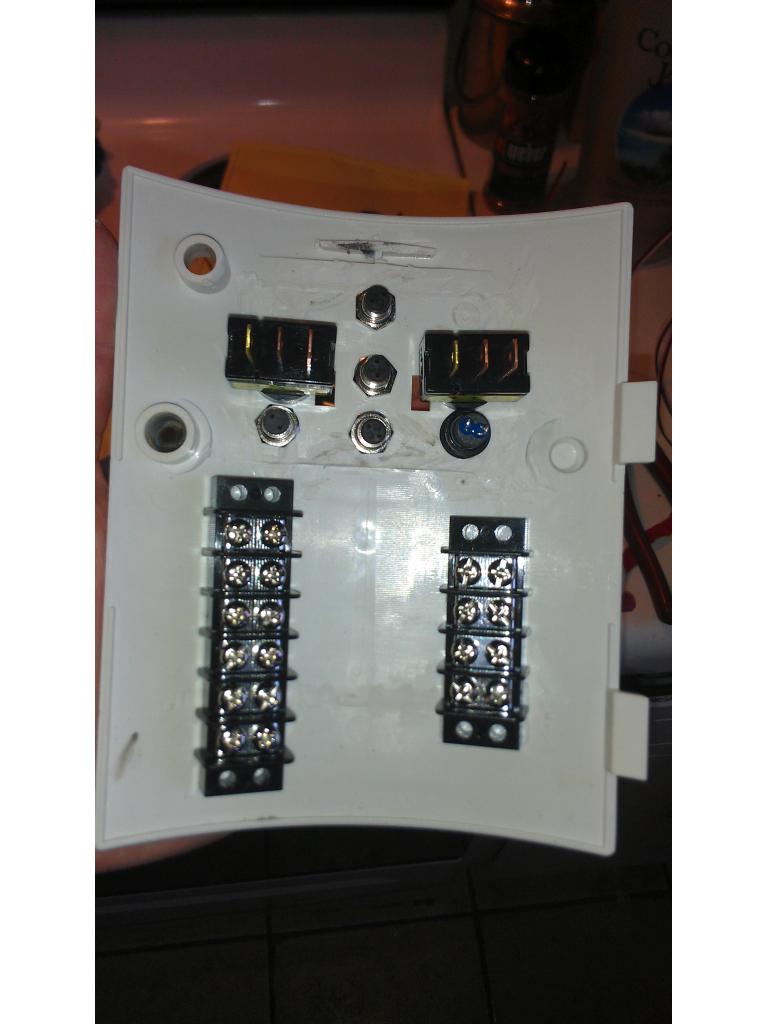
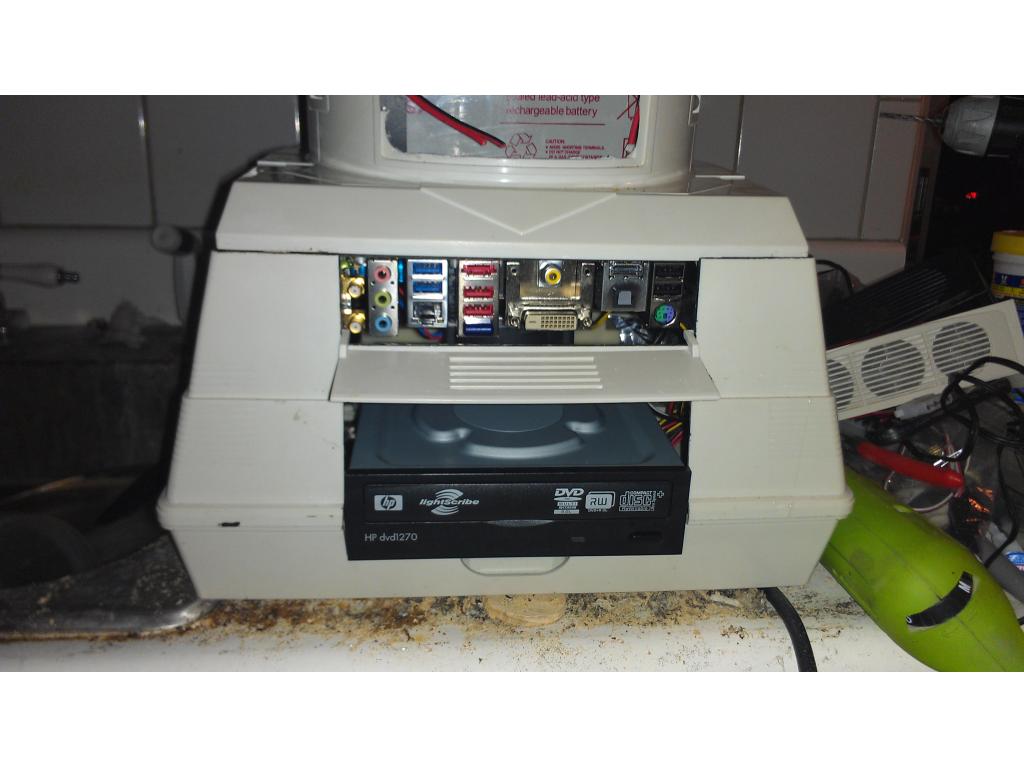
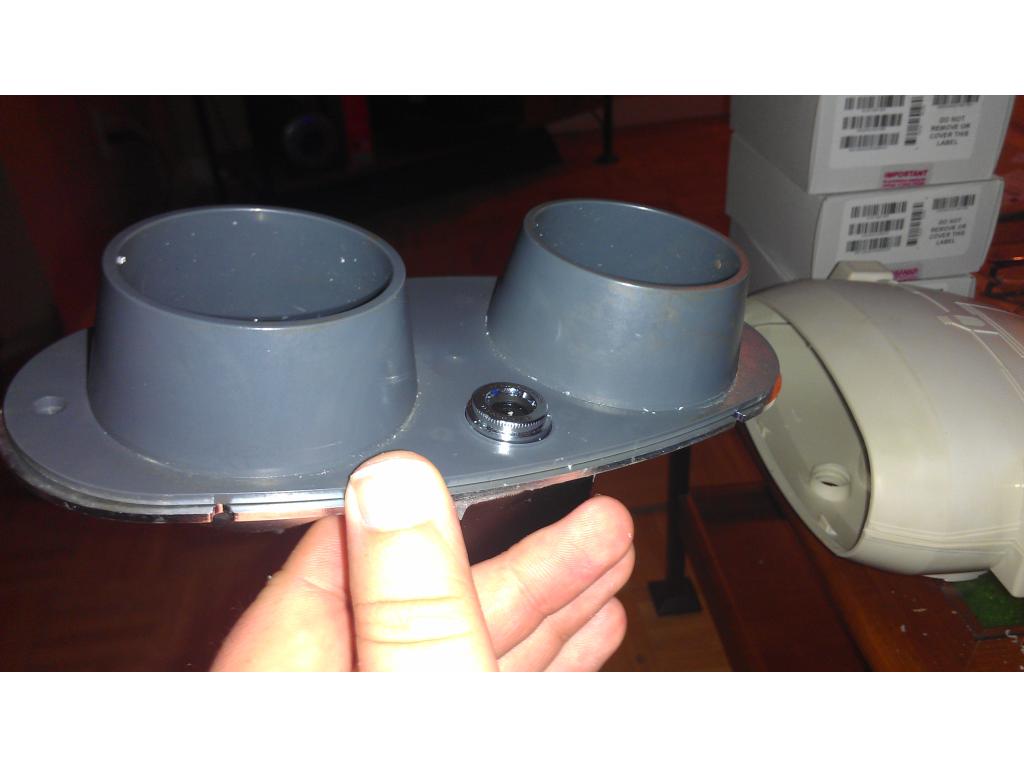
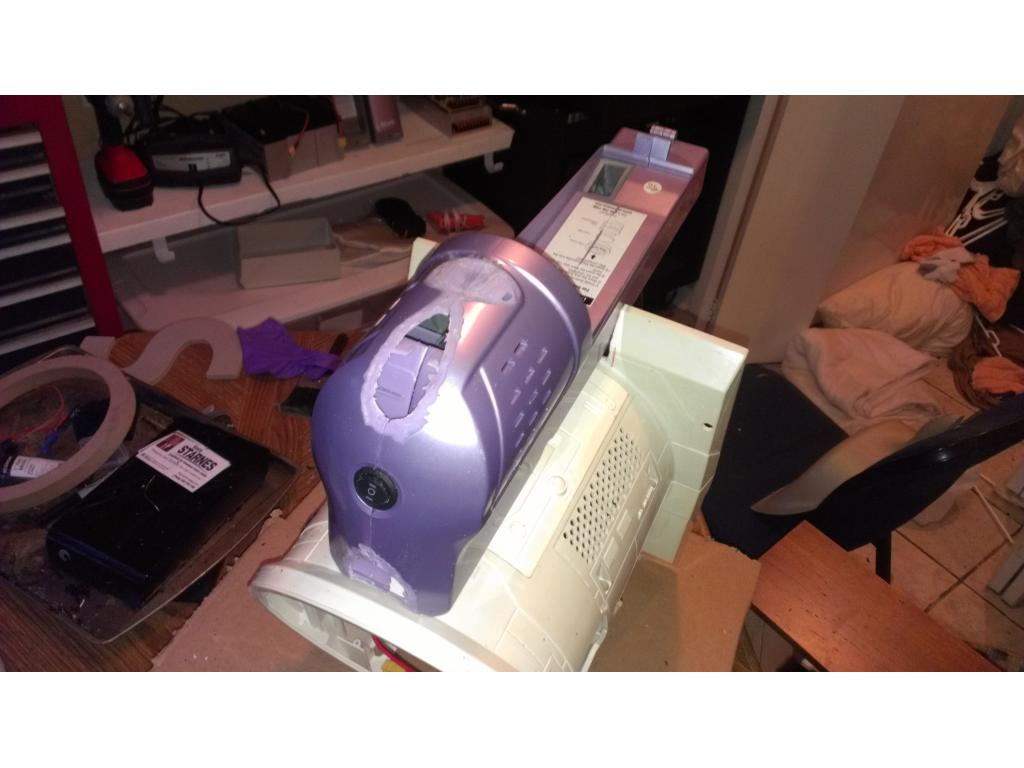
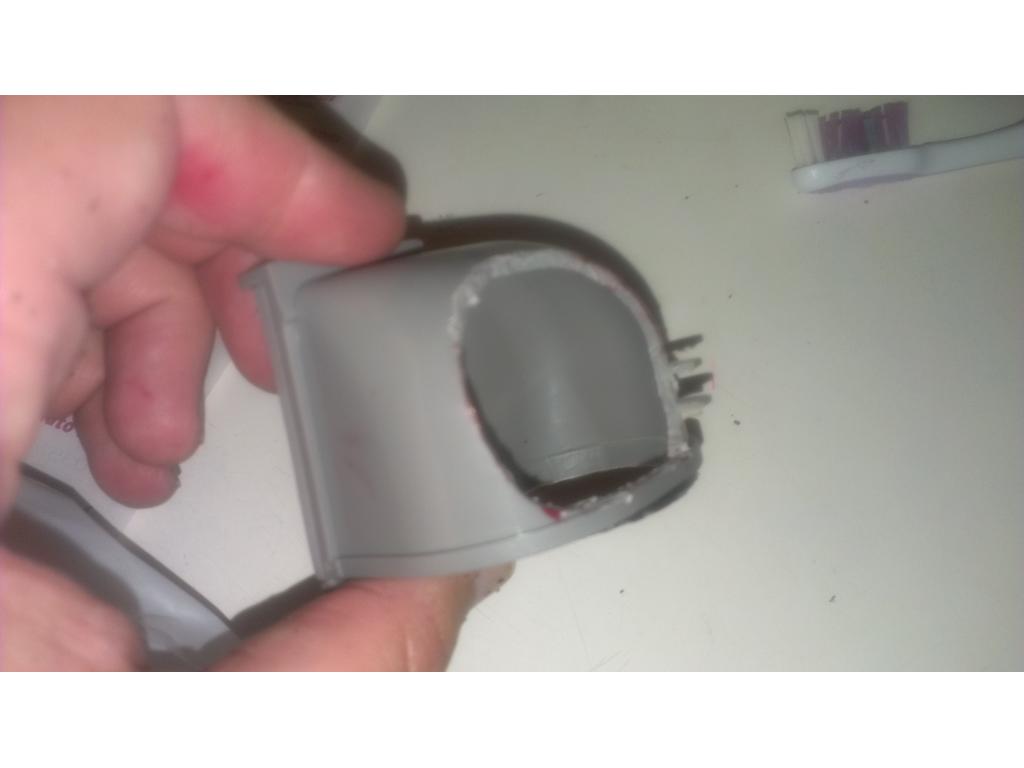
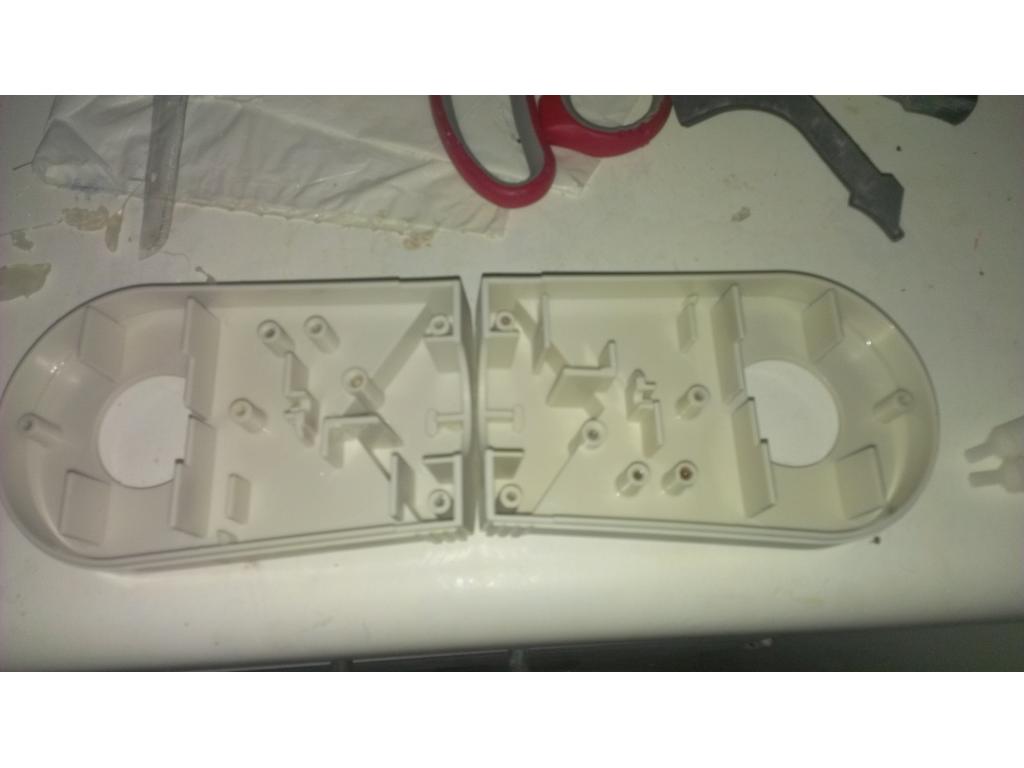
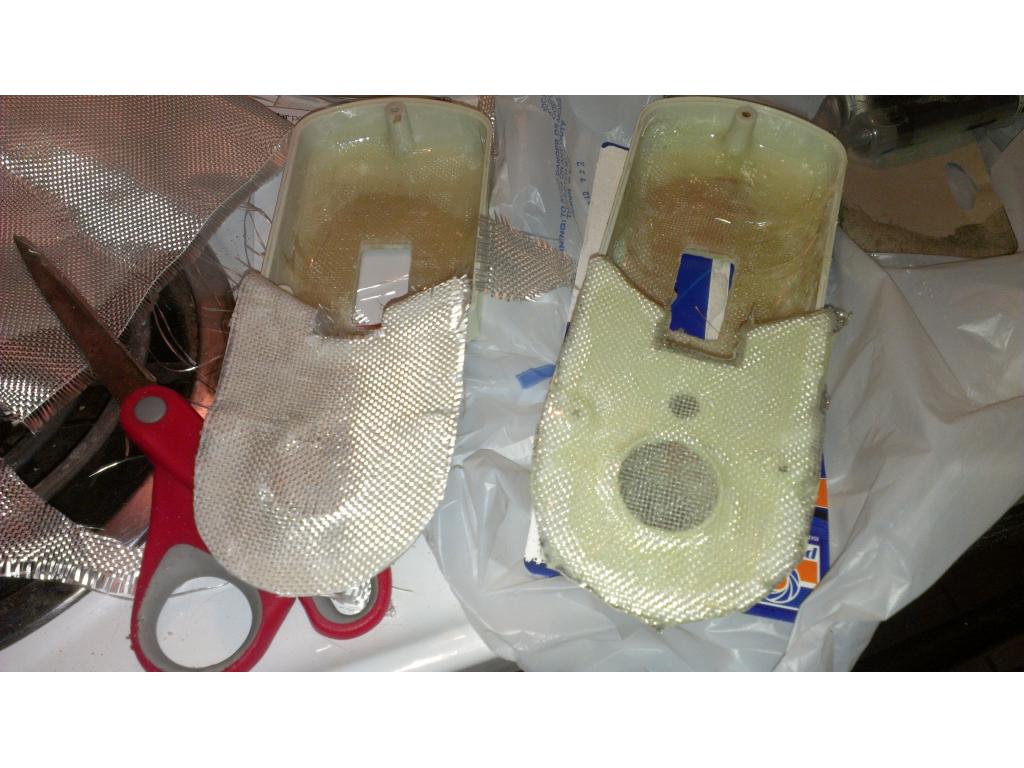
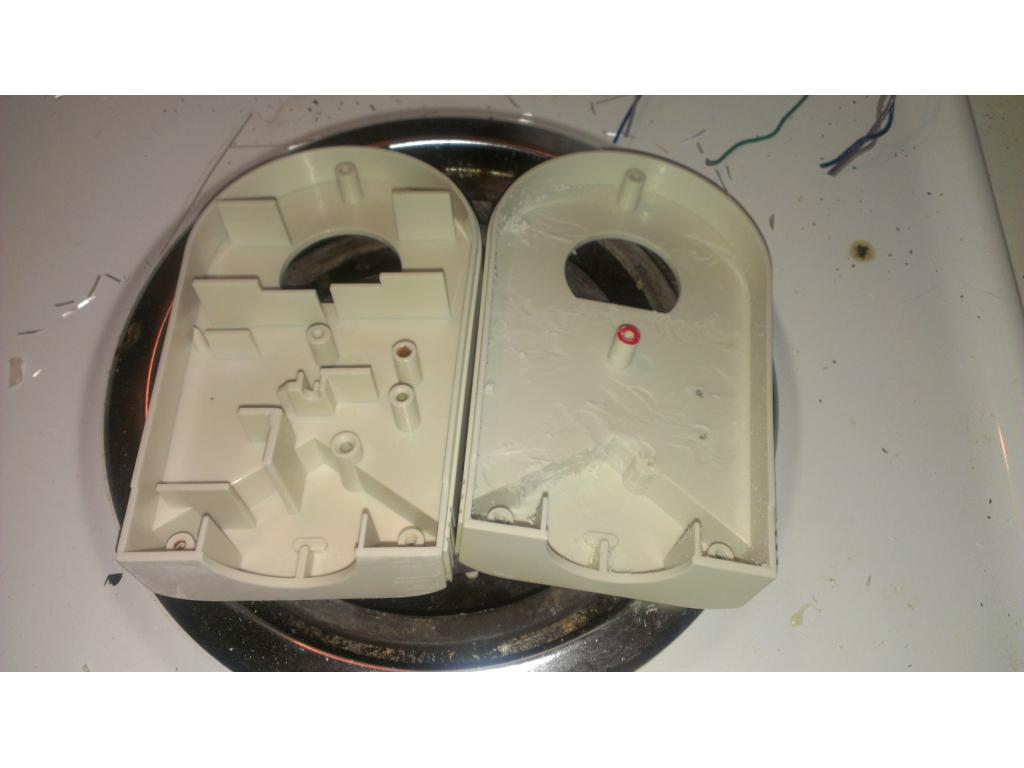
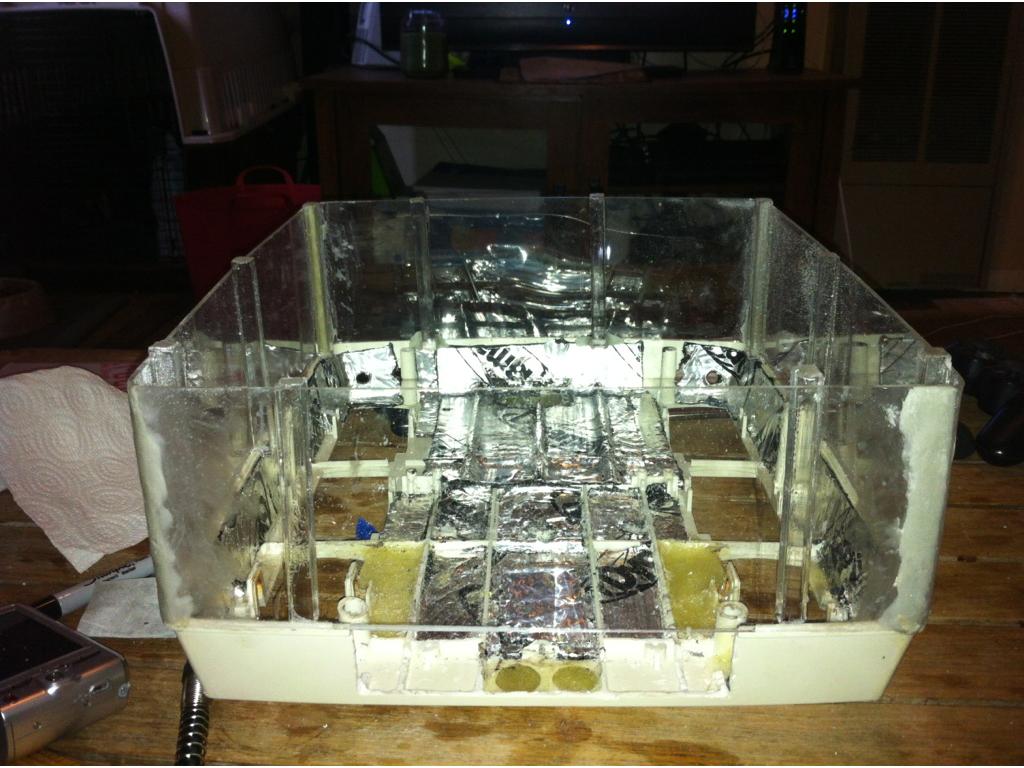
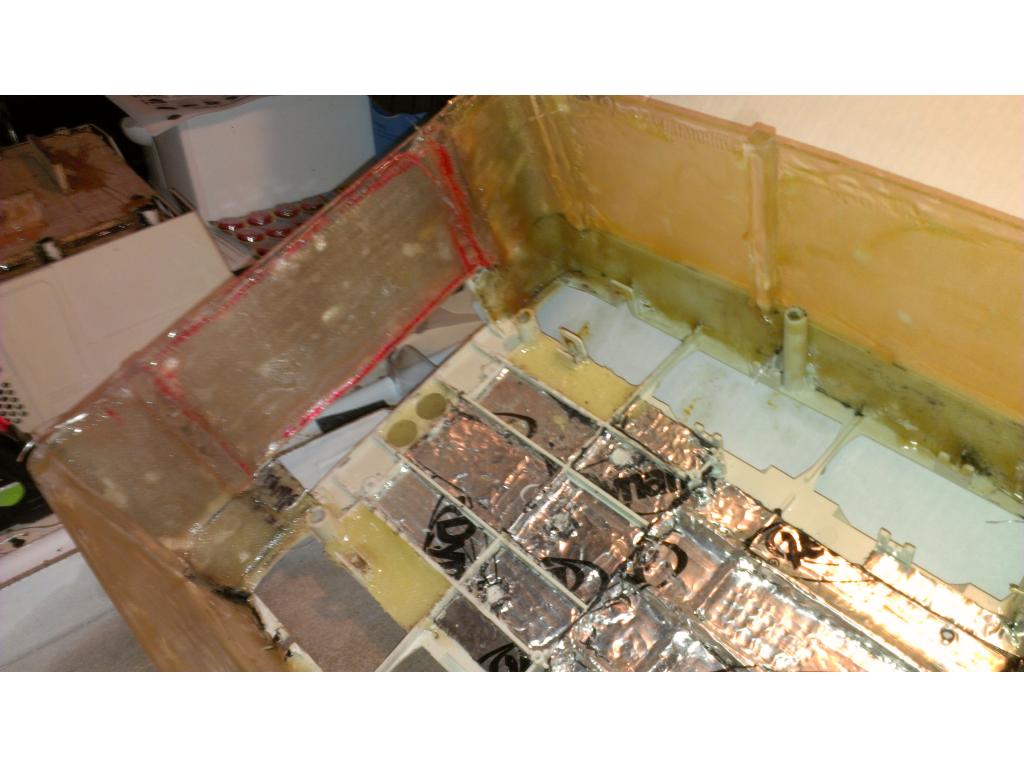
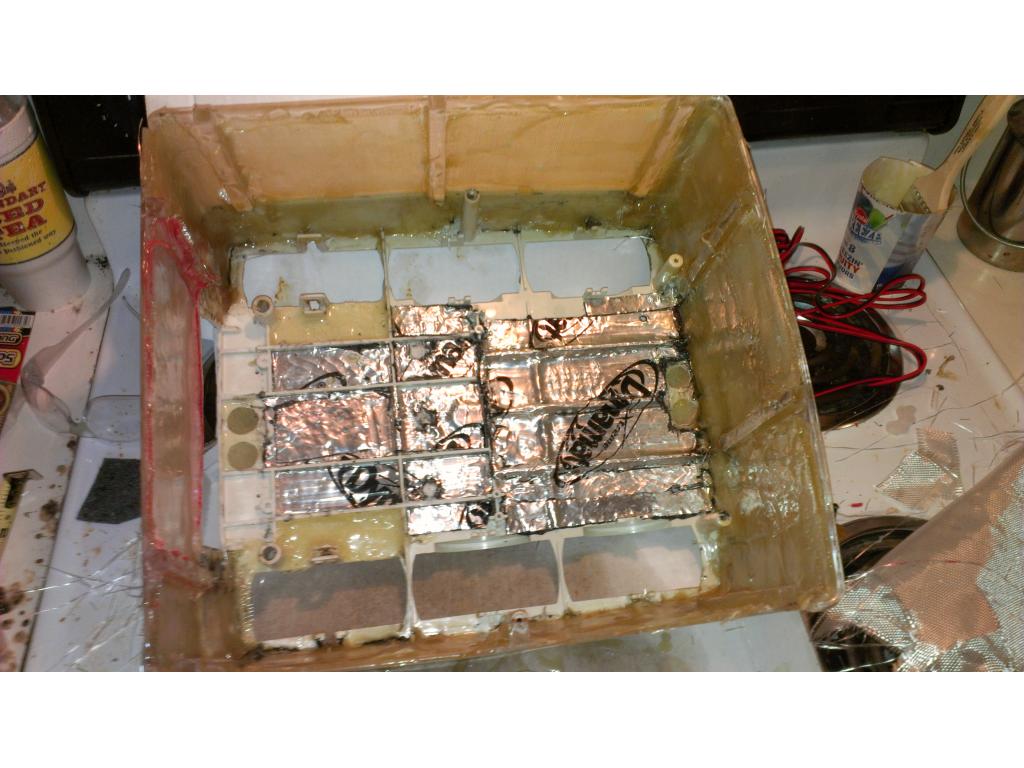
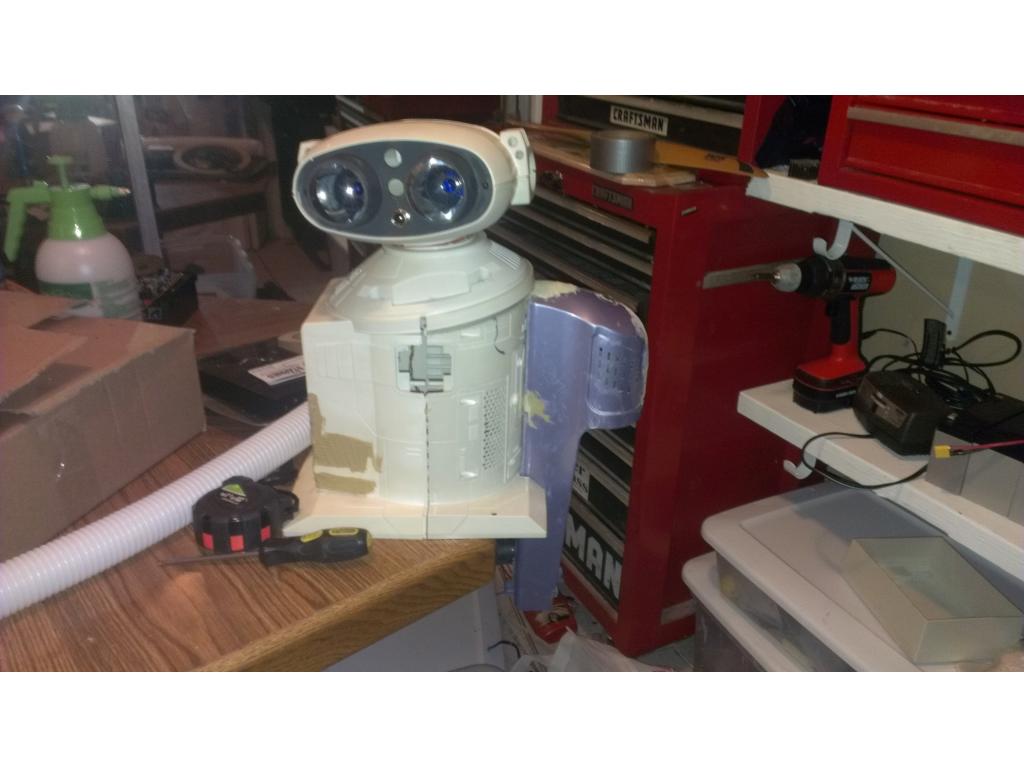
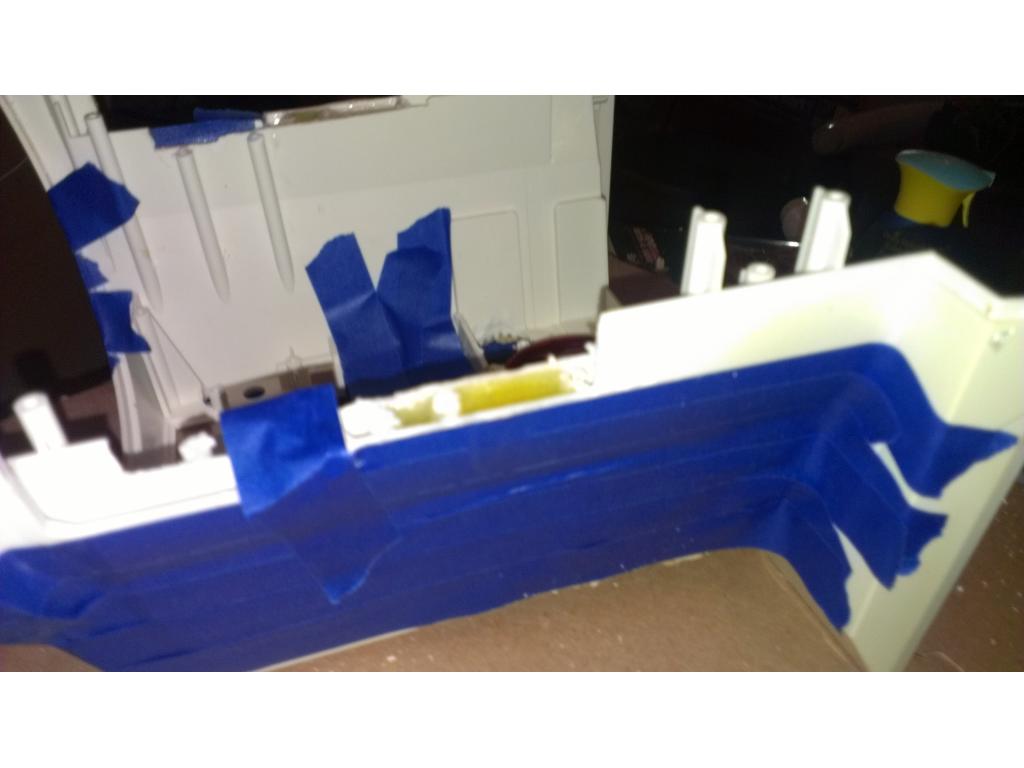
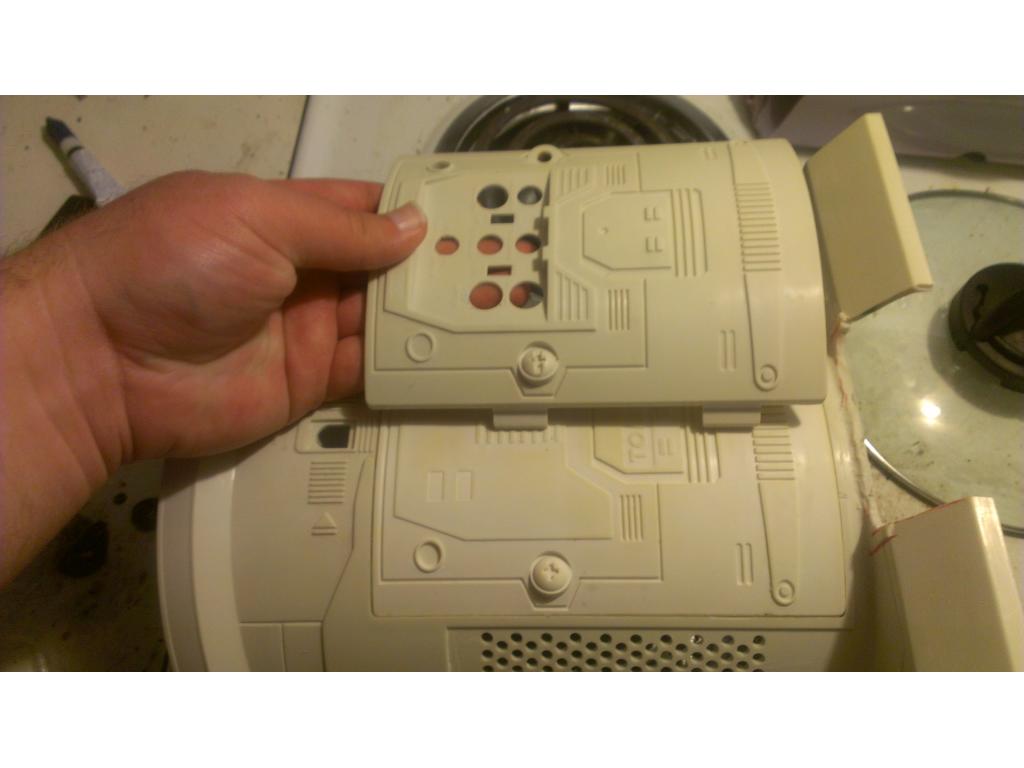
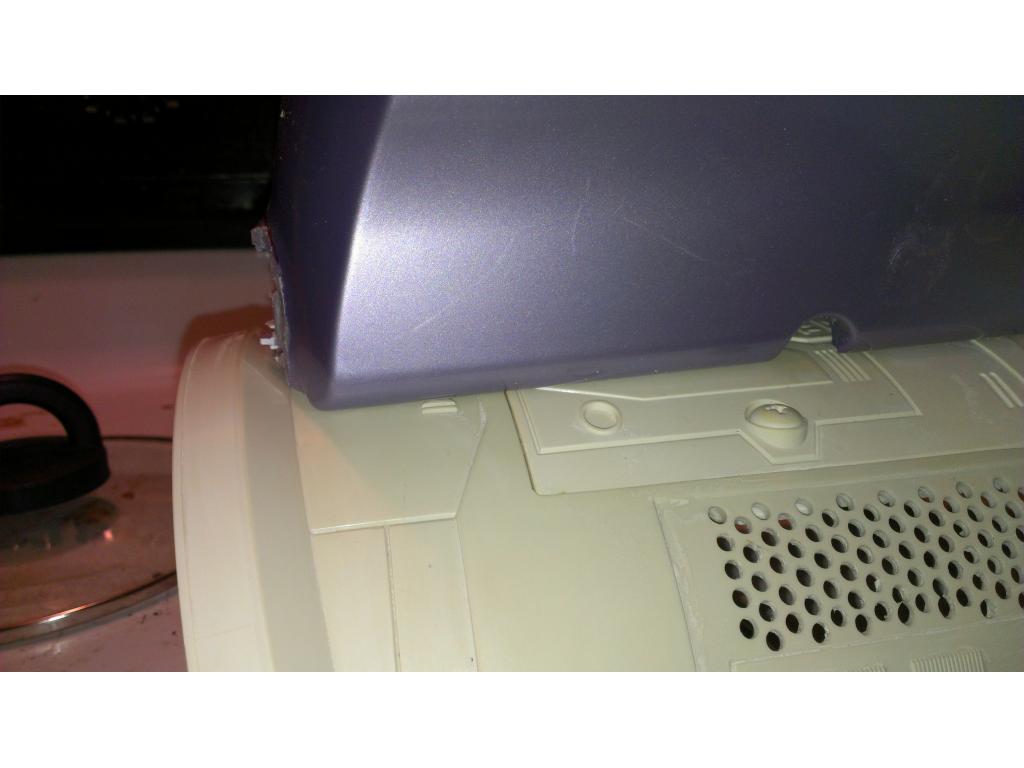
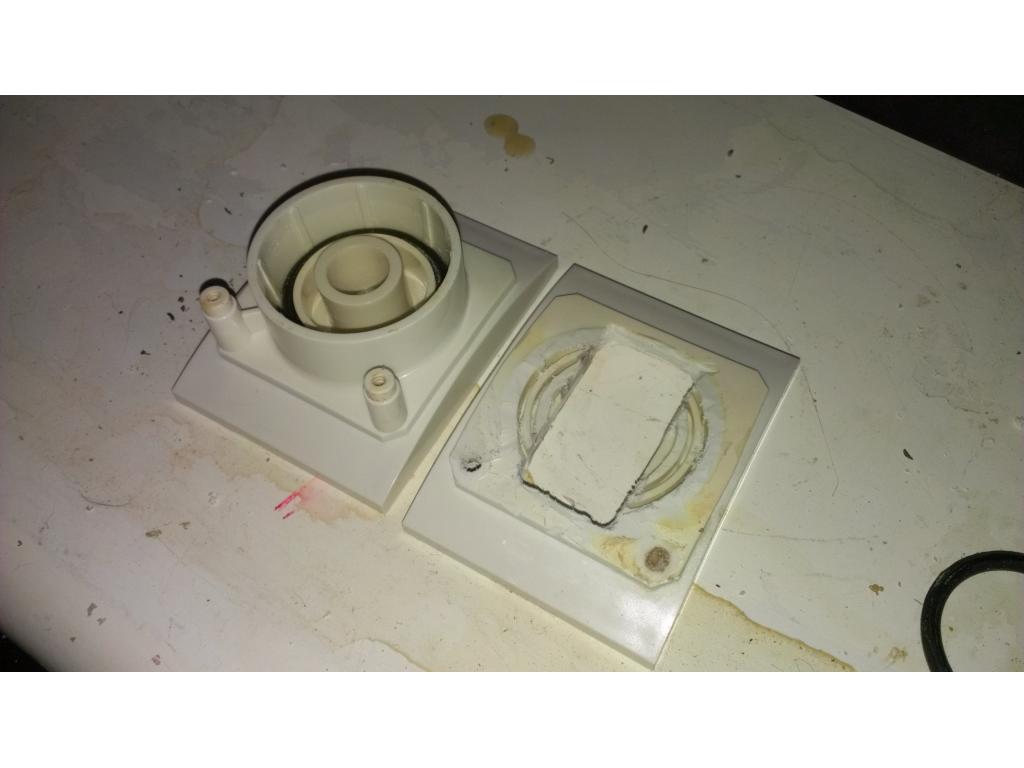
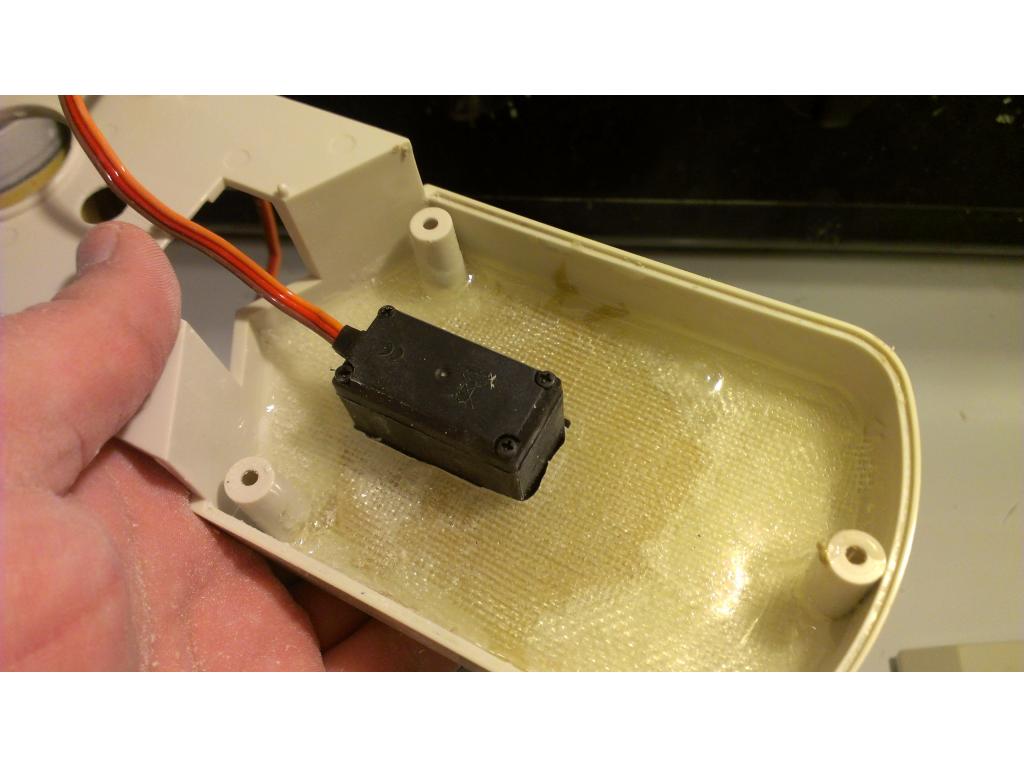
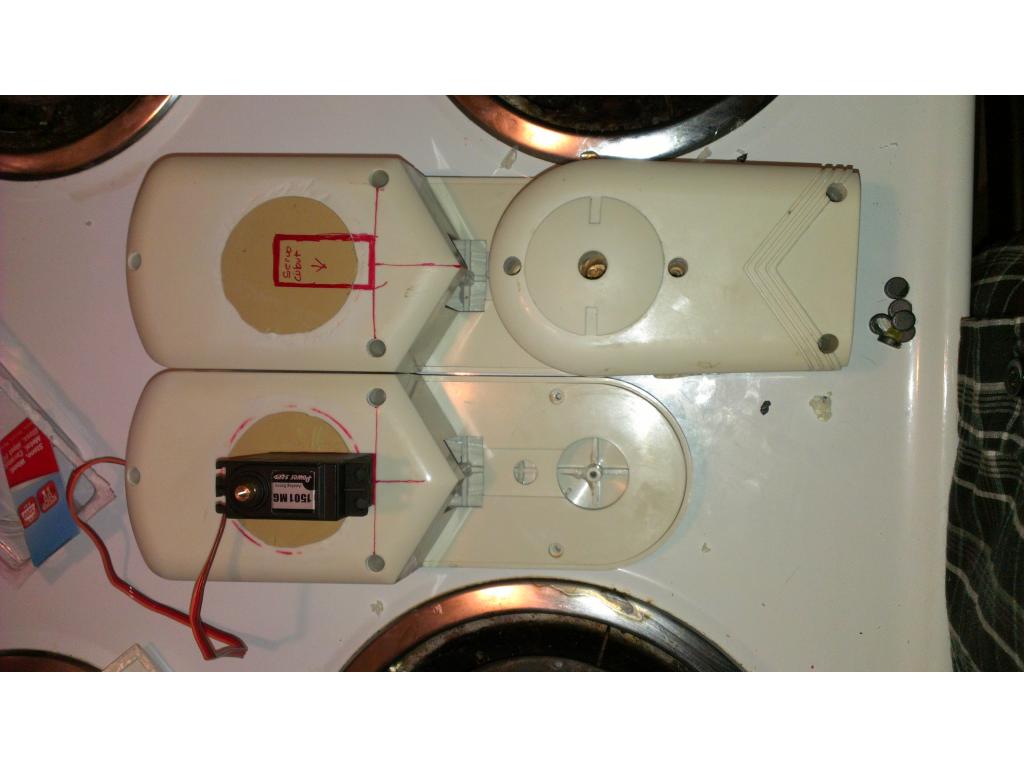
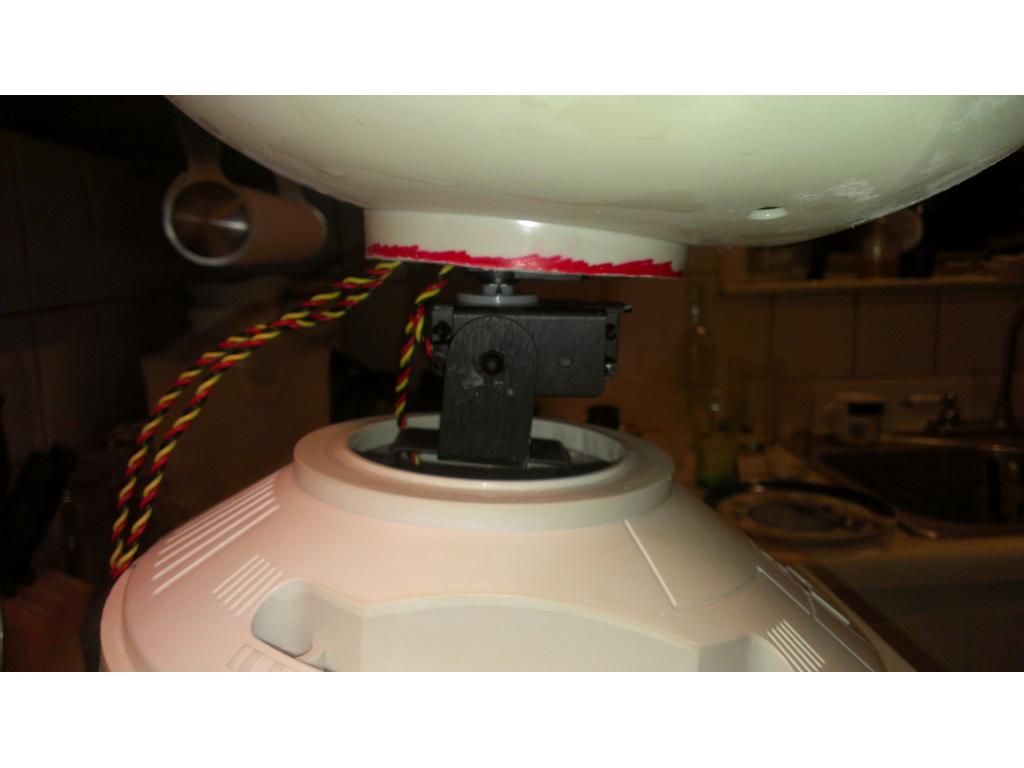
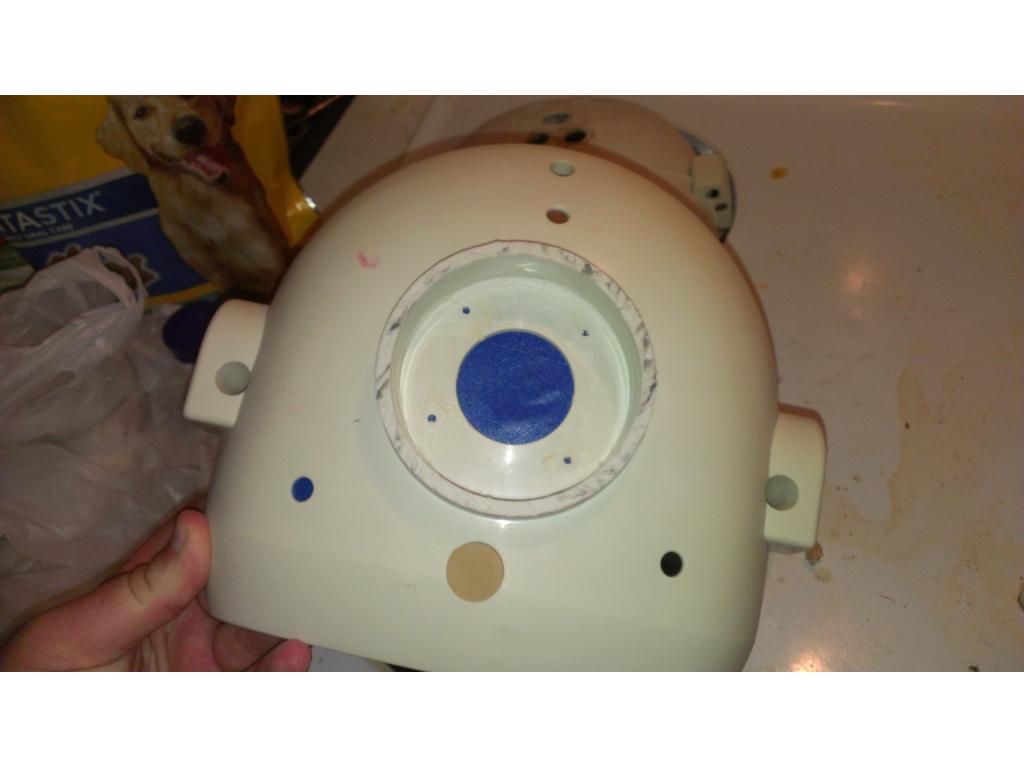
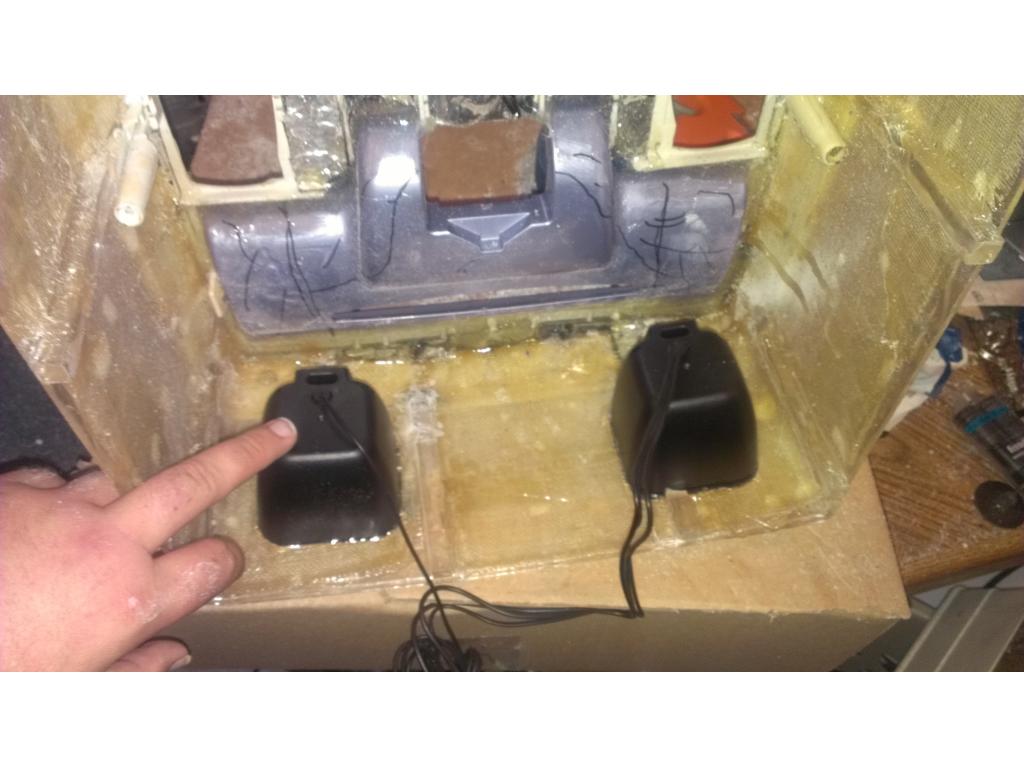
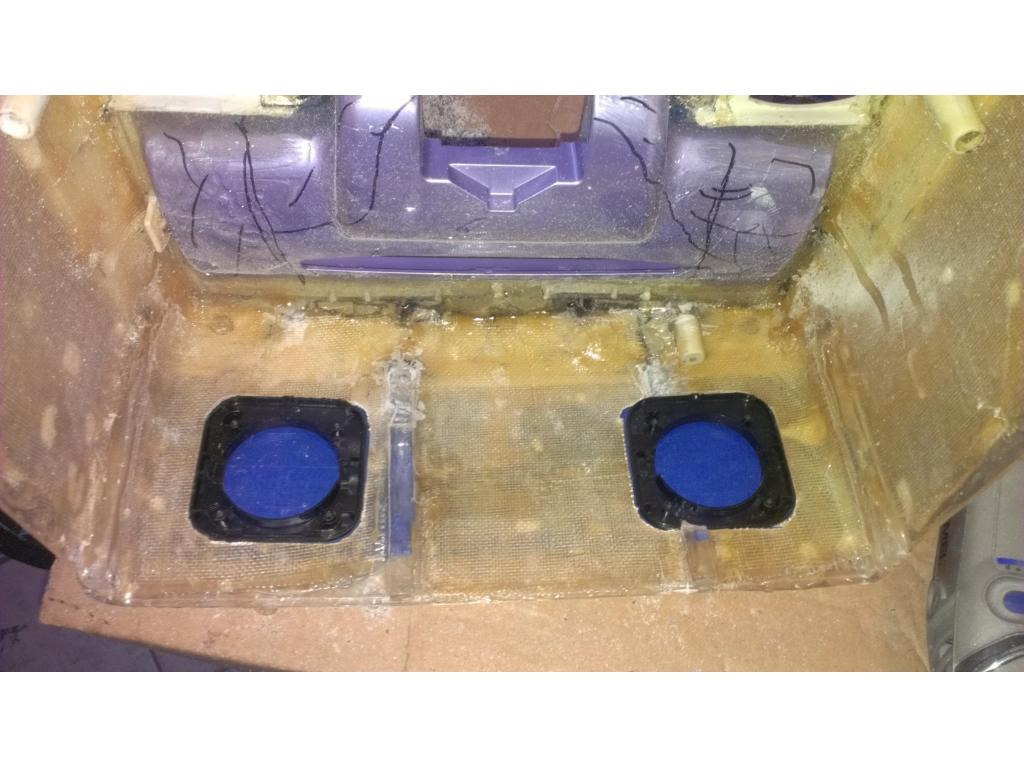
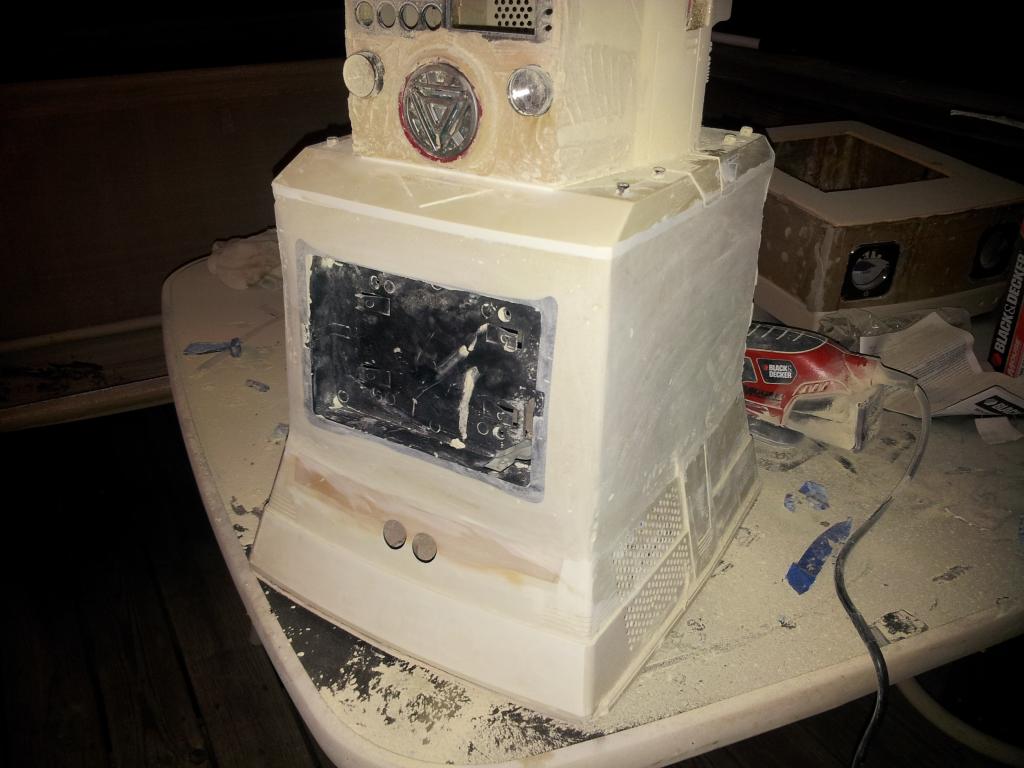
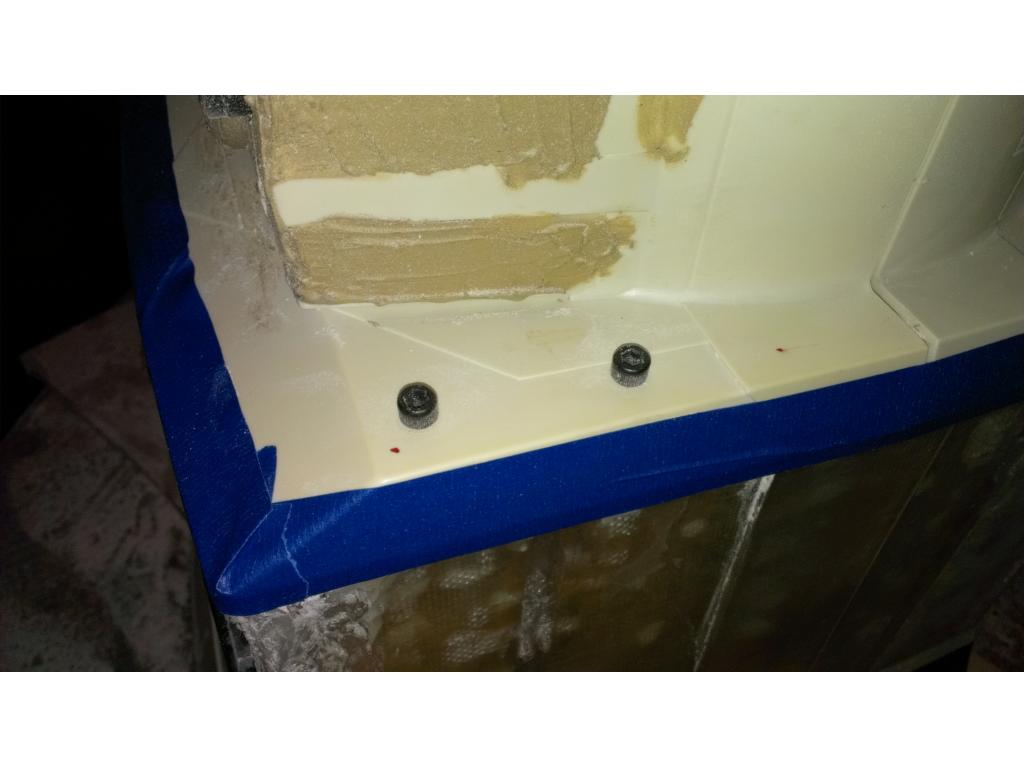
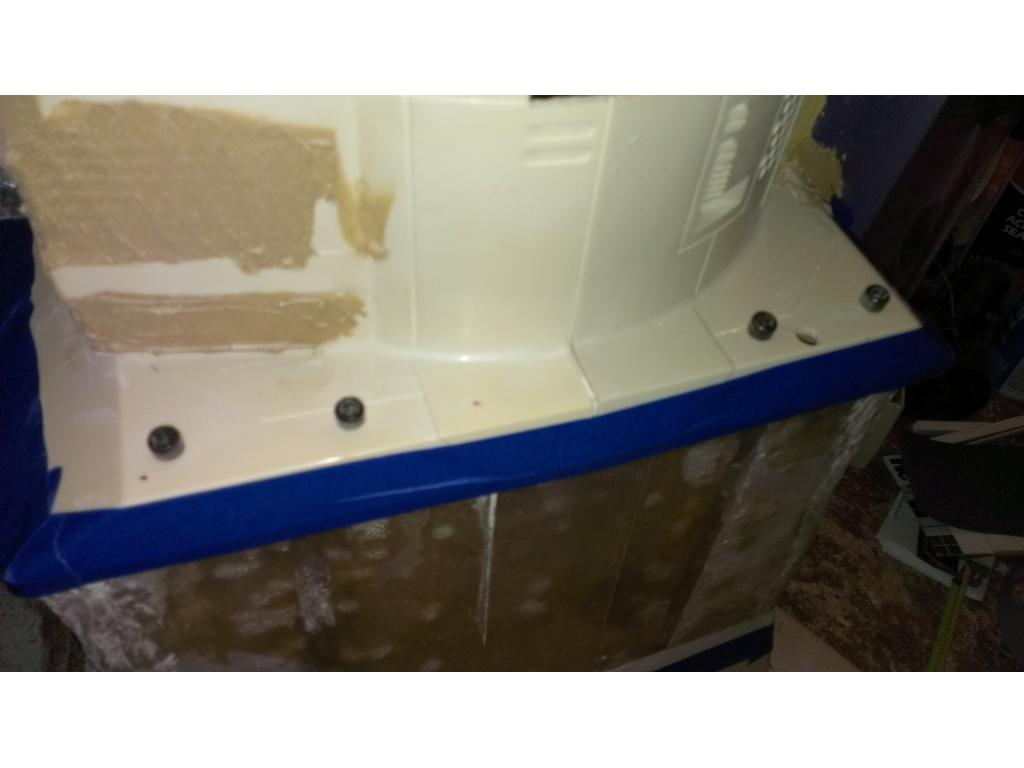
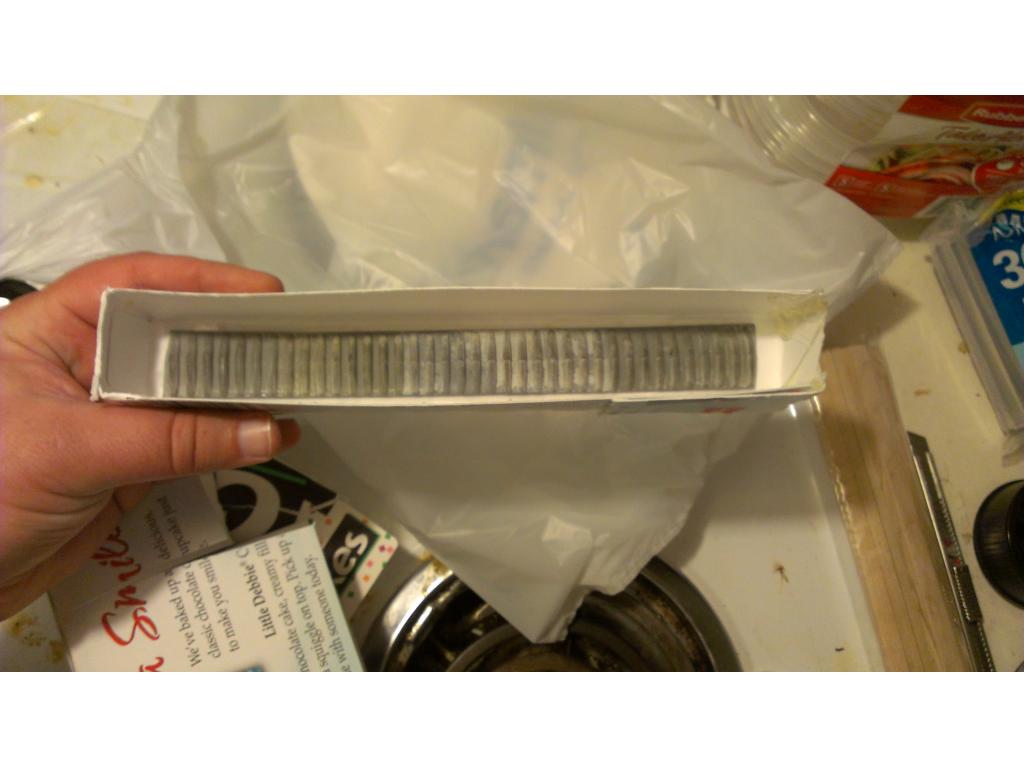
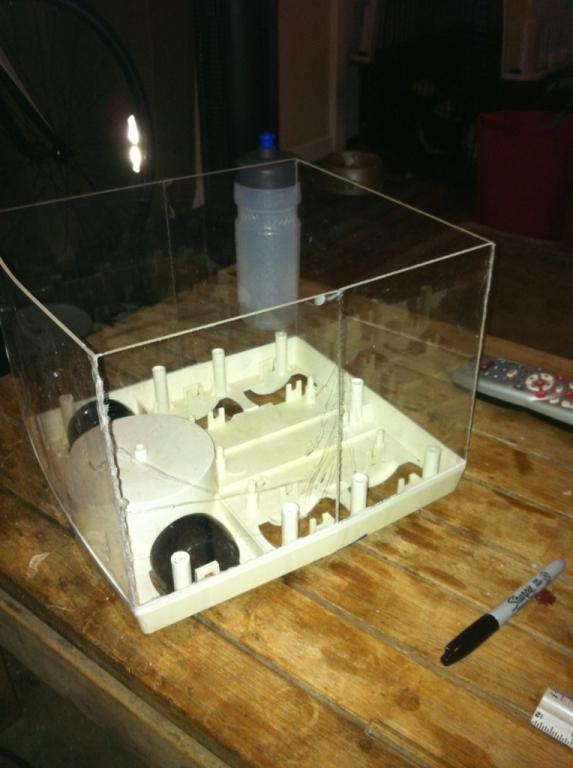
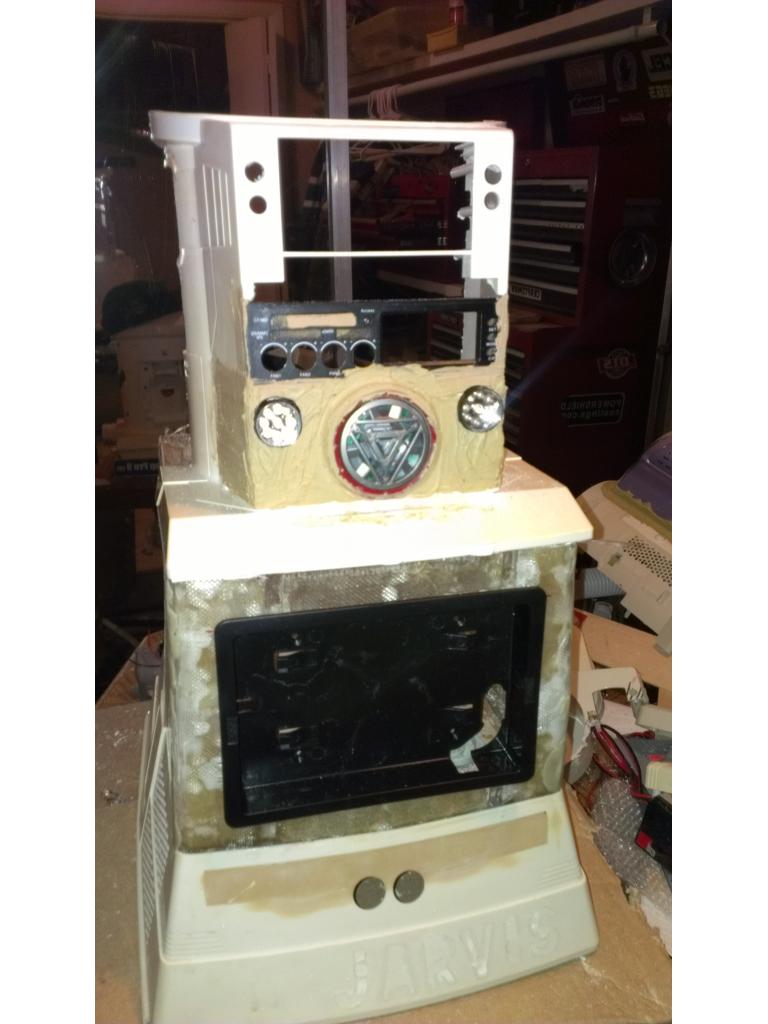
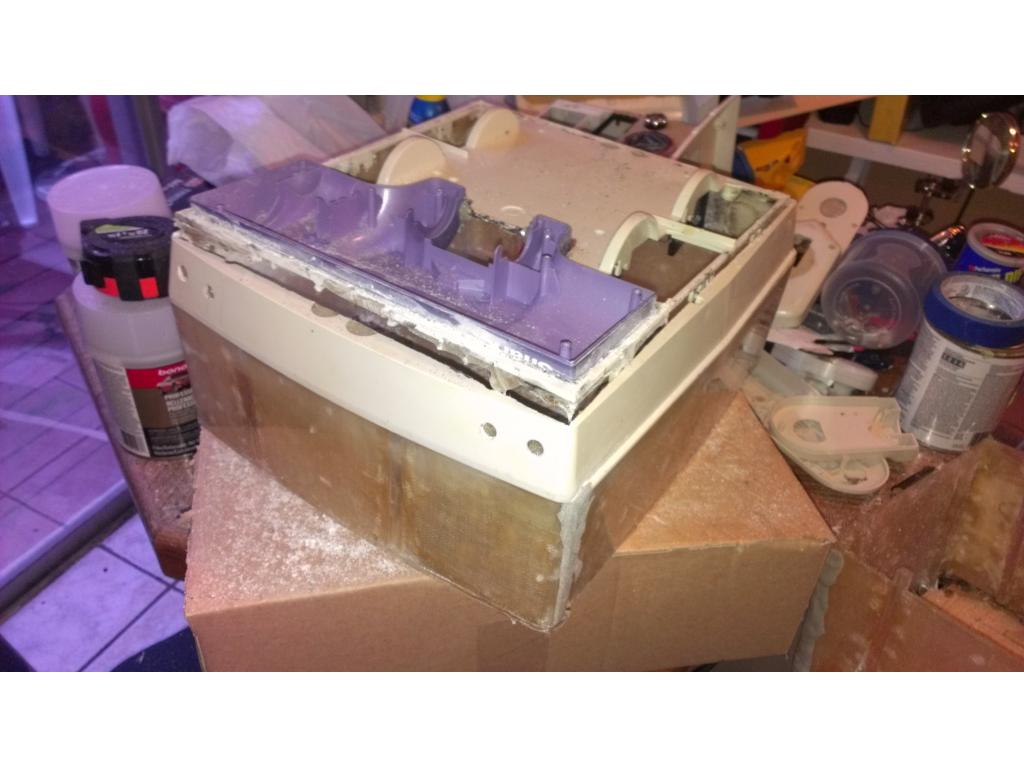
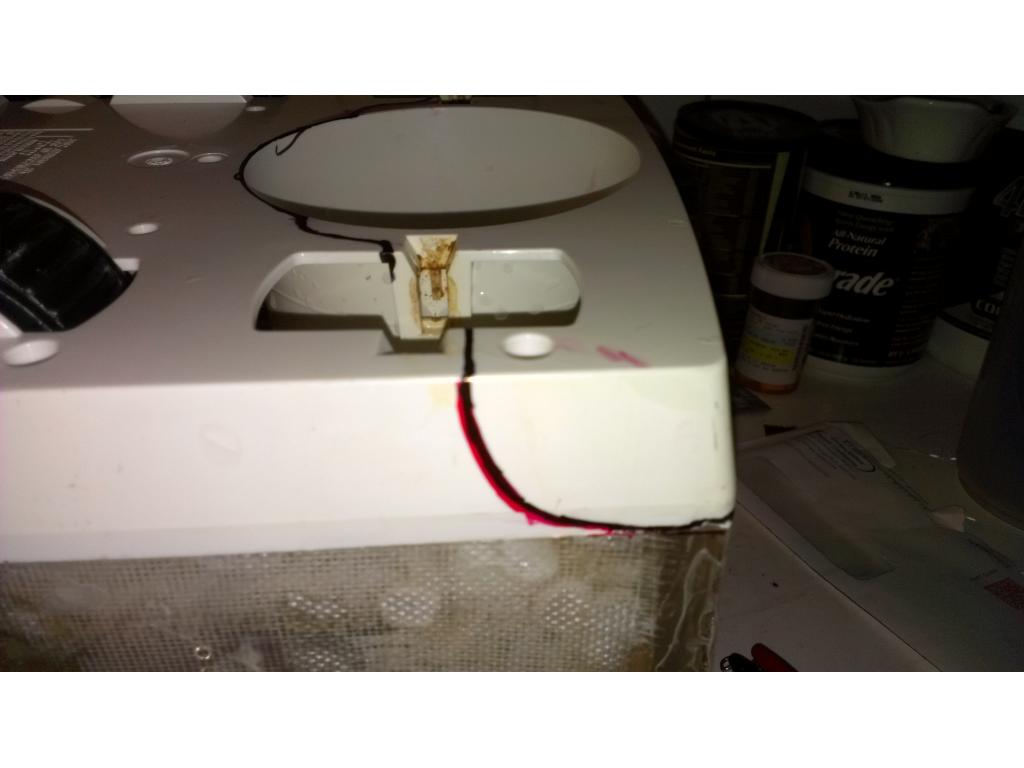
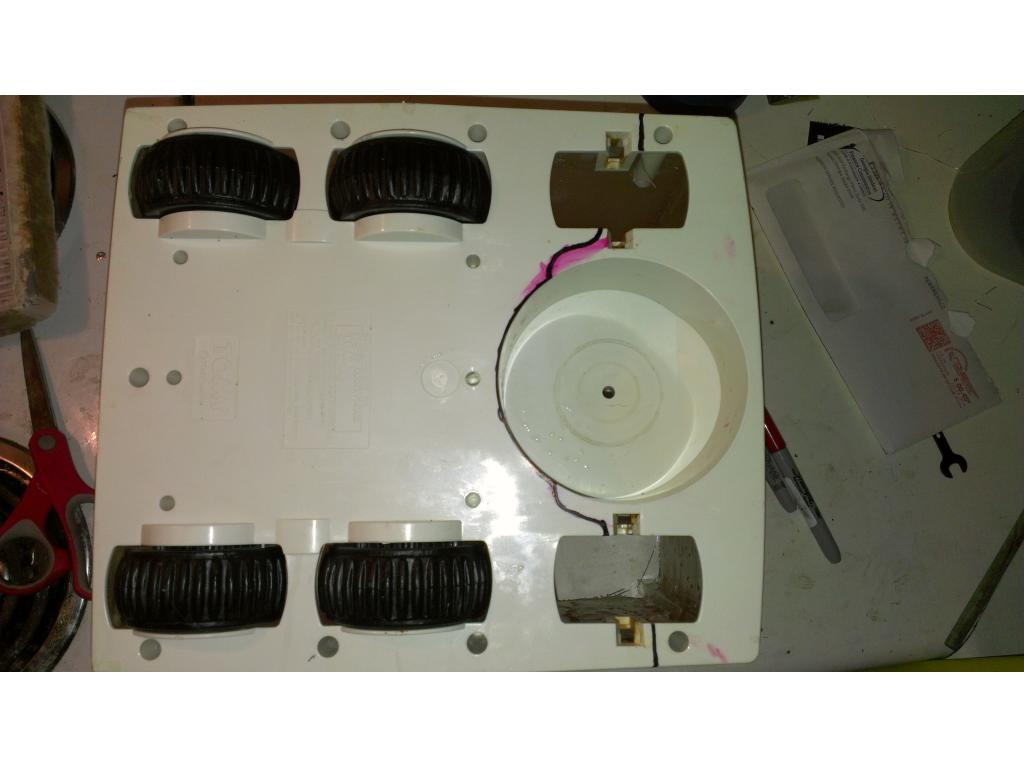
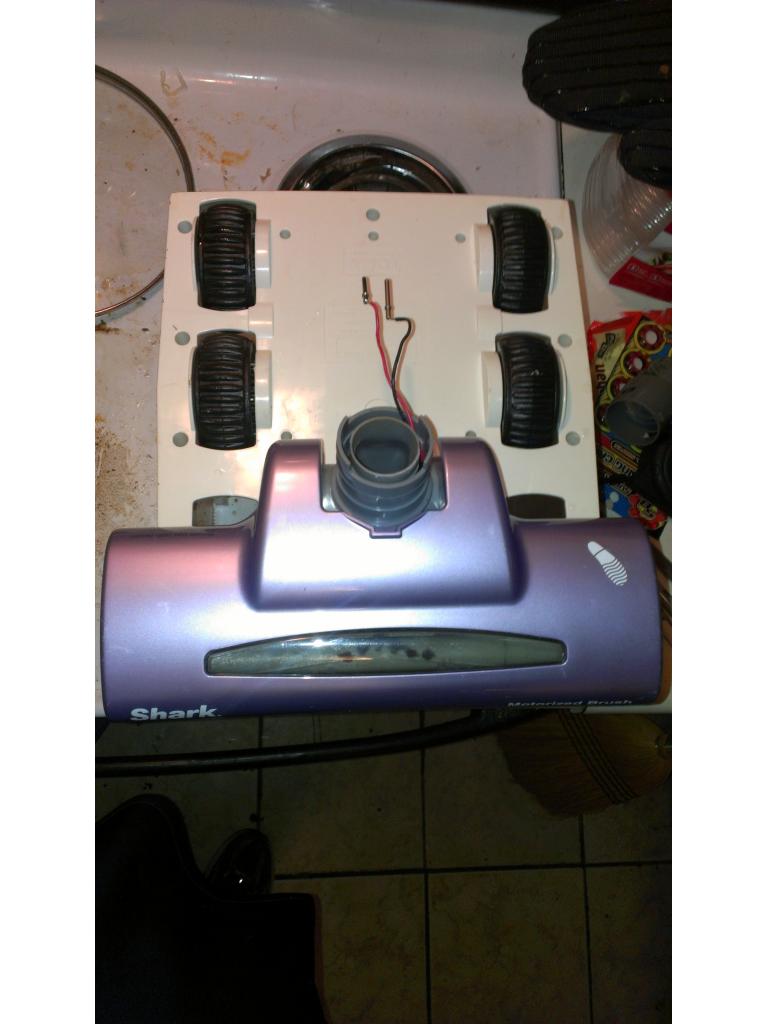
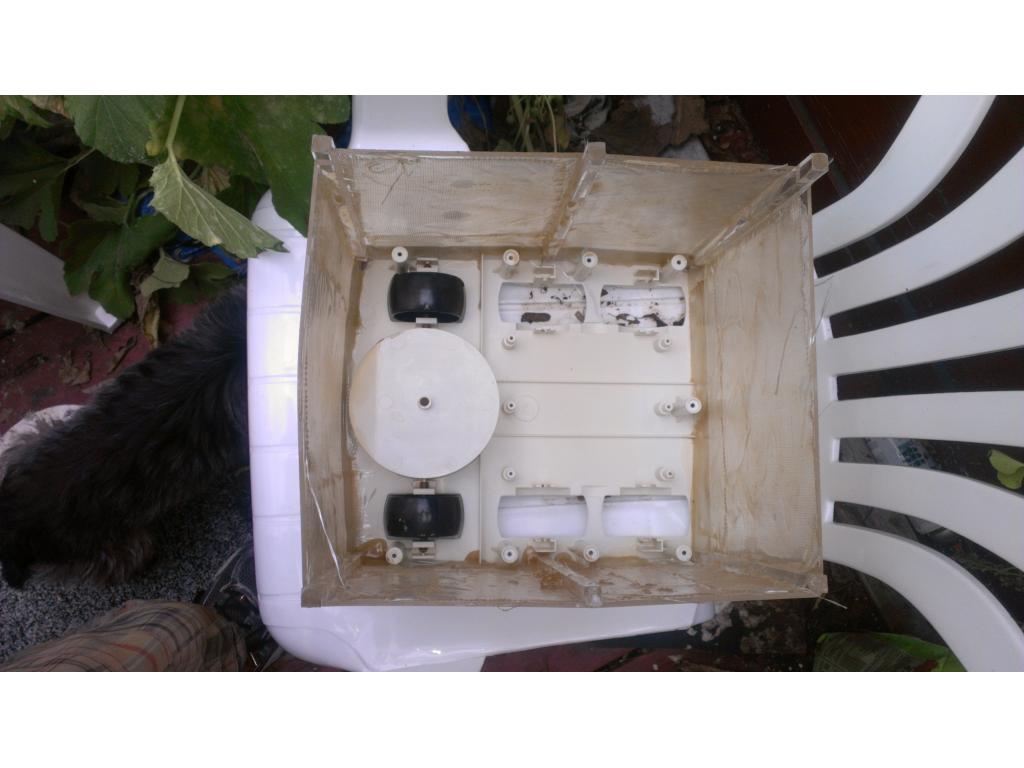
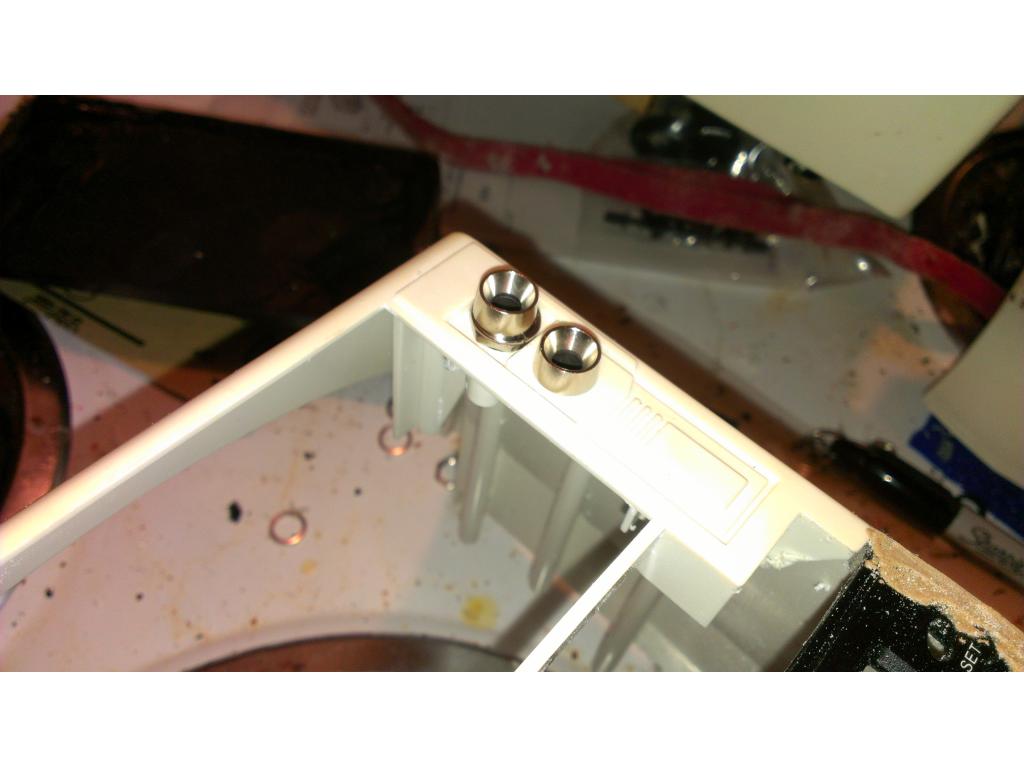
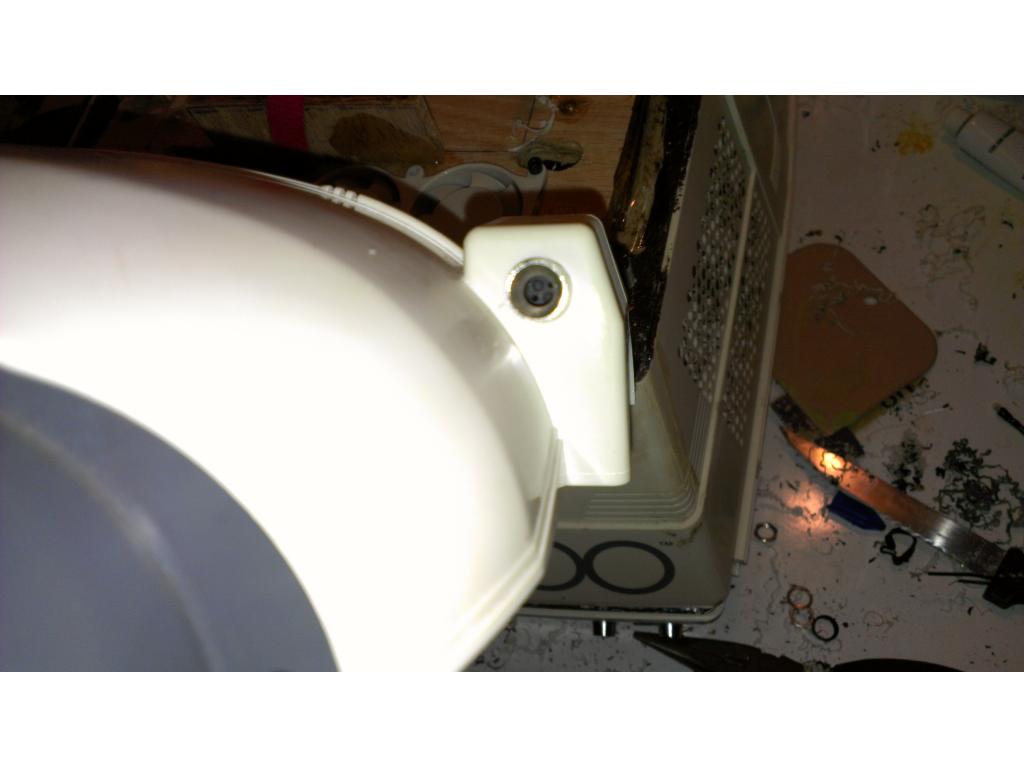
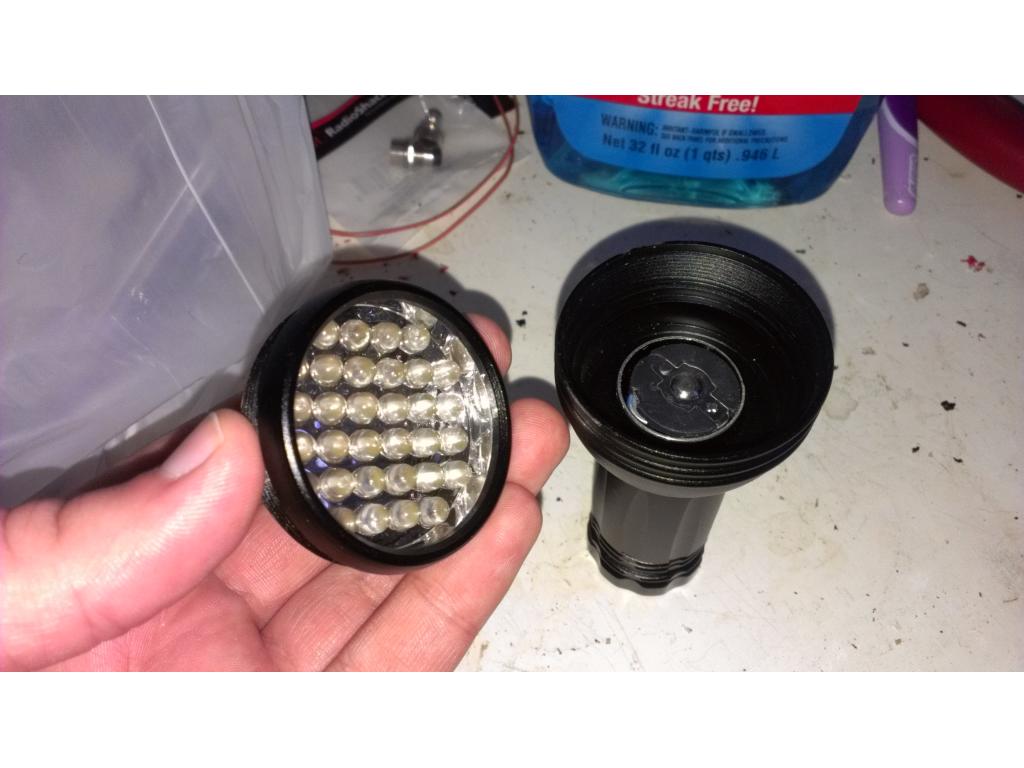
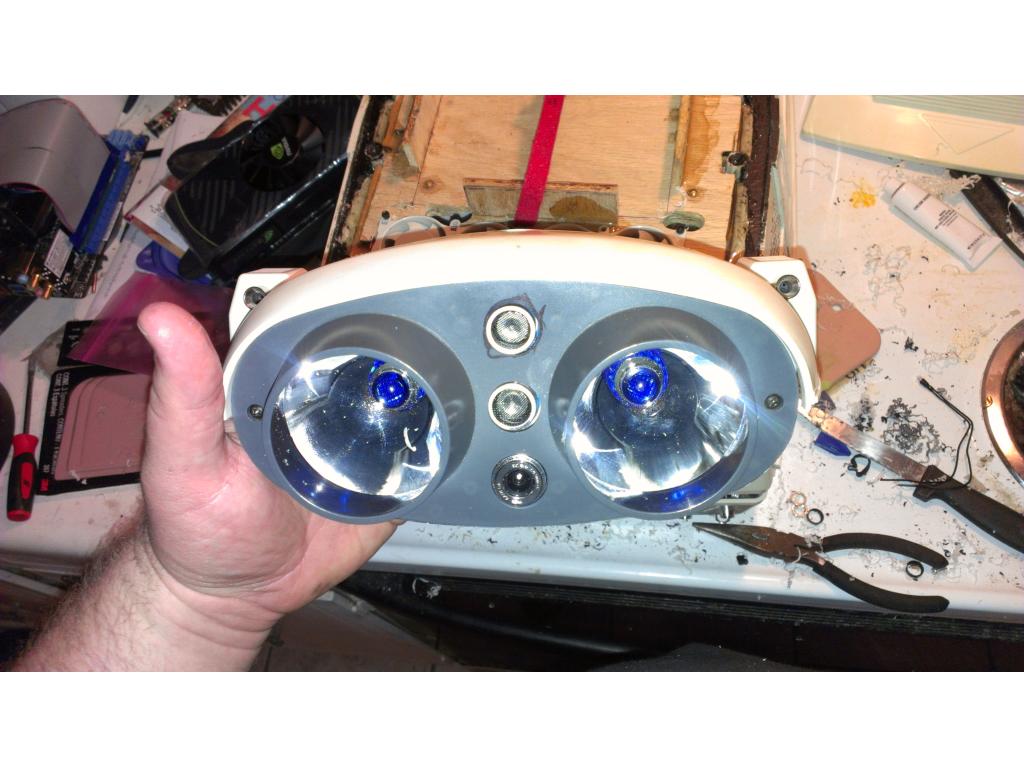
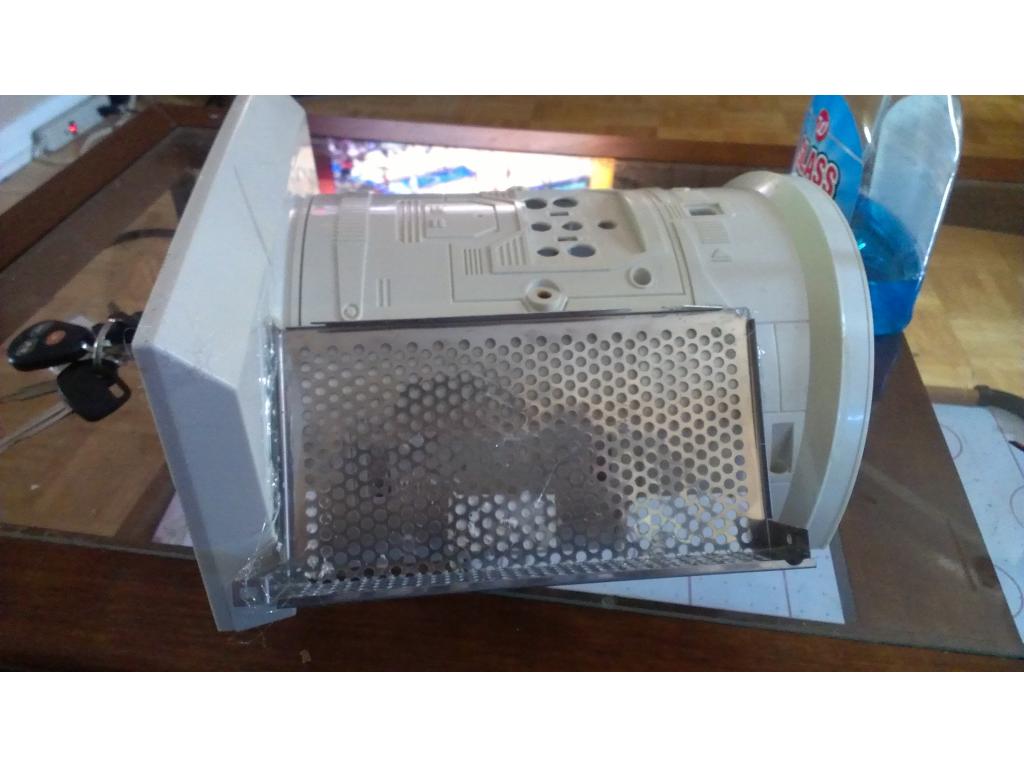
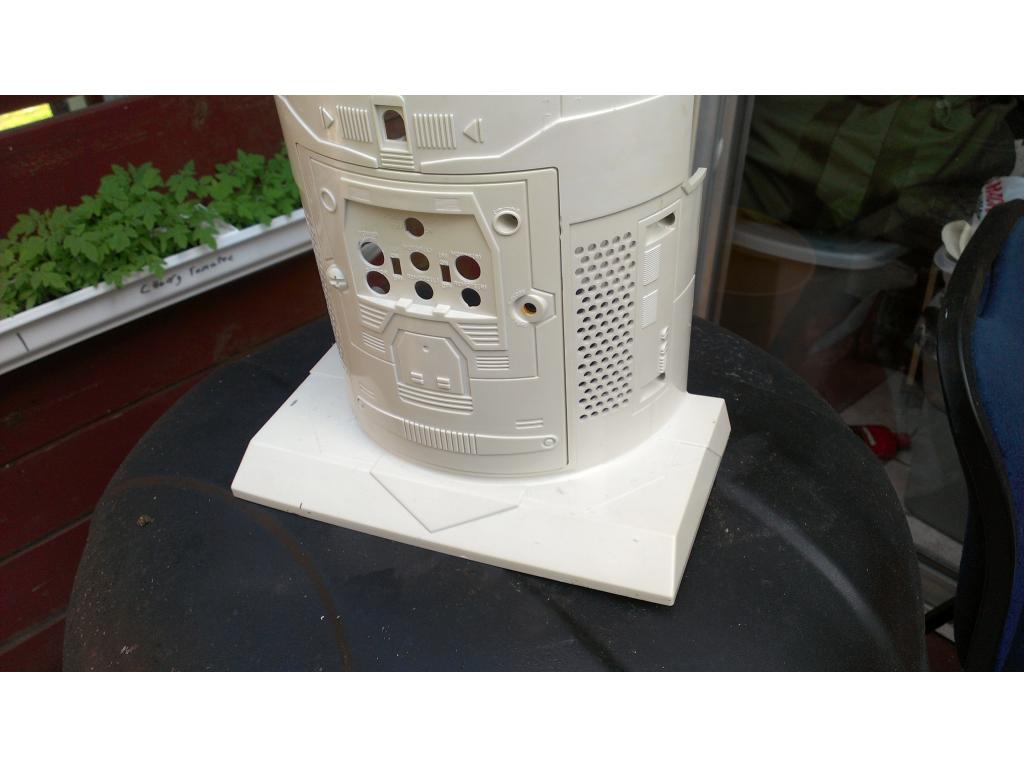
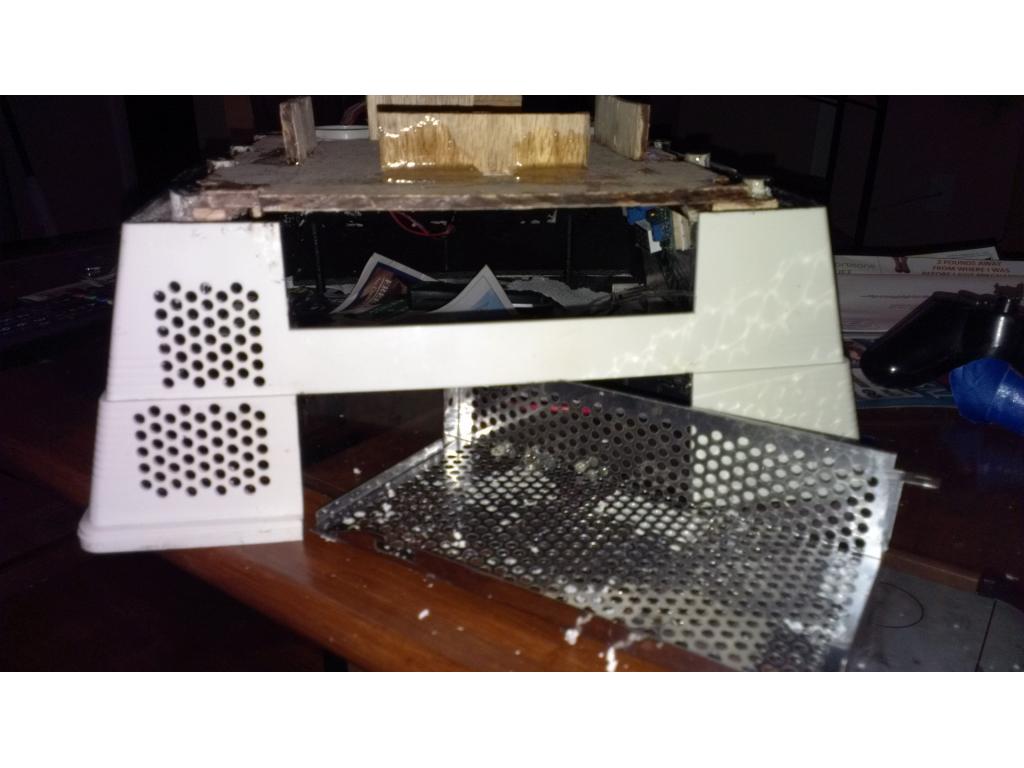
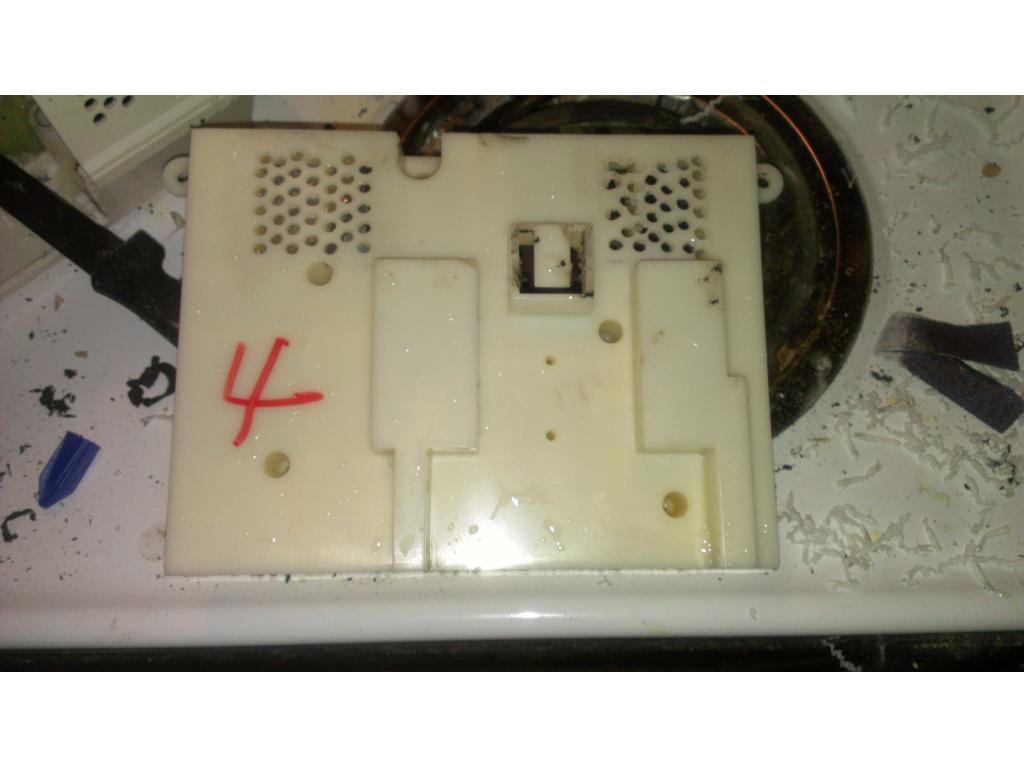
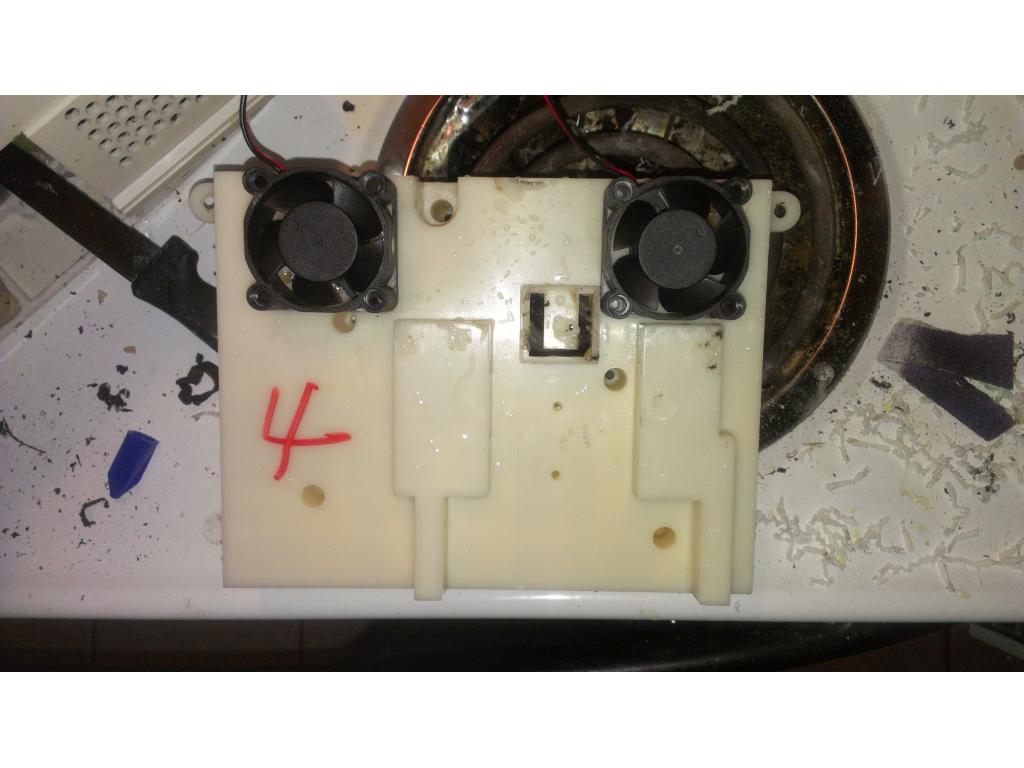
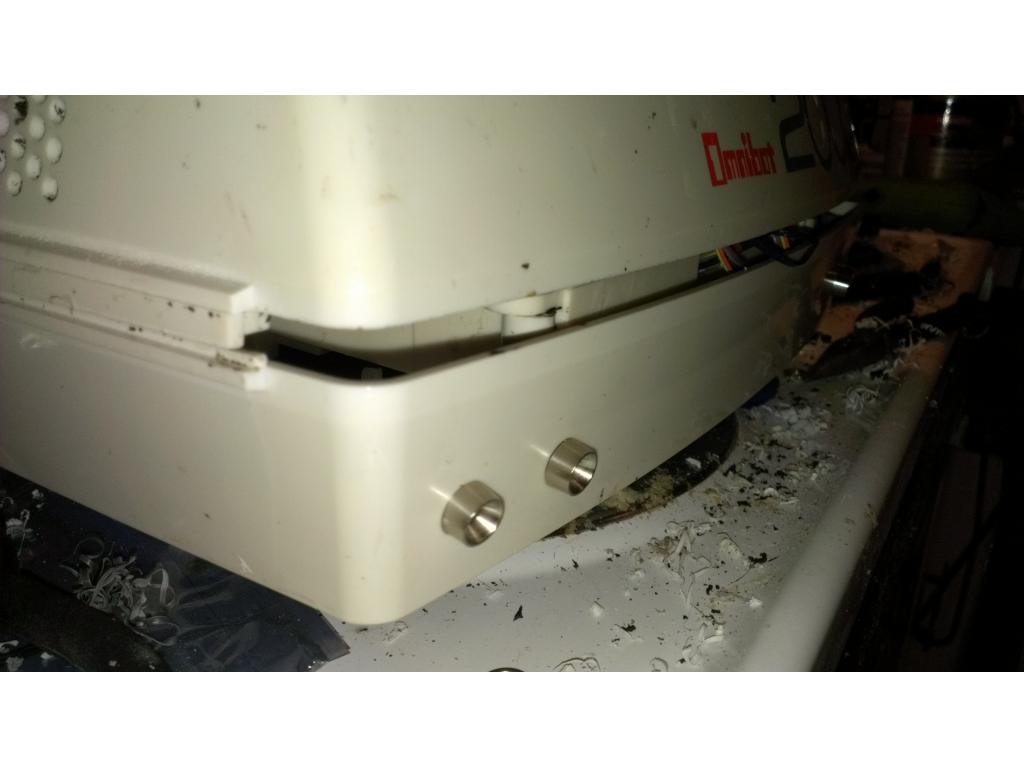
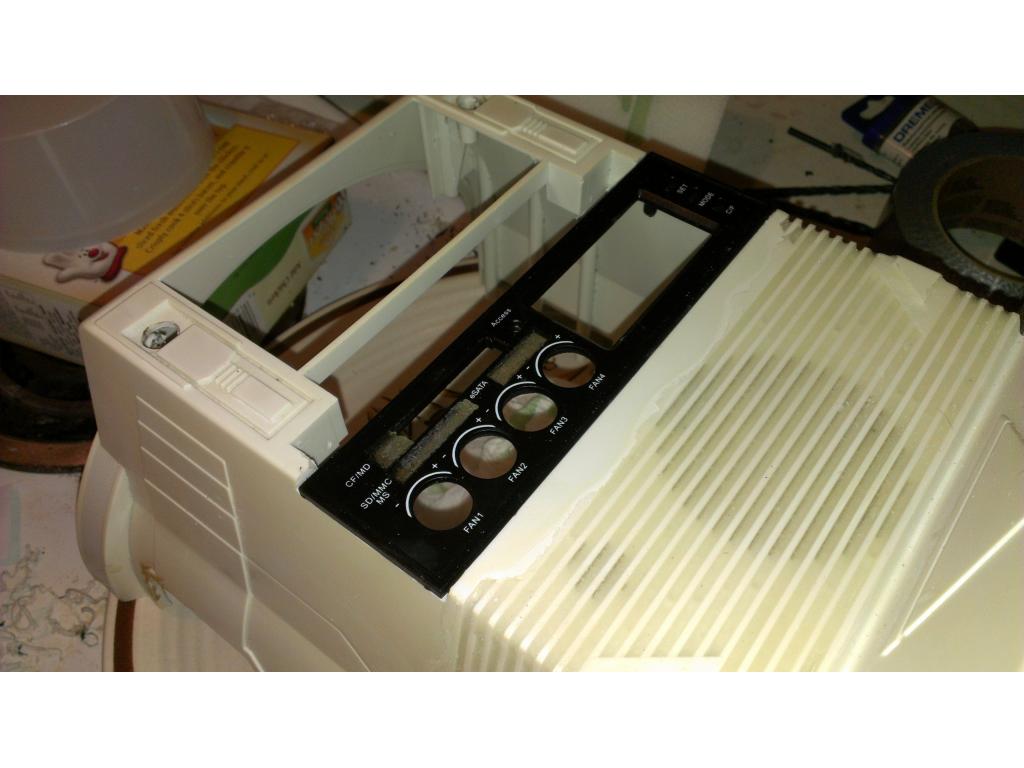
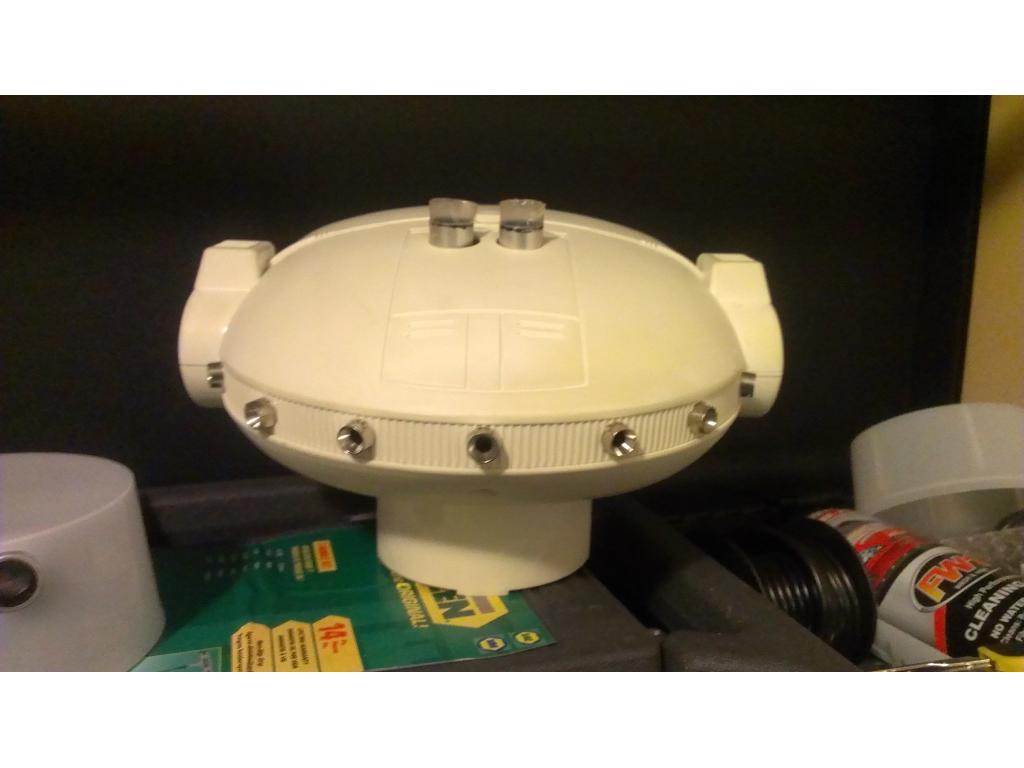
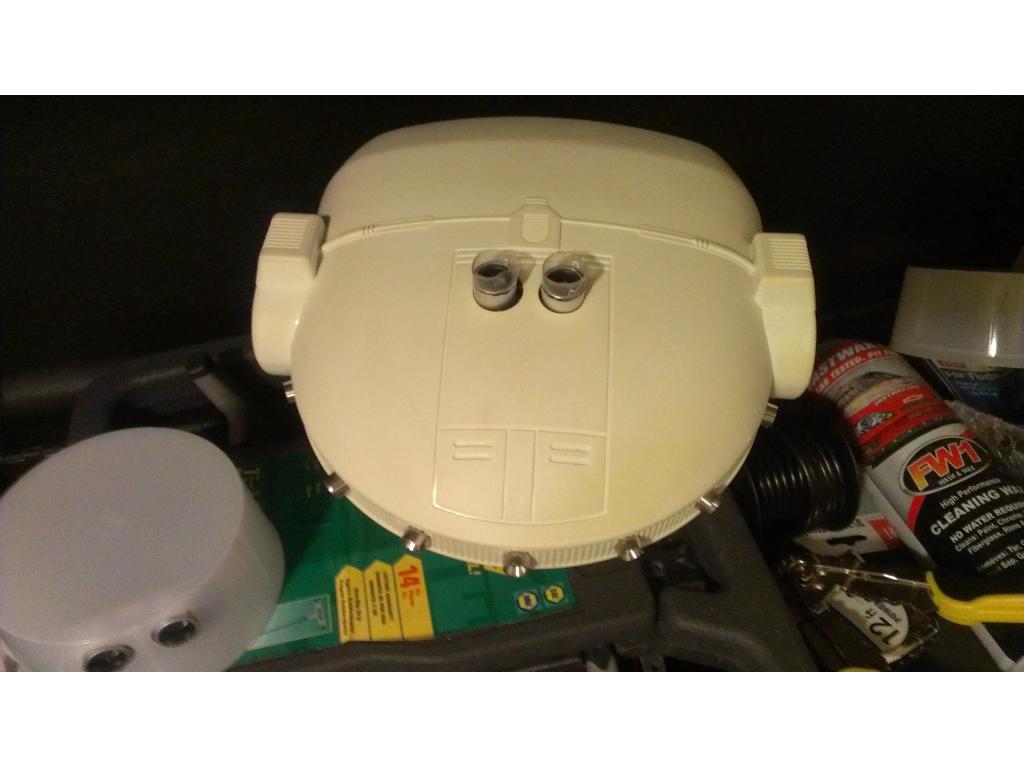
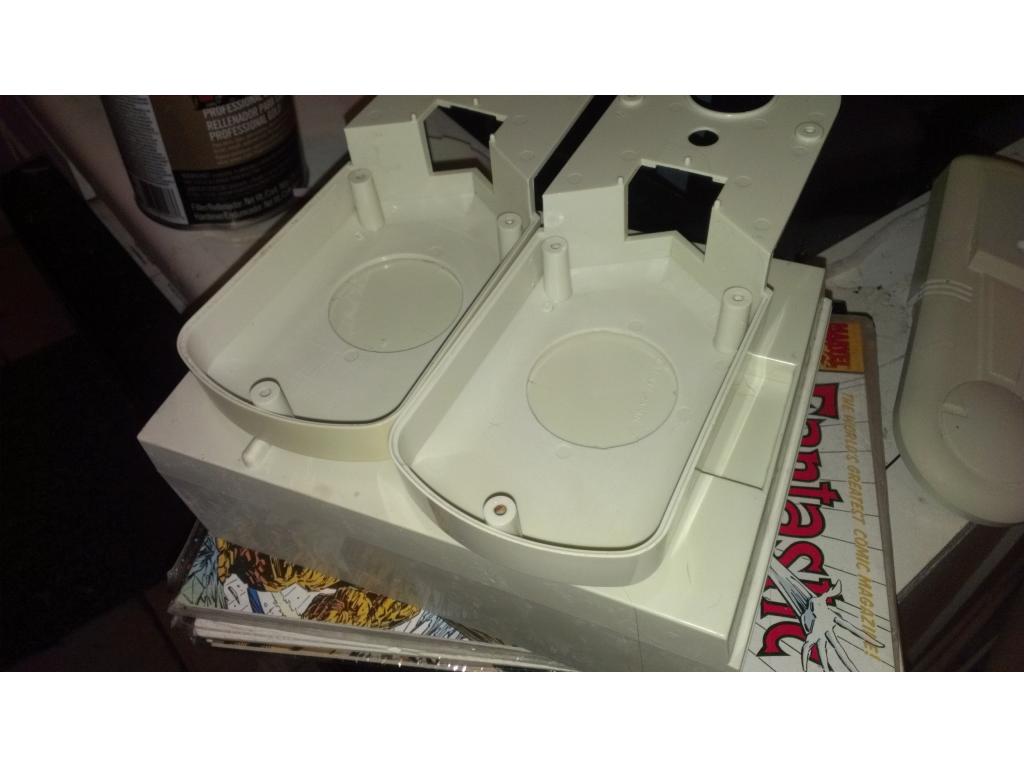
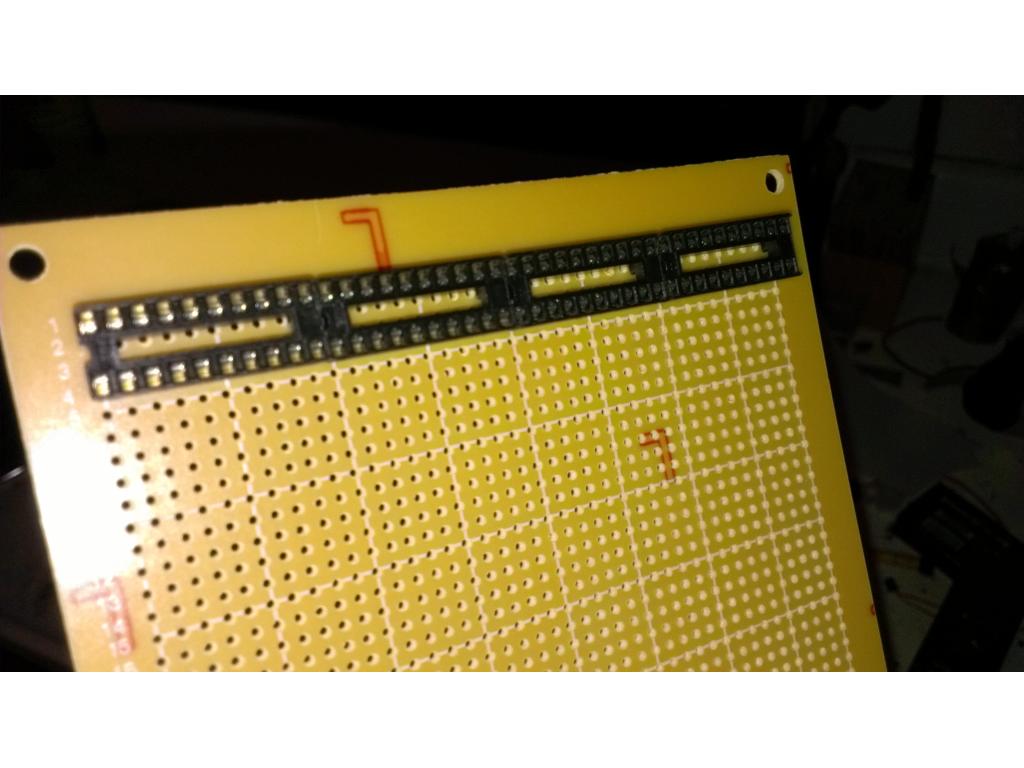
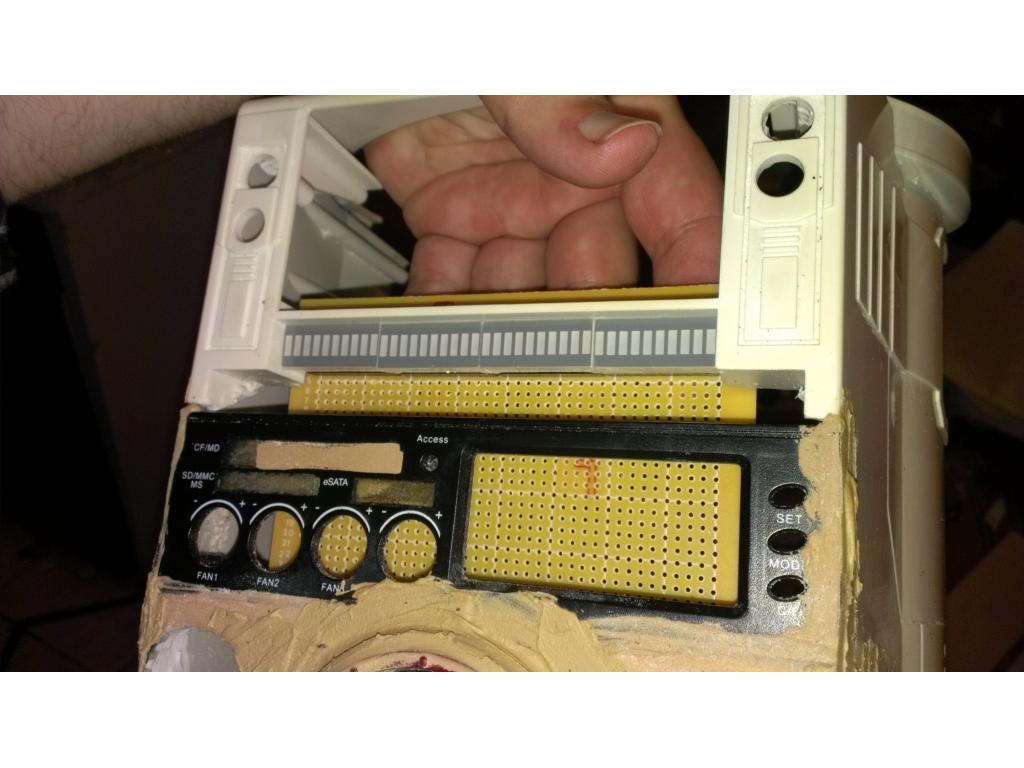
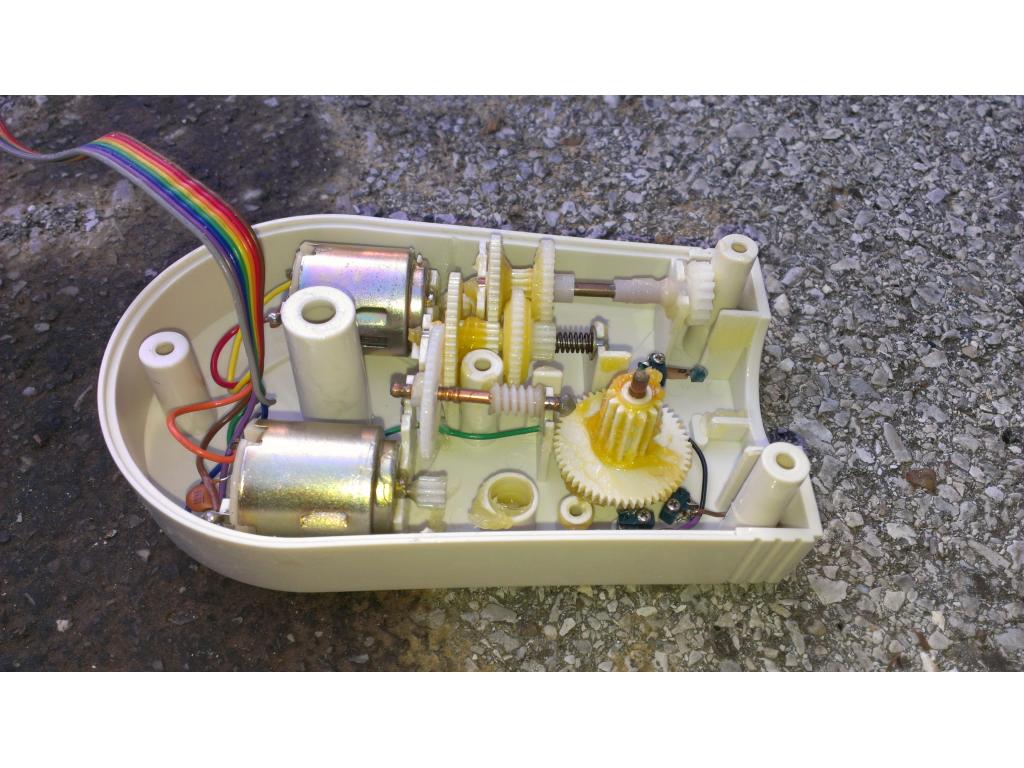
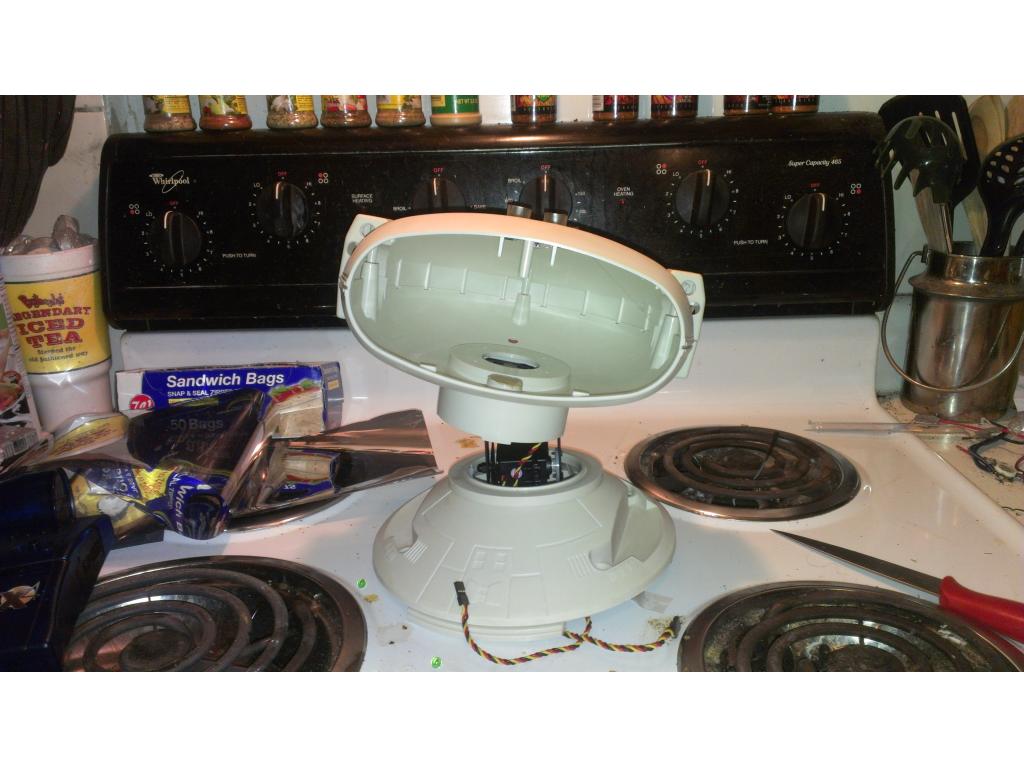
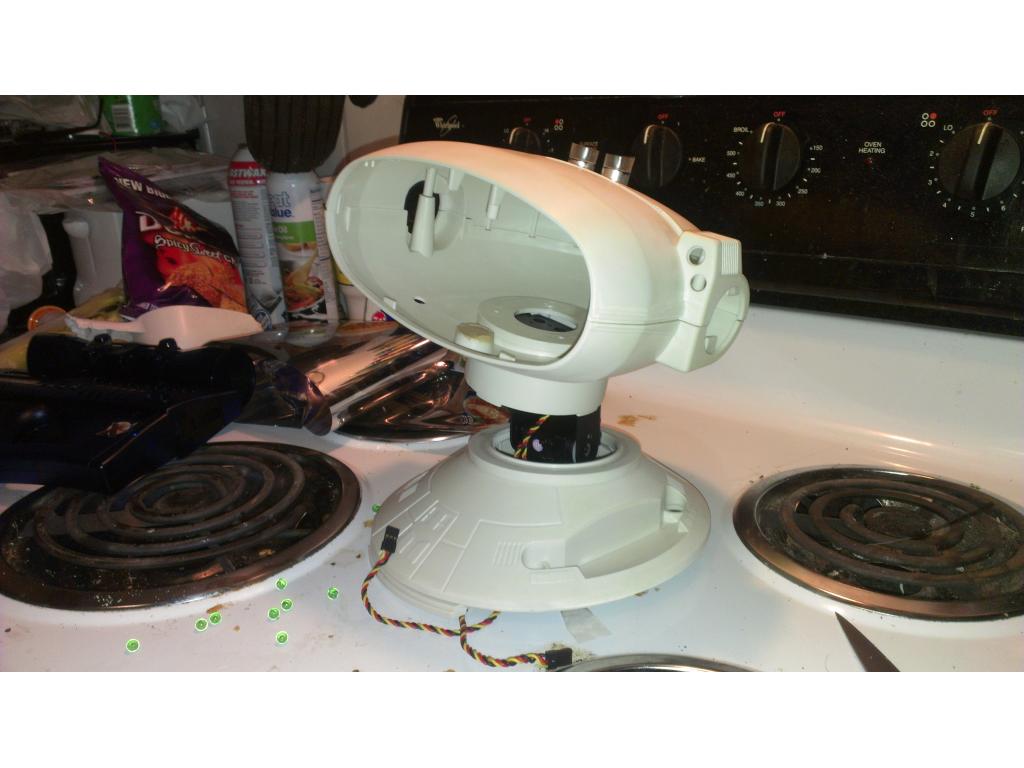
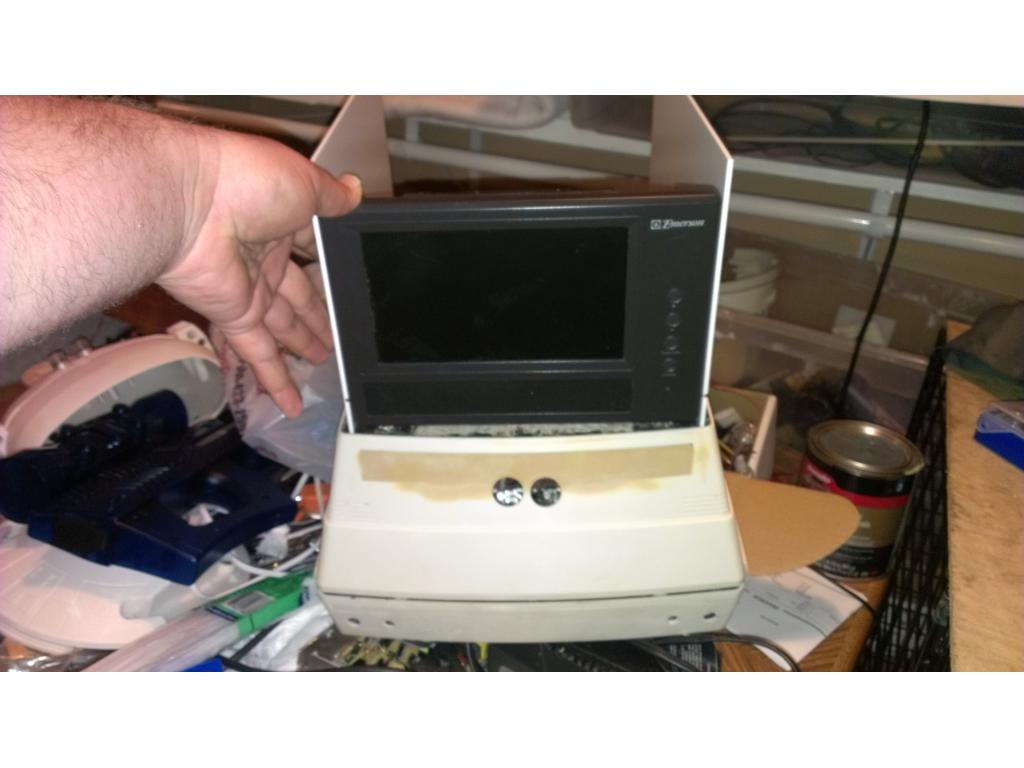
This last pic is two led holders on each side.of the power management.panel. I was thinking of.doing one IR and one white led on each side. Remember I still have a led on each "ear" of omnibots head which are pointed directly where omnibot is looking.
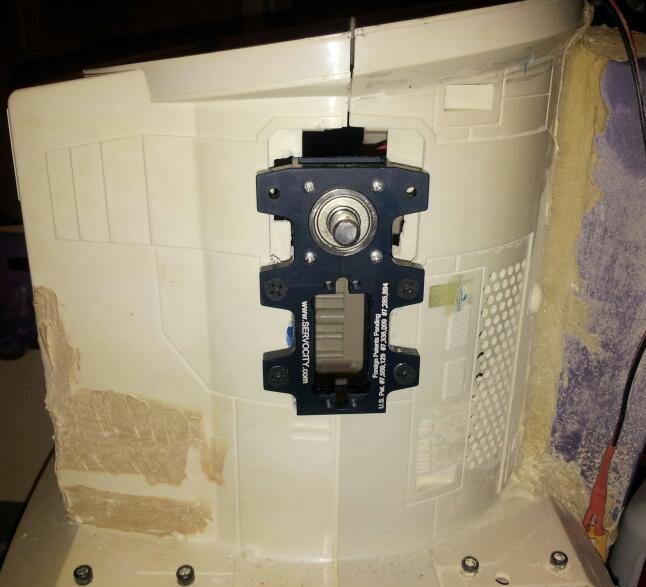
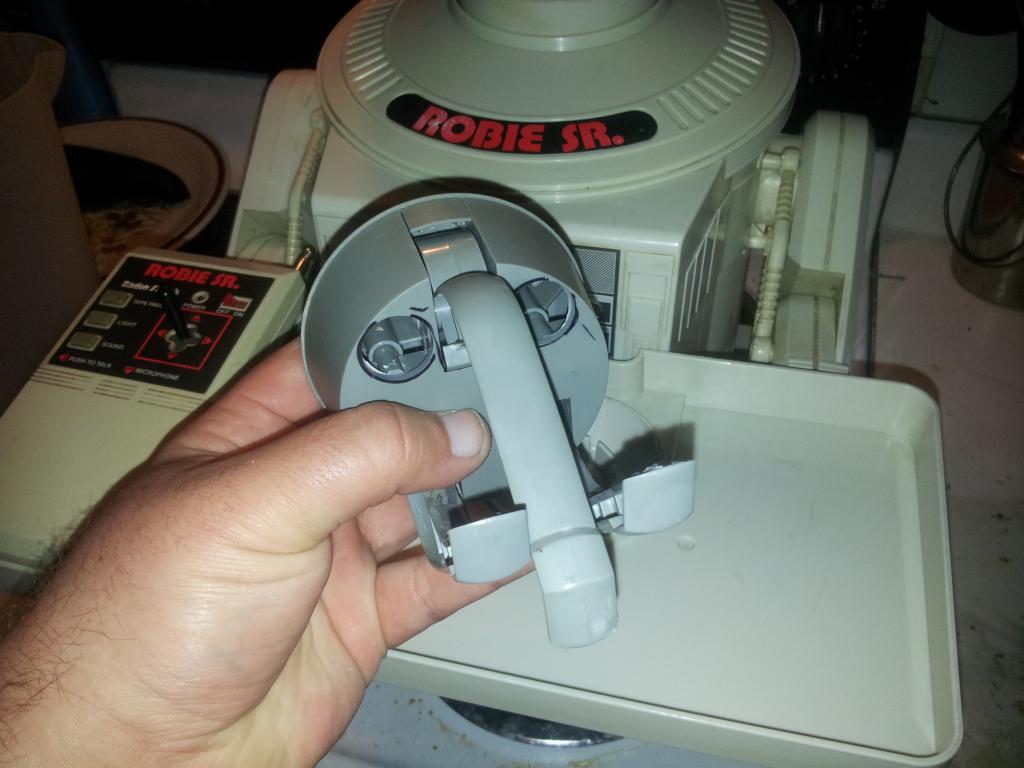
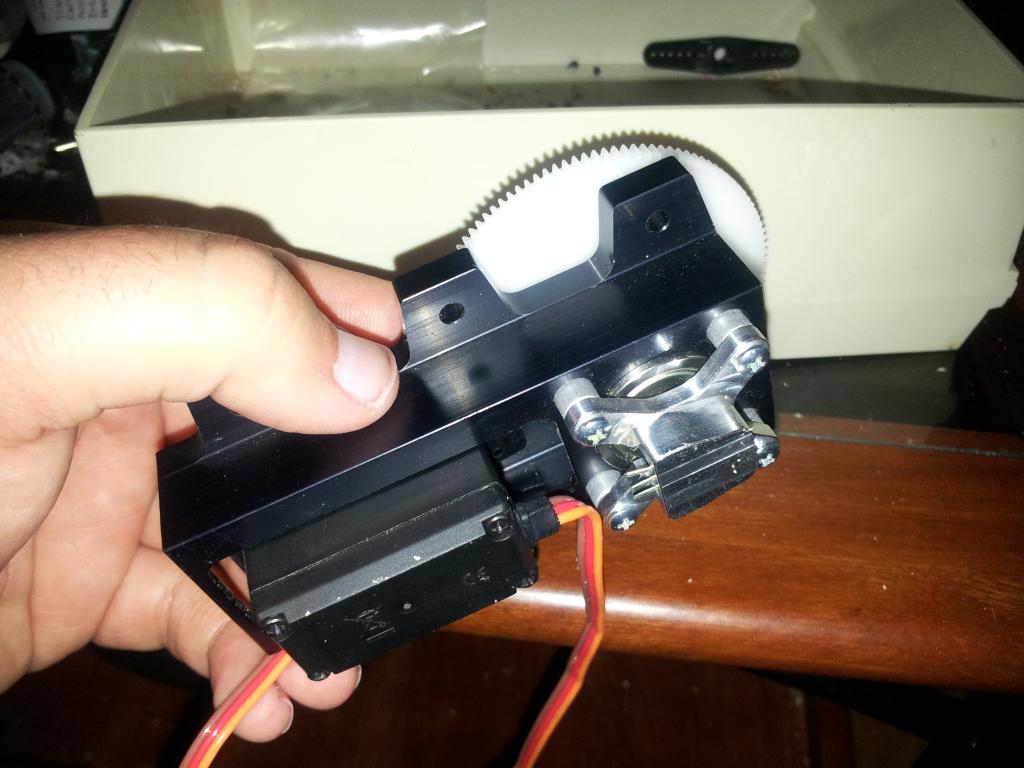
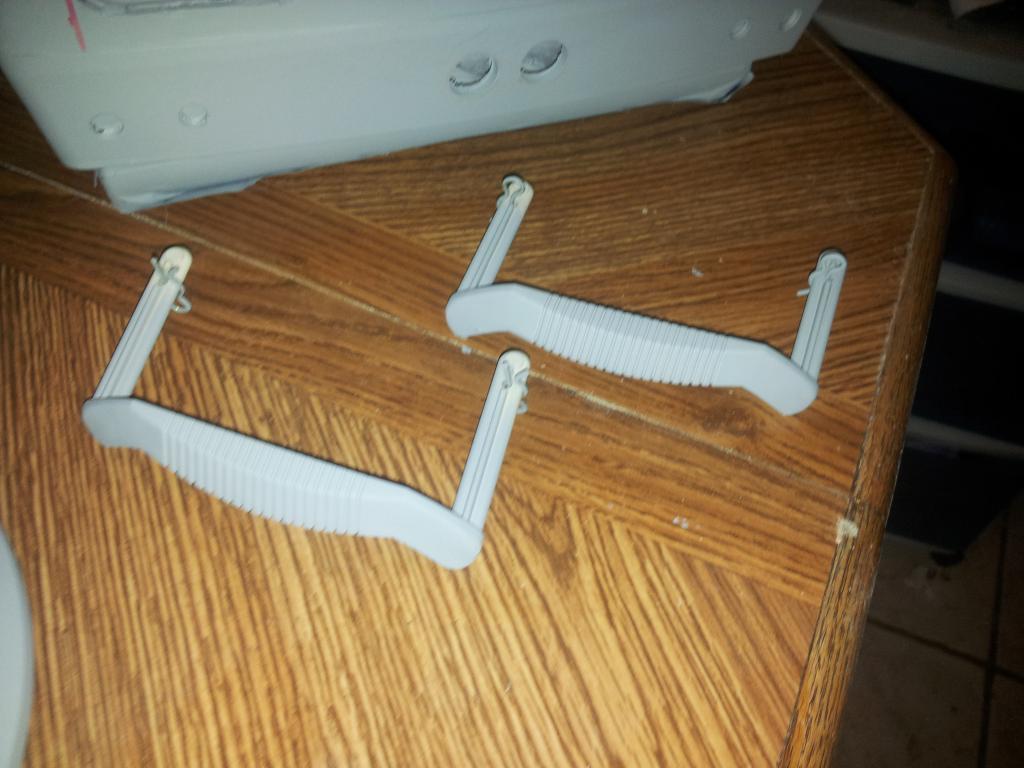
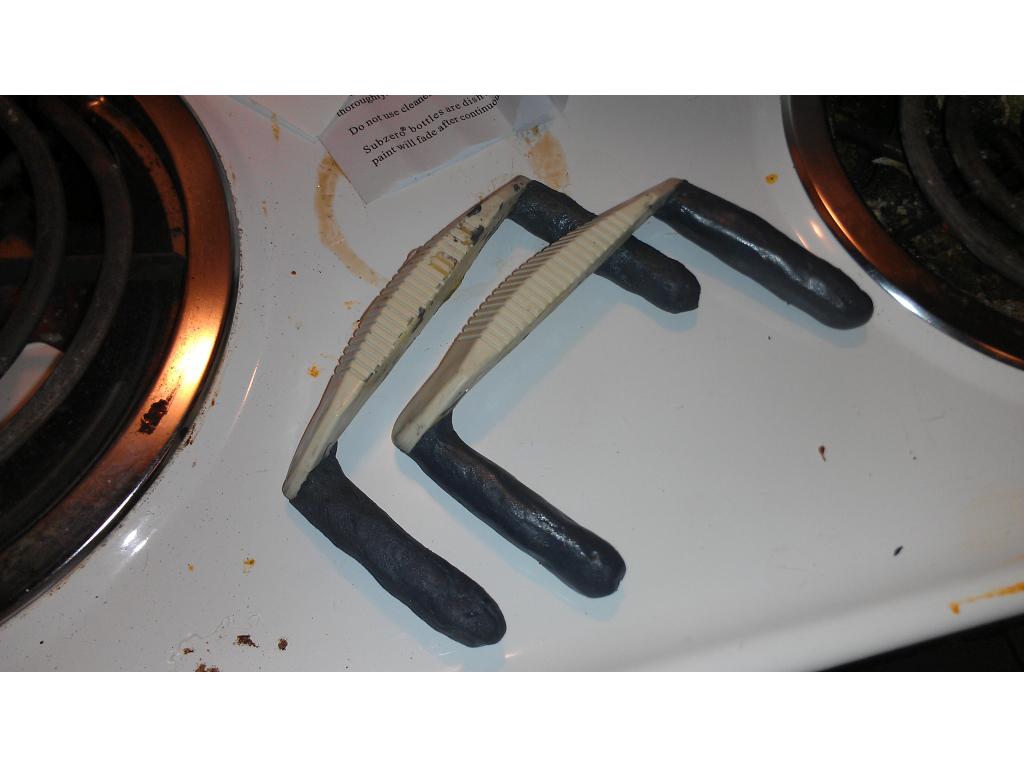
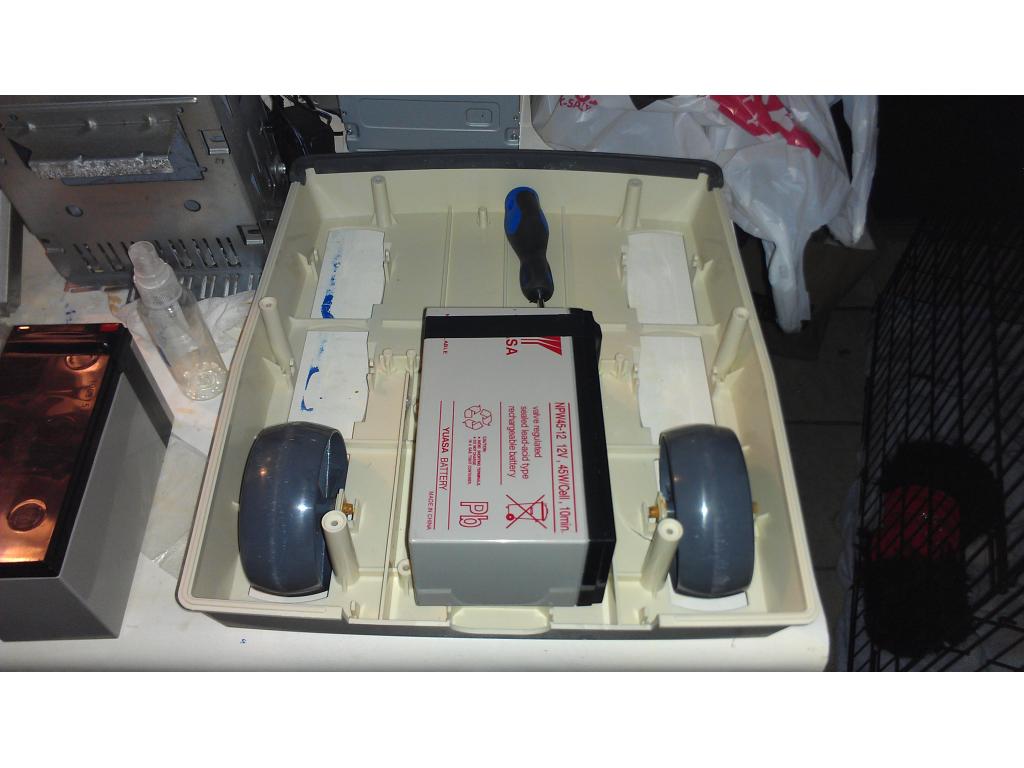
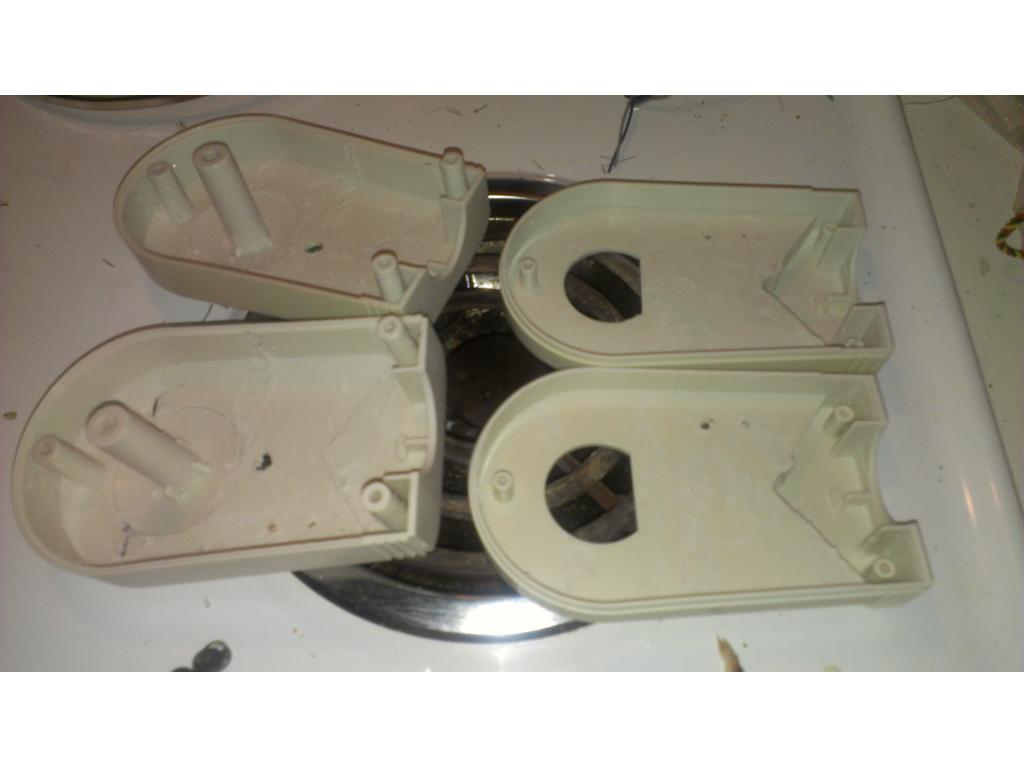
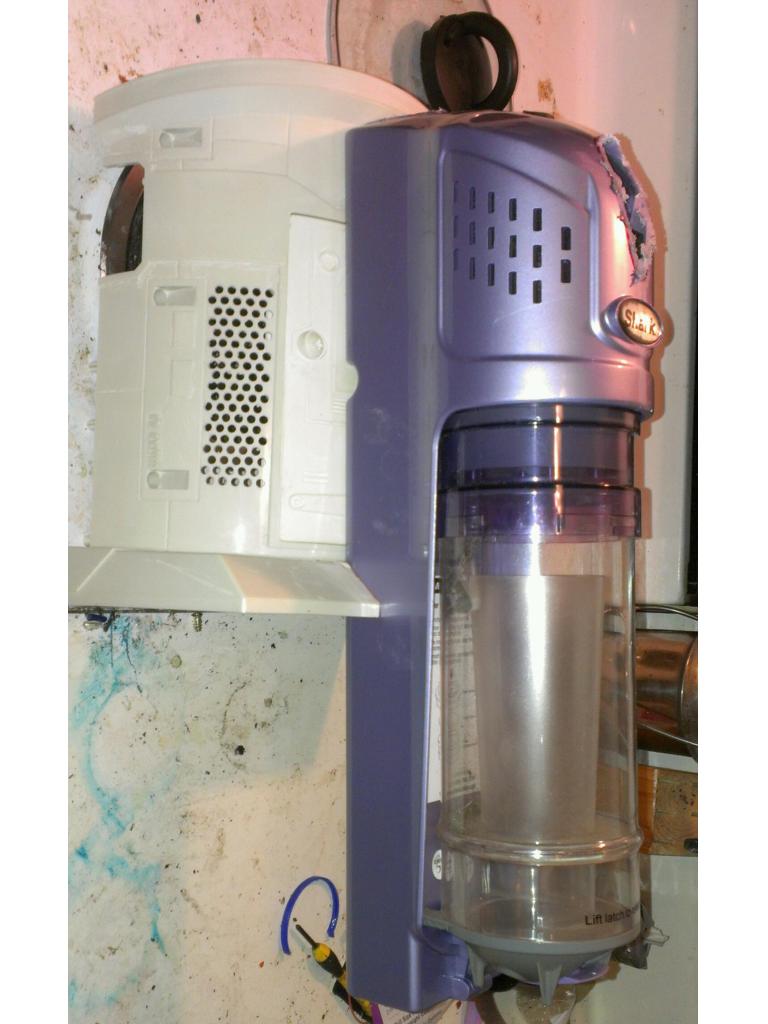
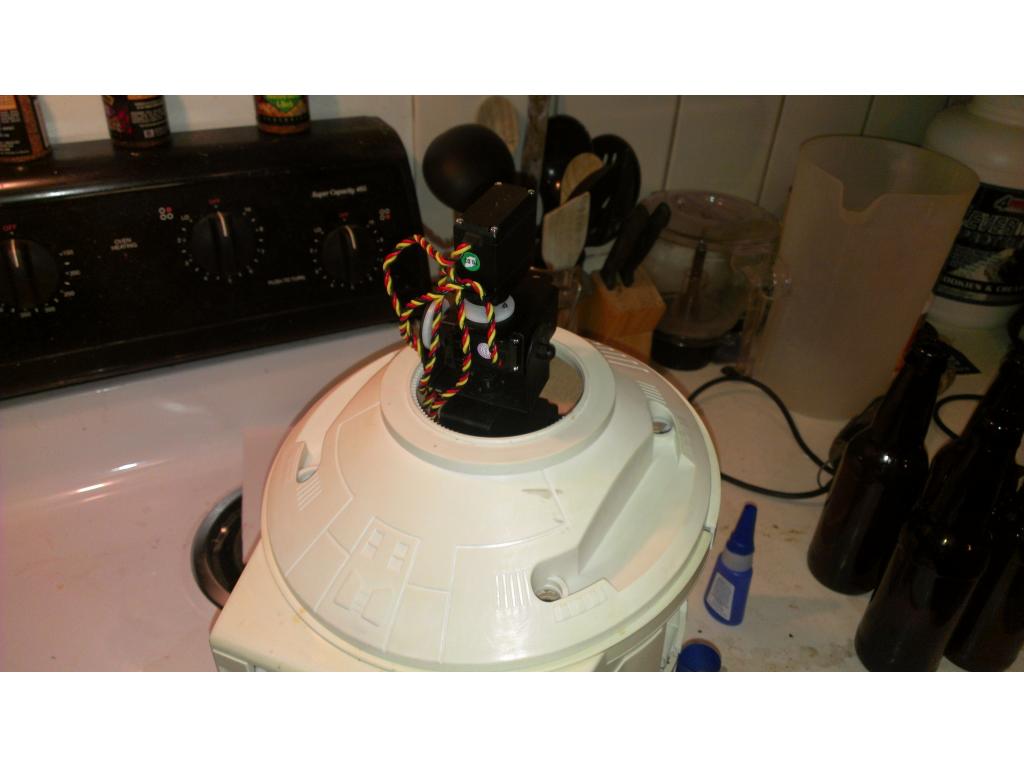
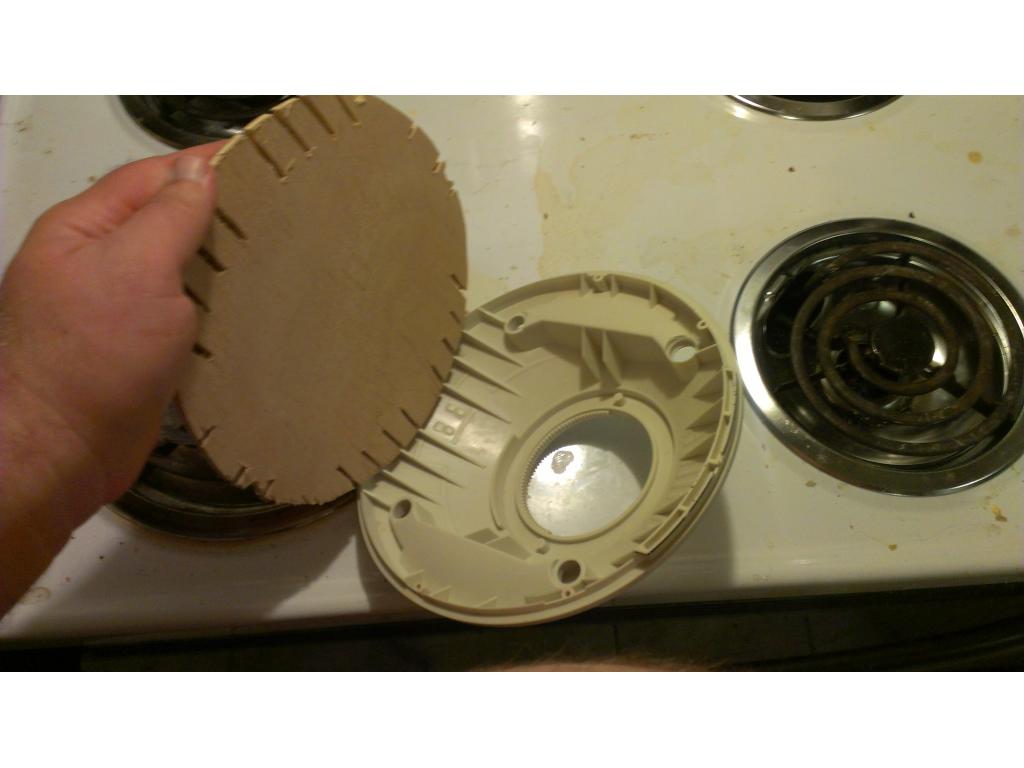
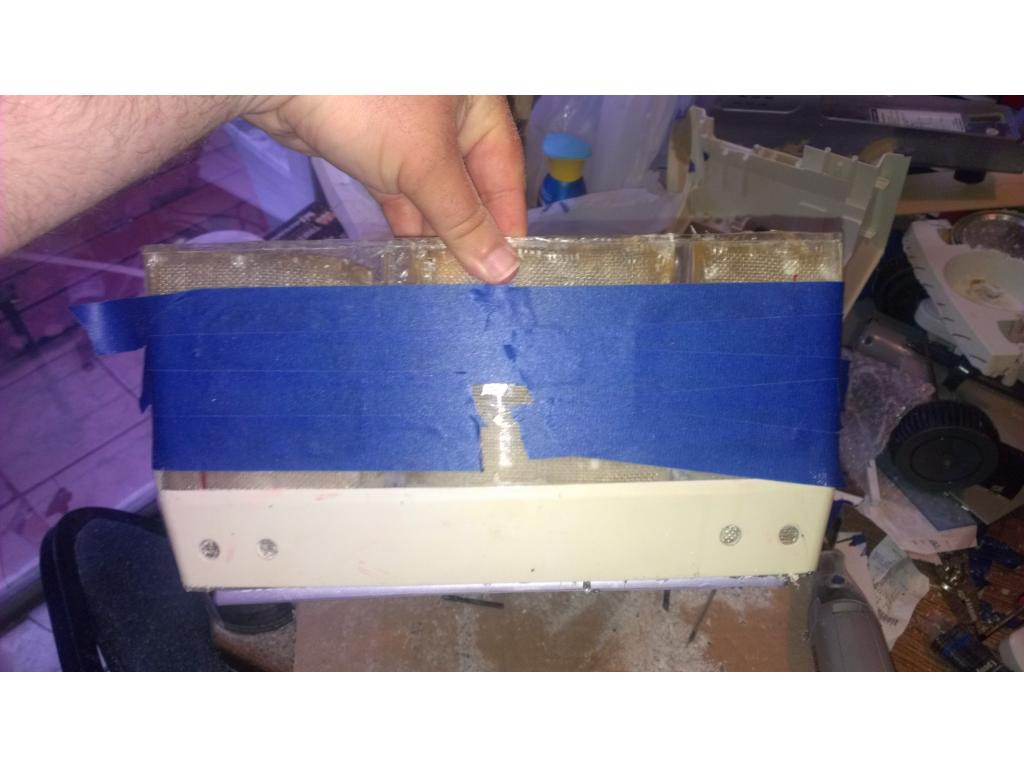
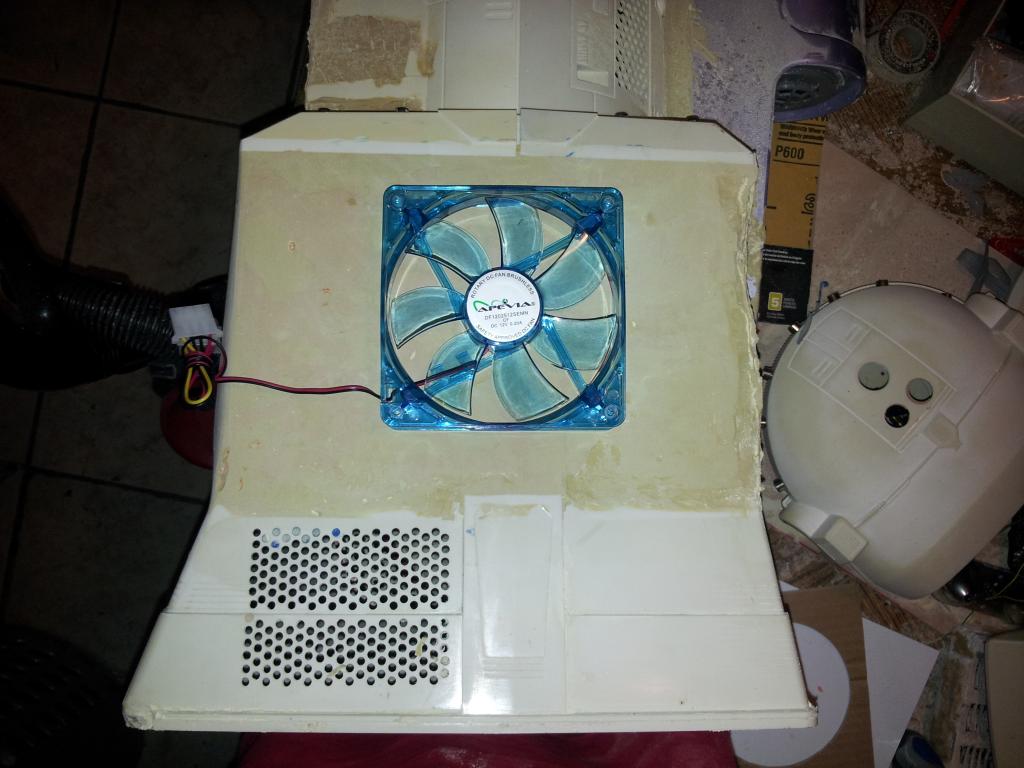
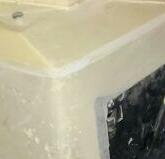
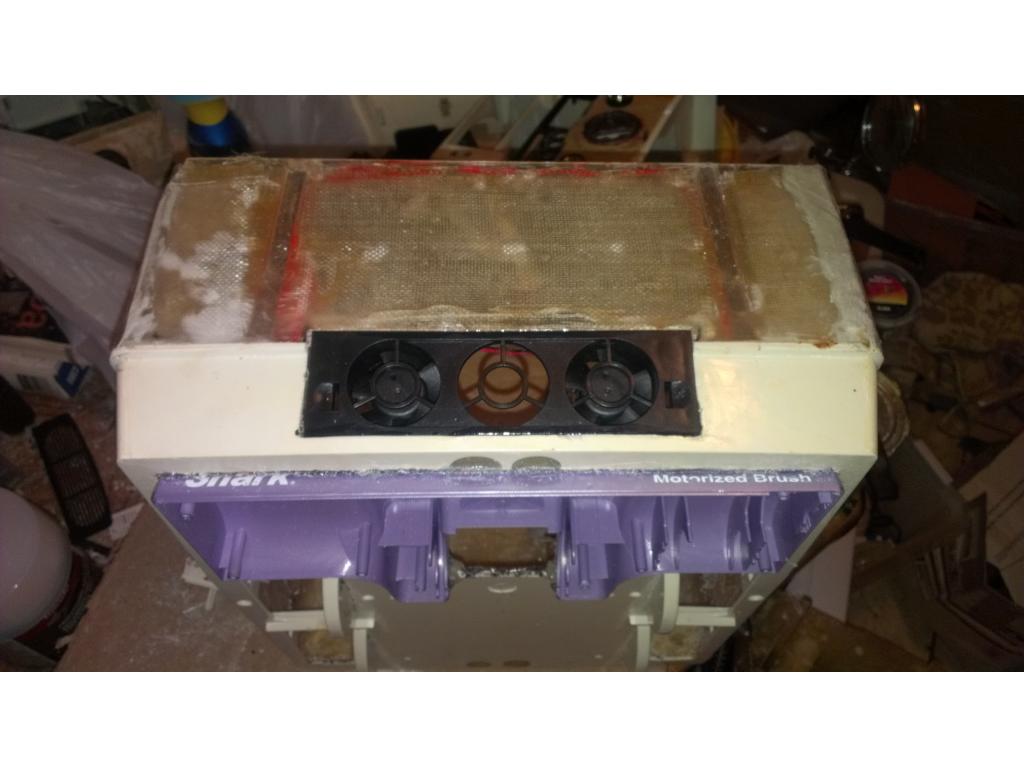
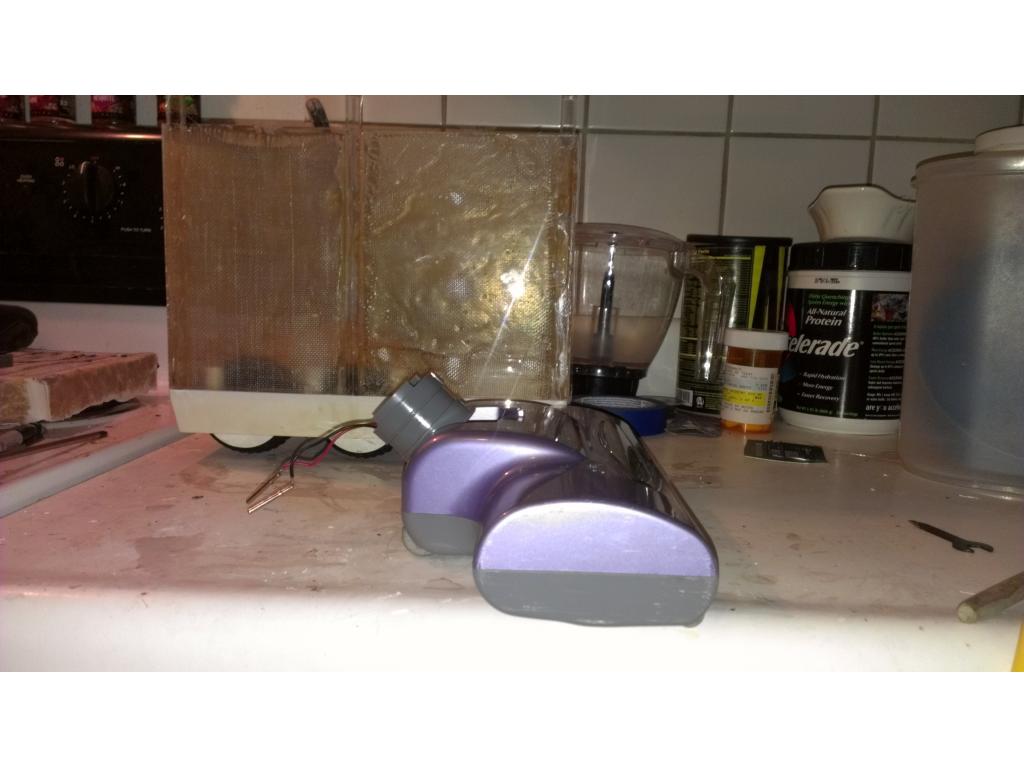
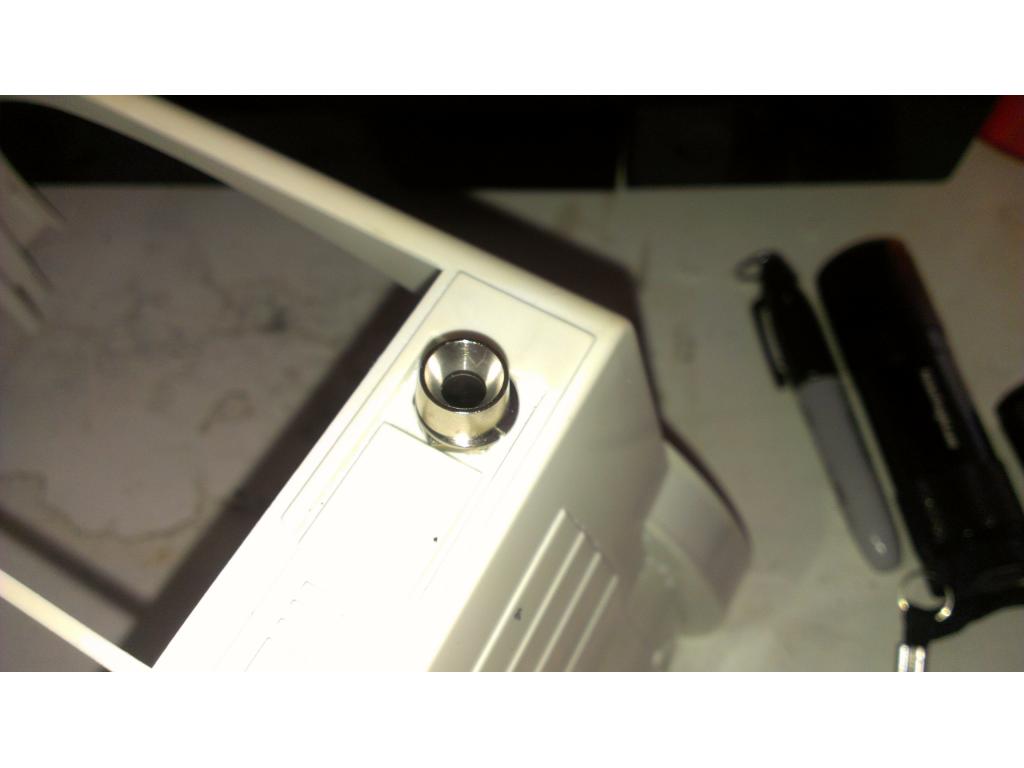
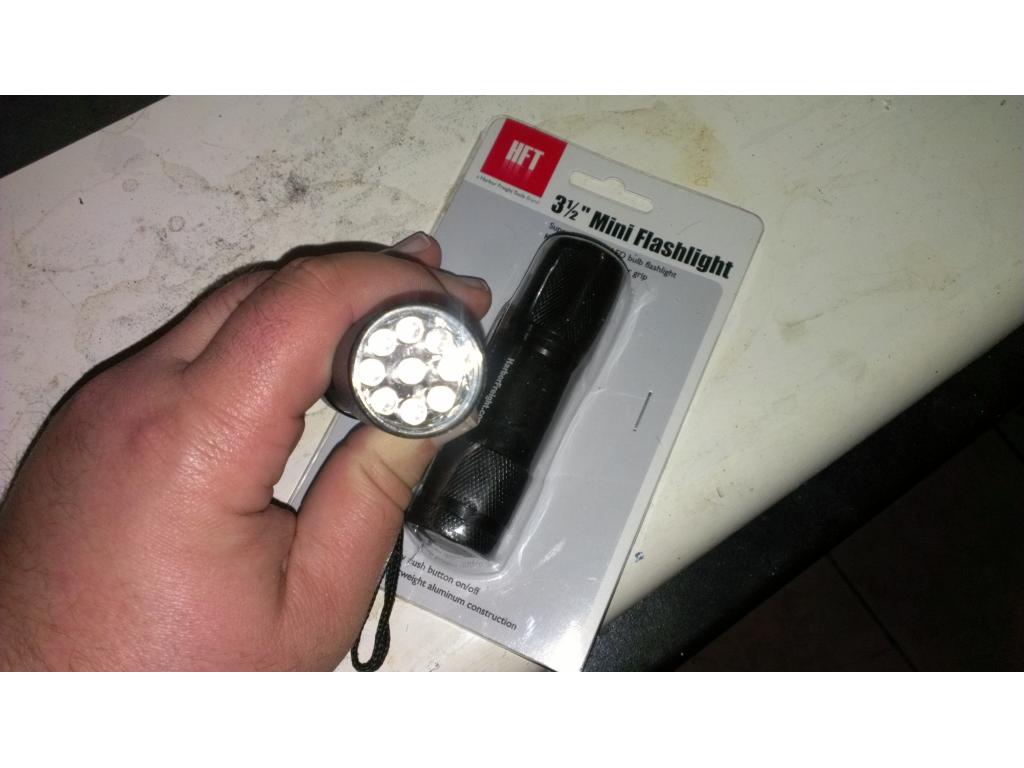
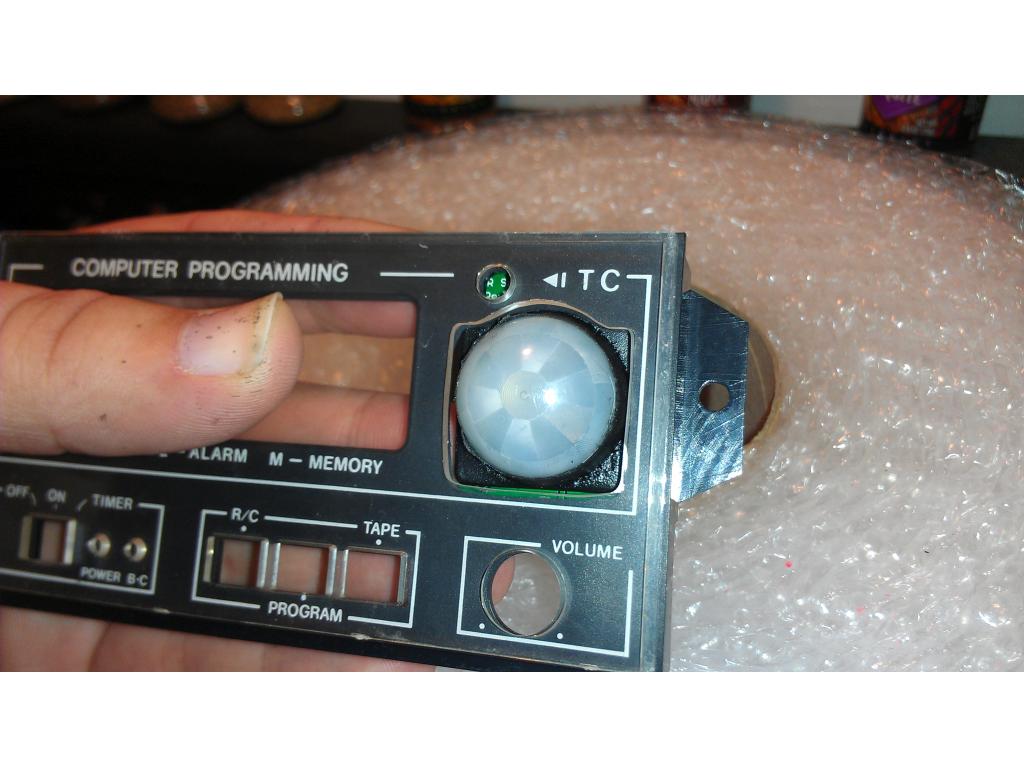
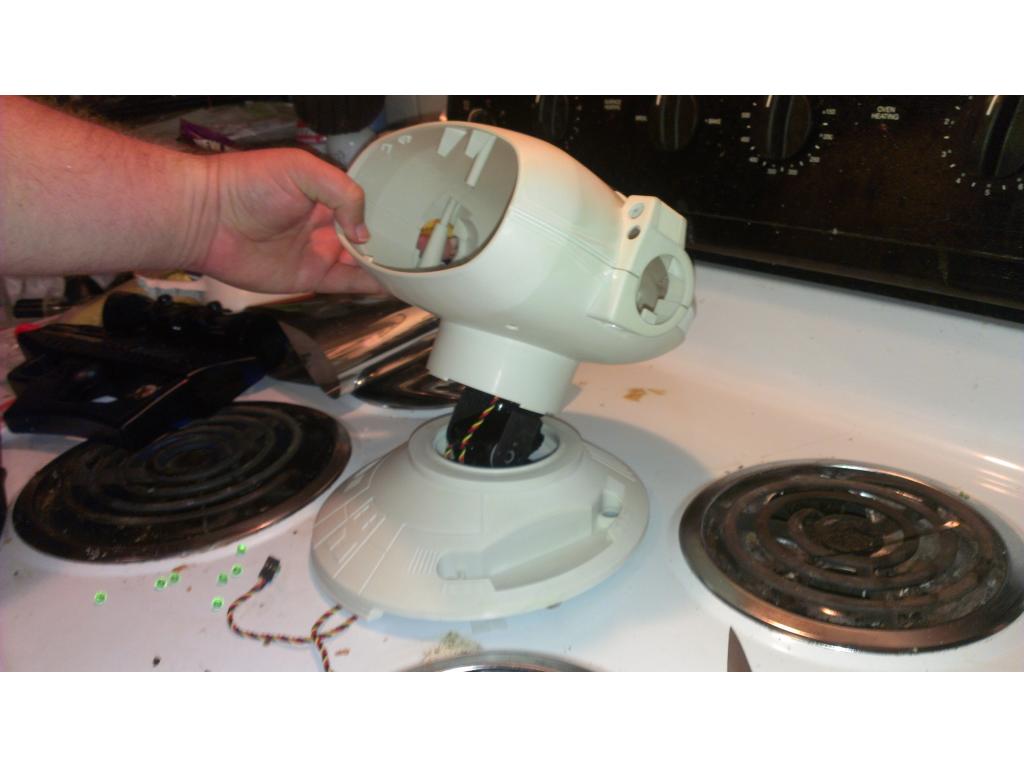
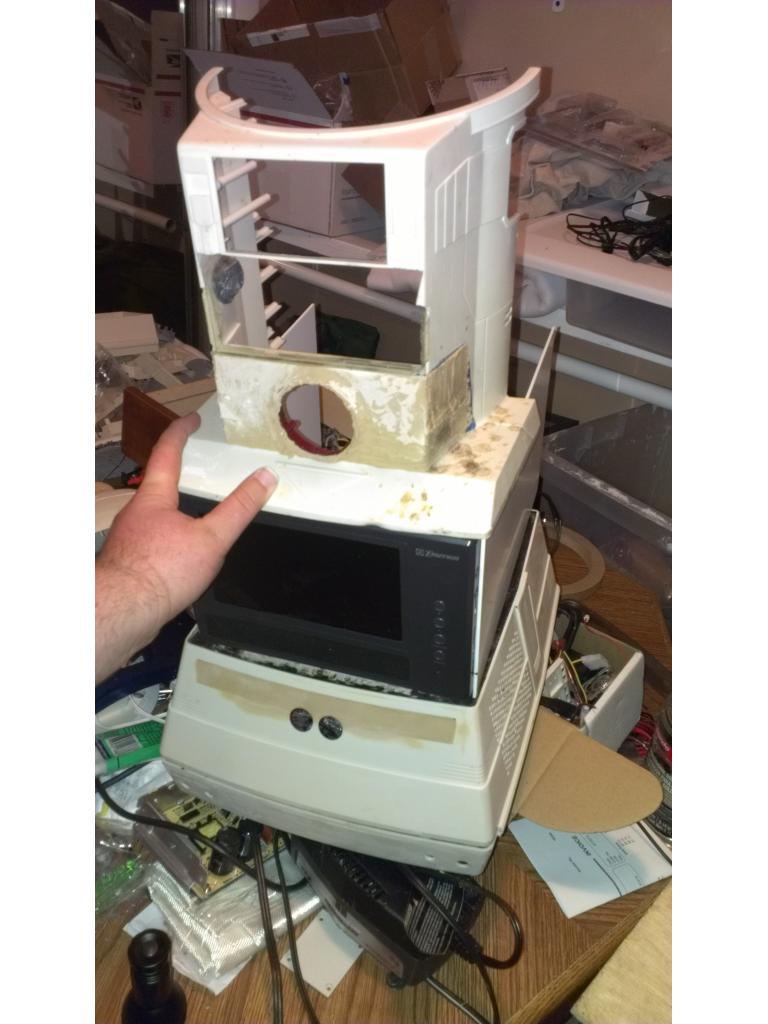
UPGRADE! Ok after a great deal of eye balling the ear section and remembering.o.was.thinking.of.having a mix.of white.or it LEDs , one for.night mode , other for low light I descided its beneficial to add a extra 2 IR LEDs on each side.of the head.i would remove the stainless steel steel holders while painting and then put them back on,also flashlights give it a nice look
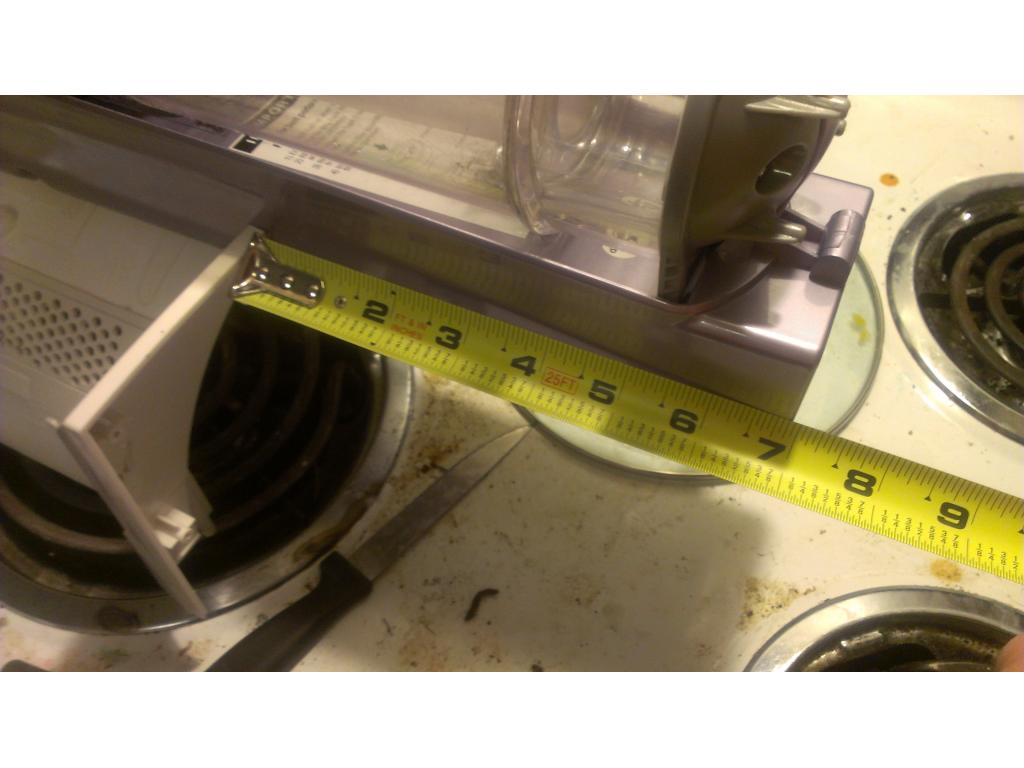
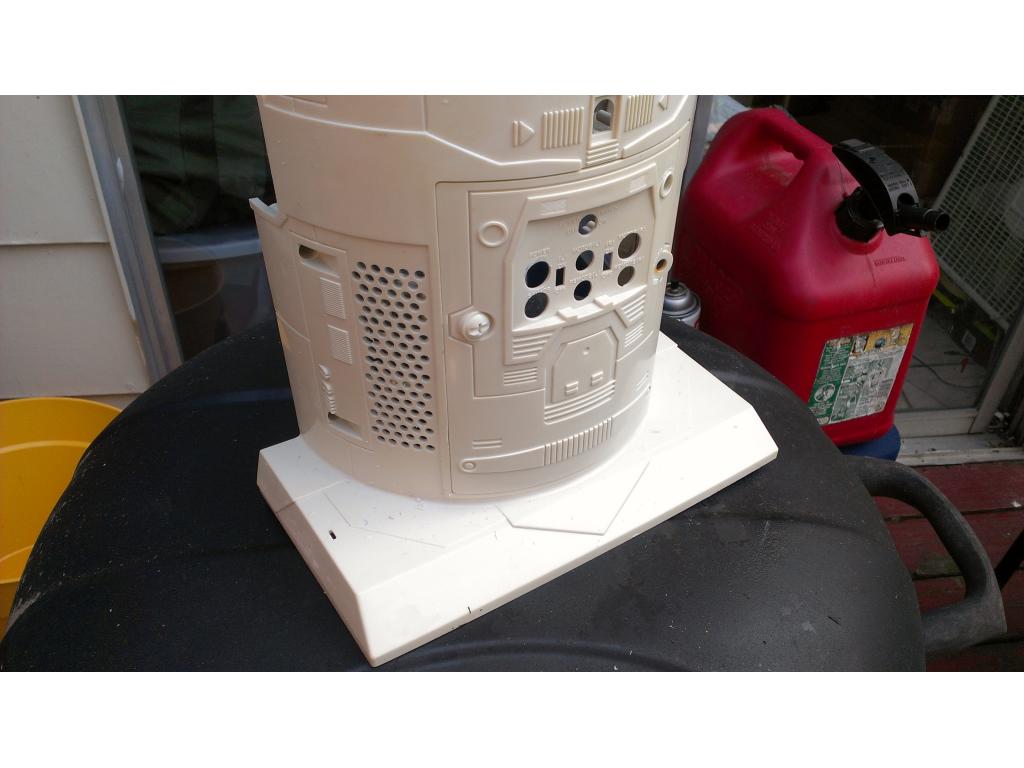
Yeah having the stainless look gives it a nice touch. Looks like you are making great progress.
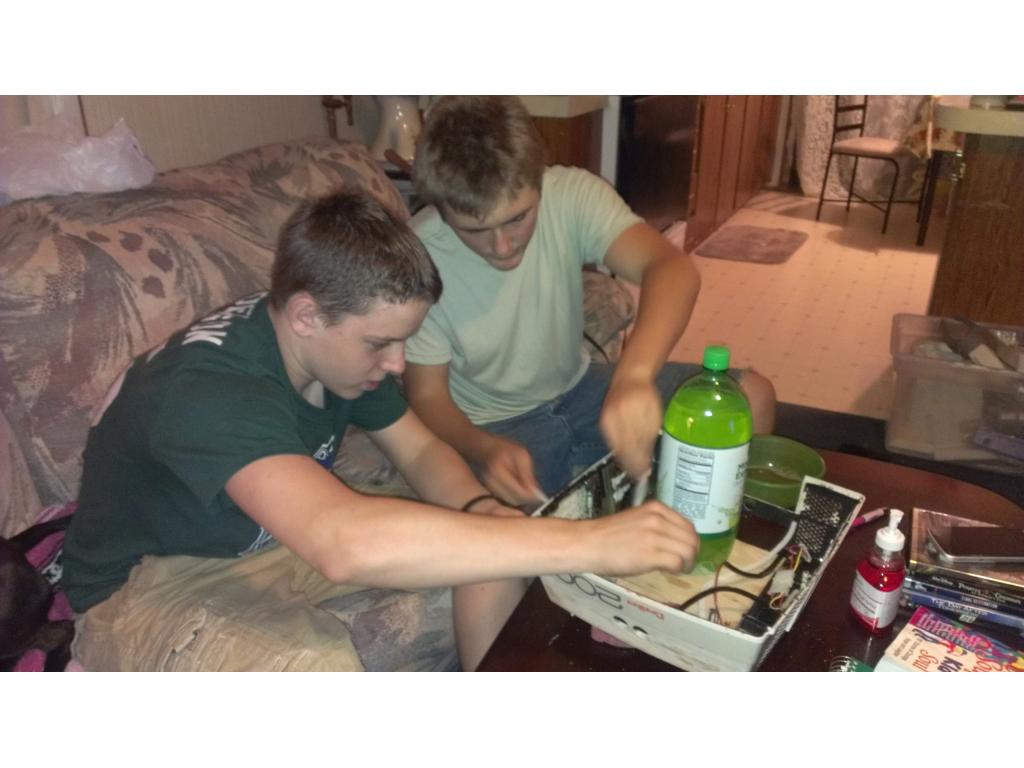
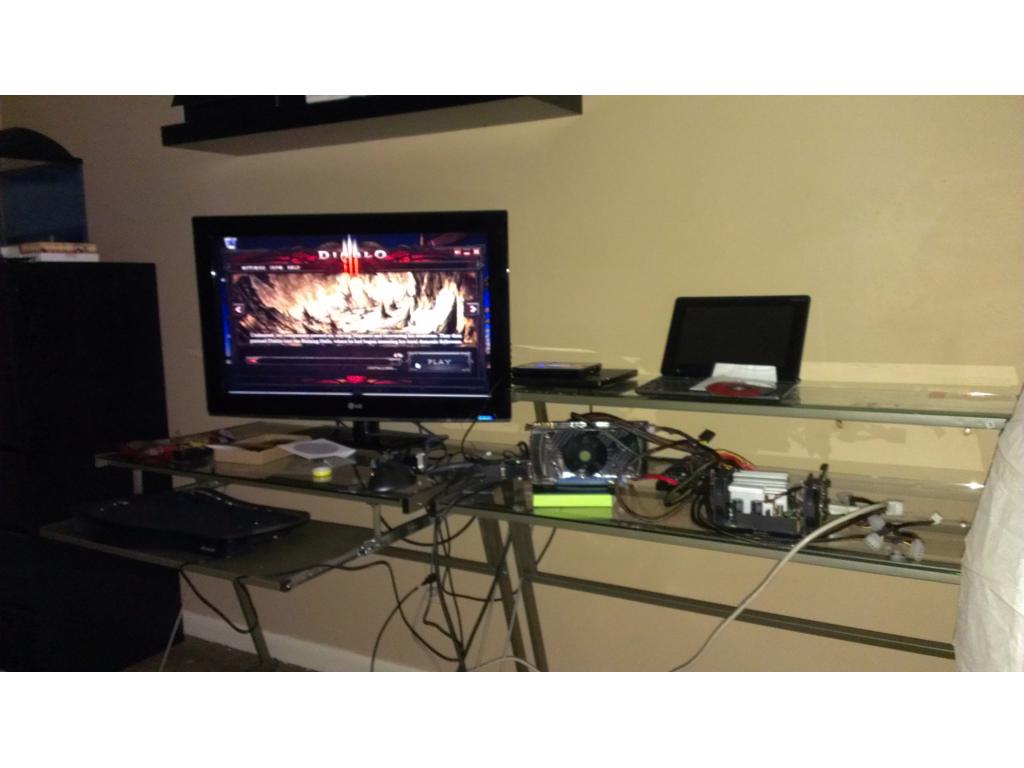
I took early part of today off to.play some video games ( Diablo 3) I just logged off for the night , now.its.dinner and back to working on the bot. @sfoy thankyou , sometimes I feel like I'm stuck , I'm so.excited I really want to see.paint on this guy.
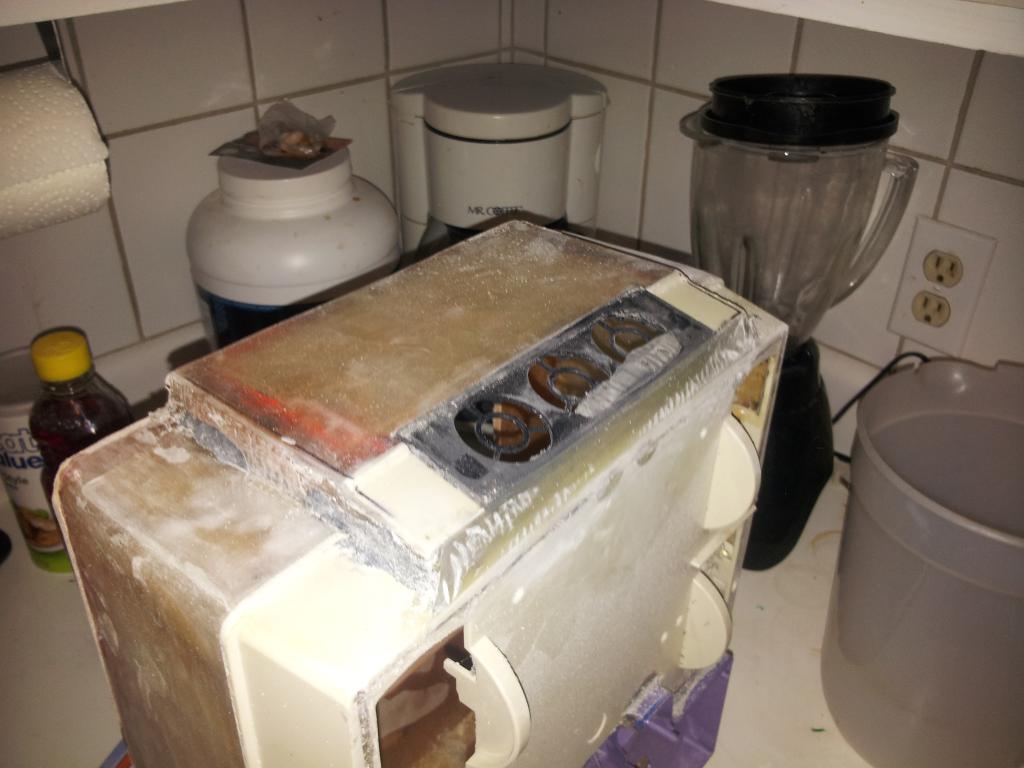
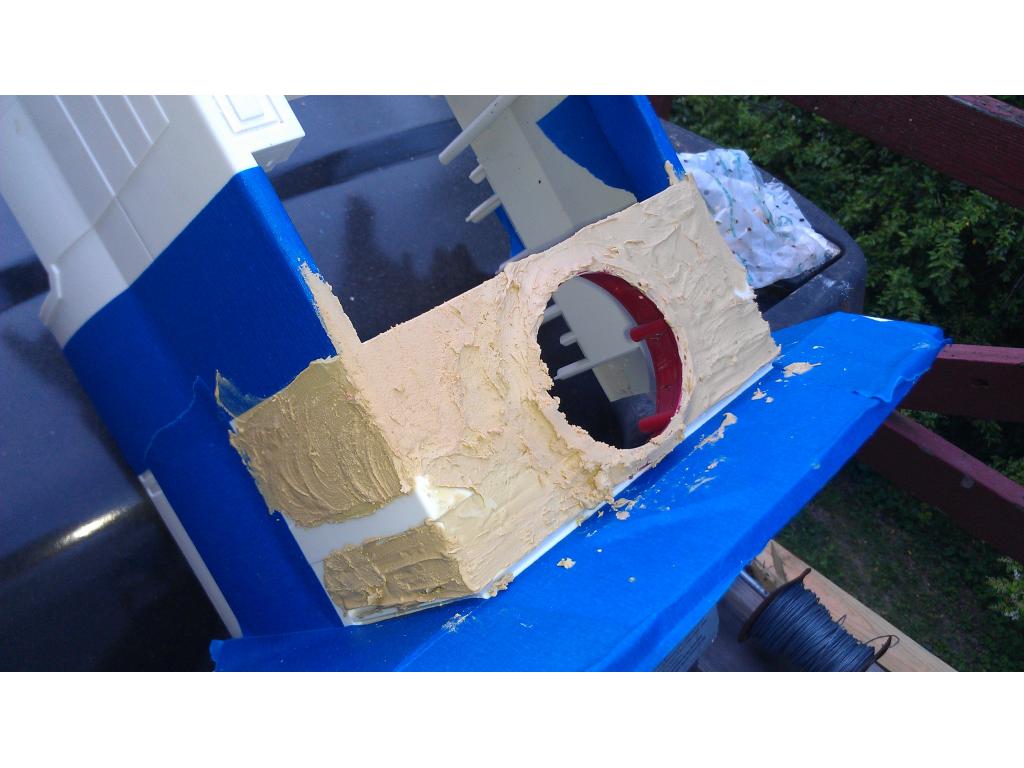
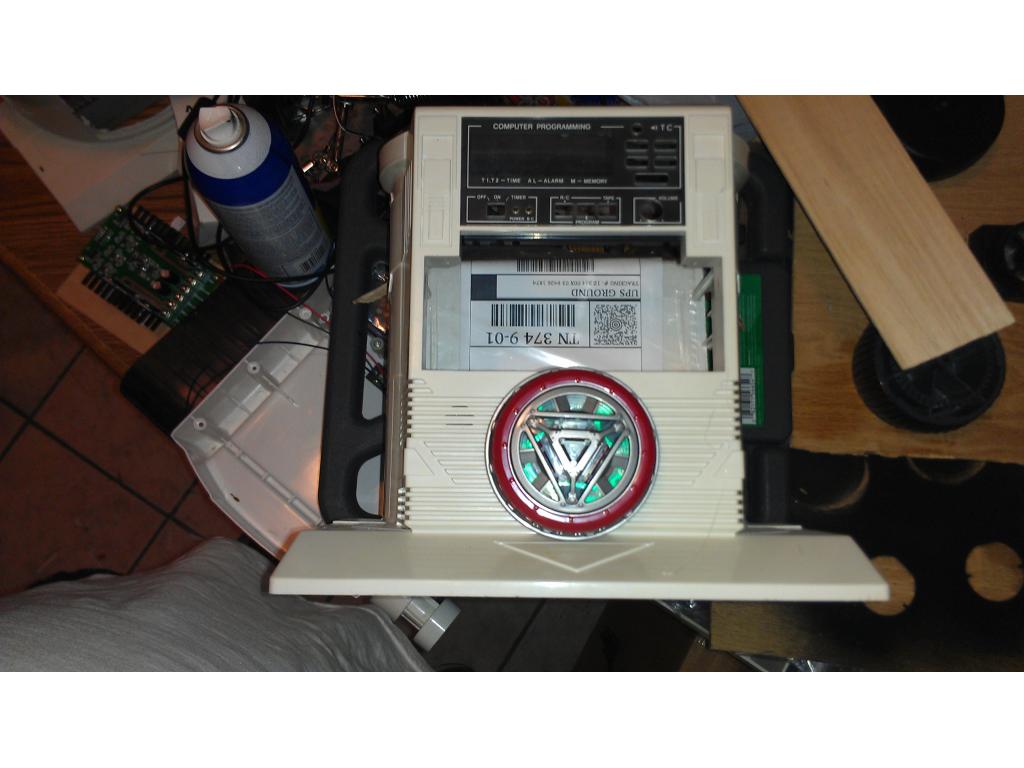
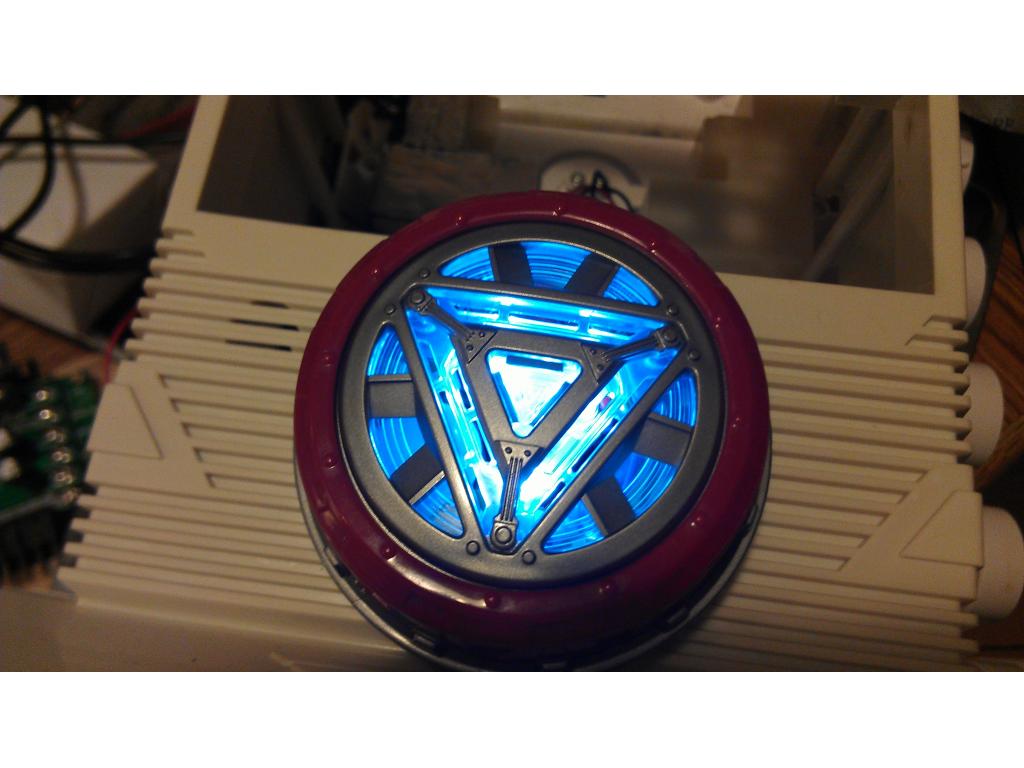
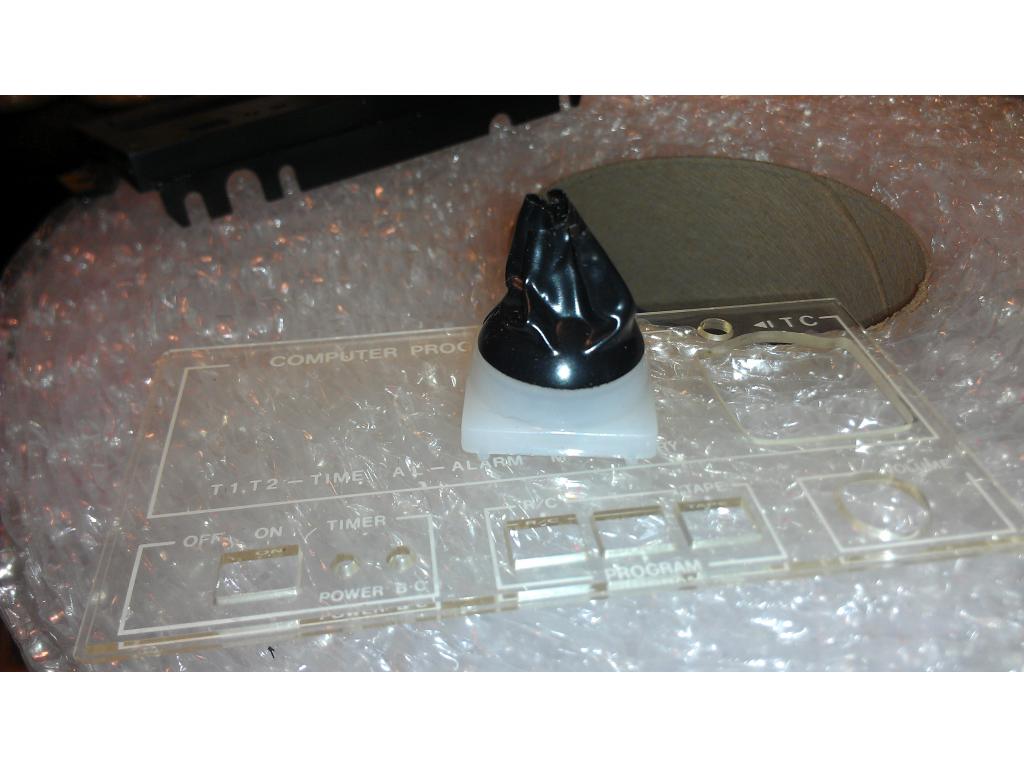
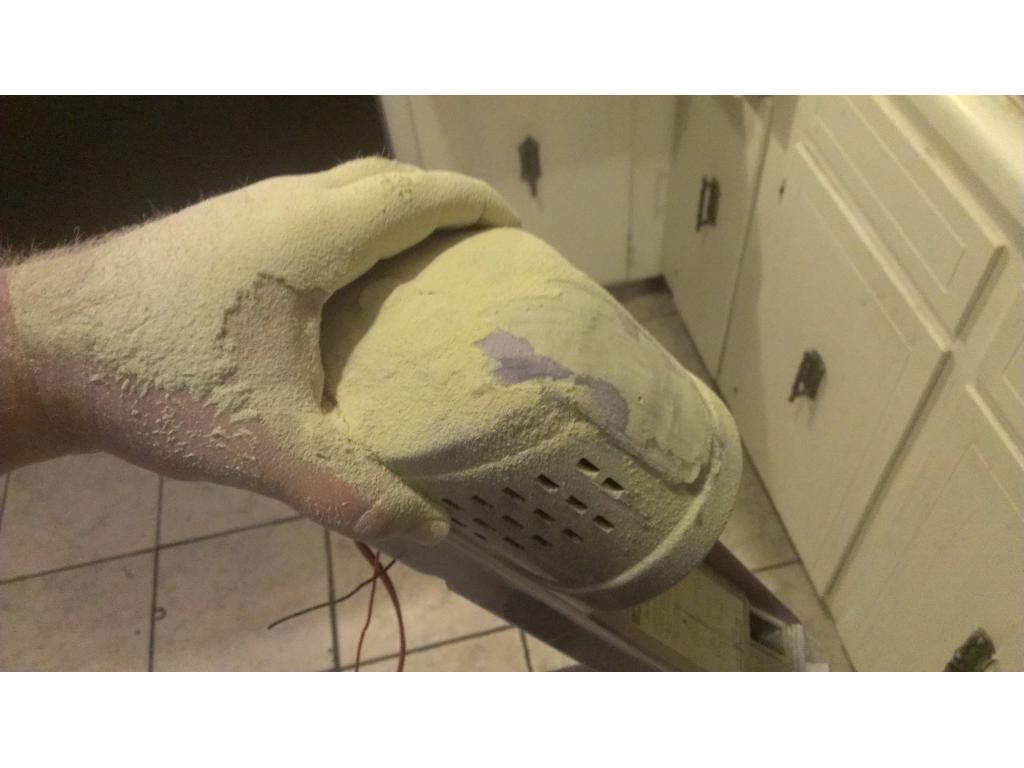
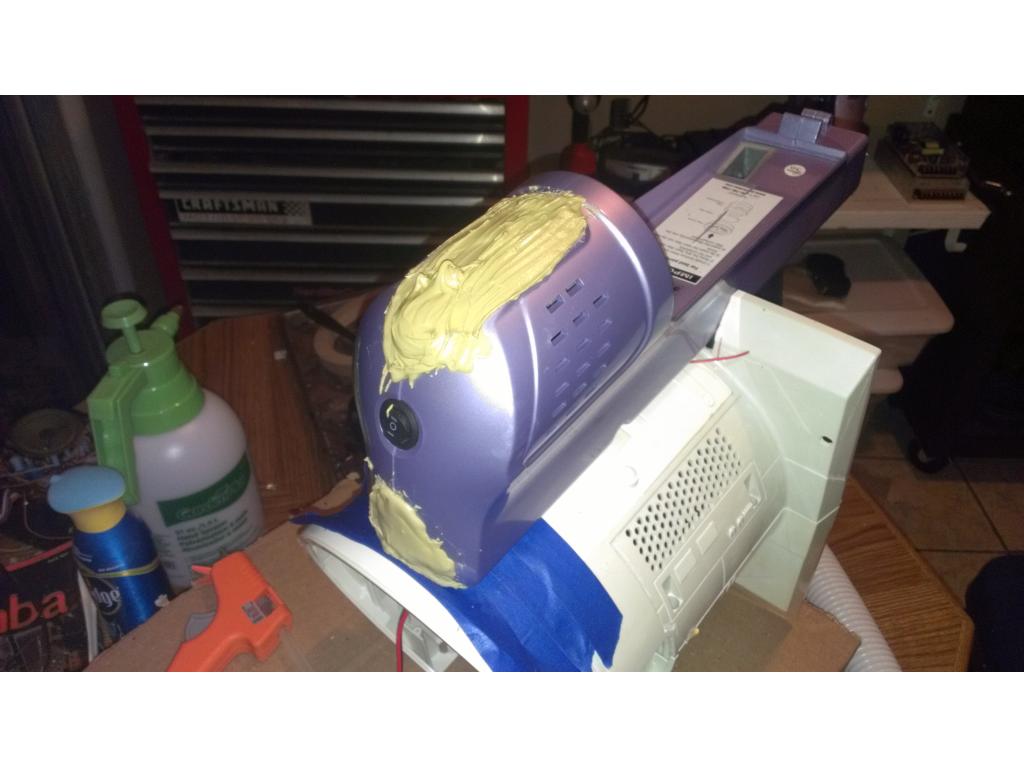
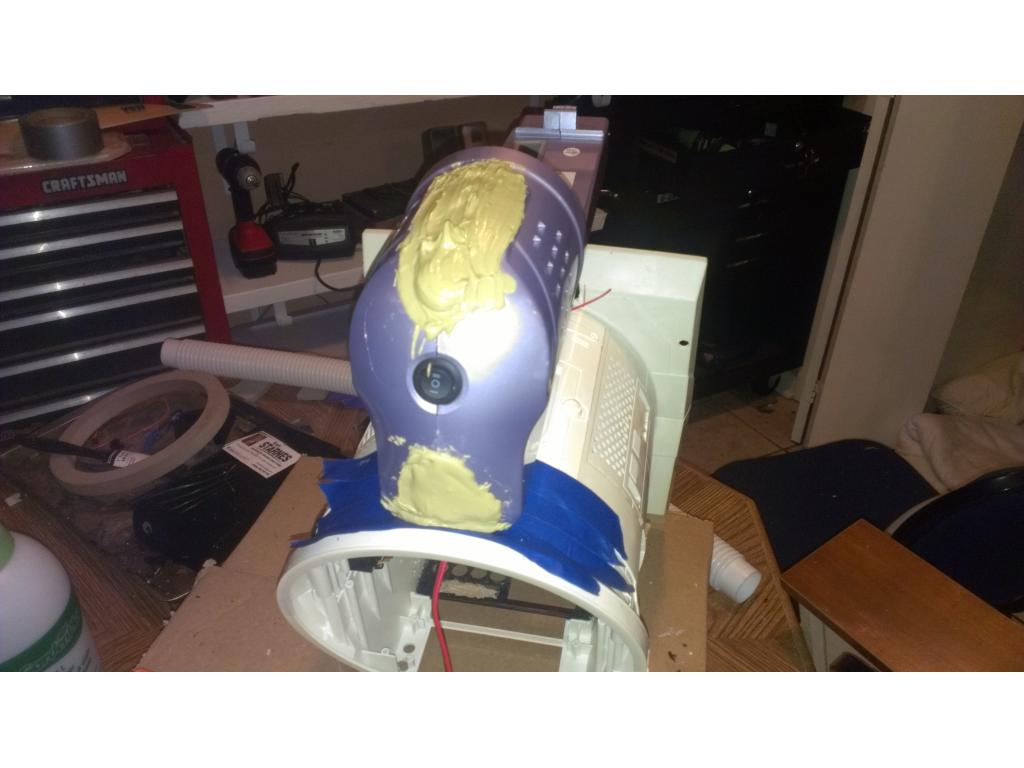
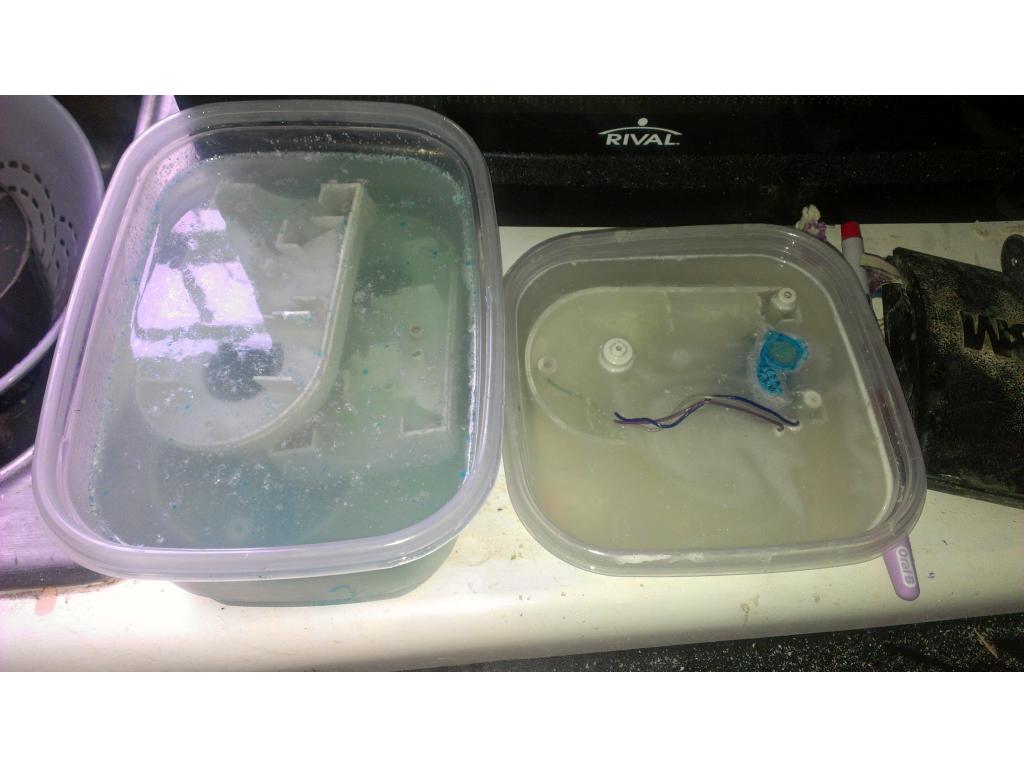
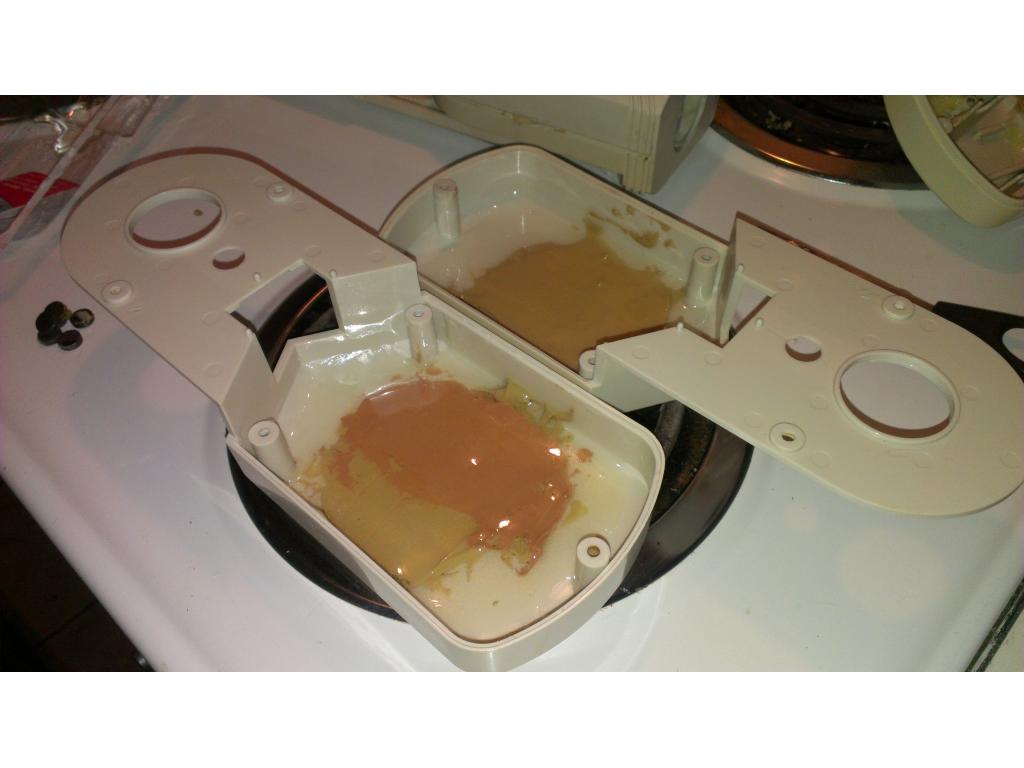
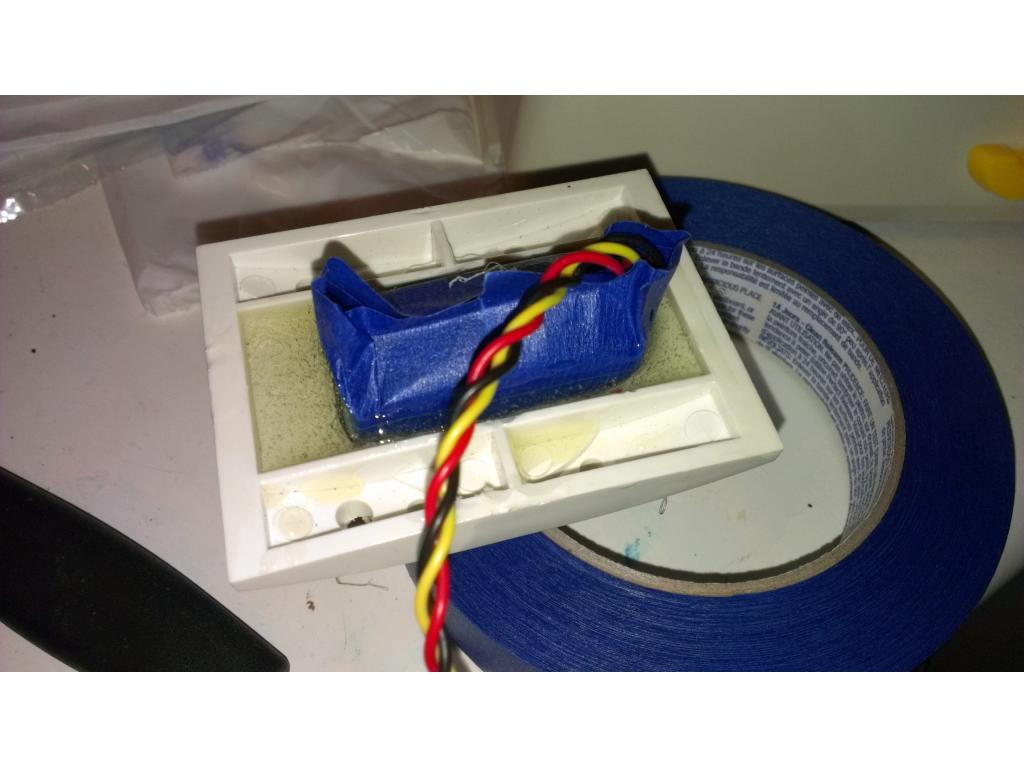
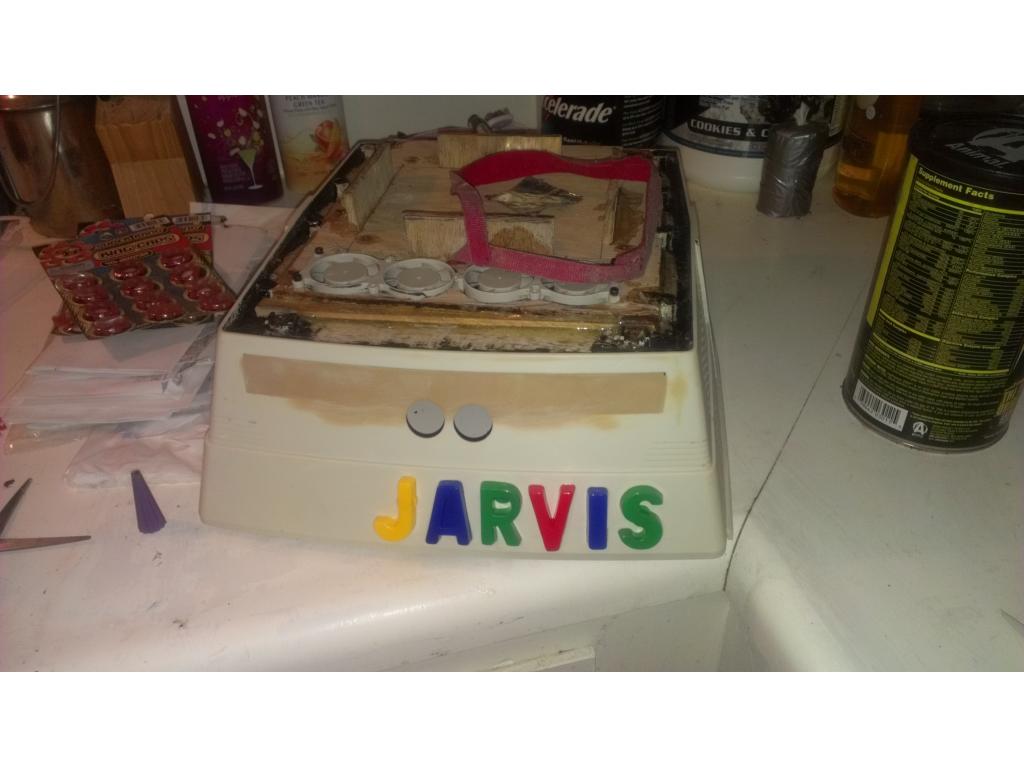
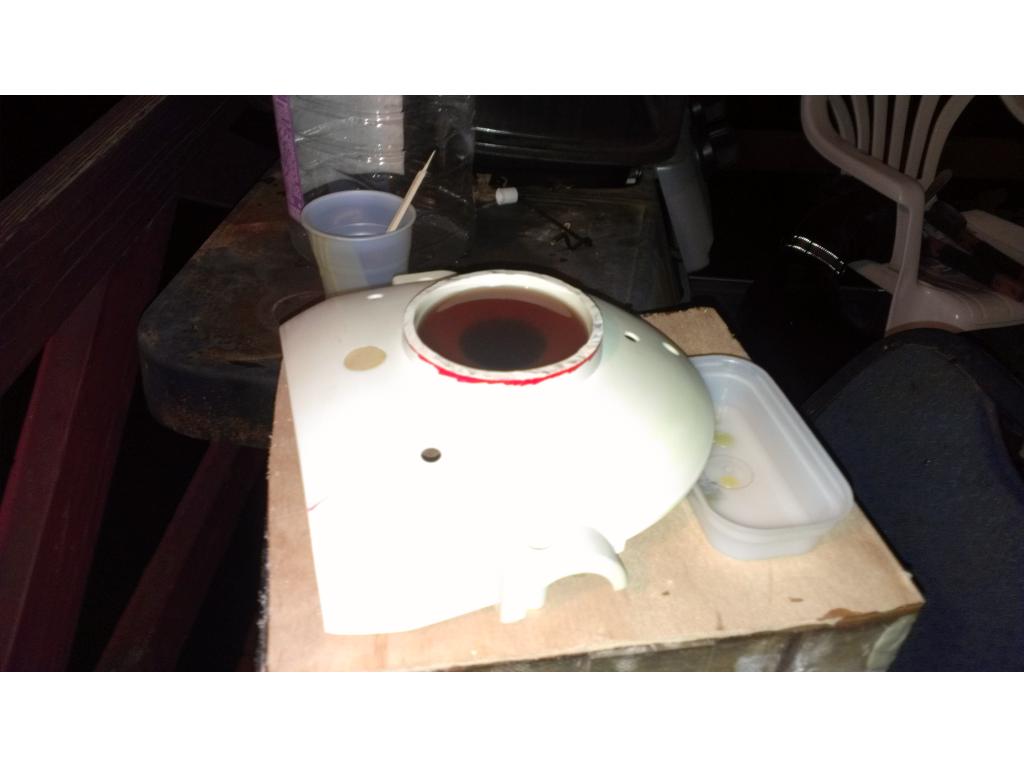
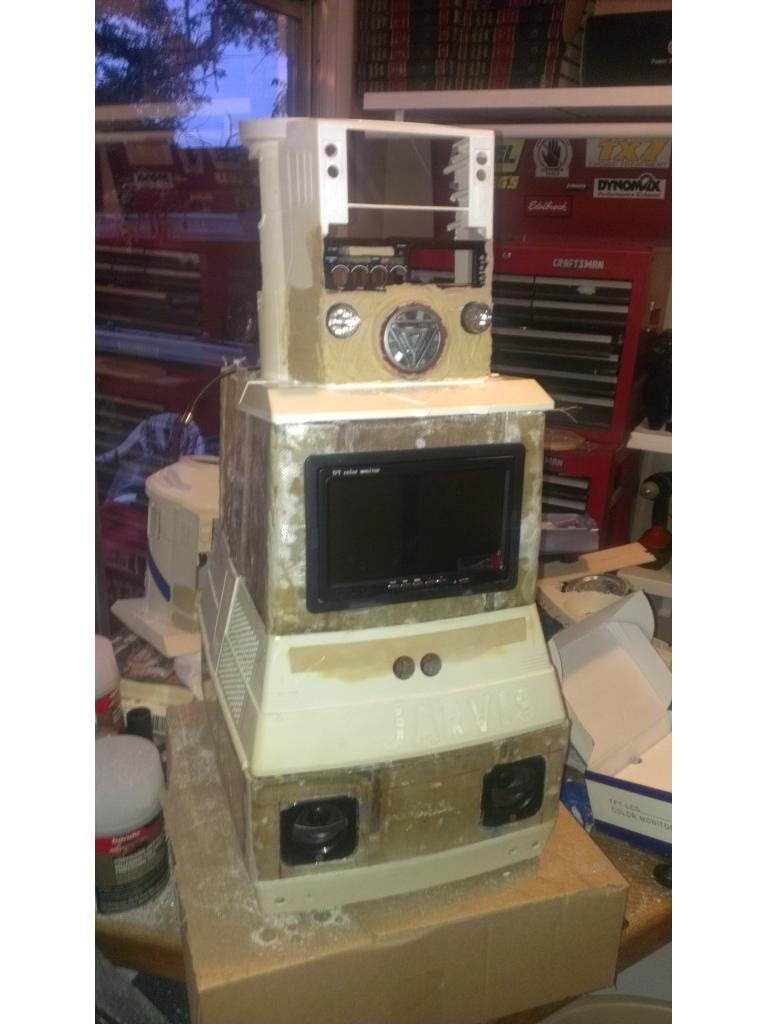
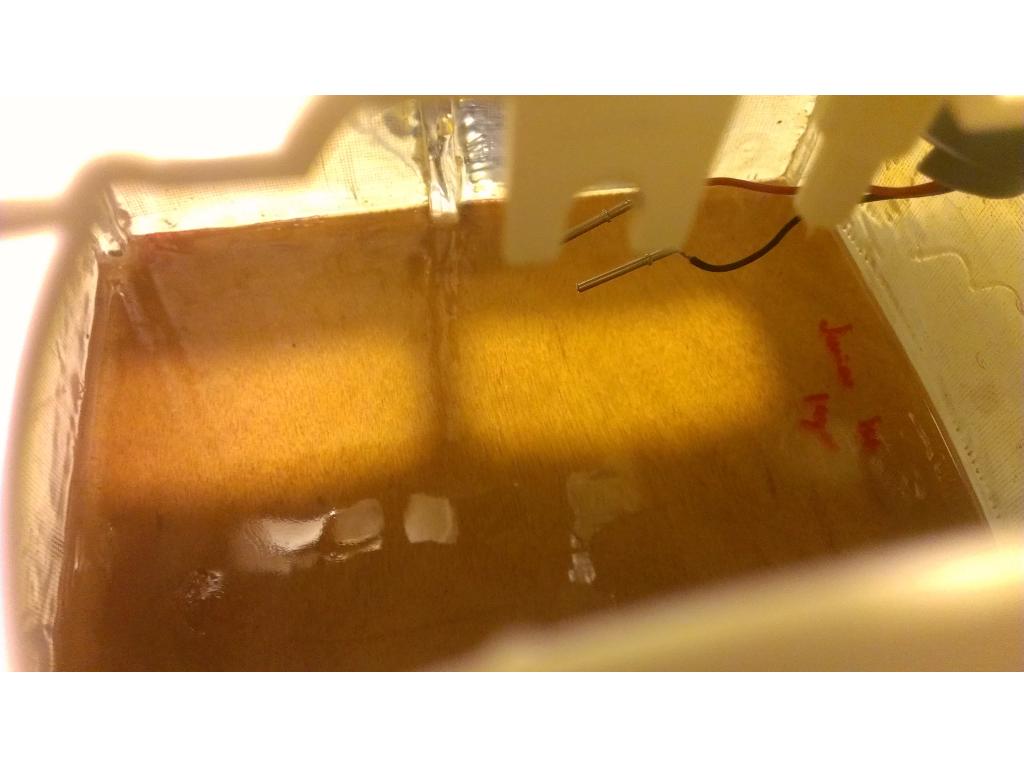
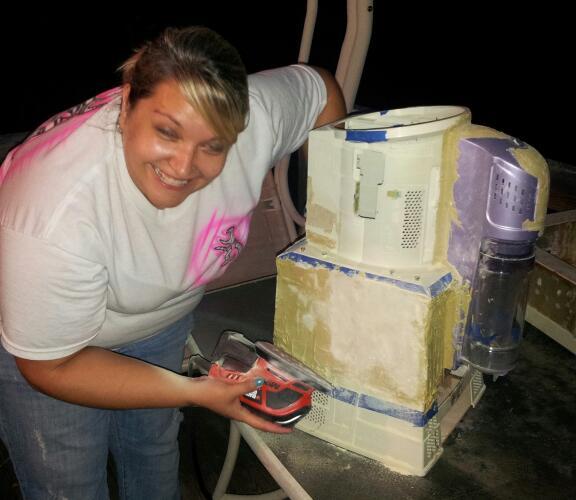
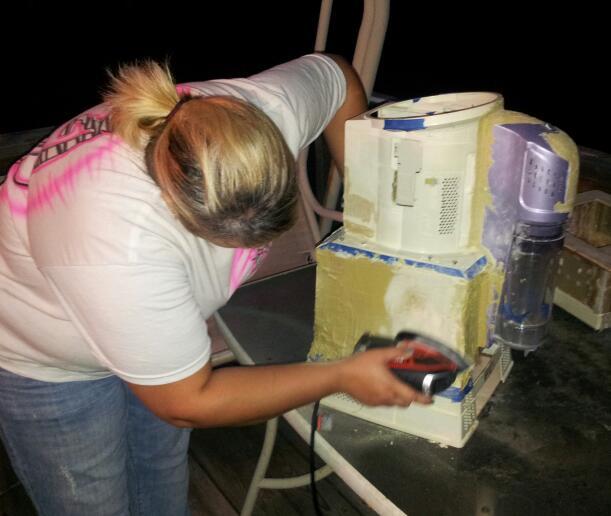
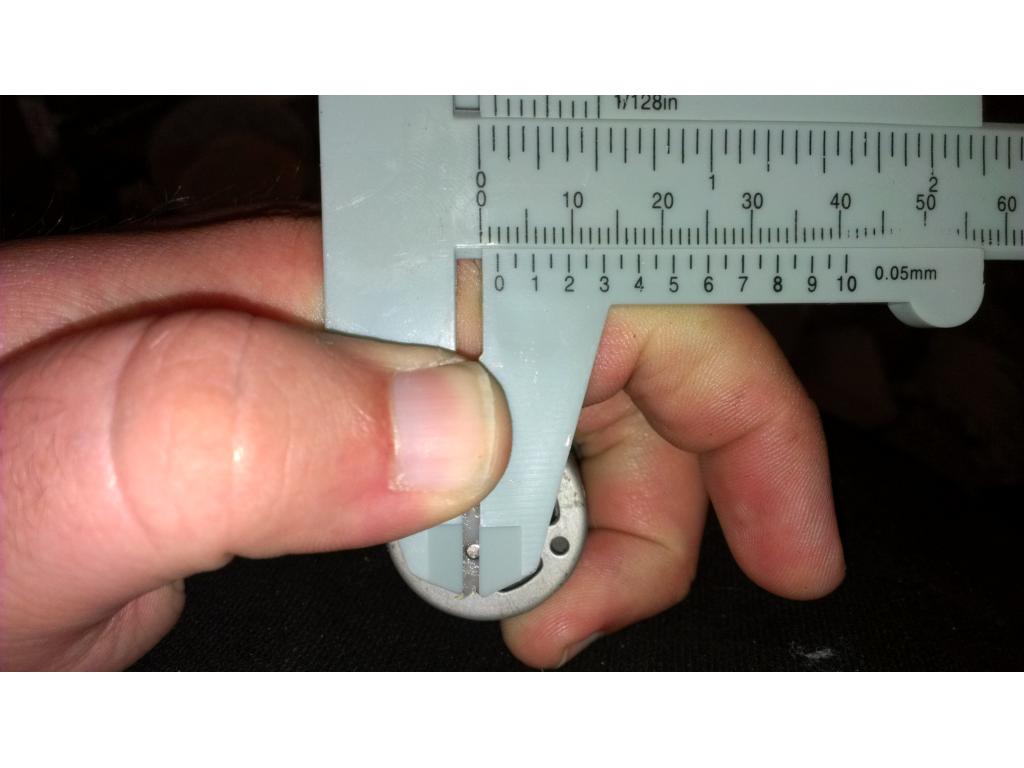
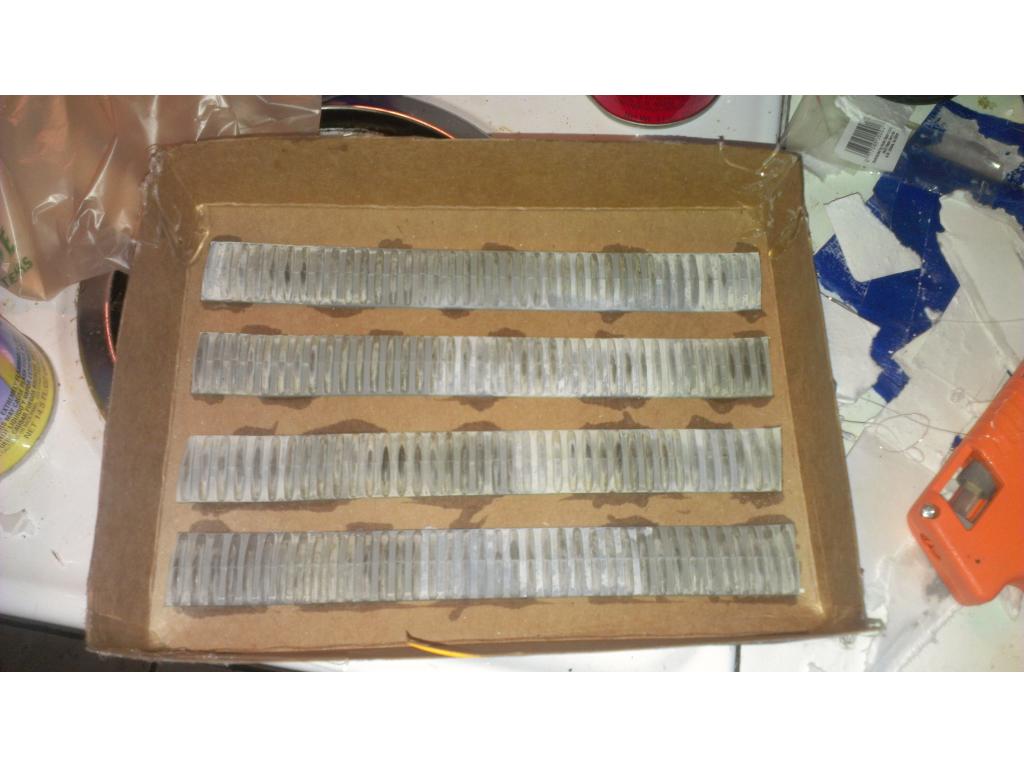
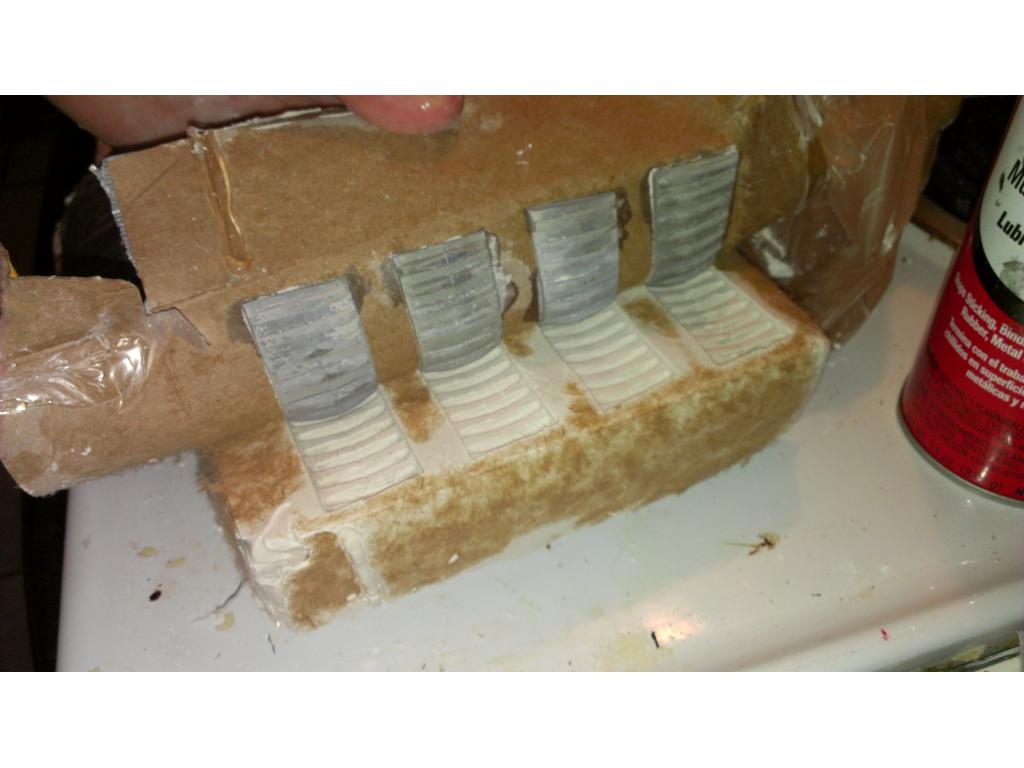
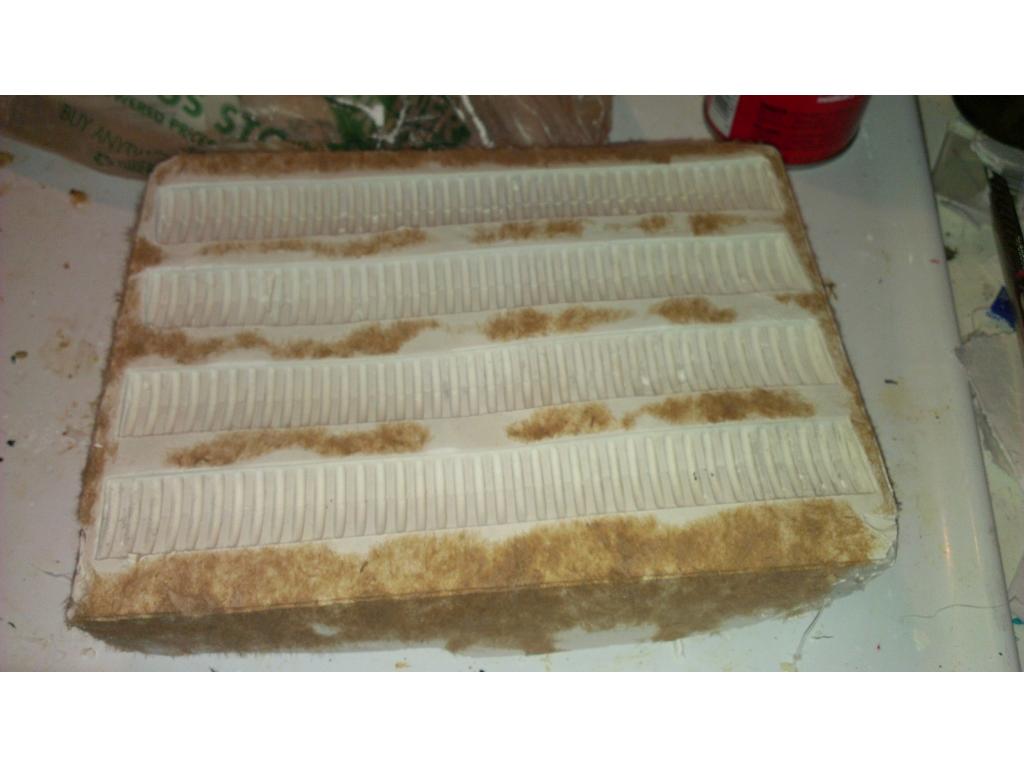
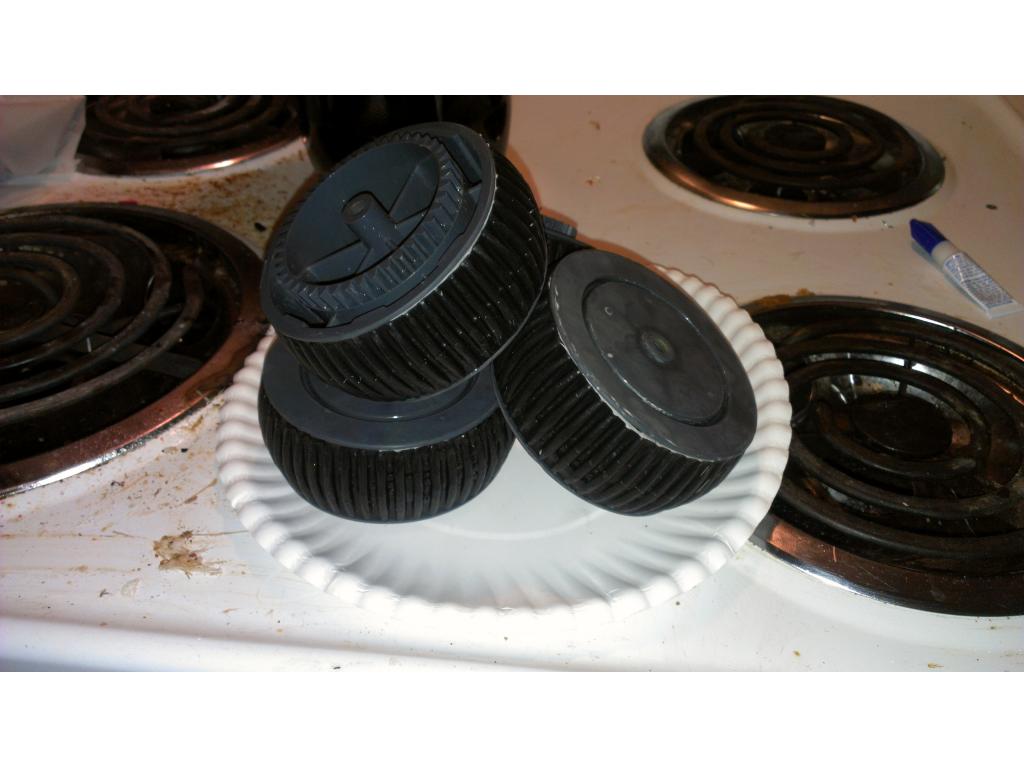
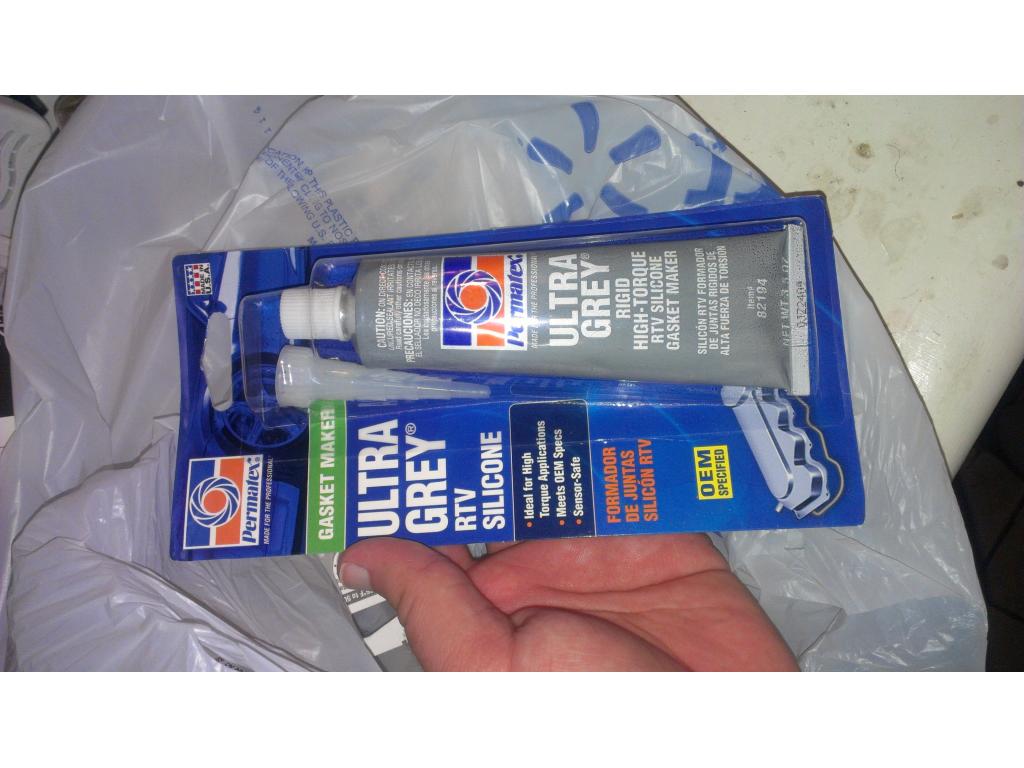
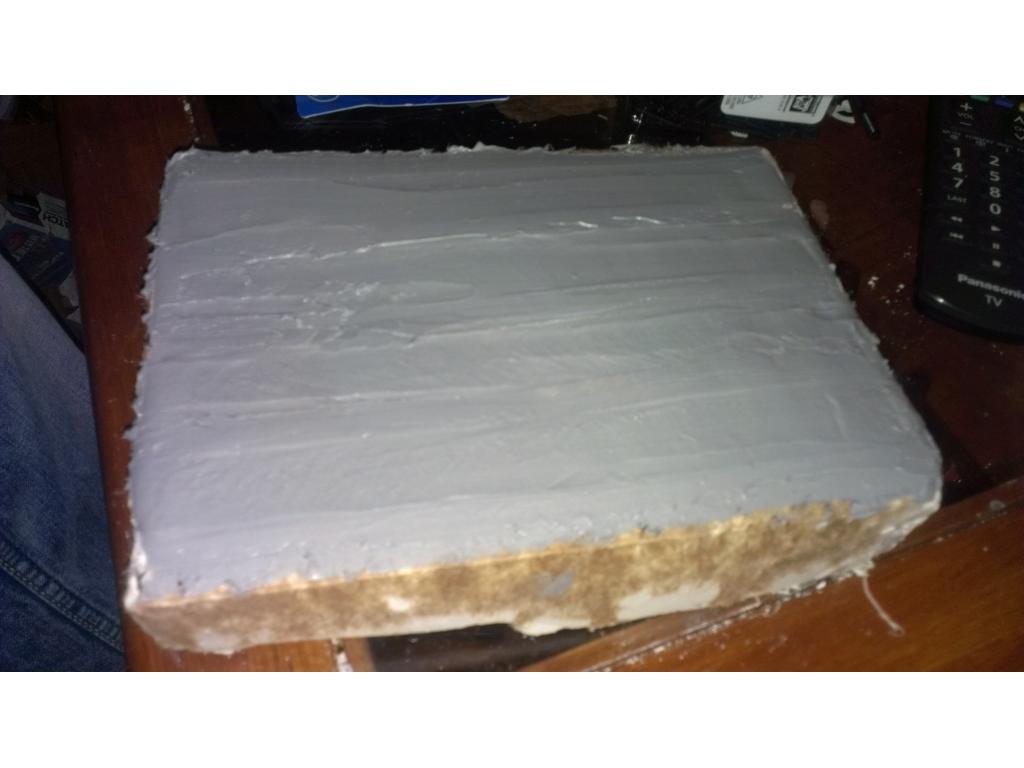
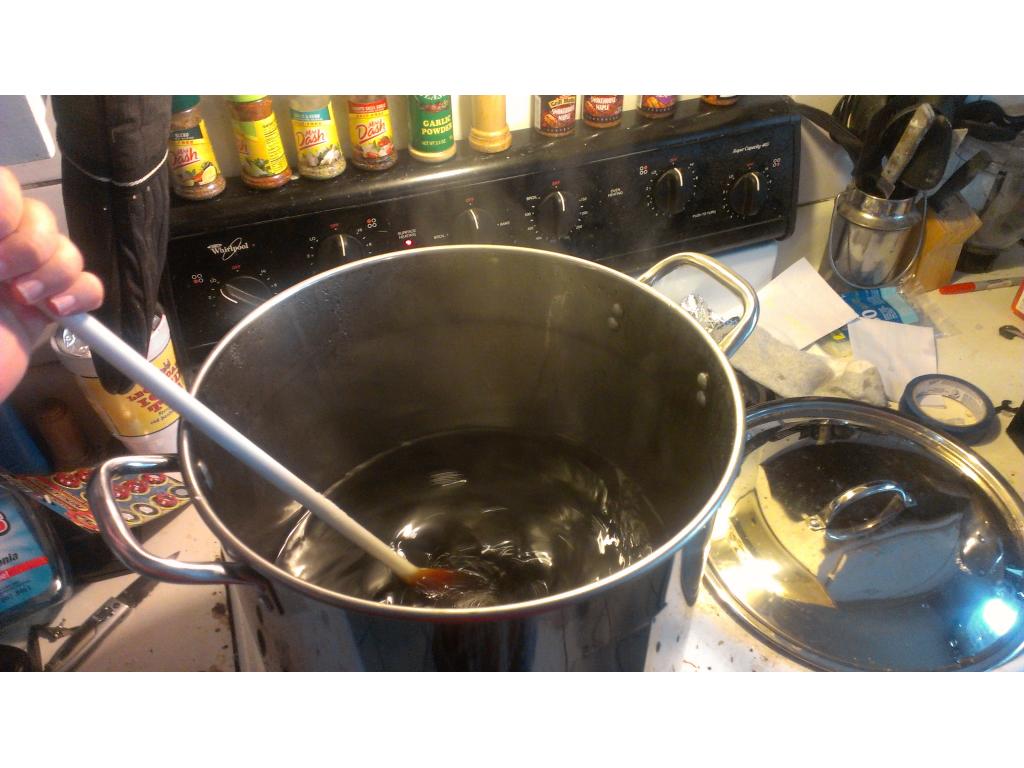
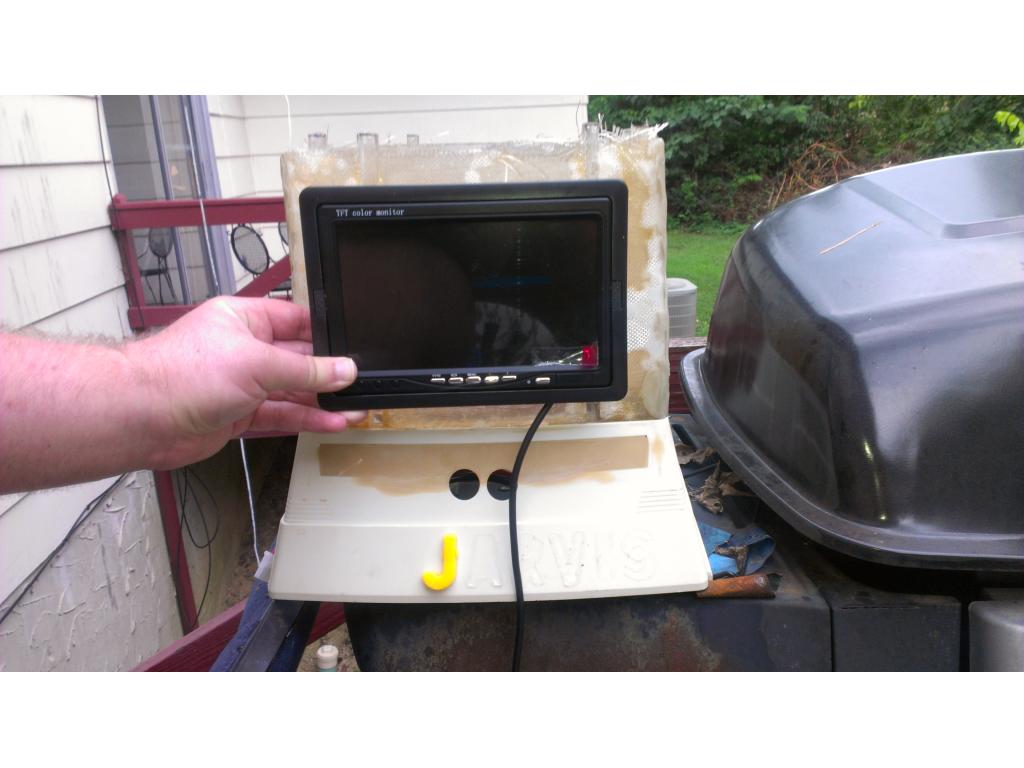
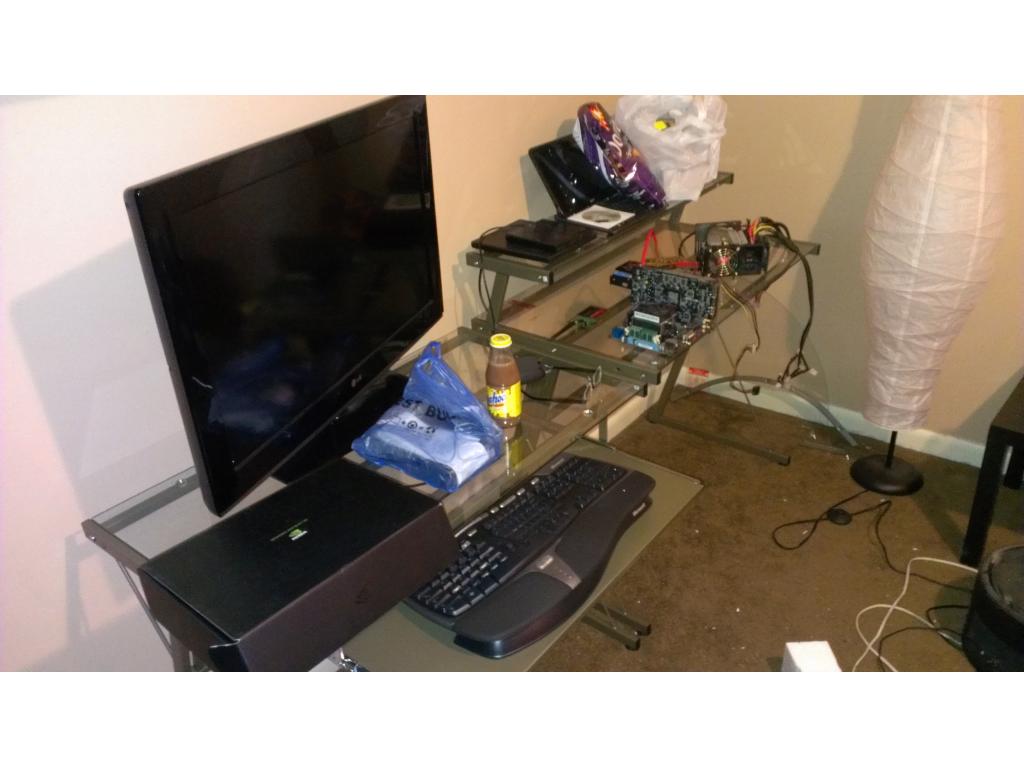
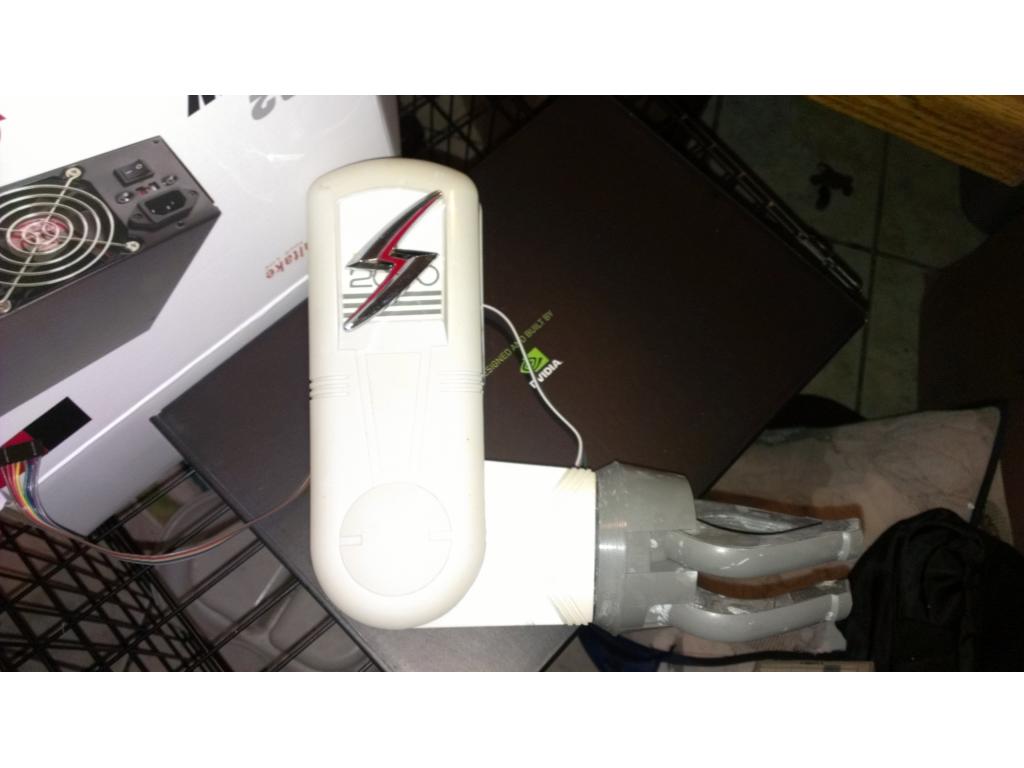
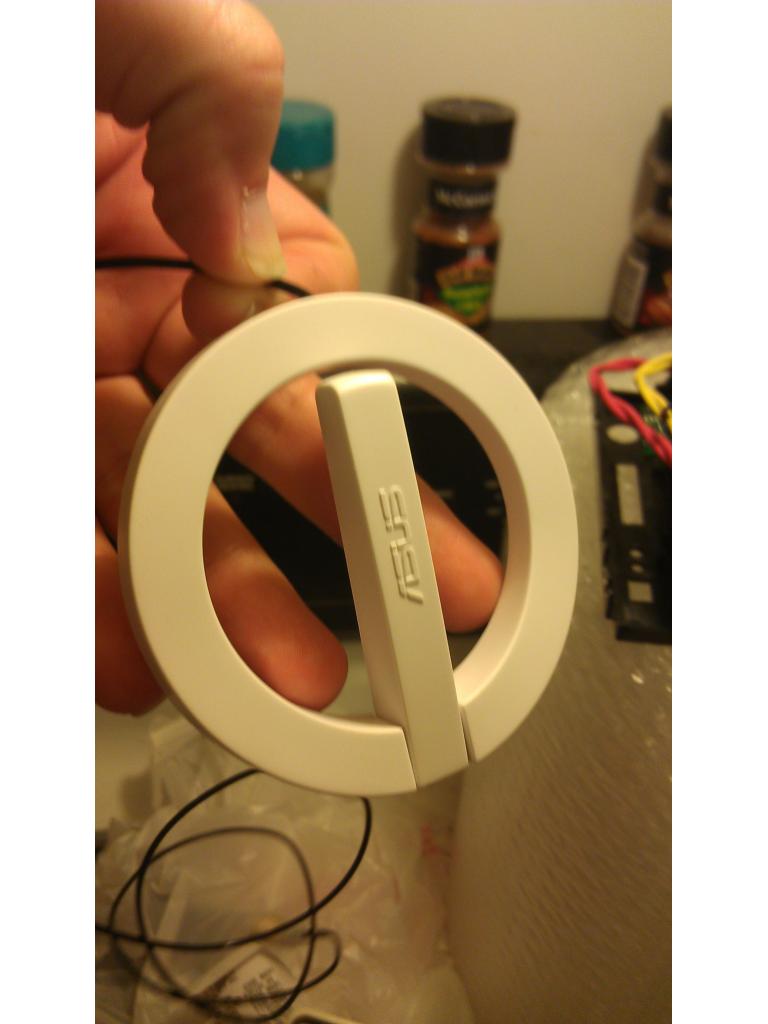
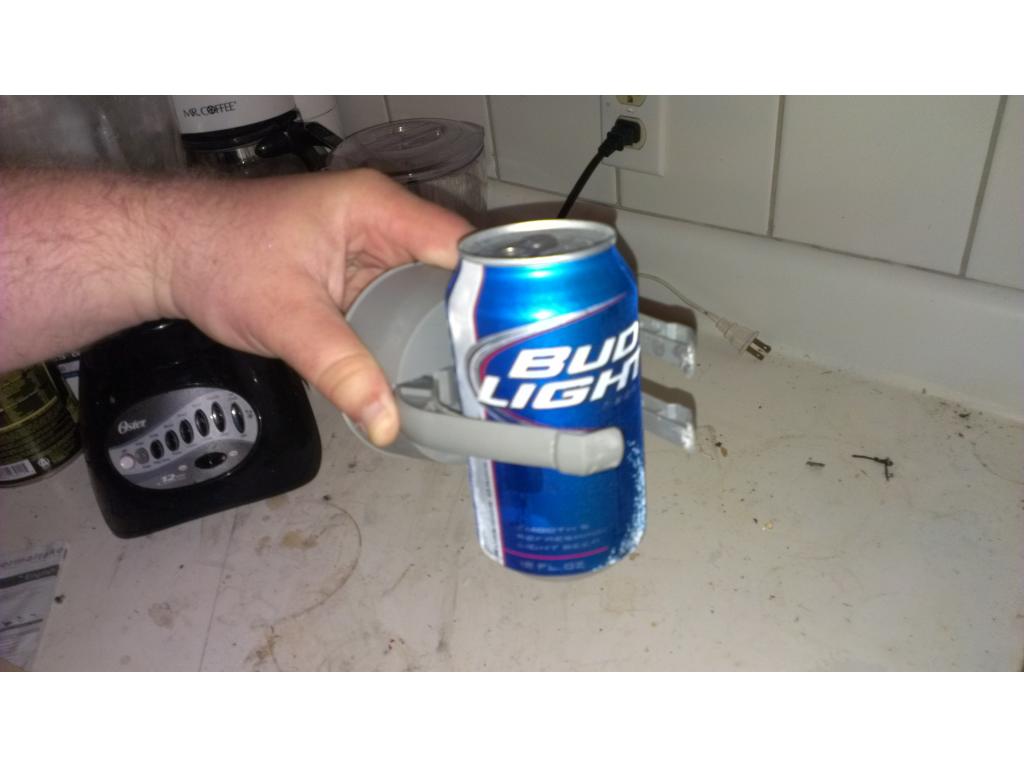
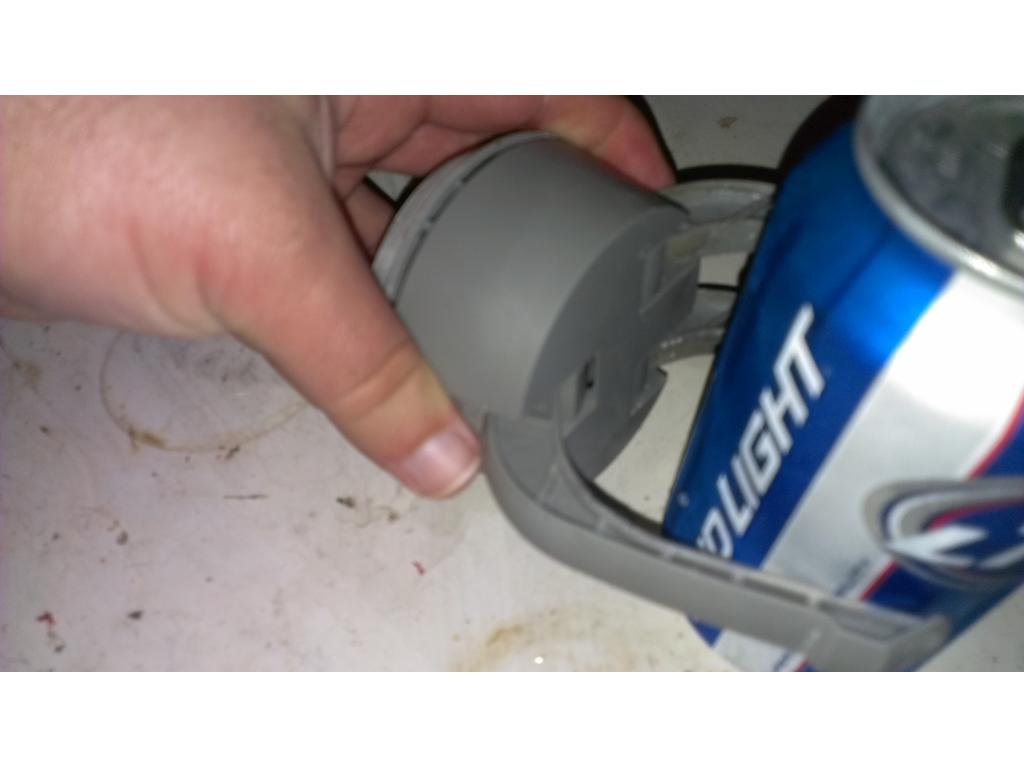
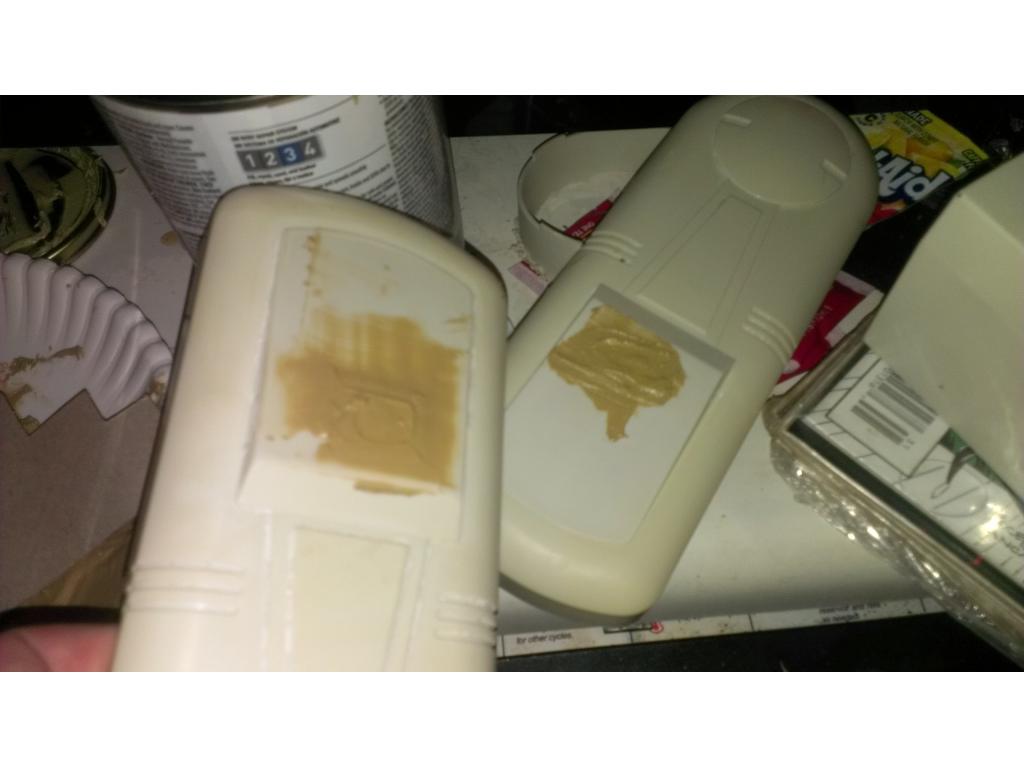
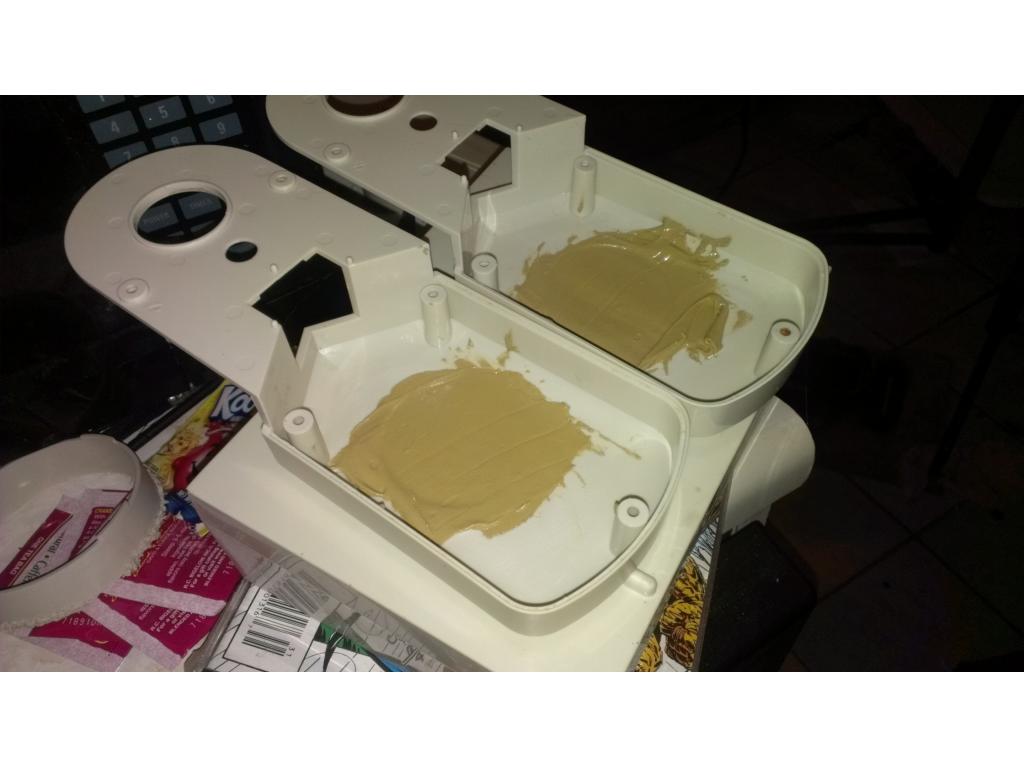
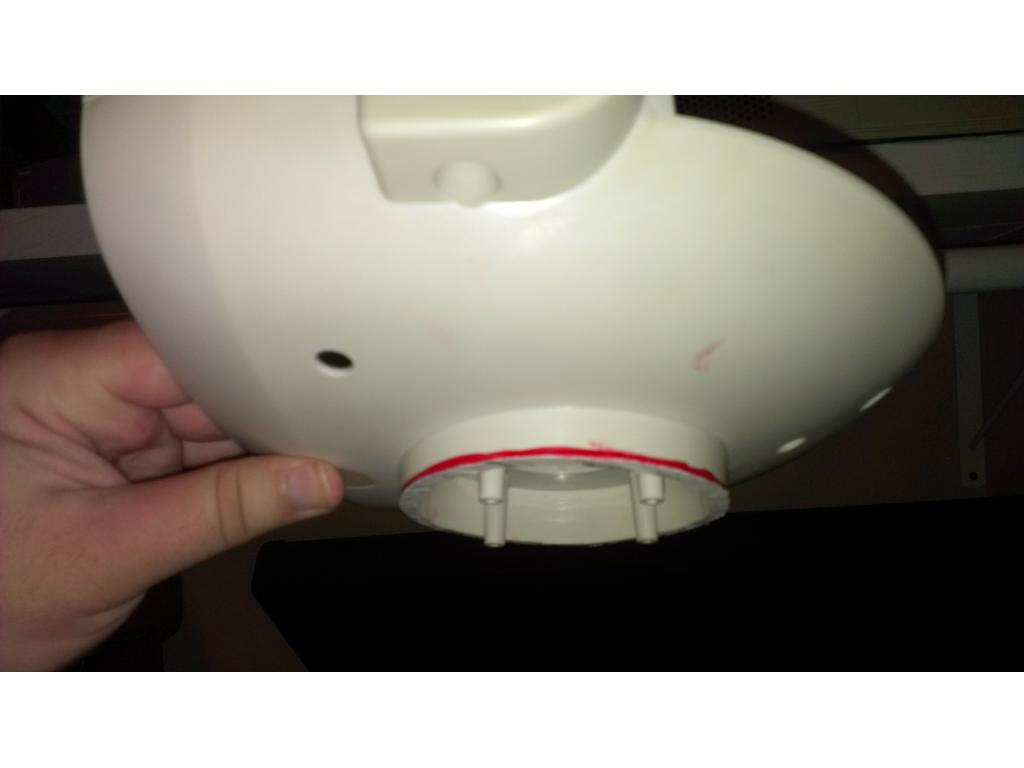
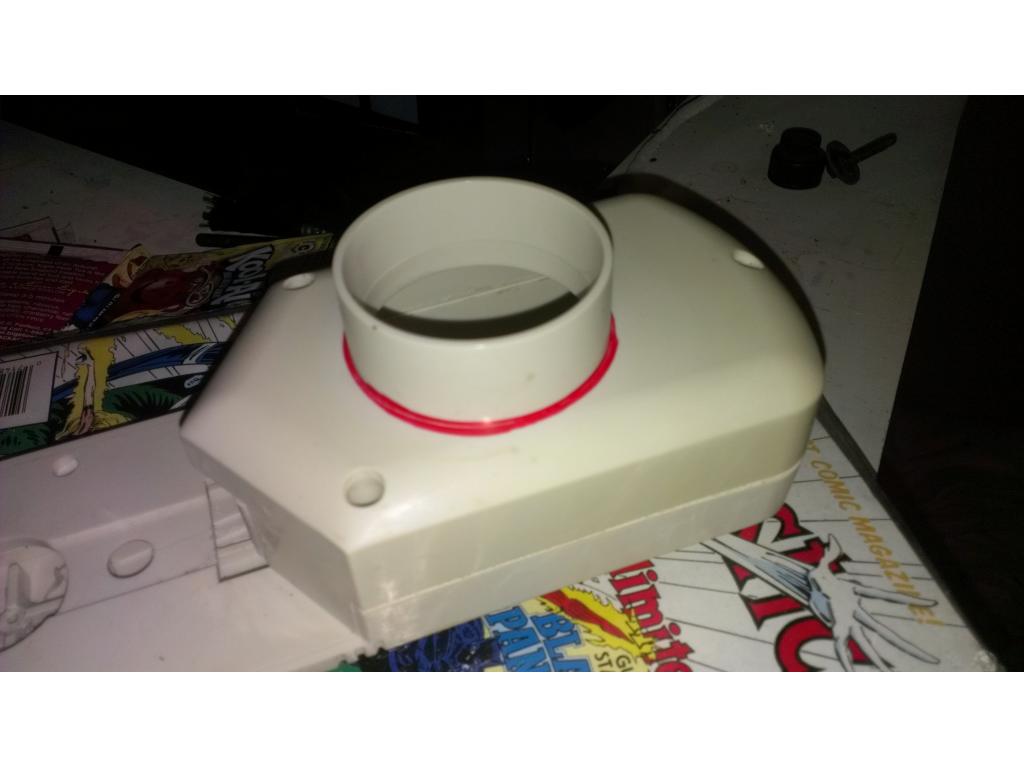
Tonight , on the agenda , mold the ARC reactor and two flashlights. If I can get that.completed I will also get the rear drawer epoxied in with plug holes cut. Also disassemble both arms and sand them with 600 grit for paint.
How do like D3? Just started that one Friday.
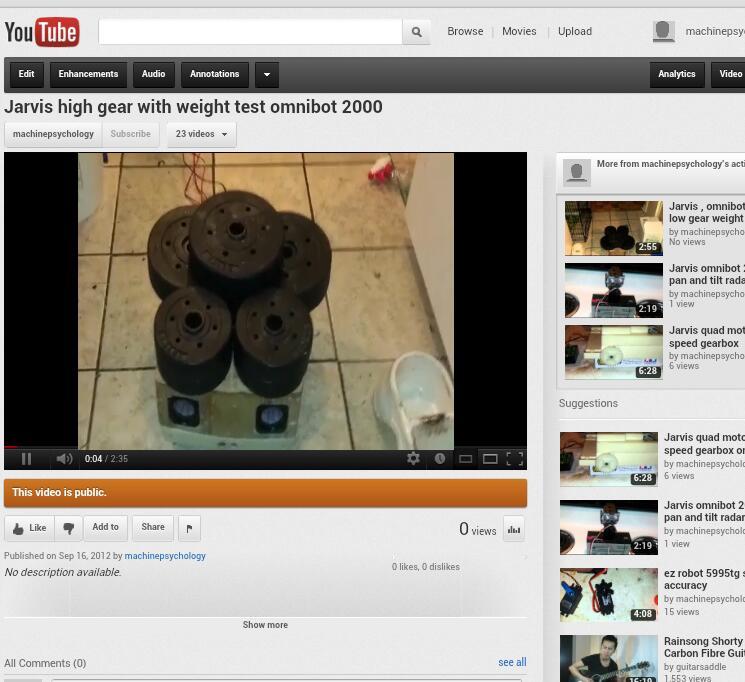
I like it , I.have played barbarian and monk , I'm at level ten now. , its a easy game to follow , its not overly complicated so o don't need to dump 15 hrs a week into it to keep up with times like WOW was , after cataclysm I gave that game up. I am looking forward to trying the new starcraft 2 and a the new starwars. Wanna play? Lol. Update on progress: ok I'm cleaning the vents to make sure paint sticks and I won't have flaking around the side vents. I did a short YouTube video , I plan on doing more and more of these as the progress of this bot gets together and starts moving.
Haha.. We should play sometime. I'm a witch doctor lvl 17. Mystaia#1250H
I also play Starcraft2. Haven't tried star wars.
When u gonna post videos. Like to see some as you put together.