


cE9s4PsOgeBQIORwjd5!~~60_1-634818020230156250.jpg)


BO)Lupuc4g~~60_35-634706297915000000.jpg)
LupbT6!~~60_35-634706298769375000.jpg)


C5j!~~60_35-634655044863125000.jpg)


C5j!~~60_35-634659603510781250.jpg)


C5j!~~60_35-634651704046230469.jpg)
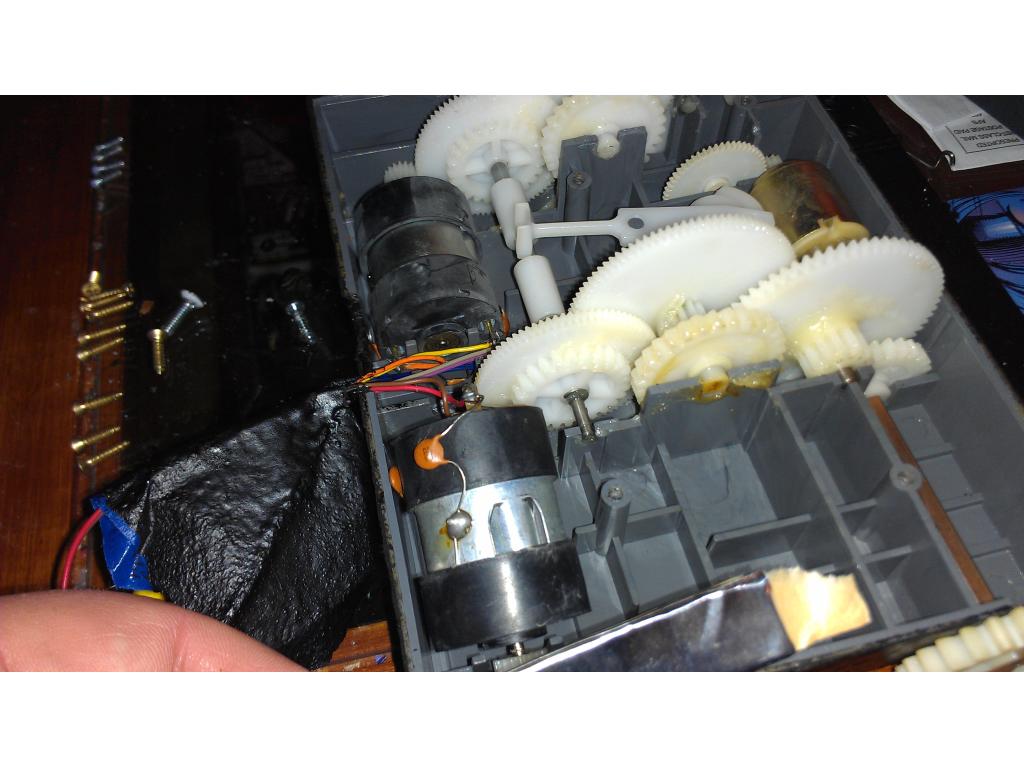
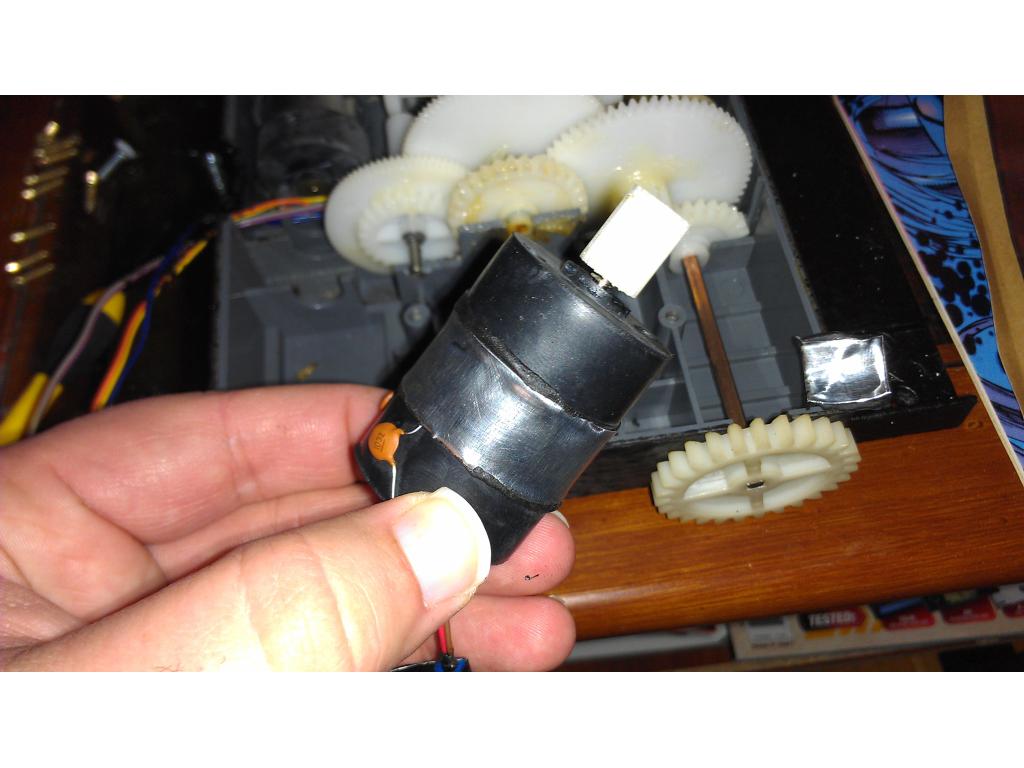
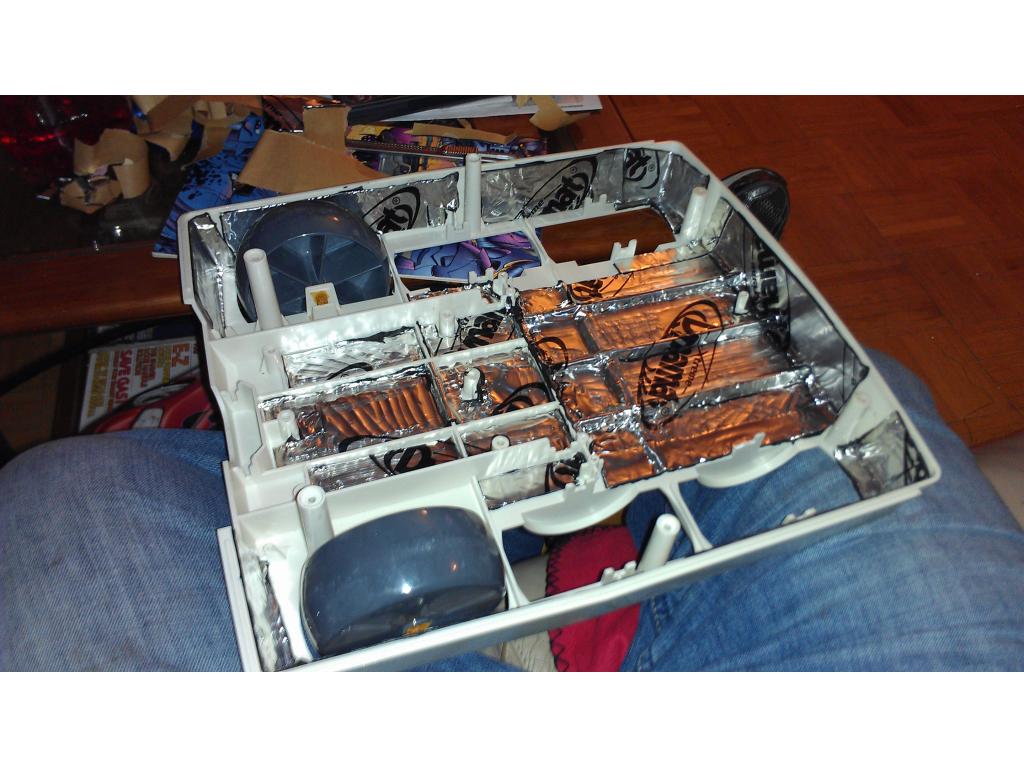
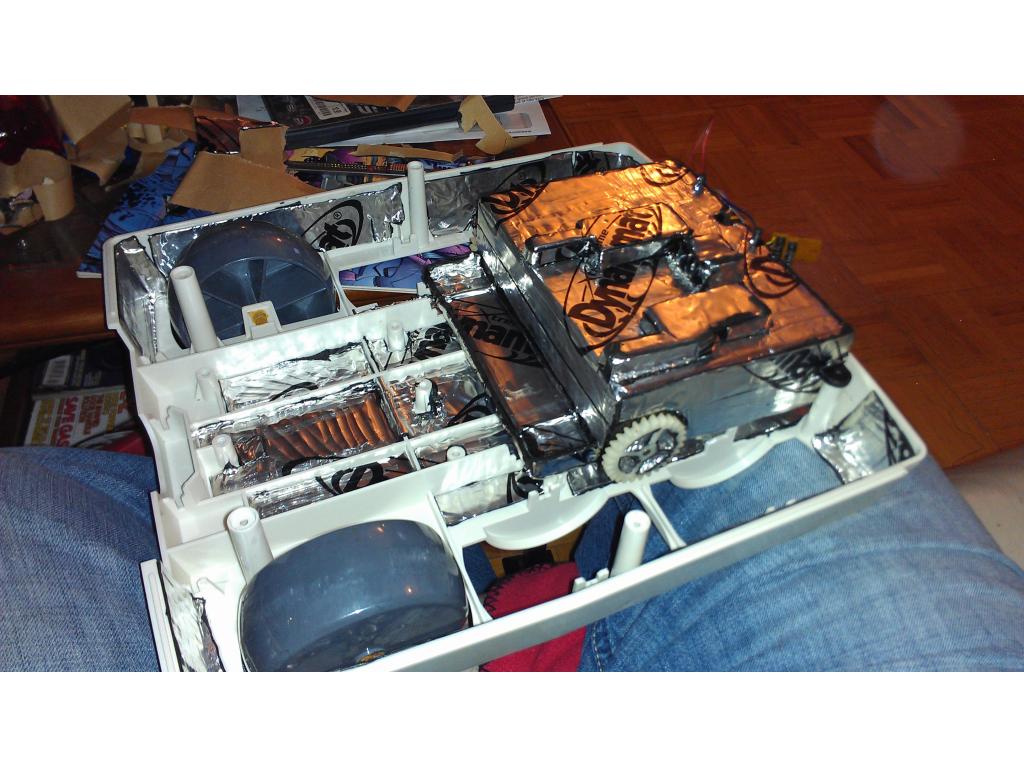
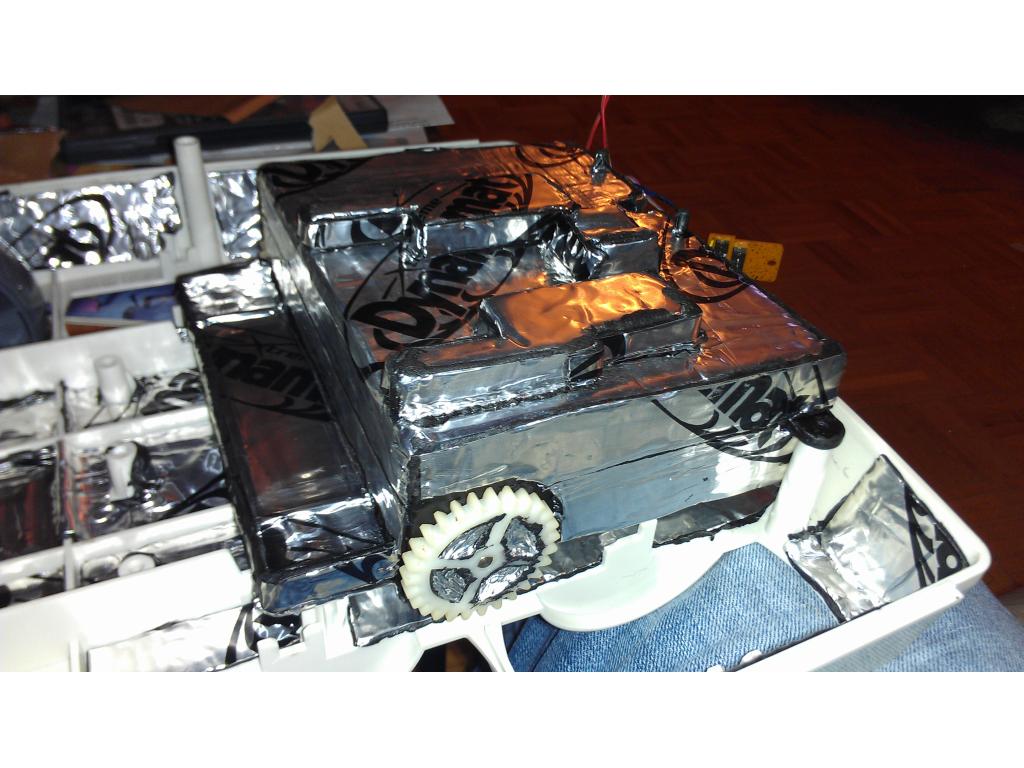


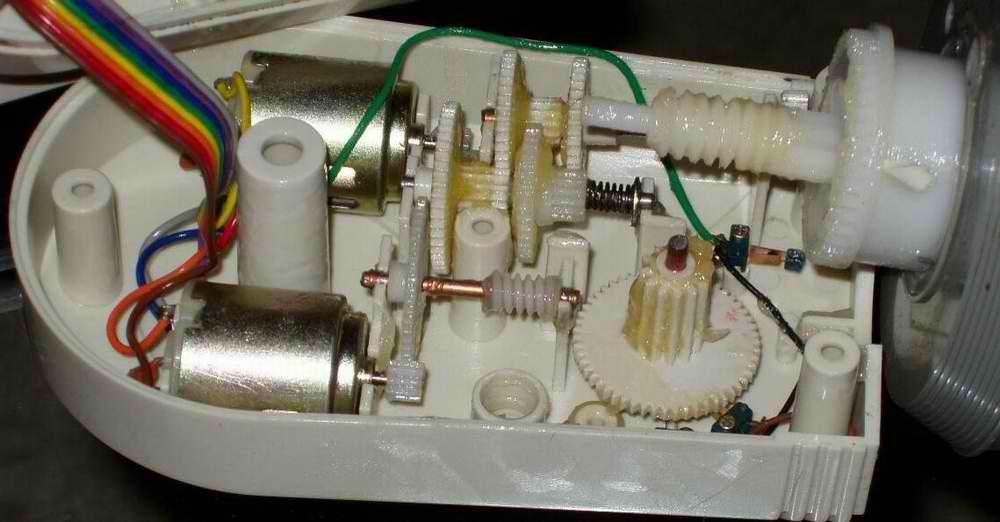
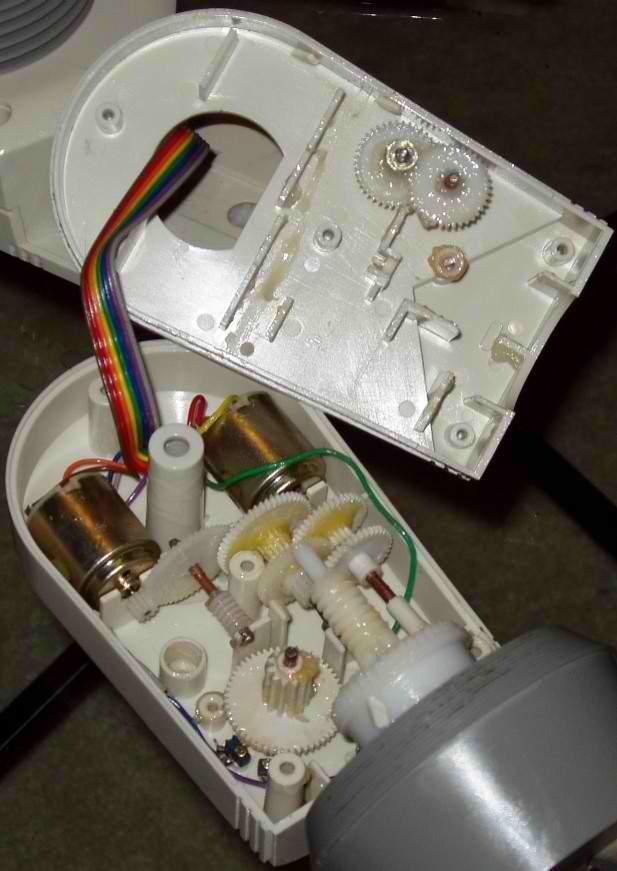

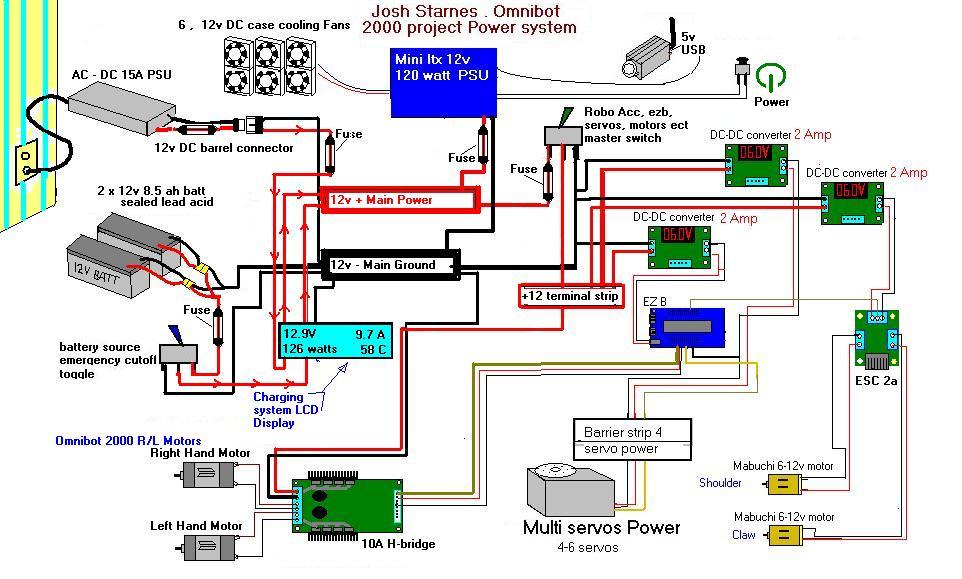


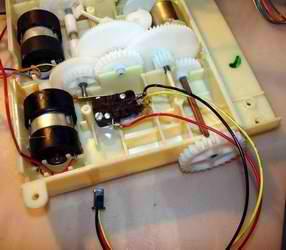

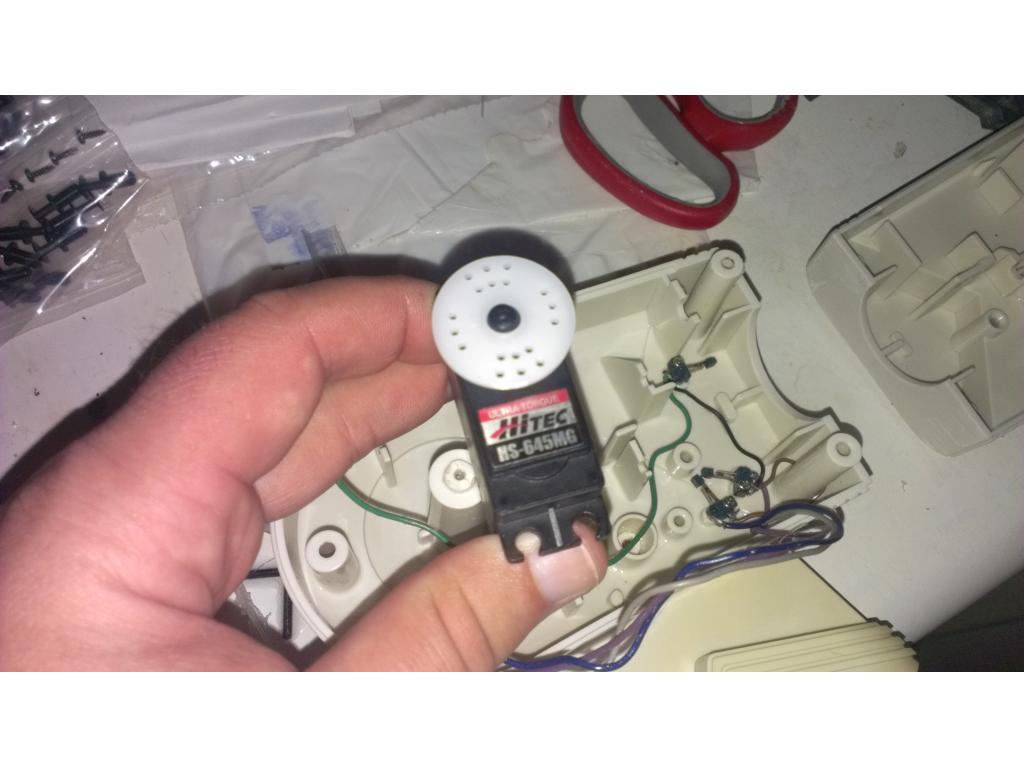


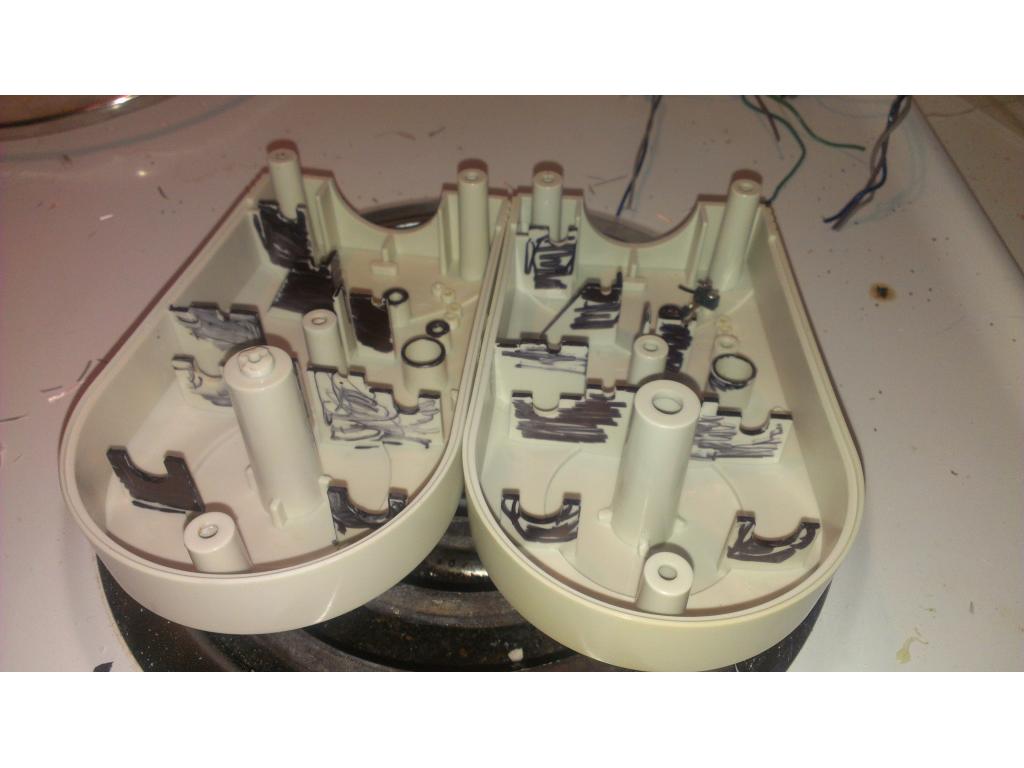

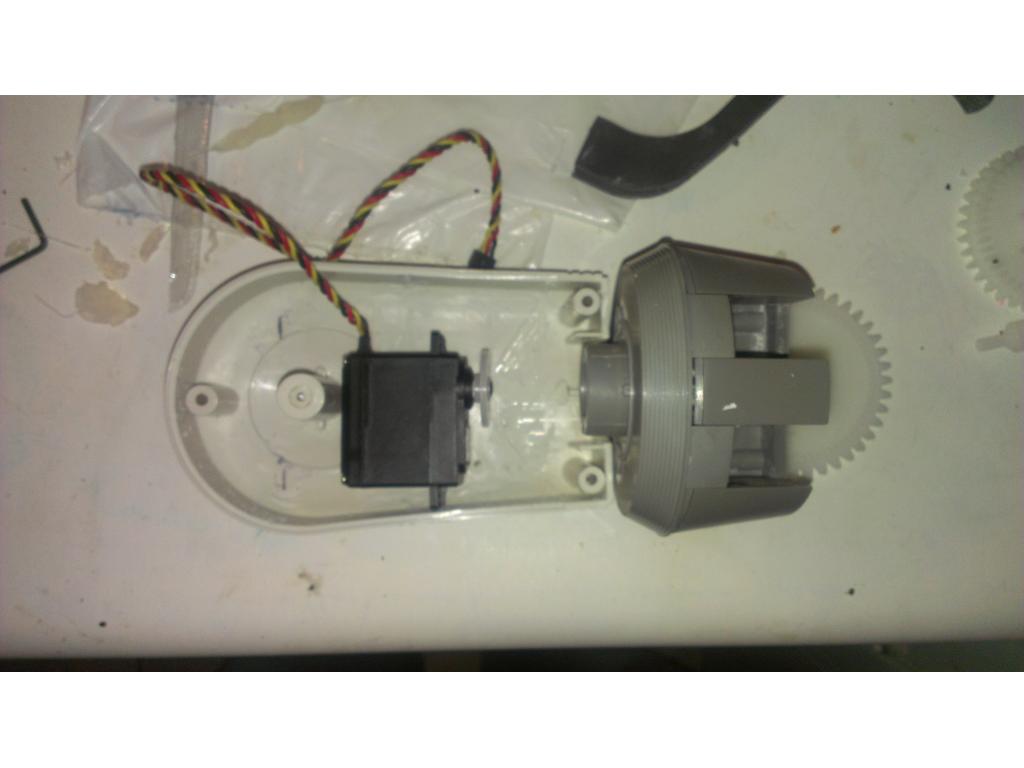


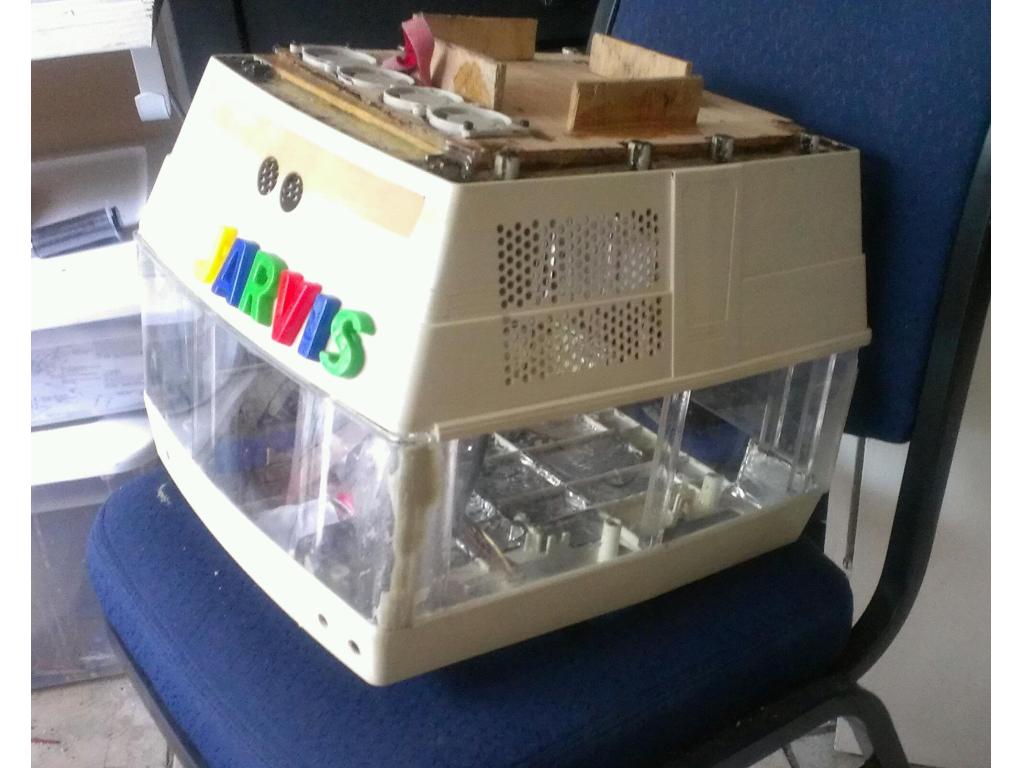


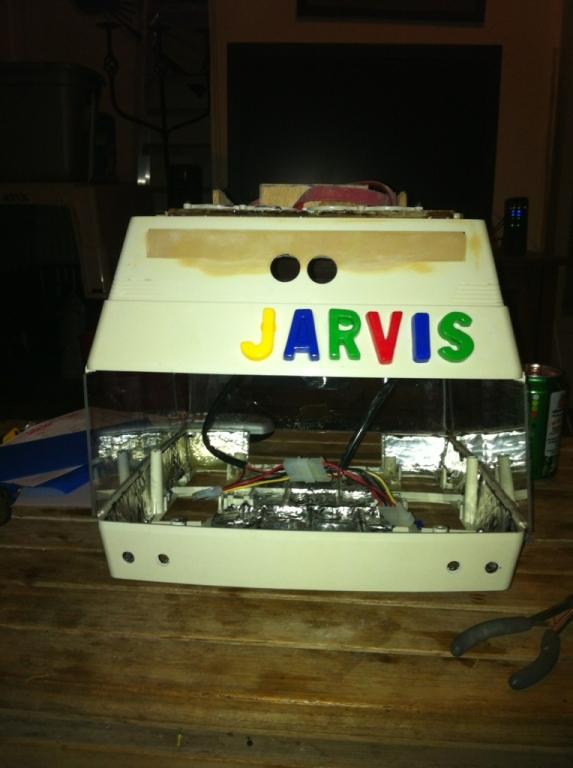

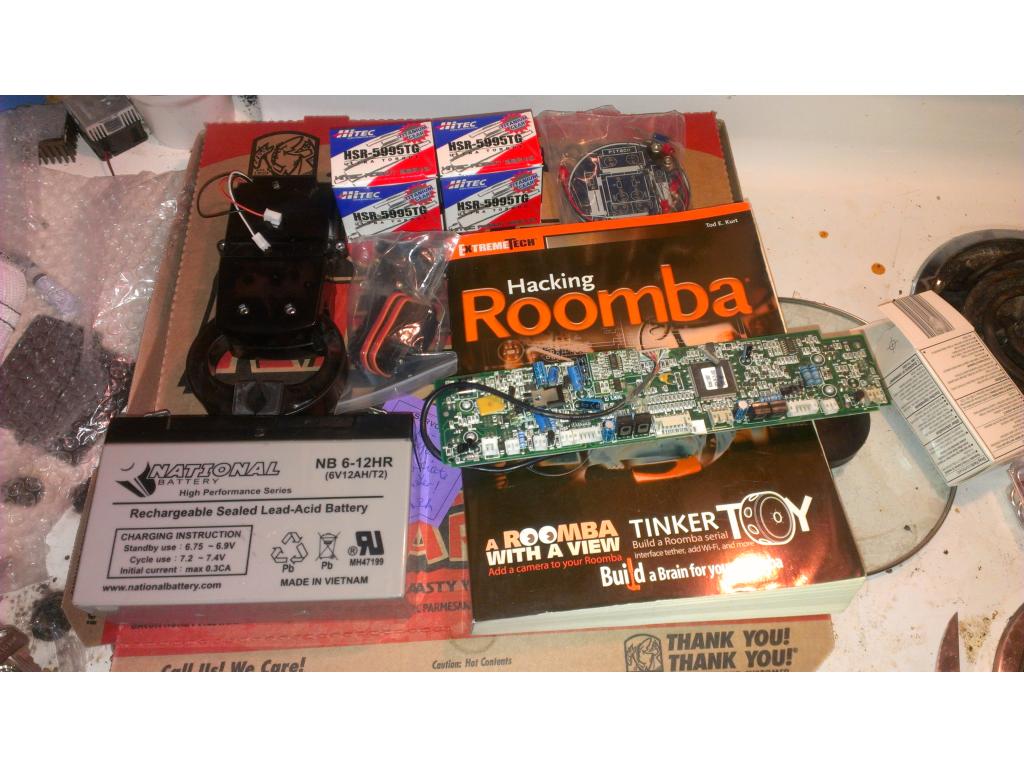


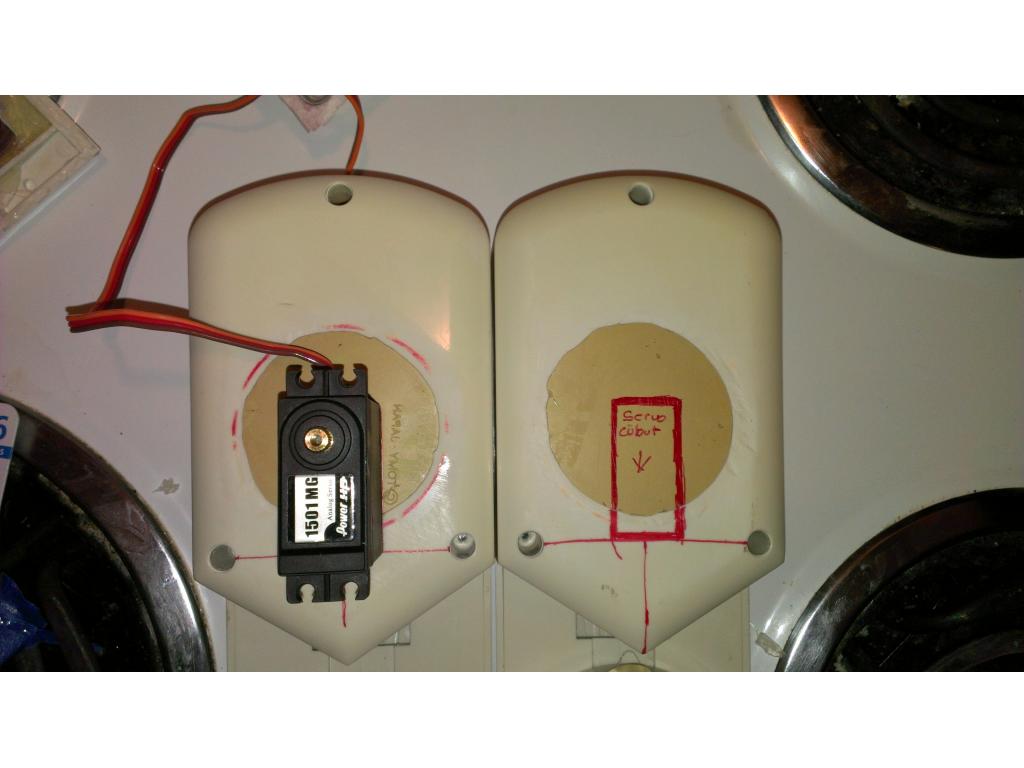
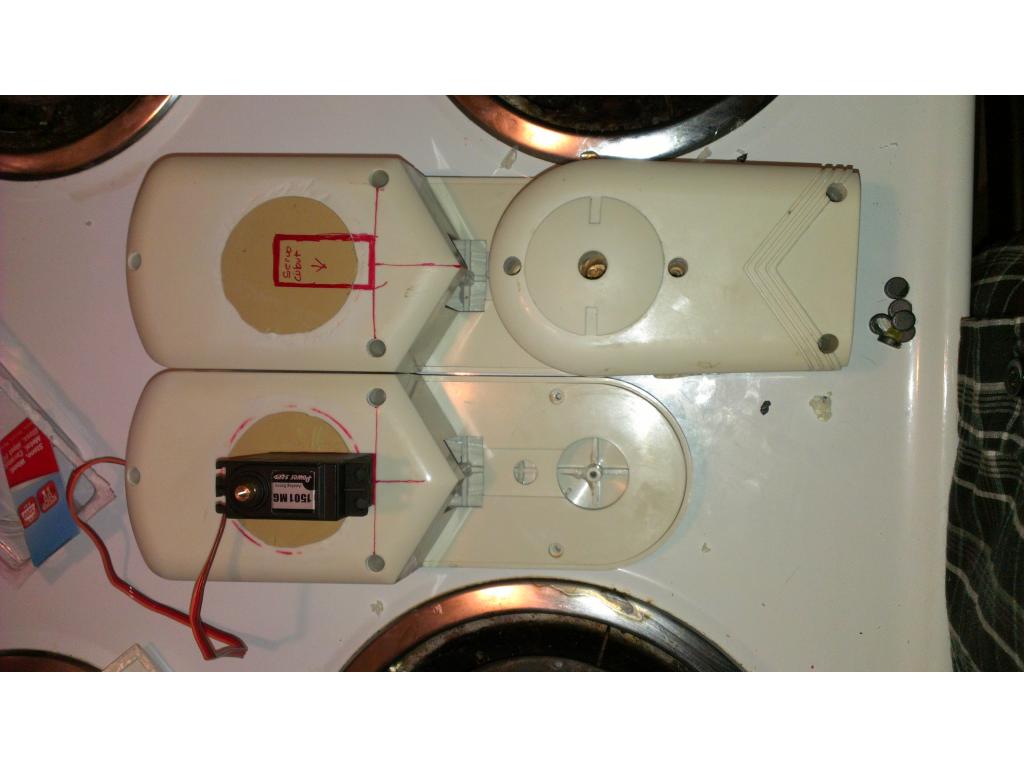

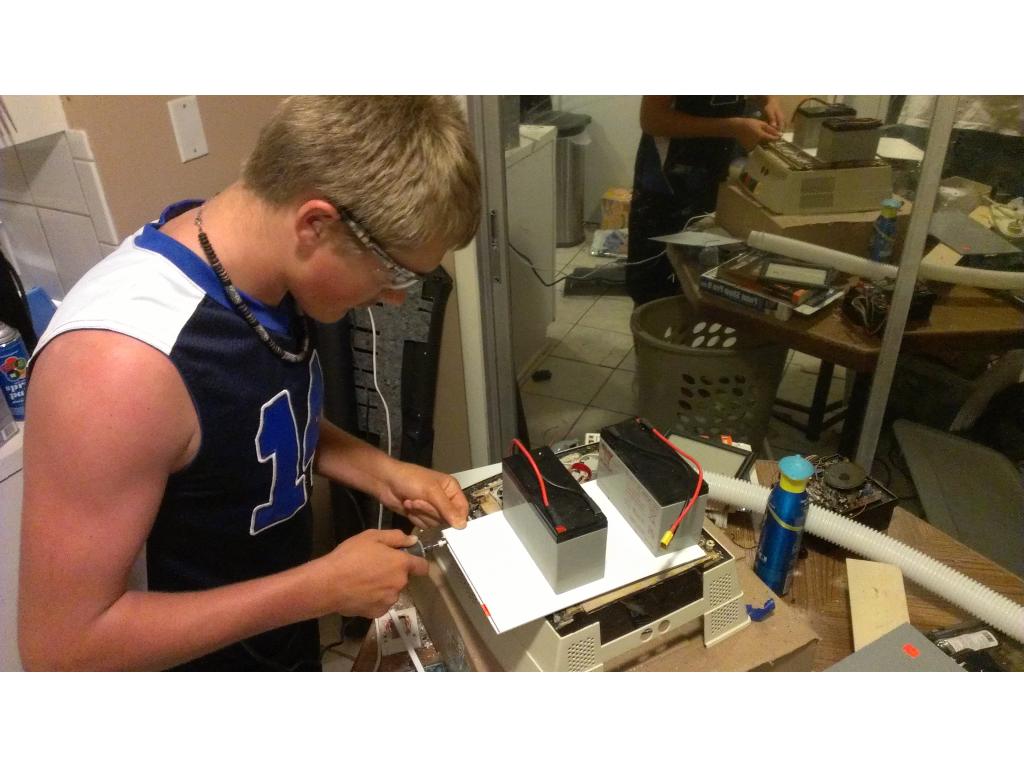
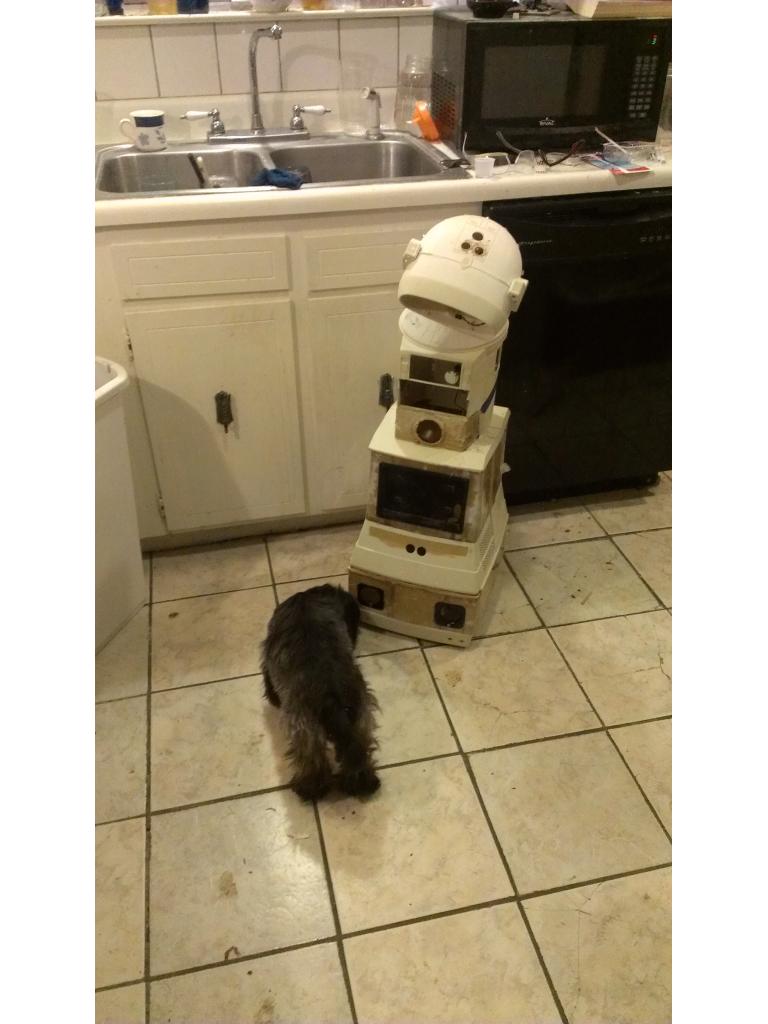
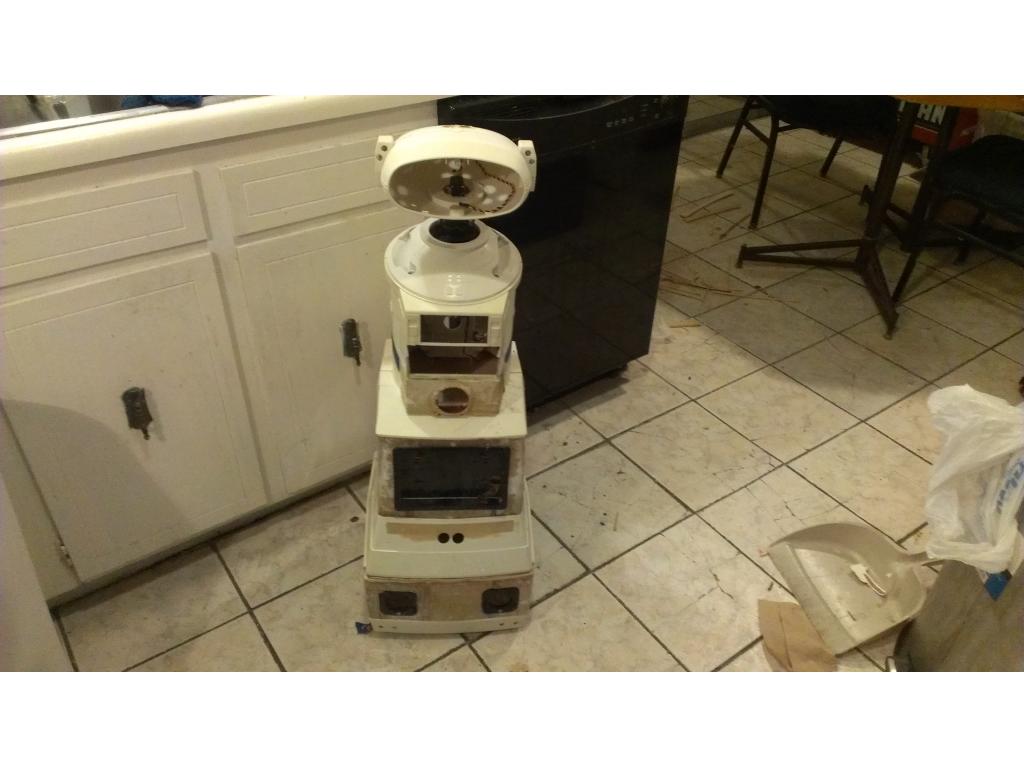
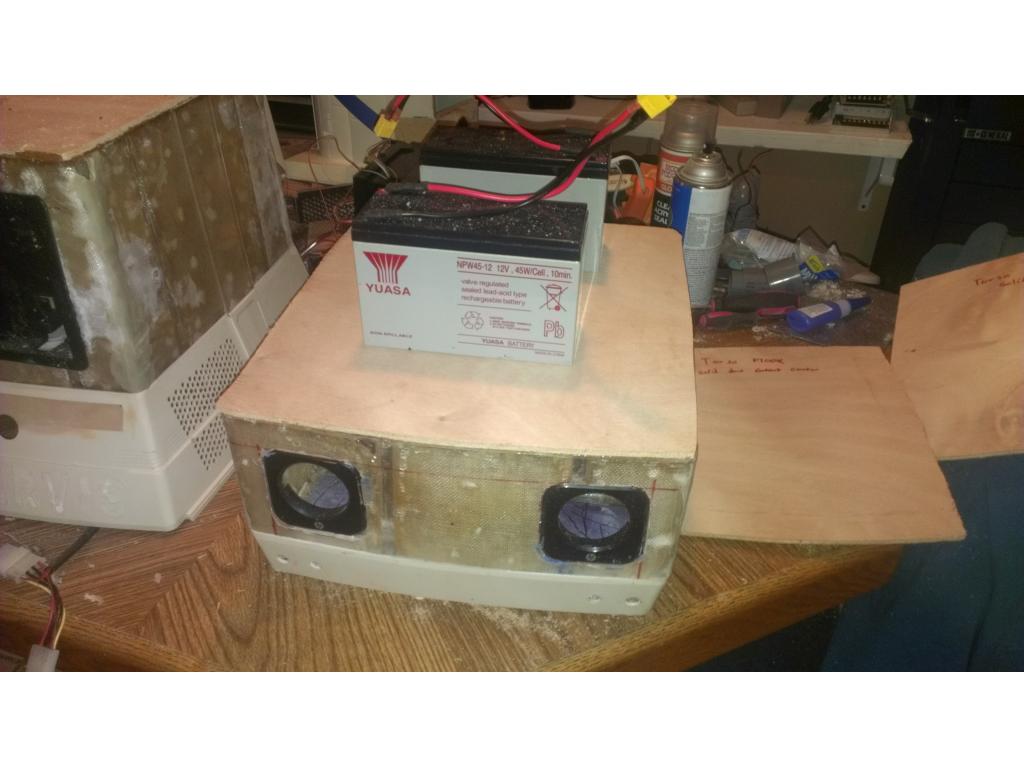


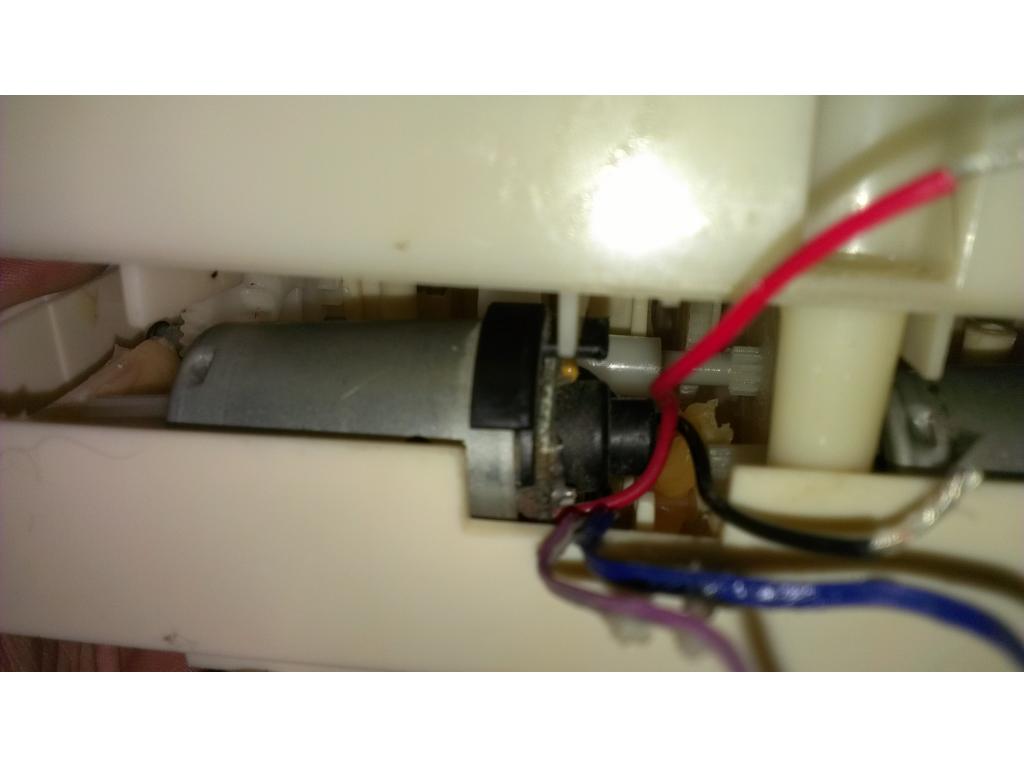
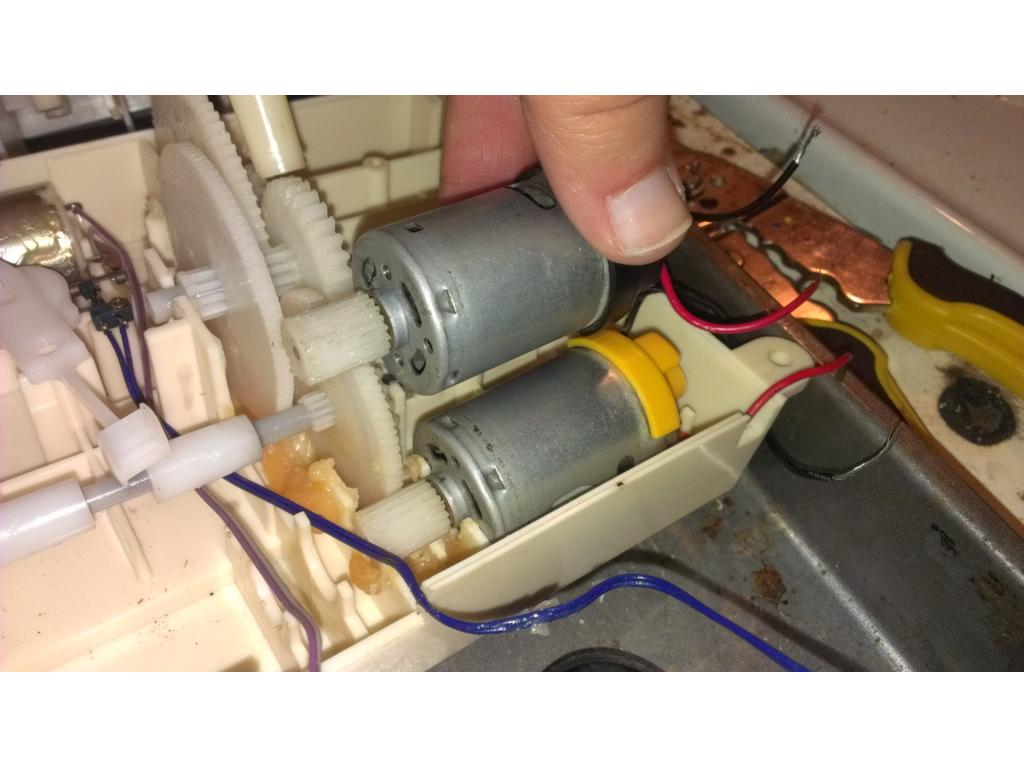
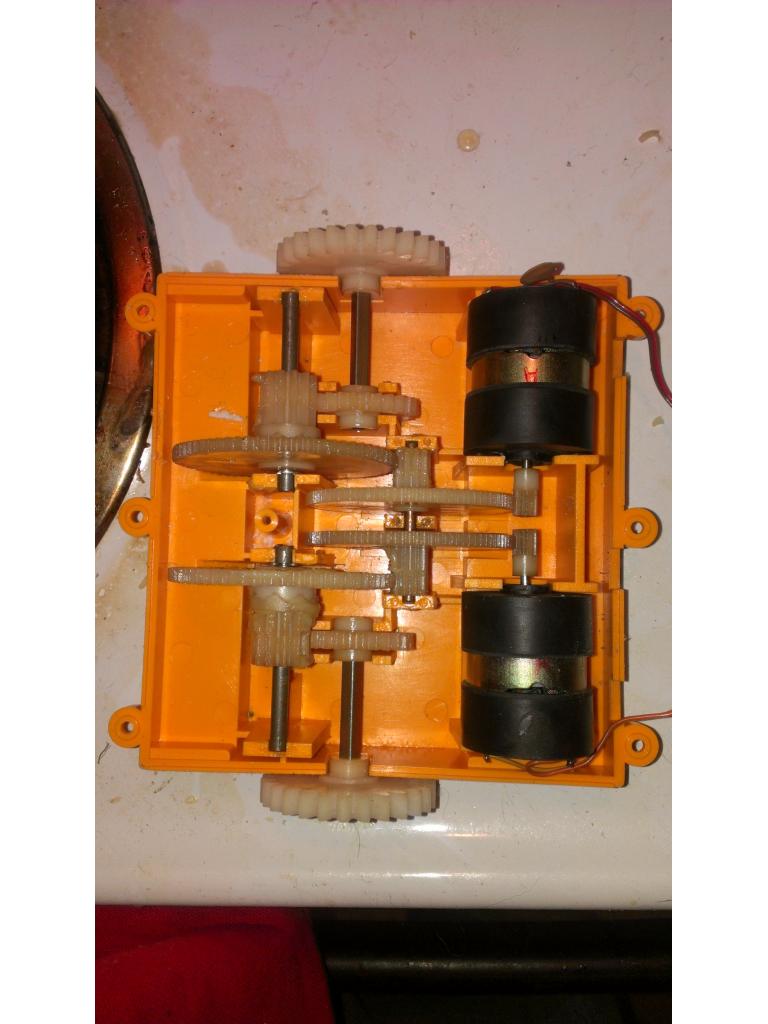
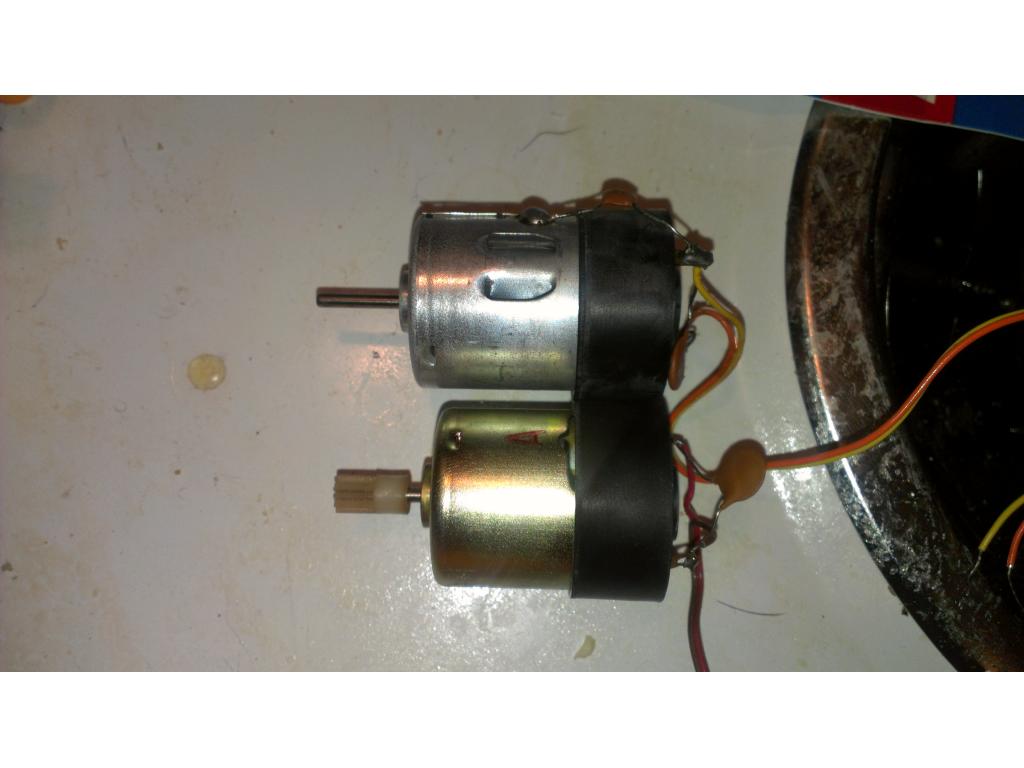


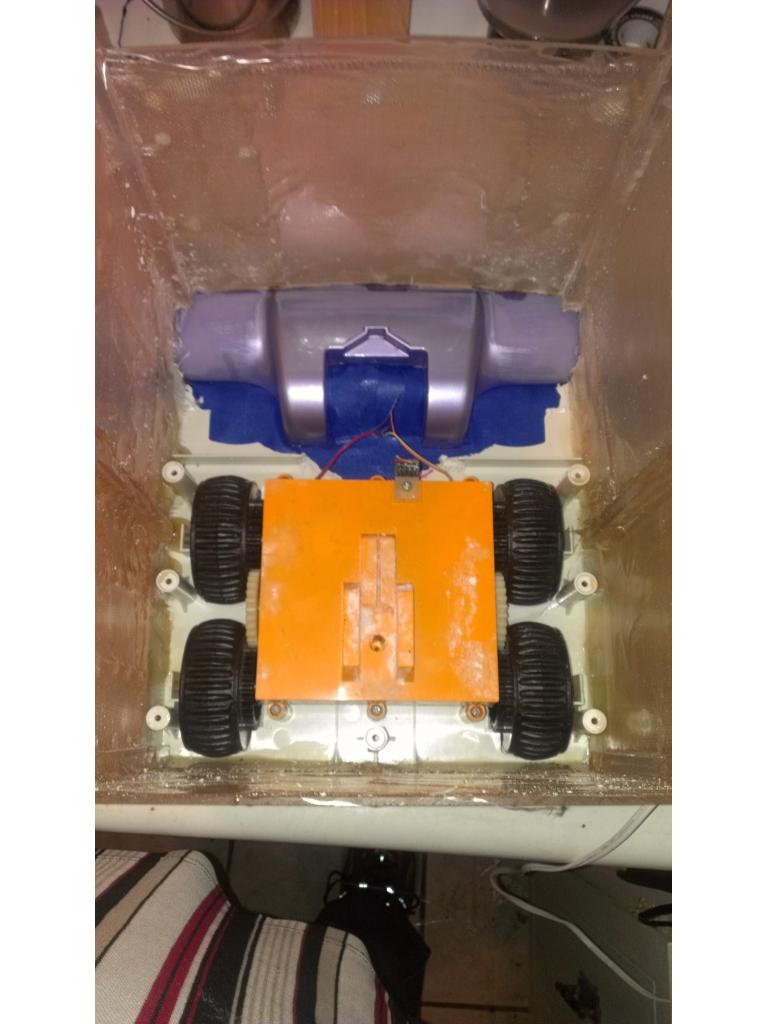

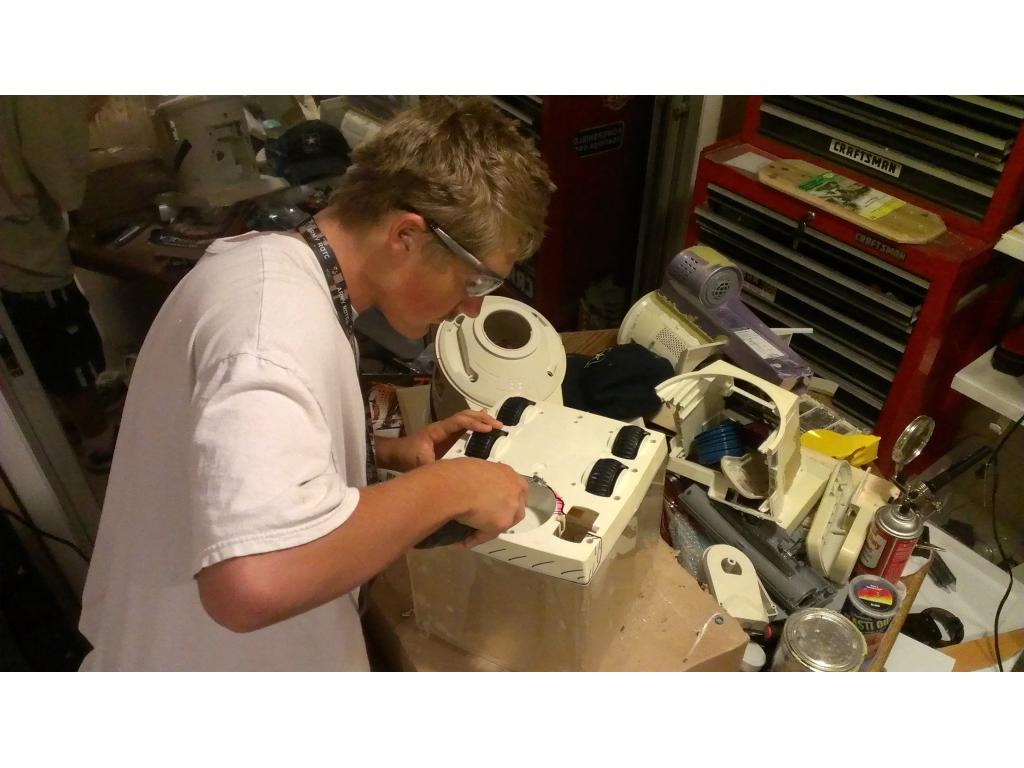
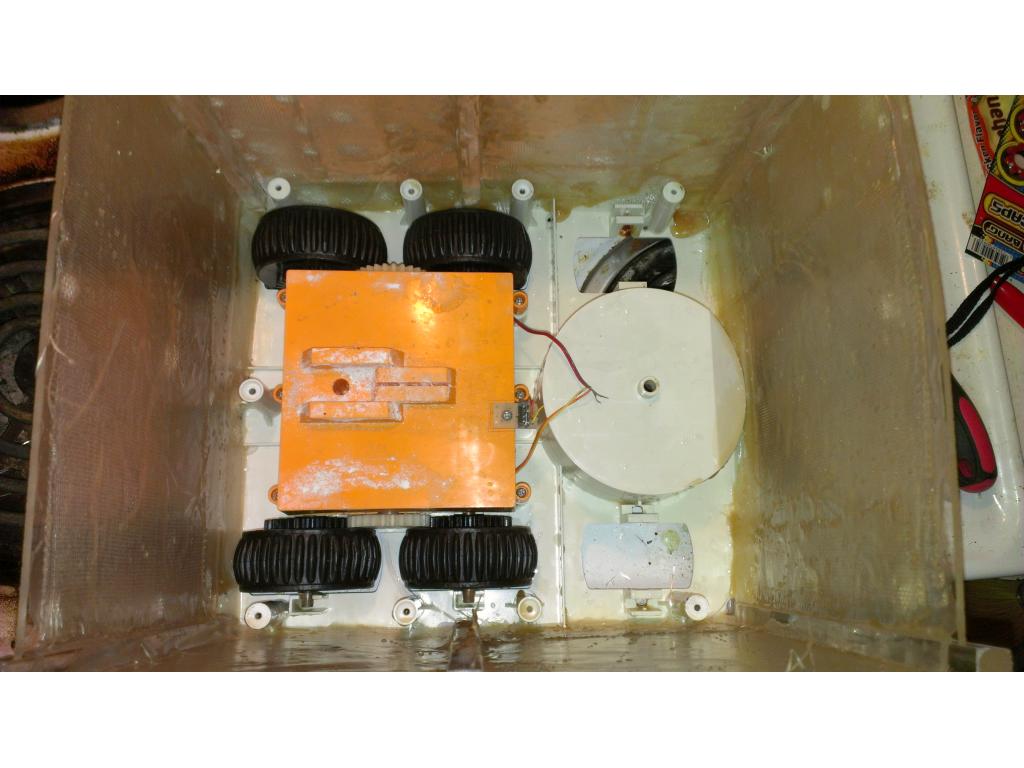

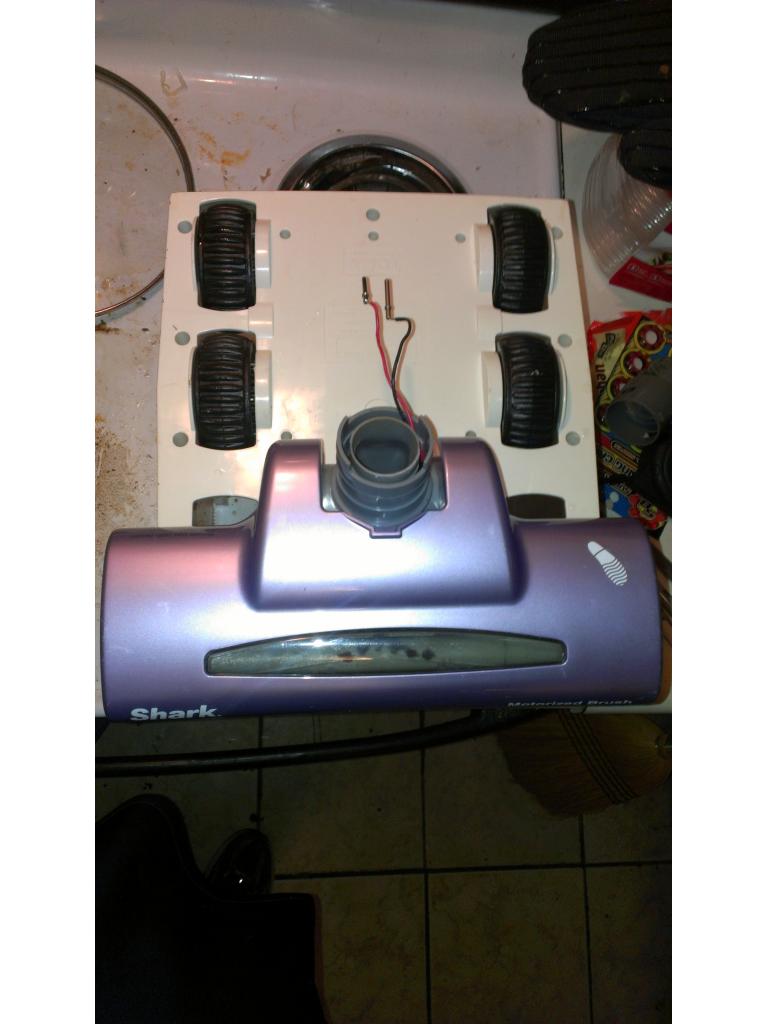


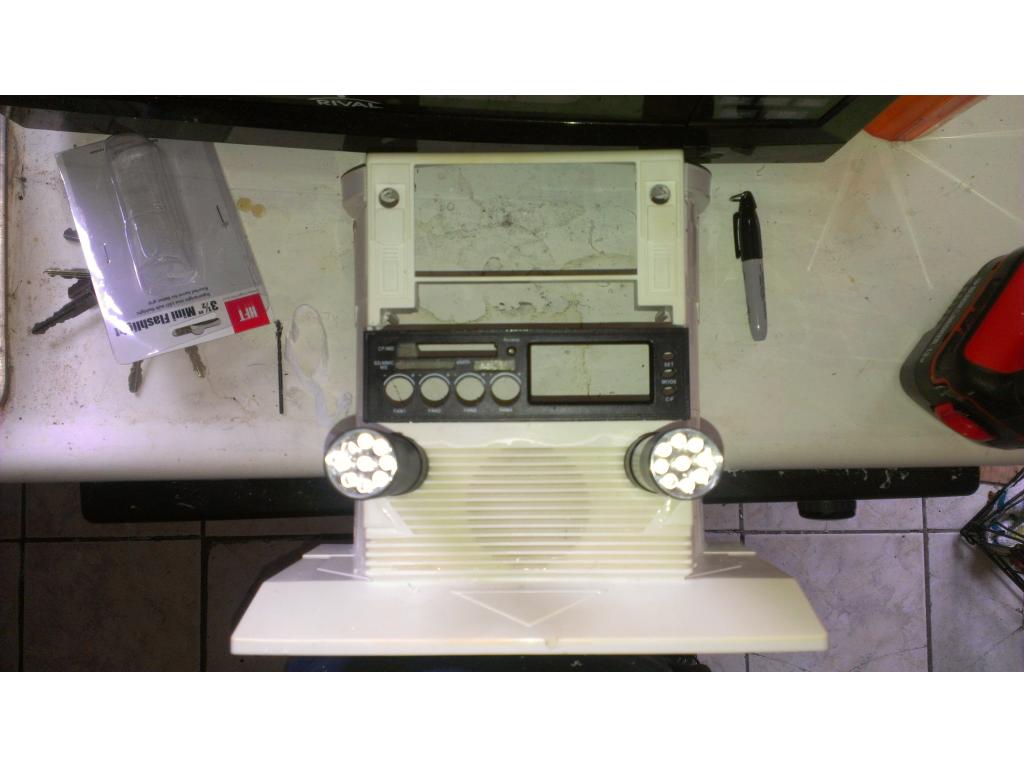
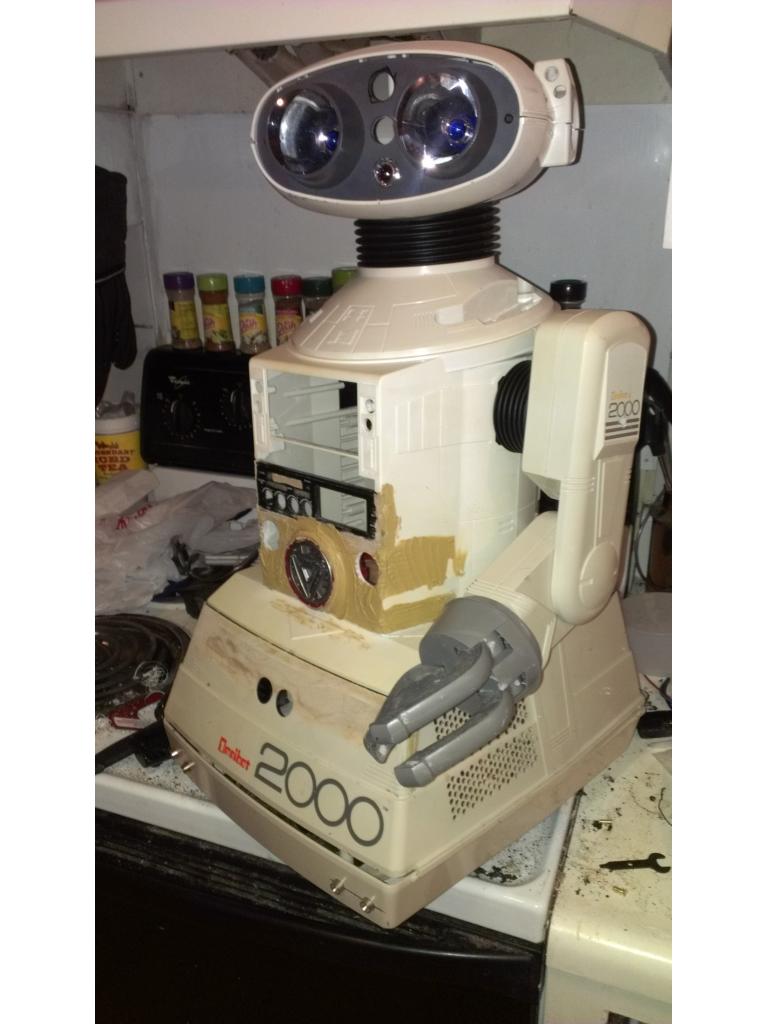
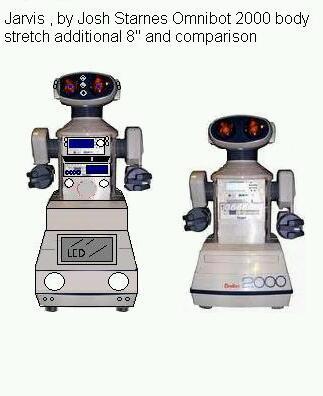

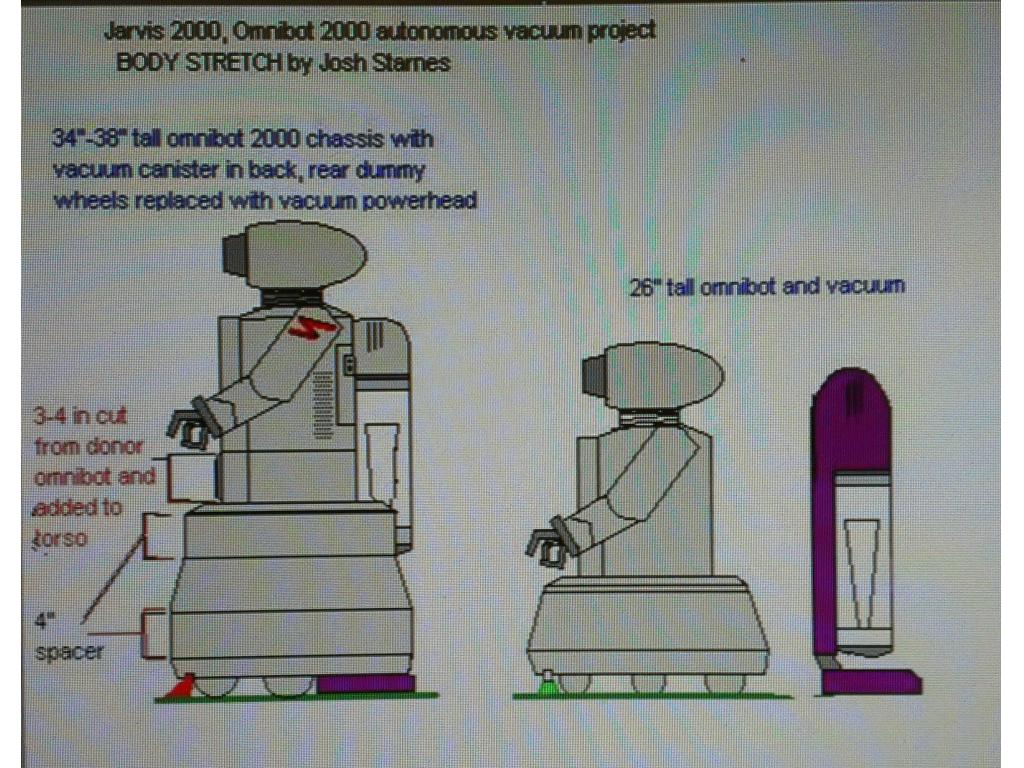


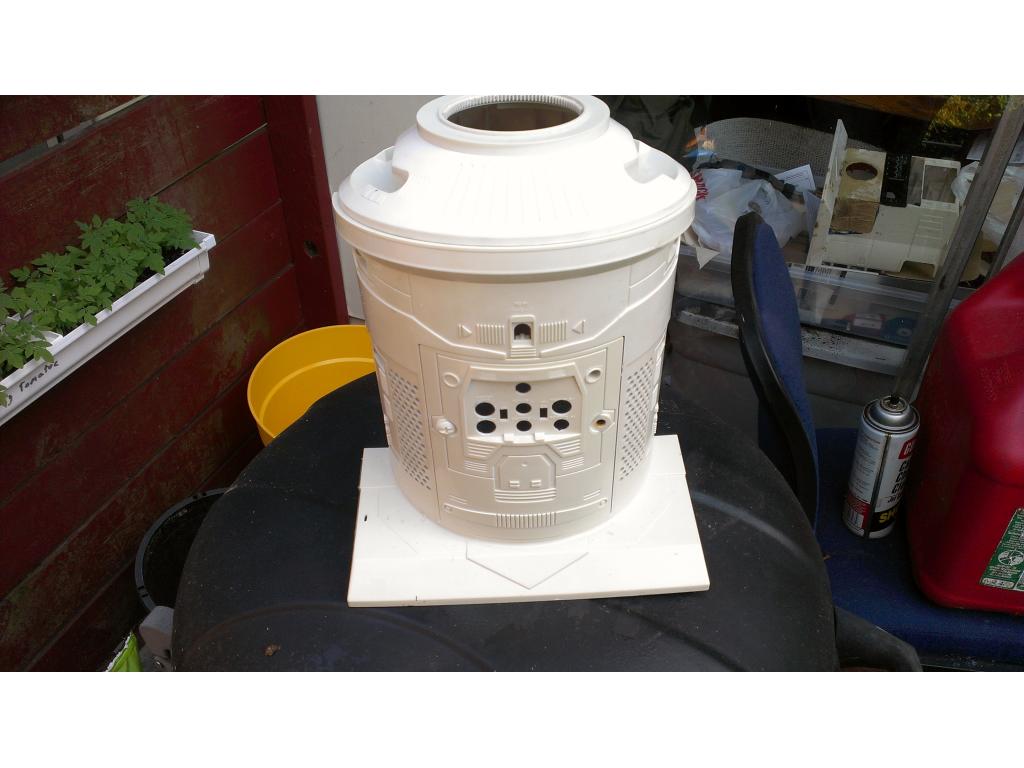
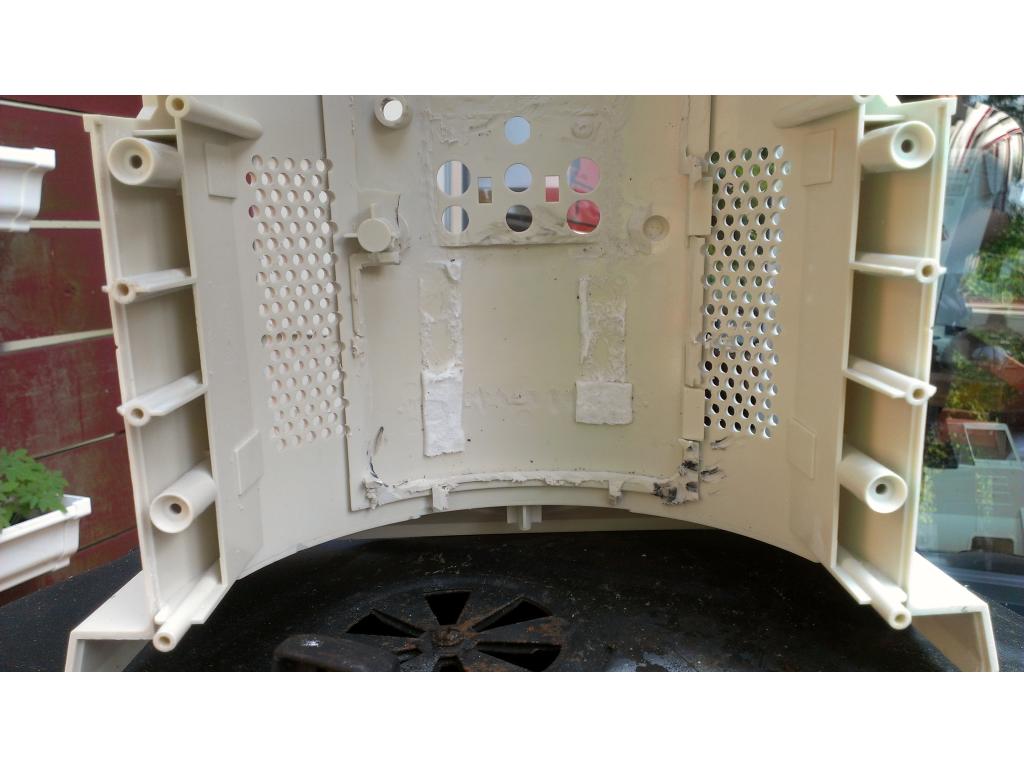


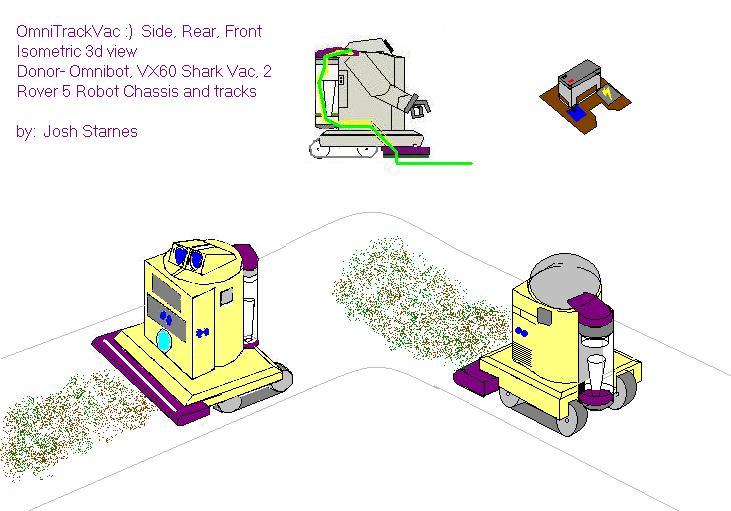


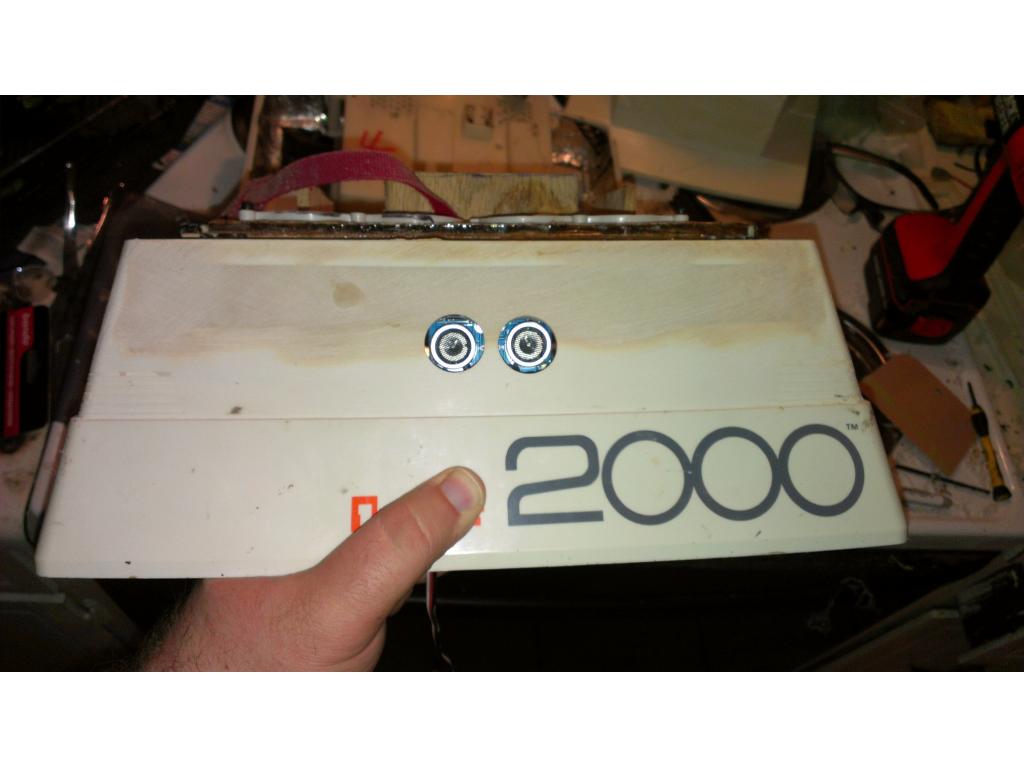
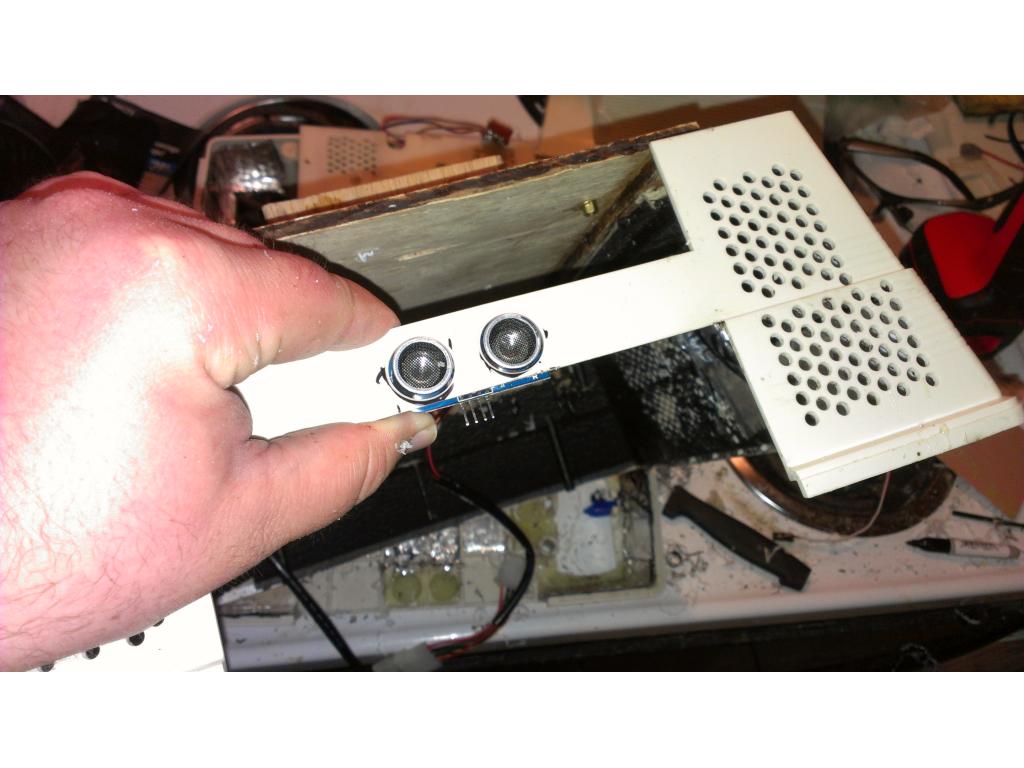
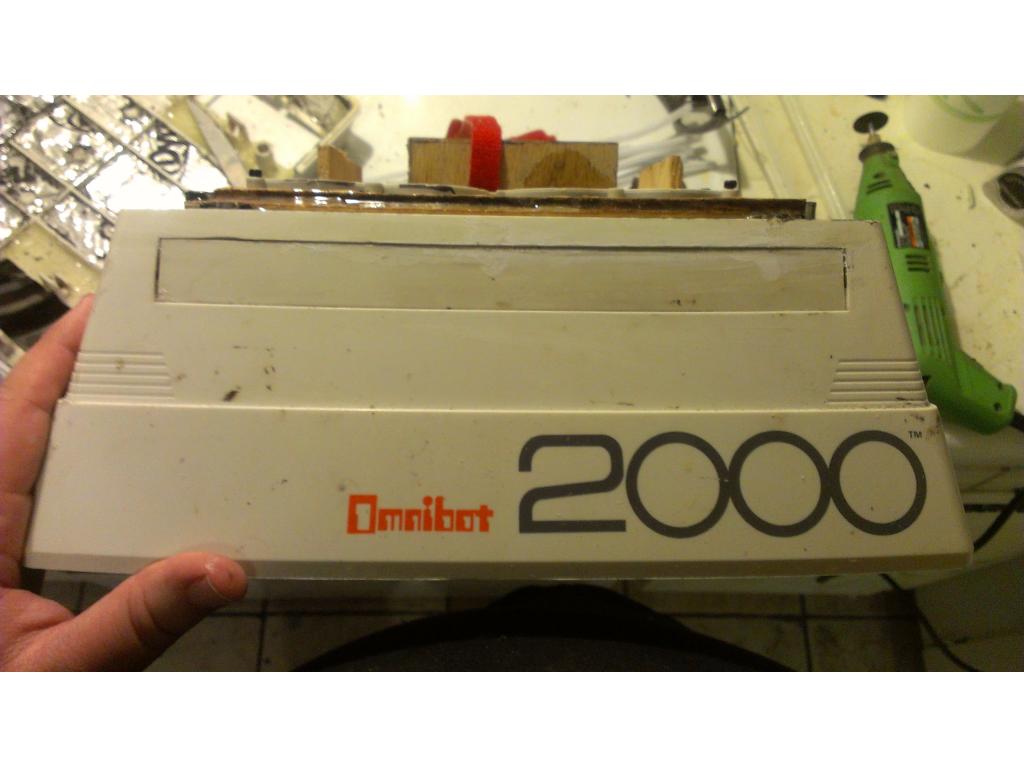
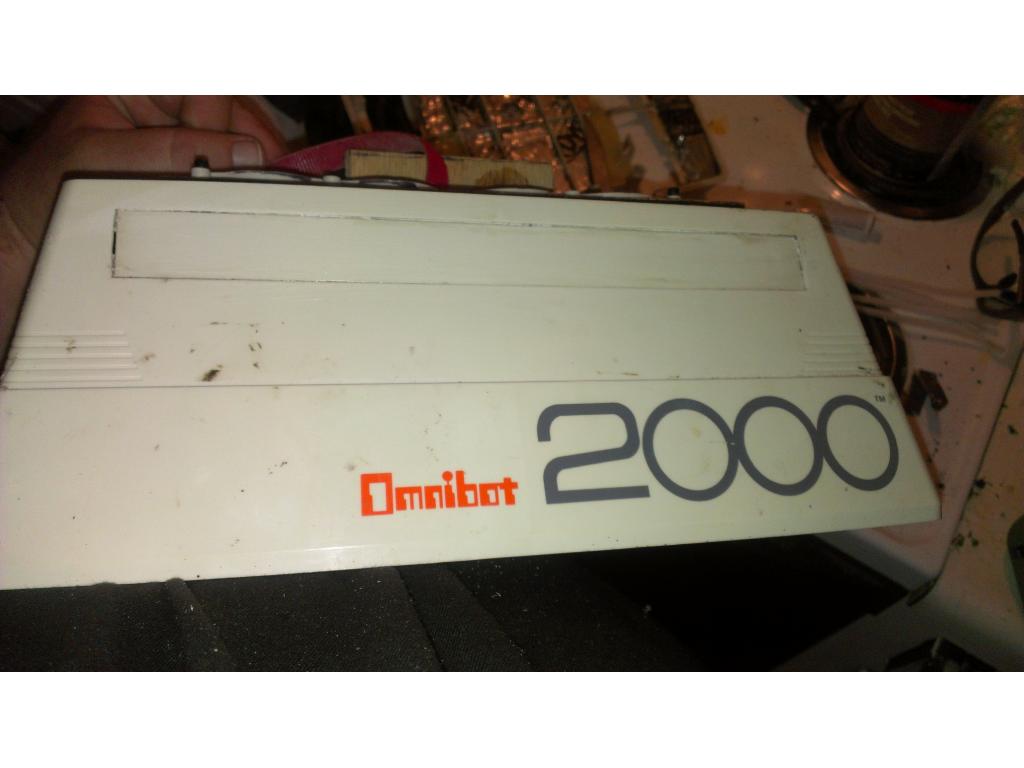
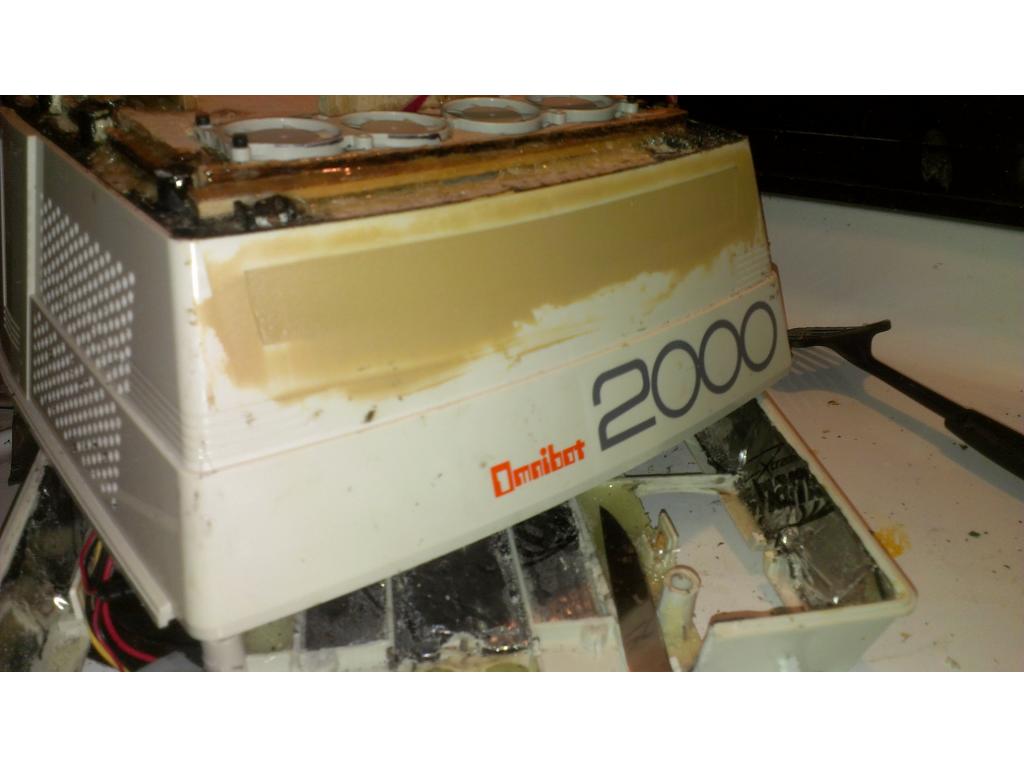
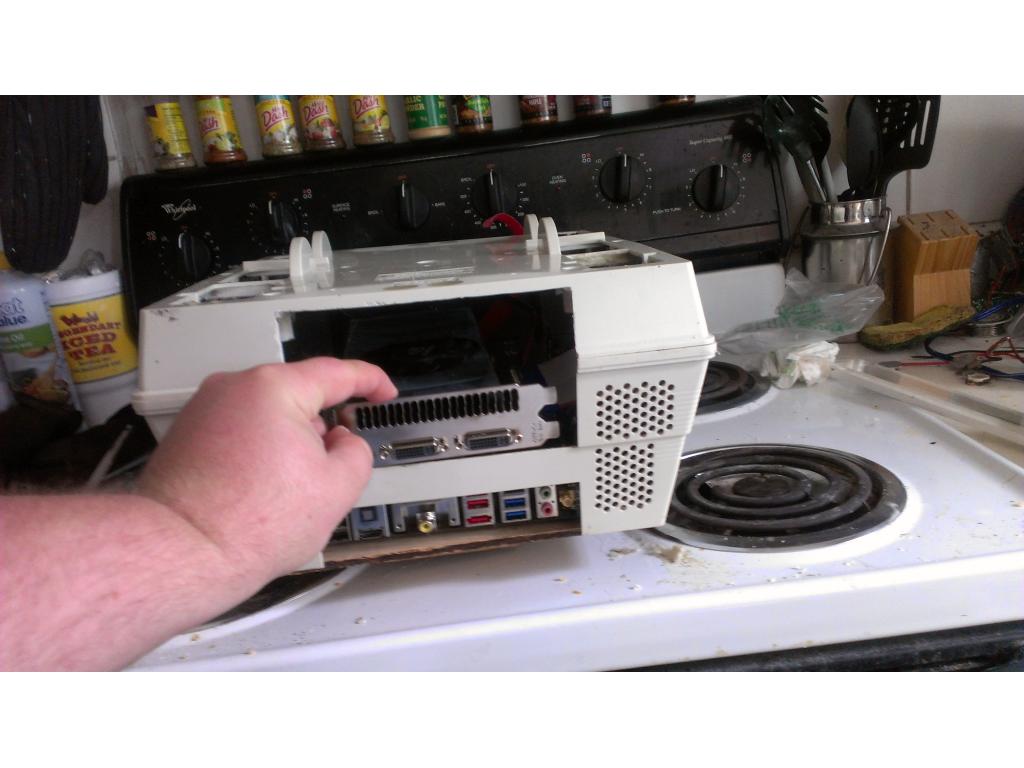


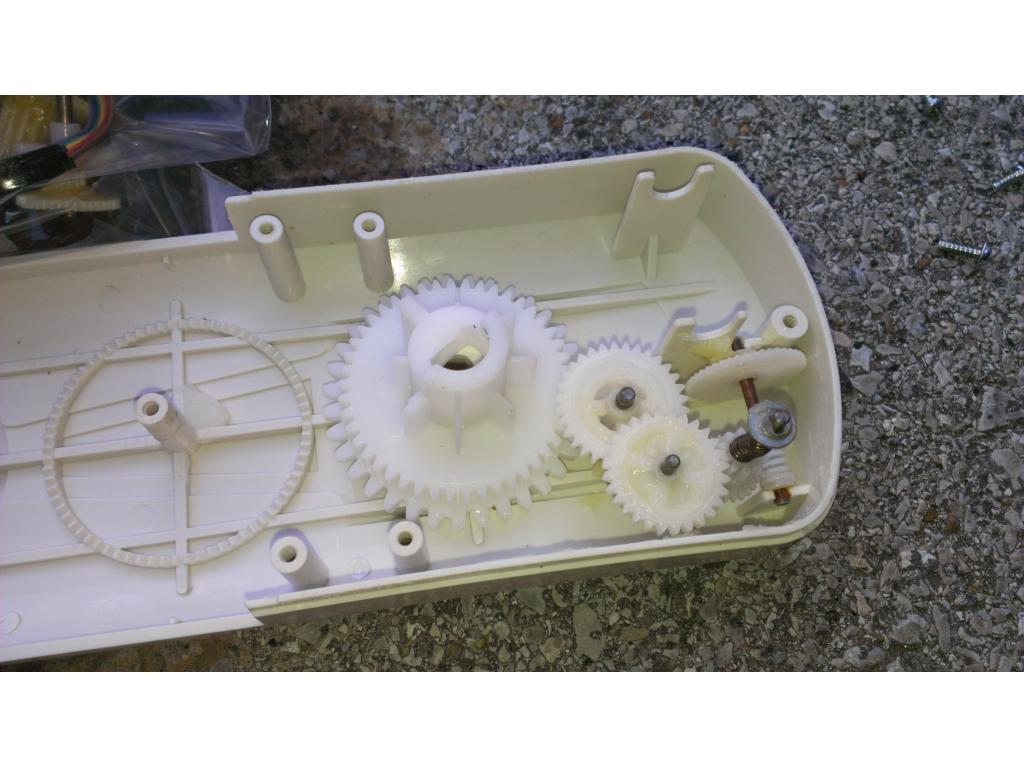
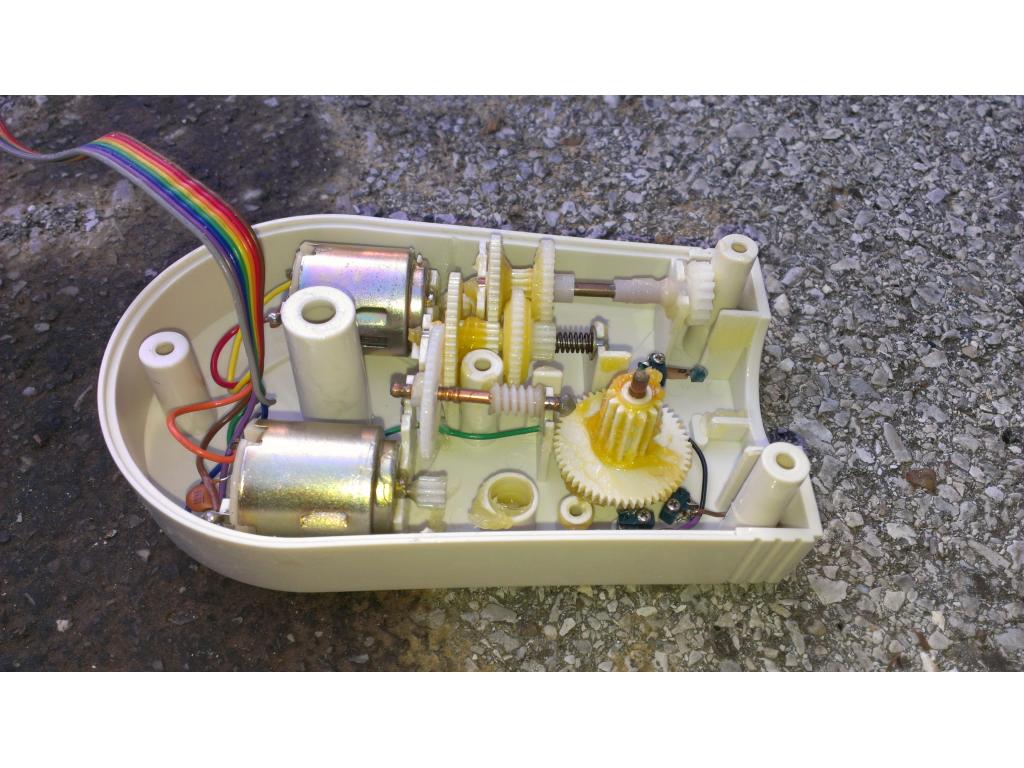


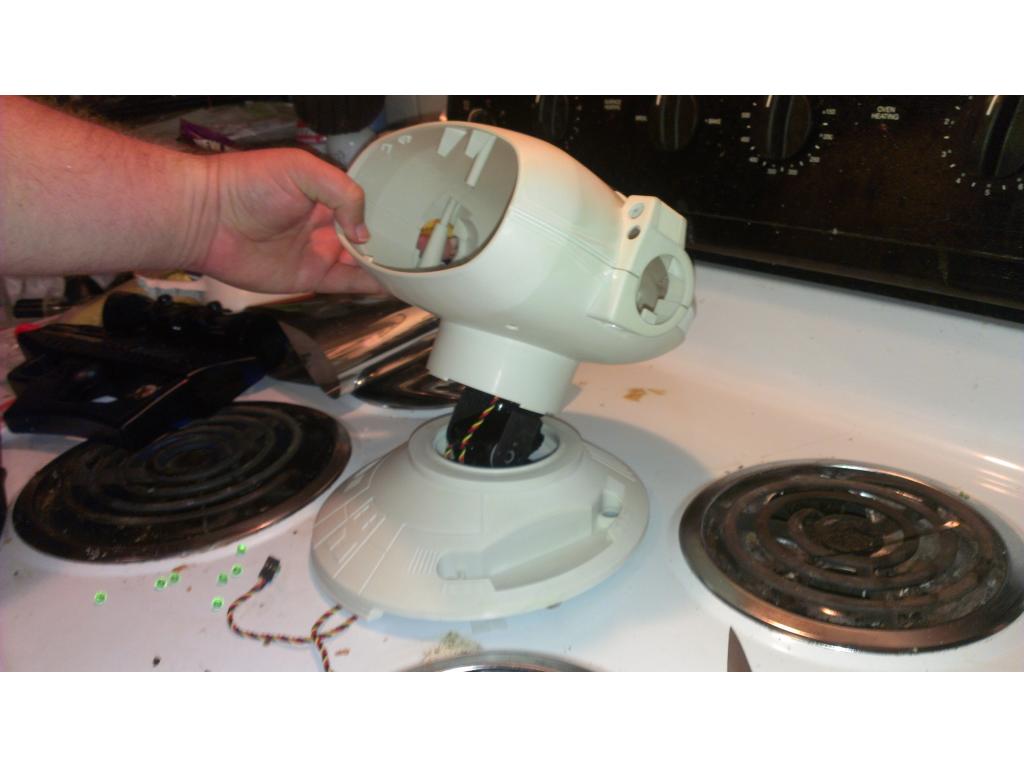
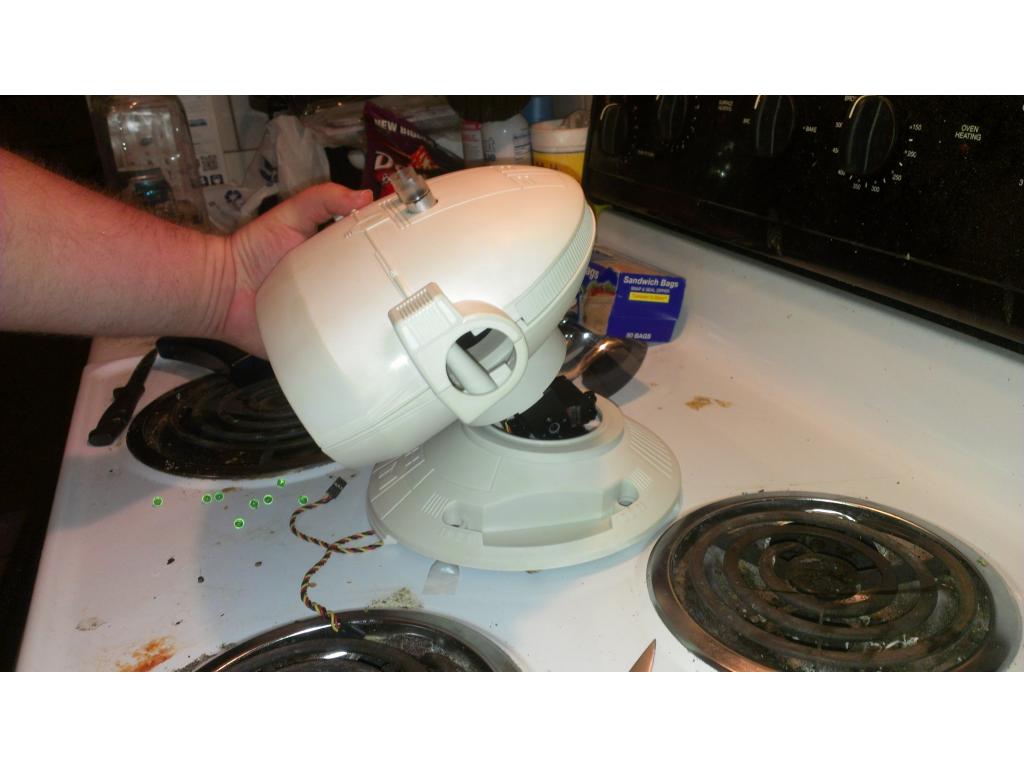
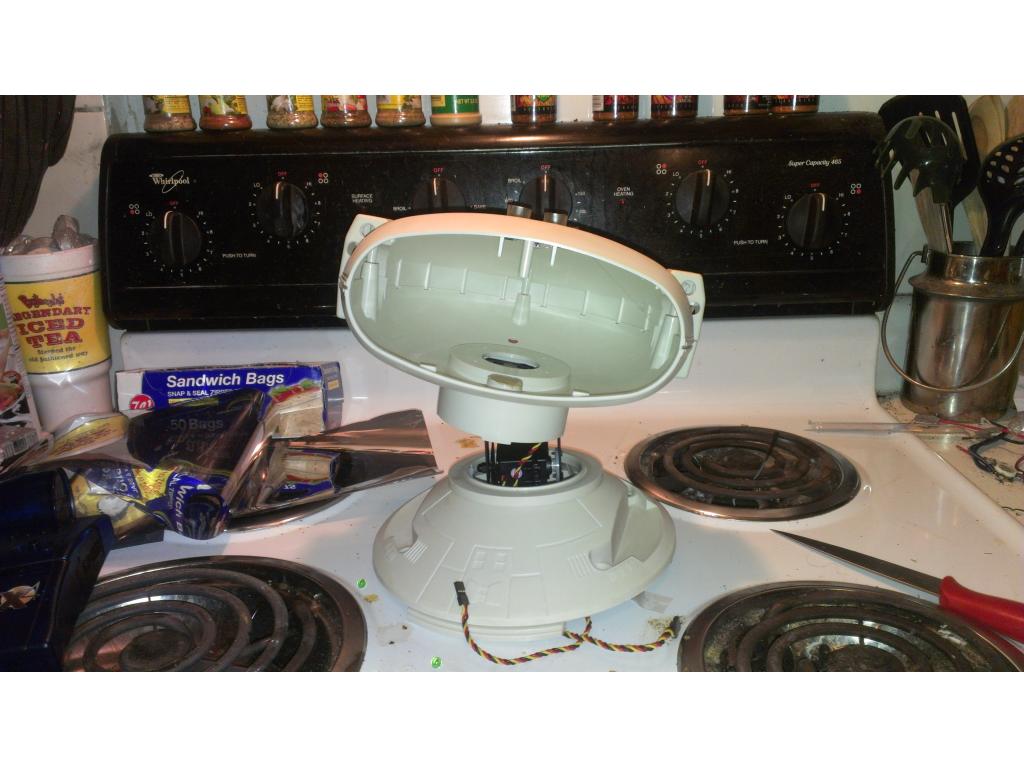
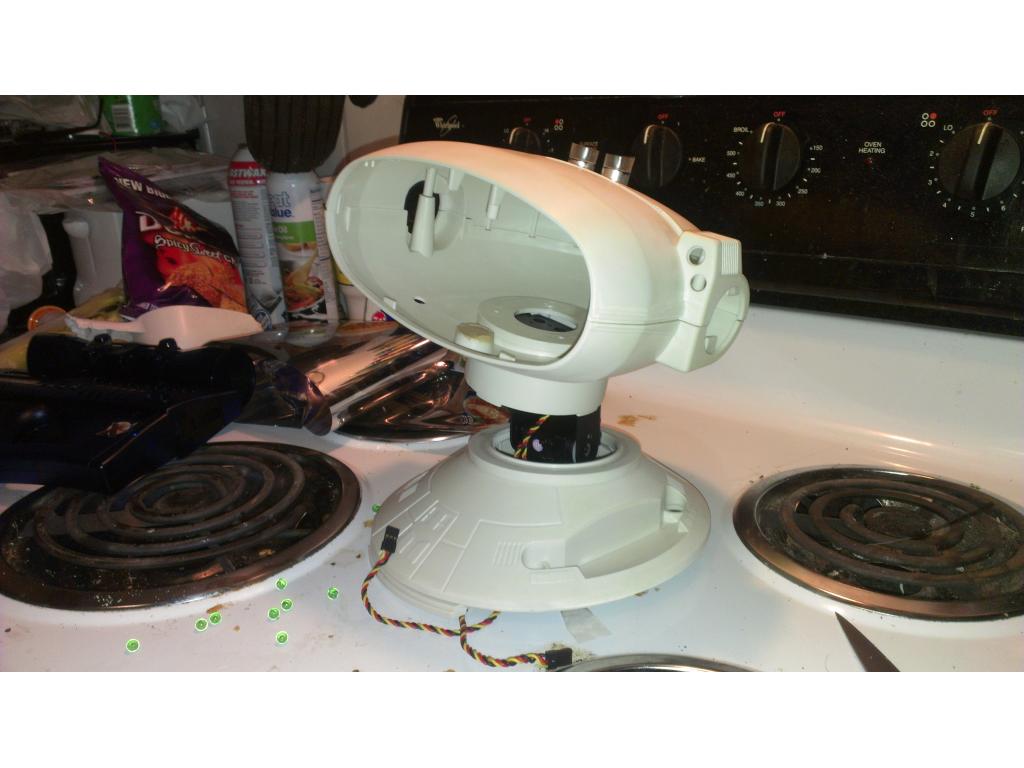

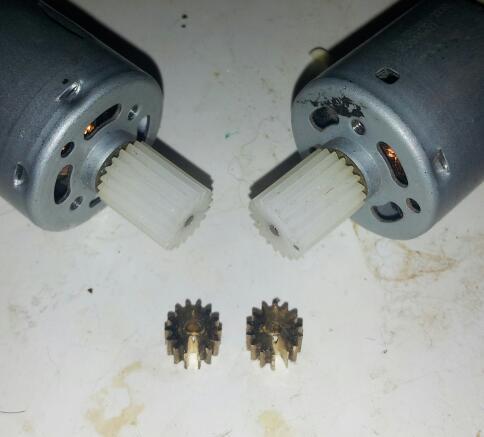
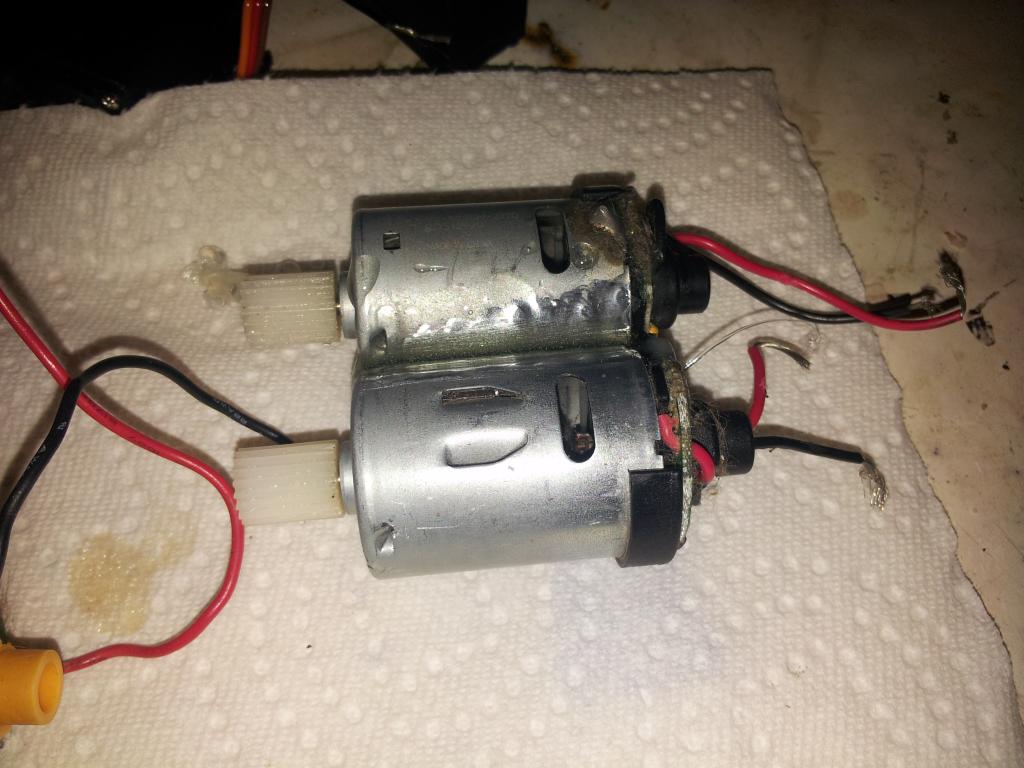
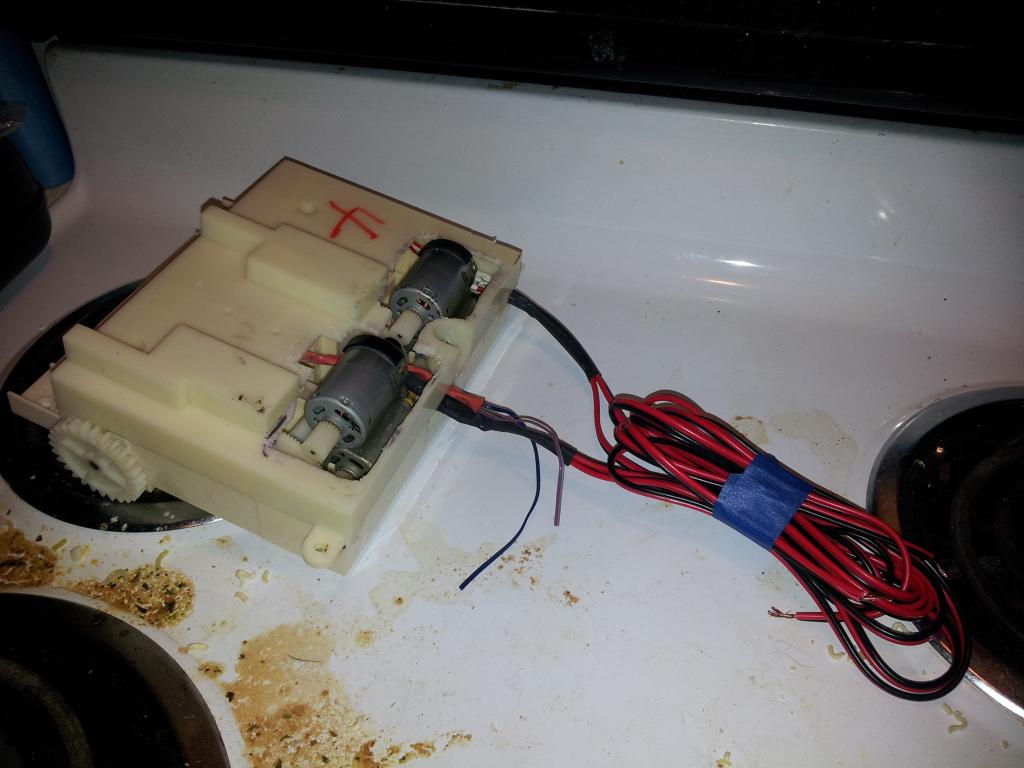
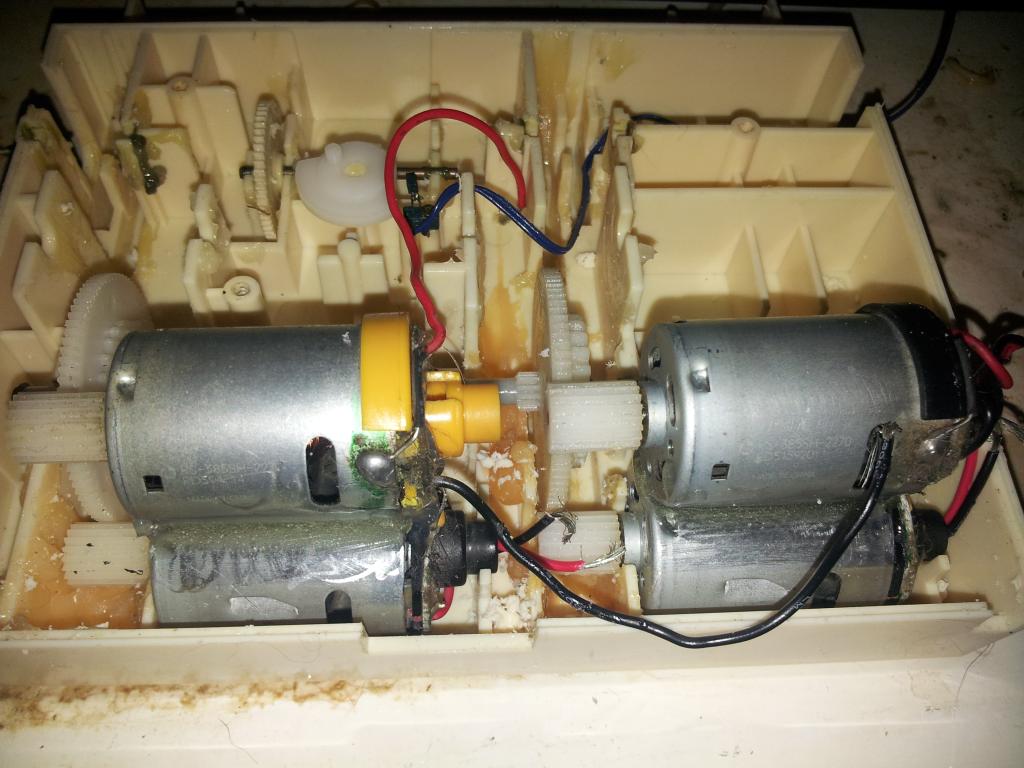
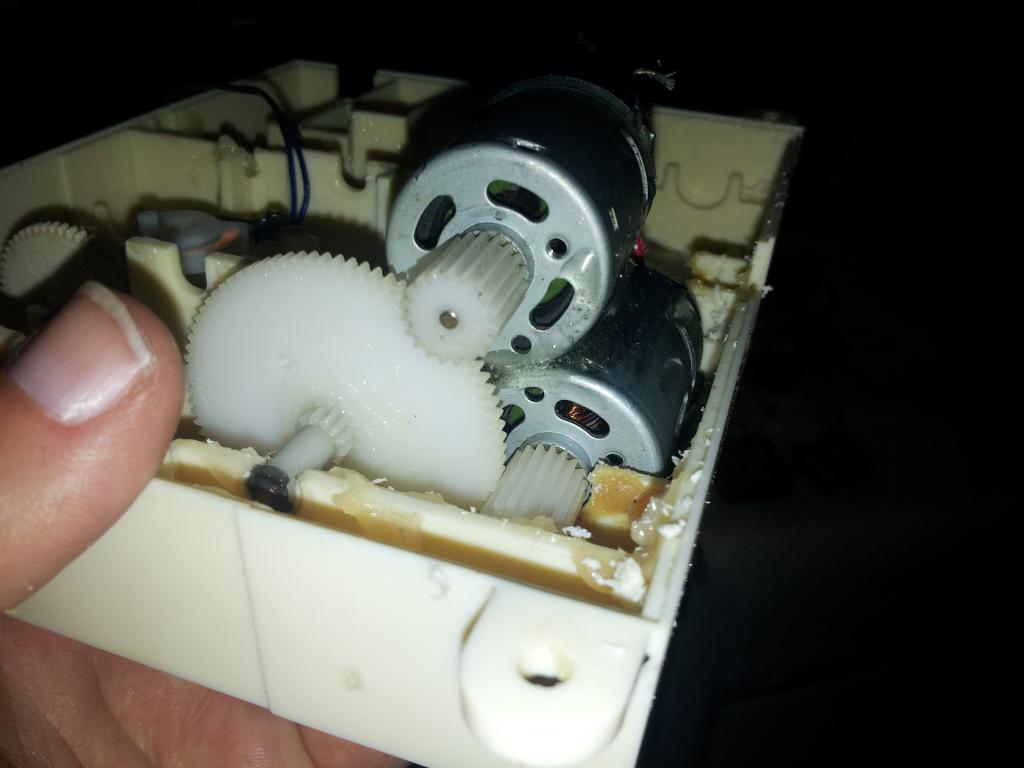
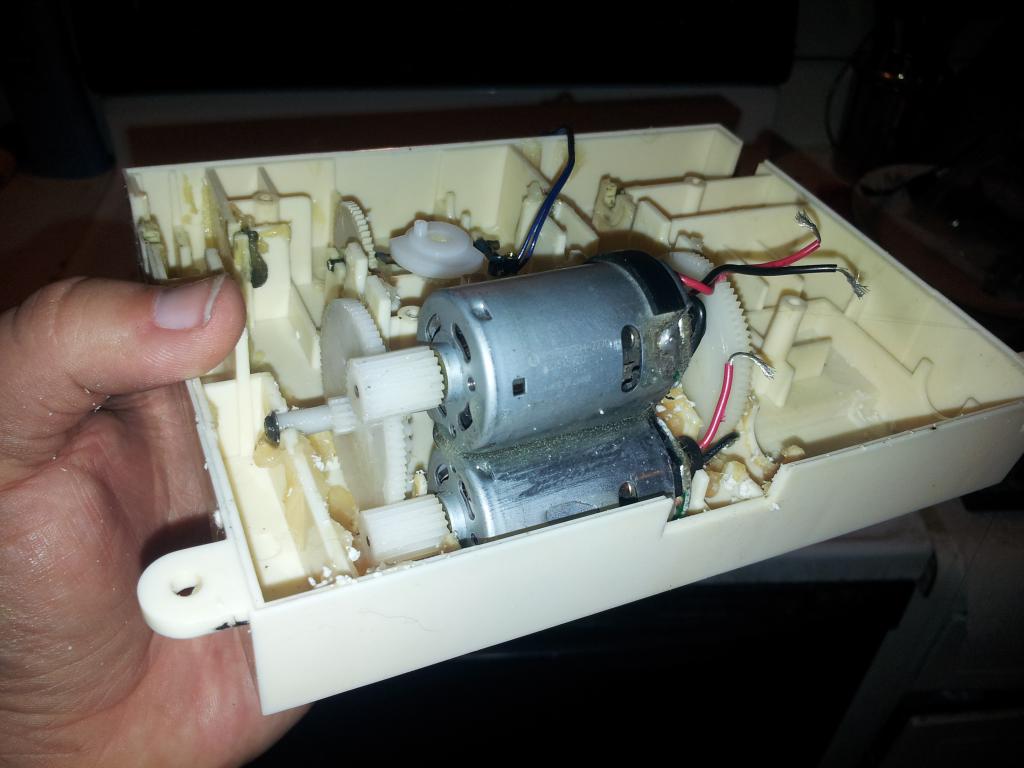
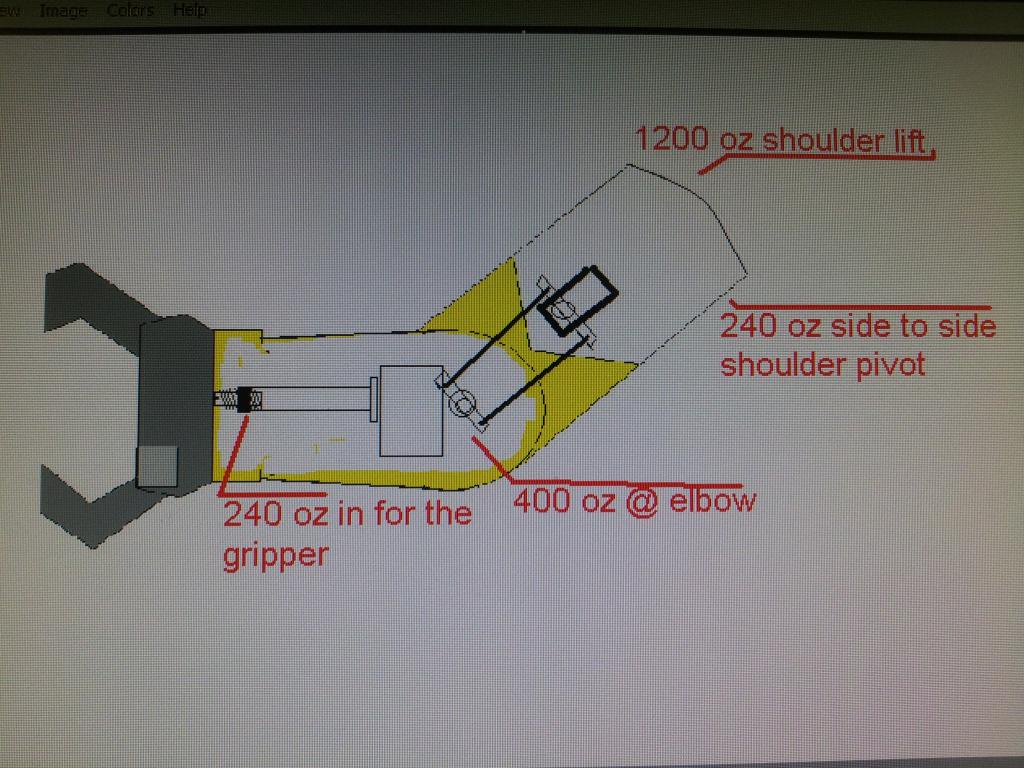
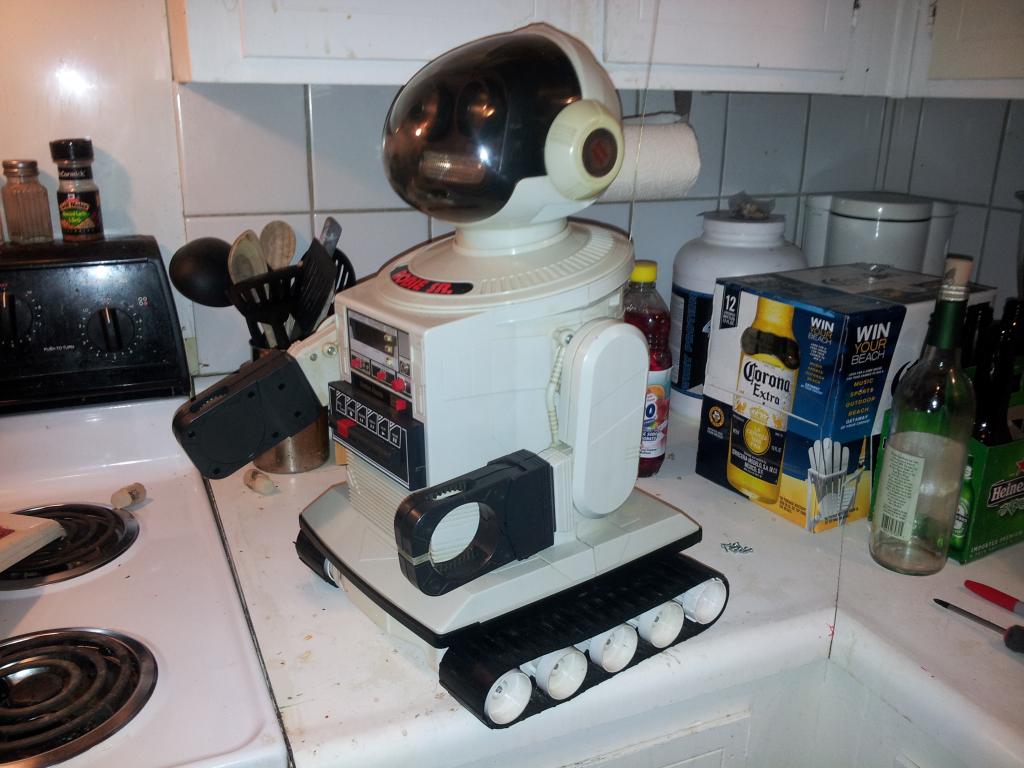
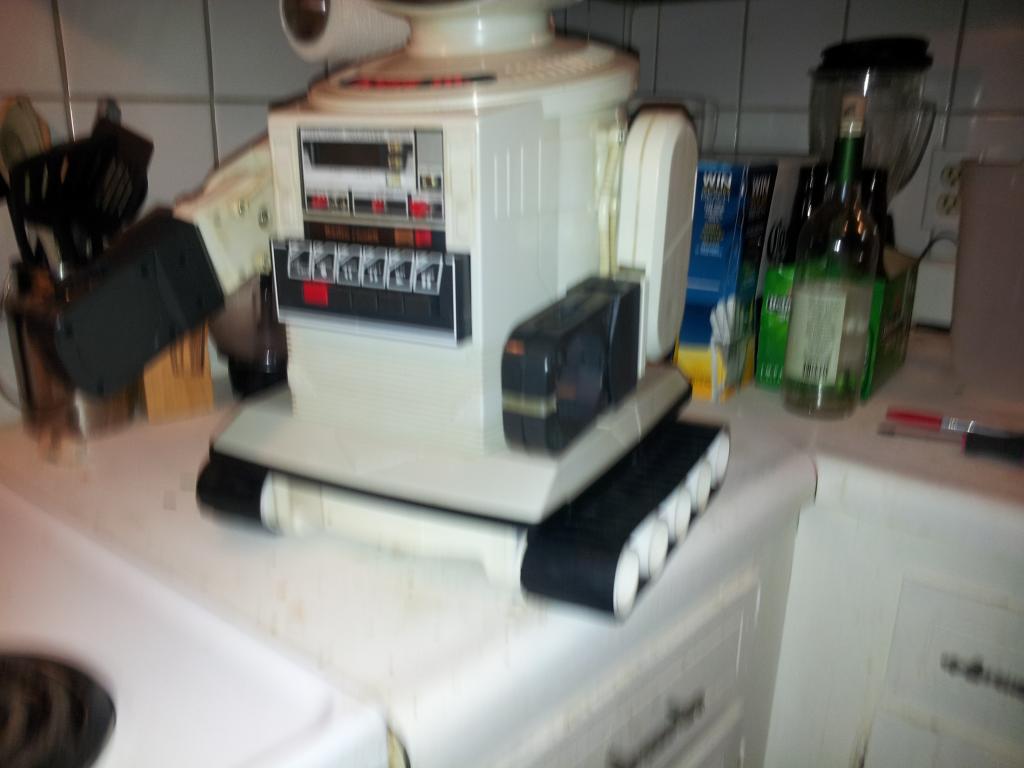
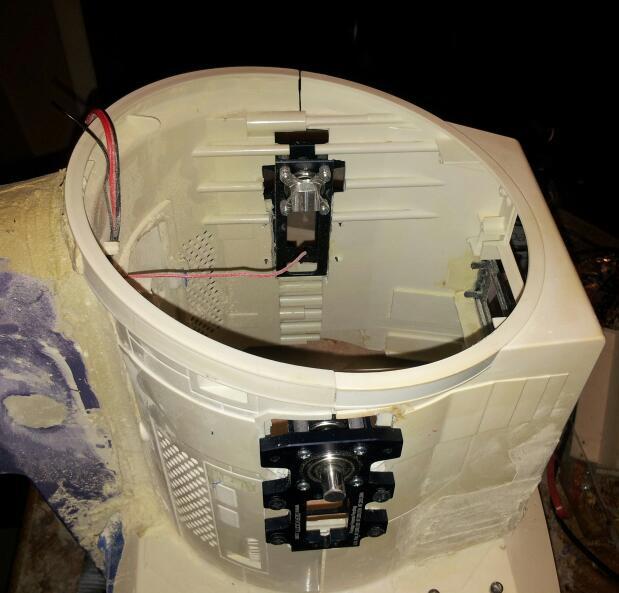
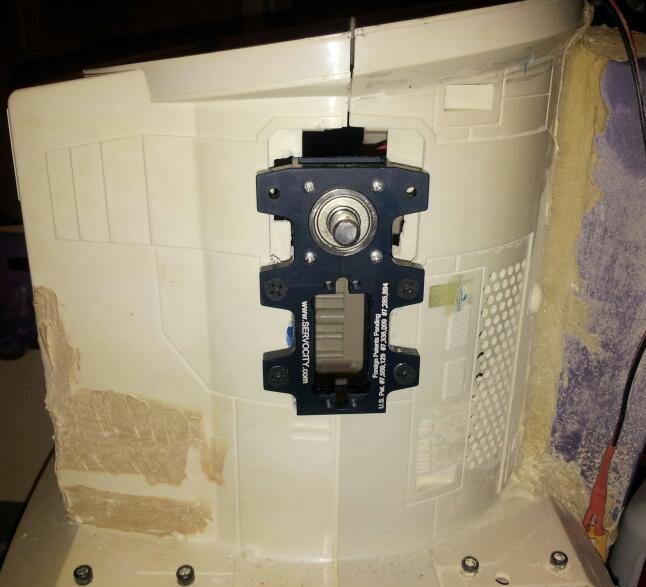
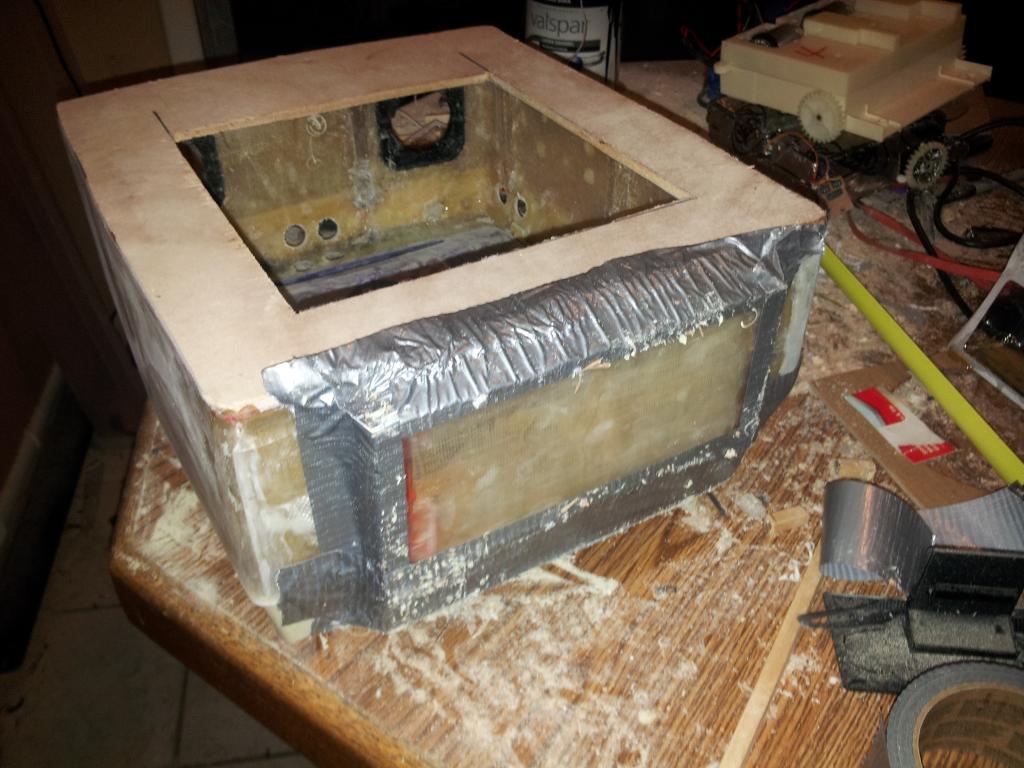
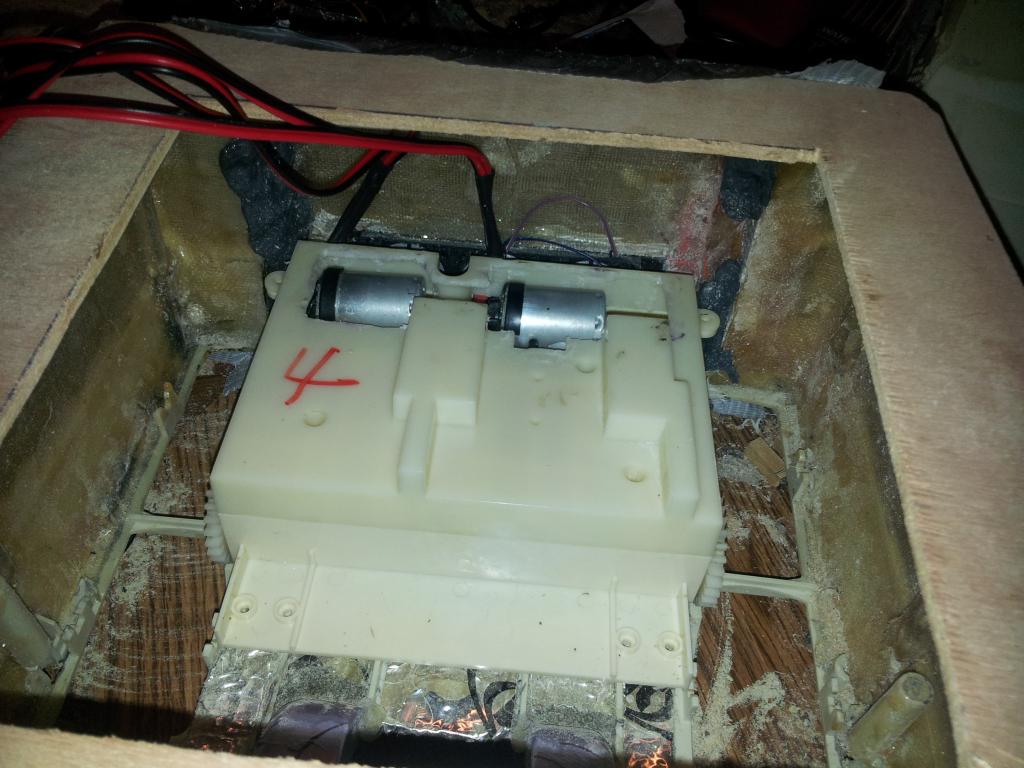
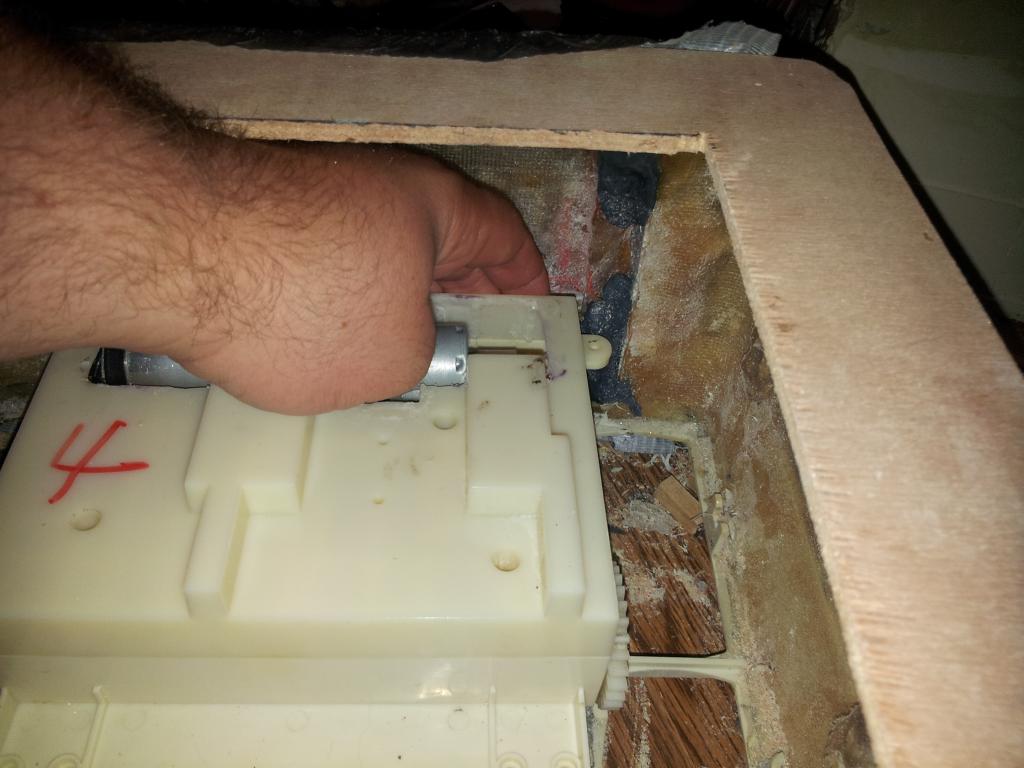
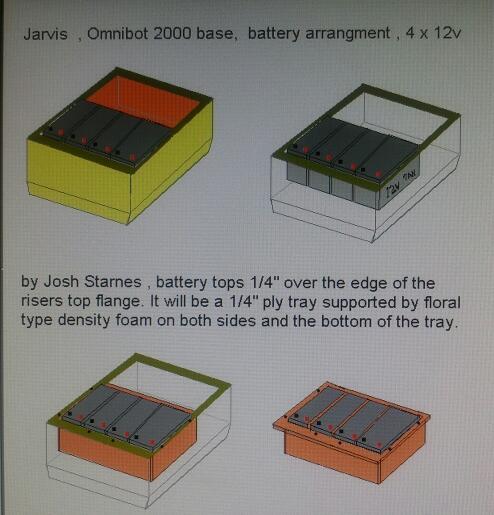
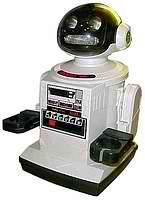
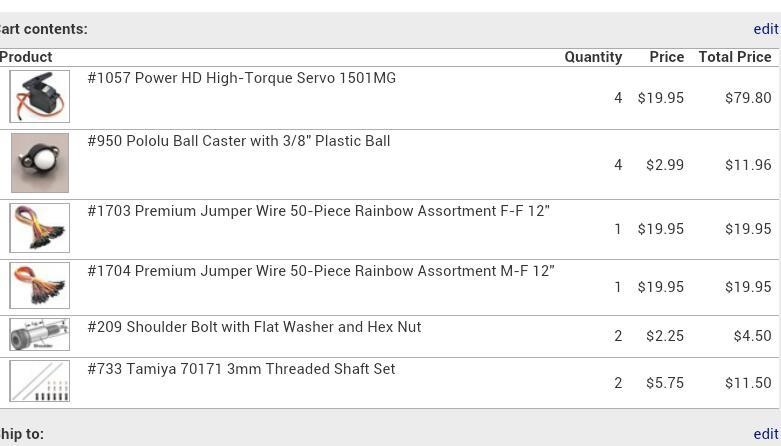
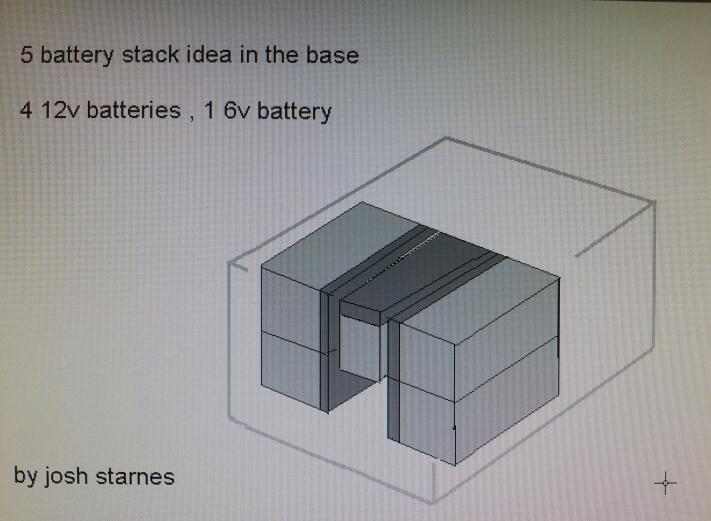
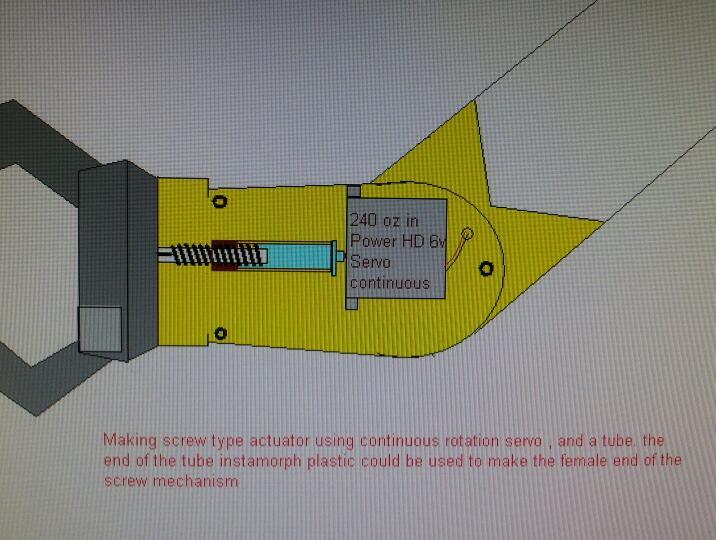
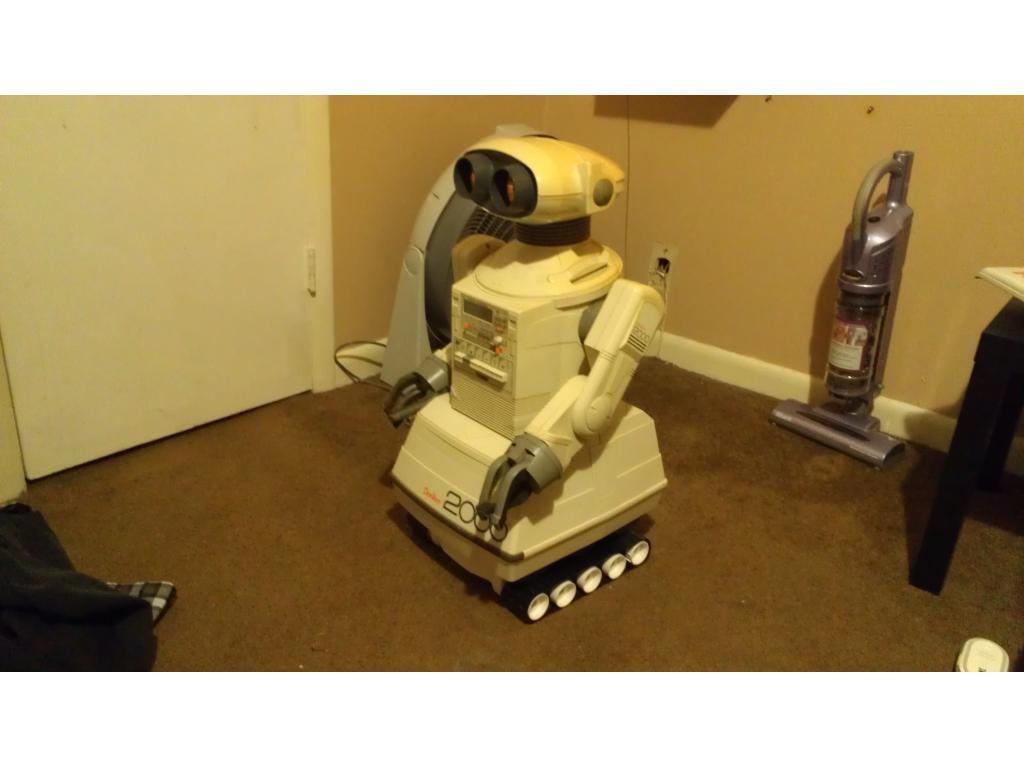
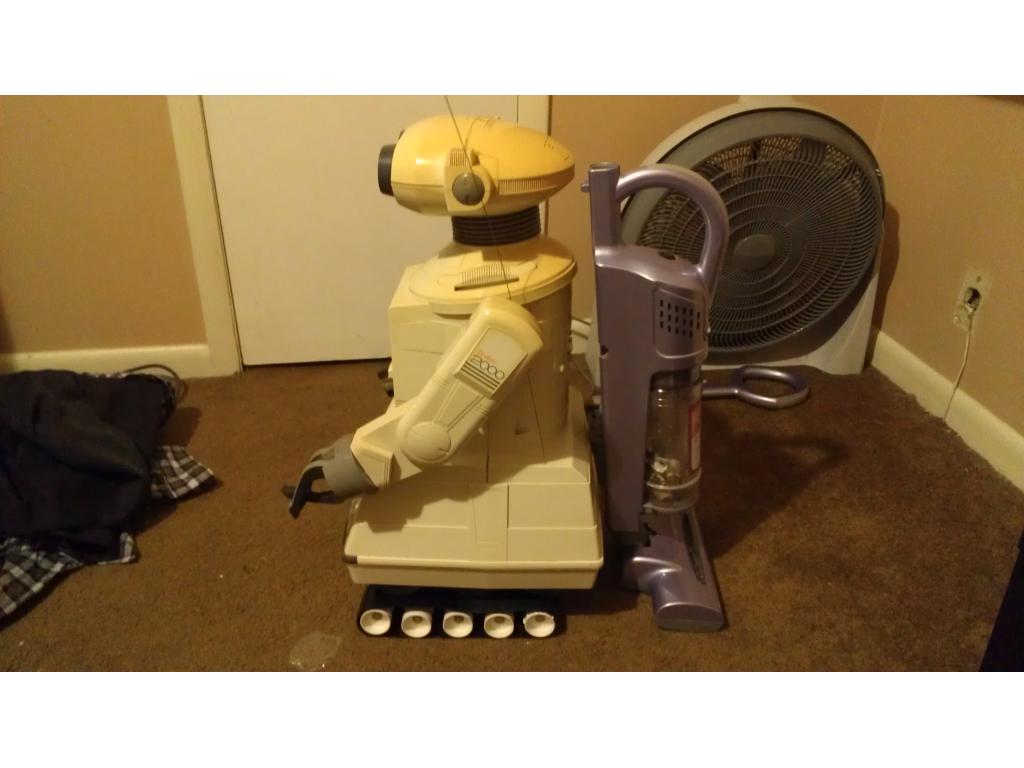
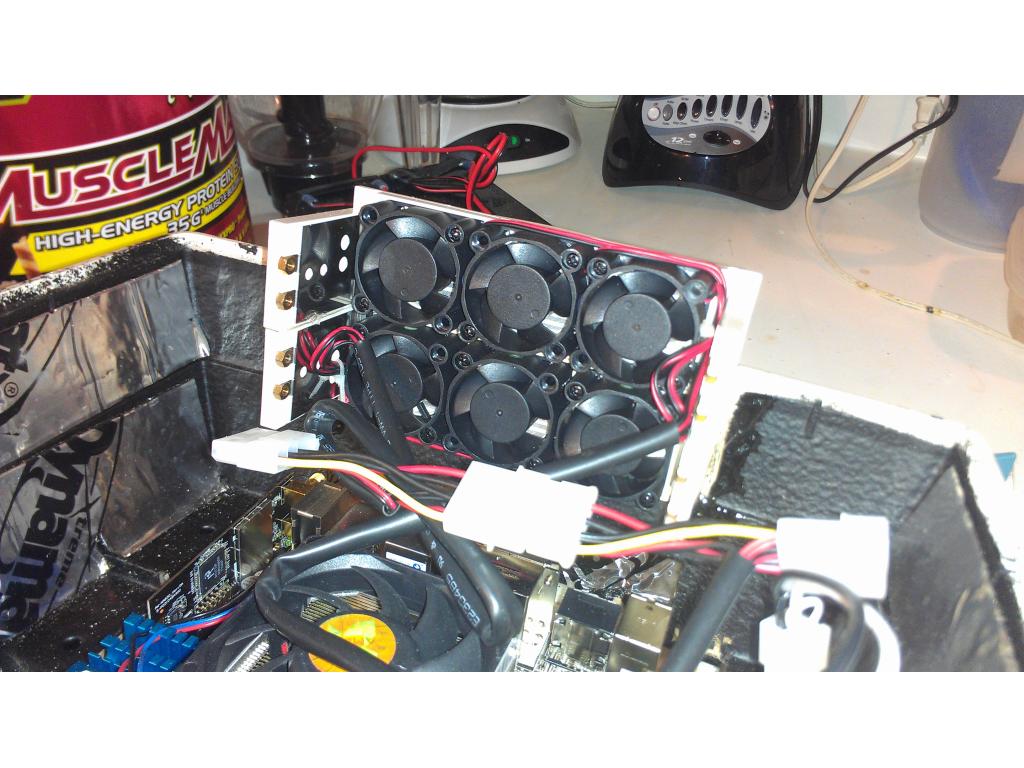
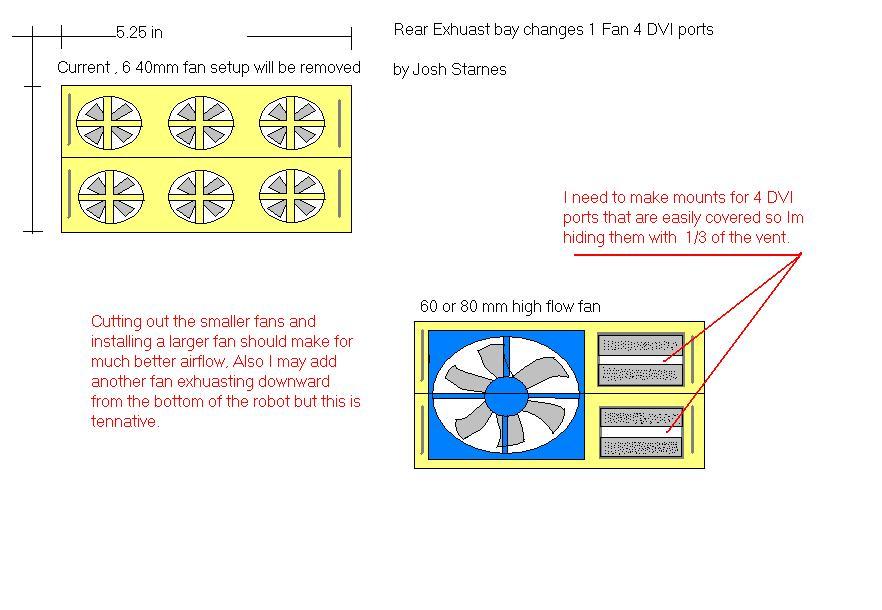
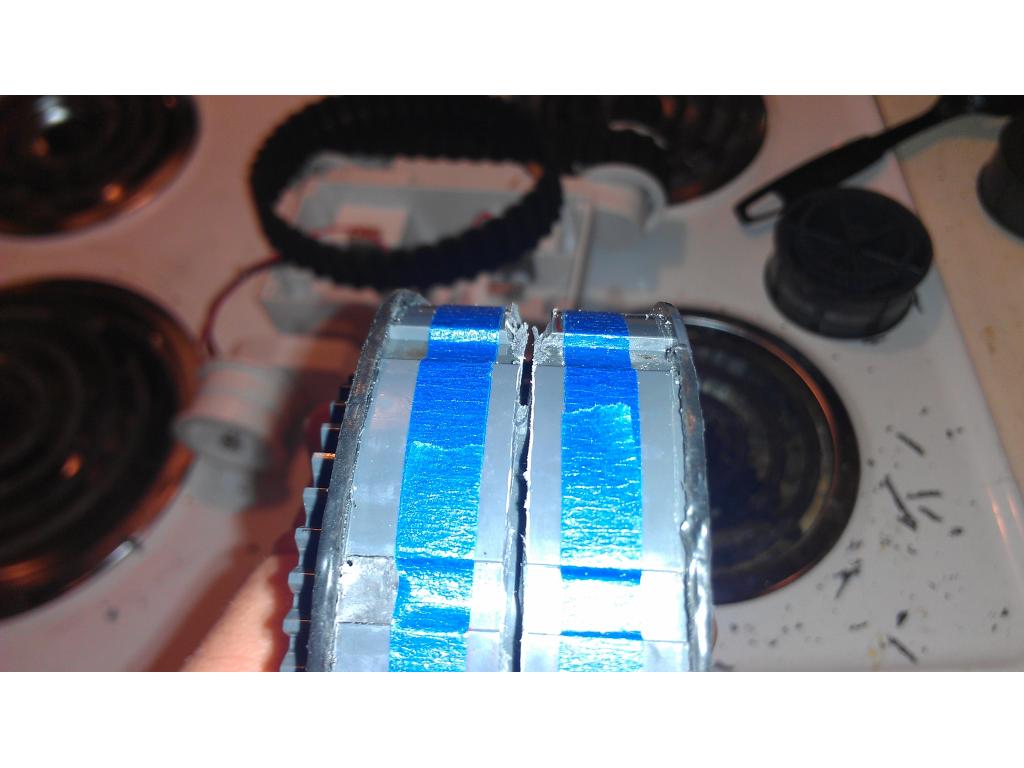
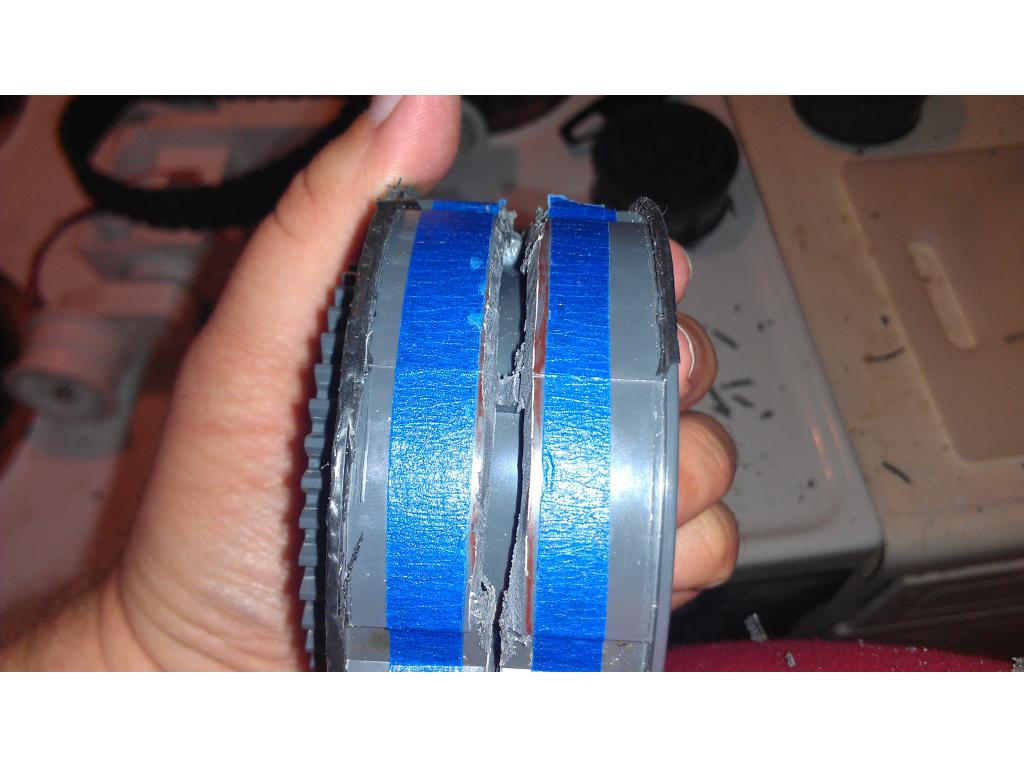
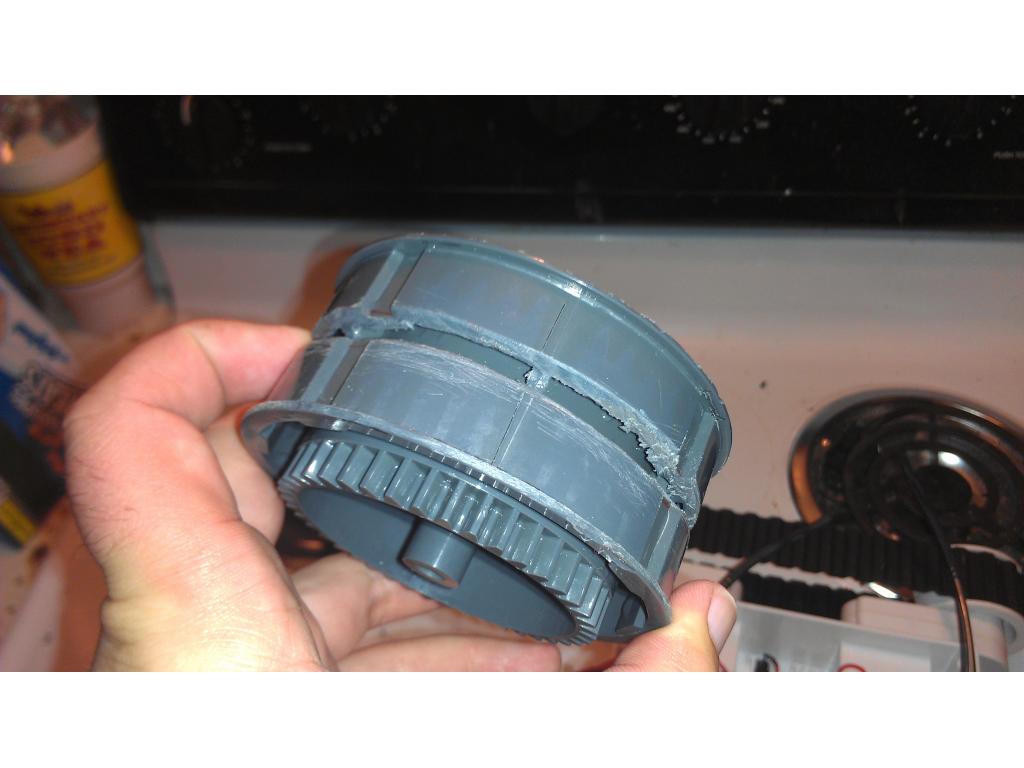
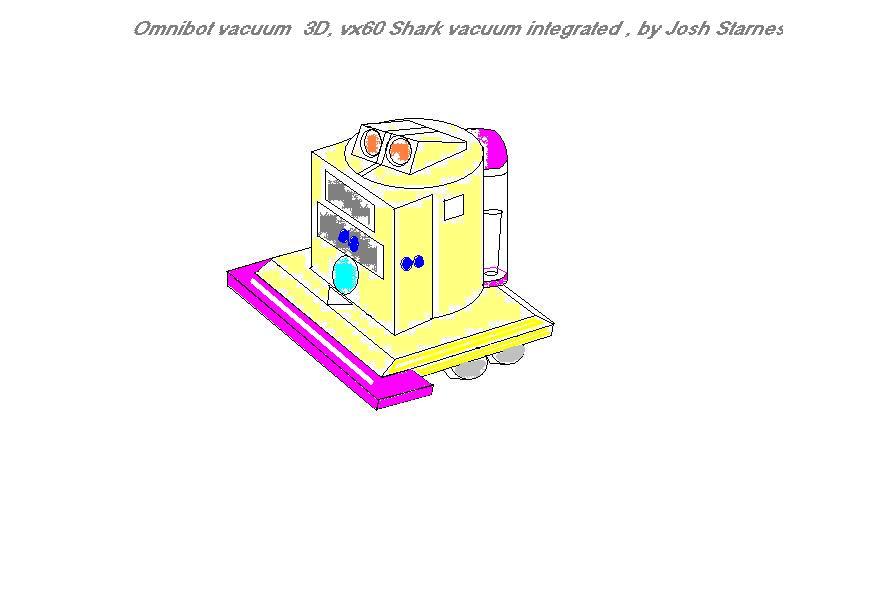
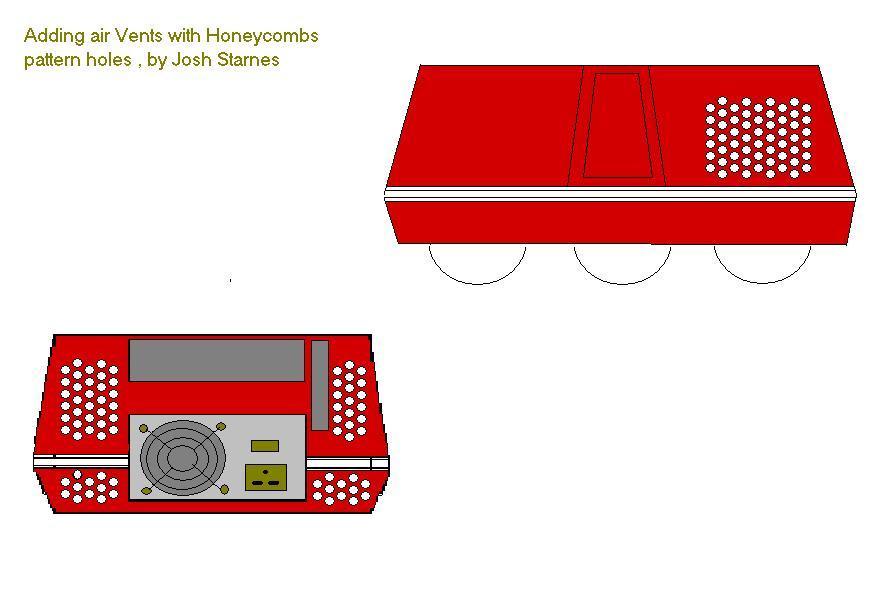
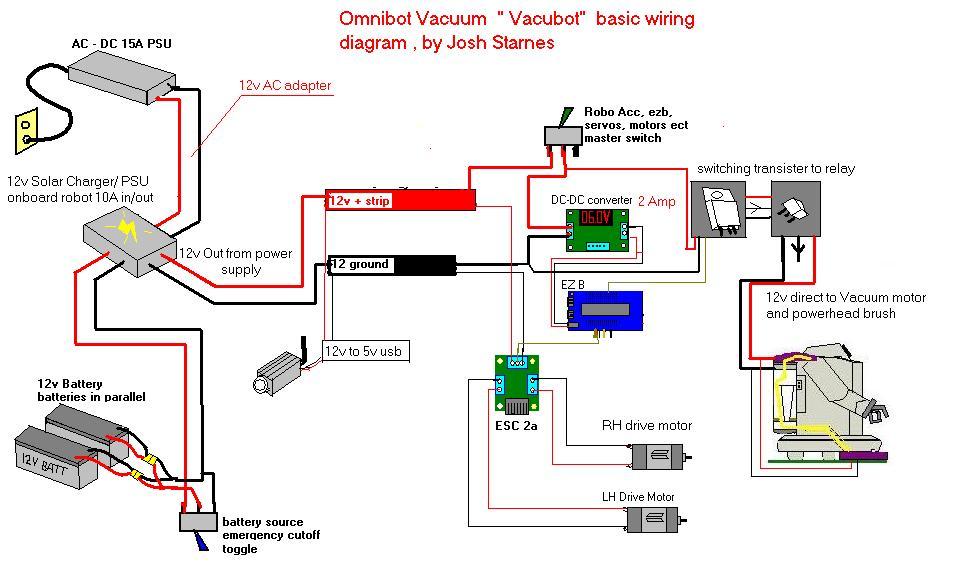
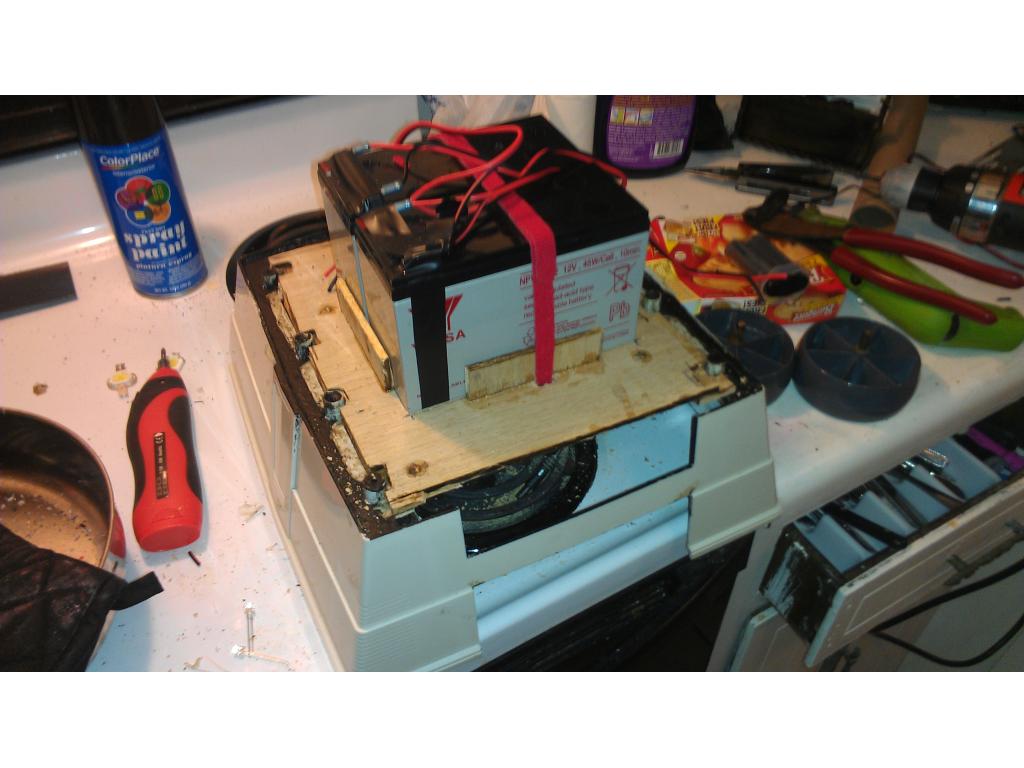
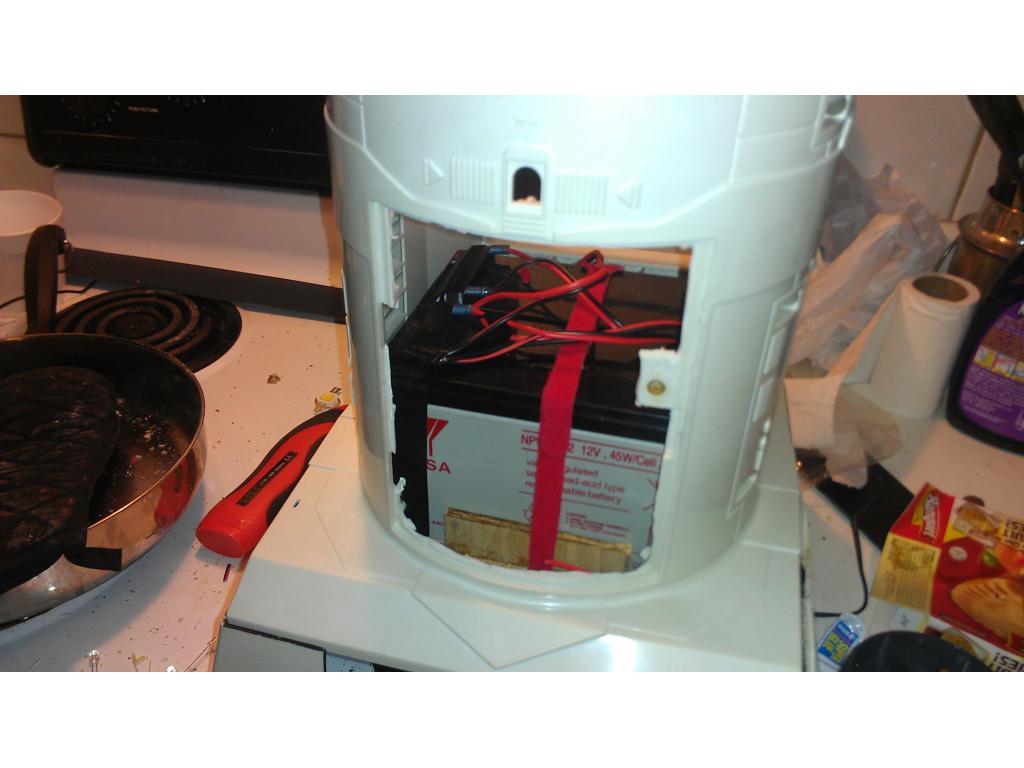
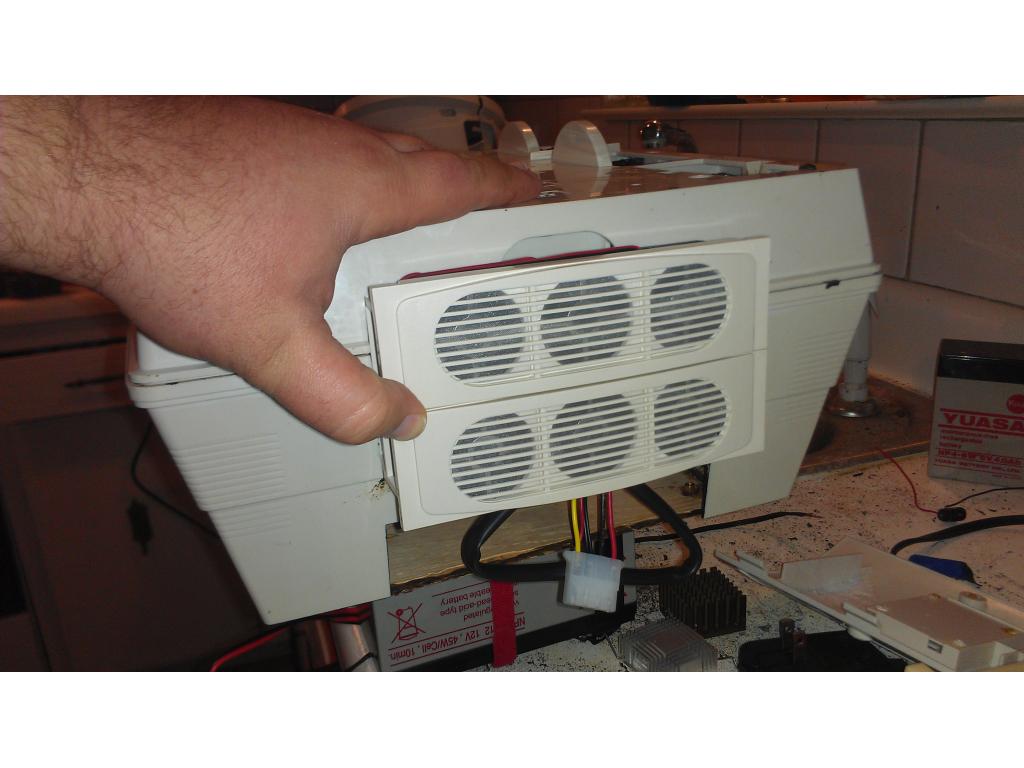
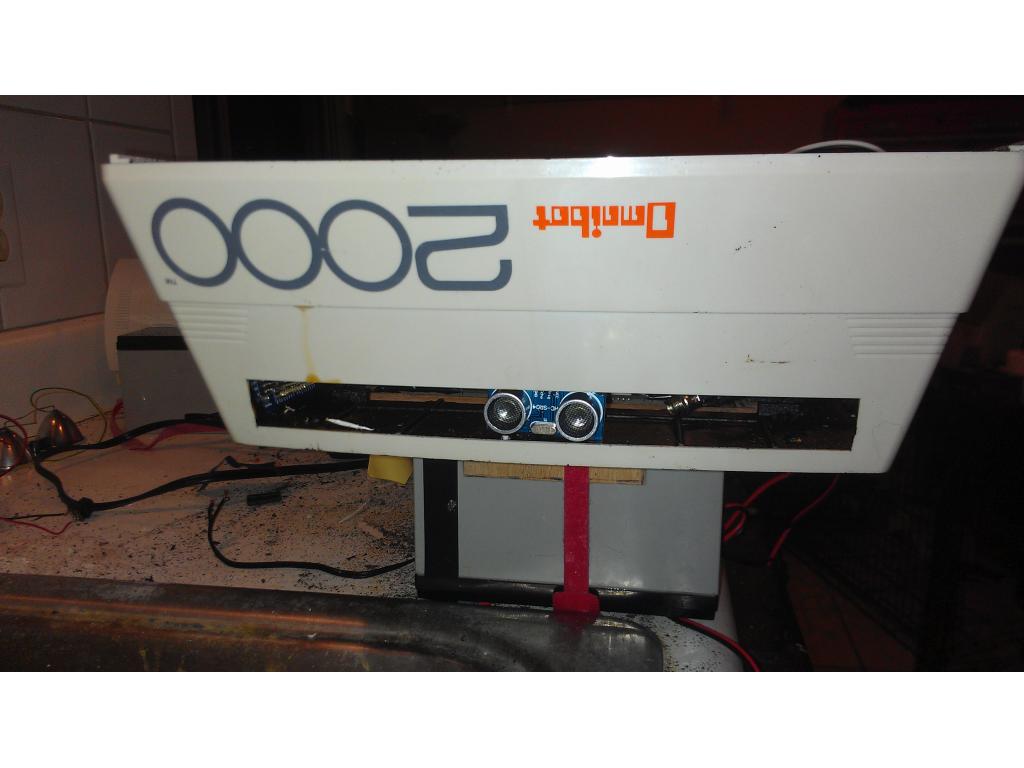
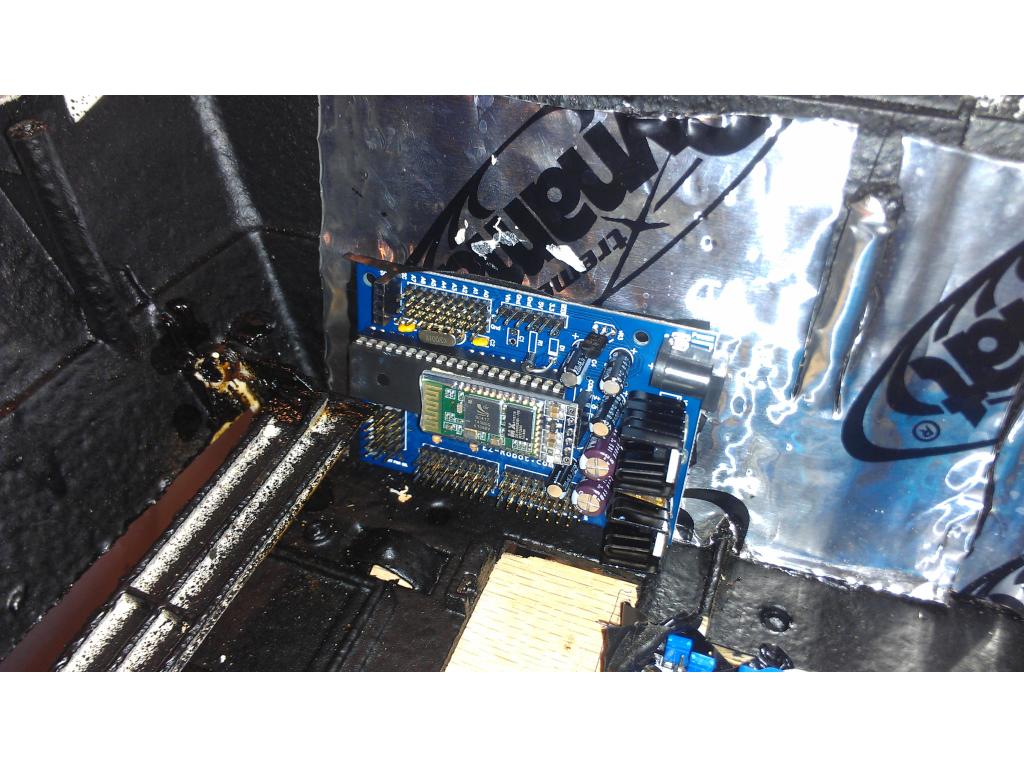
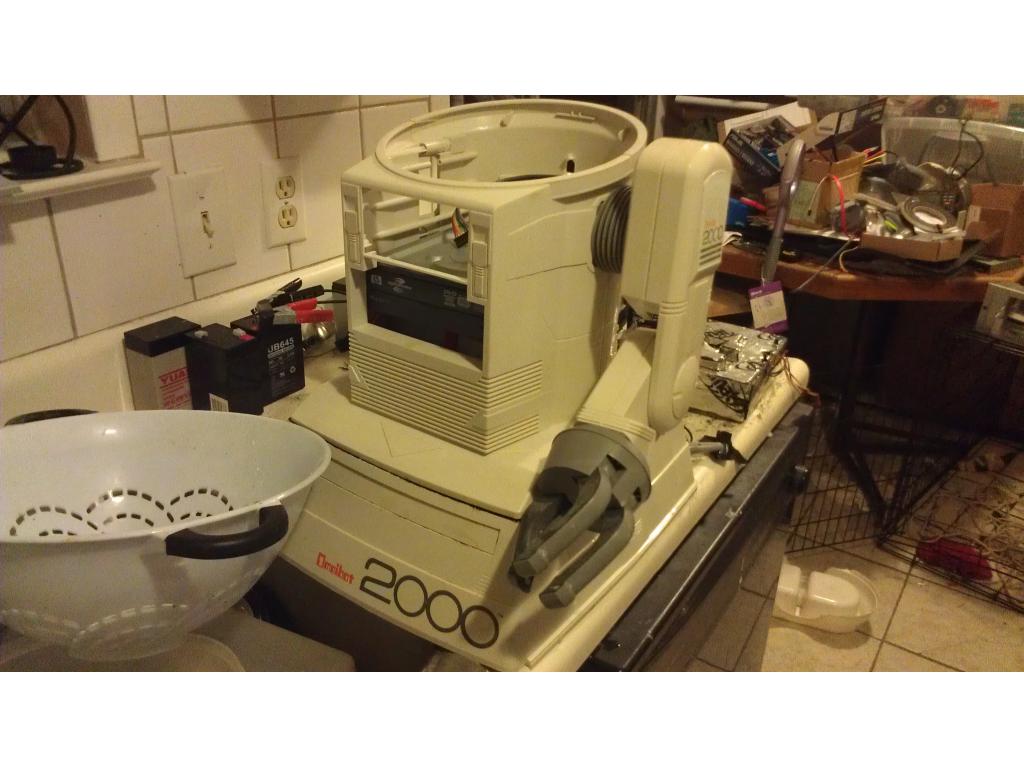
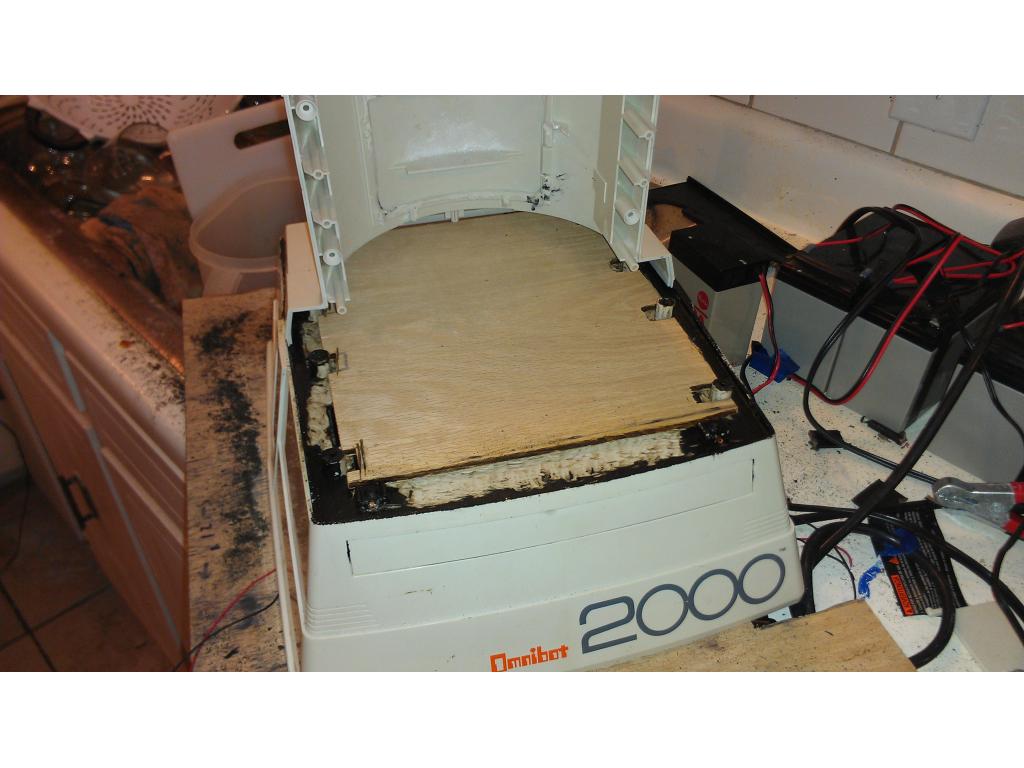
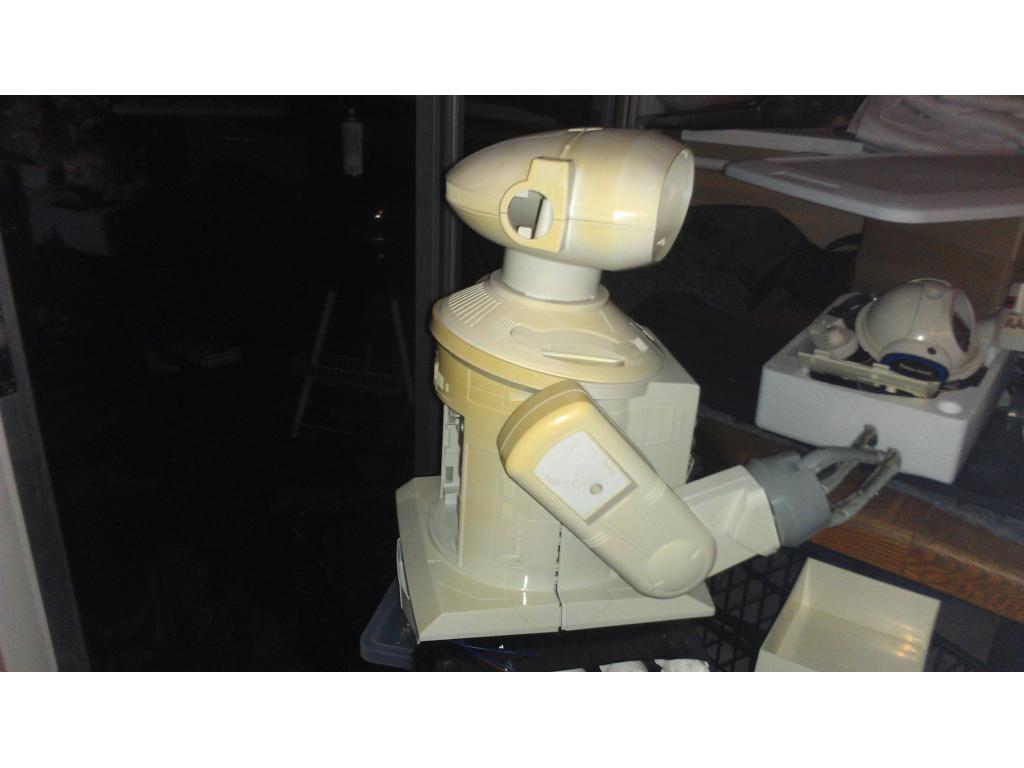
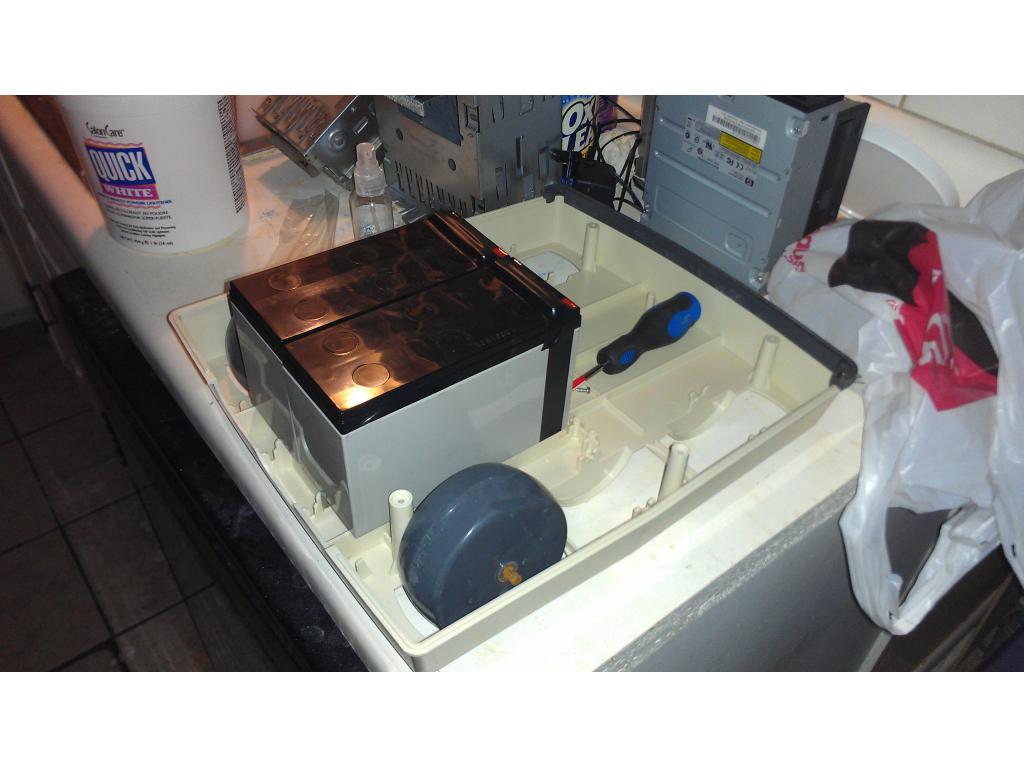
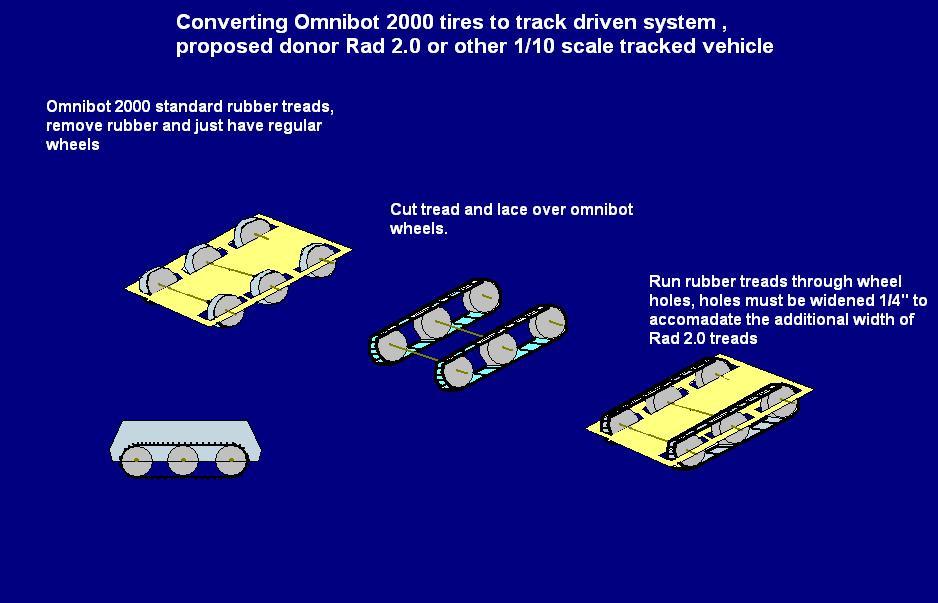
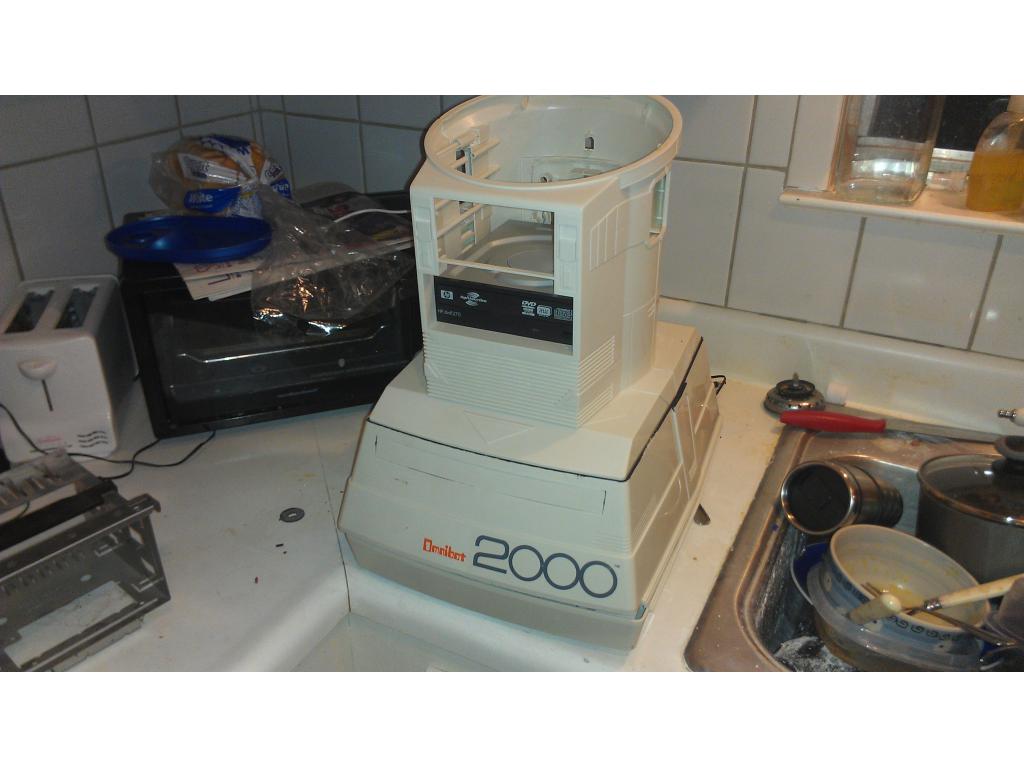
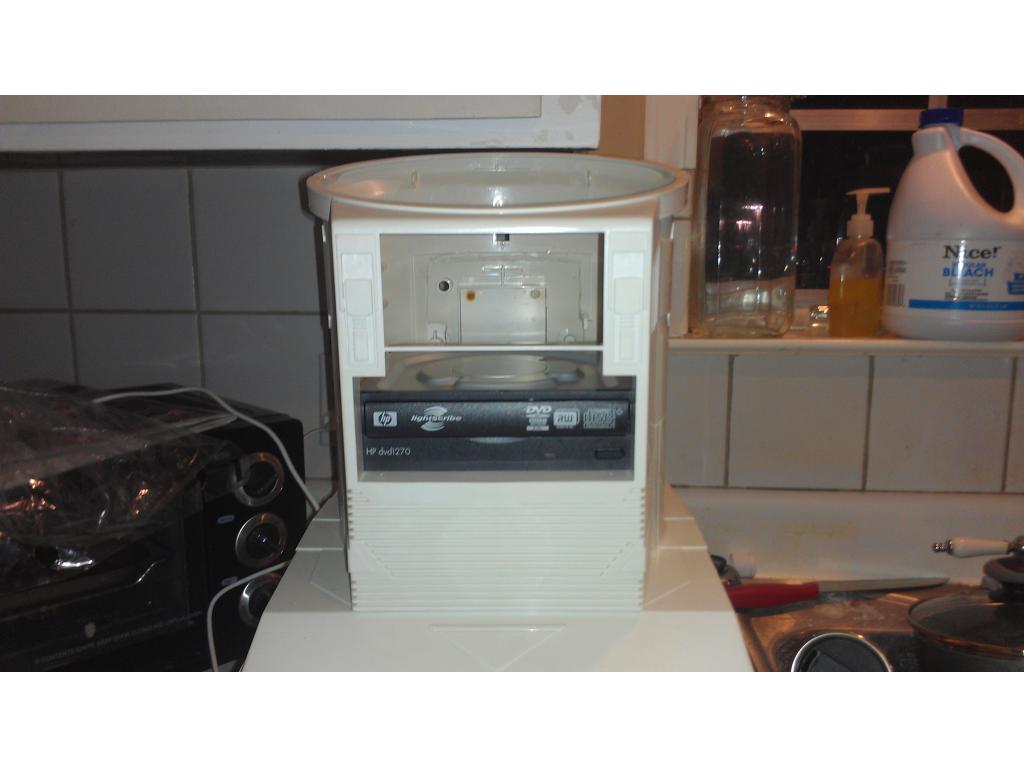
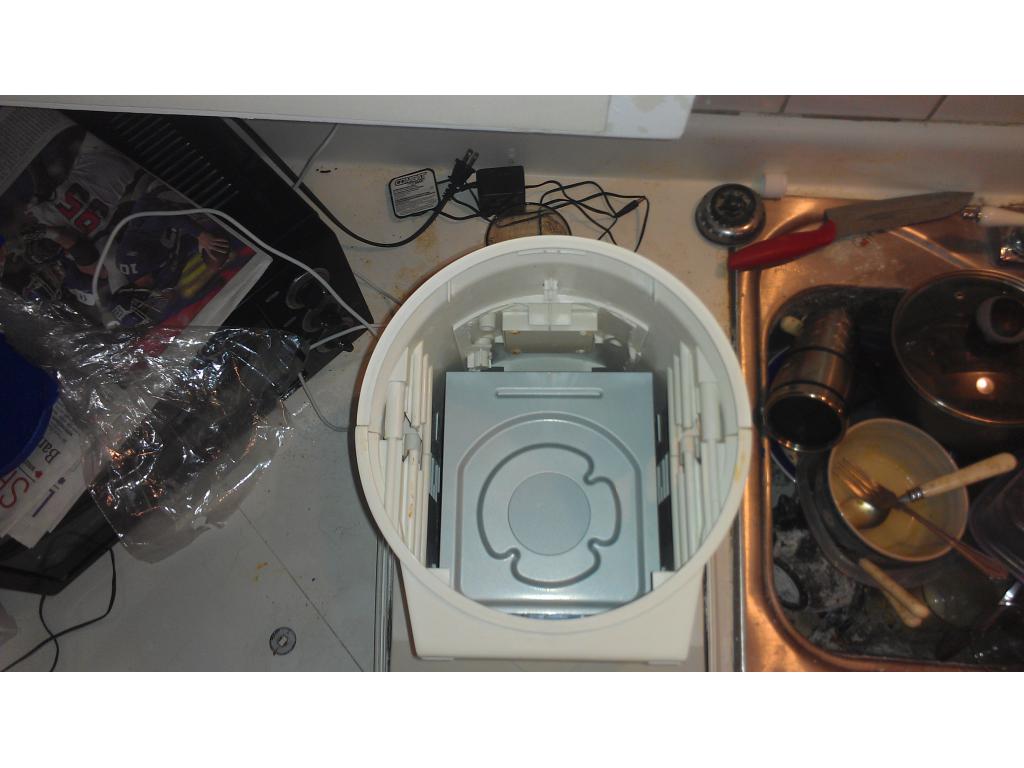
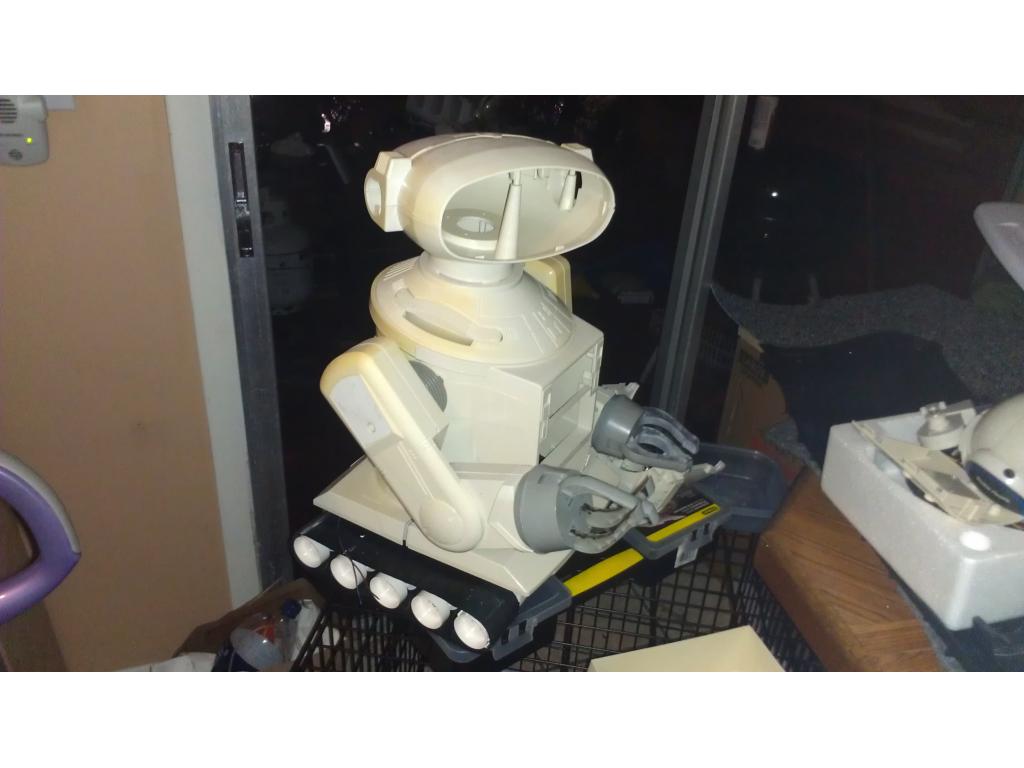
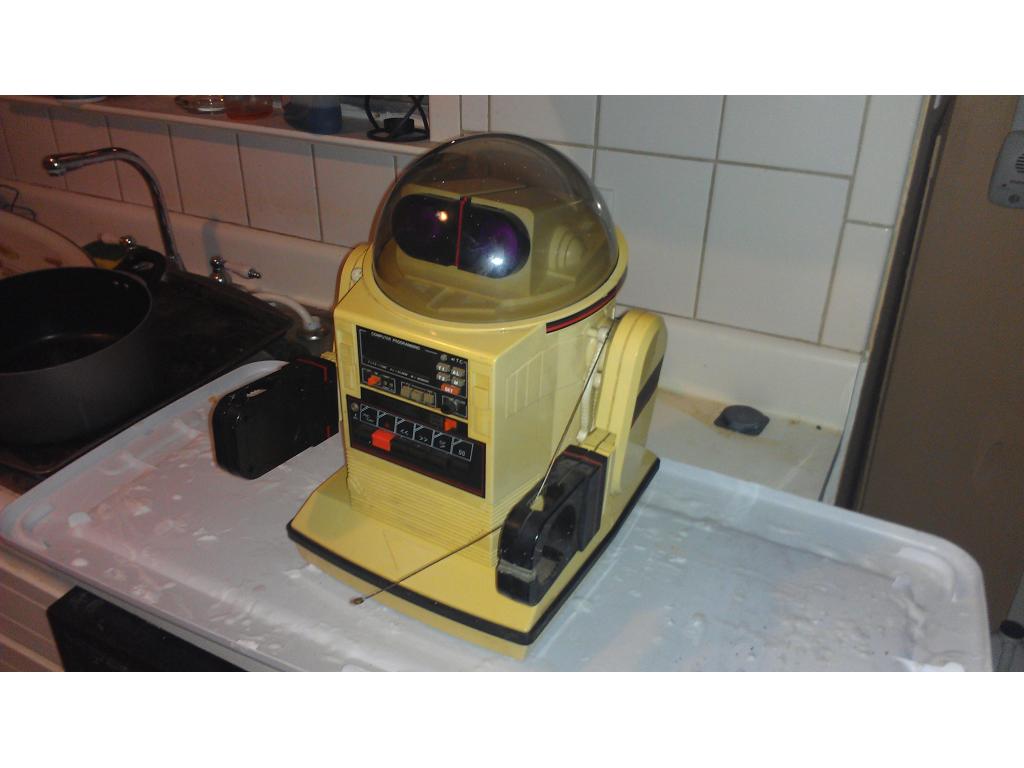
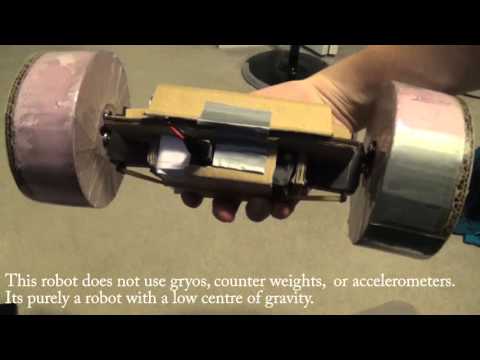
This project has evolved some , the basic rundown is I'm modding two Omnibots , one a regular the other a larger 2000 model. I will have two ezb kits , rad base idea was thrown out because of so much noise but could go back on the table if the omnibot drivetrain is too weak to pull it.


By jstarne1
— Last update
Discover more robots

Thetechguru's Long Lasting Roli
Extend Roli's runtime for NMS experiments with a 7200mAh internal battery installed after a precise Dremel mod, boosting...
Cardboardhacker's Ez-Ollie
ez-Ollie: recreate Sphero Ollie with a simple low center-of-gravity build for stable rolling, easy forward drive and...
Rb550f's Meet Tk
TK robot - 31in tall, 12in base, 12lb with 12V battery; rotating torso/head, tilting dome, arms w/3 HD servos, digital...

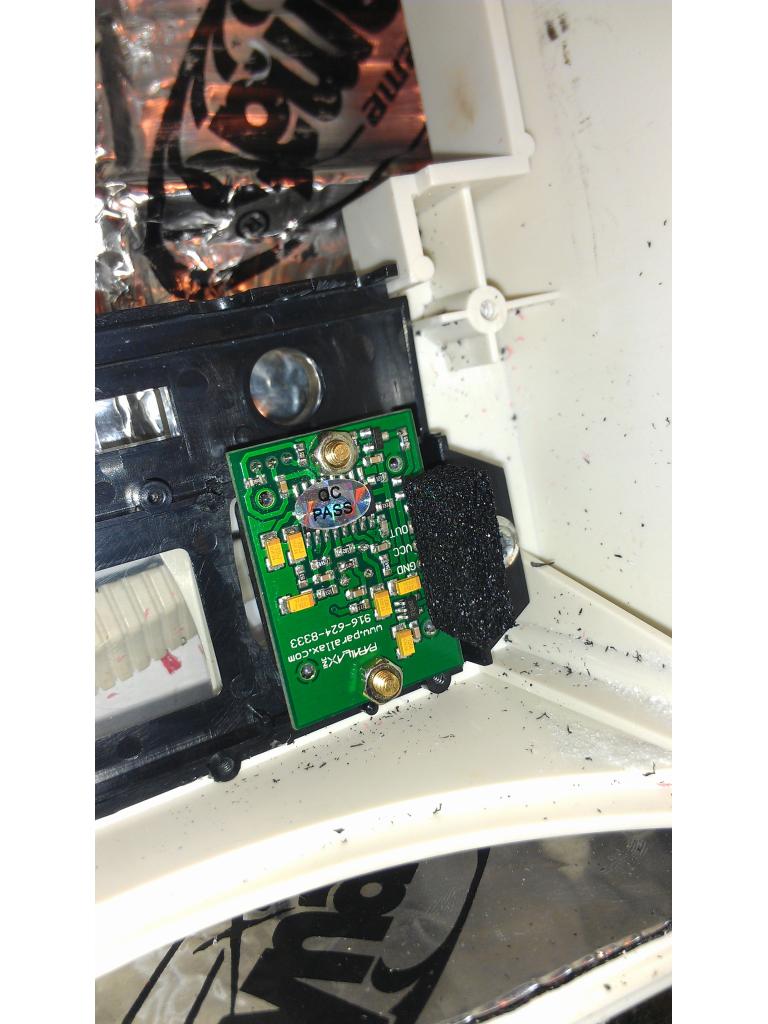
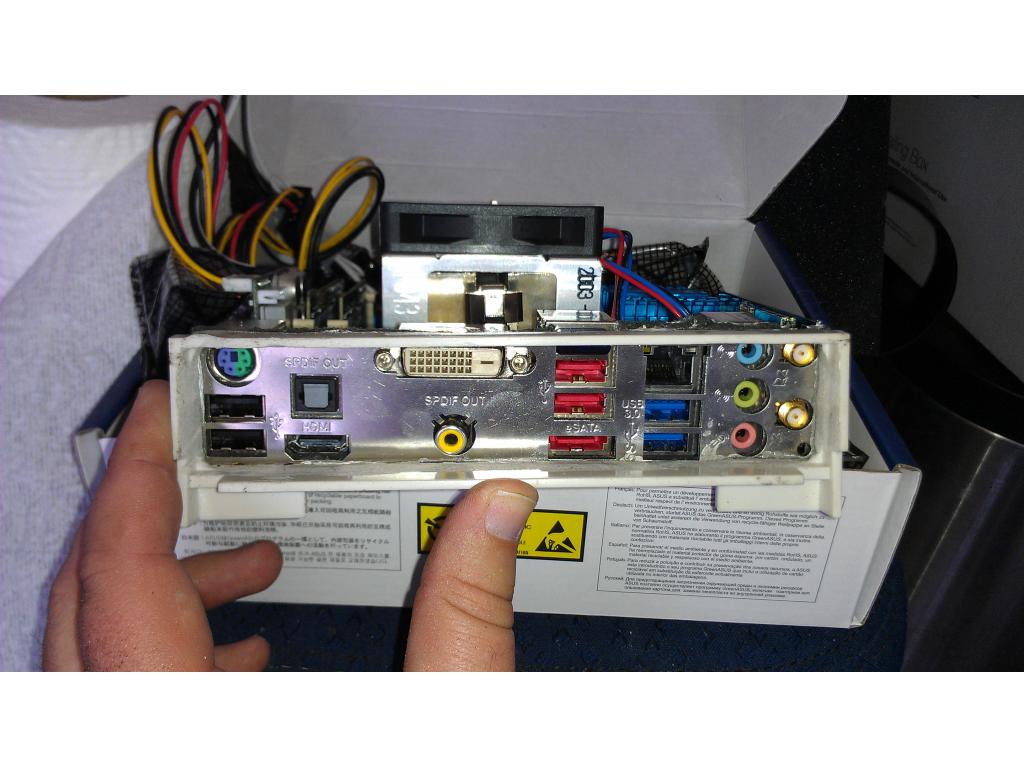
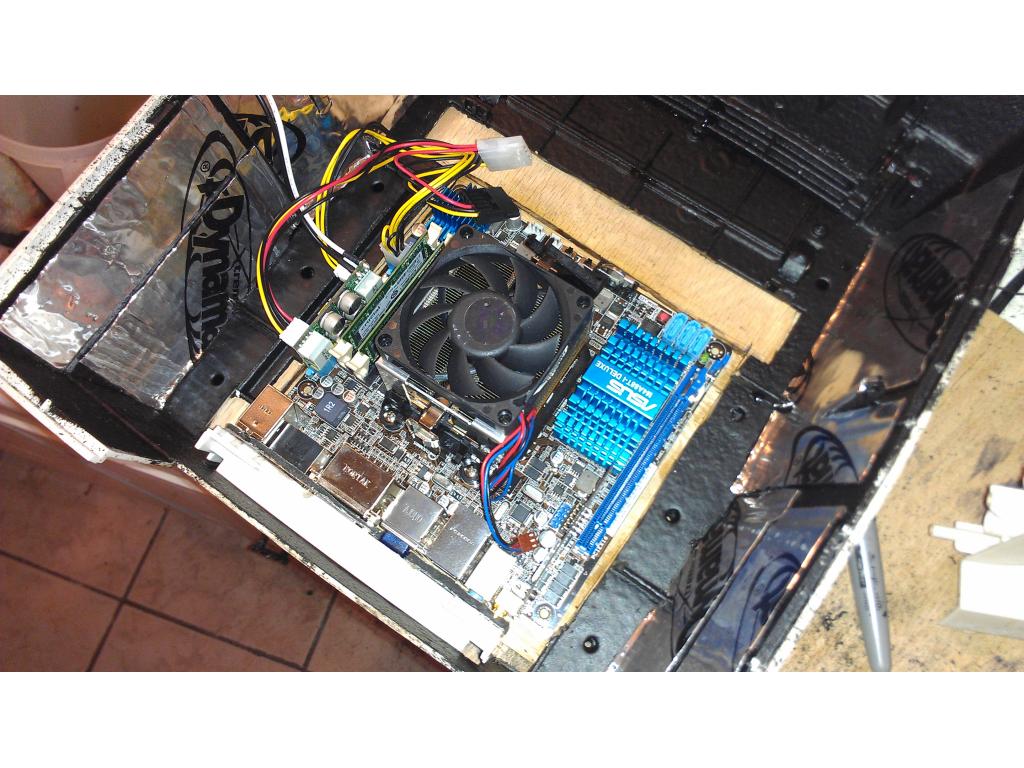
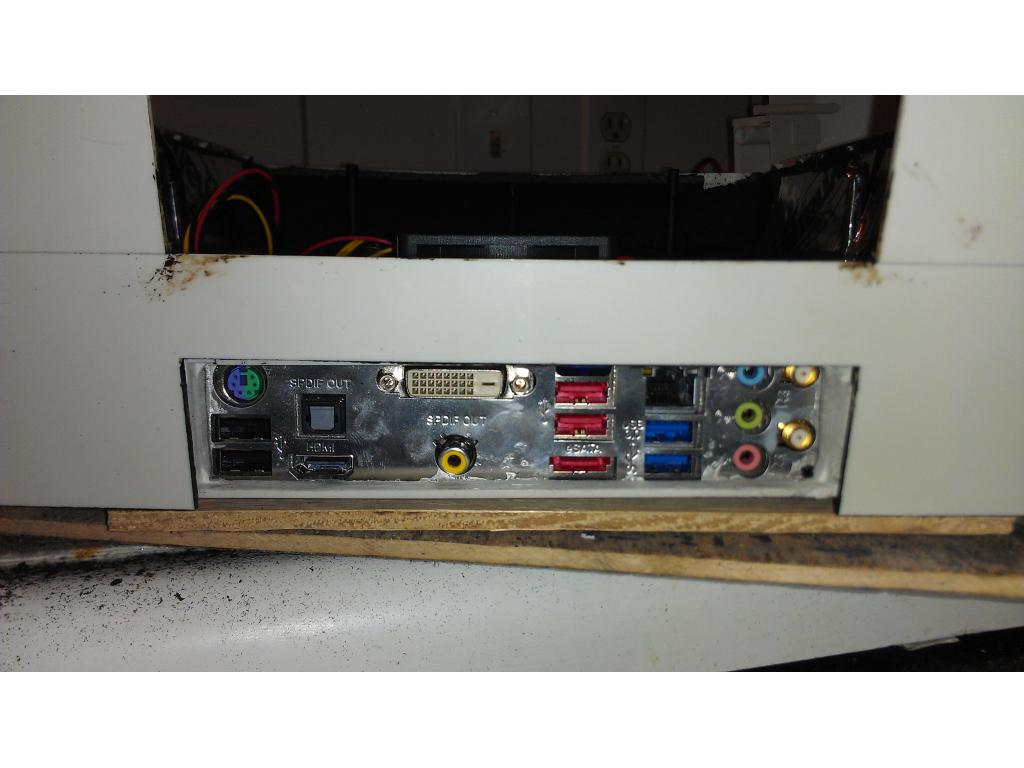
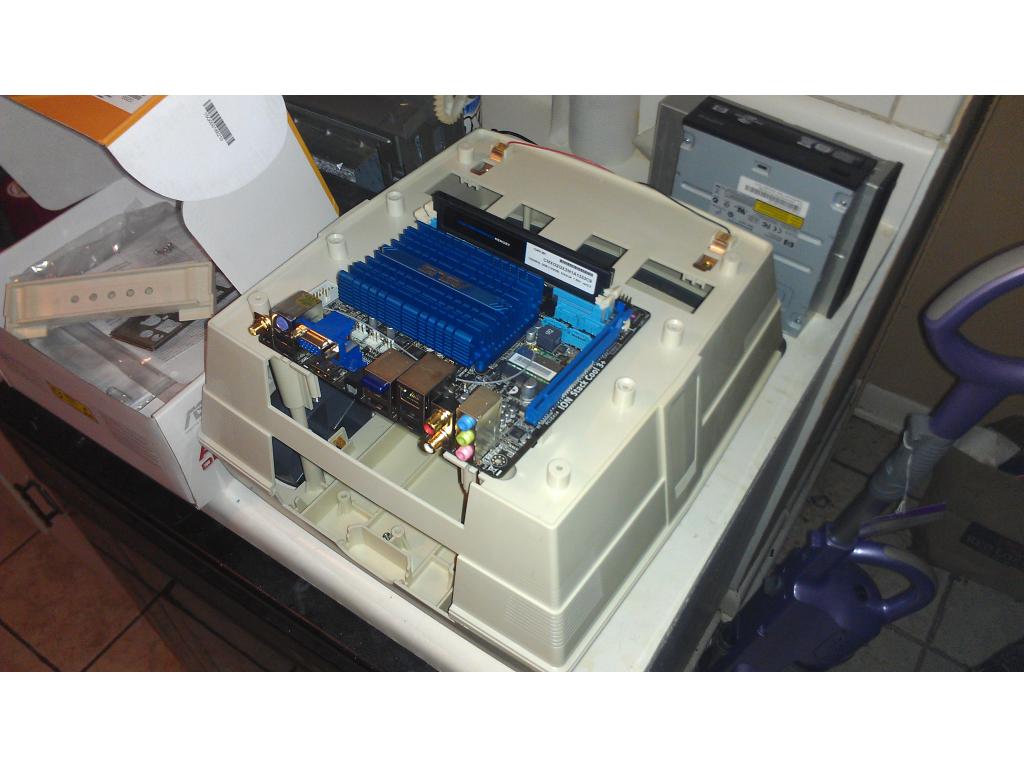
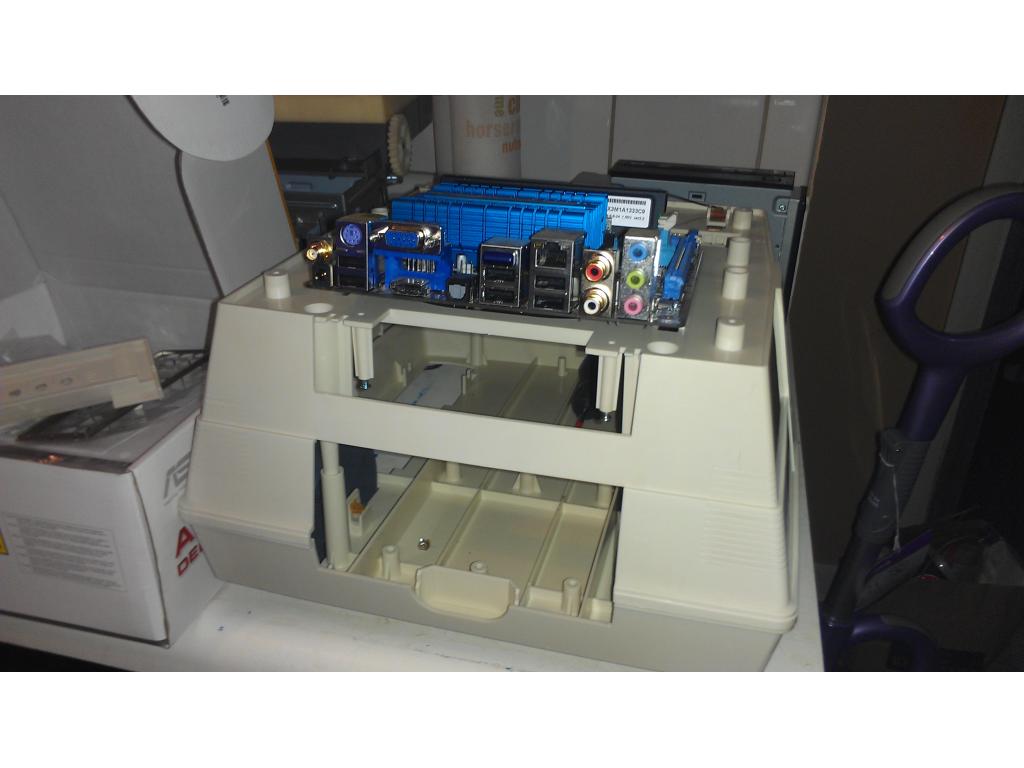
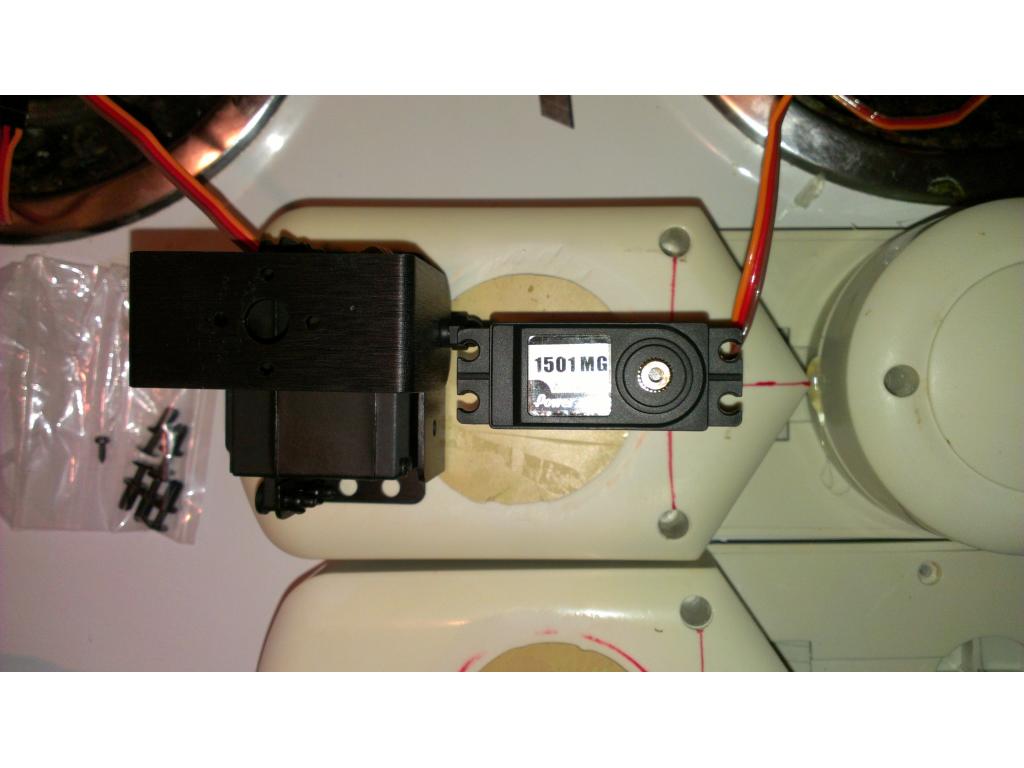
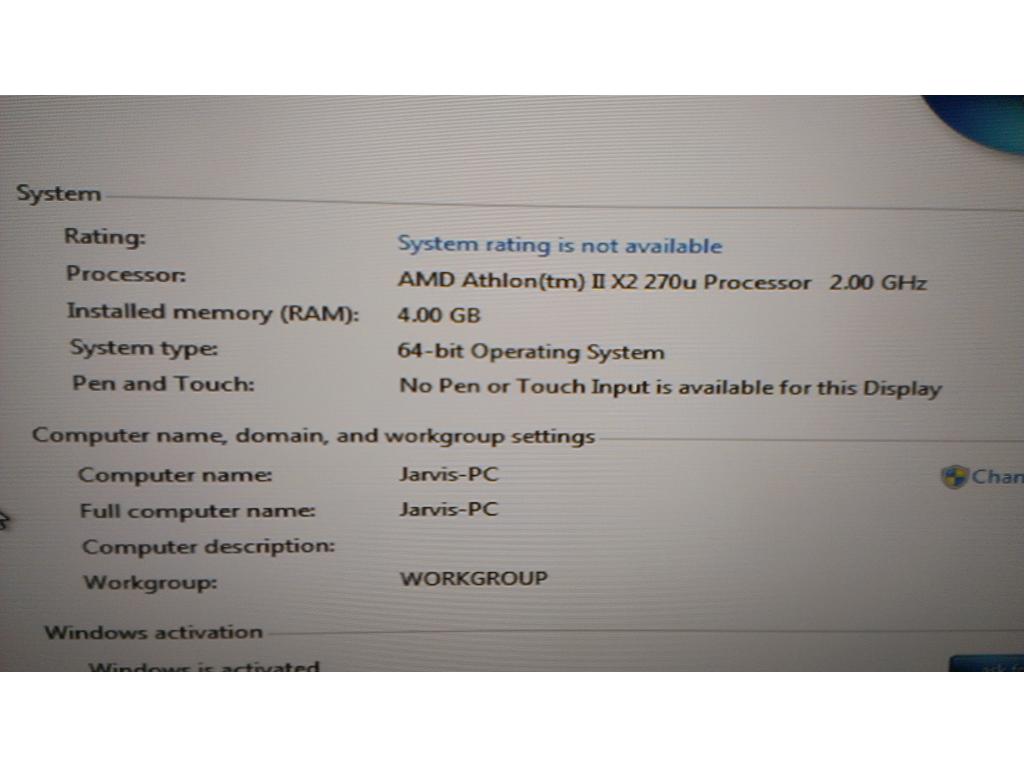
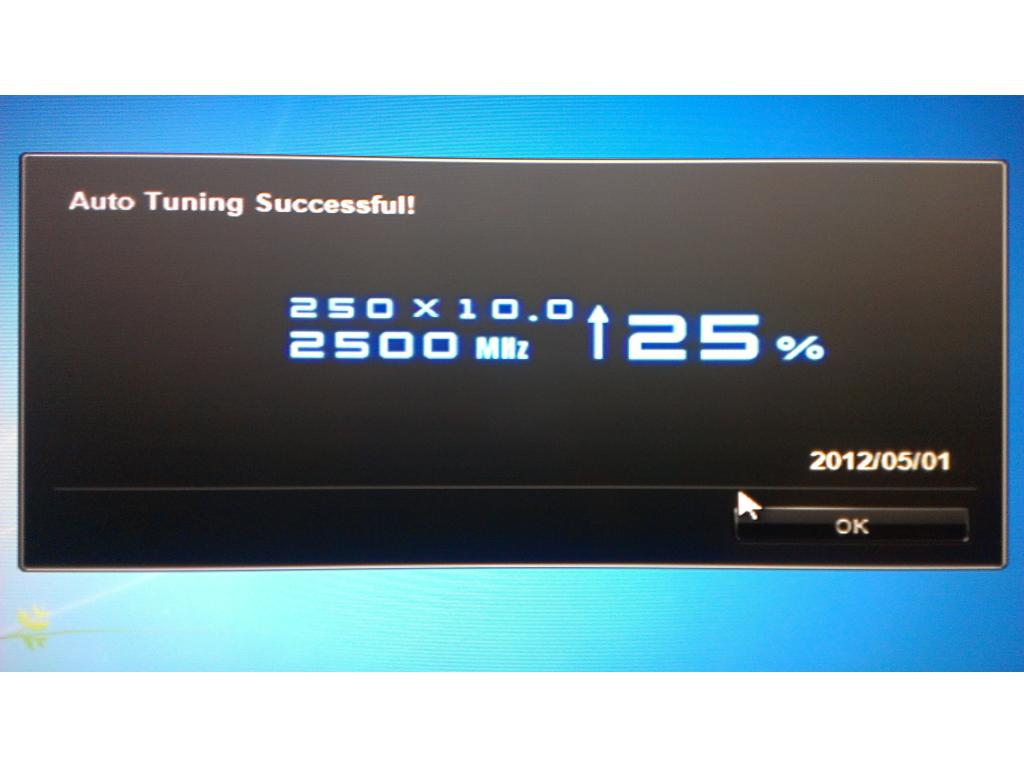
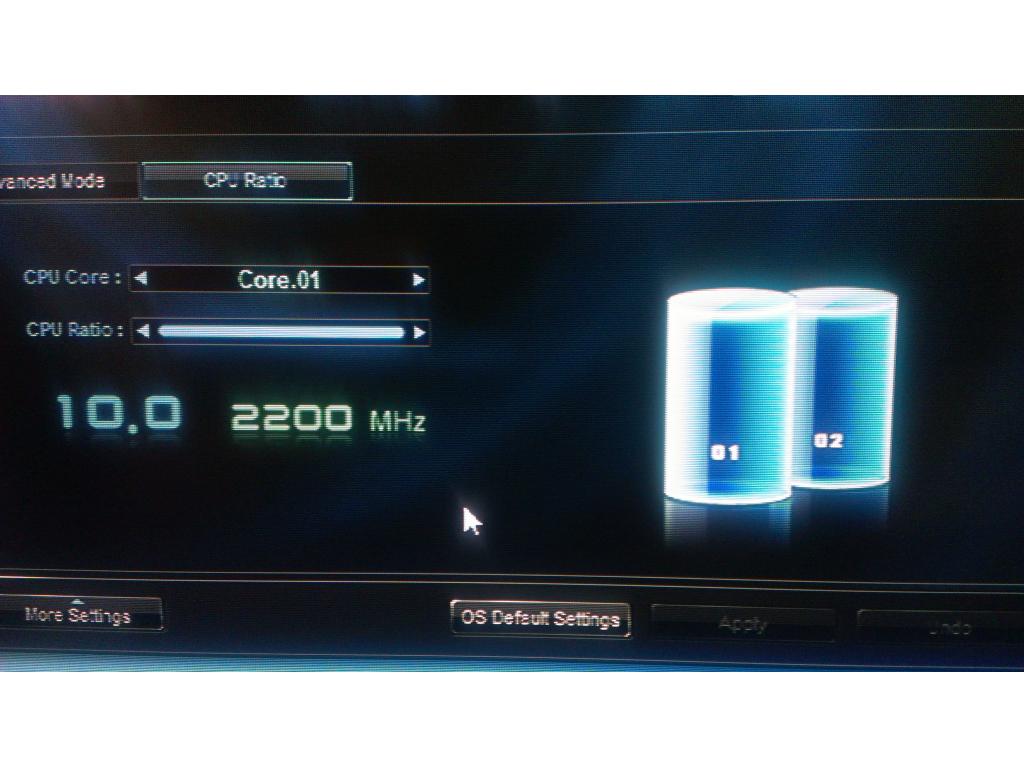
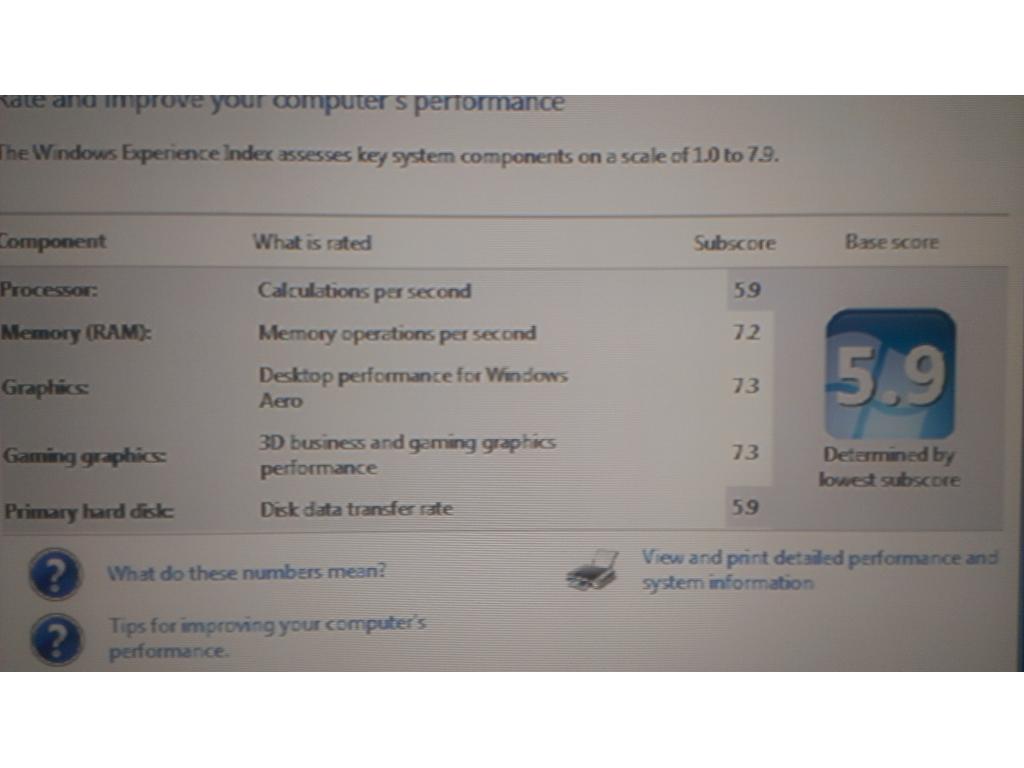
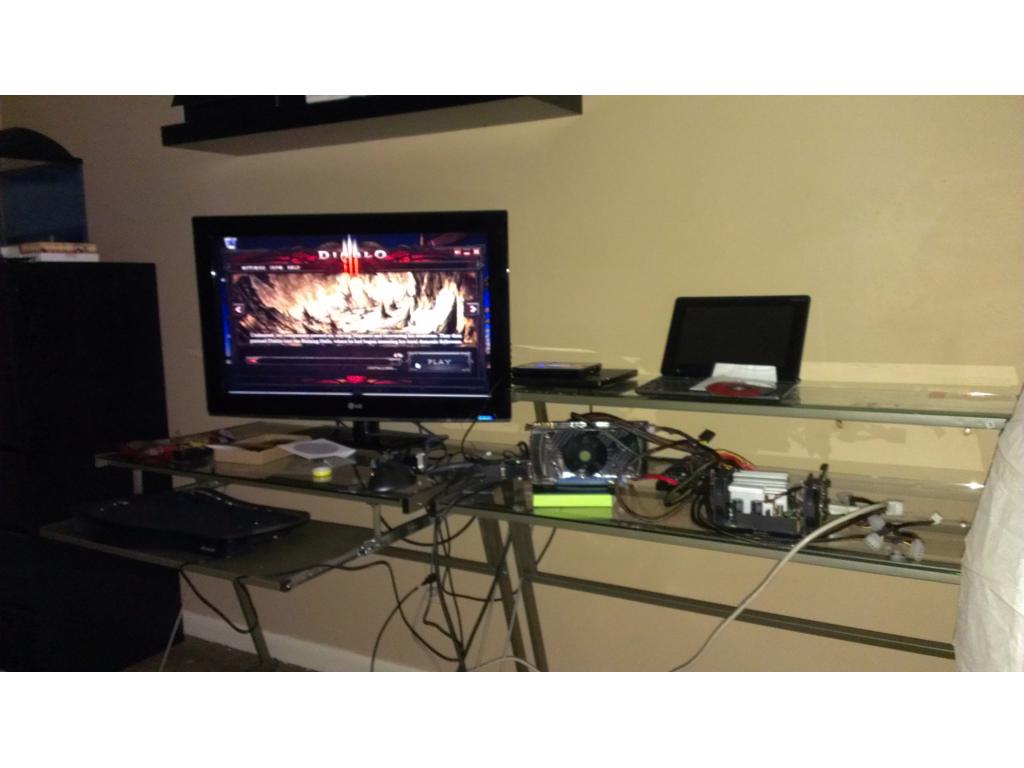
don't think you would need more than a dual core 2.2ghz for a robot. I mean the ezb doesn't need that much power...
The best investment for speed is a SSD, I don't think the CPU would be a bottle neck.
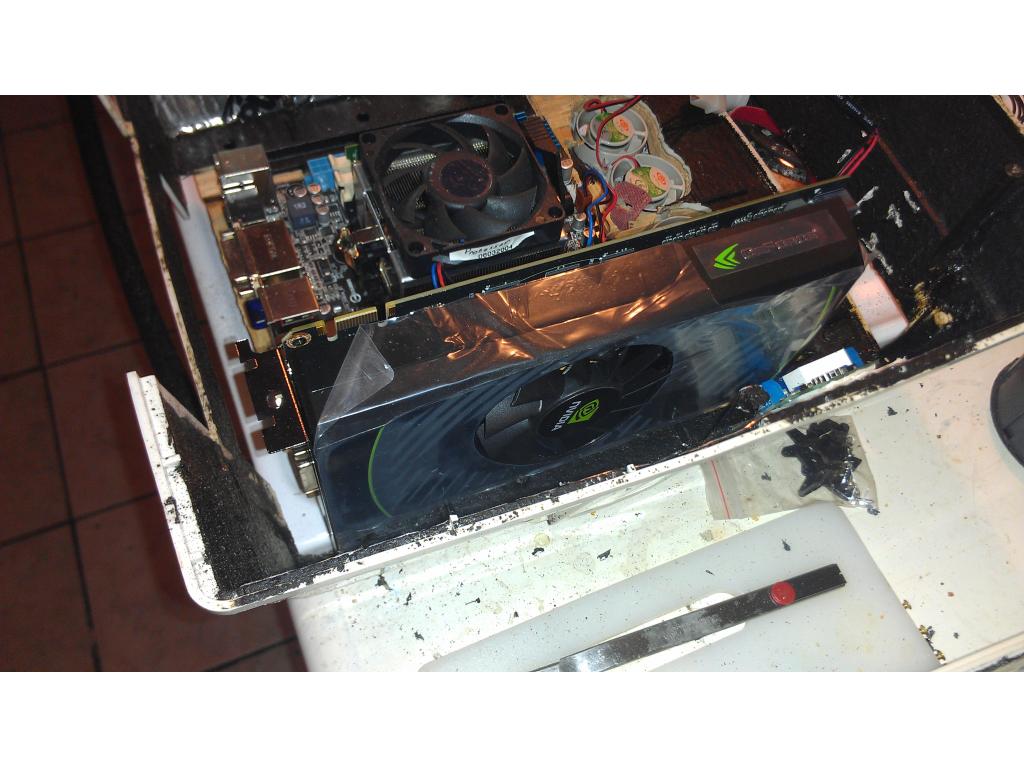
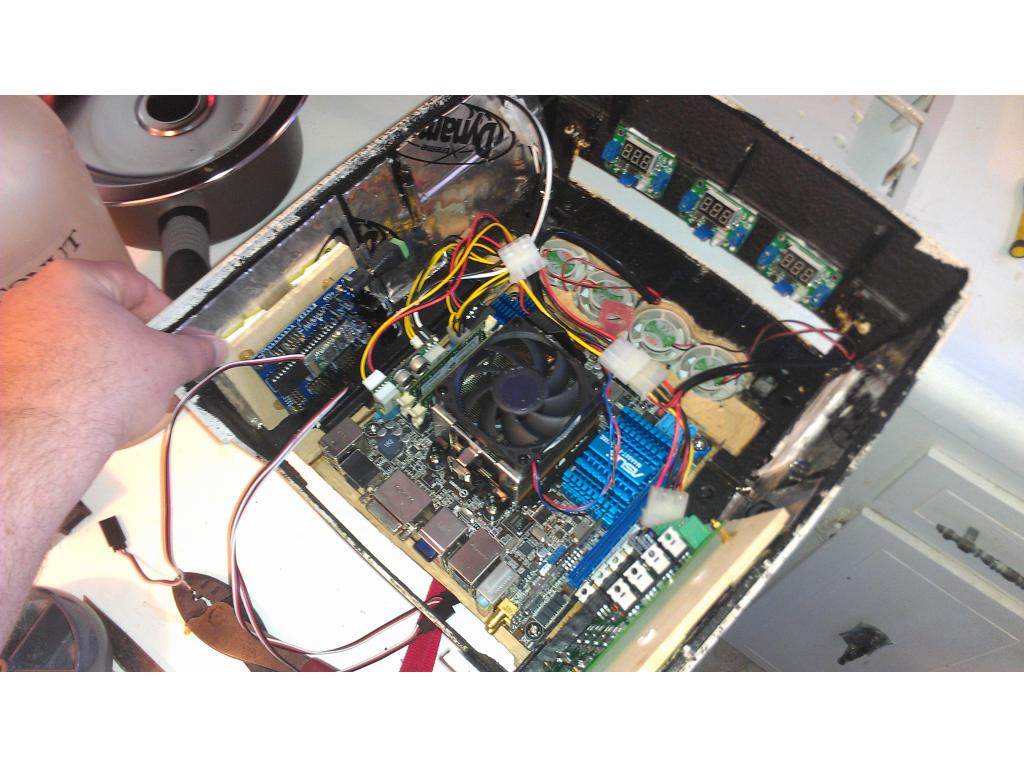
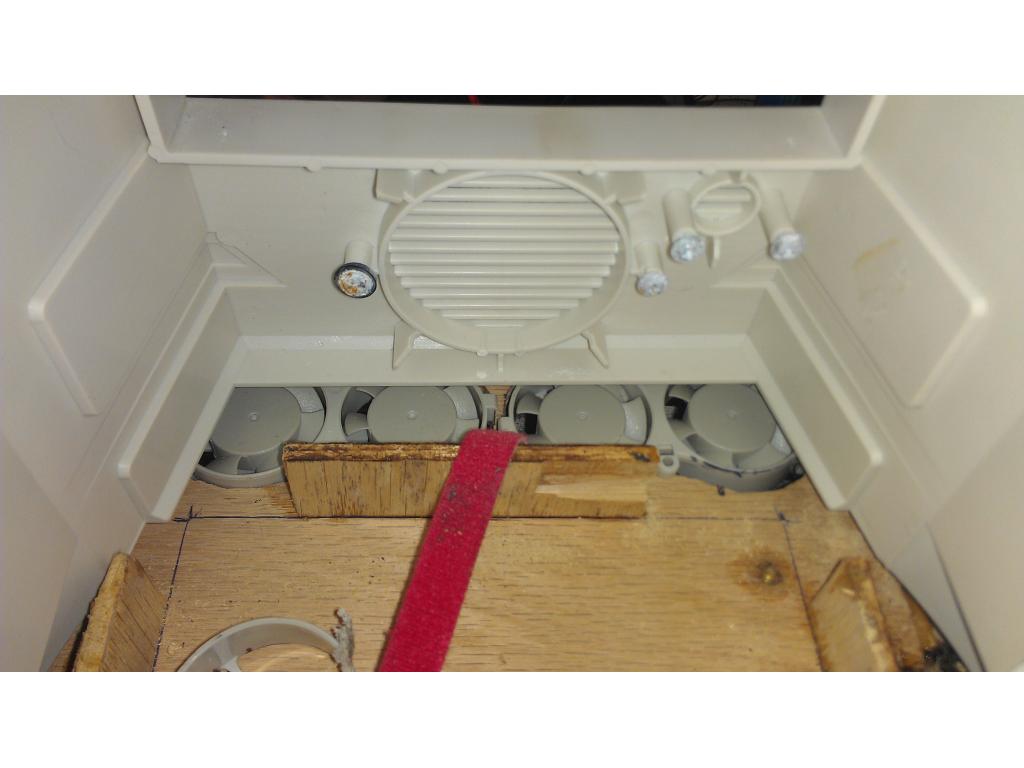
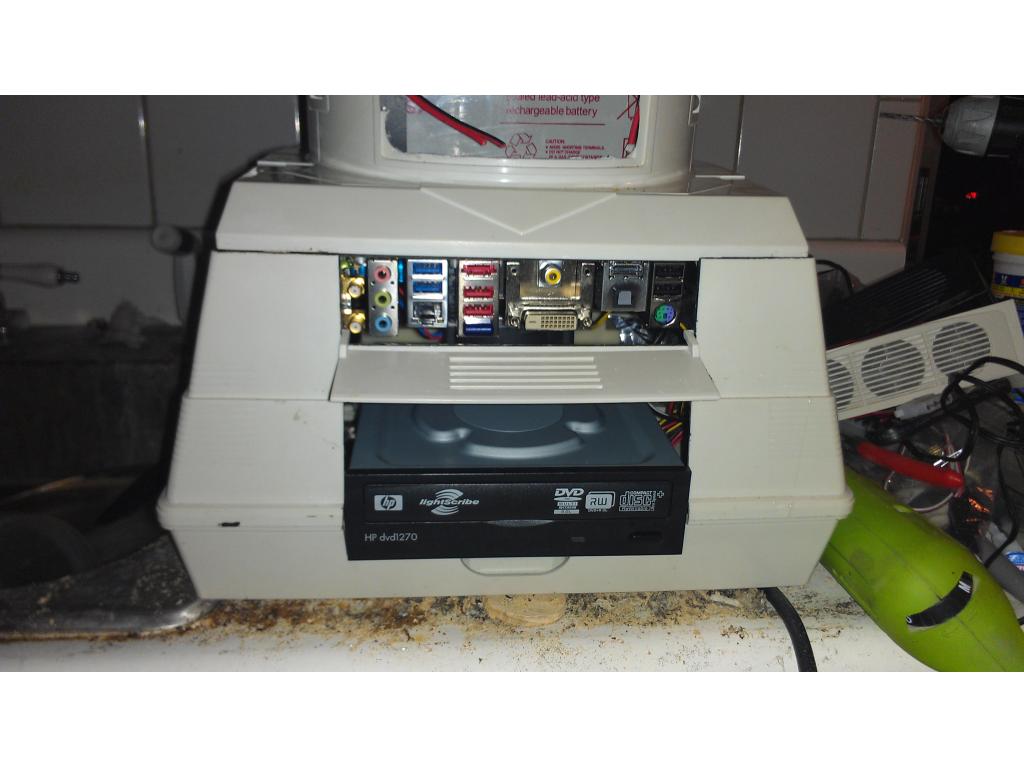
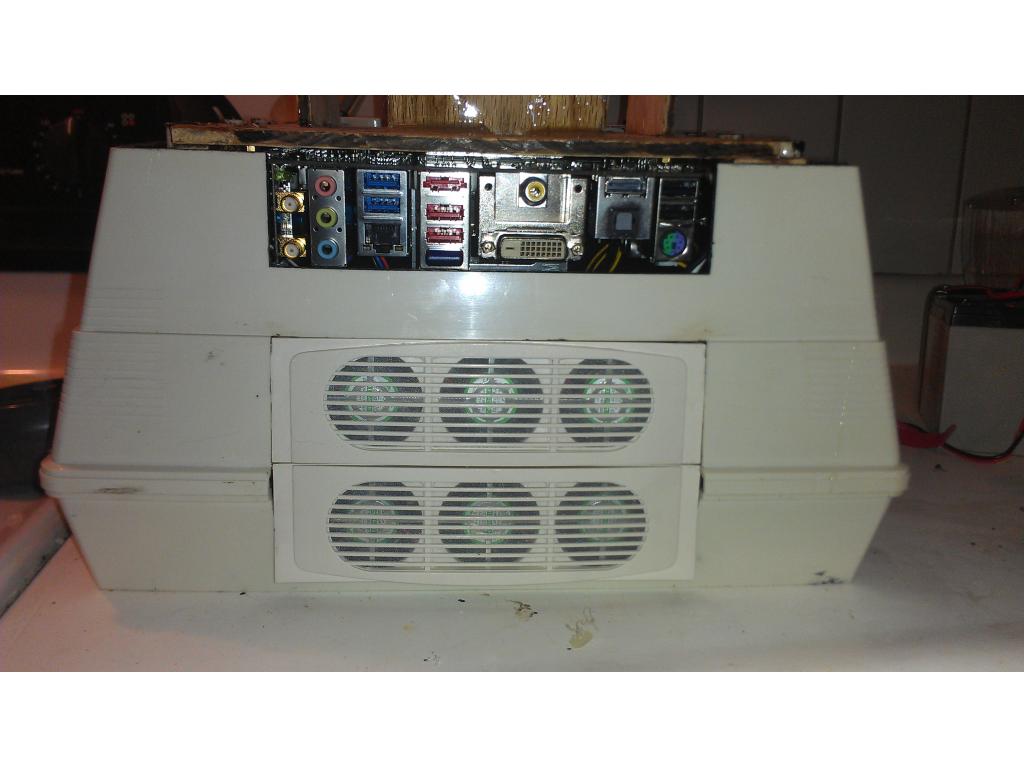
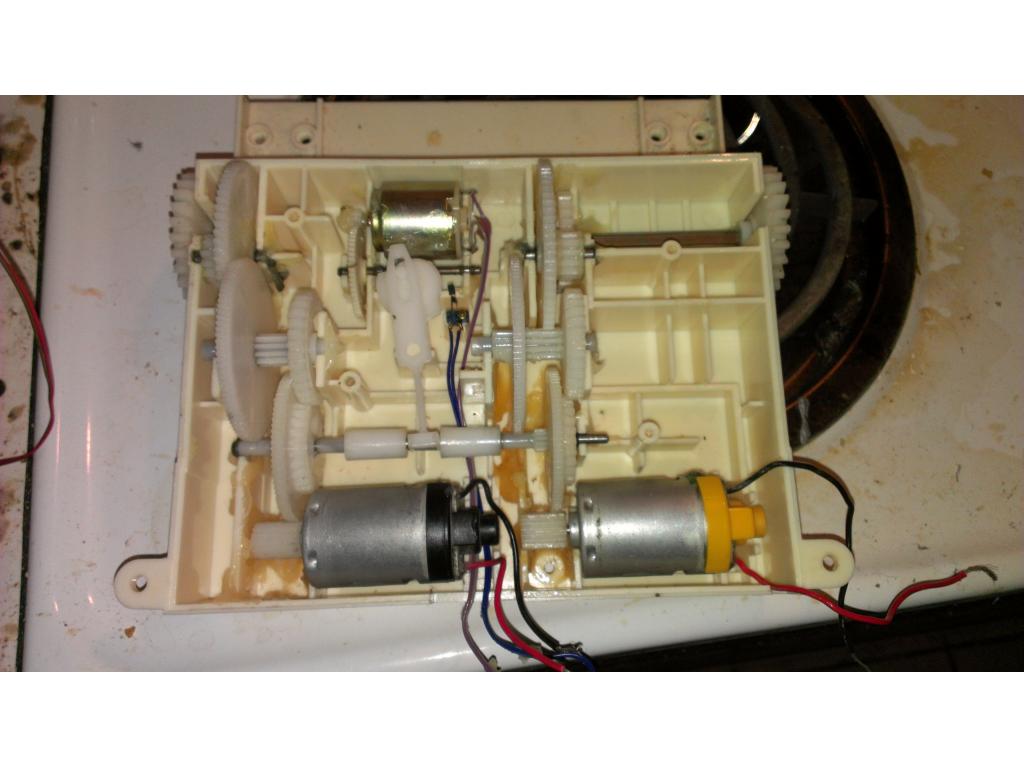
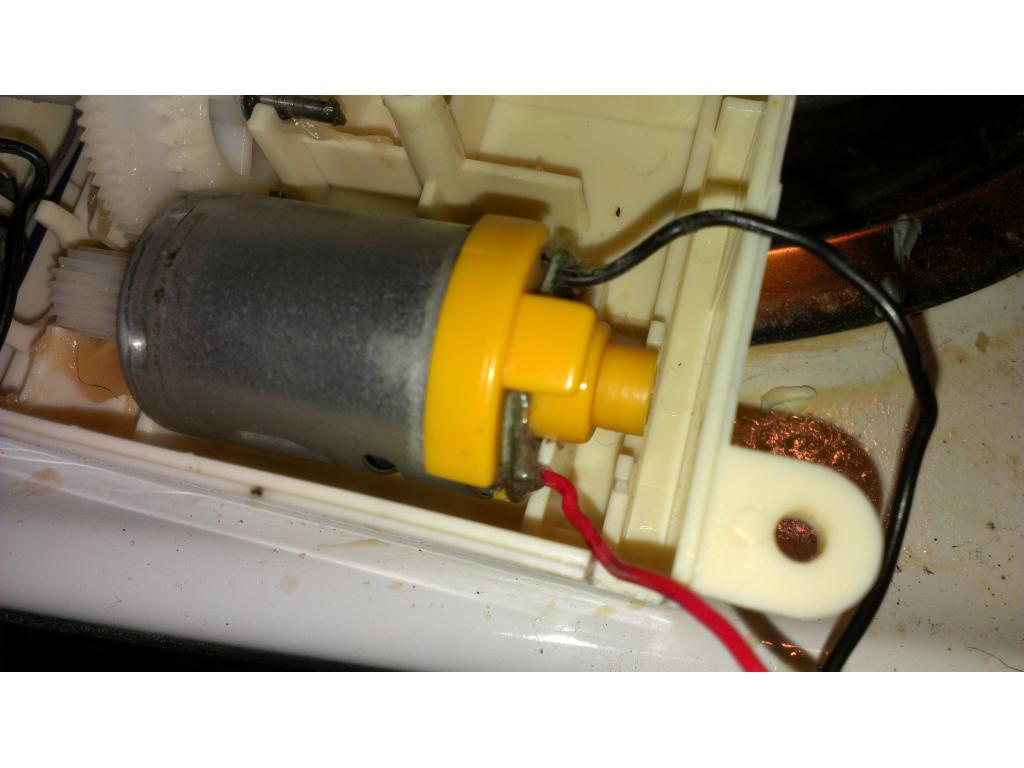
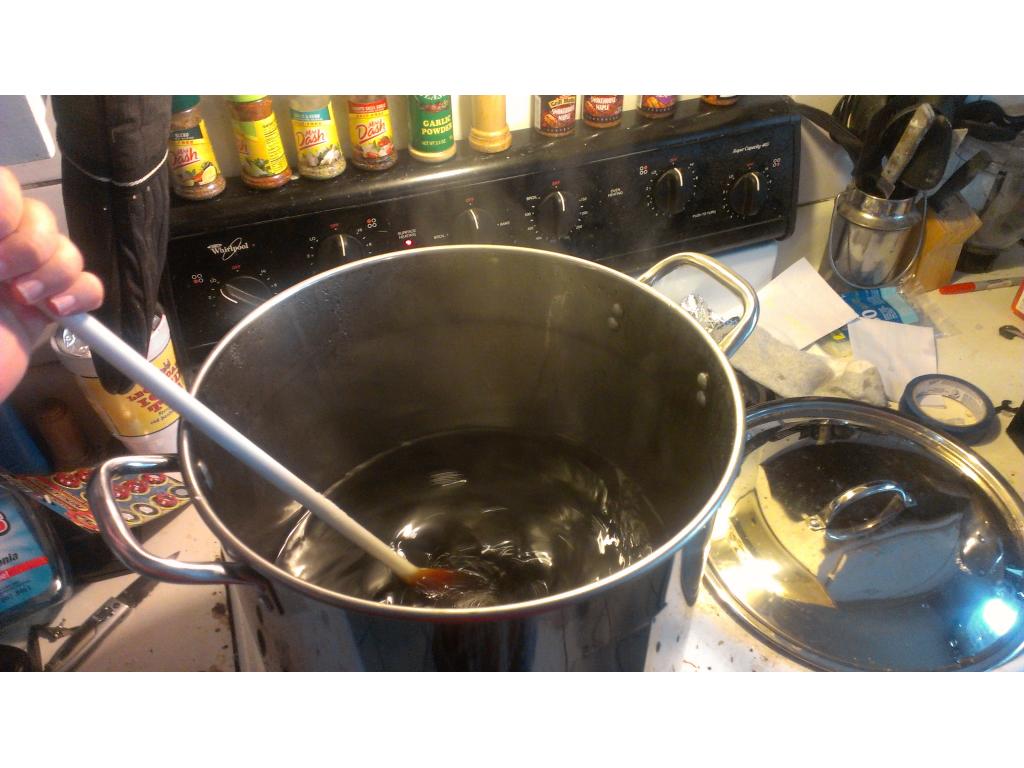
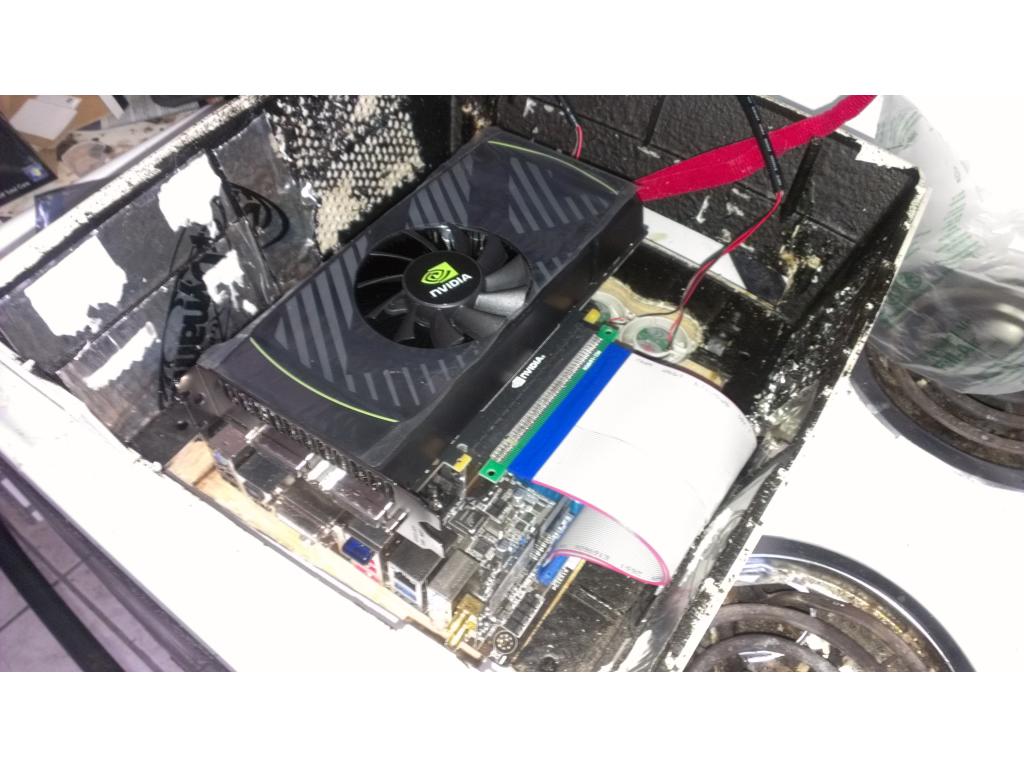
he is using a HD video card ,thats where speed is needed,video and gamming takes up alot of speed ,including wecams also i use mostly SSD in my robots,for a few reasons ,low power,speed ,weight and most important if robot falls no damage to hard drive drawback is the cost about 2 to 3 times as much as 2.5 laptop drive ,but worth every penny of it also of the professional robots ,some use 3 computer boards running at 1.8 ghz dual core,one for sensors and motor and one for navigation and one for main software and video working on a desgn just like that for one of my designs BEER-BOT
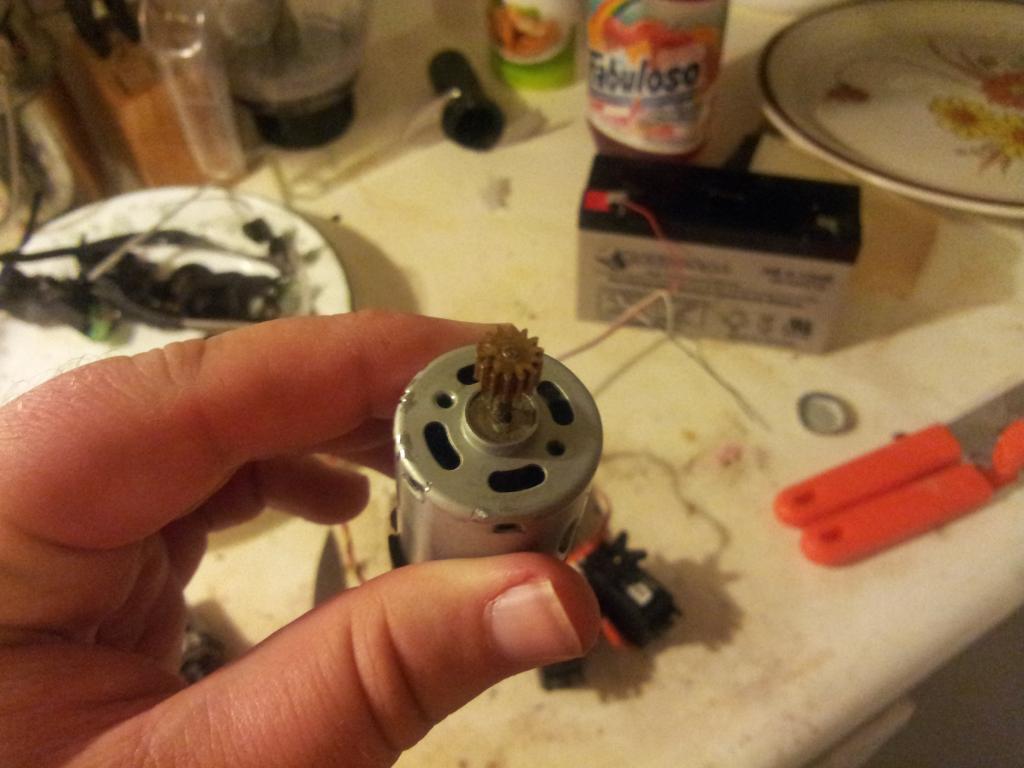
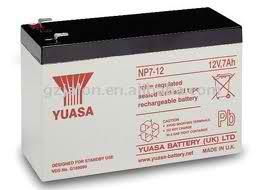
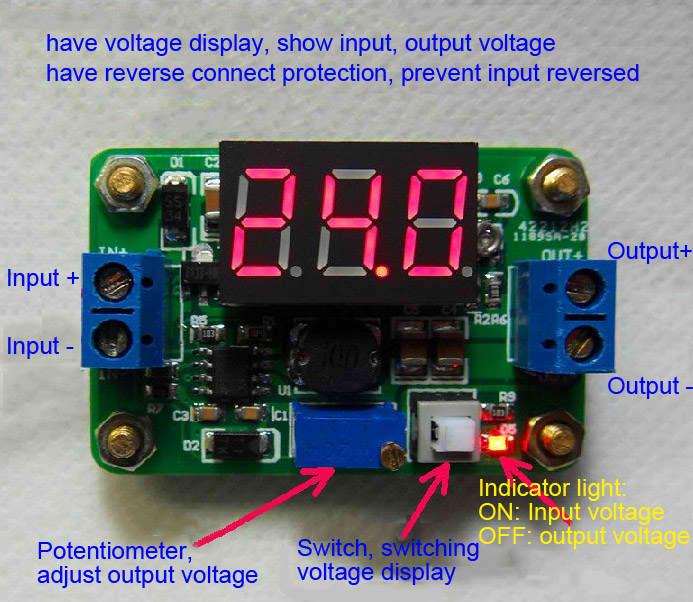
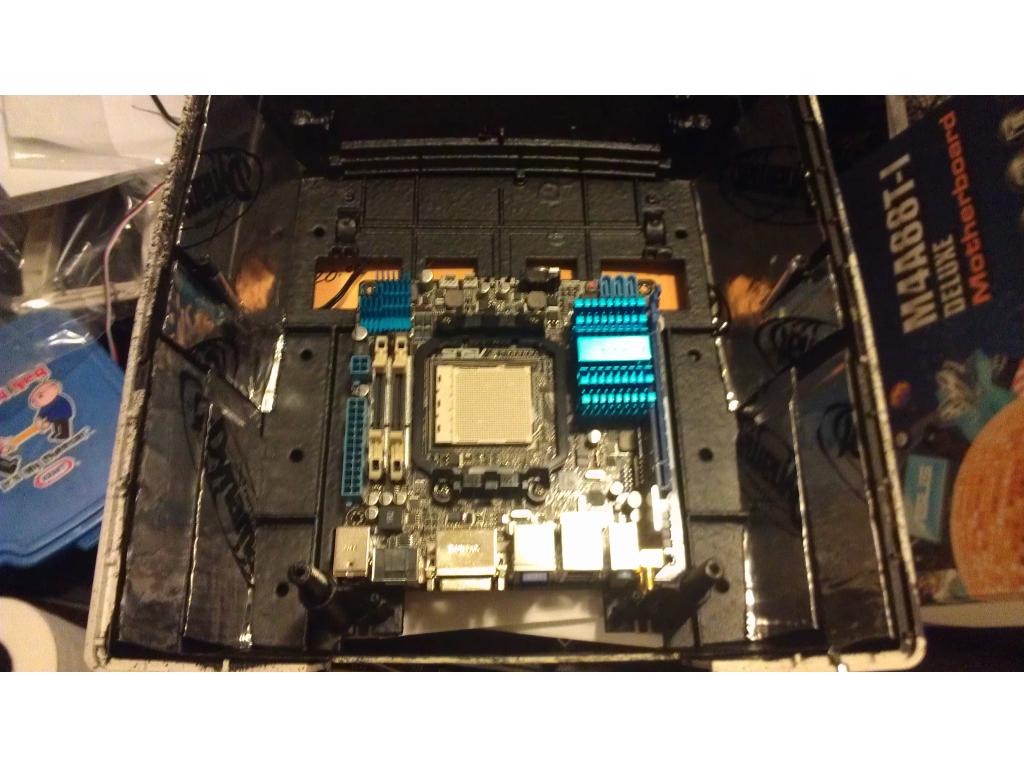
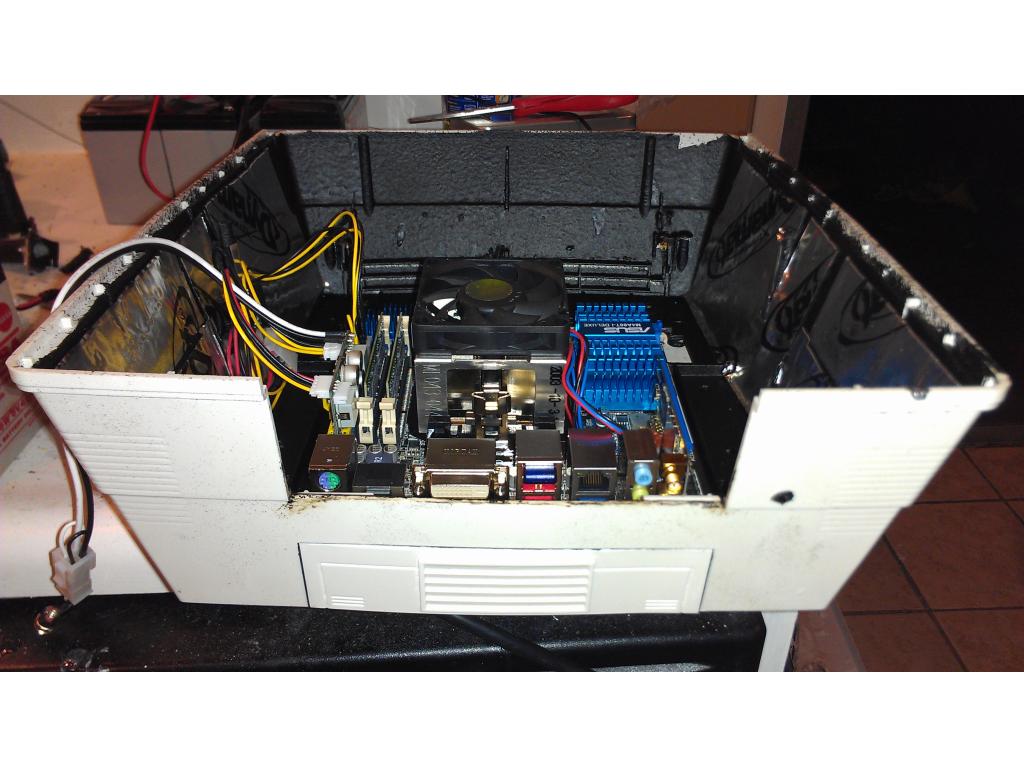
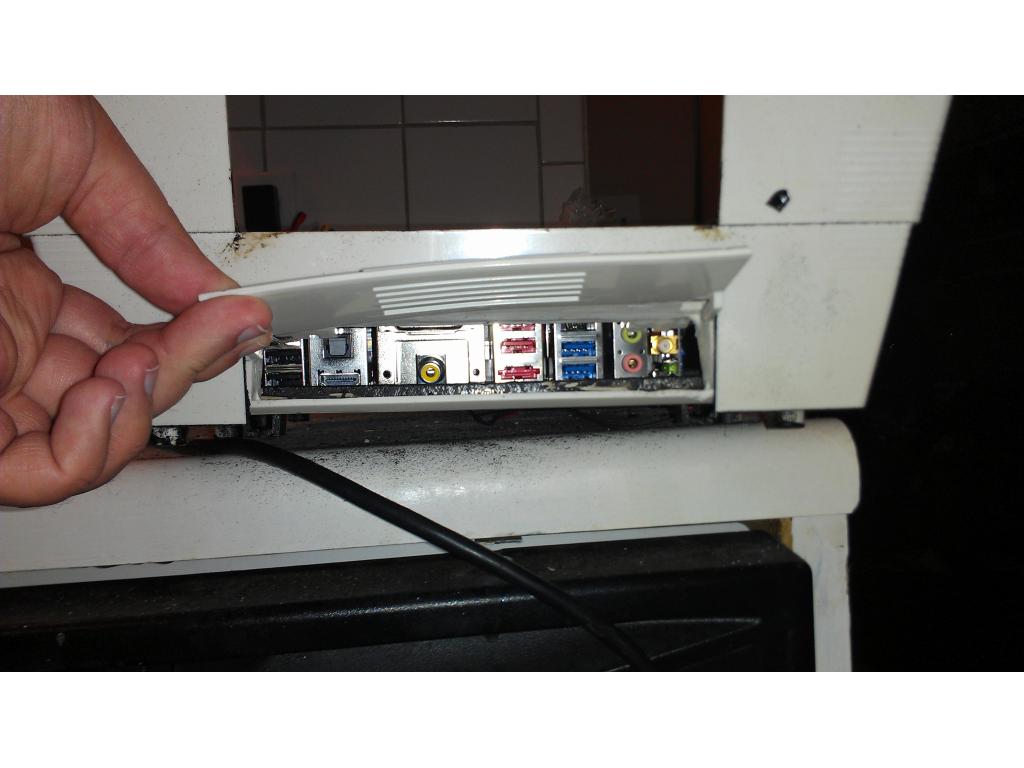
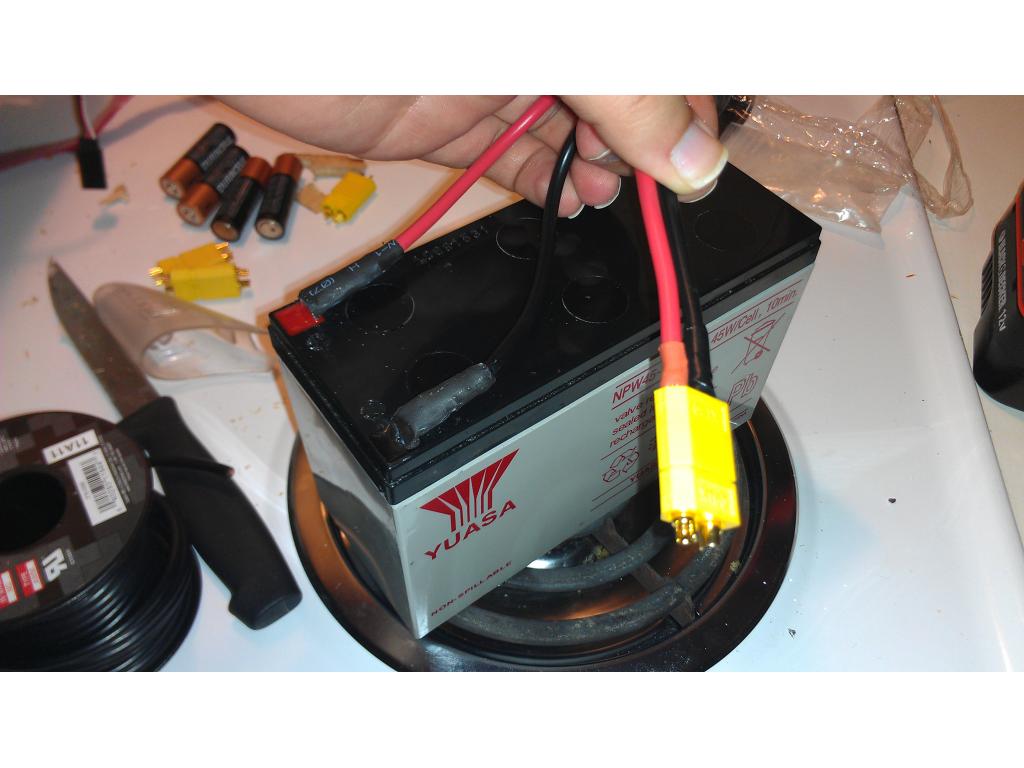
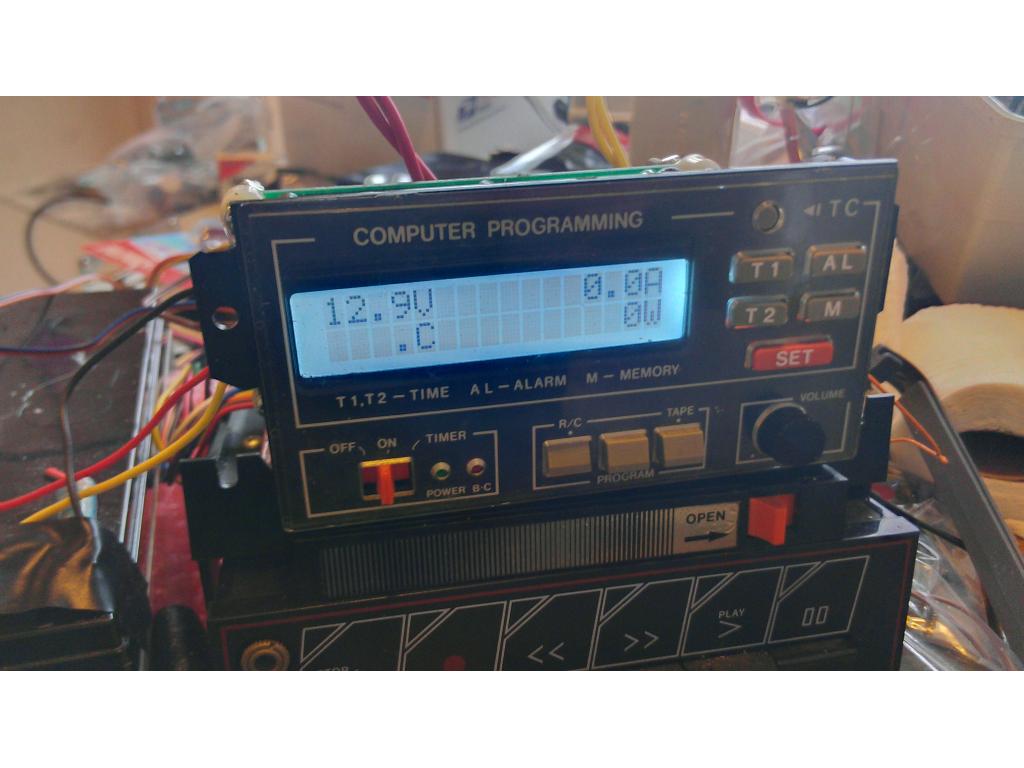
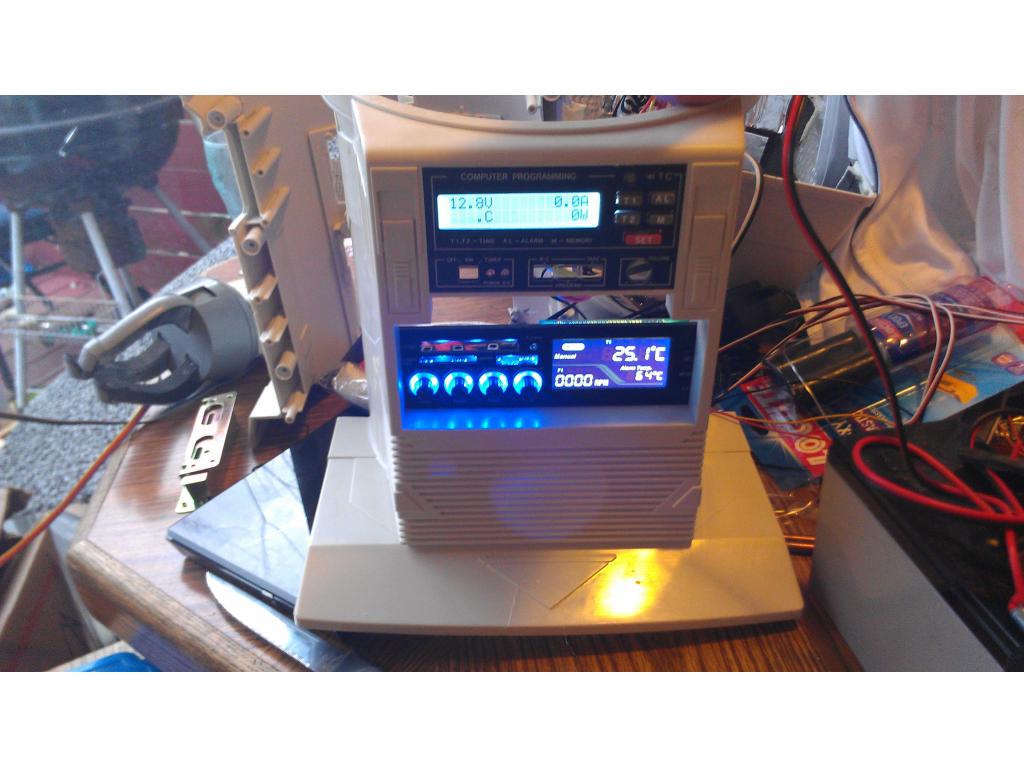
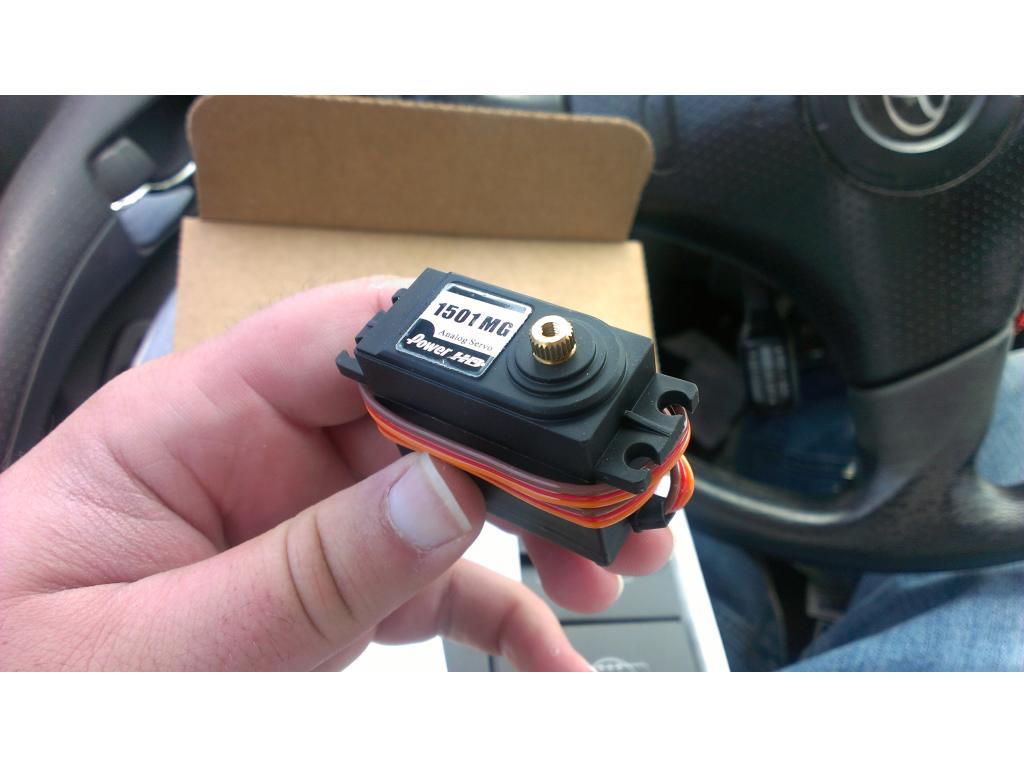
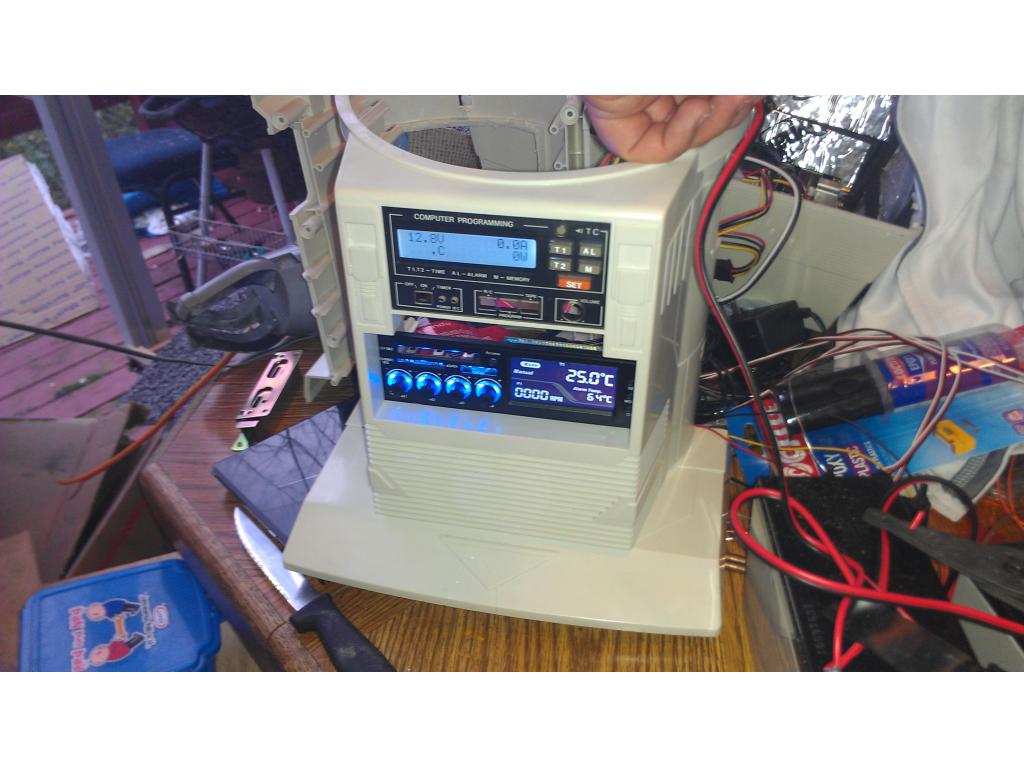
I want to get a SSD very soon ! However until then I have a standard HDD. I must have windows to load onto a new HDD to upgrade this project to SSD , till then its my slightly used 7200 rpm 250 gig Western Digital. My board will allow me to clock the CPU up to 3.2 GHz but its heat dissipation jumps to 60 watts (not a big deal I'm using a heatsink for a quad core 3.4 GHz CPU anyways) . See when the robot is chilling on the charger by my desk I will use him for light gaming purposes , the new Diablo and starcraft come out and I'm going to try and develop a healthy addiction to them lol.
@ algerist any update on the Windows you were gonna hook me up with ?
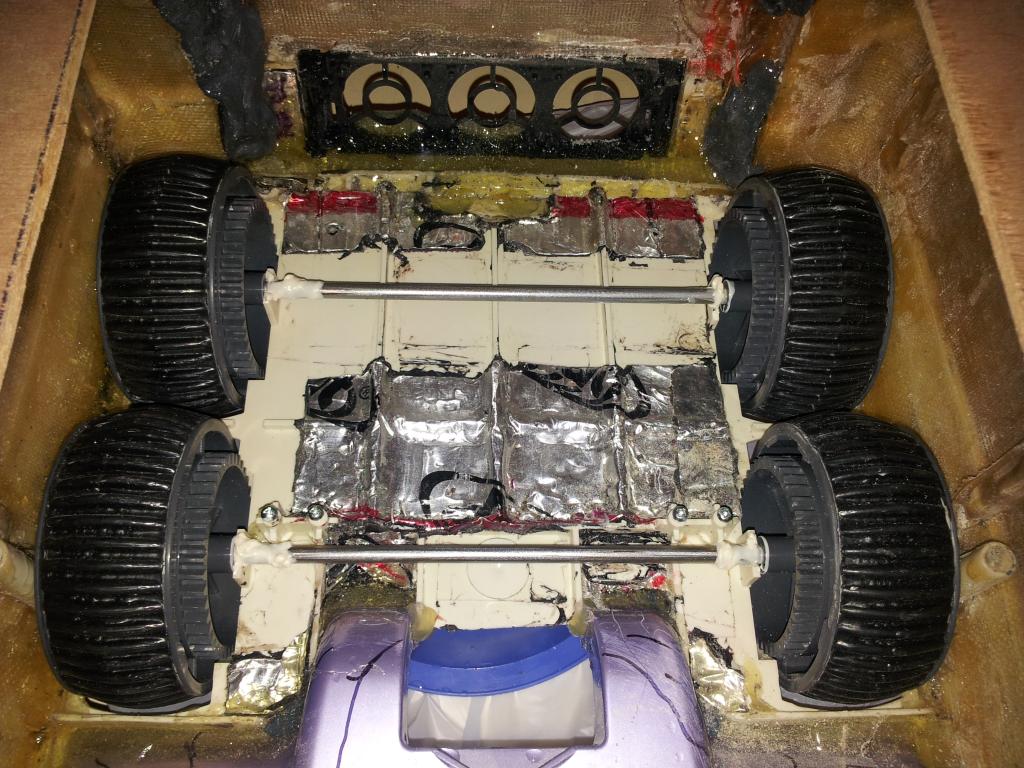
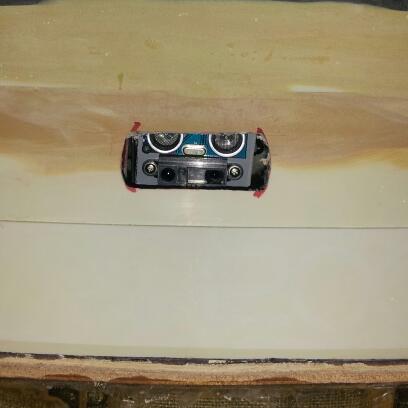
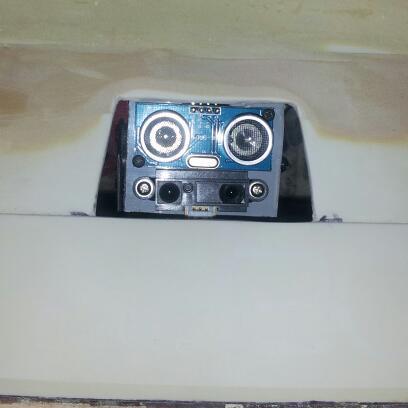
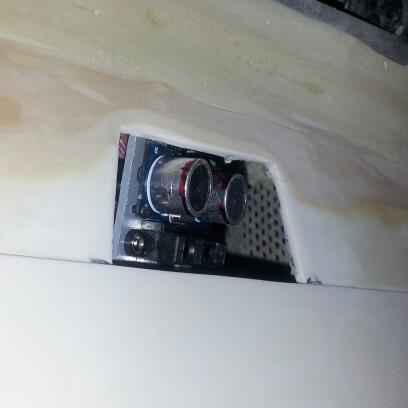
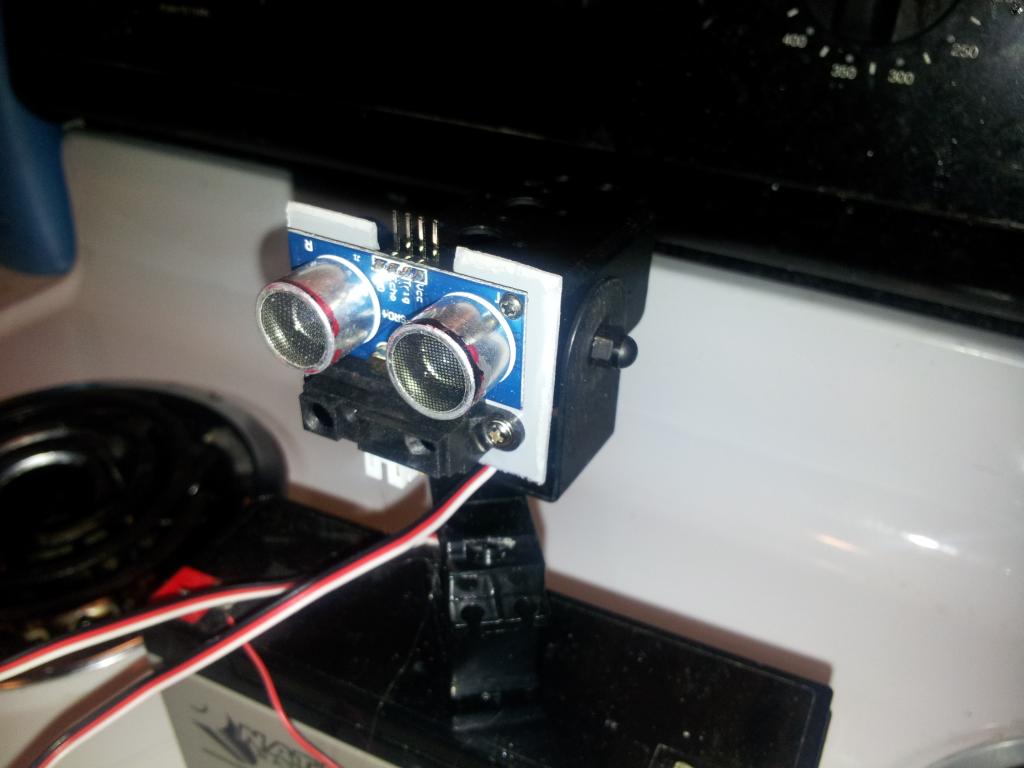
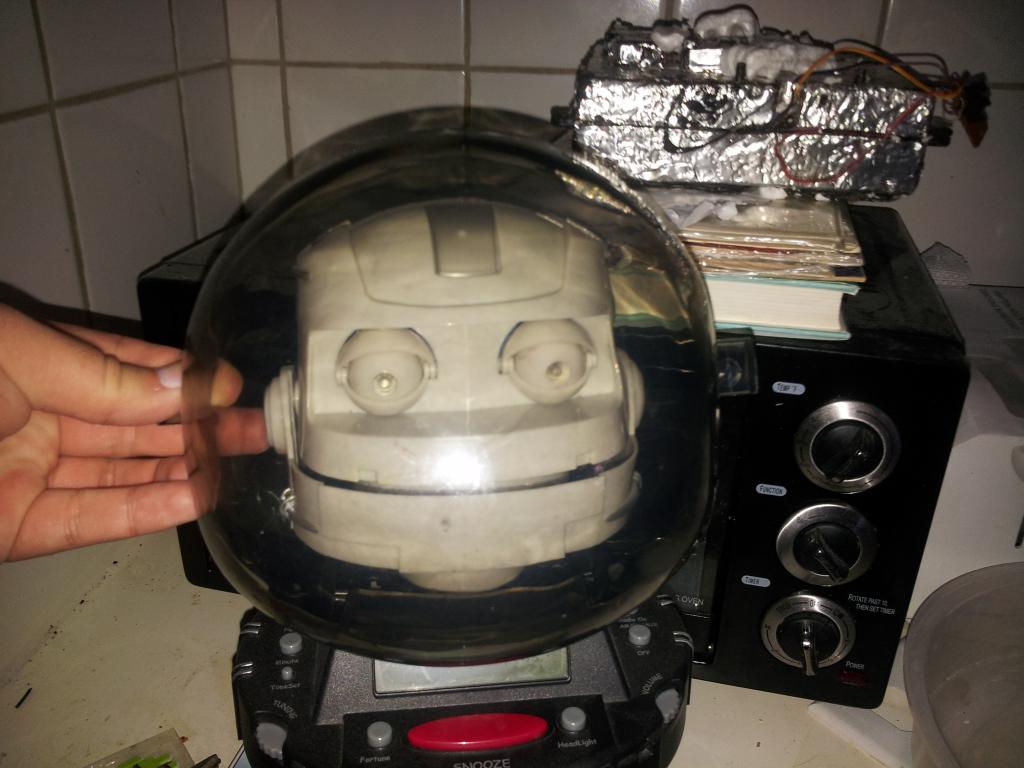
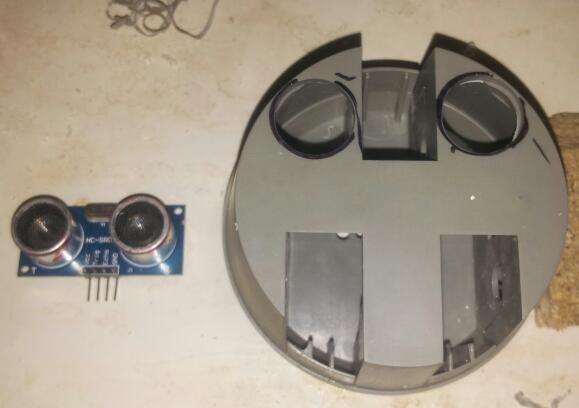
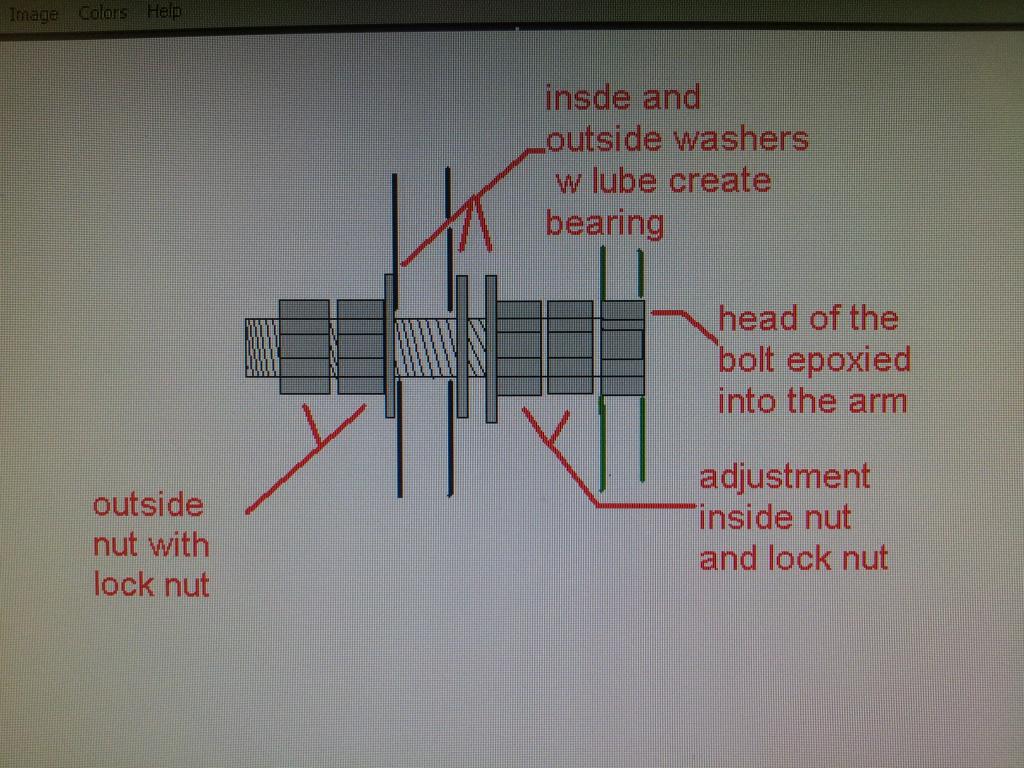
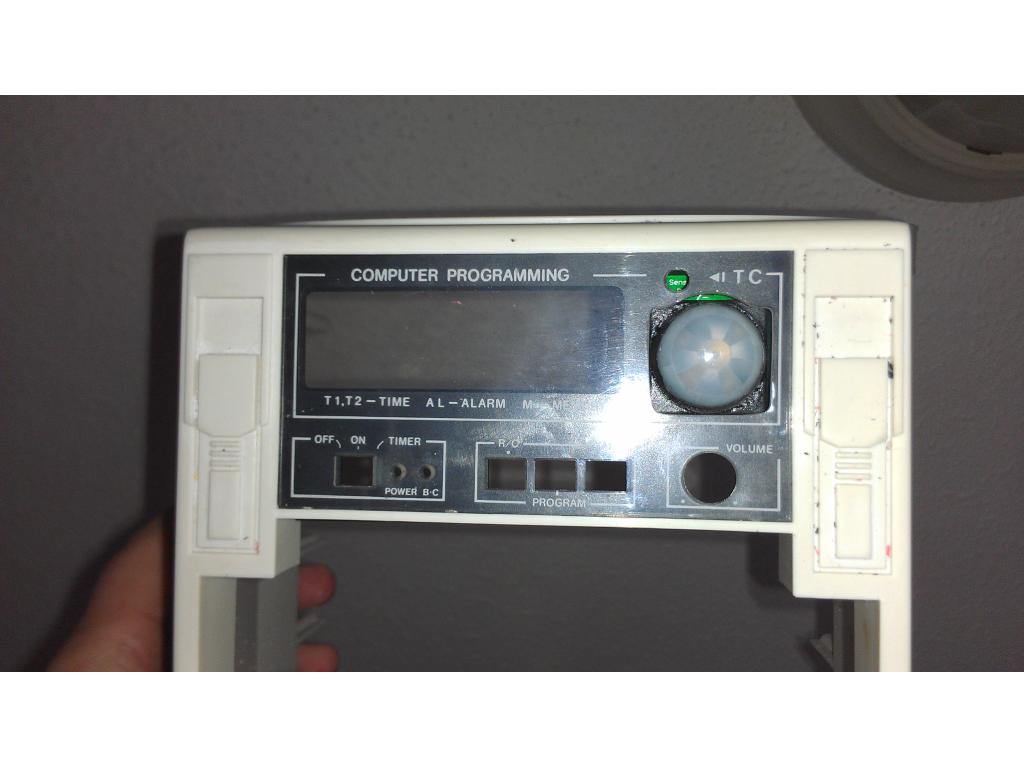
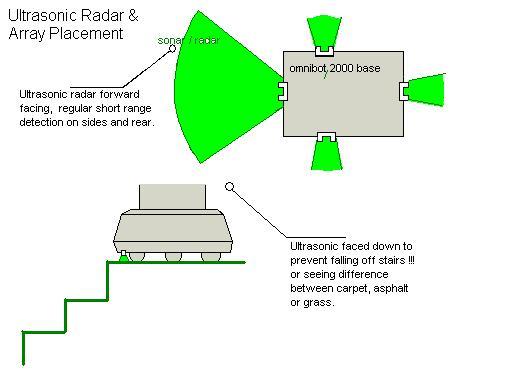
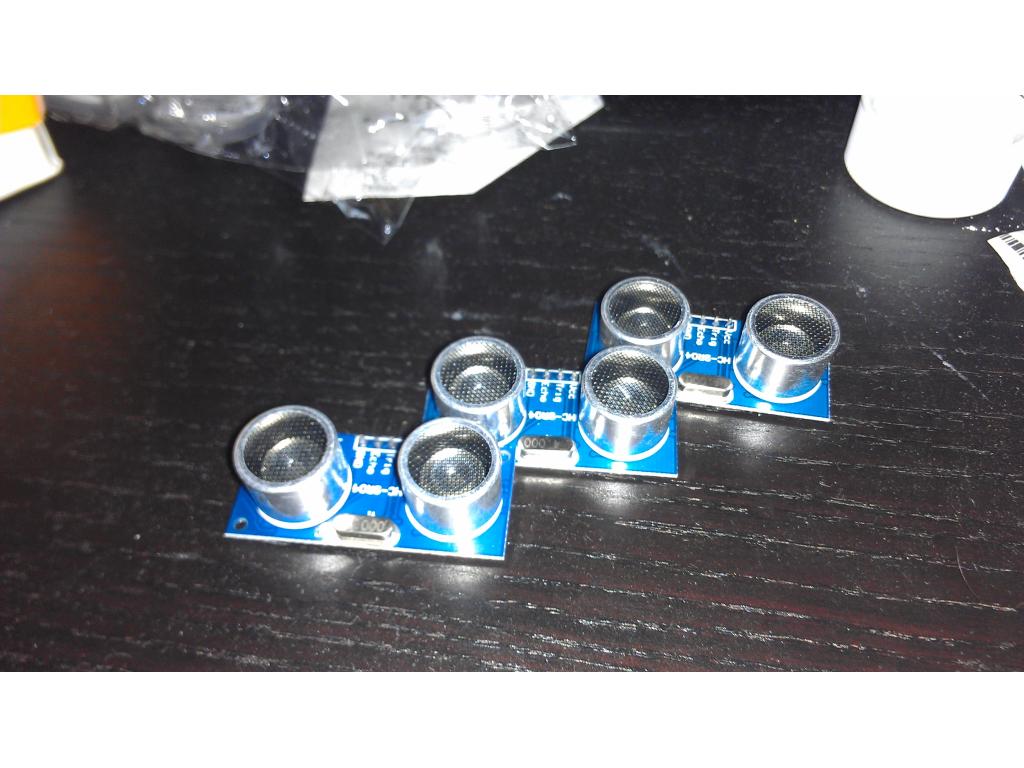
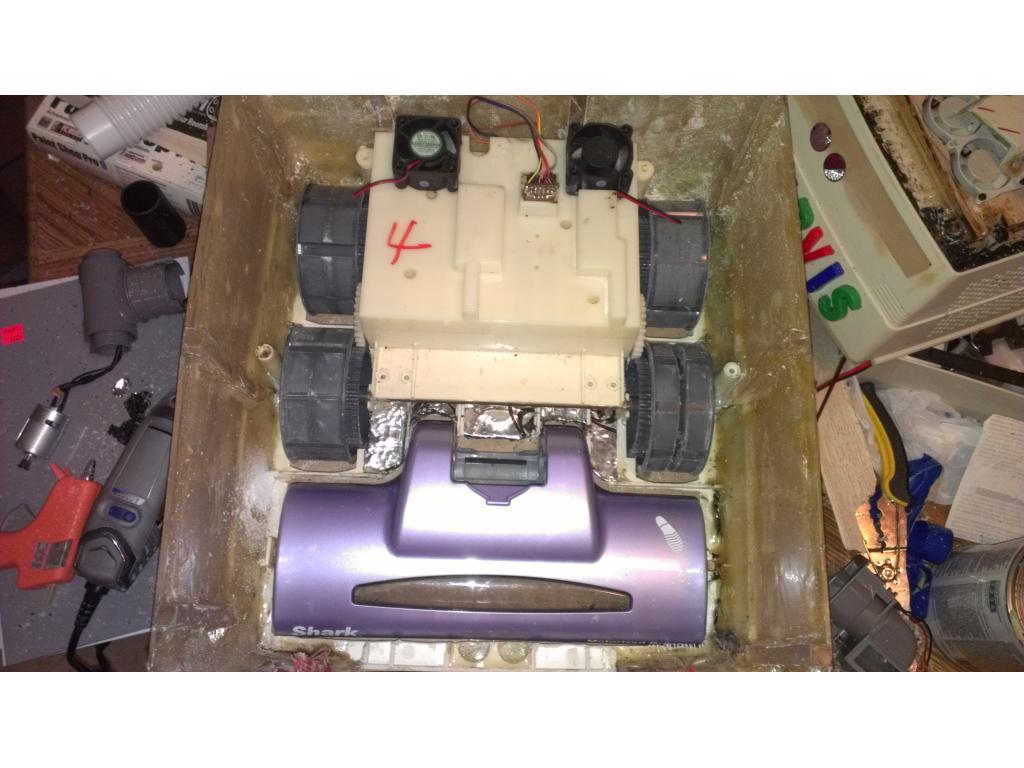
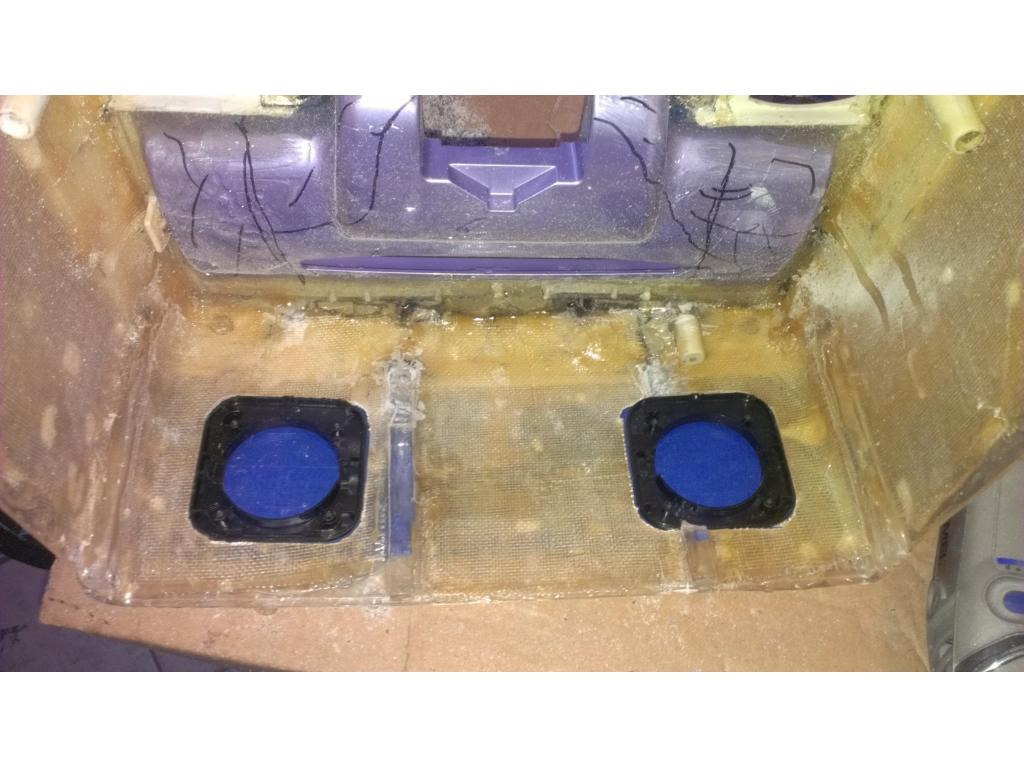
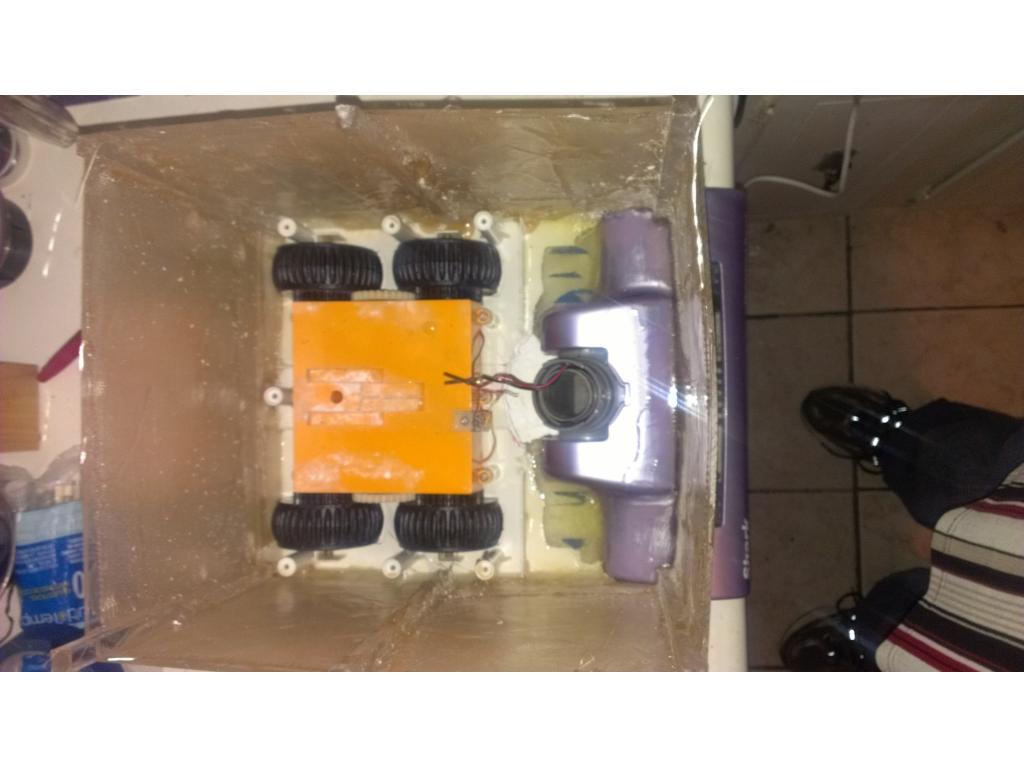
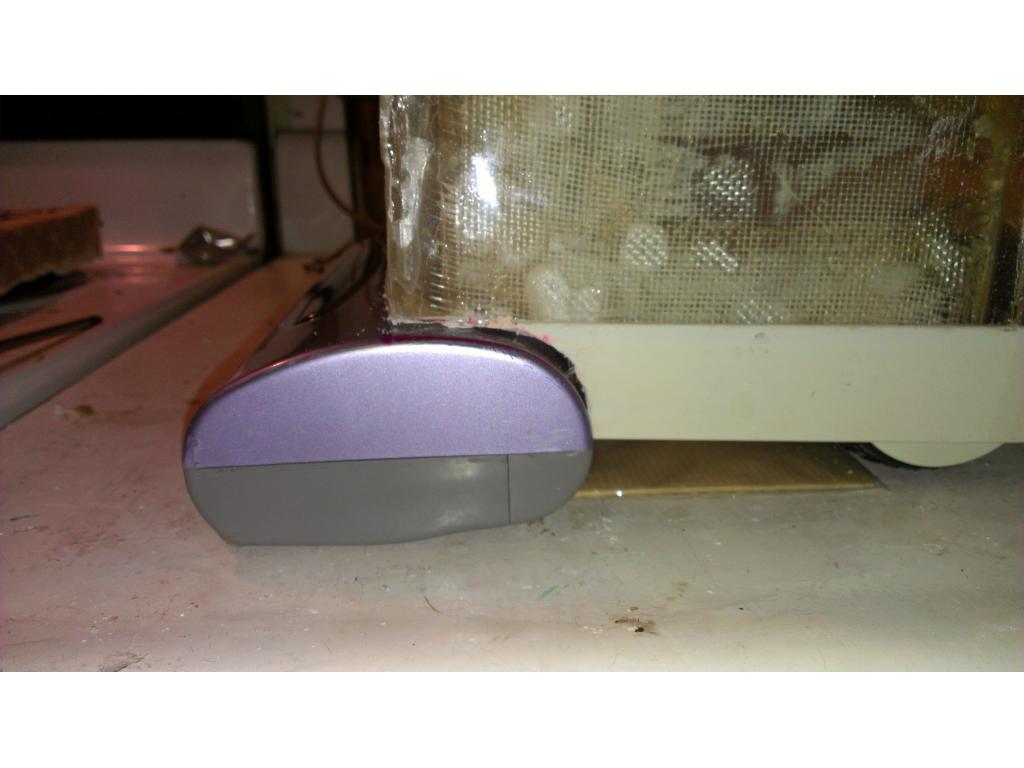
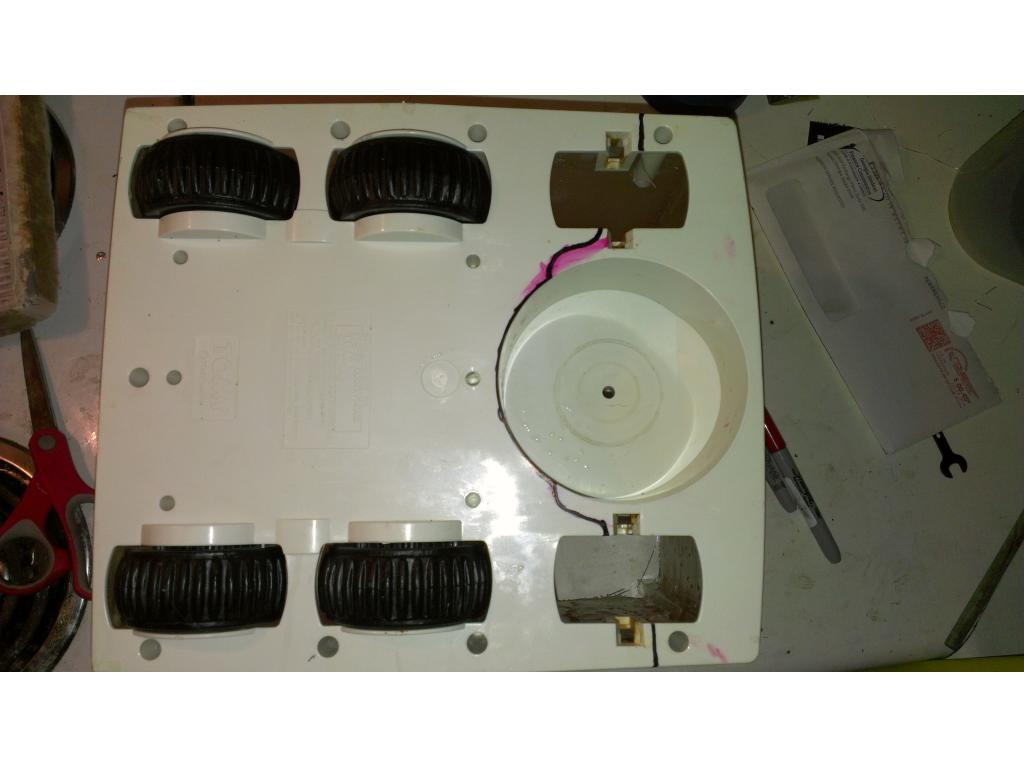
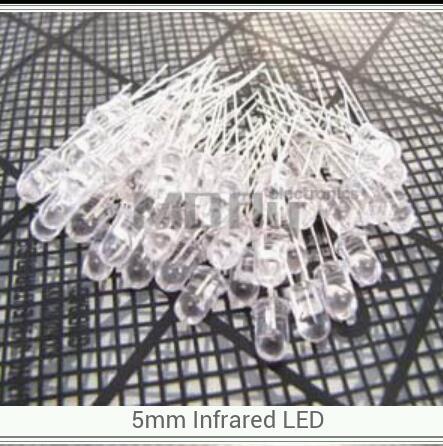
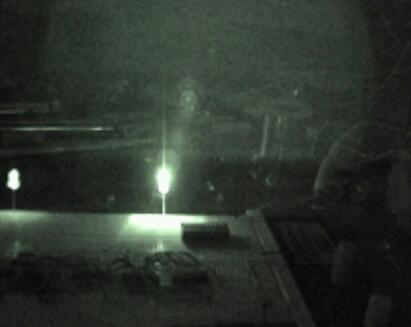
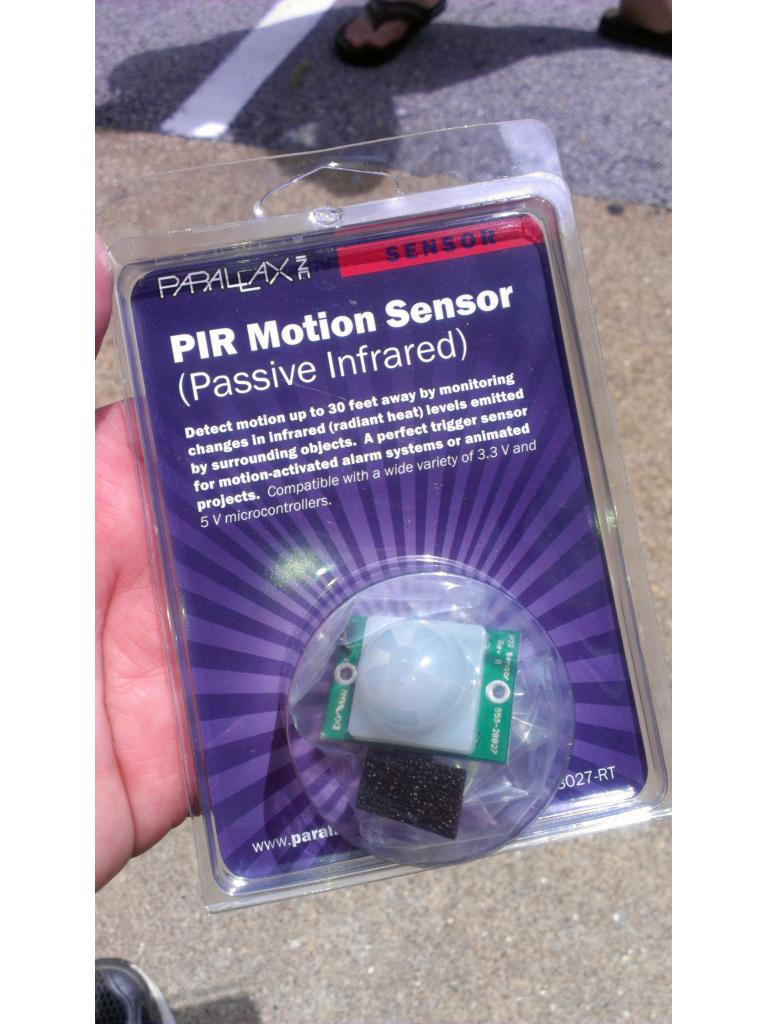
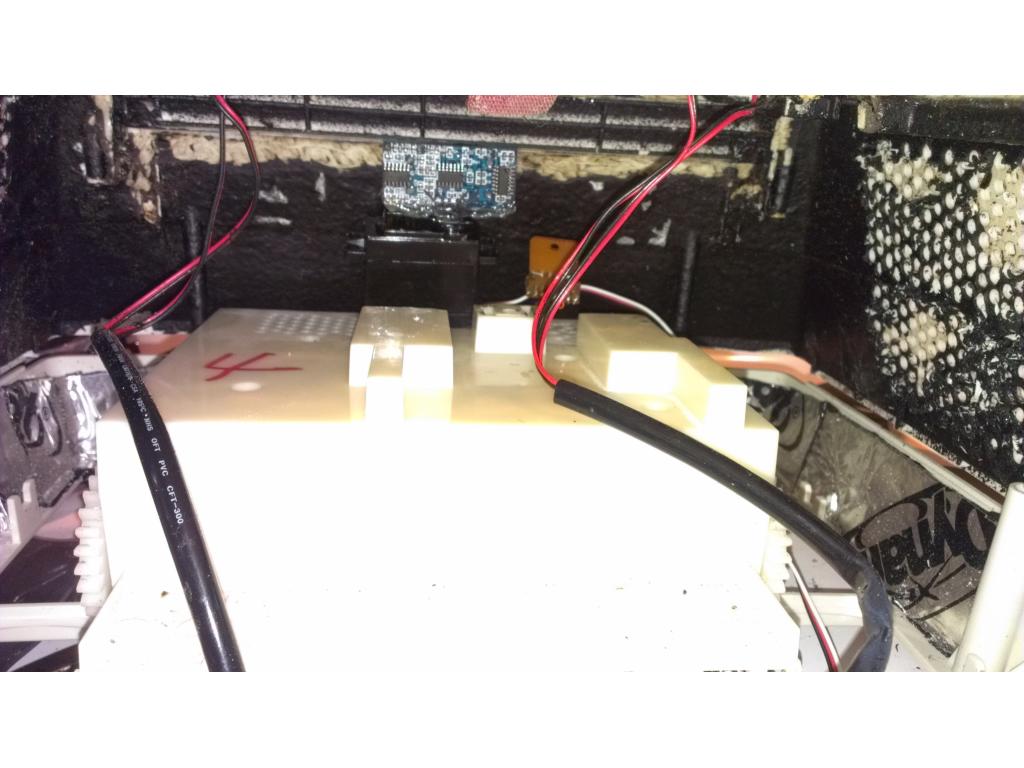
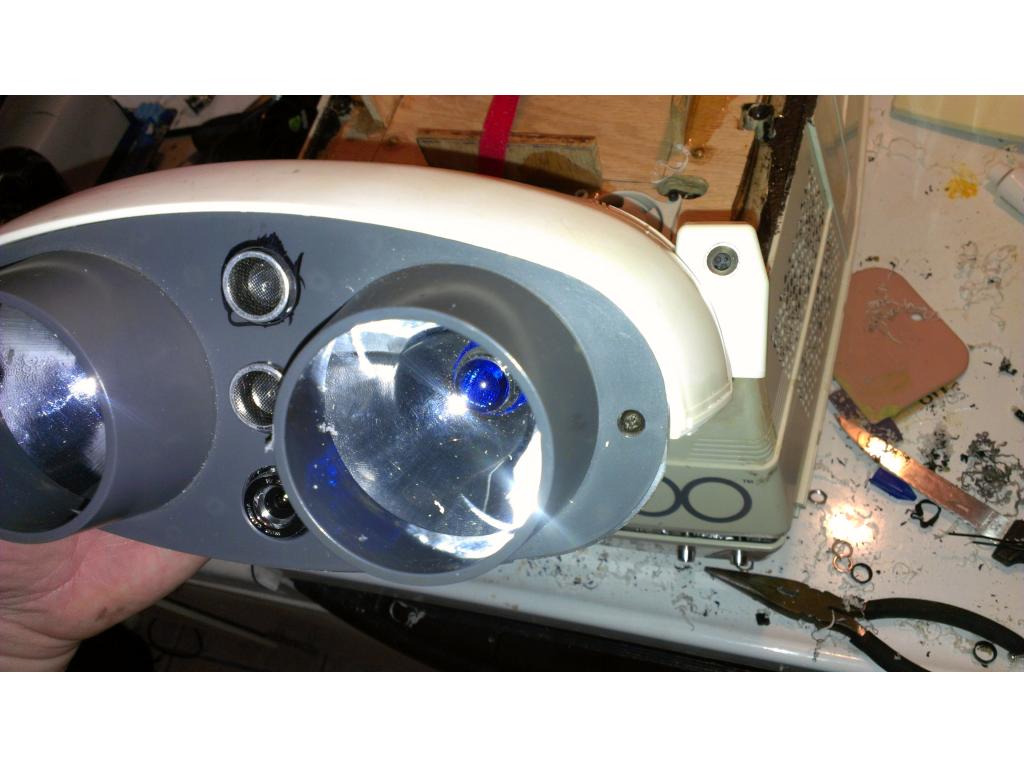
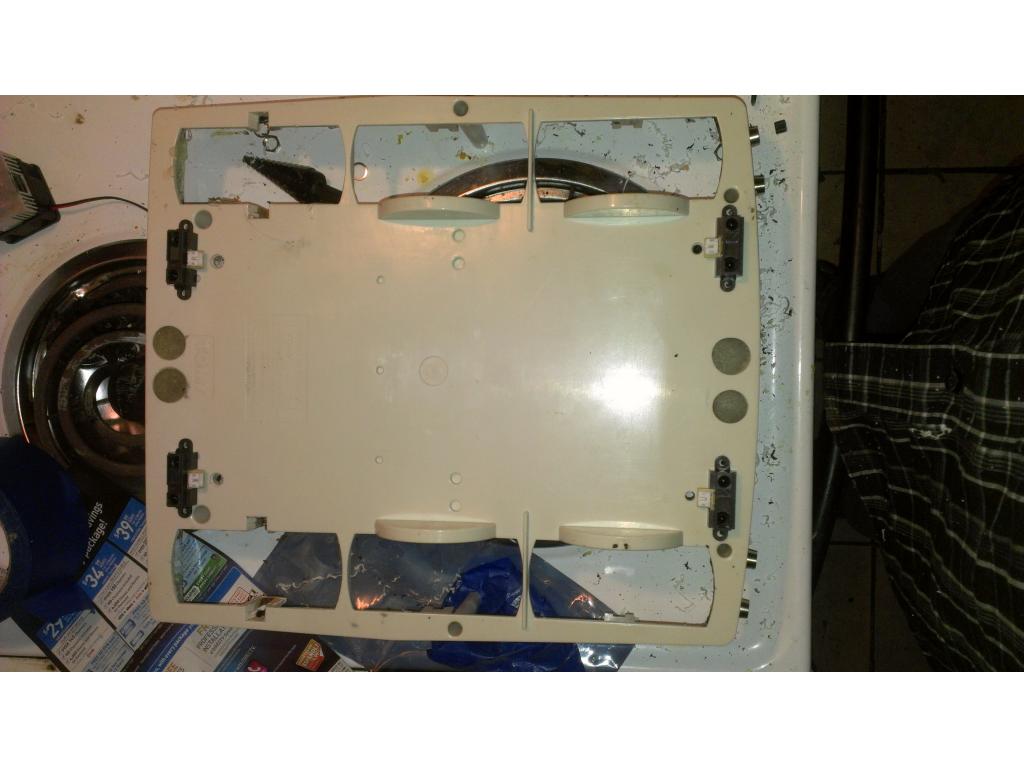
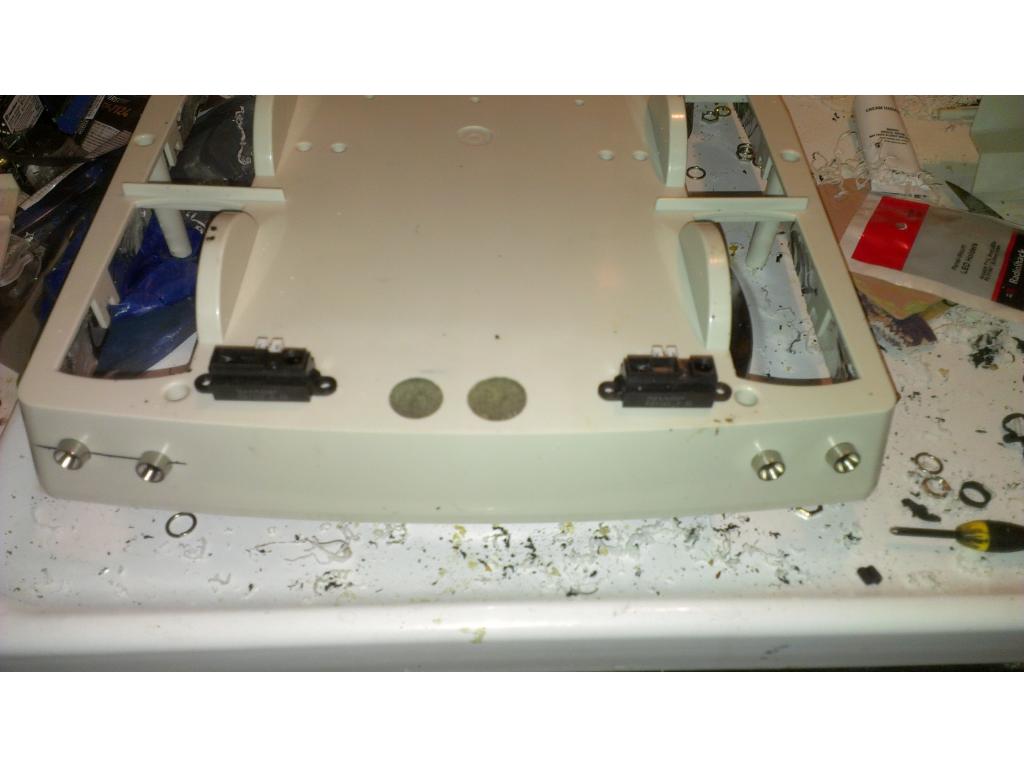
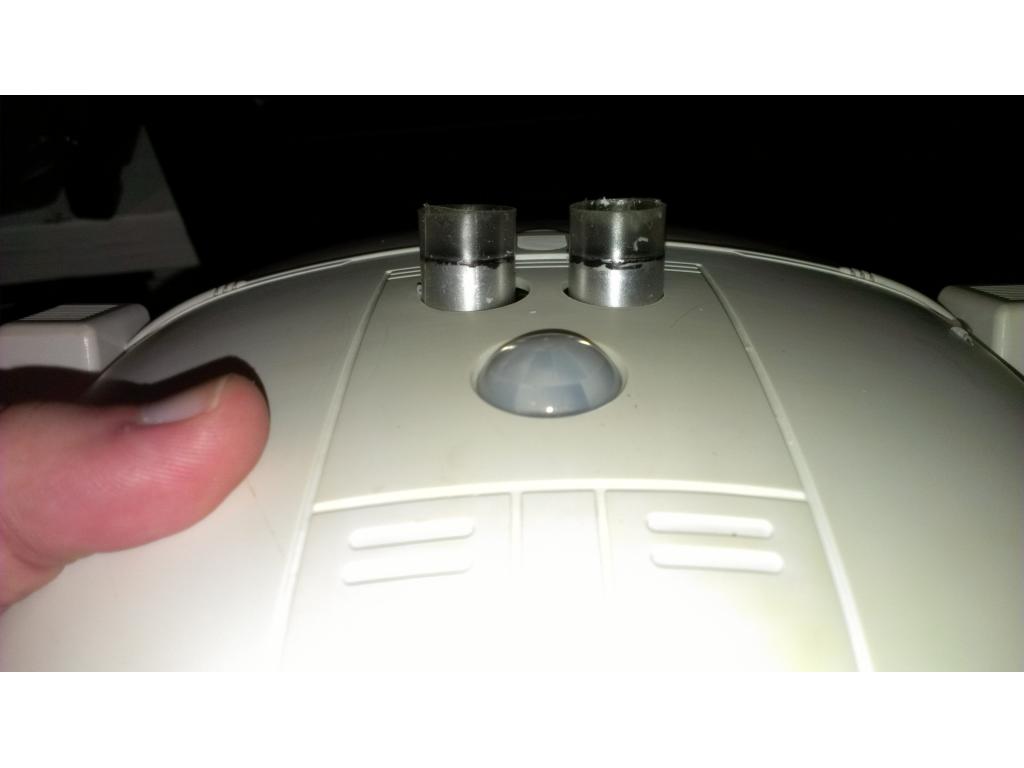
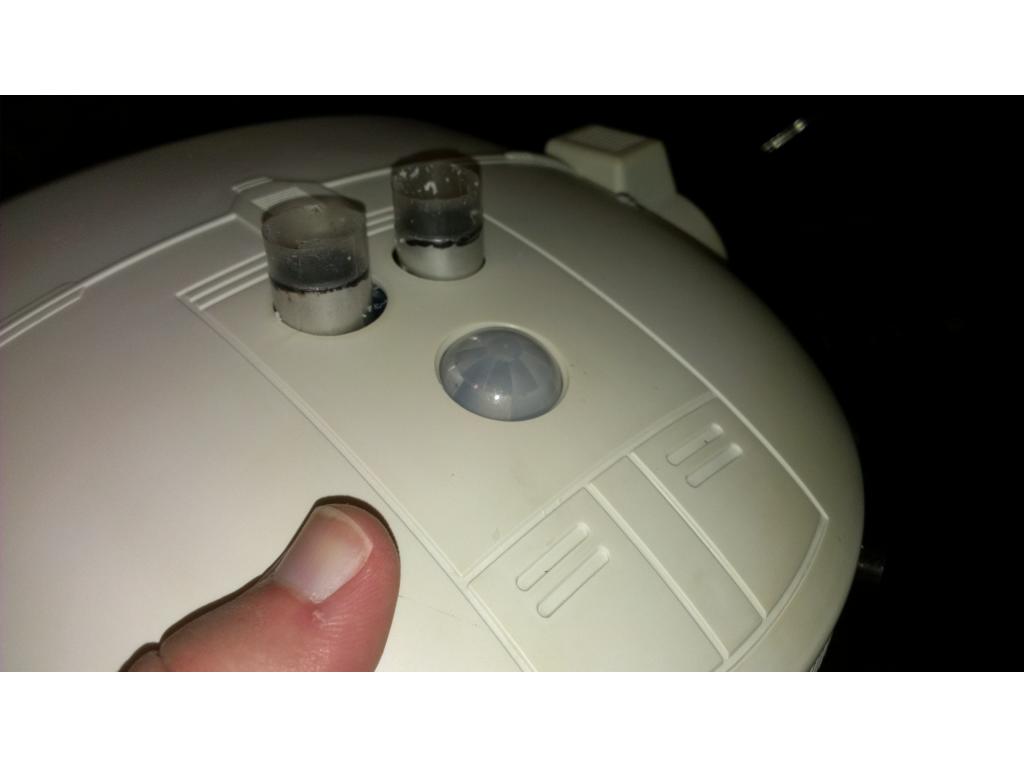
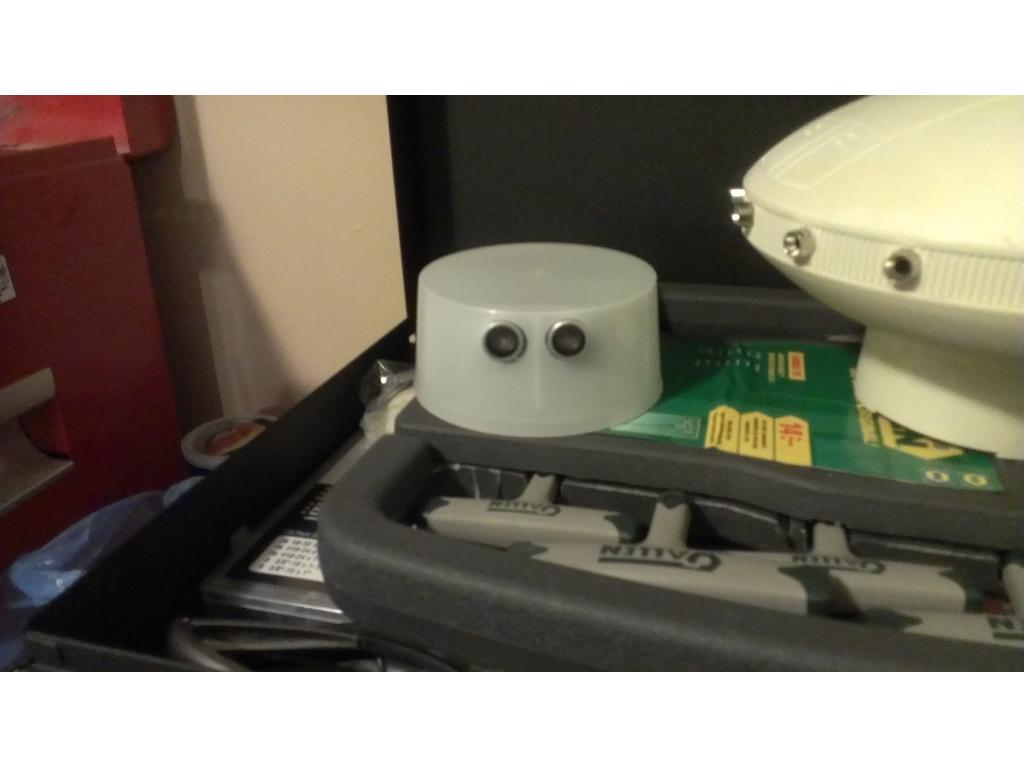
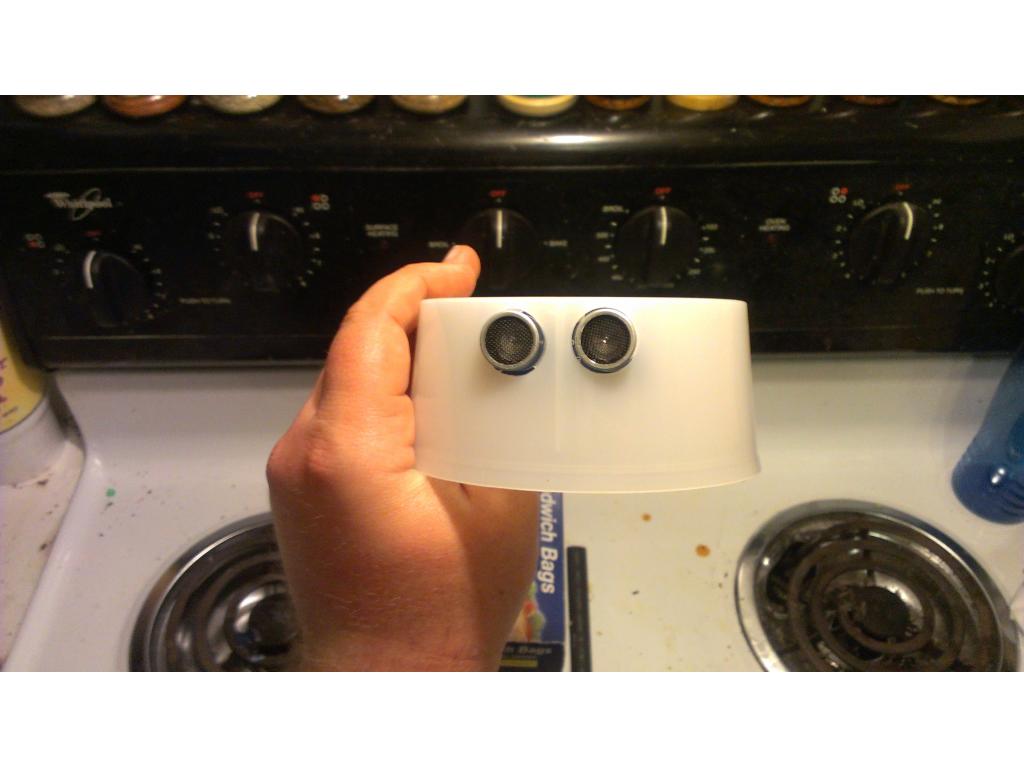
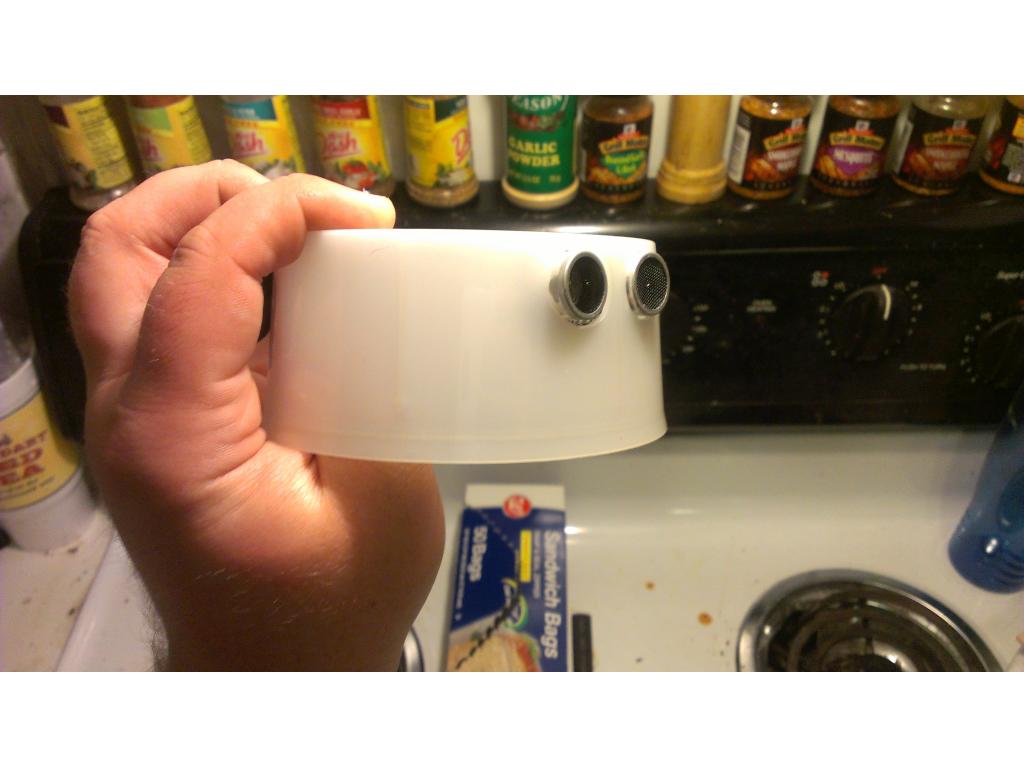
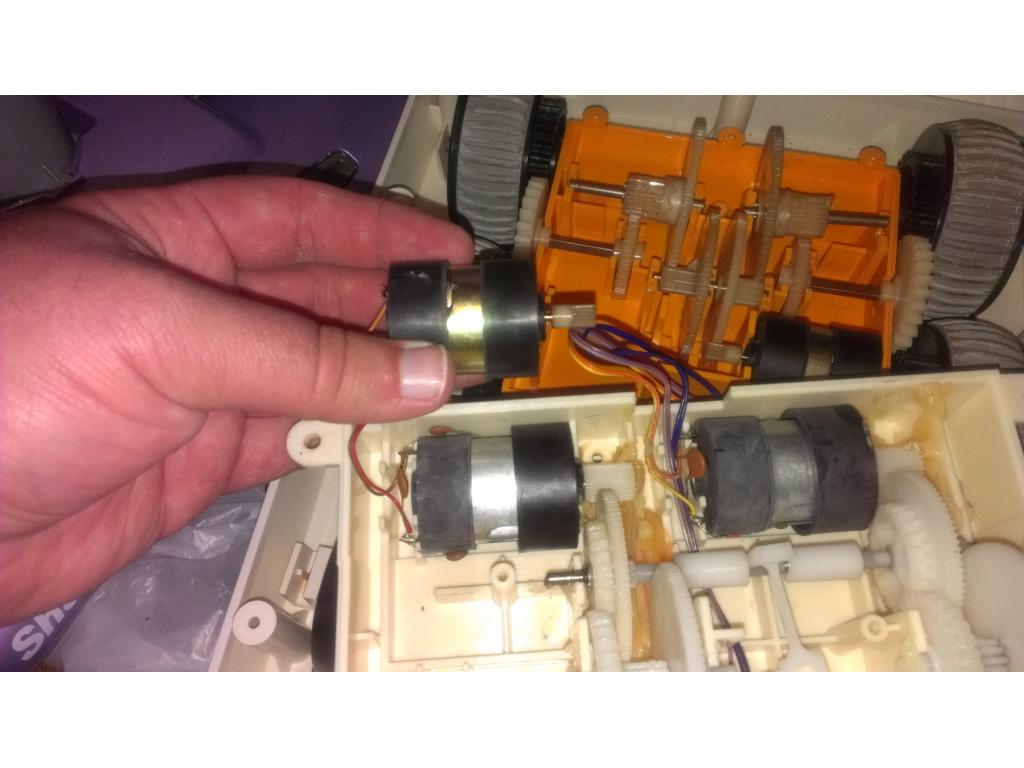
@robotmaker do you think or placement is optimal for cliff detection? I have them about a cm from the edge and as close as I can reasonably get the the edges of the wheels.
@jstarne what kind are you using and how many inches to the floor,not carpet placement look great only the front ones should be at a angle,main reason is you want it at a angle to detect a cliff before the wheels hit and have time to brake,even when you brake the robot will move ahead some
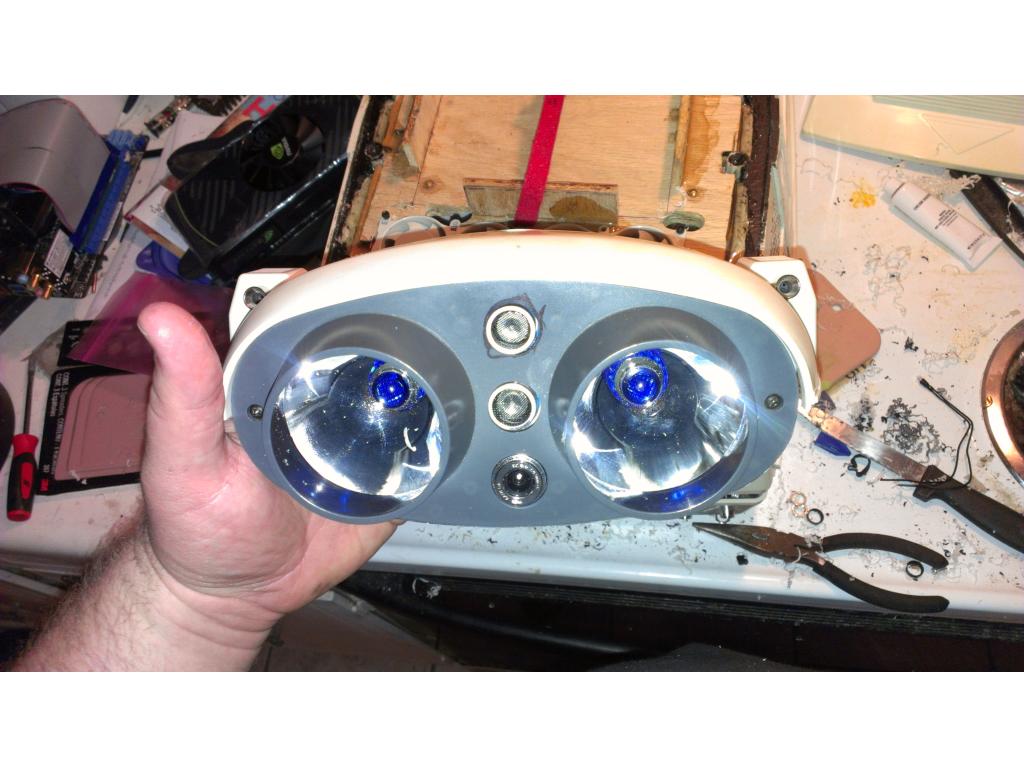
if you look at the photo of one of my robots my IR'S are at a angle ,one in center is for cliffs ,1 near each wheel is just for small tiny objects in the way,like a rock,sppon or any thing small but a ll are at a angle
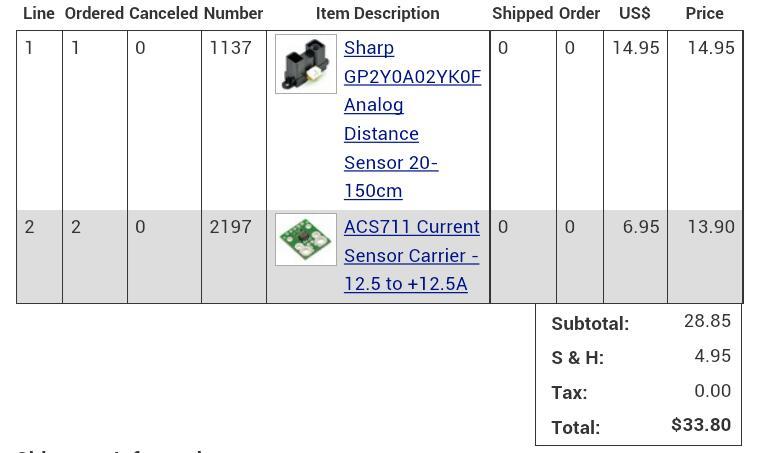
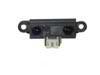
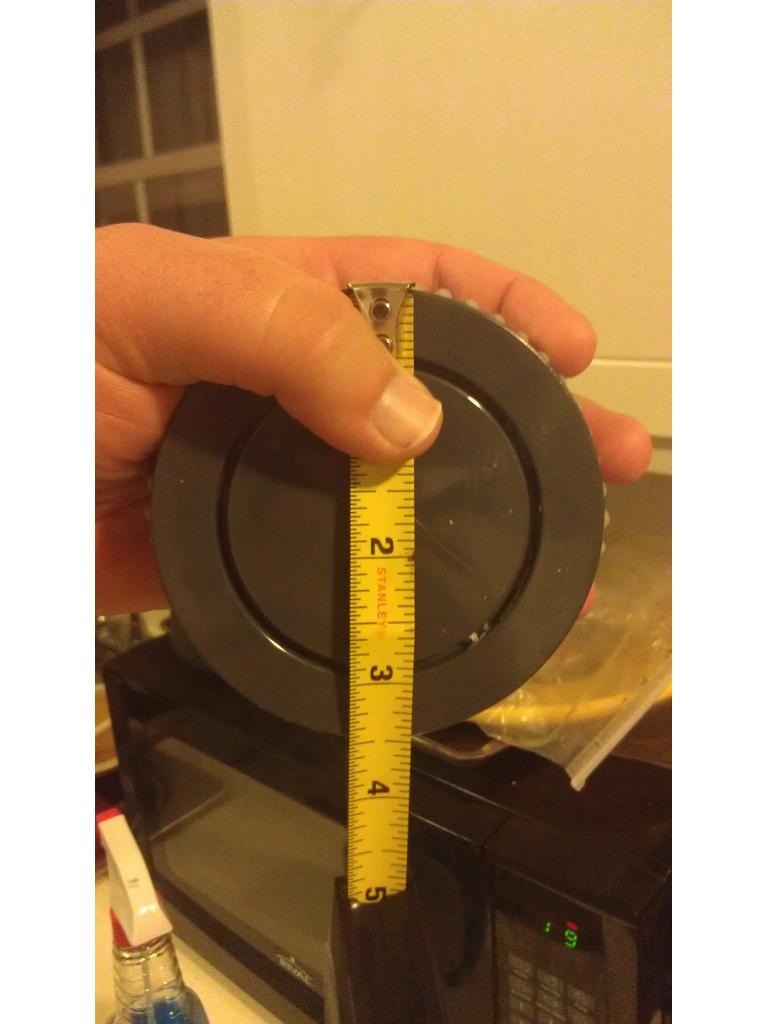
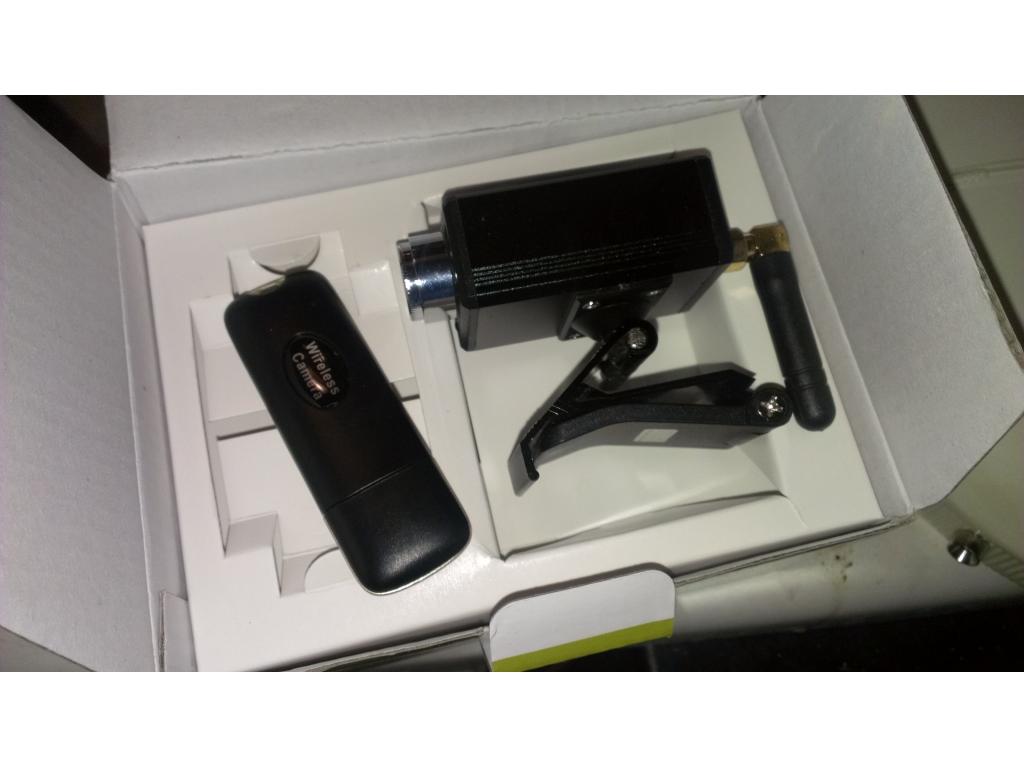
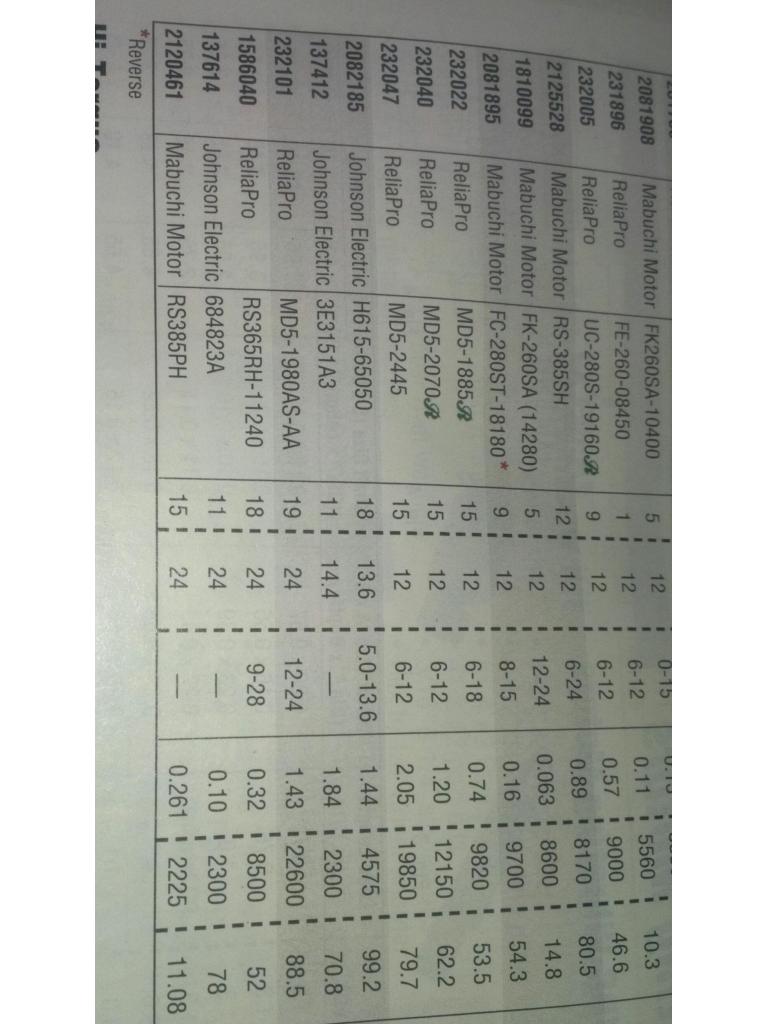
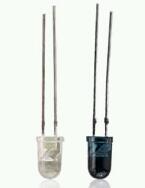
I estimate distance is 2 inches from the floor. I forget which ones I purchased , I believe they were 4cm min accurate distance up to 30 cm. https://www.trossenrobotics.com/sharp-ir-distance-sensor-gp2d12.aspx?feed=Froogle
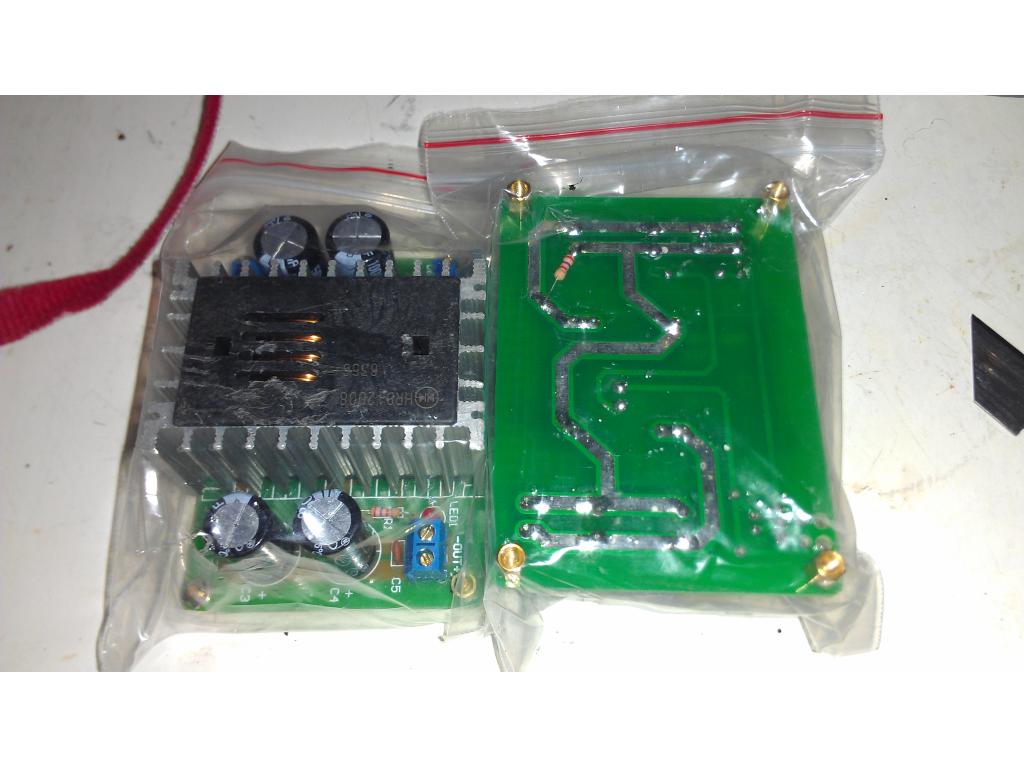
I believe its these , is there a way to use these on a digital port instead of adc , so I can reserve adc for light sensors , radar, backup sensors and depth perception sonar? If I could make these 4 Digital that would be great. I bought them 8 dollars each.
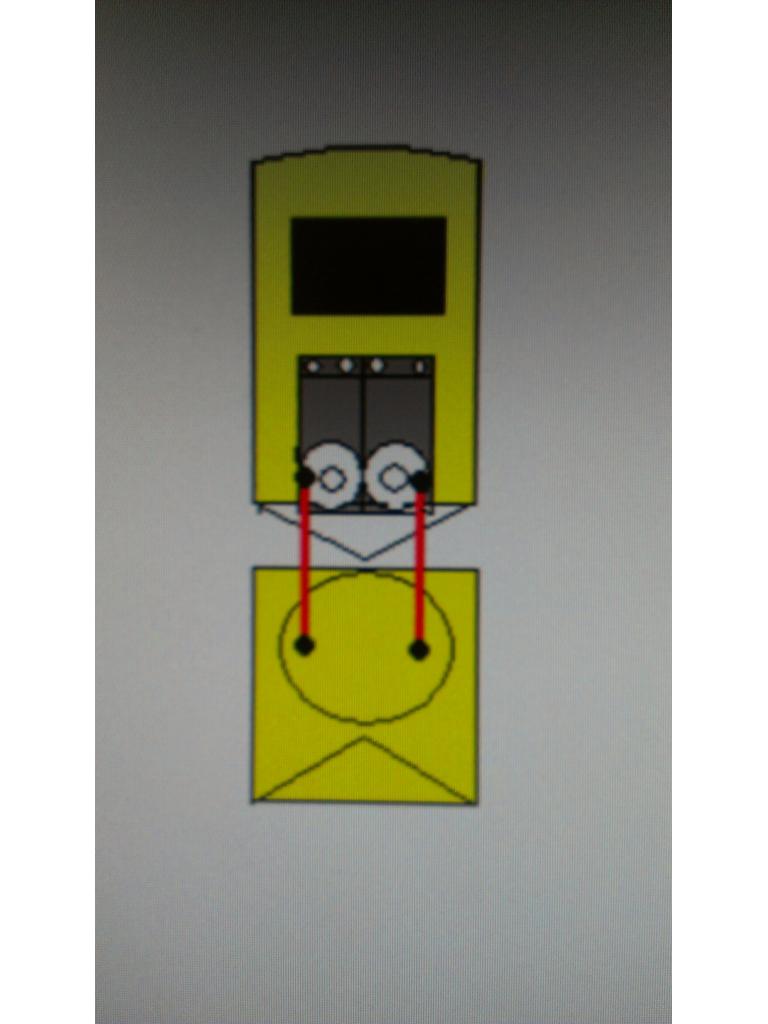
there is a few ways to do it one is using A-D chip with I2C buss output 8pin chip,another is using a window comparator chip 8 pin third is GP2D15 digital output IR,24 CM or 9.45 inches angle it at 9.45 inches to floor ,there is info on changing the distance on acroname website but 9.45 is perfect for robot to stop in time before it falls over the cliff or steps but with any IR you use still need a angle to floor,chip goes low after 9.45 inches,and need to be adjusted to wooden or tile floor first,carpet is higher
GP2D15 DIGITAL OUTPUT IR
CIRCUIT comparator chip super simple only need about two 5.1 k resistor,one 10k trimpot ,values not that important and thats about it chip about $1 or less
voltage comparator circuit
here is a circuit found online instead of drawing it where the two 10k come together you add a 10k pot center pin of pot to input pin on chip and chage the two 10k resistors to abot 5.1 k or two 10k in parallel to make 5k chip is a common LM311
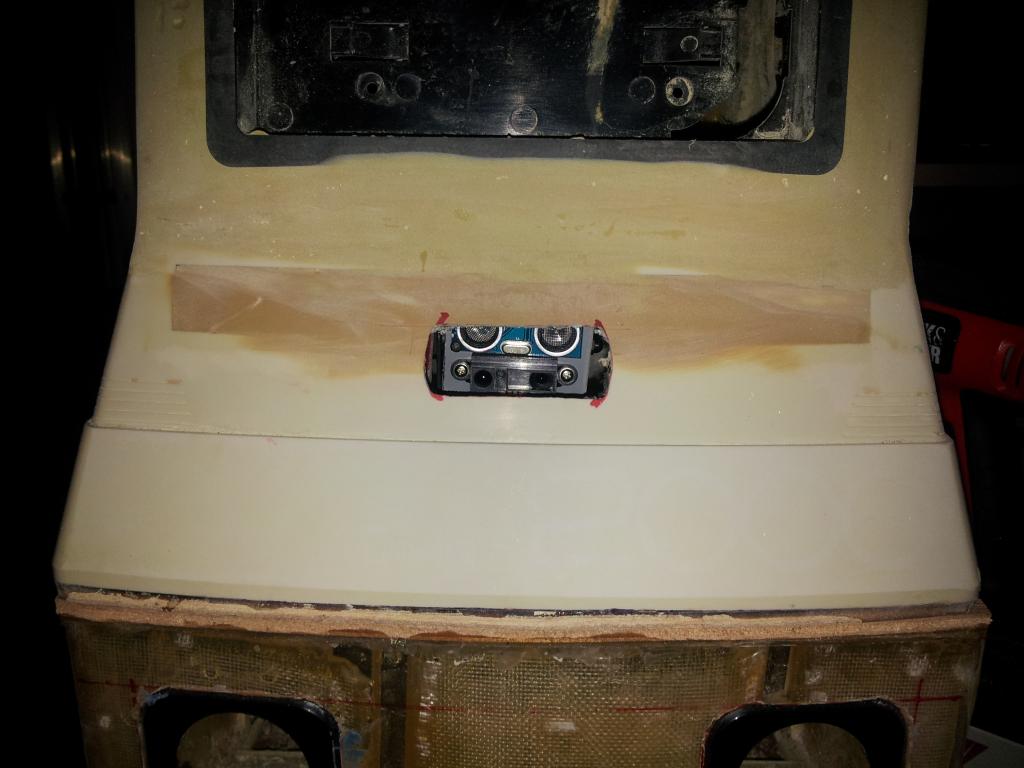
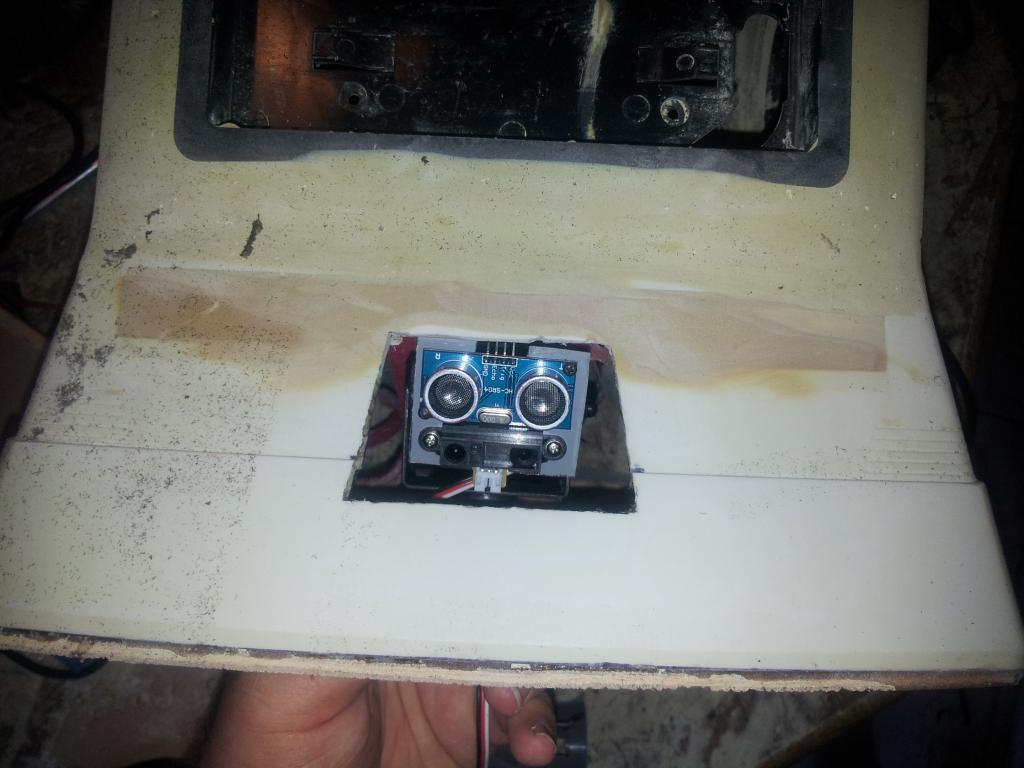
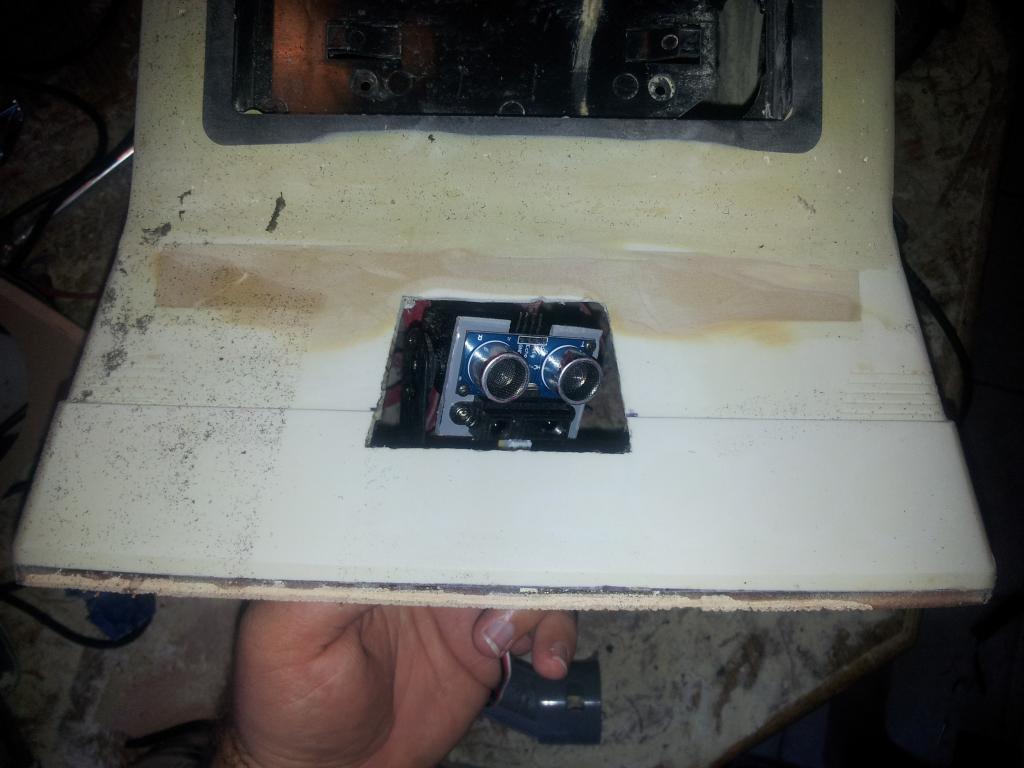
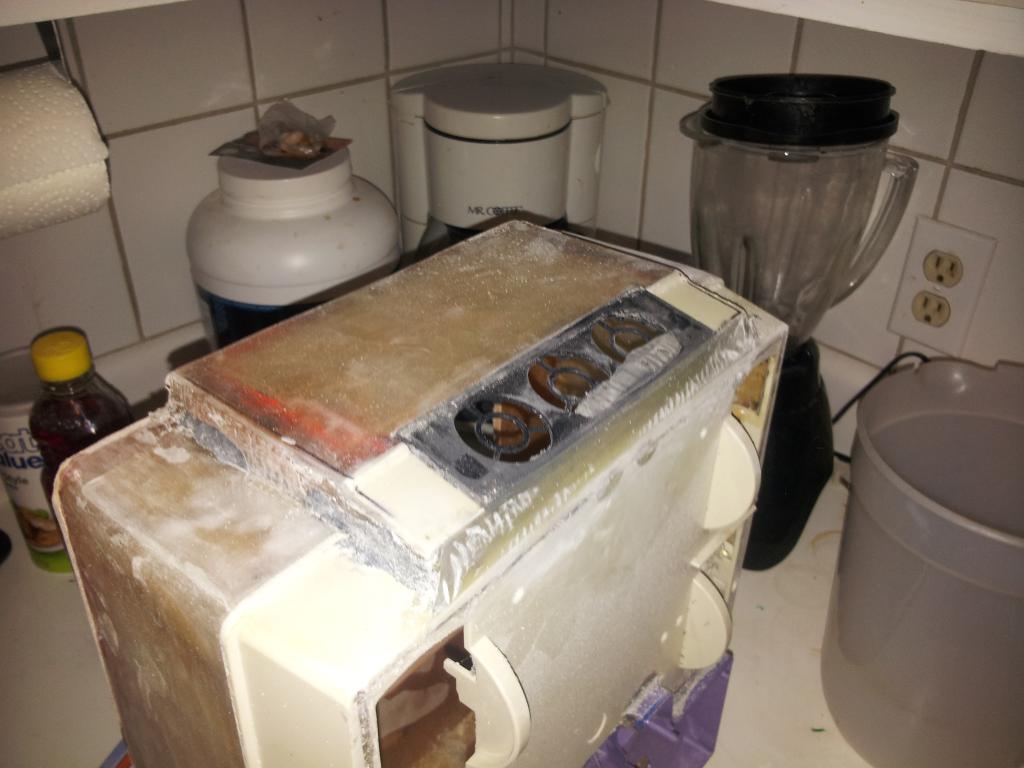
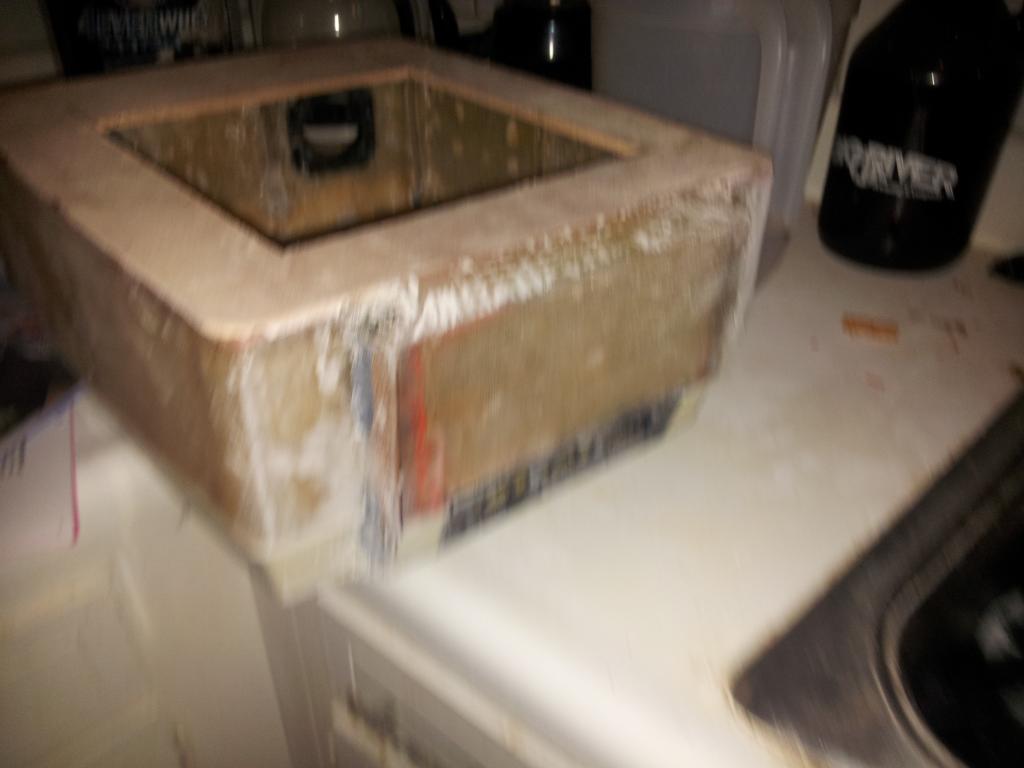
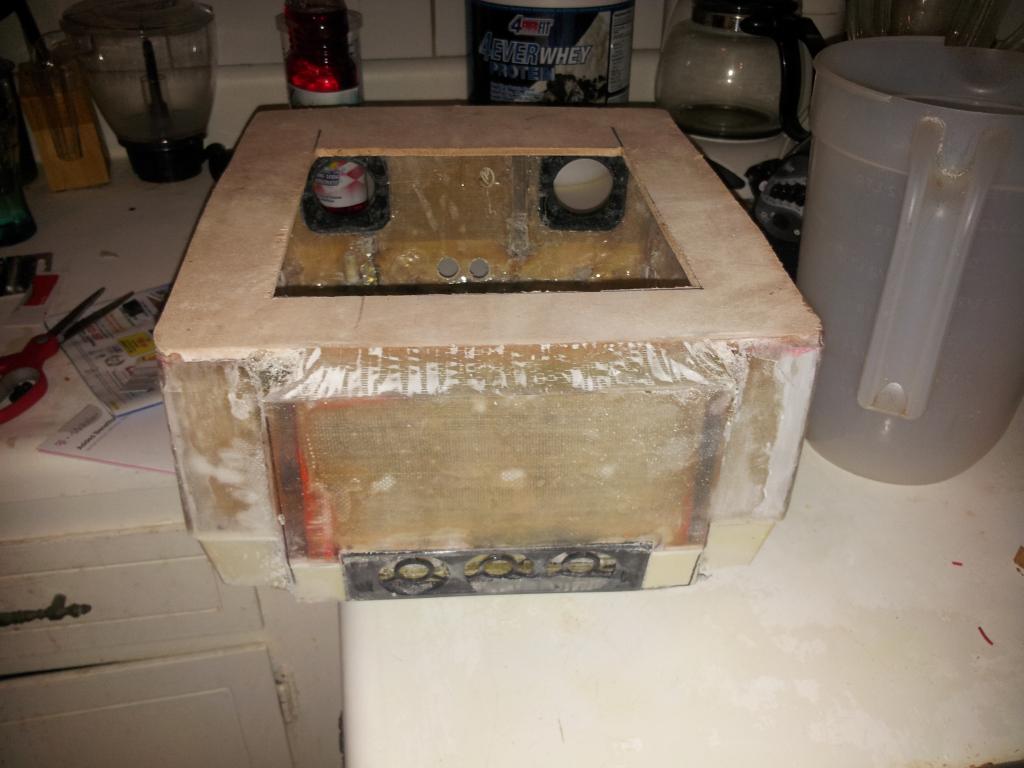
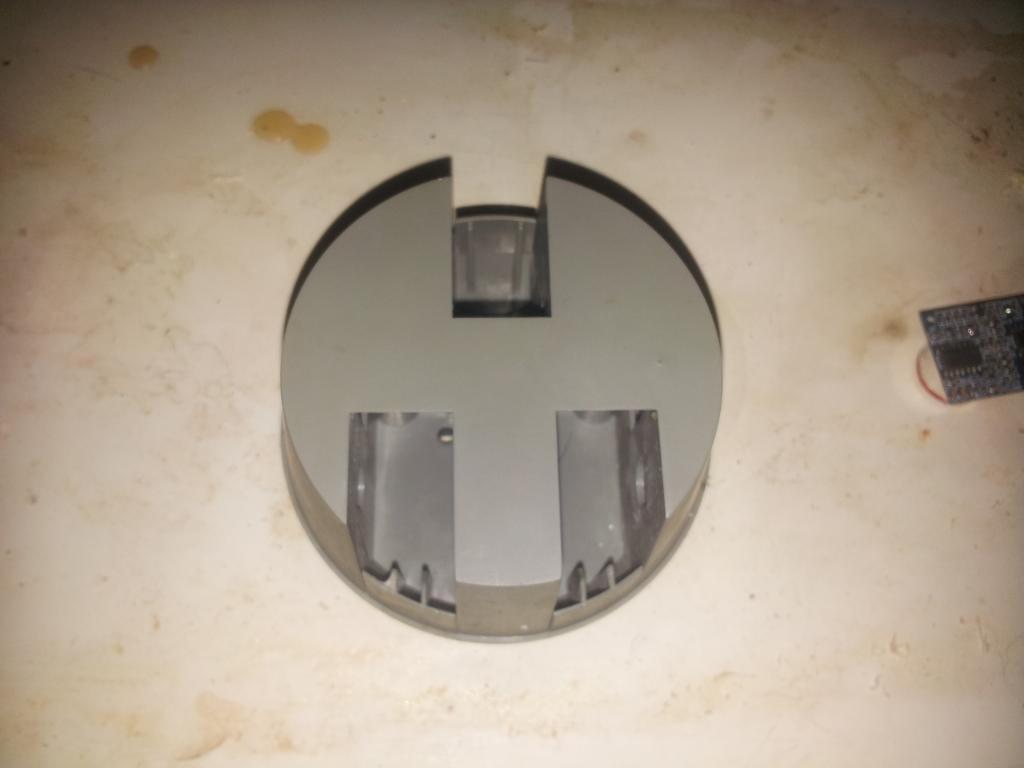
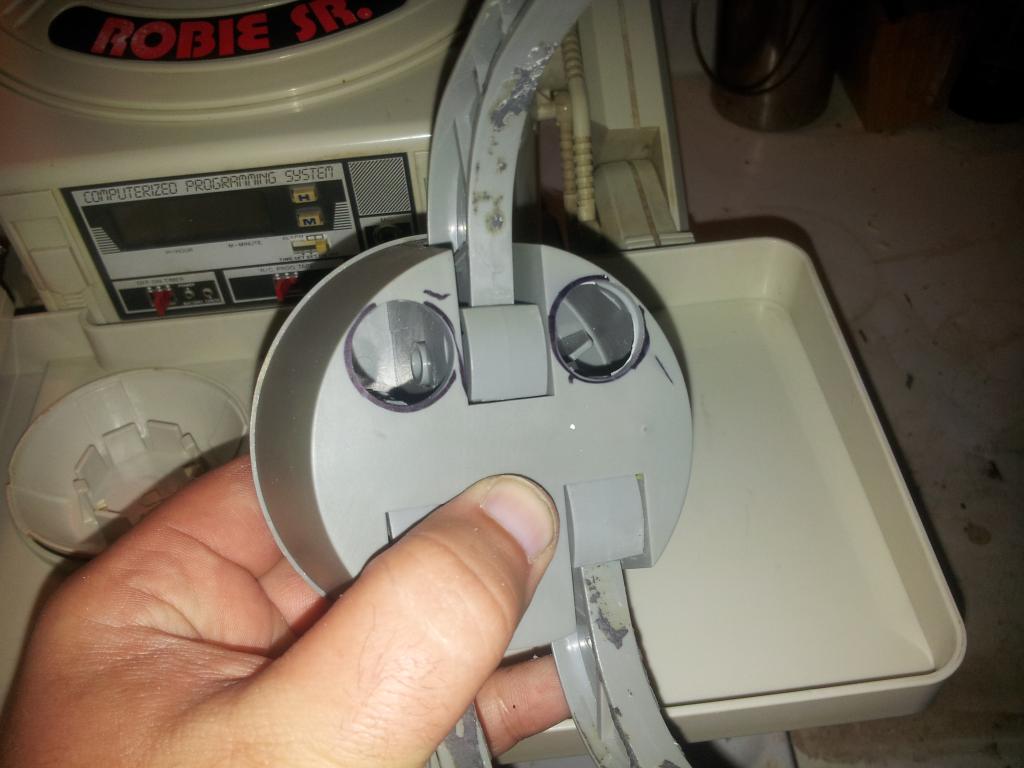
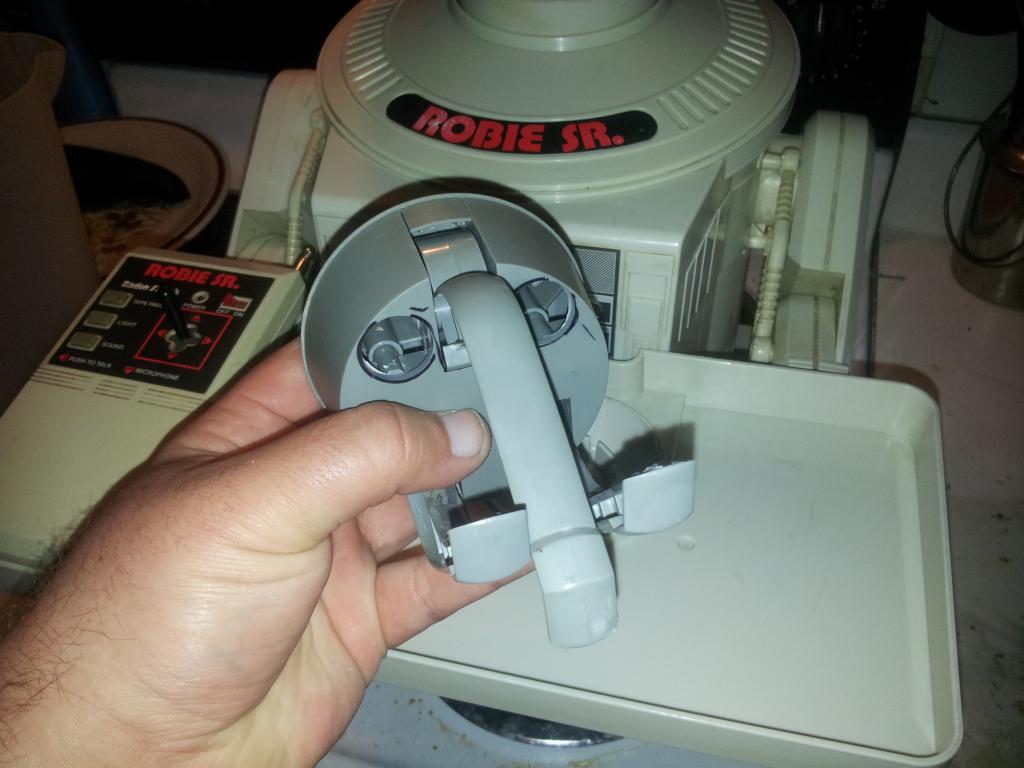
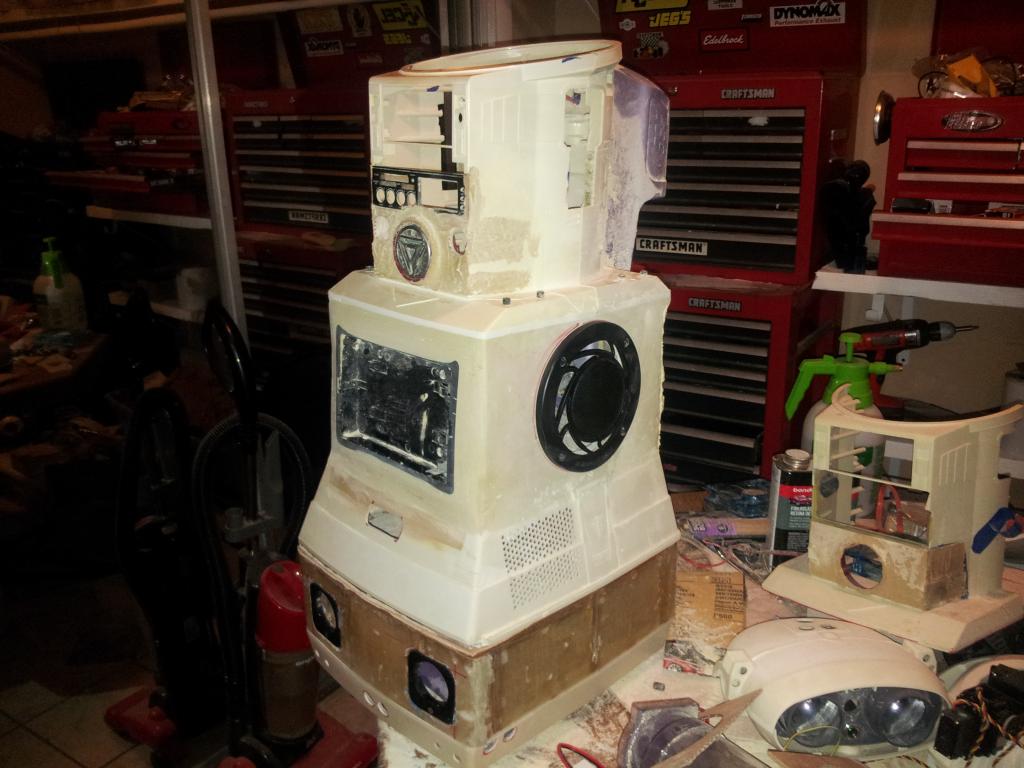
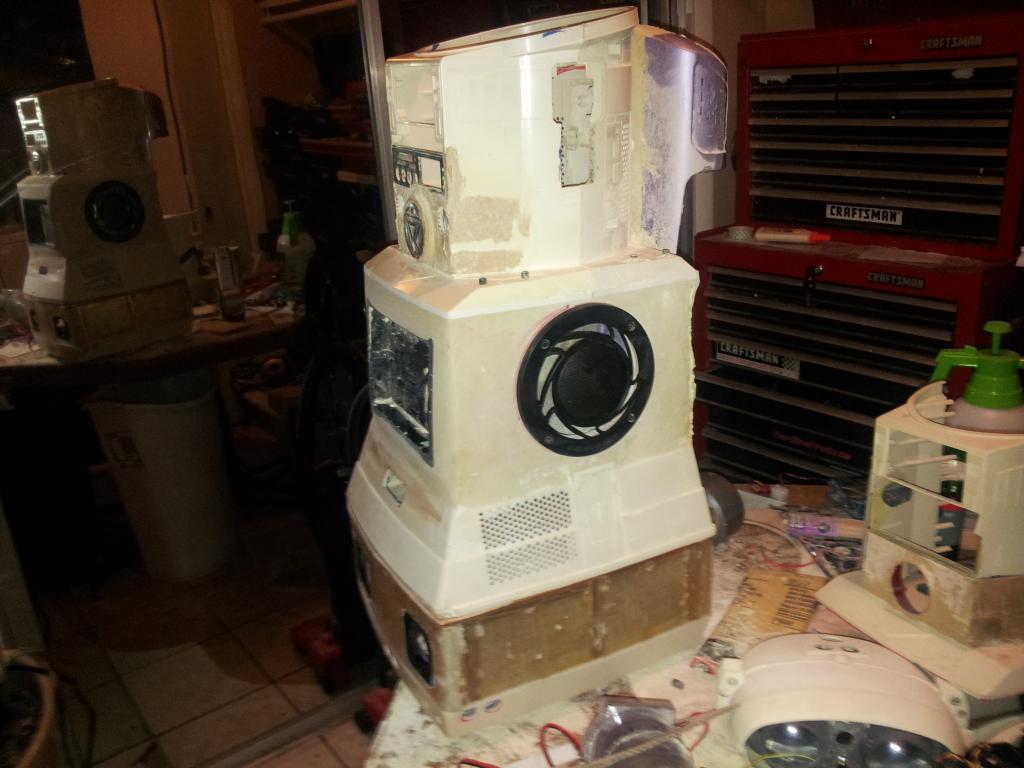
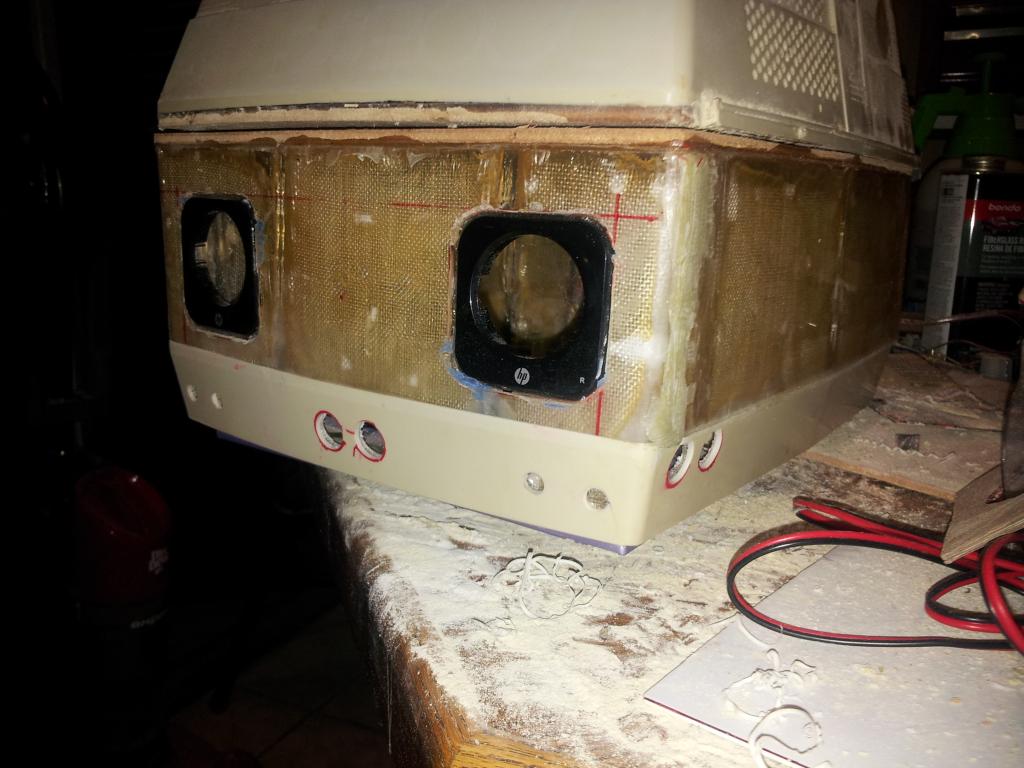
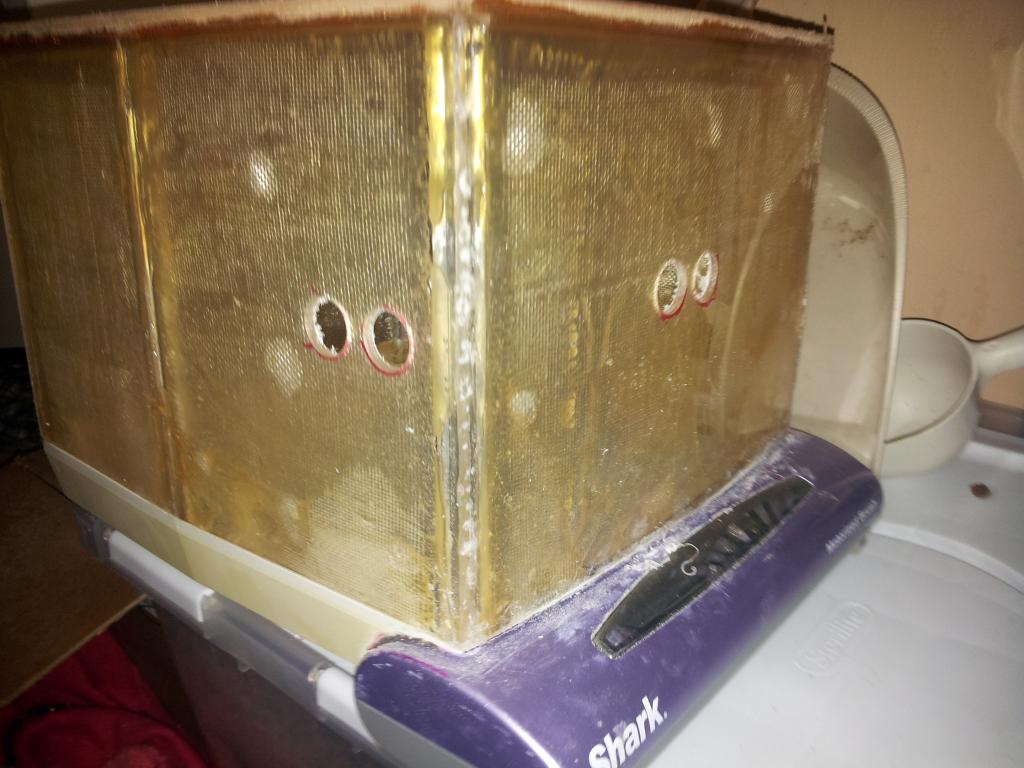
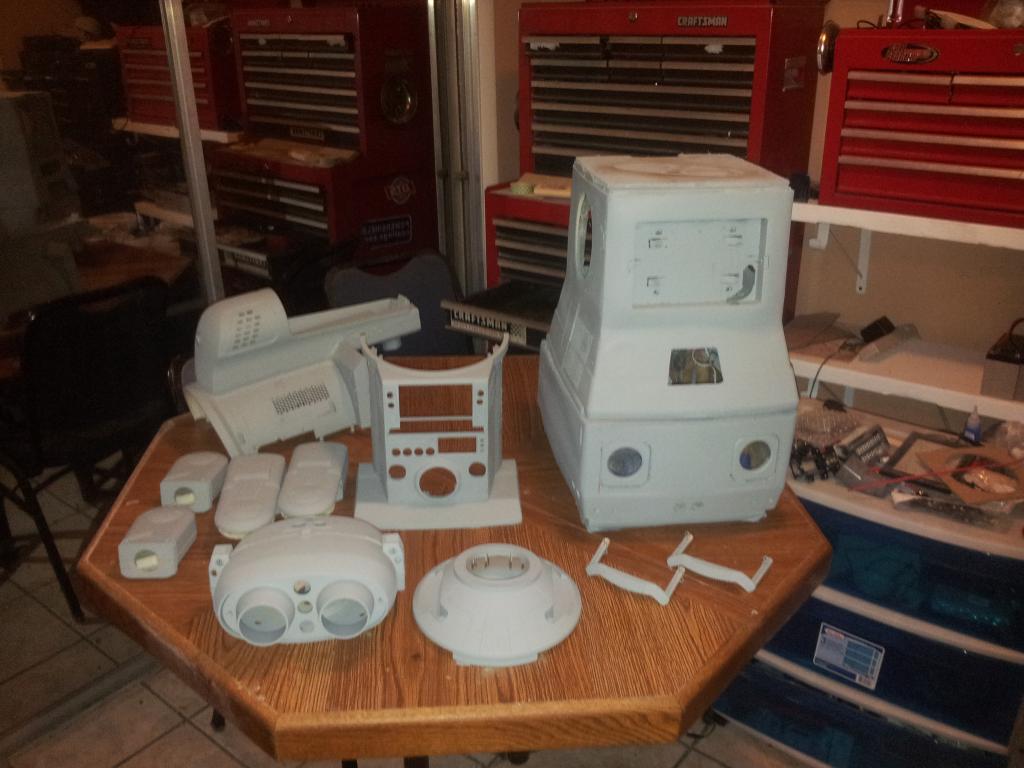
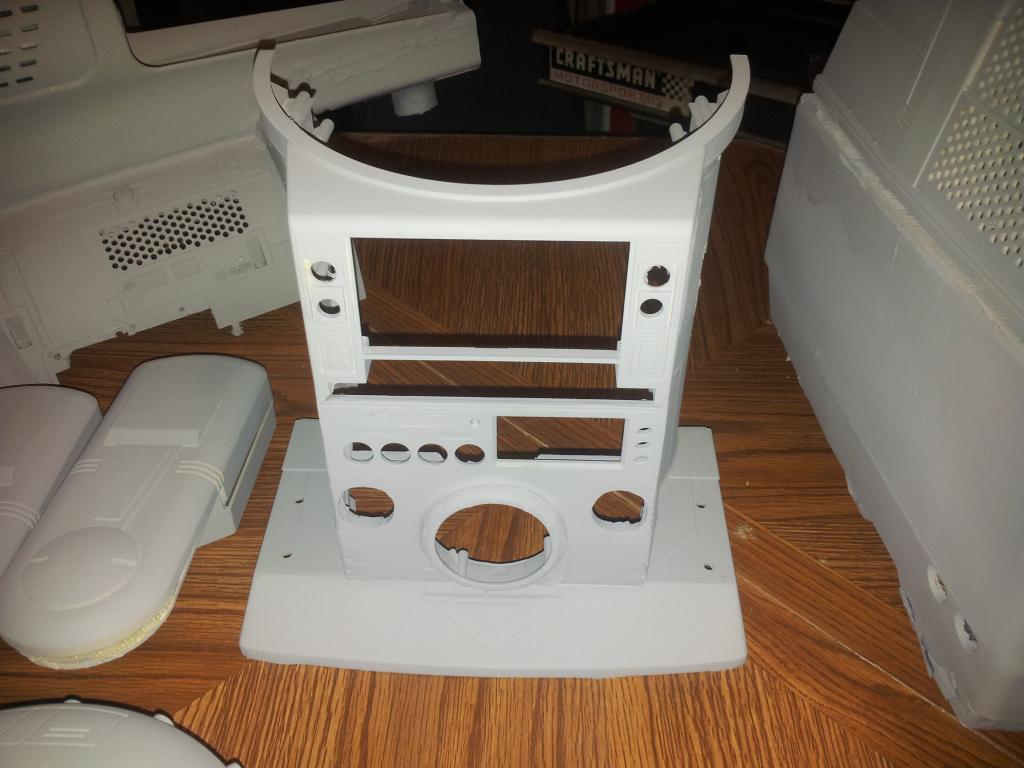
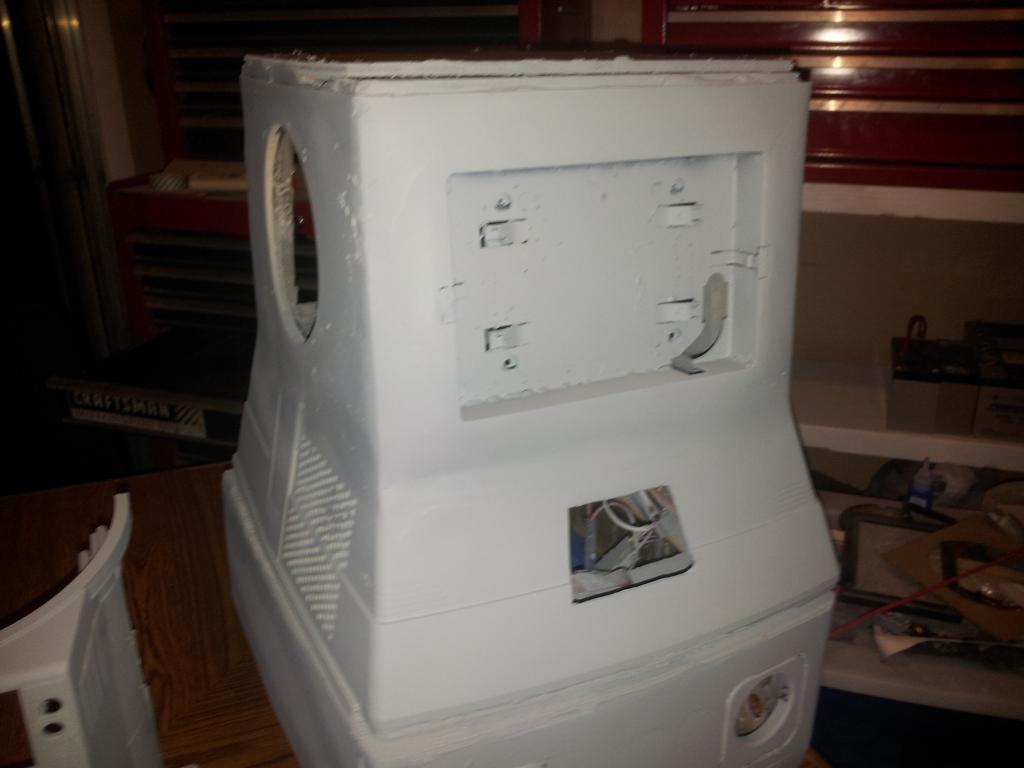
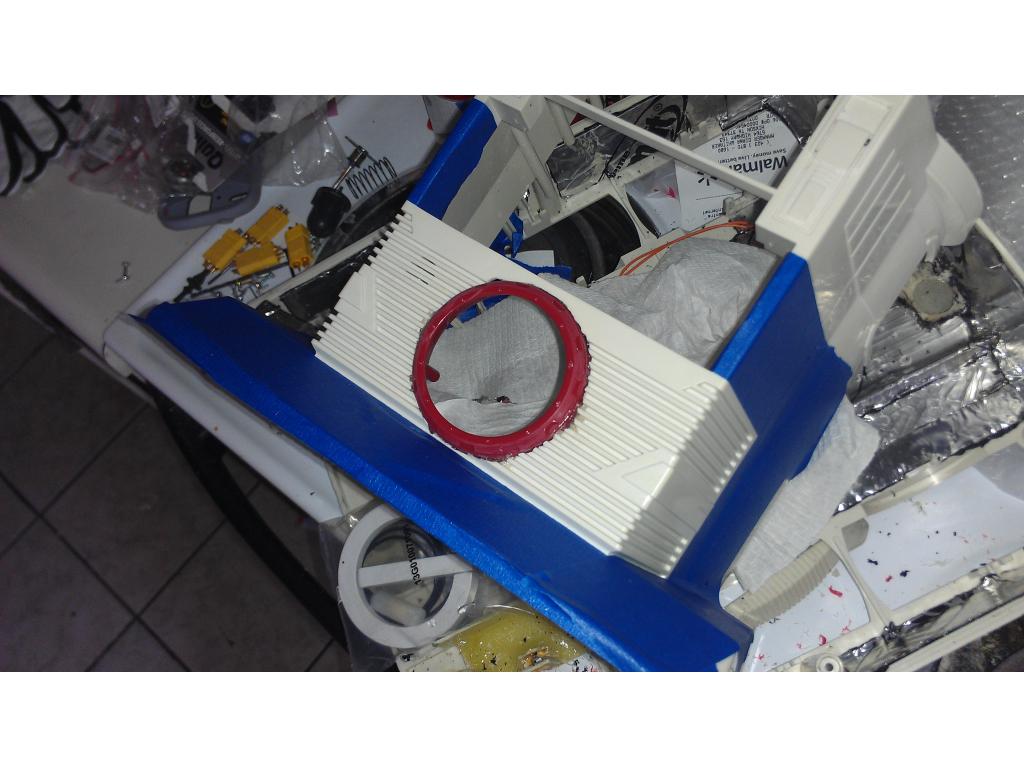
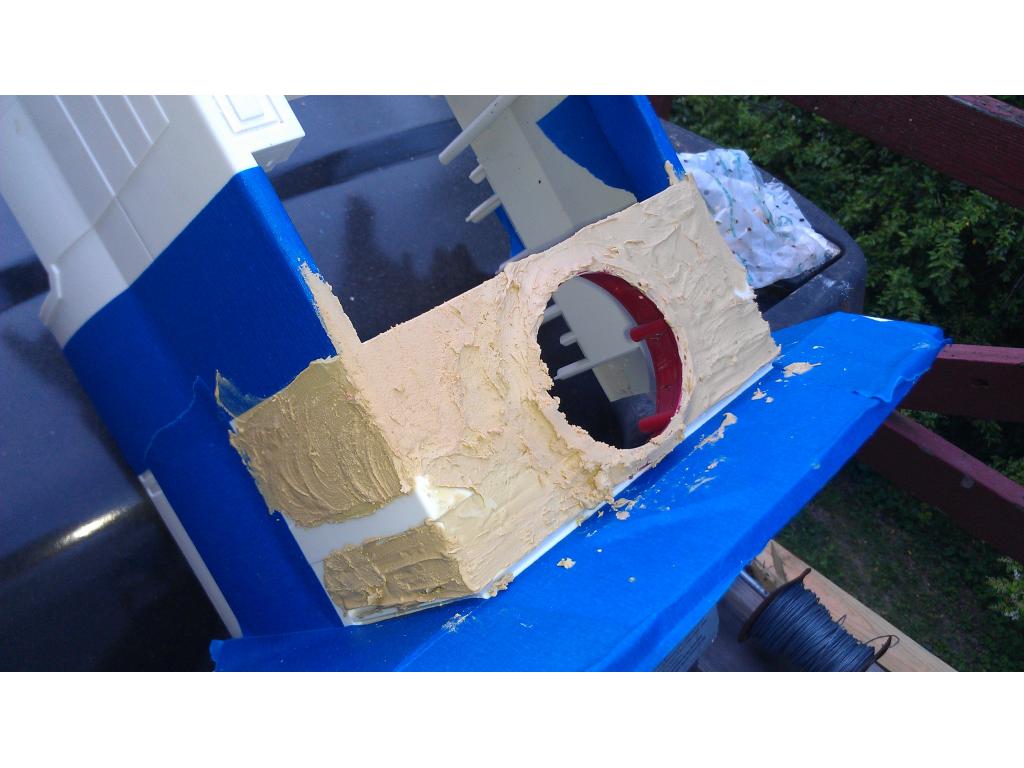
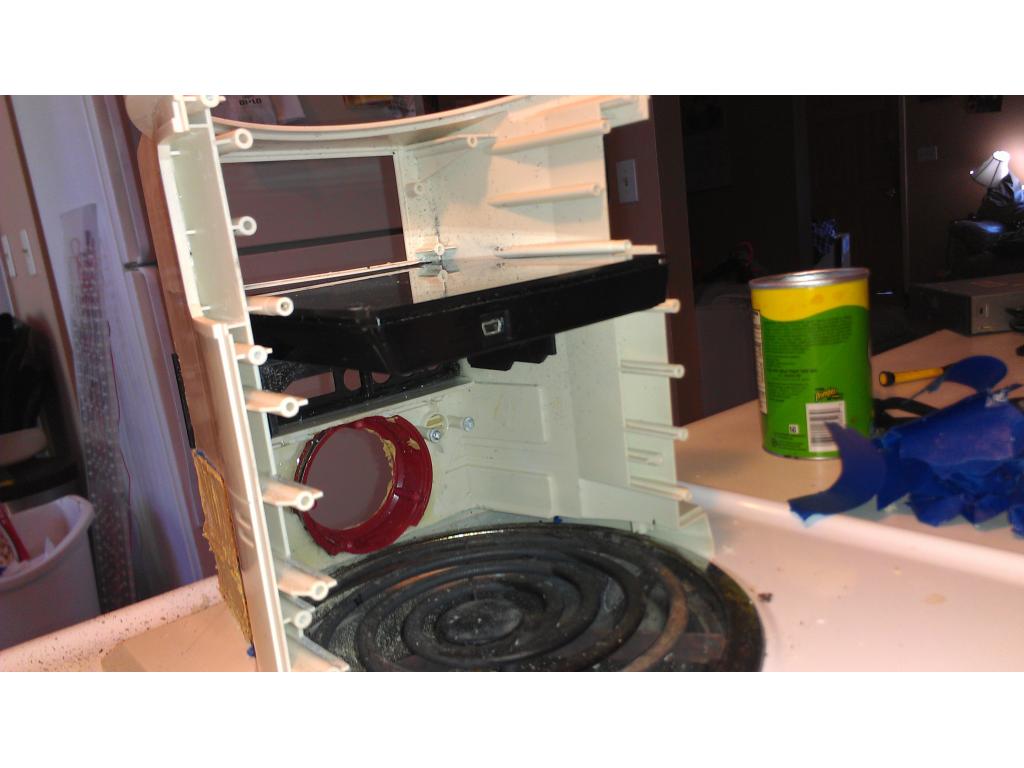
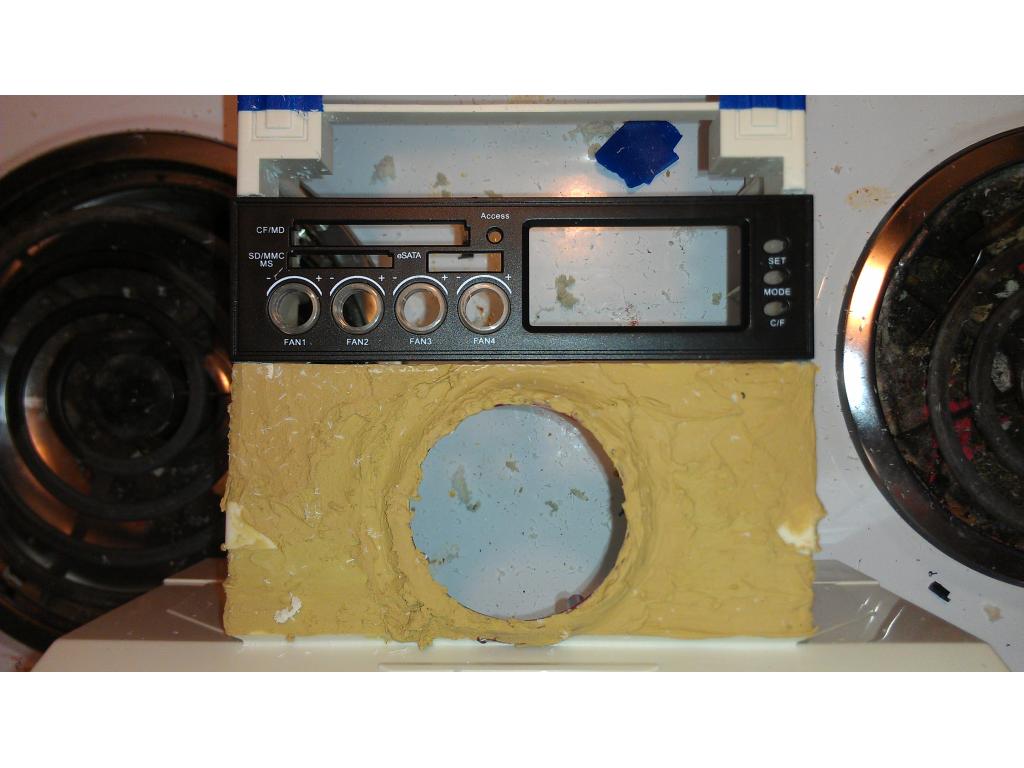
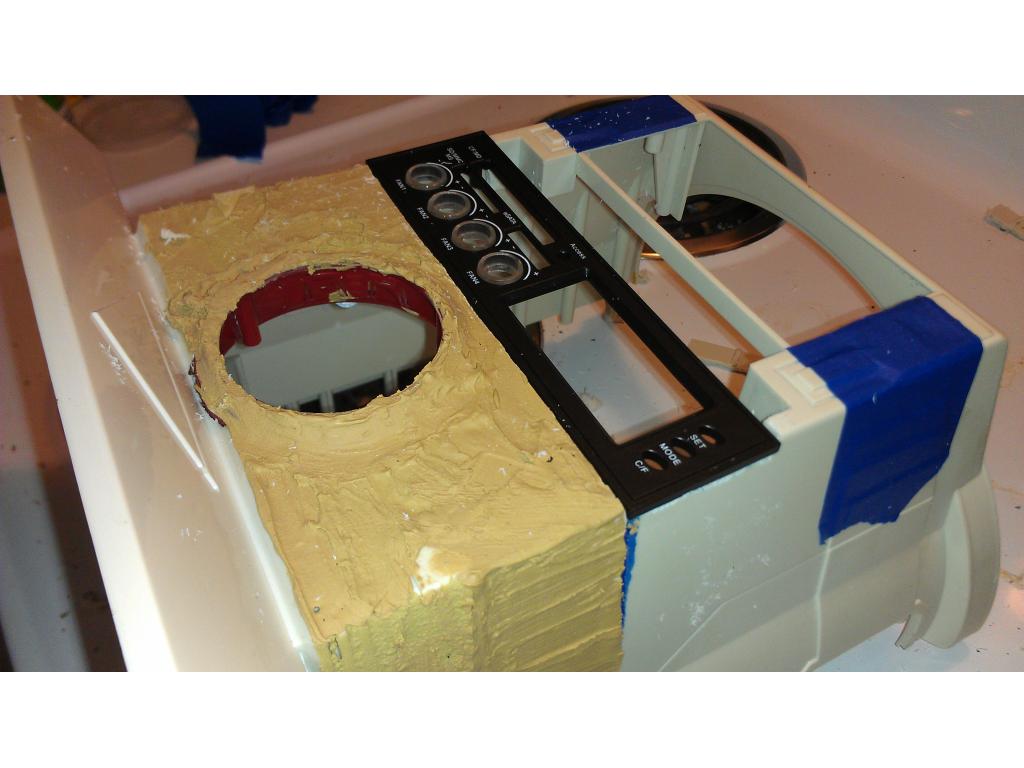
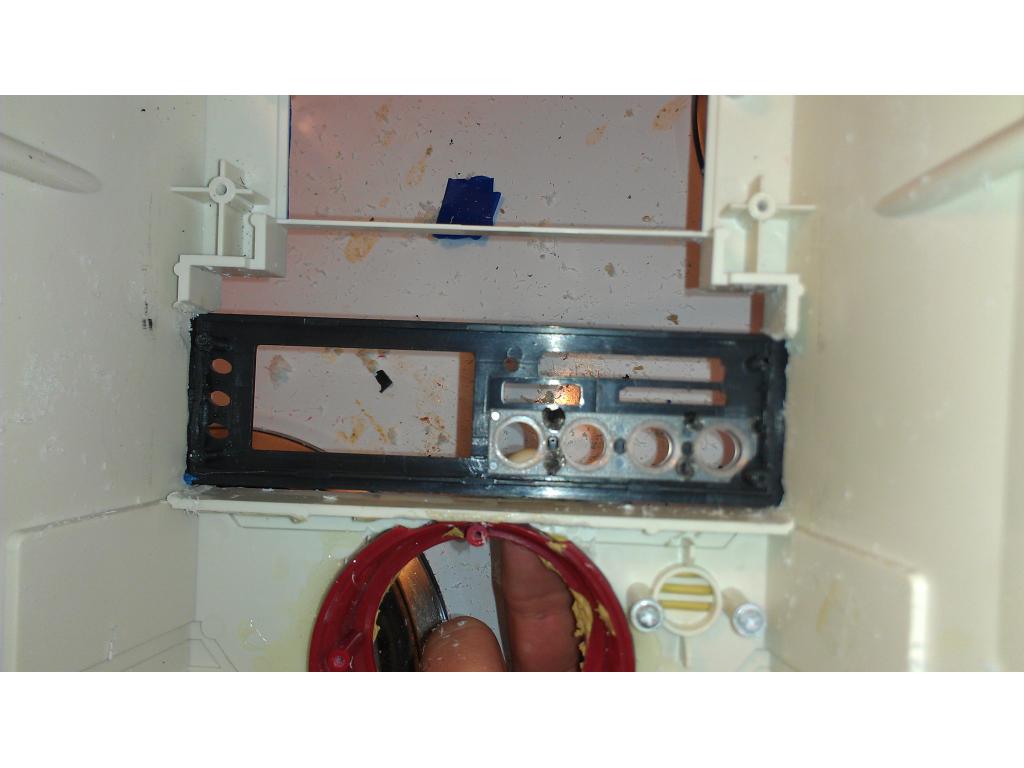
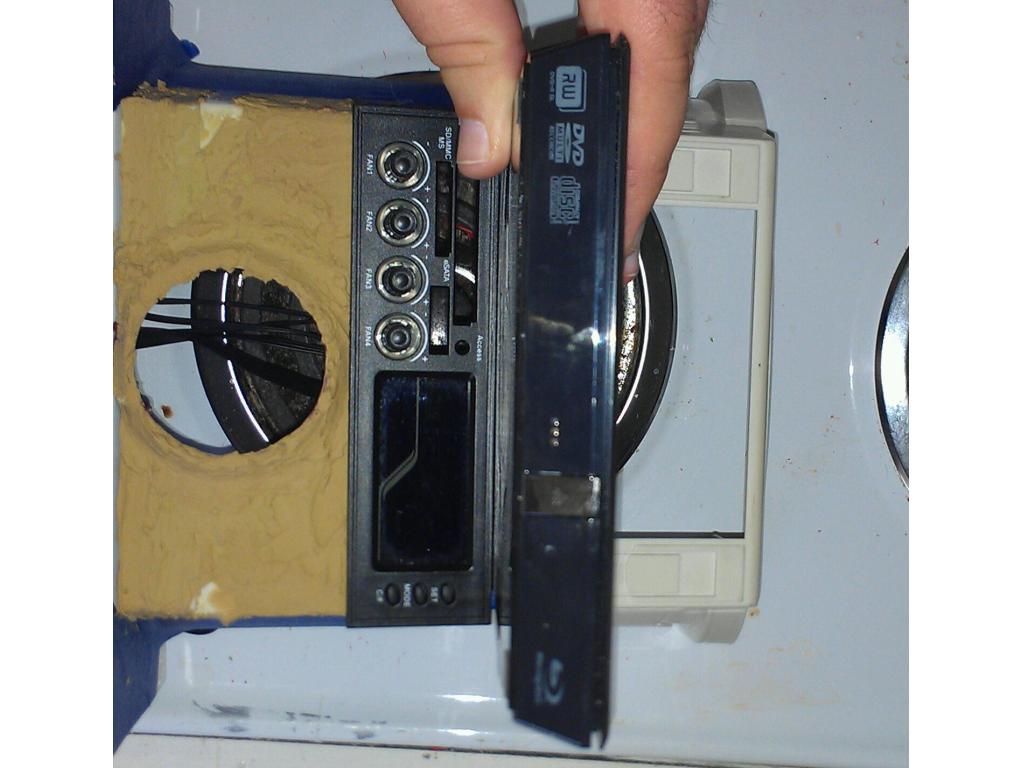
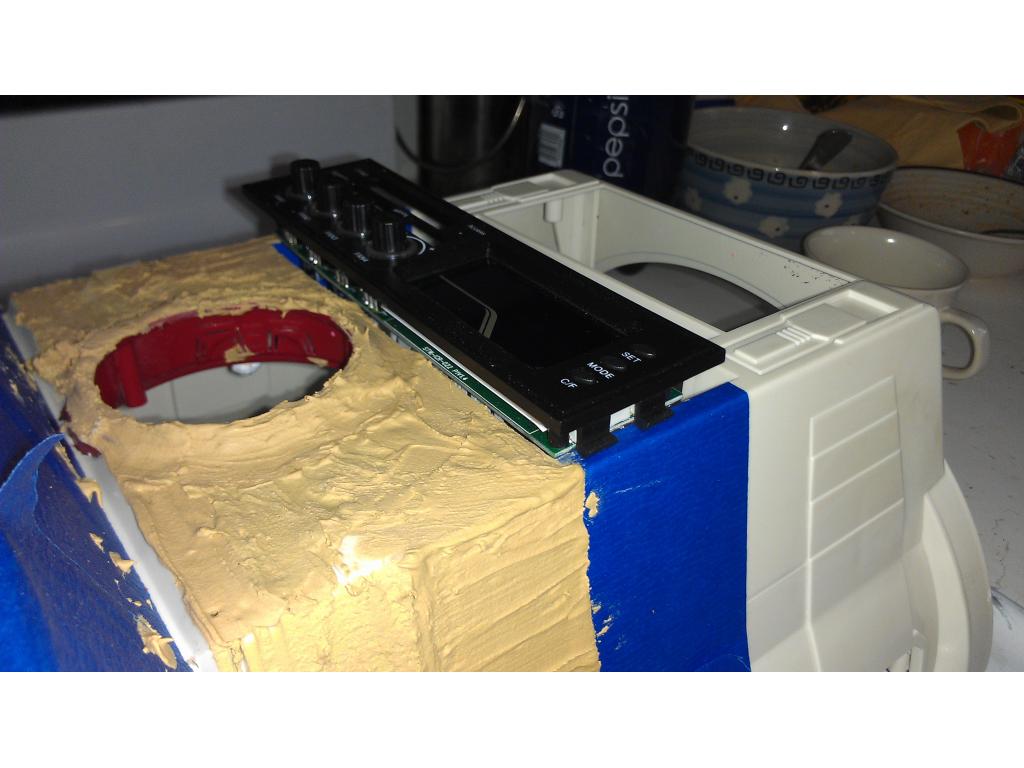
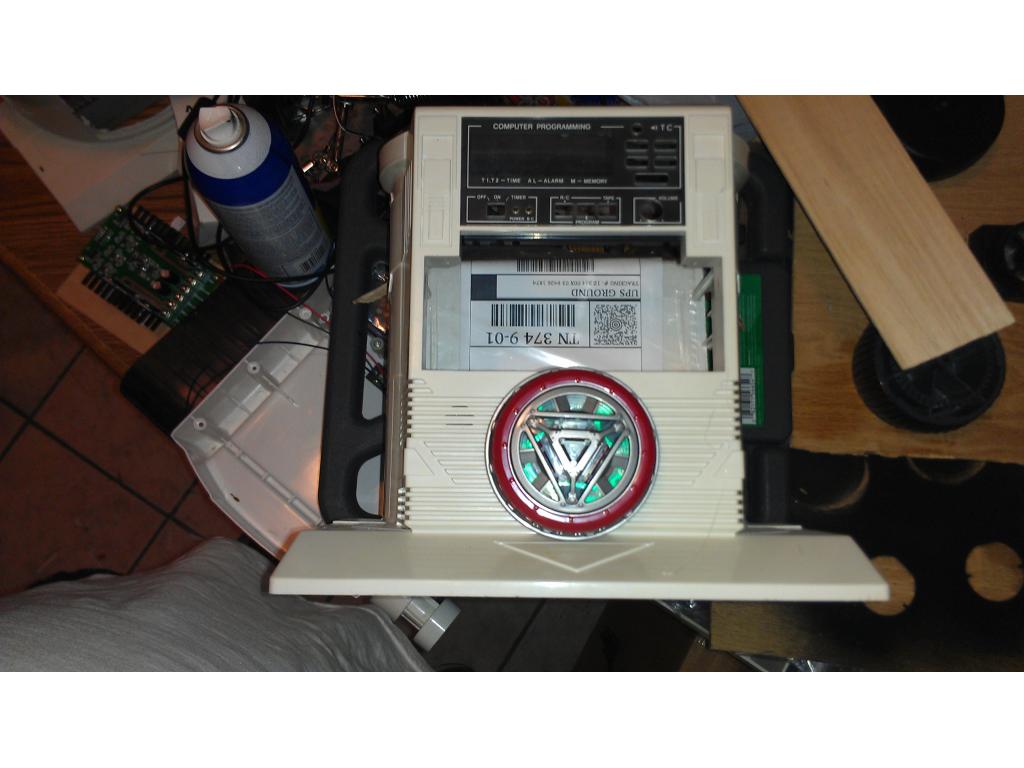
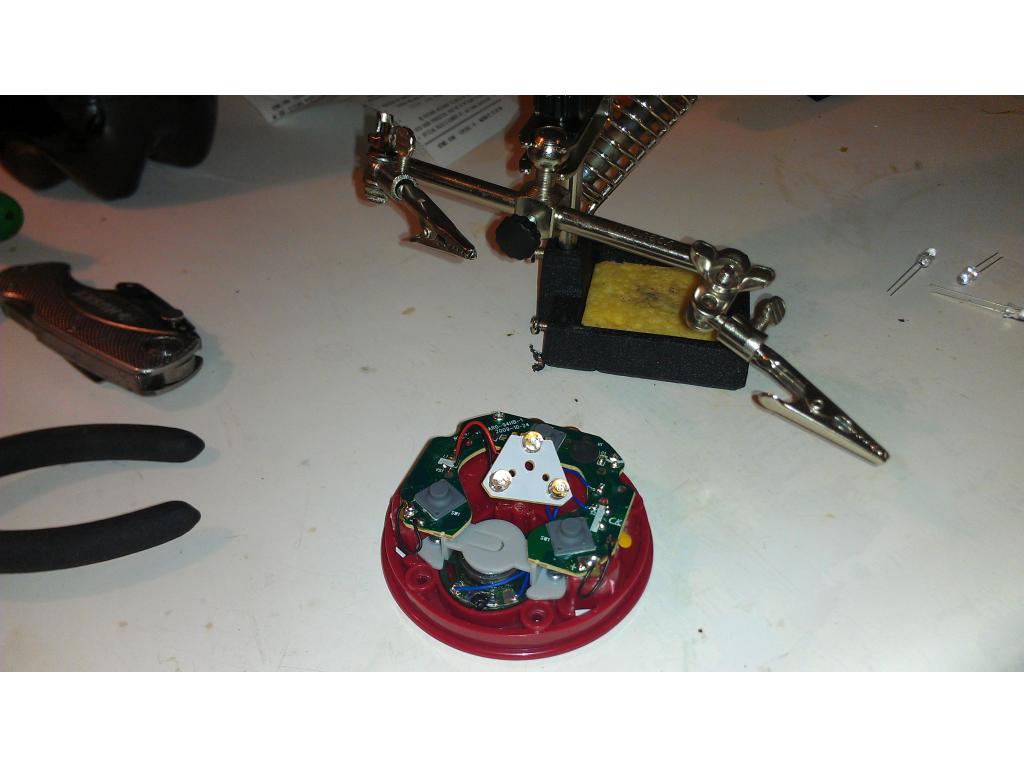
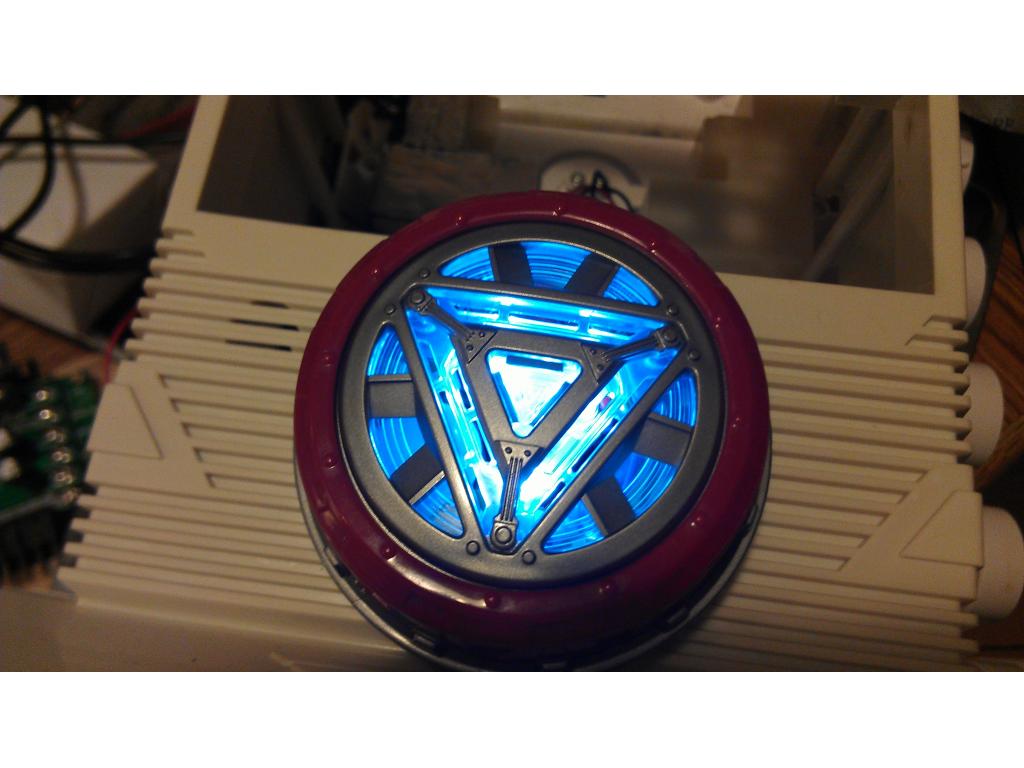
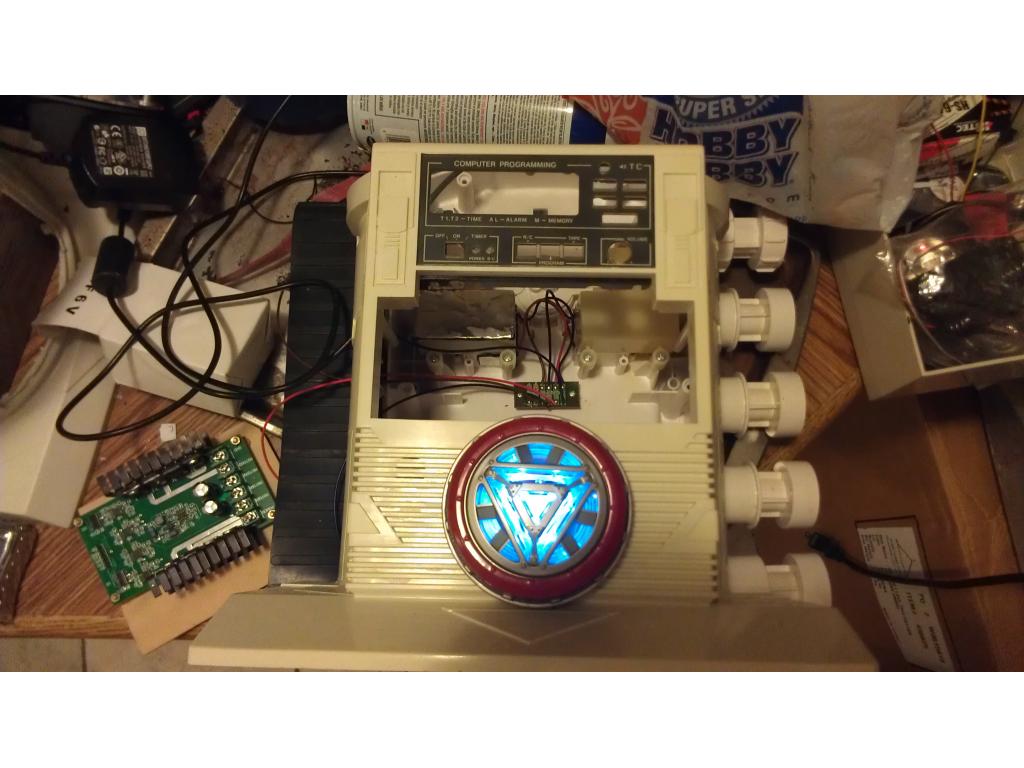
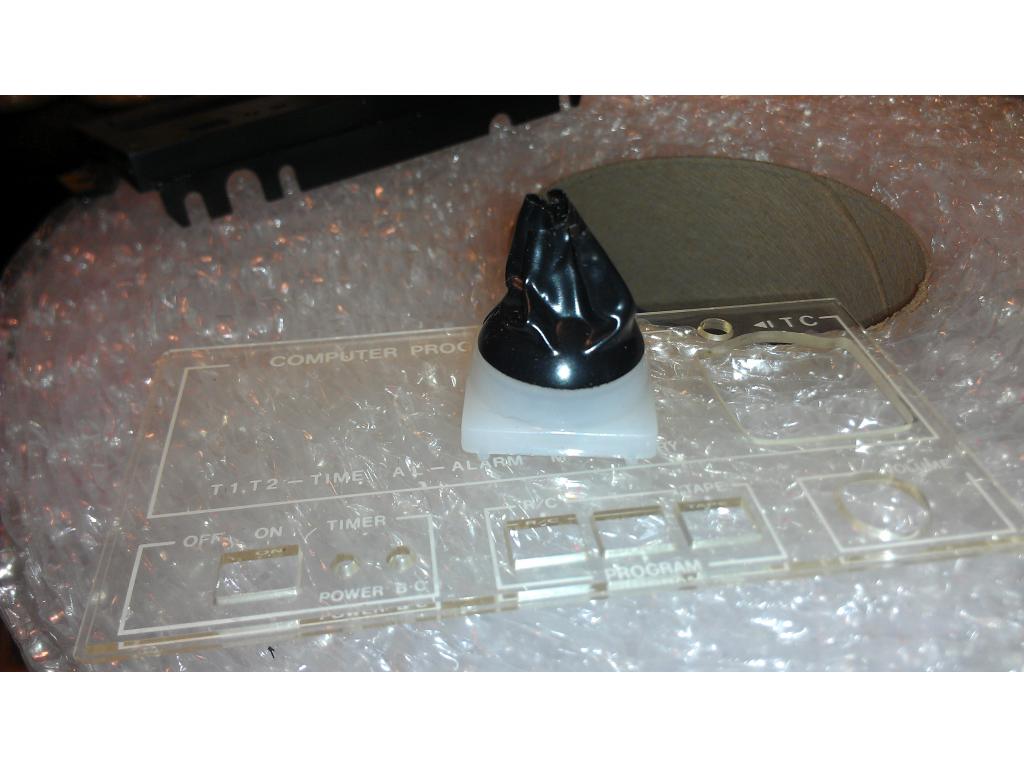
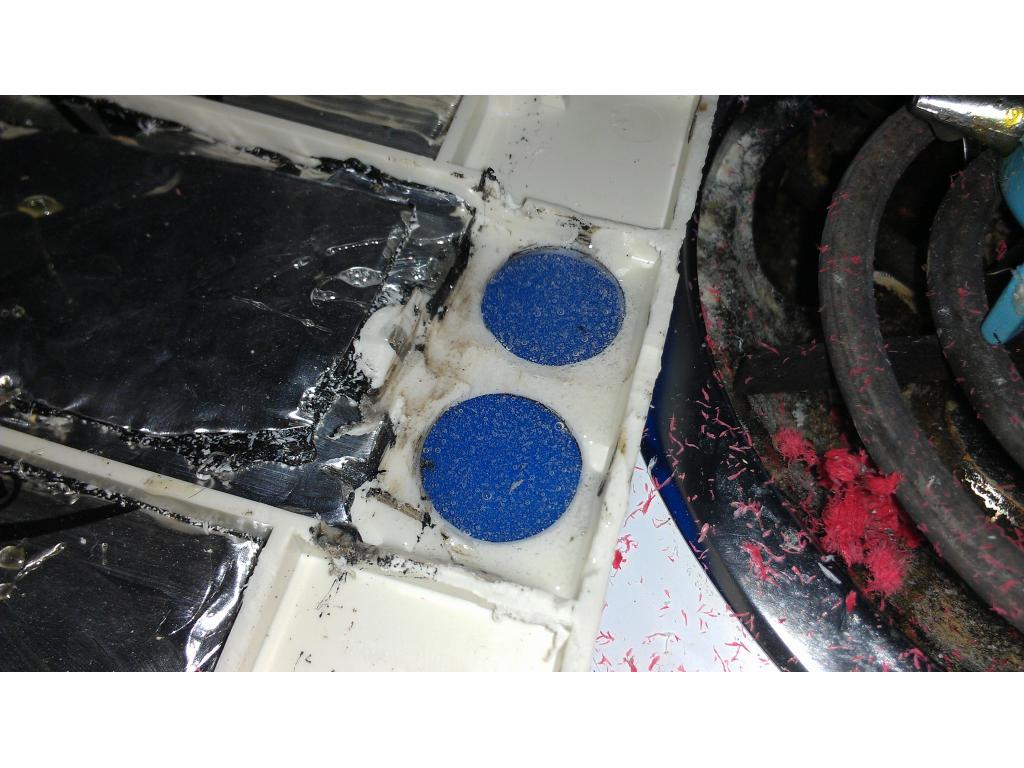
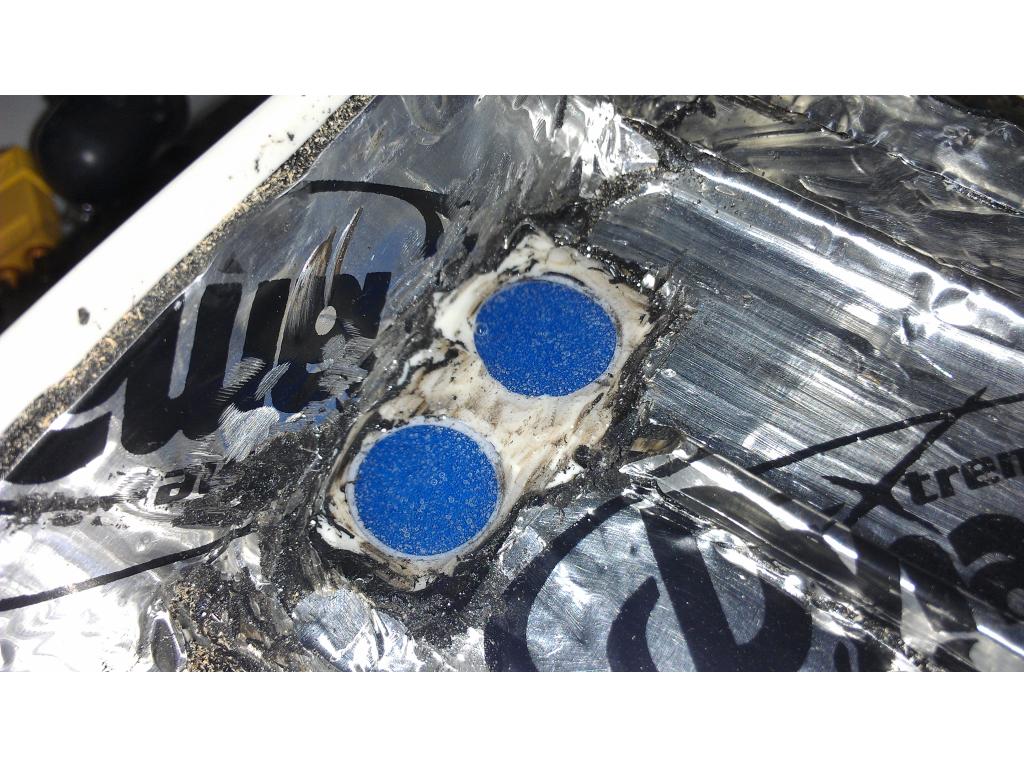
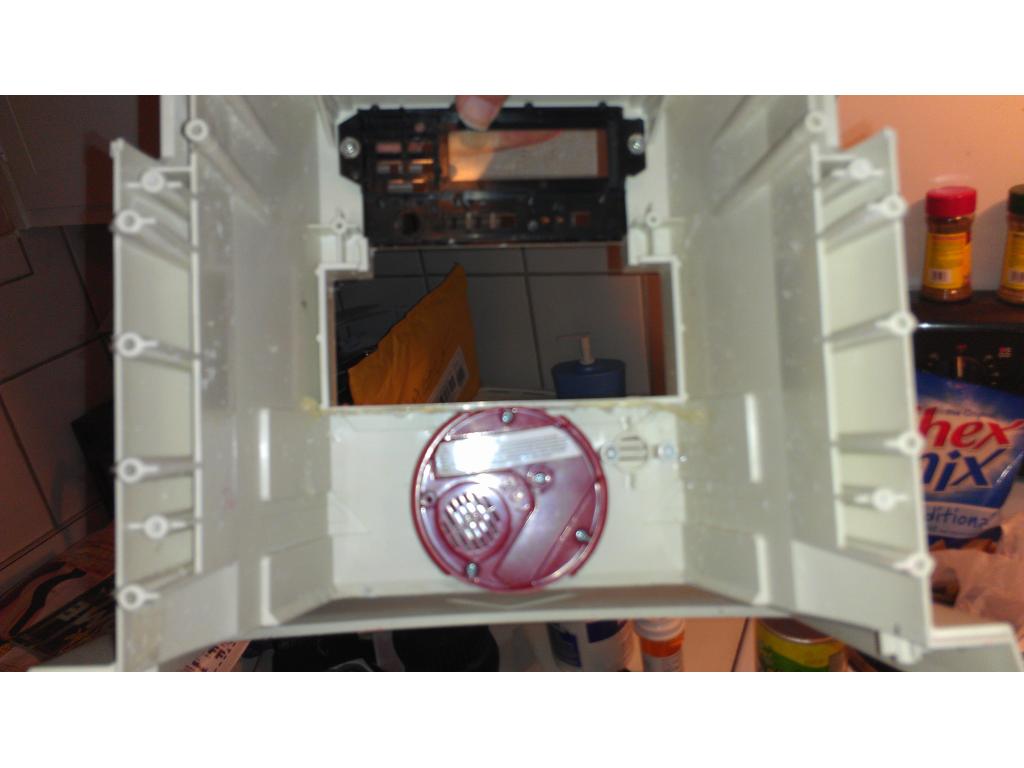
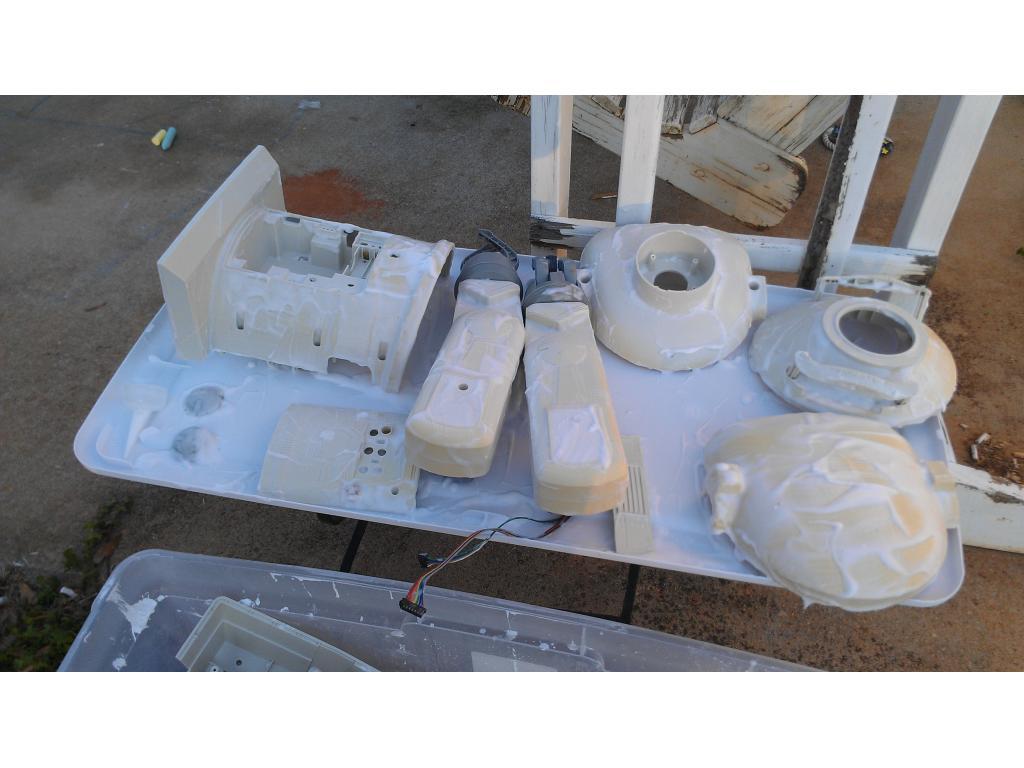
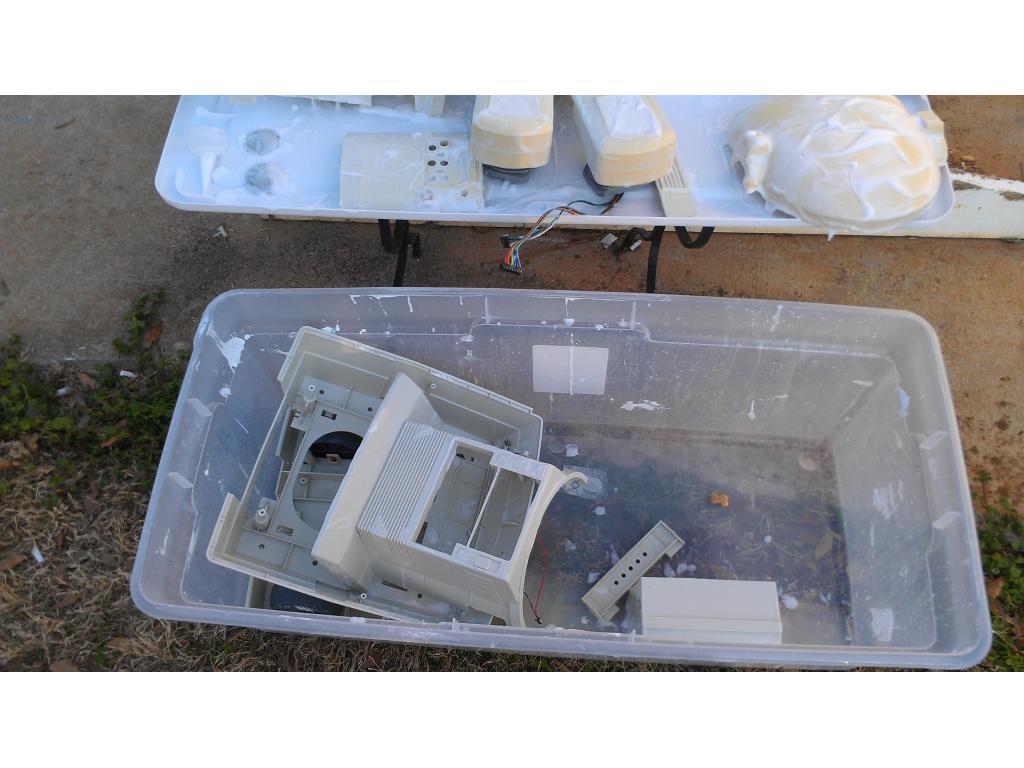
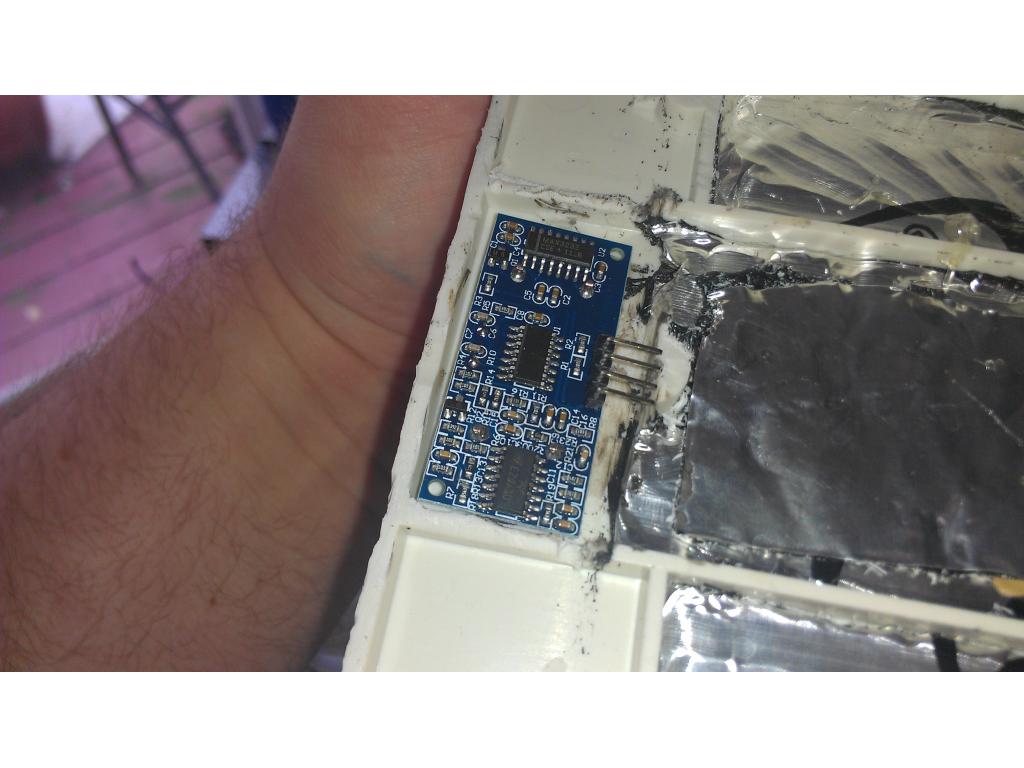
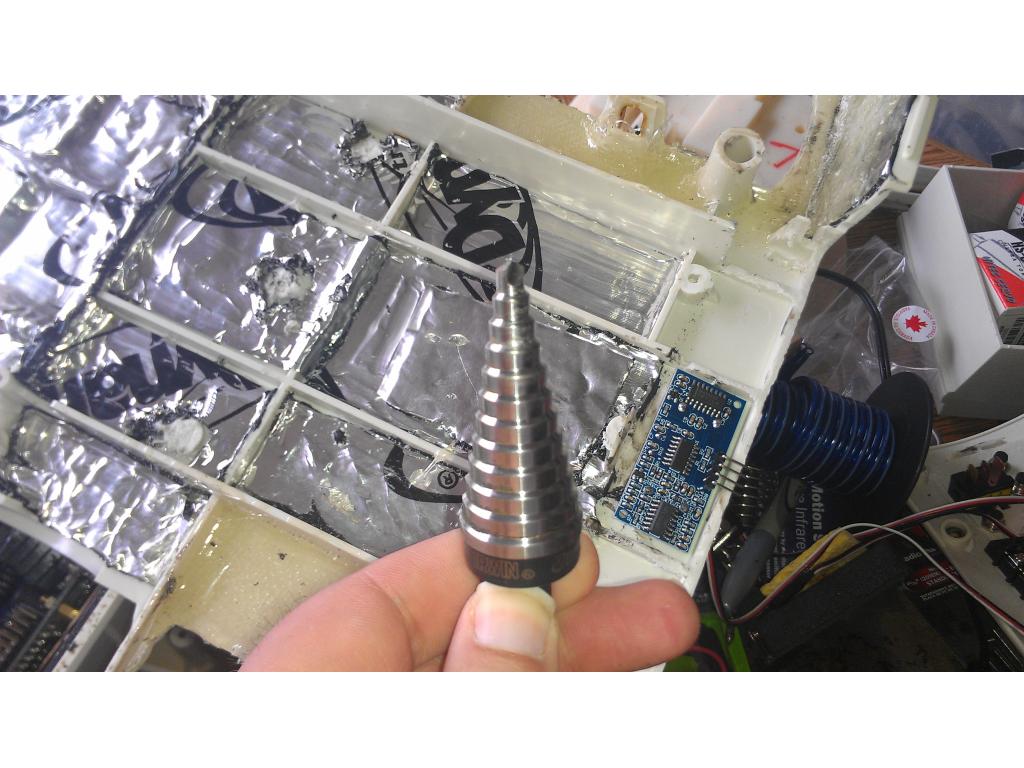
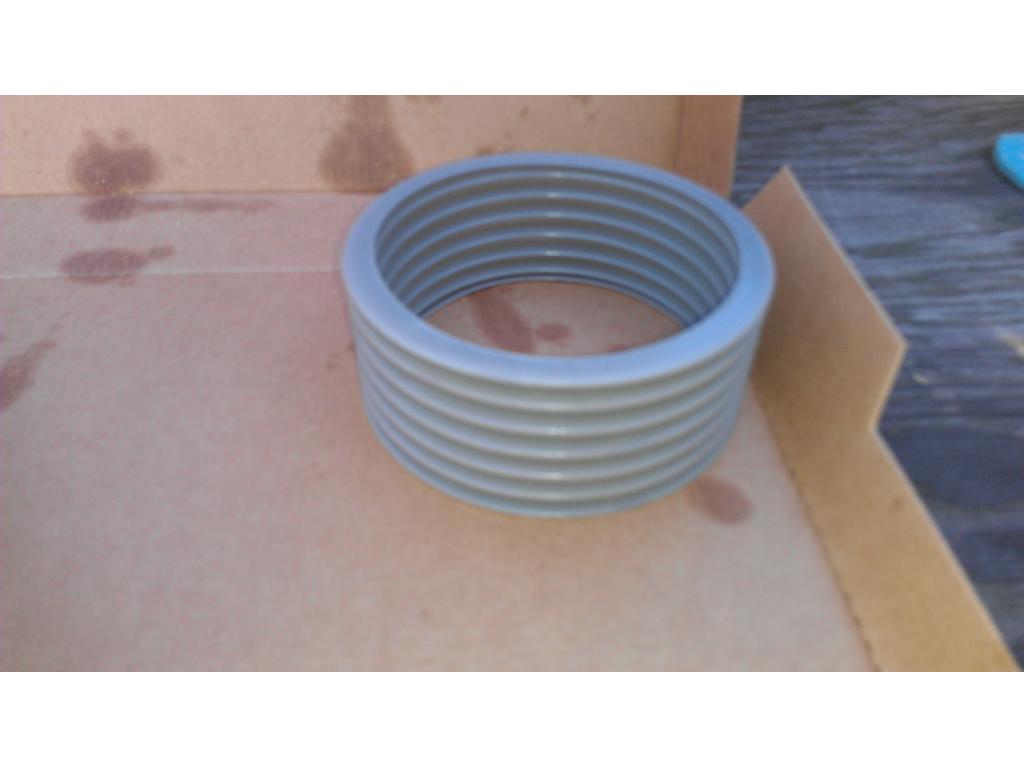
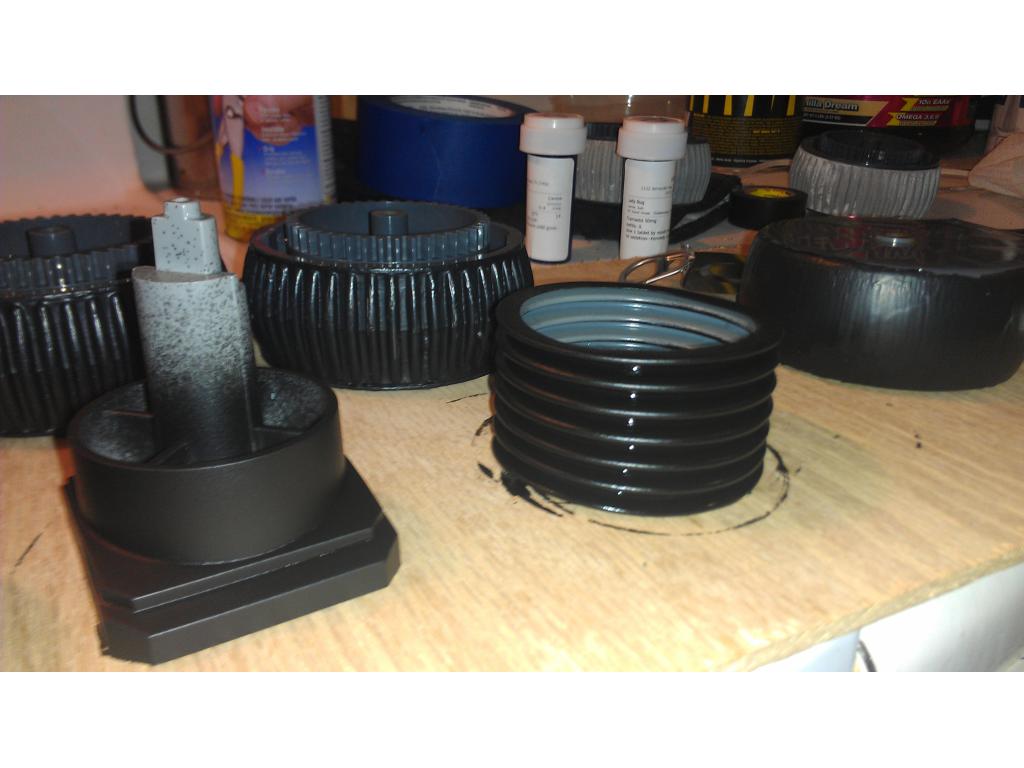
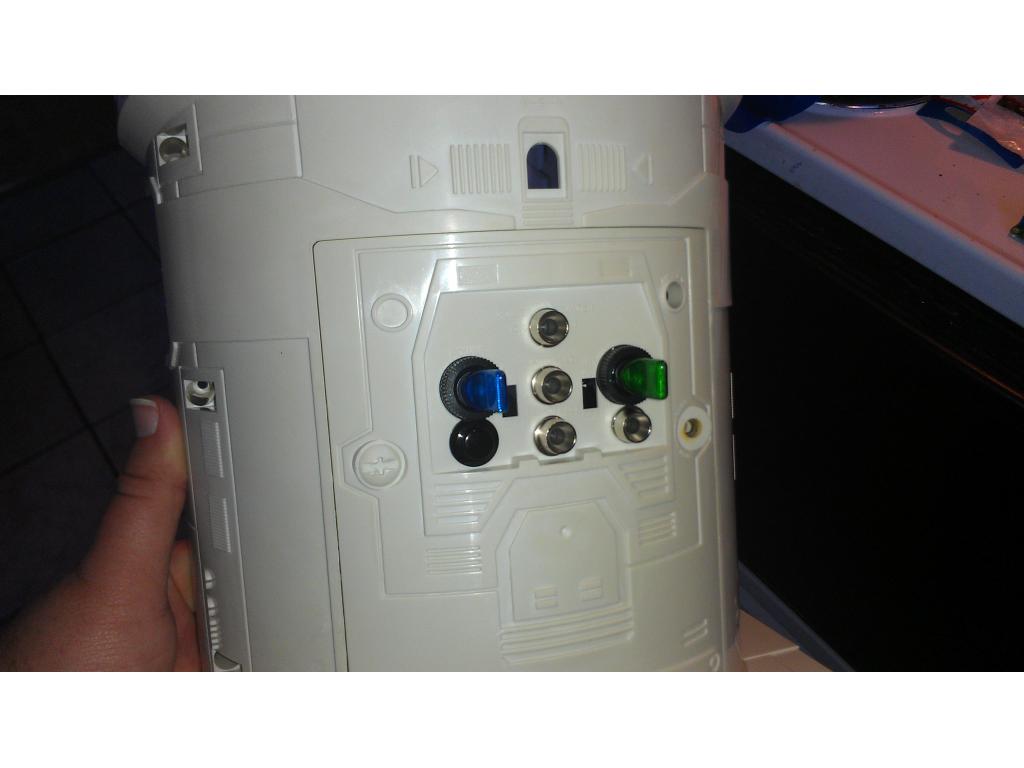
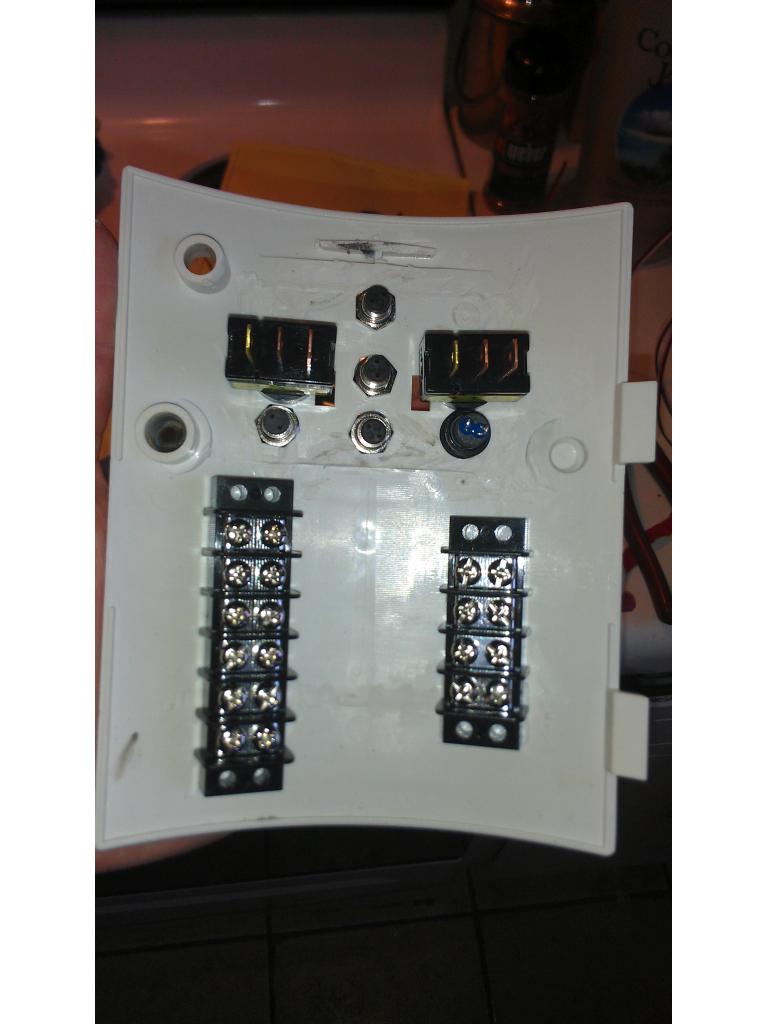
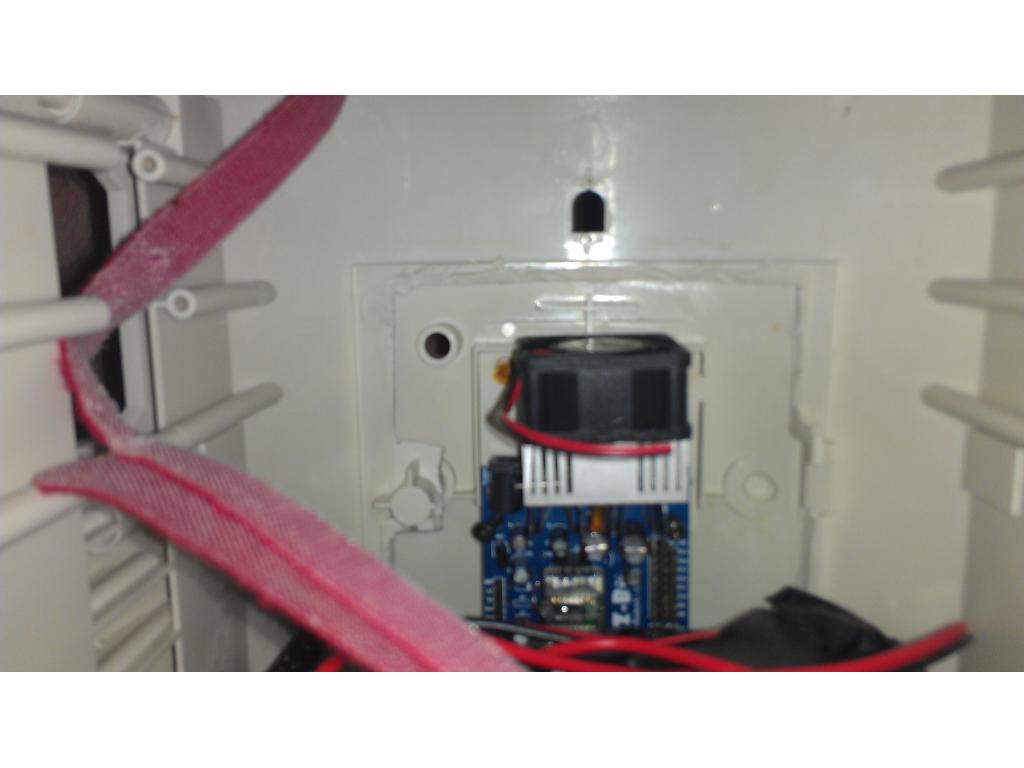
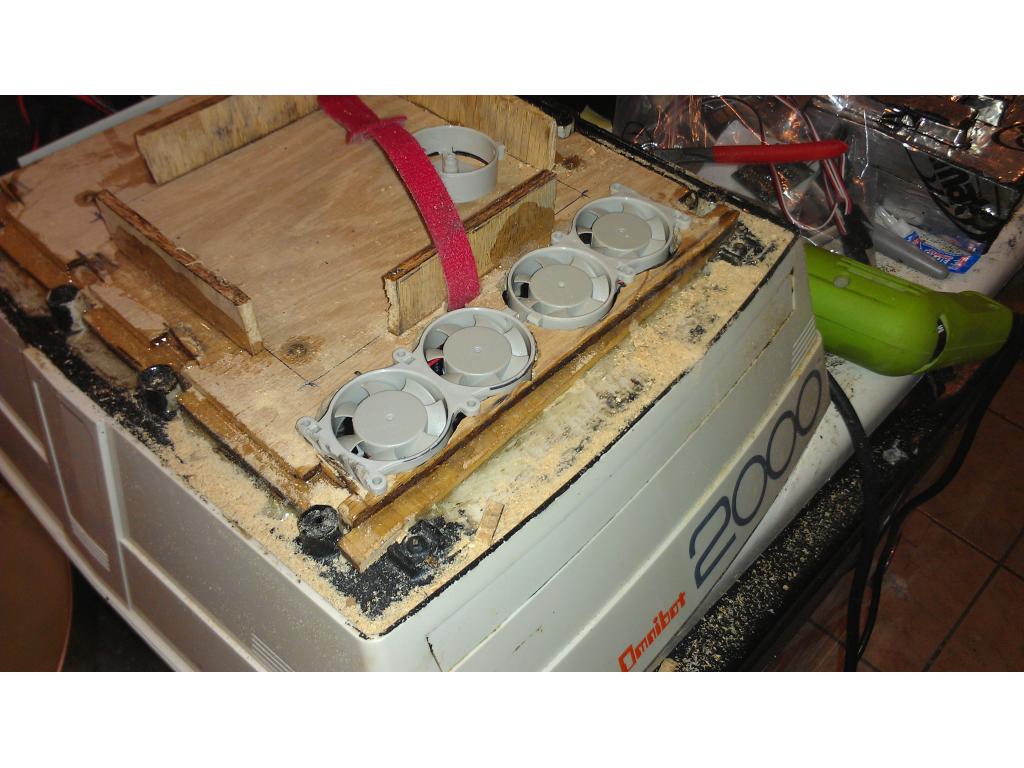
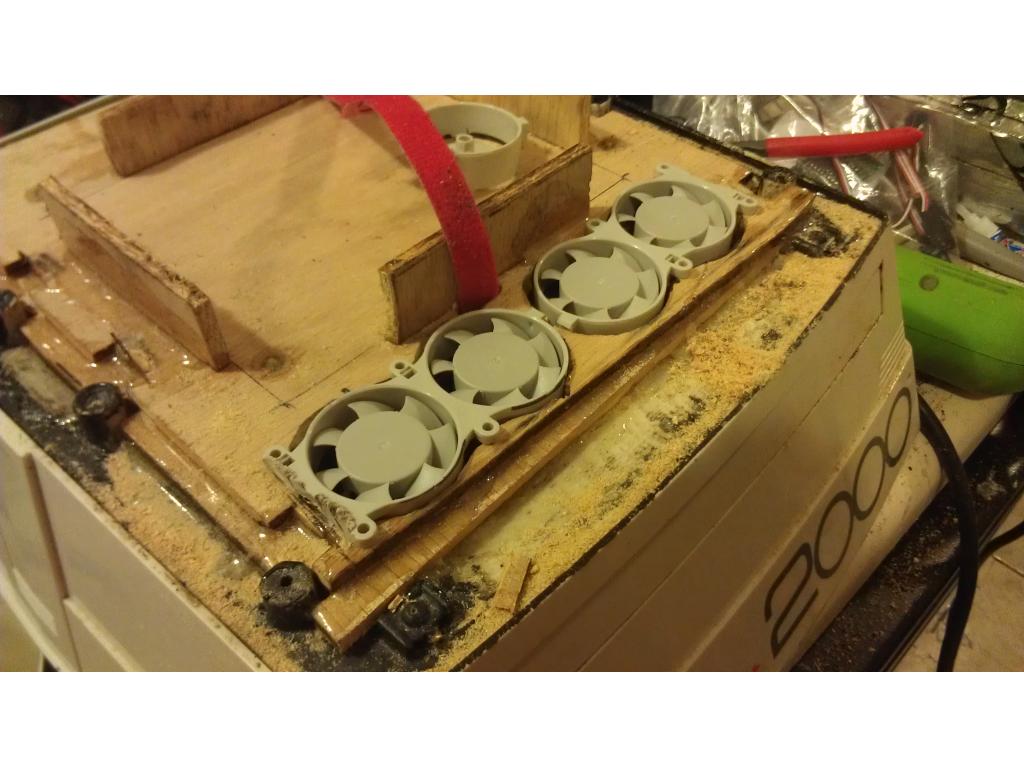
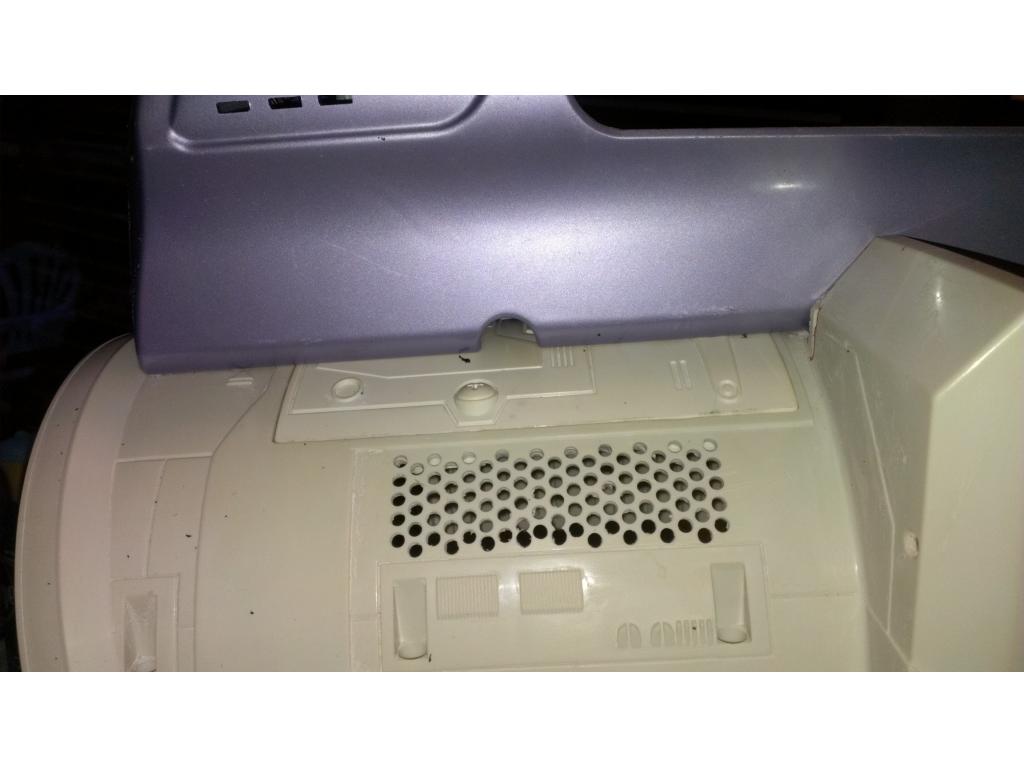
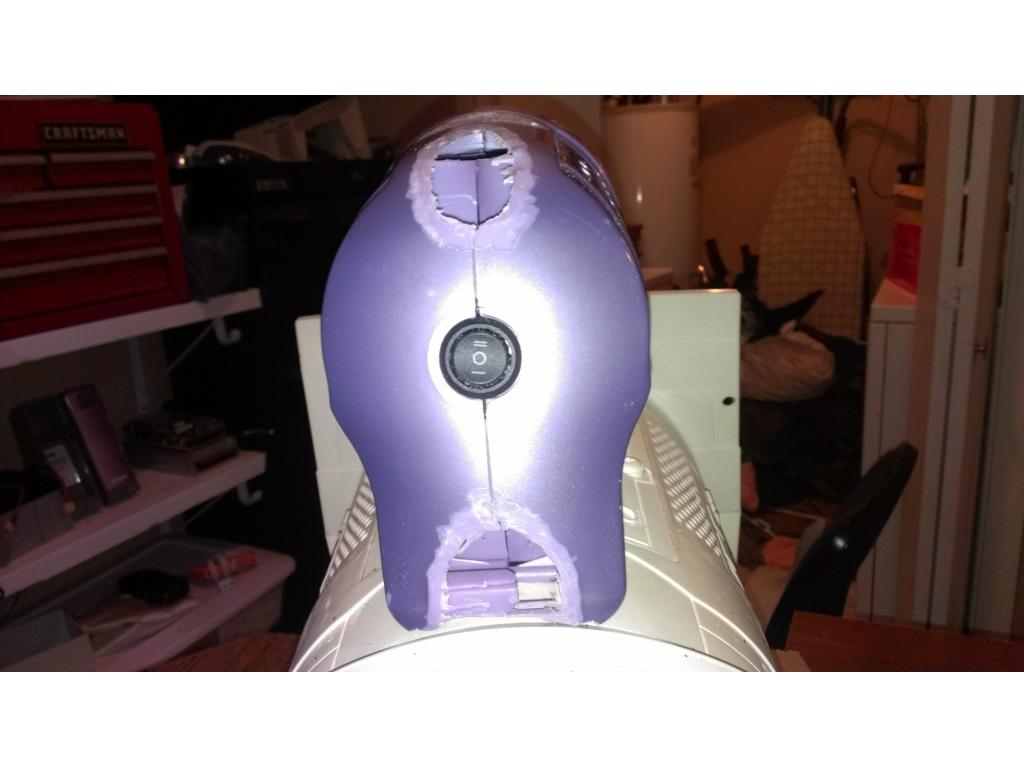
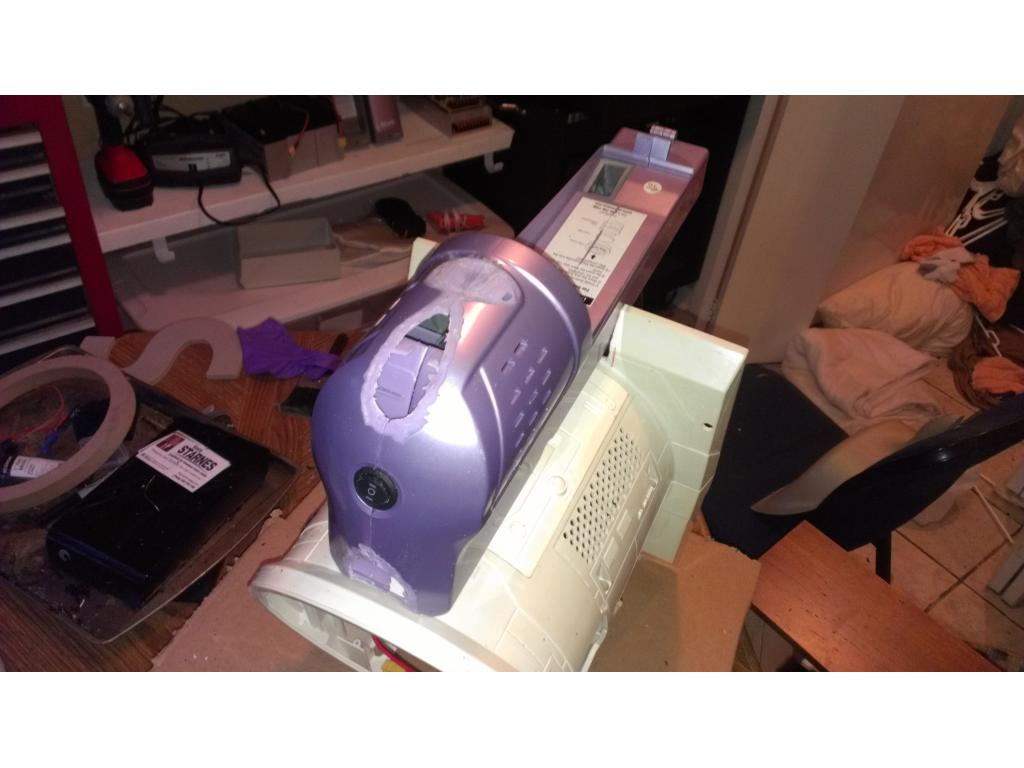
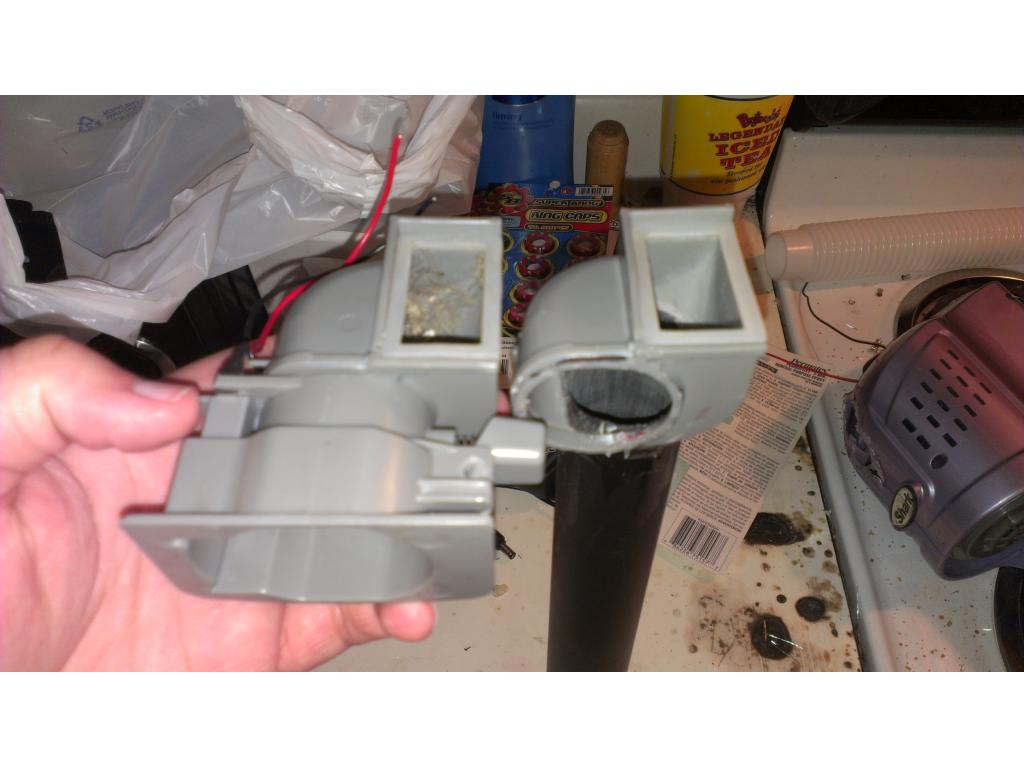
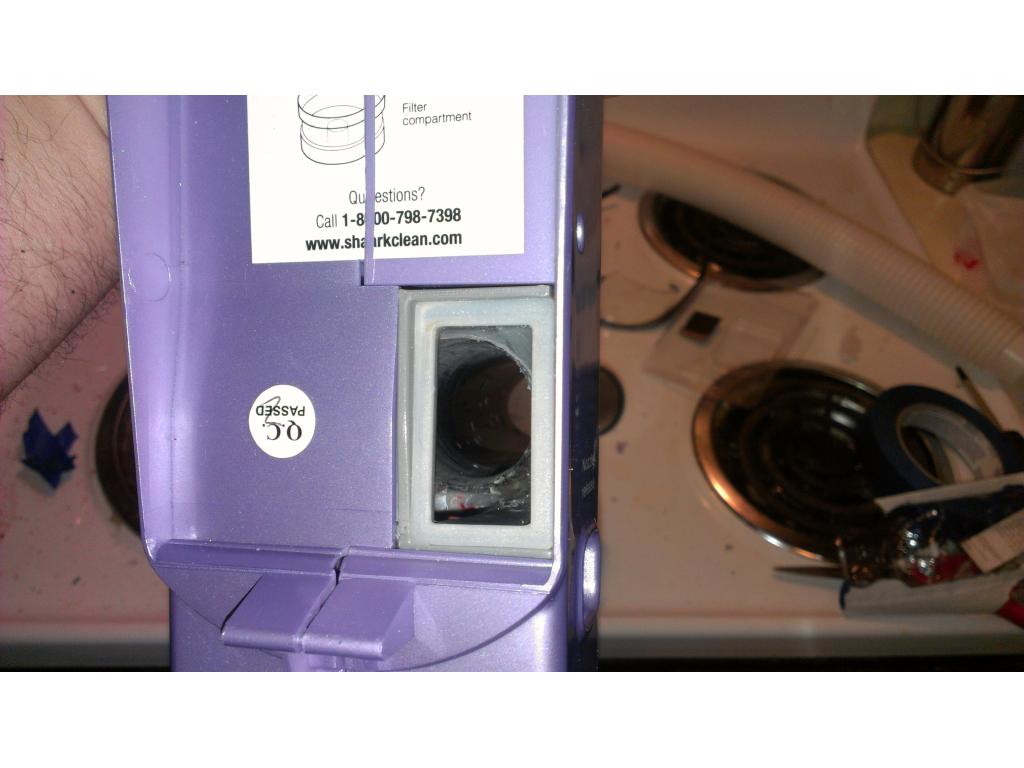
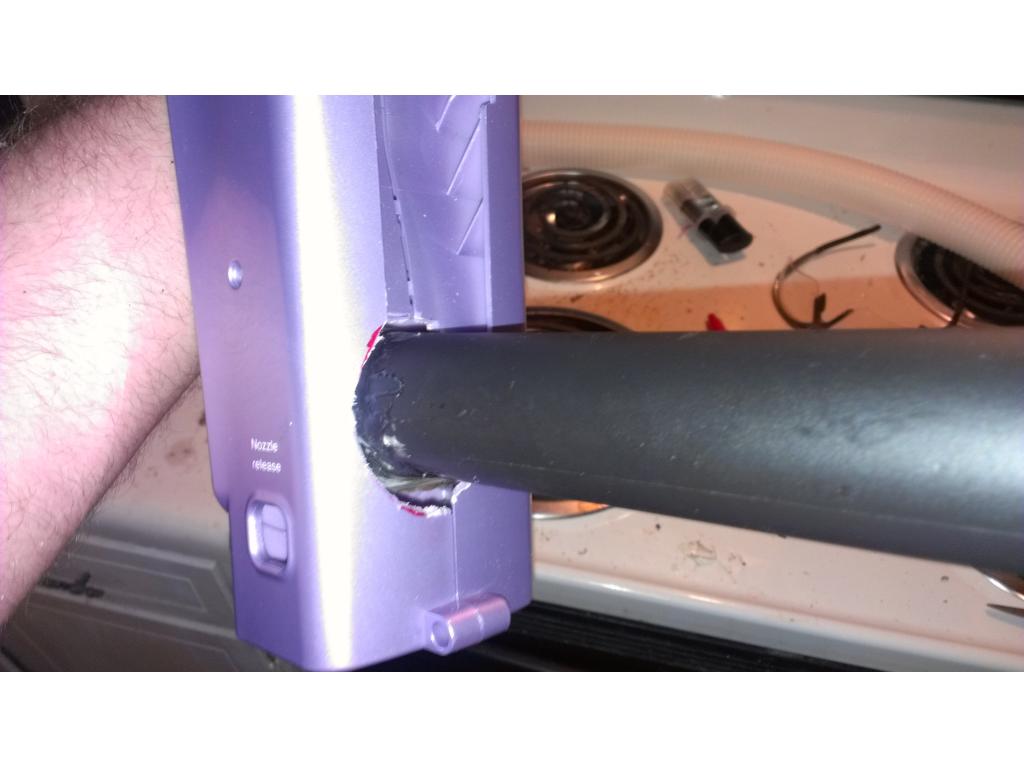
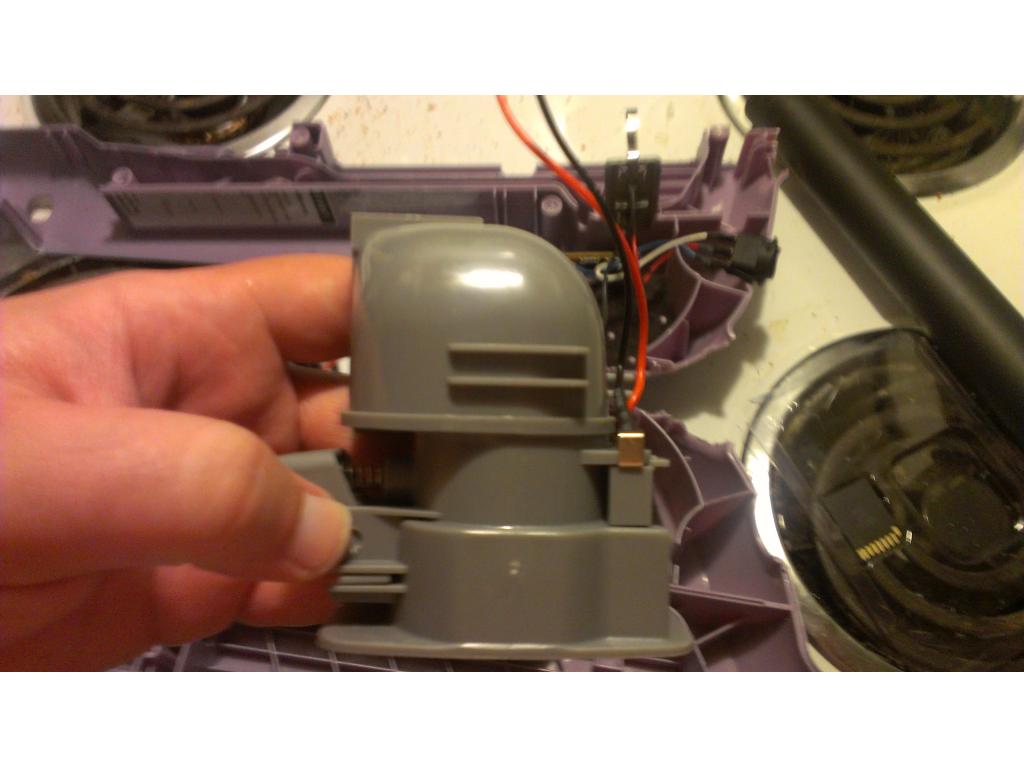
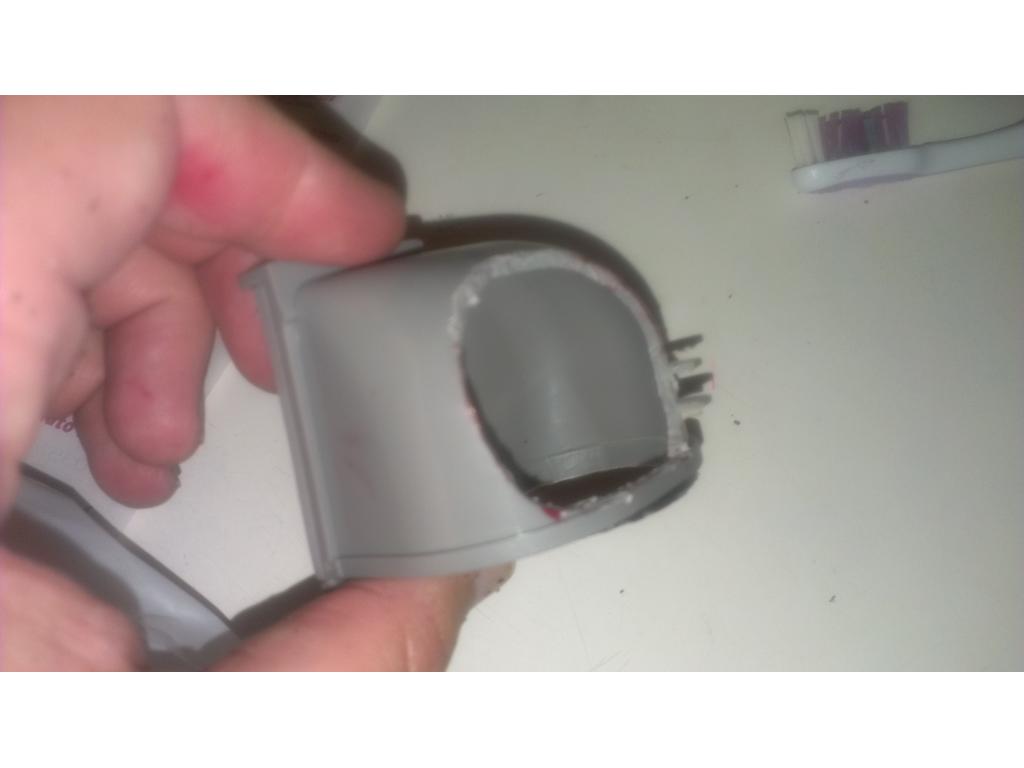
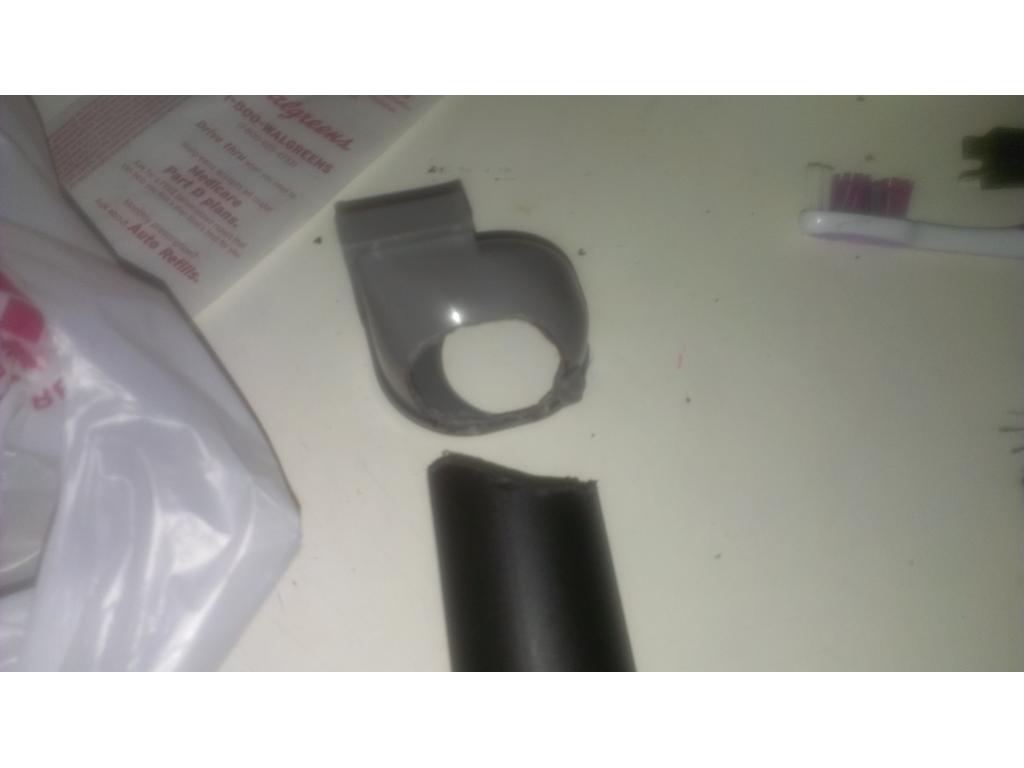
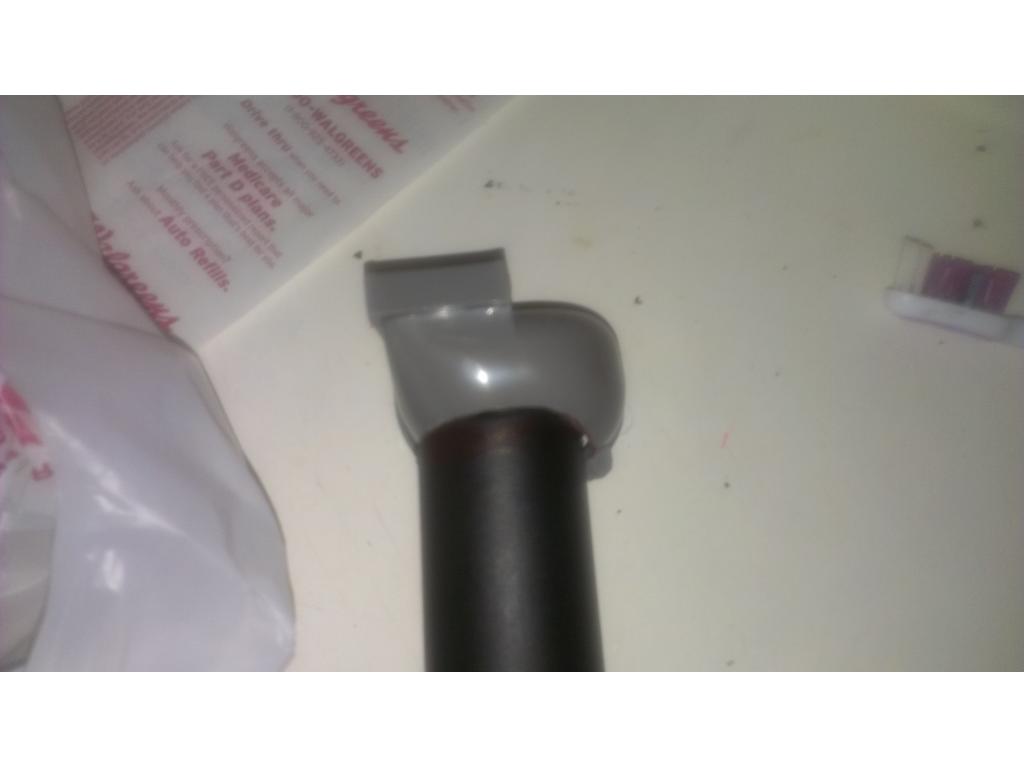
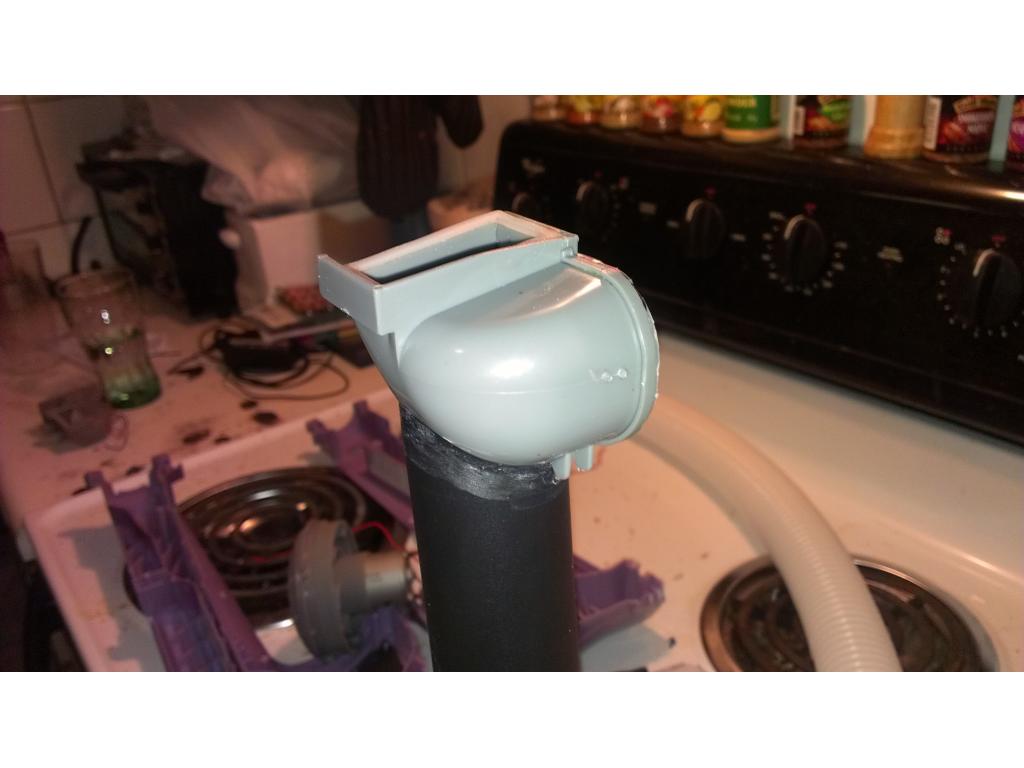
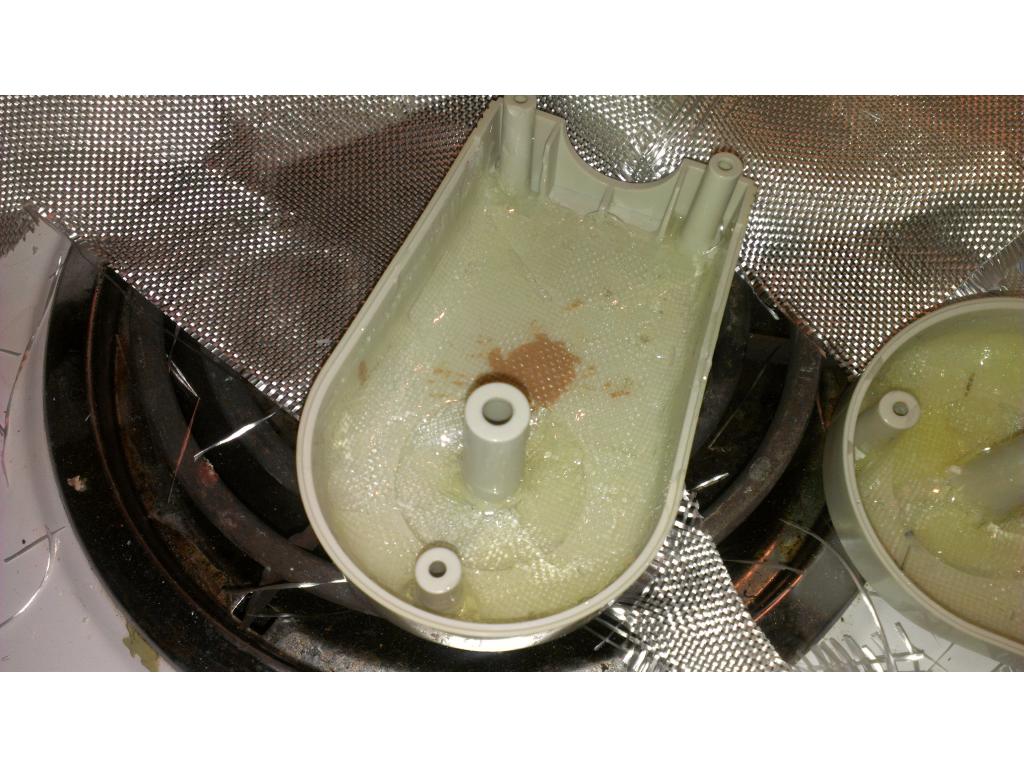
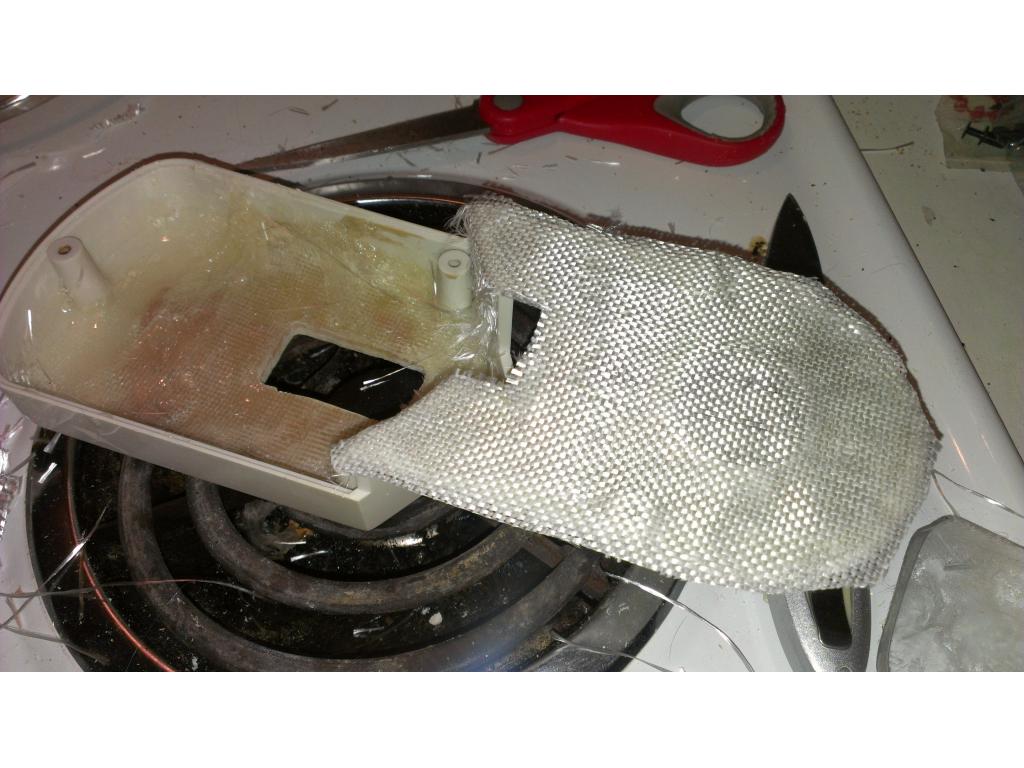
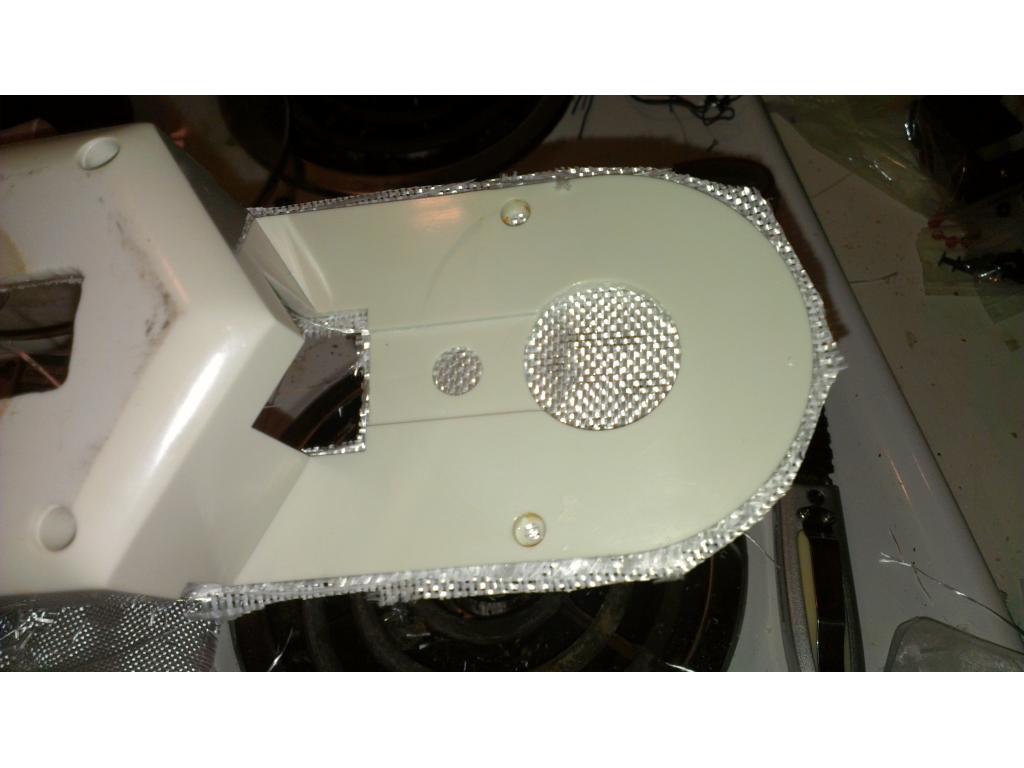
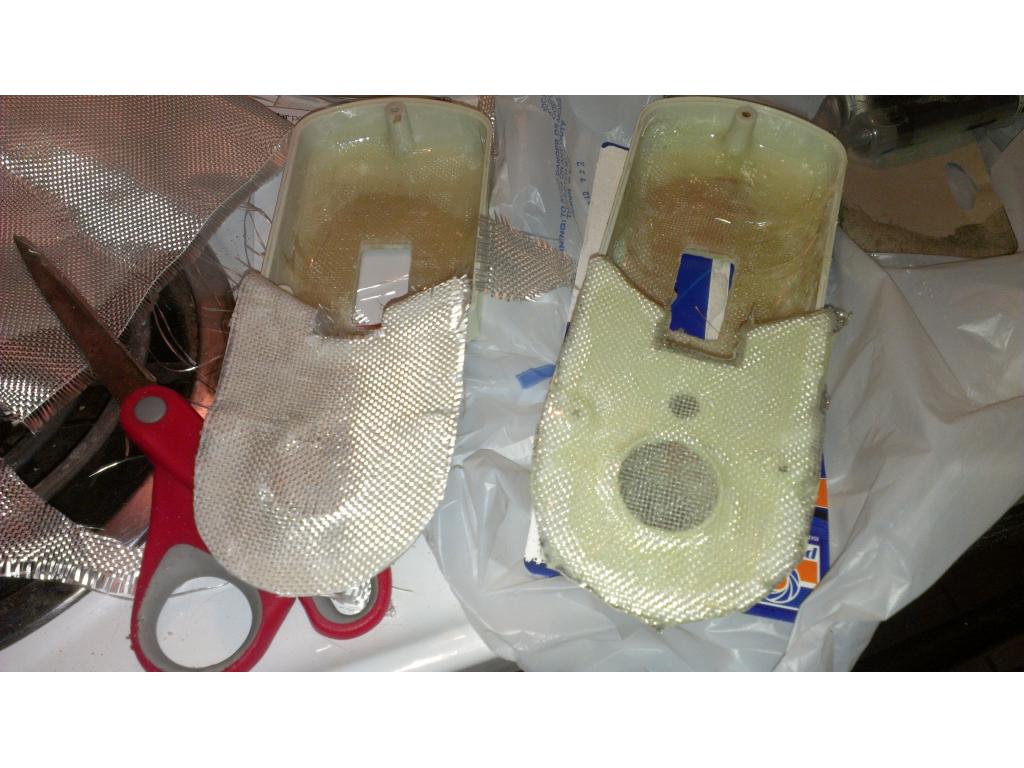
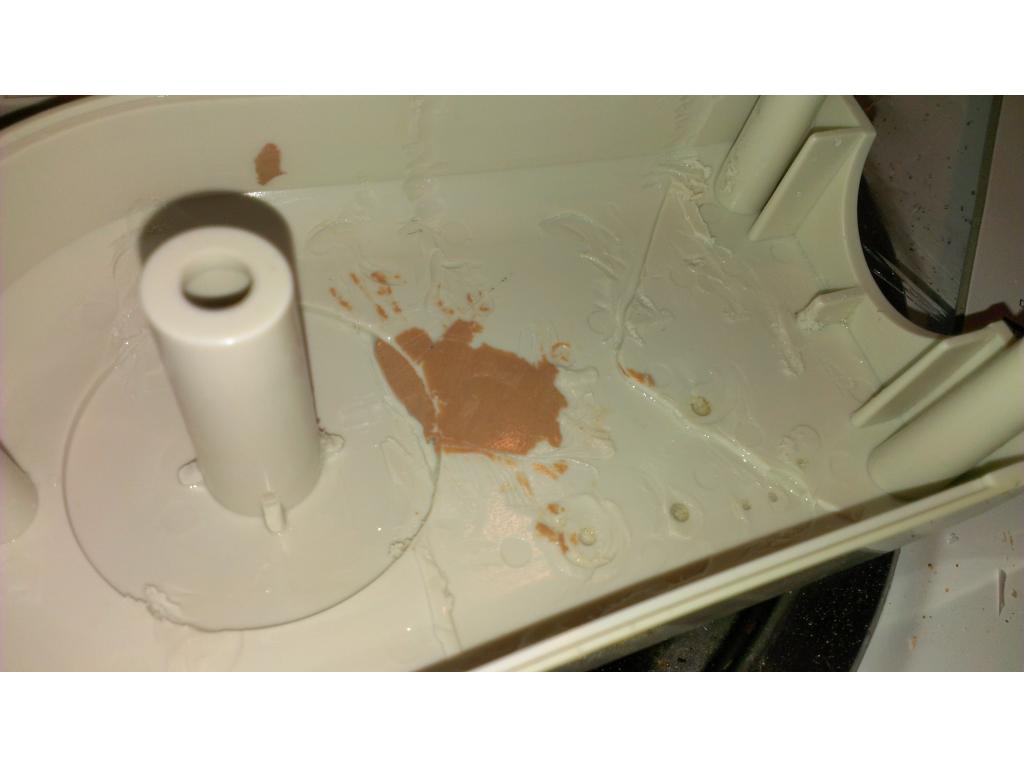
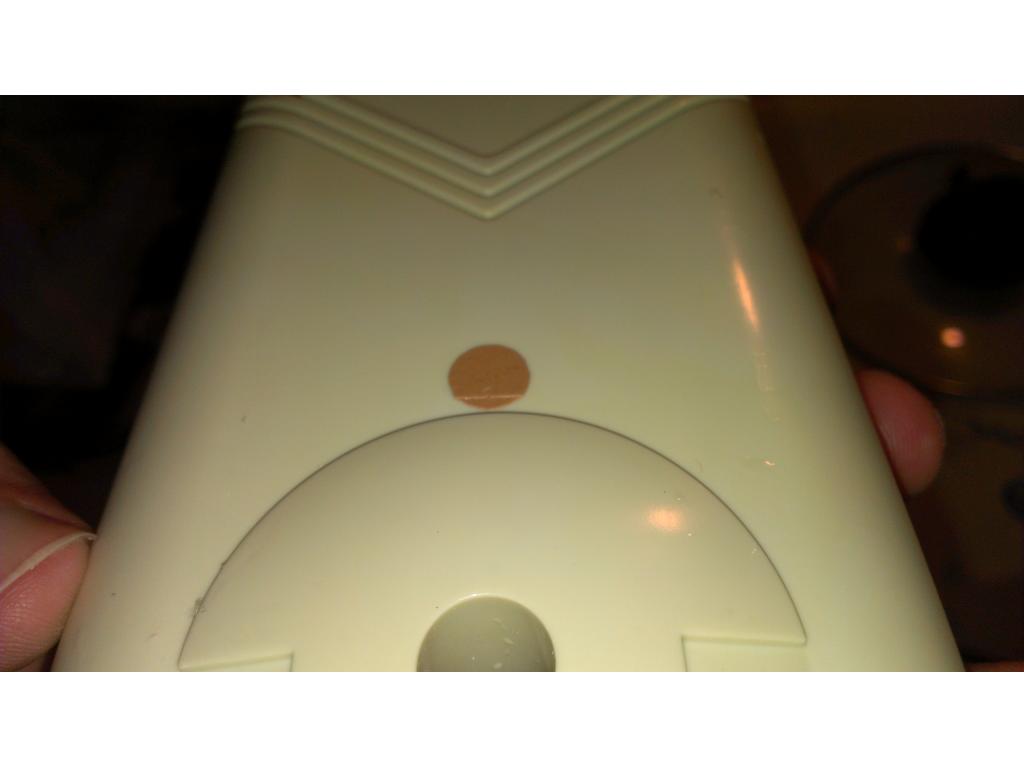
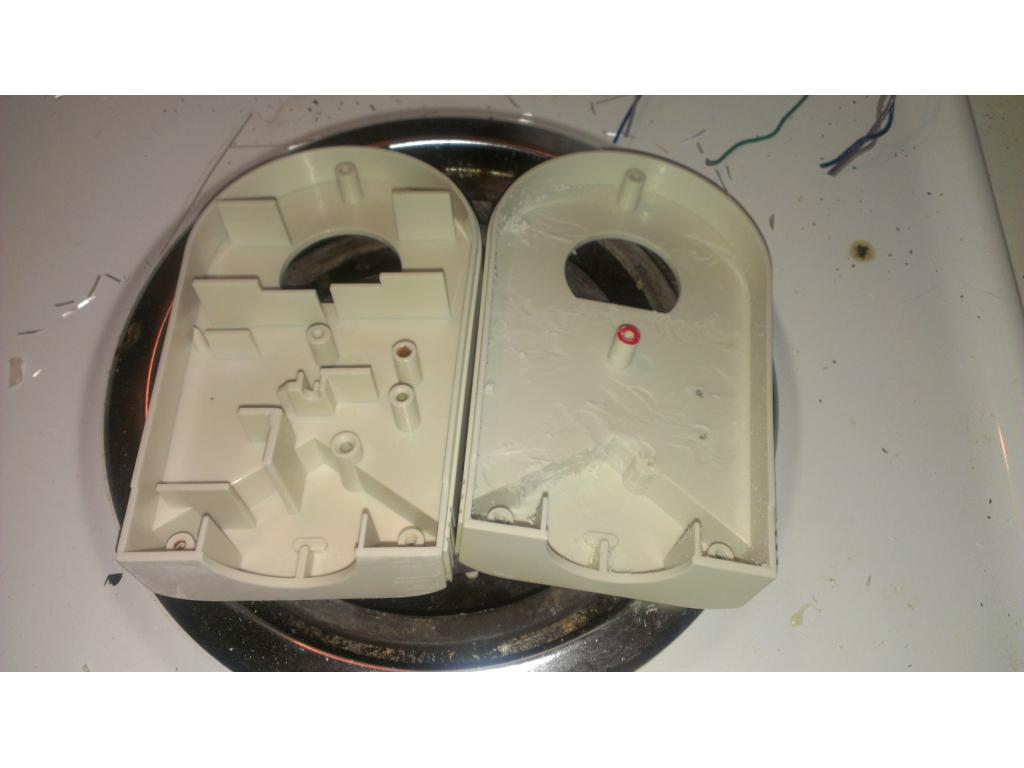
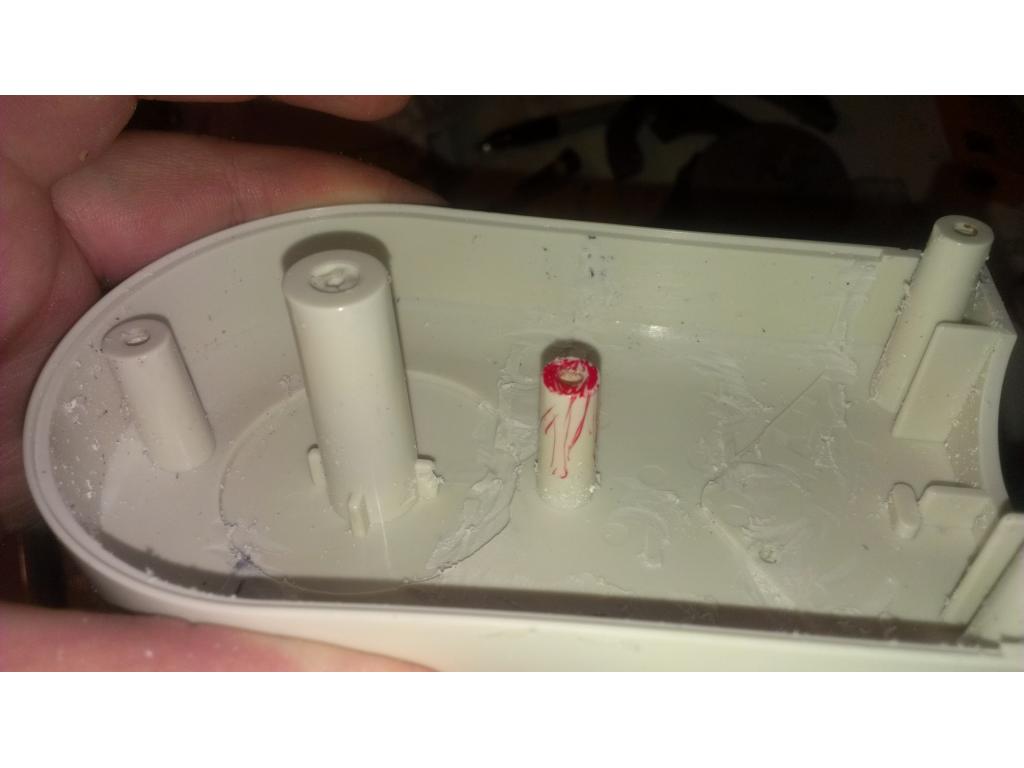
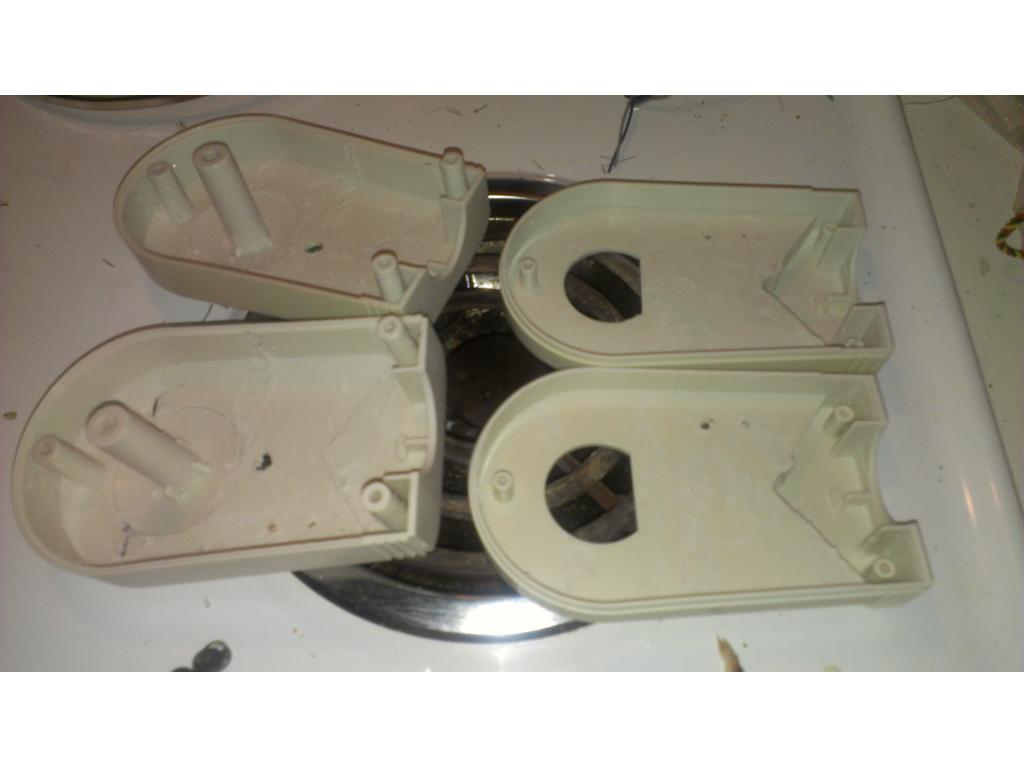
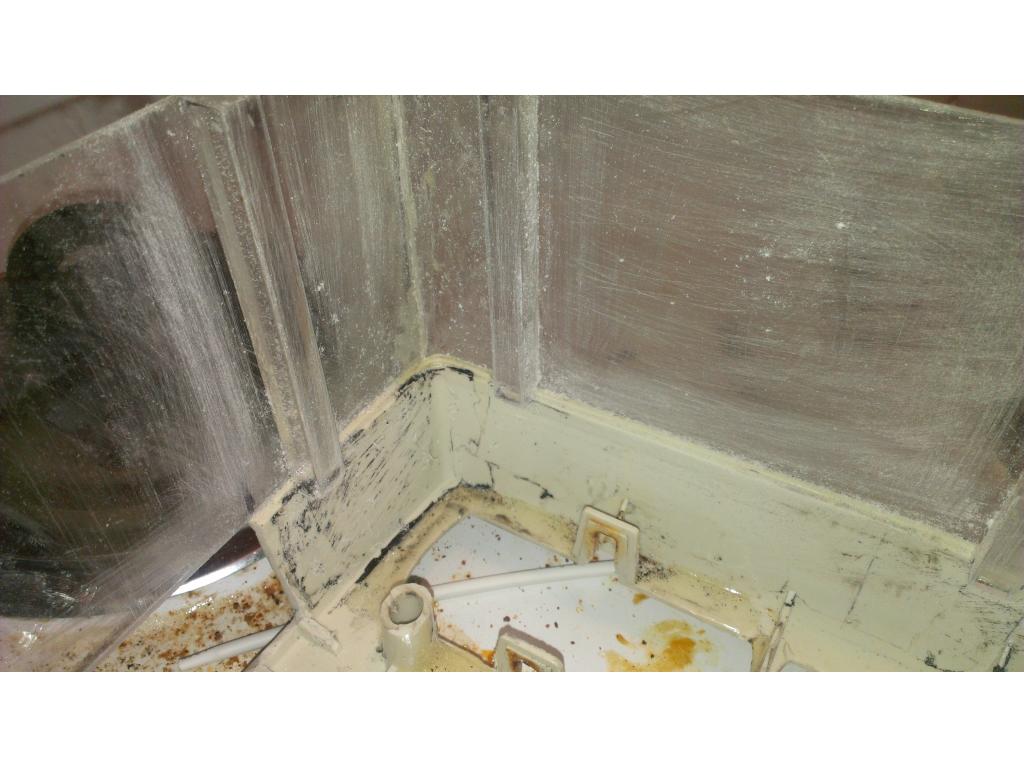
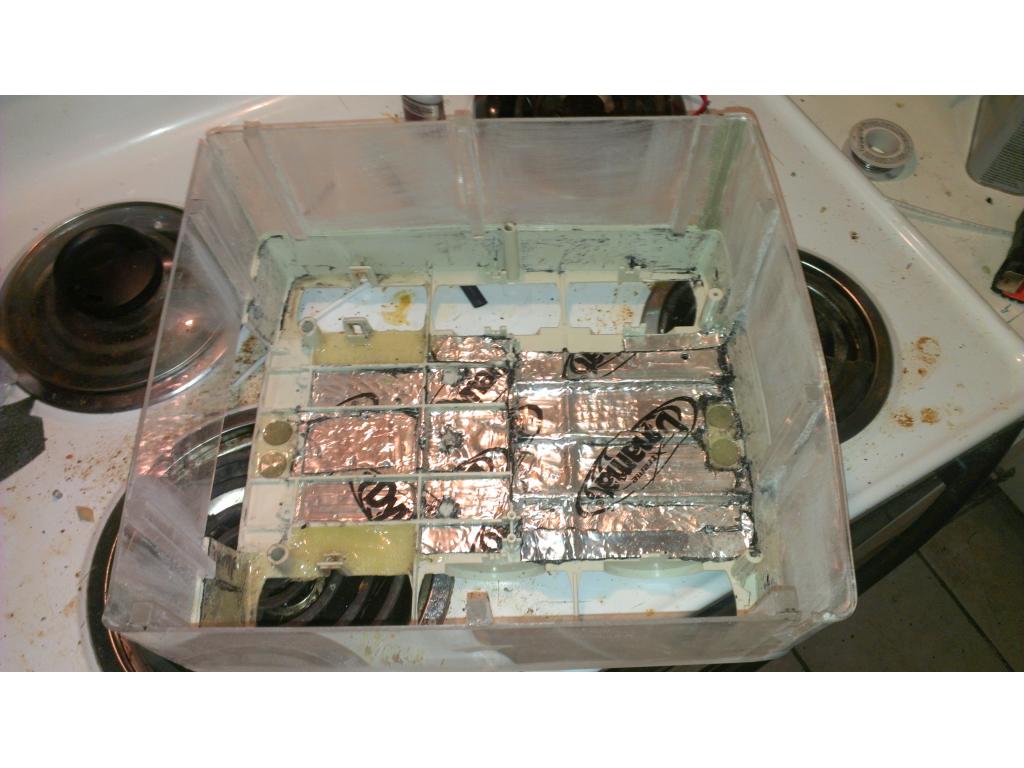
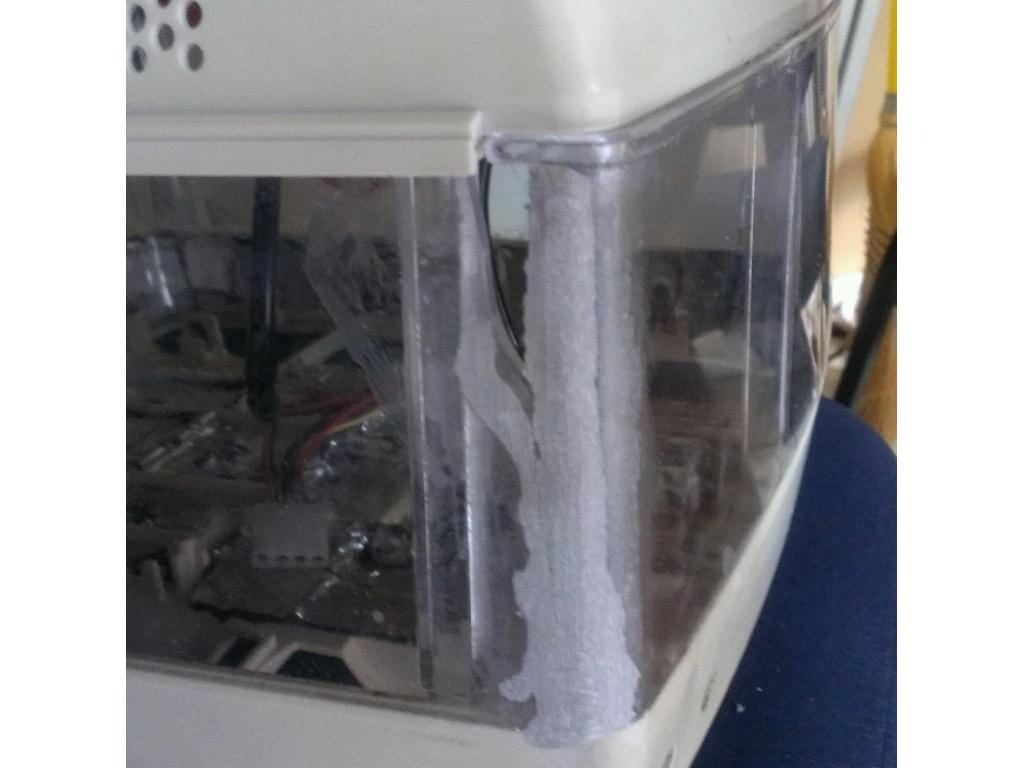
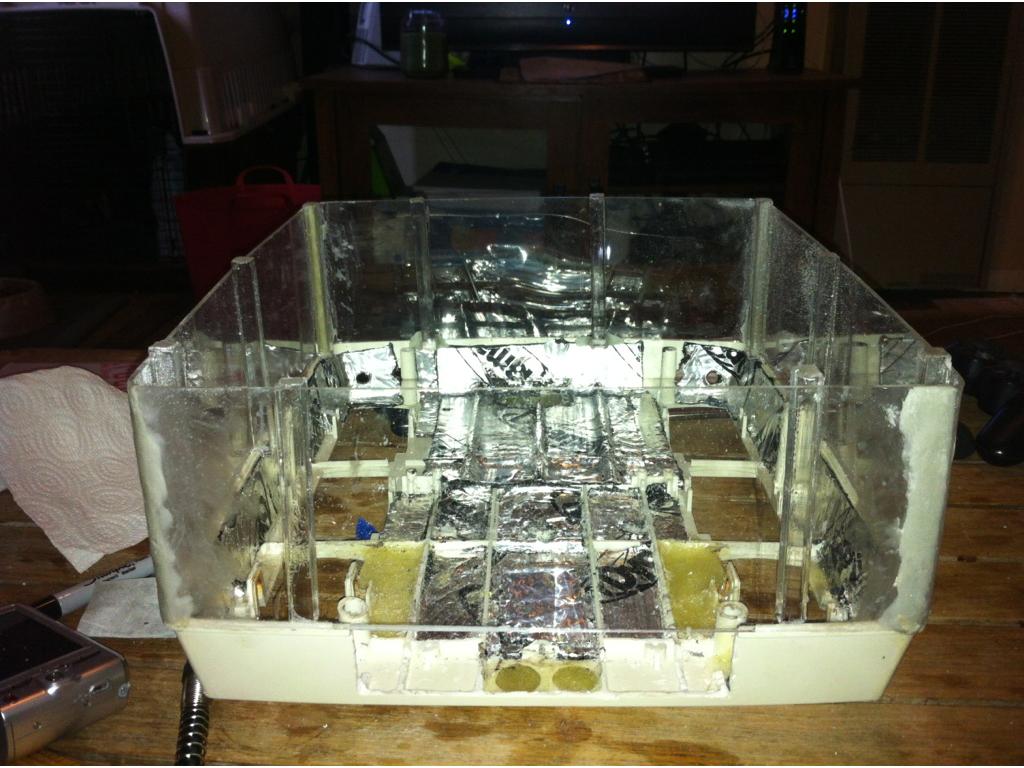
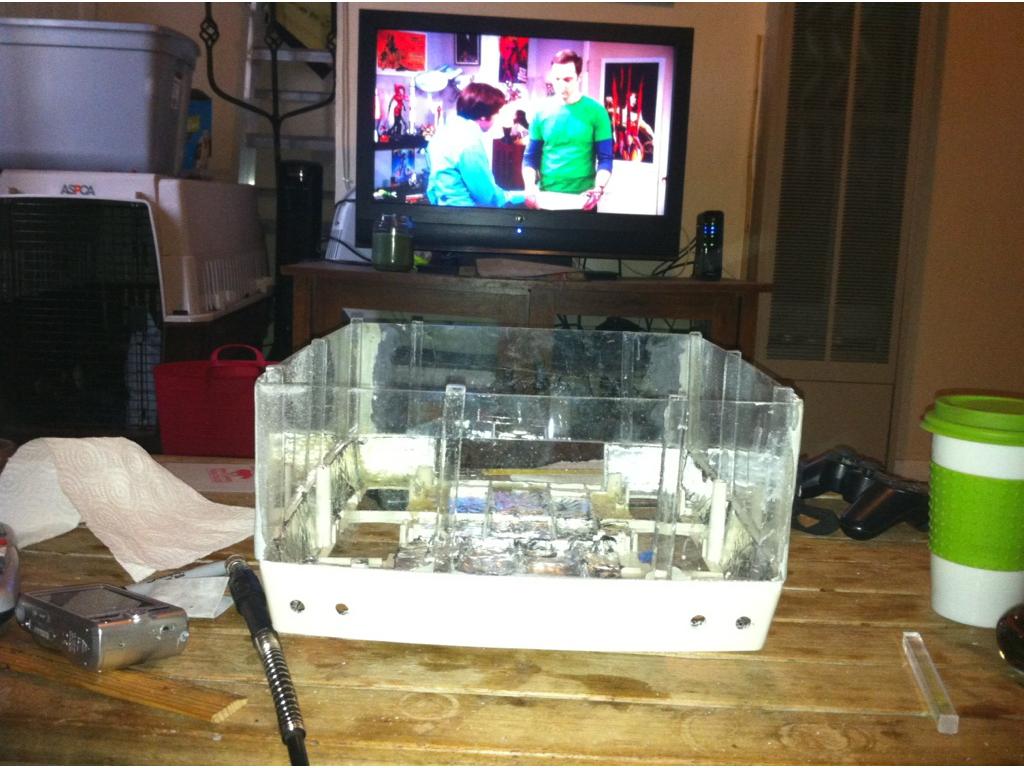
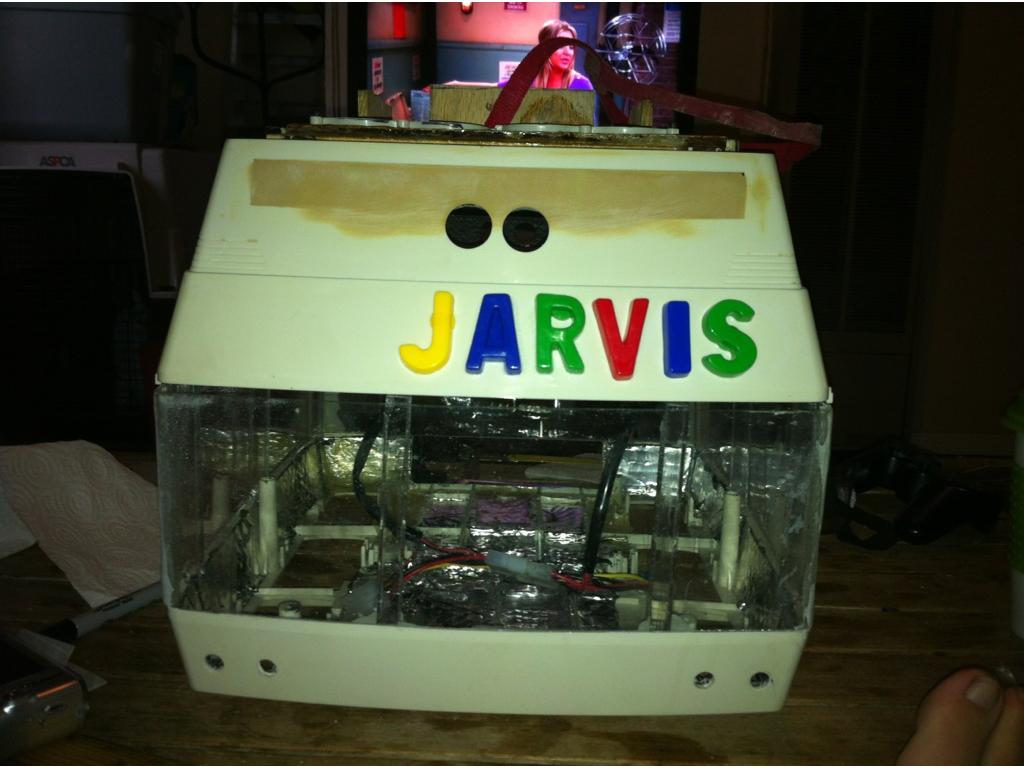
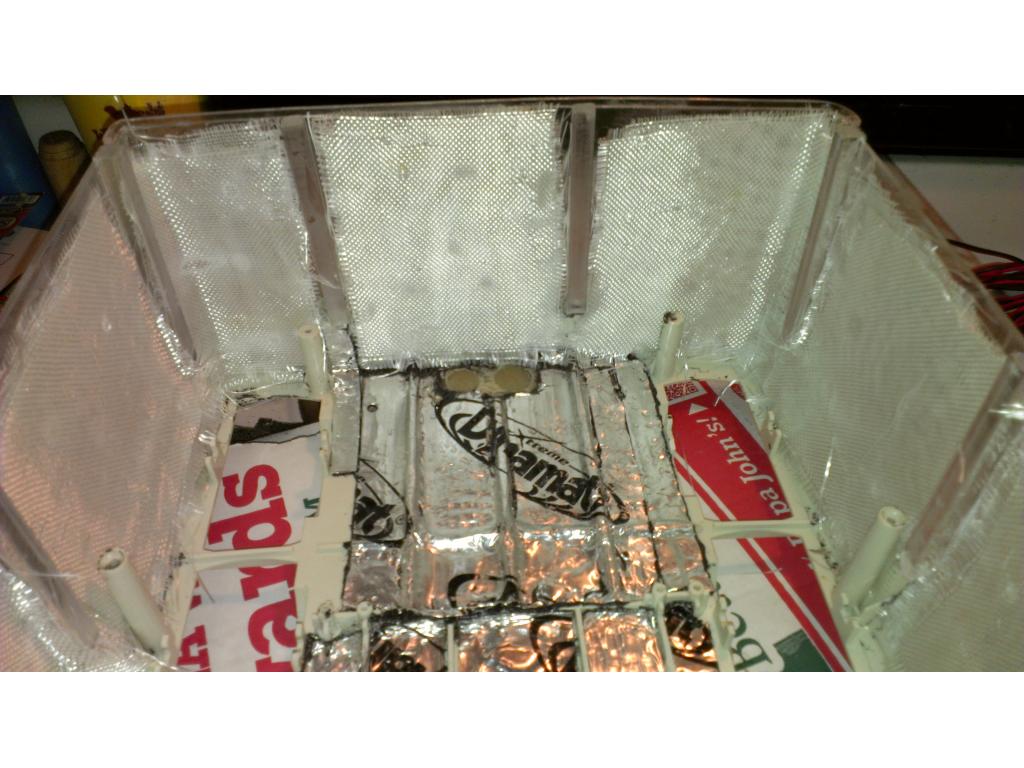
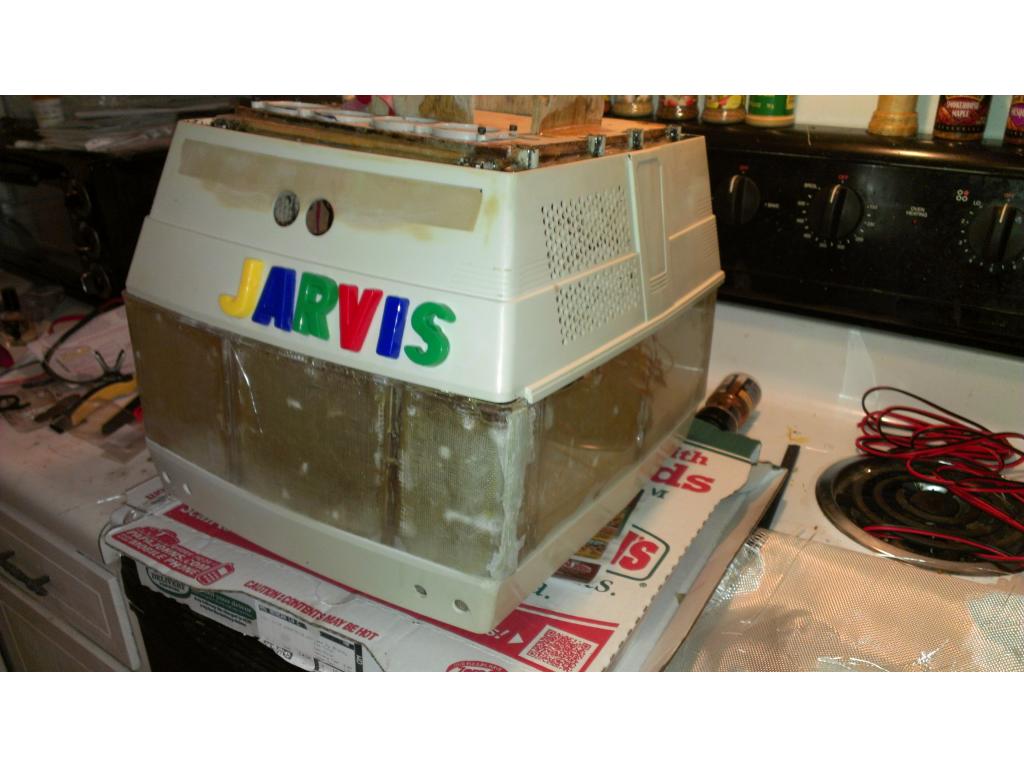
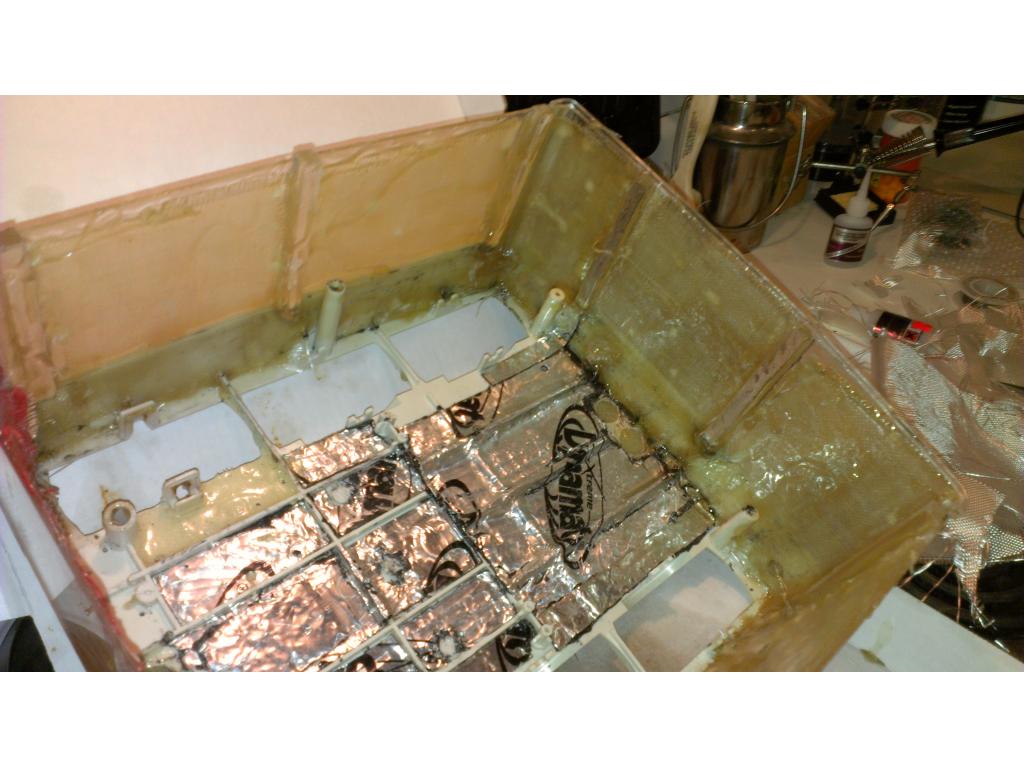
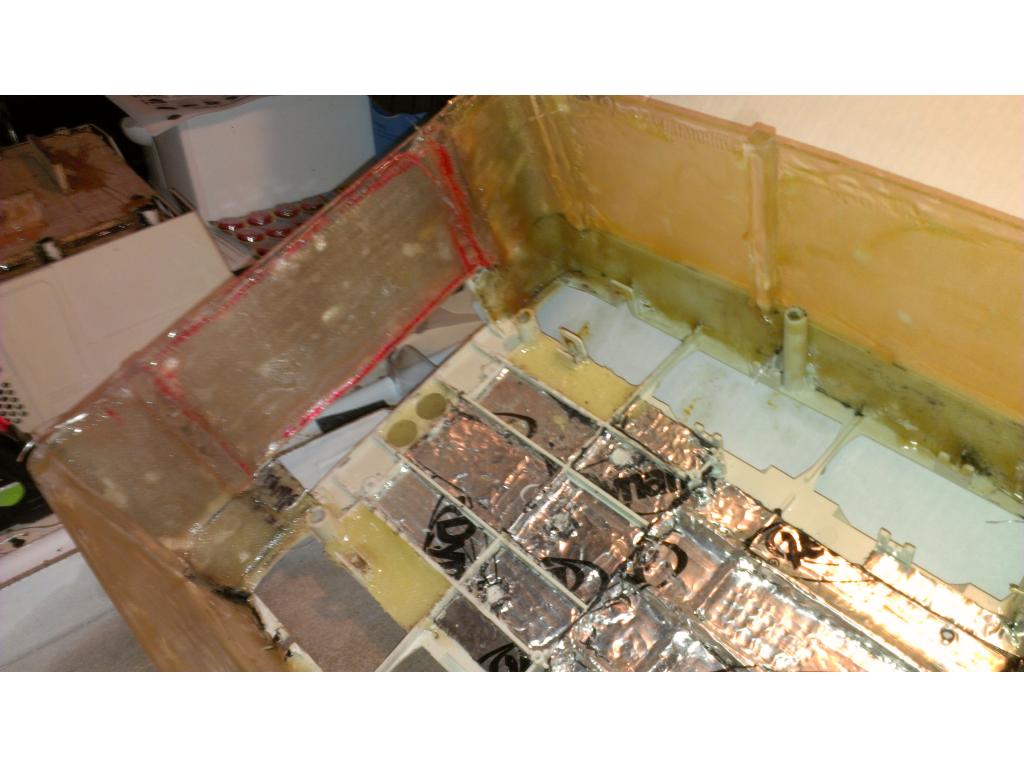
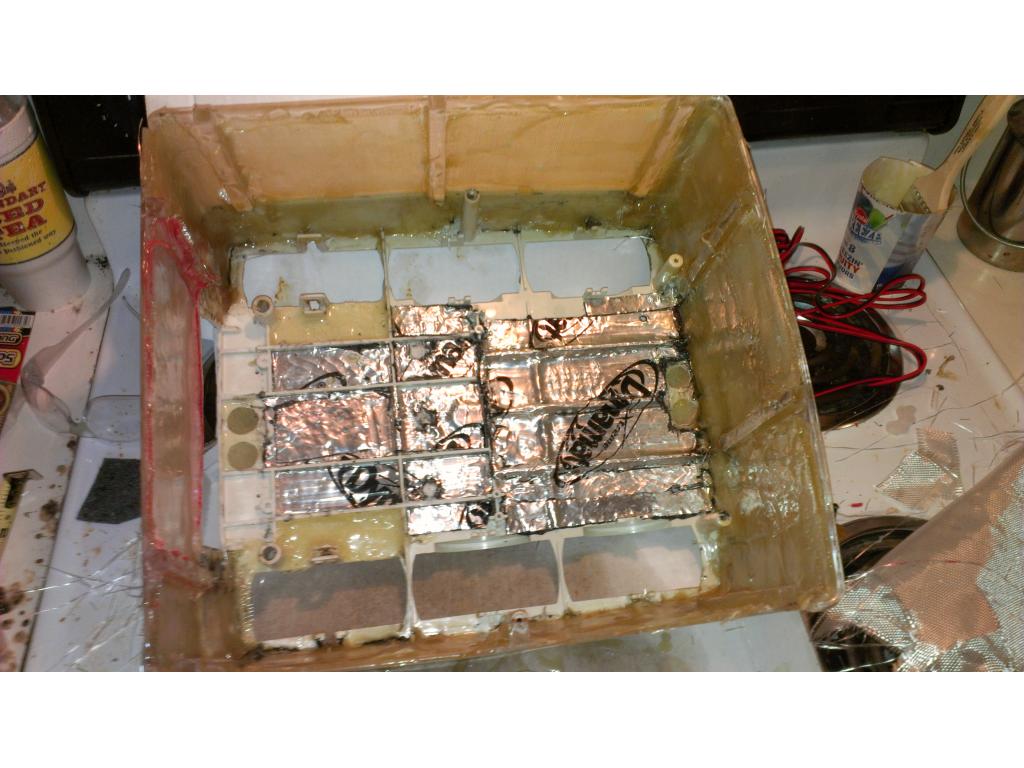
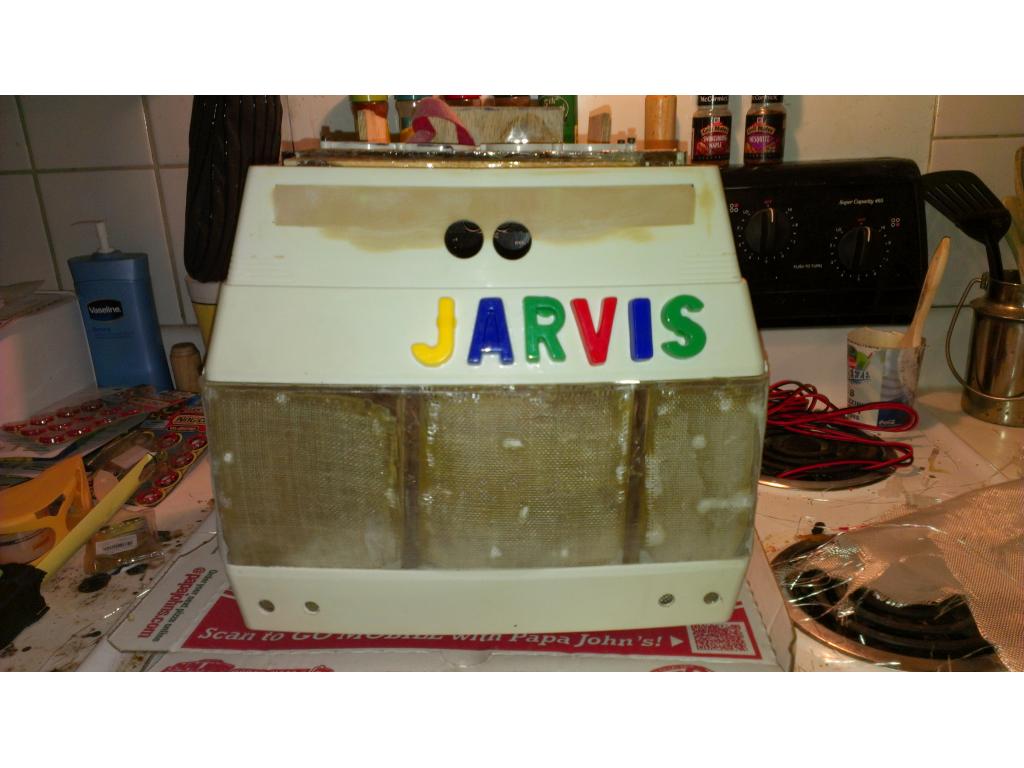
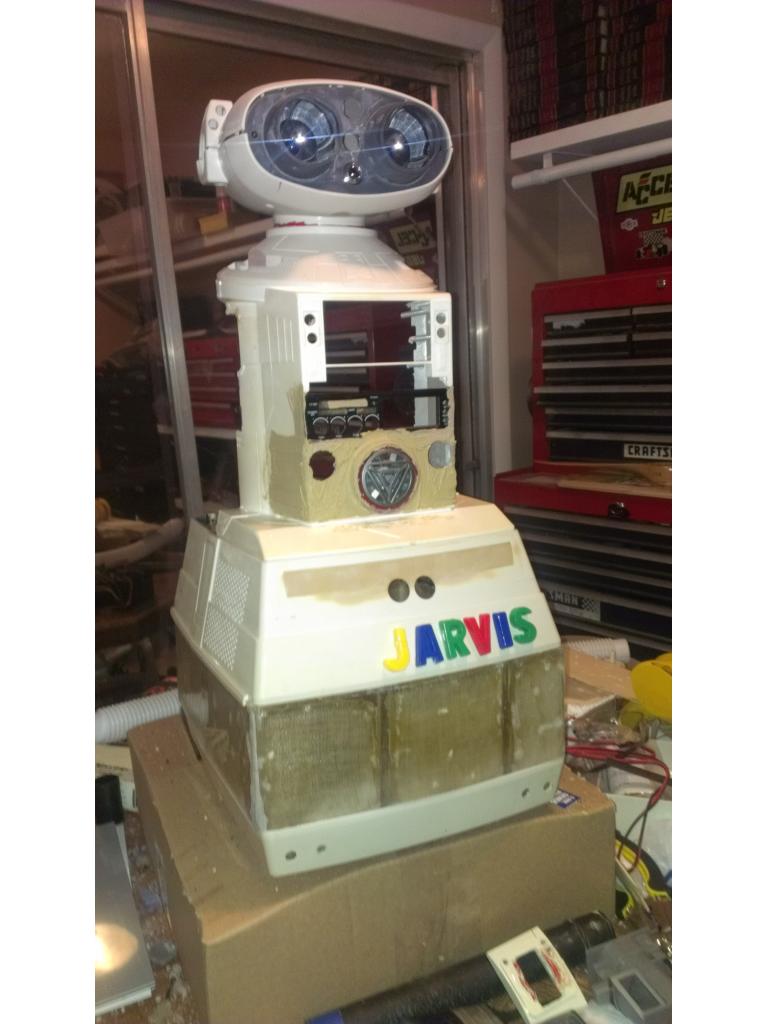
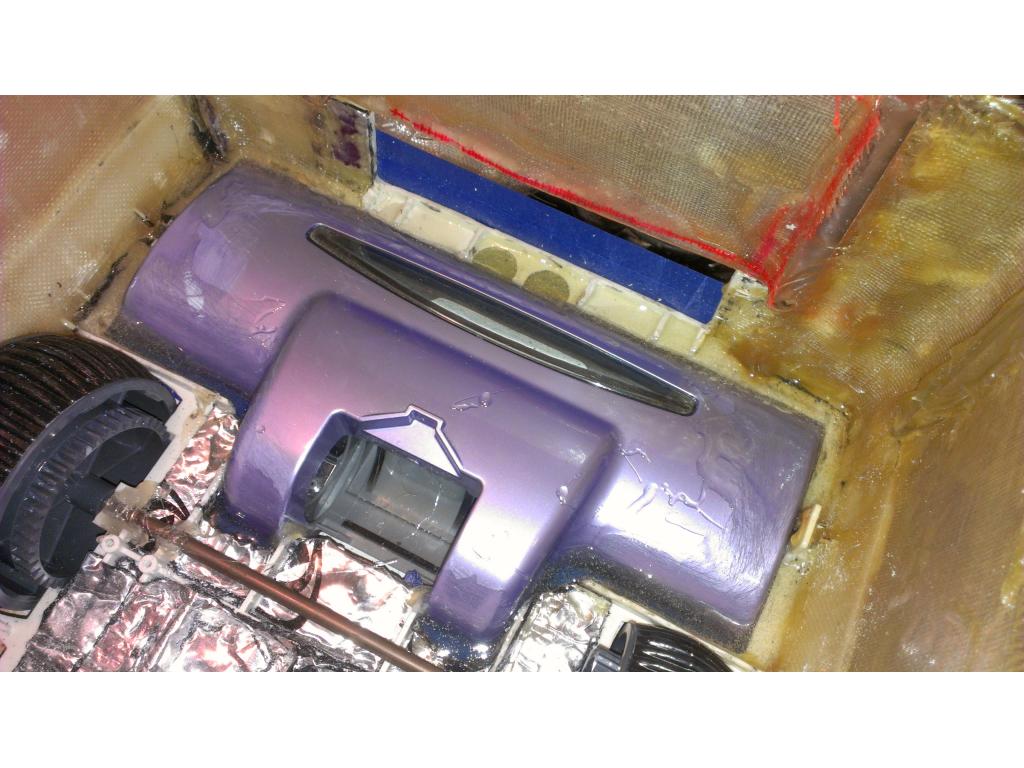
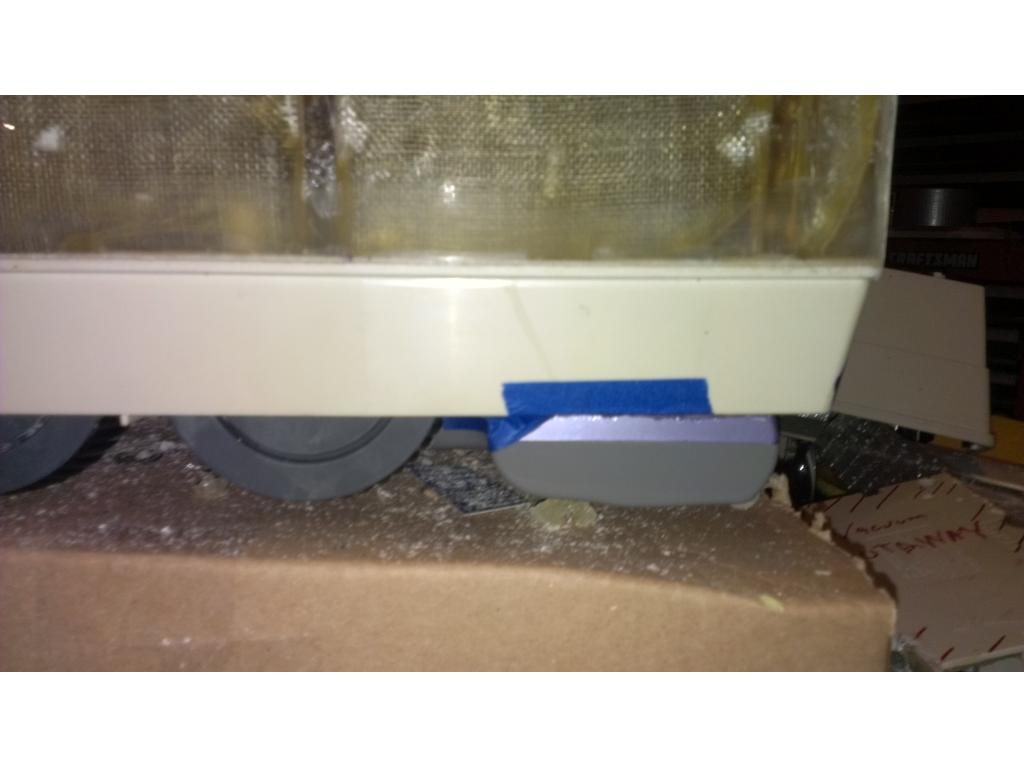
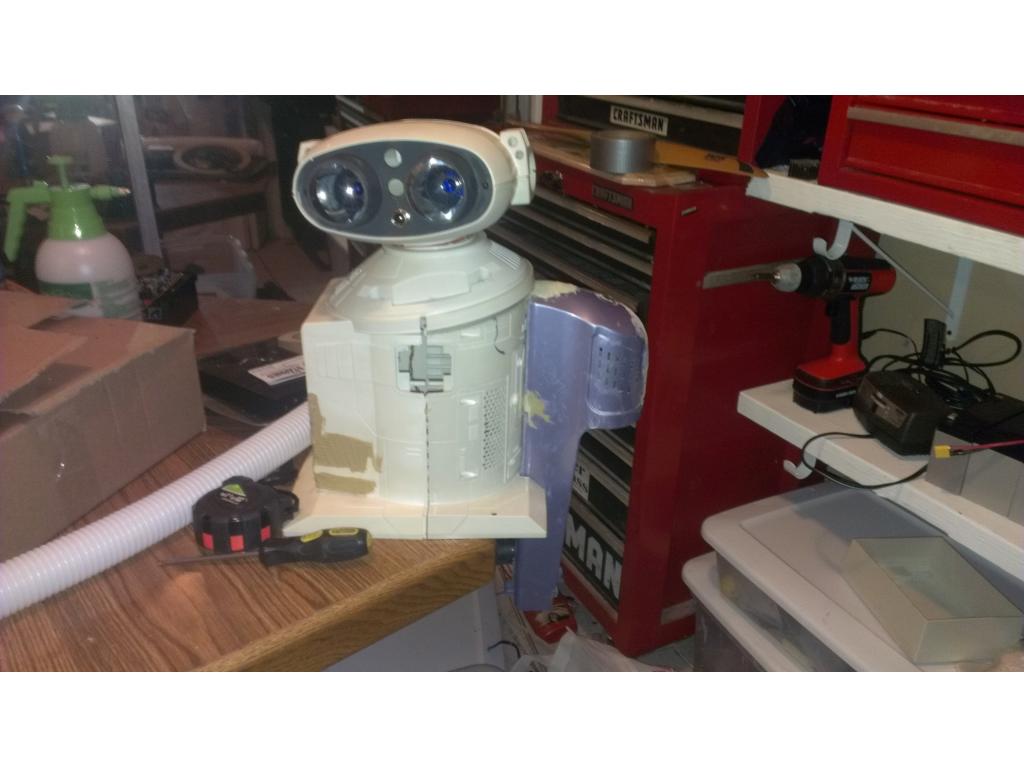
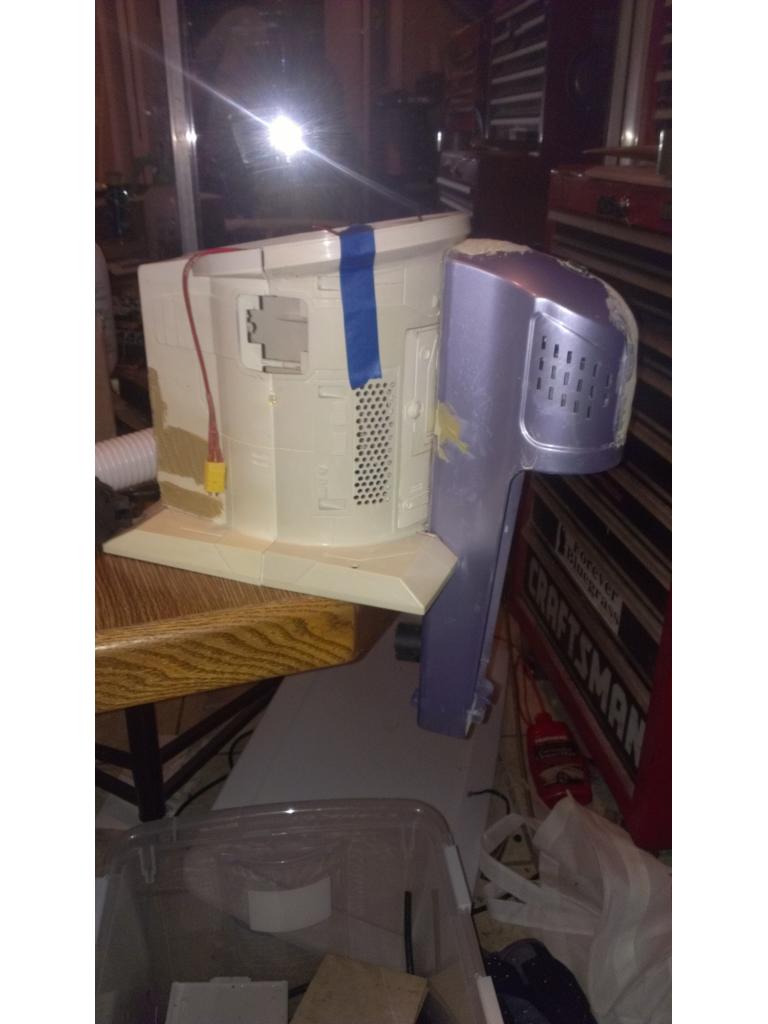
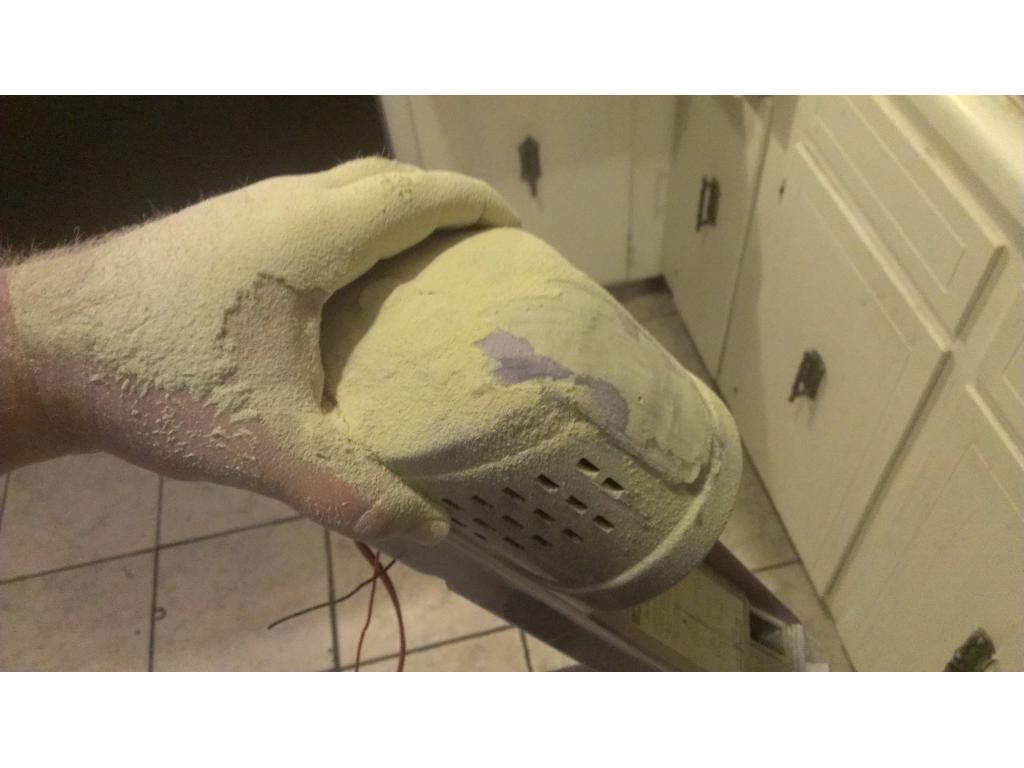
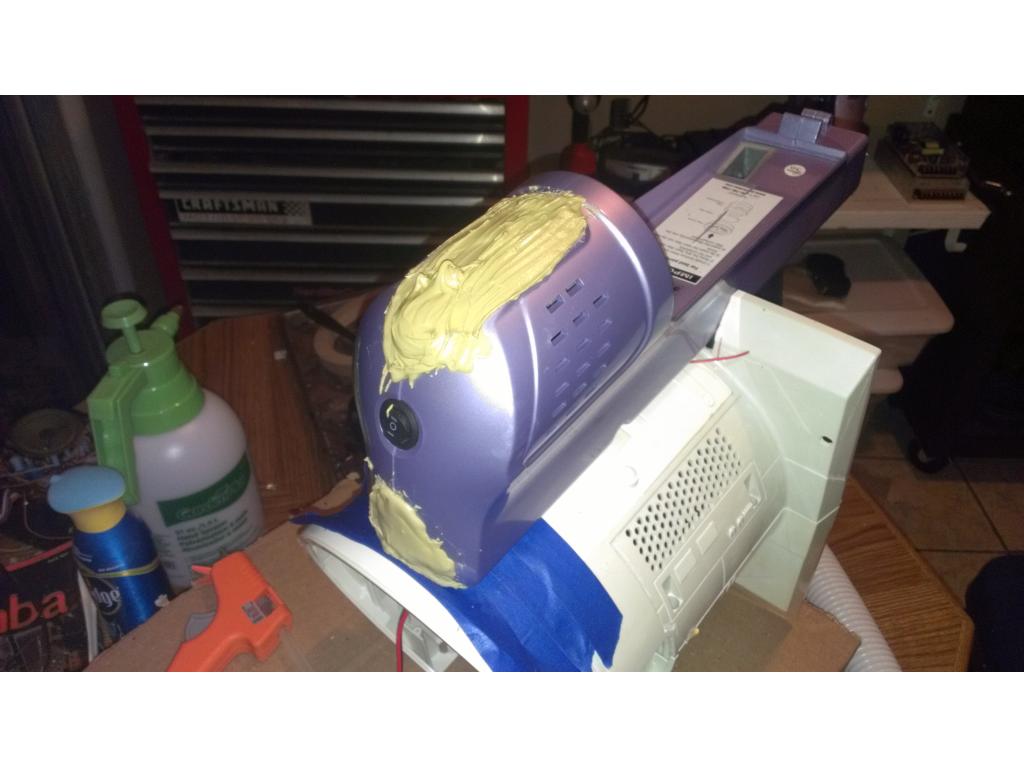
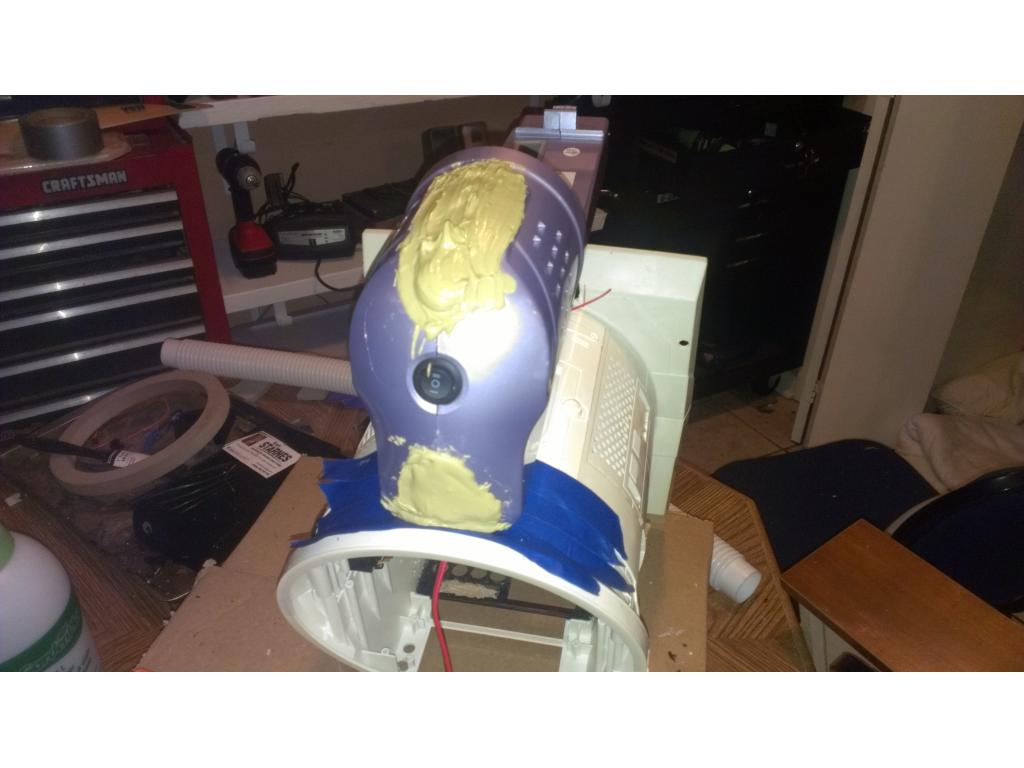
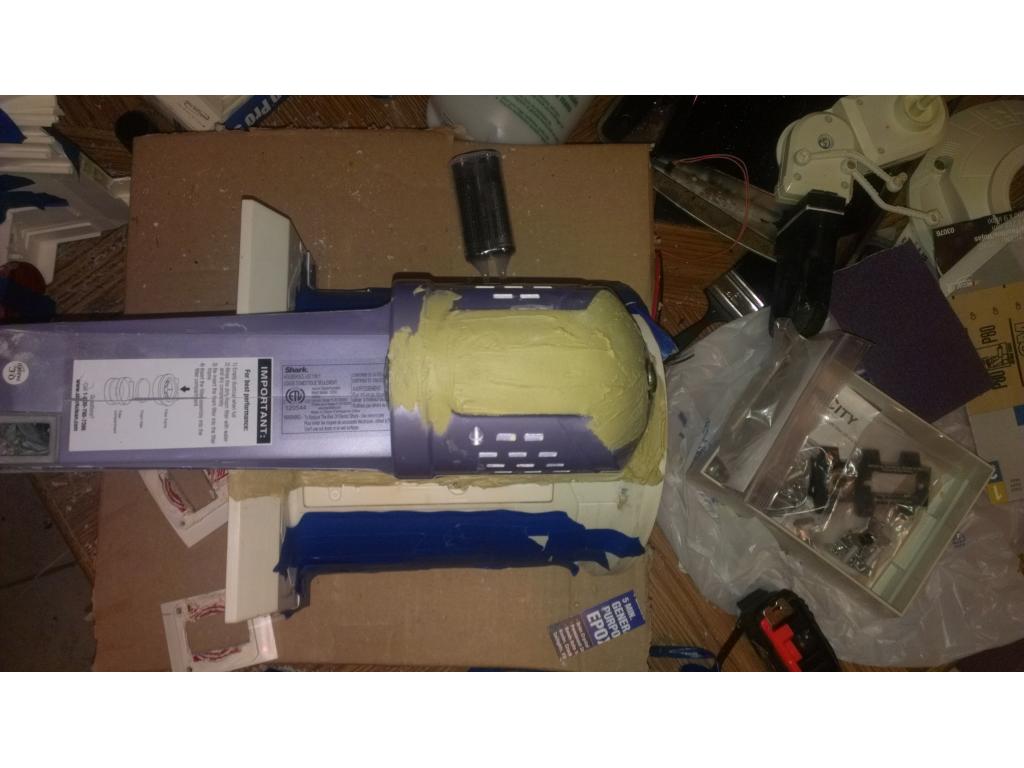
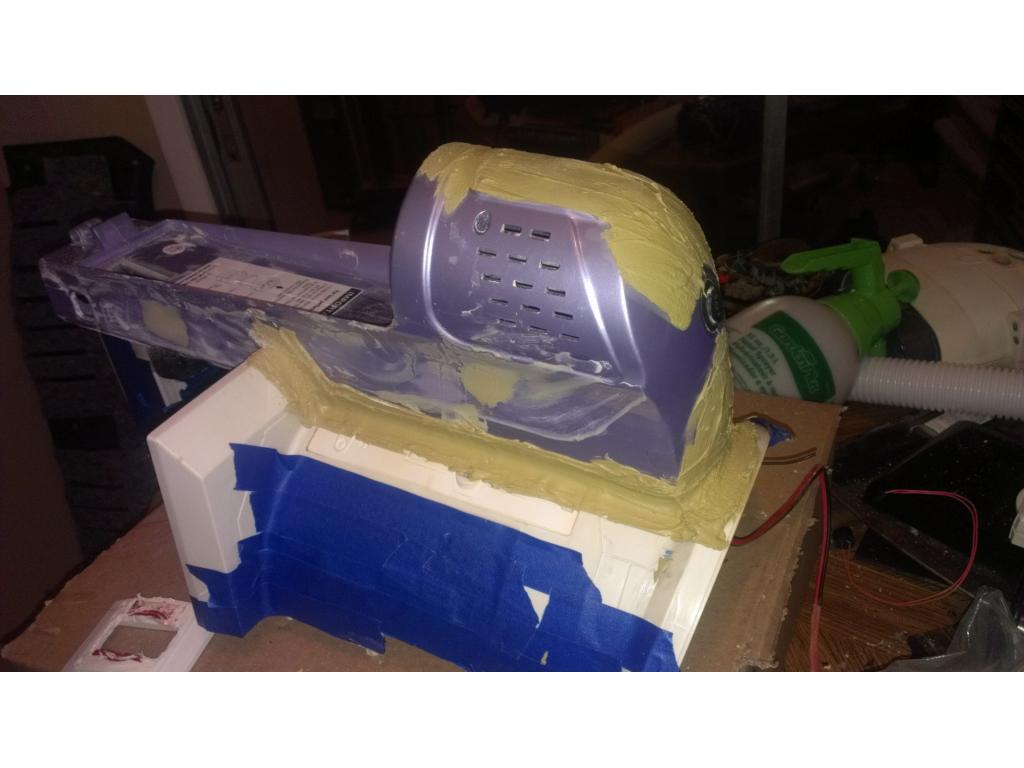
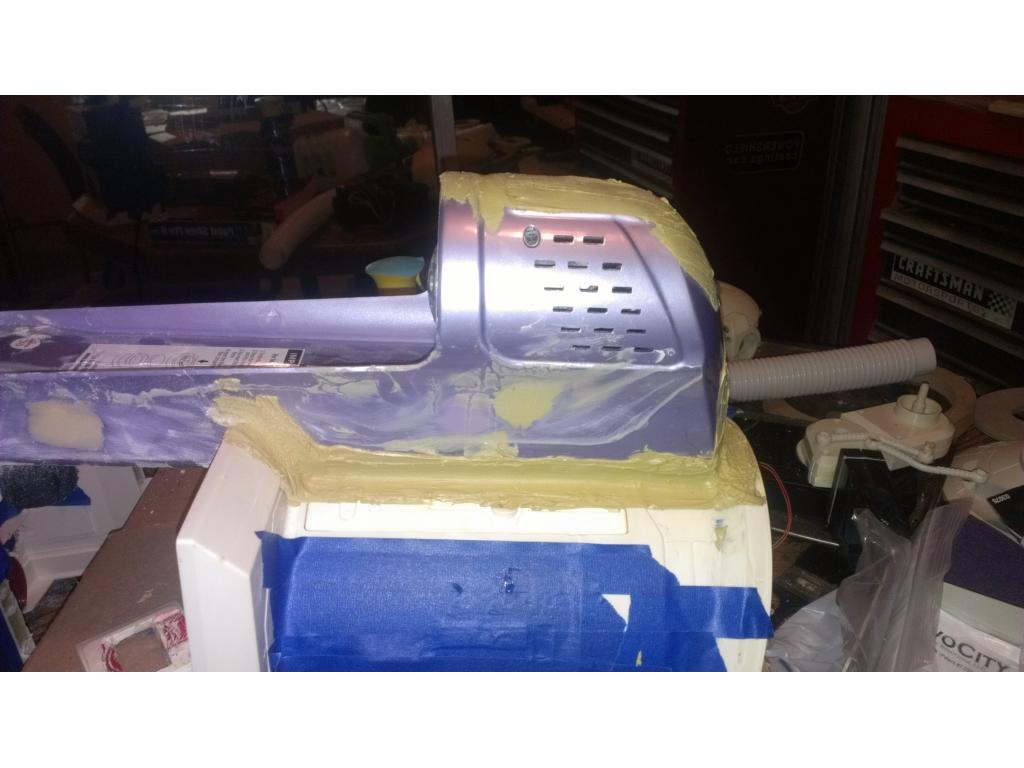
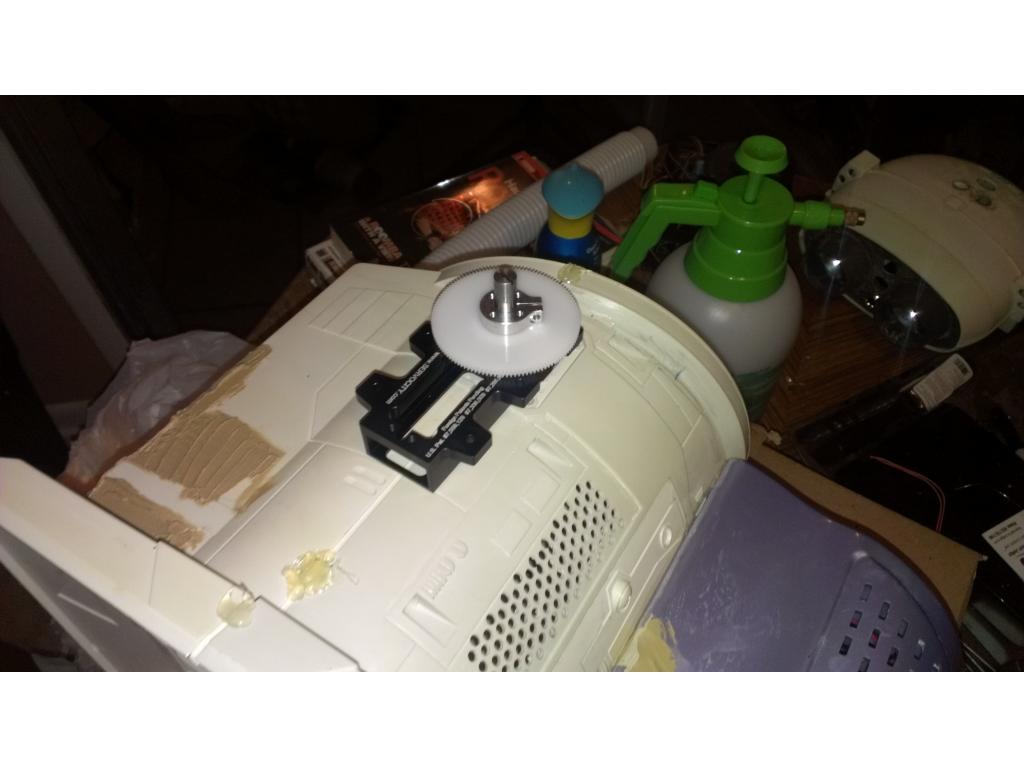
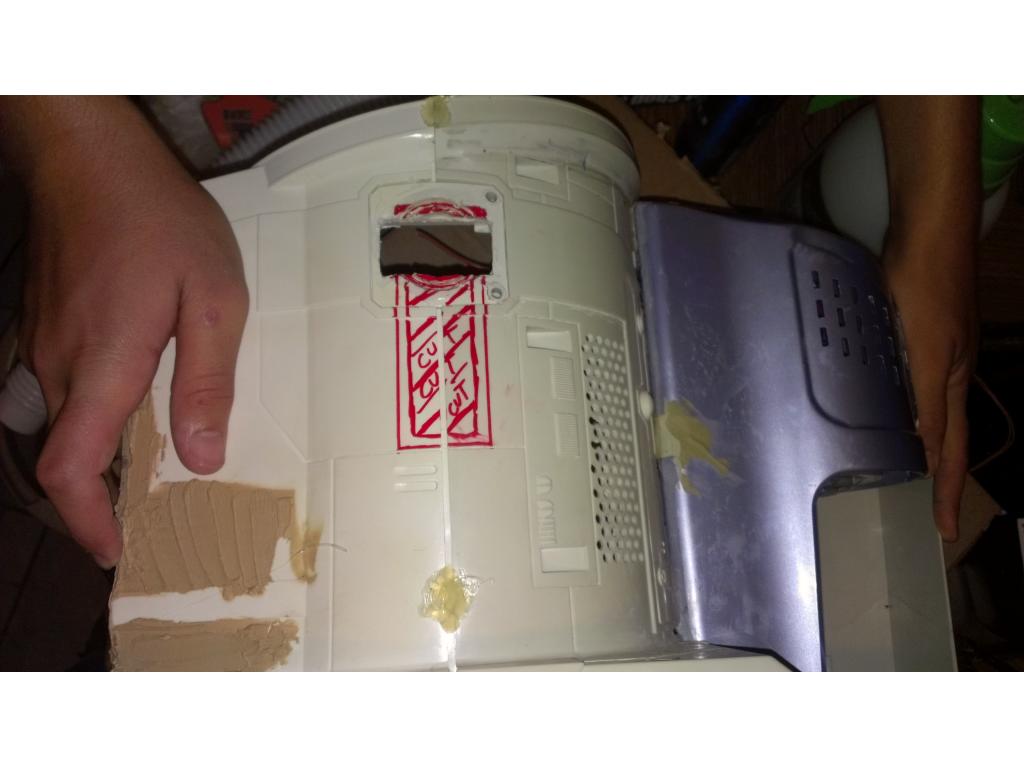
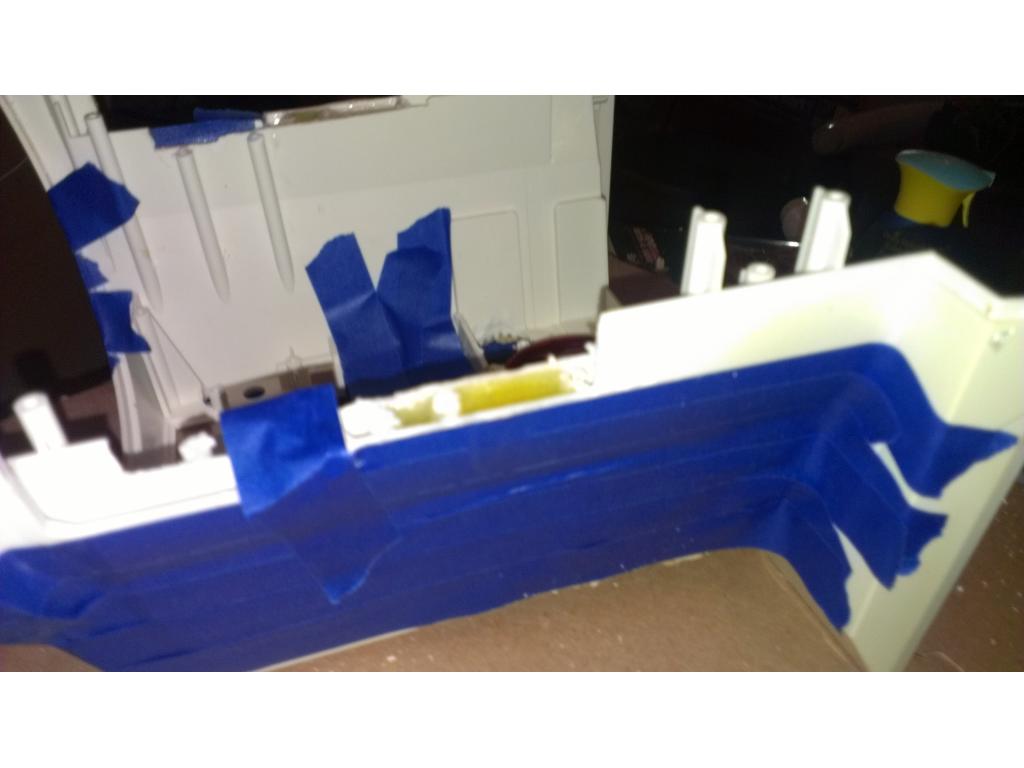
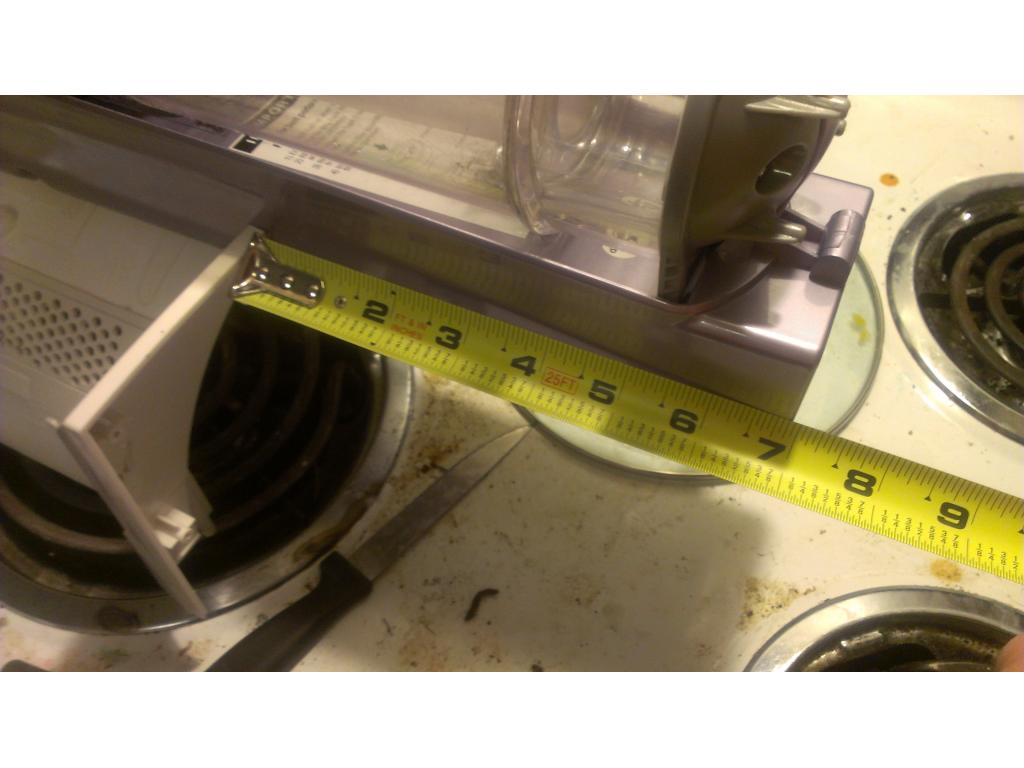
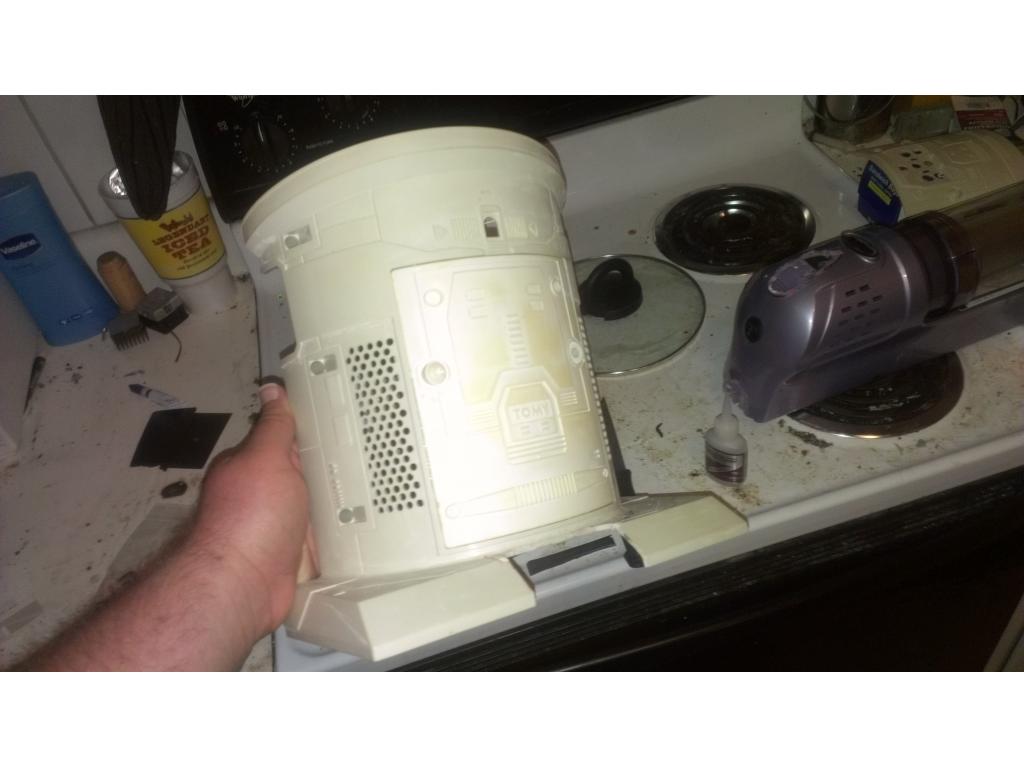
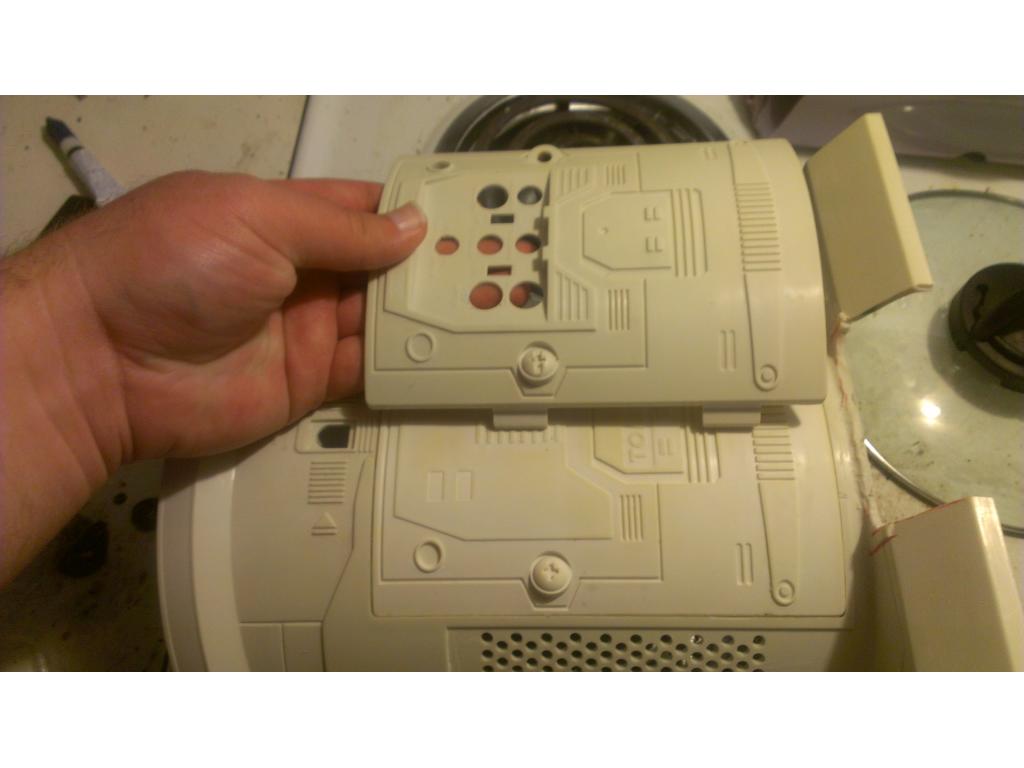
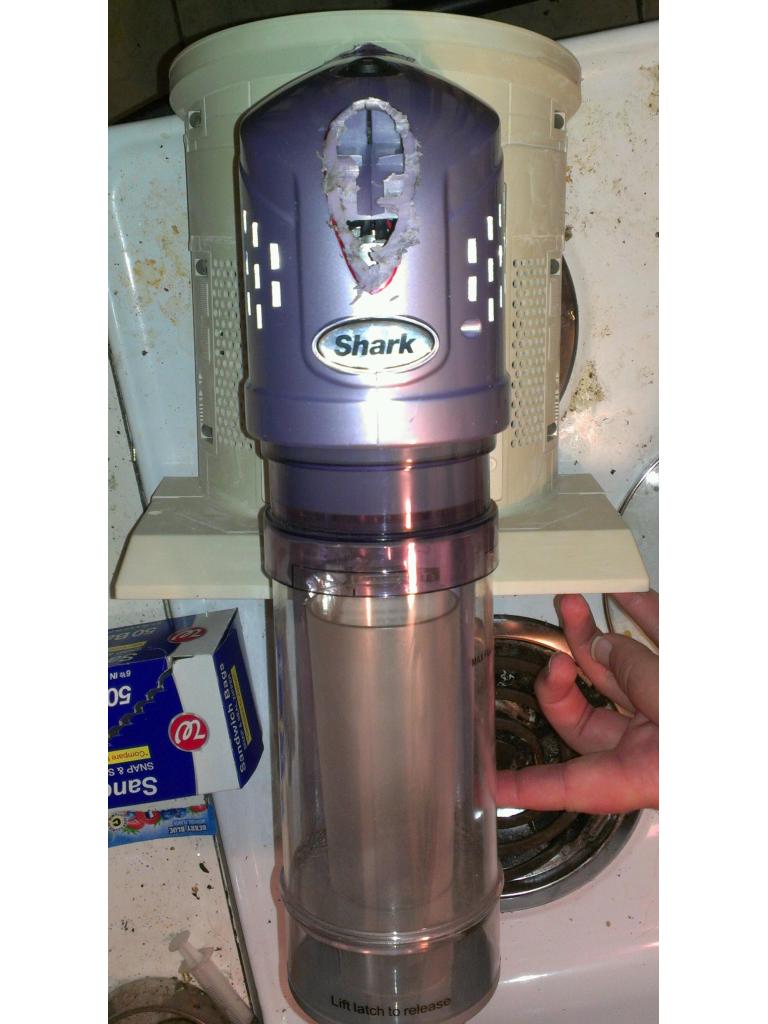
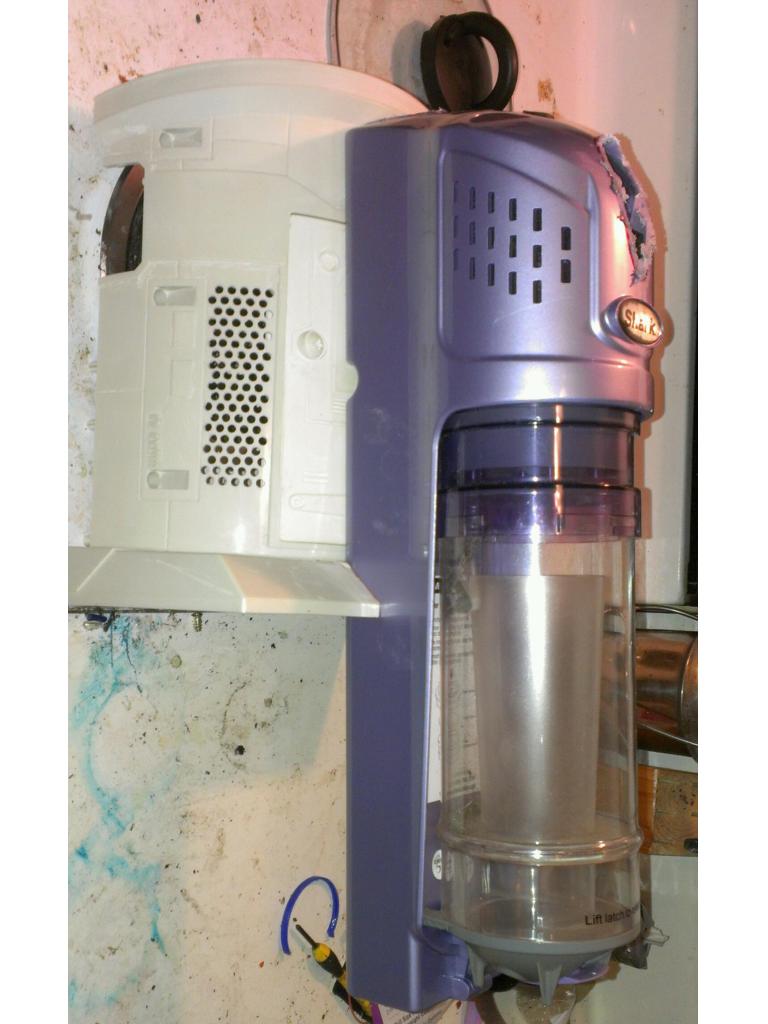
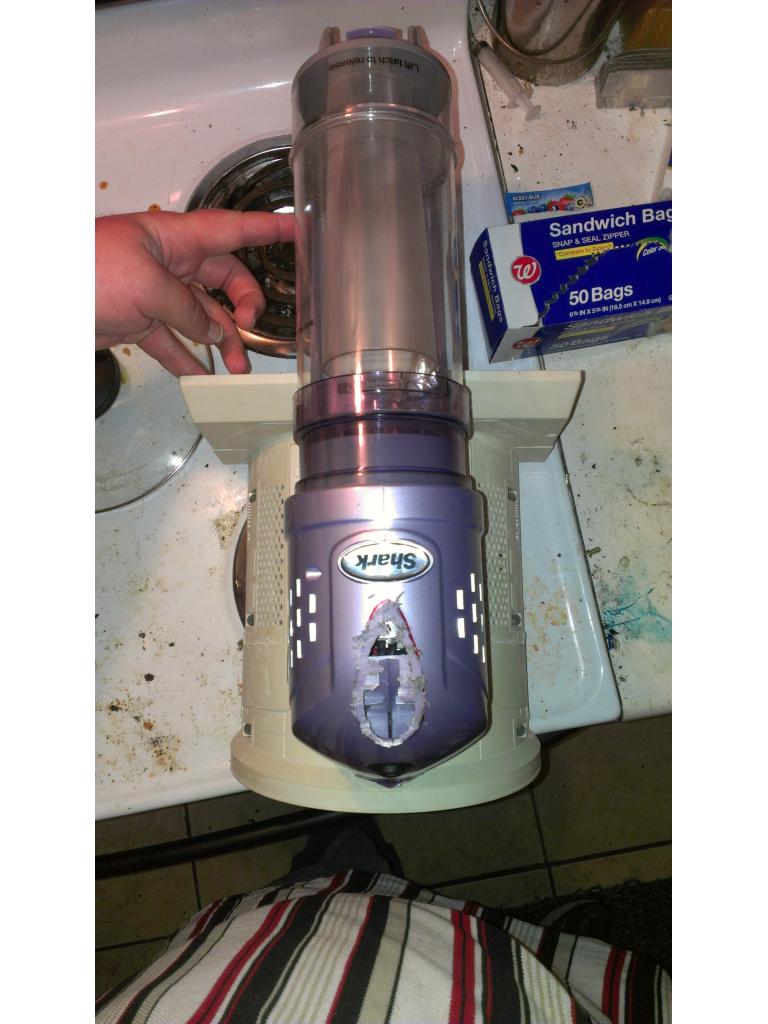
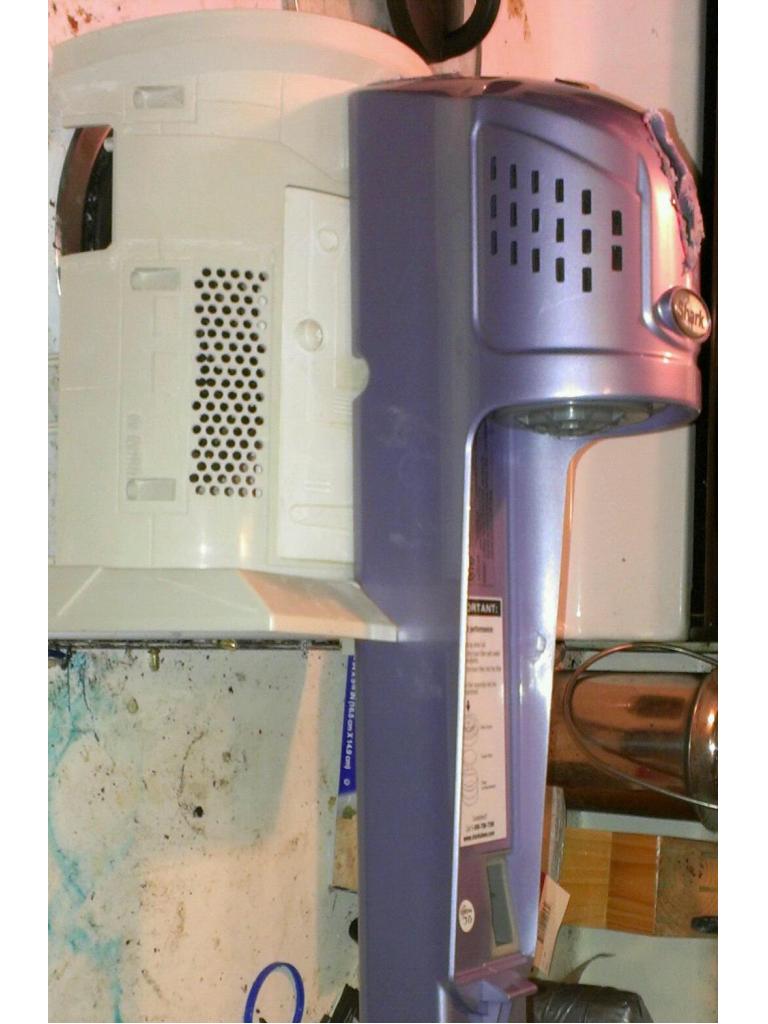
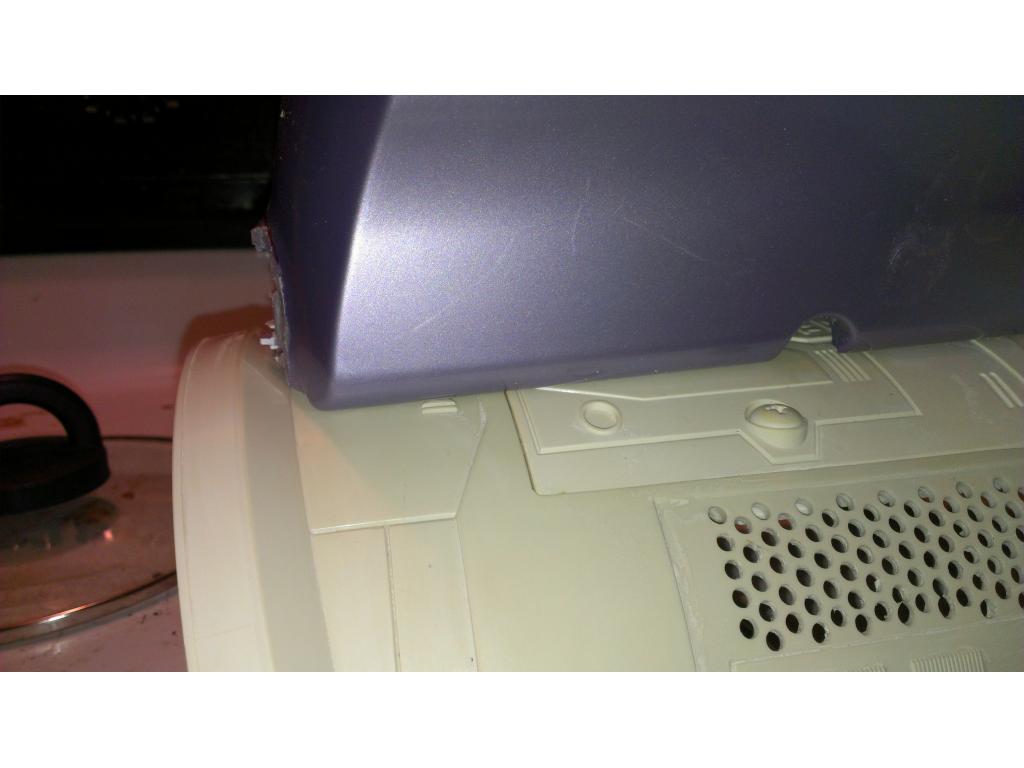
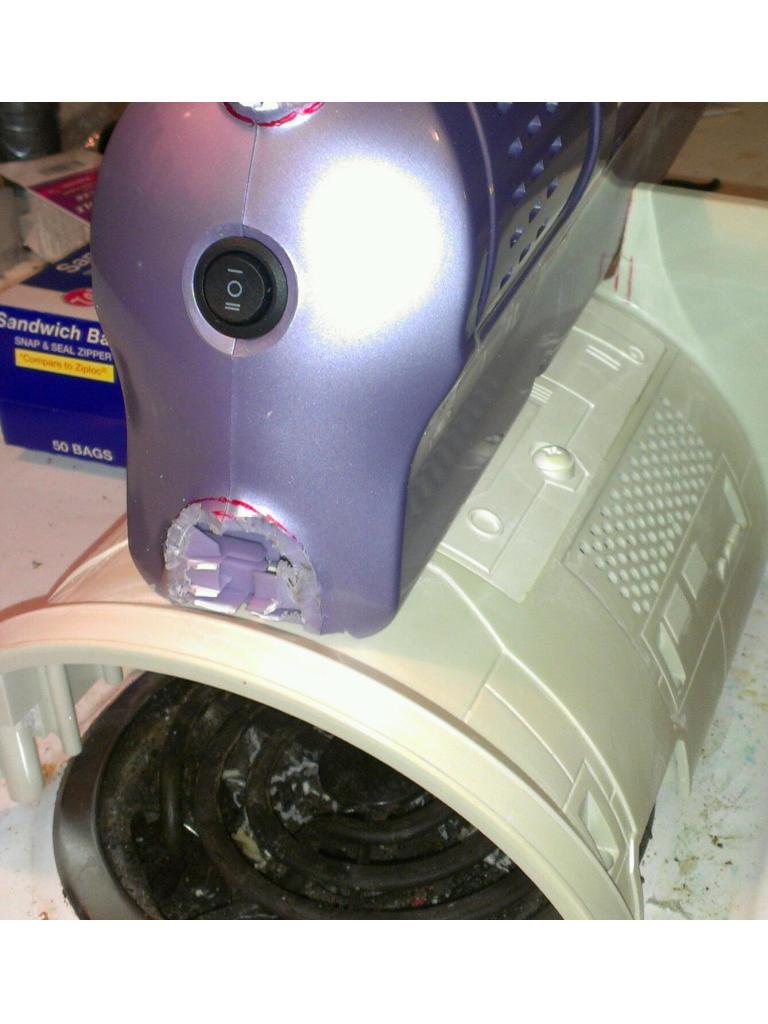
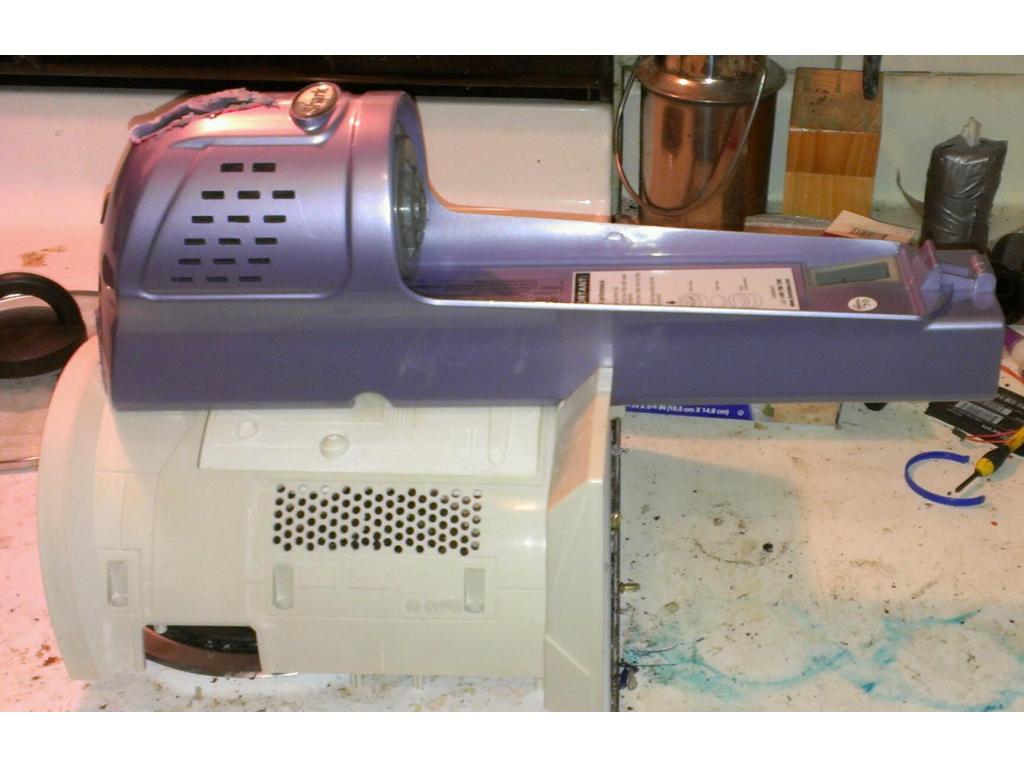
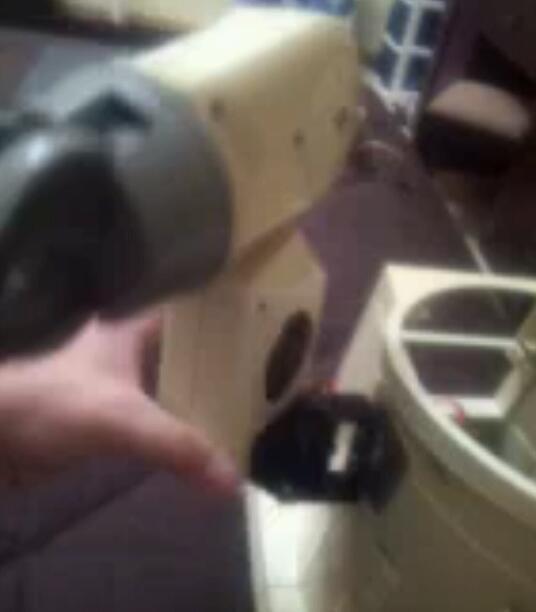
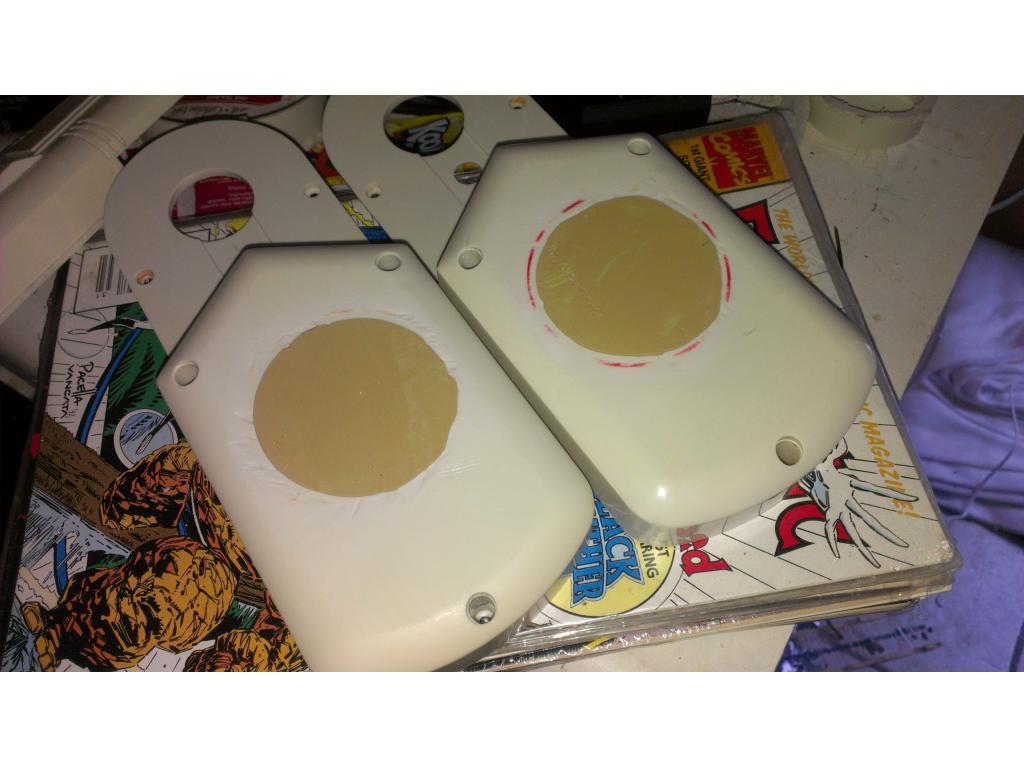
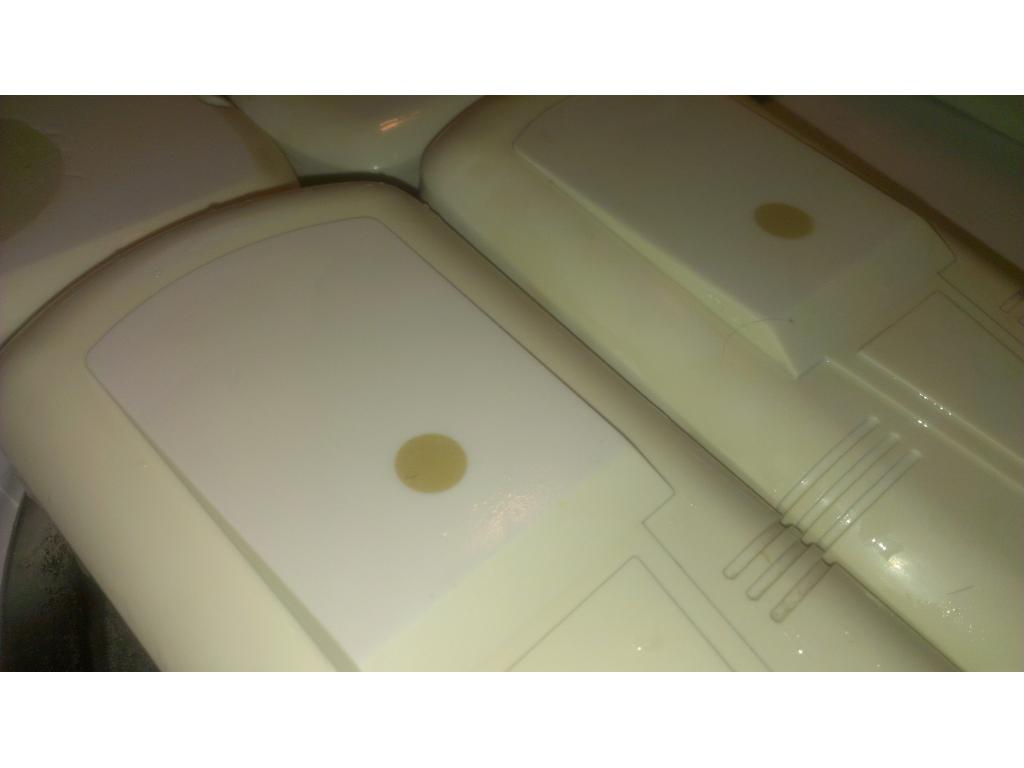
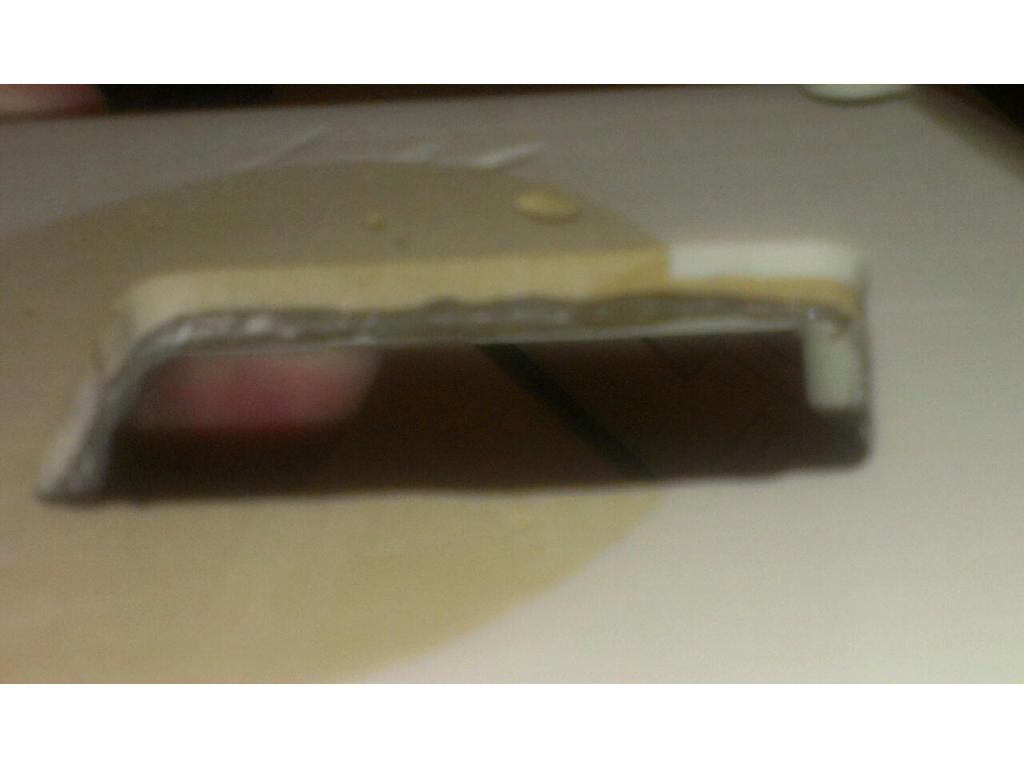
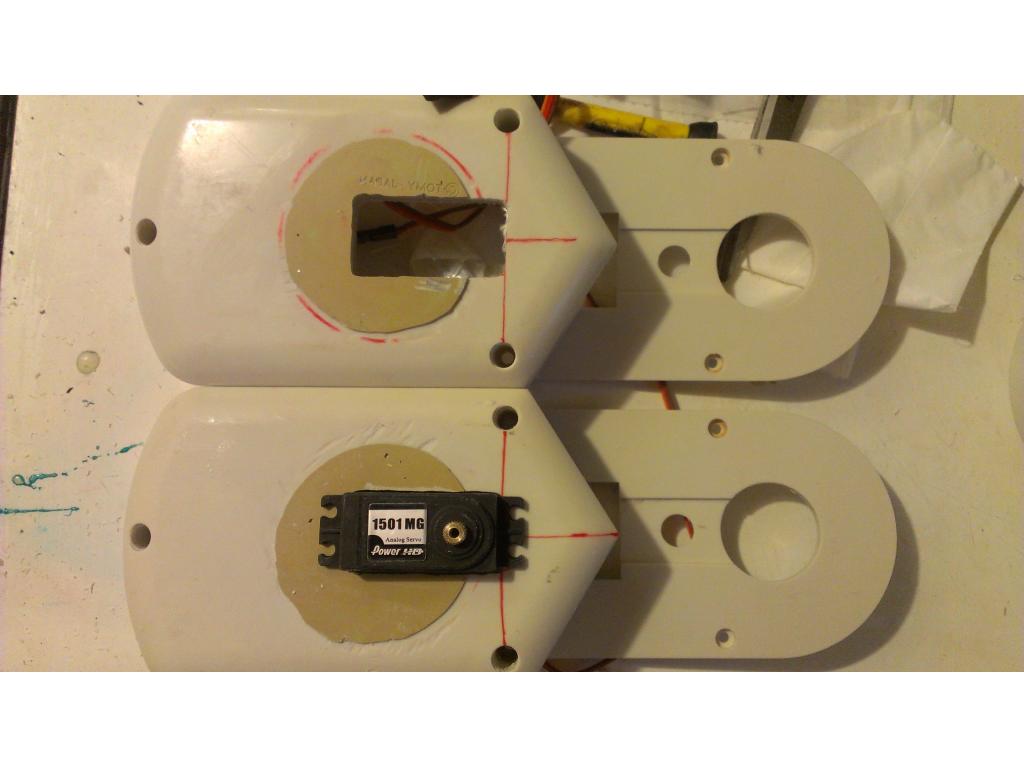
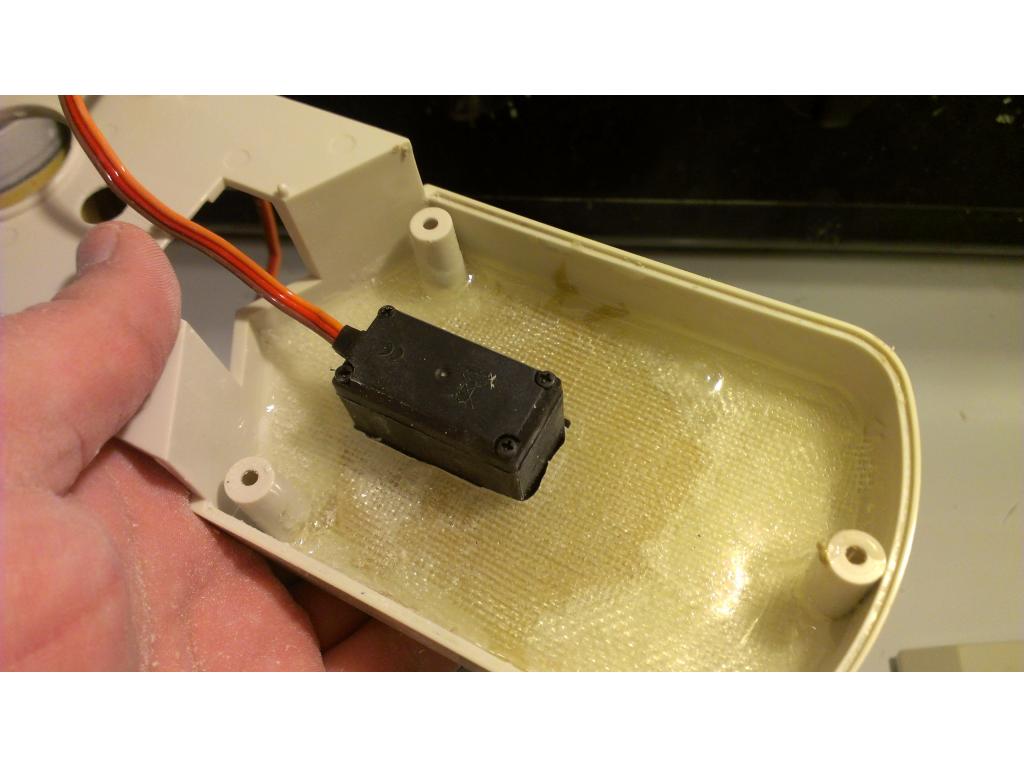
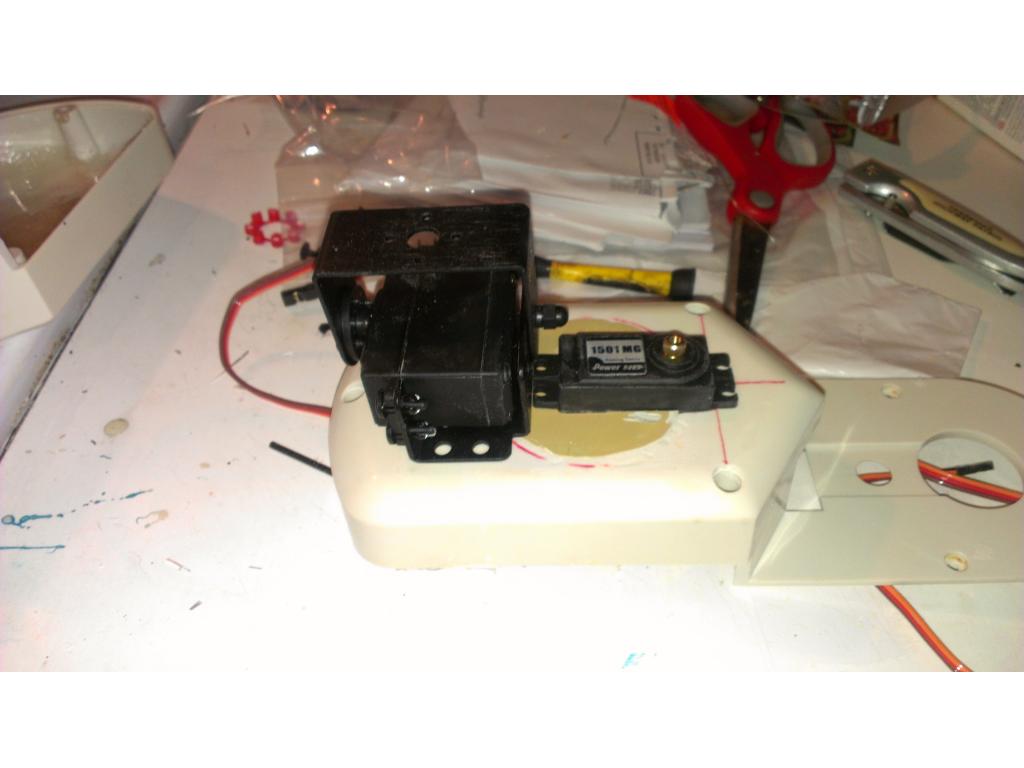
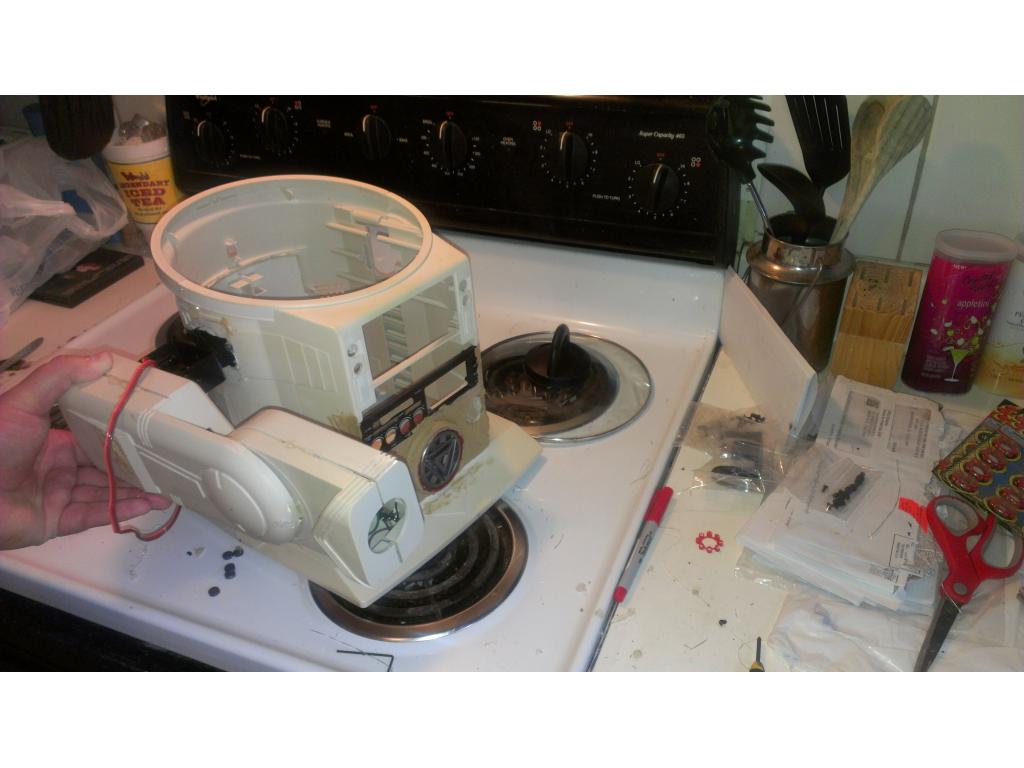
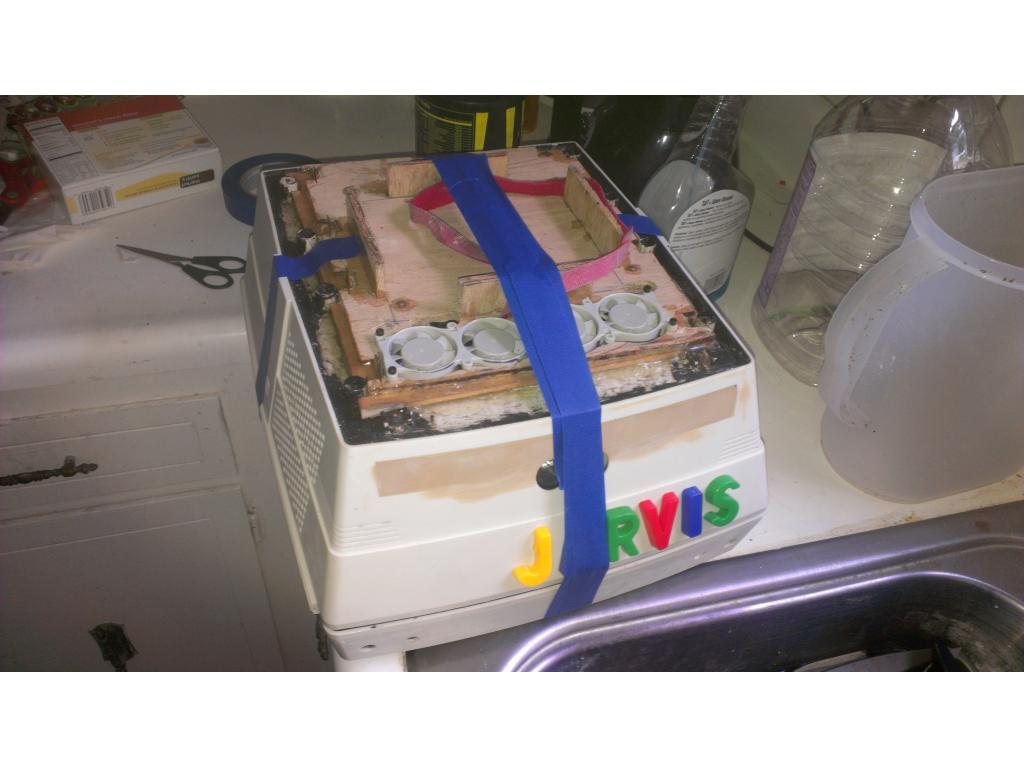
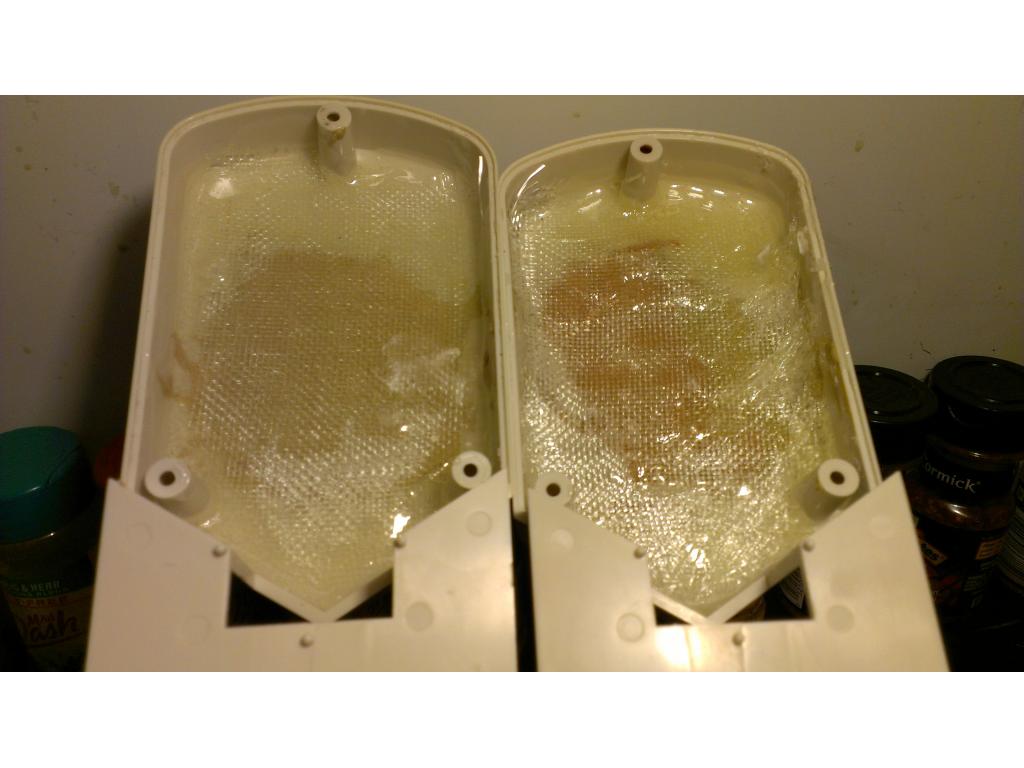
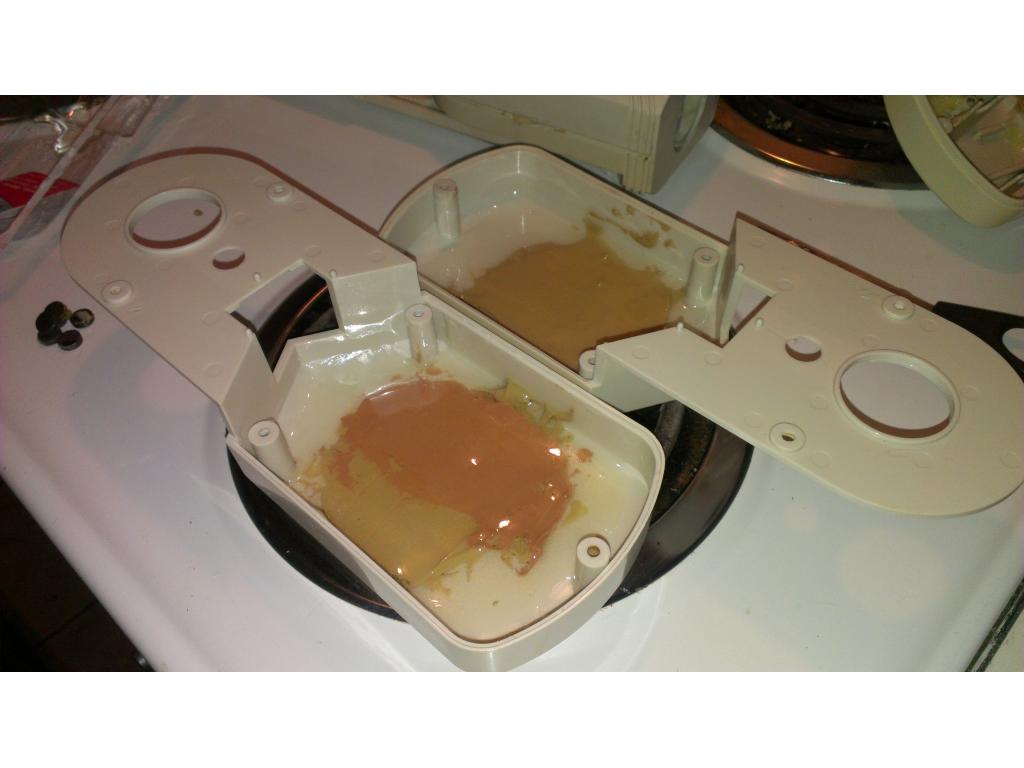
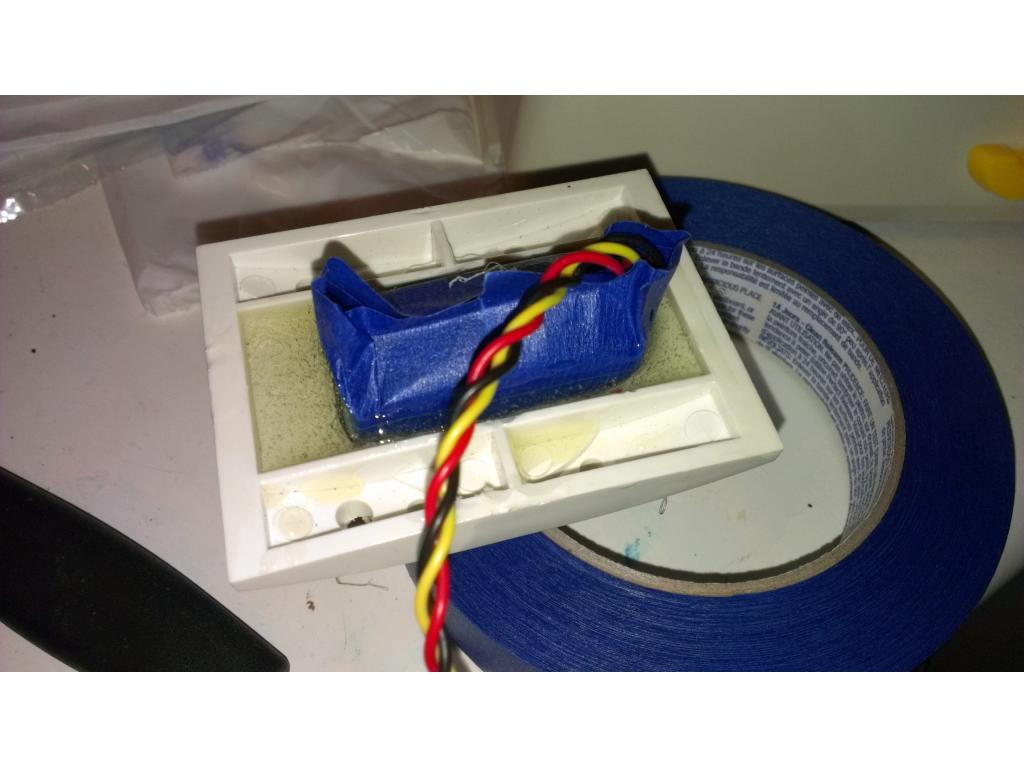
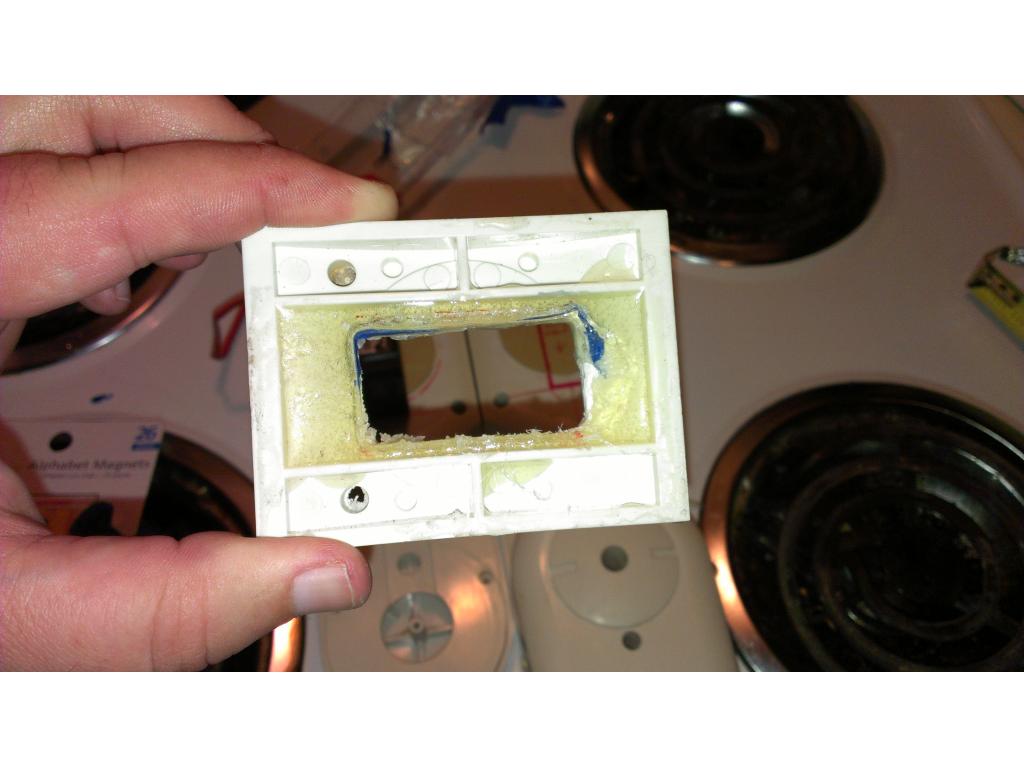
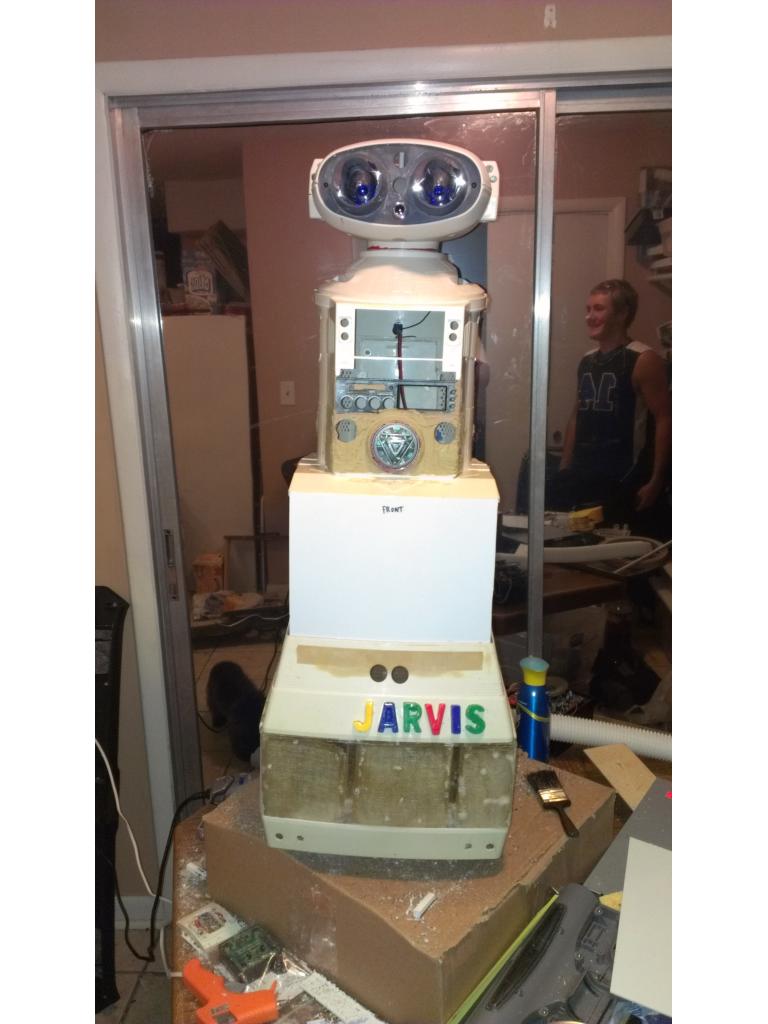
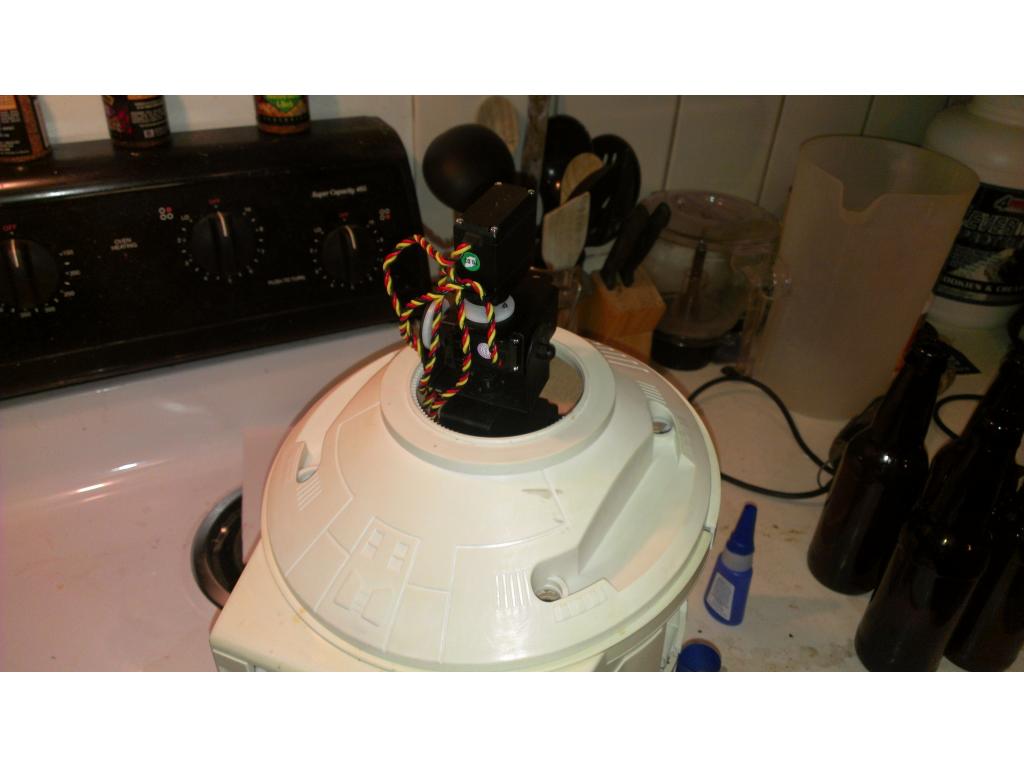
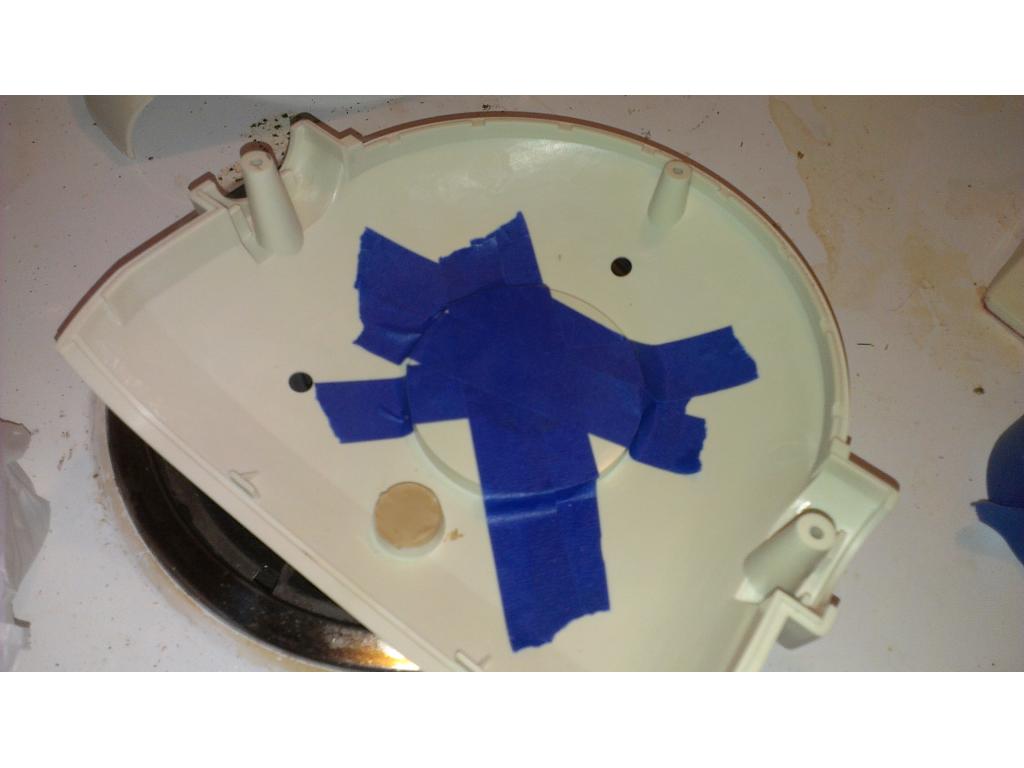
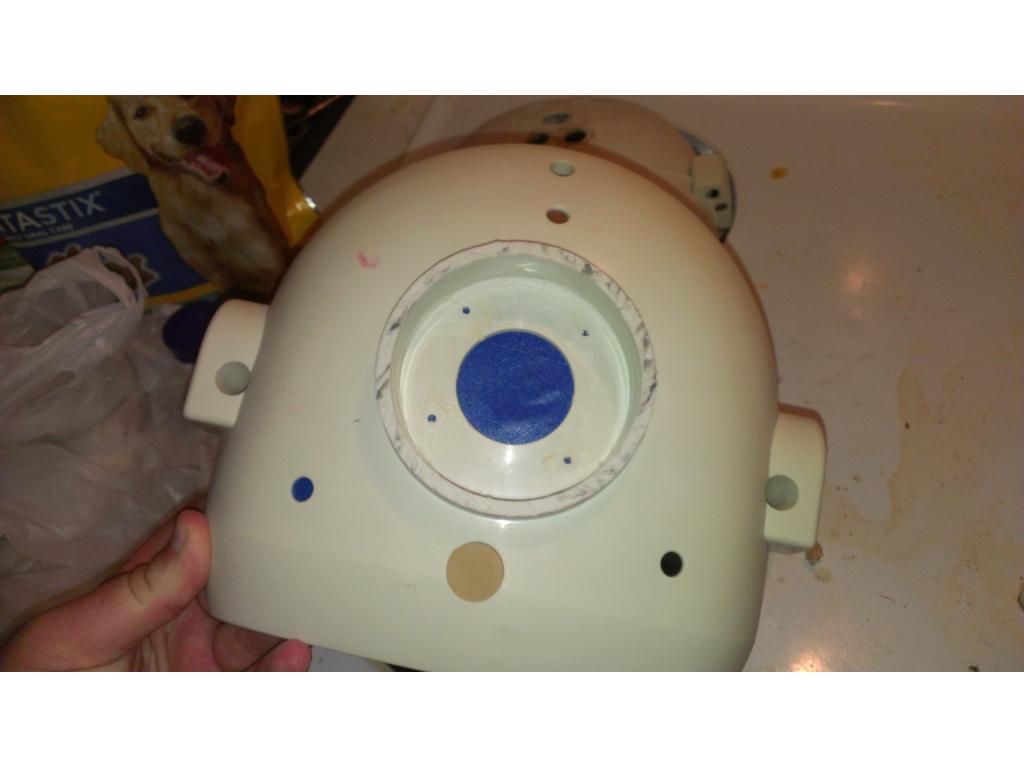
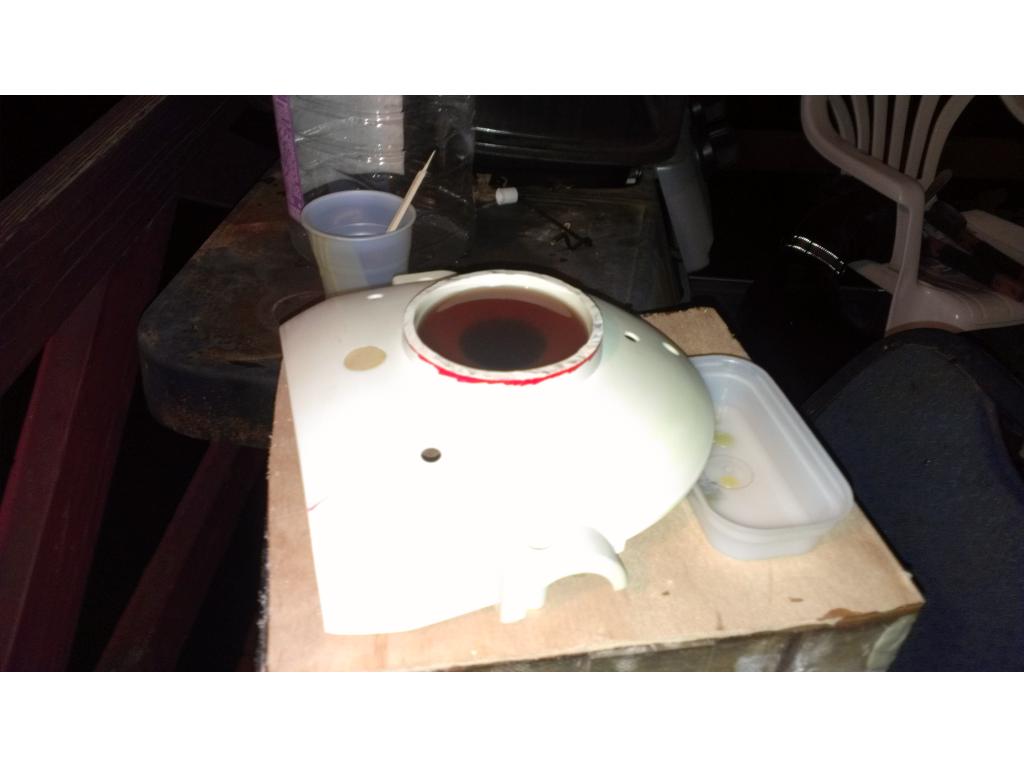
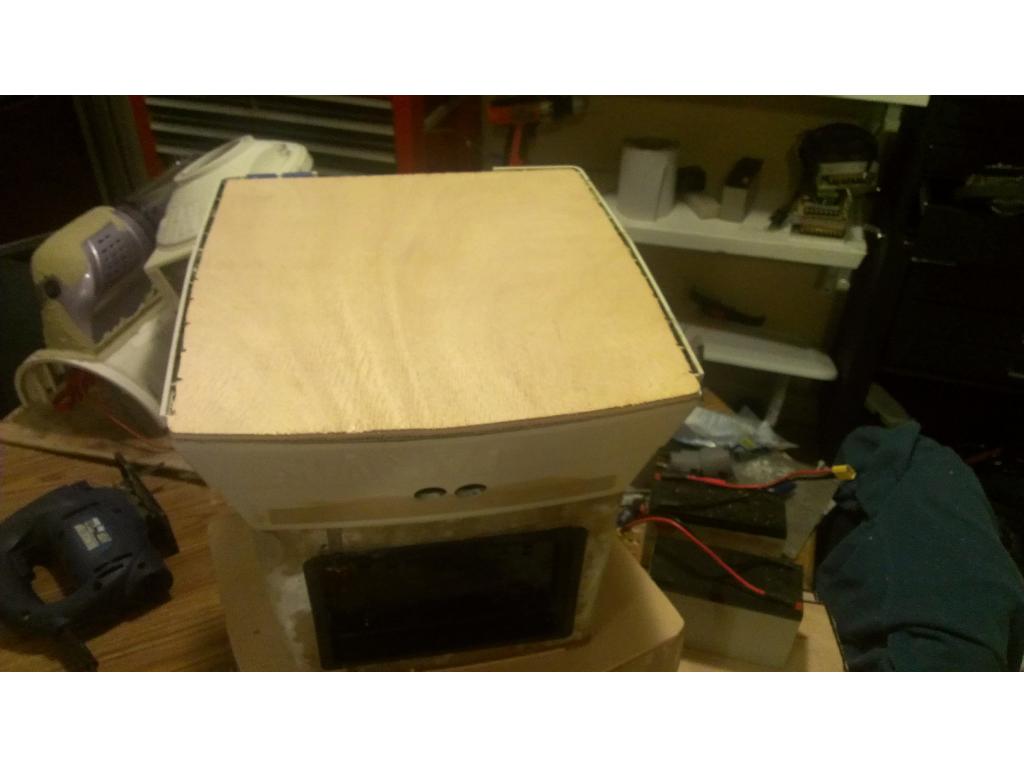
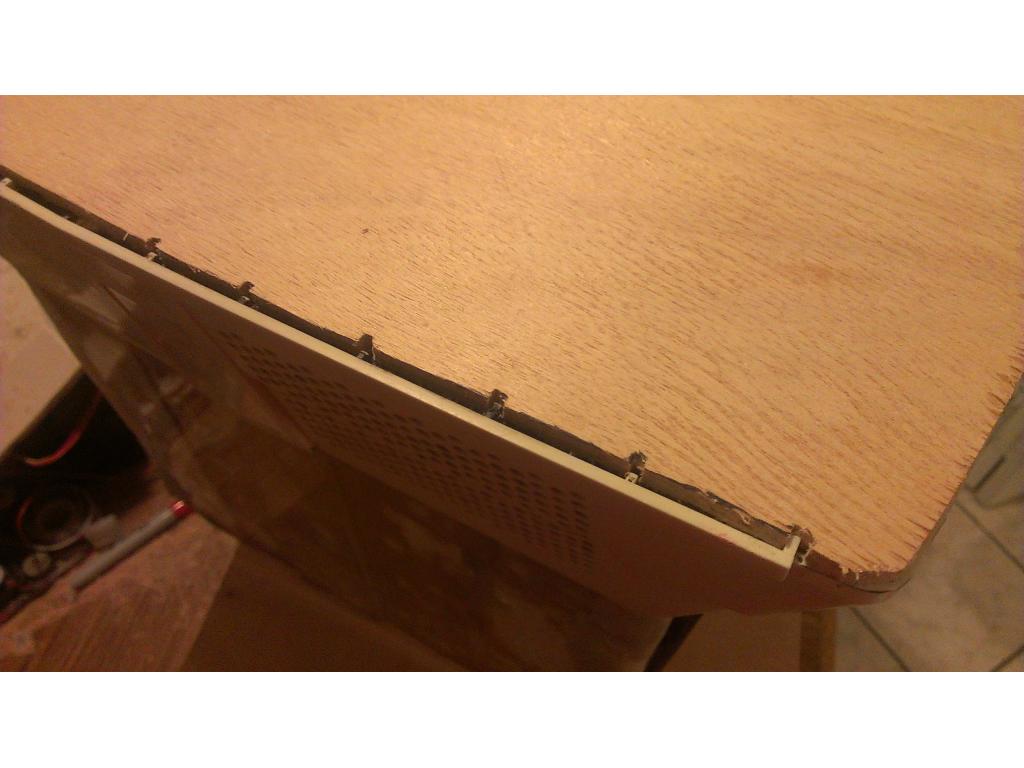
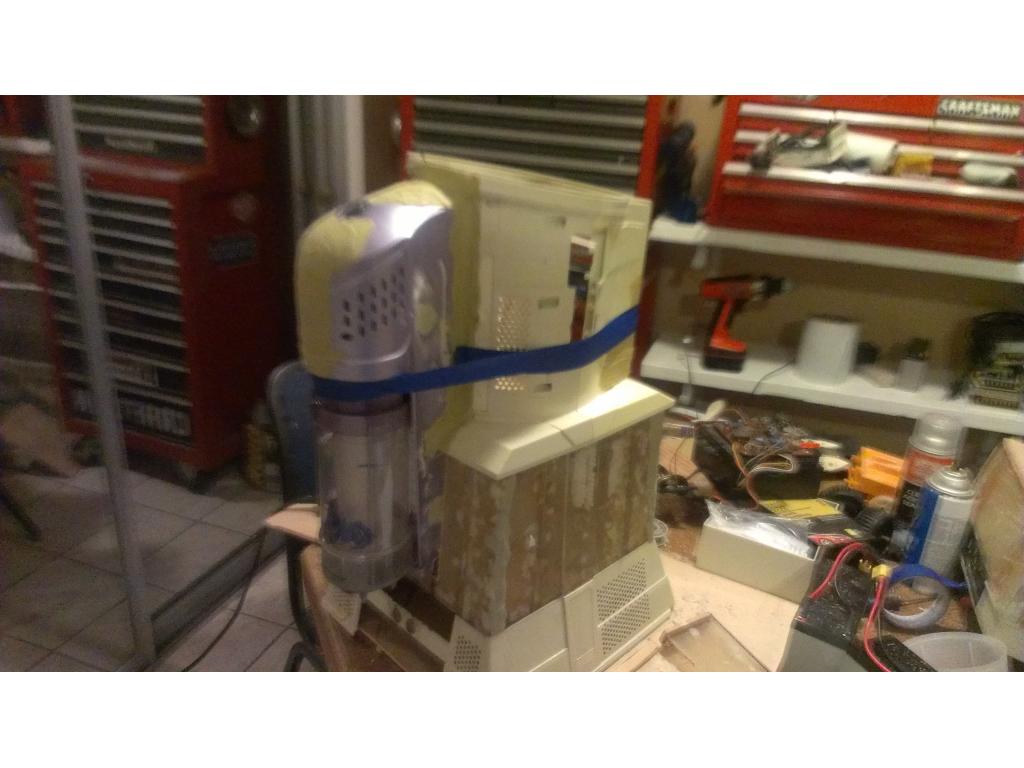
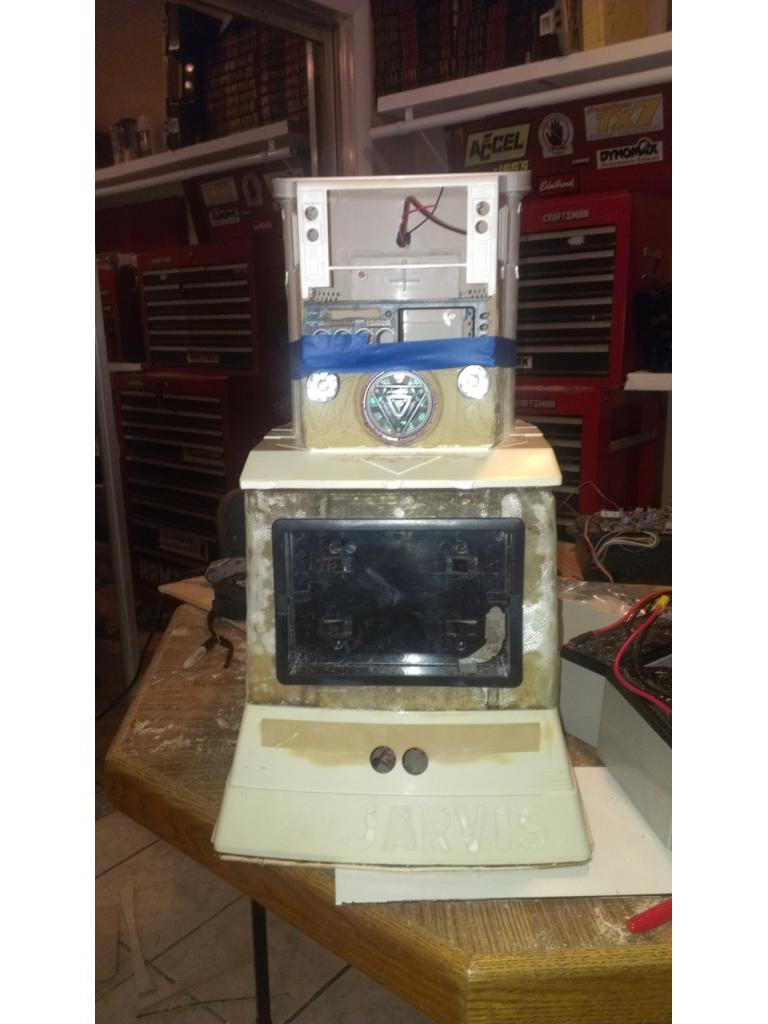
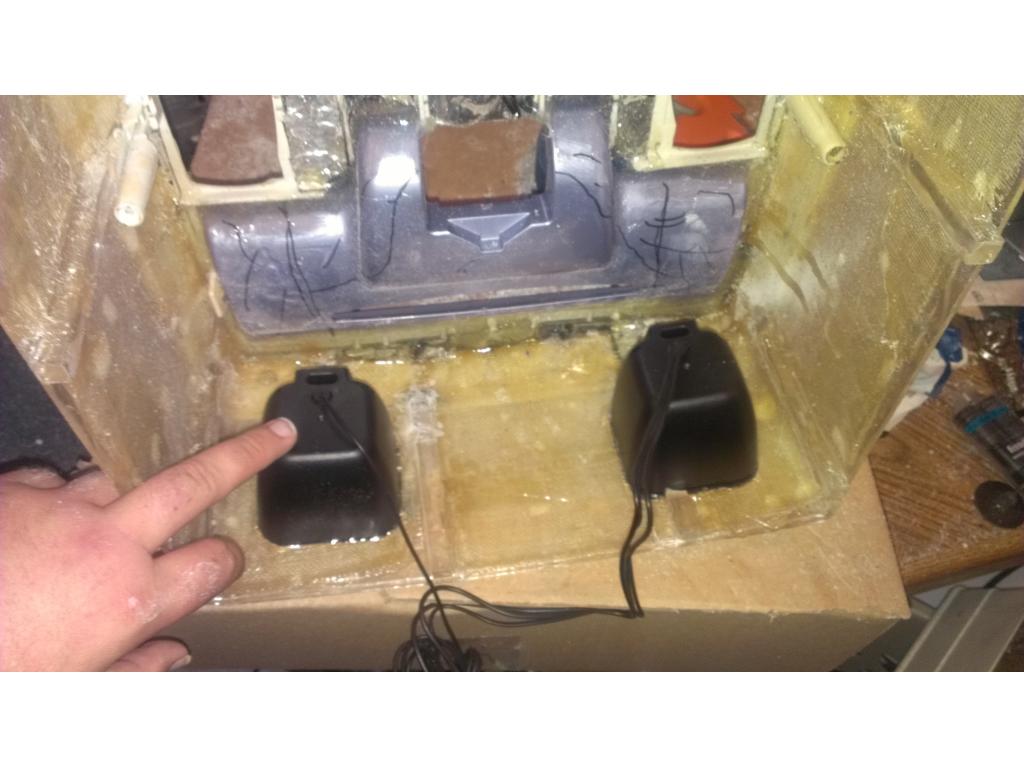
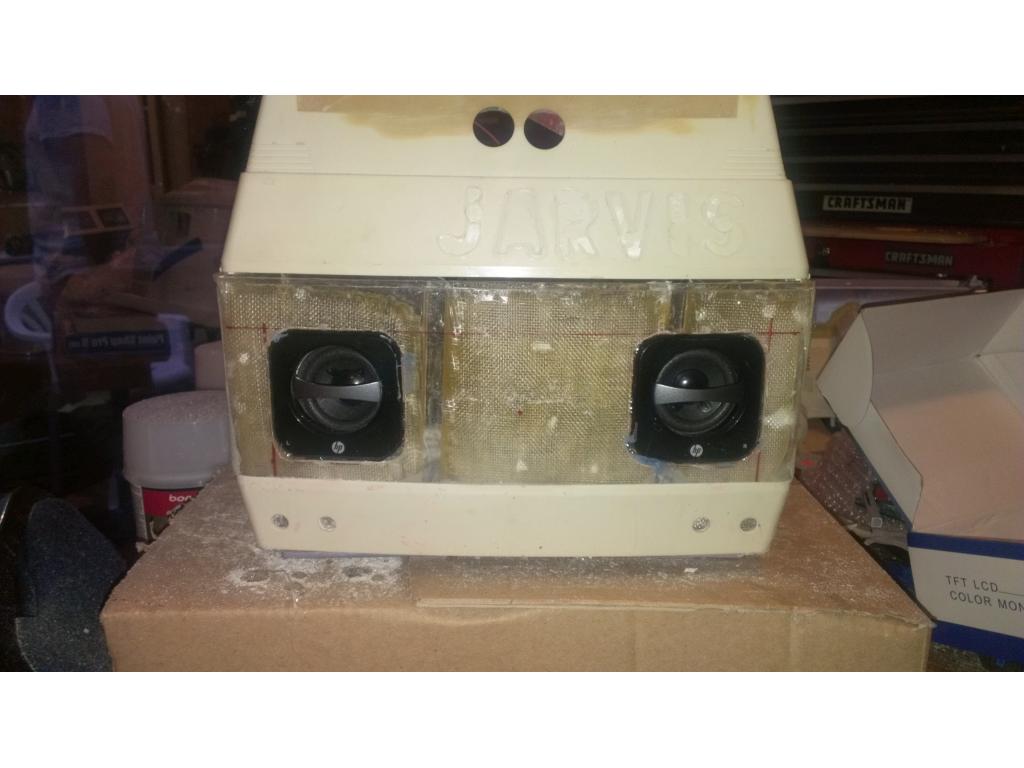
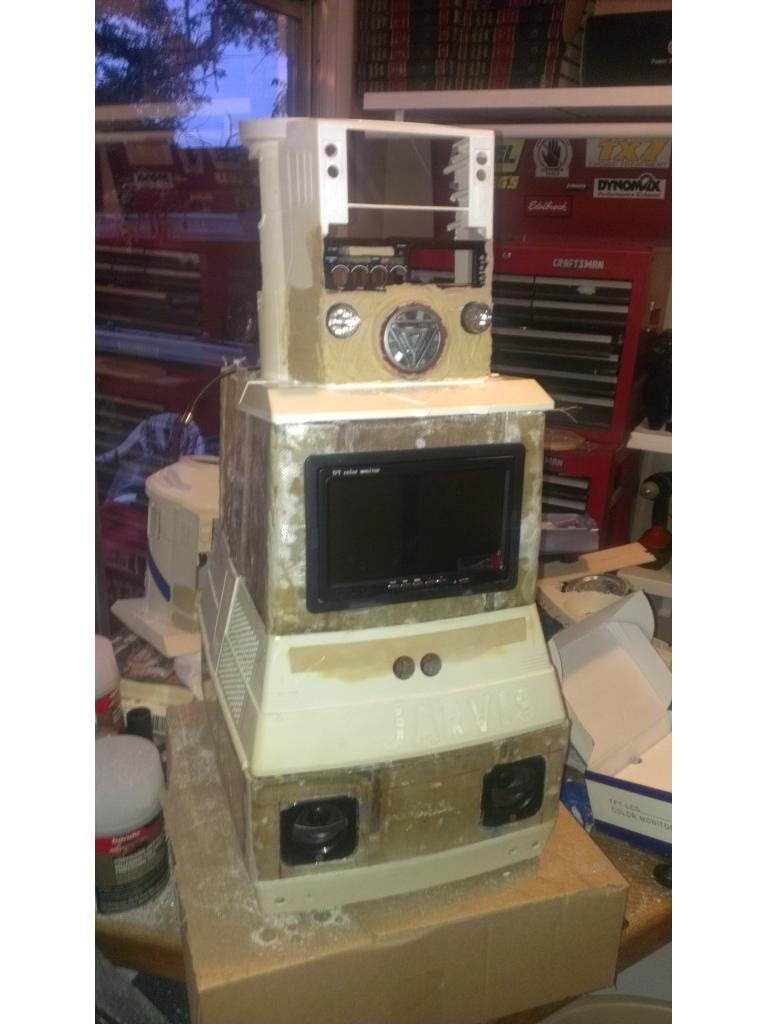
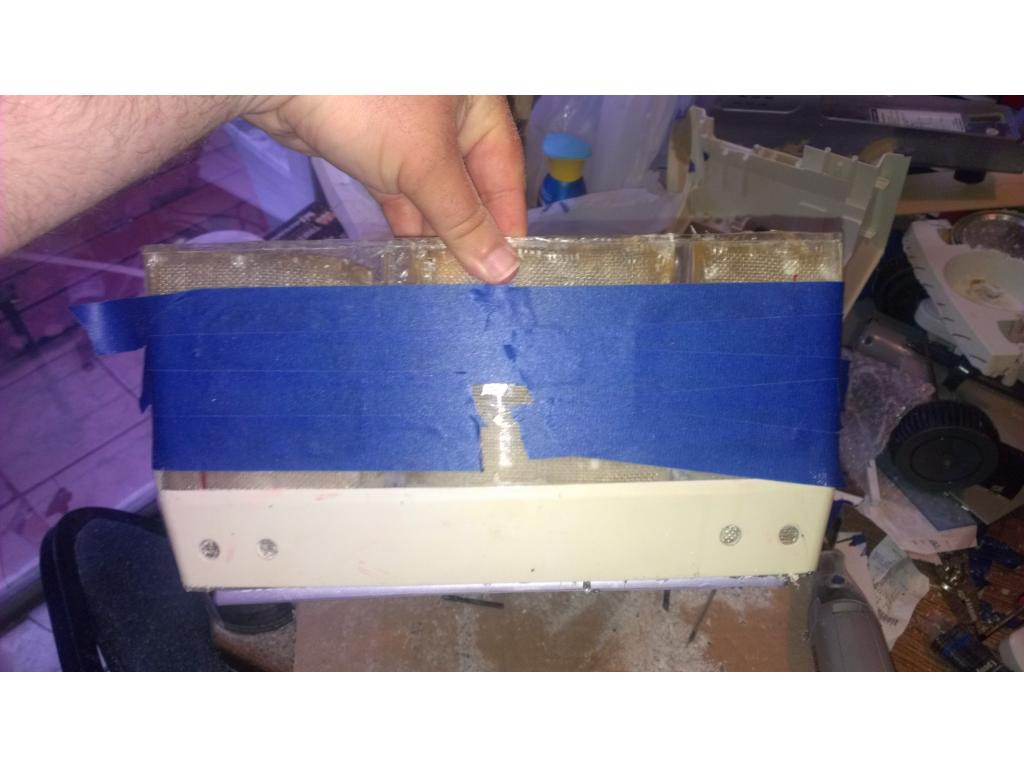
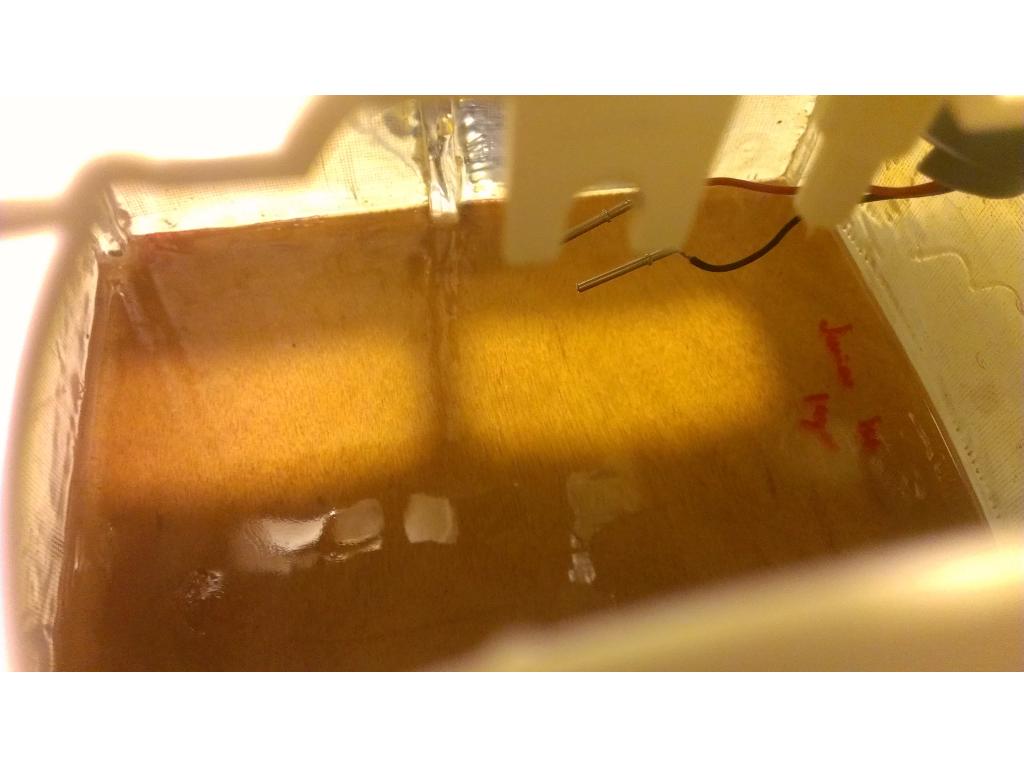
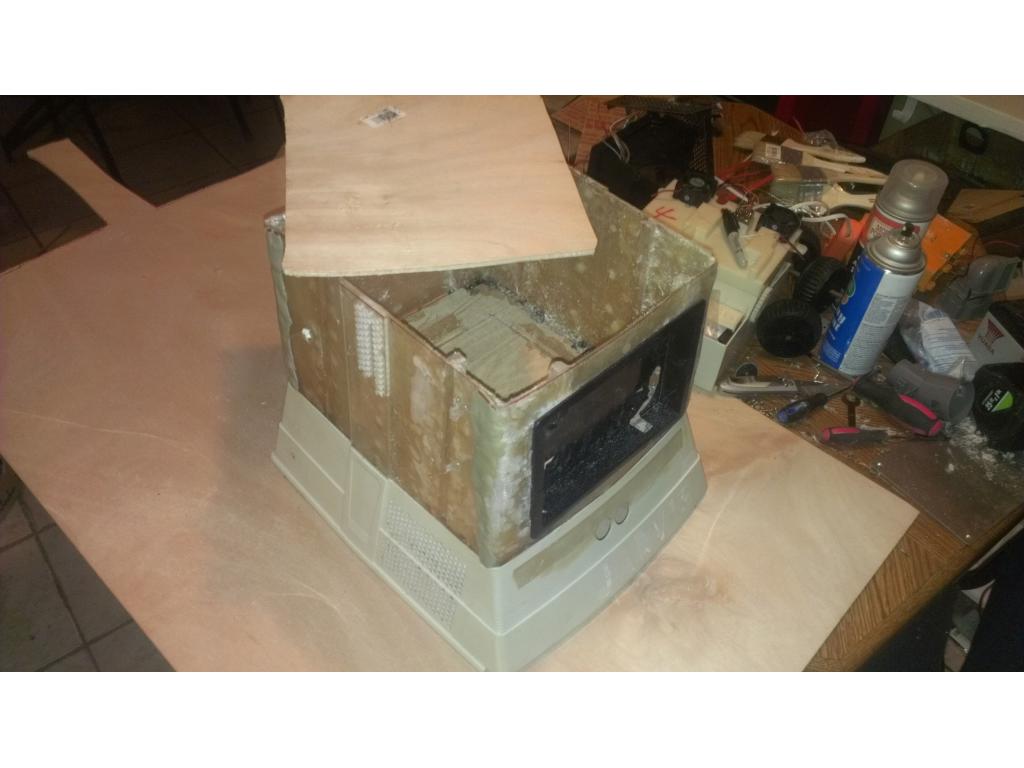
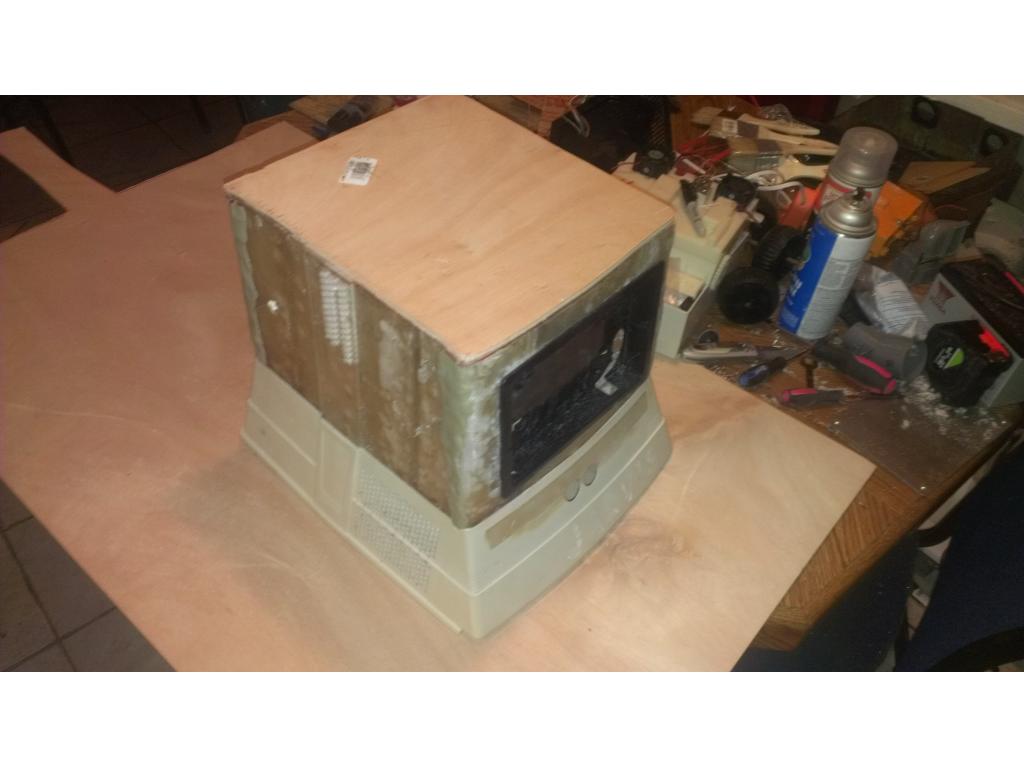
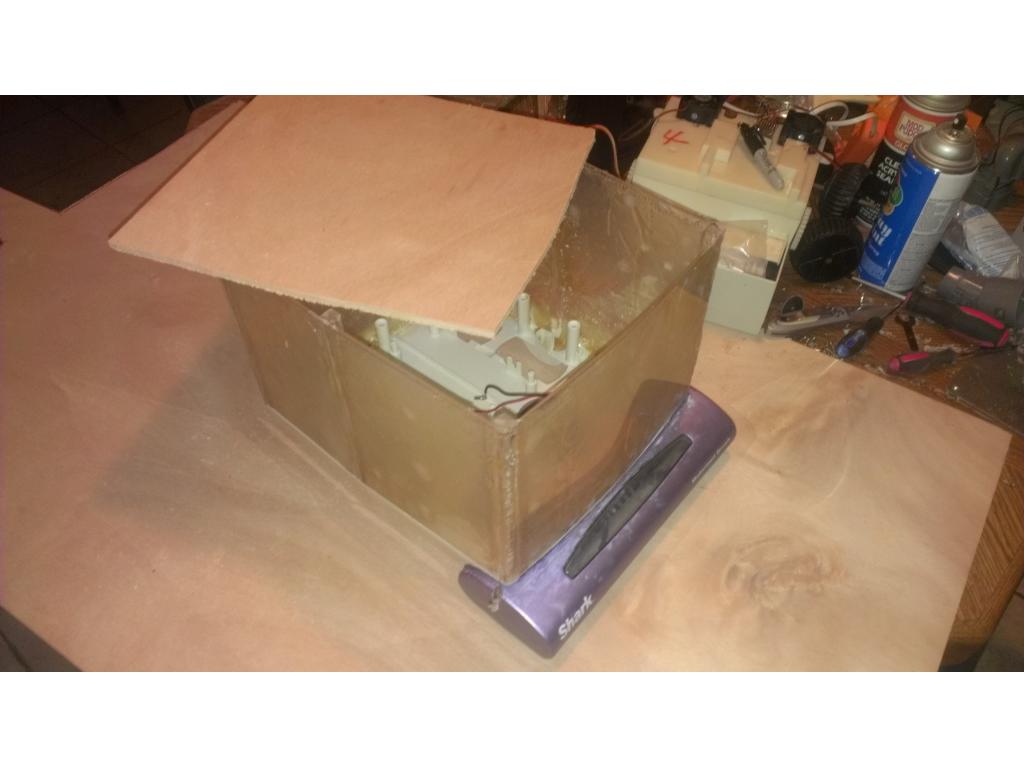
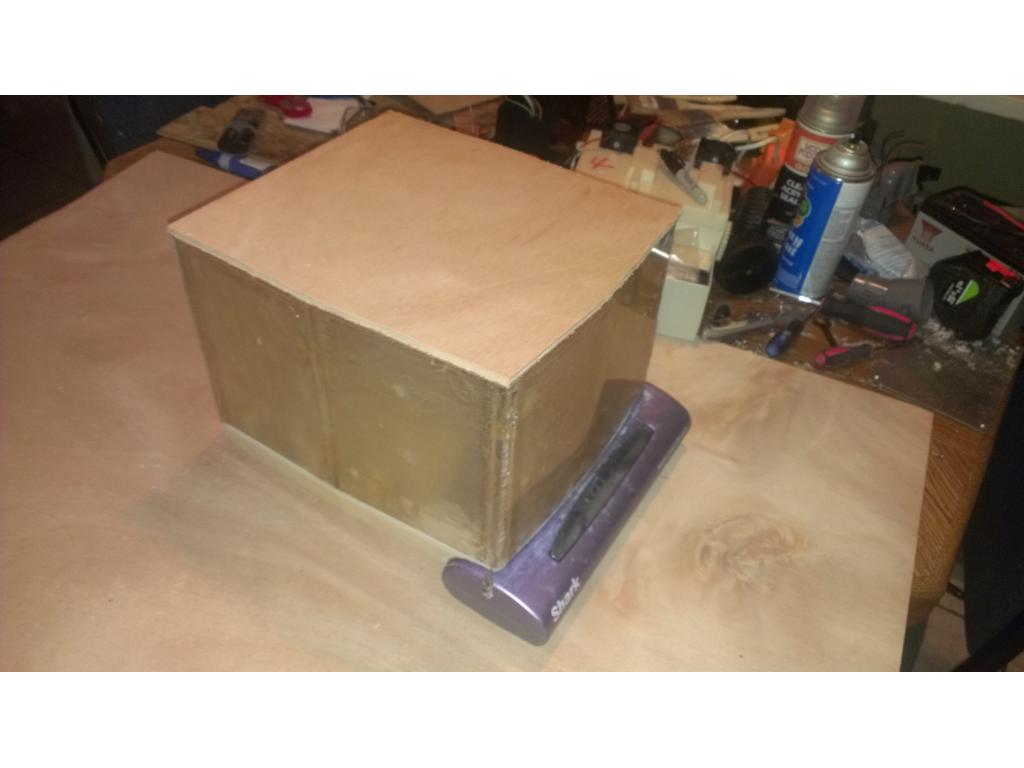
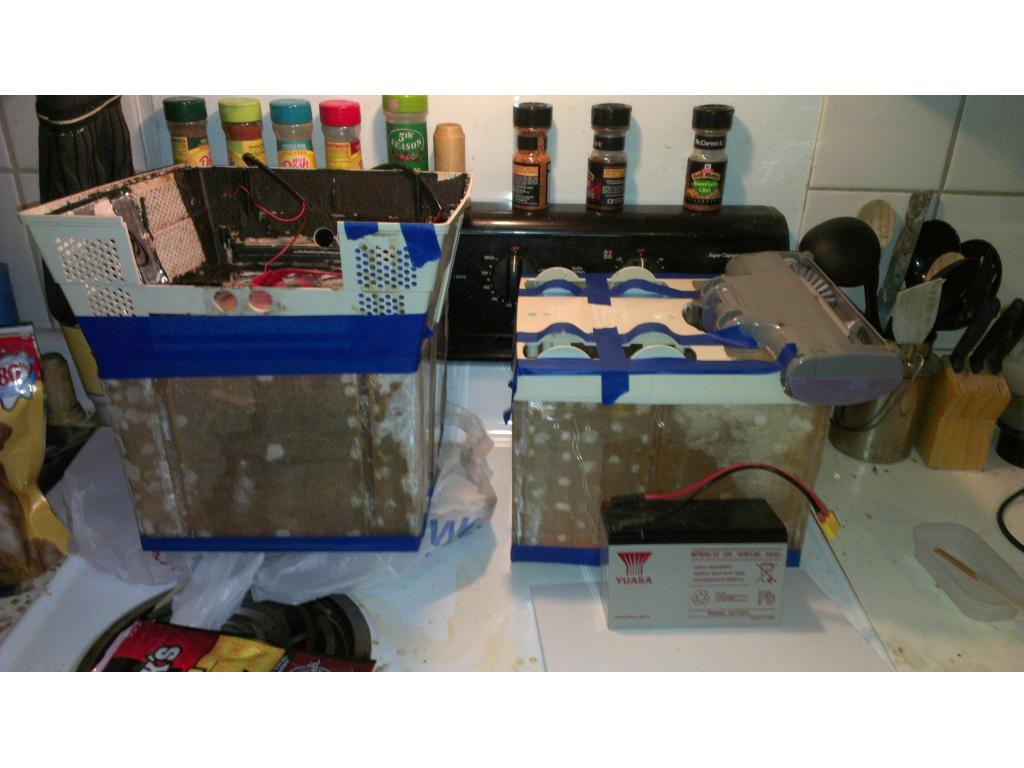
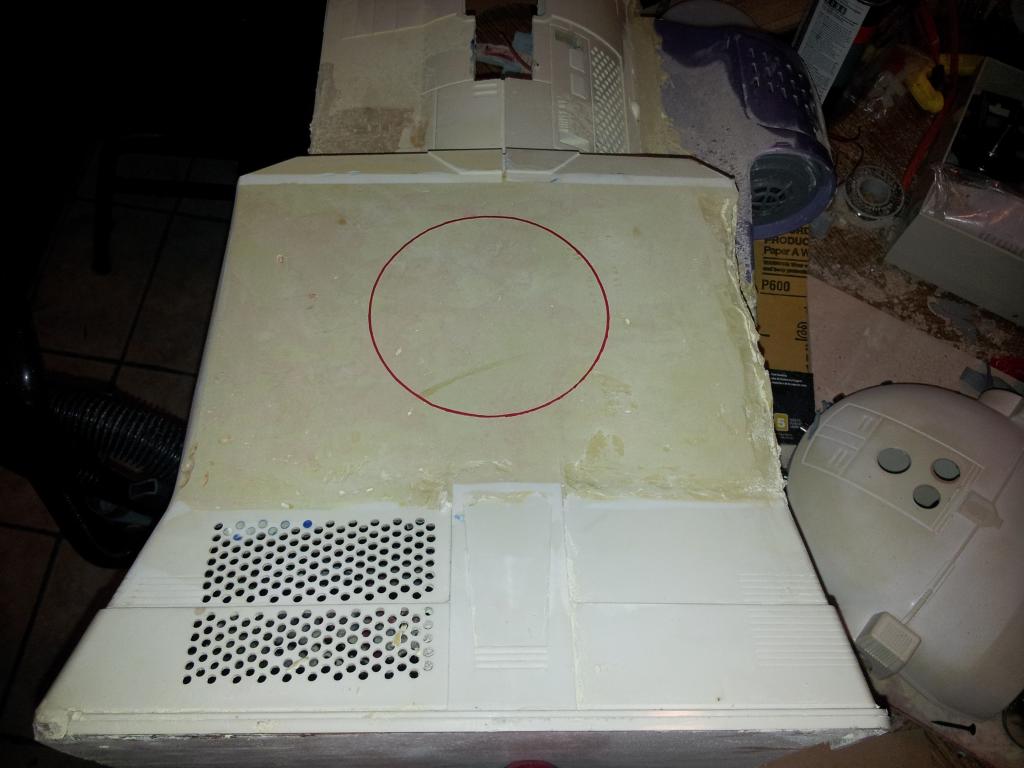
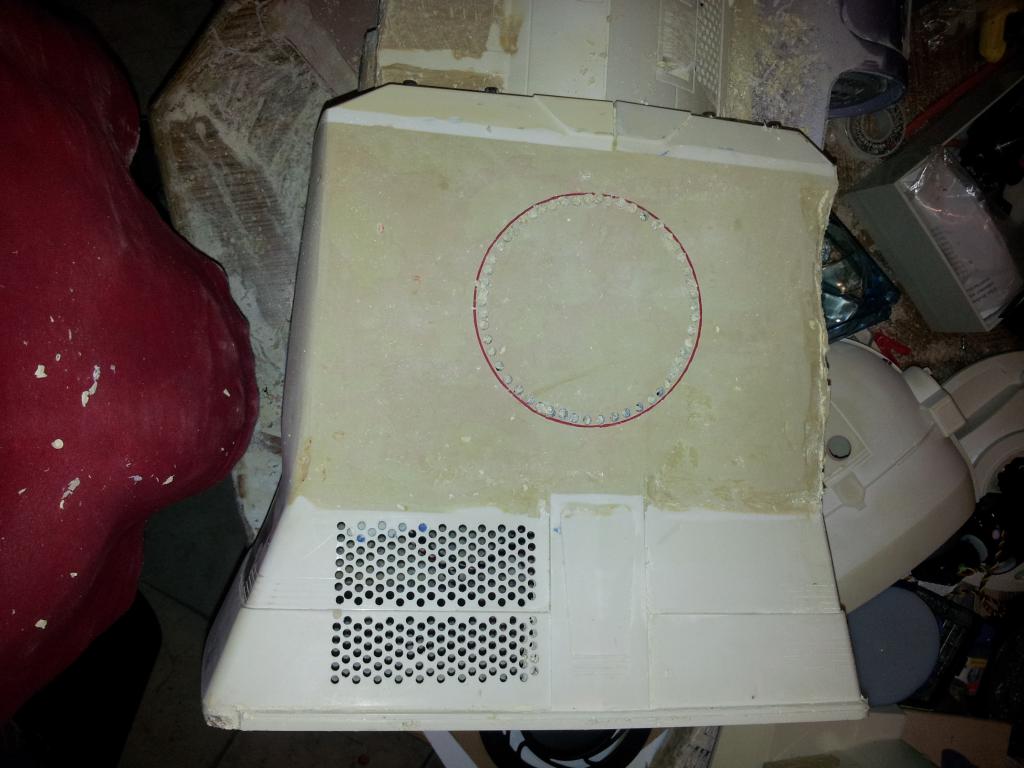
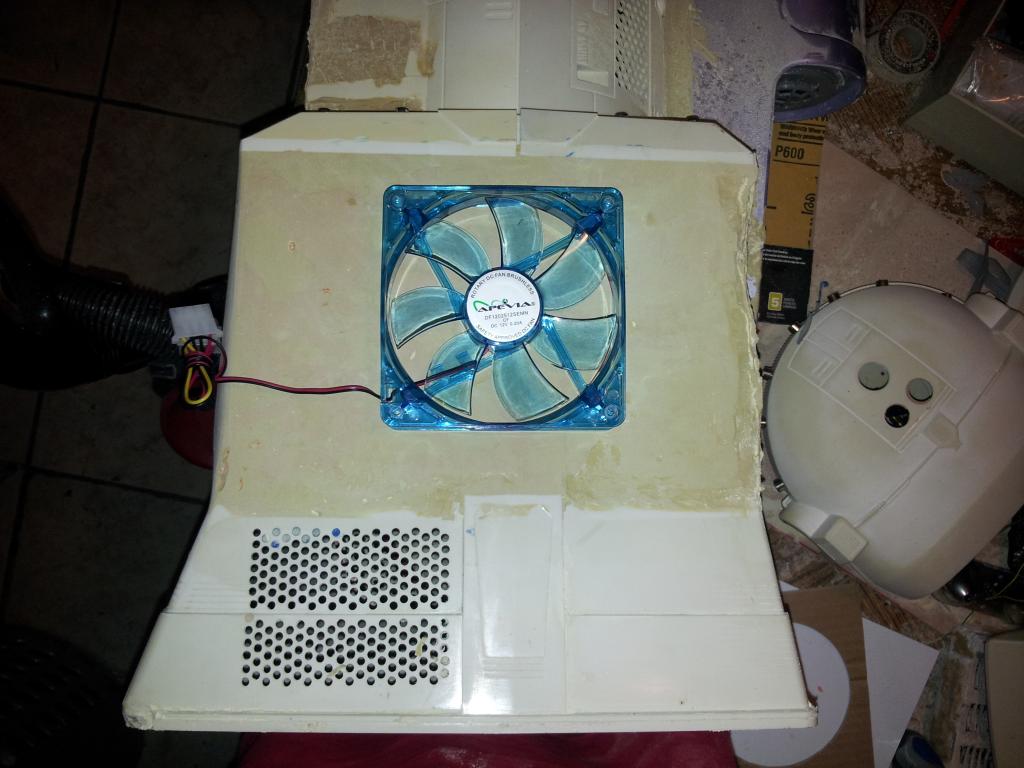
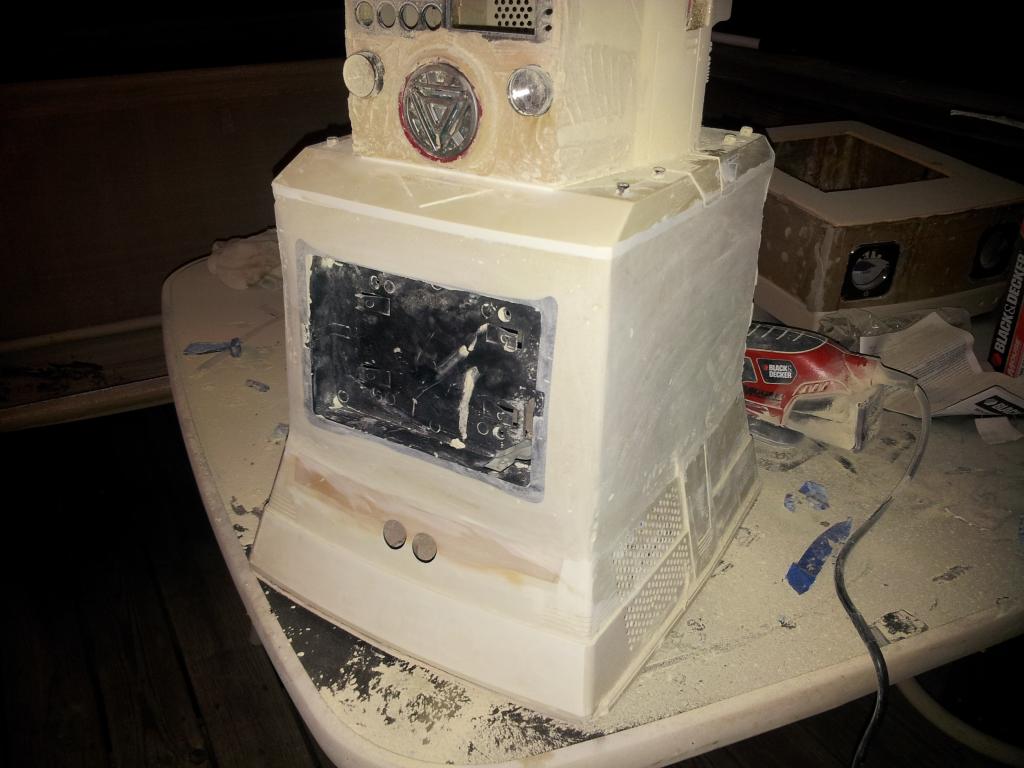
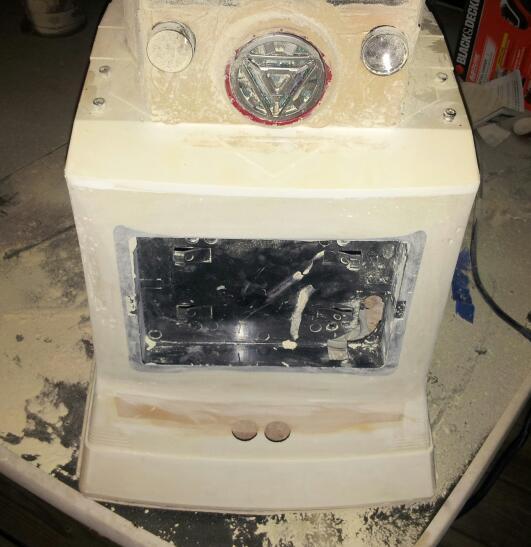
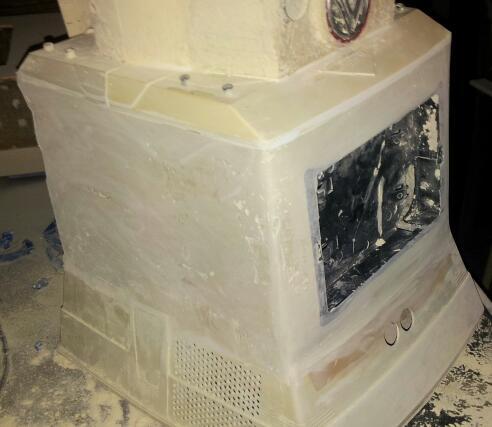
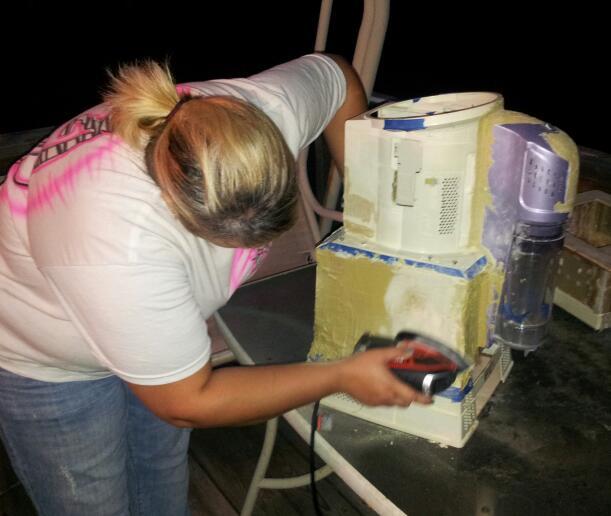
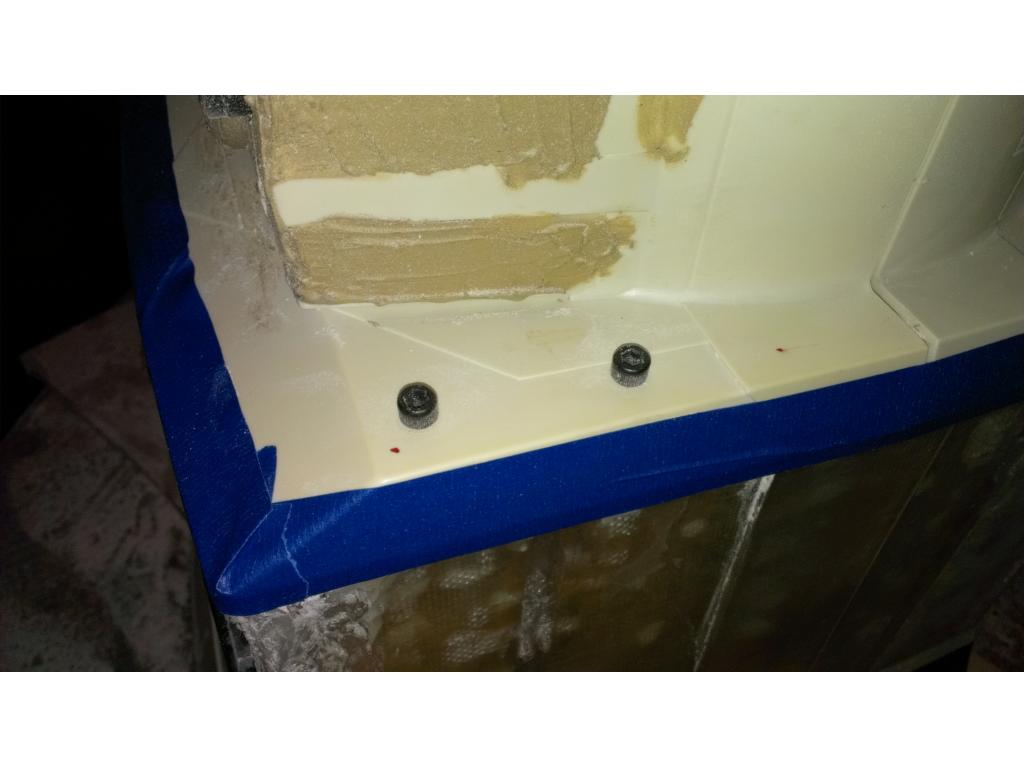
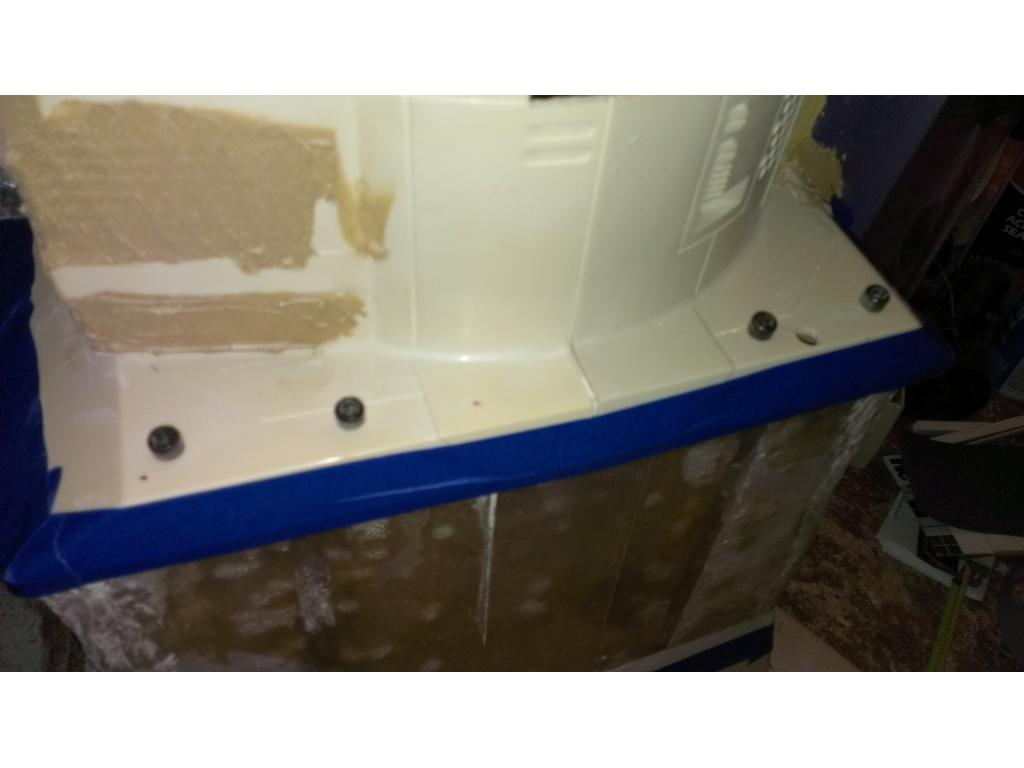
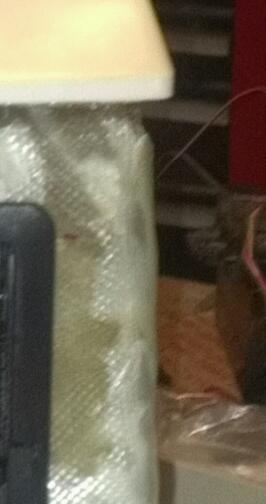
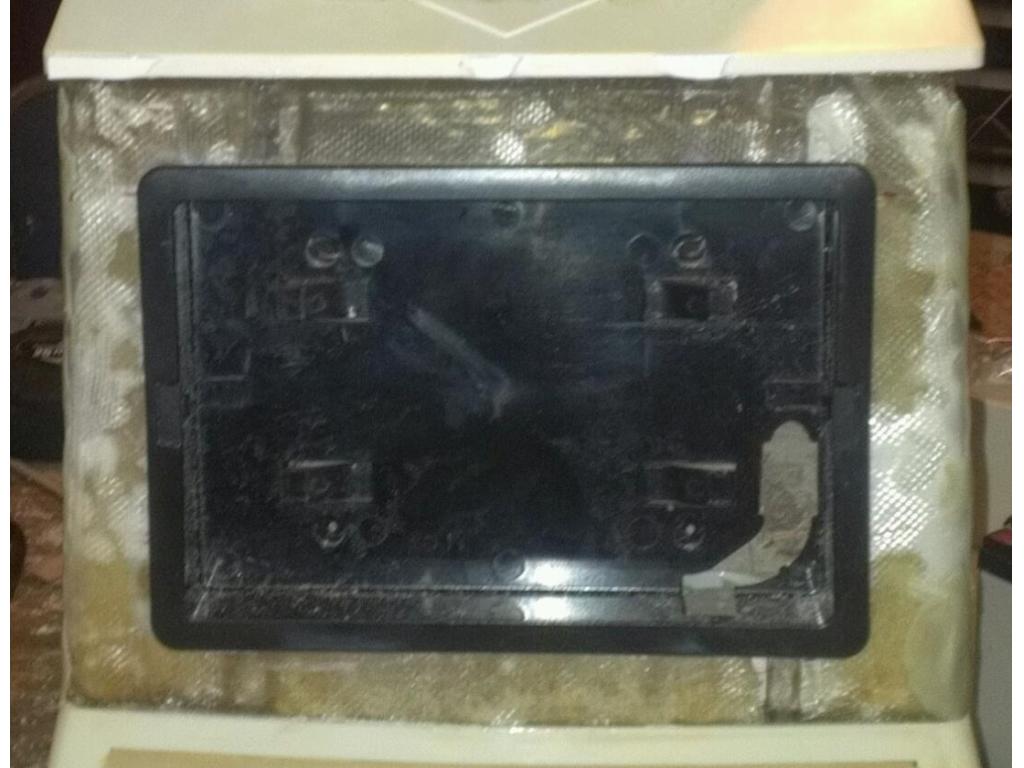
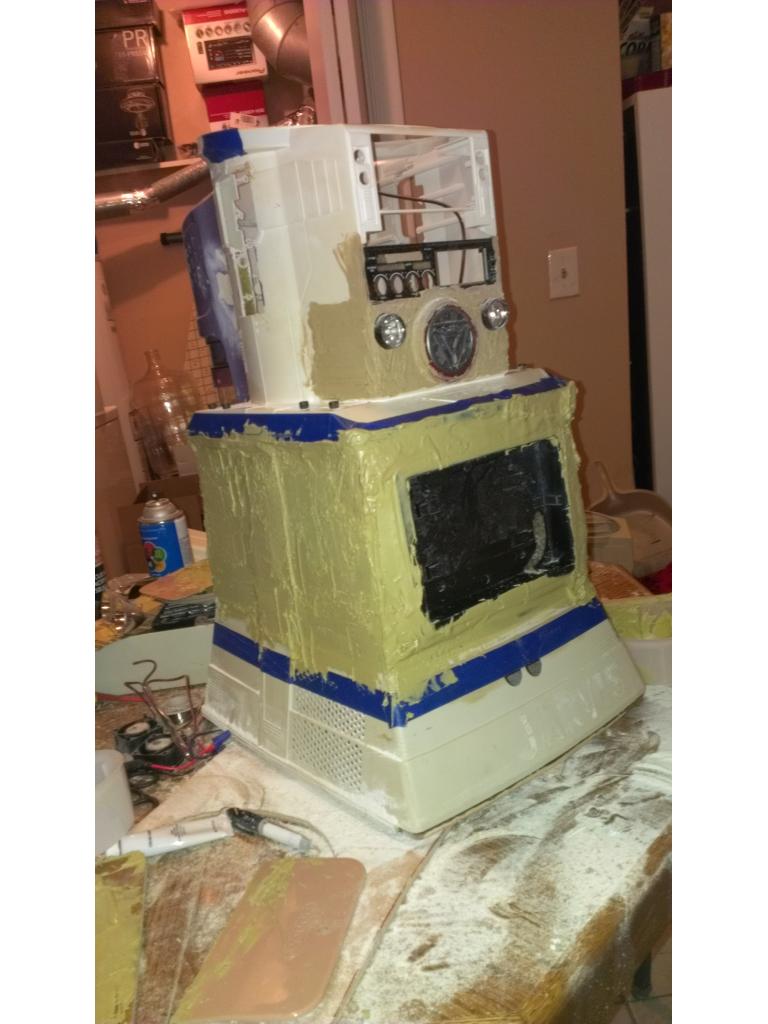
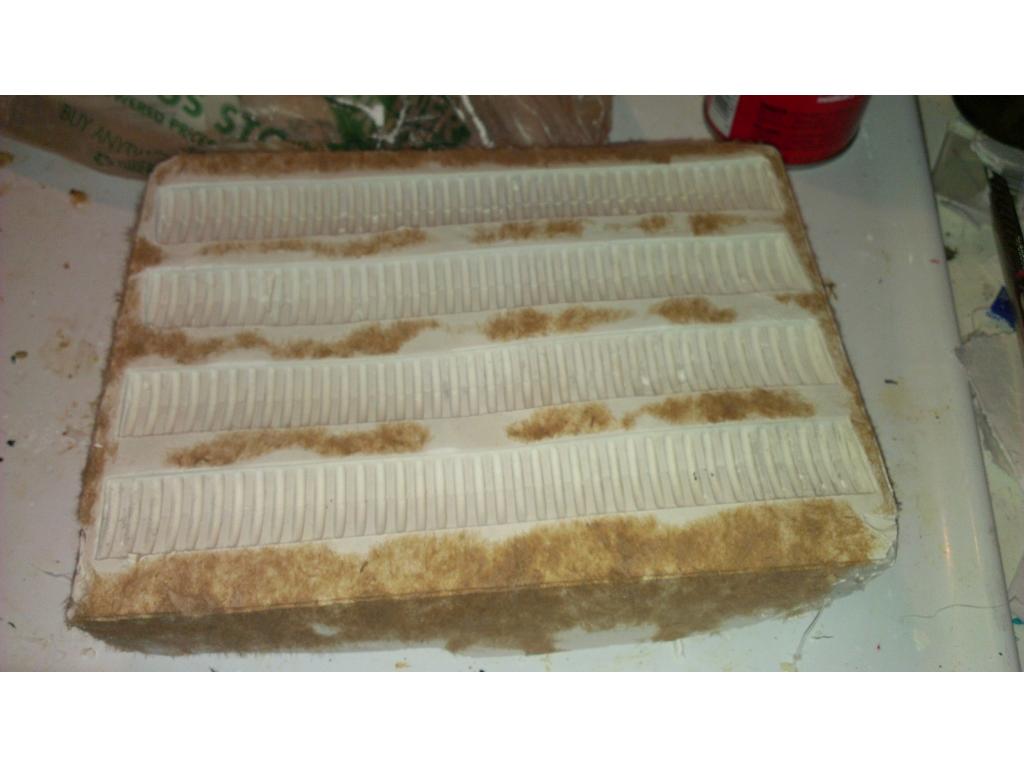
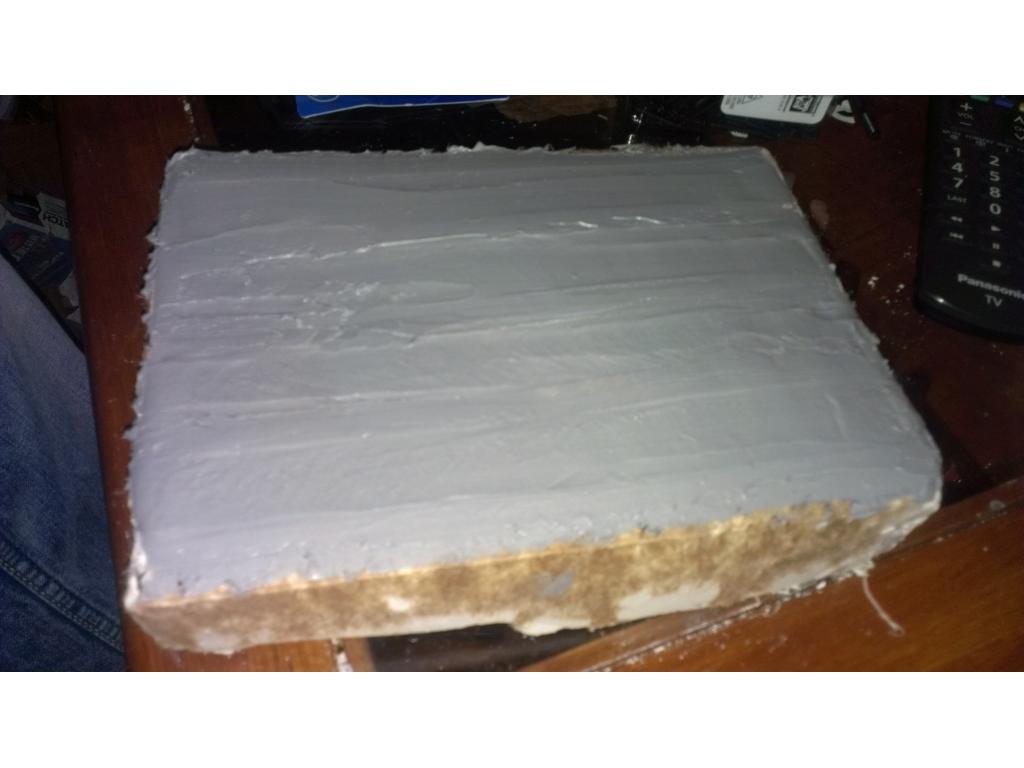
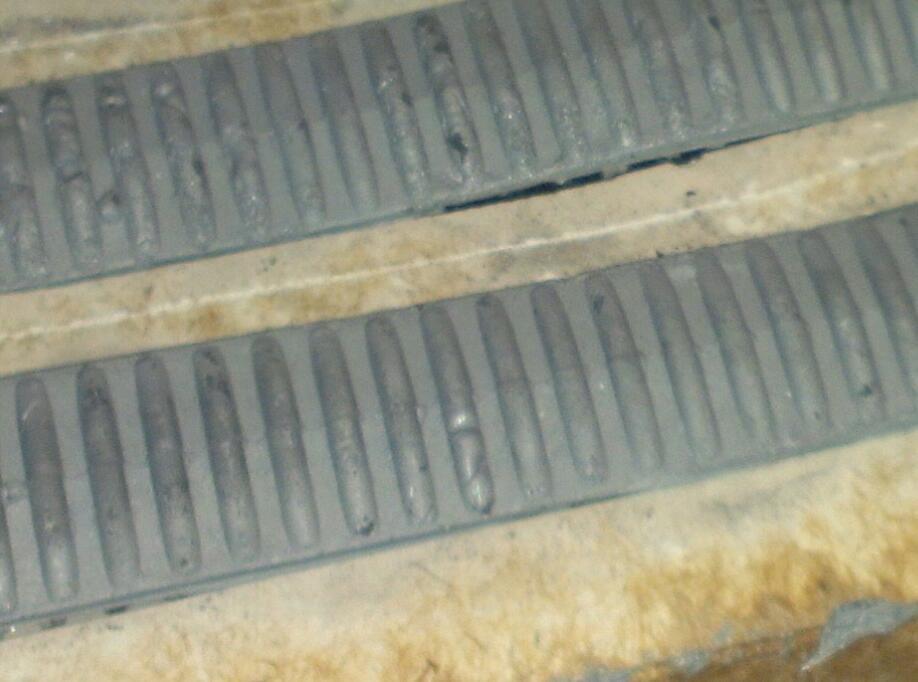
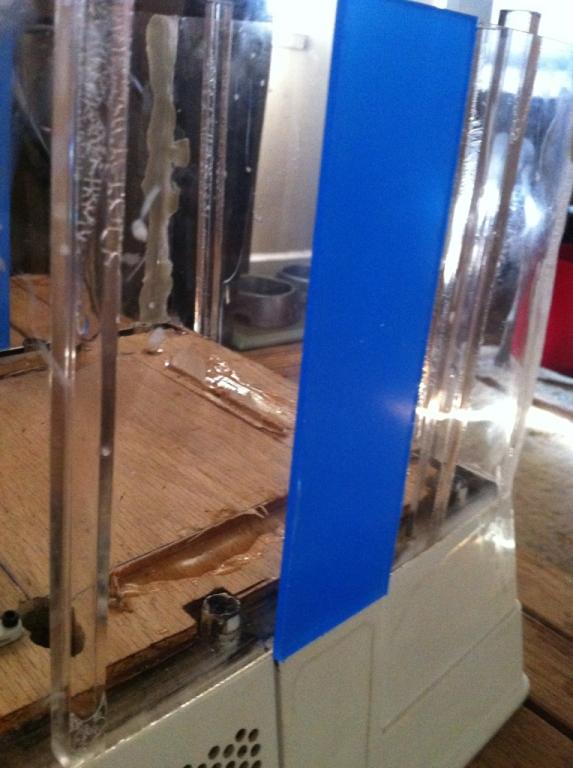
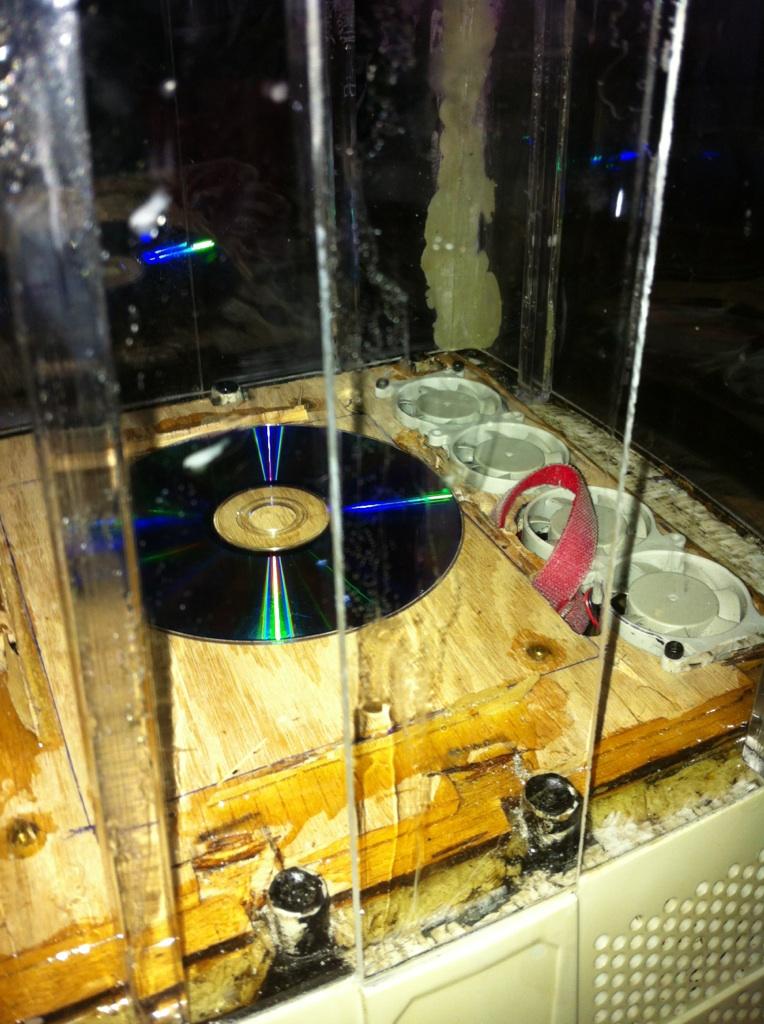
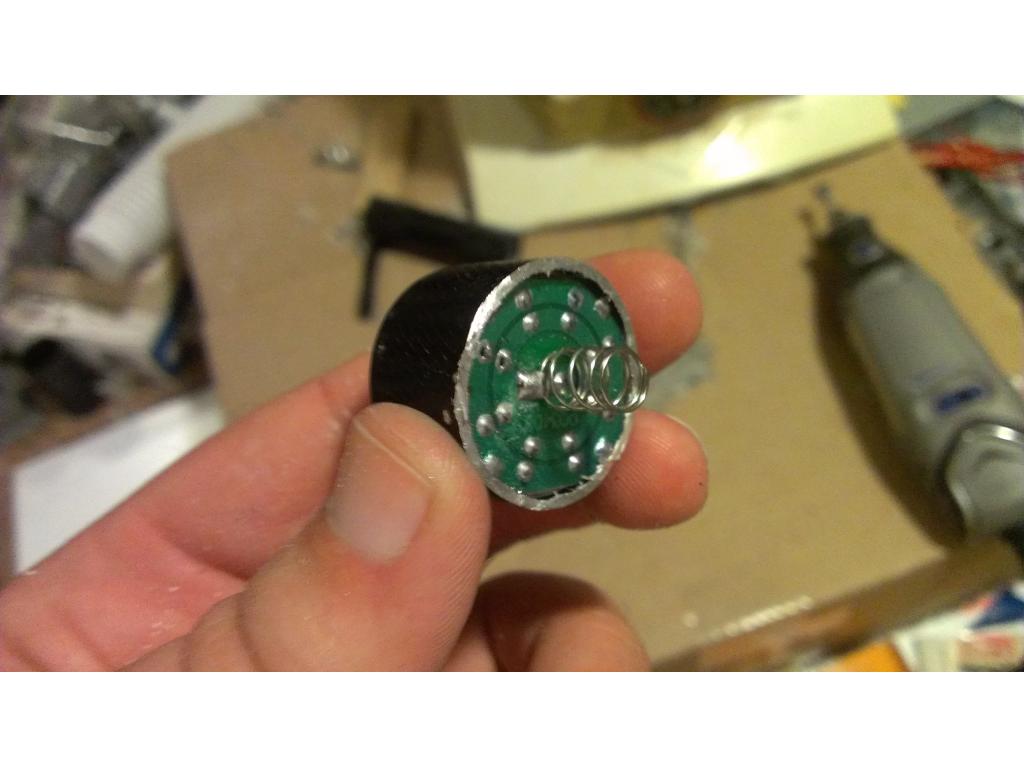
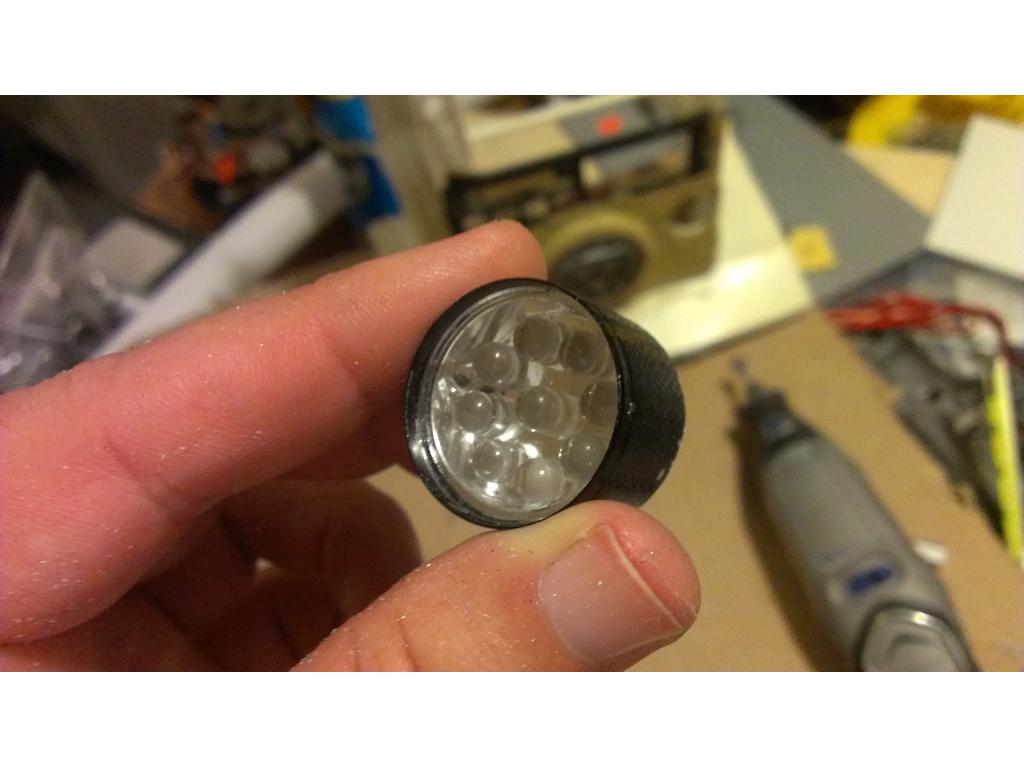
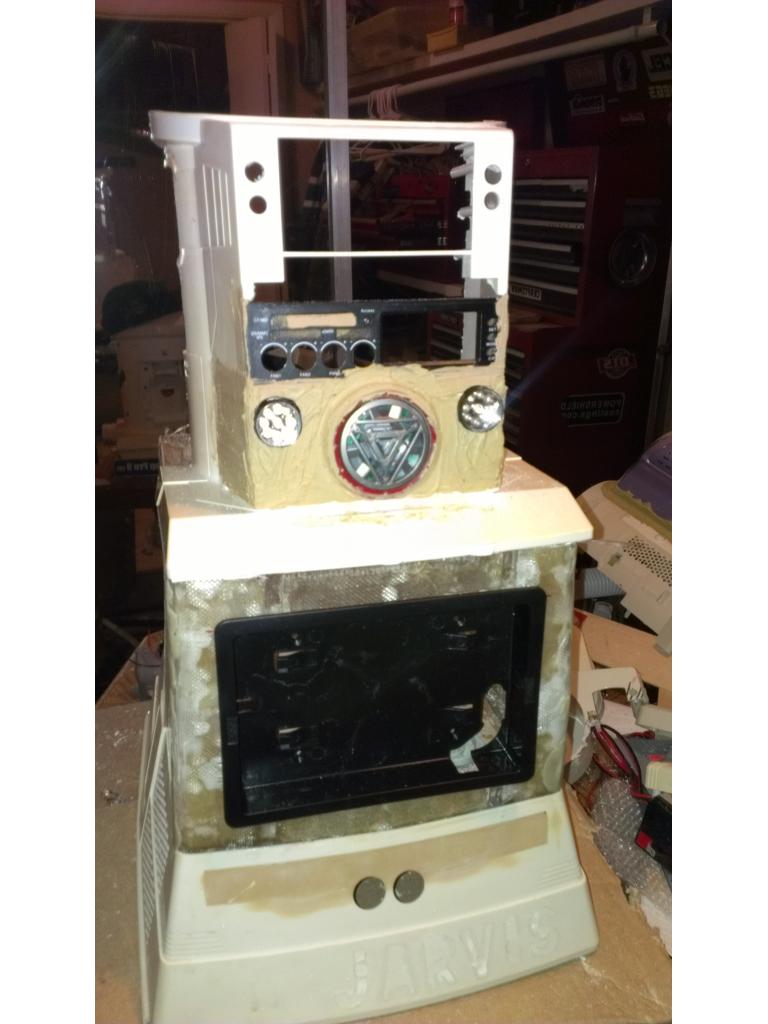
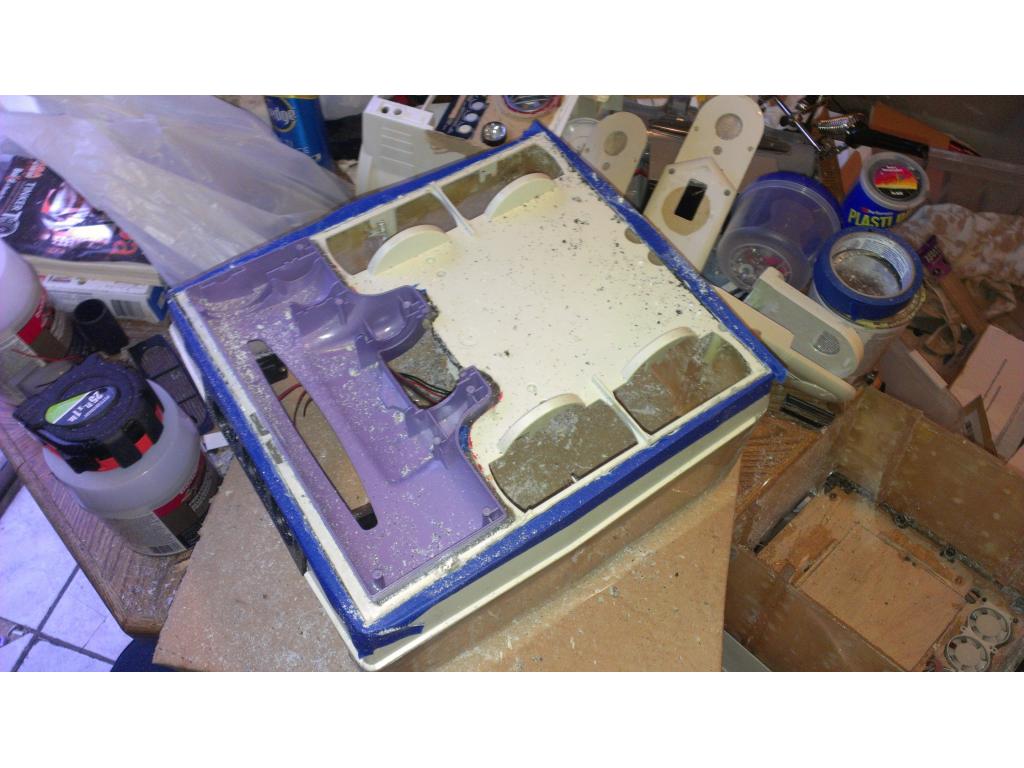
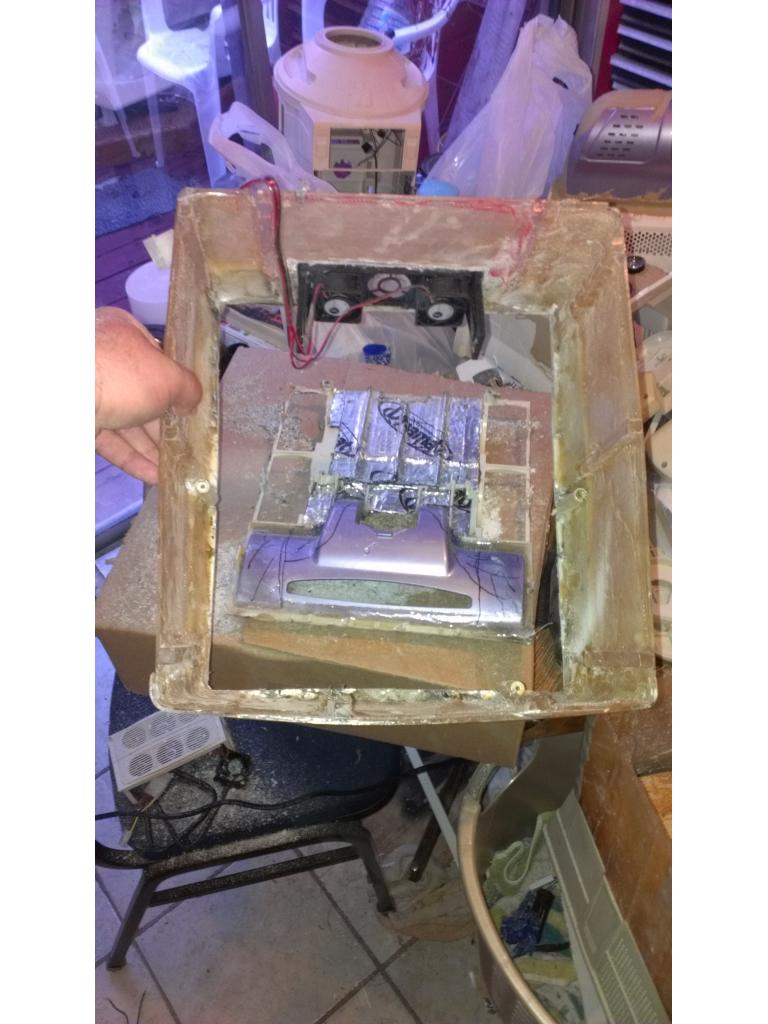
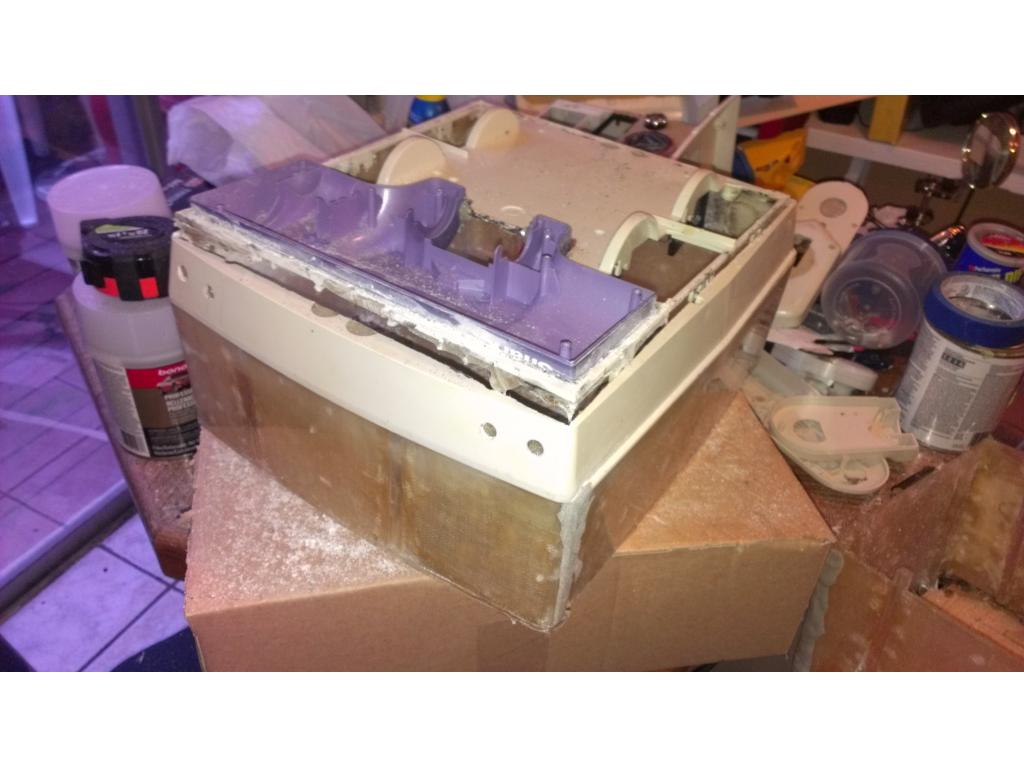
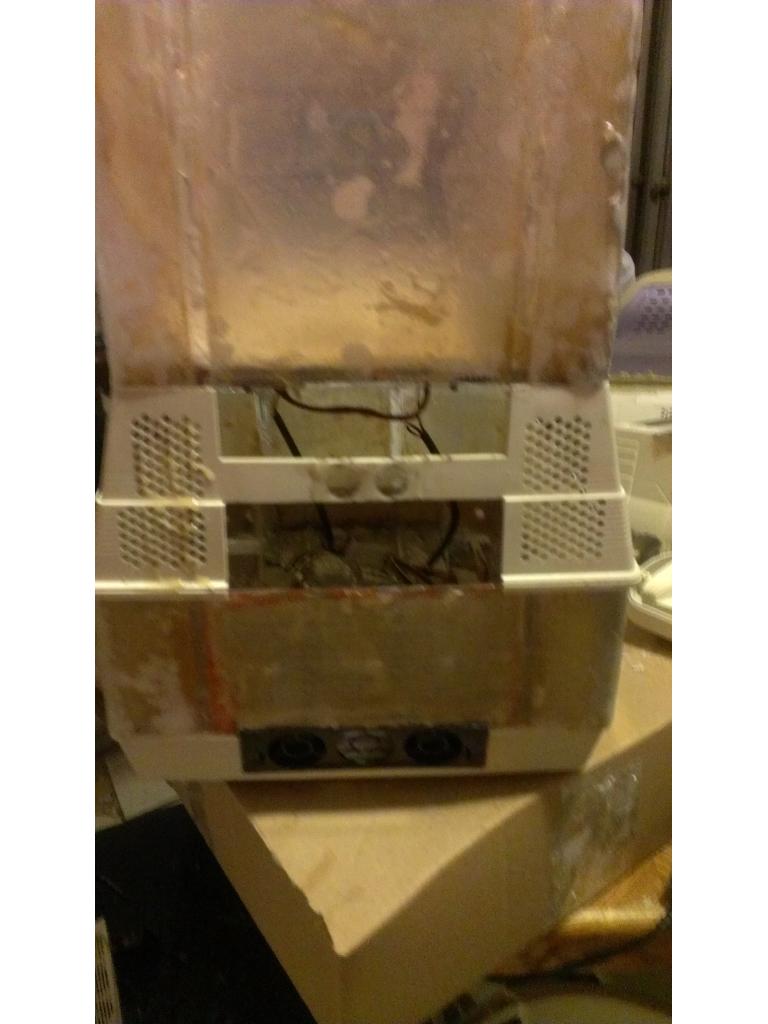
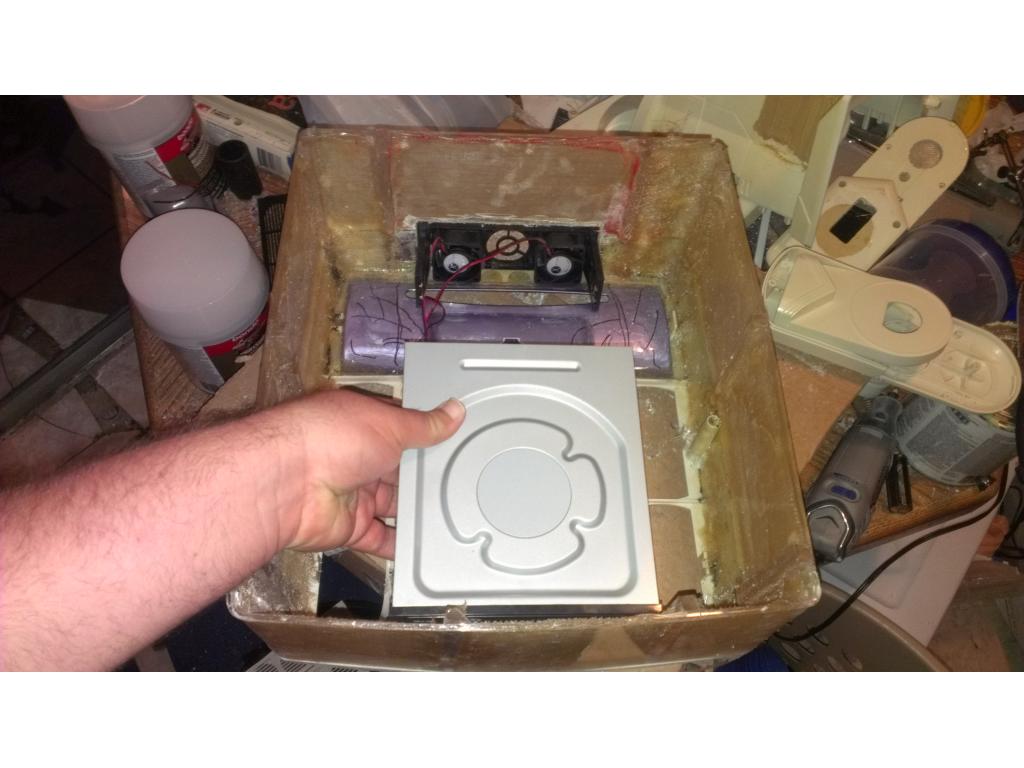
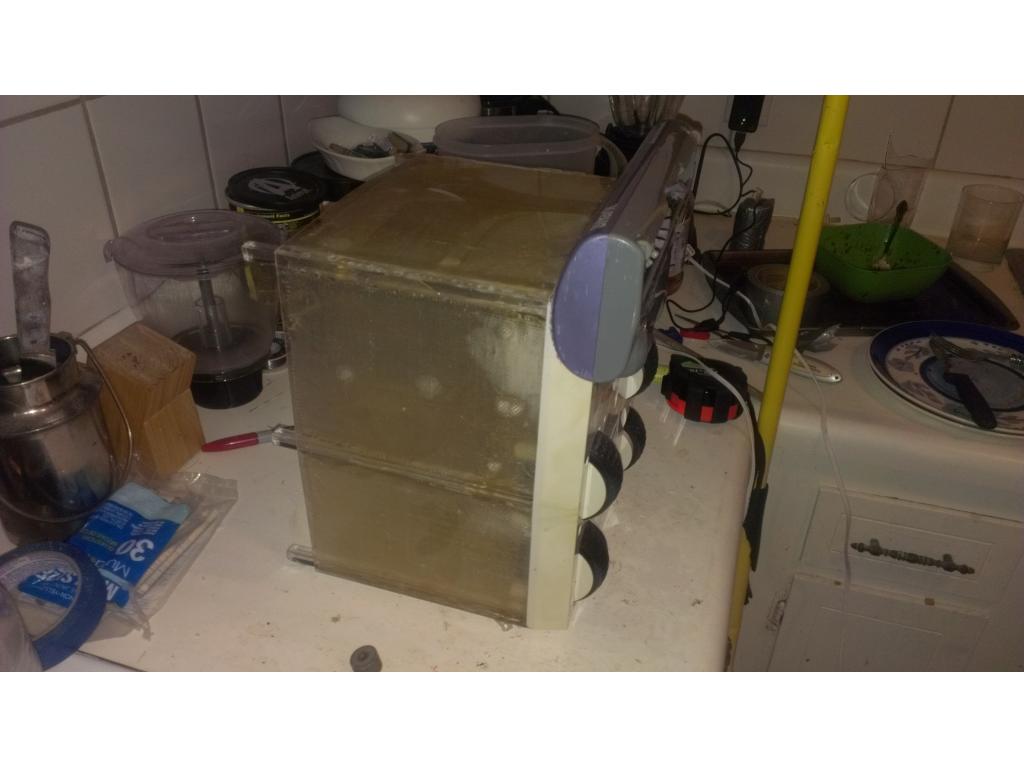
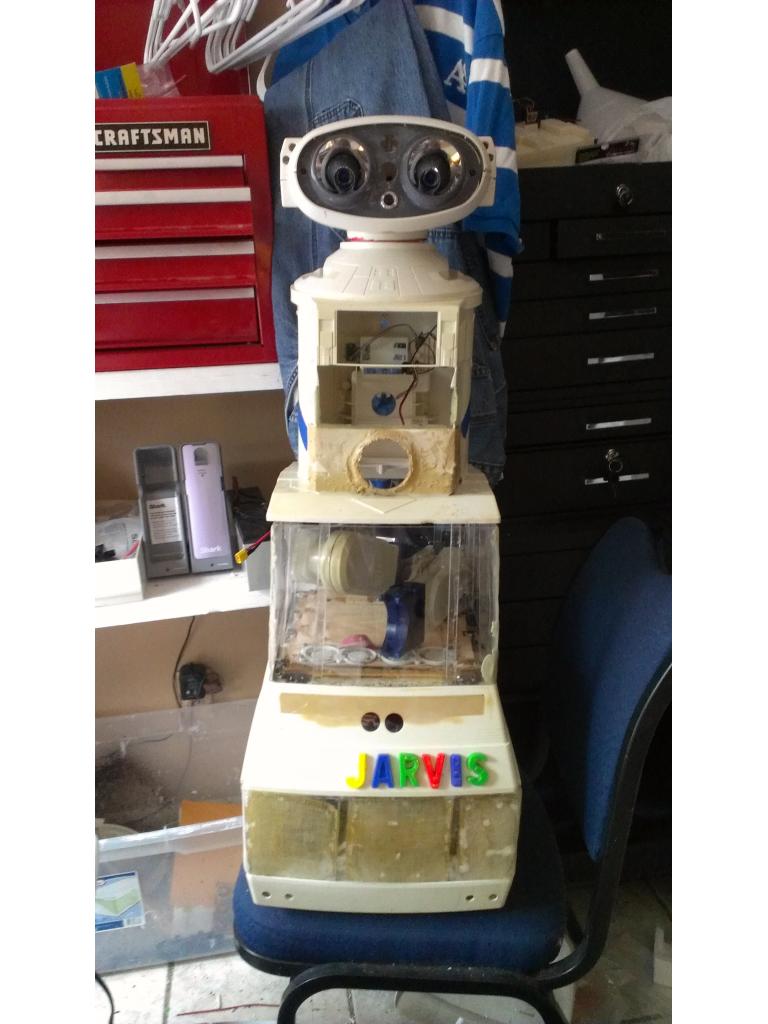
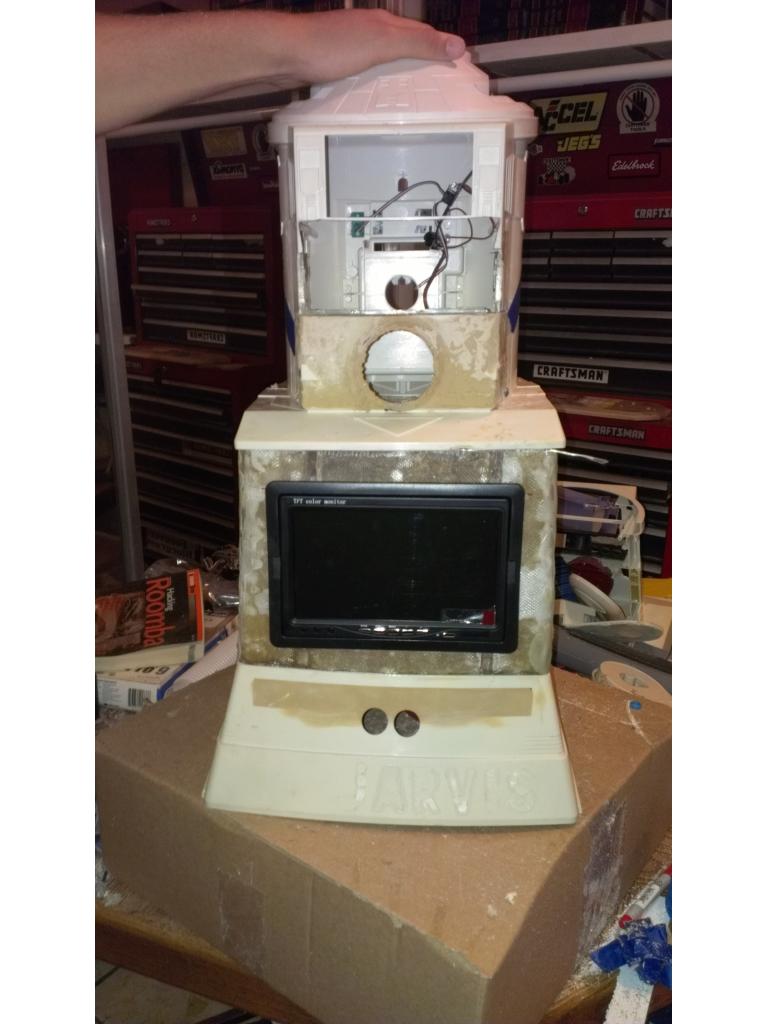
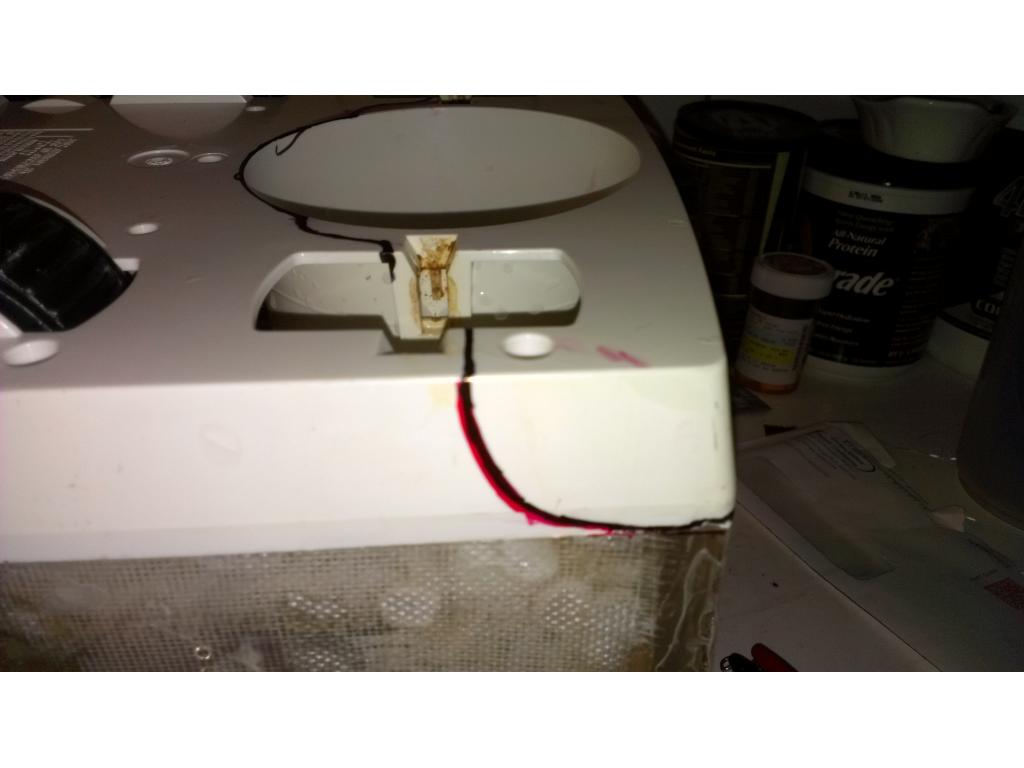
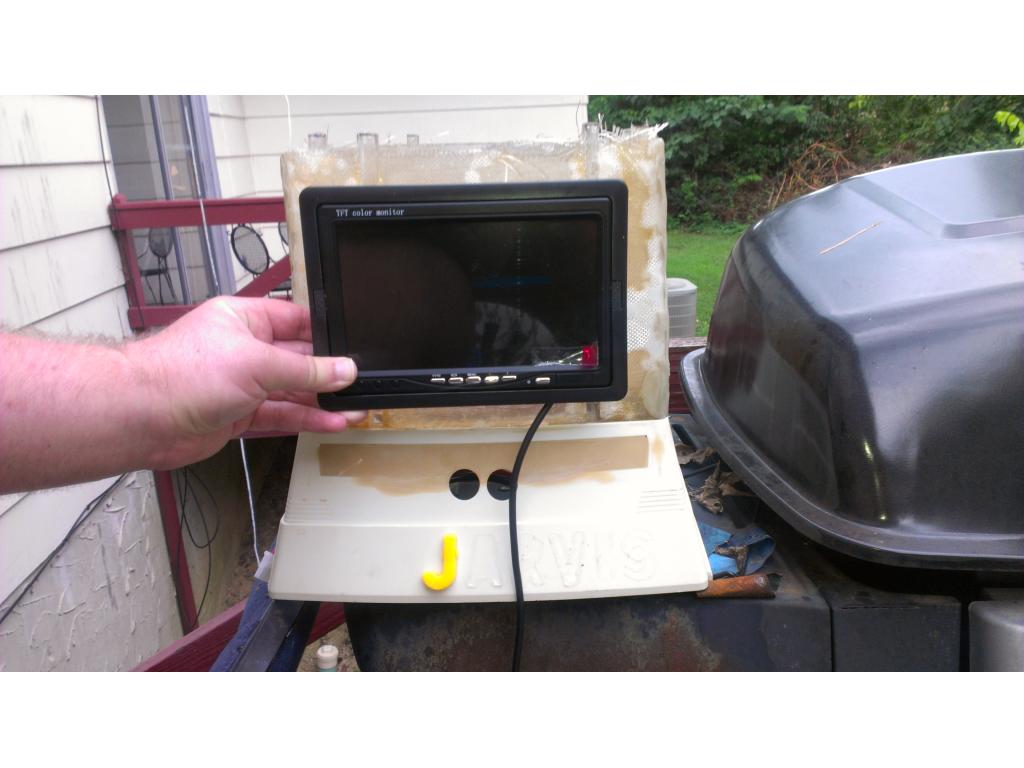
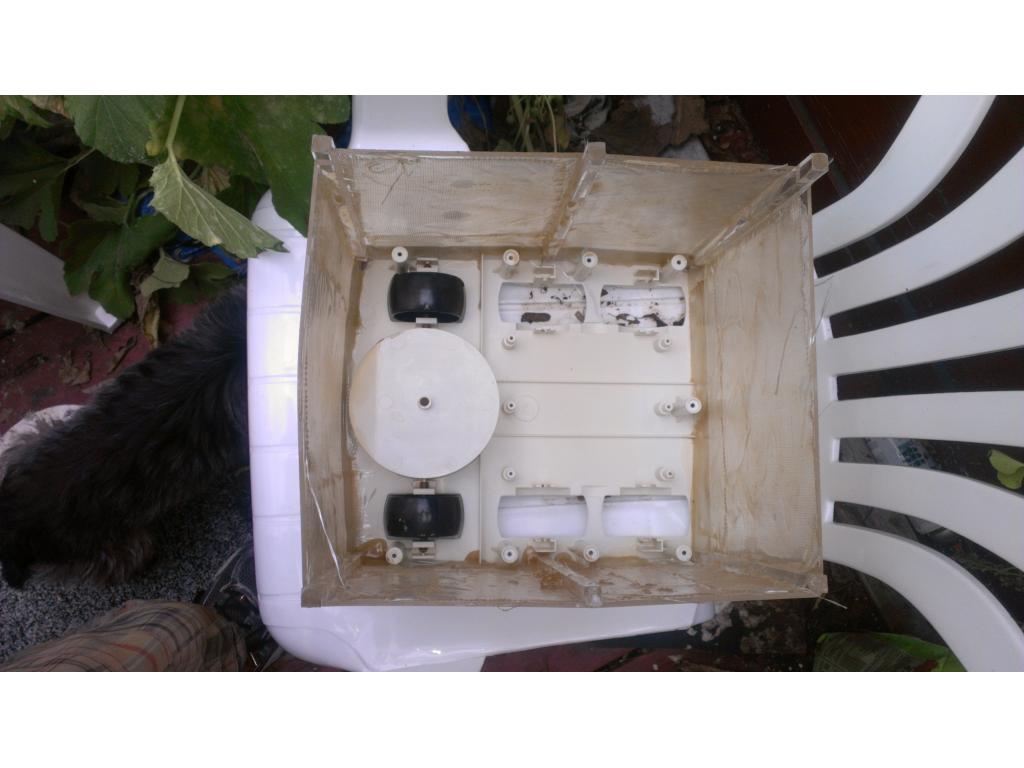
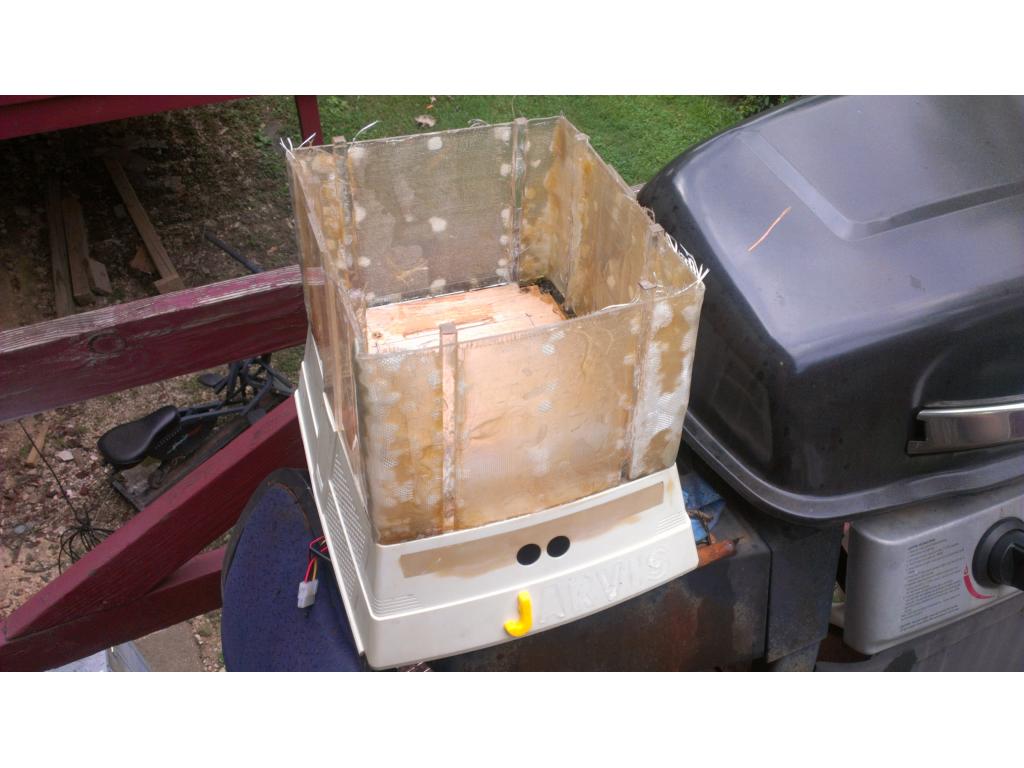
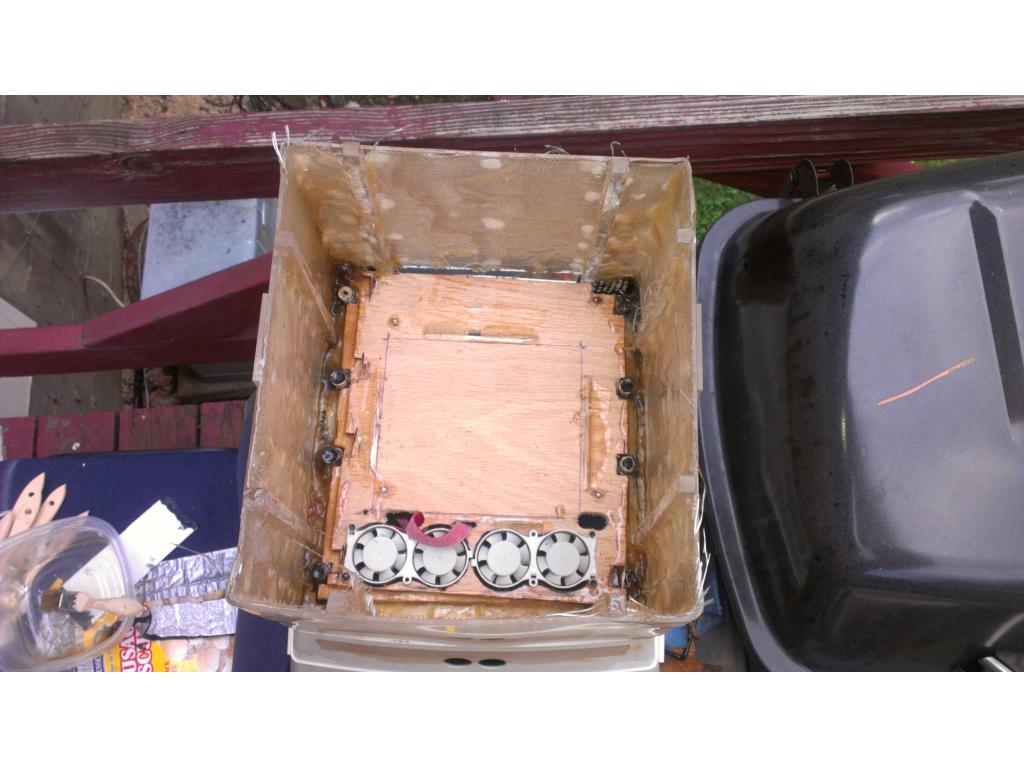
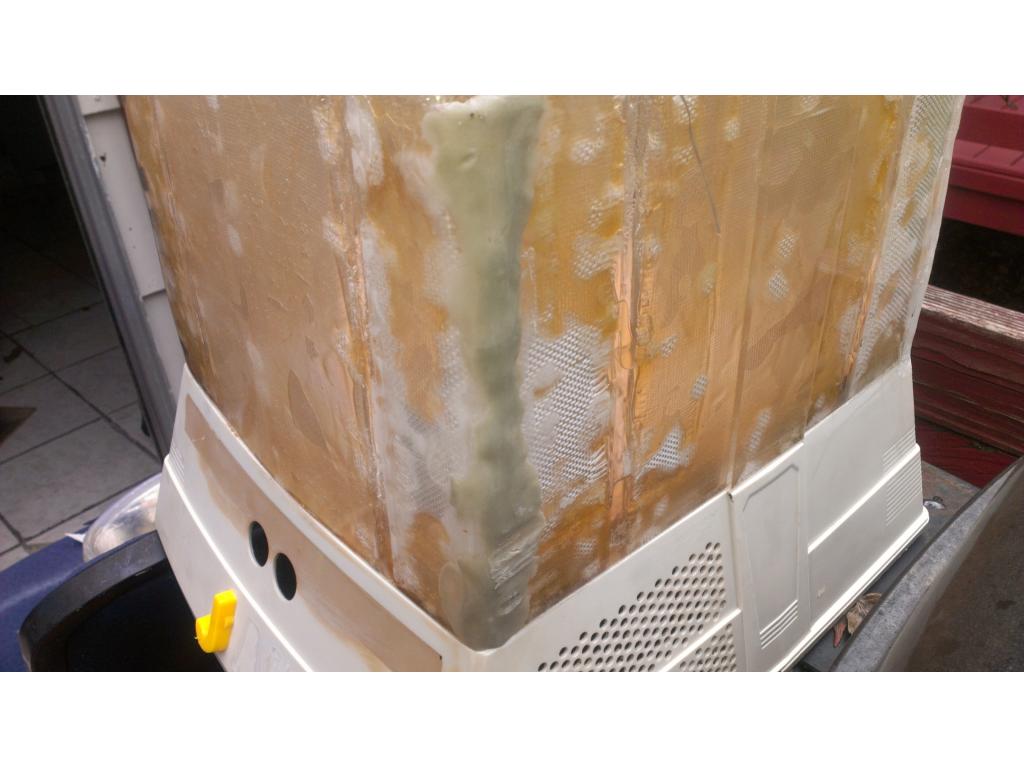
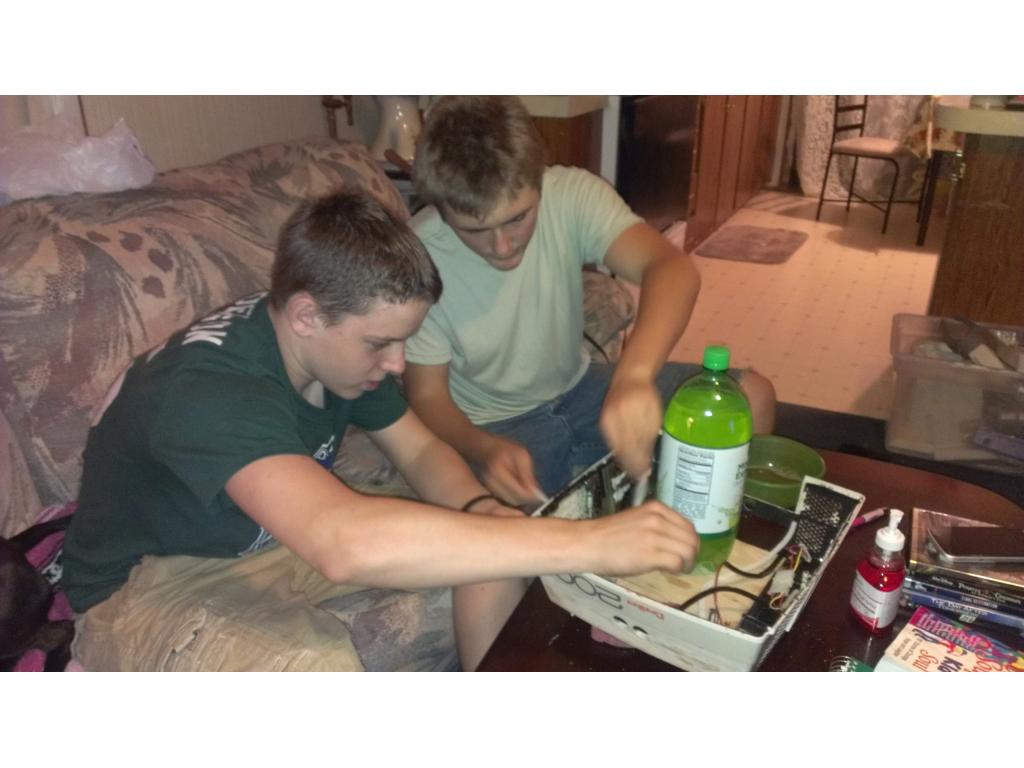
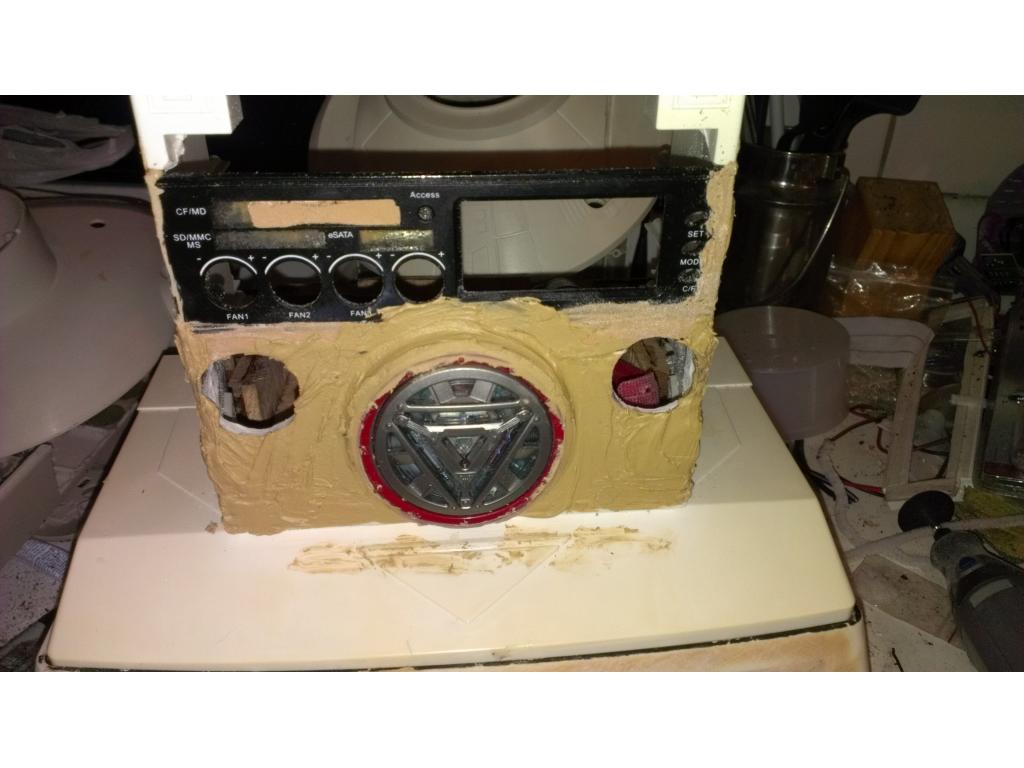
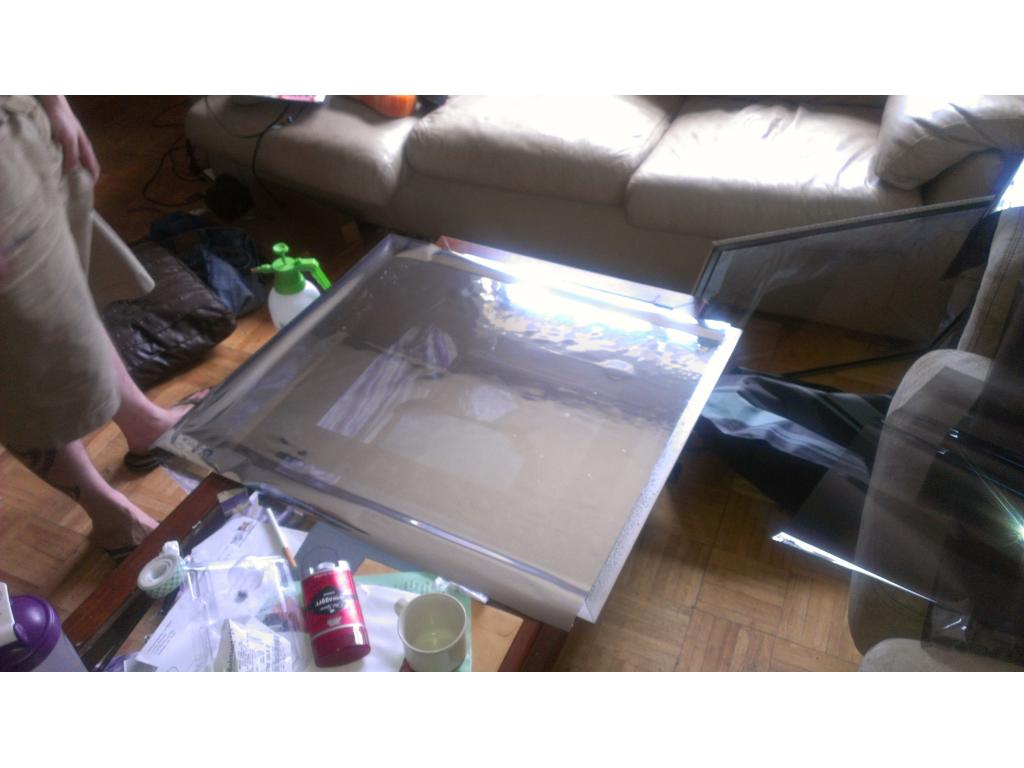
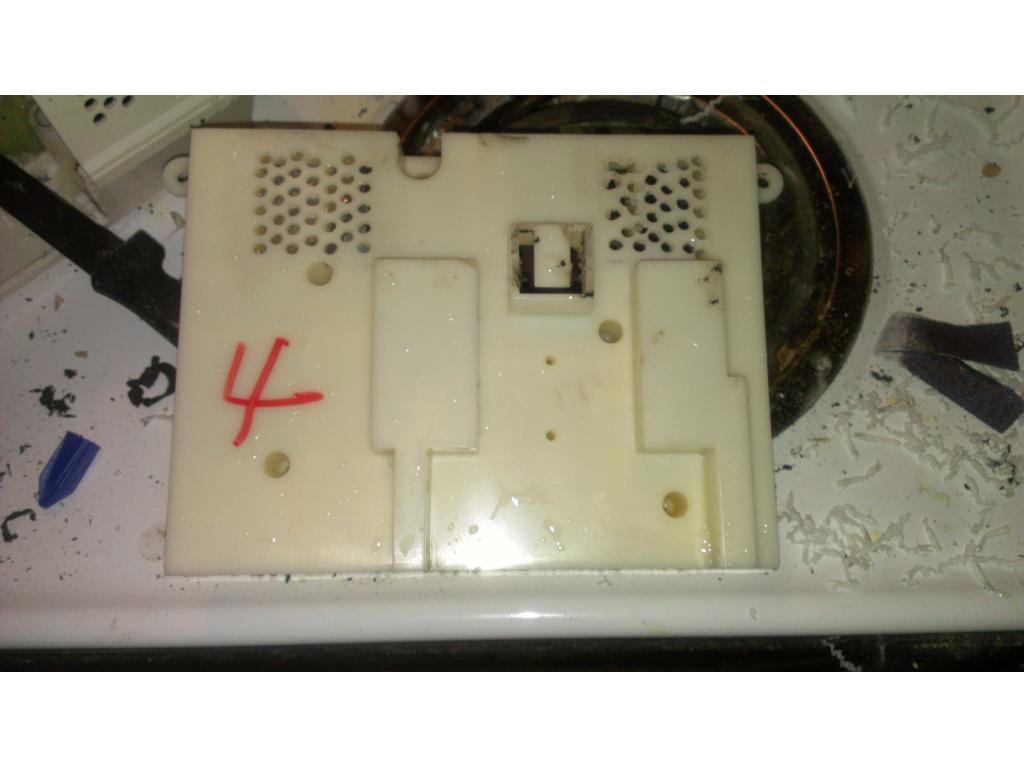
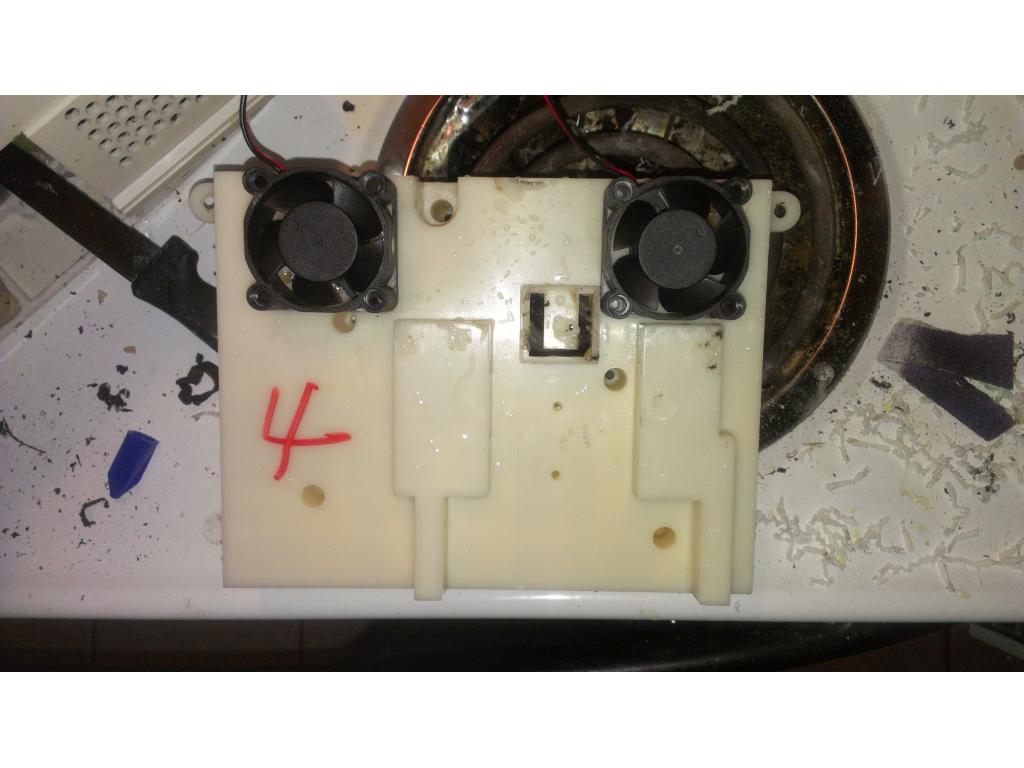
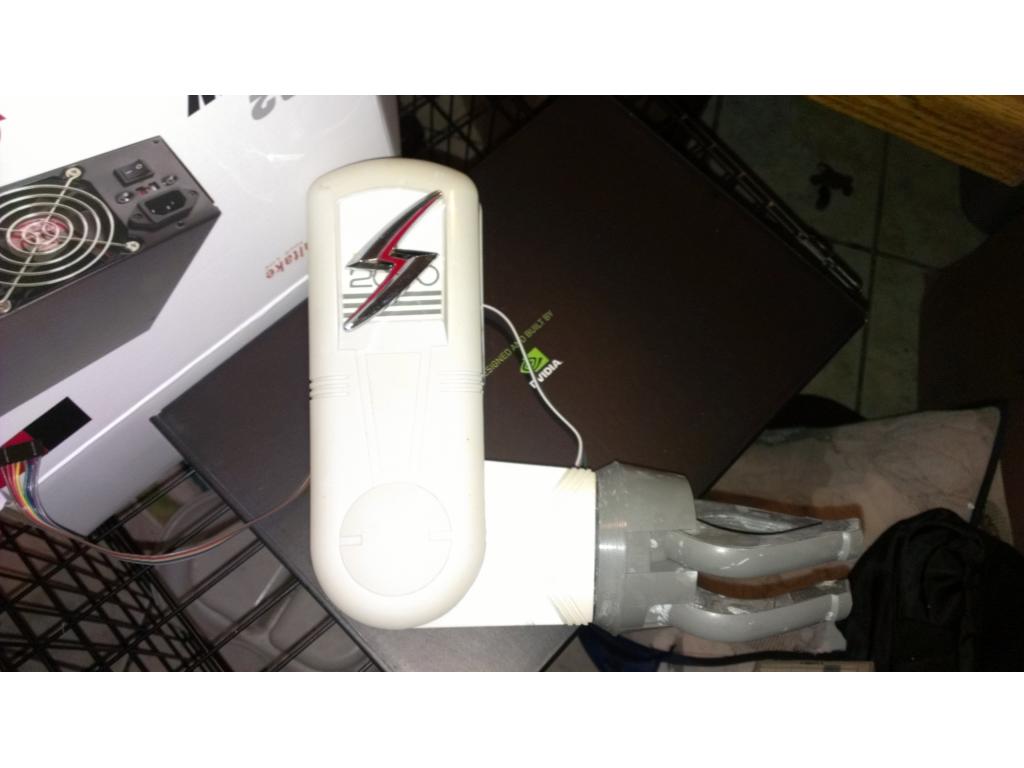
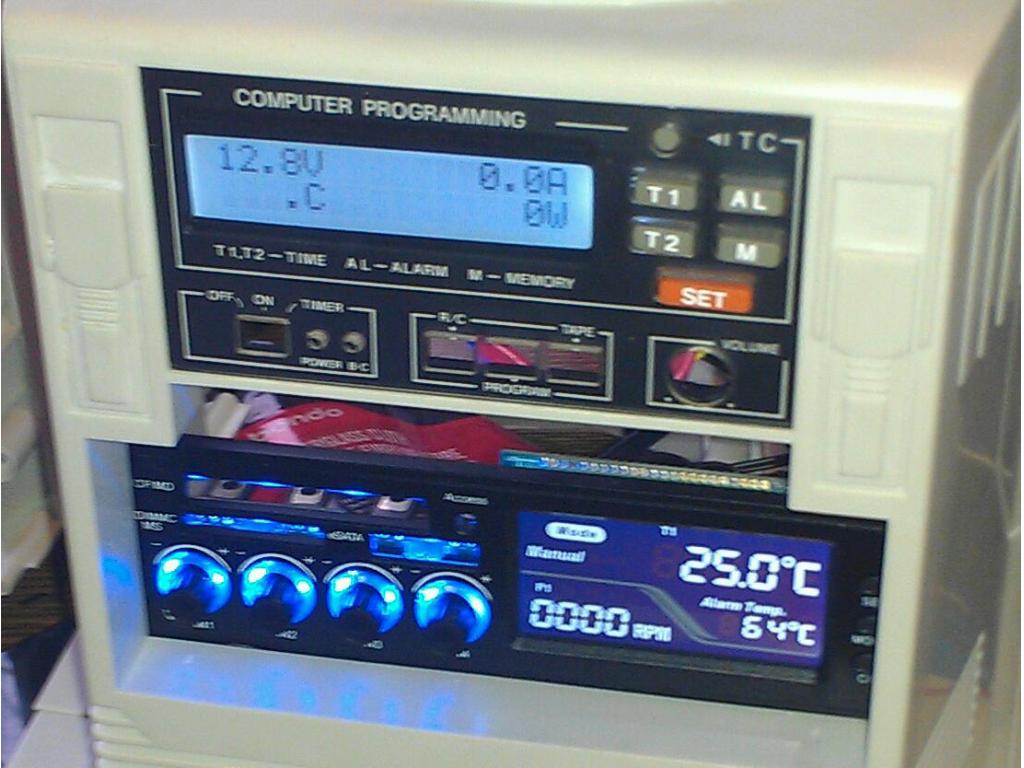
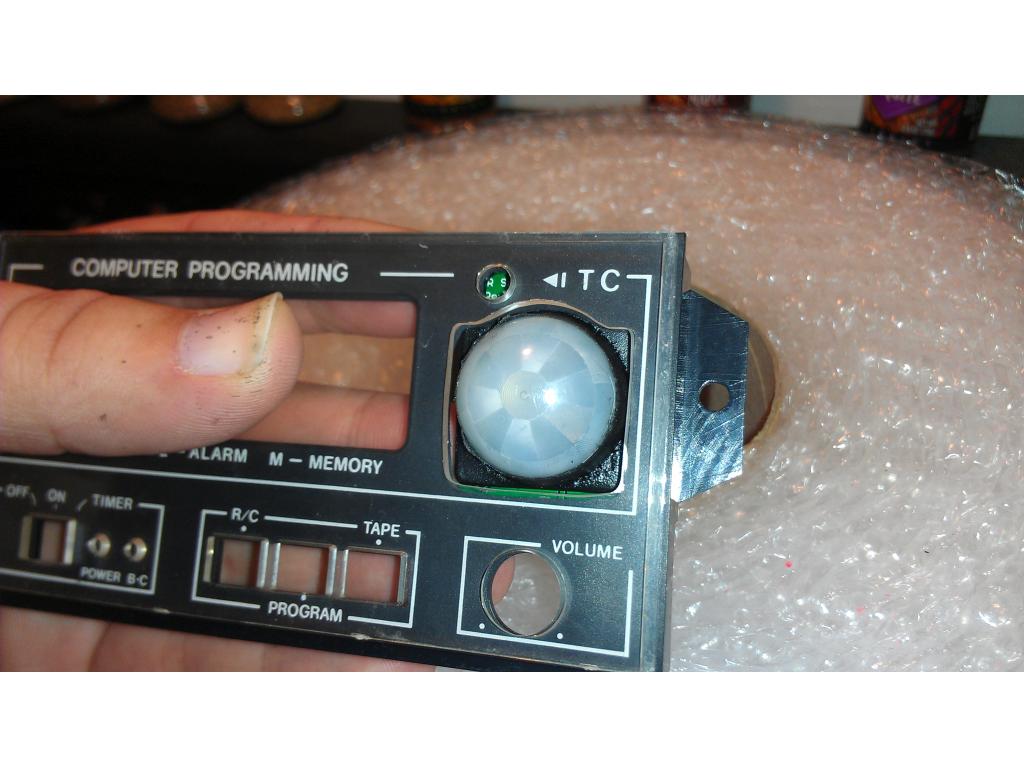
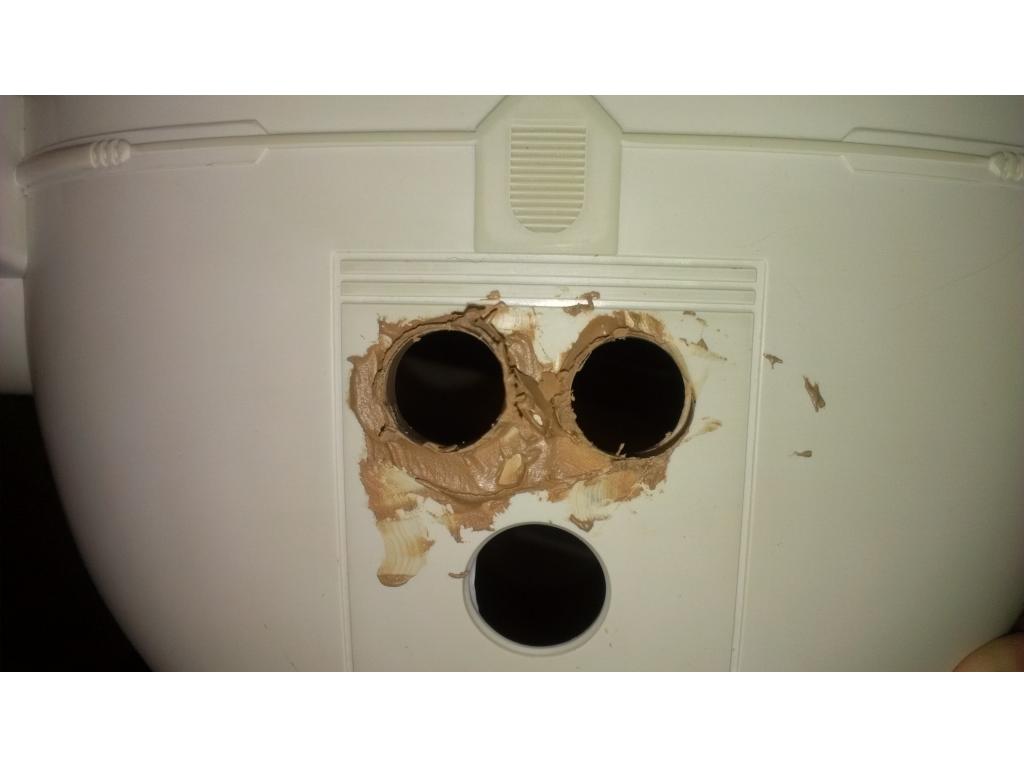
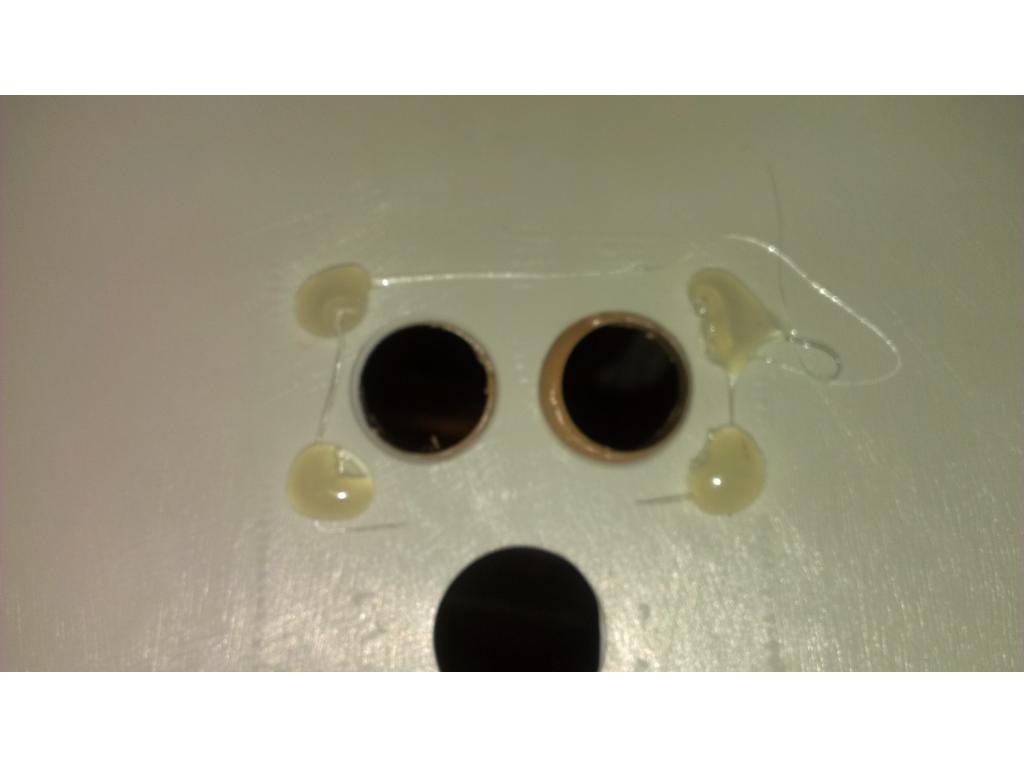
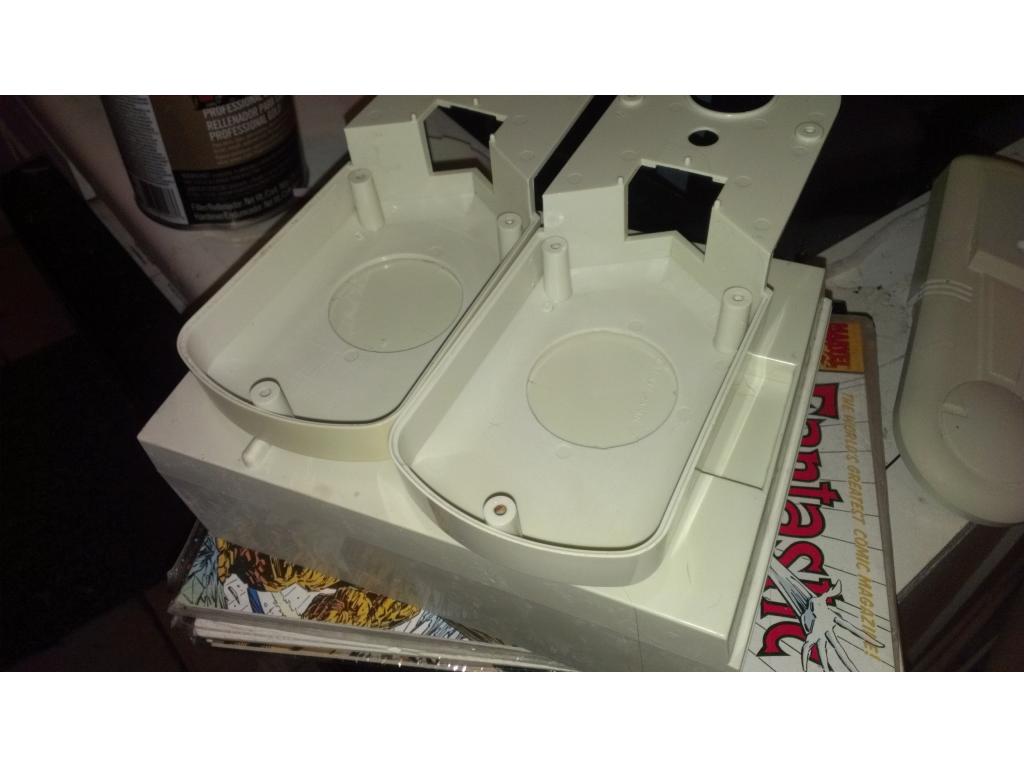
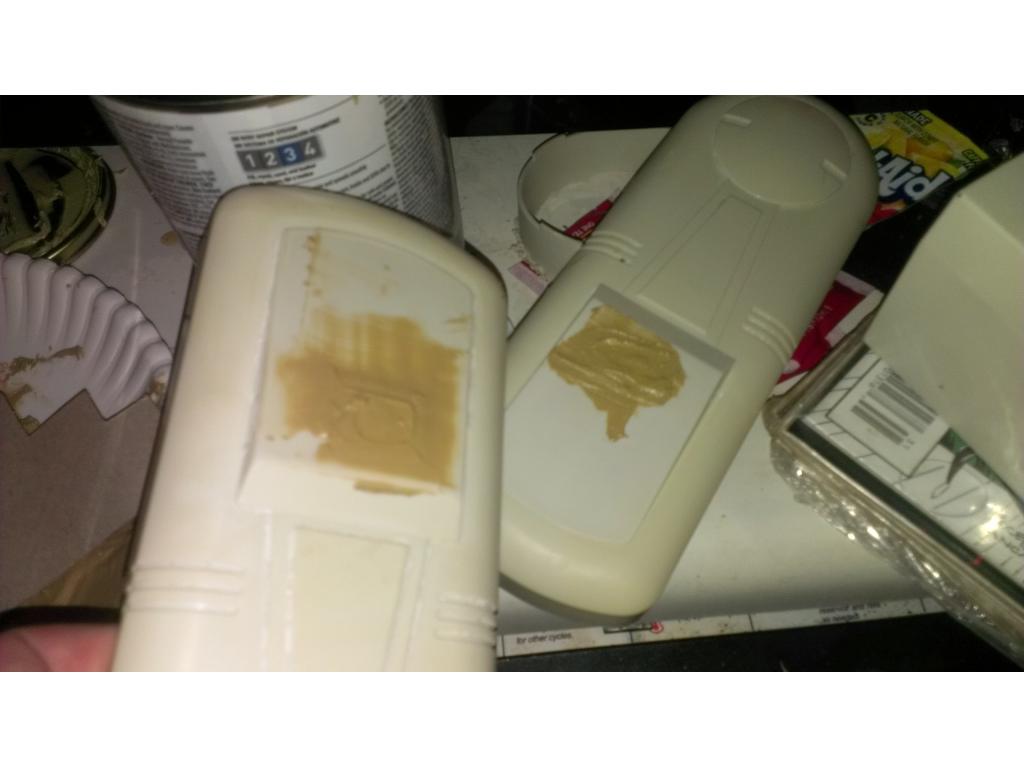
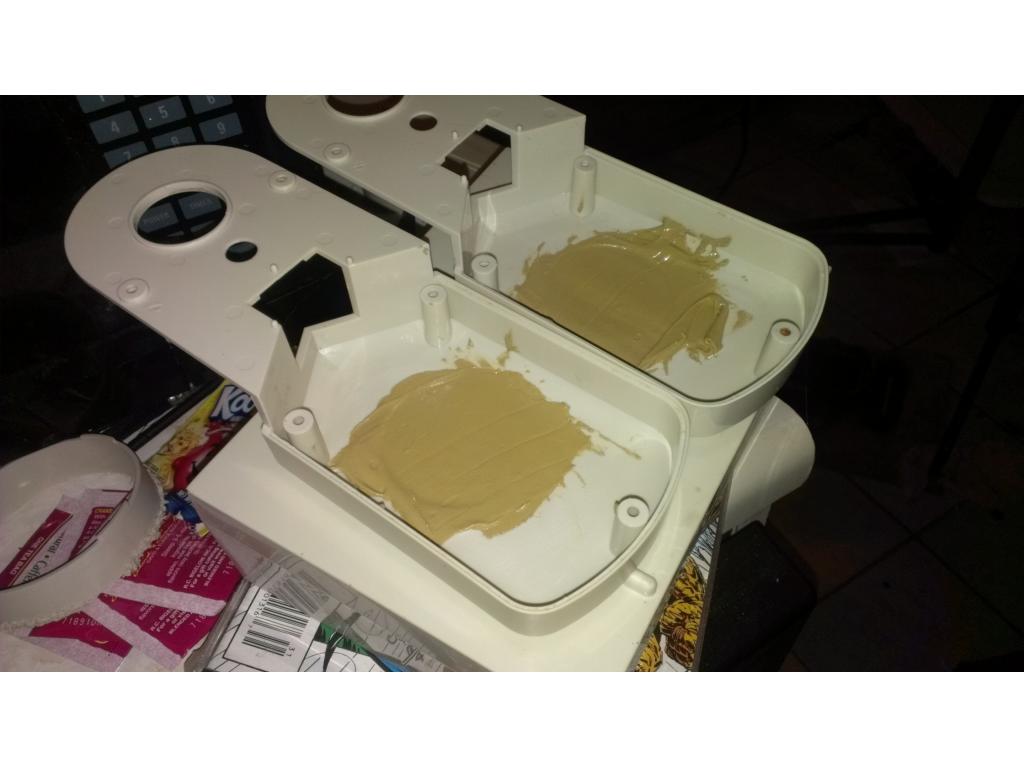
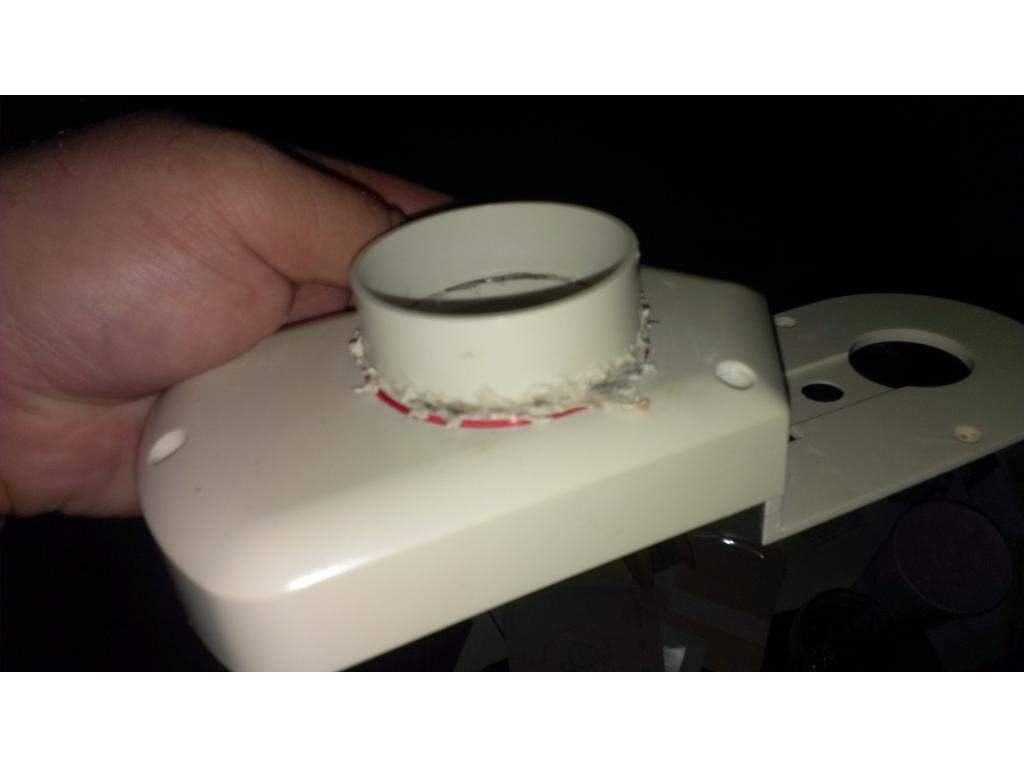
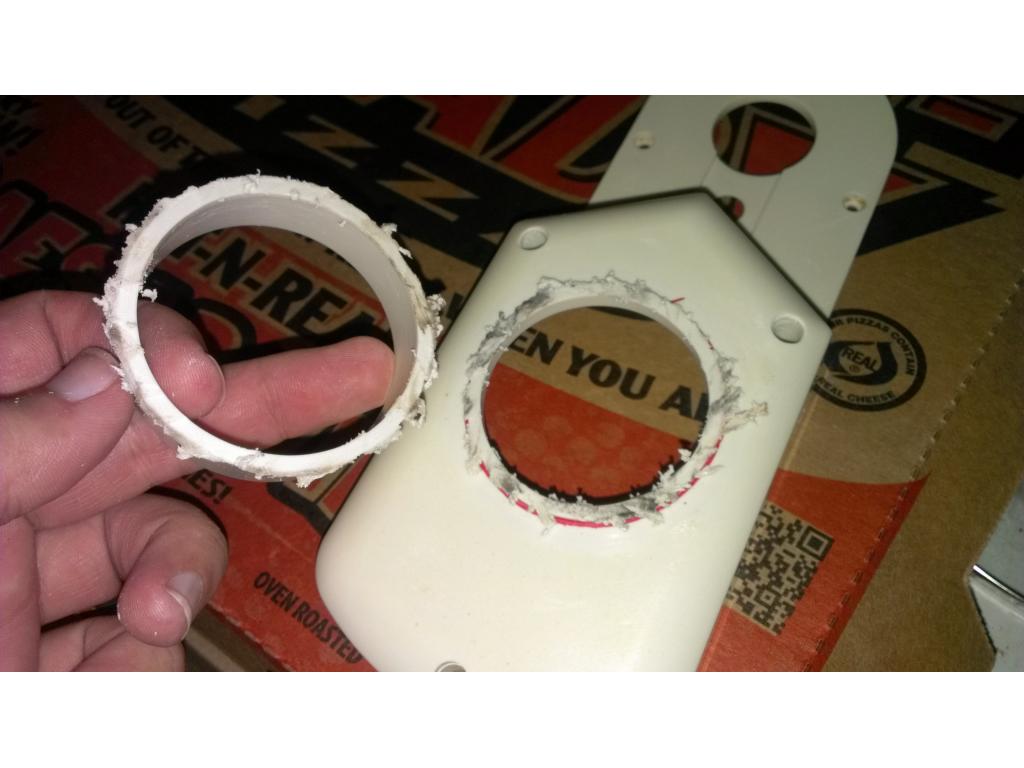
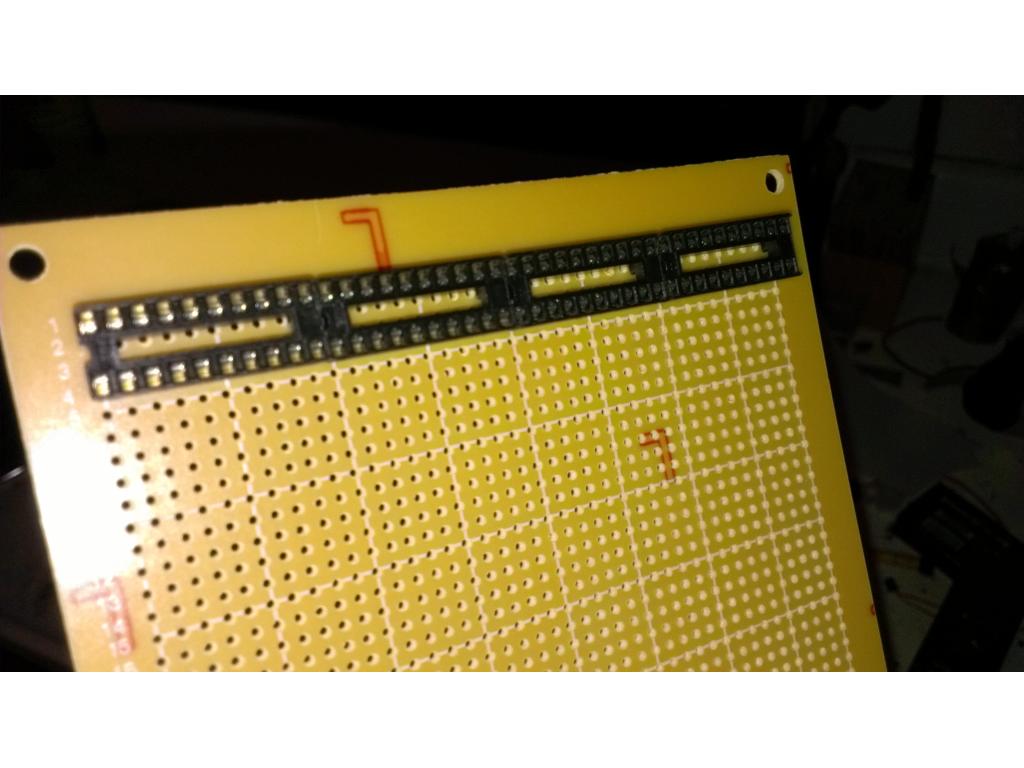
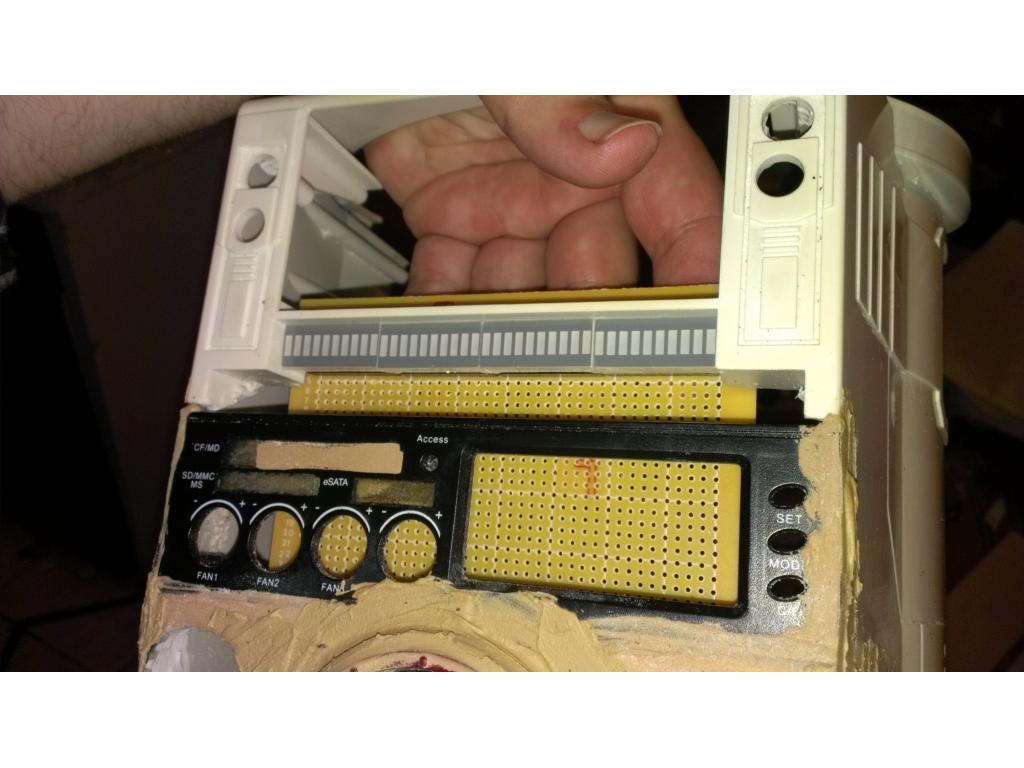
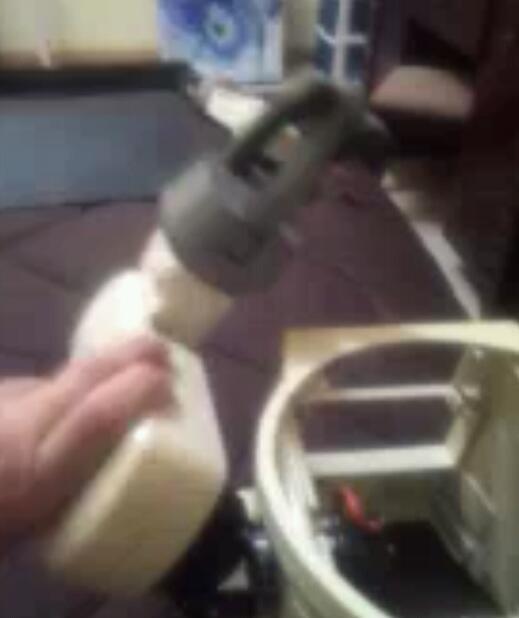
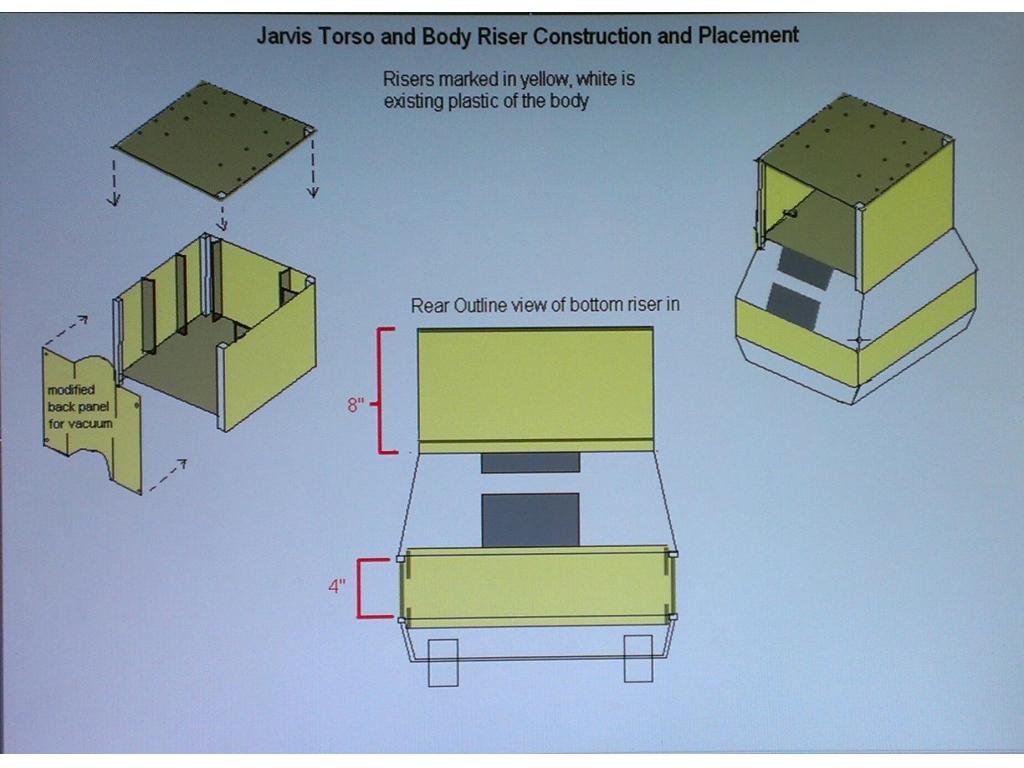
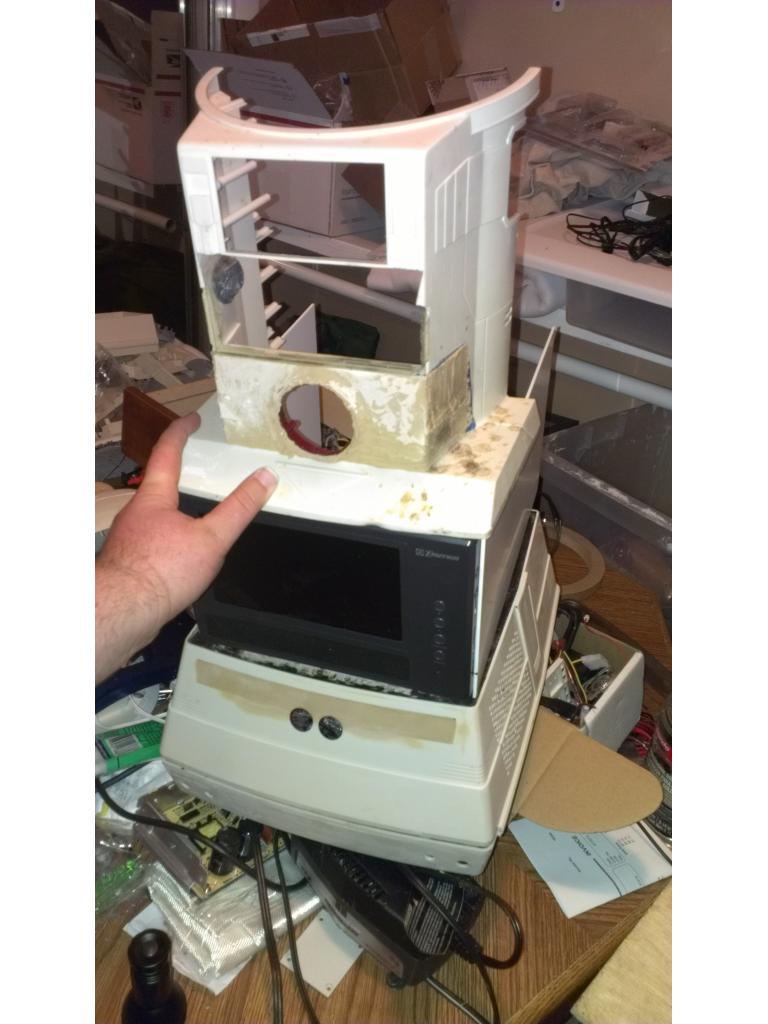
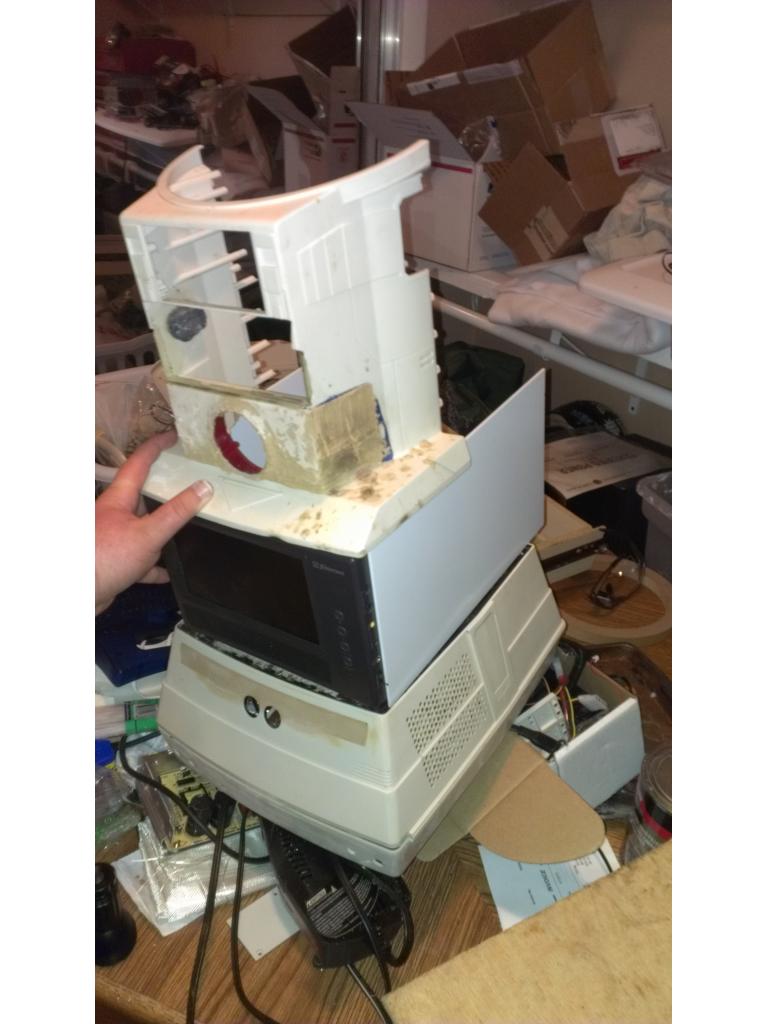
Tiny update- back to torso , I need to get this guy done , I must fill the lines and cut out the hole for the ARC creator toy. I'm waiting about ten minutes for.this gel to set up and then I will fill each side. This is nerve racking at best because I gotta get it back to where it was and better tonight if I can.
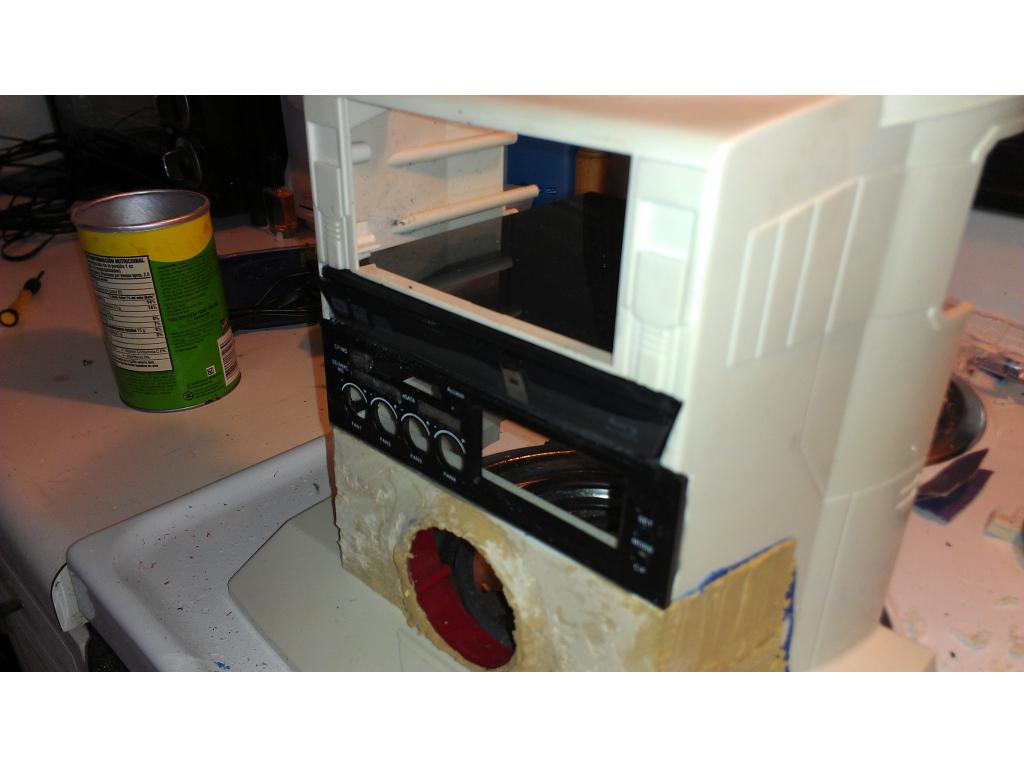
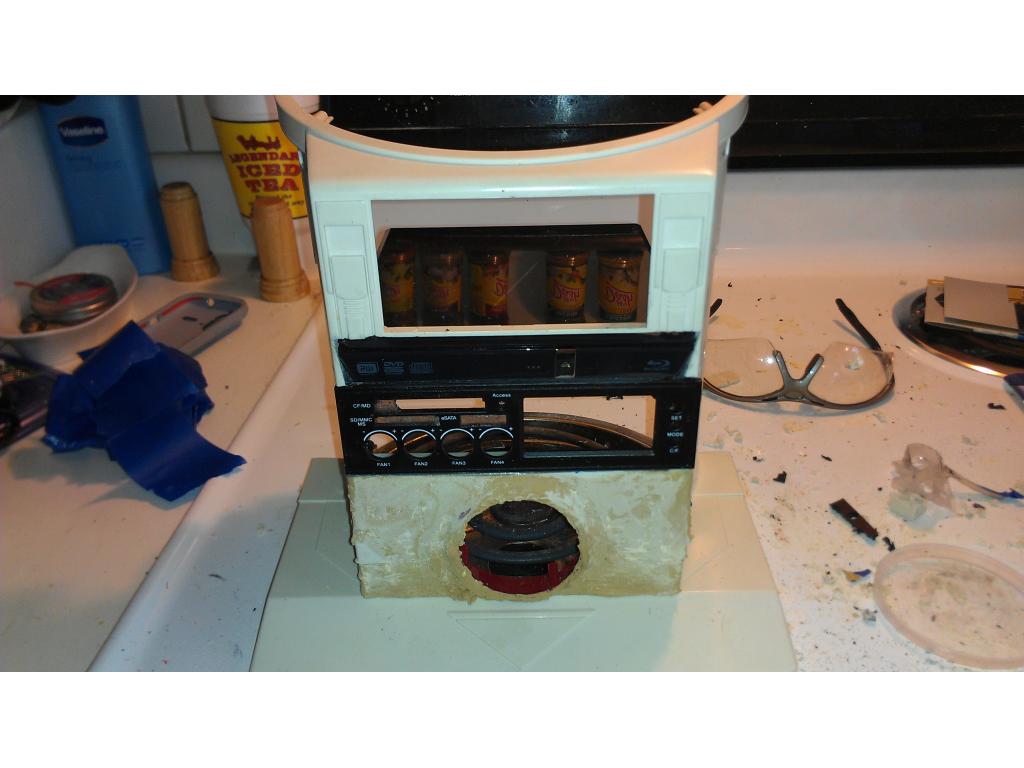
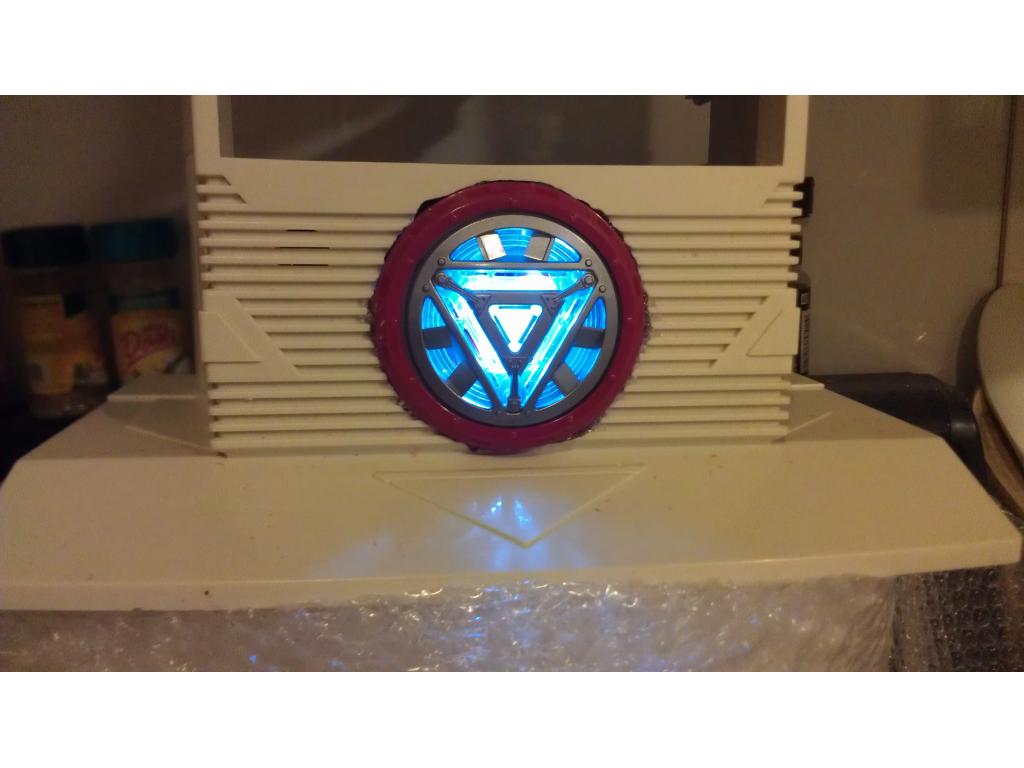
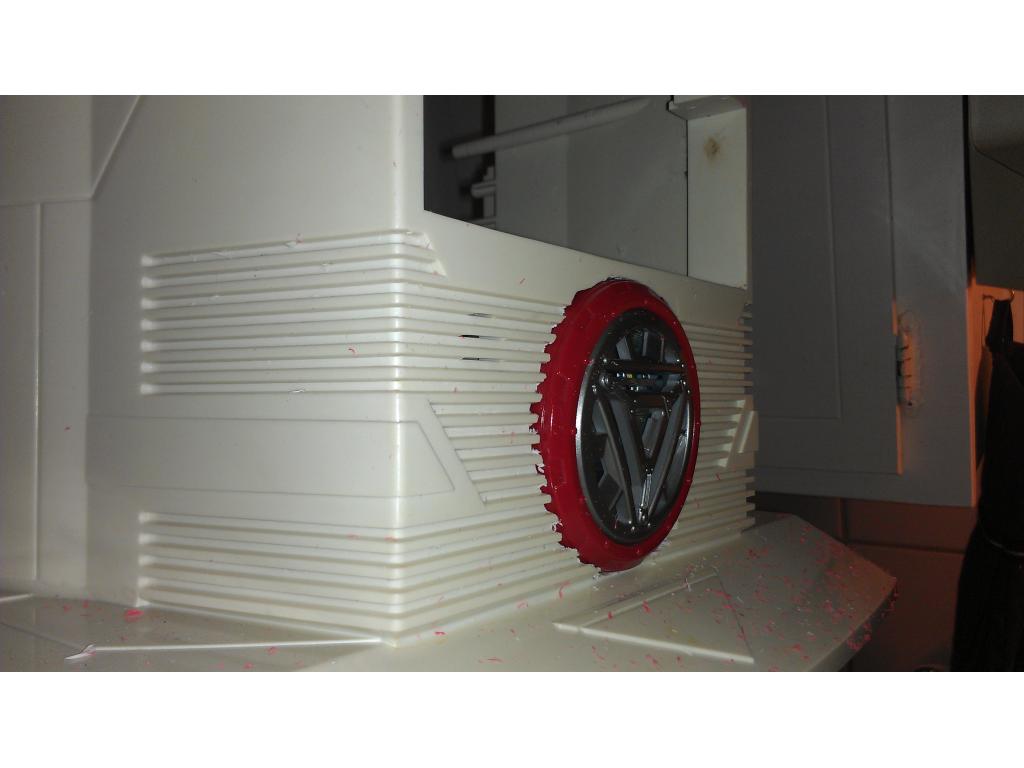
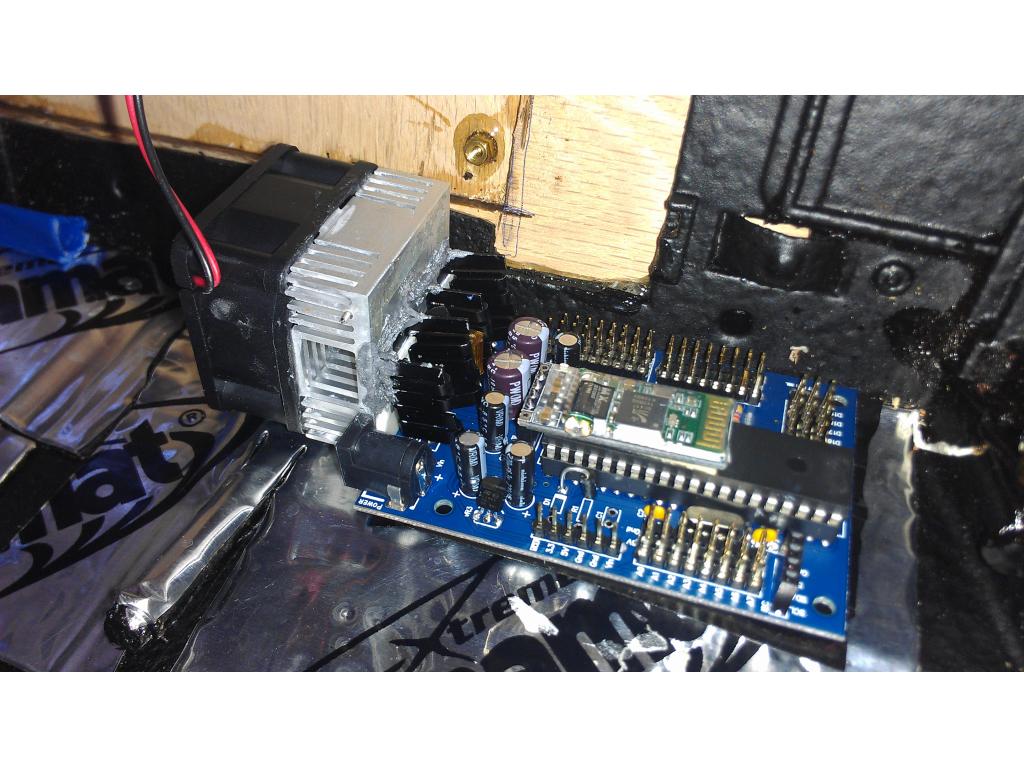
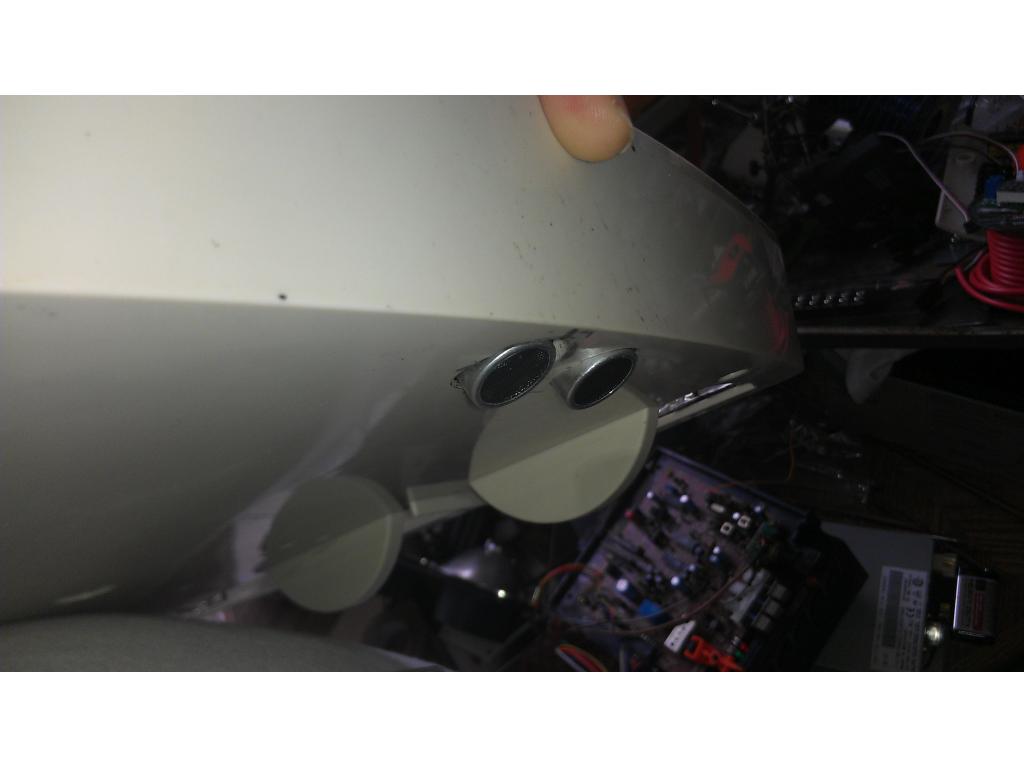
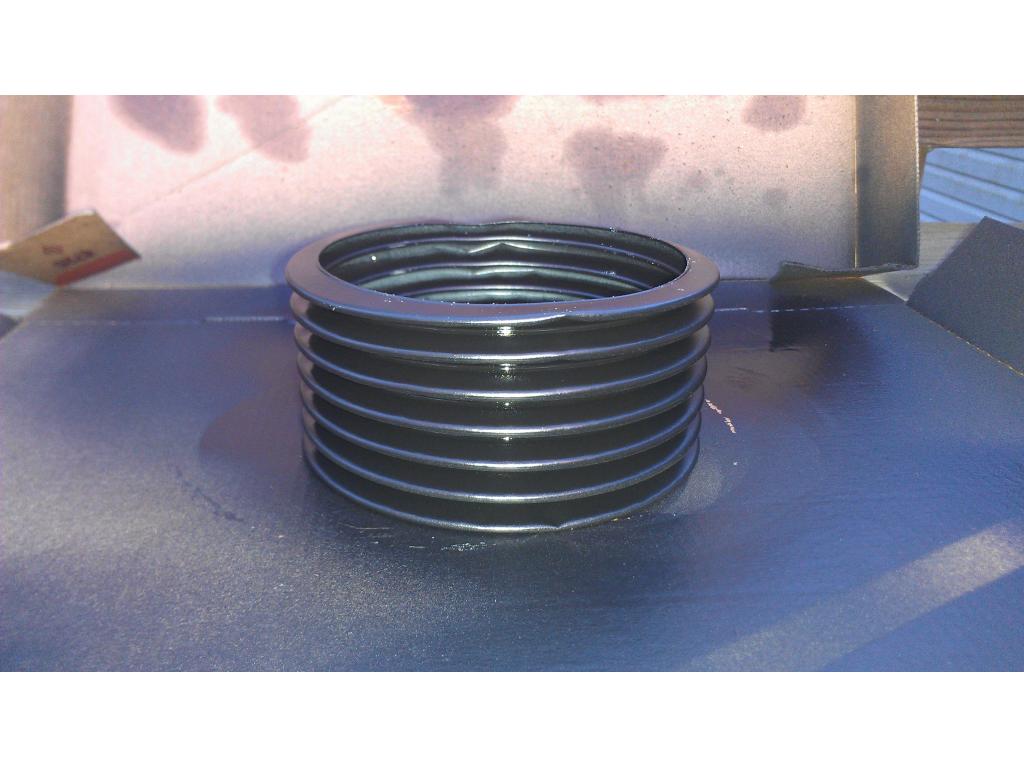
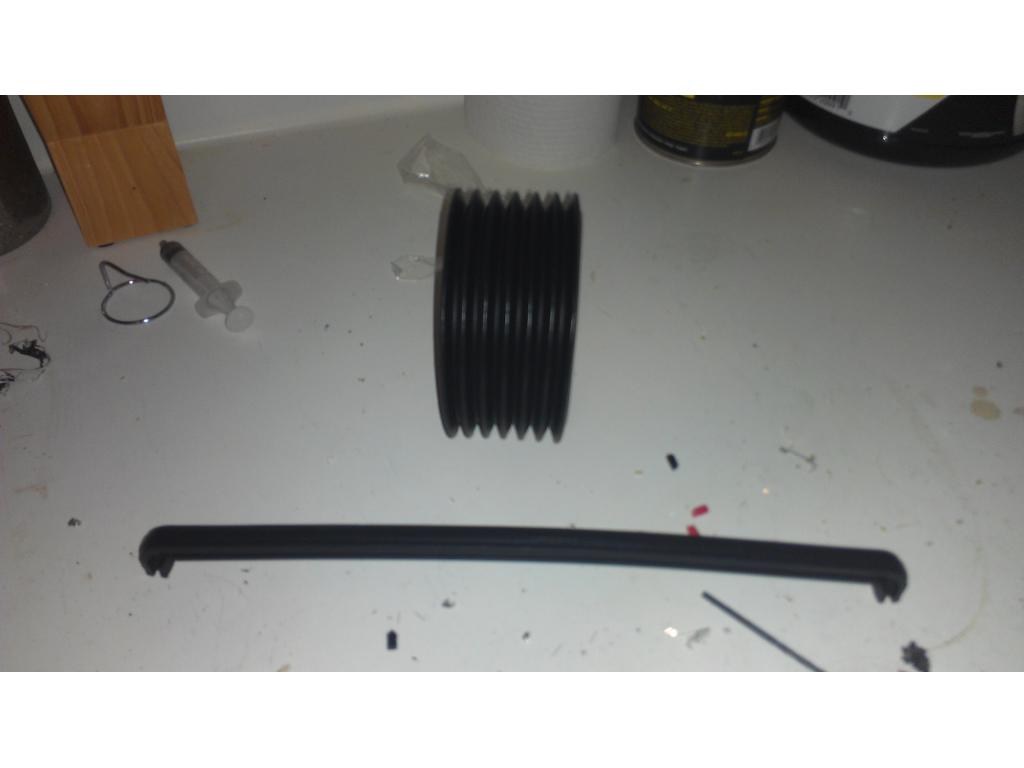
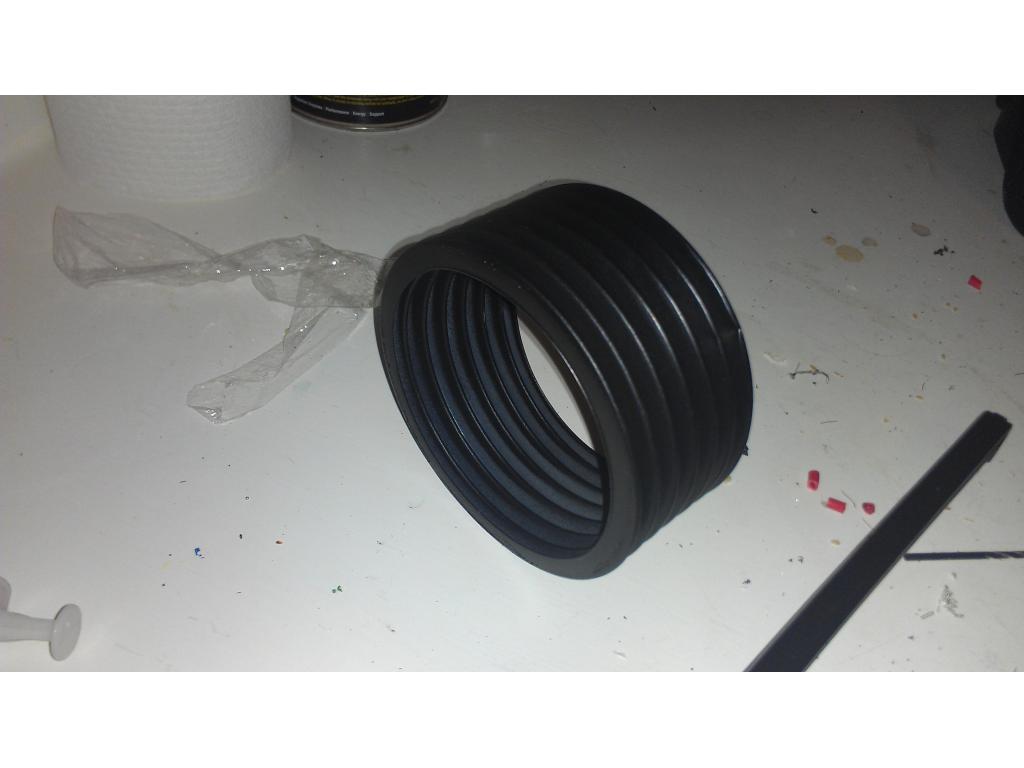
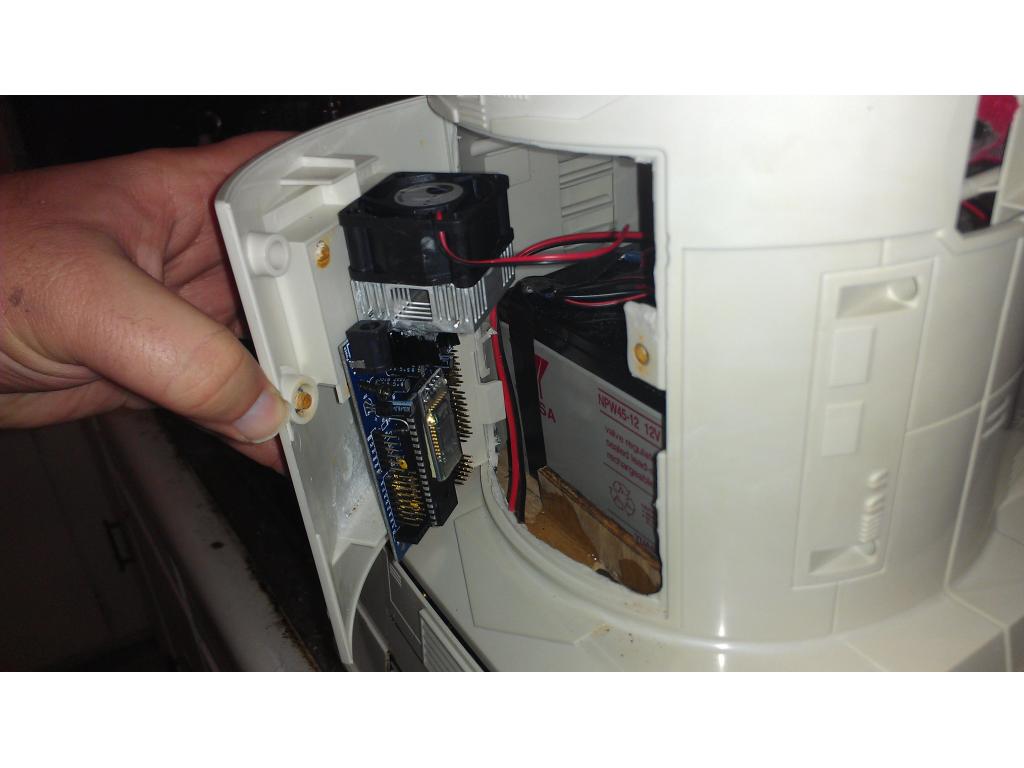
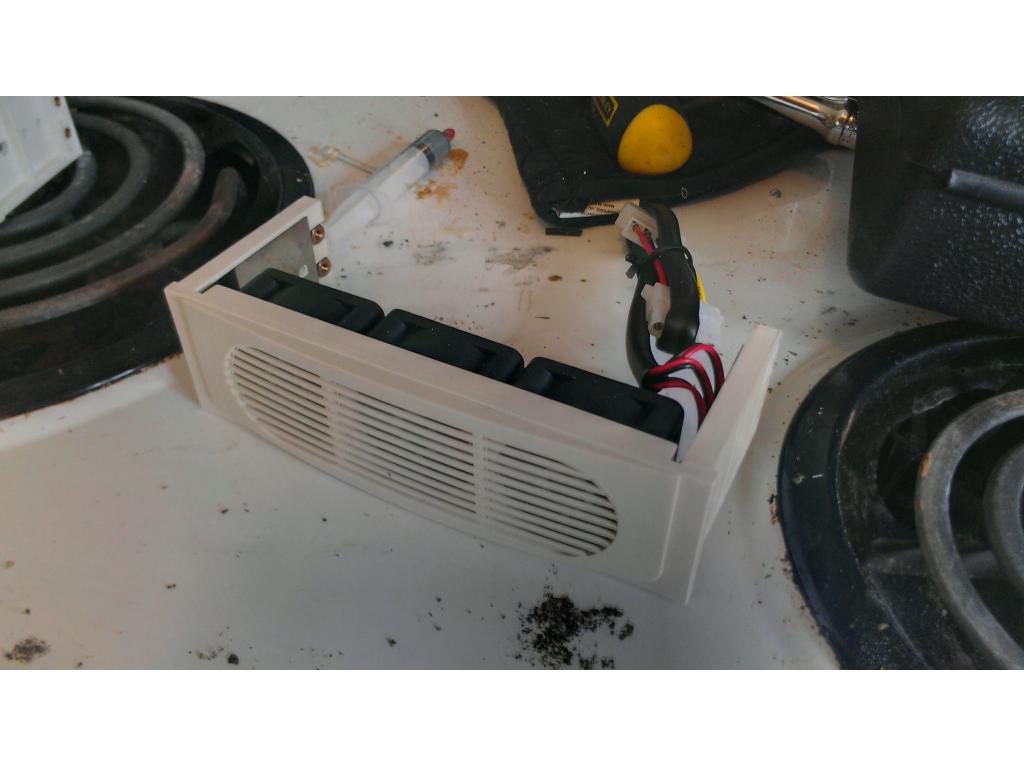
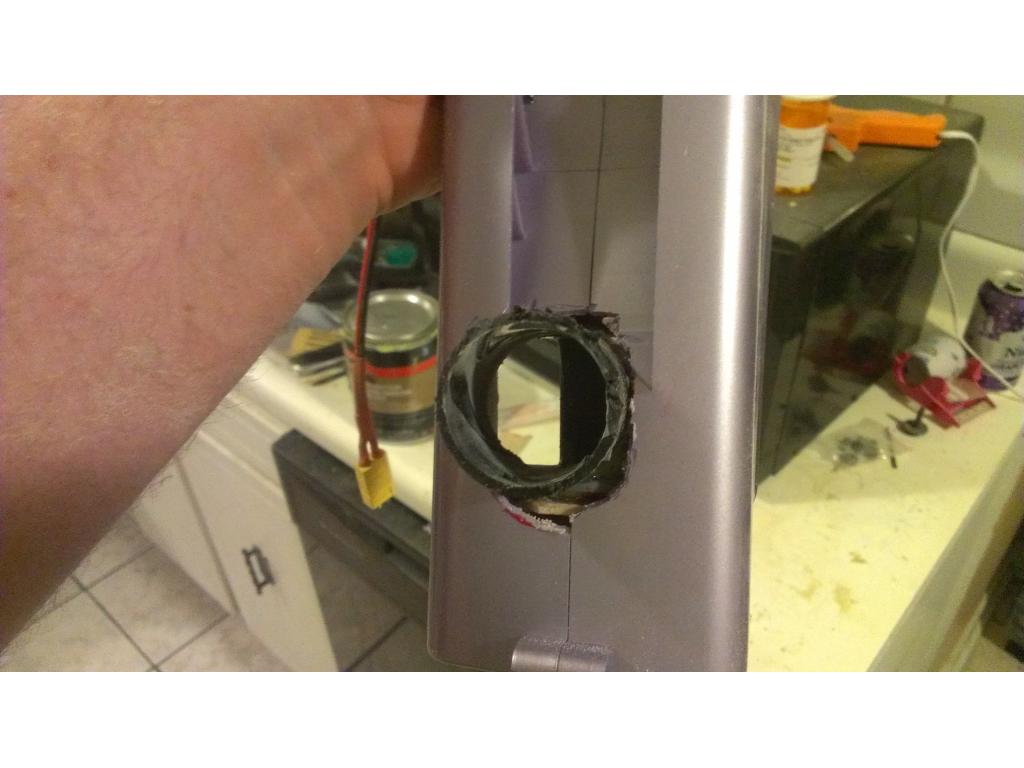
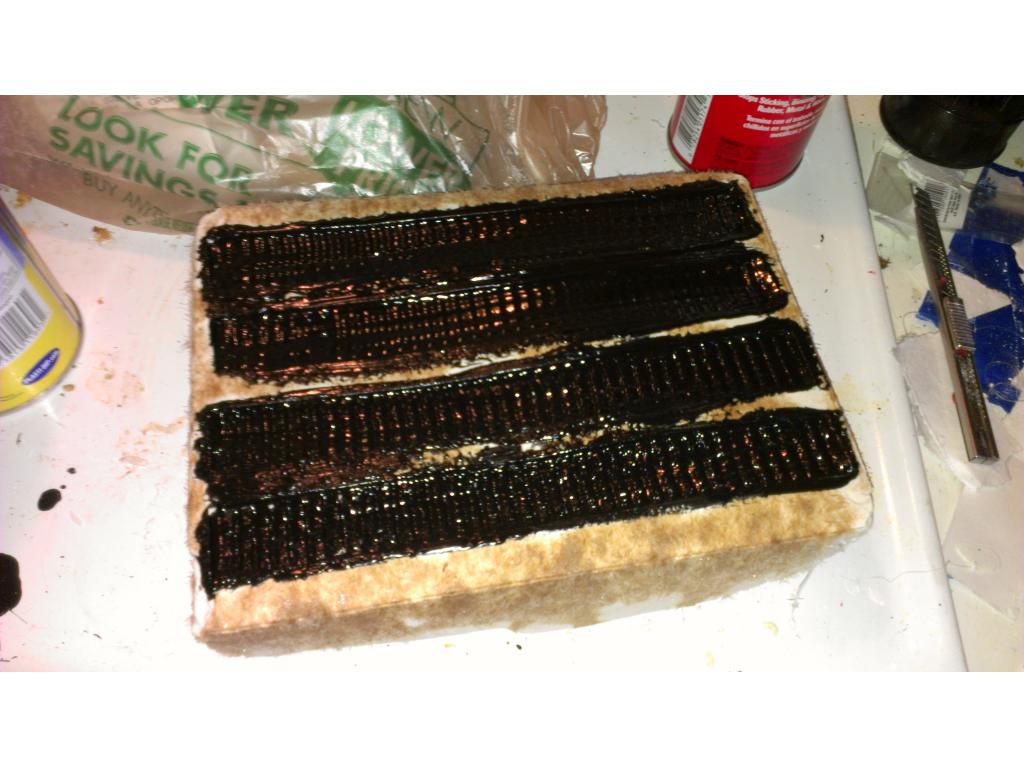
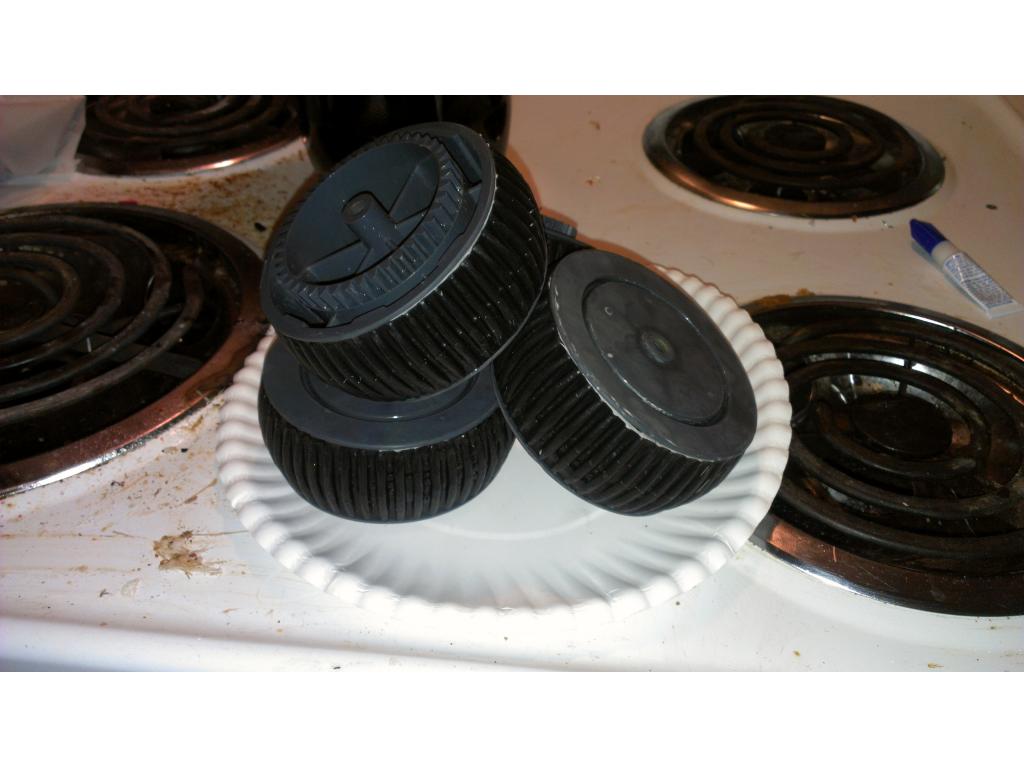
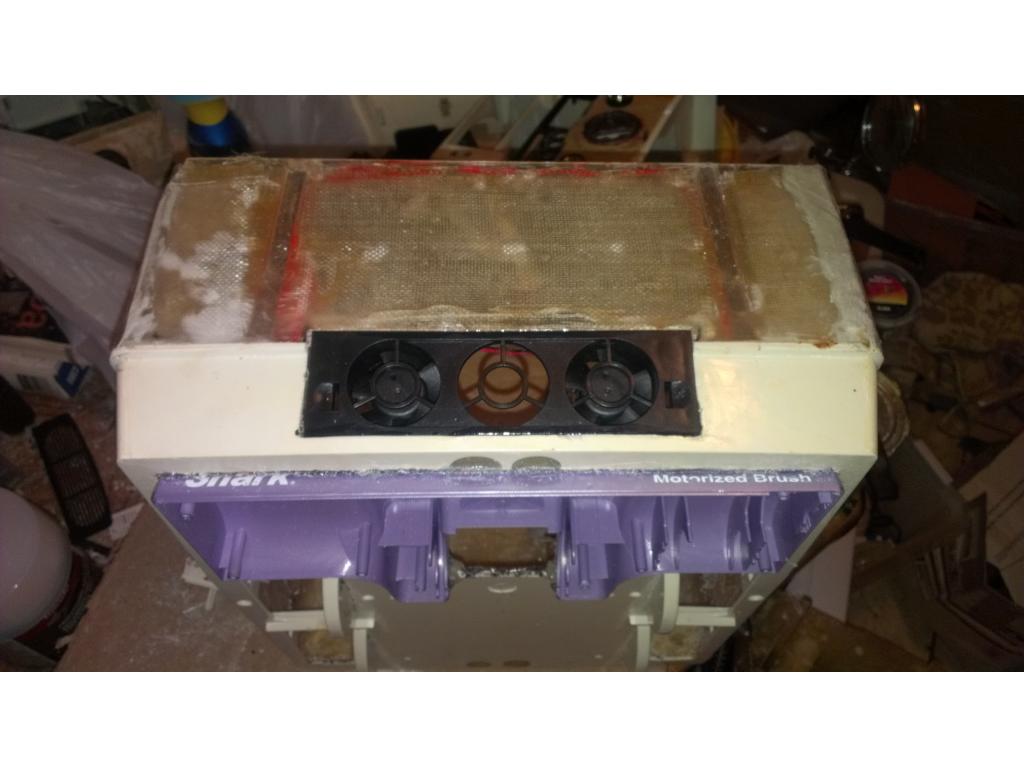
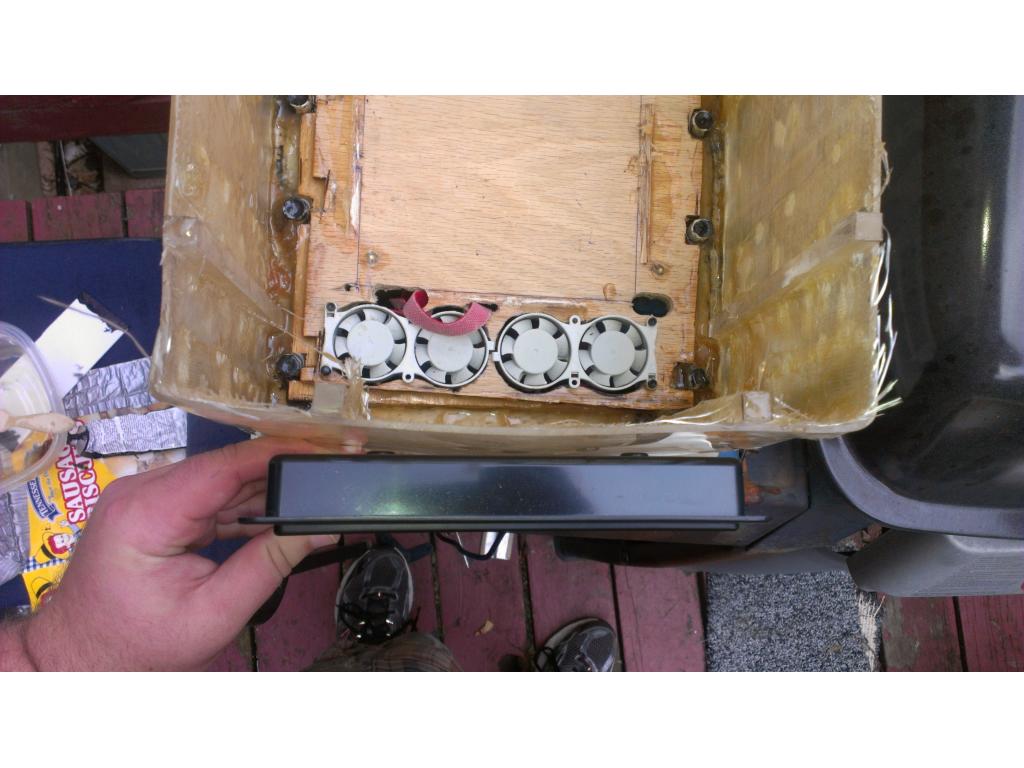
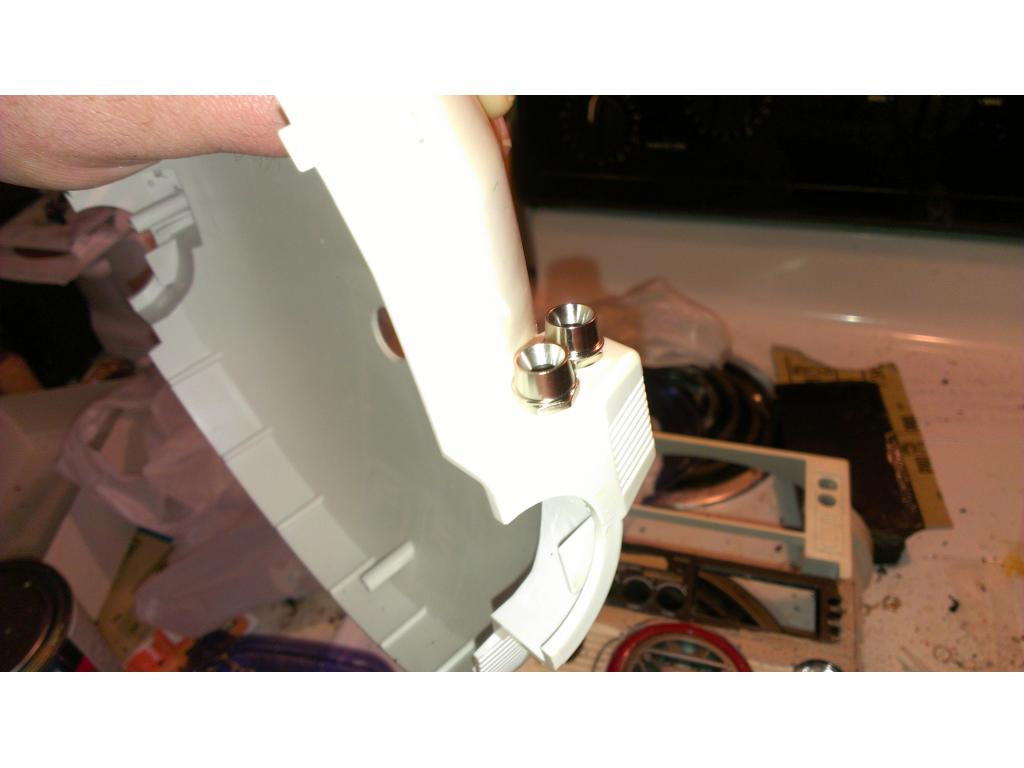
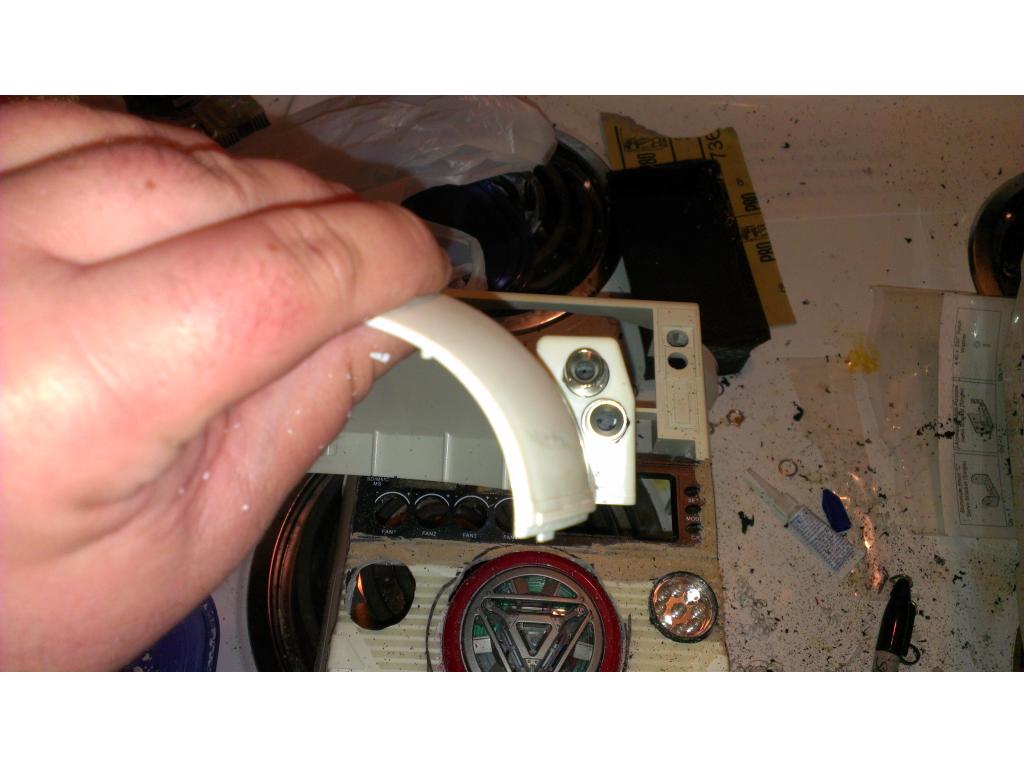
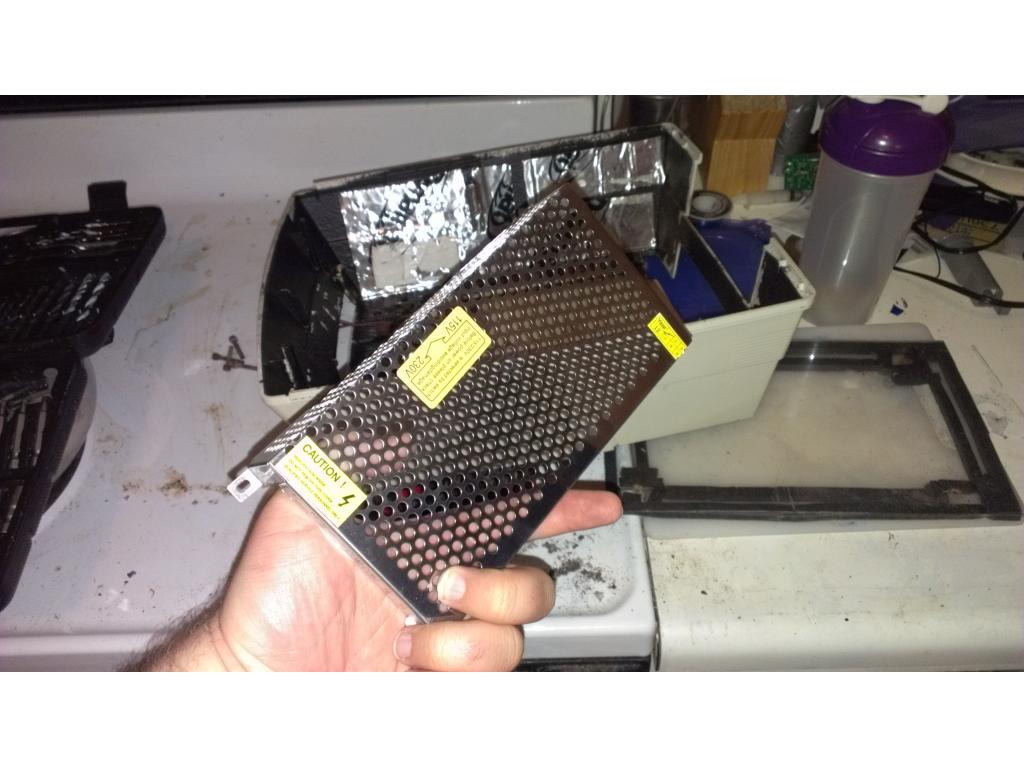
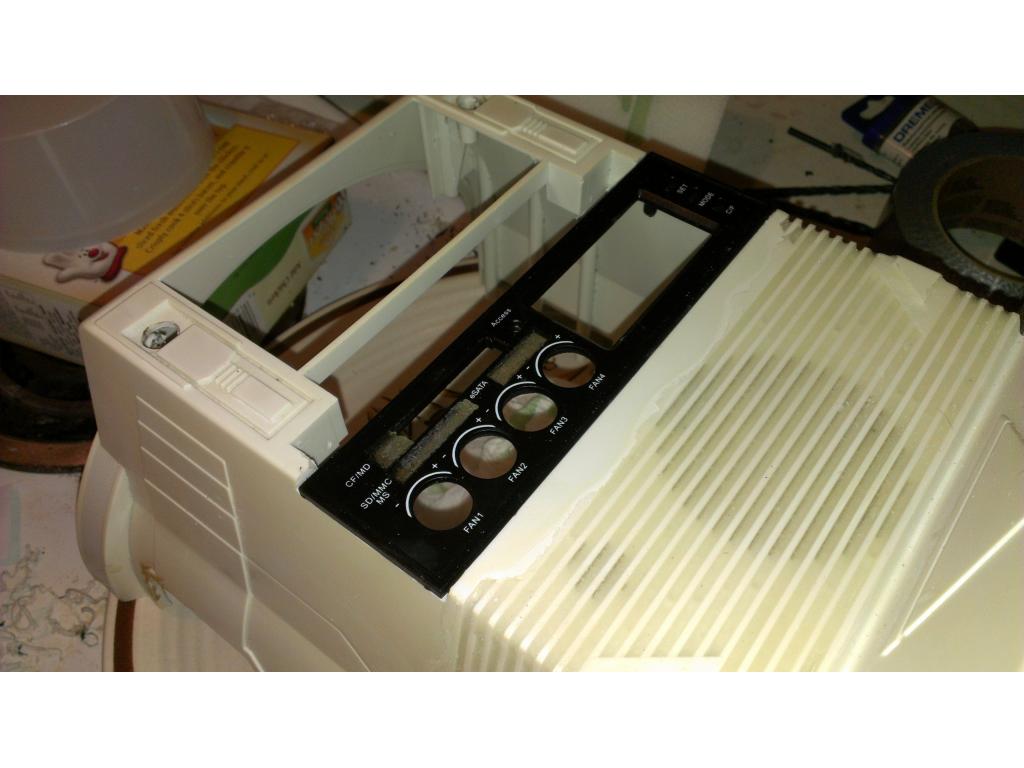
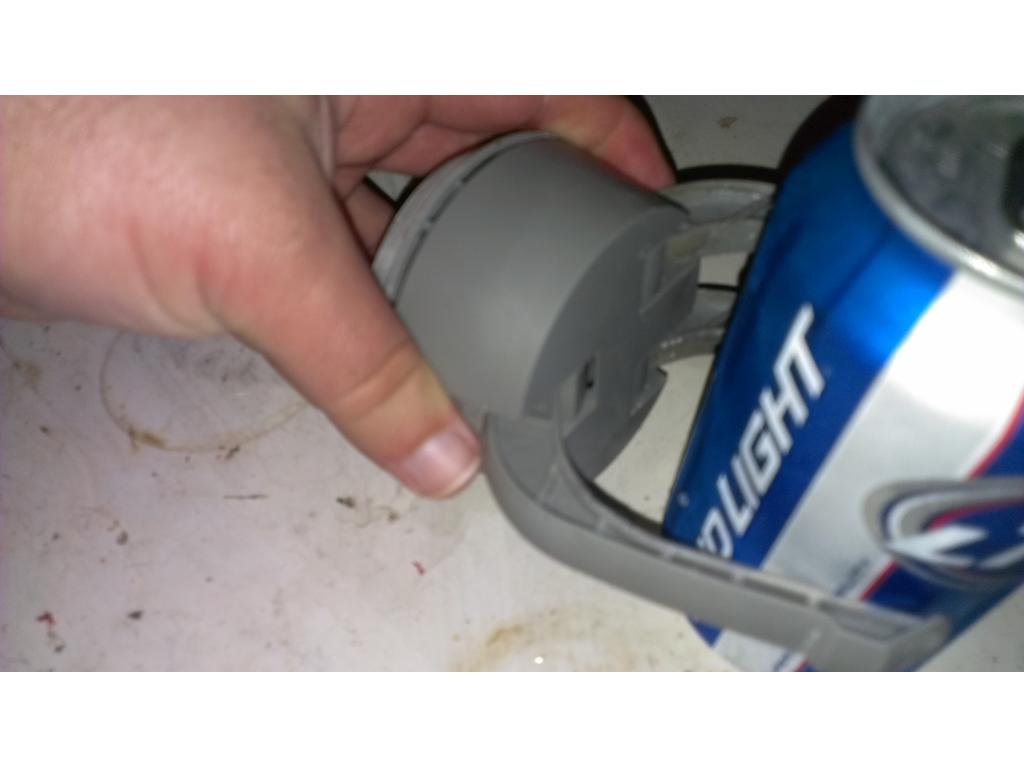
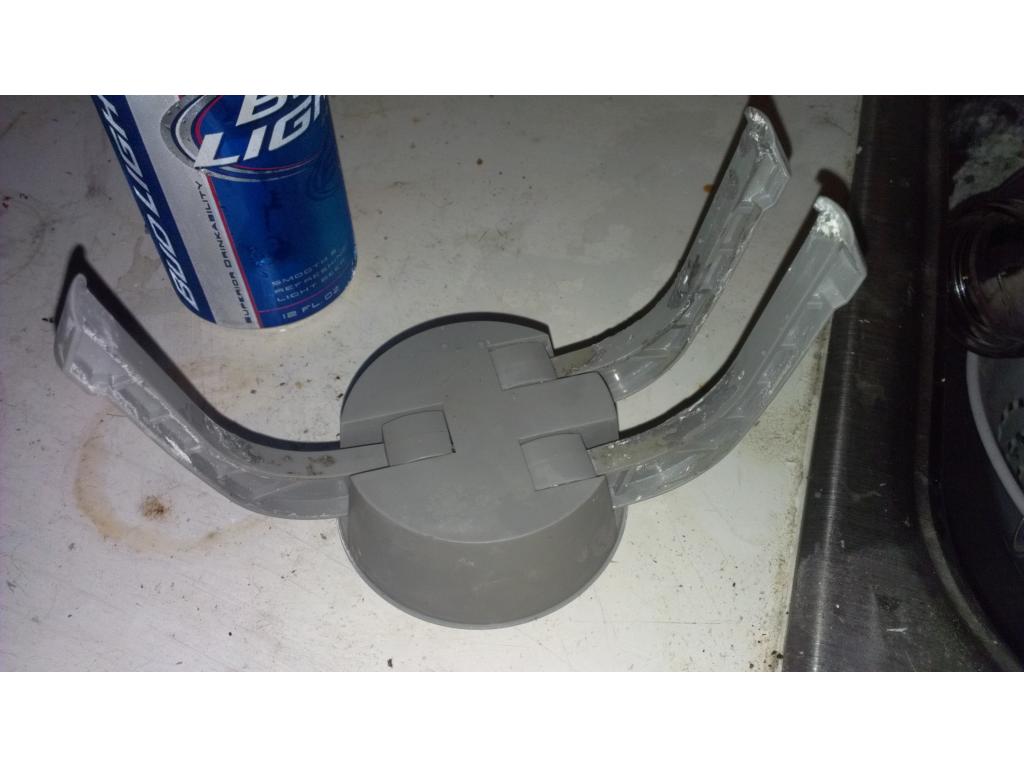
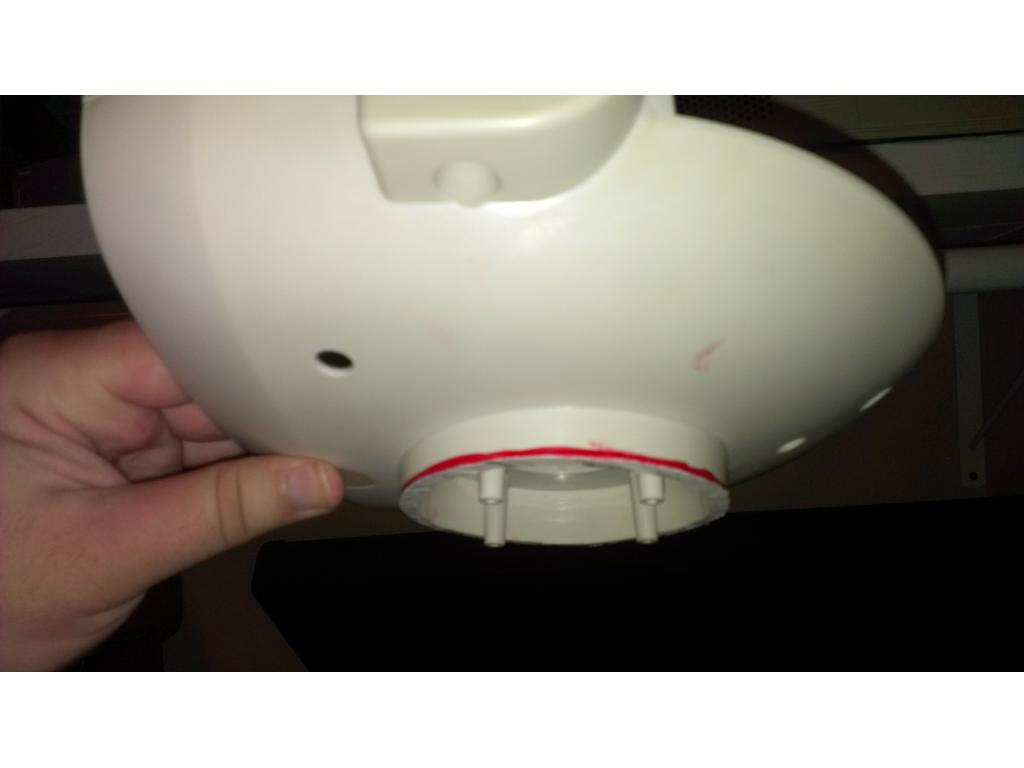
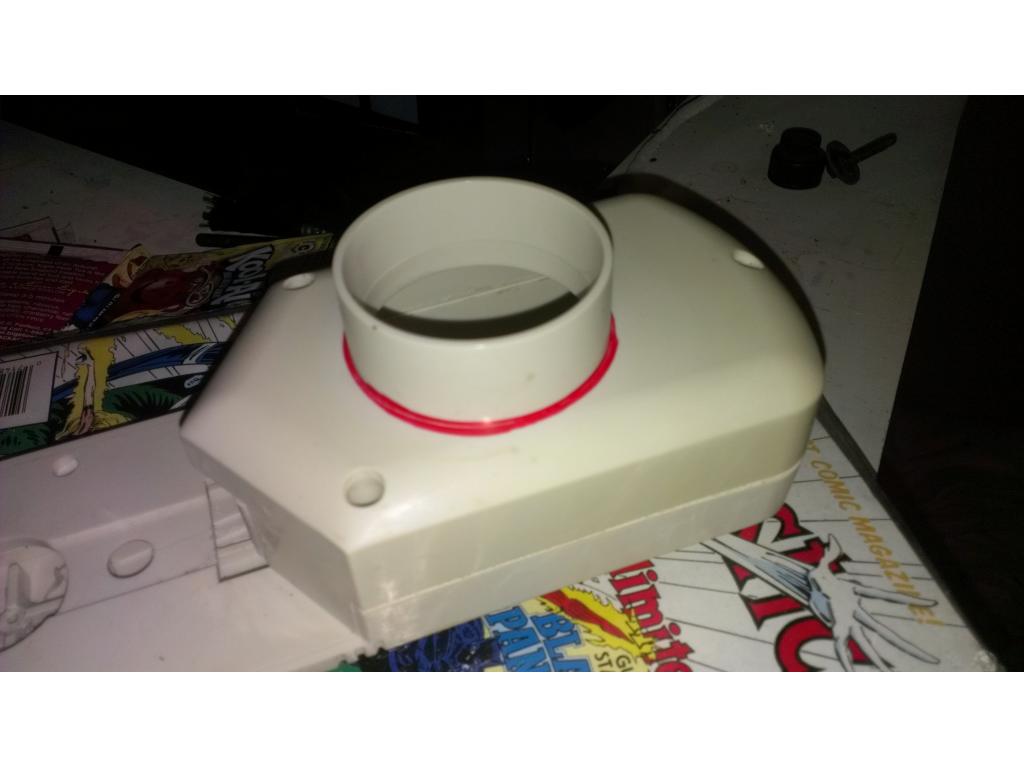
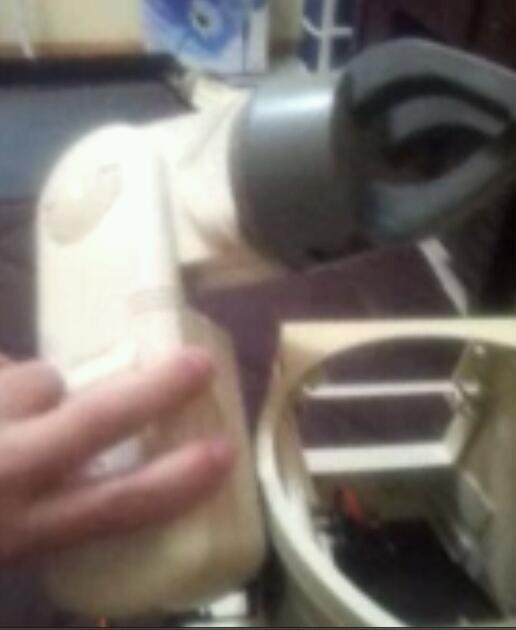
Alright look like it will be a couple more days , my dremel lock broke so I cannot remove the bit. I did hotglue the fan controller bezel and I'm epoxy it in place right now. Next step is to cut out the hole for the ARC reactor.... Again lol

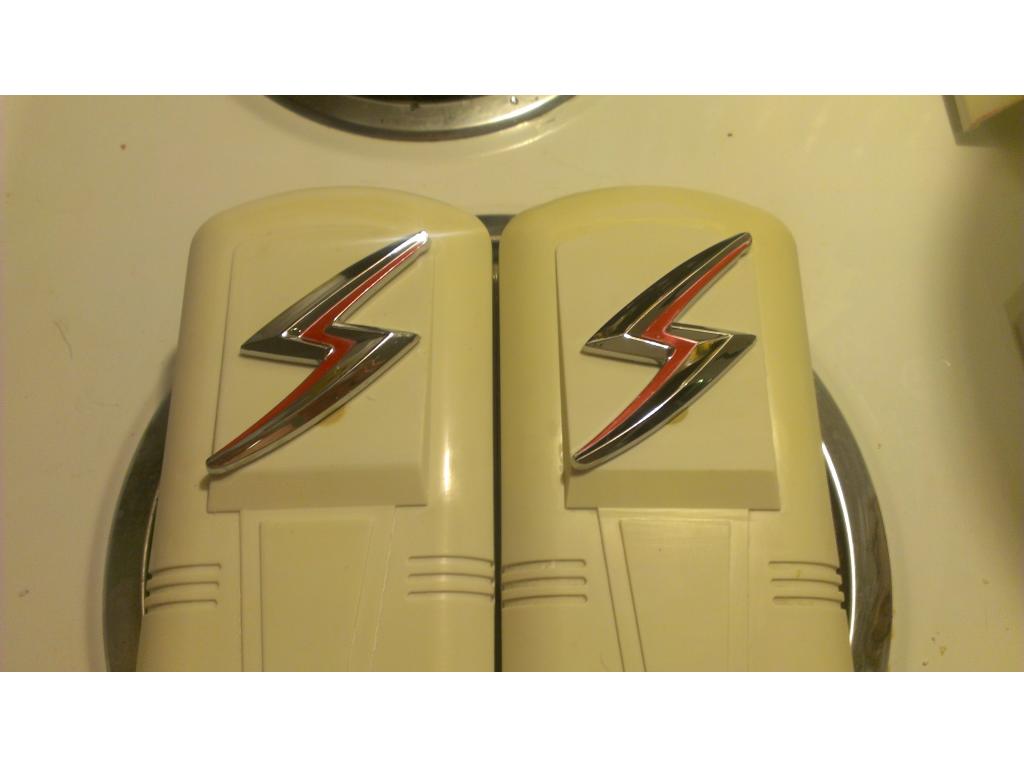
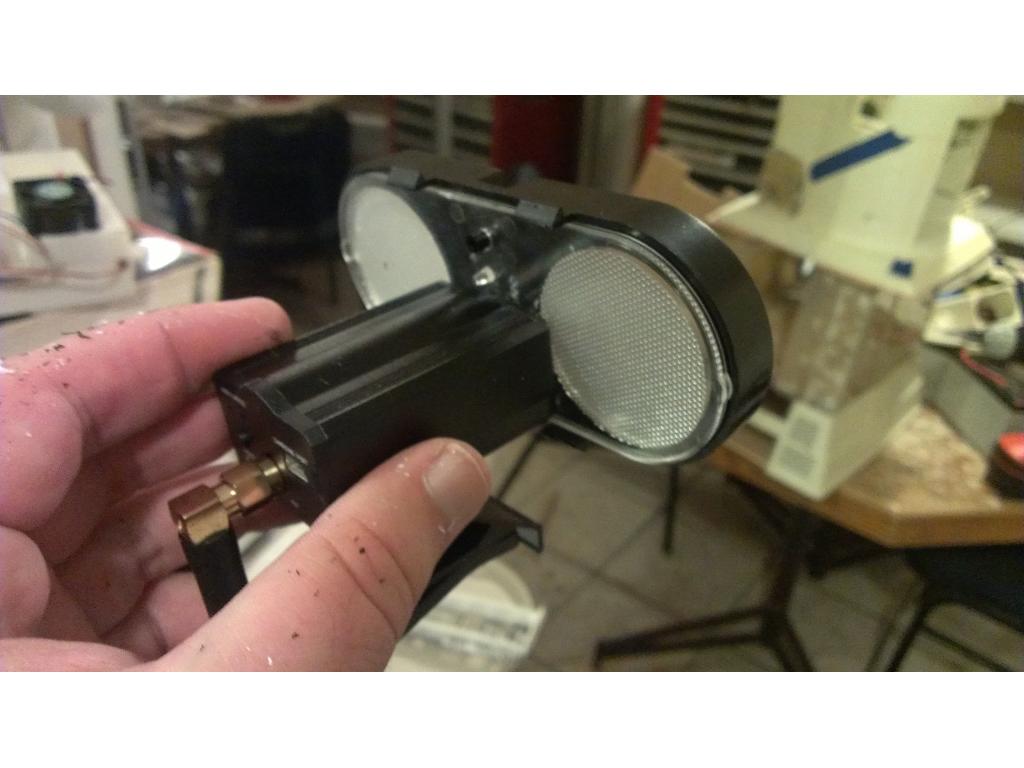
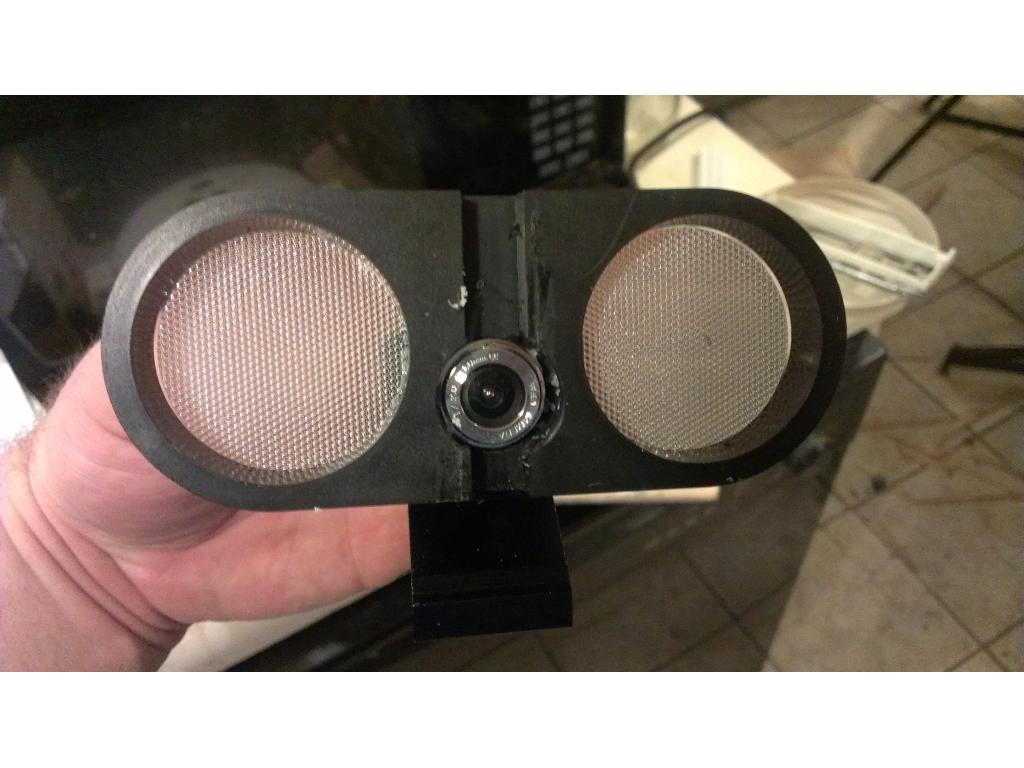
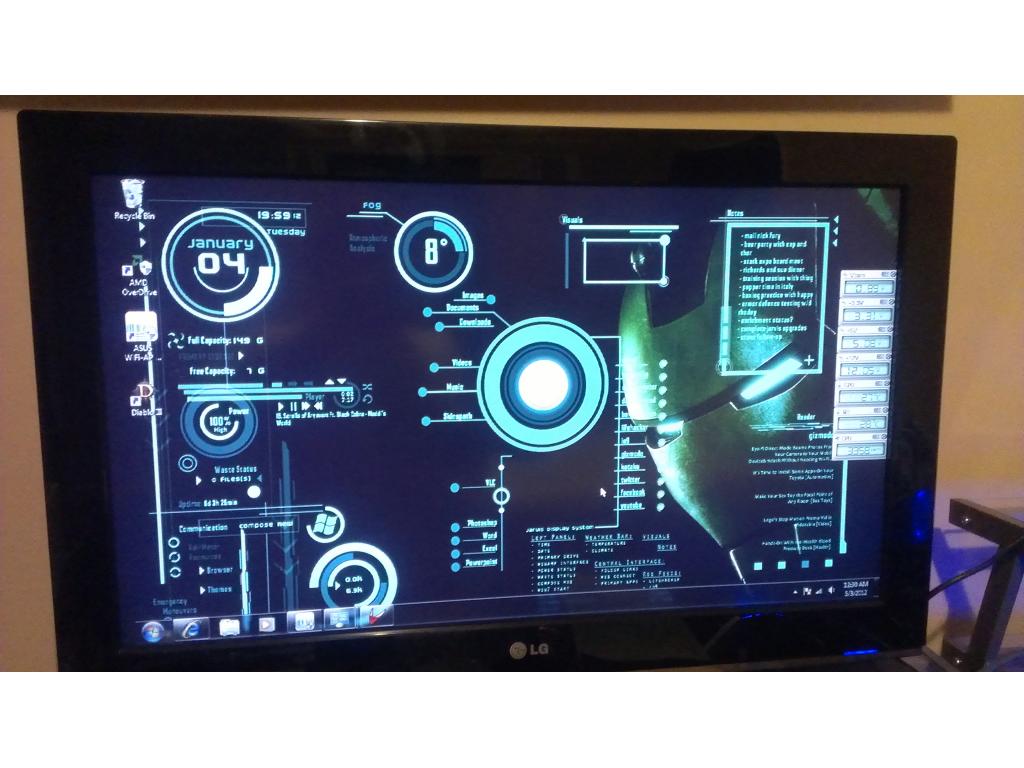
Ok I planned placing these logos on the arms , I have not descided if it would look better to paint them though. It could be for tony stark or josh starnes , either way everything is better with an S.