


cE9s4PsOgeBQIORwjd5!~~60_1-634818020230156250.jpg)


BO)Lupuc4g~~60_35-634706297915000000.jpg)
LupbT6!~~60_35-634706298769375000.jpg)


C5j!~~60_35-634655044863125000.jpg)


C5j!~~60_35-634659603510781250.jpg)


C5j!~~60_35-634651704046230469.jpg)
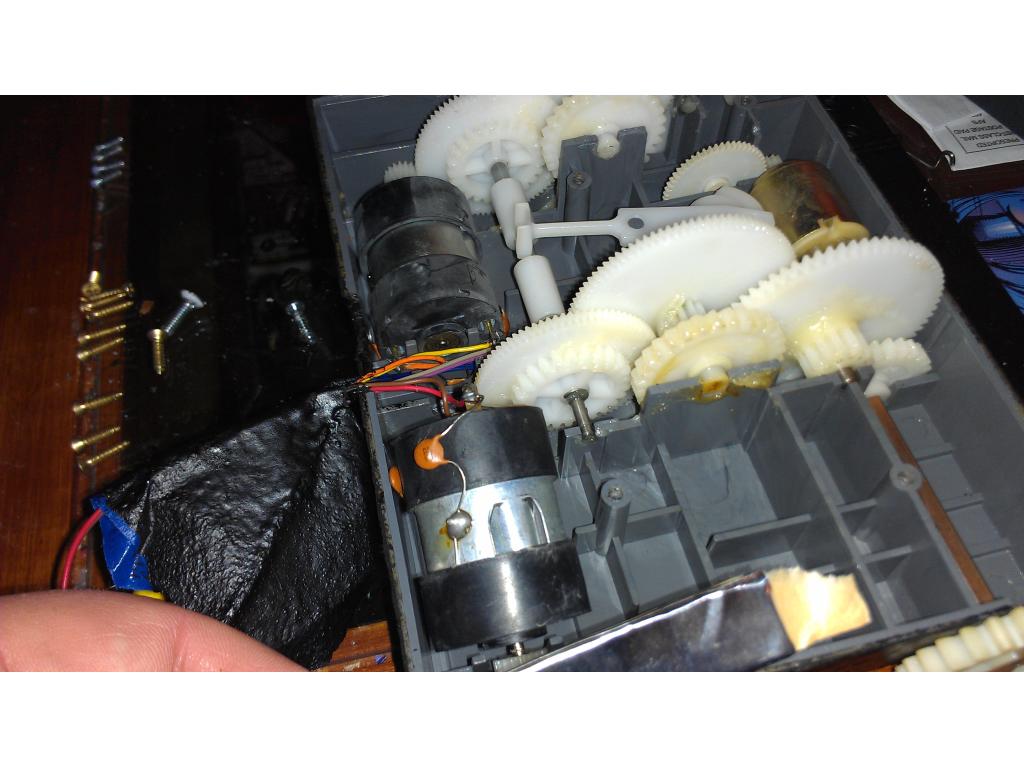
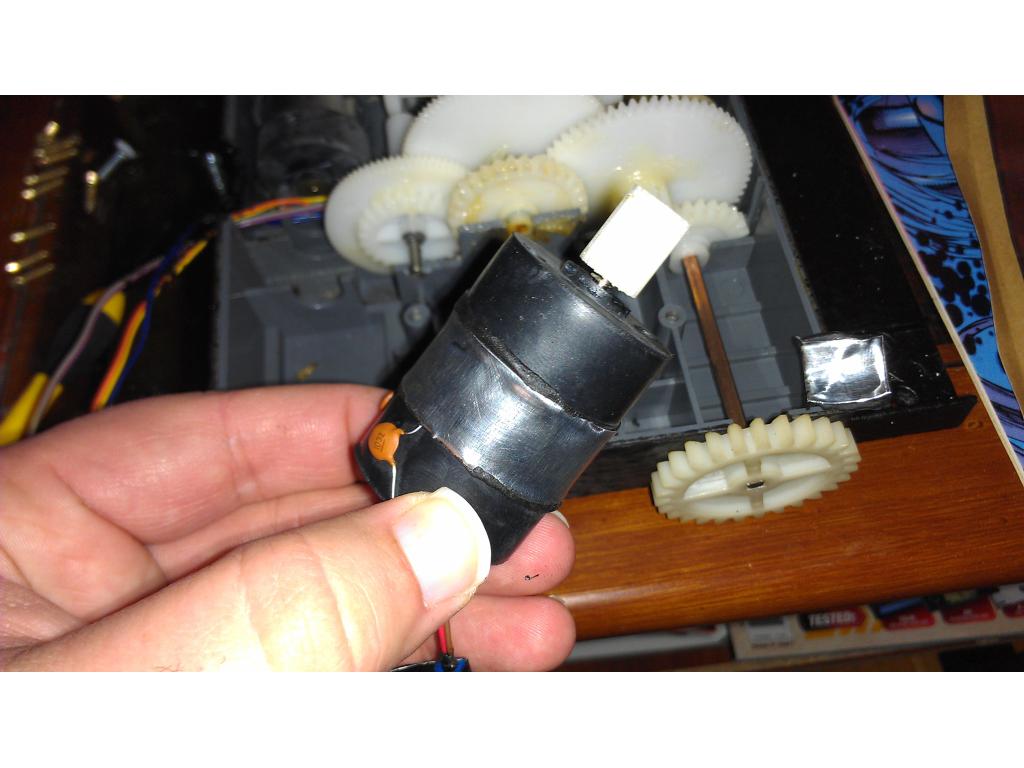
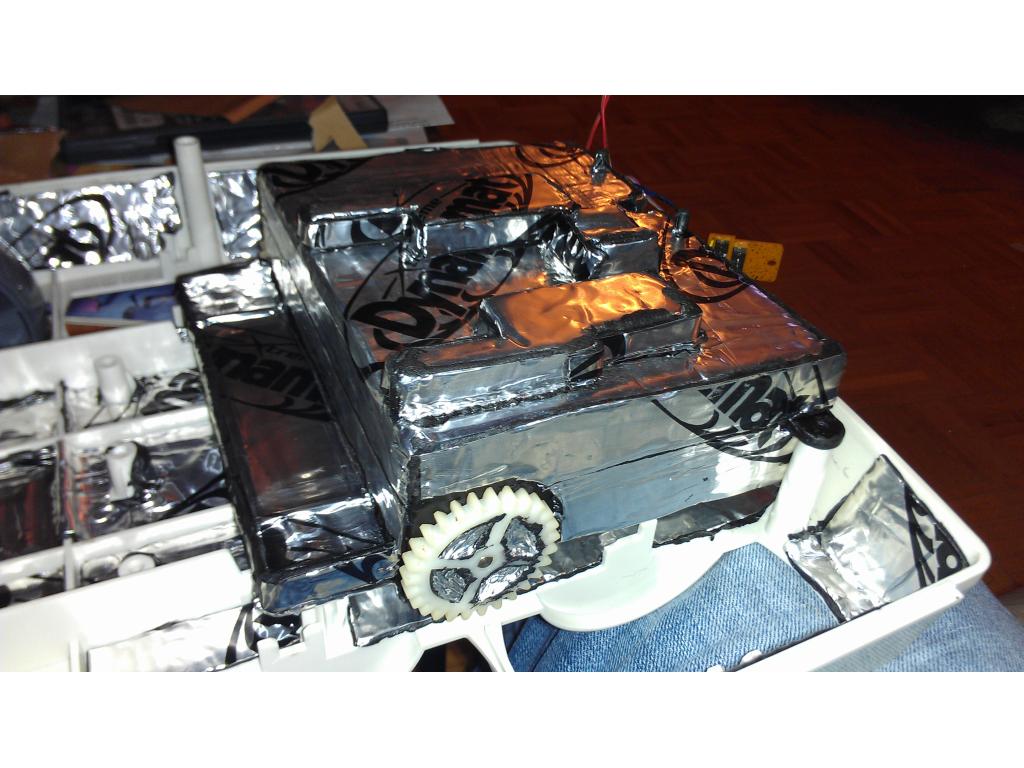


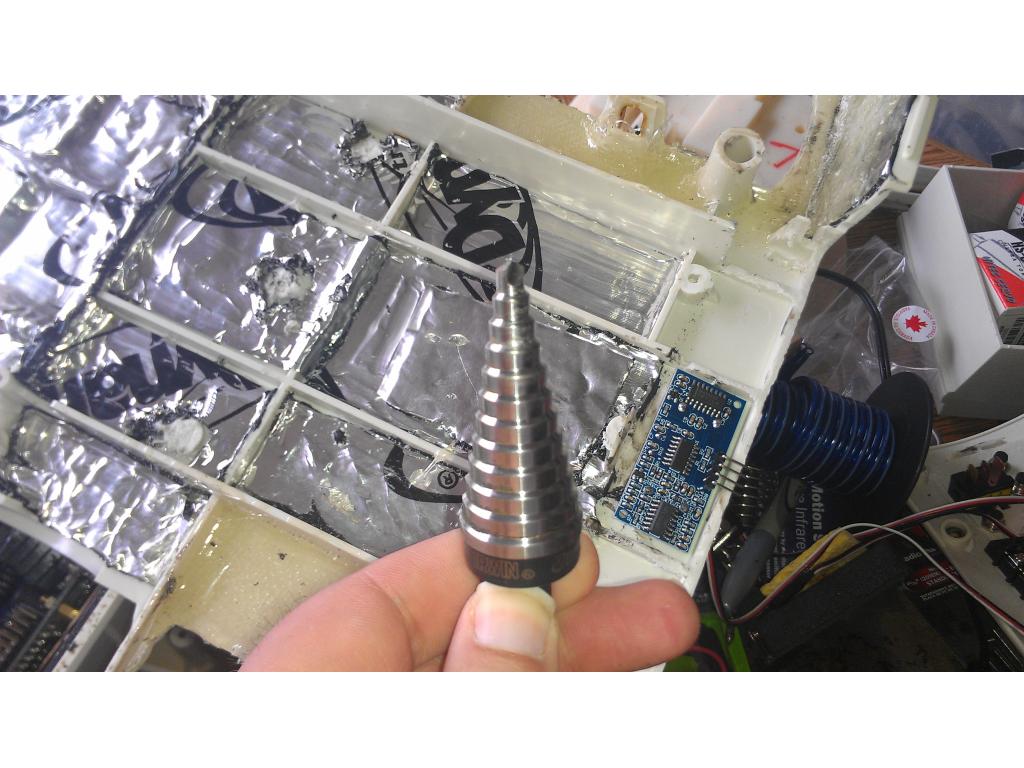

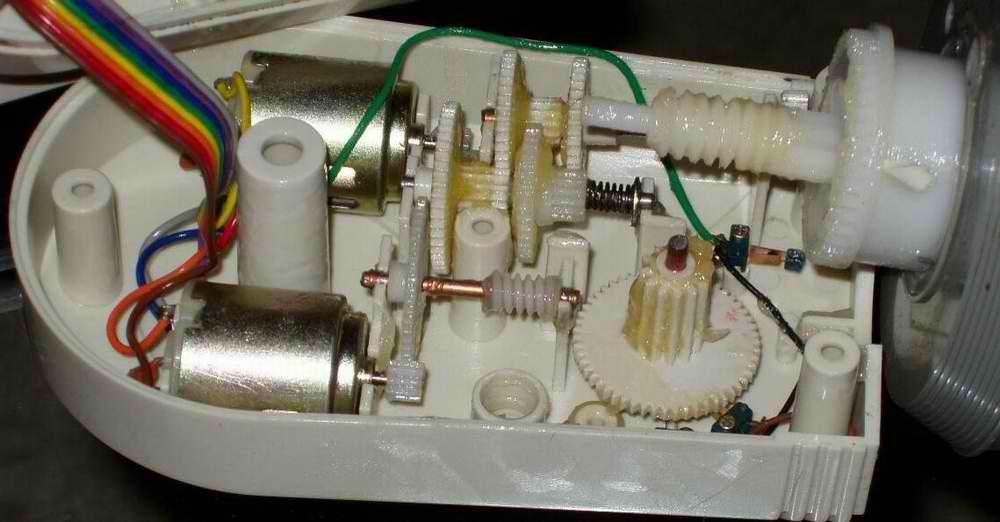
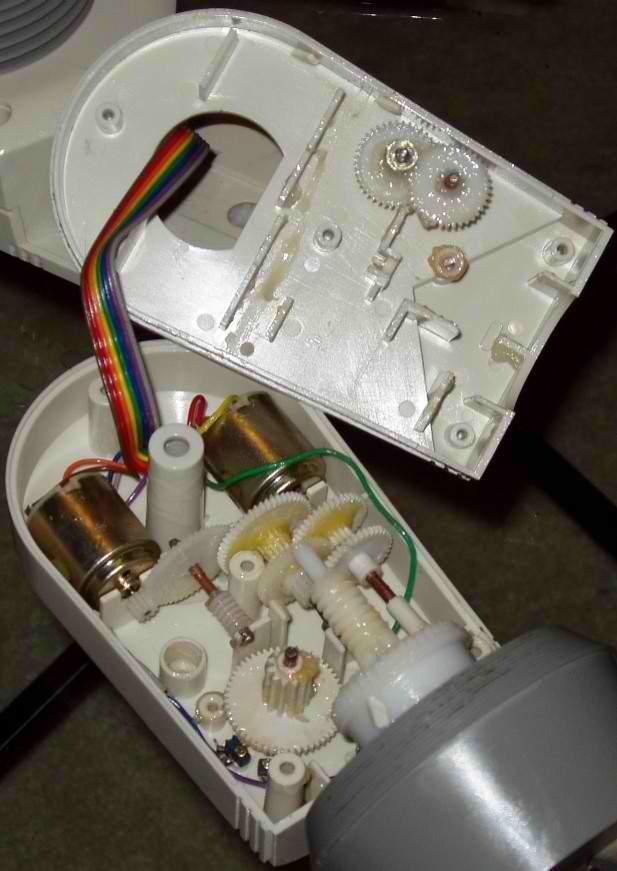

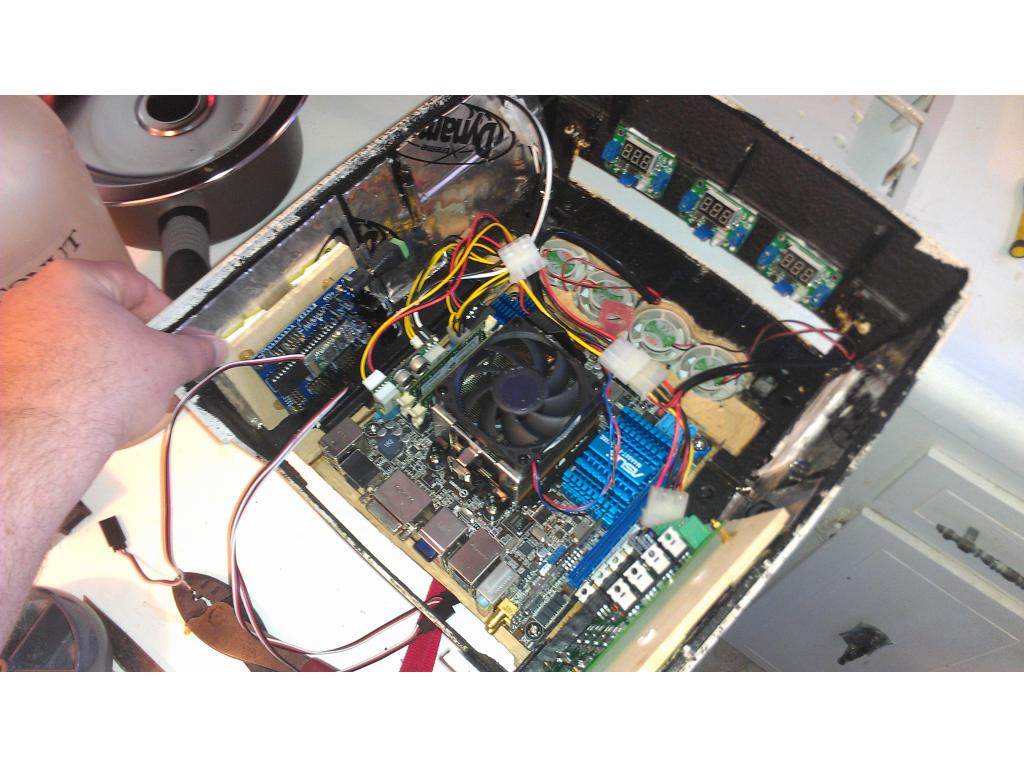
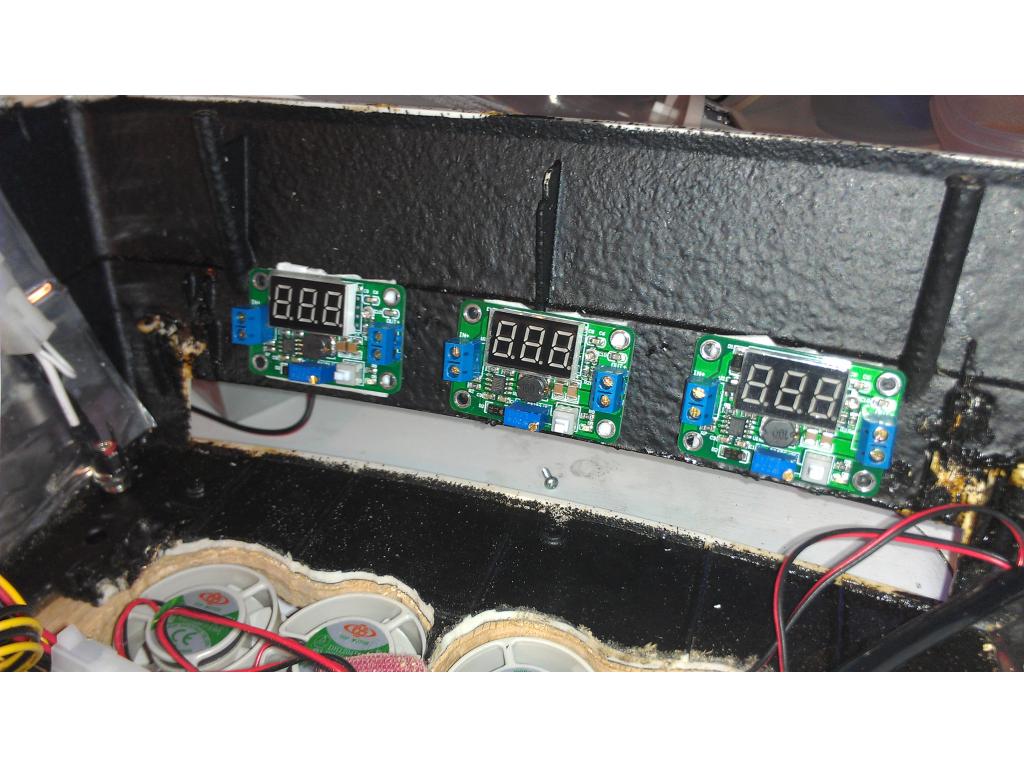
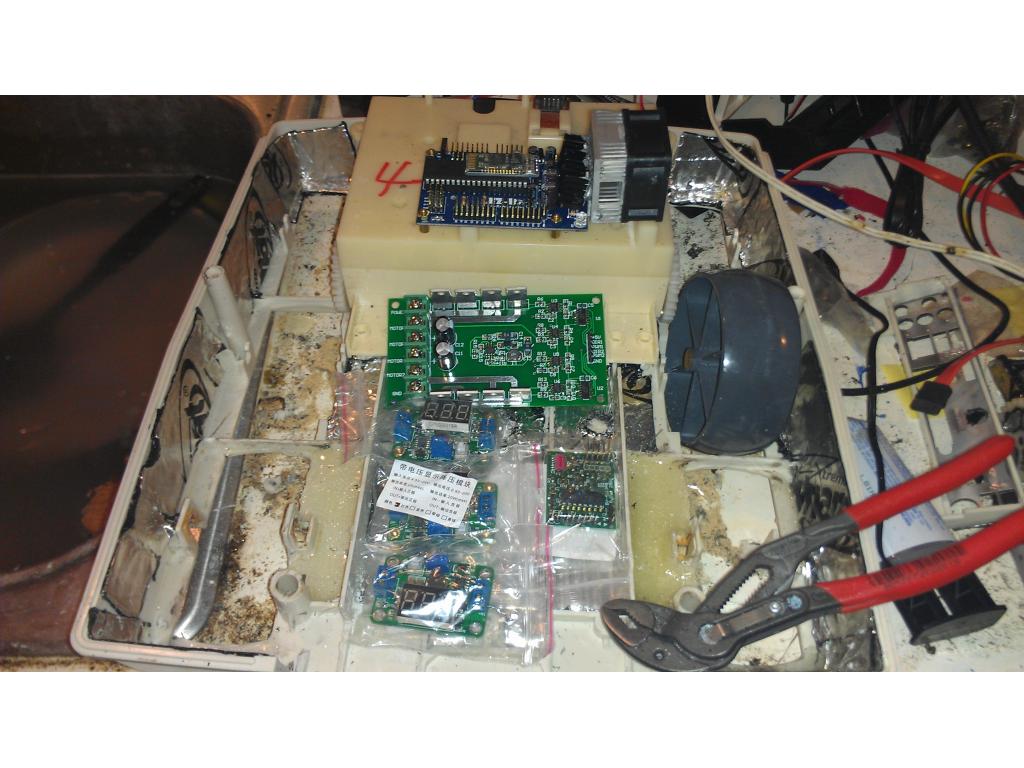
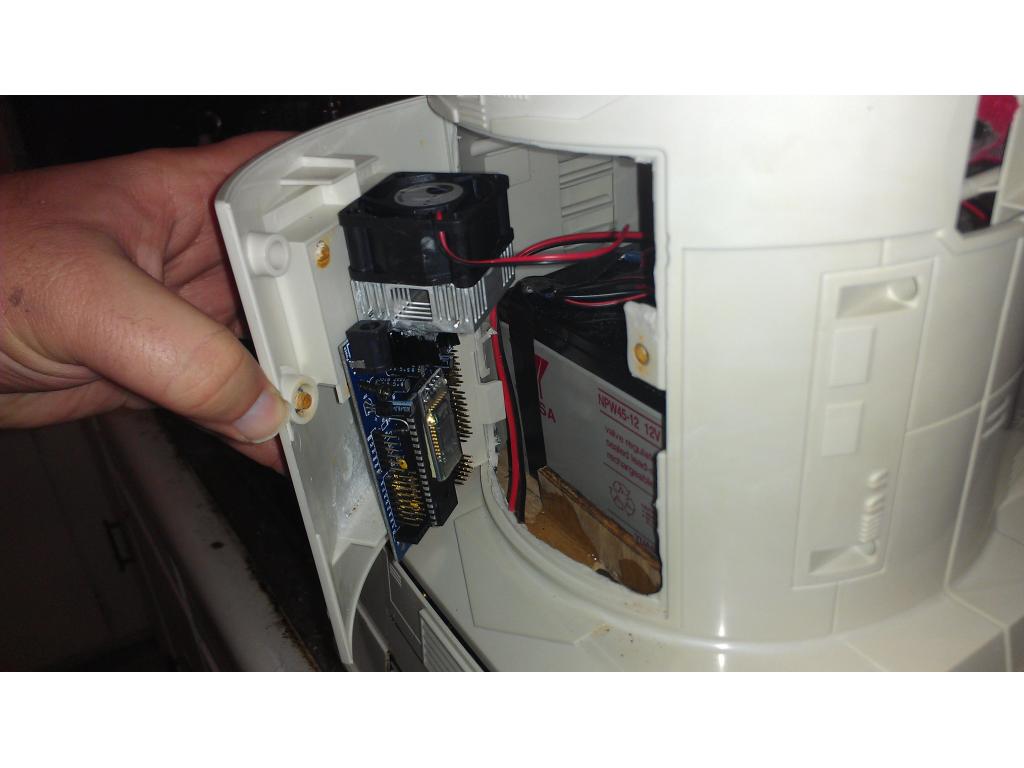
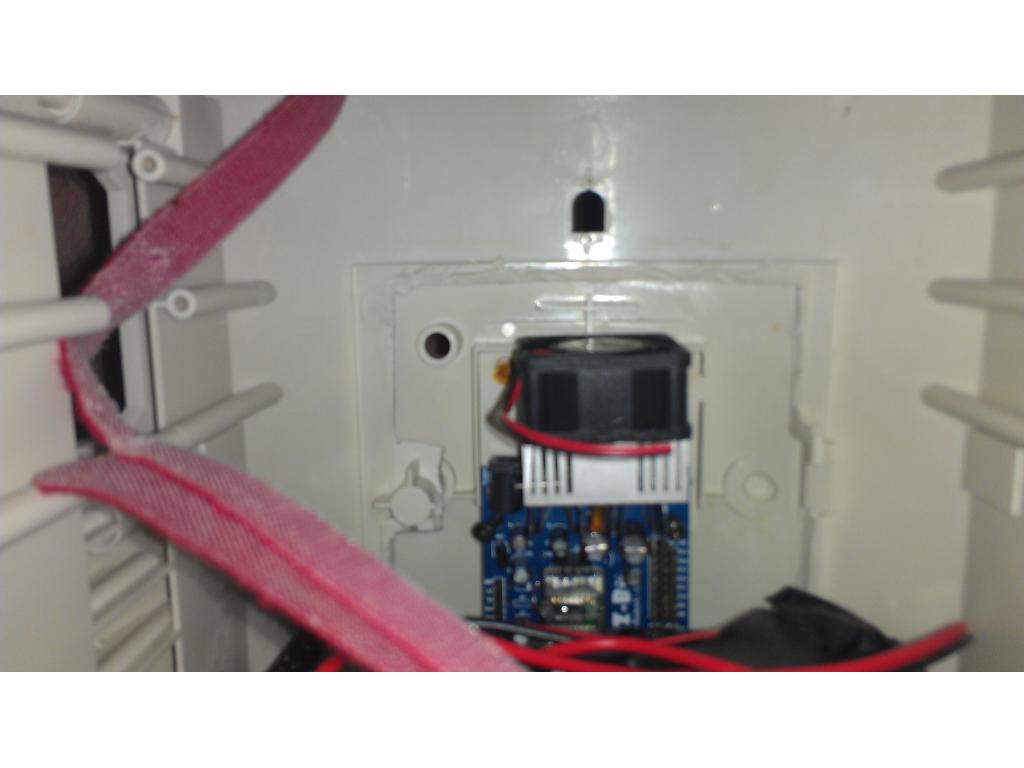


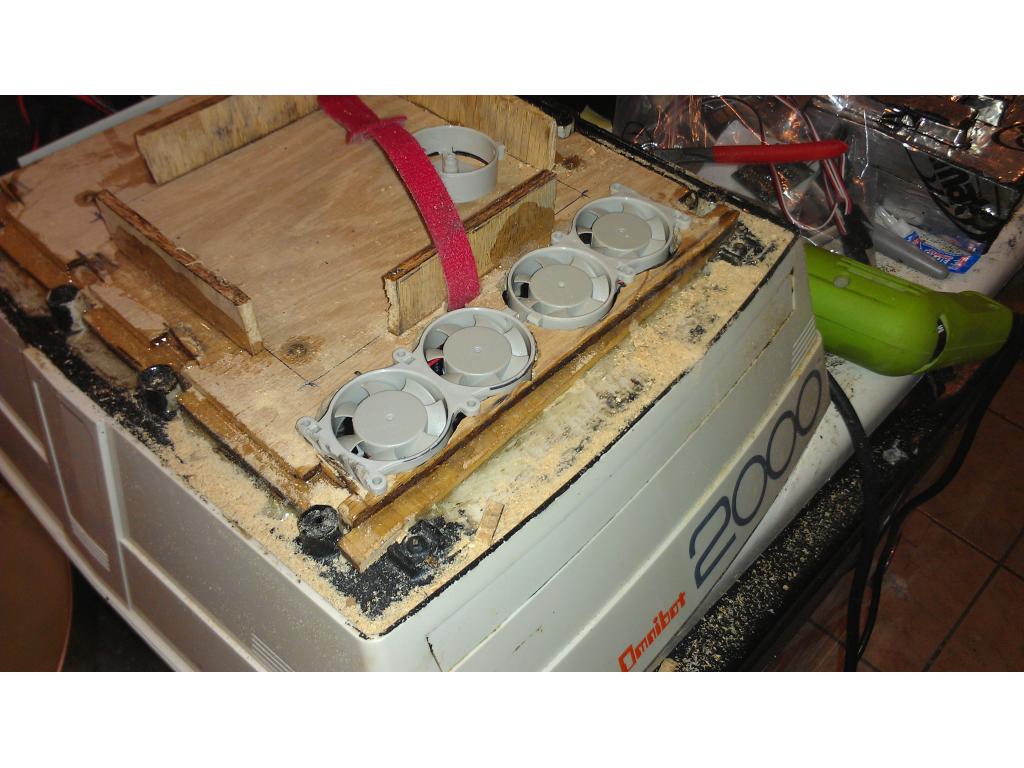
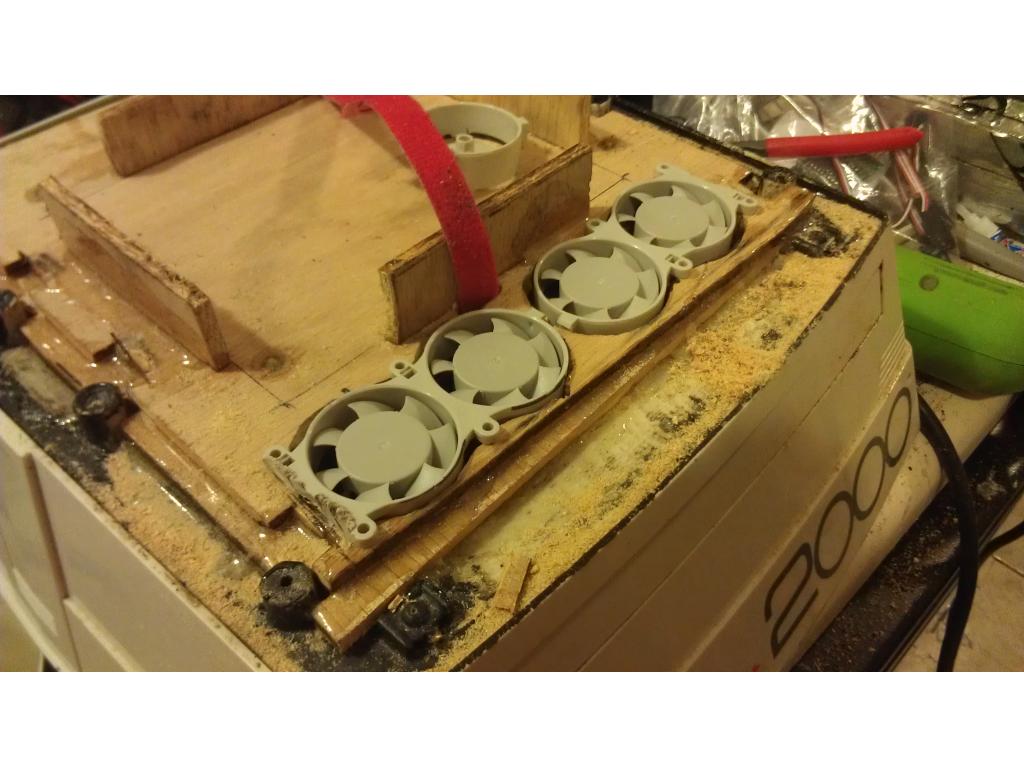
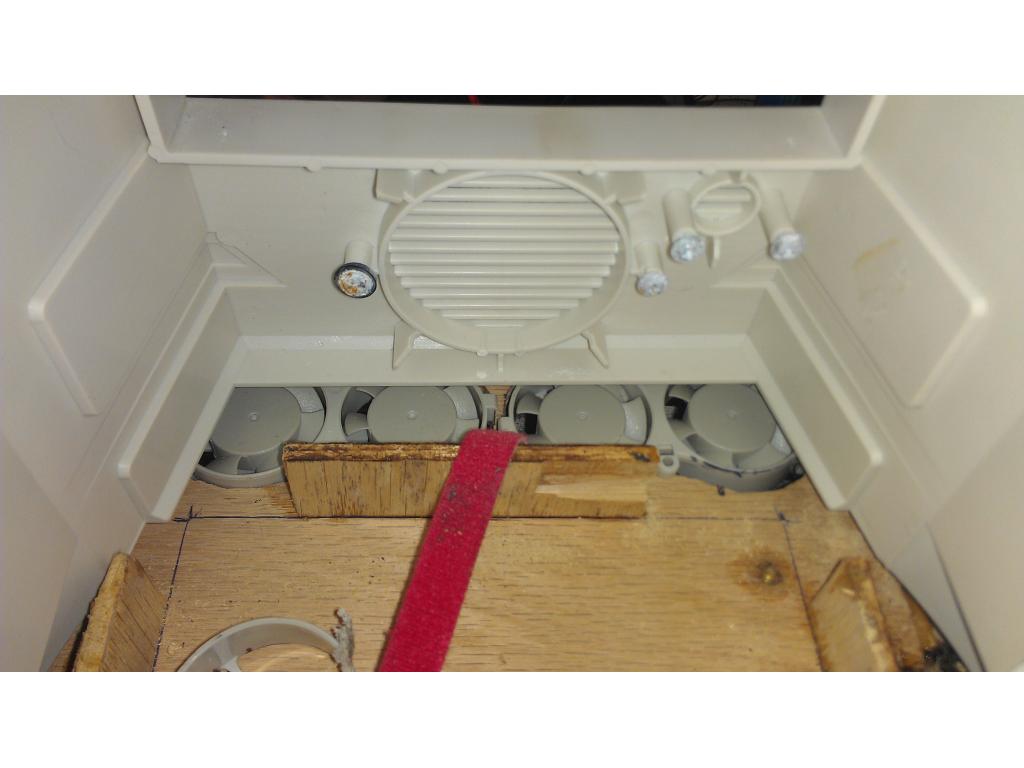

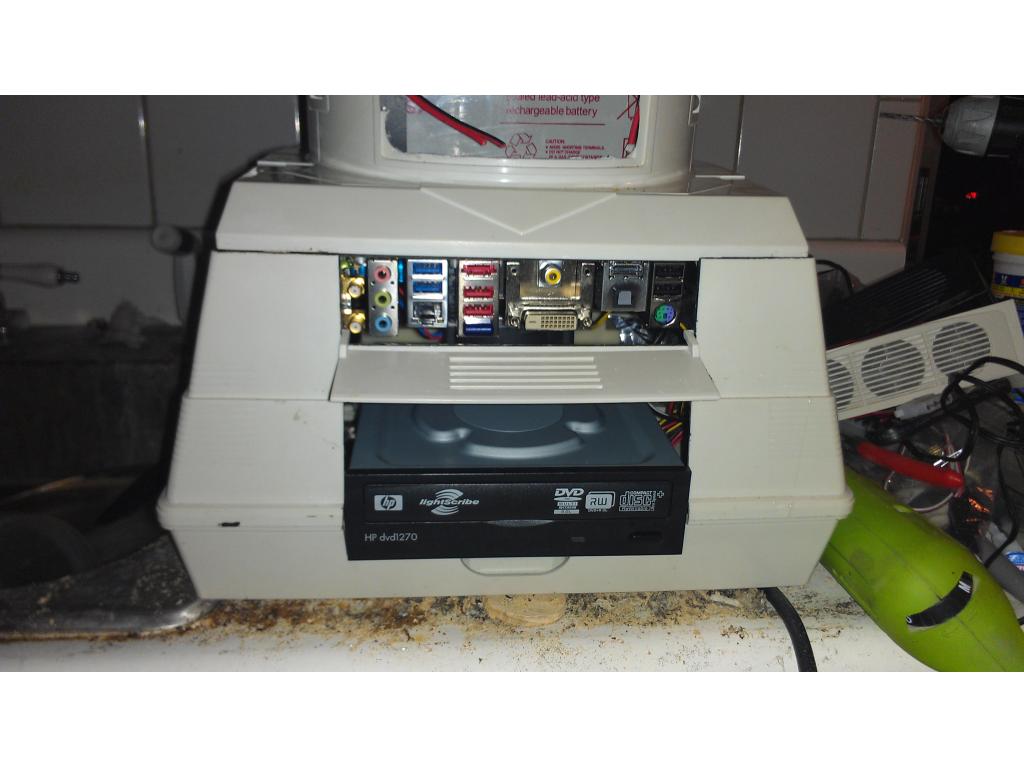


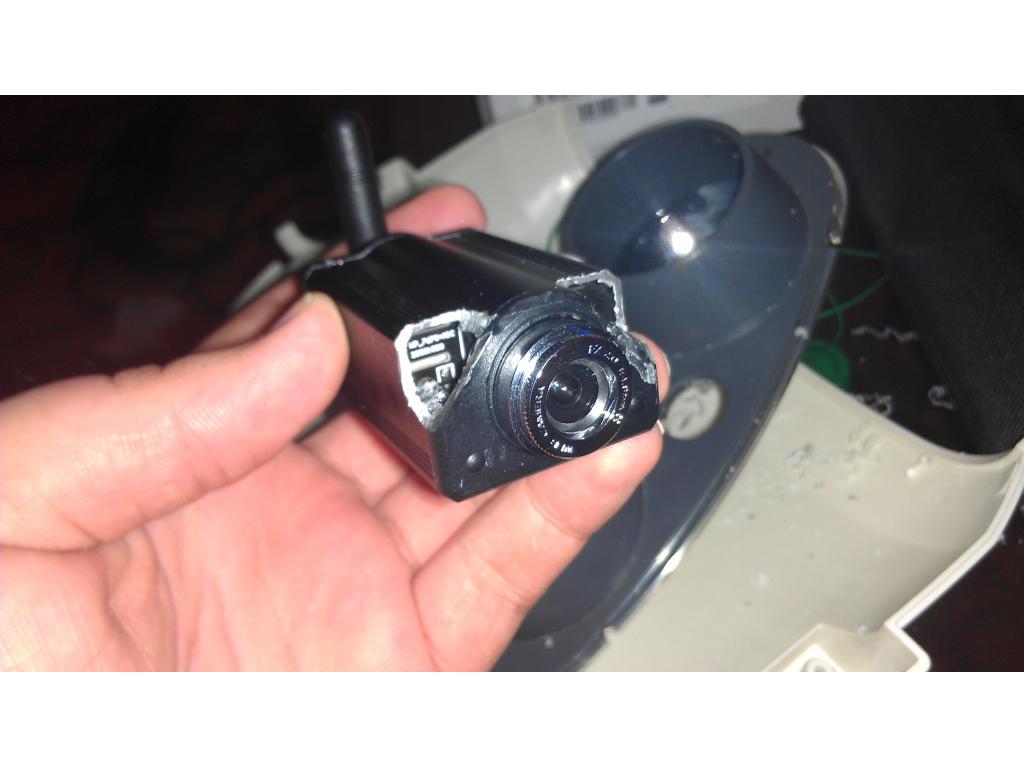
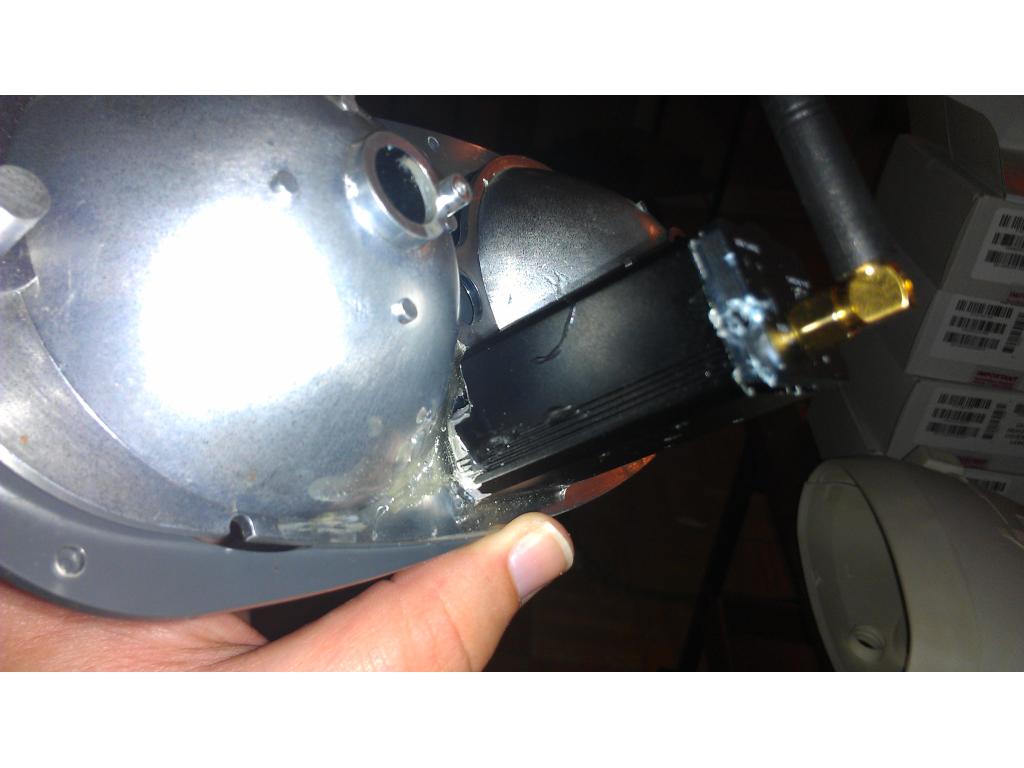
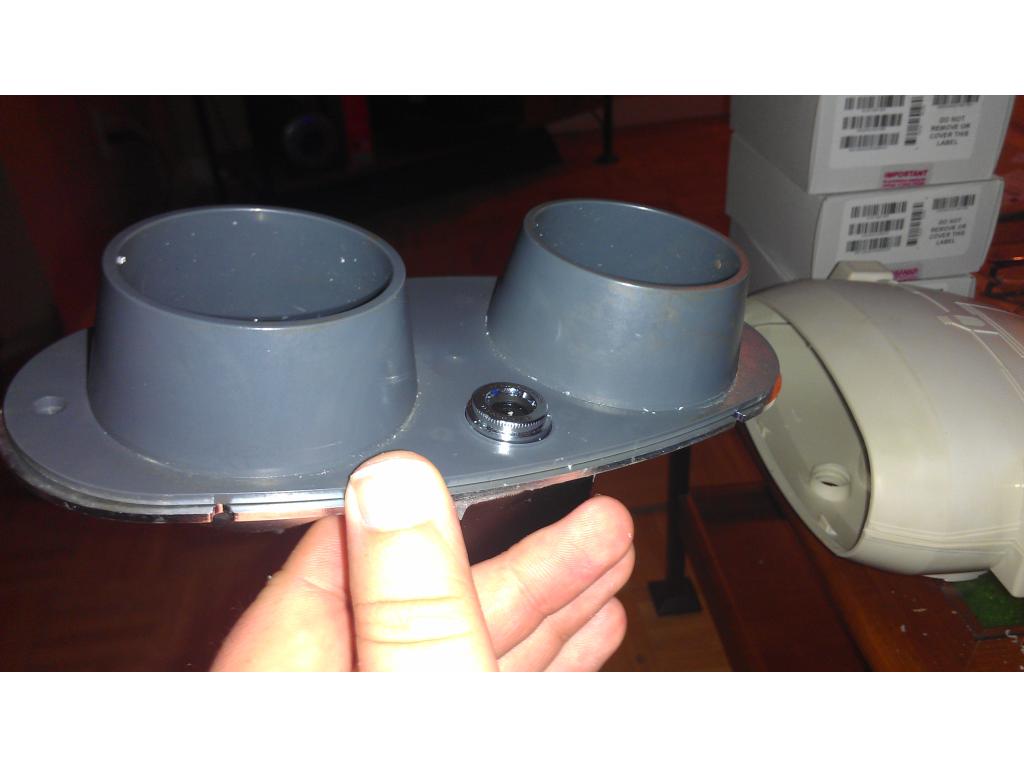
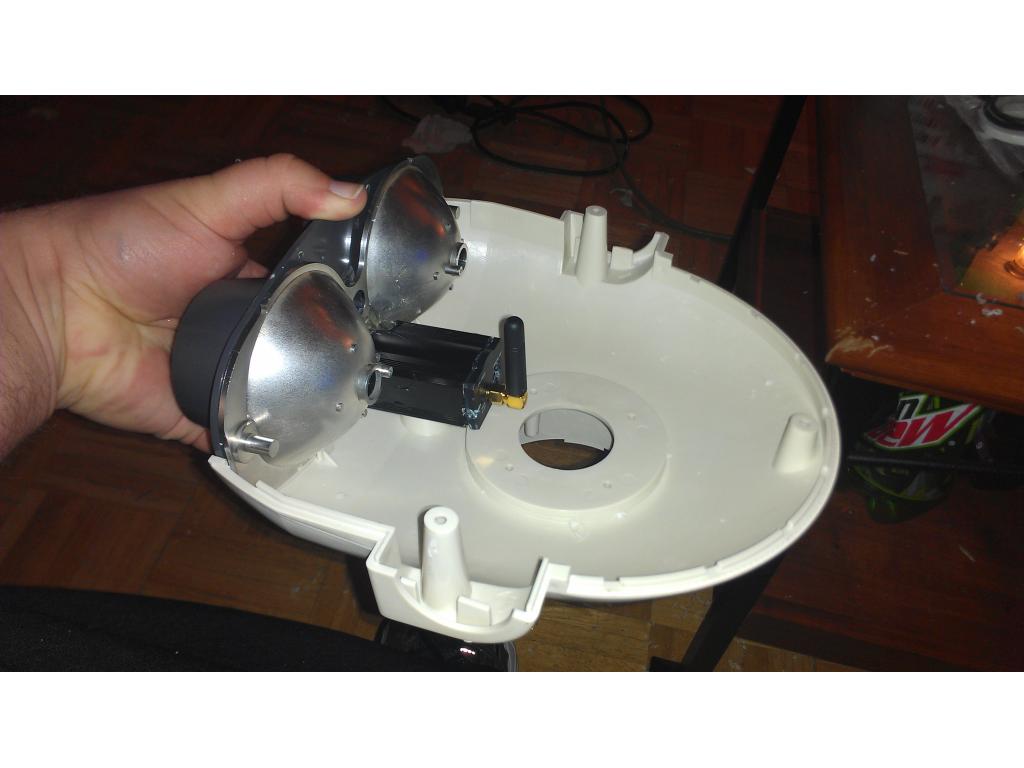

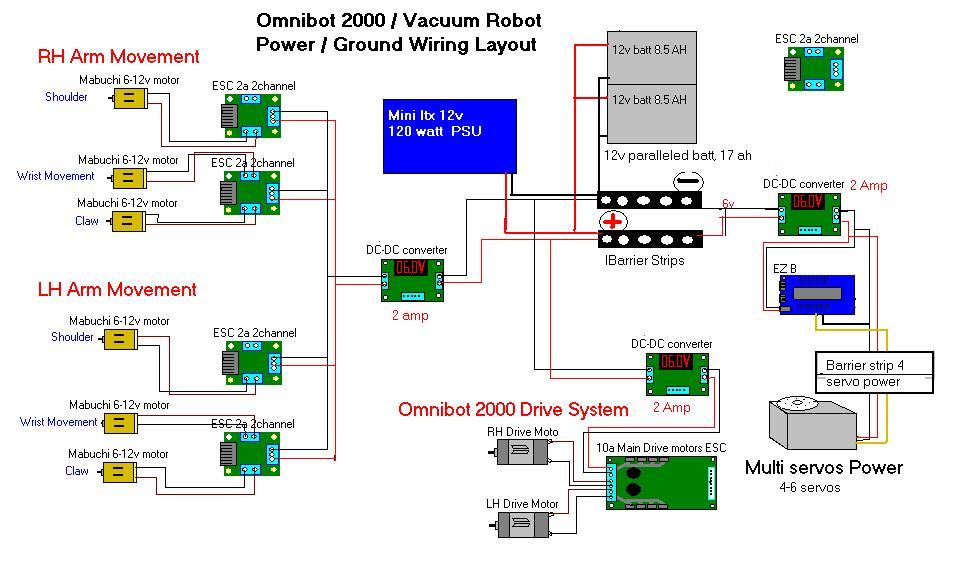

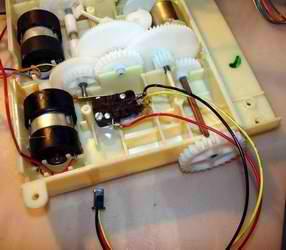
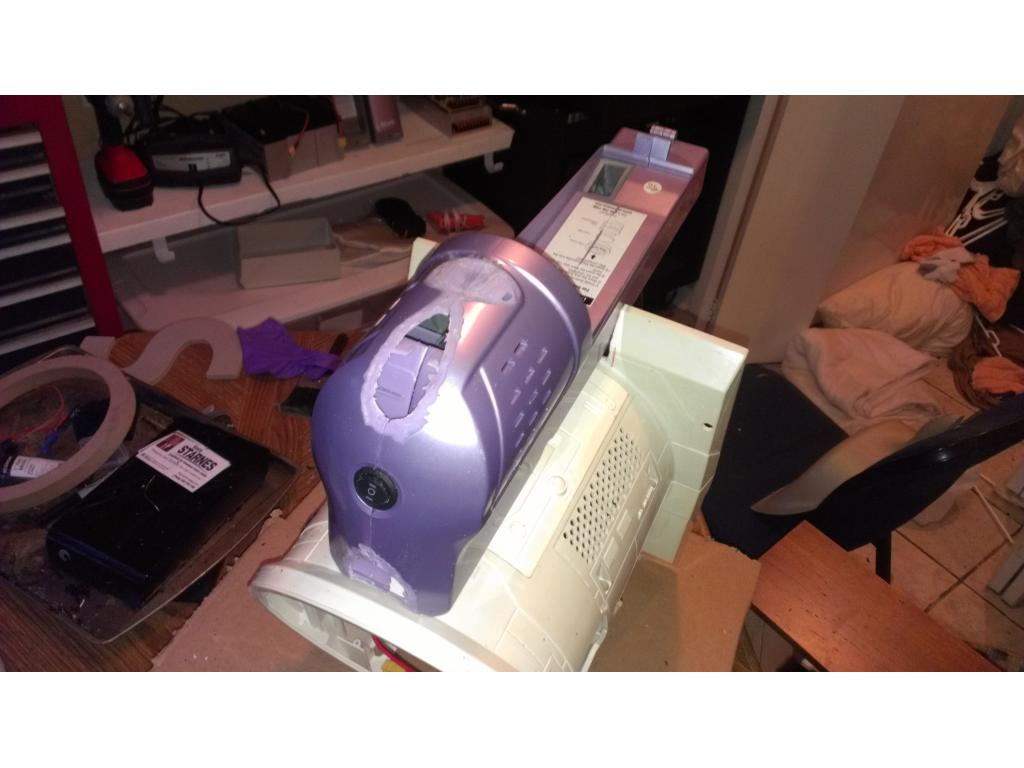

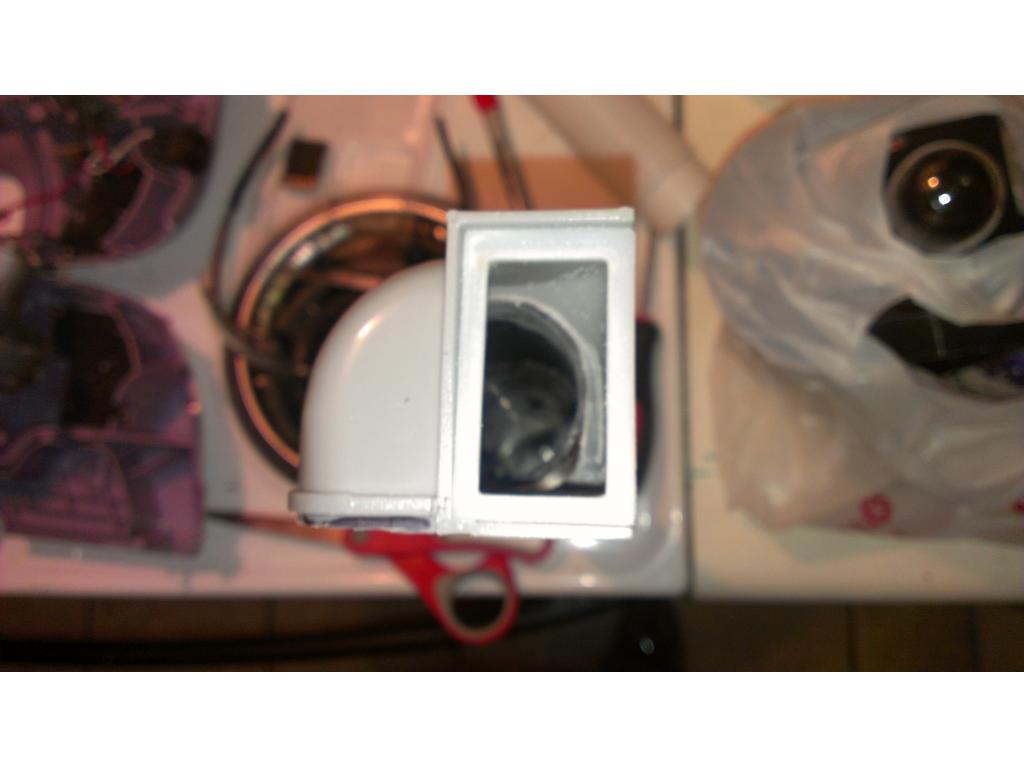
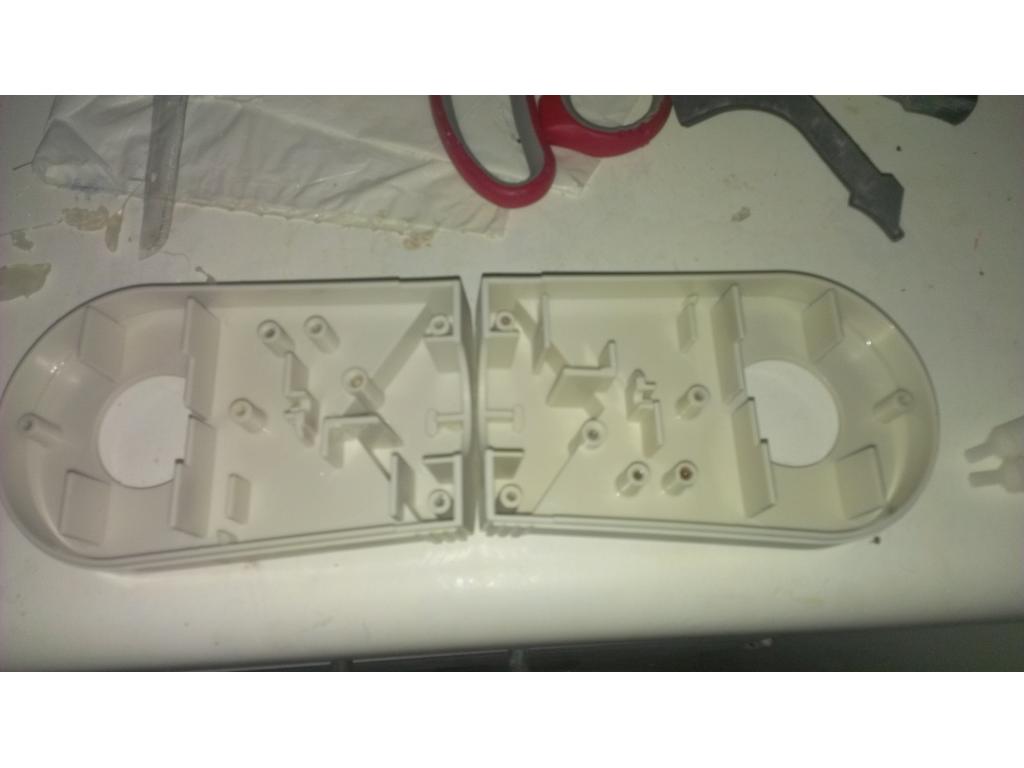
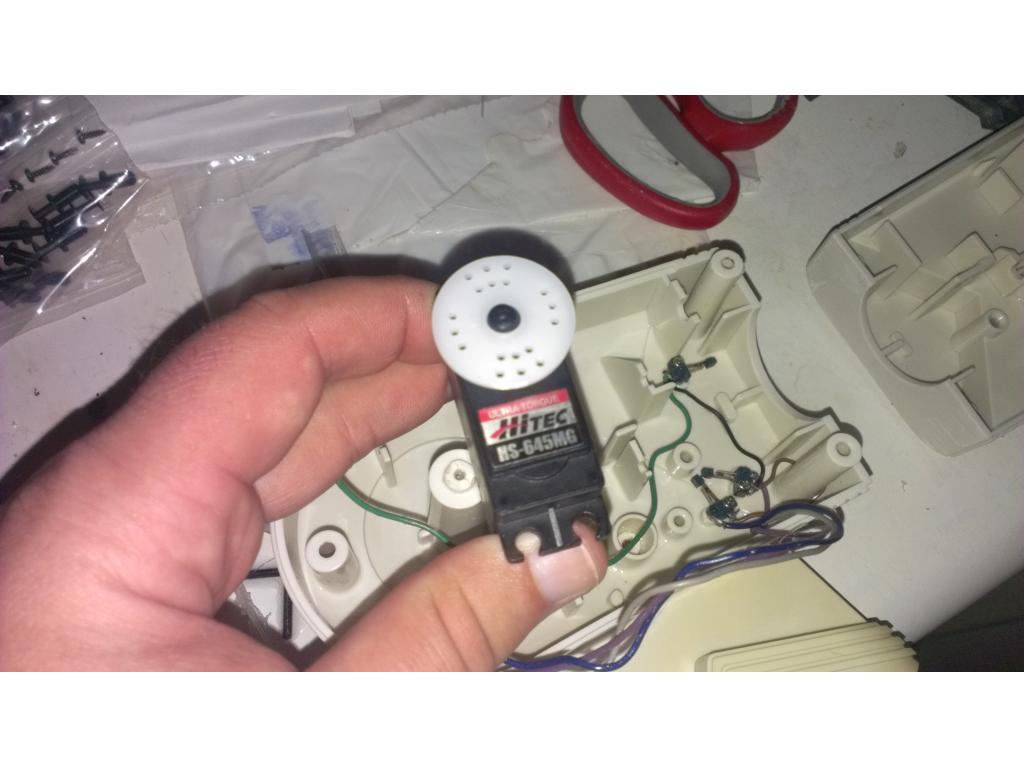

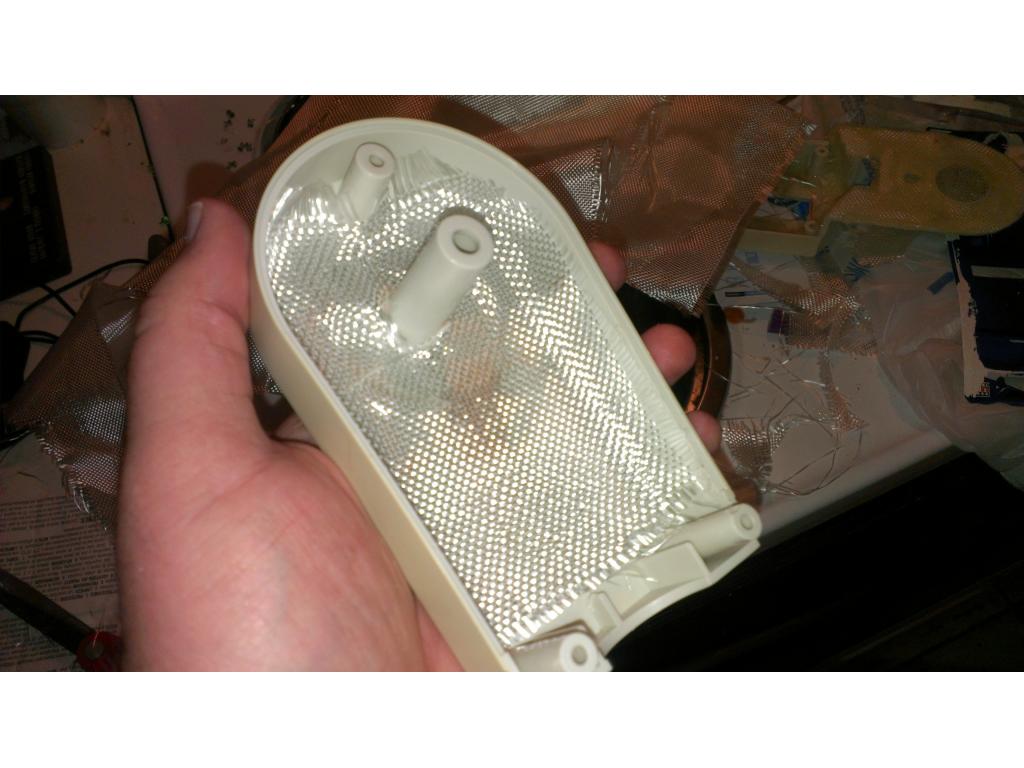


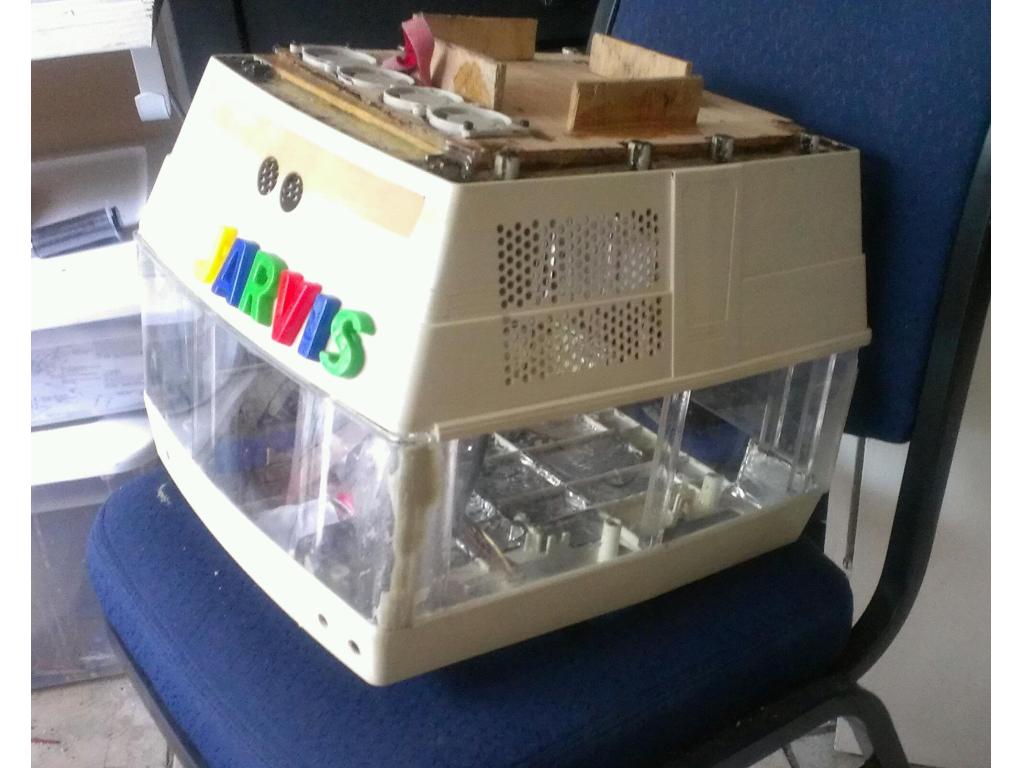
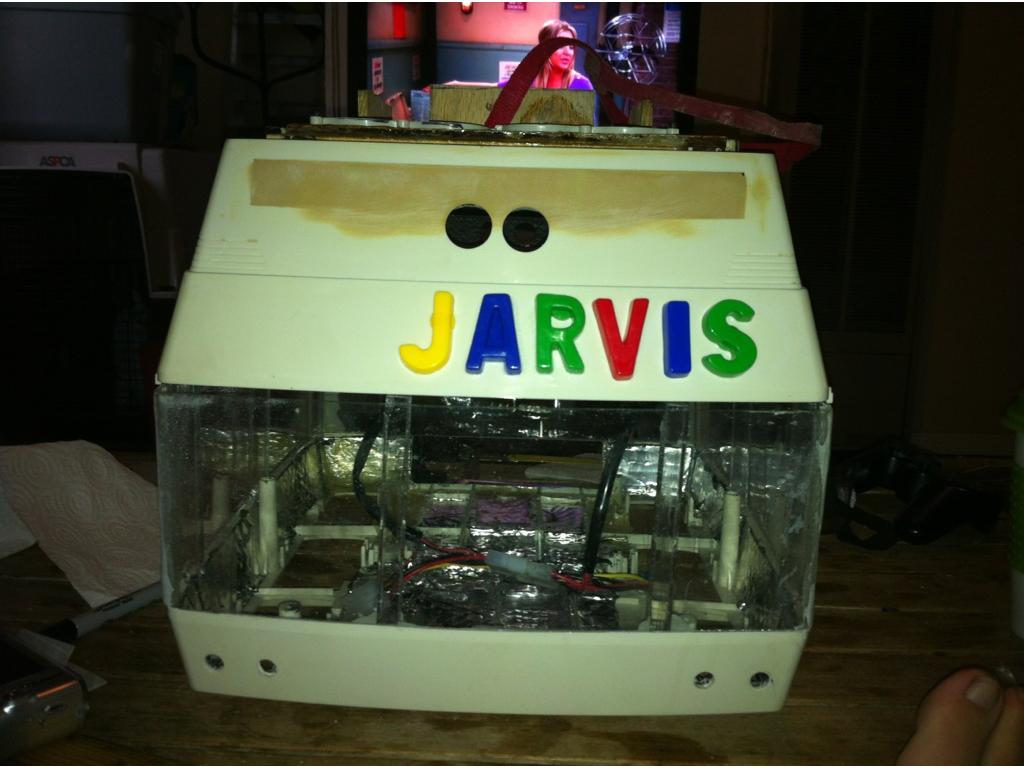
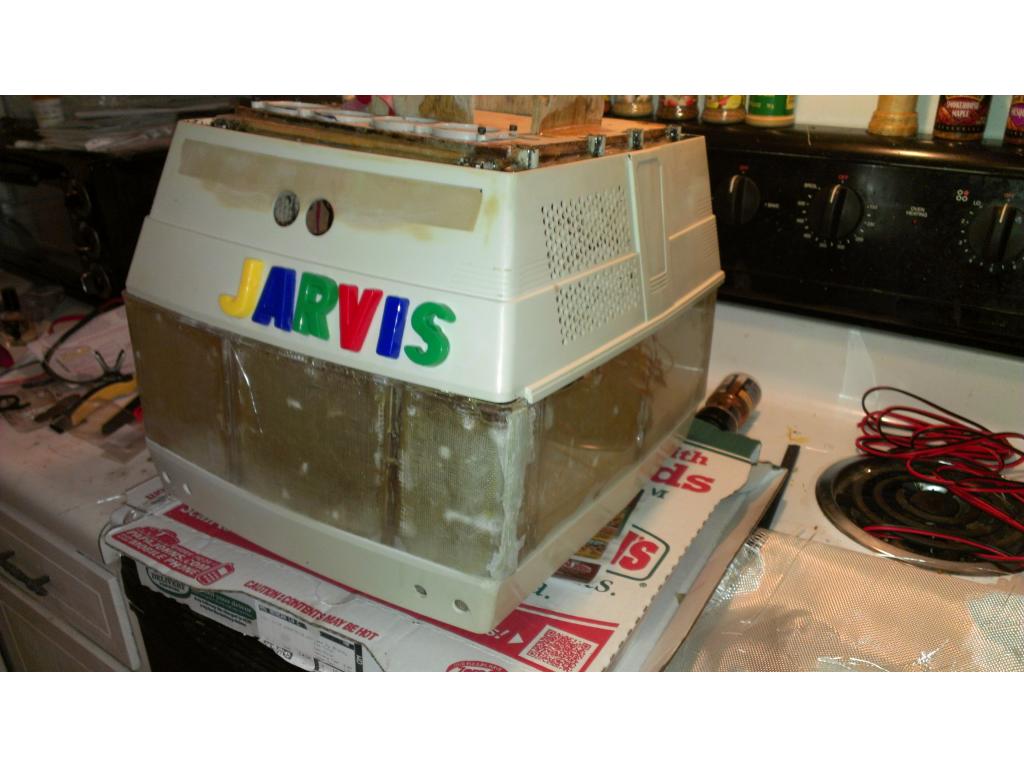
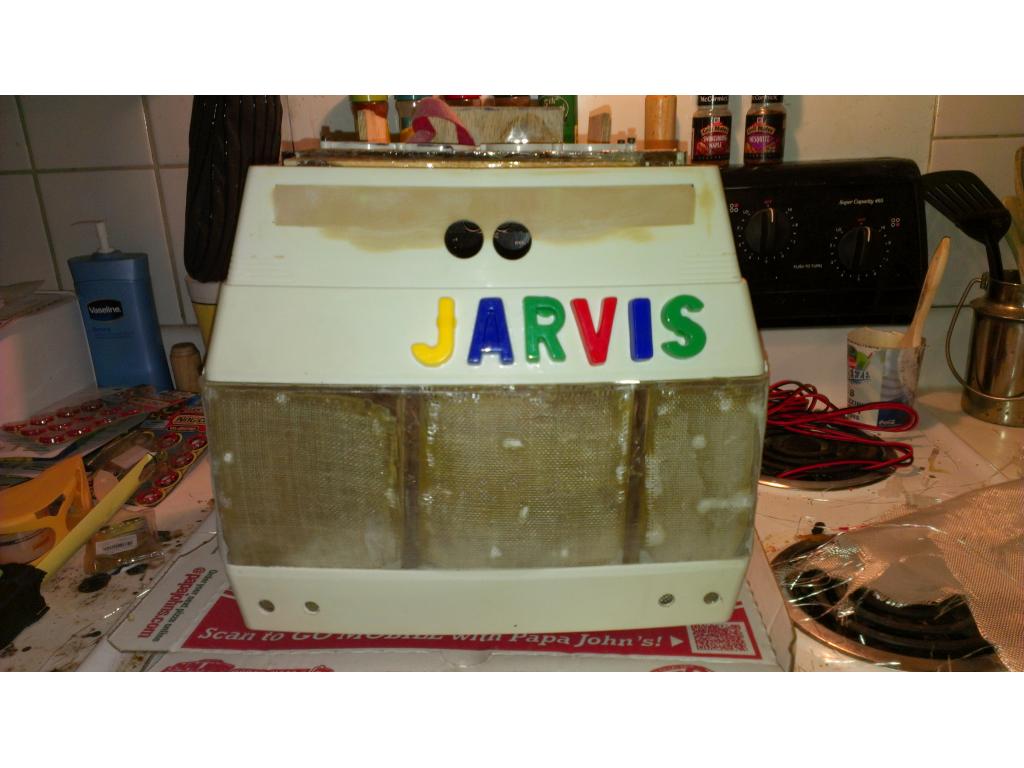


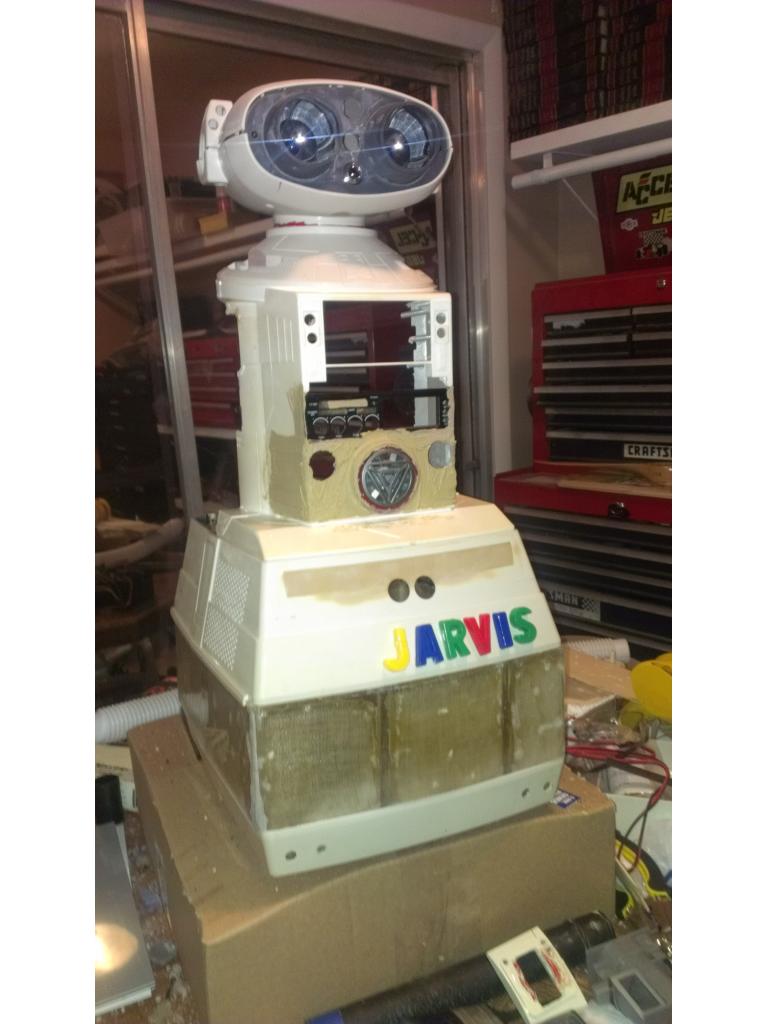
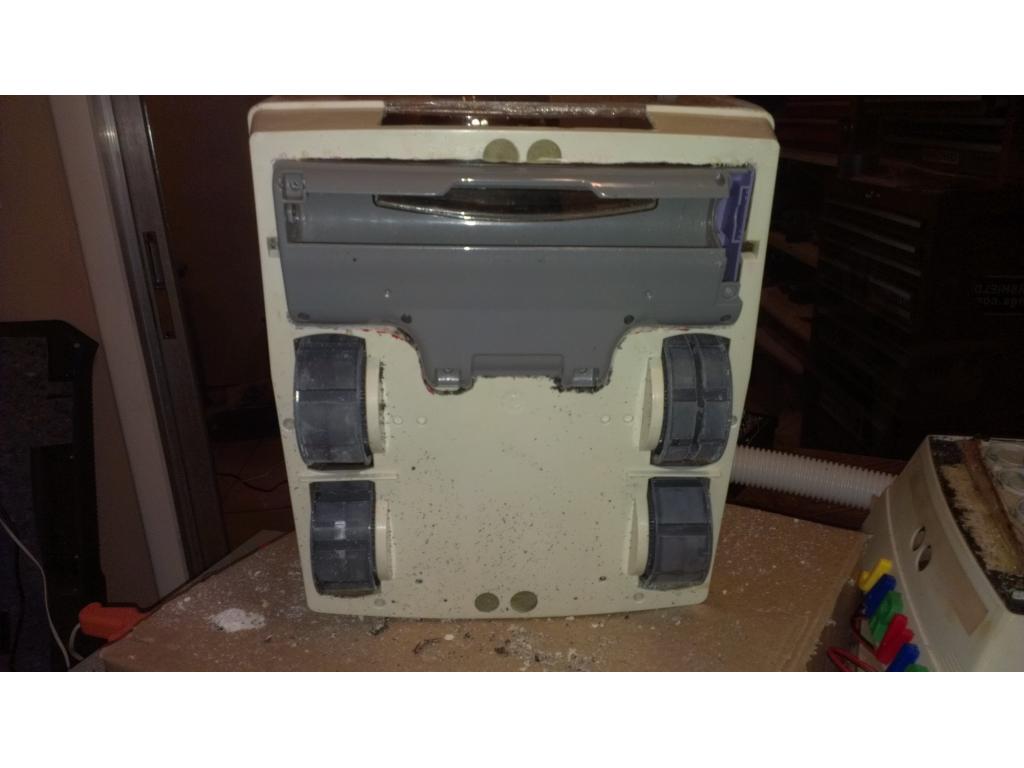


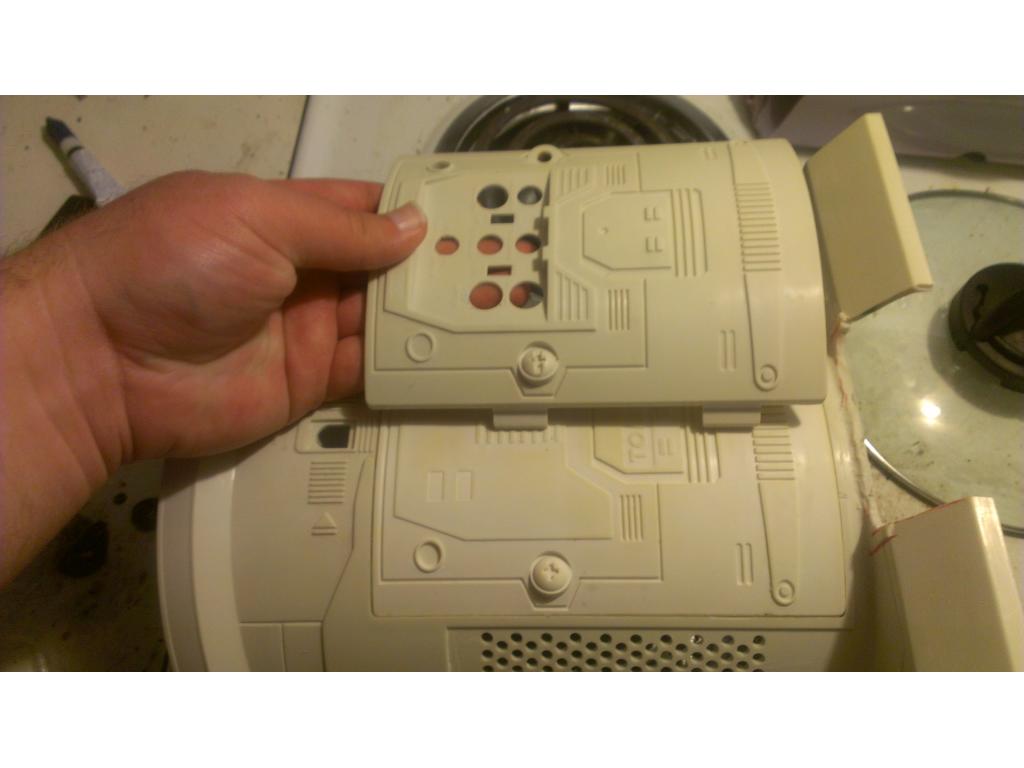

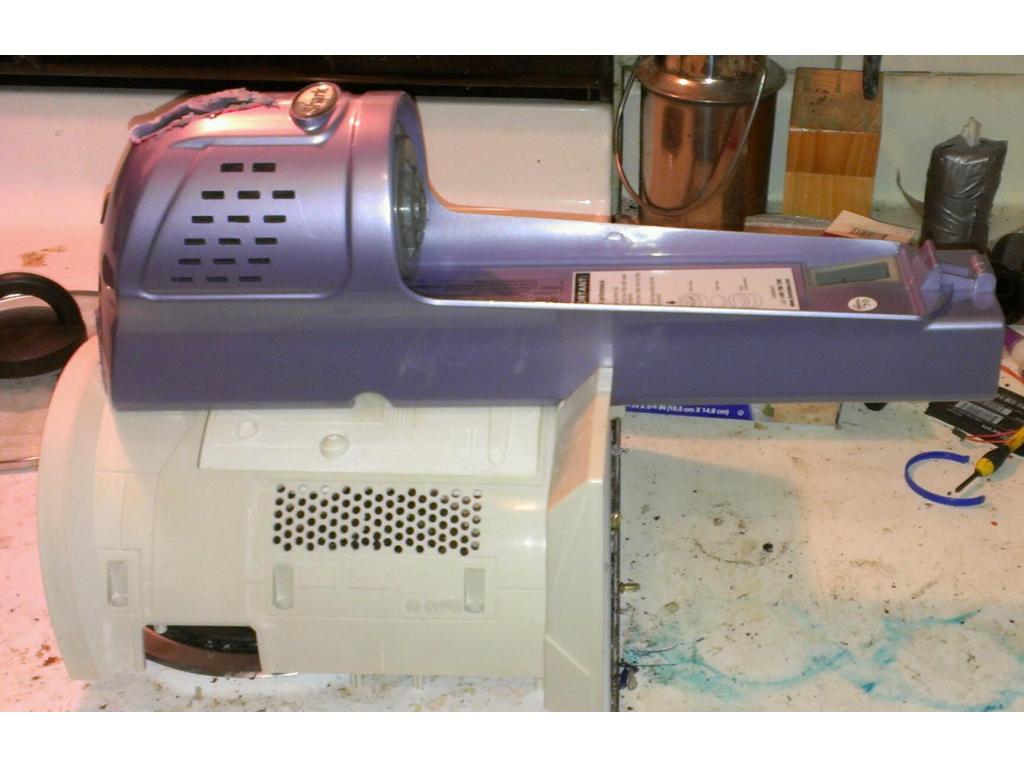


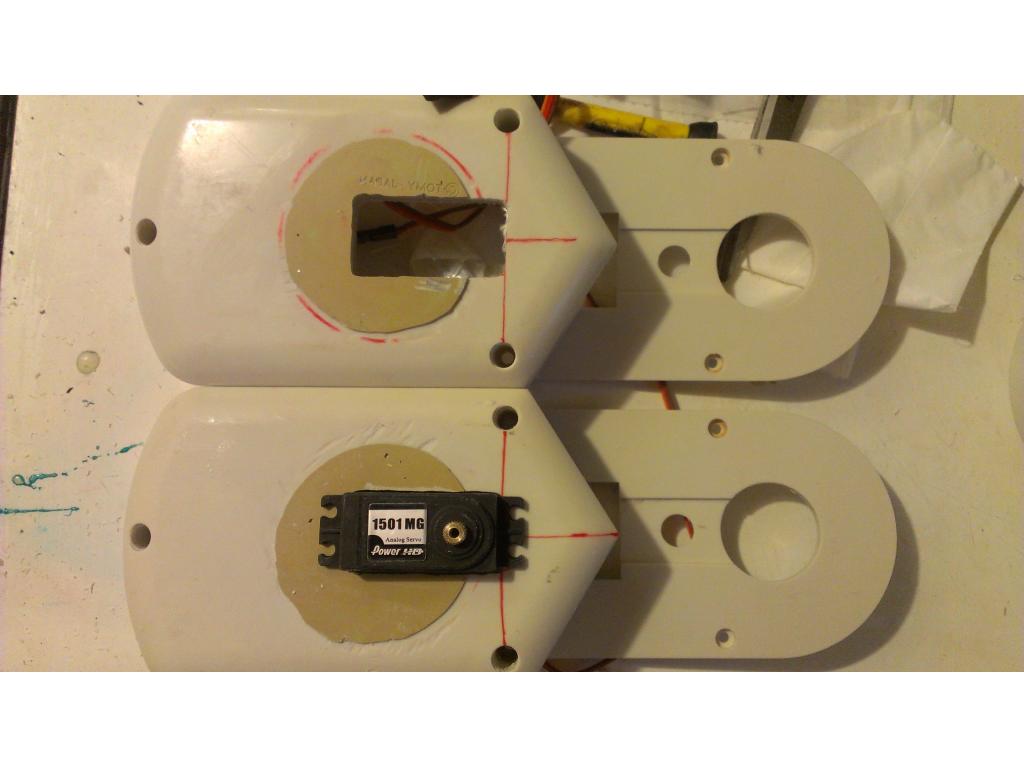
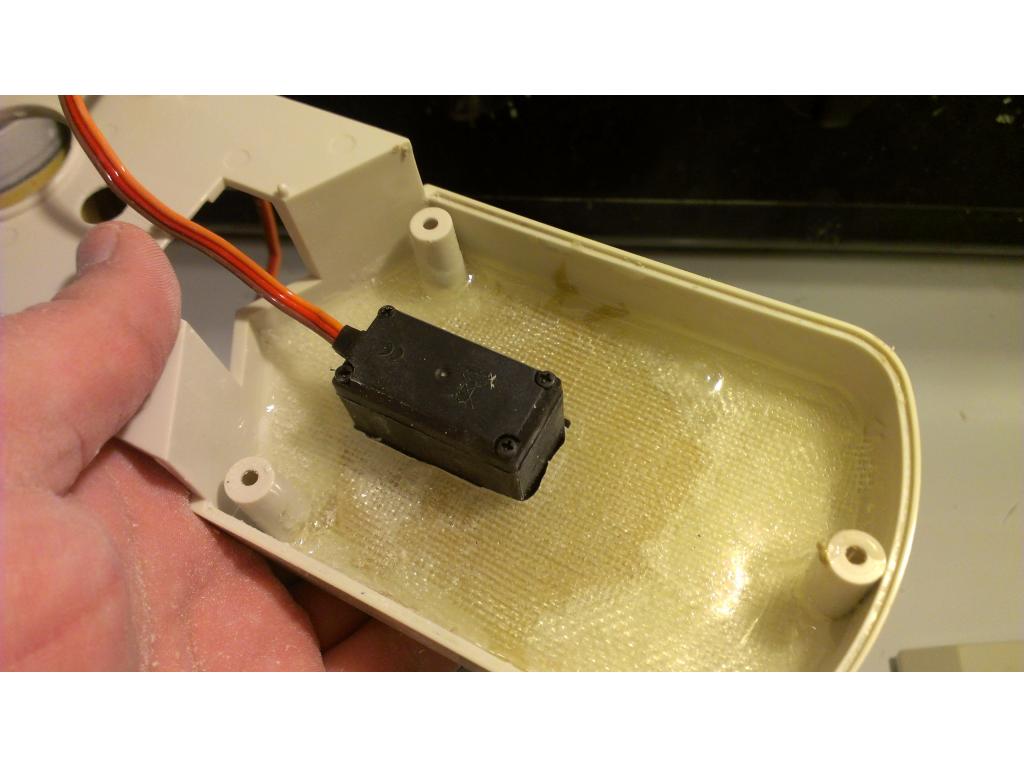

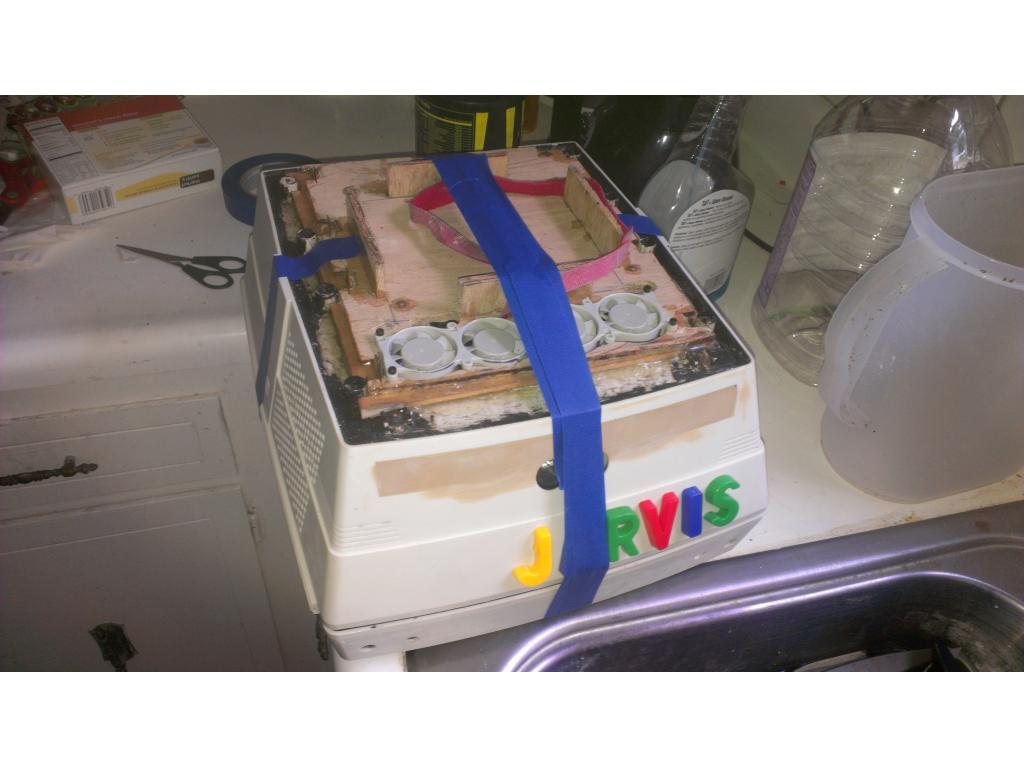
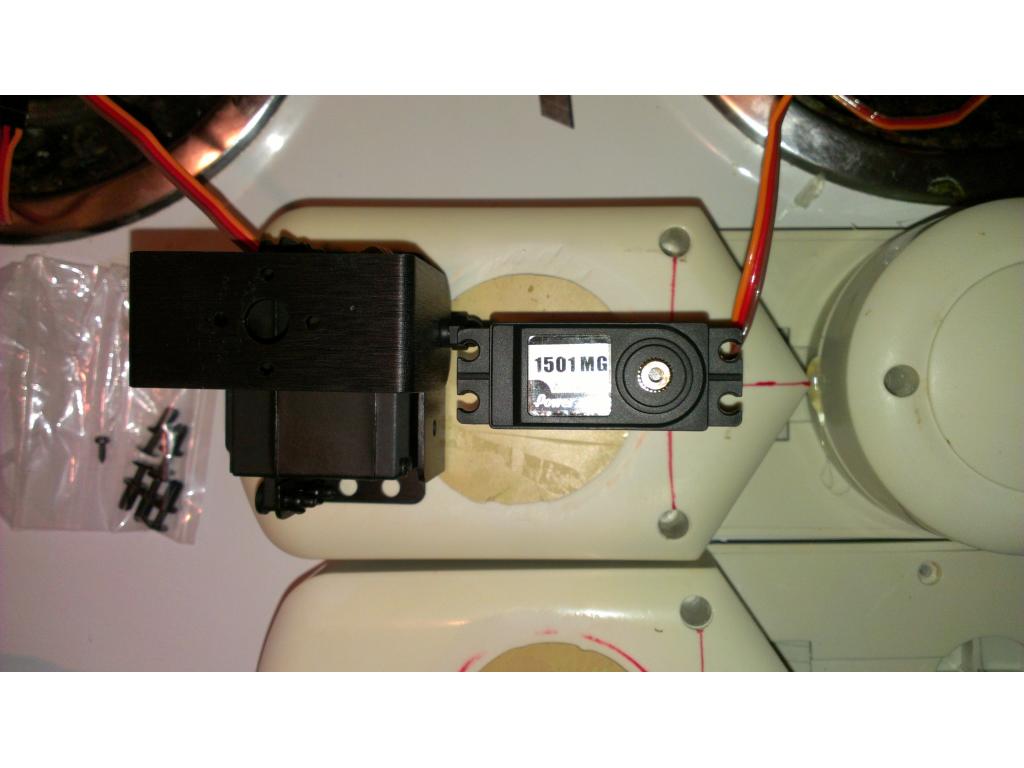
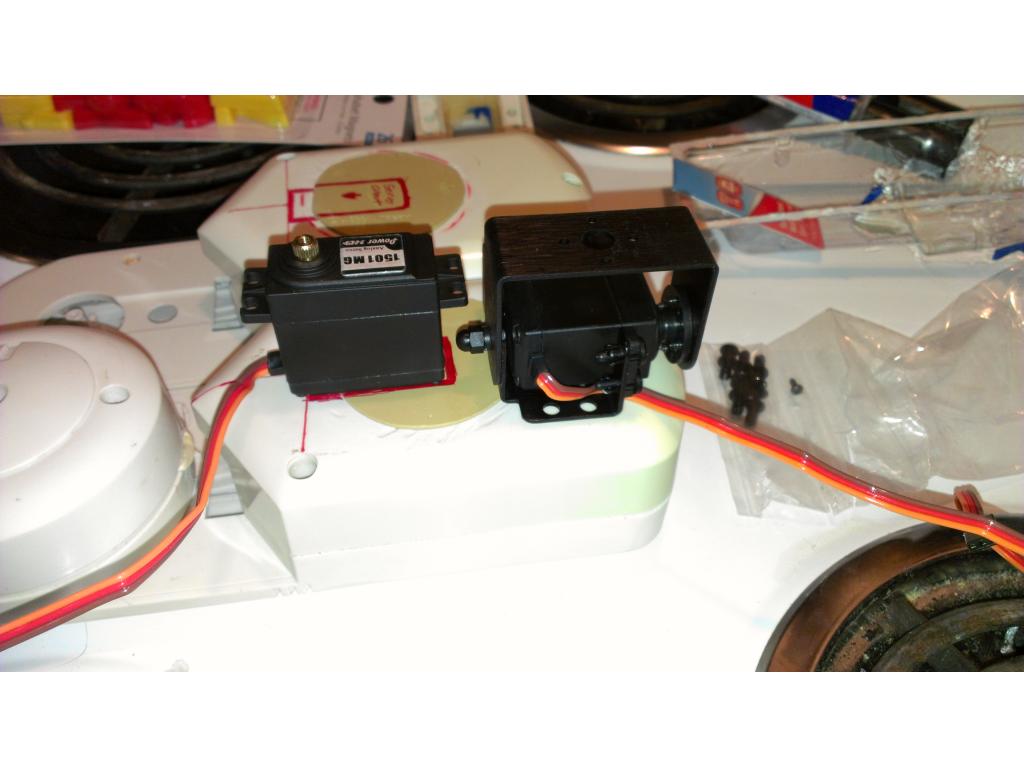
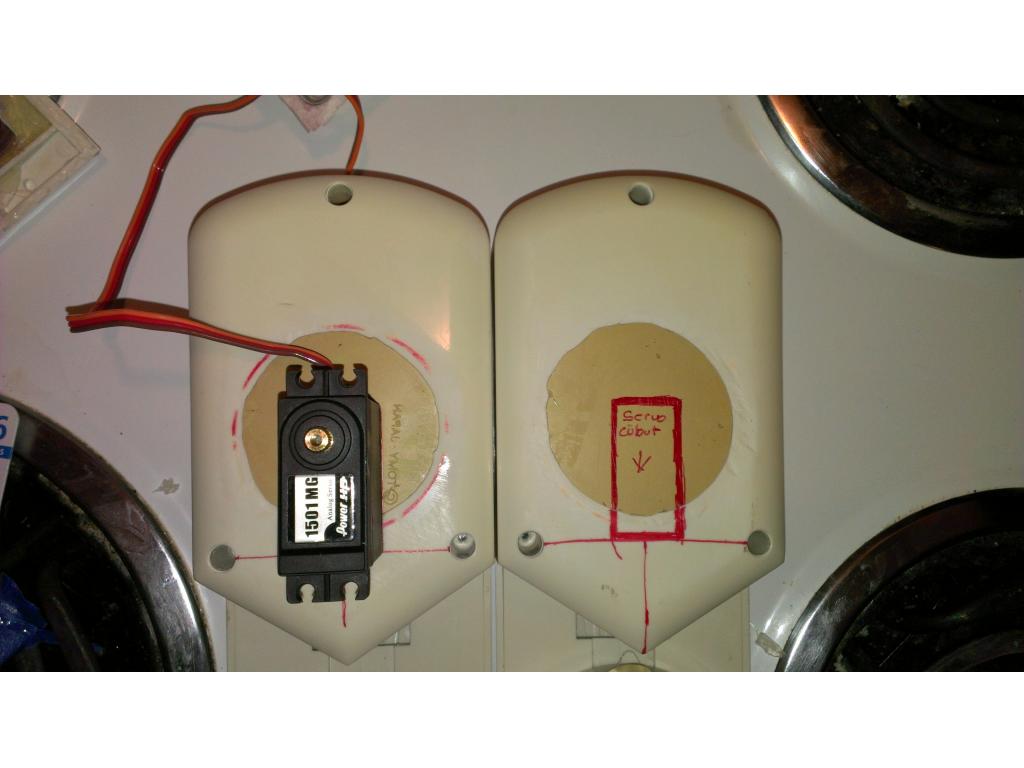
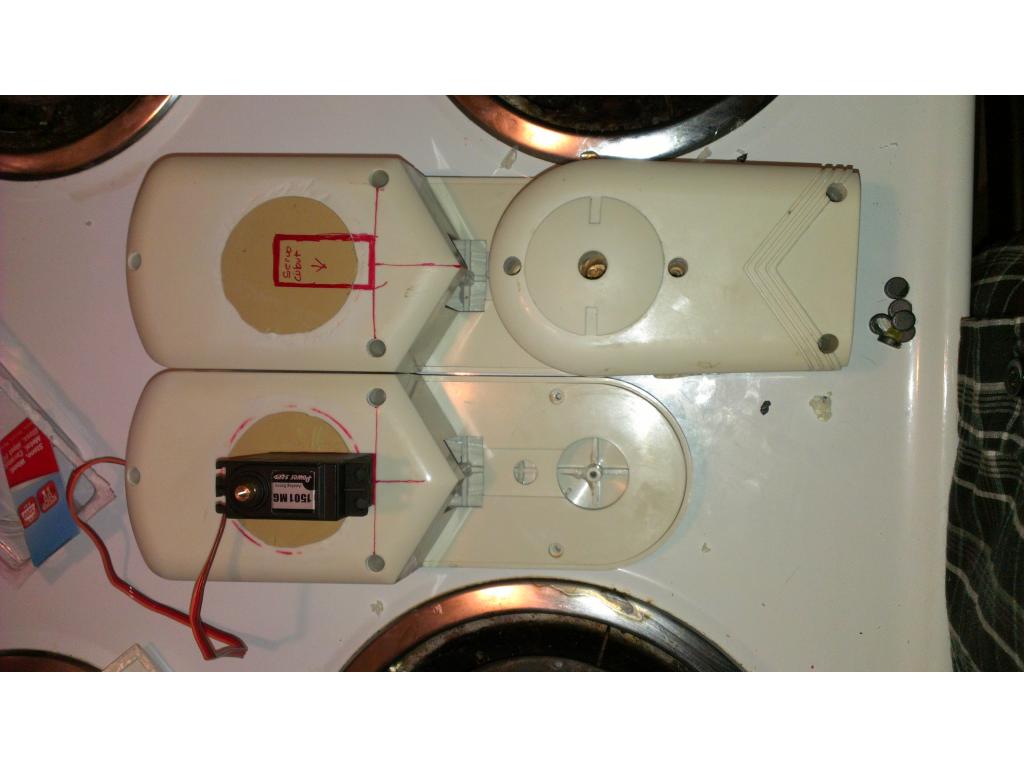
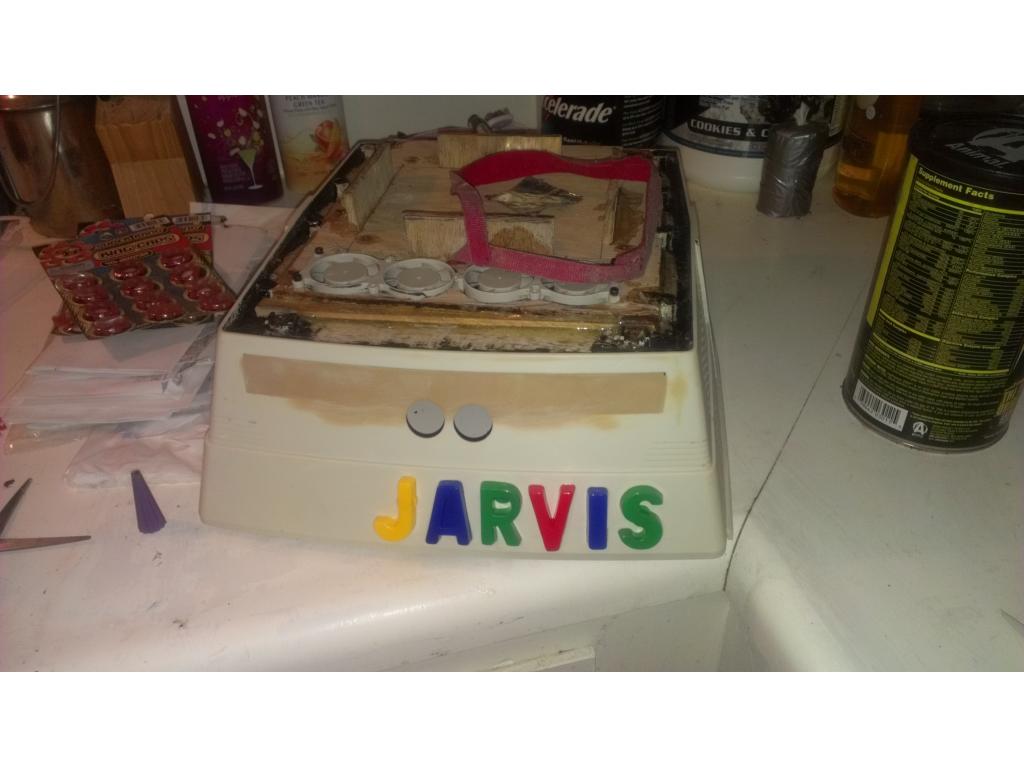
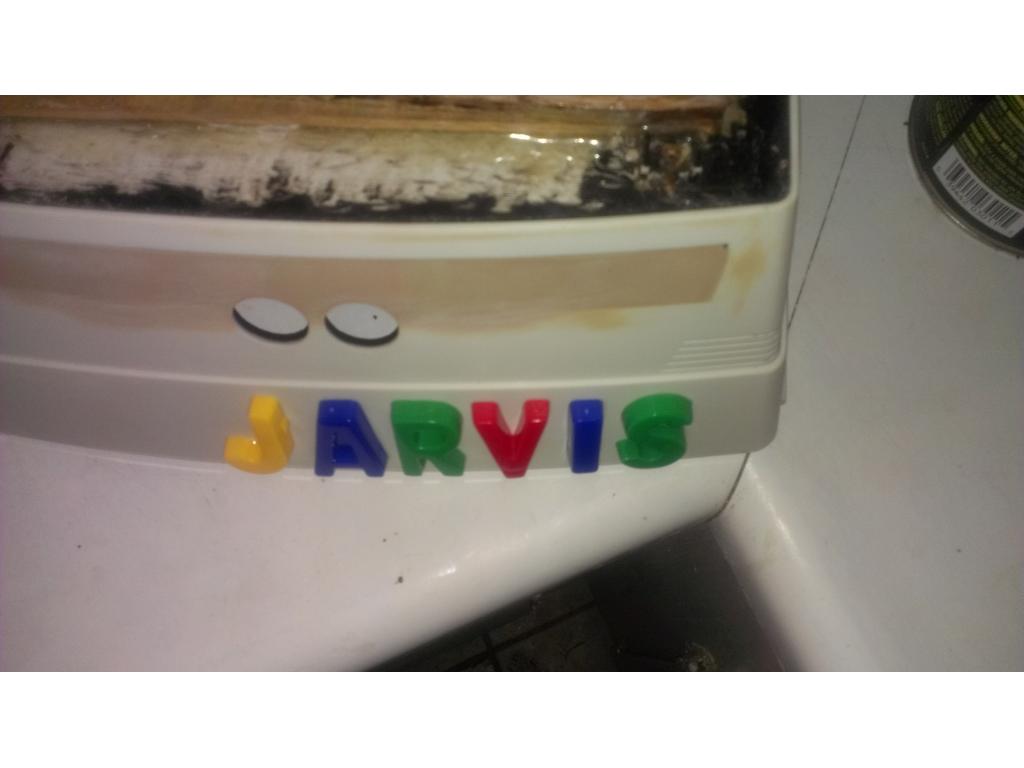

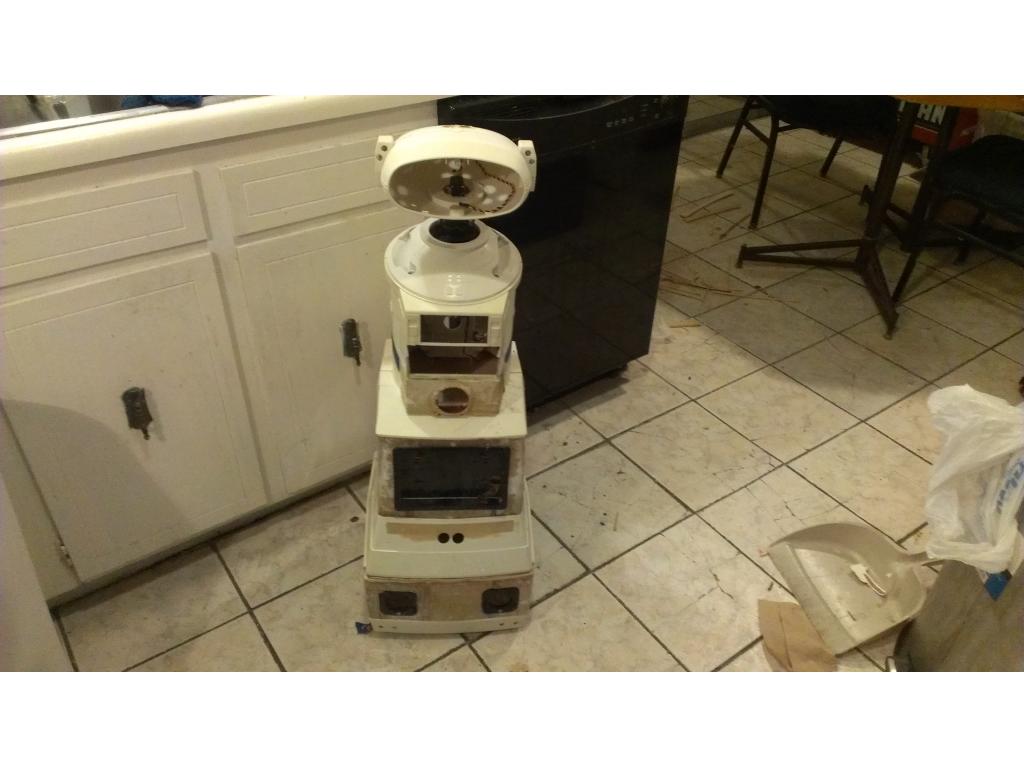

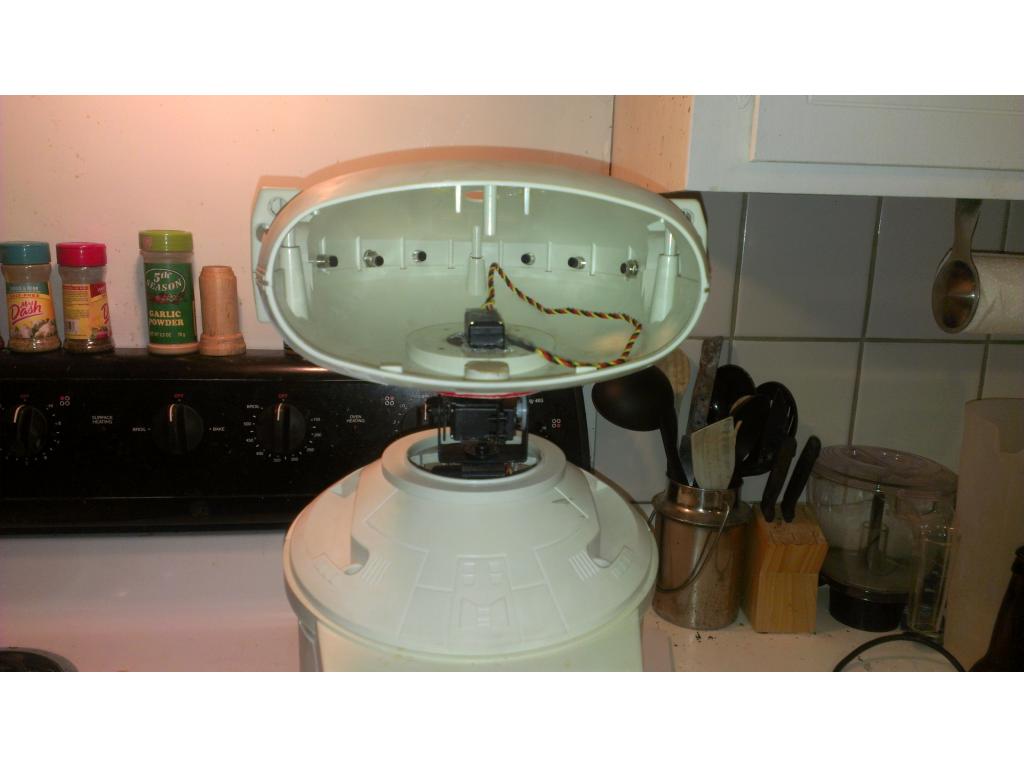
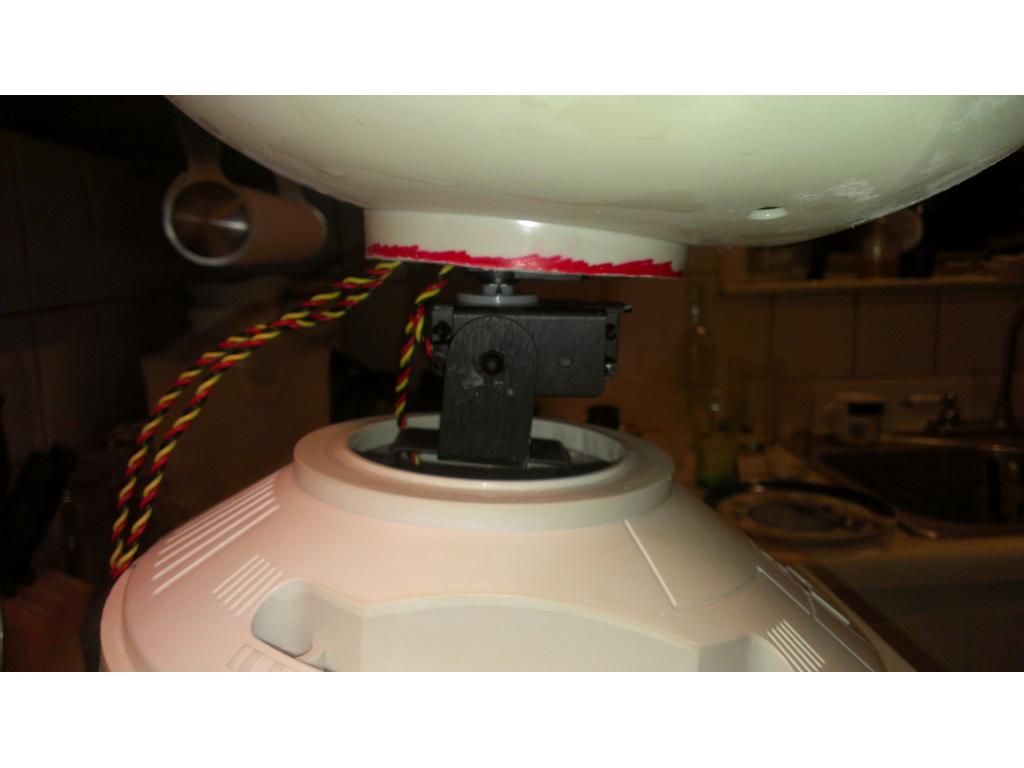
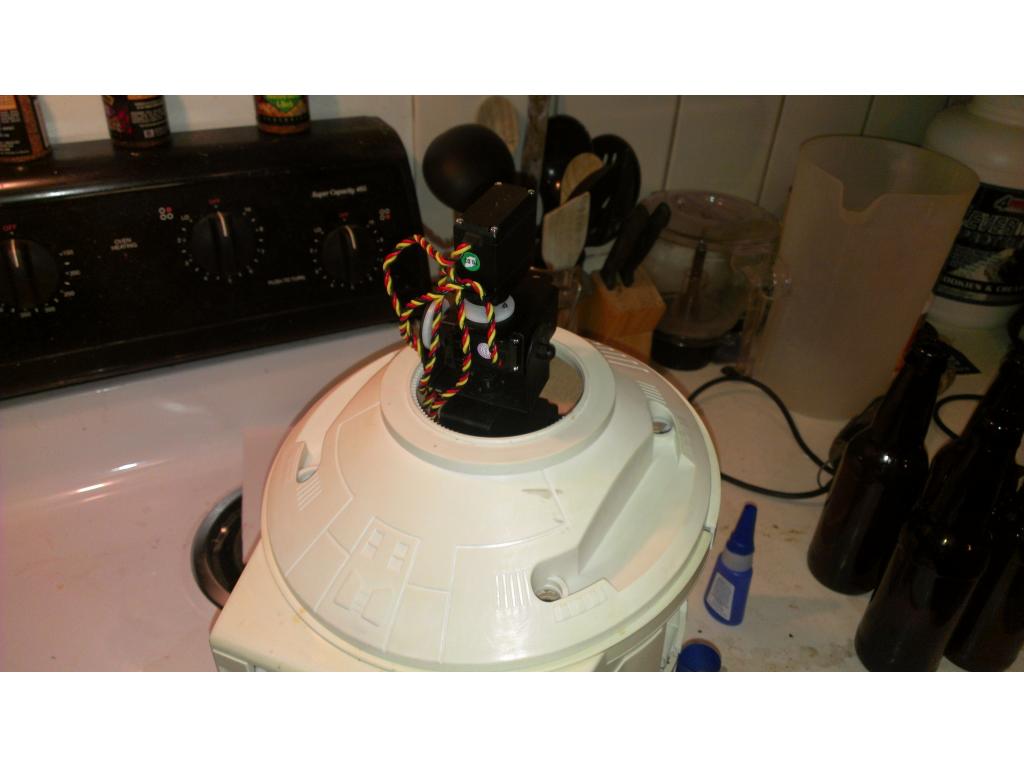


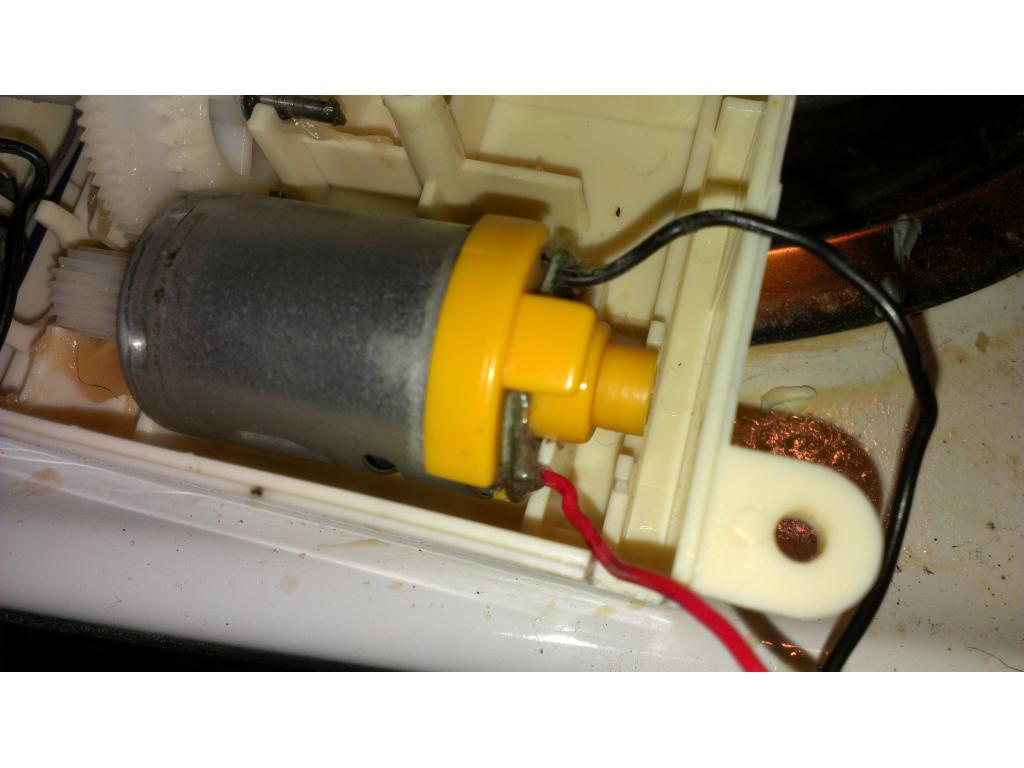
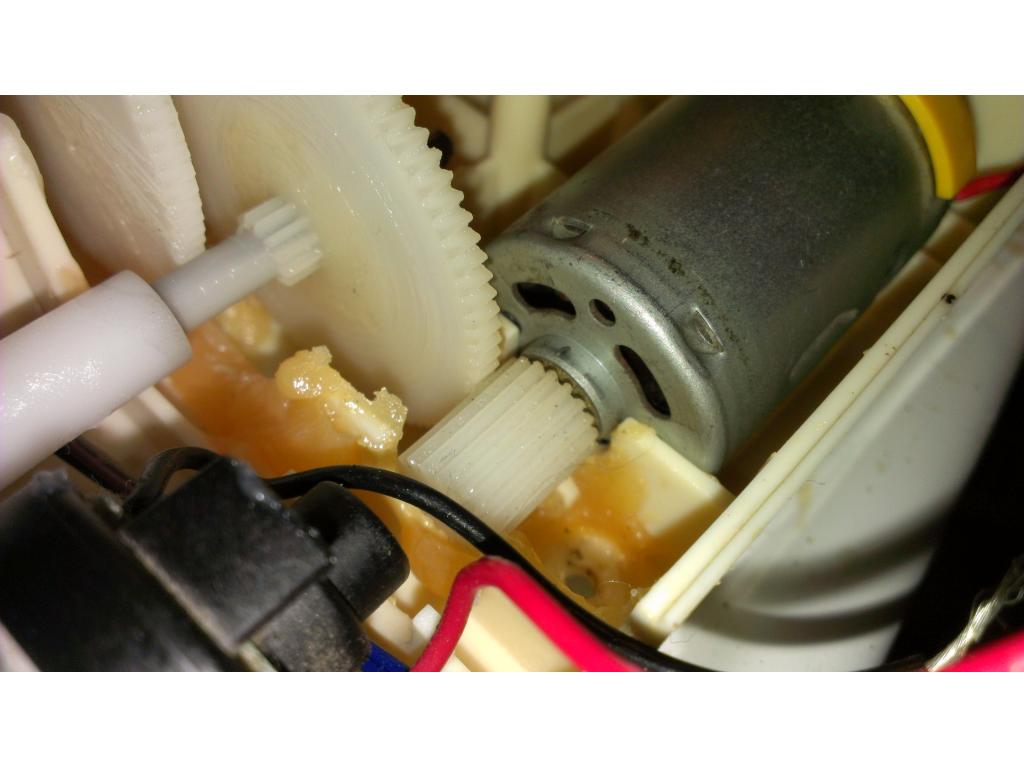
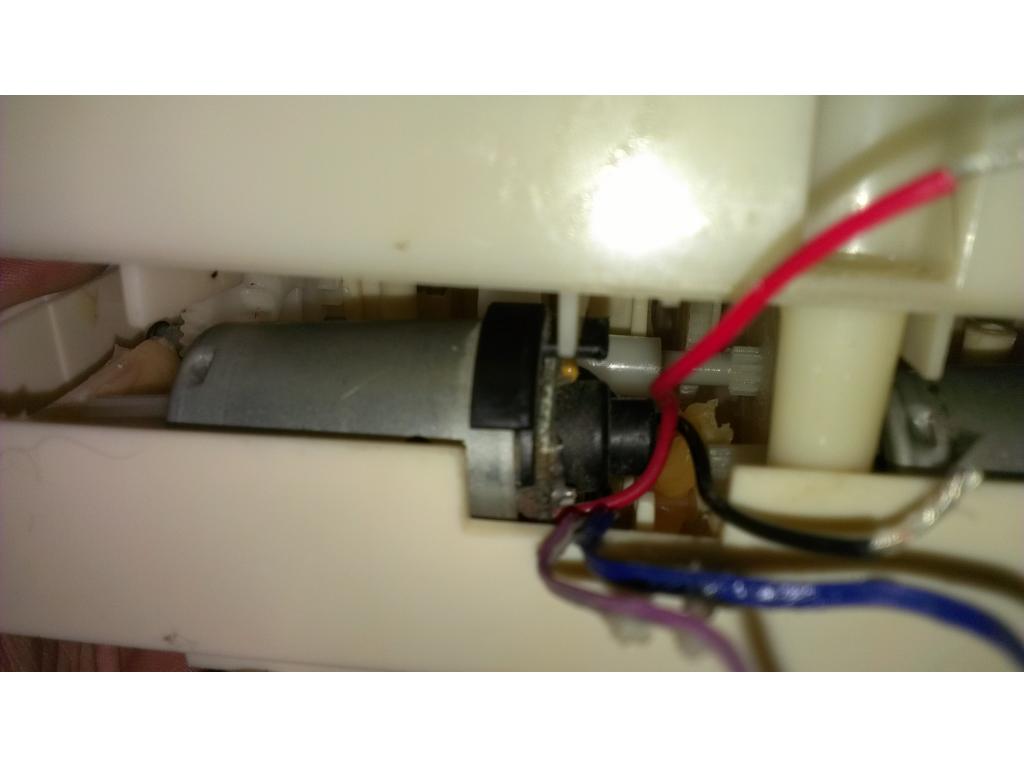
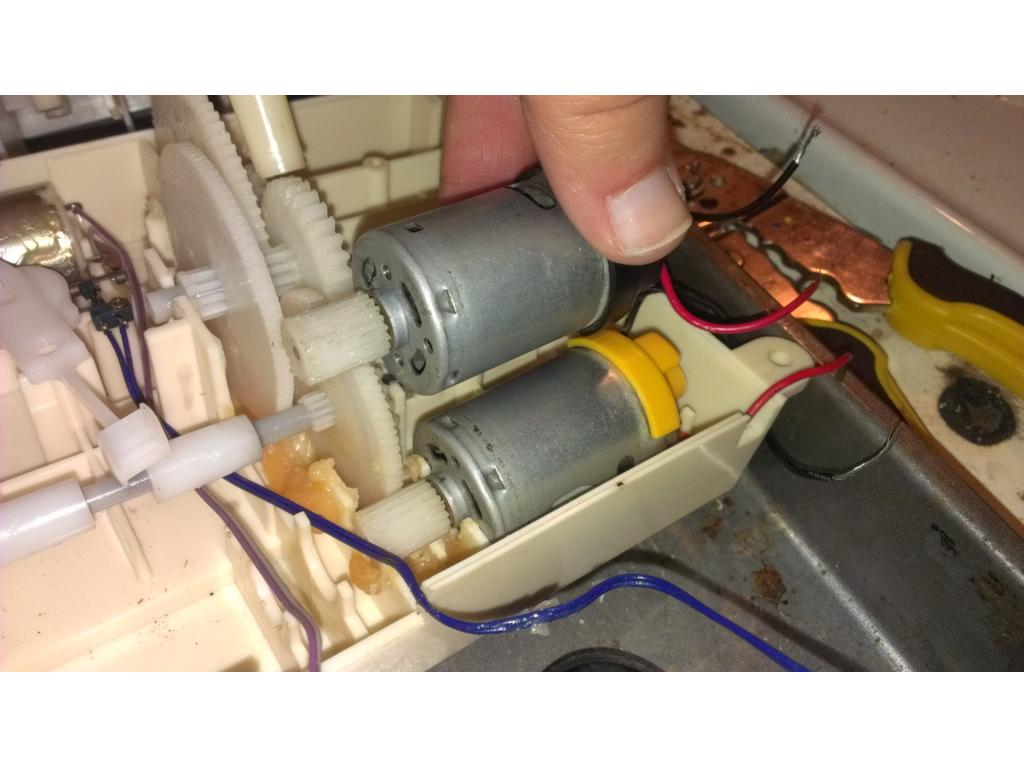
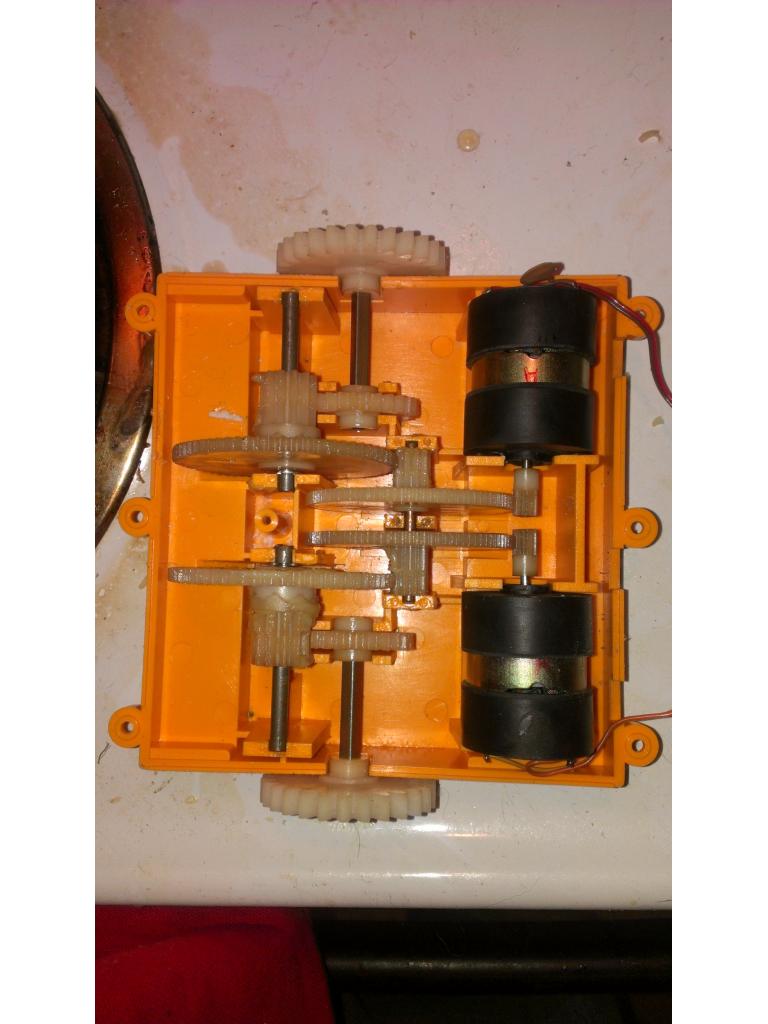


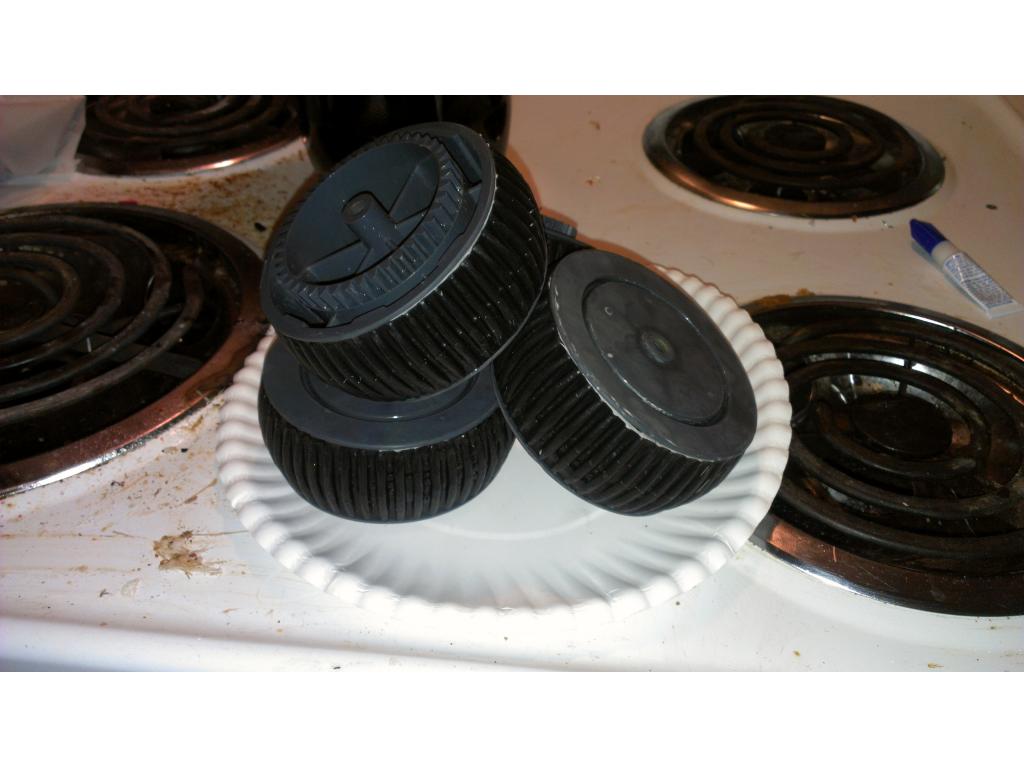


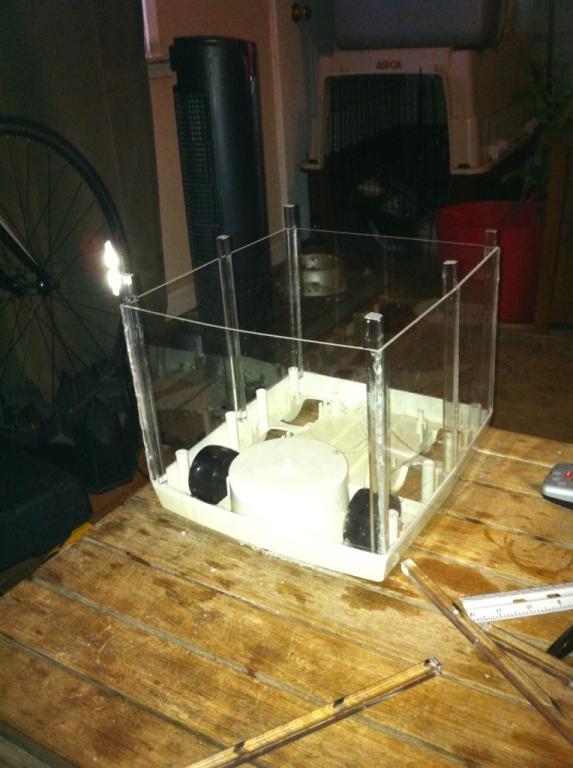
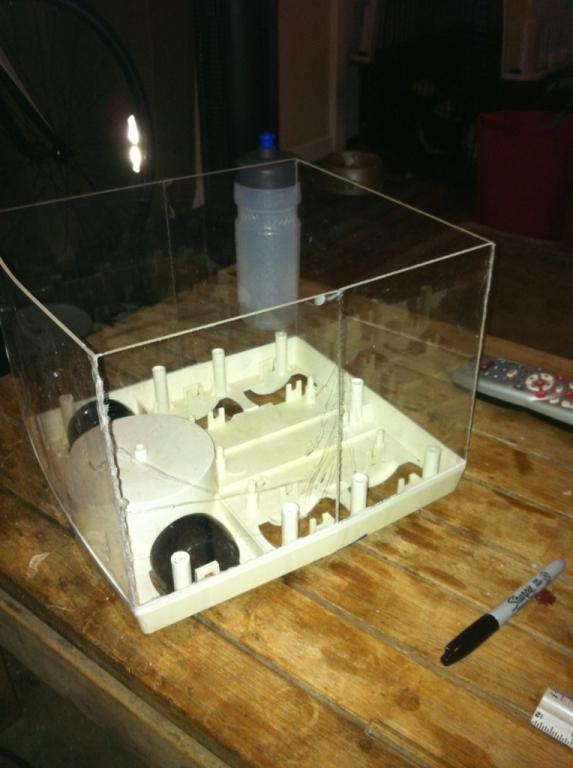


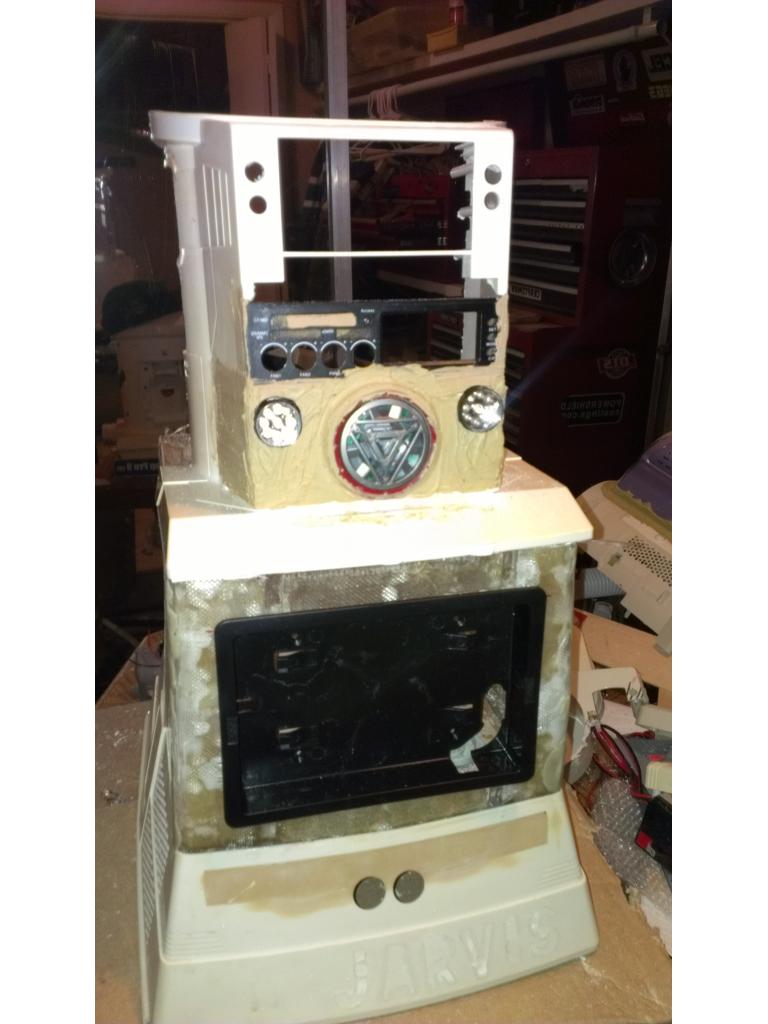

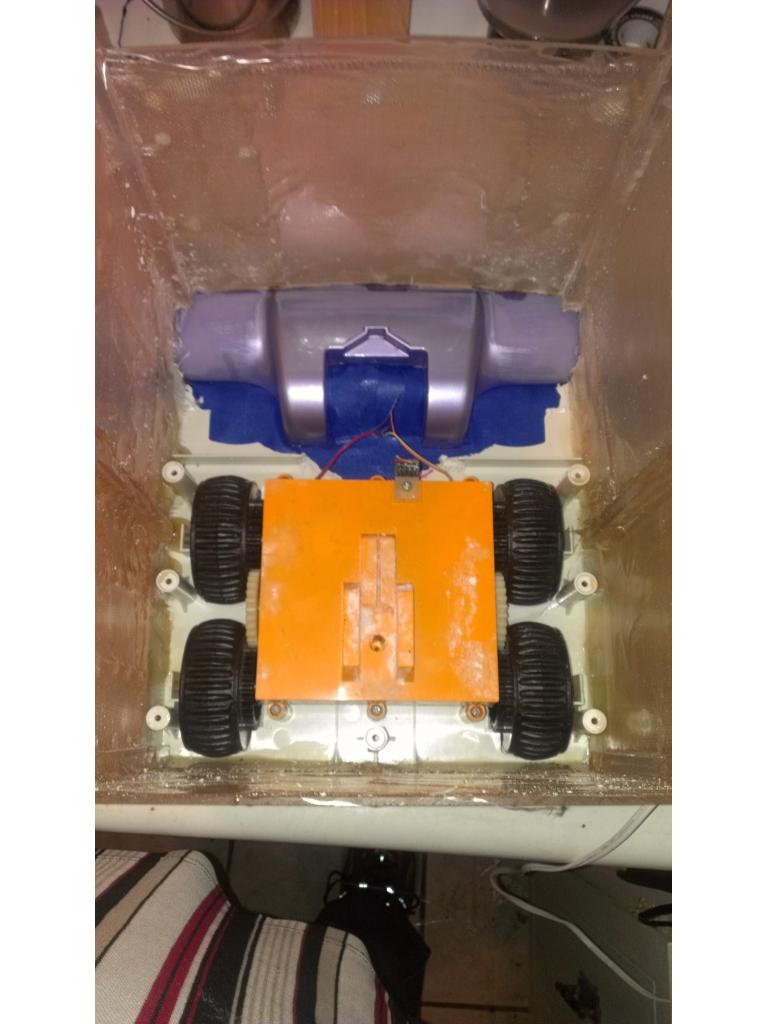
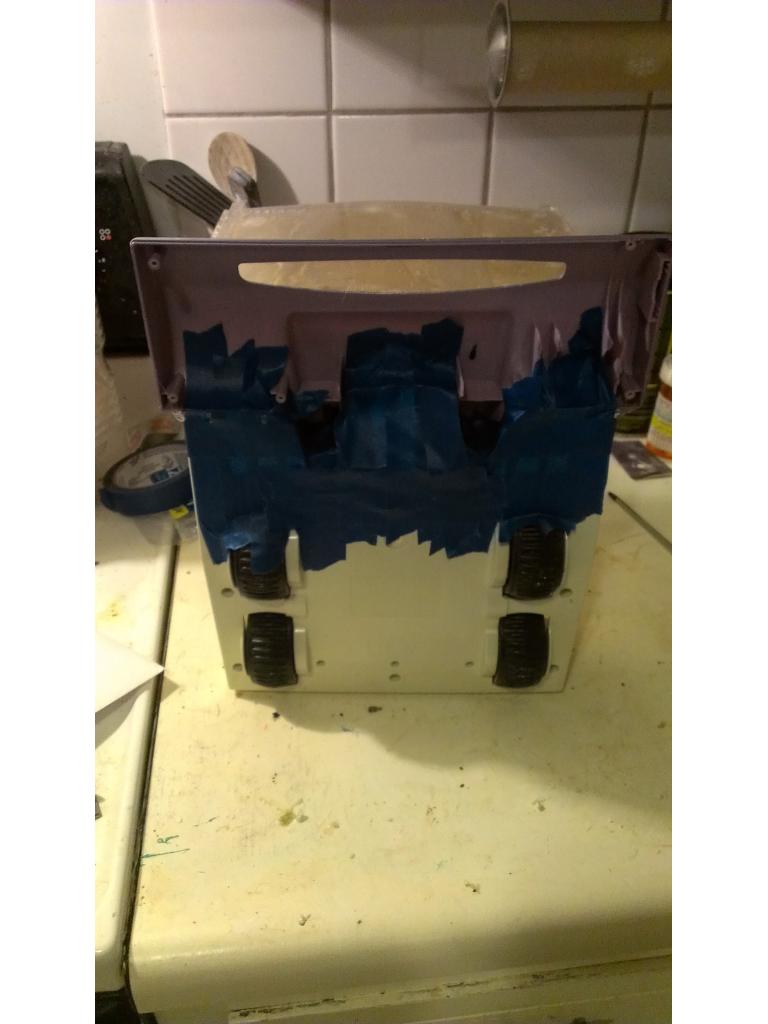
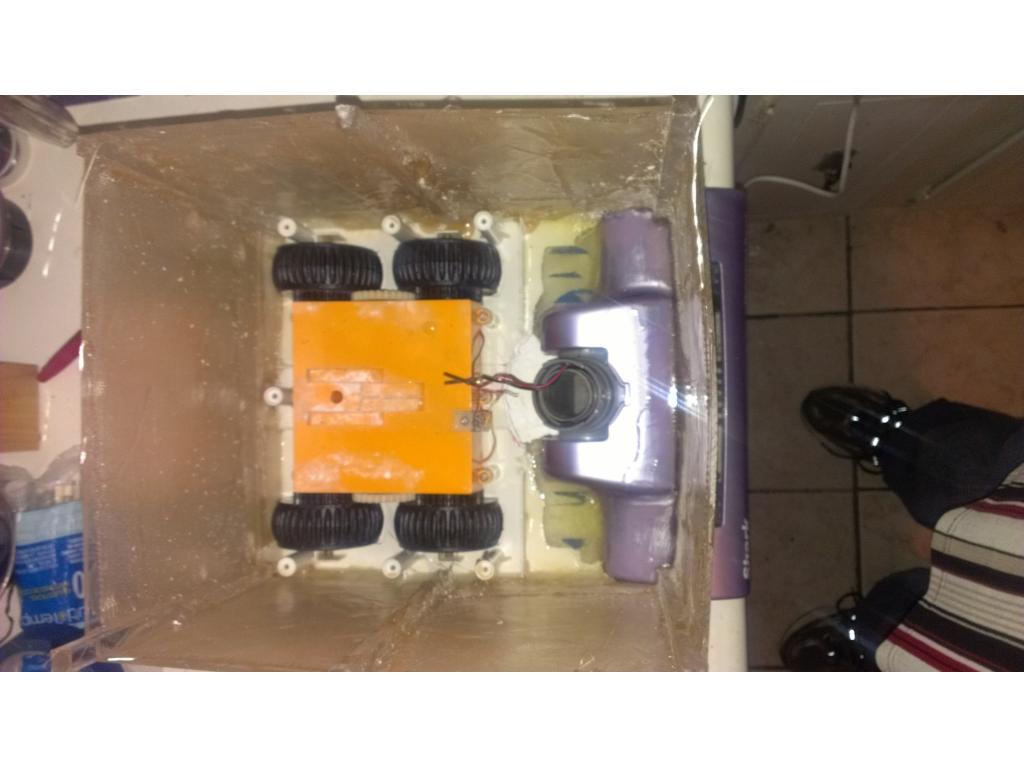

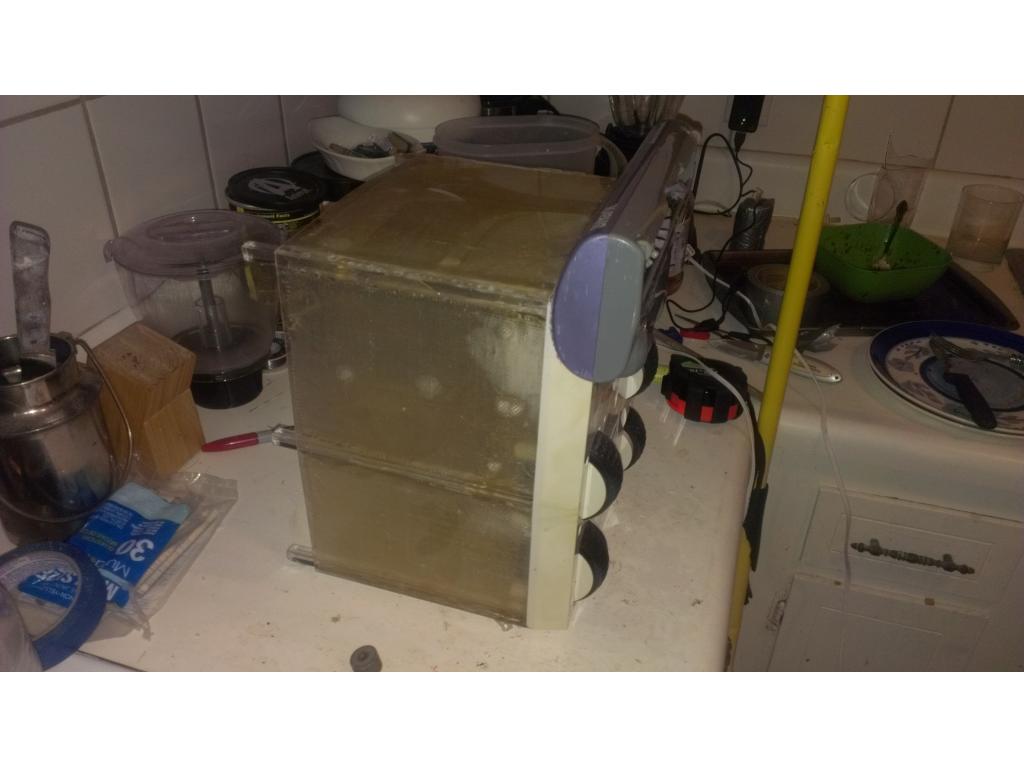
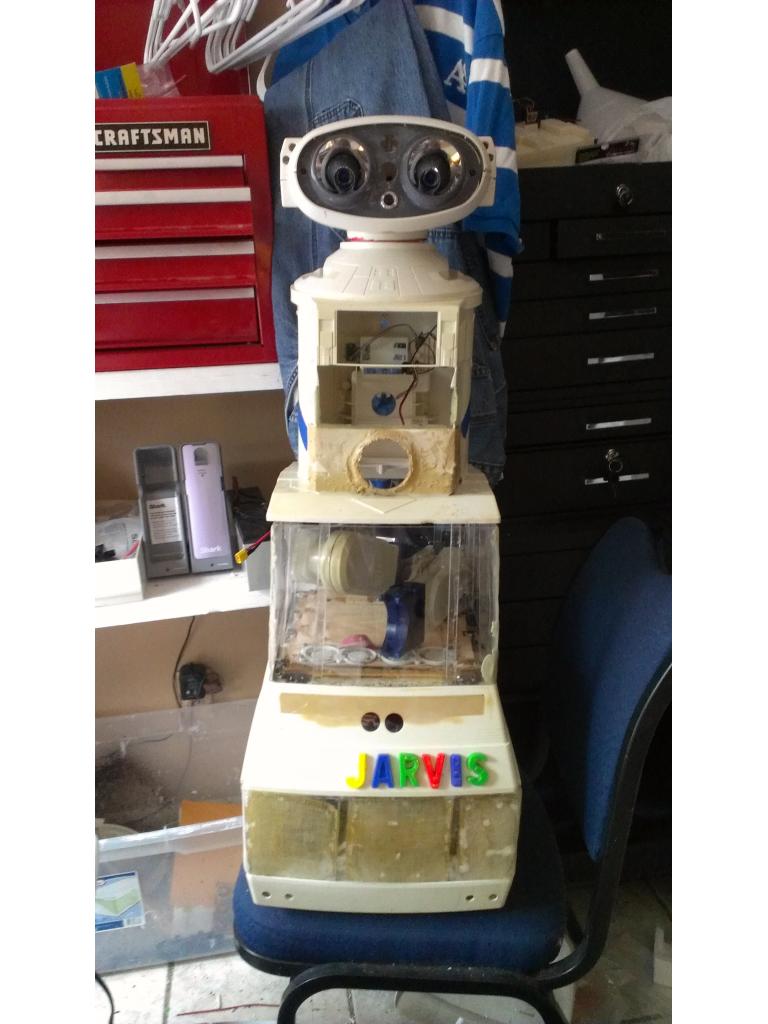
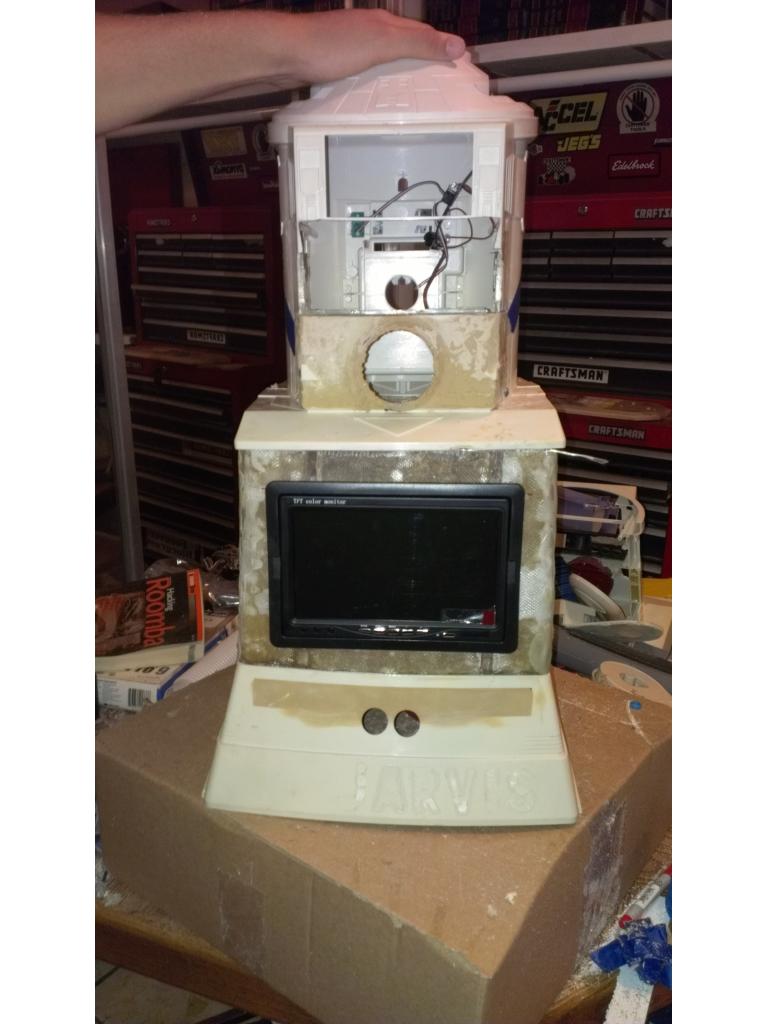
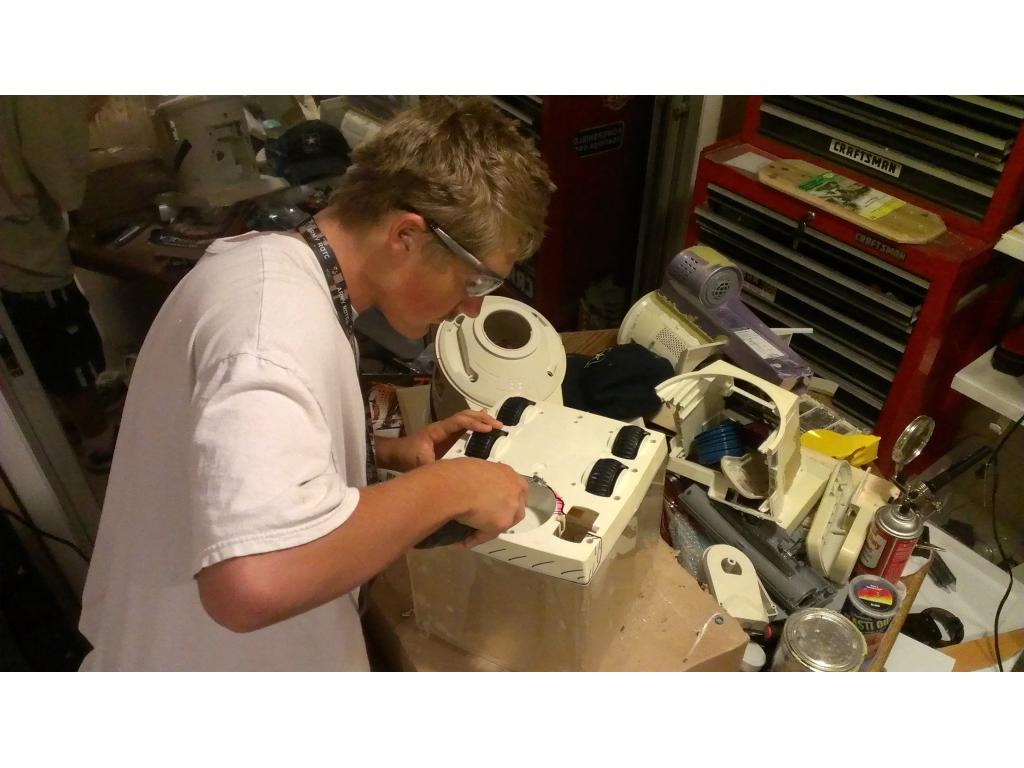
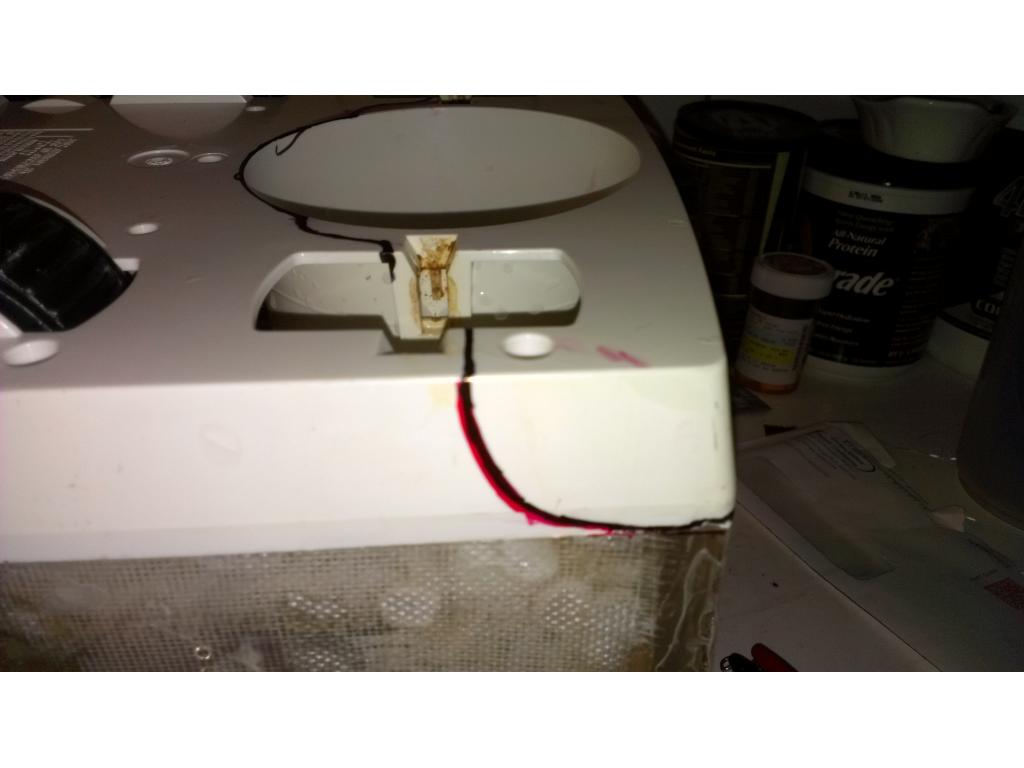
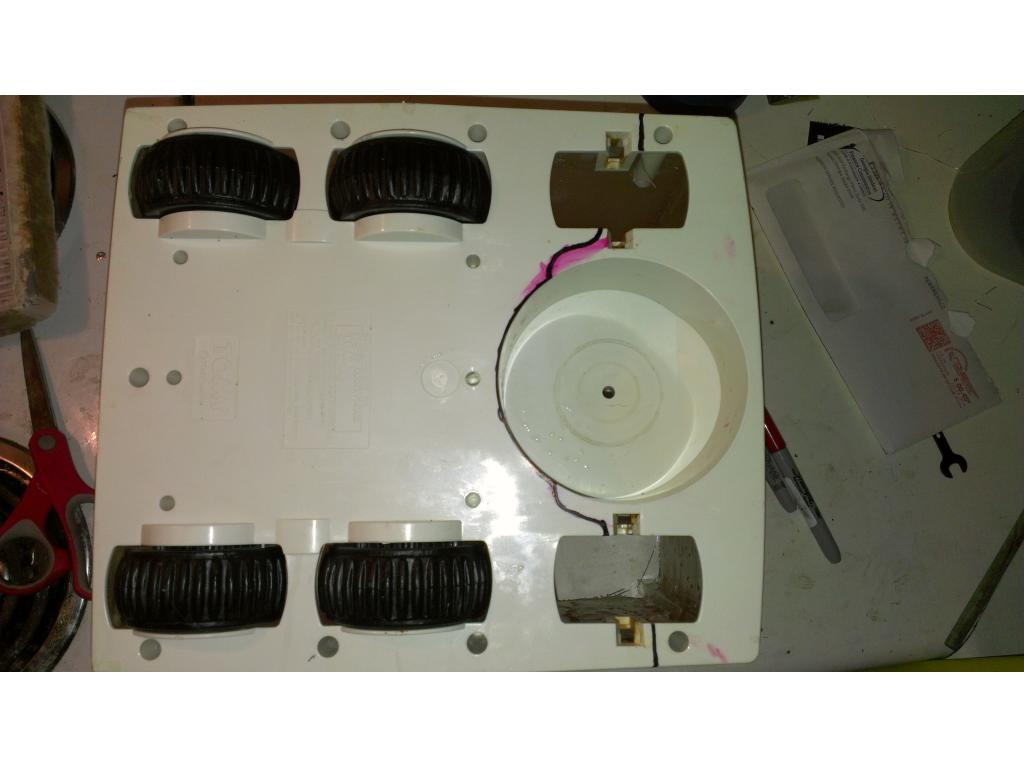
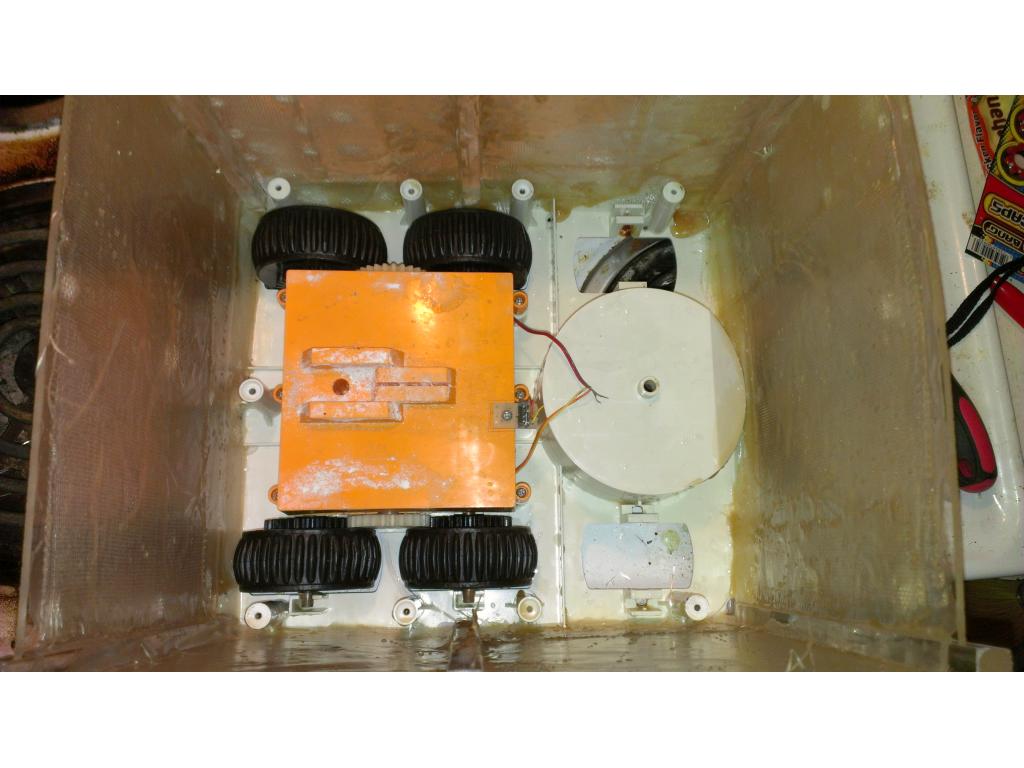


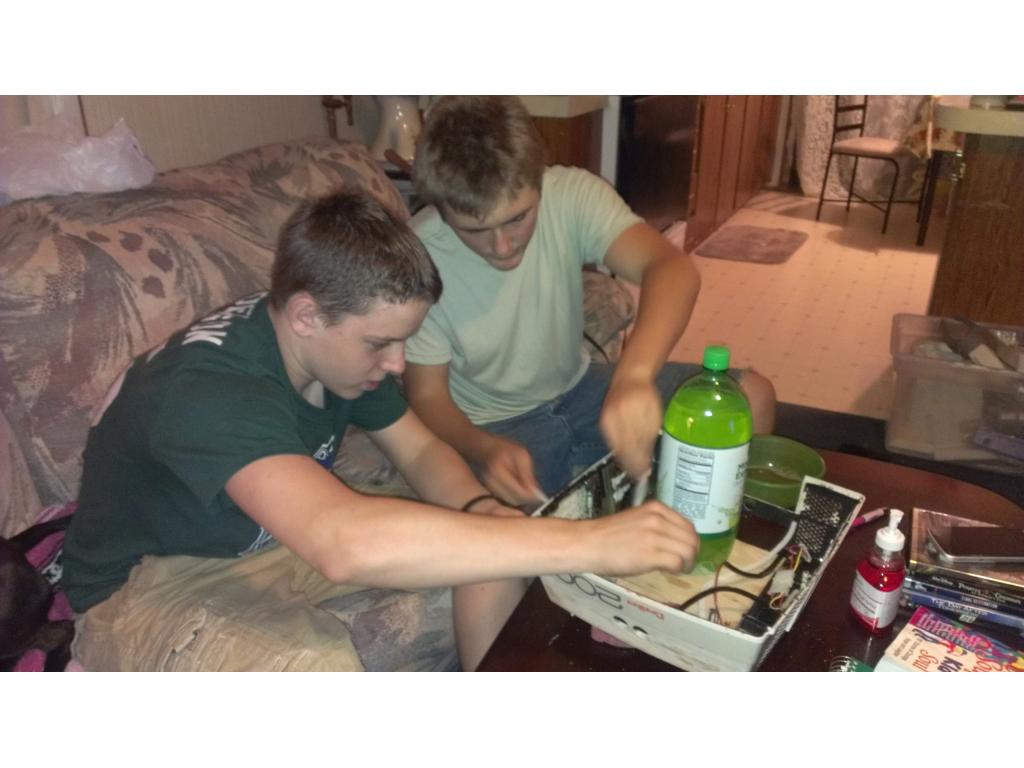

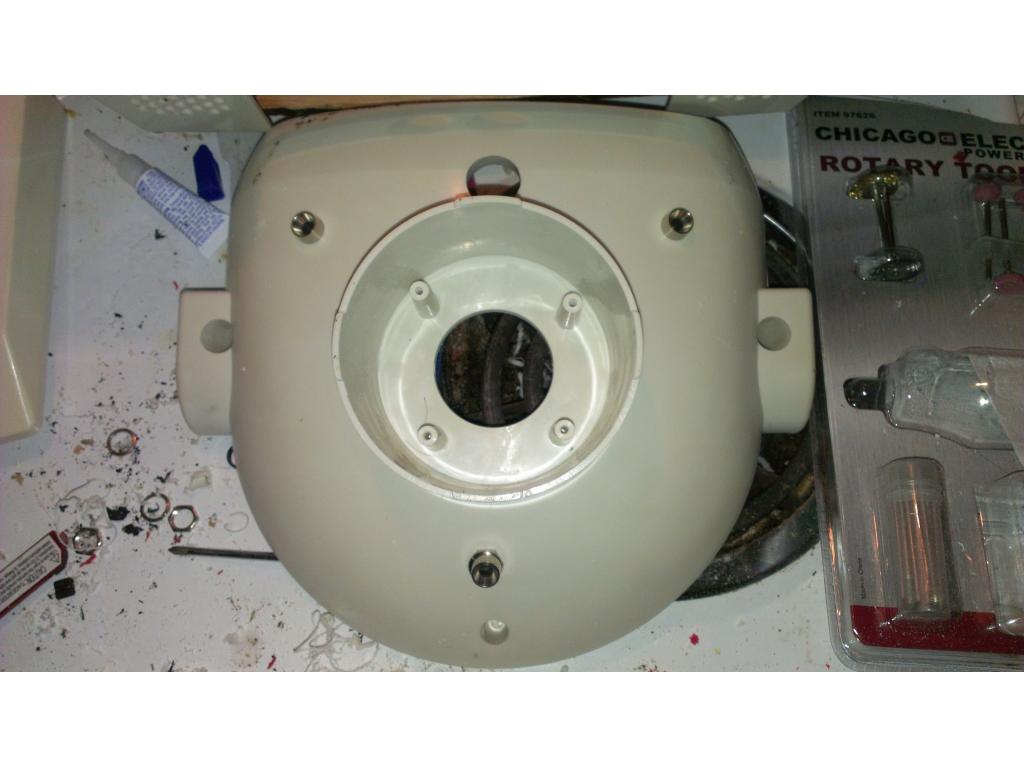

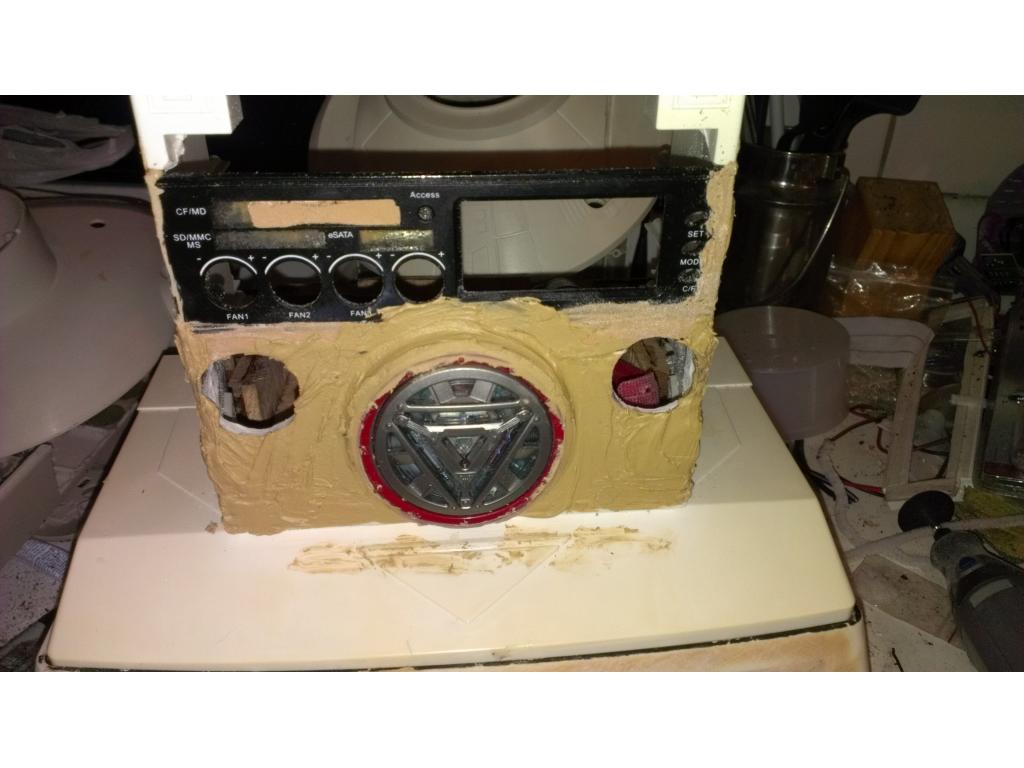
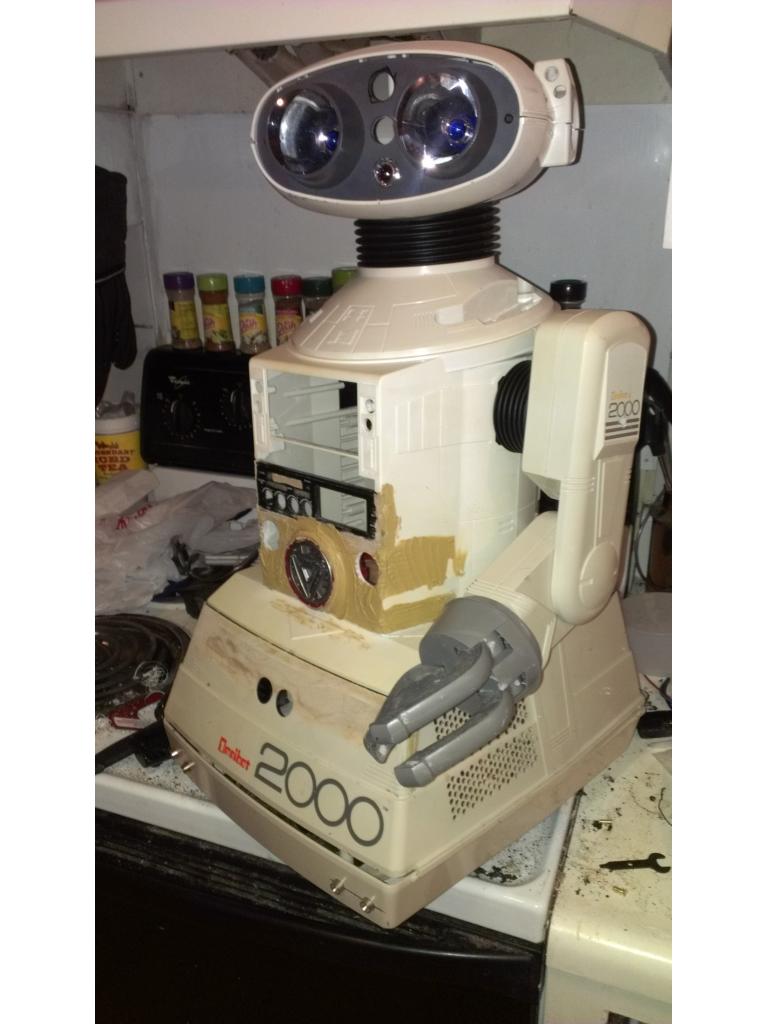
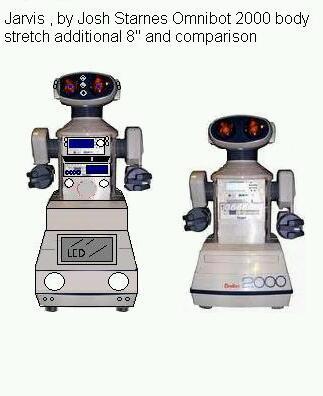

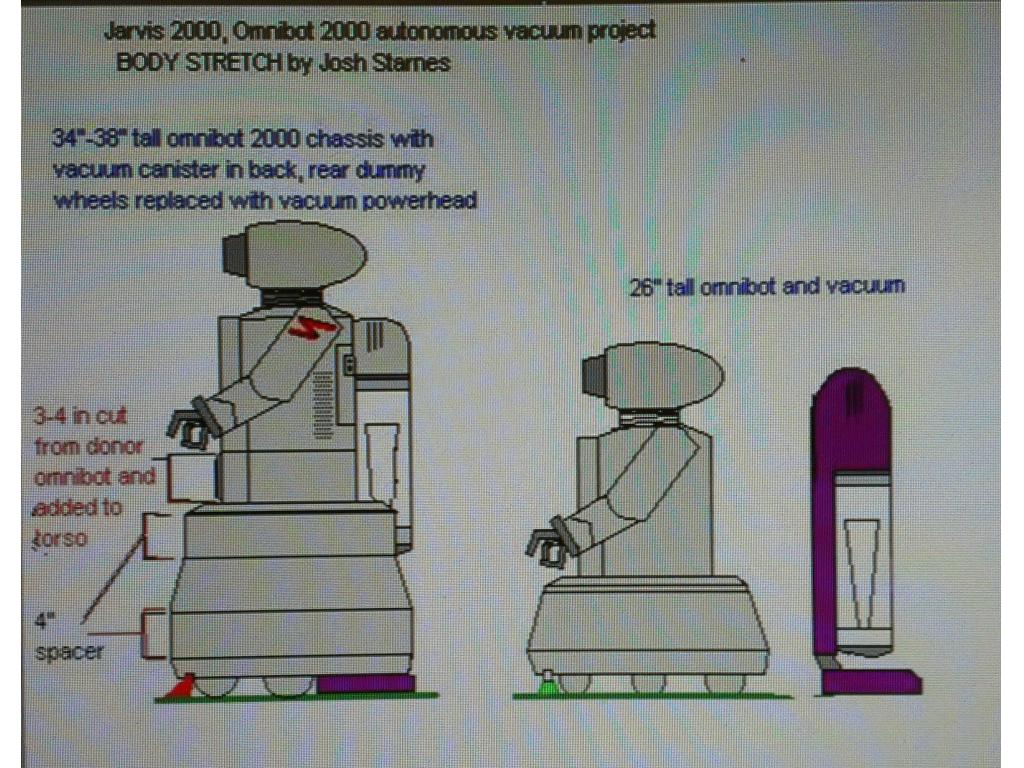


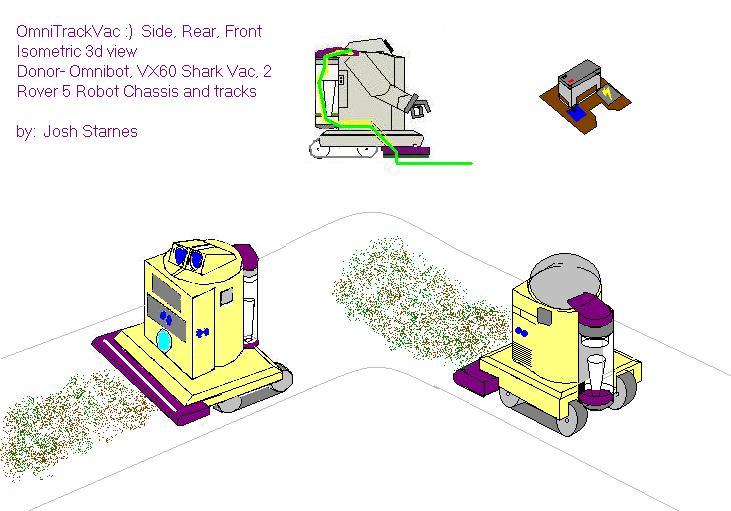
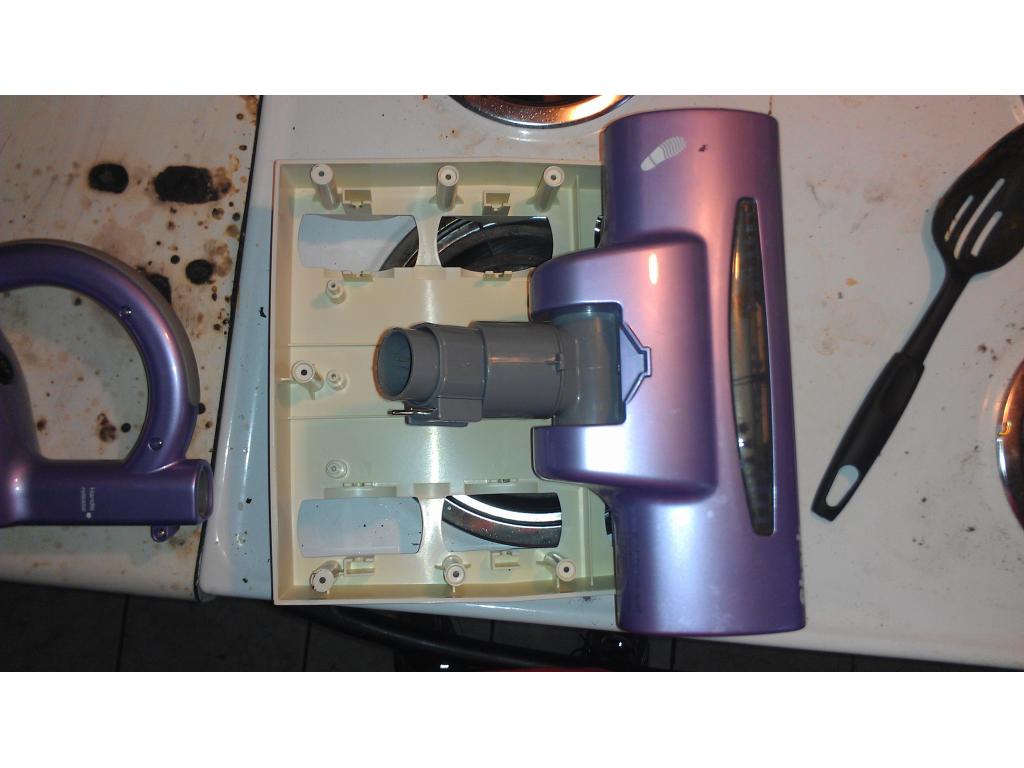

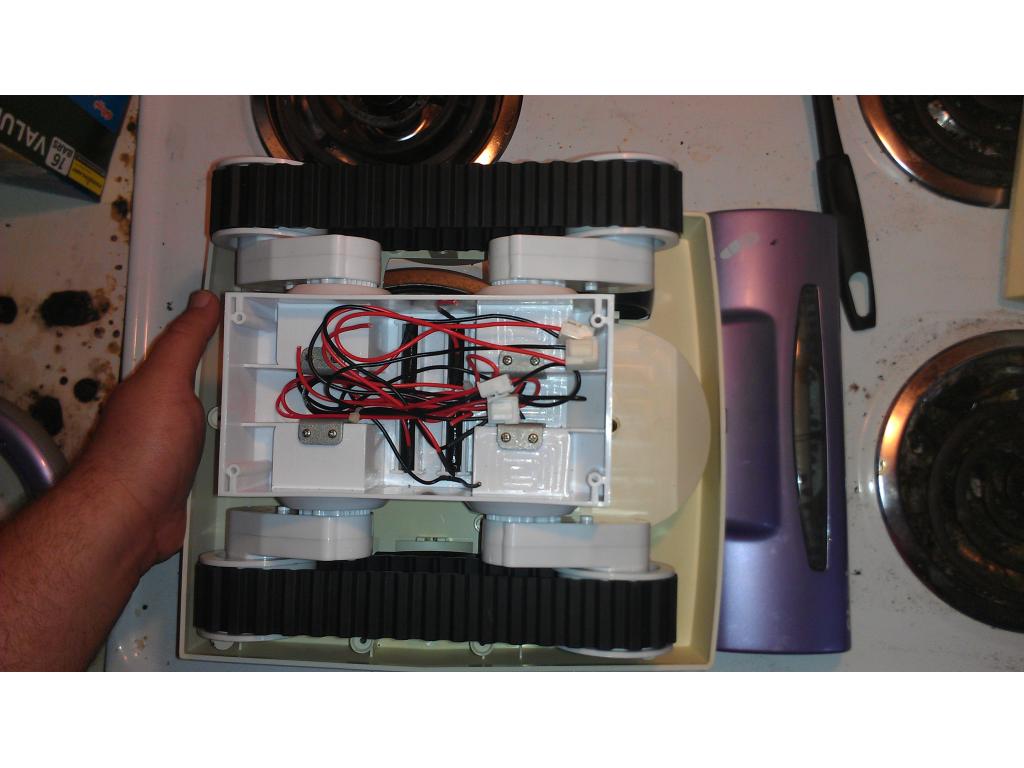
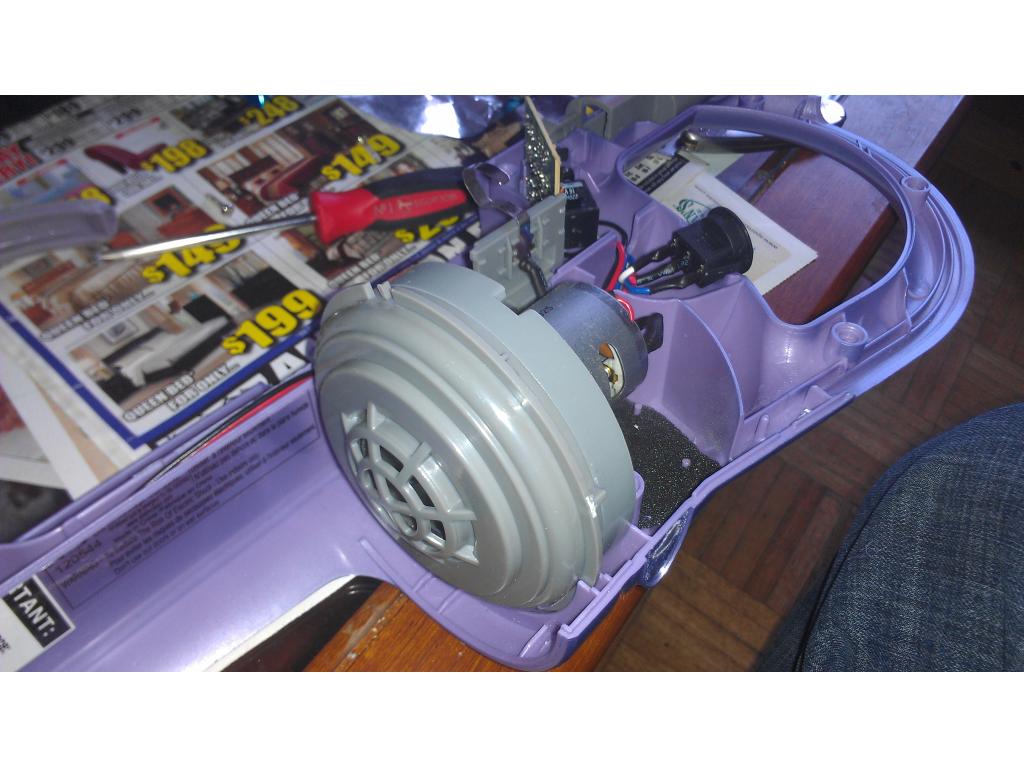

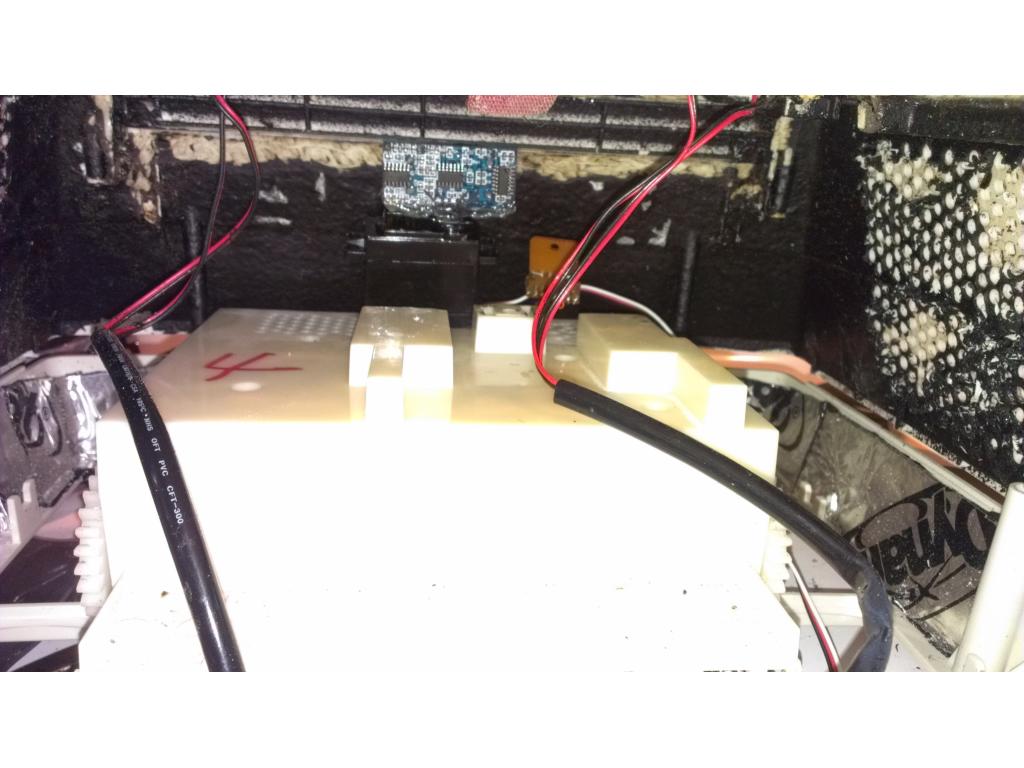
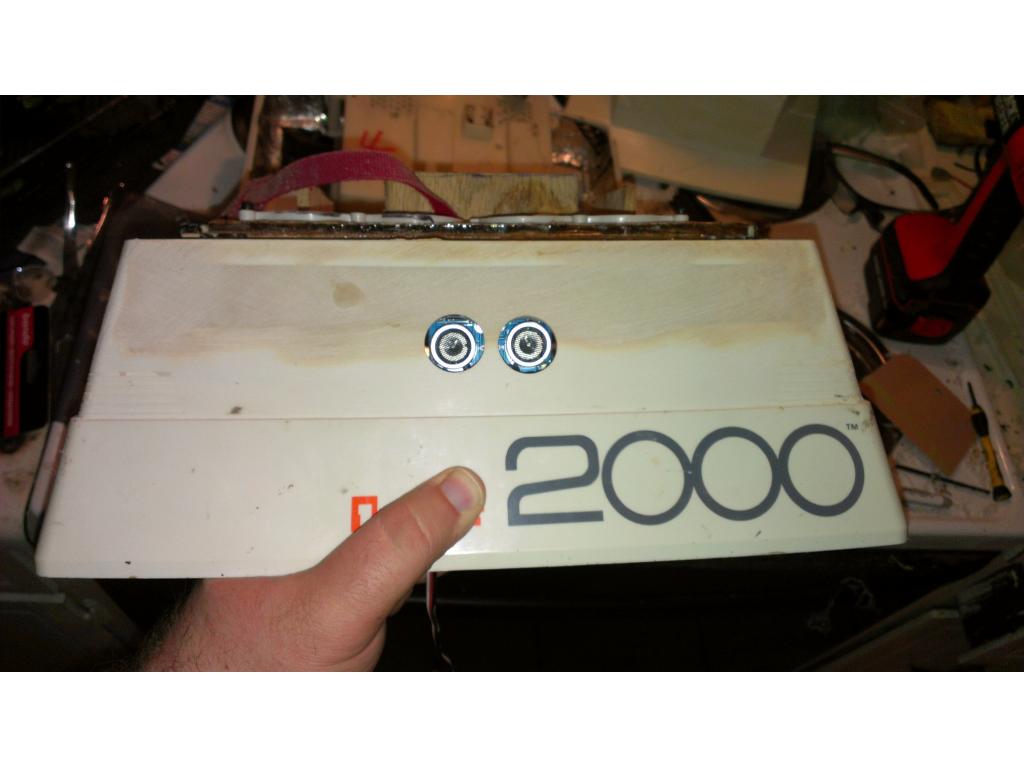
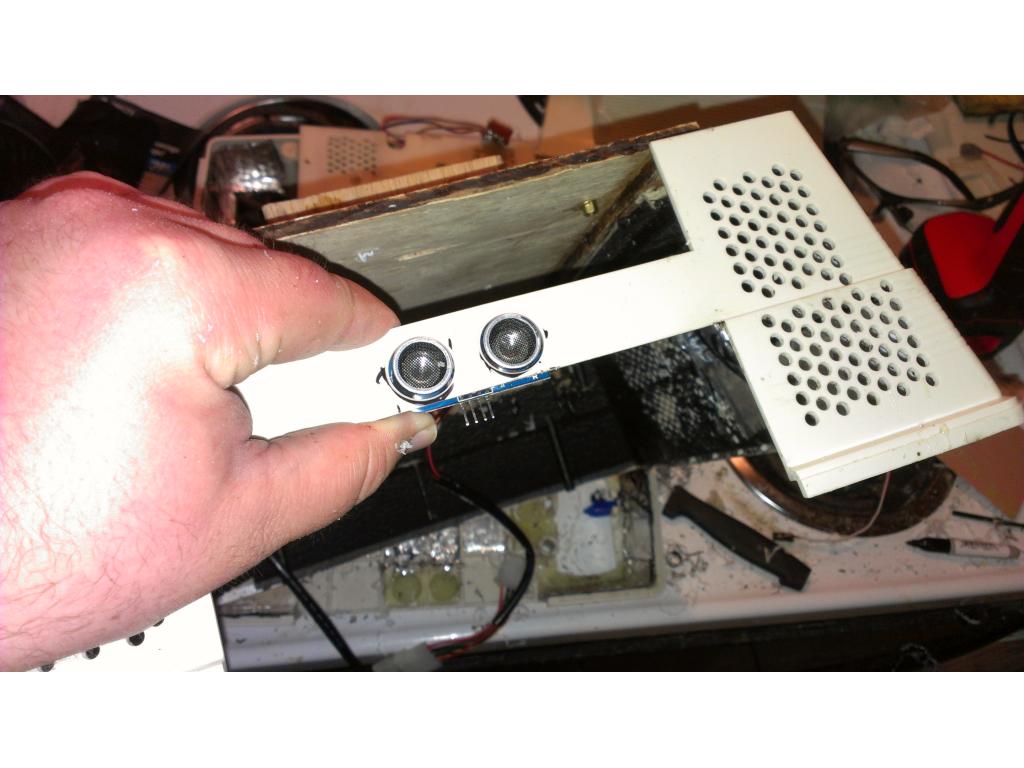
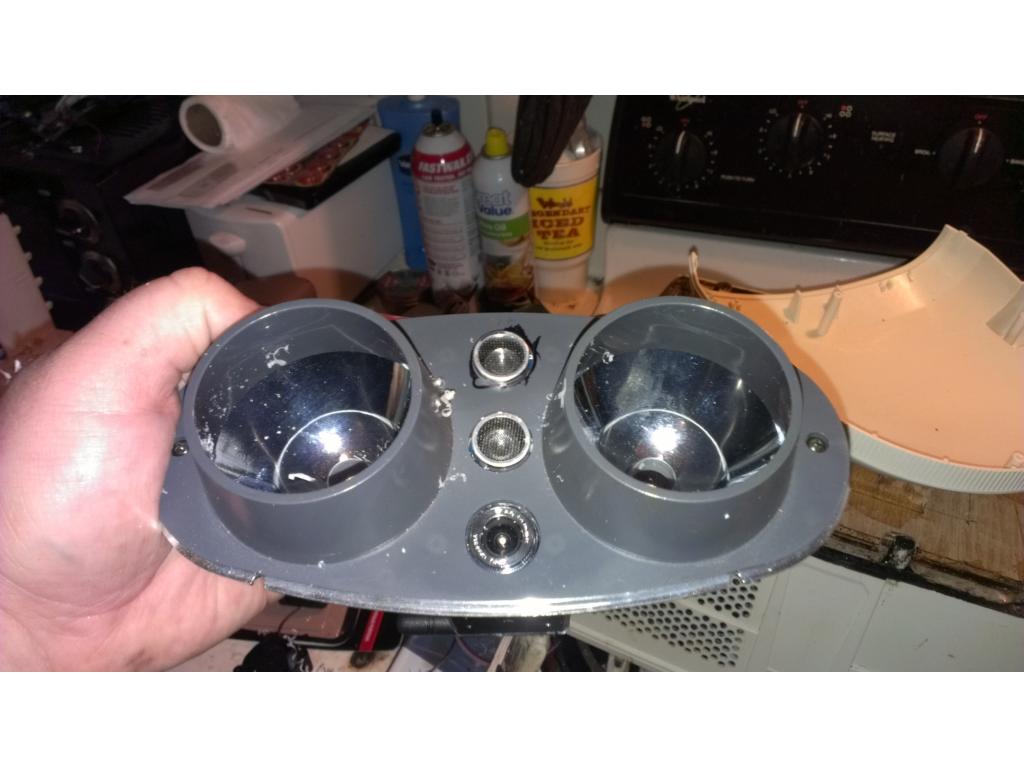
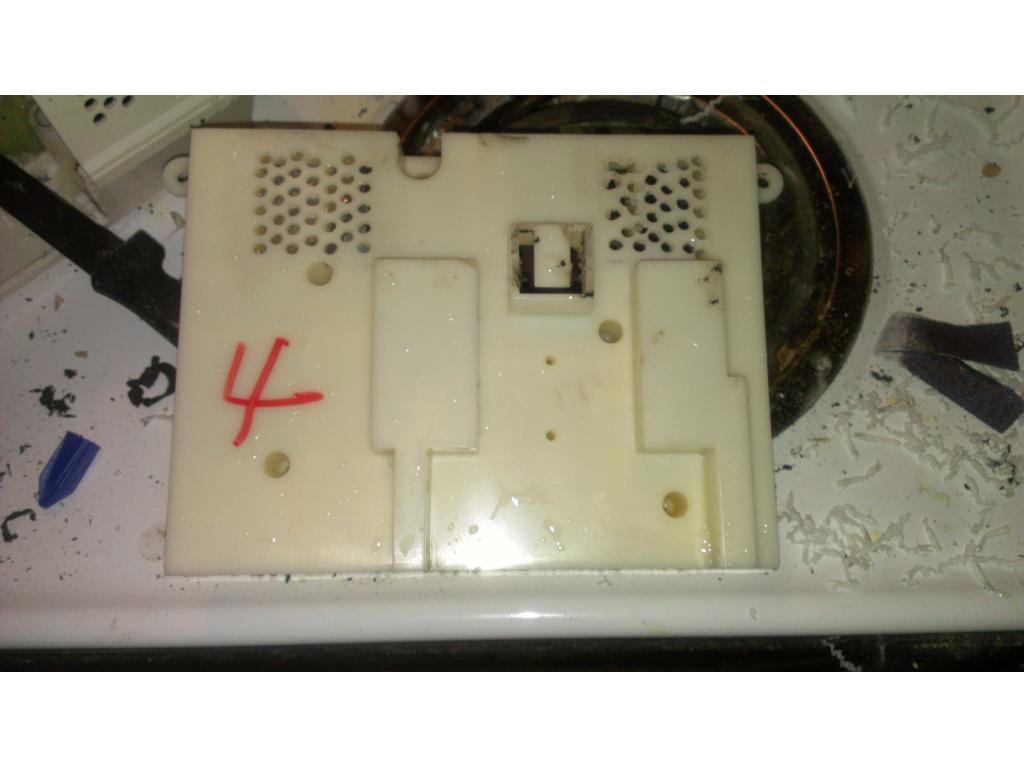
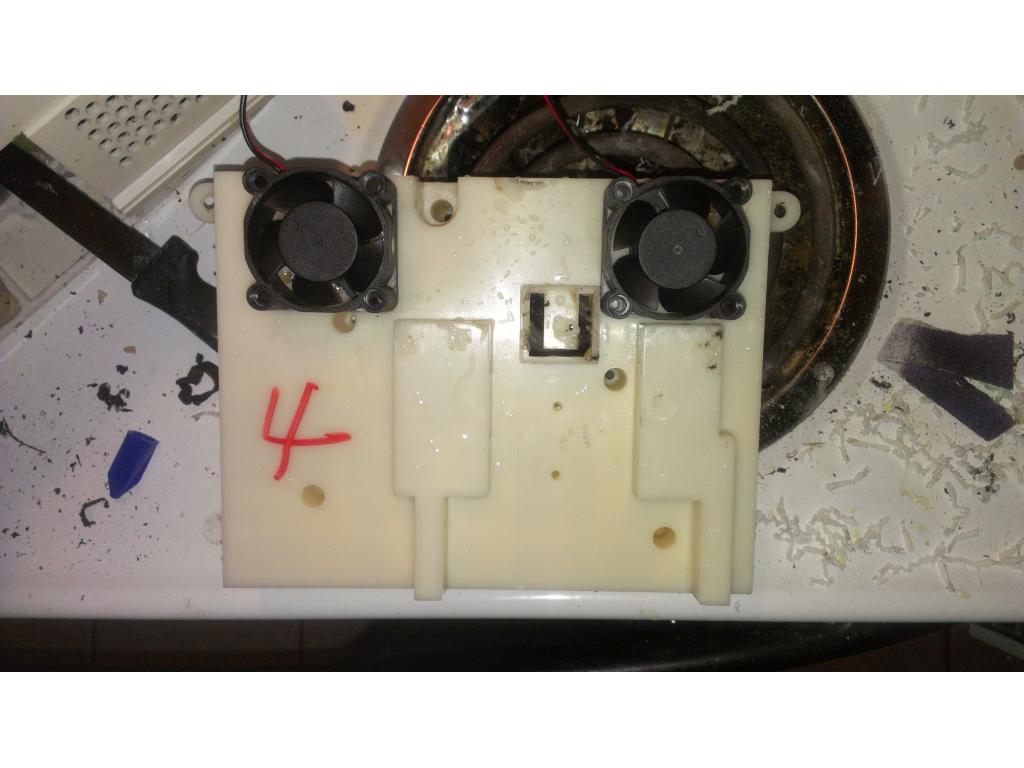
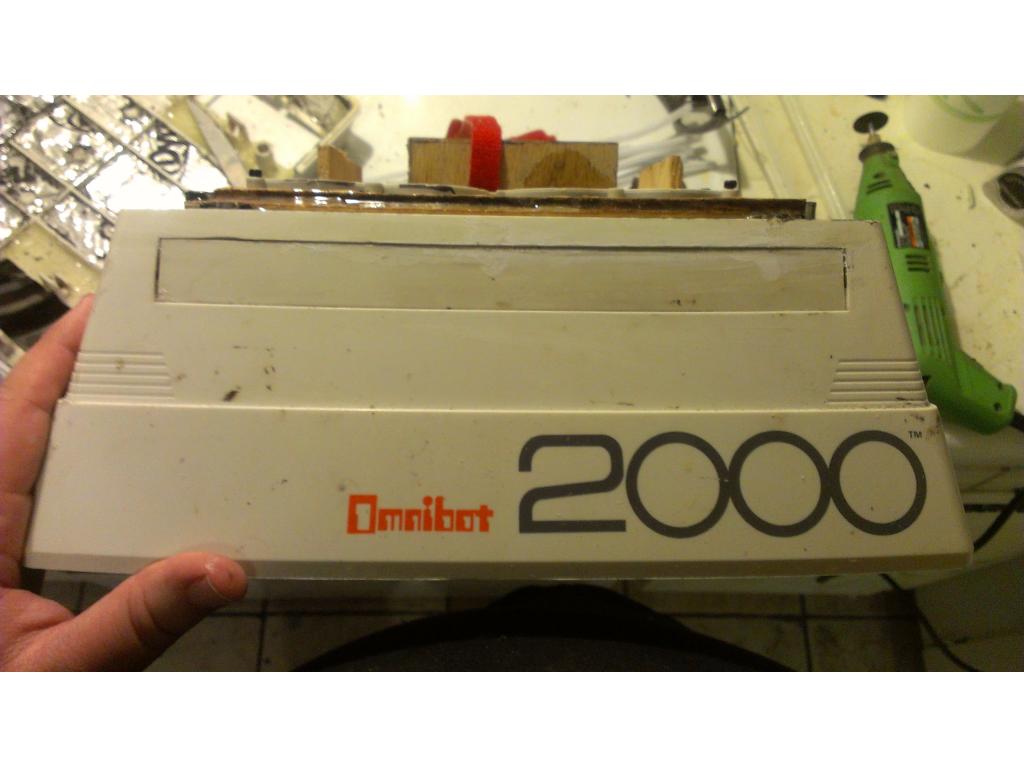
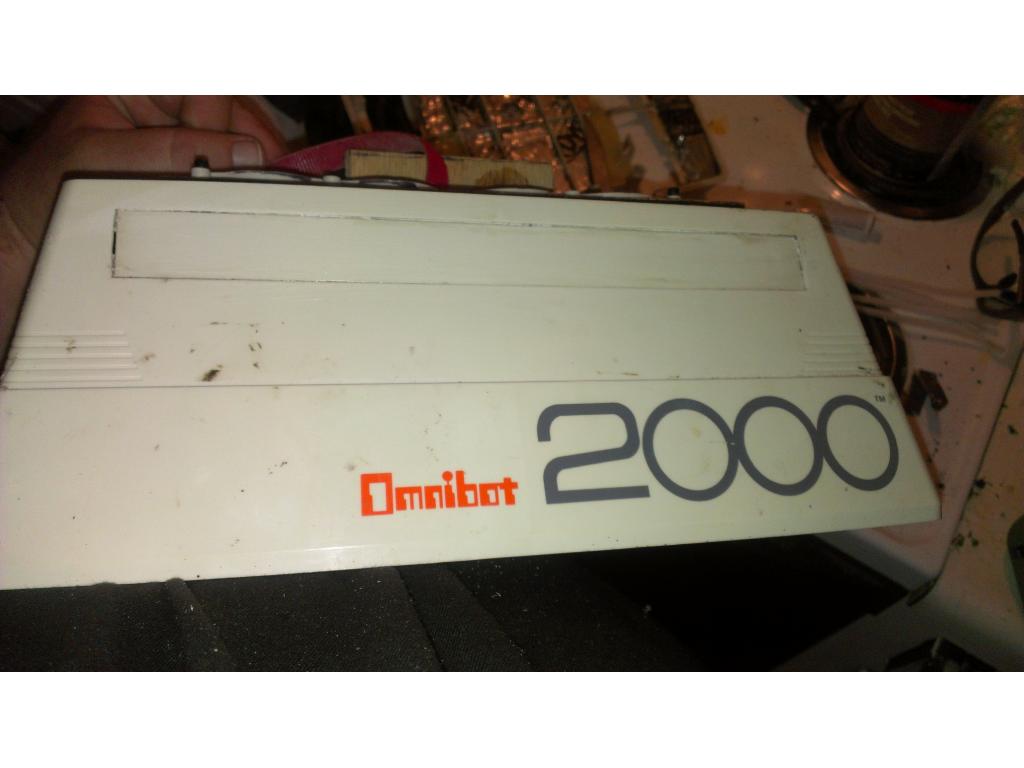
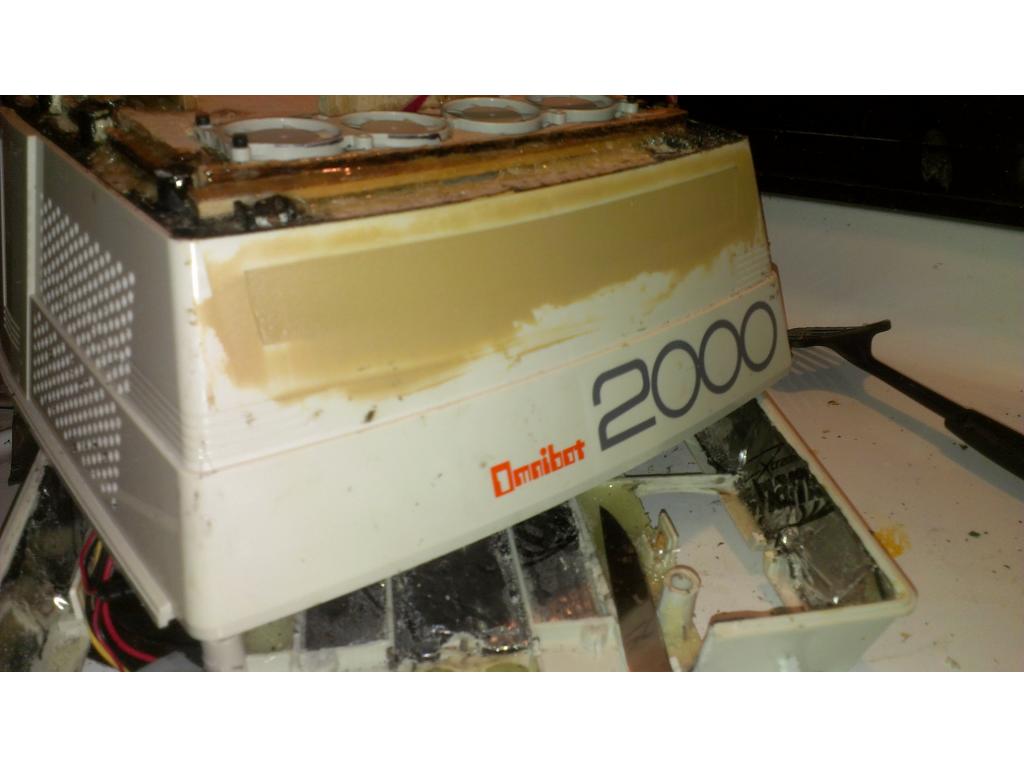
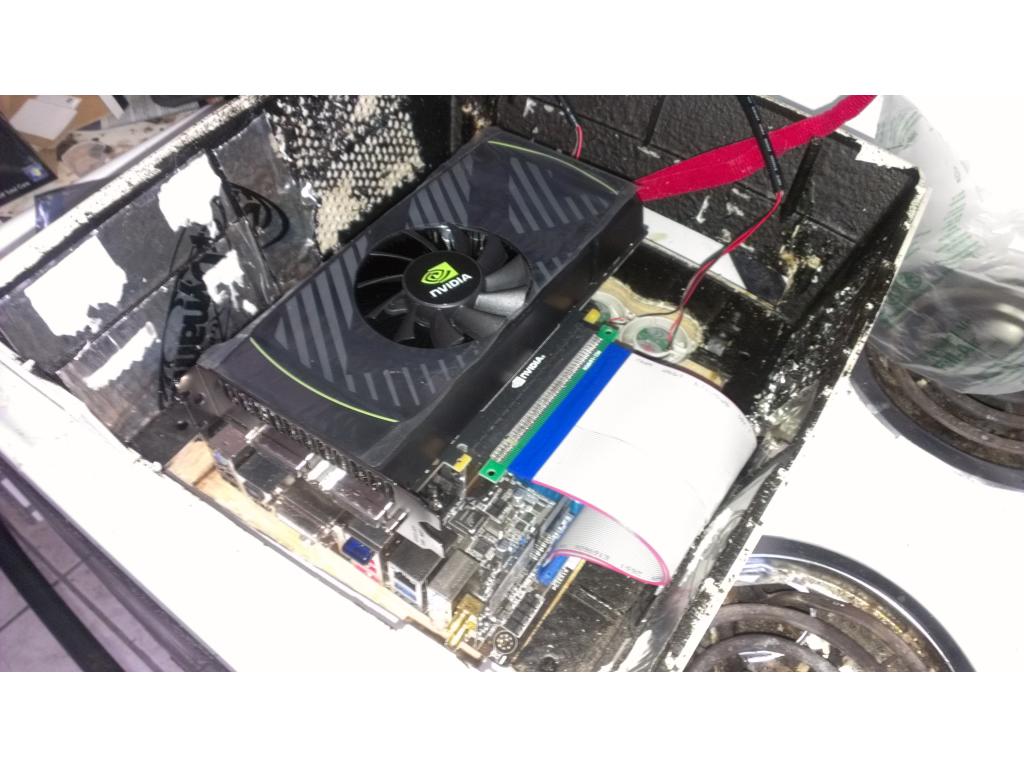
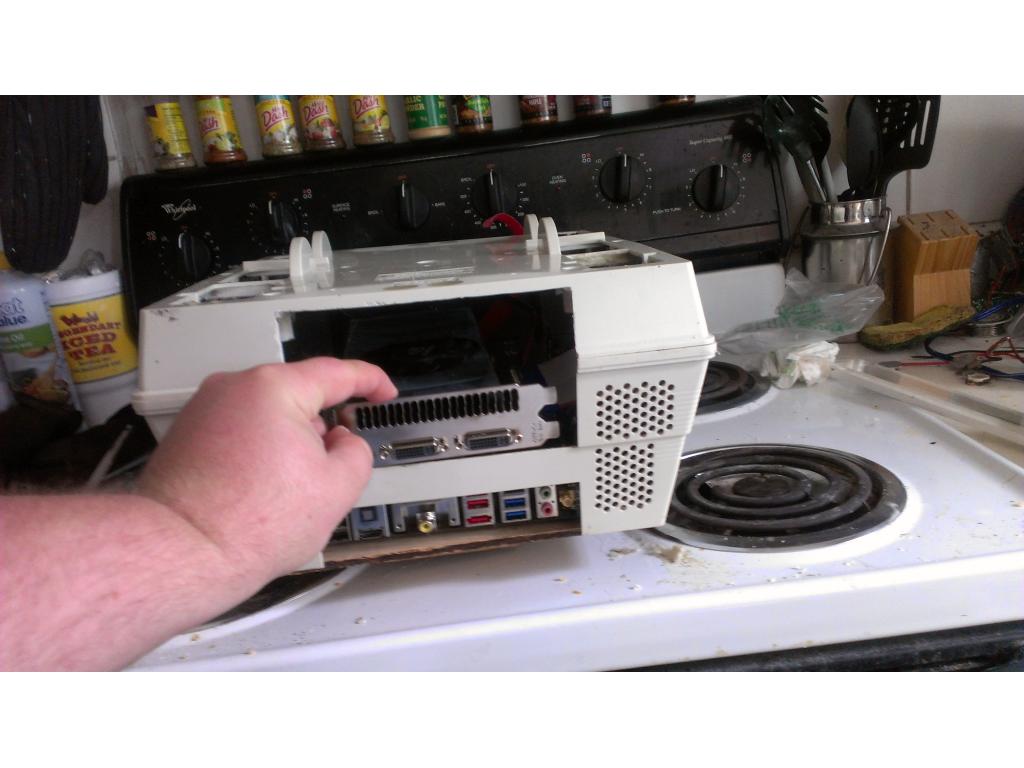

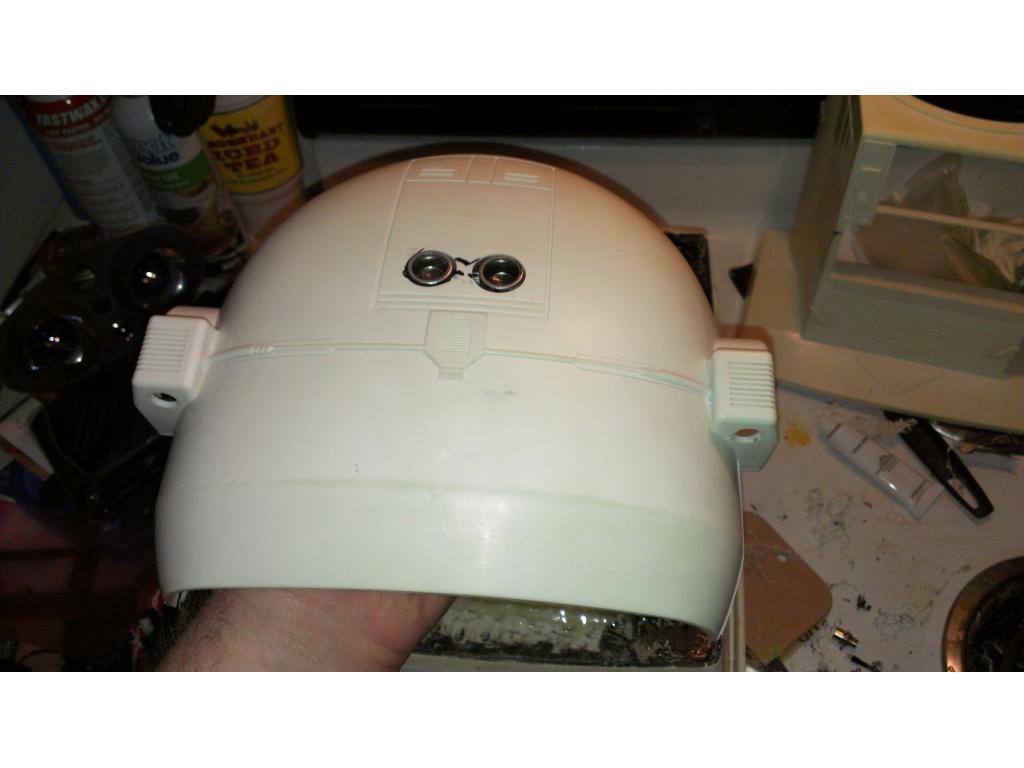
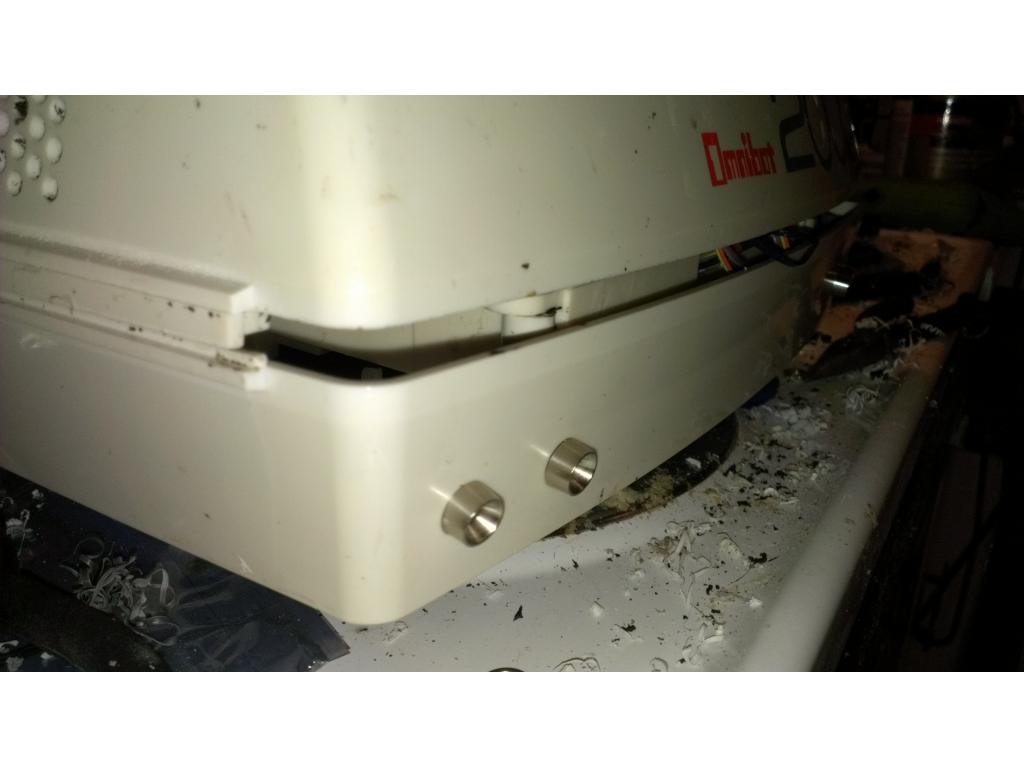
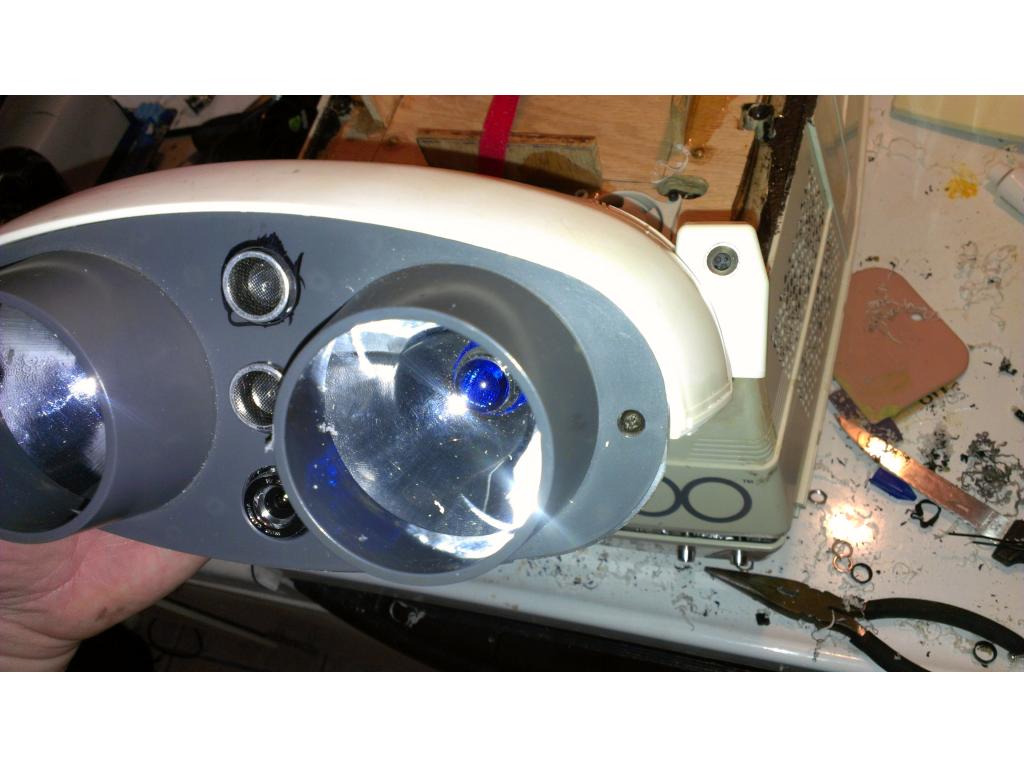
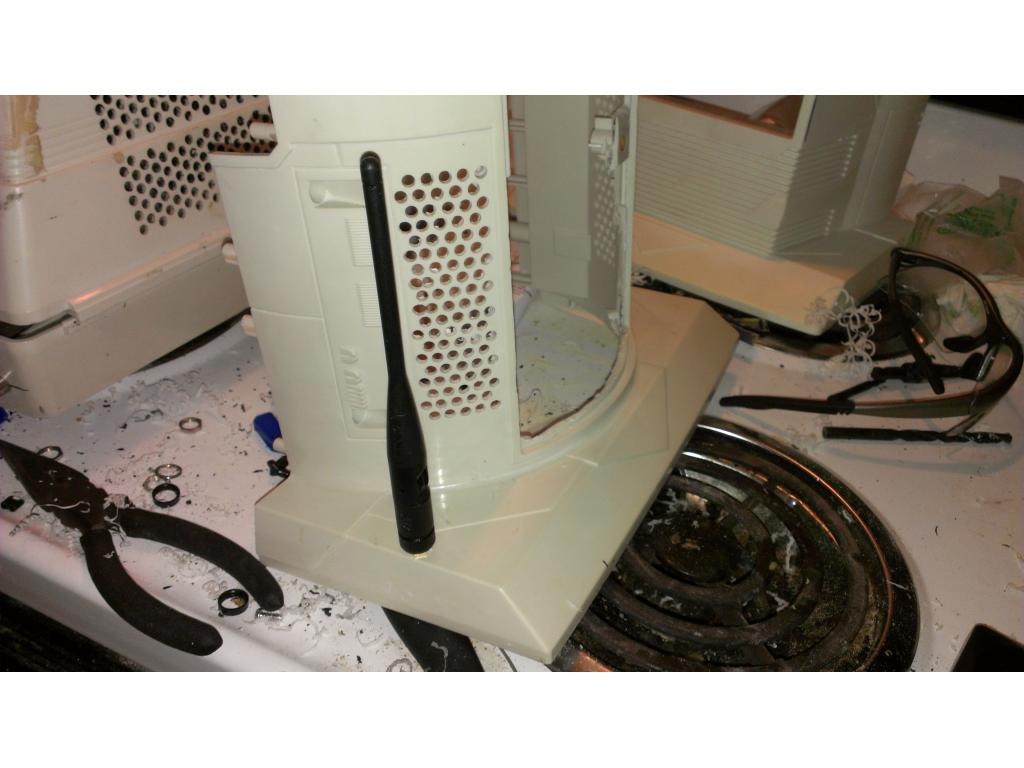
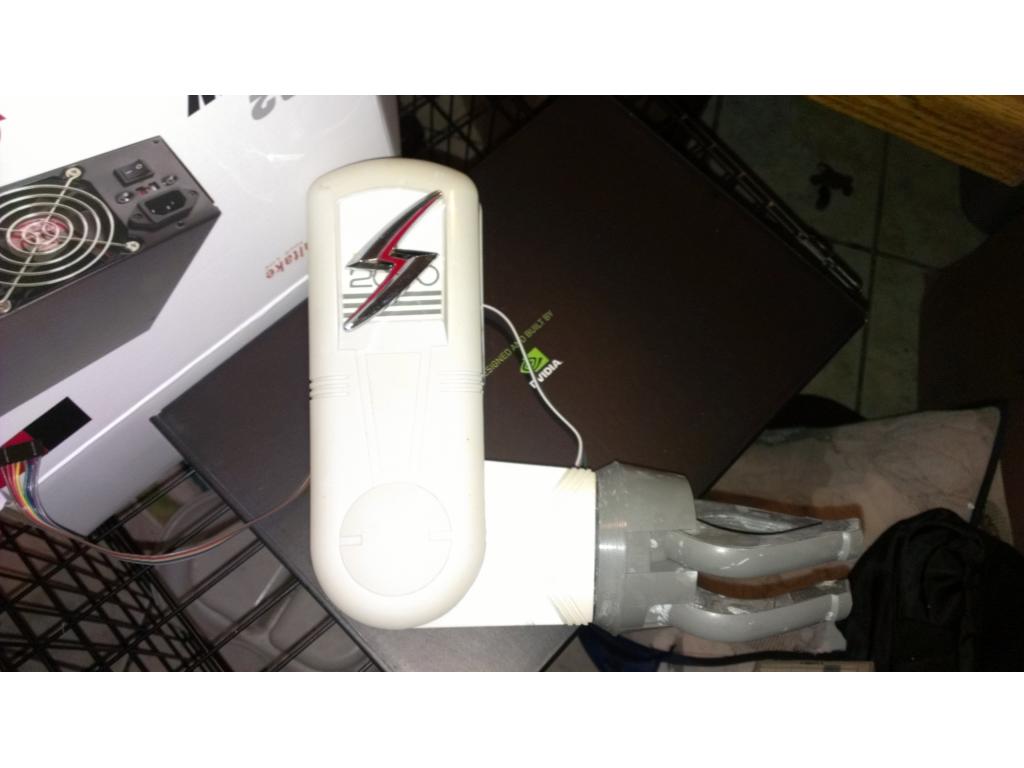

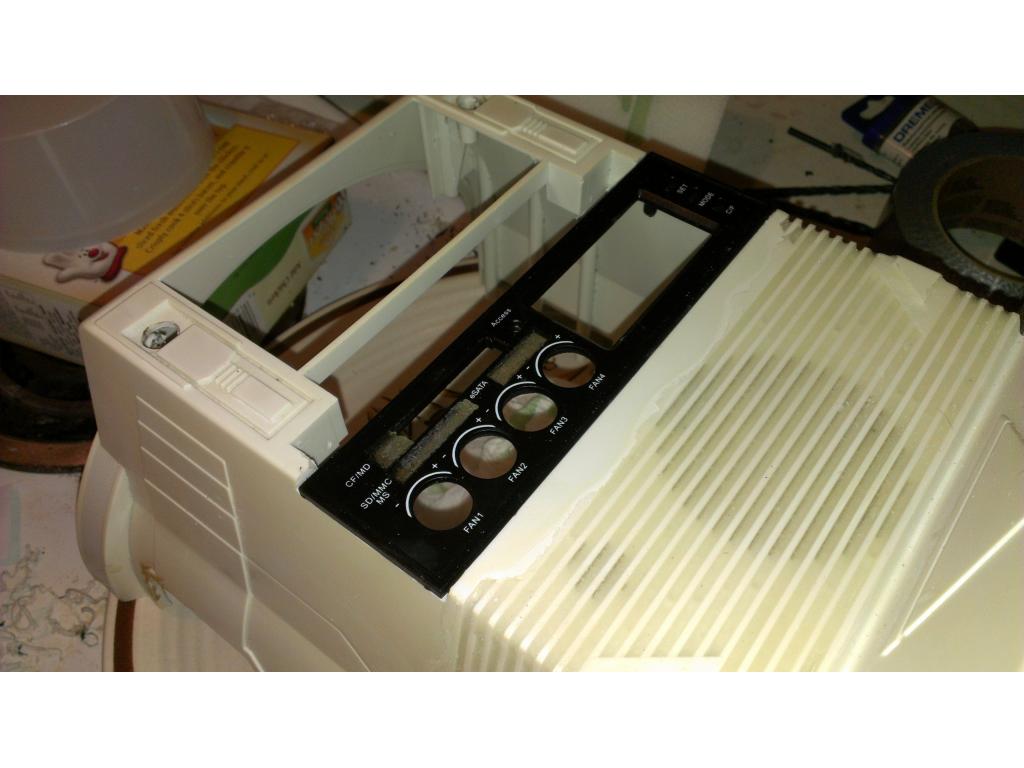
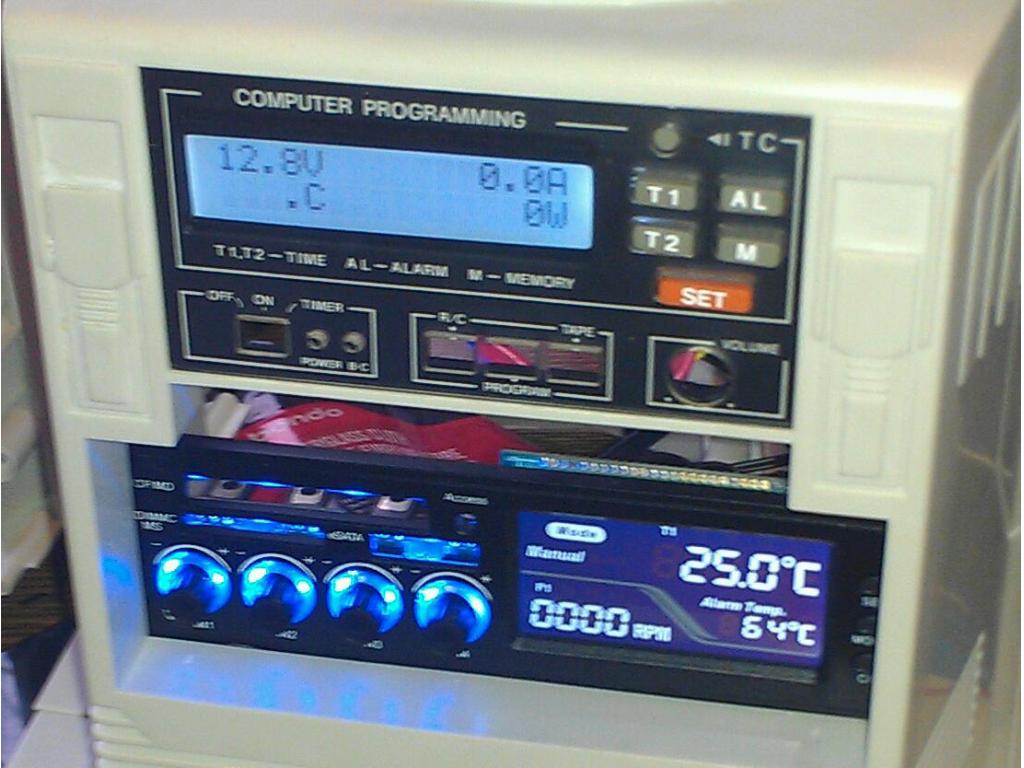
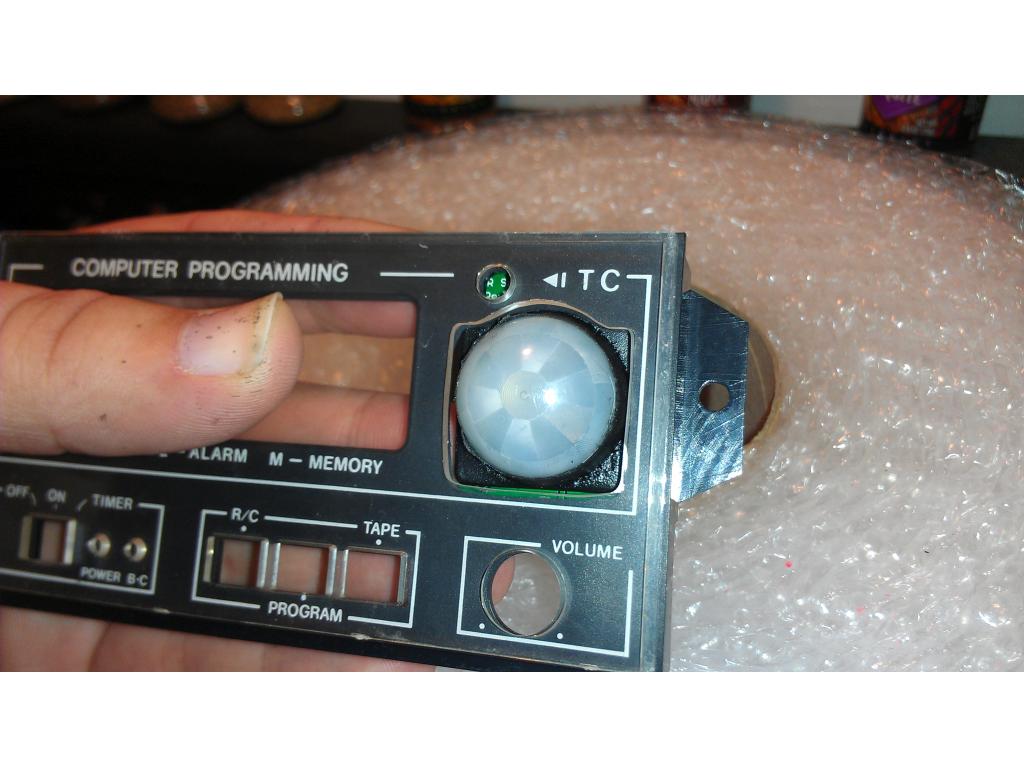
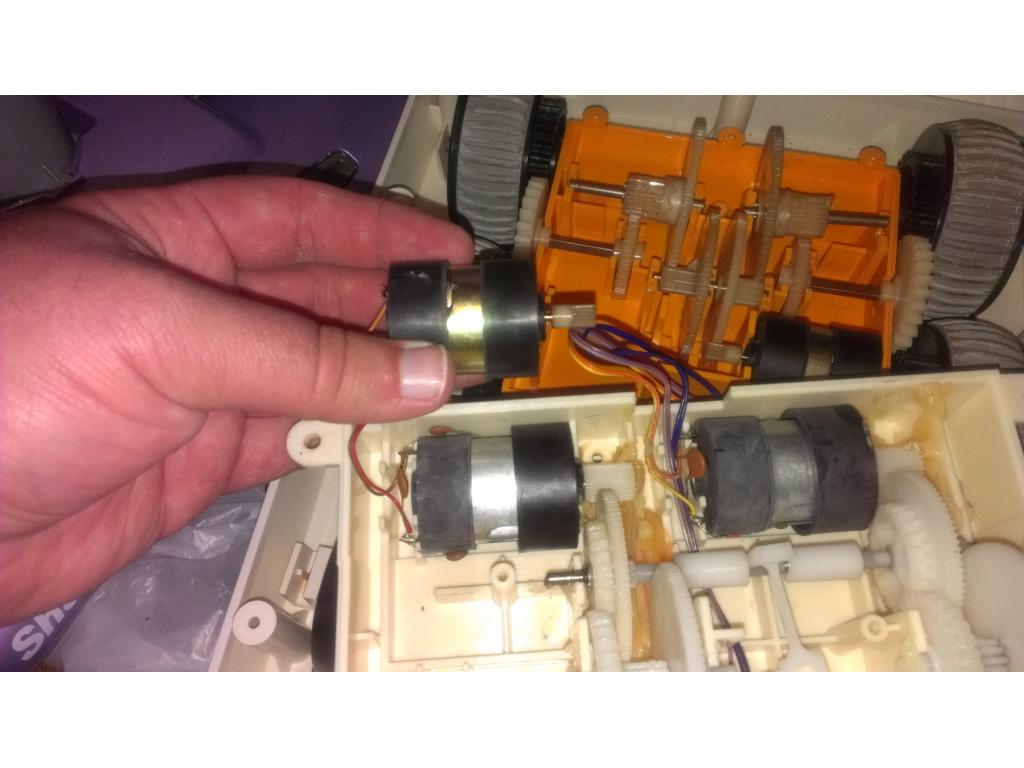
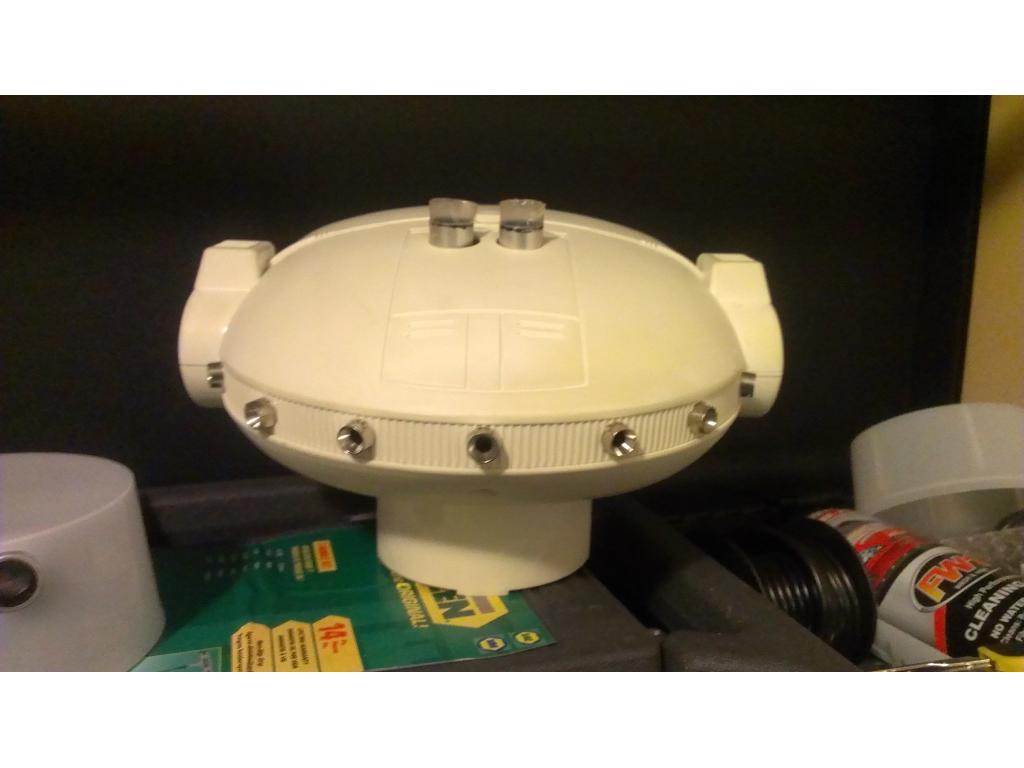
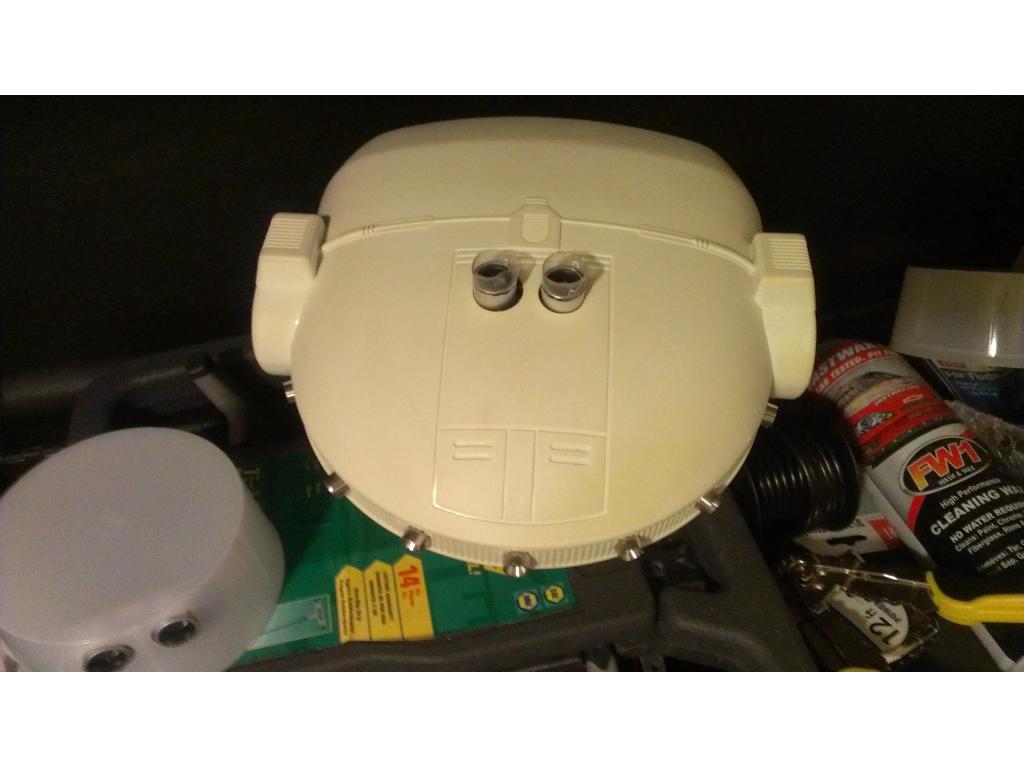


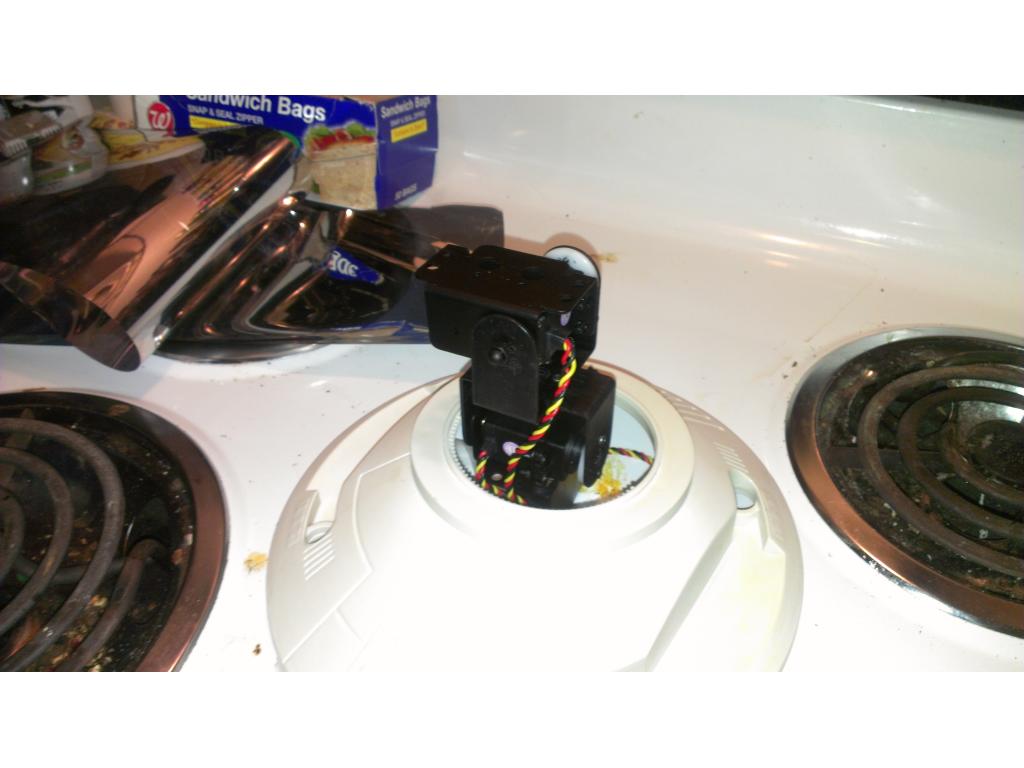
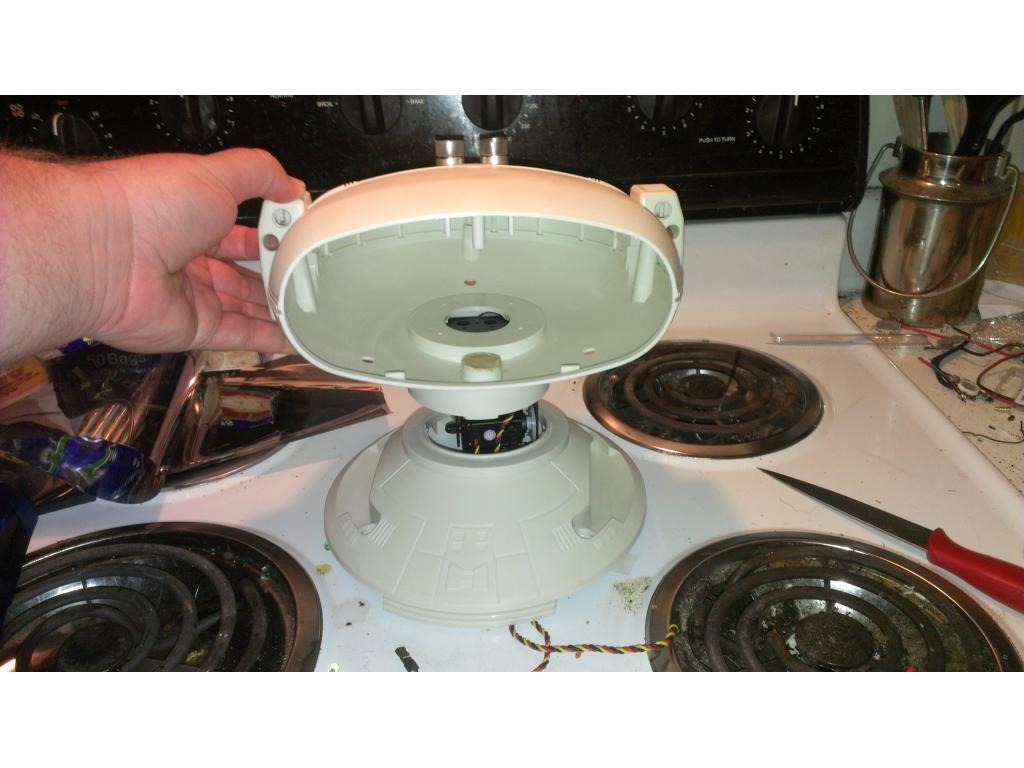
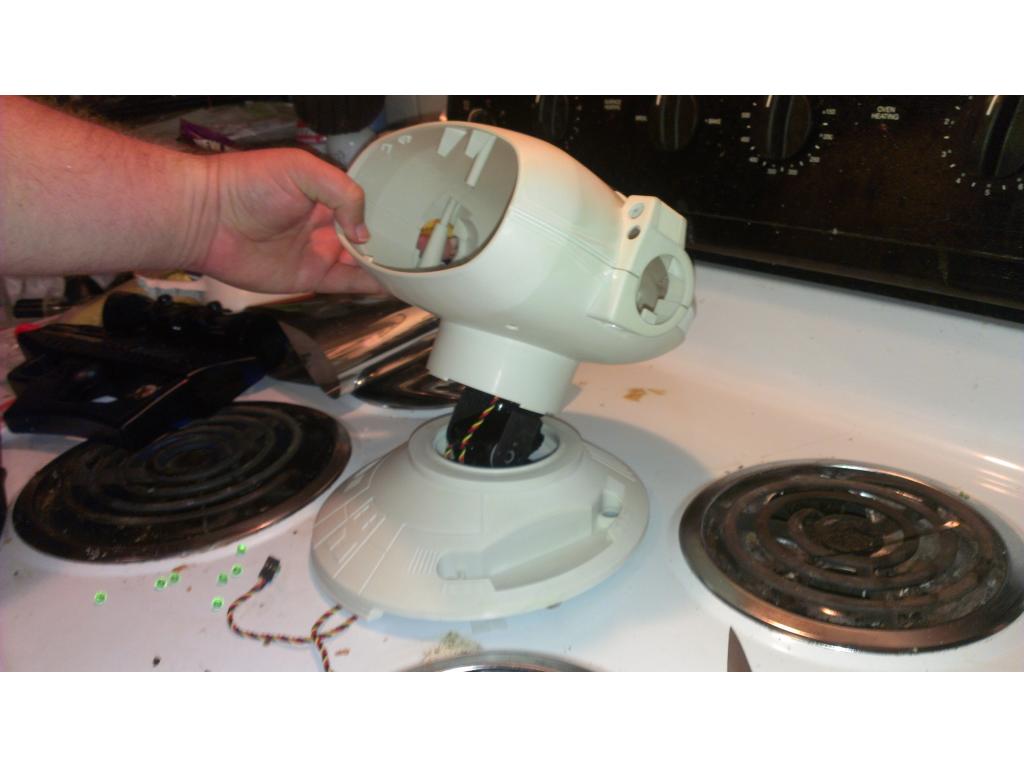
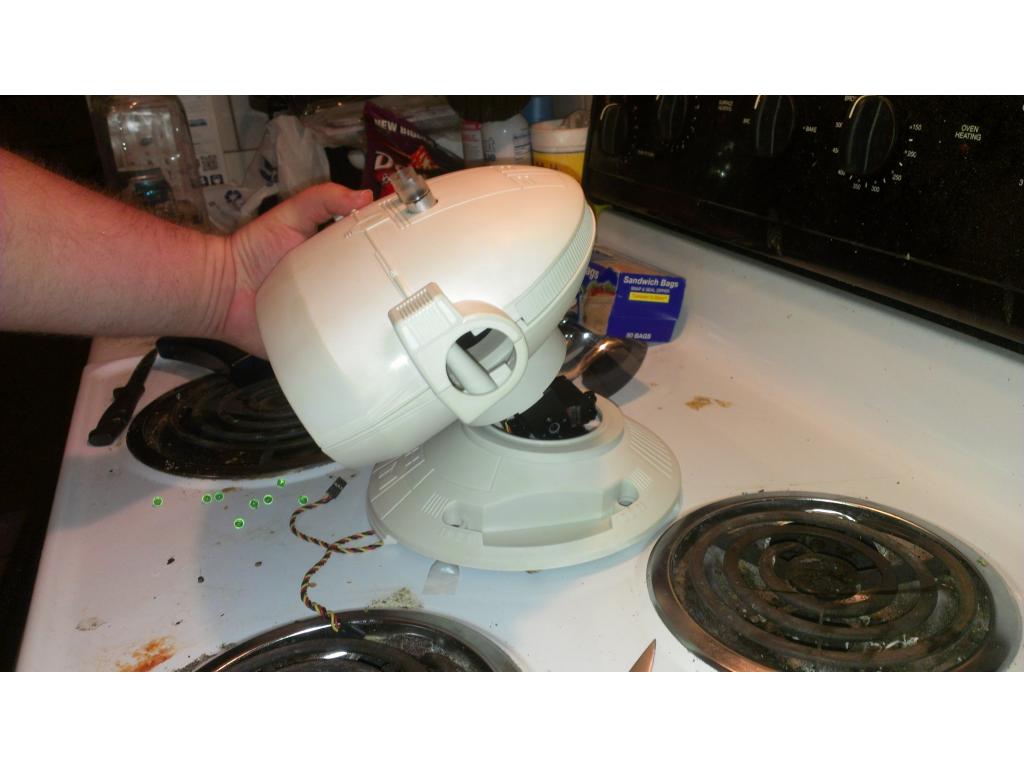

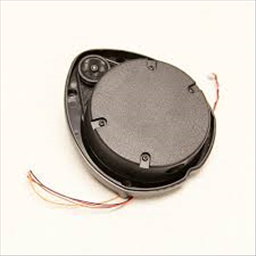
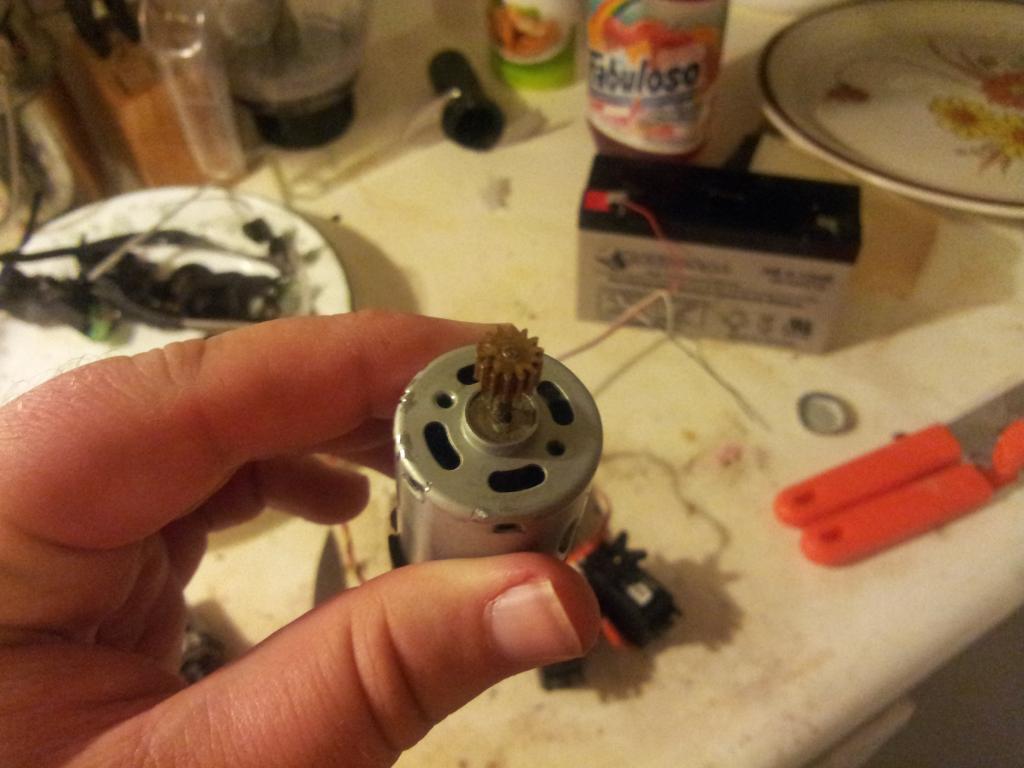
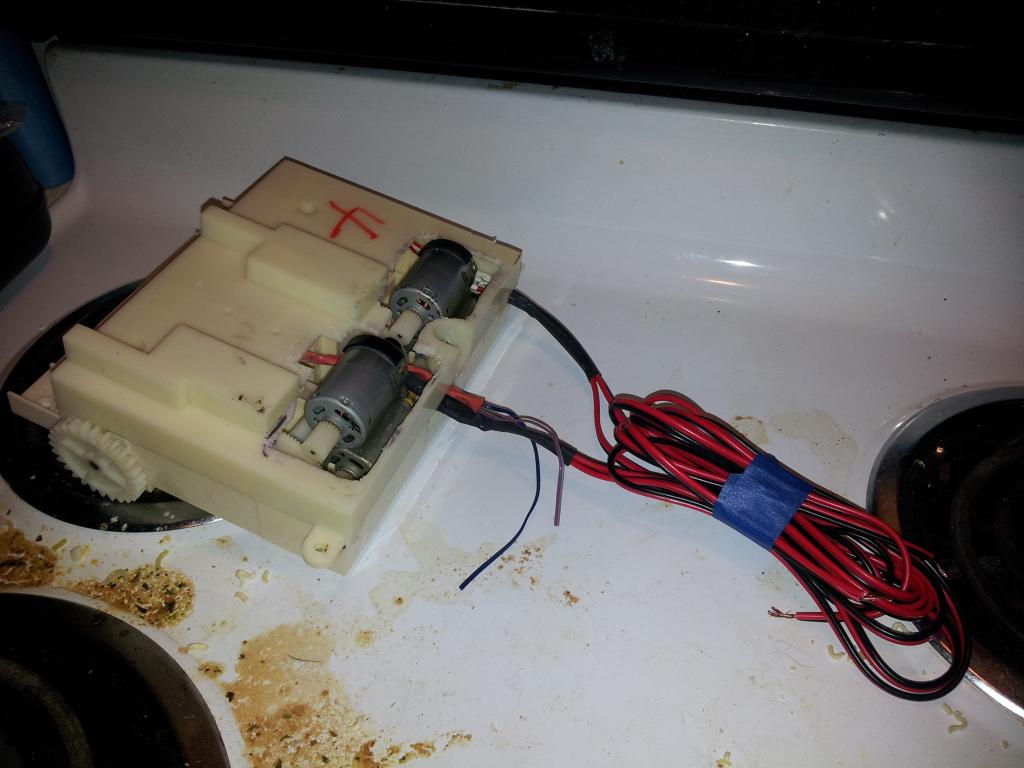
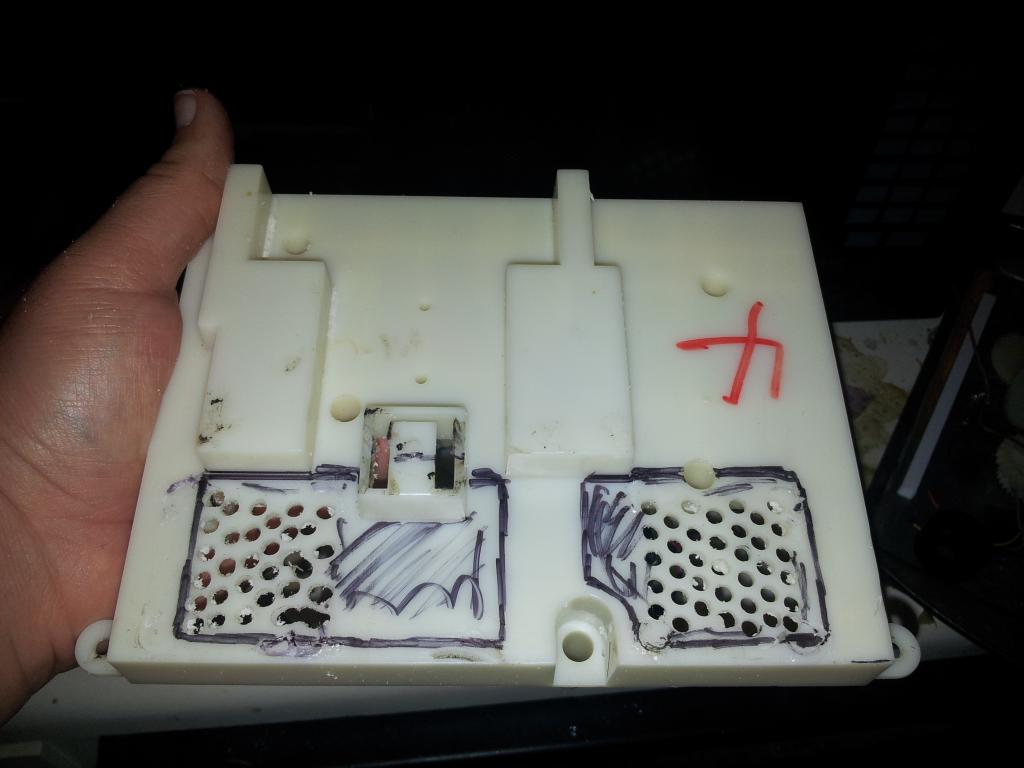
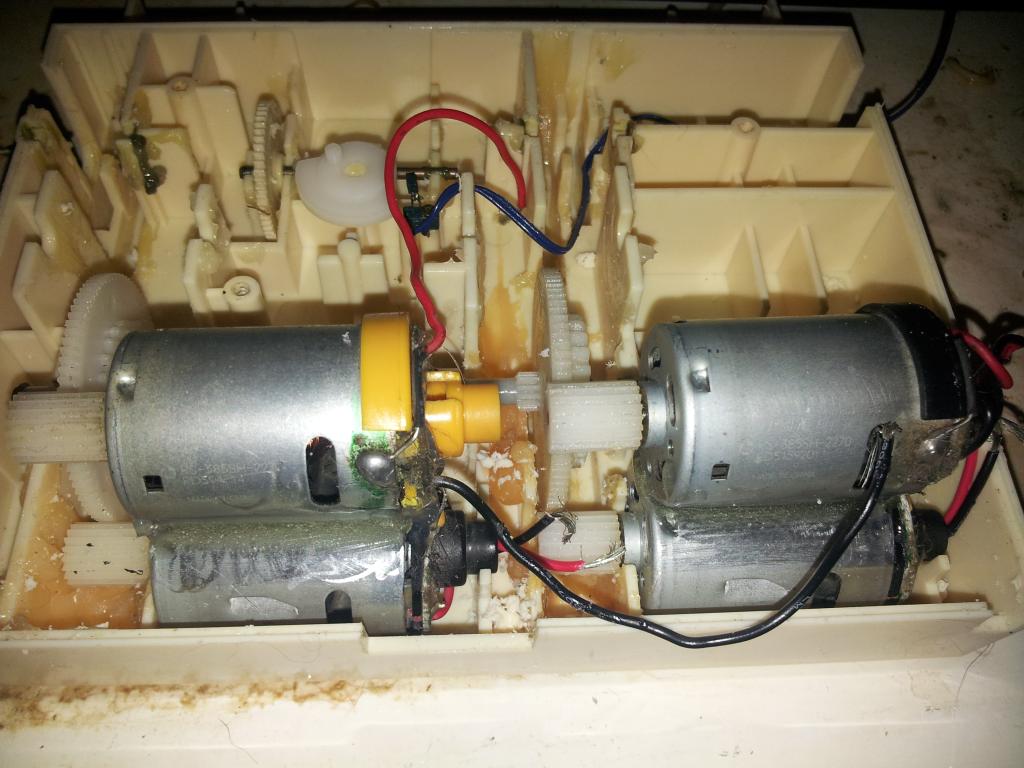
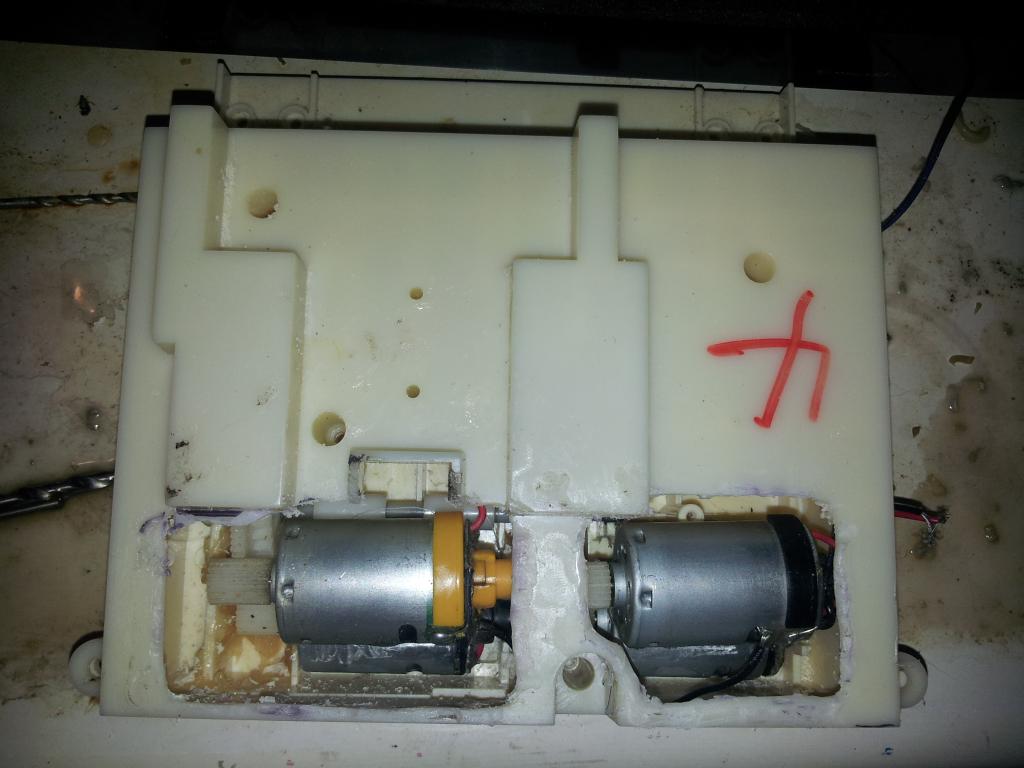
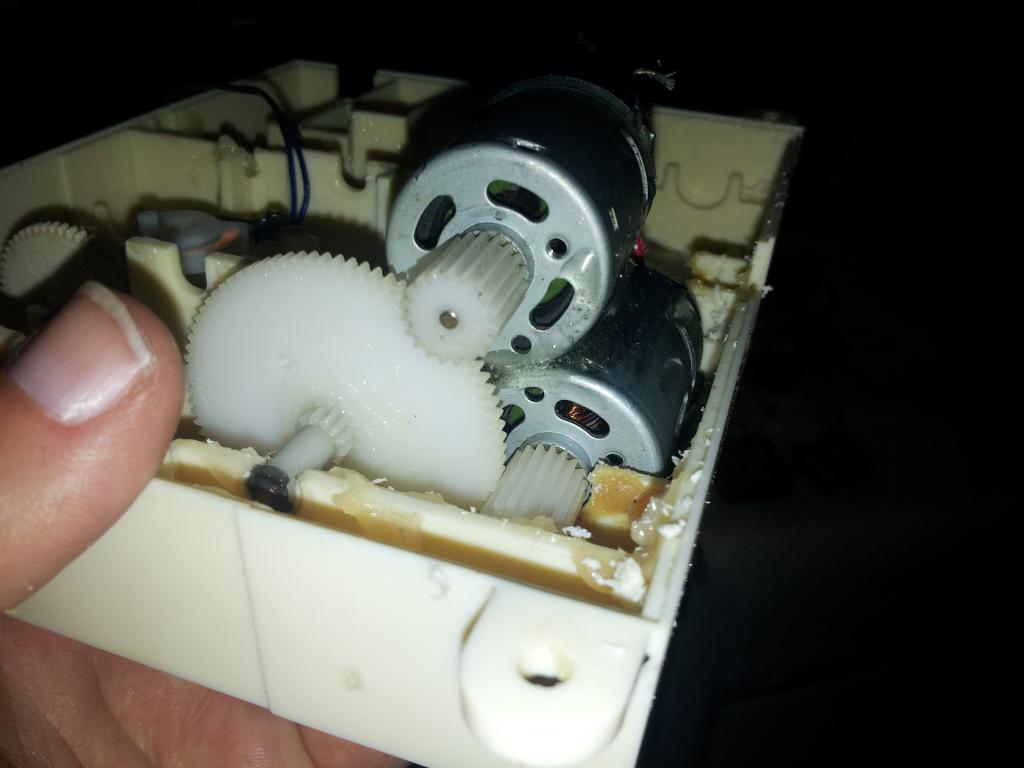
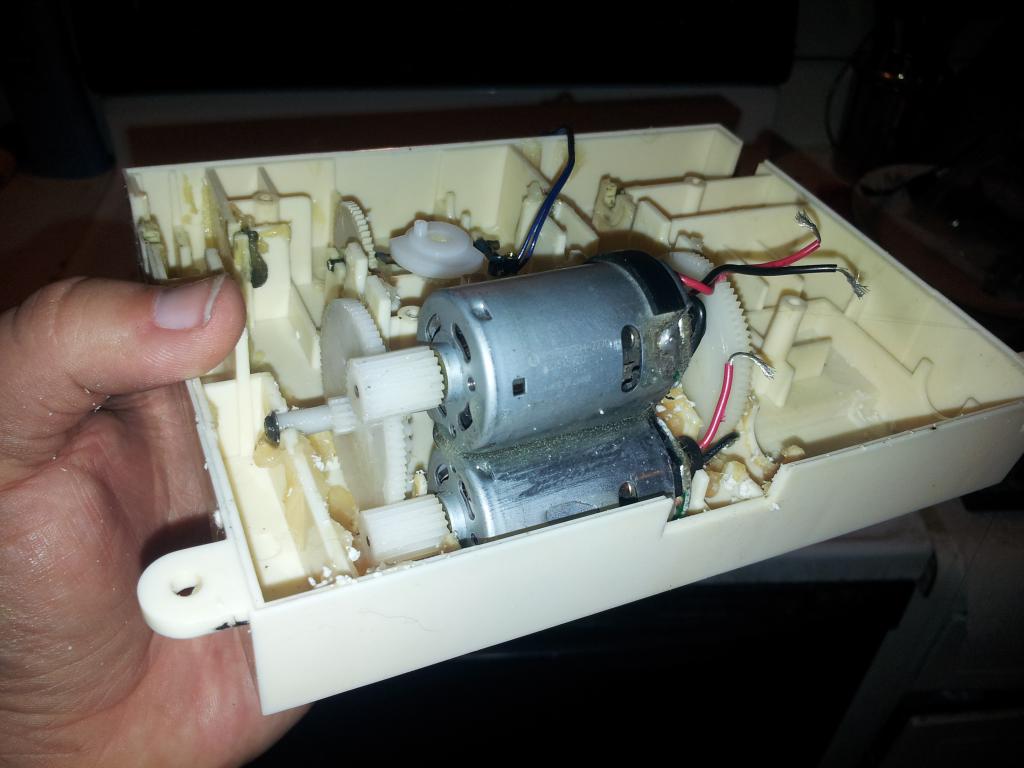
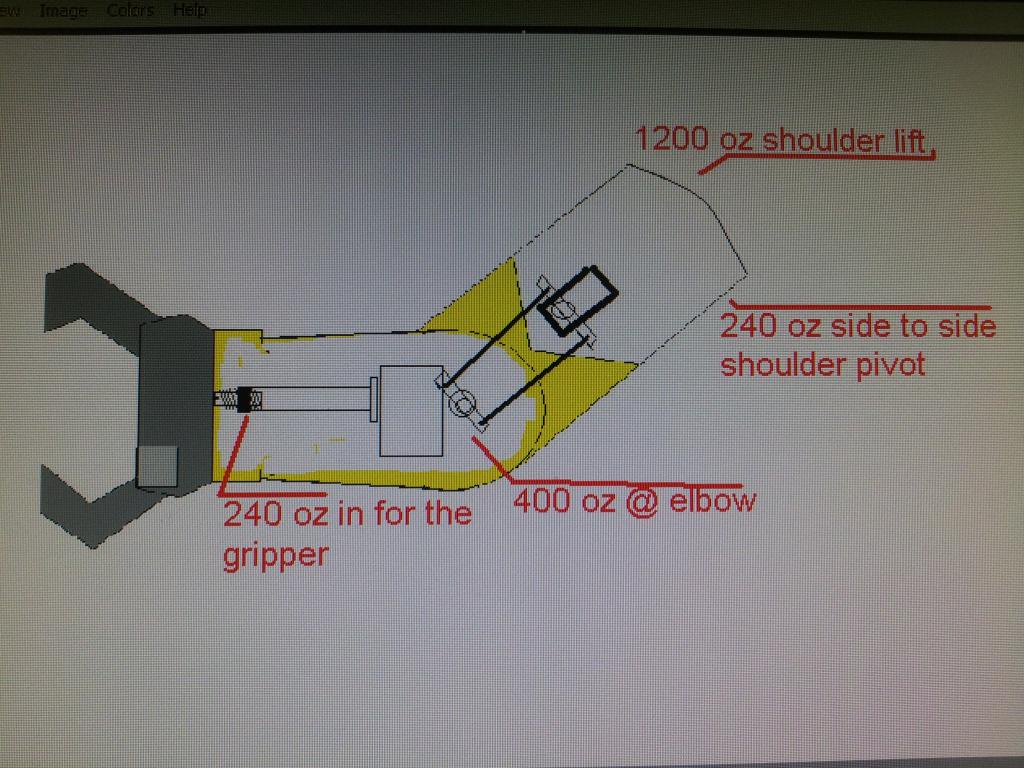
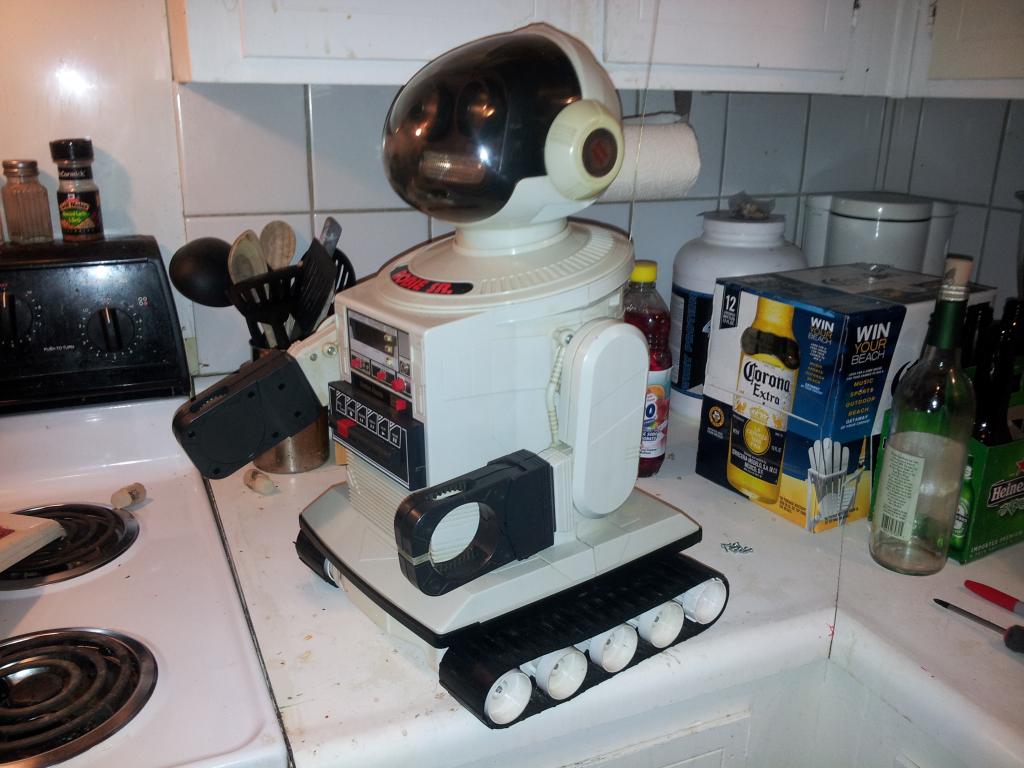
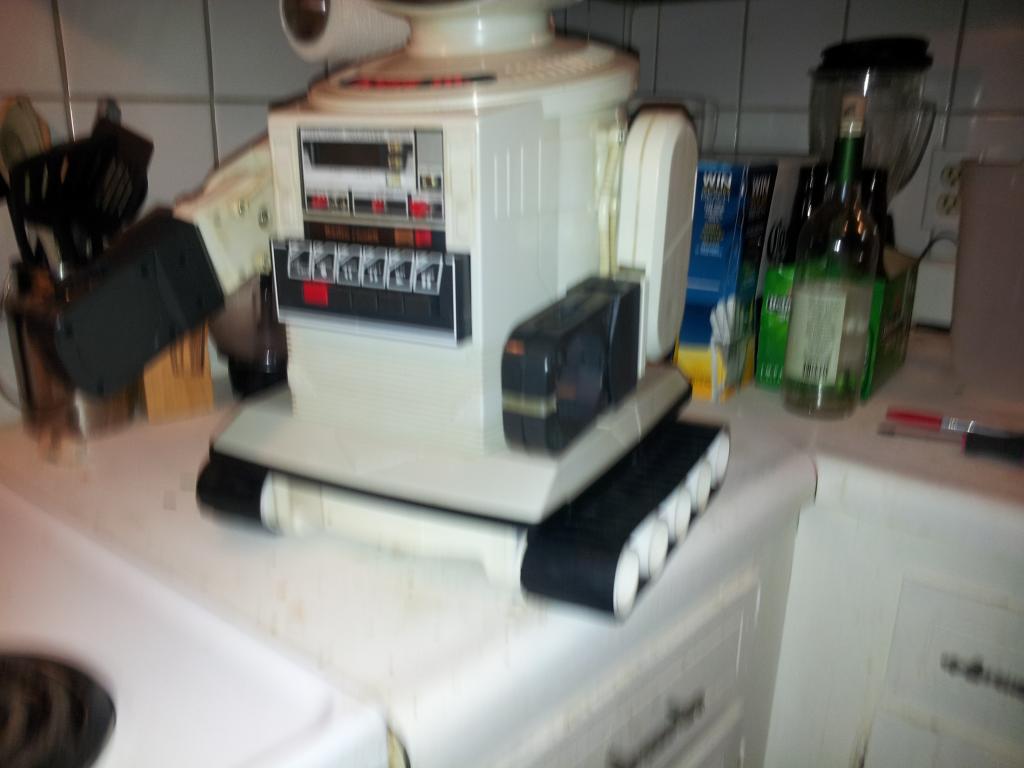
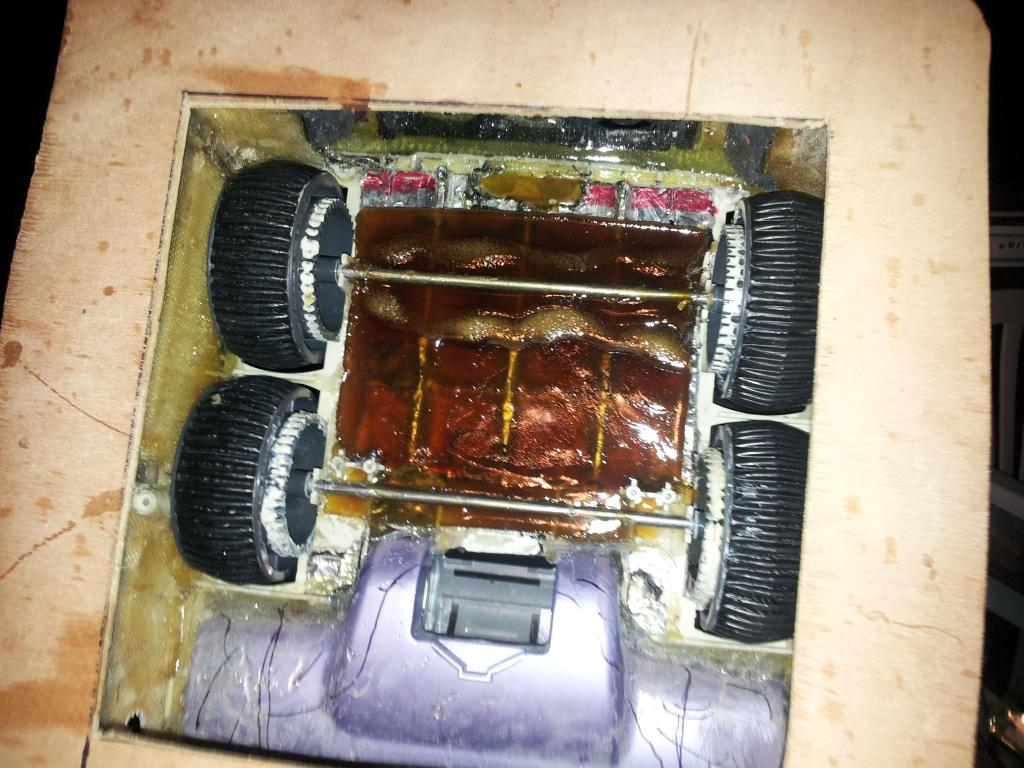
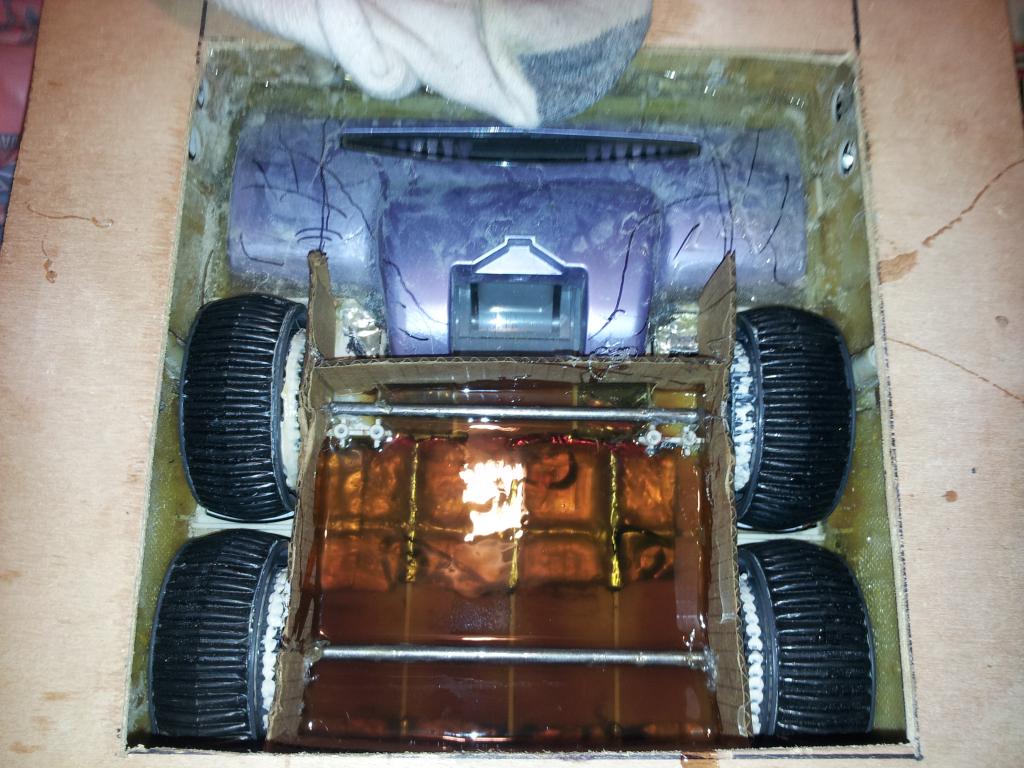
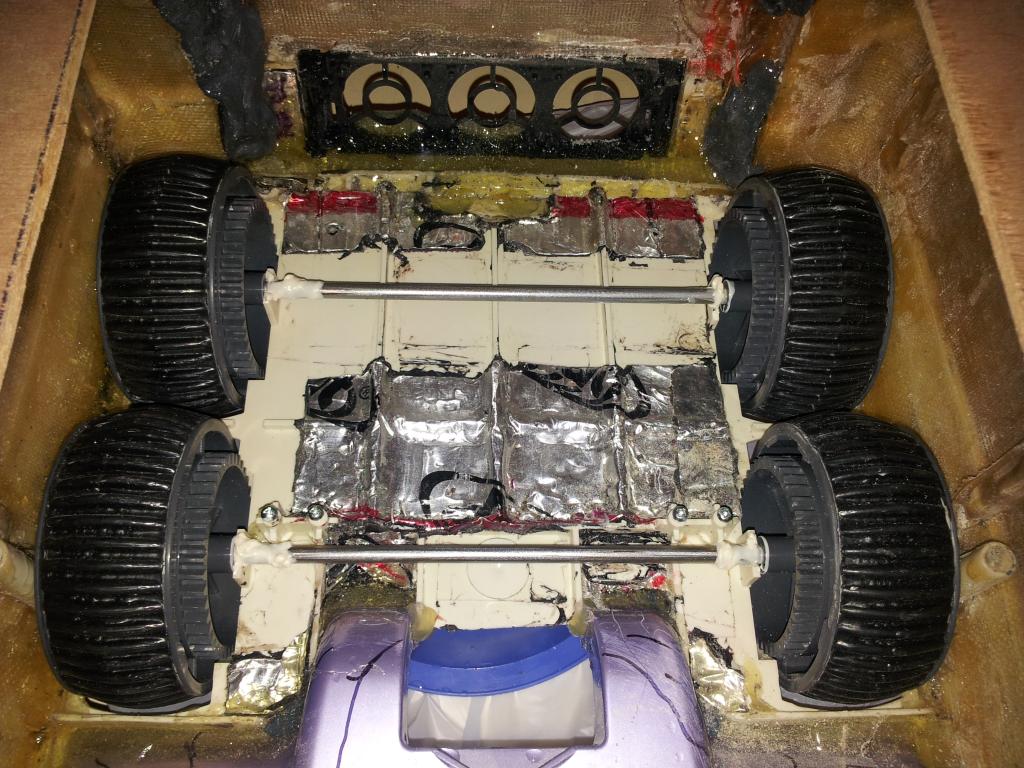
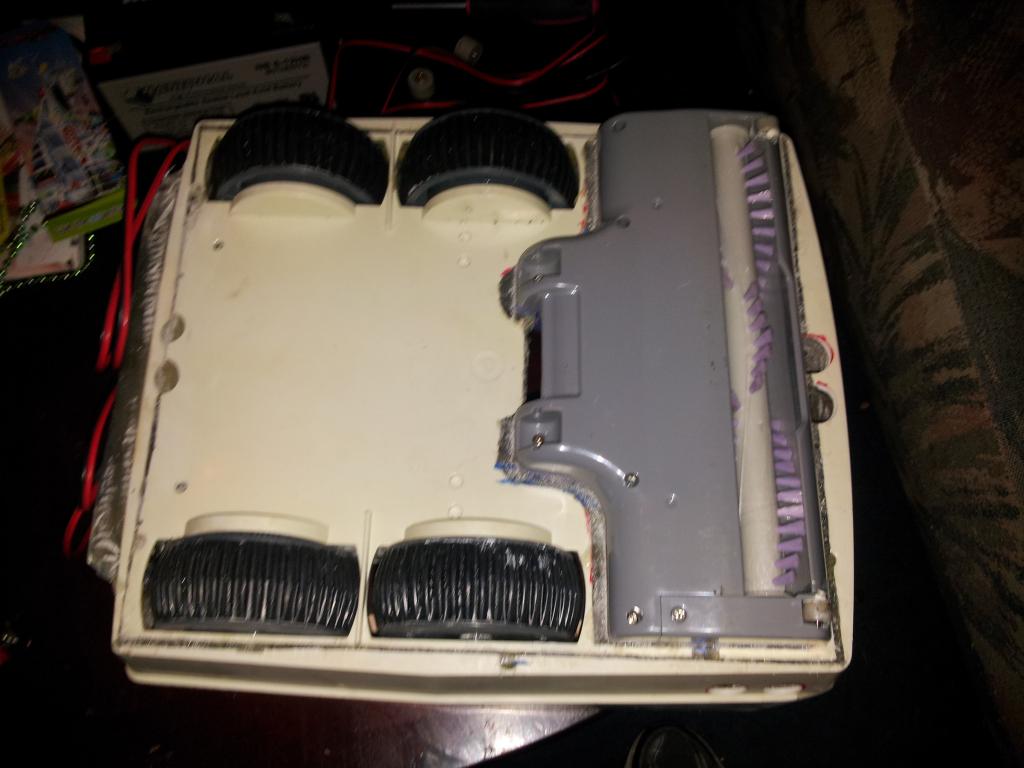
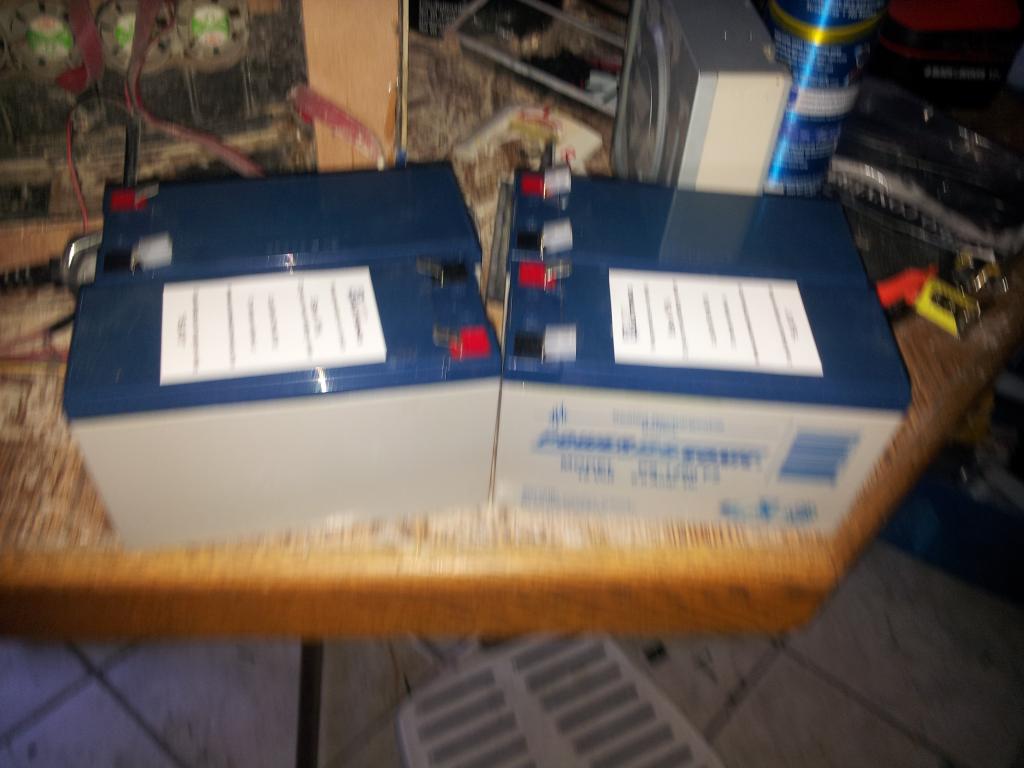
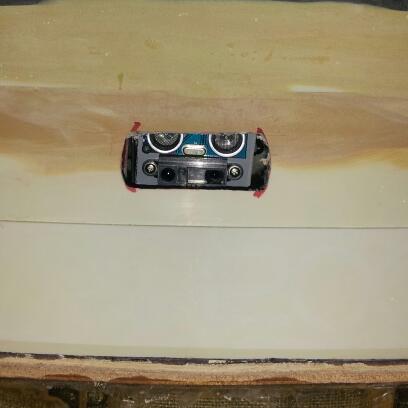
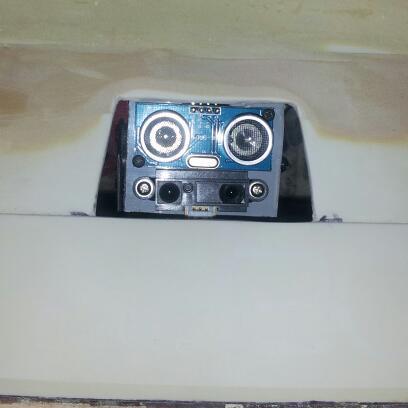
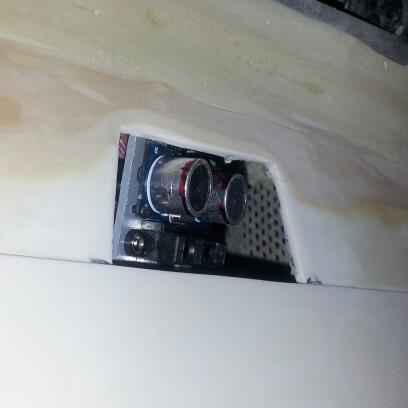
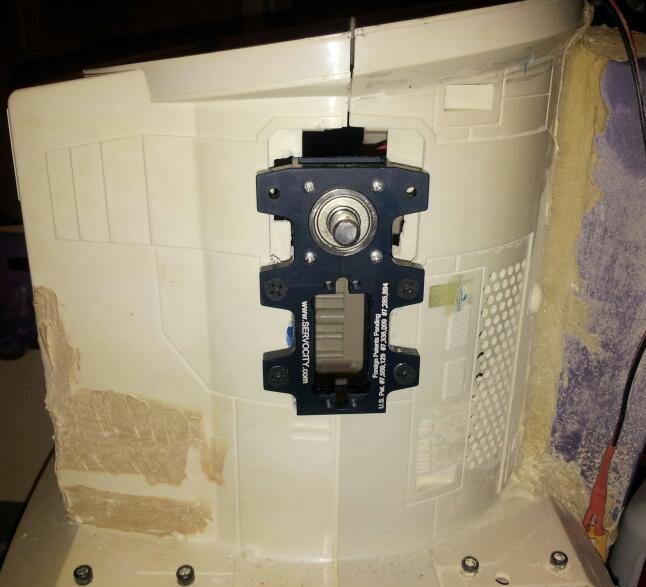
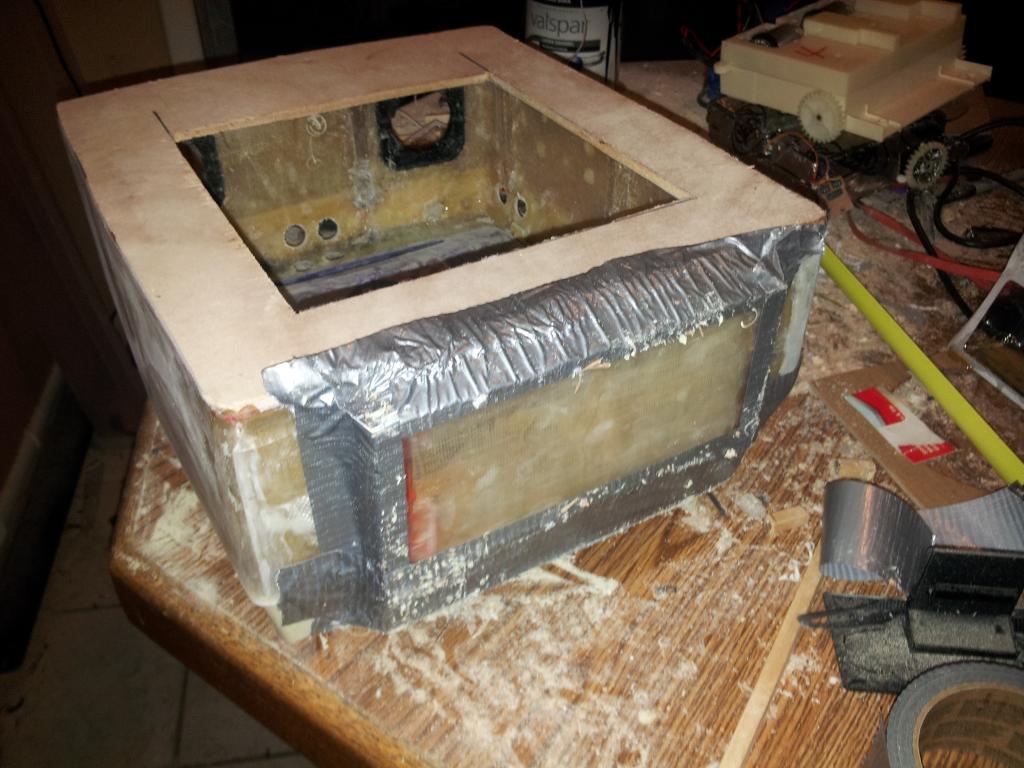
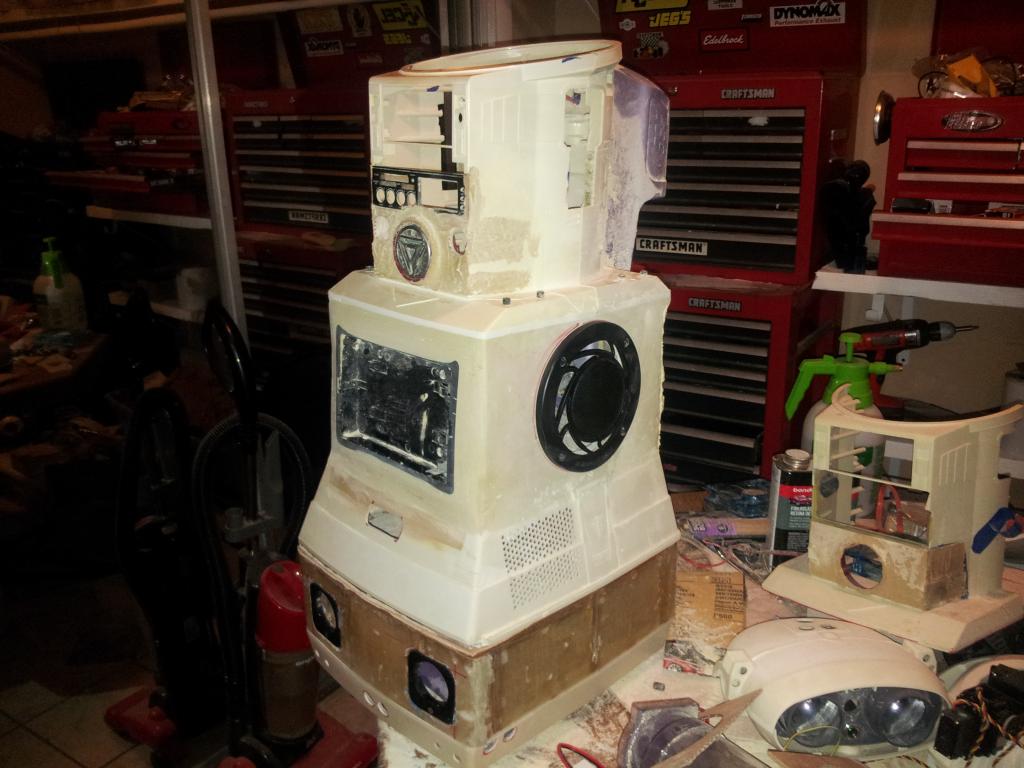
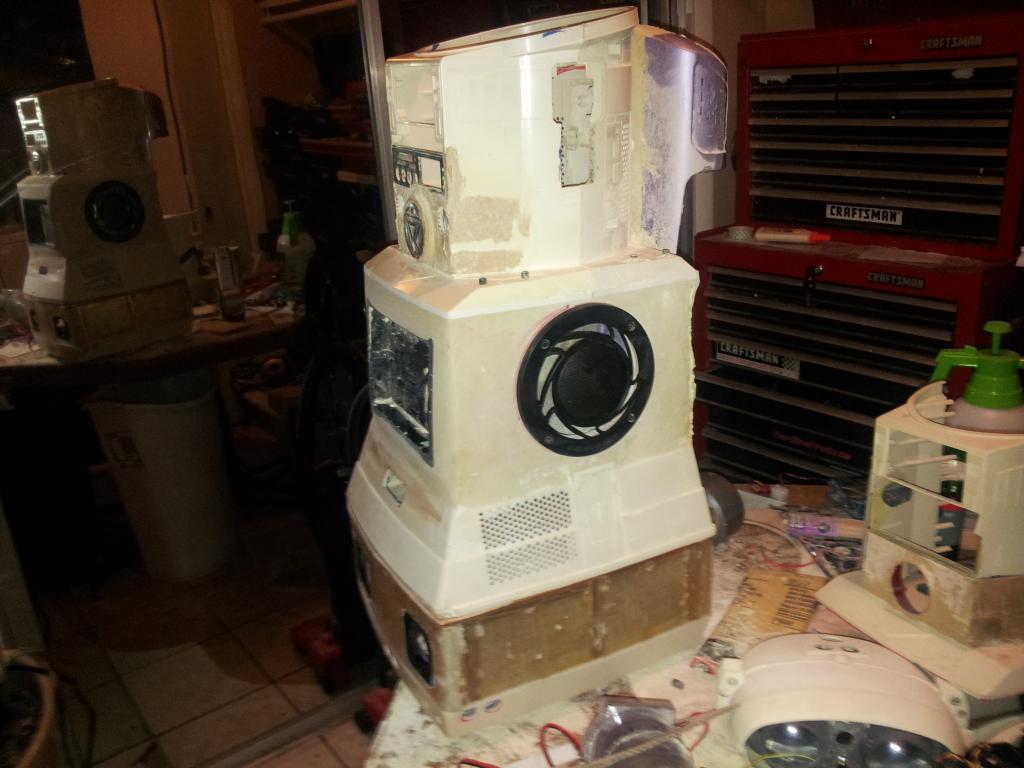
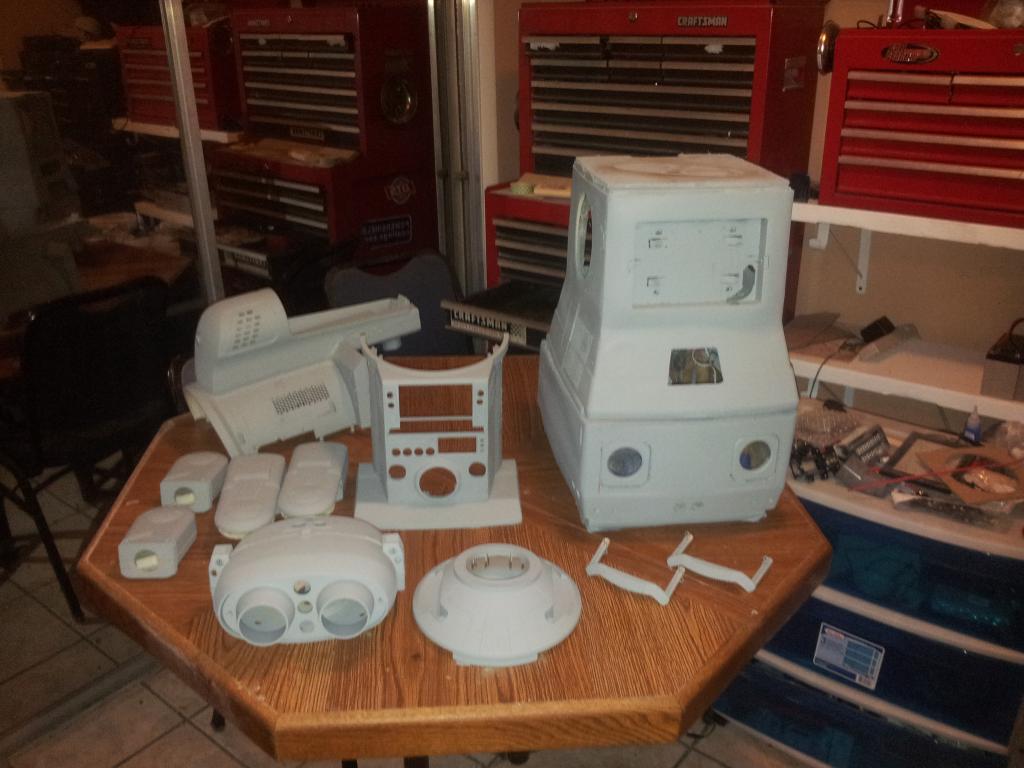
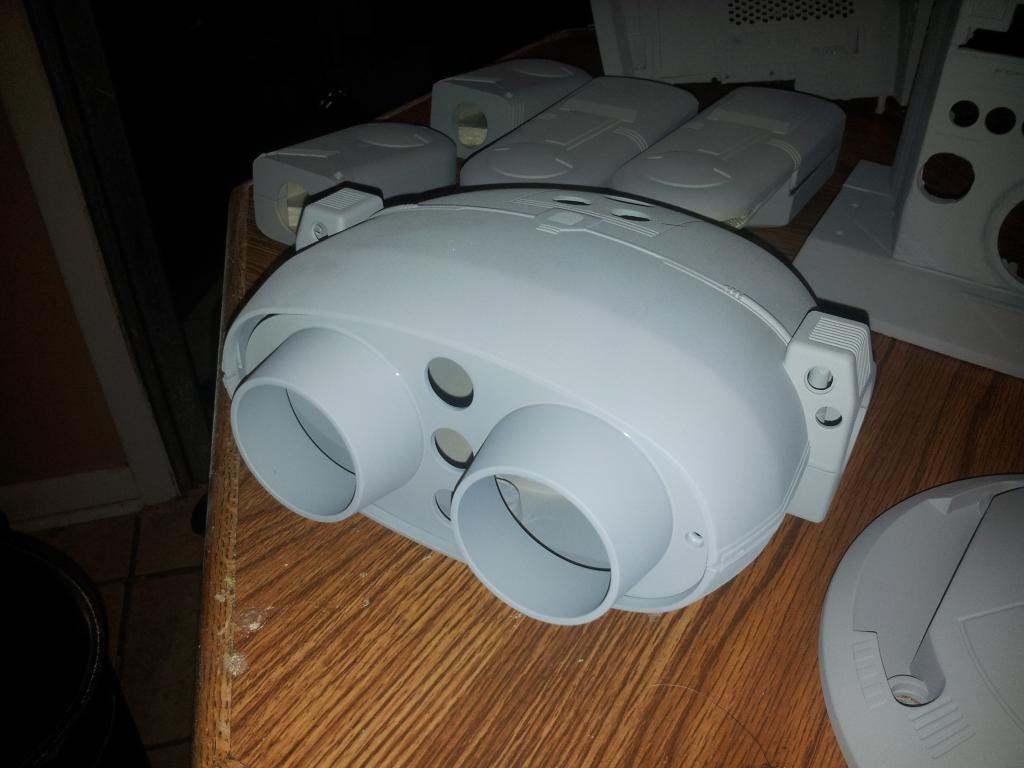
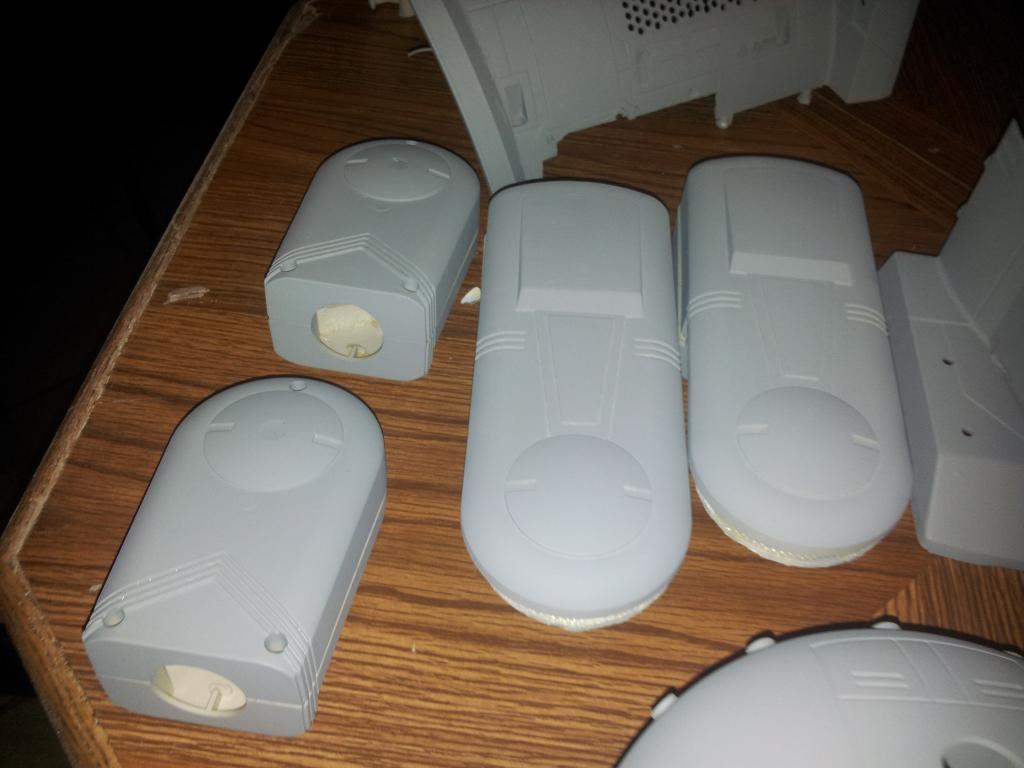
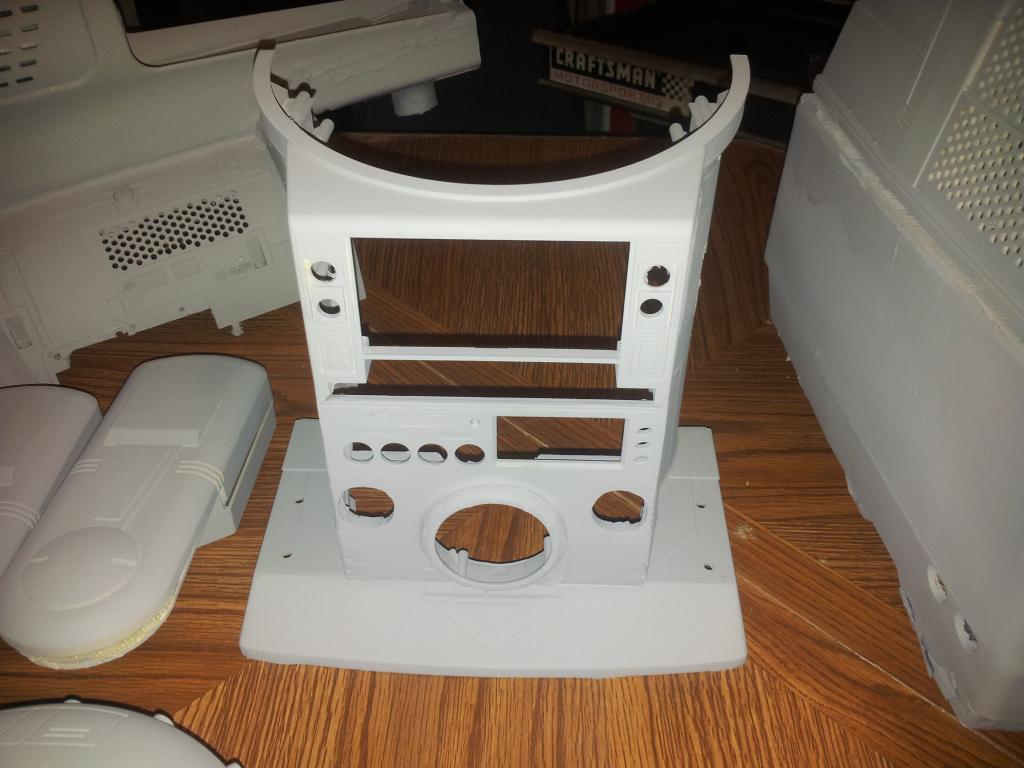
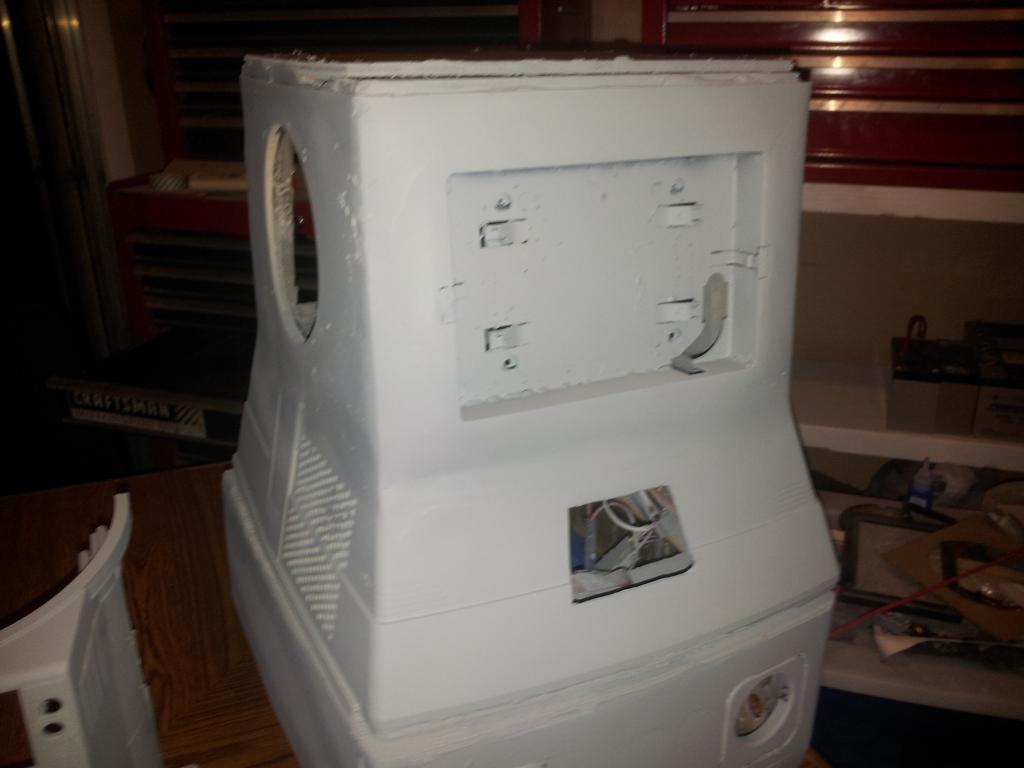
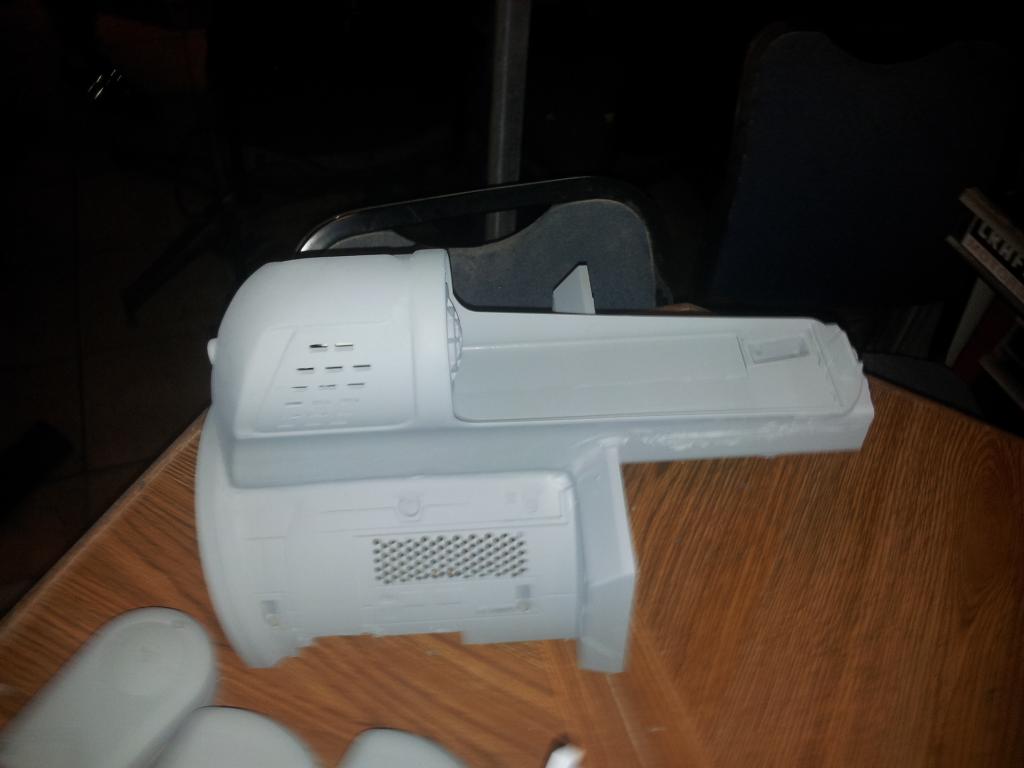
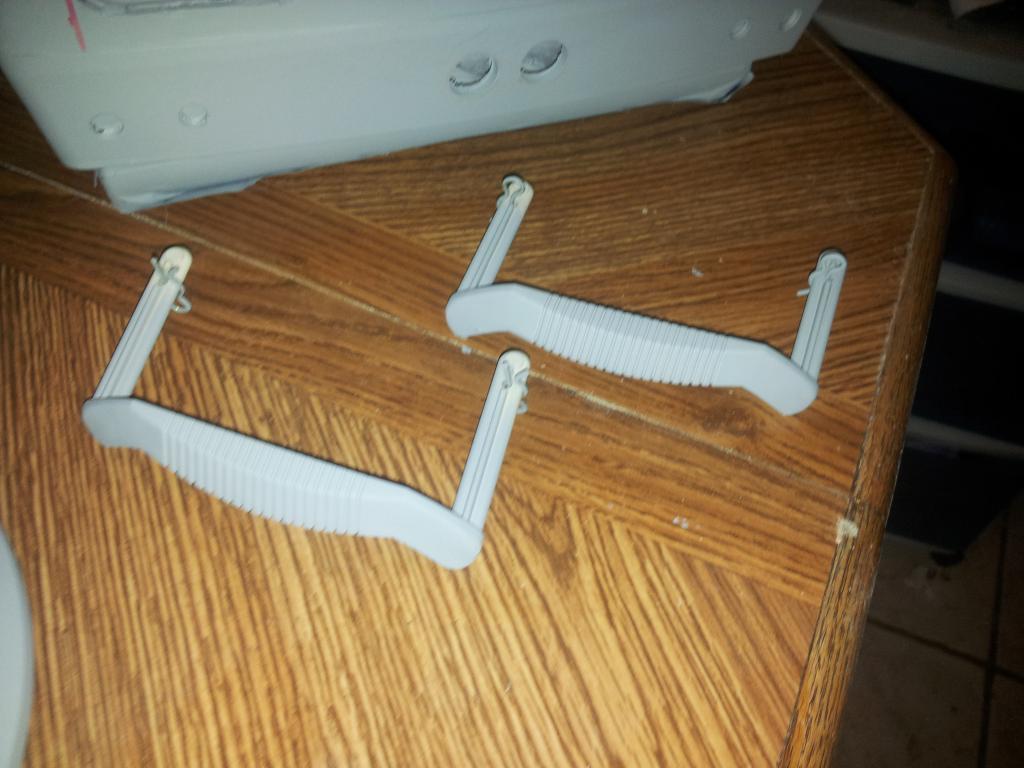
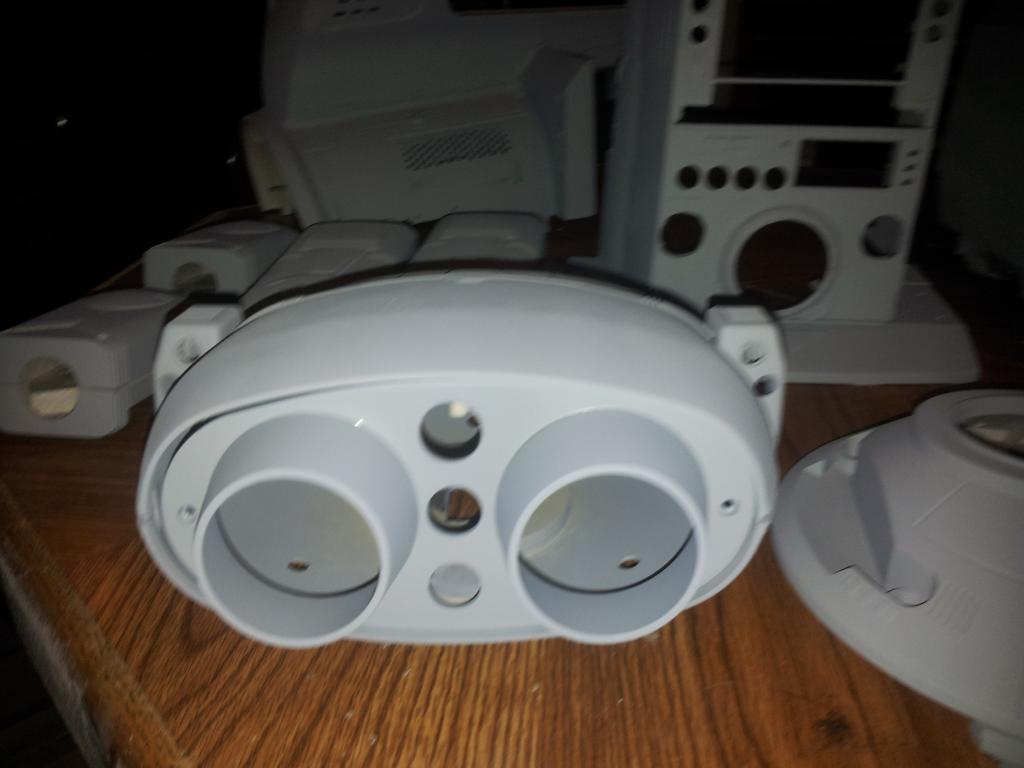
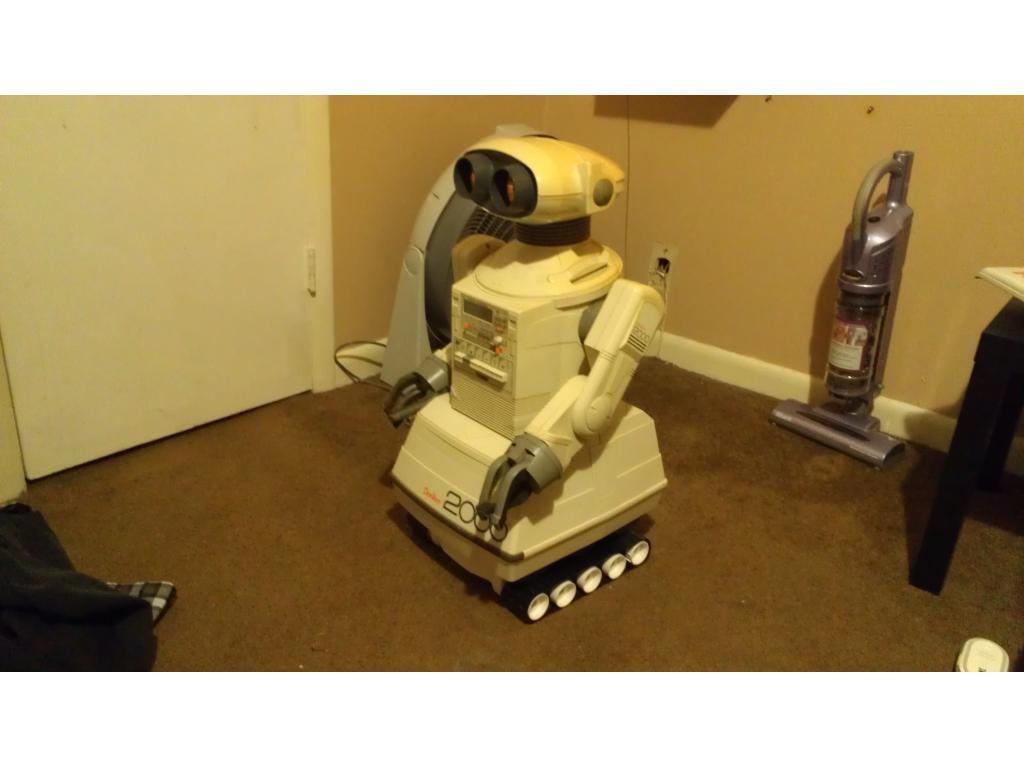
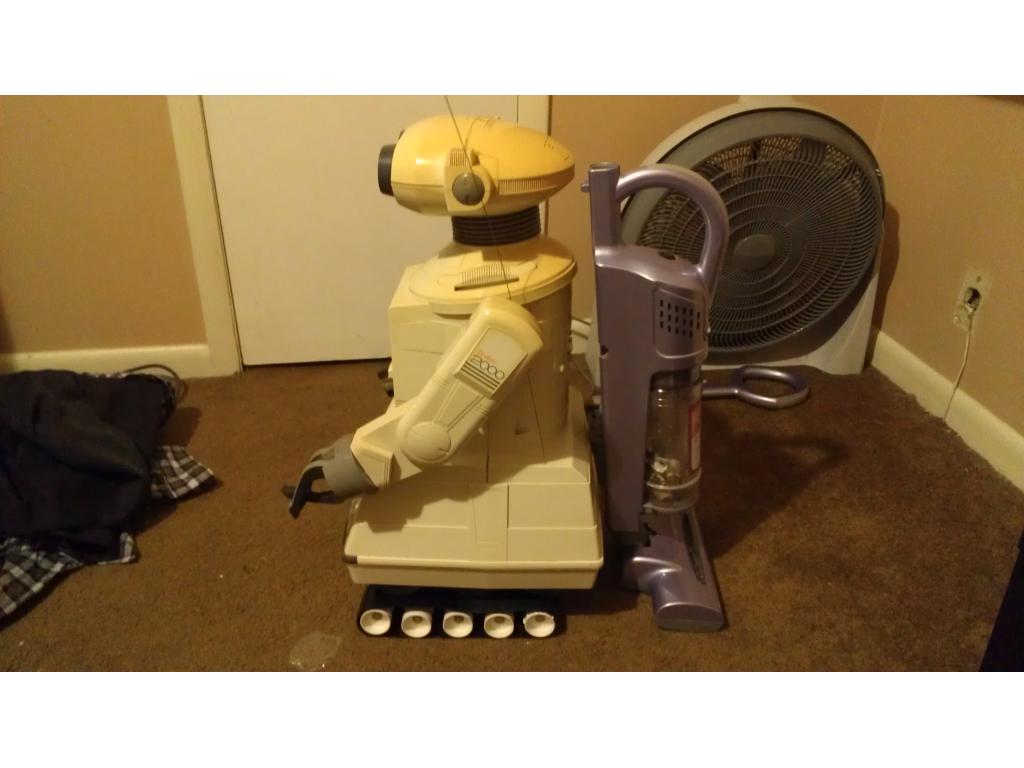
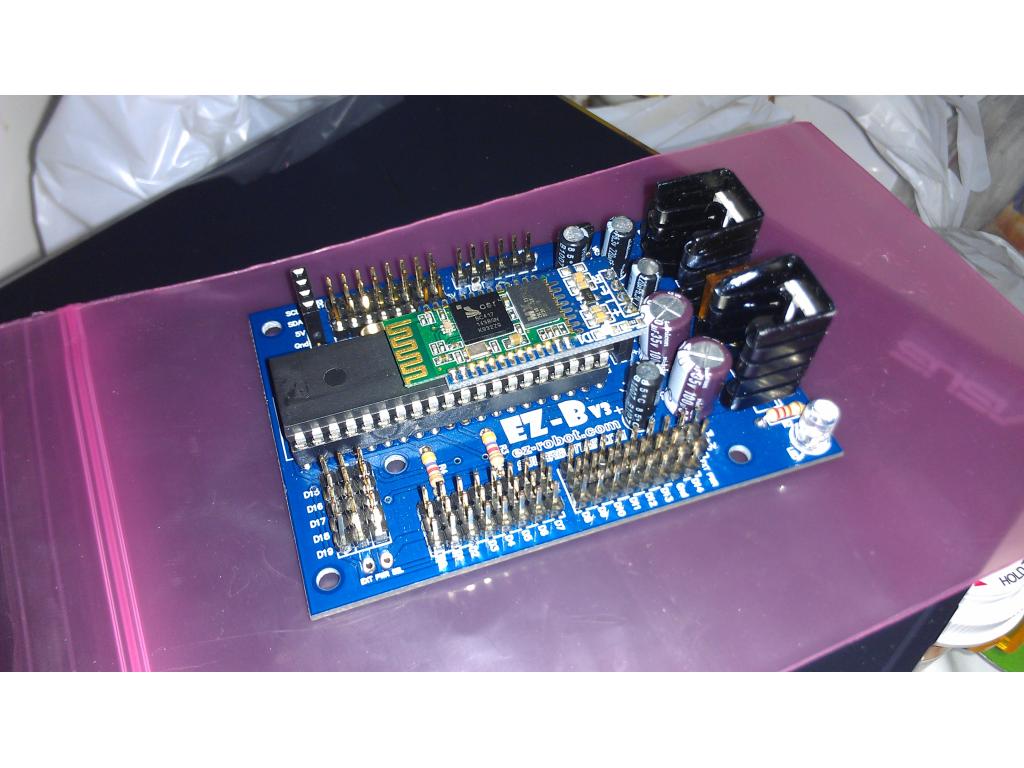
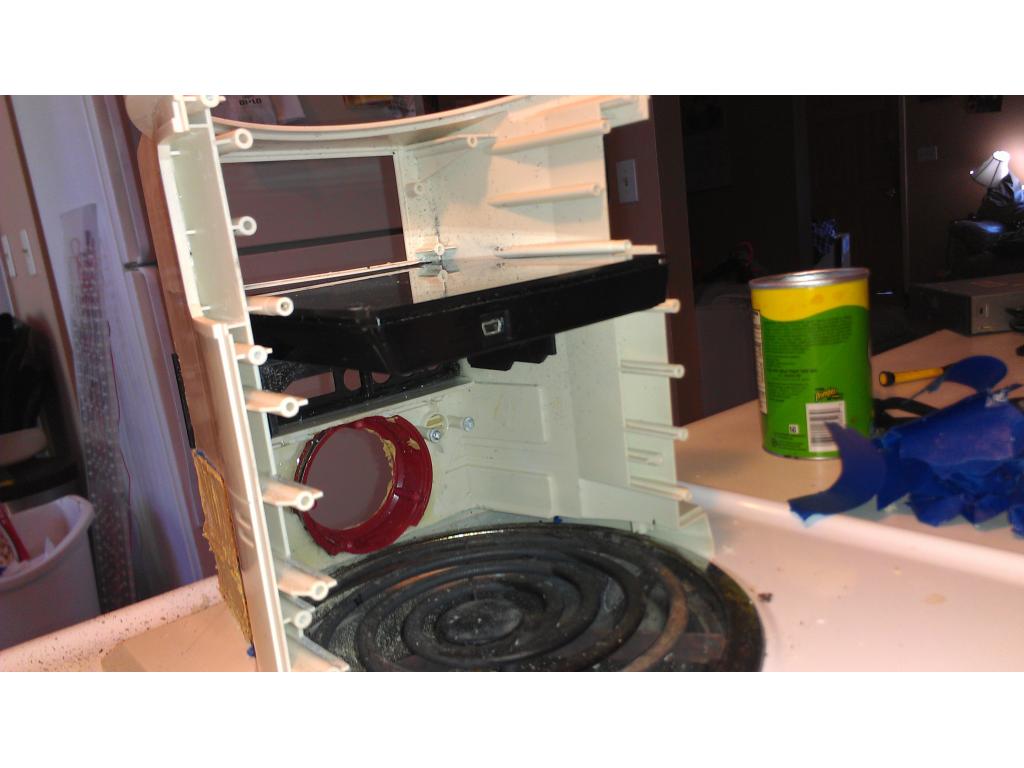
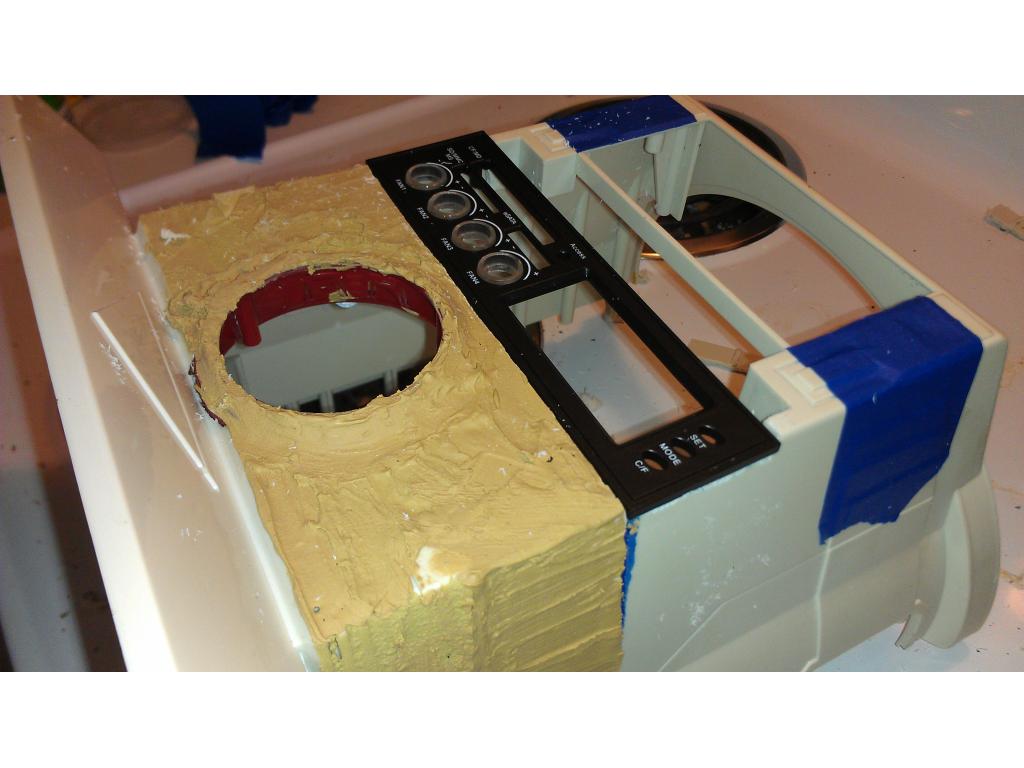
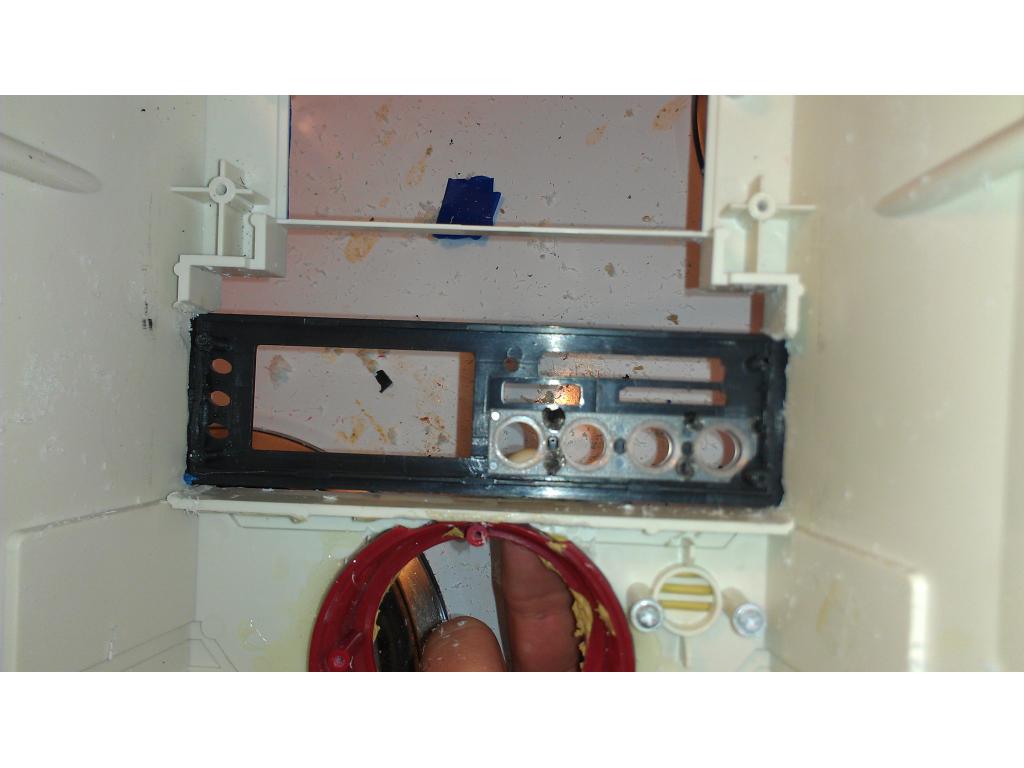
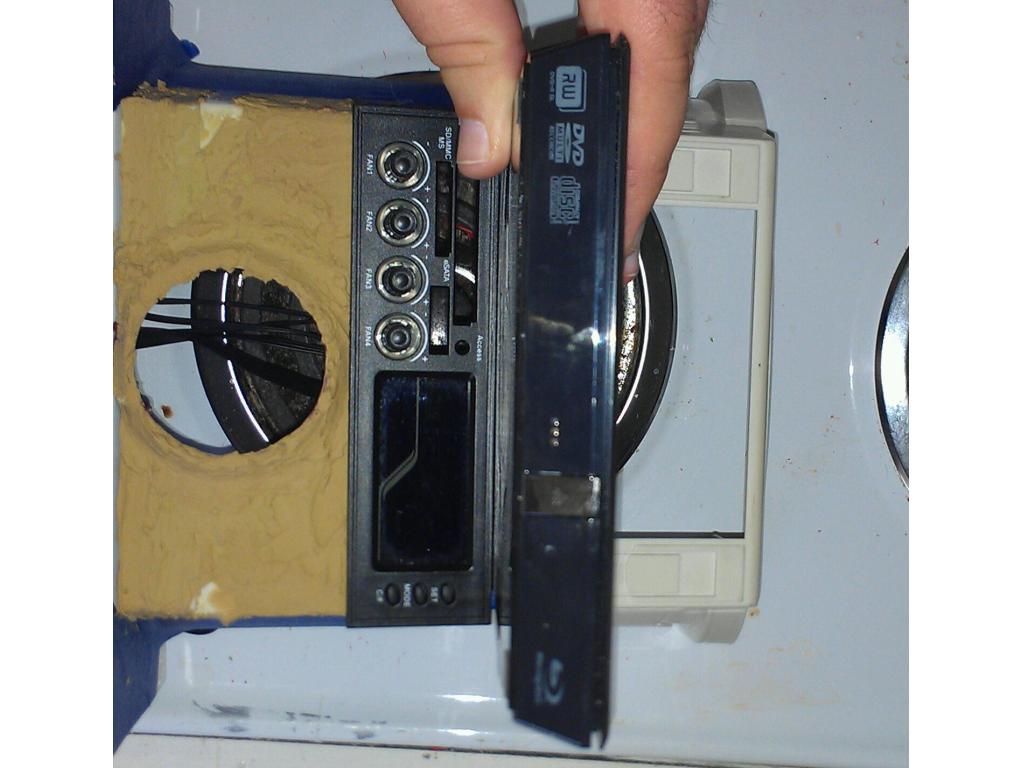
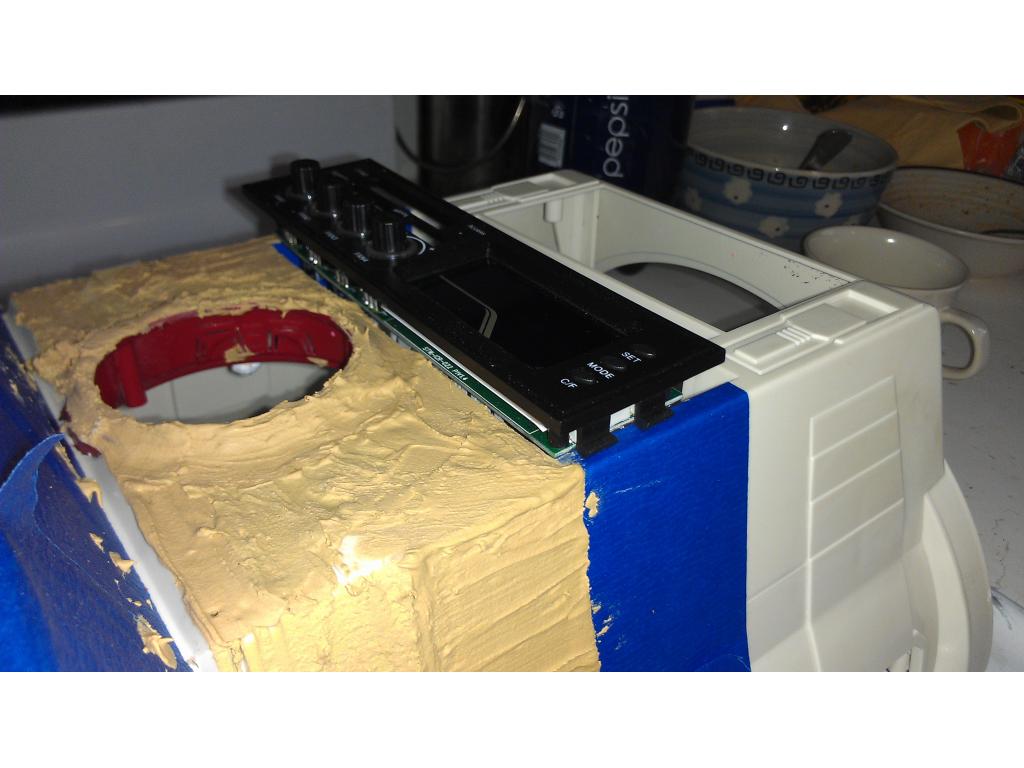
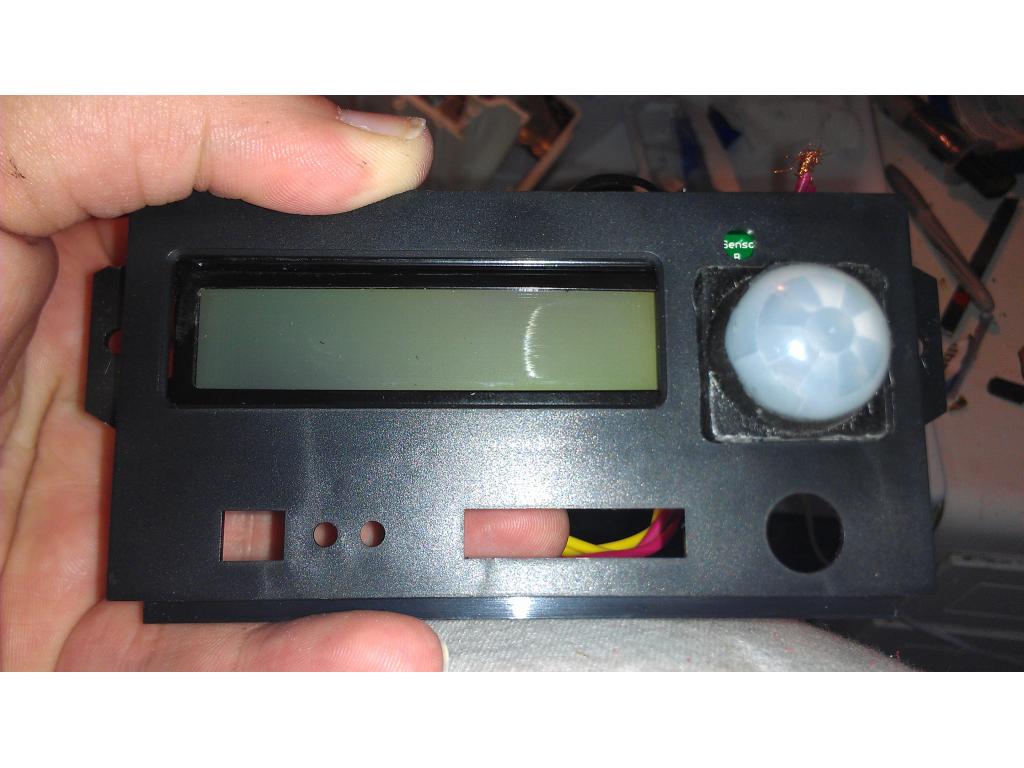
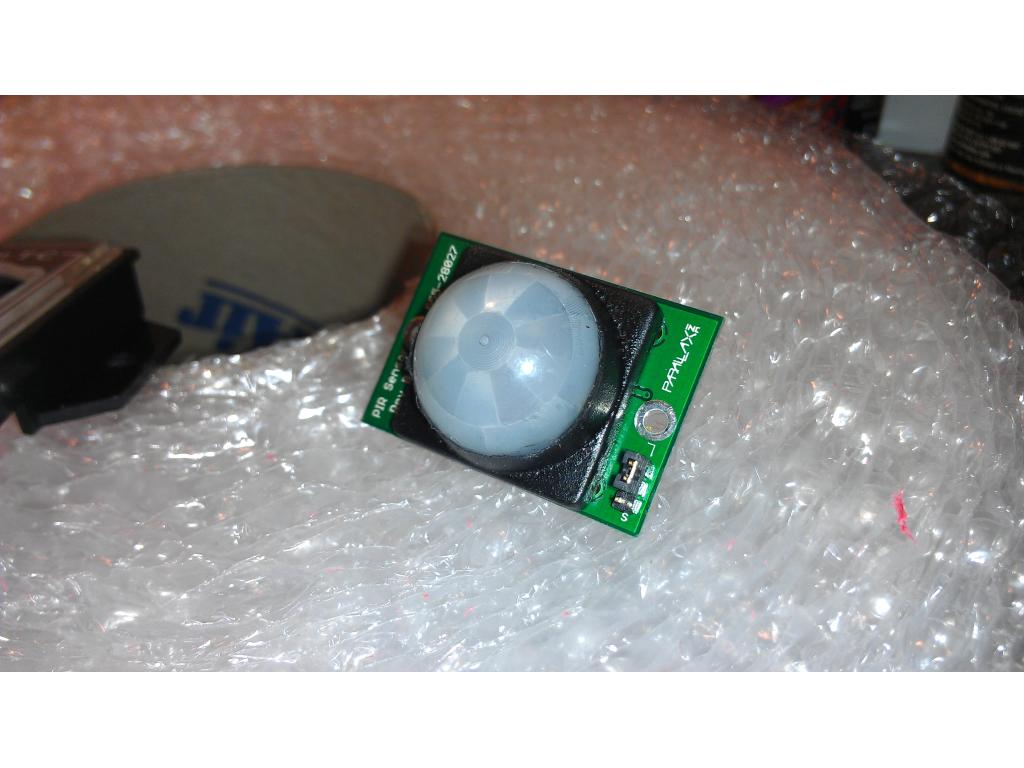
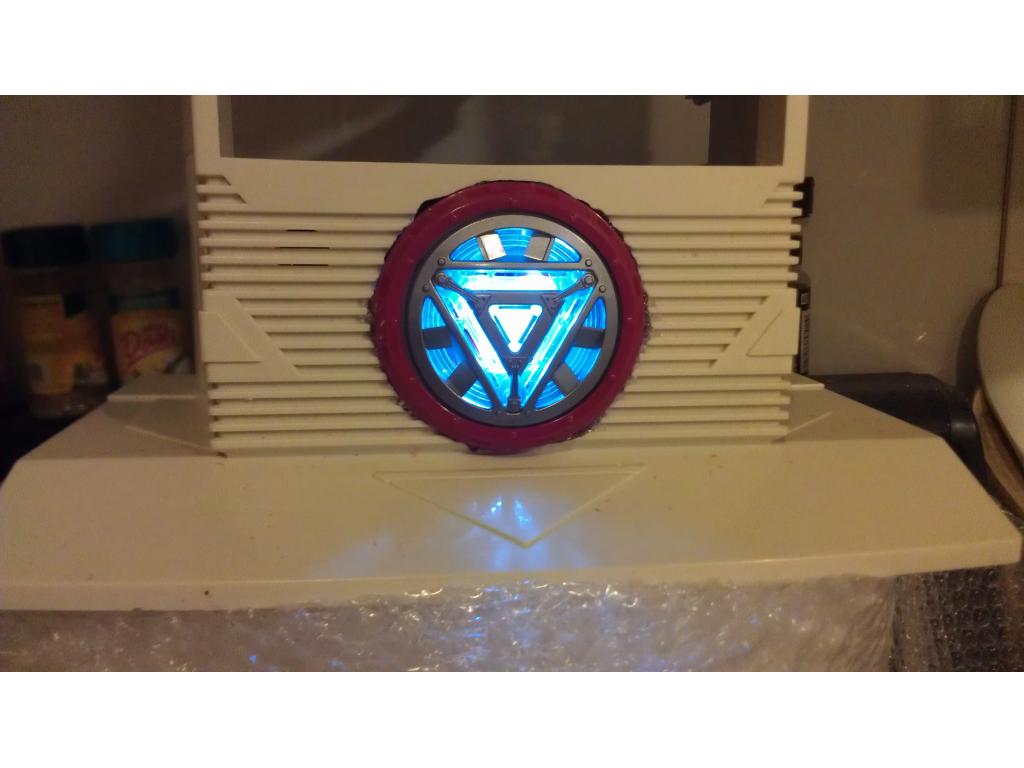
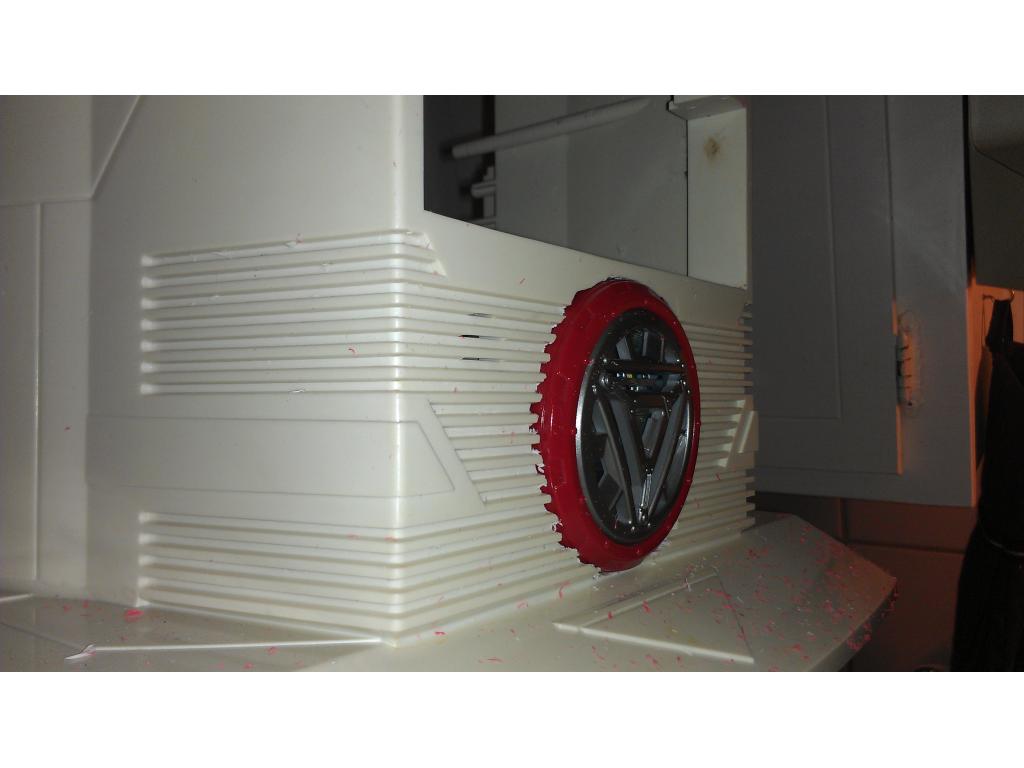
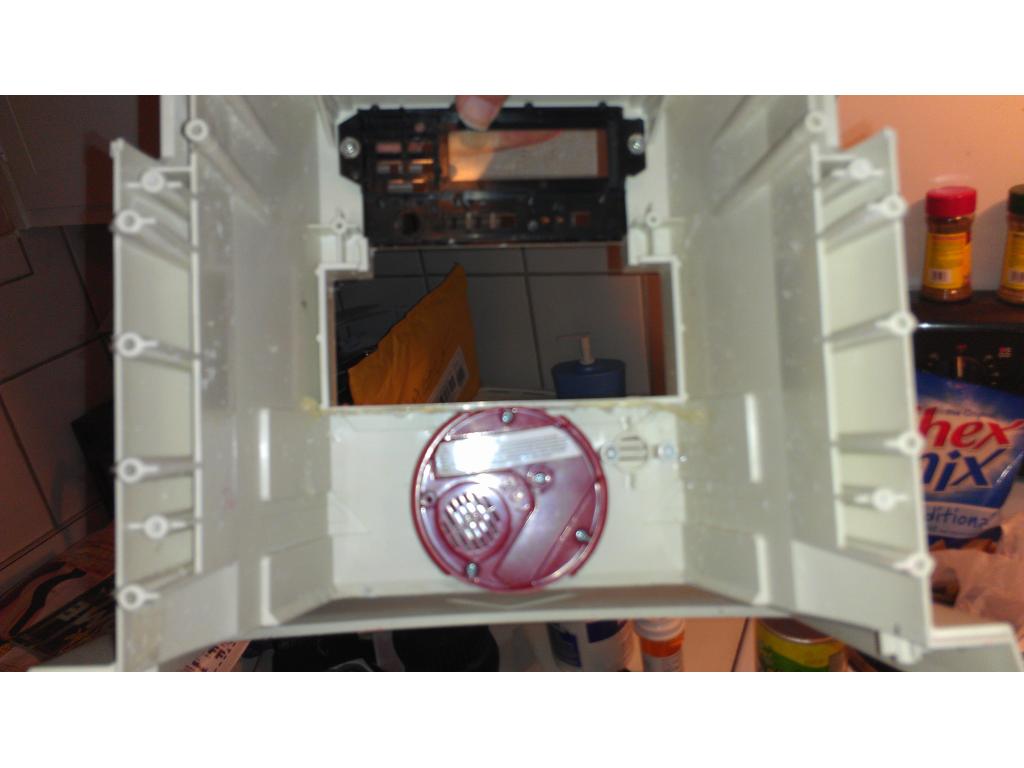
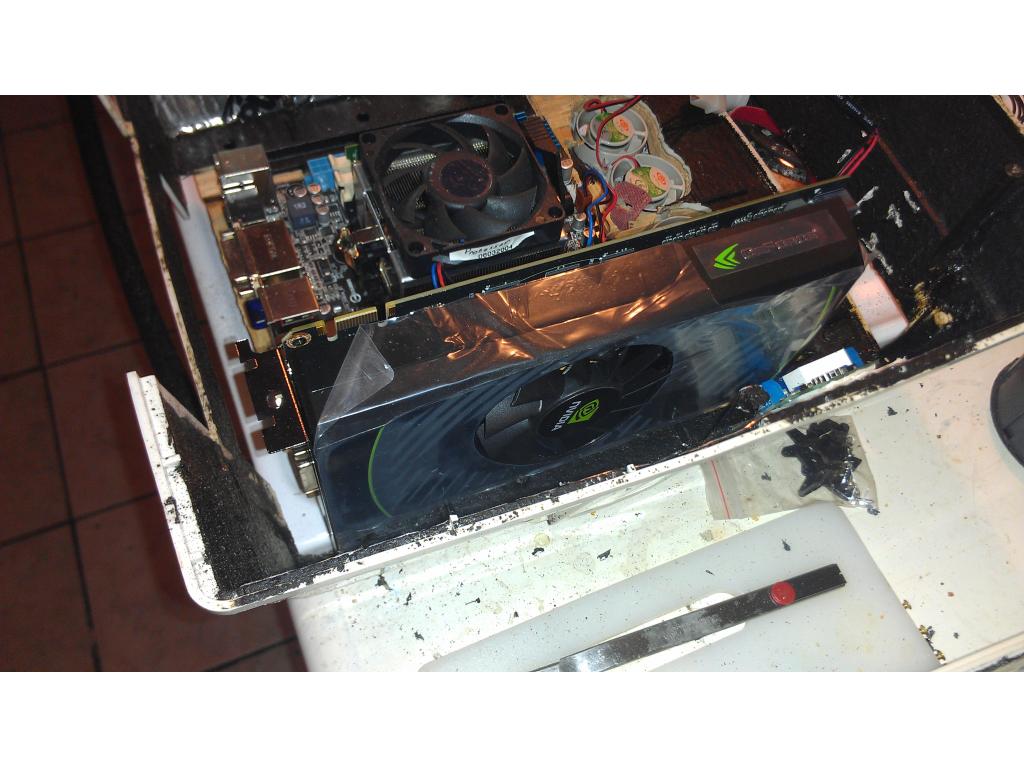
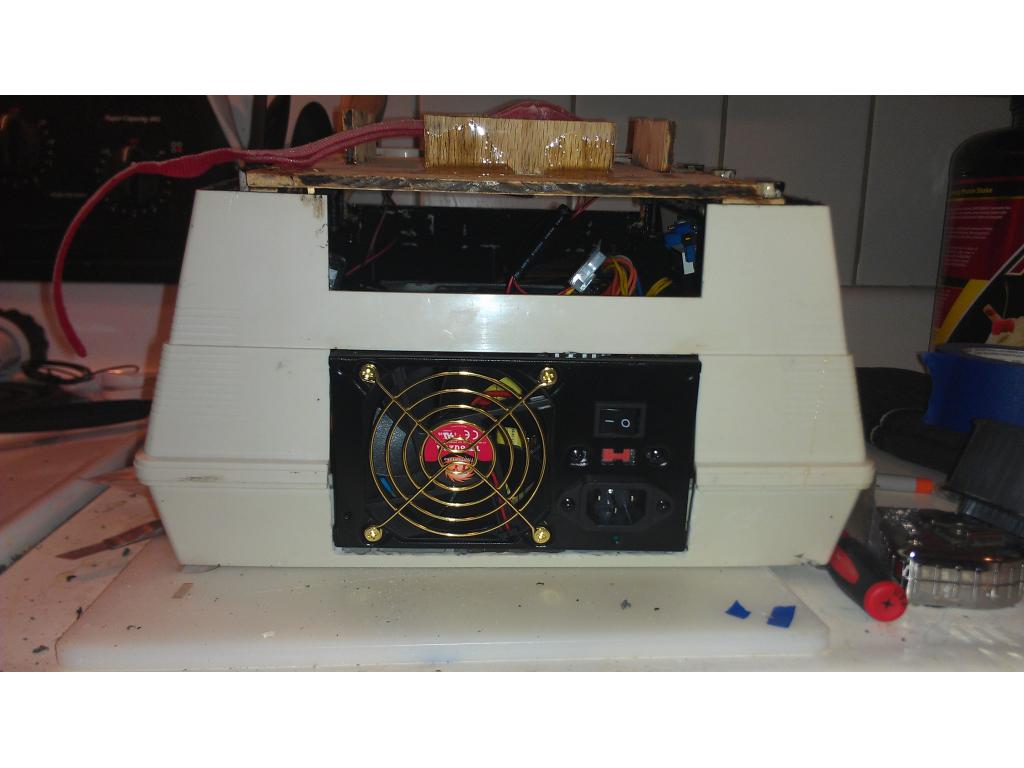
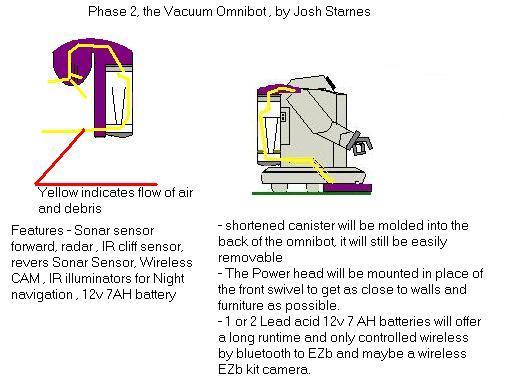
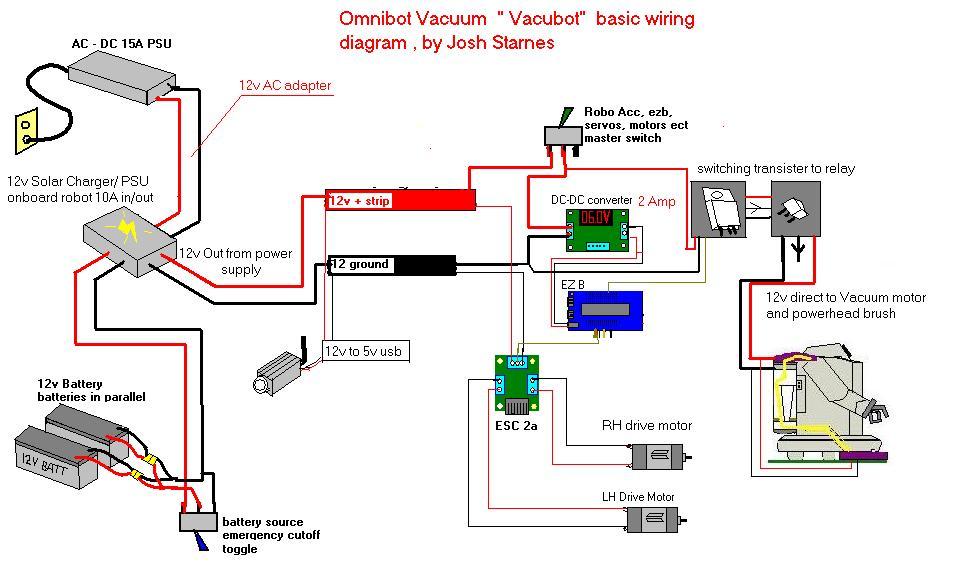
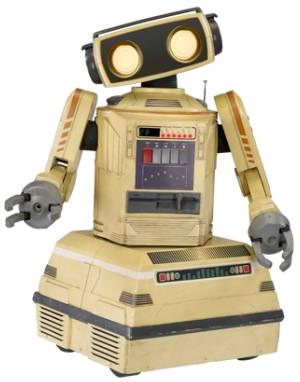
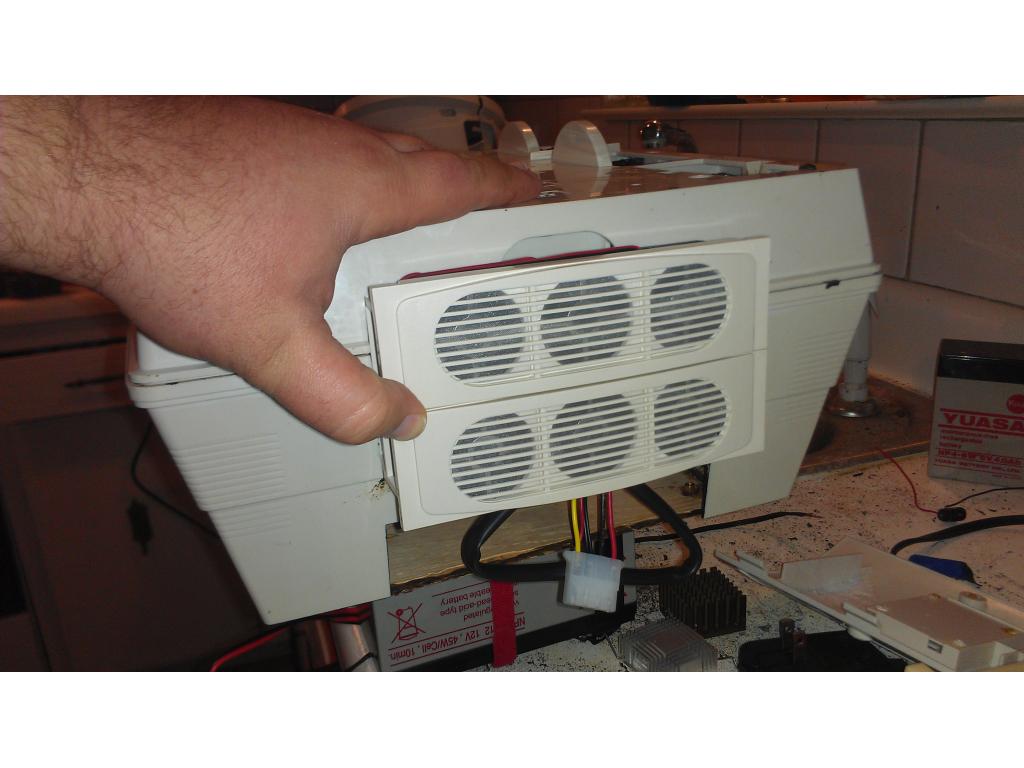
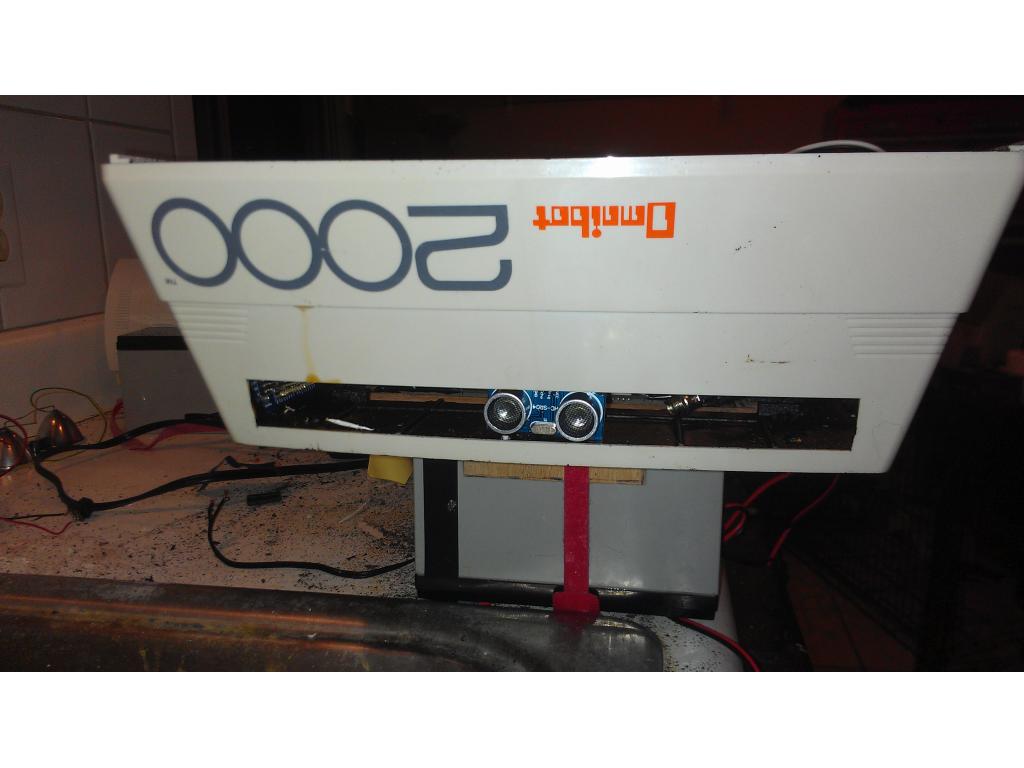
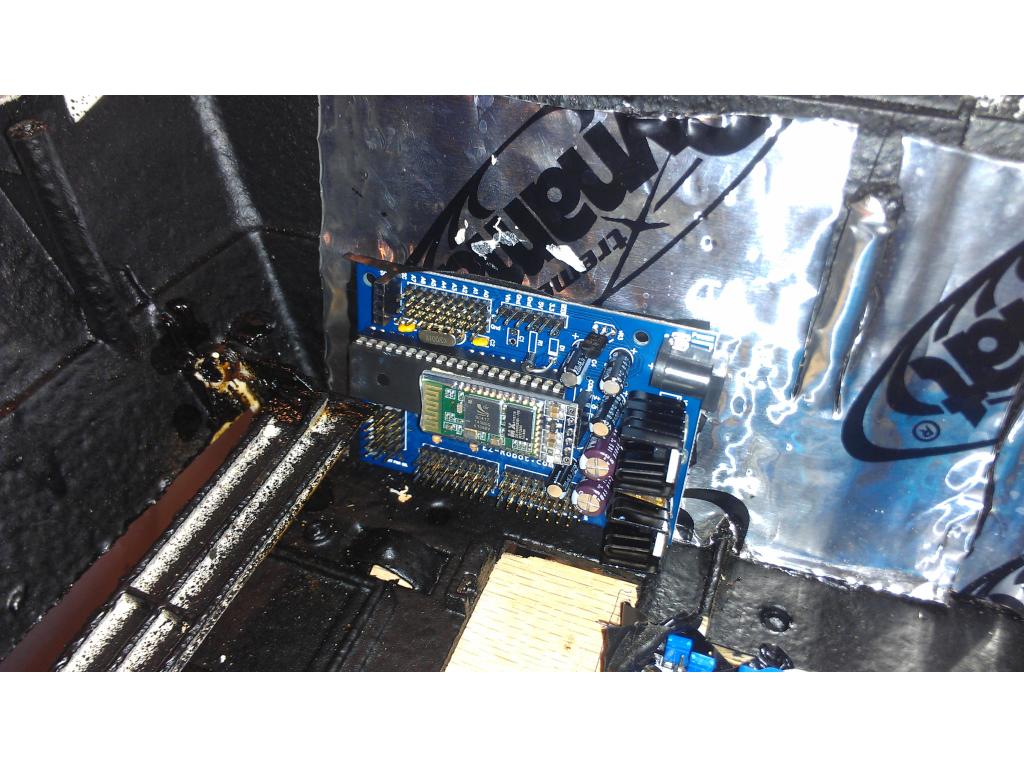
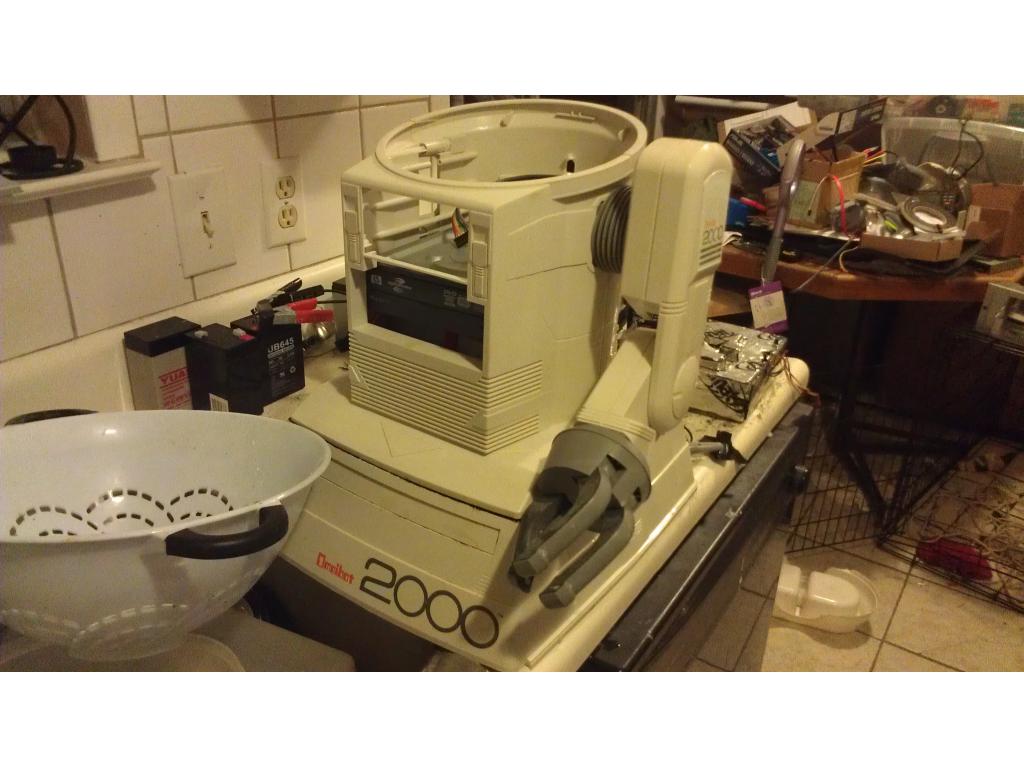
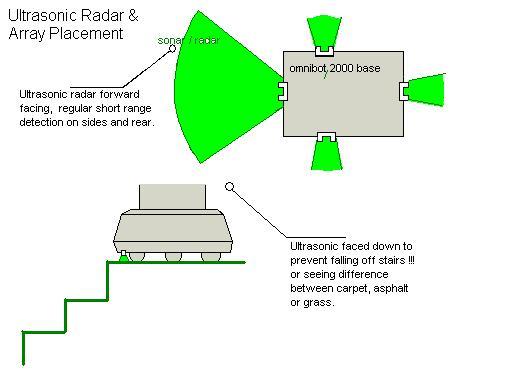
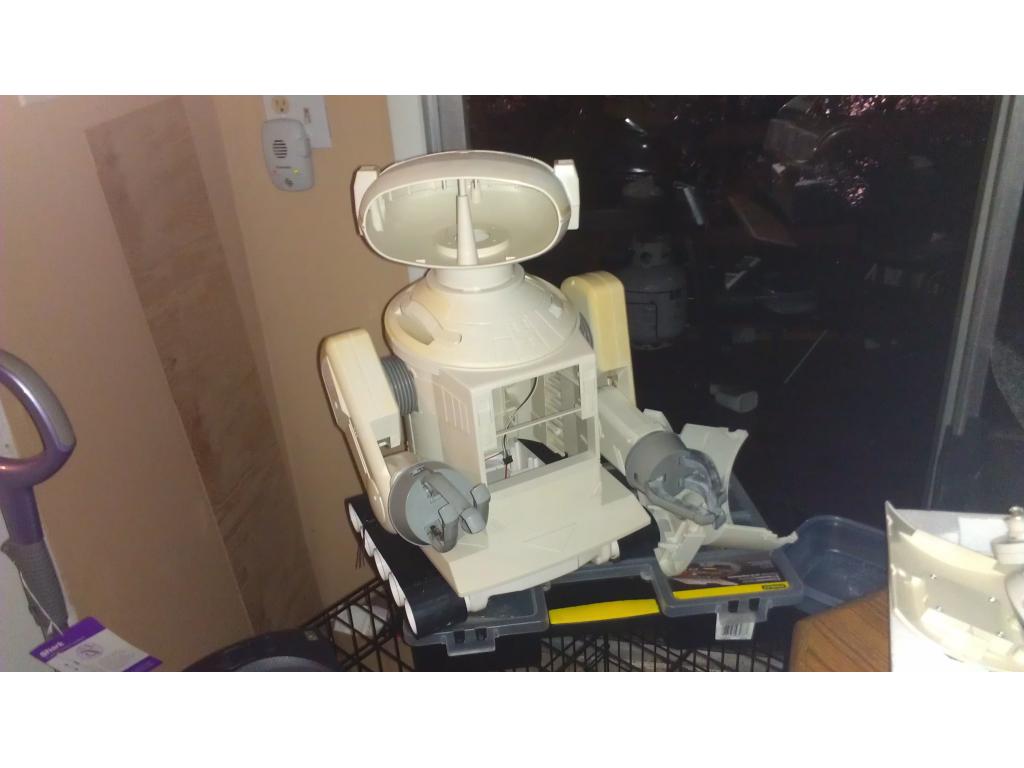
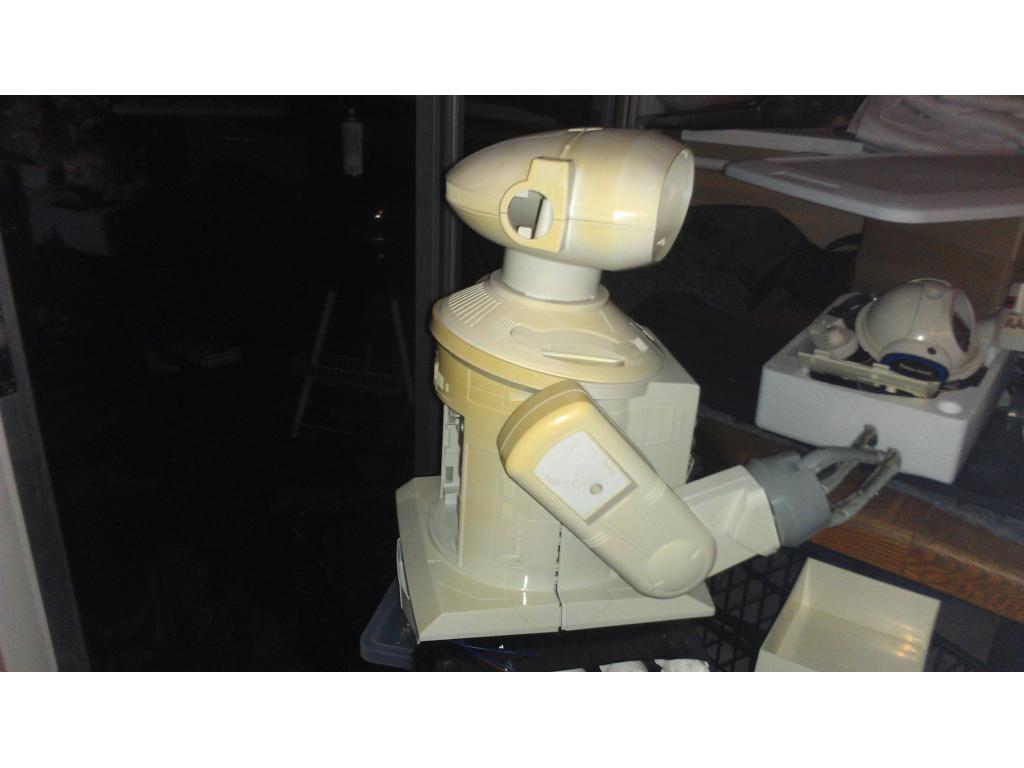
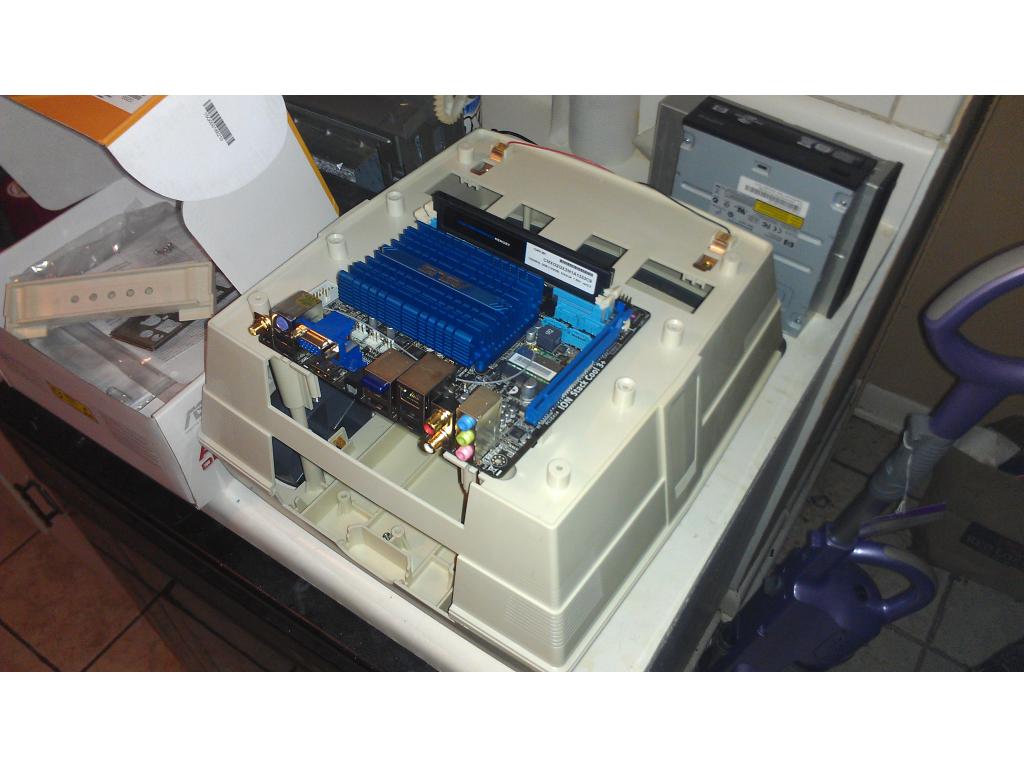
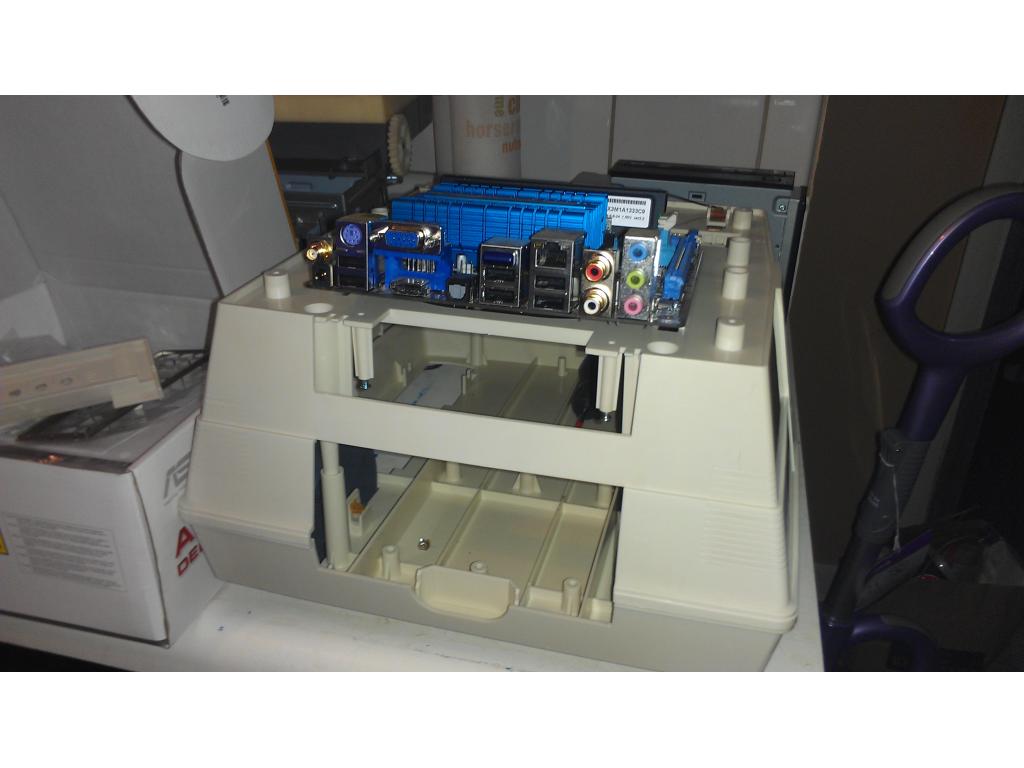
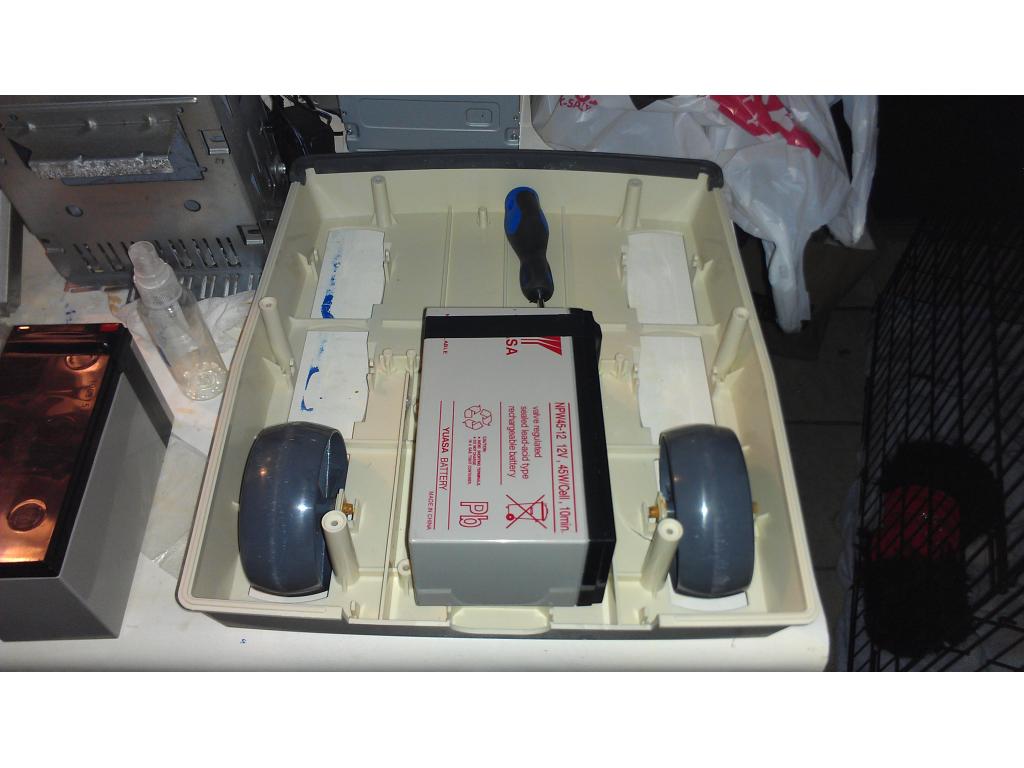
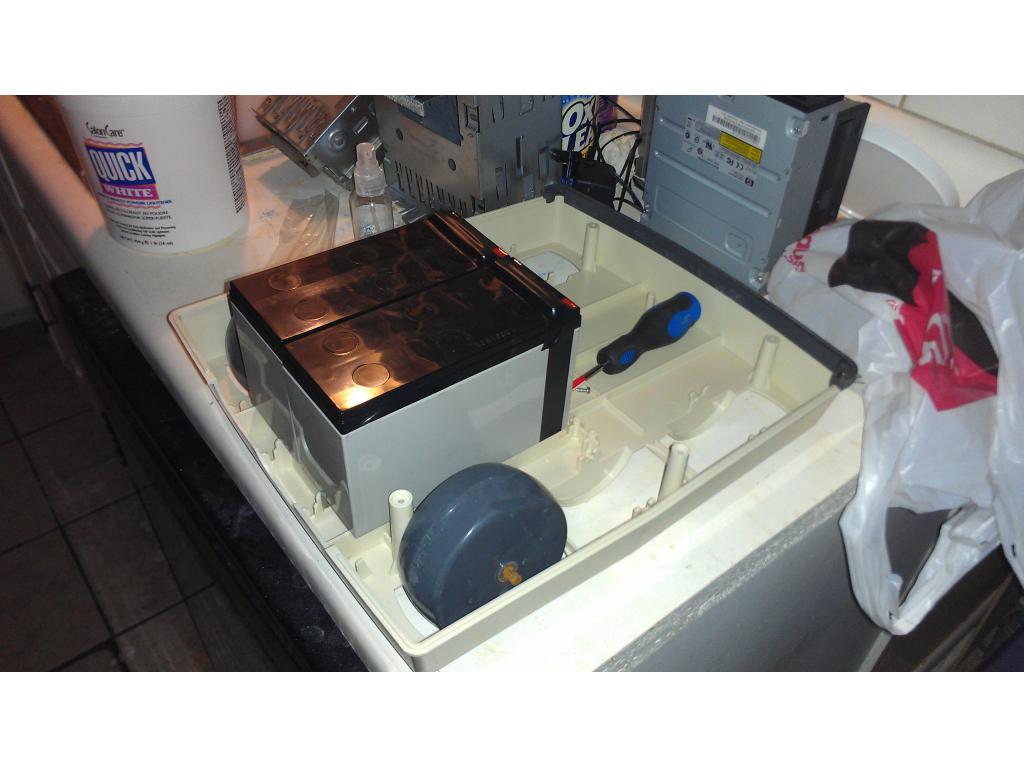
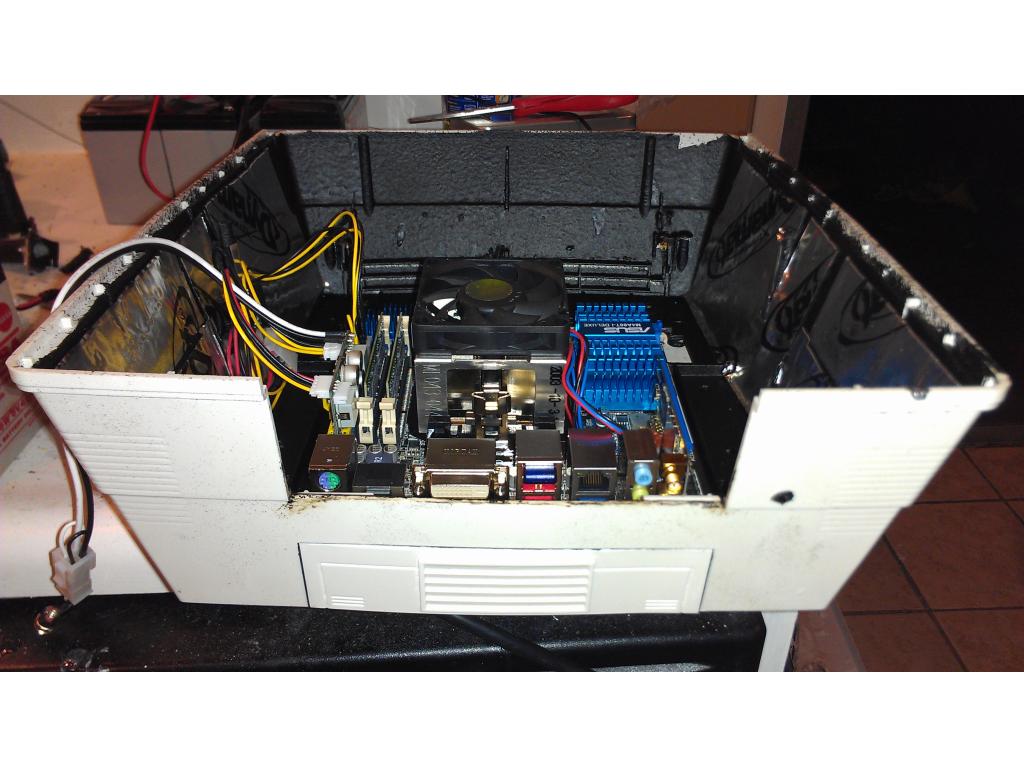
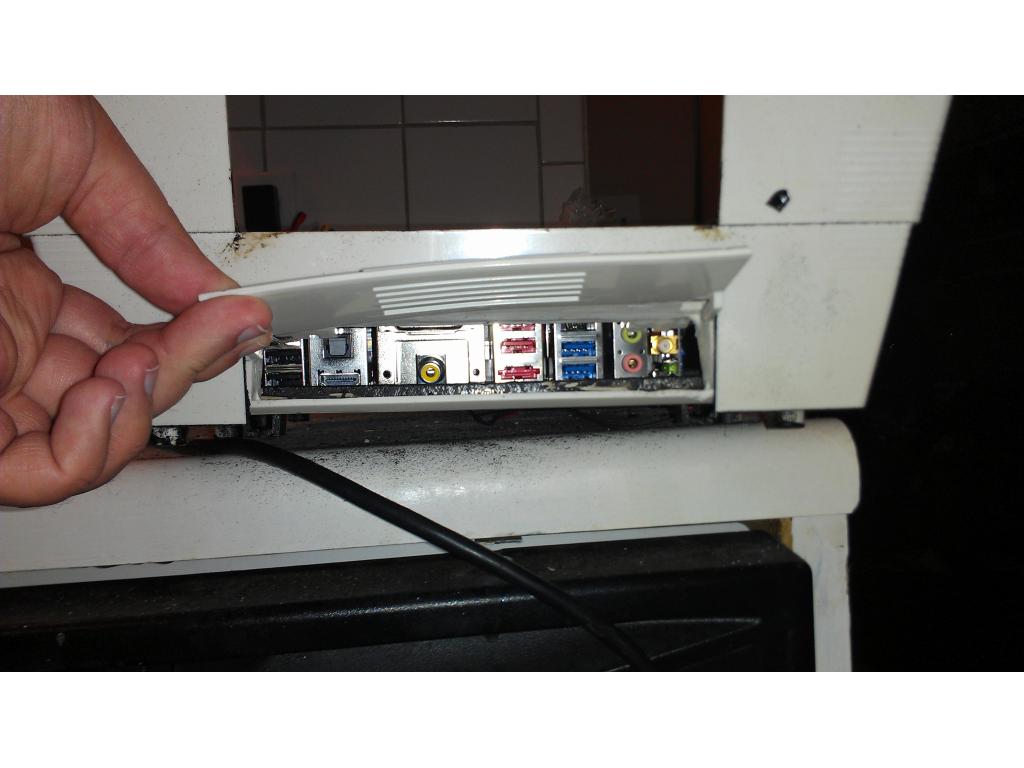
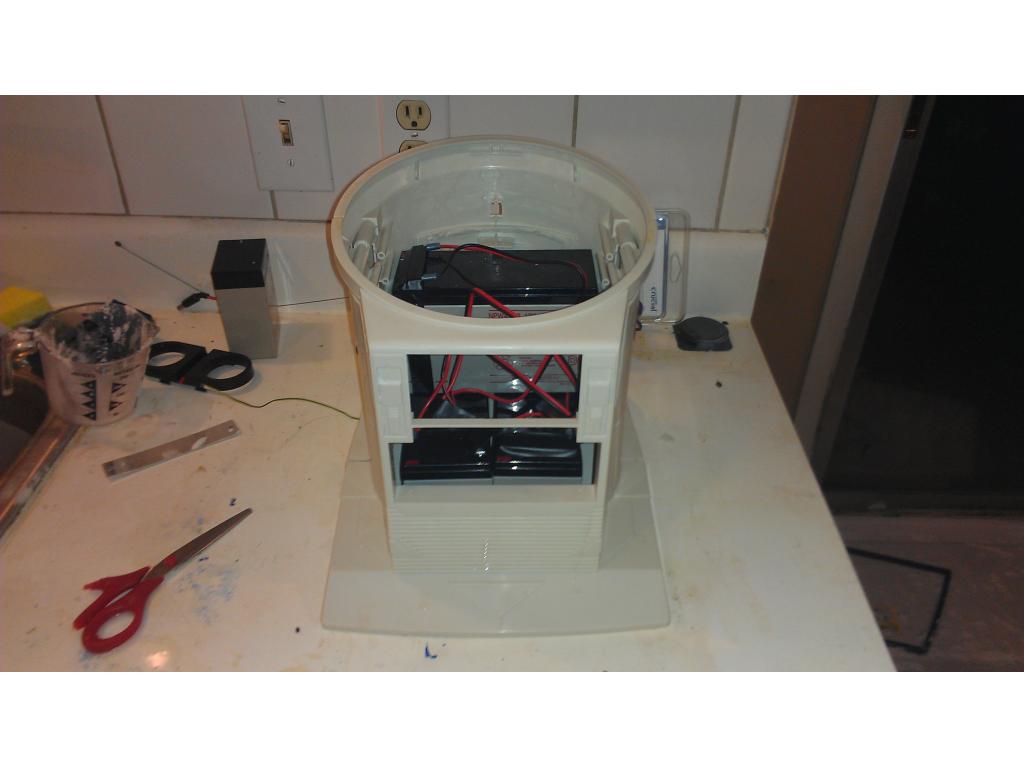
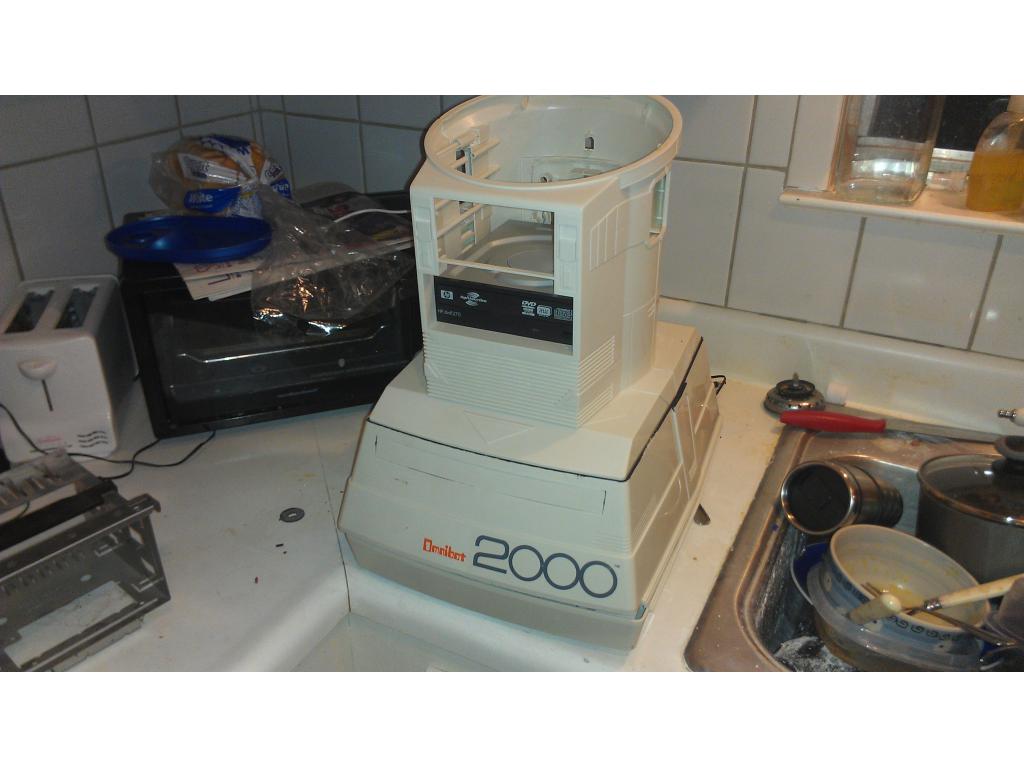
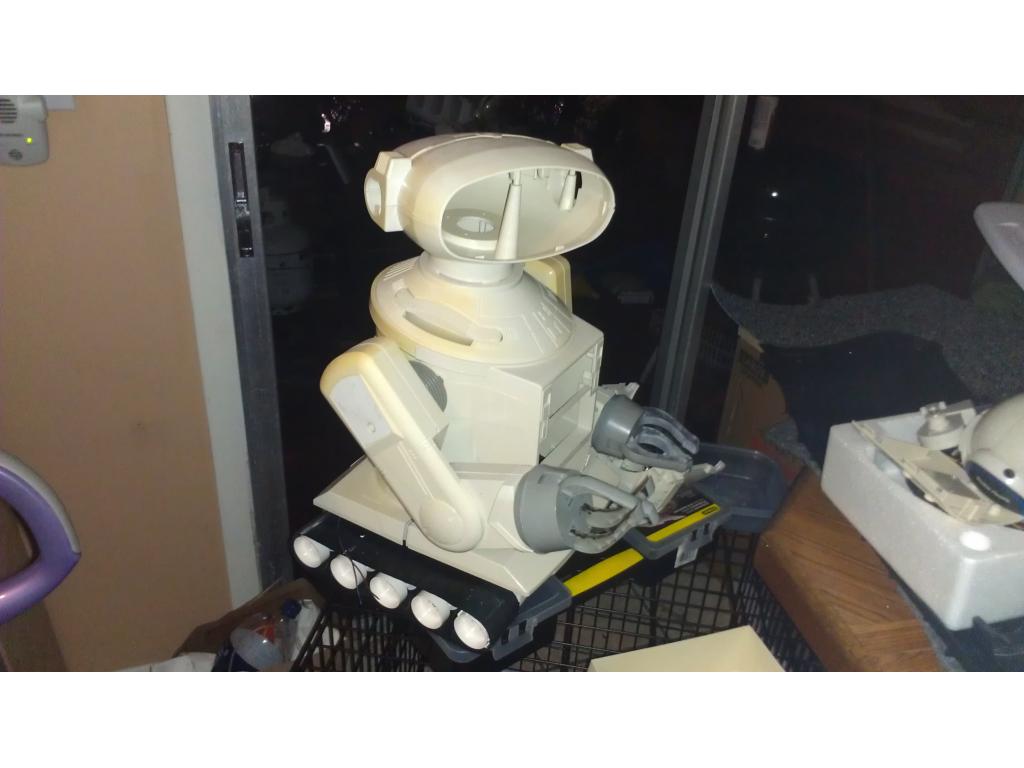
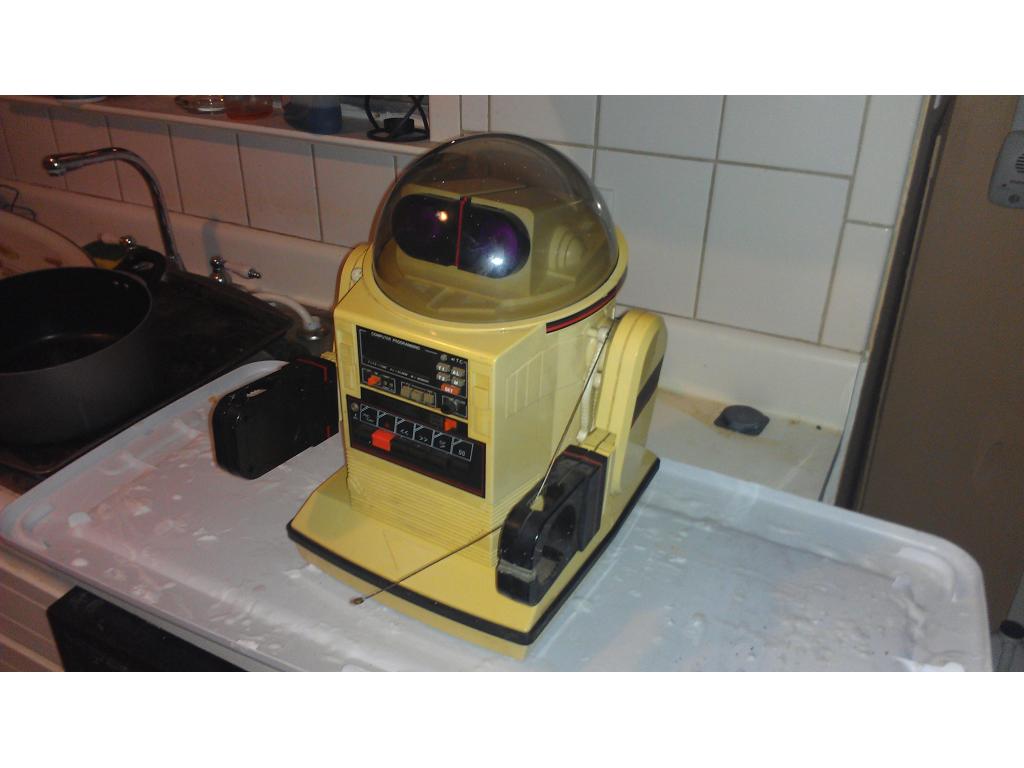
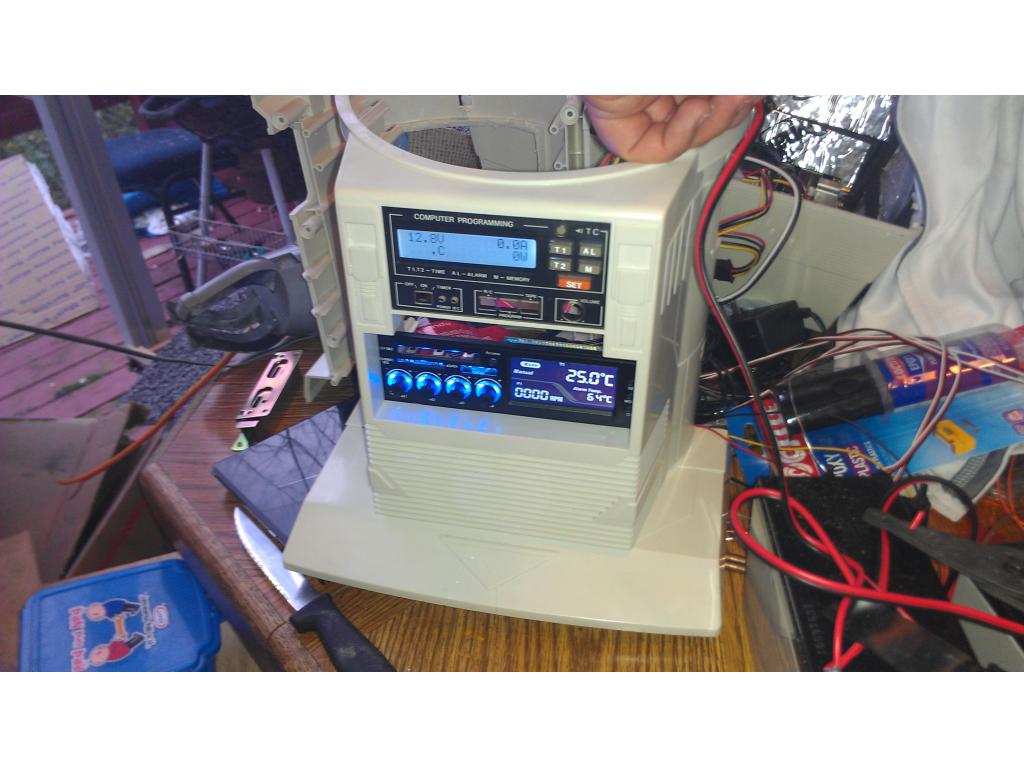
This project has evolved some , the basic rundown is I'm modding two Omnibots , one a regular the other a larger 2000 model. I will have two ezb kits , rad base idea was thrown out because of so much noise but could go back on the table if the omnibot drivetrain is too weak to pull it.


By jstarne1
— Last update
Discover more robots
DJ's The Real Wall-E
Wall-E using EZ-B and Synthiam ARC tracks faces, color and motion with camera, vertical head servo, voice control and...
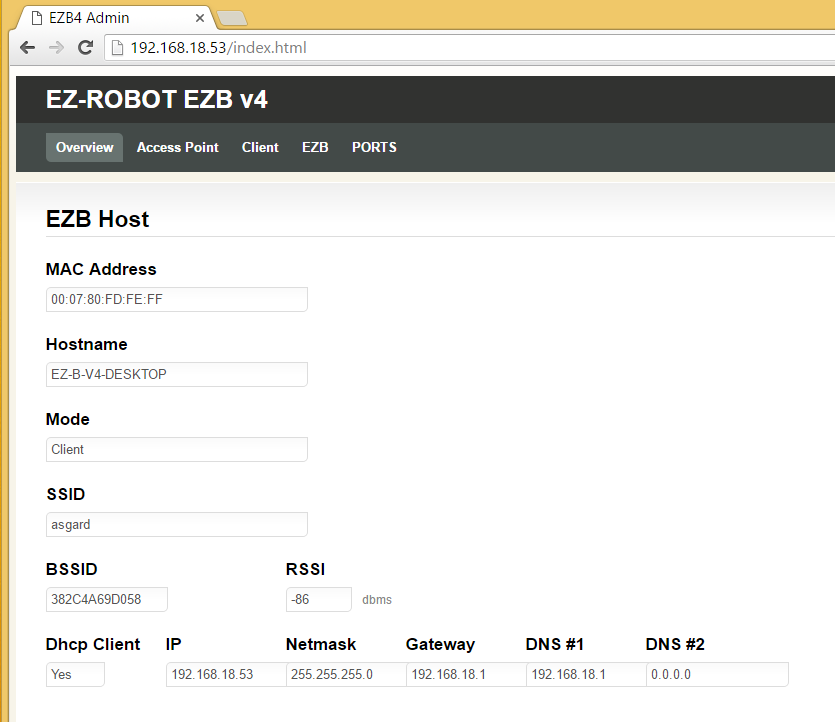
Ptp's Ezb V4 Custom Firmware V2
Custom EZB 4 firmware with AP, client/station, HOST/EZB and ports configuration; beta fixes, polished UI and developing...
Steve's Ez Robot Railroad Observation Car
Control an EZB4-powered camera observation car on a Silverton O Scale Railroad using EZ Robot and servos for live...

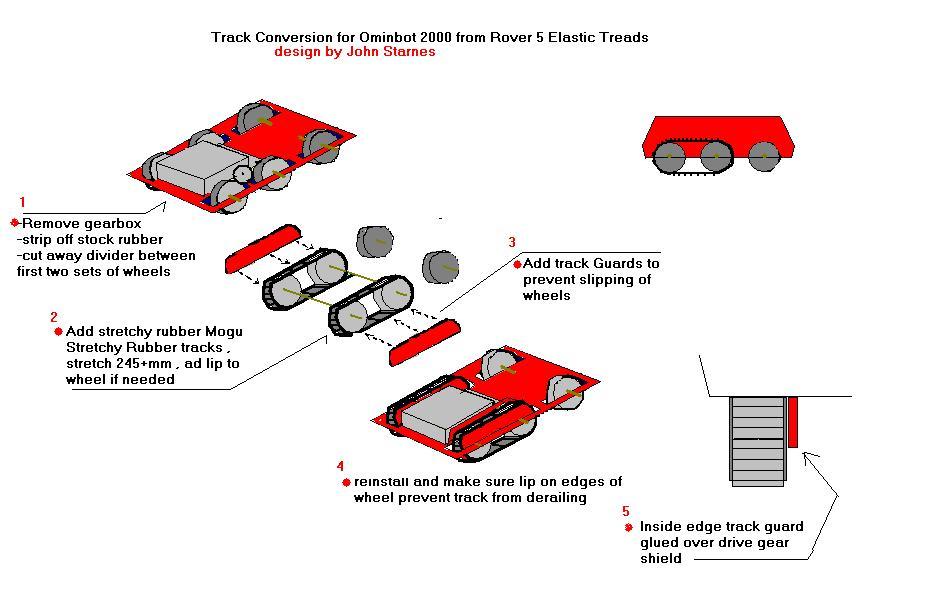
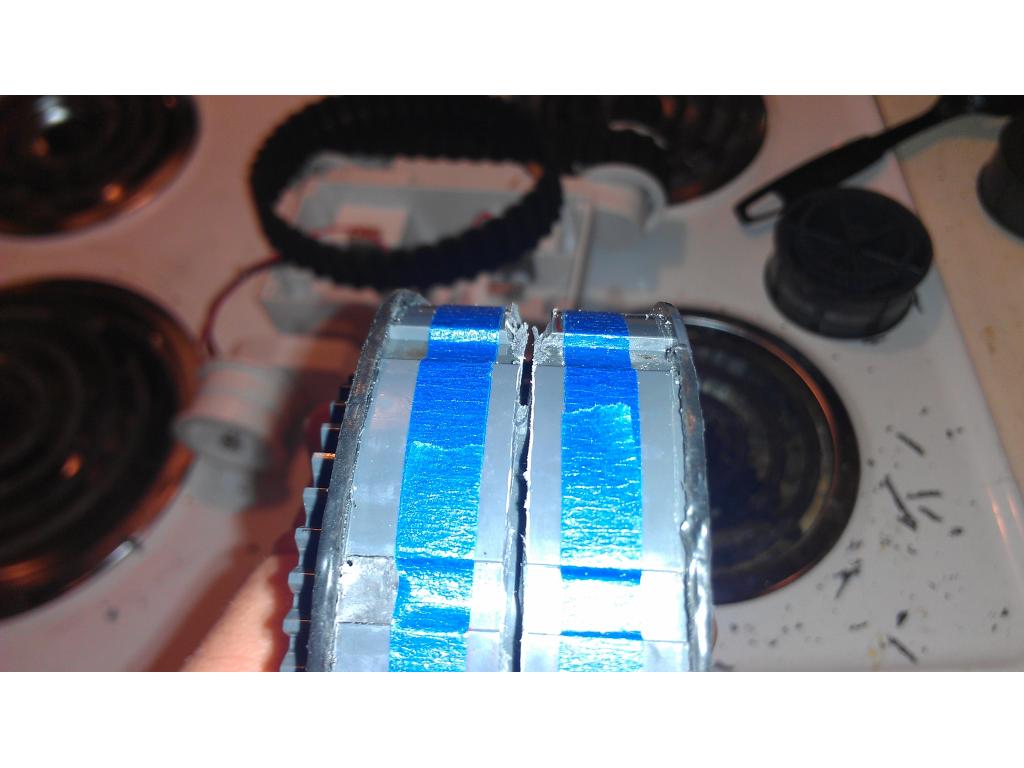
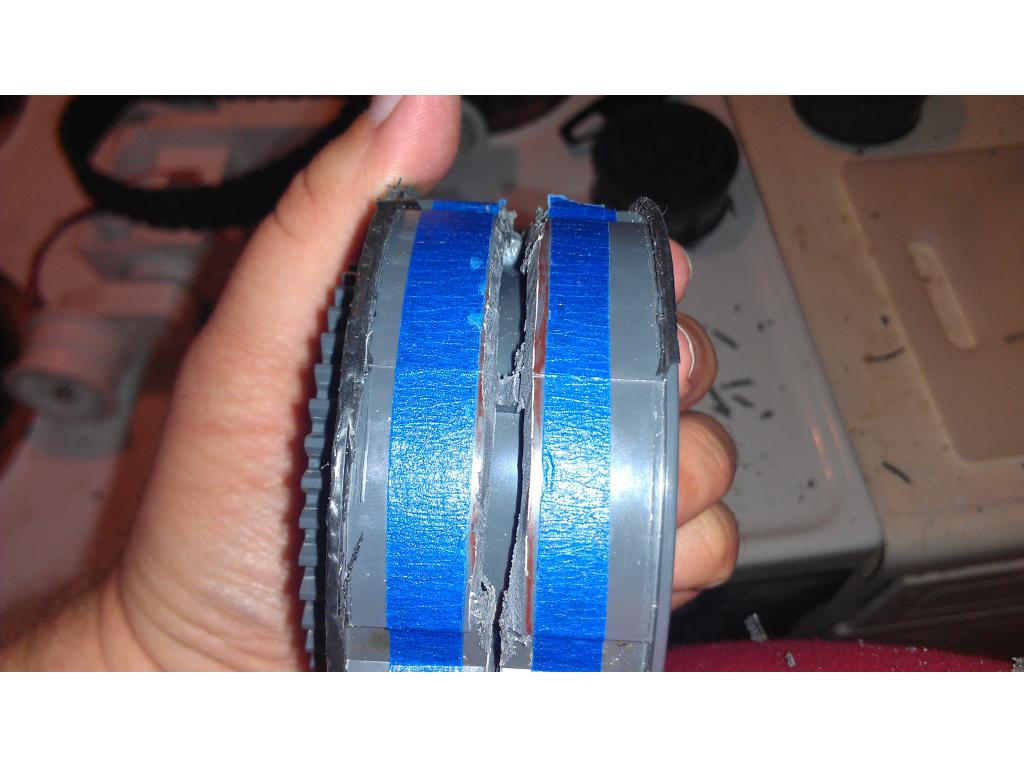
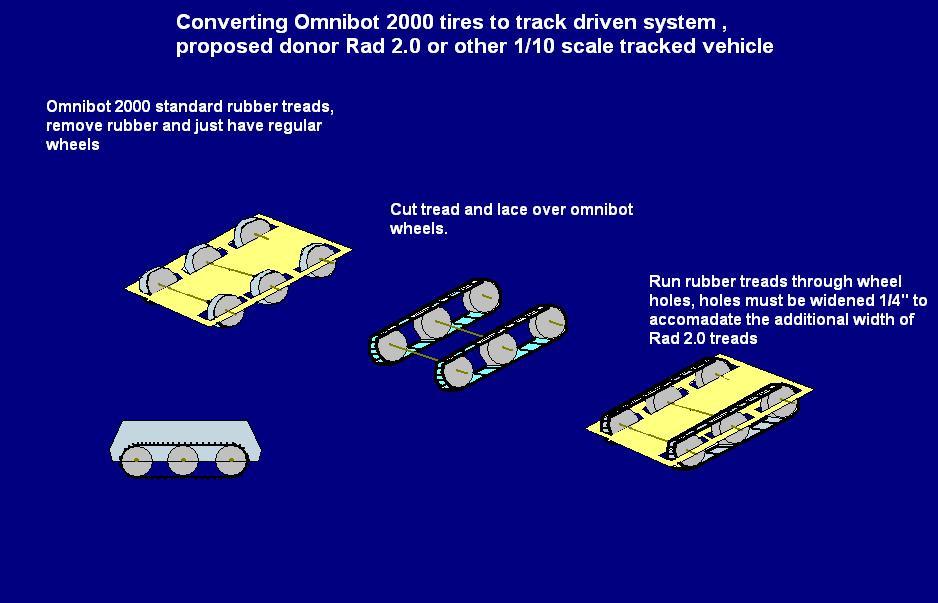
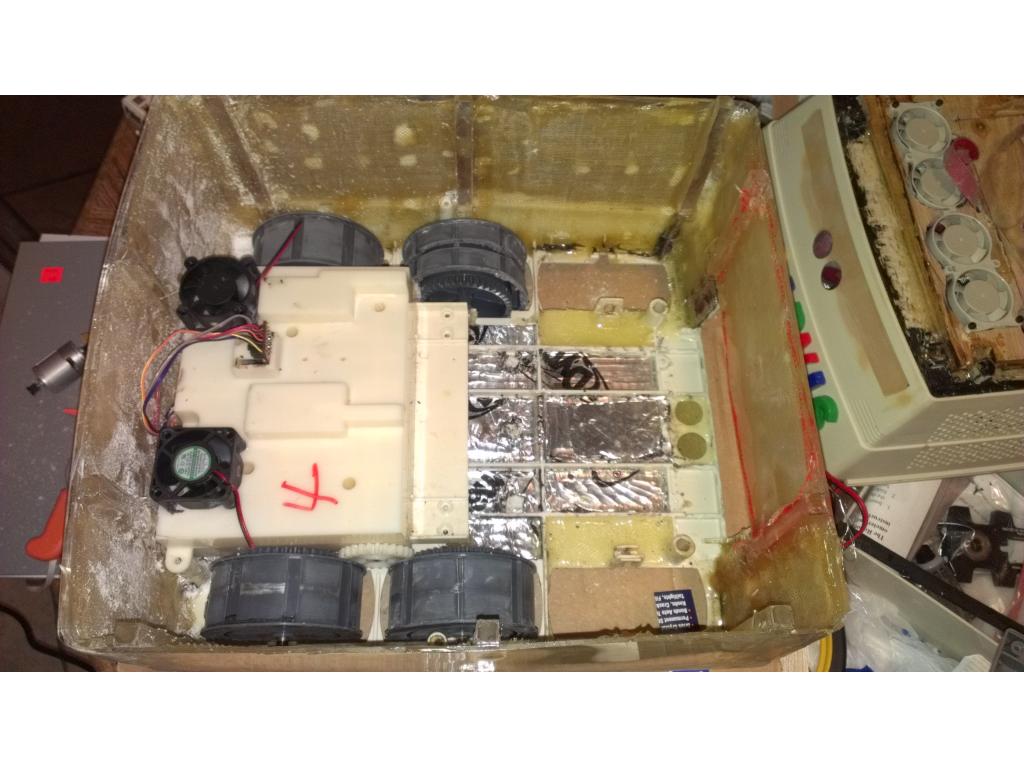
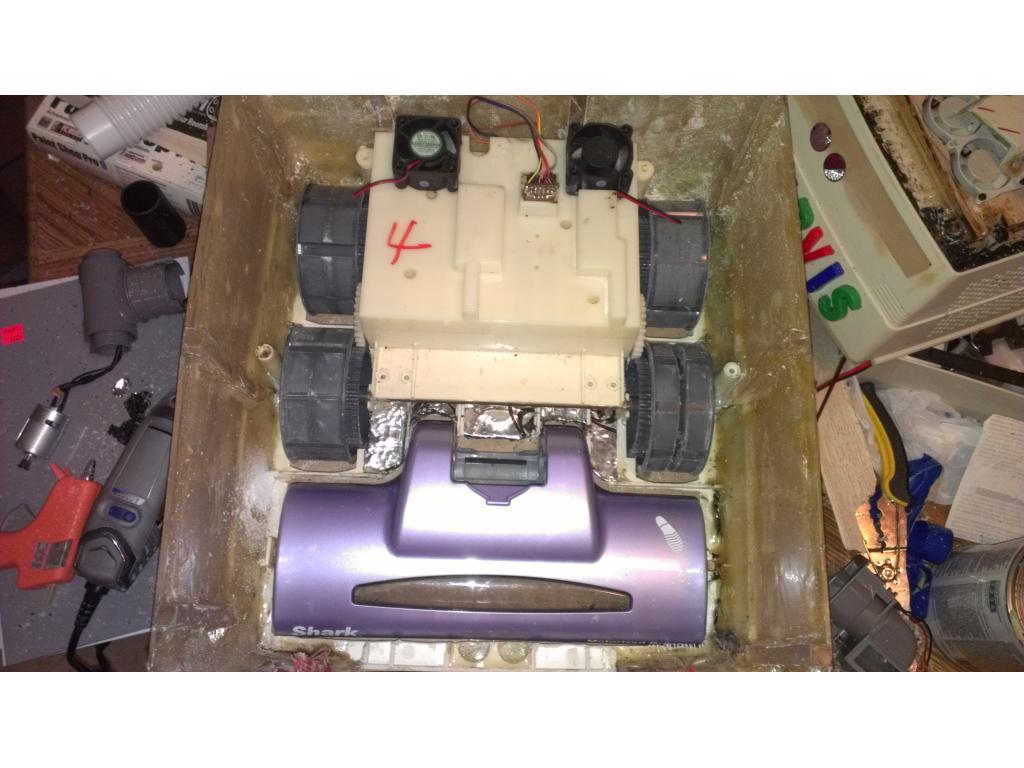
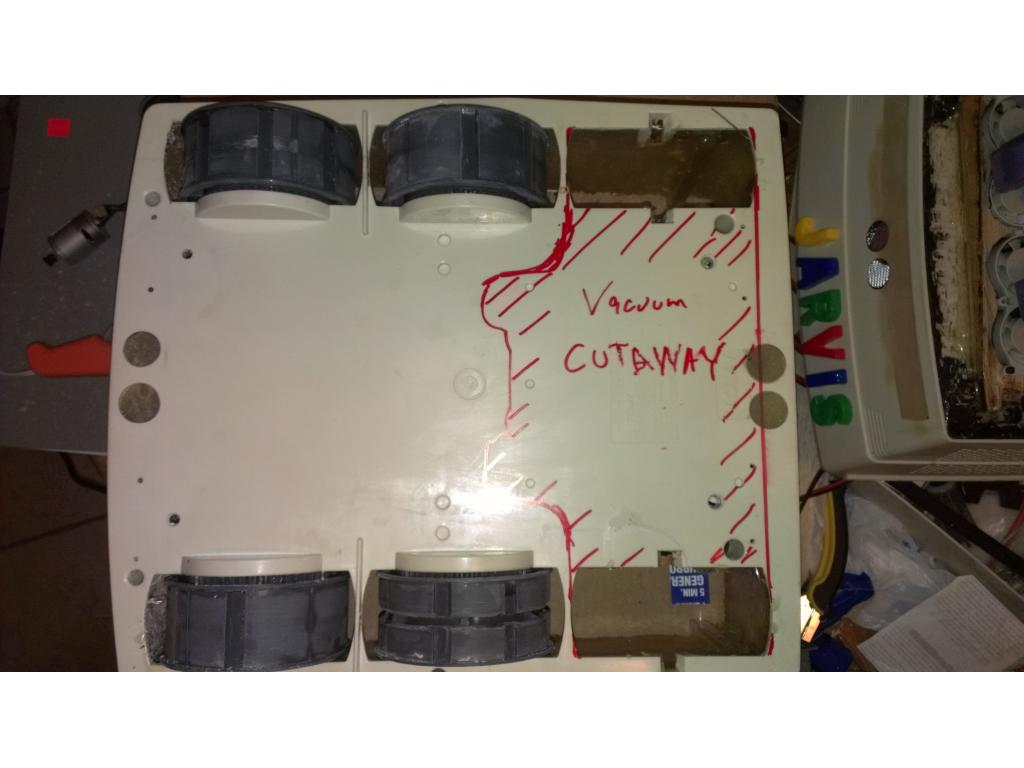
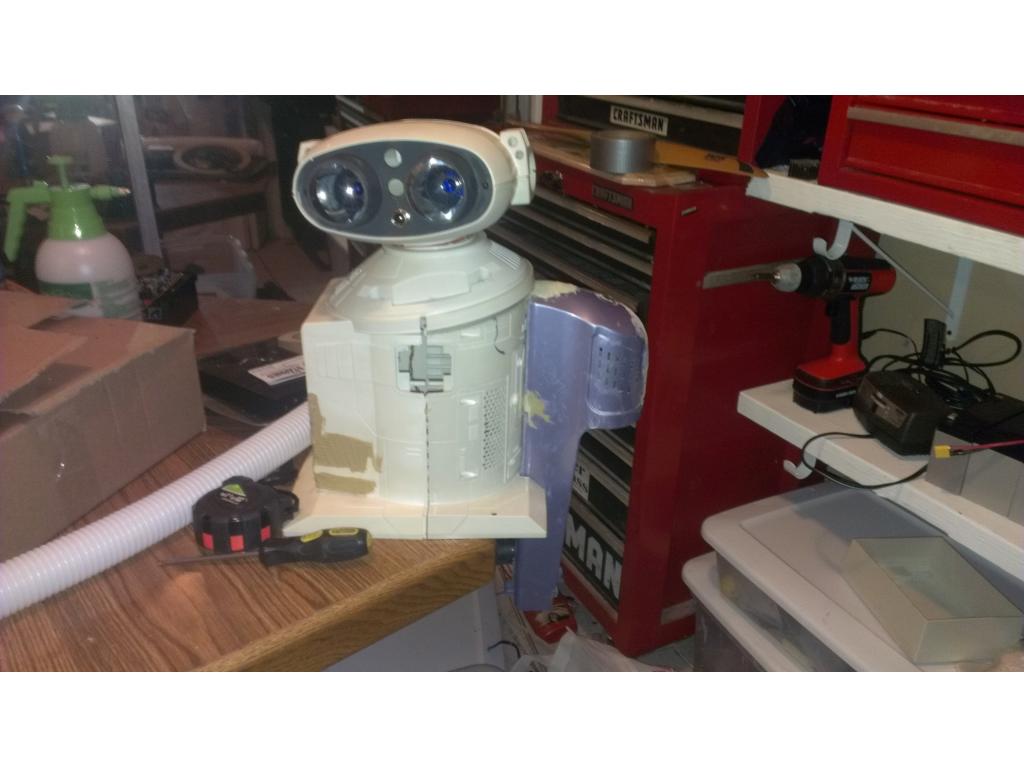
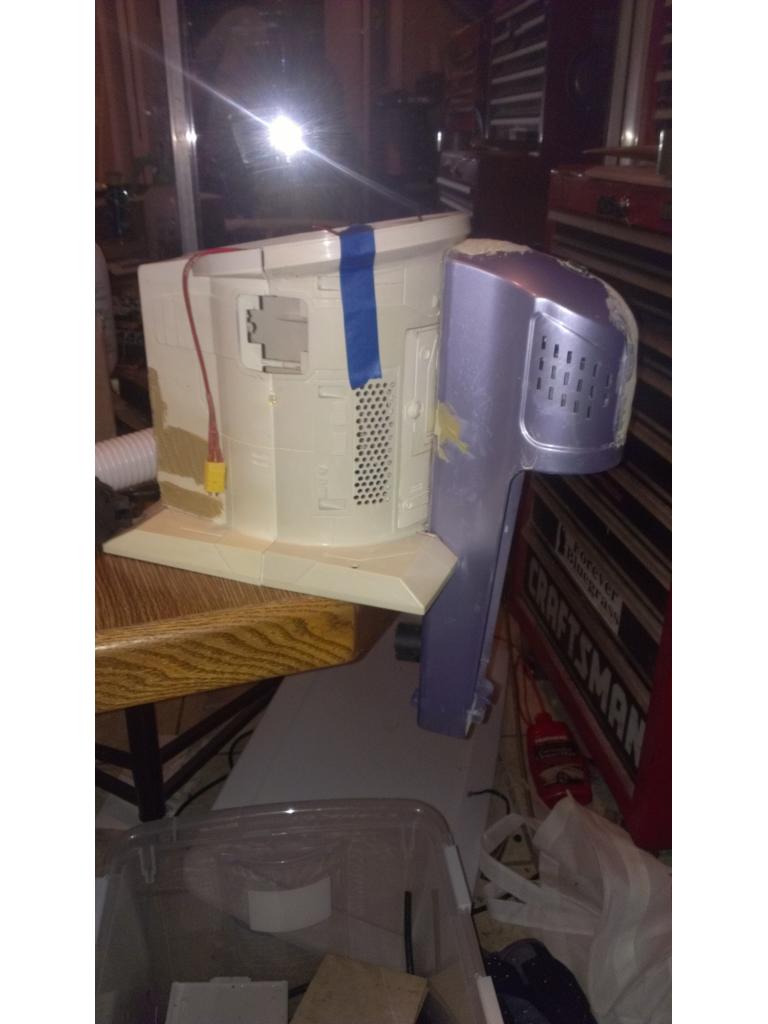
JOSH in a few days will have a post up on my omnibot 2000 design,i was looking at first my tracks and found a very simple track system bad news will need to remove the tracks from one of my robots stress stress but i can still replace it latter
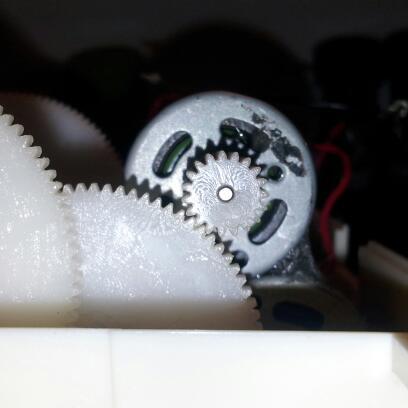
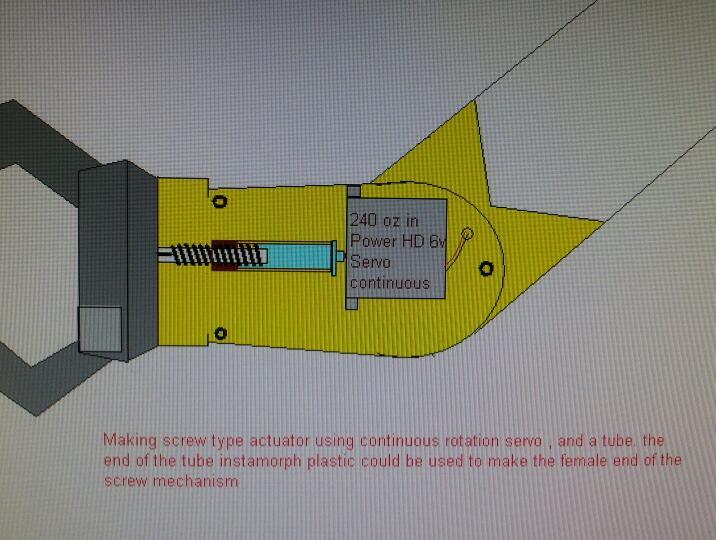
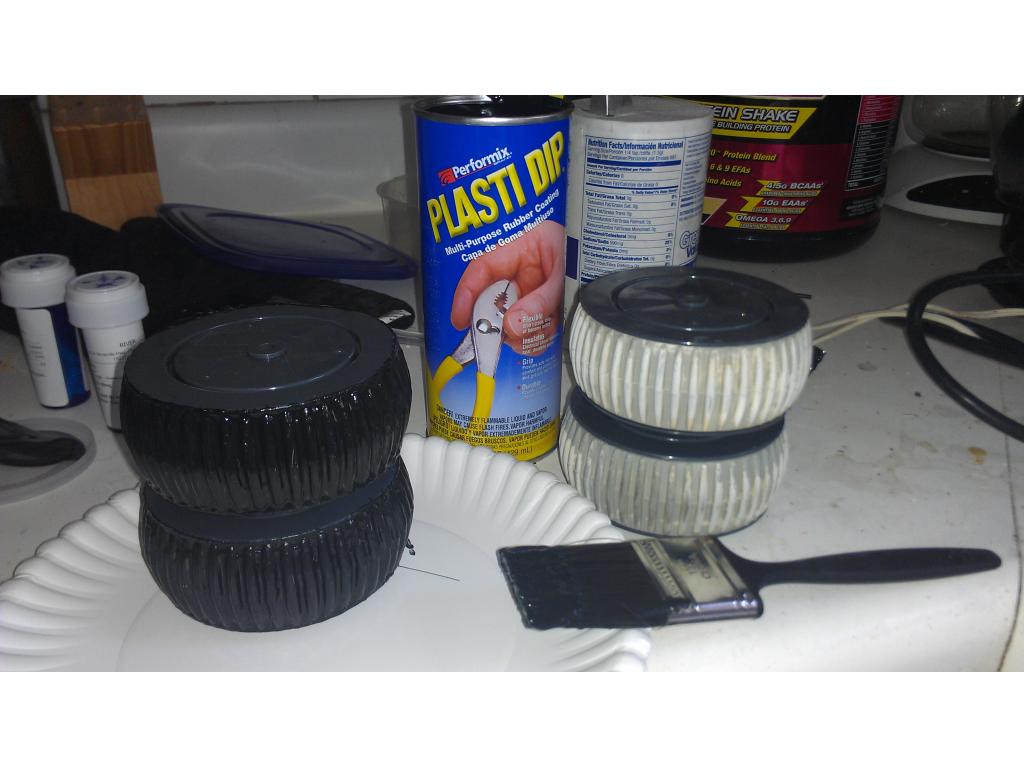
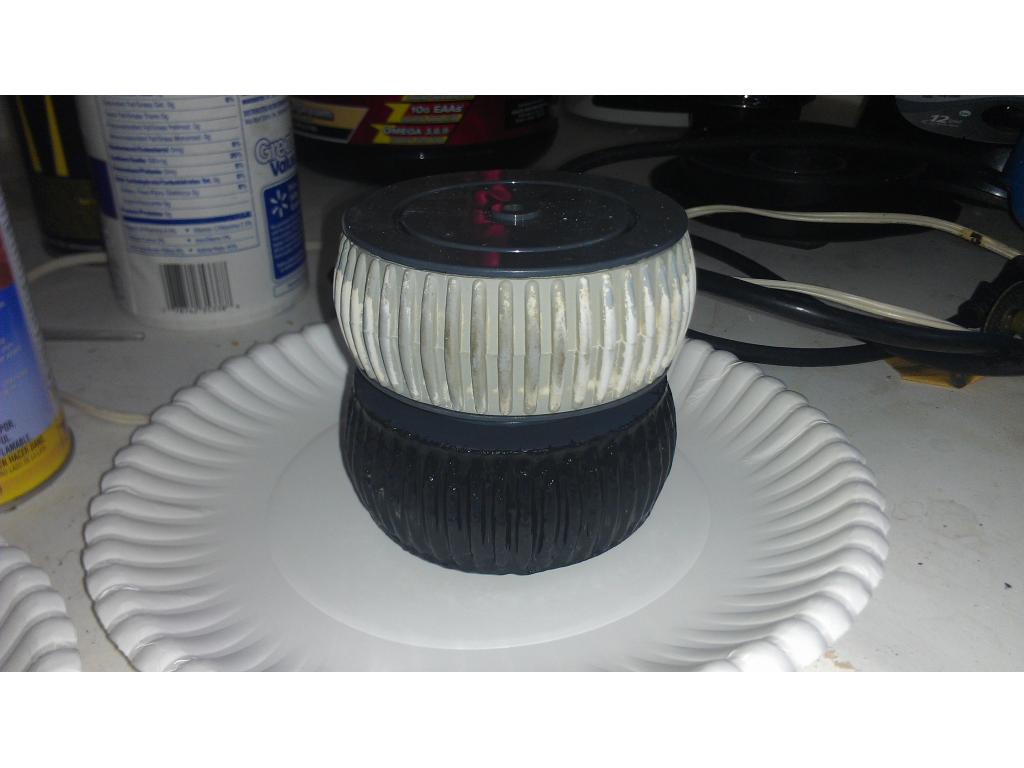
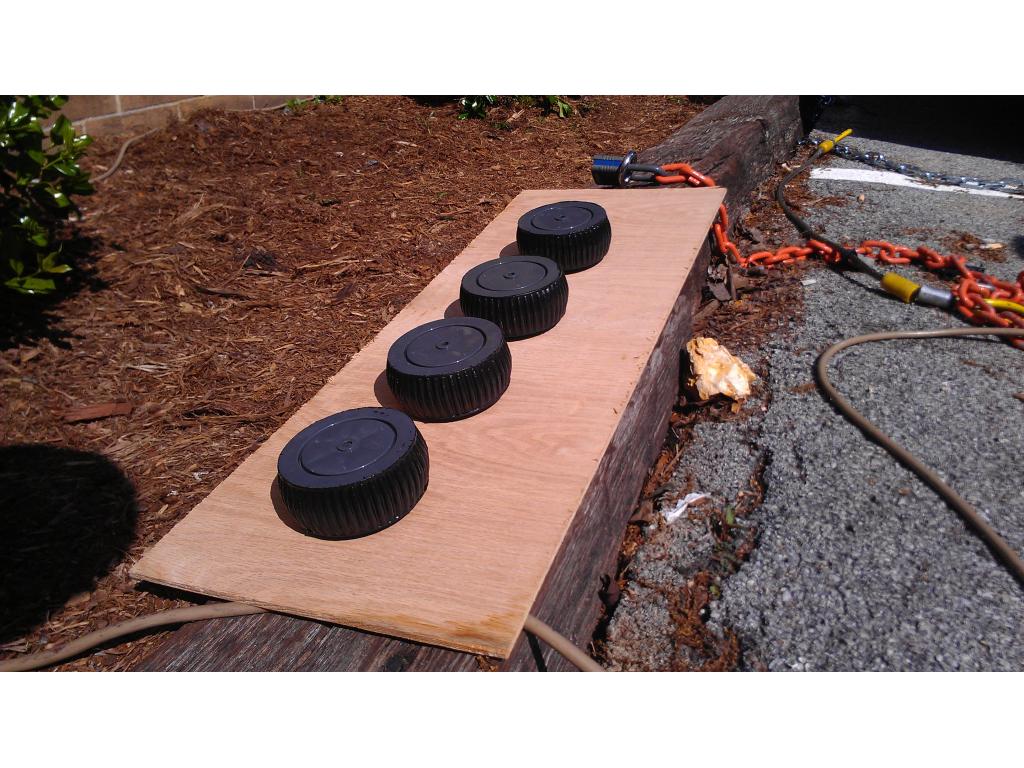
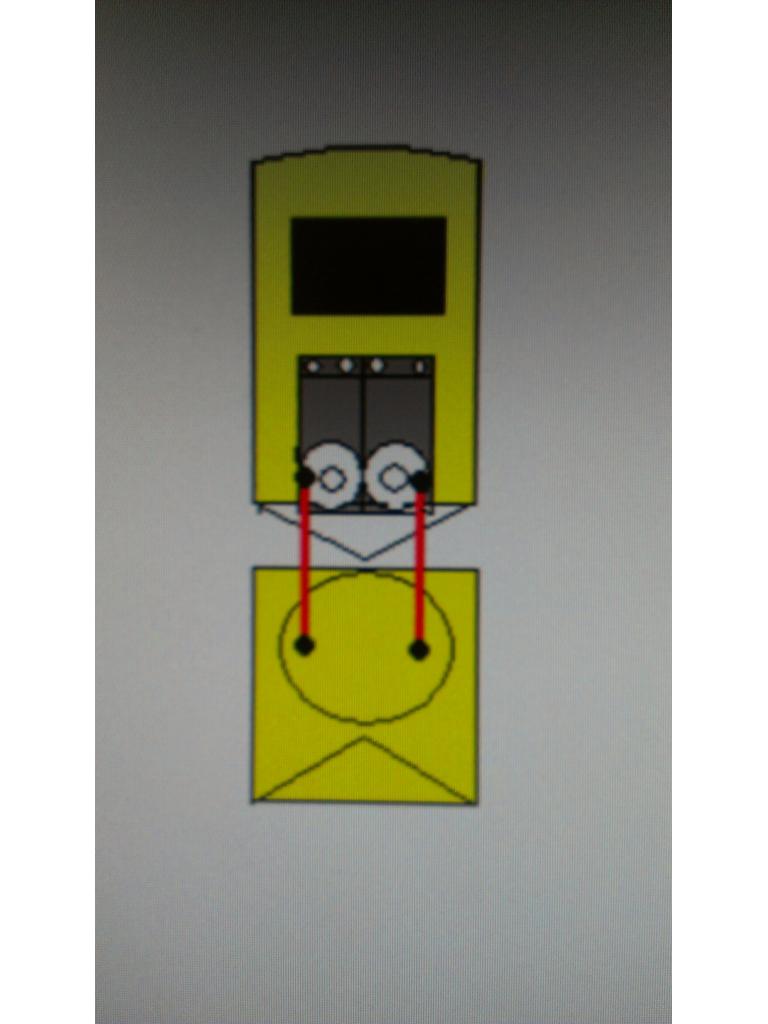
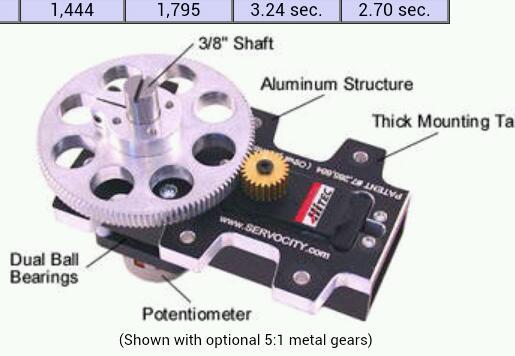
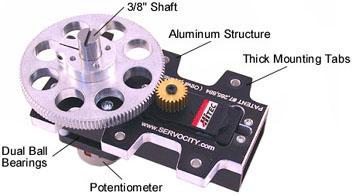
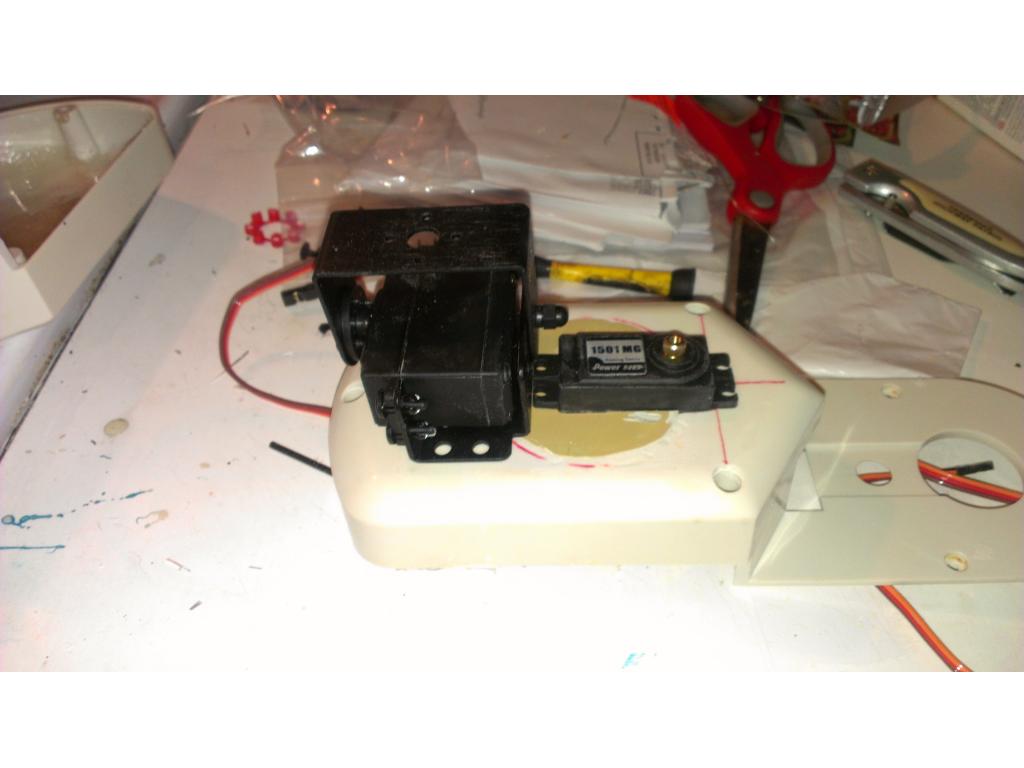
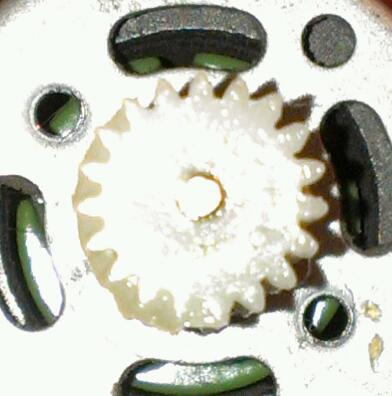
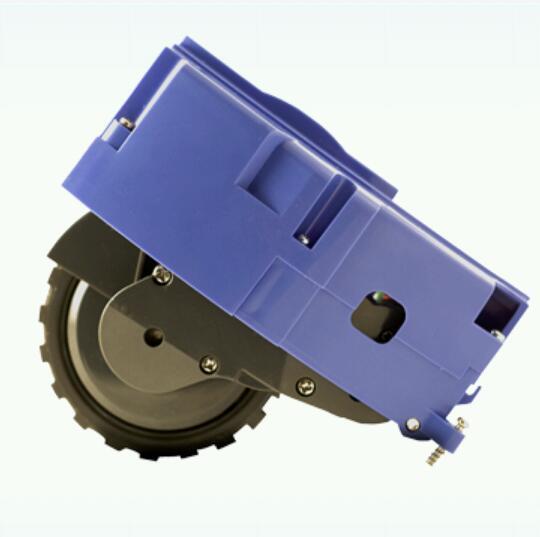
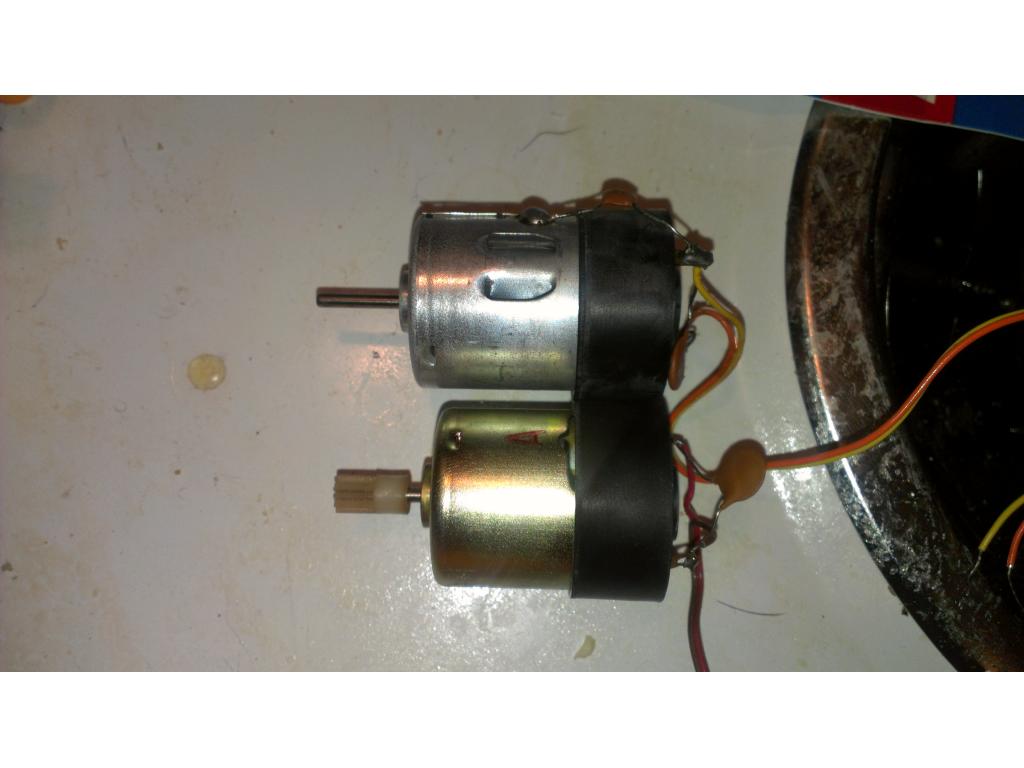
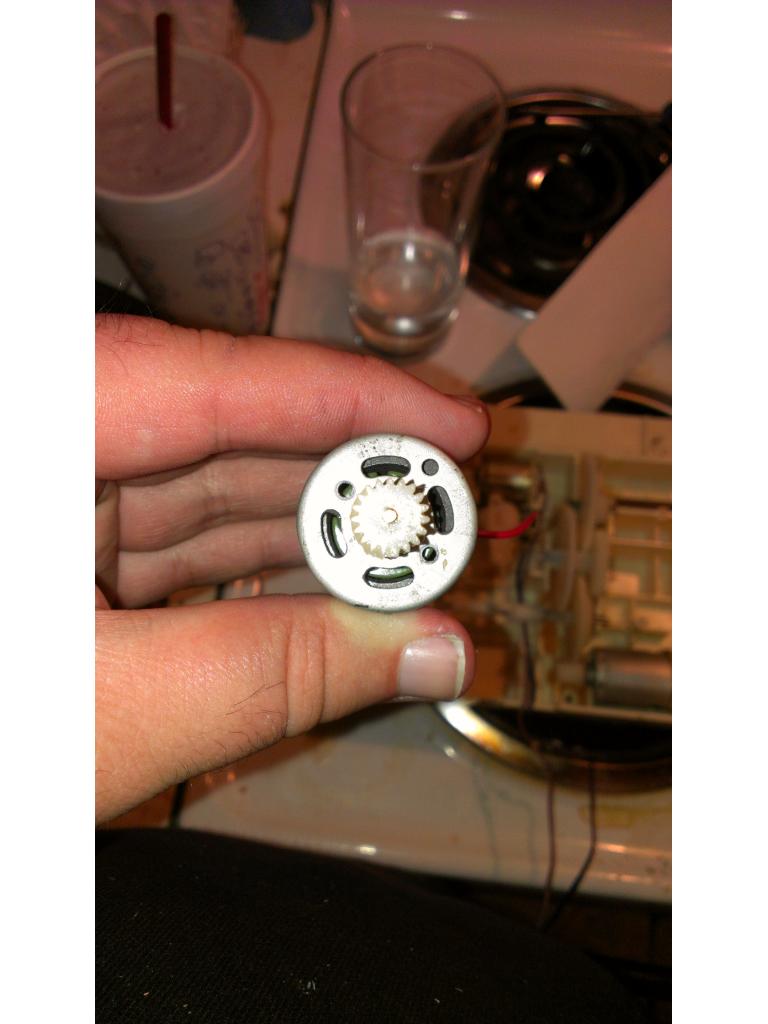
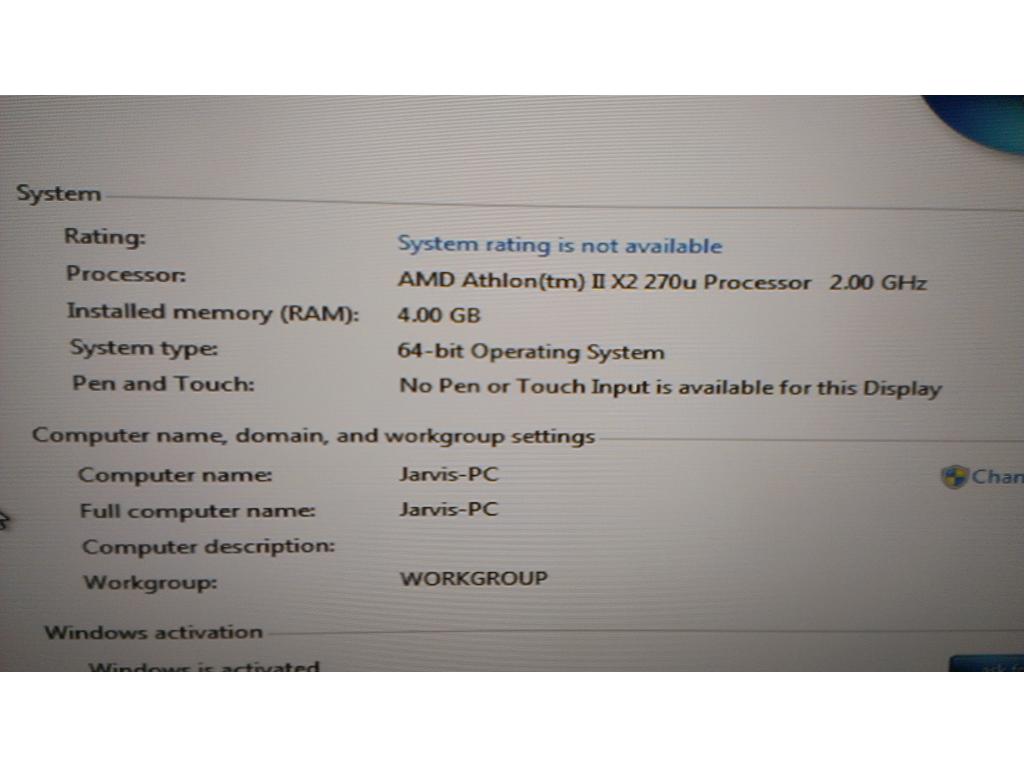
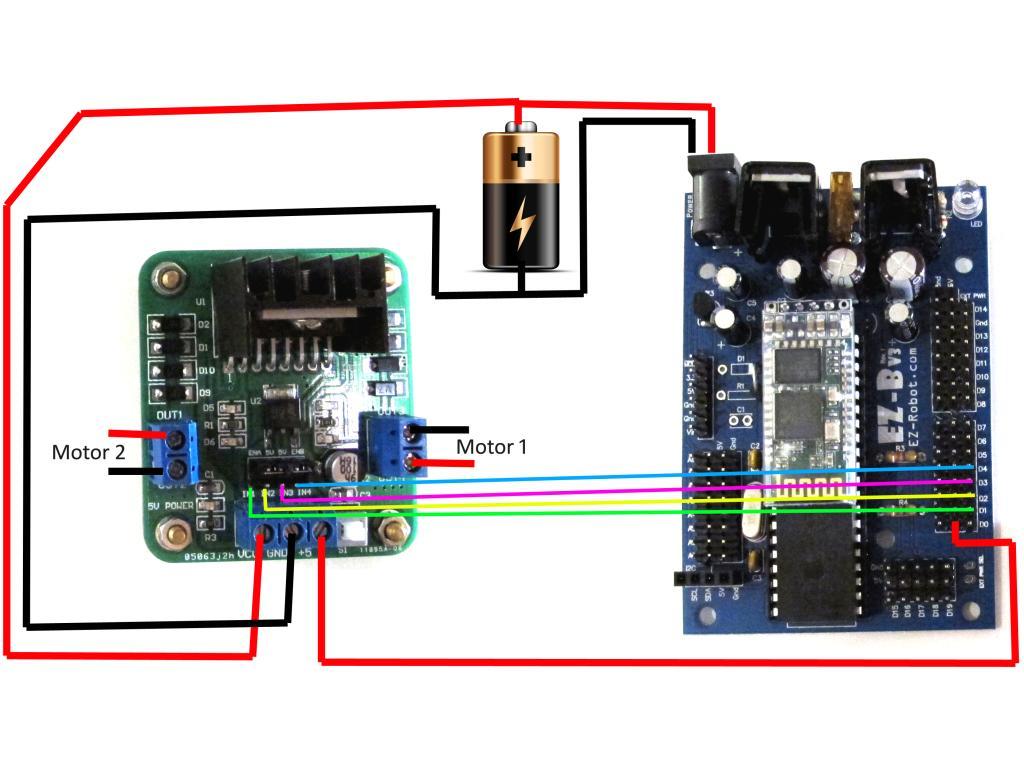
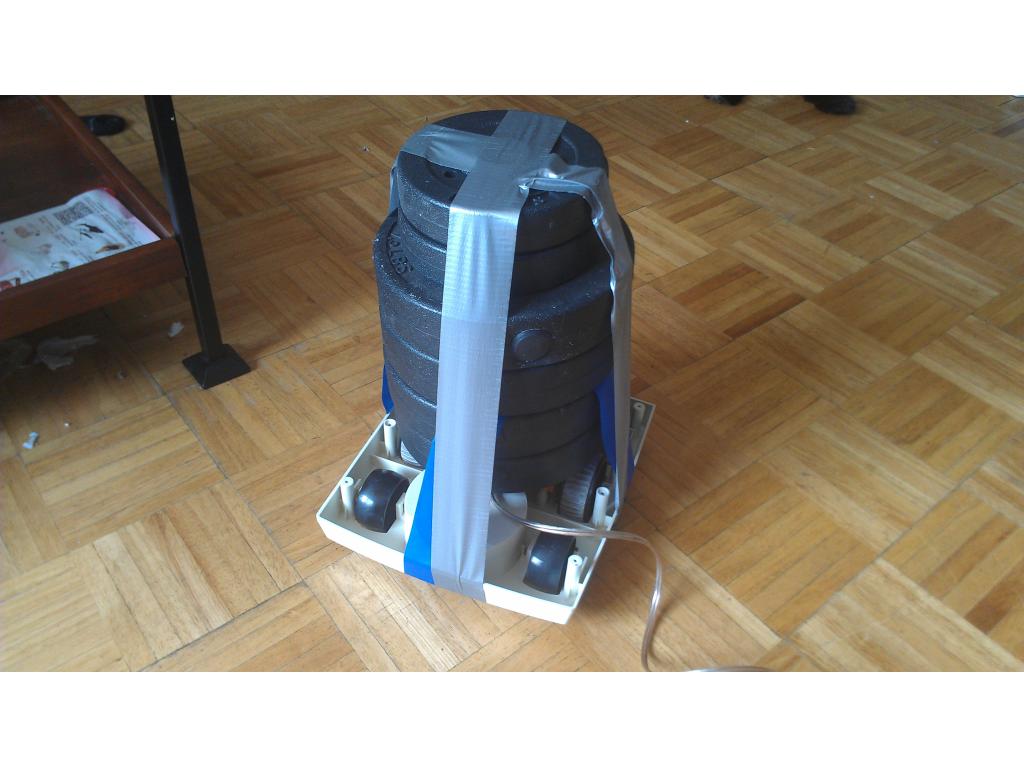
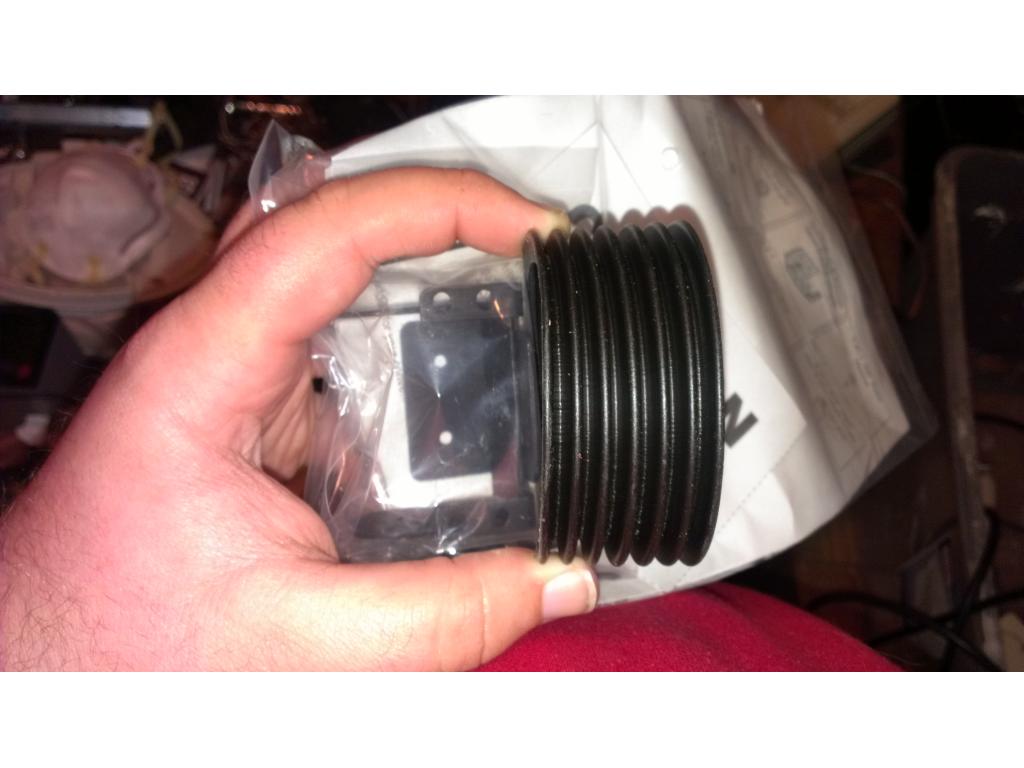
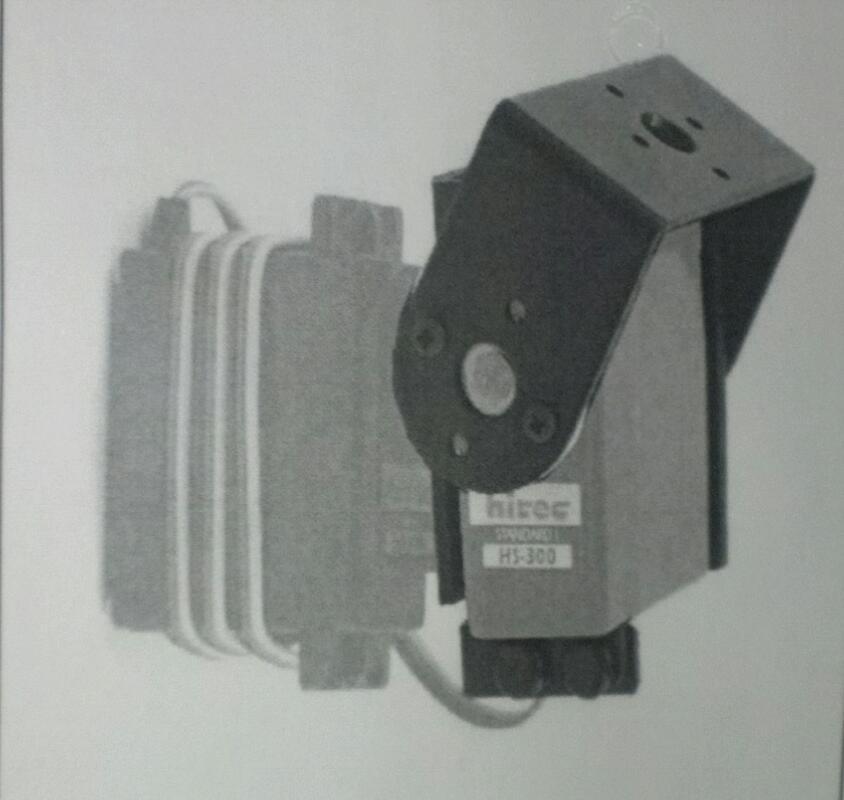
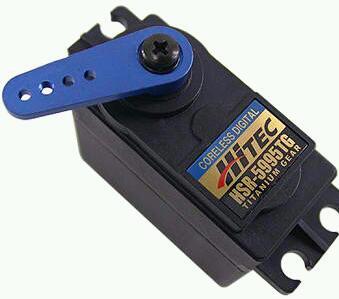
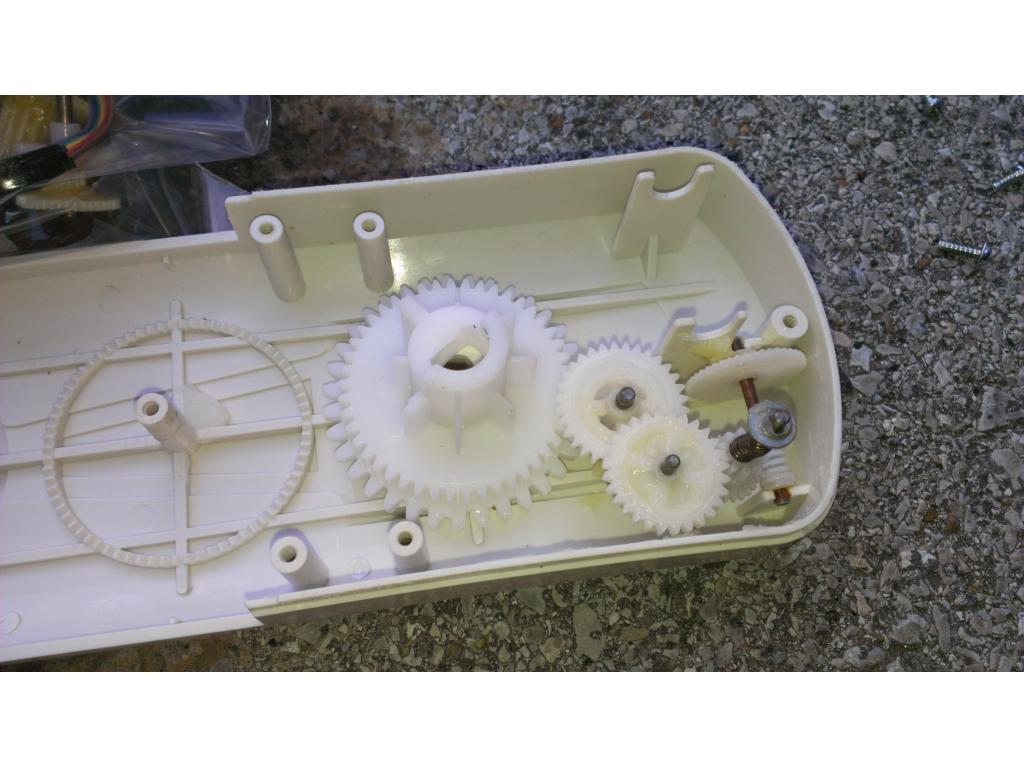
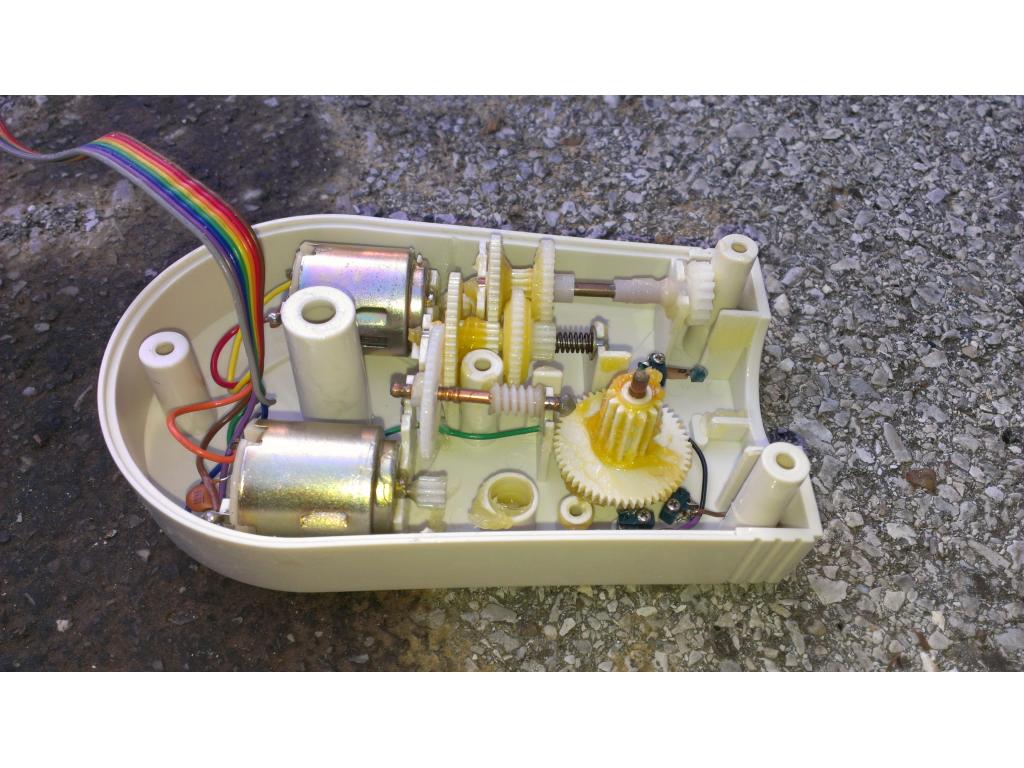
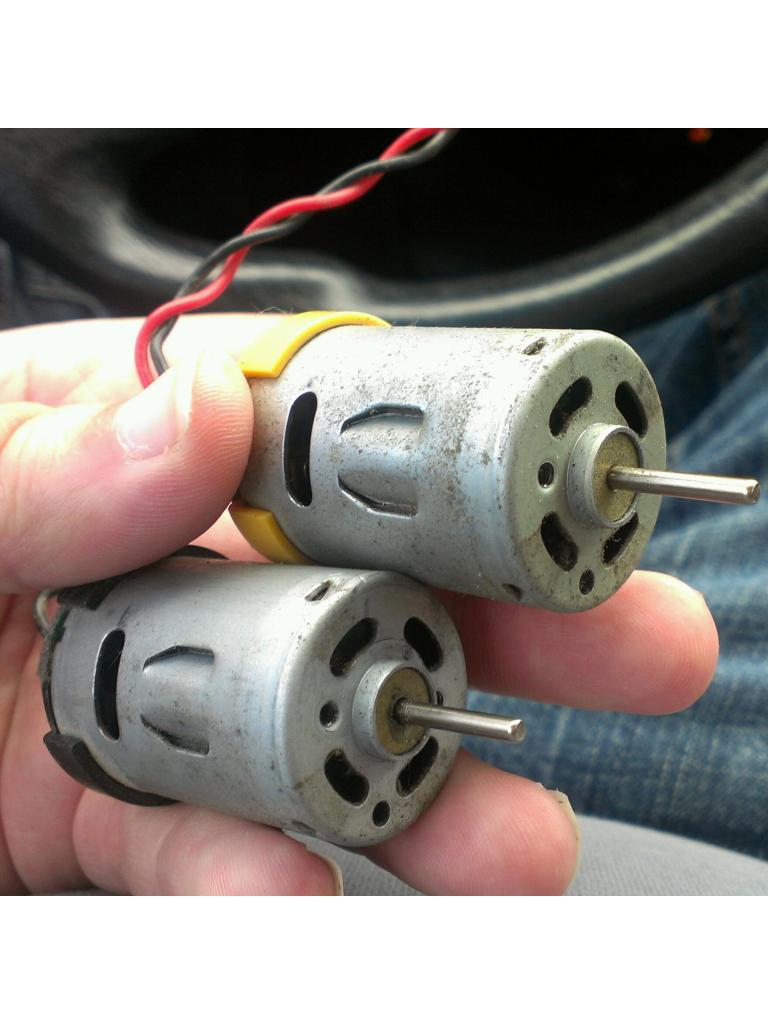
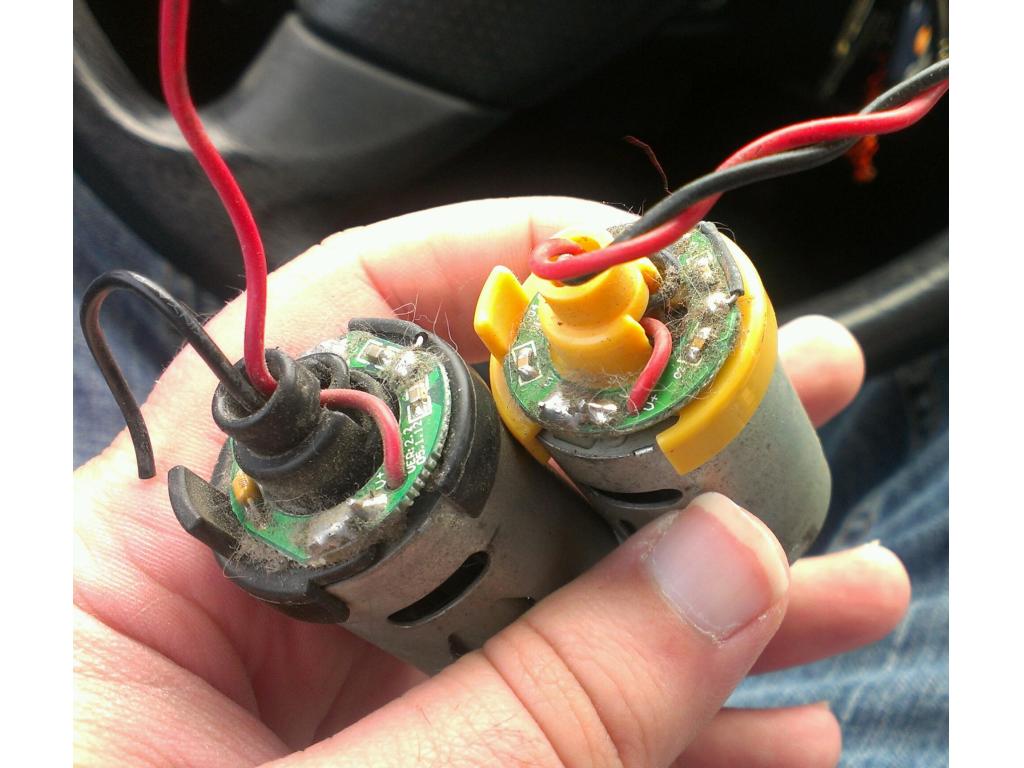
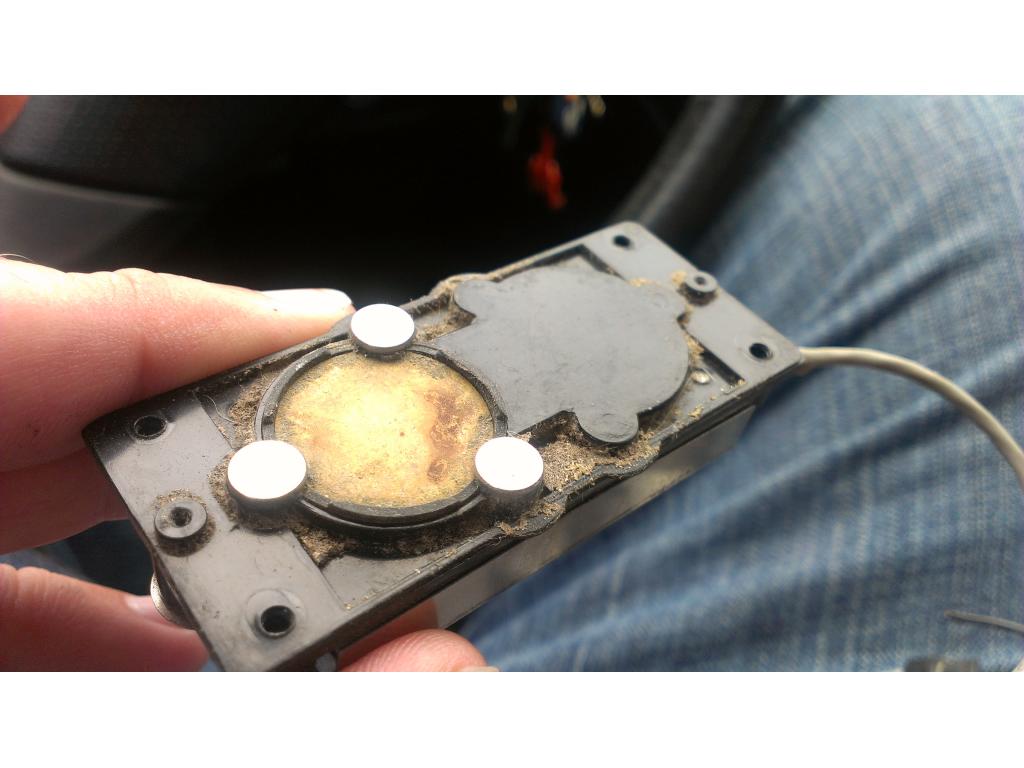
 it will handle a load of 60 lbs or more at 100 rpm,second does have a feedback pot for calculate speed and travel distance,very easy add on
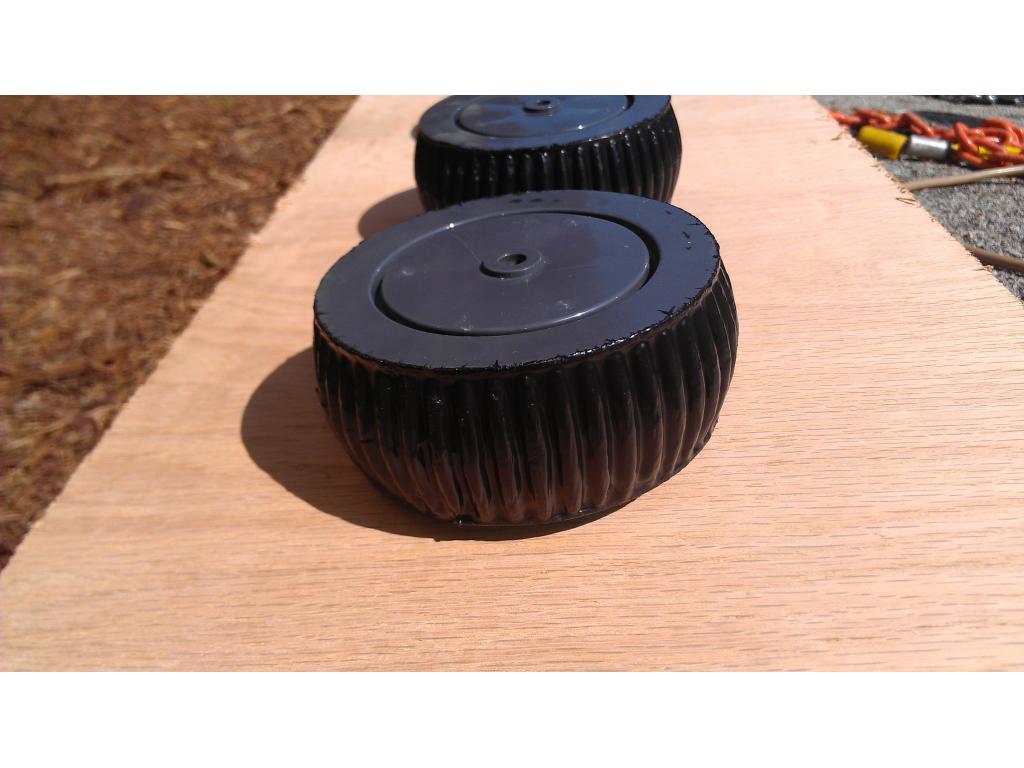
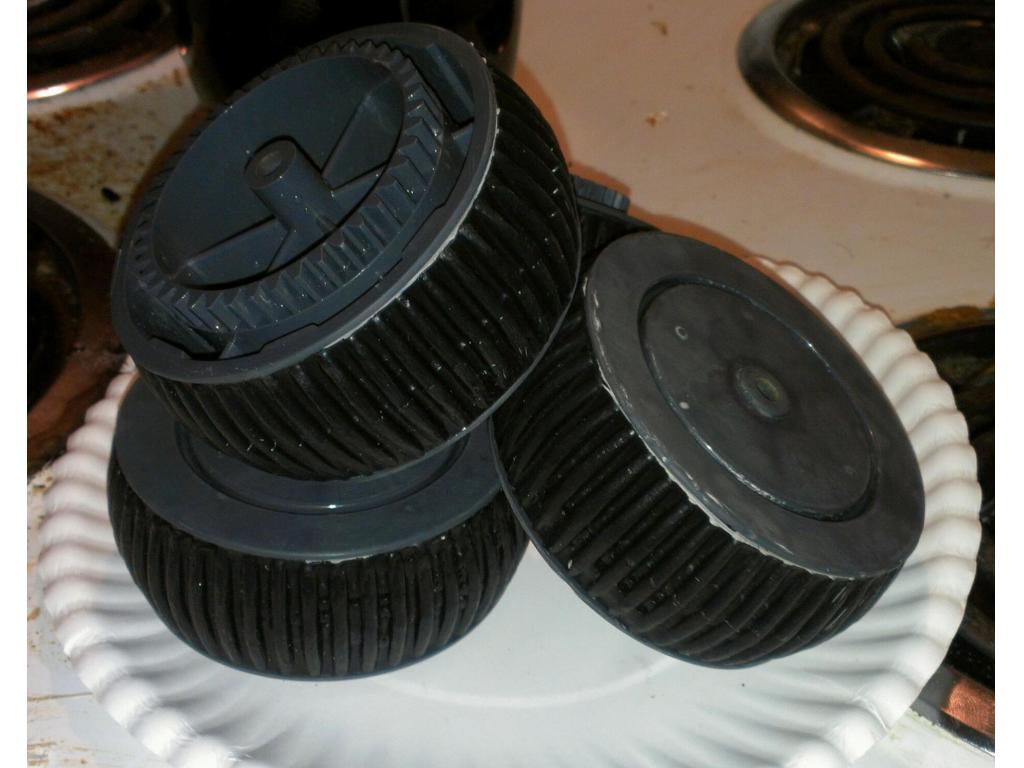
about monday will post photos ,details and parts list,making a few changes and removing the main wheels for tracks,also will take larger wheels without any changes
just wait for the surprise
it will handle a load of 60 lbs or more at 100 rpm,second does have a feedback pot for calculate speed and travel distance,very easy add on
about monday will post photos ,details and parts list,making a few changes and removing the main wheels for tracks,also will take larger wheels without any changes
just wait for the surprise
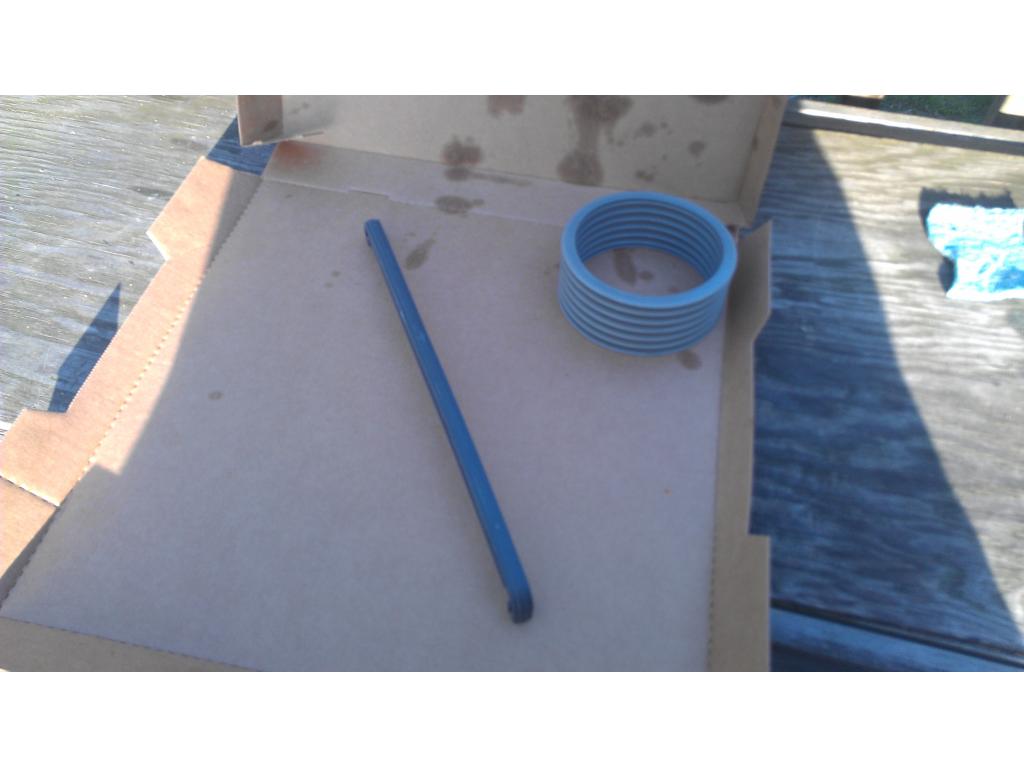
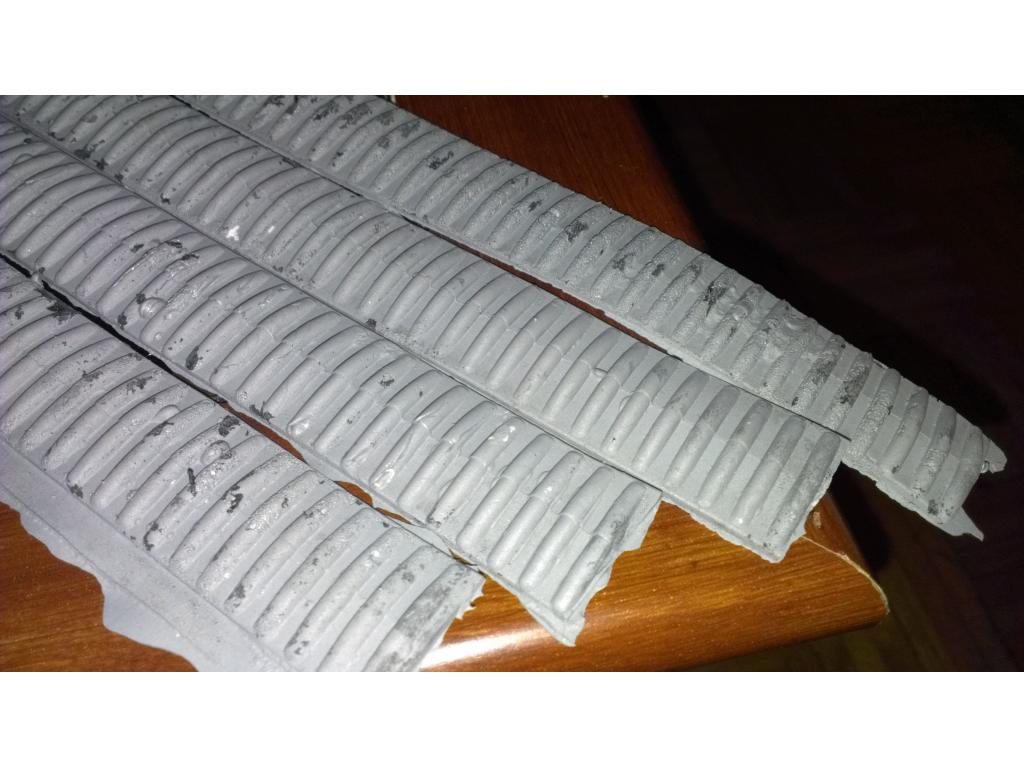
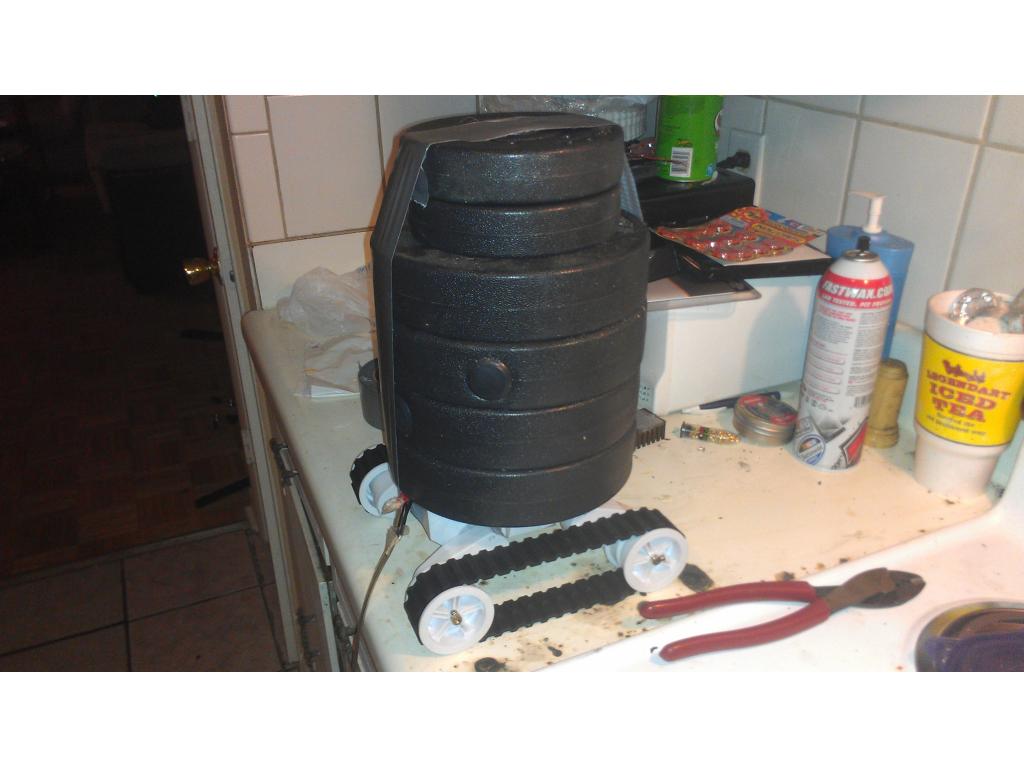
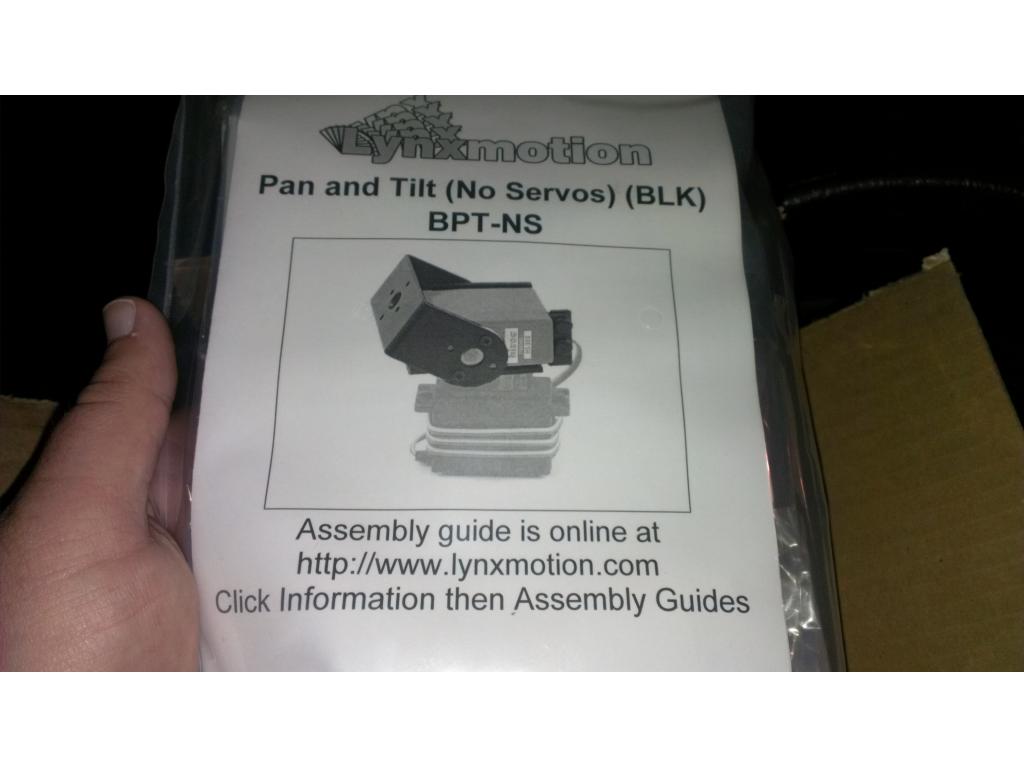
Yea tracks I will have eventually , lynxmotion brand but since the wheels I have will work.till he us operational that's a change worth waiting for.
while back in your omnibot post you had tracks made ,what happen to it
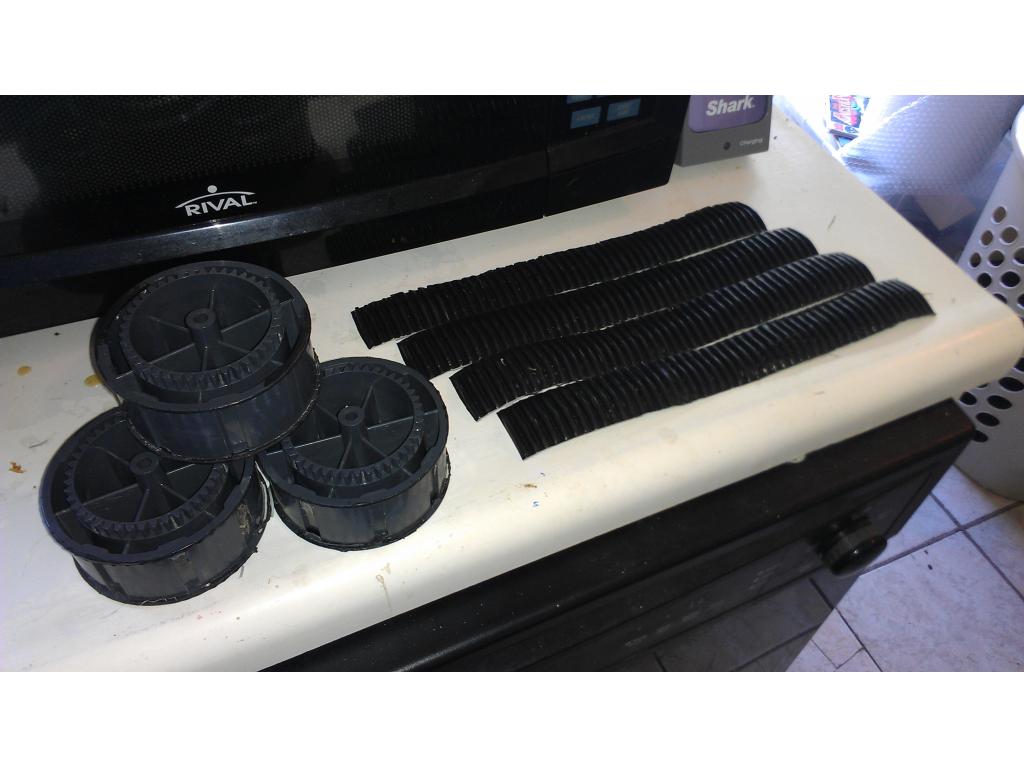
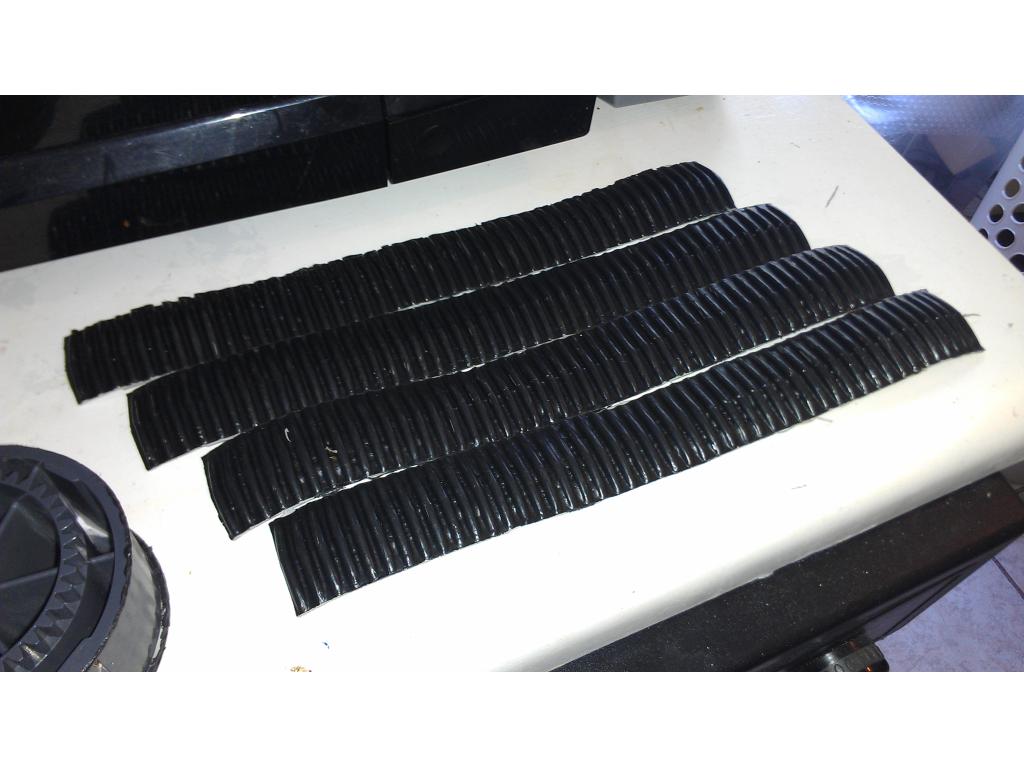
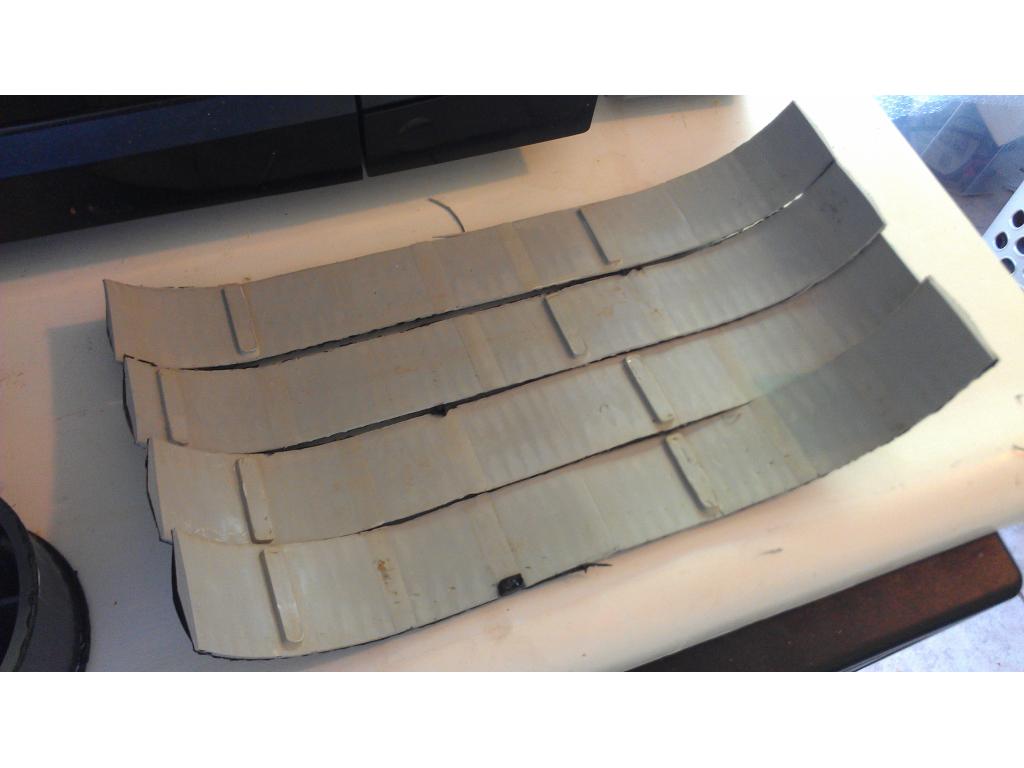
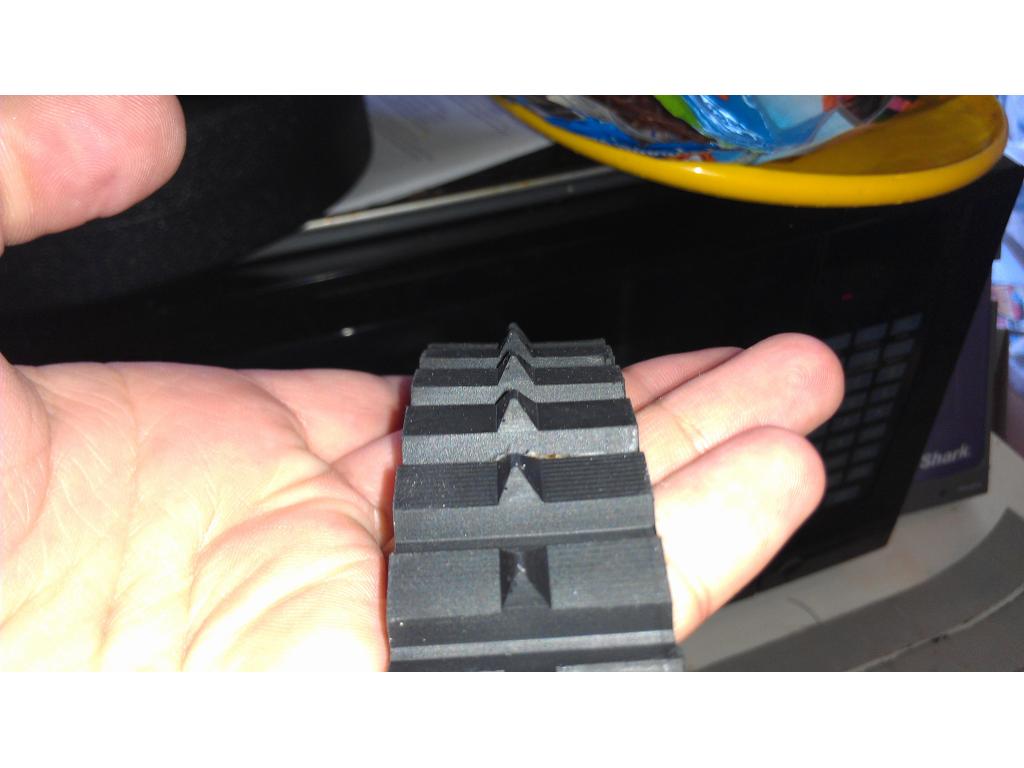
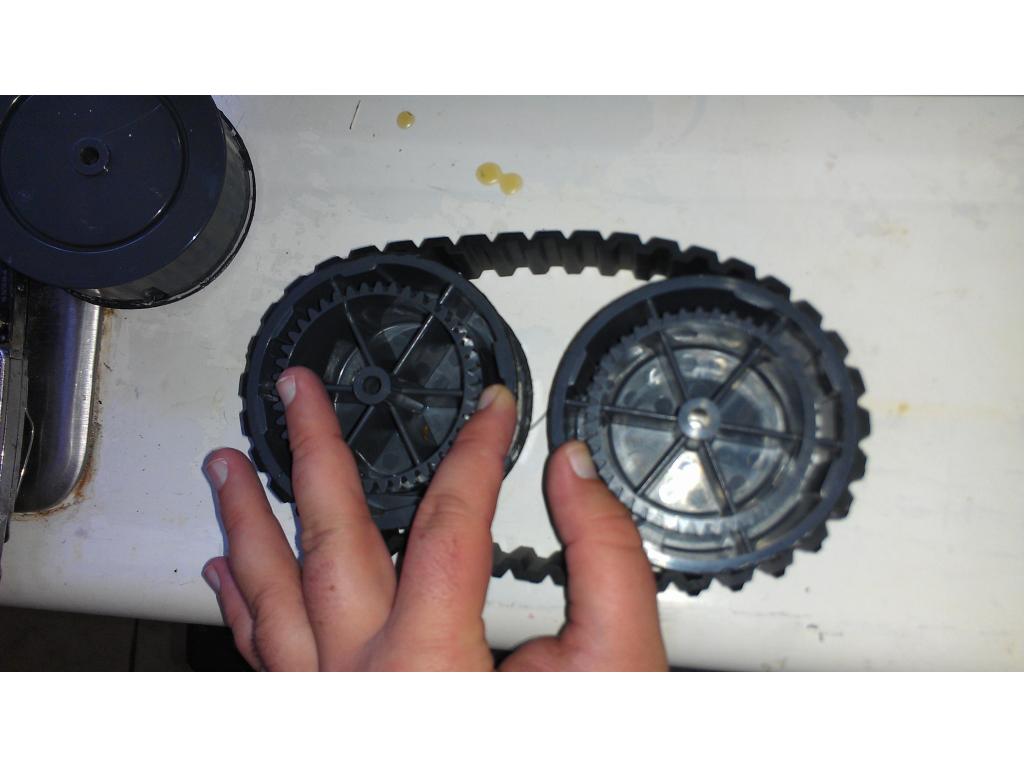
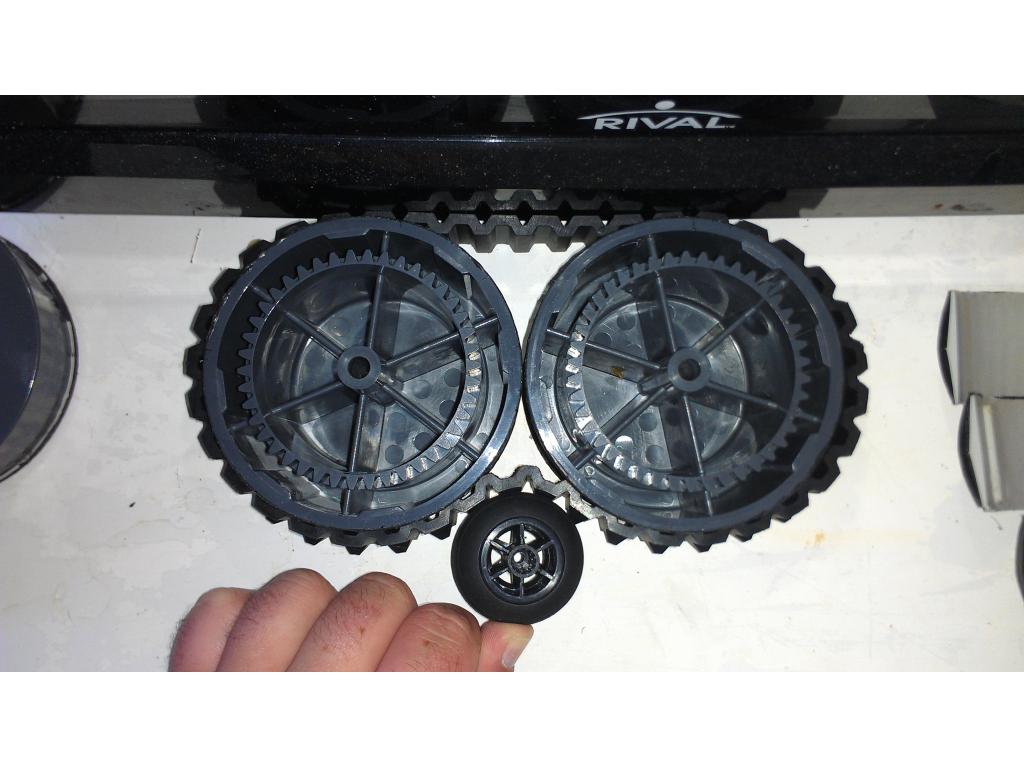
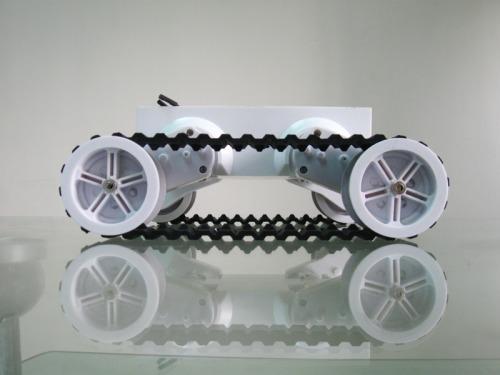
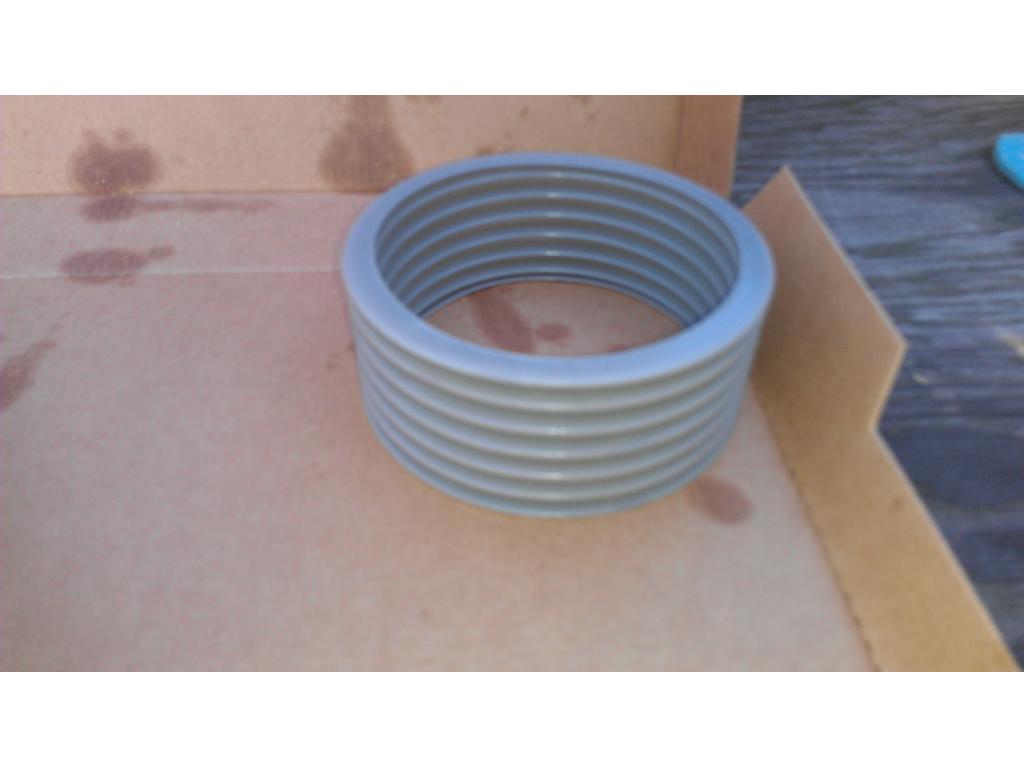
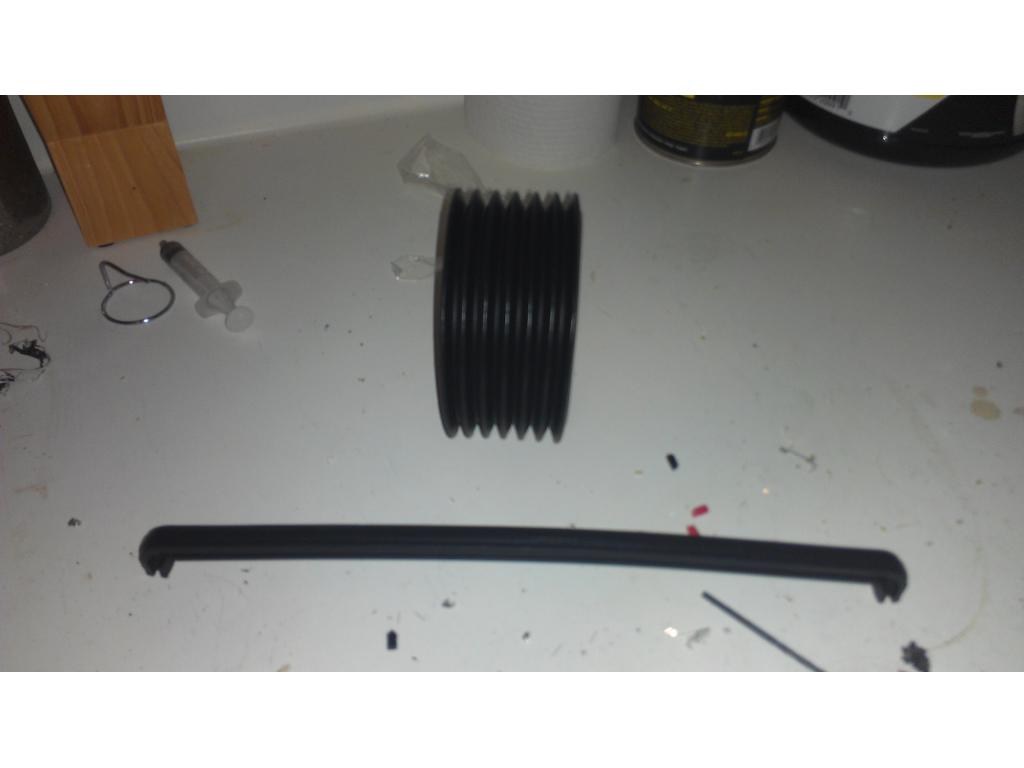
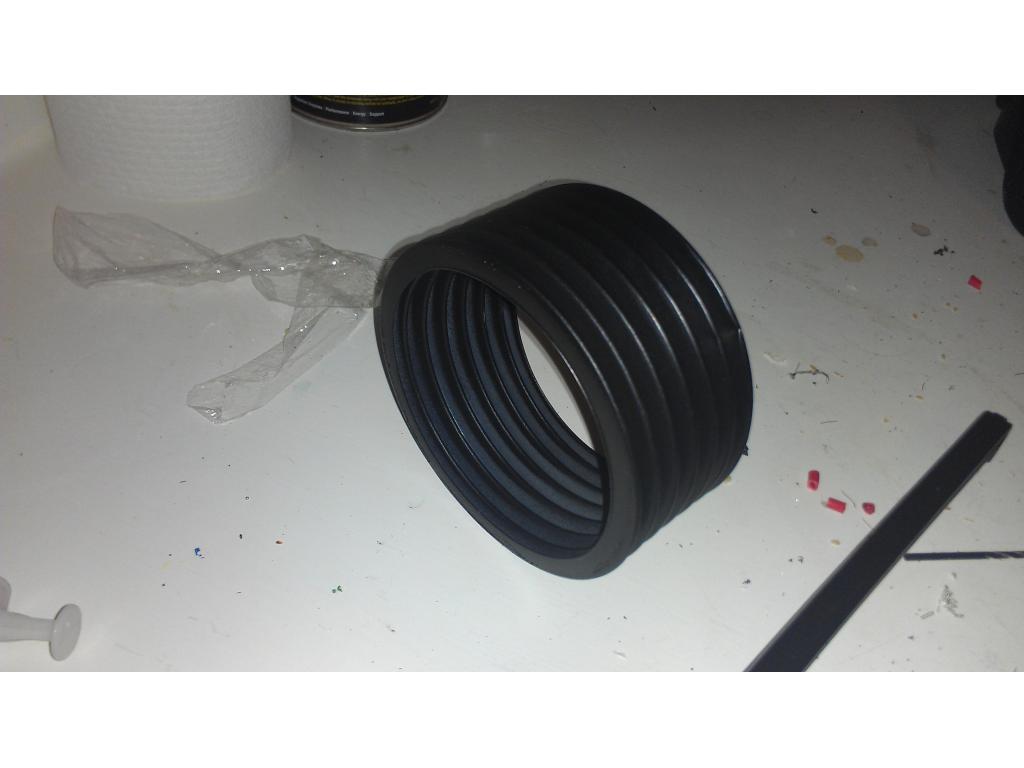
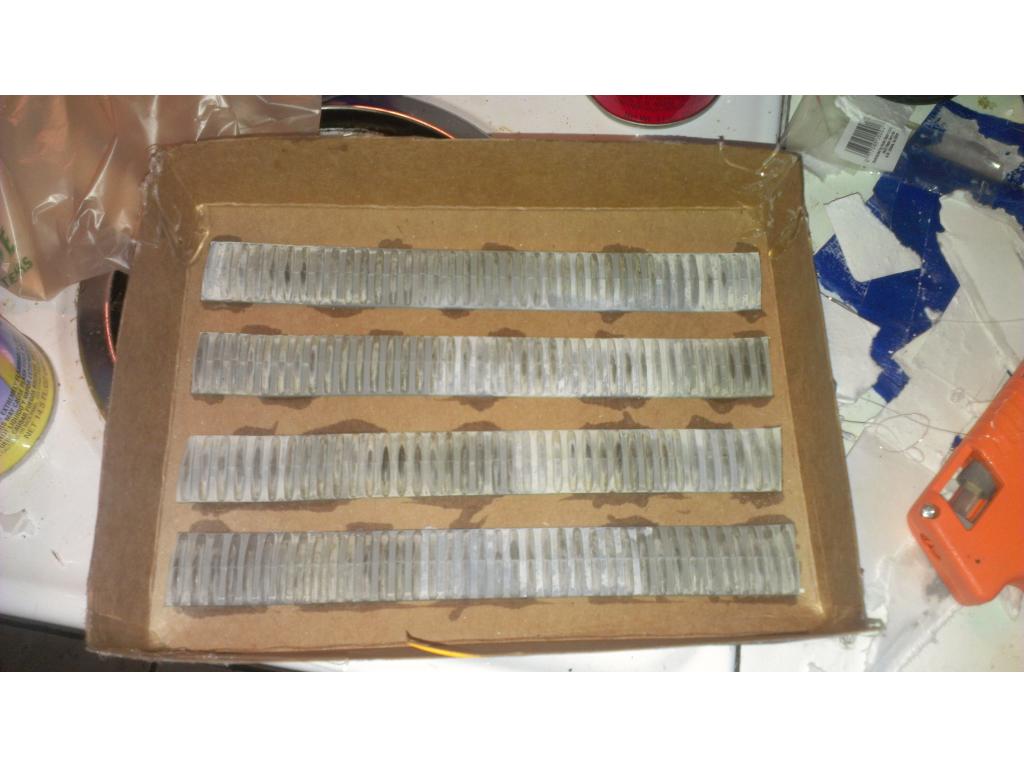
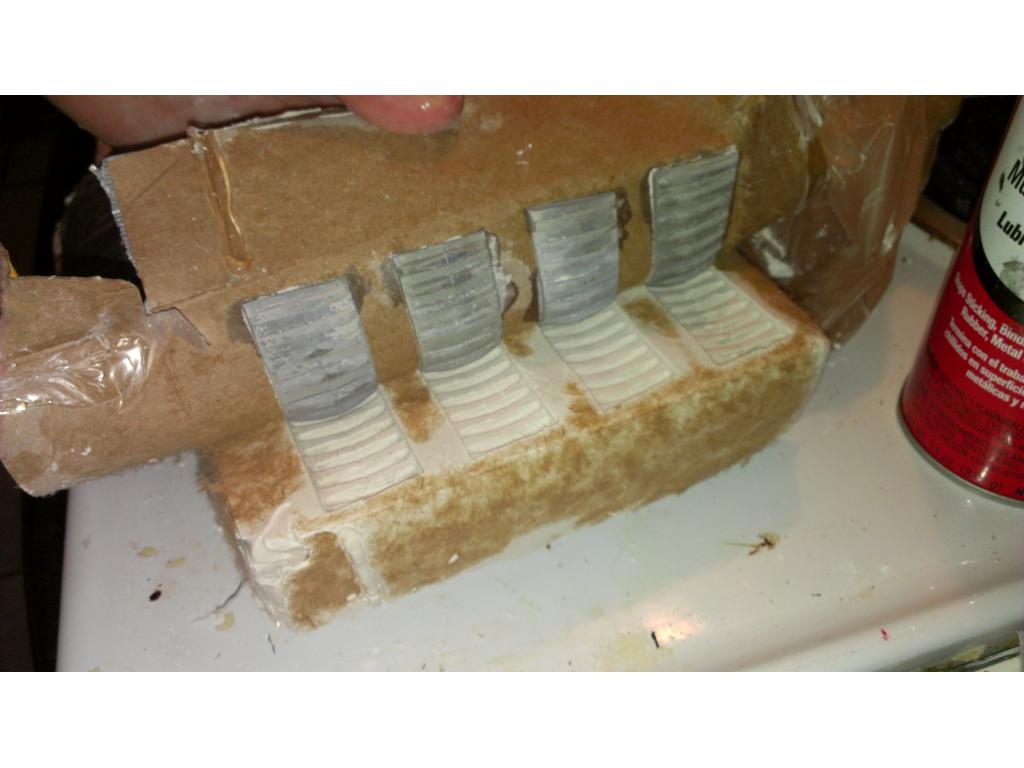
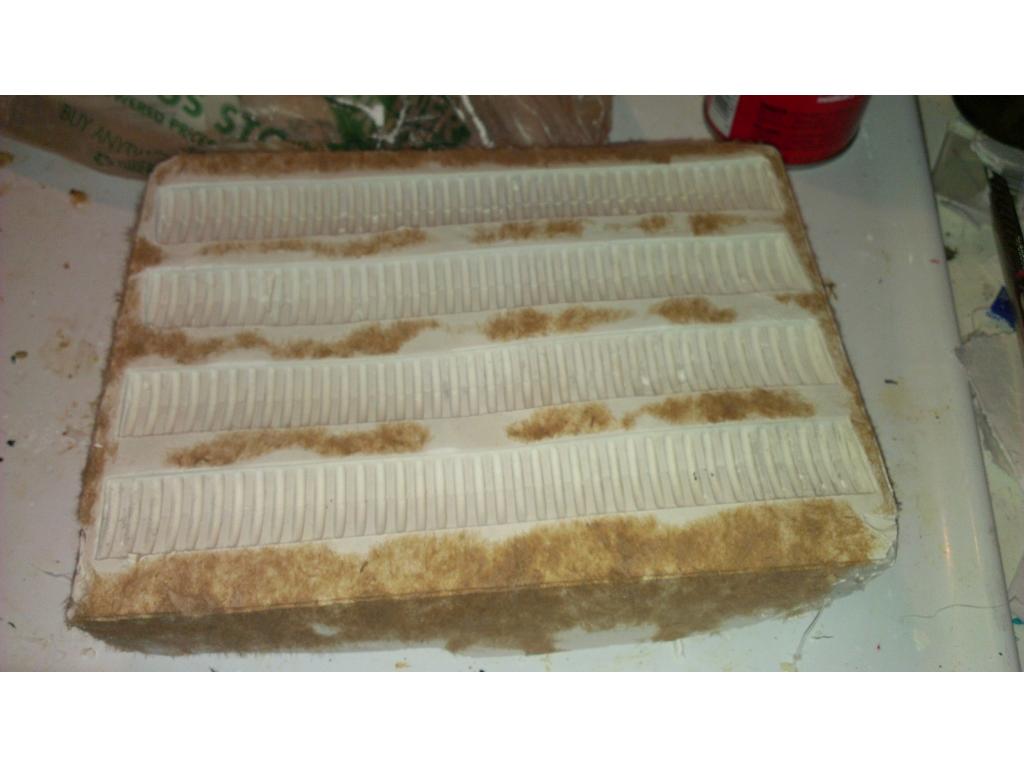
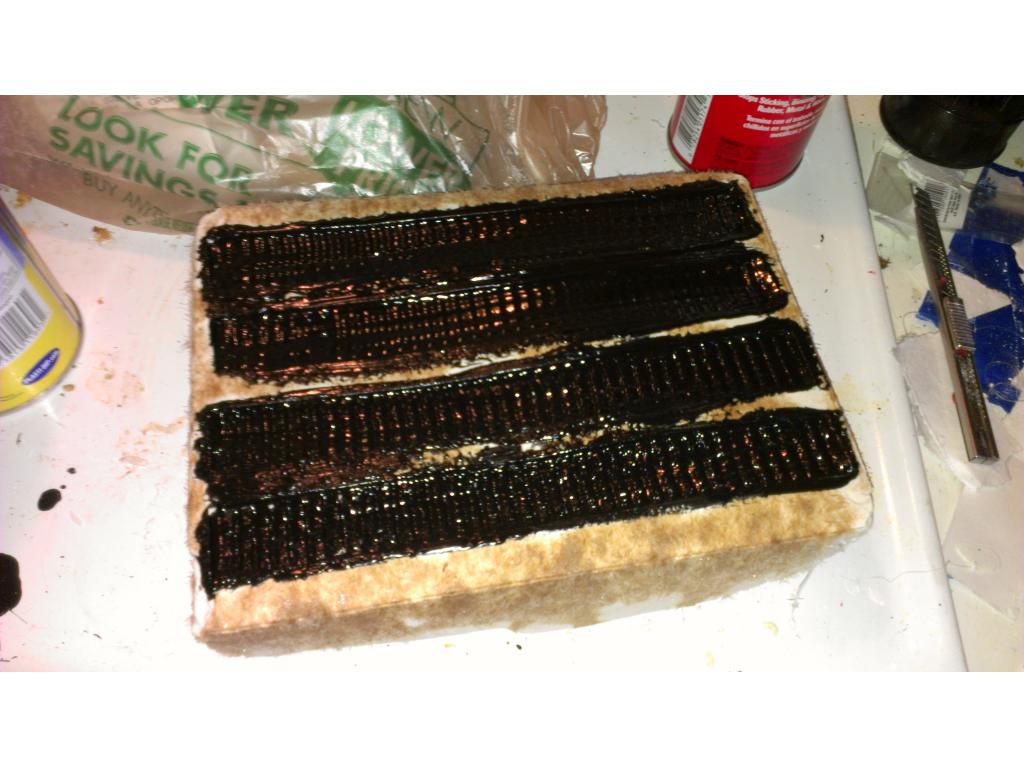
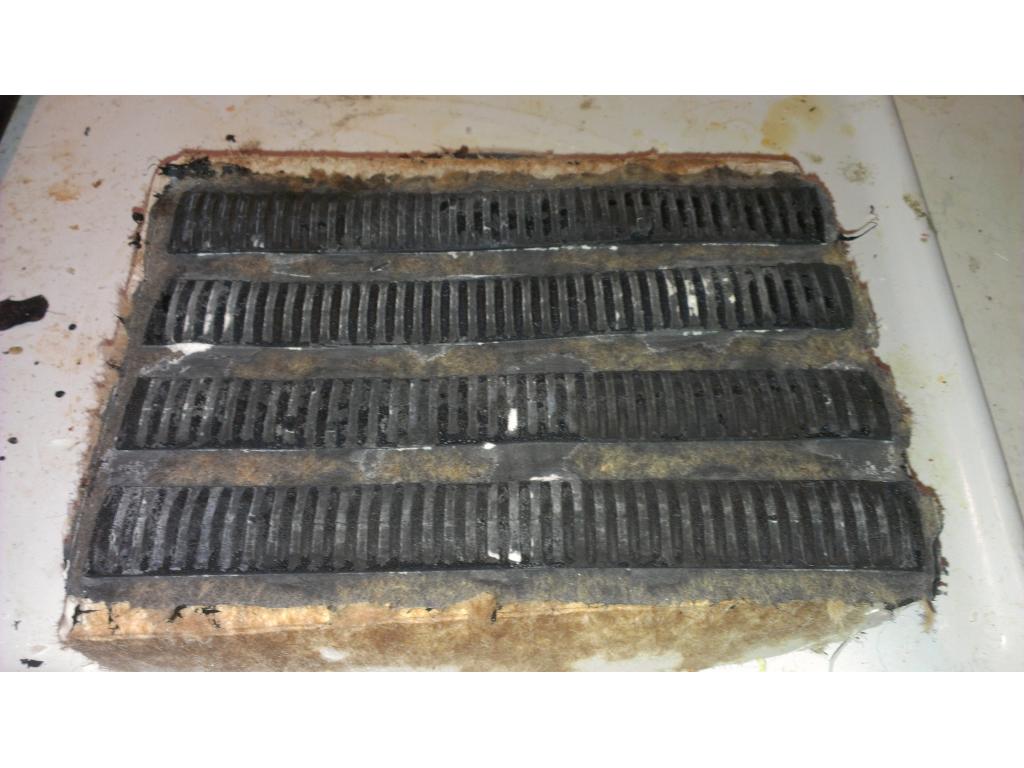
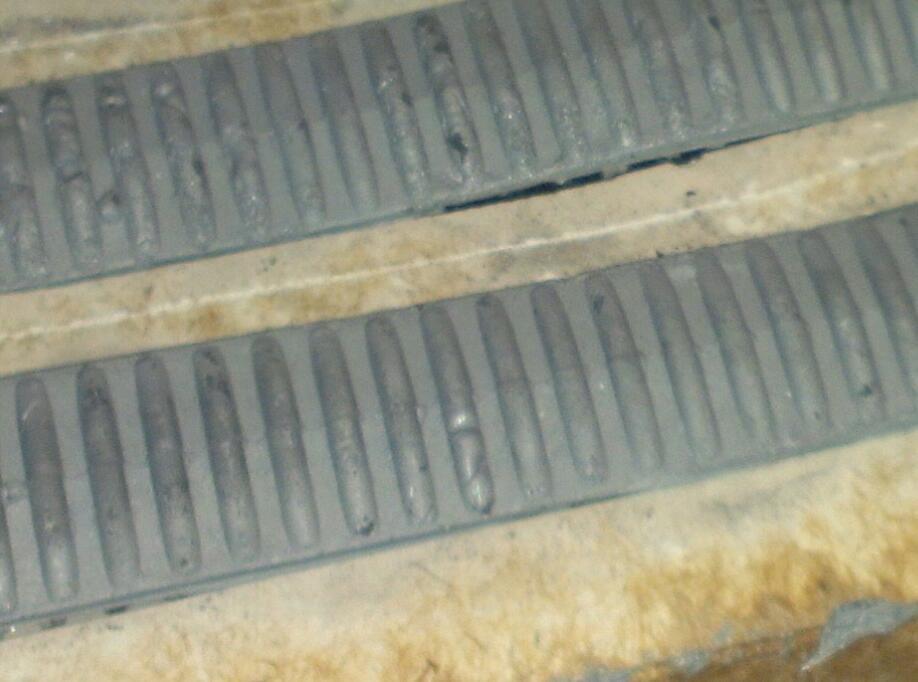
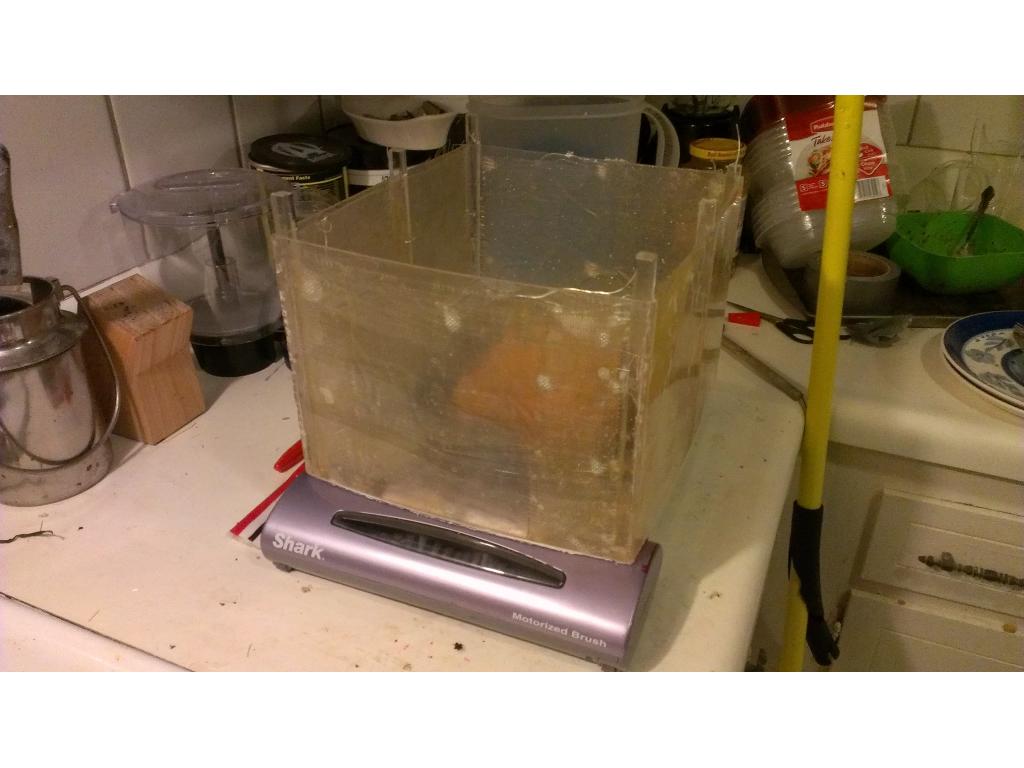
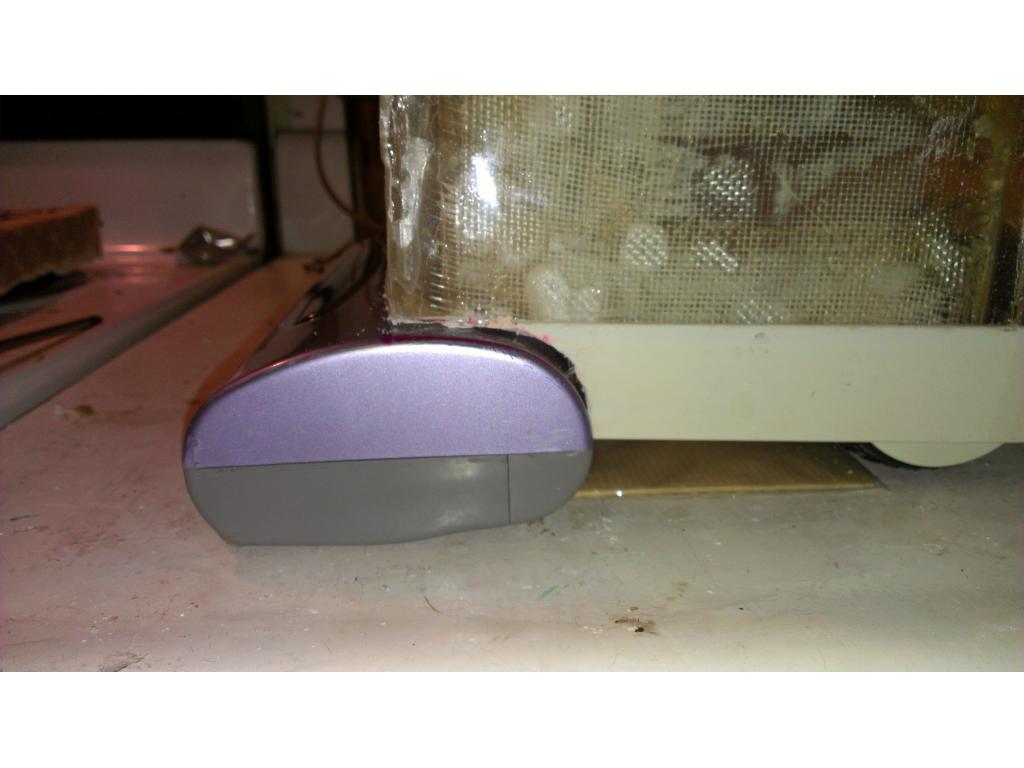
The treads were made of rubber and when my bot made turns the rubber tracks derailed. Because of carpet being in my house in combination with the robots weight I must switch to hard rubber or plastic tracks and use sprockets. I found lynxmotion had excellent premade tracks as well as another company.
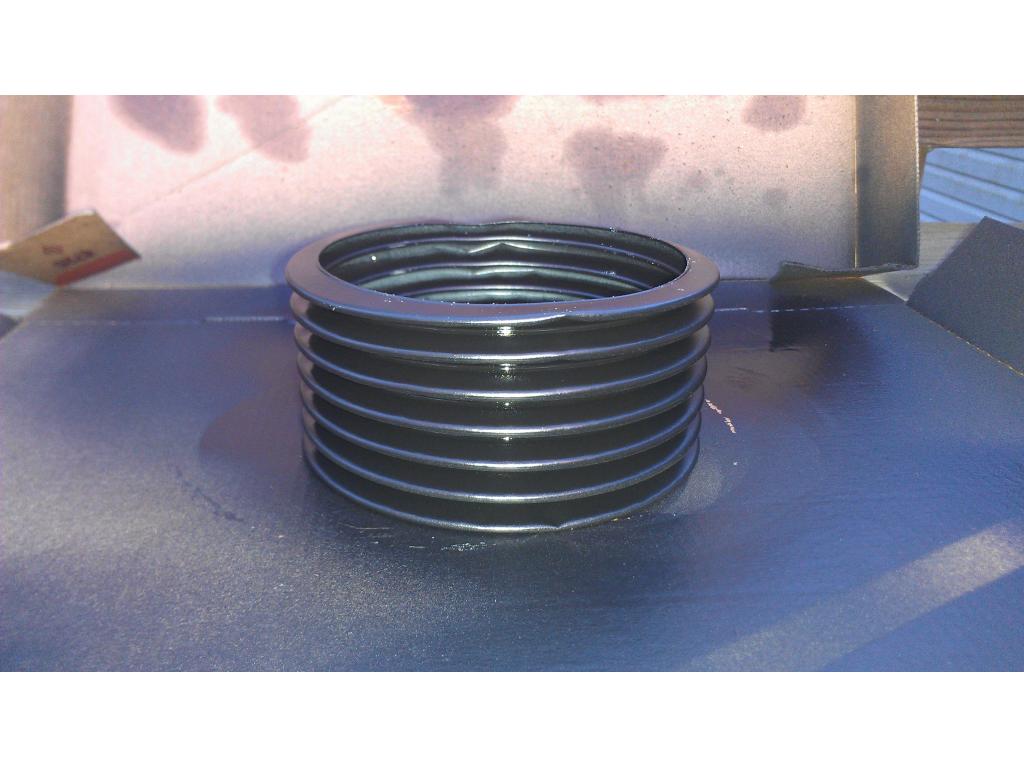
yes i suggested the lynxmotion tracks awhile back as idea,instead of you rubber tracks,they easy to mount and add on
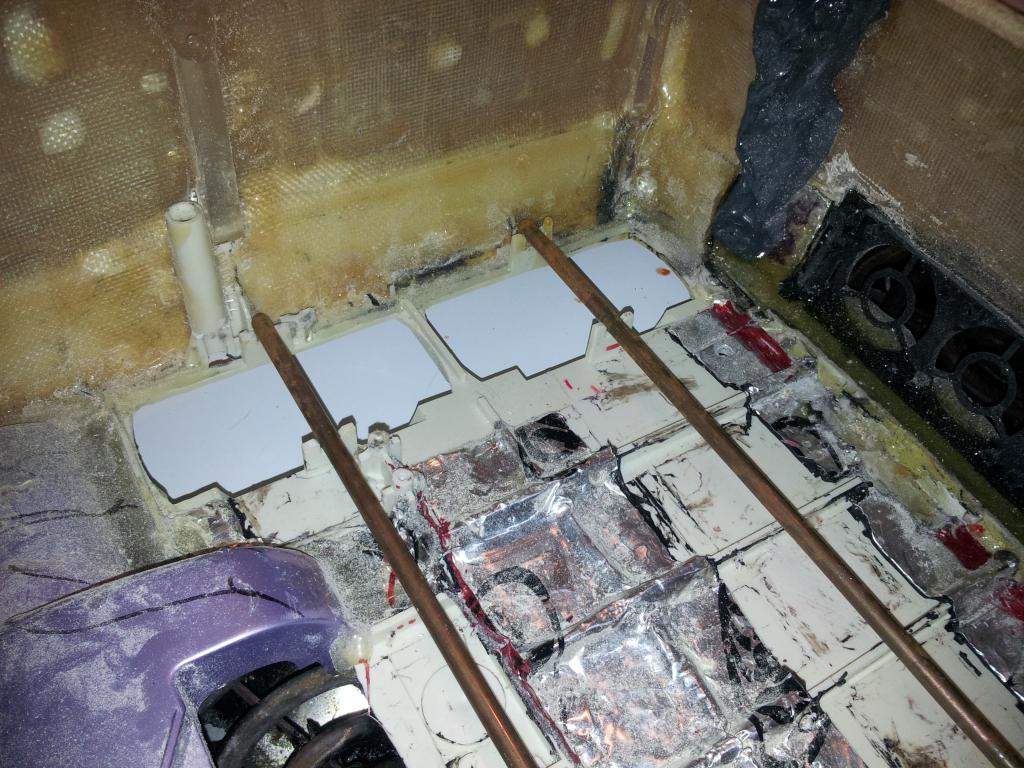
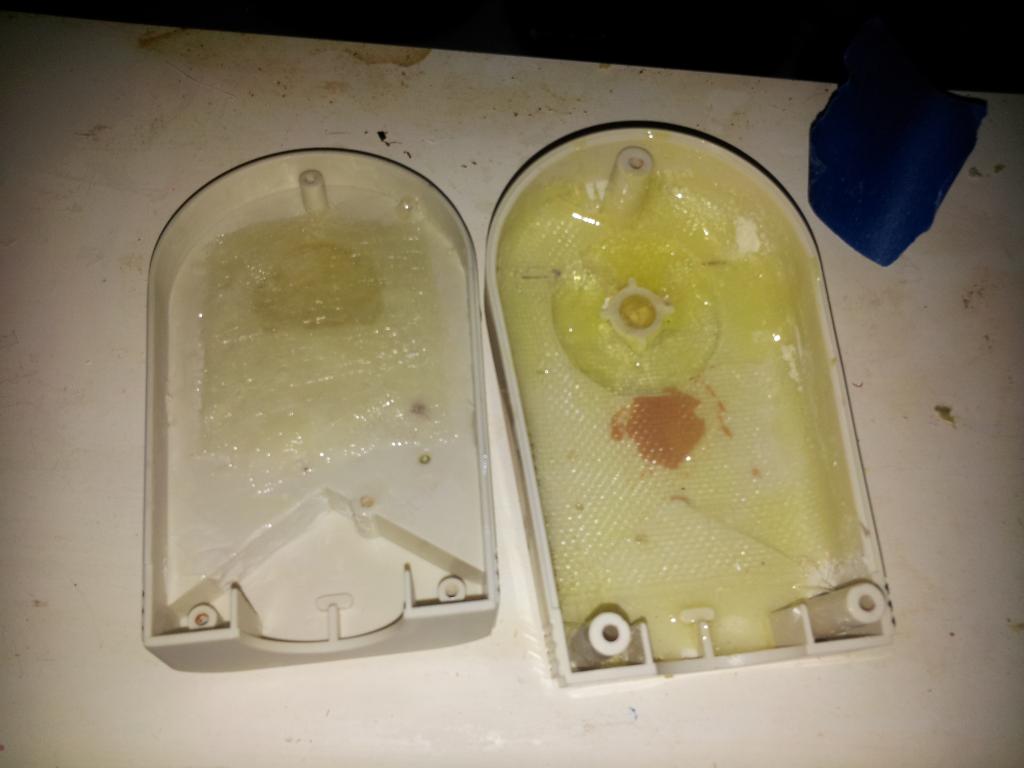
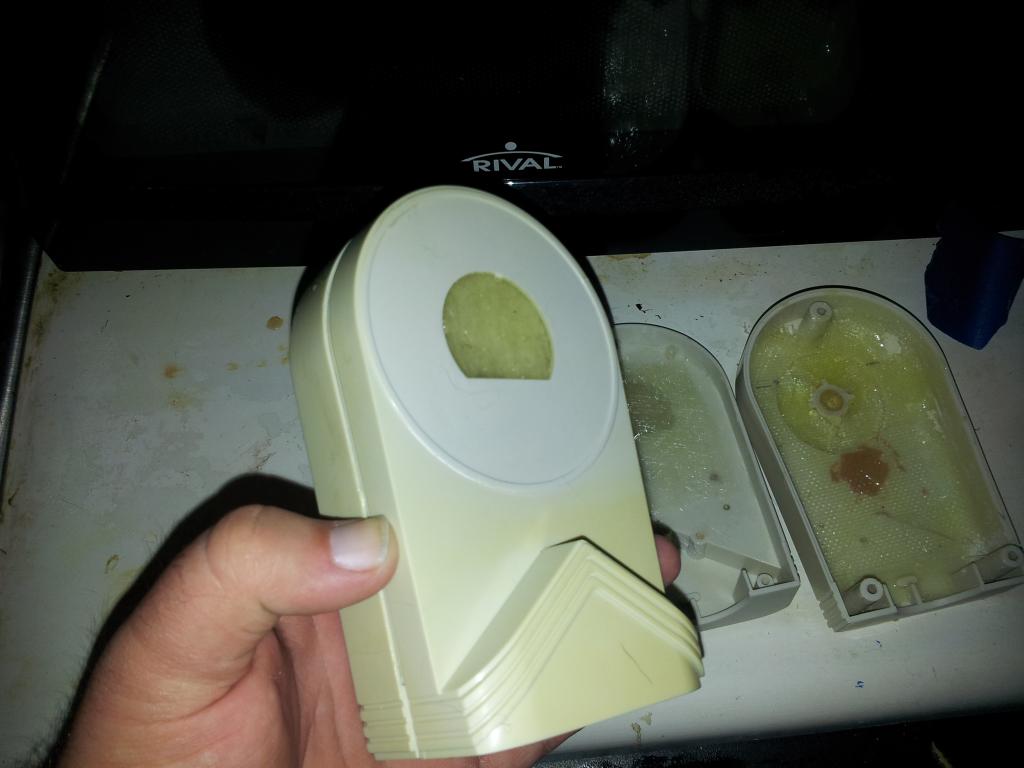
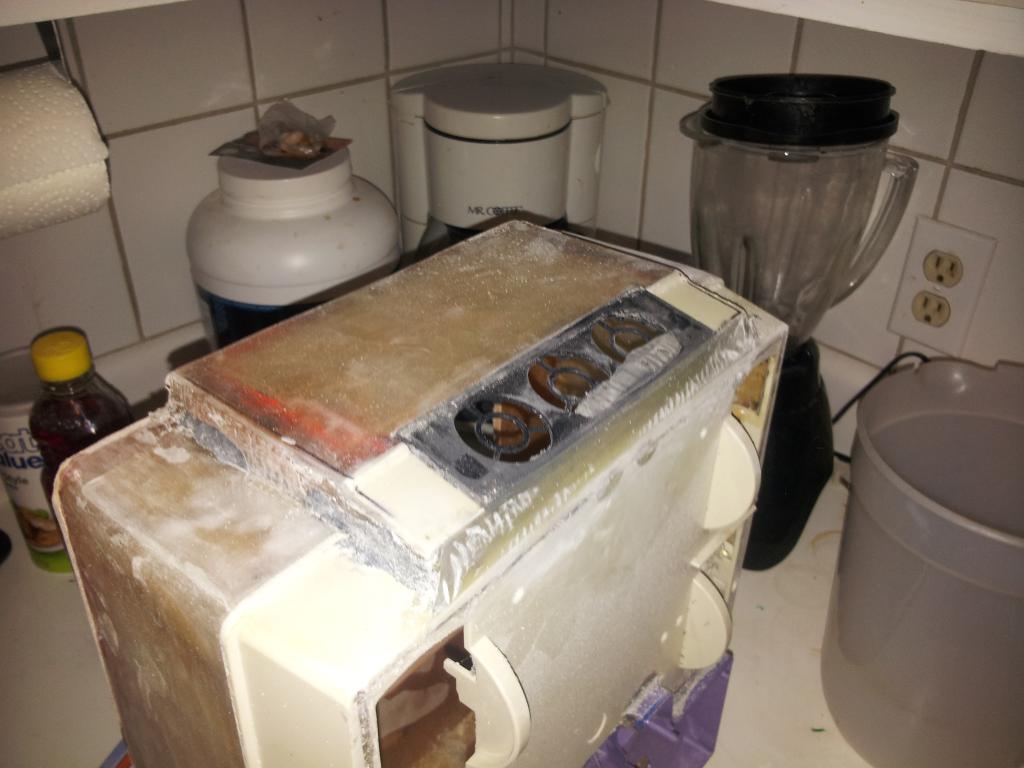
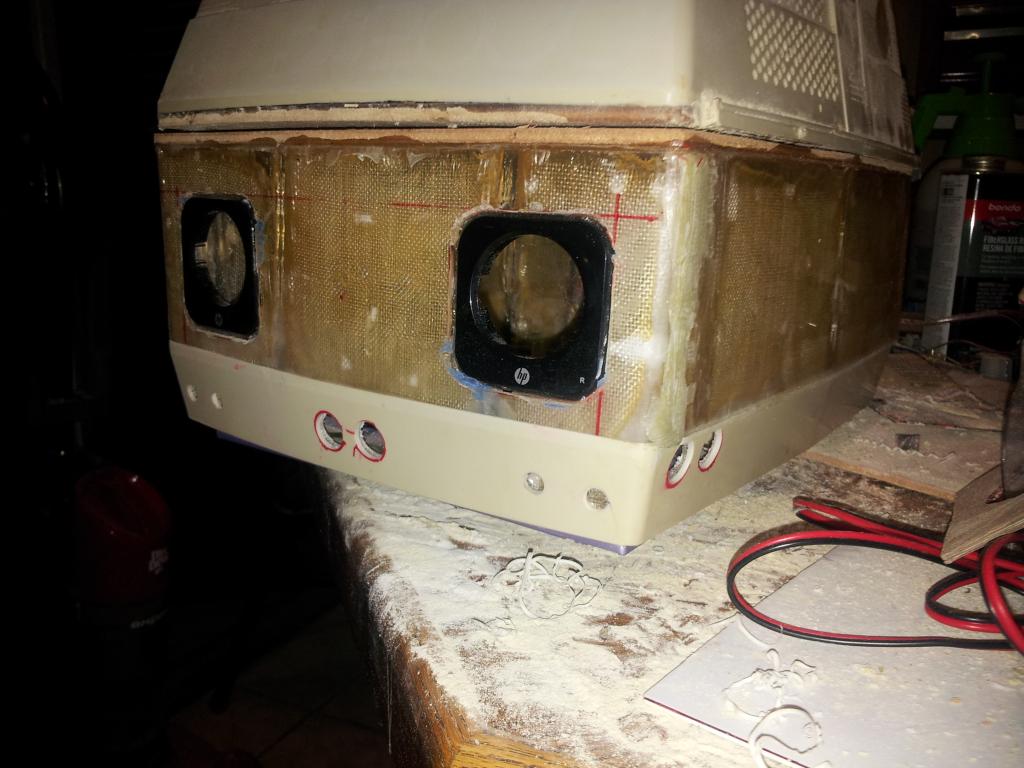
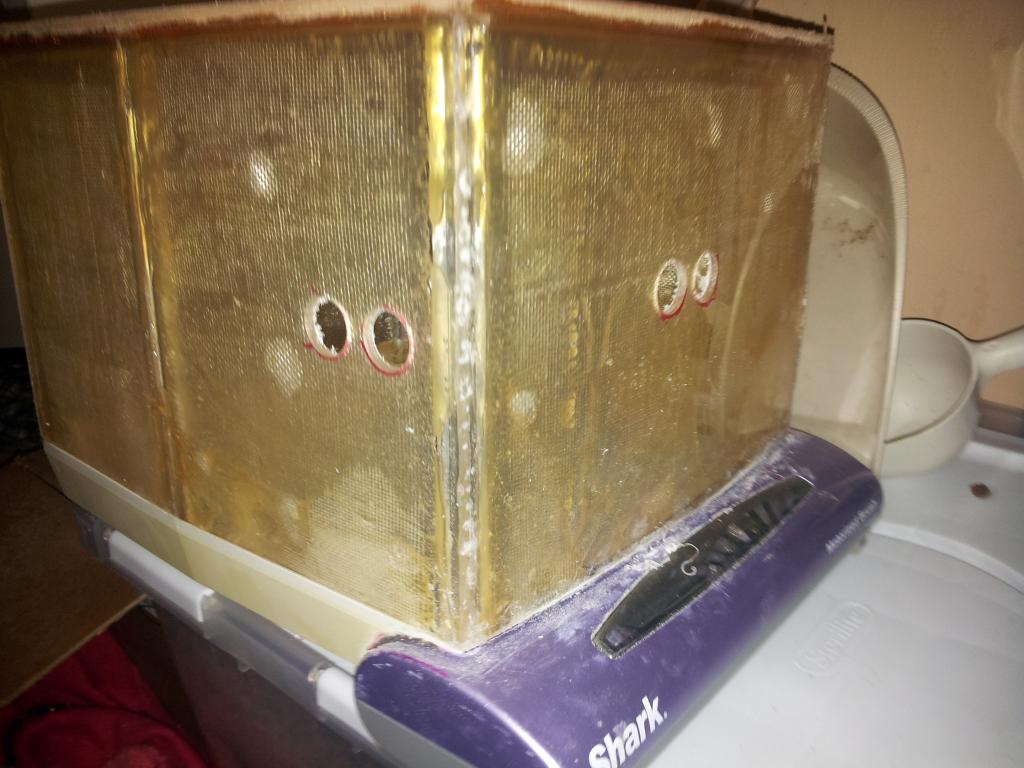
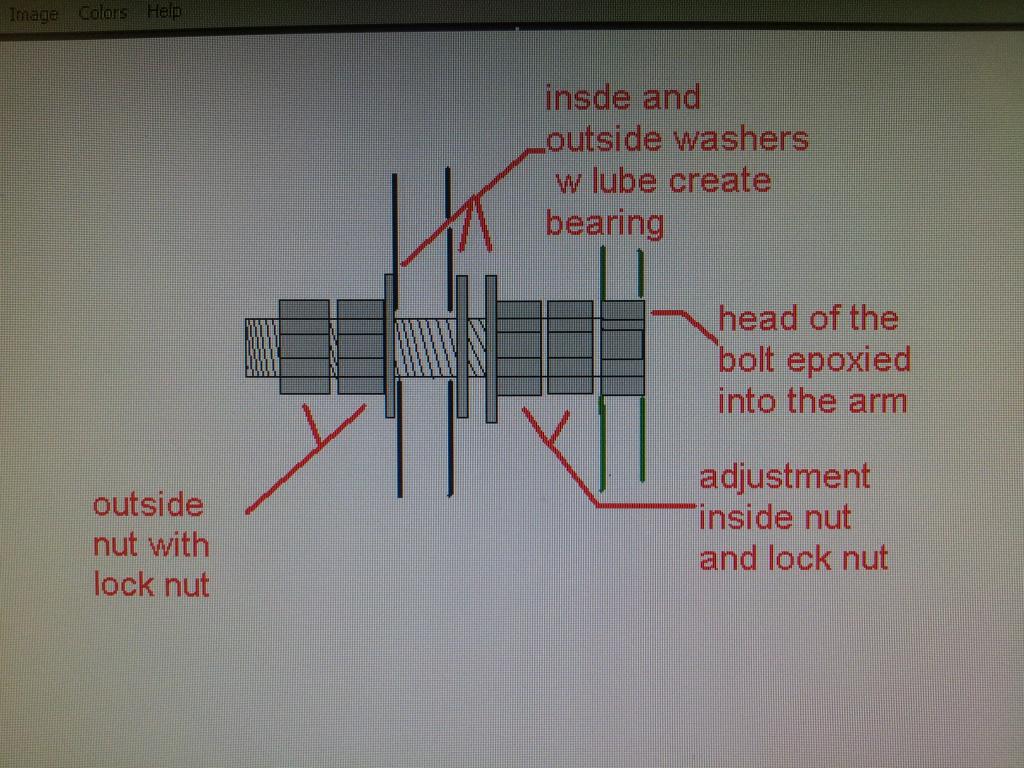
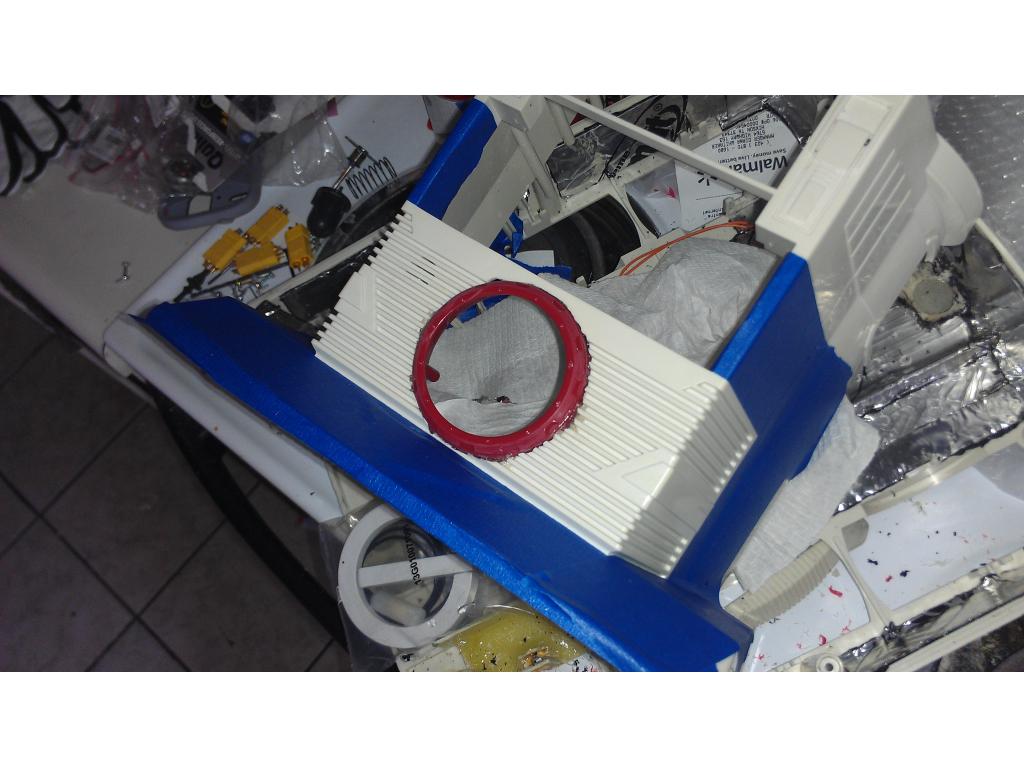
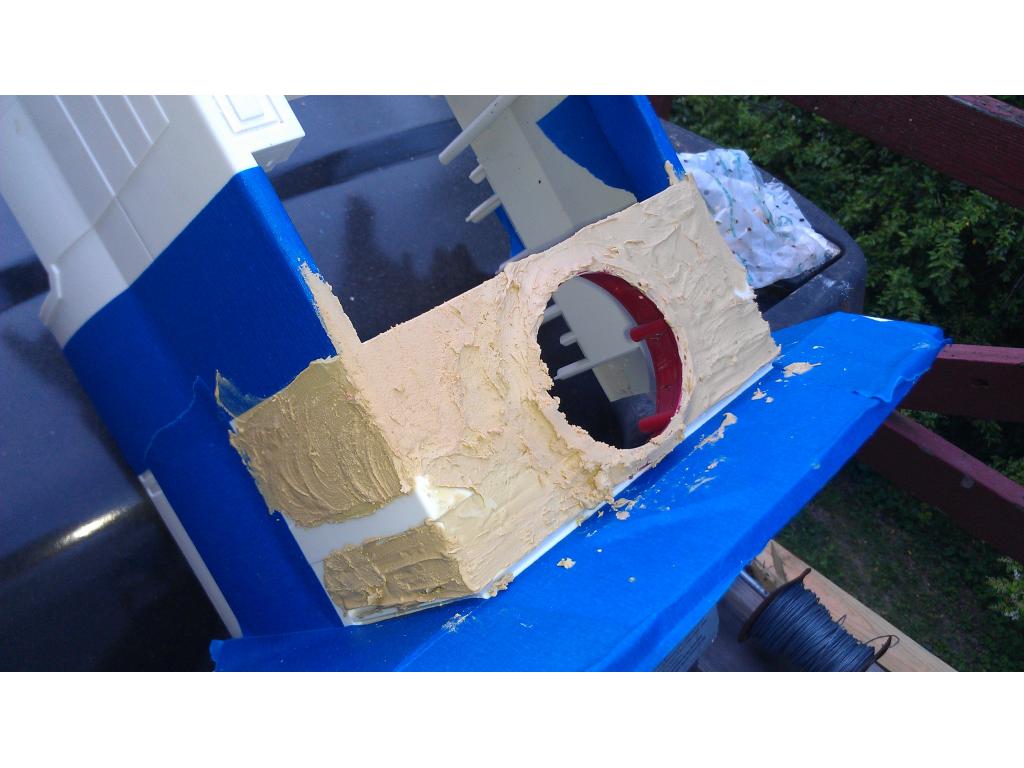
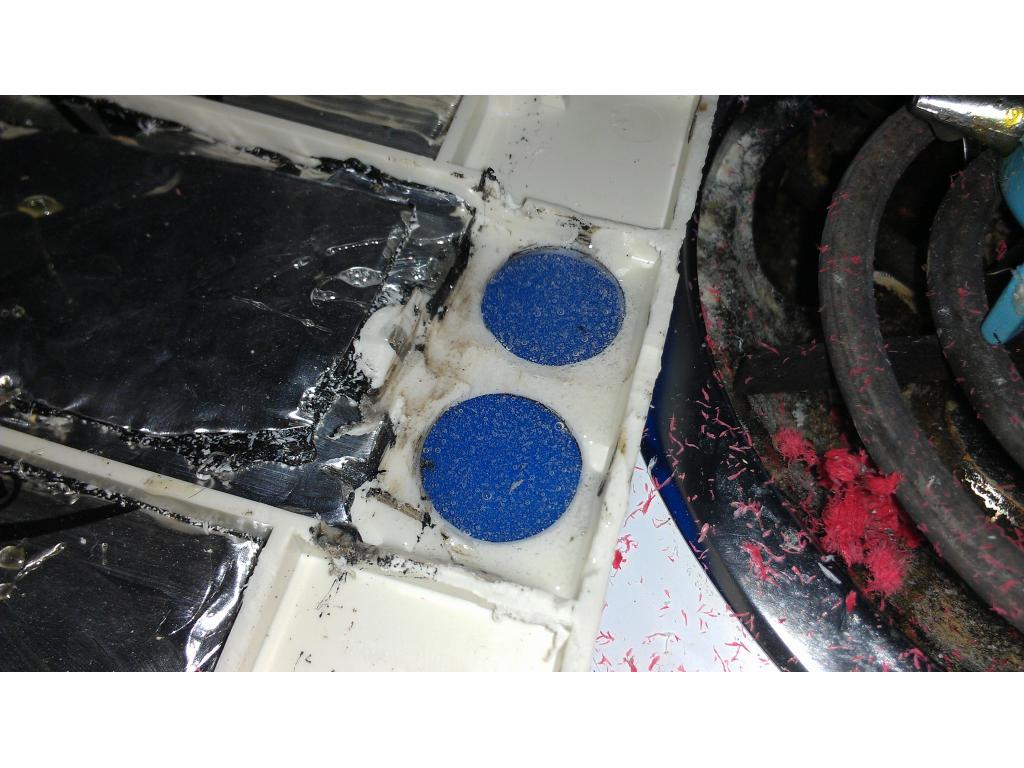
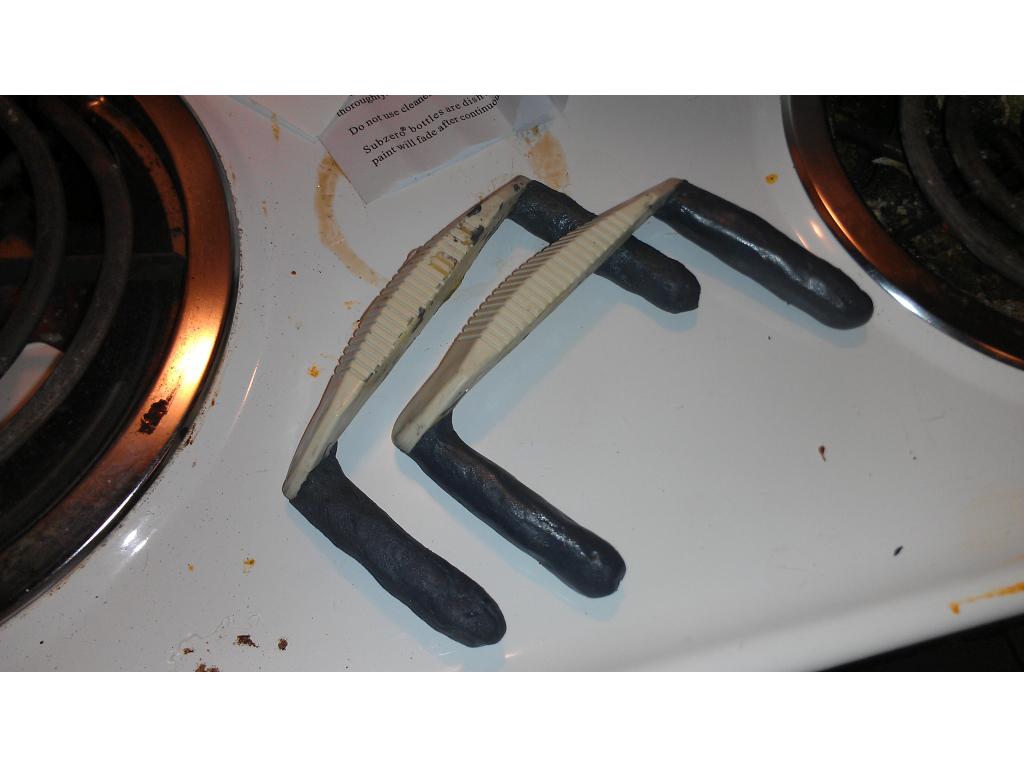
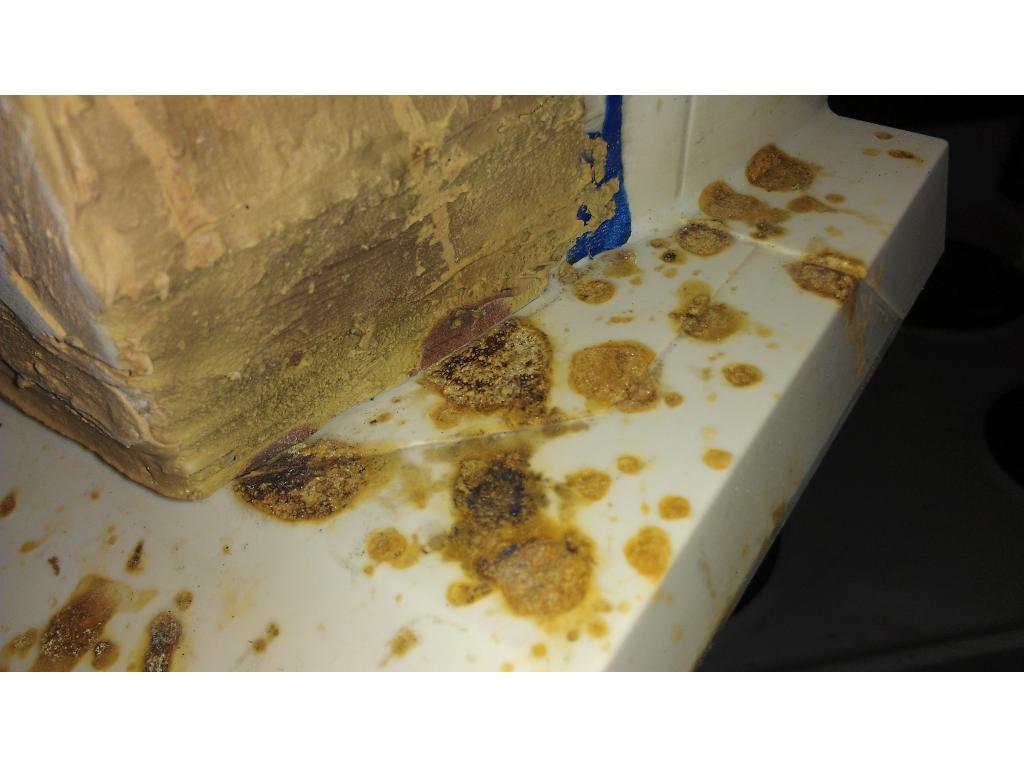
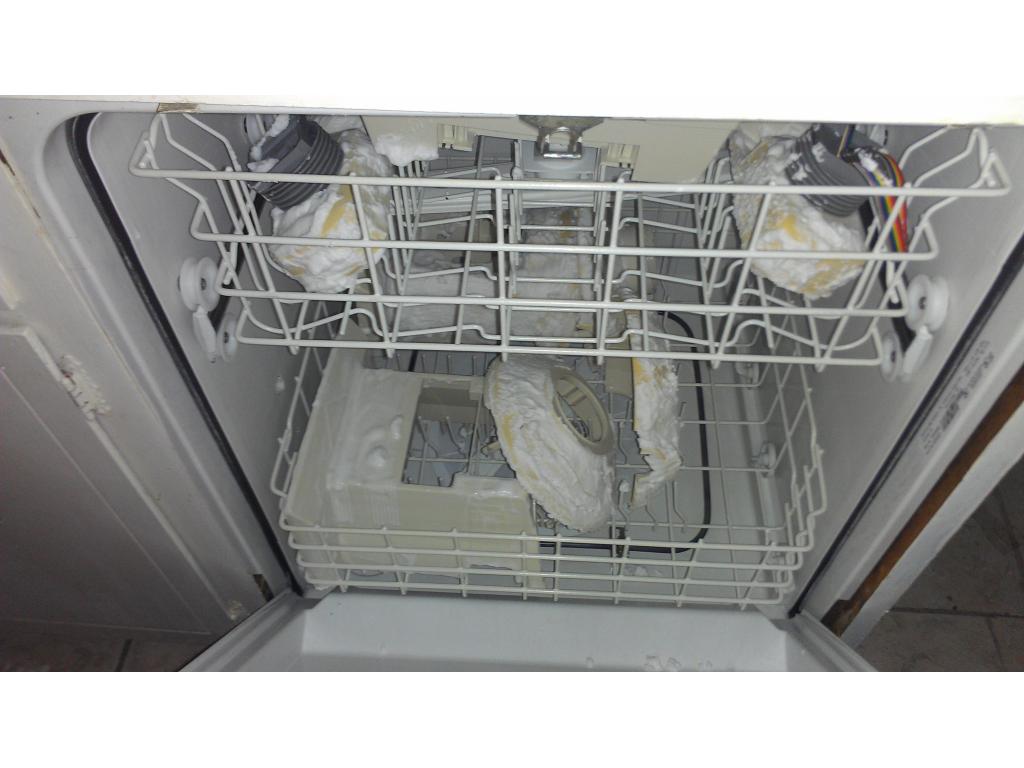
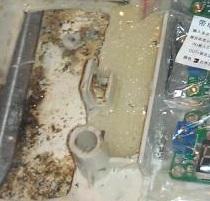
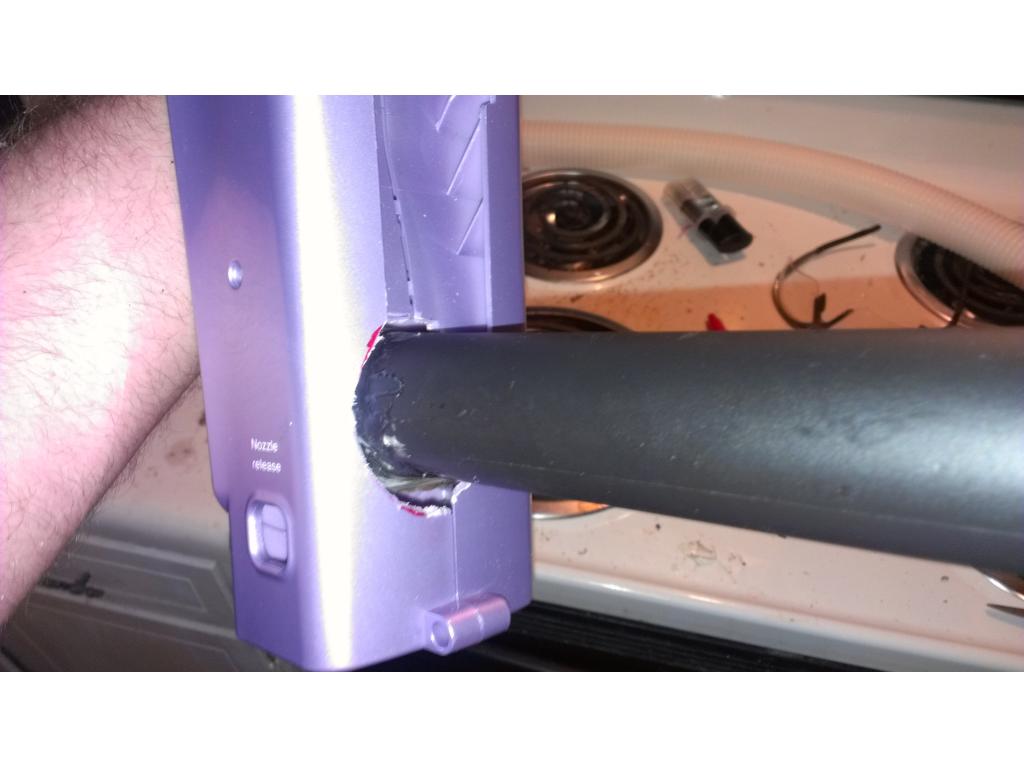
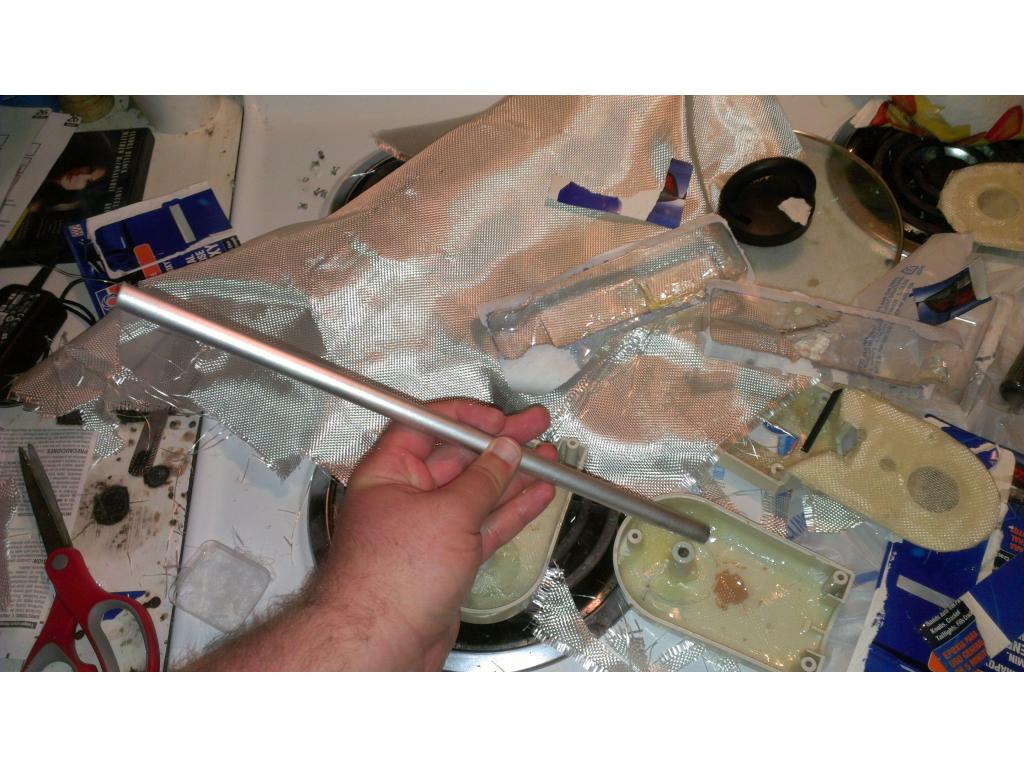
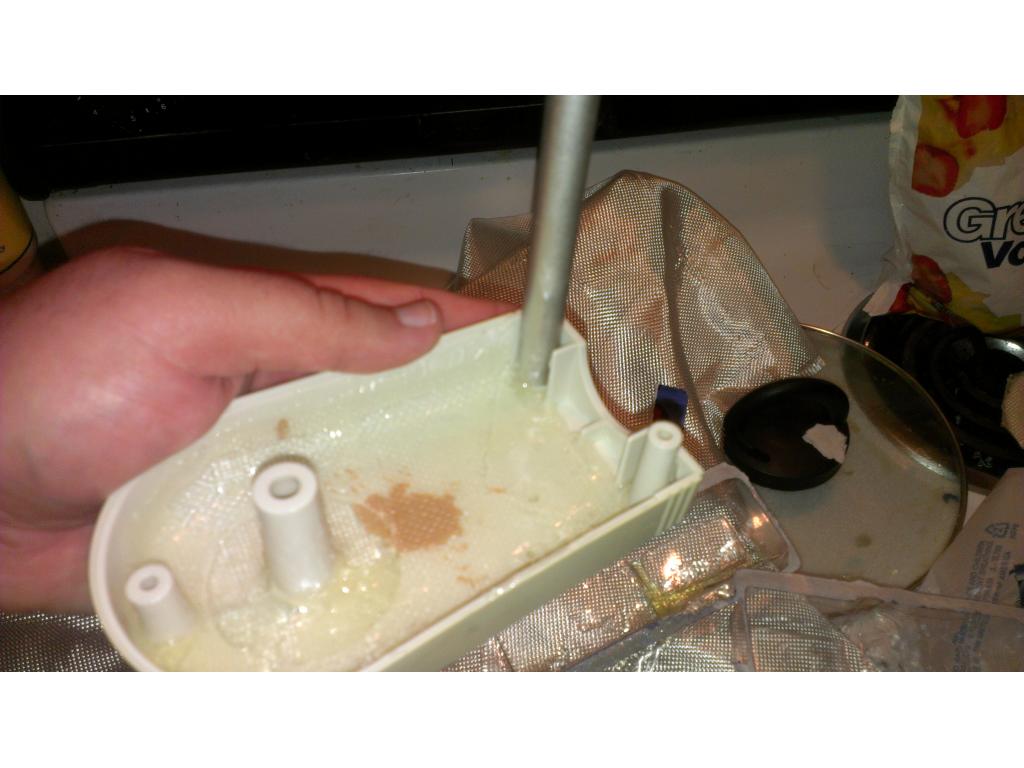
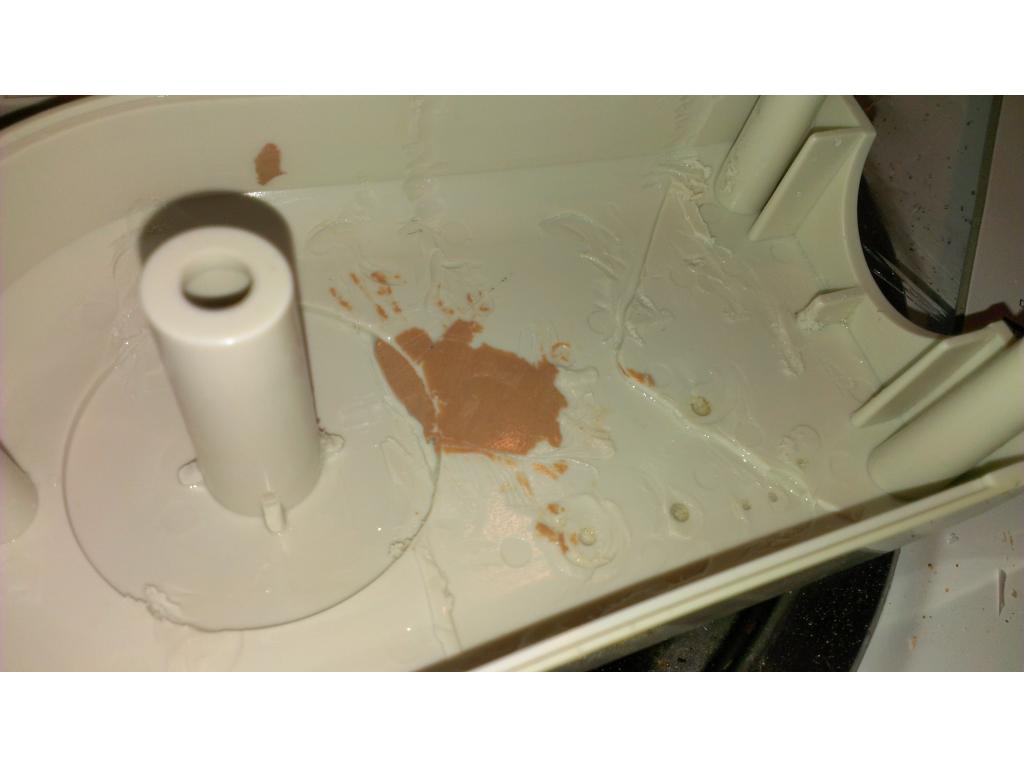
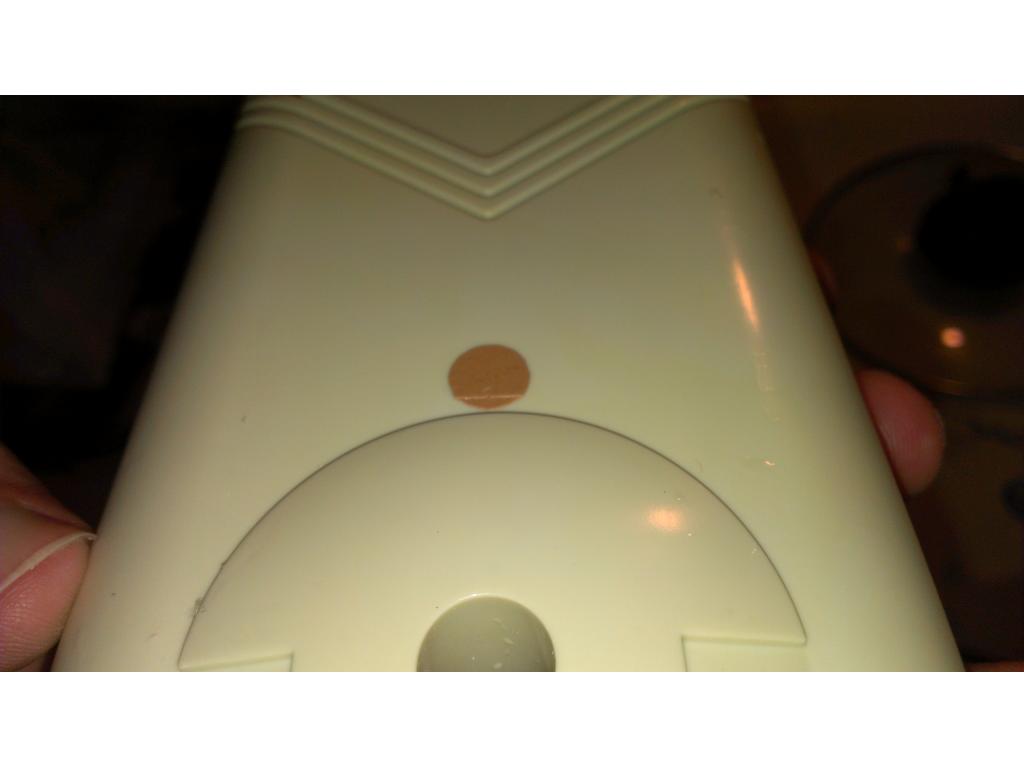
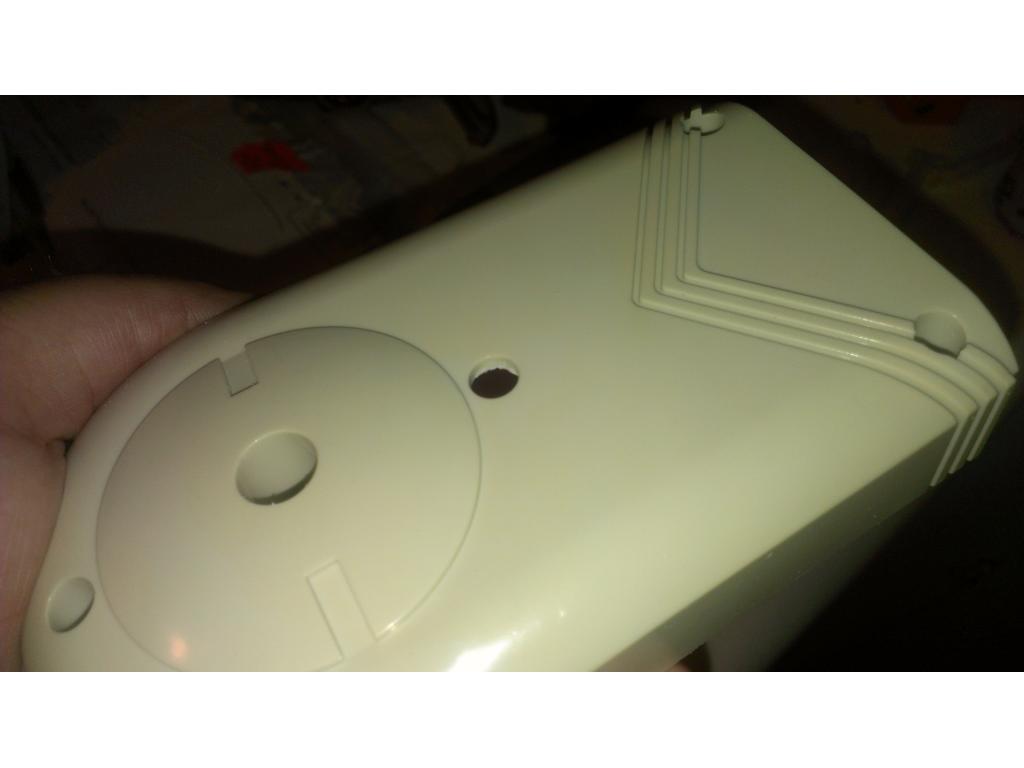
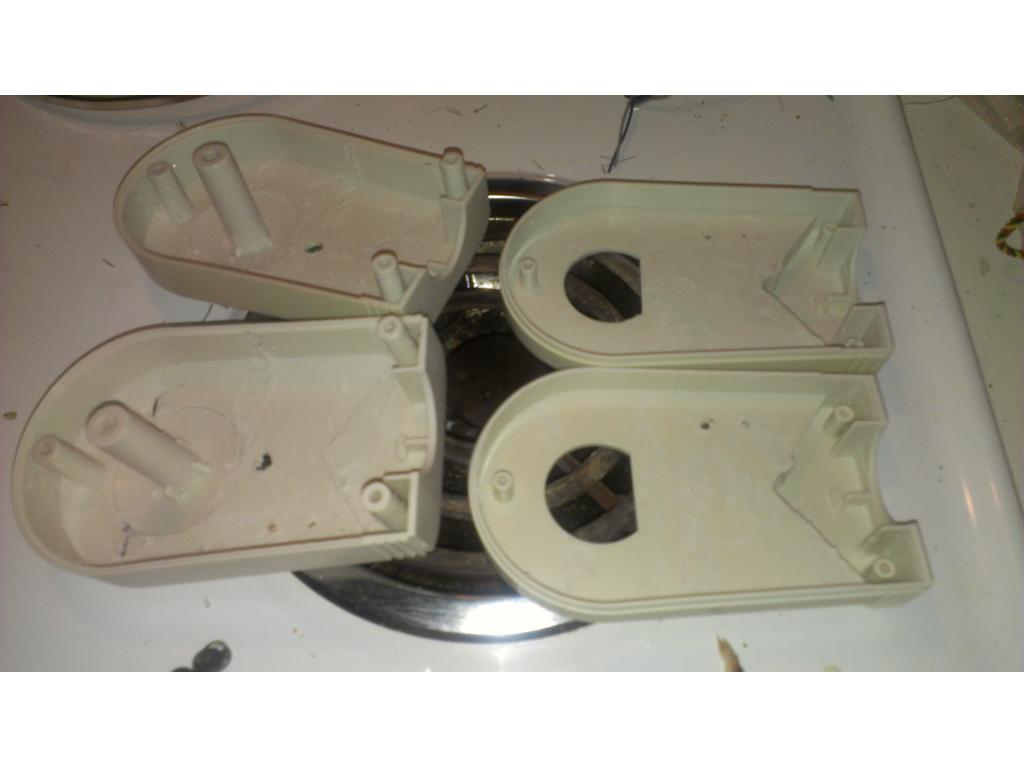
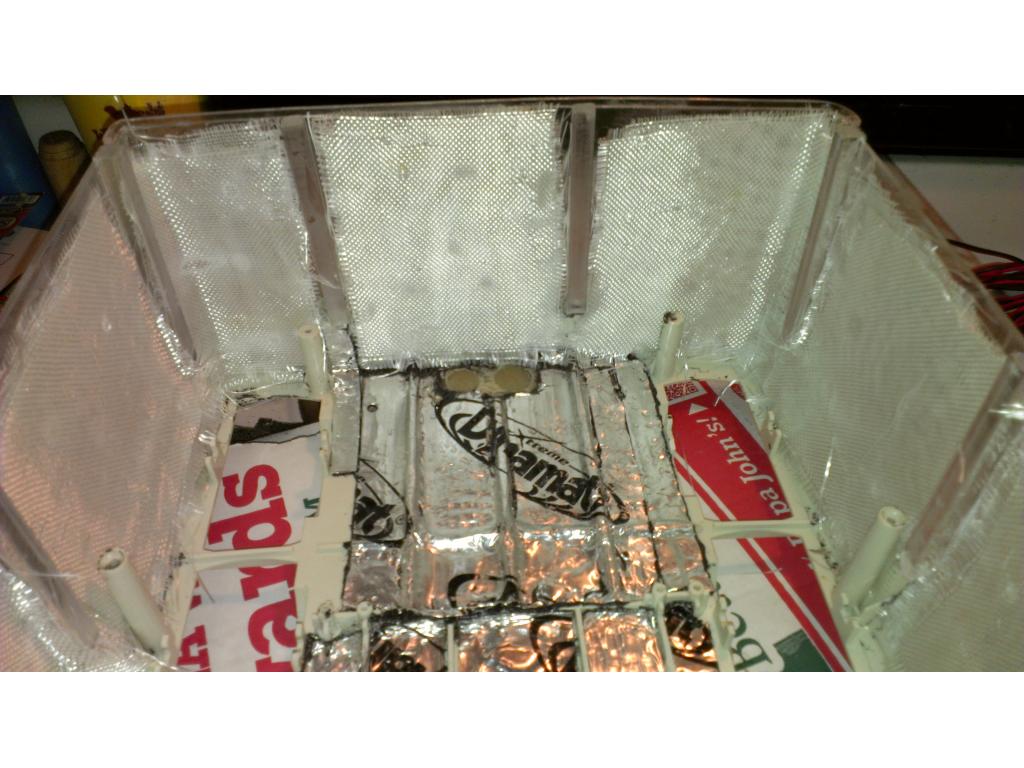
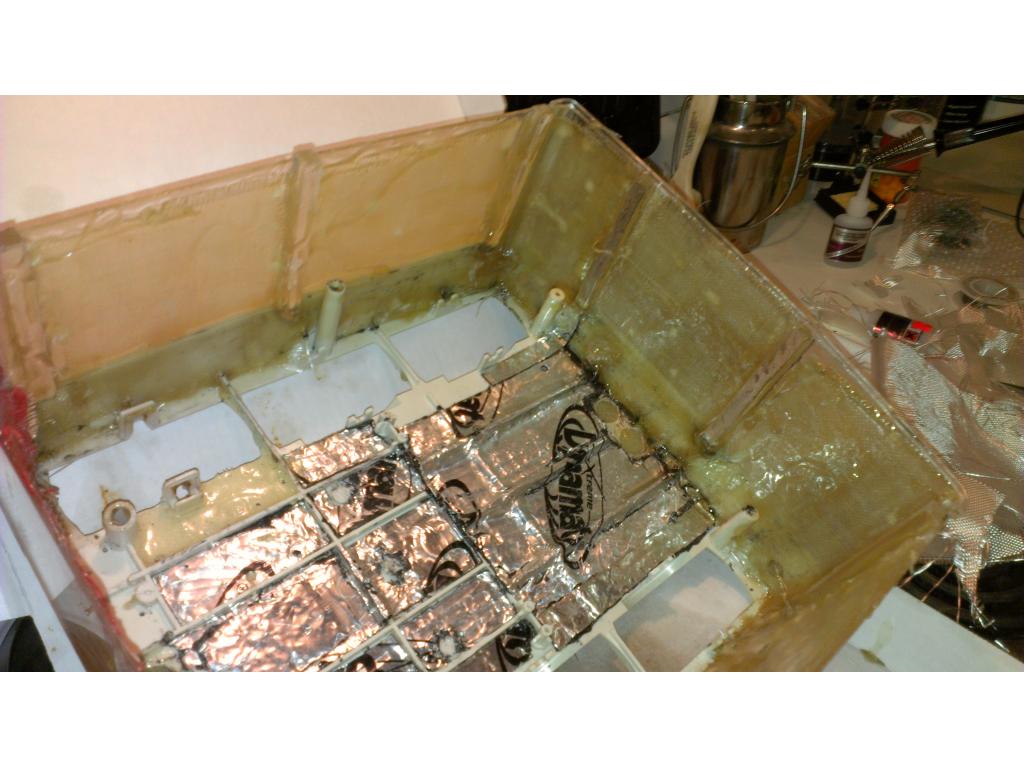
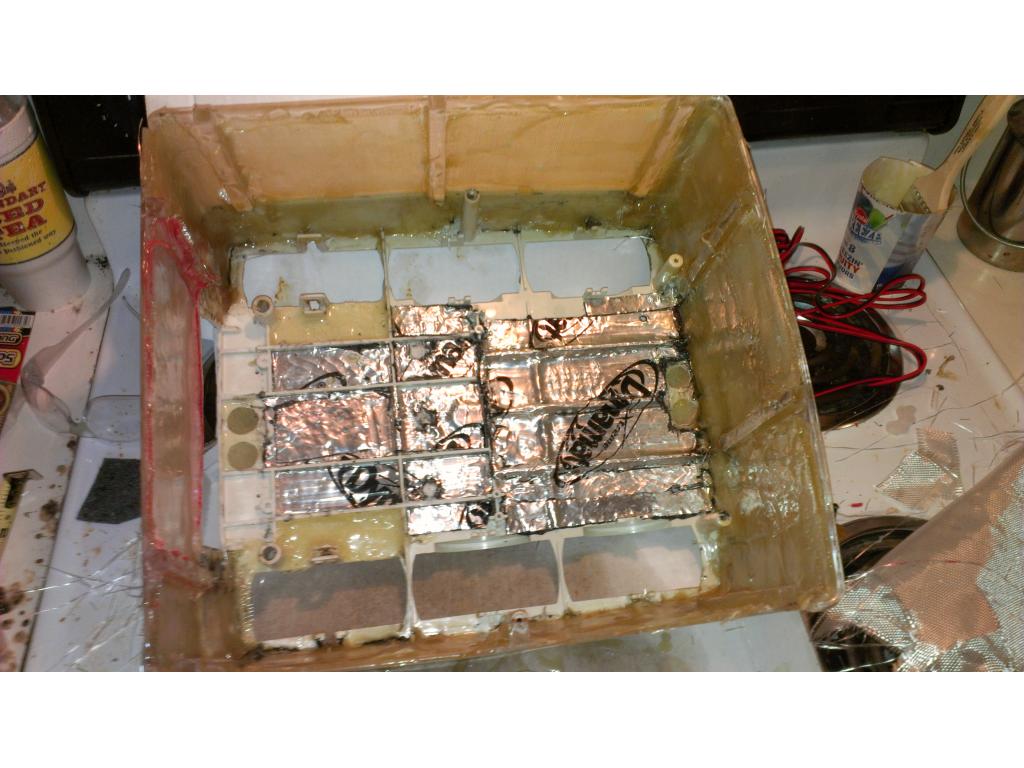
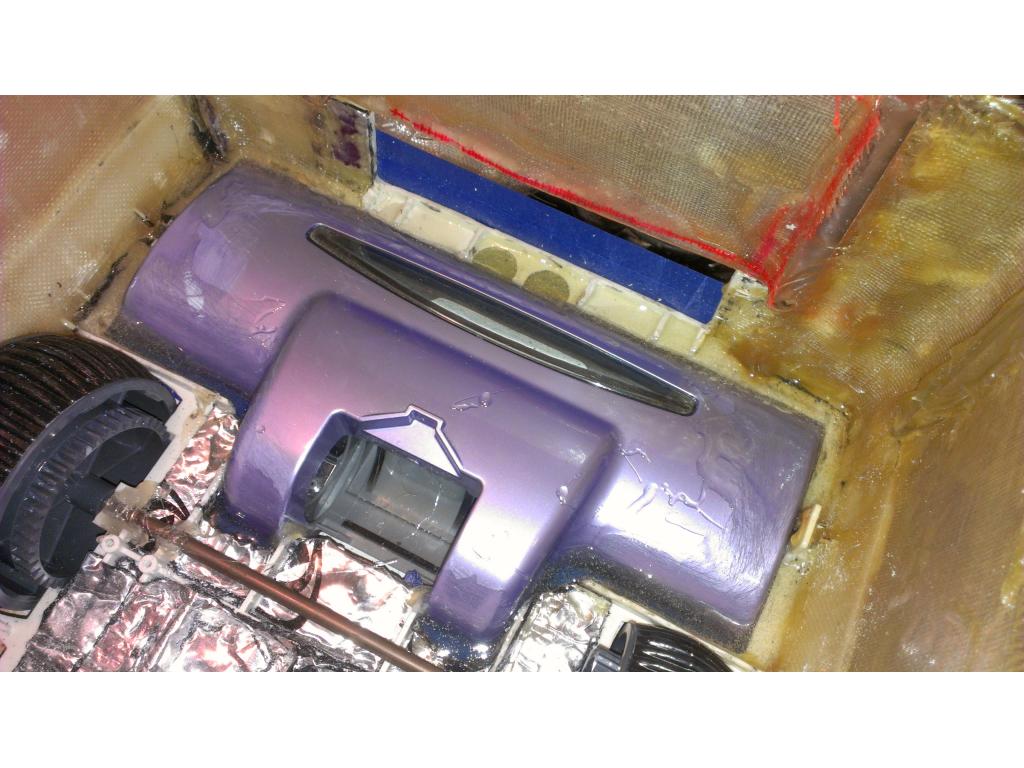
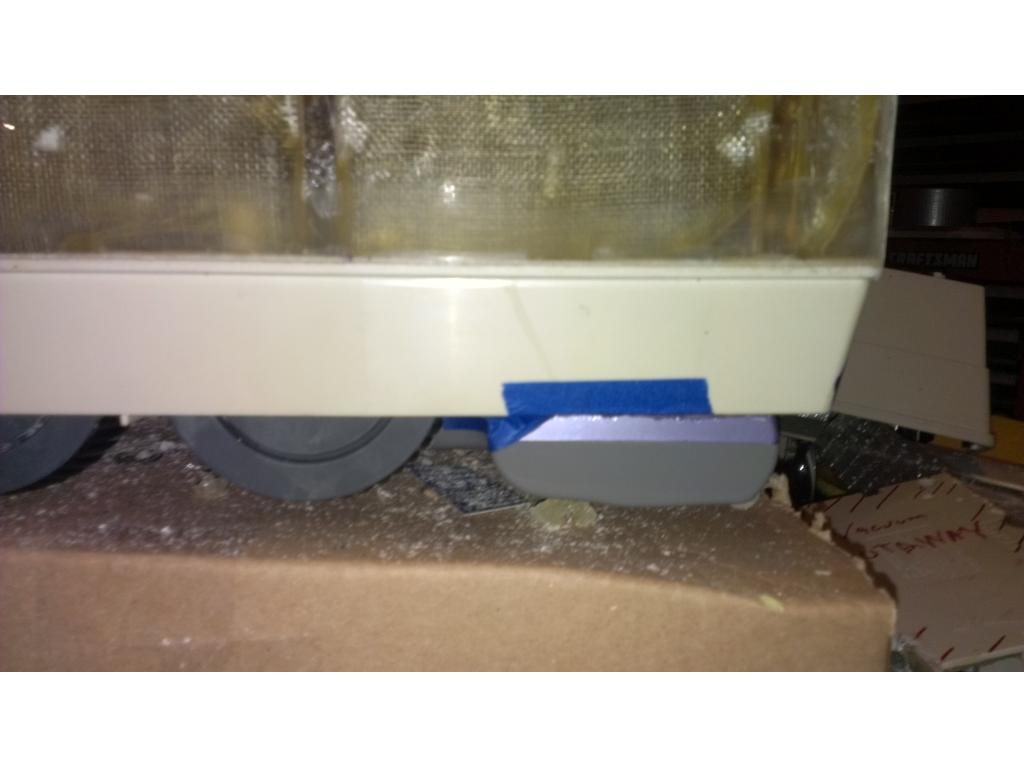
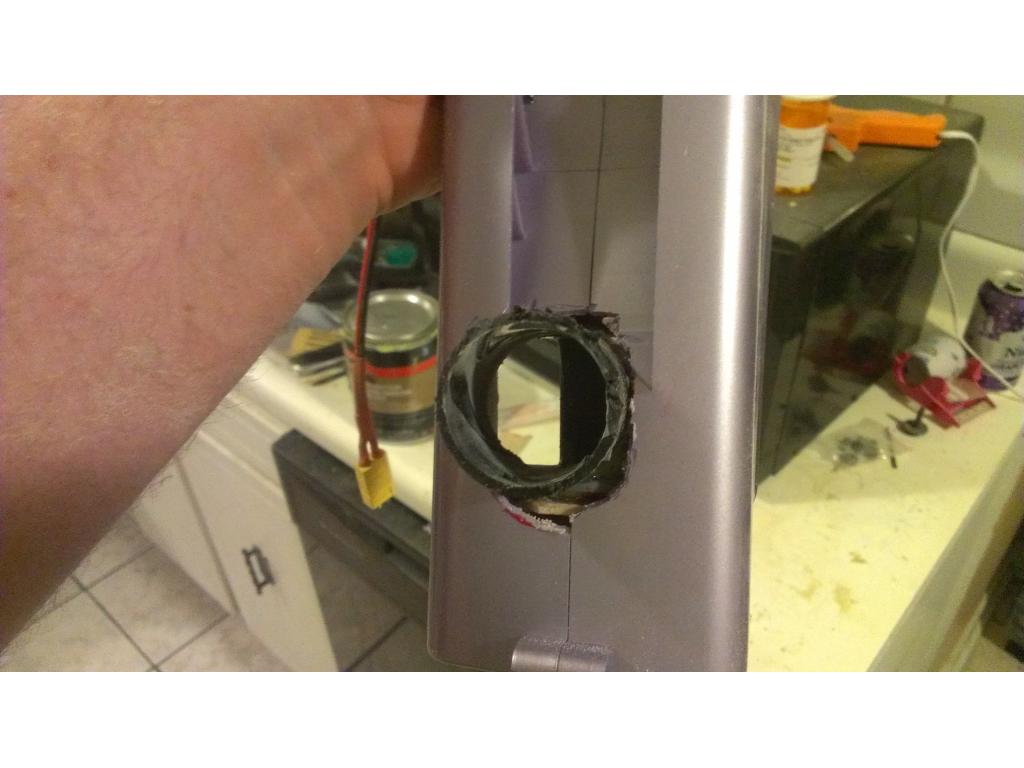
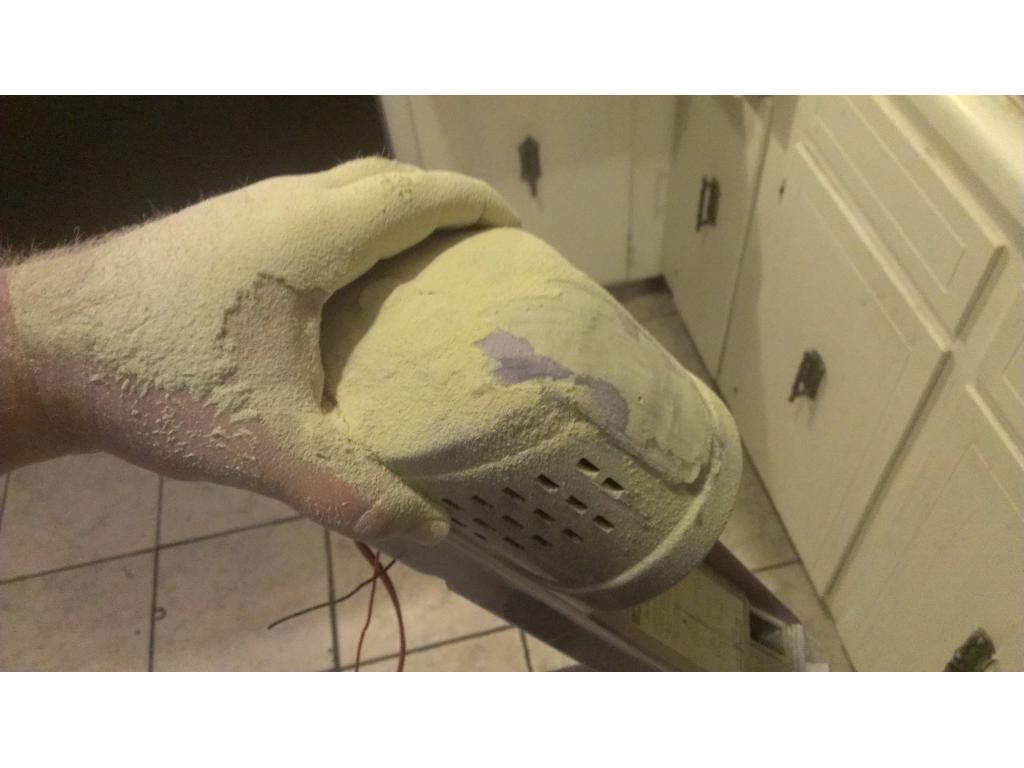
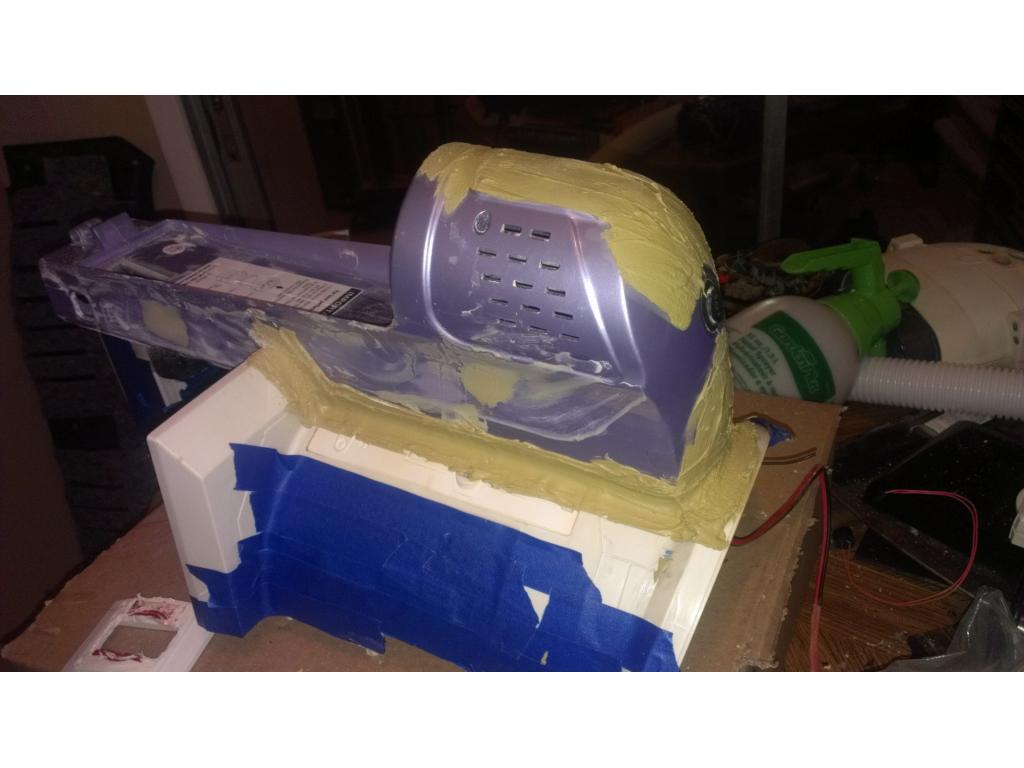
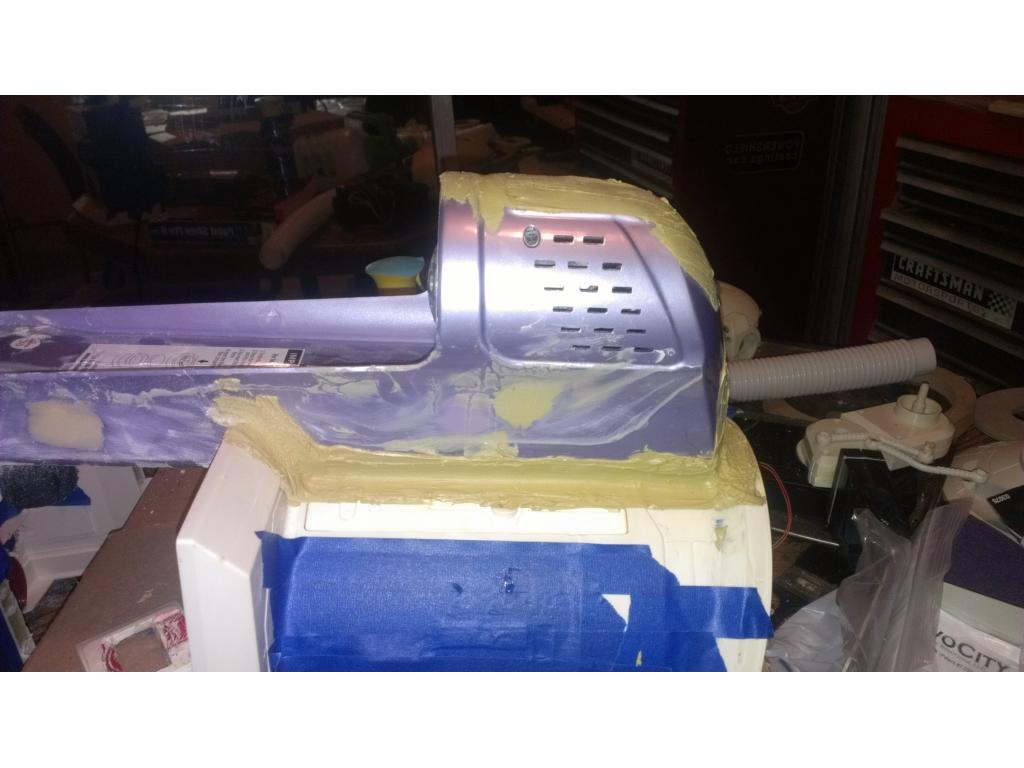
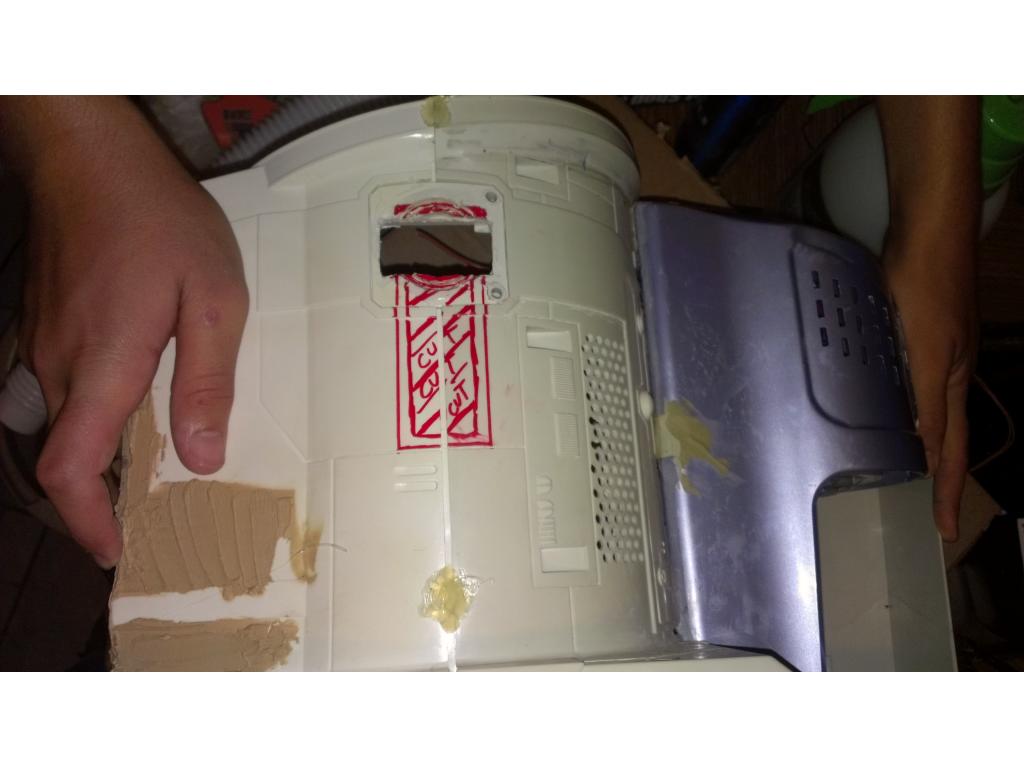
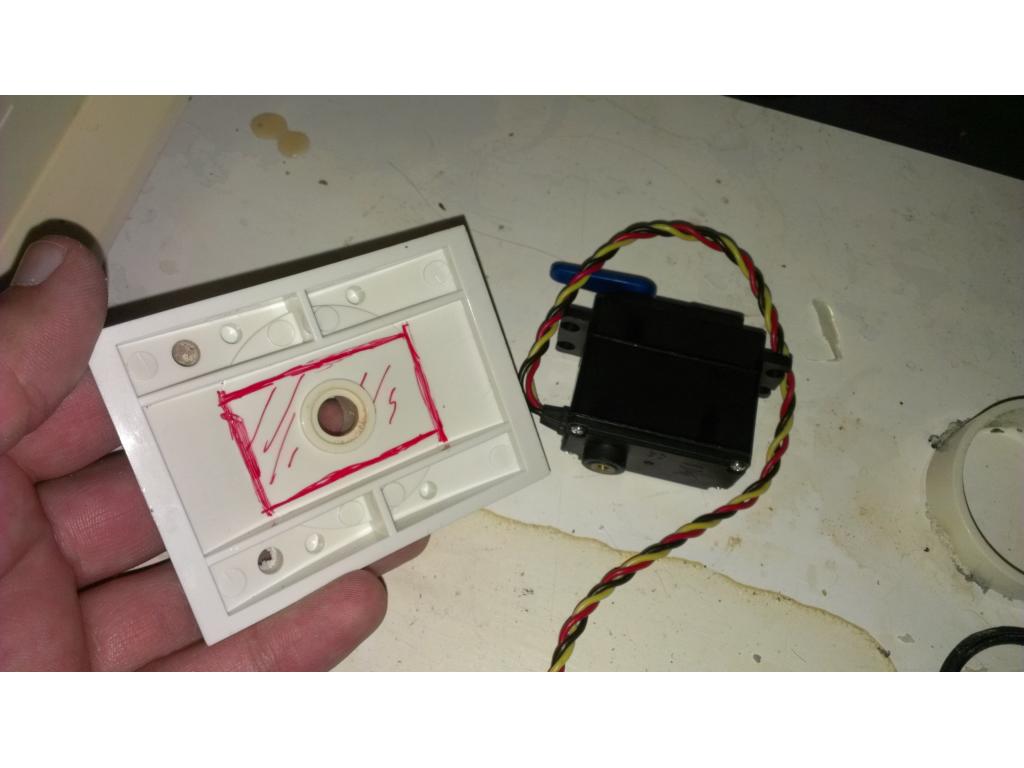
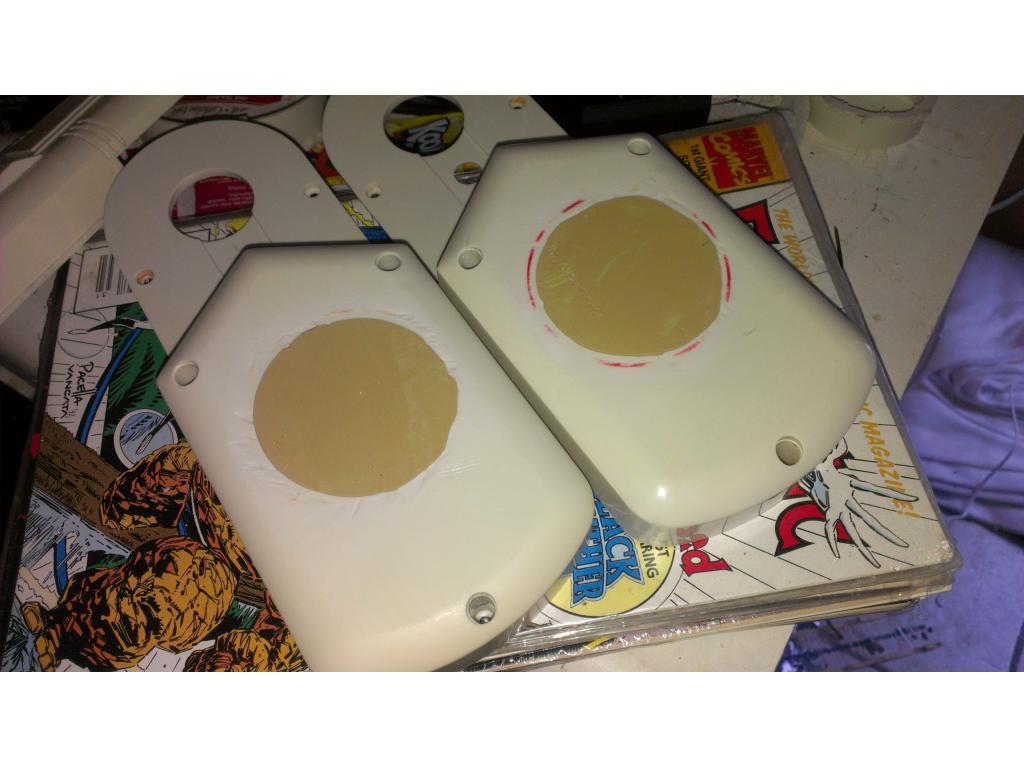
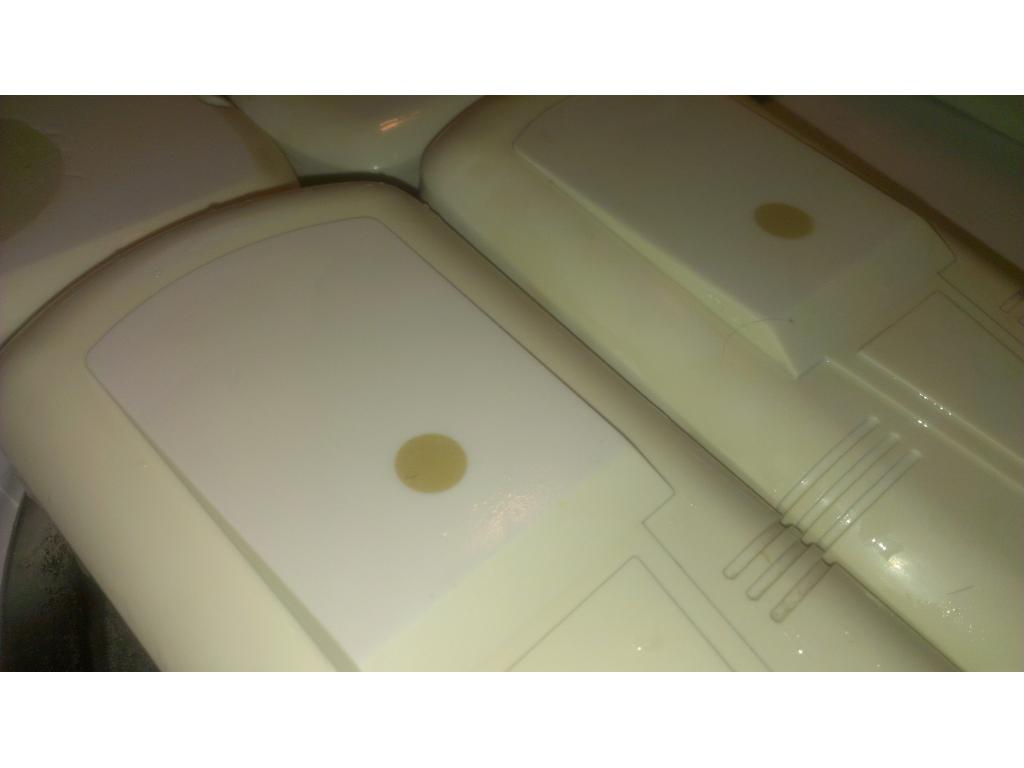
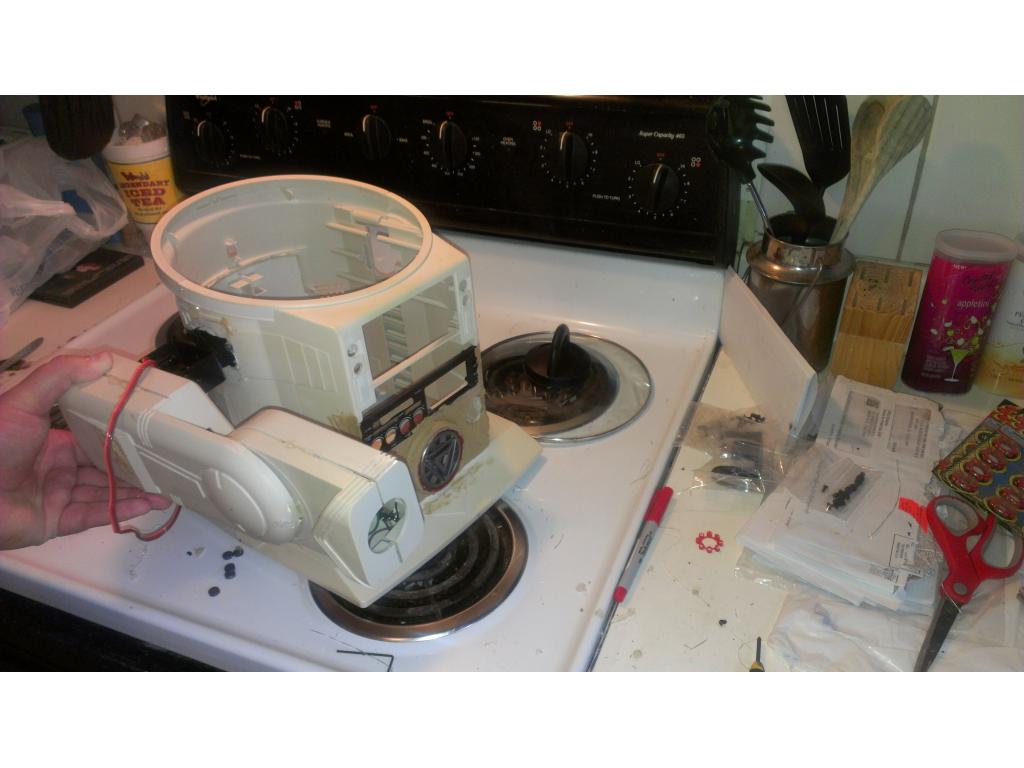
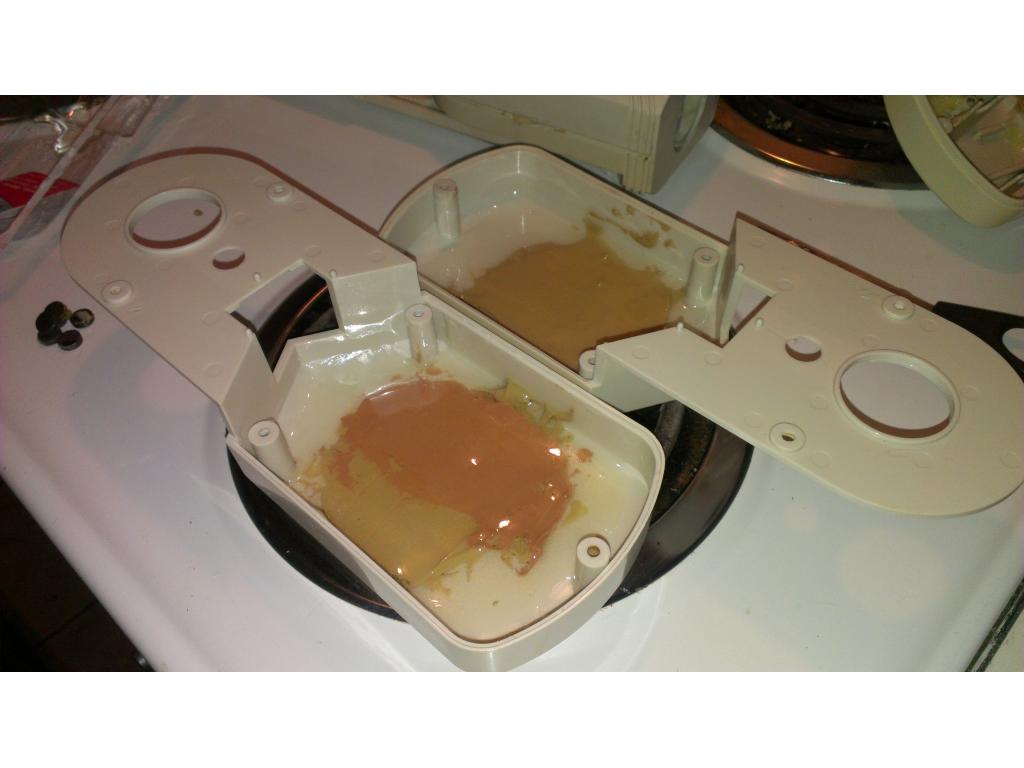
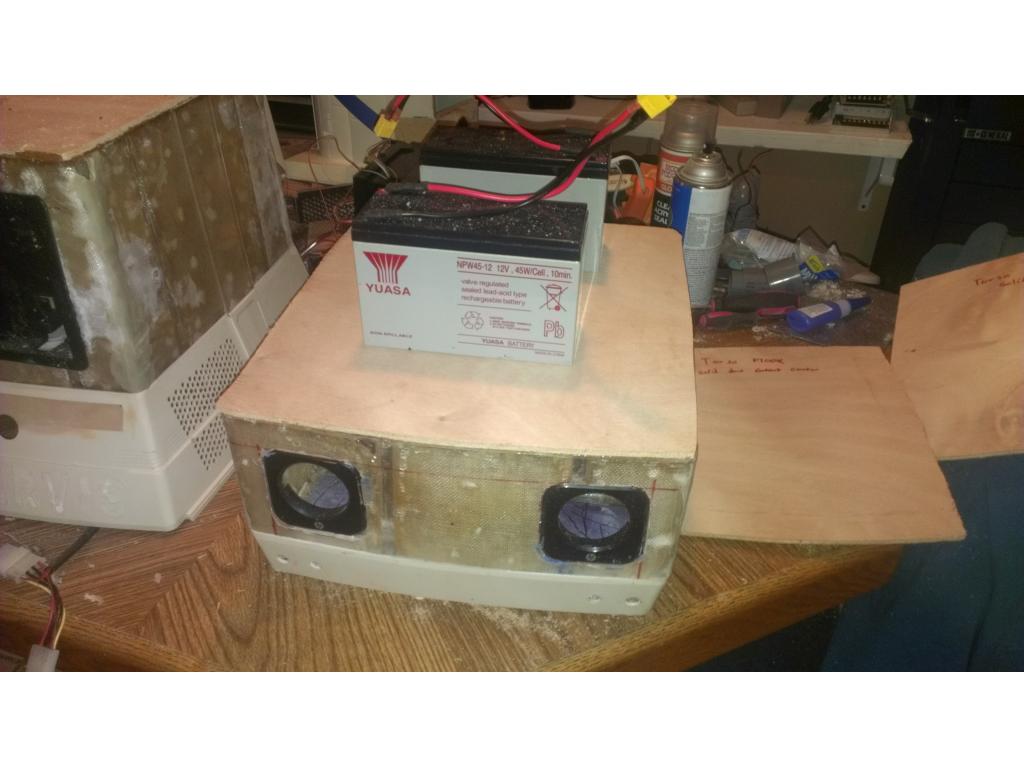
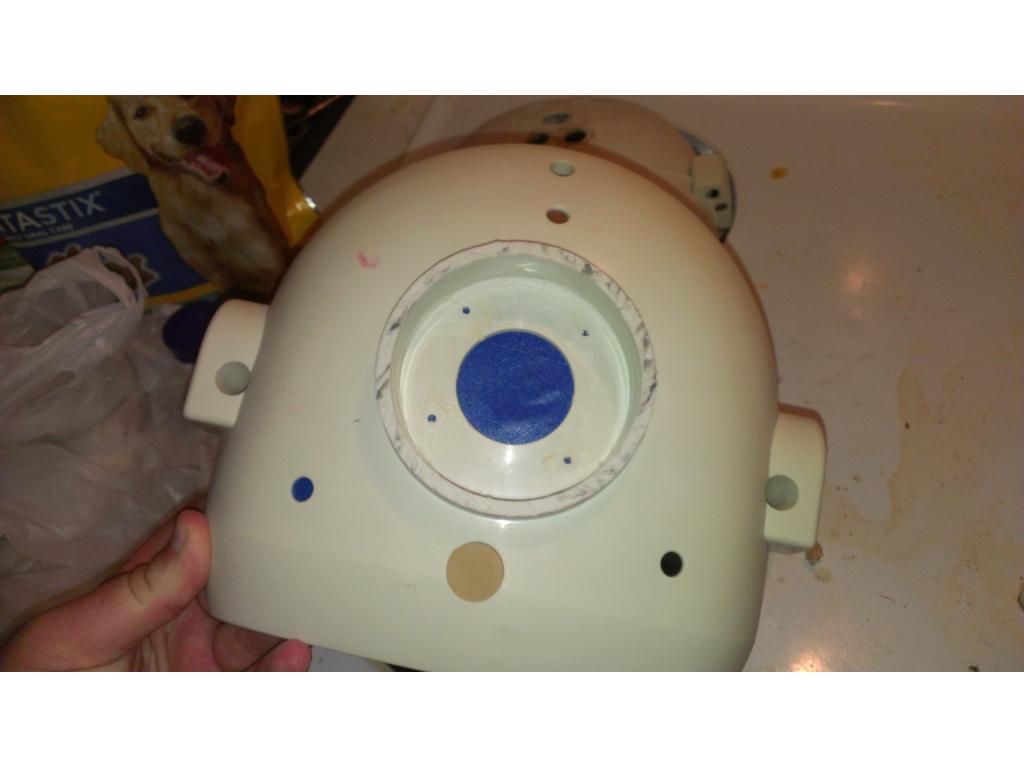
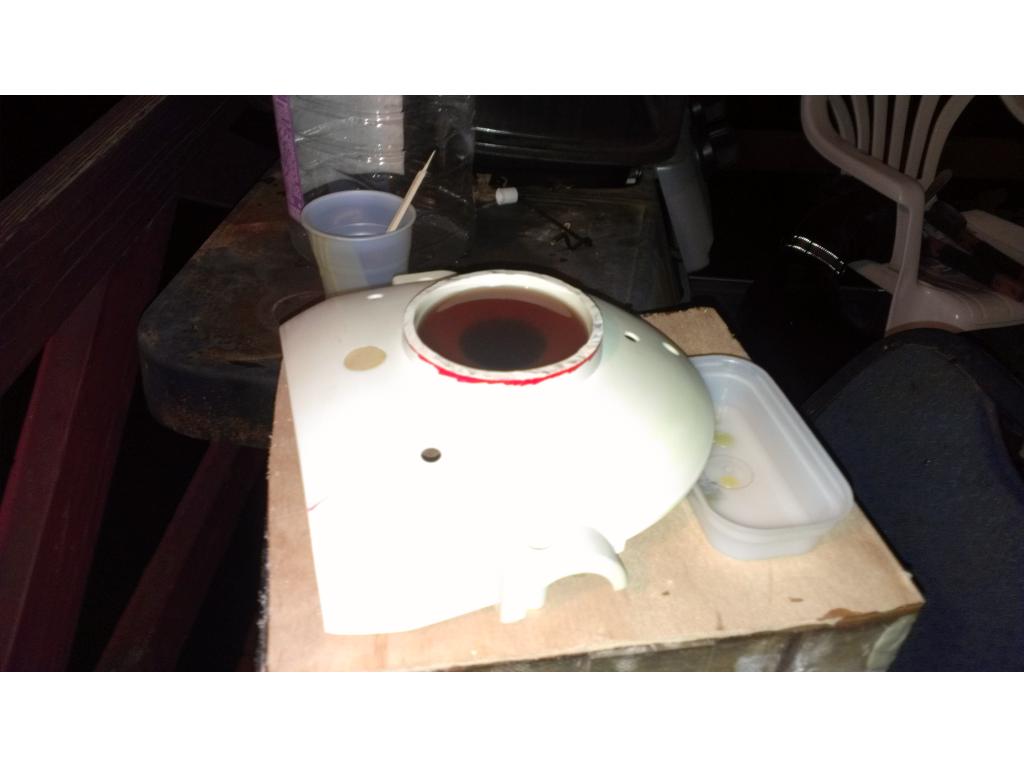
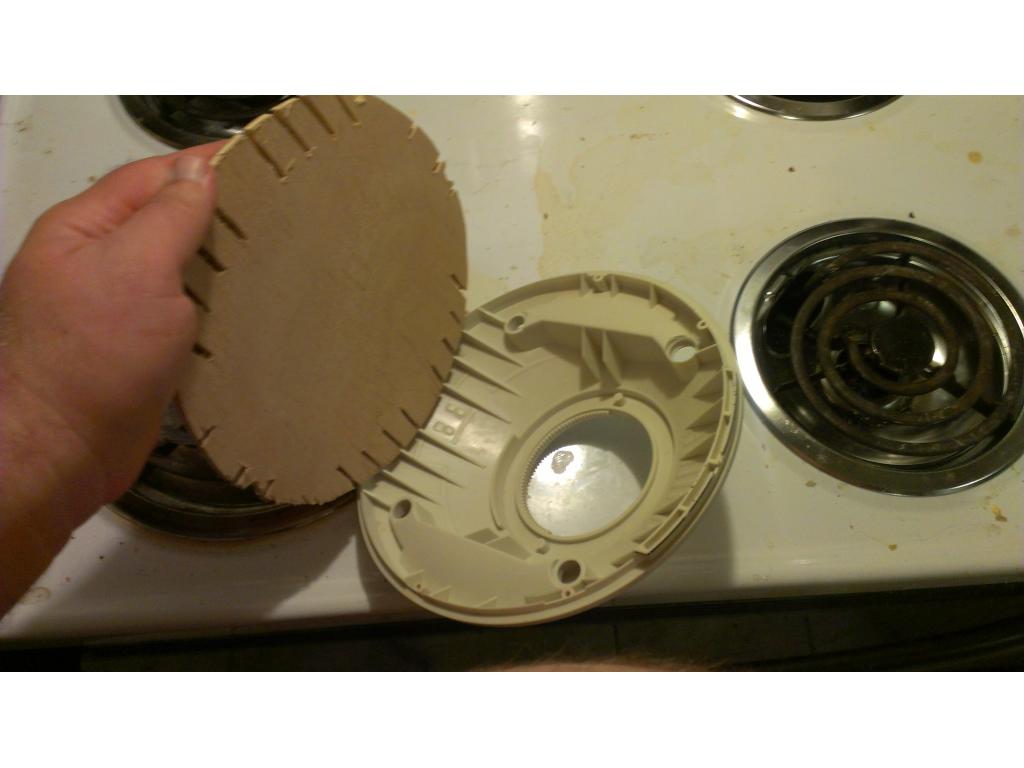
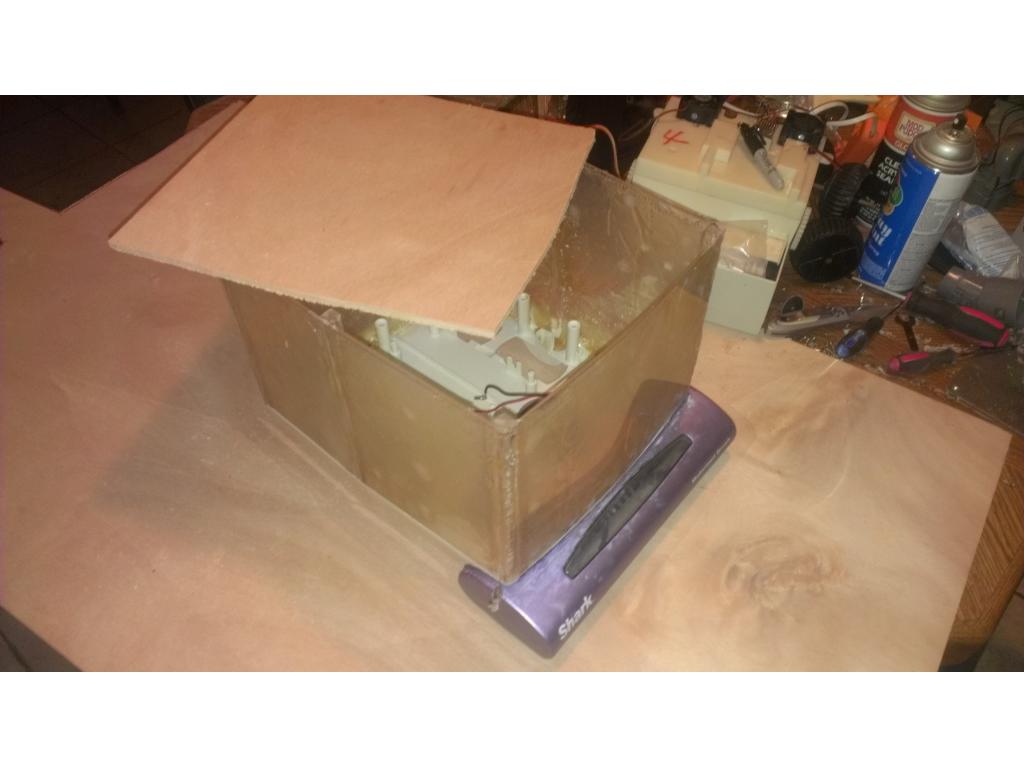
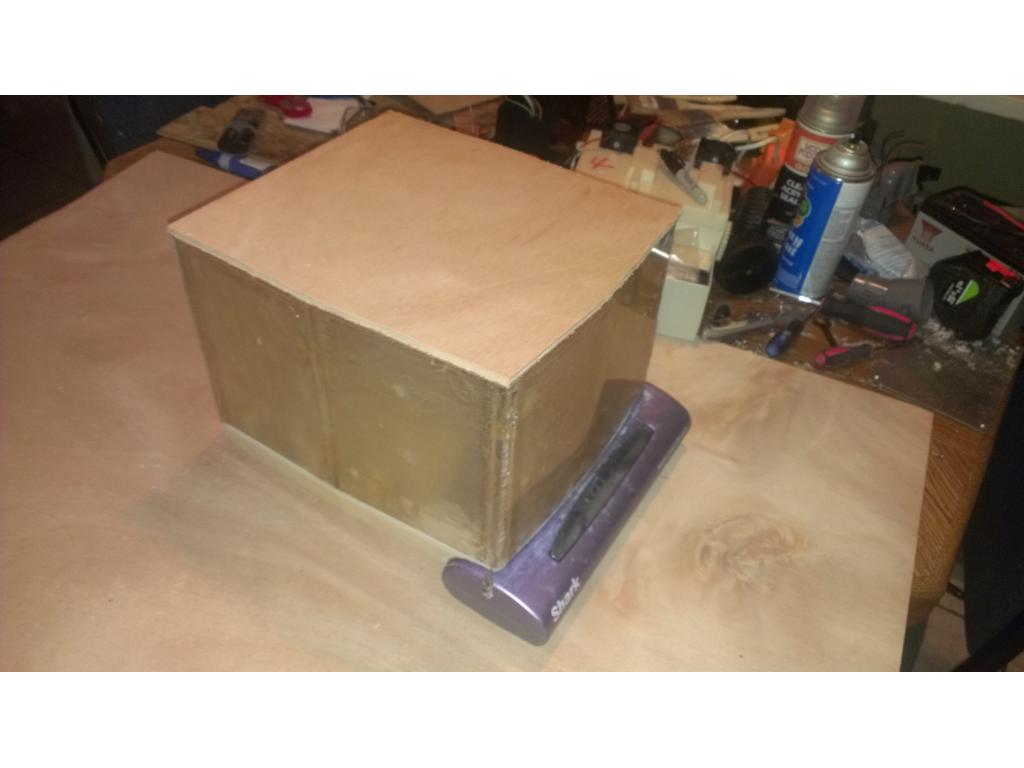
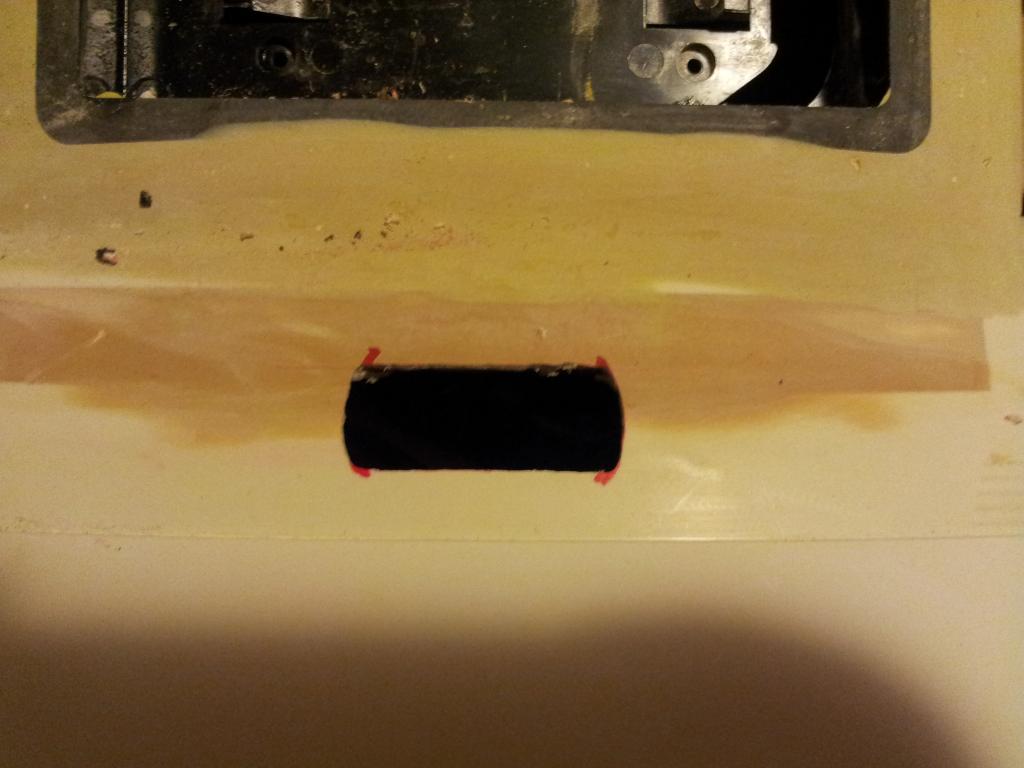
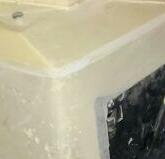
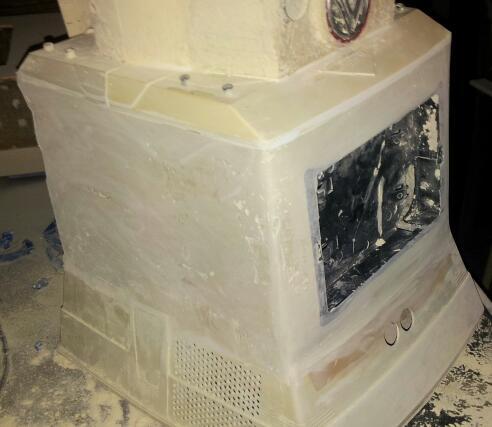
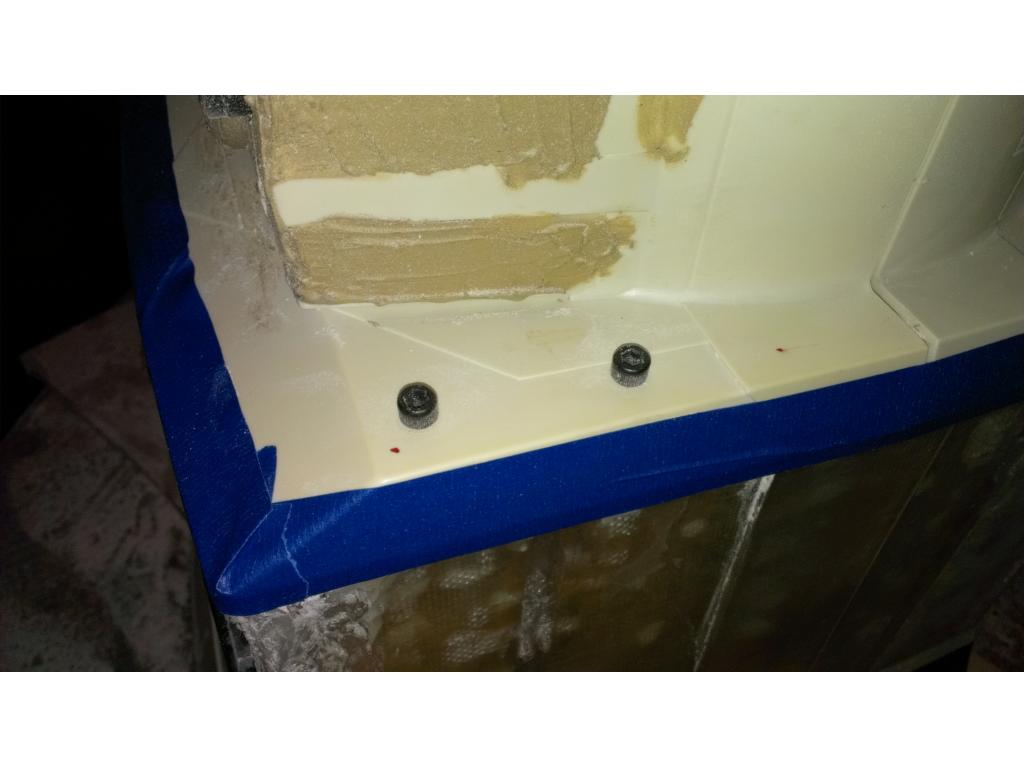
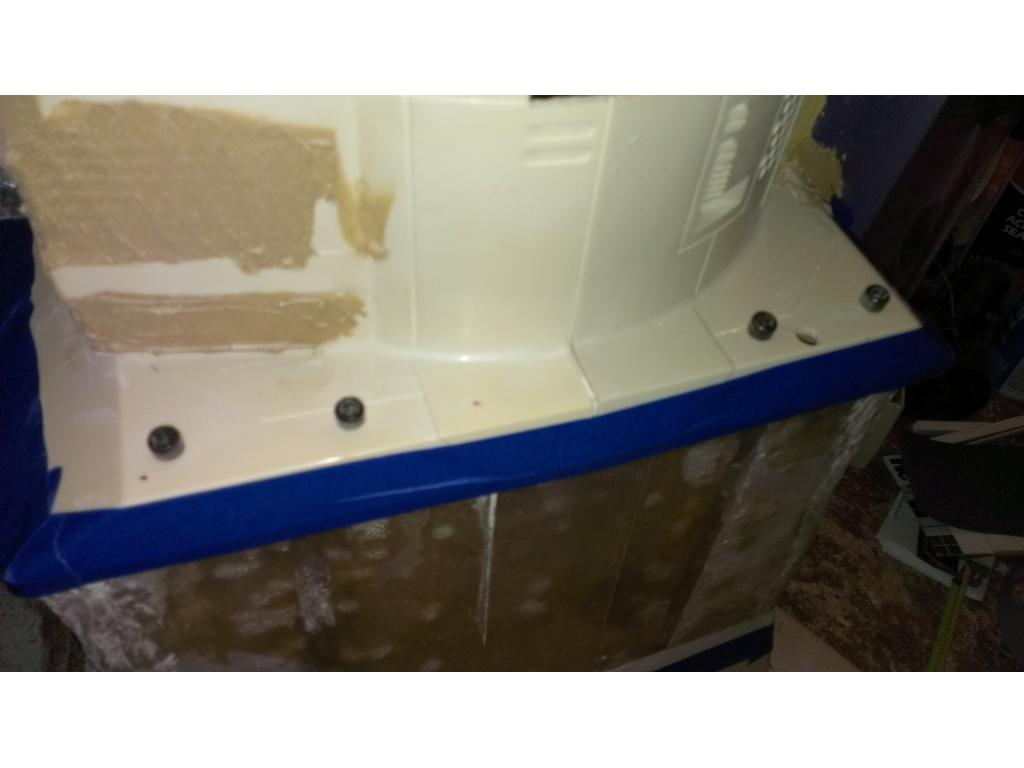
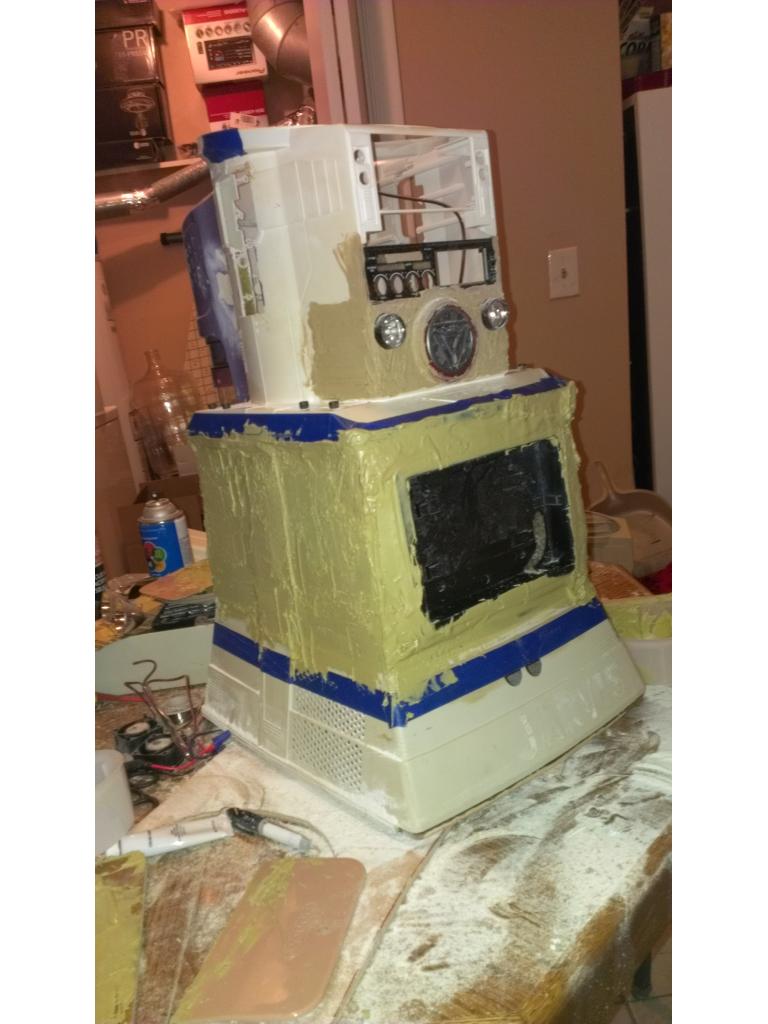
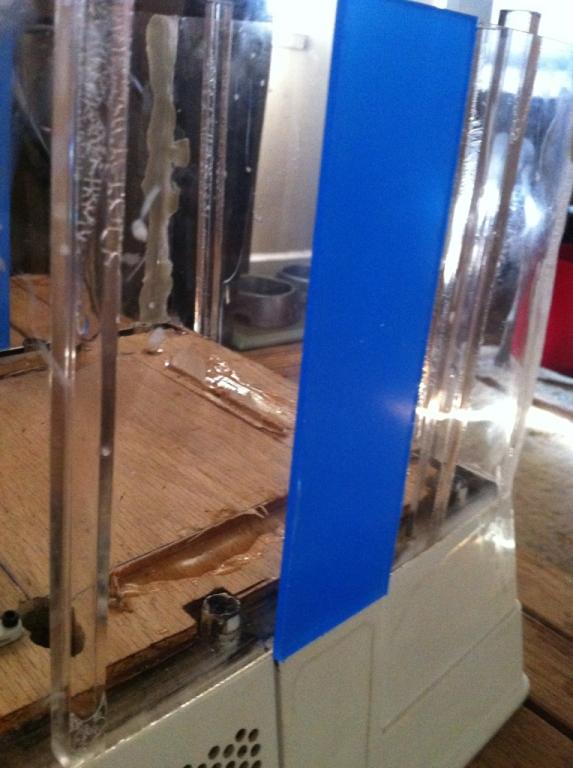
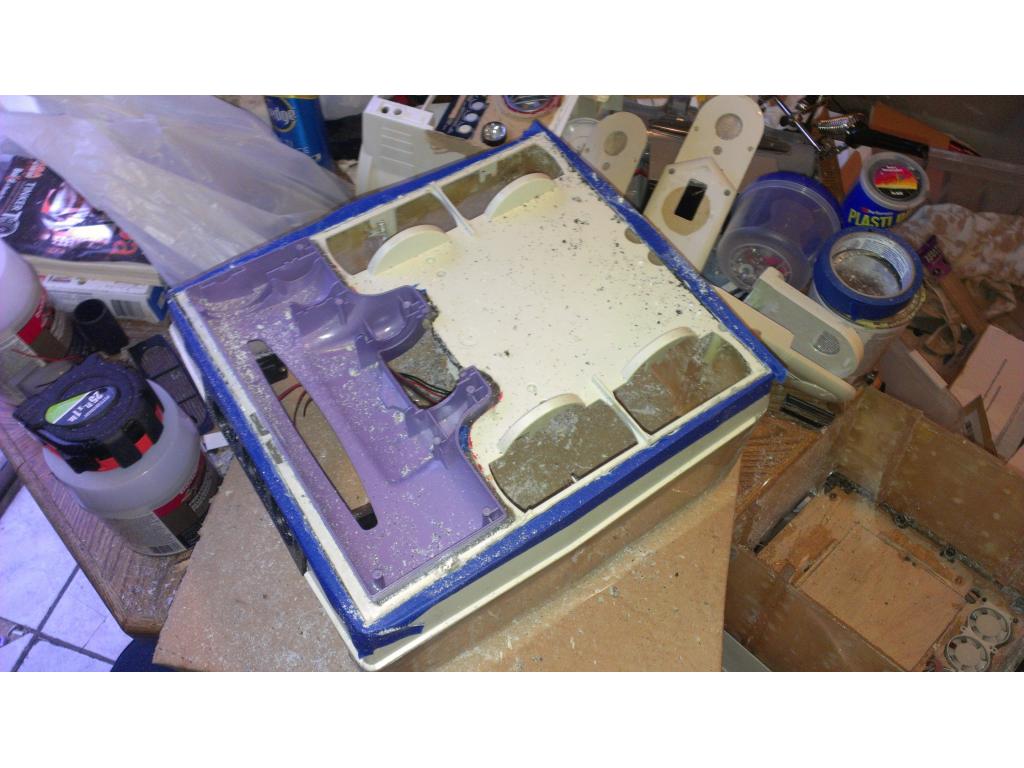
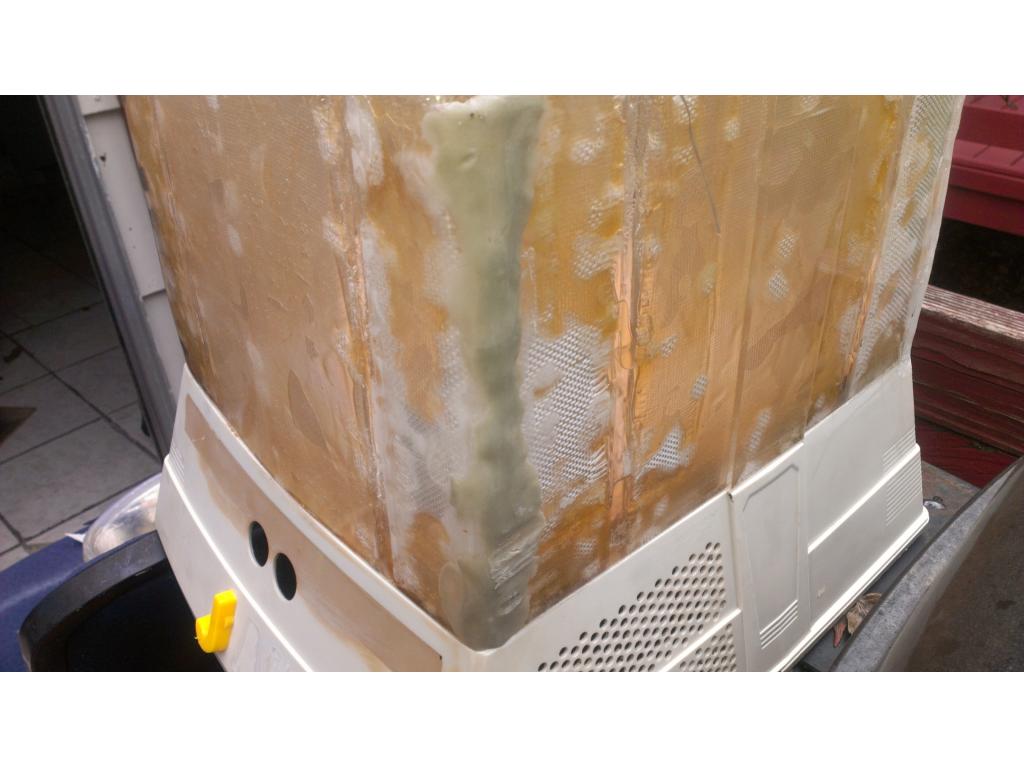
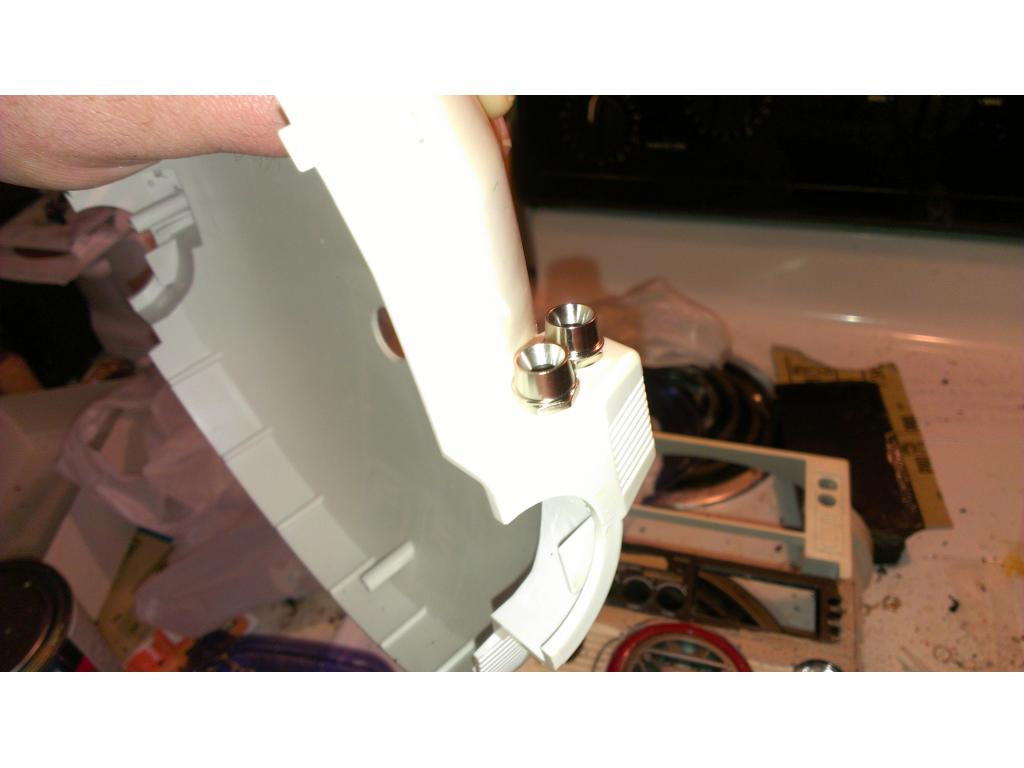
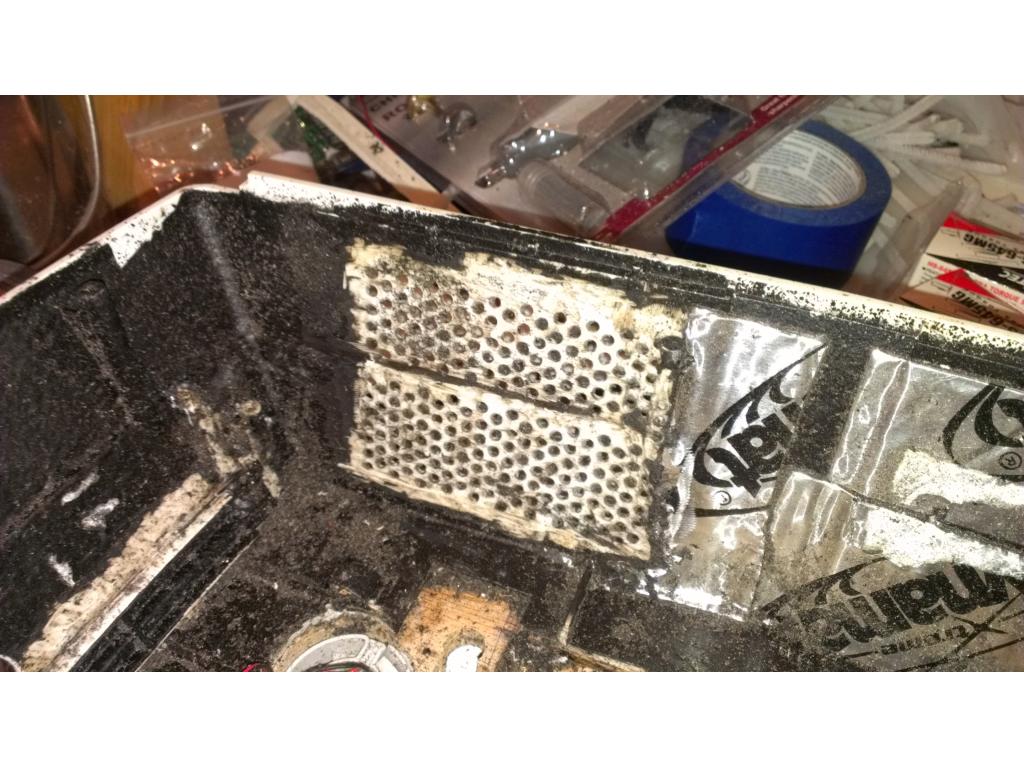
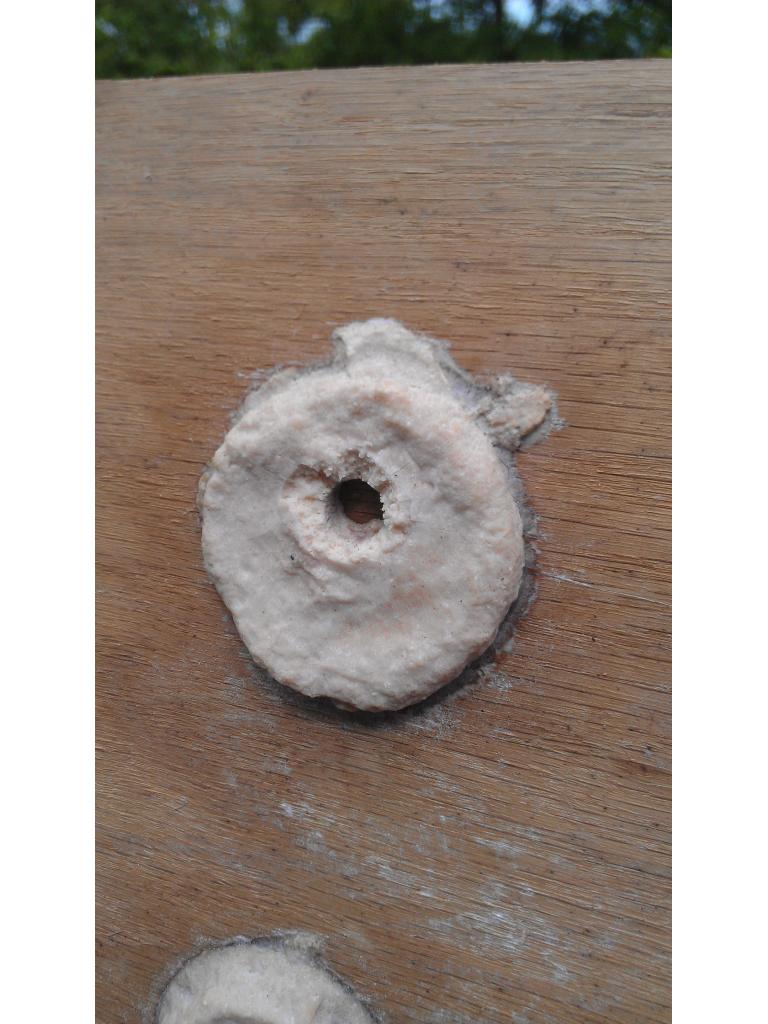
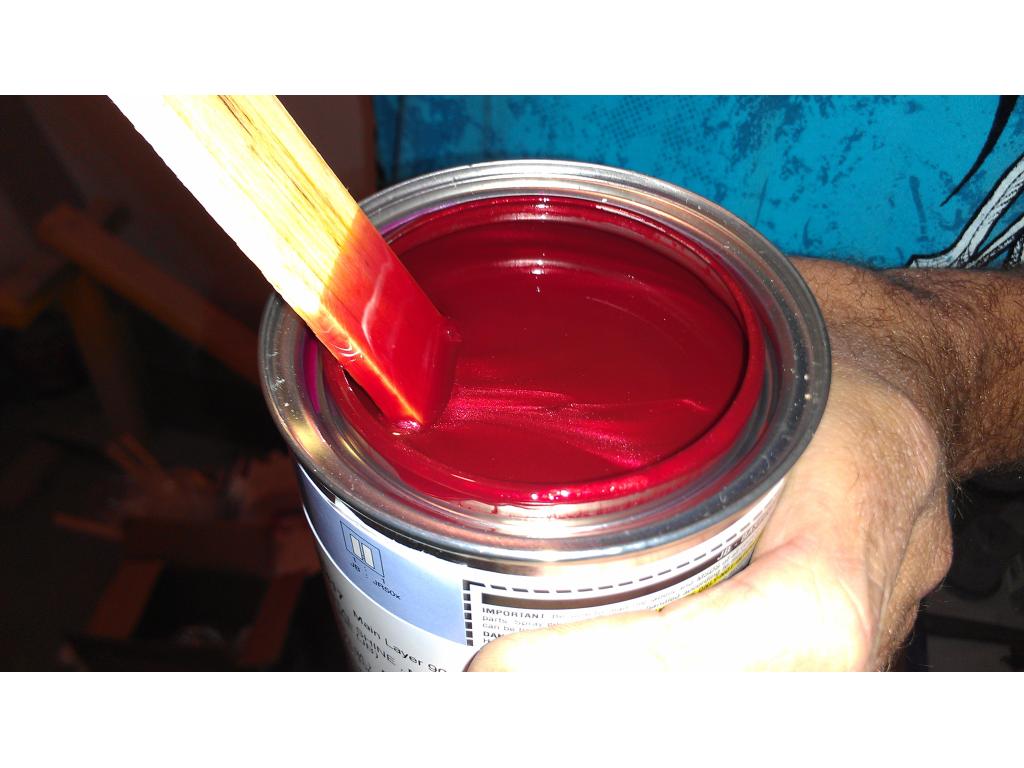
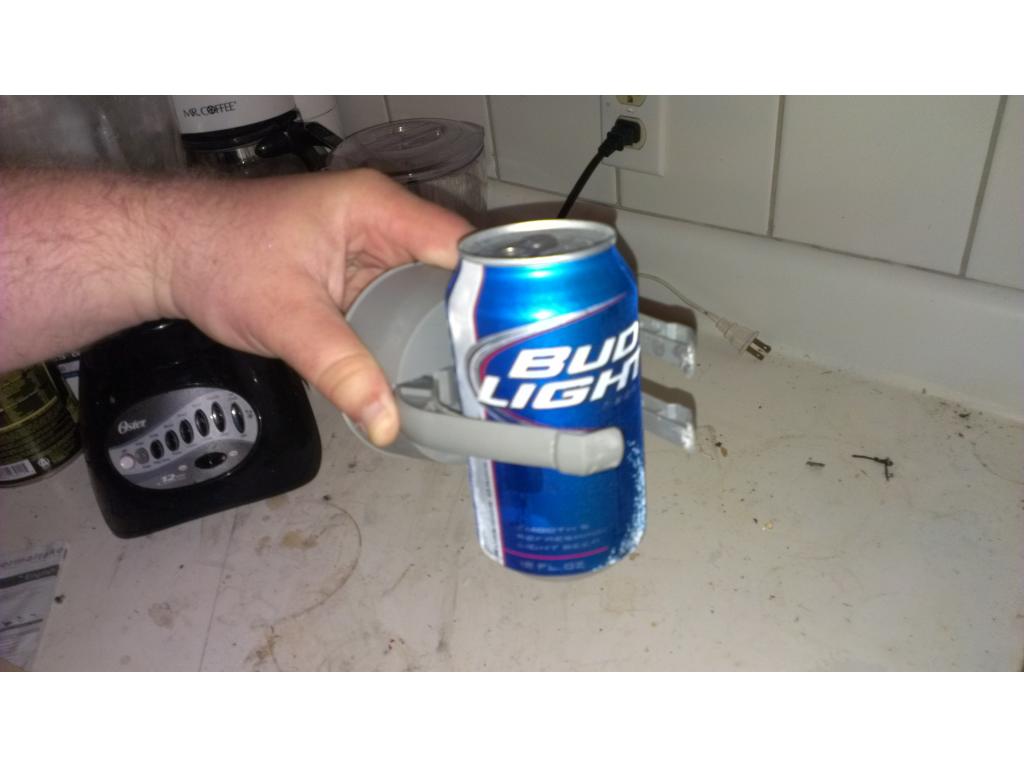
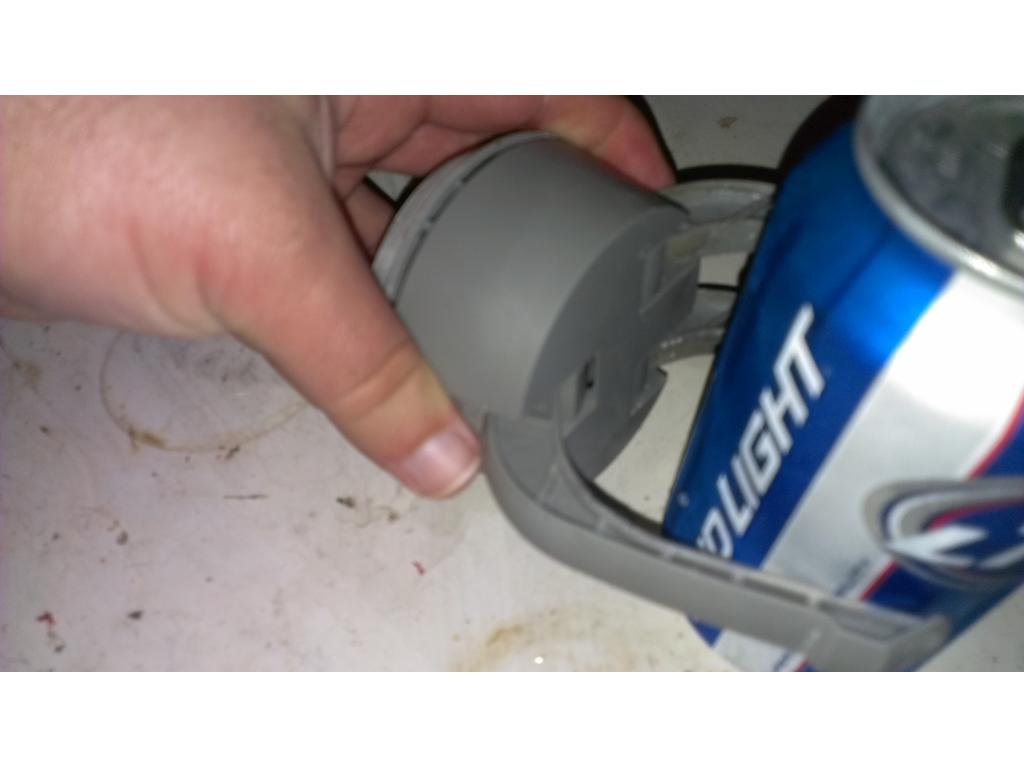
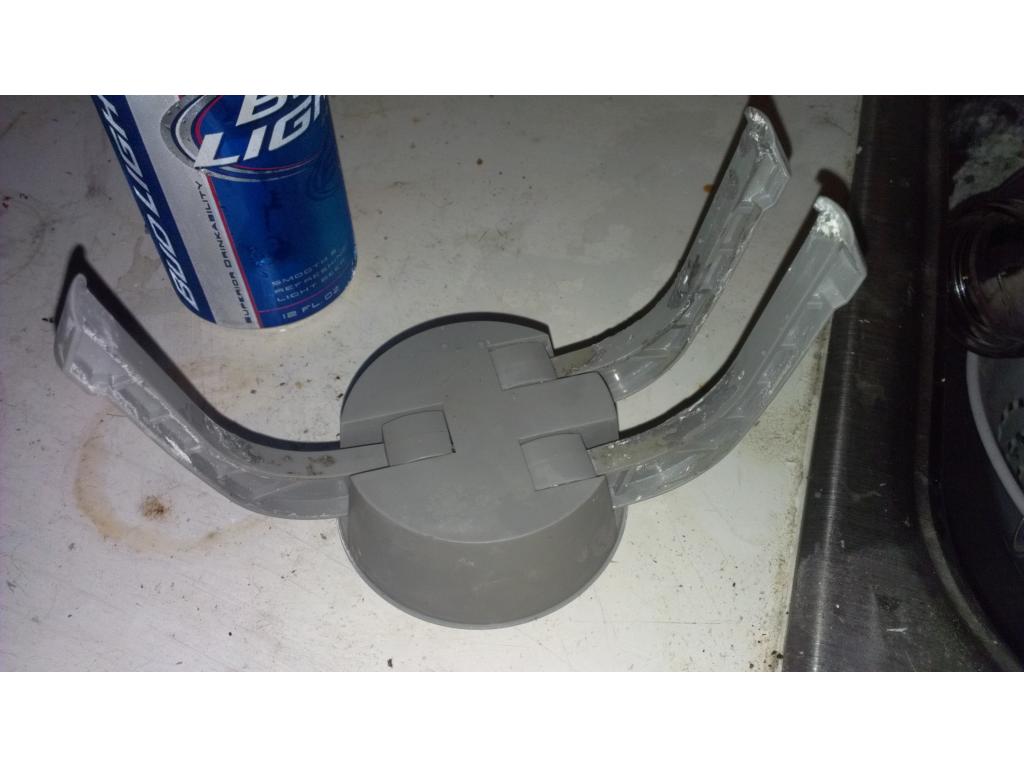
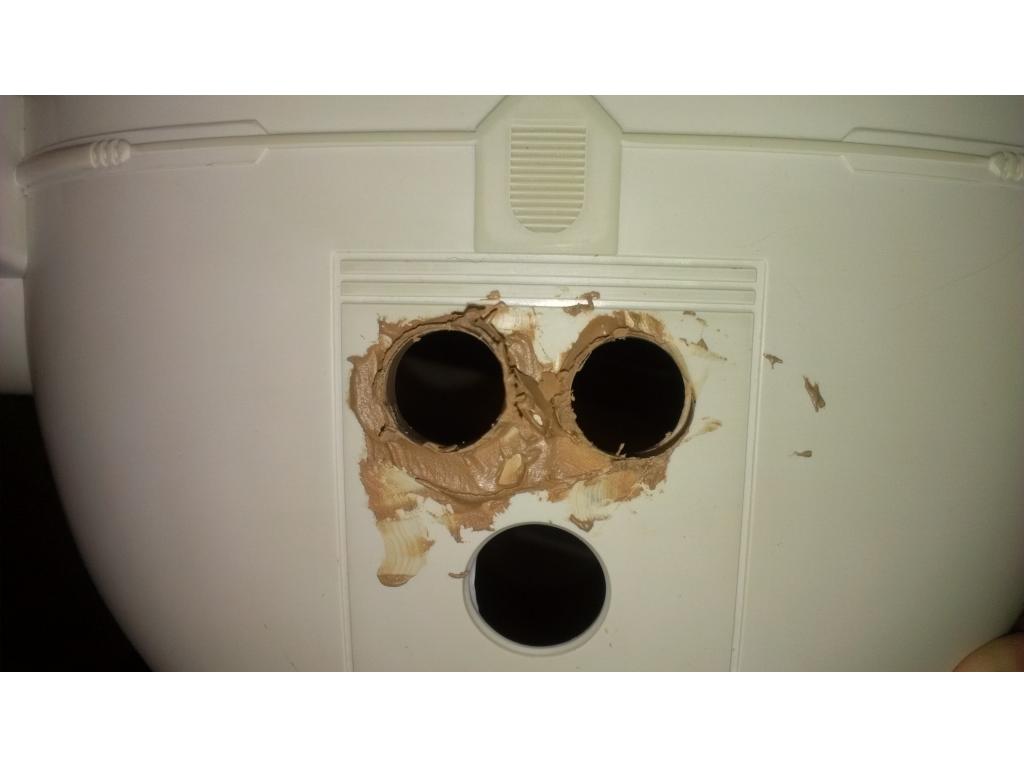
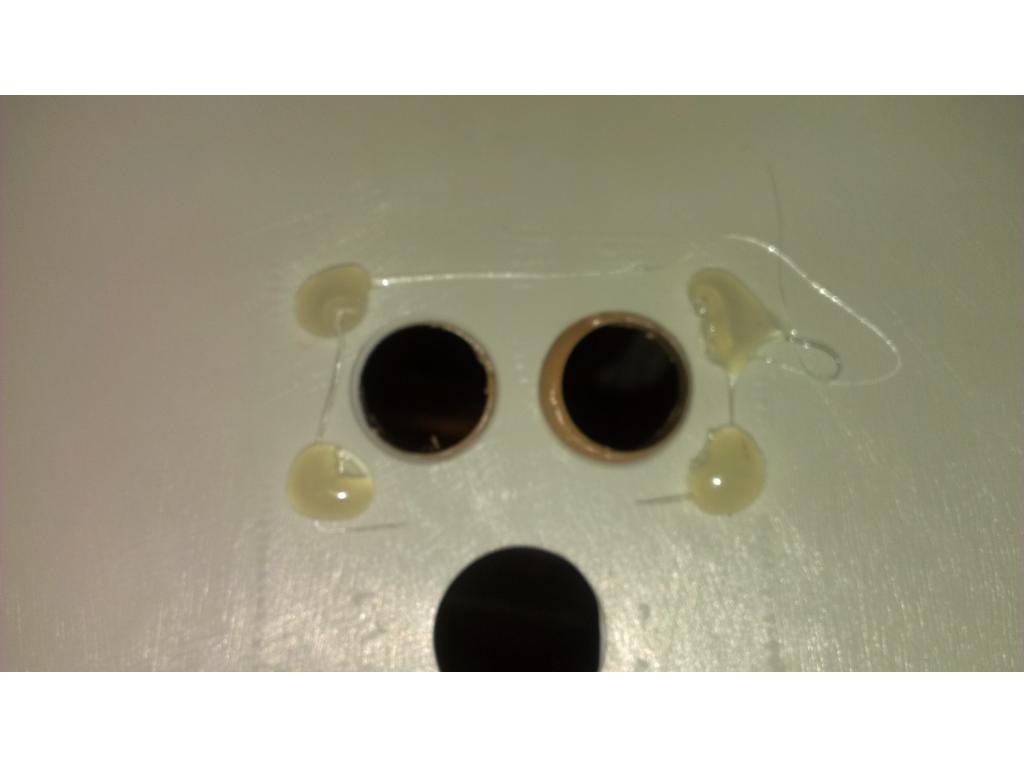
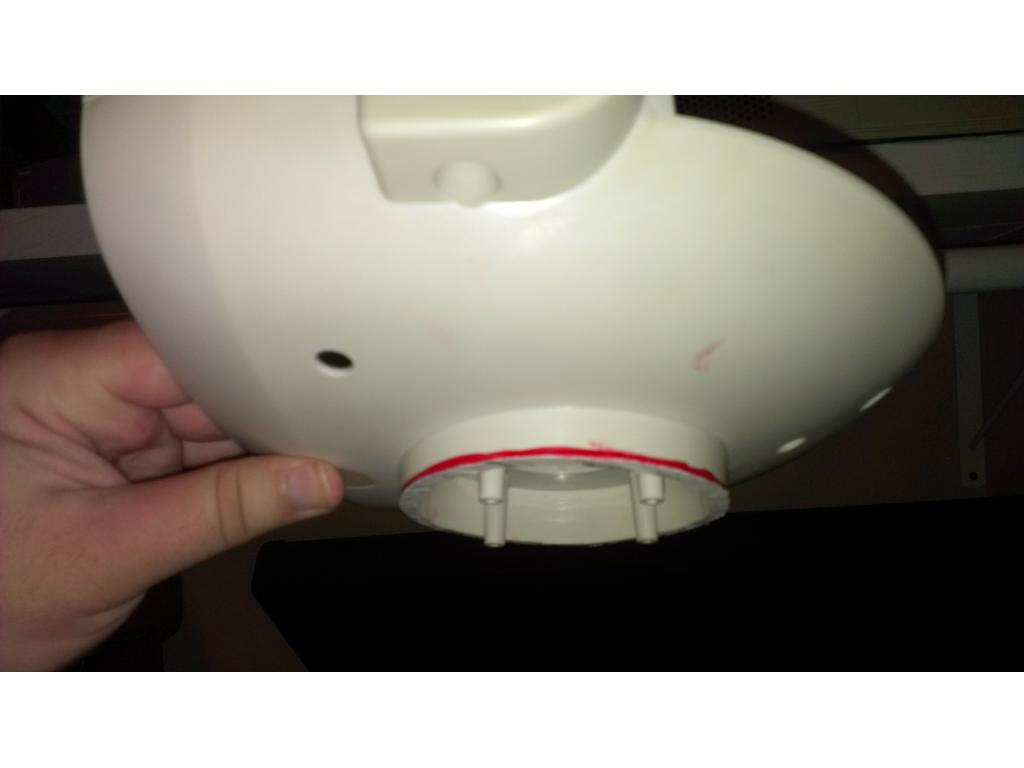
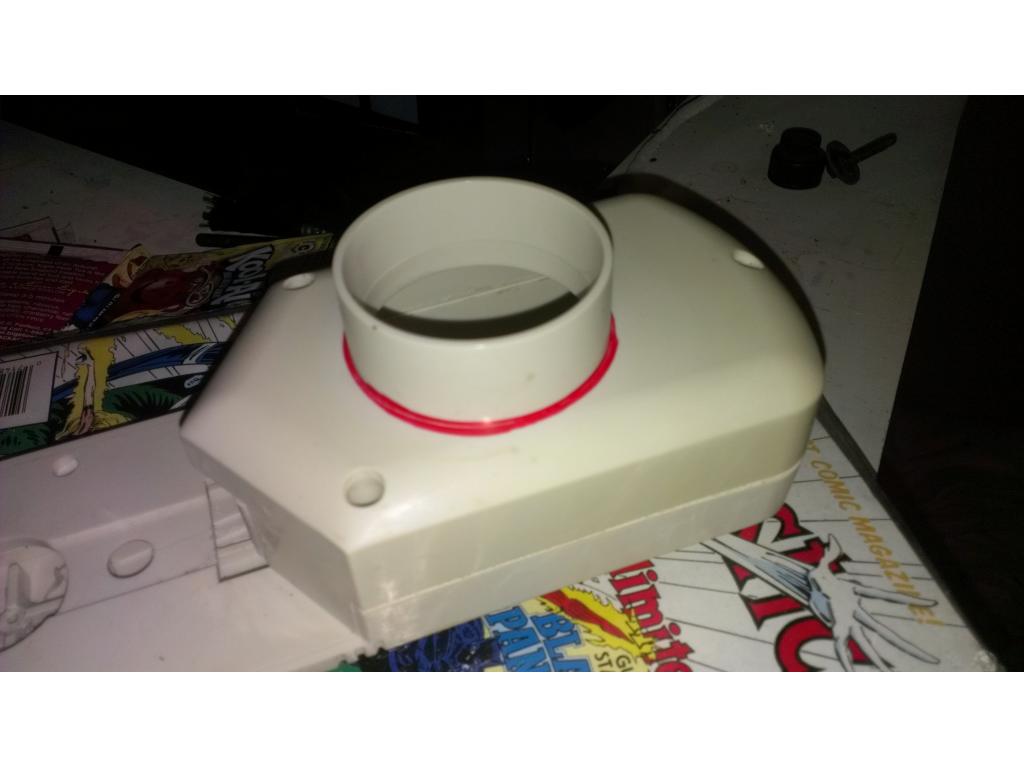
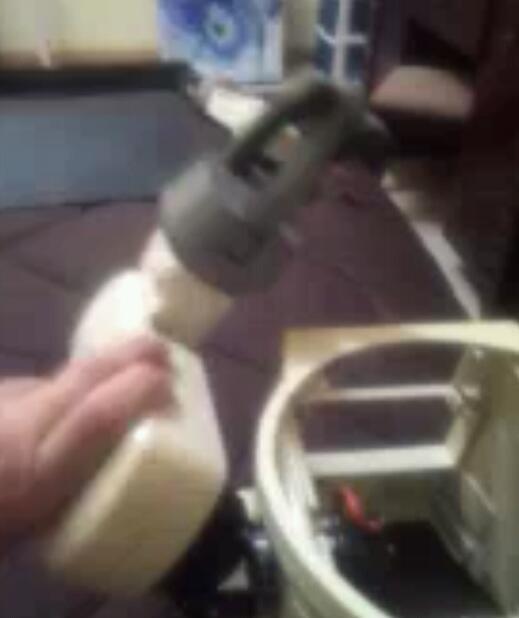
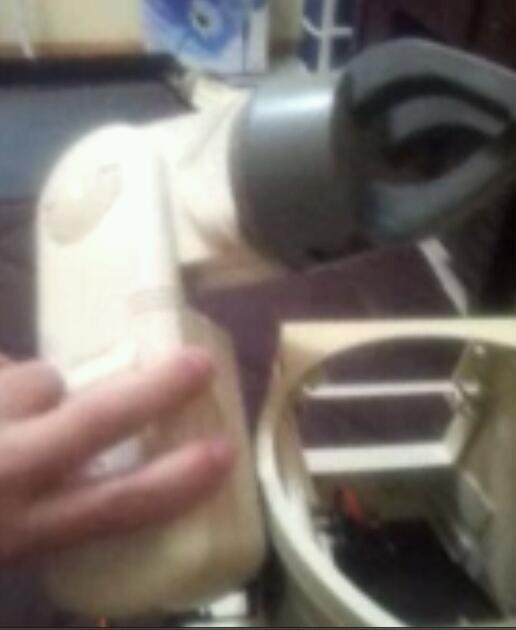
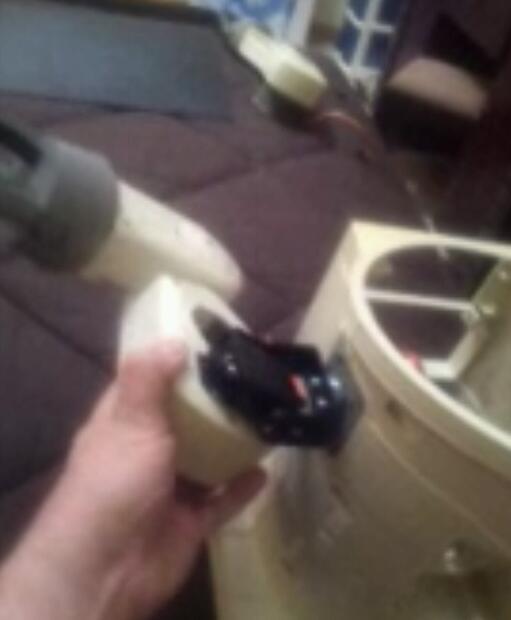
Anyways , I filled the arms screw hole and sanded them. I'm waiting for it to dry and harden.
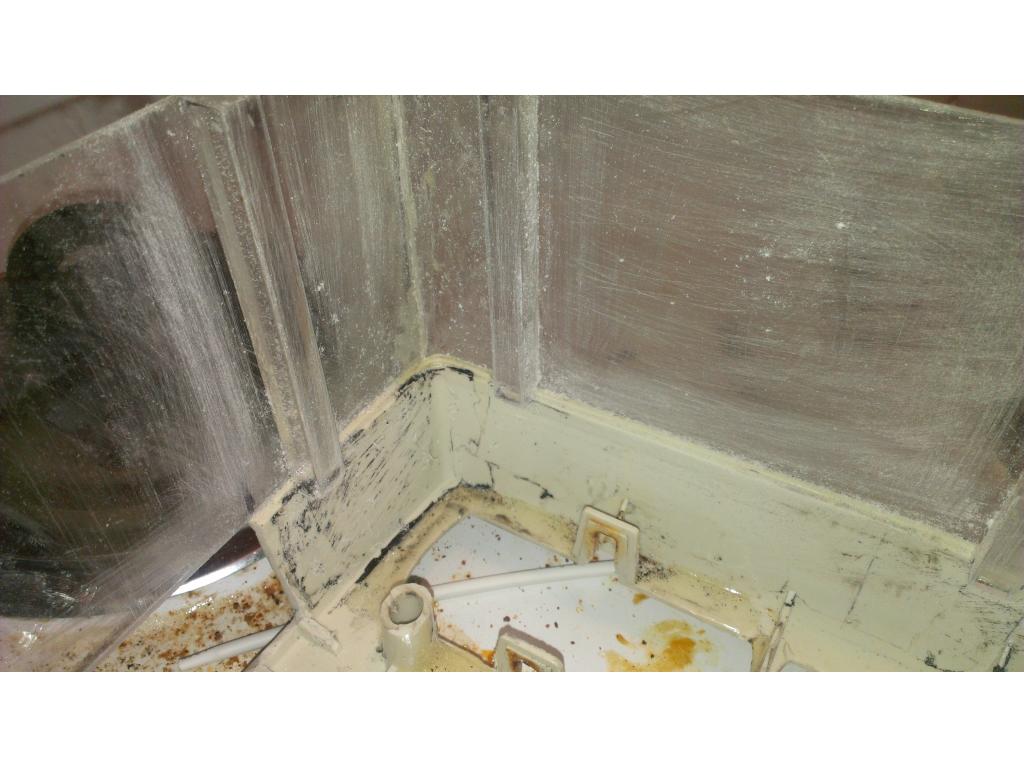
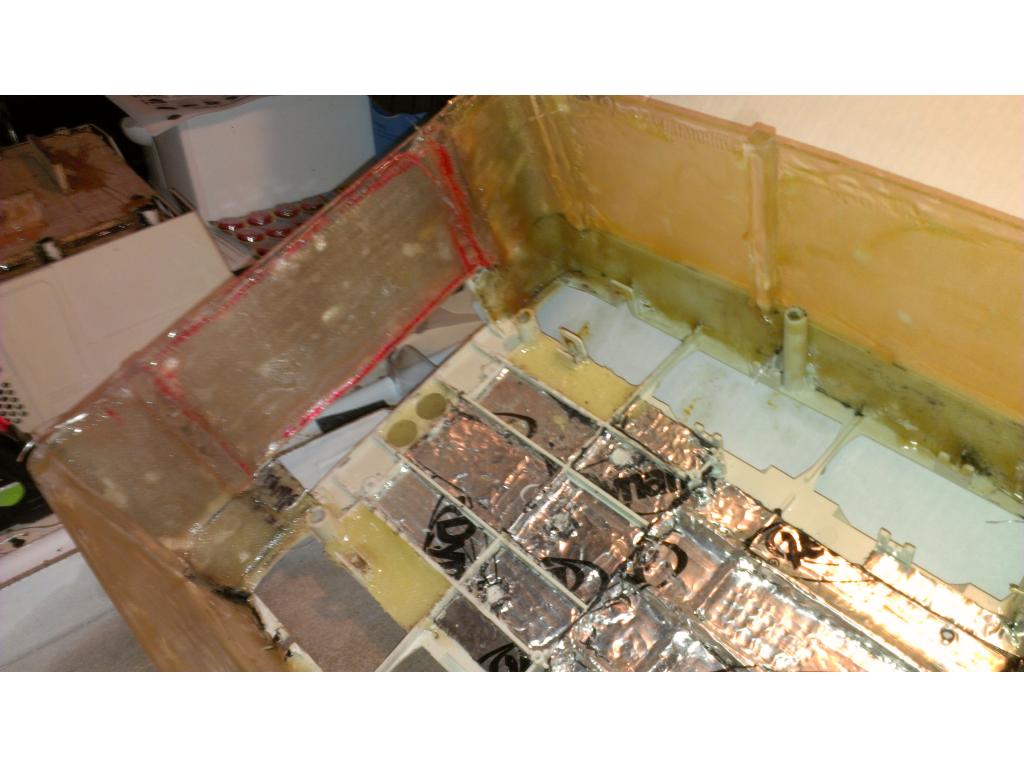
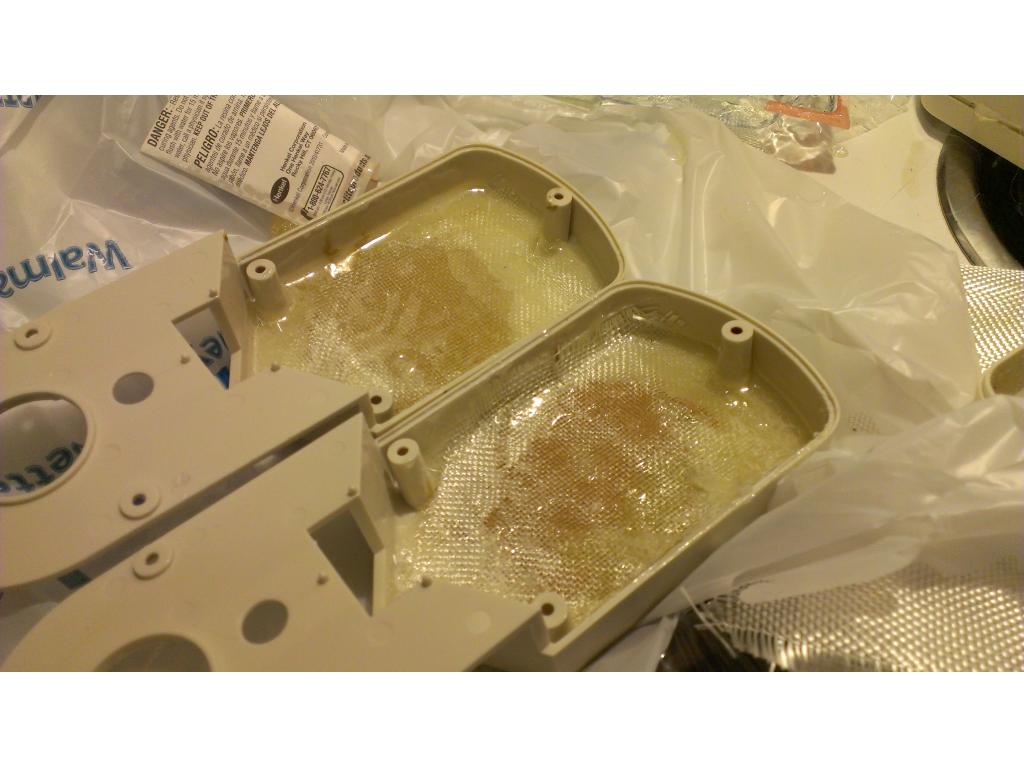
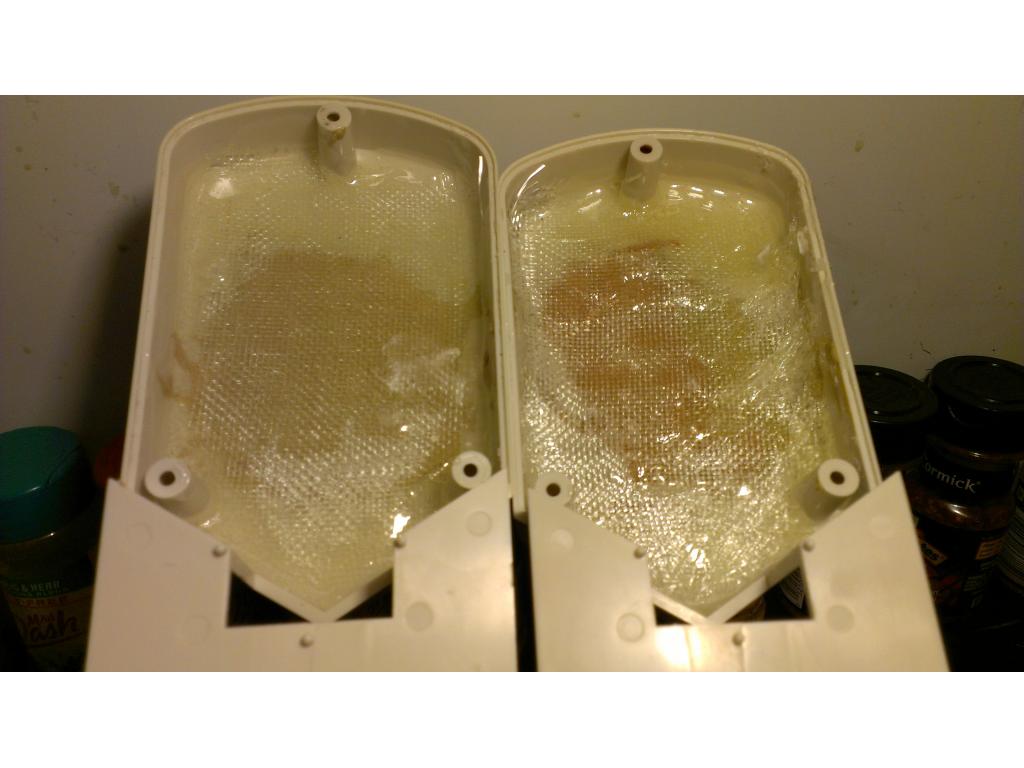
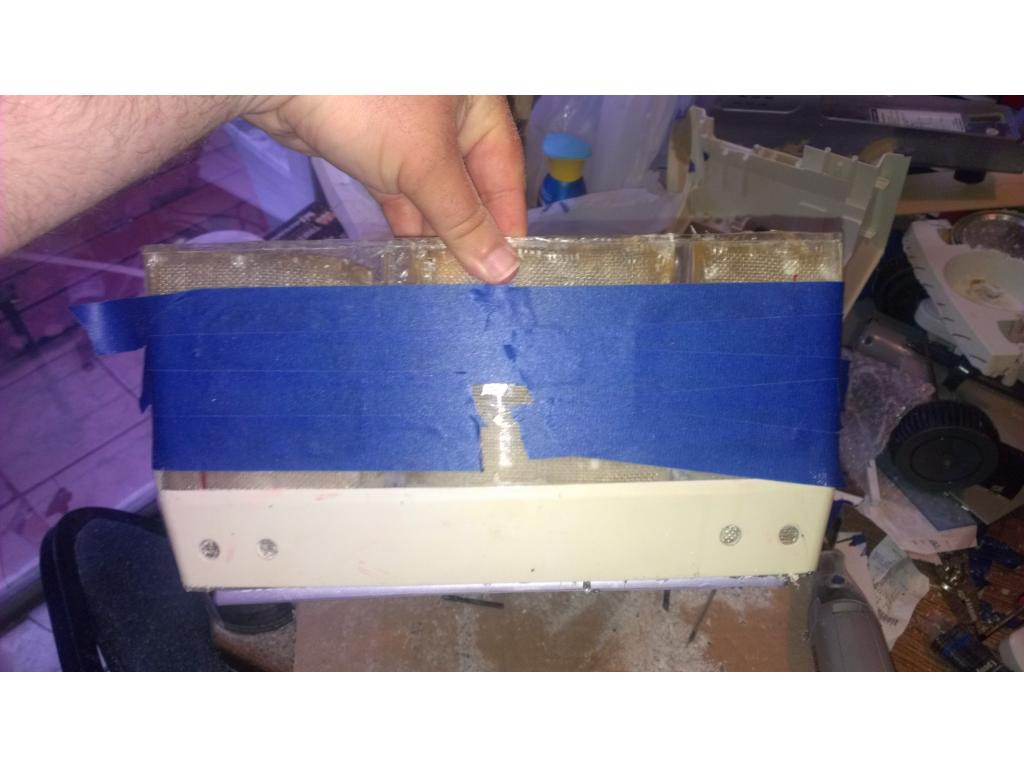
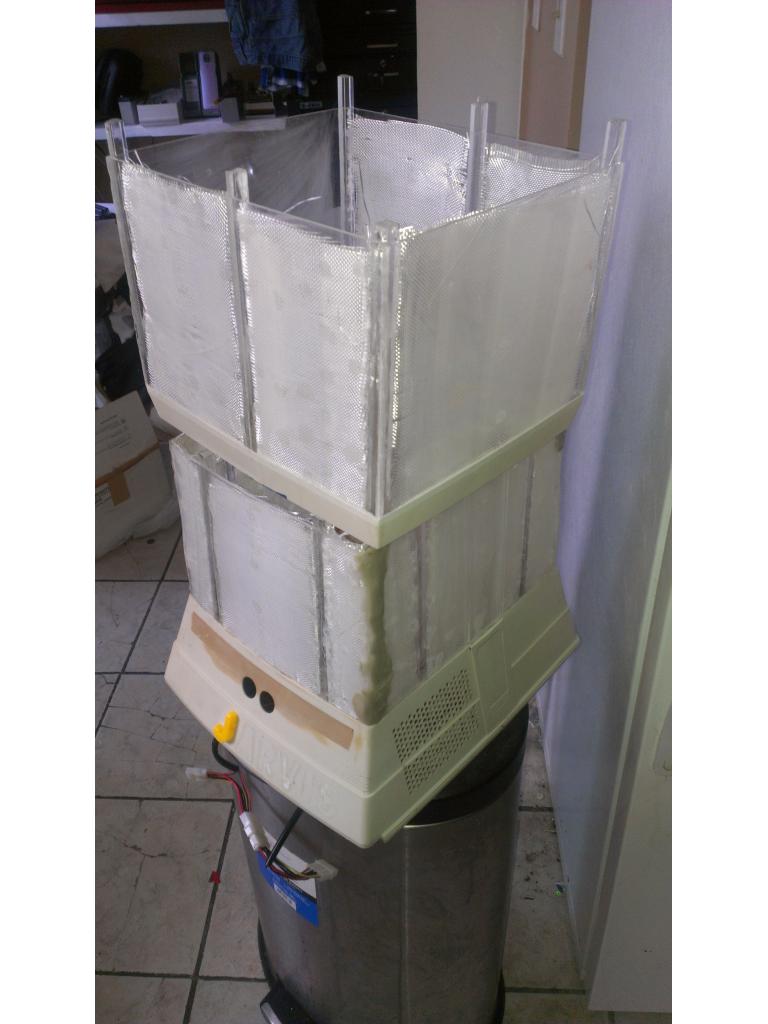
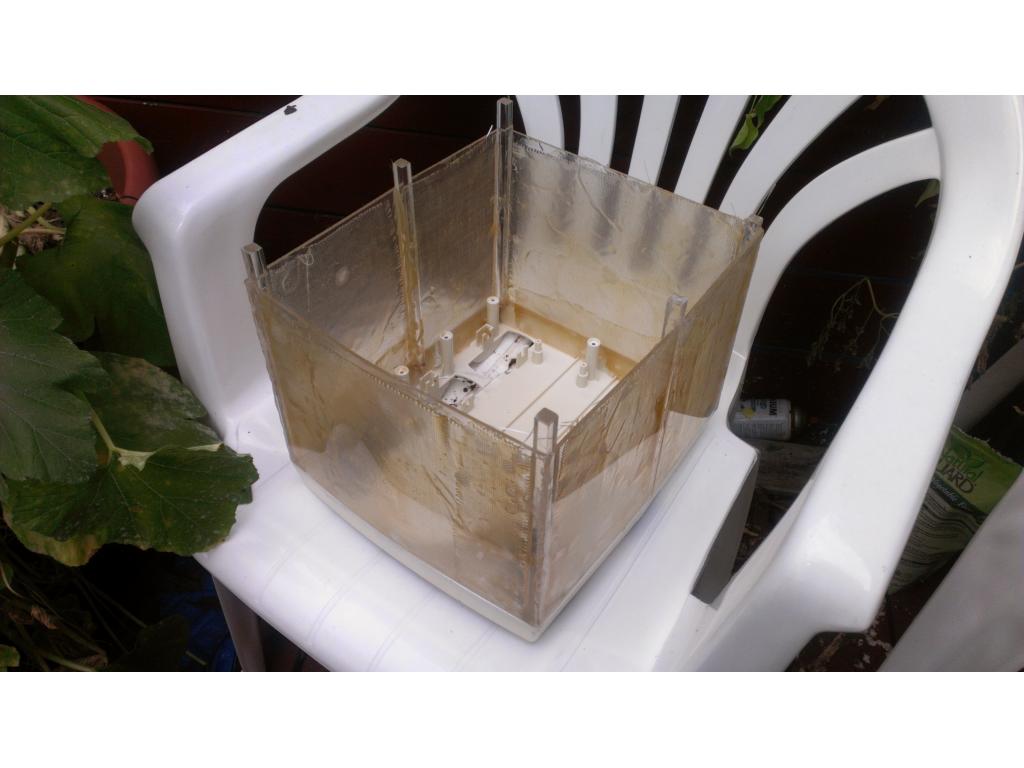
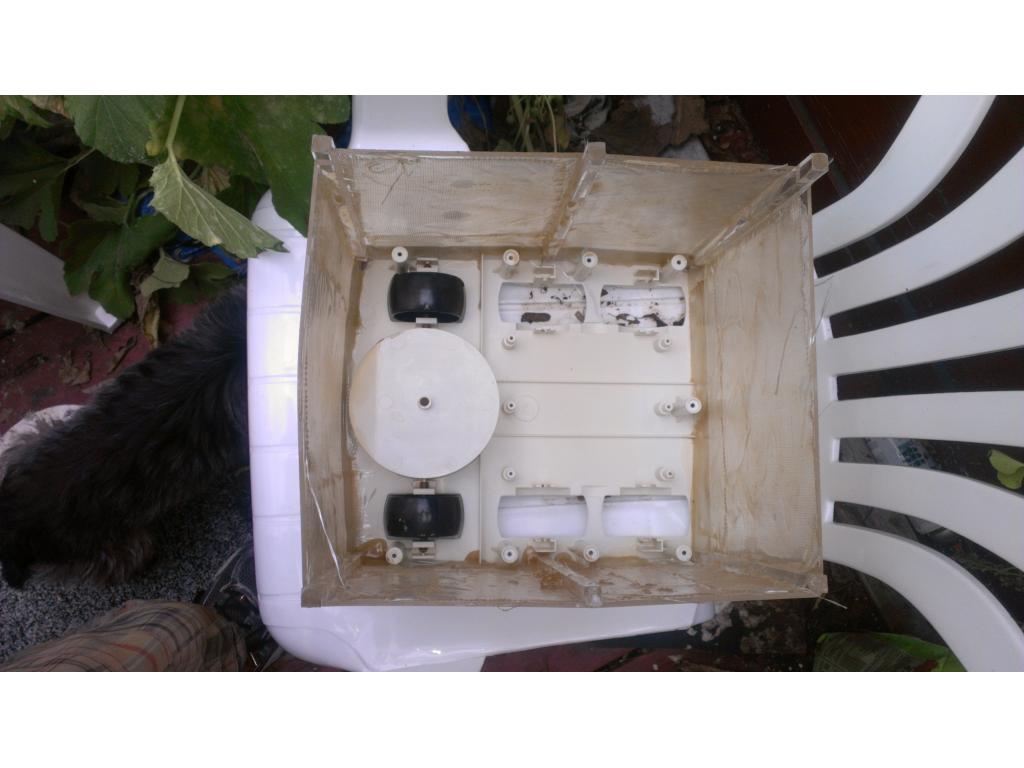
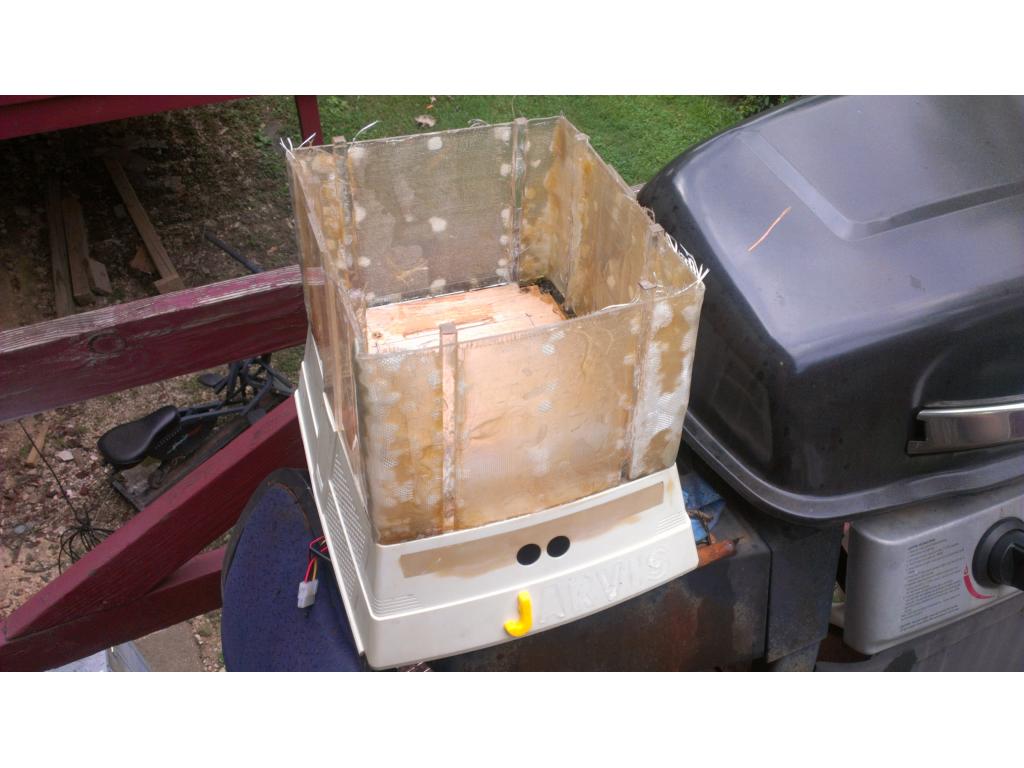
So once this dries then I will lay a couple of layers of fiberglass.
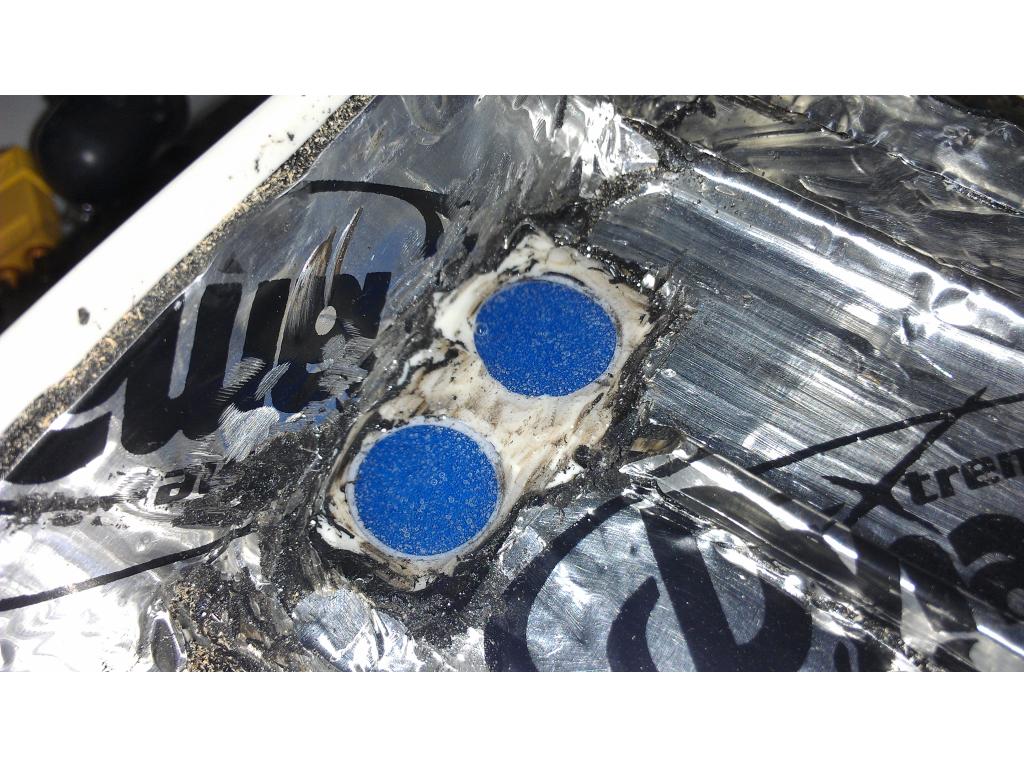
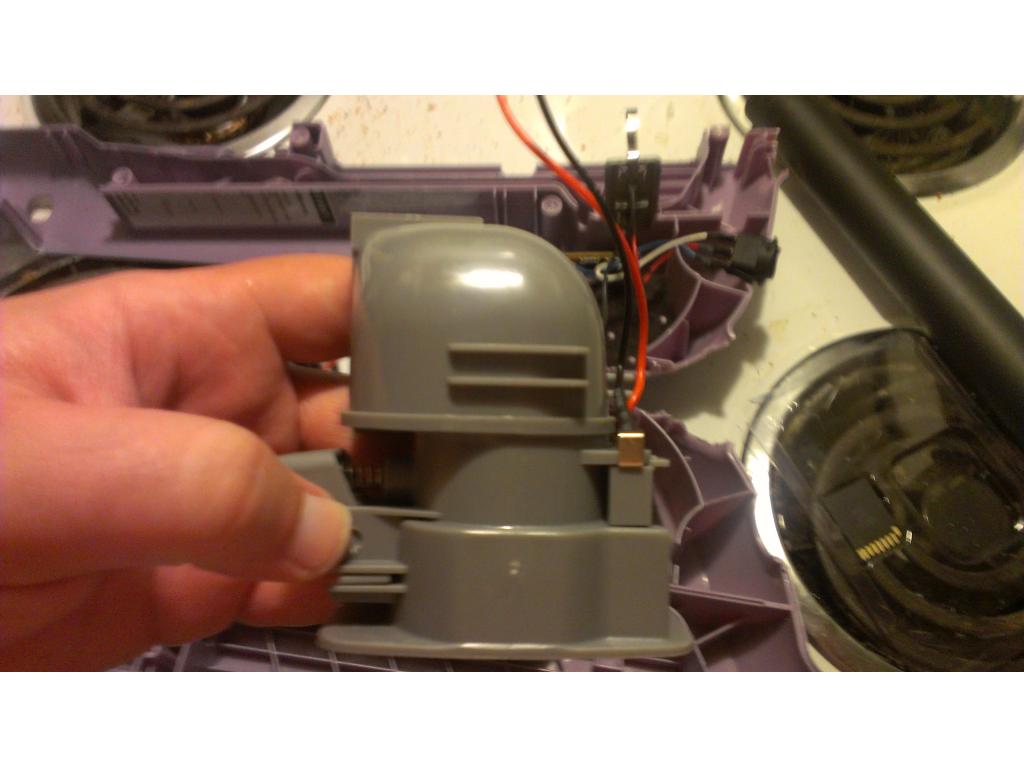
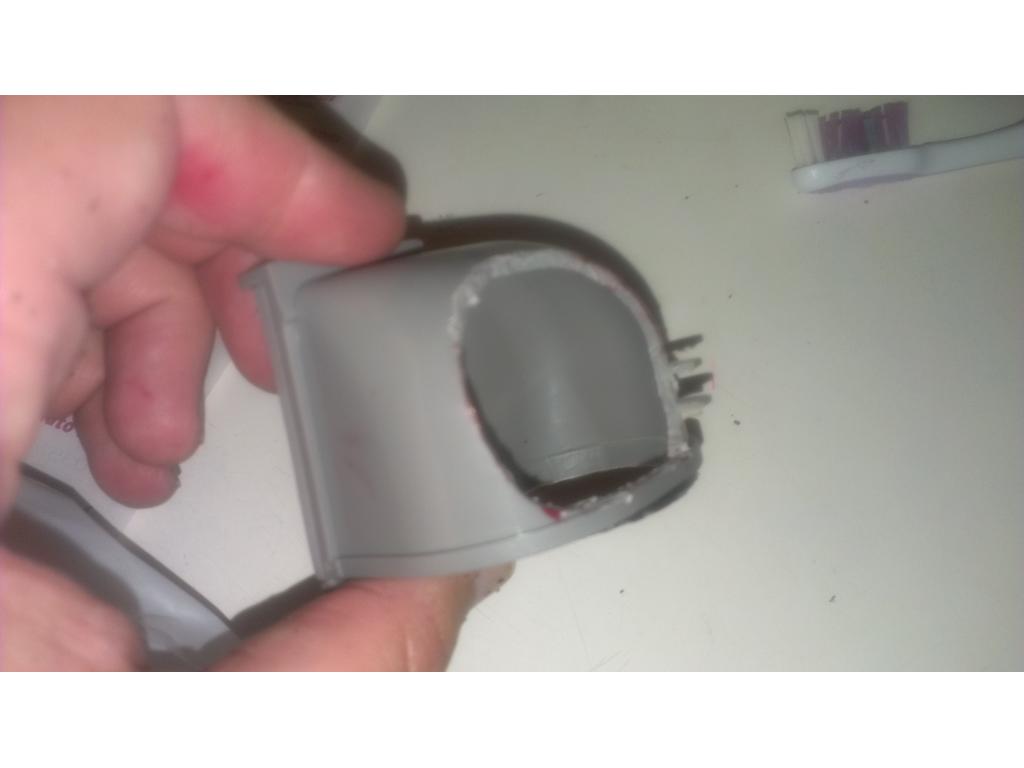
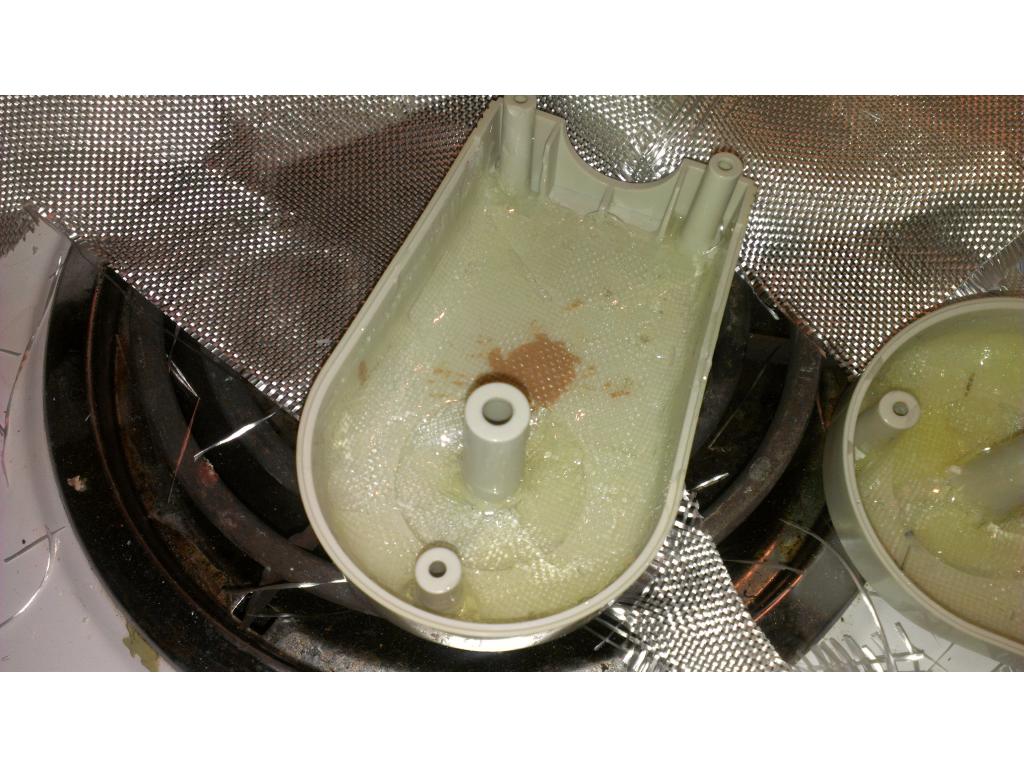
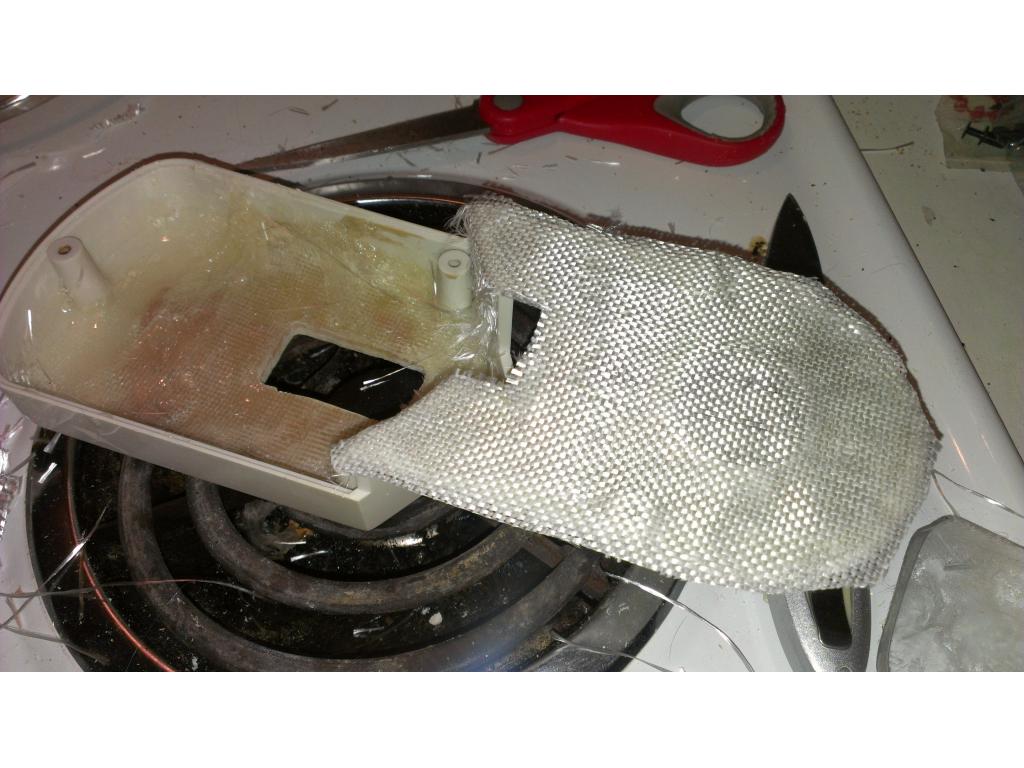
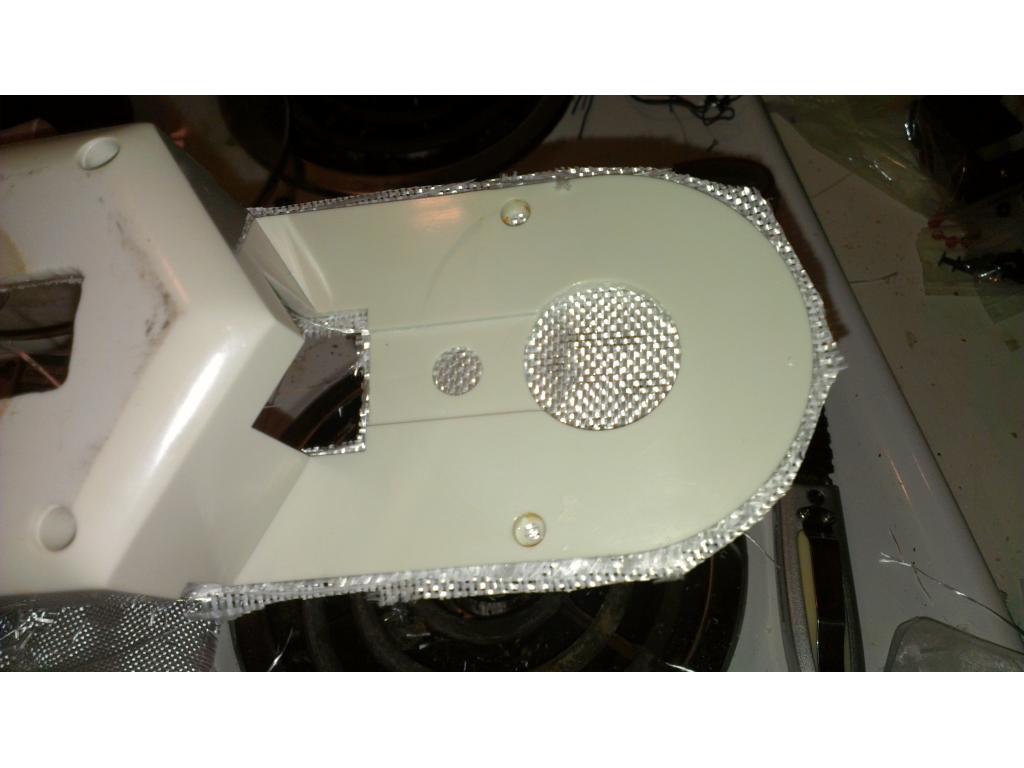
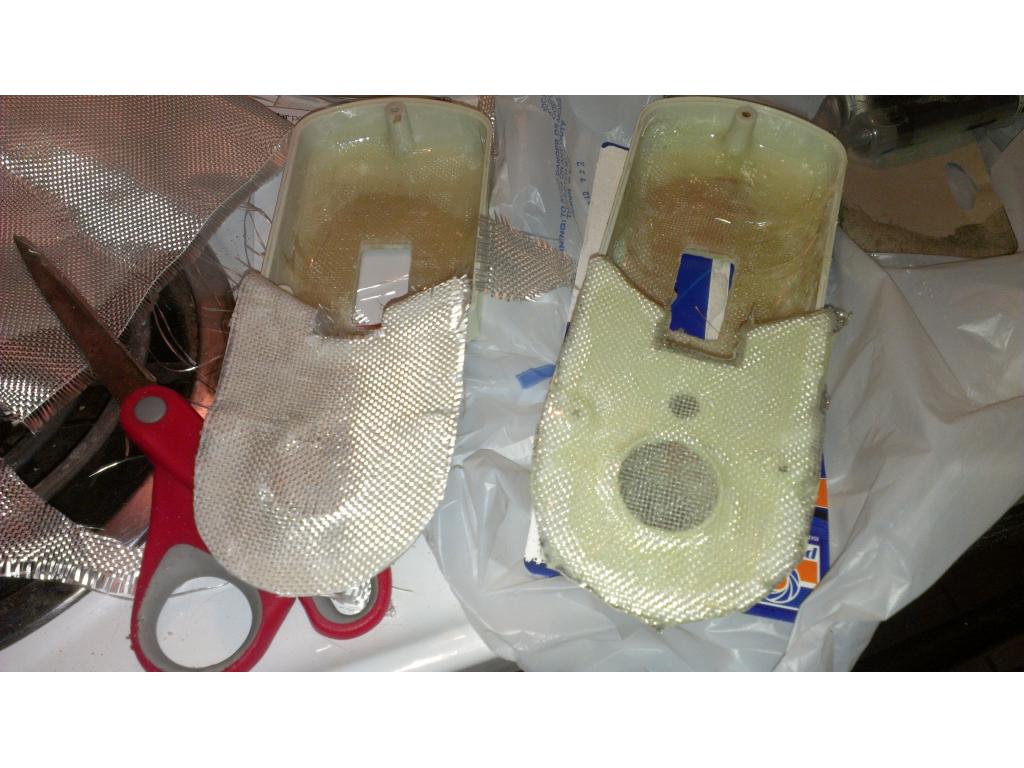
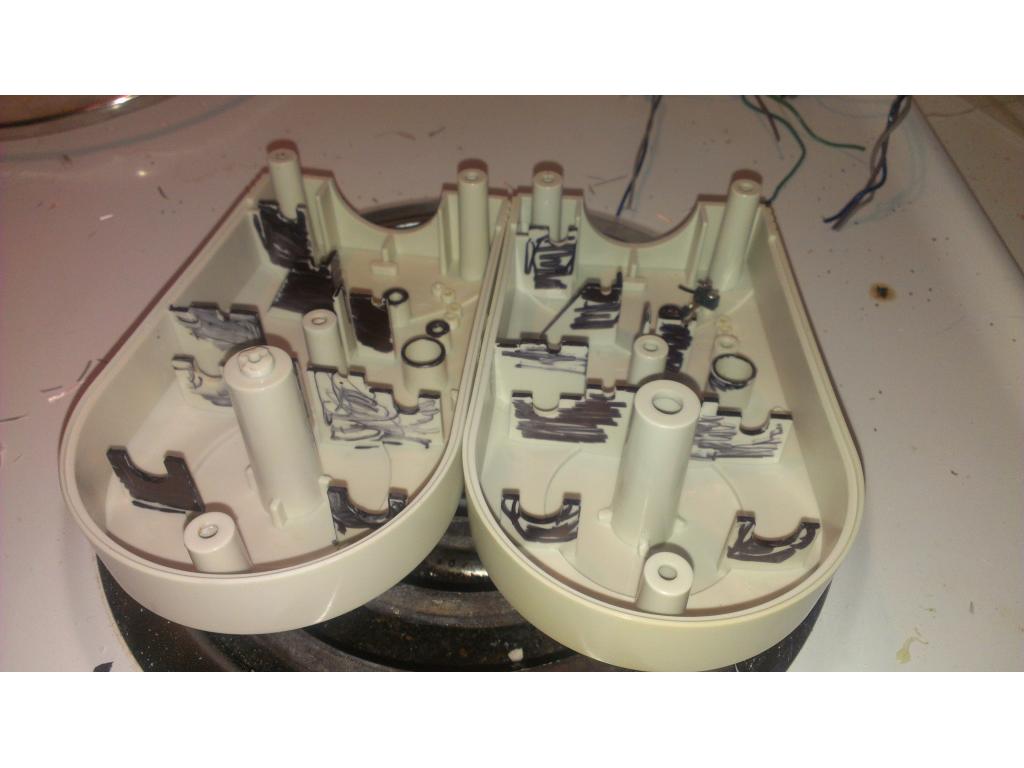
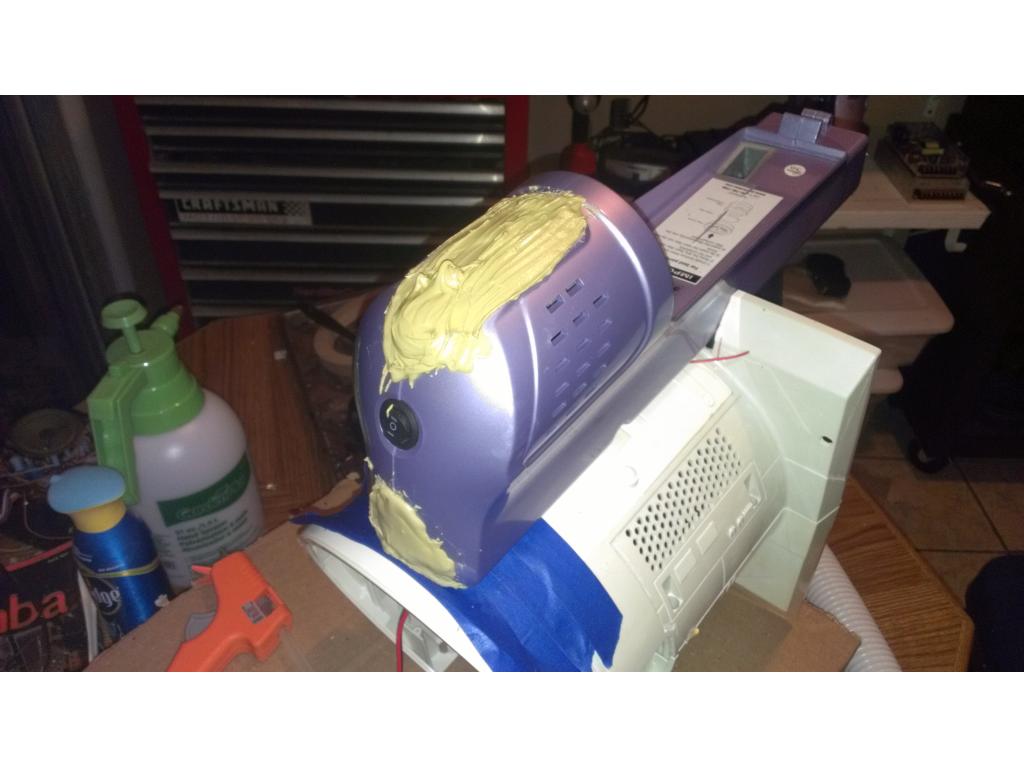
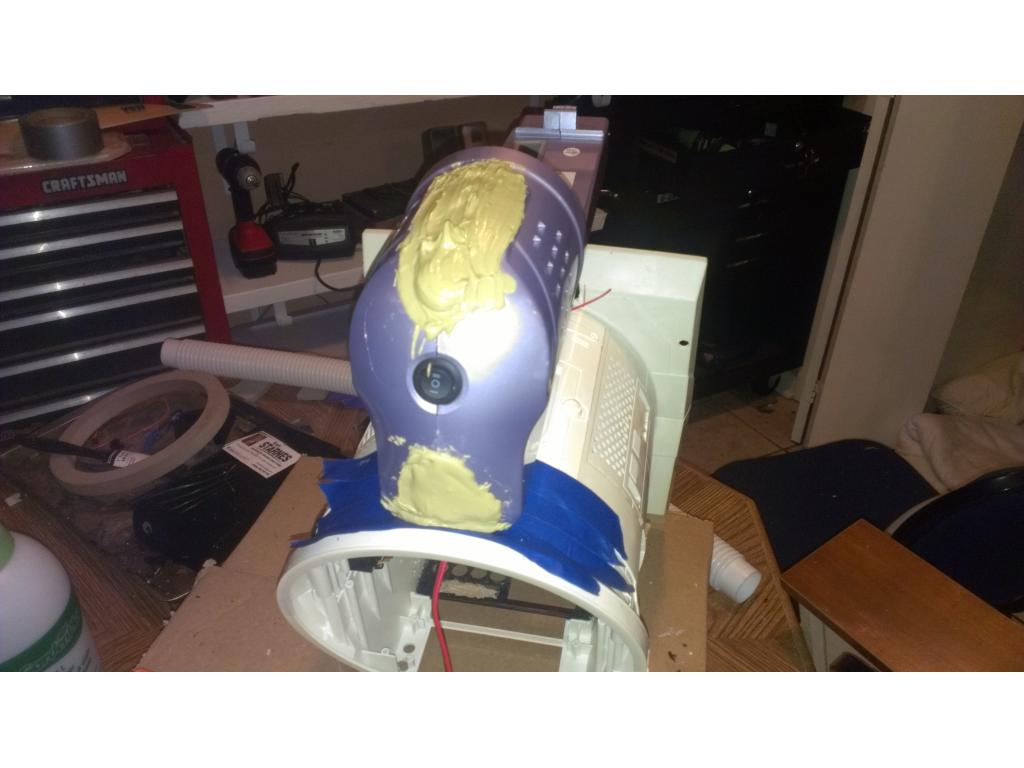
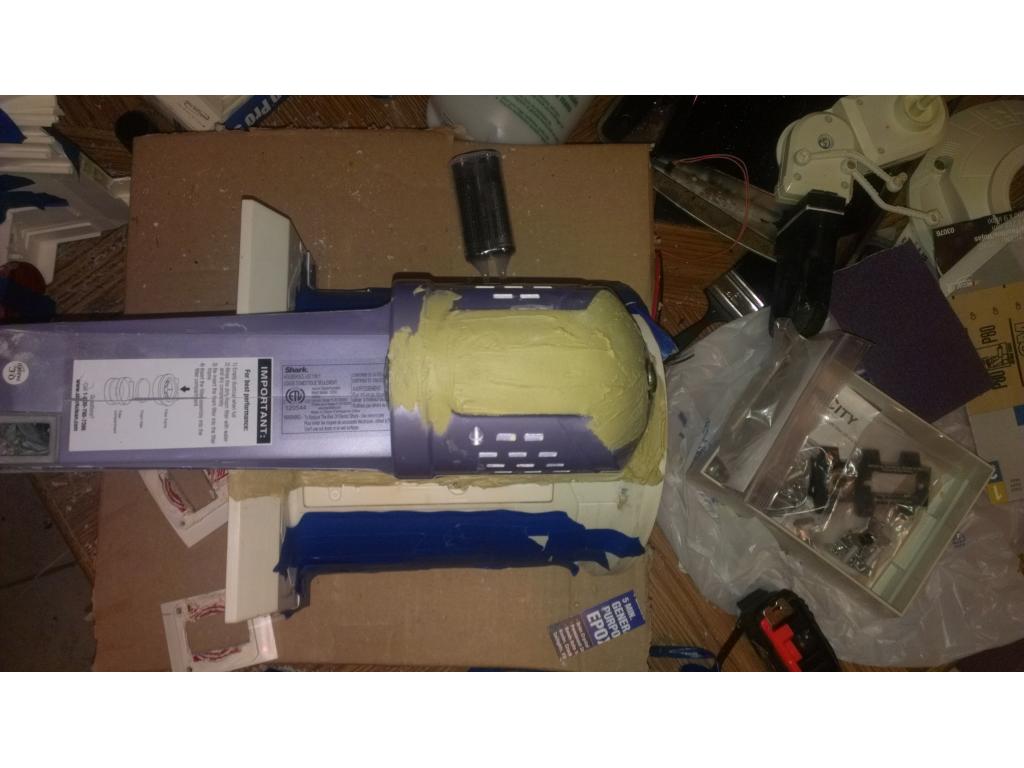
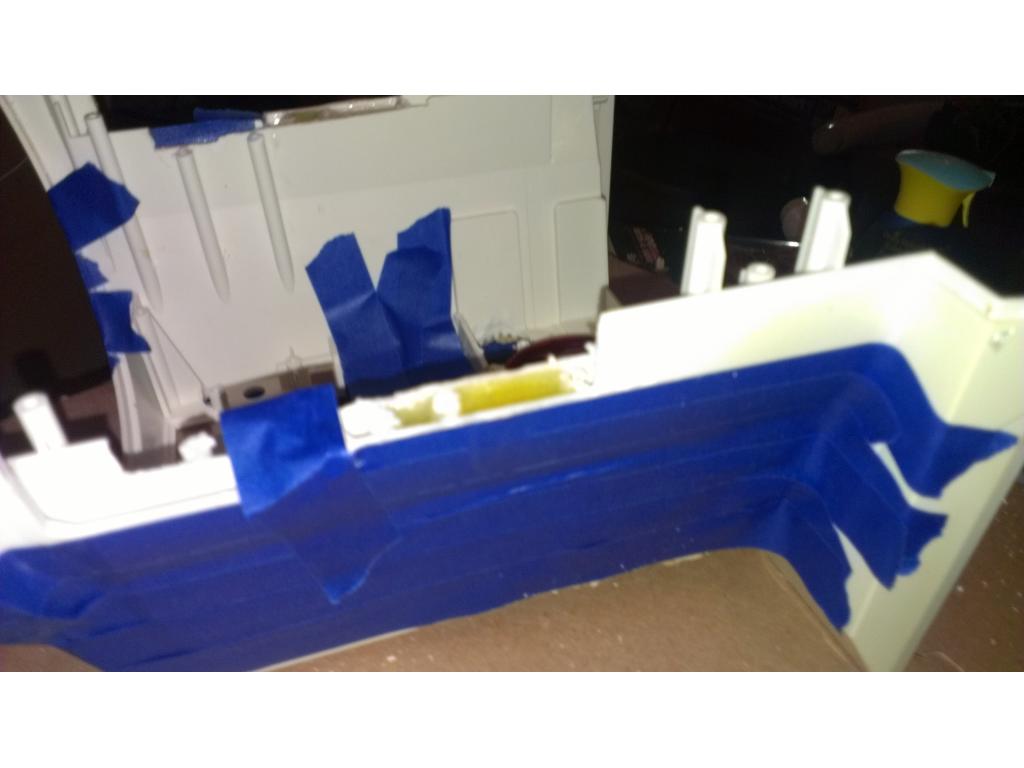
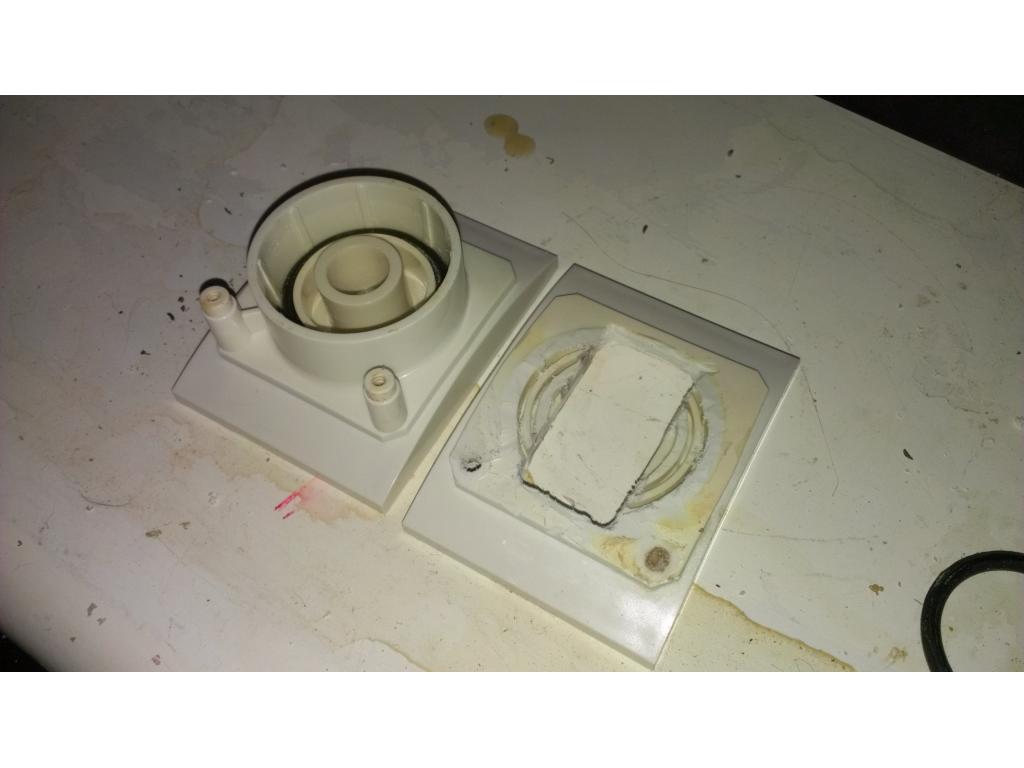
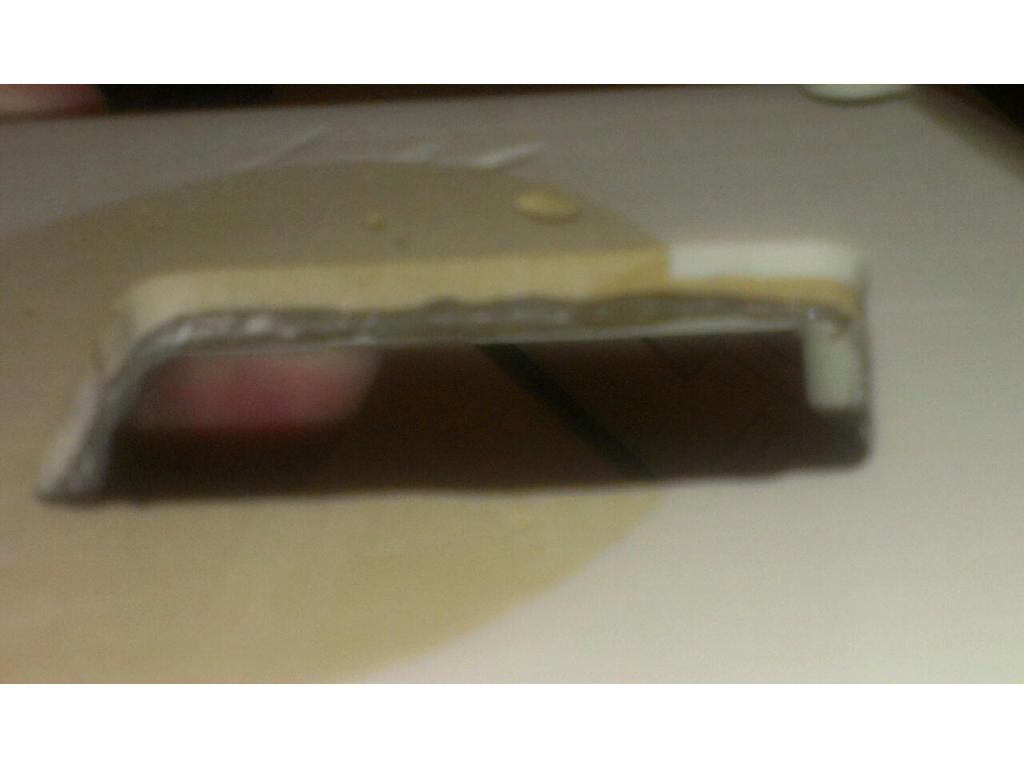
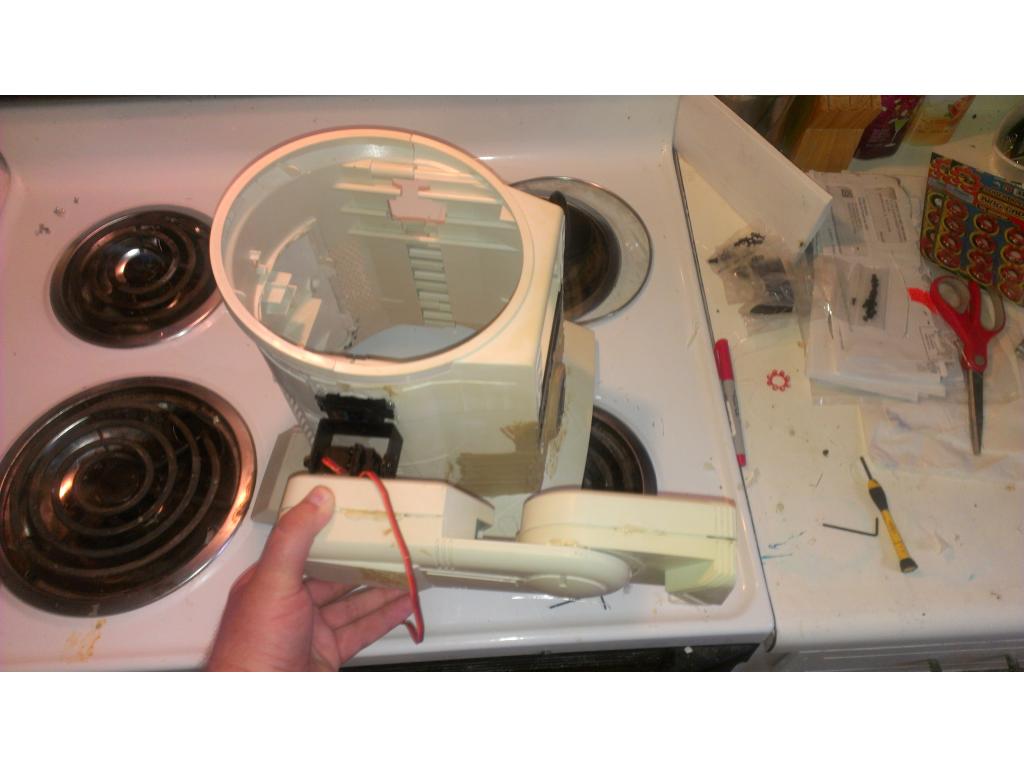
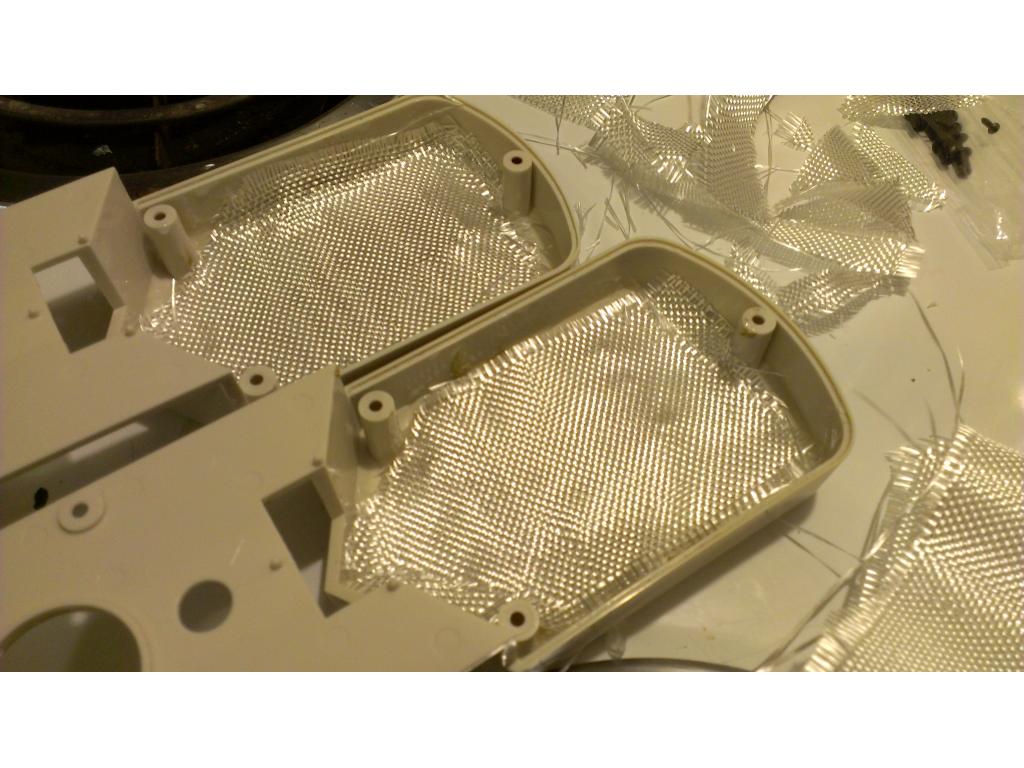
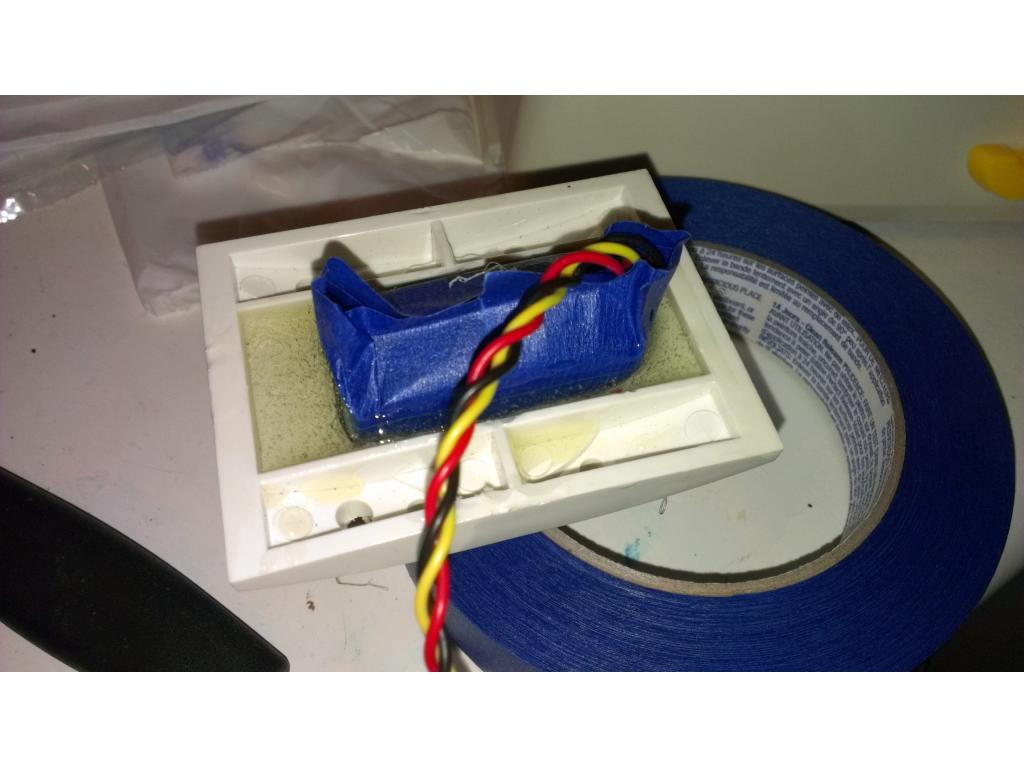
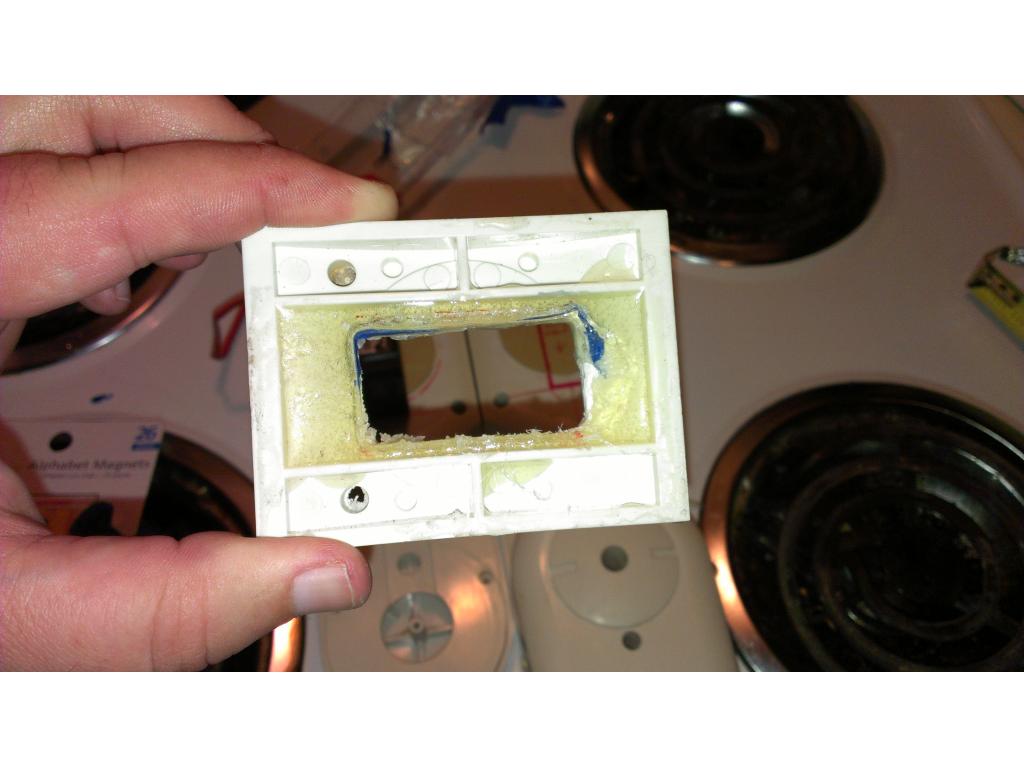
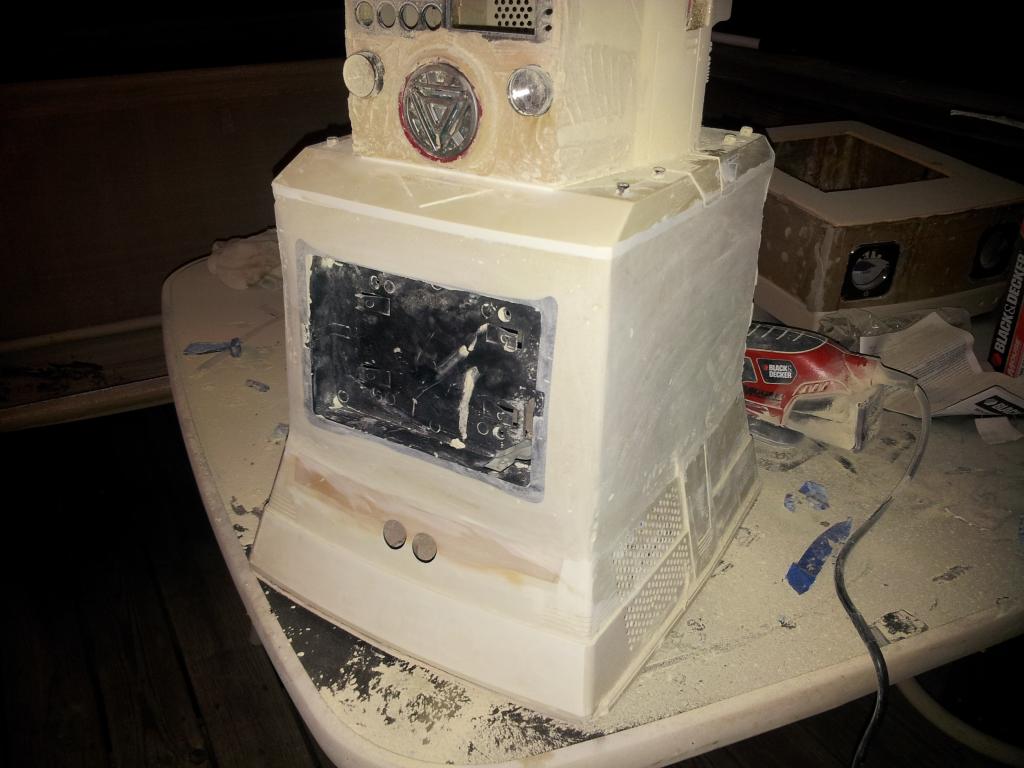
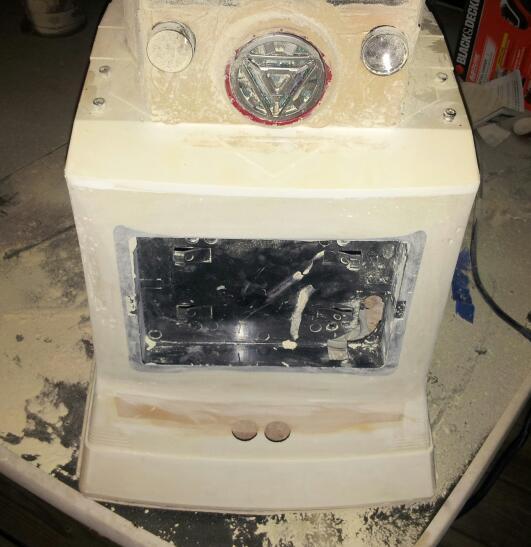
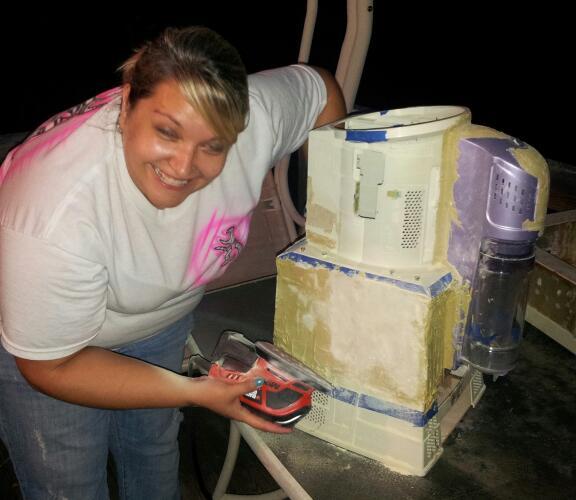
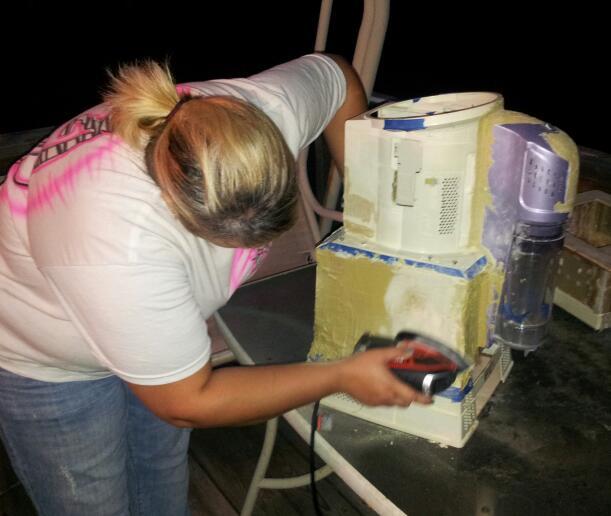
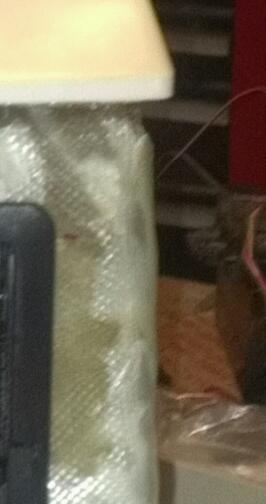
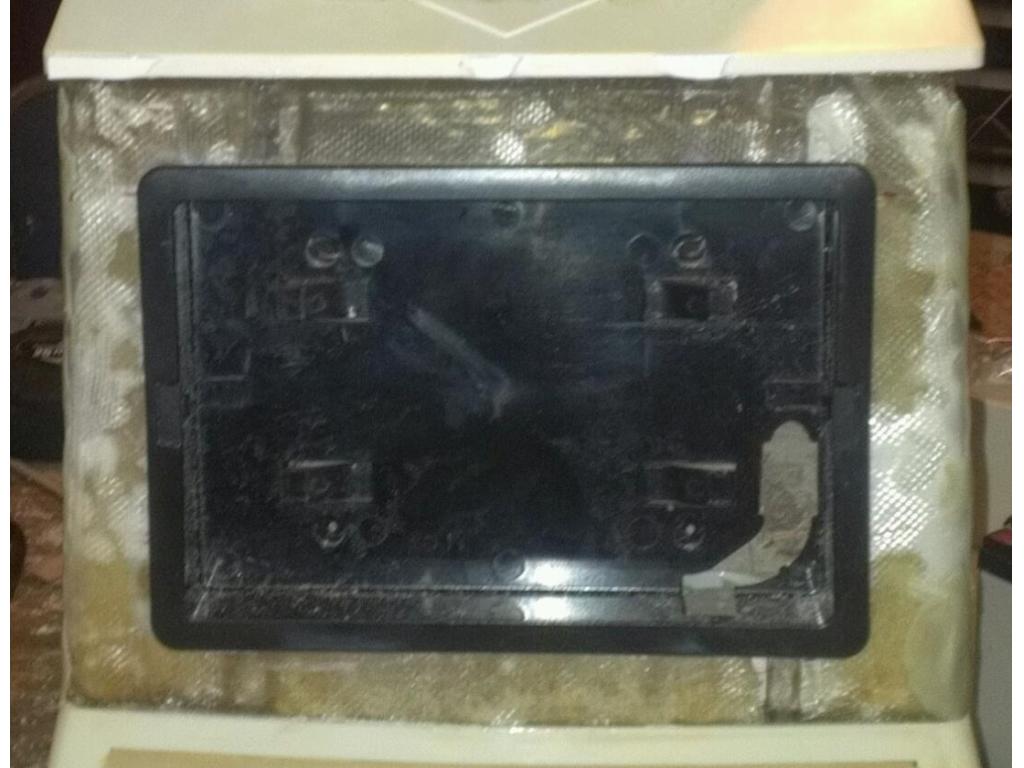
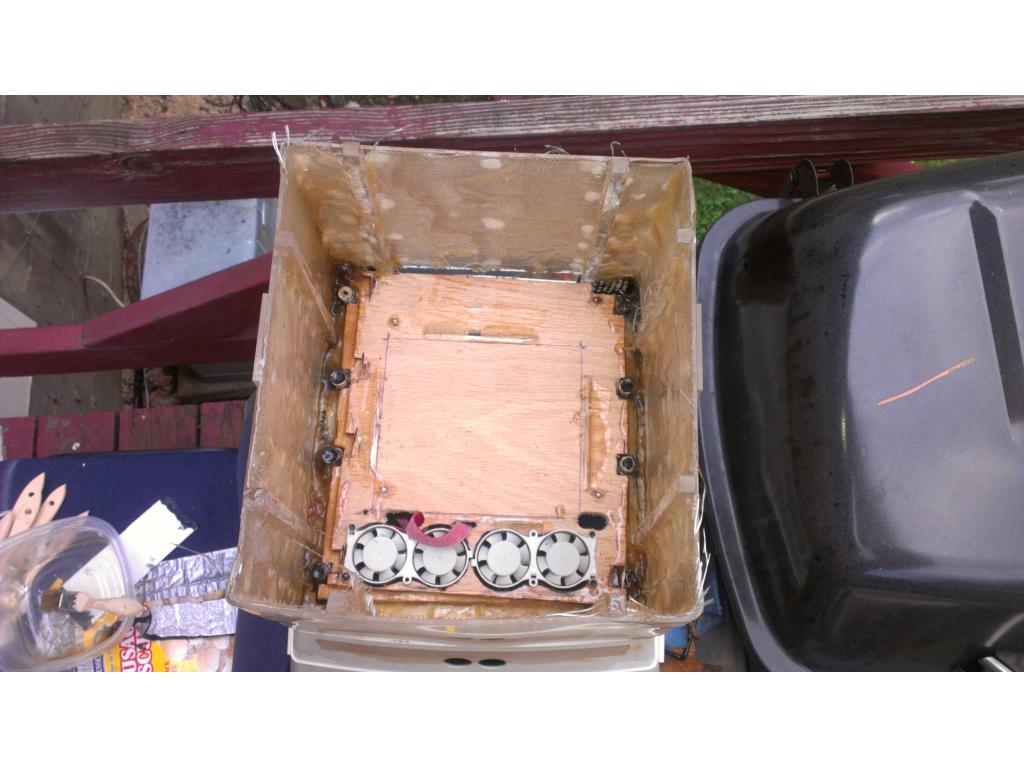
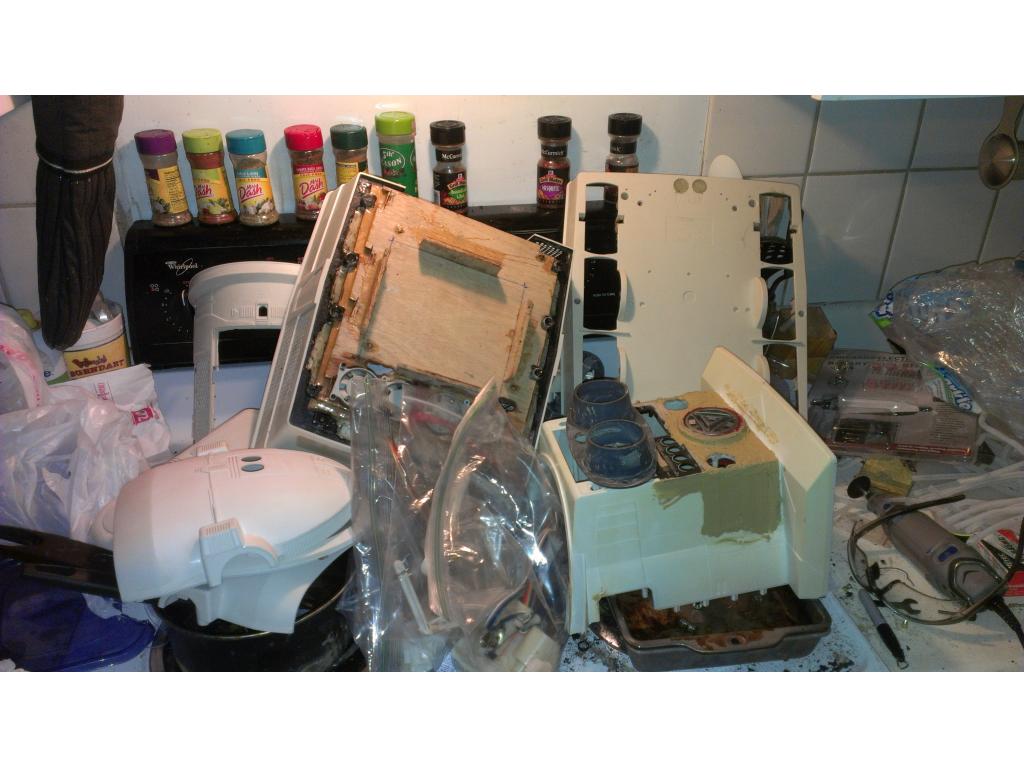
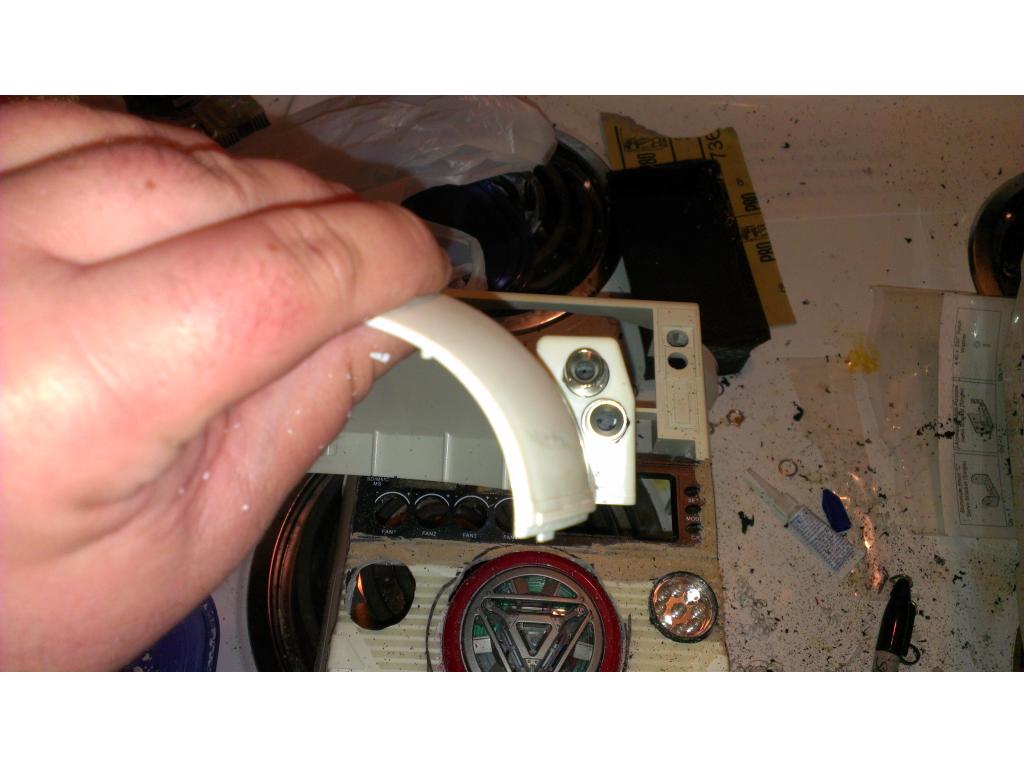
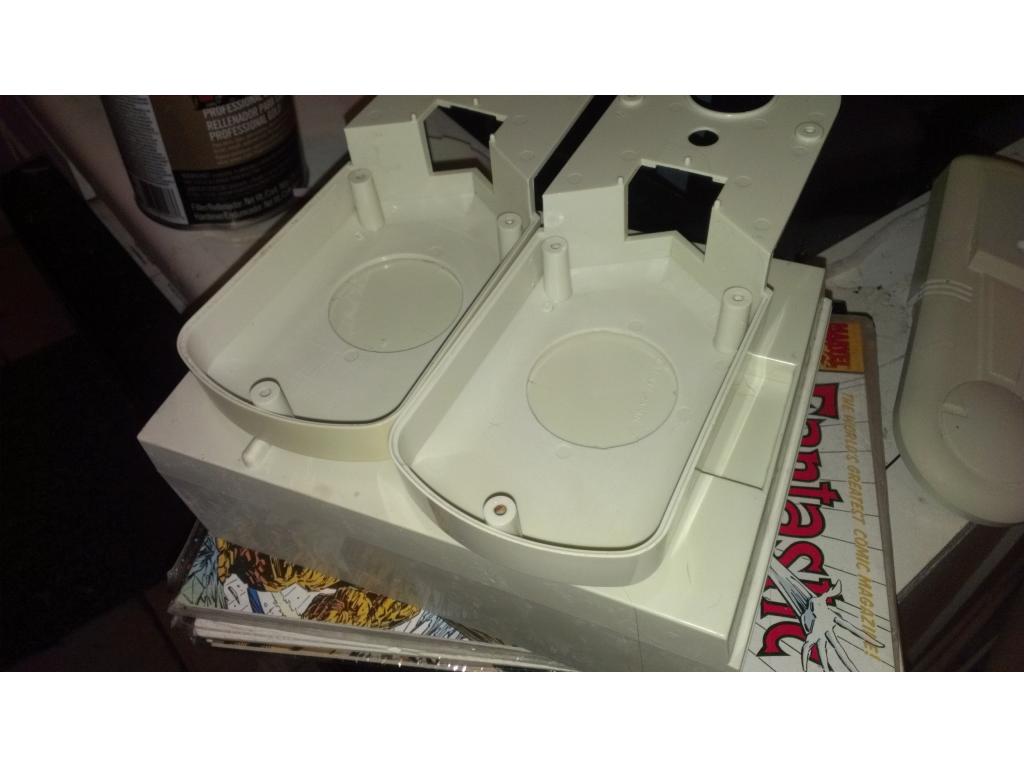
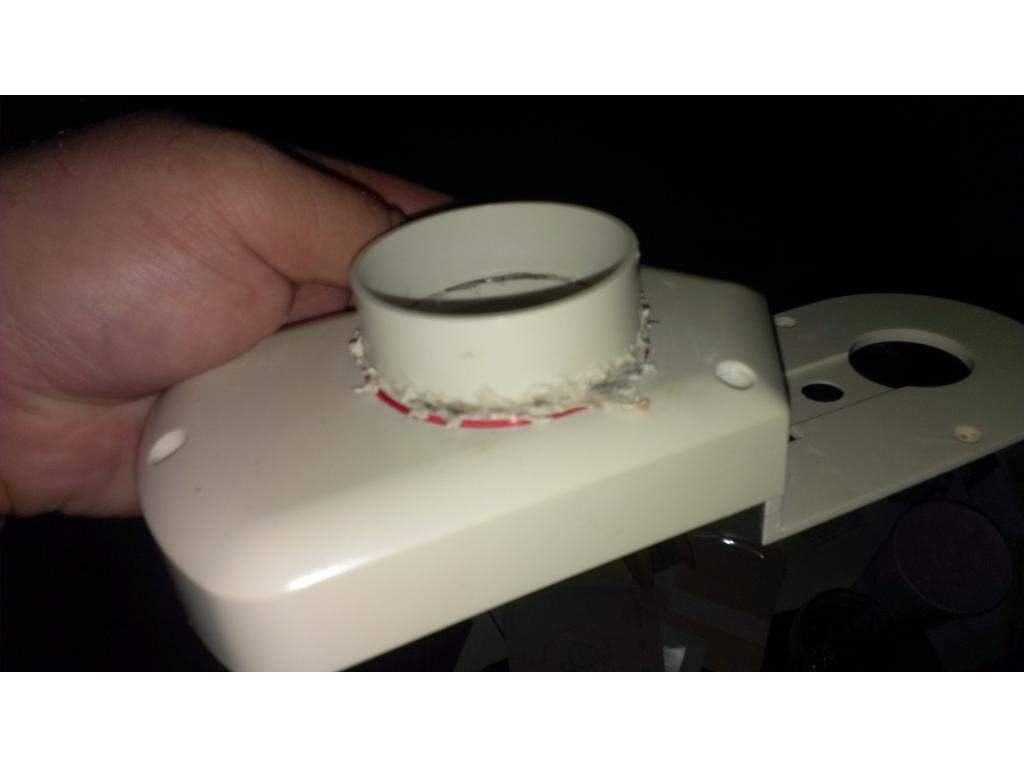
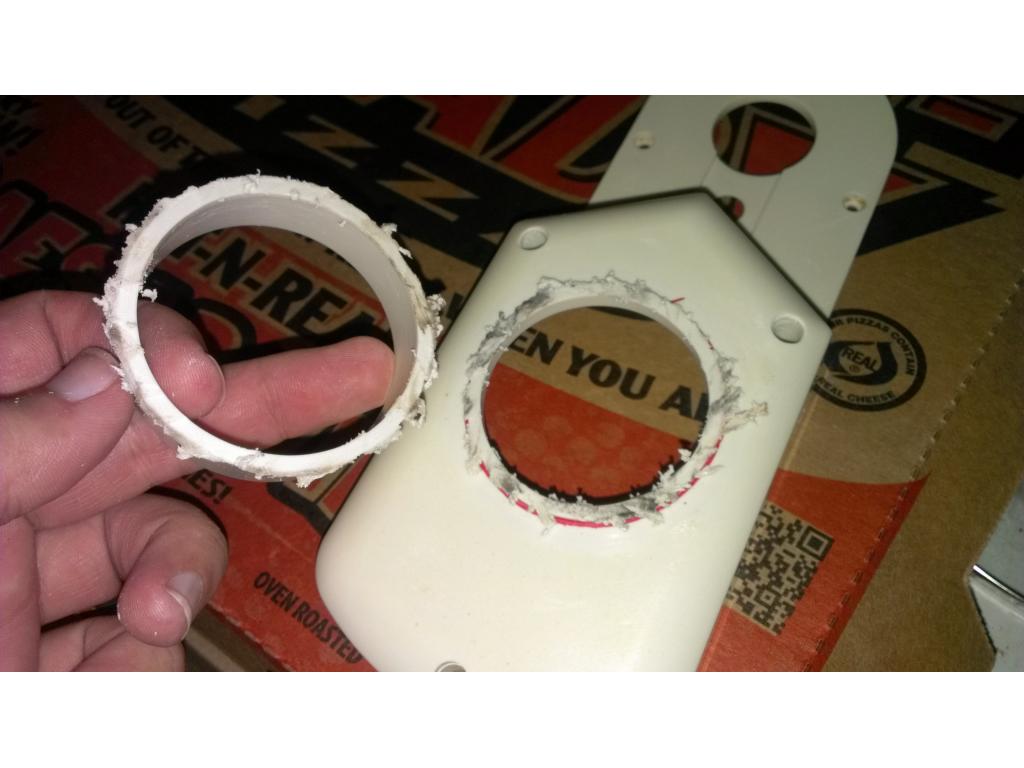
Ok I've sanded the inside of the arm cases and rinsed away the debris. Once the water is dried off of it the rest of the inner arm will have 2 layers of fiberglass epoxied in. I will.update this post with that step by step
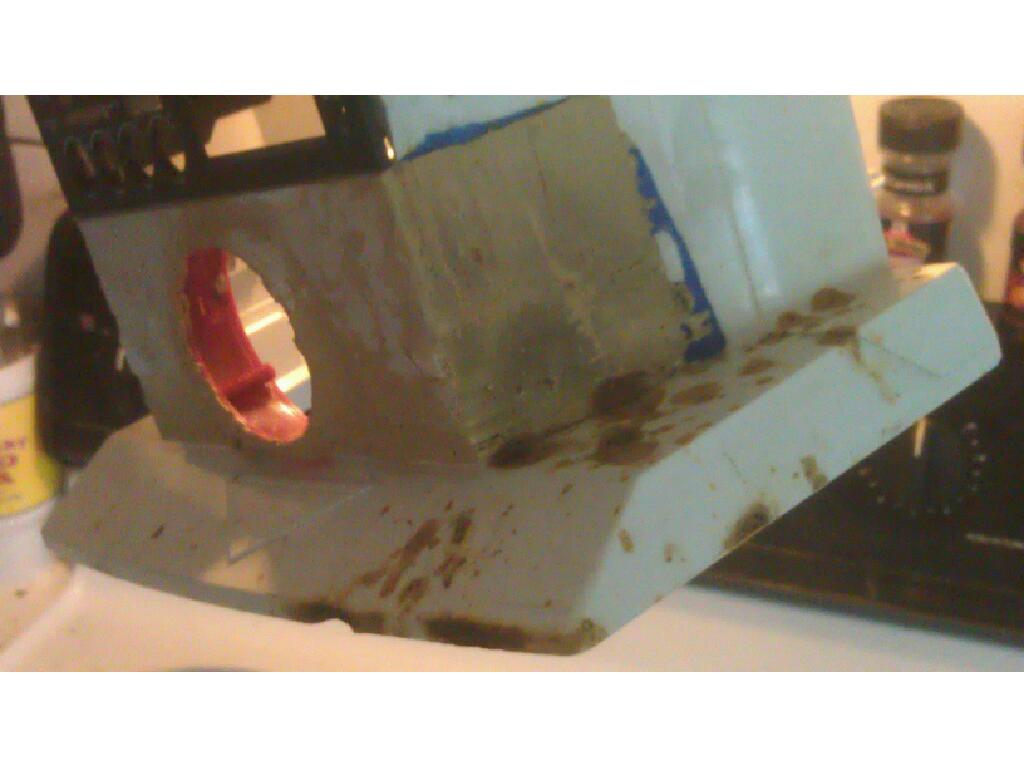
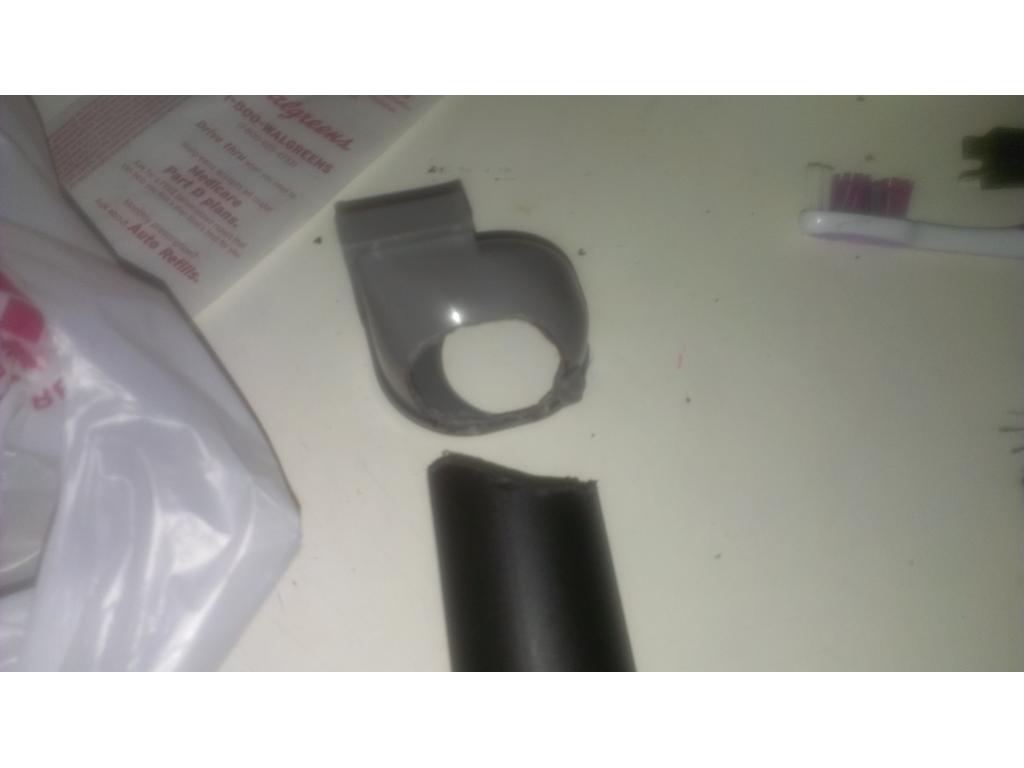
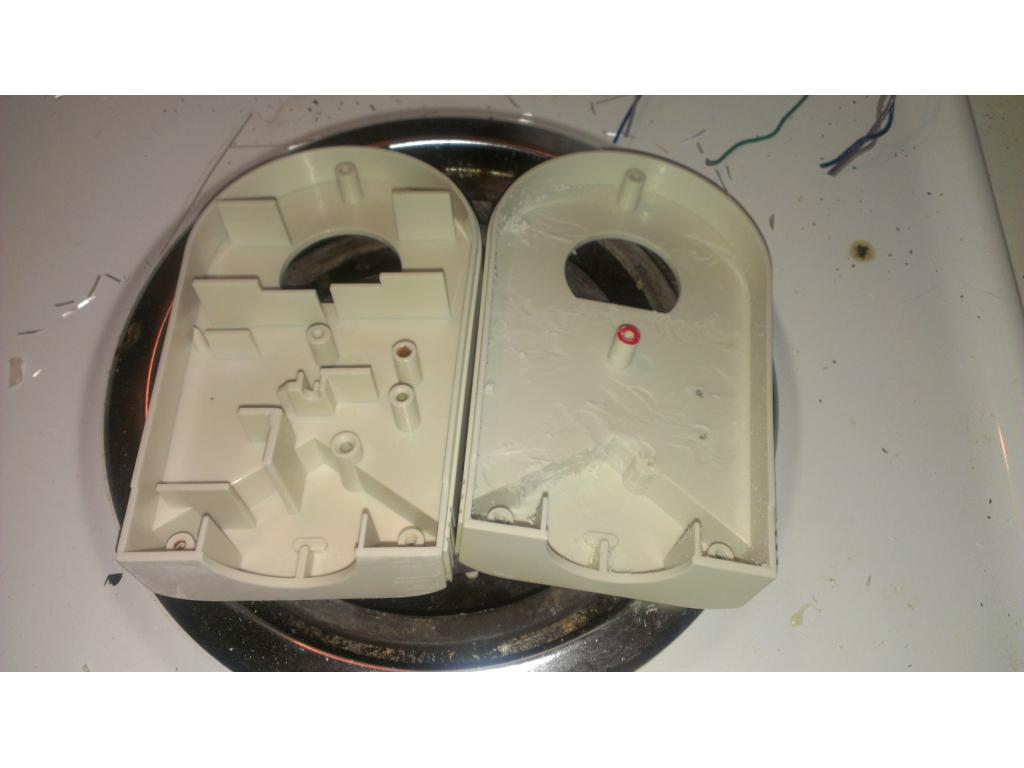
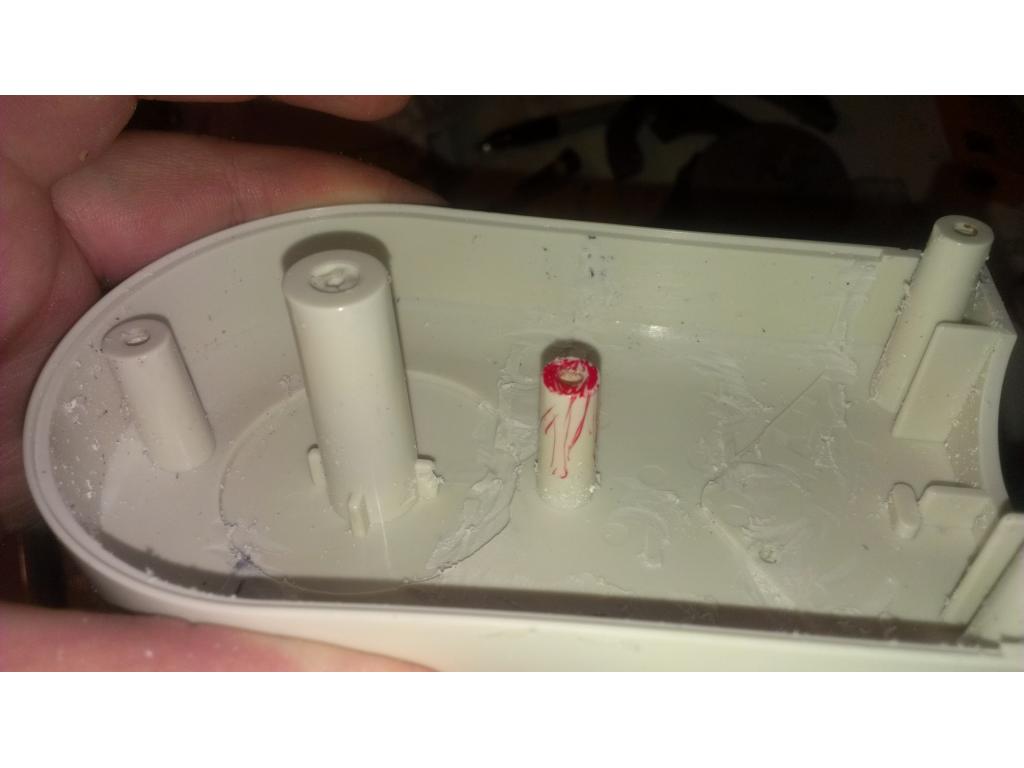
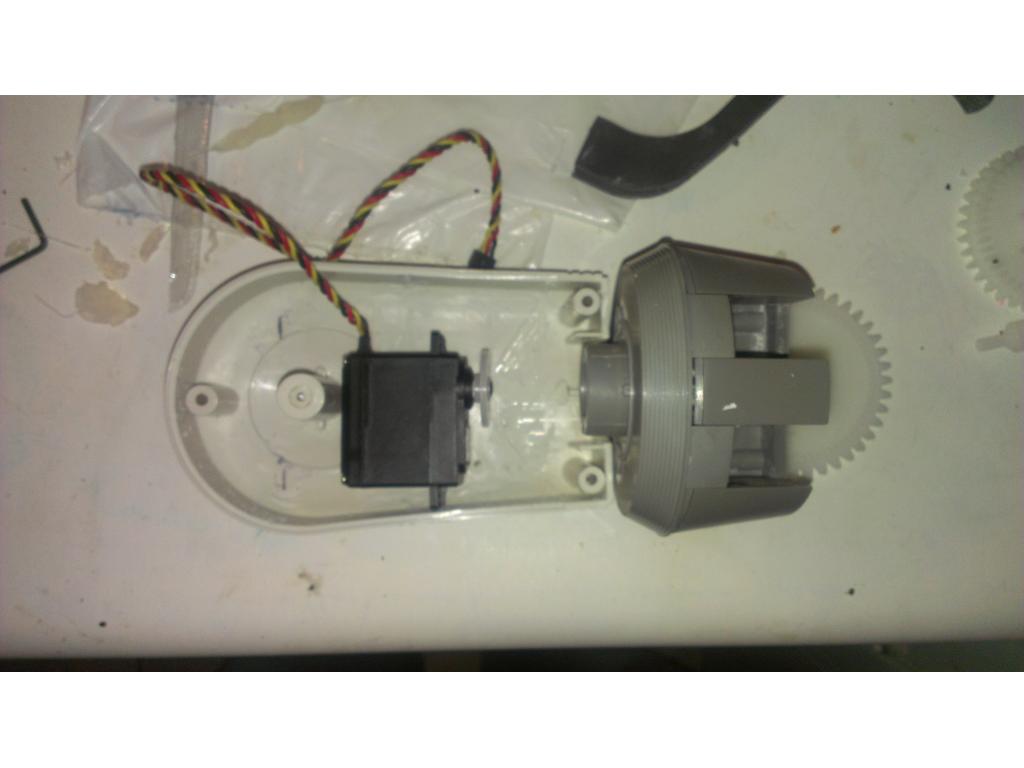
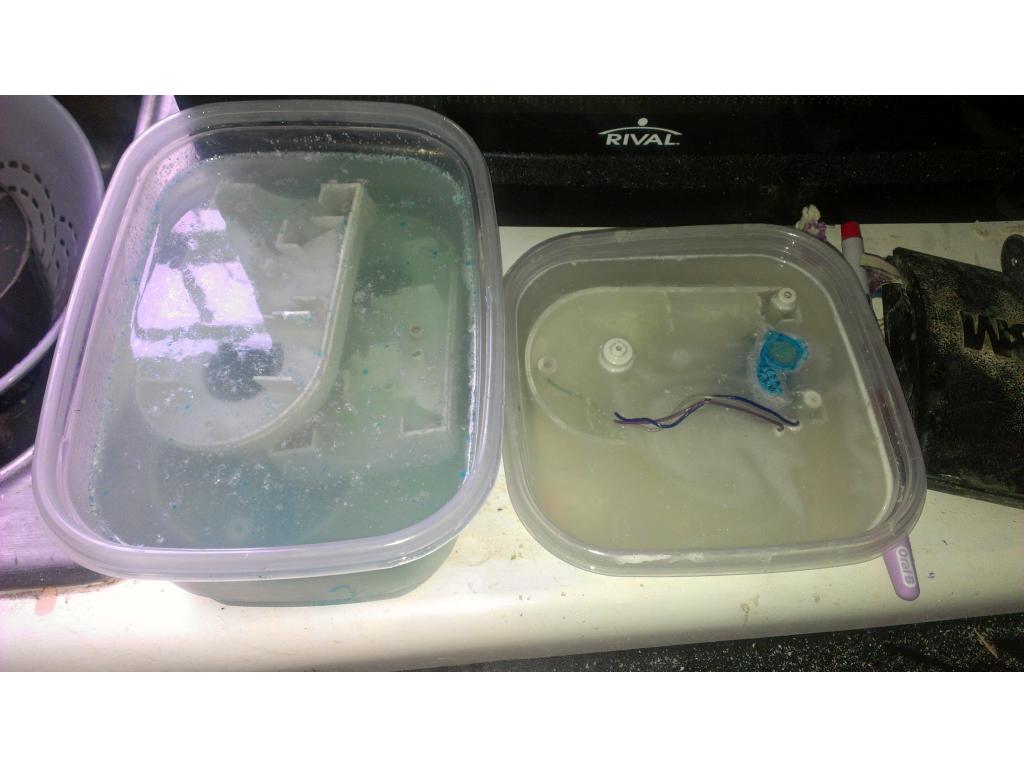
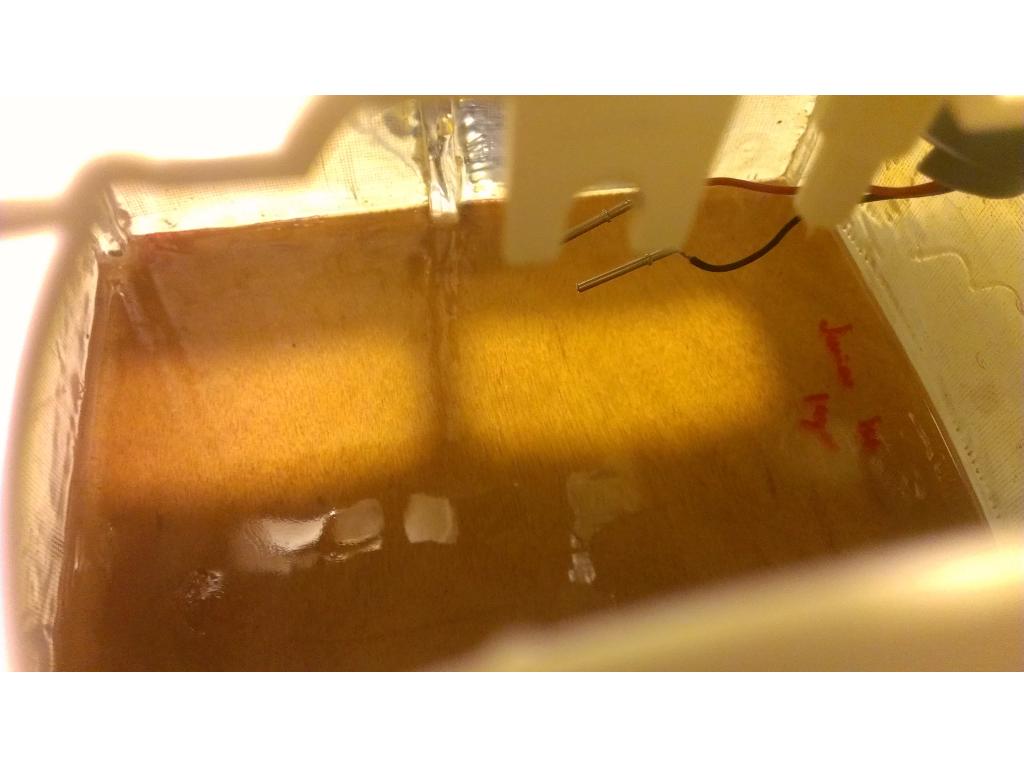
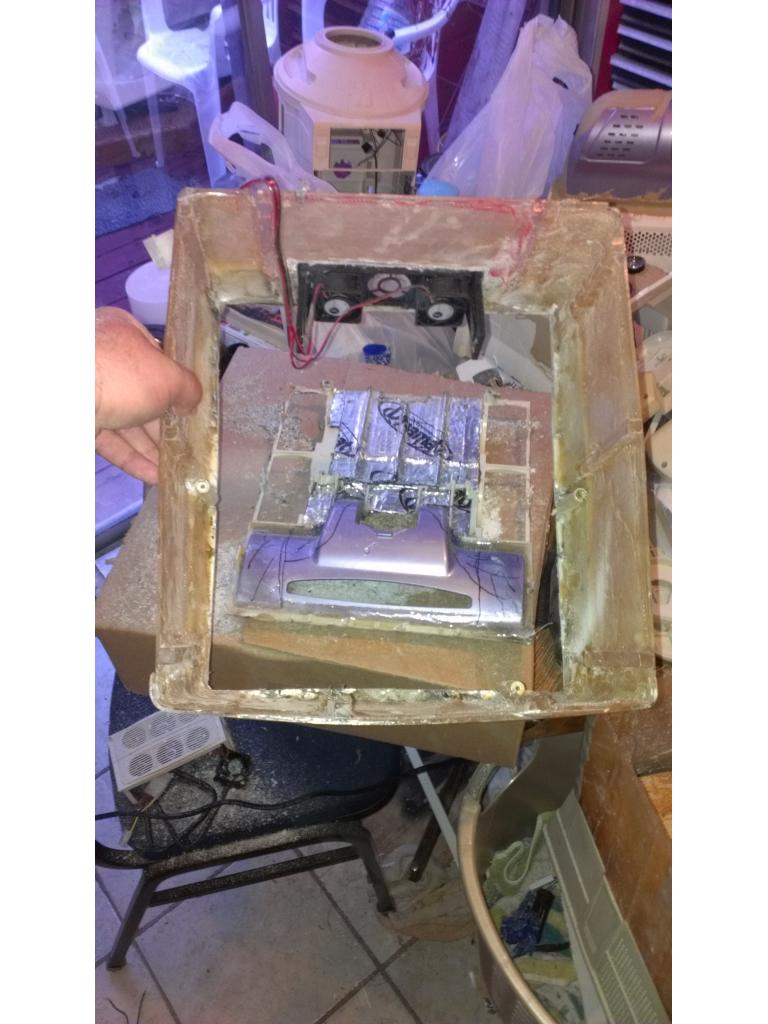
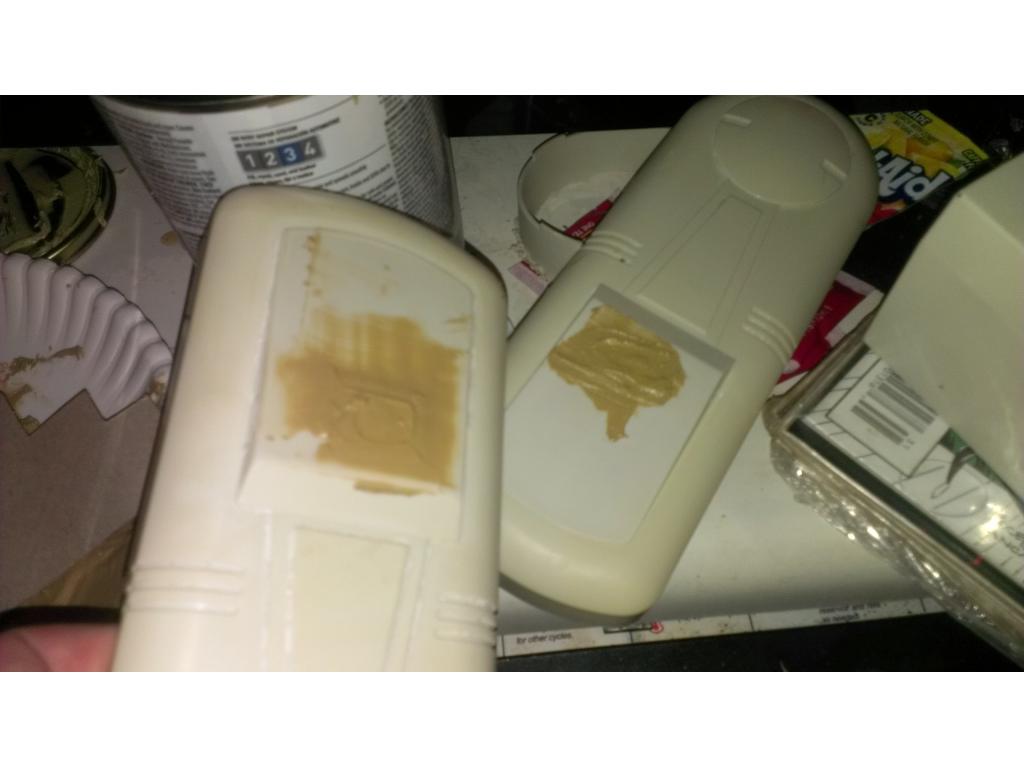
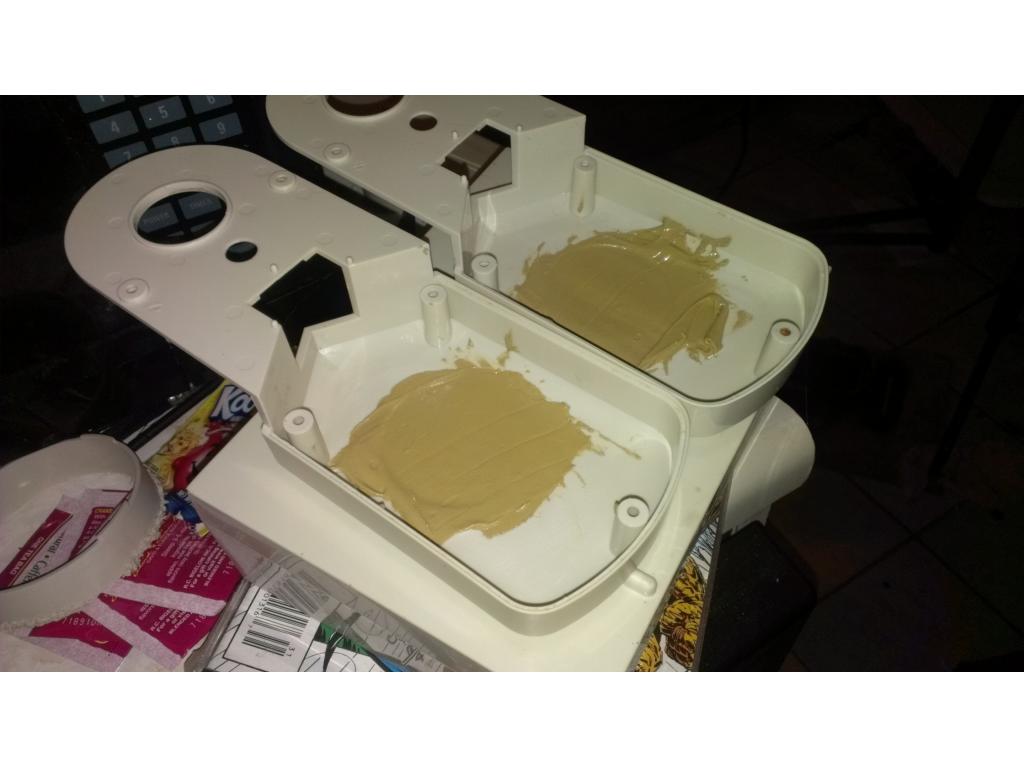
Ok so I fiberglassed both inner arms , next is fiberglassing the inside of the forearms.