


cE9s4PsOgeBQIORwjd5!~~60_1-634818020230156250.jpg)


BO)Lupuc4g~~60_35-634706297915000000.jpg)
LupbT6!~~60_35-634706298769375000.jpg)


C5j!~~60_35-634655044863125000.jpg)


C5j!~~60_35-634659603510781250.jpg)


C5j!~~60_35-634651704046230469.jpg)
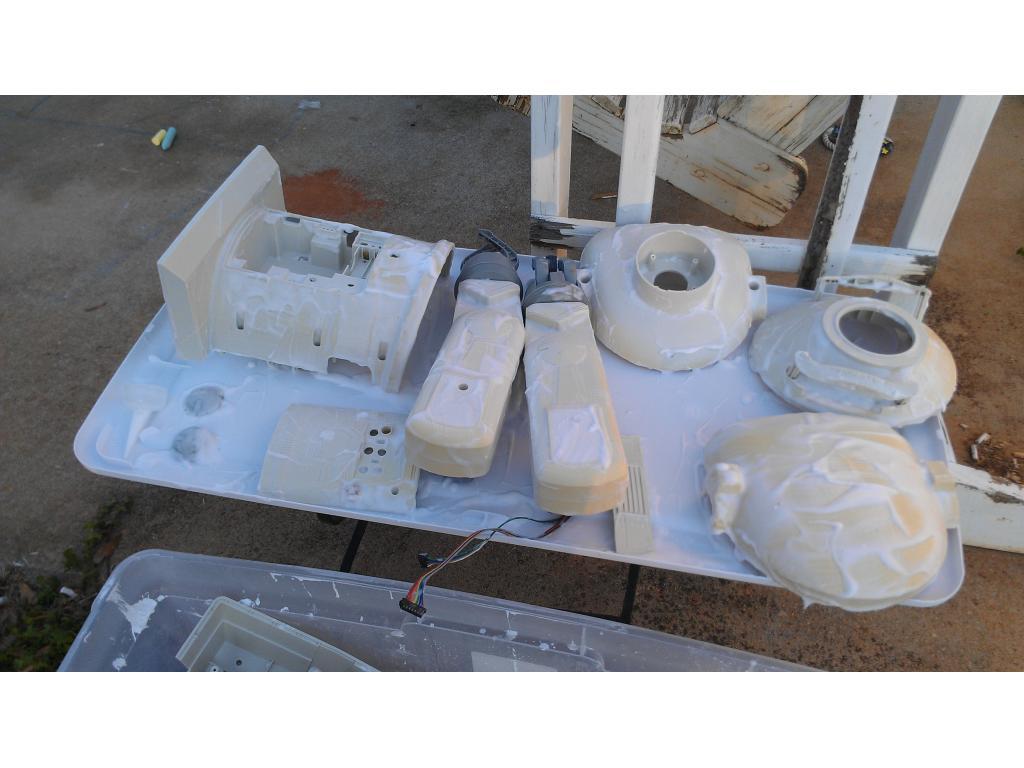
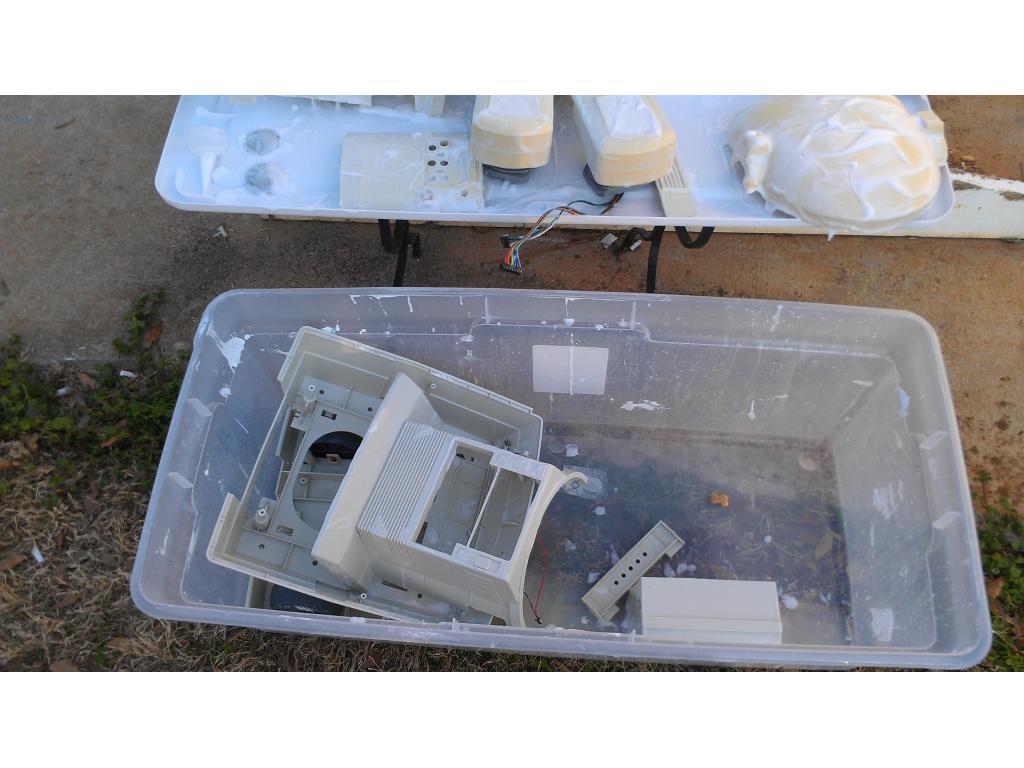
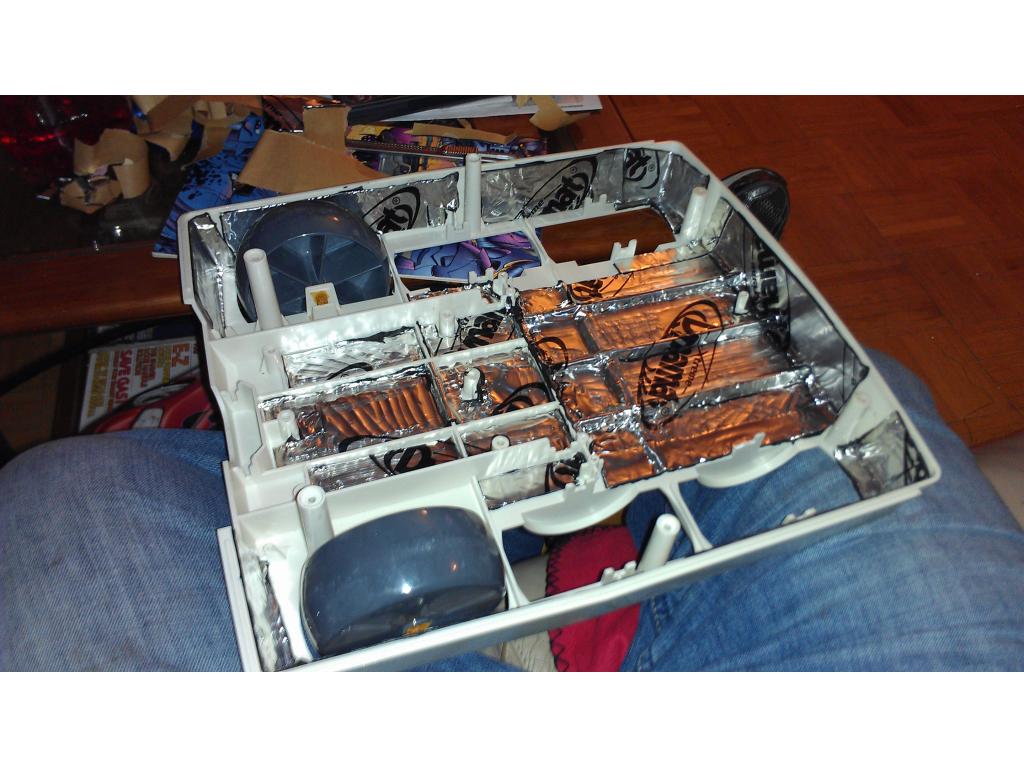
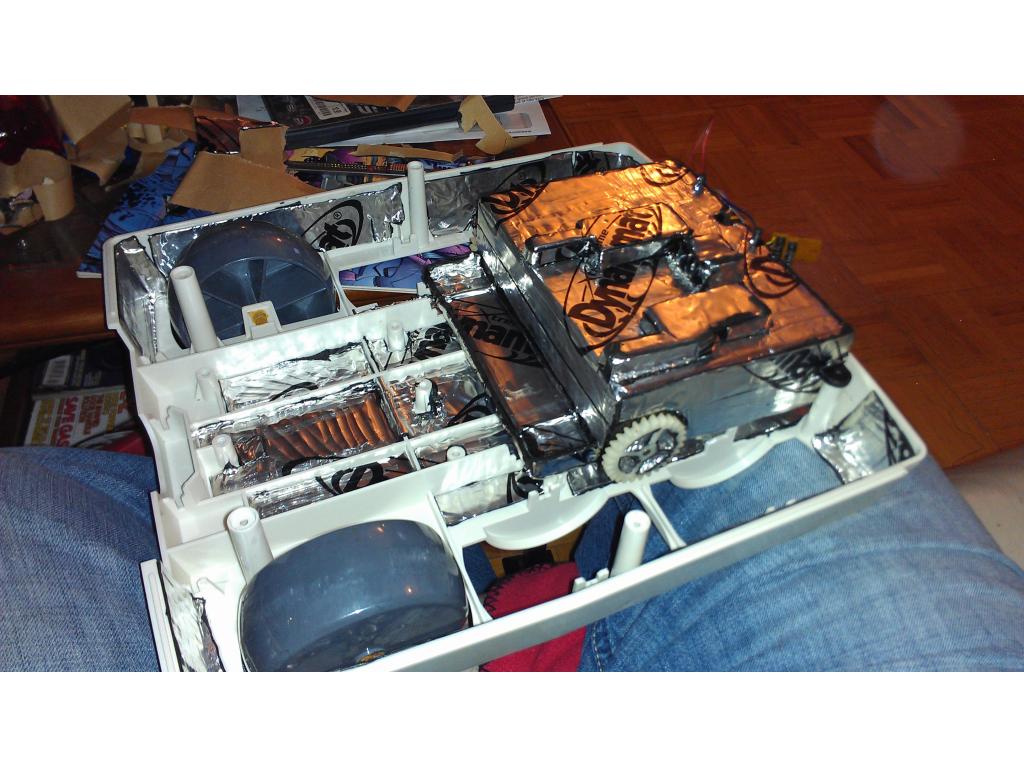
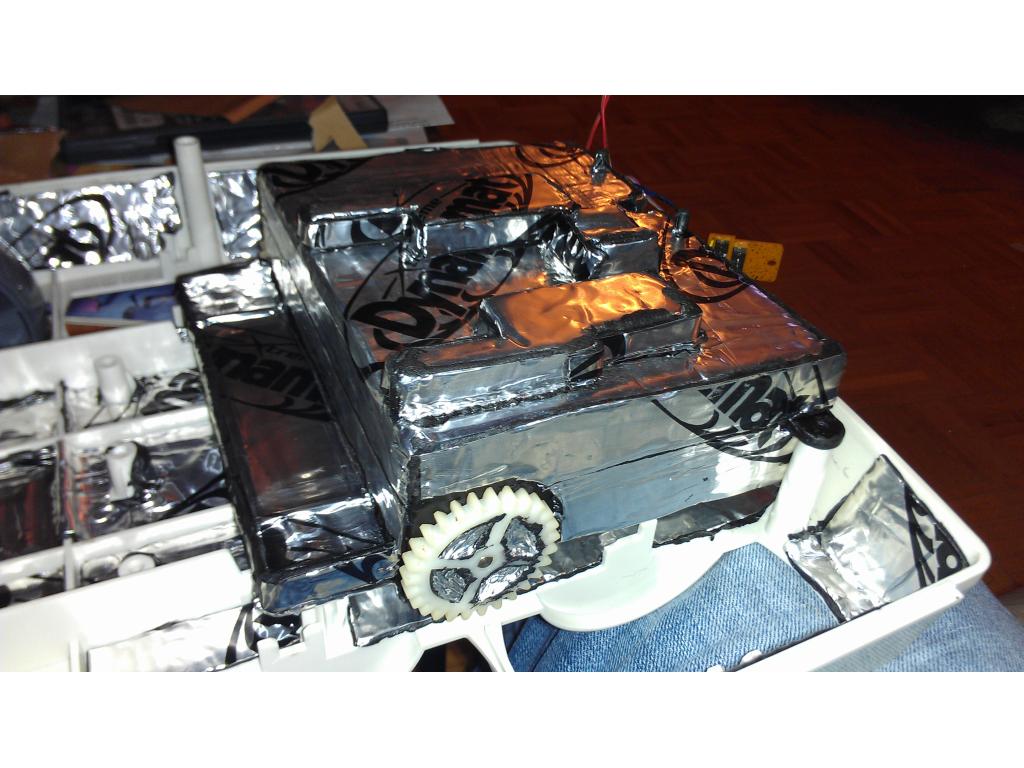


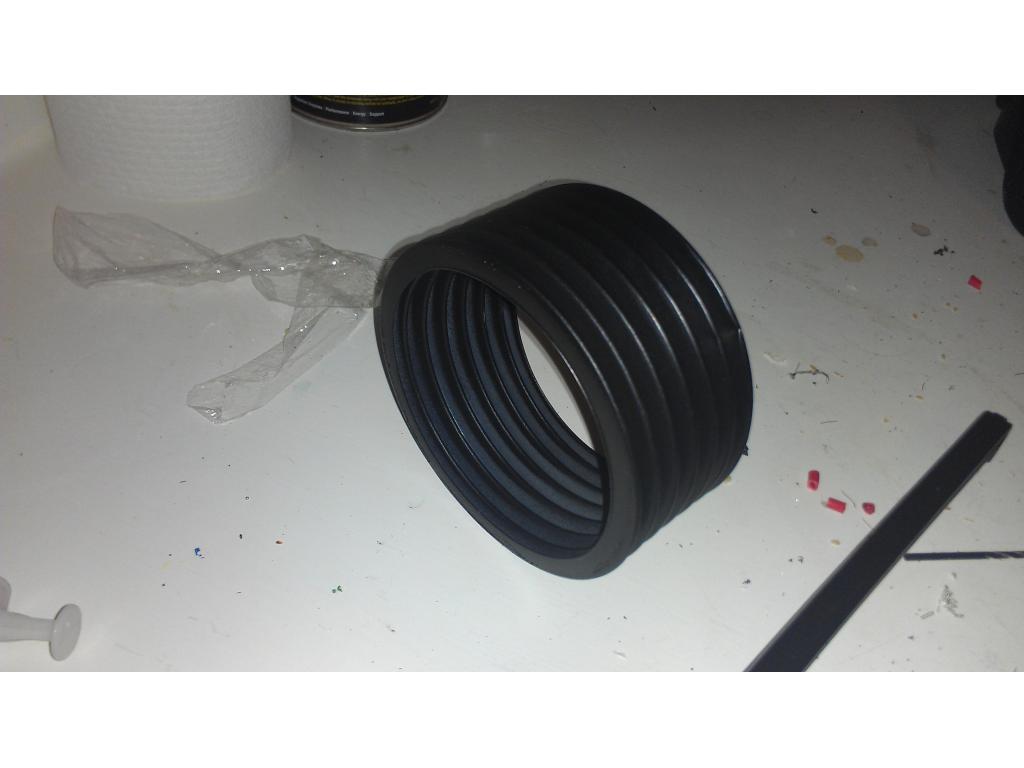
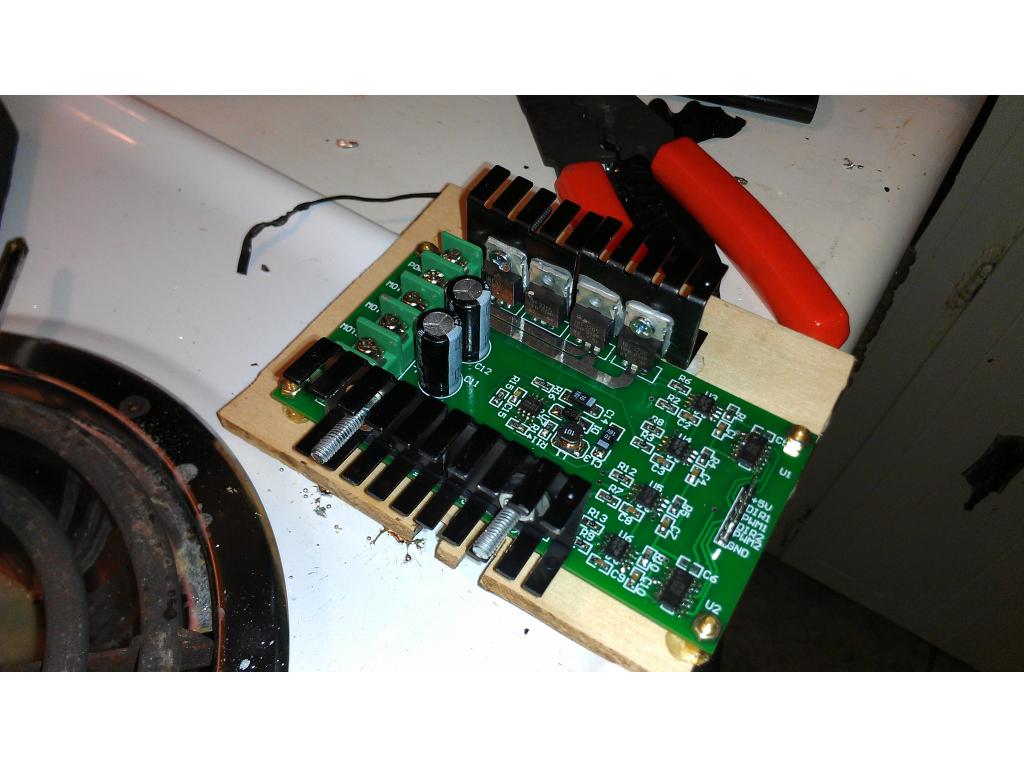
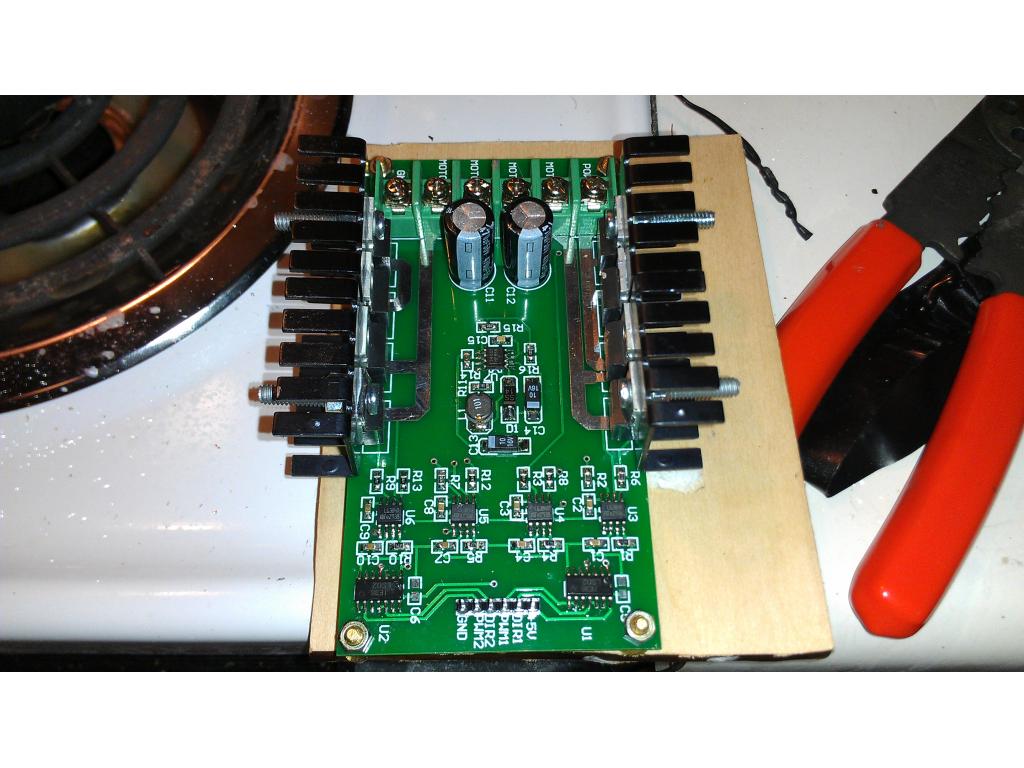

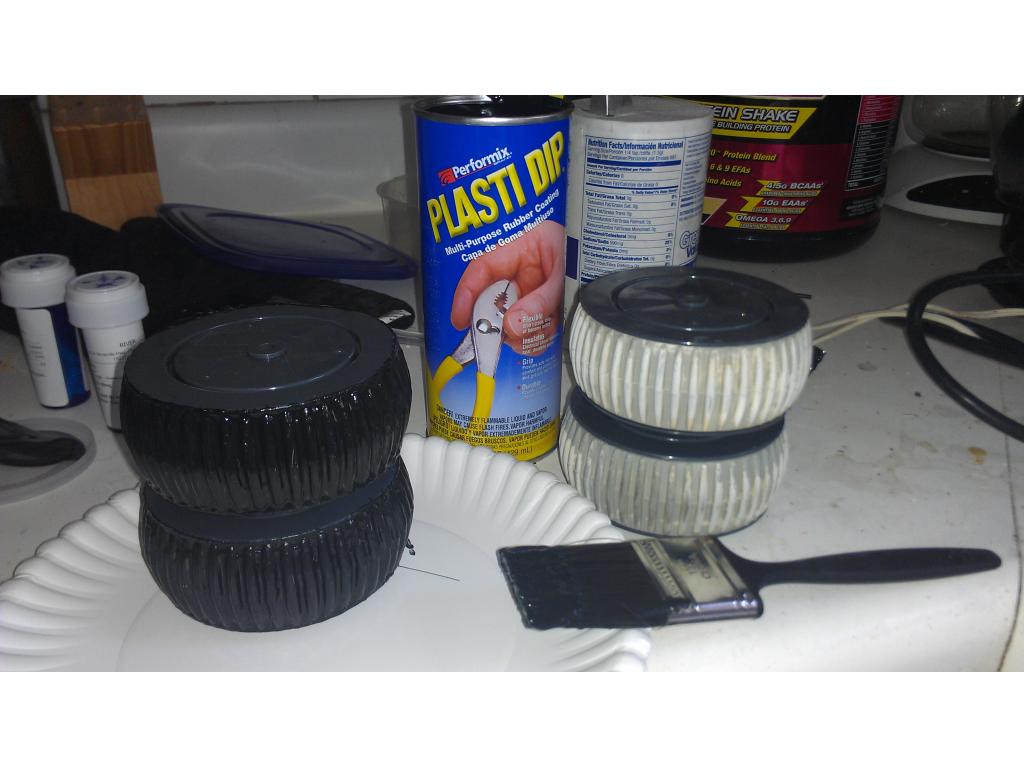

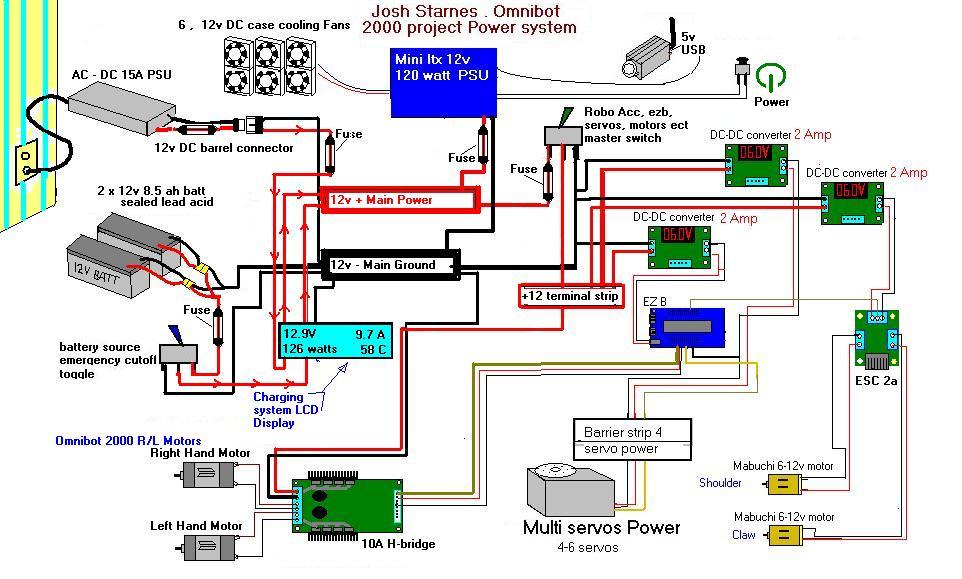
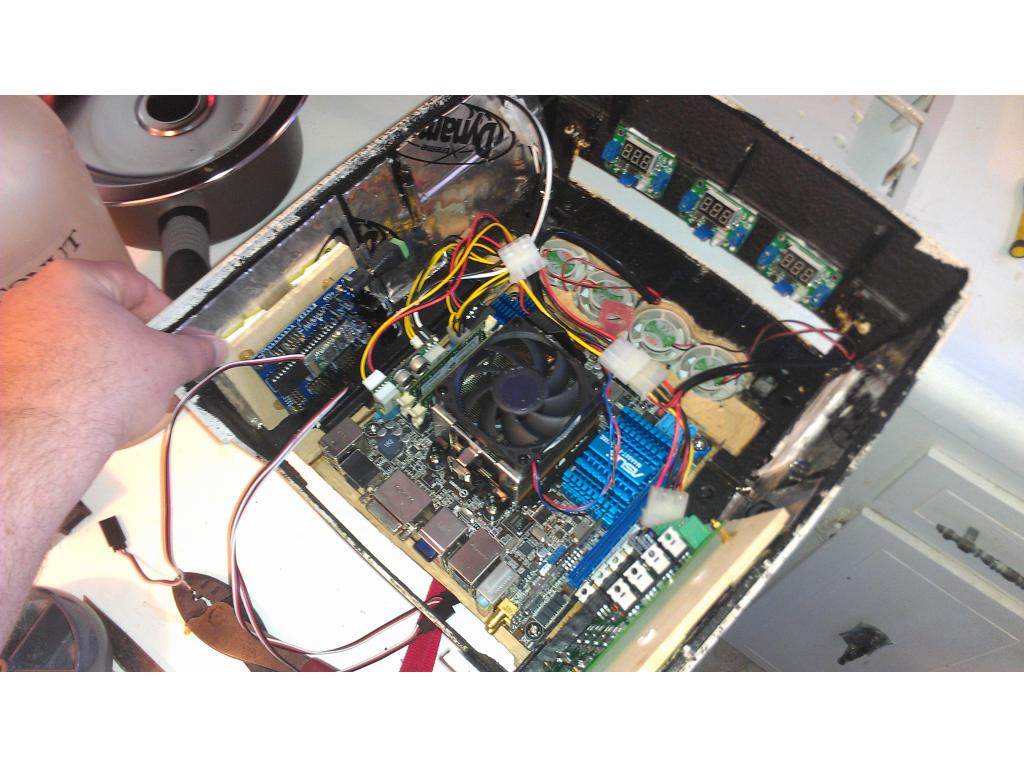
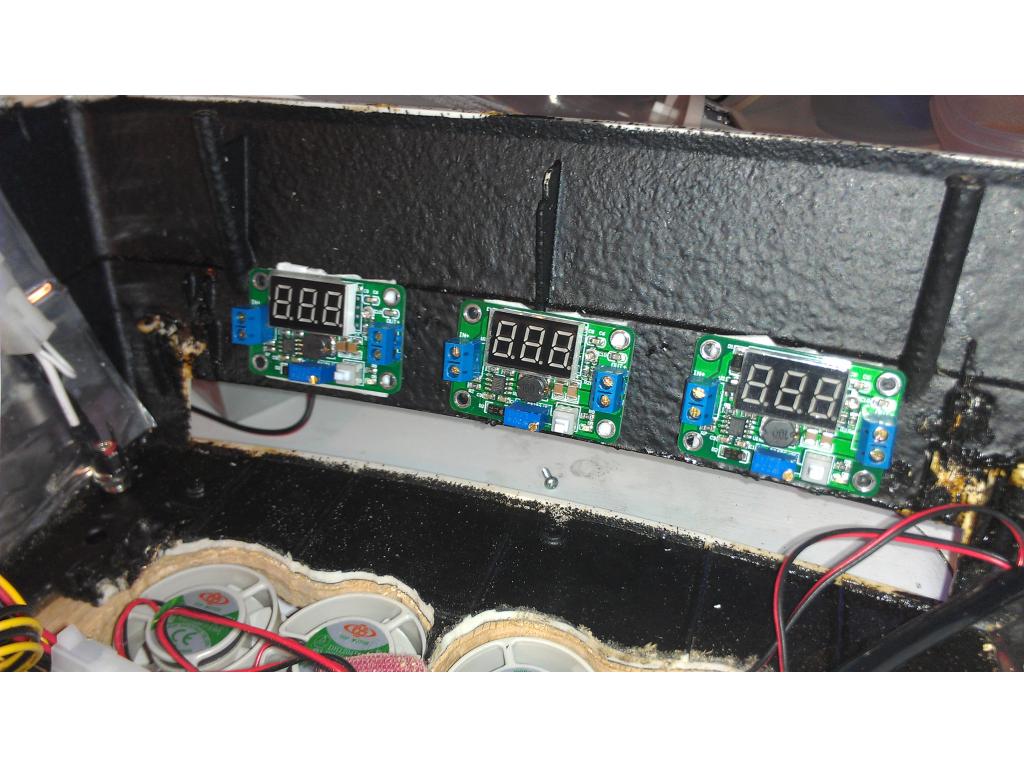
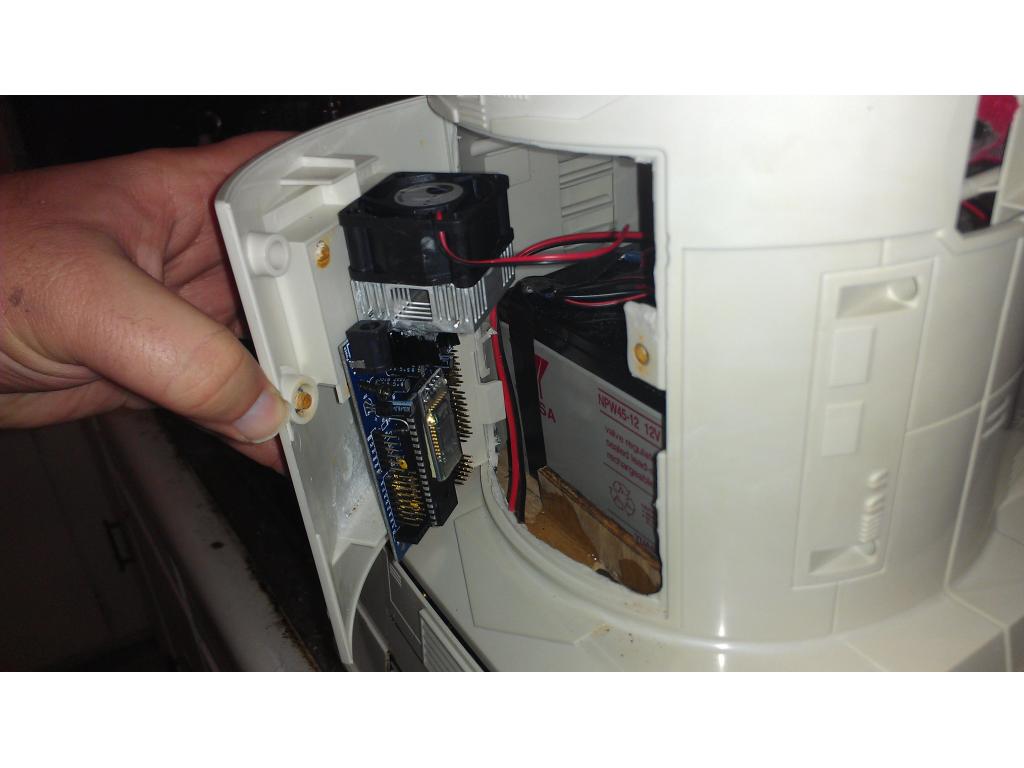
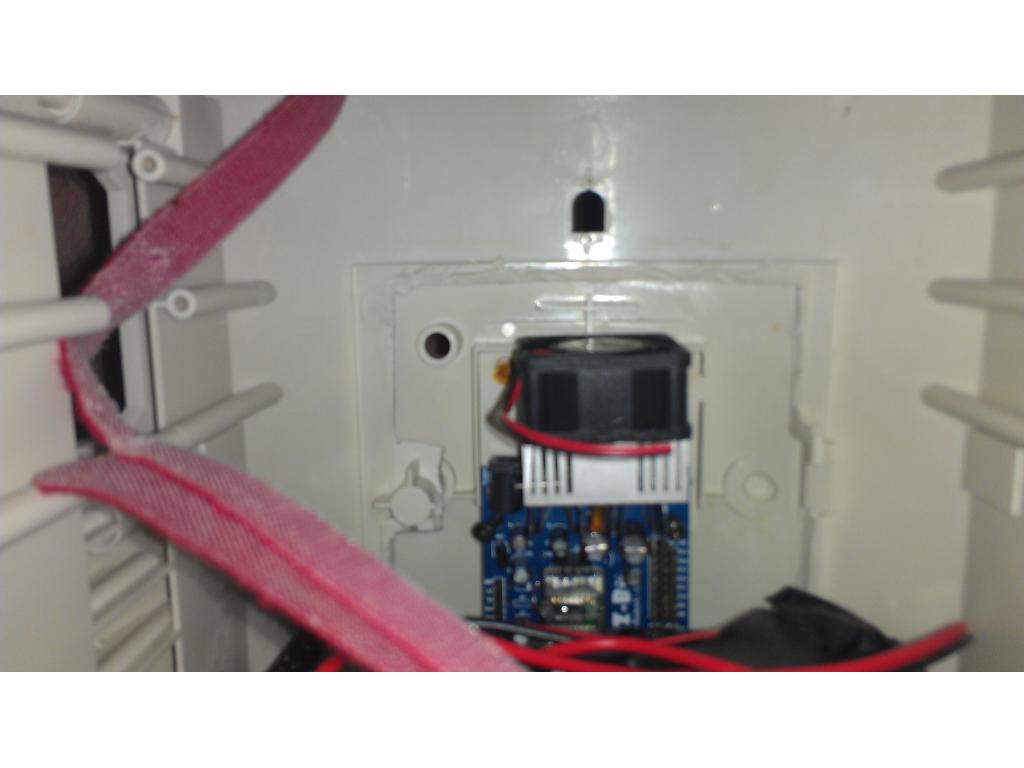


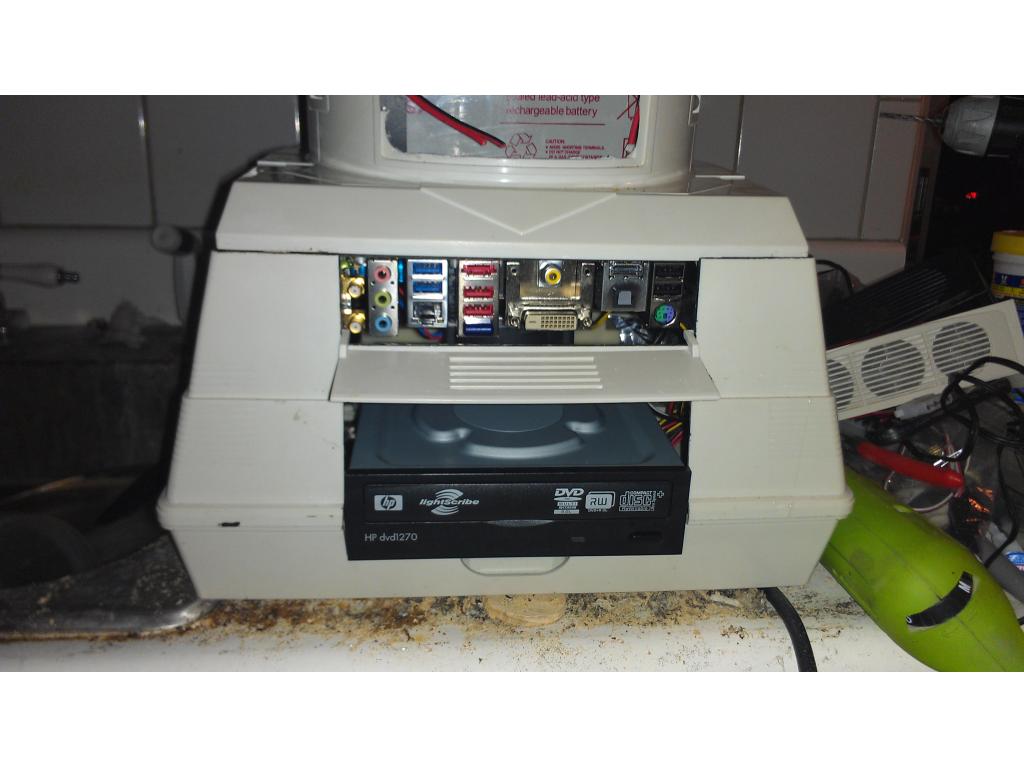
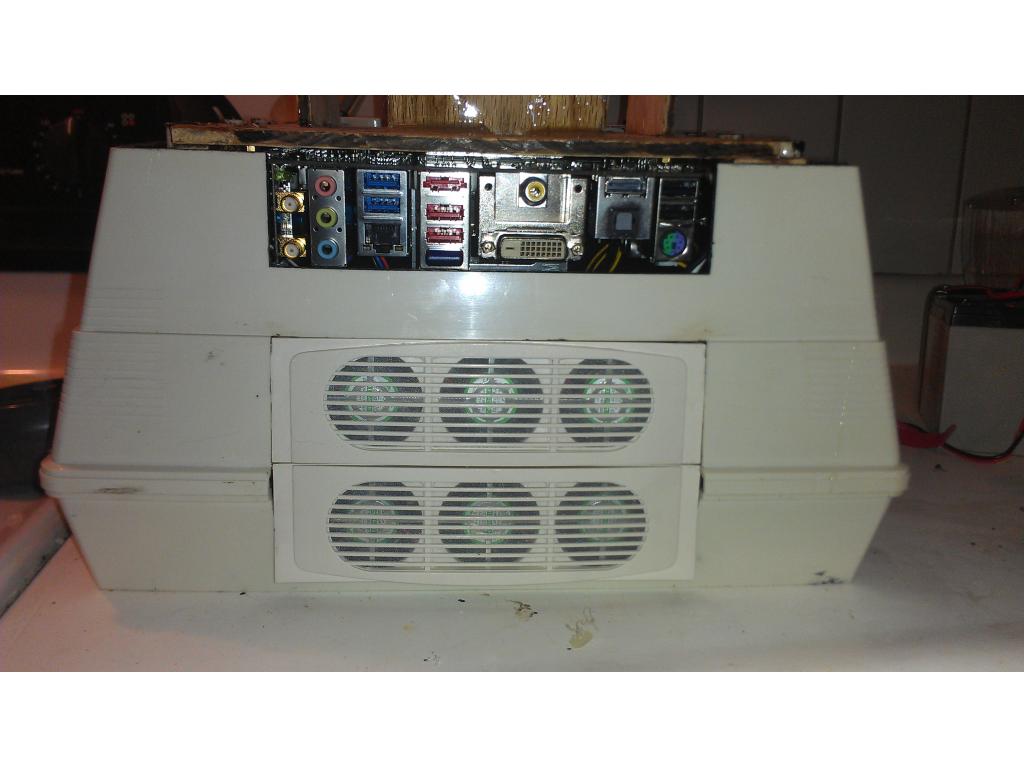


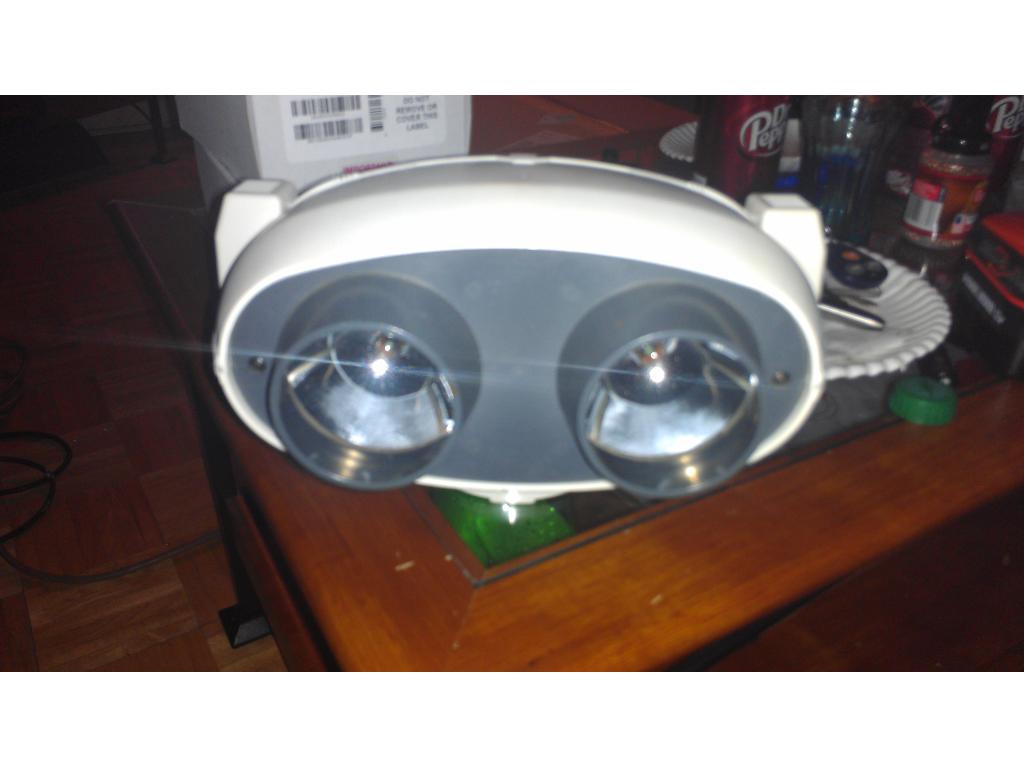
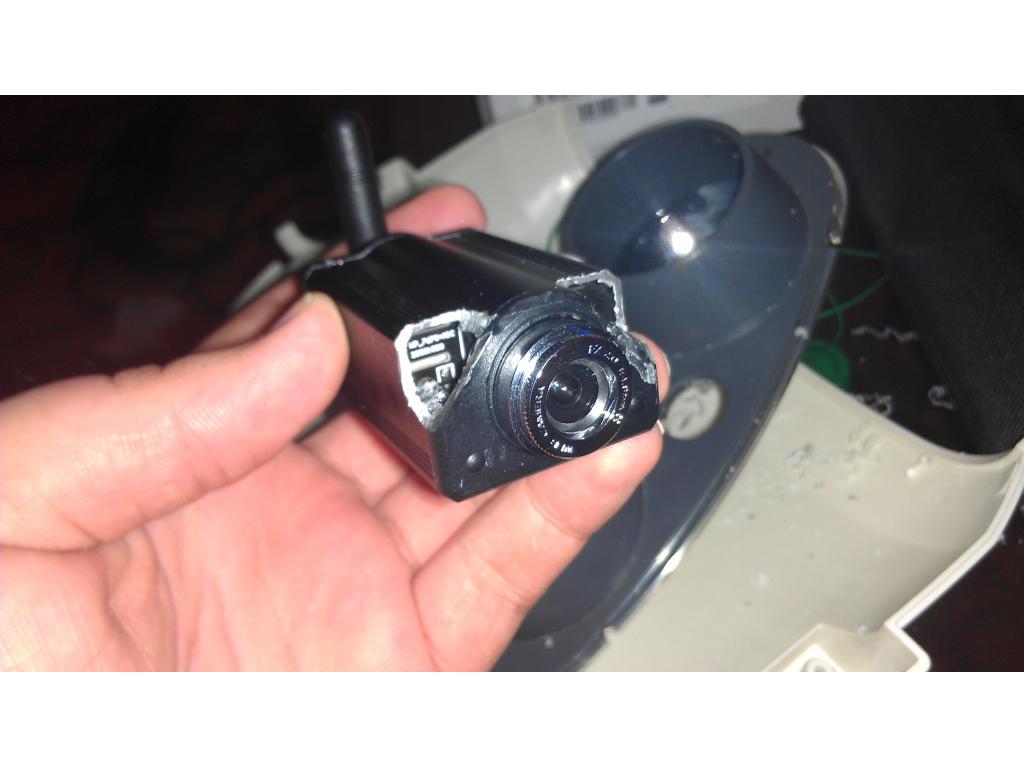
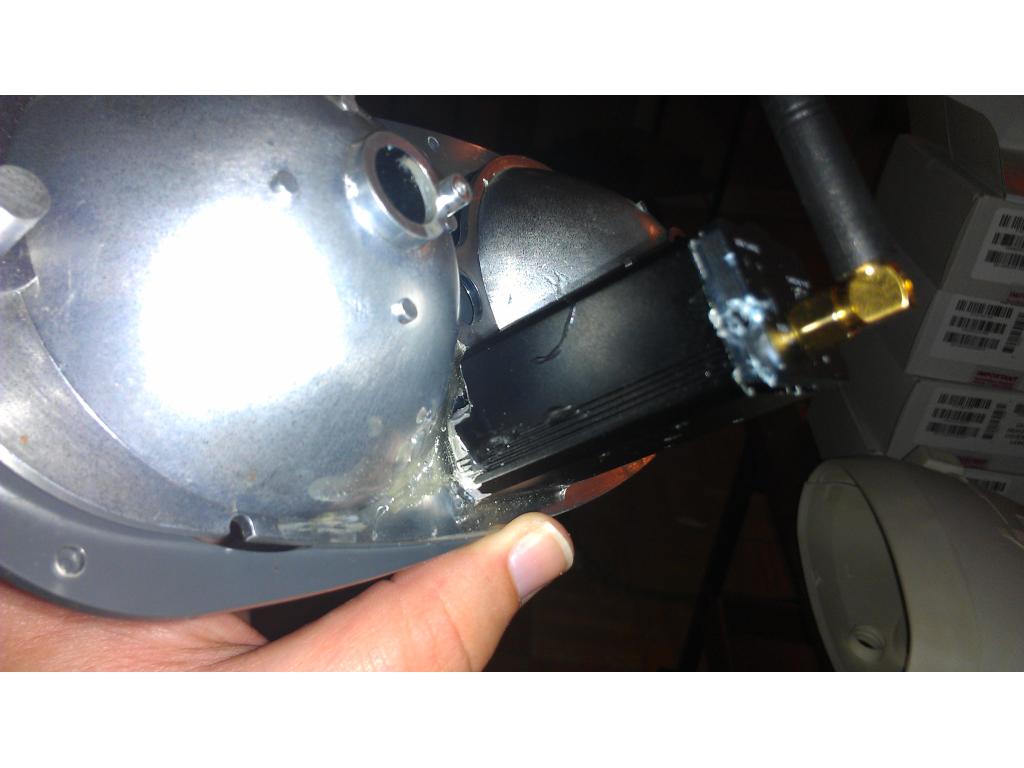
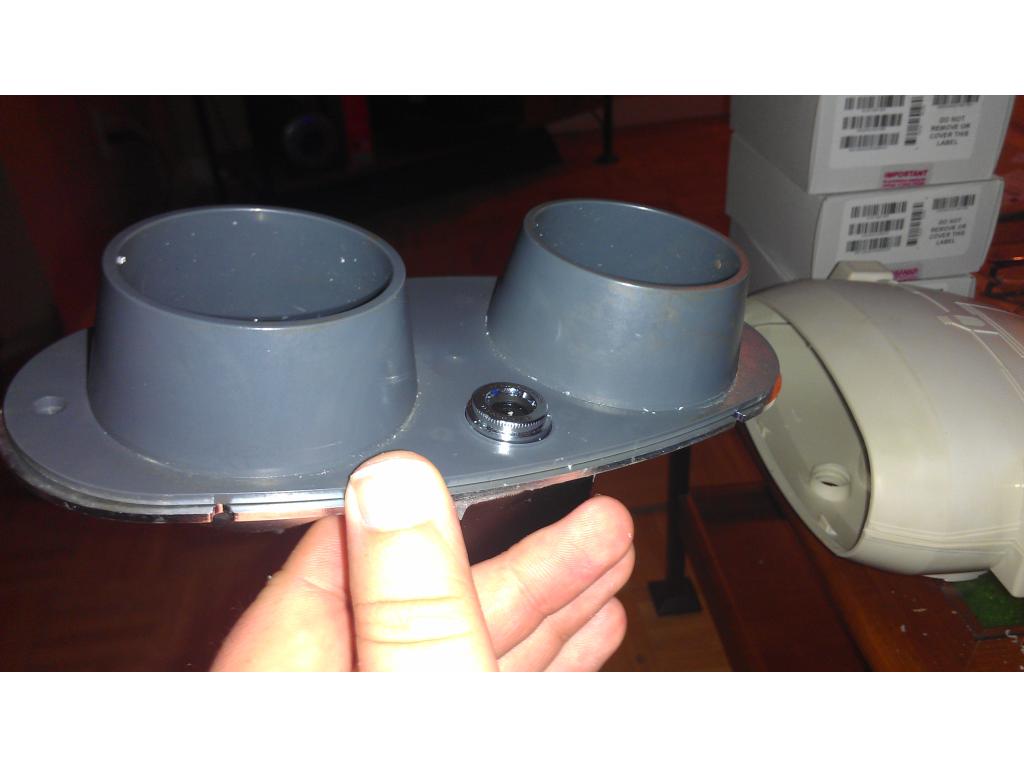
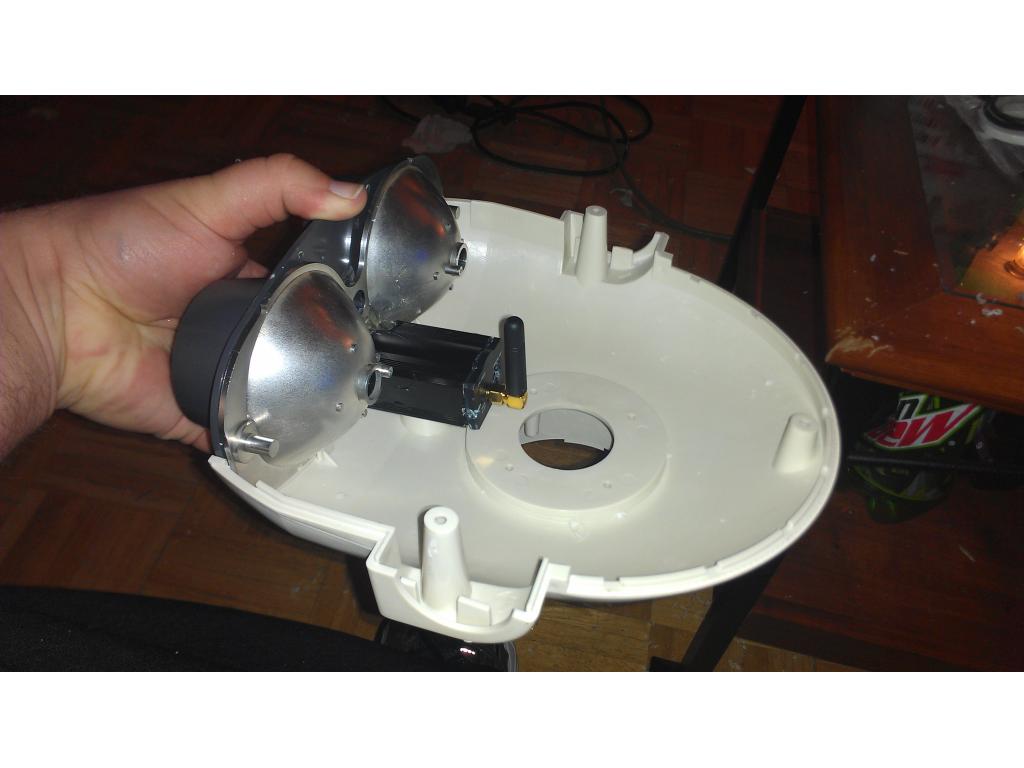

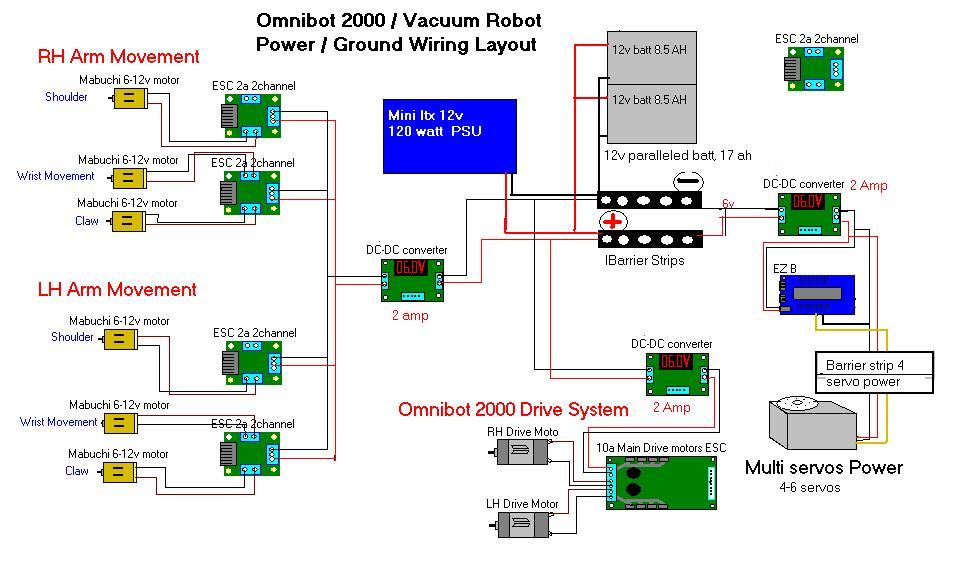


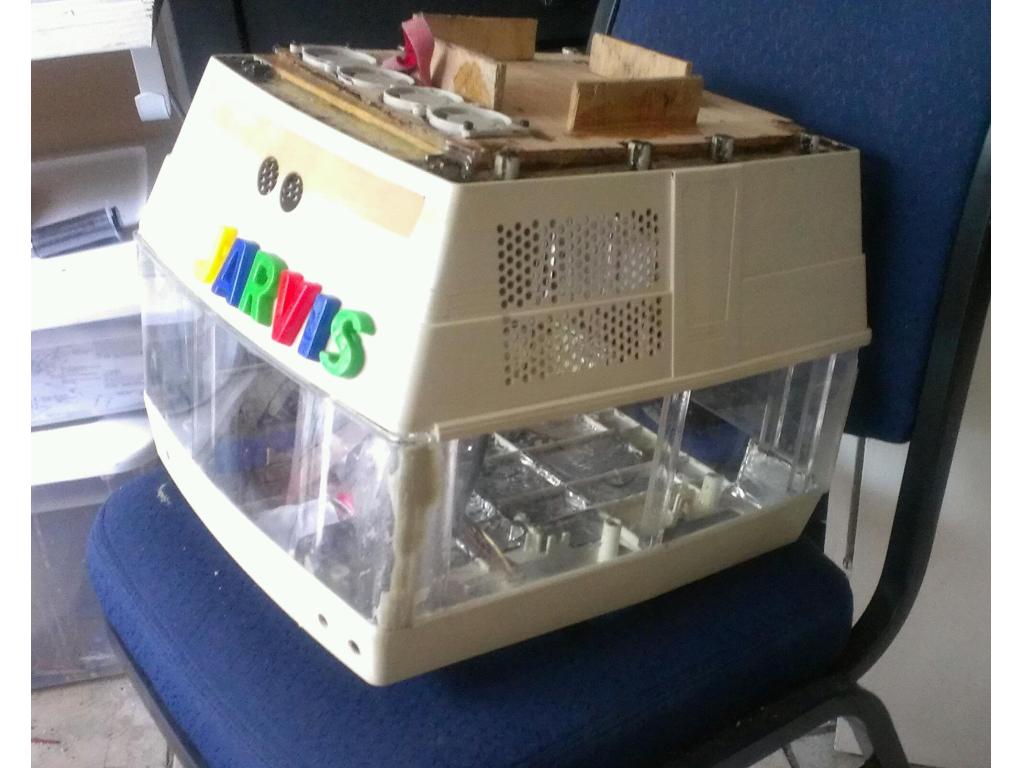


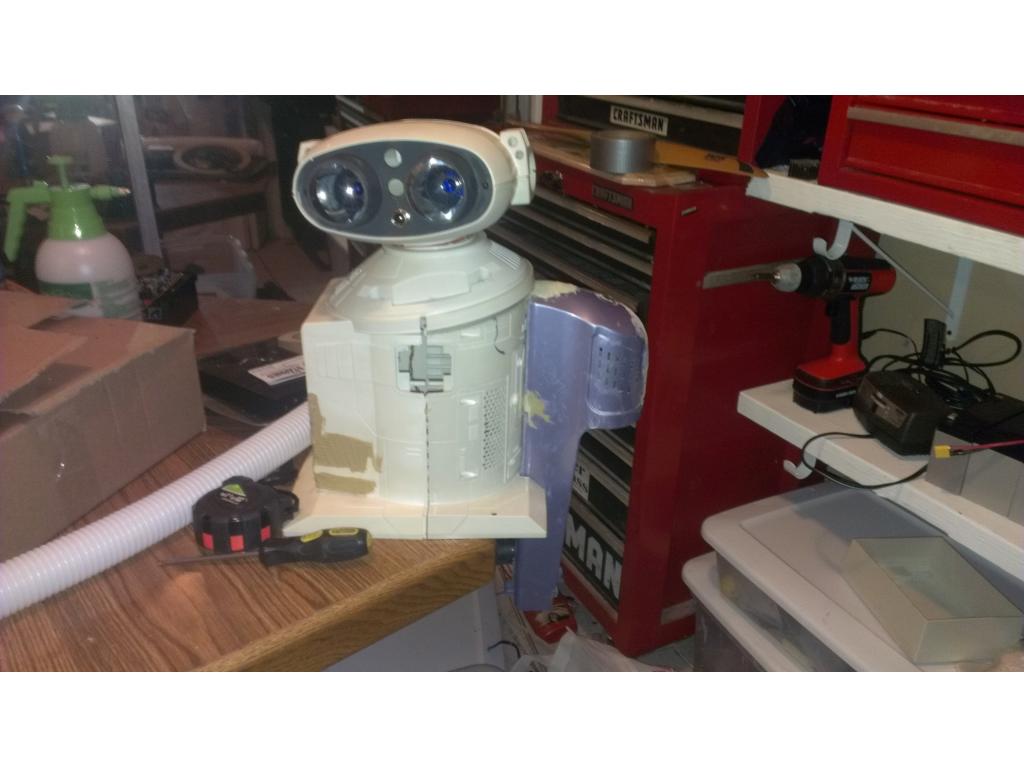
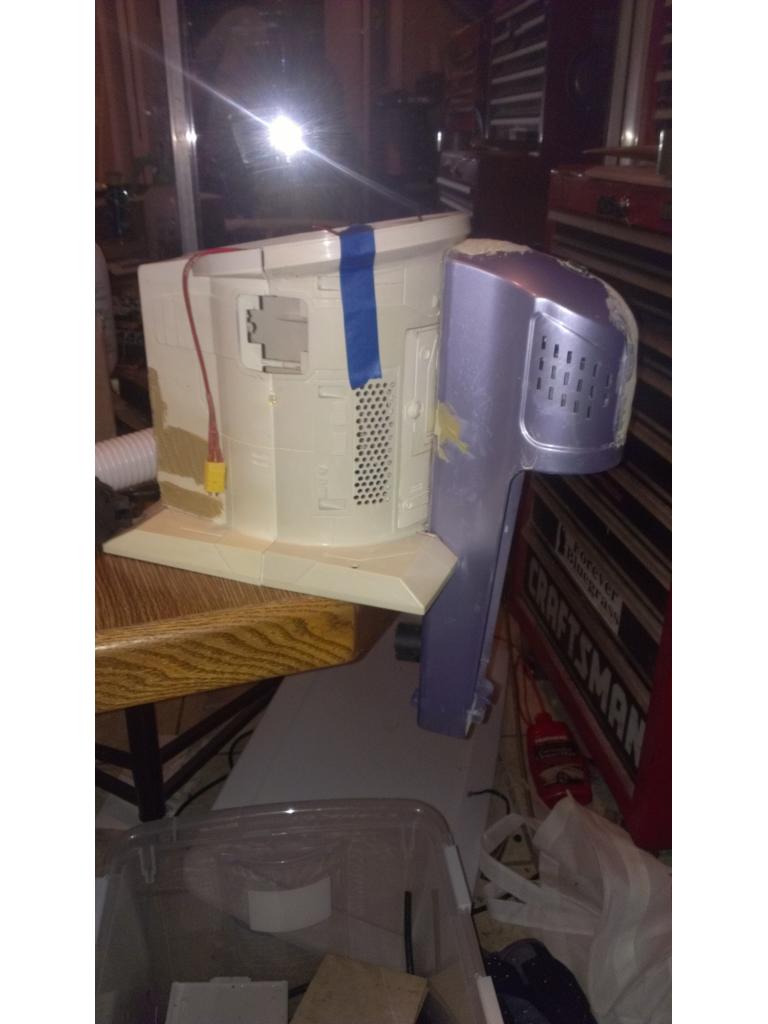


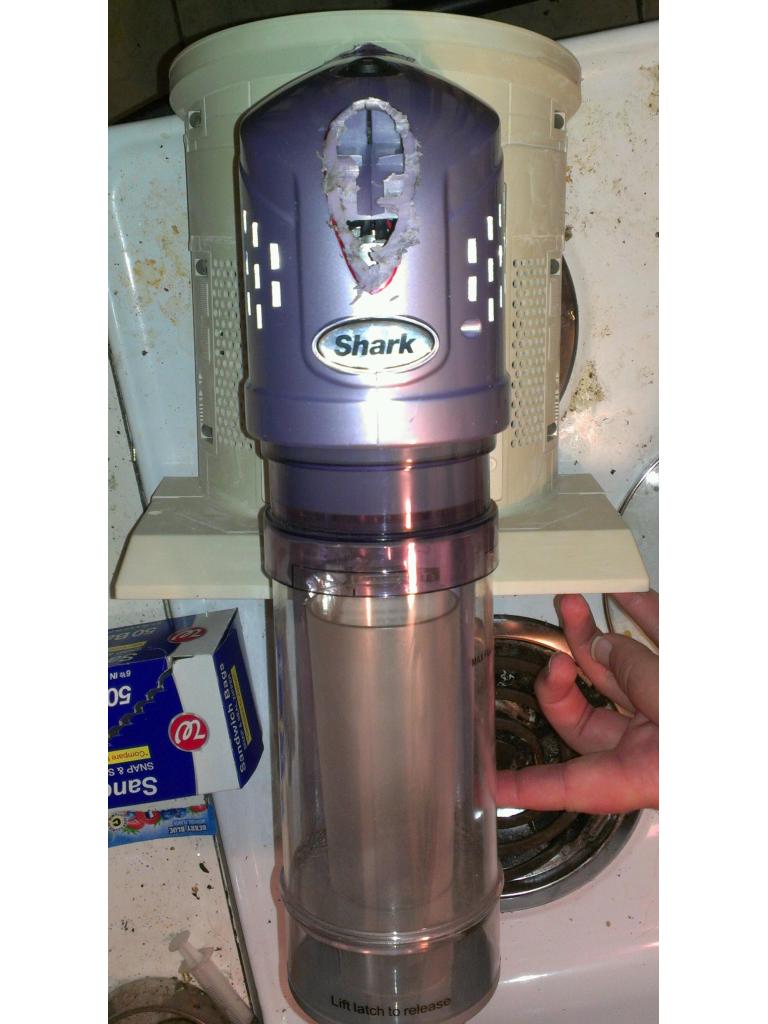
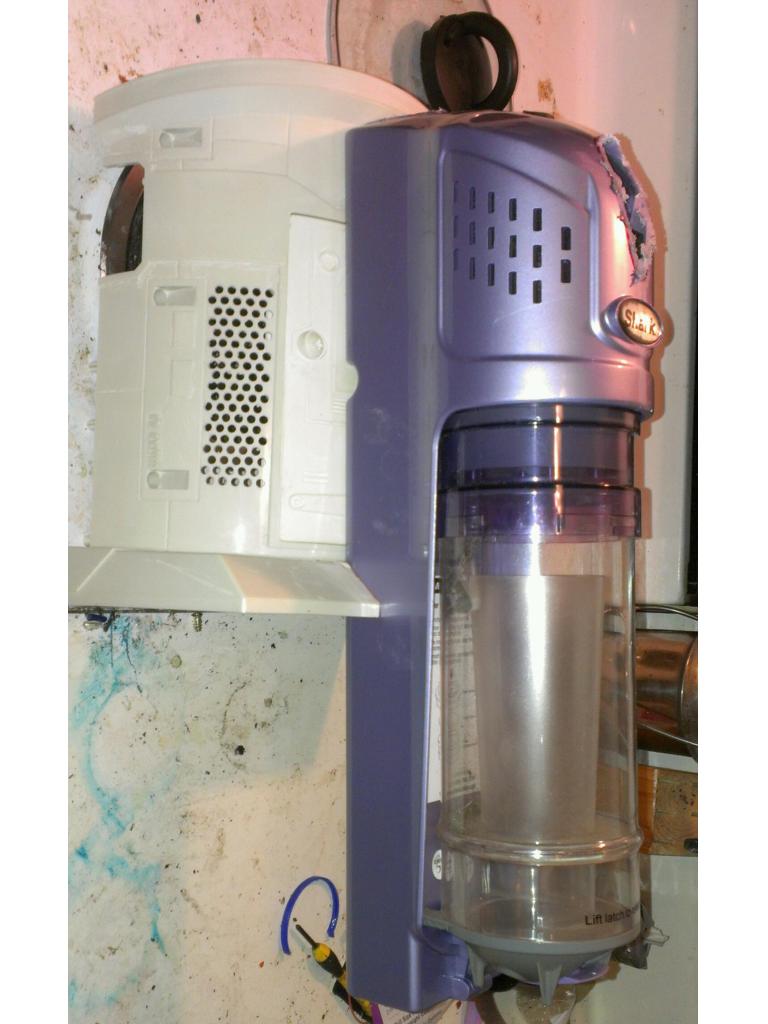


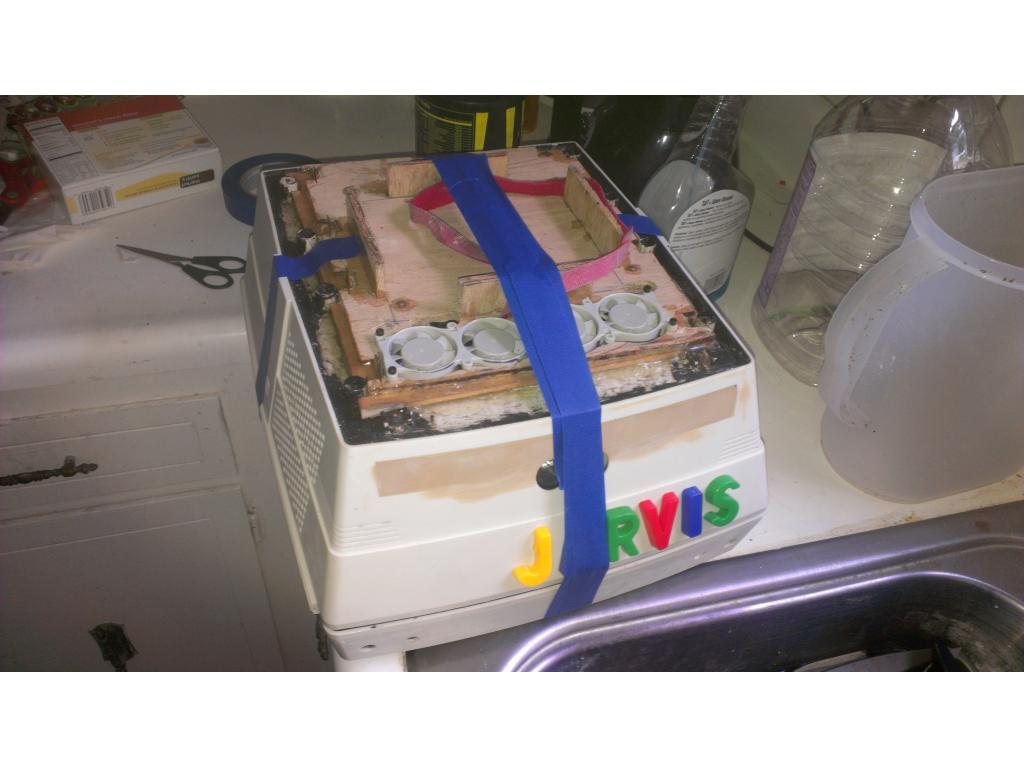

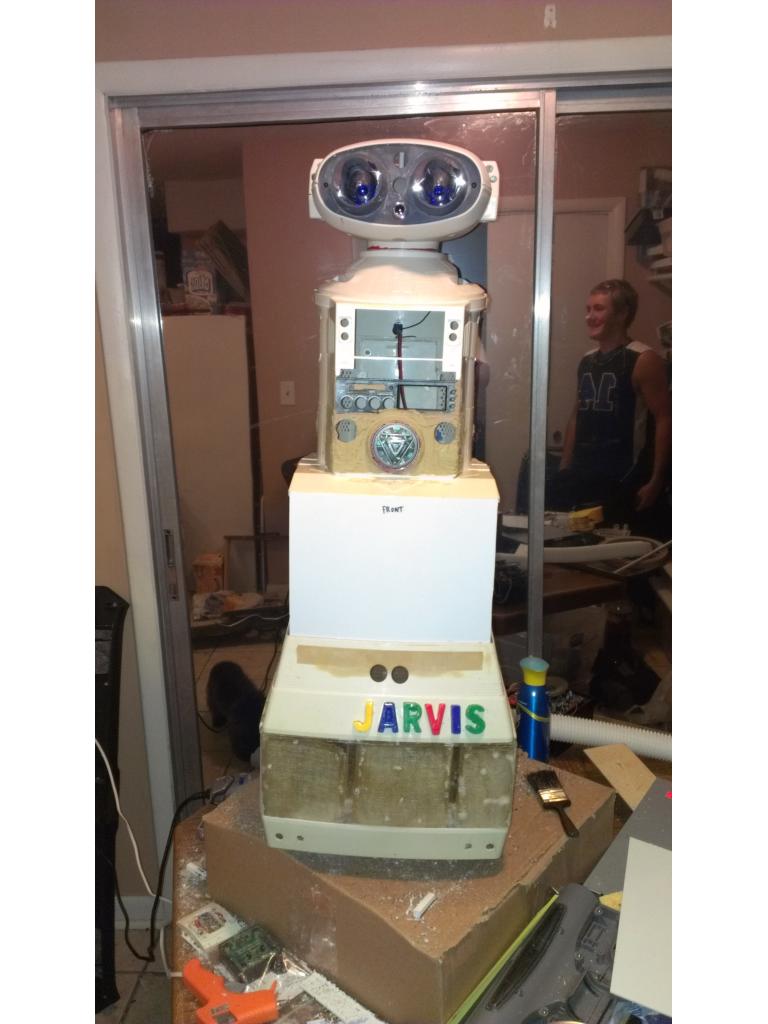

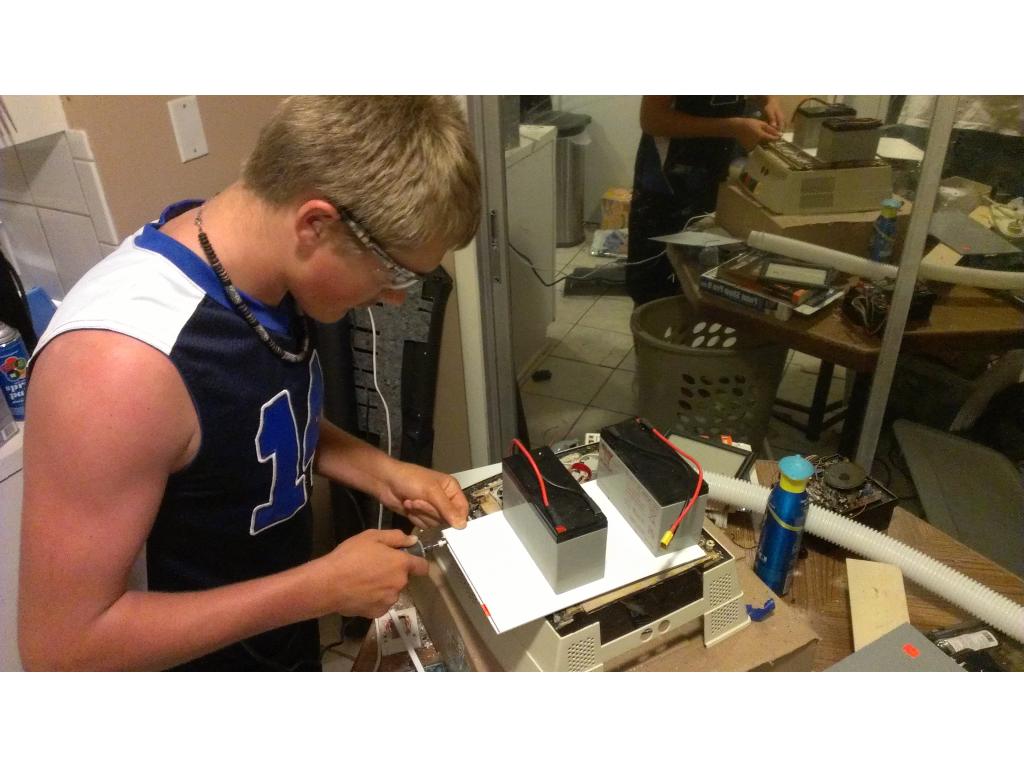
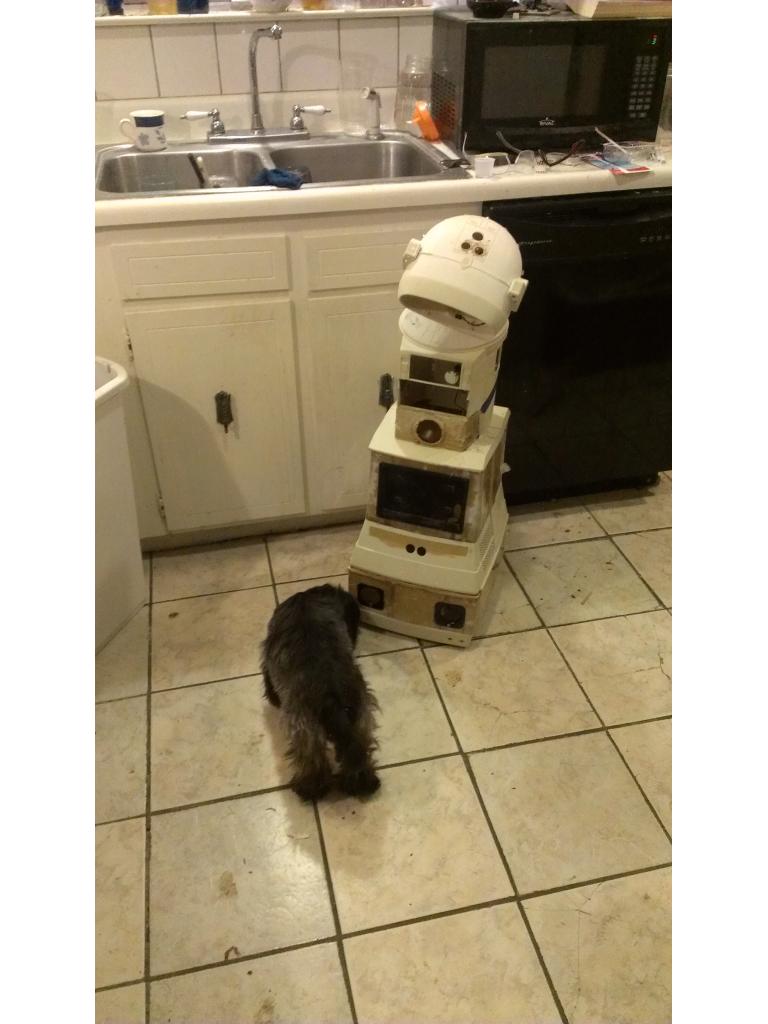
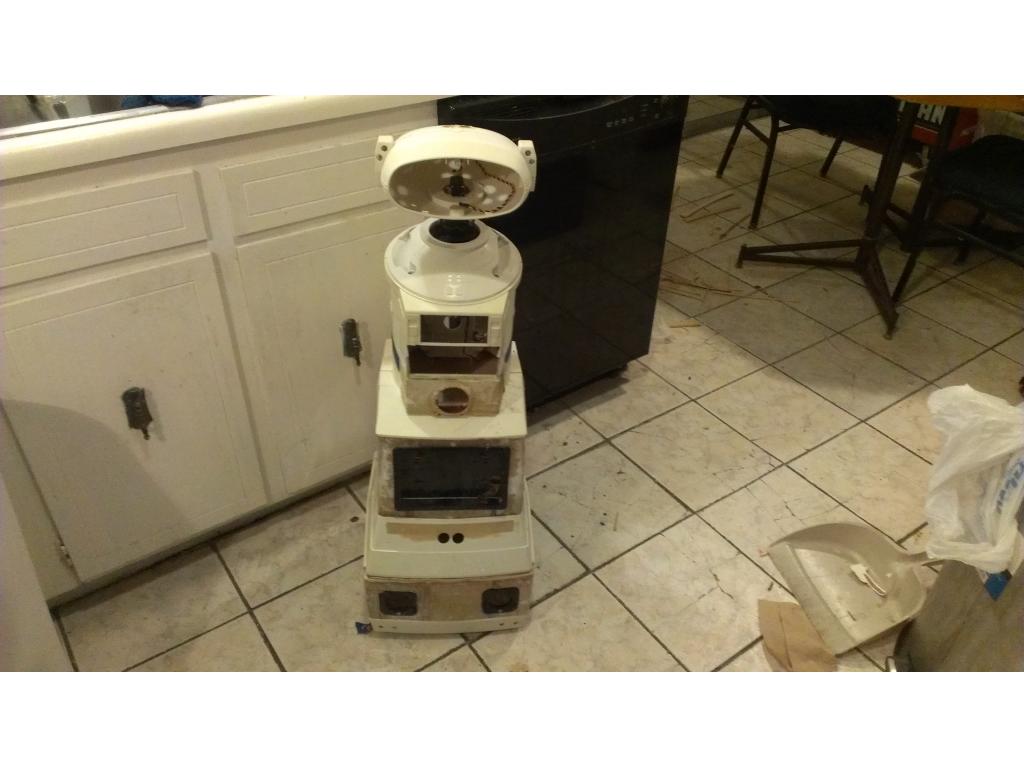
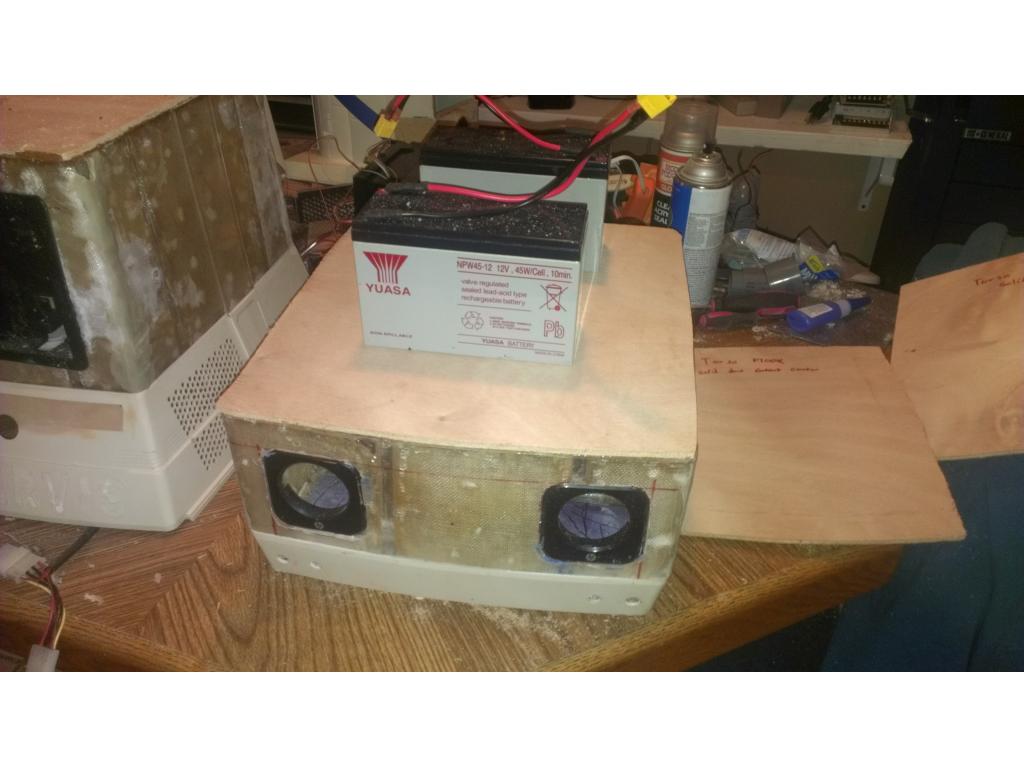

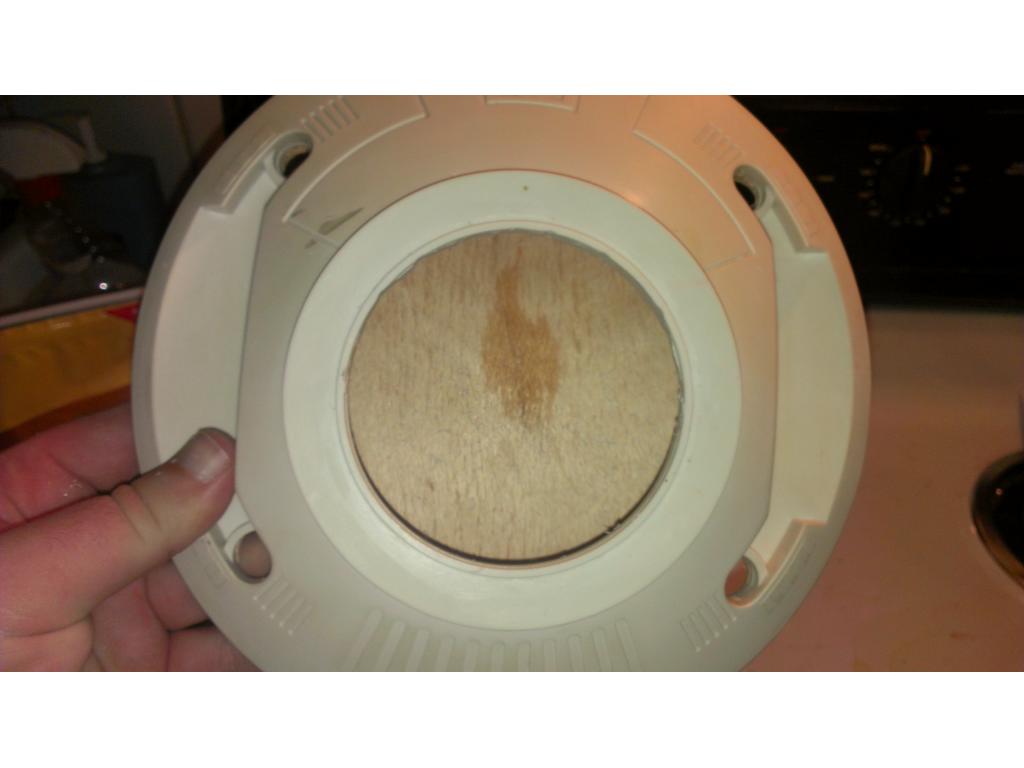
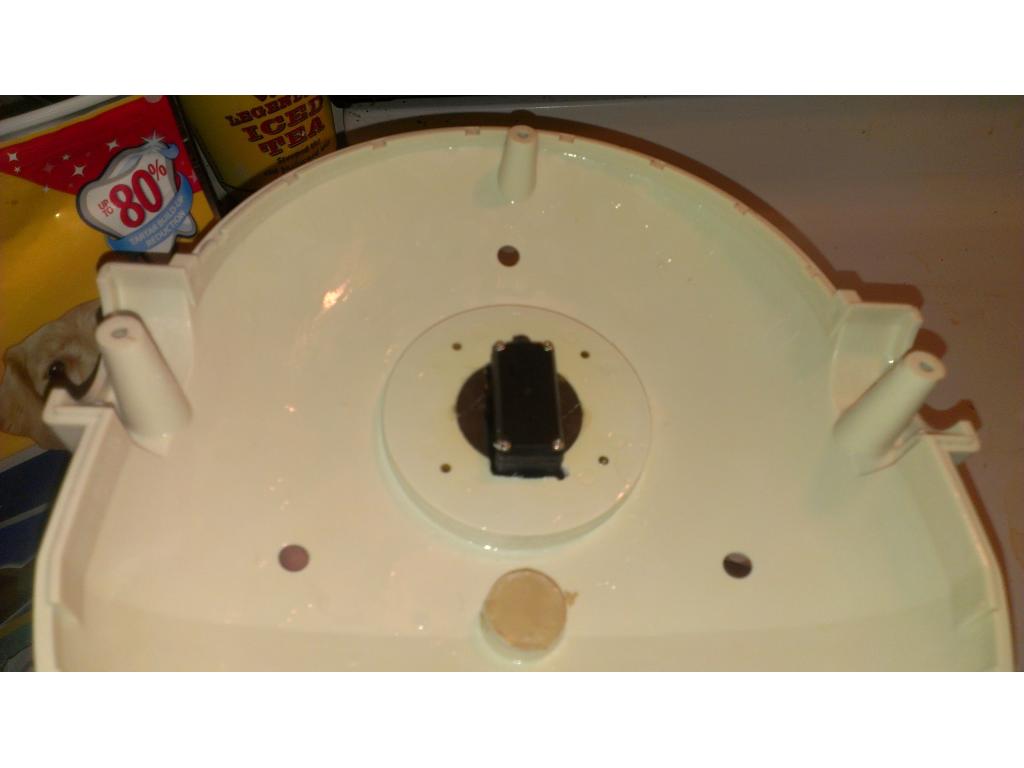
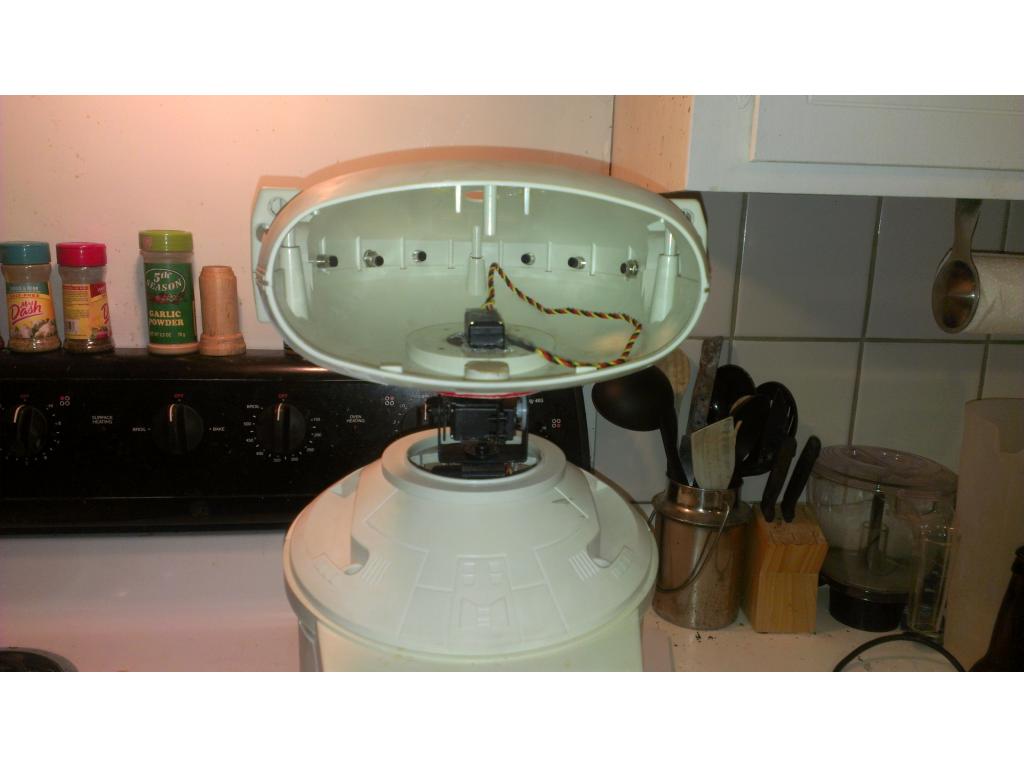
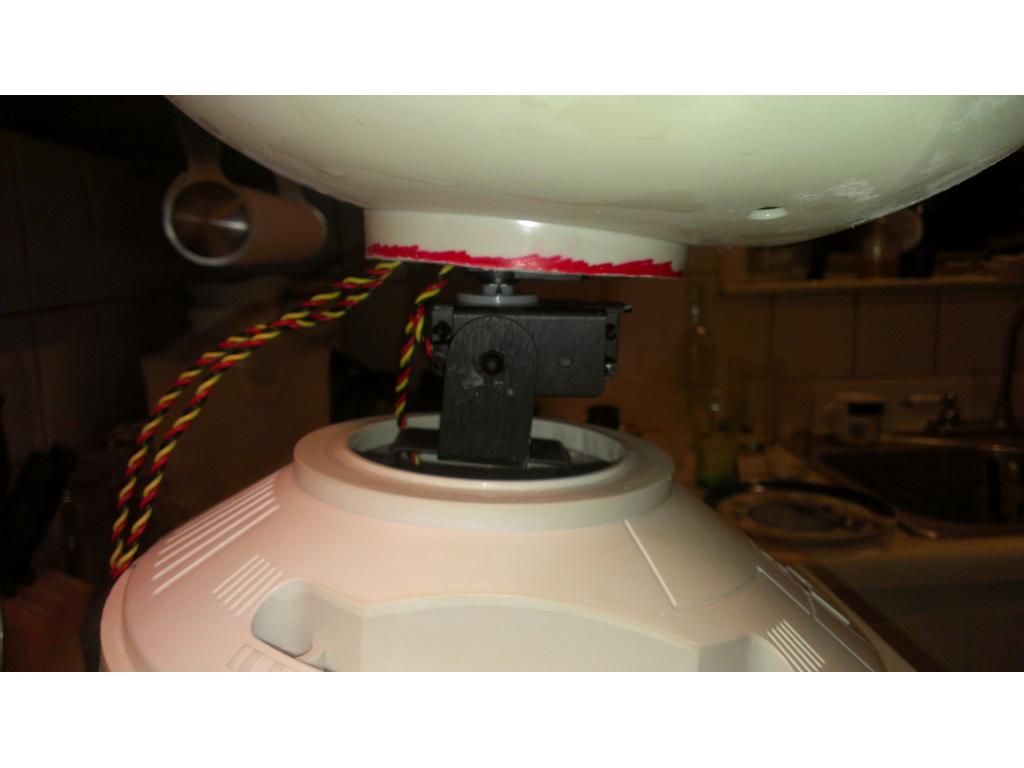
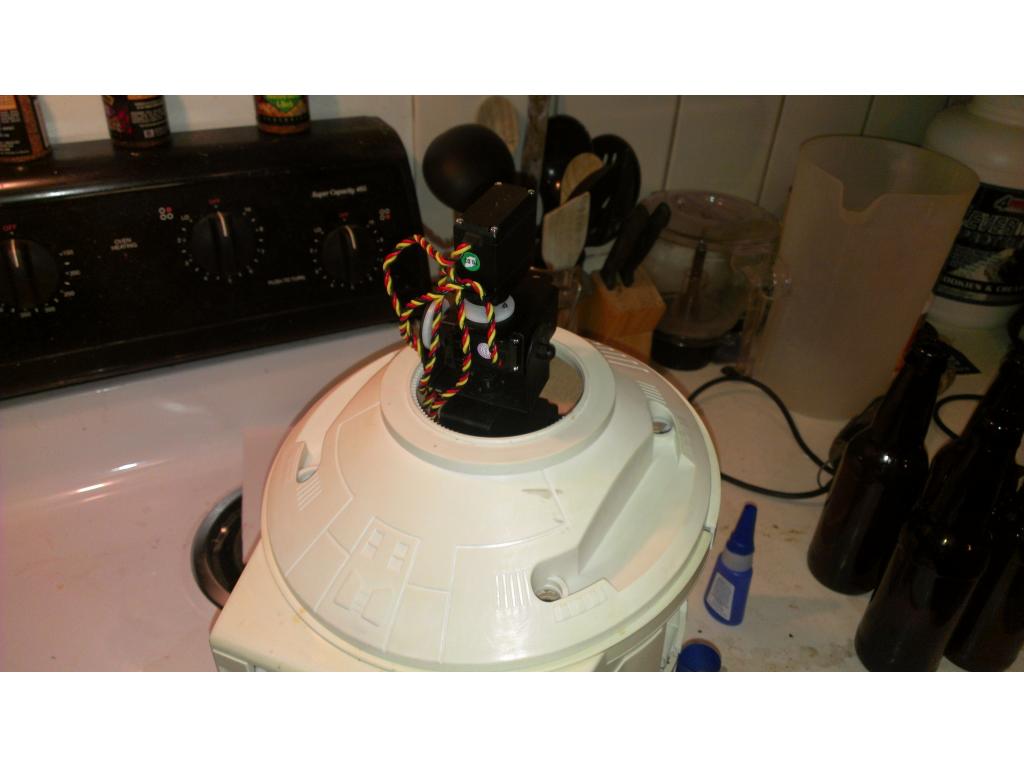
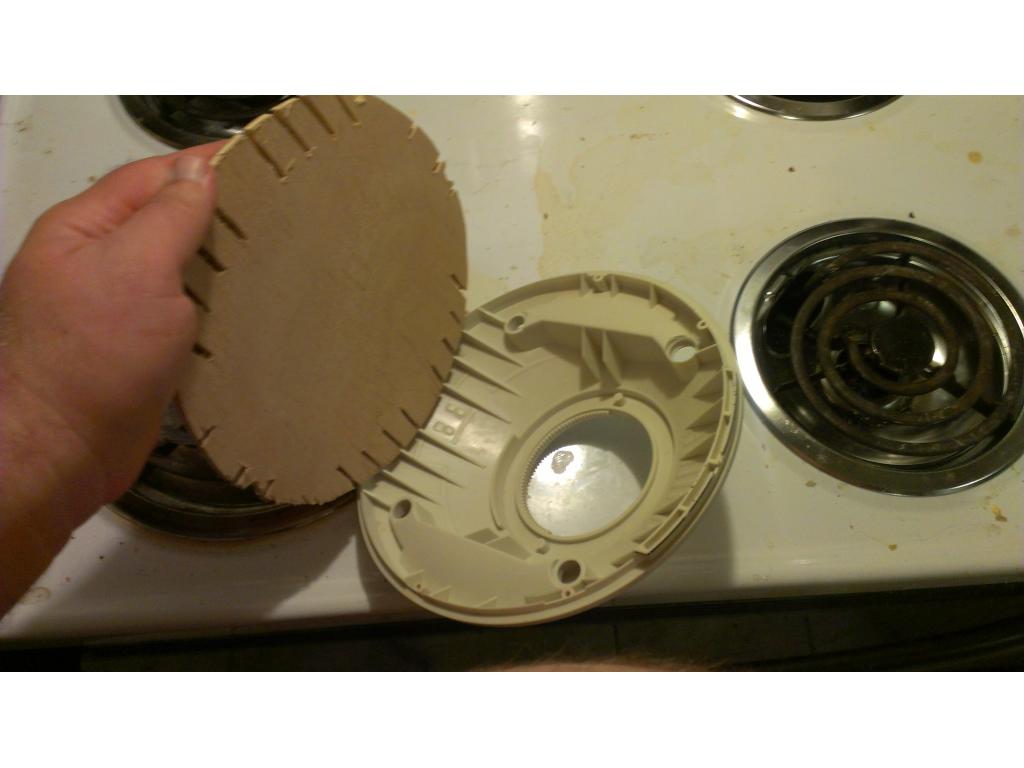

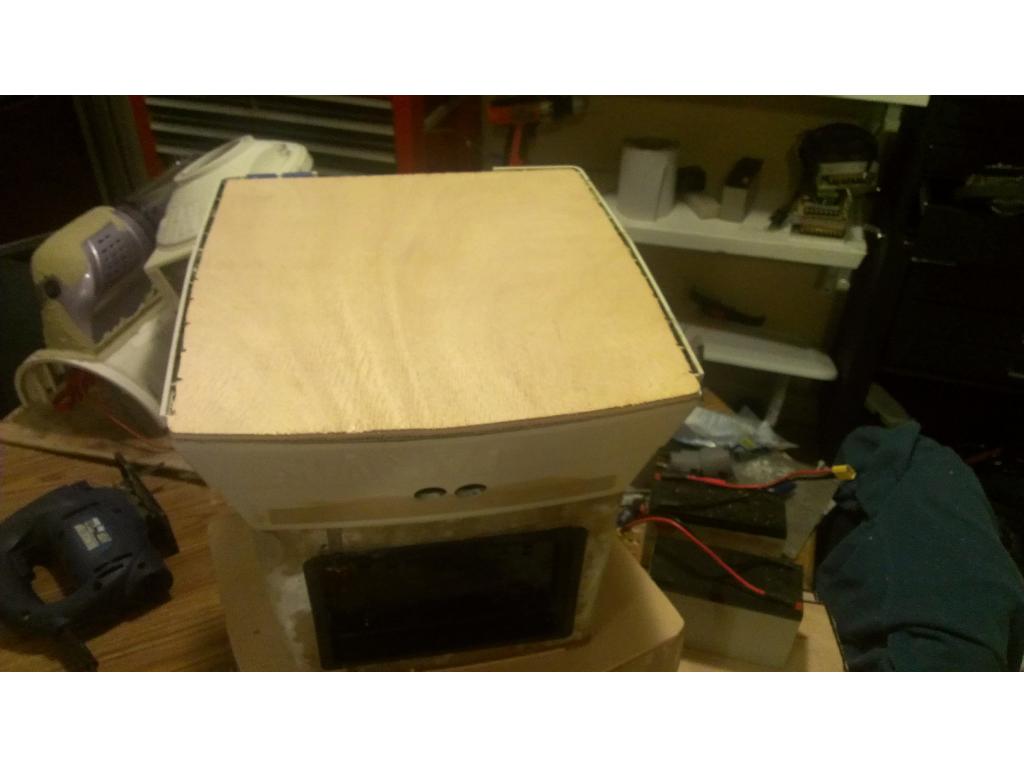
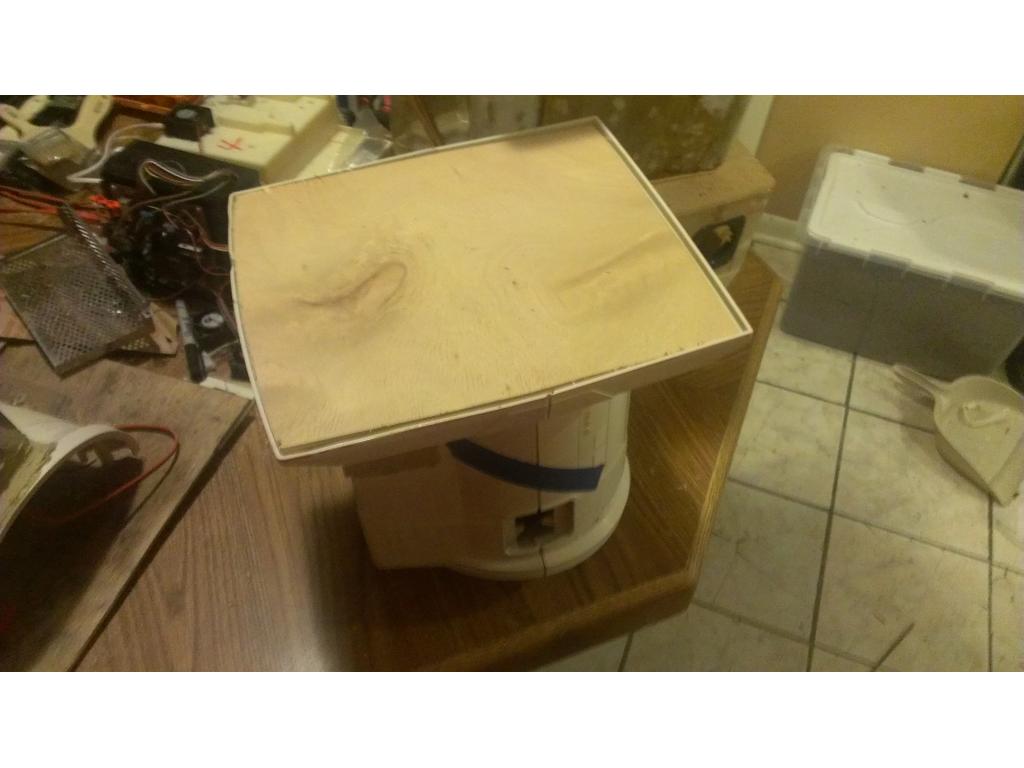

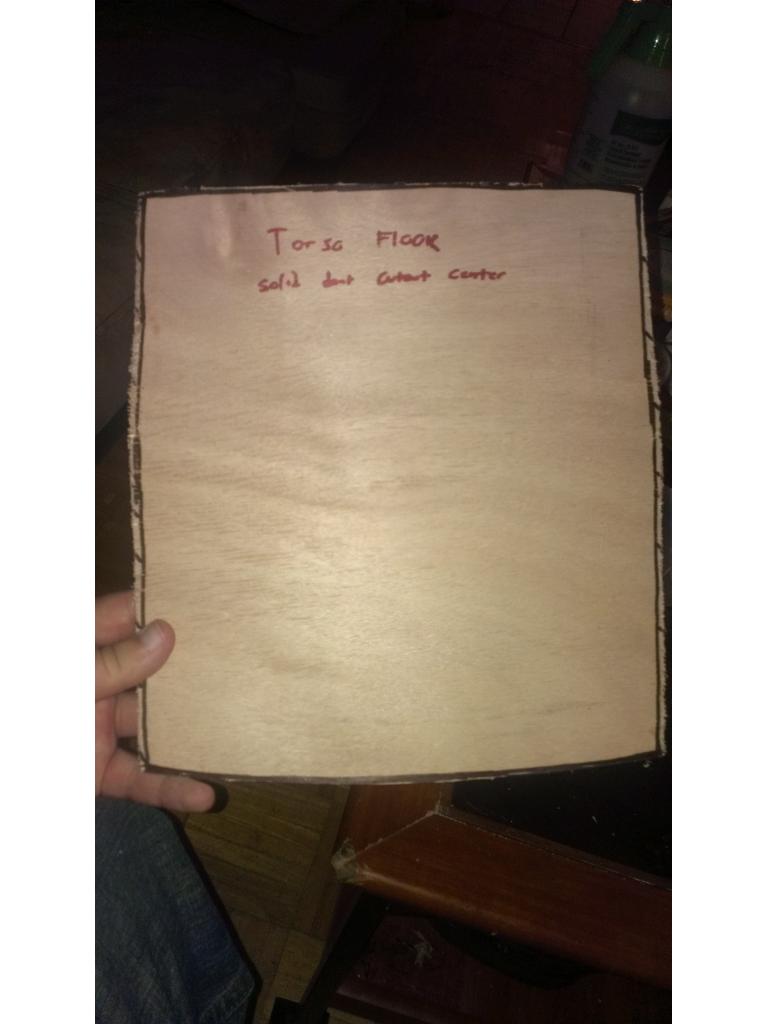
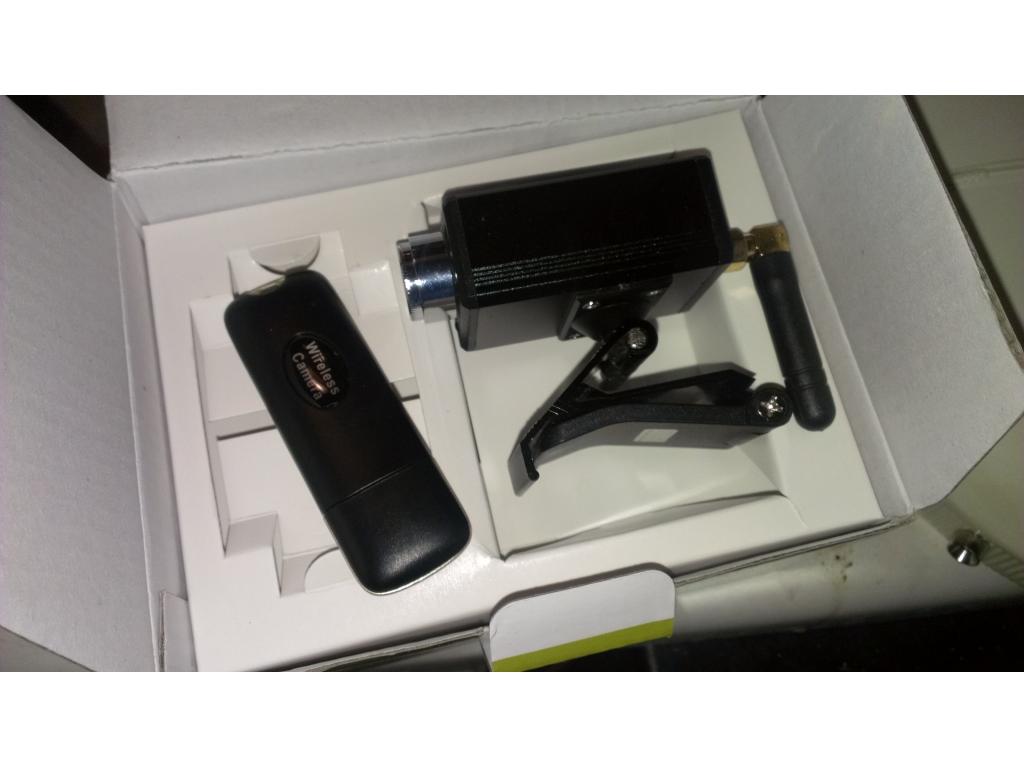
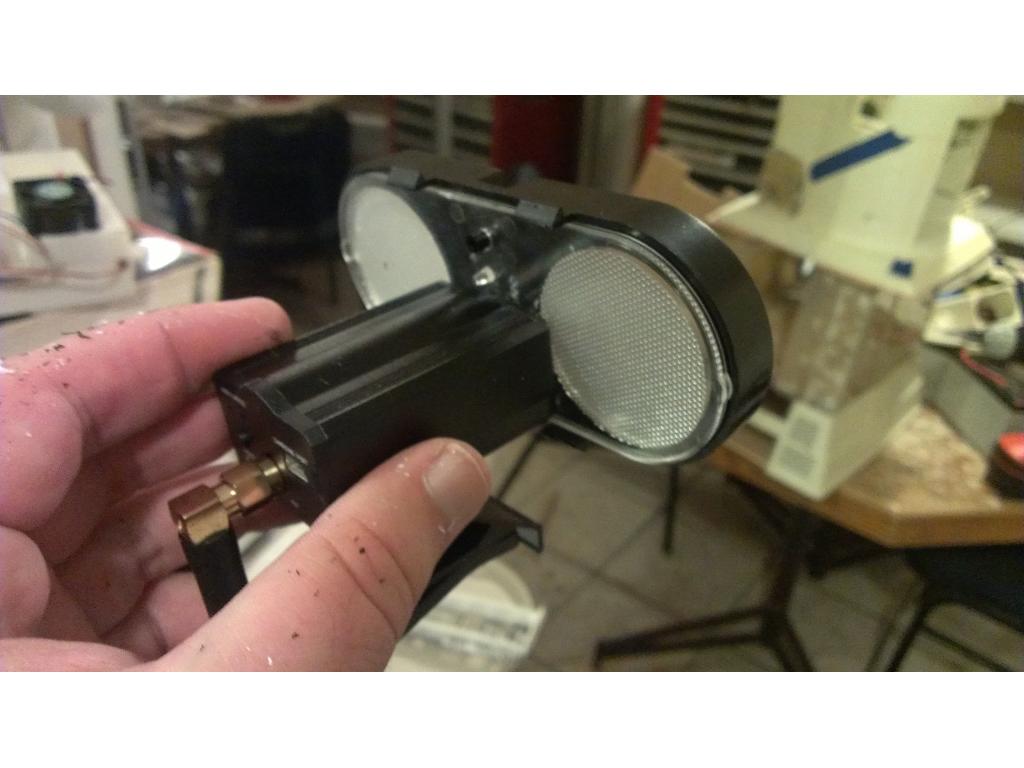
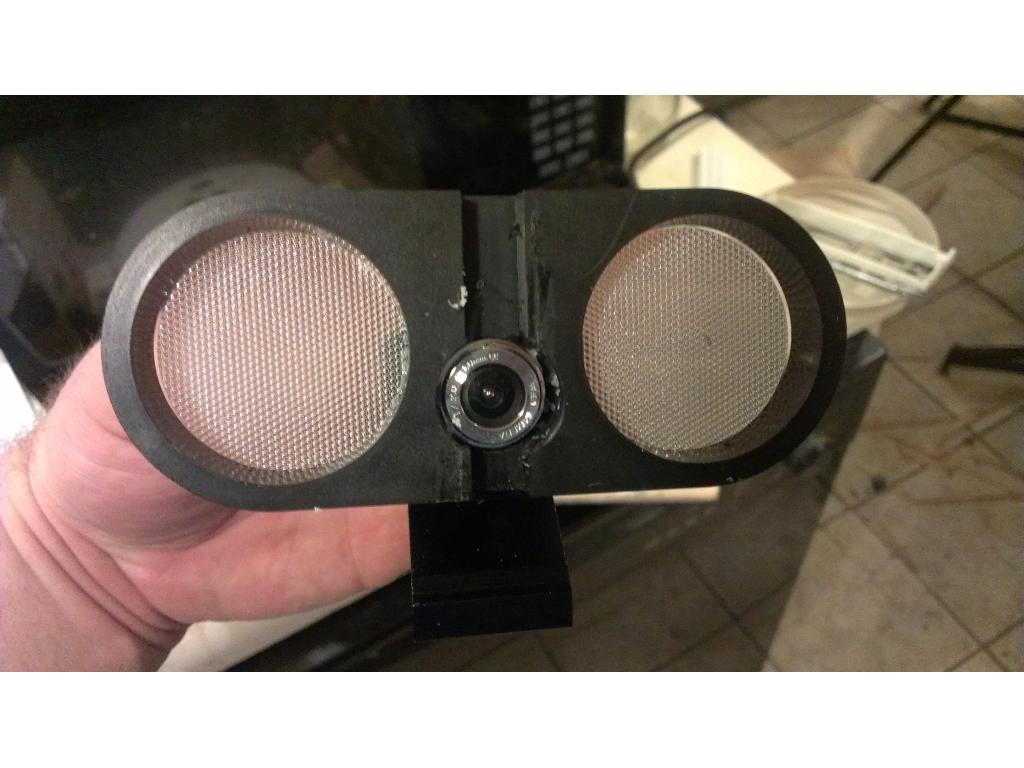
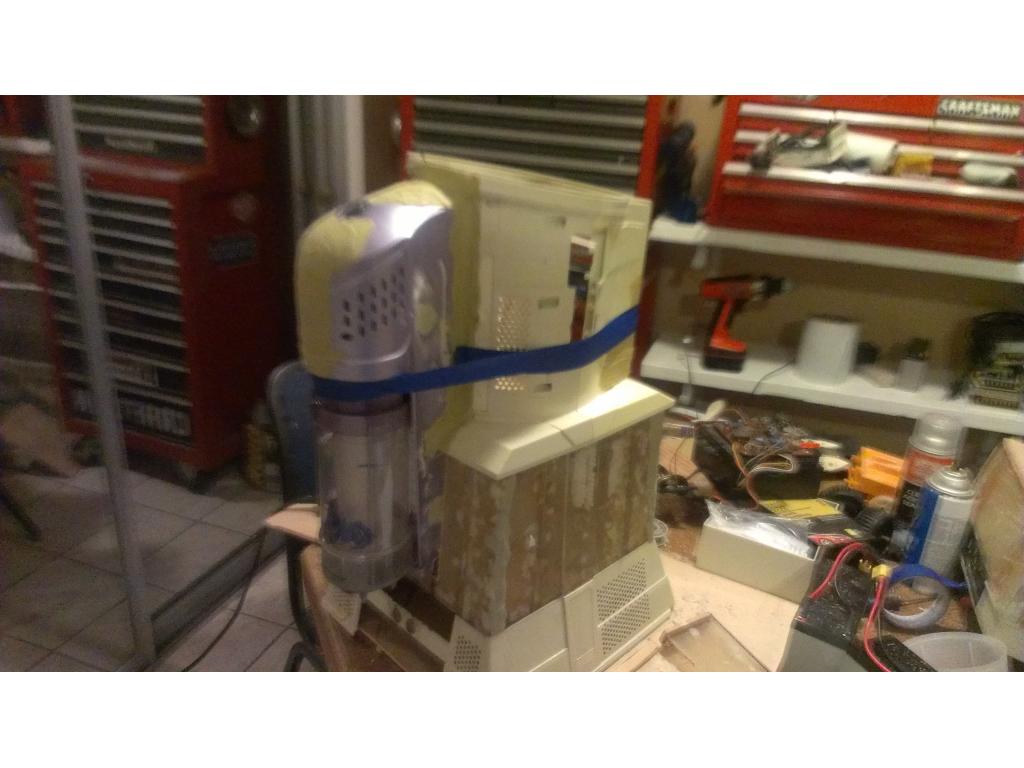
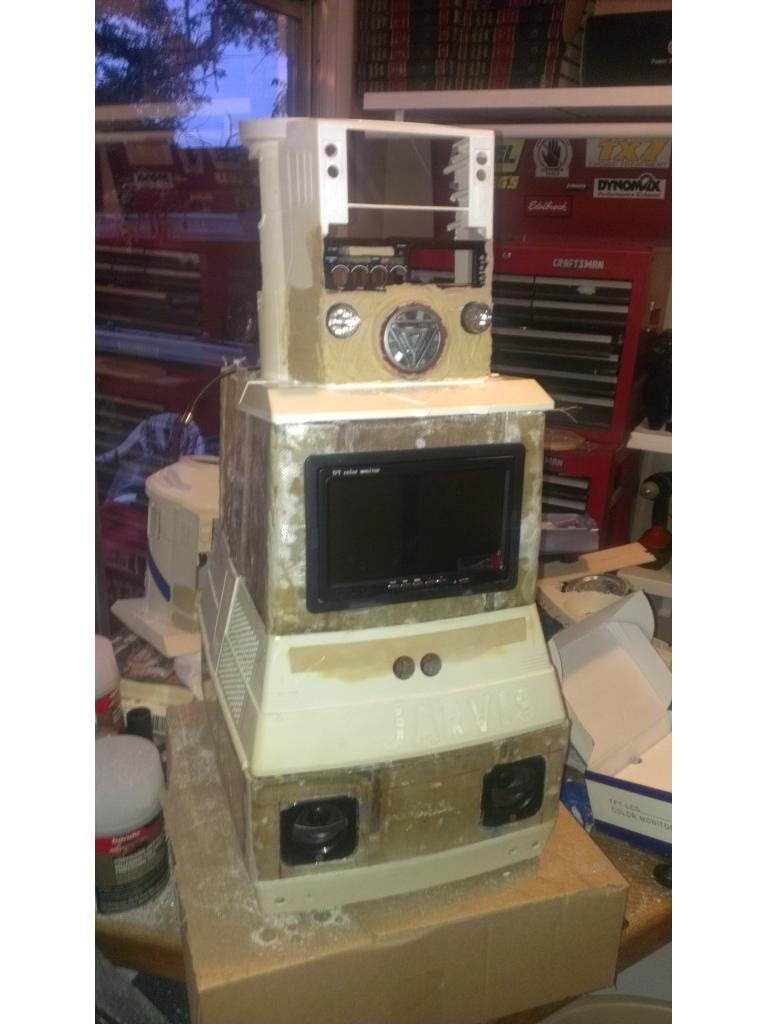

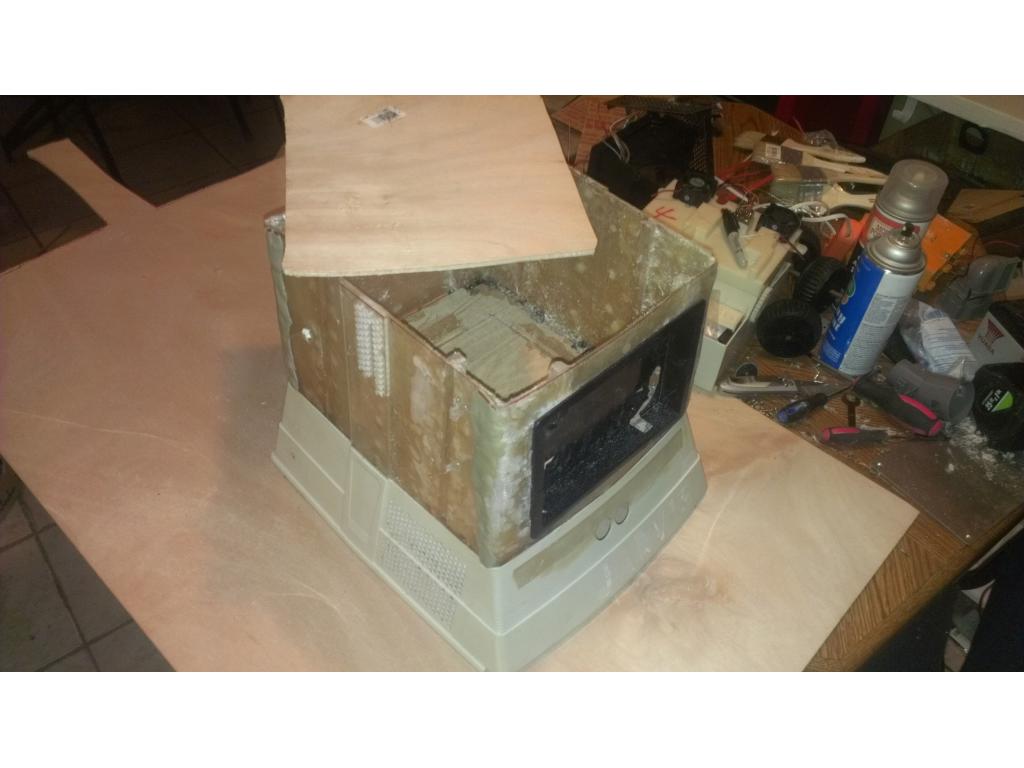
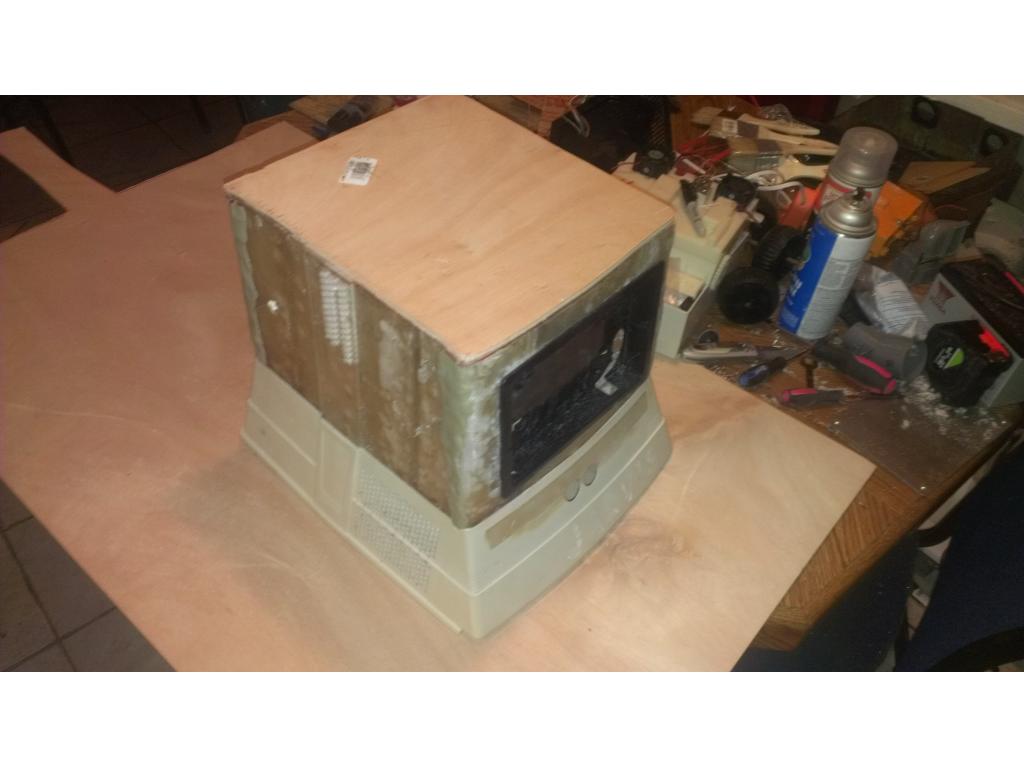
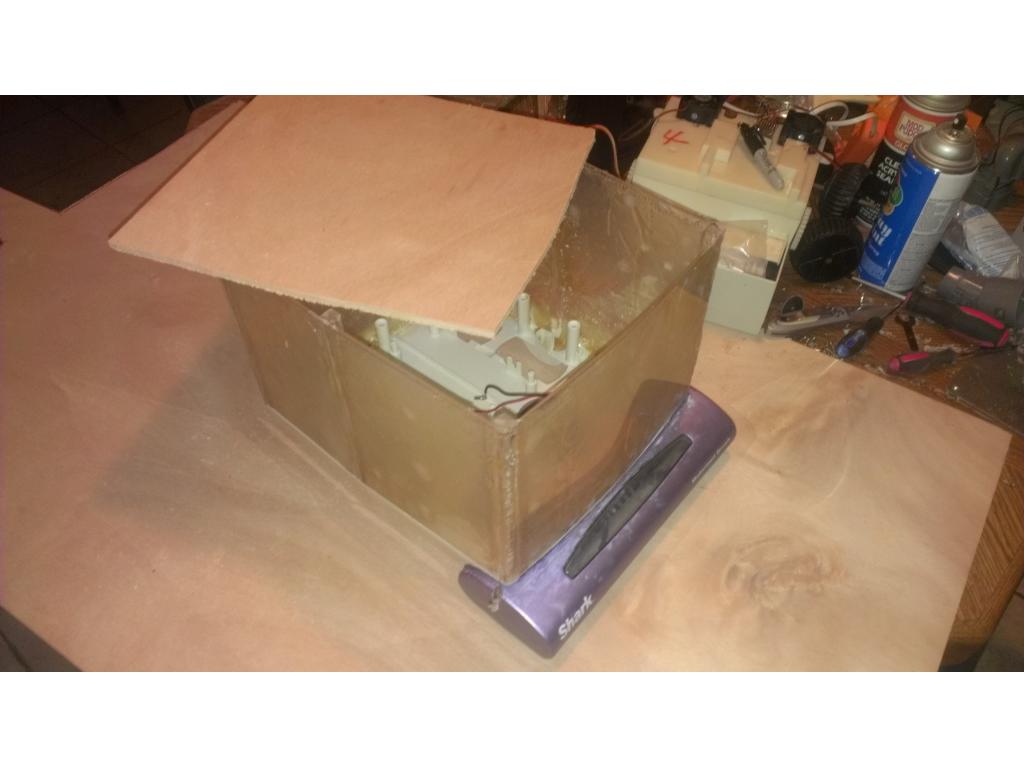
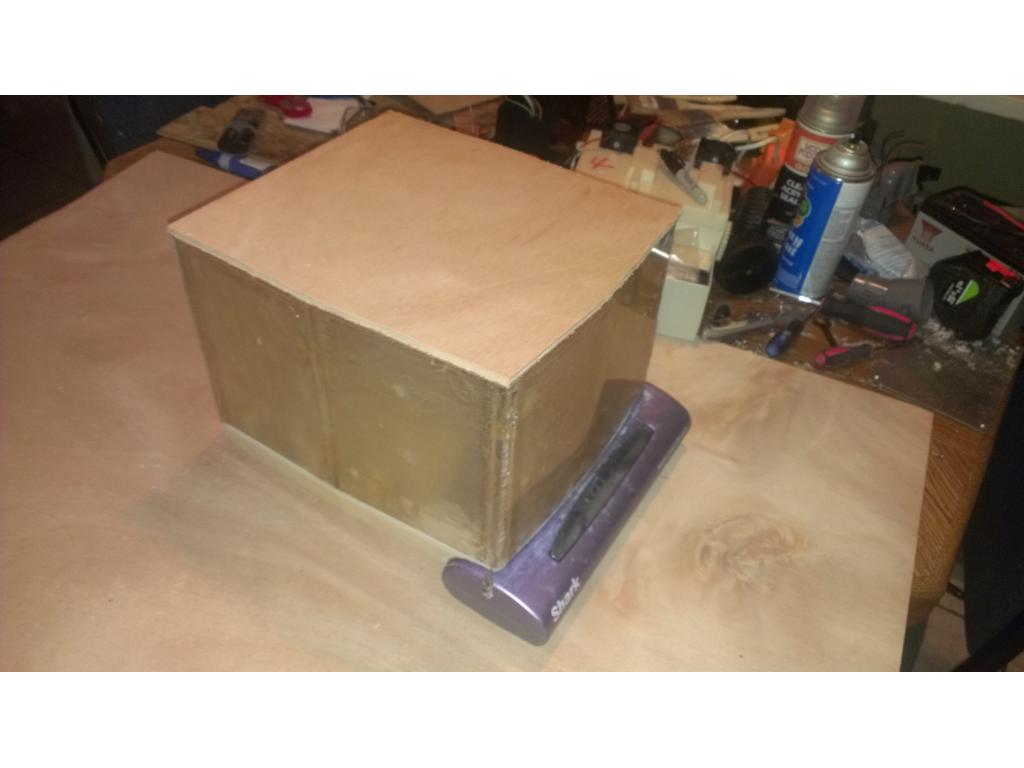
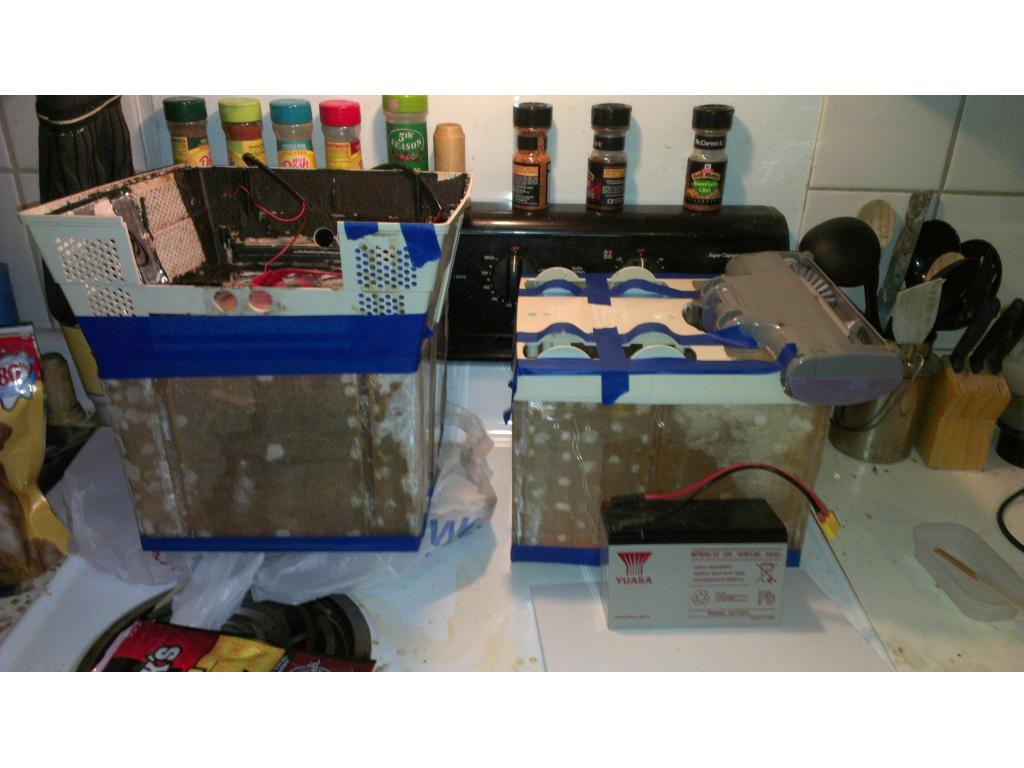

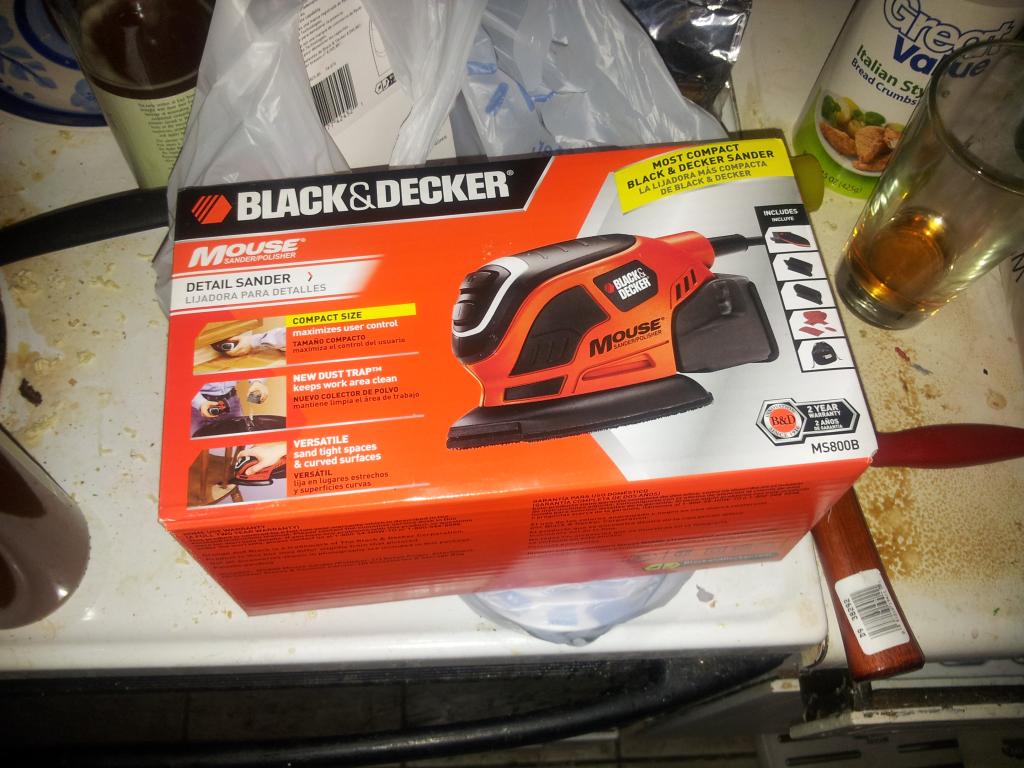
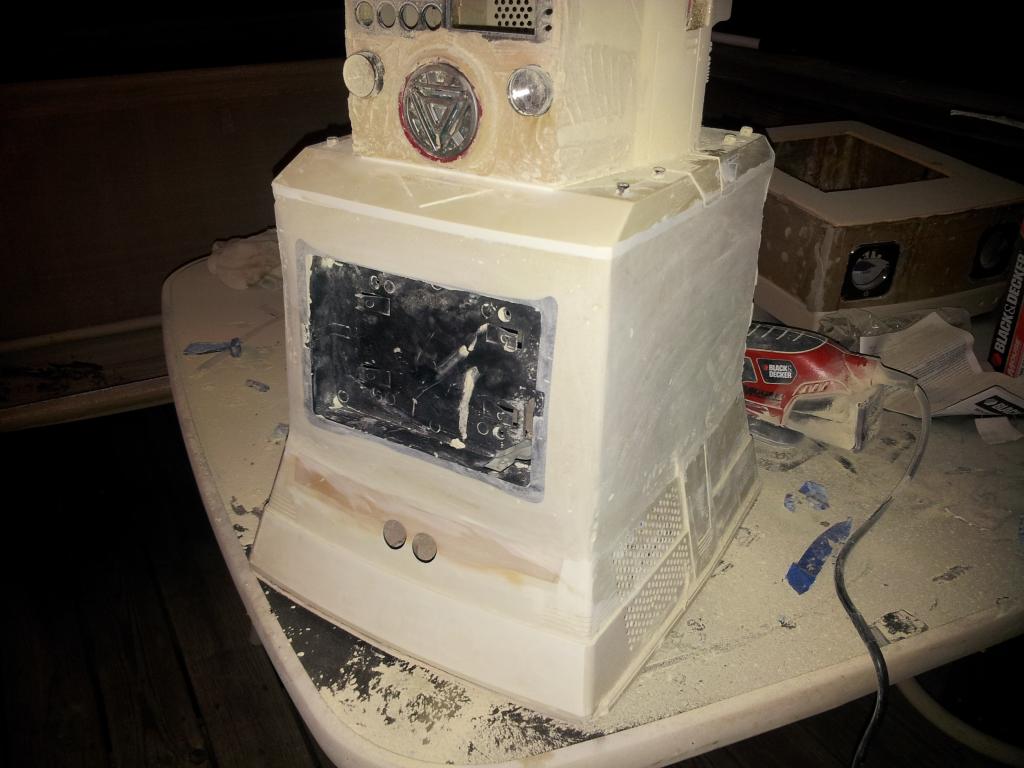

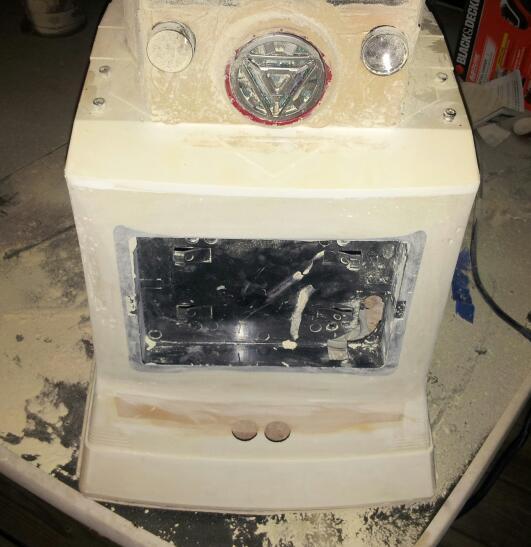
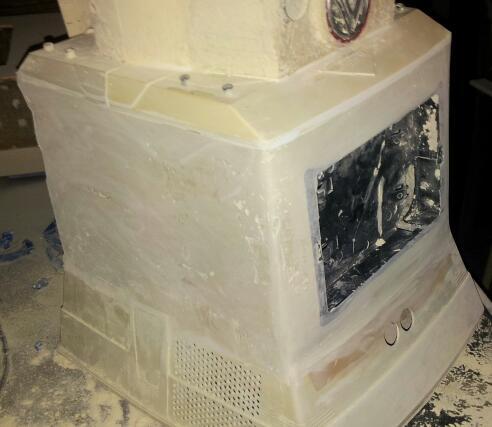

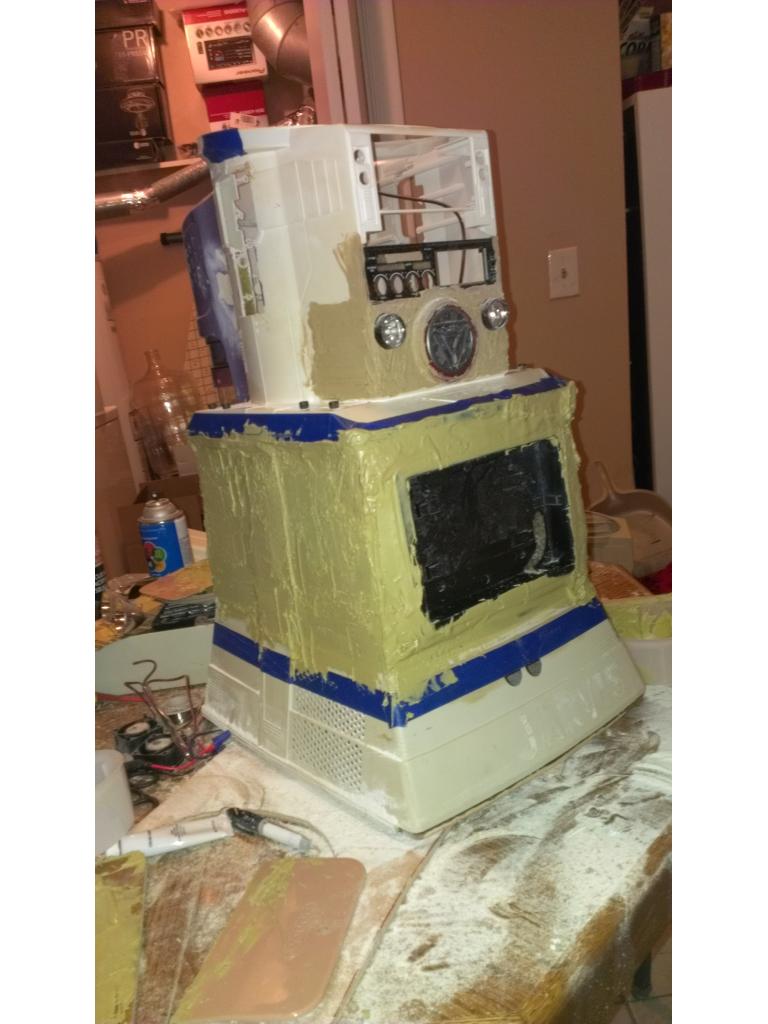
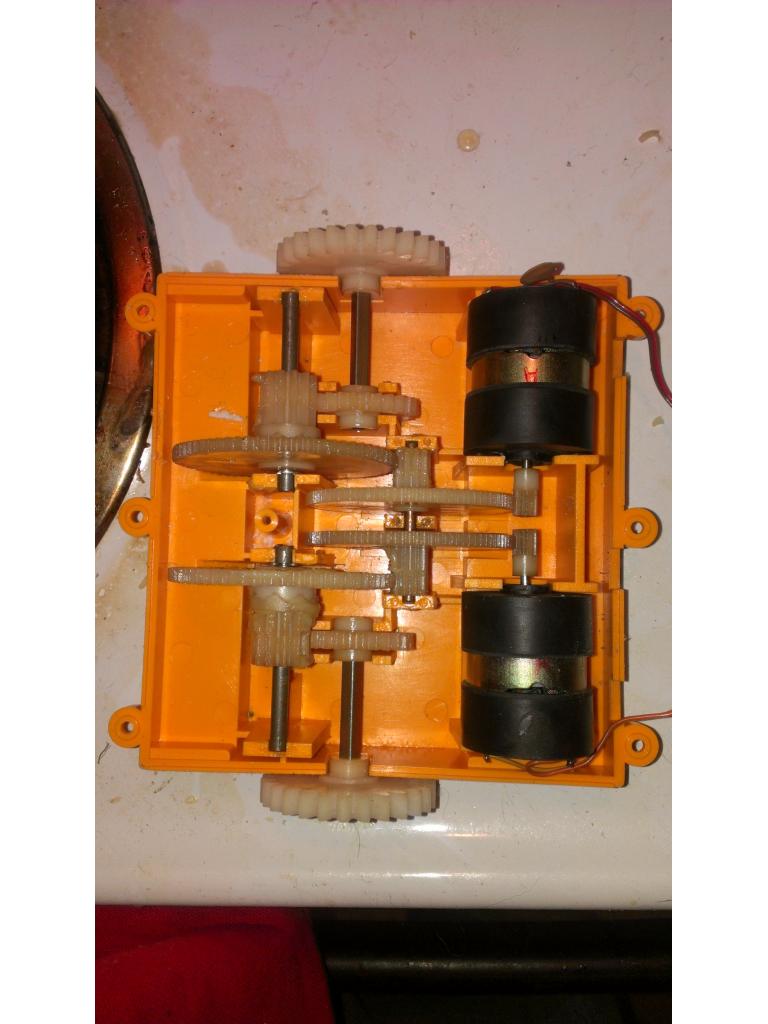


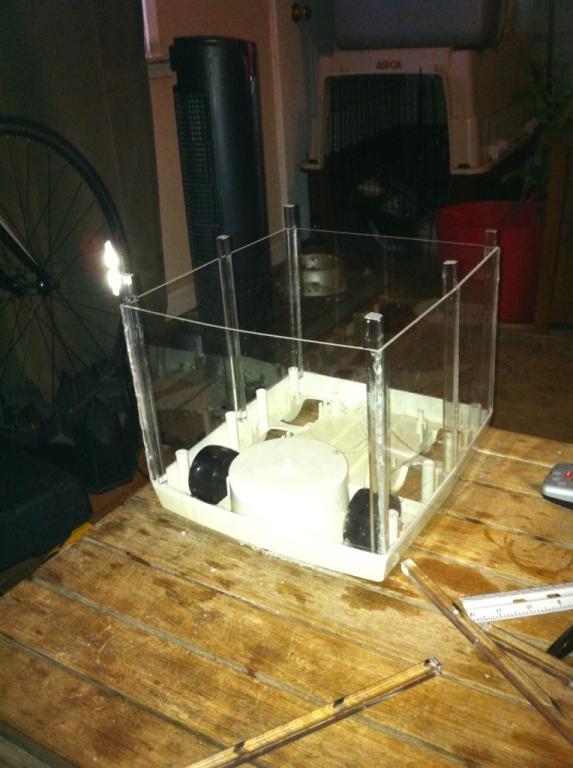
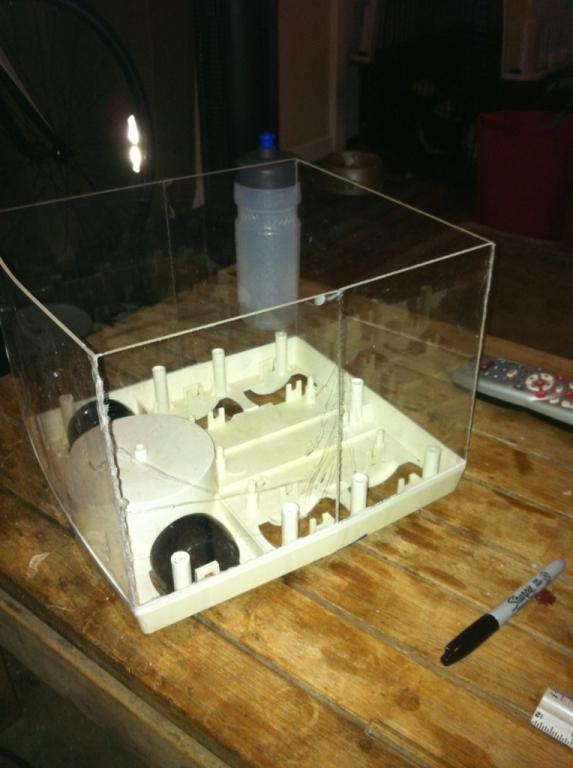
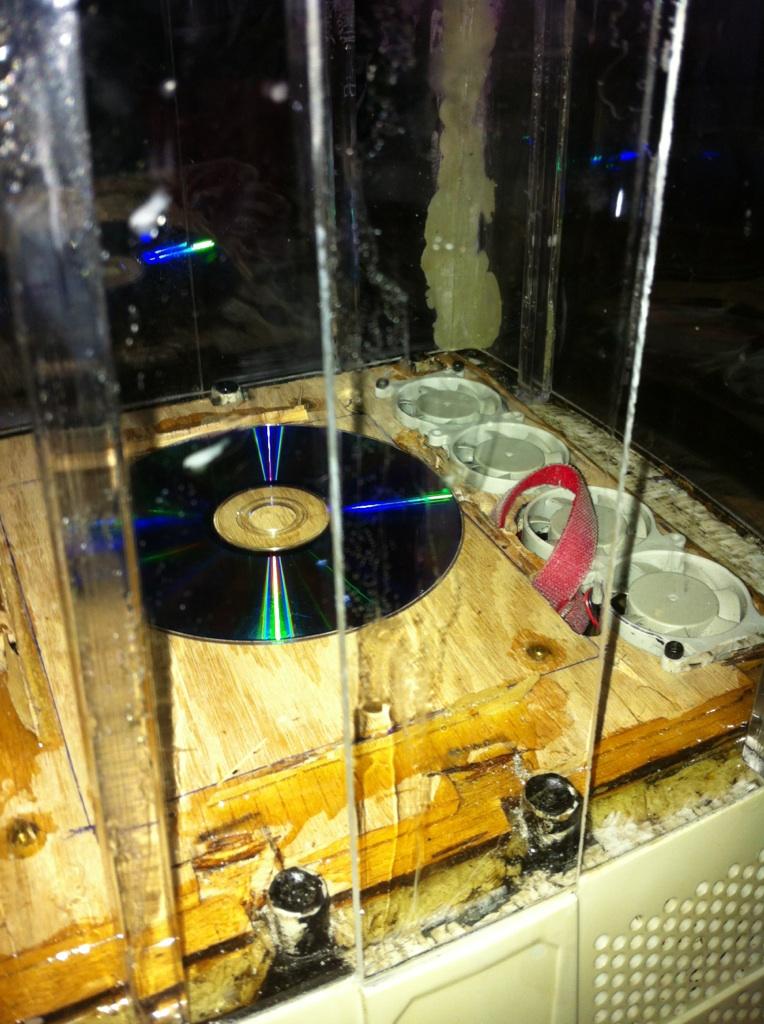


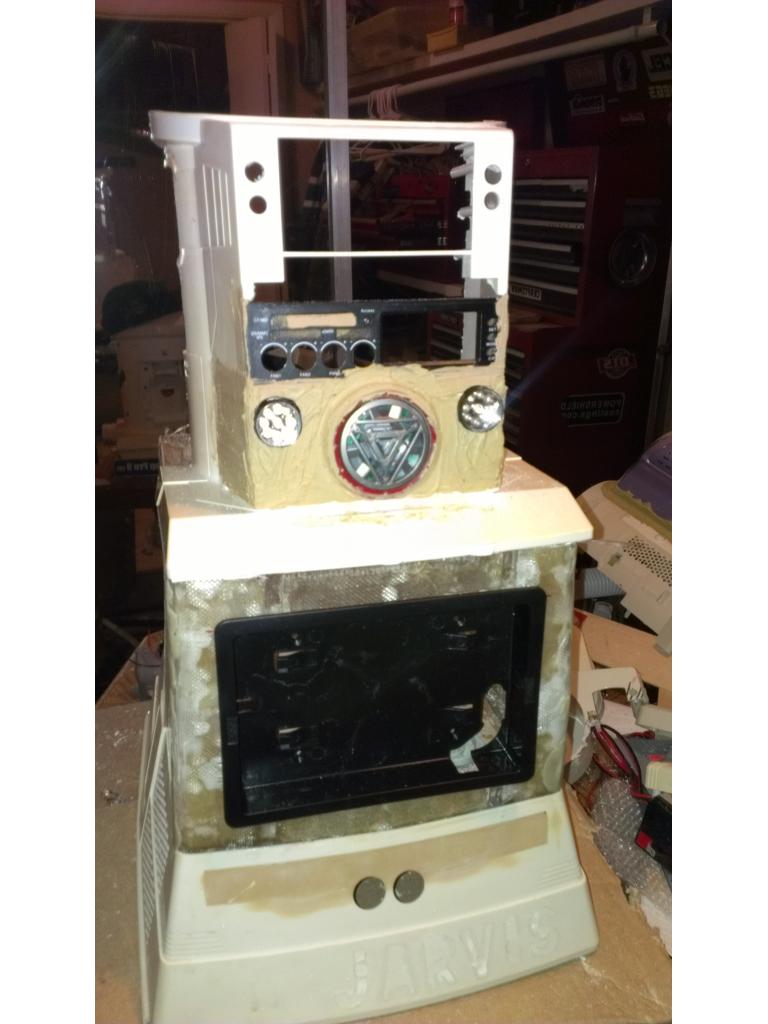


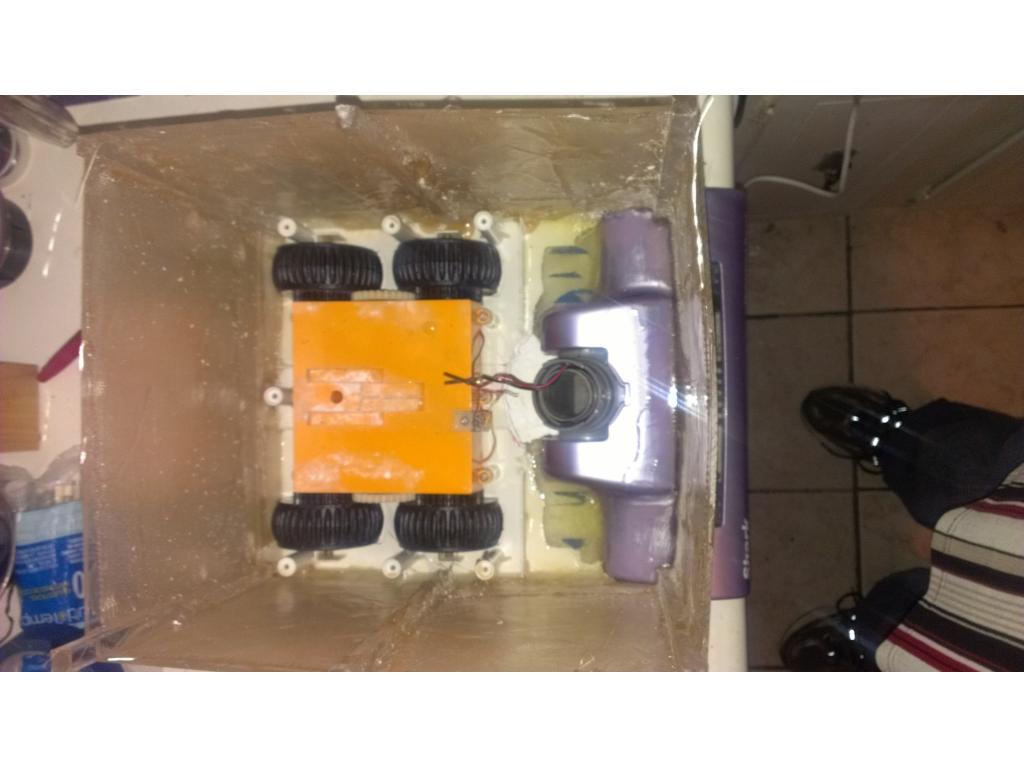

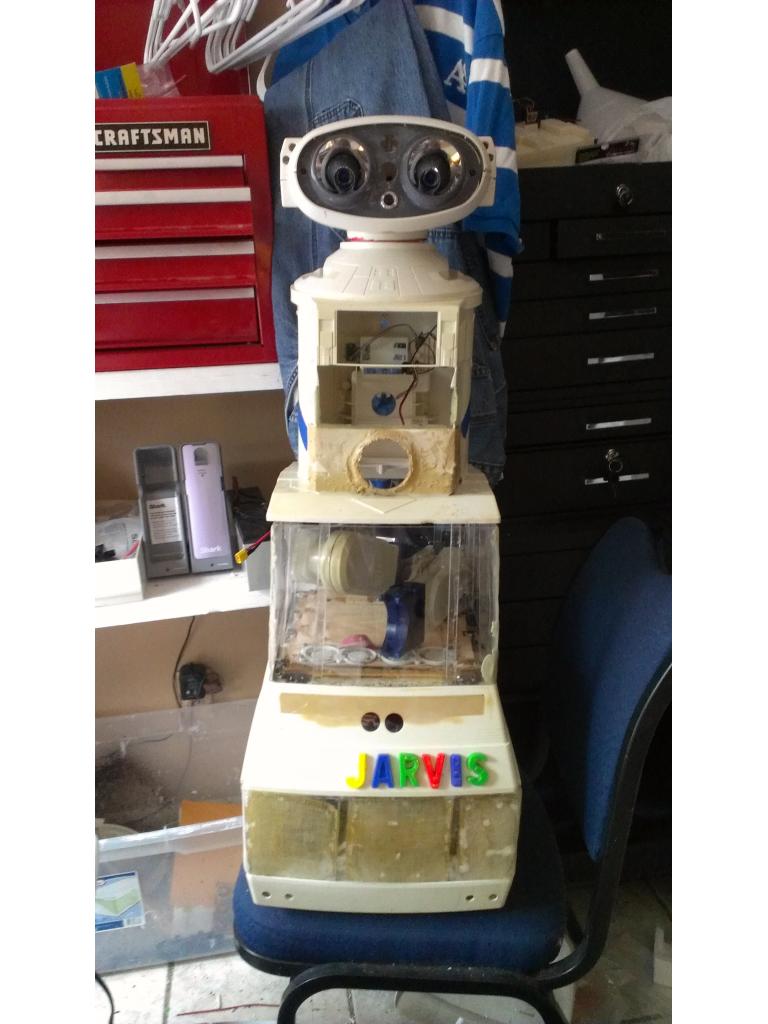
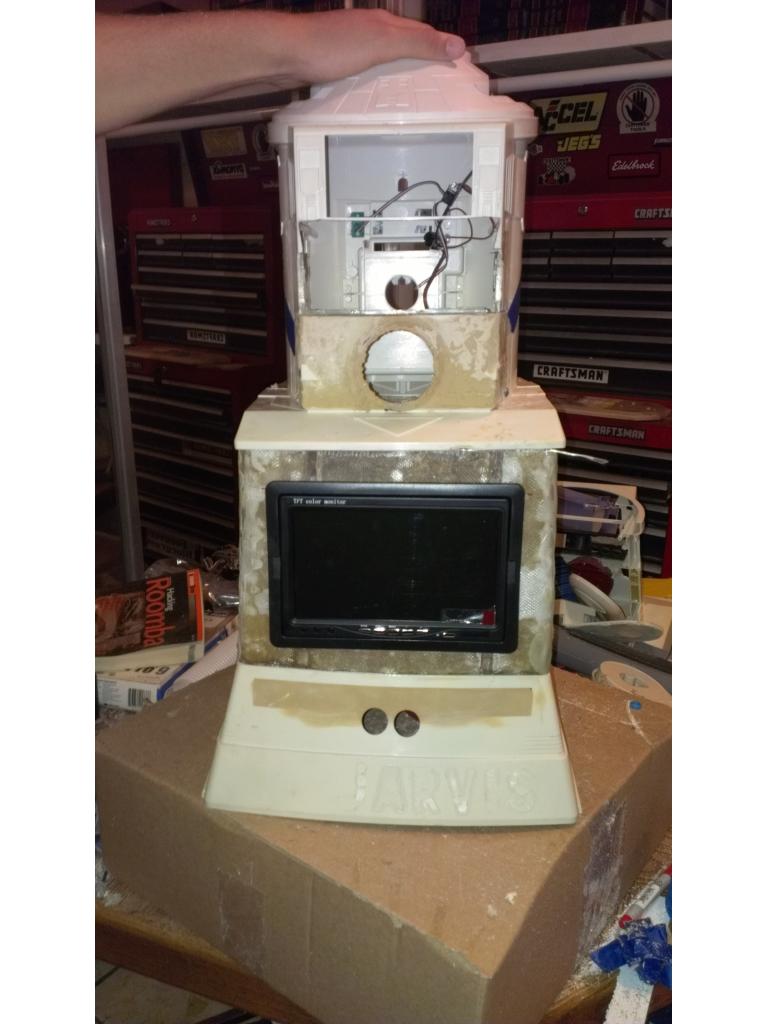
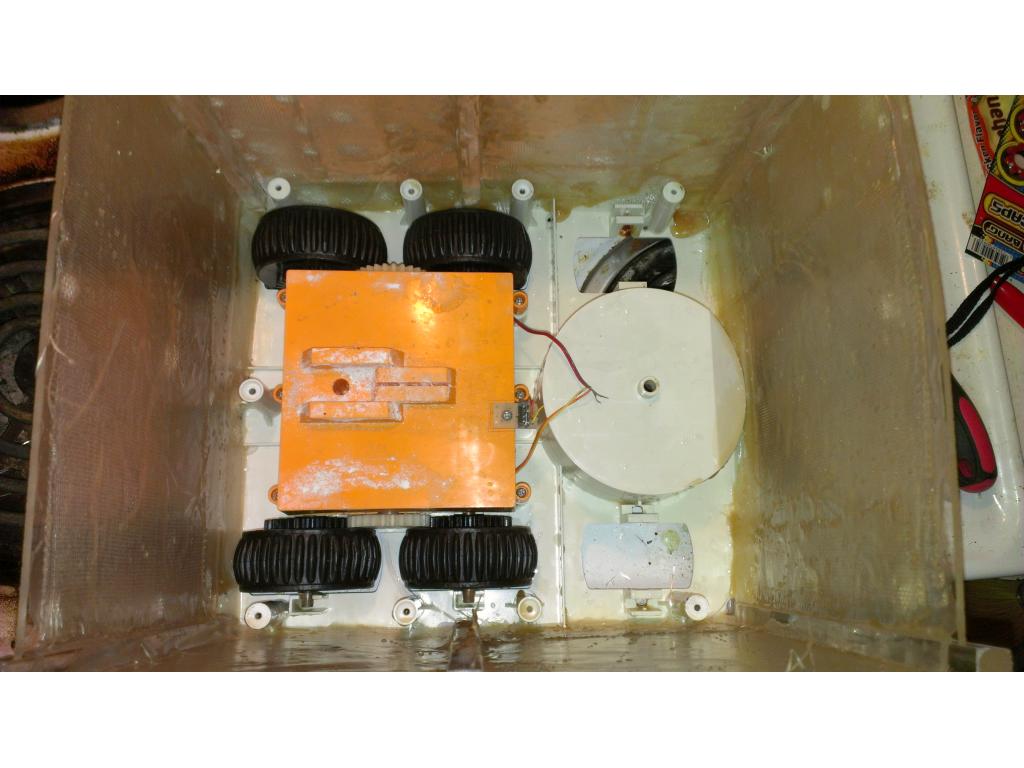

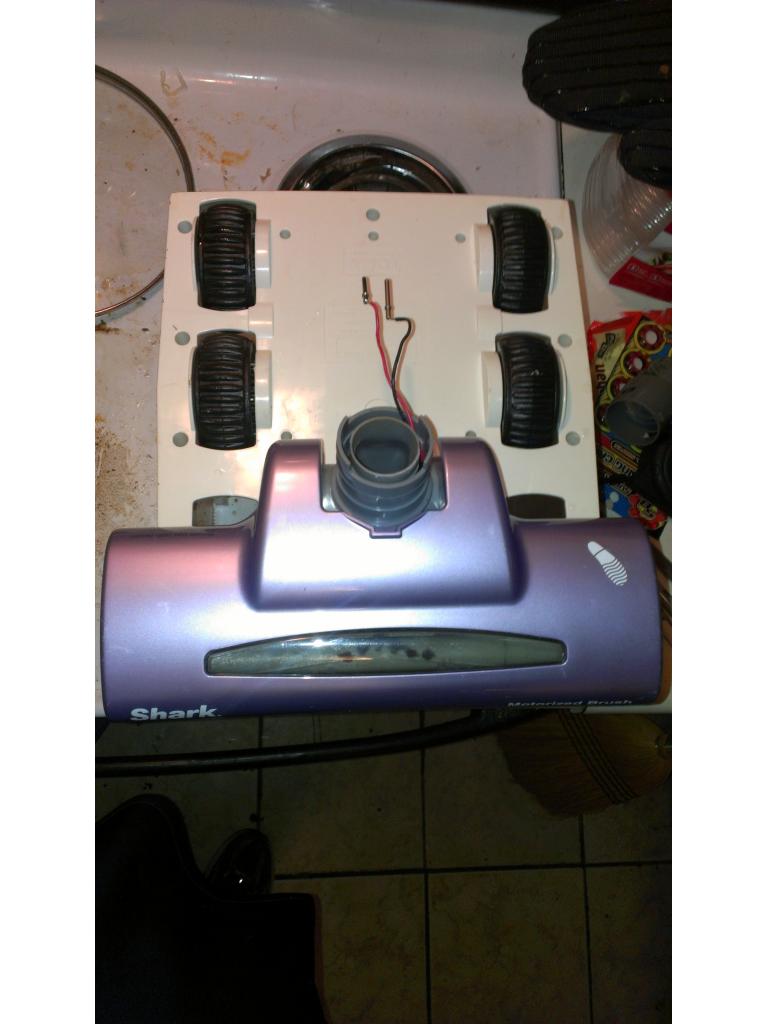
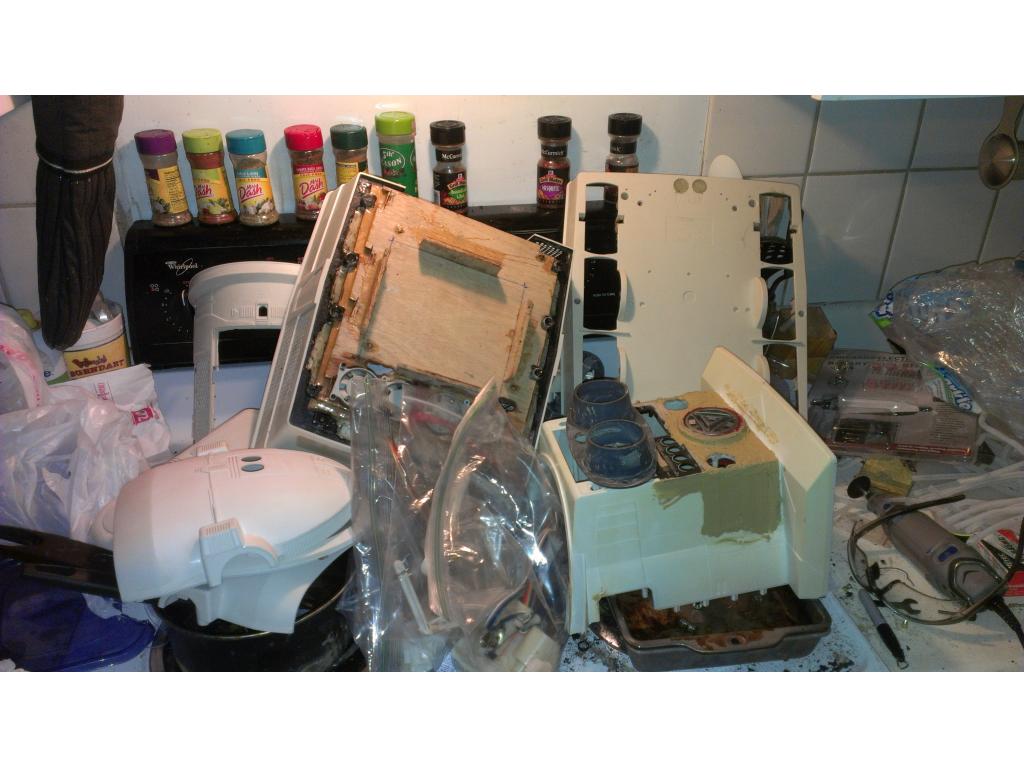


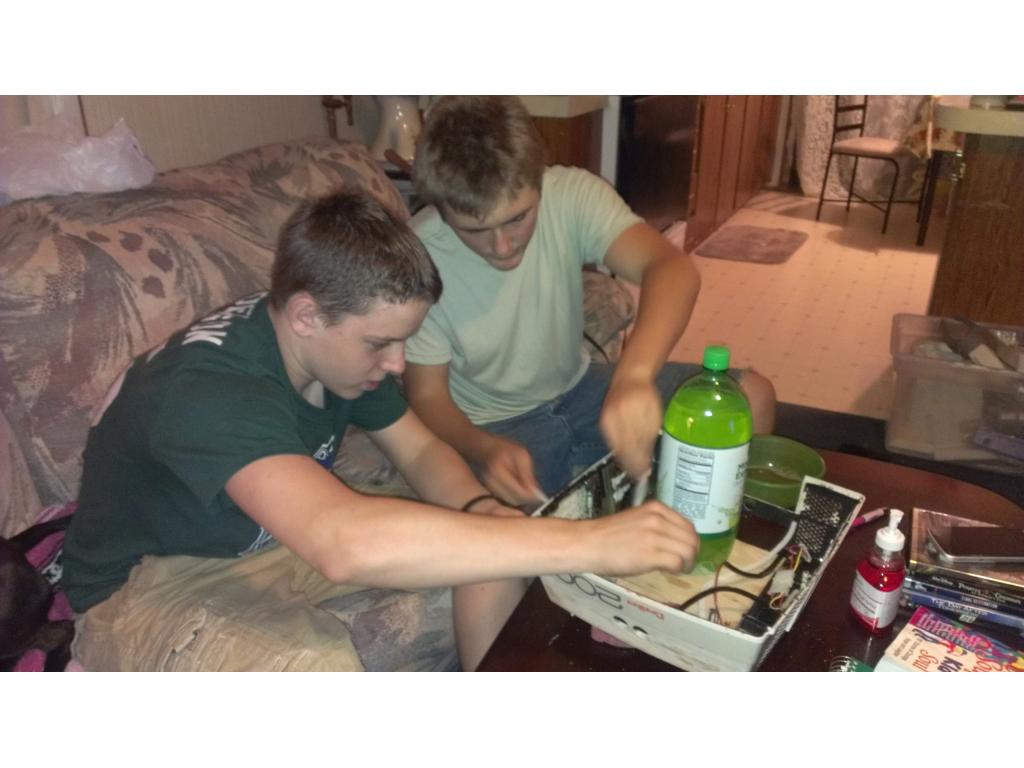


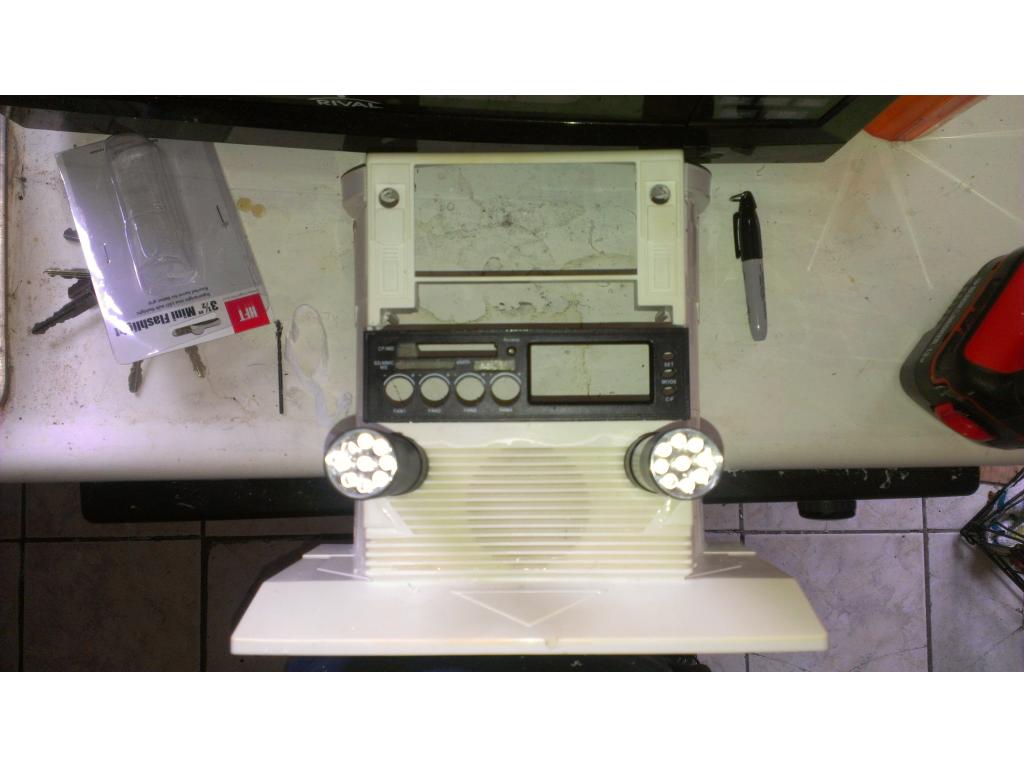
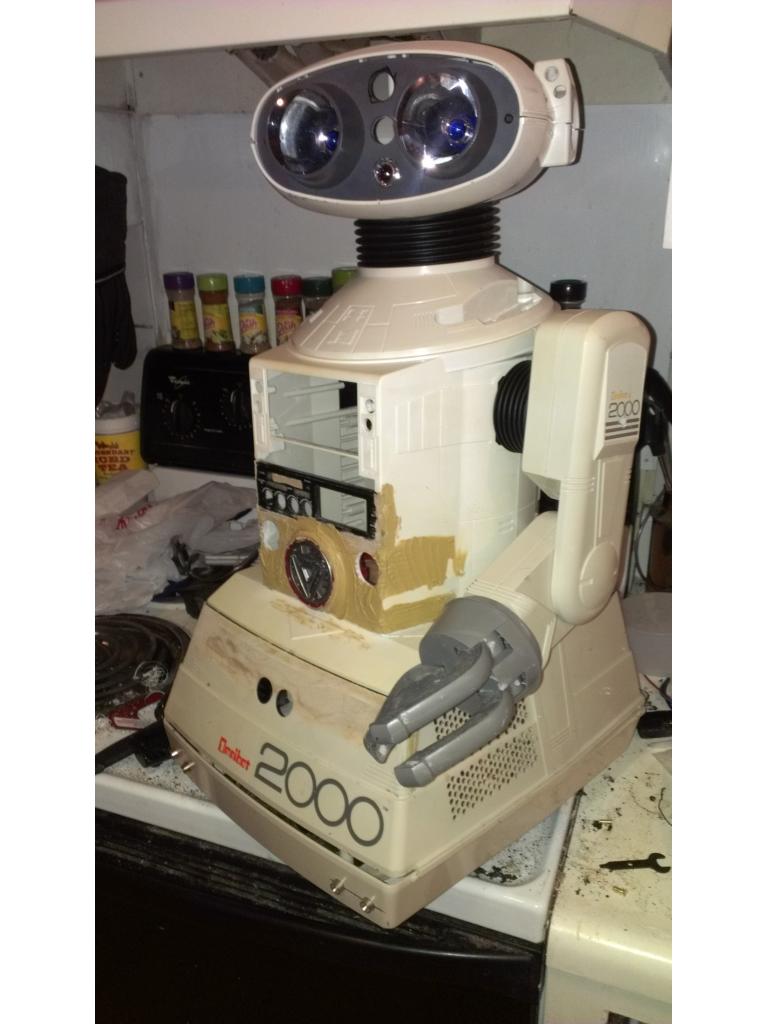


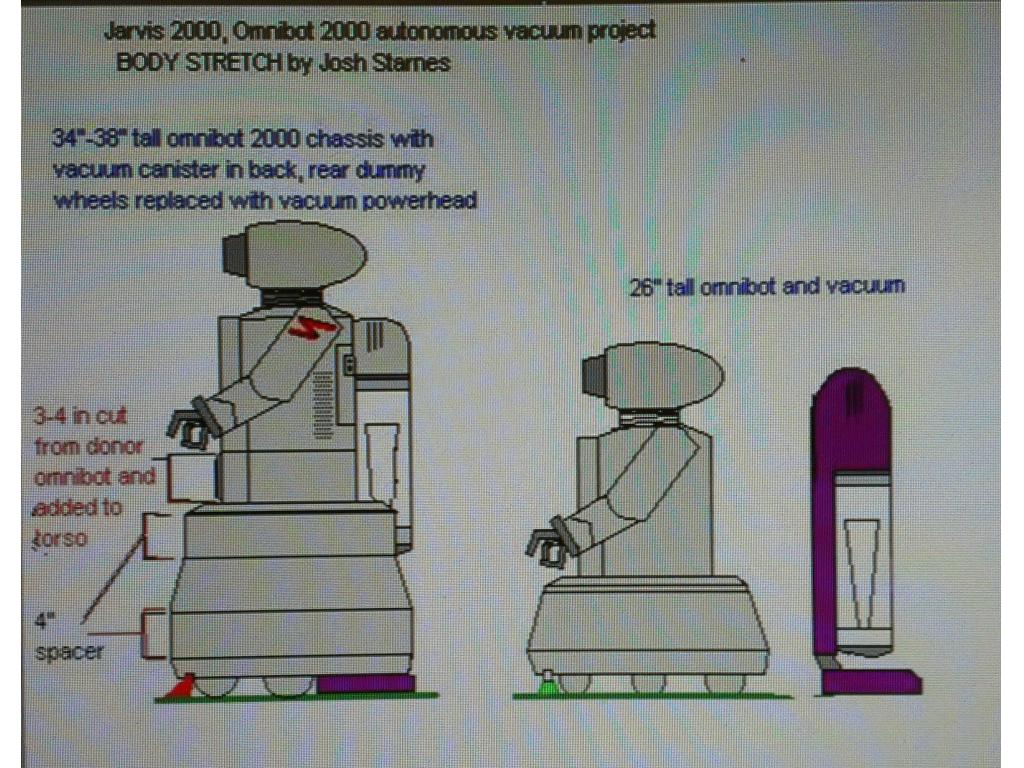

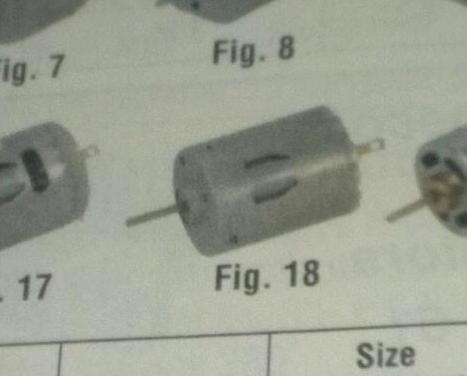


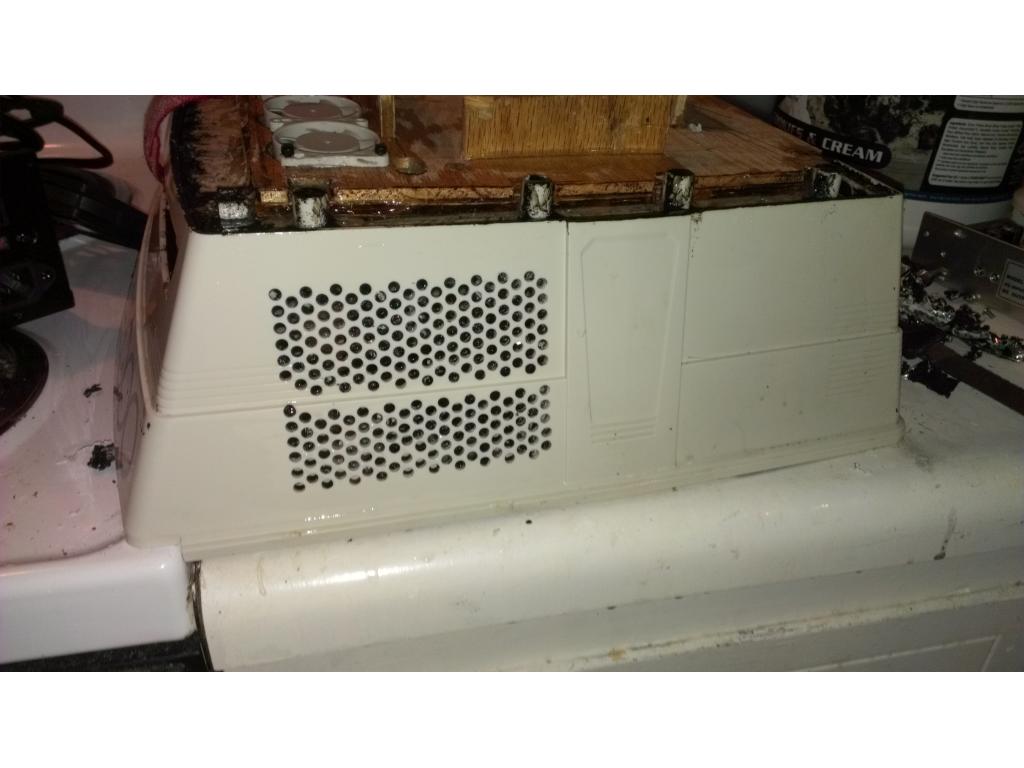

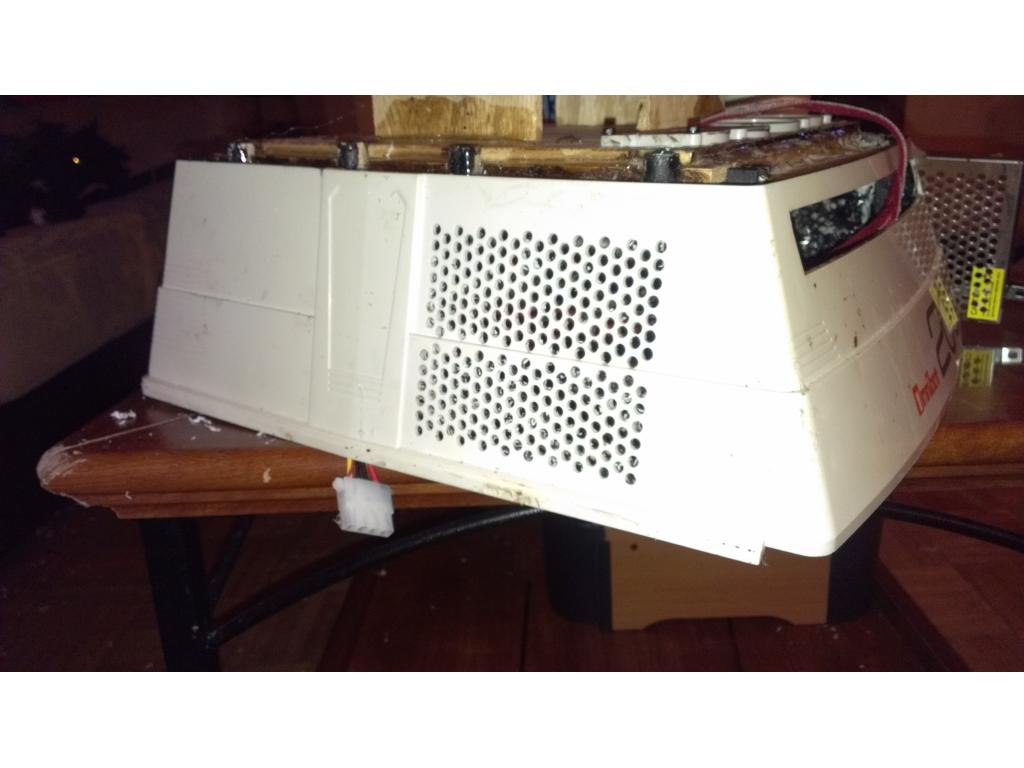
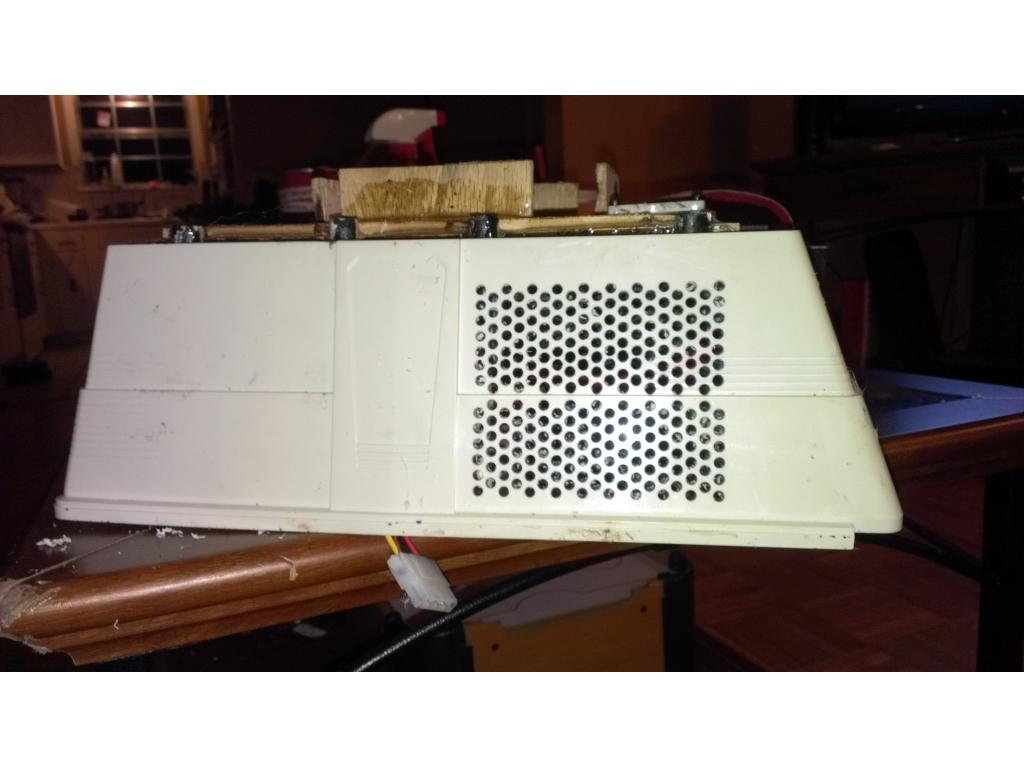

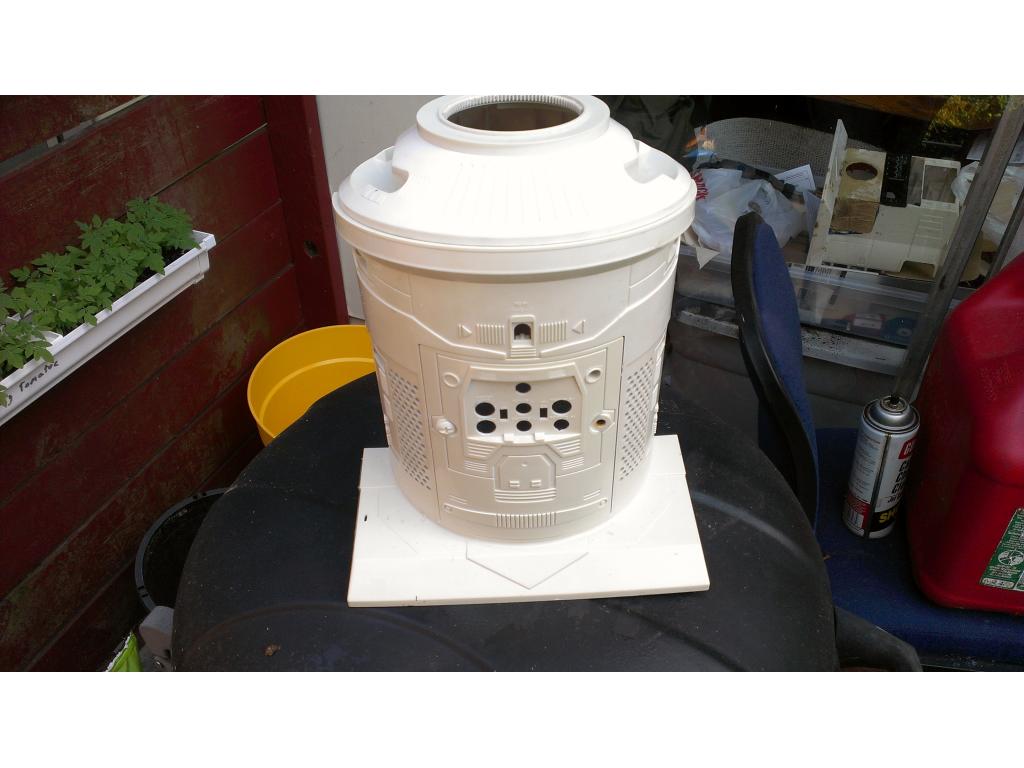
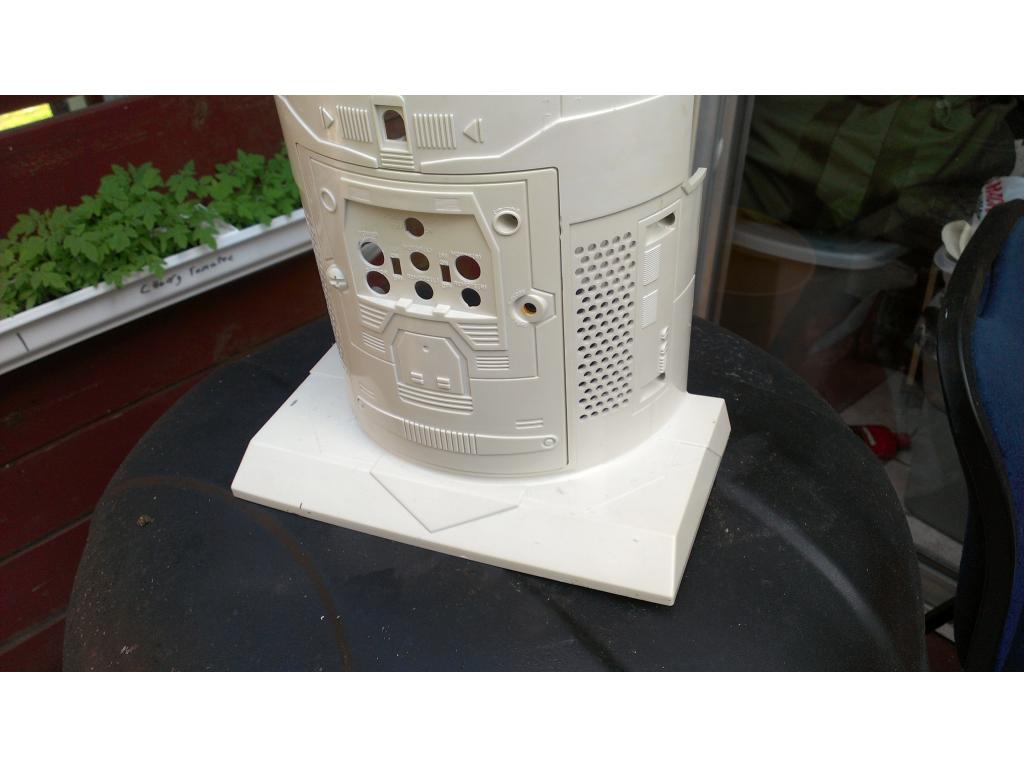
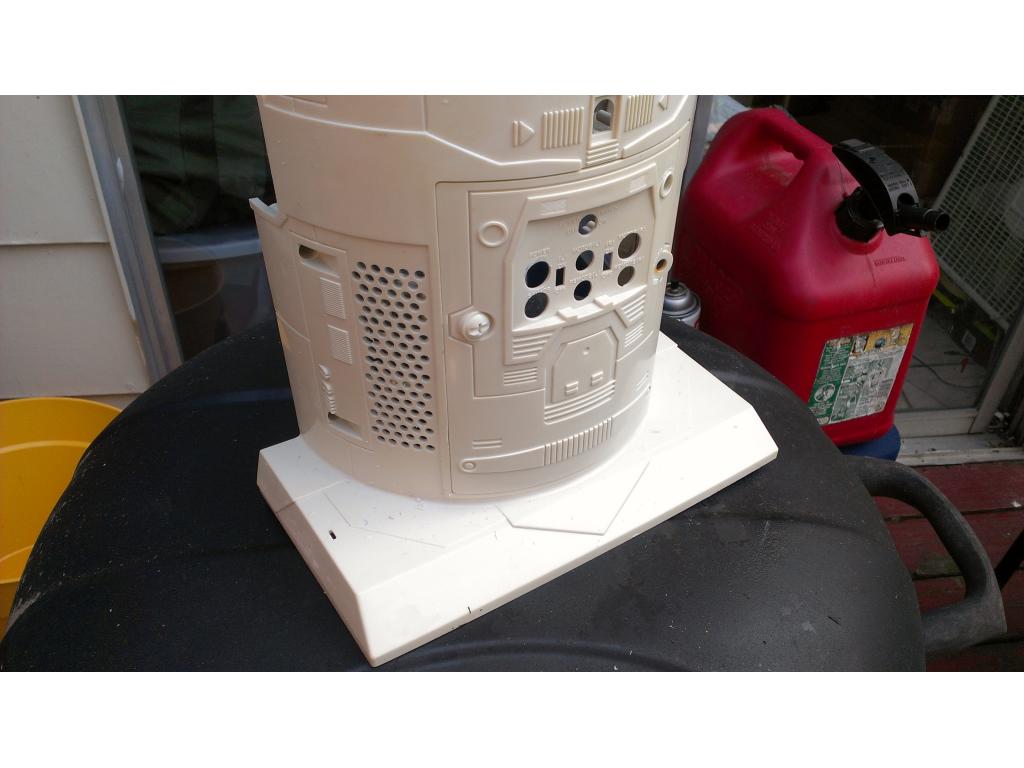


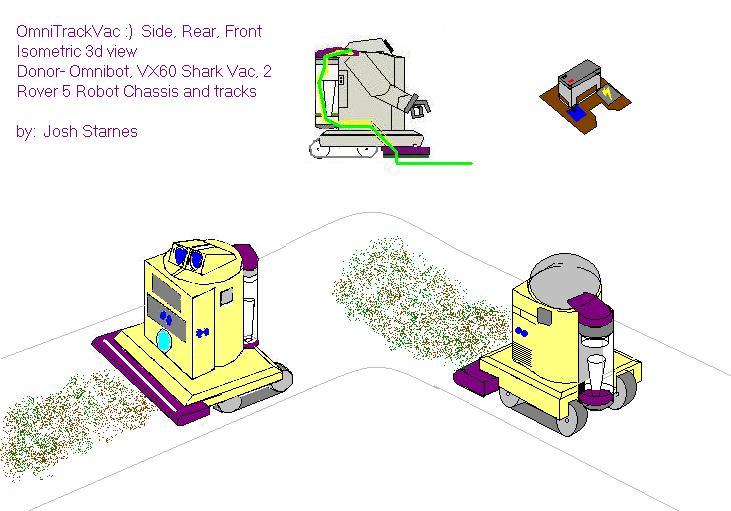
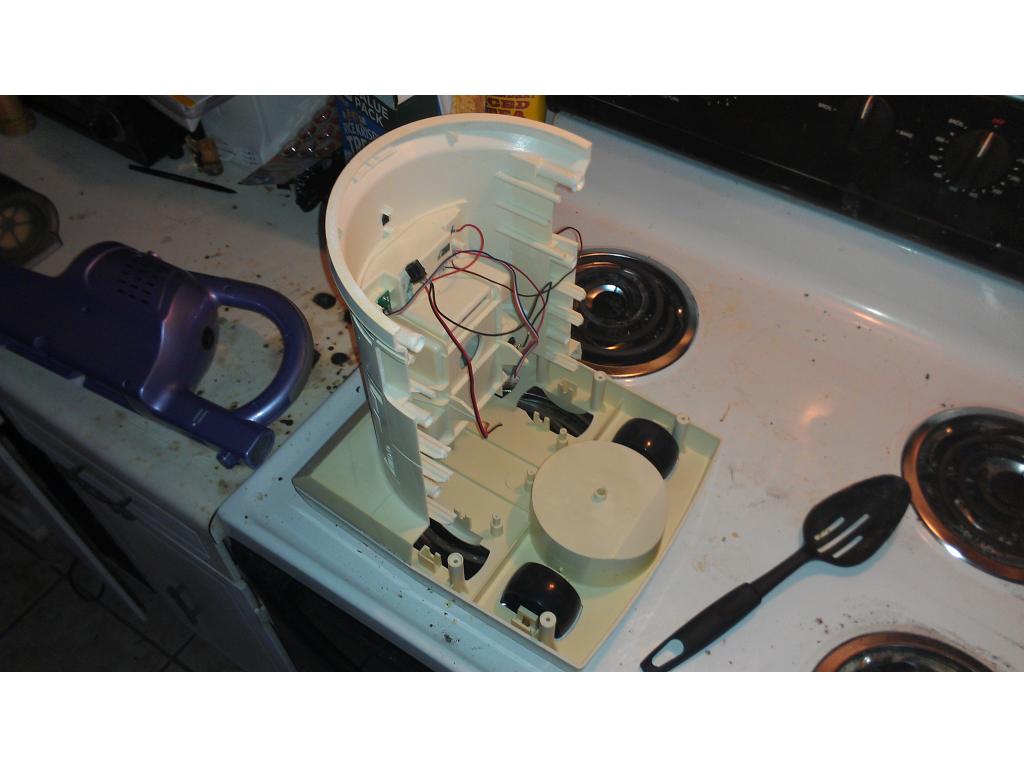
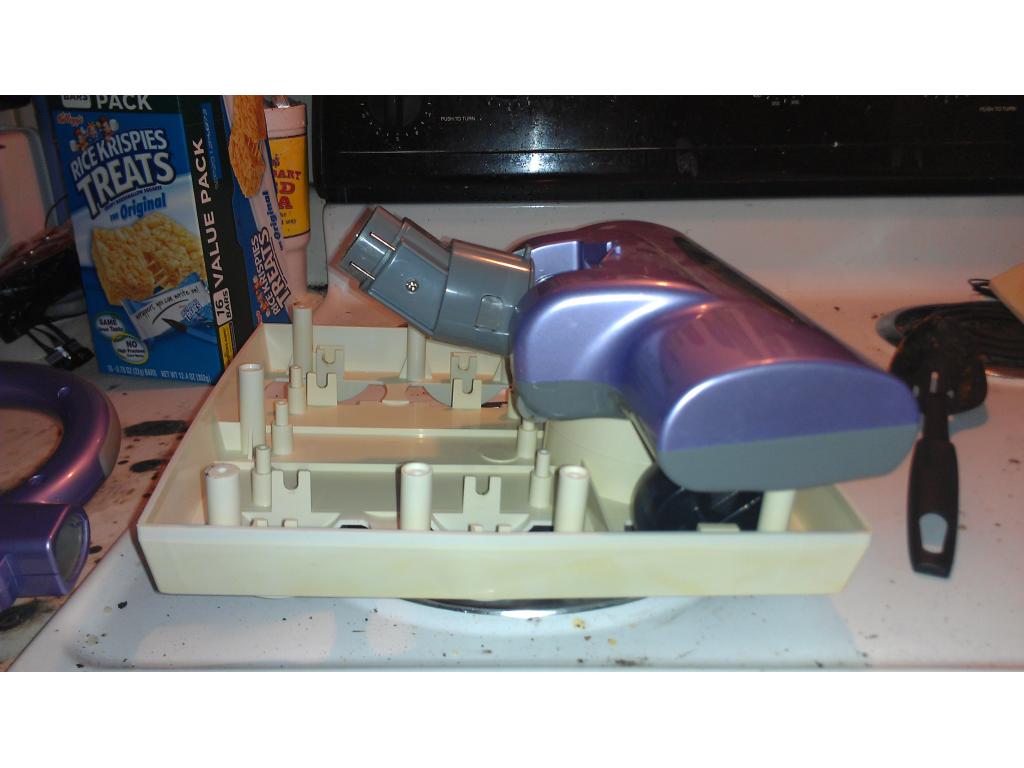
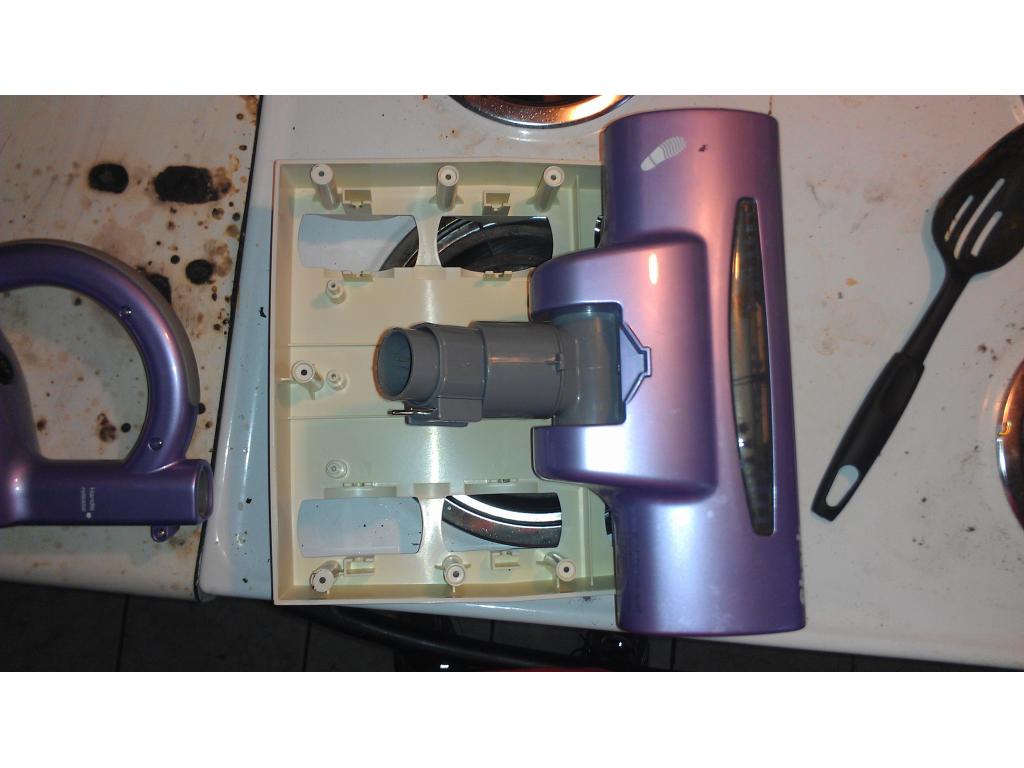

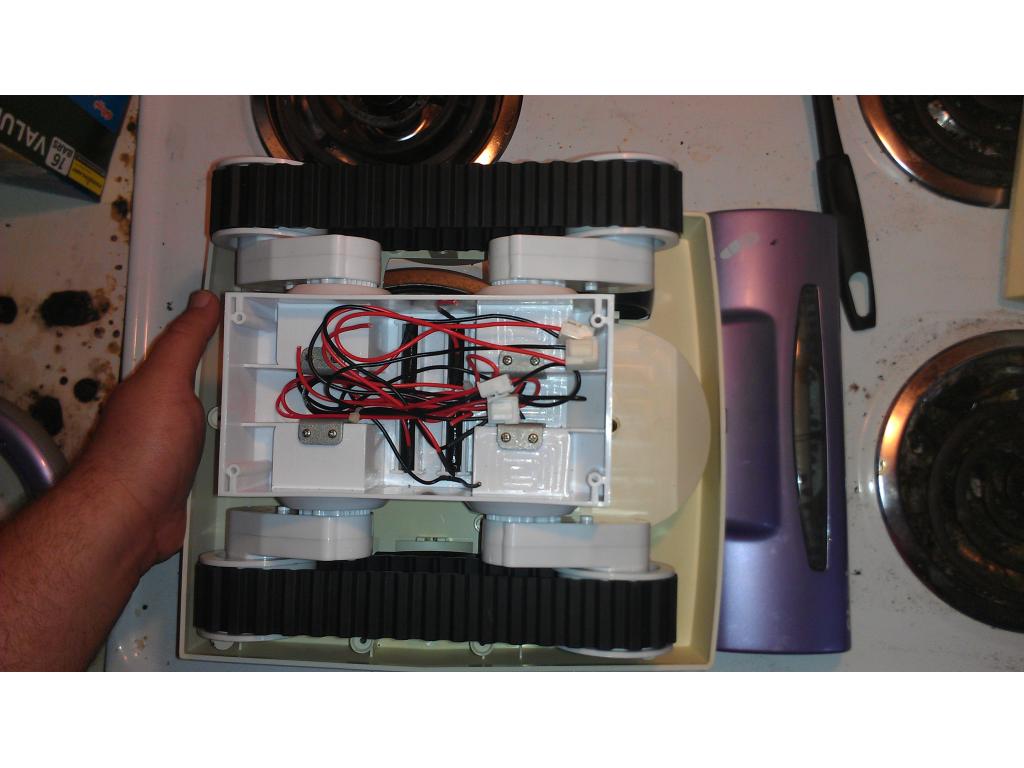
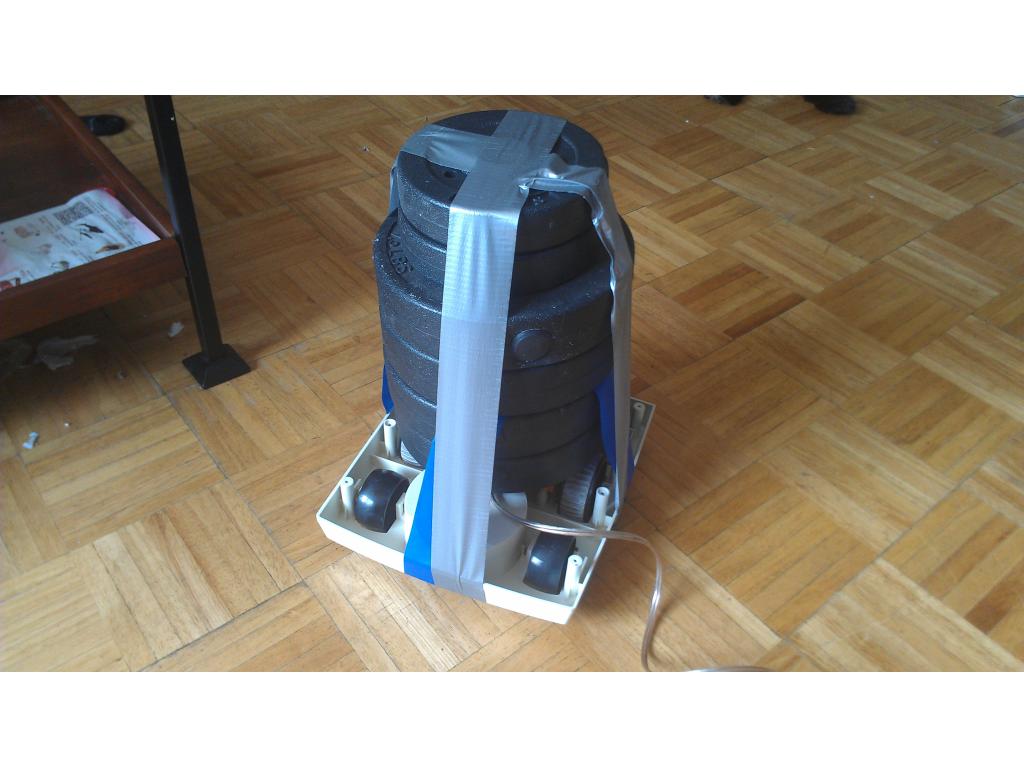
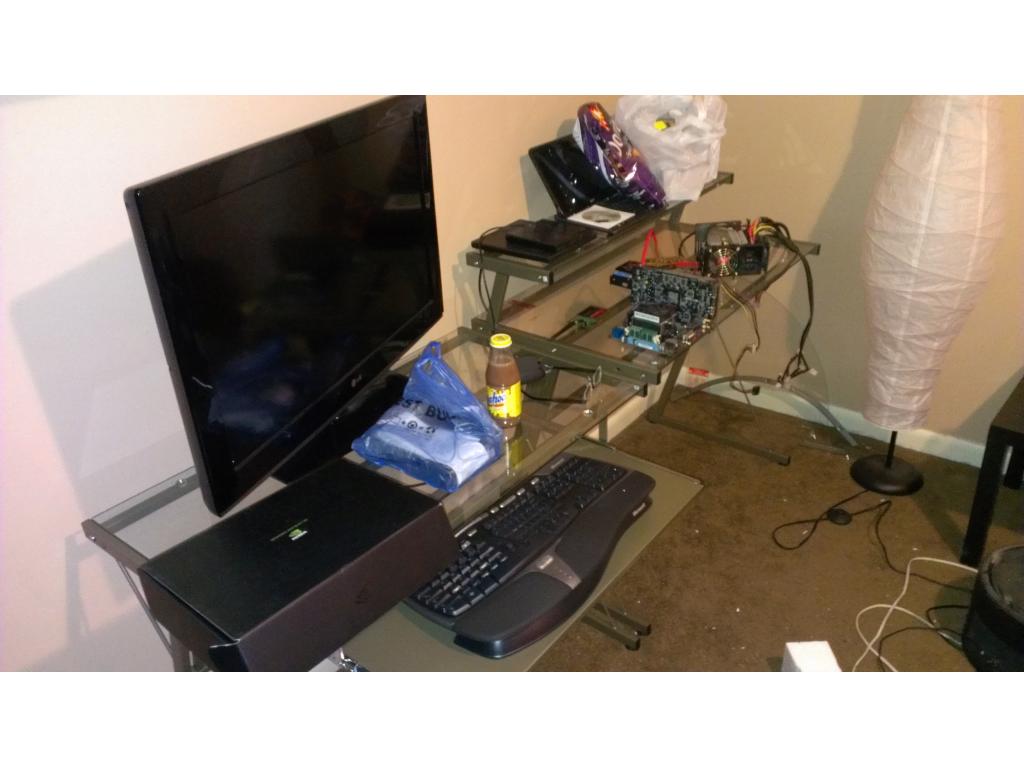

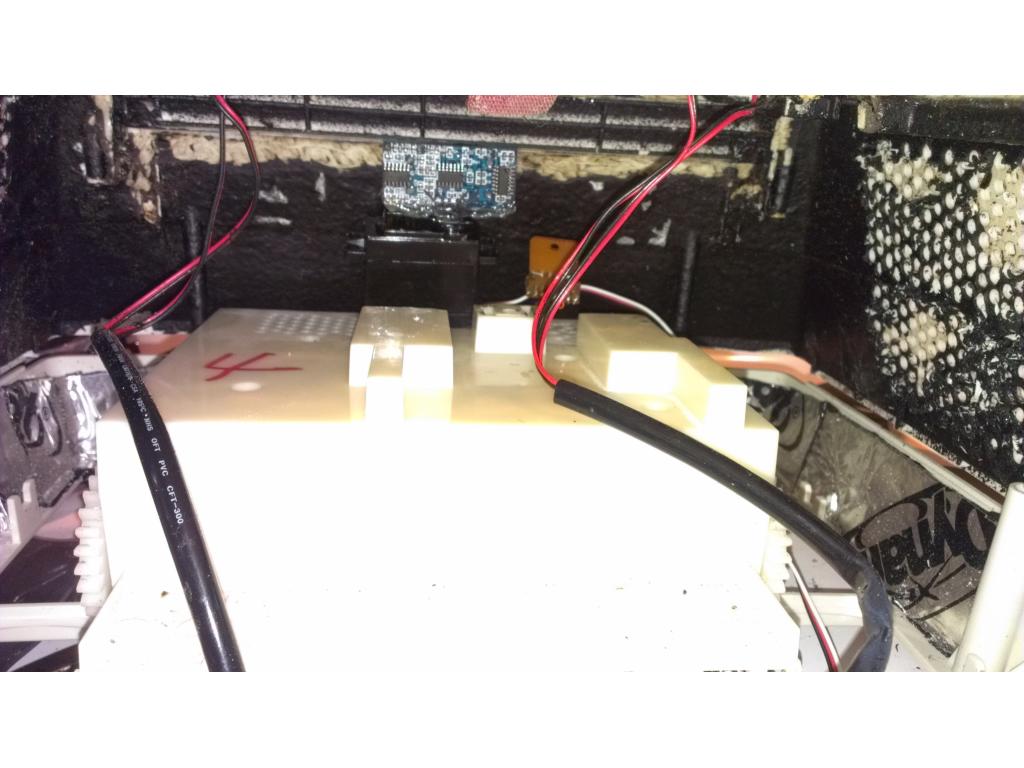
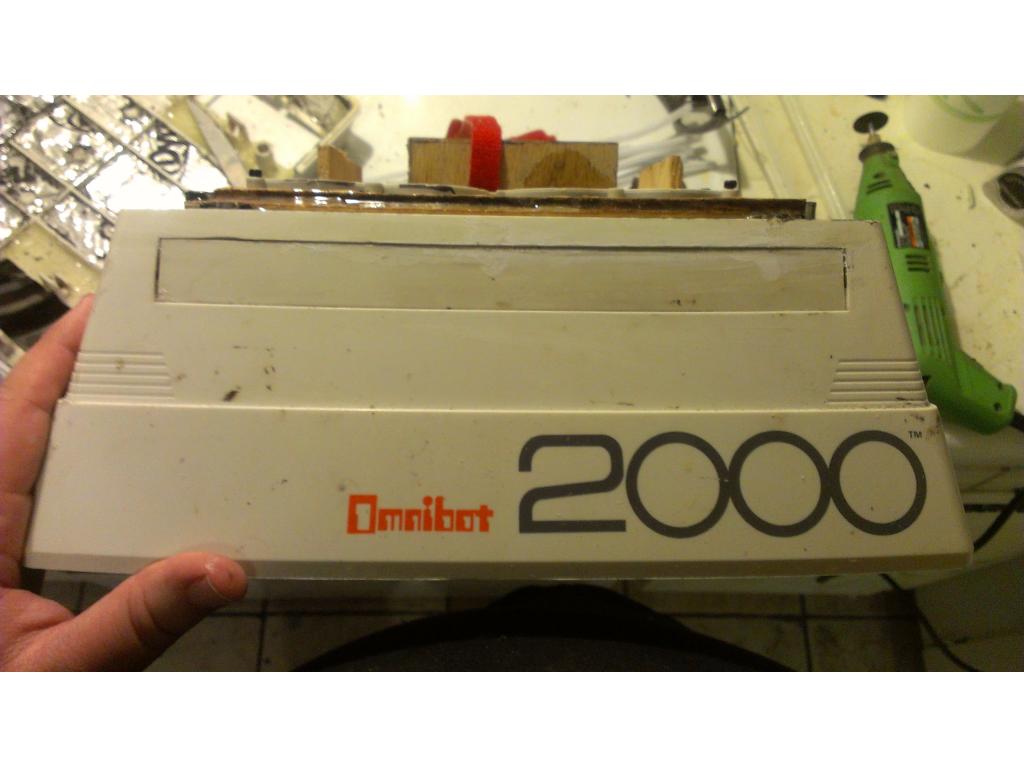
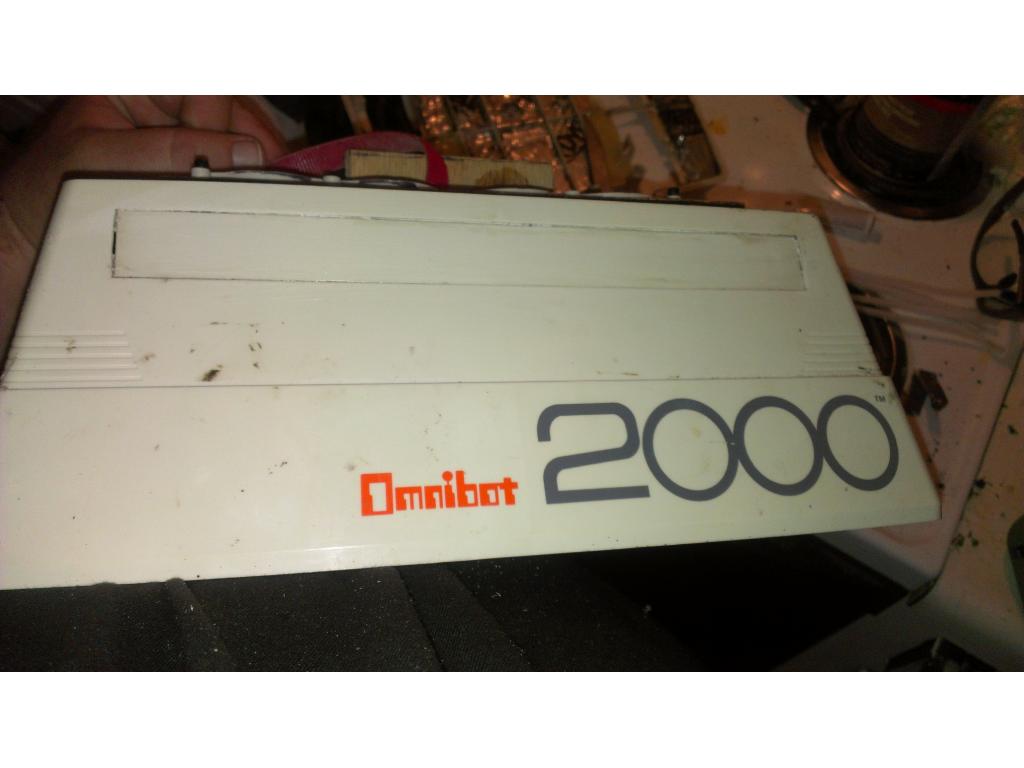
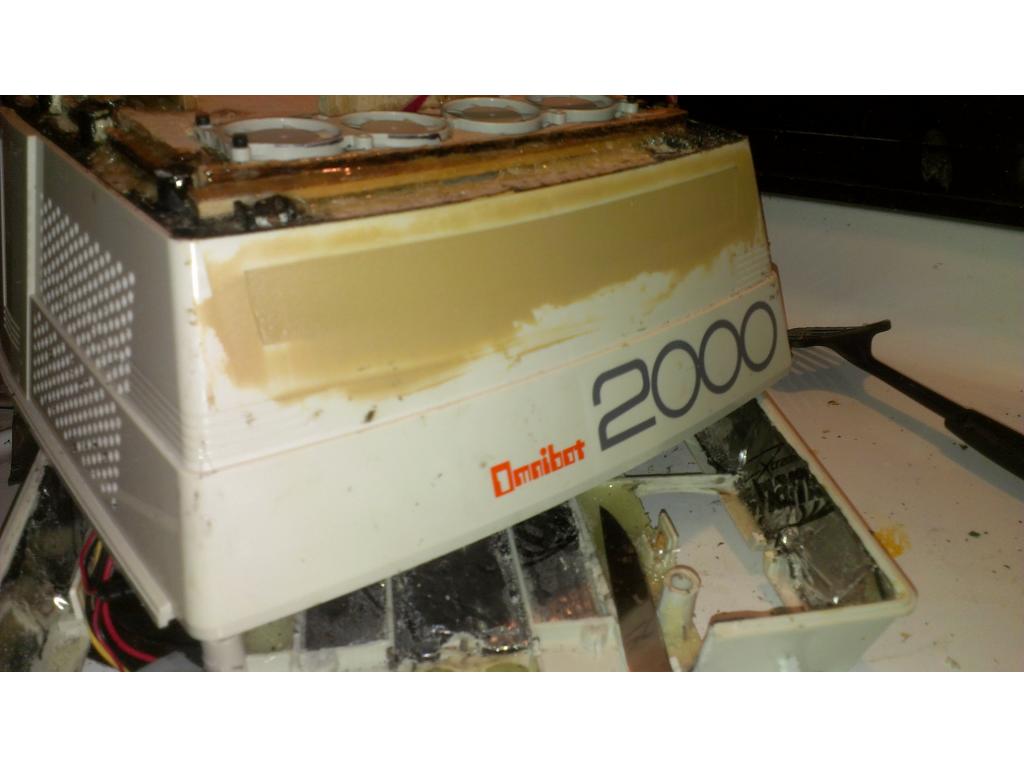
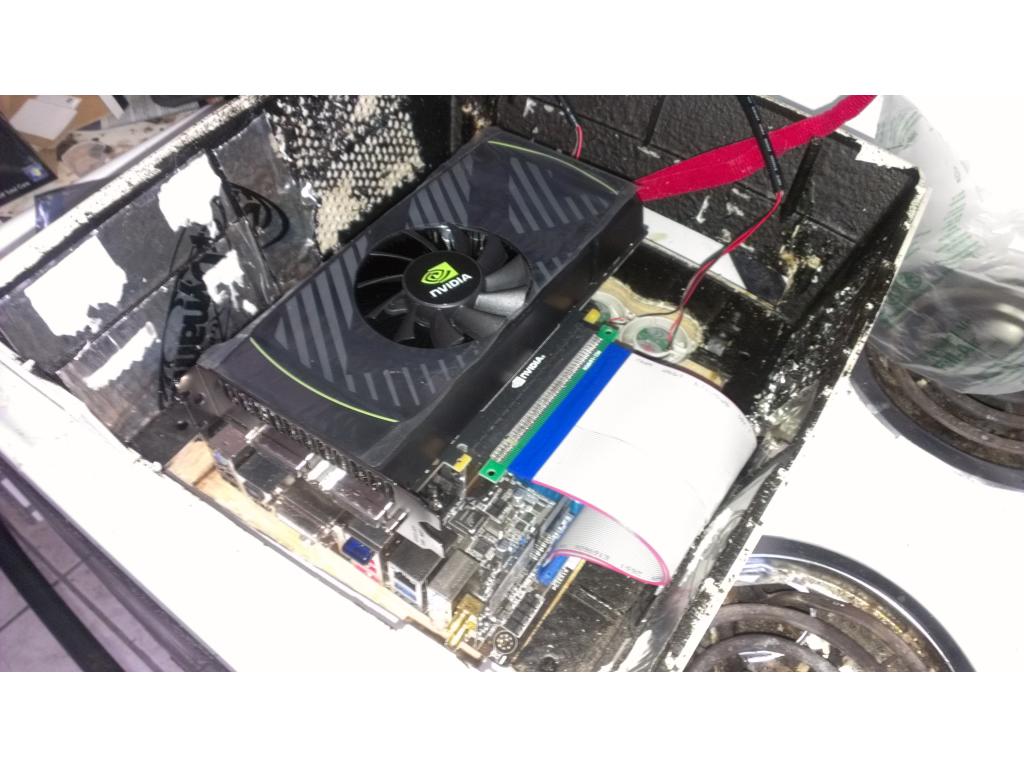
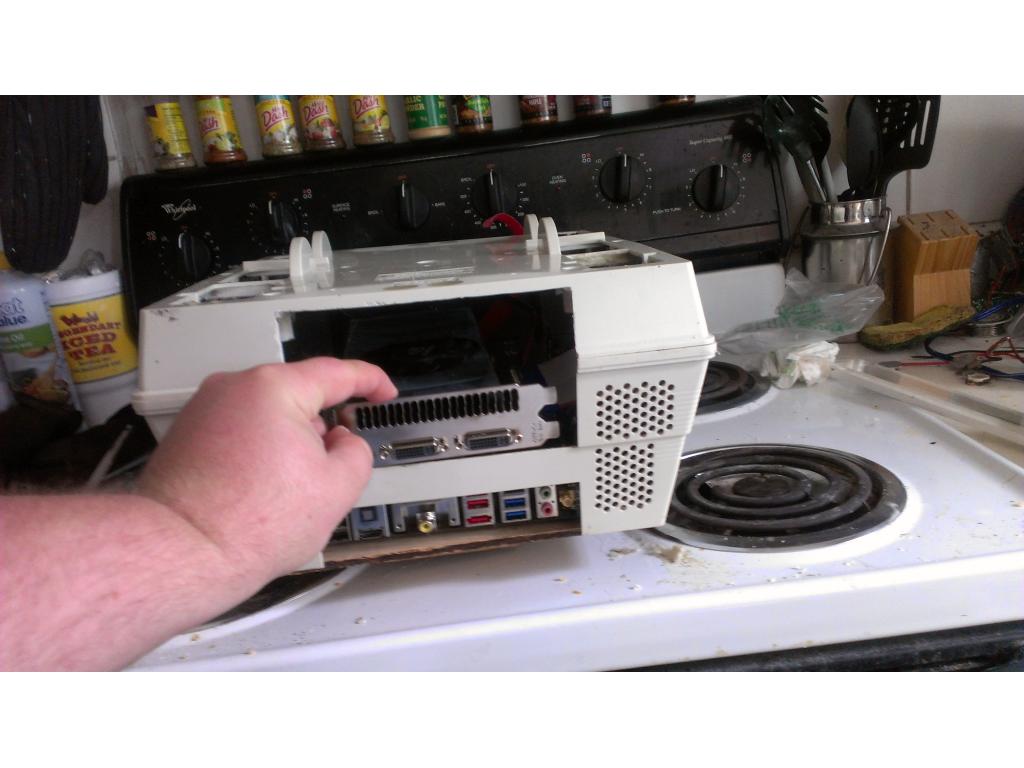

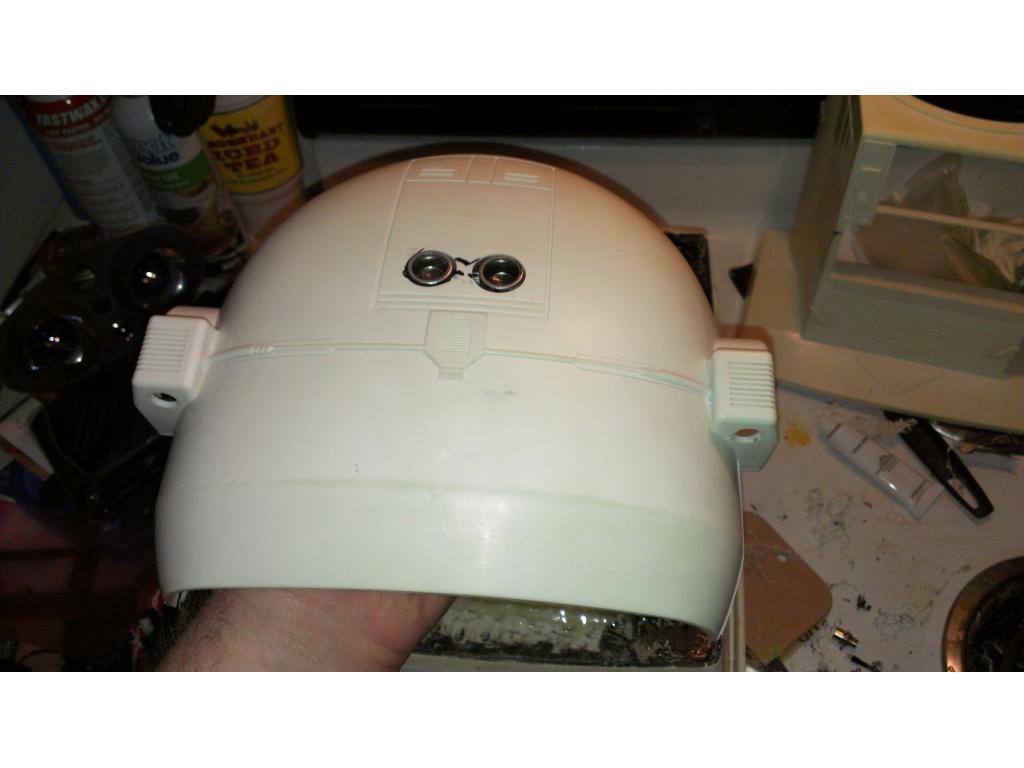
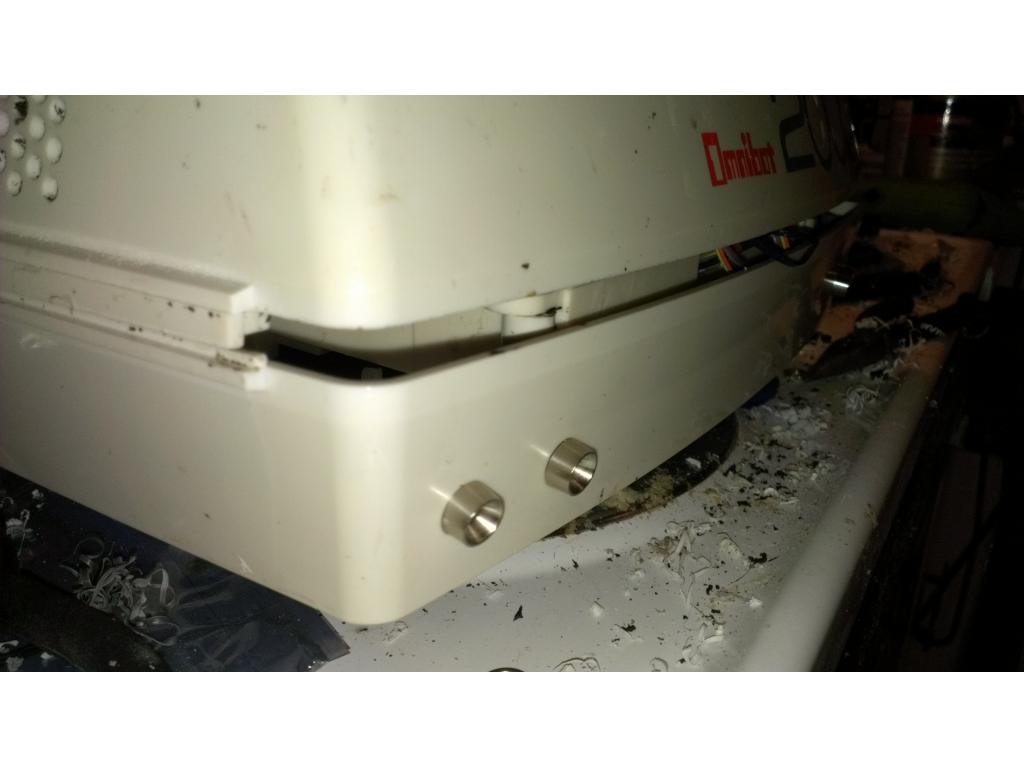
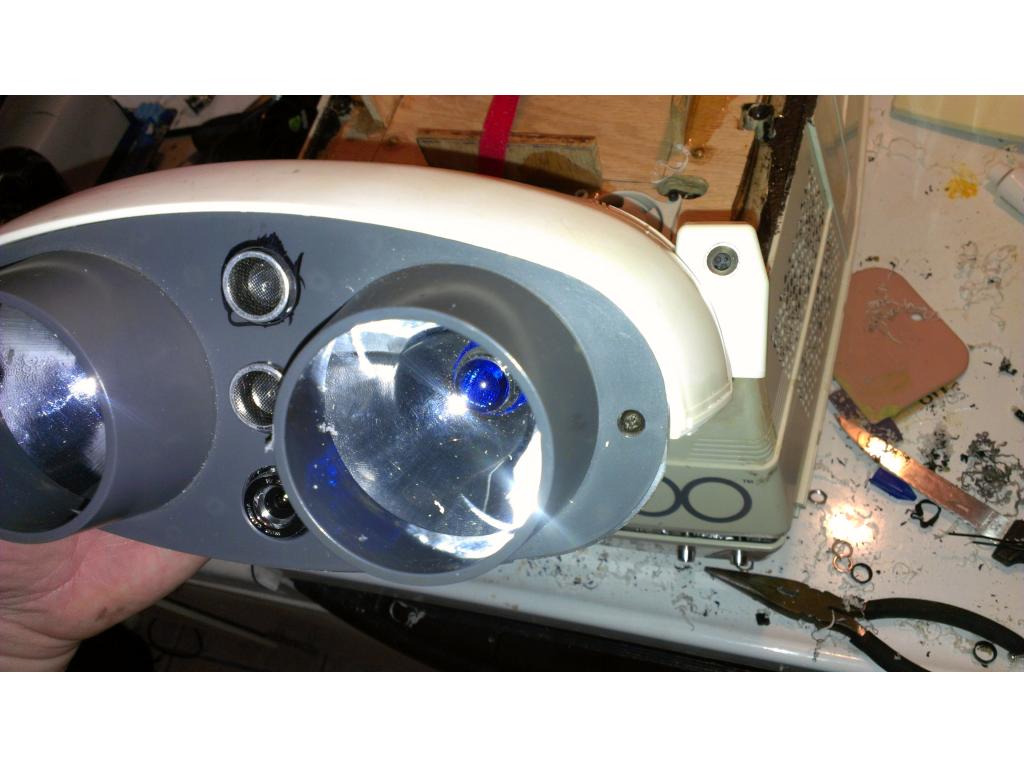
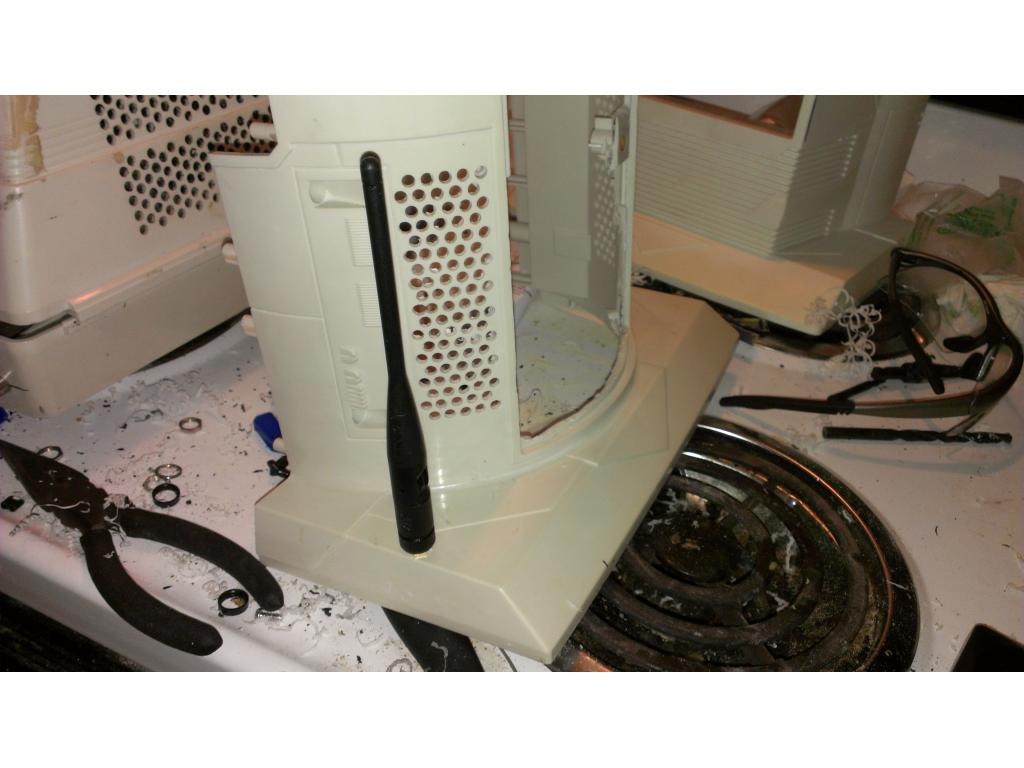


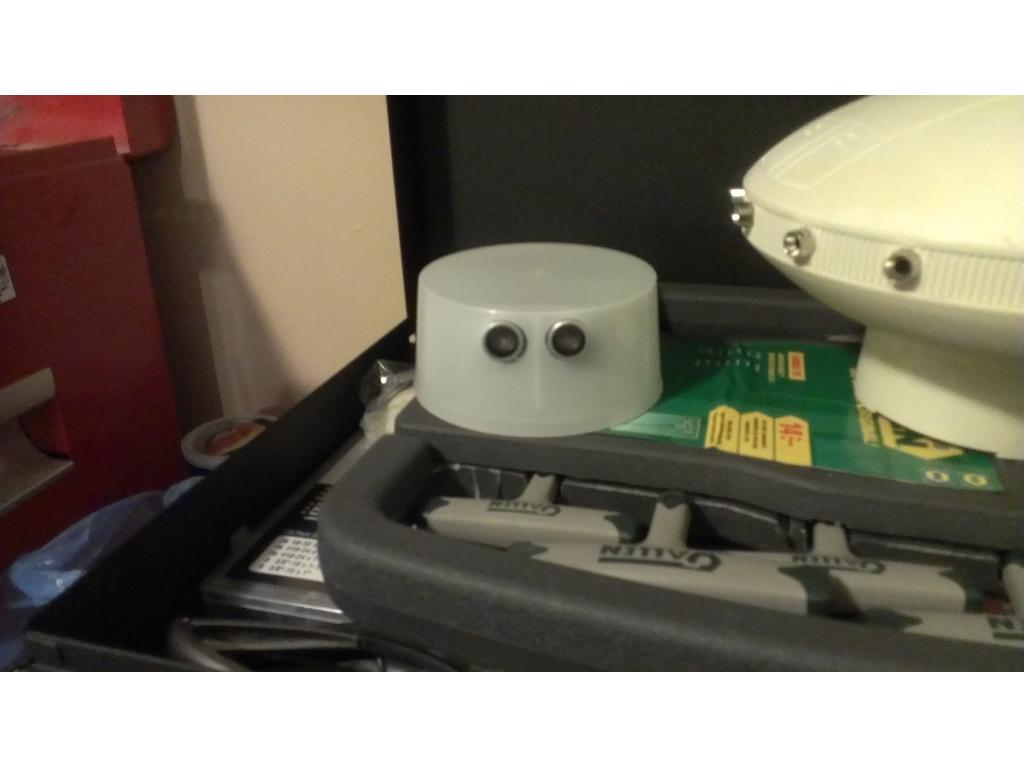
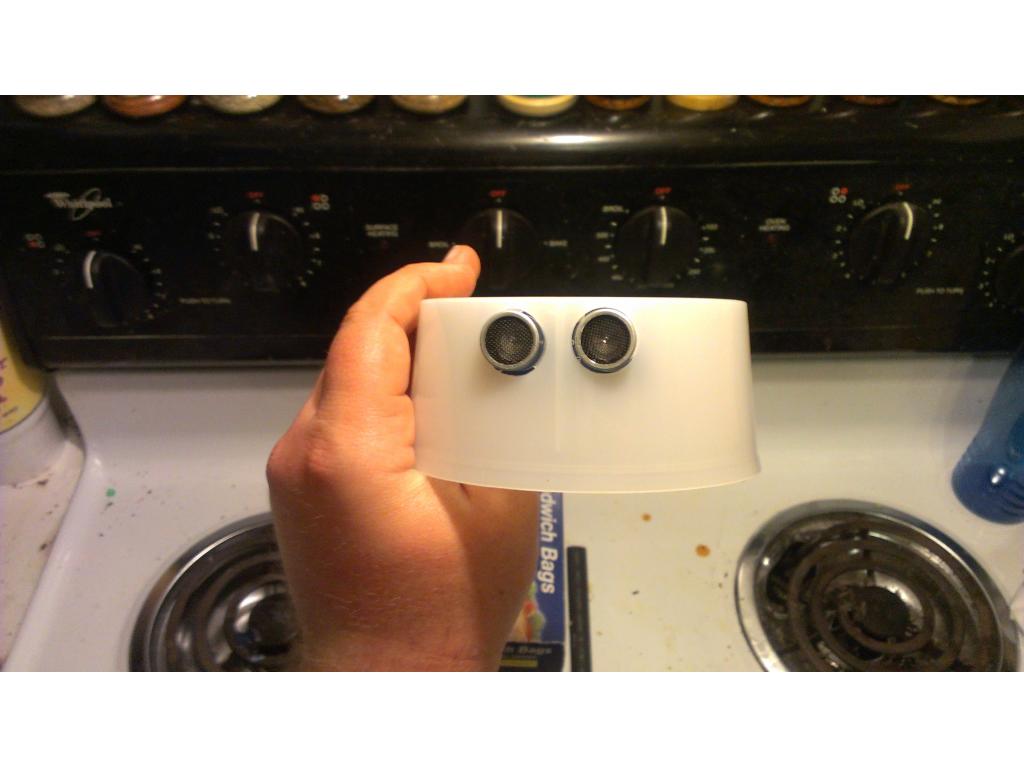
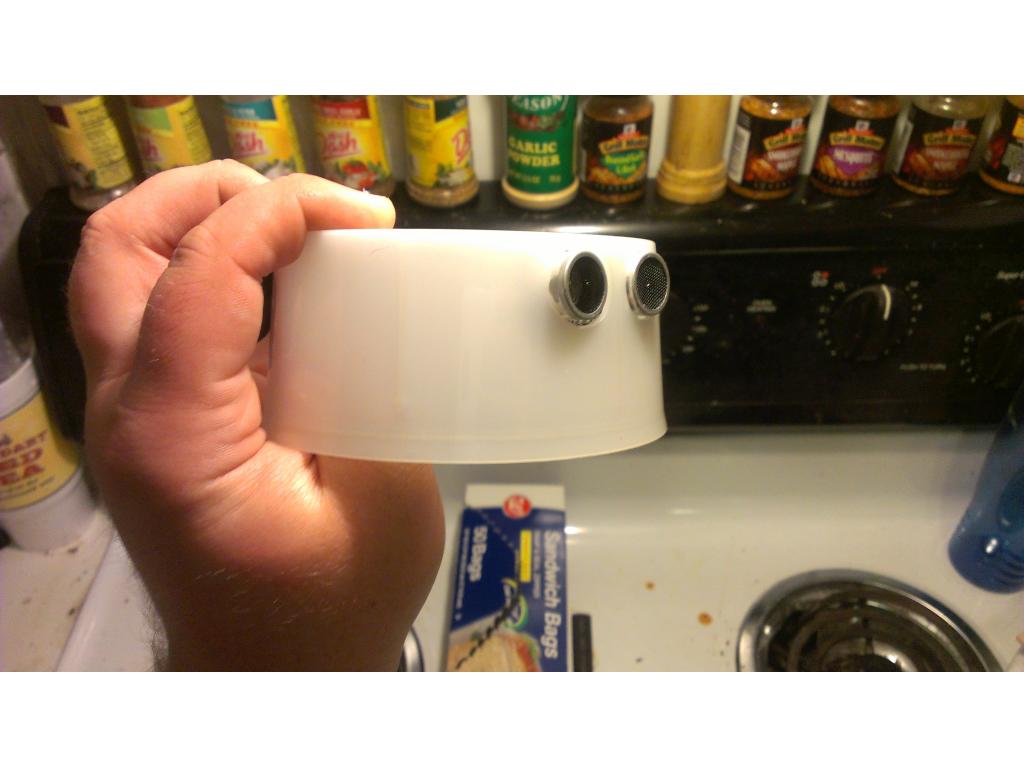
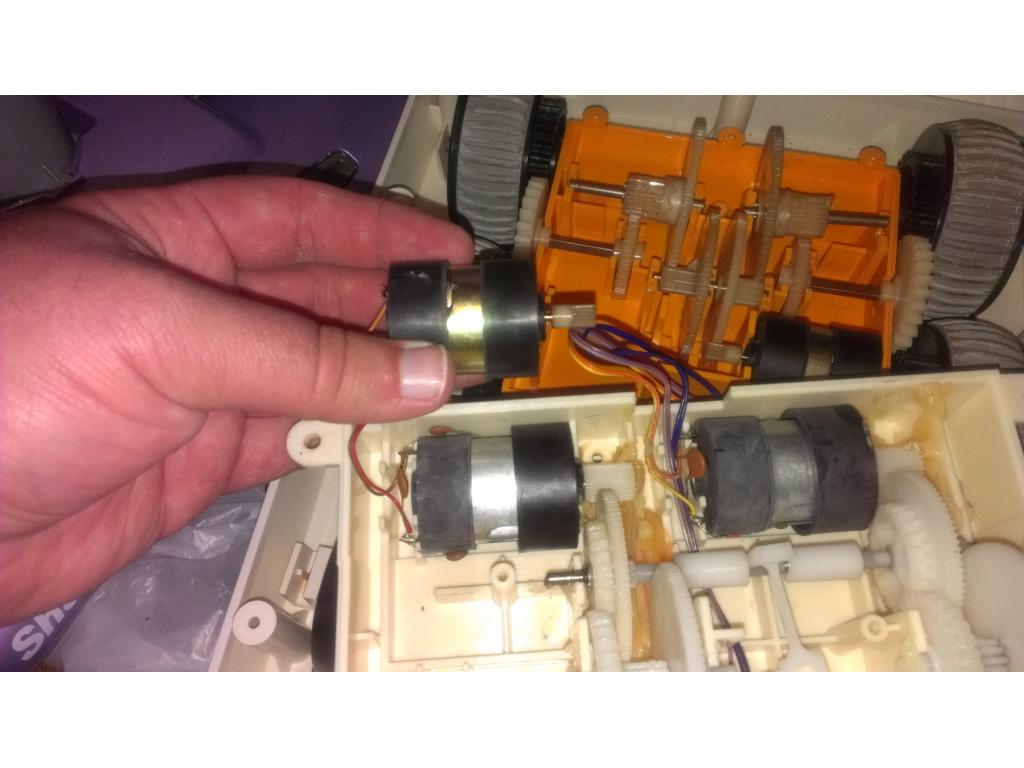
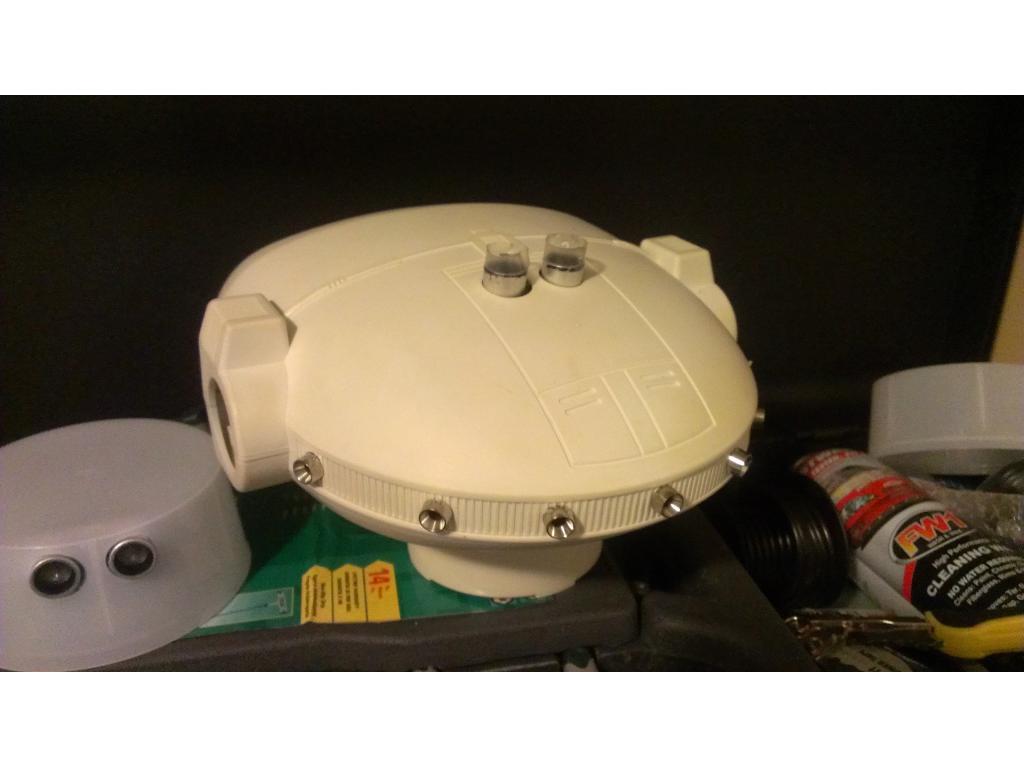
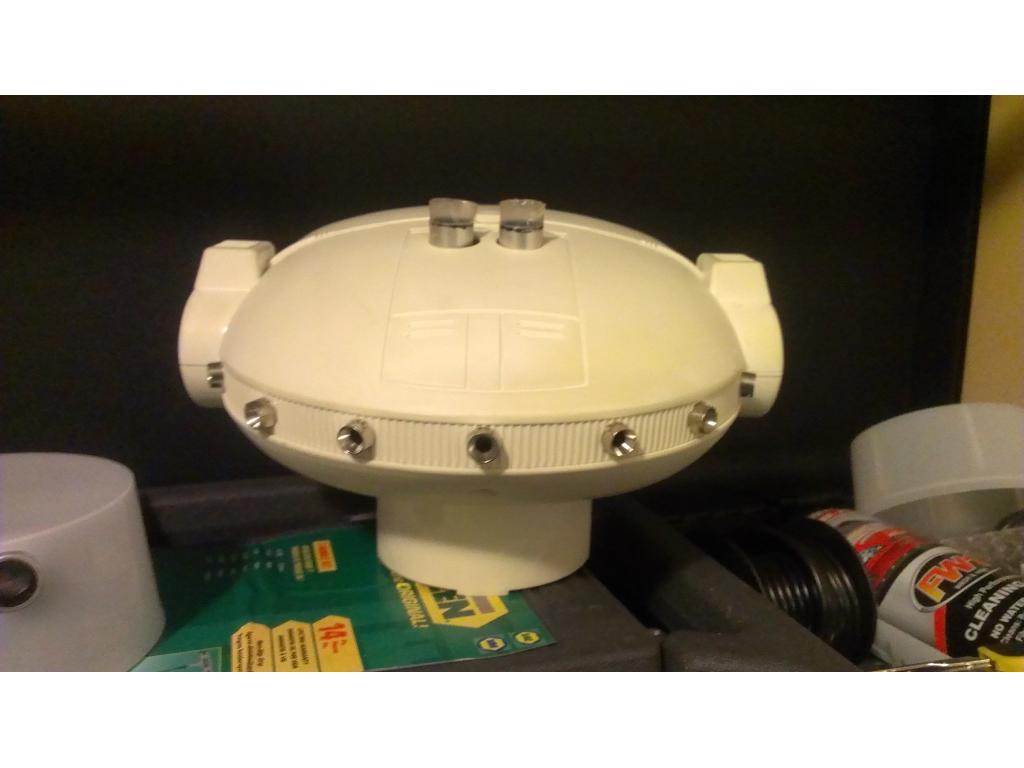
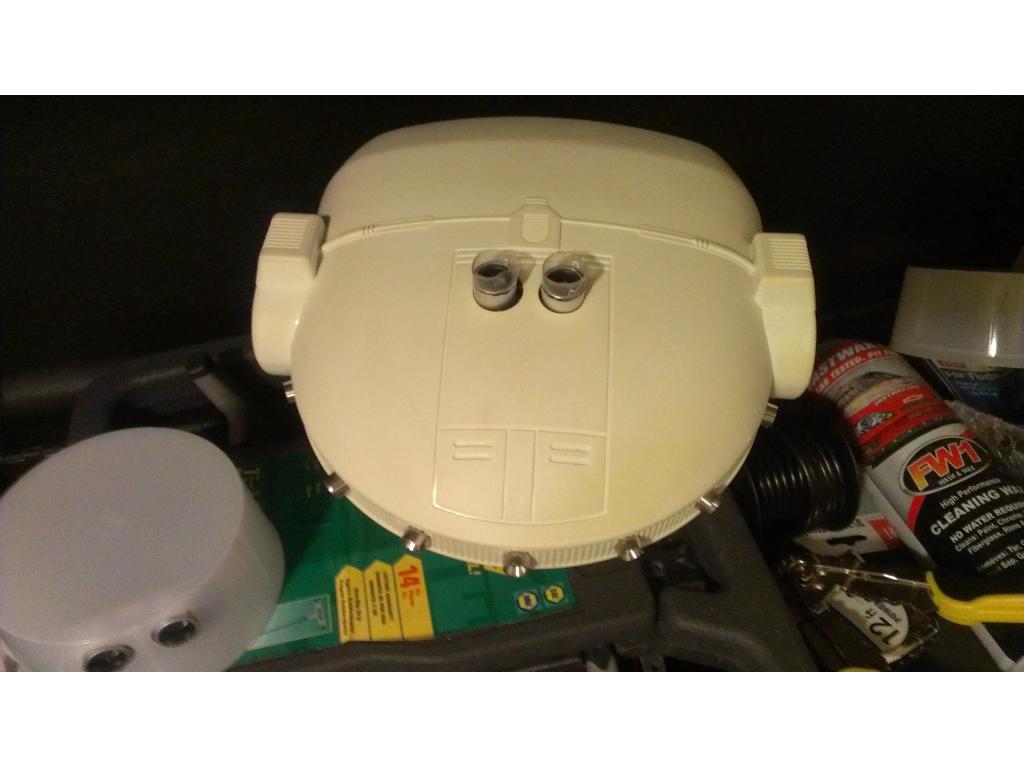
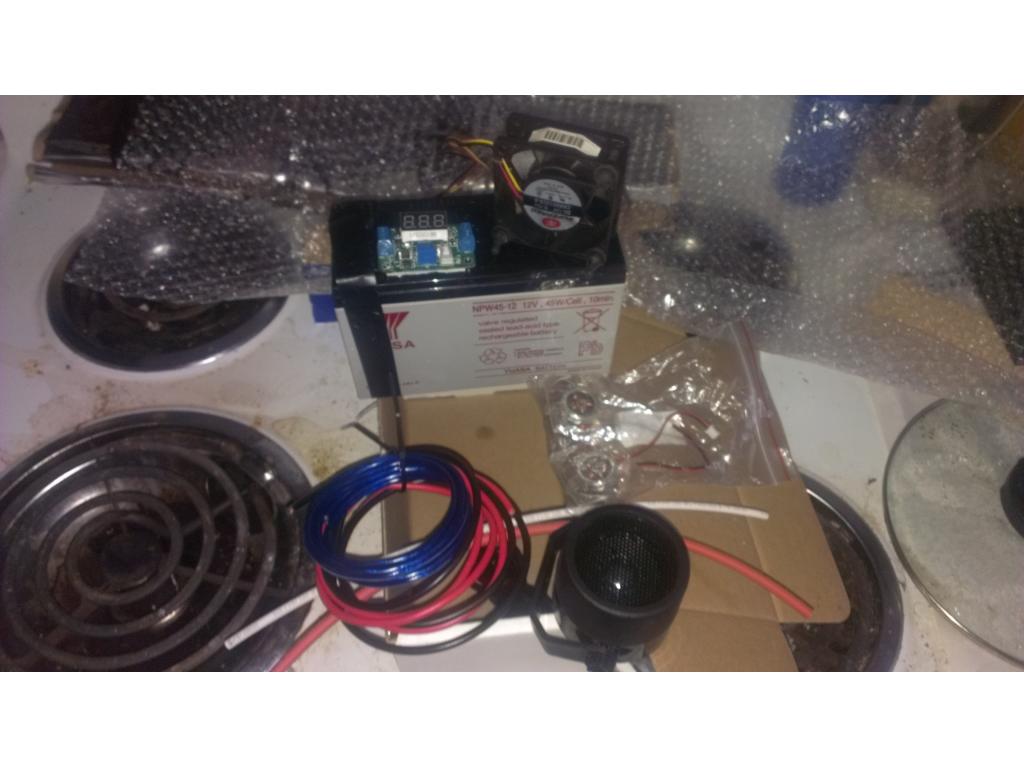


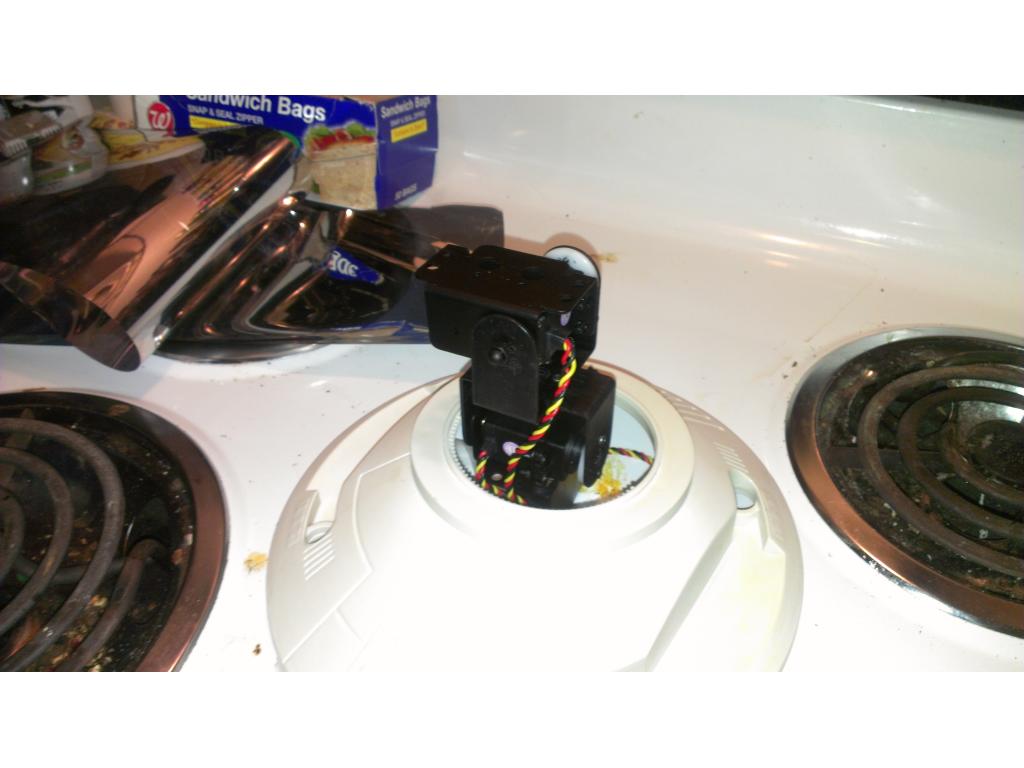
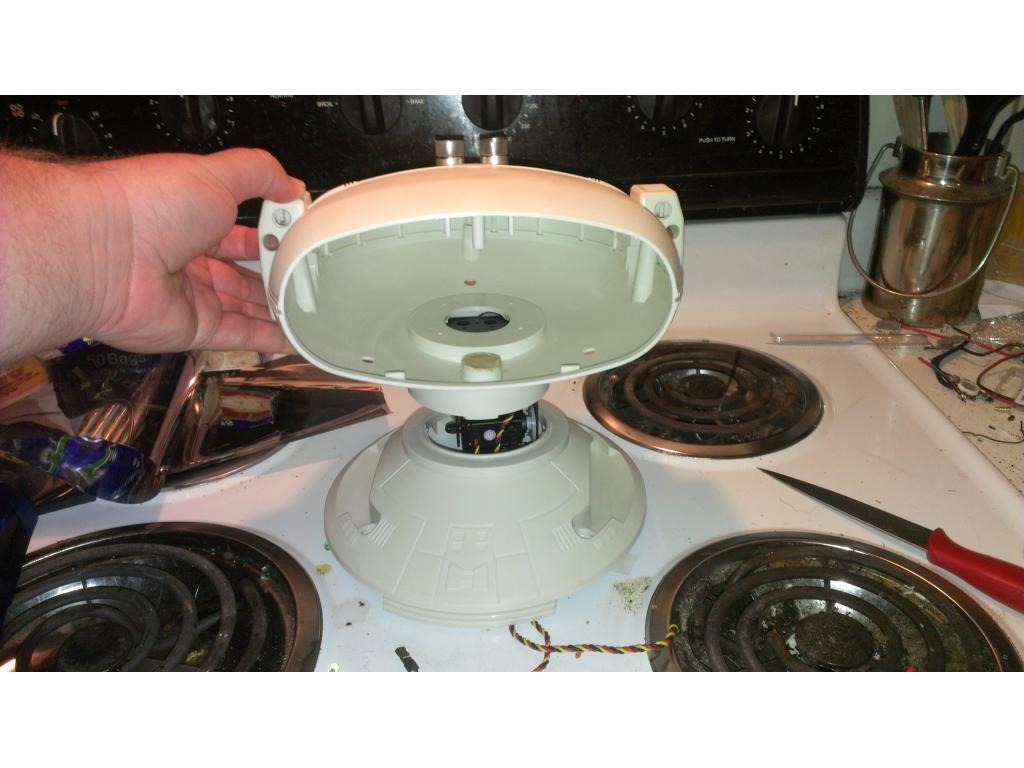
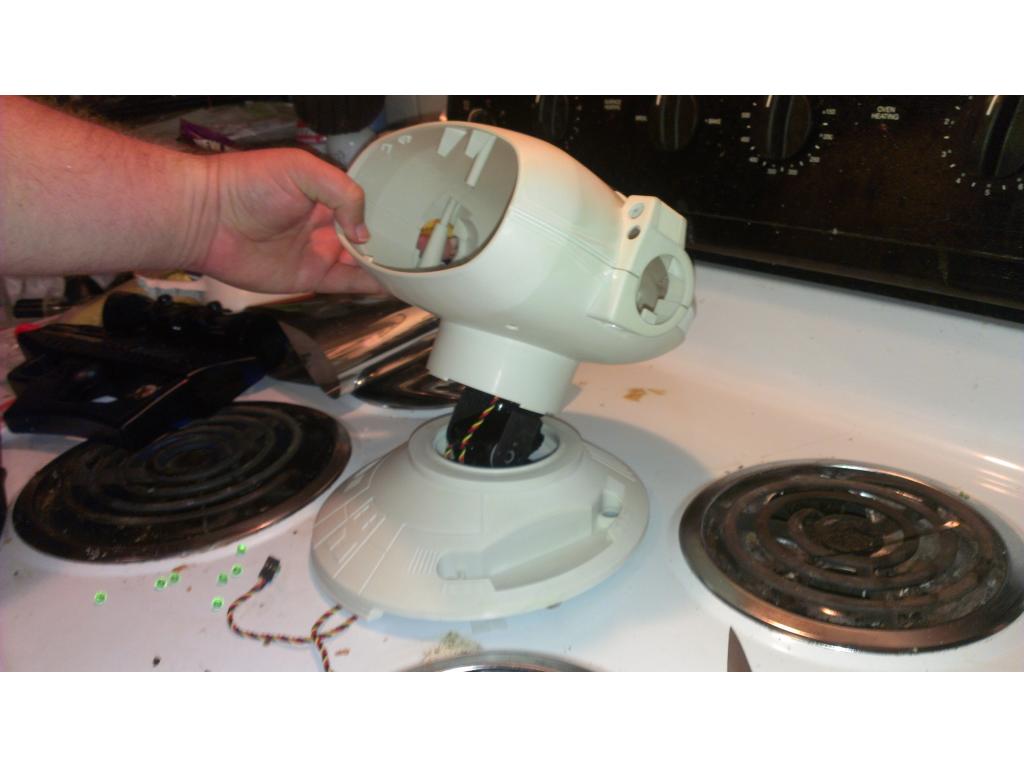
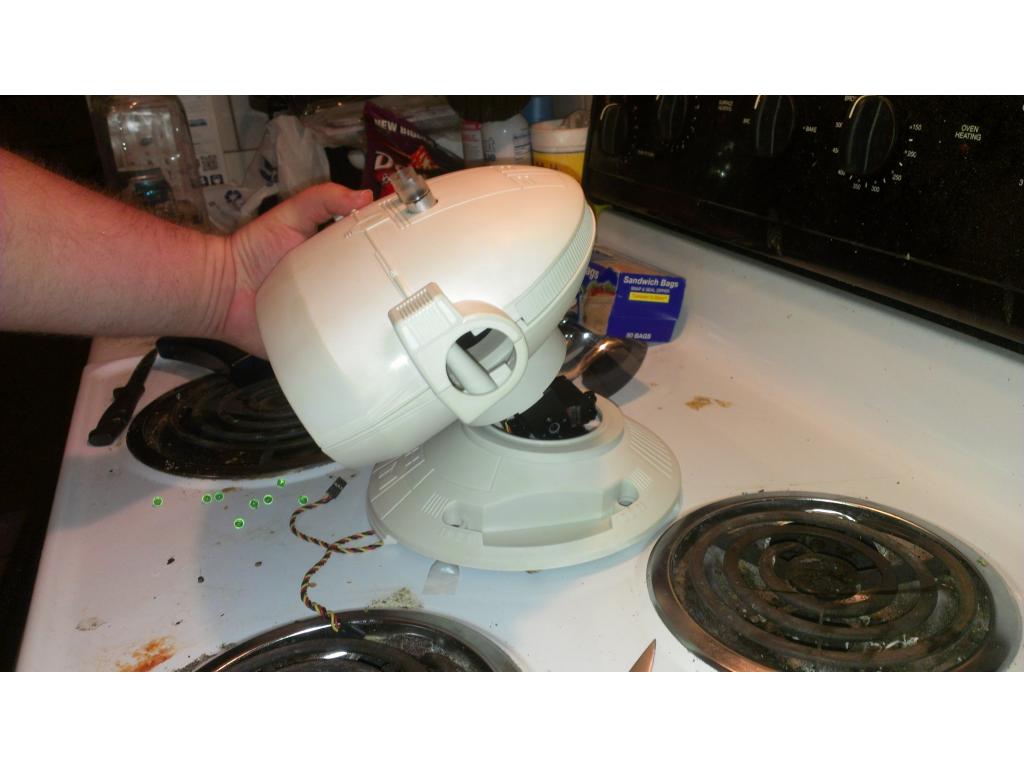
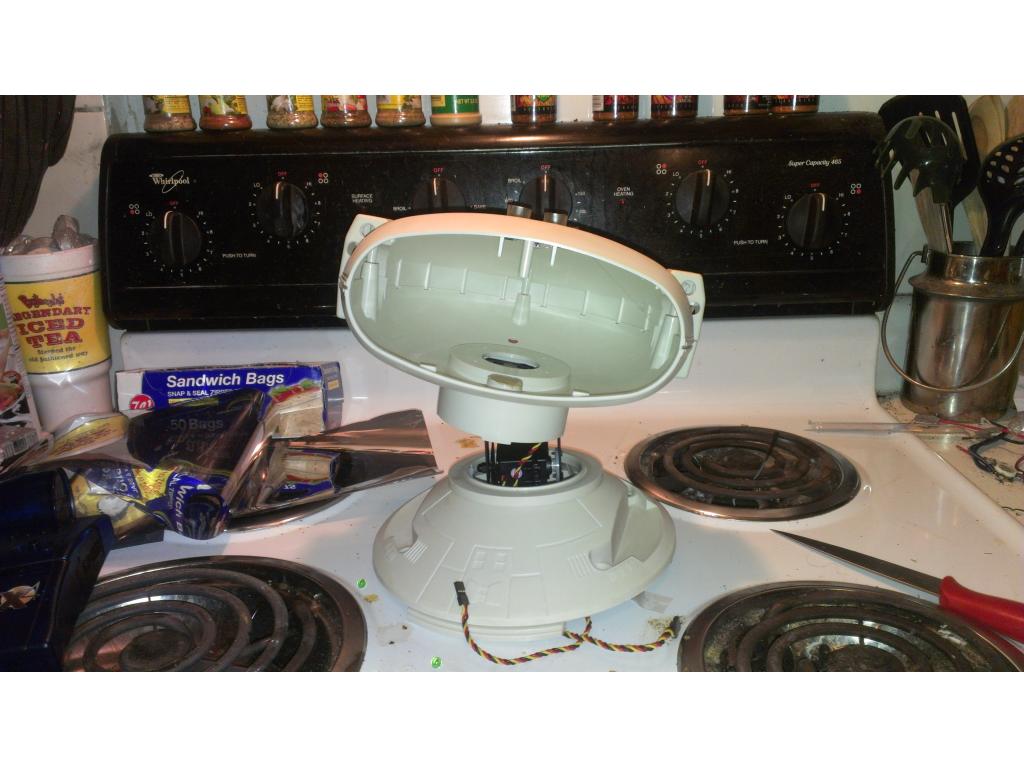
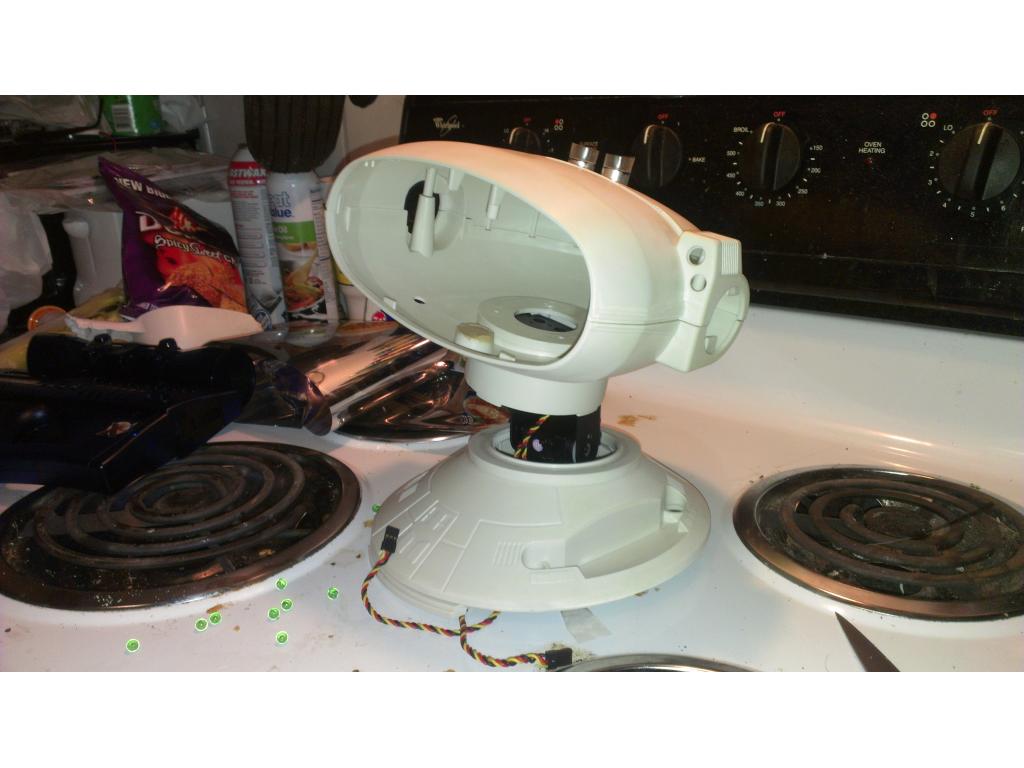

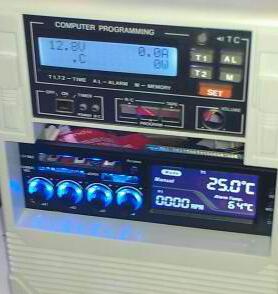
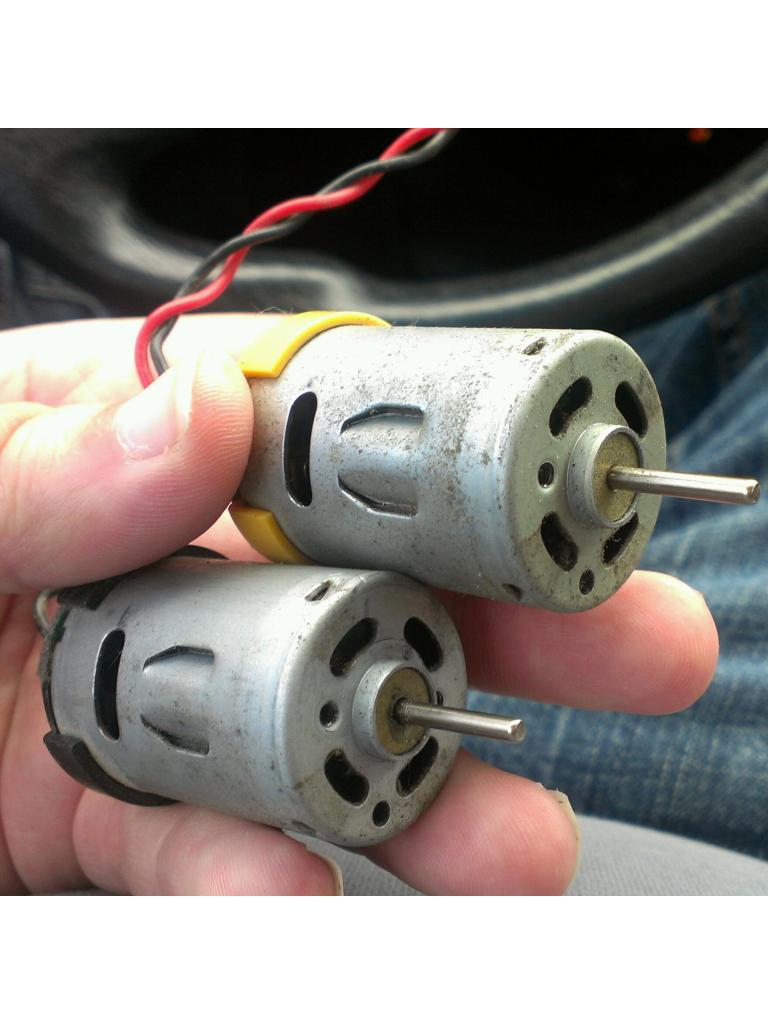
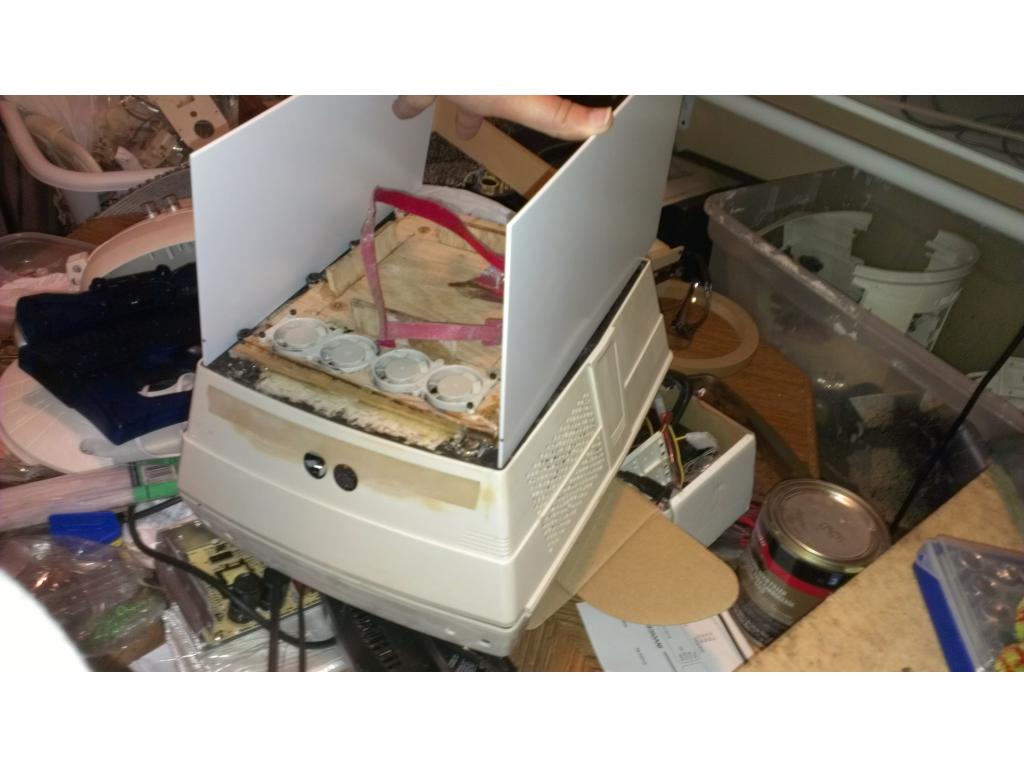
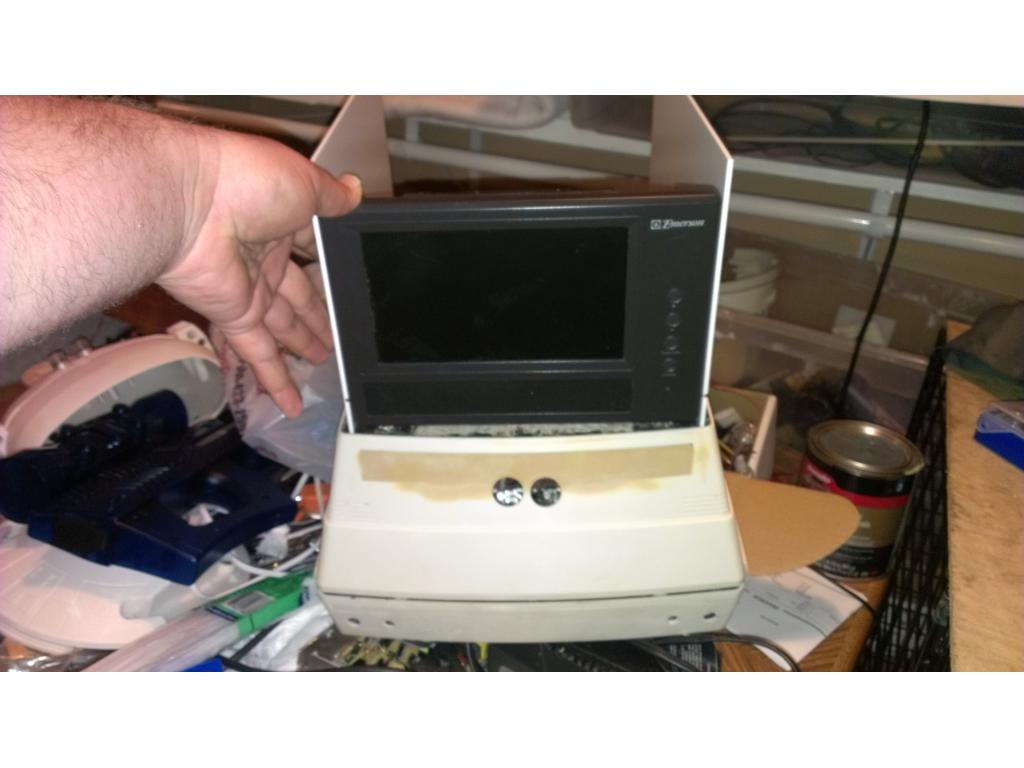
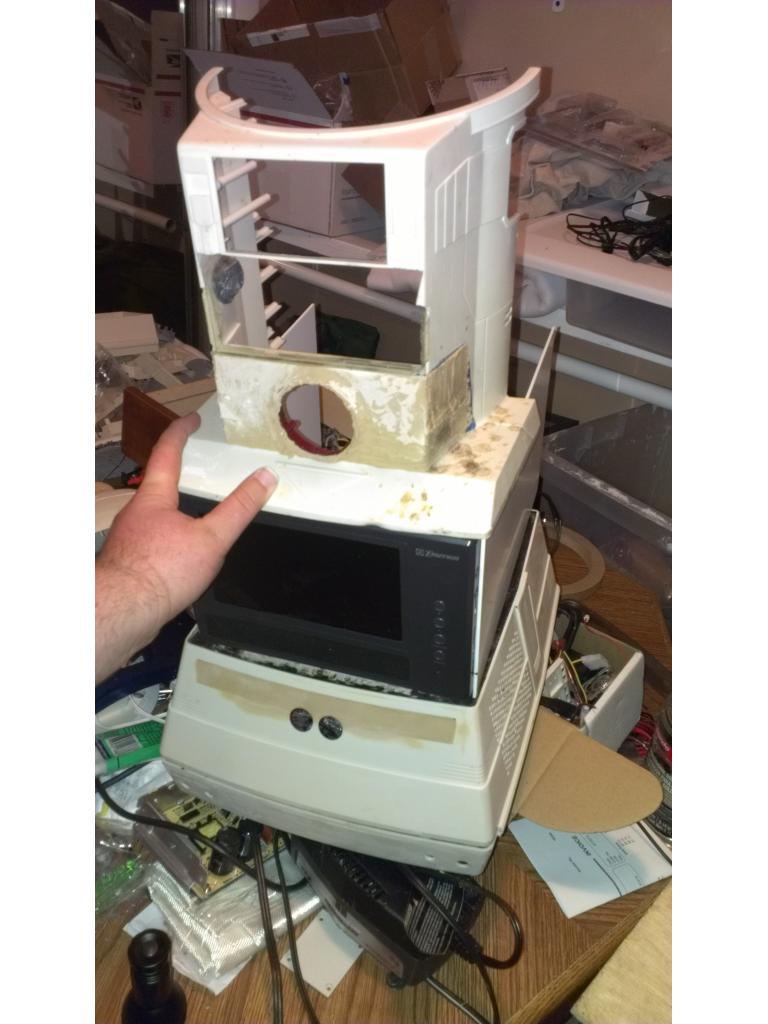
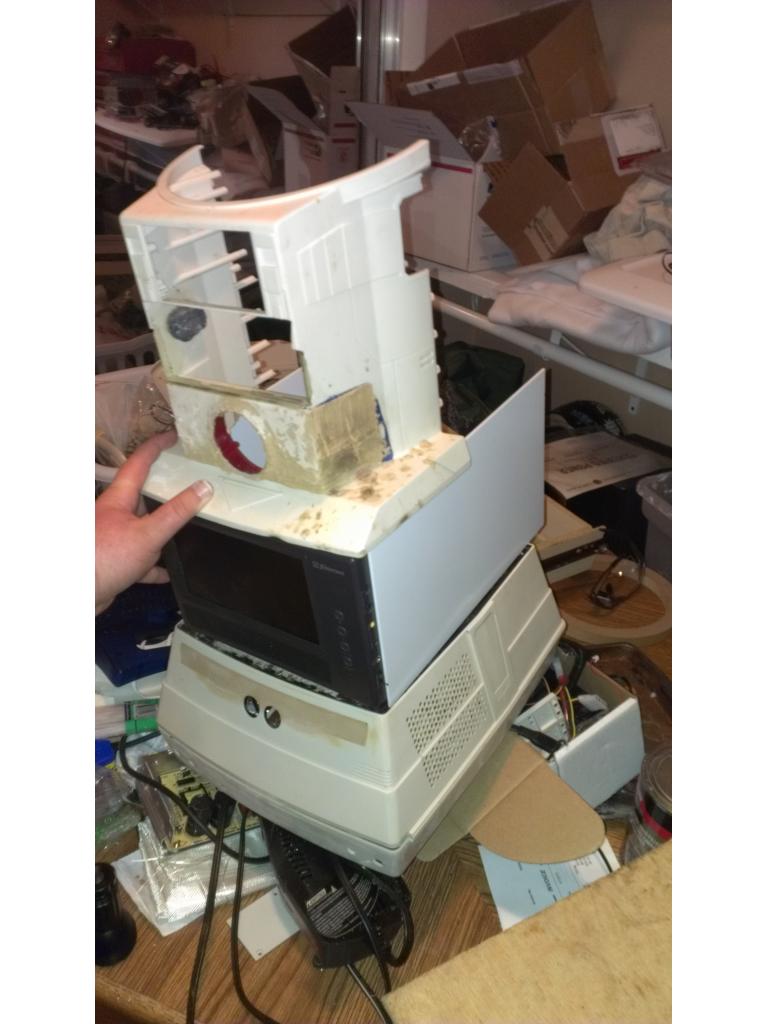
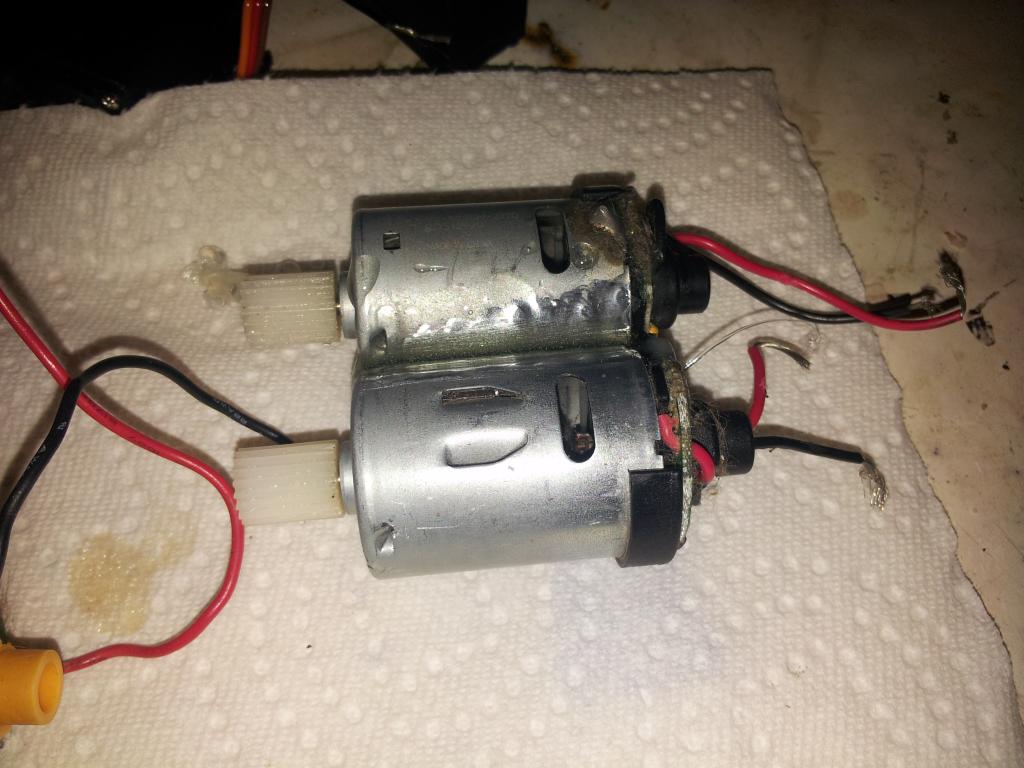
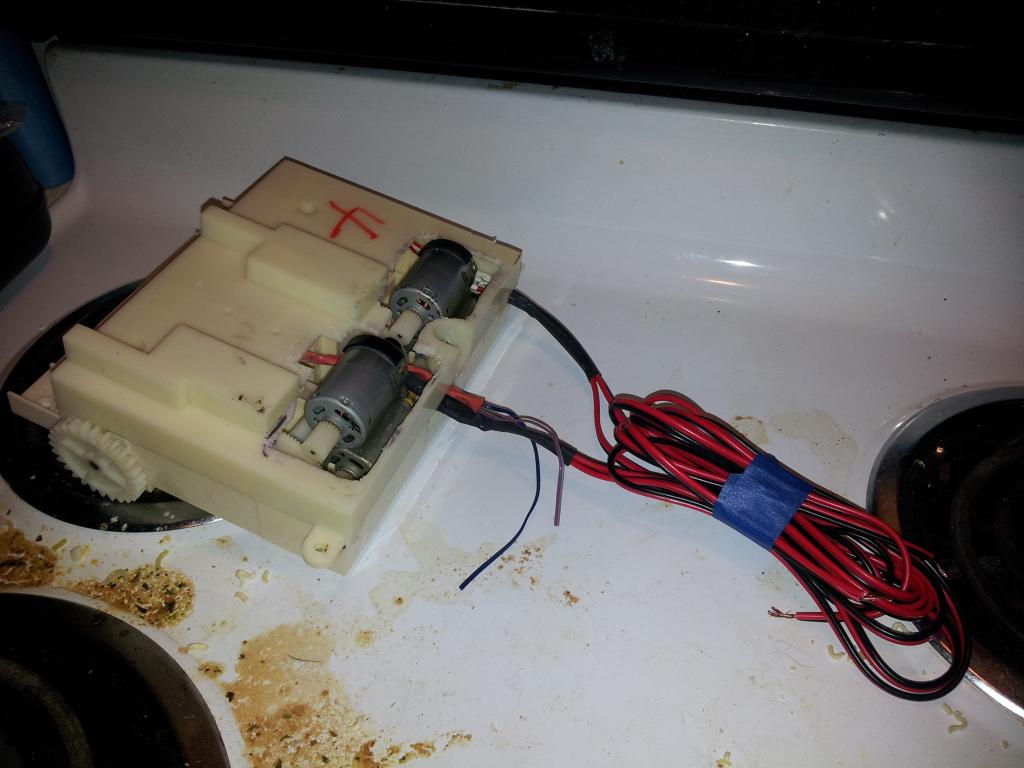
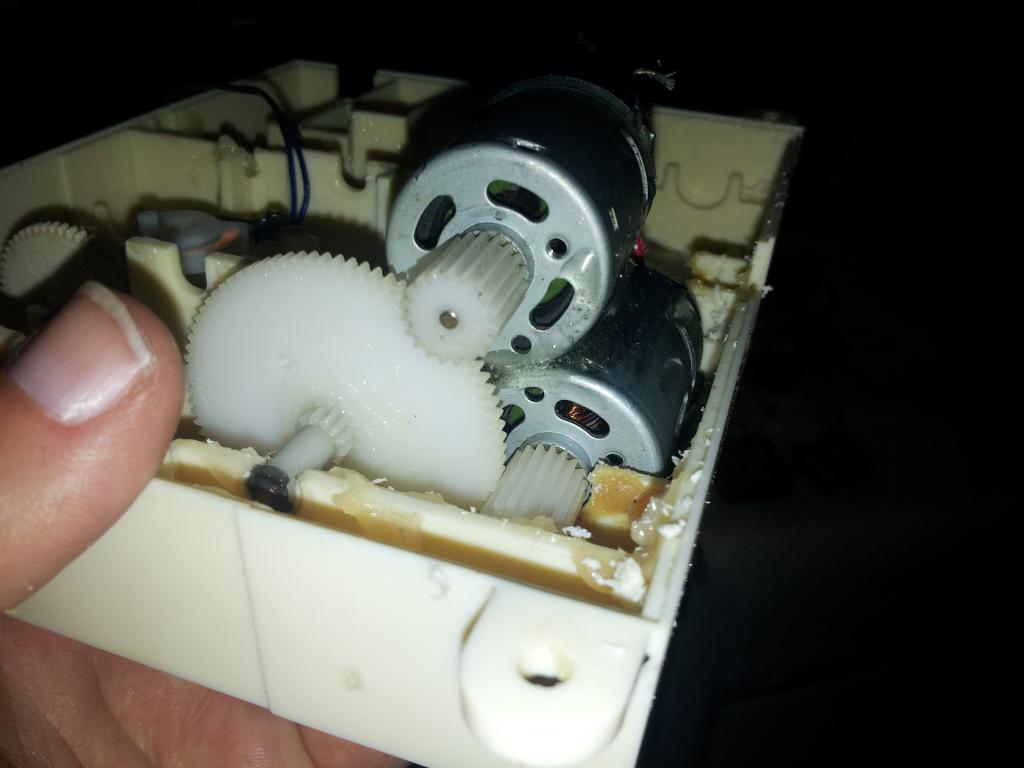
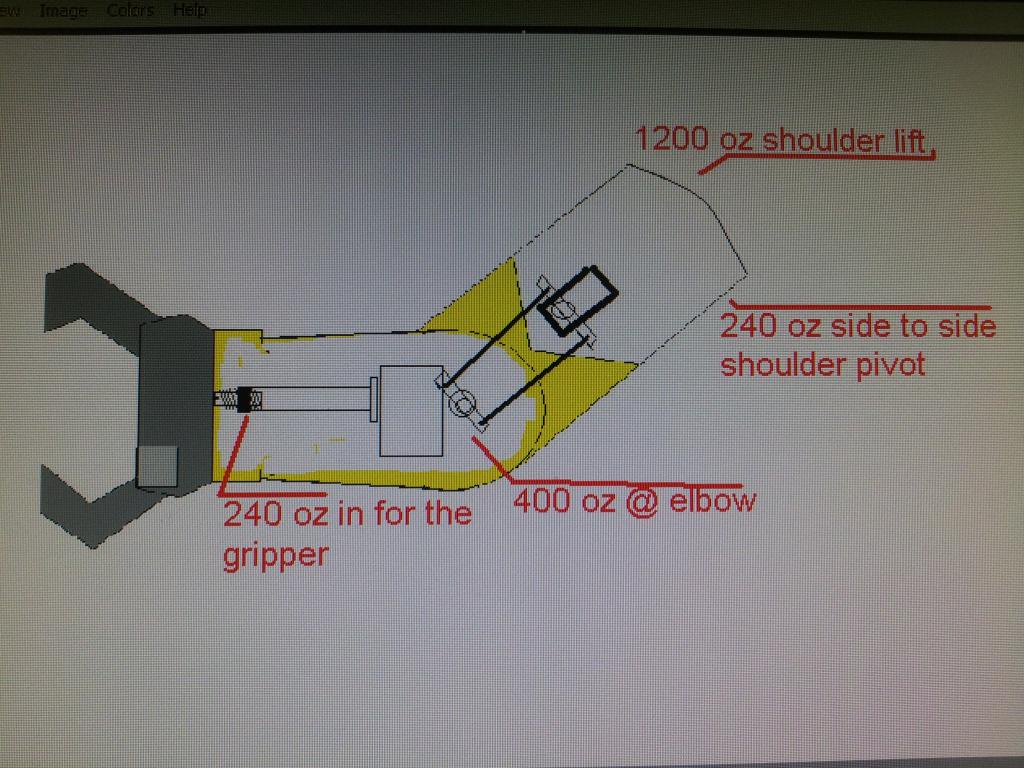
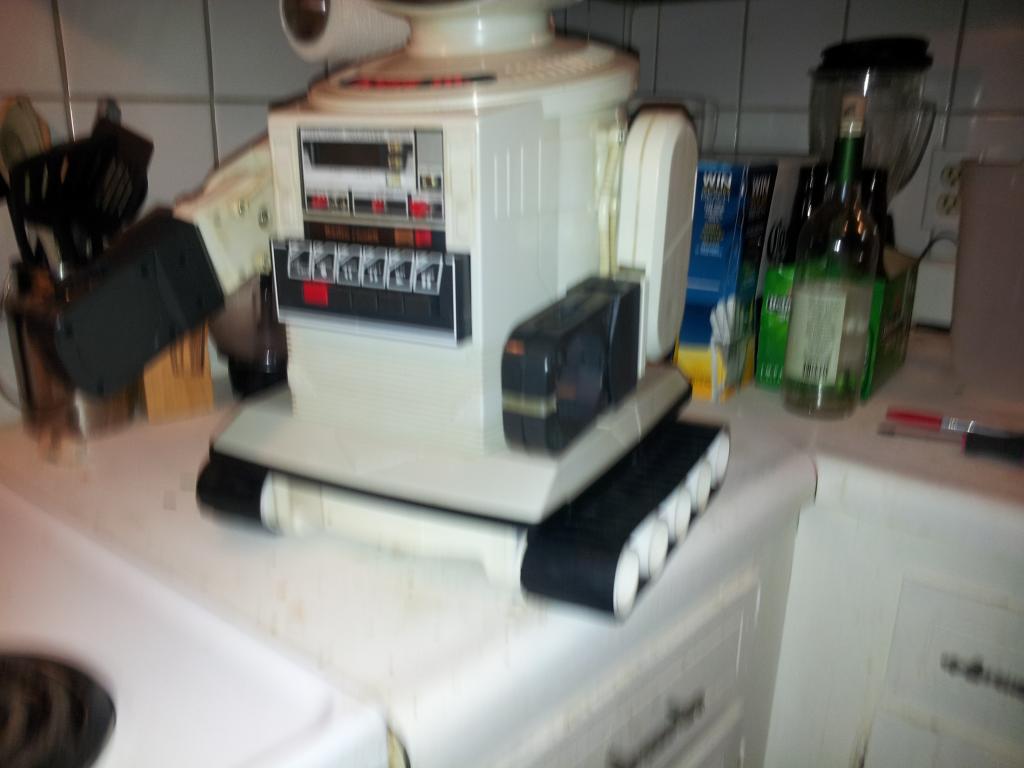
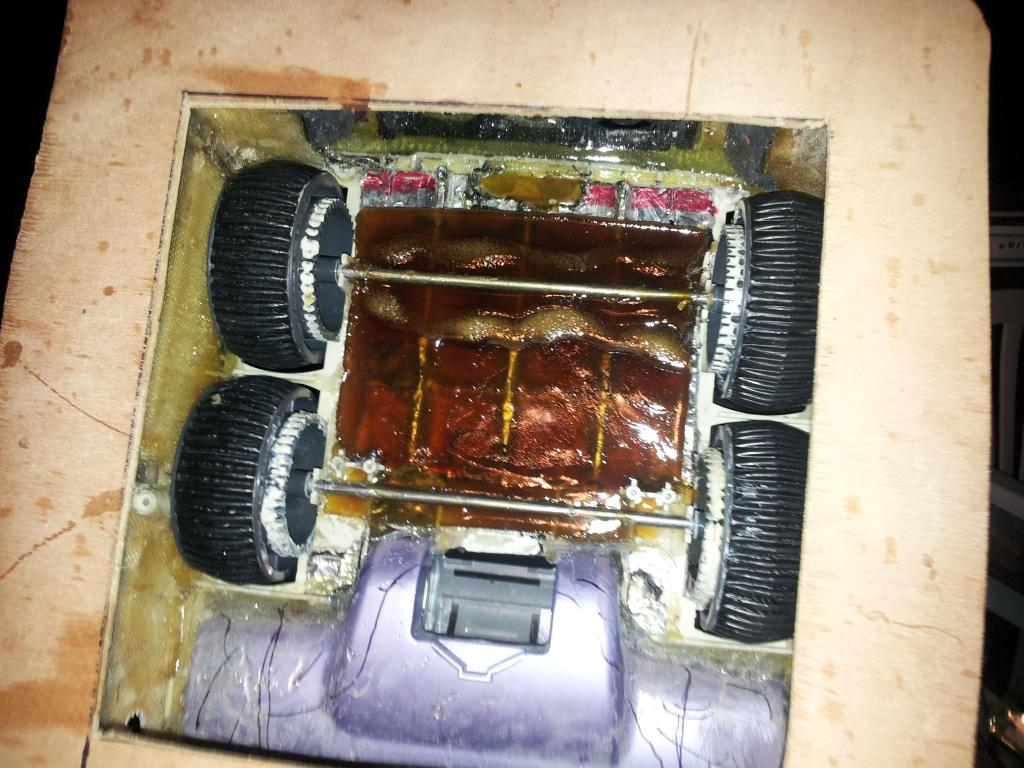
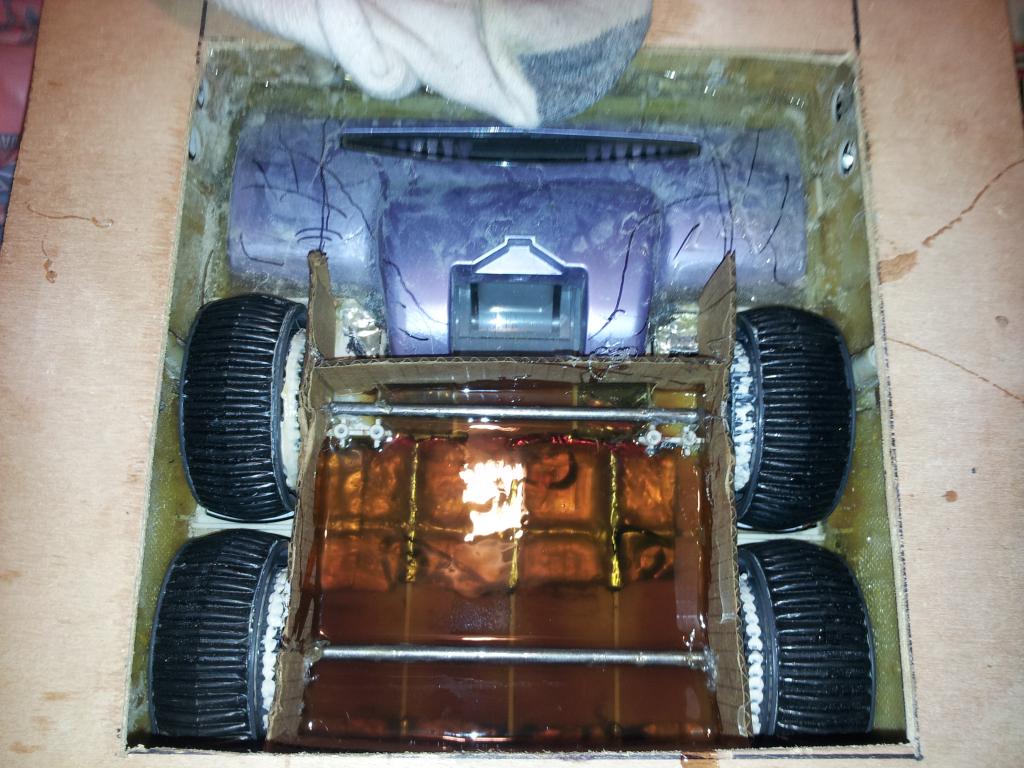
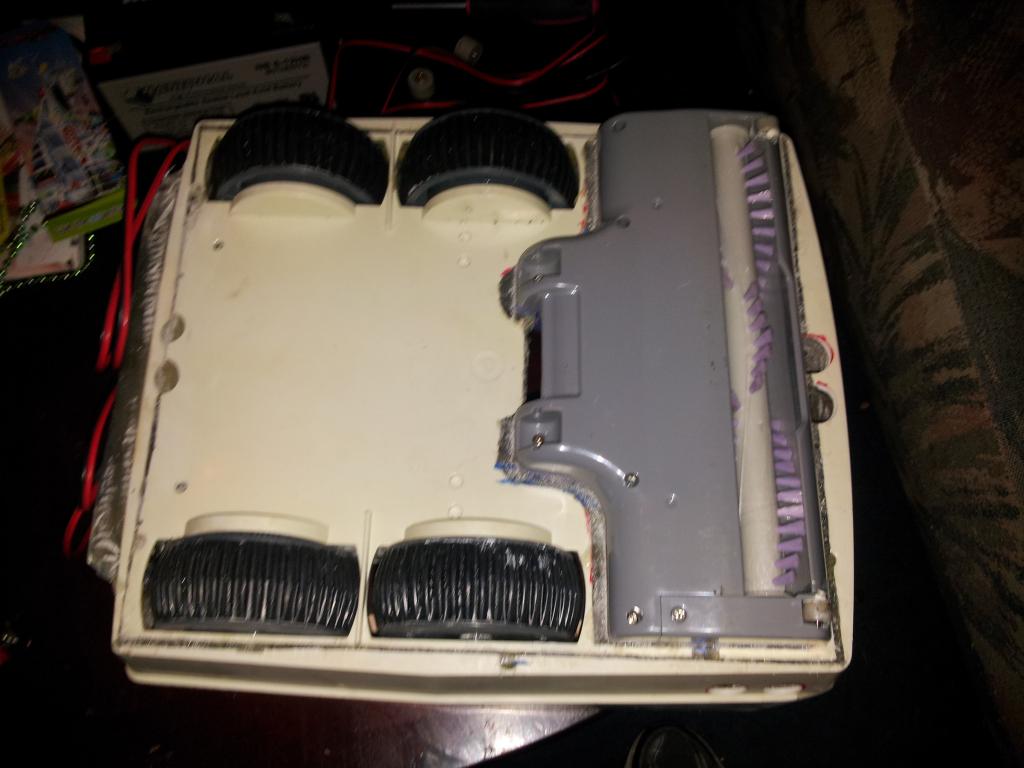
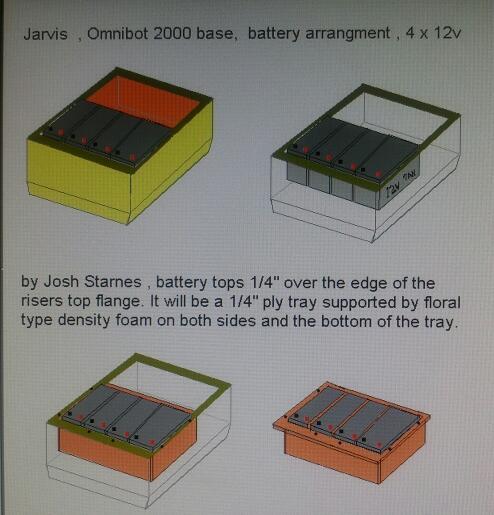
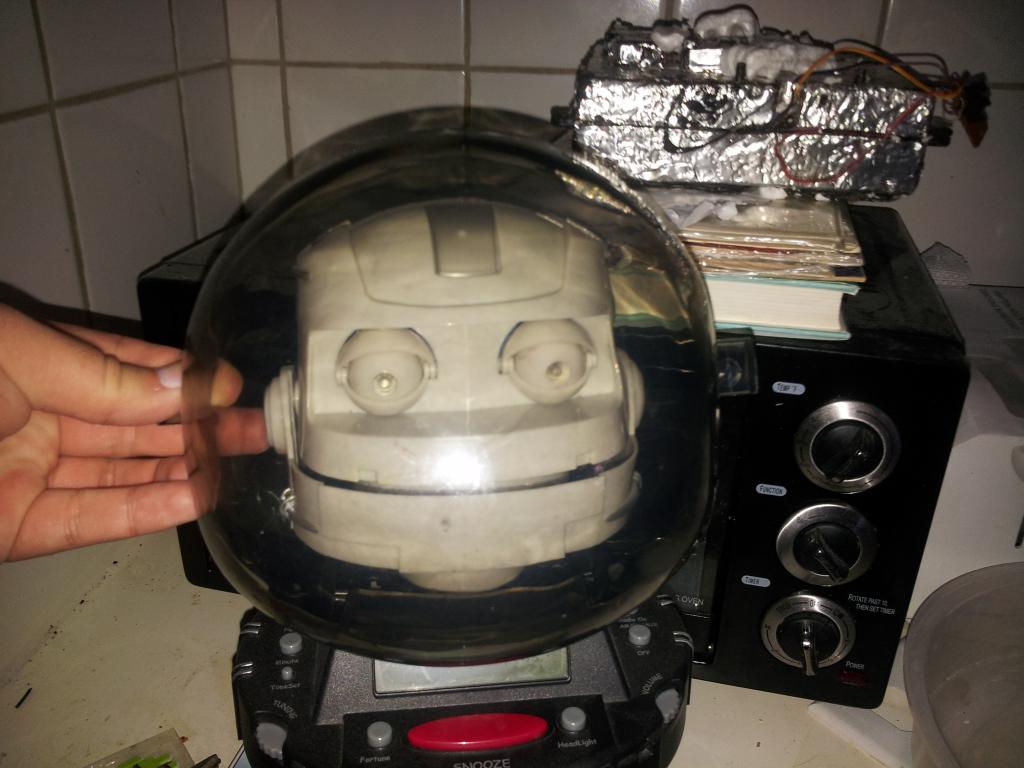
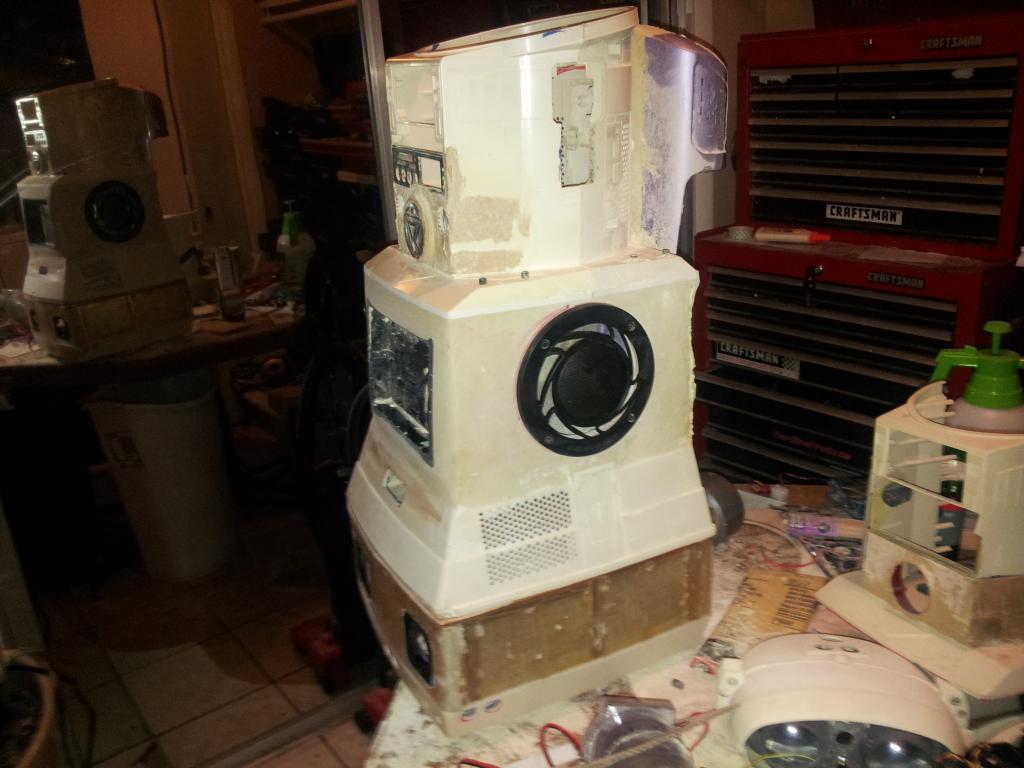
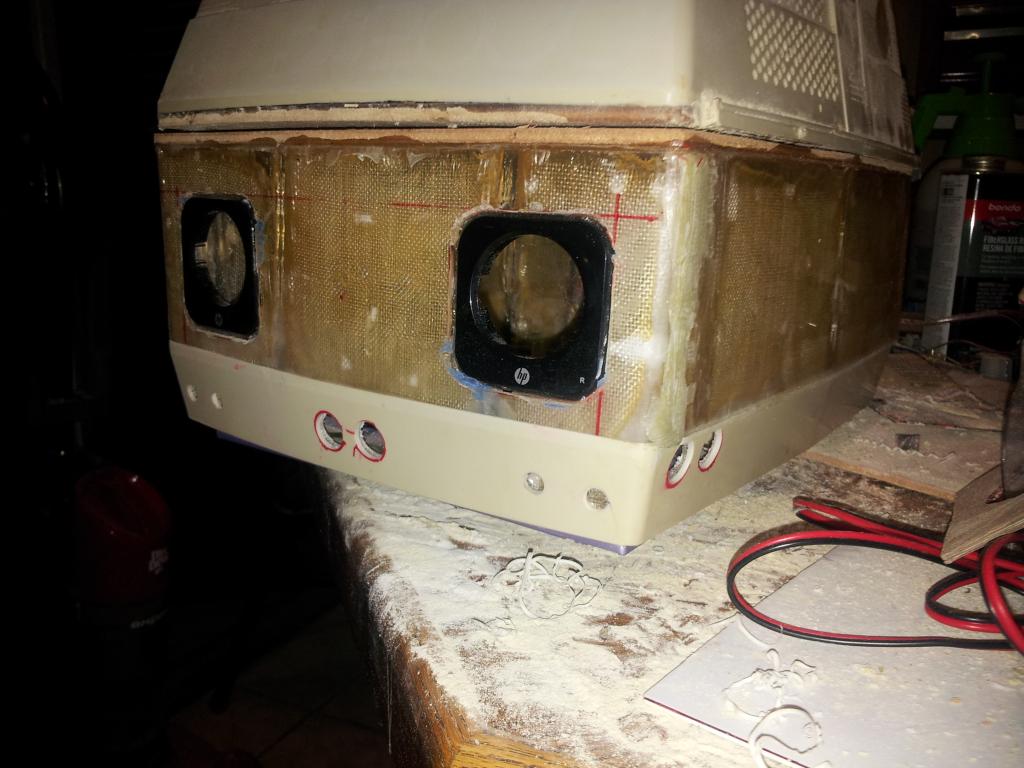
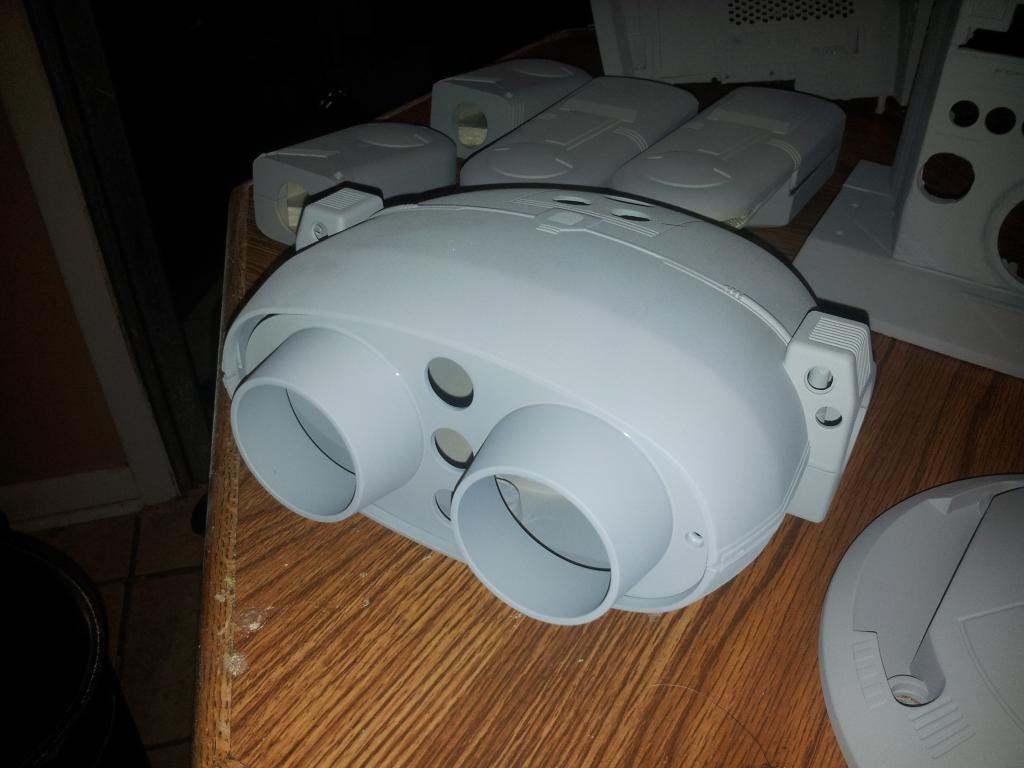
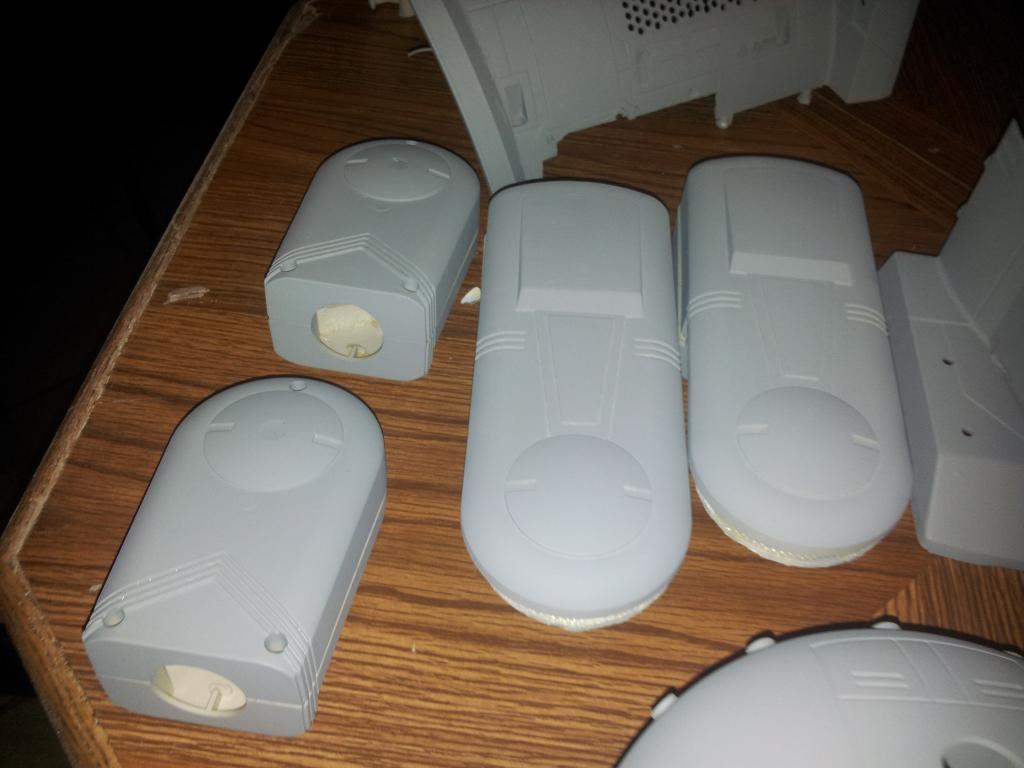
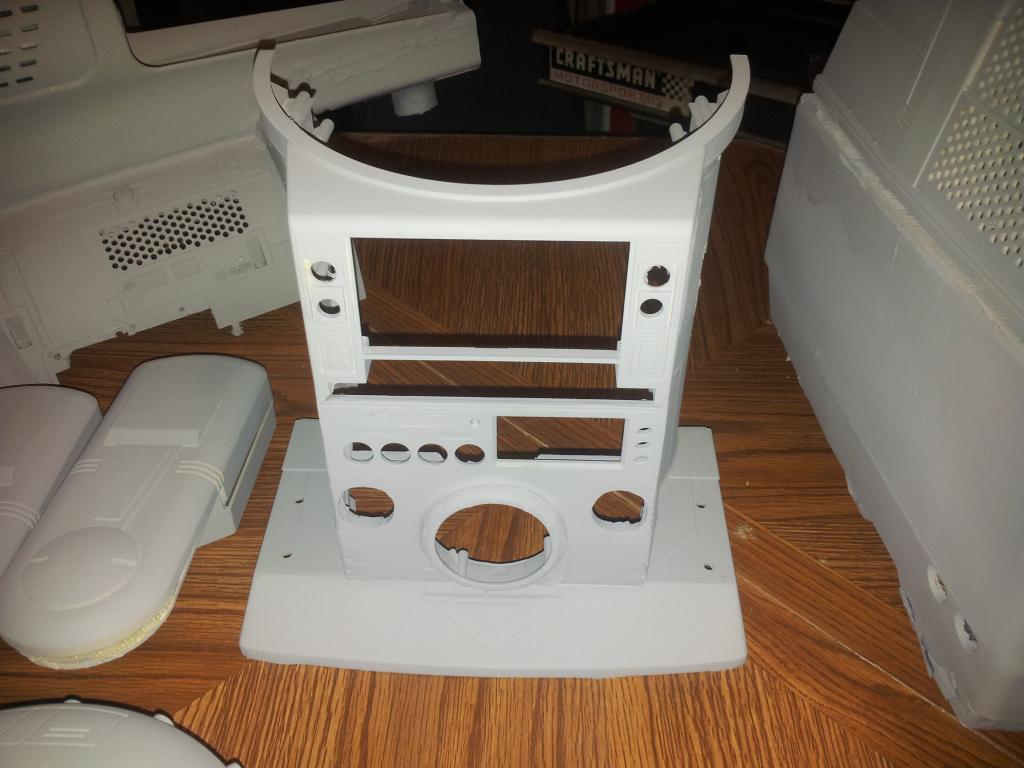
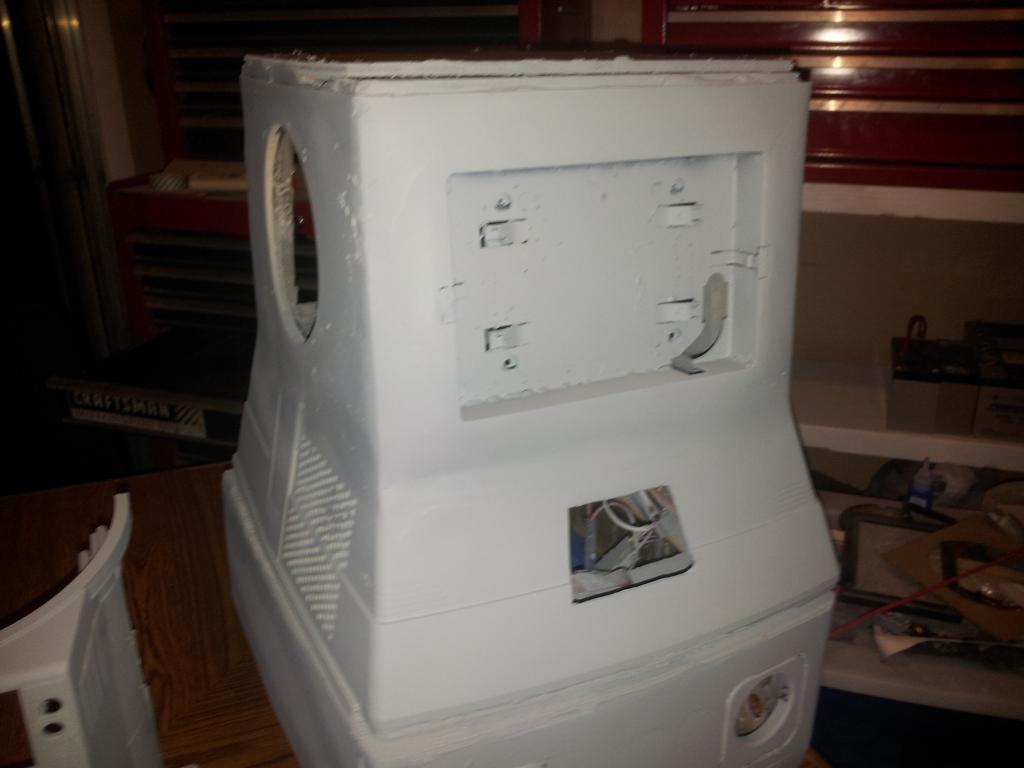
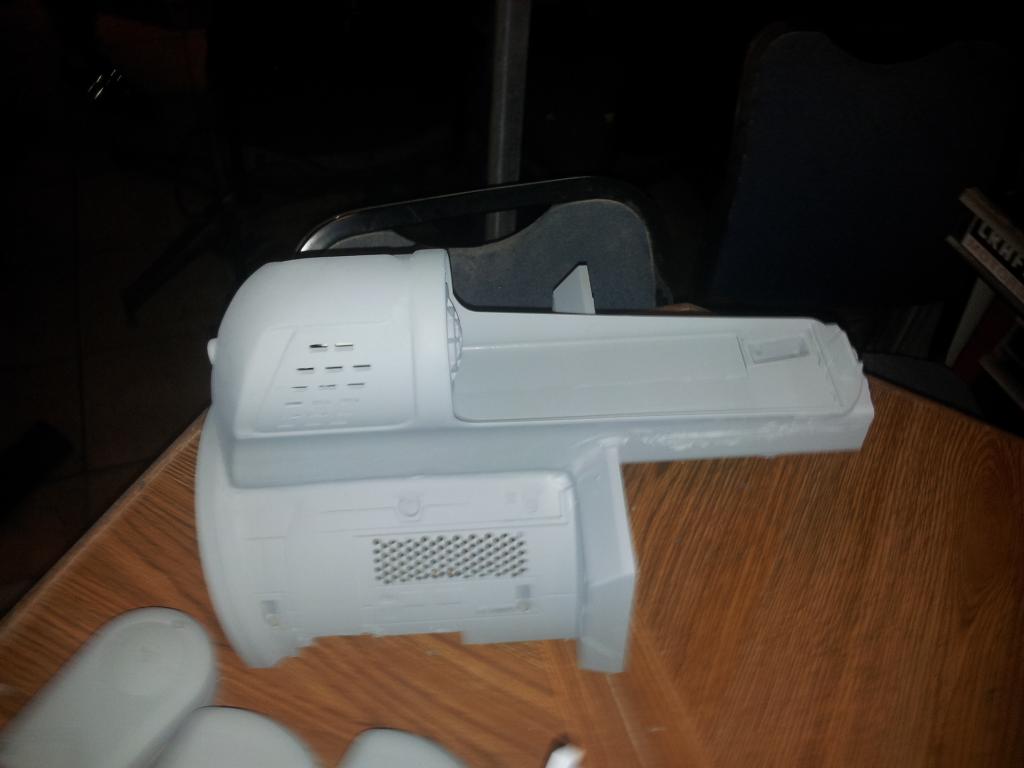
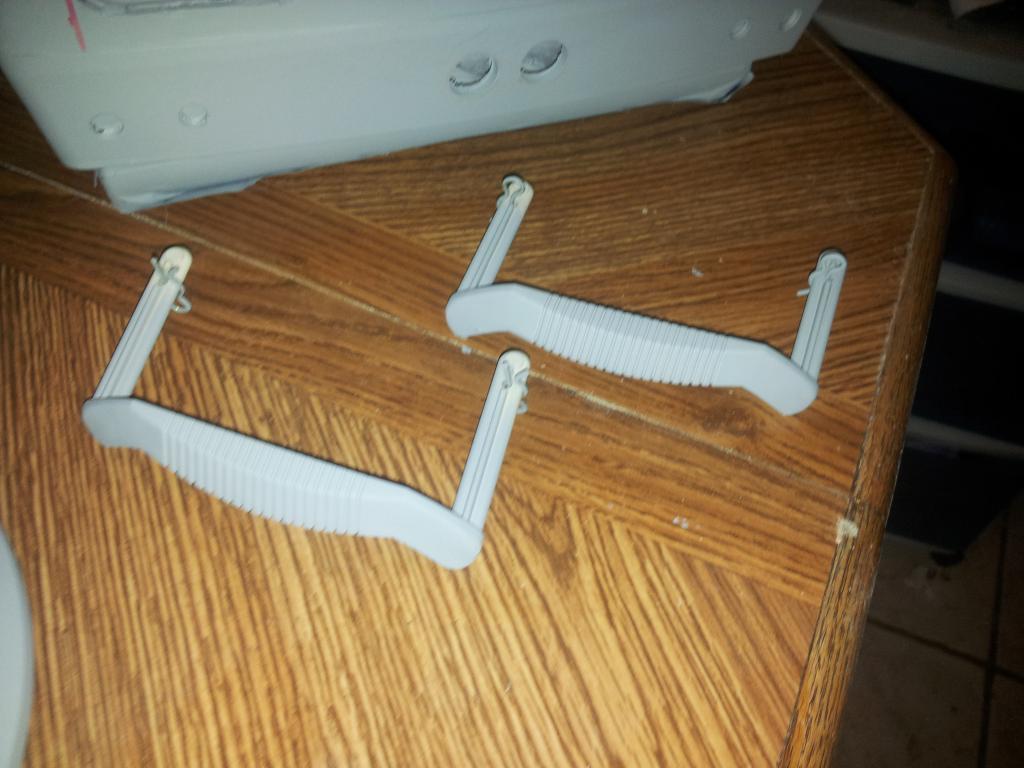
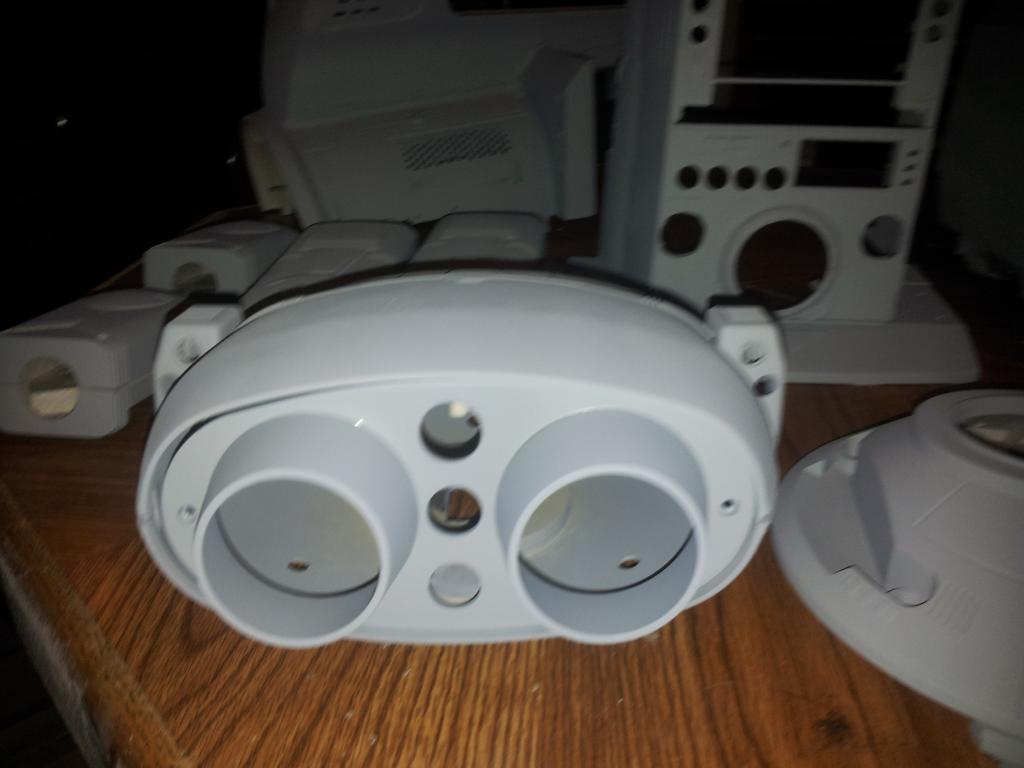
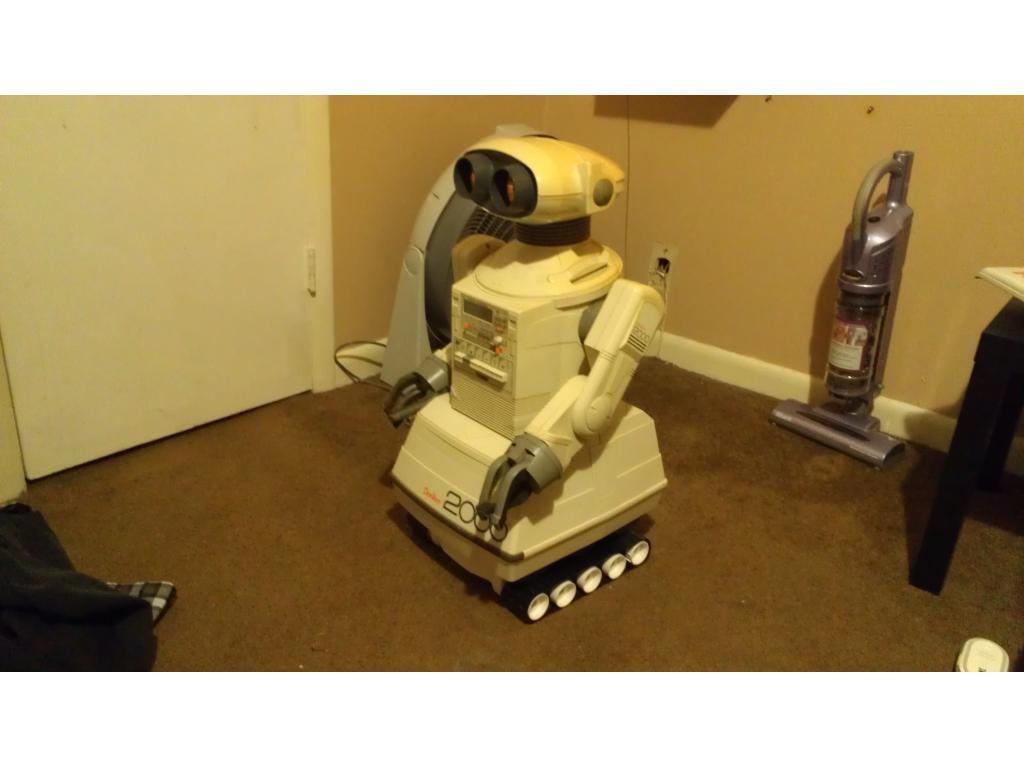
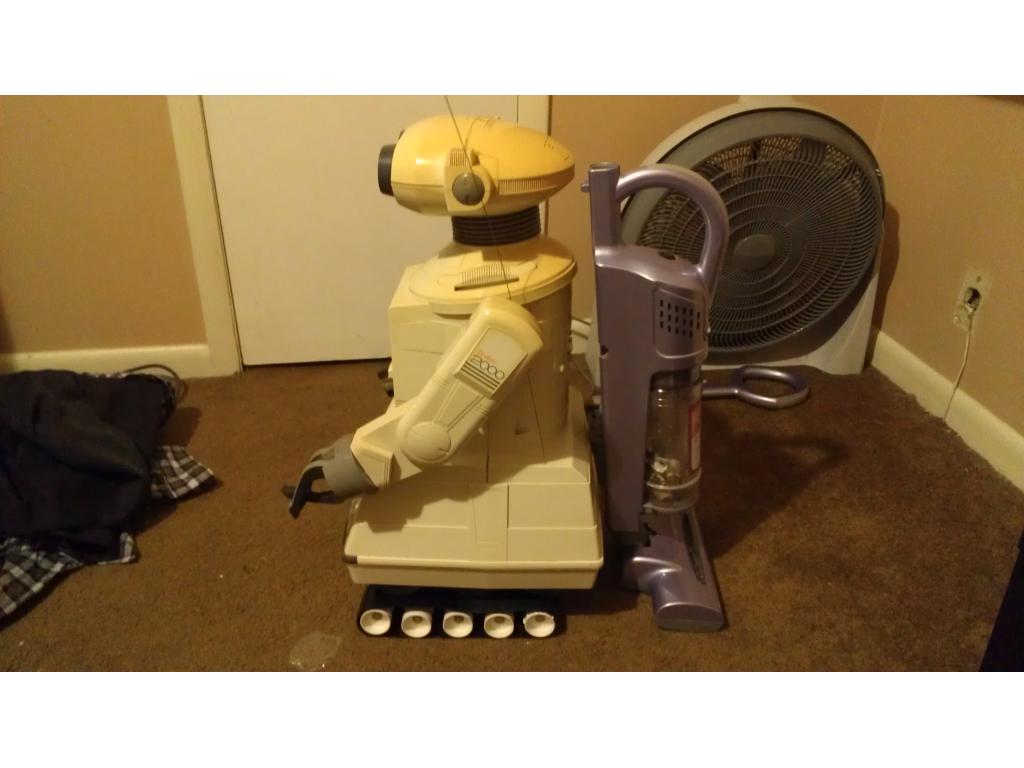
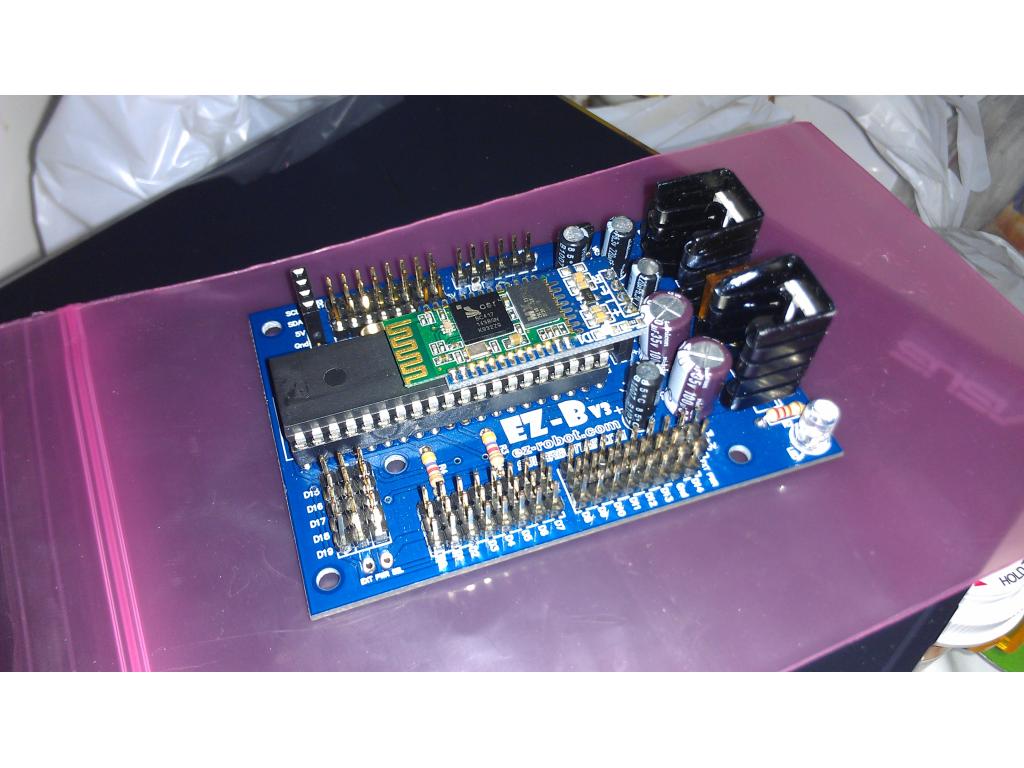
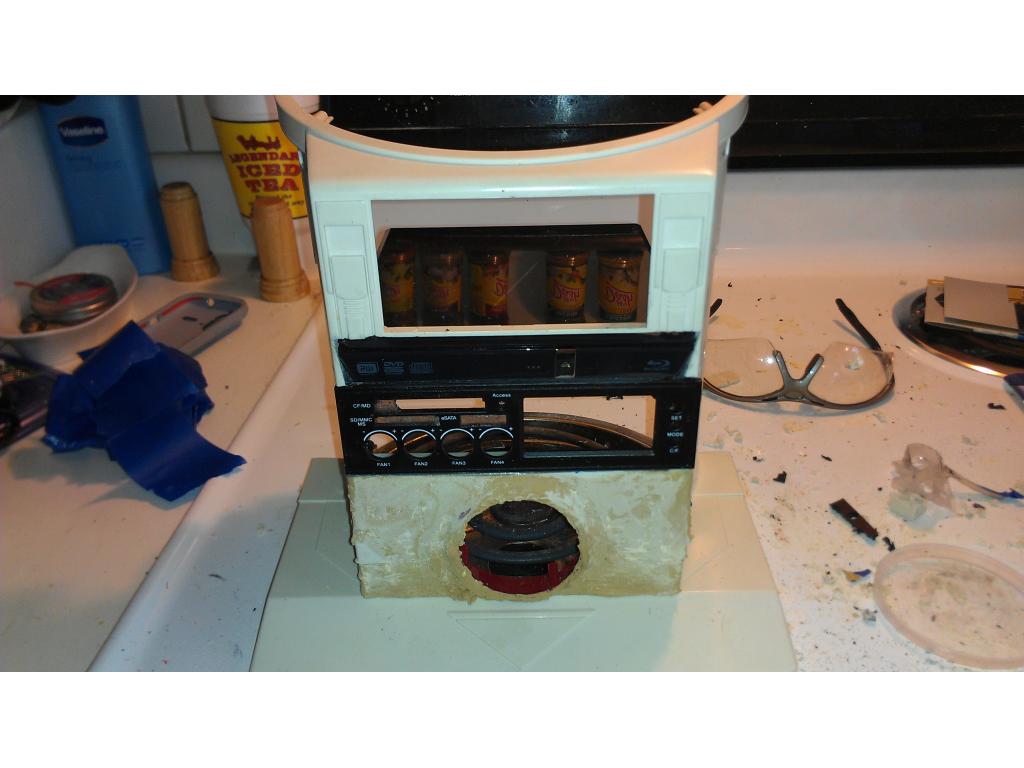
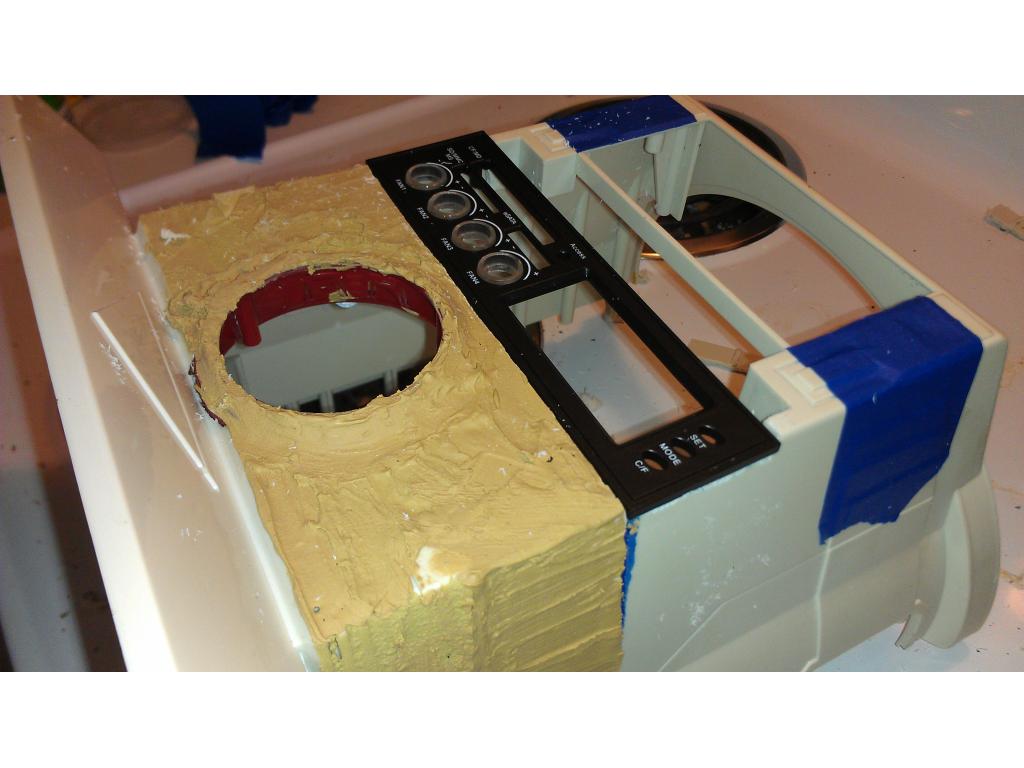
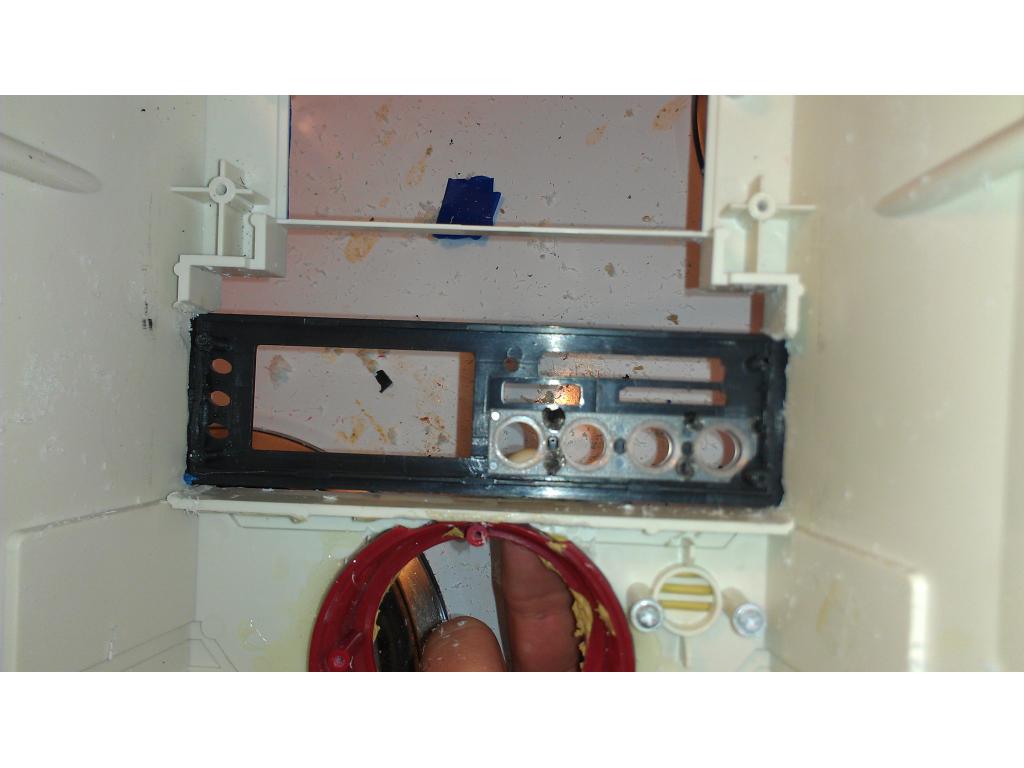
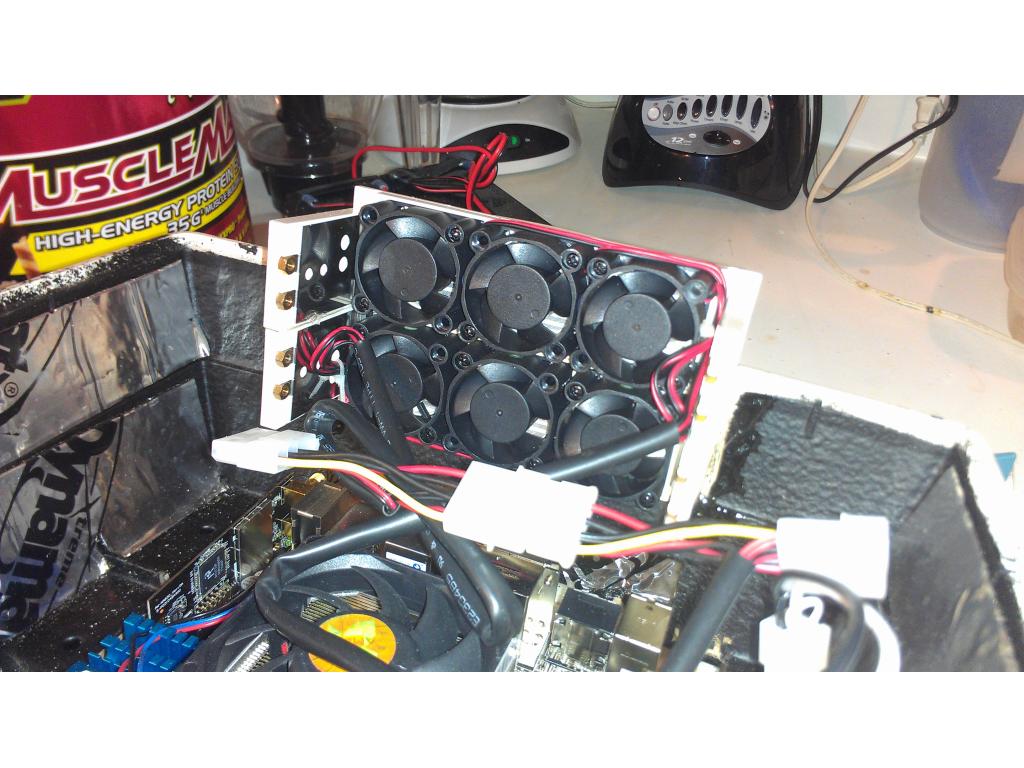
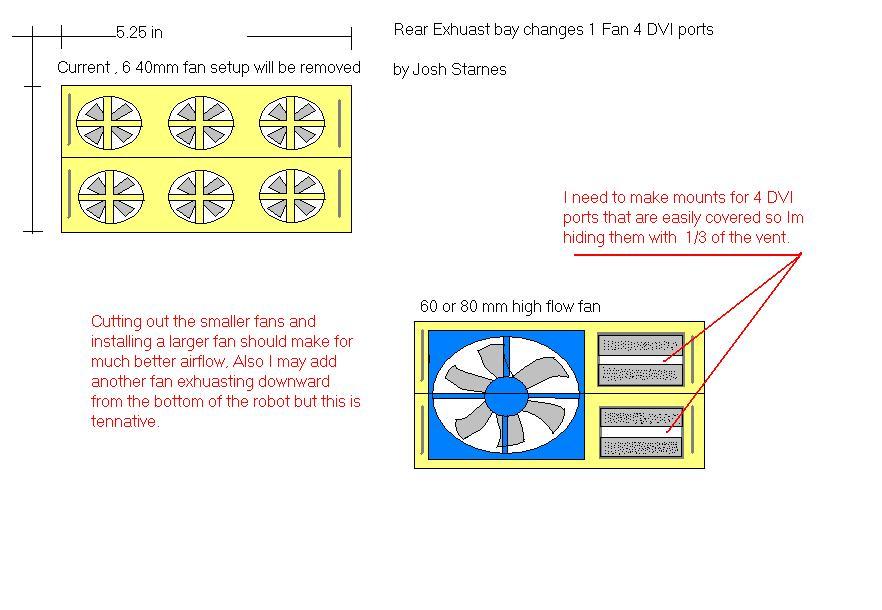
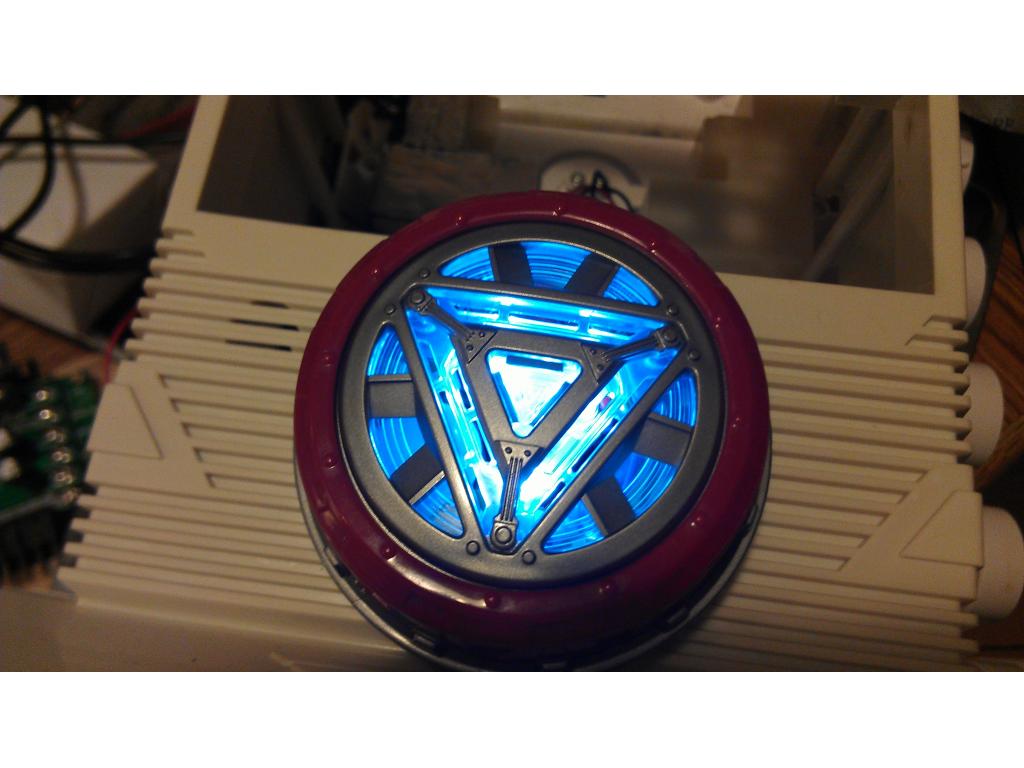
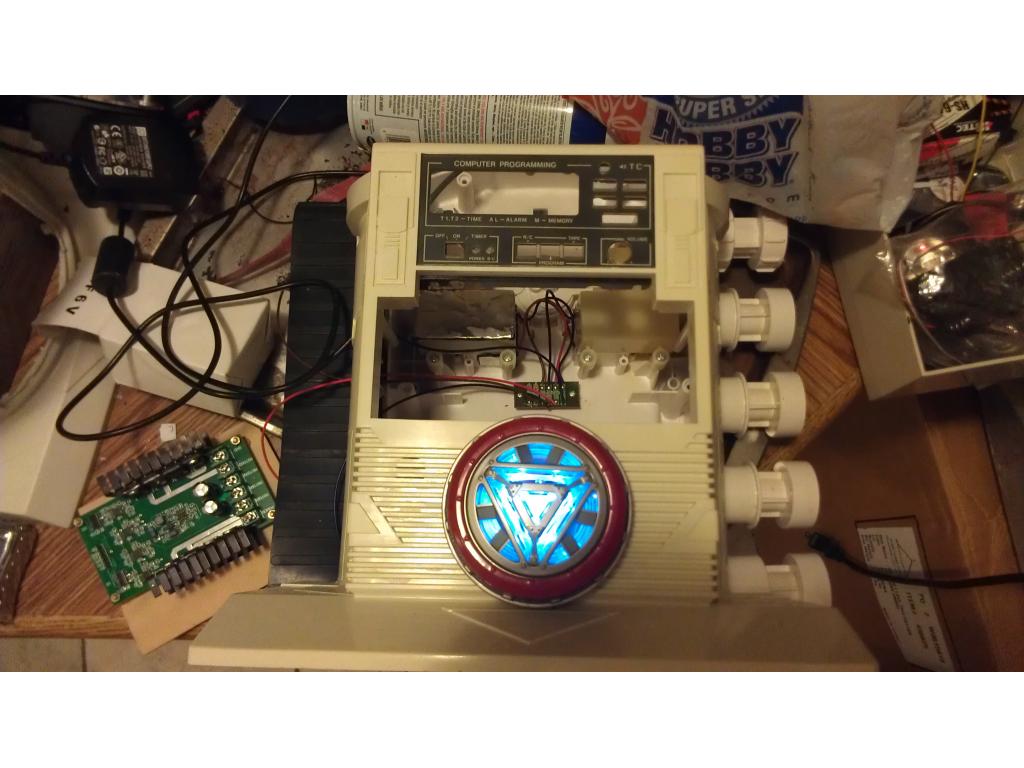
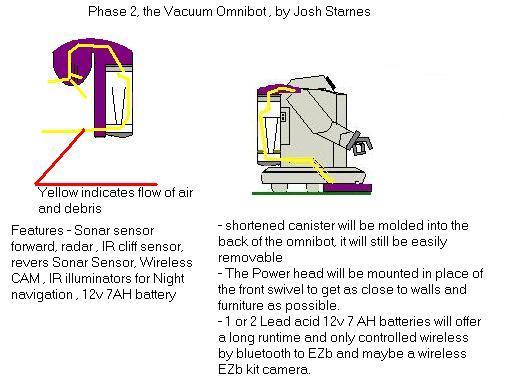
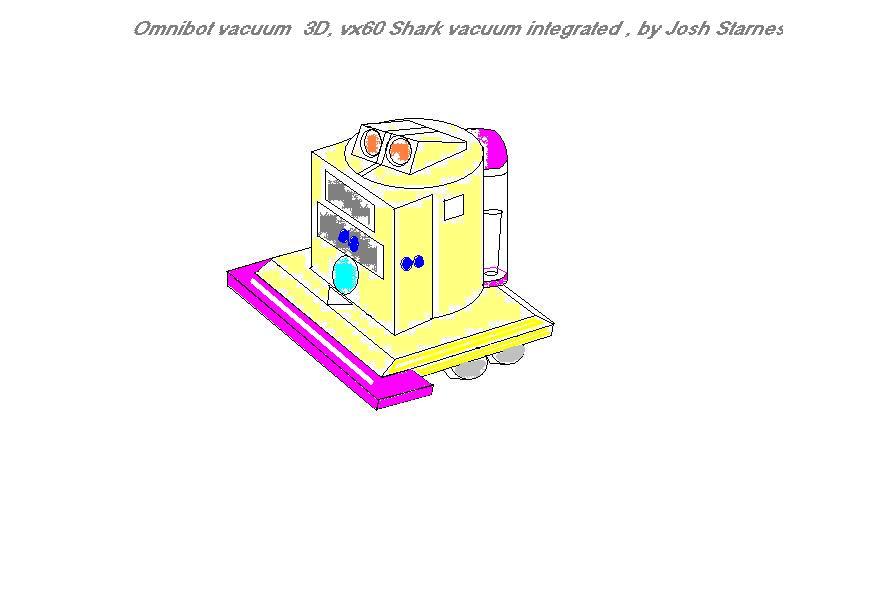
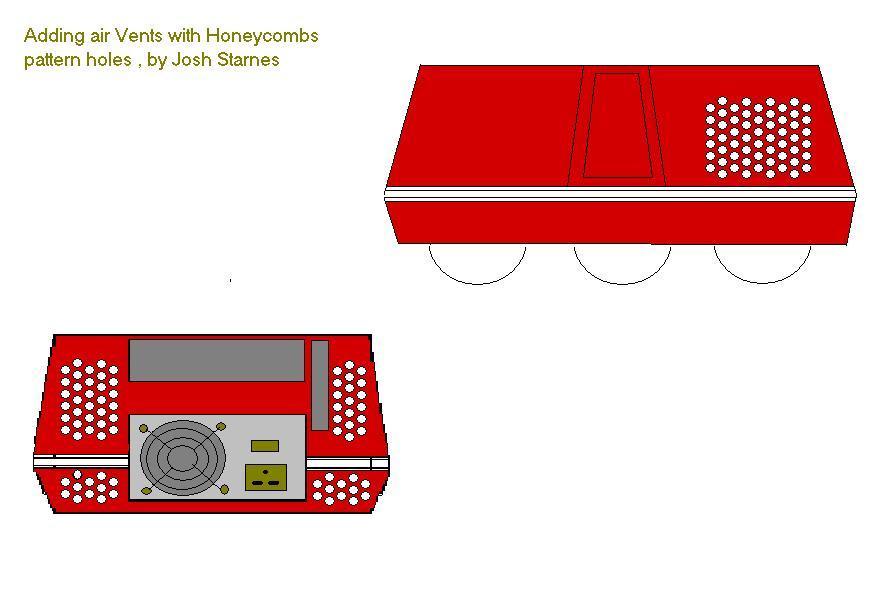
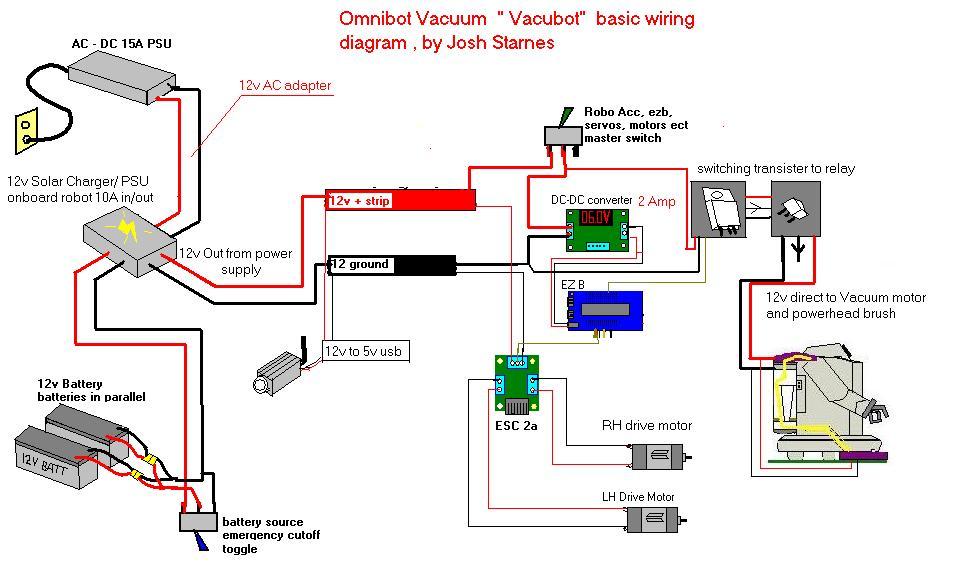
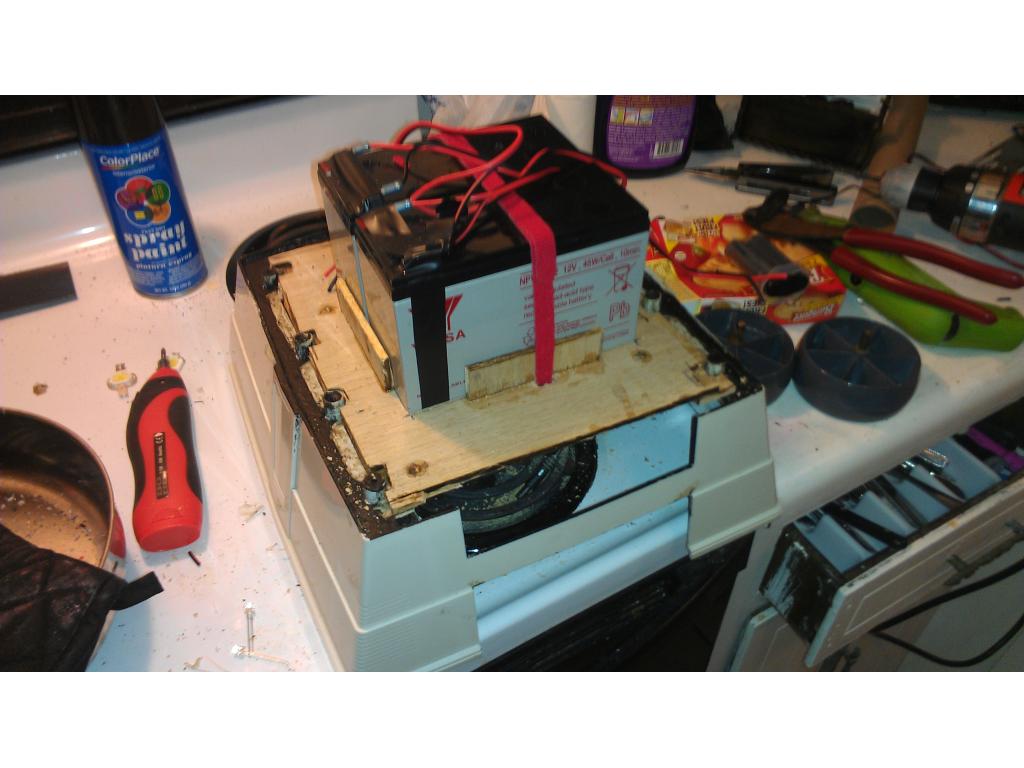
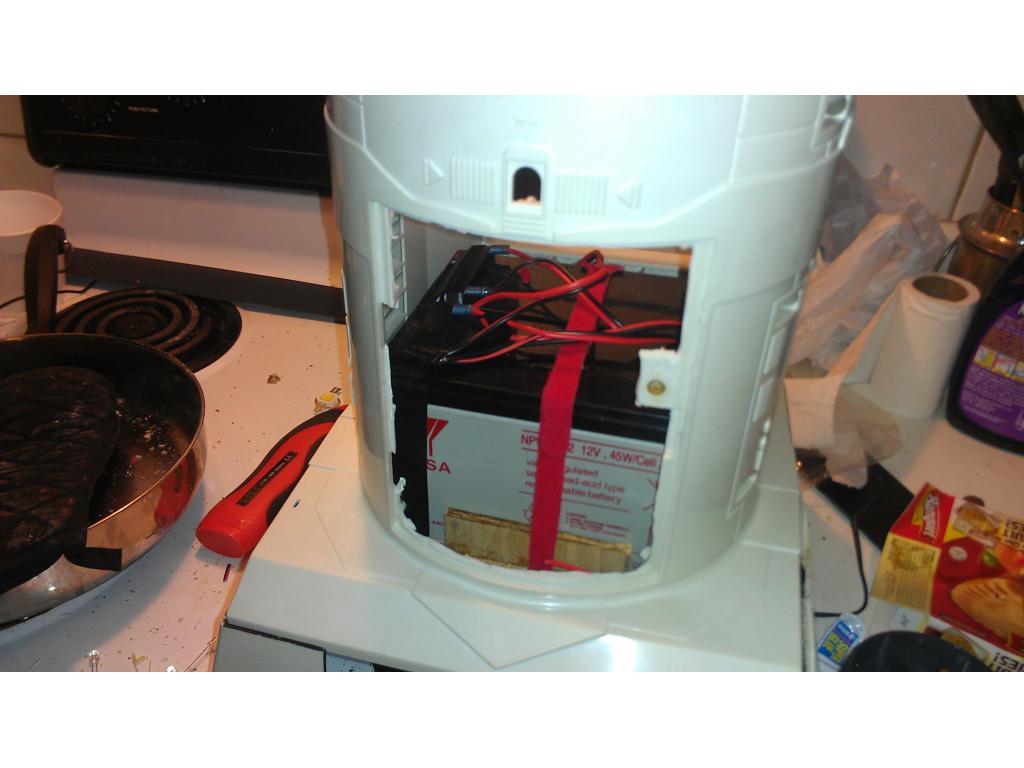
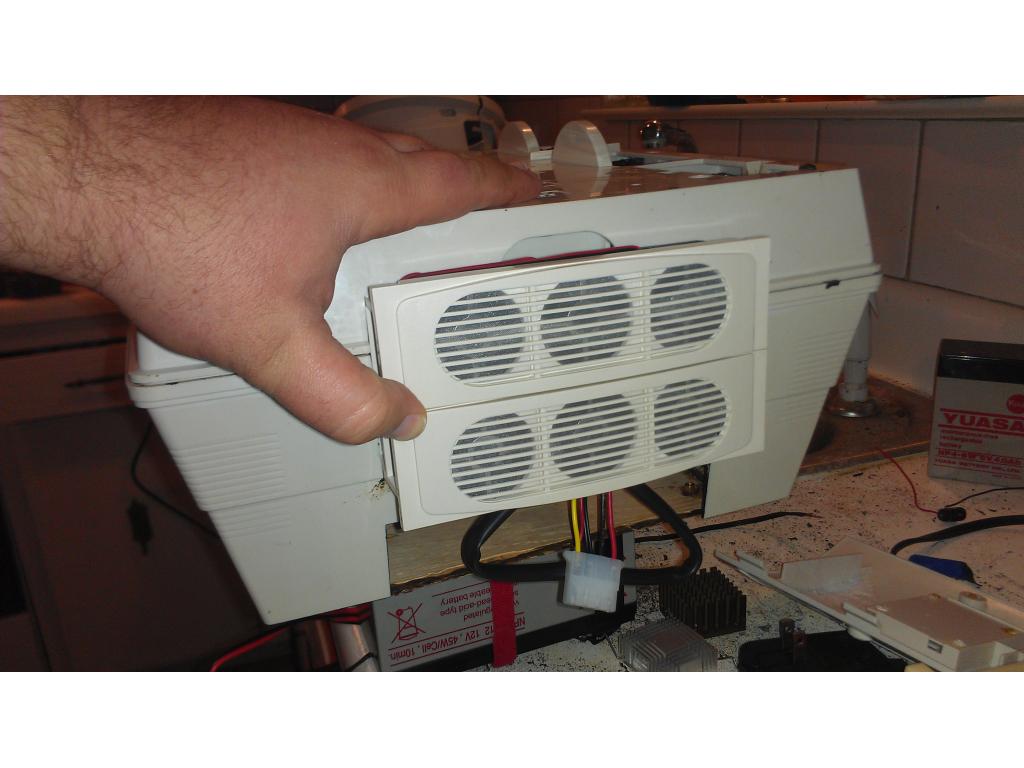
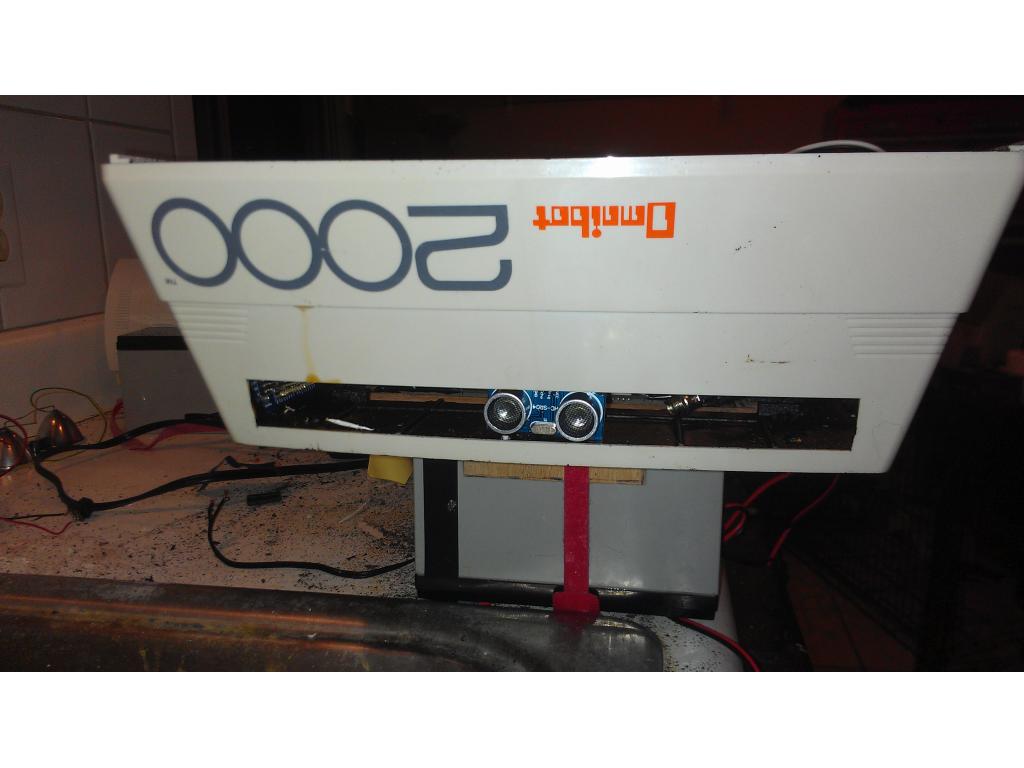
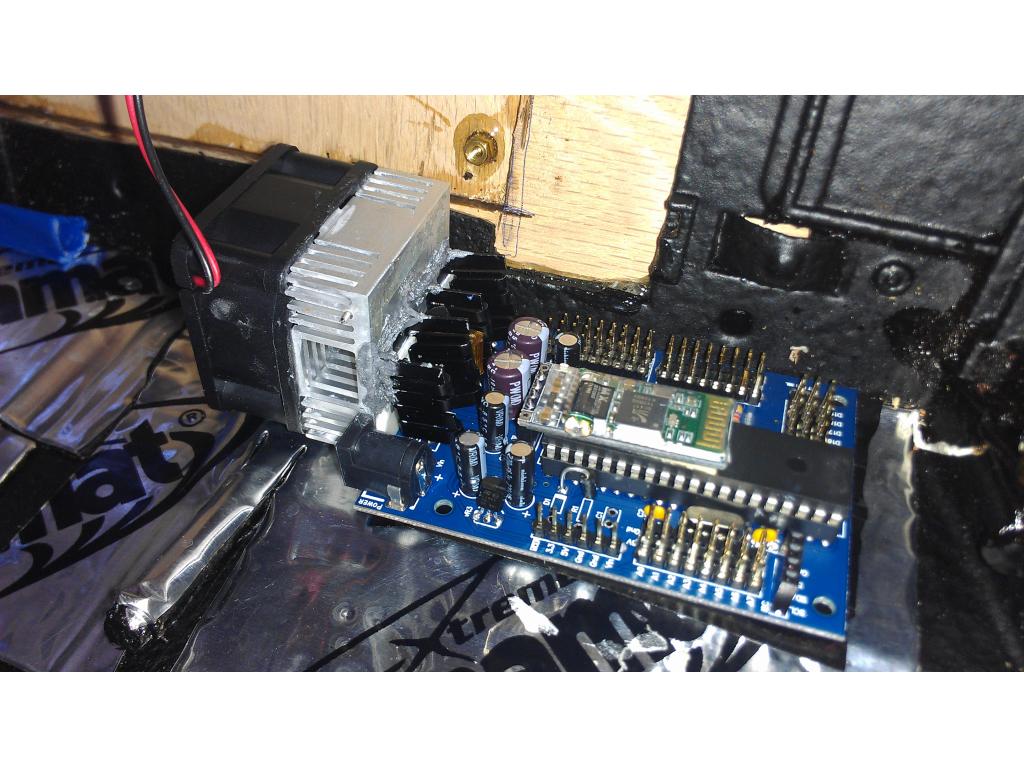
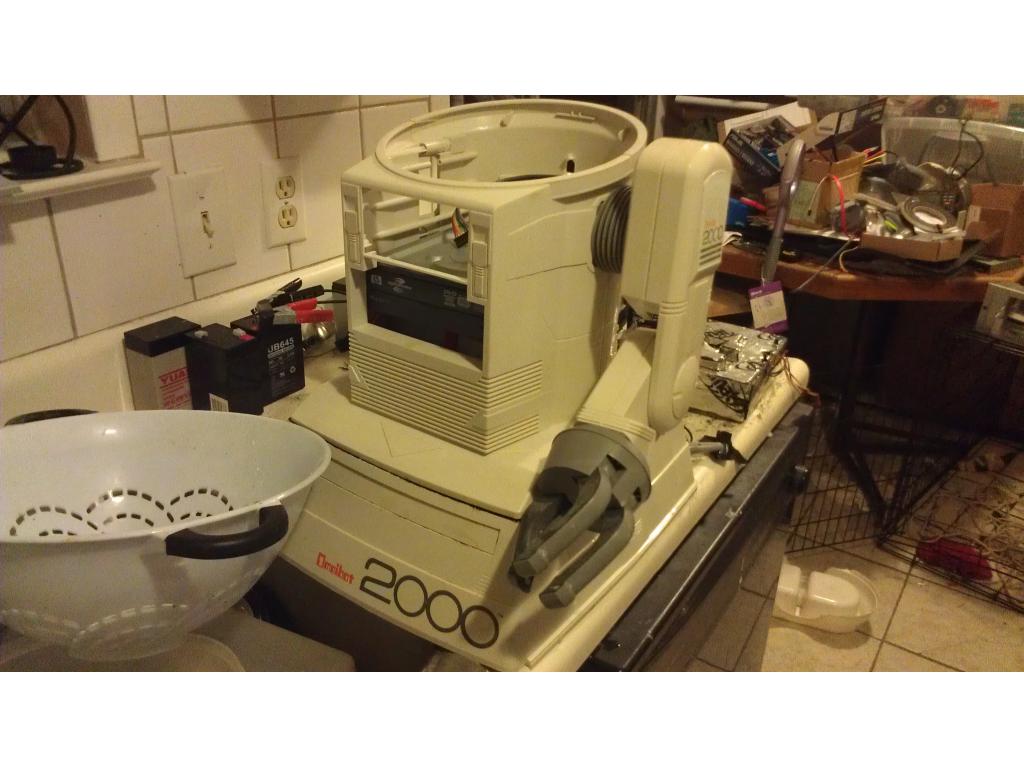
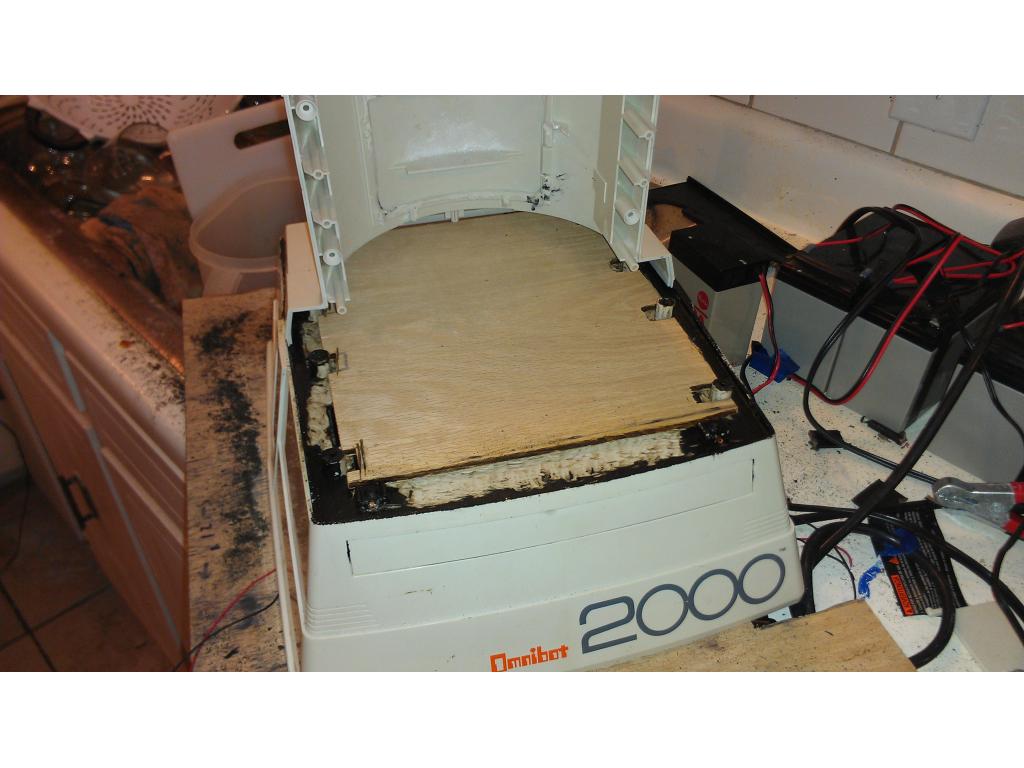
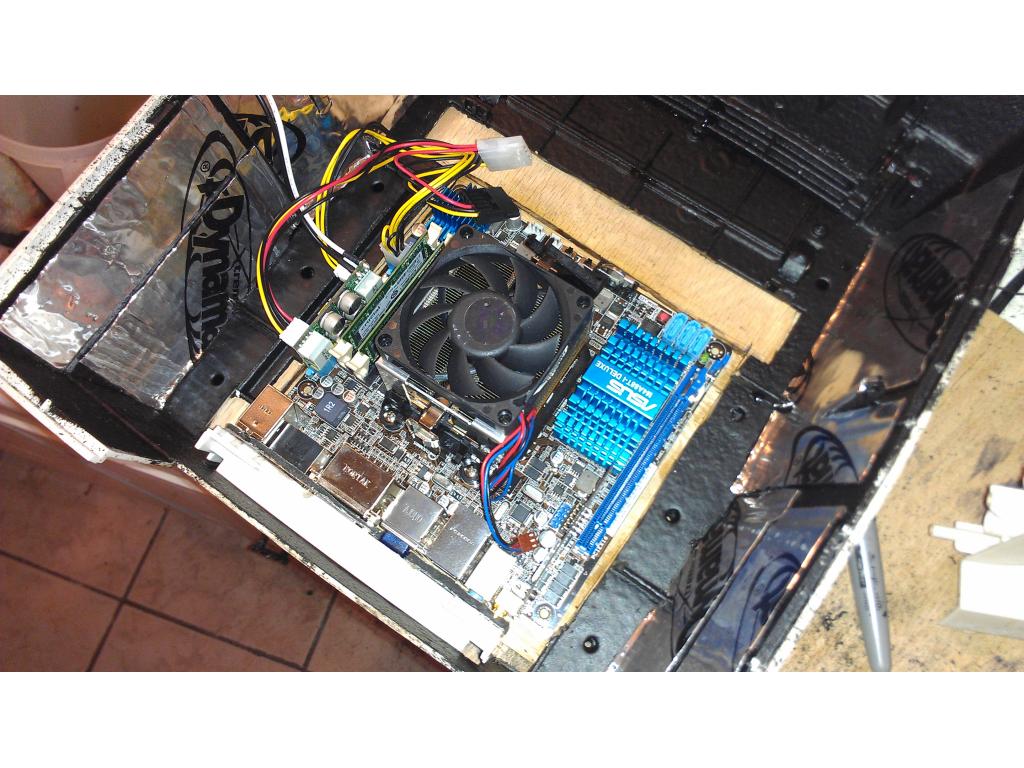
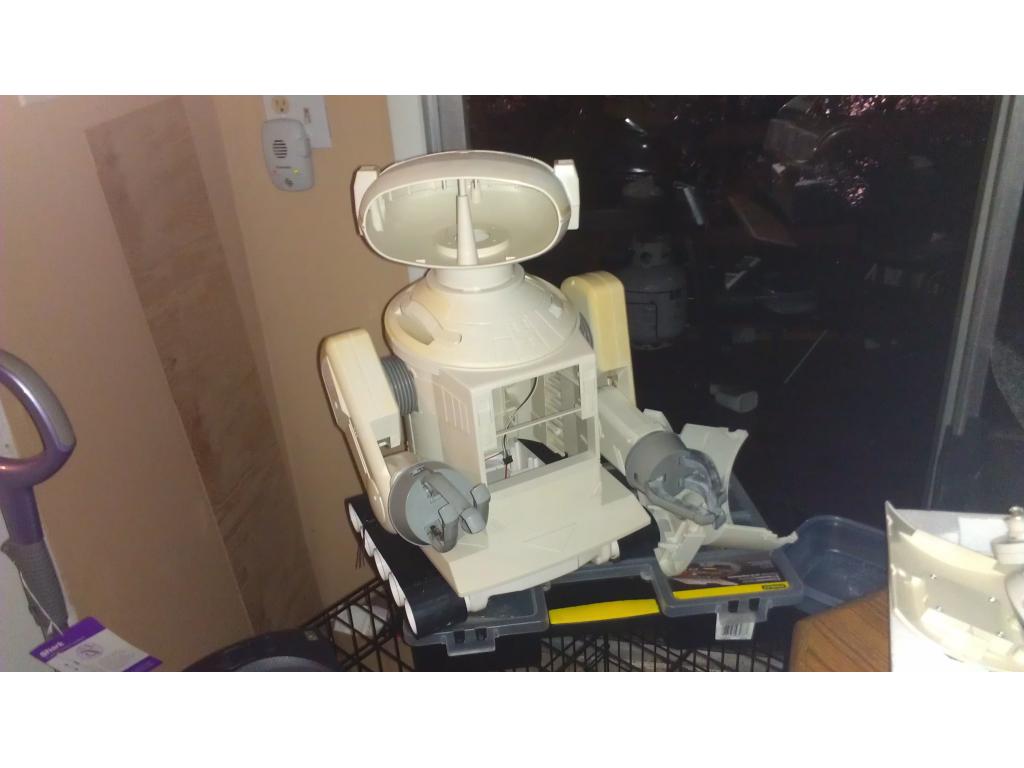
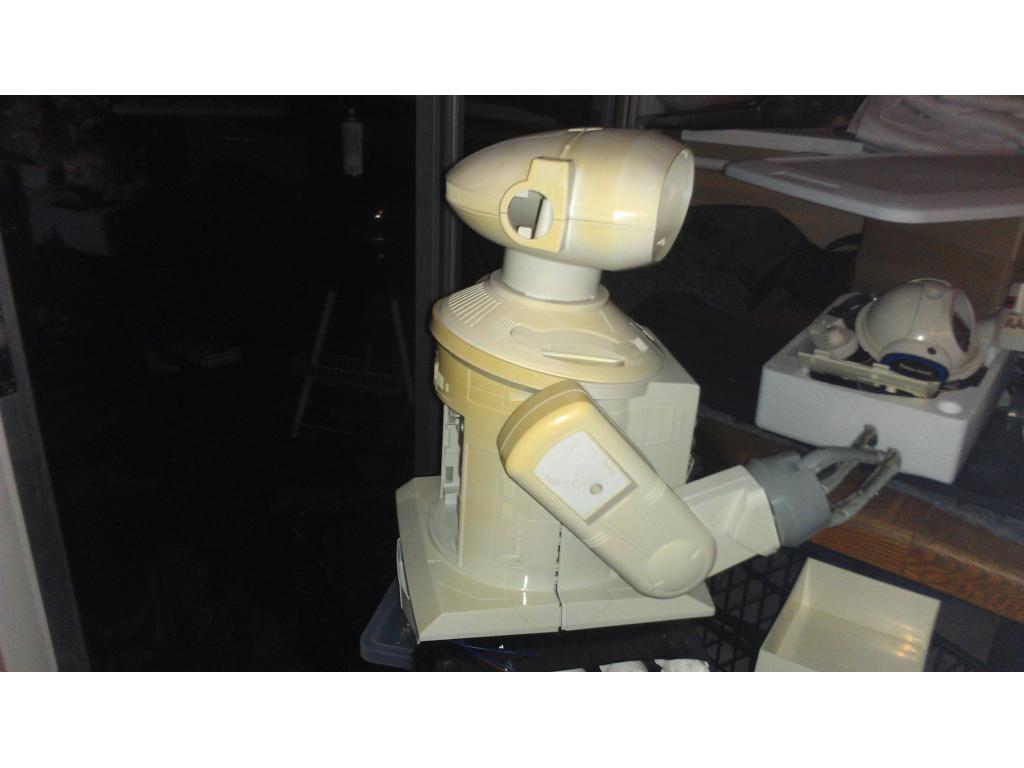
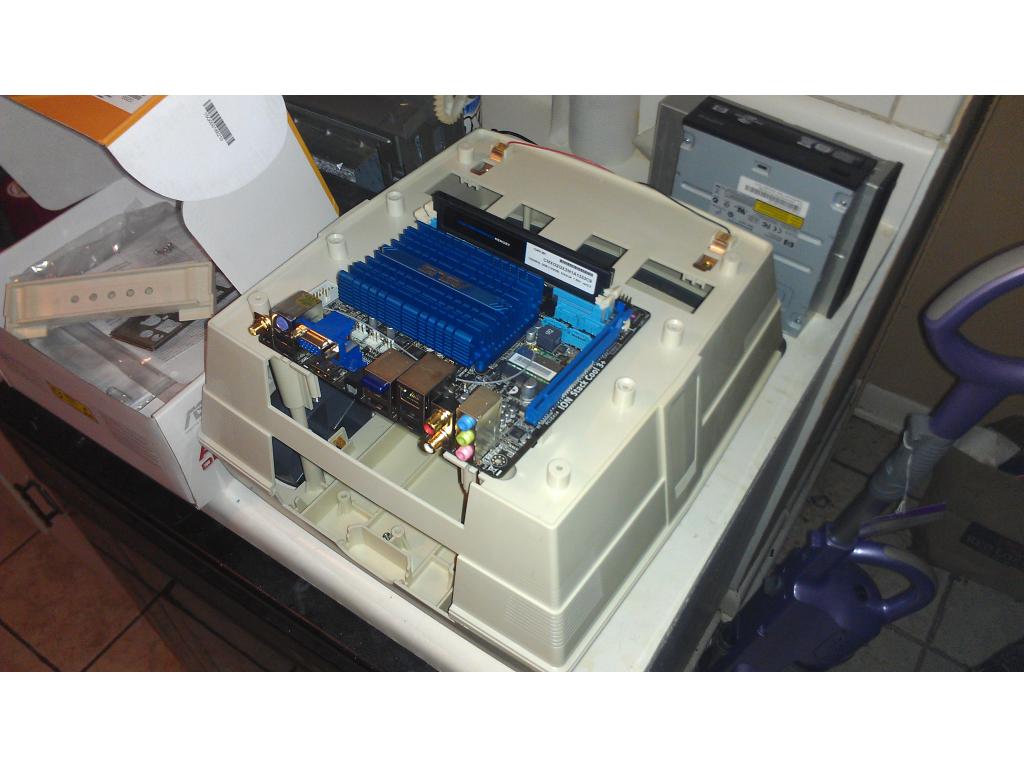
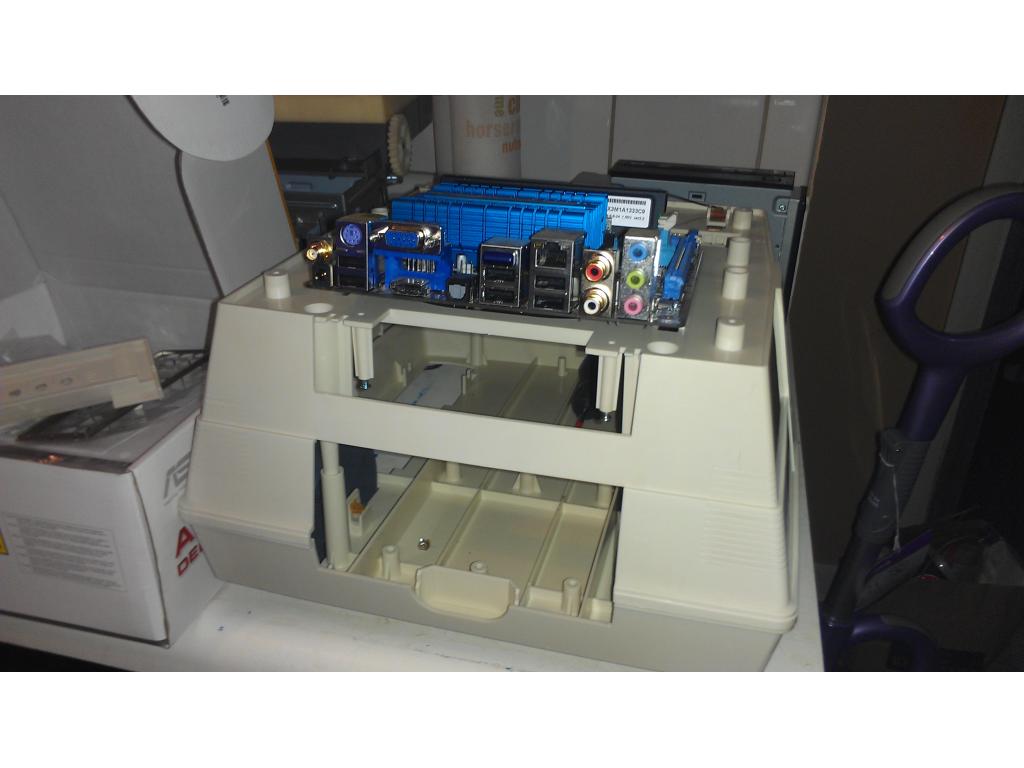
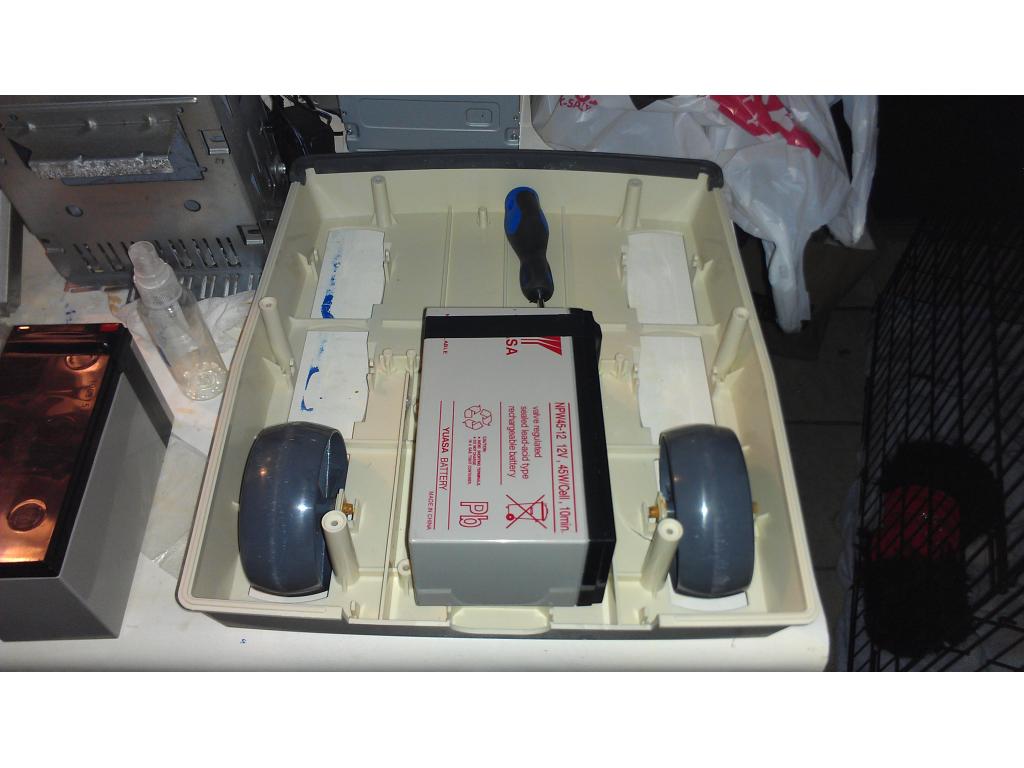
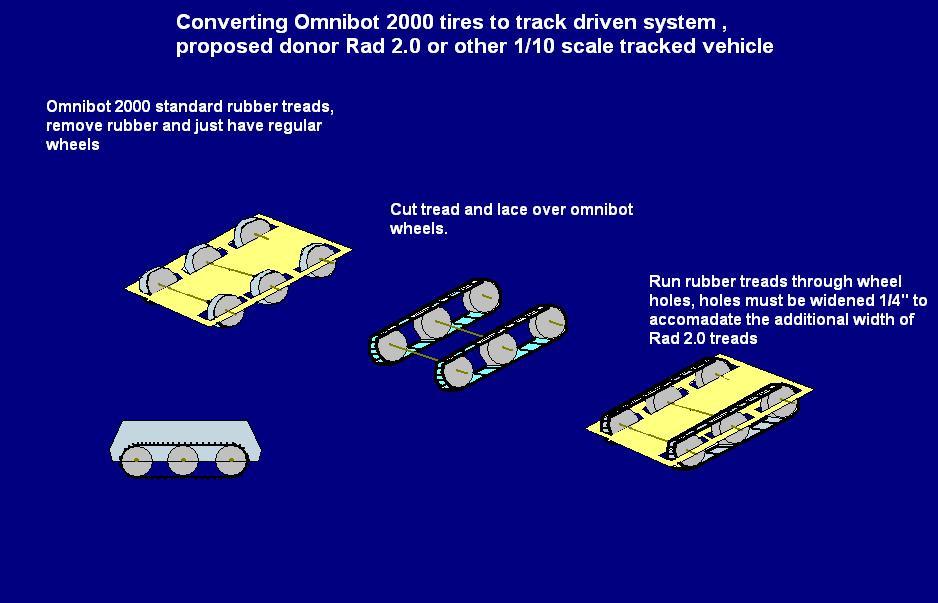
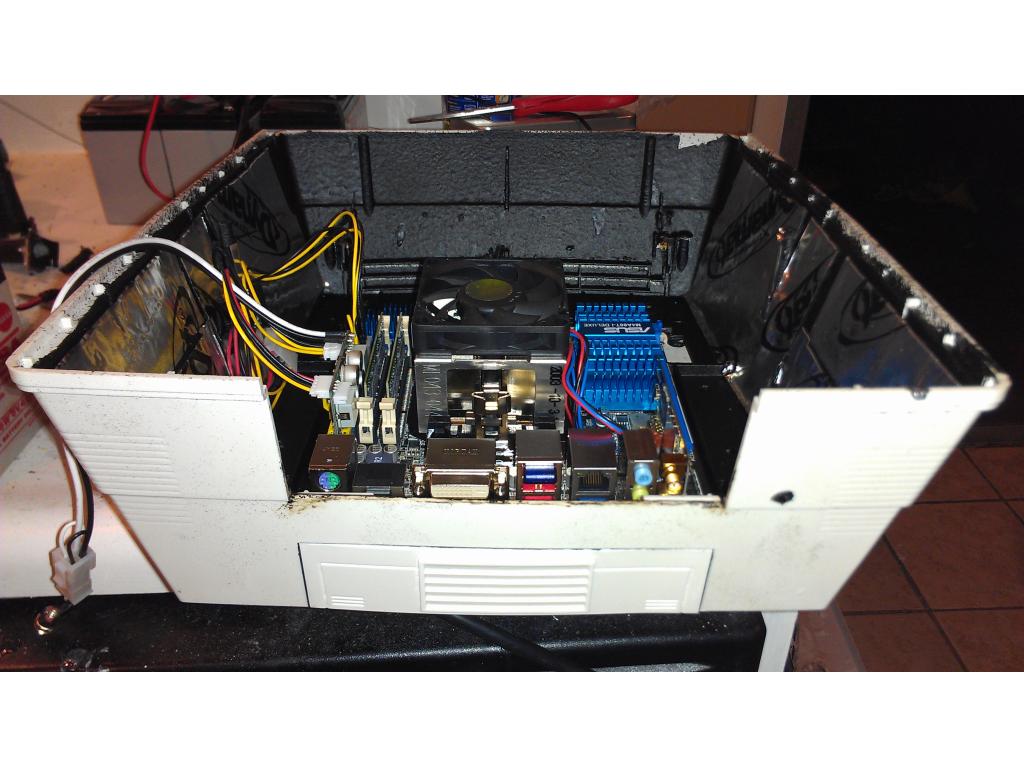
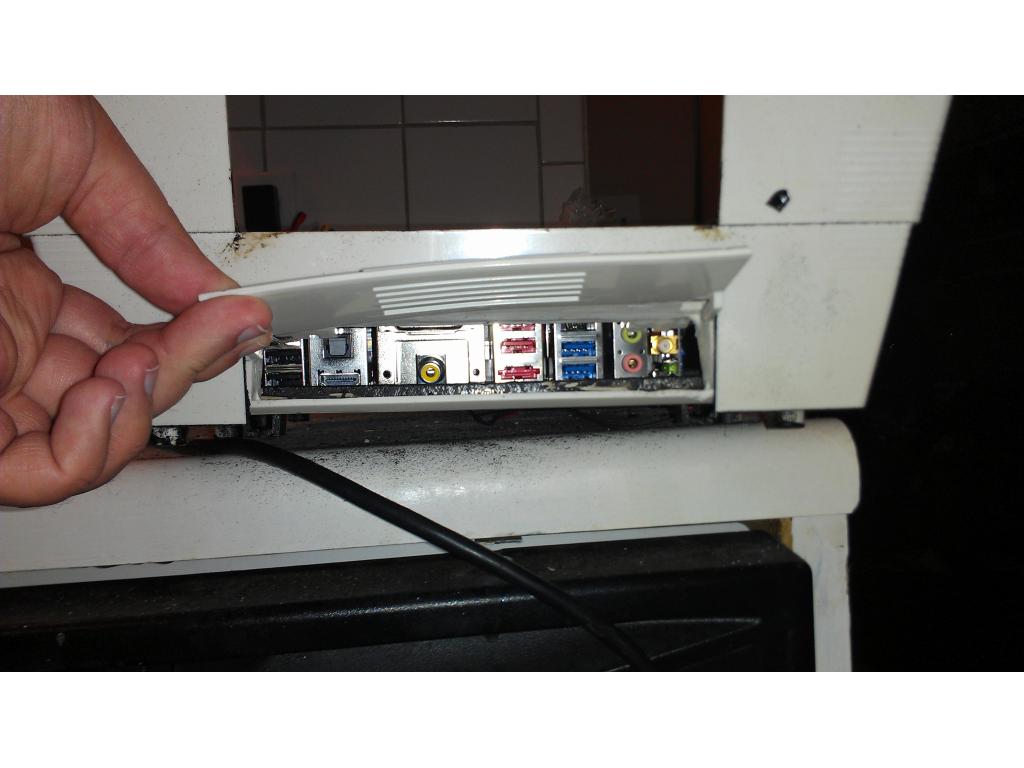
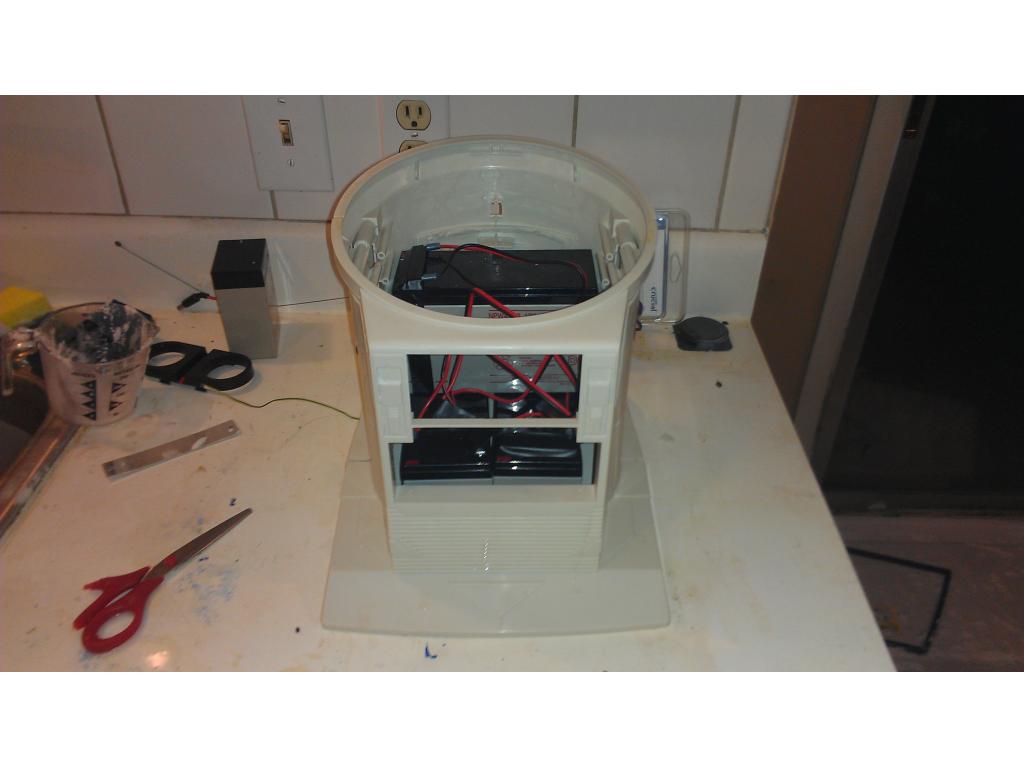
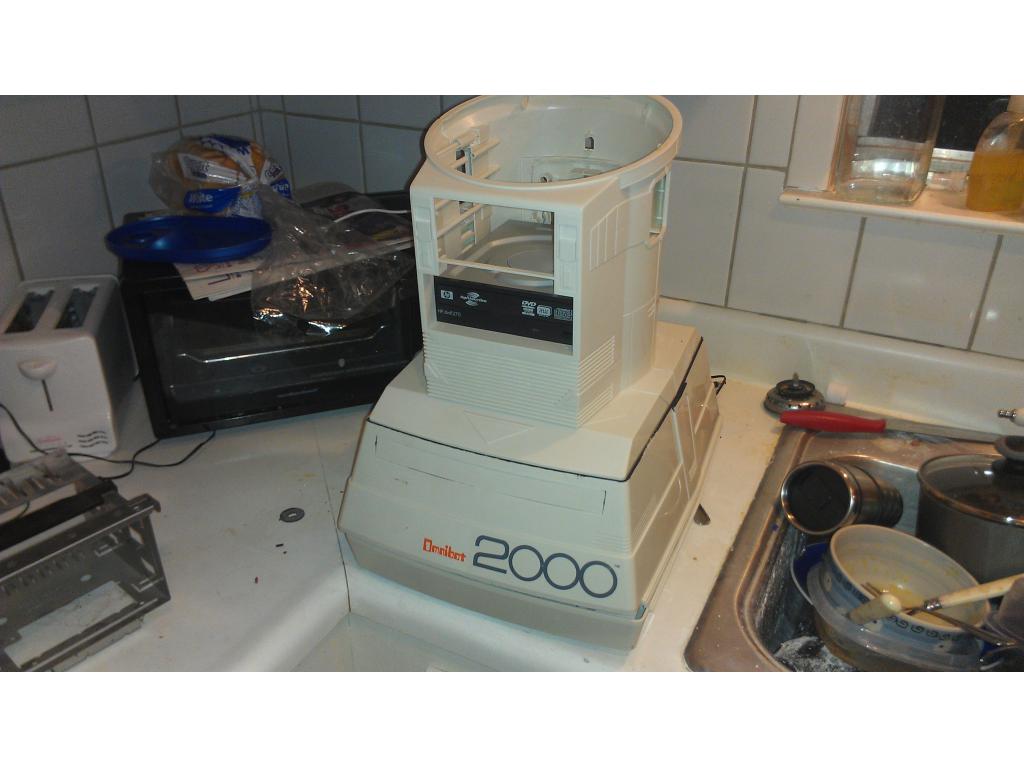
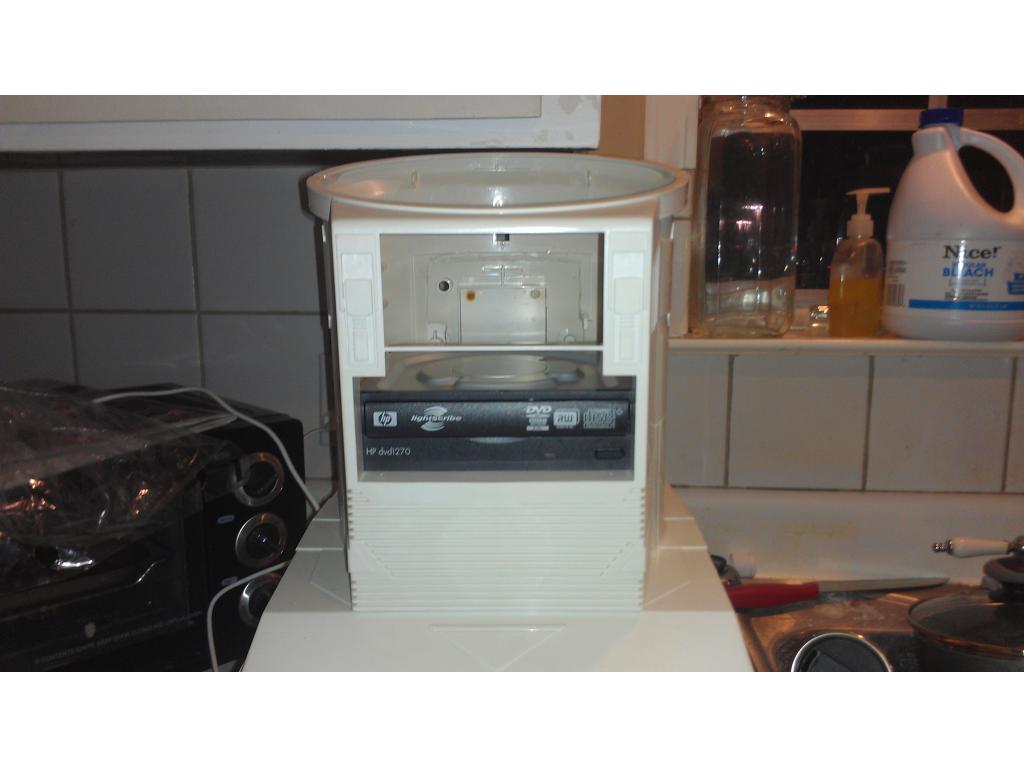
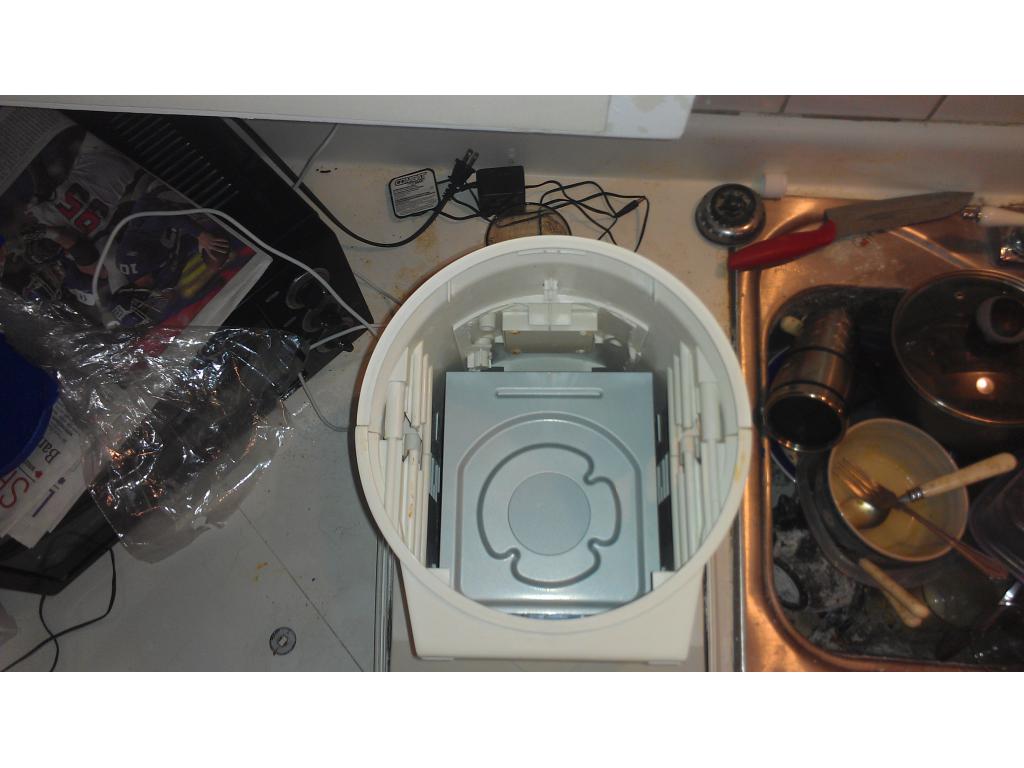
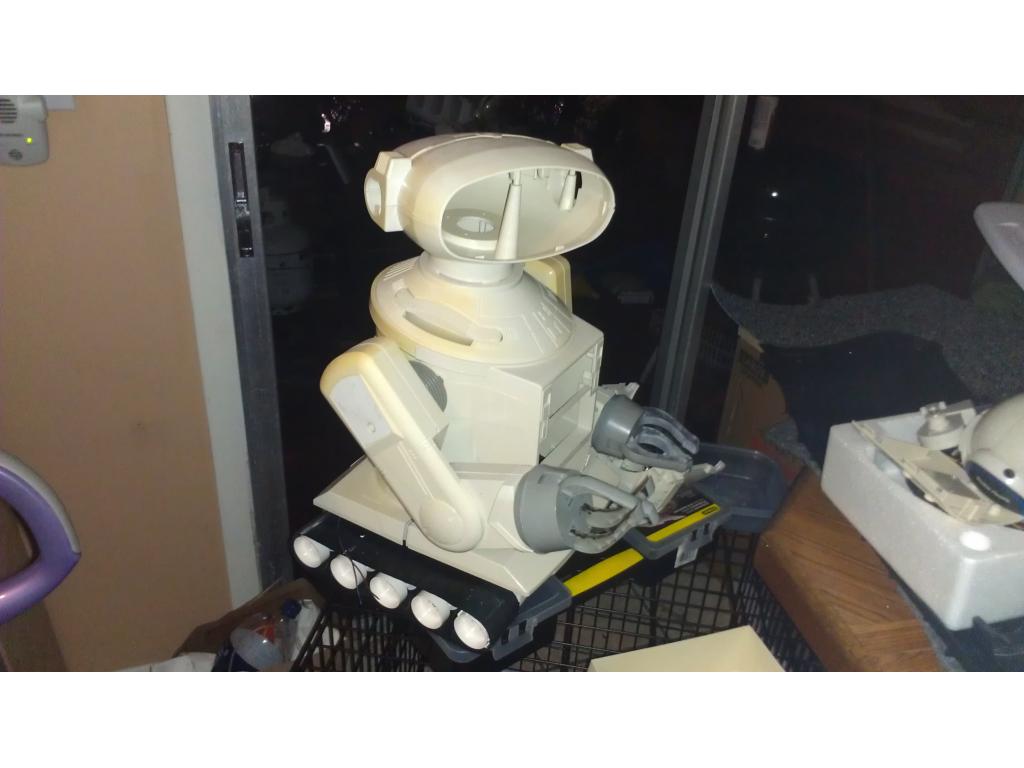
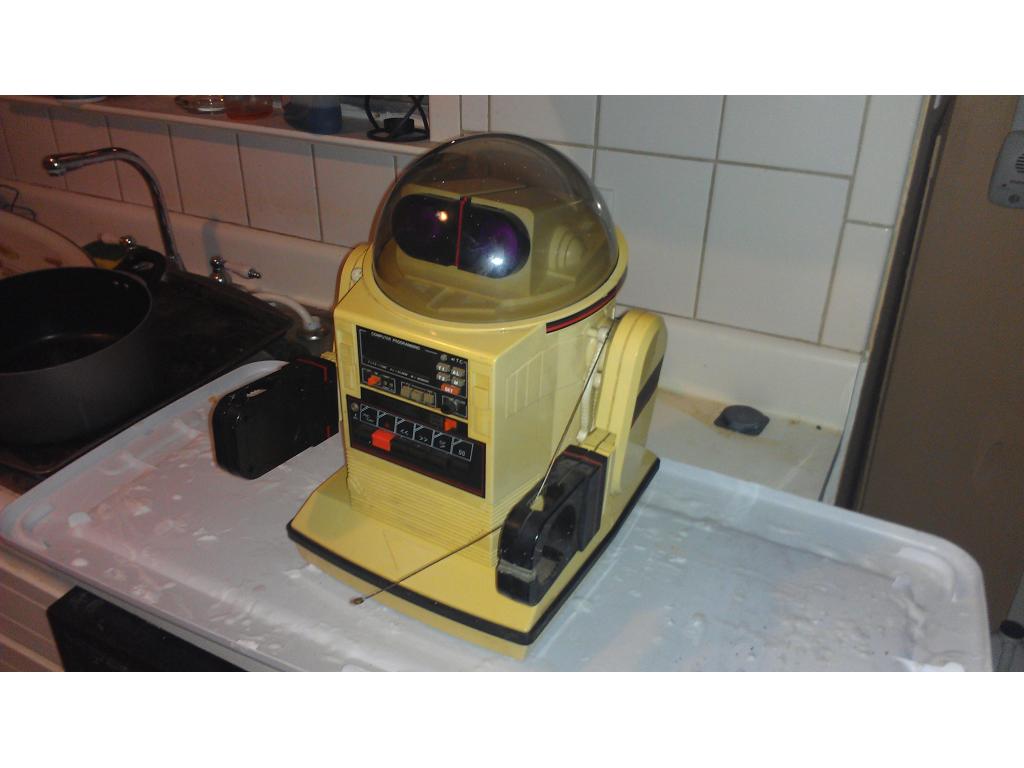
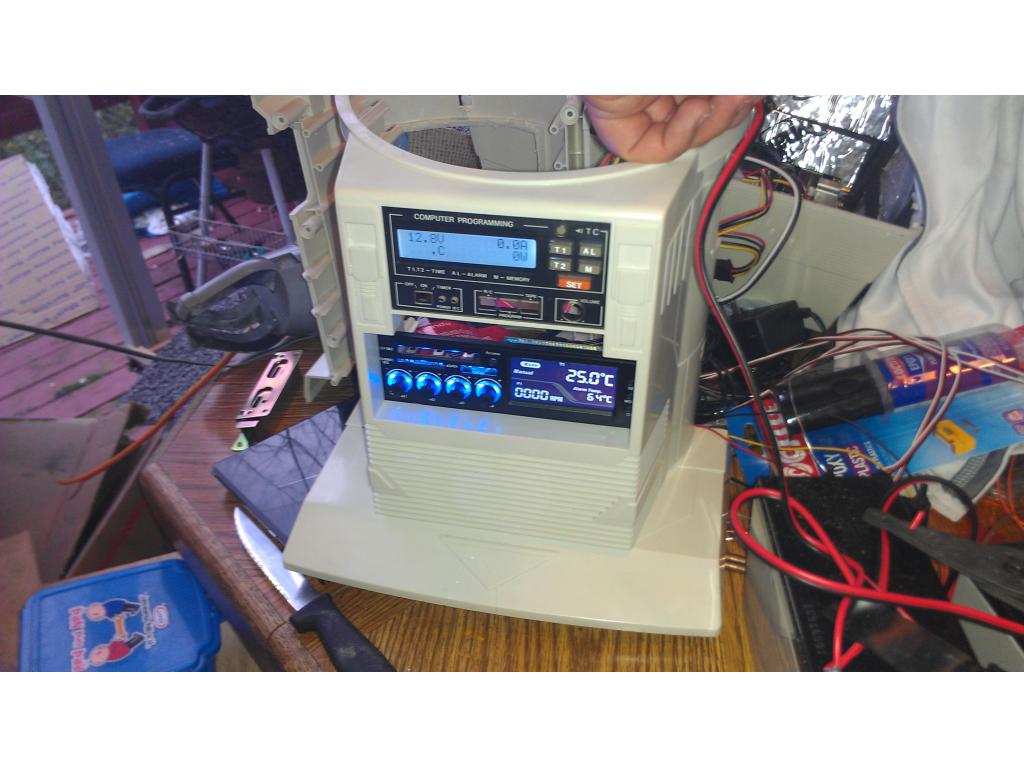
This project has evolved some , the basic rundown is I'm modding two Omnibots , one a regular the other a larger 2000 model. I will have two ezb kits , rad base idea was thrown out because of so much noise but could go back on the table if the omnibot drivetrain is too weak to pull it.


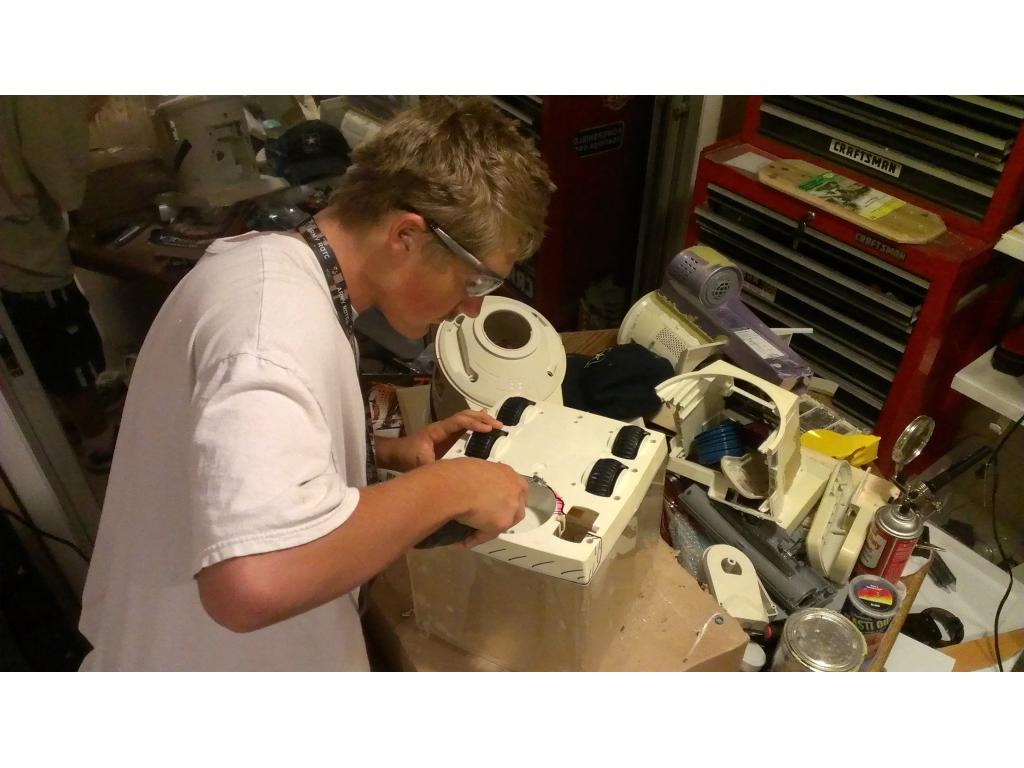
By jstarne1
— Last update
Discover more robots

Smarty's Halloween Synthiam - Annabell
Annabell Halloween EZ-Robot, a new spooky custom robot shared with EZ-Robot friends.
Robotz012248's My Desktop Trio Of Robots
Interactive desktop robots built from a Harbor Freight parts box using EZ-B, micro servos, pan/tilt and LEDs, programmed...
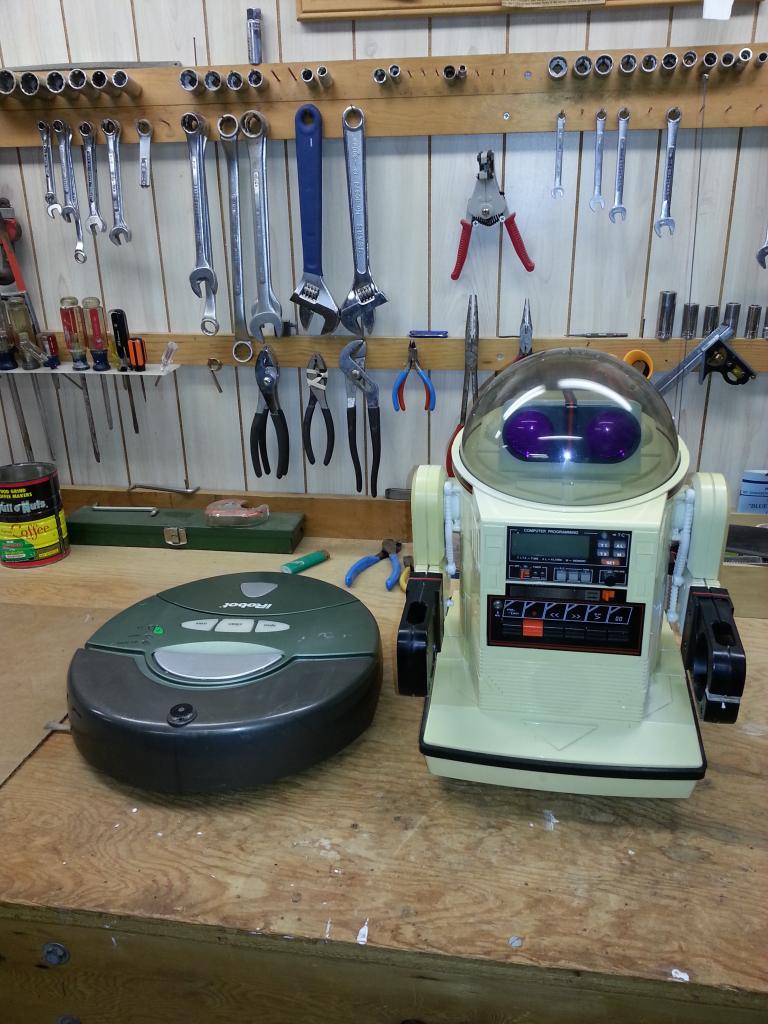
Jer361's Romni The Omnibot/Roomba Hack
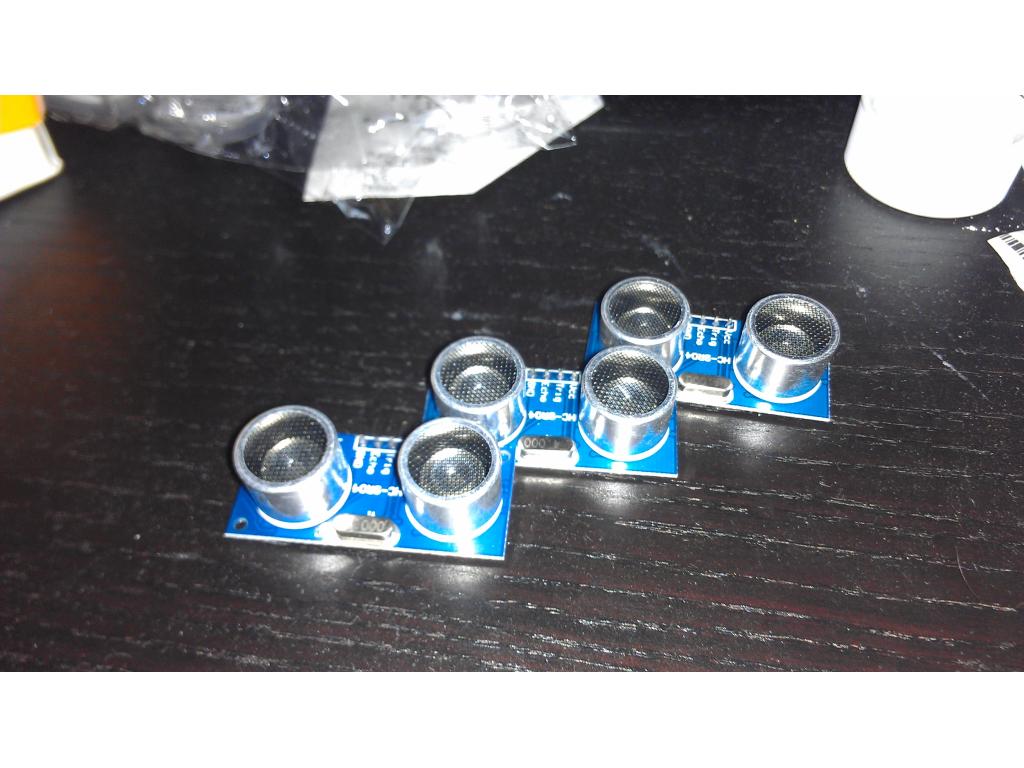
Omnibot mated to Roomba: a cleaning robot using EZ-Robot kit with camera, servos, sonar and voice for autonomous or...

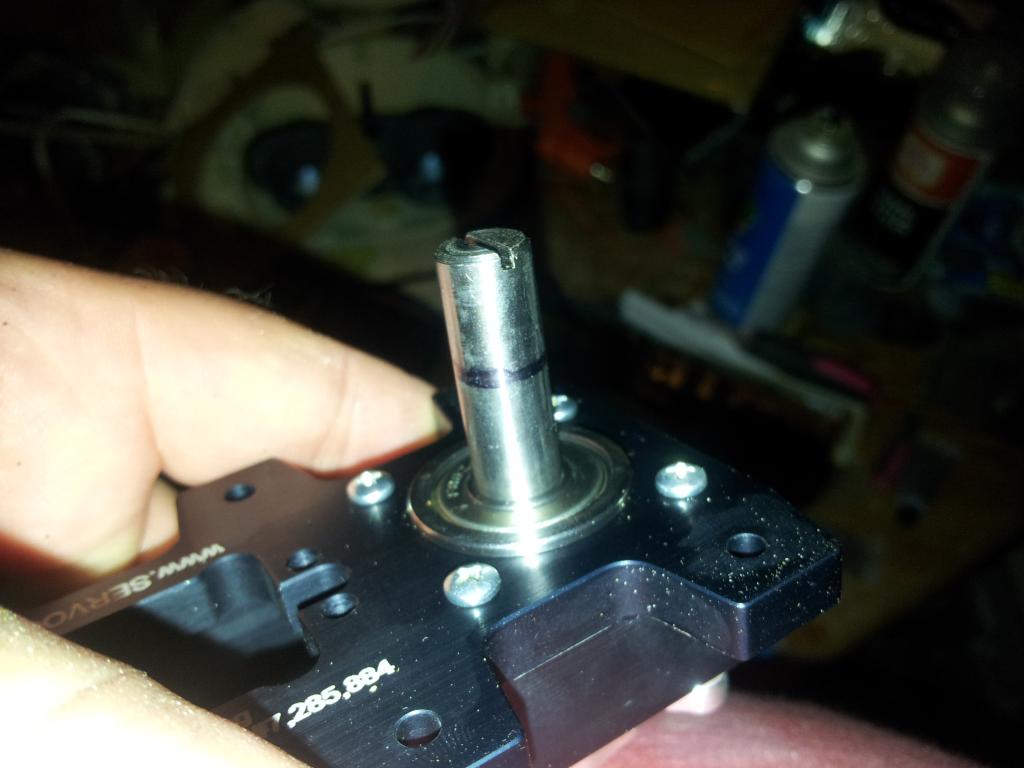
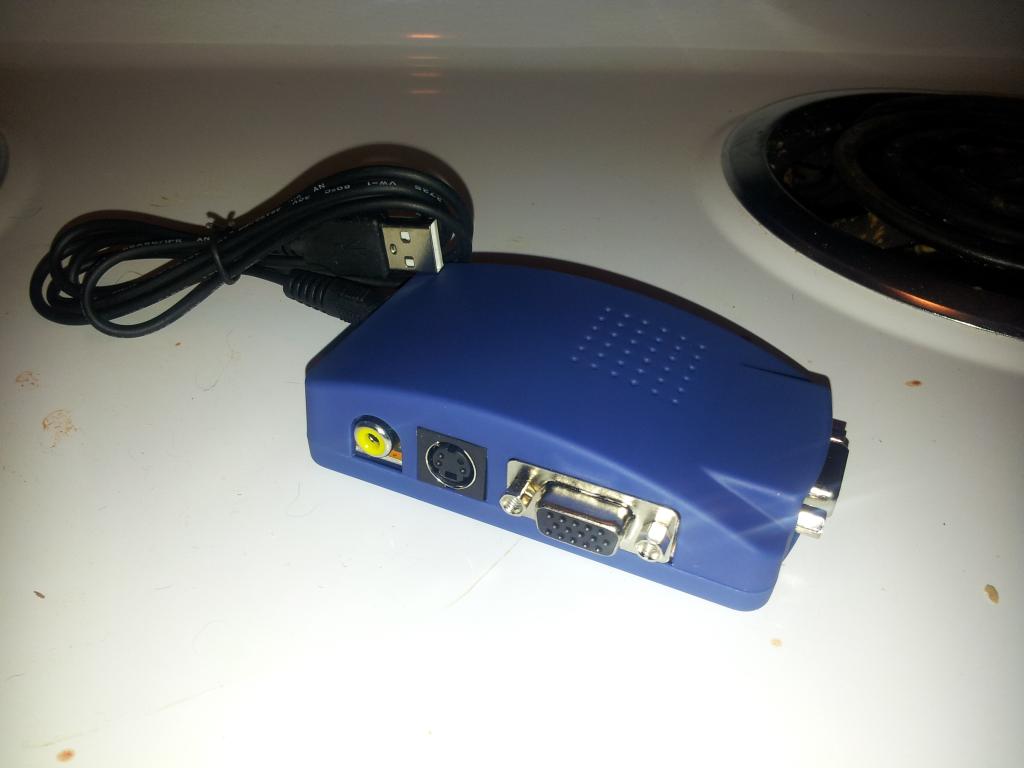
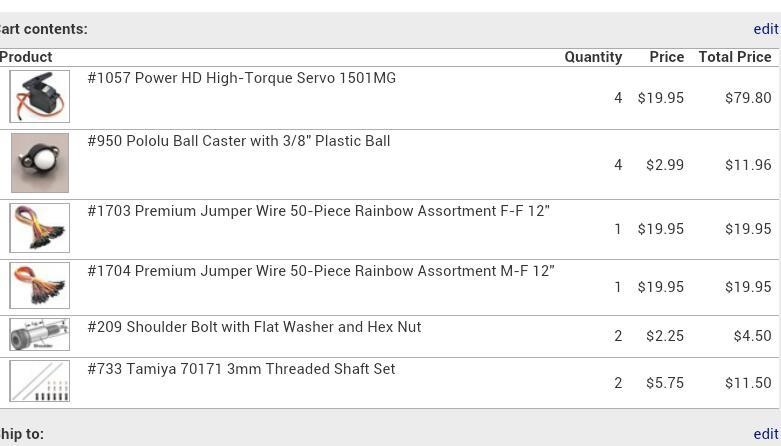
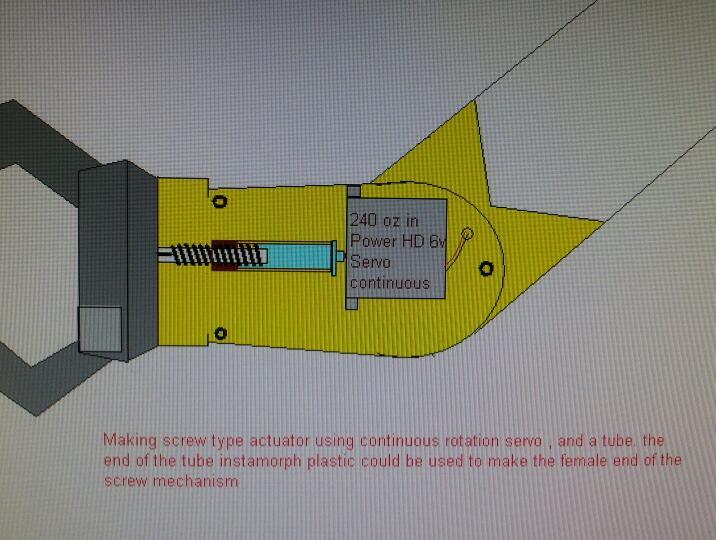
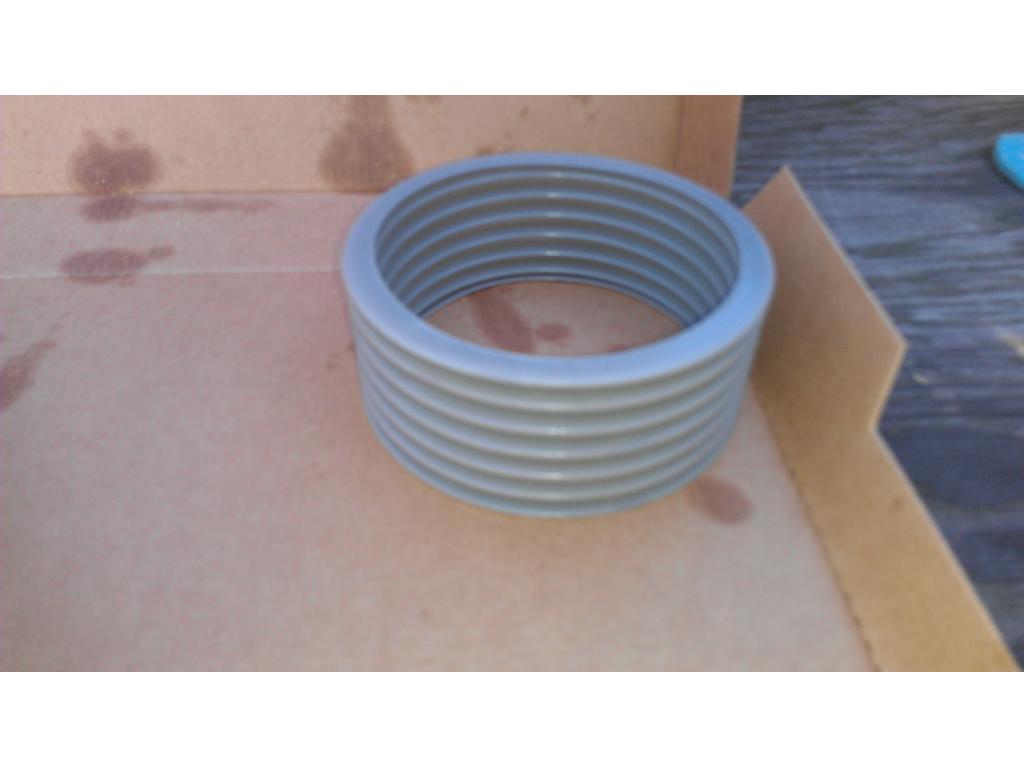
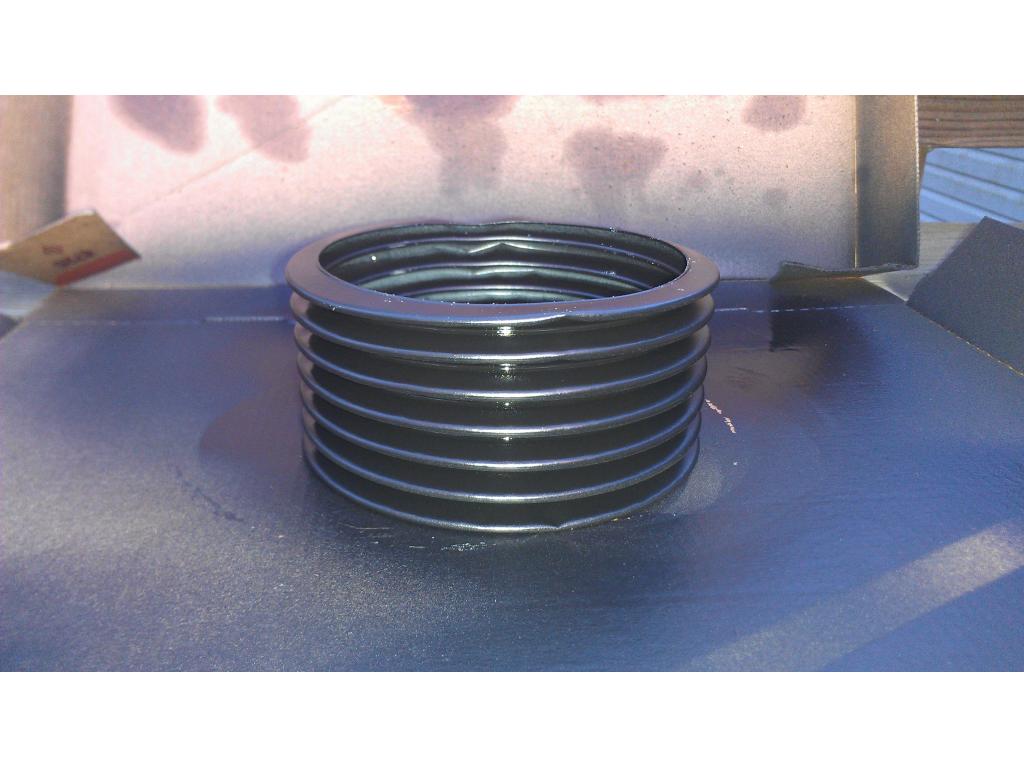
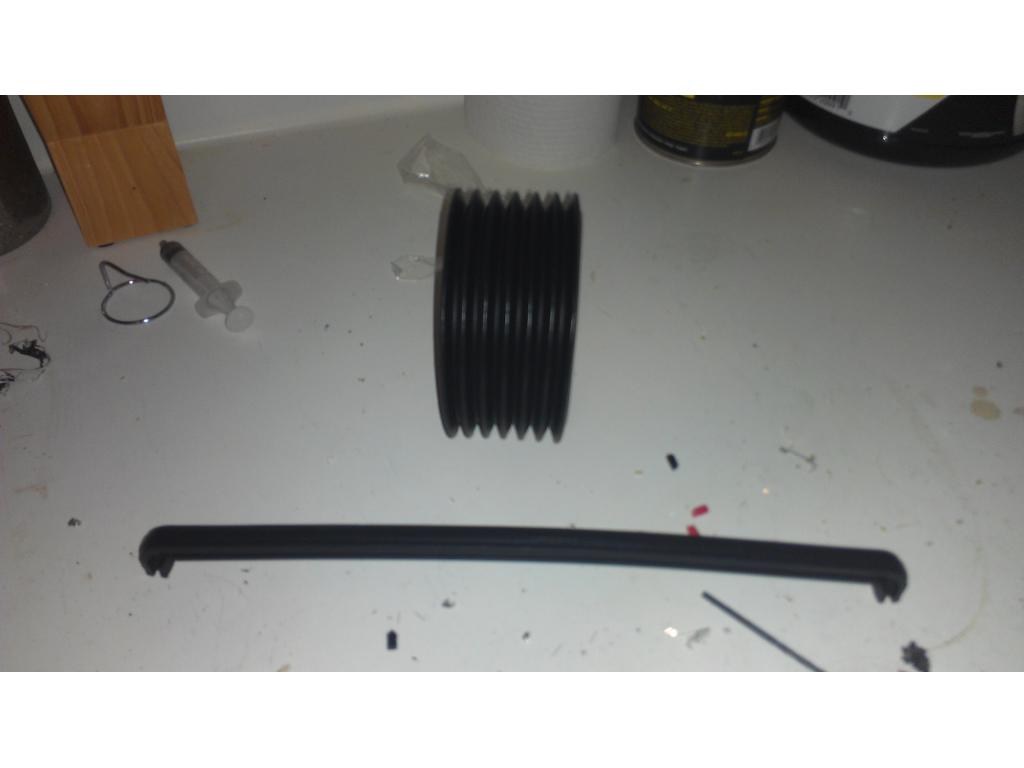
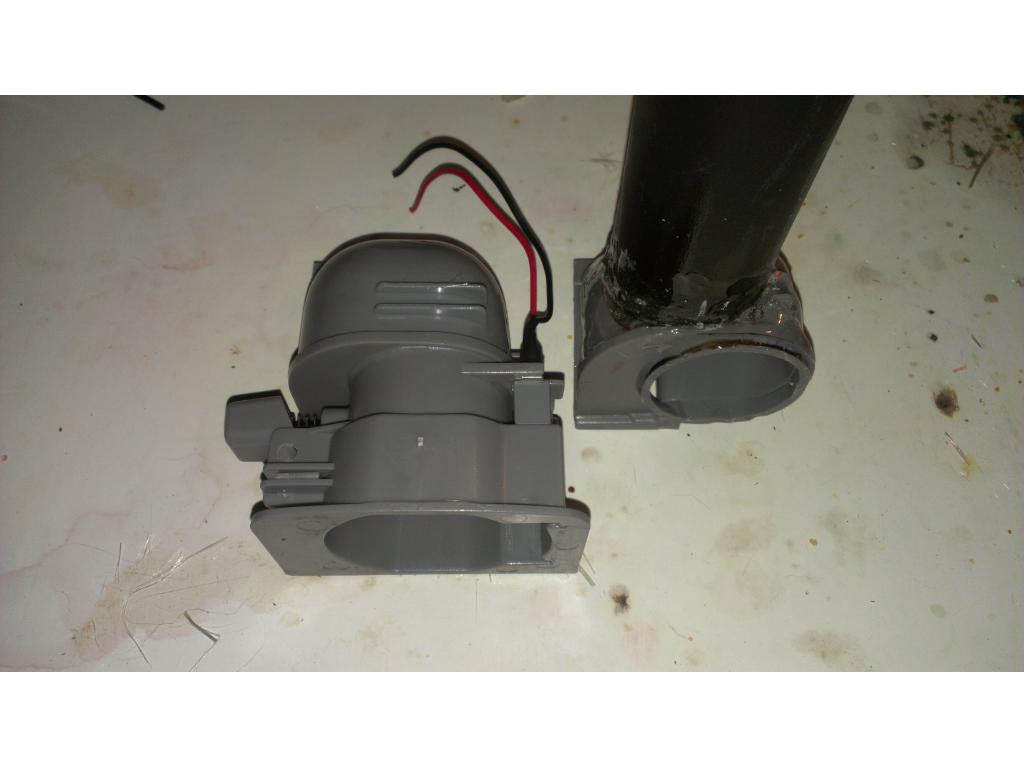
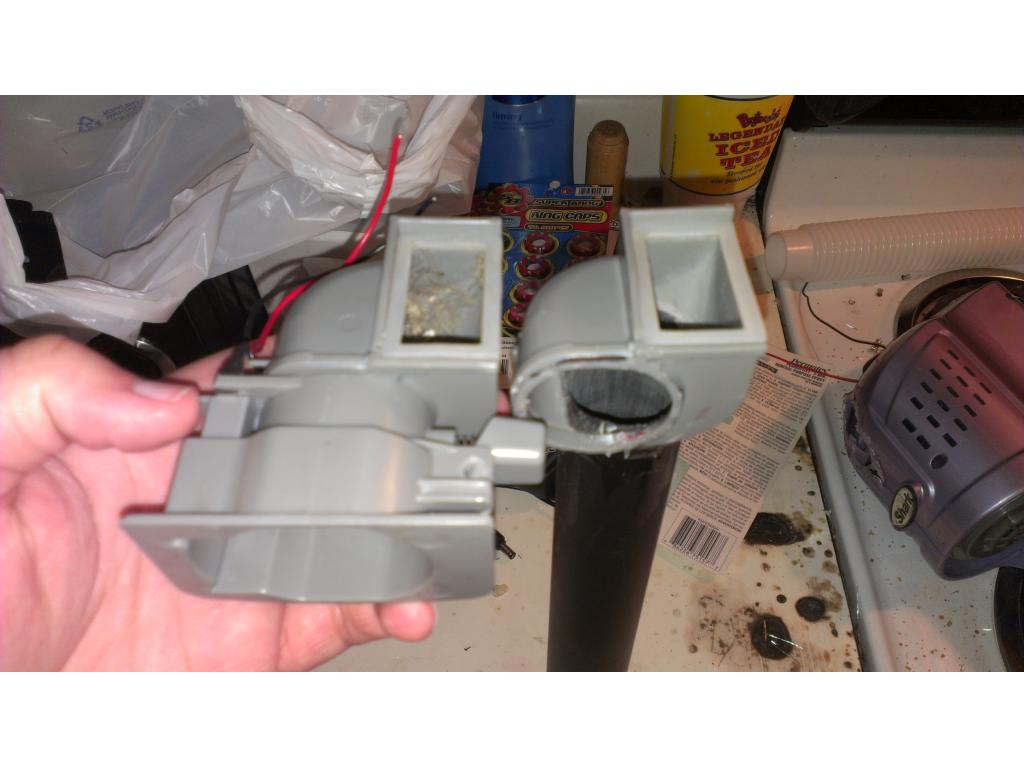
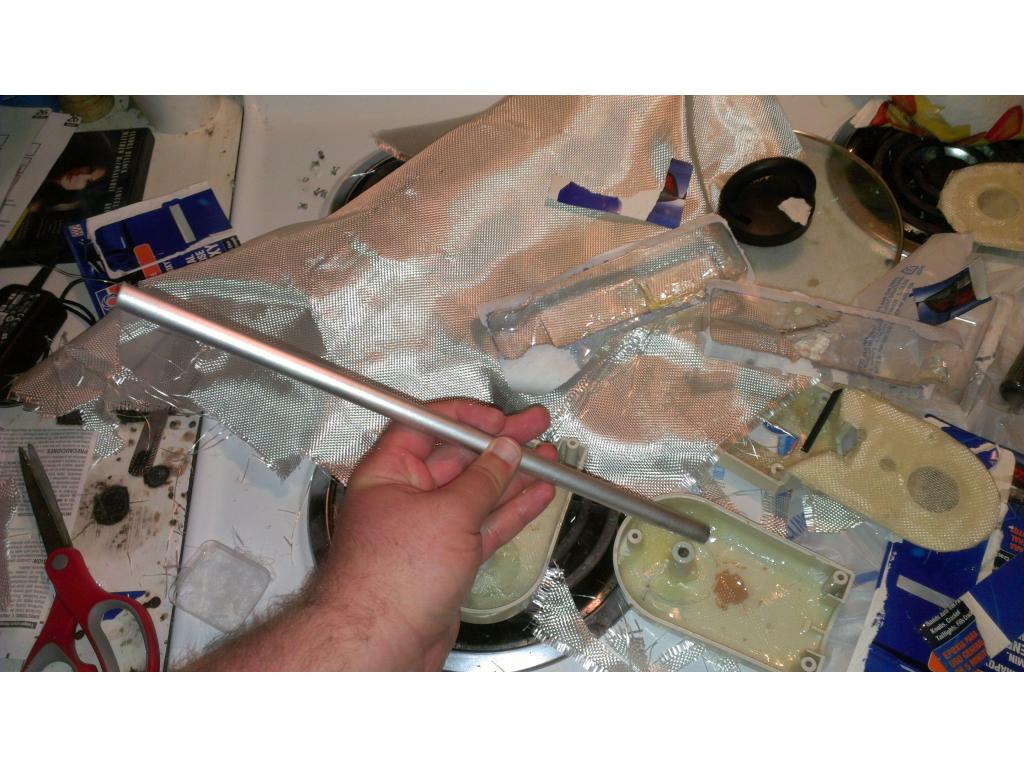
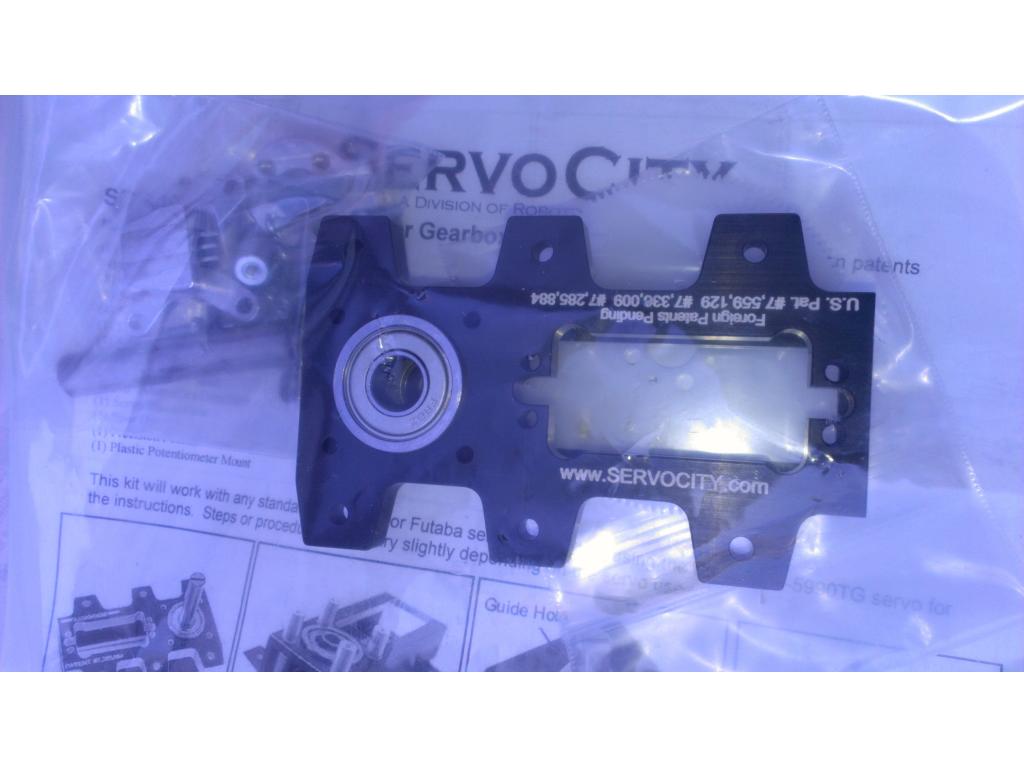
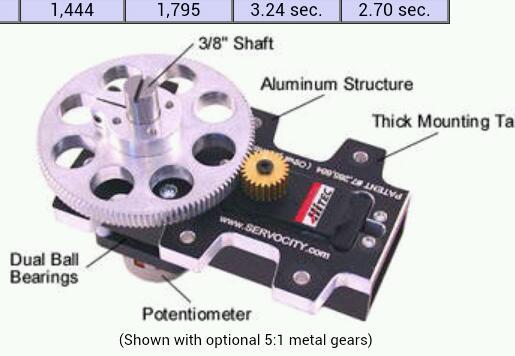
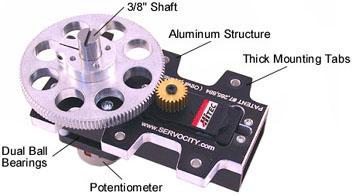
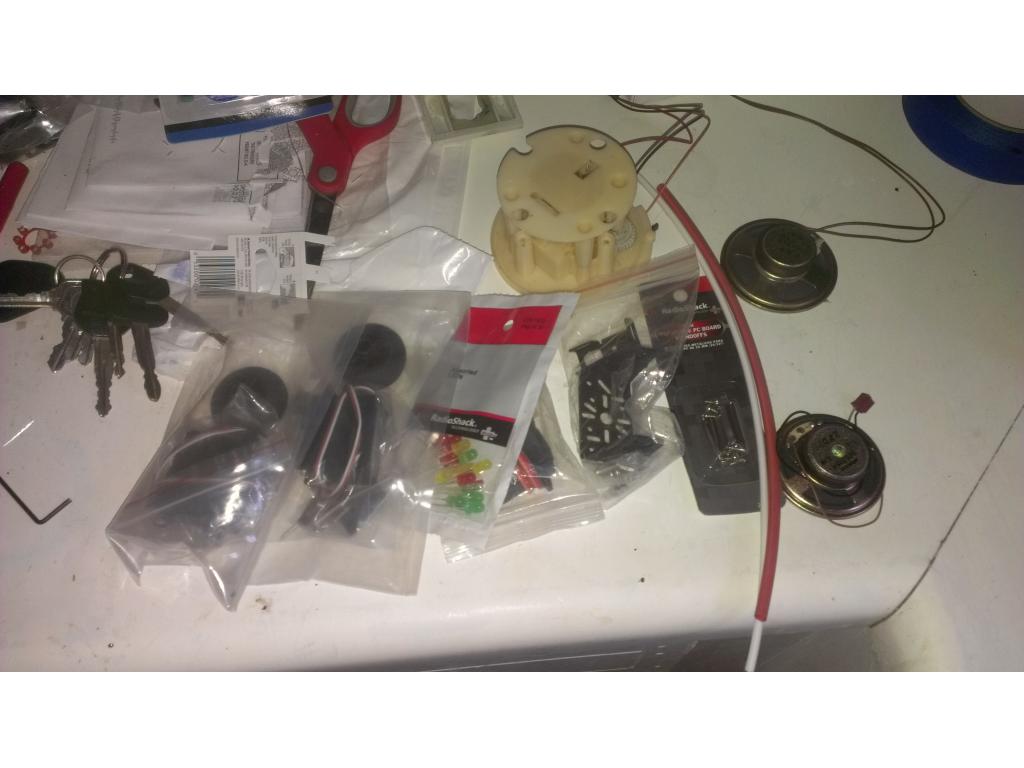
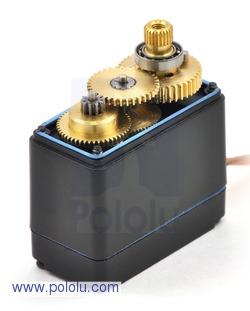
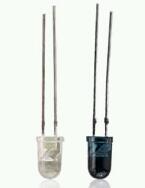
What is the diameter limit of the plastic rod youre attaching it to. Thats going to limit your choice on rods with a lower thread count.Servocity rods
I assume this is what you're going for. Link
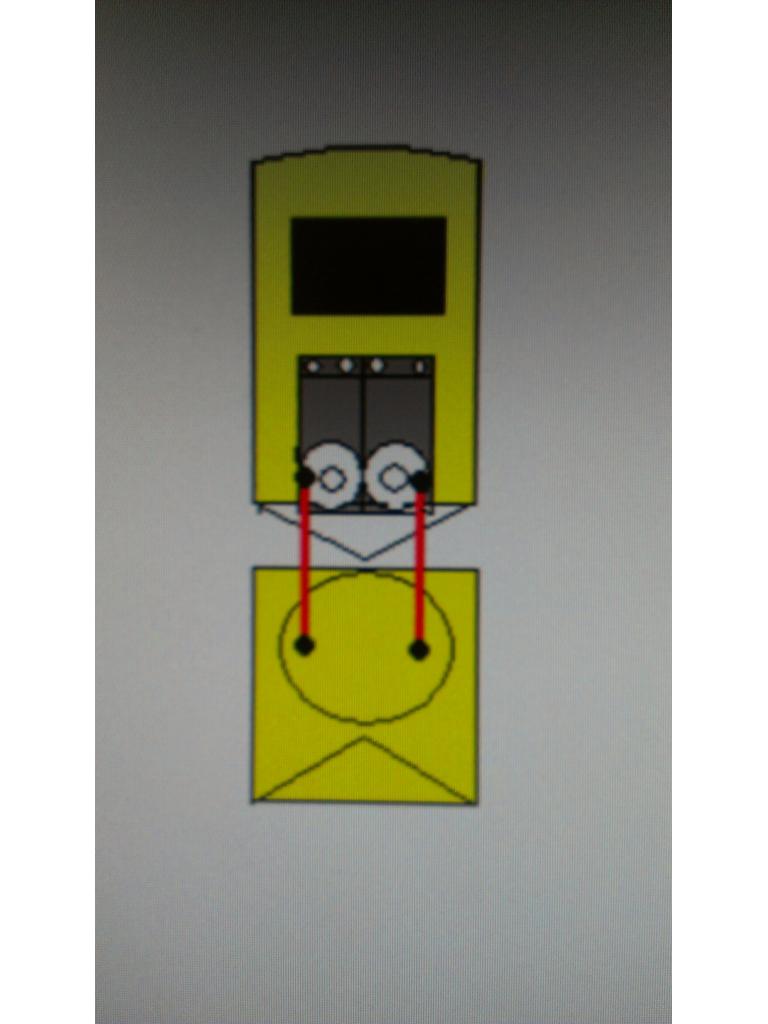
This is how I want to raise and lower Omni if I every get to that point.
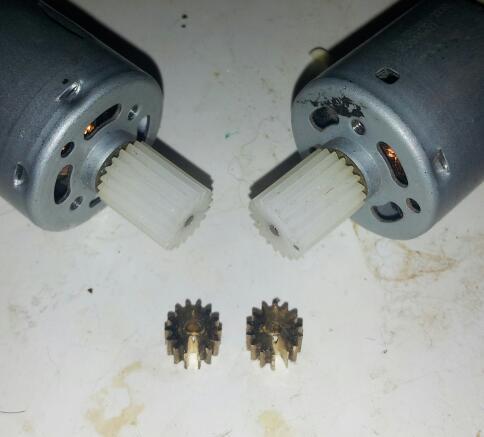
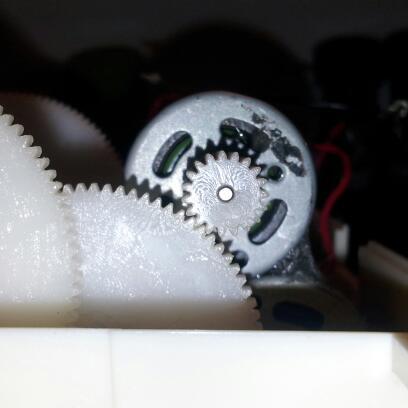
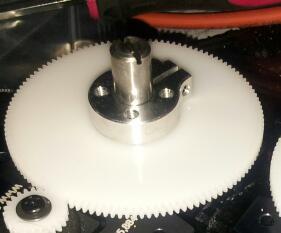
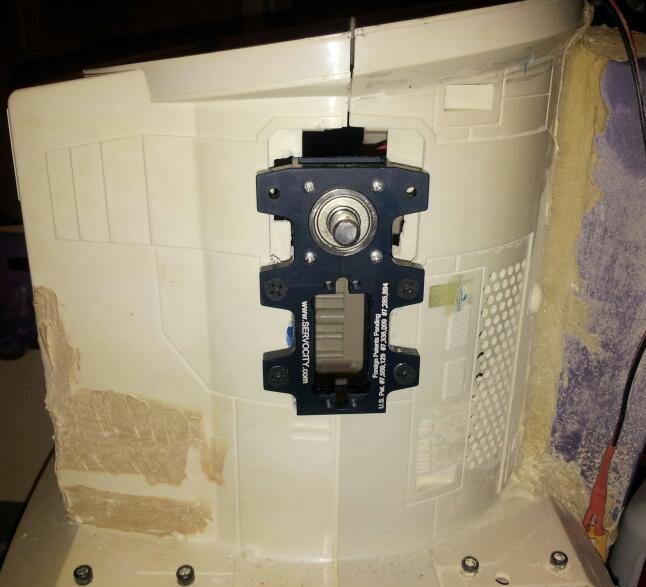
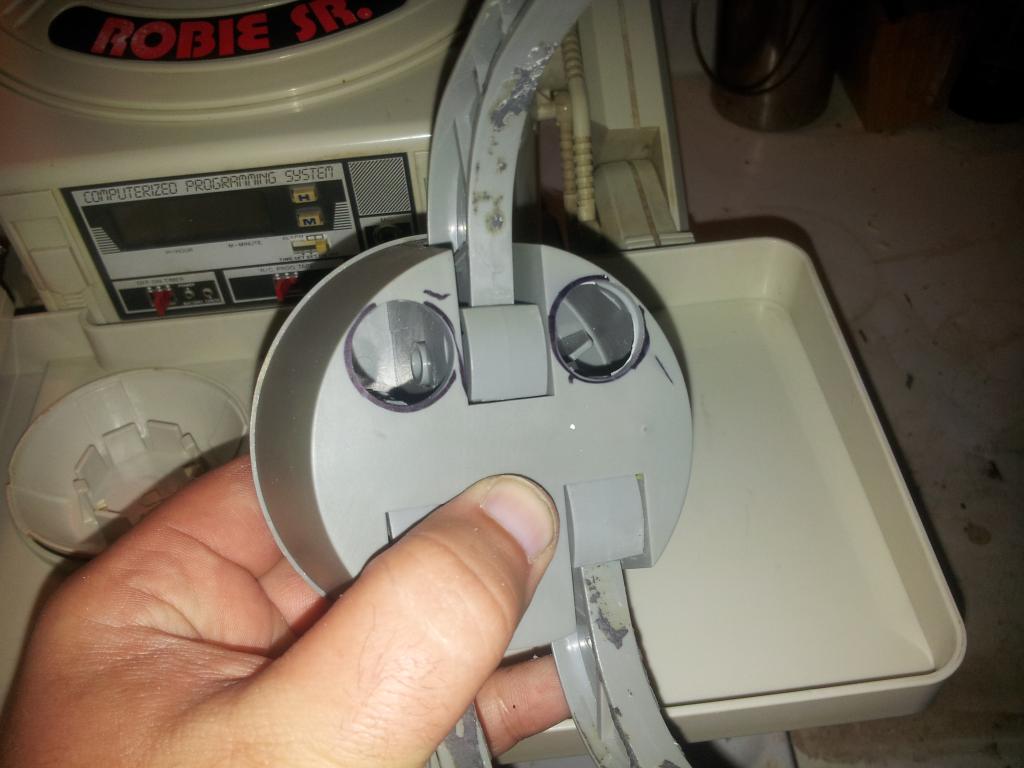
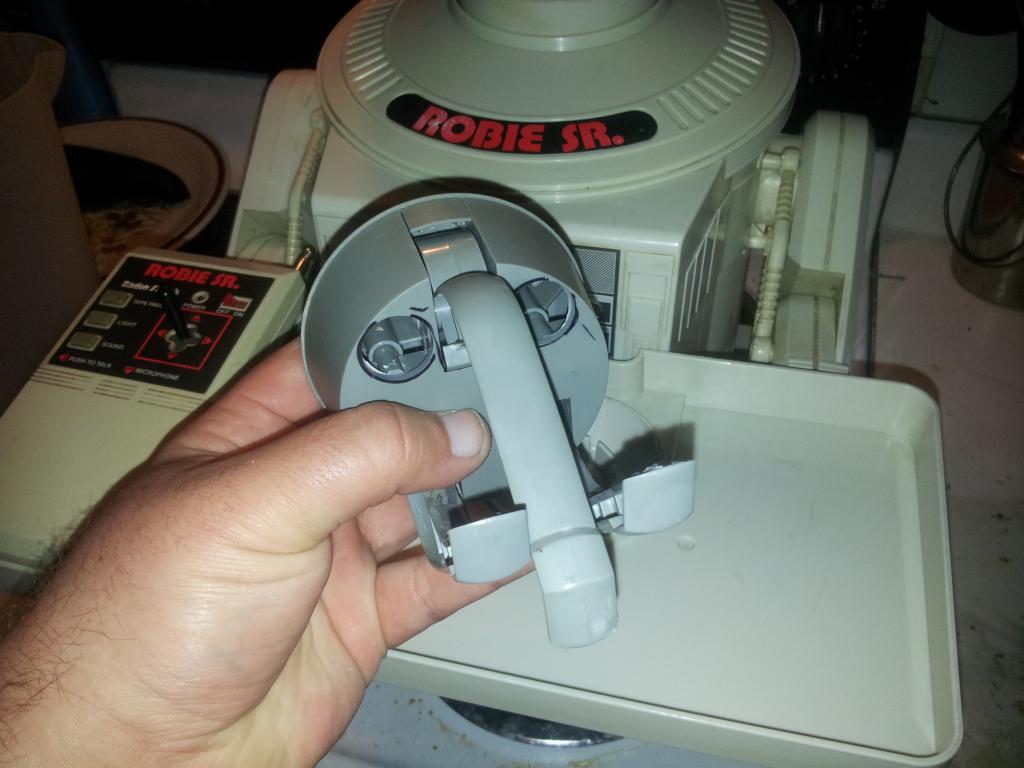
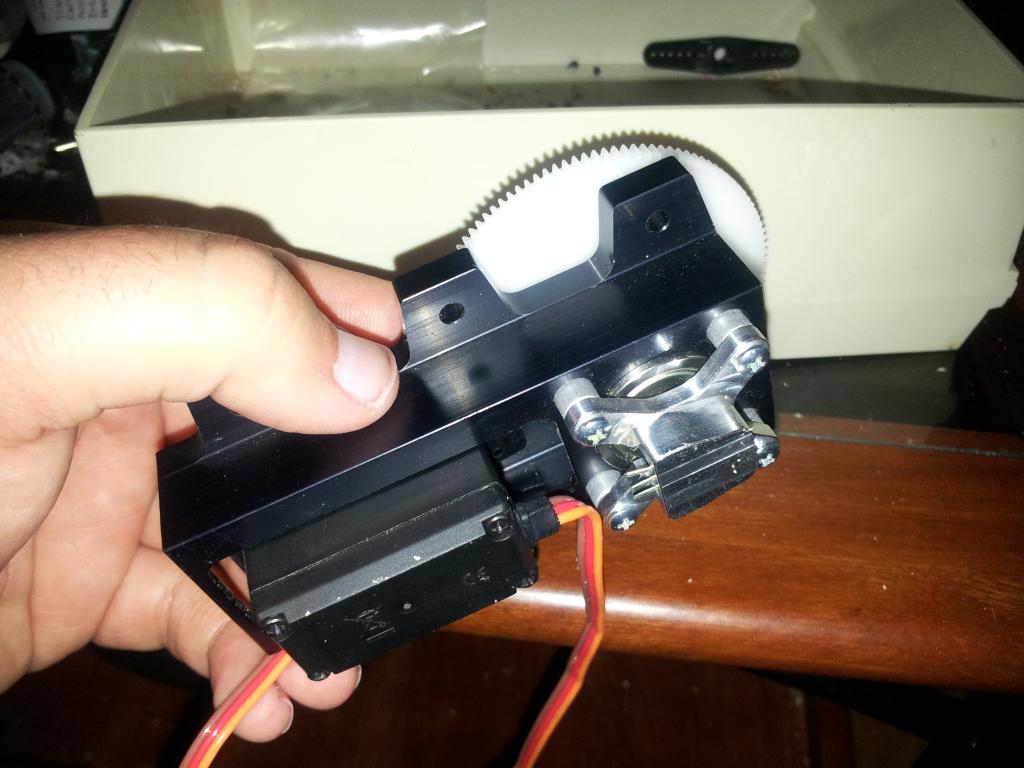
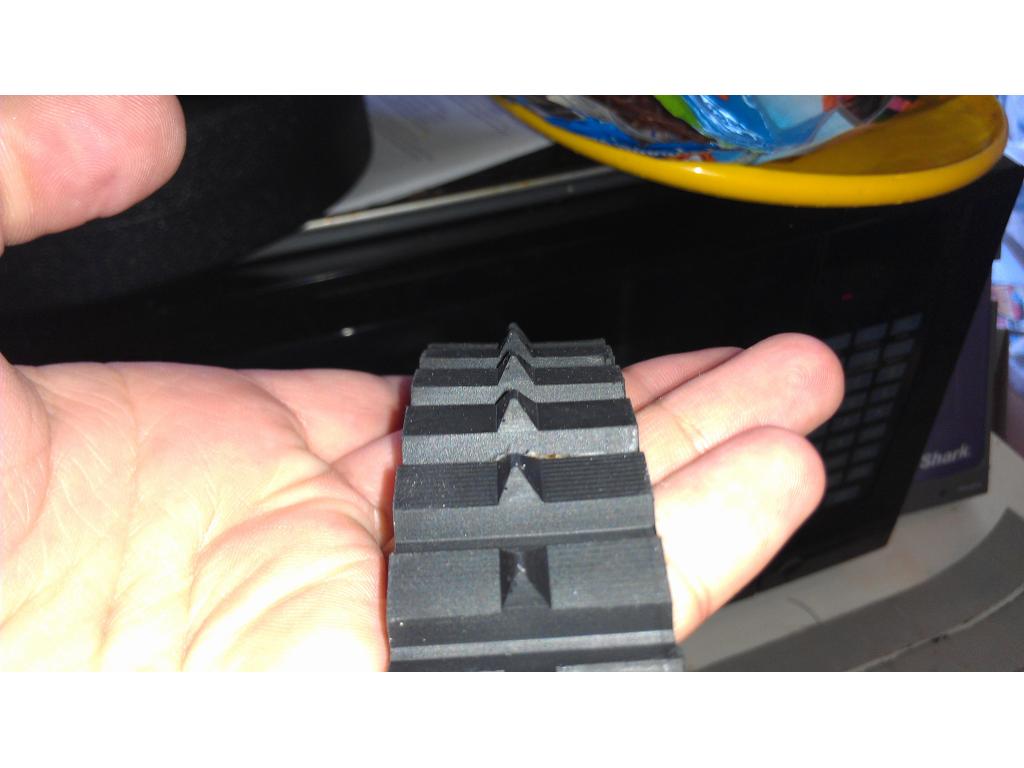
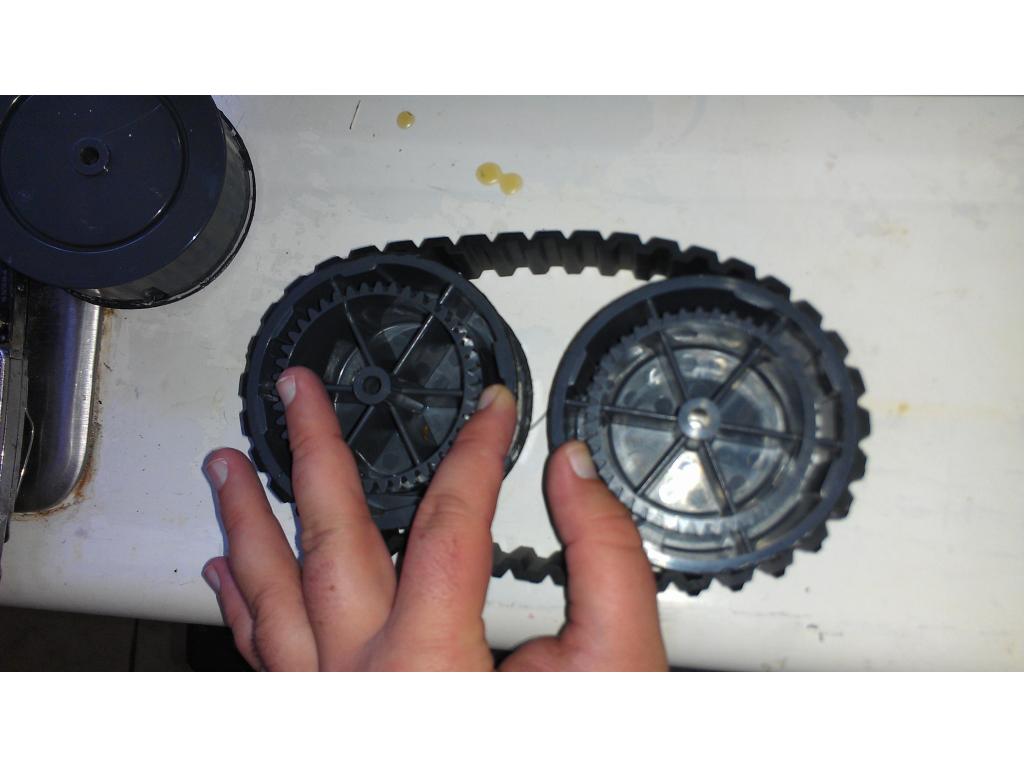
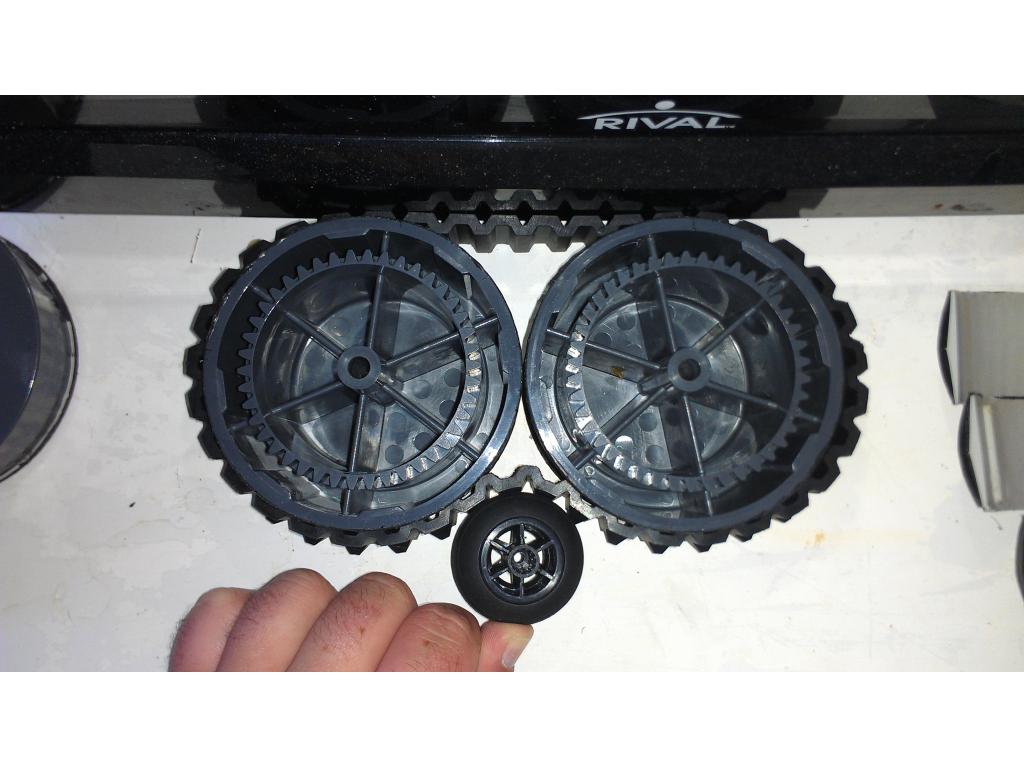
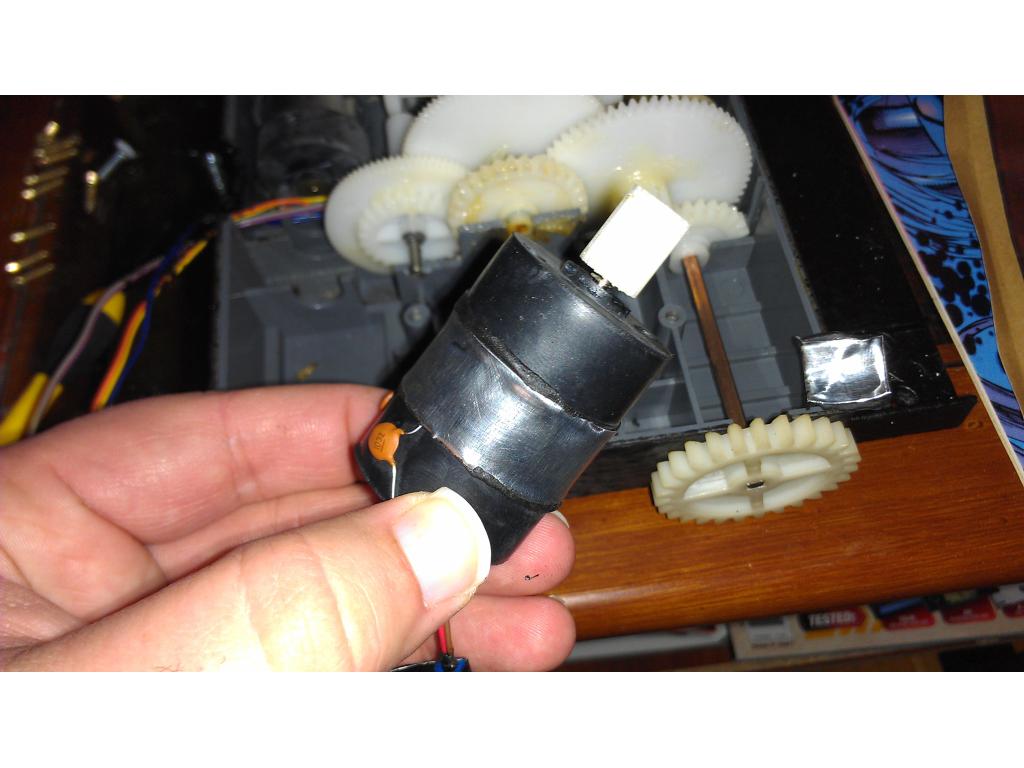
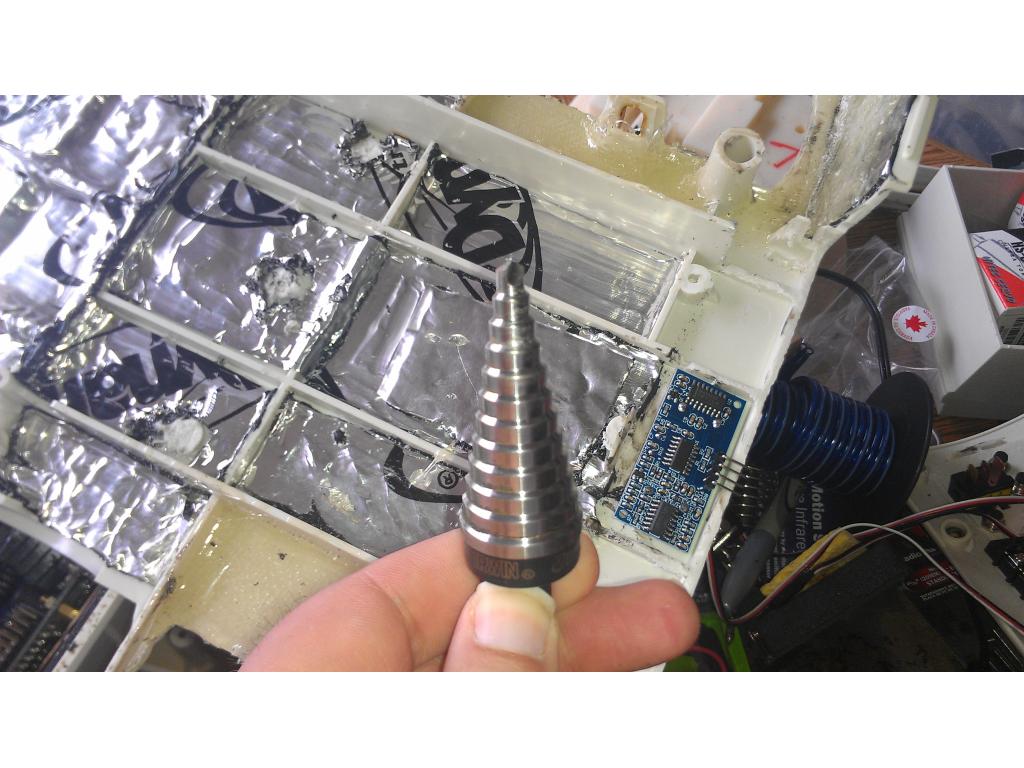
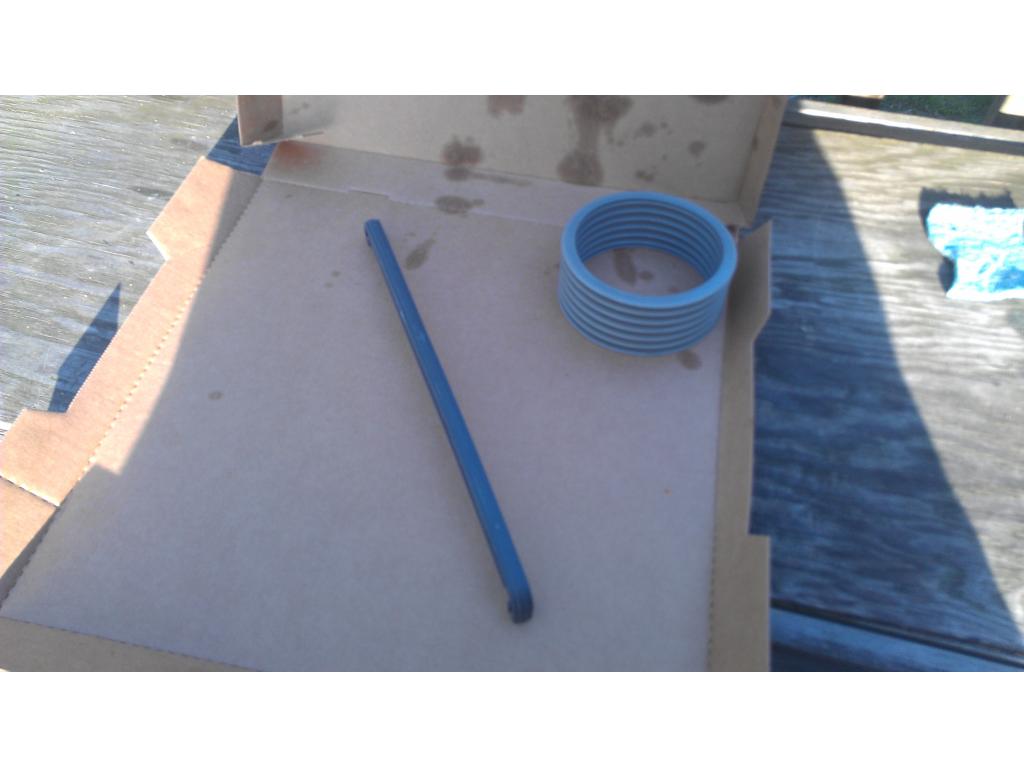
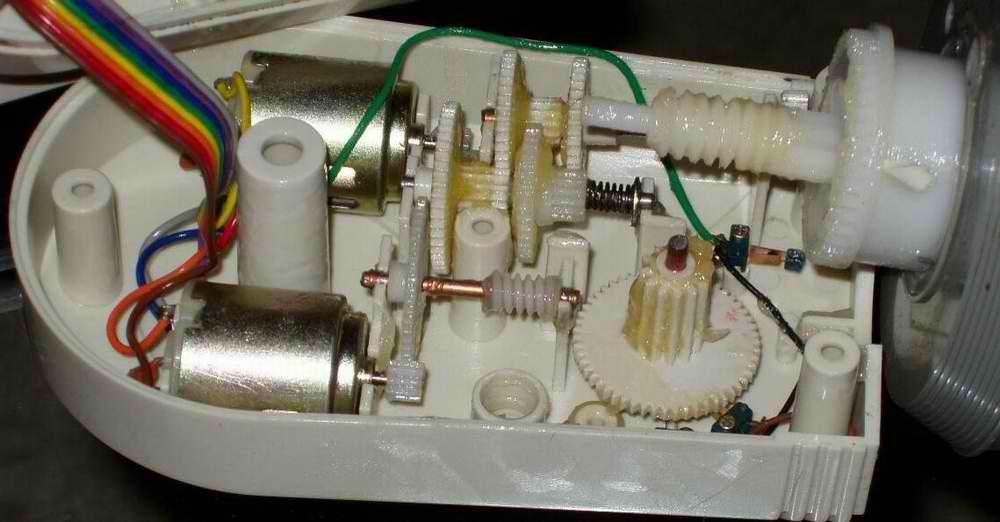
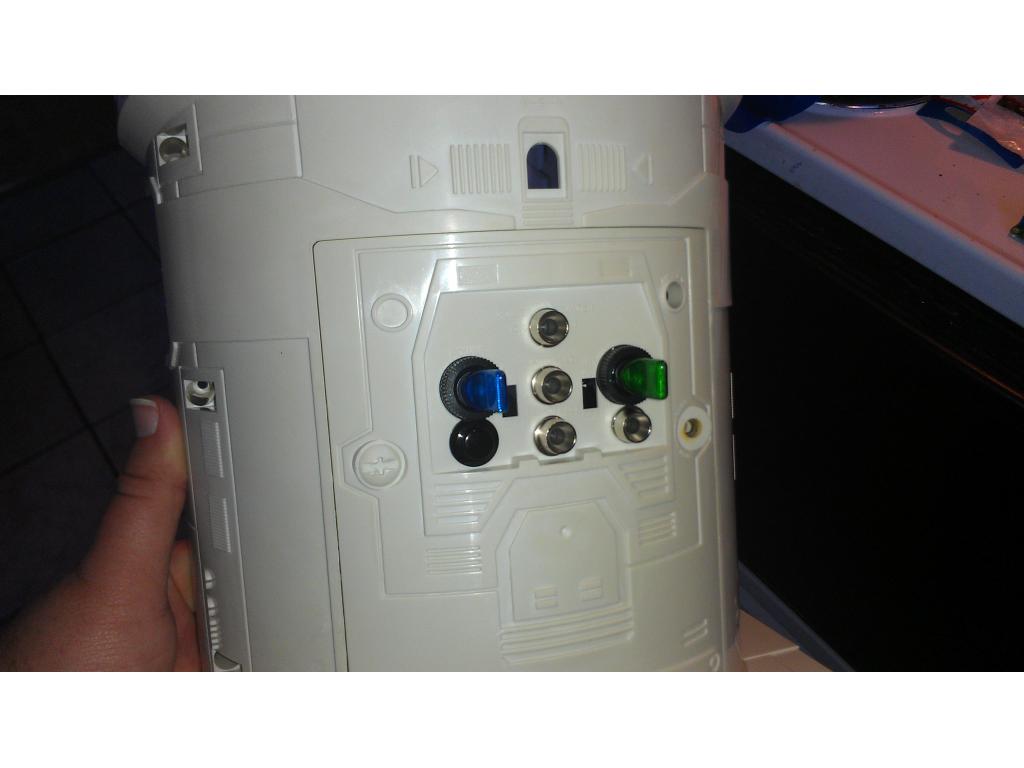
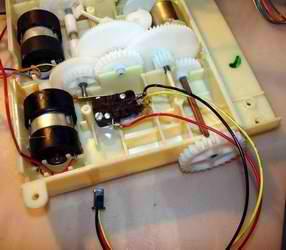
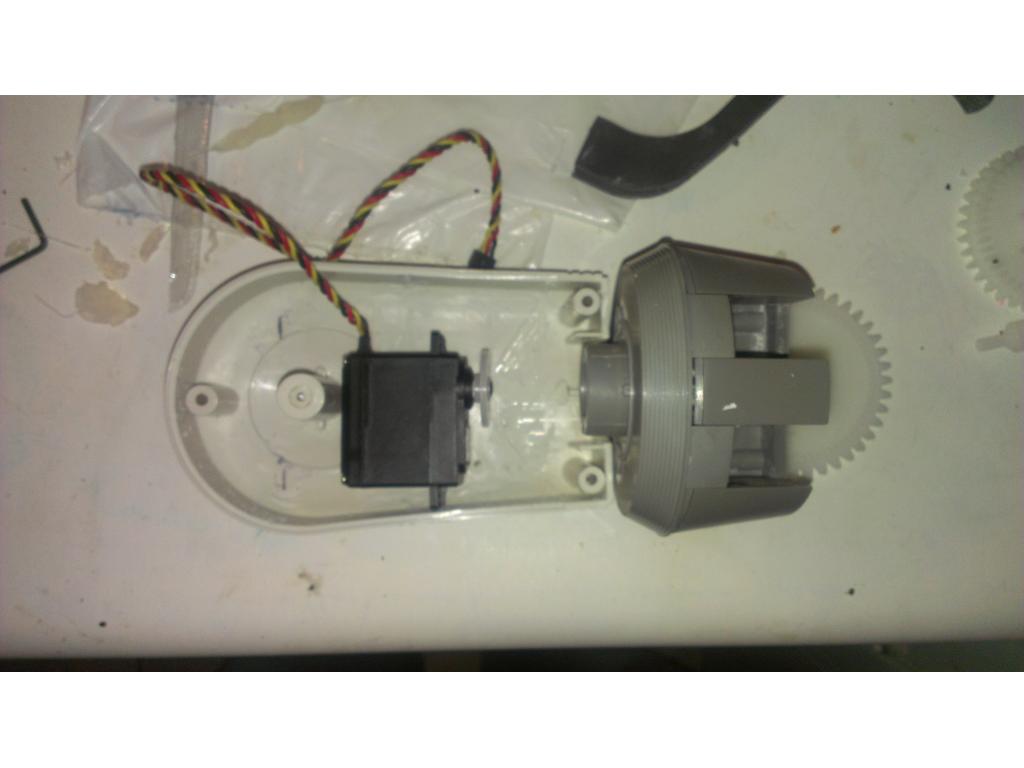
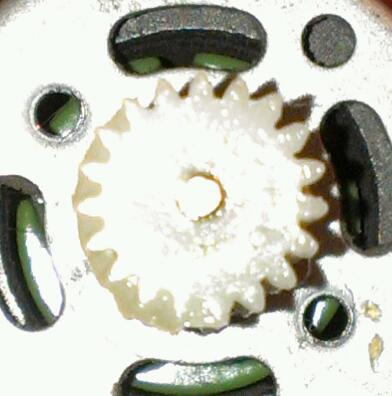
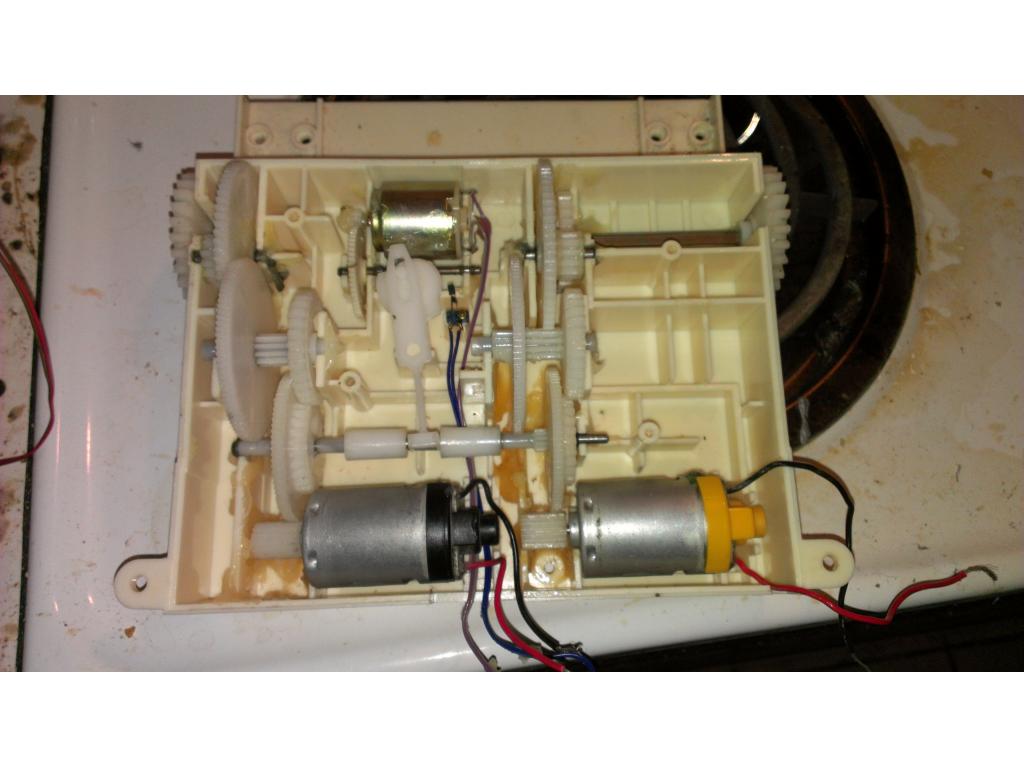
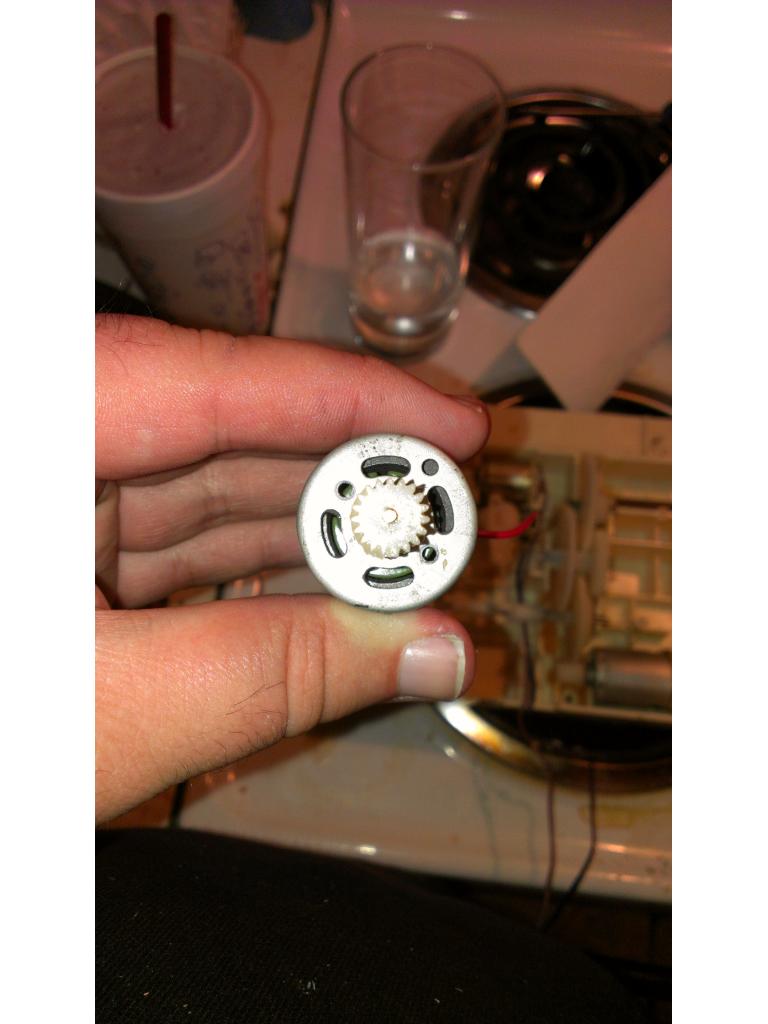
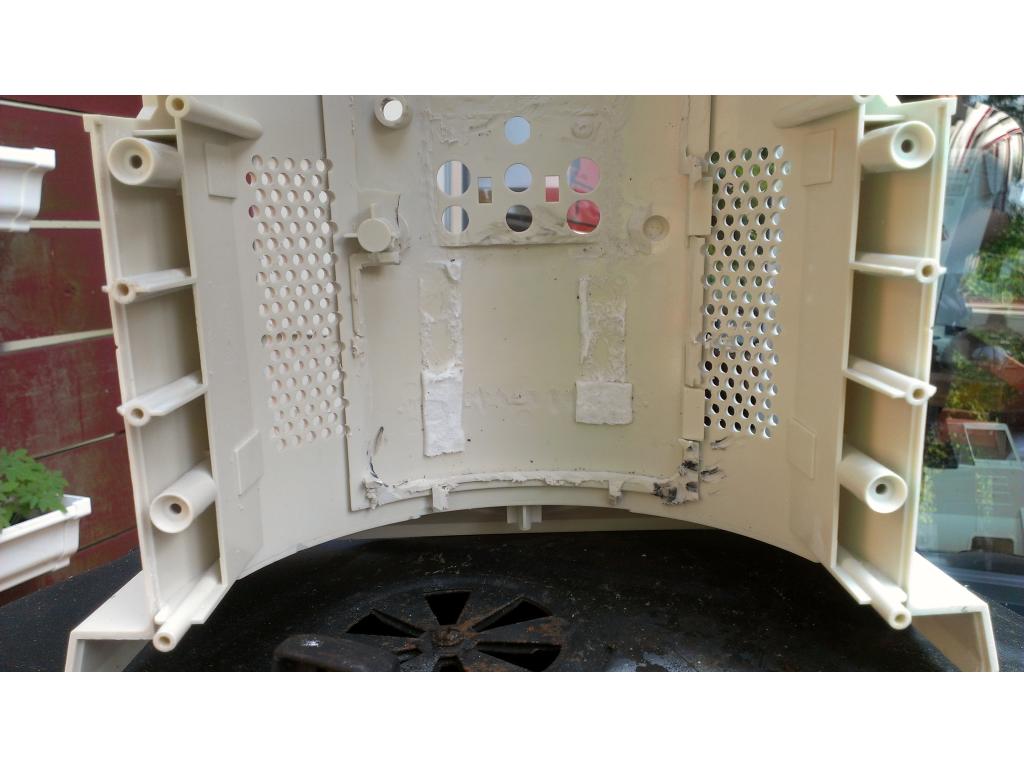
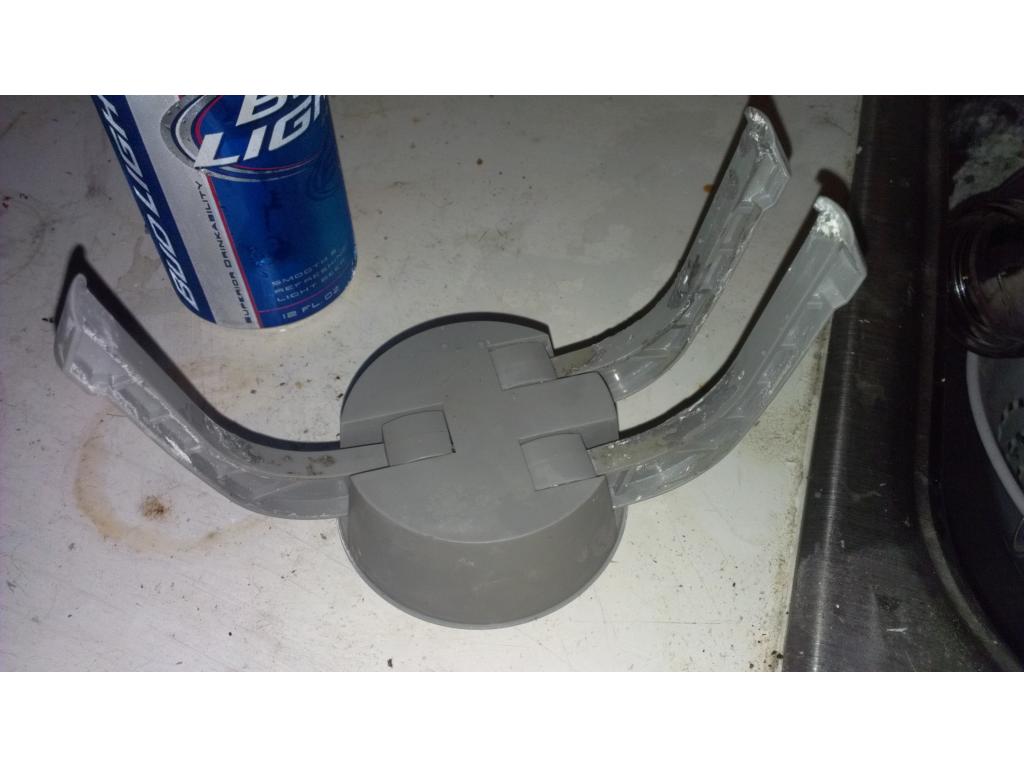
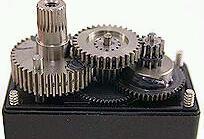
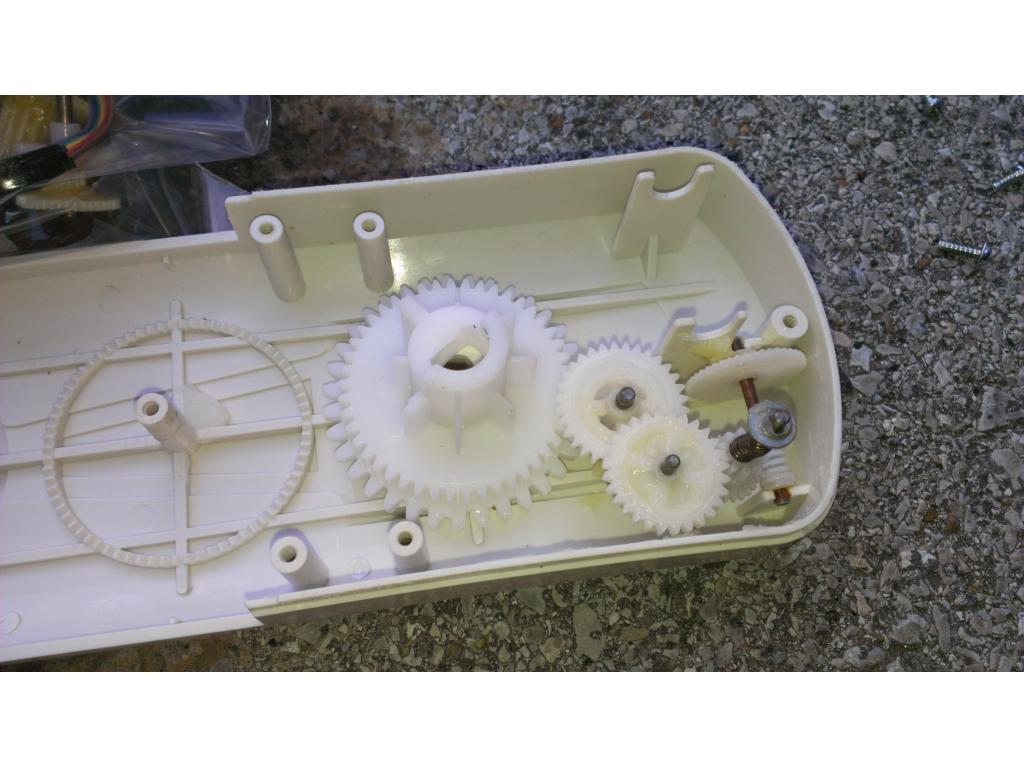
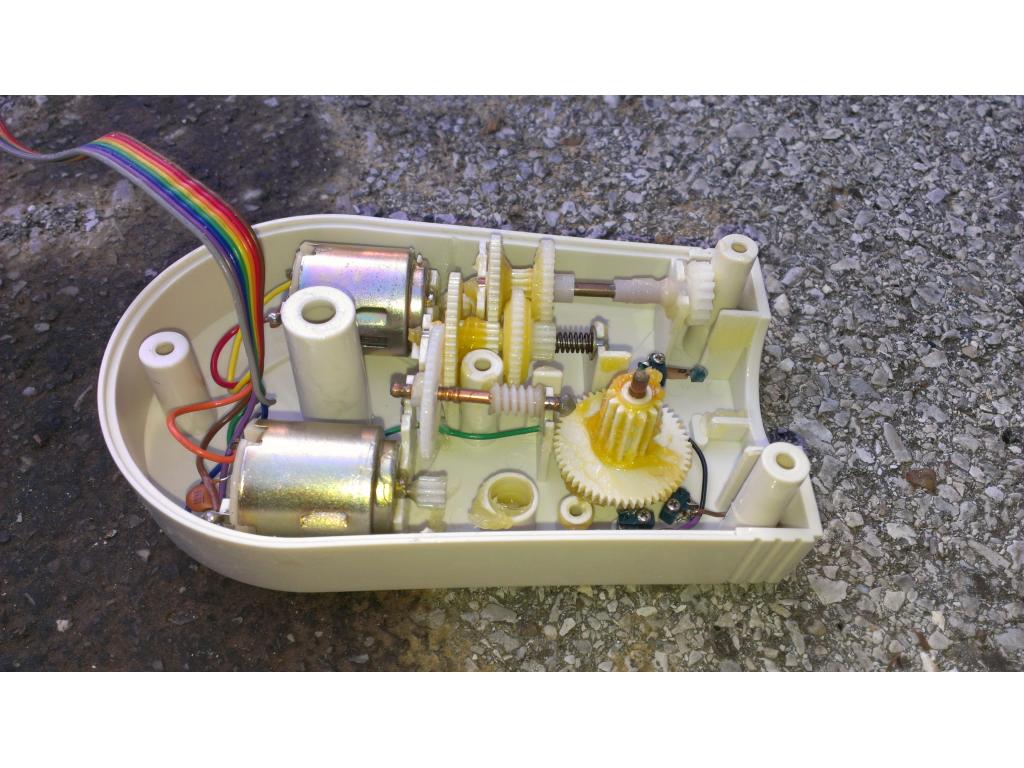
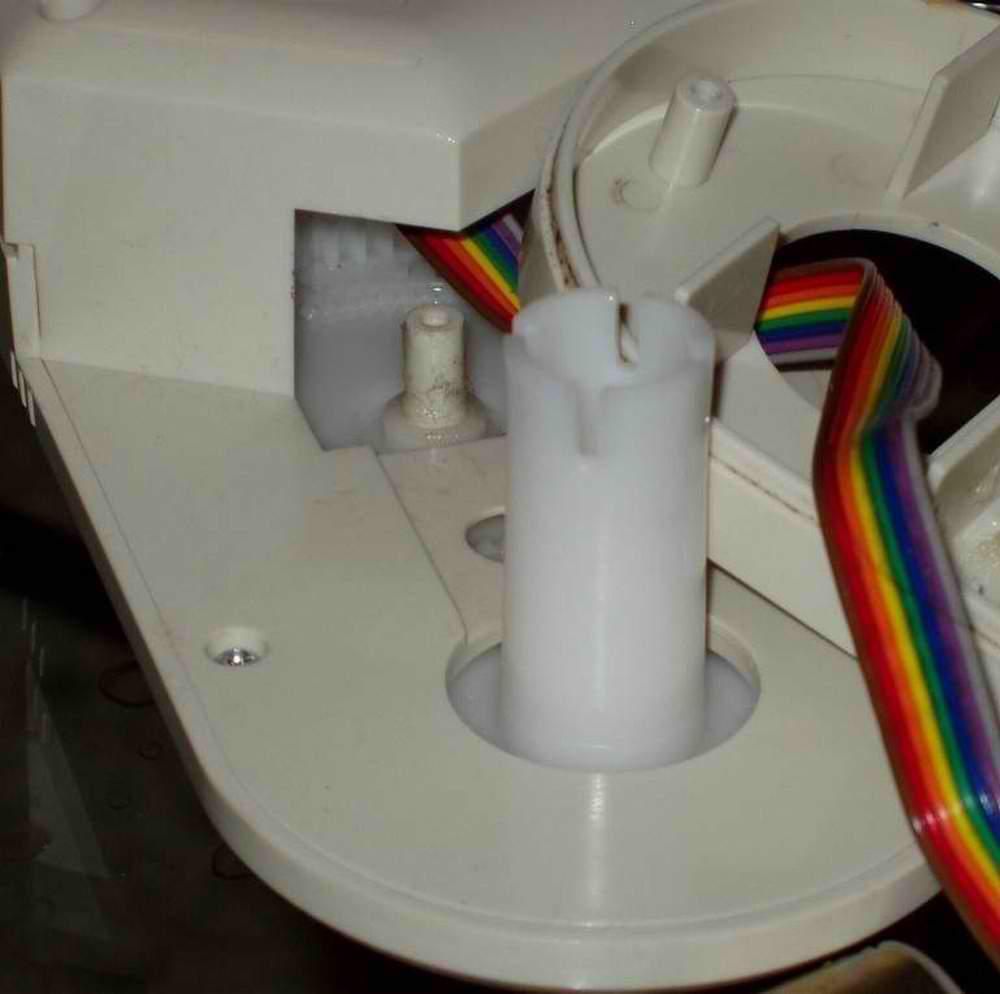
JOSH what ever happen to my gear for my claw,i need it to check the size and pitch to make one
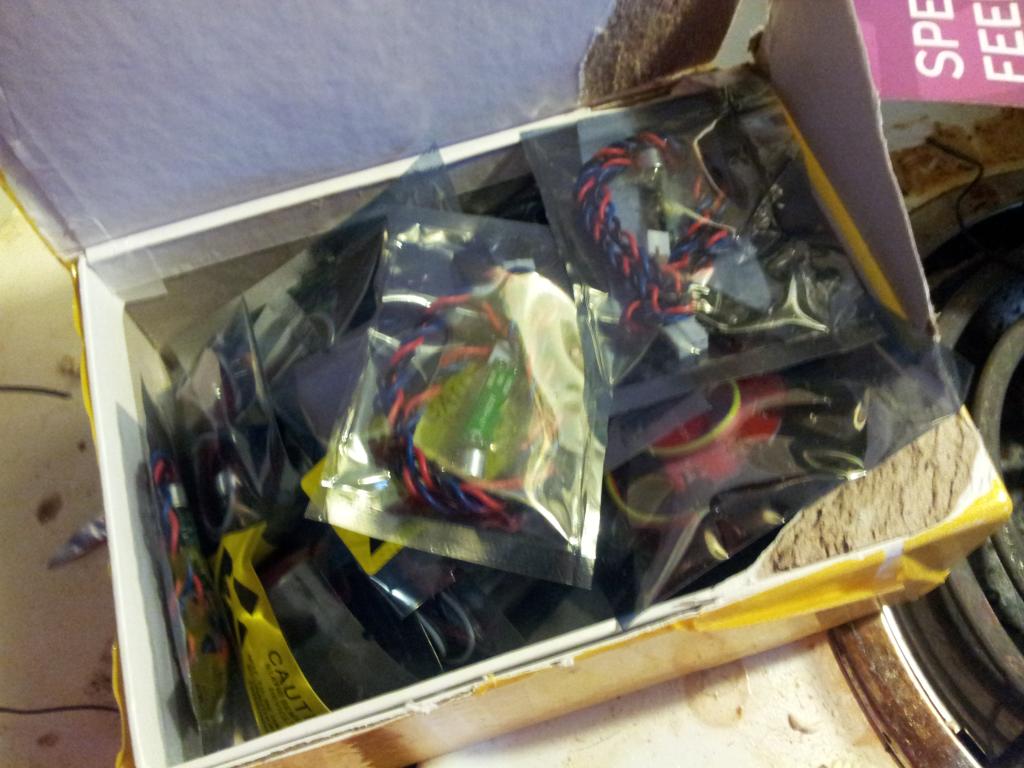
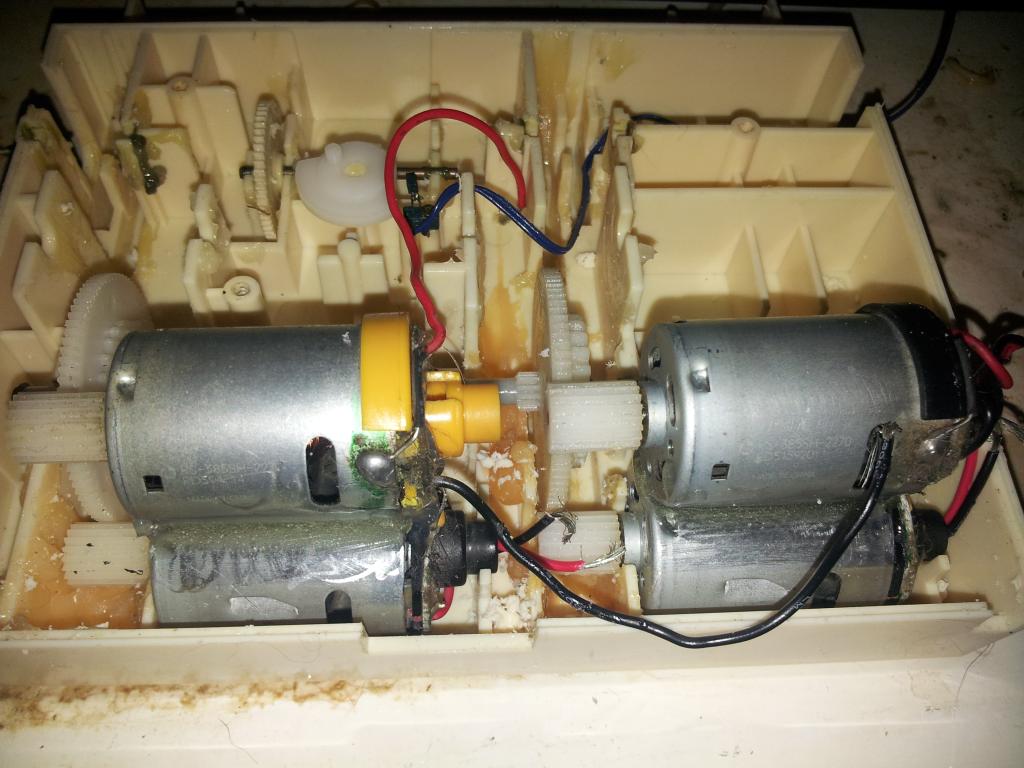
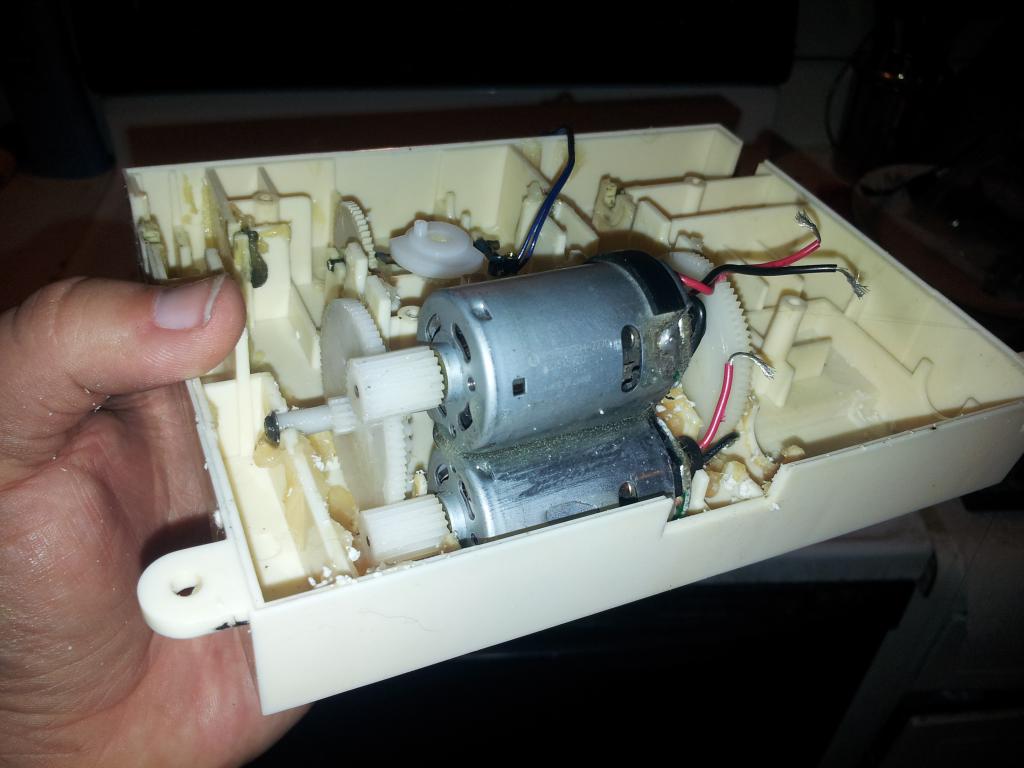
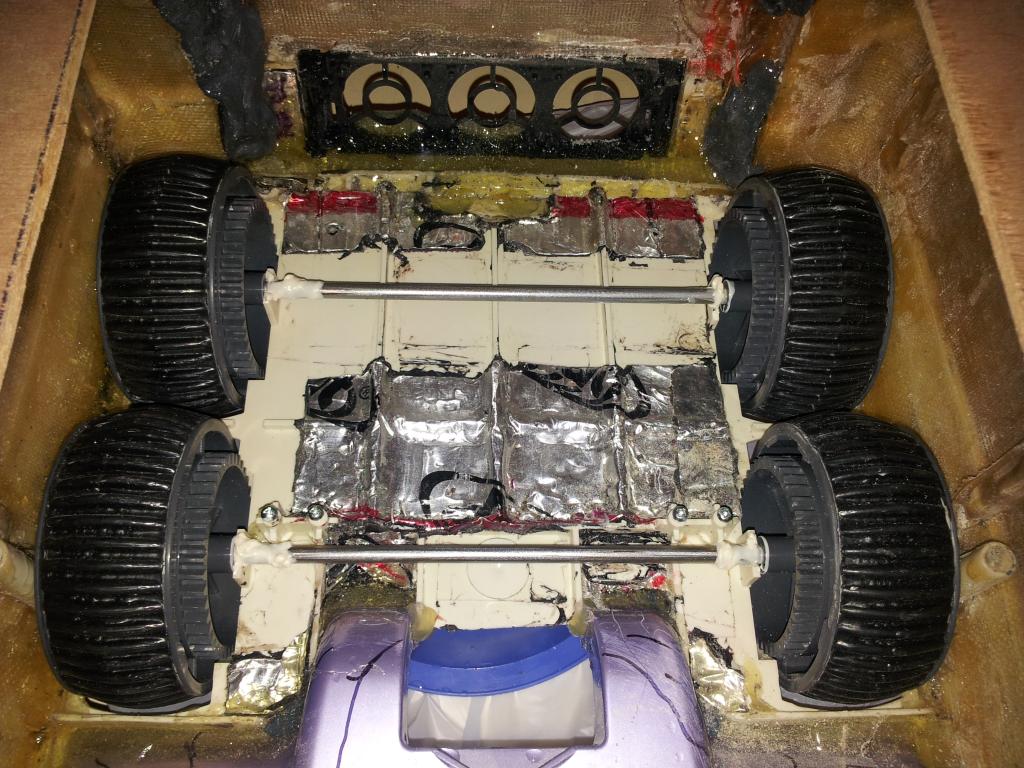
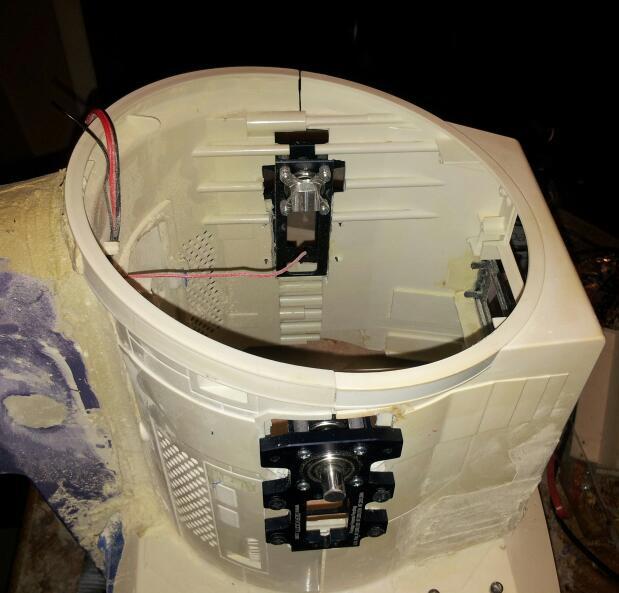
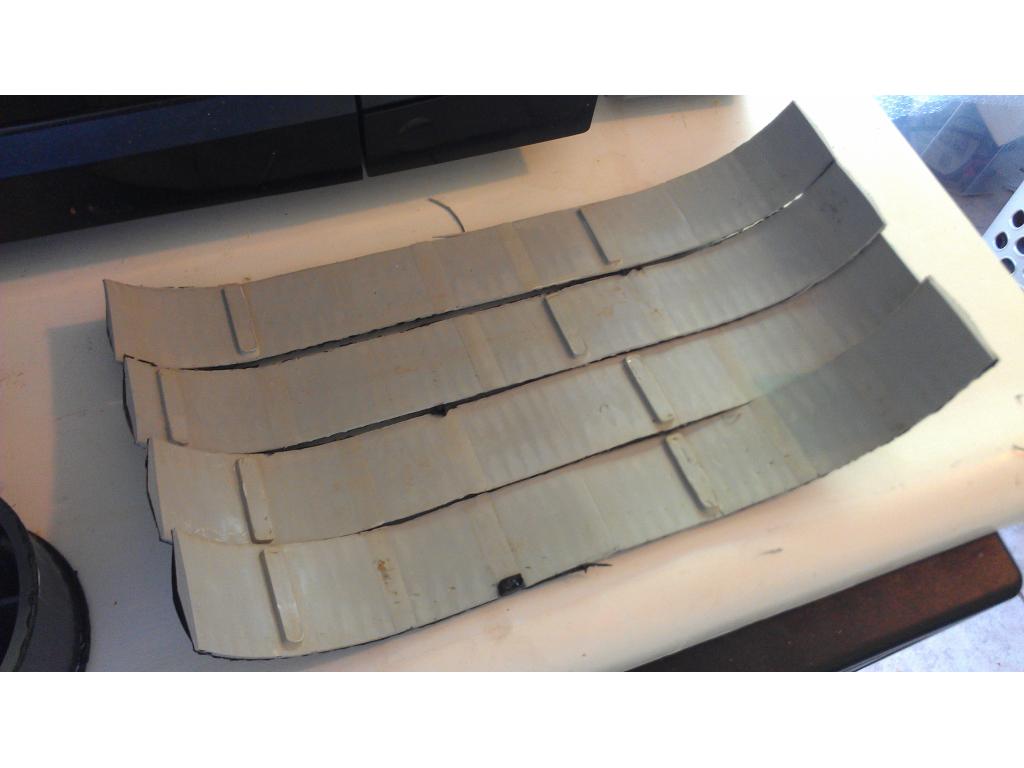
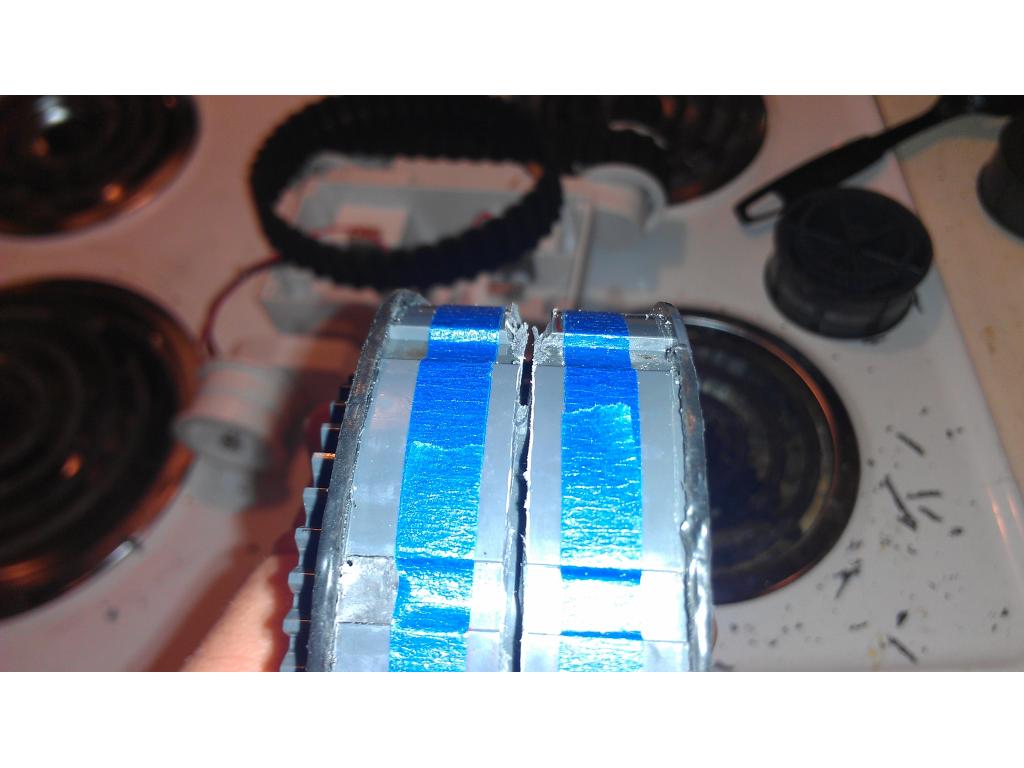
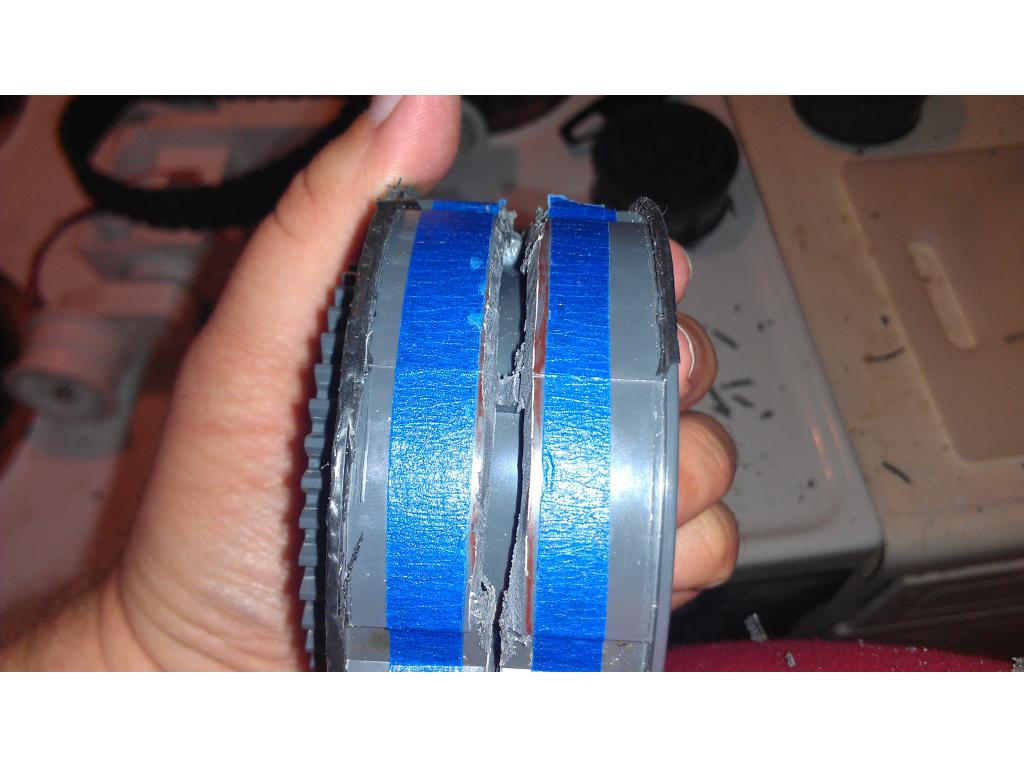
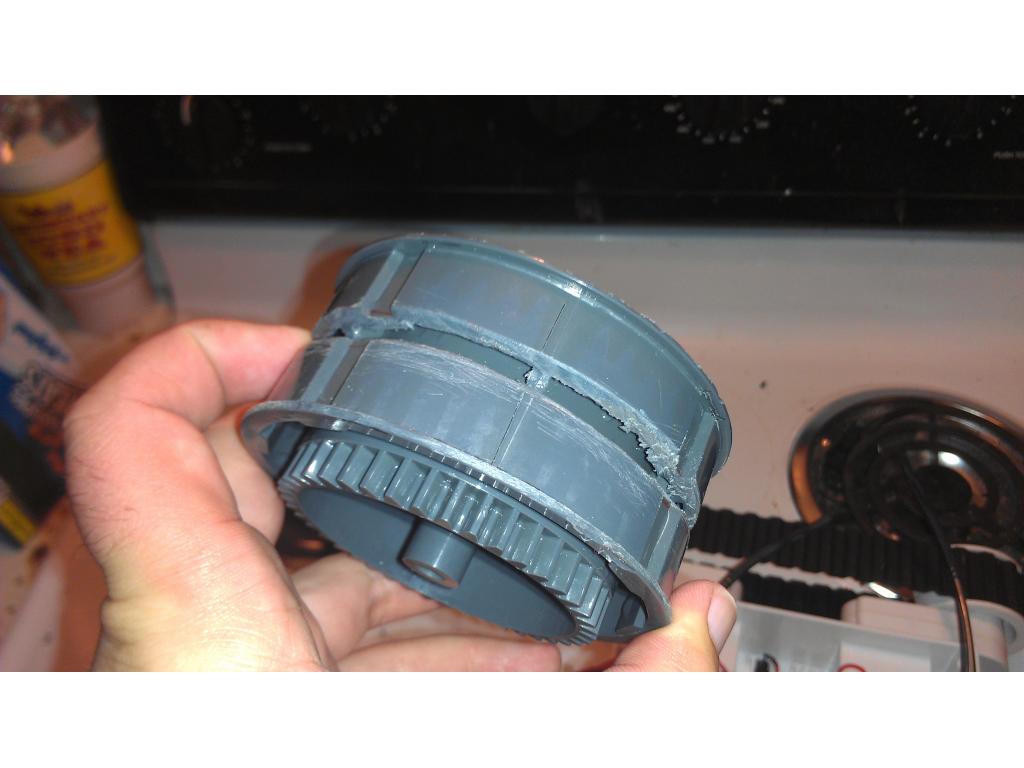
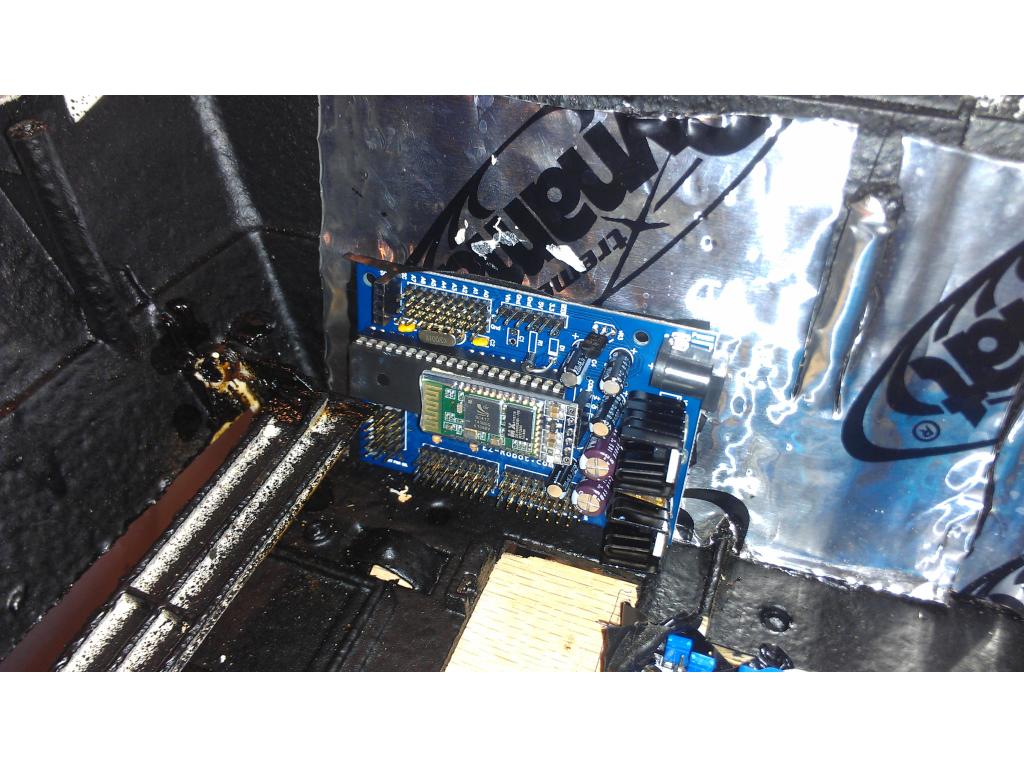
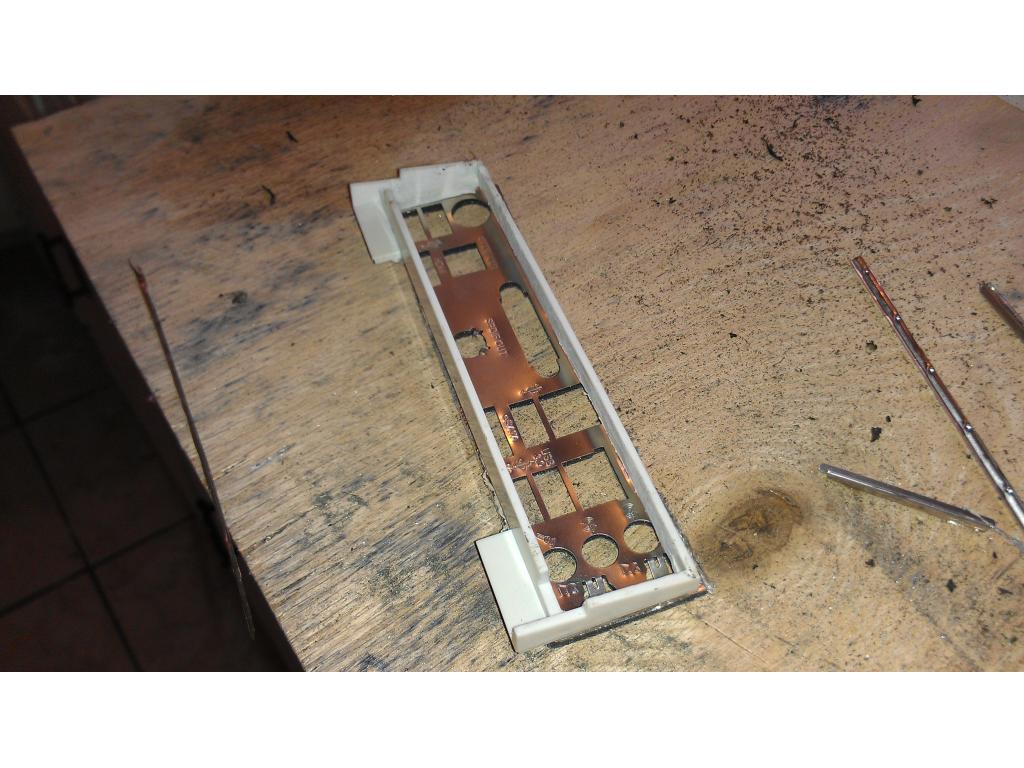
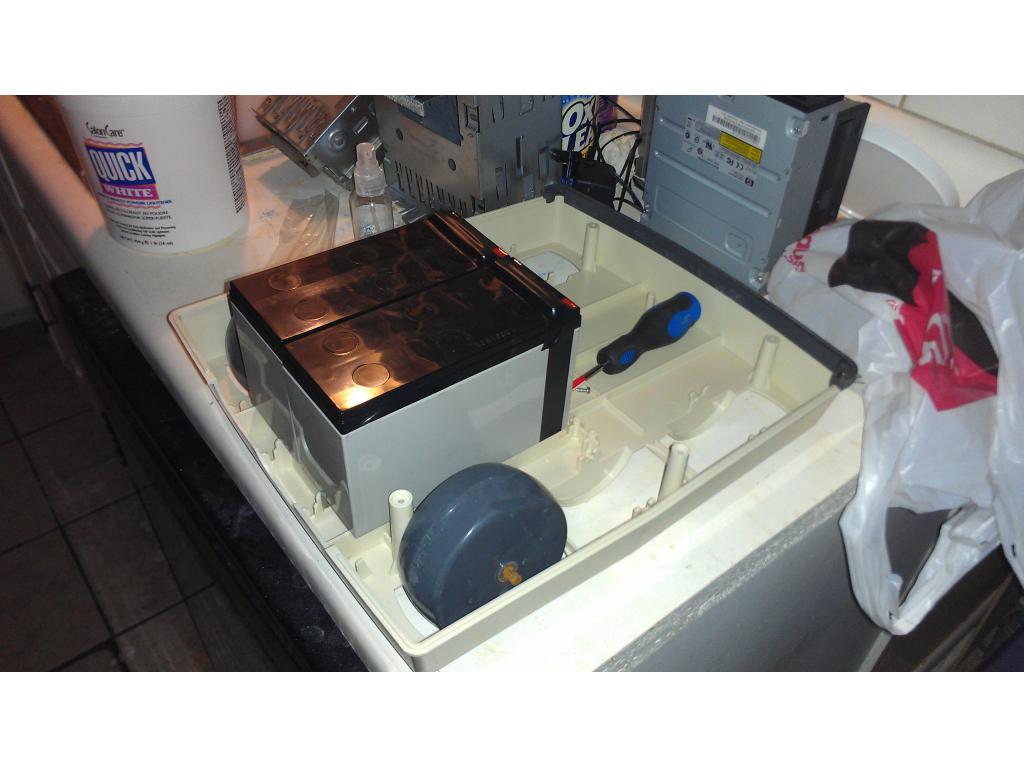
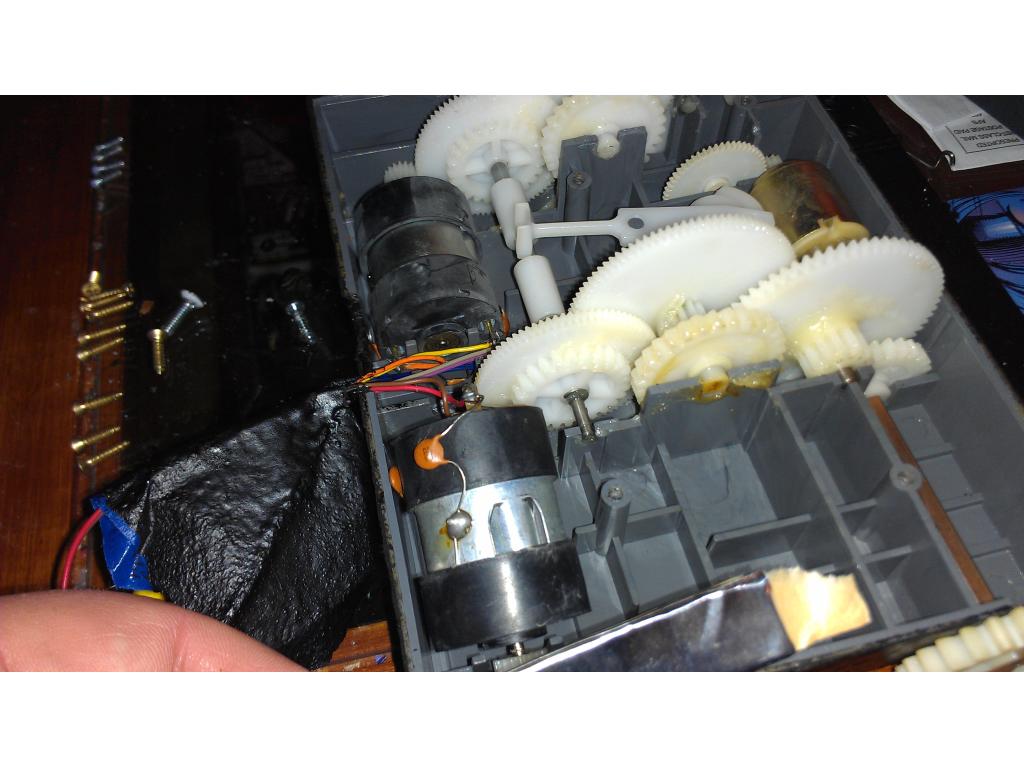
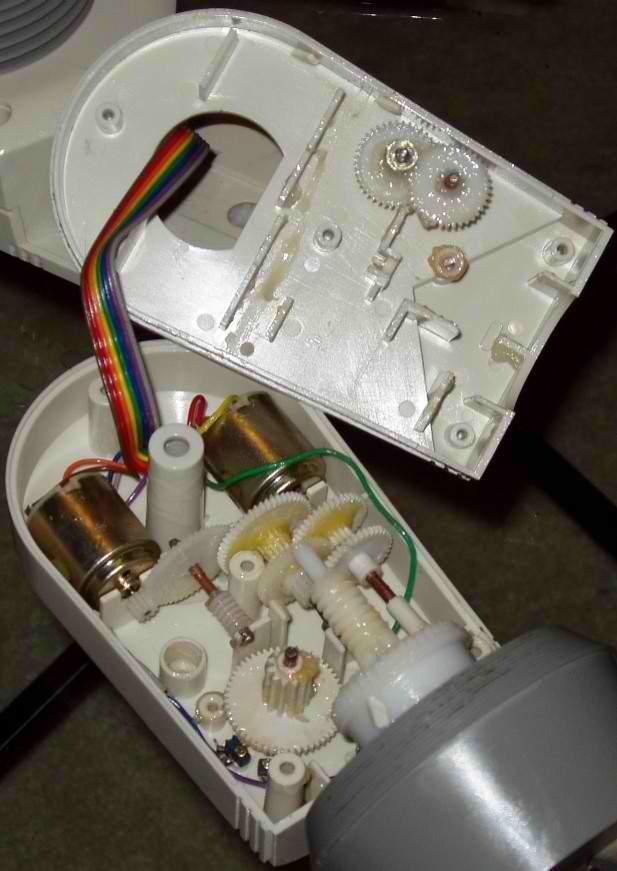
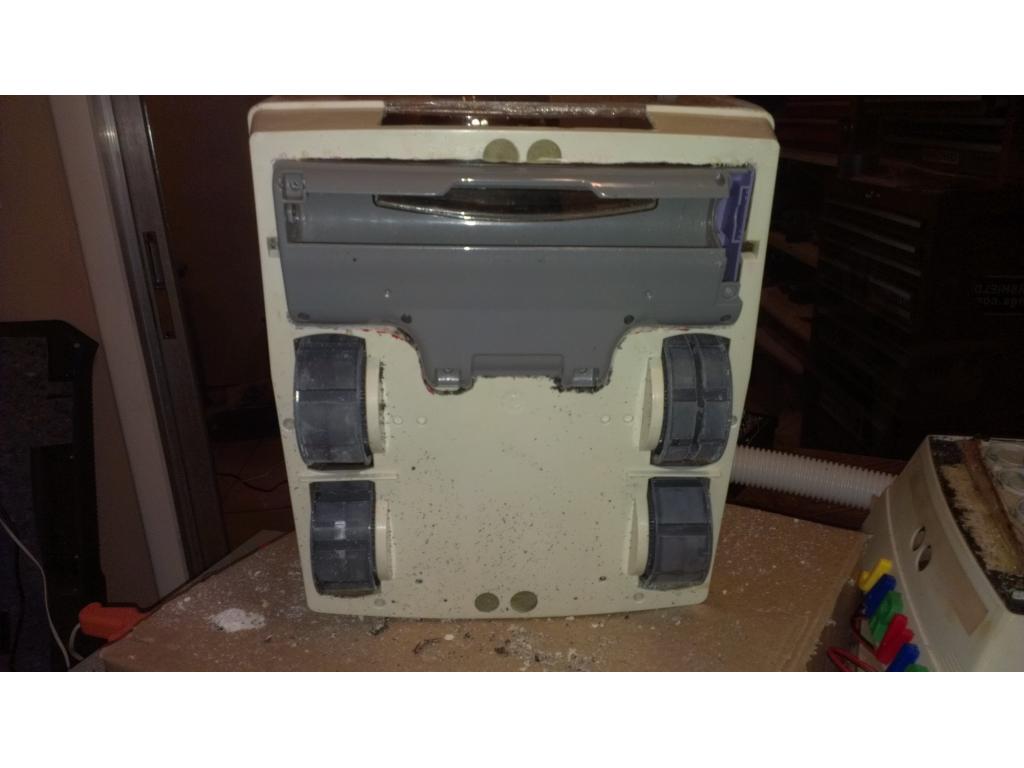
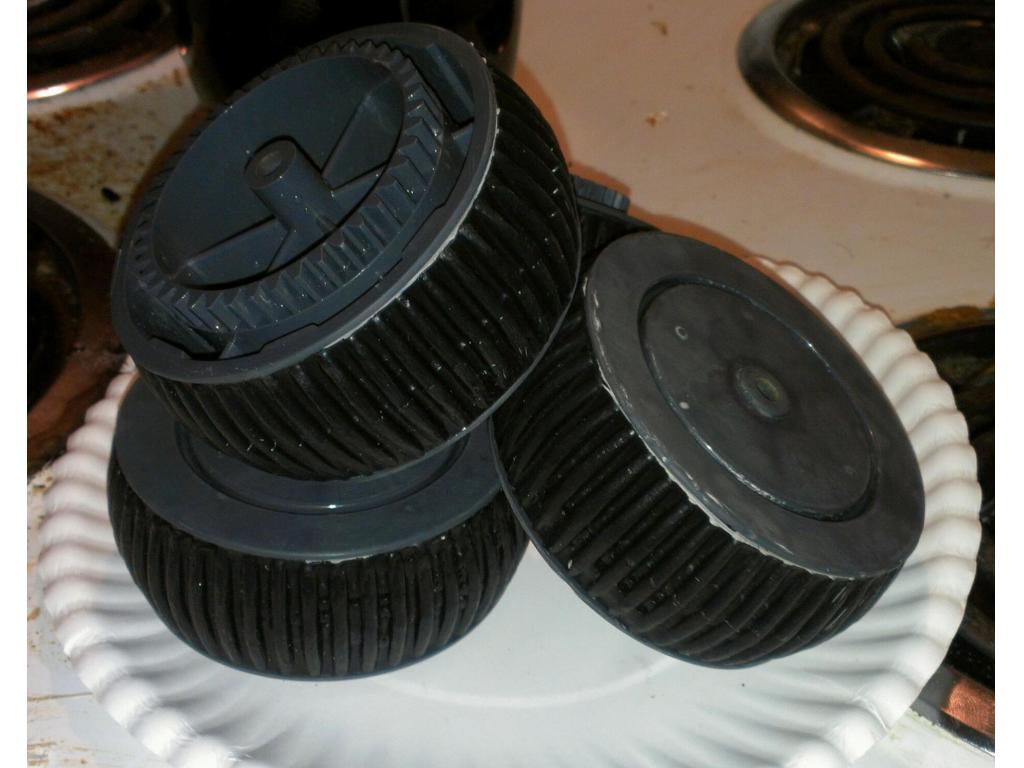
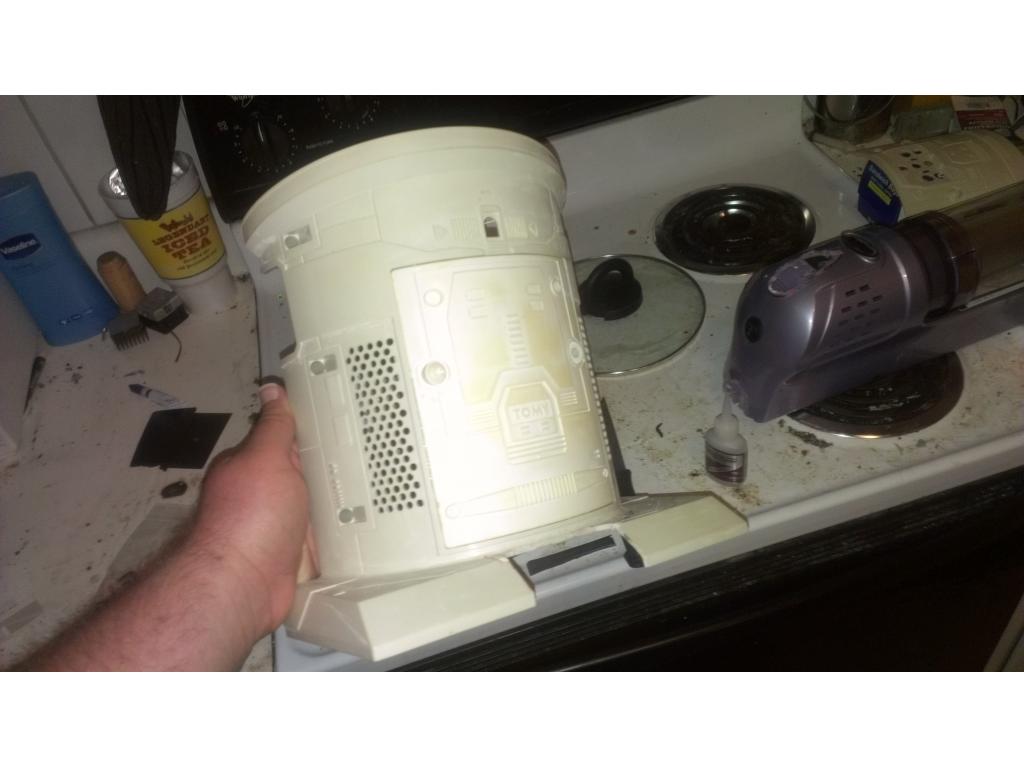
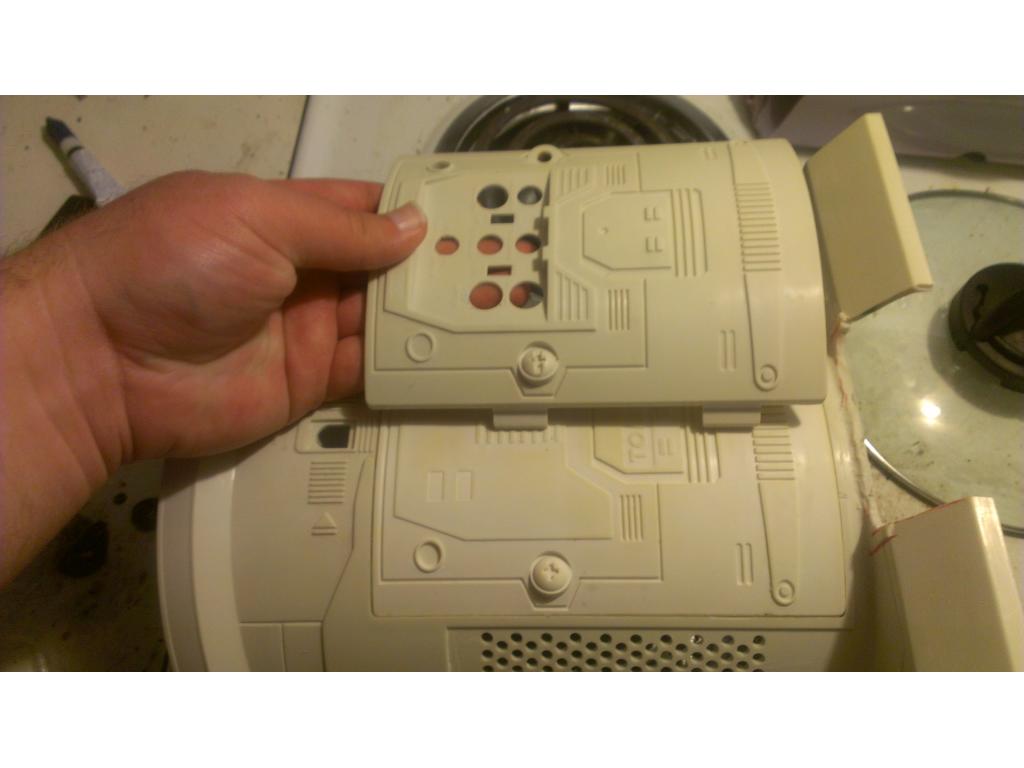
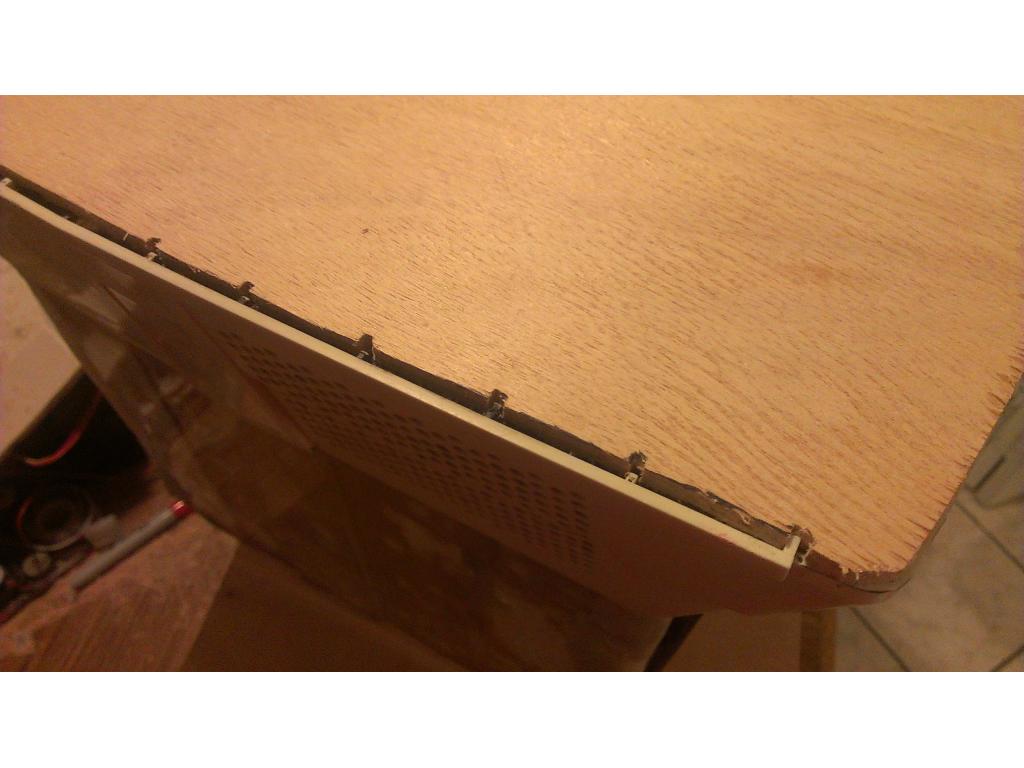
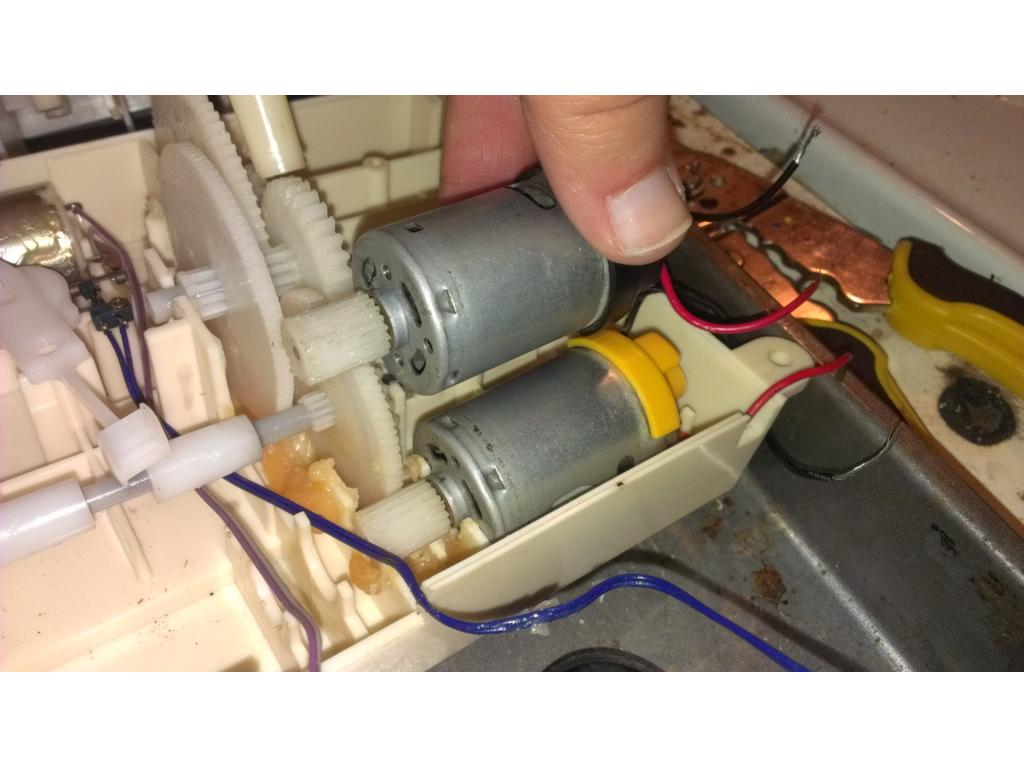
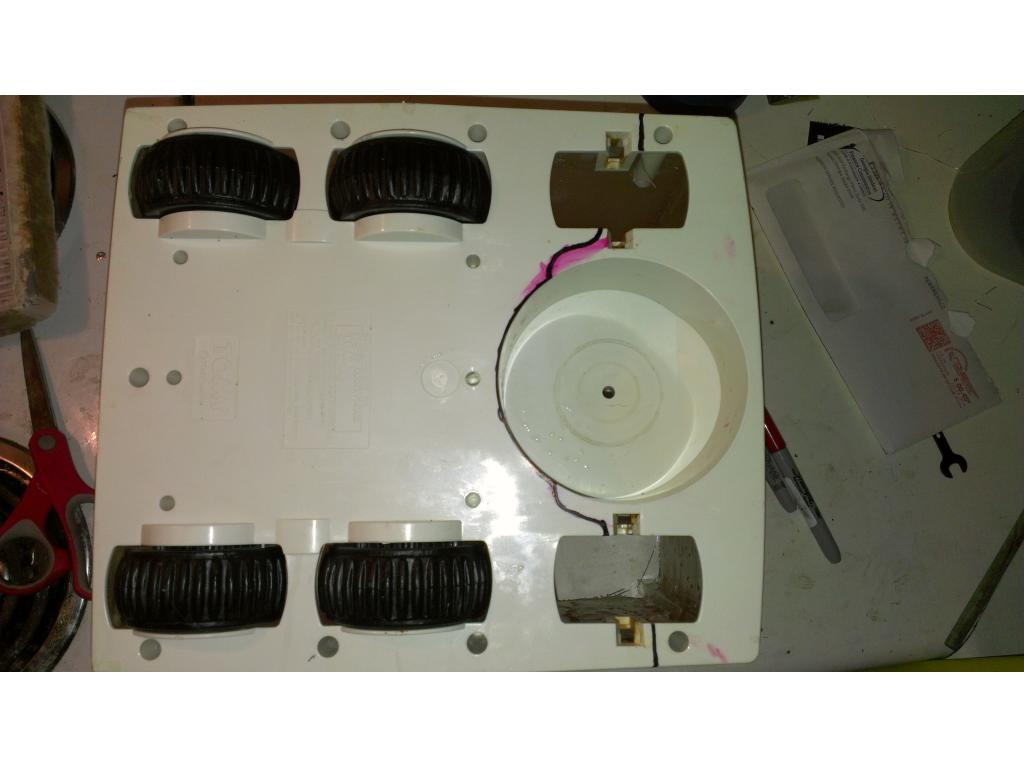
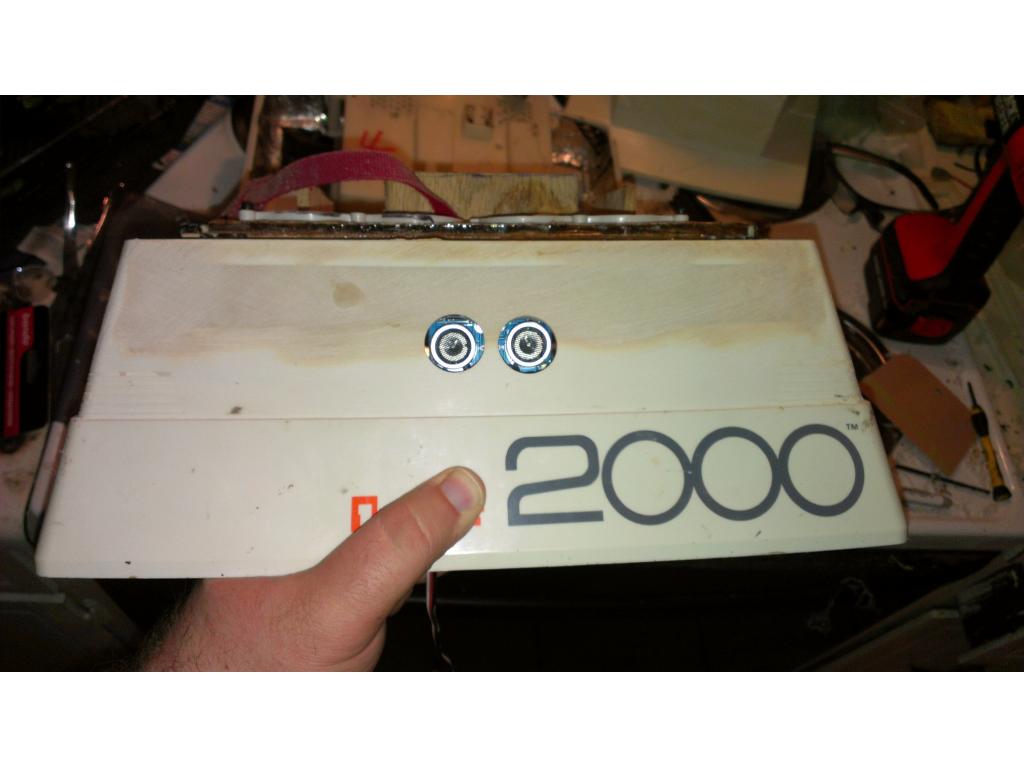
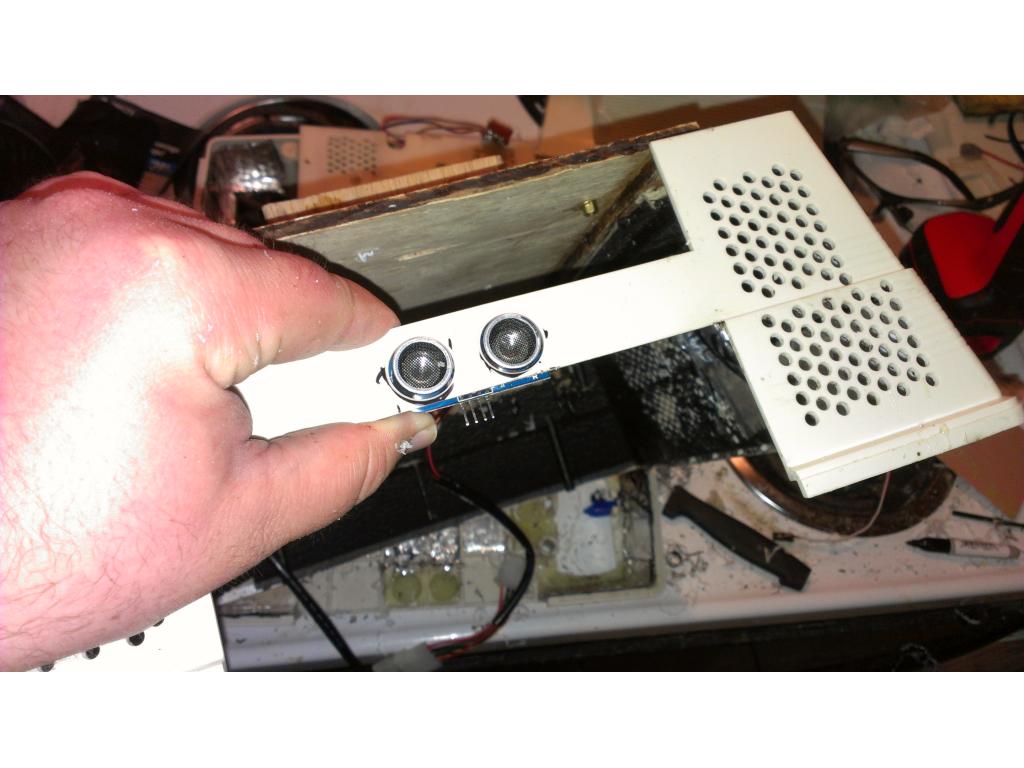
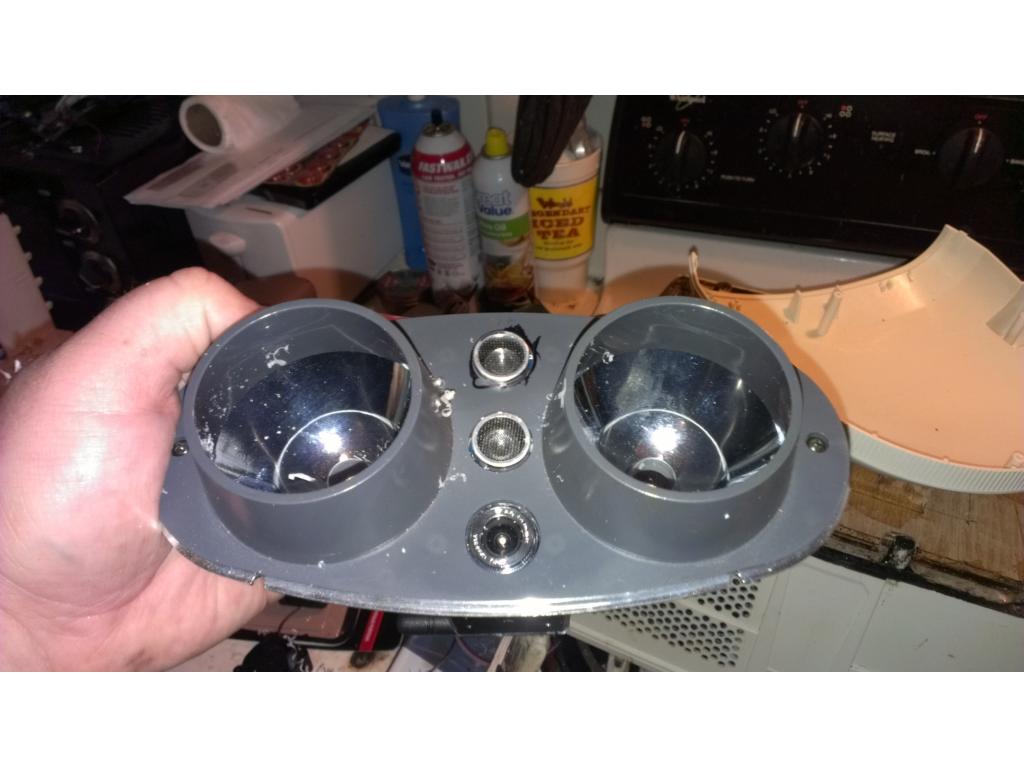
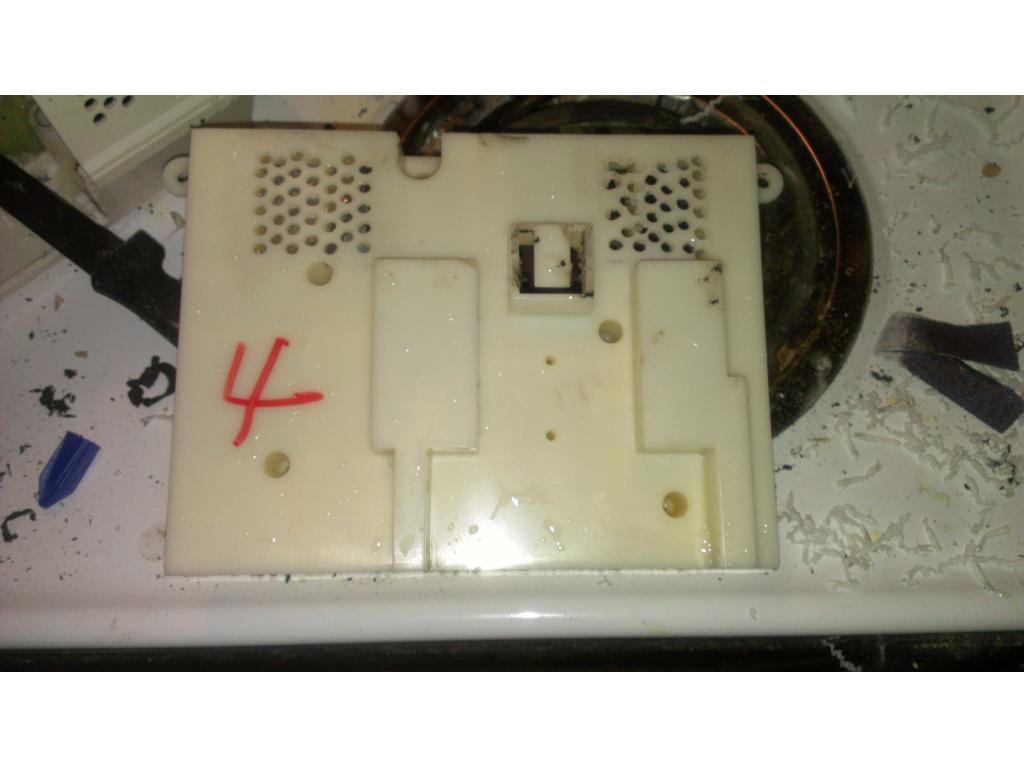
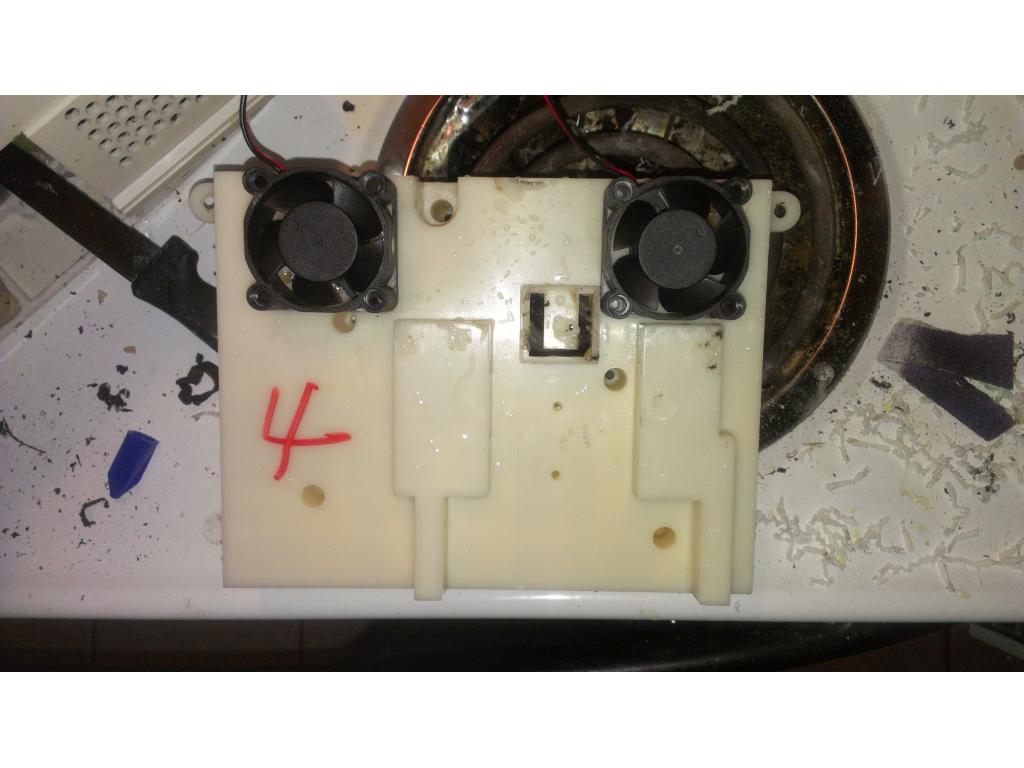
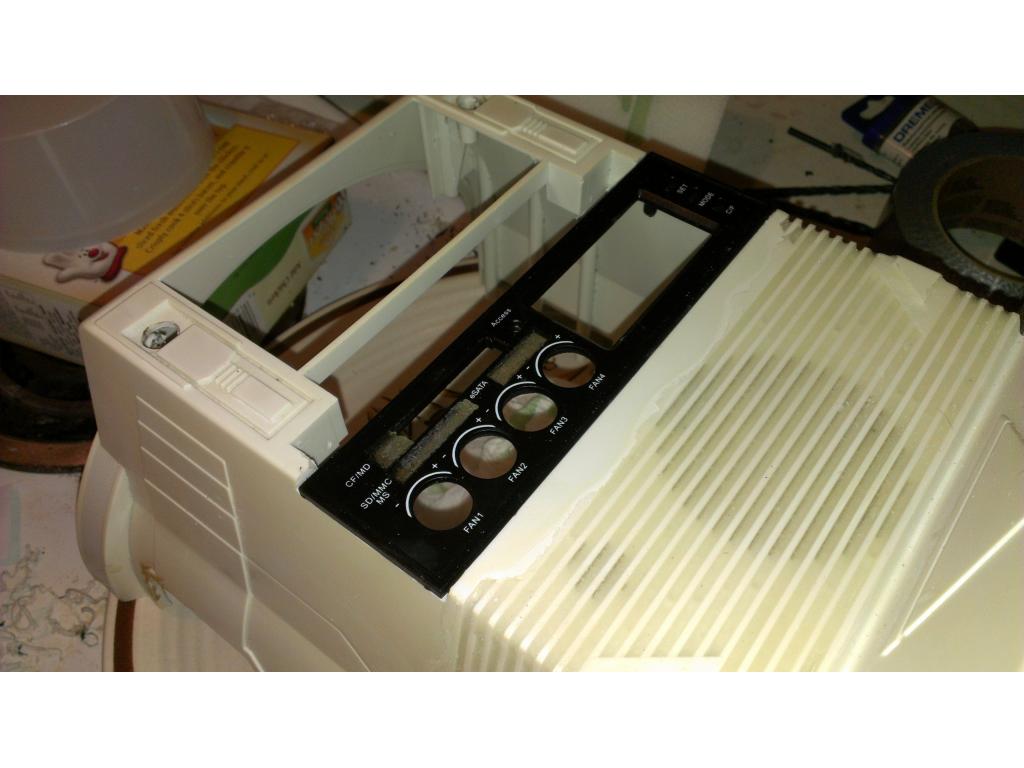
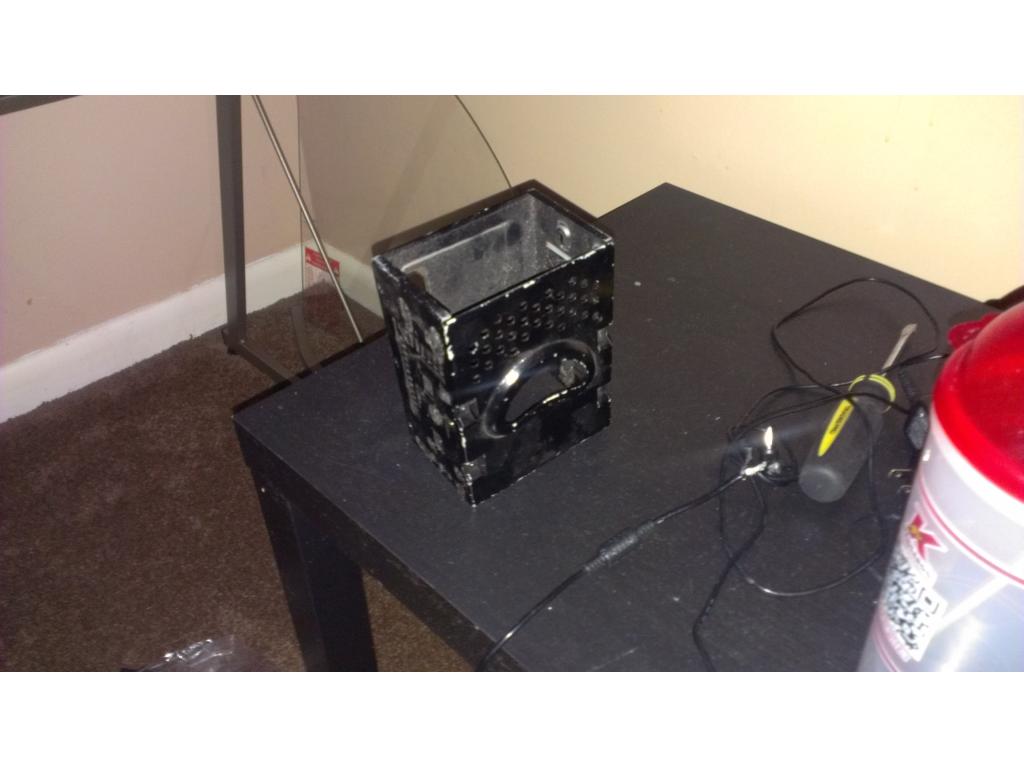
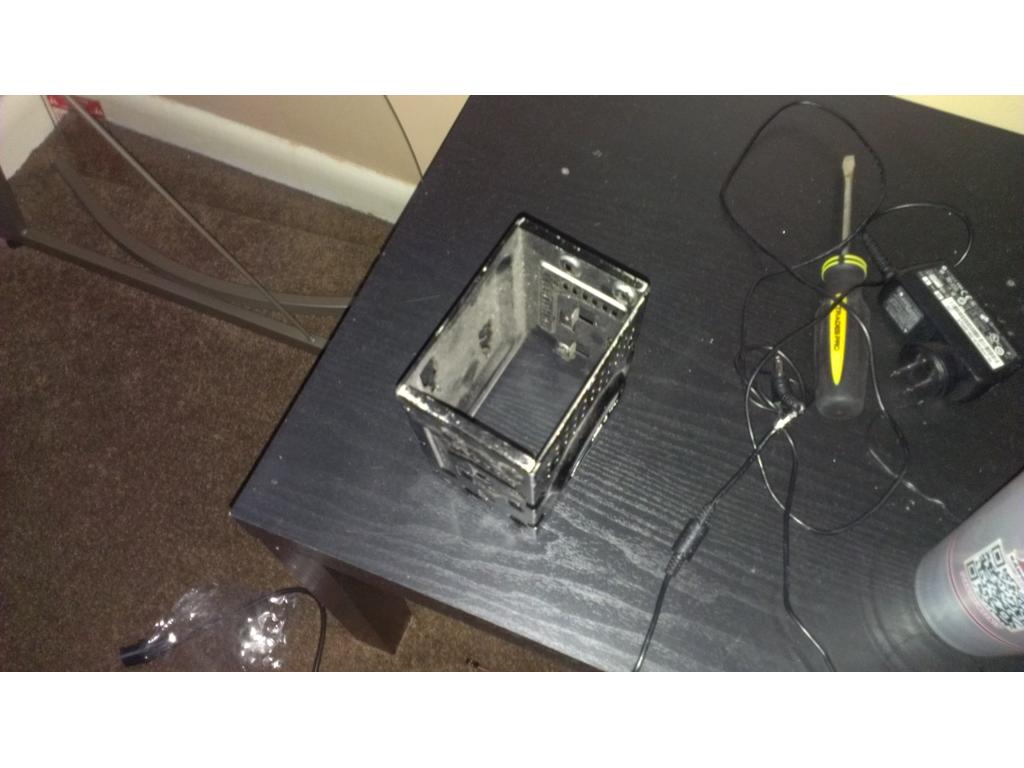
second i noticed the omnibot 2000 i bought from you you left the bottom gear box in,a with dynamat all over it ,are you not using it on your omnibot 2000 project,i did noticed usung dynamat it is hard to remove the screws on my design not using the gear box,using a 4 wheel belt design
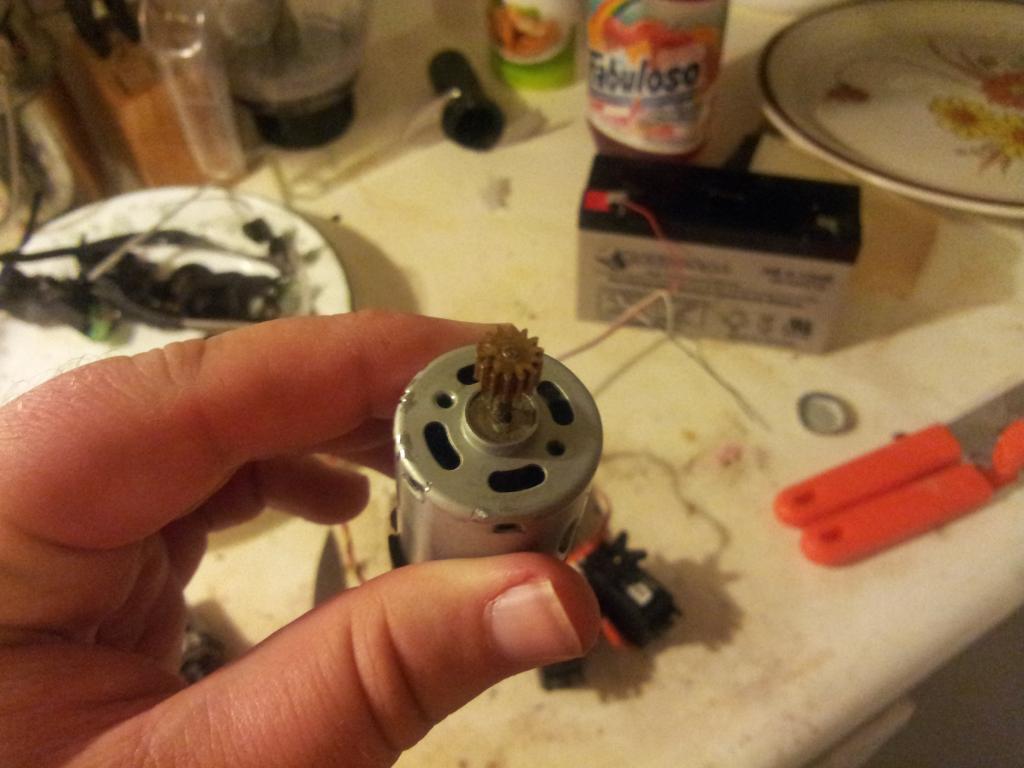
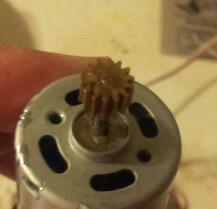
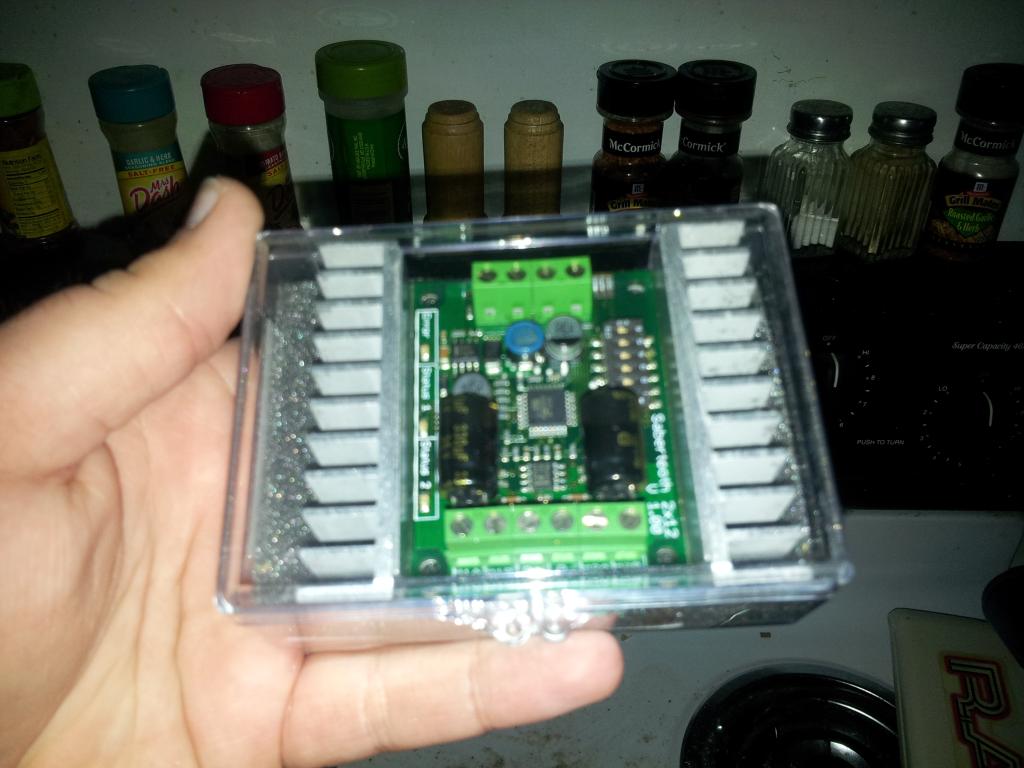
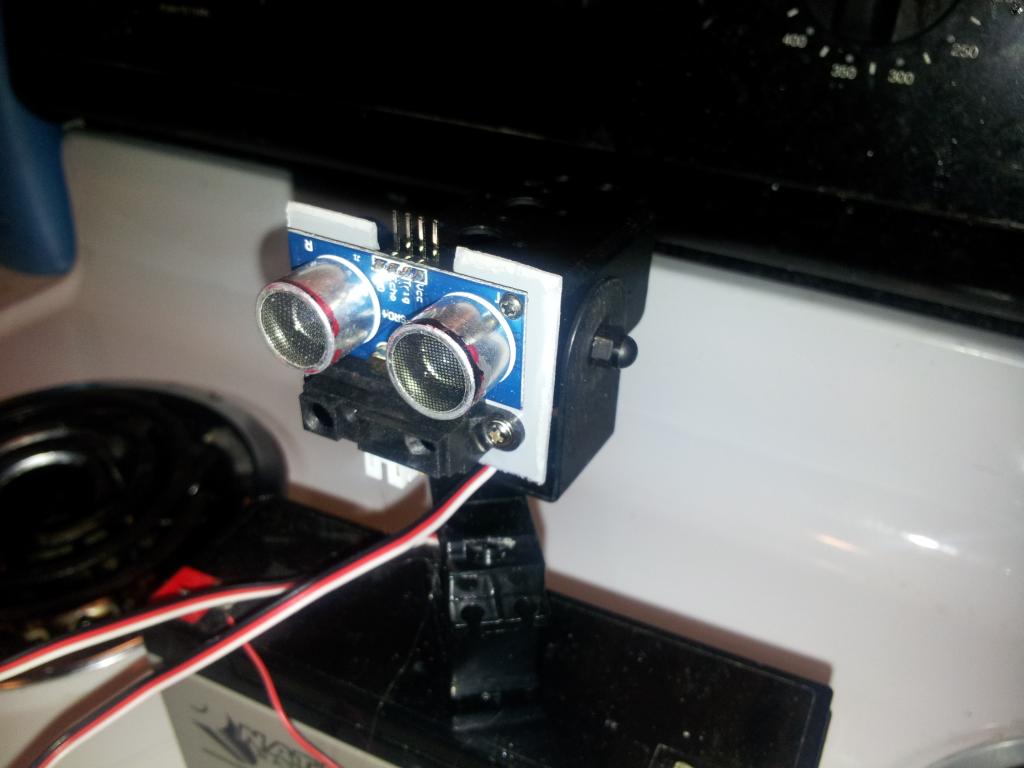
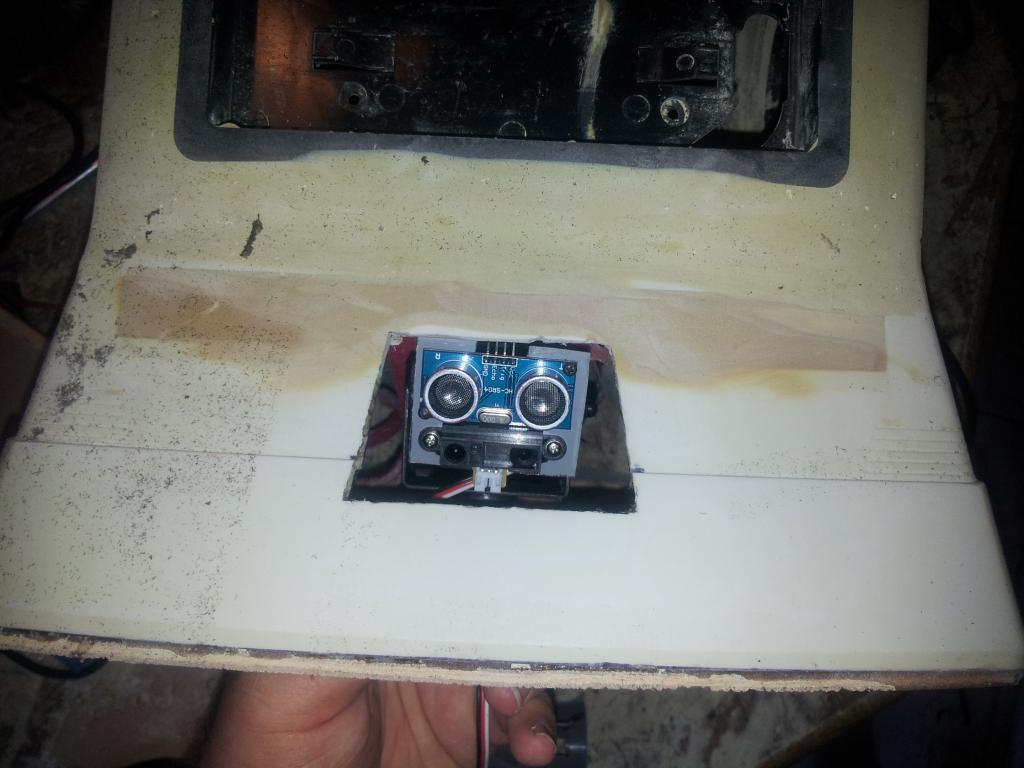
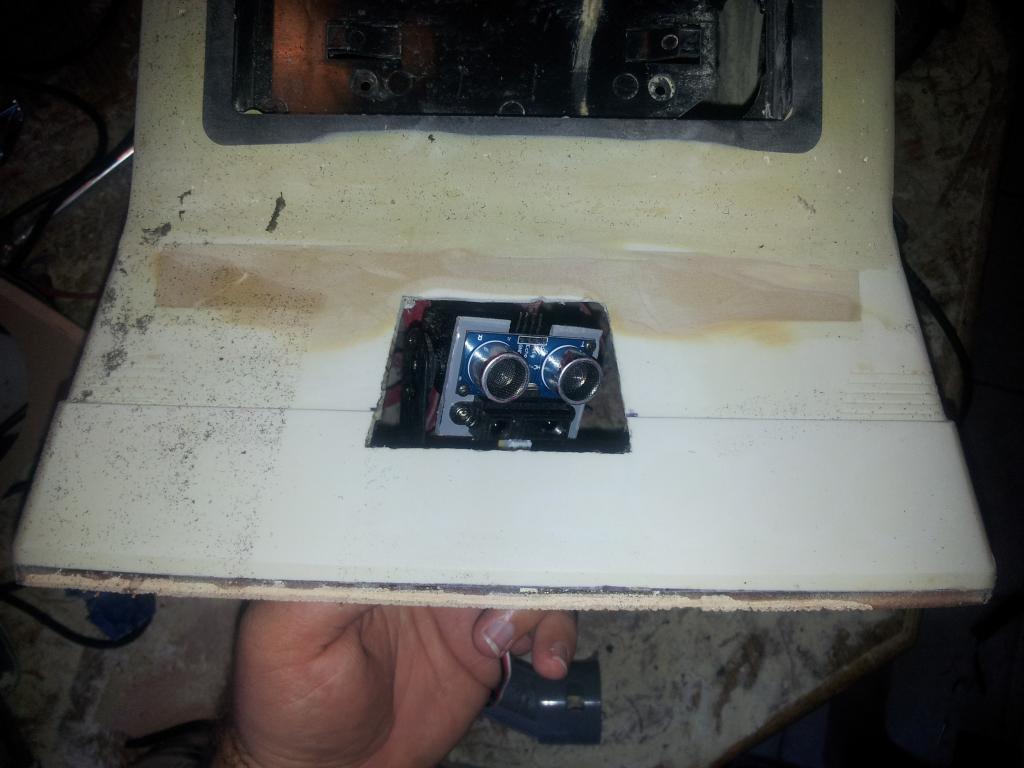
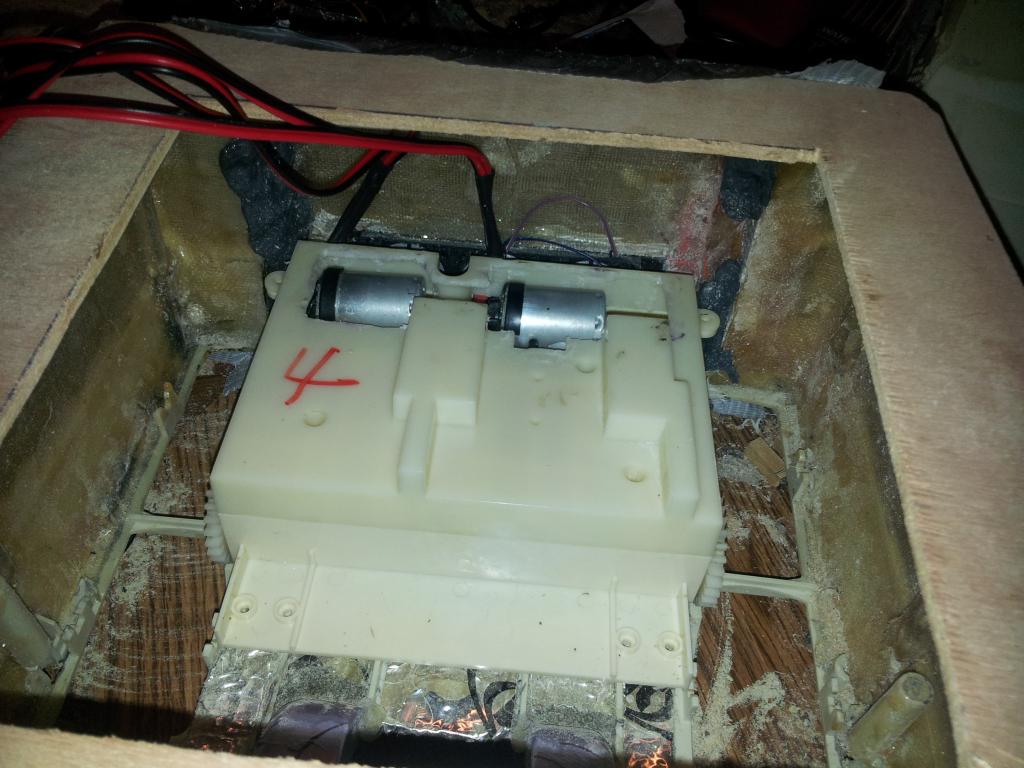
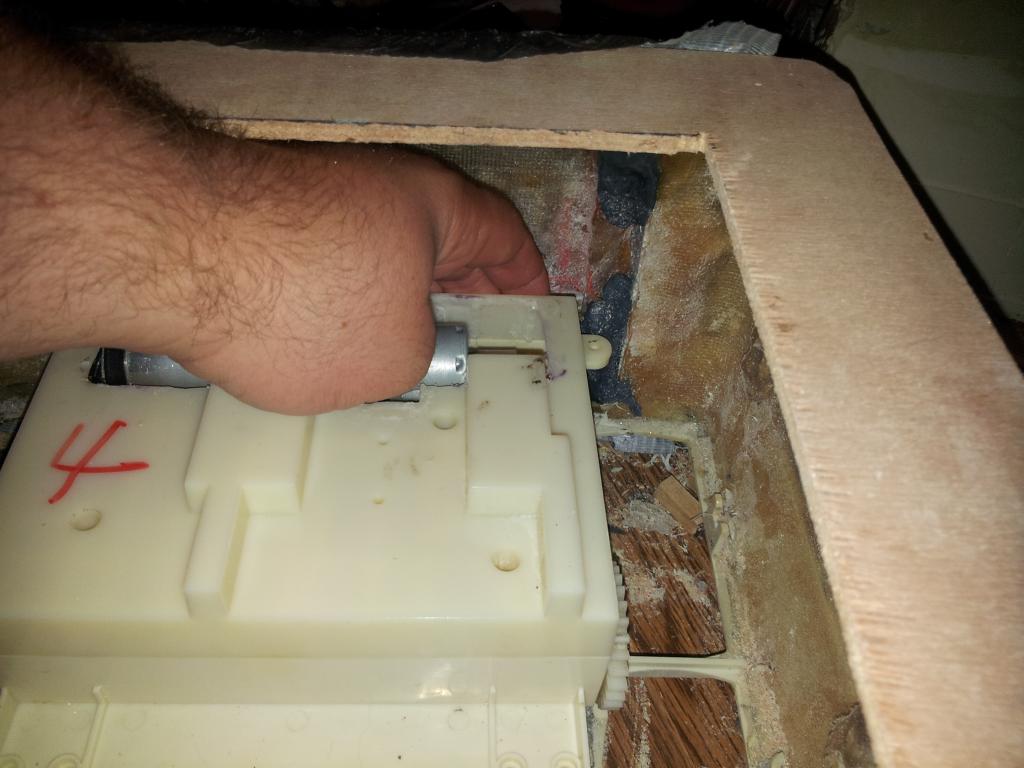
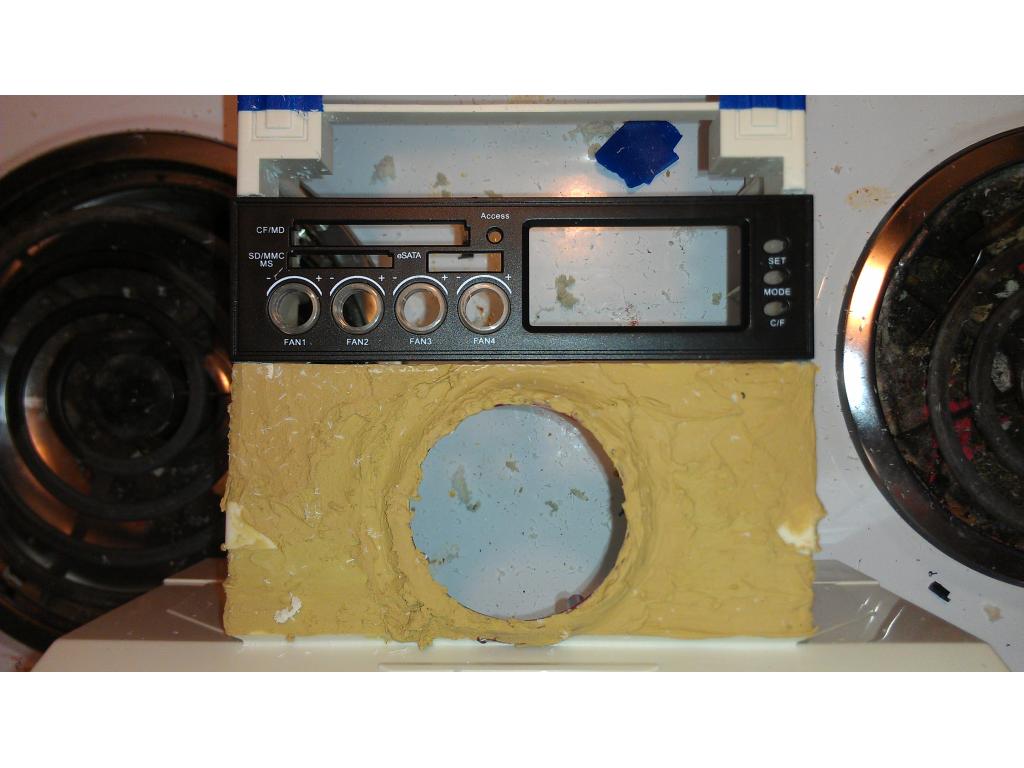
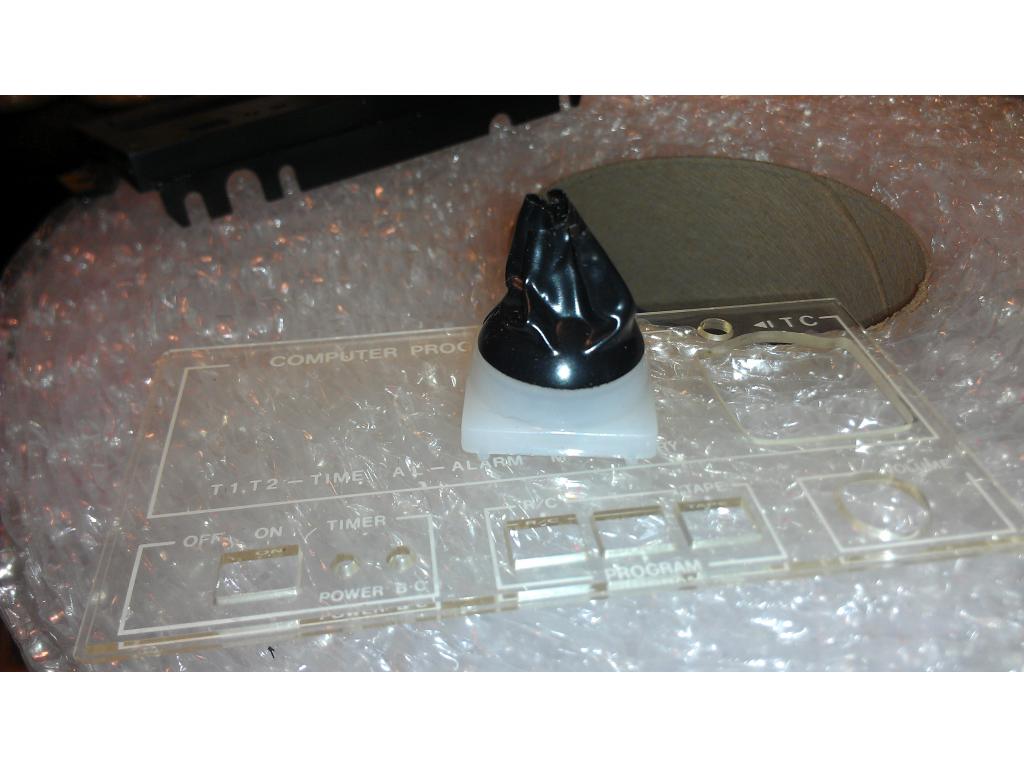
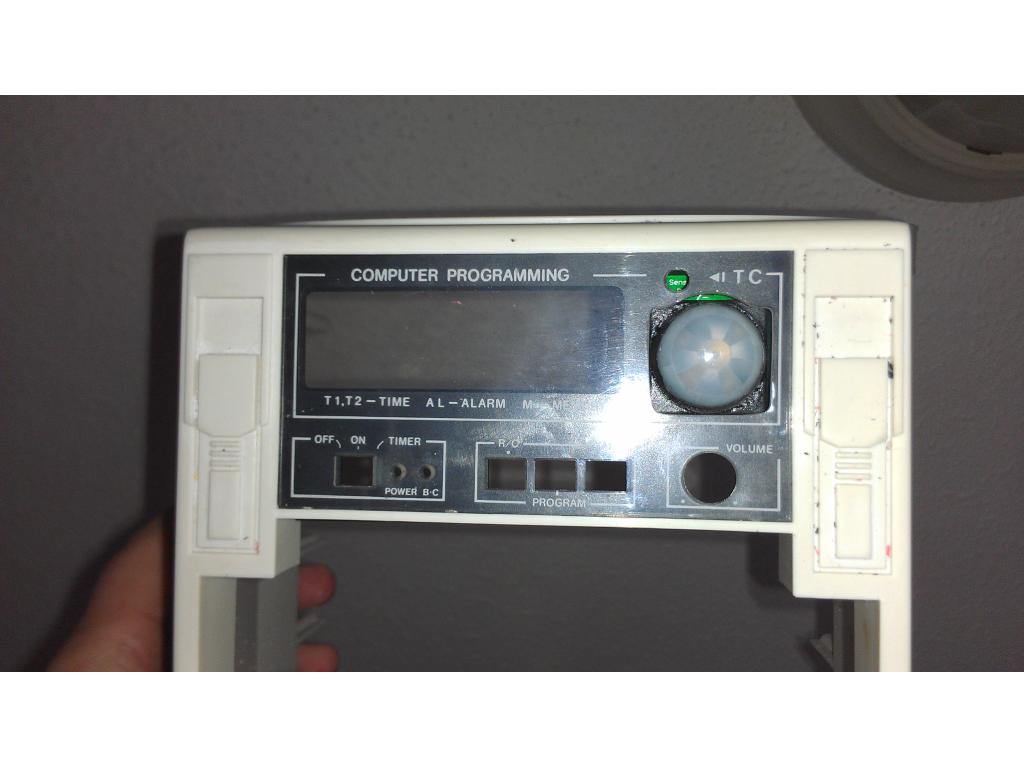
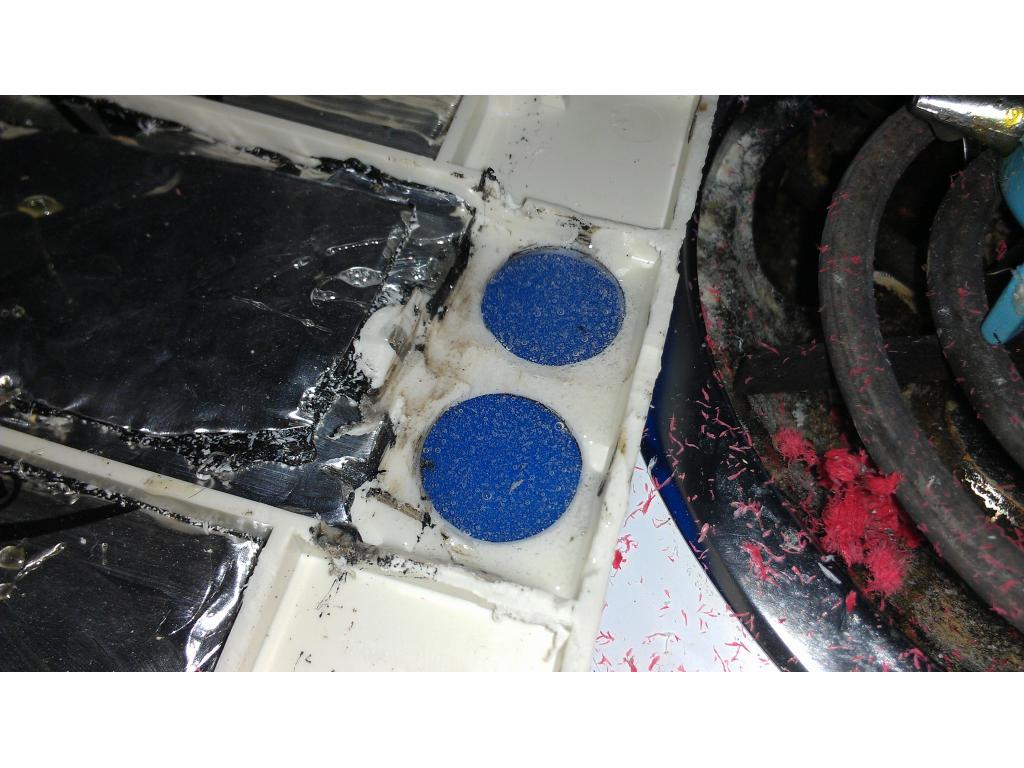
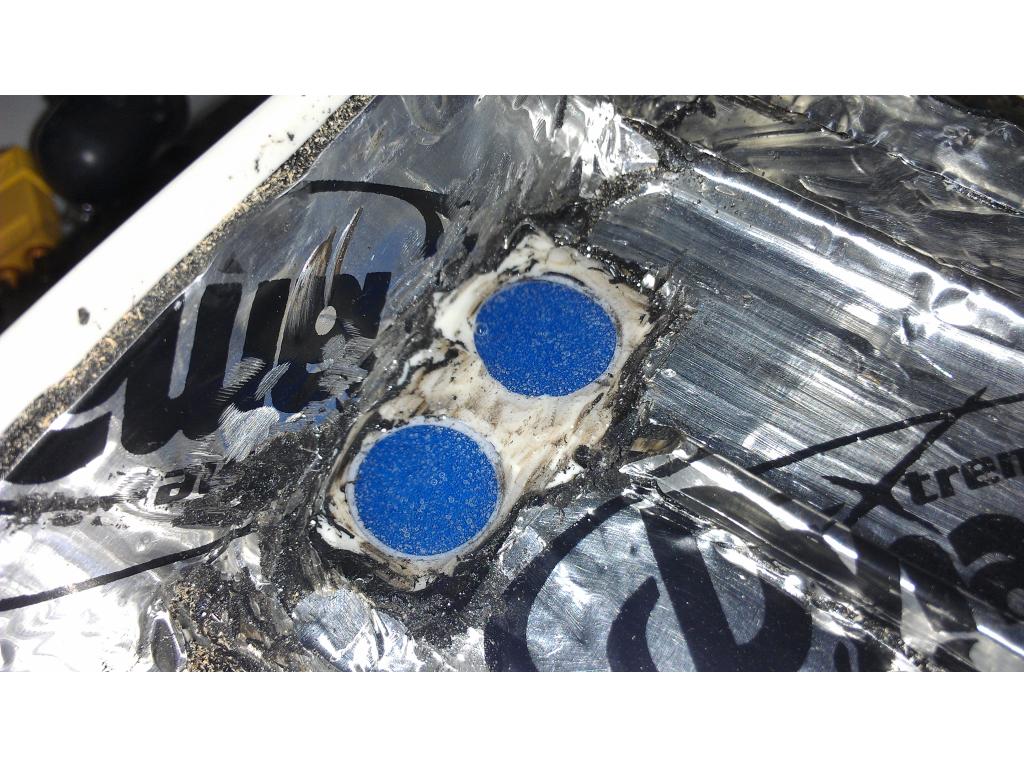
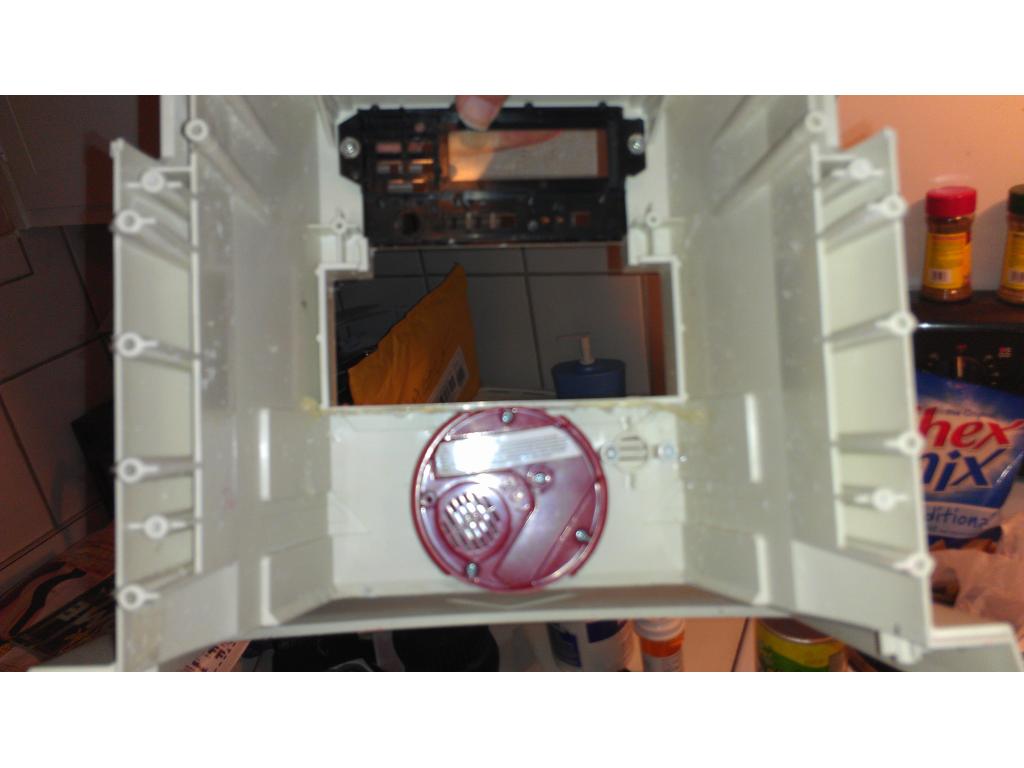
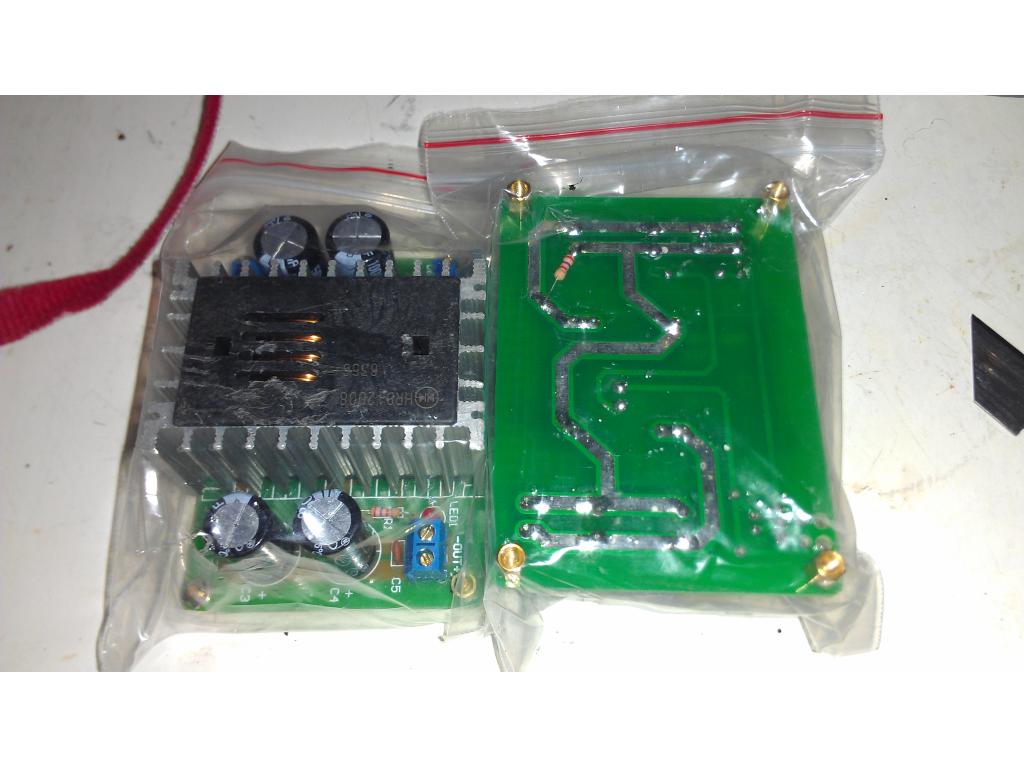
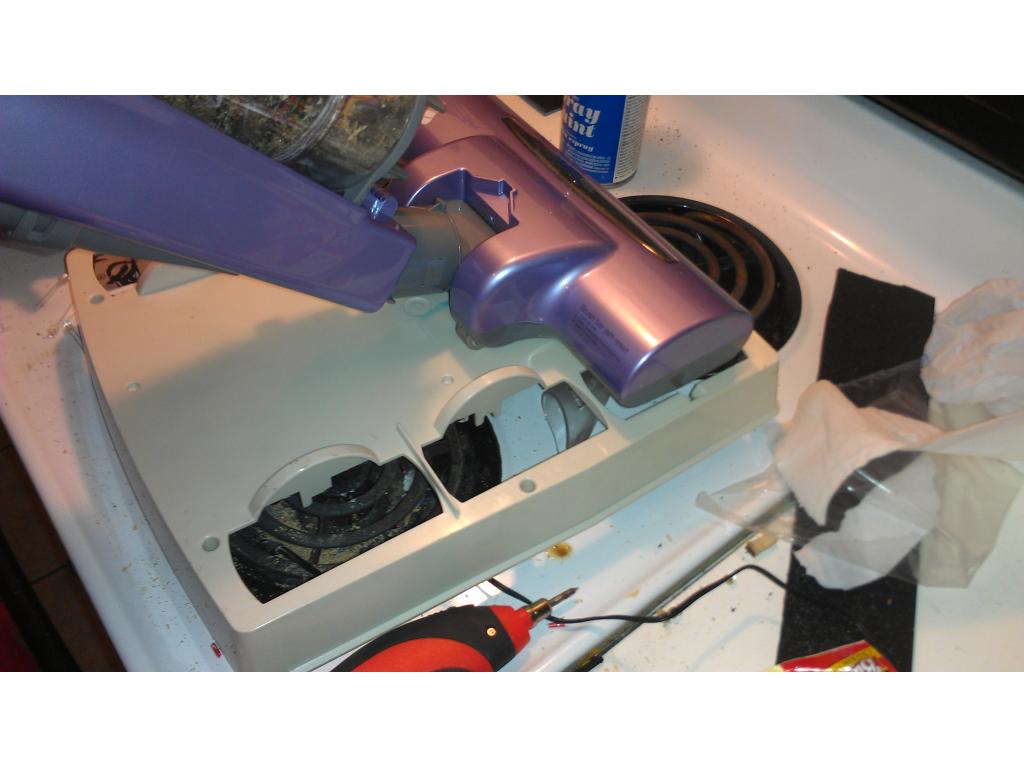
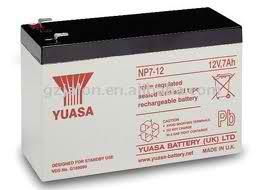
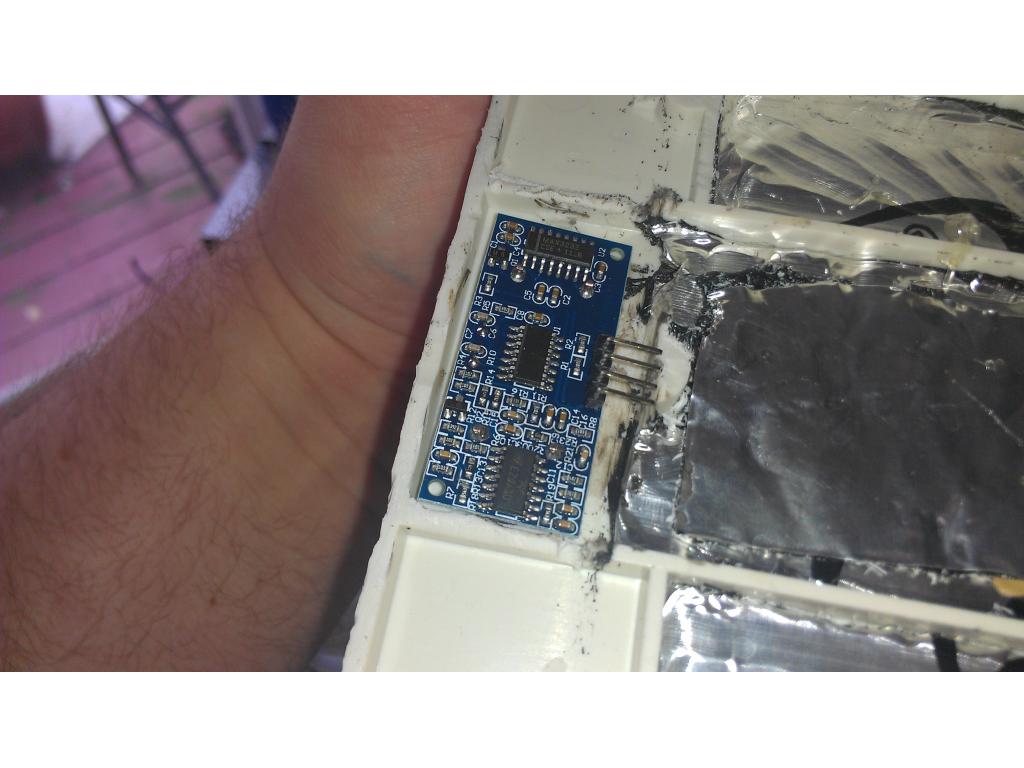
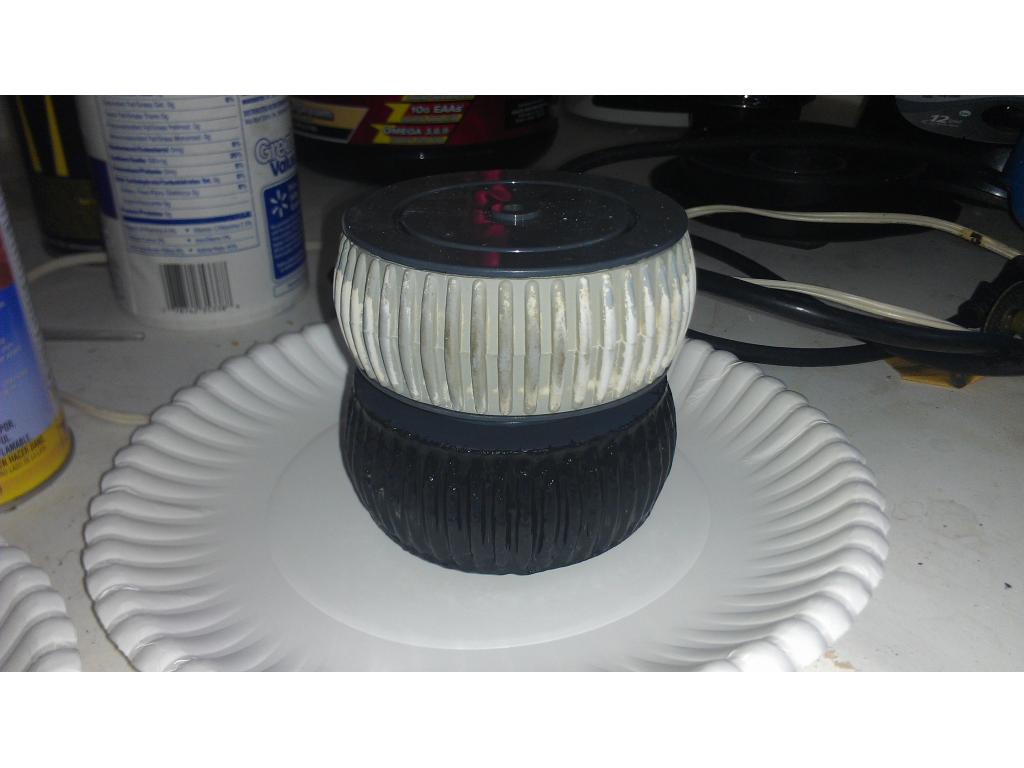
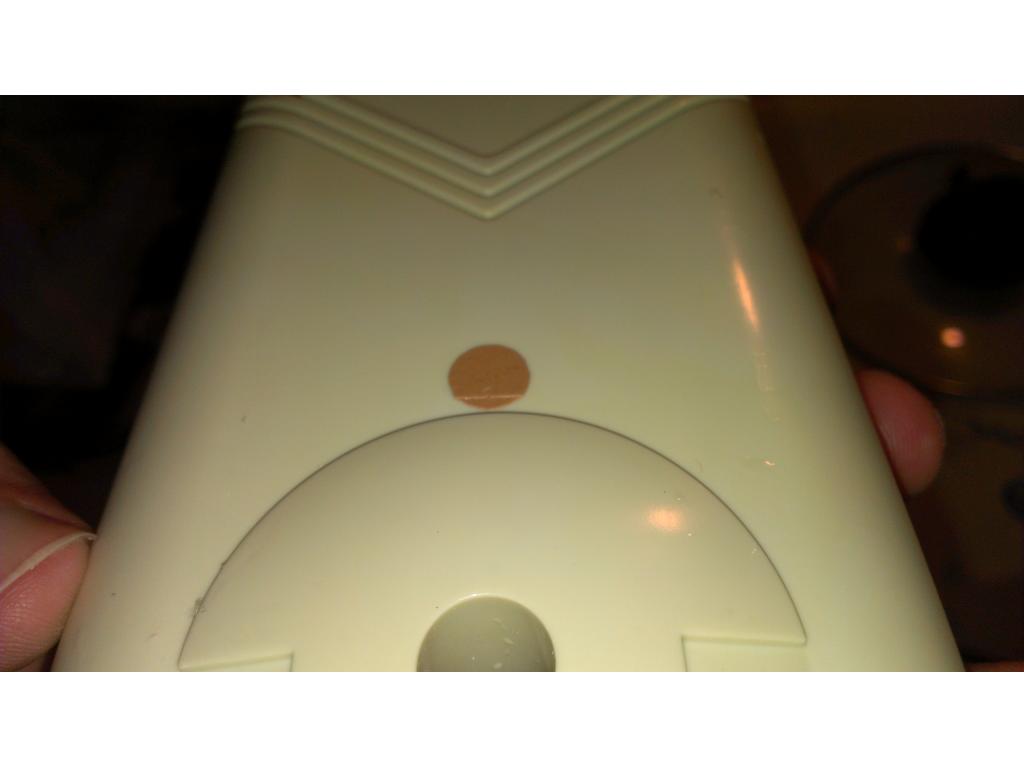
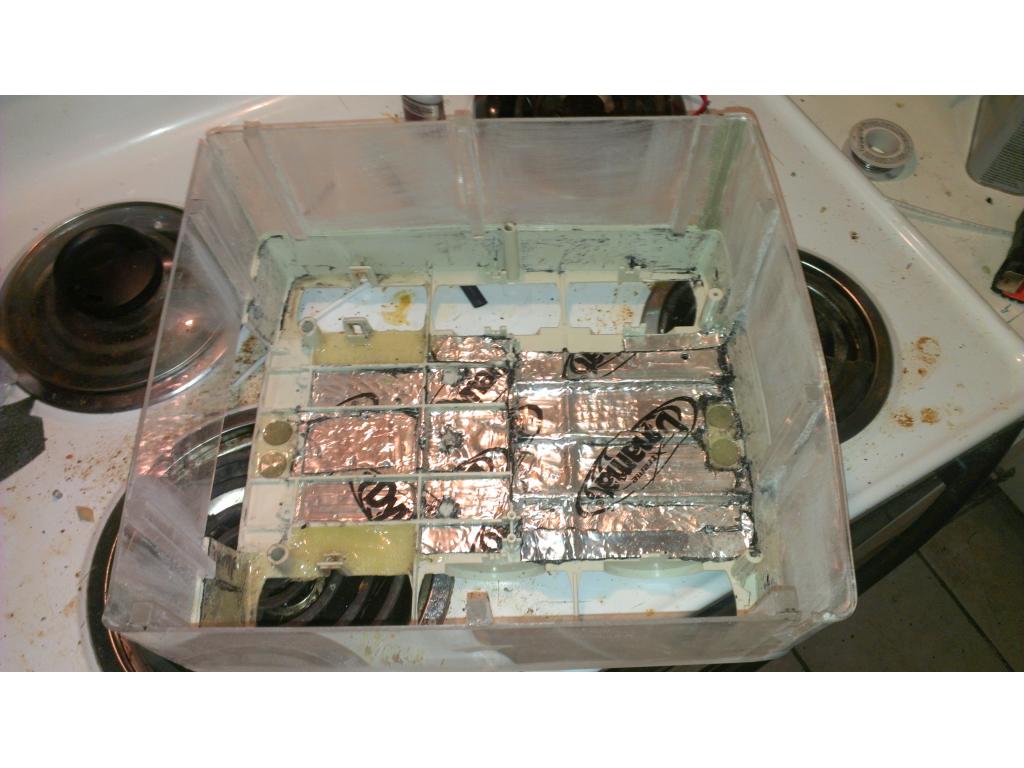
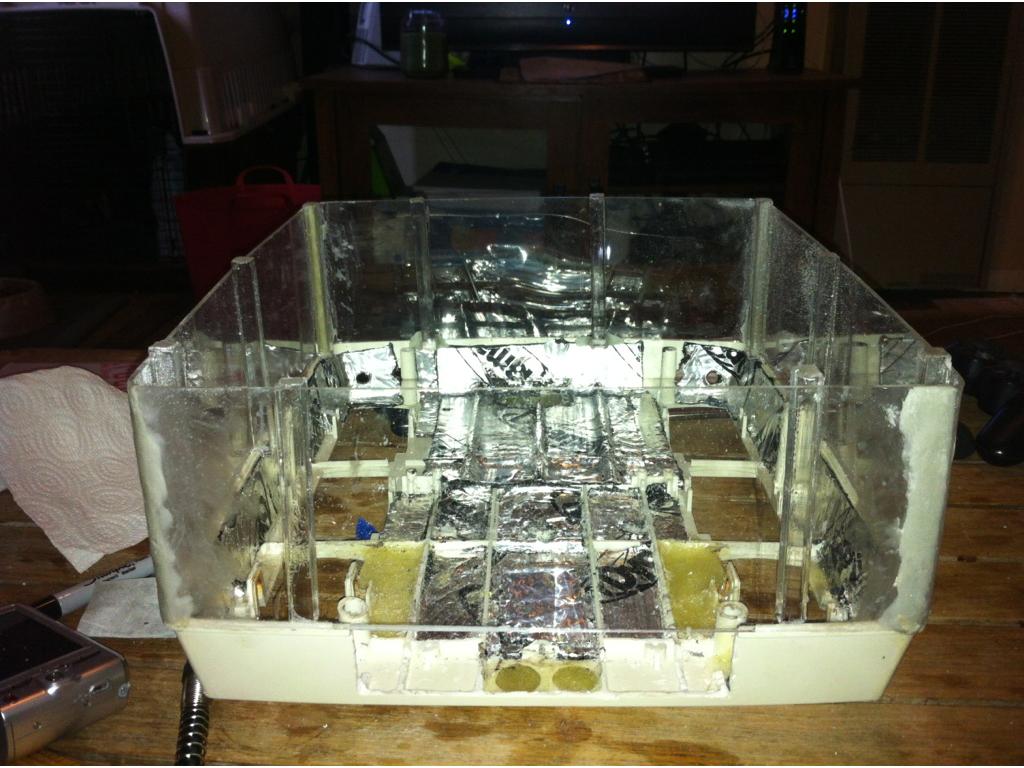
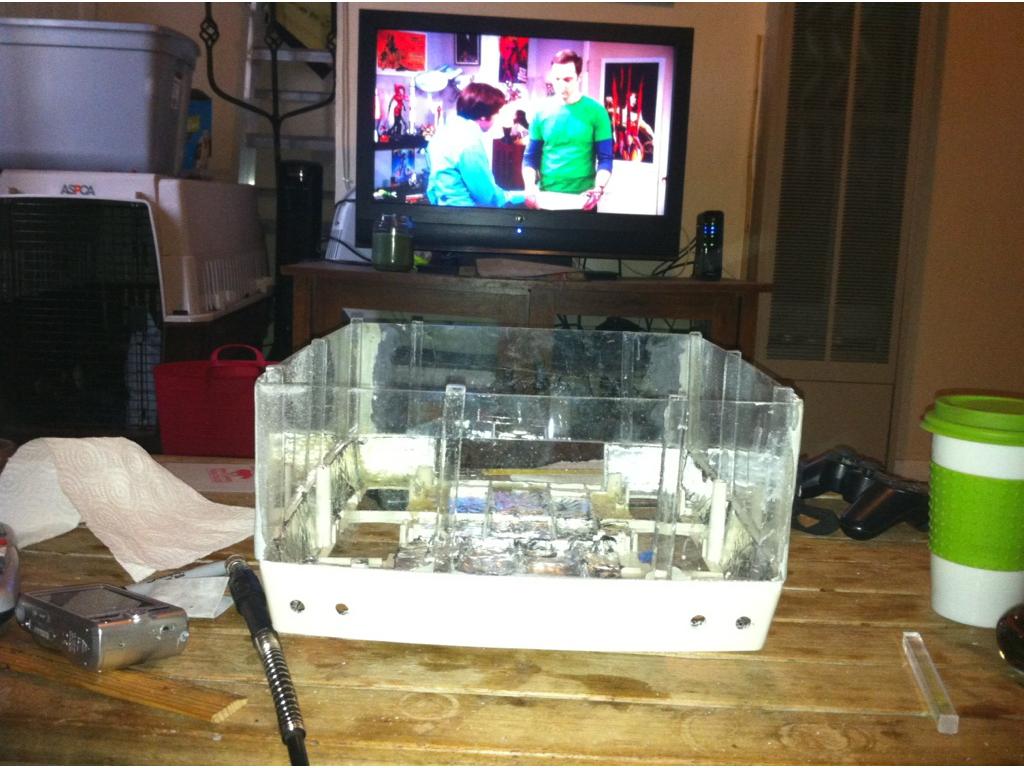
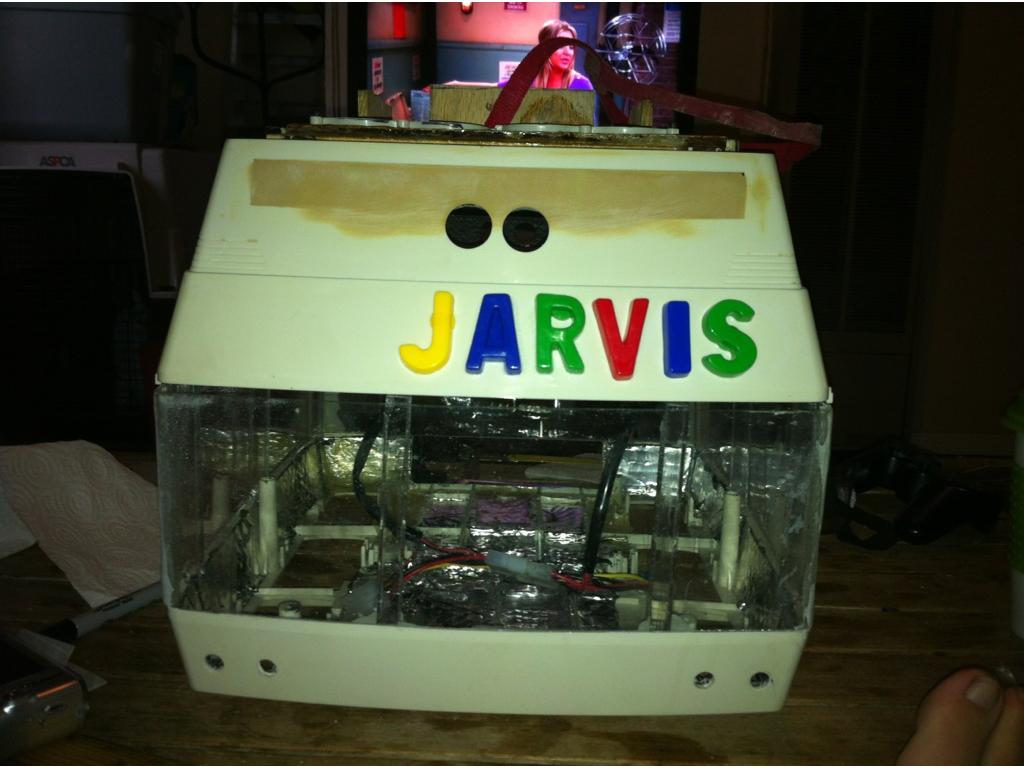
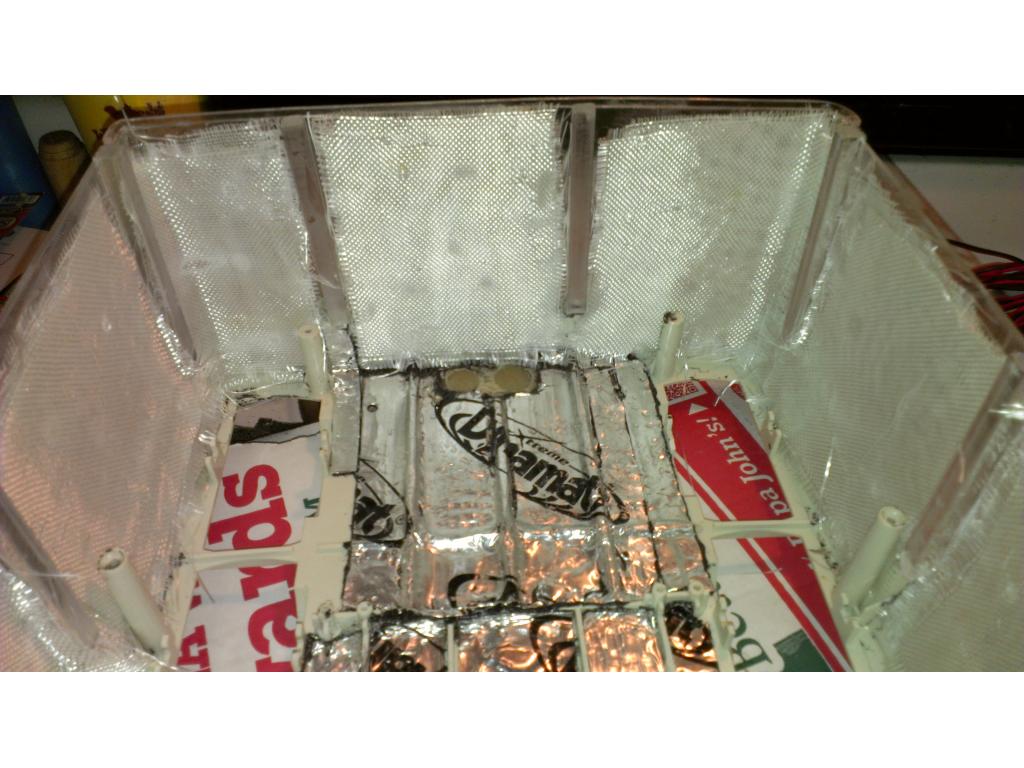
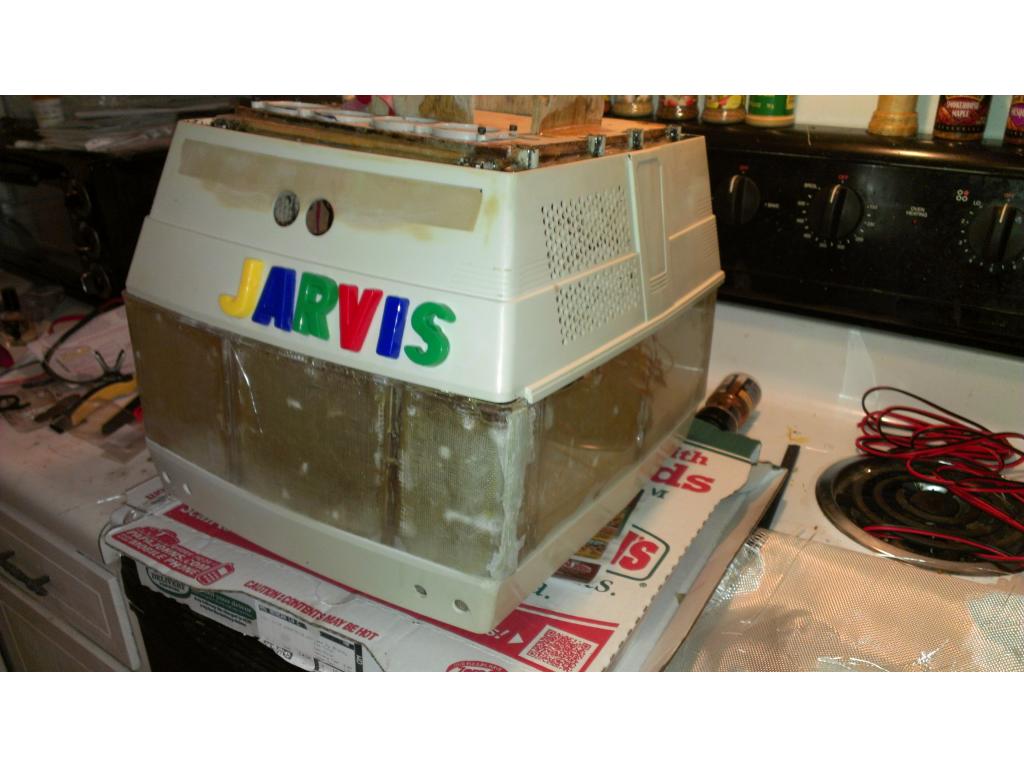
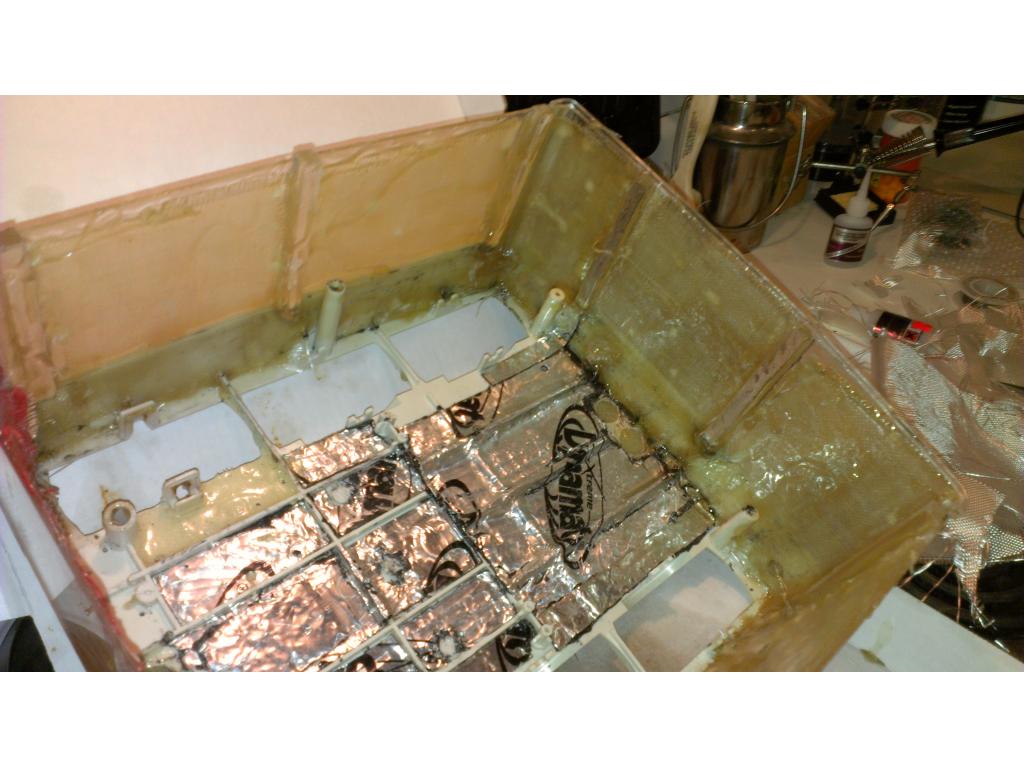
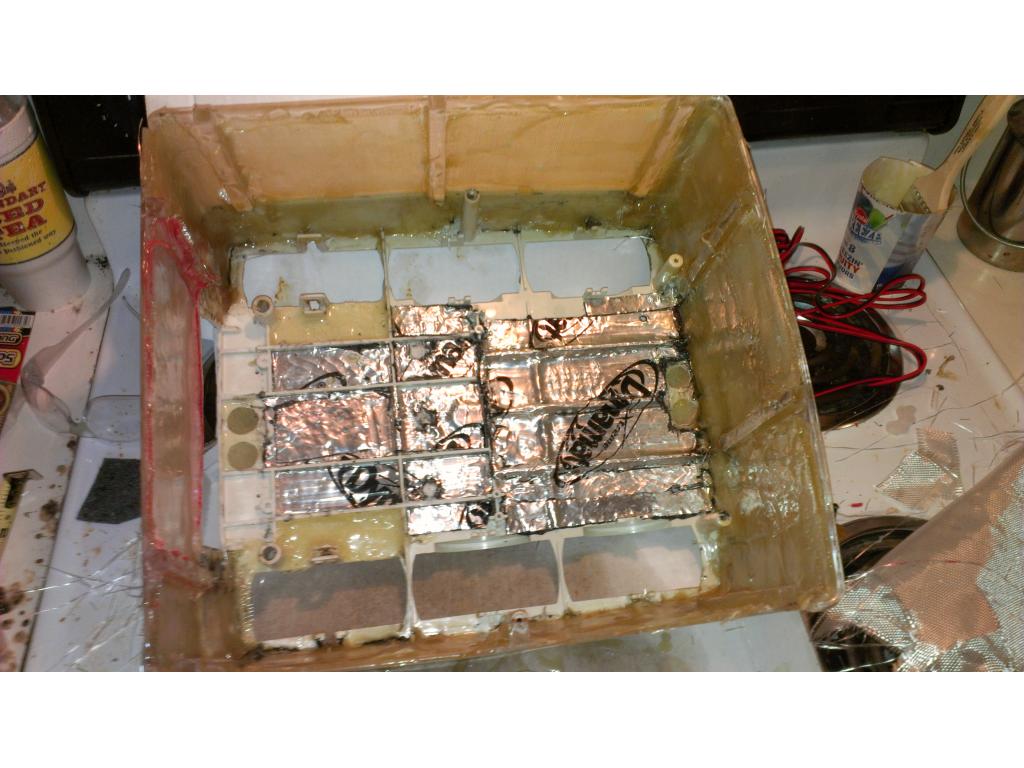
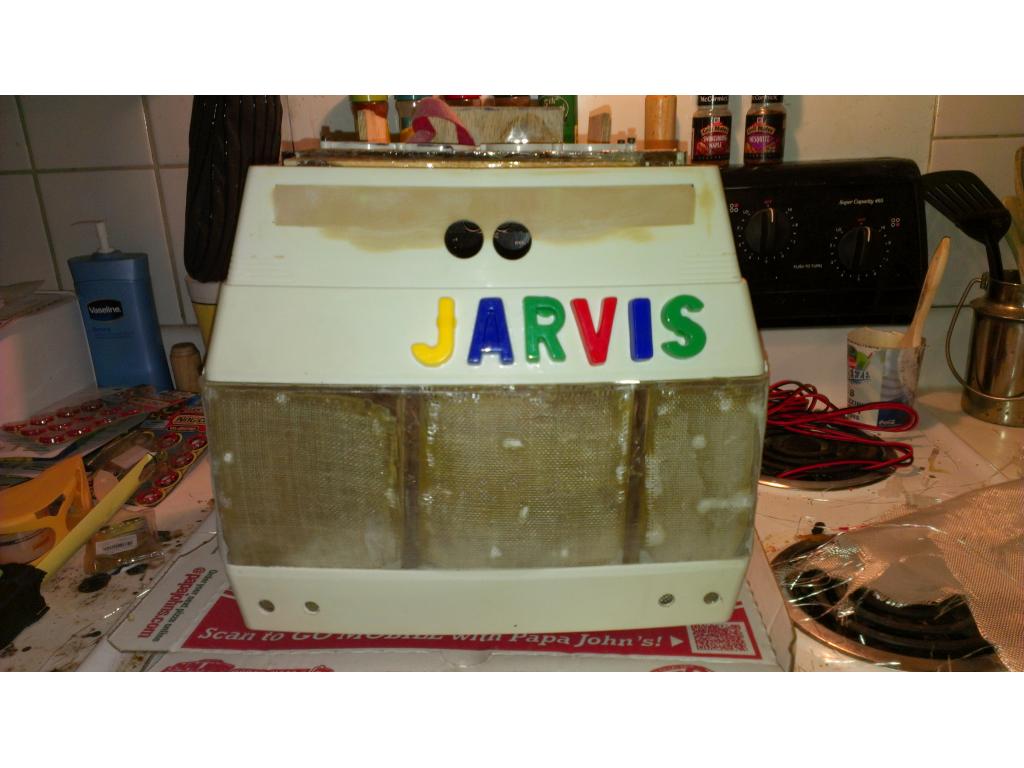
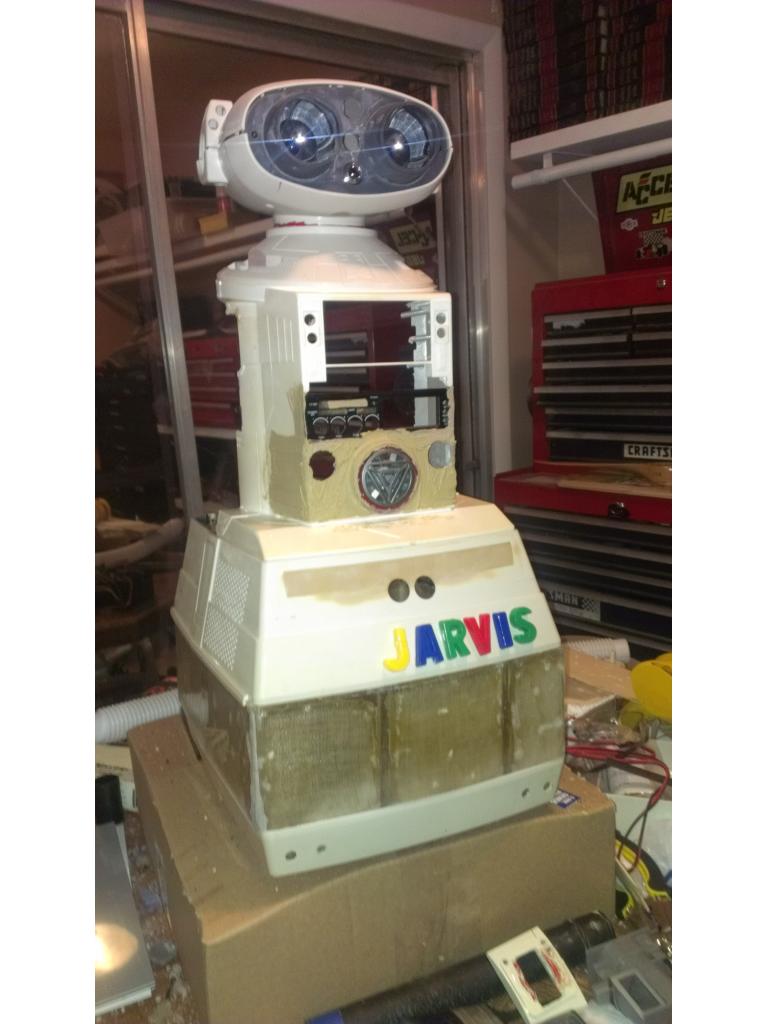
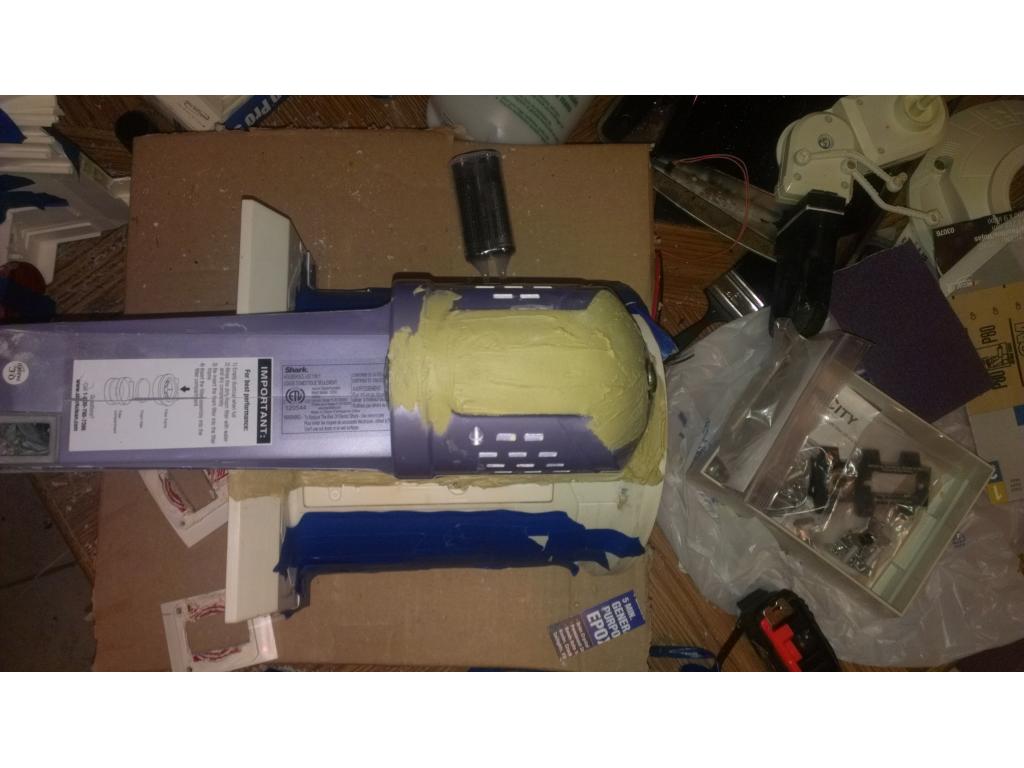
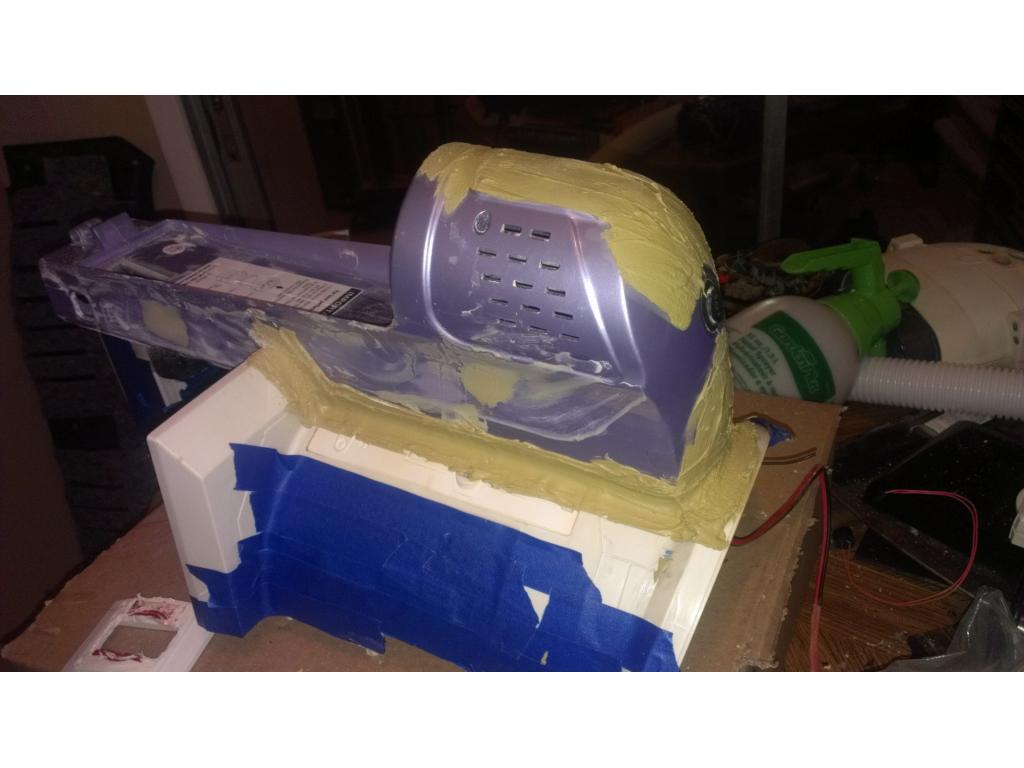
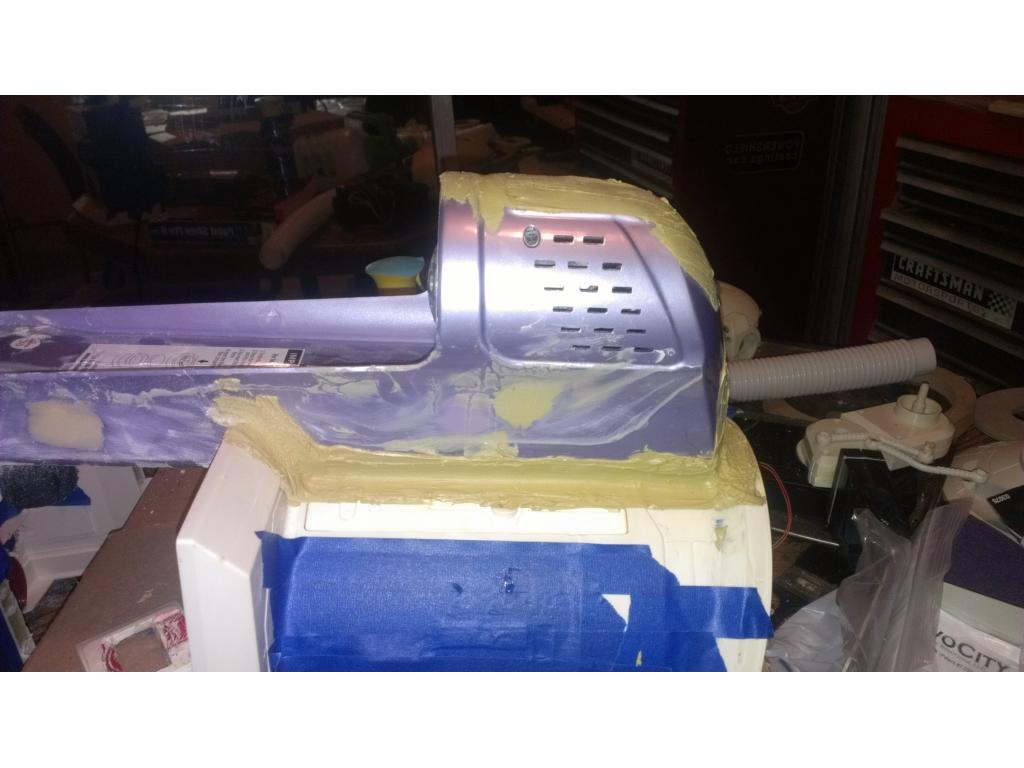
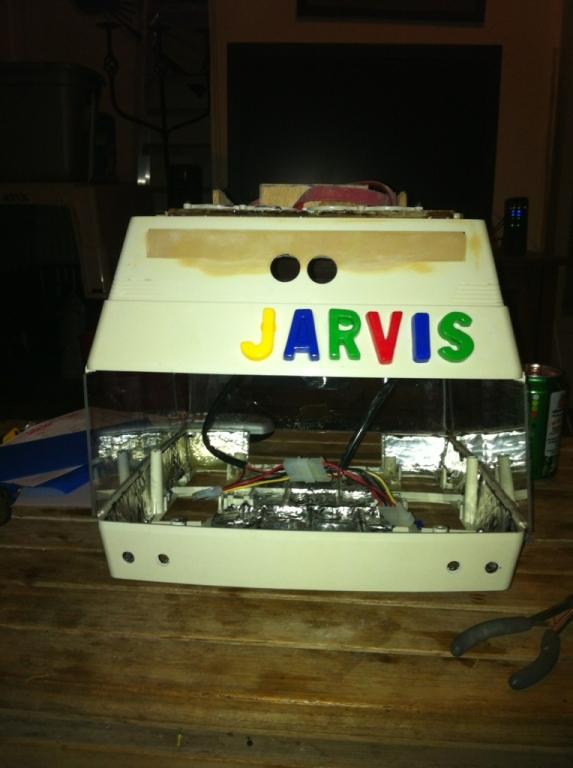
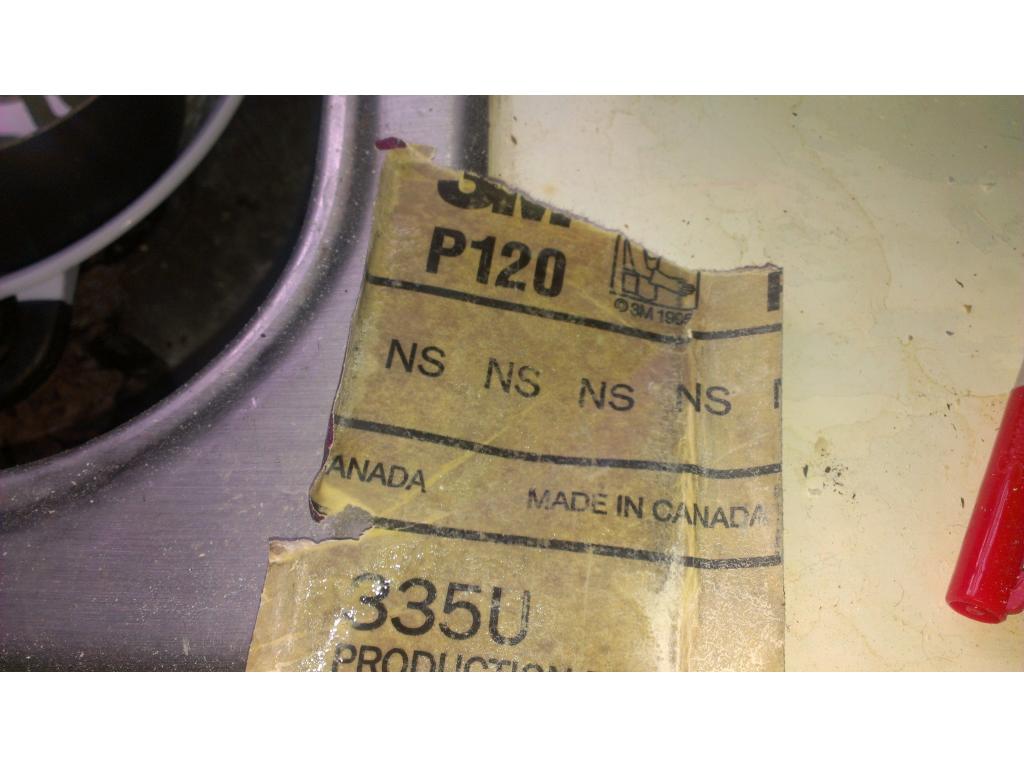
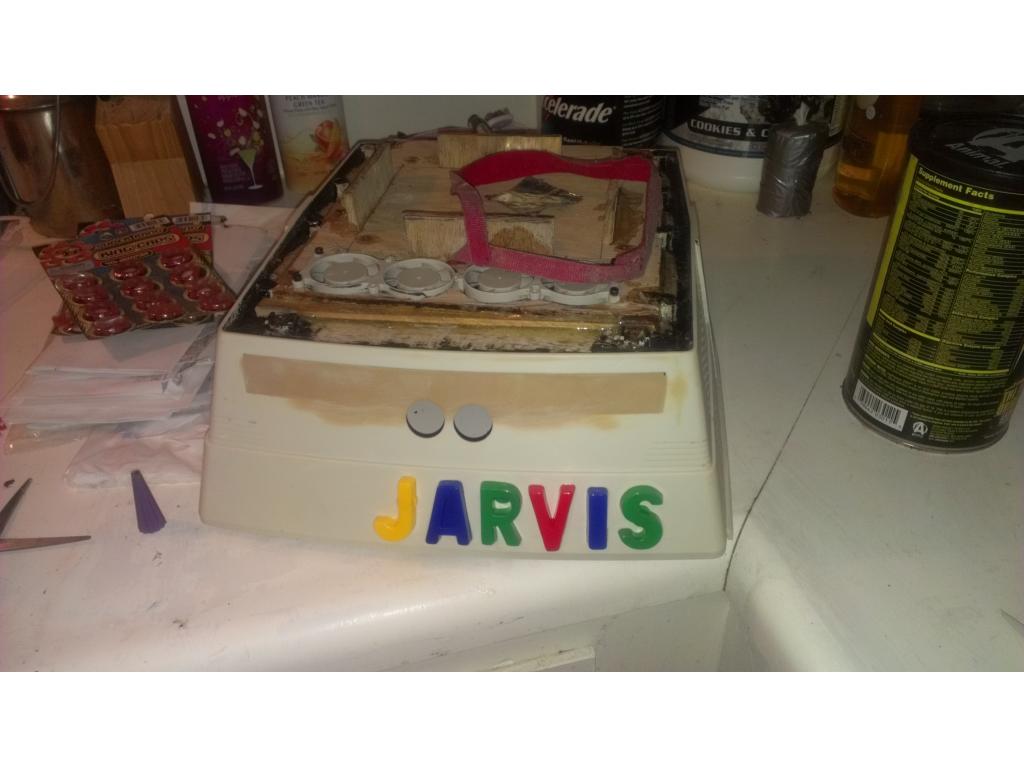
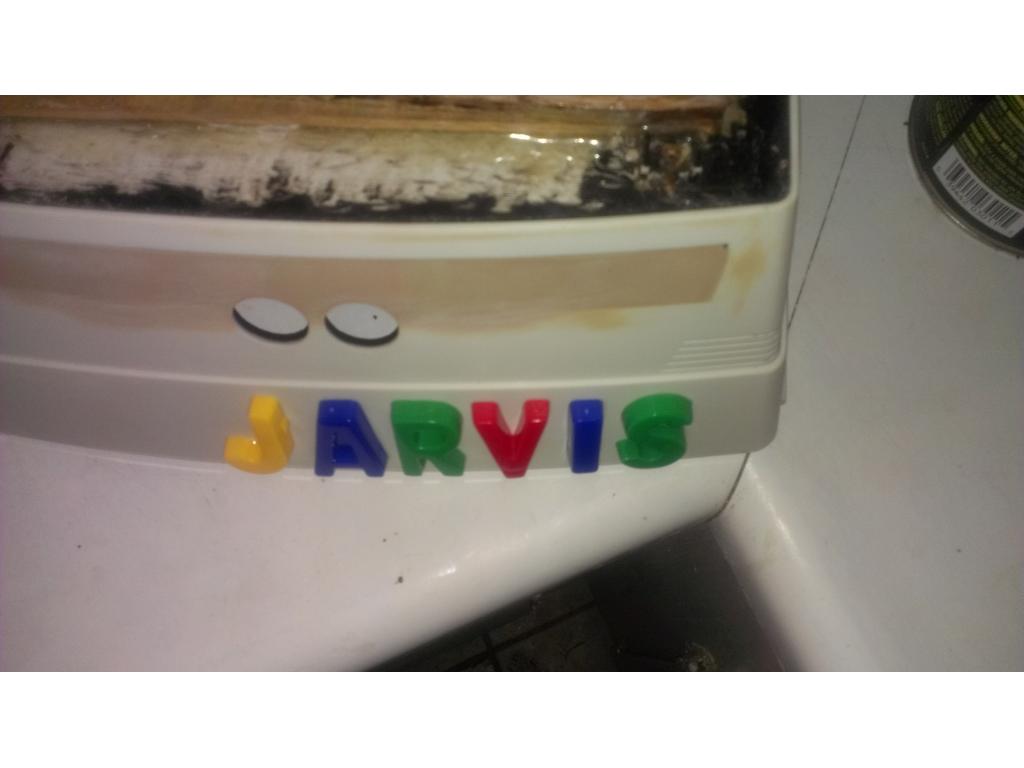
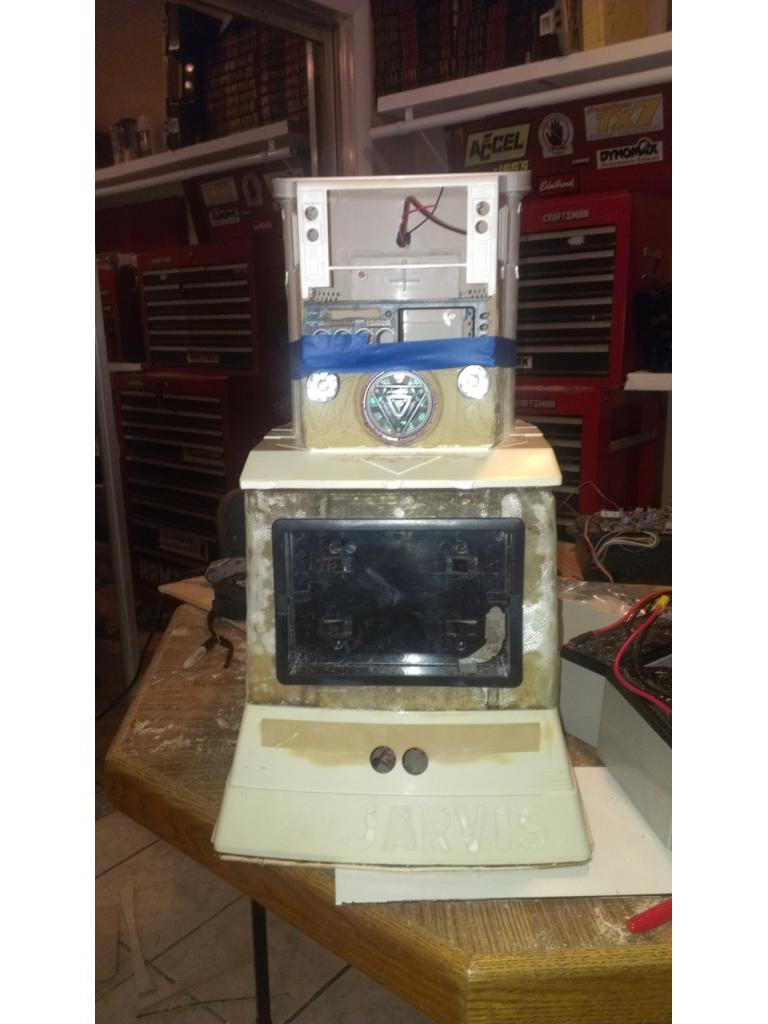
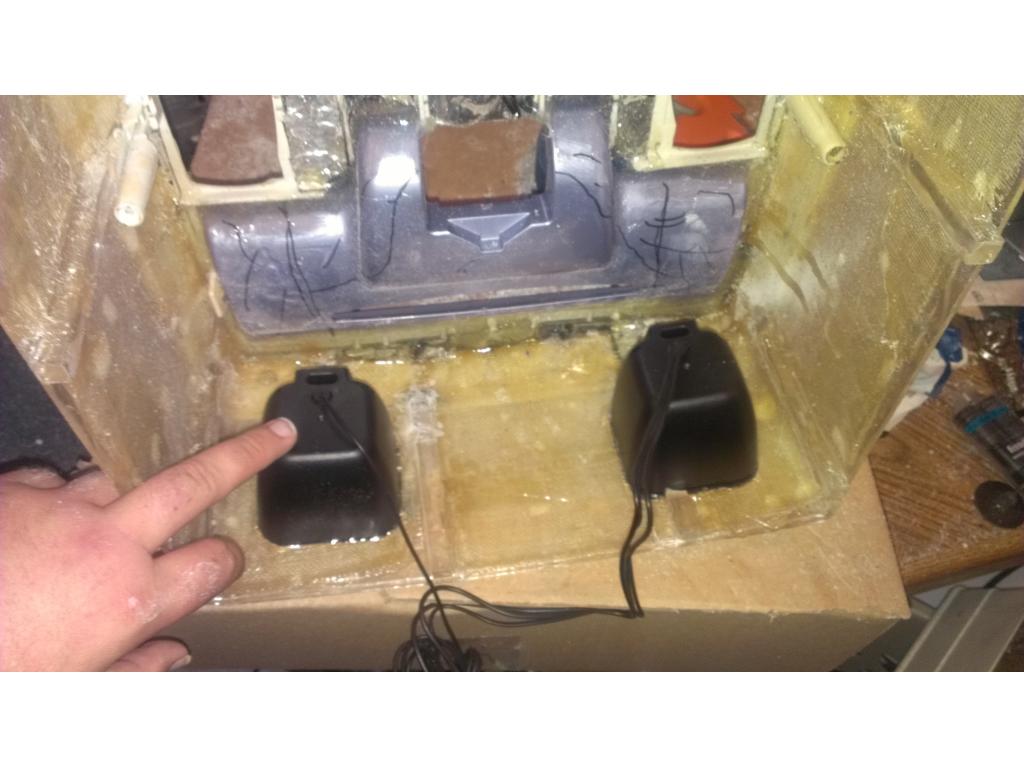
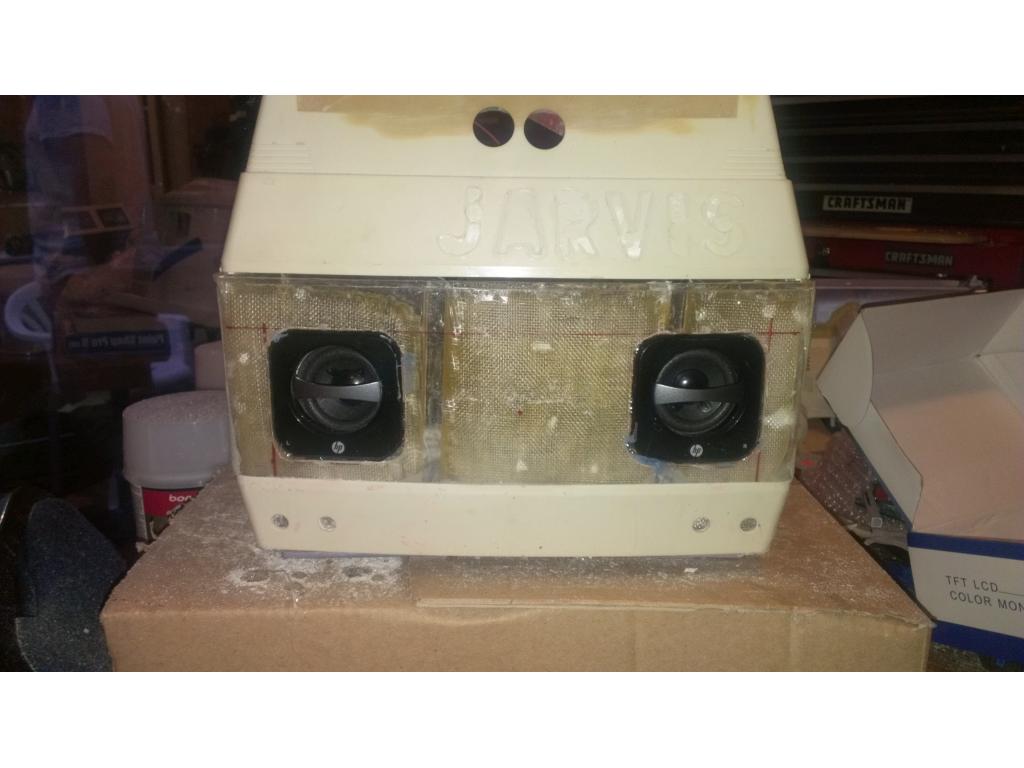
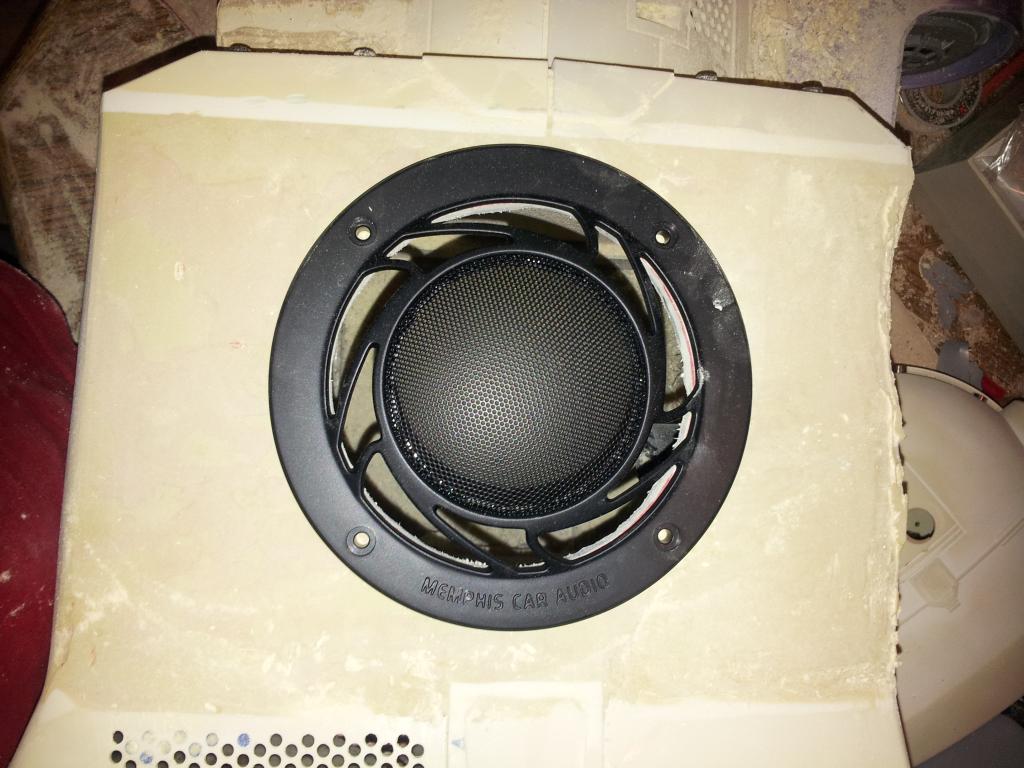
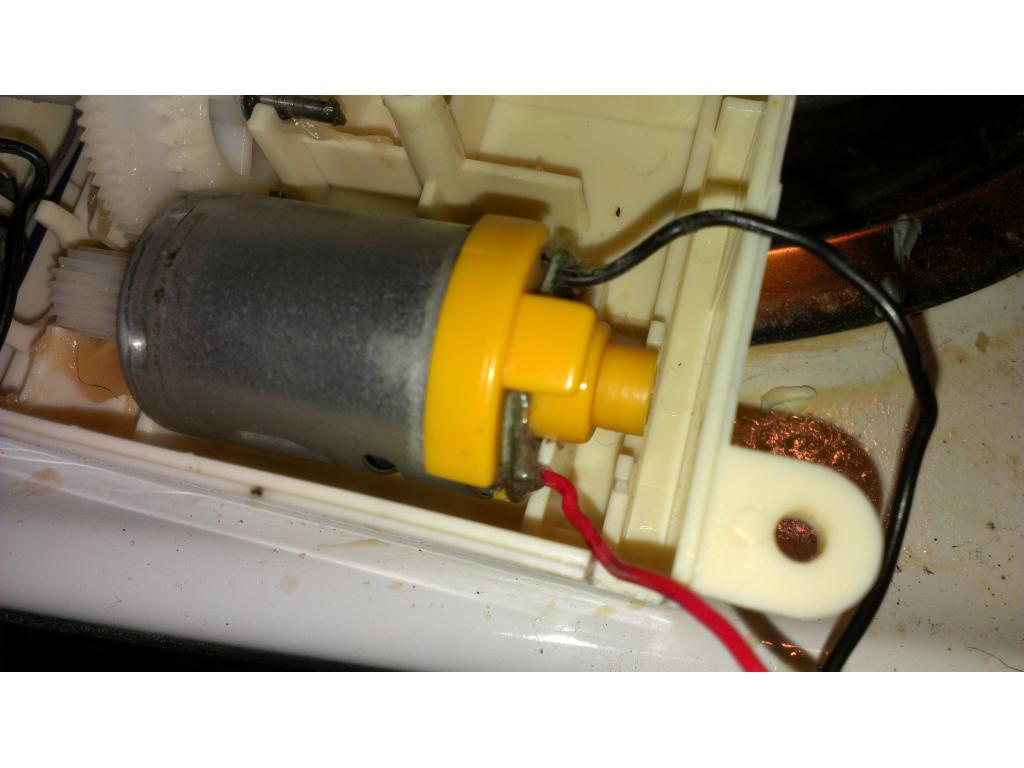
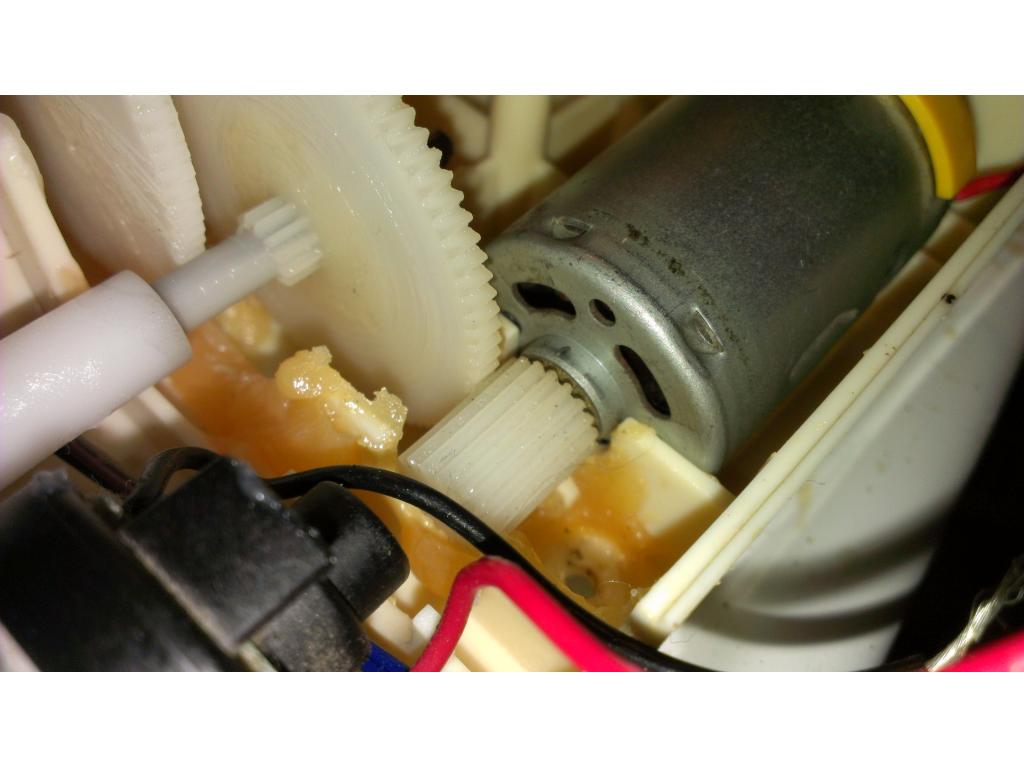
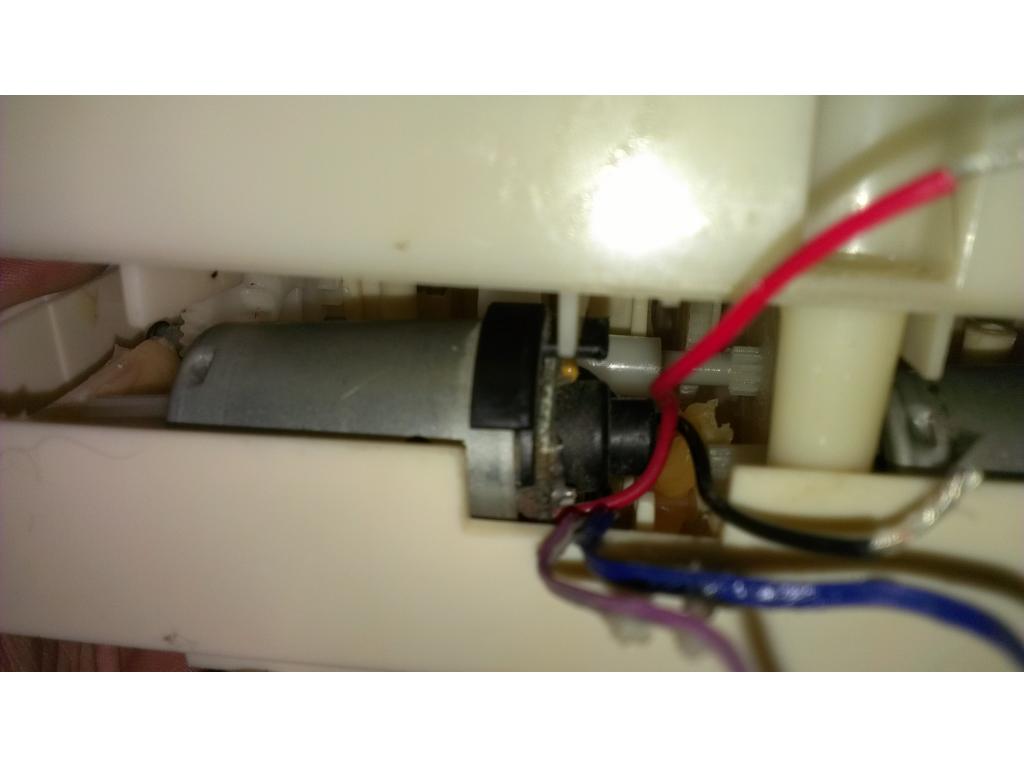
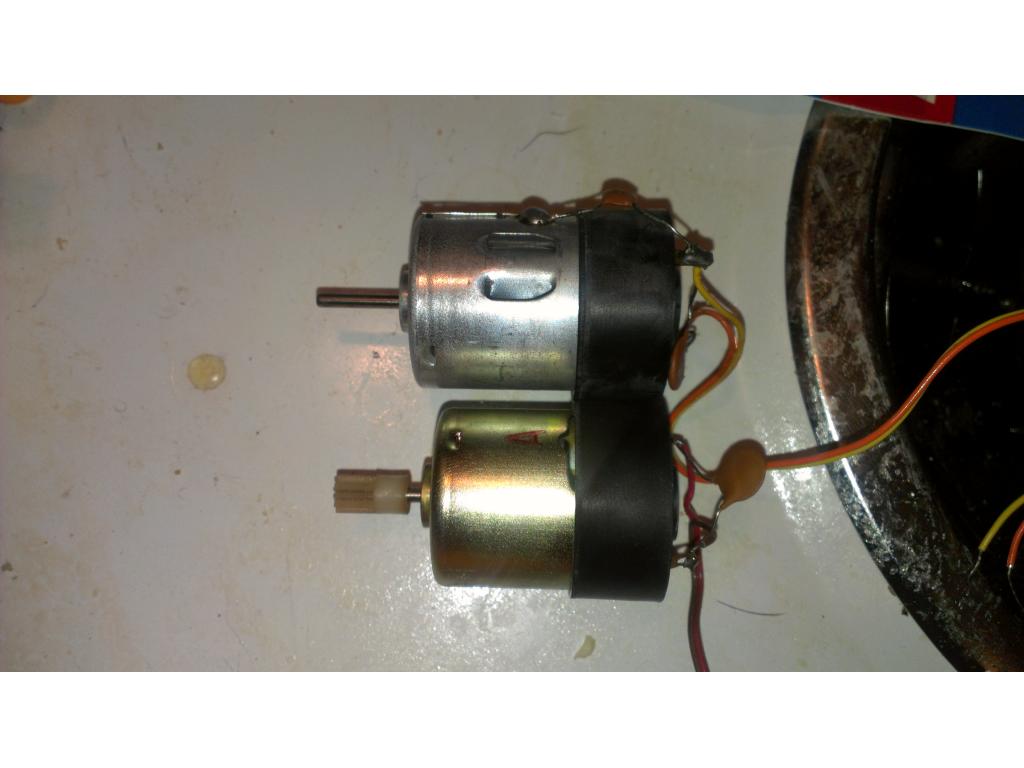
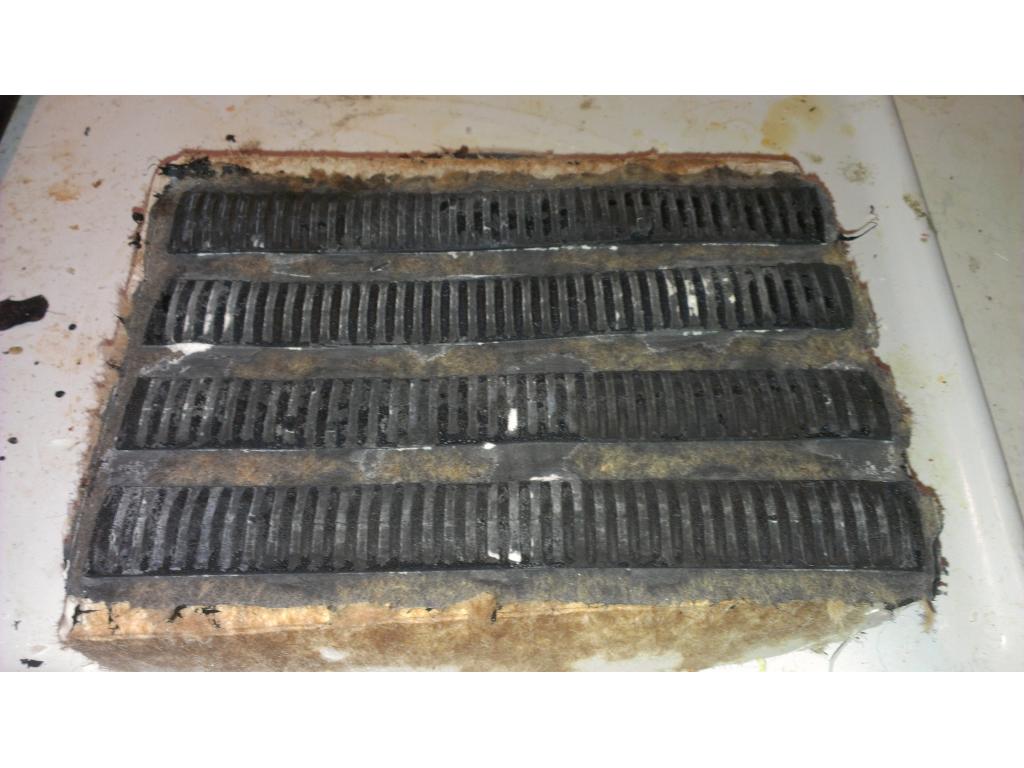
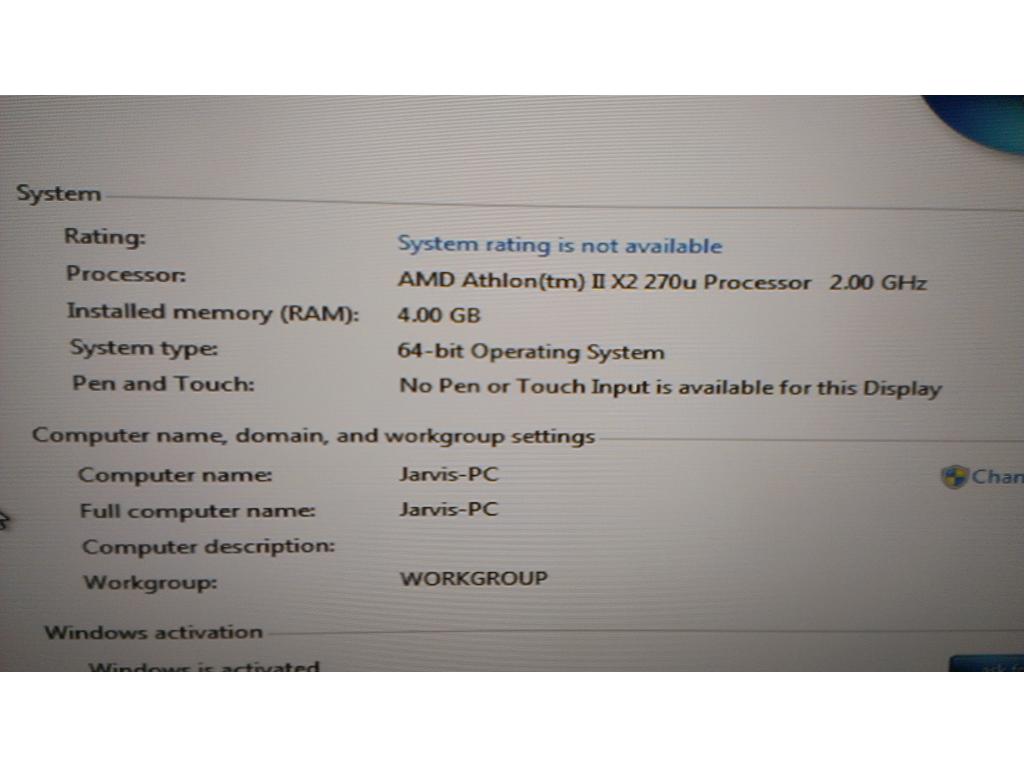
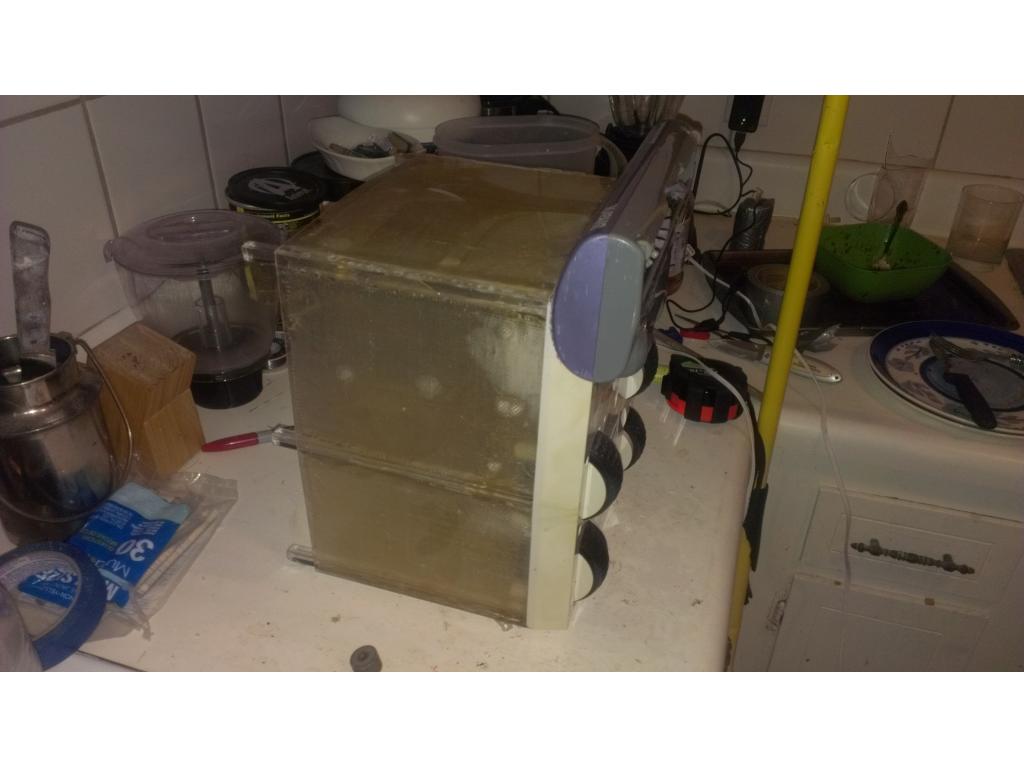
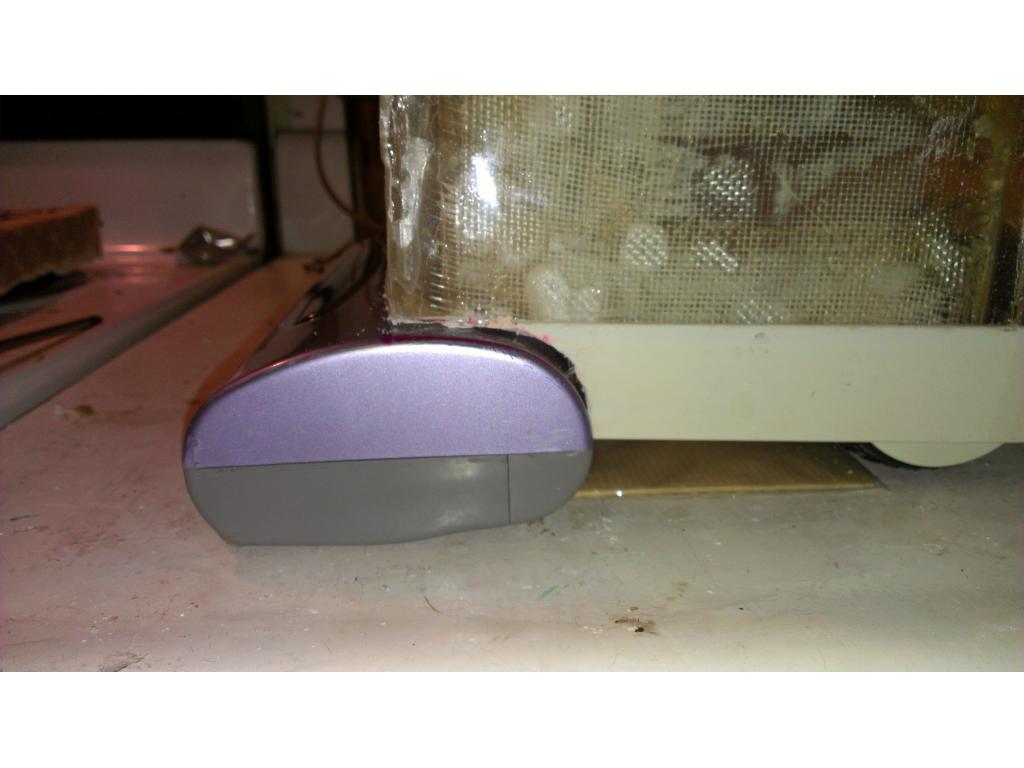
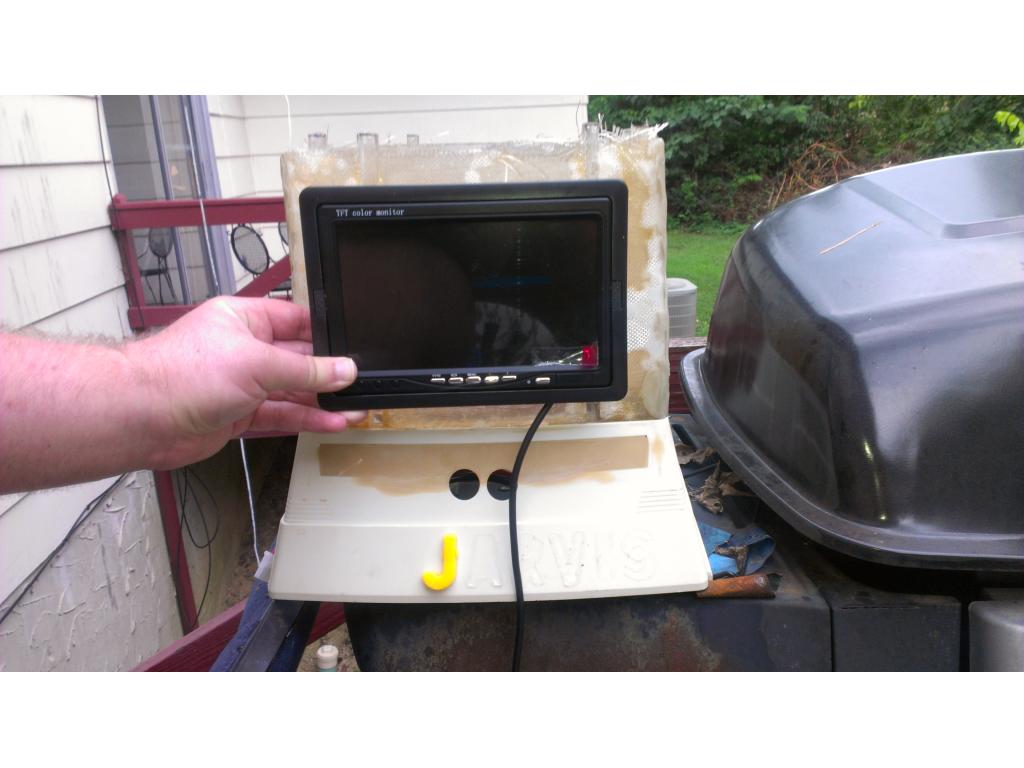
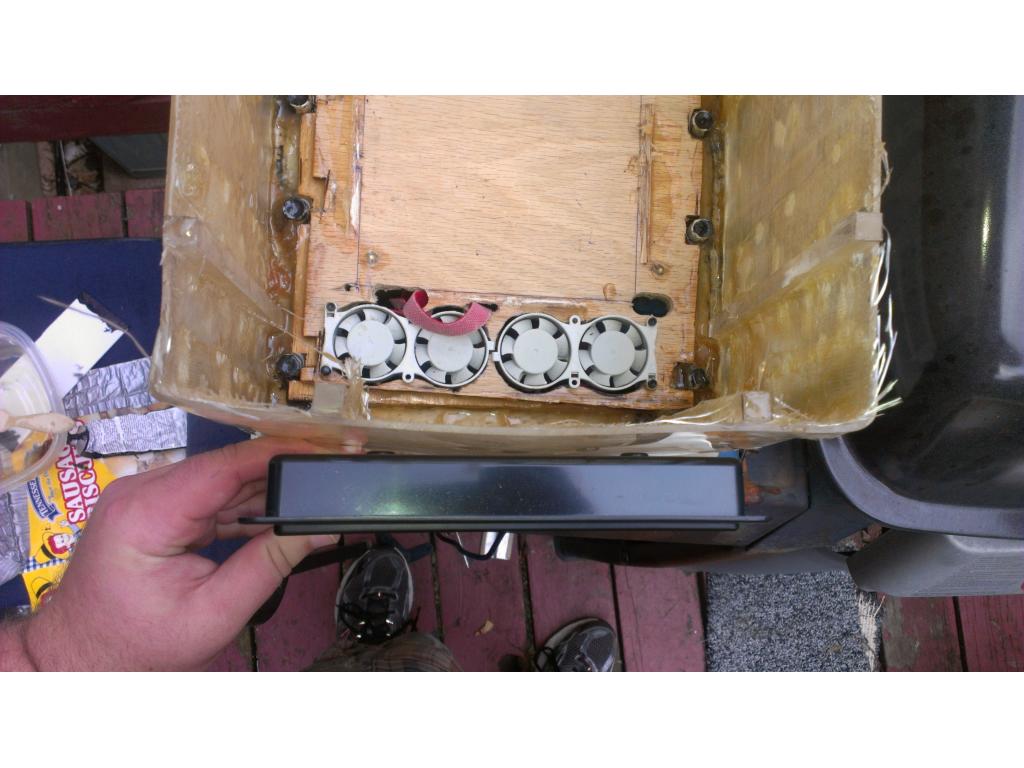
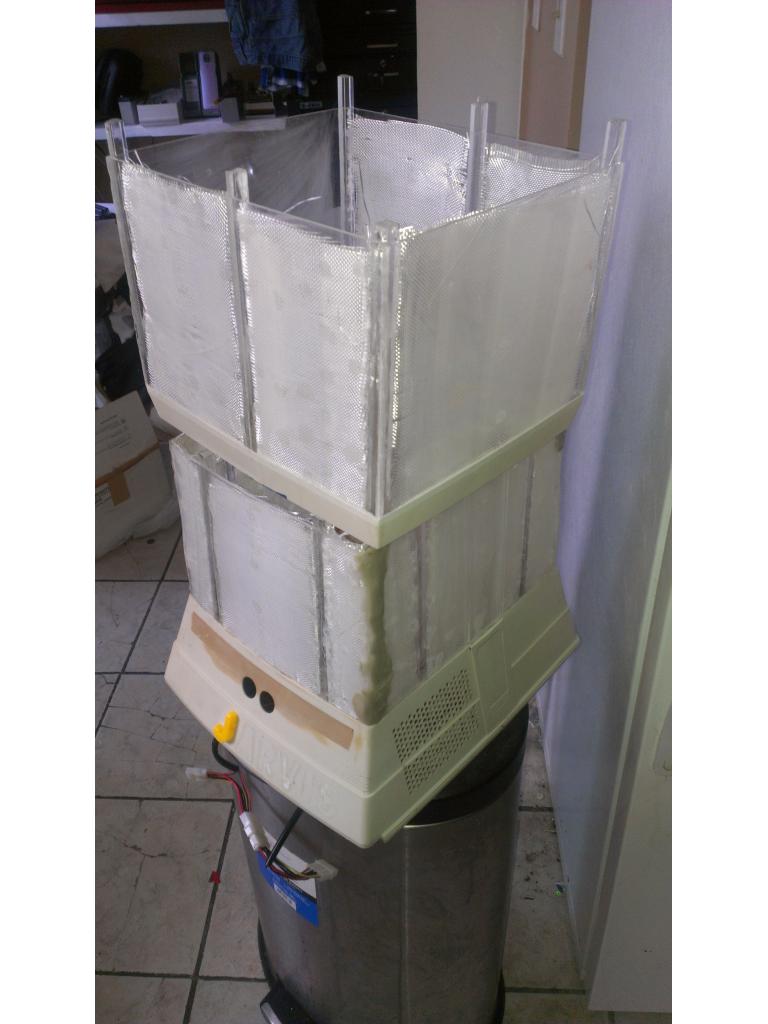
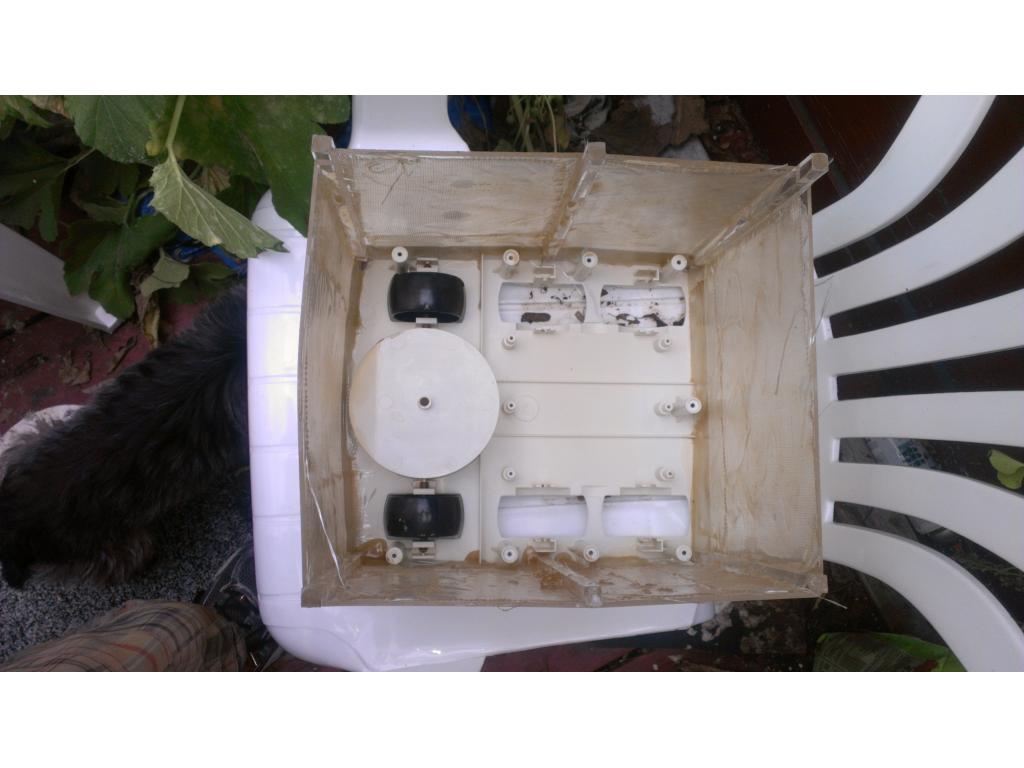
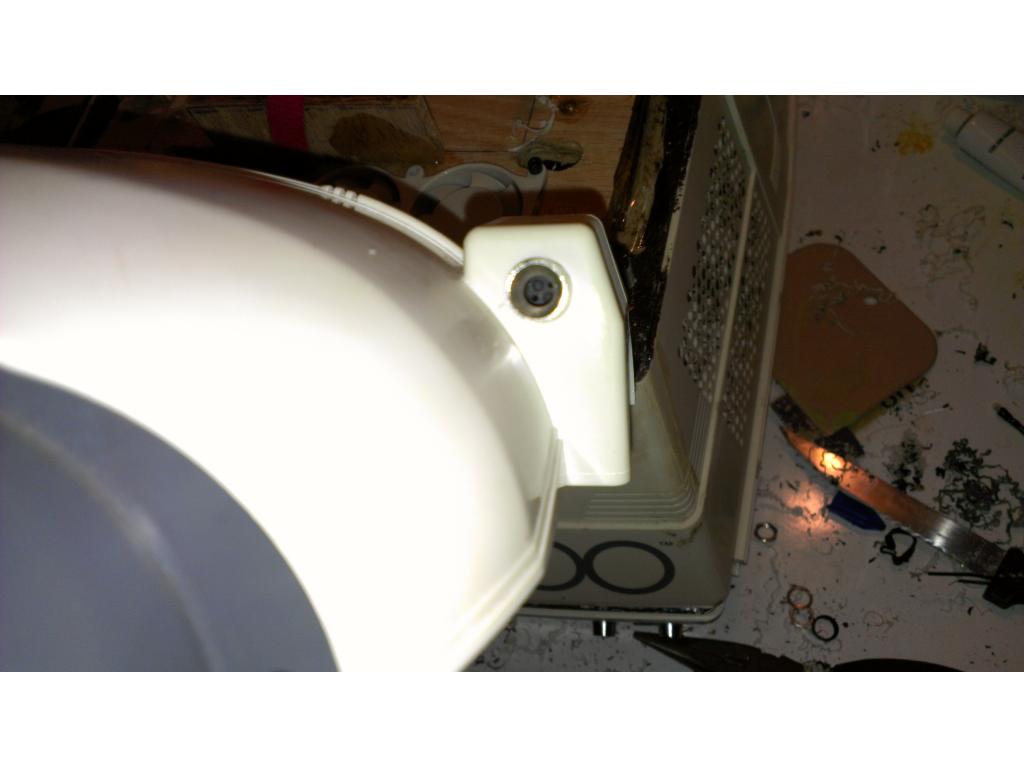
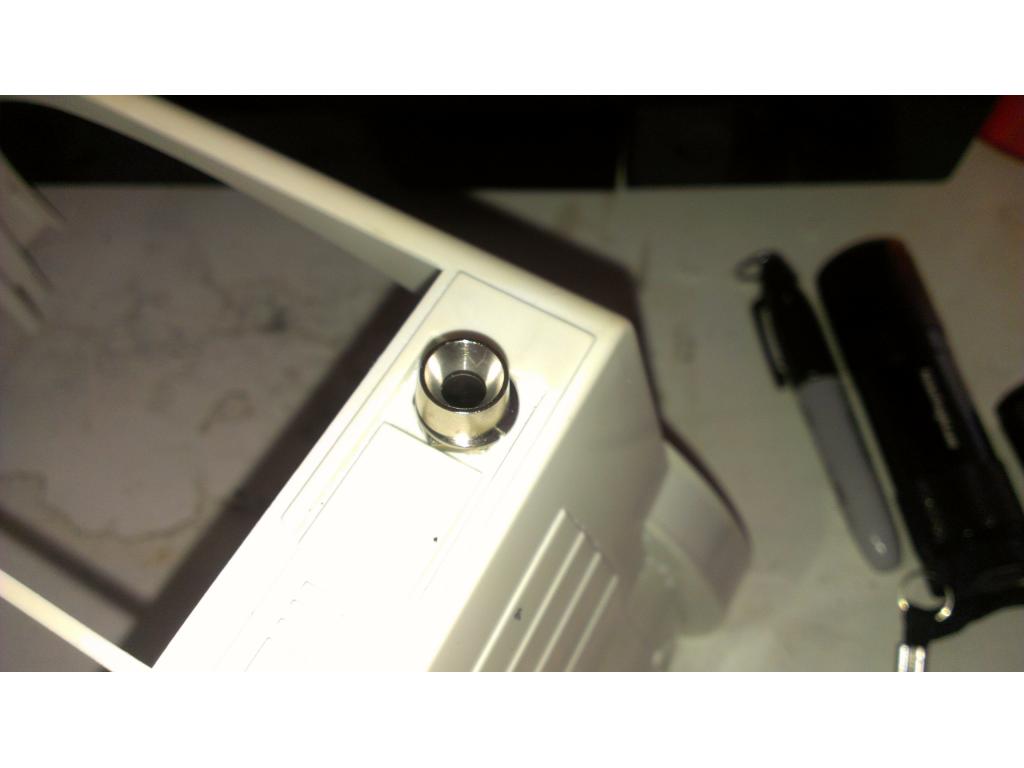
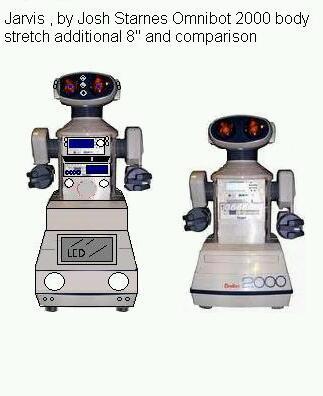
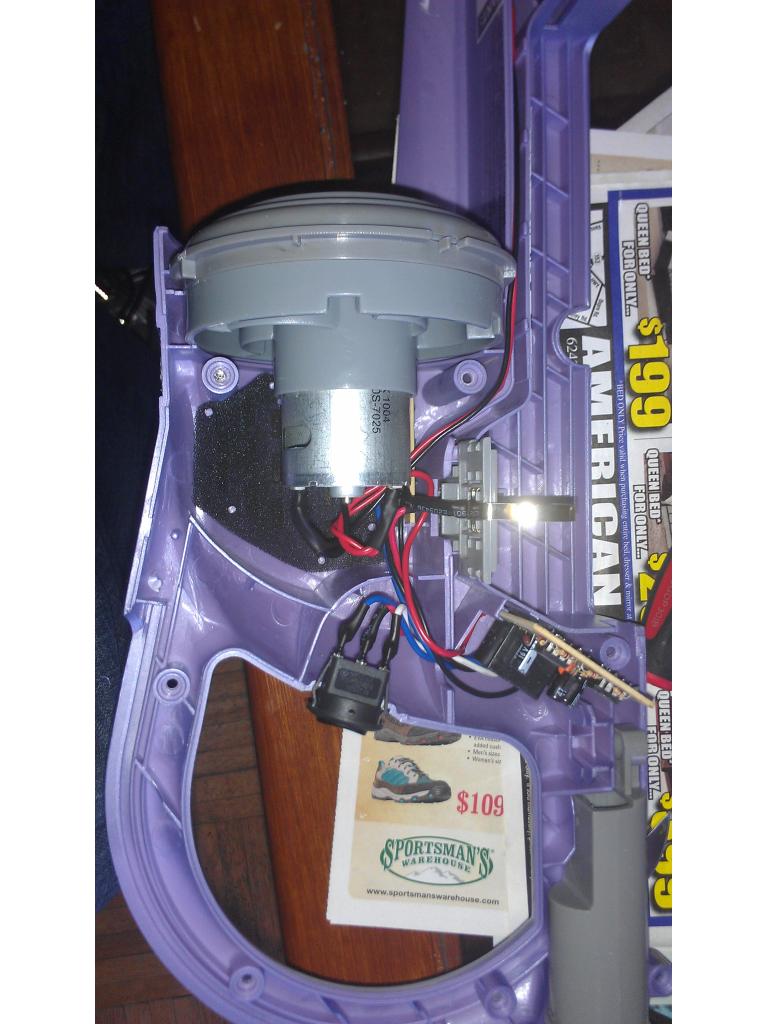
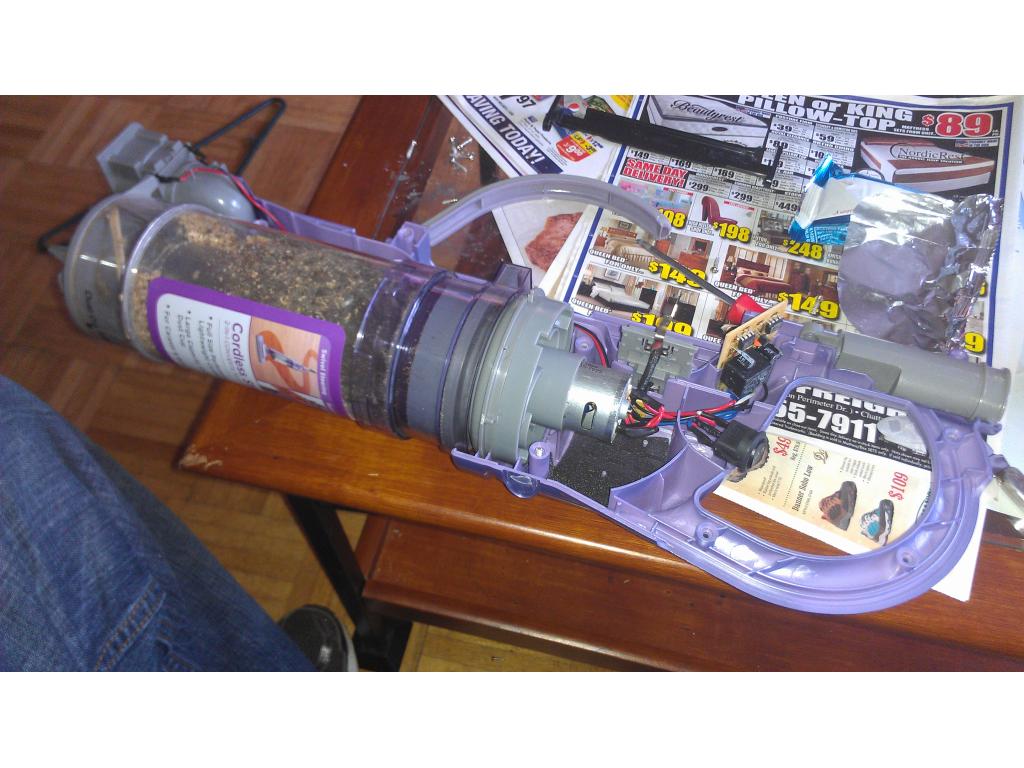
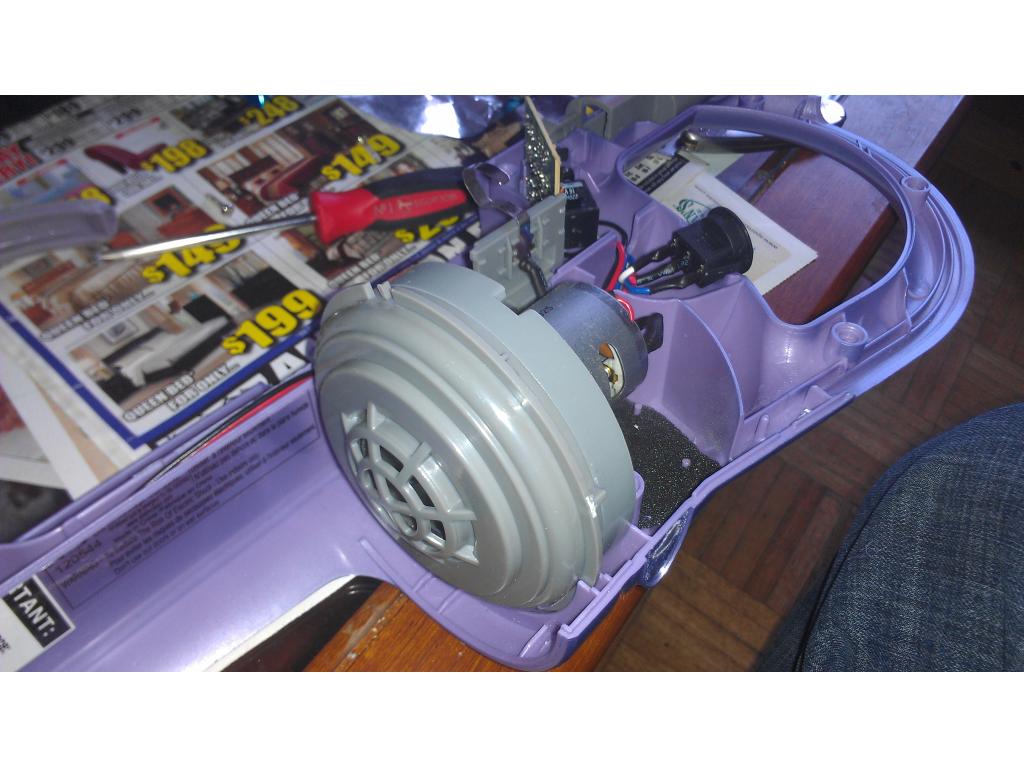
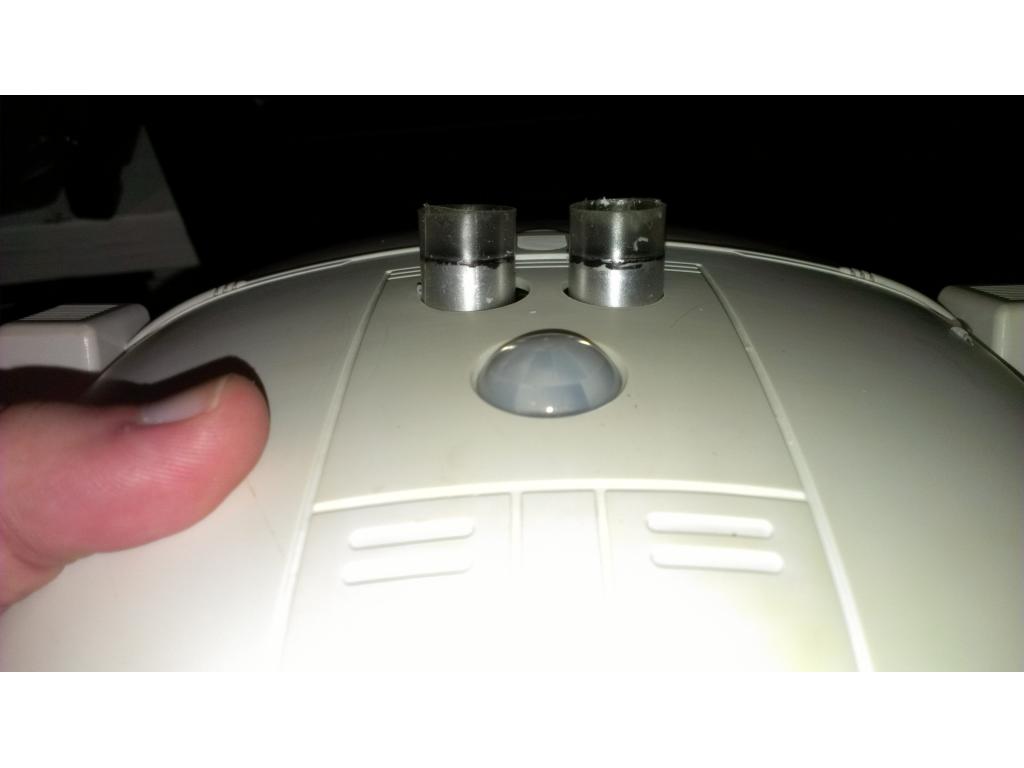
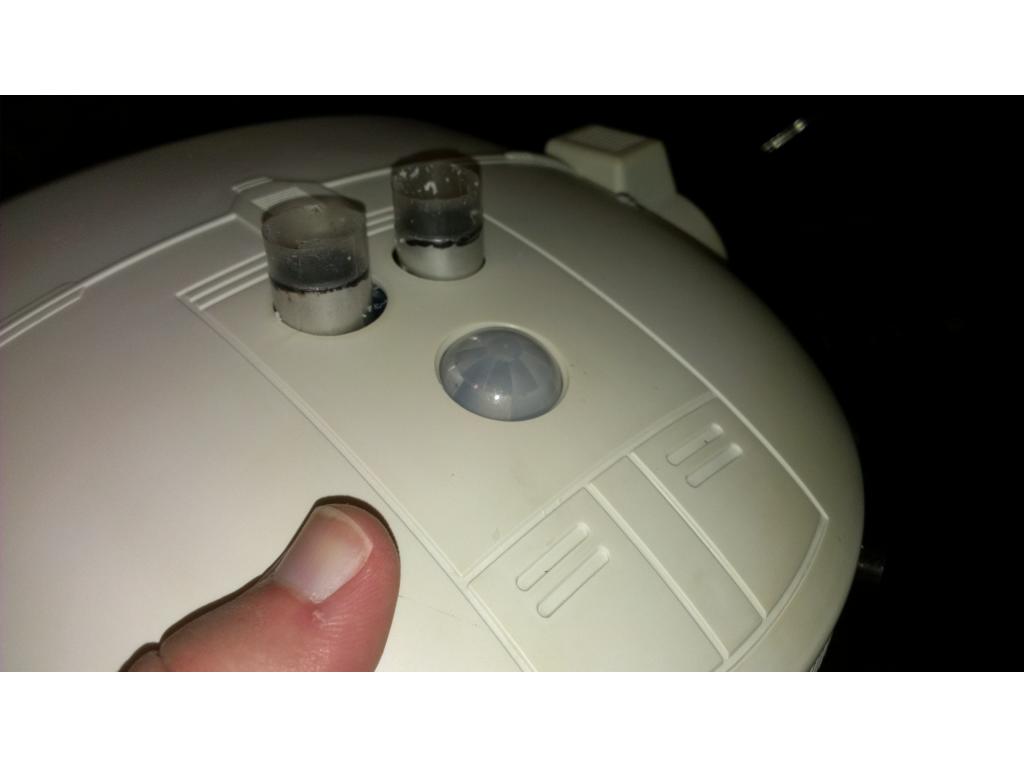
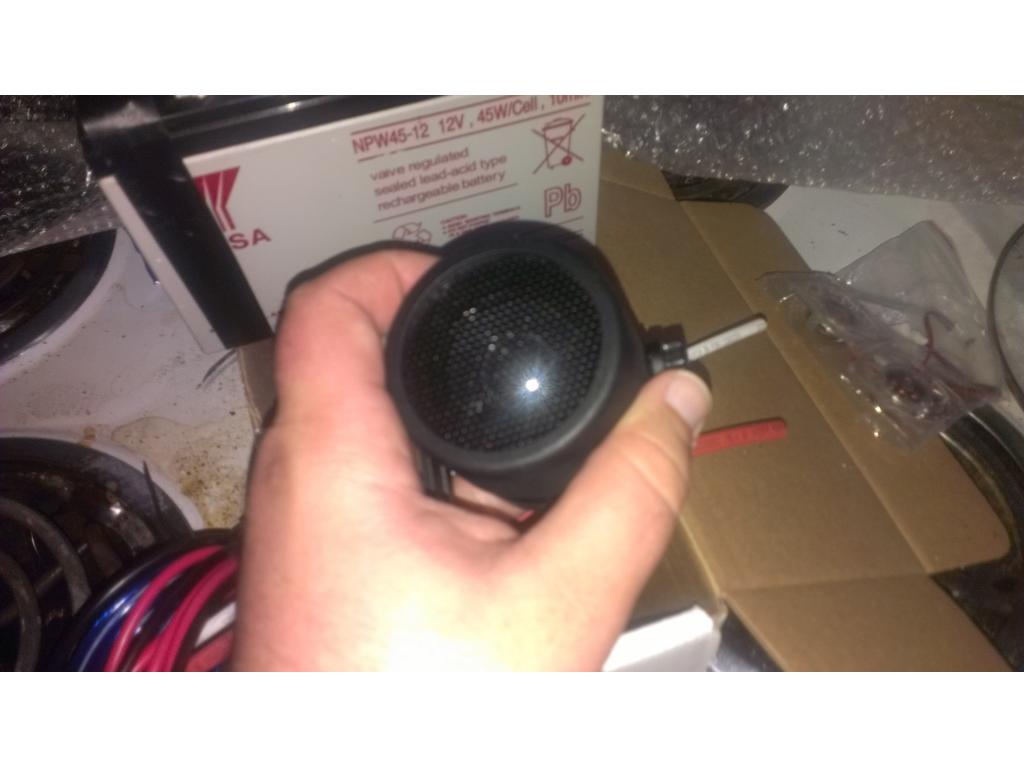
Yes I'm using dynamat on Jarvis , what gear are we talking about , there's so many? I can post a close up picture but I don't have a way to determine pitch.
the one for the shaft for claw,its a double gear,its for the worm gear on shaft,i have a pitch gage
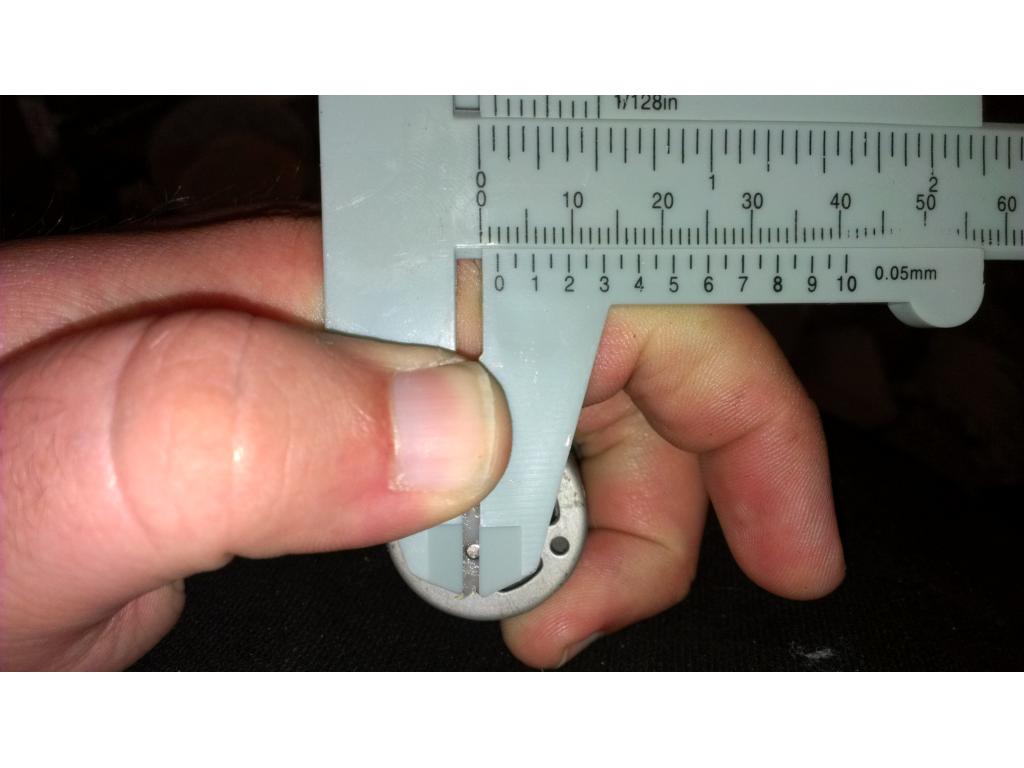
Its 11 tpi on the shaft and teeth are parallel and not spiraled if that helps.
i need the gear to make one,one reason is the pitch and main reason to make a mold cast from it,second i might need 2 one for each side double gear is hard to make ,so bottom gear will make another to match it,and use the one that comes with omnibot hand (double gear)
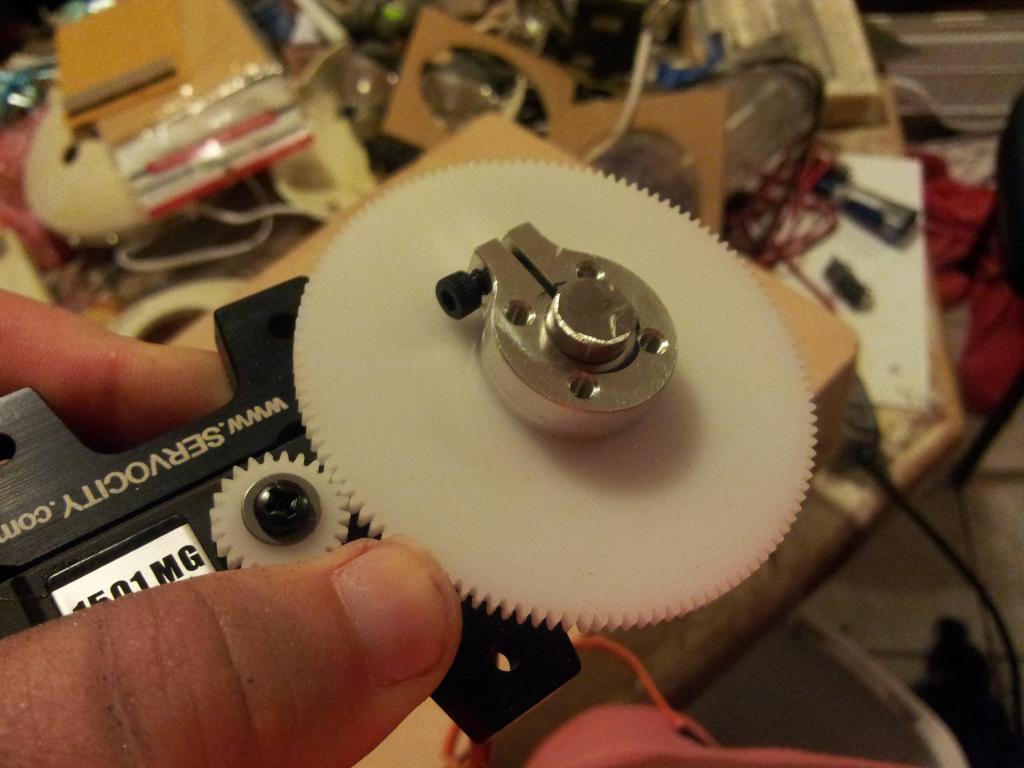
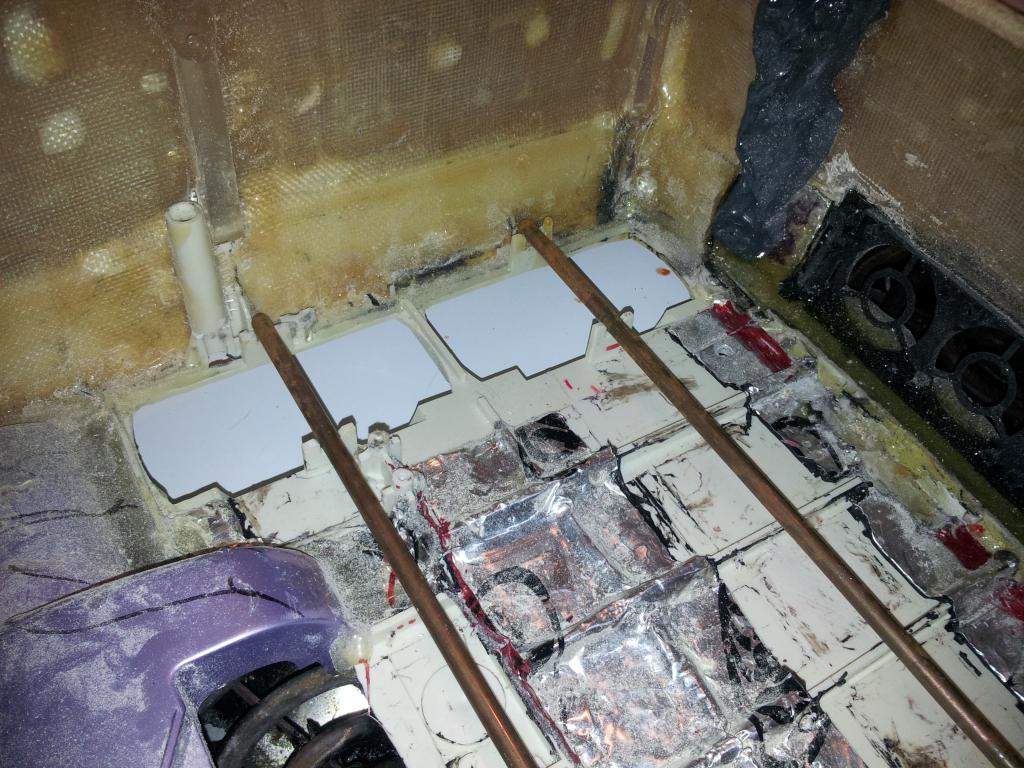
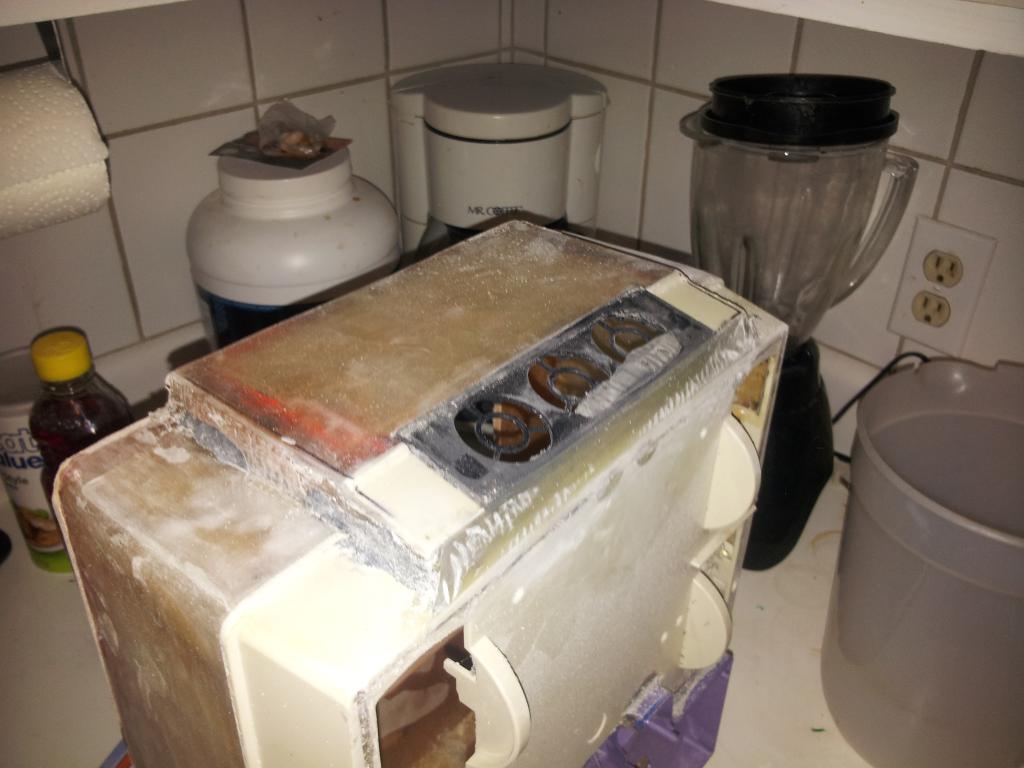
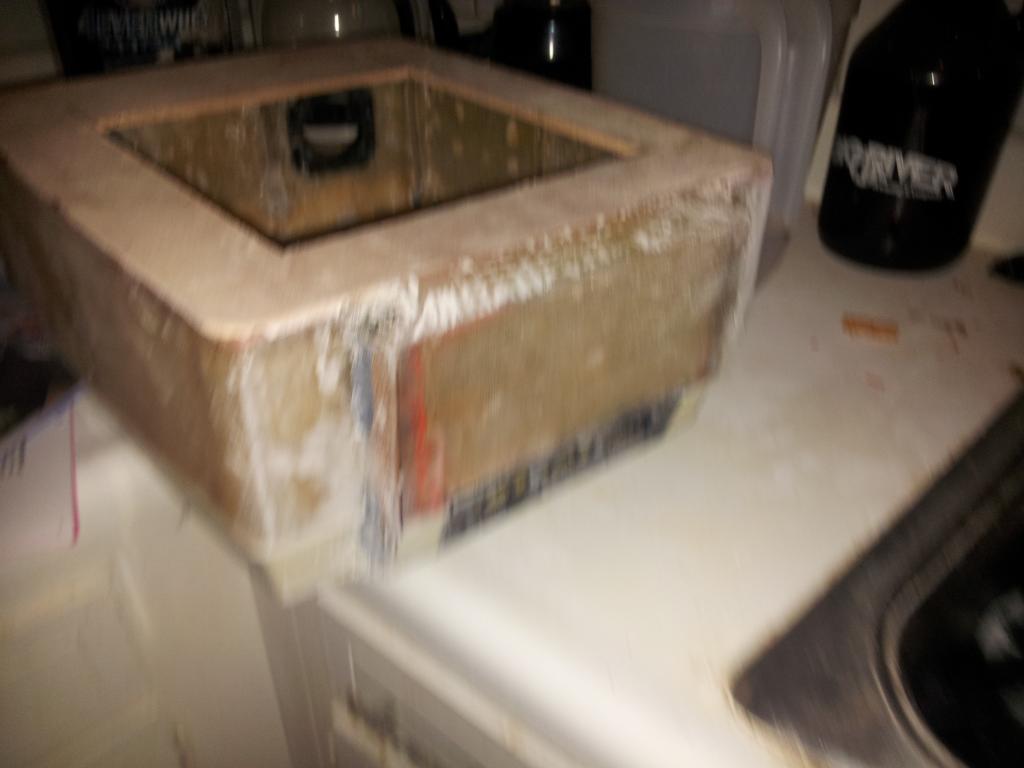
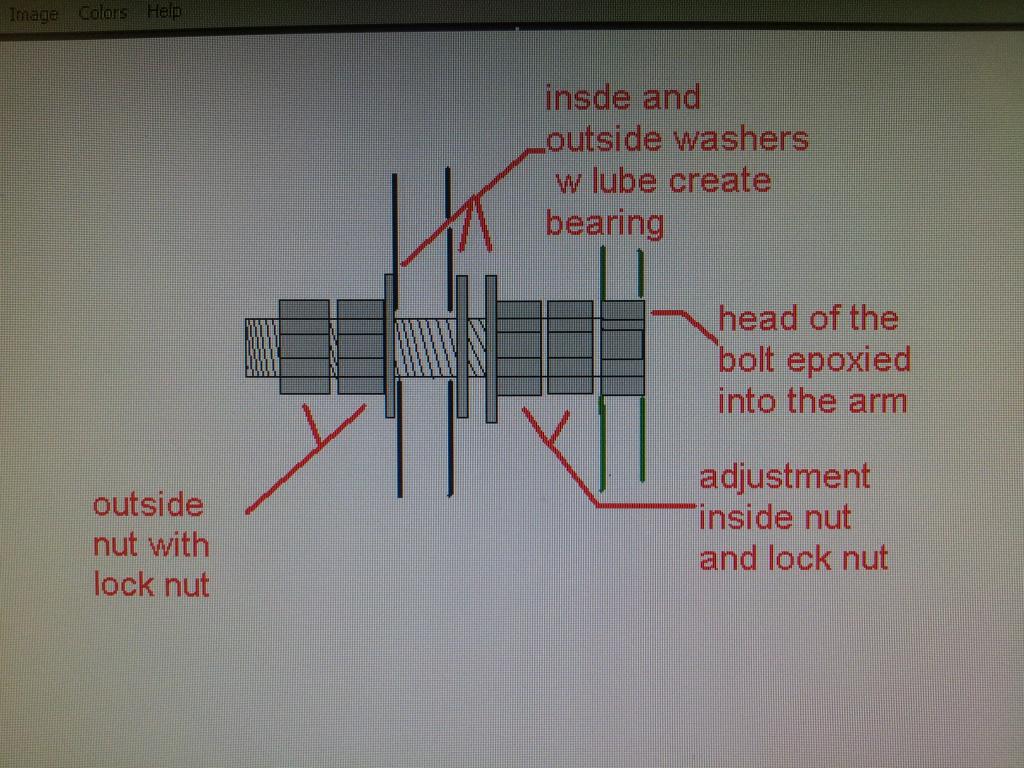
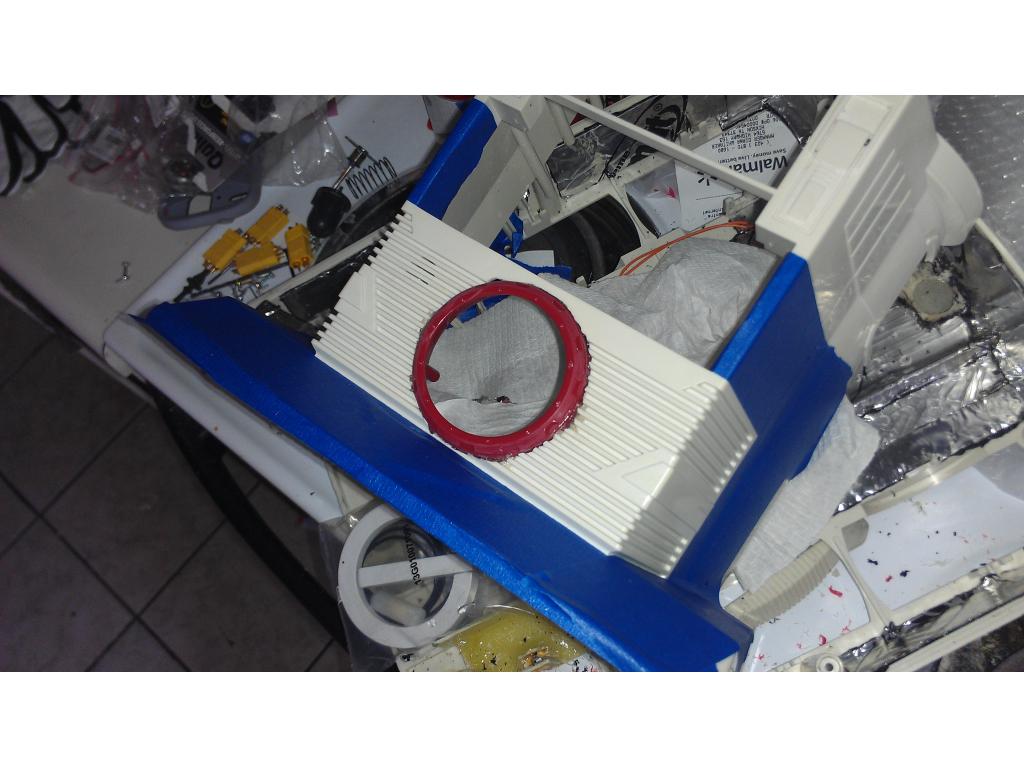
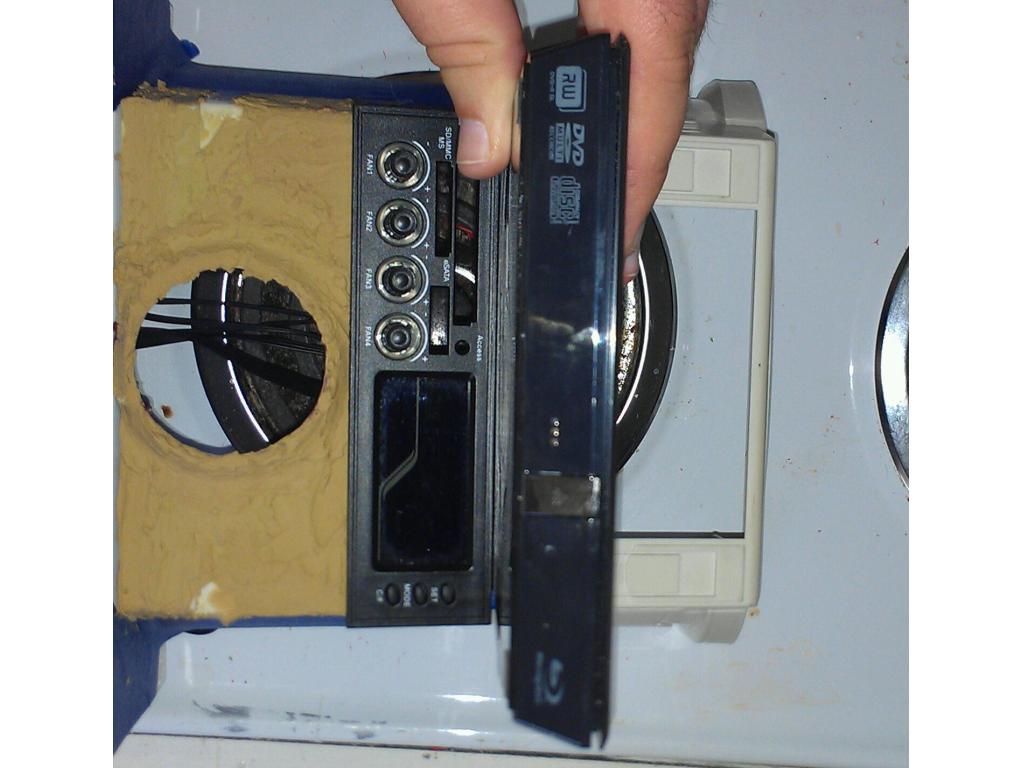
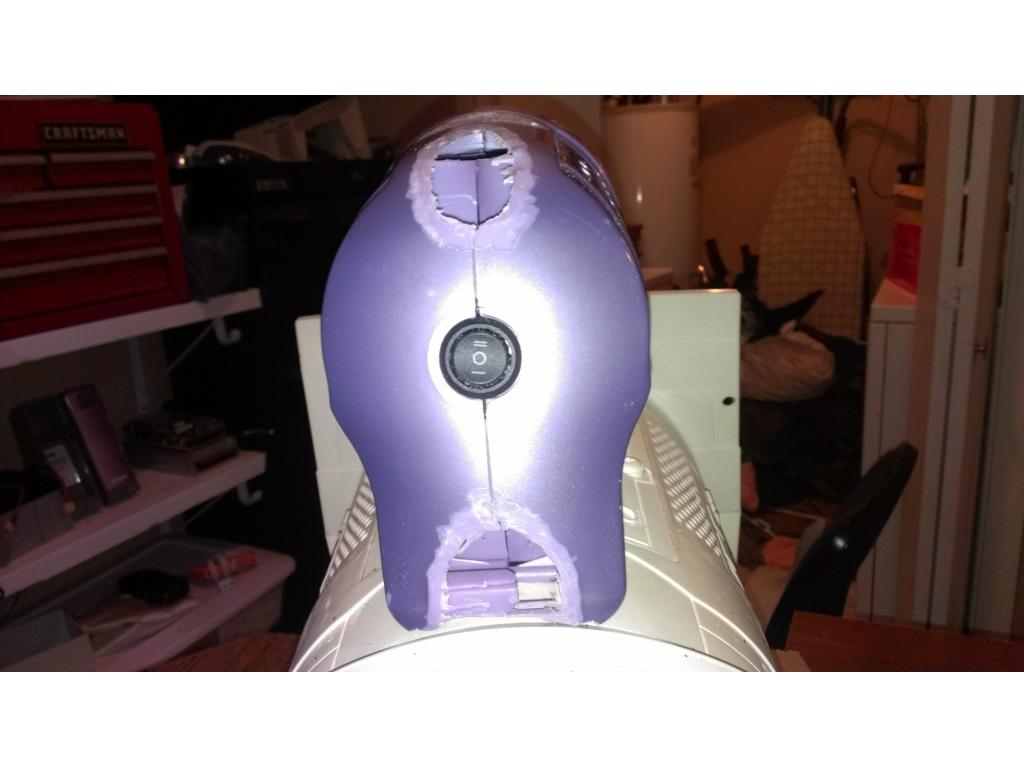
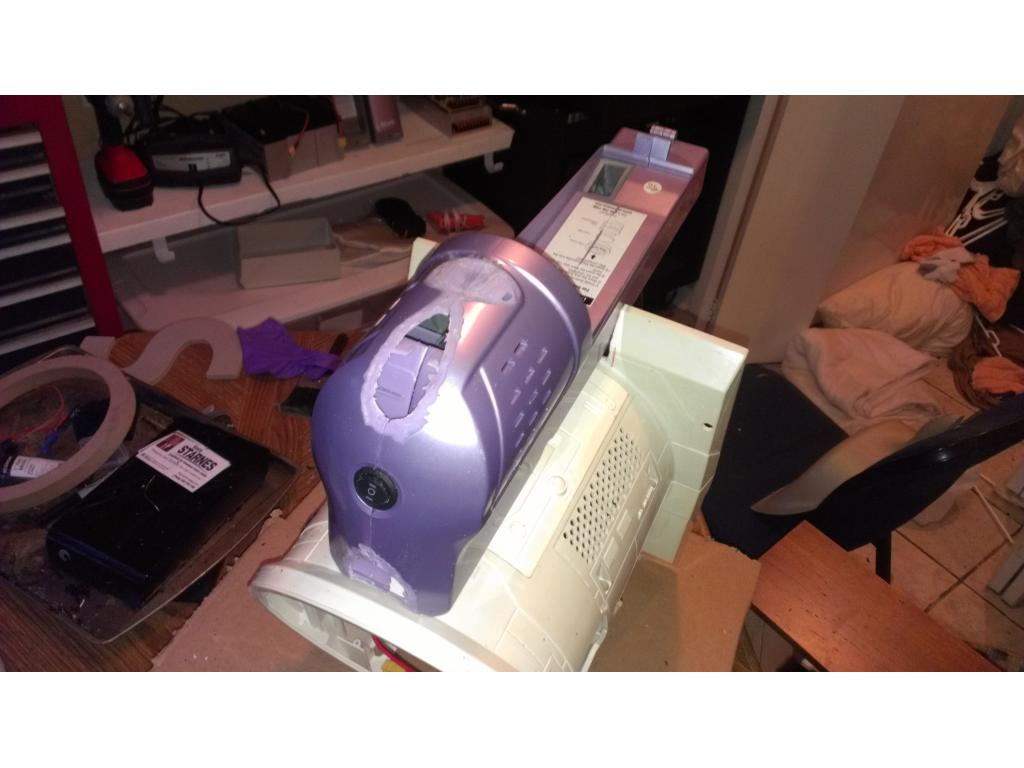
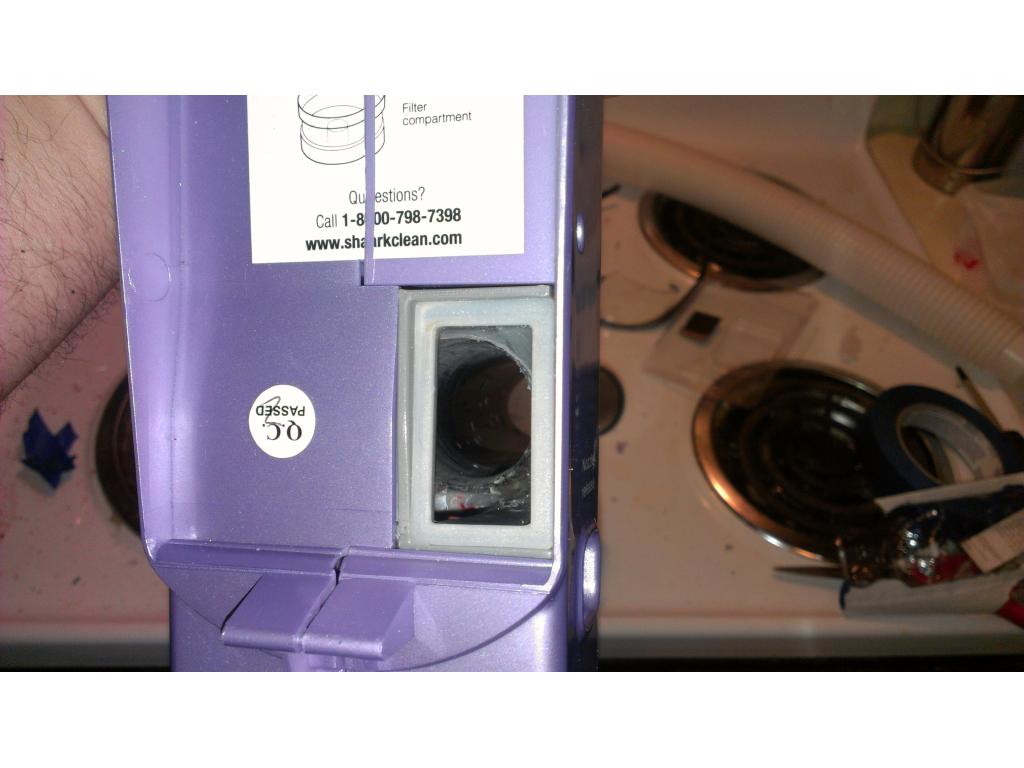
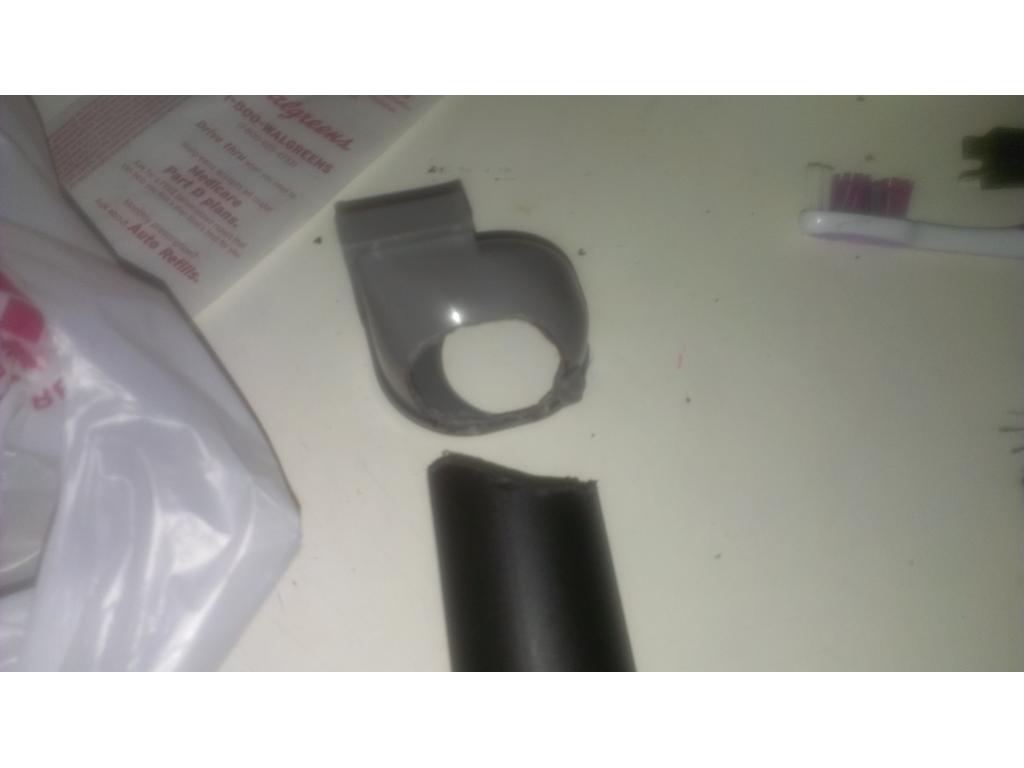
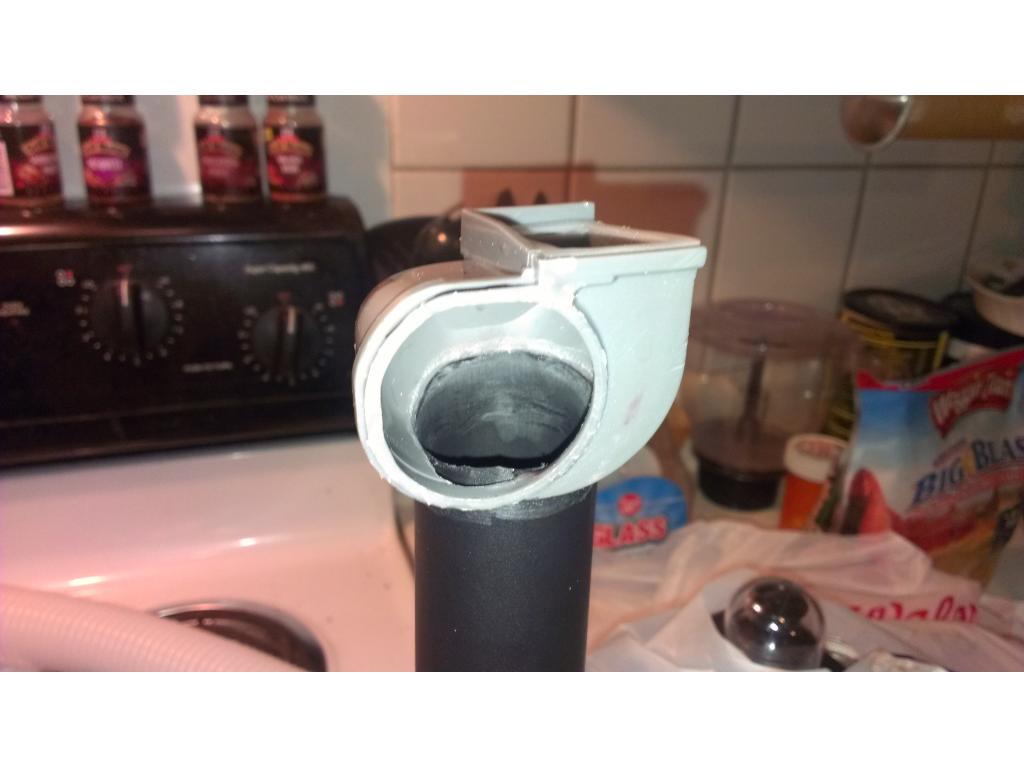
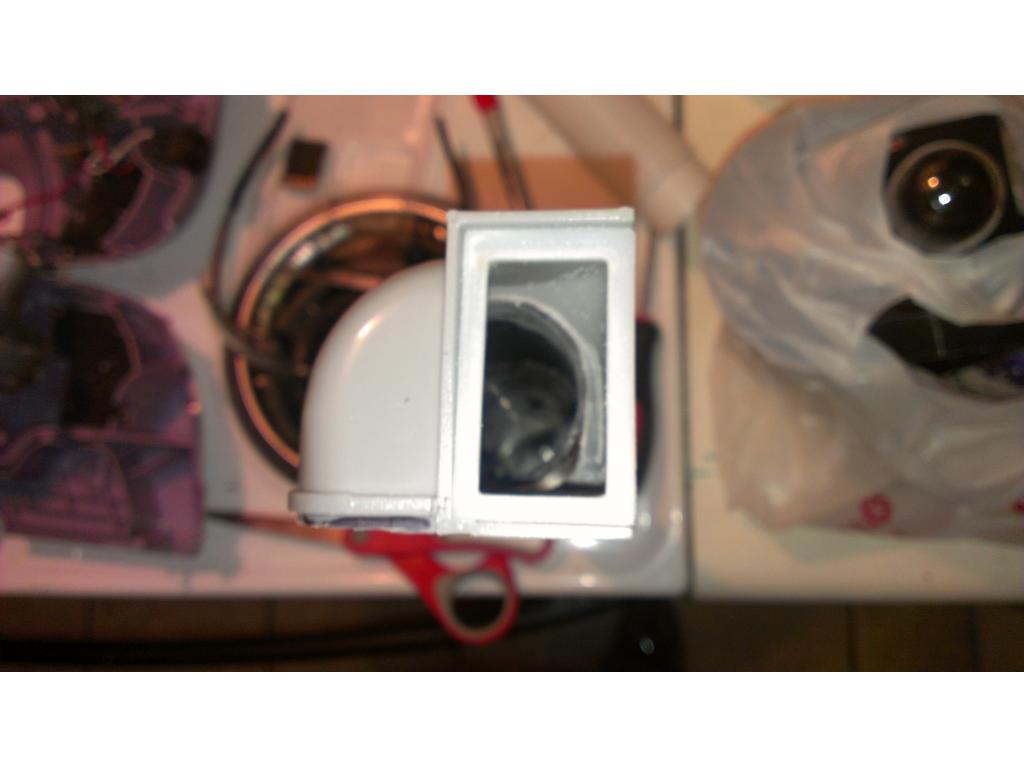
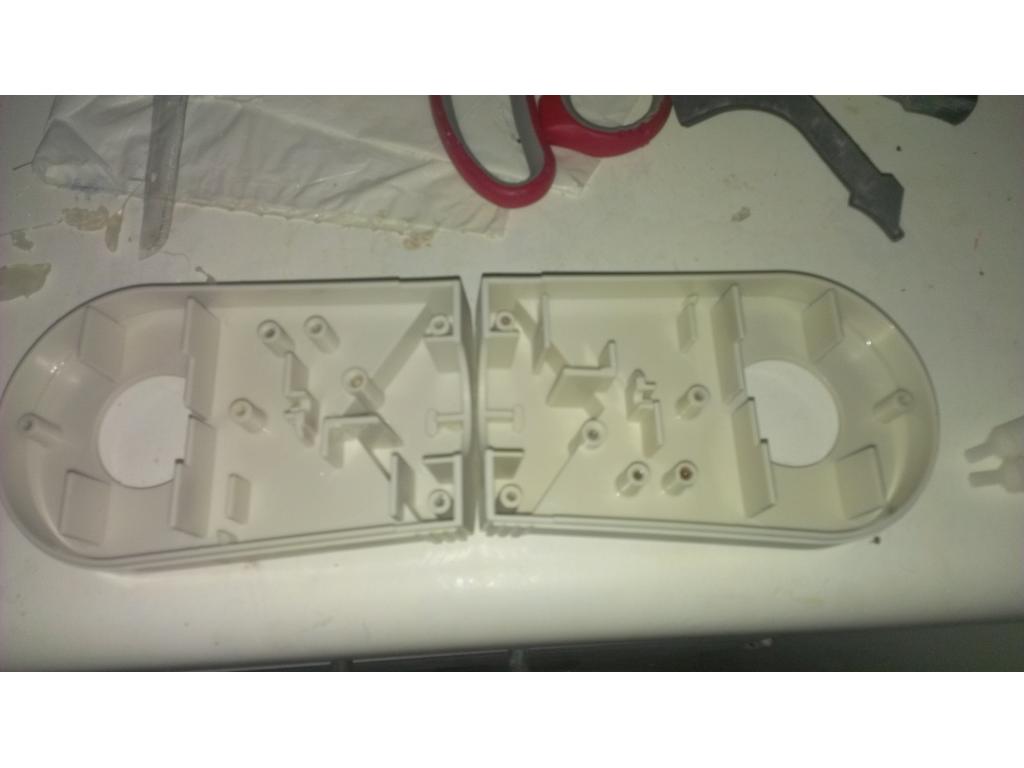
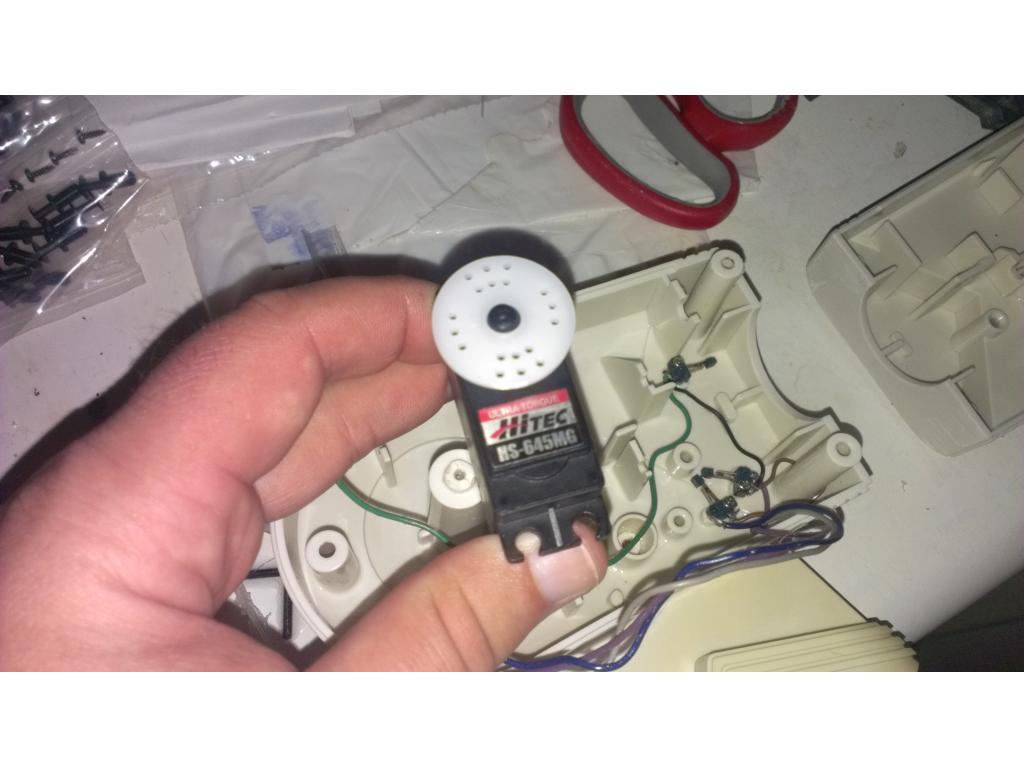
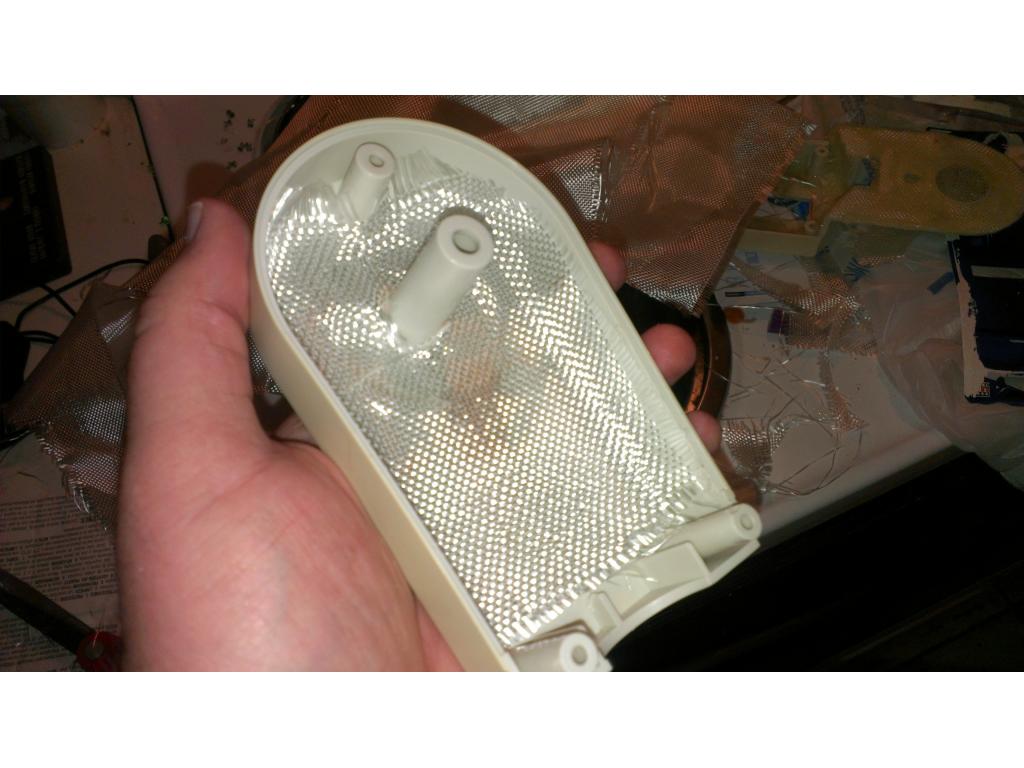
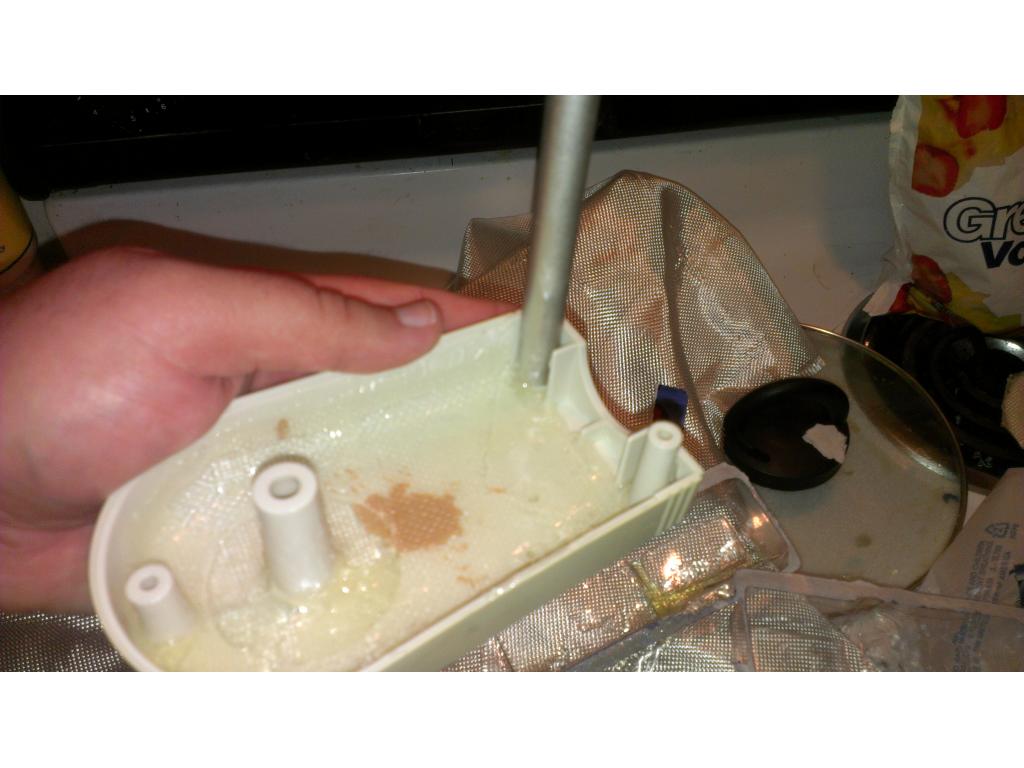
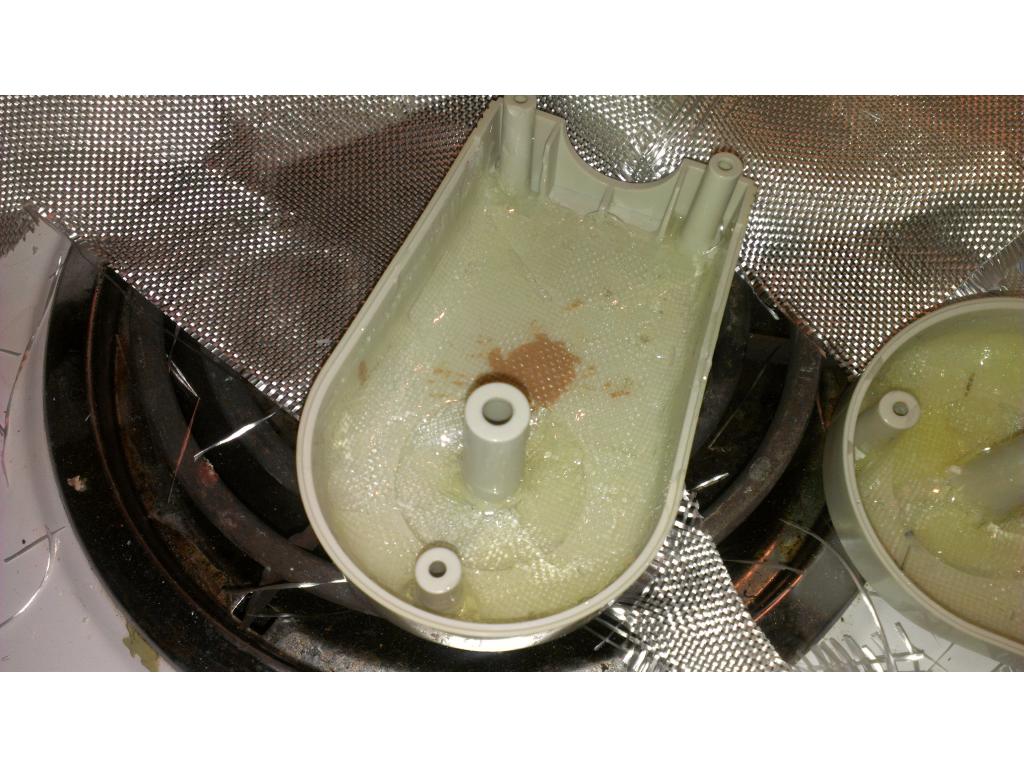
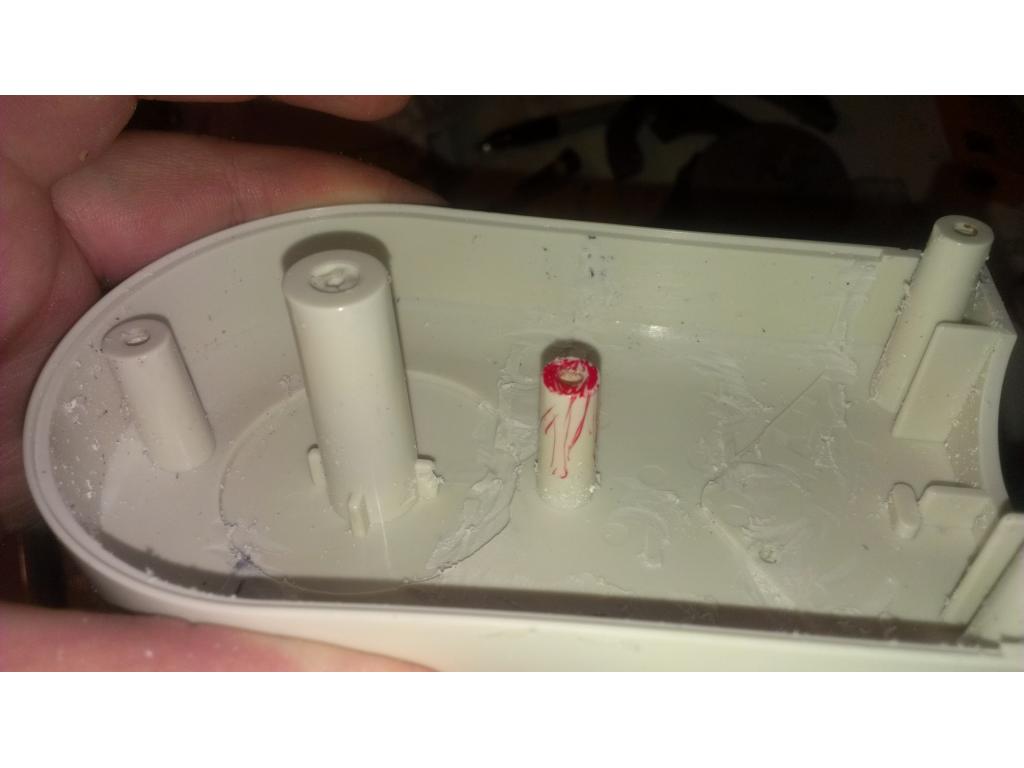
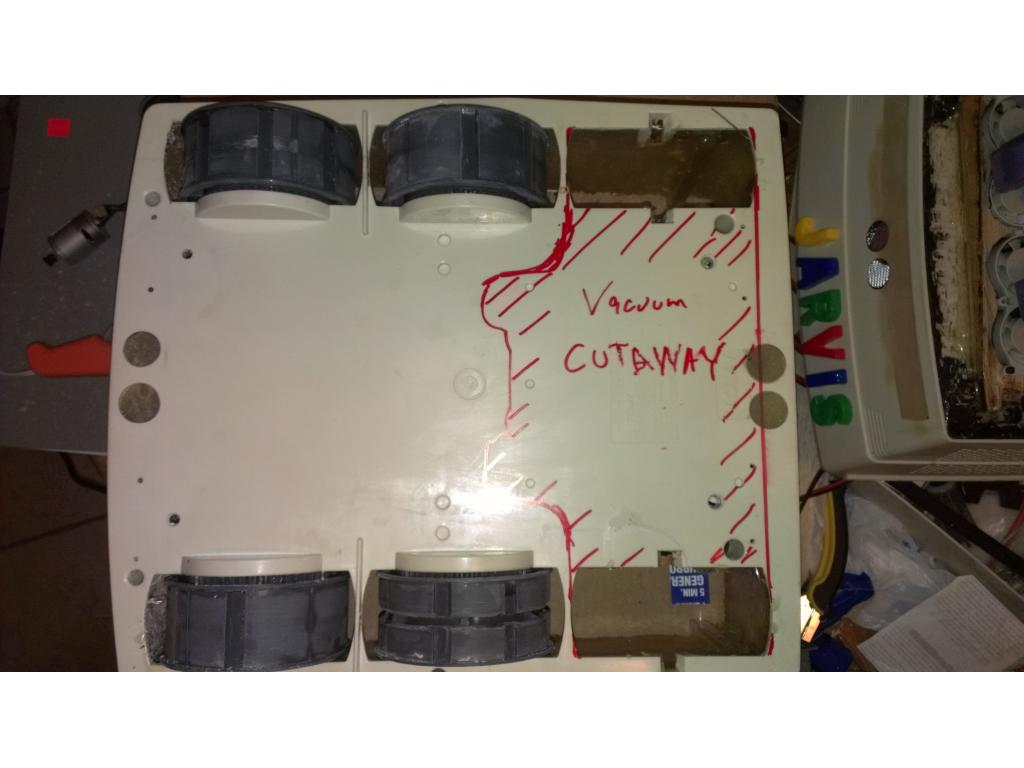
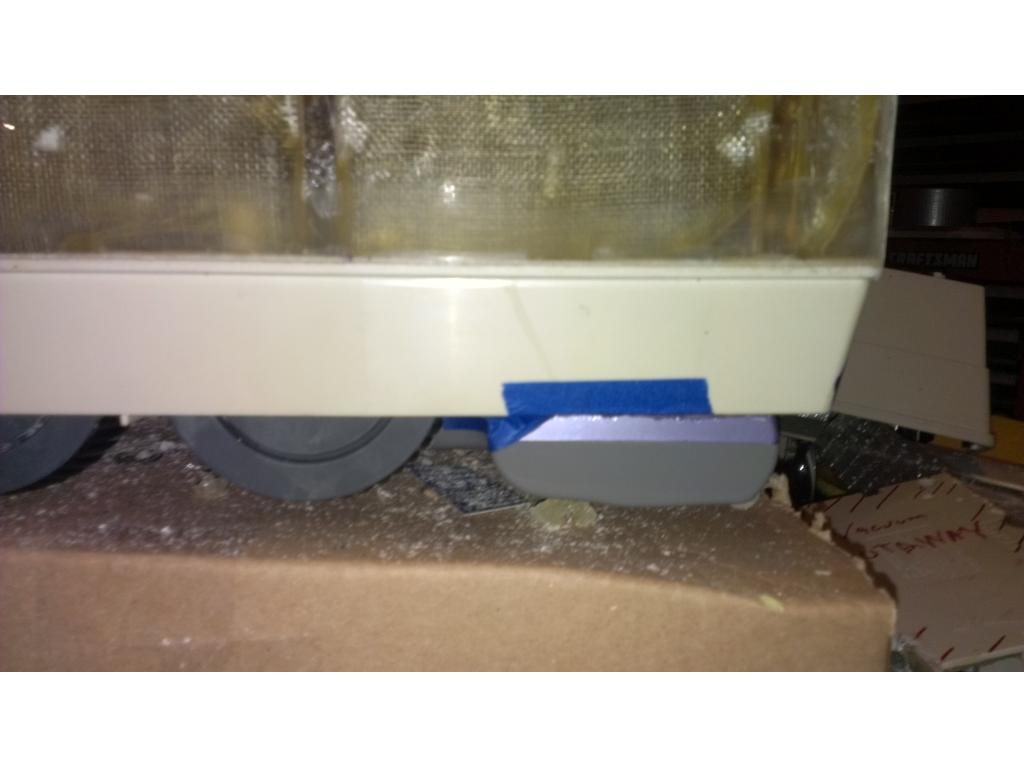
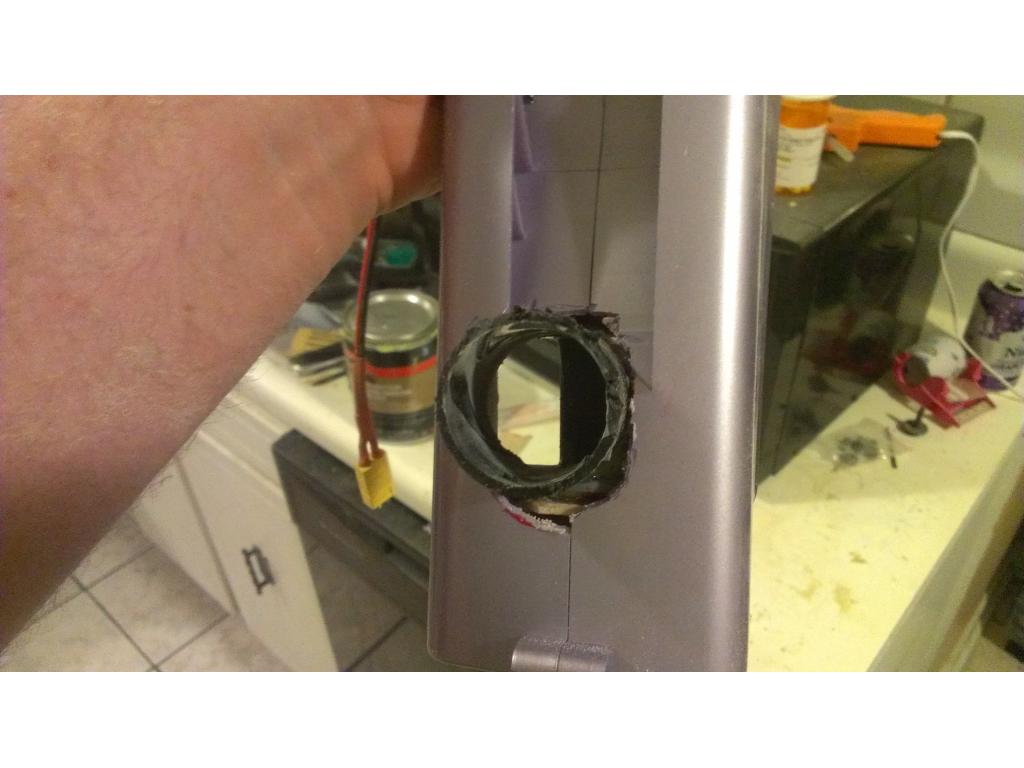
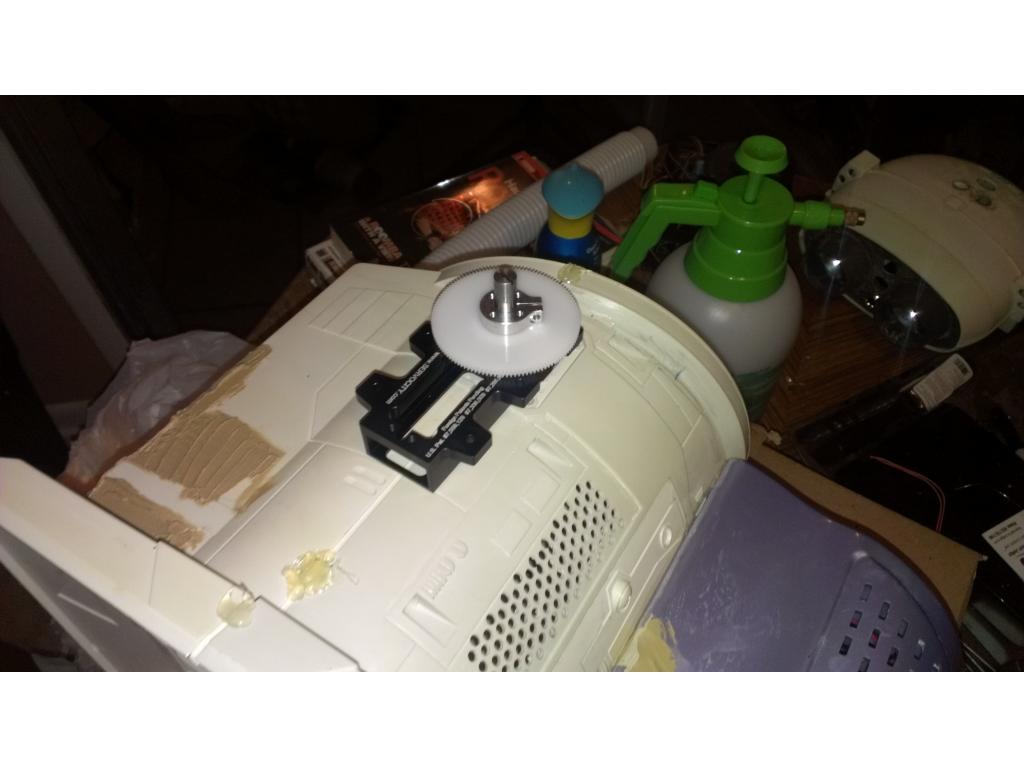
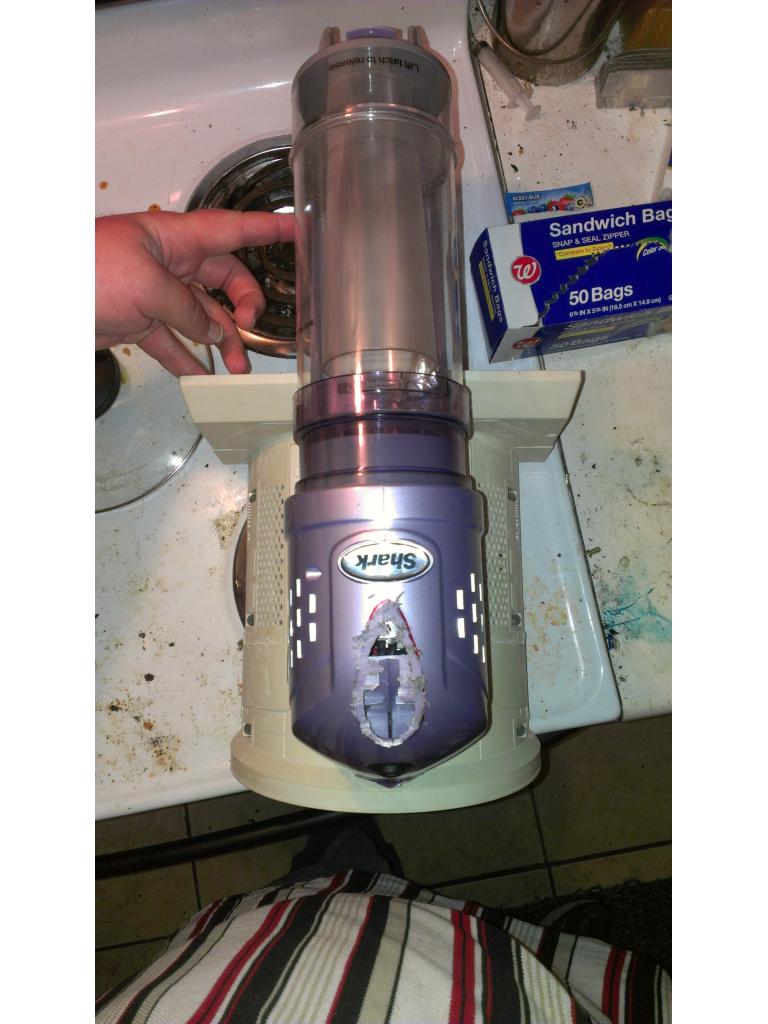
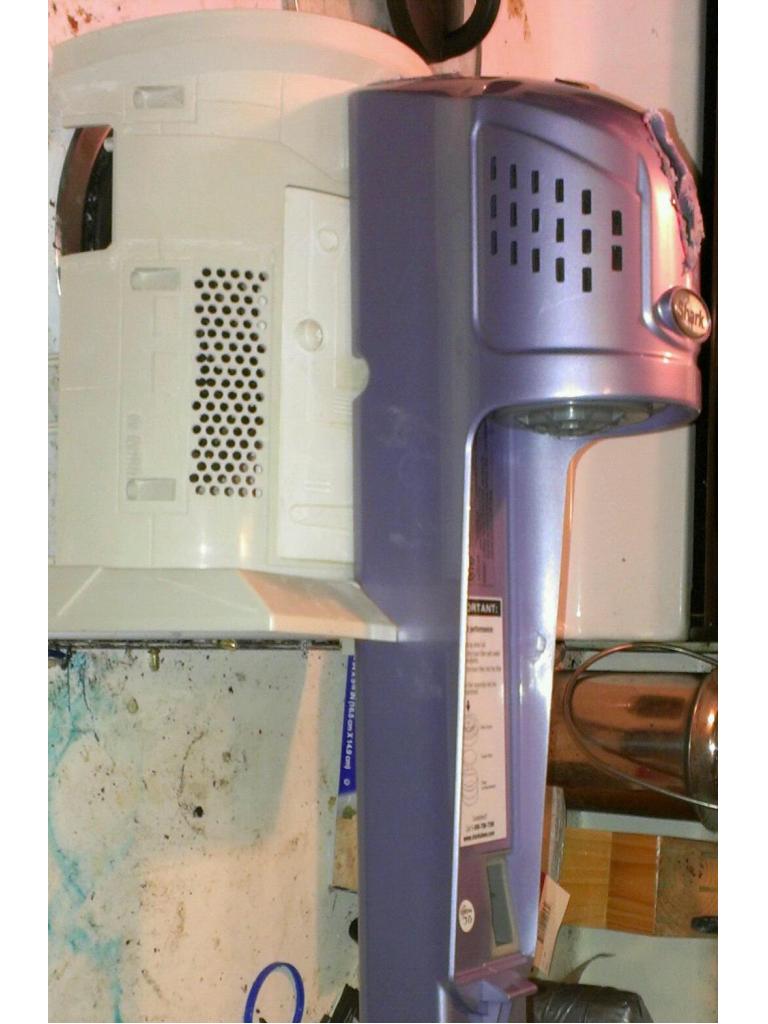
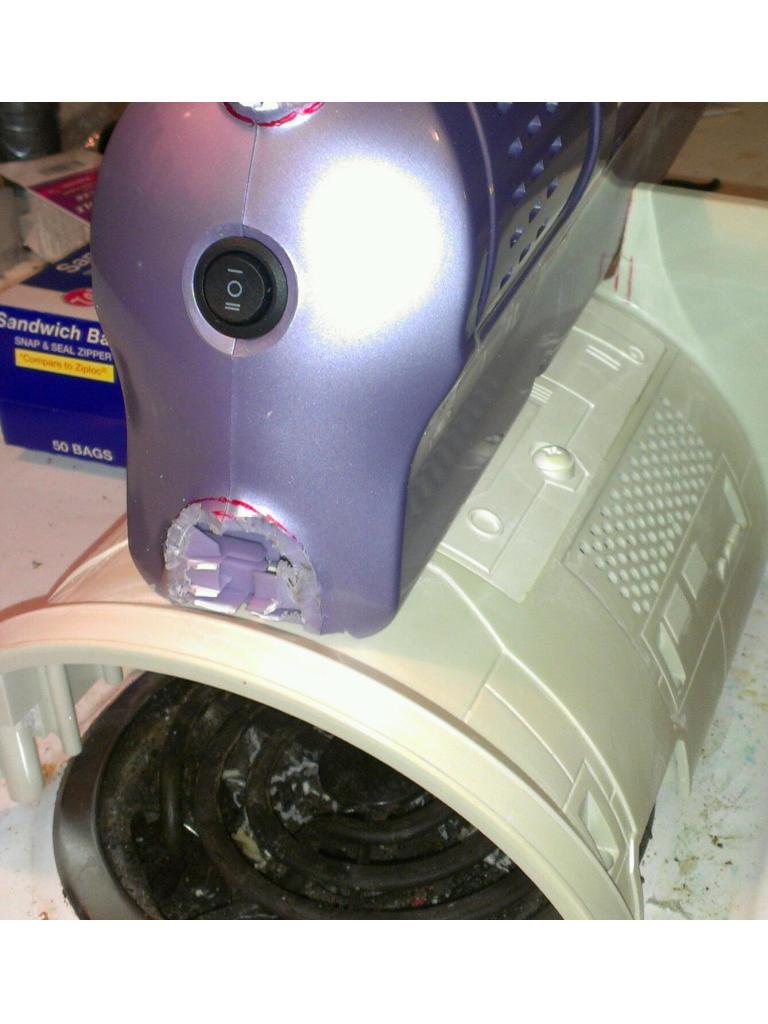
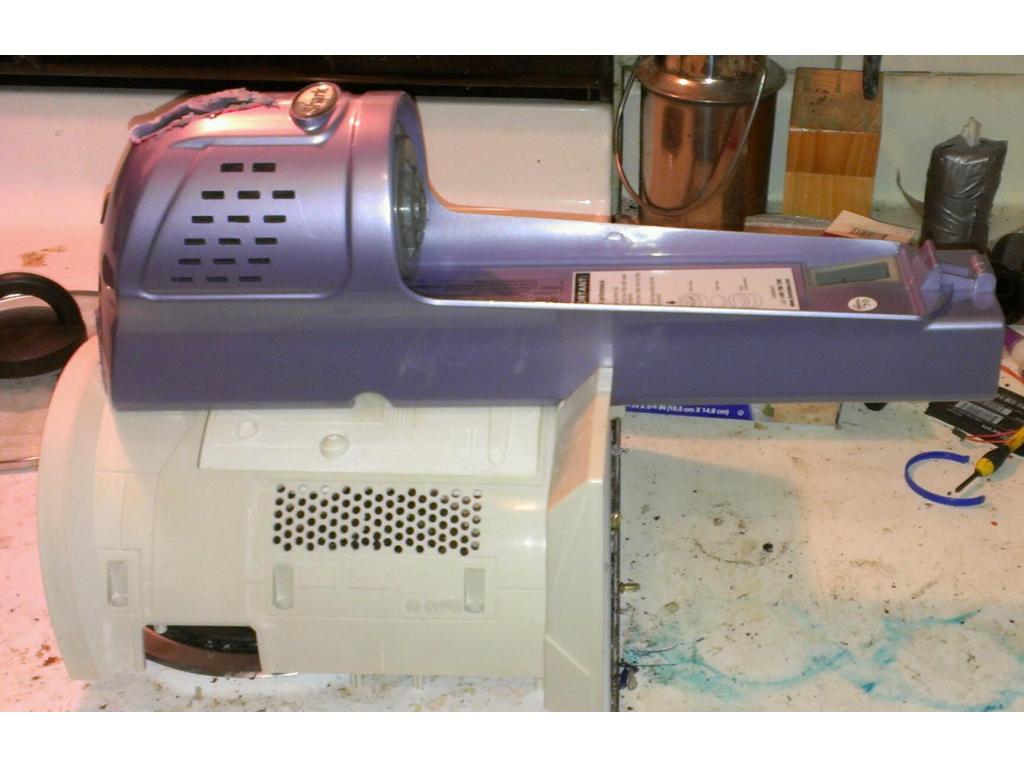
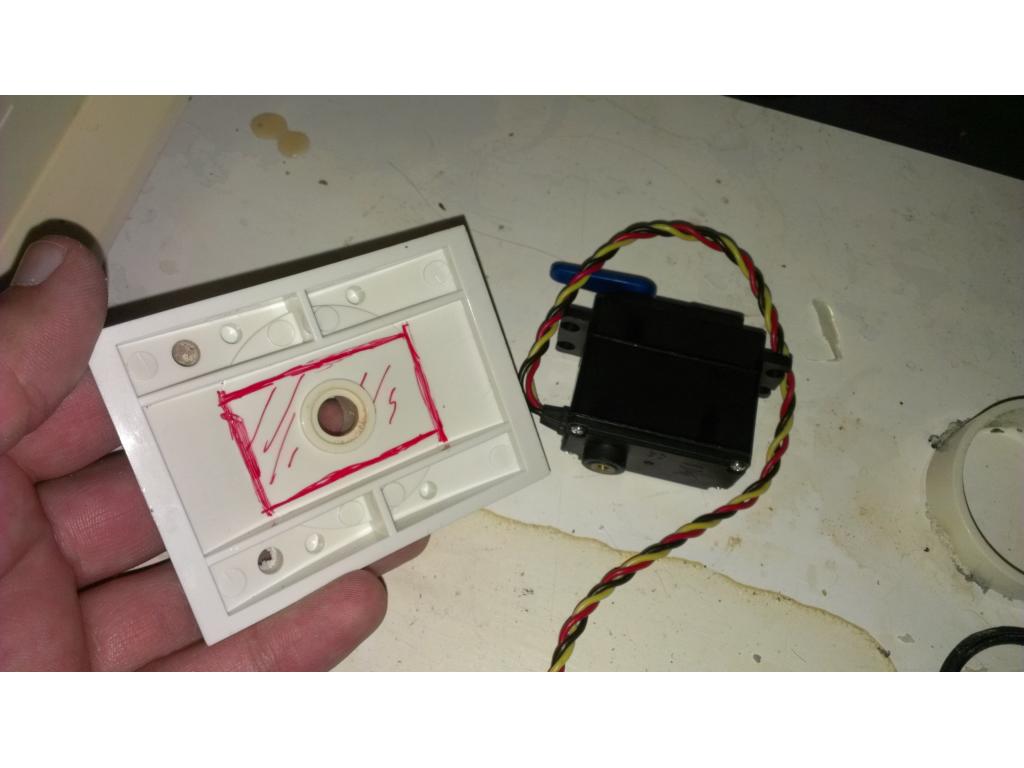
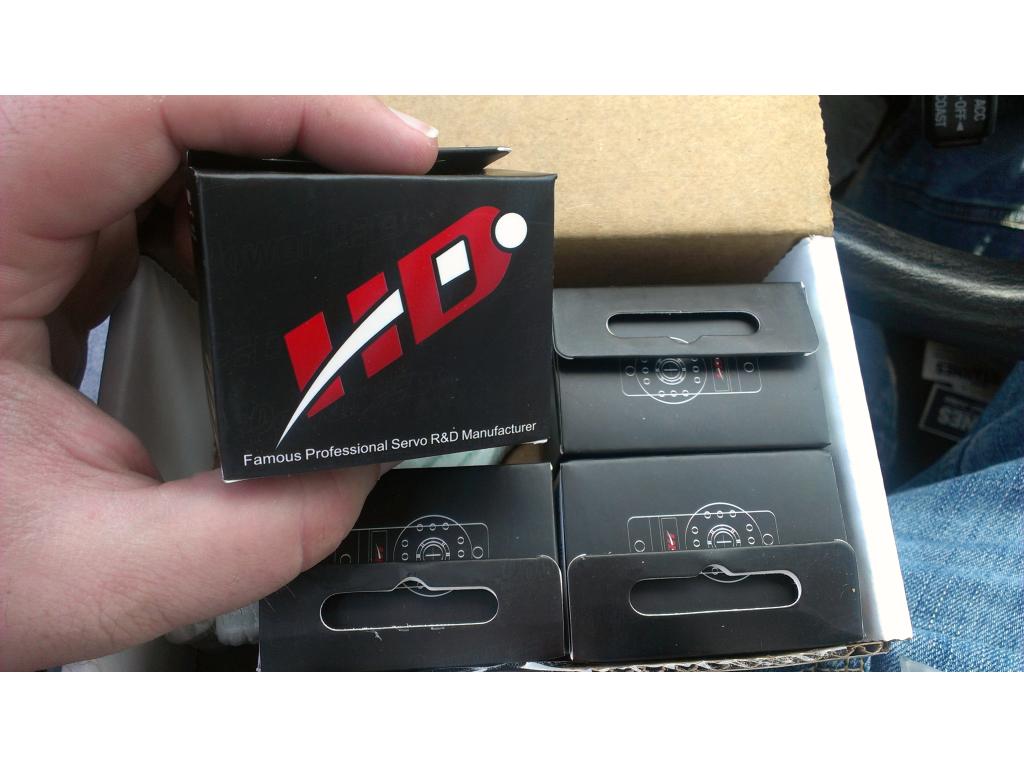
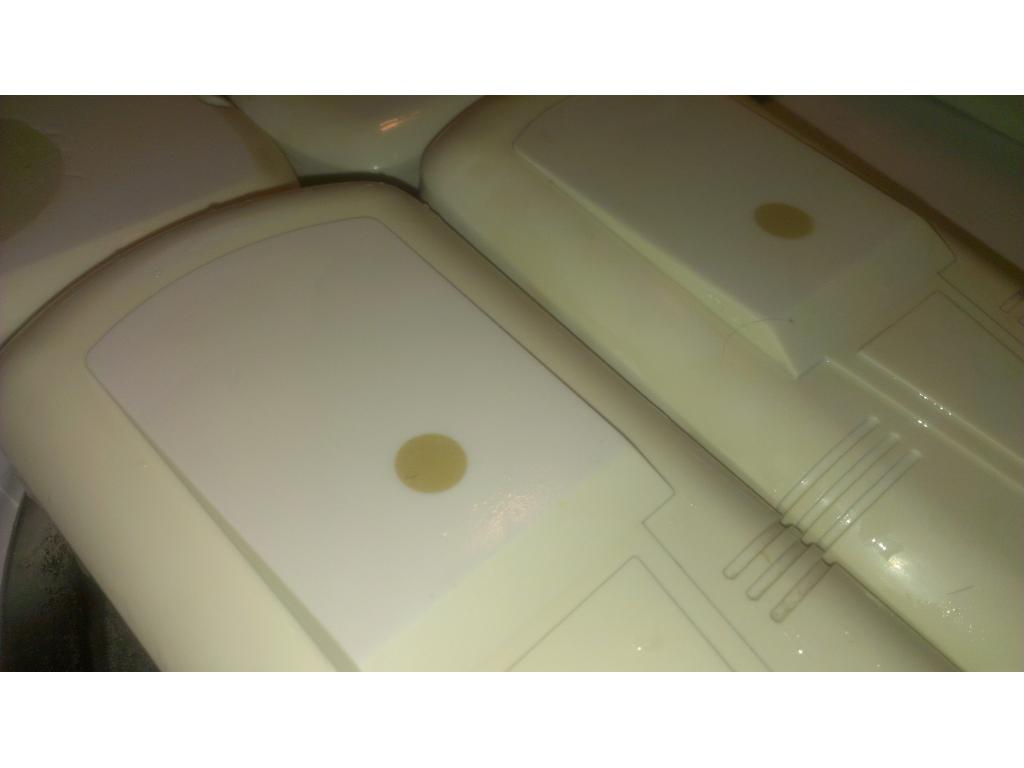
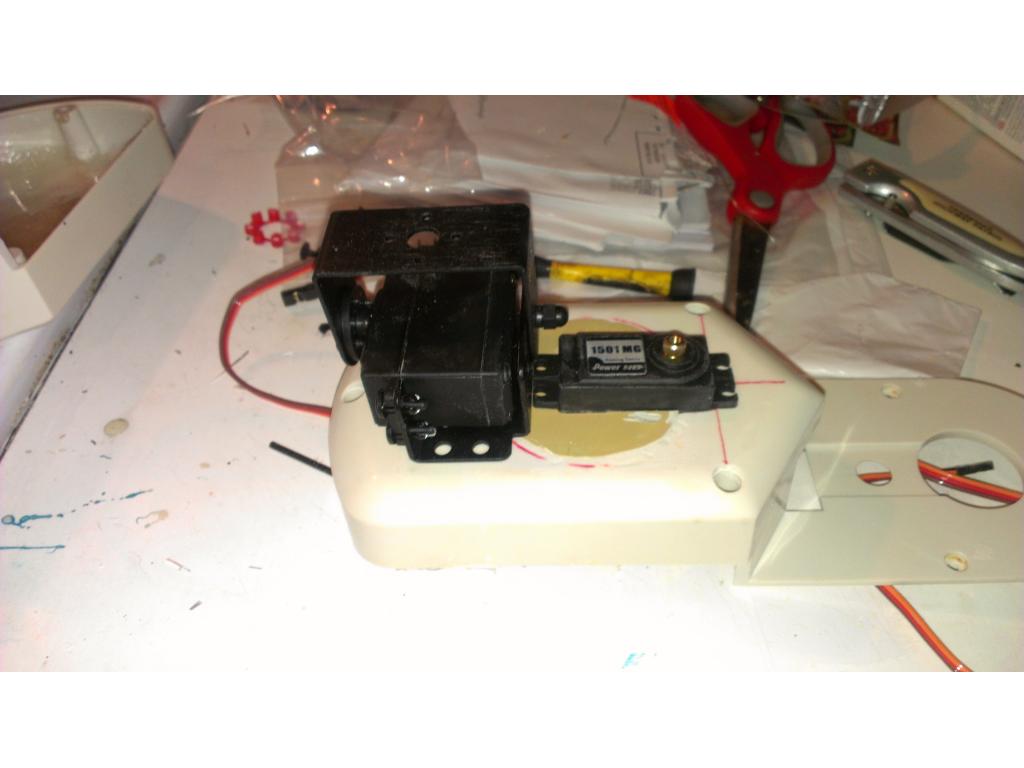
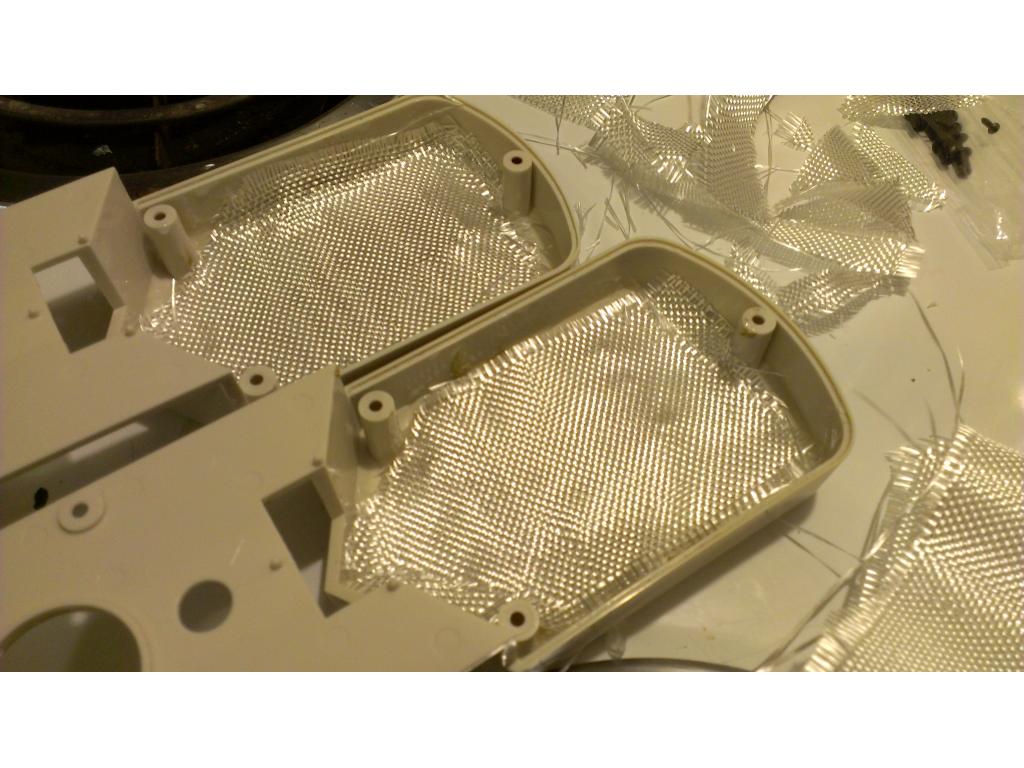
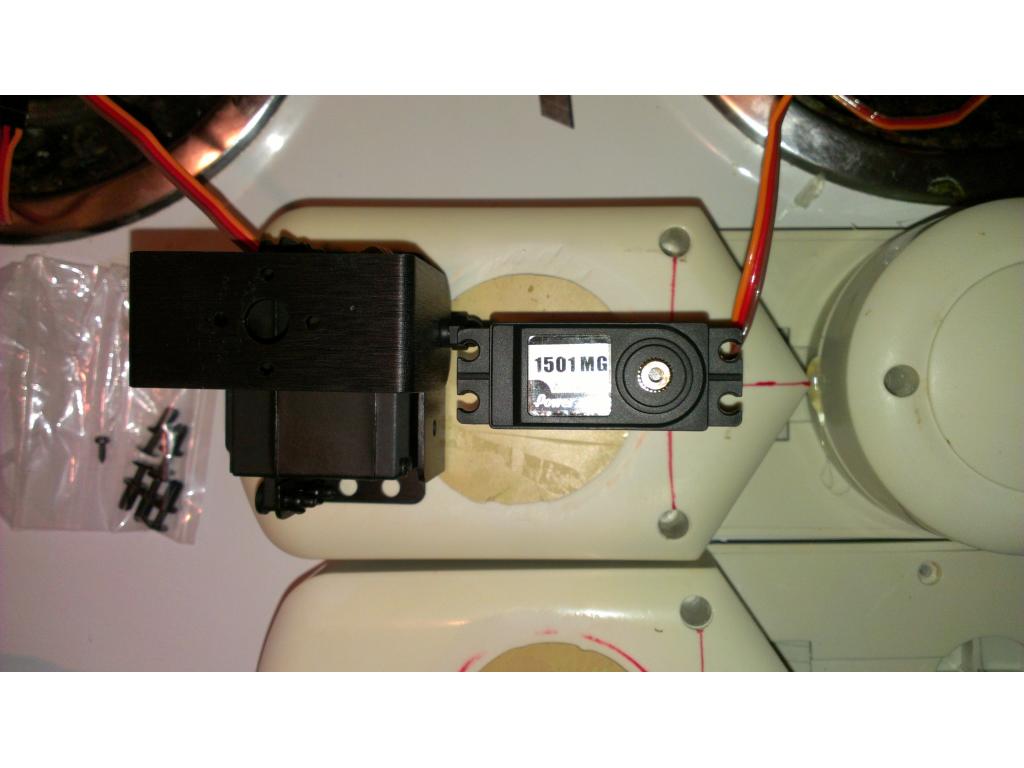
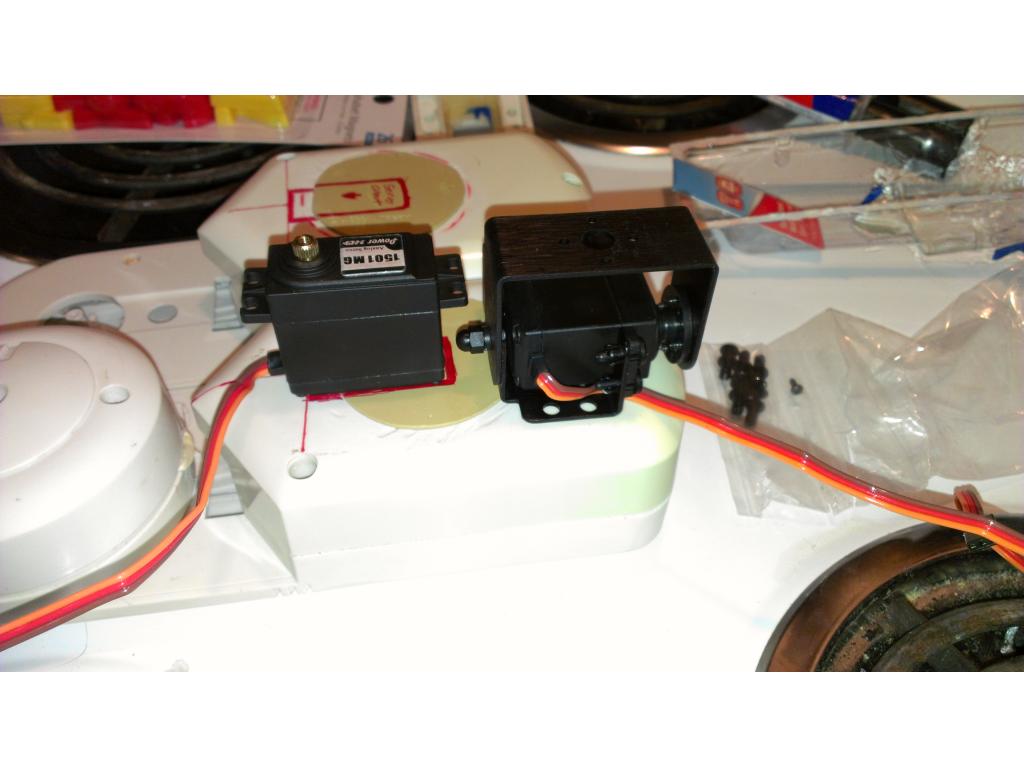
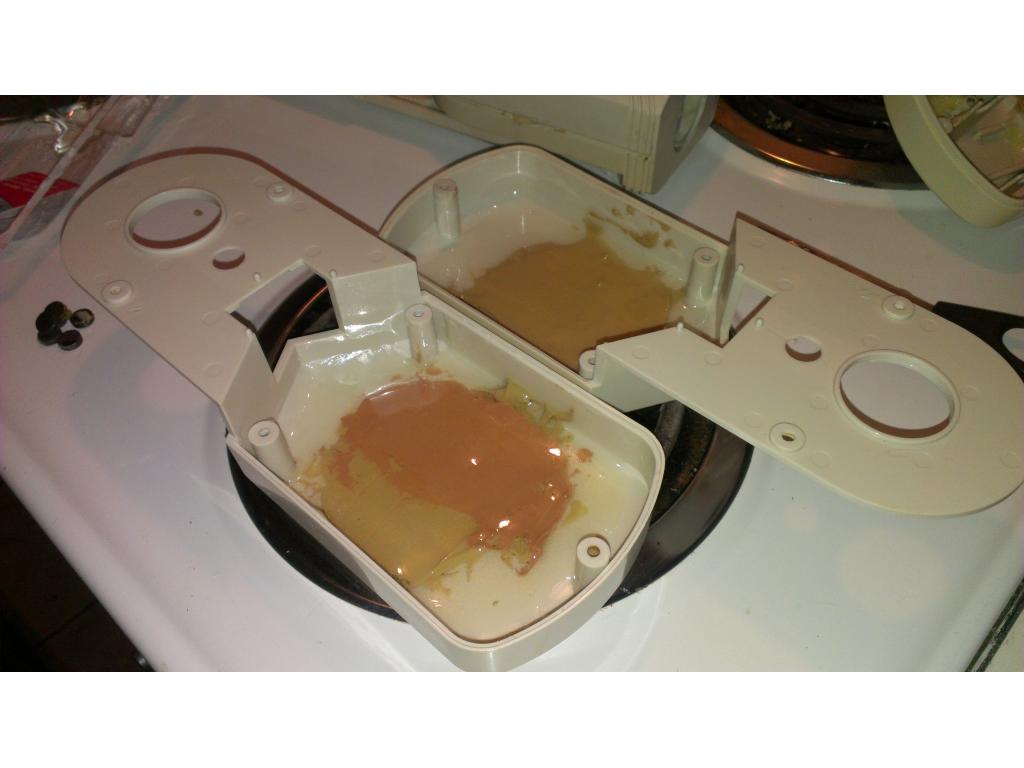
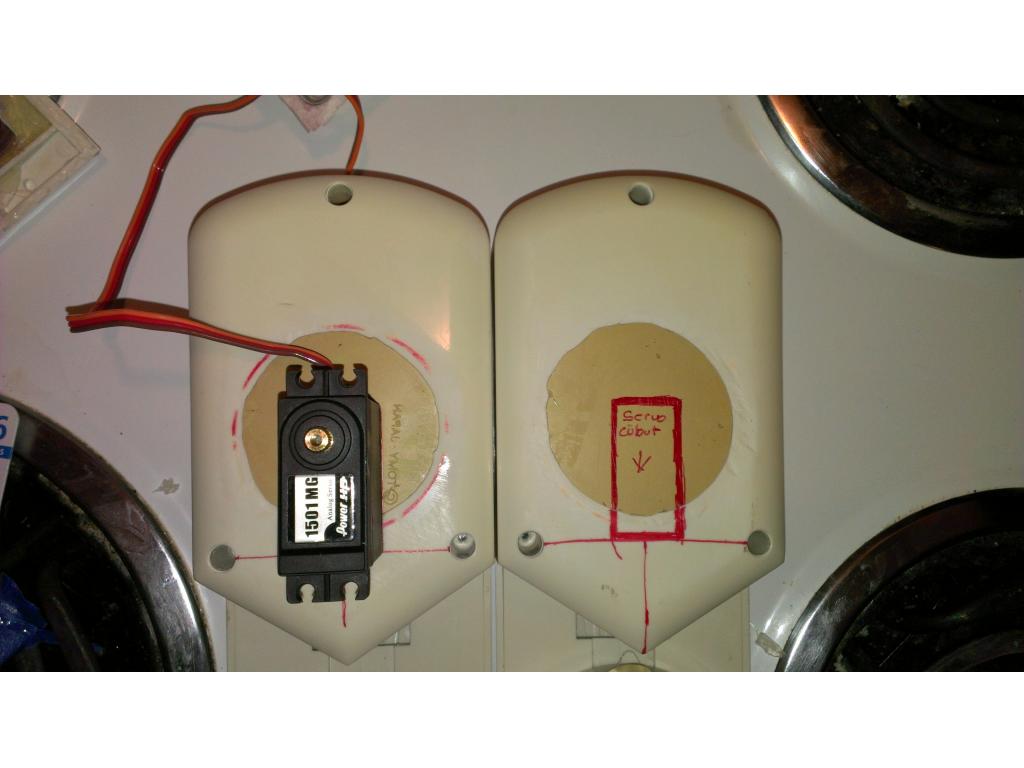
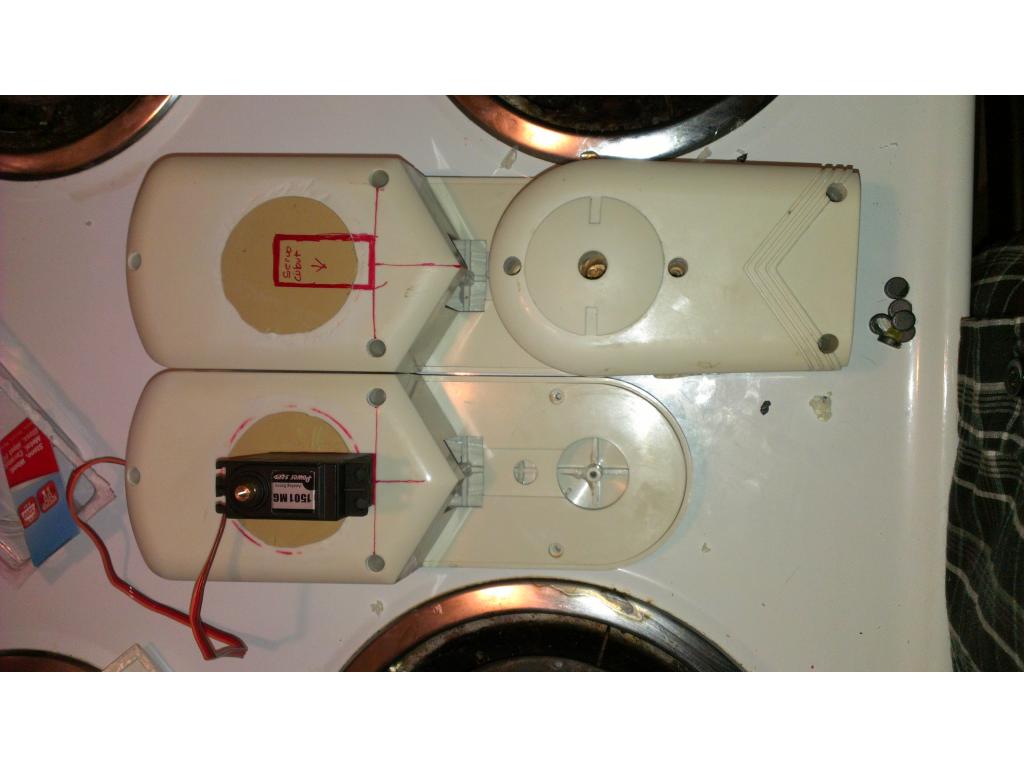
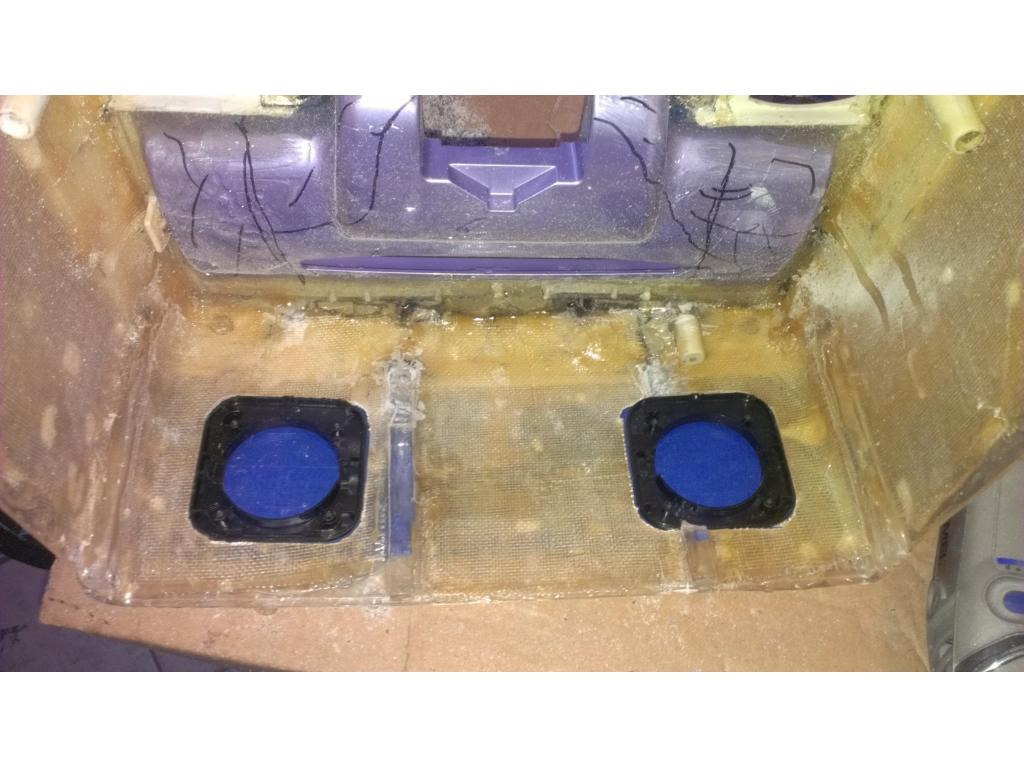
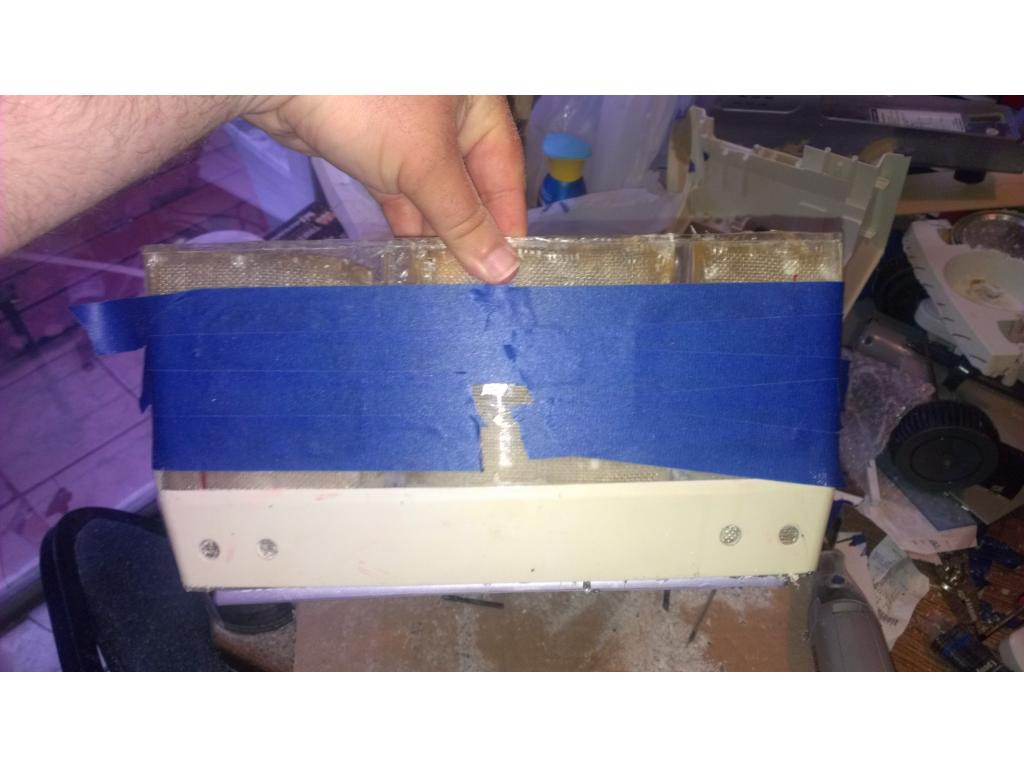
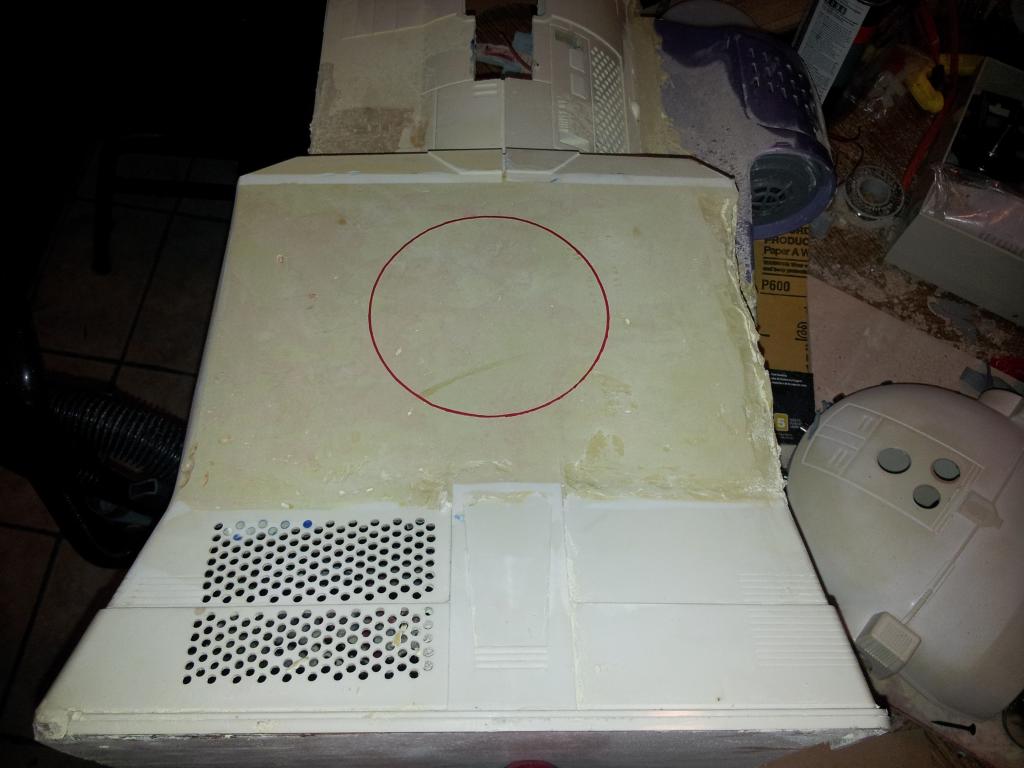
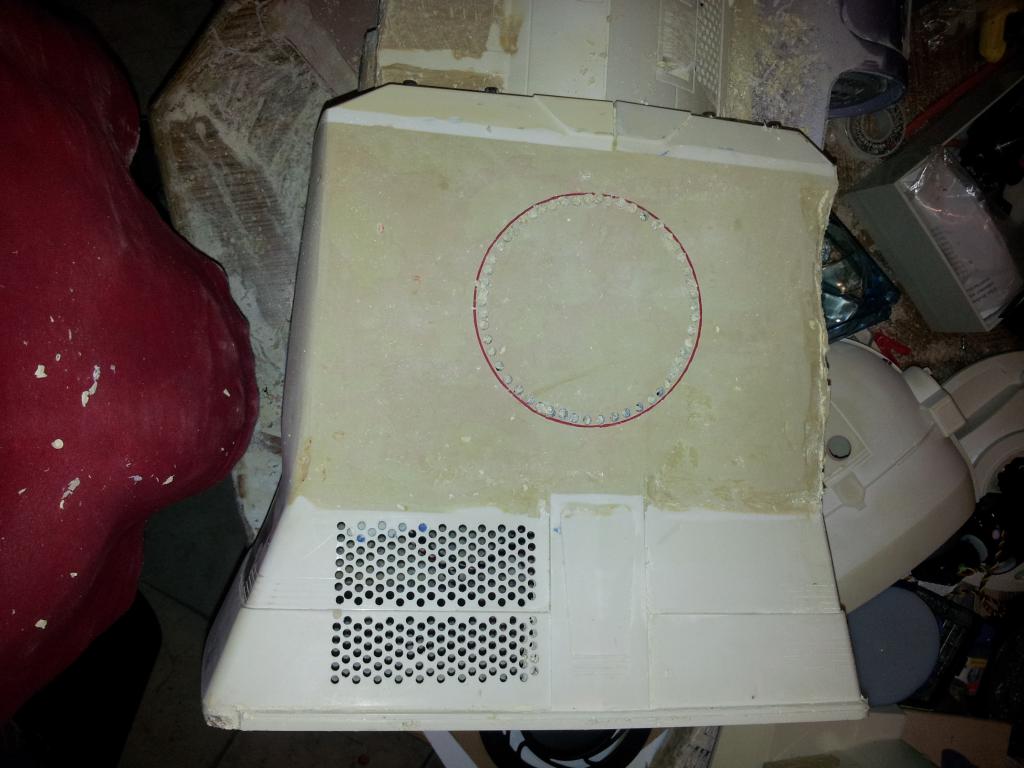
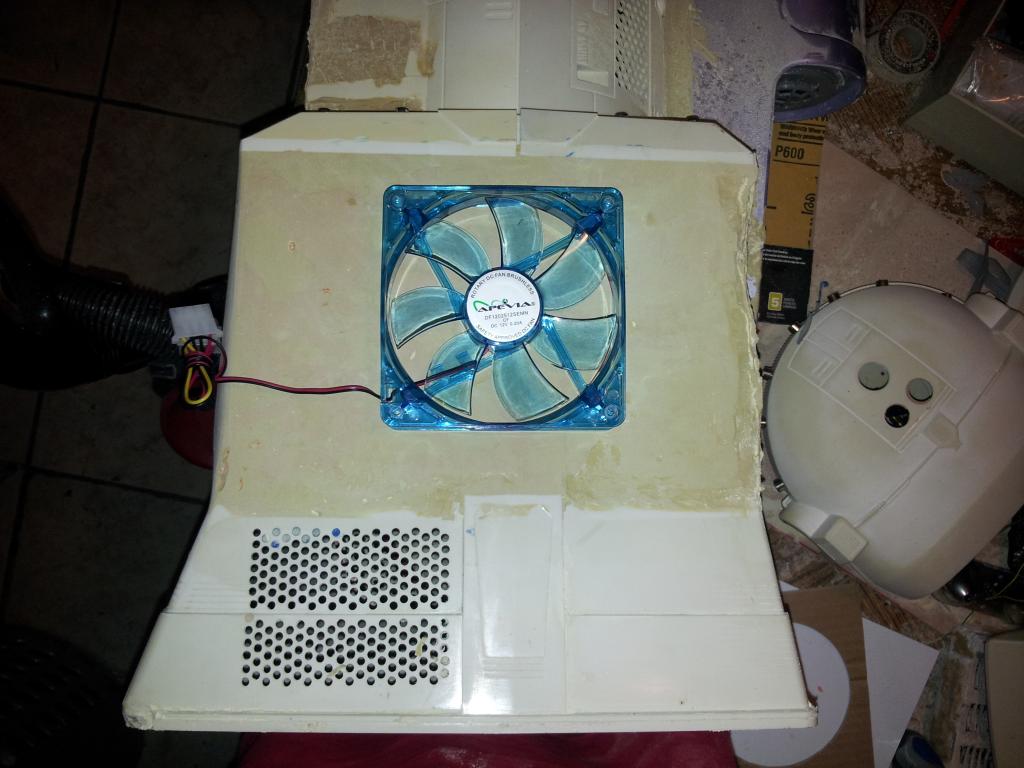
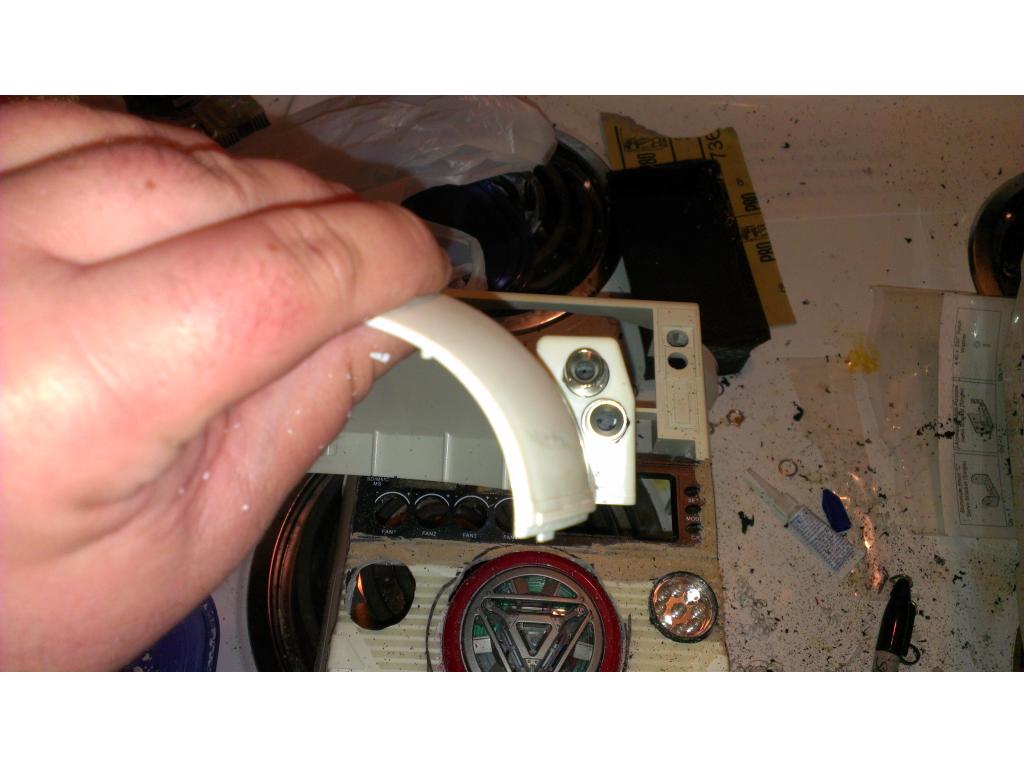
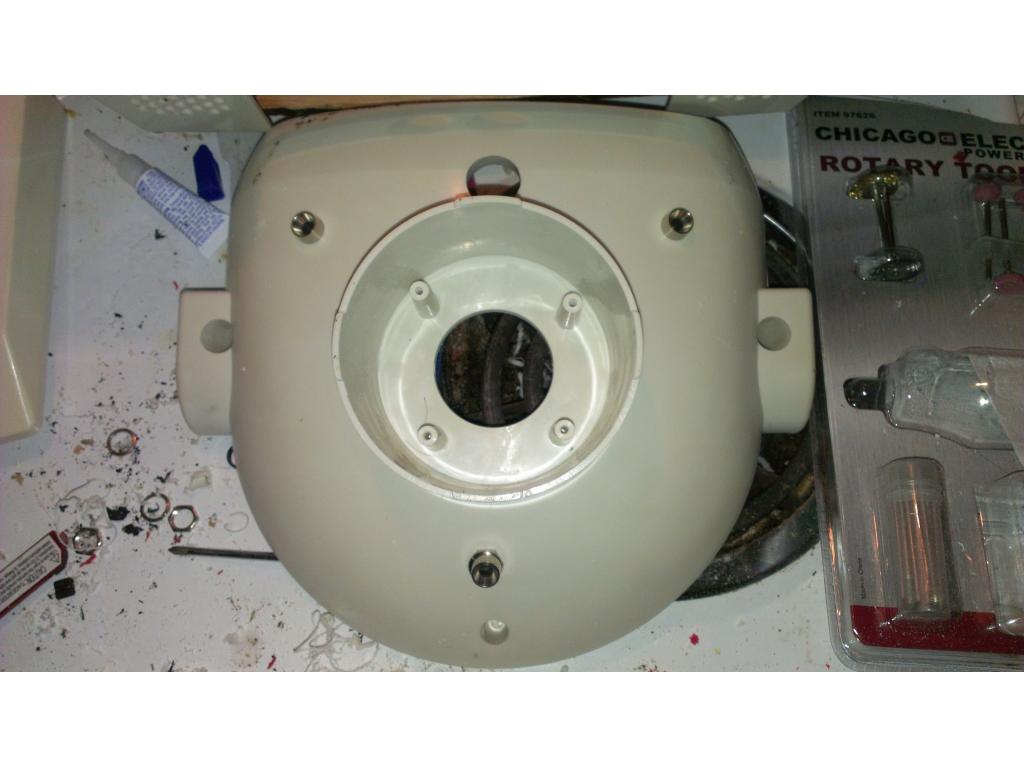
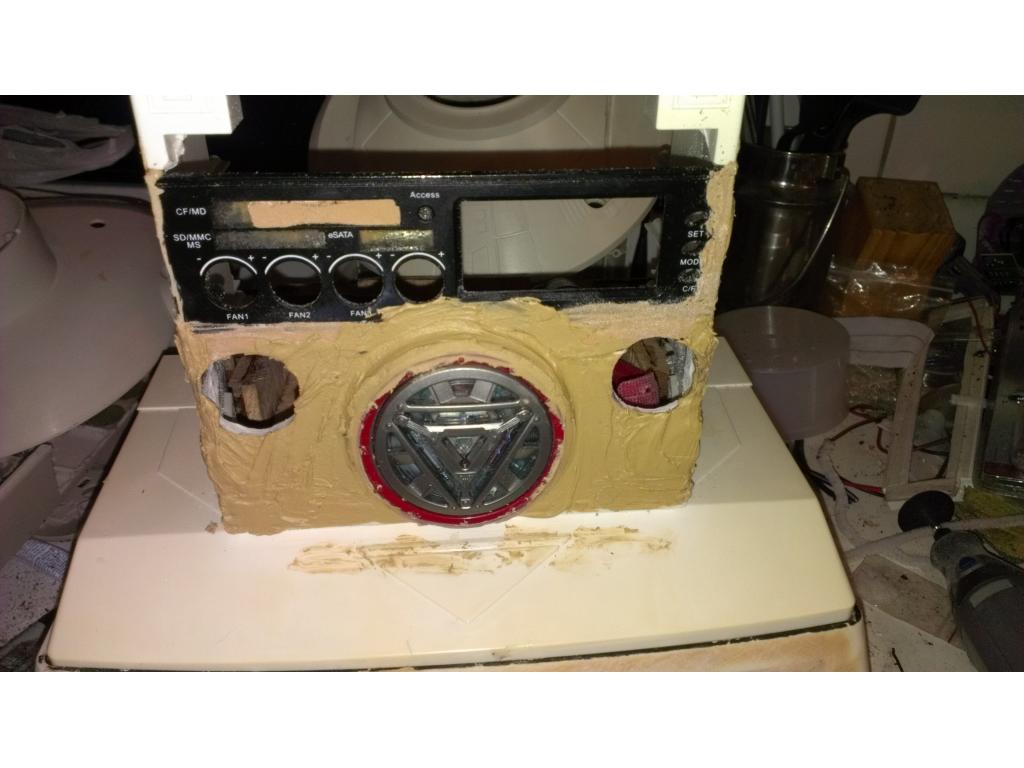
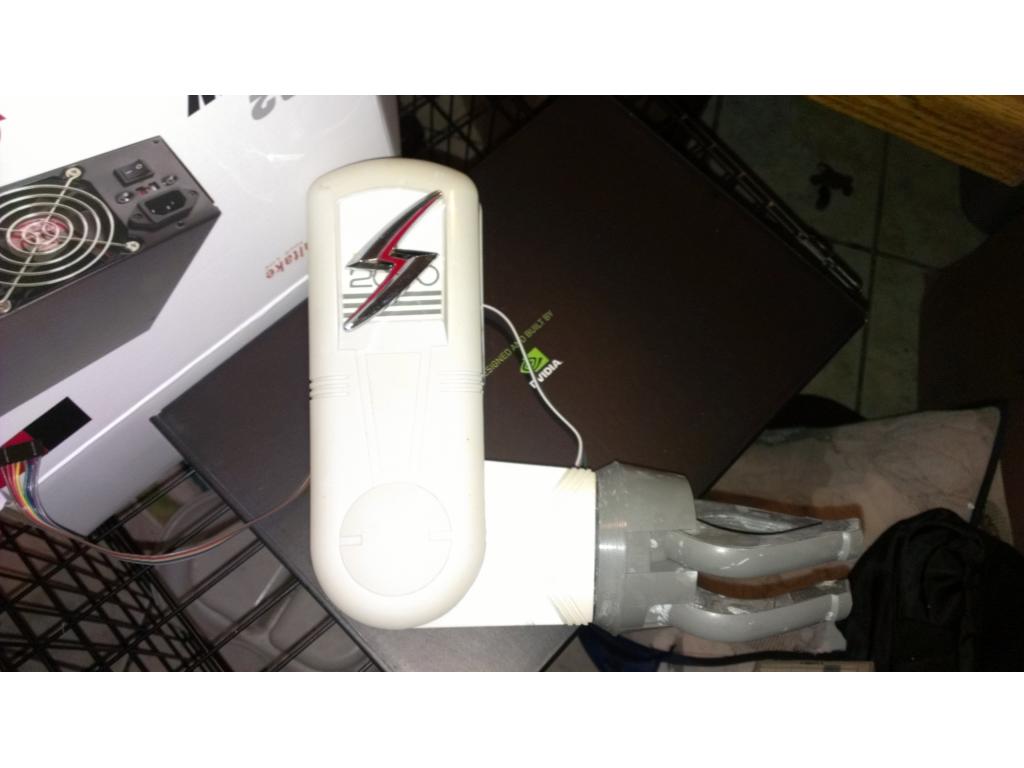
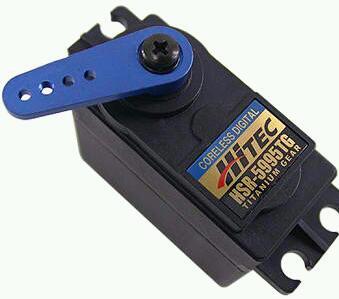
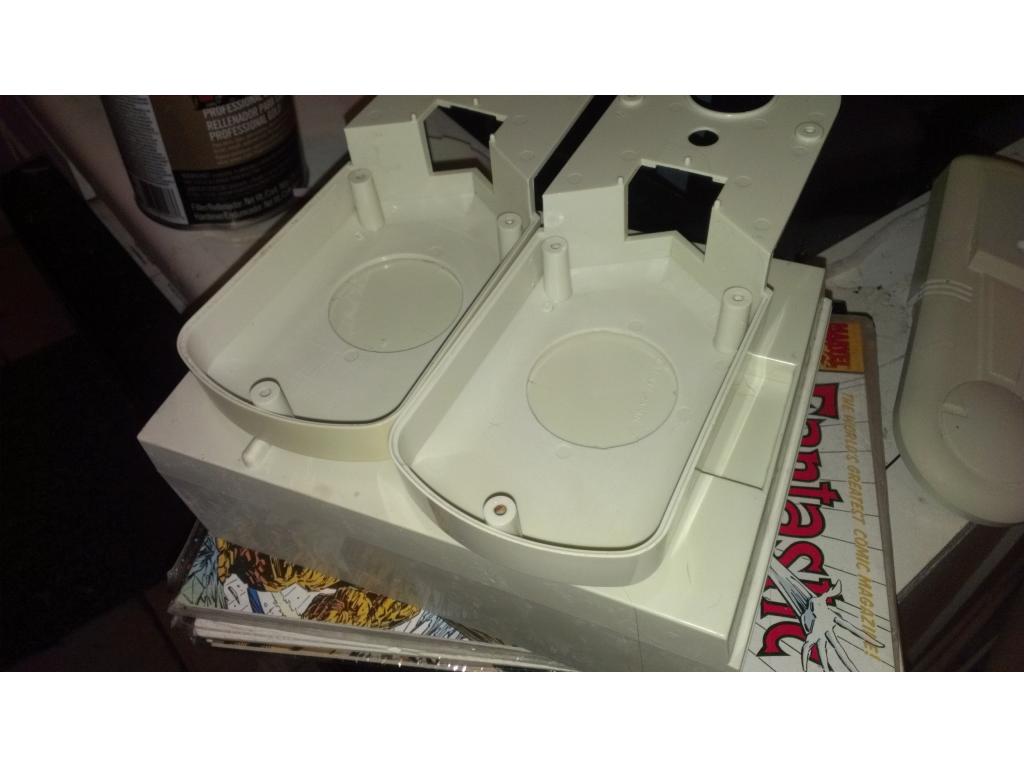
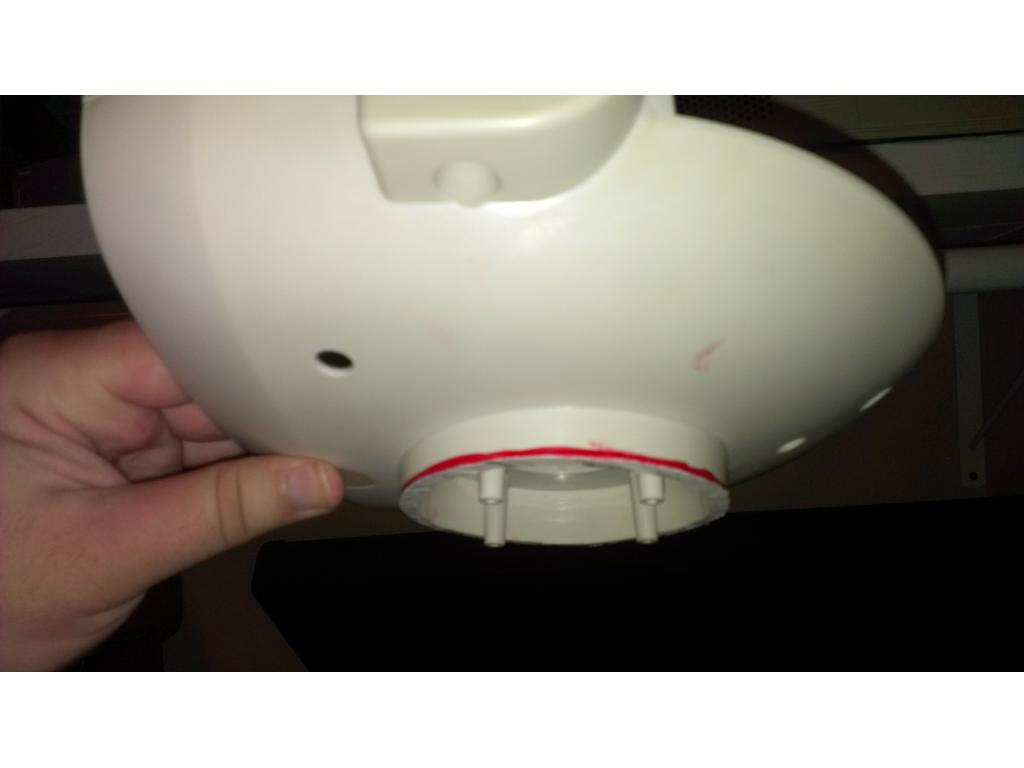
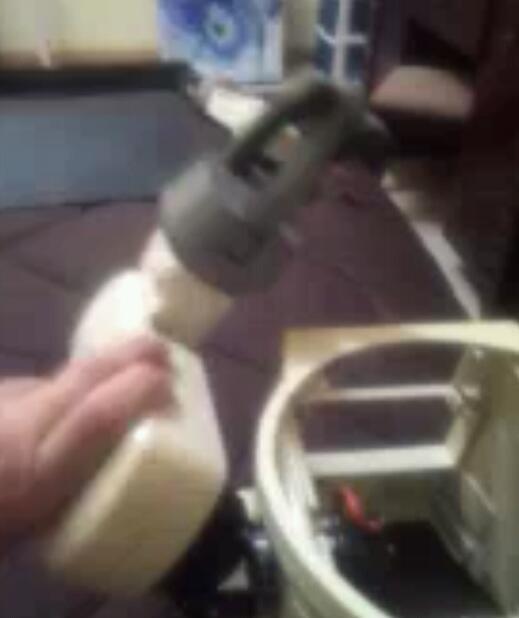
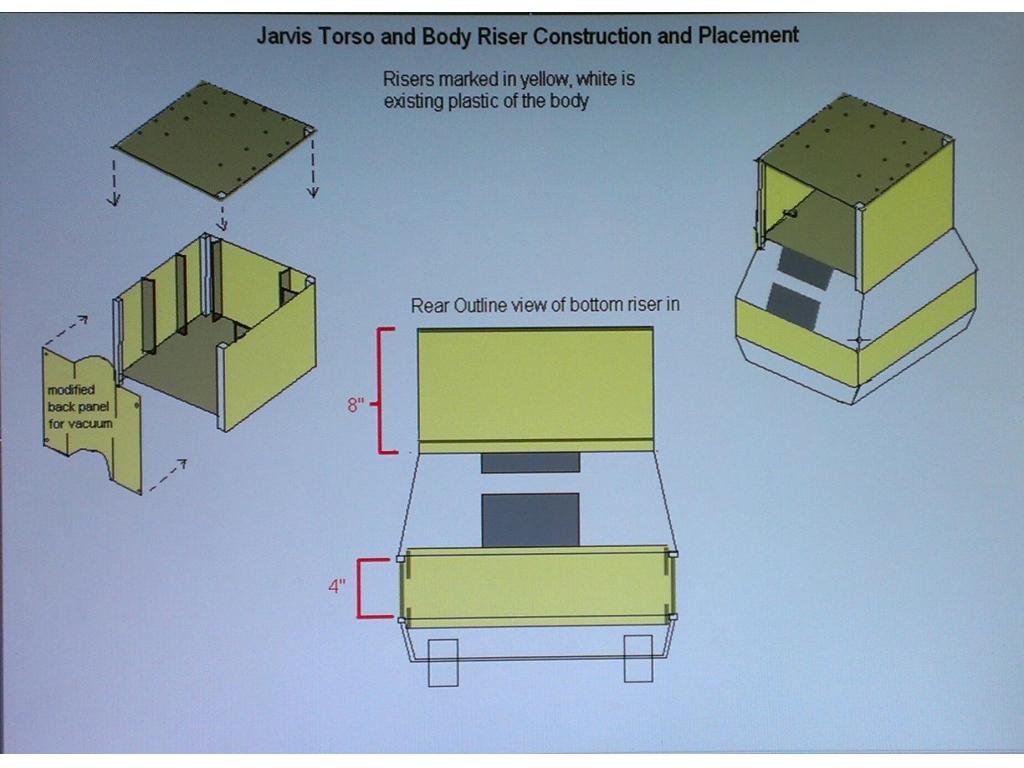
Ok , Creative Hacking! In order to keep the forearm and claw just as strong as the robotzone and hitec 5995tg high torque shoulder servo. I have two different angles to use this.
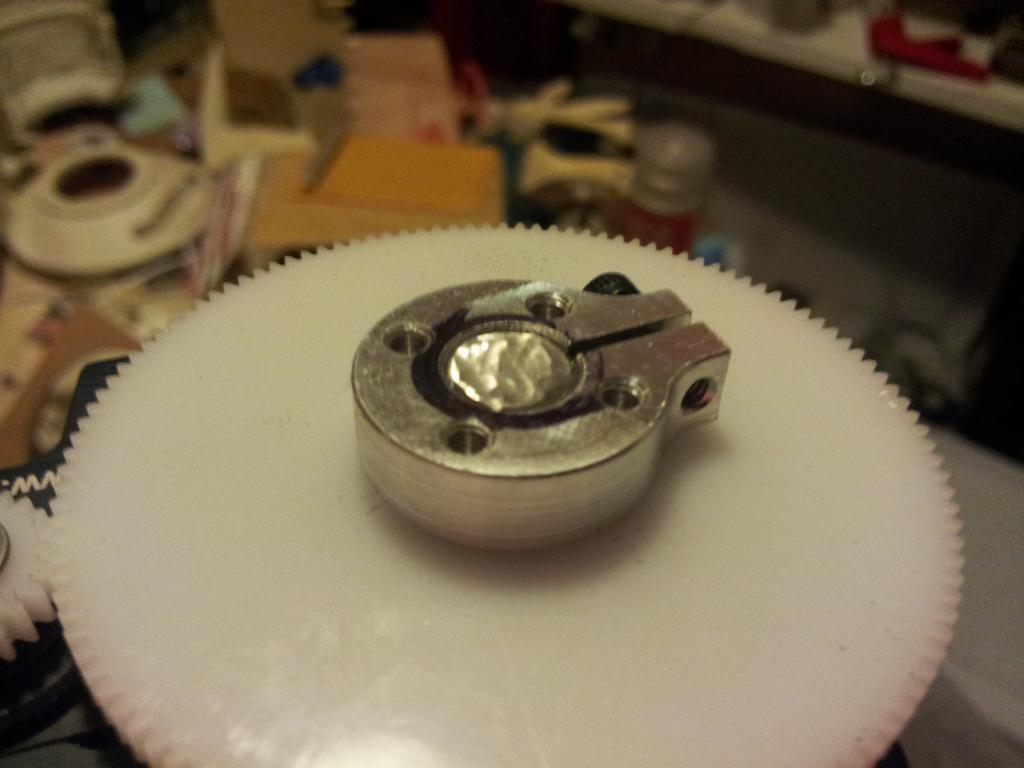
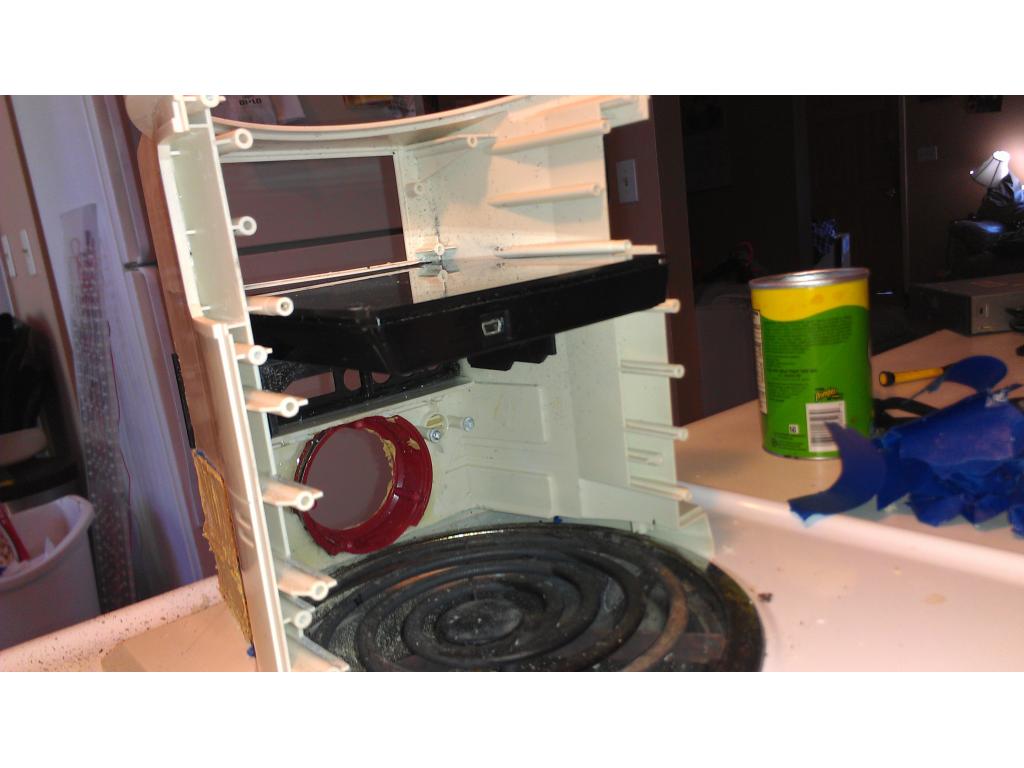
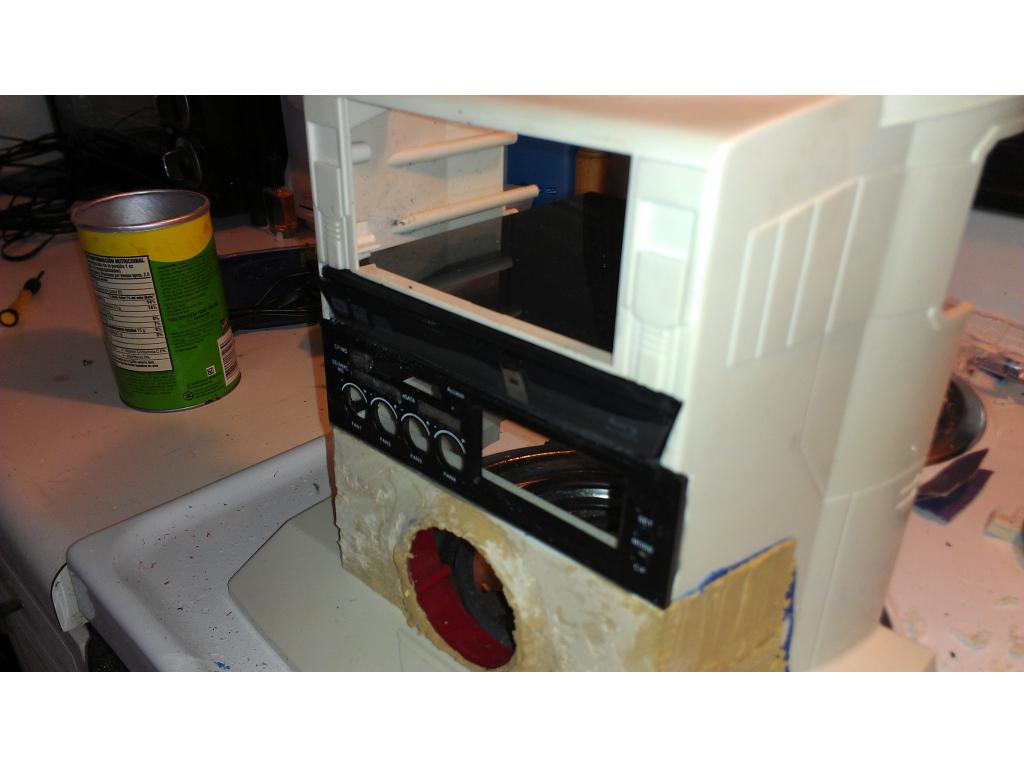
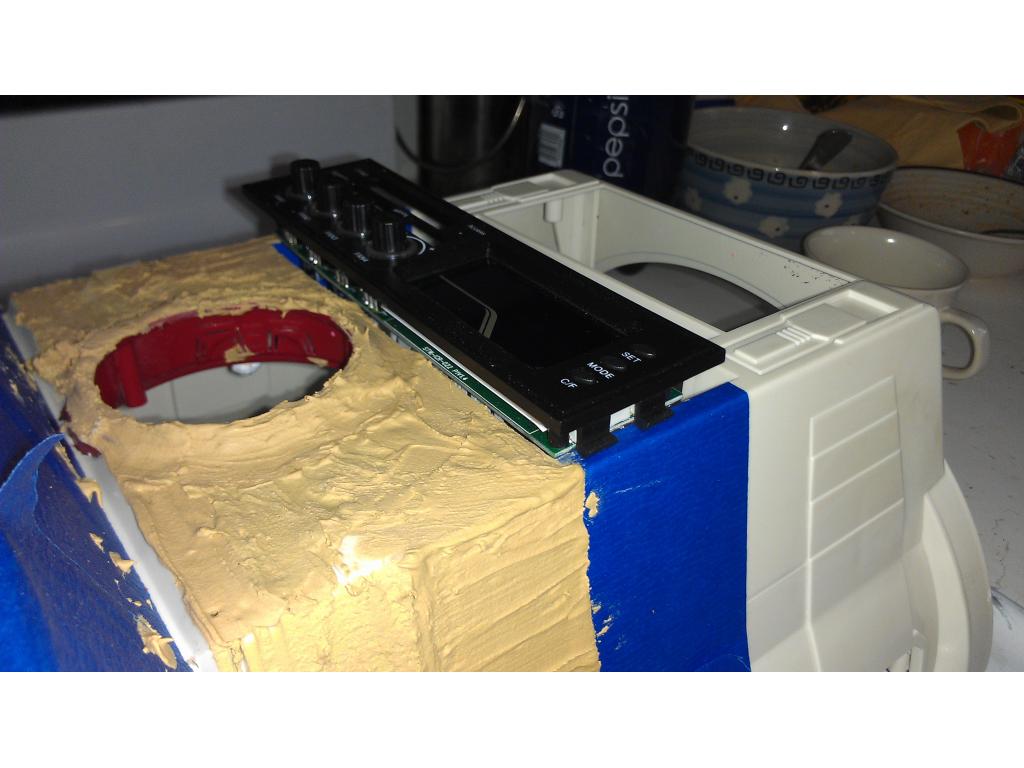
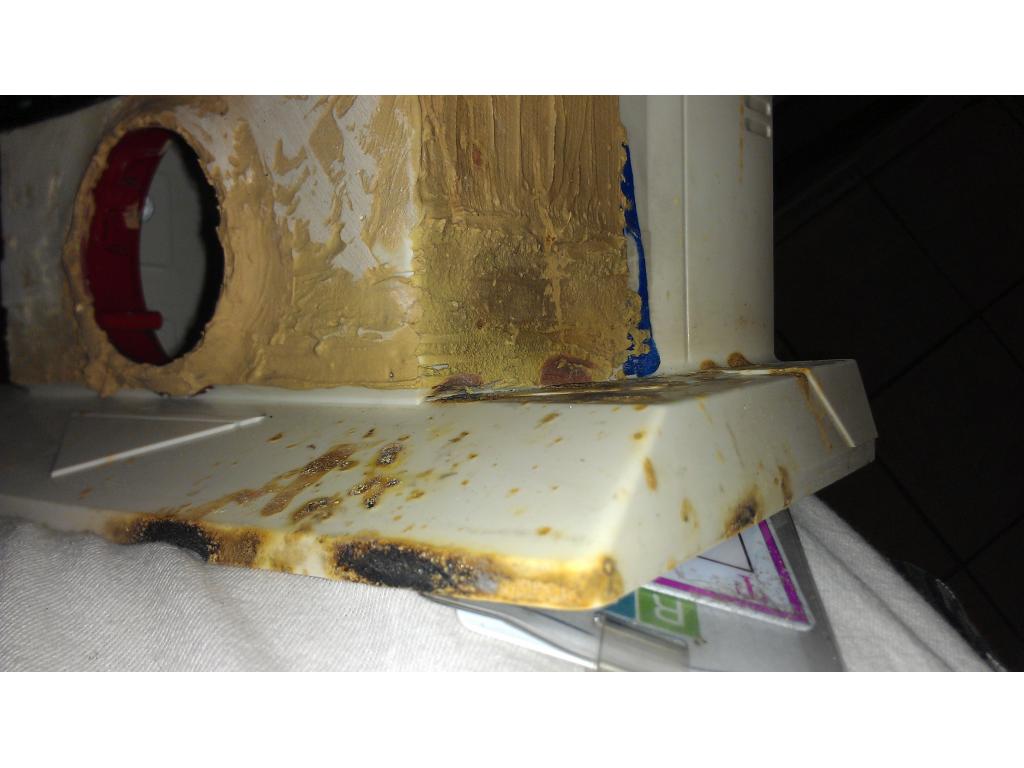
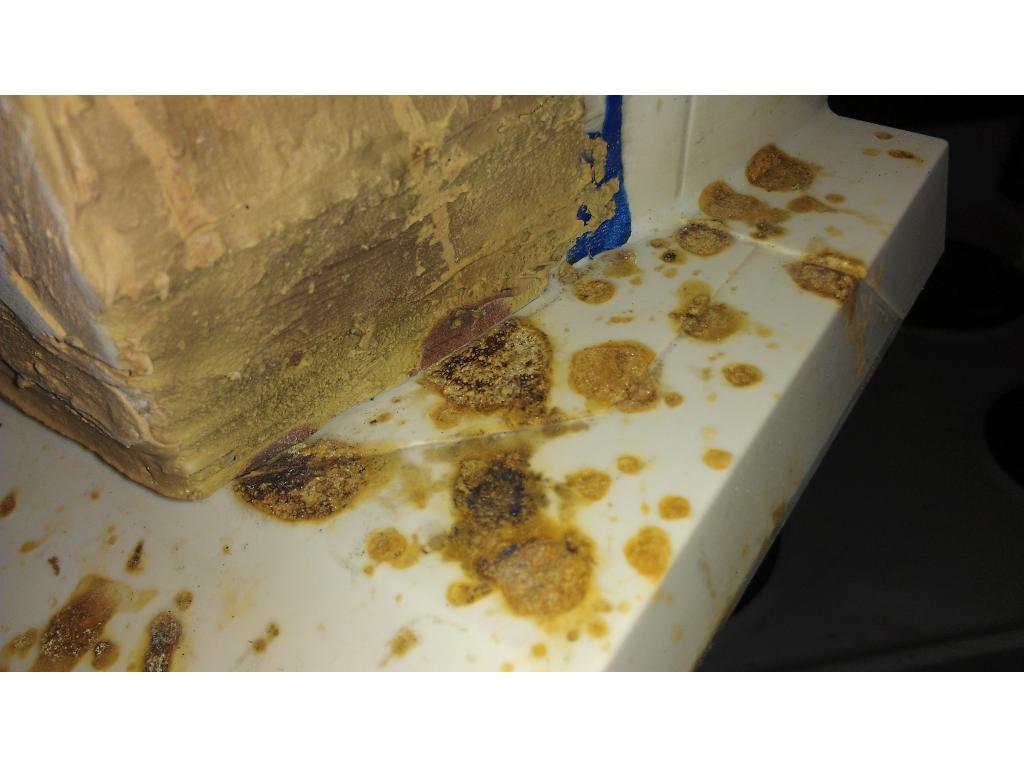
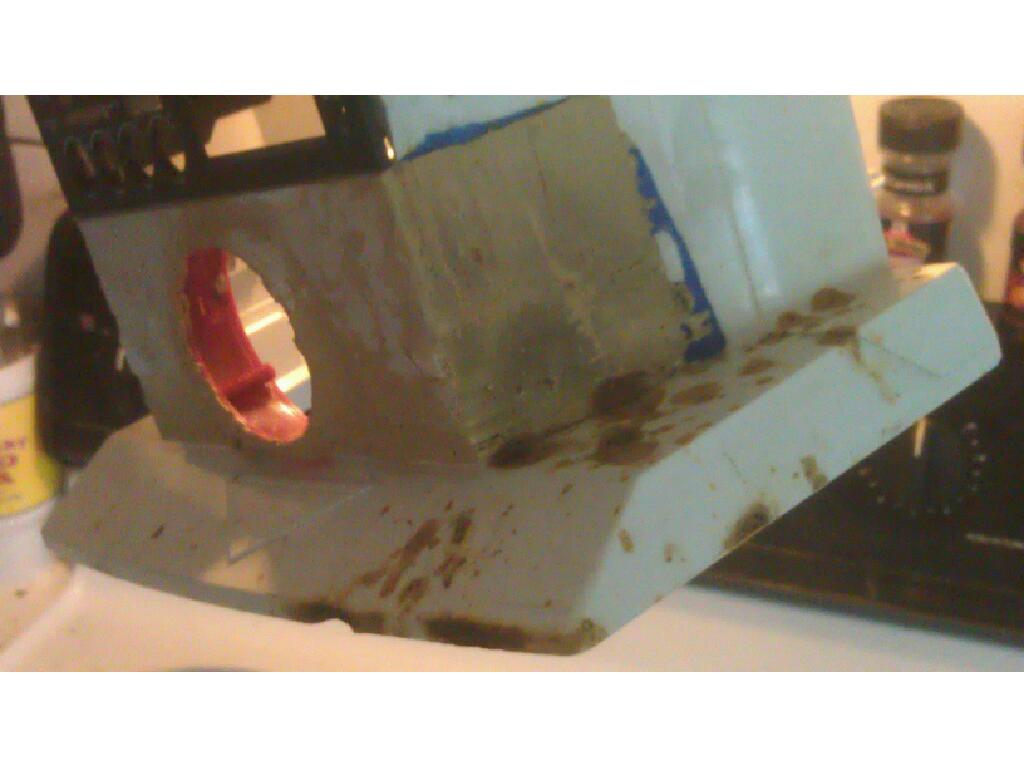
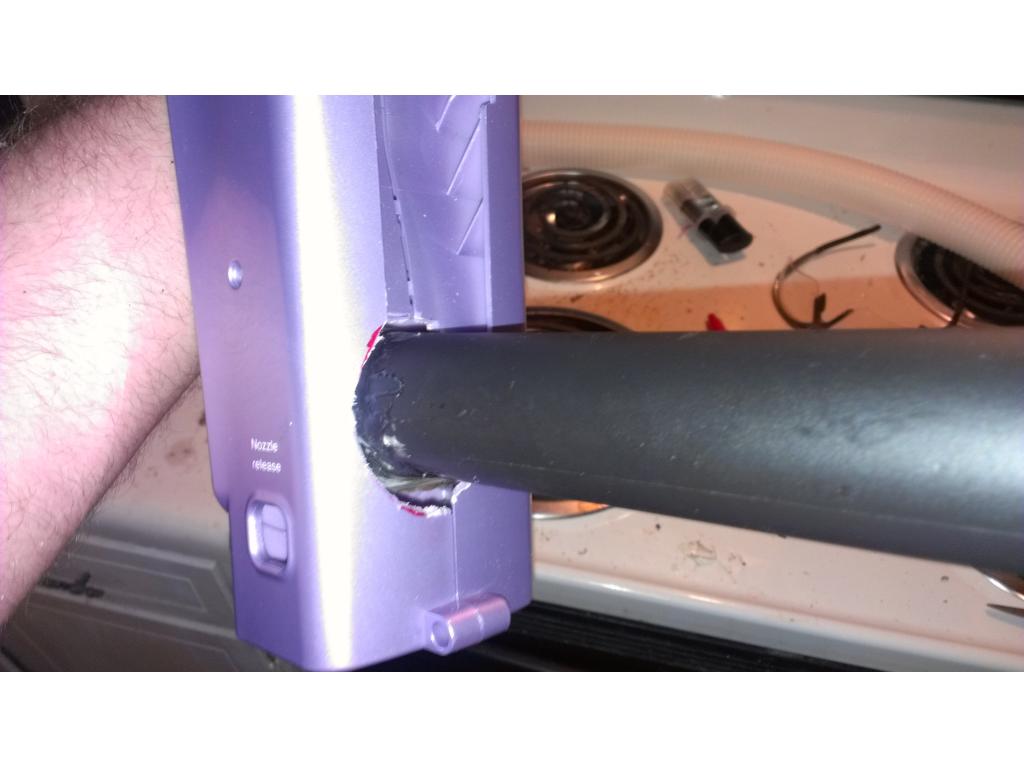
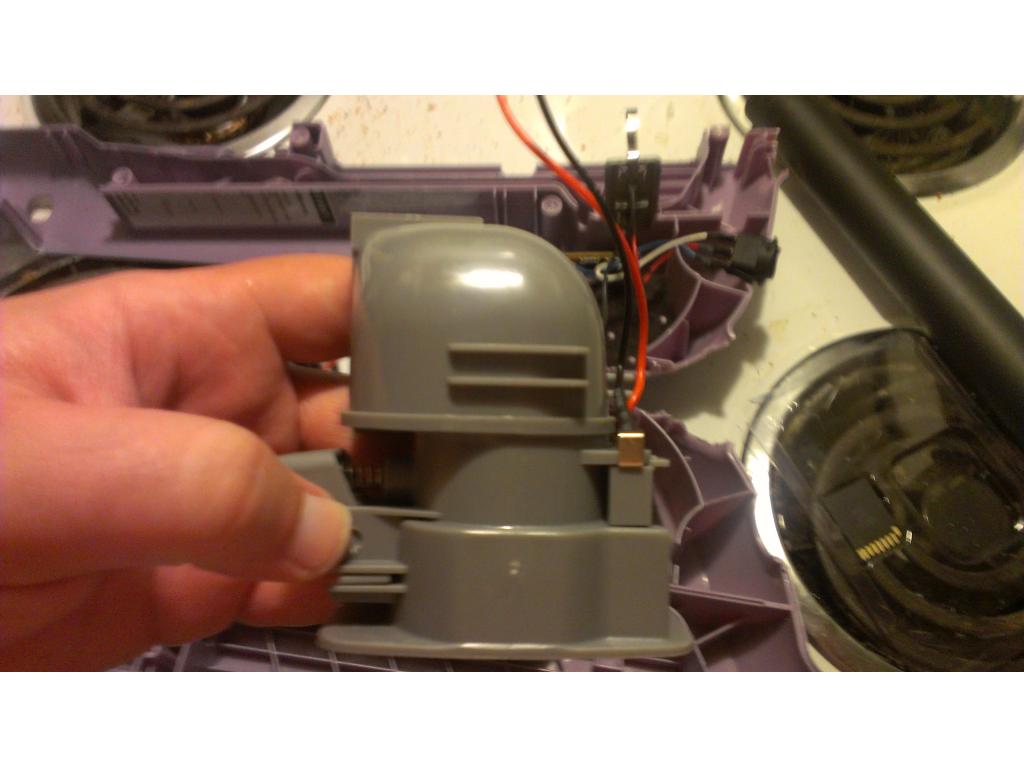
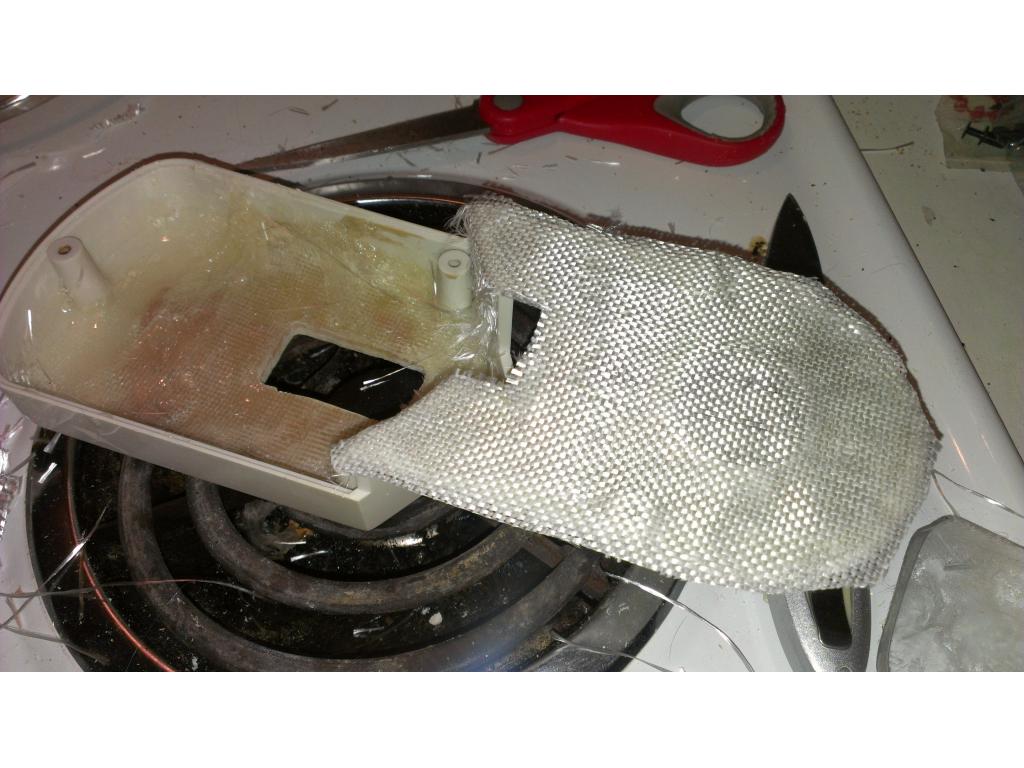
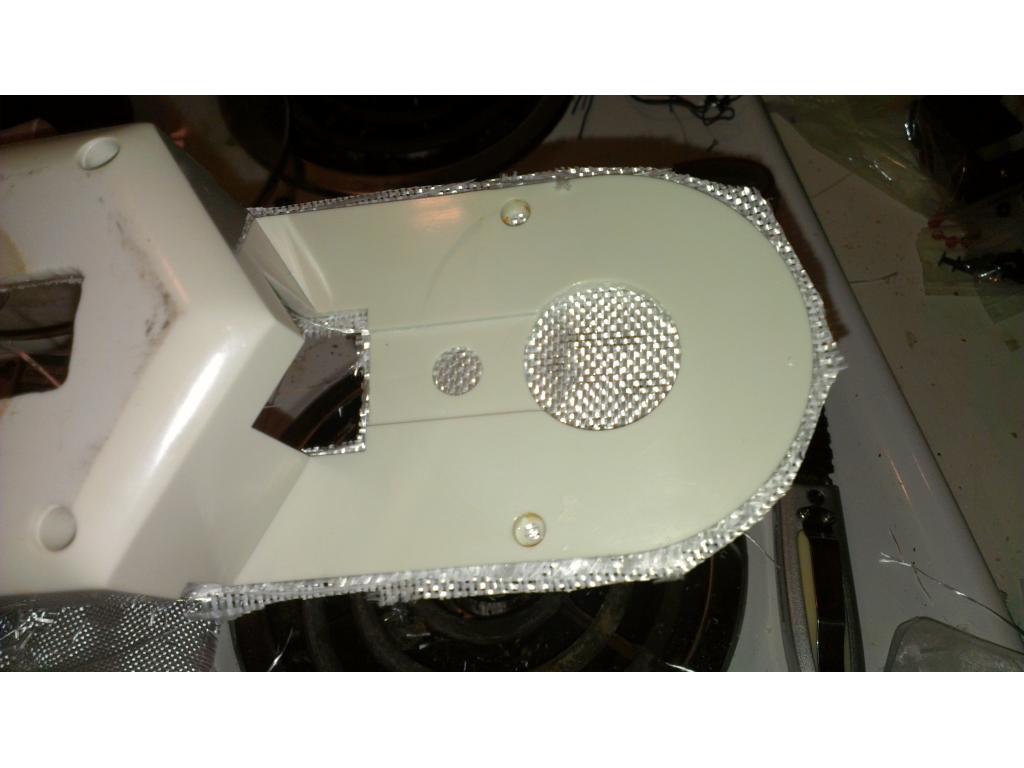
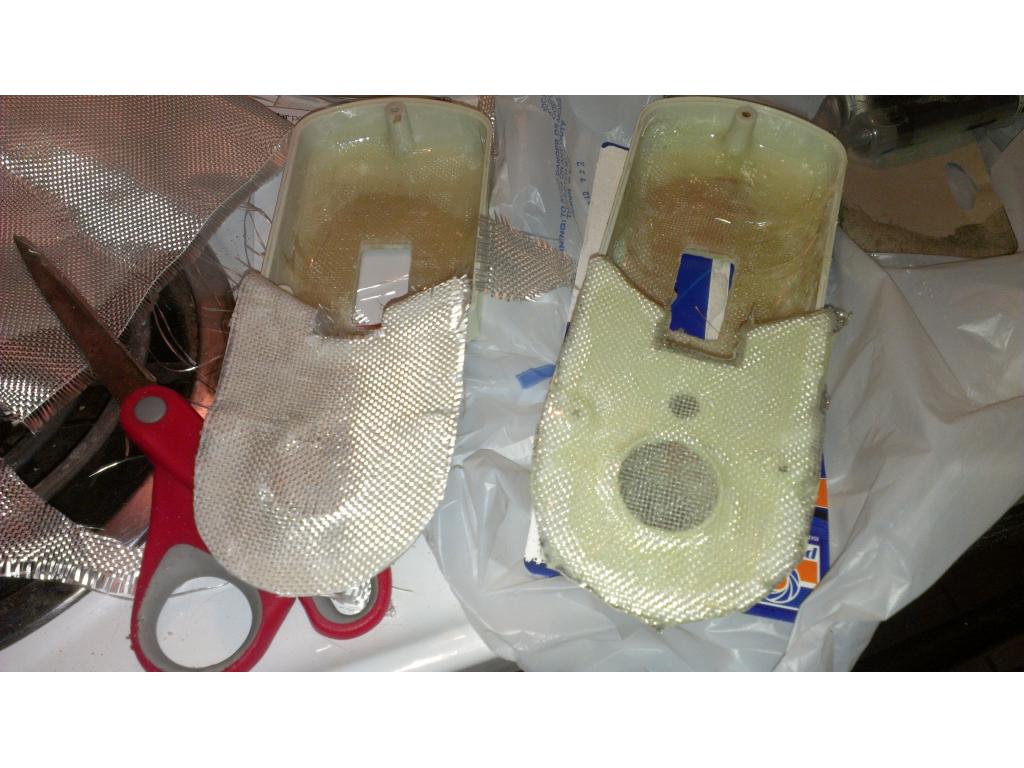
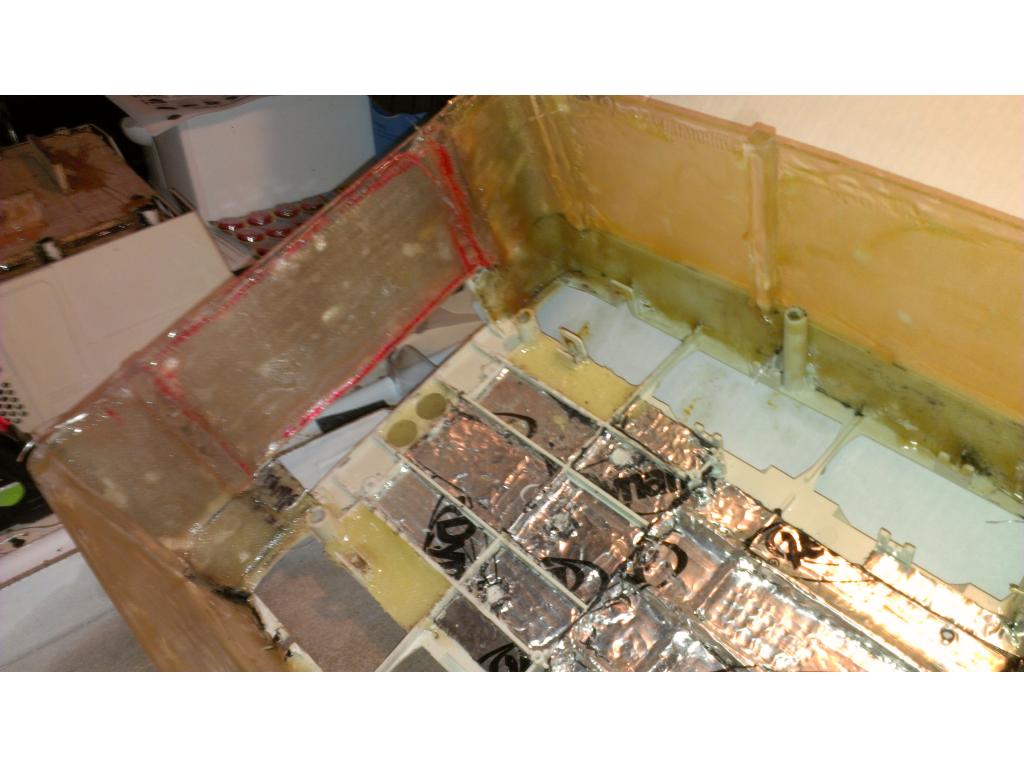
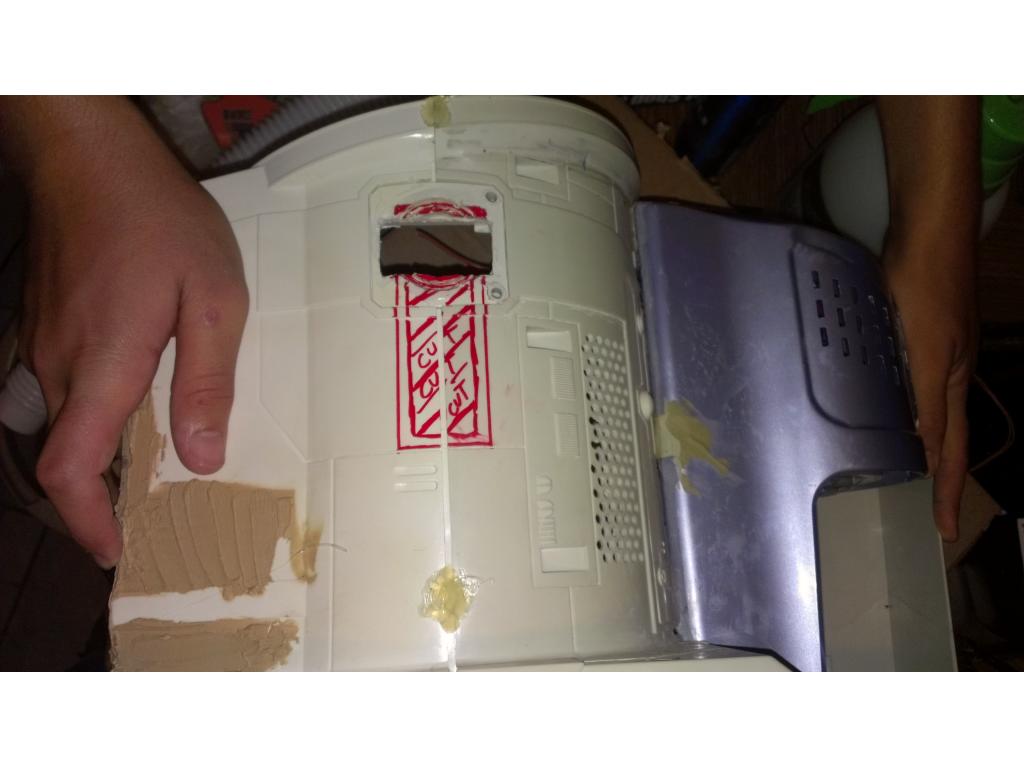
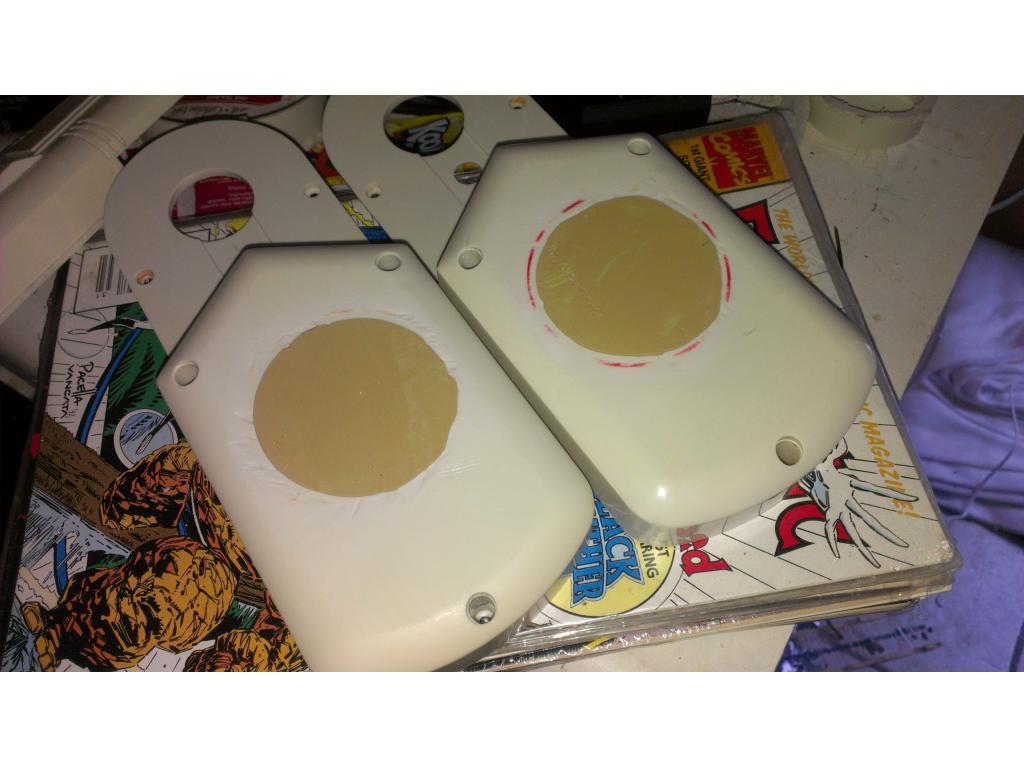
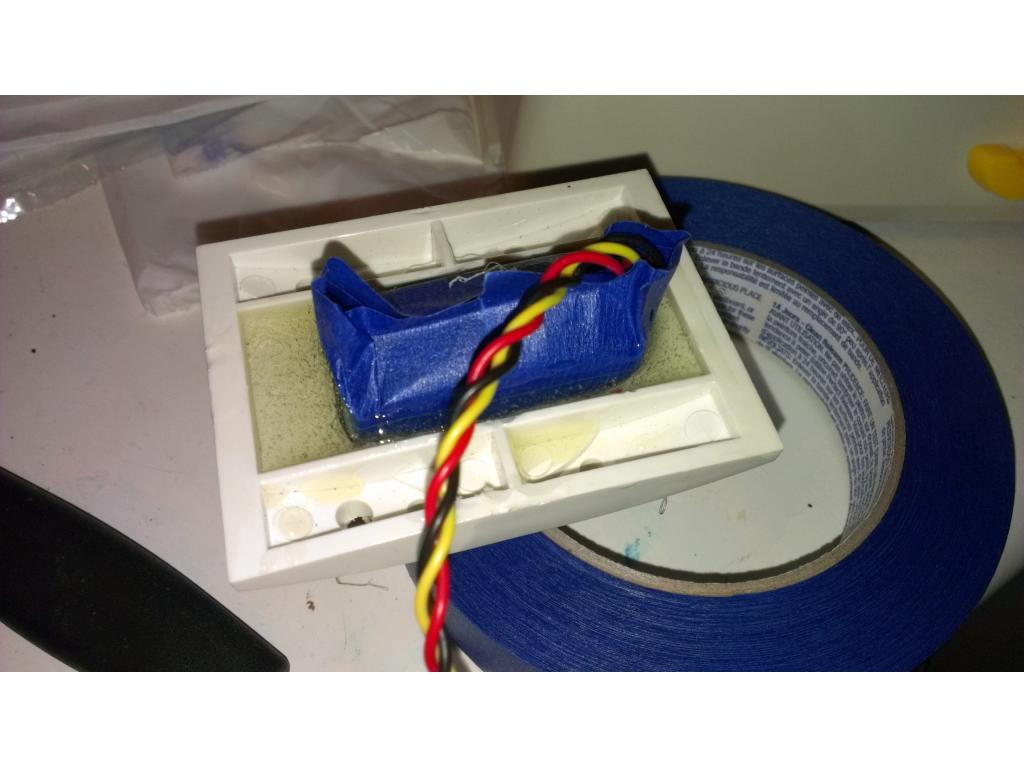
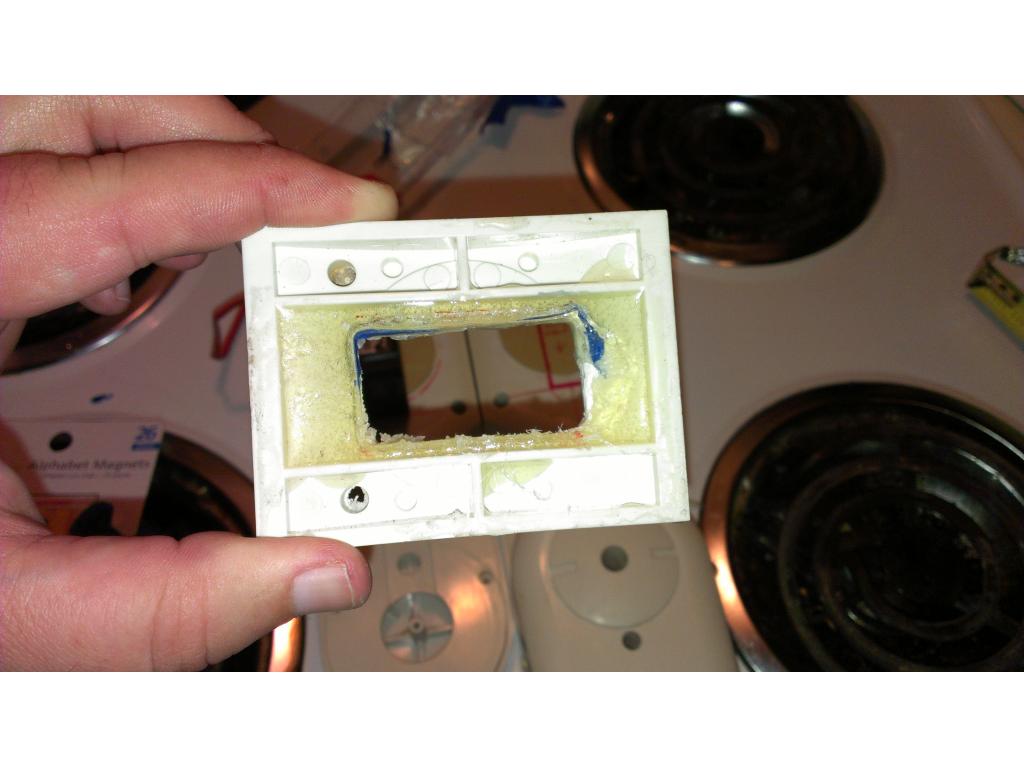
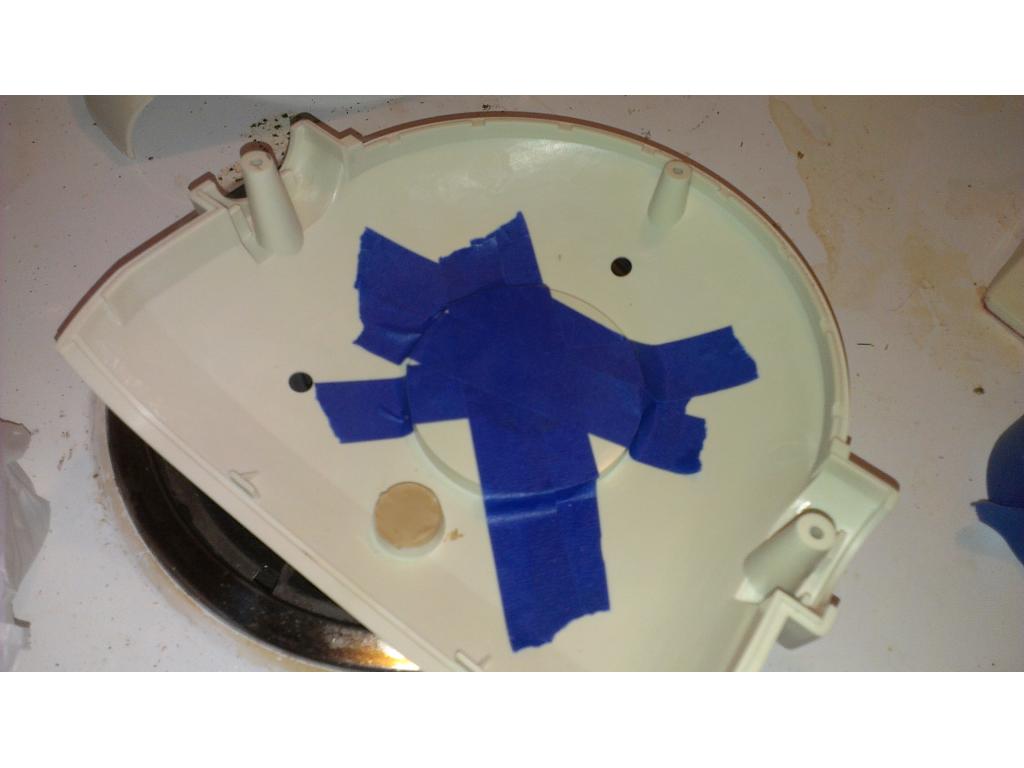
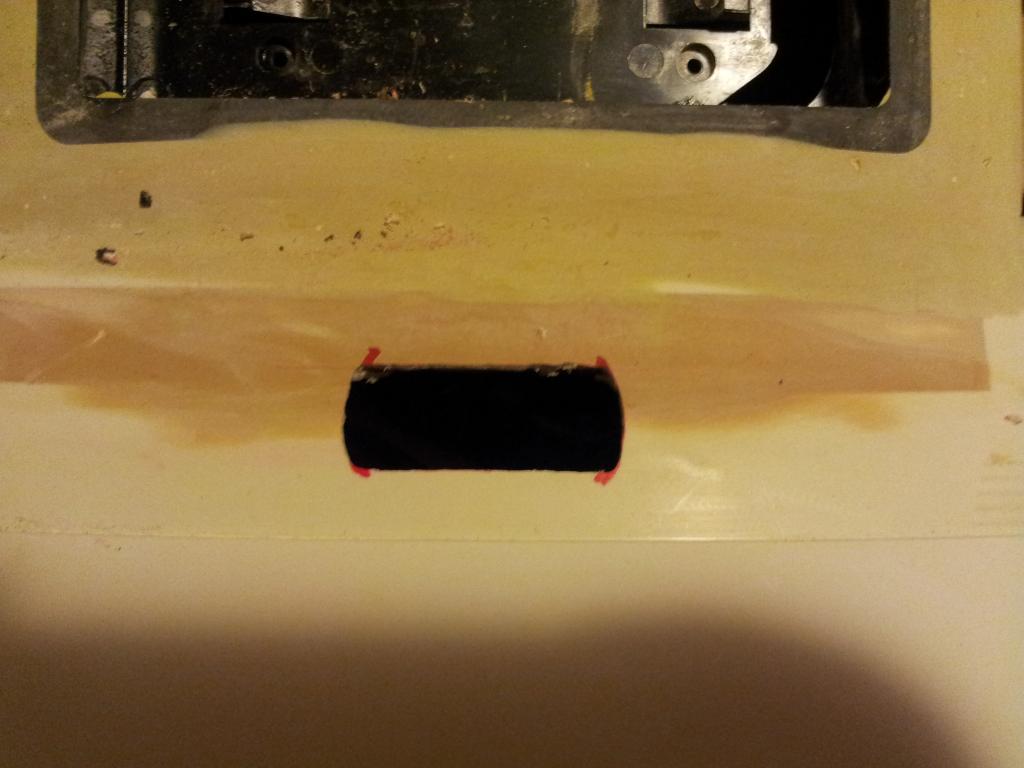
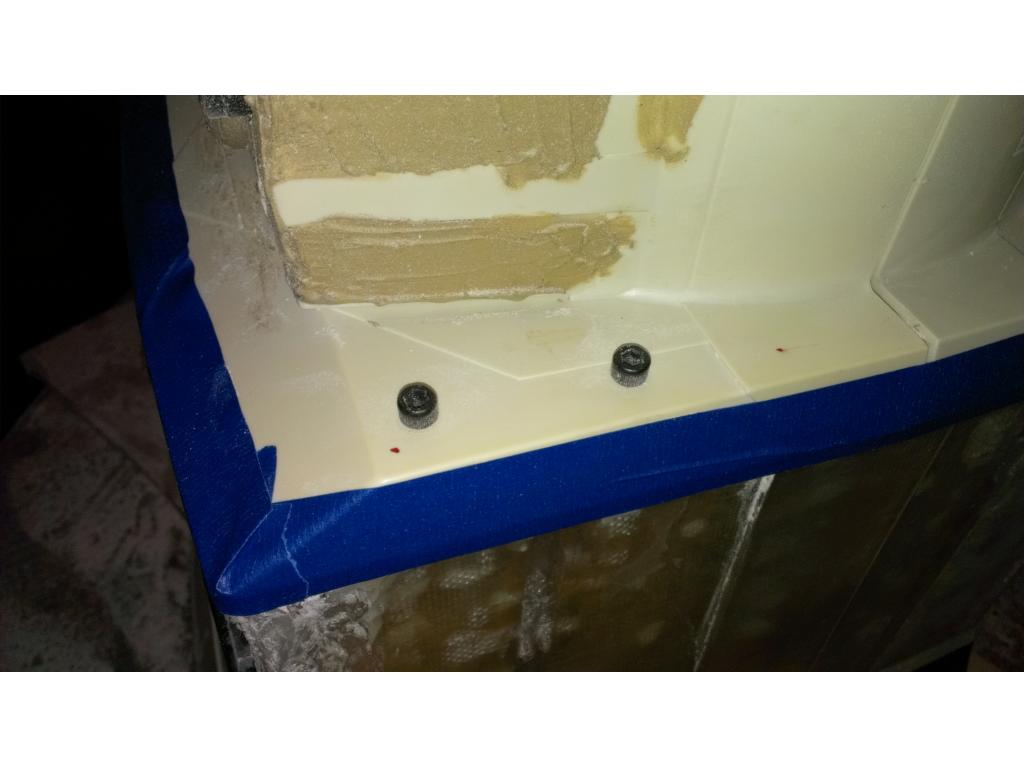
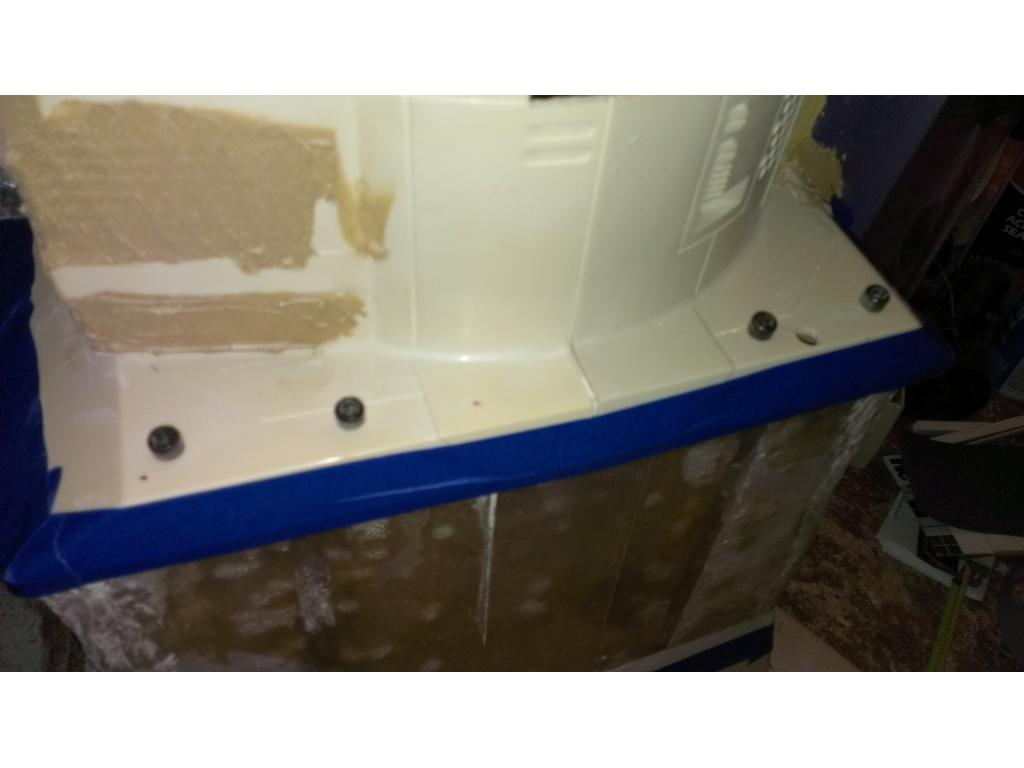
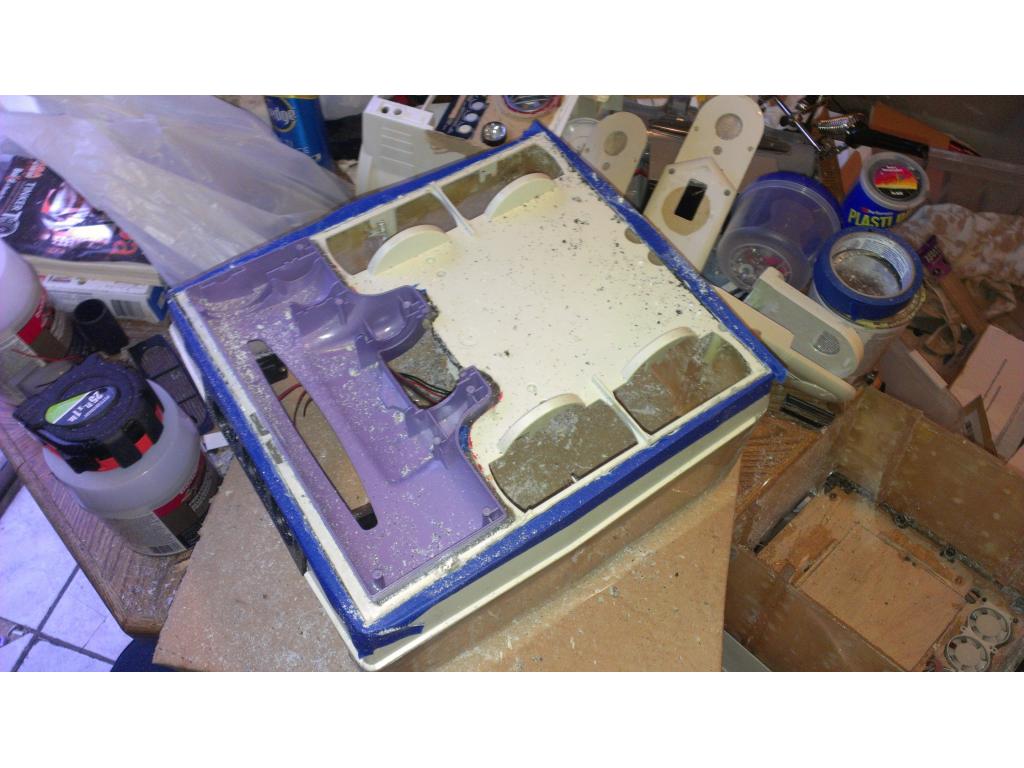
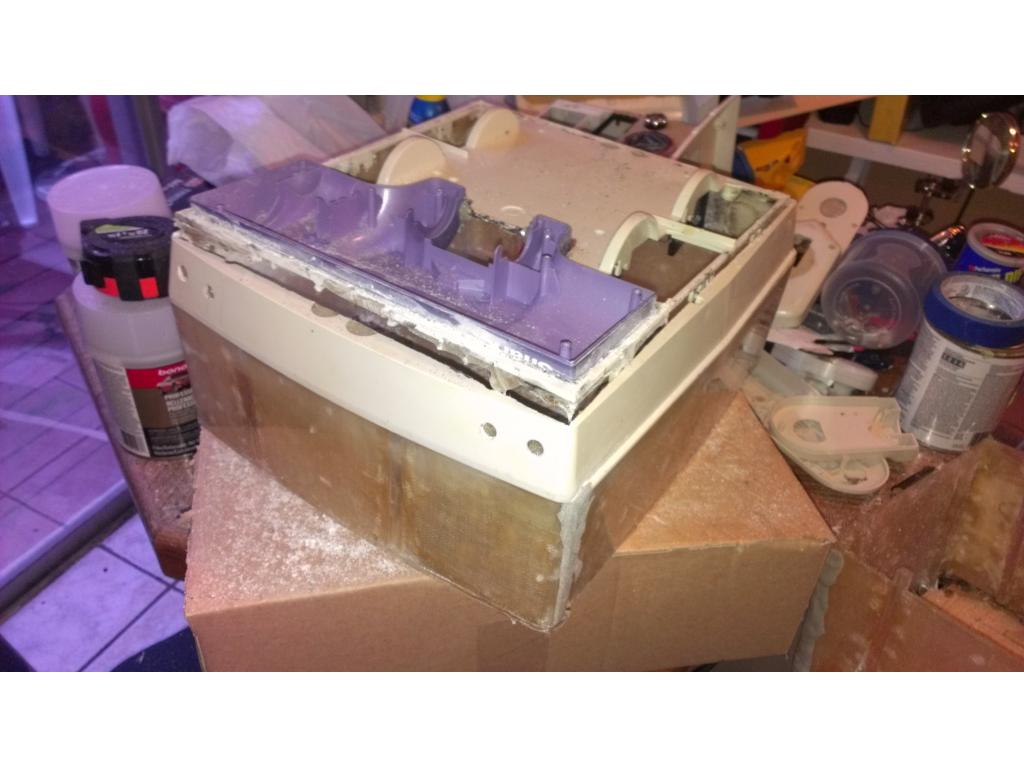
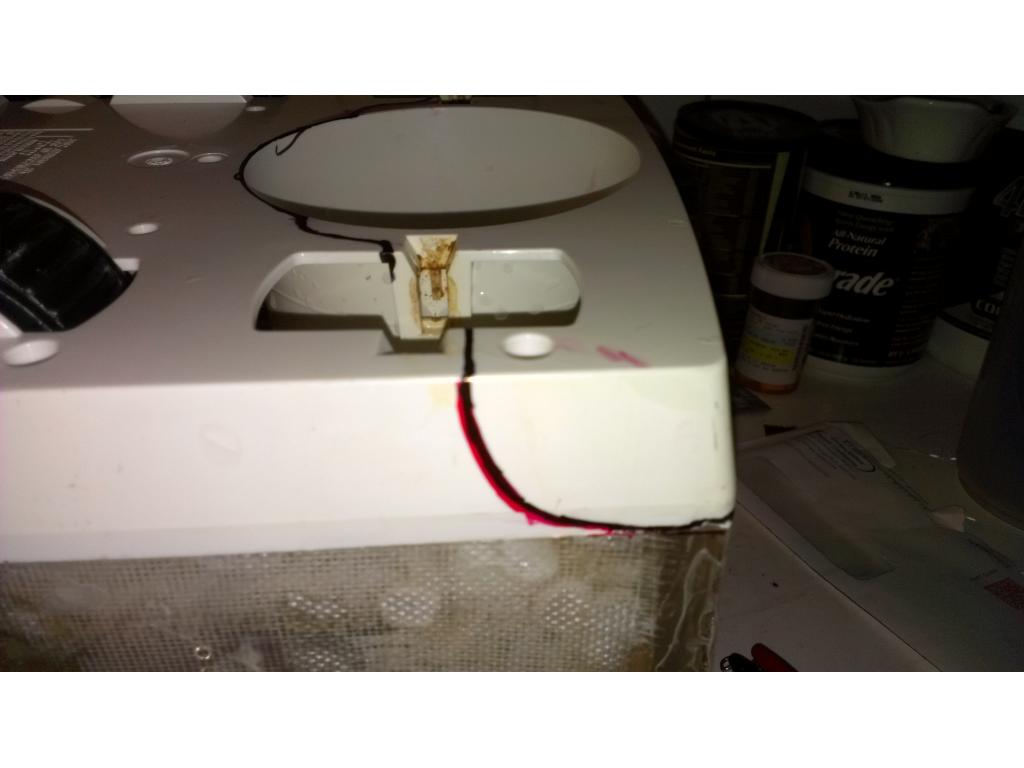
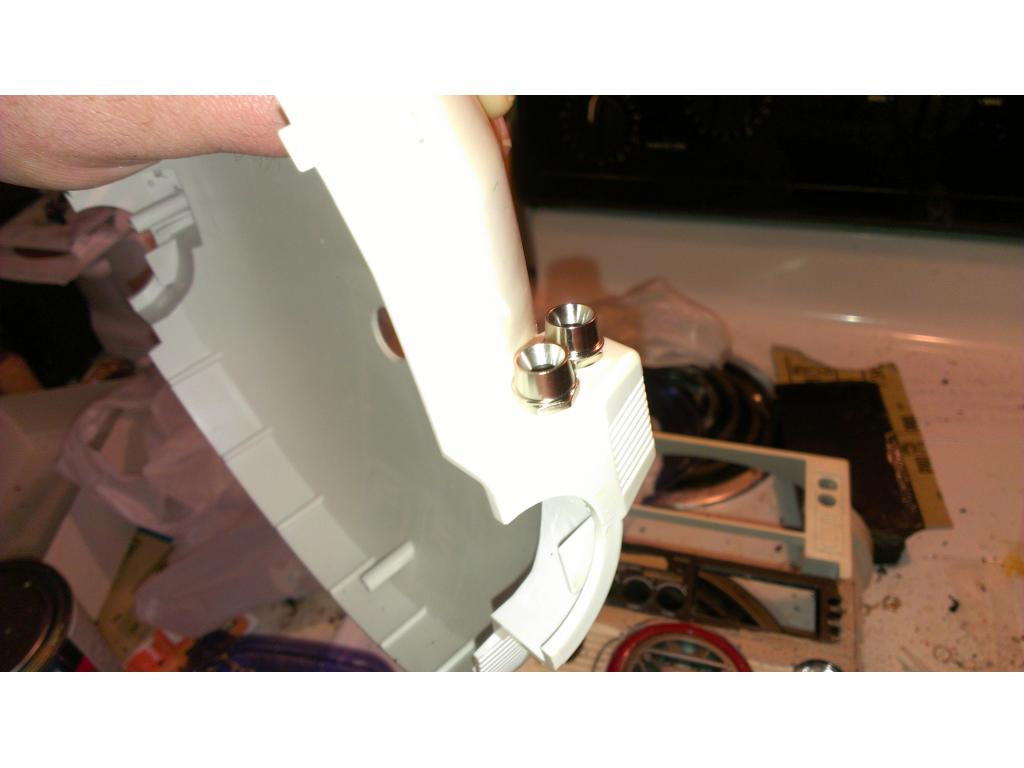
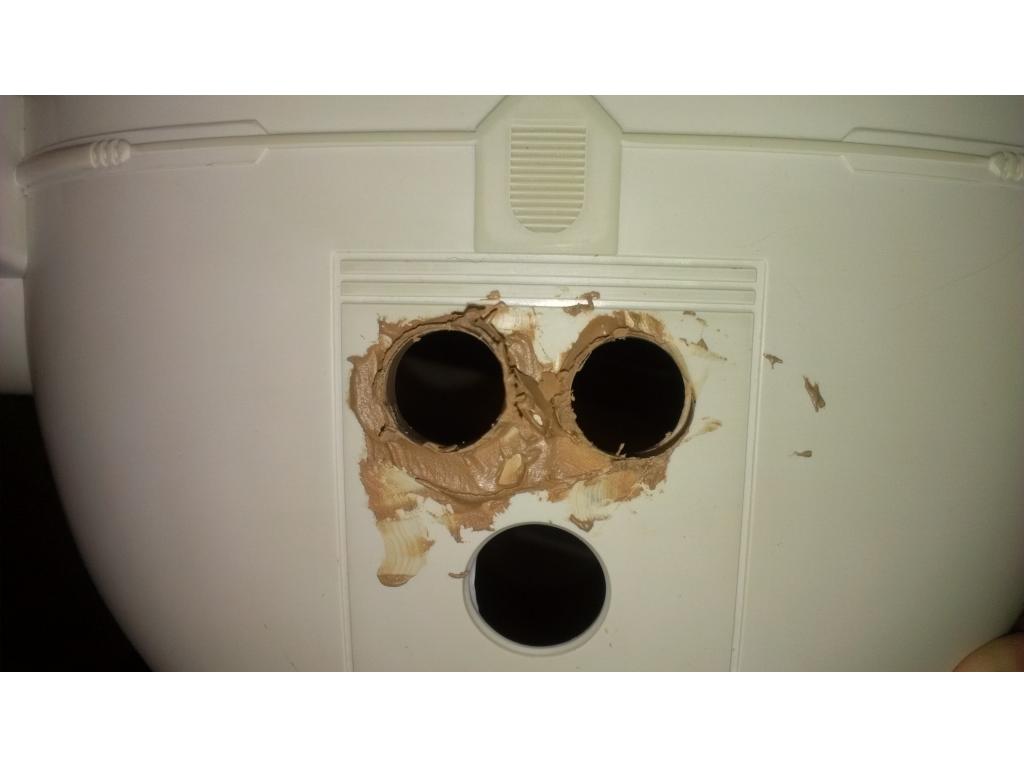
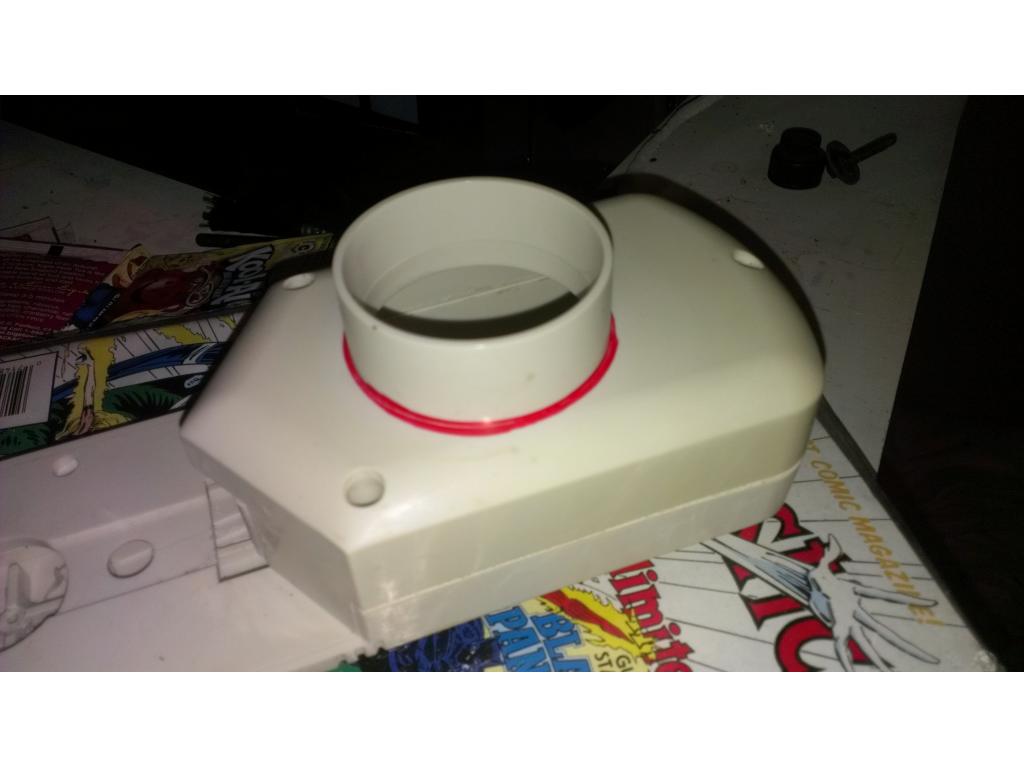
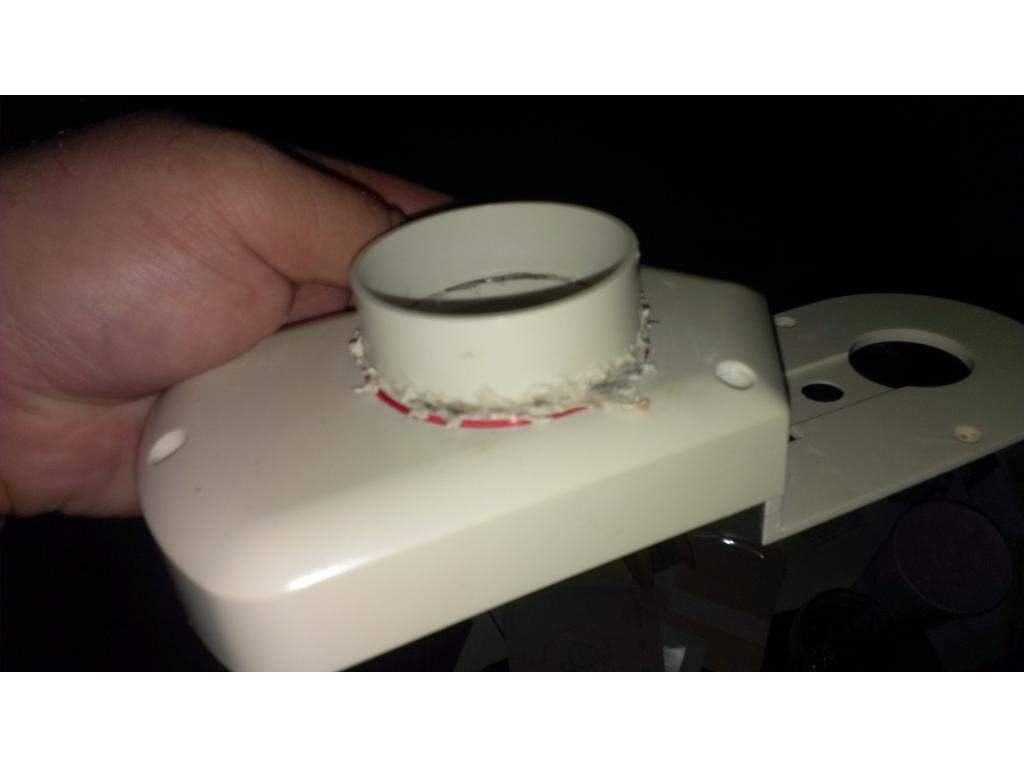
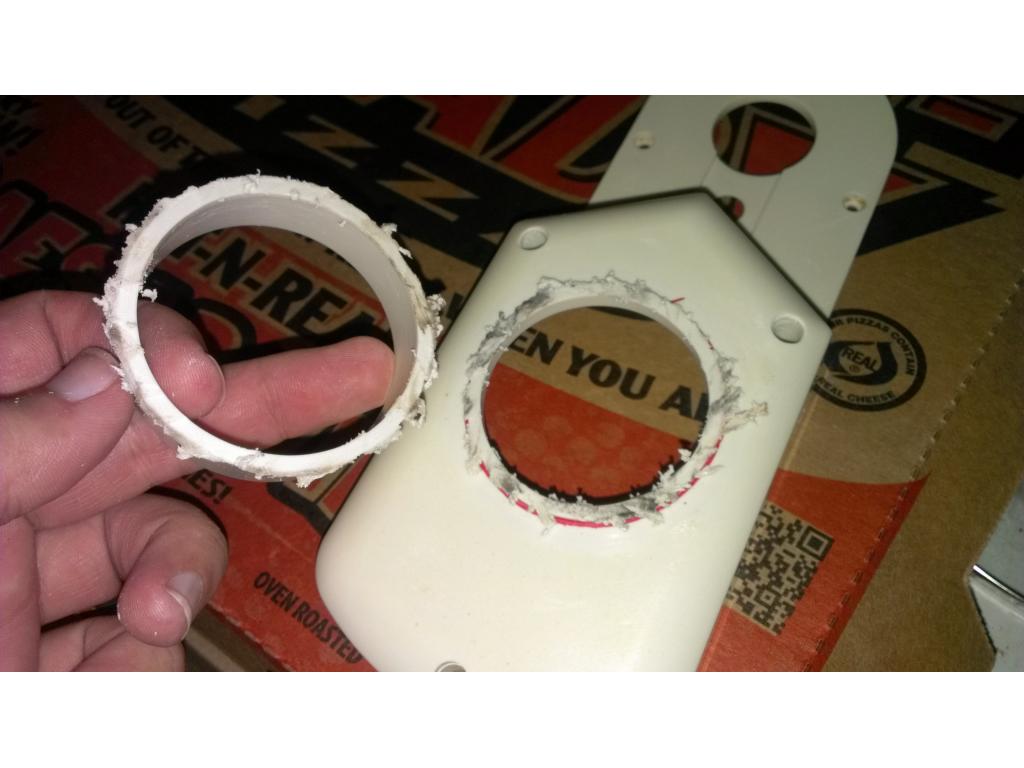
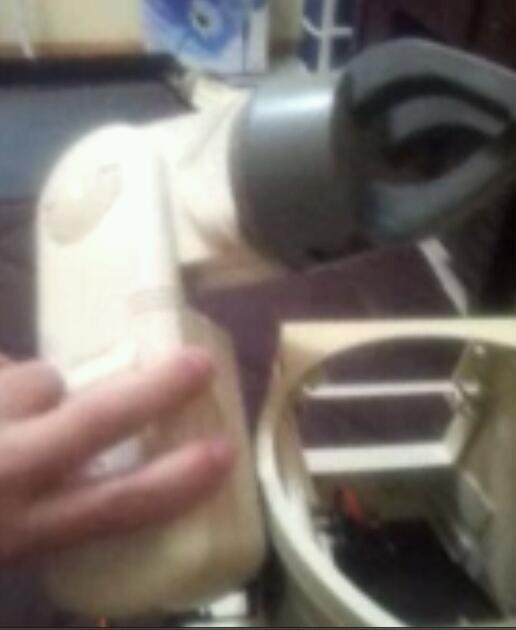
The servo simply would not fit with the center screw post. It's marked in red here. This will put 25 percent more stress on the other three mounting points plus I will need to repair the hole it will make once it is cut away.
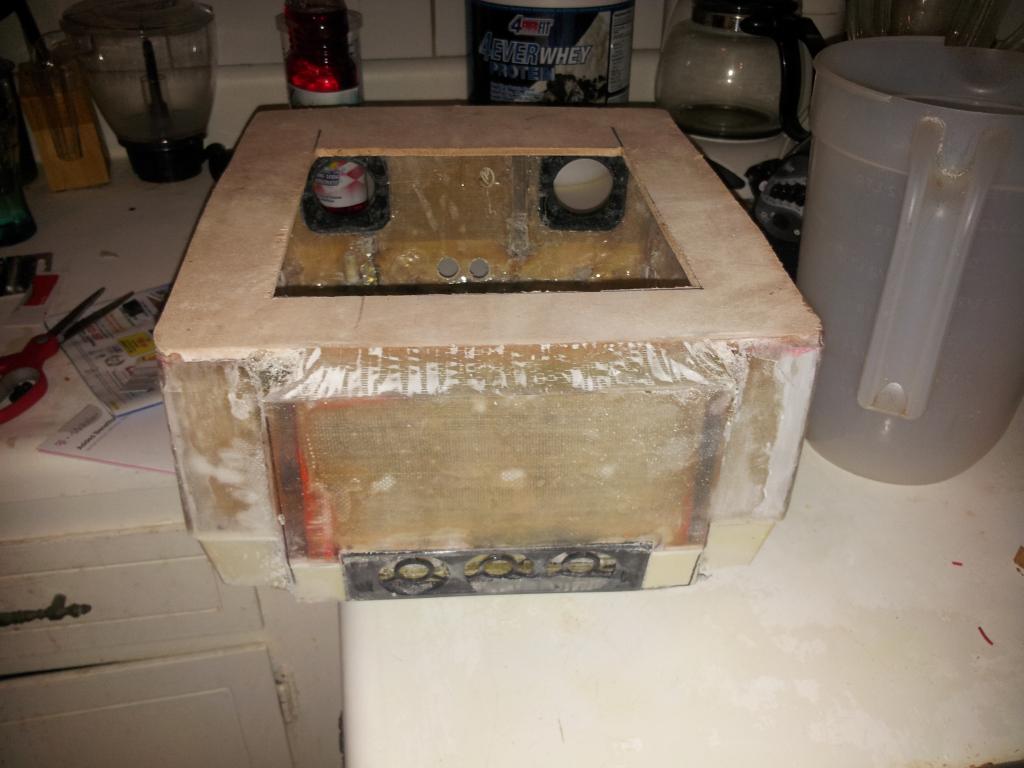
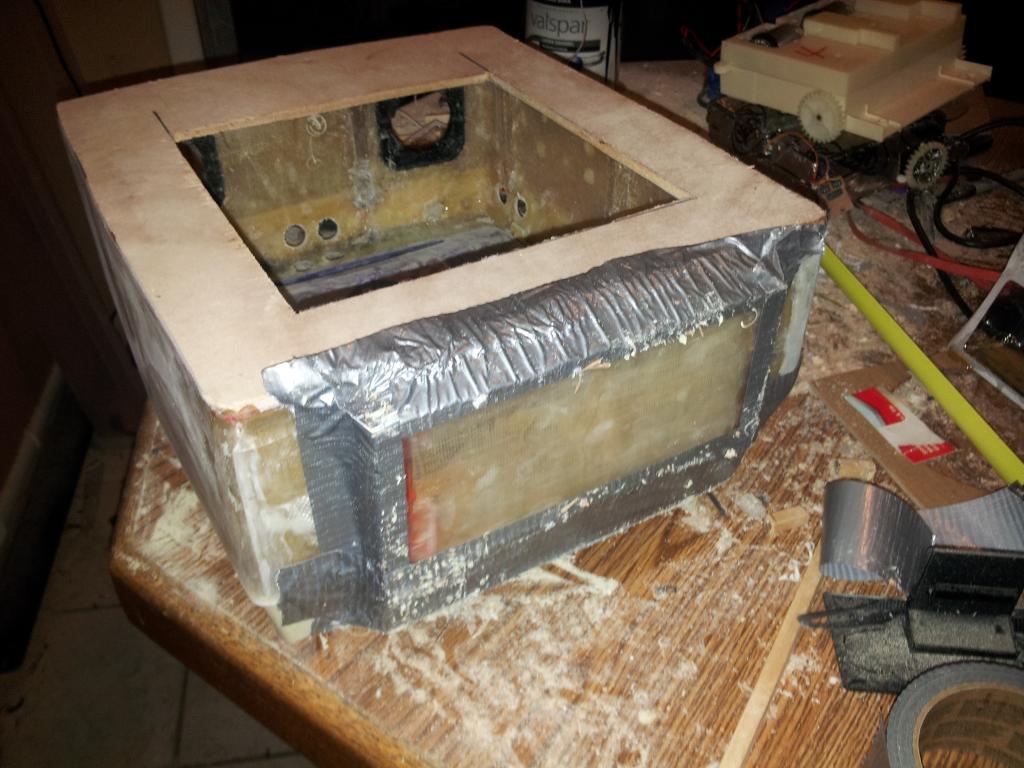
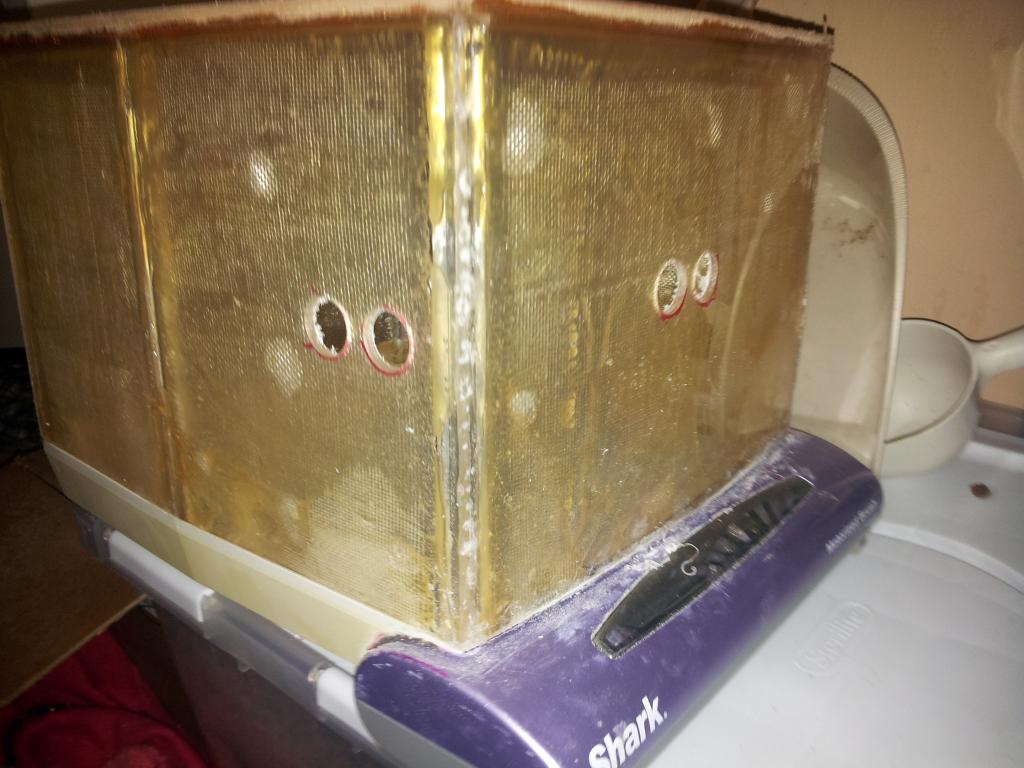
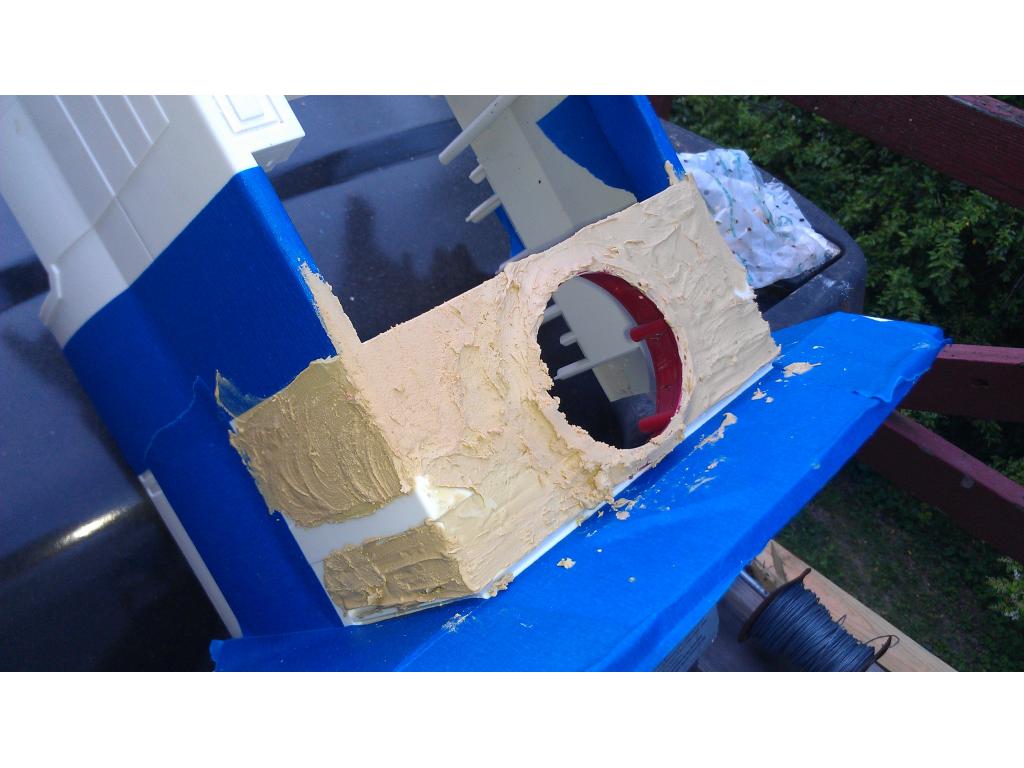
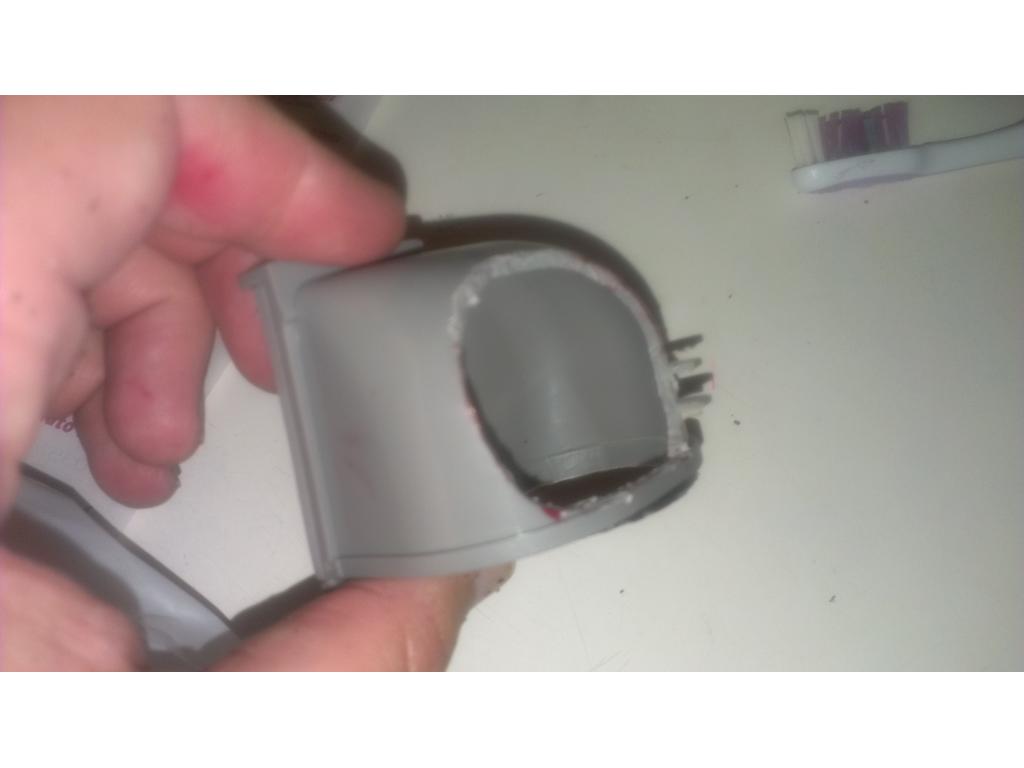
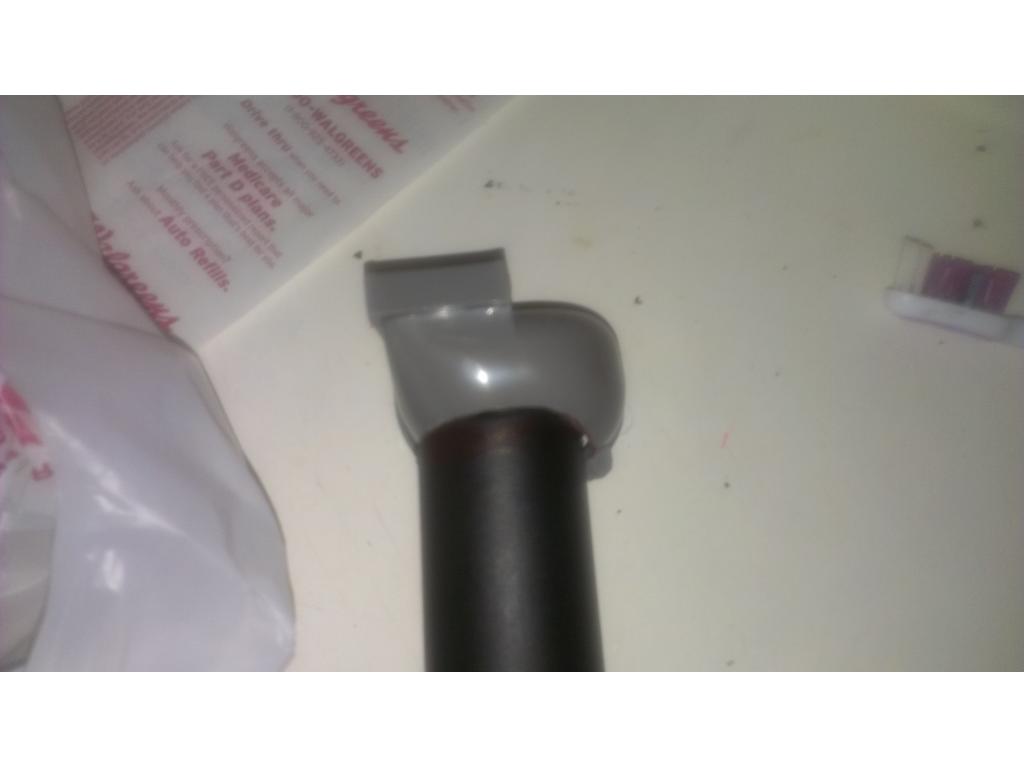
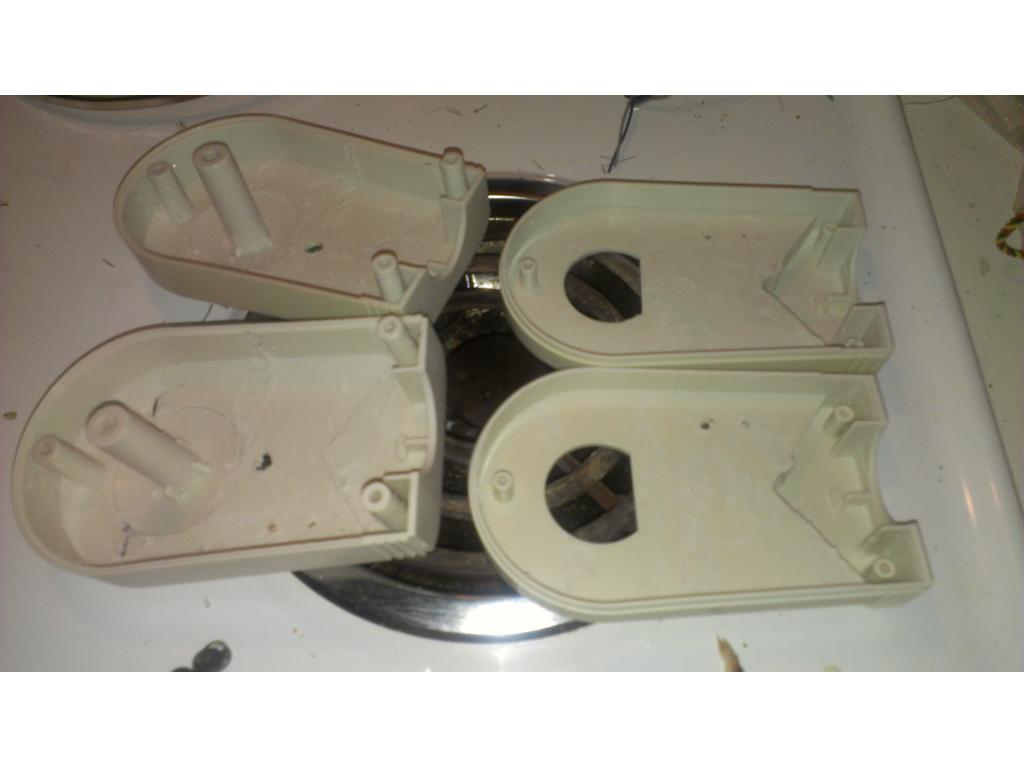
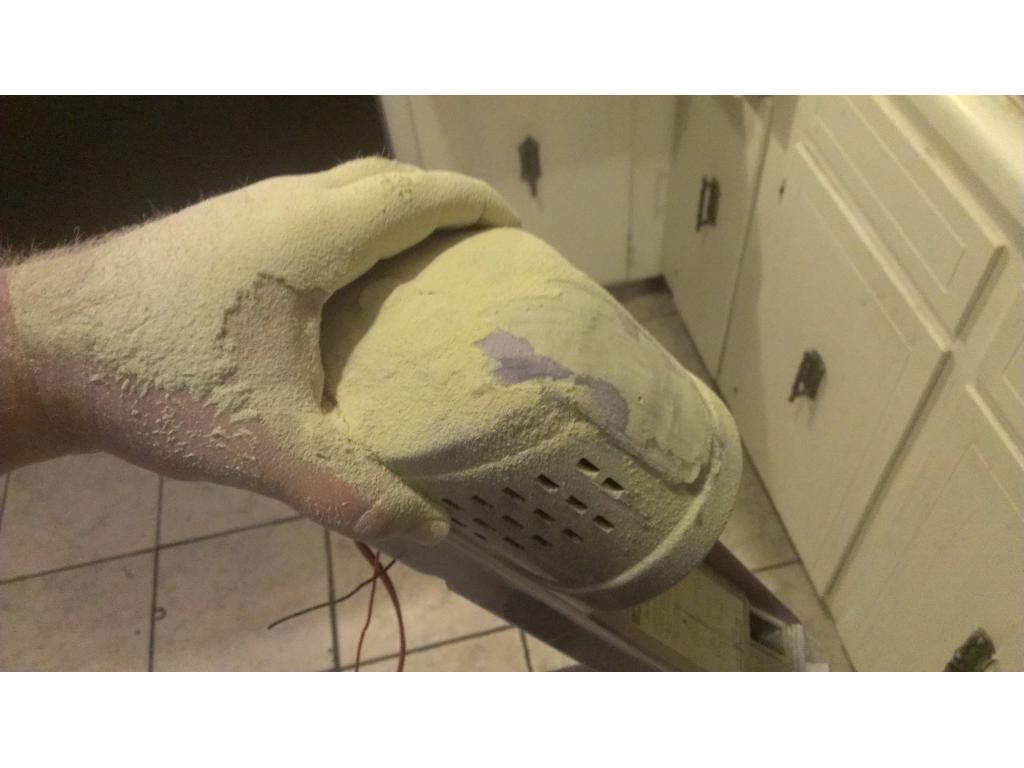
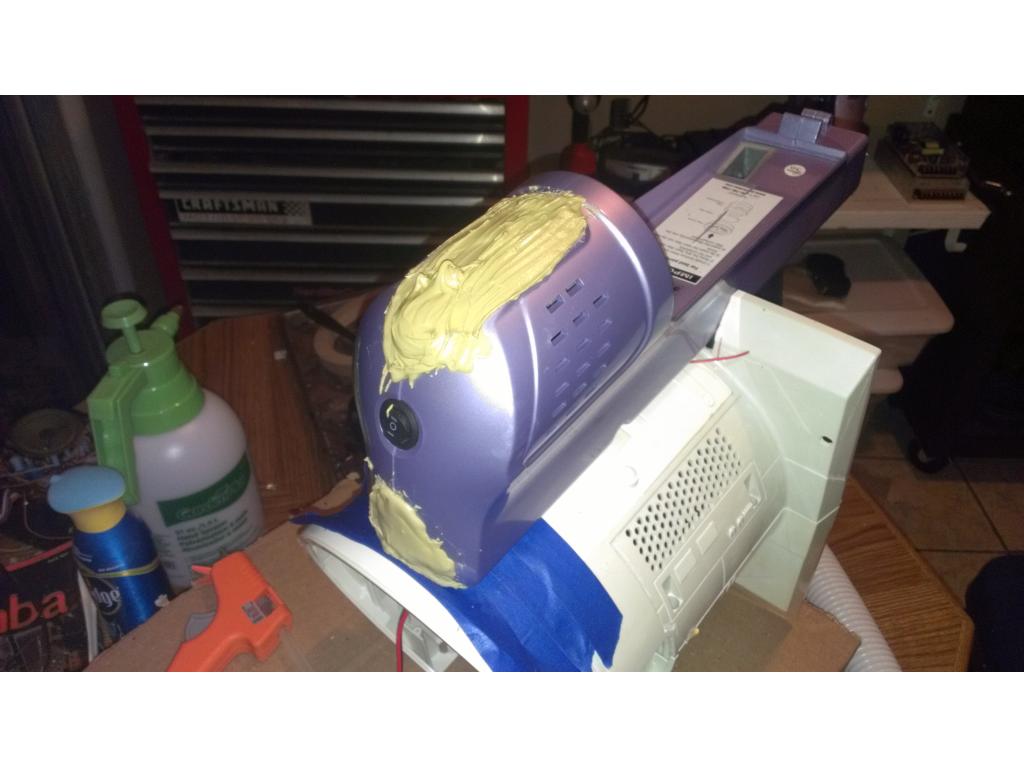
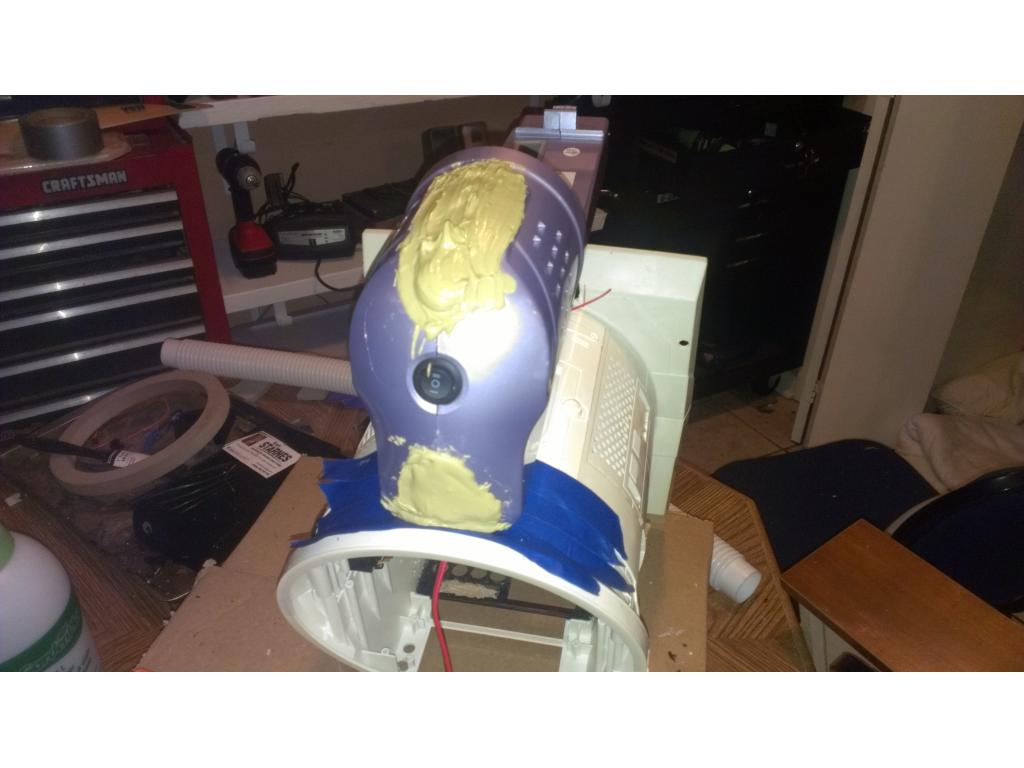
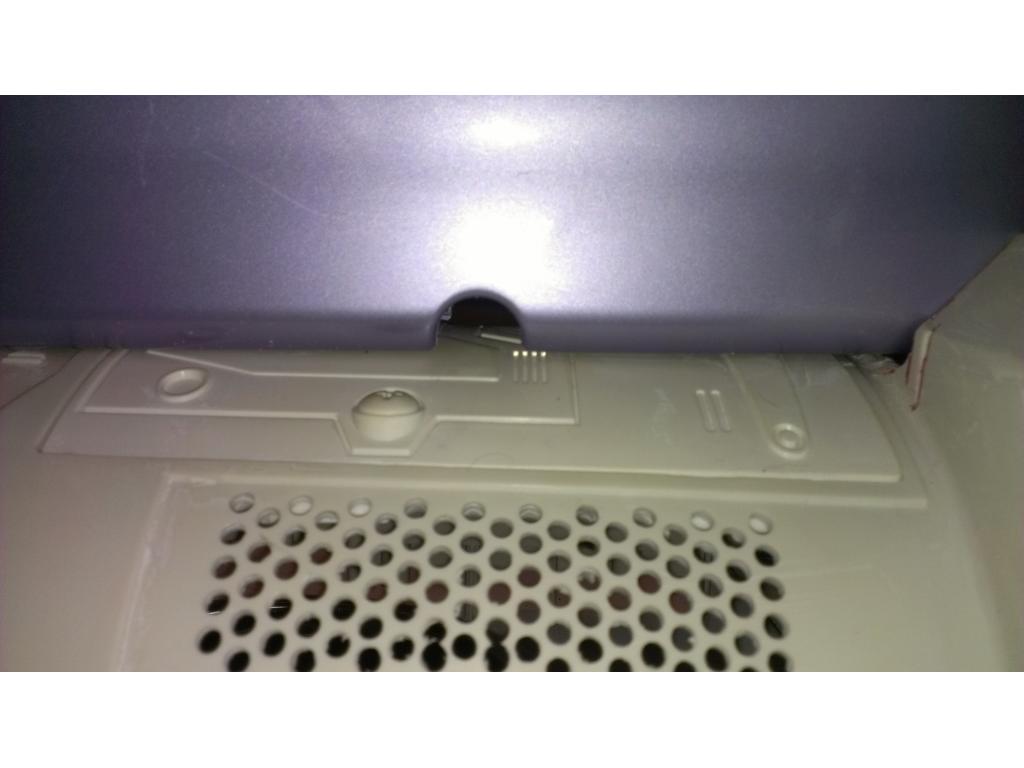
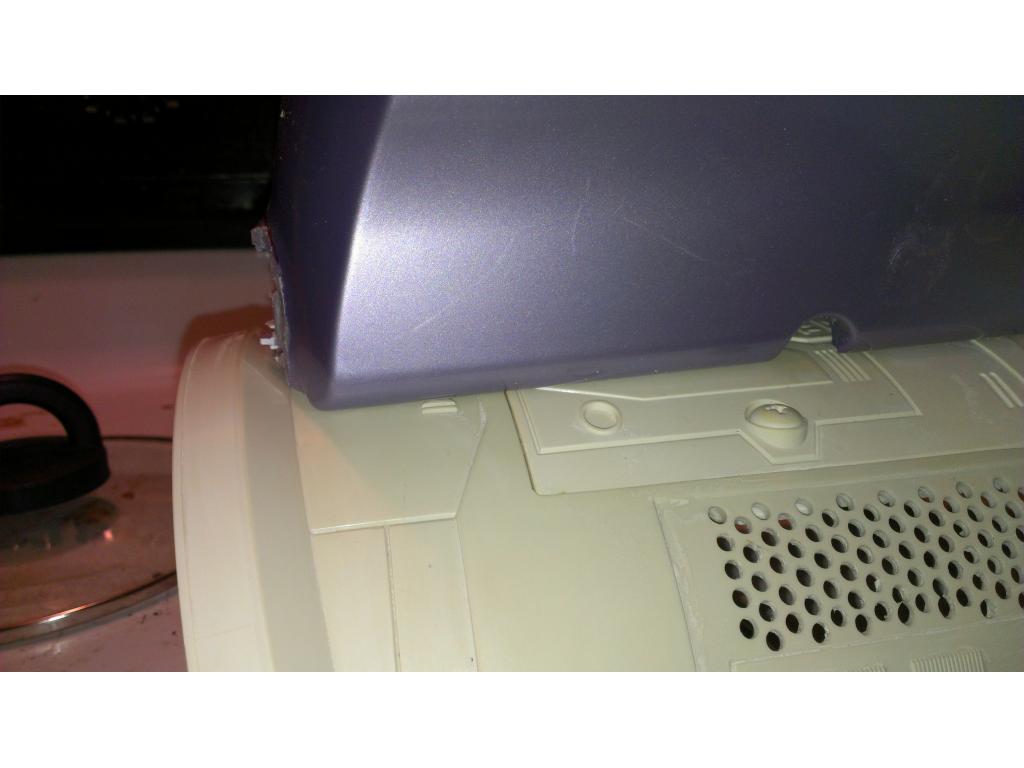
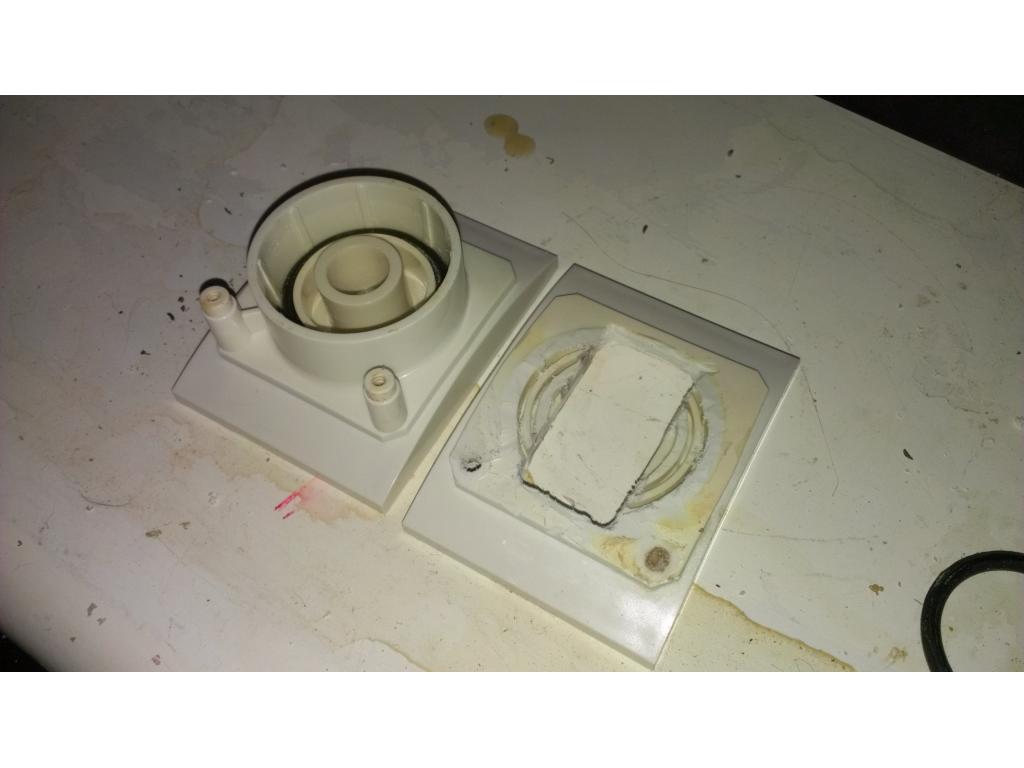
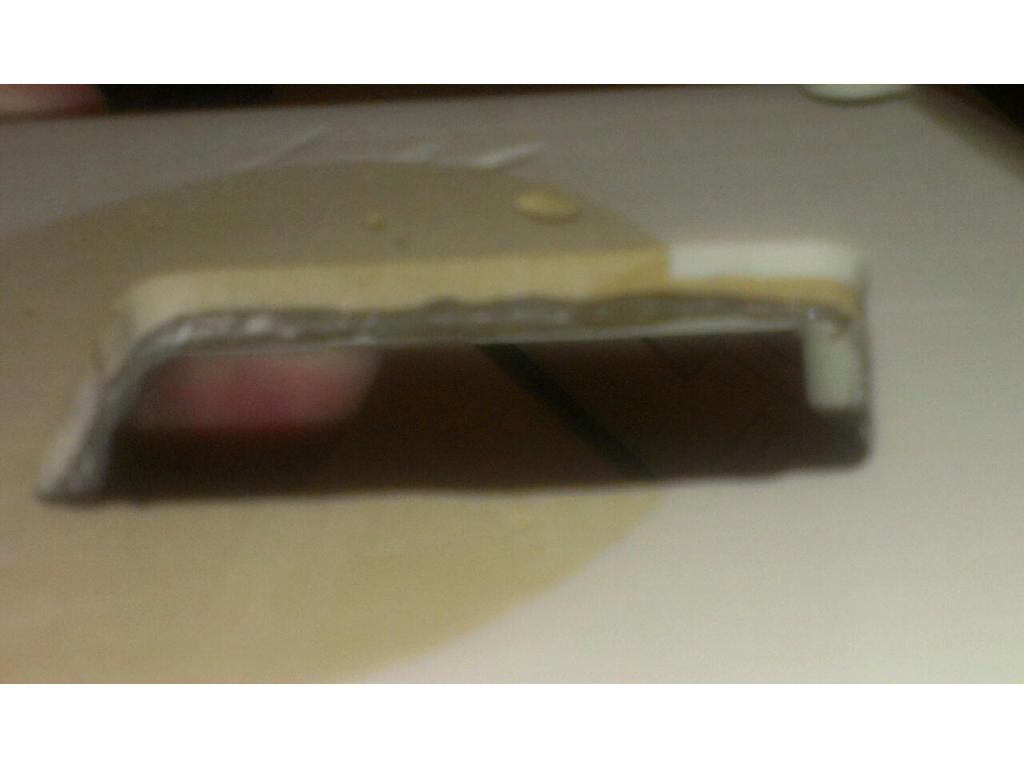
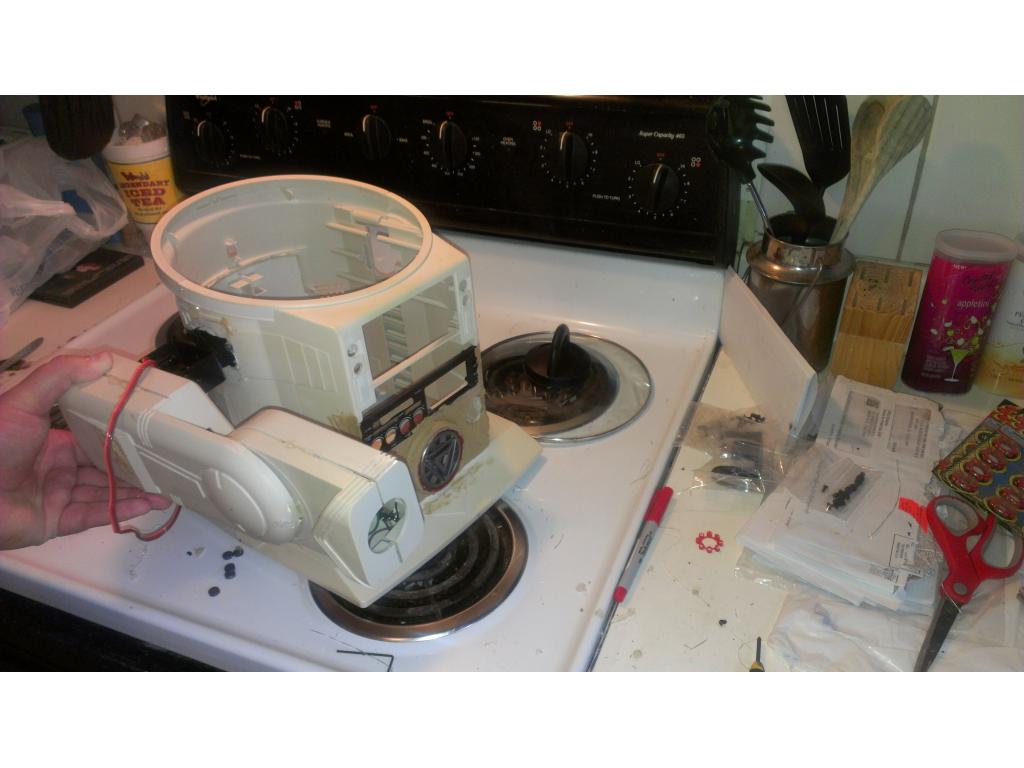
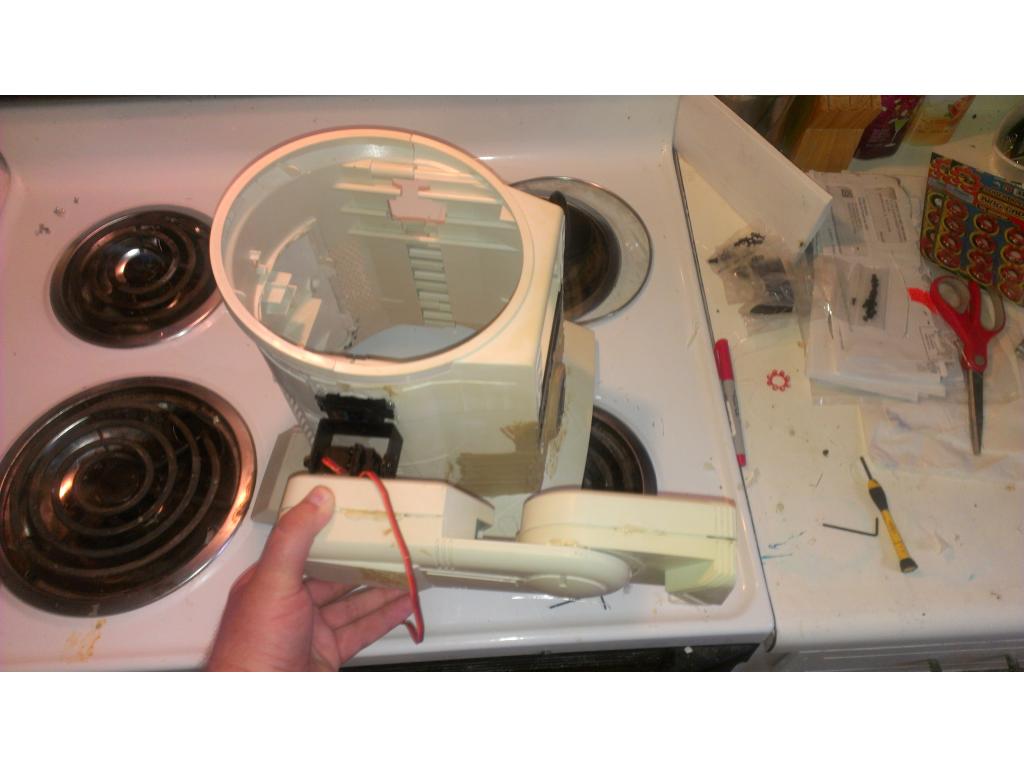
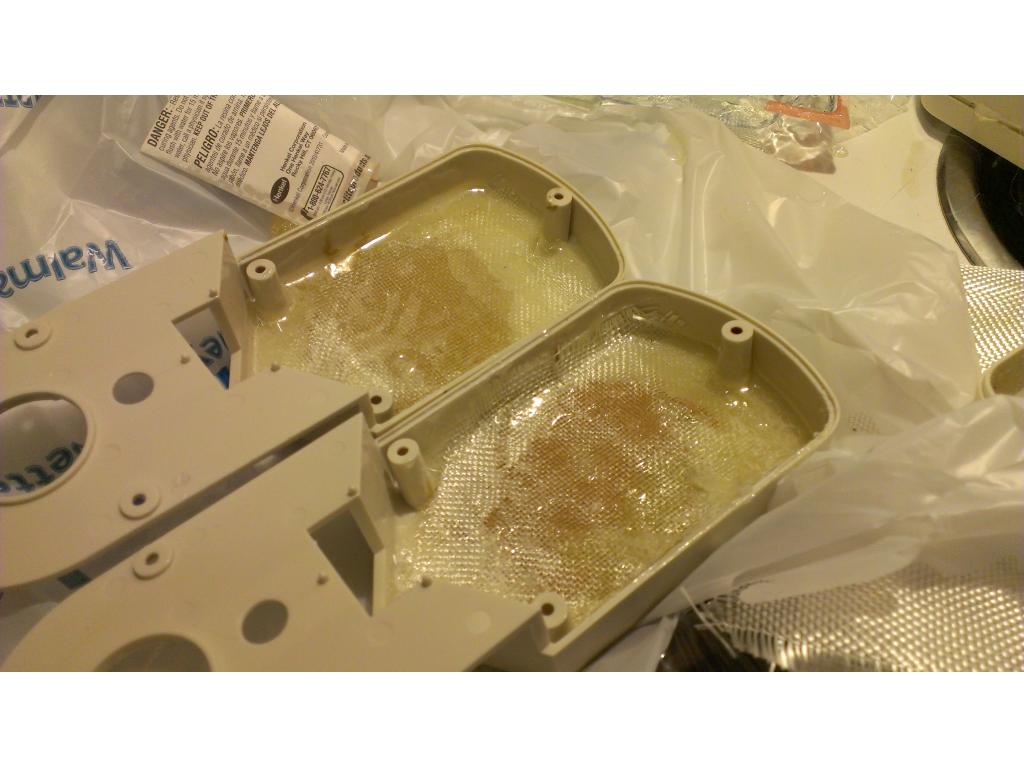
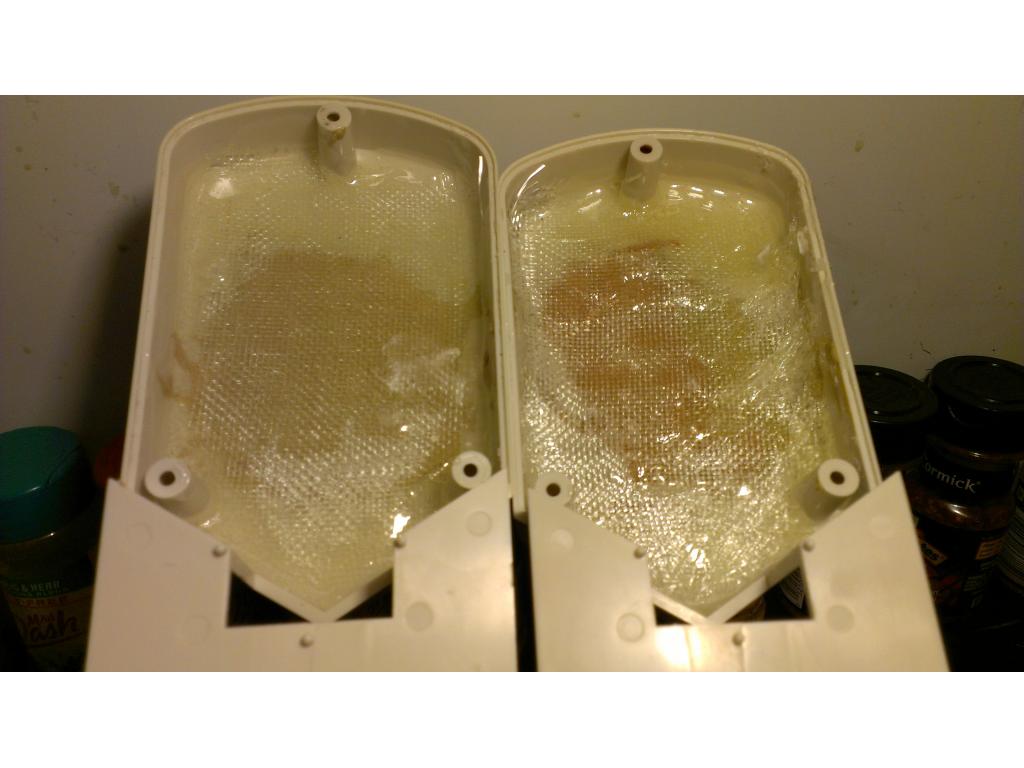
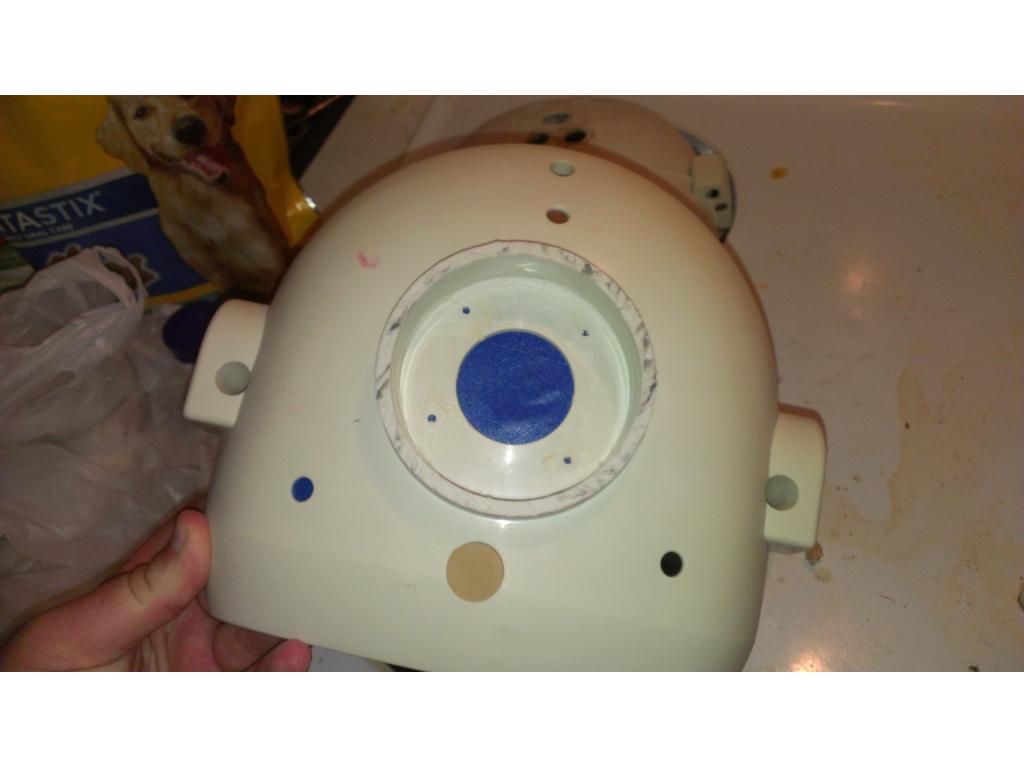
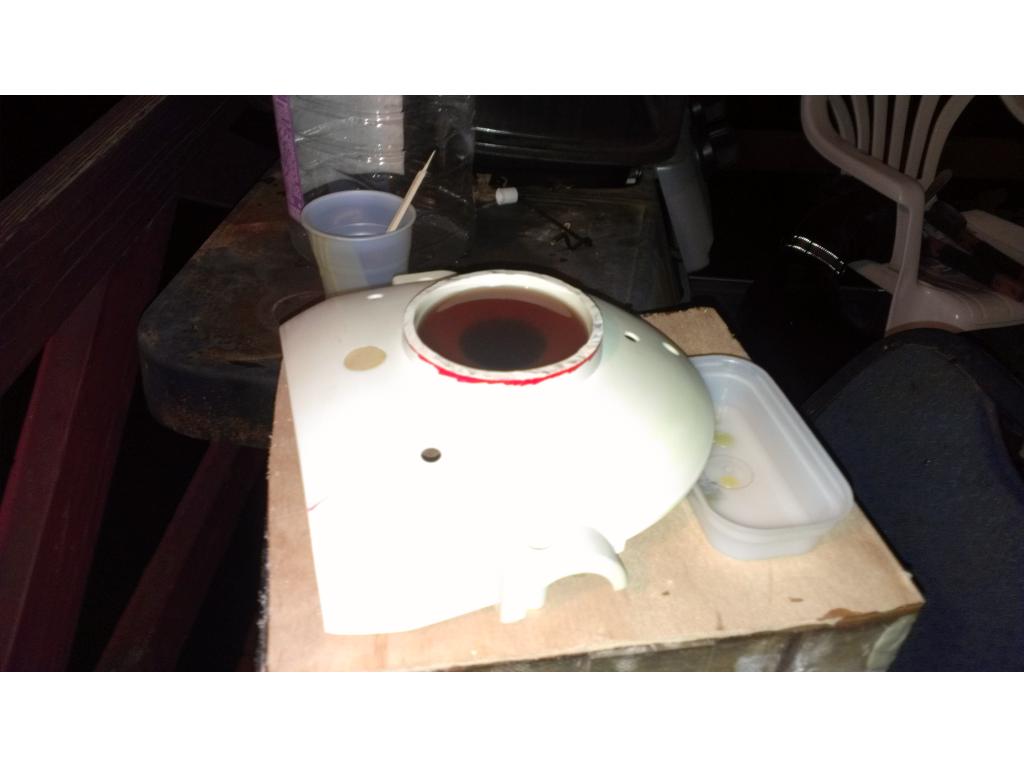
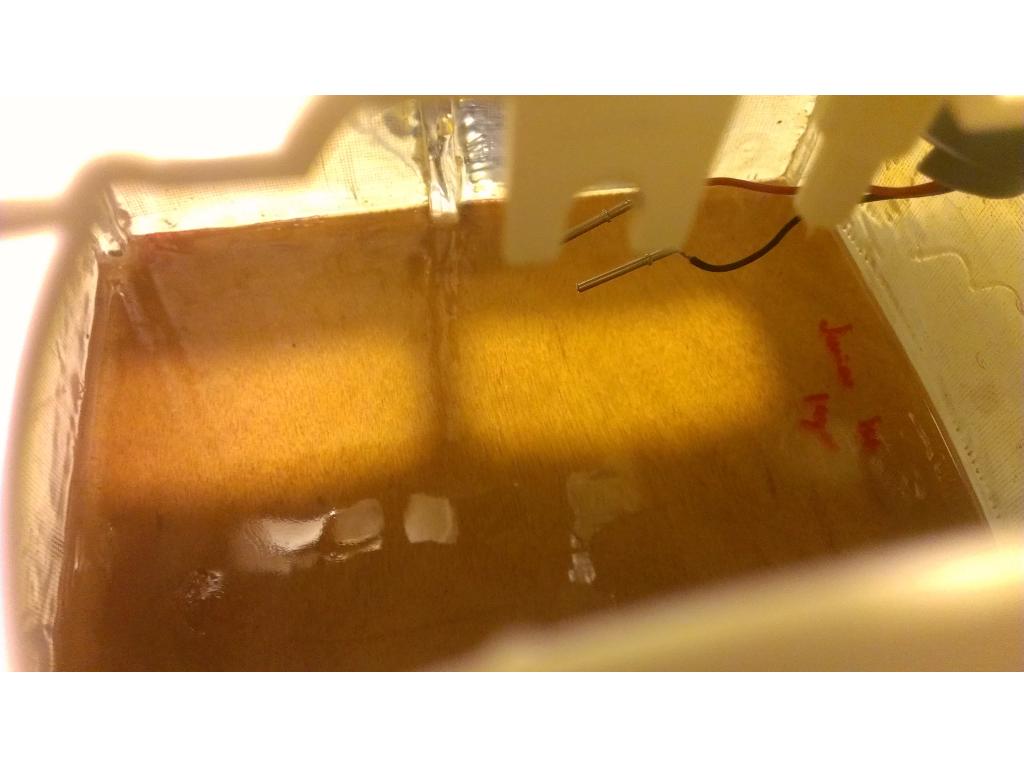
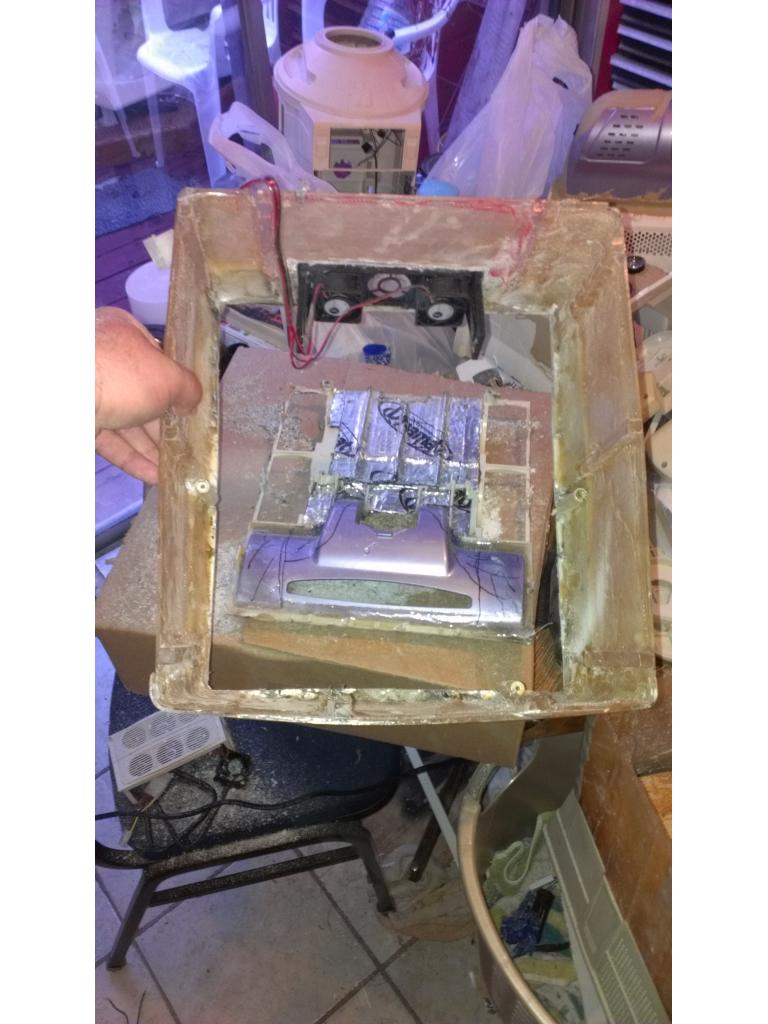
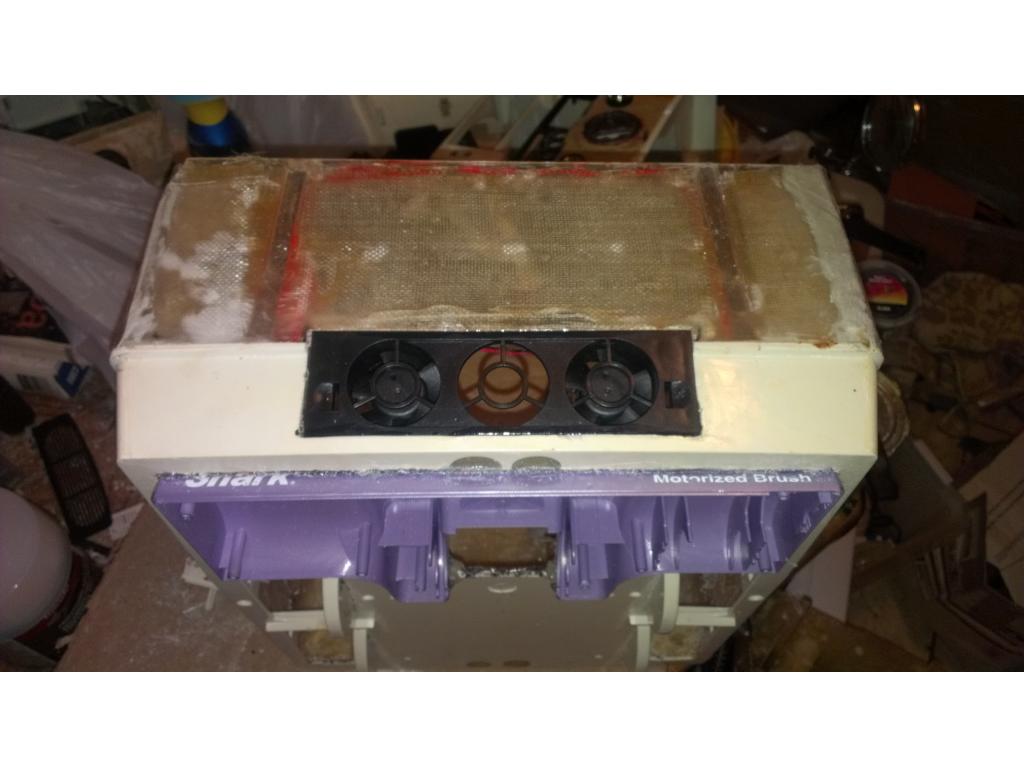
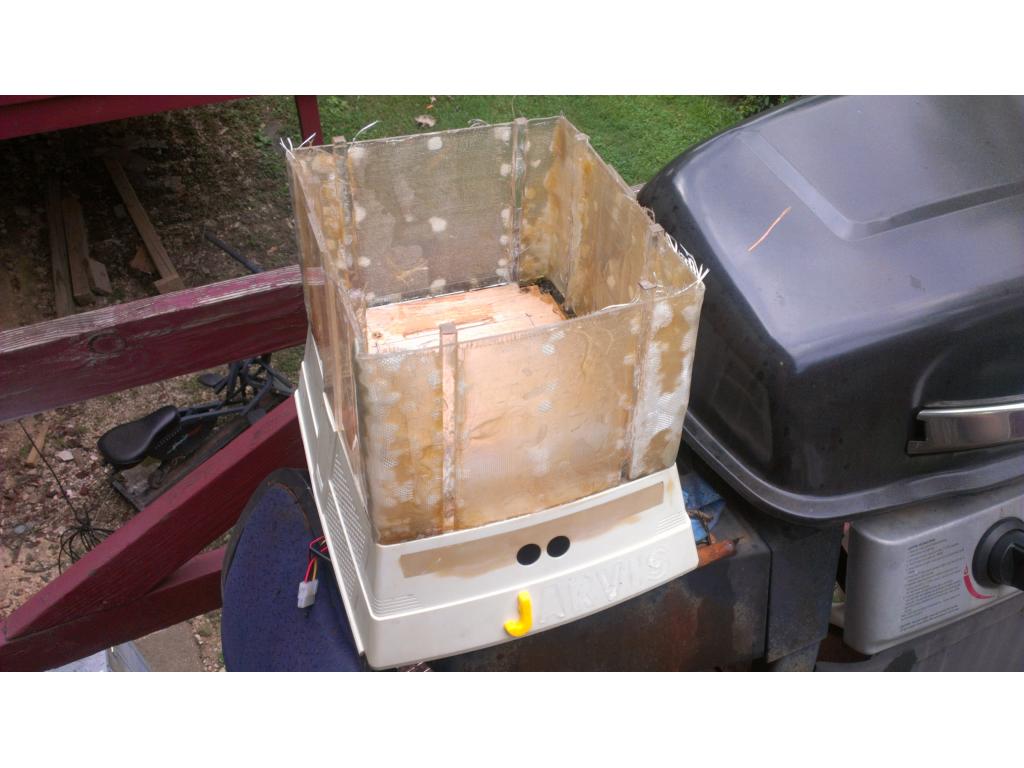
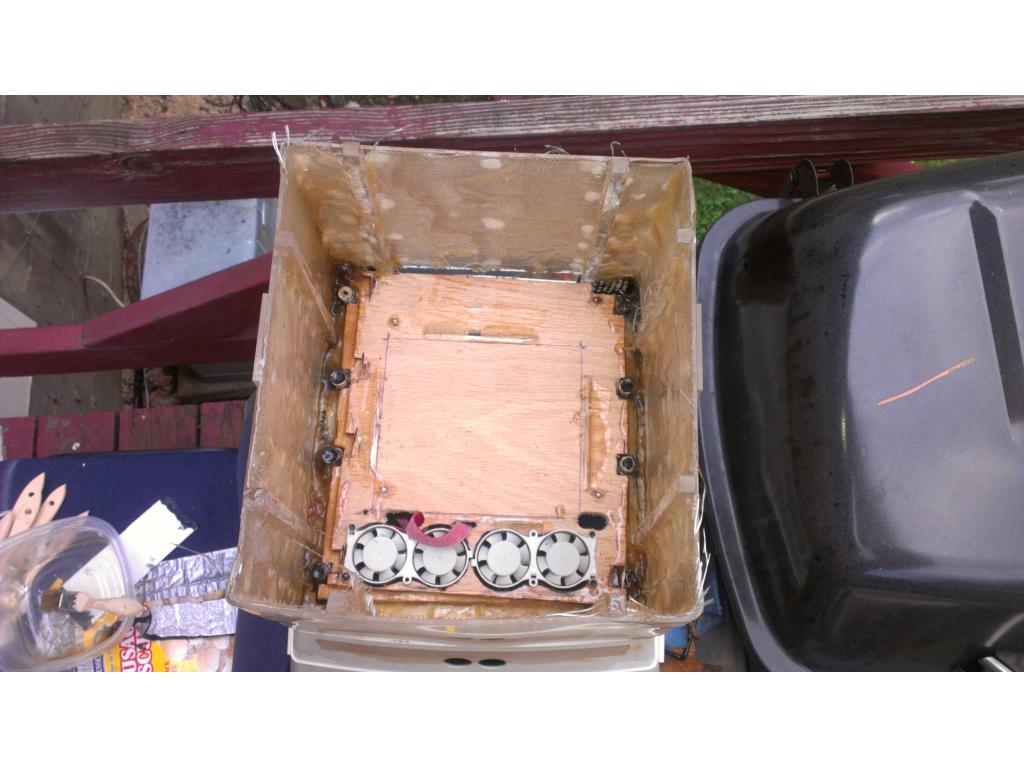
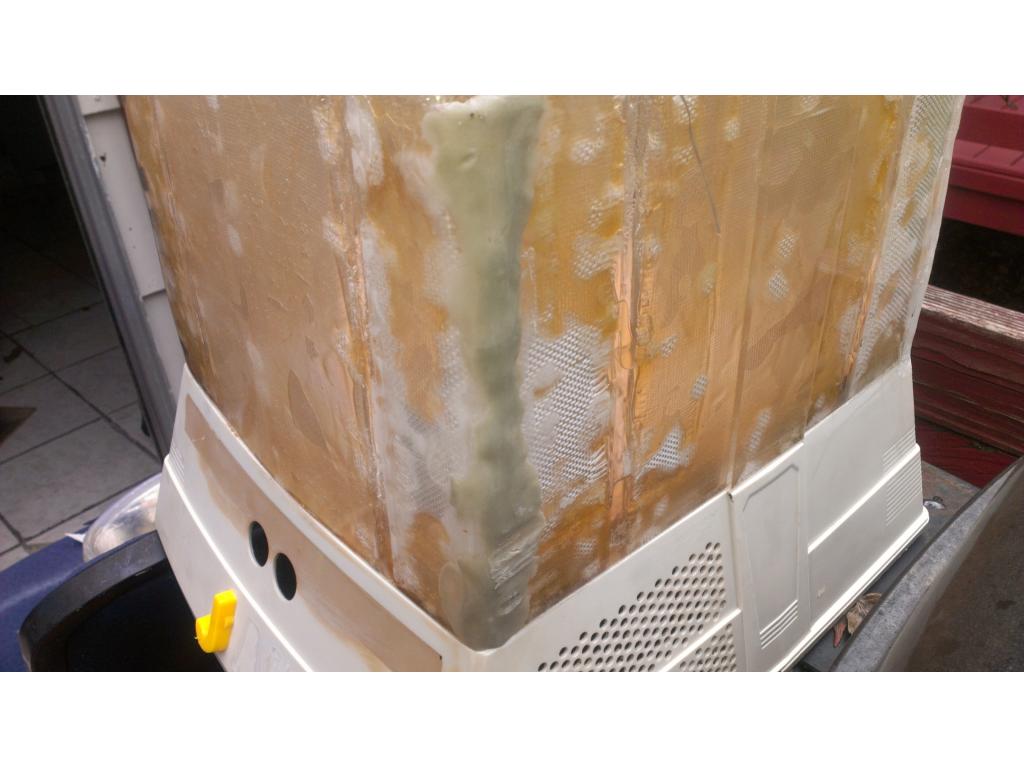
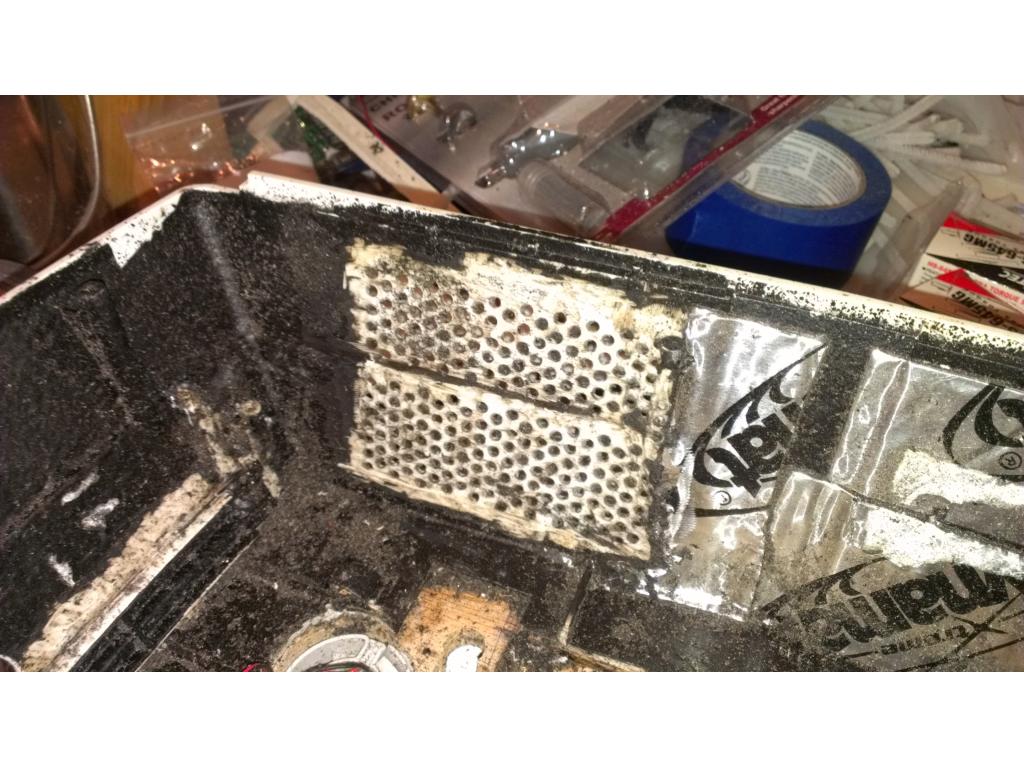
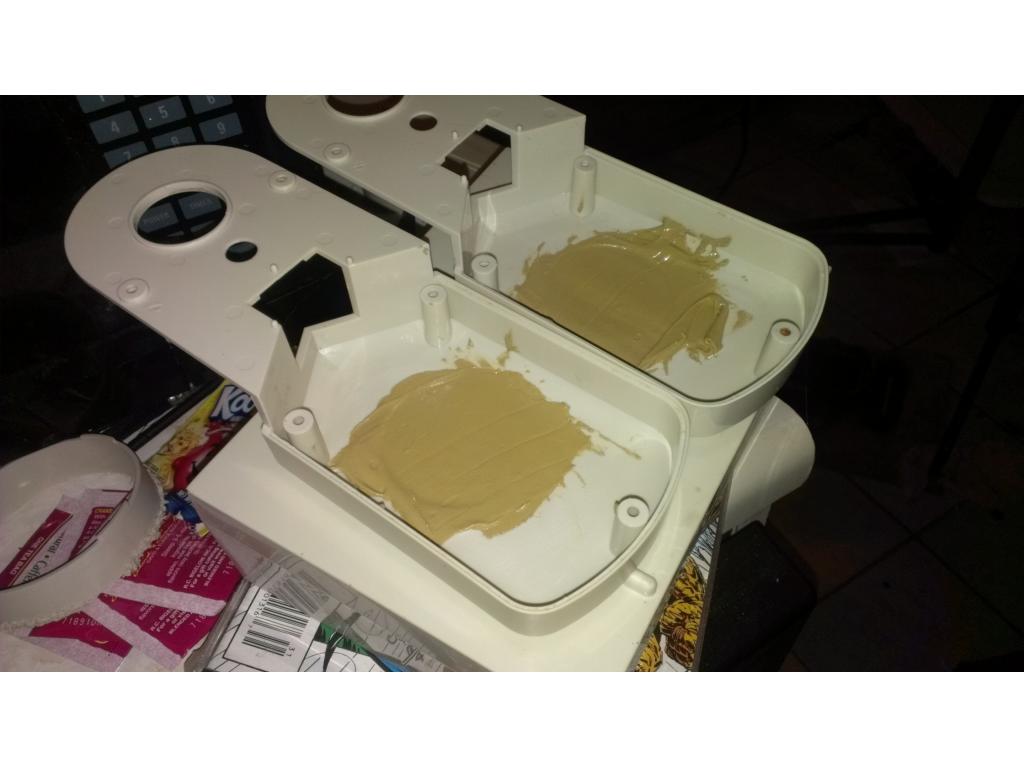
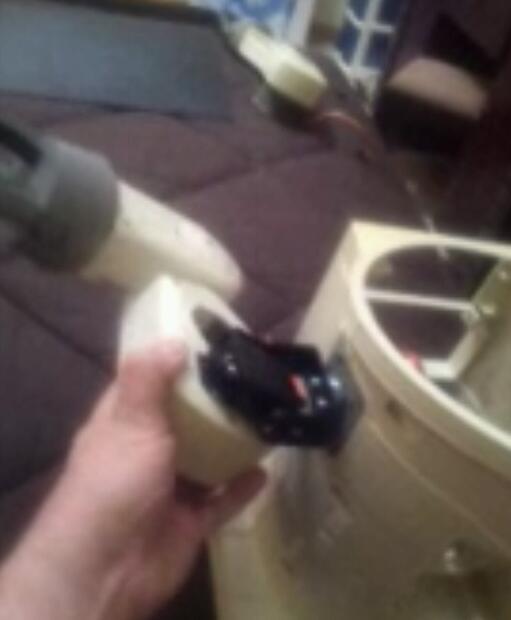
This is the hole that I now must fill. When I cut everything out I'm making it uniform as possible so that I can lay a couple layers of epoxy and fiberglass but this will be squeegeed dry to keep it light. This arm will be made to handle 5 pounds at any angle.
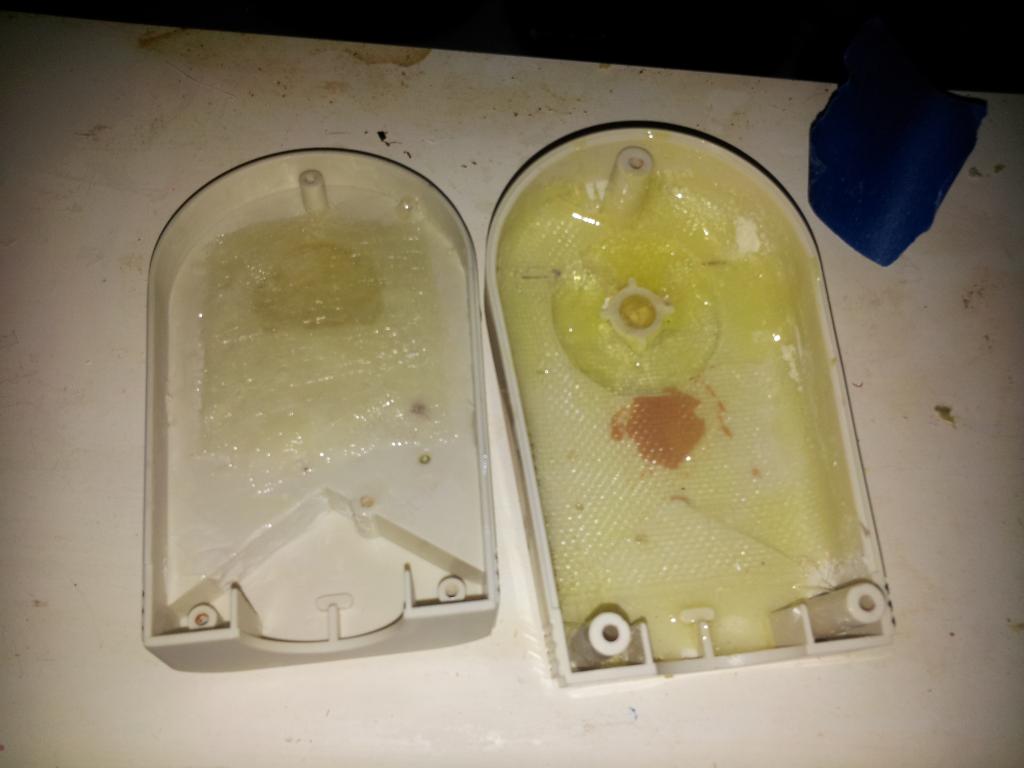
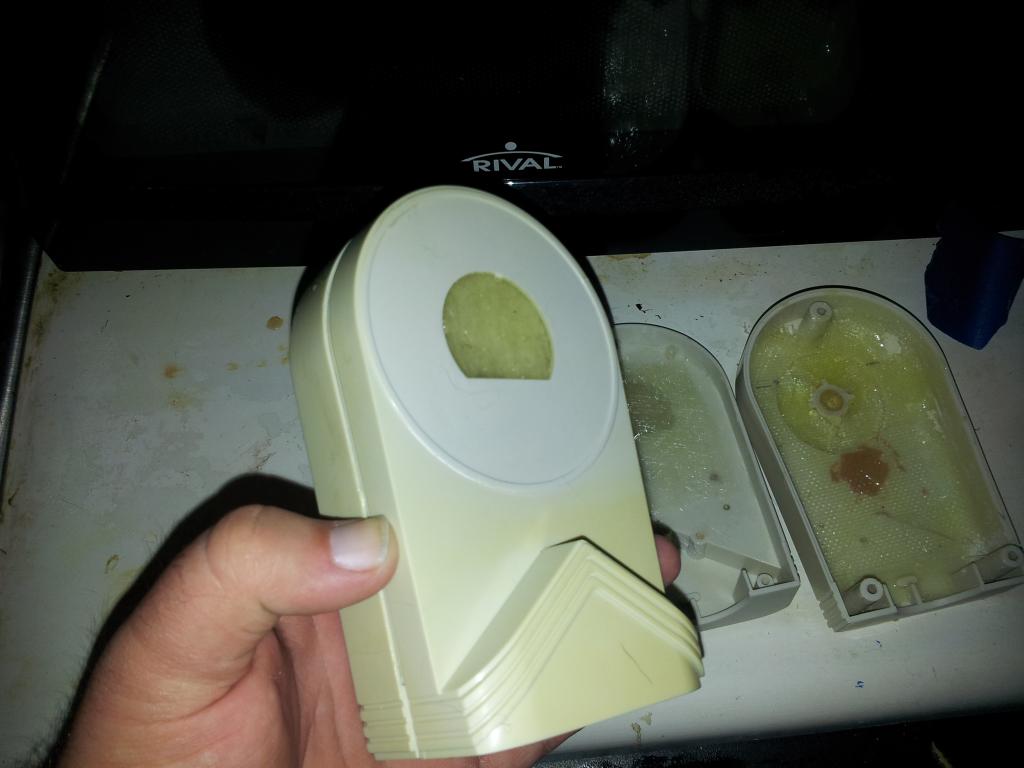
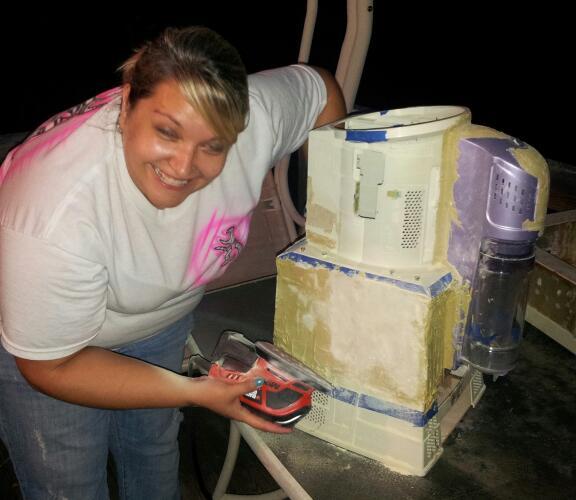
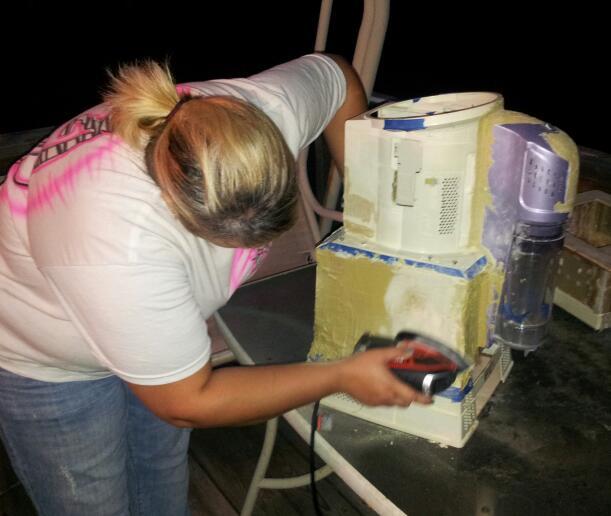
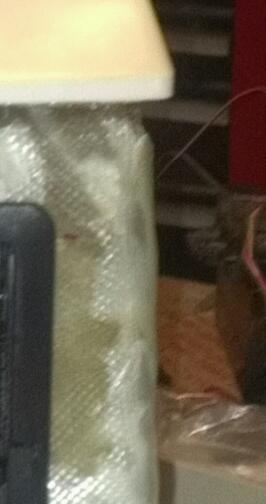
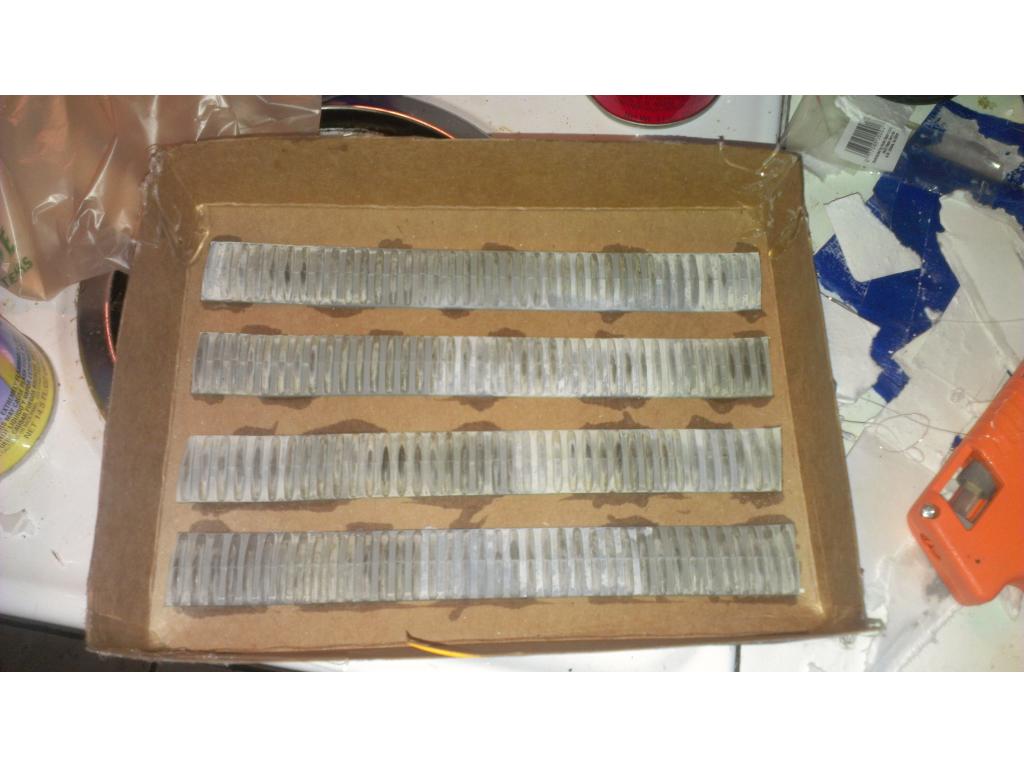
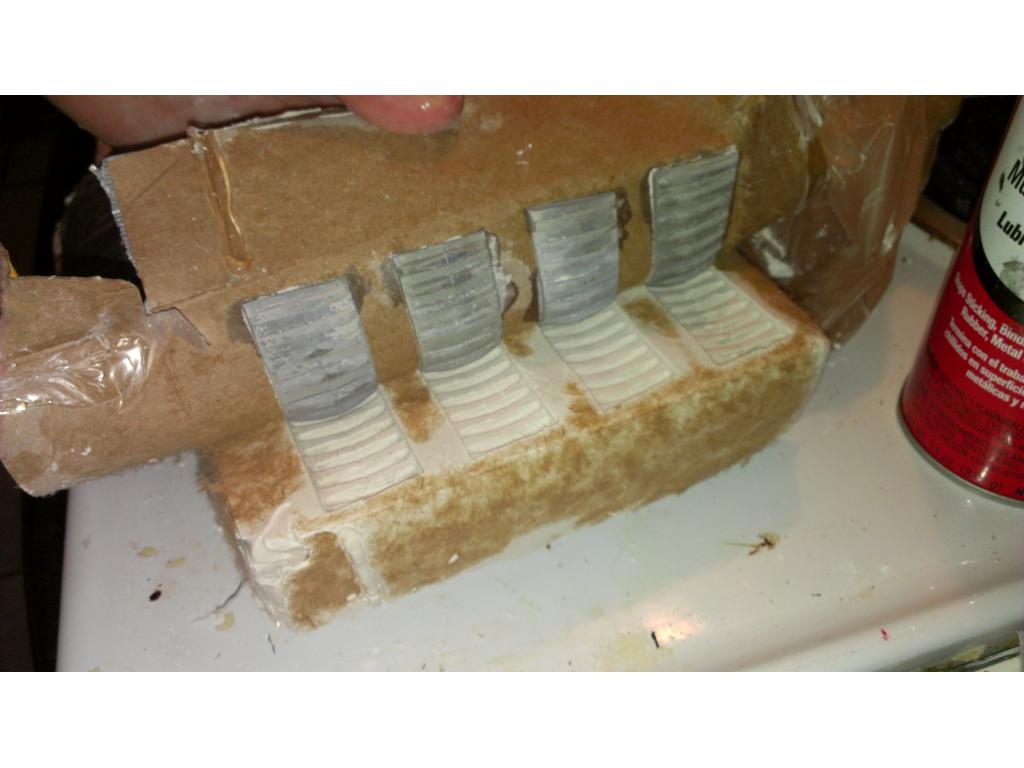
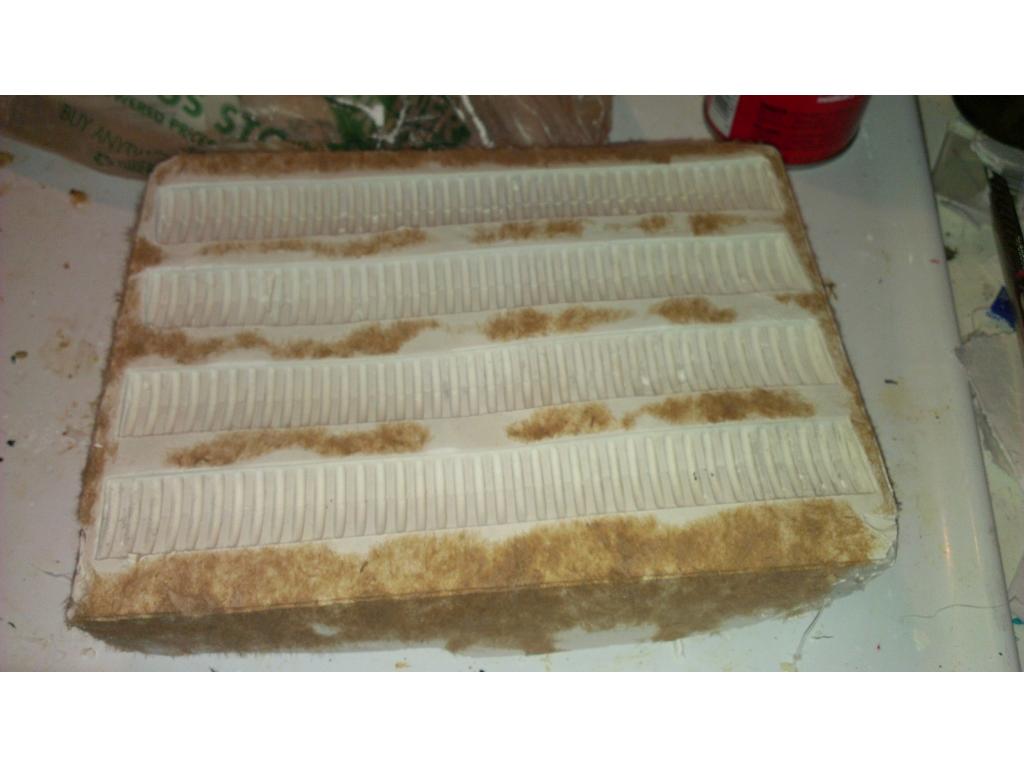
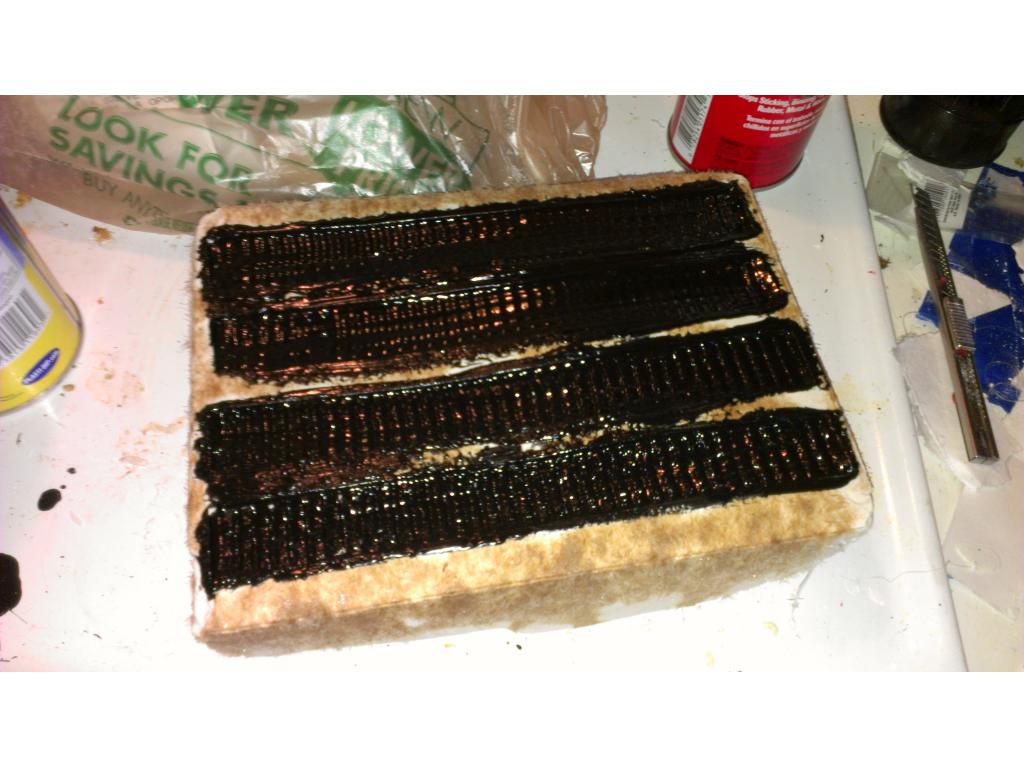
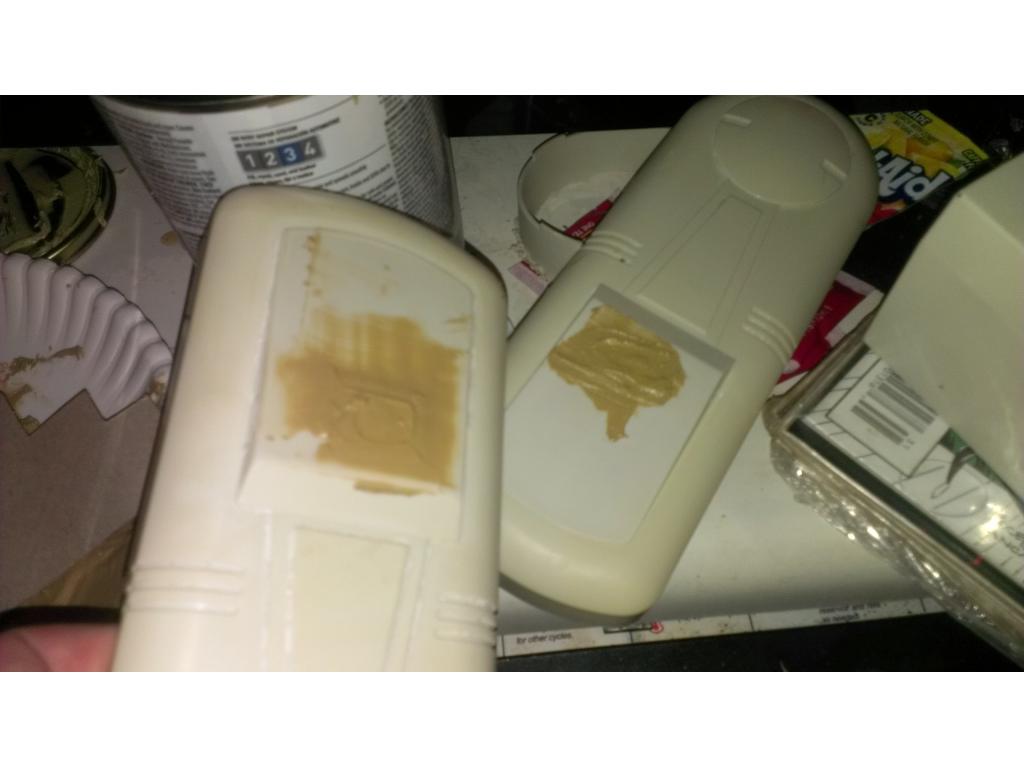
I'M on my way to the store to pick up epoxy resin and sponges and squeegee to show everyone how to "dry lay" fibreglass matt to keep weight low and strength high.