


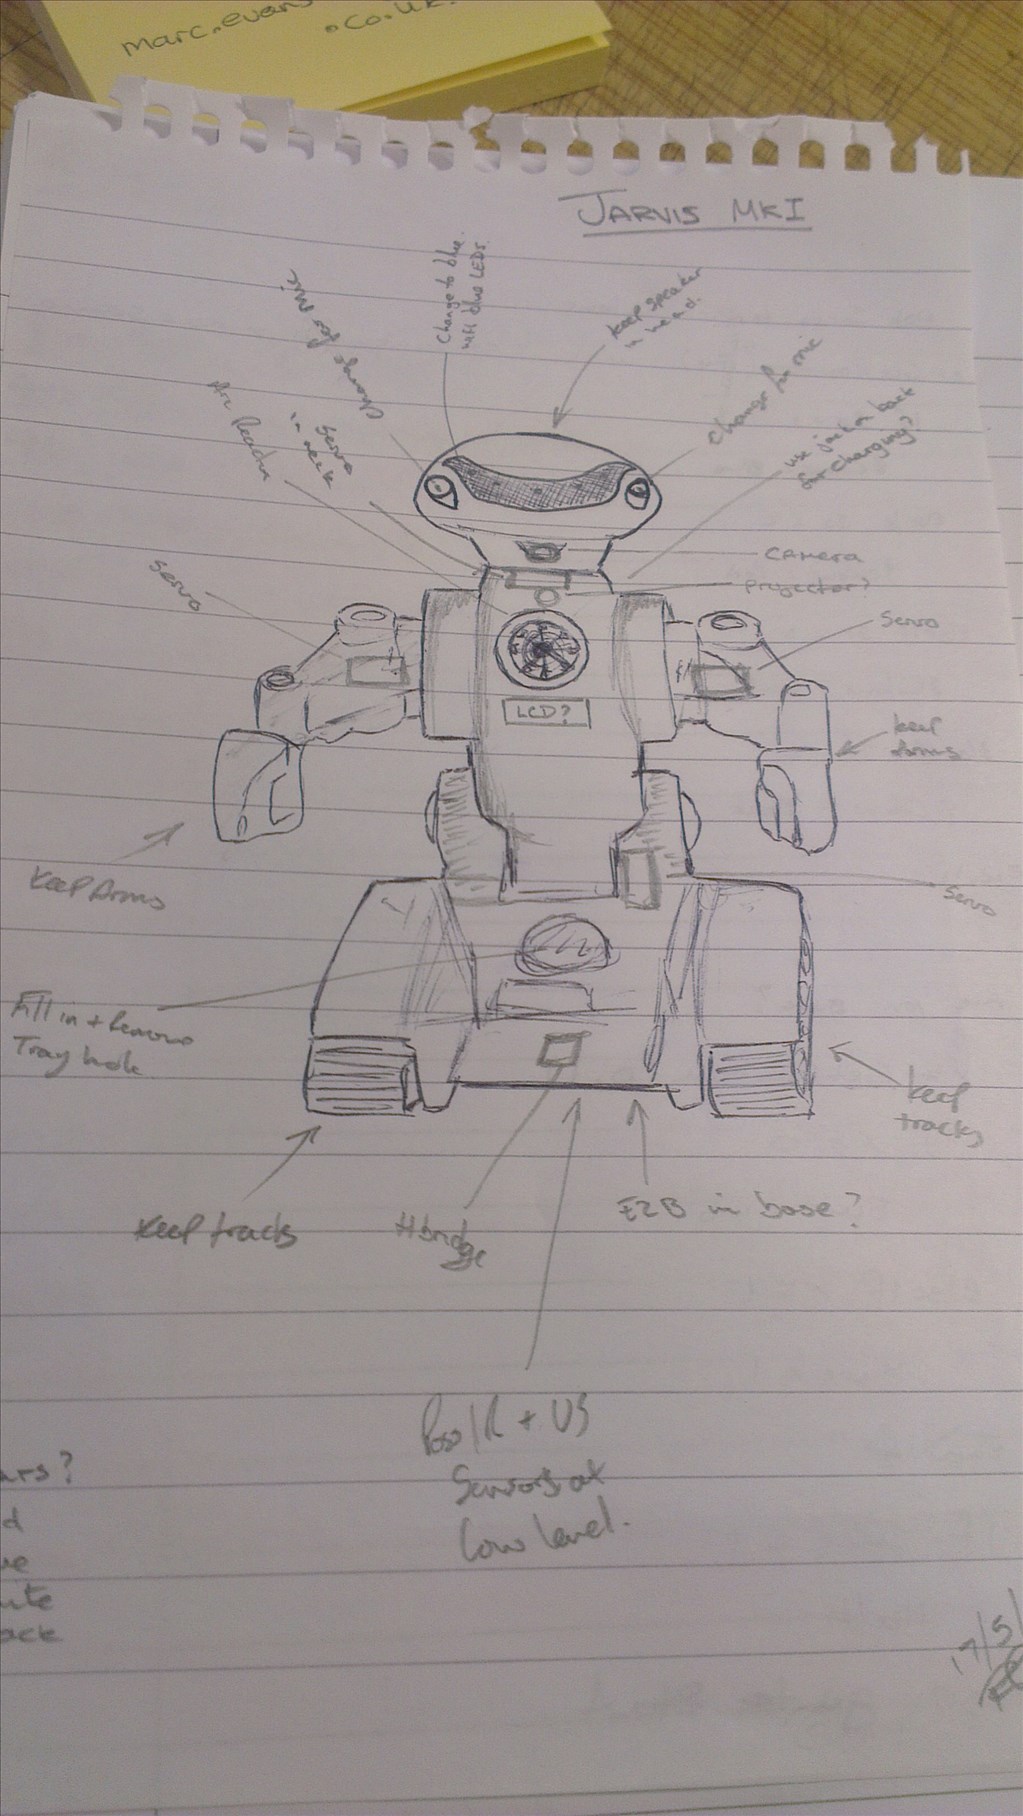


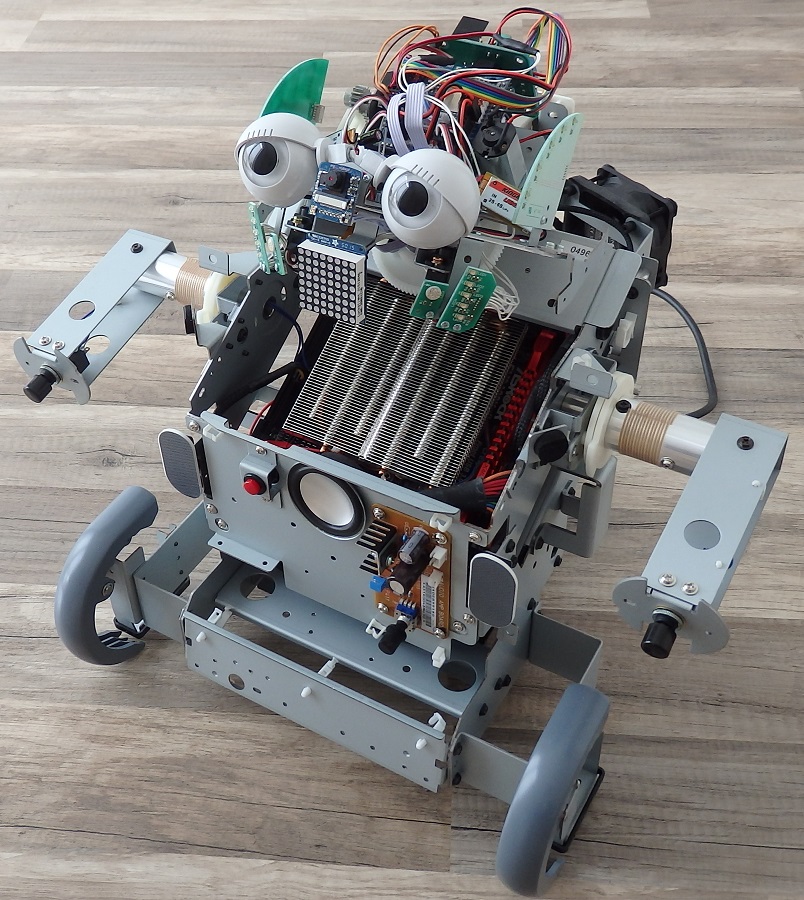
I know I should finish Melvin before starting a new build but Josh's Jarvis has inspired me to give my JARVIS a physical form.
Some already are aware that I already have a JARVIS like system installed in my whole house which carries out a multitude of tasks from being an automatic PVR (like Tivo but better), controlling the heating and hot water system, controlling lights... too much to list really but one day I will attempt it.
Anyway, since it doesn't currently use ARC or an EZ-B I haven't posted much about it on here, but that's changing for 2 reasons...
- To inspire you guys to open a can of awesomeness and
- Because finally JARVIS will become a real robot rocking an EZ-B.
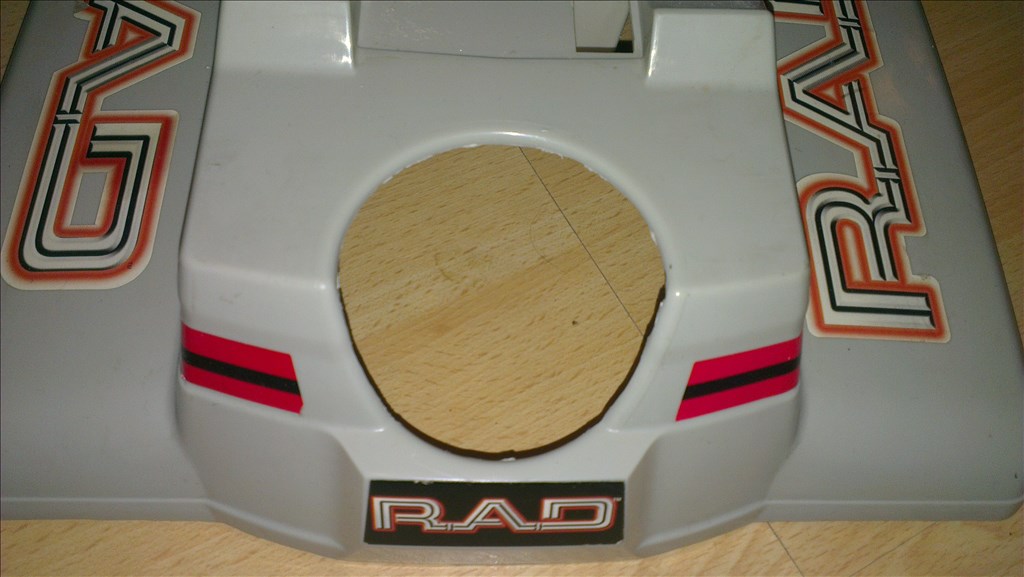
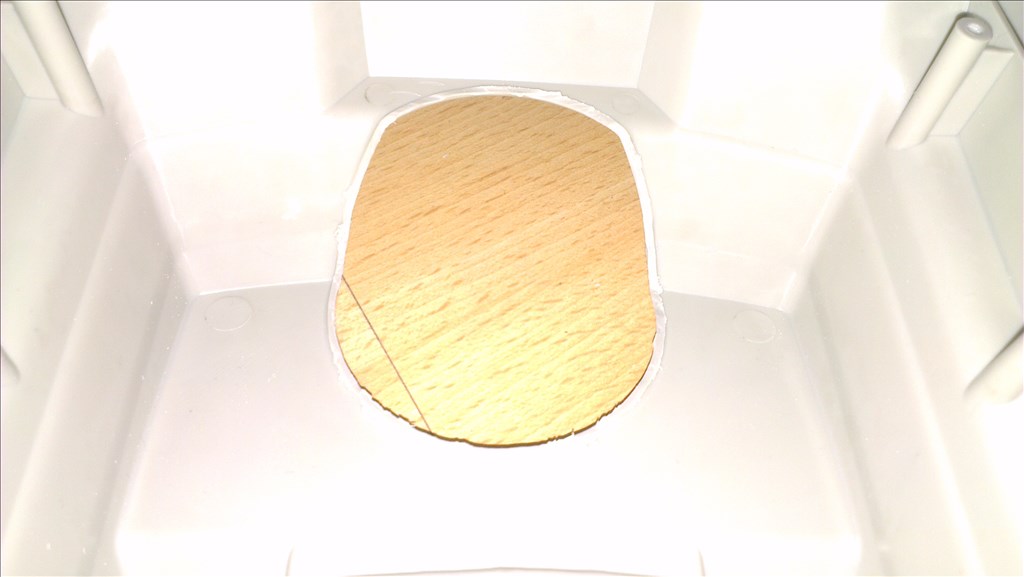
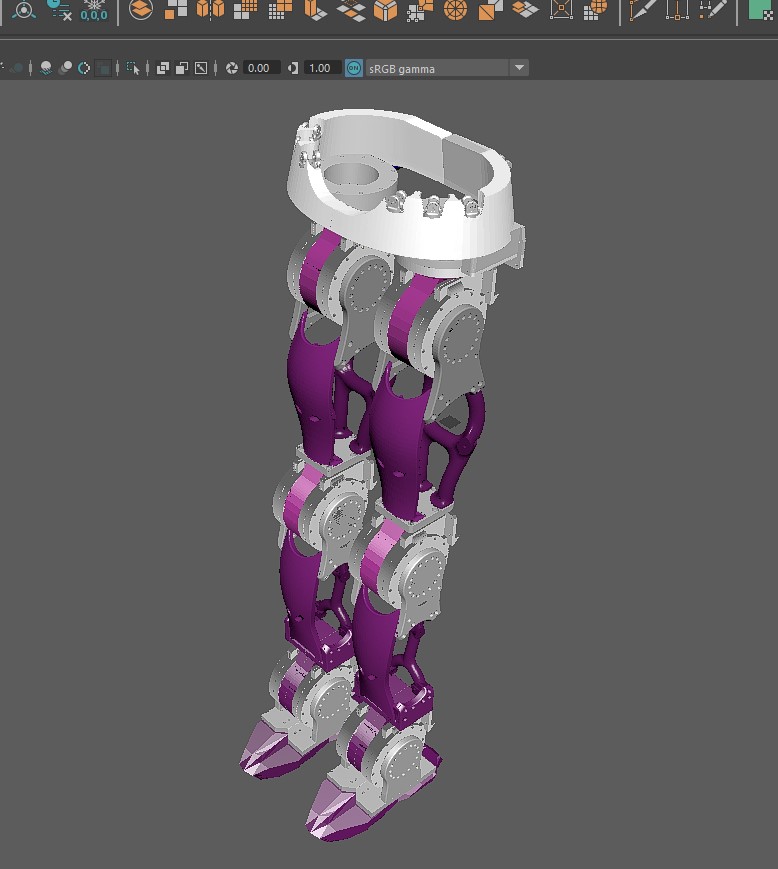
Basing the design around a RAD V1 robot
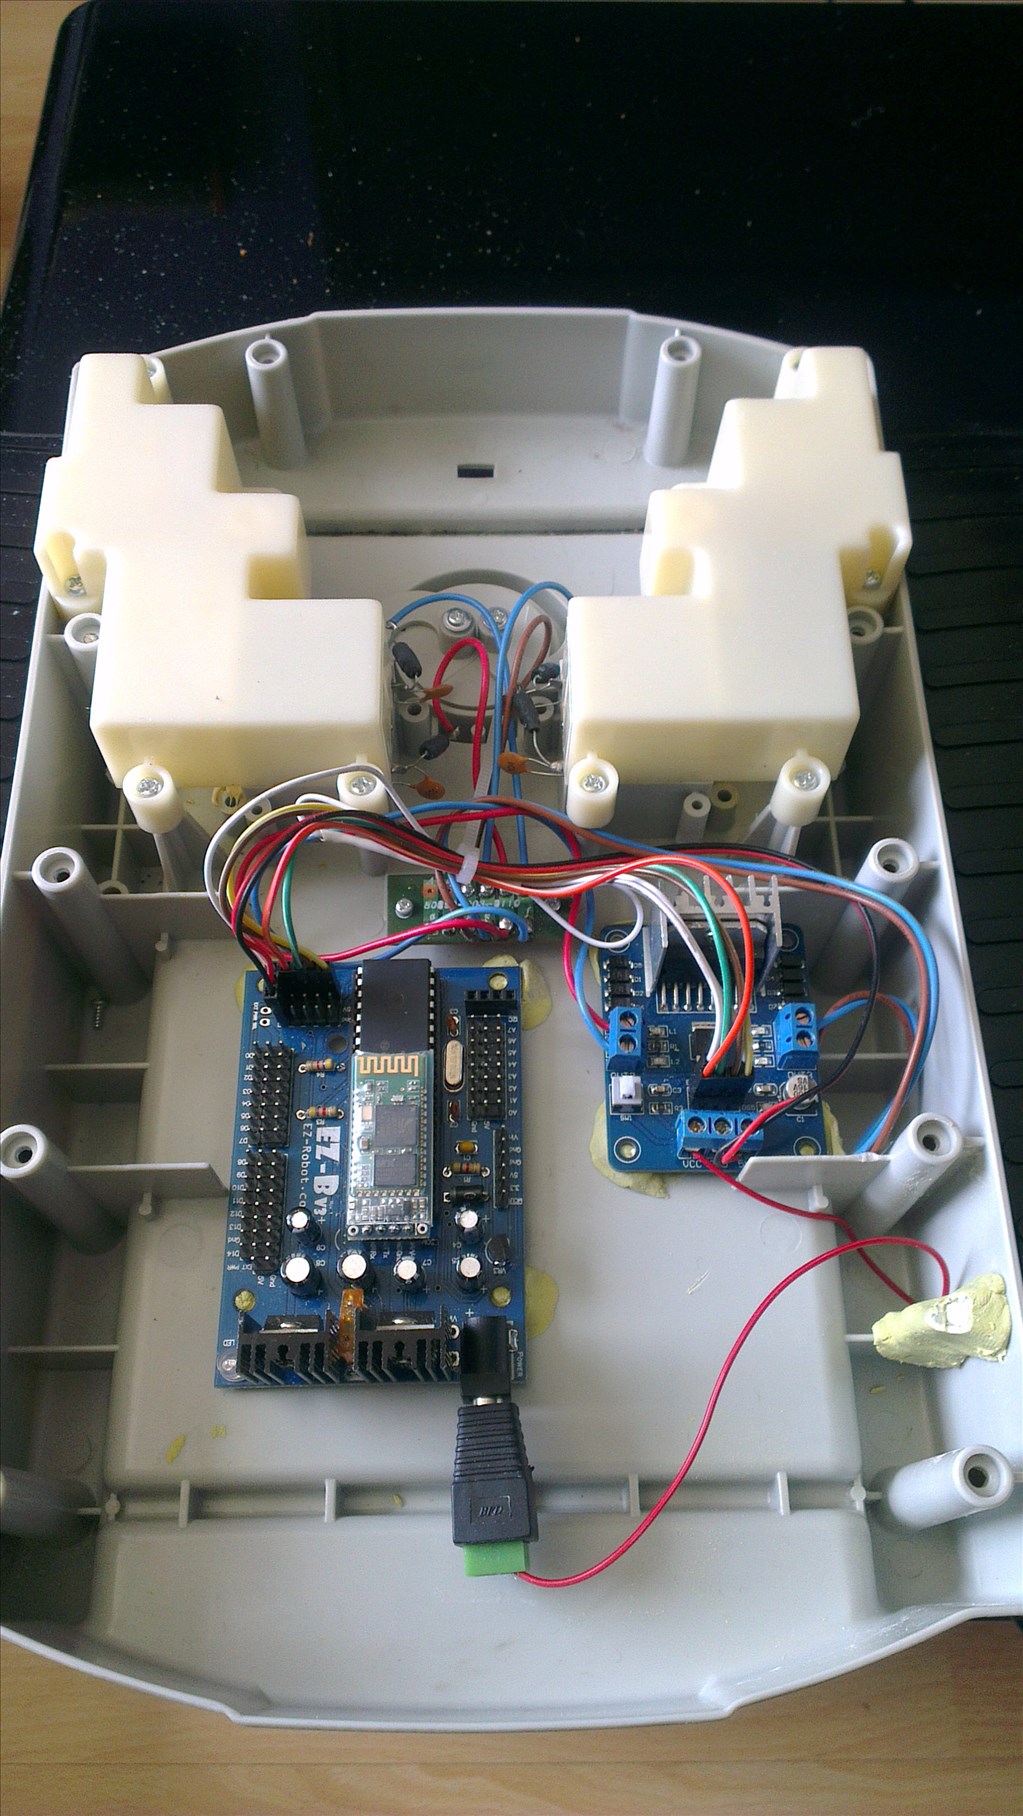
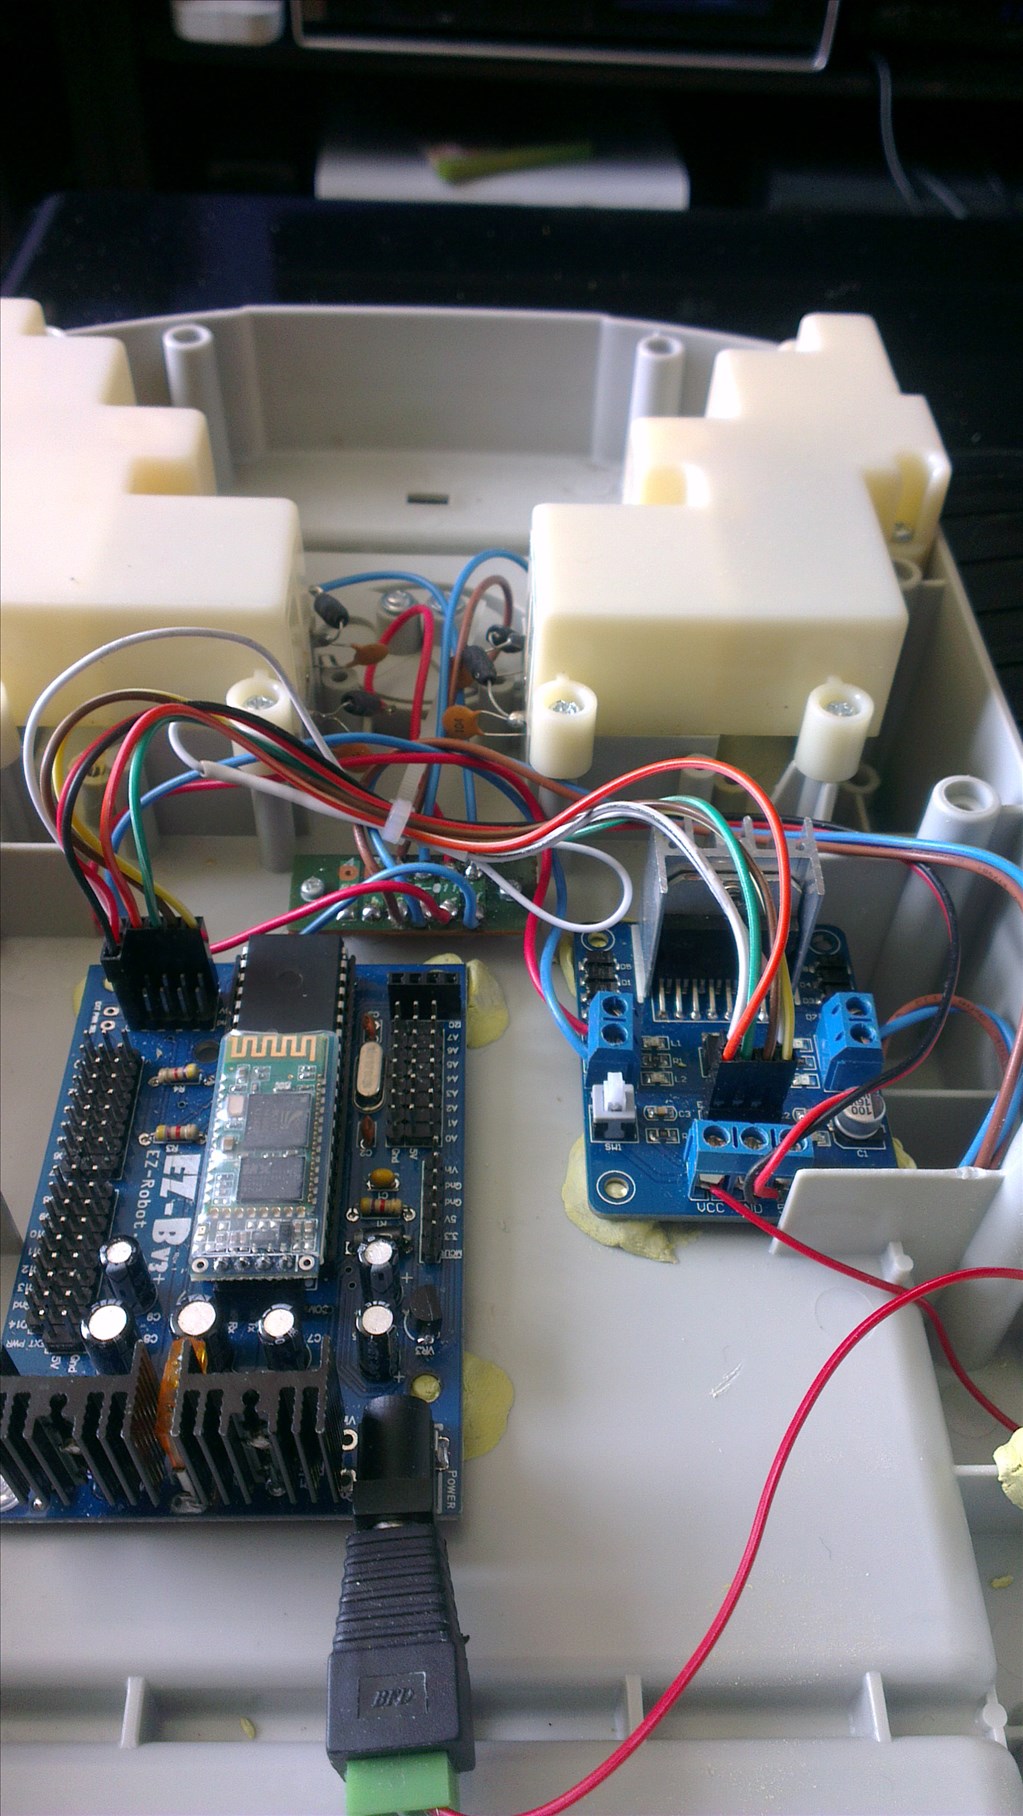
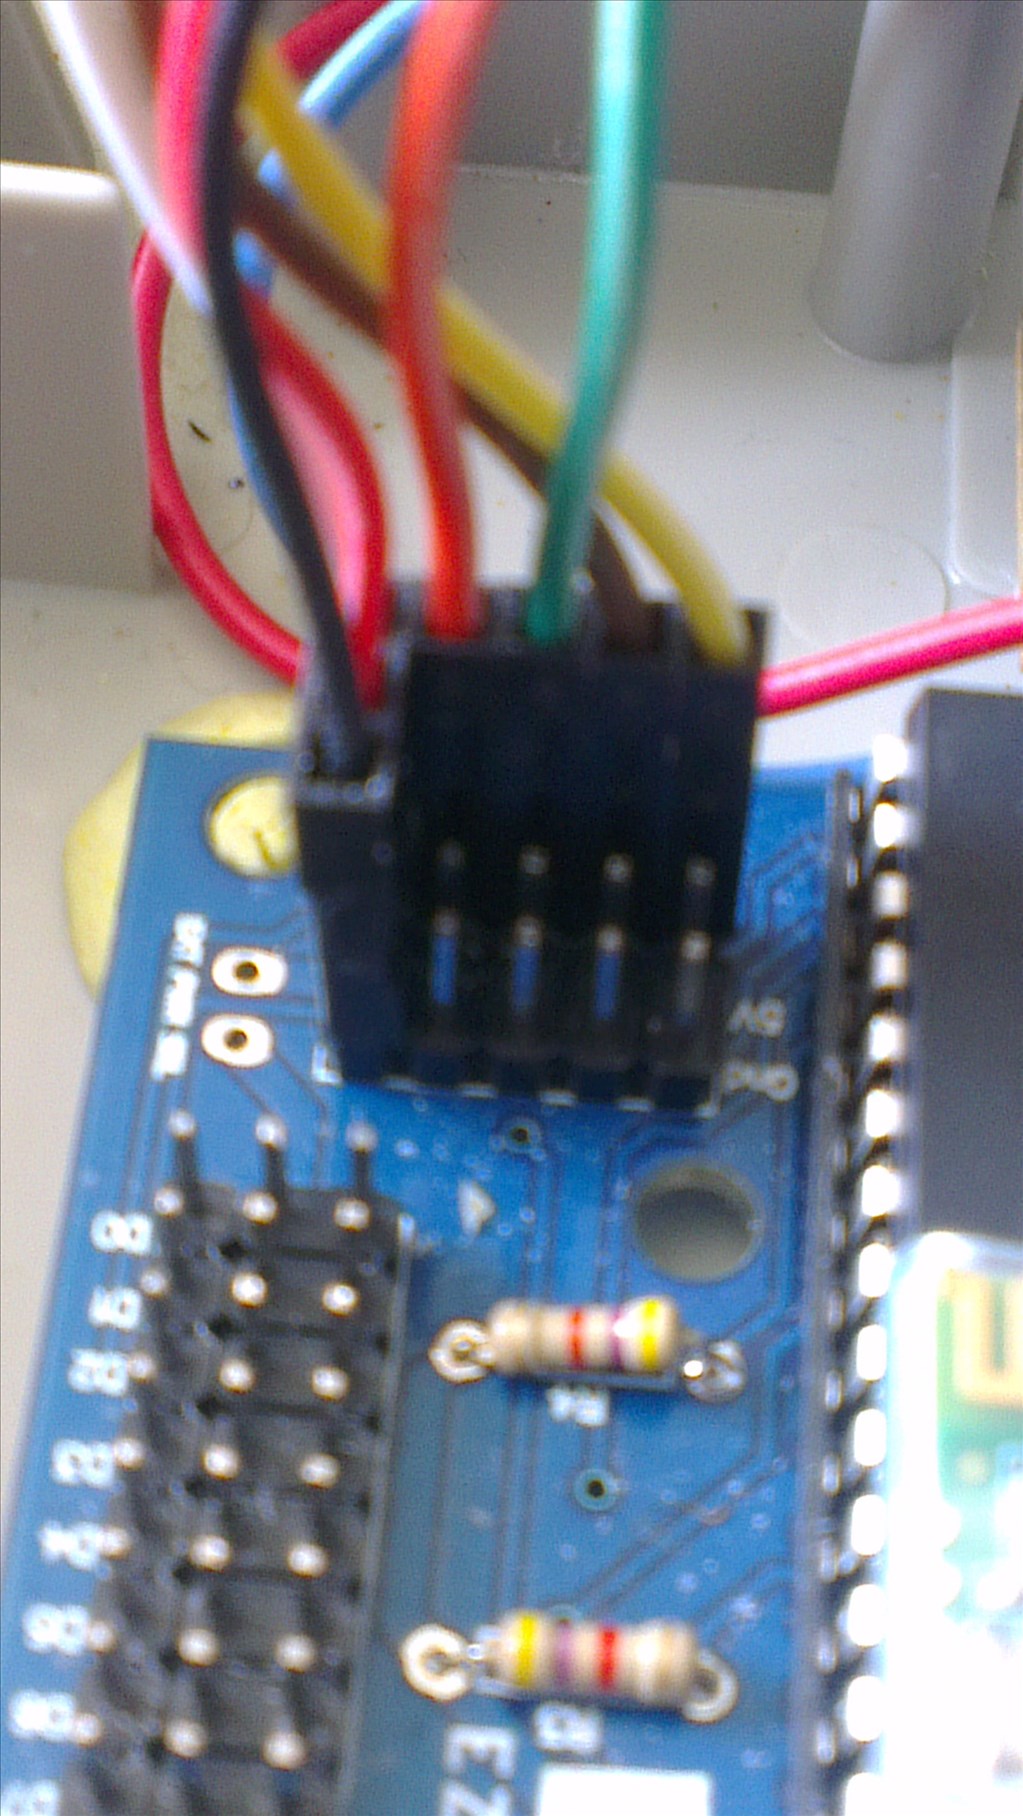
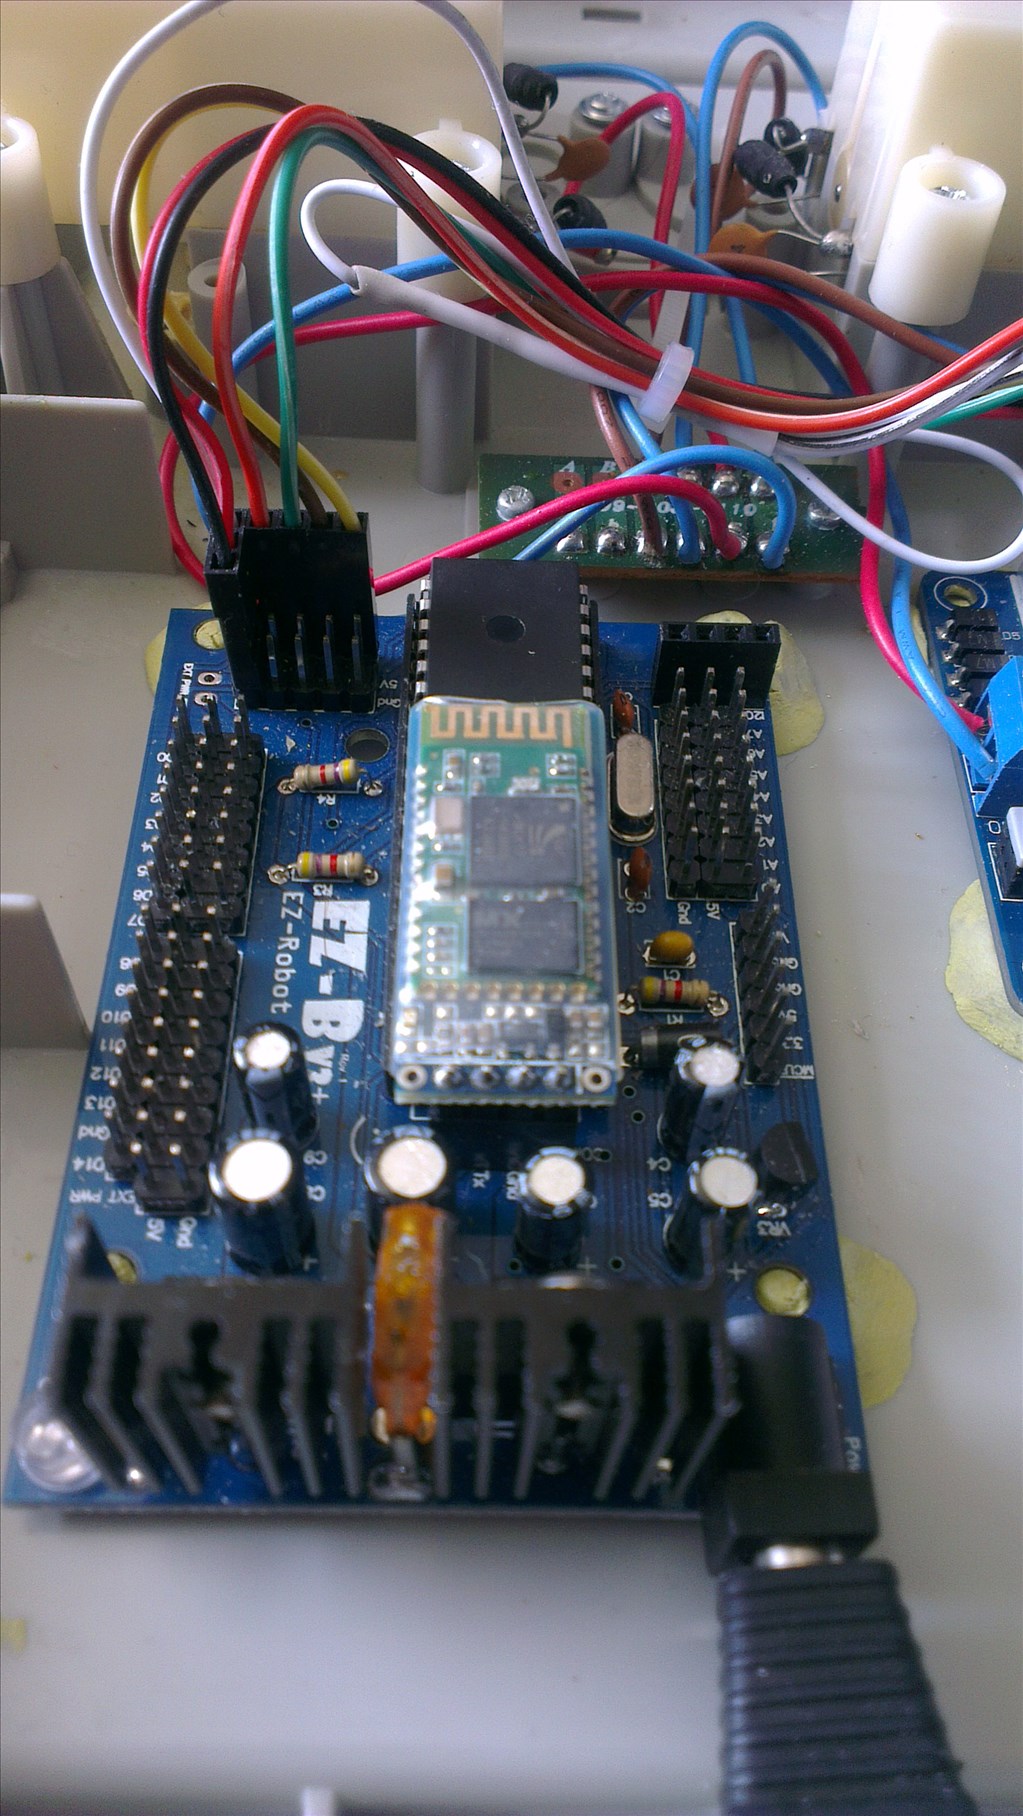
So far all I've done to the RAD is stripped it down - why they soldered every connection is beyond me!..
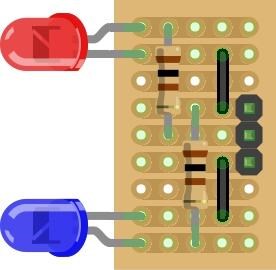
A lot of the choices I make on this project will be chosen by JARVIS. I will be adding some scripting so that I can ask him things like "What colour do you want to be?" and he will choose... this should make it interesting
Like I said, his brain is existing and has been for around 2 years, with new features being added all the time. You know what, let JARVIS tell you himself a little bit about him
For more, check out Jarvis Youtube Channel or www.JARV15.com (under construction)

Discover more robots
Steve's Lynx Robot 1996? Reborn W/Ez Robot
Smarty's Combot - The Ez-Robot Computer System

Awsome Rich, Tony Stark would be proud.
My ultimate goal is for Tony Stark to be jealous
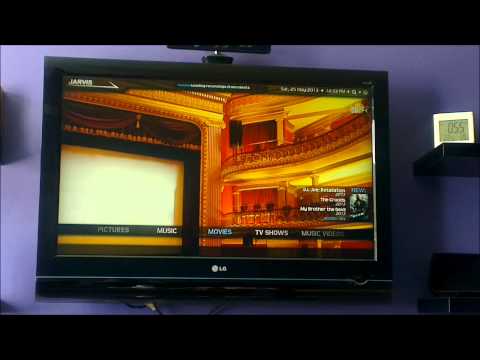
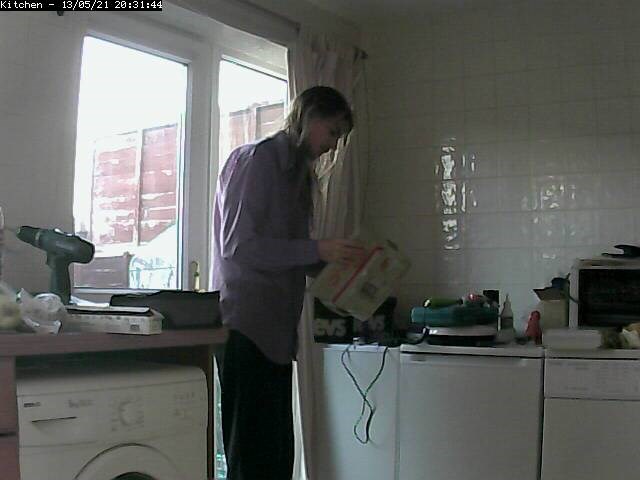
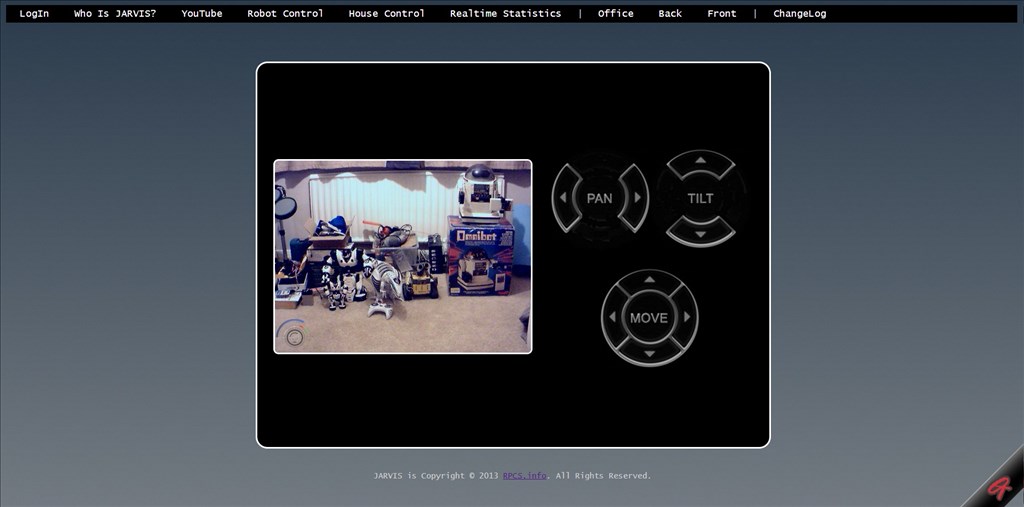
FYI, I forgot I made this video last weekend... My main problem is I have nothing to point the camera at so the TV was "it" for now. His response is a little quiet, sorry about that, but it's a pretty fun addition...
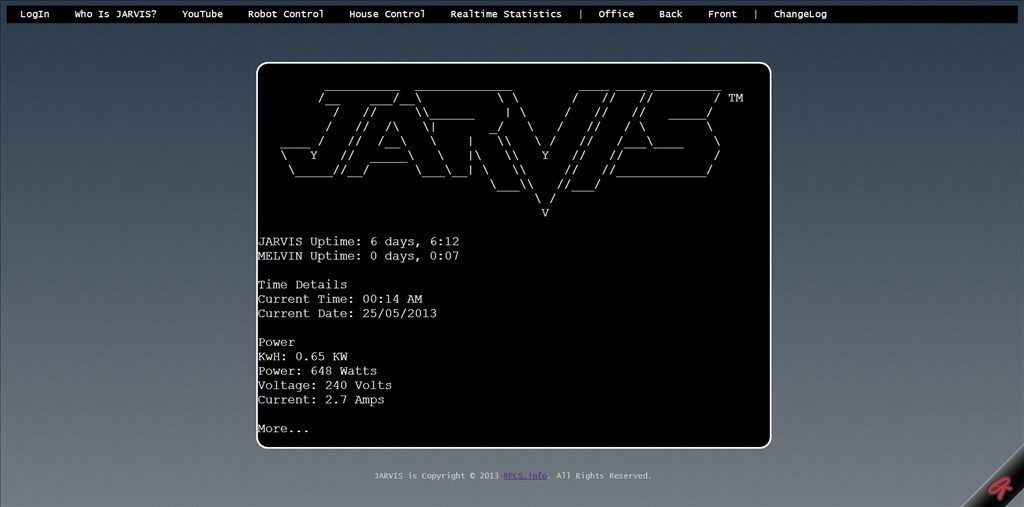
Still playing with the temperatures and overall conditions for the responses. Basically what happens is he will check Weather Underground via their API, fetch the current condition (httpget) and save this as a variable and fetch the current temperature and save it as a variable (although he could use the outside temperature he gets from the compensated heating thermostat control). Then he checks these and responds to suit, using Ifs.
i.e.
The same for the temperatures
There is also wind speed too but unless it's crazy high he doesn't even mention it.
Thanks for the code will use it in my design,plus can adapt to other saying. The scripts so far from what i see are fairly easy ,but goes a lot faster when someone else makes part of the code.
RICH your design is getting better,hope to see more good changes soon.
Holy crap Tony, uh sorry I mean @Rich. Its really amazing what you have got done.
Thanks @Rural. This one is going to be mainly focussing on the controls and scripts more than anything else, and I still have a lot left untouched and unmentioned
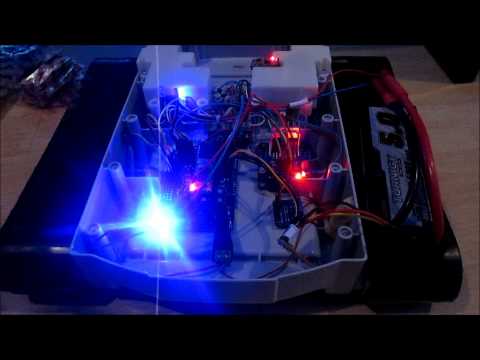
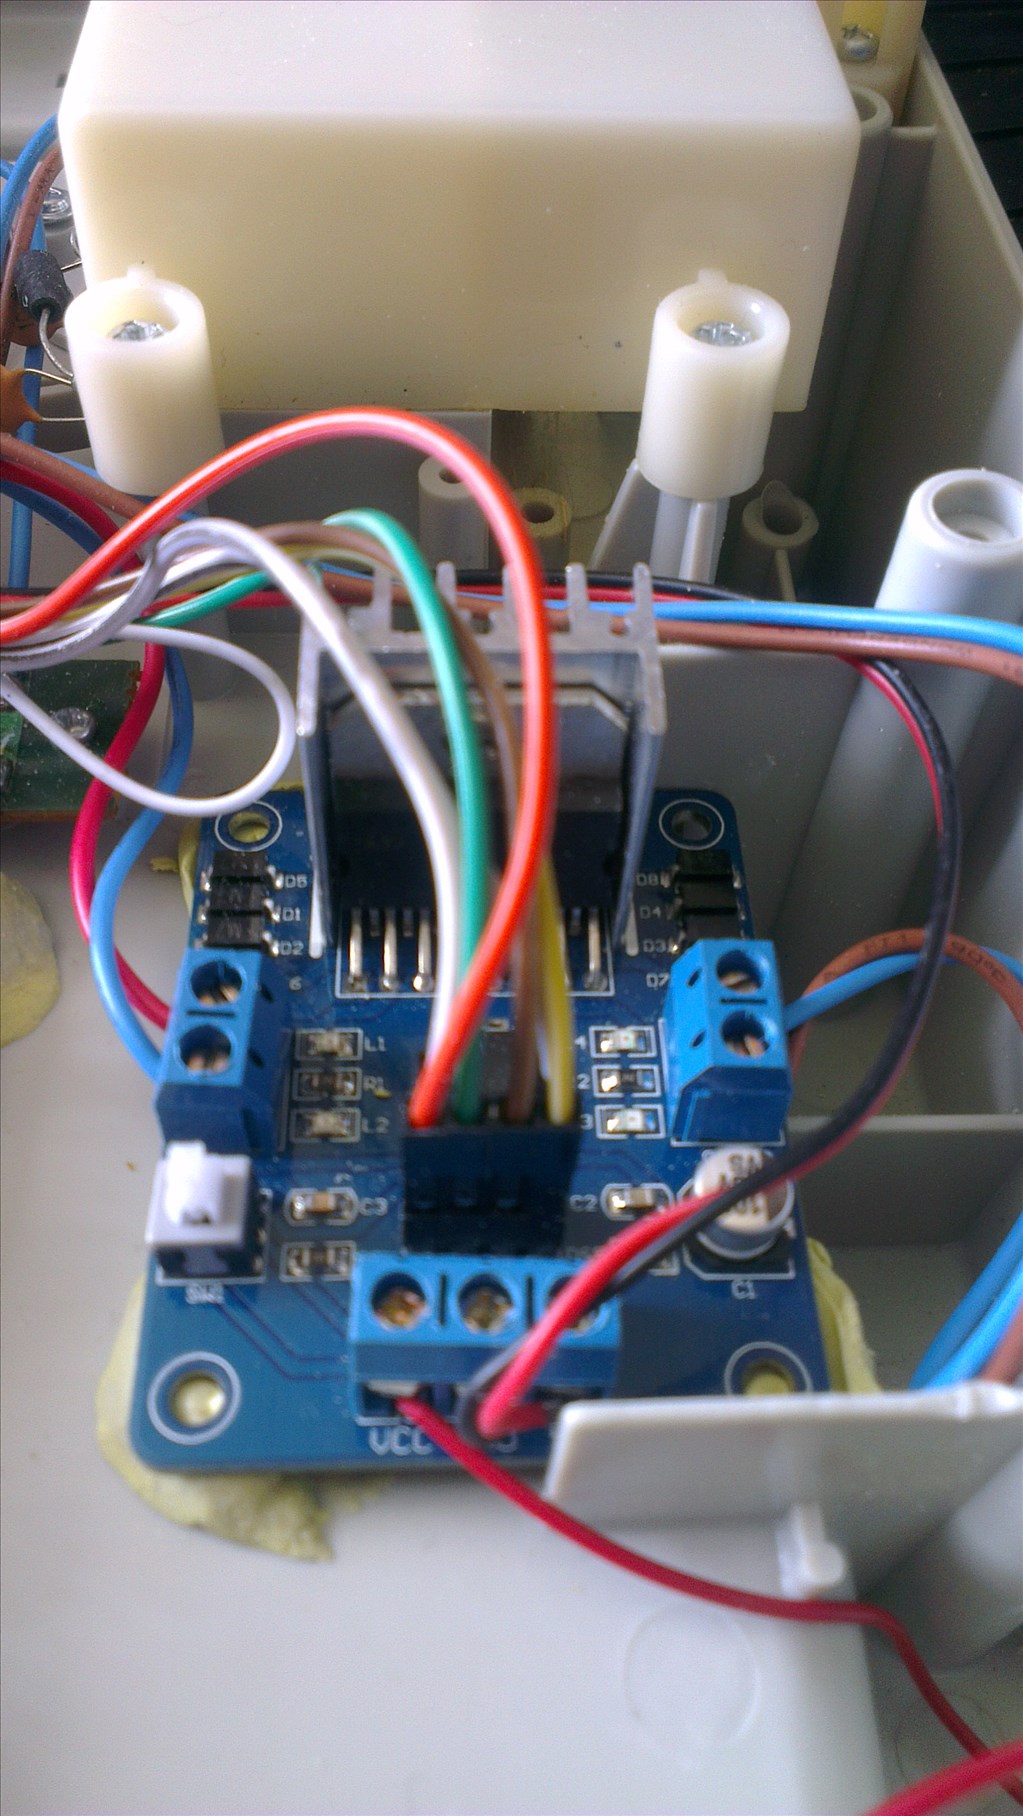
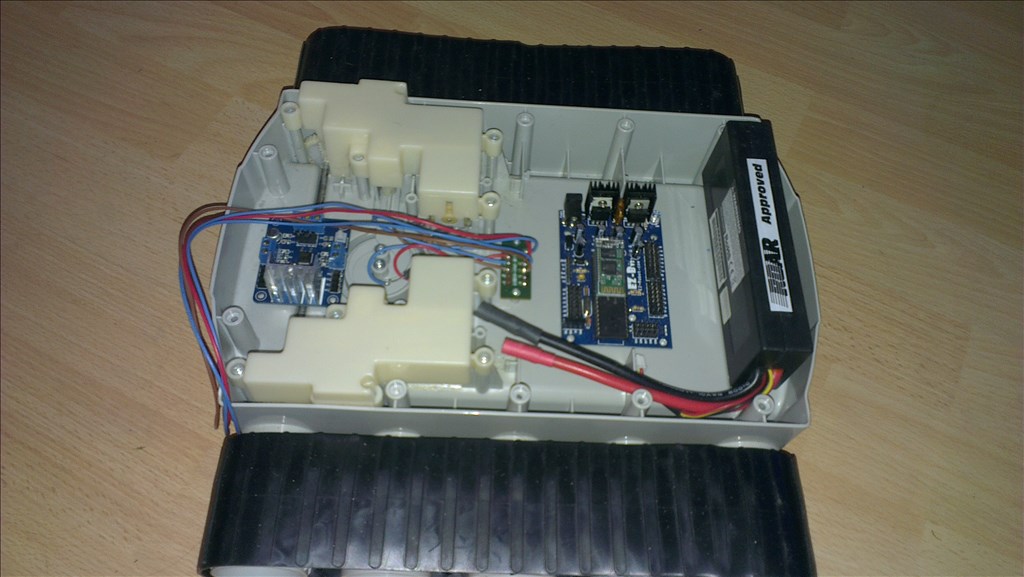
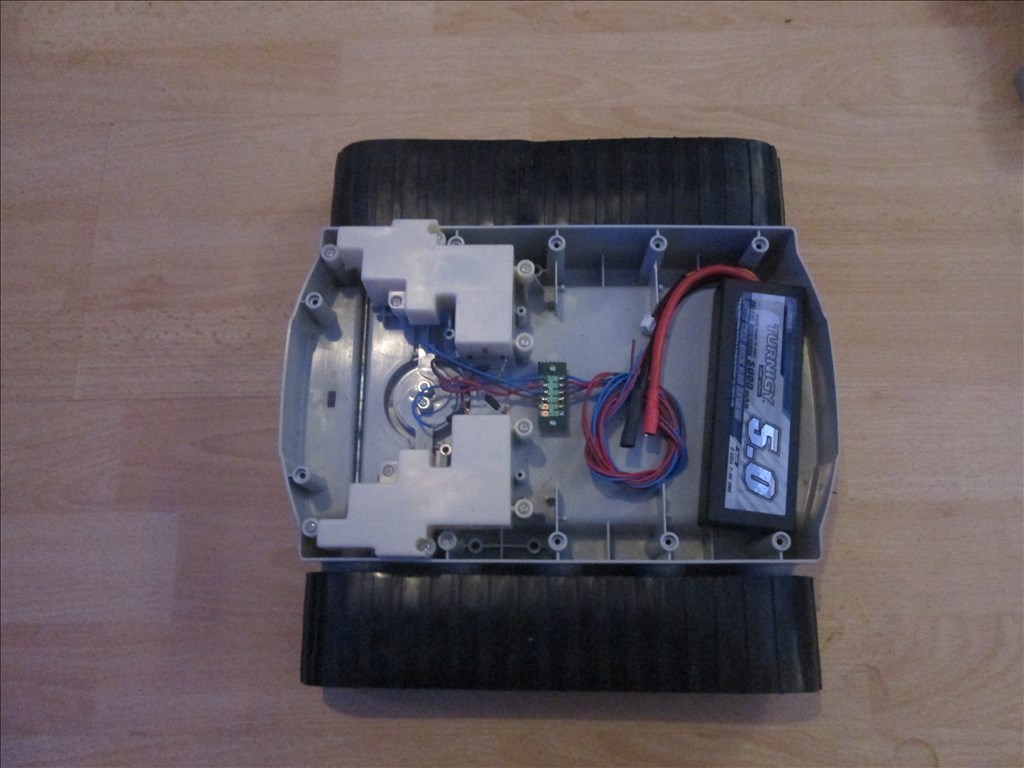
I did make a bit of a mistake though, I mounted the EZ-B and H-Bridge in the base, using Milliput blobs and making small pillars which the boards clip on to using the mounting holes, it makes for a screwless install that's easy to remove if needed. But in my haste I forgot to check the power connection on the EZ-B...

Looks good right? Nice and roomy... but where's the battery going? It was planned for where the barrel jack of the EZ-B points... And now wont fit...Luckily I like a challenge
The battery would fit nicely under the base, the height of the battery is lower than the height of the tracks and a hole could be drilled through the base for the wires, but I wasn't too convinced by that idea. Then I realised the top of the base is quite high, with the cup holder removed there was the perfect place for the battery, except gravity wouldn't let it float. So more Milliput and the battery is nicely held in position.
This isn't complete, I am expecting the battery to try and drop out of the Milliput once it's hardened and turned right way up. But once it is all set there will be more modification made to it with a small piece of plastic card fibreglassed or epoxied in position. I can't do this with the battery in position as it would bond to the battery and would result in it not being able to be removed. So currently waiting for it to set and then on with the fibreglass
A few more photos of the base. Neatness was what I was after and the ability to remove any part of it easily. I think I've achieved that.
Have any links to milliput you used.
Hey rich, I know you've been talking about controlling your blinds with Jarvis, and I think a found your answer
www.robotshop.com/add-a-motor-drapery-controller-800rc-1.html