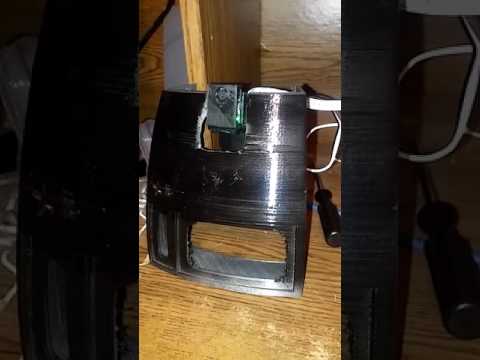
I was motivated tonight so I decided to EZ-B my Robosapien.
Took about 20min total.
He's up and running via Wii remote.
I'm running the EZ-B on an external battery for now because the Robosapien batts were low and need replacing.
Added a fricken laser beam for giggles.
My plan is to build a box around the EZ-B board and dress it up to look like a jet pack.
I'll add a camera down the road.


By Lumpy
— Last update
Other robots from Synthiam community

Rickymahk2013's Mark 1 Robot
Develop robots with Synthiam, build the Mark 1 DIY robot, publish a DIY book and showcase projects at international...
Faengelm's Rider The Ball Kicker Servo Port Numbers
Set Synthiam ARC project port numbers to run Auto Position Actions like Kick, Thanks, and Frank for proper action...
Kashyyyk's R2-Q5 Droid Build With Ez-B4
R2Q5 3Dprinted droid using EZB4: camera in dome, RGB LED magic panel, servos with buck converters, scripts for panels,...

And to think I'm leaving my Robosapien for when I have no motivation, funny how that works
LAZORZ, pew pew pew A nice touch.
WOW nice job so far LUMPY ,i have 8 of them and one it a rare blue one
I have a roborad PROJECT going on .like one done by BRET only some changes and using a bigger robosapien V2 and making 2 of them,
my robosapien v2 project
what is the external battery voltage that you are using
I use a 12V SLA battery in my RAD base and a step down buck transformer to get the voltage I need for Robosapien.
I'm running the original batteries in the feet and a 7.4v (500mAH) for the EZ-B.
My foot batteries were low and my EZ-B power kept dropping out.
I'll probably tap in and feed it some LiPo down the road.
My designs is same as BRET'S 12volt in a rad base,one is a party robot other is a party server.
Nice job. Got video?
RJ
Hi fellas. I have a RS V2 on the bench for wiring harness repair and all was going well until I ruined the 7 pin white connector that attaches to the harness for the right leg. Would you happen to know where I can buy one of those 7 pin connectors? I'm having a difficult time finding one. My last resort will be to solder the attachment pins to the wires and connect them individually without using a connector and that's far from ideal.
RJ