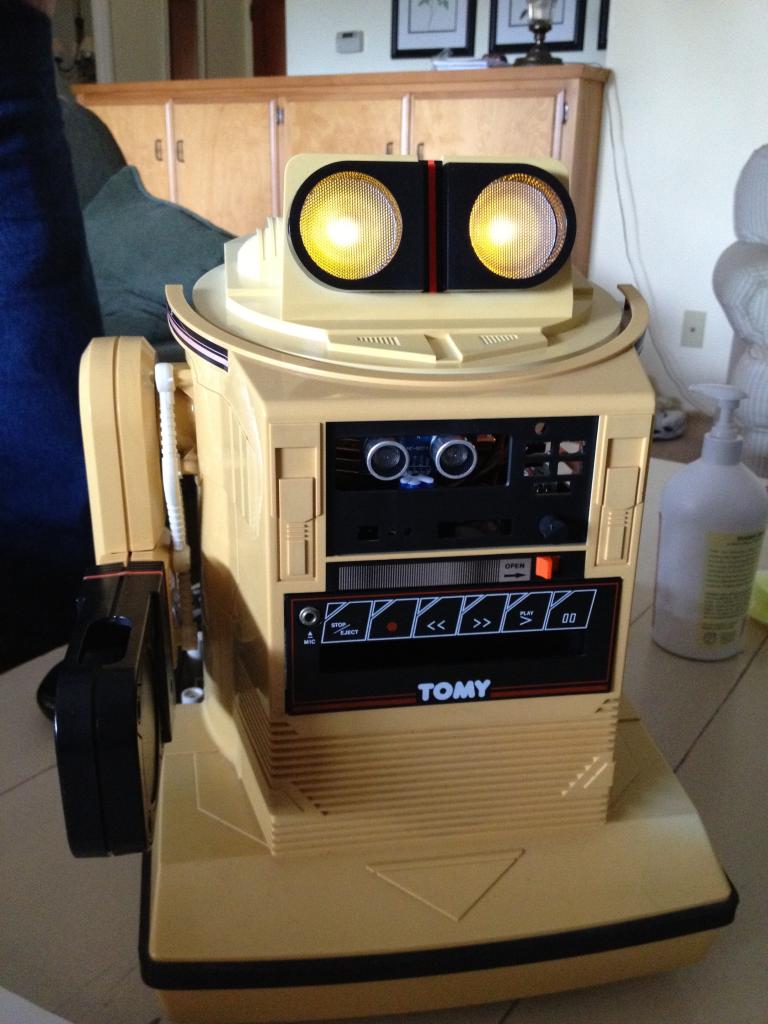
Just Another Omnibot

robot56

USA
robot video thumbnail

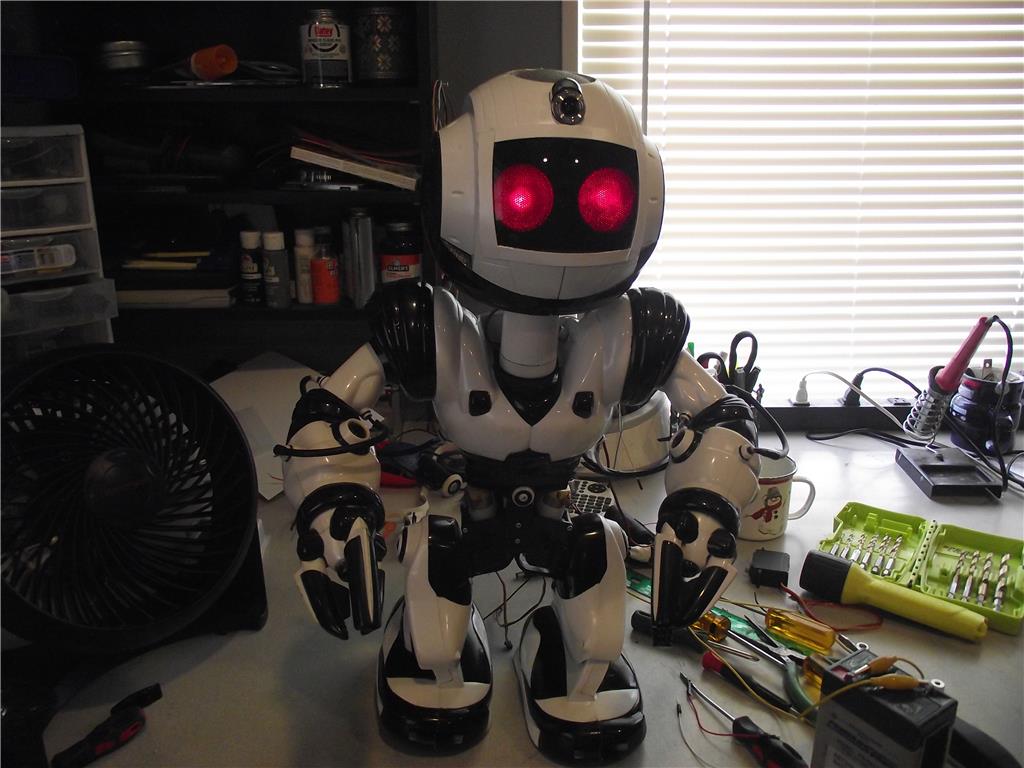
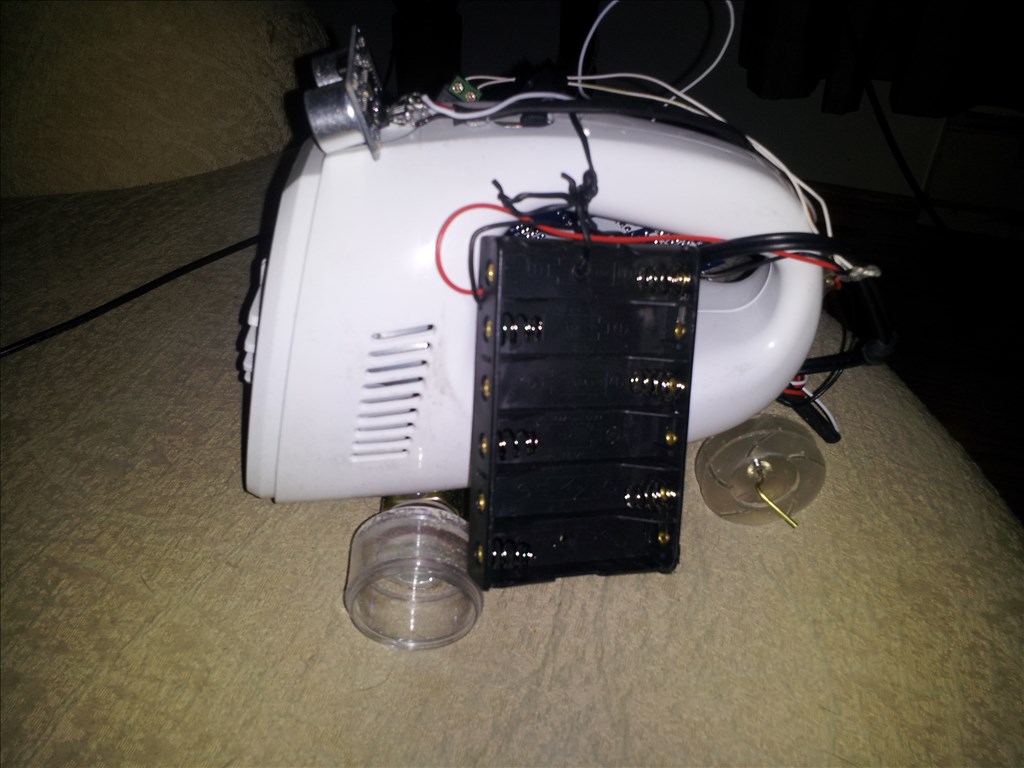
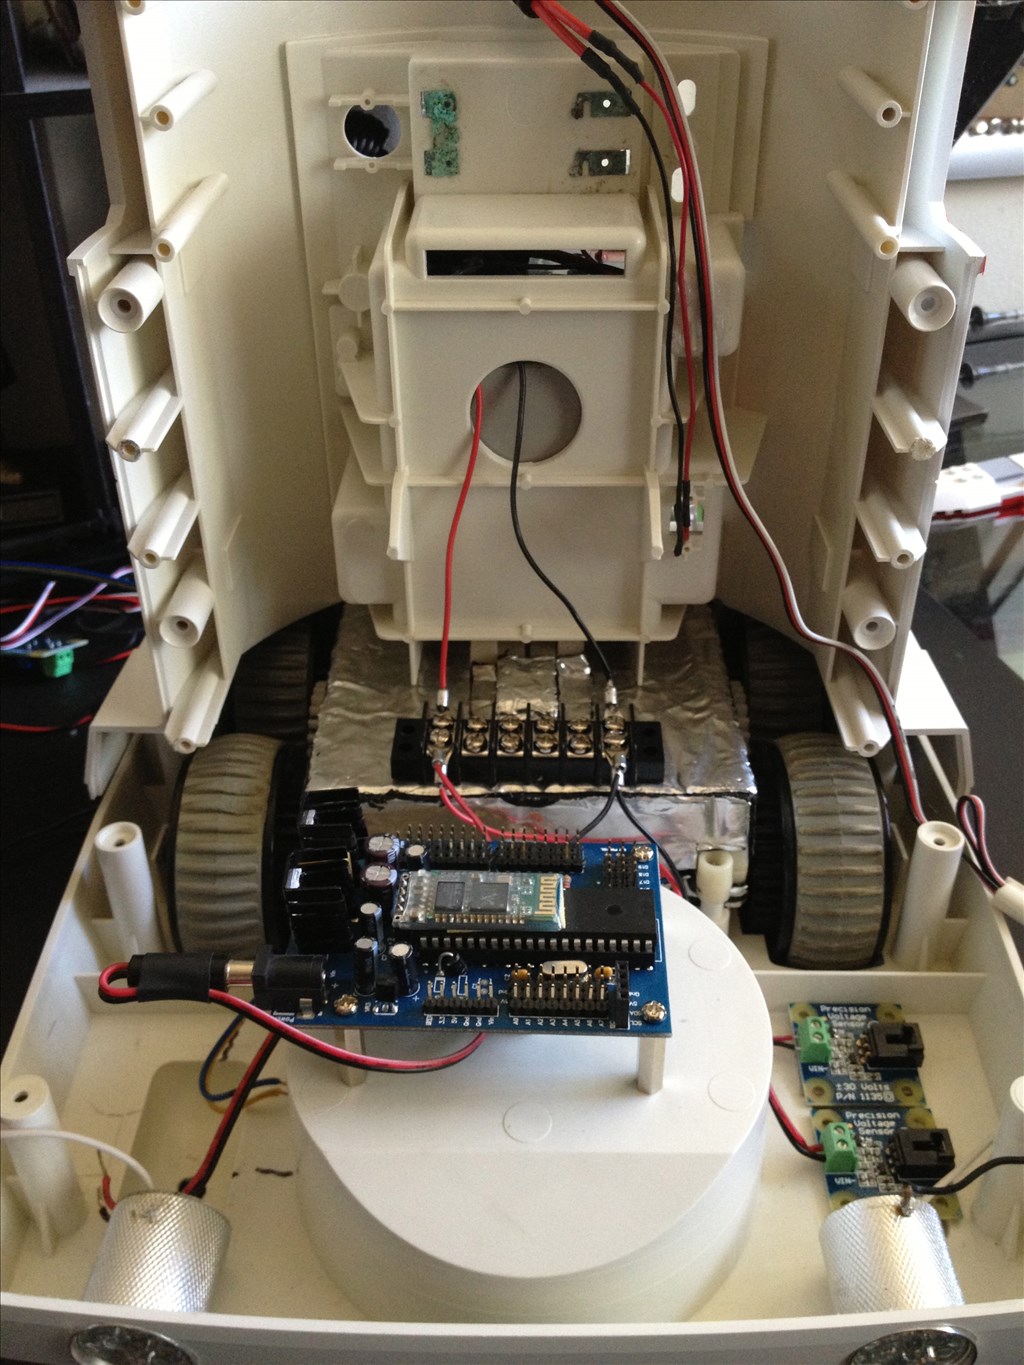
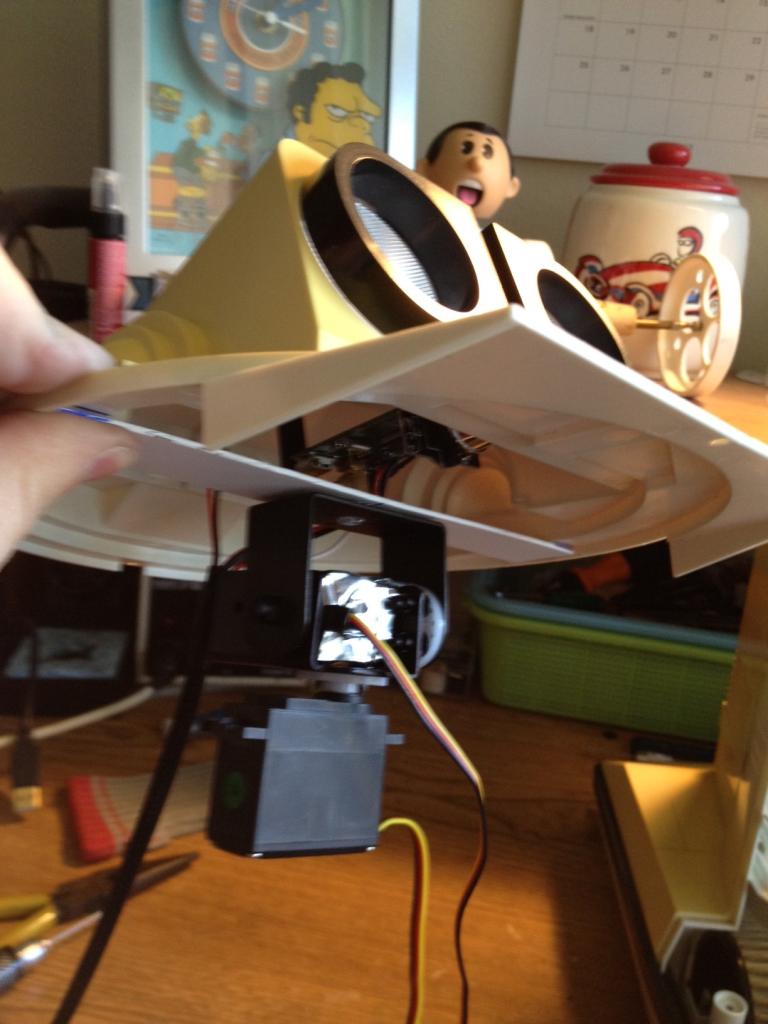
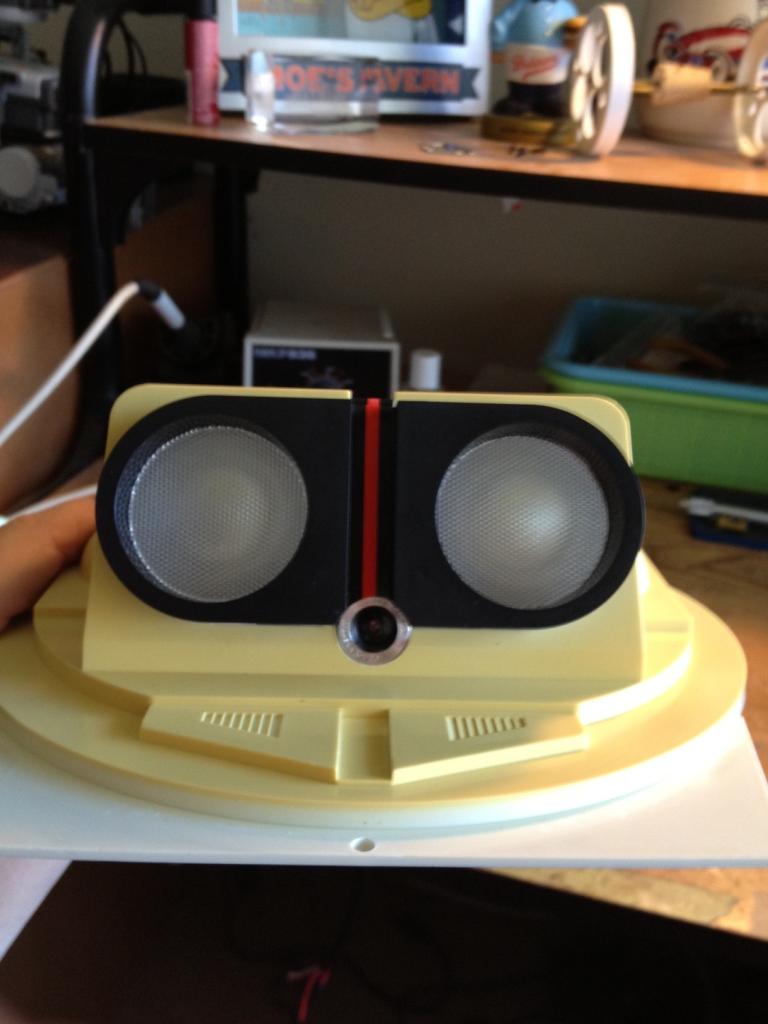
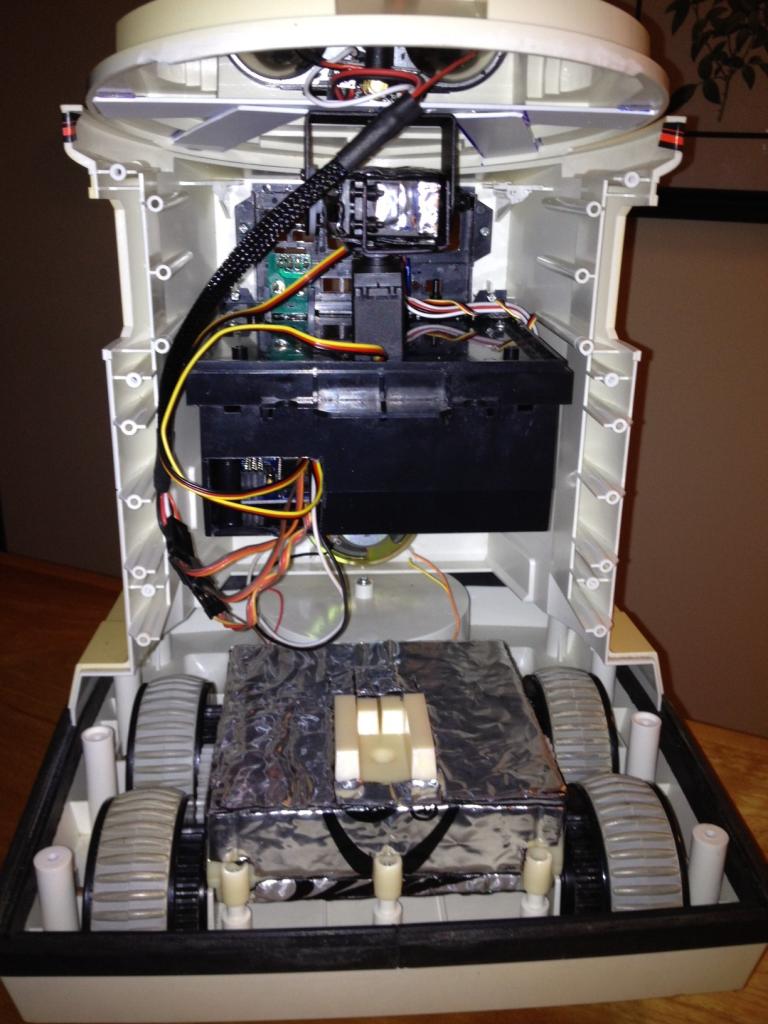
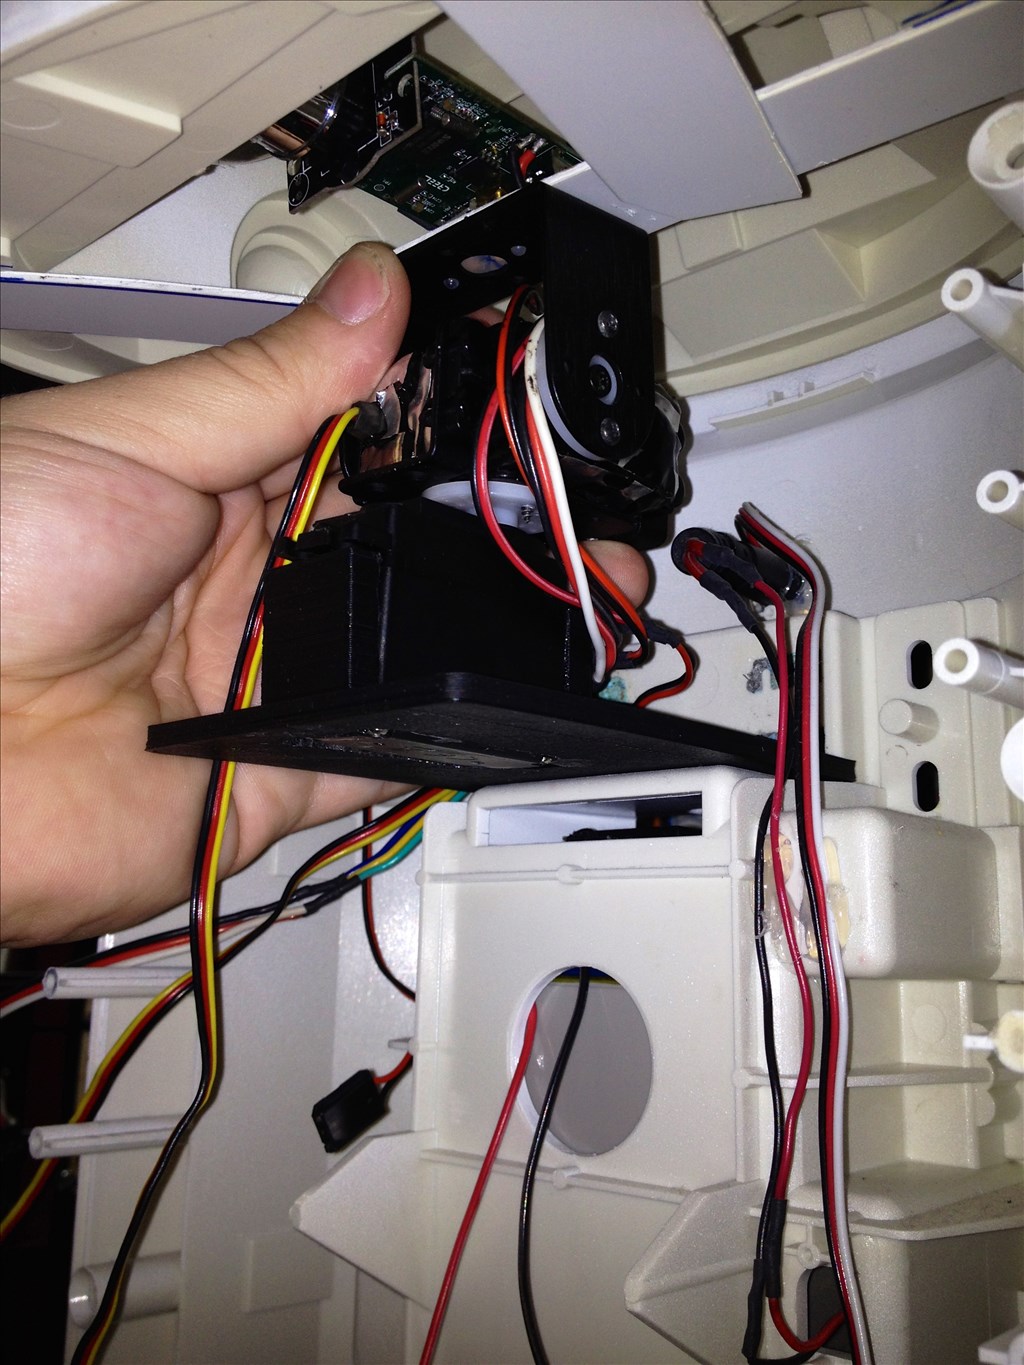
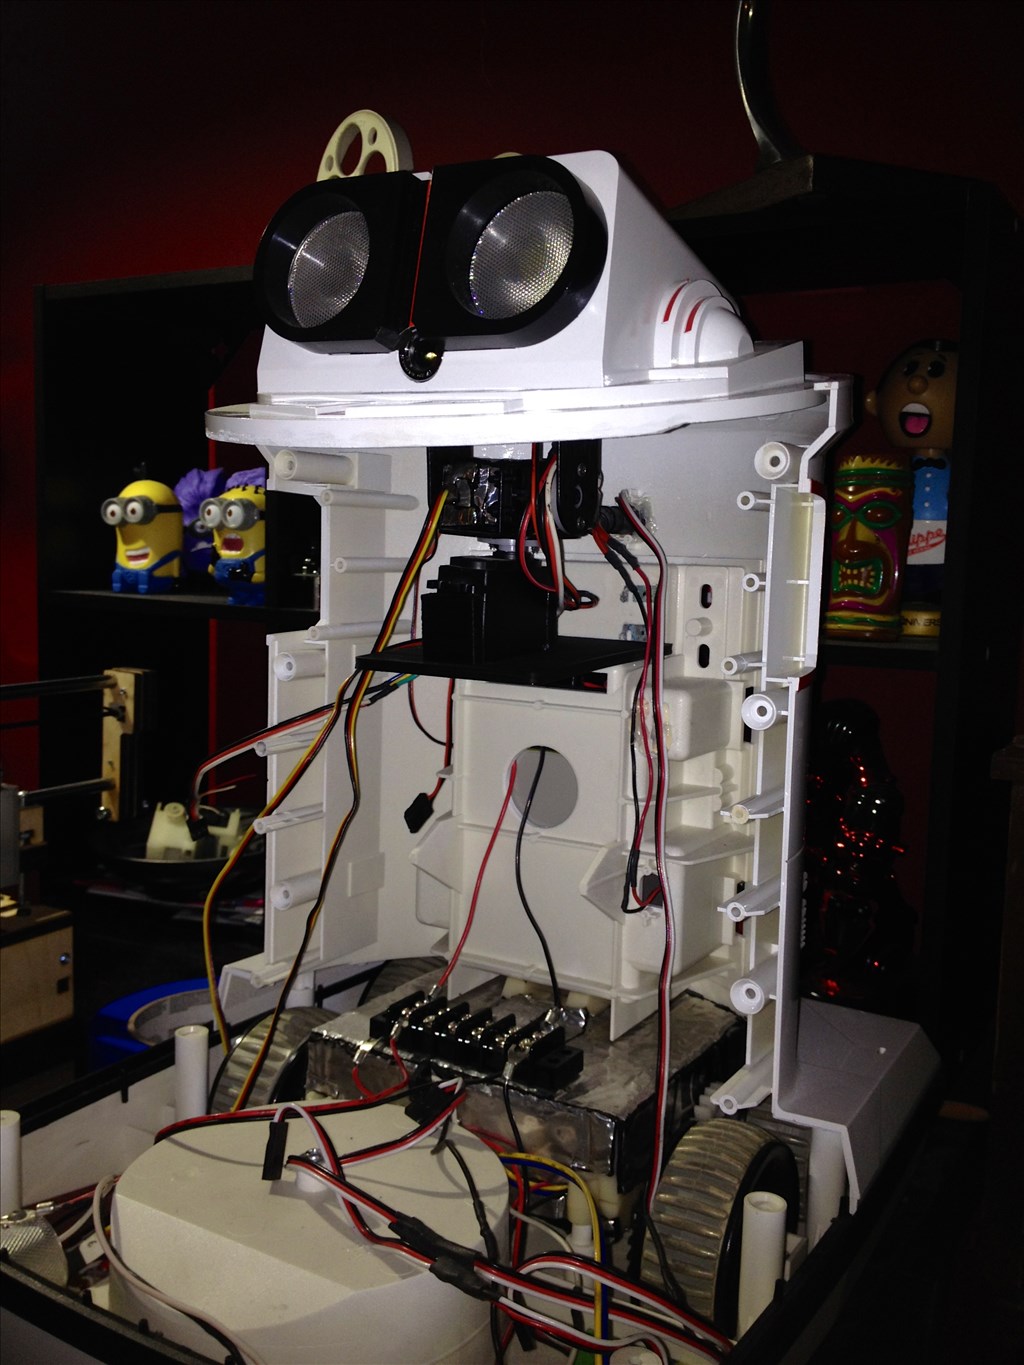
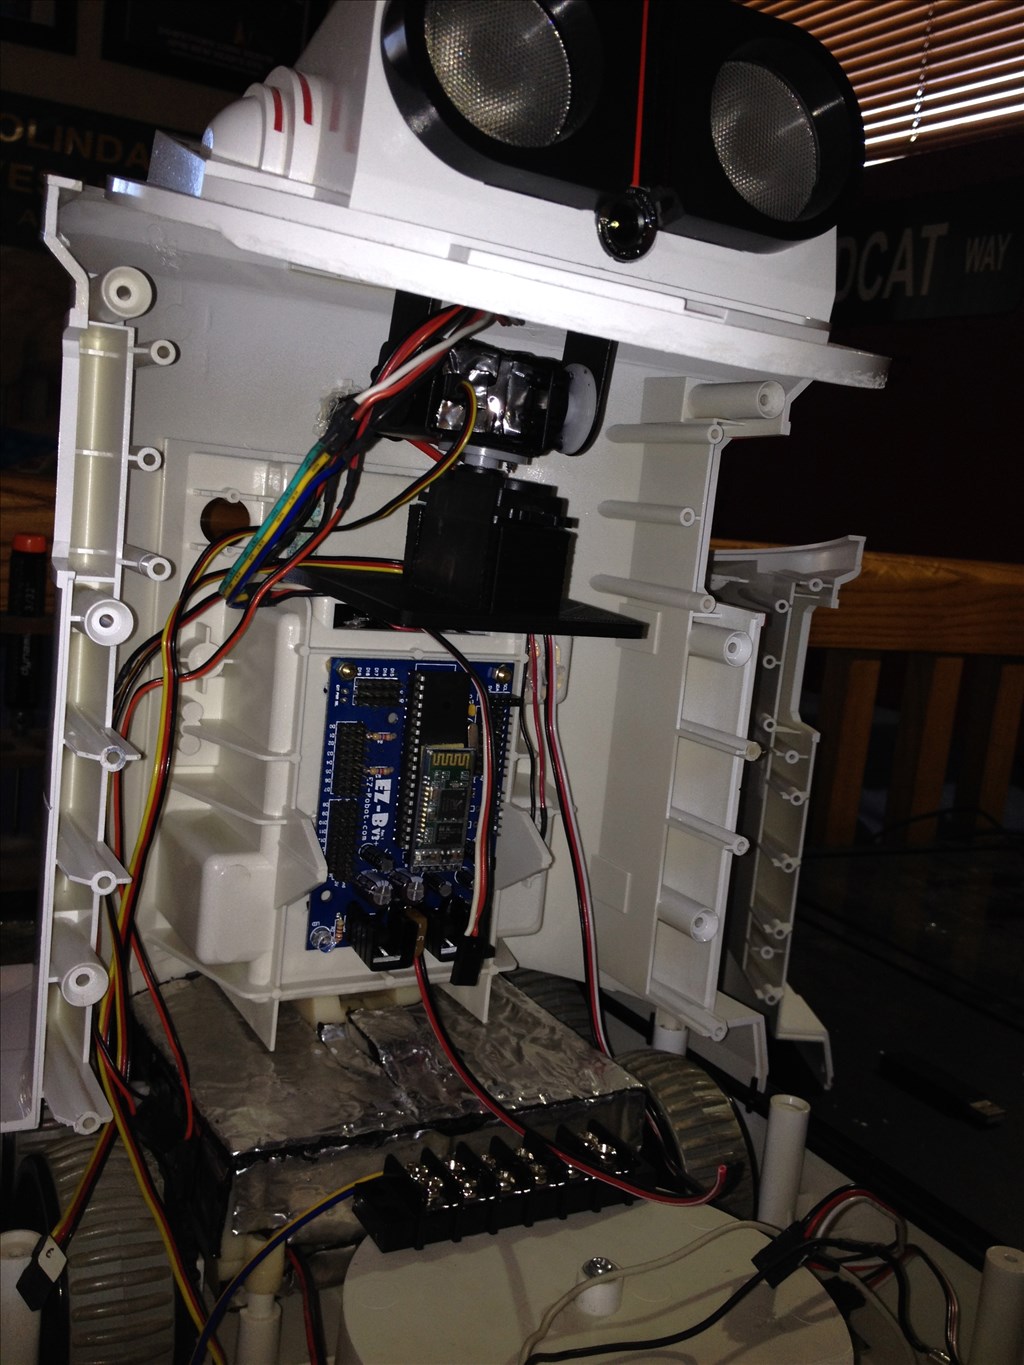
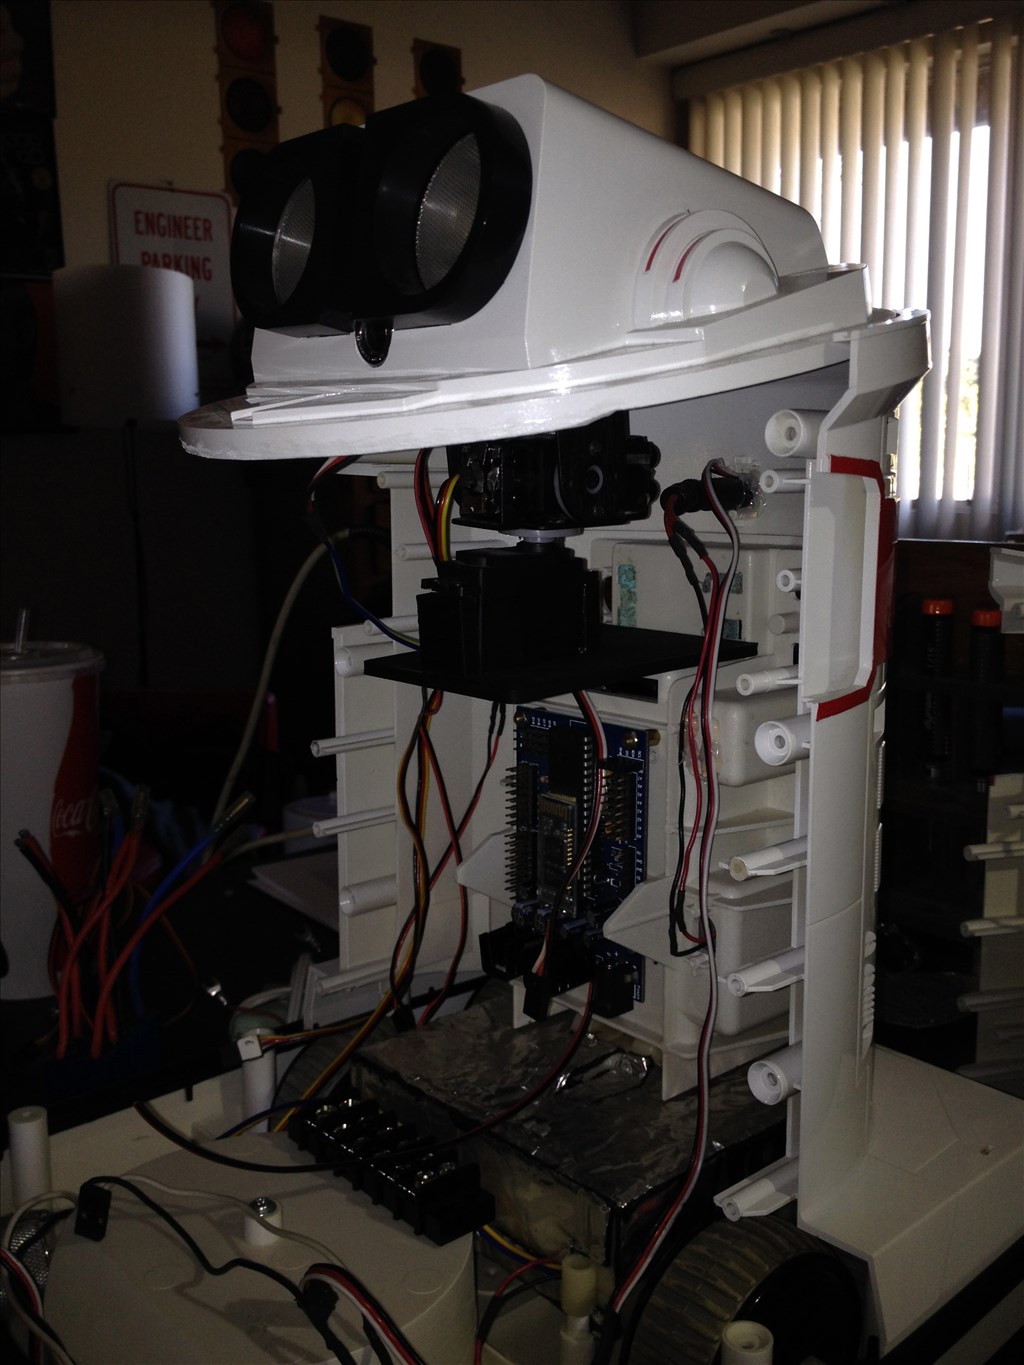
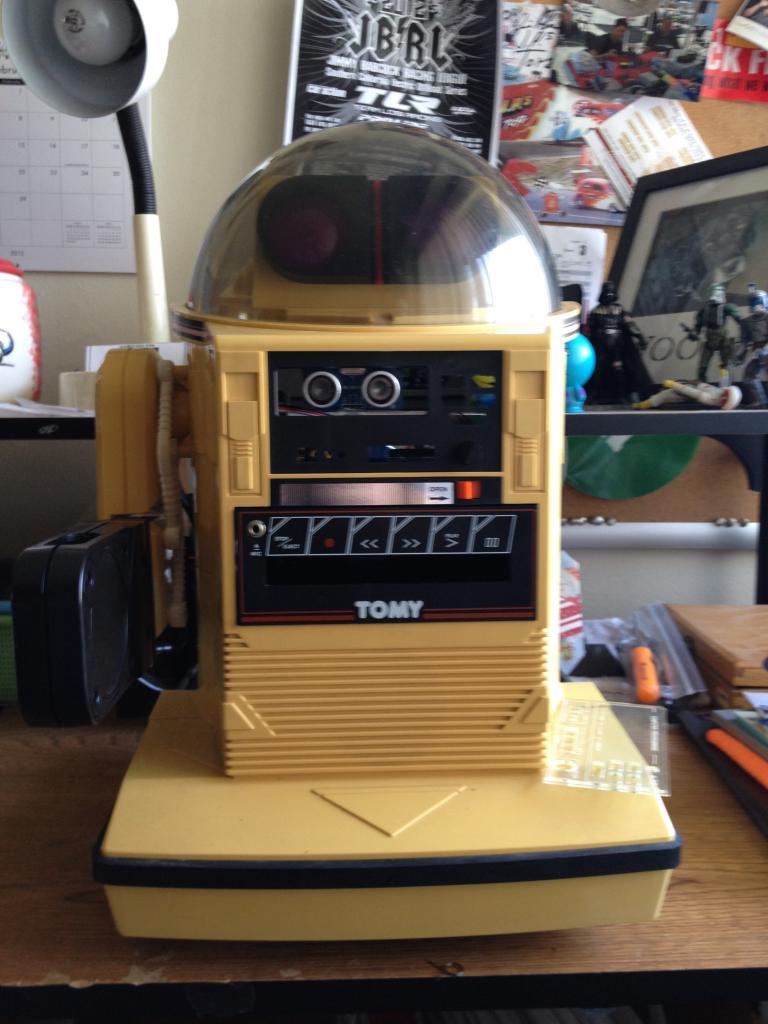
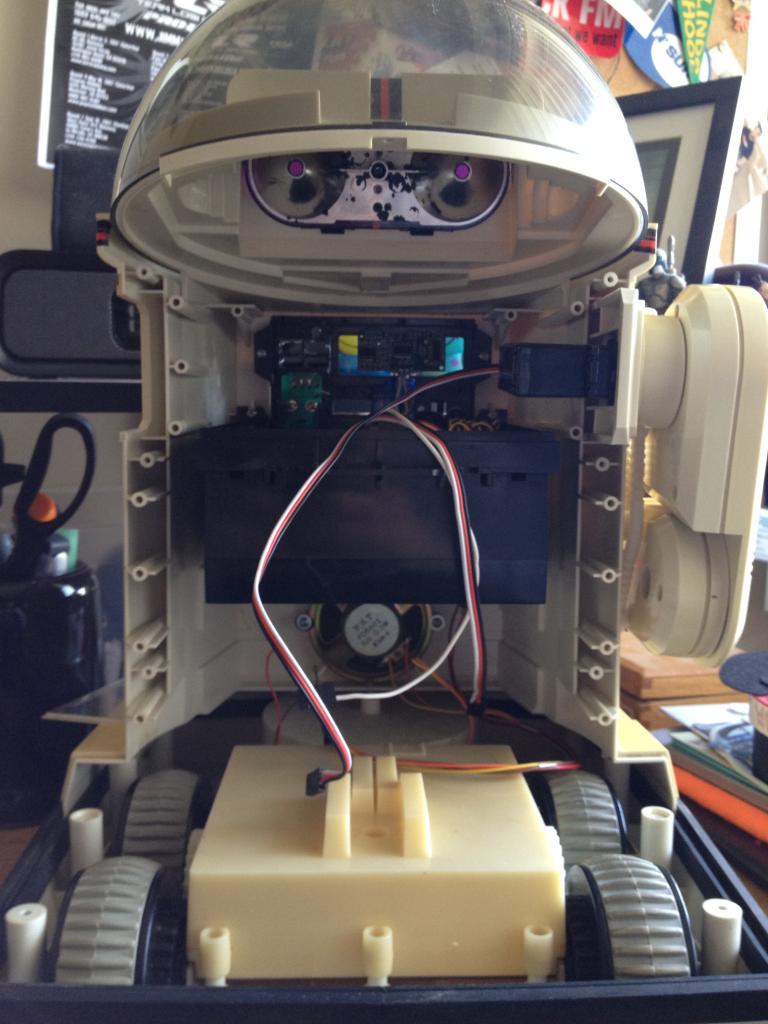
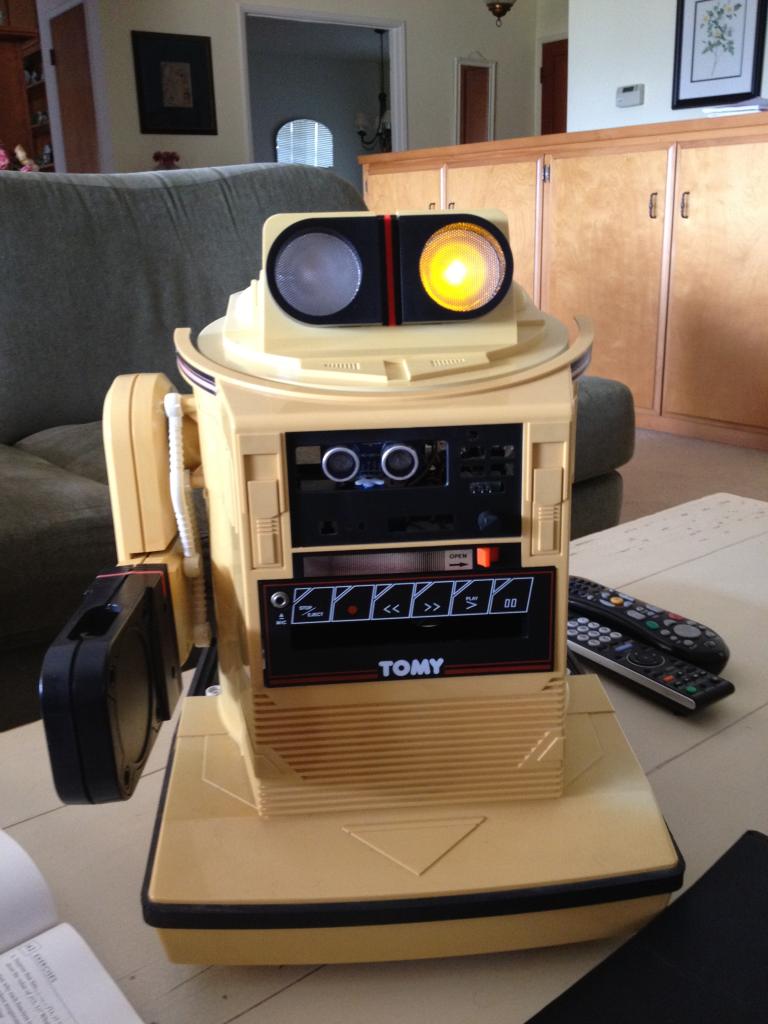
This is my Omnibot Tomy. I haven't really been able to work on him much, but I've been collecting a lot of parts. I have the camera working now, even though it isnt mounted yet. The radar and corresponding servo is working well. Still waiting for Dj's motor controller to come back in stock to get him moving around. He's definitely a work in progress that I'm taking my time with. Im going to leave him yellow. I was going to paint him but the faded and dyed plastic actually kind of grew on me.

User-inserted image

User-inserted image

User-inserted image

User-inserted image

PS he has the other arm.. its just in pieces at the moment...

I resolved the camera problem that I was having earlier. Now however, I'm having trouble getting the ezb to connect to the computer. If I open a new project it connects just fine but then eventually has the same problem. I cant seem to get the ezb to connect while in my projects folder. Do you think its a problem with my blue-tooth or how i am formatting things? Any suggestions would be great.

Thanks Aaron

By — Last update

ARC Pro

Upgrade to ARC Pro

Elevate your robot's capabilities to the next level with Synthiam ARC Pro, unlocking a world of possibilities in robot programming.

Ecuador
#1  

mmmm!! you have to add Your Ez-Robot in the part of bluetooth devices on windows.... later you have to try in all COM Ports in ARC!,.... Good job!! Good Luck! I hope a video:)

(sorry if my english is bad :/) (I try to Help this community:)

#2  

I think he is looking great! Keep up the good work.

United Kingdom
#3  

I like the fact his dome looks perfect and the rubber tyres are in good condition as well. I used a Sparkfun H bridge for mine works great but takes 4 EZ-B Connections

Keep us upto date with progress looking good

Canada
#4  

Hi Aaron, I tried out the spark fun Hbridge, but I used it with PWM control and eventally it blew up:) I then found this to run my track bot with 2 motors:

VEX motor controller

I had to buy 2 (1 per motor) but they are not too expensive and have held up great so far. I use them with ARC regular servo control, so you can get PWM control and best of all it only uses 2 ports on the EZB board. P.S. I did run them off of the EZB power and found the heat sink got warm, I have since switched to using to half amp regulators (1 for each controller) and have no heat issues.

#5  

Hello everyone

I've been doing a ton of work on my omnibot the past couple of days! I was also able to order the 2.5 amp h-bridge from Dj so I will be wiring it up as soon as it arrives. I will post some new pictures of my progress tonight when i am home.

I am still having a problem with the connection of my ezb. I have had to open 3 new projects and redo everything because I cannot seem to keep it connected. If I accidentally disconnect it with the power on, or the batteries are low, or it will disconnect on its own. Then I will try and reconnect with the board but it never will again. And the connection button becomes frozen. I will open up a fresh blank document and it will connect again like normal. I have tried re-installing the program and disconnecting all the wires to the board itself and trying to connect to the file again but it still will not reconnect again. it is almost as if something is corrupted with the specific project file. I really don't want to keep starting over again on the programming lol

Does anyone have any suggestions?

I will be posting new pictures of my progress soon!

Thank you Aaron

Canada
#6  

I think the easiest way would be to zip up your project and have someone try to open it and connect. That would verify if it's your project file or something else on your computer.

#7  

Here are some new pictures of the progress i have made. Hoping the video of his front scanner light works

User-inserted image

User-inserted image

User-inserted image

User-inserted image

#8  

Today during my lunch break at work I decided to run to my favorite electronics store and buy some more goodies to continue fine tuning Tomy's wiring.

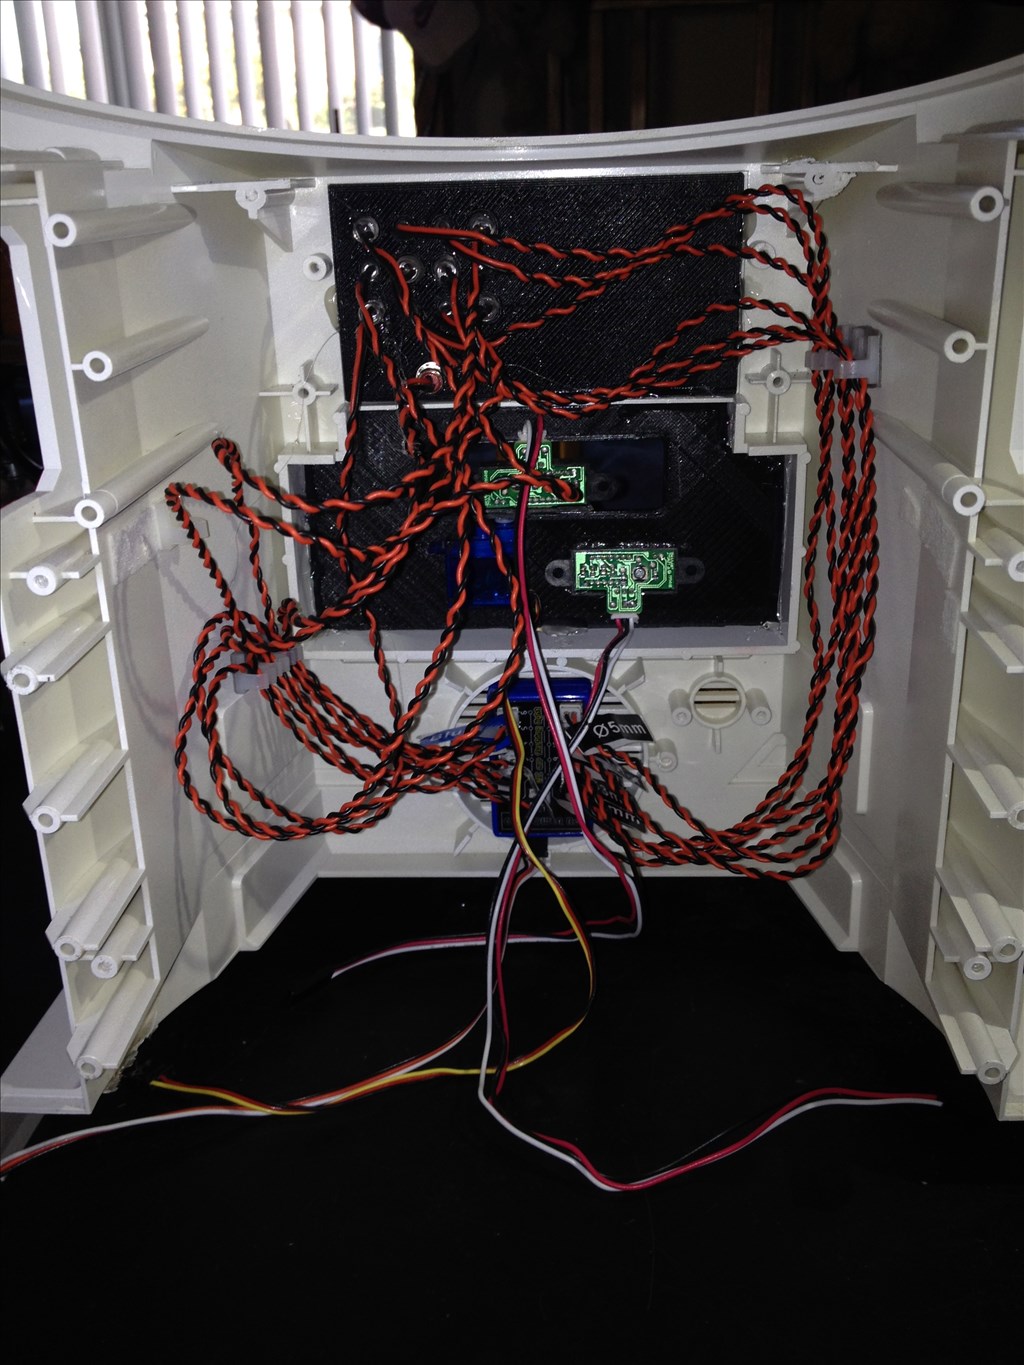
The ezb will be put into the front tray like in previous pictures, but i had to take it out for easier access mounting the motor controller. I still need to drill and mount the IR sensors on the front corners for edge detection. The board will get put back in the tray once they are mounted and the front gets bolted back on. I changed the wiring for many of the components and decided to try and use a breadboard to distribute power.

Here are a couple pictures for some of what I had accomplished tonight:

User-inserted image

User-inserted image

#9  

I see that you took advantage of.some dynamat on the gearbox. Fyi getting tons of grease from.lowest and covering the gears with it reduced sound for me too. Cool man!

#11  

hey guys. It has been a really long time since I have posted on my robots progress. I have a few updated pictures for everyone. his arms and grippers are on the way in the mail! I also have an idea for for one of the grippers. Plan on making making a coffee ground/balloon gripper. We will see if i can get it to work! :D

I was planning on trying to use the original arms, but they weren't very functional and seemed really limited. With his new arms it should be able to pick up or hold anything within the limits of the servos.

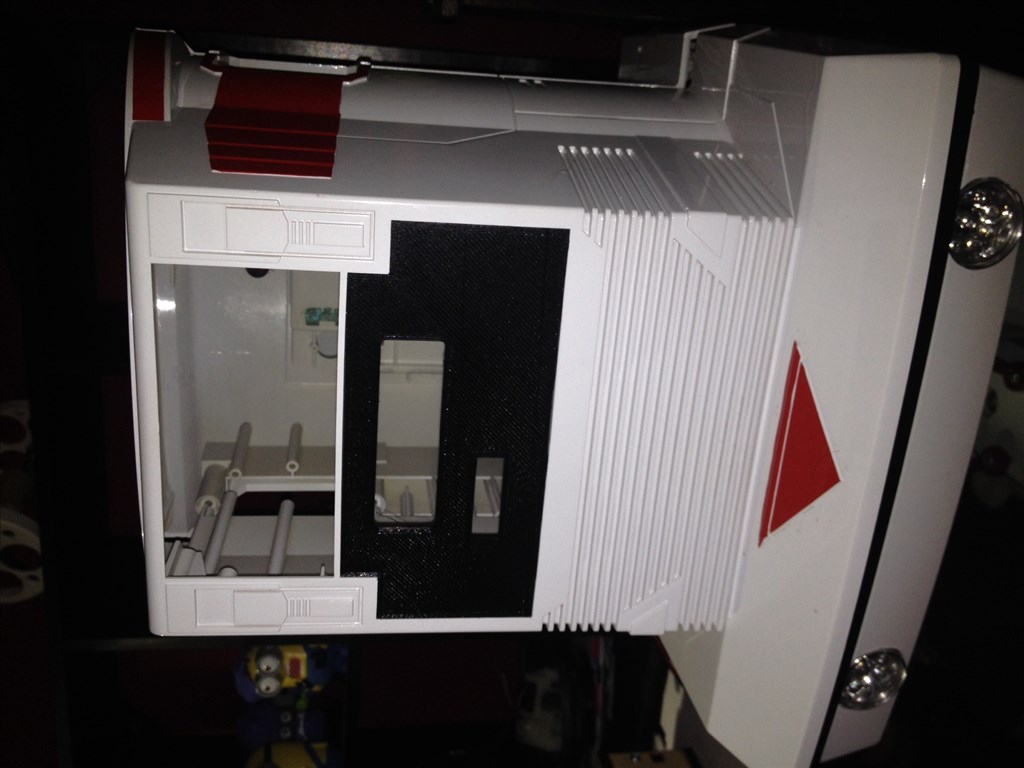
I painted it white with rustoleum plastic paint. The red is just a cheap vinyl that I cut out with an exacto-blade around the raised edges.

User-inserted image

User-inserted image

User-inserted image

User-inserted image

#12  

Hi. I noticed you removed the rubber.bumper. I have a piece that goes there and mine is plastic instead of rubber that eventually rots. I also have a white tape player and lcd bezel that would better match your robot. Also i make new treads for the wheels if yours are melted or rotting off the hub.

#13  

If your interested in any of those my.email is kandyred@gmail.com your bot.is looking great. I cant wait to see your new grippers on them.

#16  

I think he added some running lights of some kind on the front of the base

#17  

thank you for the kind words!

I had to take the rubber bumper off because it was cracked and falling apart. I would definitely be interested in the plastic piece and new tires. I will have to email you when i get home later.

I'm not sure how the white from pieces would look. Are they from your 2000? I don't know if that would be too much white or not

Thank you for those video links. I was thinking of mounting them in a similar way. It really helps to see it done before you go hacking it up haha

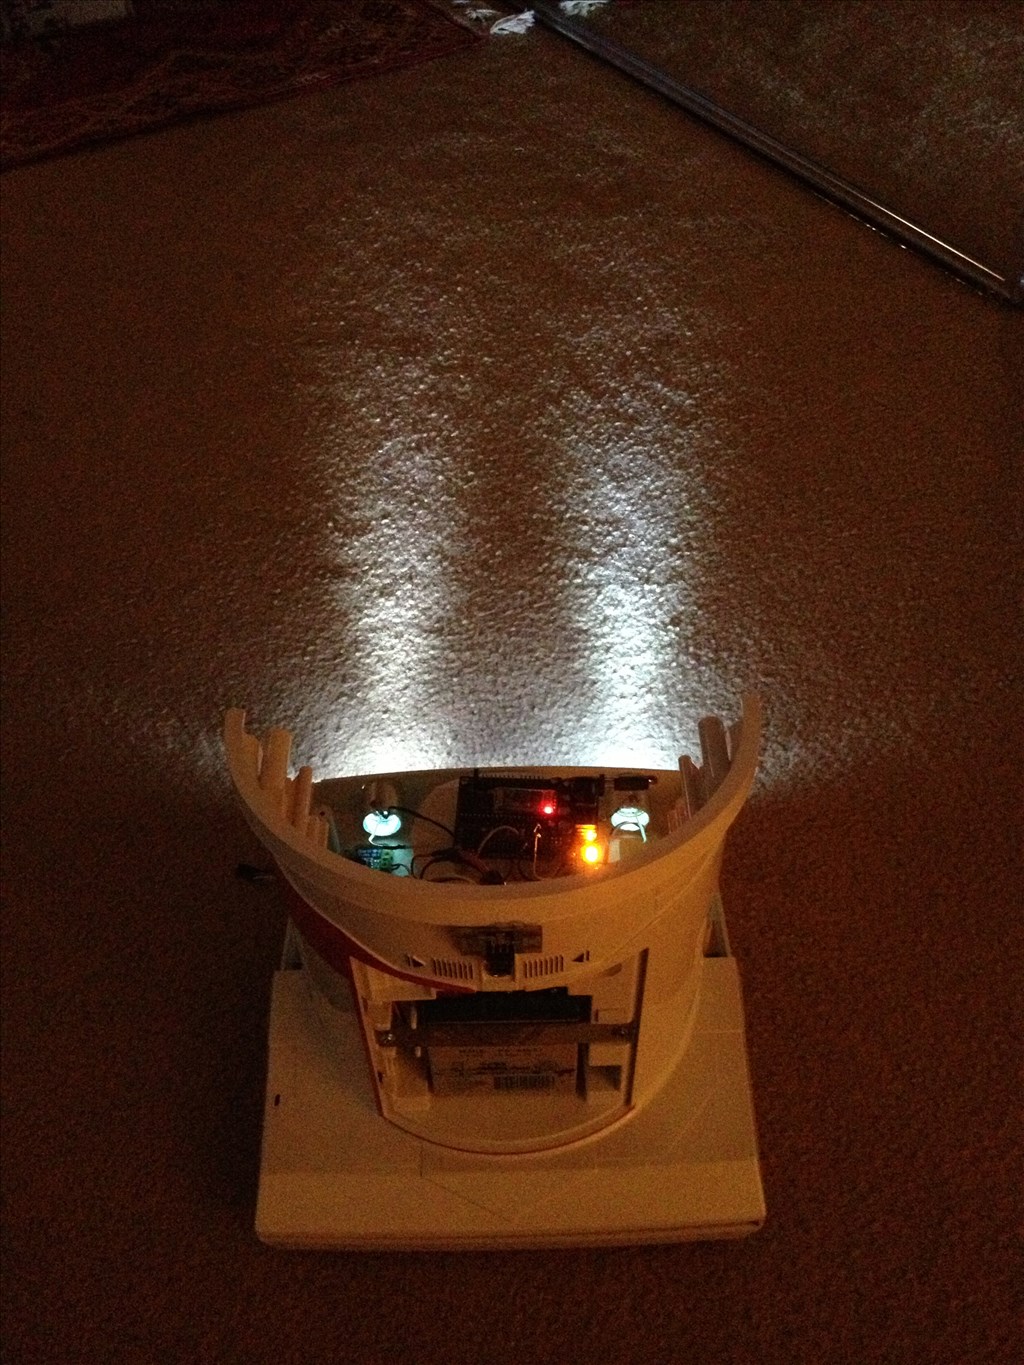
I actually copied your idea for the lights ;) After I saw it on your thread i went searching and found them at the 99cents store. I used a light sensor to activate them whenever he goes into a dark room. They don't do anything for the camera but it sure looks cool

#18  

the biggest problem I am having right now is keeping up with all of these updates to ARC! I'm not a programmer so its all a little confusing terminology speaking. But i usually understand the idea.

I think i am going to scrap my existing project and start fresh with all of these new features (if i can remember what they all are). i feel like it would be too confusing trying to convert everything over and end up getting lost/frustrated

#19  

Cool thats awesome. Your welcome to steal any idea you want lol. Helping others with their robot is just as fun if not more than building my own! i think the matching tape deck and computer panel around where the lcd is would clean up the look. You worked really hard to make it look good it might ad well match. When you email me ill send back pics of the parts. I have pics of treads but i make those to order. As a matter of fact i will make yours red to match your robot for no additional cost. I make mine from silicon so they wont rot and stay elastic and will not scratch your floor.

#20  

Nice job on your omni it looks sharp with the red accents. I'm just getting started on my omni and will also be doing attilt pan head set up. How did to get the cuts so clean around the head?

#21  

Thank you

The best part for me is that the red is vinyl. if I get bored of the color I can always replace it with another.

I used a Dremel with a sanding drum. It took a little while but im happy with how clean it came out. My omnibots head doesn't really move all that much vertically... I may try and find a way to get more articulation. The pan/tilt assembly on the head makes a huge difference for the robots personality!

#22  

I agree with you on the head making a huge personality difference! here is the white bezel and tape deck i havent whipes them off or cleaned them. The sticker arrangement and tomy logo are the same so it.keeps the.tomy style but makes it cleaner.

User-inserted image

The tires would be the same red and the plastic bezel that replaces the rubber is black.

#23  

@robot56 do you still have the omnibot dome? I have been looking for one.

#24  

Coolest addition to my project yet! Thank you jstarne1

#25  

User-inserted image

New red tracks are in the oven;)

Germany
#26  

Hows it going with your project?

#27  

User-inserted image

Hey buddy you have treads on the way! Custom red and OEM grey

#28  

@ jer361 use a cutting disc and cut it horizontally , cutting just the lip off from the bottom makes it look clean.

User-inserted image

#32  

thank you! it has been a long time since i have made any modifications to my omnibot. However, we just put in wood floors and my parents are already complaining about cleaning the floors so i am considering turning him into a roomba like robot (what a perfect excuse to spend money on my robot;) ). I was looking at jstarne1's squeegee project for inspiration but mine would be less dedicated to being a roomba. i plan to allow mine to be a plain omnibot with cleaner and sprayer attached to the body

#33  

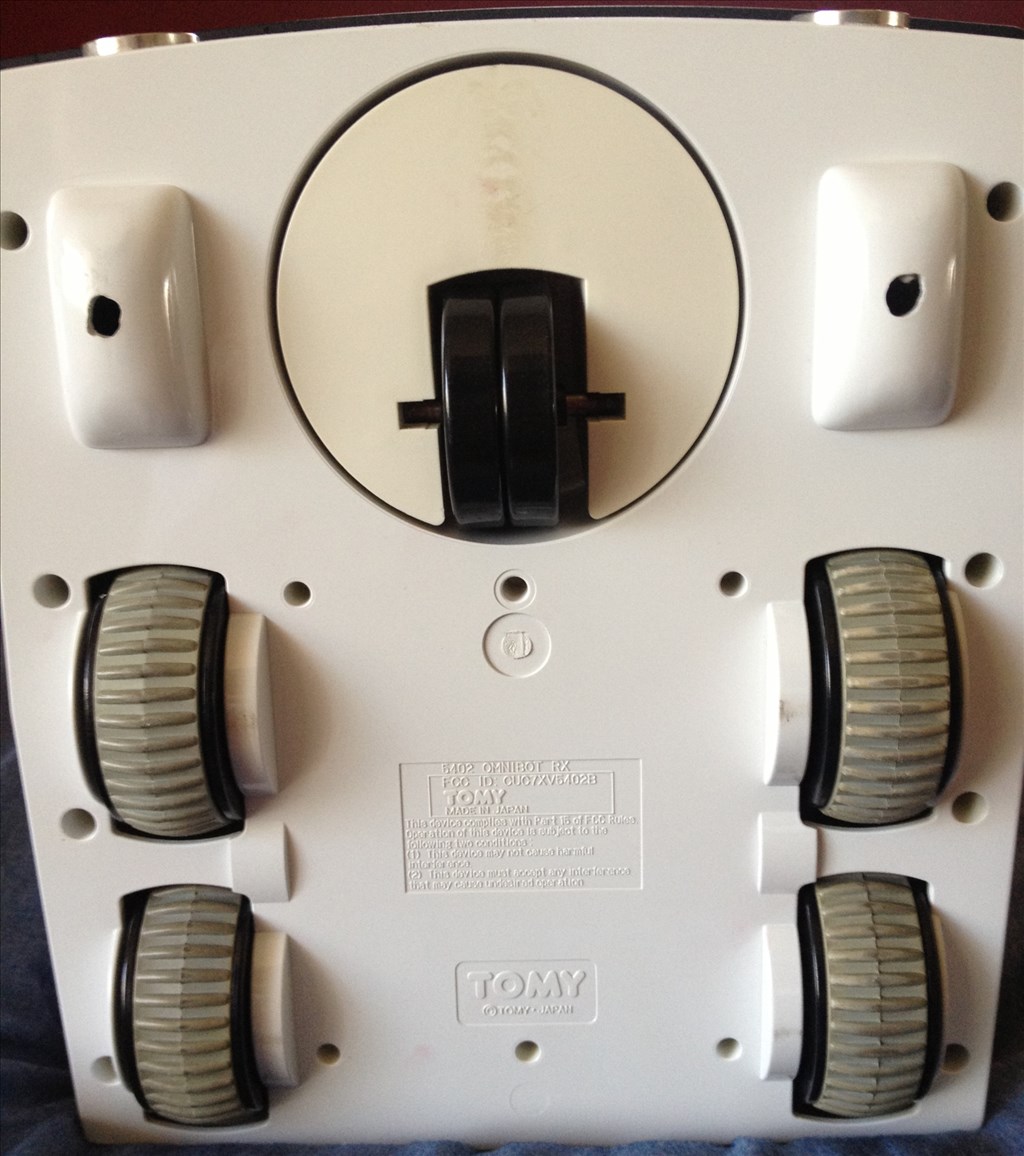
I was wondering about your base. On the Omnibot2K , it has two extra wheels. Yours seem to have a swivel and castor. Or did you put that on there? I would like to see more.

#34  

User-inserted image

my omnibot has only 4 wheels and a single caster in the front. I think they added the extra wheels on the 2000 because the robot was taller and heavier. the caster isn't the most ideal design in that when the robot stops it leans forward on the the caster and then rocks back down to the rear wheels

United Kingdom
#35  

Hi I have the same Omnibot model you have and I put some lead in the back to weigh it down and that stops the rocking motion. I got very frustrated with the noise of the motor drive and gears so I ordered some small metal geared motors and mounted these inside the drive box and threw away all of the plastic gears. They were virtually silent in operation but too slow as I got 40 rpm motors and really needed double that speed if not 100 rpm. So I'll get some others and try them but ideally the whole drive mechanism wants replacing as the front caster wheel is effective but primitive and on mine has a tendency to squeak as there are no bearings to speak of

Great job on yours :)

#36  

Wow i didn't think of adding ballast weight to the back... the lead is a really really good idea!

do you by chance have a link to the gears and motors that you used? I would be really interested in quieting down the drivetrain

United Kingdom
#37  

The motors were sourced through Amazon Uk site the ones I used were 6 volt 40 rpm not really fast enough and need slightly more torque. The supplier in china is Hossen and you can get them on Amazon in the US. Or Solarbotics supply similar products just not tried them. Just needs a solution to either connect them directly to Omnibots wheels or via a gear mechanism. They are blissfully quiet though if I get sometime tomorrow I'll post a quick video of my Omnibot where I just glue gunned the motors into the drive box and connected them via the one gear to both wheels

Updated with short video tracking to a red ball (must remember to video in landscape mode on my Iphone) The clicking is the servo driving Omnibots head

#38  

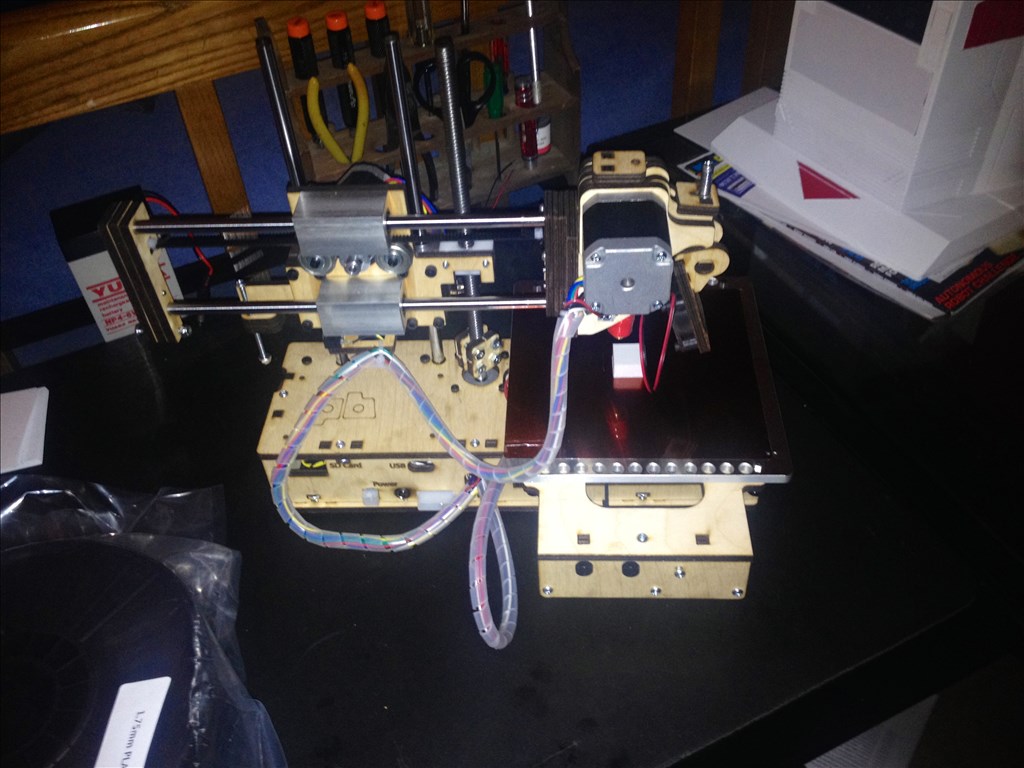
happy birthday to me! lol my Omnibot is constantly changing and being improved upon so hopefully i can get the hang of this 3d printing thing quick:D

User-inserted image

#39  

User-inserted image

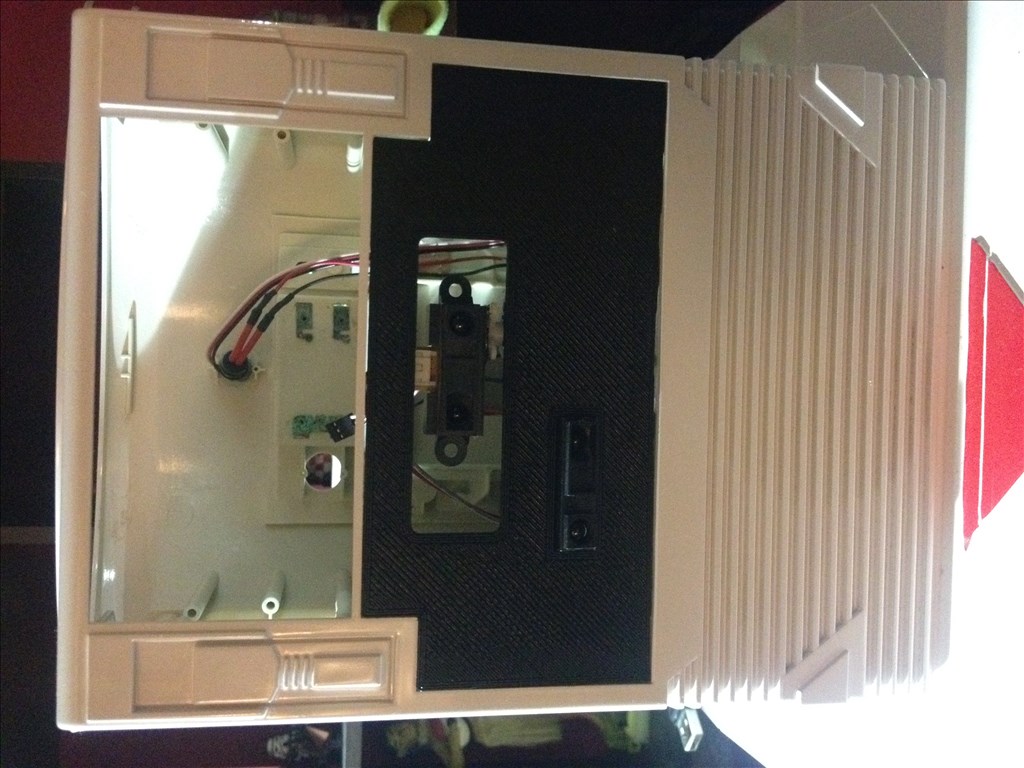
my first official print for my omnibot! I replaced the tape player with a panel that holds the sweeping and cliff IR sensors. getting rid of the tape player creates way more room inside of the body

#40  

User-inserted image

I got the IR sensors all mounted into the front plate. now to figure out what i want to do with the upper opening :D

#41  

I have no idea why the pictures are being formatted sideways? stress

Netherlands
#42  

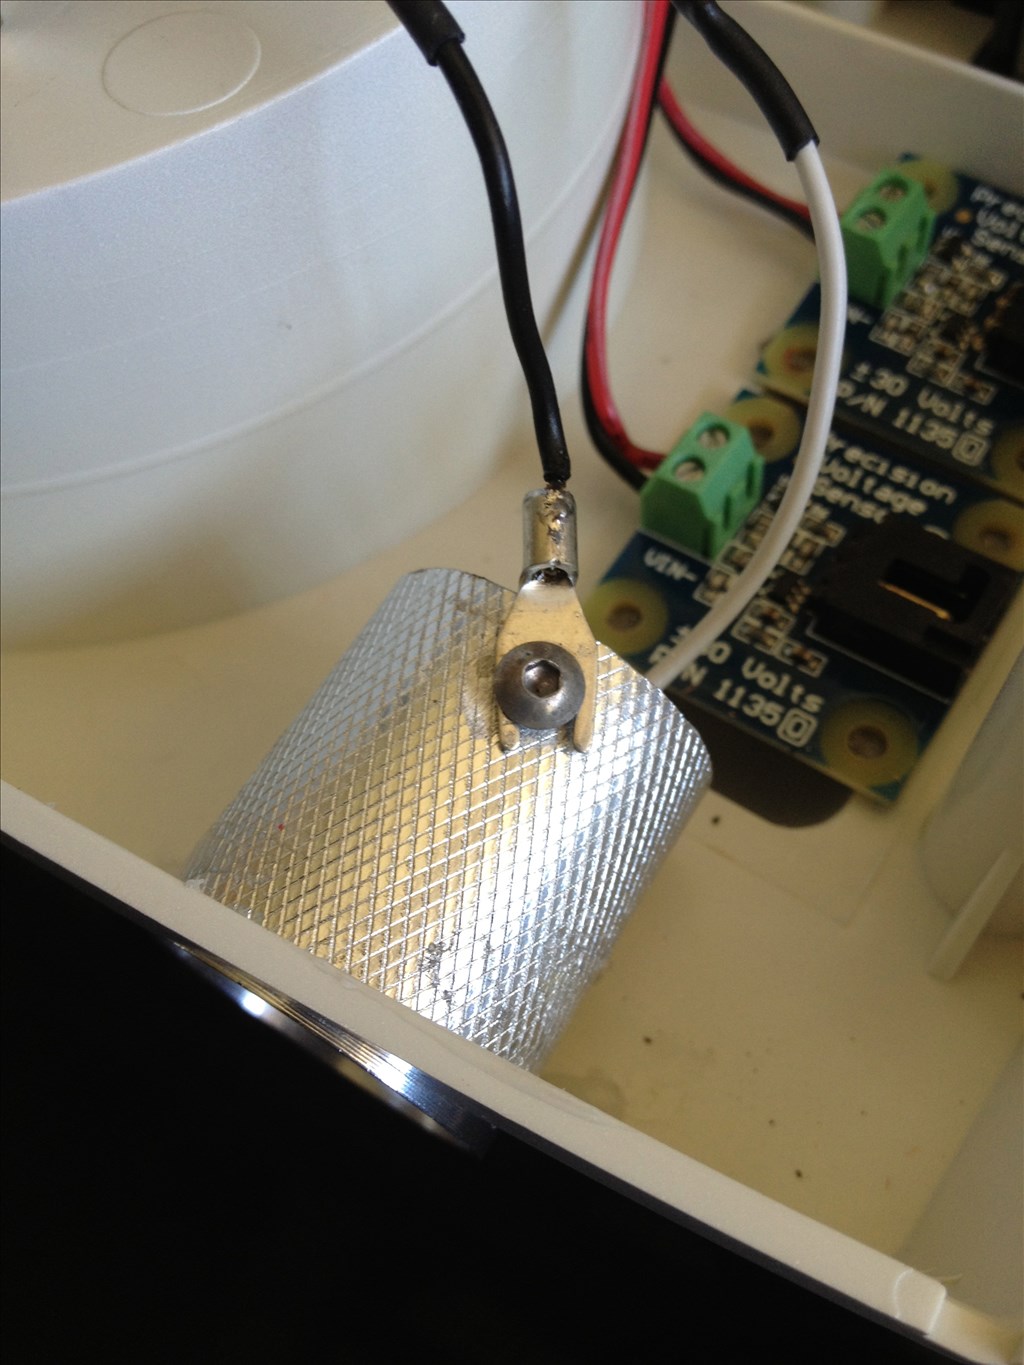
Cool front plate! I laser-cut one with a voltmeter and ammeter. By the way, there is no such thing as 'just another omnibot'. They're all unique:D

For rotating, you can view the file in windows explorer, right click on it and choose 'rotate left/right'.

#43  

Thank you Niek! How is the rebuild to your omnibot coming along? Have you made any changes since updating your thread?

I made the title a long time ago when it seemed like everyone was working on an omnibot... But yes I agree that no two ez-powered omnibots are the same

Netherlands
#44  

I've been busy rewiring him to make it a bit neater. I've also glued in my front plate and replaced the battery:)

#45  

User-inserted image

User-inserted image

User-inserted image

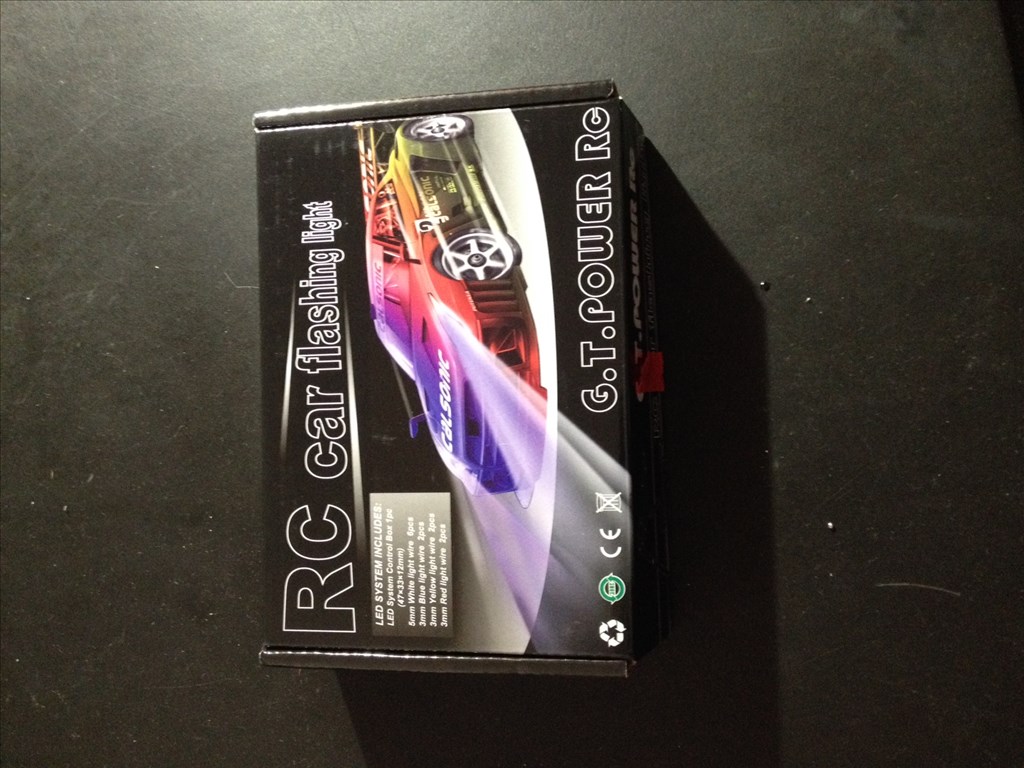
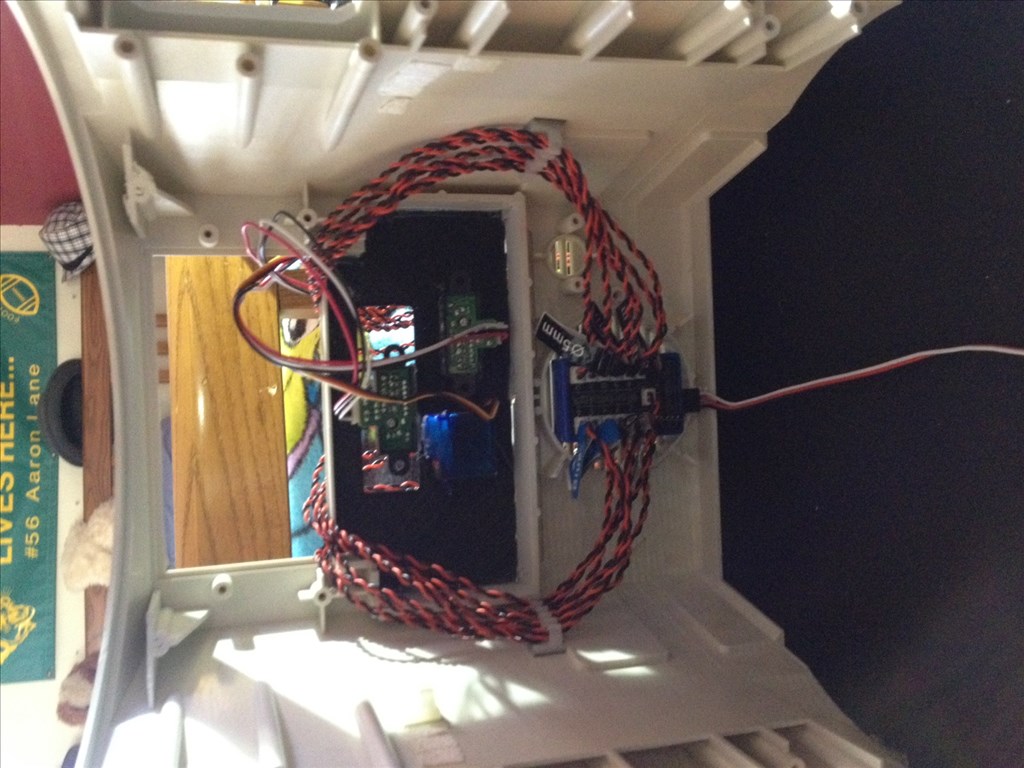
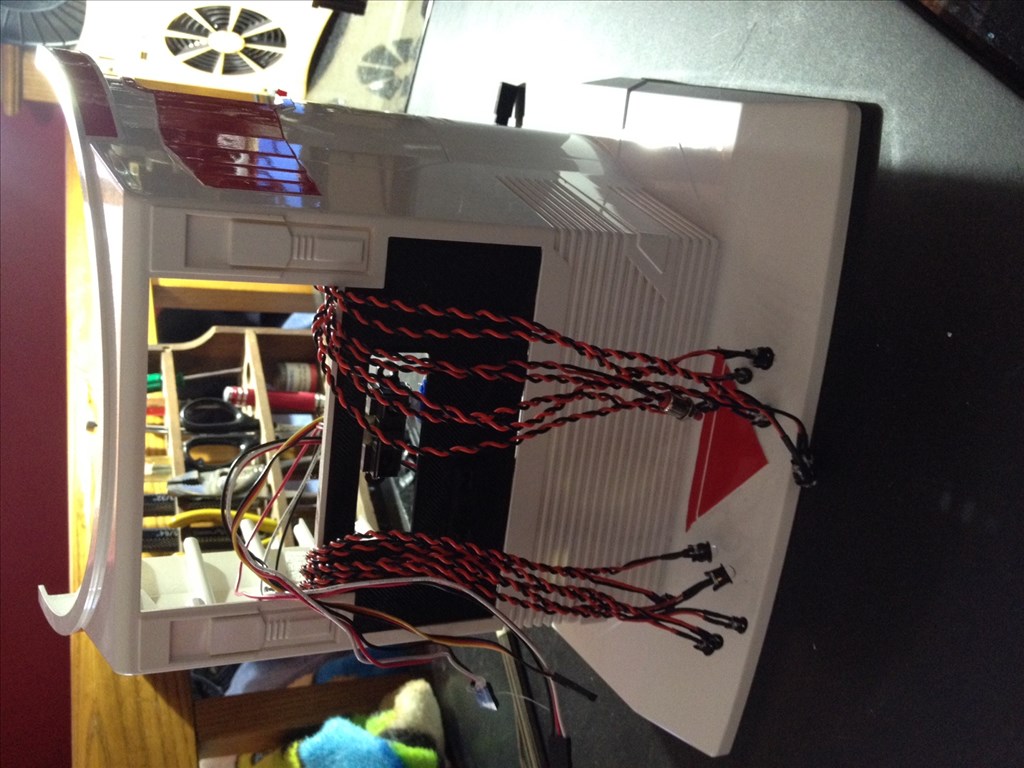
My front panel lights finally came in! I have to print an upper plate that houses all of the lights but Im so glad this thing is prewired and will only use one digital port!

#46  

User-inserted image

User-inserted image

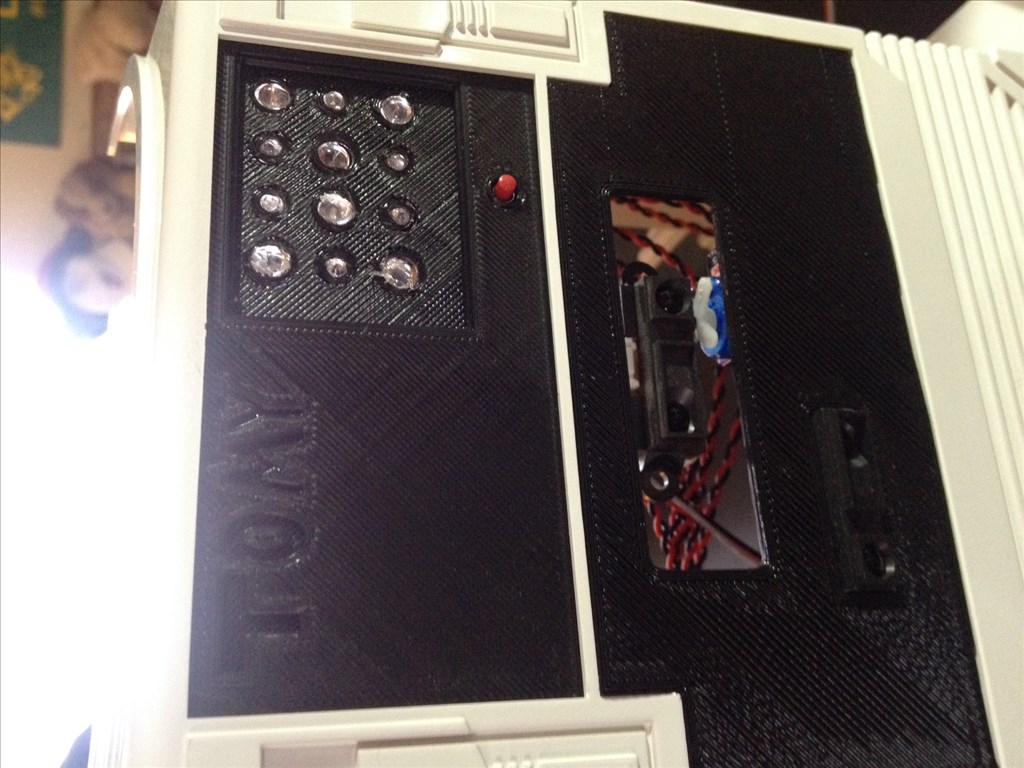
I got the upper panel printed out last night. I just need to add the the tinted plate for the front of the led's and the paint in the TOMY lettering :D

I will post a video of the lights when everything is all painted and mounted properly

#47  

i think my iphone is the issue with the sideways pictures... ive tried editing them but no change. I will have to use my regular camera from now on... eyeroll

#48  

User-inserted image

User-inserted image

User-inserted image

User-inserted image

User-inserted image

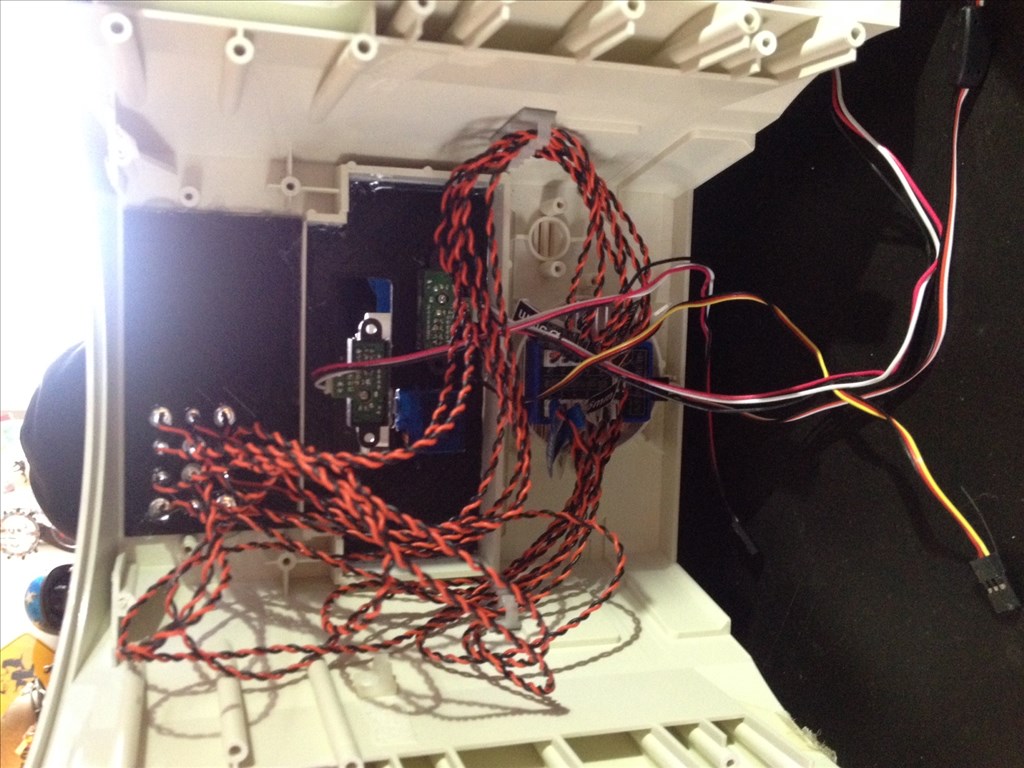
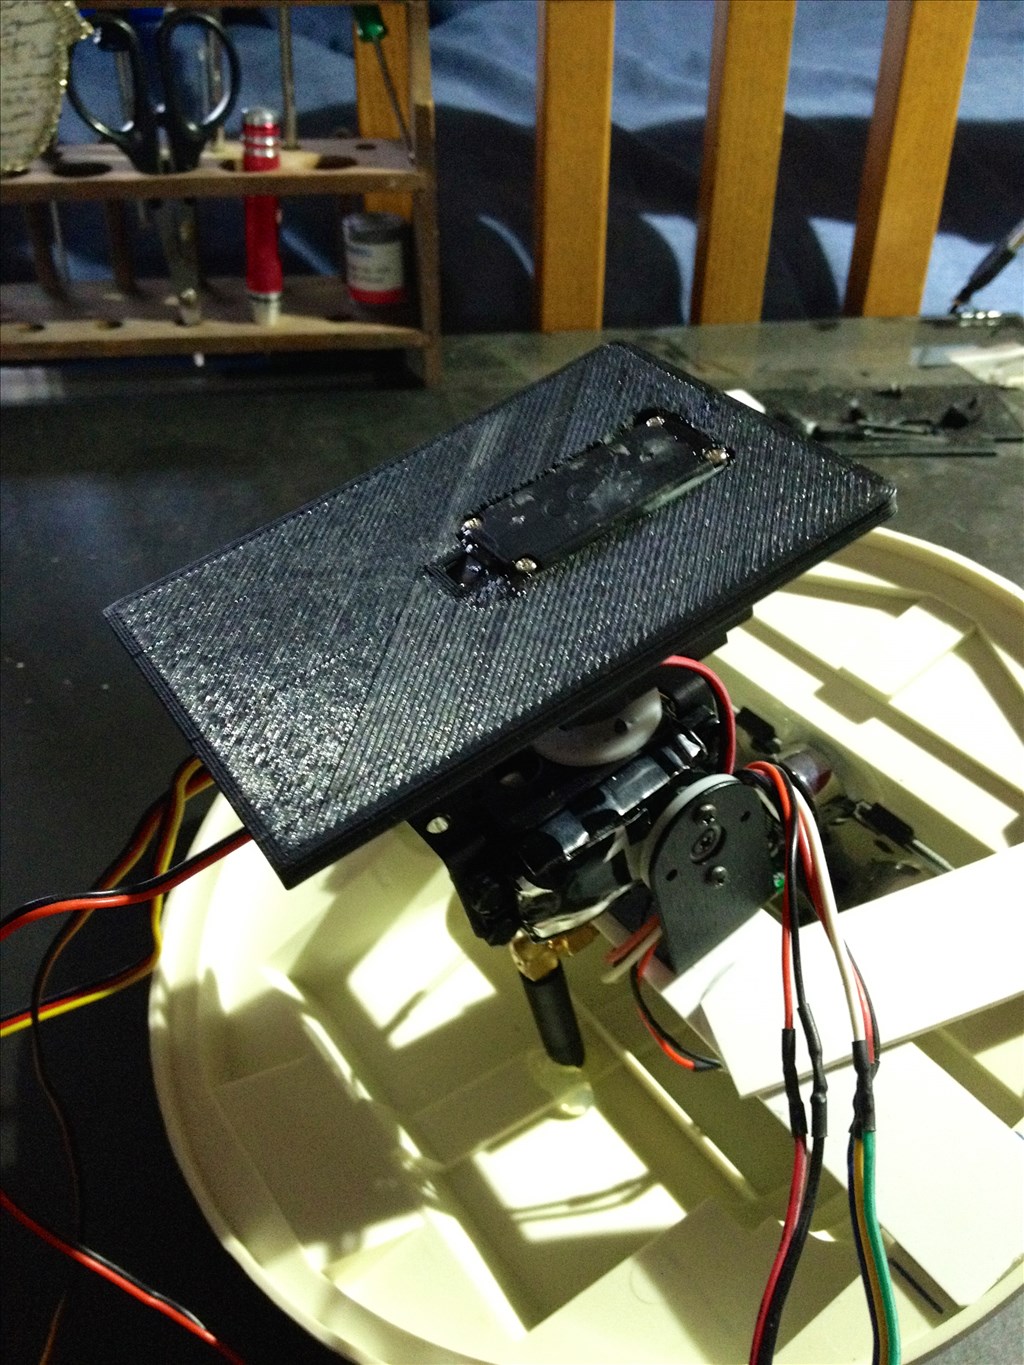
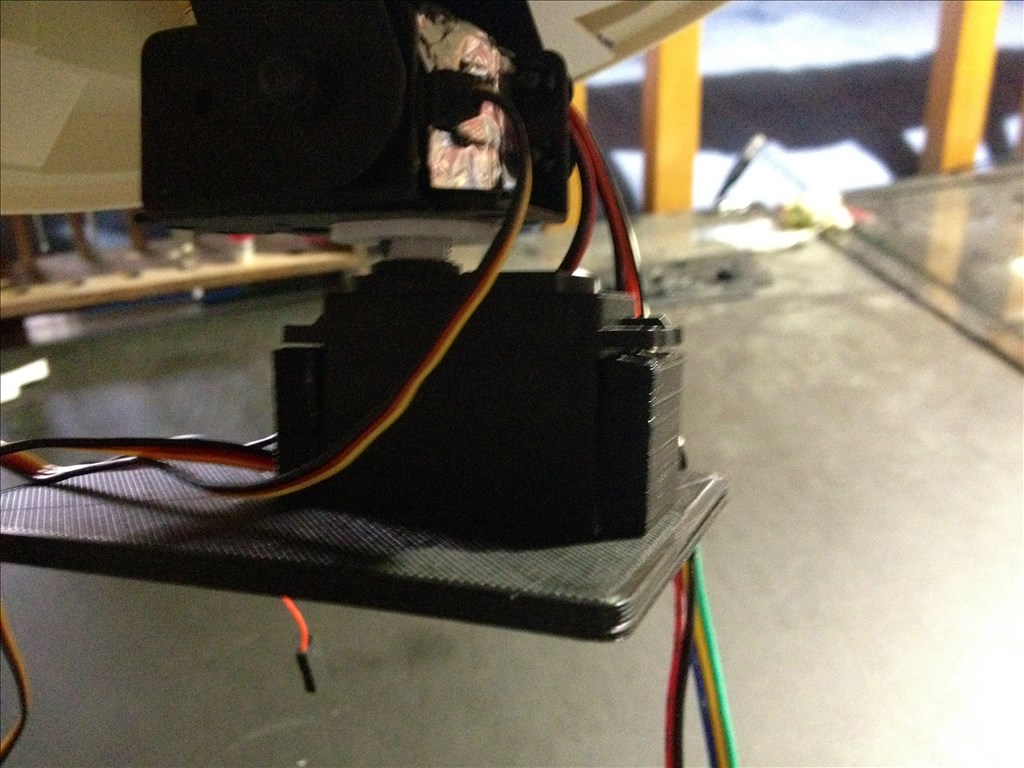
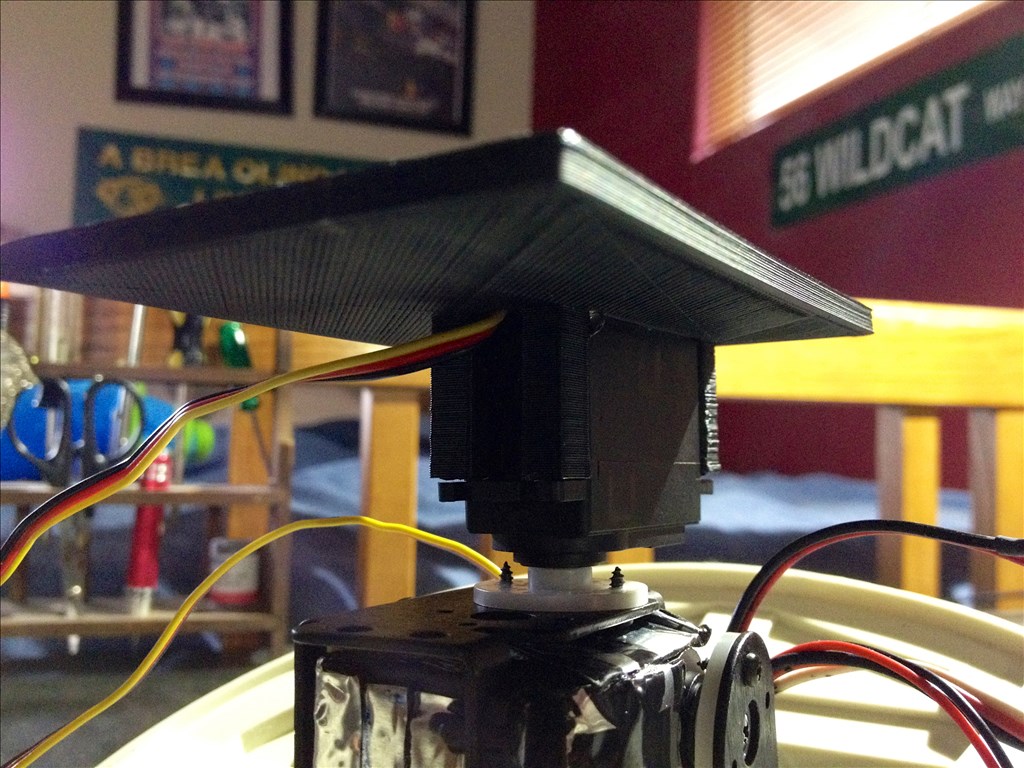
I printed a new head mount for my Omnibot tonight. Really happy with how it came out and cradles the servo

#49  

Mounted the V3 board in the body today. decided to stick with the V3 because its what I intended to put in my project from the beginning and my next project will need both of the V4's i ordered:D

Also got half of the front paneling wires organized!

User-inserted image

User-inserted image

User-inserted image