
Hi there, my name is Tez, I have just completed EZ-Robotifying my G15 KS. Not a technical term but sounds good anyway. All the servos are now EZ and are controlled by the EZ-B v4 controller. The motors that allow the G15 KS to move around are now powered separately by a Sabertooth 2x12 which in turn is also controlled by the EZ-B v4 controller. A camera is present a shown in the images below. In addition to the camera is a Sharp HC-SR04 that is being used to help the ex-meccanoid now know as Jeeves to avoid objects. The meccabrain still remains within the frame as it may be useful later on in drone mode. I am awaiting my EZ grippers to replace the original plastic static hands. I also have a Revolution JD. Kitted out in a similar fashion to Jeeves (ex-meccanoid). Both robots are being used in conjunction with Emotiv EEG headsets. As my aim is to control them using just thought. I can get both robots to carry out actions by facial movements and eye blinking and winking. Pure thought is proving to be a bit difficult. If it was easy it probably wouldn't be worth while. I hope that the images below will show clearly what I have done so far. There is a long way to go yet.
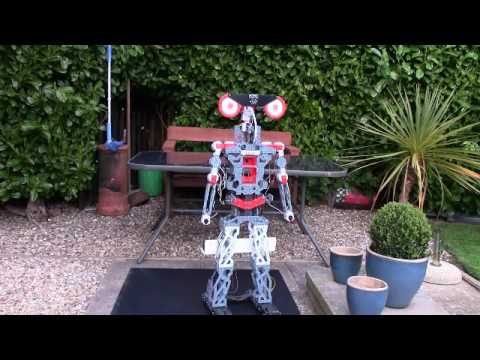
This is Jeeves.
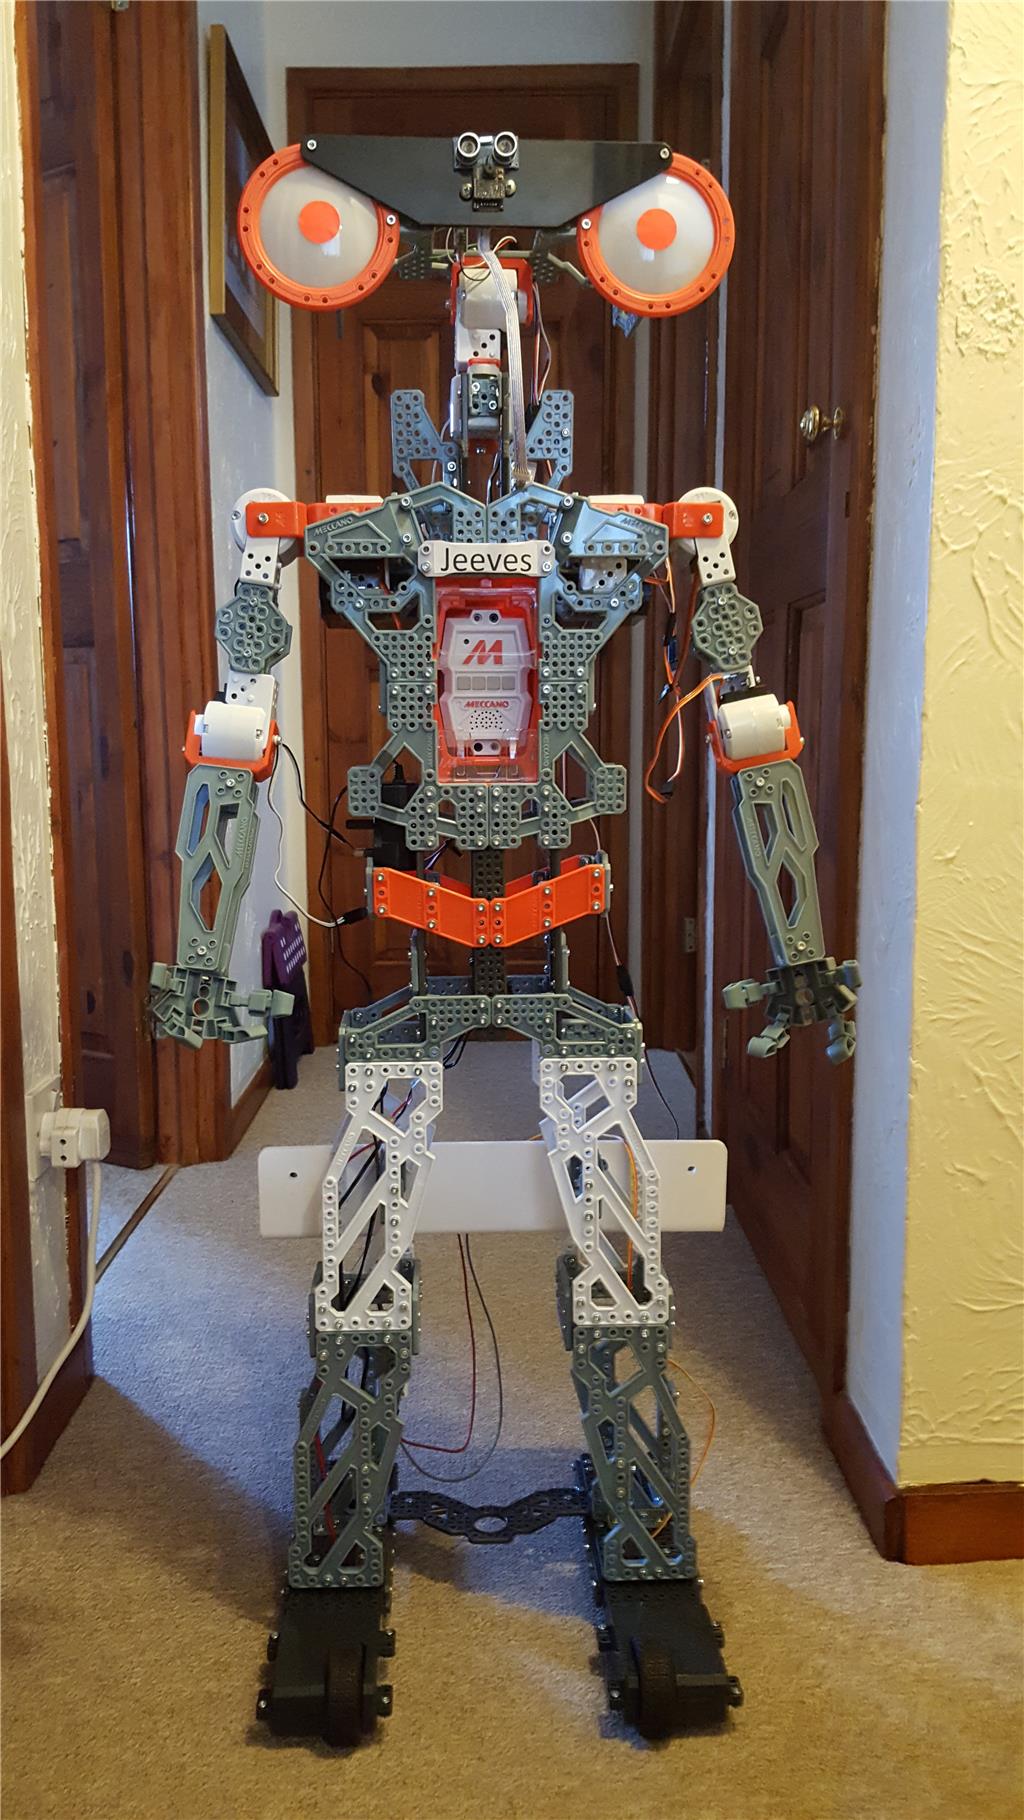
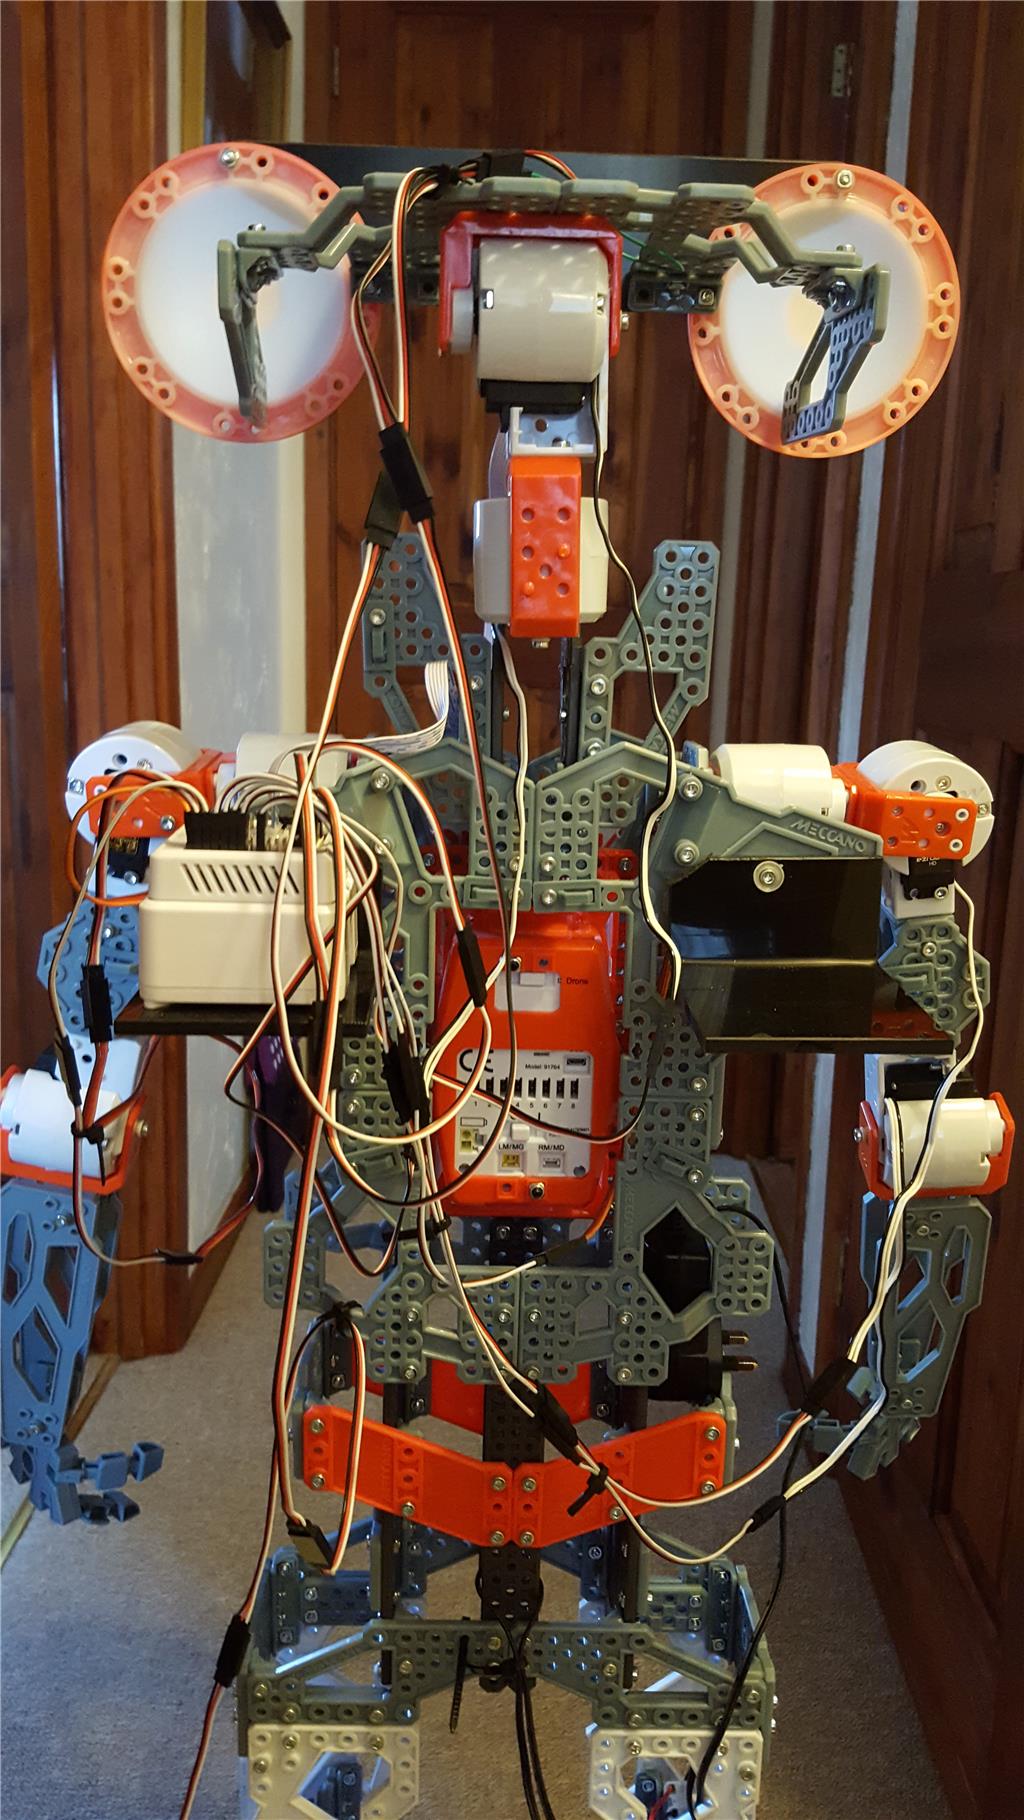
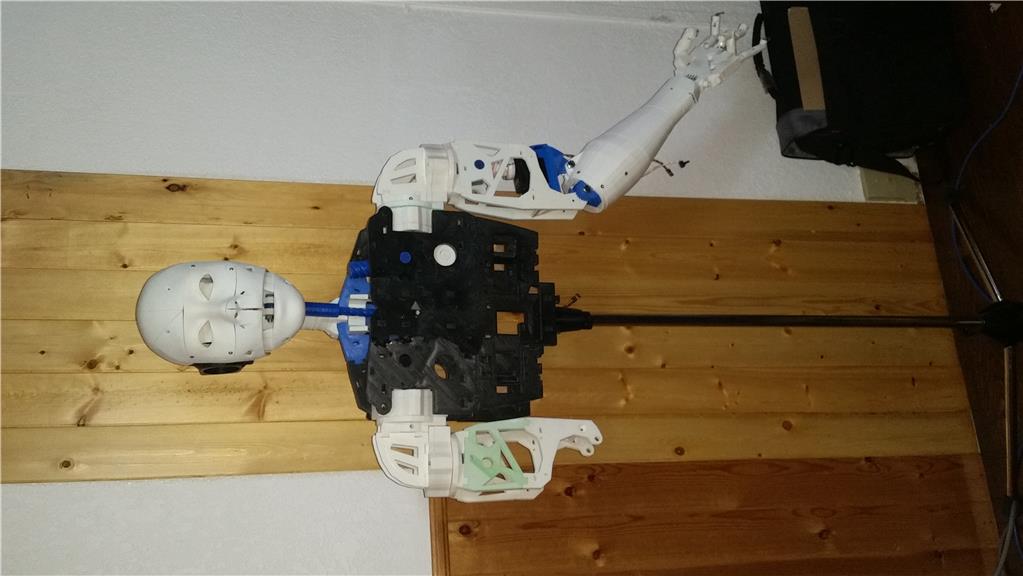
This close up shows my modifications to install a camera and distance sensor. I have also changed the arrangement of the neck and head servos to allow Jeeves to nod vertically for yes and horizontally for no.
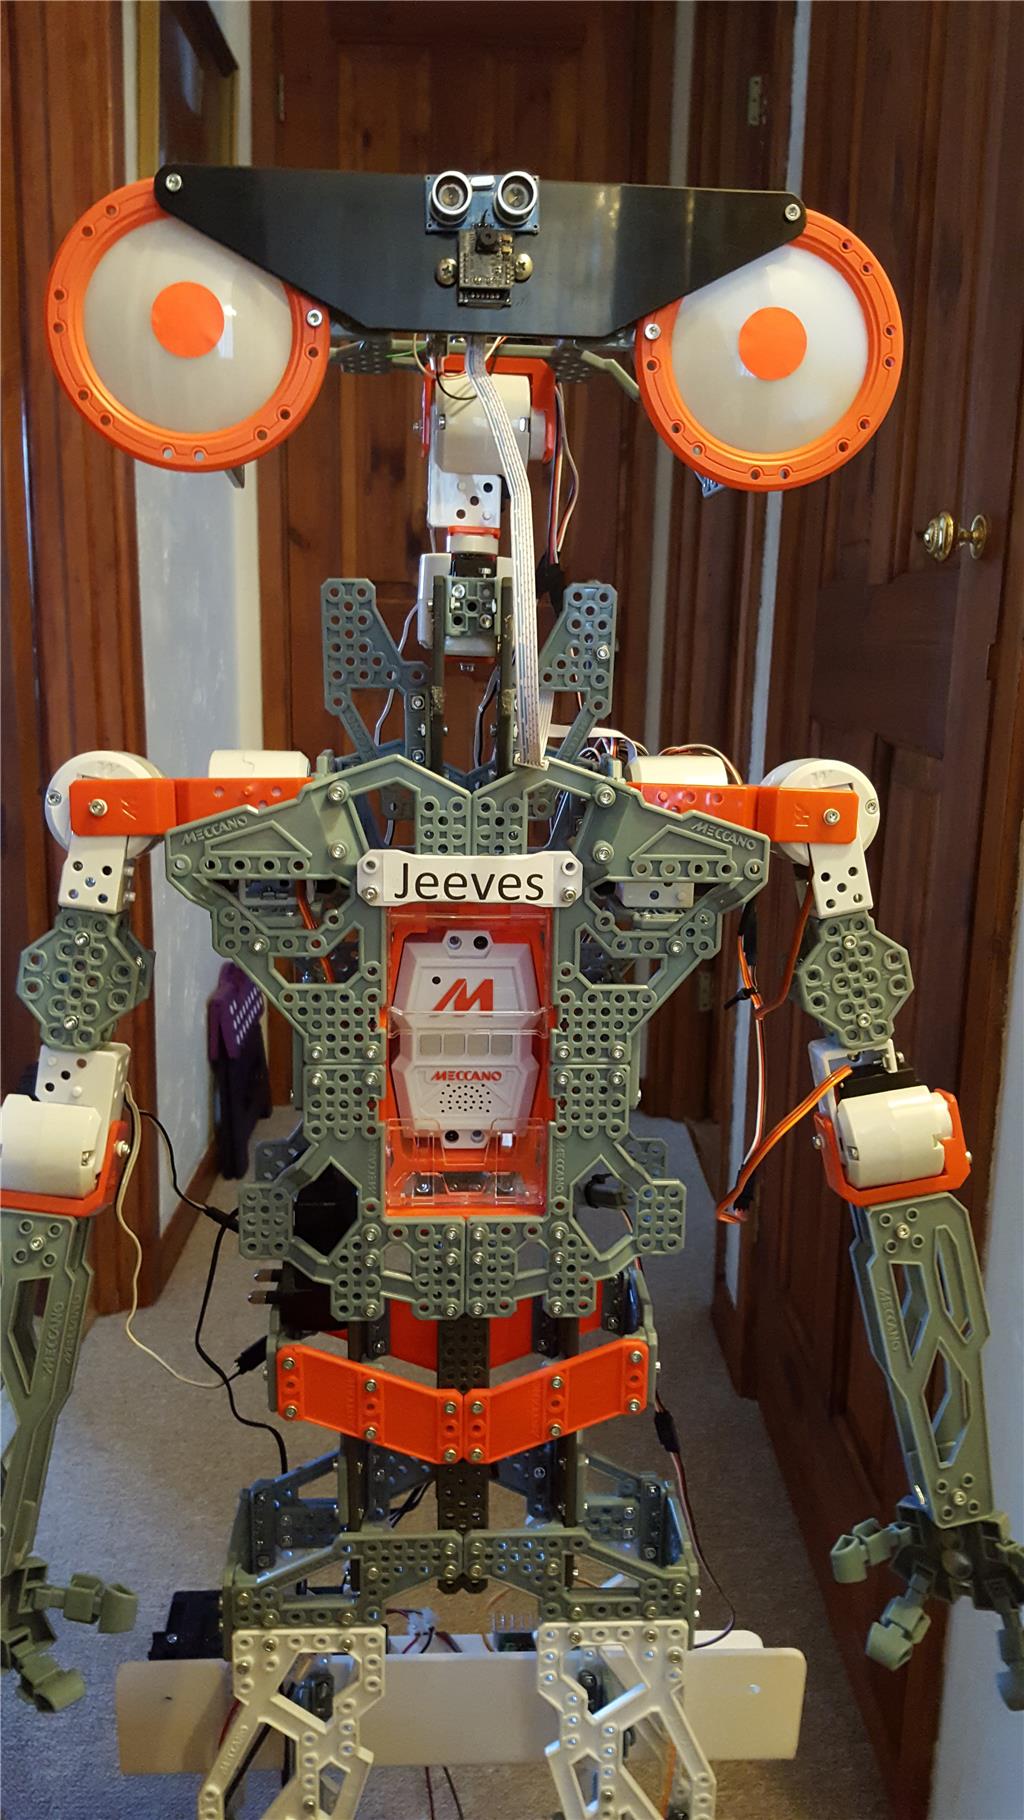
Here is a rear view showing the EZ controller and connections and the bracket holding the Meccano battery and the Sabertooth 2x12. The meccano battery means the motors have a separate power supply.
-635975794375180196.jpg)
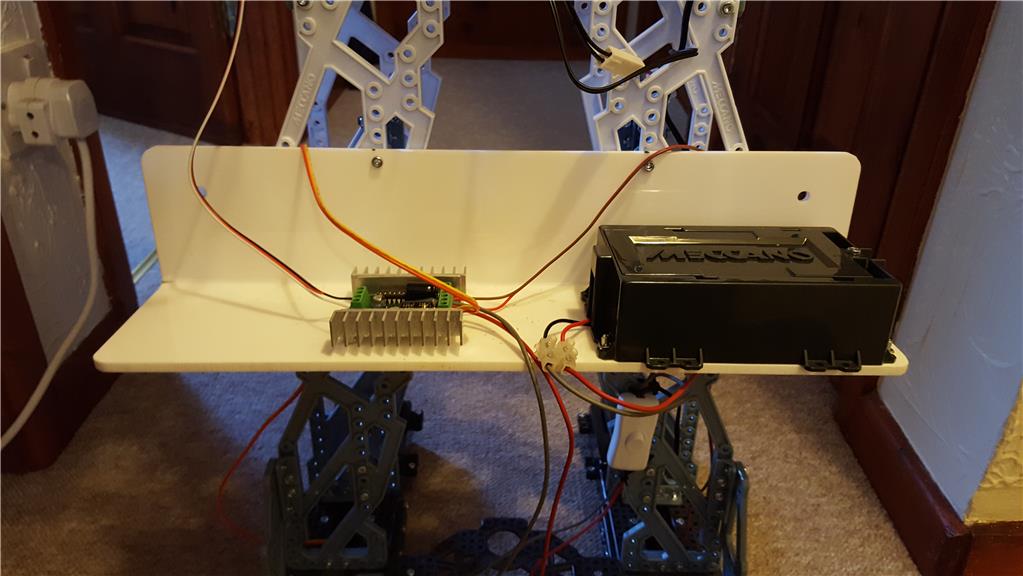
A close up of the battery and Sabertooth 2x12.
A close up of the EZ controller and head and neck servo arrangement.
I have also changed the rear wheel castors for for metal ball bearing castors. These give less resistance than the plastic ones from meccanno
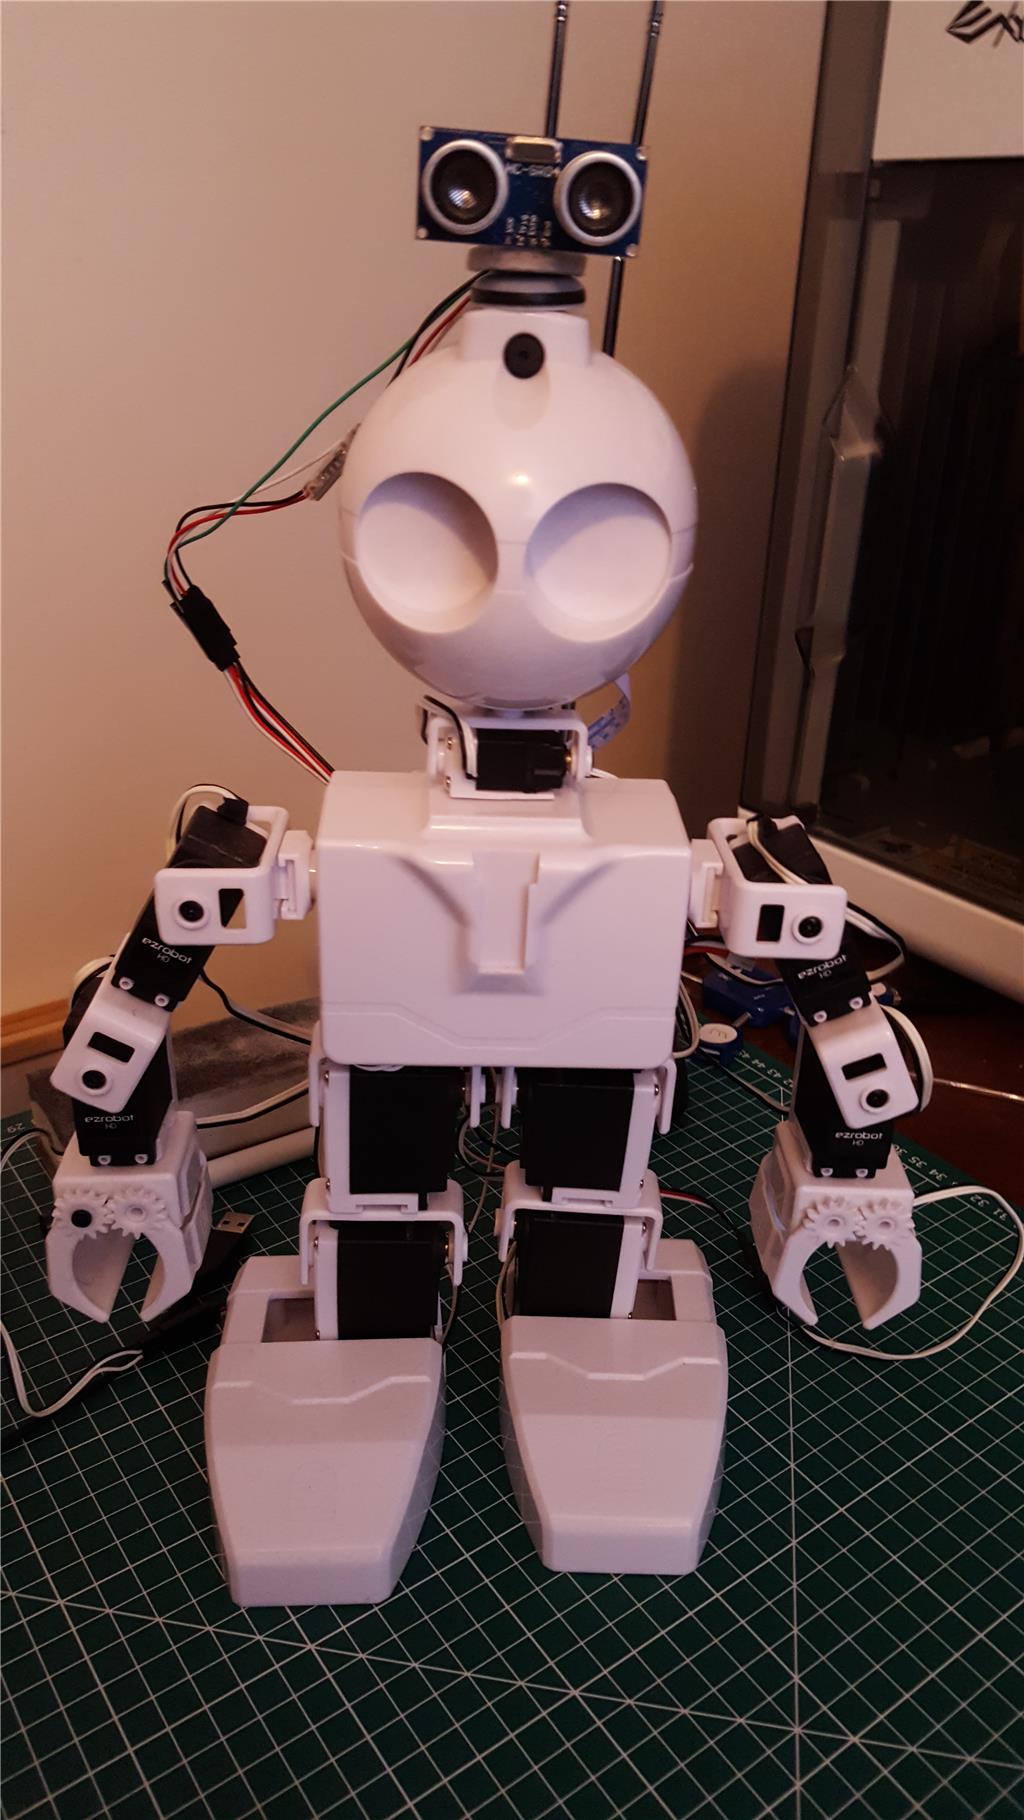
Finally, the best little robot a programmer like myself could own. My Revolution JD.
This is the first time I have used the forum. I hope I have used your forum correctly.
Discover more robots
Rich's Jarvis Add-On #1
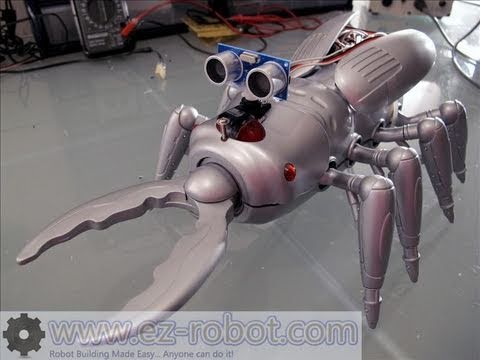
DJ's Scarab Creepy Robot

Video is now undergoing creation. I am hoping to show how I can control Jeeves (ex-meccanoid) using my Emotiv headsets. Control through the headsets is done by facial movements such as blinking and winking. This is all the headsets seem to pick up clearly and accurately. From a technical viewpoint this means the headsets are not picking up thought but responding to artefacts produced by muscle movement. I shall keep trying though. You never know I might stumble across an answer.
Awesome! I cant wait to see some how to videos. Im so glad you posted.
Hi there, thanks to all who have shown interest in my meccanoid mod. A video demonstrating it working and a showing in detail all my mods is nearly complete however I have been called away for a few days for work. Will complete as soon as I am back. Thanks once again for your interest.
This is my mecanoid now know as Jeeves.
My reason for purchasing G15 KS is simple I wanted to build a much larger robot than my Revolution JD. My Revolution JD as I have stated in the post is a fantastic robot. The Revoluton JD is used 50% of the time to test algorithms which I then try out on Jeeves (ex-meccanoid).
Let's take a look at how the meccanoid became Jeeves.
Step 1: I purchased two developer kits from EZ-Robot through a firm in the UK. I knew this would be more than I needed but I was pretty sure I would make use of most of the components in the kit.
Step 2: I needed to fit a controller onto Jeeves some how. This was accomplished using to small plastic bracket fitted on the back of Jeeves. Another bracket was fitted to hold the lipo batteries. 7.4 volt 1300mah 25C. I then fixed the EZ controller and the batteries to the brackets. The robot is also powered using a Manson EP-925 DC power supply. I cannot keep charging batteries because when testing algorithms I may need him to run for hours. At this point I had decided to remove the meccabrain.
Step 3: This was the step that made me quite nervous. Could I change the meccano servos for EZ. I tried to change one of the lower arm servos. The servo casings were very easy to pull apart. The EZ servo slotted straight in. However, there was one small problem. One of the bolts that hold the servo in the bracket has a nut on the other side that the meccano servo holds in place and the EZ does not. The meccano servo is slightly wider. I overcame this by placing a small piece of blu-tac to hold the nut in place. I then continued to change all the servos. First the three on the left arm. Then the right arm. Then finally the neck and the head. Then using servo extension cables I connected the eight servos to the controllers. Please make sure that each servo can rotate through its complete movement without pulling on the cables. You do not want the movement to pull cables out of the controller. I then fired up ARC and using the Auto Position plug-in and the animator. I tested all the servo movements. Success.
Step 4: While testing I noticed that I could get Jeeves to gesture no, but not yes. So I rearranged the head and neck servos as shown in my original photos. Jeeves can now gesture yes and no. Not really sure why meccano arranged them the way they did but it doesn't matter now. I also changed the orientation of the elbow servos. This allows the arms to be brought in front of the Jeeves. One small point when using the animator or direct programming make the servo move slowly. If you don't it will cause Jeeves (ex-meccanoid) to rock quite a bit. Slowing movement slightly, cured the problem.
Step 5: With all the servos working. Let's look at the motors that make it move. As these motors require quite a bit of power I decided to use the battery setup provided by meccano. All I needed now was a way to control the motors from the EZ controller. This is achieved by installing a Sabertooth 2X12 motor driver. I fixed a bracket like the one shown in the video that was big enough to hold the meccano battery and the Sabertooth. Please remember to place some washers under the sabertooth to raise it up from the plastic surface. This will ensure that heat dispurses better. When this is complete you are ready to wire up. For a step by step guide go to the forum and there you will find a brilliant guide that will take you through all the steps required to wire the sabertooth. The title of the guide is "Sabertooth 2x25 And Ez-b V4 Simply Serial Connection" and was created by Steve G from the UK. Work your way through this. It is exactly what I did, to the letter. The link to his tutorial is shown below.
https://synthiam.com/Community/Questions/8899
The only addtion I made was to include a switch on the power supply and a connector to allow me to disconnect the power to the battery and connect the charger to the meccano battery.
Well that's all I did and as you can see in the video it works.
@tezsmith : I can't open the youtube film, it's privat also on youtube...
Sorry about that my mistake. I was in a bit of a hurry. Forgot to make the video public.
Man that's great! Really well done video as well - he responds to your commands and really has a great personality. I was never fond of the look of the meccanoid before but i think that was because the twitchy silliness of the mechano programming. With your ARC programming, he has a much more stable personality. The grippers are a great add-on as well!
That looks like a fantastic setup for your robot. I'm kind of jealous of the 3 lipos in a row (great idea), I love that setup. And like DJ said, your robot moves very smoothly.