Or FIIFAH (feef a or FIFA if you prefer) for short. Made from Styrofoam body and EZ Complete.
Current Features: Camera Controls for Tracking fun. Ultra Sonic Ping Radar Movement Controls Modified servo Movement Panel Arm Movement Camera Tilt and Pan
Keyboard Controls for Camera Positioning (adws) (@Rich Finally got it. Thanks a lot for the help)
- Center Camera (q)
- Camera Snap Center (e) Centers Camera on Key Press and Reuturns it to it's Previous Position on Key Release
Personality Generator for calling random scripts (One of my favorites)
Script Manager Reset Servos The Keyboard Camera Control scripts Panic (an action/pose) Flex1 (an action/pose) Flex2 (an action/pose) Chop Chop Chop (an action/pose)
More to come!
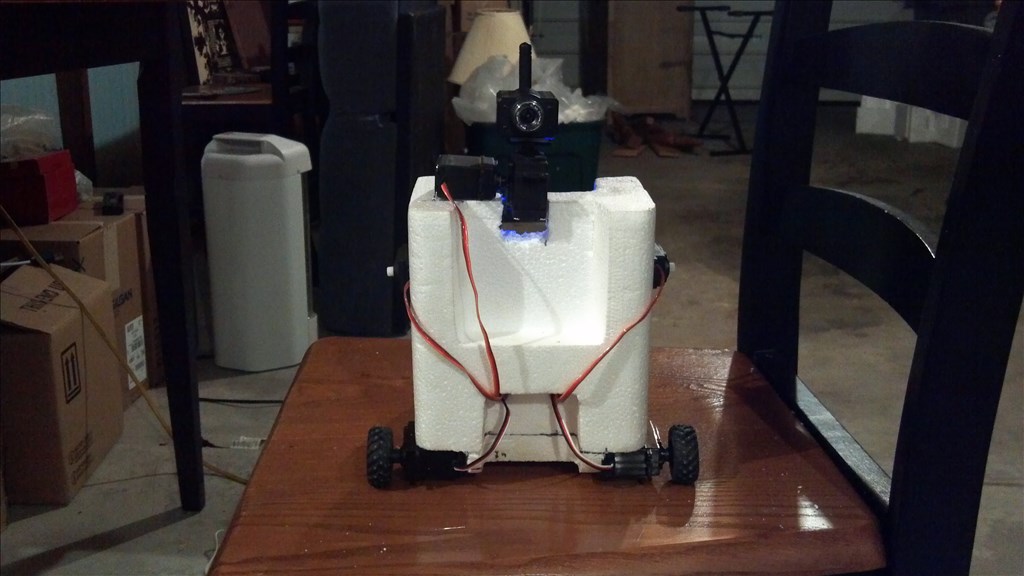
Front View
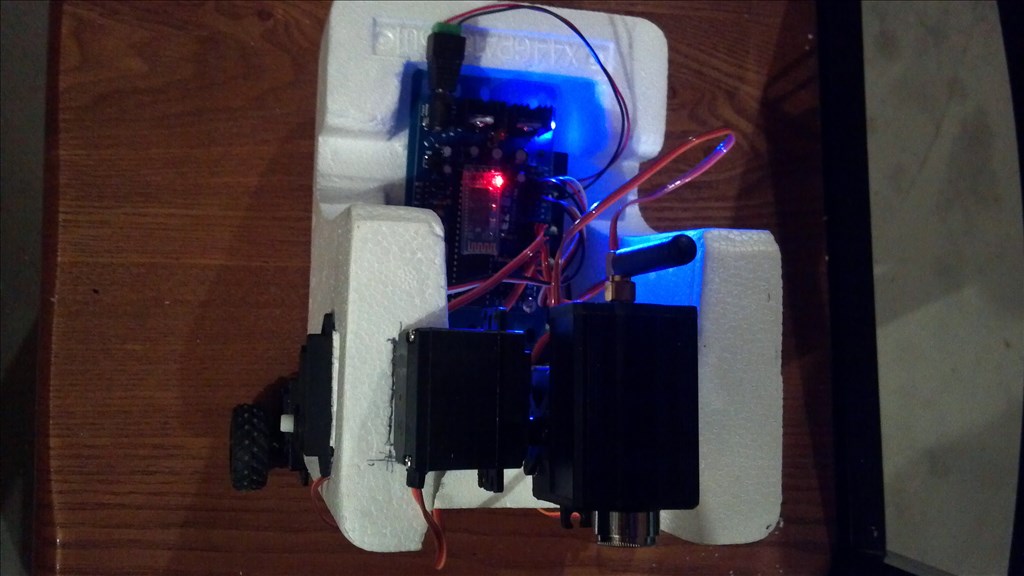
Birds Eye
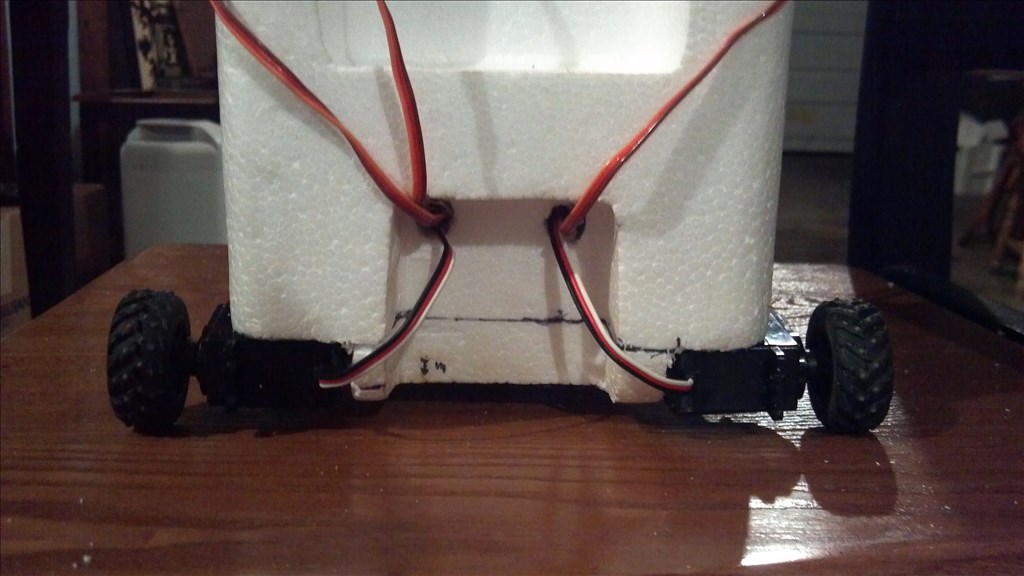
A better look at the Wires and Wheels: Wheels are hot glued in place. I intentionally wrapped the wires around the front to give it an industrial cyberpunk look. Oops, I guess the kids are calling it steampunk now, my bad.
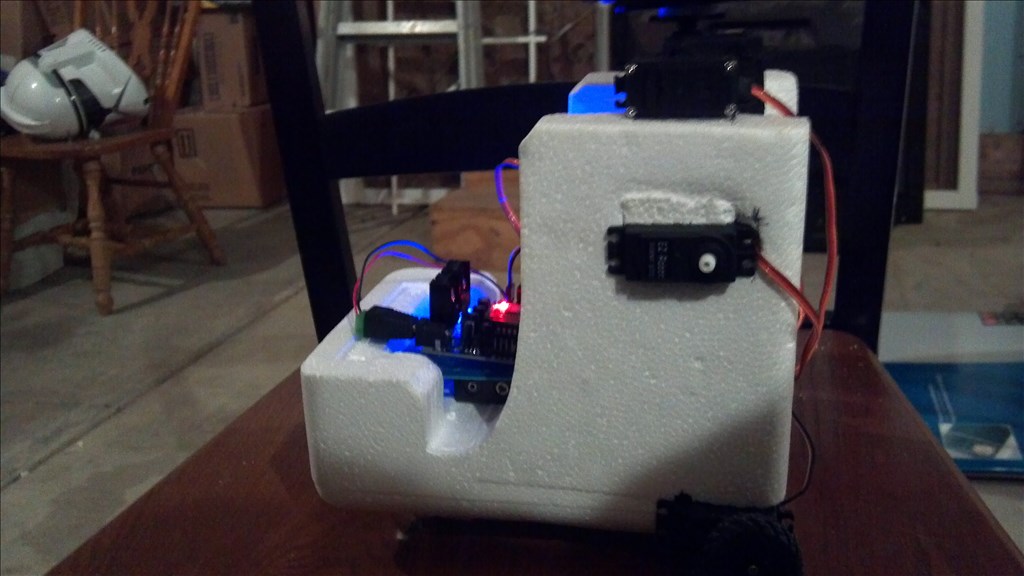
Right Side Profile: The arm servos are pressure fit for re-usability.
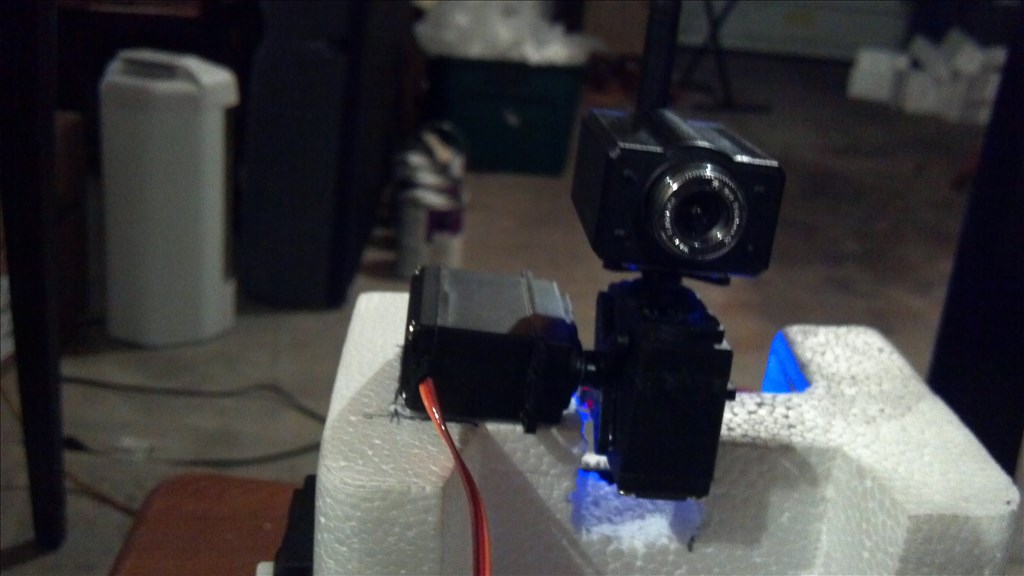
Close Up of Camera setup: Tilt is hot glued to Pan and Pan is hot glued to body. Camera is velcro fastened for re-usability.
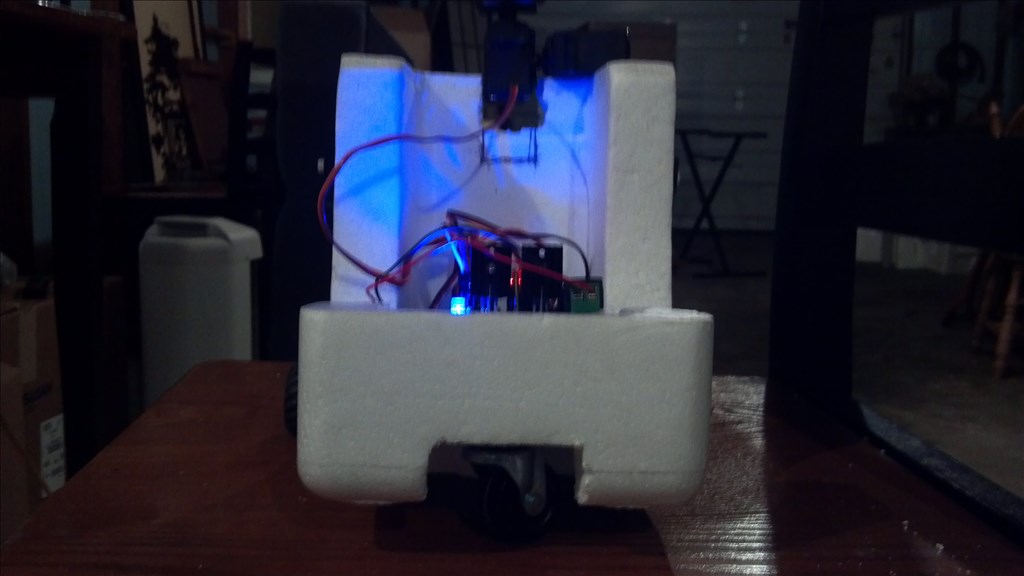
Rear View: Using a caster from Home Depot hot glued to under carriage (Smallest one they had, I would have liked a slightly smaller ball type caster.)
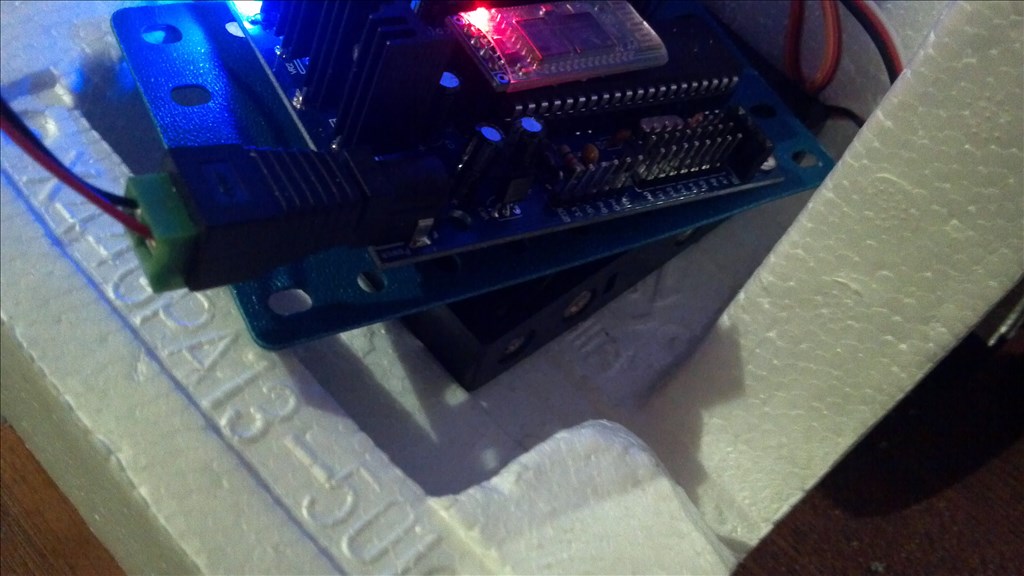
Close up of the EZ and Batteries
It ain't pretty and it has no arms but it moves and intimidates the dog so it's time well spent. Arms are just a matter of decision making at this point.
UPDATE: 2013-06-15 I added the Ultra Sonic ping sensor to my EZ Robot. No custom scripts involving the radar yet. As you'll see, I need to make some adjustments. I added some temporary arms to help show off the actions.
Immediate Plans:
Going to mess with camera tracking options. I'd like to get those dialed in.
Attach some arms
Twitter.
Some RSS feeds.
After That: Some more action/poses. Find a better 3rd wheel for the back. Maybe some paint?
If you have any Comments, Questions or Suggestions, there's always someone here you can turn to so, don't bother me.
JUST KIDDING! I welcome, appreciate and love, all CQ&S. I'd love to hear what all of you think.
-Anton
Other robots from Synthiam community

DJ's Jd's Friday The 13Th
69Developer's Anyone Interested In Seeing Some Pictures And...



@Anton...I like "expediancy"...Get it together and get it doing stuff is awesome! I am sure you will learn a ton of stuff,writing scripts and ...then ...you can with EZ-Bits design something really cool
Thanks irobot58, I've enjoyed the robotics. My first was from mostly an 1979 erector set I got at a rummage sale. It seemed to weigh too much. Then I made one from a Zune box but due to inexperience and lack of foresight I made the cardboard too thin for camera support and it did not take to moving very well. At all . So I'm settled in a little. My work space is slowly taking shape. I wanted to rebuild and had a few good sized styrofoam pieces from the move and this was the lucky winner.
I really enjoy the EZ platform. It's made learning robotics very rewarding. It's nice to, as you said, Get it together and get it doing stuff. For me the engineering is where I'm least experienced.
I pondered on it Saturday and put it together on Sunday. It probably took about an hour and a half total to put all together. I used a $10 dremel from BigLots to route out the styrofoam. And hot glued the other parts on/in. I didn't get to do any scripting till yesterday. But I had been struggling with the Keyboard controls with the last bot so when I went to re write them it sort of just clicked. I was over-complicating things. Then I put together the poses/actions for the Personality Generator.
I could go on for hours. But I won't. It's safe to say that I'm having fun
way to go double "O".
Thank you Mr. Maker. I've got a lot of respect for you from reading the forum so your kind words are truly, an honor. irobot too as a matter of fact.
You guys (and a couple others) are like benchmarks for me. I read your posts and think to myself, "That's where I want to be." You aspire me to aim high. I just wish I had more time so I could get past these first few inches. I've still yet to really tap into the power of ezb. I know it's potential, I just need time to get smart enough.
Great job Antron007! Really looking forward to seeing your next projects.
Great work dude.
It may not be pretty, as you say (looks fine to me) but it's a base to play with and something to get stuck in to with the software side of things.
Thanks peoples @Rich I'm liking it. It's bigger than the last one so I'm less restricted. I also have more space to play with it now. I'm going to see Mon o' the Steel in about an hour. But I picked up some solder last night so I'm going to rewatch the video and get my ping on by the end of the weekend. I'm shooting for tonight. I'm out of servos so unless I put it with/on the camera it will only be front facing. I'll post an update when I get it on and test it.
Thanks for the updates double O! I was thinking with a bit of spray paint your foam bit could be very "pimped" out. Richs' robot "chose" white which allows for contrasting Accesories!...But if you painted yours silver you could name it ...Silverstryo!