


-635353562186322812.png)


Hi all,
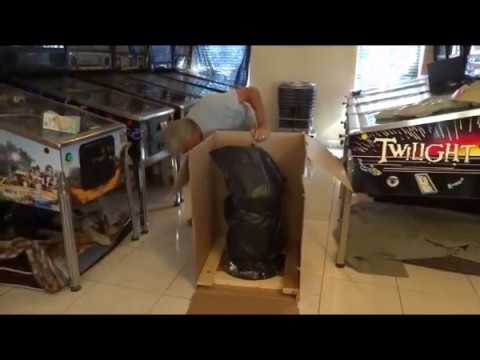
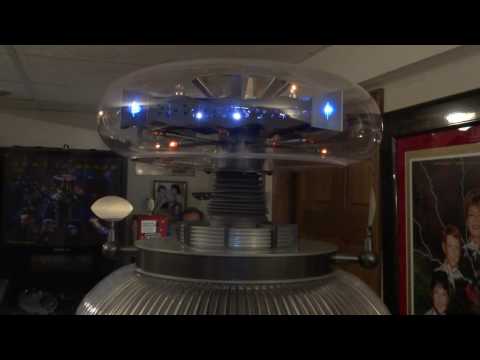
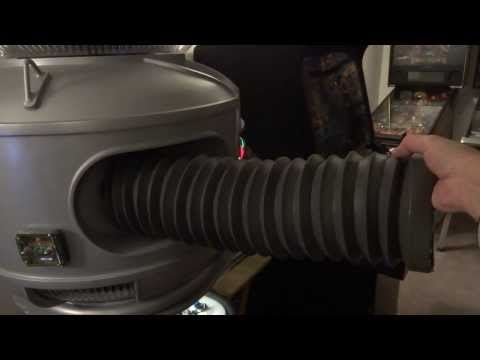
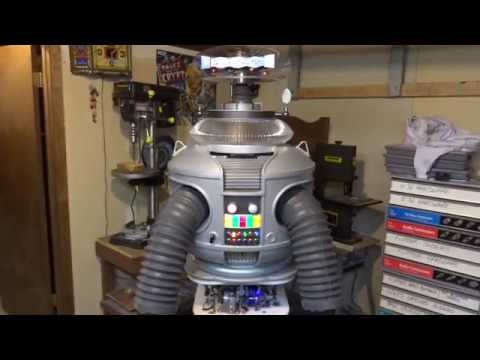
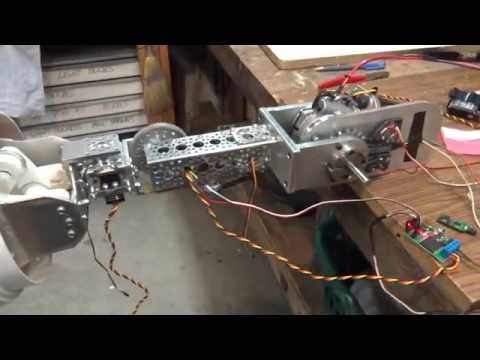
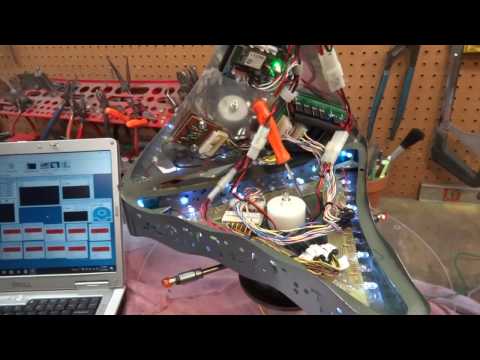
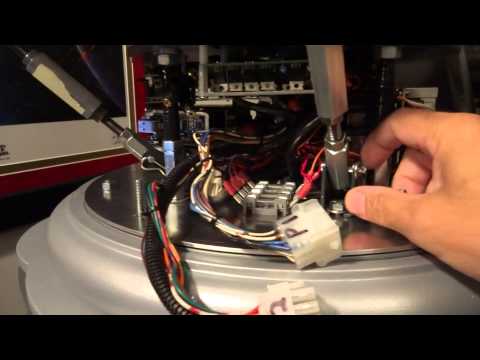
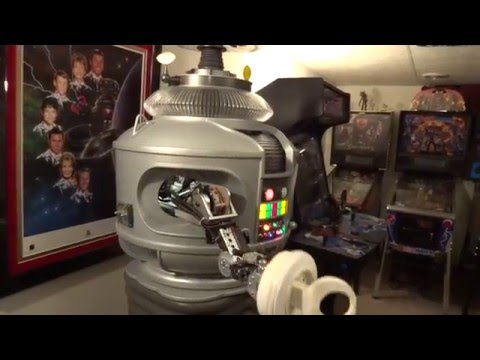
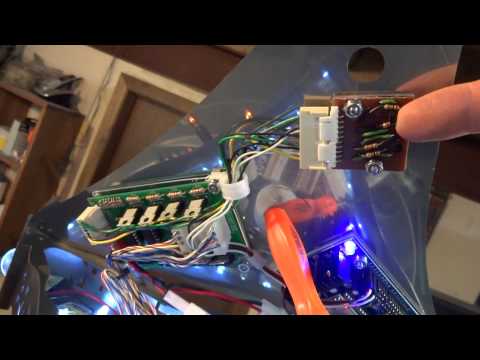
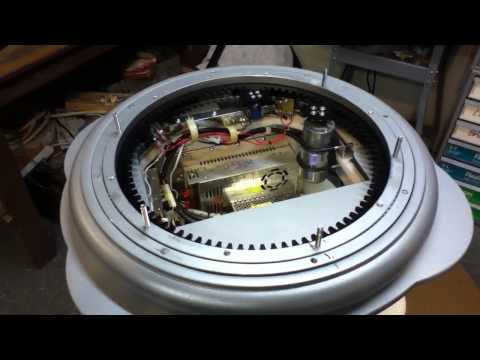
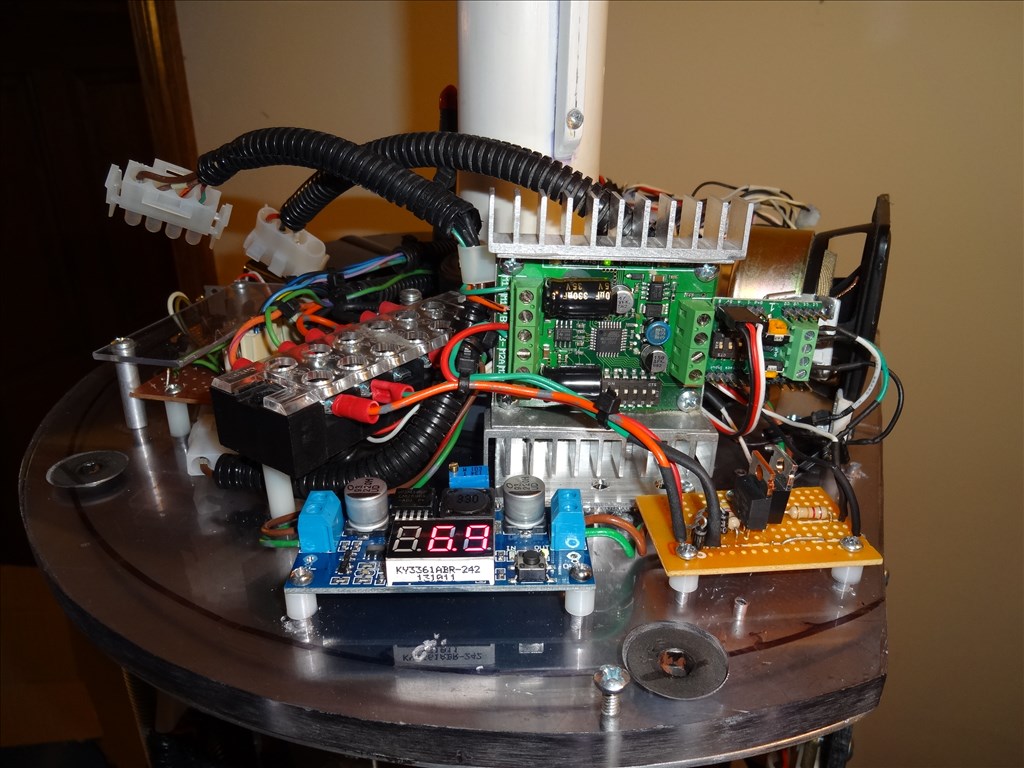
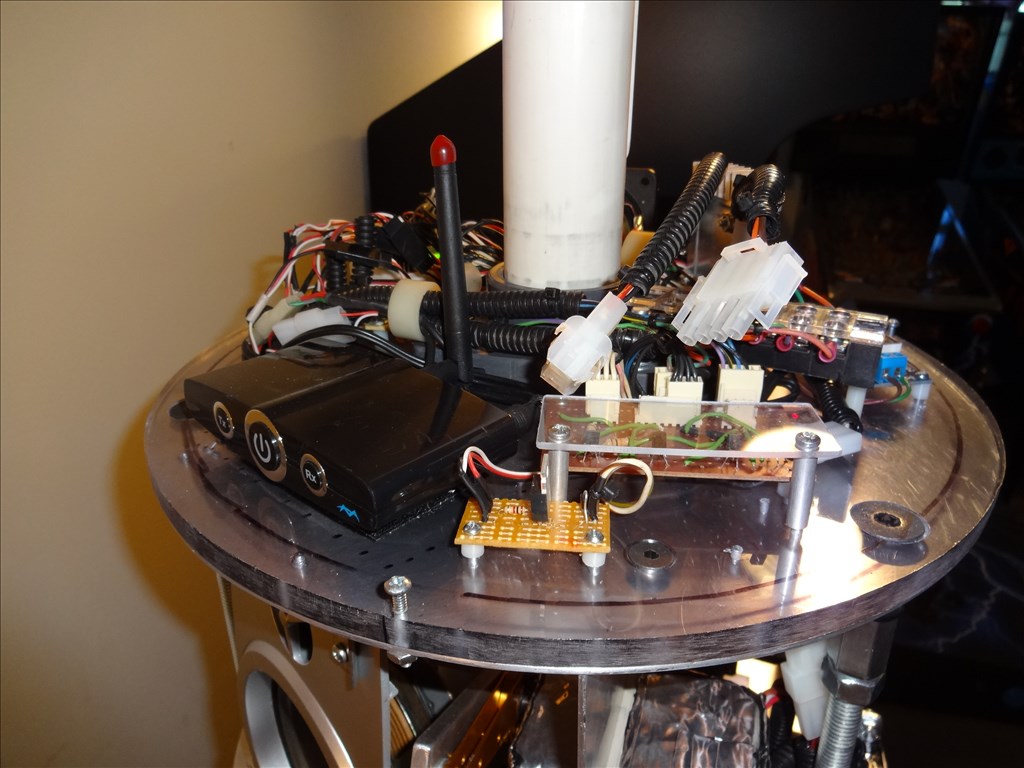
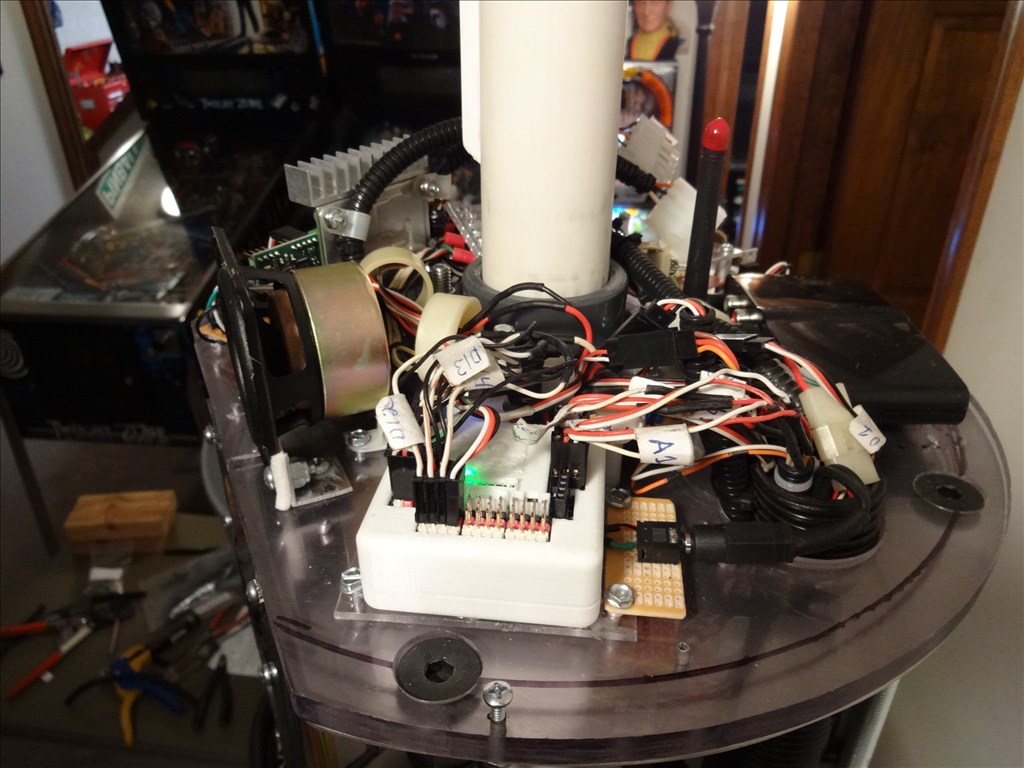
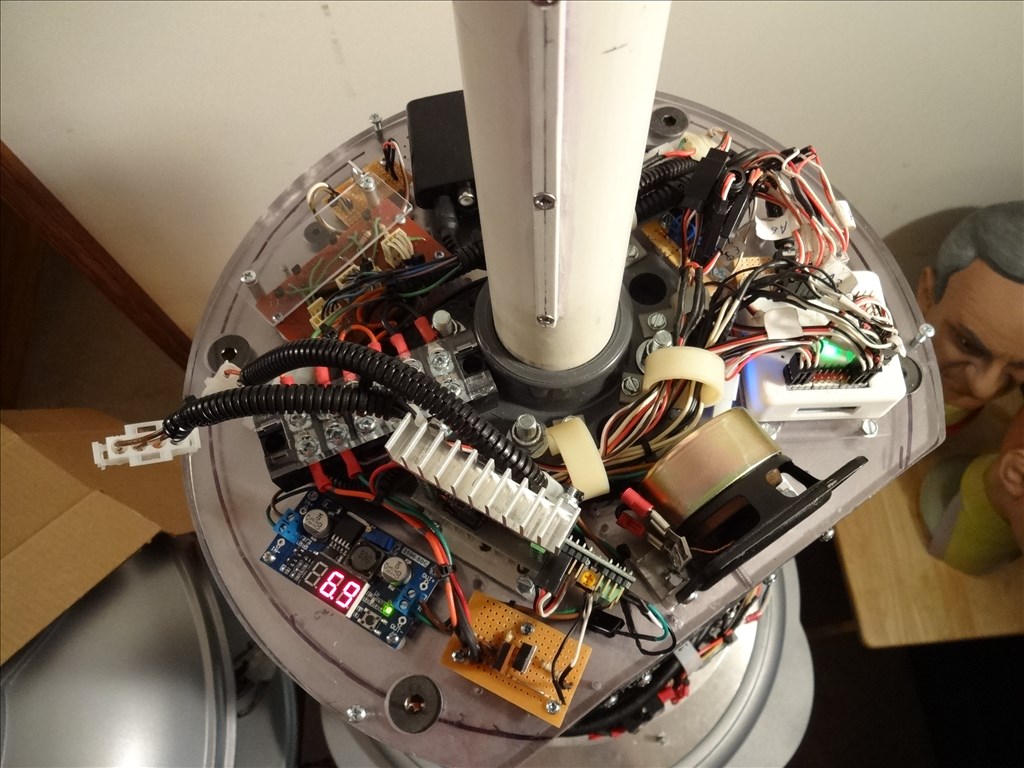
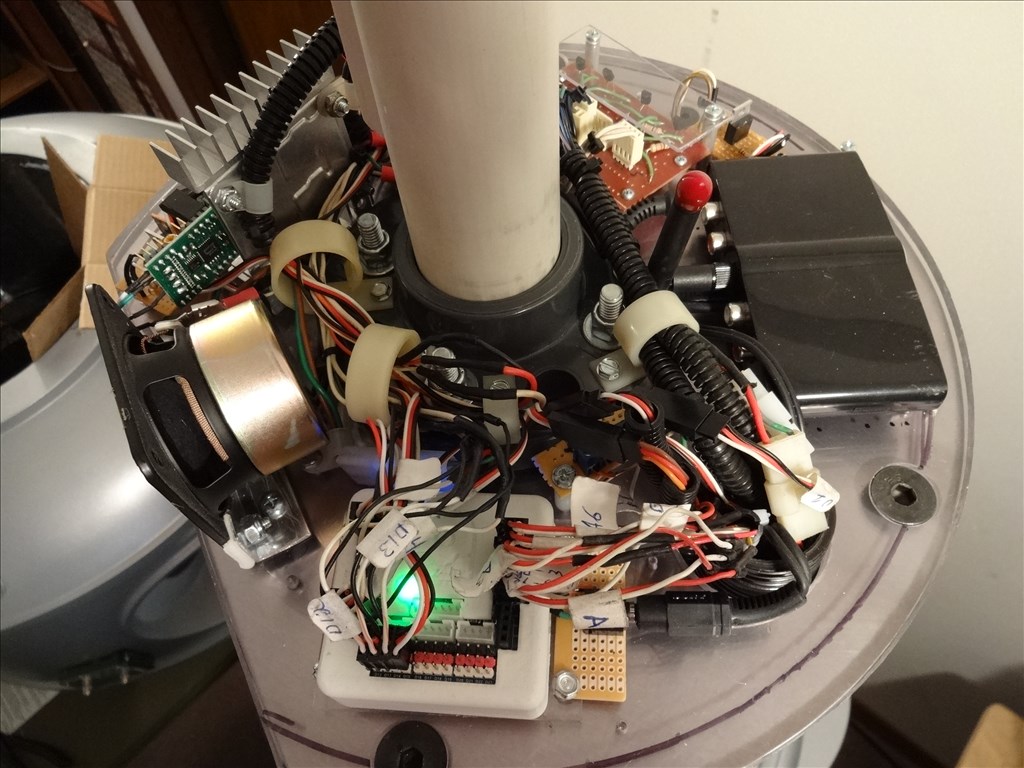
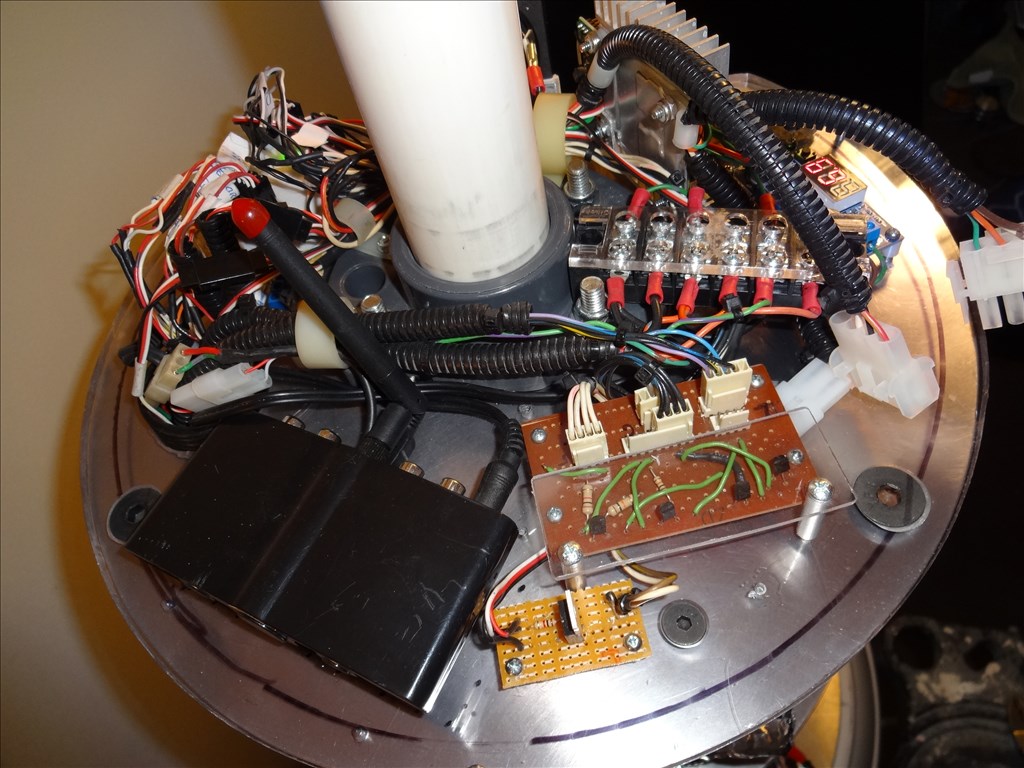
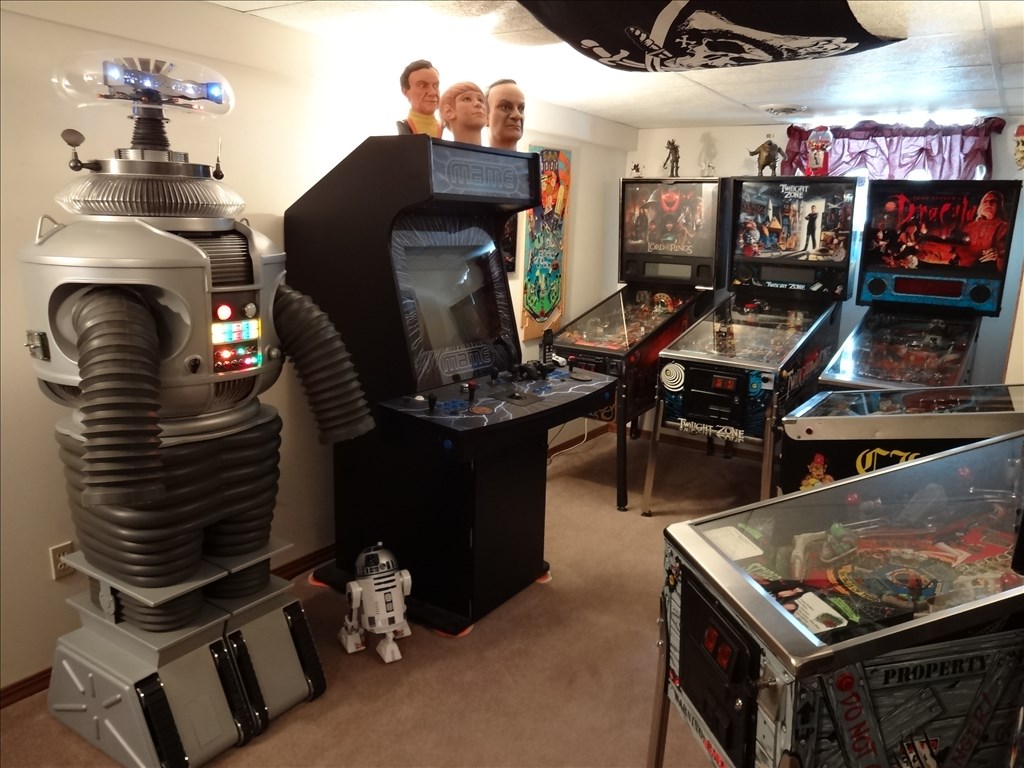
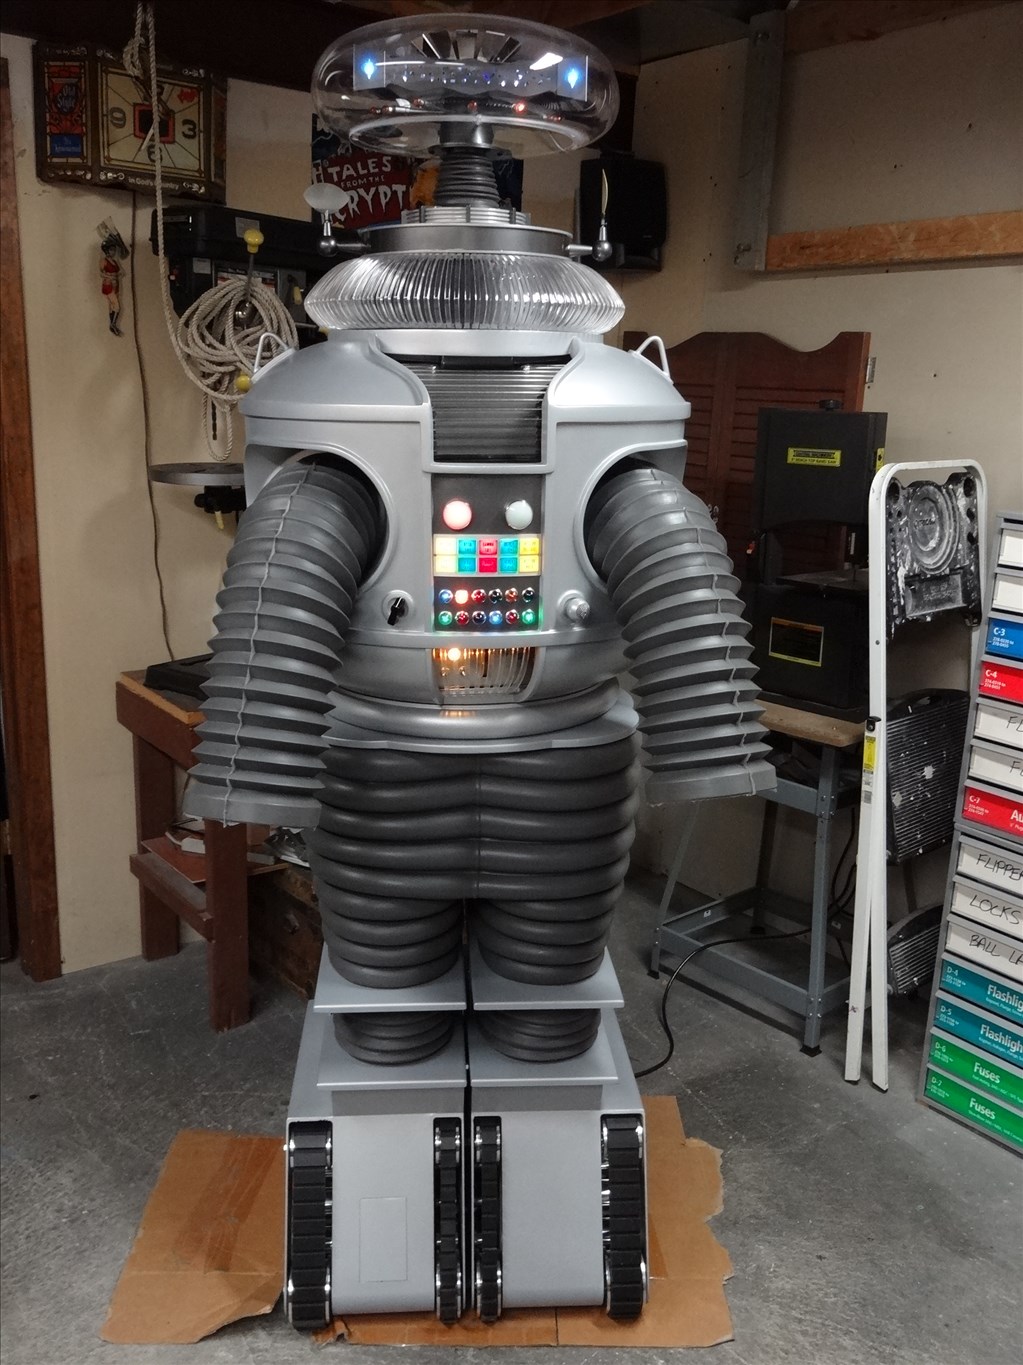
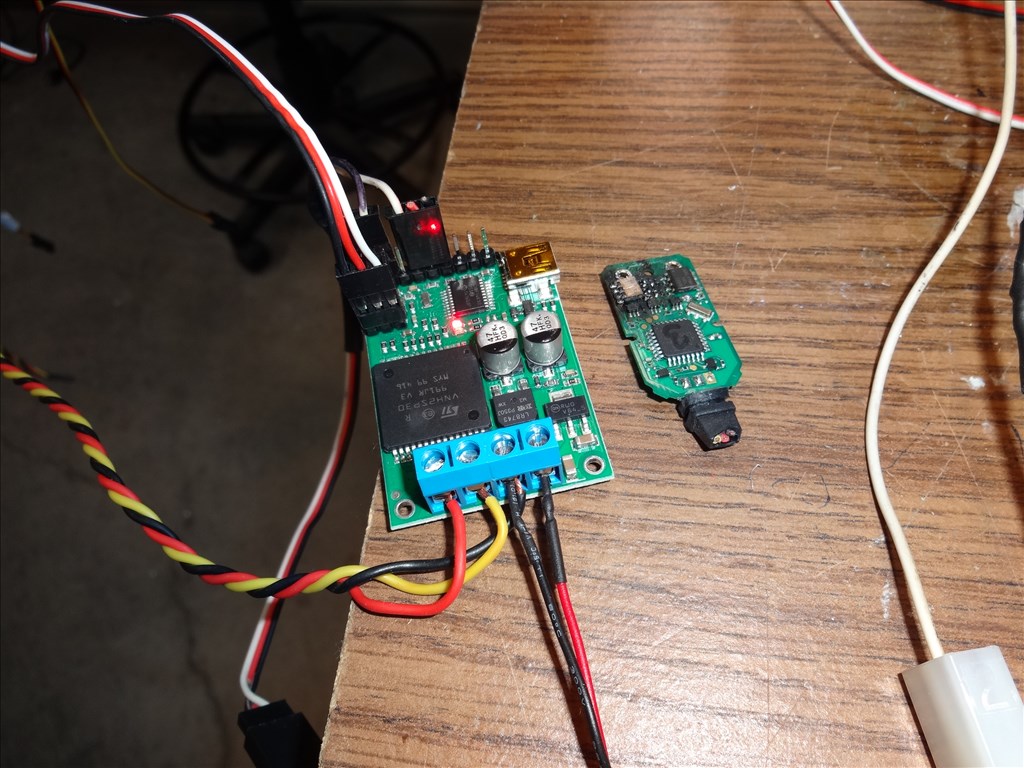
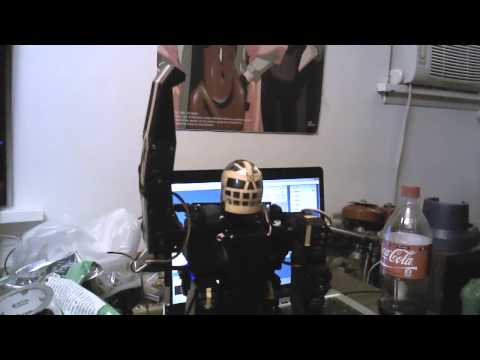
I'd like to share a video I just took of my full size Lost in Space B9 robot that's controlled by two EZ-B controller boards. Right now they are controlling limited movement and voice response of a few motors, lights and sound files played from a Sparkfun MP3 Trigger board. Although I'm just starting with the animation and have more building on the actual robot the result (mostly thanks to the EZ Robot controller board) is shocking. Please have a look at this (4 minute) You Tube vid and enjoy.
Please excuse some Technical camera lighting and sound issues. This is the first time I'd made and posted a vid online.
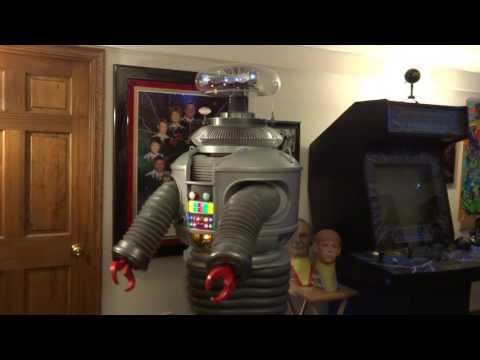
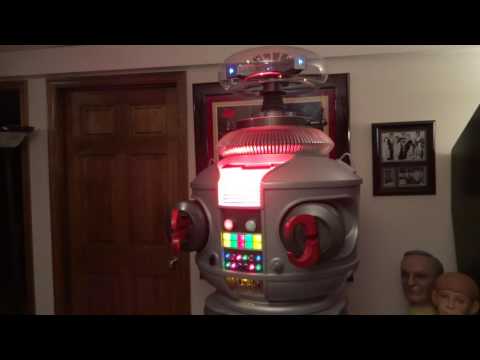
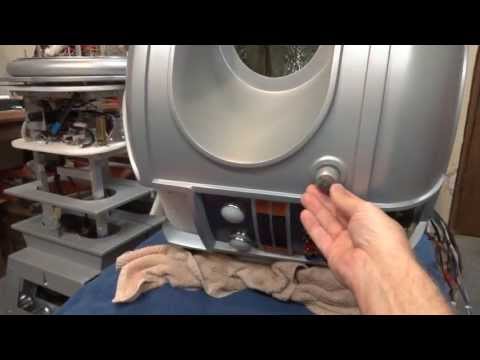
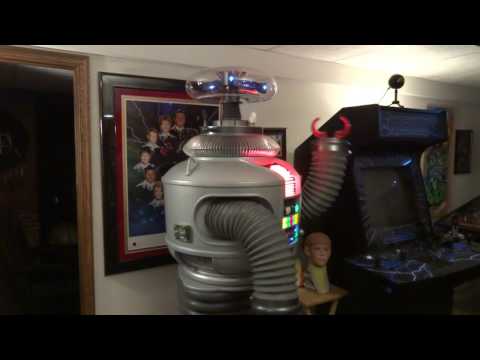
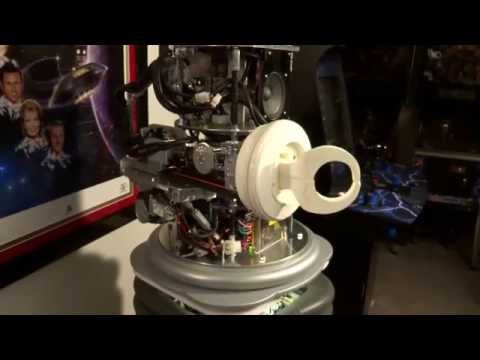
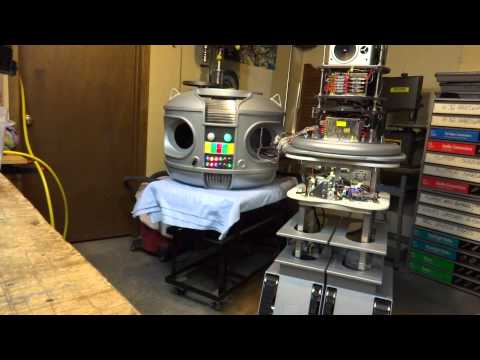
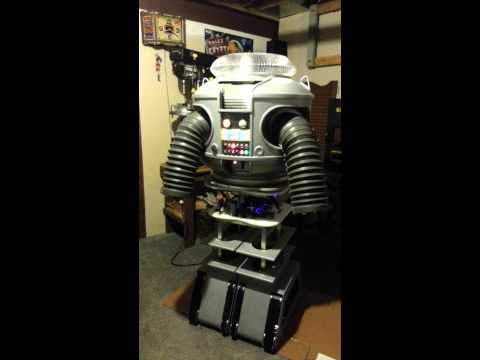
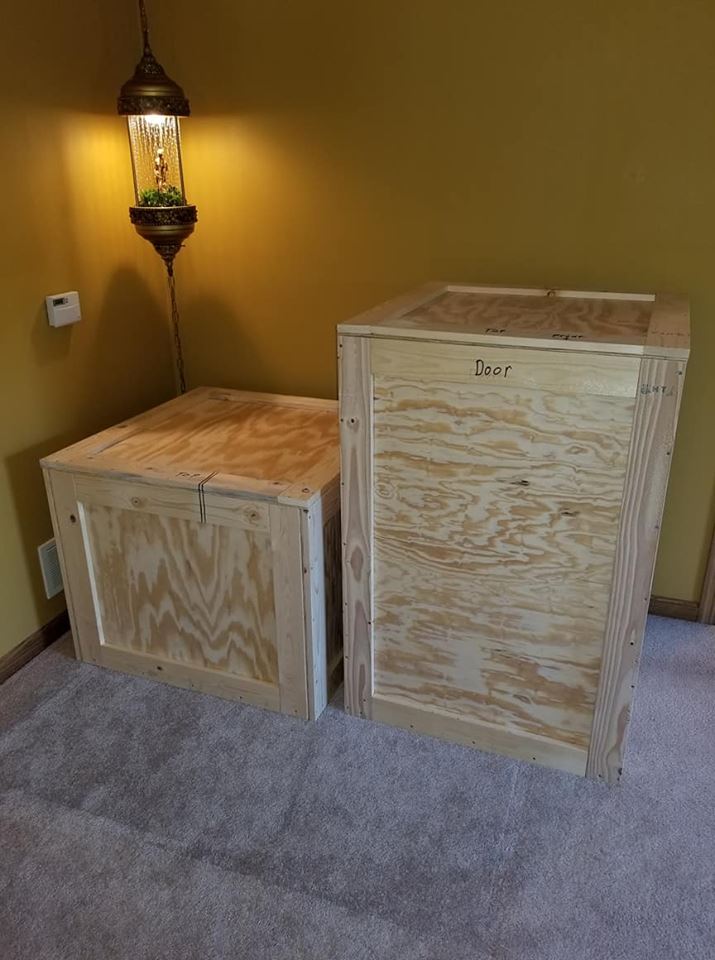
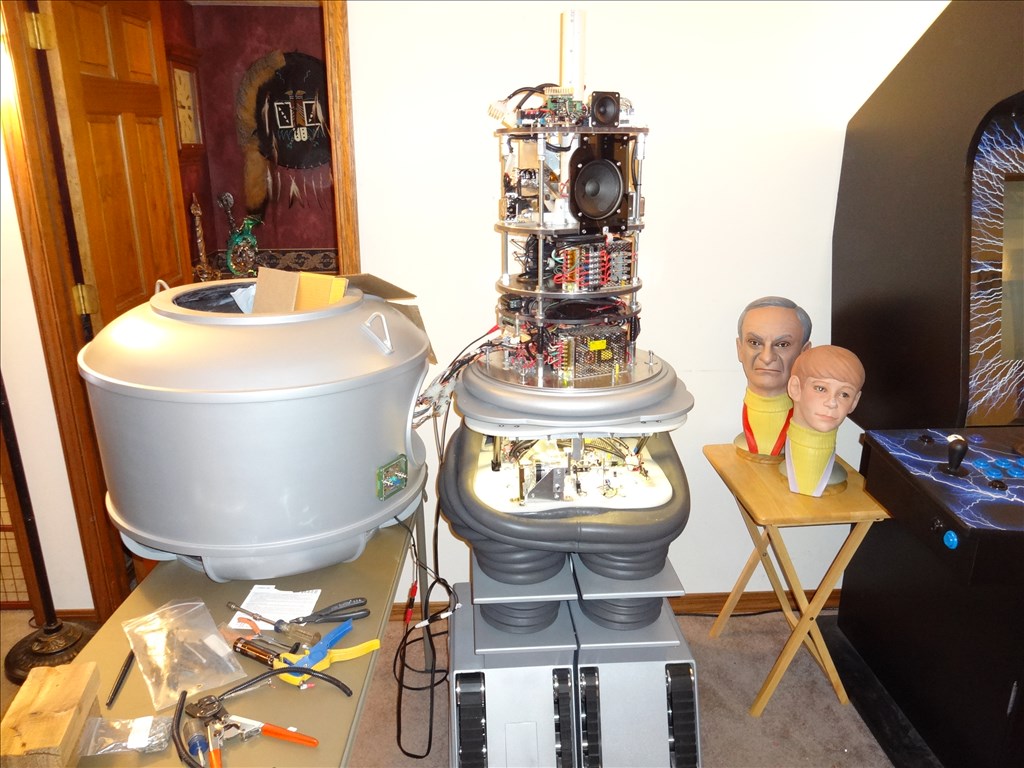
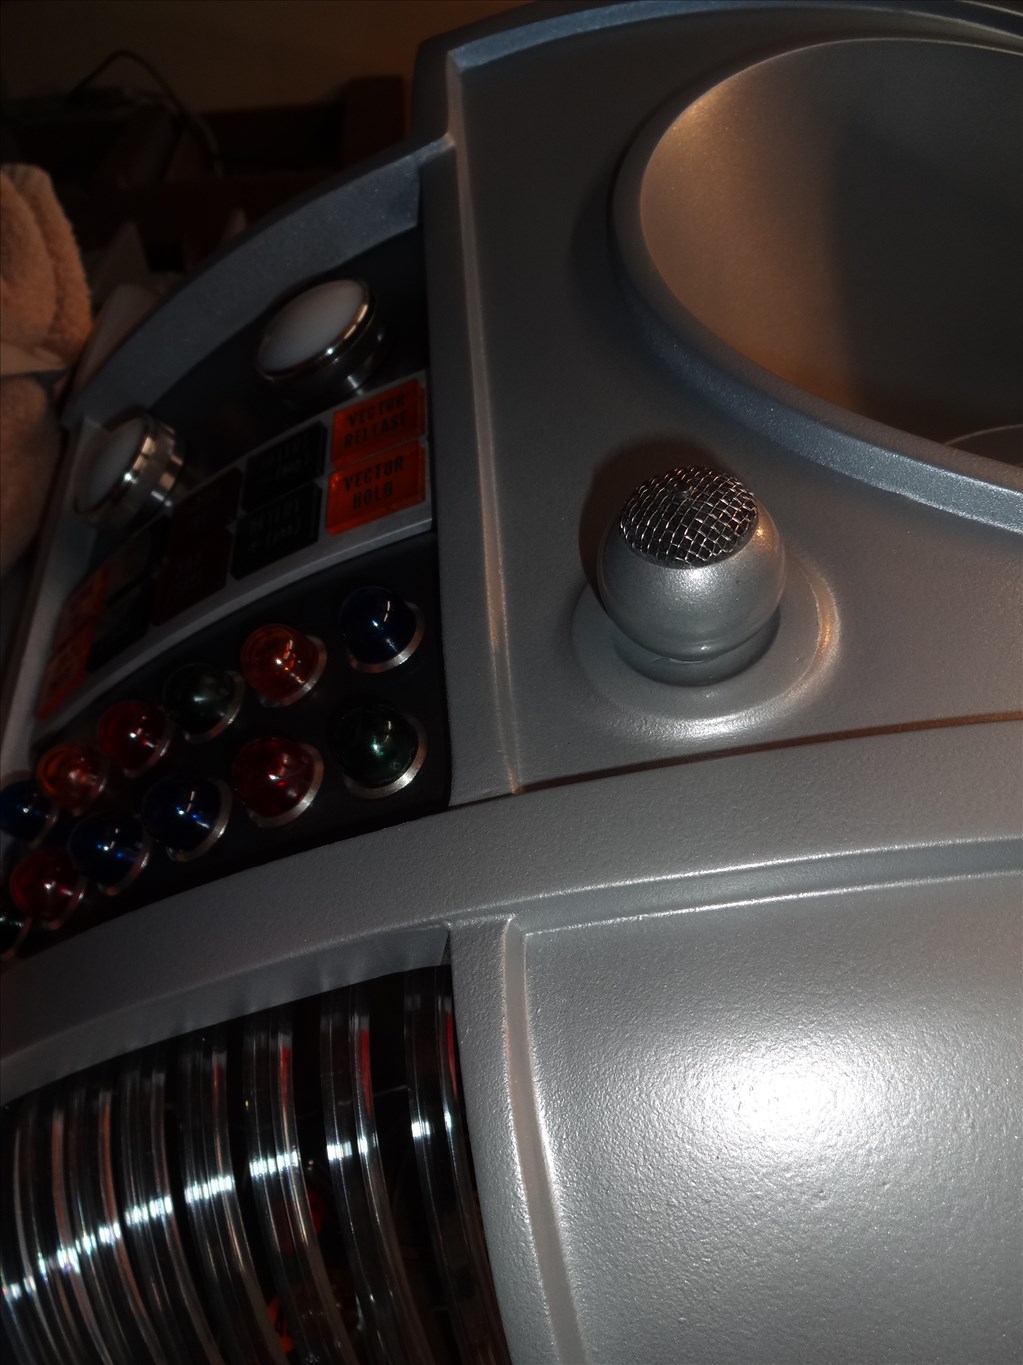
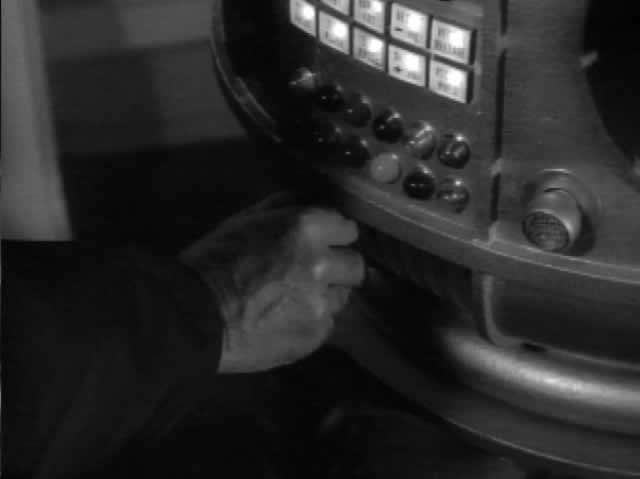
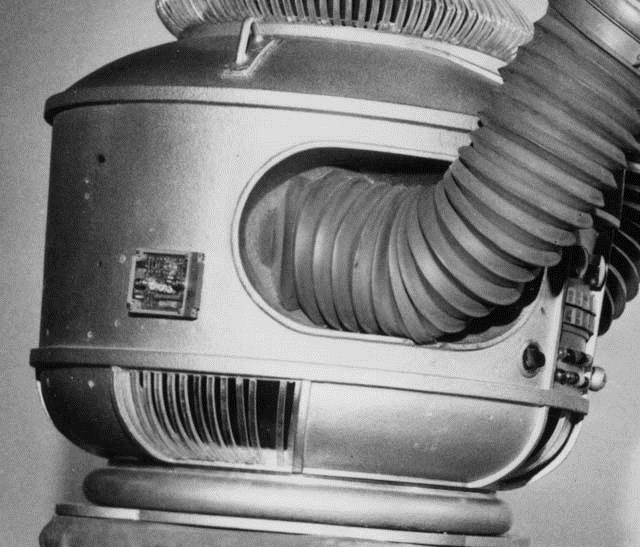
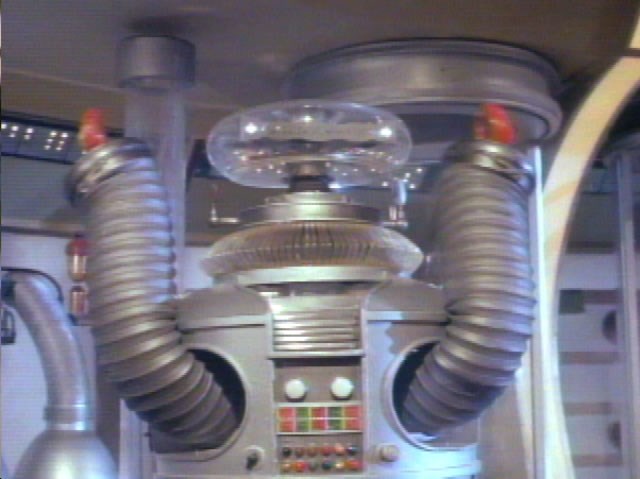
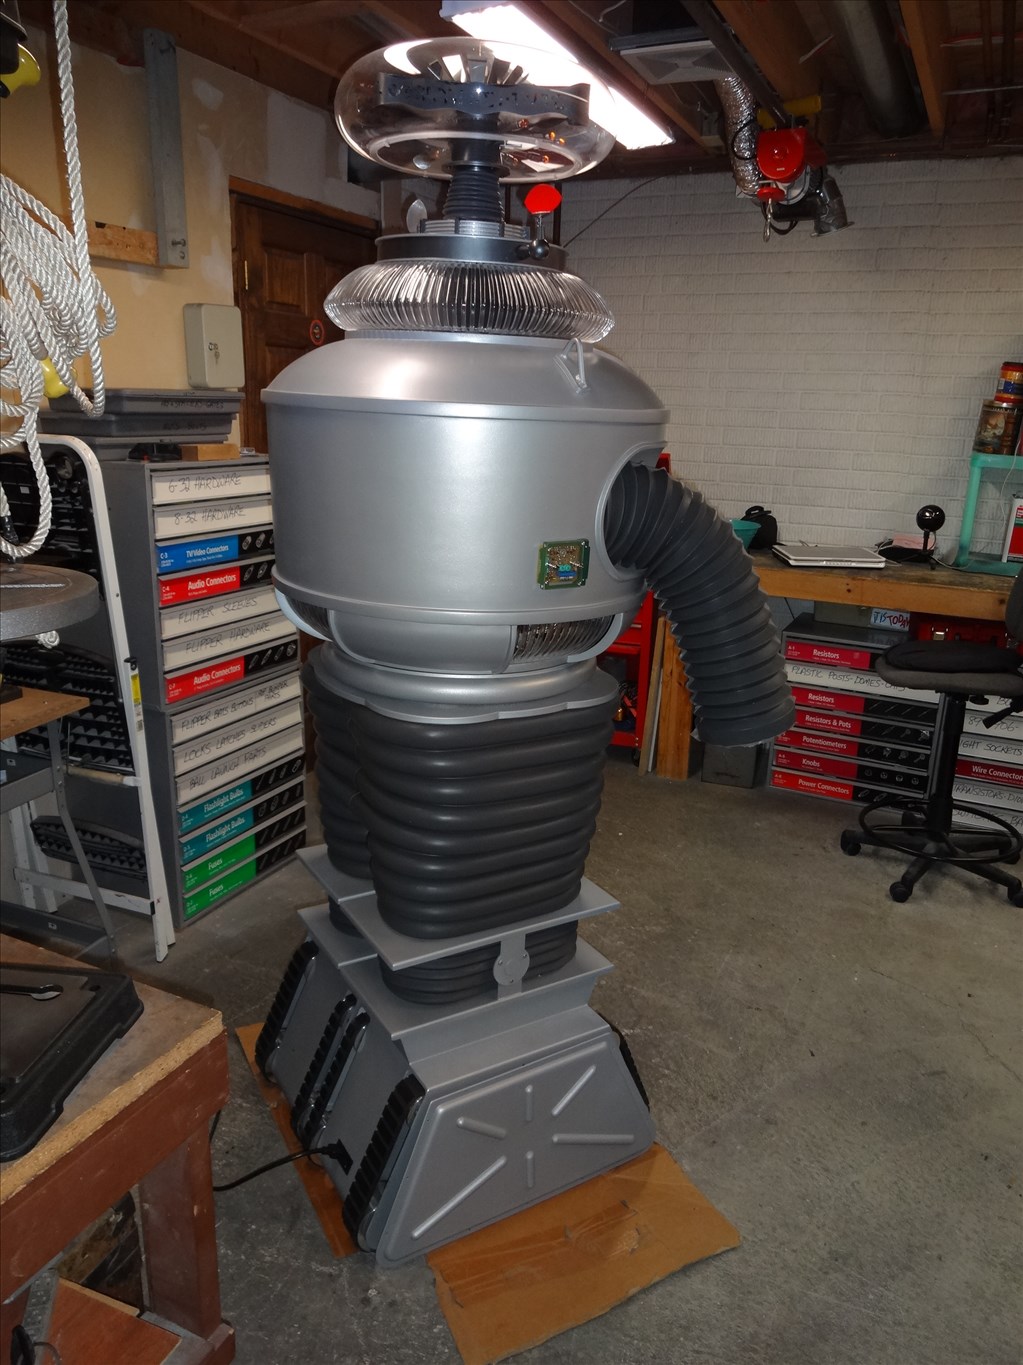
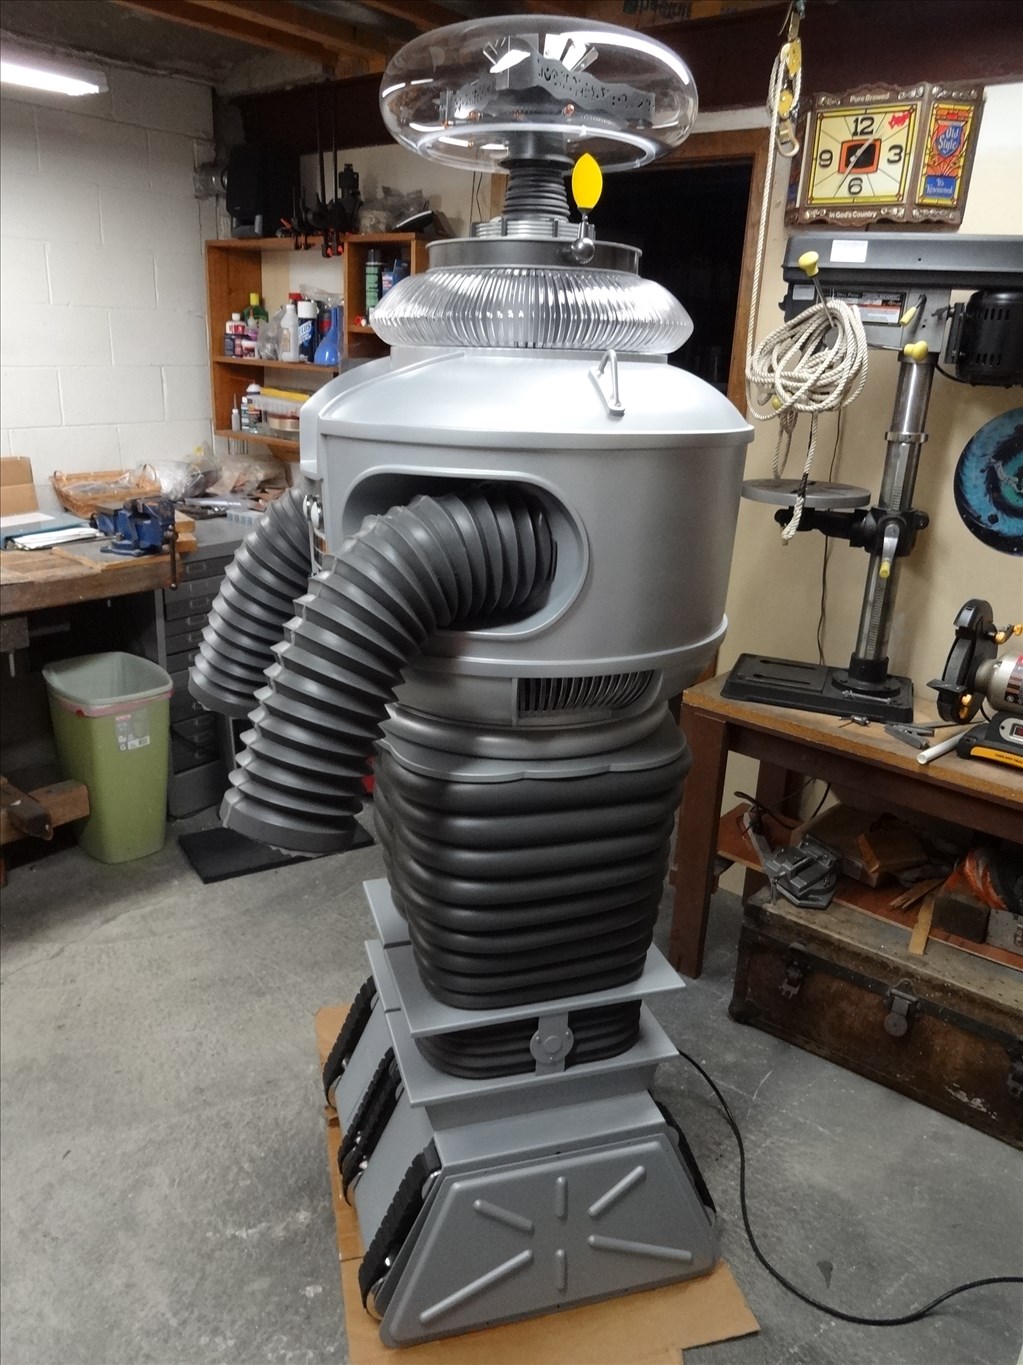
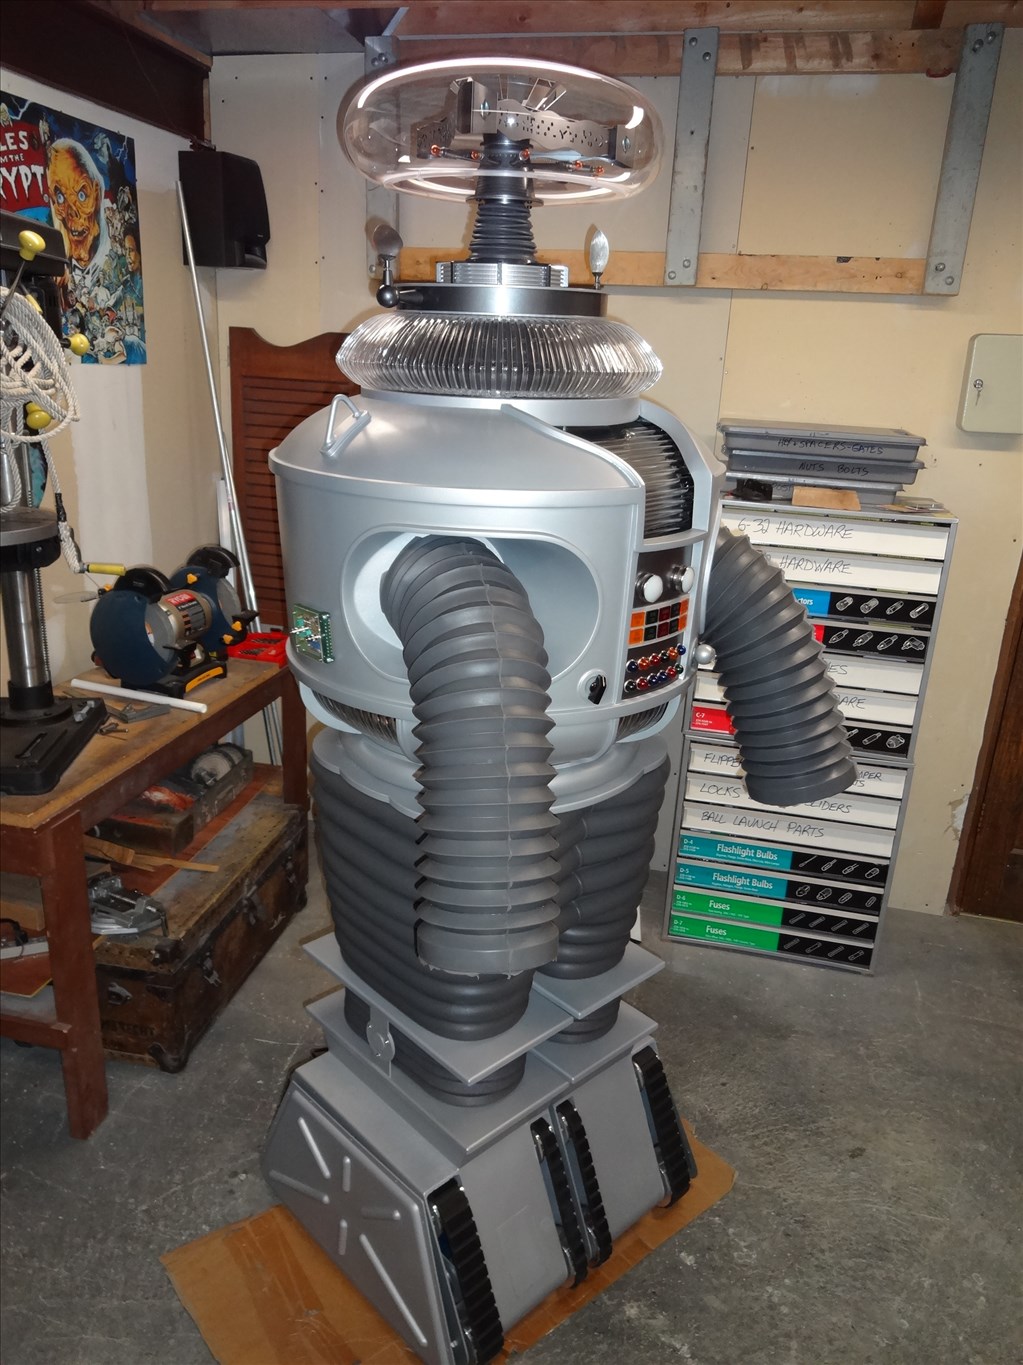
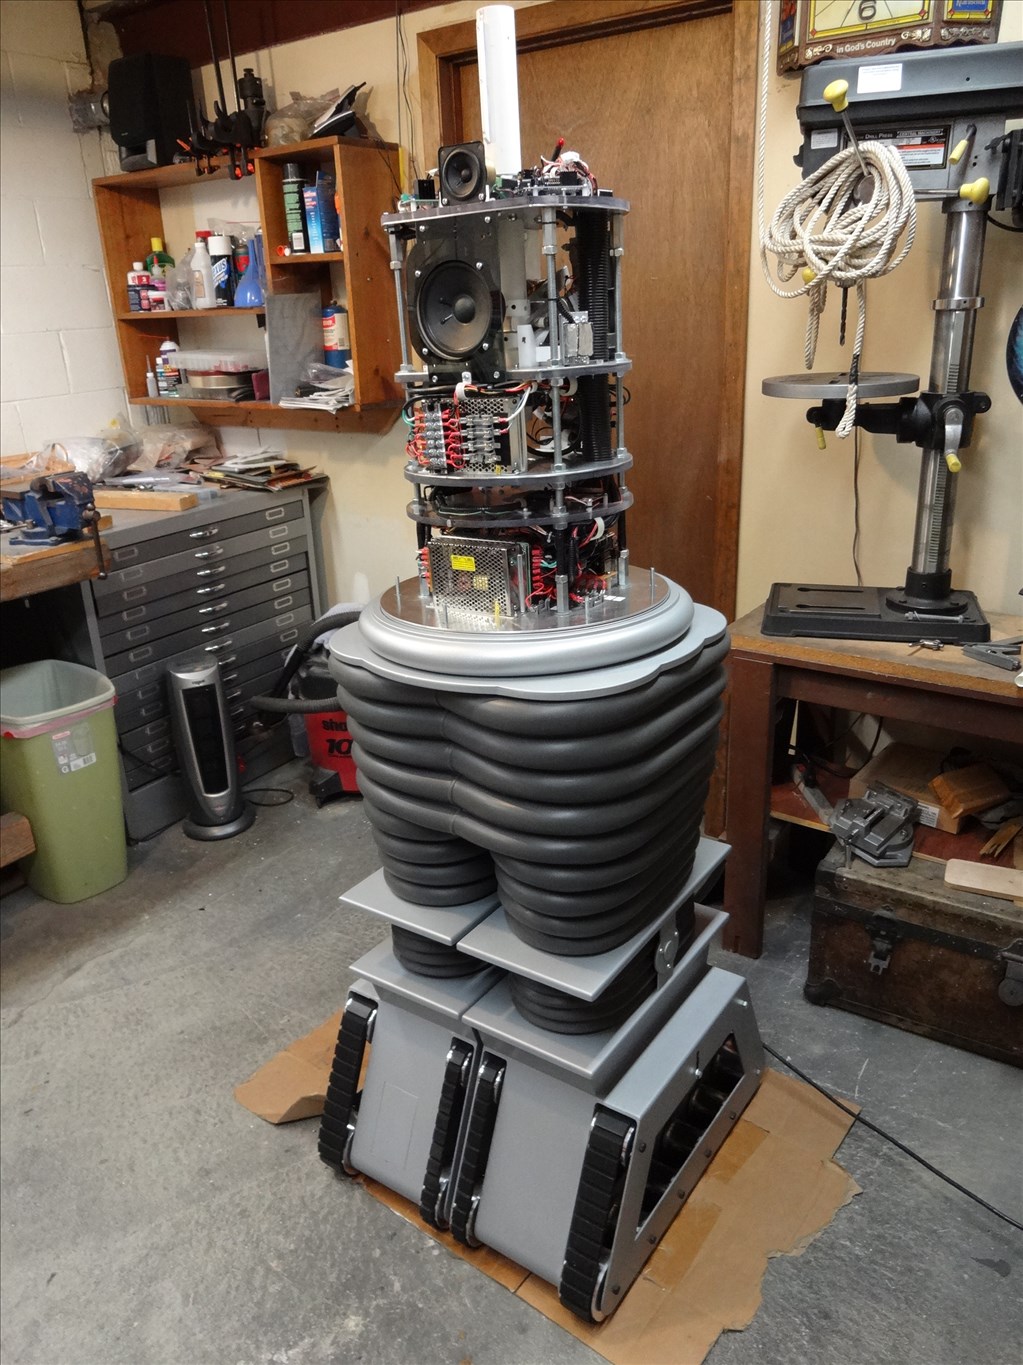
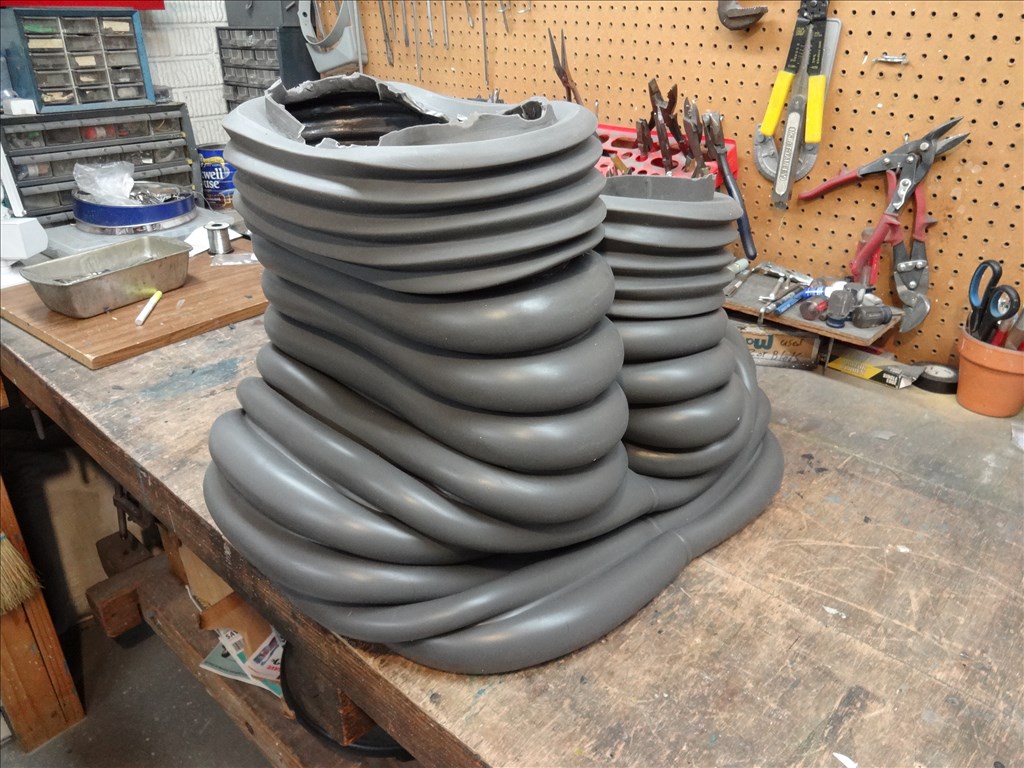
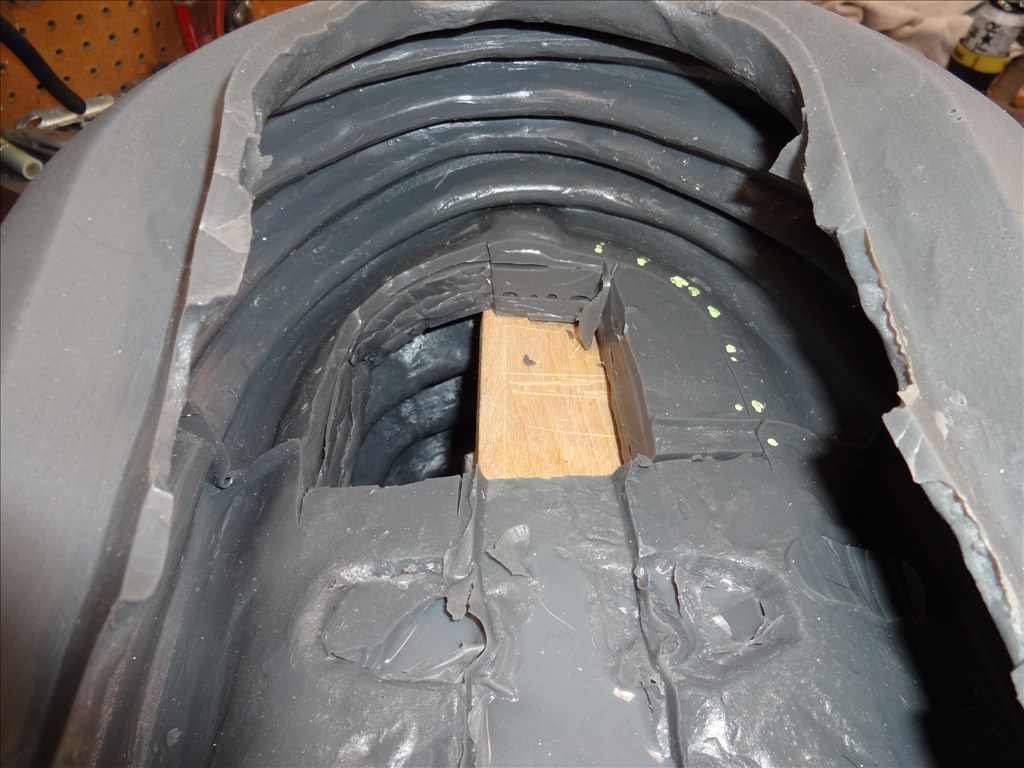
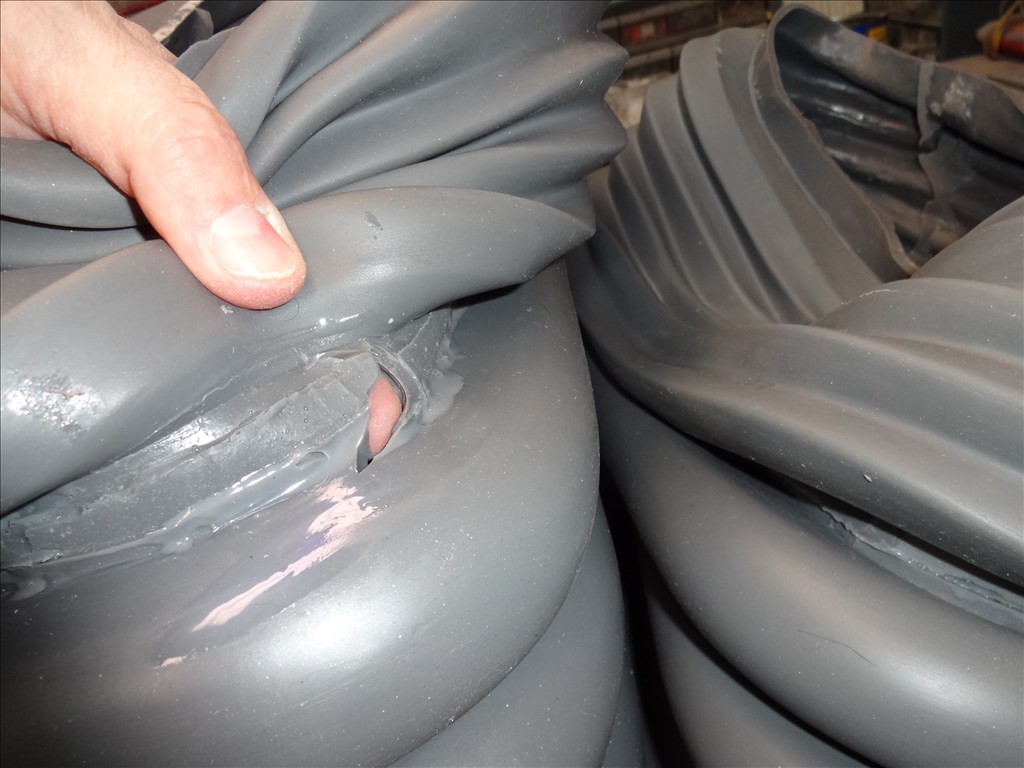
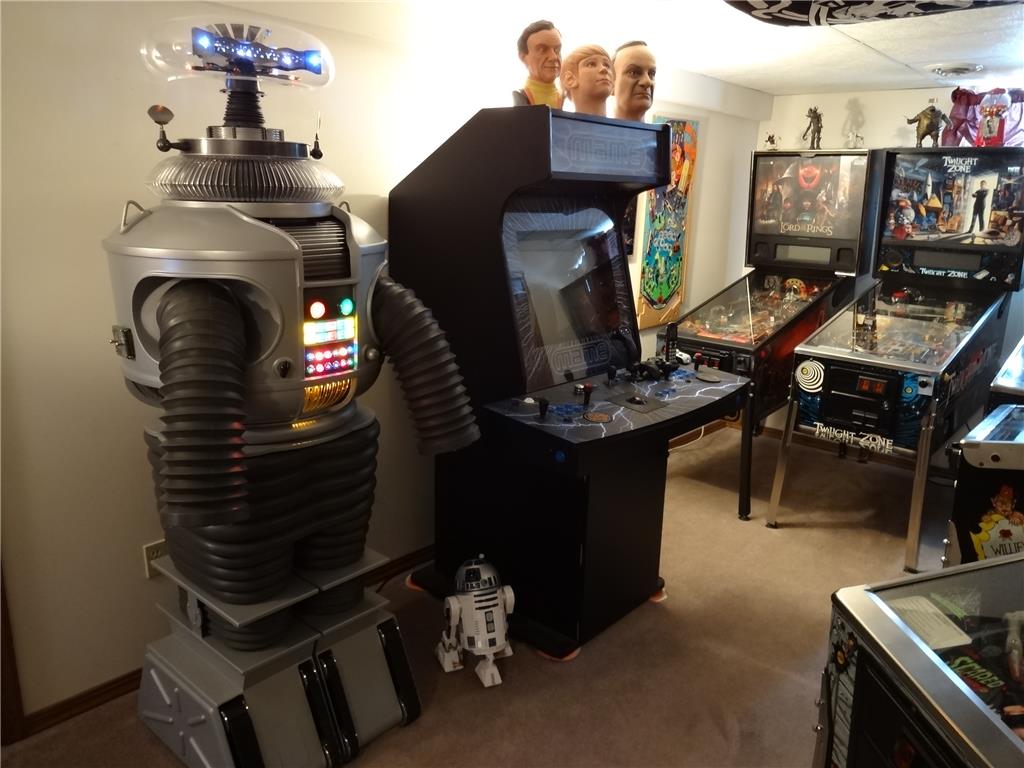
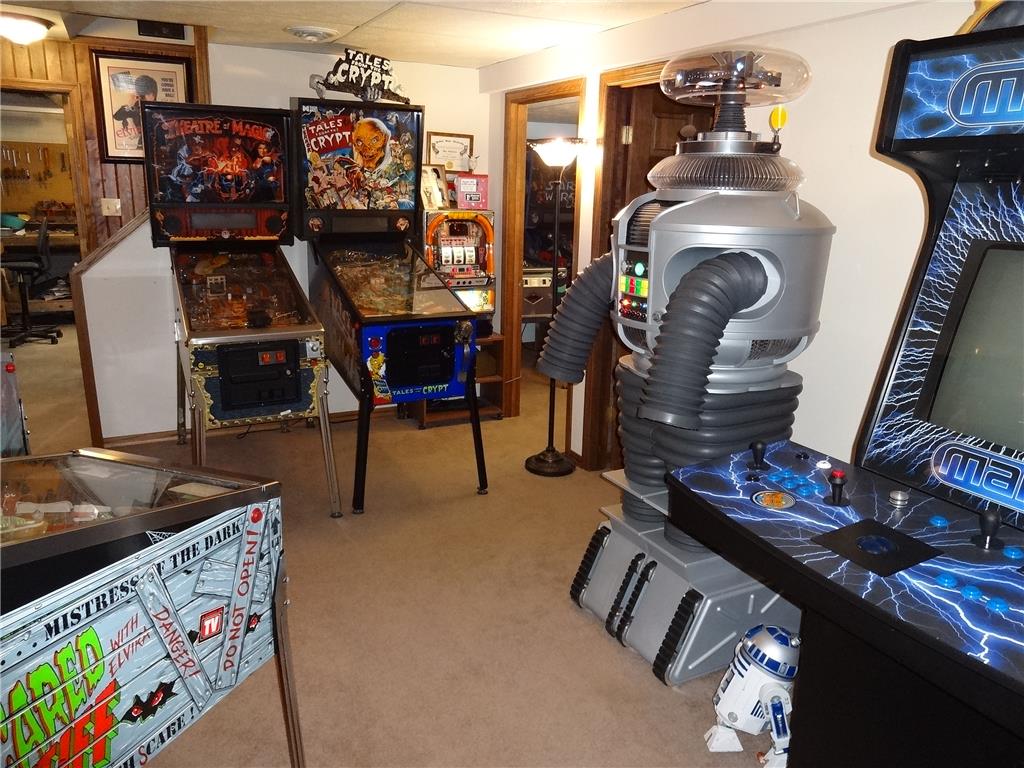
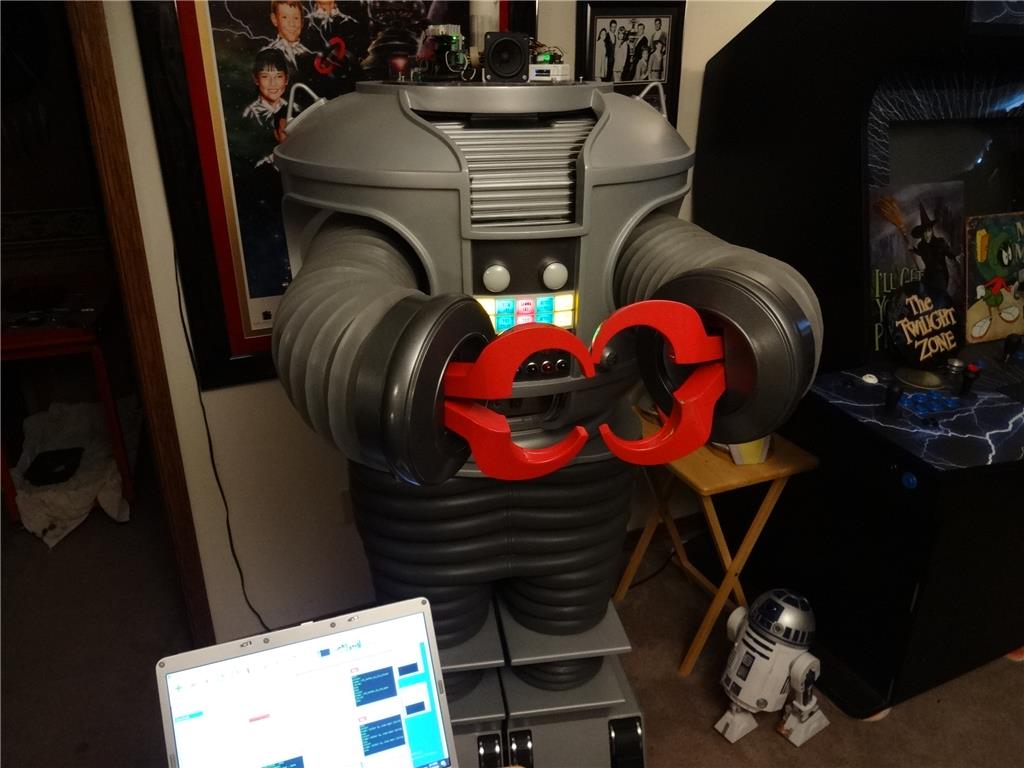
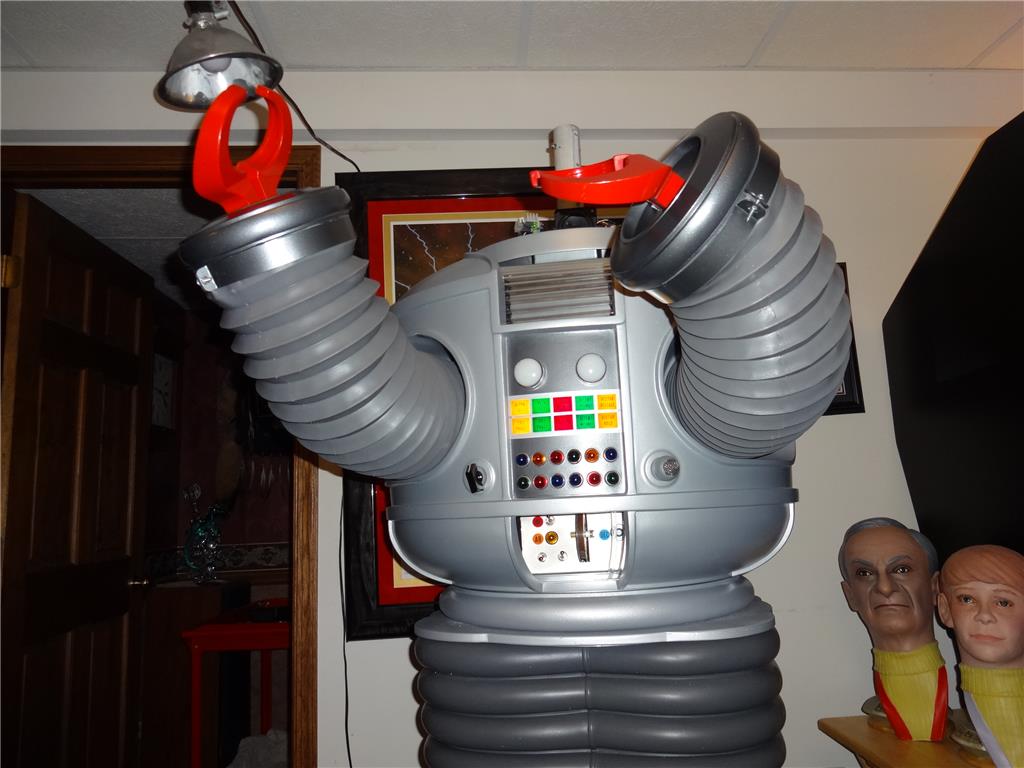
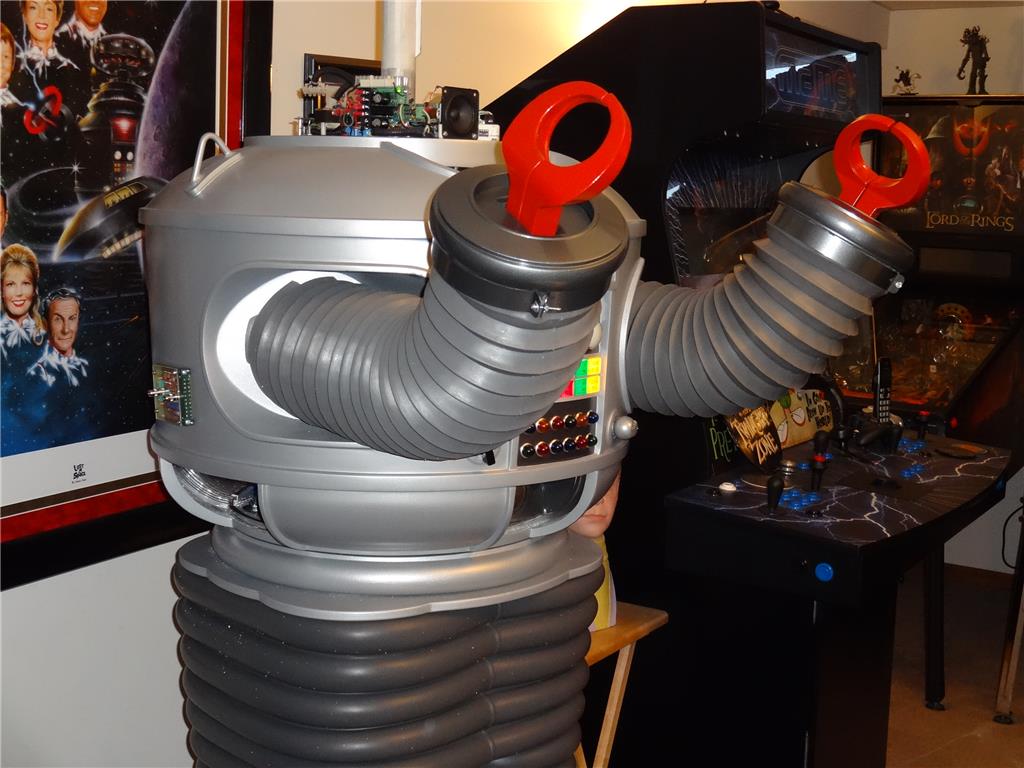
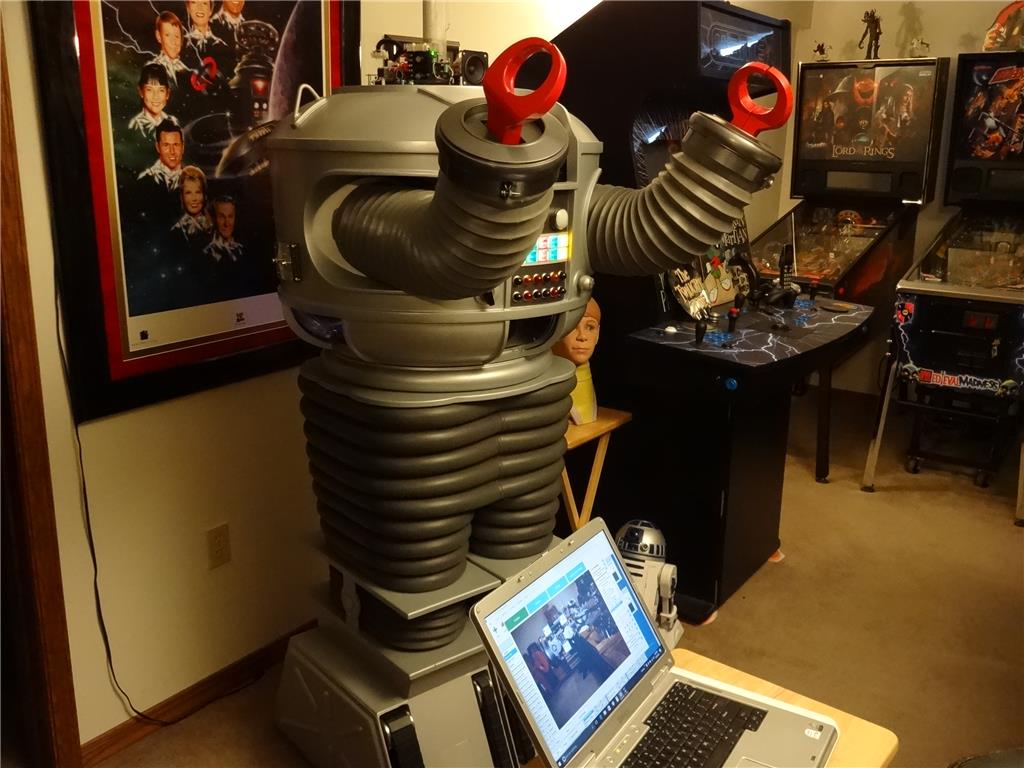
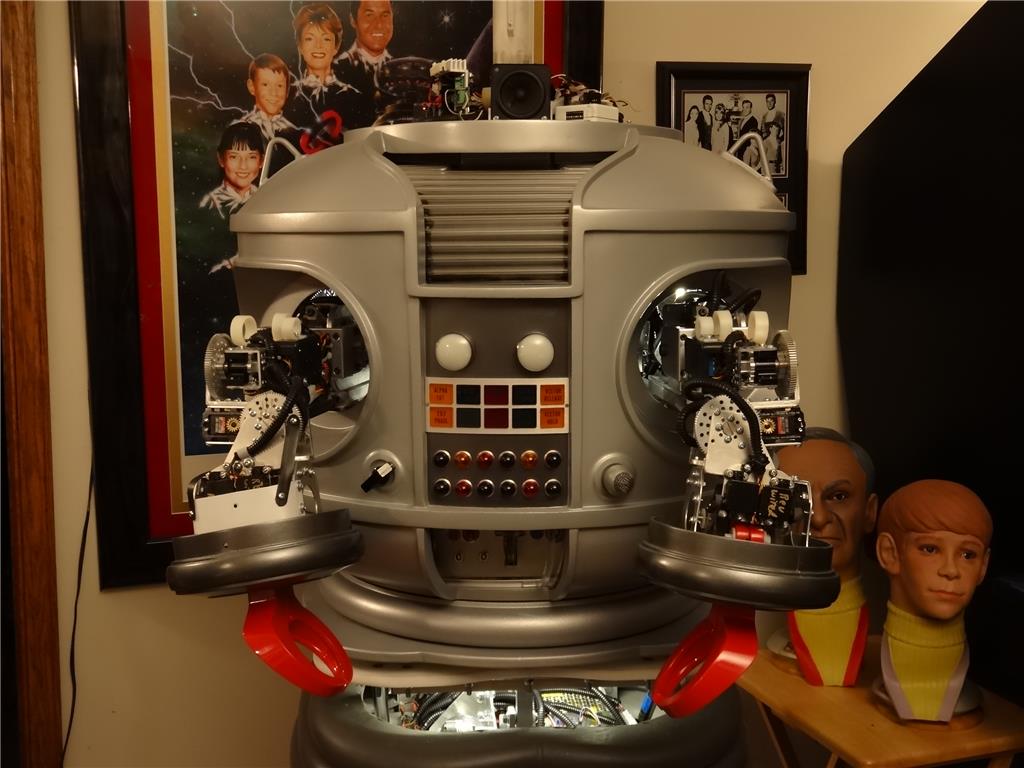
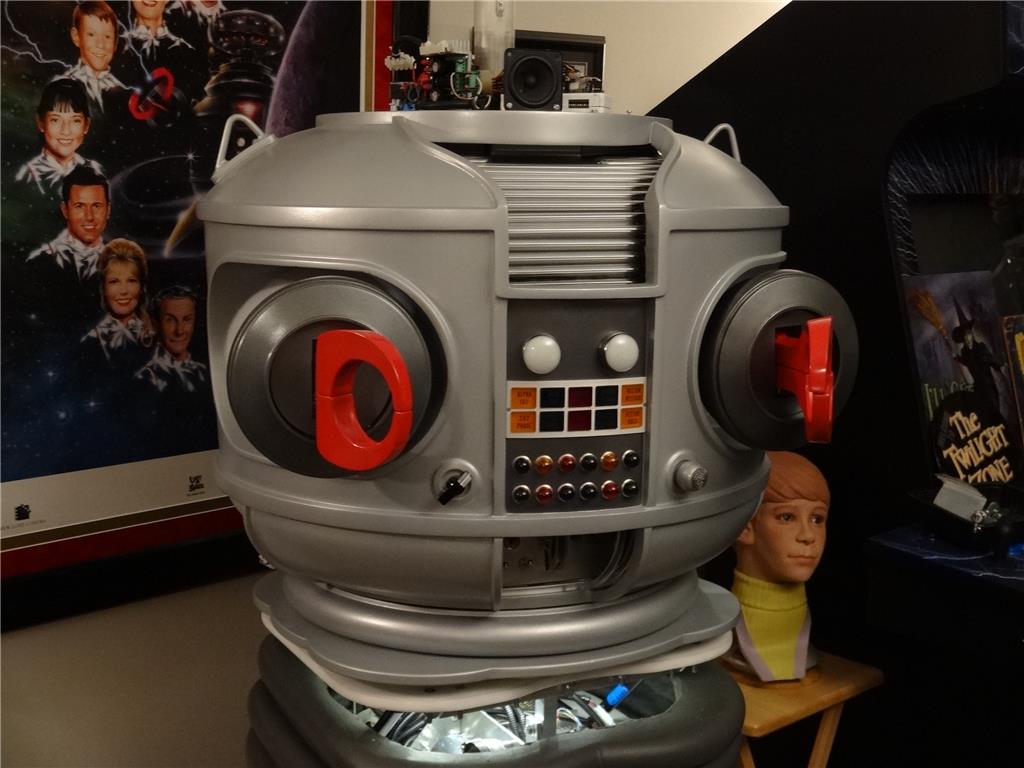
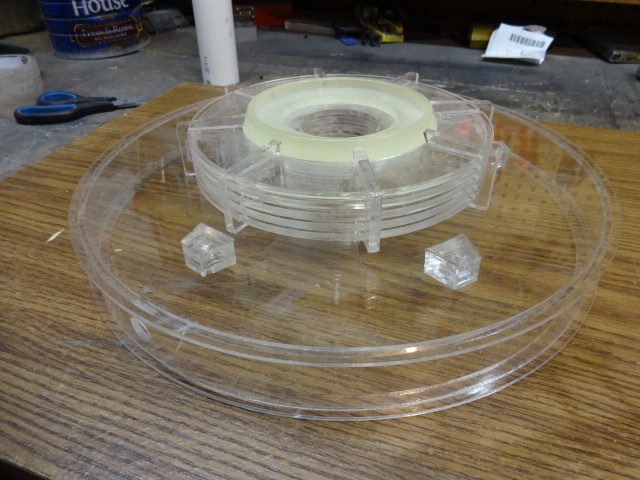
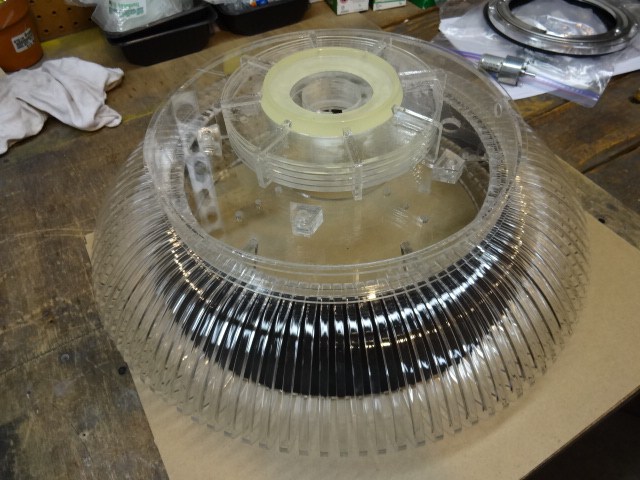
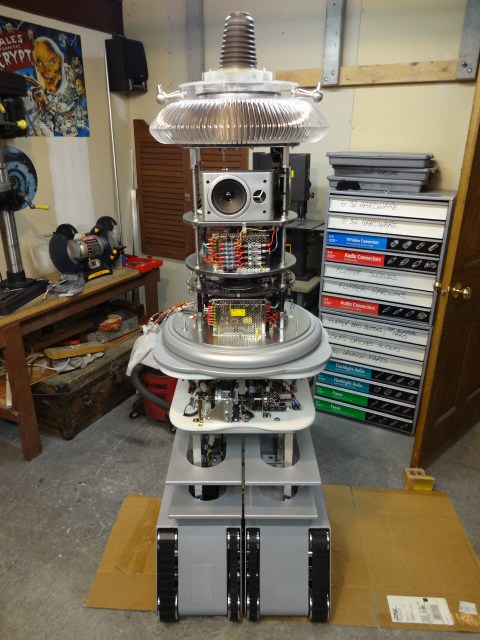
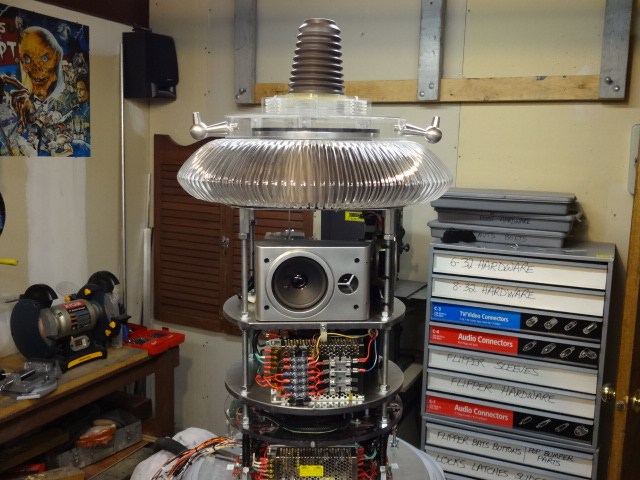
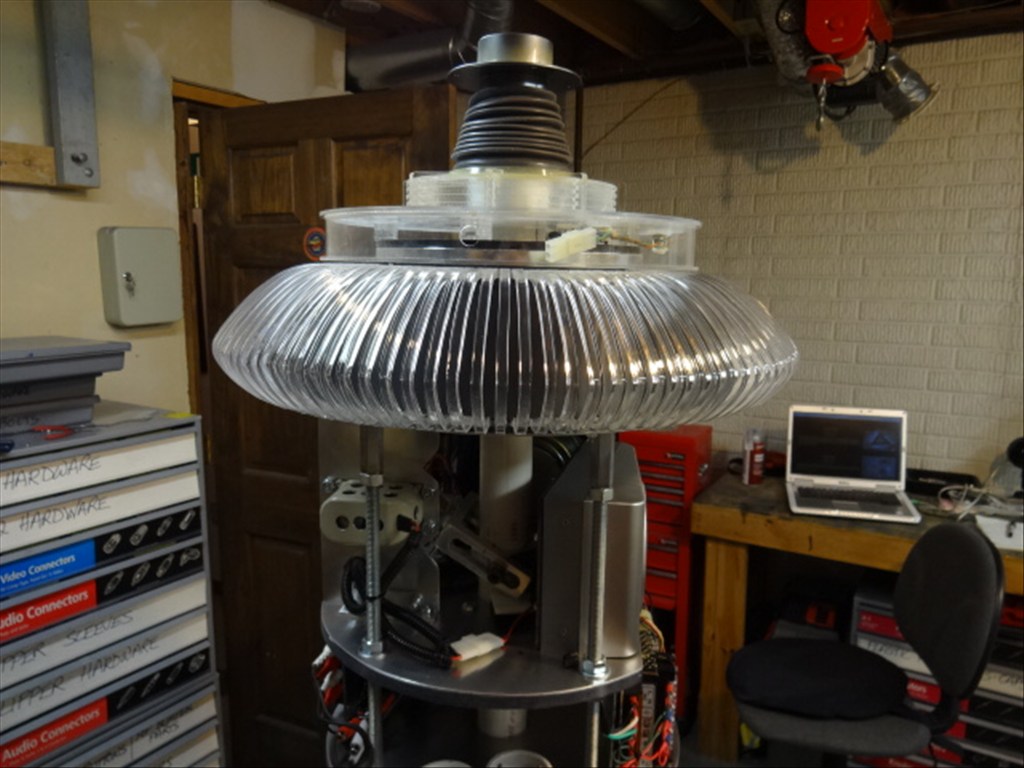
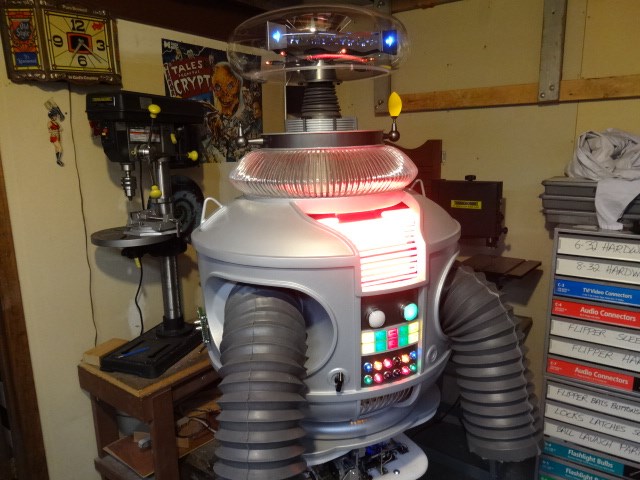
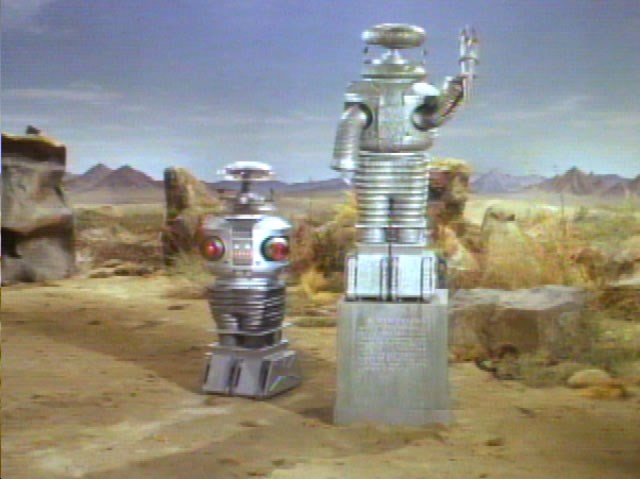
EDIT 8/2/13: Just realized I have no good pictures of how my B9 will look when complete. Here's one of the actual TV robots from the 60's TZ show Lost in Space and one recent shot of where I'm at with my build over 1 1/2 year after I started. Enjoy:

Thanks, Dave Schulpius
Discover more robots
Steve's Introducing Vic The Vac
Kenny's Everybody, Meet Phil:)


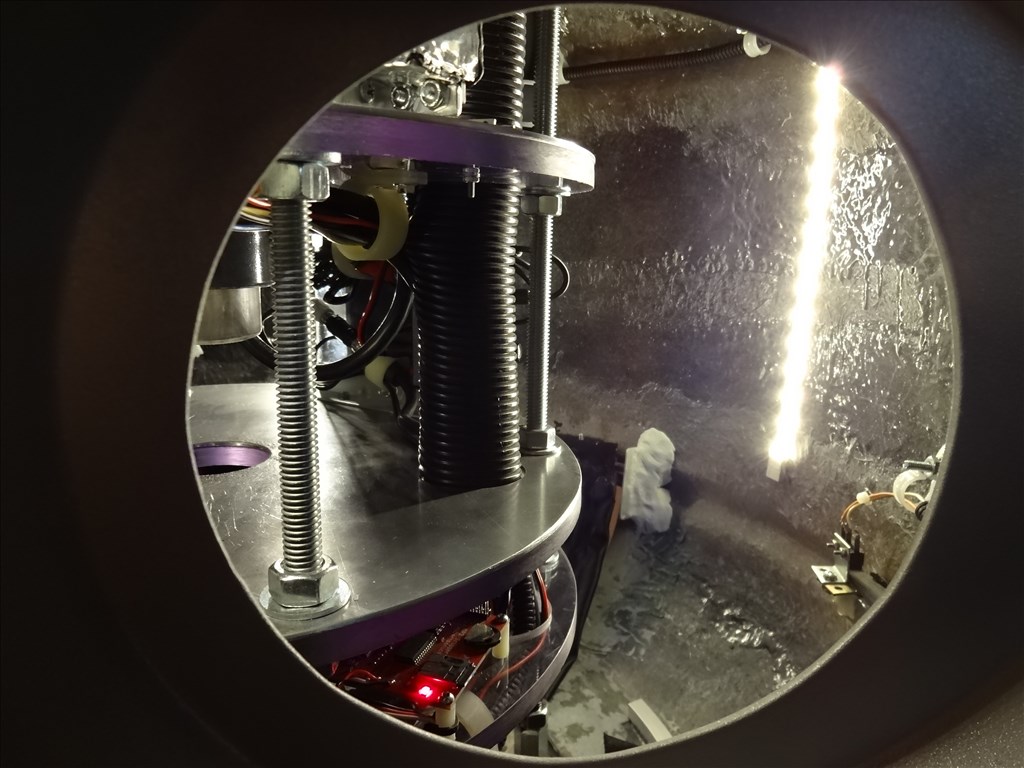
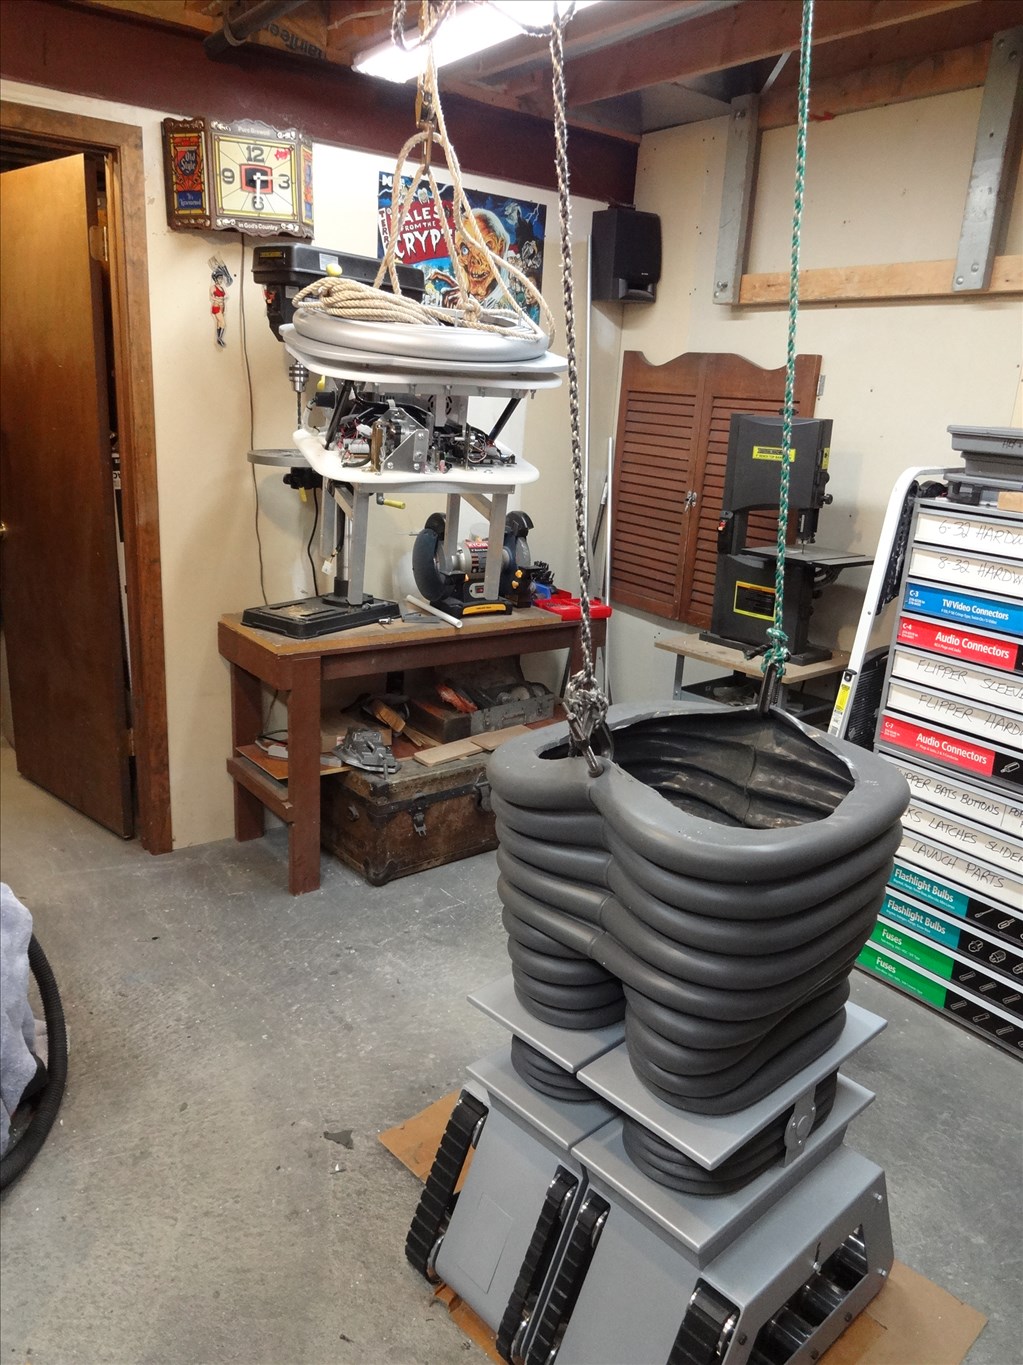
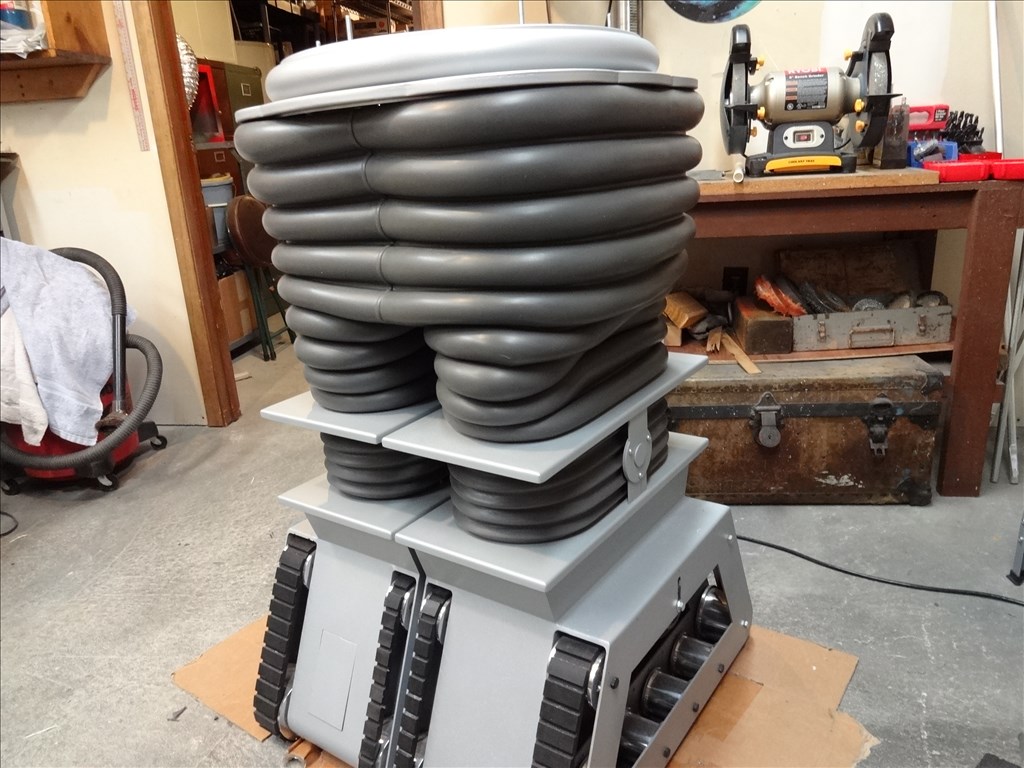
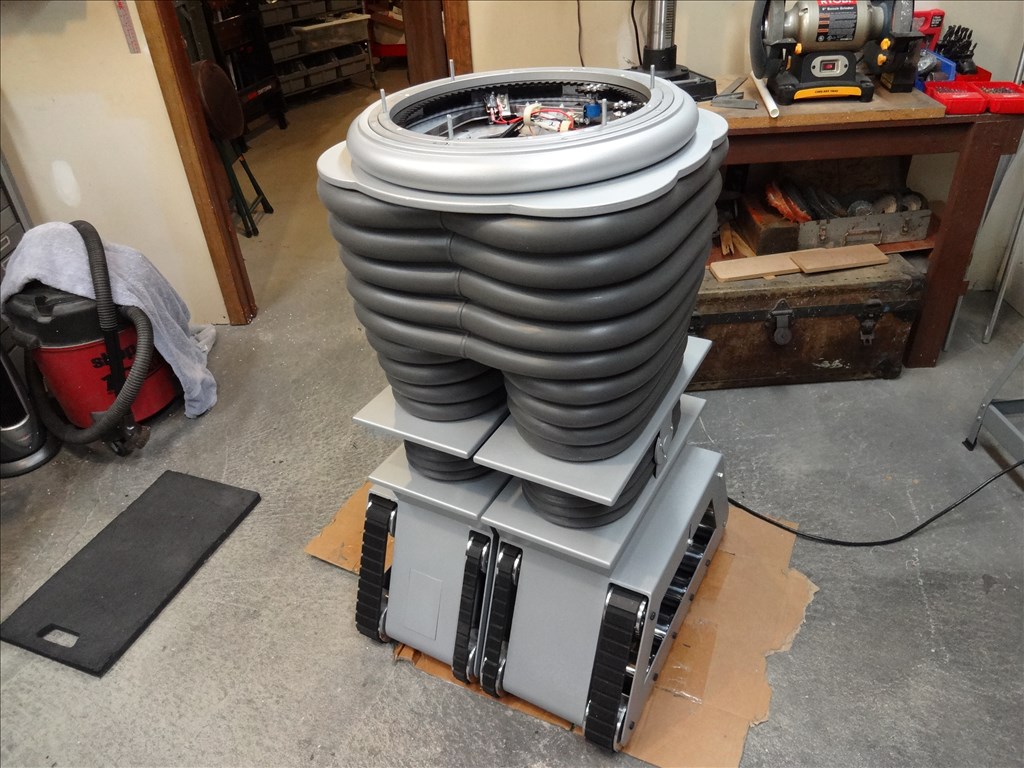
Thanks @Smarty. Now that you mention it, my CSS (Central Suppoet System) with the arms mounted to it really does look like a deep sea robot. I wonder if Jacques Cousteau would see it like that? LOL
Hi Dave,
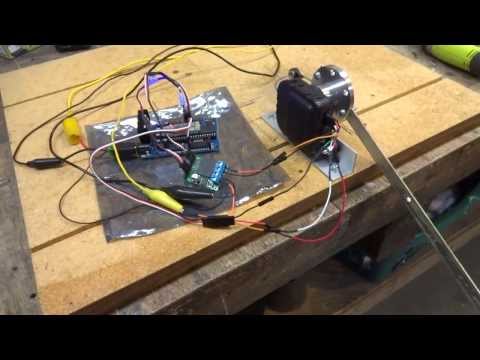
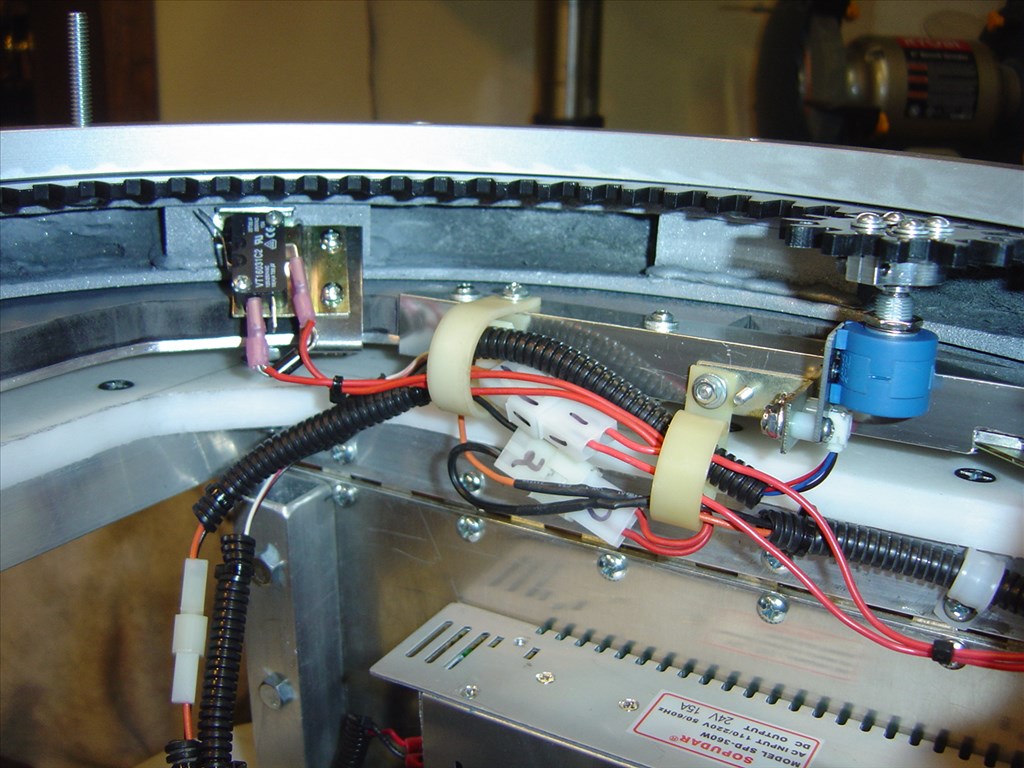
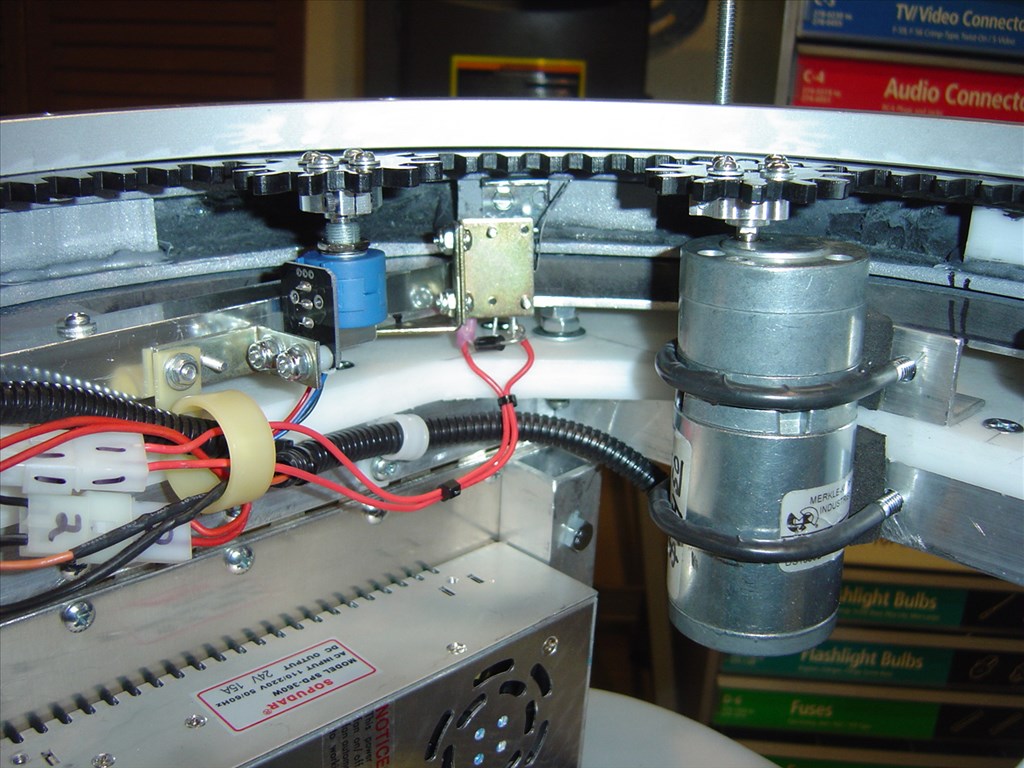
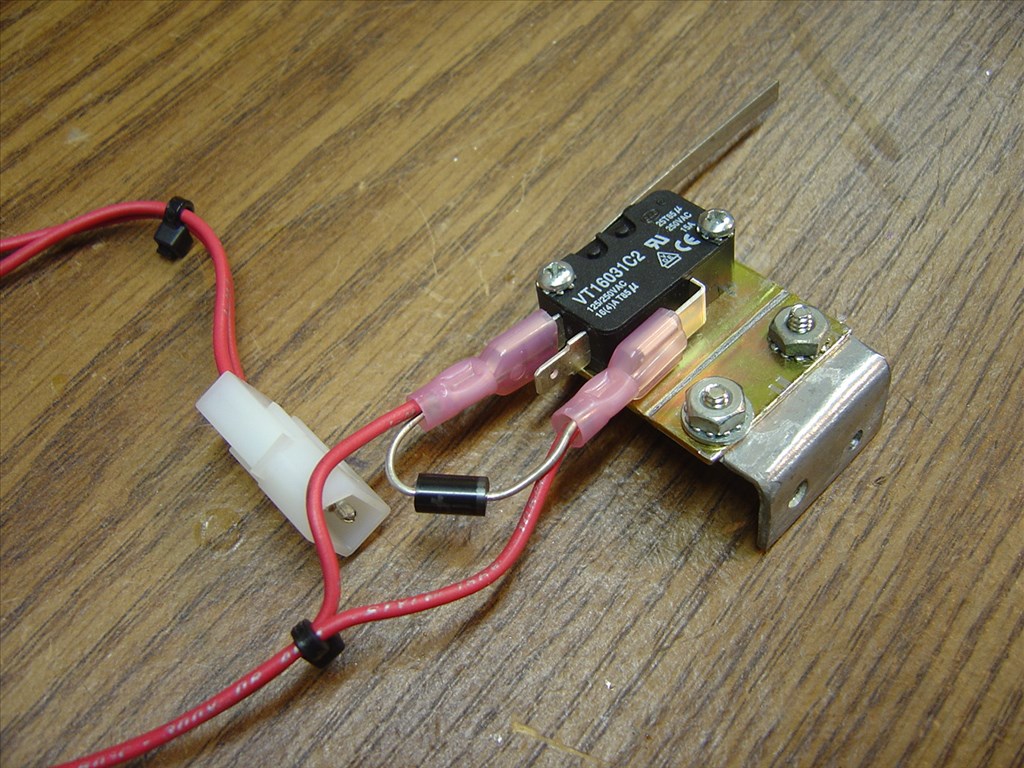
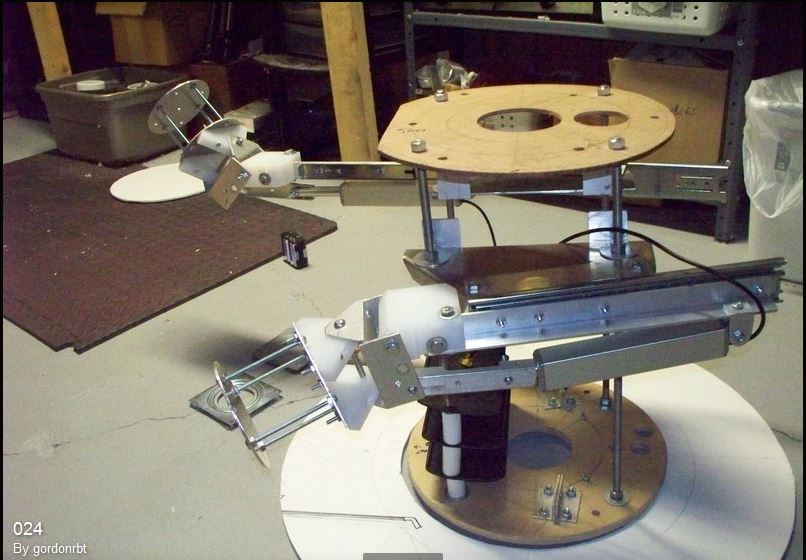
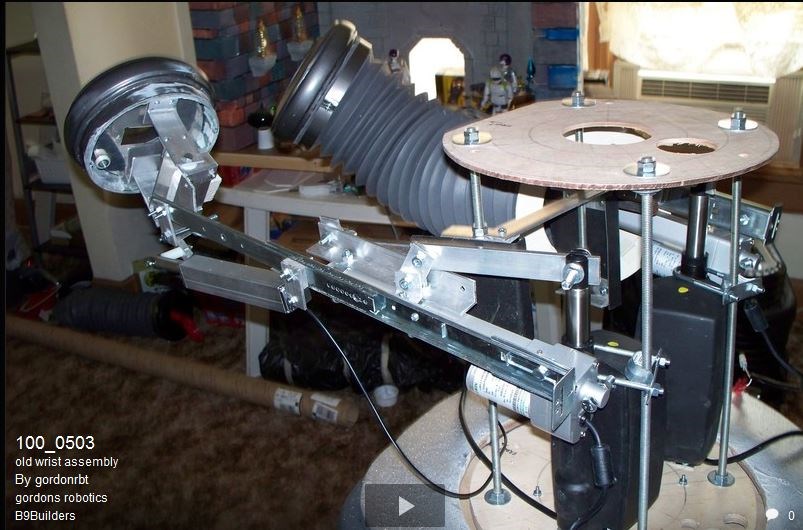
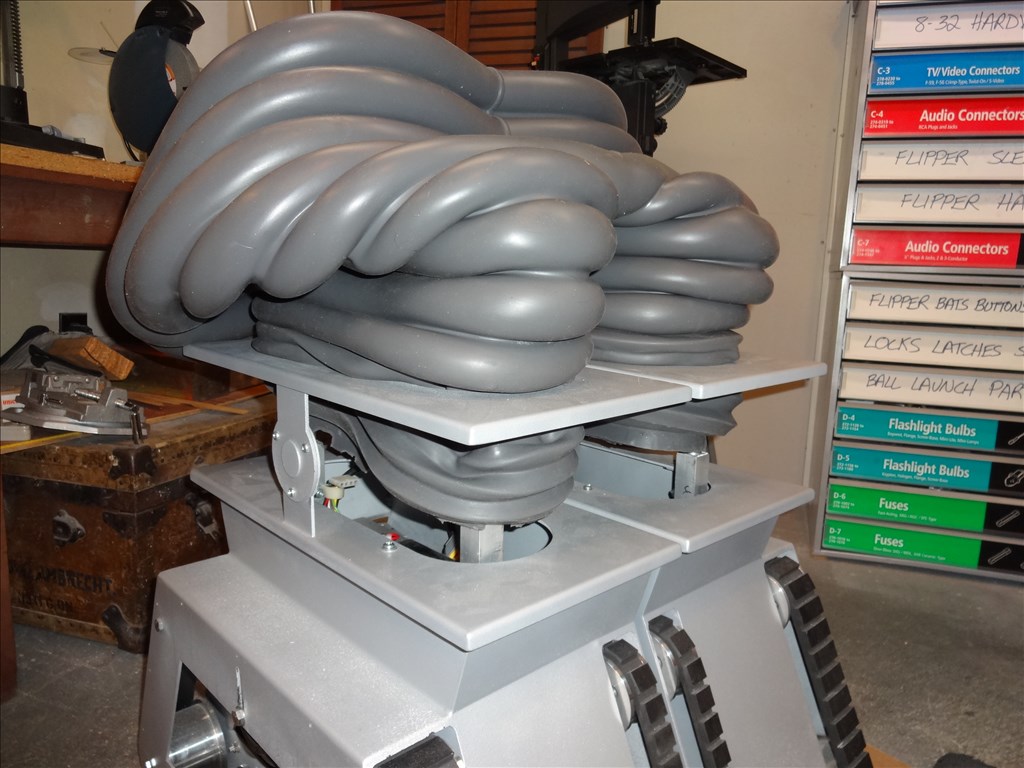
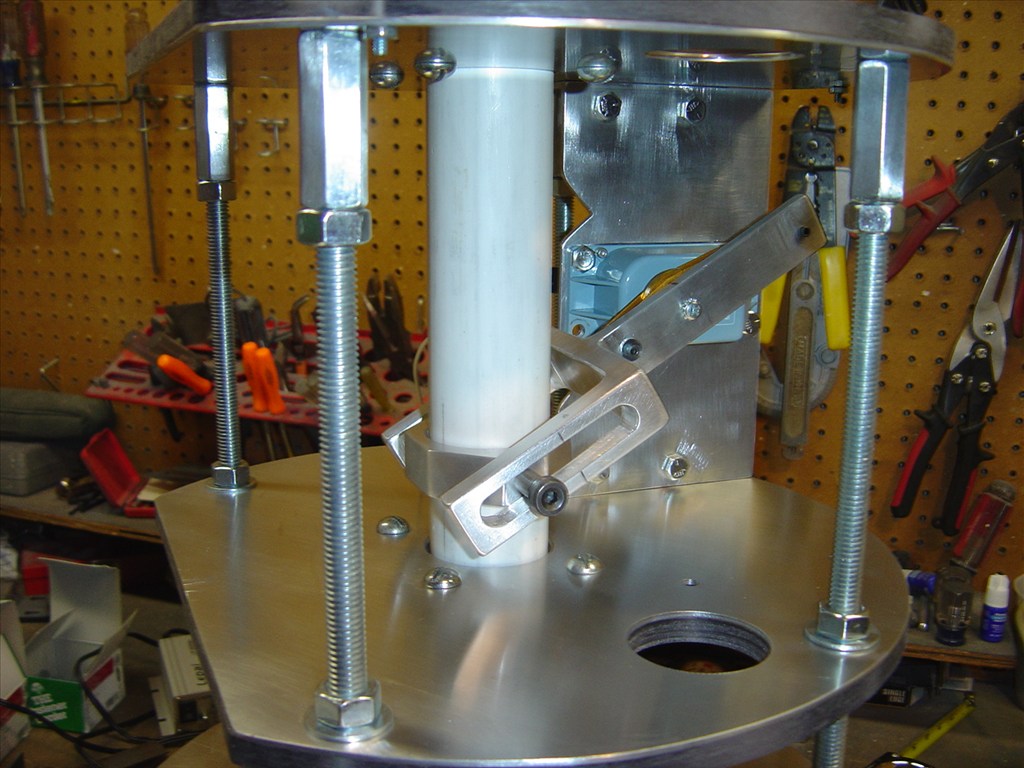
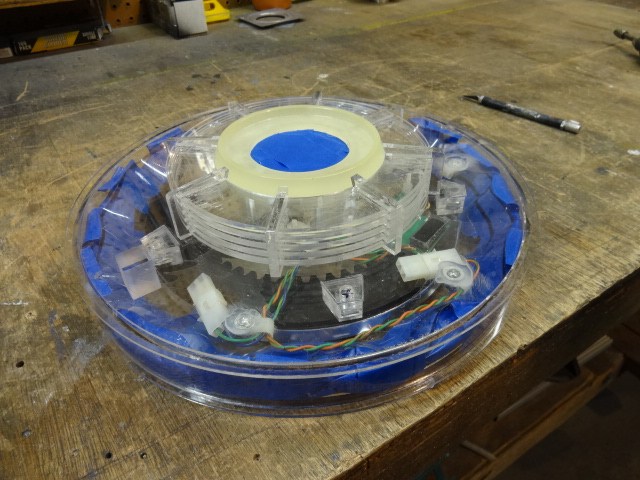
When I first set up the bubble lifter and tuned it with the Sabertooth and Roo, I updated with the BETA version you sent me and tried running it with the ramping function on and it ran terribly, very jerky. I found it worked best with no ramping. The video I put on youtube of the bubble lifter shows it running beautifully, but it also had no weight on it. It would happily start and stop in any position at any speed I scripted. Once I added the head assembly to it, it developed the shudder but only on the down stroke. I tried slowing the motor speed down a bit but that didn't help. Interestingly though, I have the bubble lifter scripted to come down quite slowly when the Power Pack is pulled, to simulate gradual power loss, like the Tom Wizz lighting controller does, and it doesn't shudder then. With this in mind, I also wonder if it has anything to do with the fact that the neck shaft only relies on gravity to keep it in constant contact with the top of the linear actuator. I designed it this way to make the whole head section from the collar up able to be unplugged and simply lifted off the torso/CSS. This might explain why the up stroke is no problem, but going down maybe the neck shaft is being slightly left behind as the linear actuator drops quickly........I just had a "Light Bulb" moment..... While typing this I figured I can test this theory by temporarily fixing the neck shaft down to the actuator to see if it helps or fixes the problem.
Thank you so much for the kind offer to purchase the IGUS gear on my behalf. I may take you up on that. If you like, it may be better to email me privately to work out the cost plus shipping and exchange rate..... But I'm thinking It may end up costing the same as buying it here I hope not, cos those rails are awesome and I'd really like to use them. So much better than draw slides which is the alternative tired
My email is [email protected]
Steve
Steve, I'll email you privately on the rails. We'll see what the shipping costs after you send me your shipping address.
One thing I just thought of on your bubble lifter; did you retune the Roo after you added the extra weight of the bubble? If not the added weight could be outside of the PID settings that were previously set up in the autotune without the extra weight. The fix could be as simple as running a new autotune.
Good luck!
.........................I didn't think of that, I should probably give that a go. Thanks Dave, I guess that's why you're on the big bucks
Steve
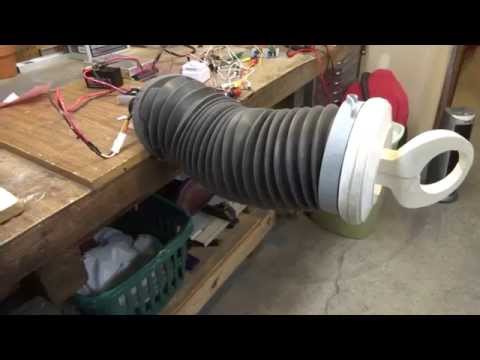
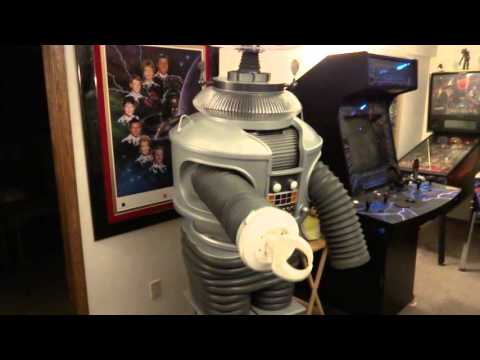
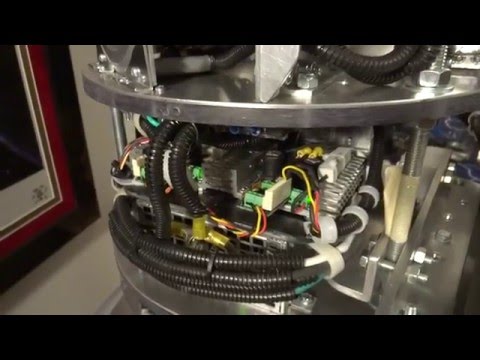
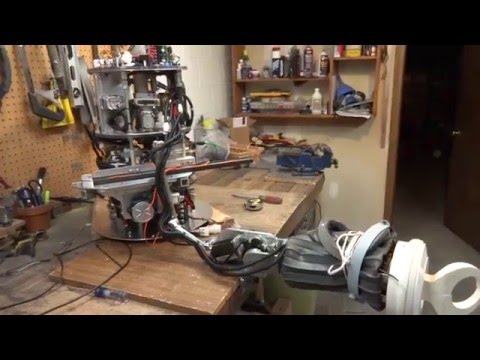
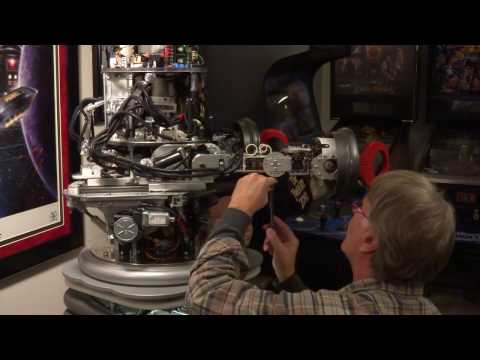
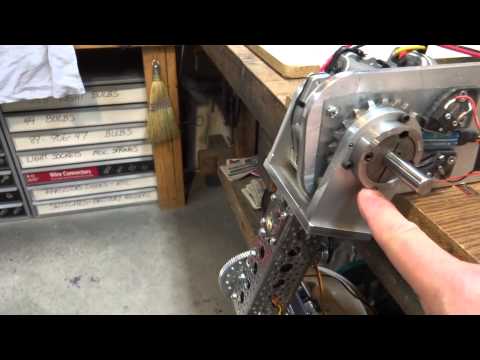
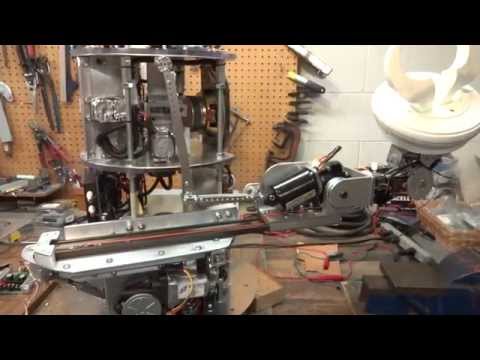
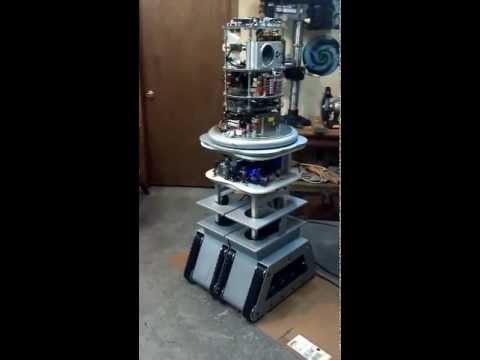
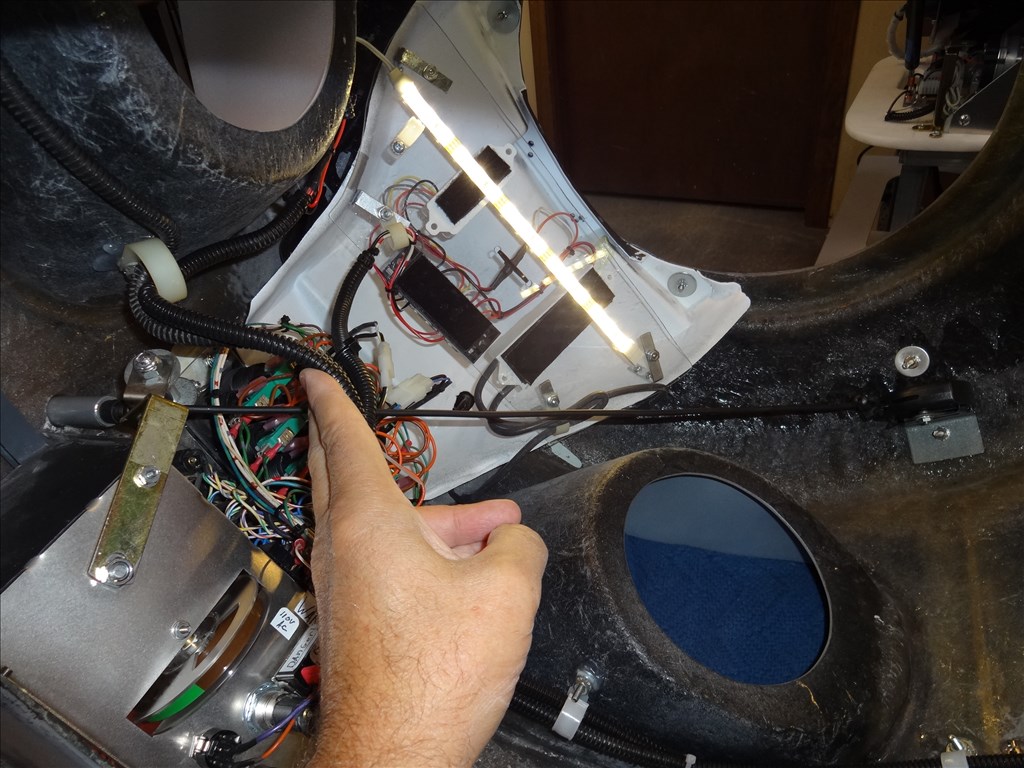
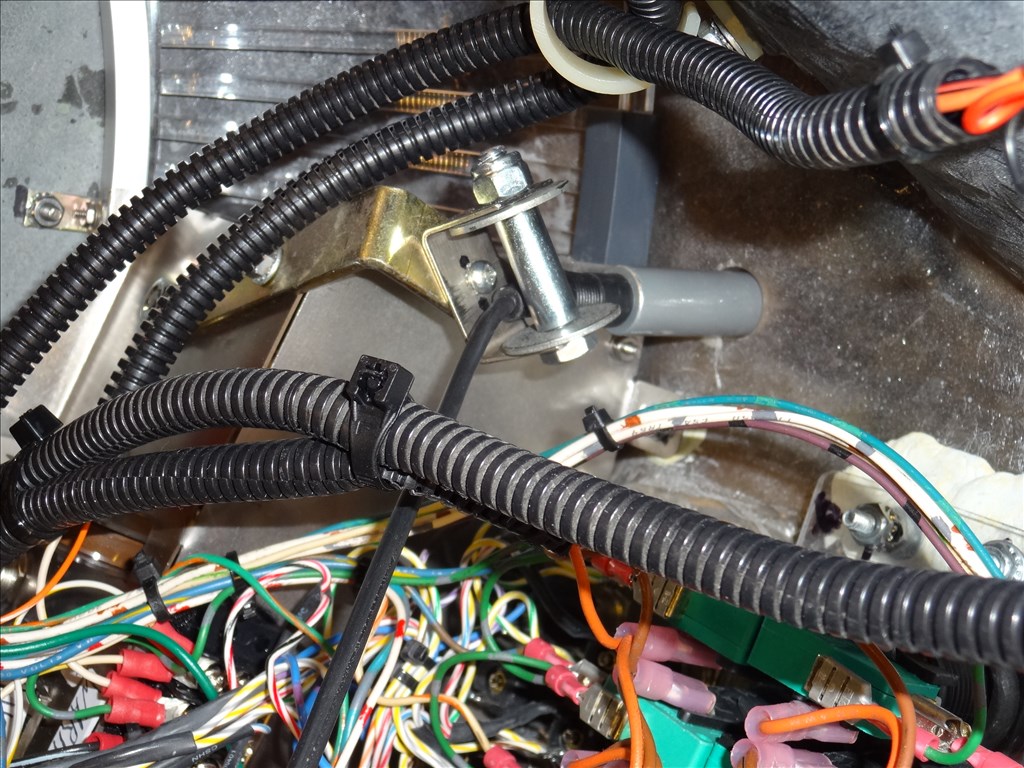
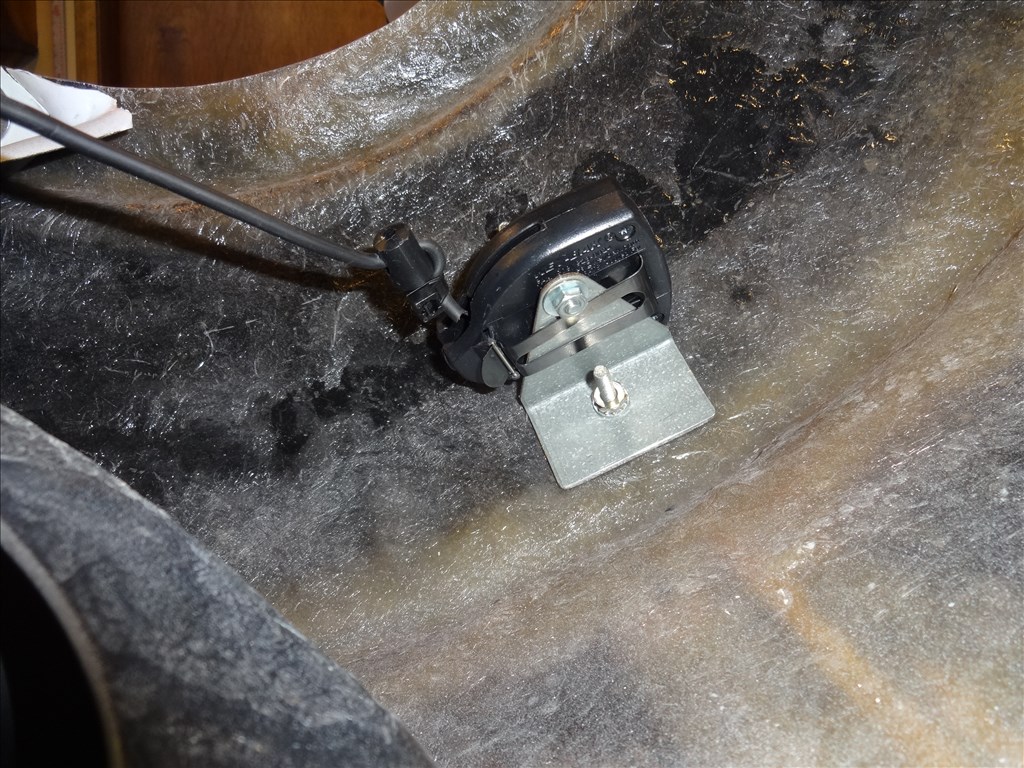
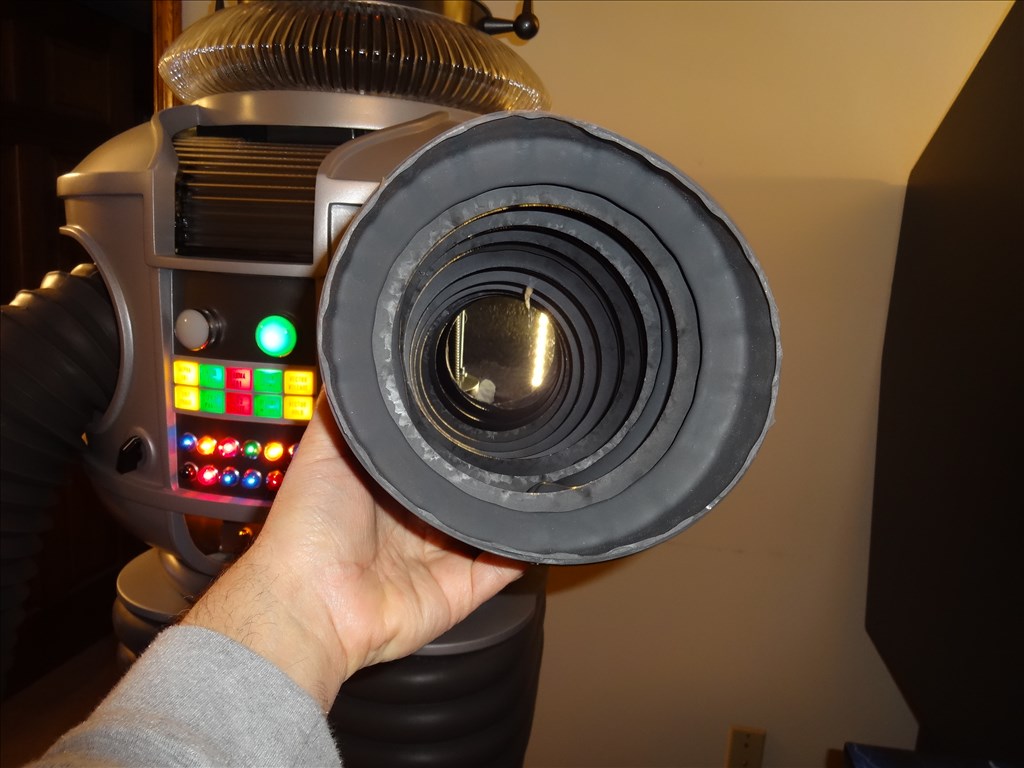
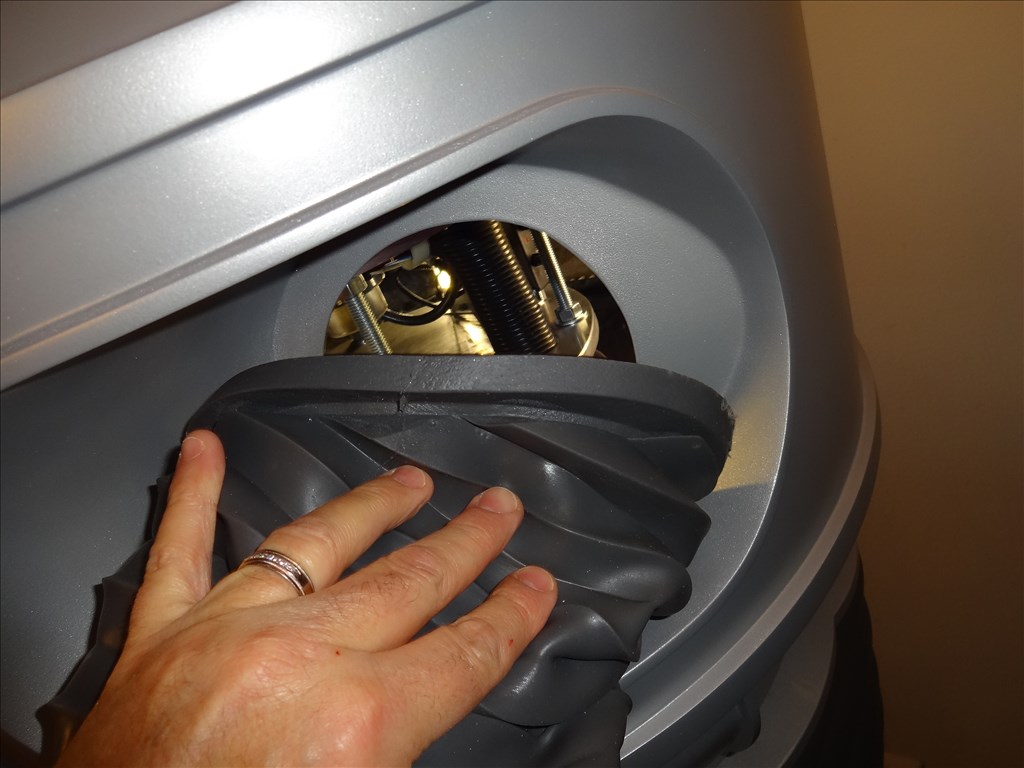
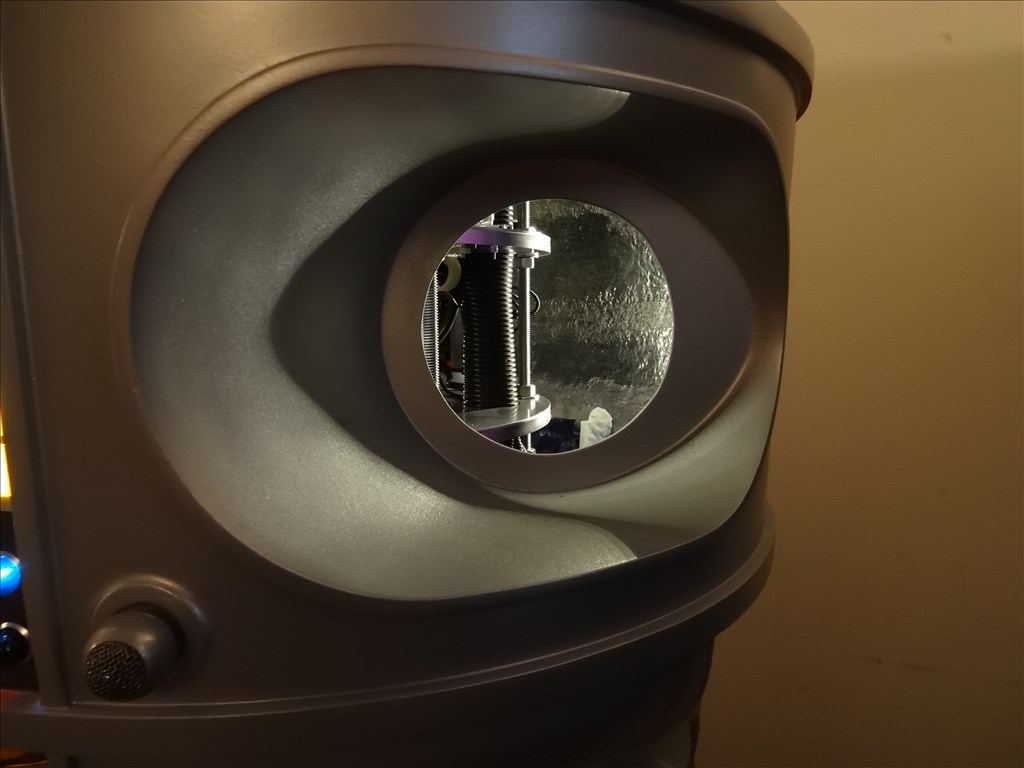
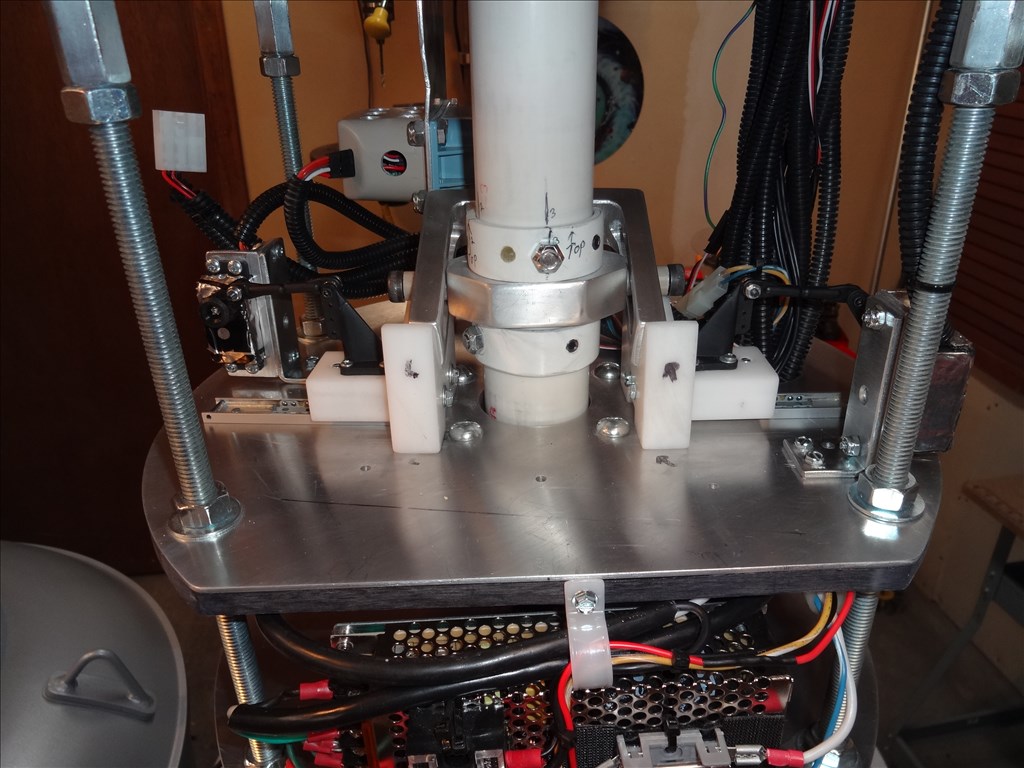
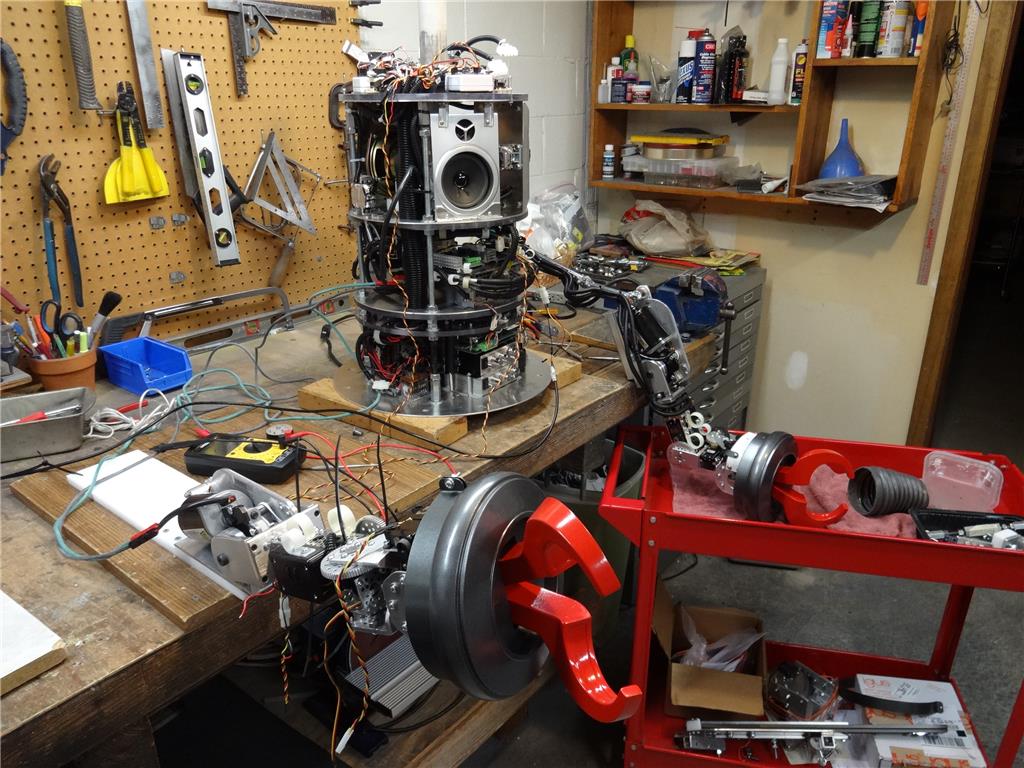
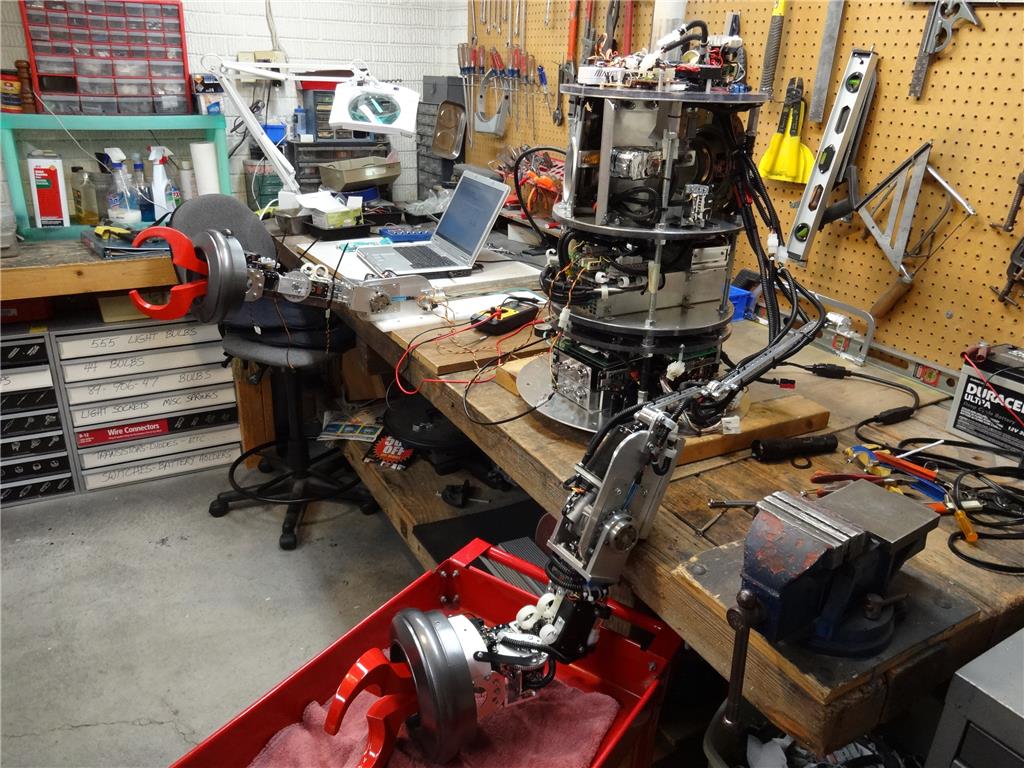
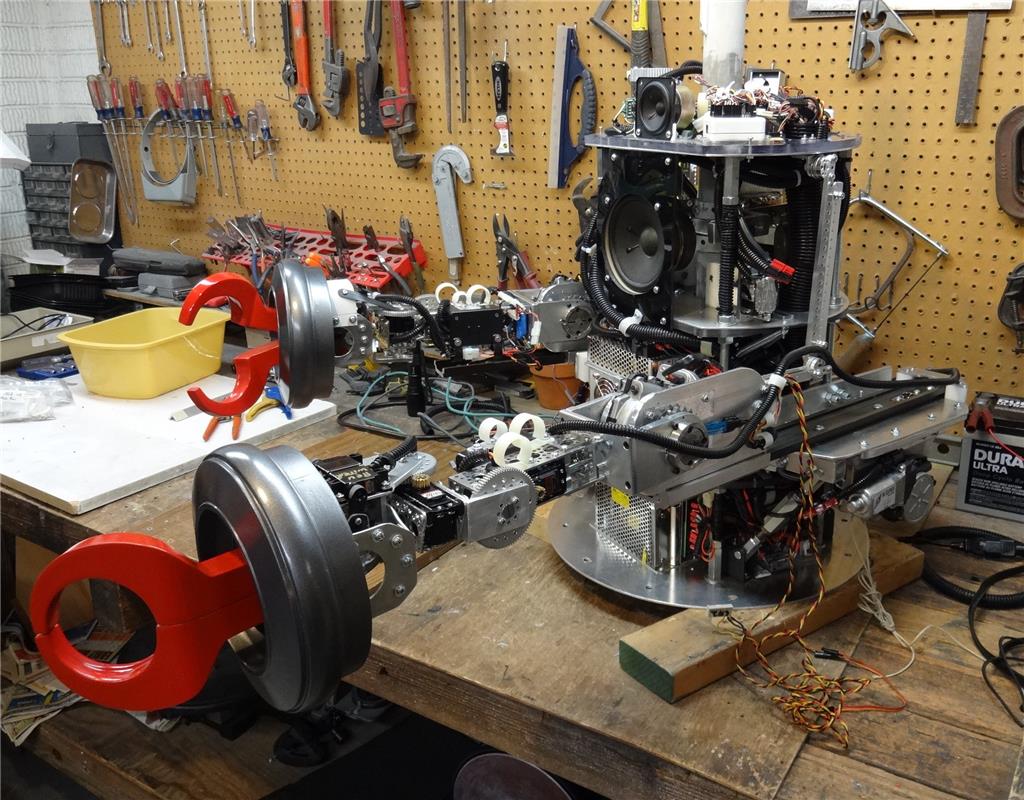
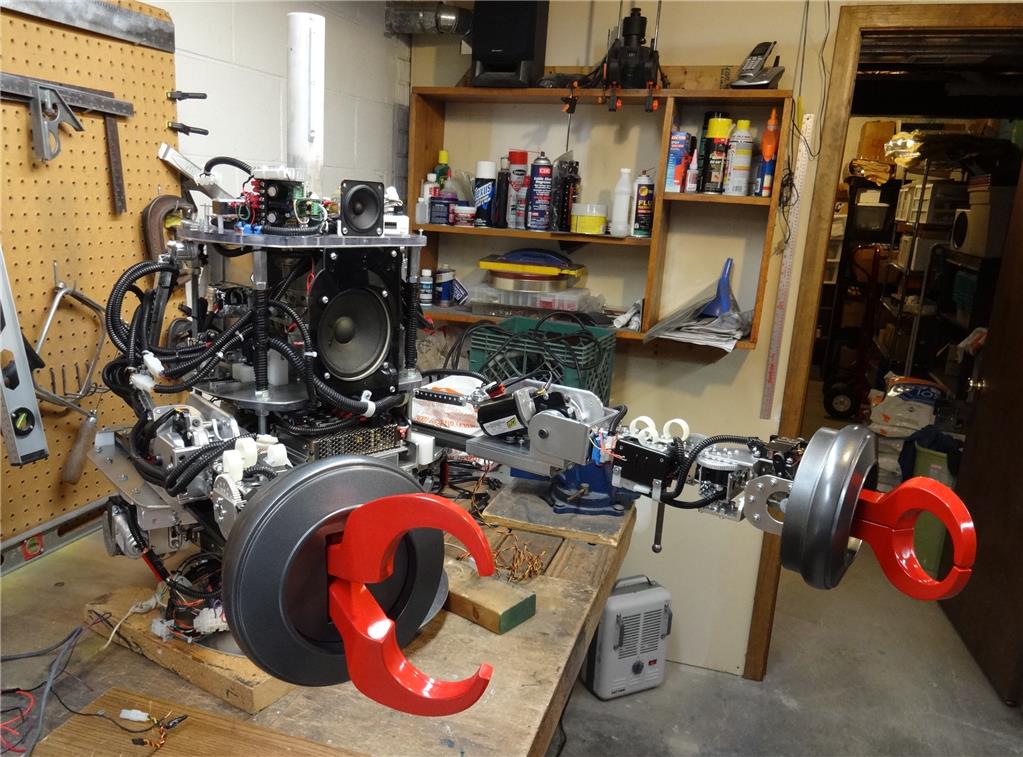
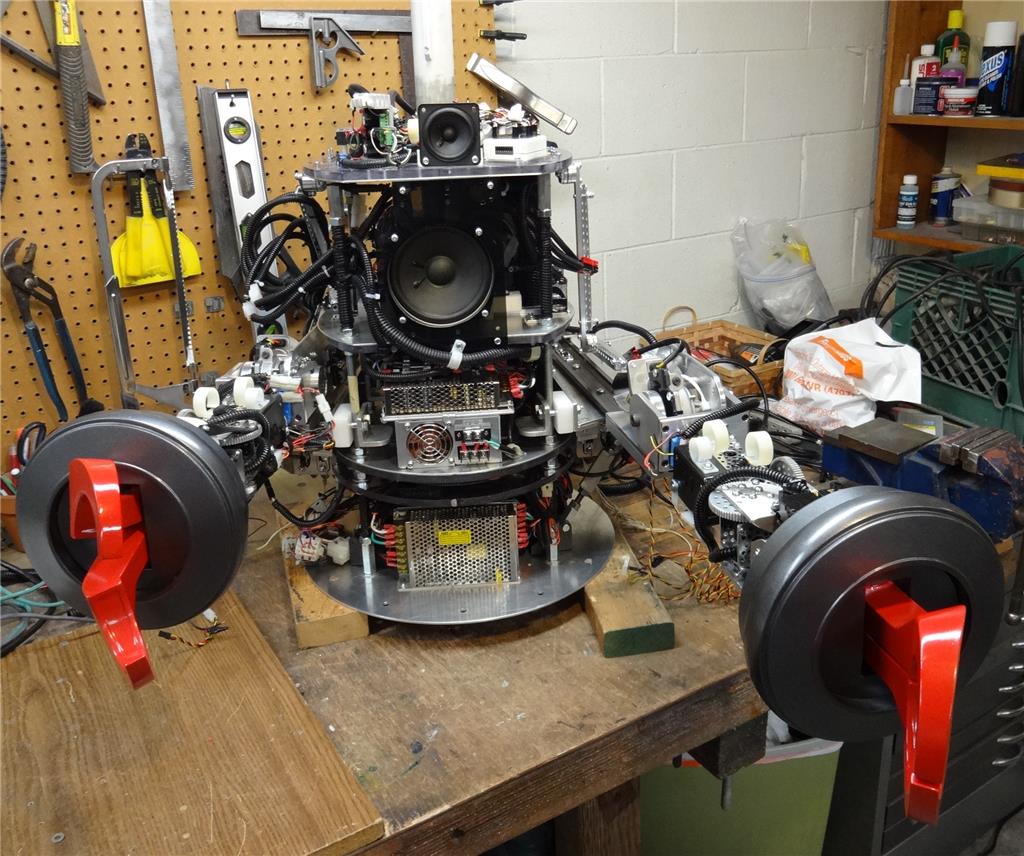
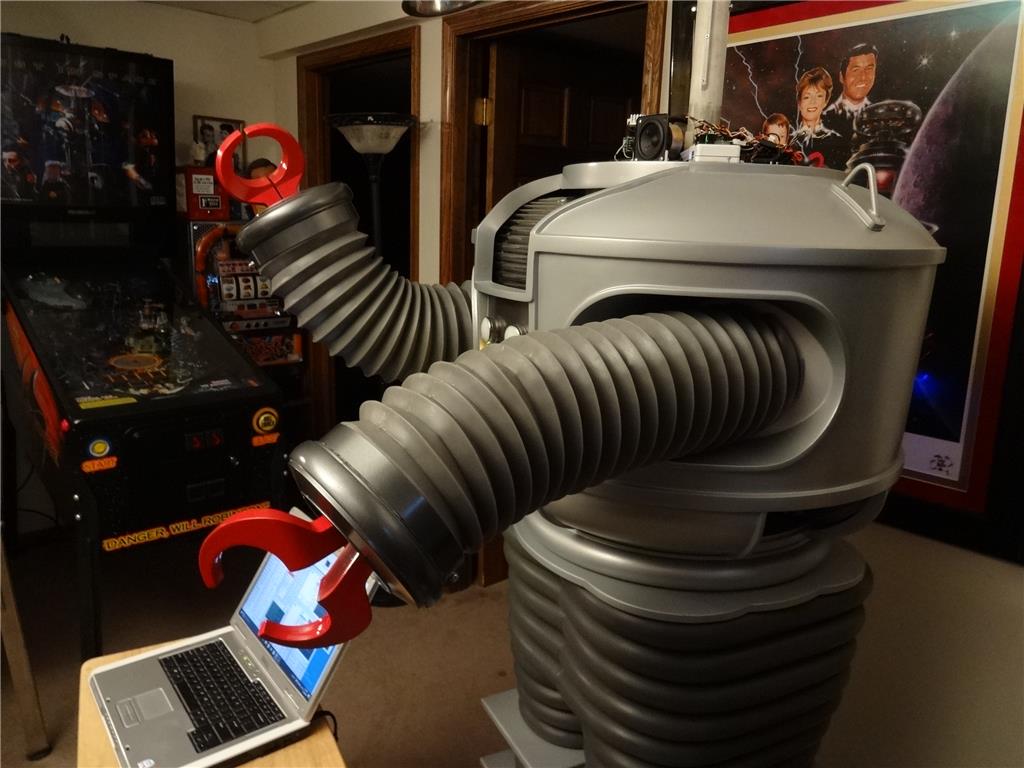
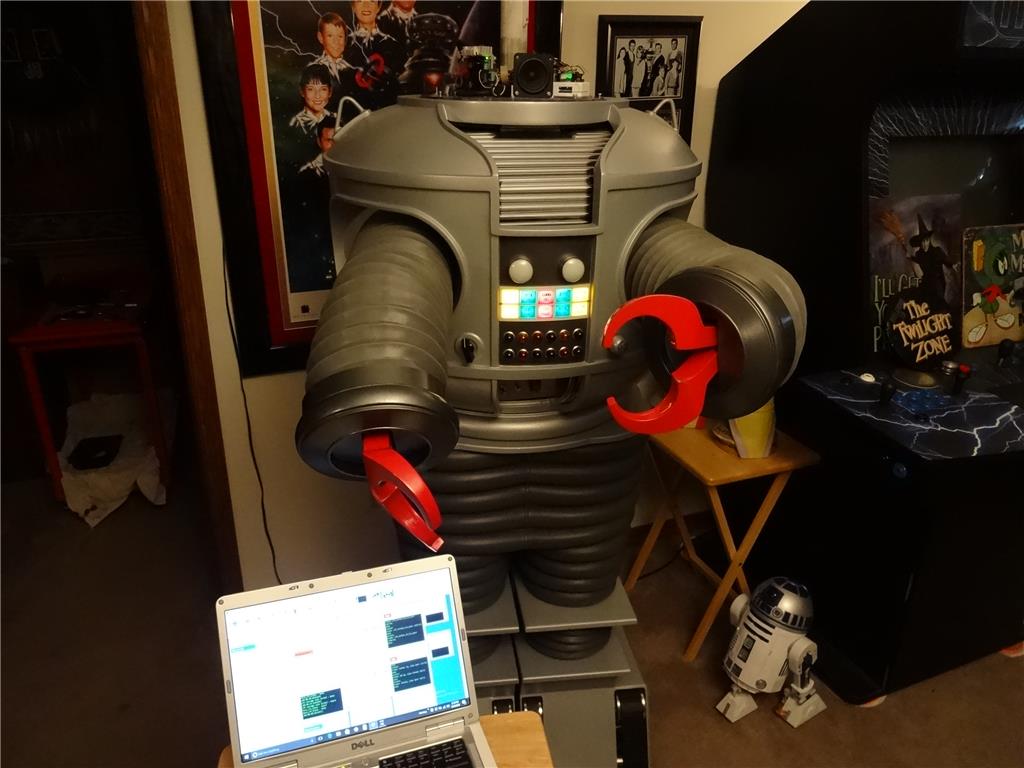
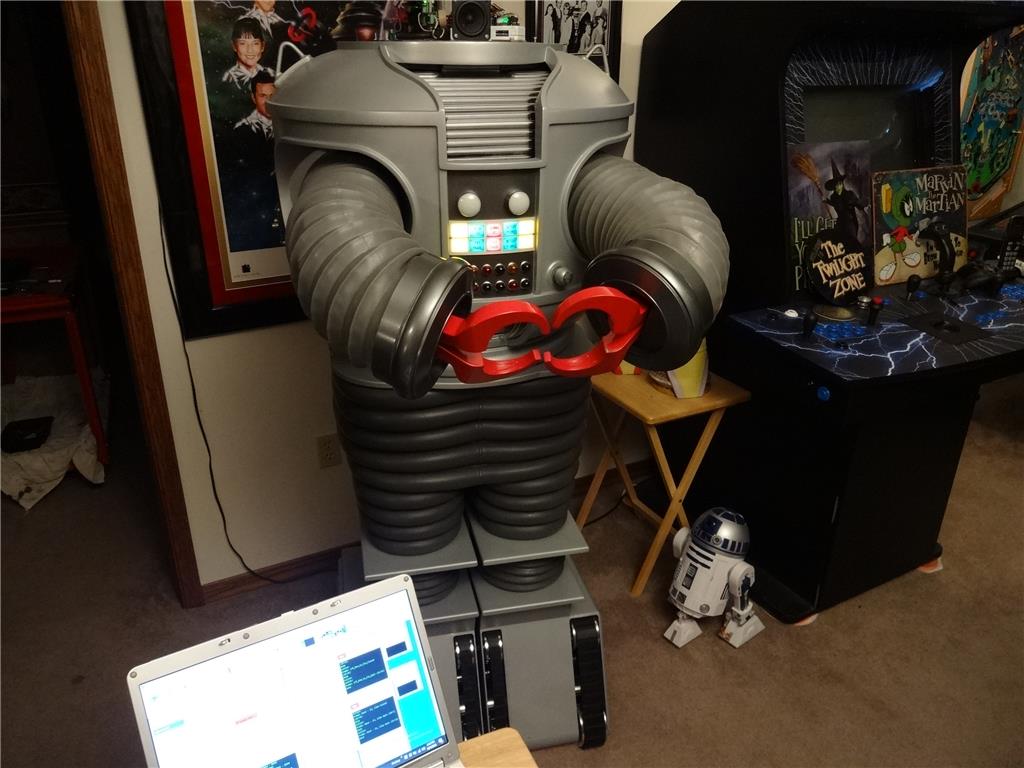
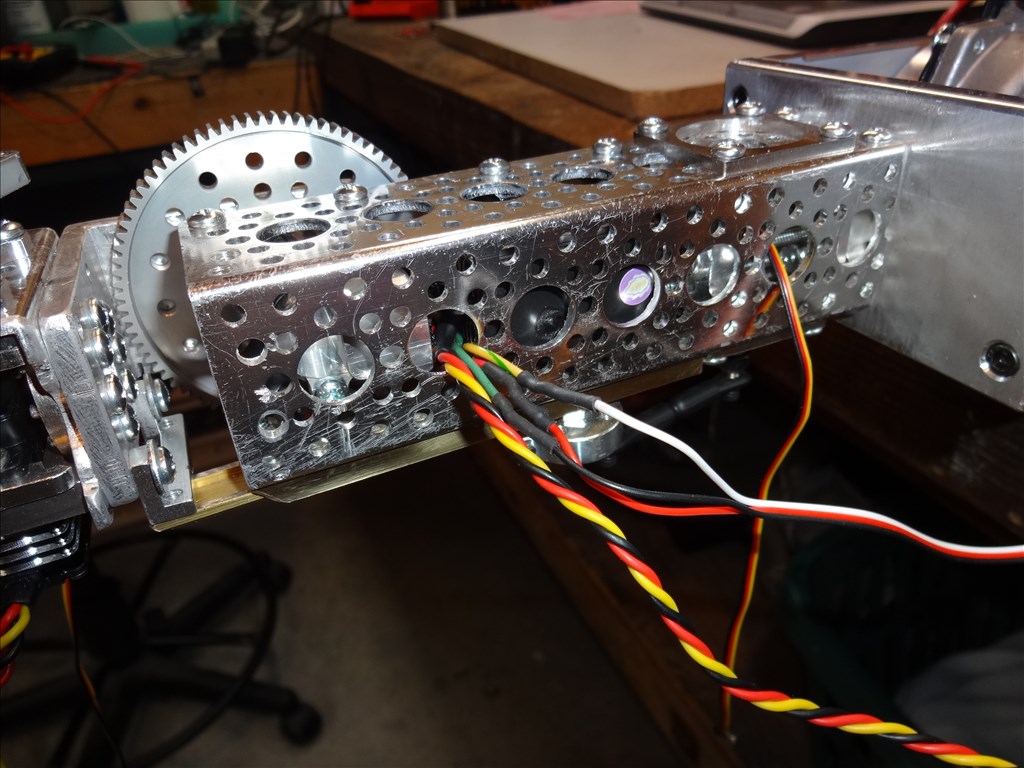
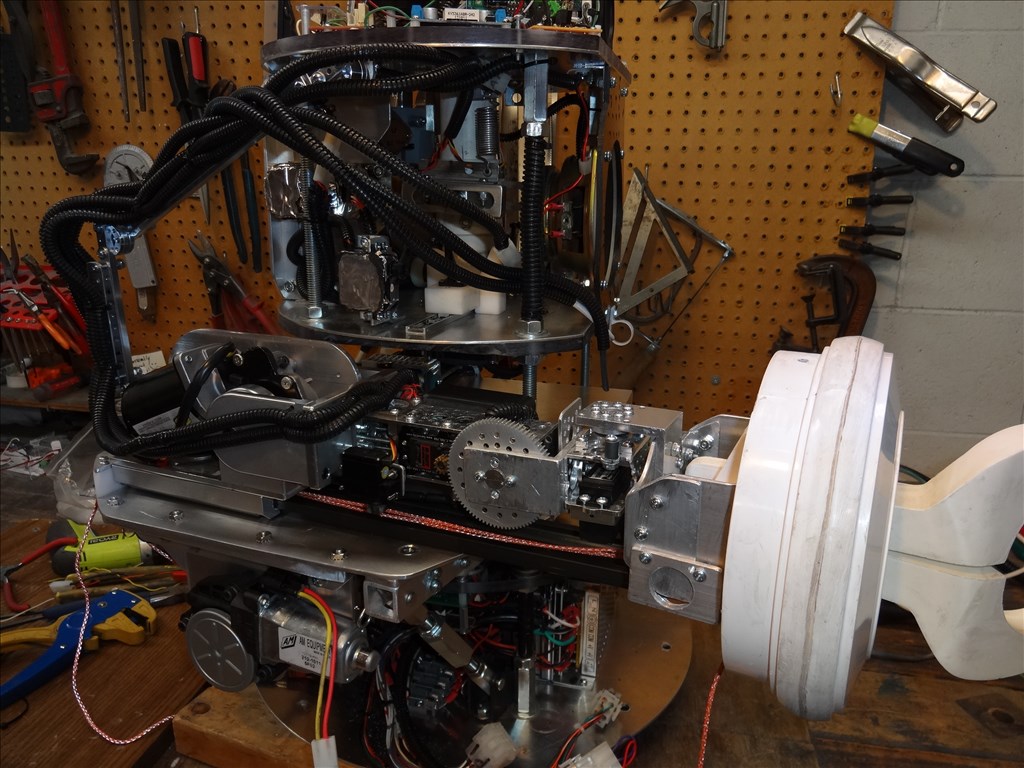
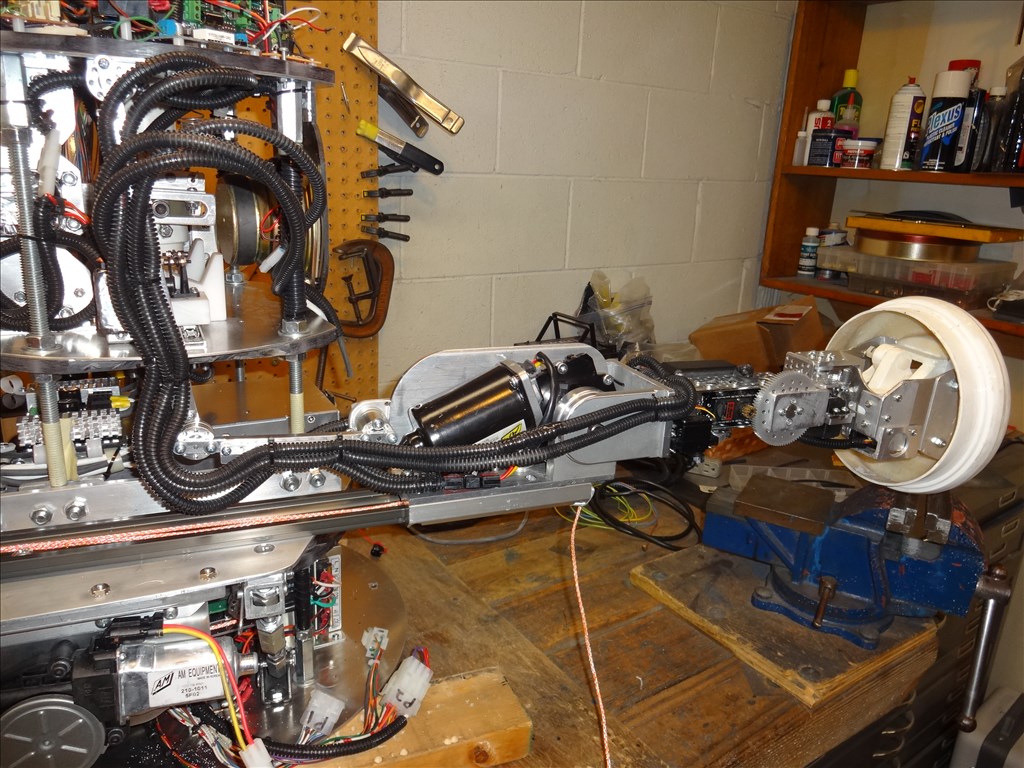
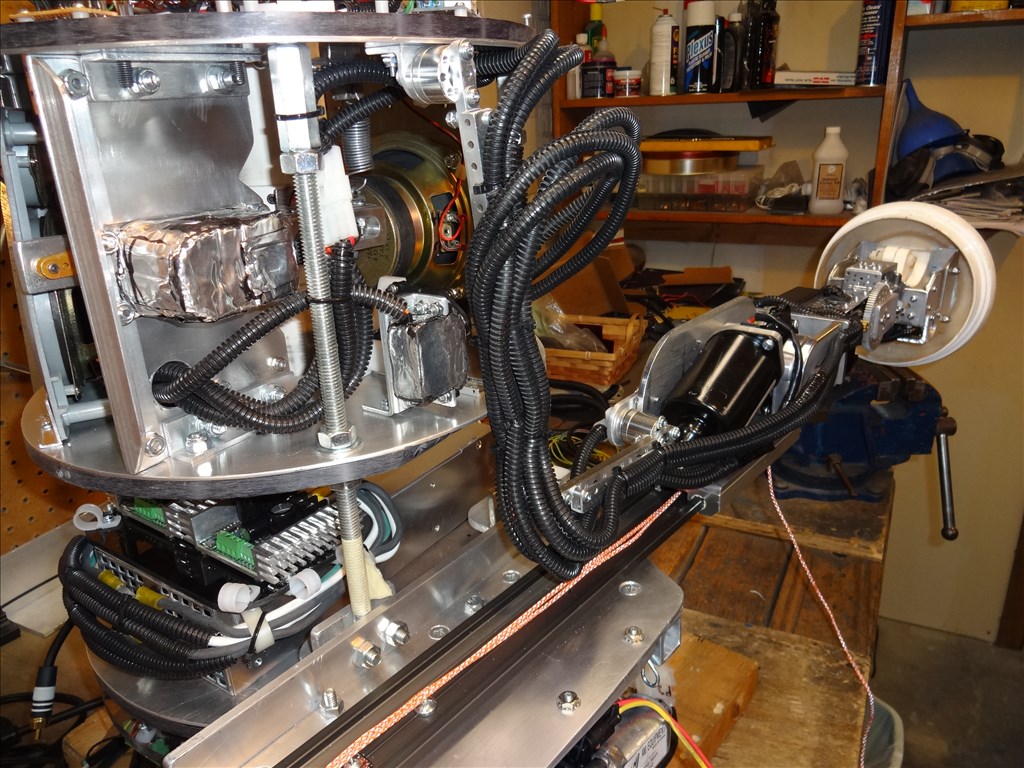
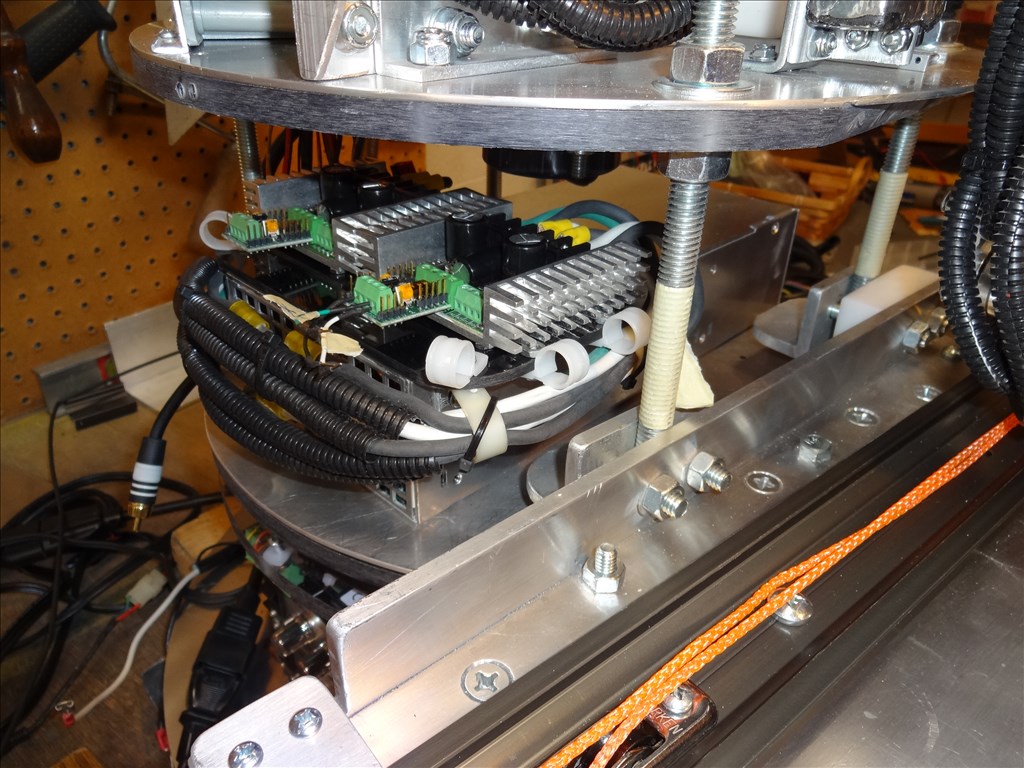
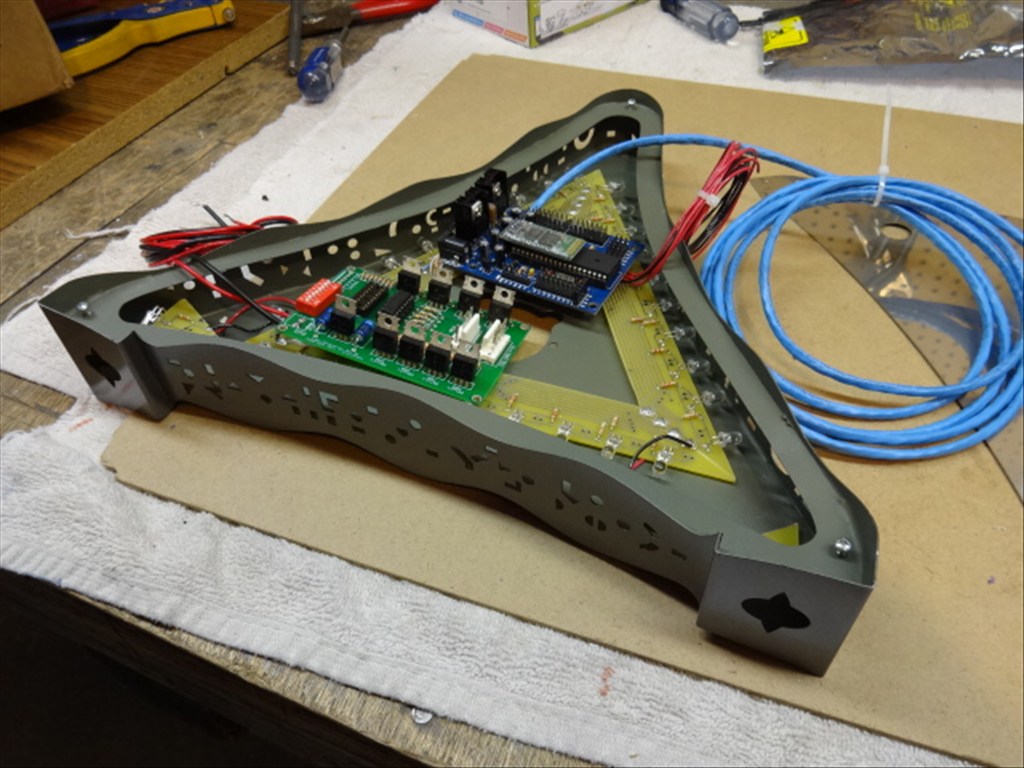
Hi all, I was busy yesterday making small adjustments to my arms and fine tuning settings. When I was done I stood back and realized how cool everything was looking. I decided to share this moment and make a video of the CSS sitting on the leg section with both arms attached. I'm at the point where I need to remove the arms again from the CSS and slip on the torso from above. I've been asked to shoot a video of this process so while the torso is off and arms attached I thought it would be a perfect time to show the removal process. Of course I couldn't capture this work process with the torso on the robot because everything is inside so now is the best time. I'll probably never have the arms attached to the CSS again like this with the torso off the robot.
This a long 1/2 hour video so go get some popcorn, sit back and relax.
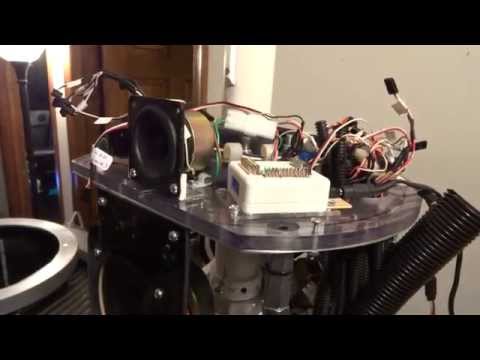
In the first half of this video I show both of the B9 Robot's arms attached to the CSS and mounted to the leg section and working. I just have a few animation EZ scripts written for the right arm and only have a centering and an adjustable position elbow script working for the left arm. Thouse scripts are the bases of finding the proper position of the elbow for and the left arm animation scripts. I show a lot of these scripts in EZ Robot's ARC that I use to control the entire B9.
In the second half of this video I give a tour of what it takes to remove the arms from the CSS so I can slip the torso on and off the robot. Then I go ahead and actually remove the arm for you. As always I welcome your comments and suggestions. Any constructive criticism is also welcomed. It's the only way to improve sometimes. Enjoy!
Hi Dave, As always thanks for the update video, and Yes, I watched the whole thing.
I am always impressed with your designs and attention to details. Though you make it sound easy, I can see the re-assembly of the arms is a bit of a job. LOL, you did say you have had a bit of practice and have become quite the contortionist.
Looking forward to the completed install and initial testing.
Ron
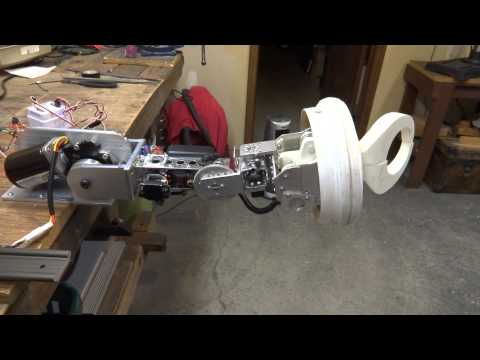
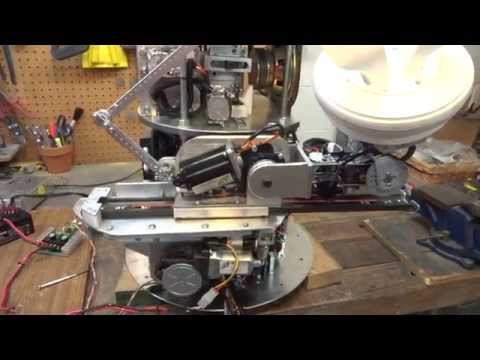
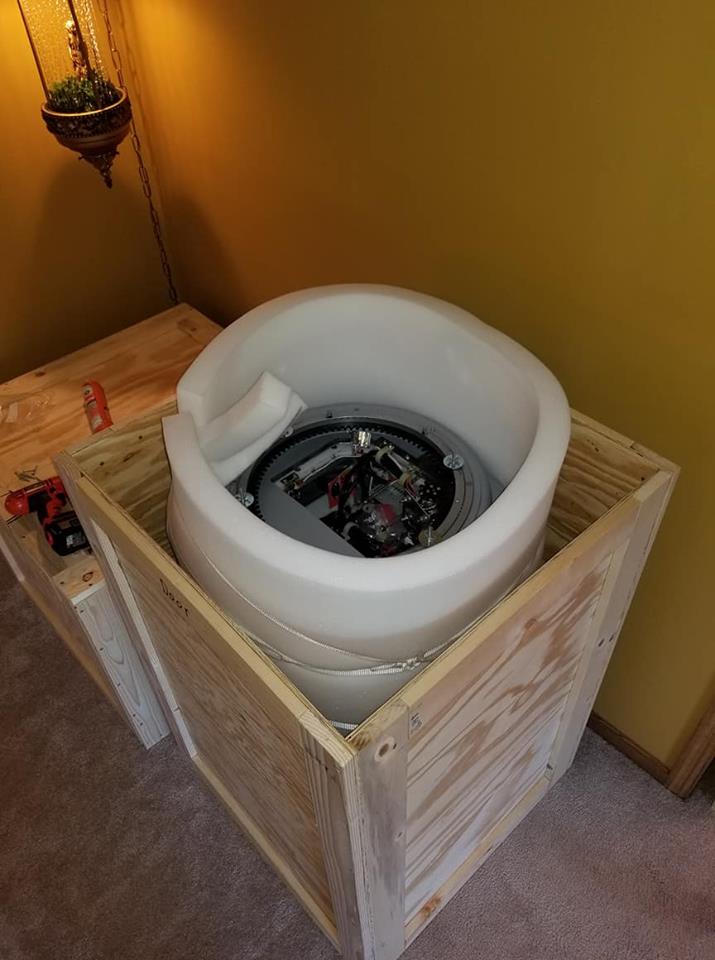
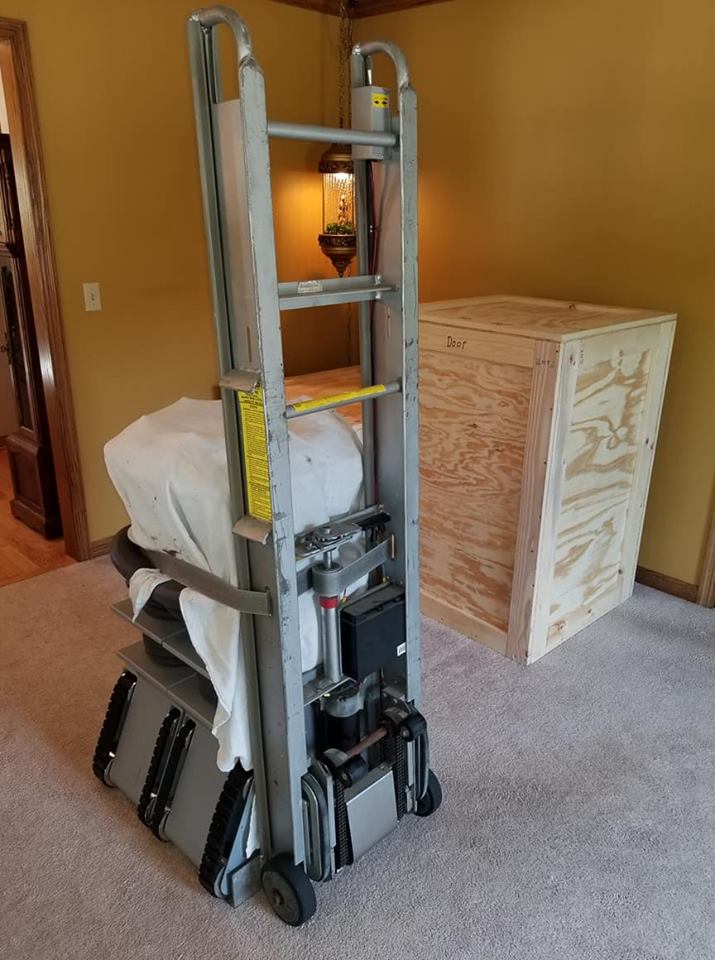
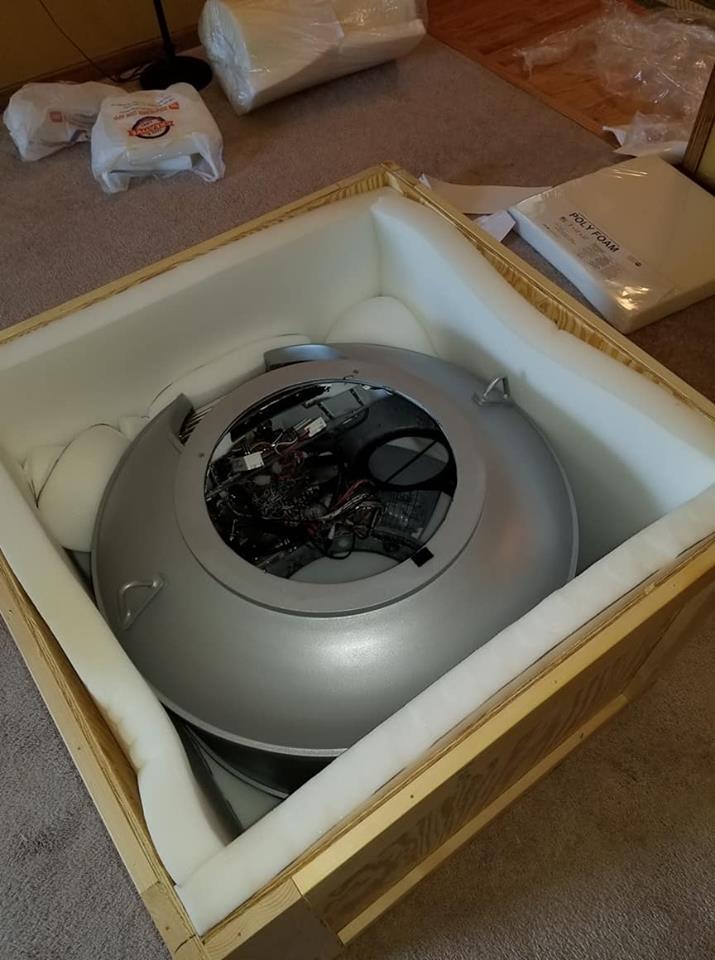
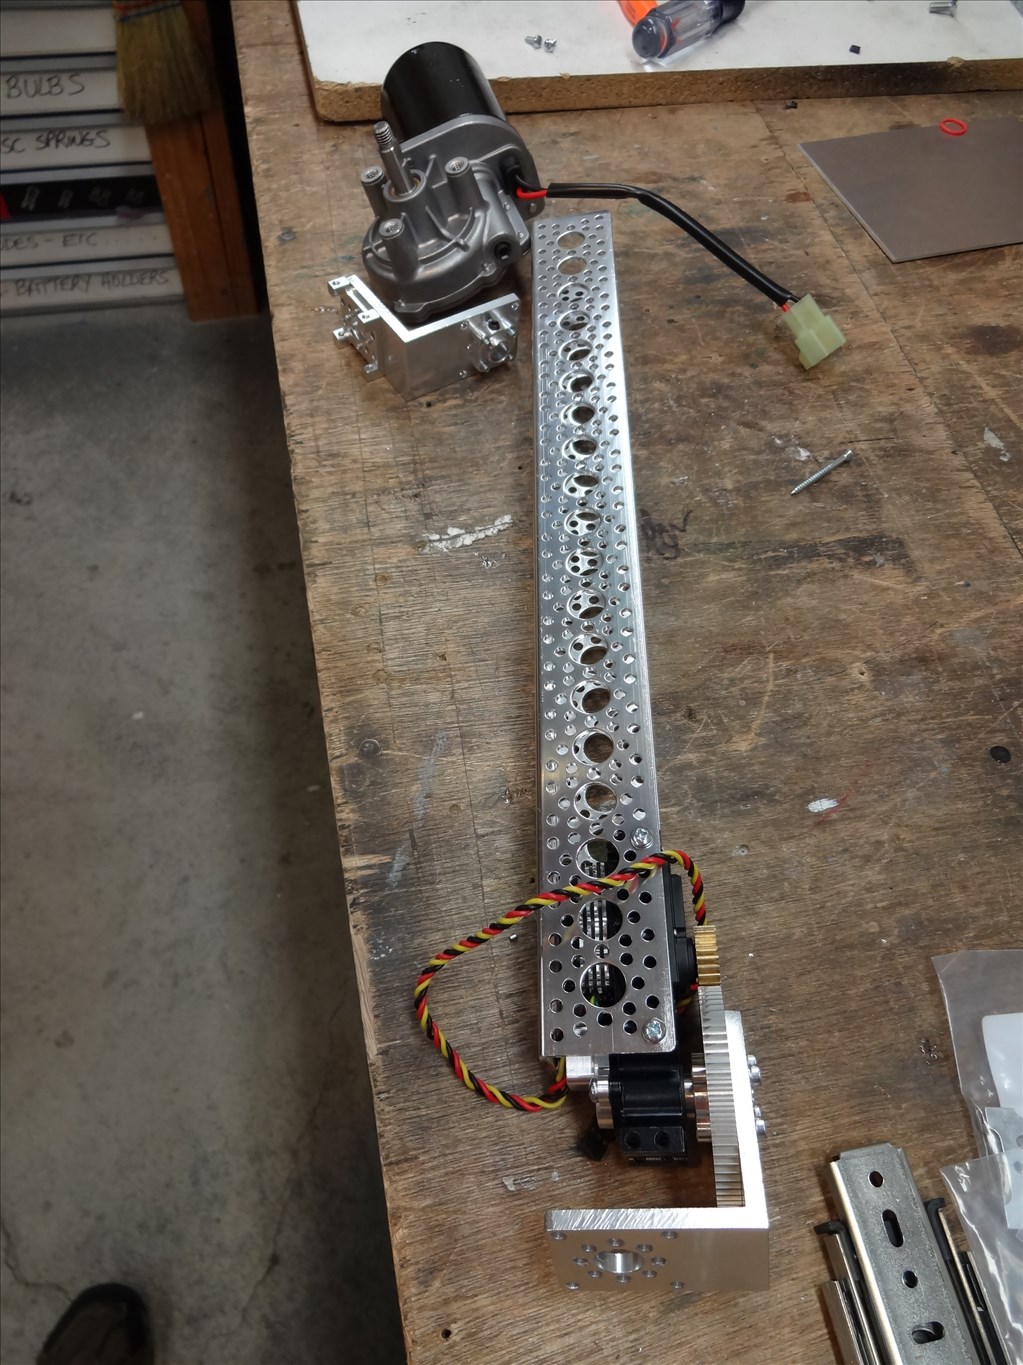
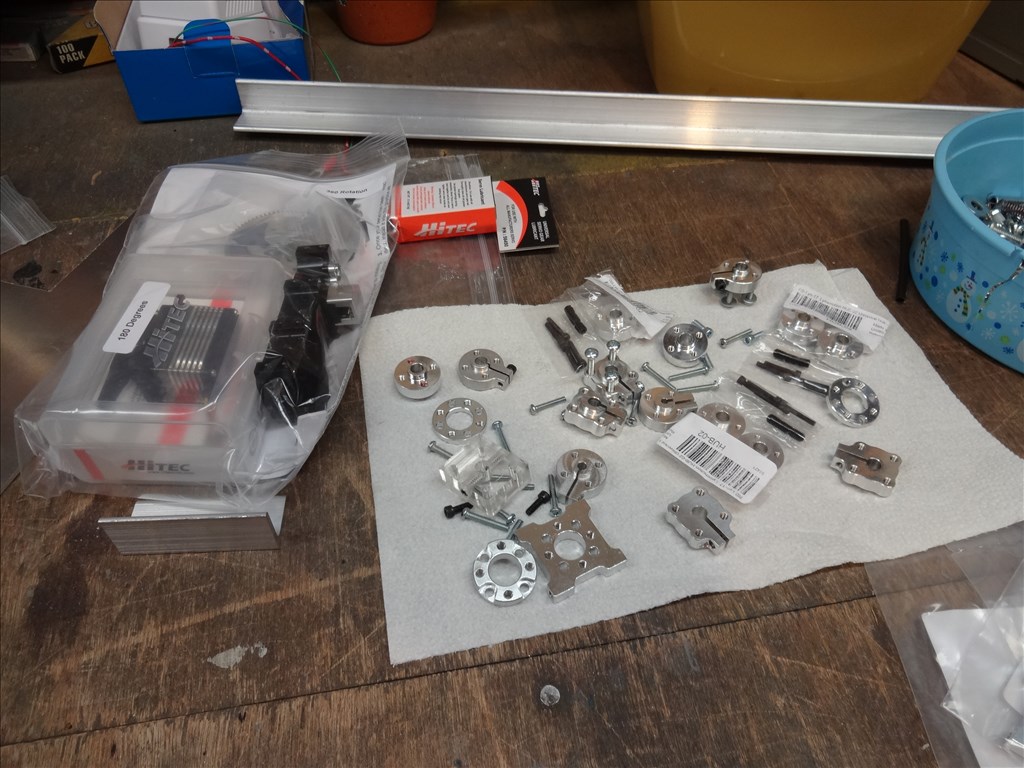
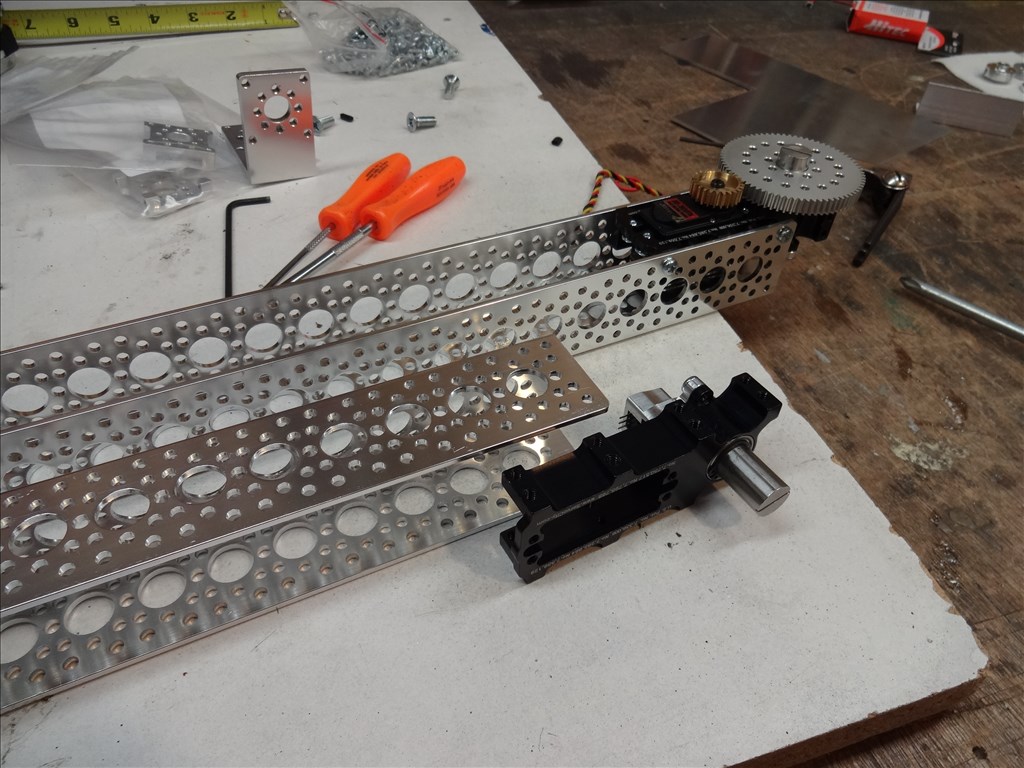
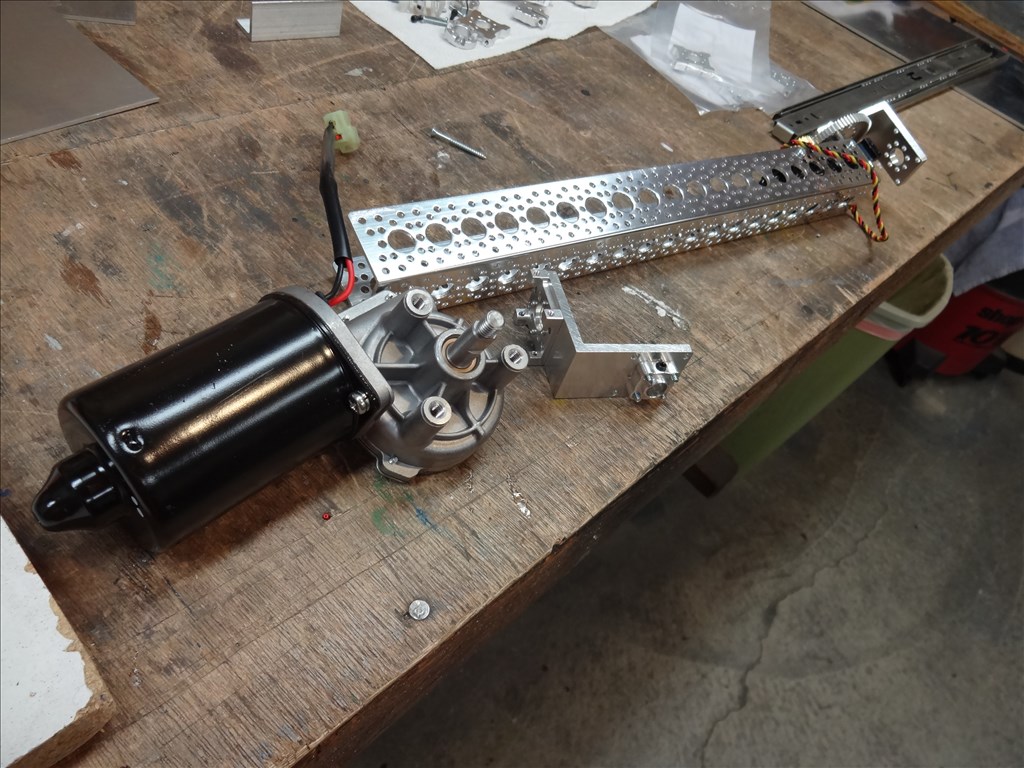
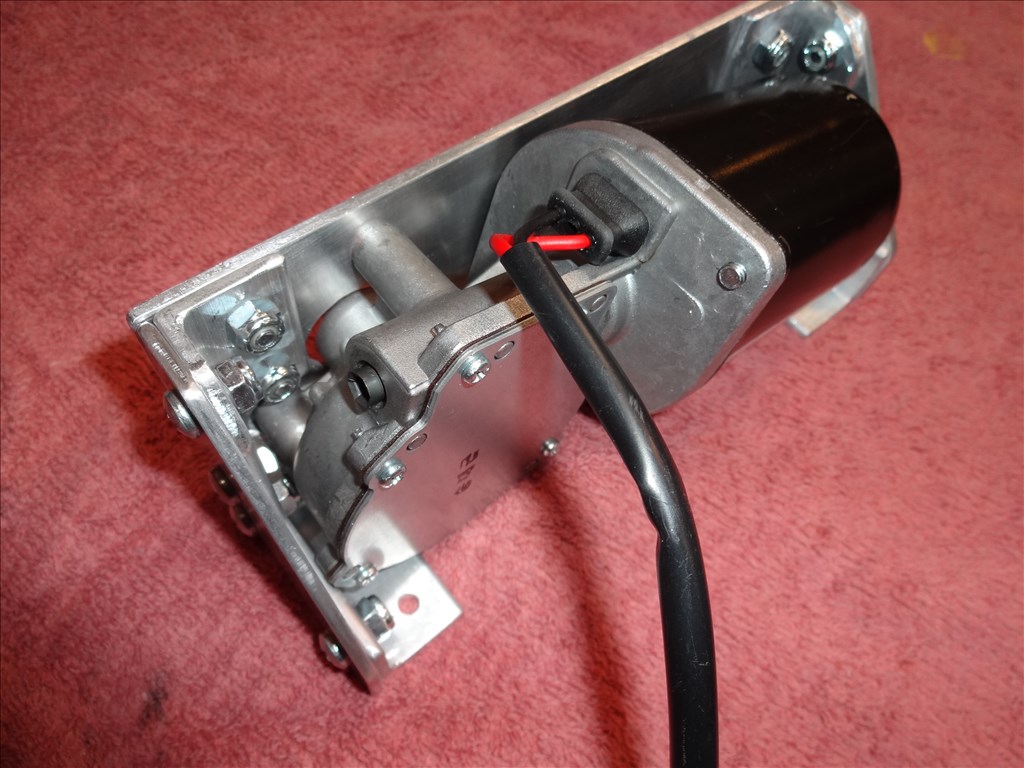
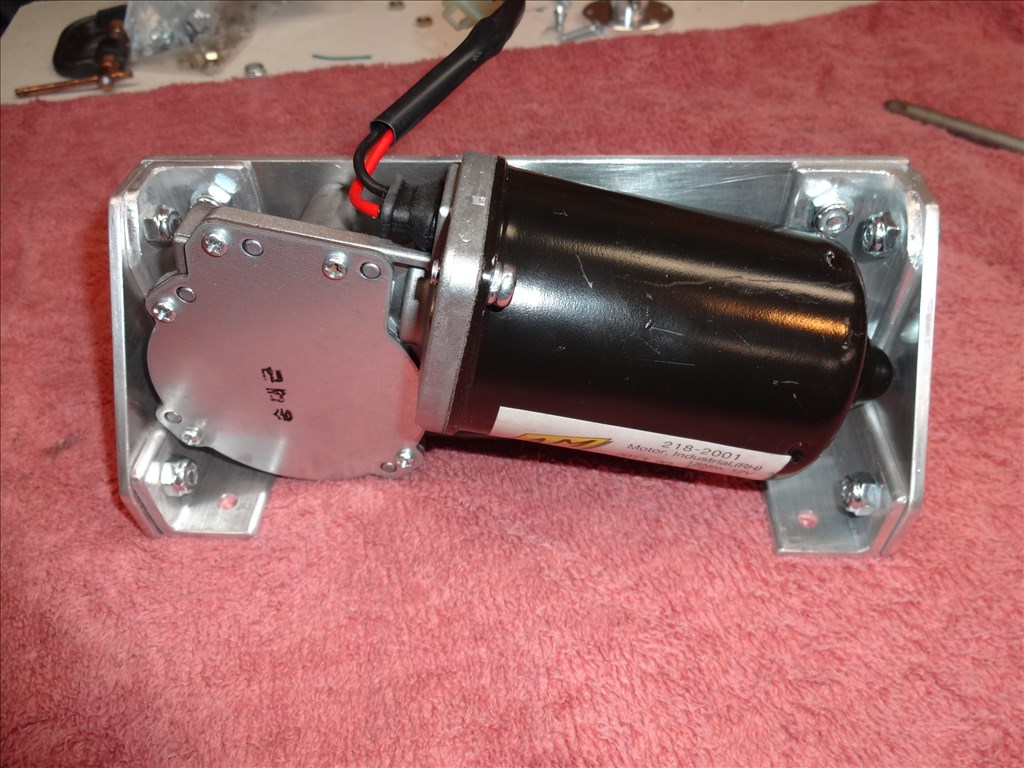
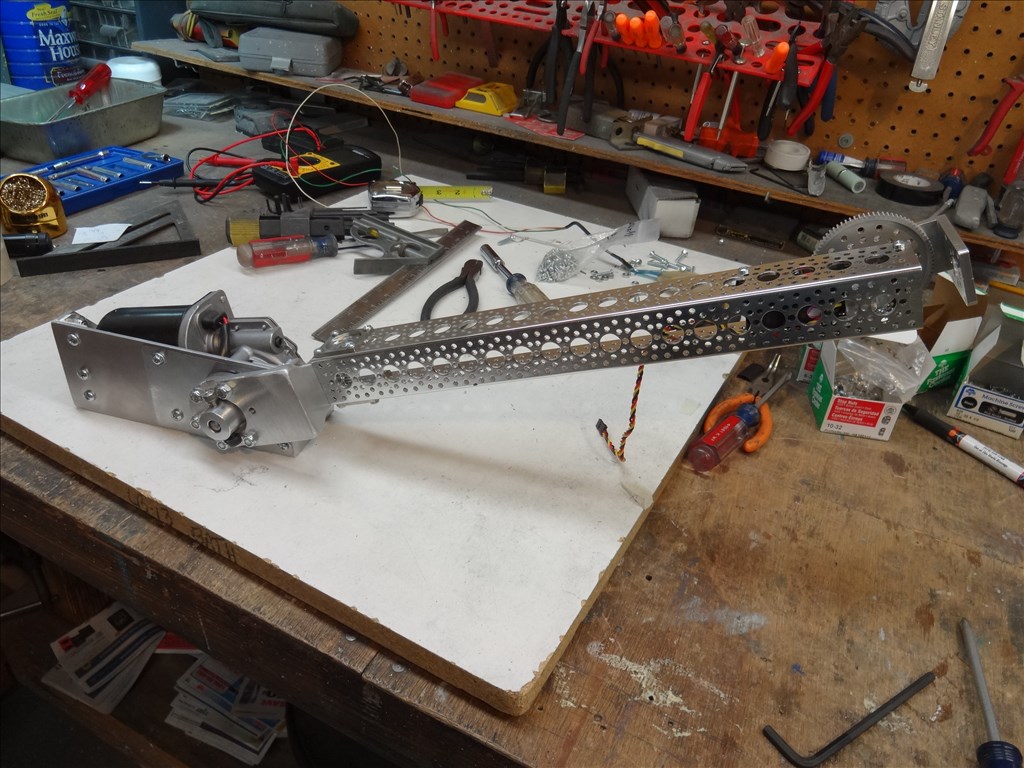
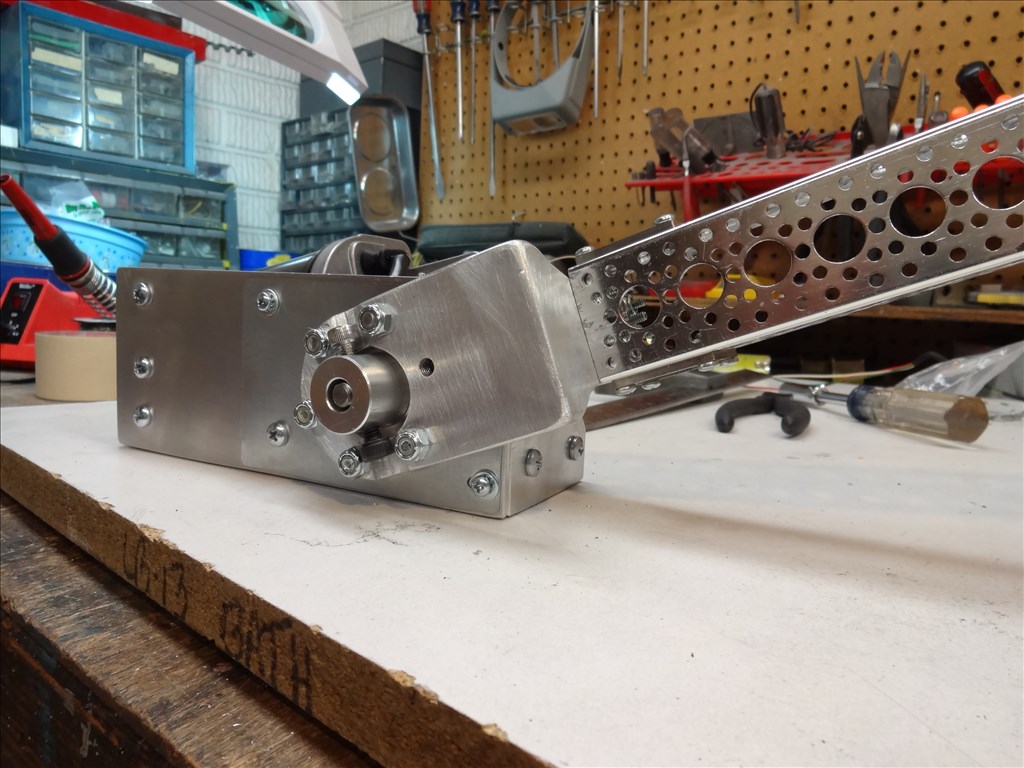
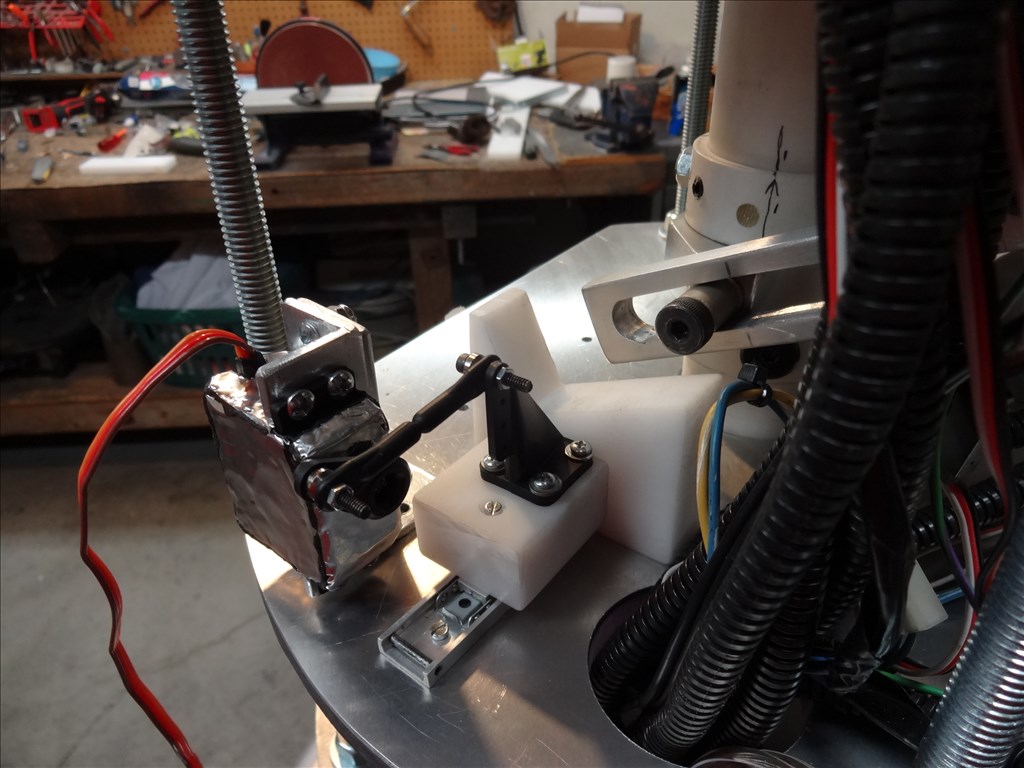
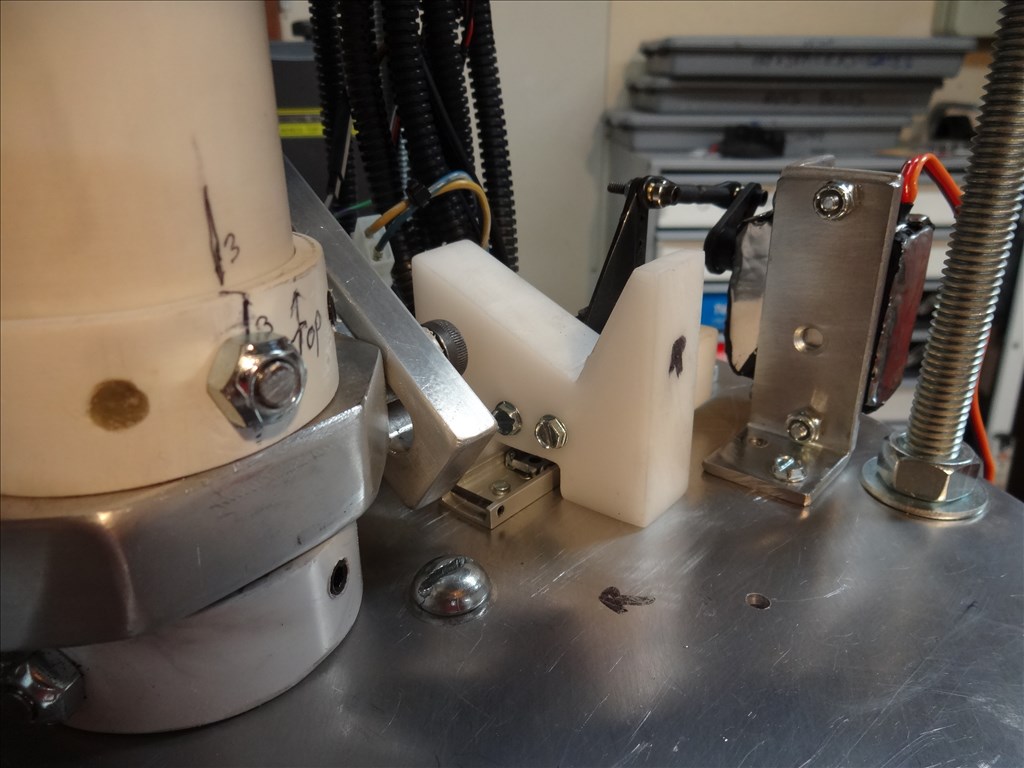
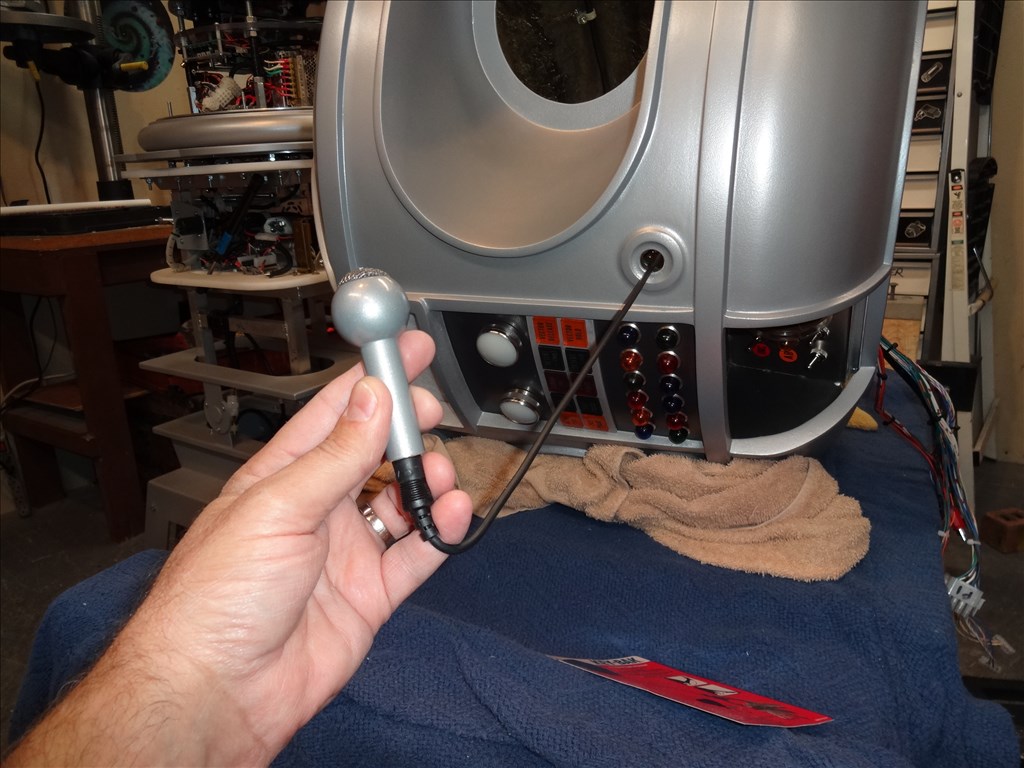
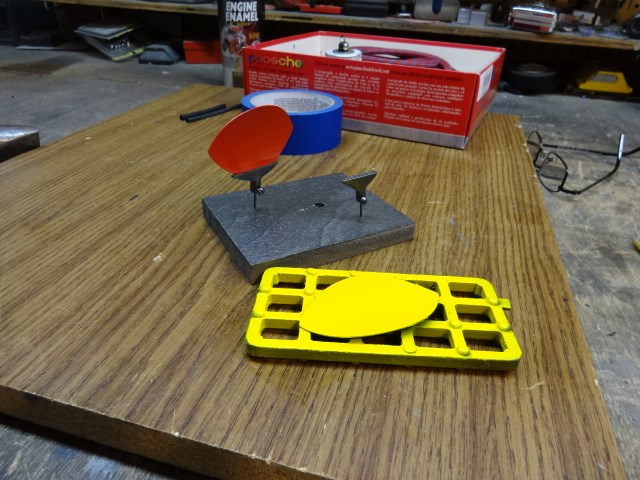
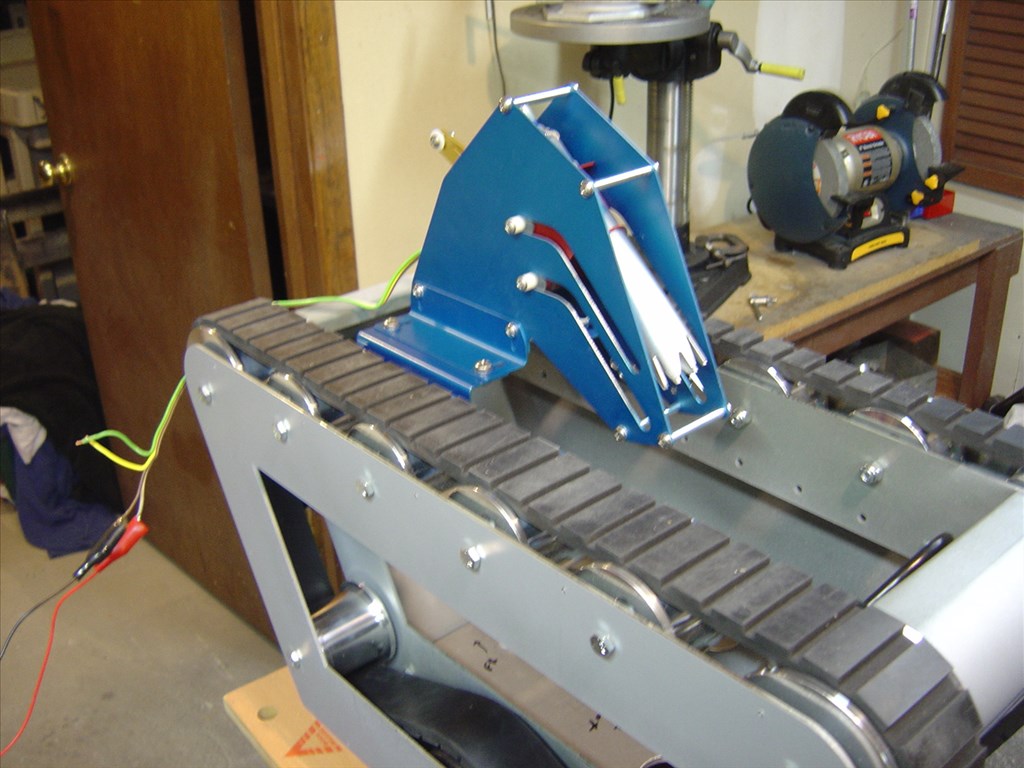
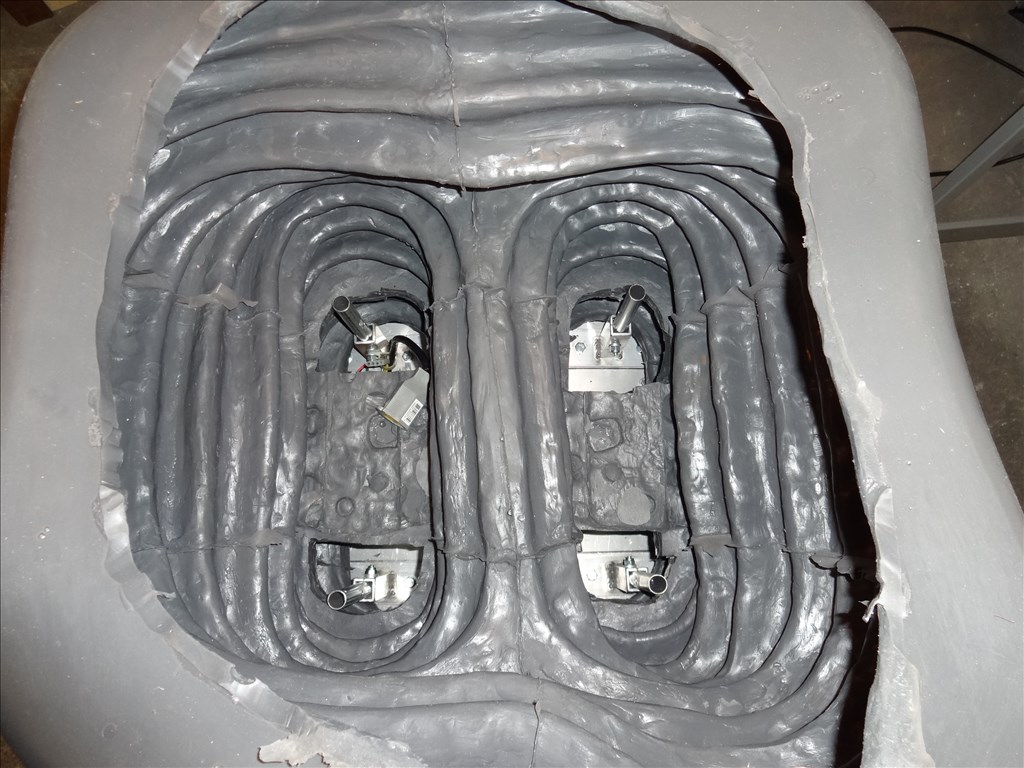
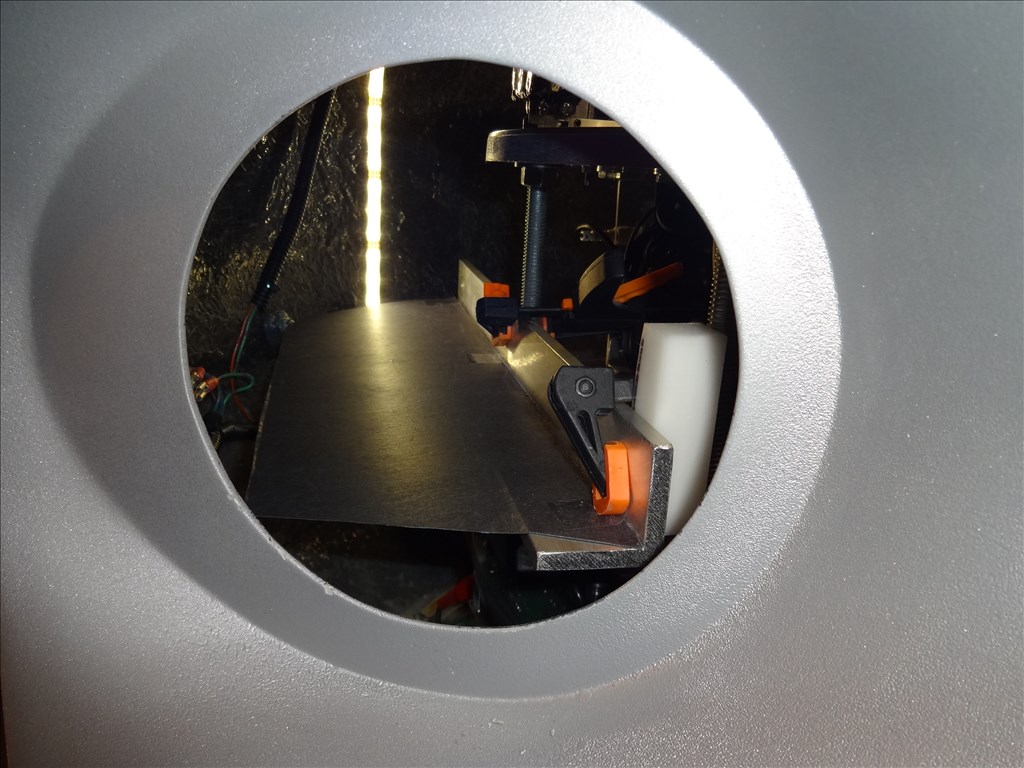
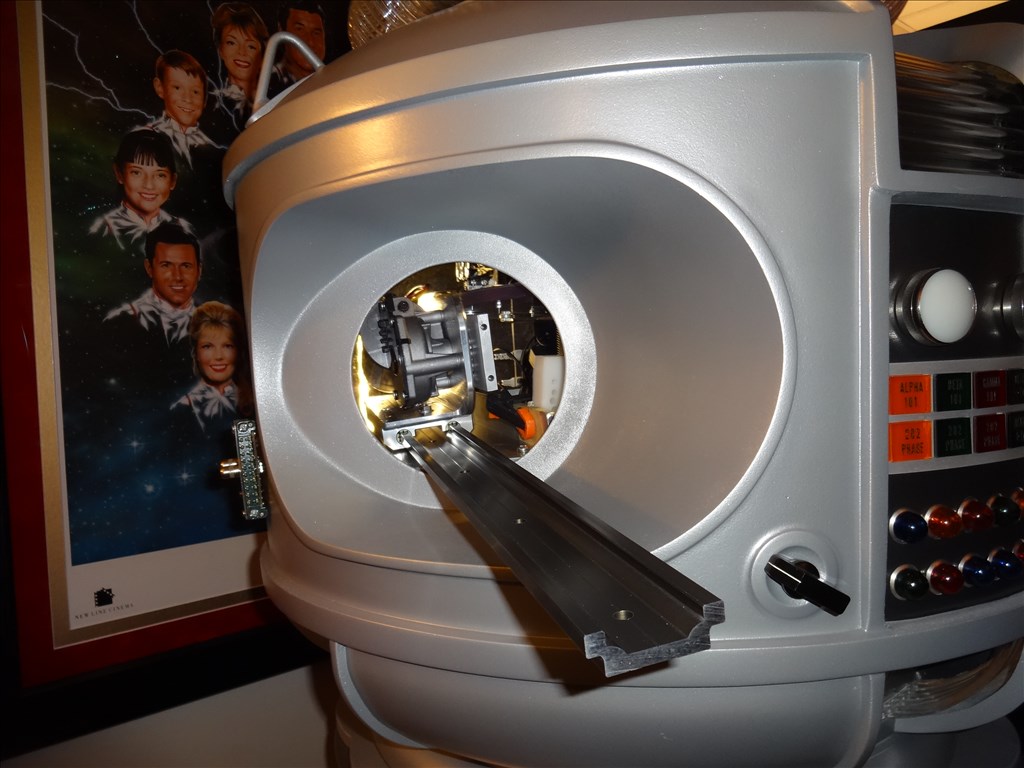
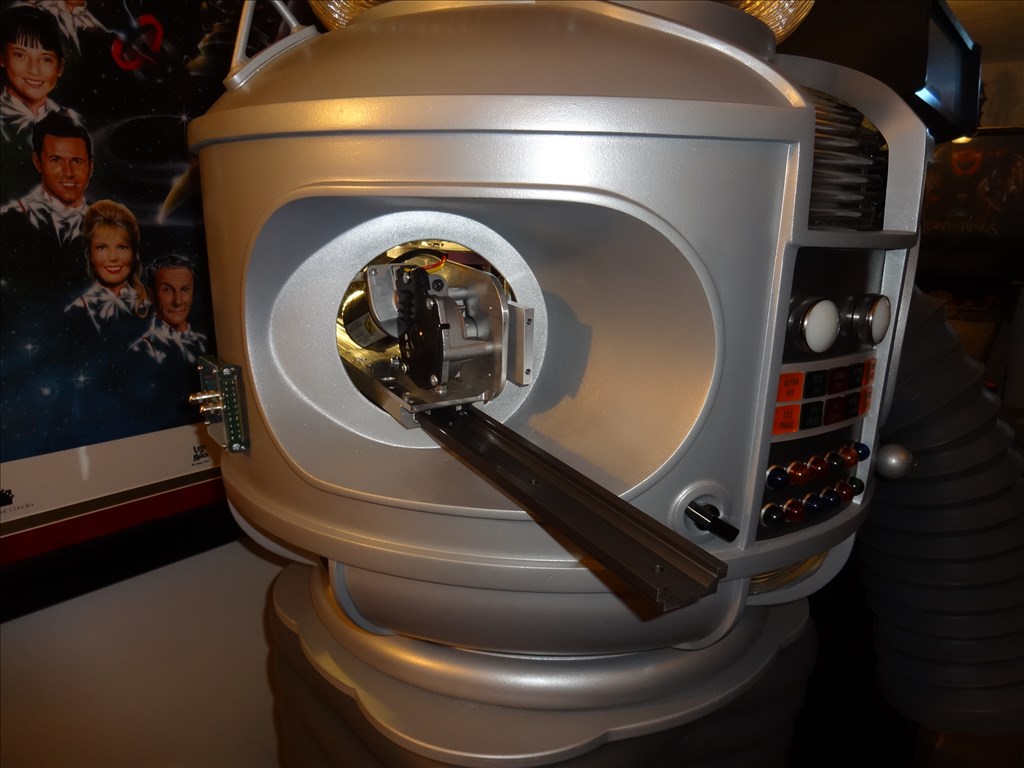
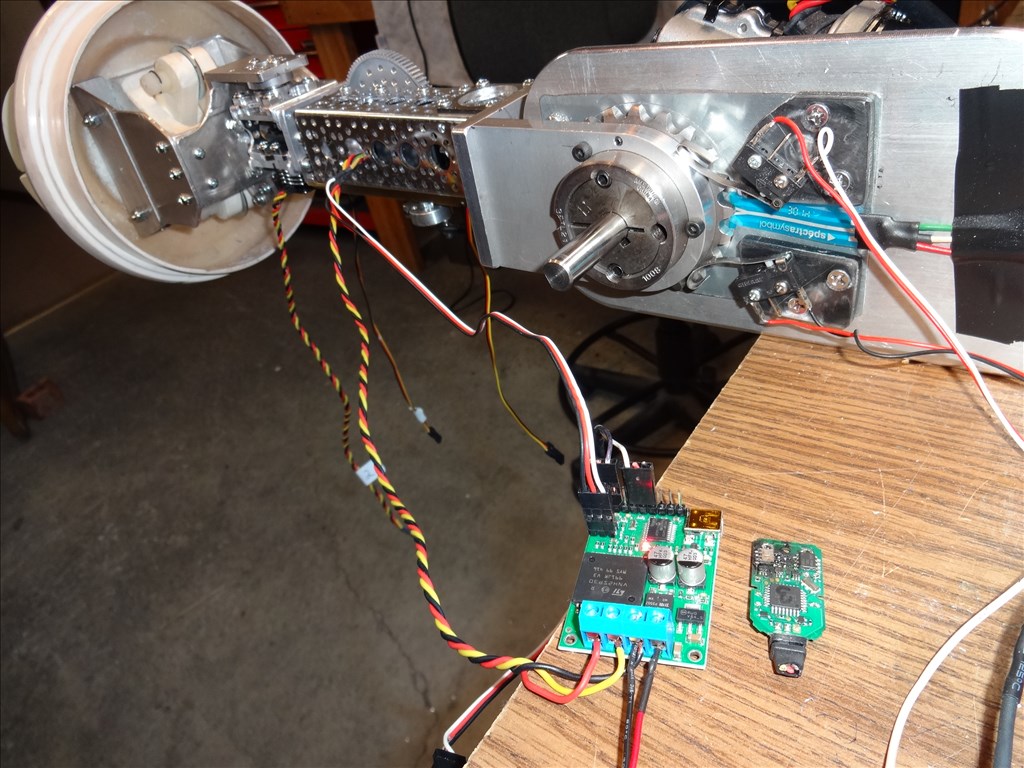
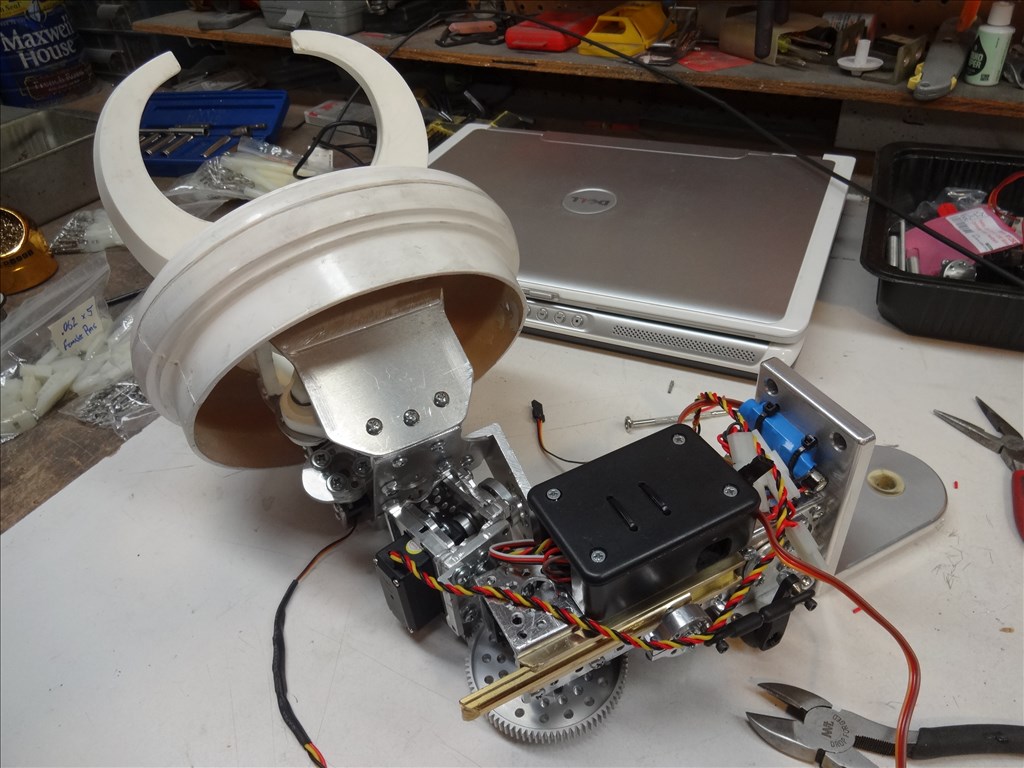
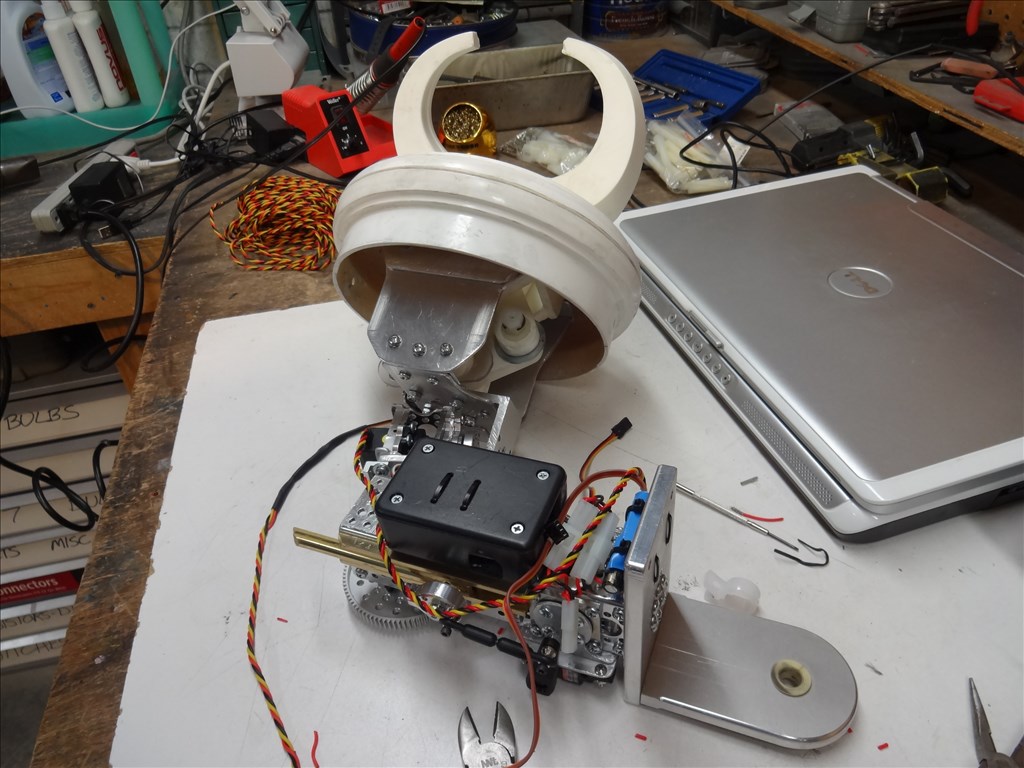
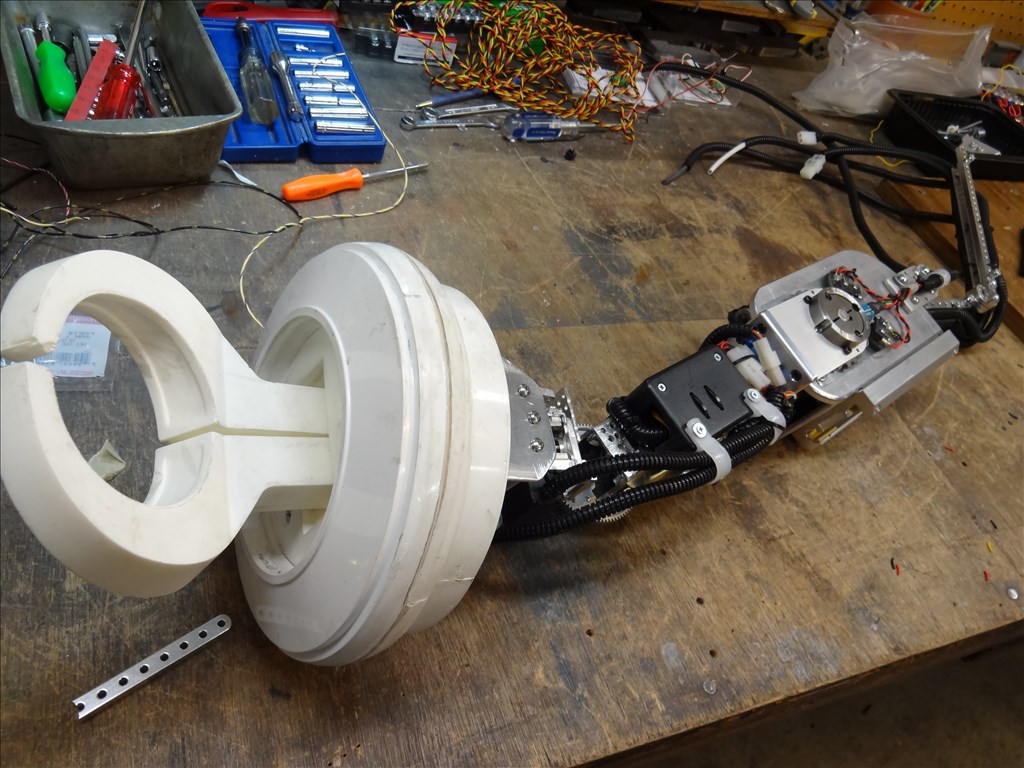
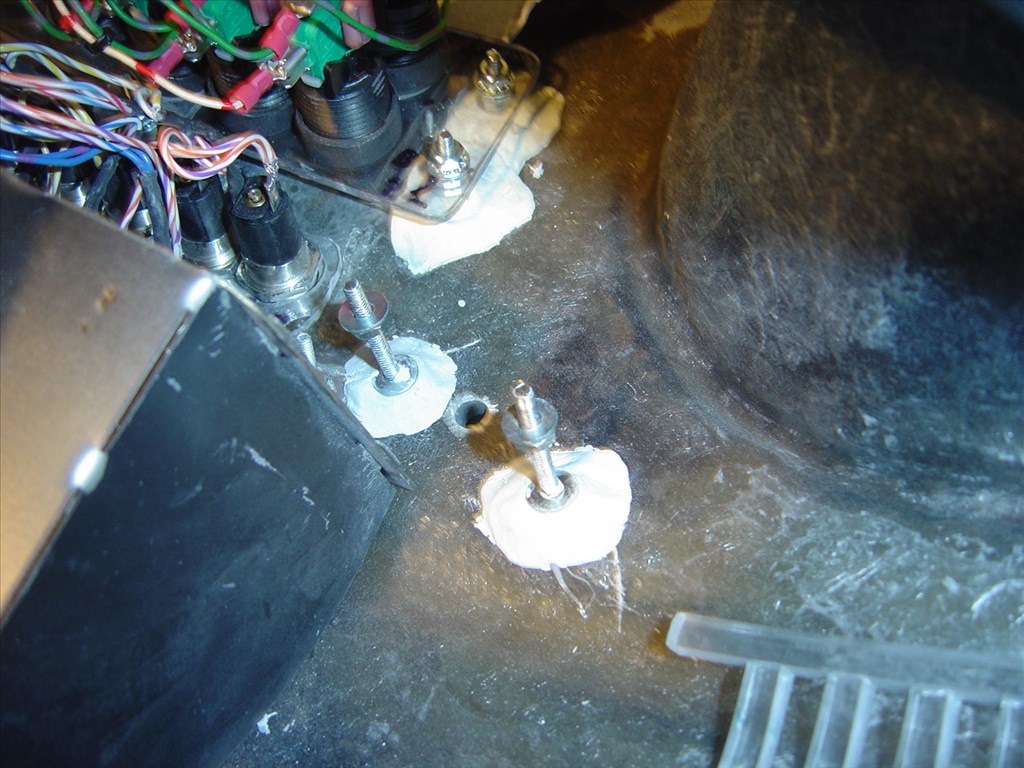
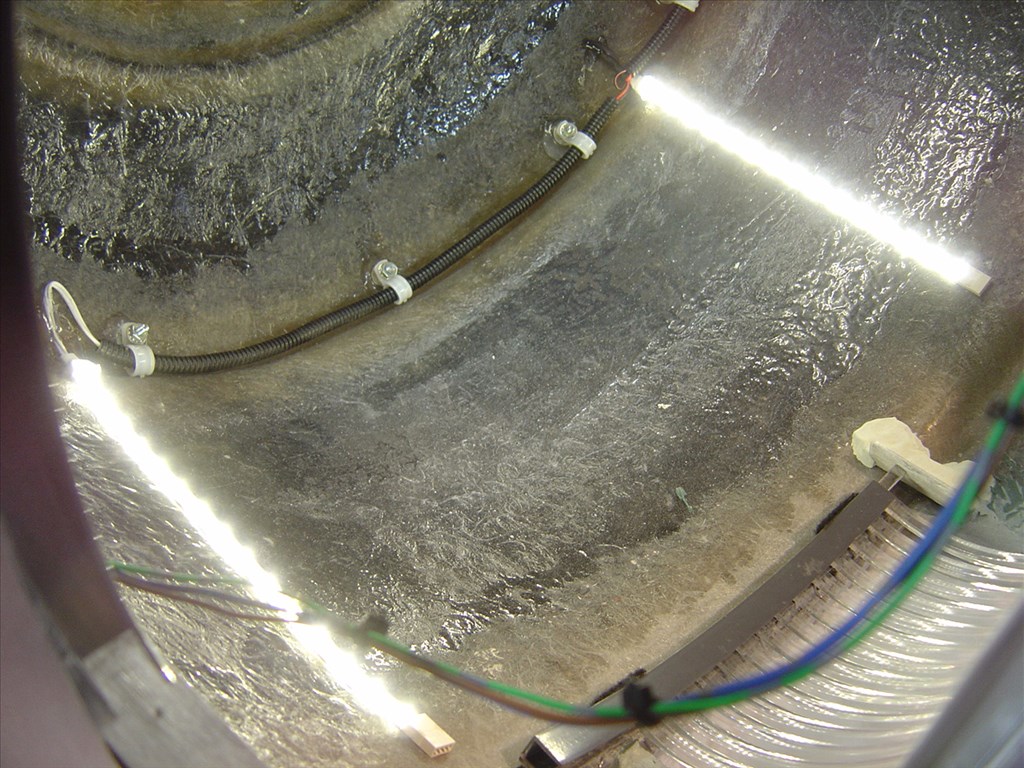
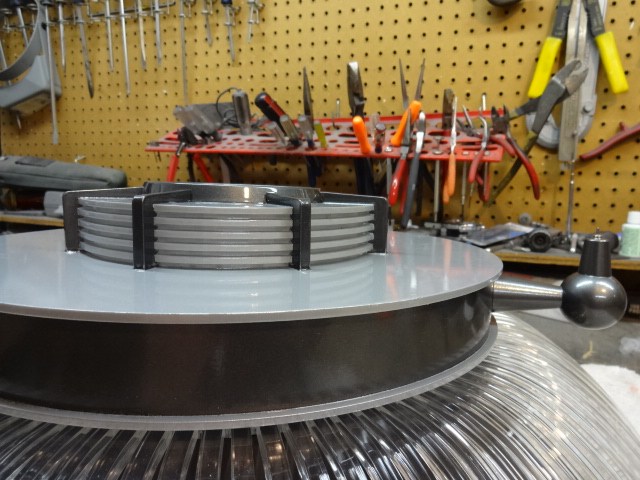
I'm really getting excited. I've got the torso in place and I'm making final fine adjustments to the mounting position of the left arm. There's not much space between inner arm and the arm hole. Gotta have it set just right or bad things will happen when the arm moves in and out of the torso. Too bad I have to work a day job and live a regular life. If I could just close myself up down in the robot lab I'd be done by now. LOL. I've attached a couple pics of both arms getting the final fit.
Thanks, Dave Schulpius
WOW, getting close...... Teaser photos are great.