


-635353562186322812.png)


Hi all,
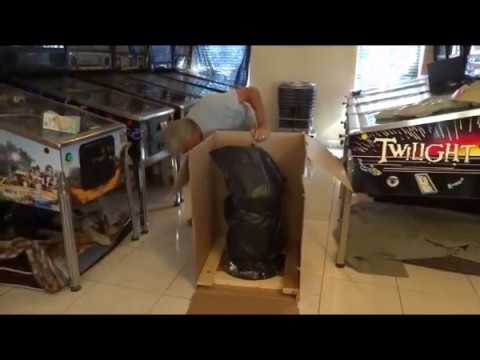
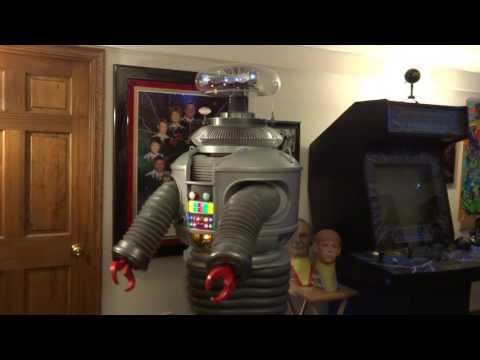
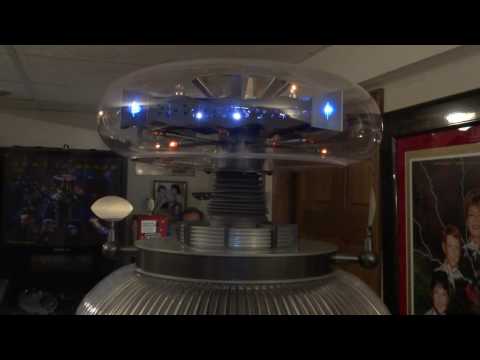
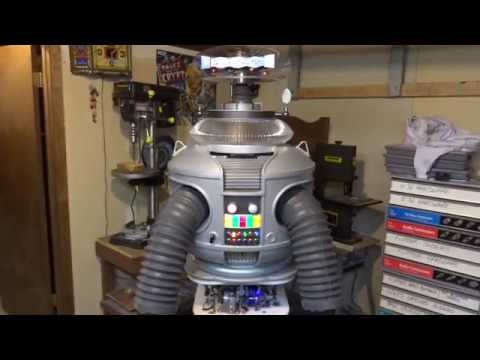
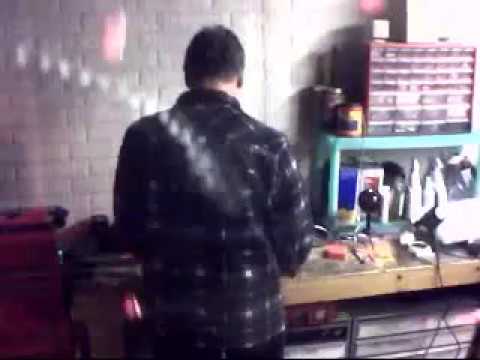
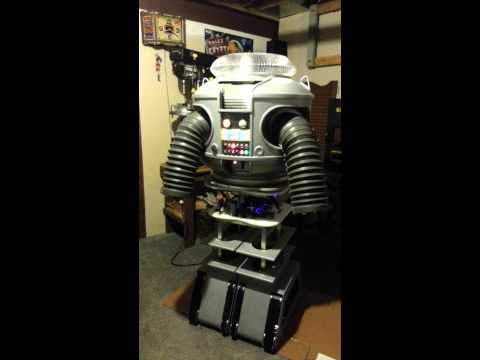
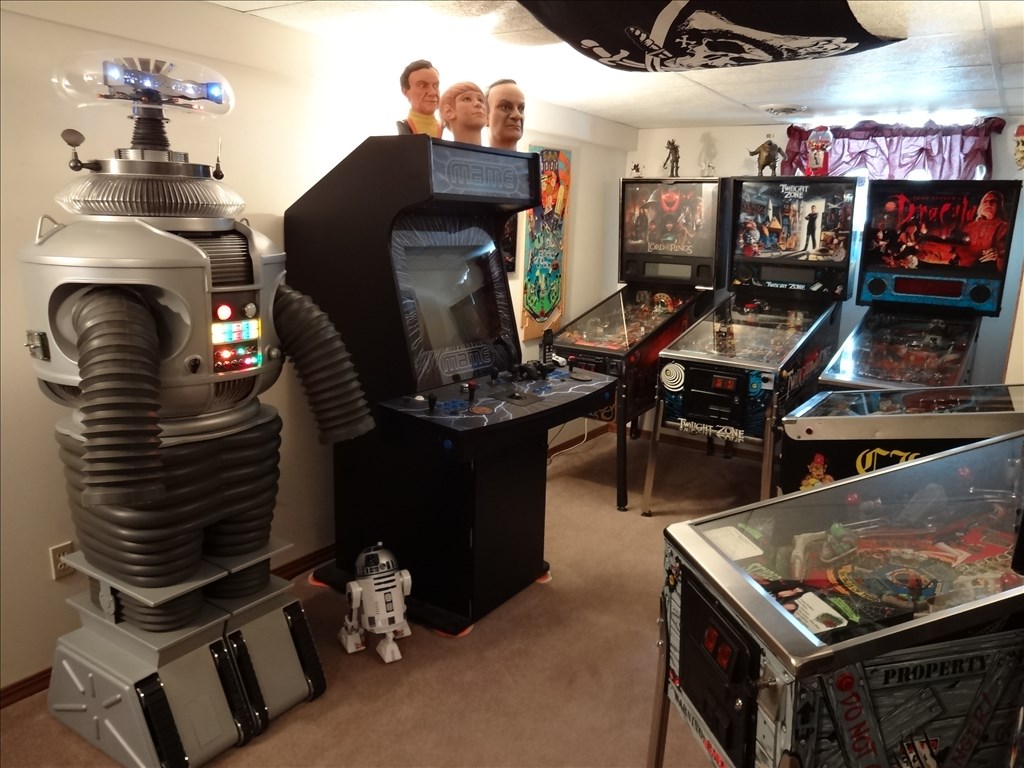
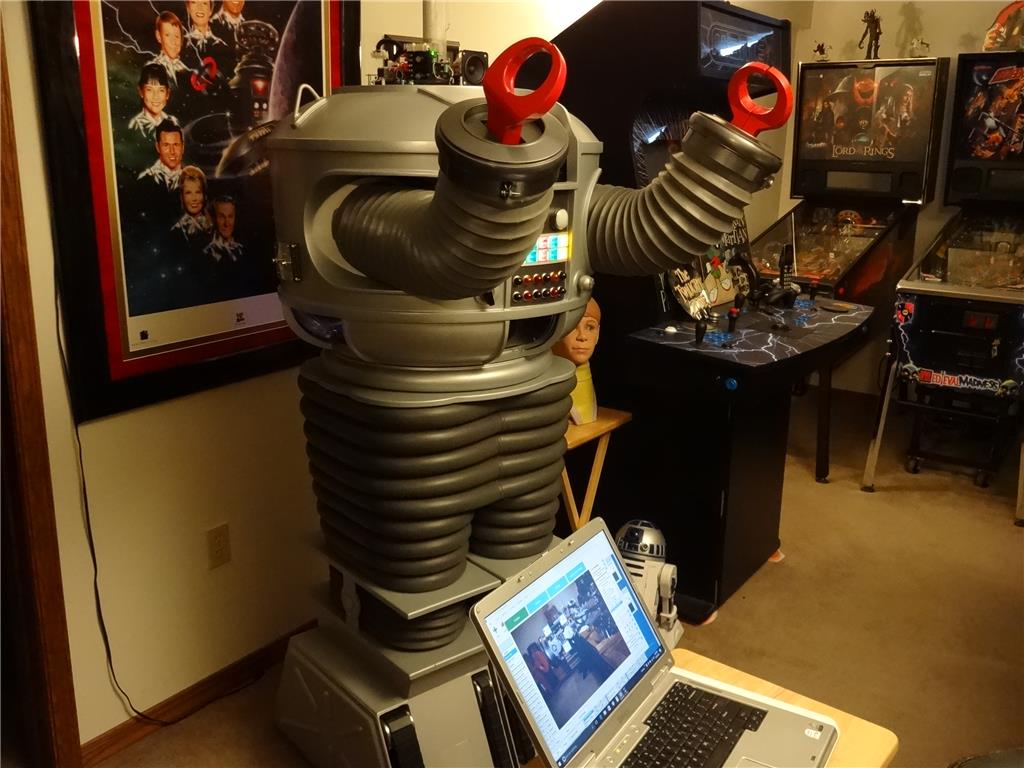
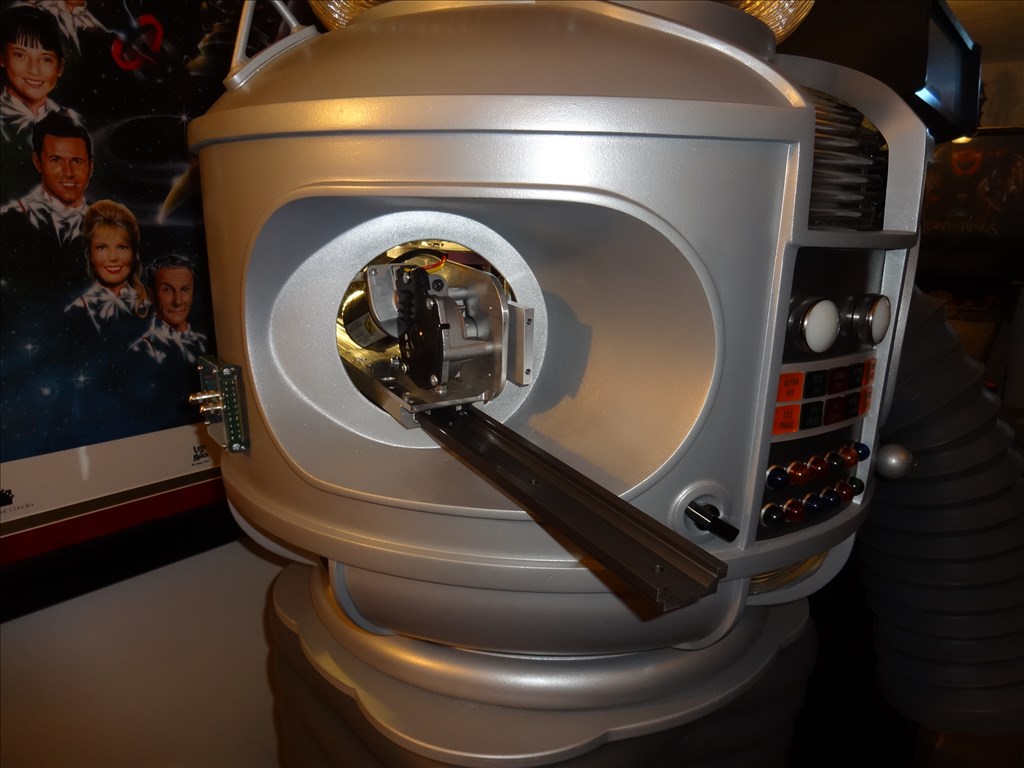
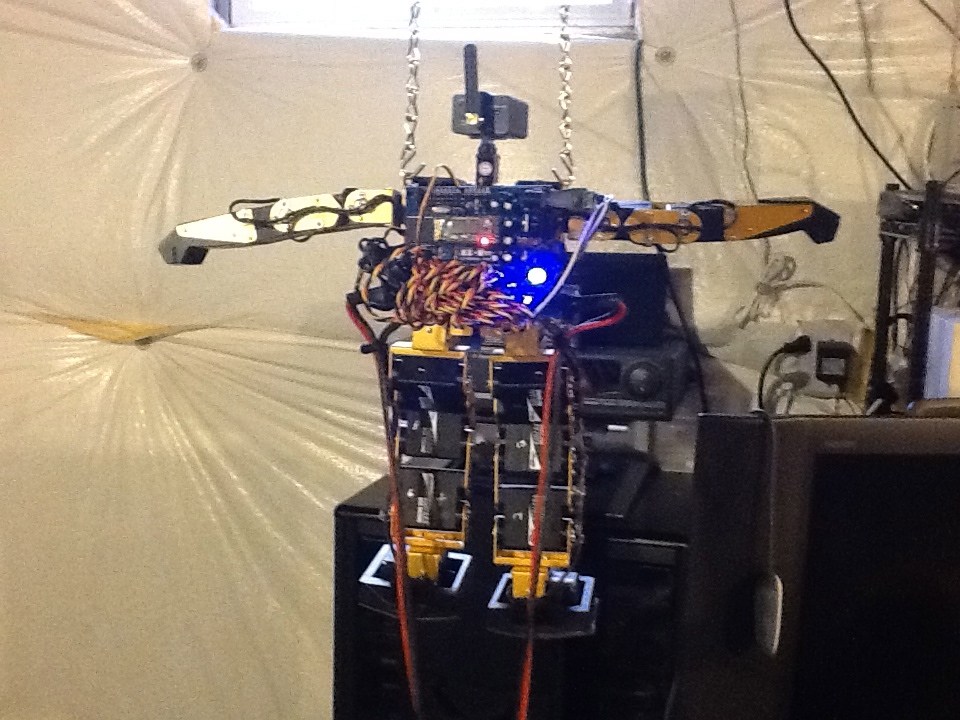
I'd like to share a video I just took of my full size Lost in Space B9 robot that's controlled by two EZ-B controller boards. Right now they are controlling limited movement and voice response of a few motors, lights and sound files played from a Sparkfun MP3 Trigger board. Although I'm just starting with the animation and have more building on the actual robot the result (mostly thanks to the EZ Robot controller board) is shocking. Please have a look at this (4 minute) You Tube vid and enjoy.
Please excuse some Technical camera lighting and sound issues. This is the first time I'd made and posted a vid online.
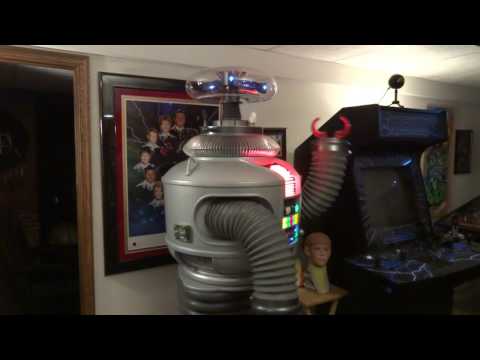
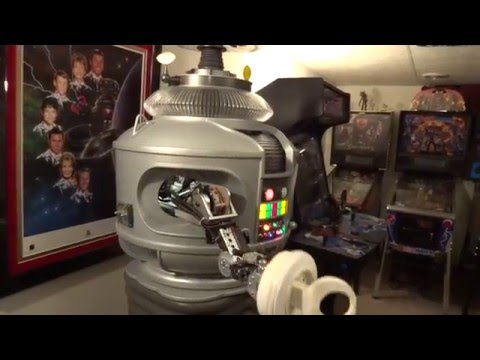
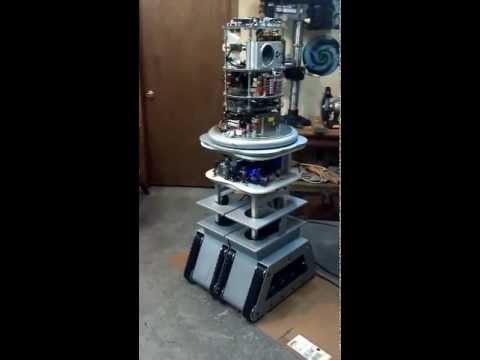
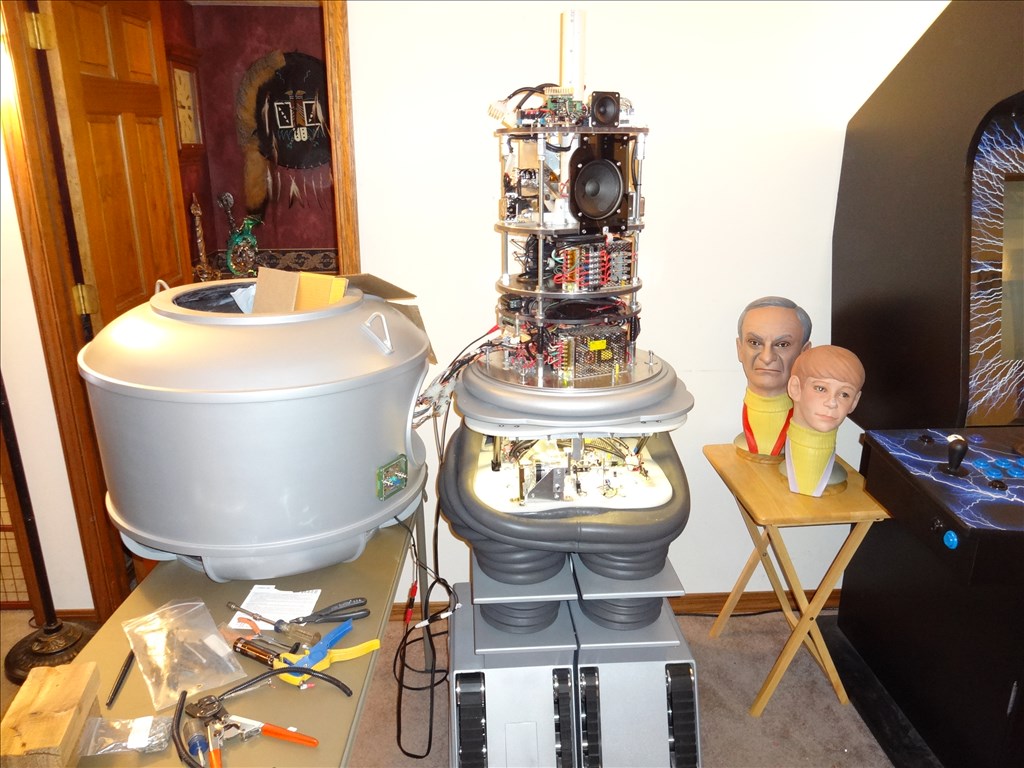
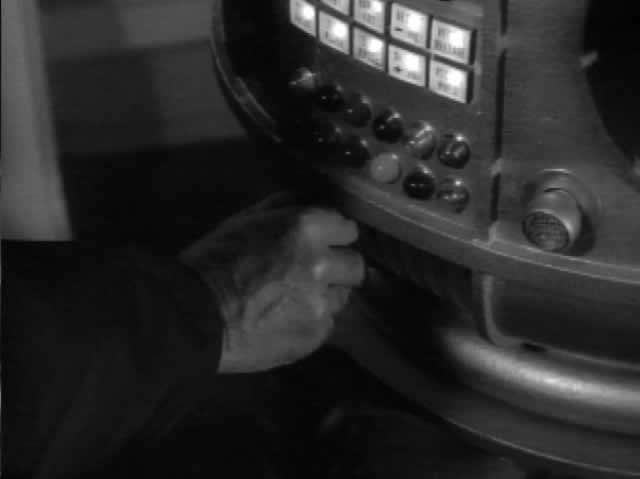
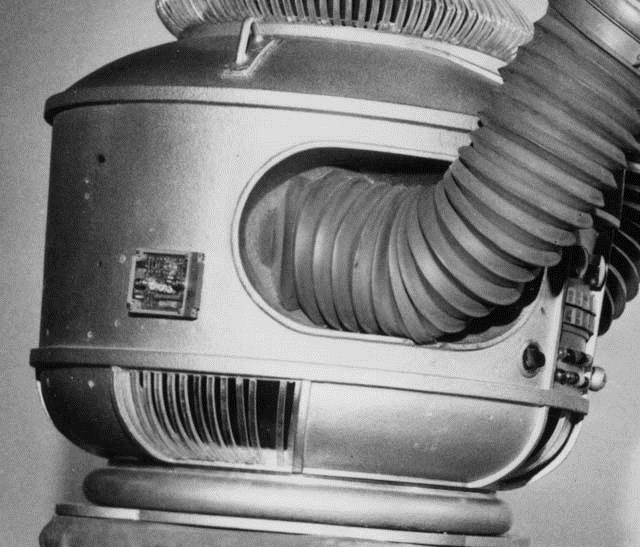
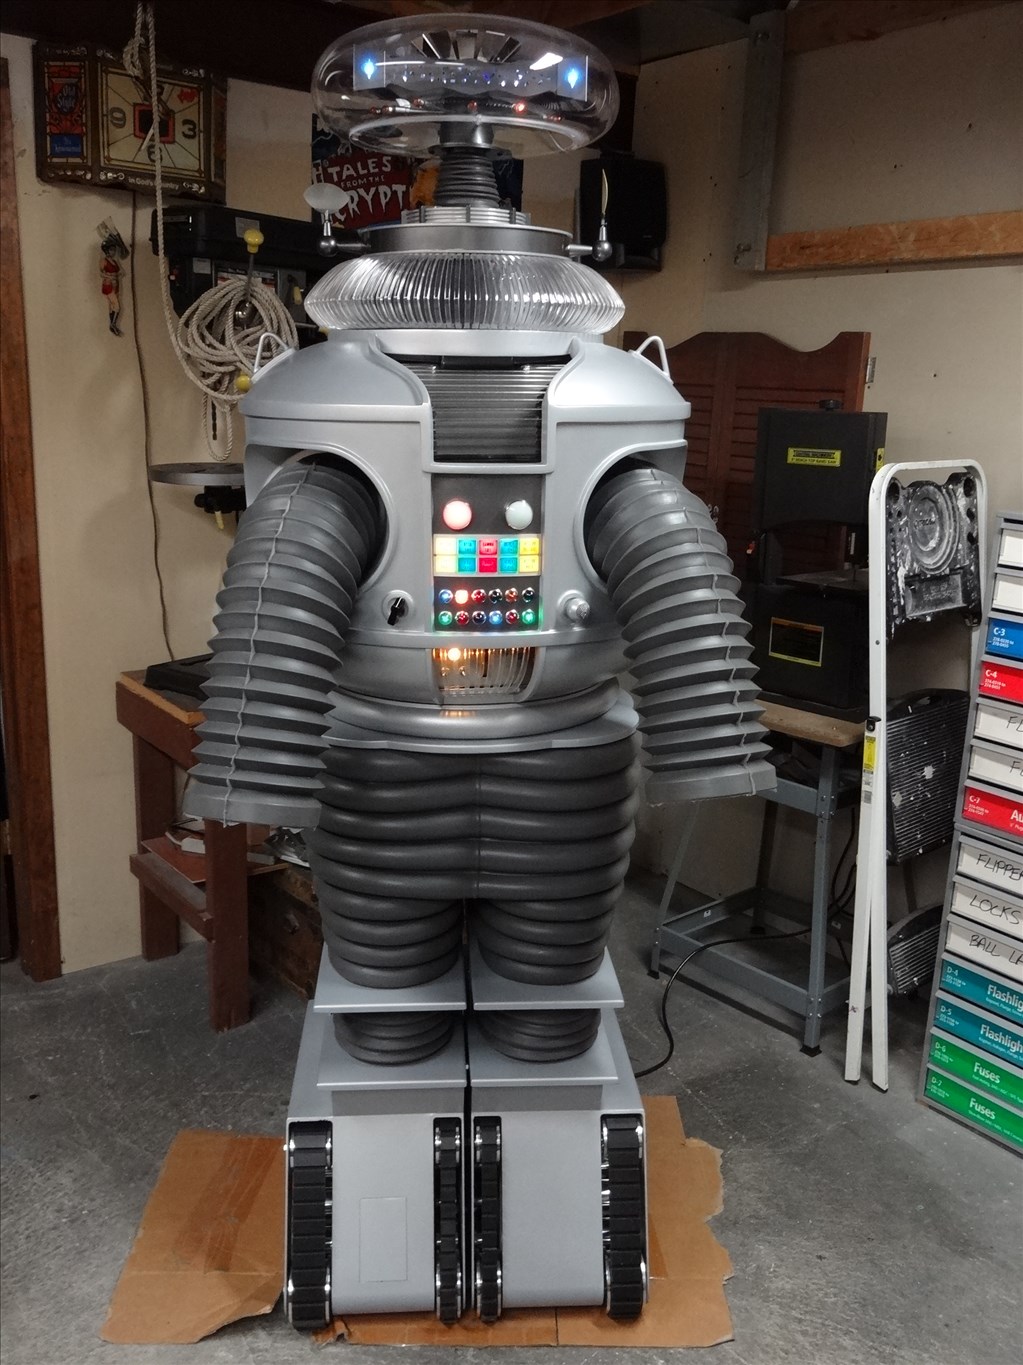
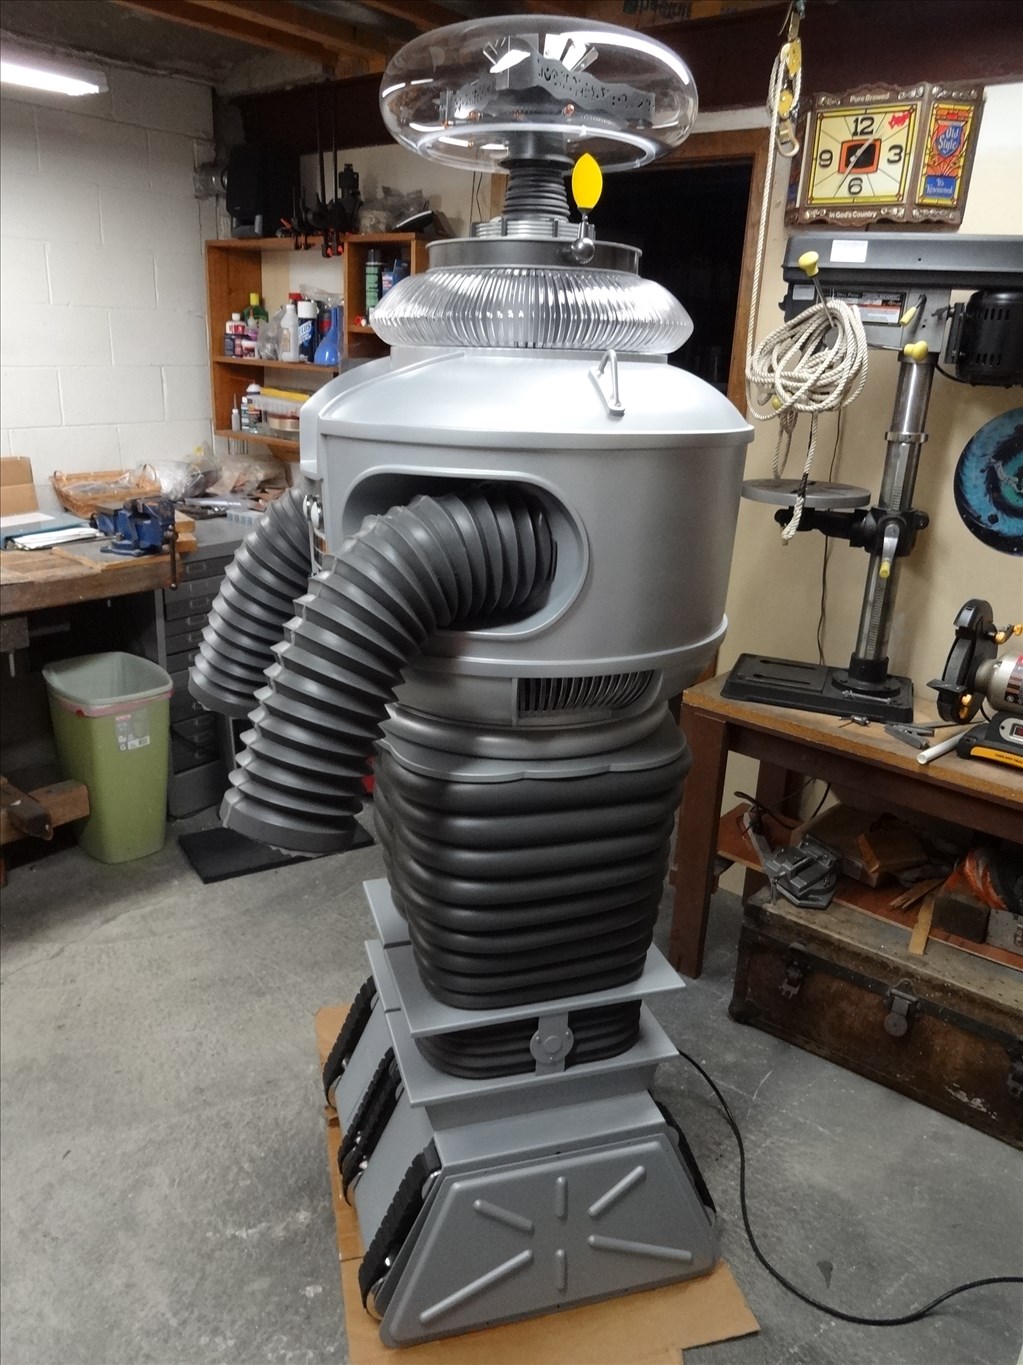
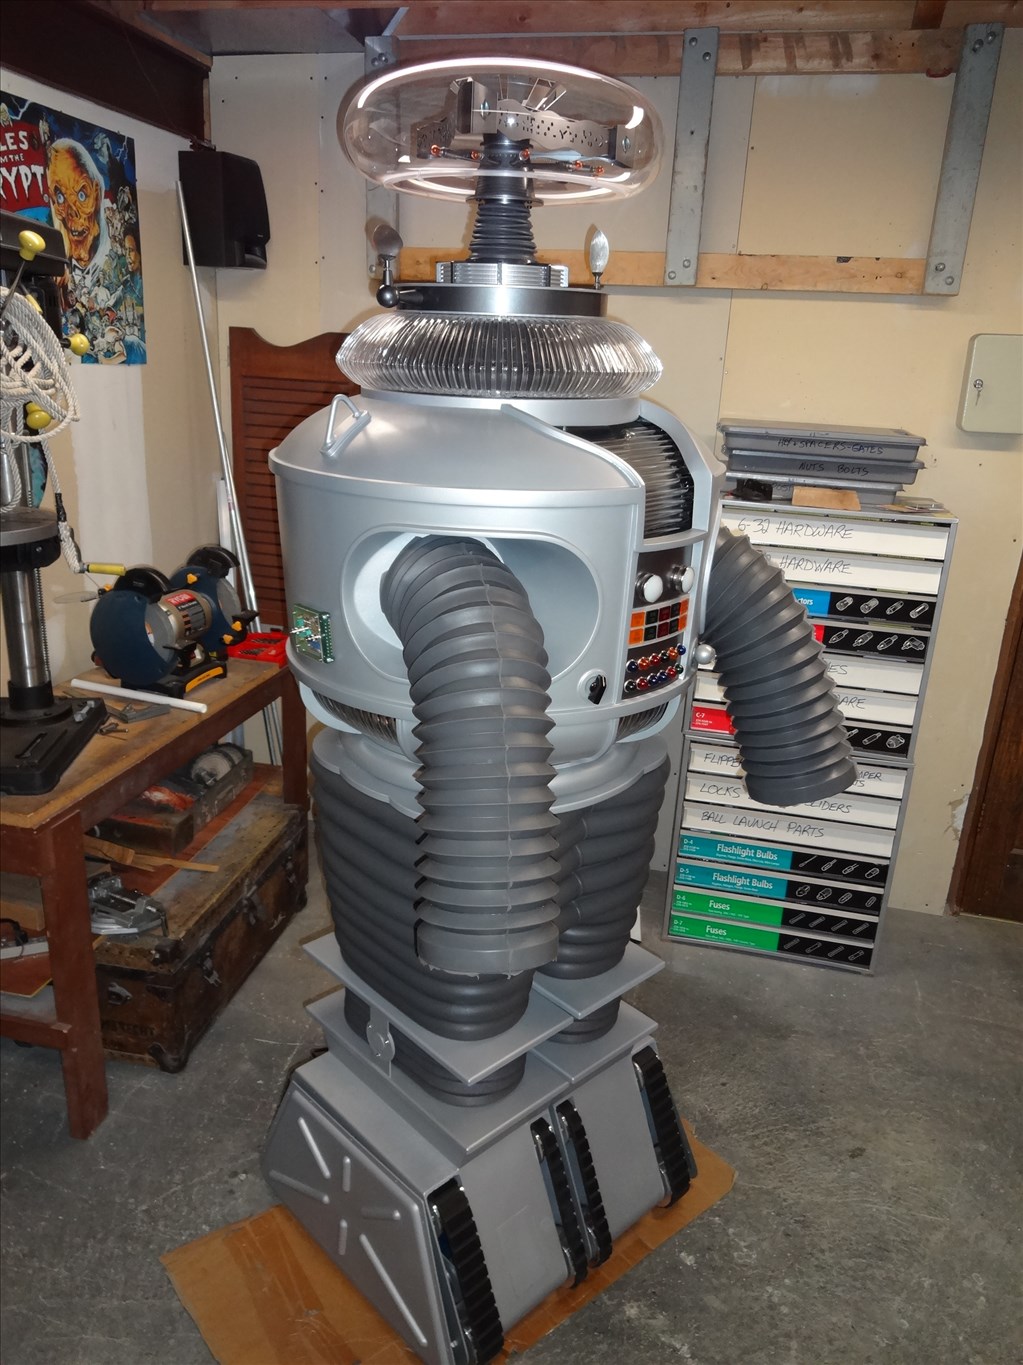
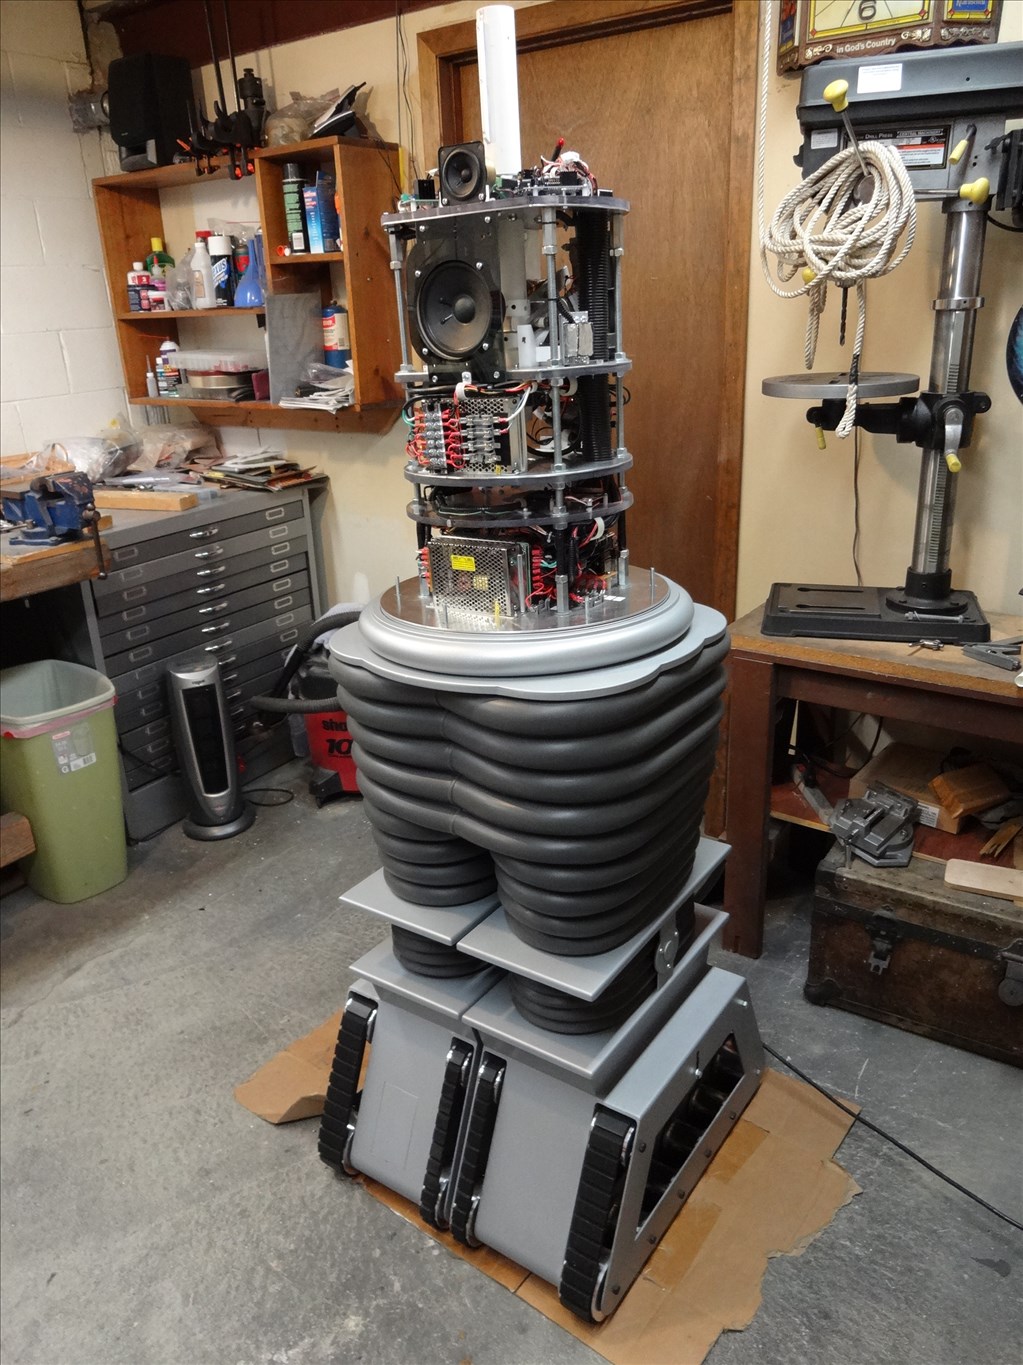
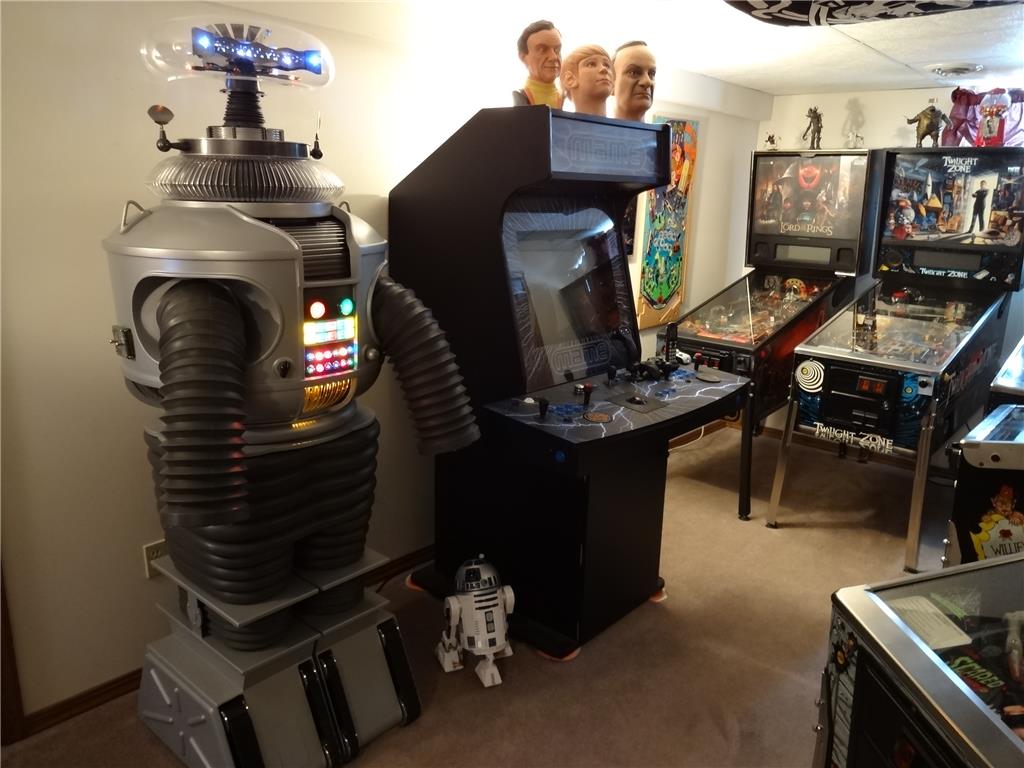
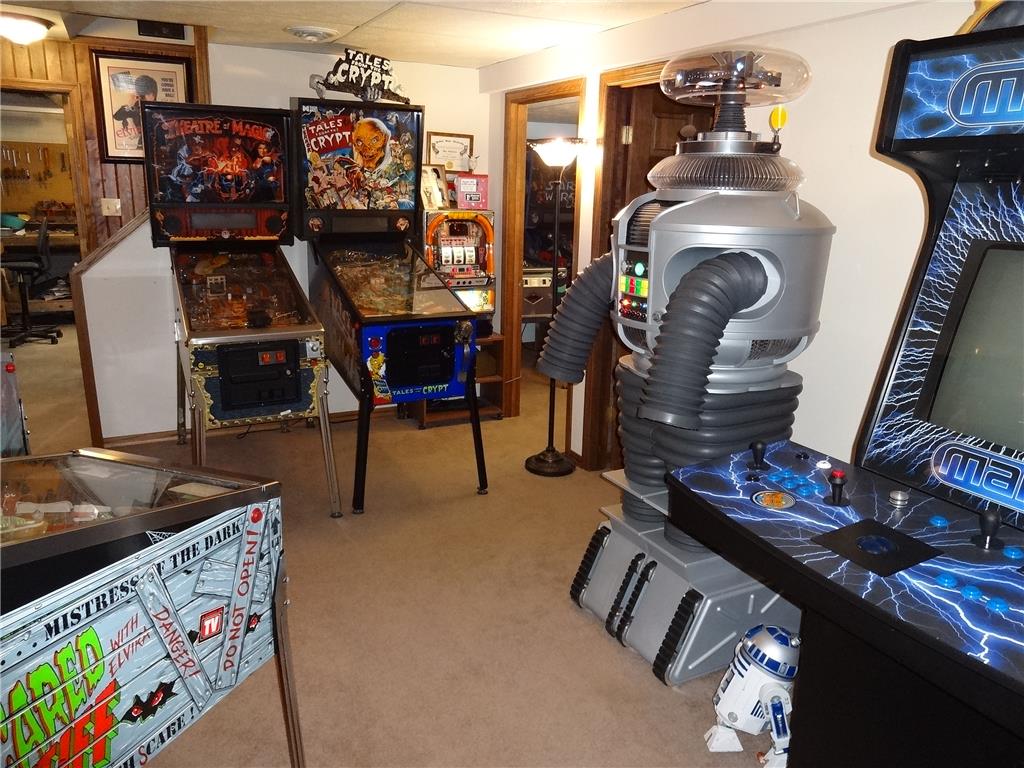
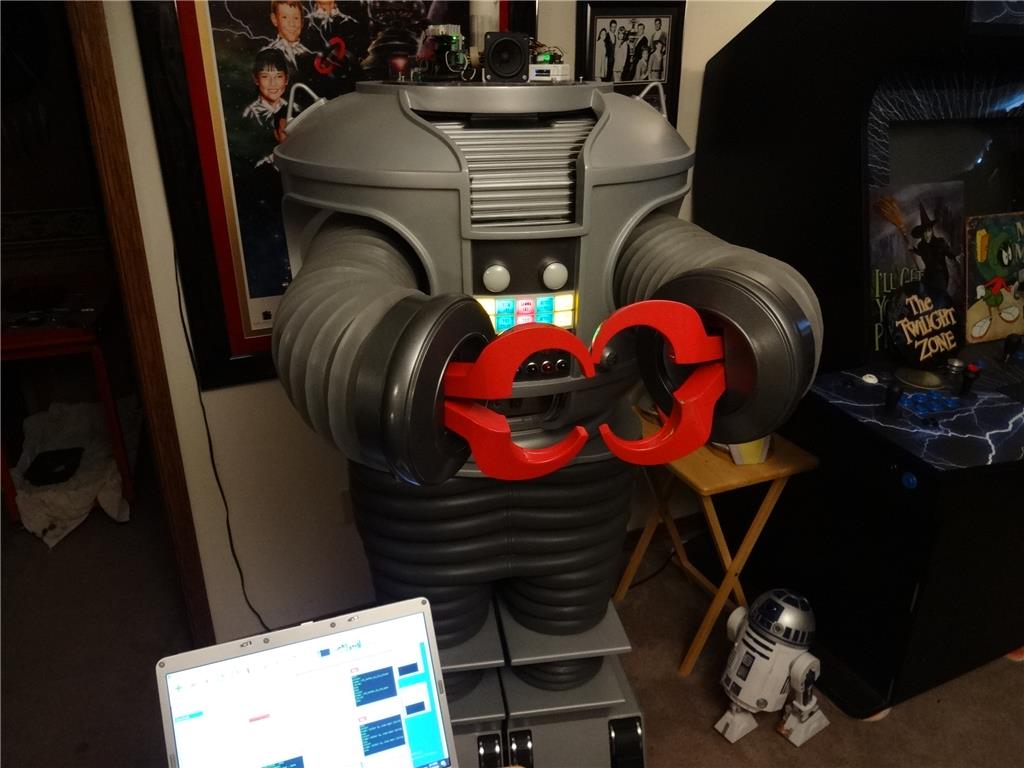
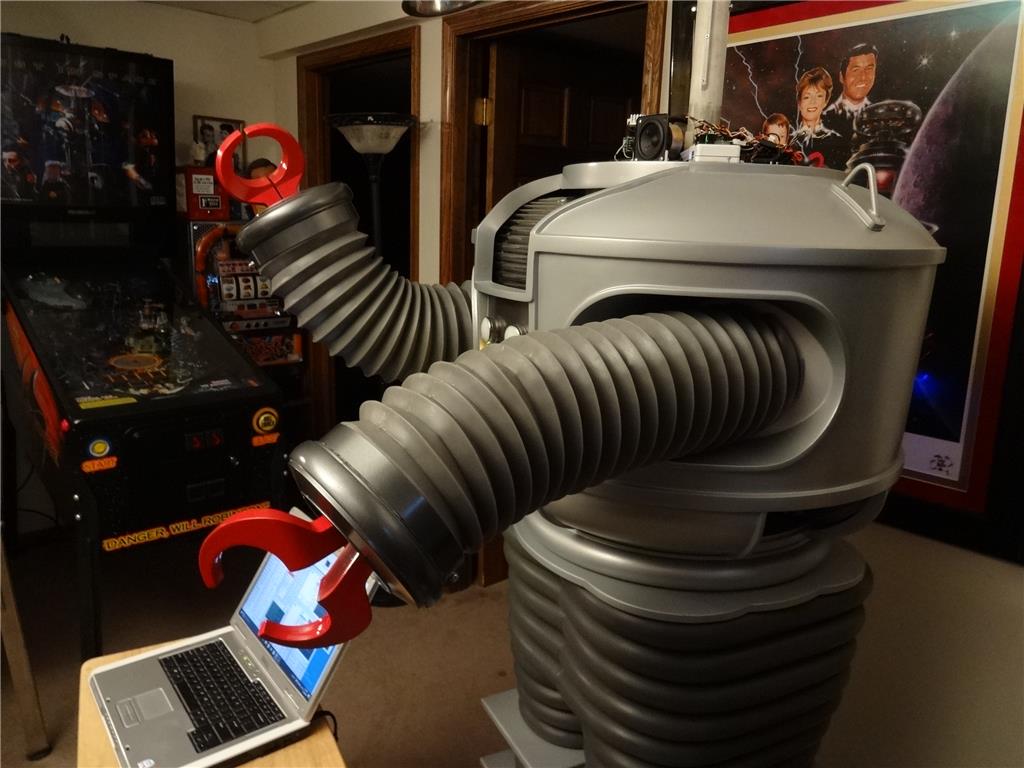
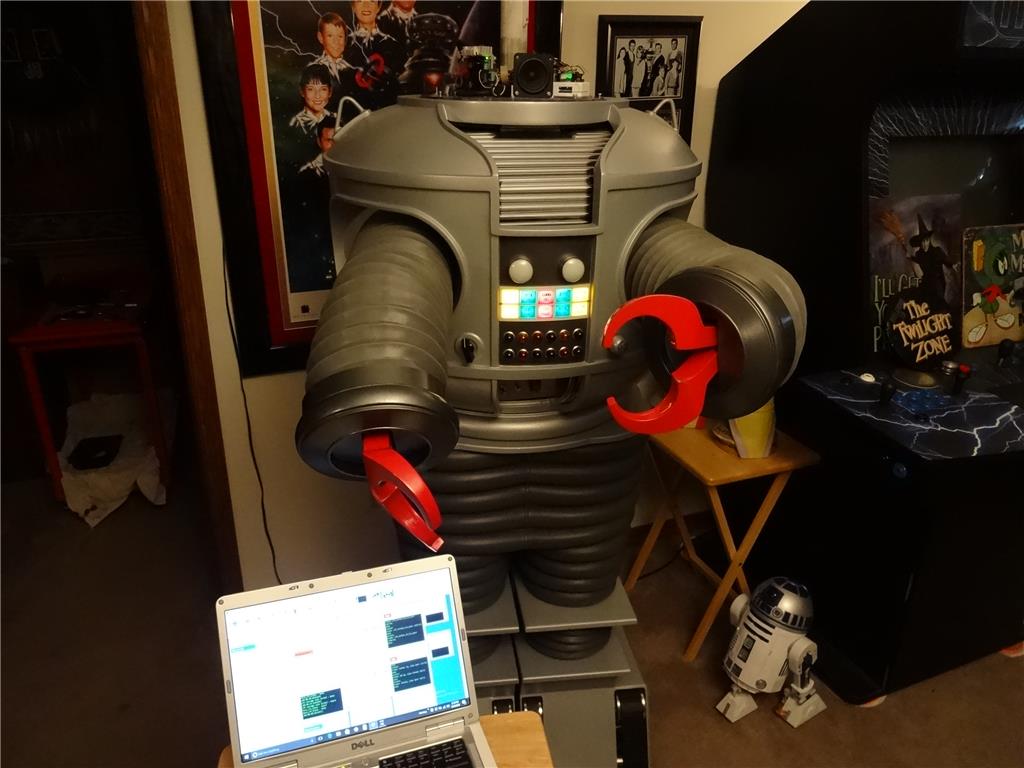
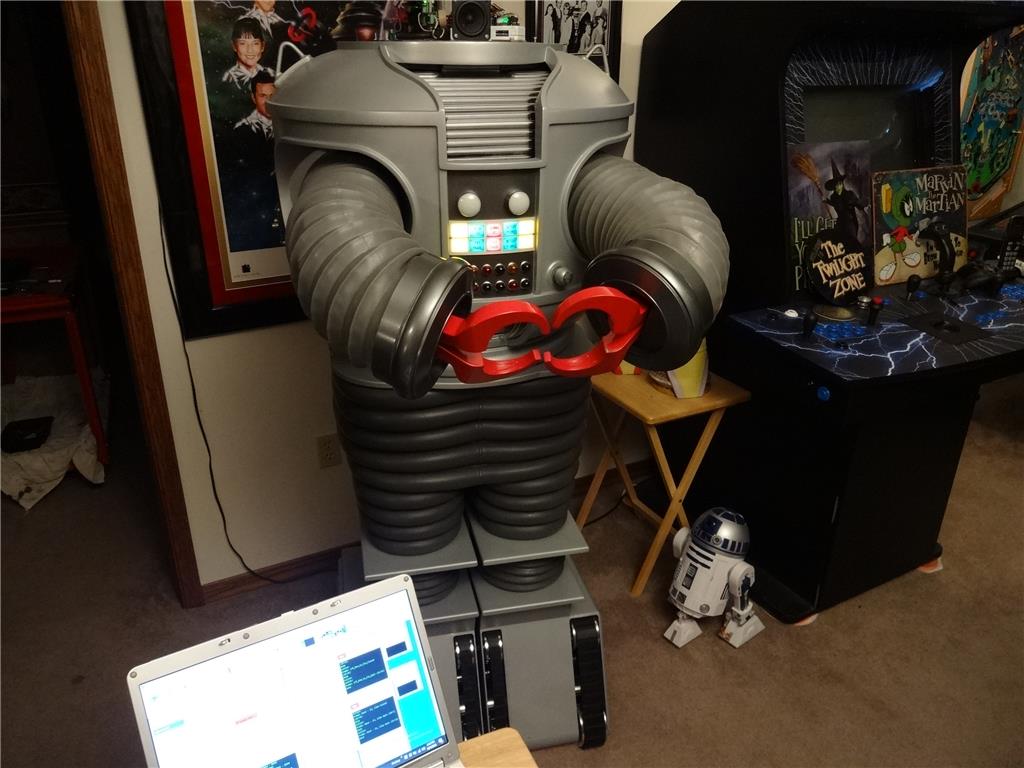
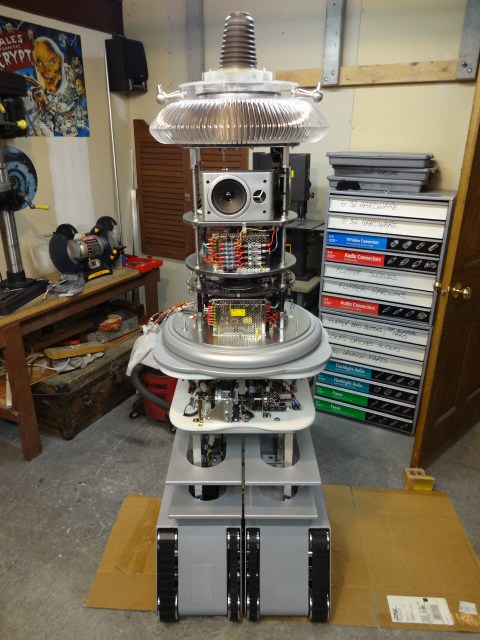
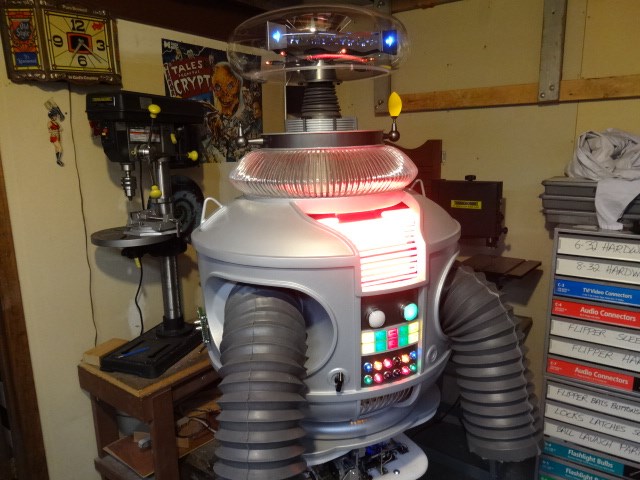
EDIT 8/2/13: Just realized I have no good pictures of how my B9 will look when complete. Here's one of the actual TV robots from the 60's TZ show Lost in Space and one recent shot of where I'm at with my build over 1 1/2 year after I started. Enjoy:


Thanks, Dave Schulpius
Discover more robots
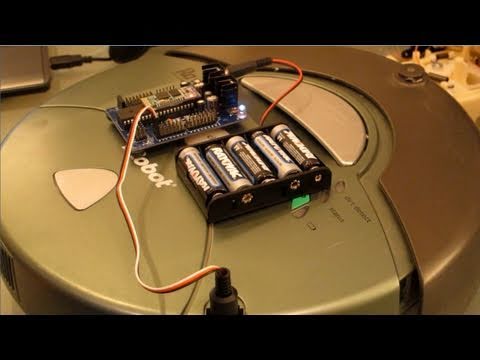
DJ's Irobot Roomba Hack

Leversofpower's Cutting My Teeth. The Floor Crawler

arrrgh! tired well maybe one day there will such a Scifi airshow con but I thought the B-9 zipping about was very cool. Too anxious to post for you, and forgetting the link which I often do eyeroll
Hay, thanks for thinking of me!
i read the military made the aircraft from avatar movie ,so wont be to long to see the jupiter spacecraft,the plane does a vertical takeoff
Removed this useless post
this is full size design of the one in avatar ,with the same weapons.heard also they are tying it with regular planes too ,thinkinmg pretty soon no more using a runway when taking a airplane trip
i think it part of that design,but like a helicopter but with 2 or more jet engines for lift and thrust and to hold more then 2 people that the harrier jump jet does
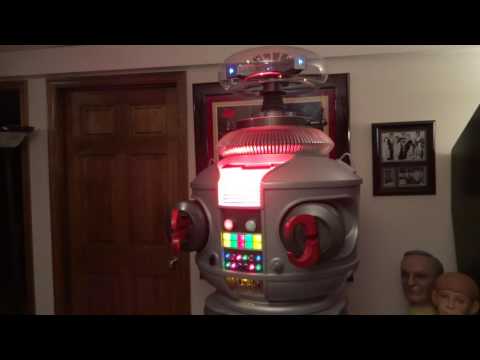
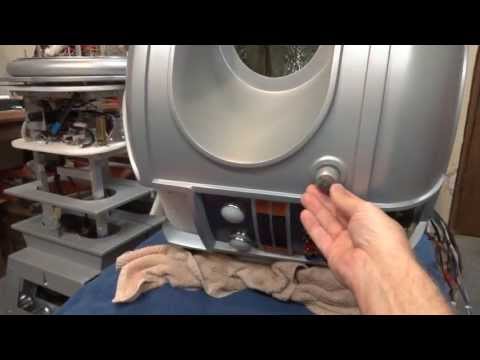
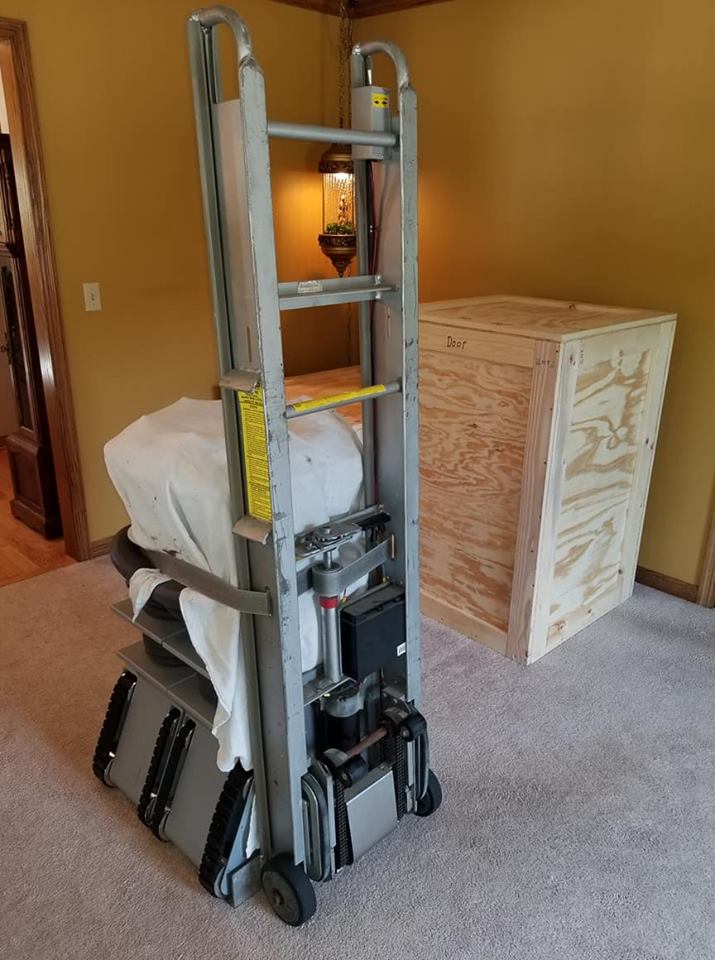
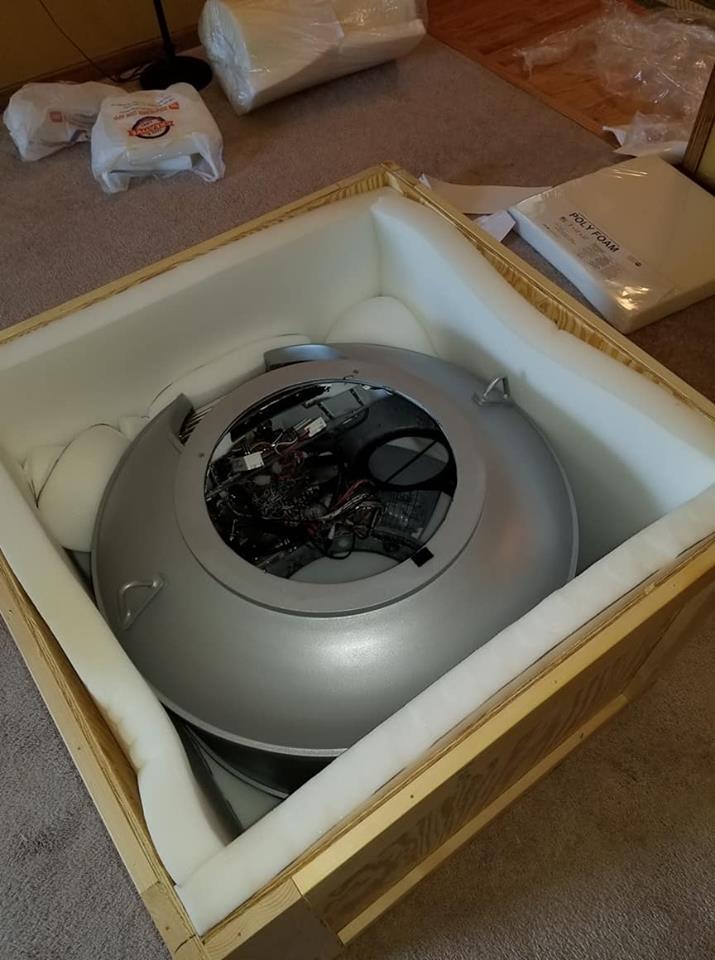
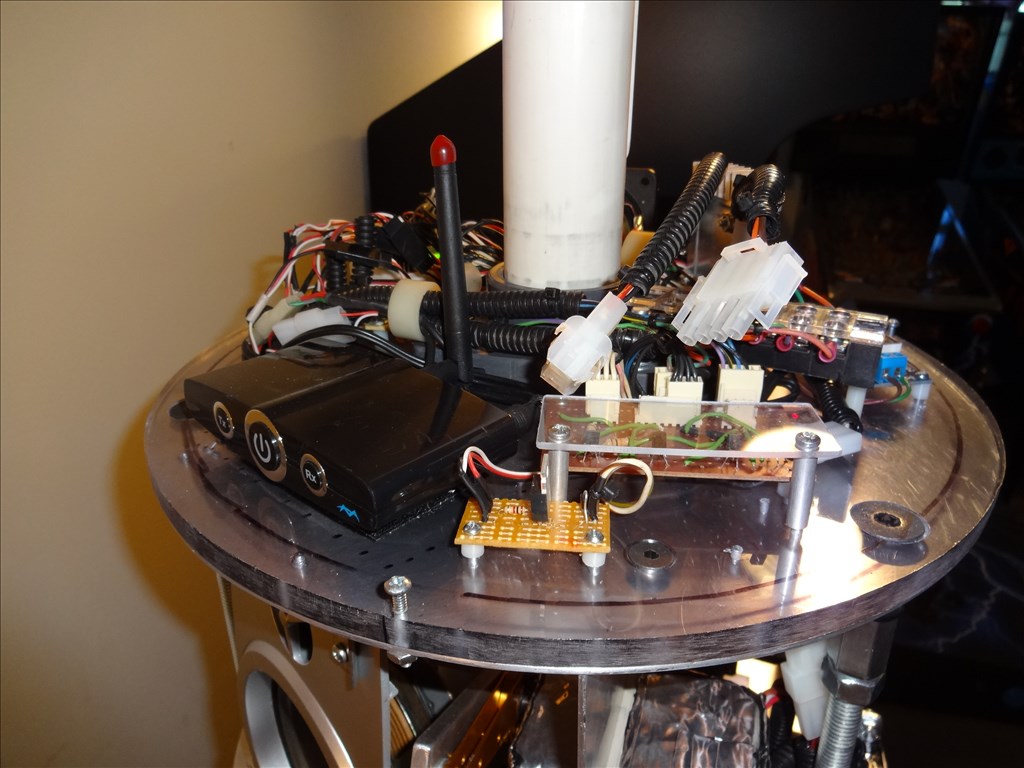
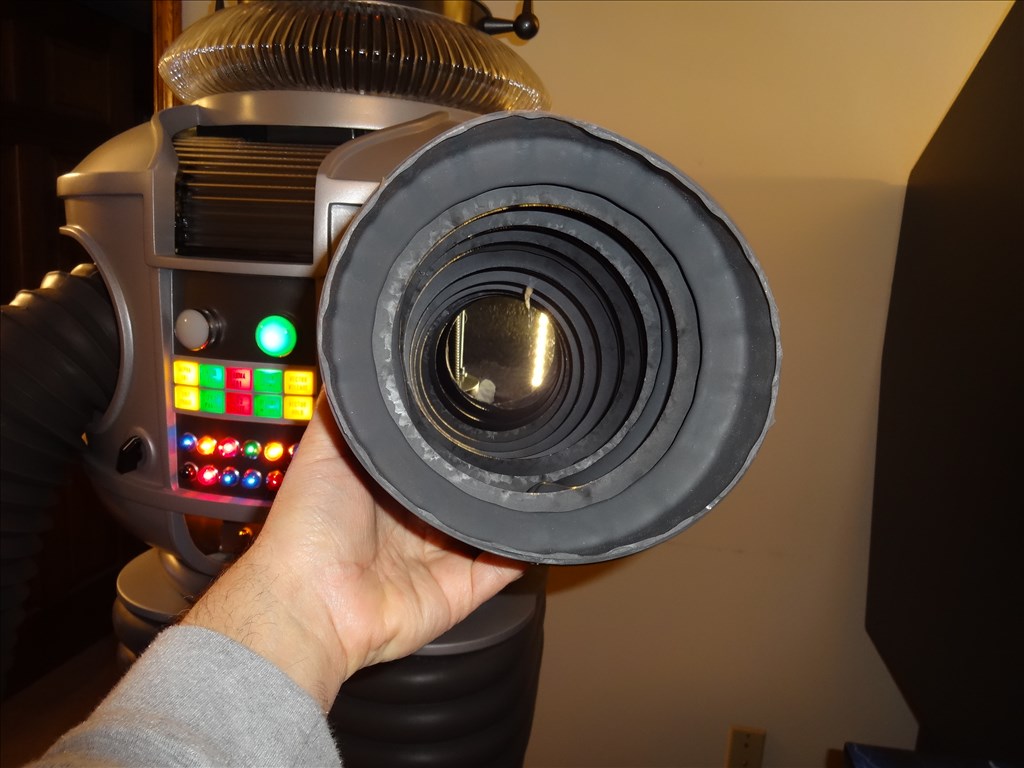
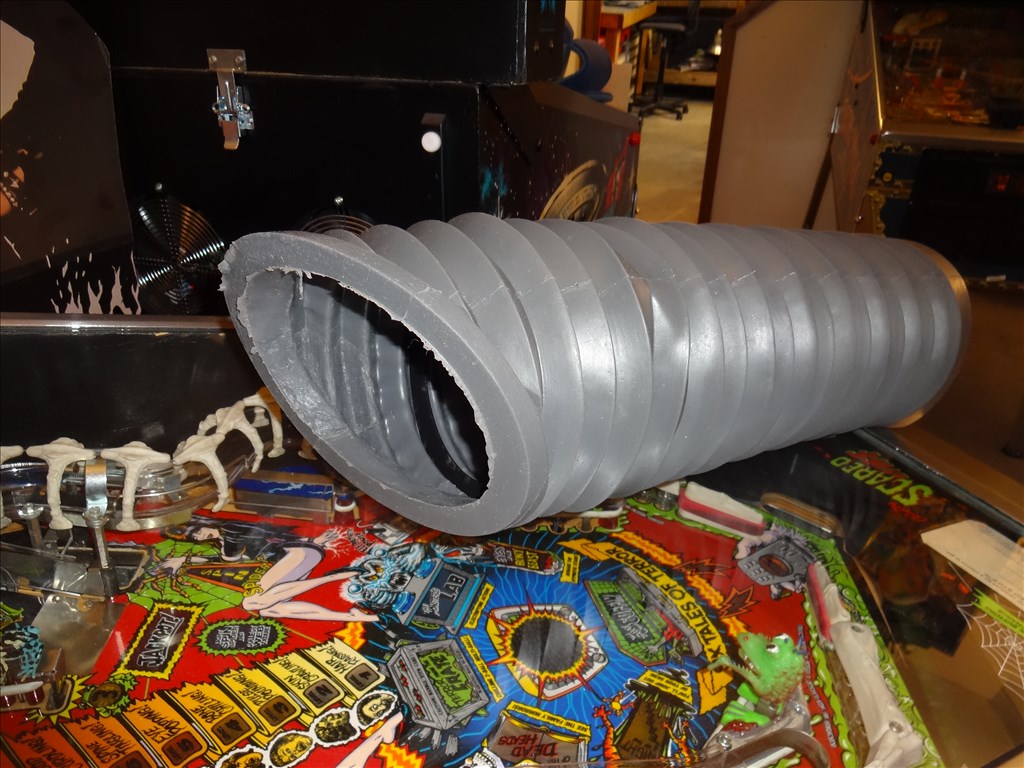
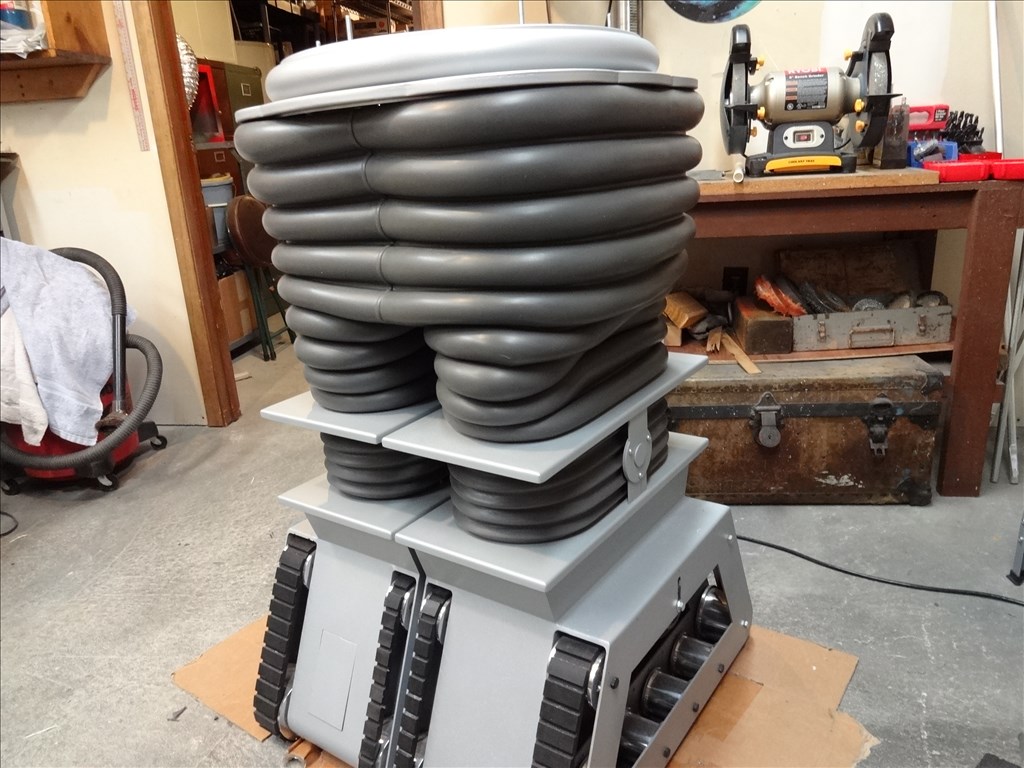
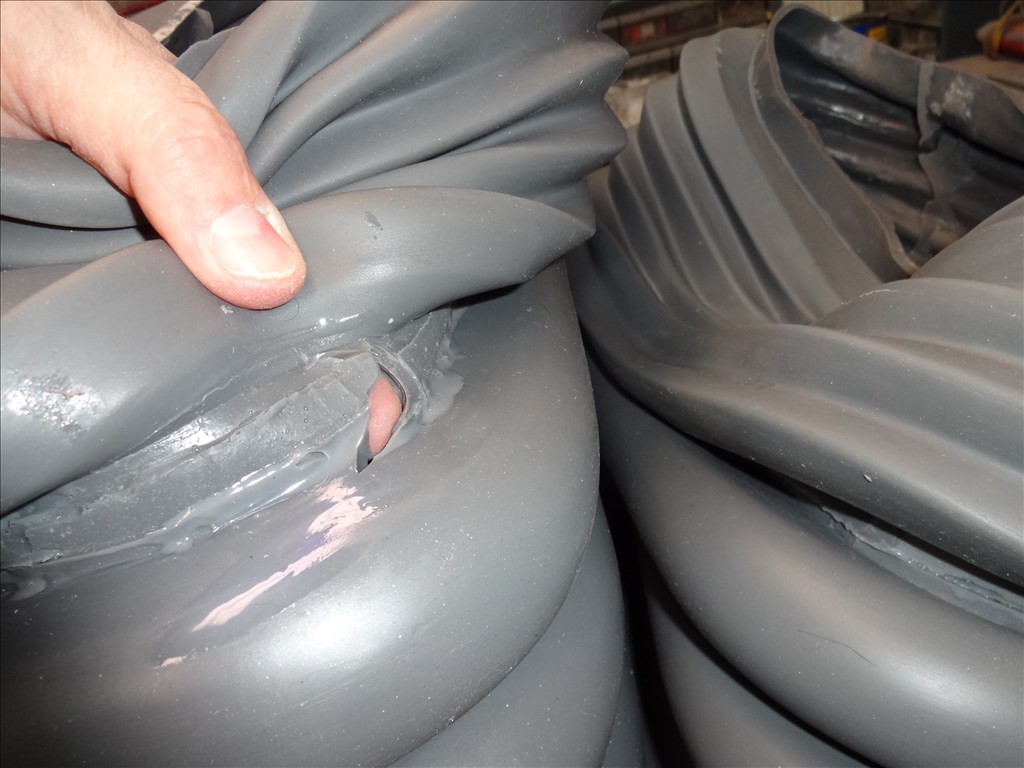
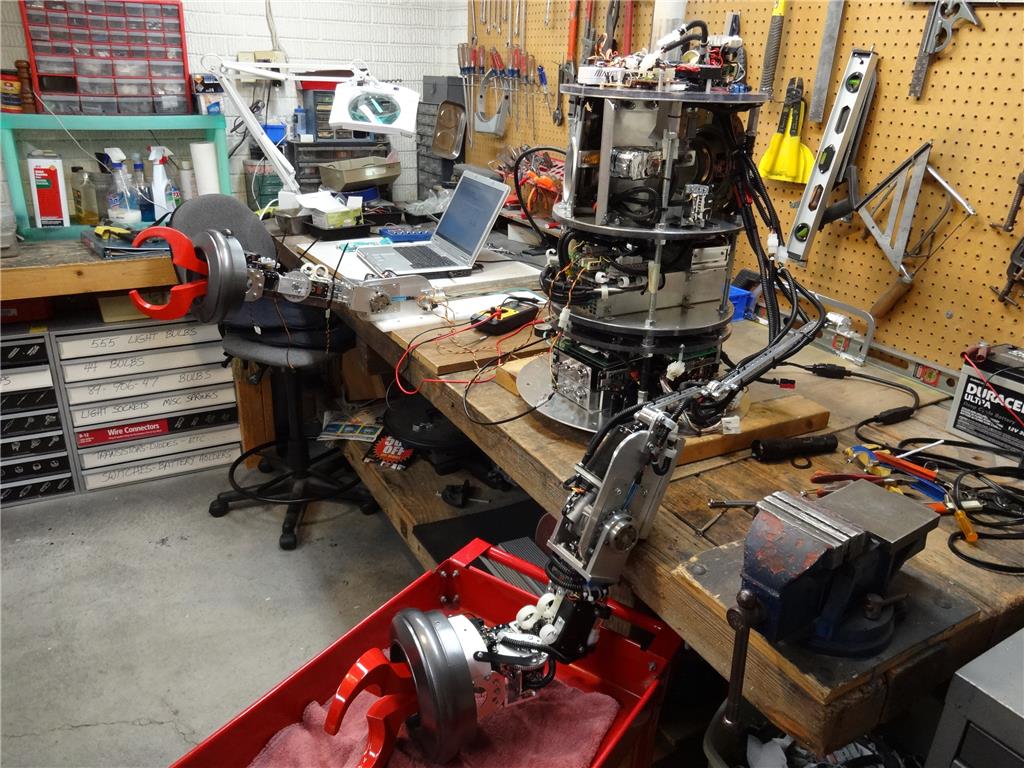
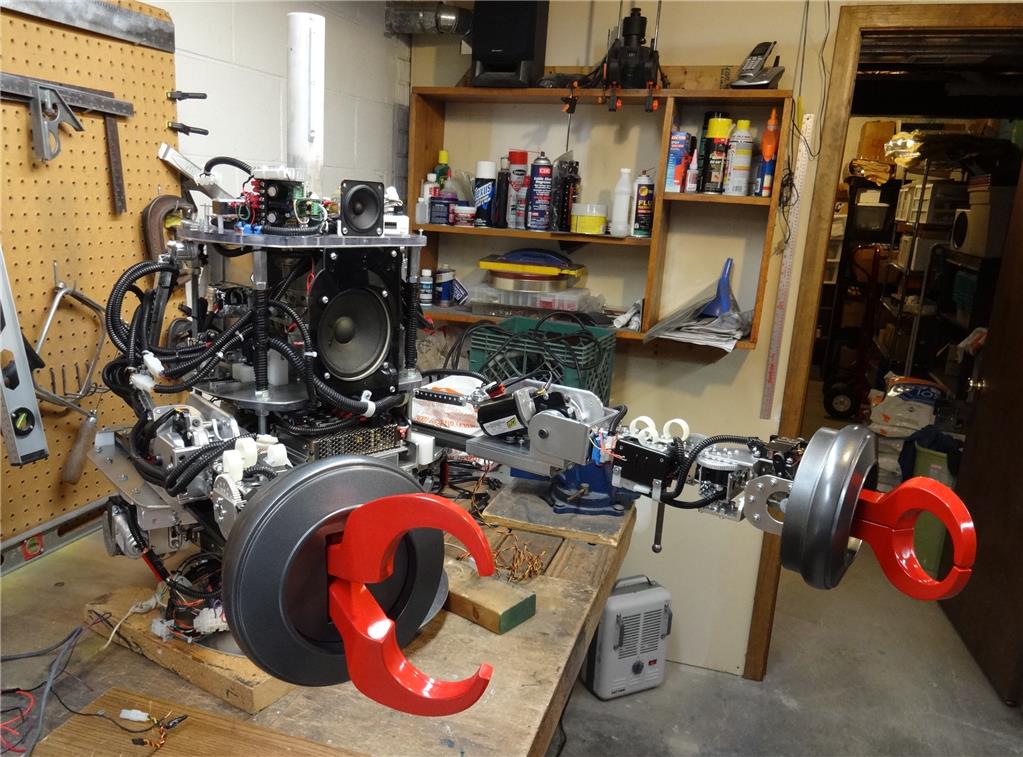
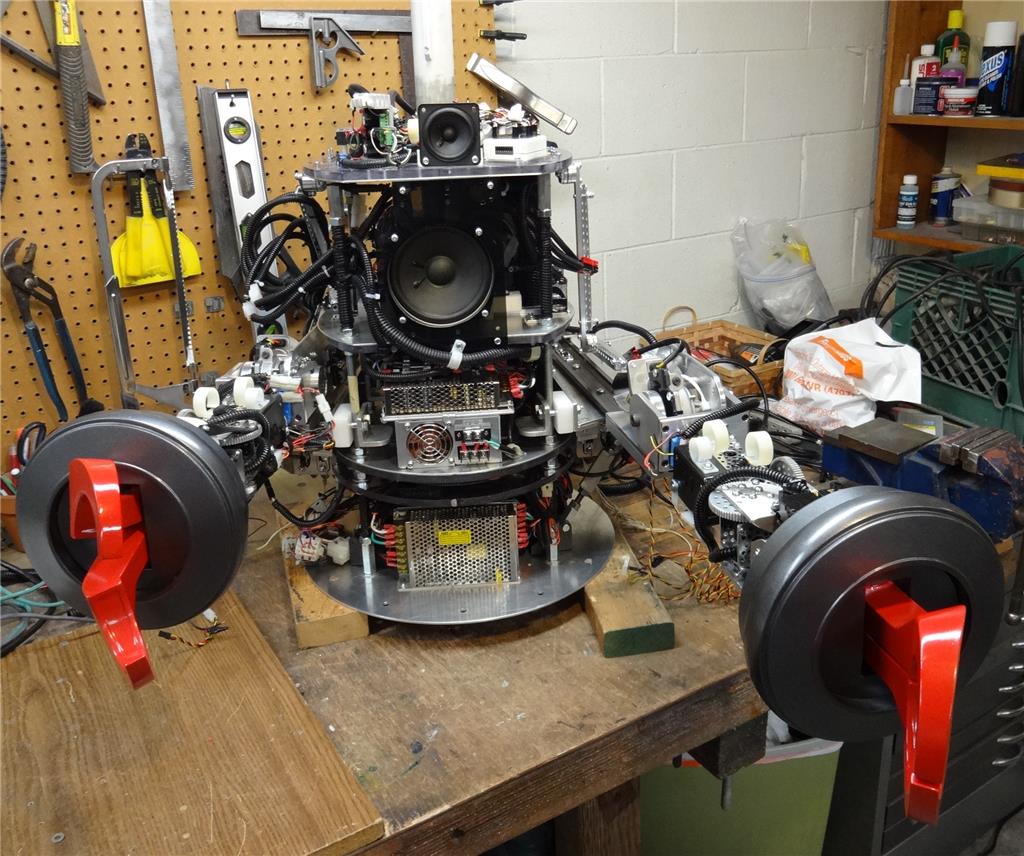
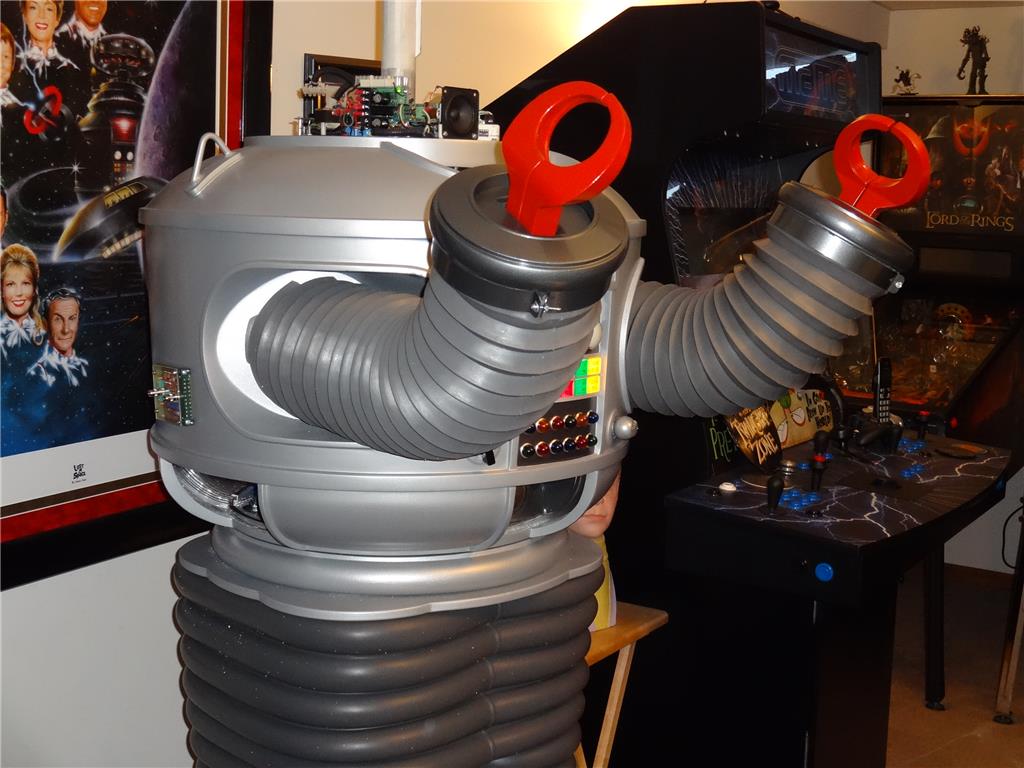
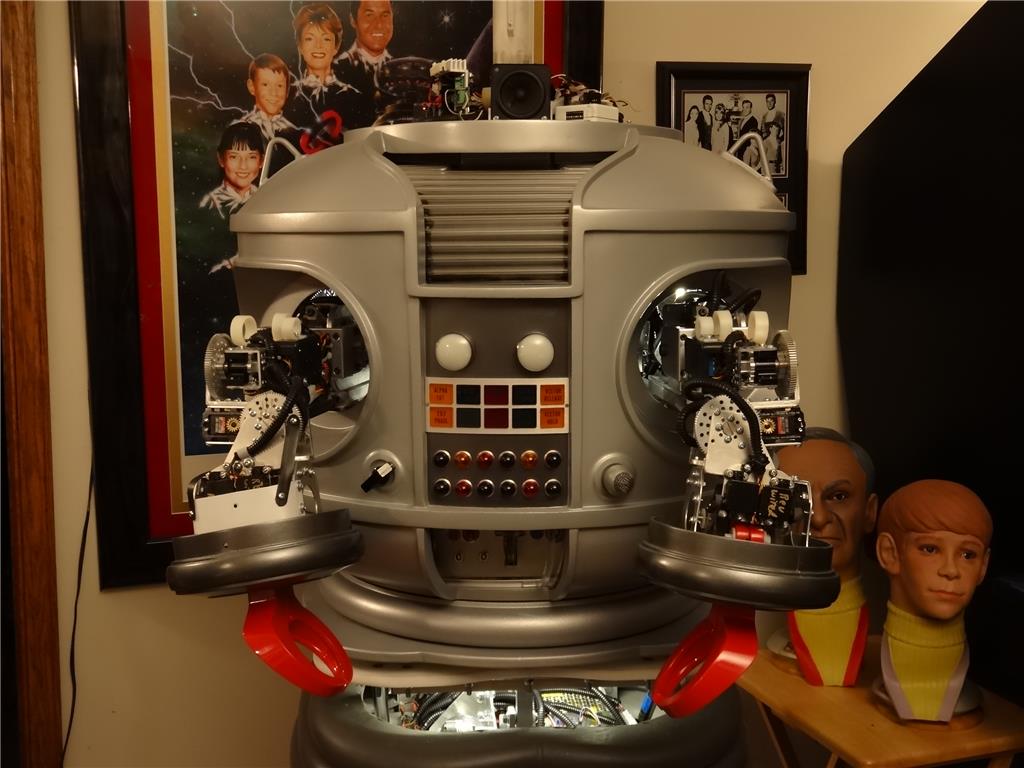
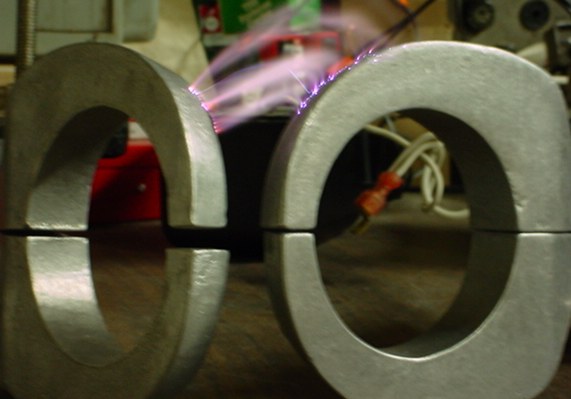
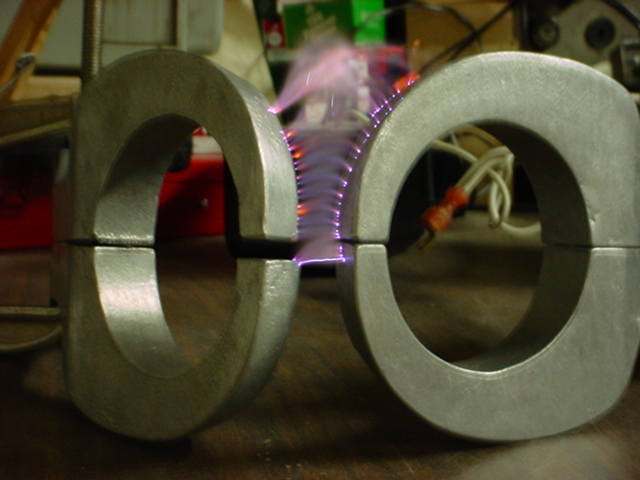
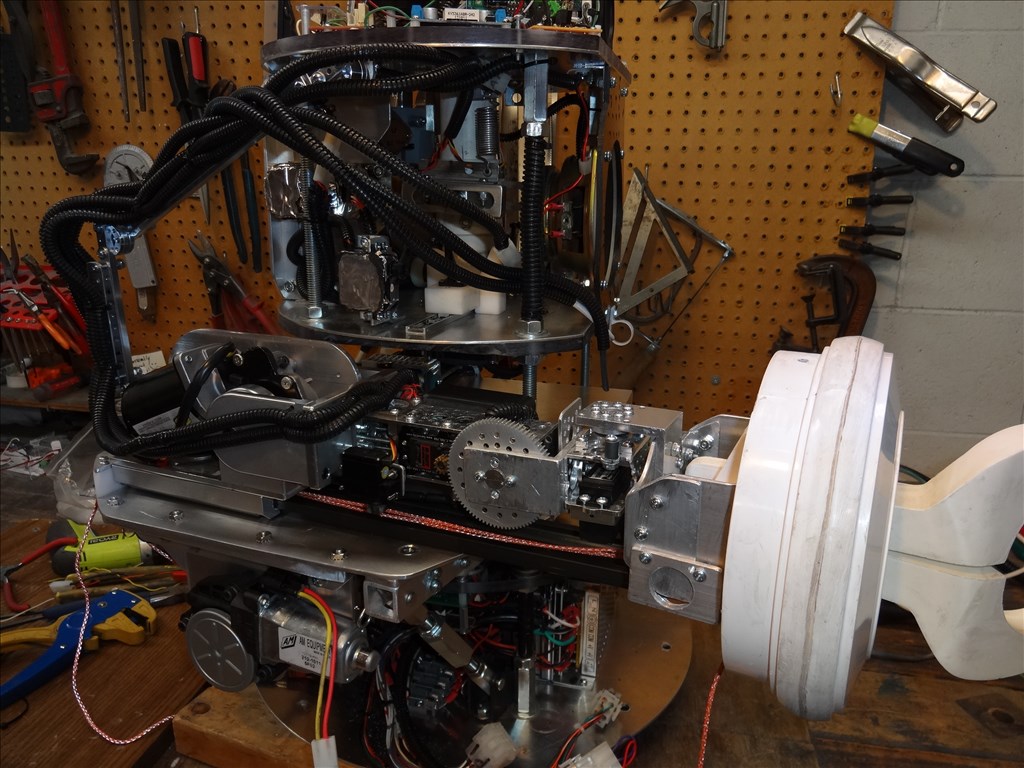
I just finished one the most challenging, frustrating and most rewarding parts of my B9 Robot build; The Collar/Radar, Bubble Lifter sections.
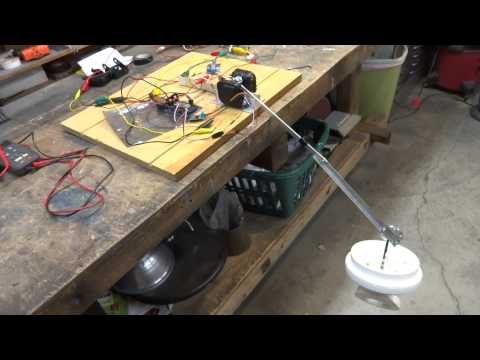
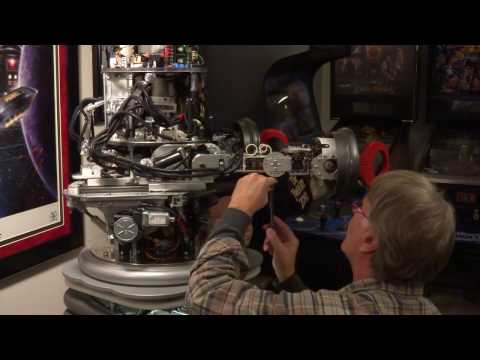
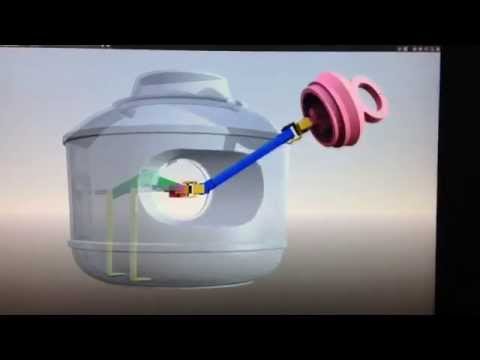
The main challenge was to build this so everything can be taken apart easily, fit properly together to let the Radar swing back and forth on a Lazy Susan and let the Bubble Lifter post both slid up and down freely and swing back and forth with the horizontally fixed Radar. The Bubble Lifter is lifted from below with a HD Servo. The servo is attached to a a special Wishbone style bracket and a type of thrust bushing wrapped around the post I built. This allows the post to be lifted and also to spin. The main trick was to get everything lined up to slid and spin freely and not bind up. Again, the most difficult part was getting everything to fit in the area I had and get it all lined up. I also wanted badly to have limit switches on each side of the Radar swing just in case of an out of control spin. eek
Then the next thing to do was to get it all working with EZ-B and write EZ Scripts so the radar will move at different speeds and stop at any point on a 90 degree swing and then return to center. I've already done this with my waist motors so it wasn't to bad. Also I needed to have the script move the Bubble Lifter as the Radar swings. In the end it all worked great and looks very cool.
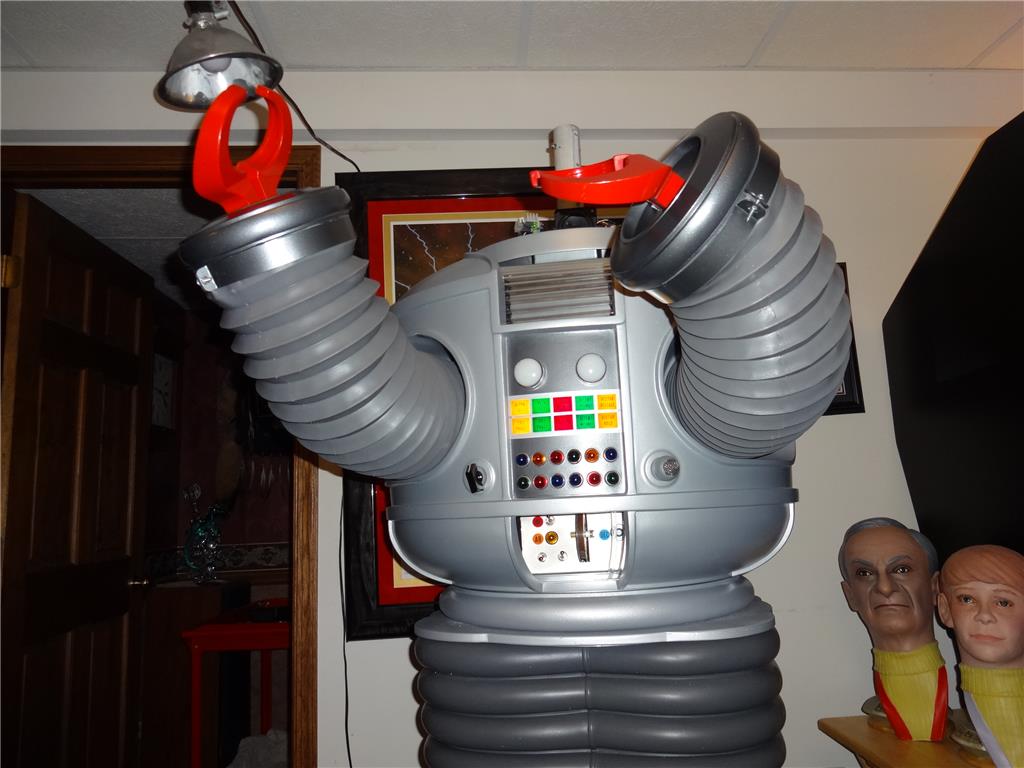
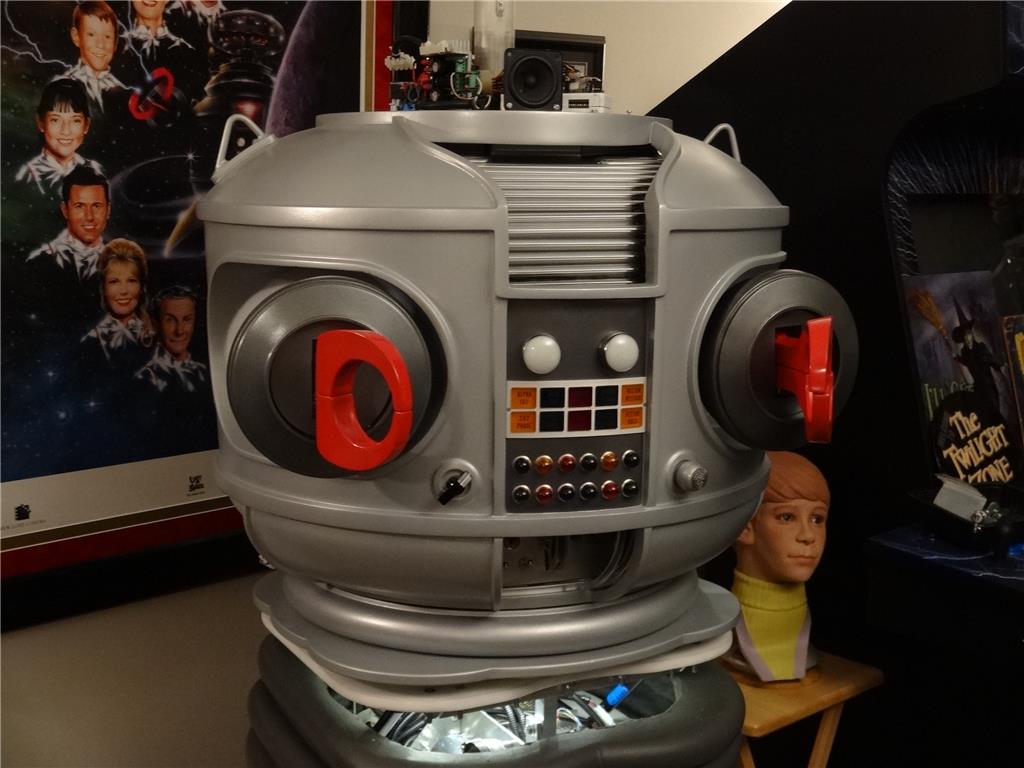
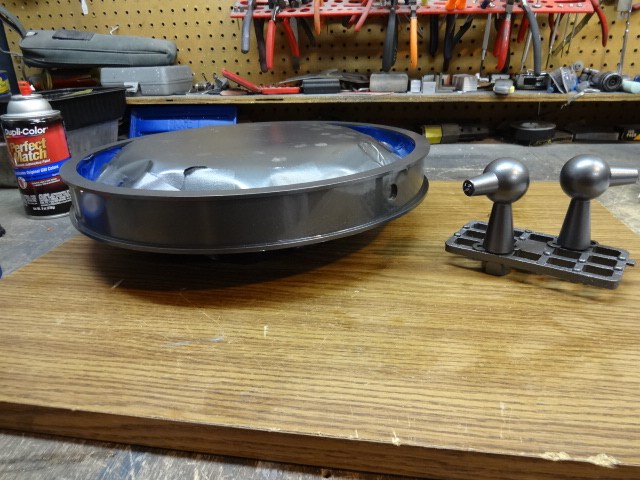
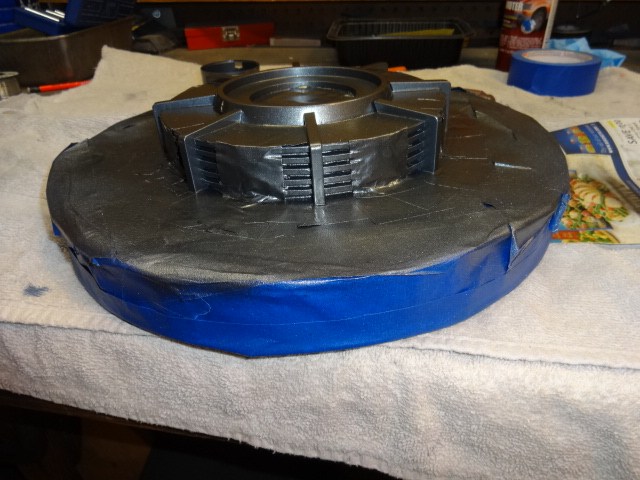
I've got it all taken apart now and am in the process of painting the Radar section. I'll post a video of all the action when painting is complete and it's reassembled. In the mean time please see the pics below if interested.
What is not in the pictures yet are the Sonar Dishes that will be sticking out of the ear posts on the sides of the radar. They will be powered with Micro DC motors that will also be turned on and off by EZ-B and animation scripts!
Enjoy!:
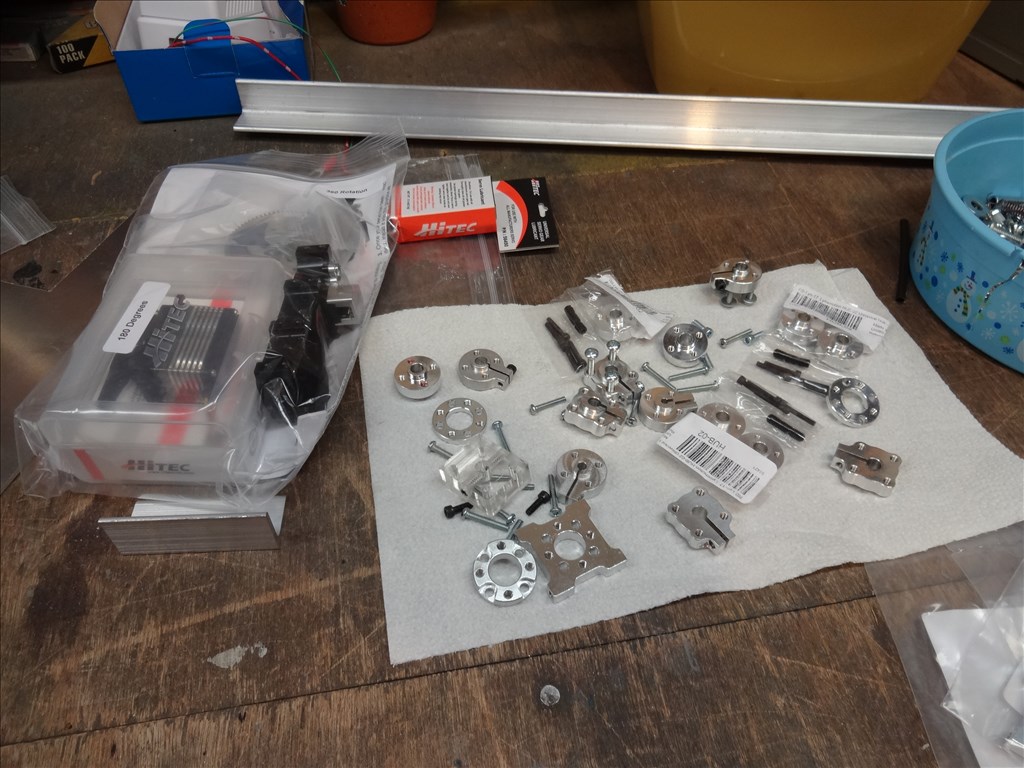
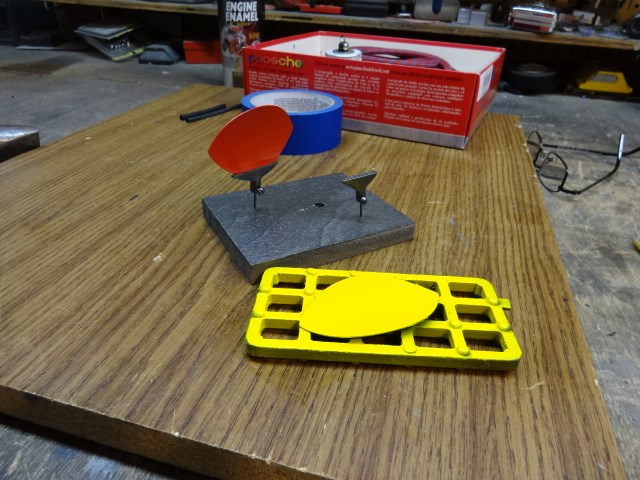
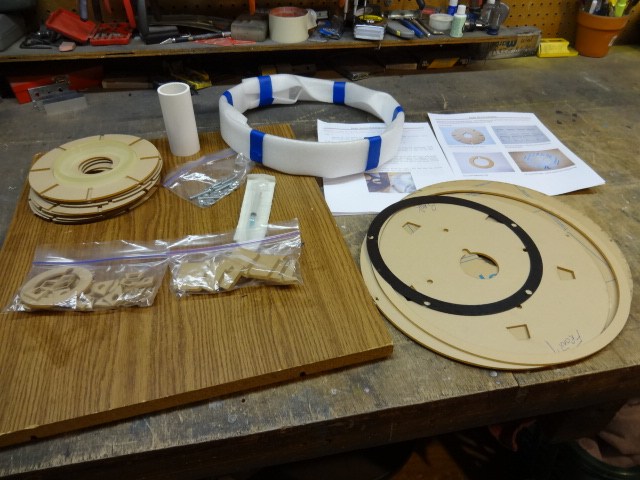
Here's the kit I bought that will soon be the Radar Section
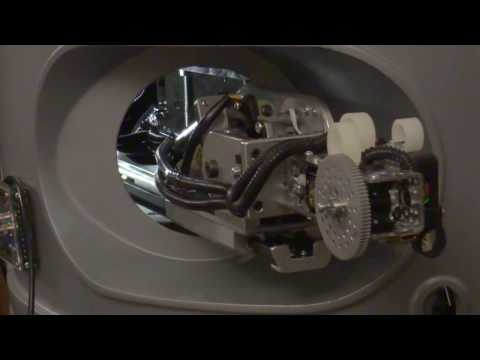
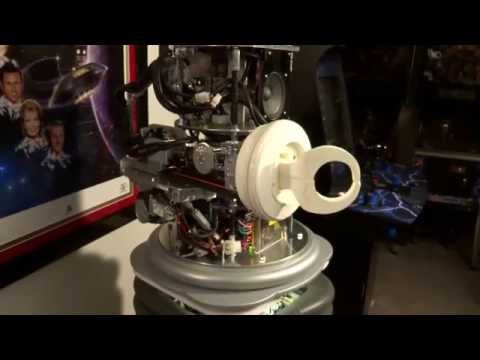
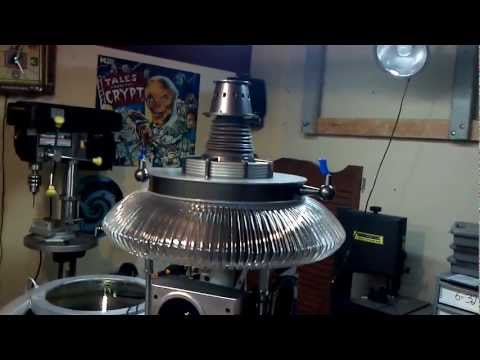
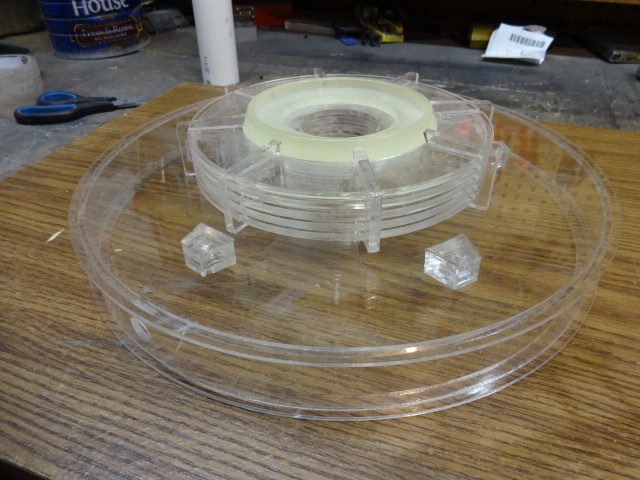
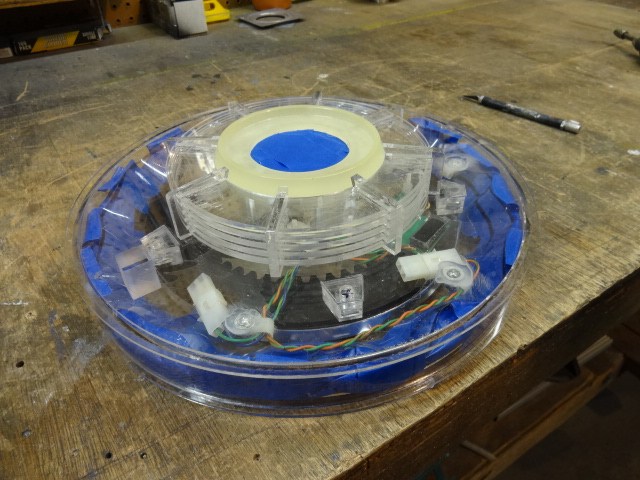
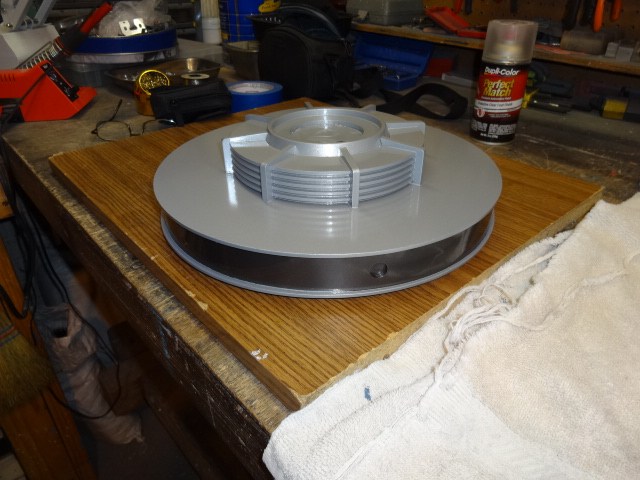
Here's the Radar kit all glued together, Very nice
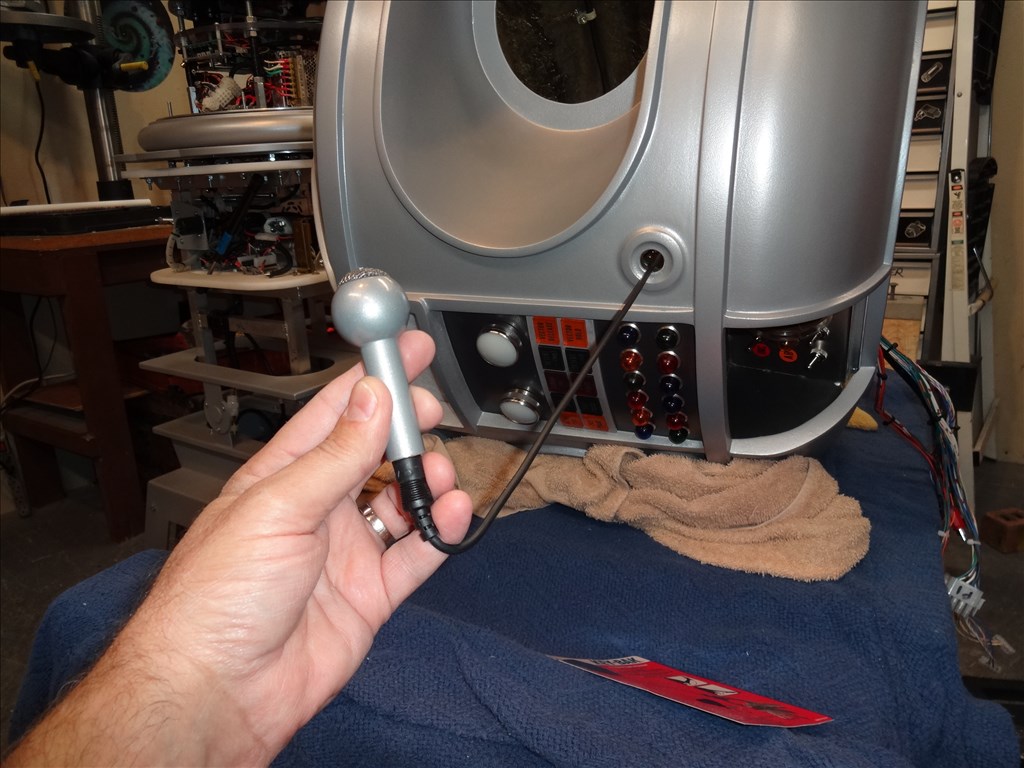
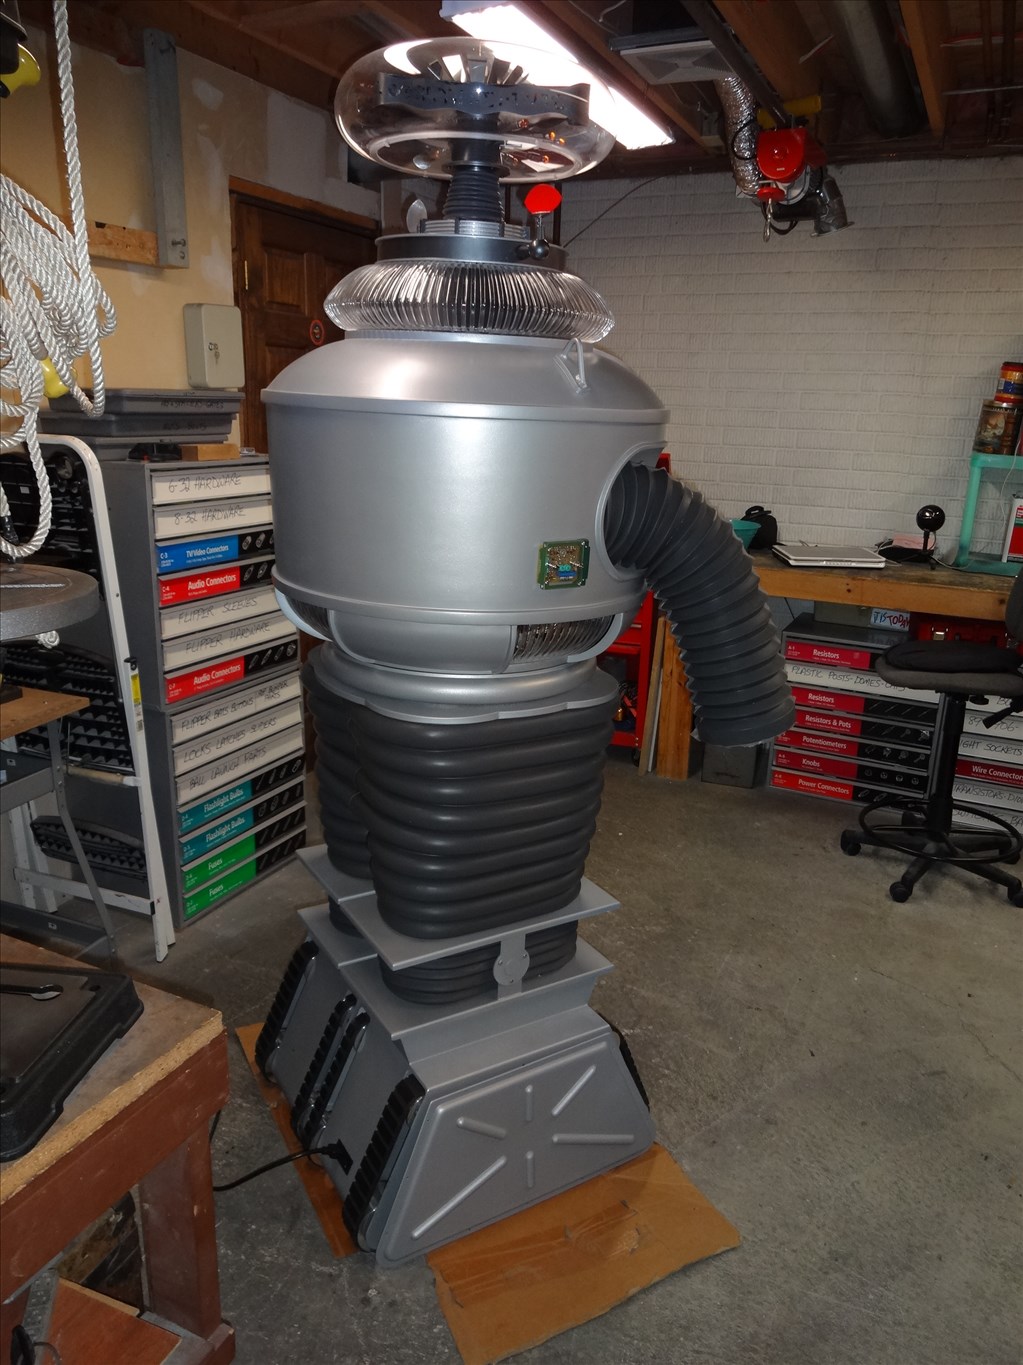
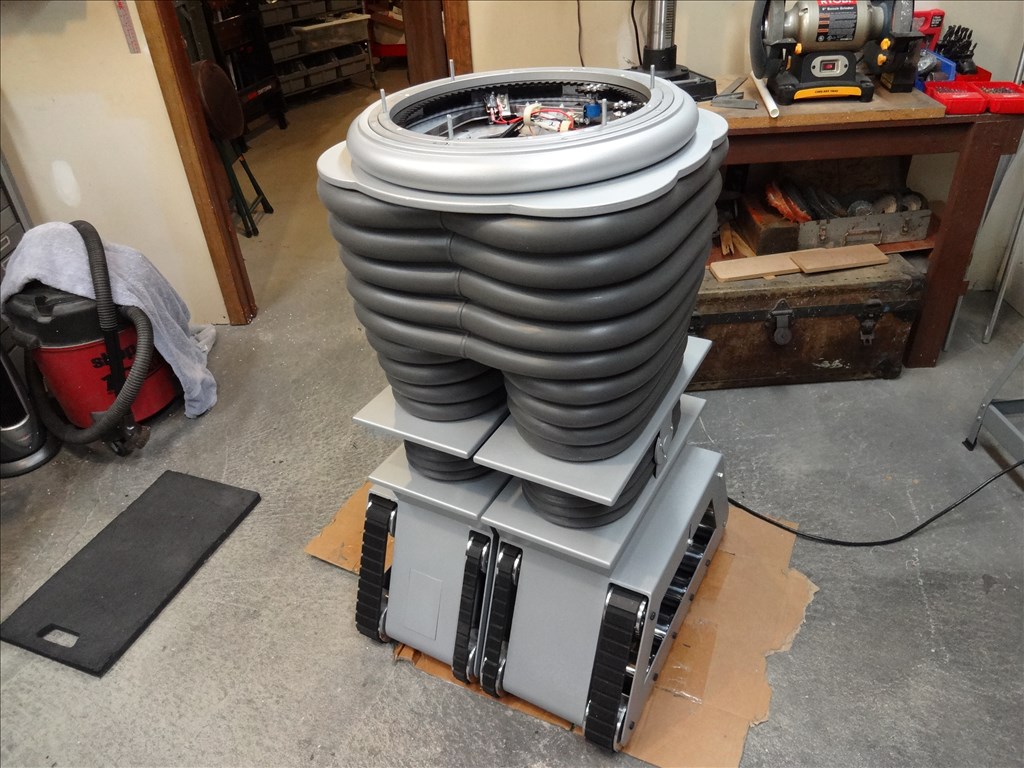
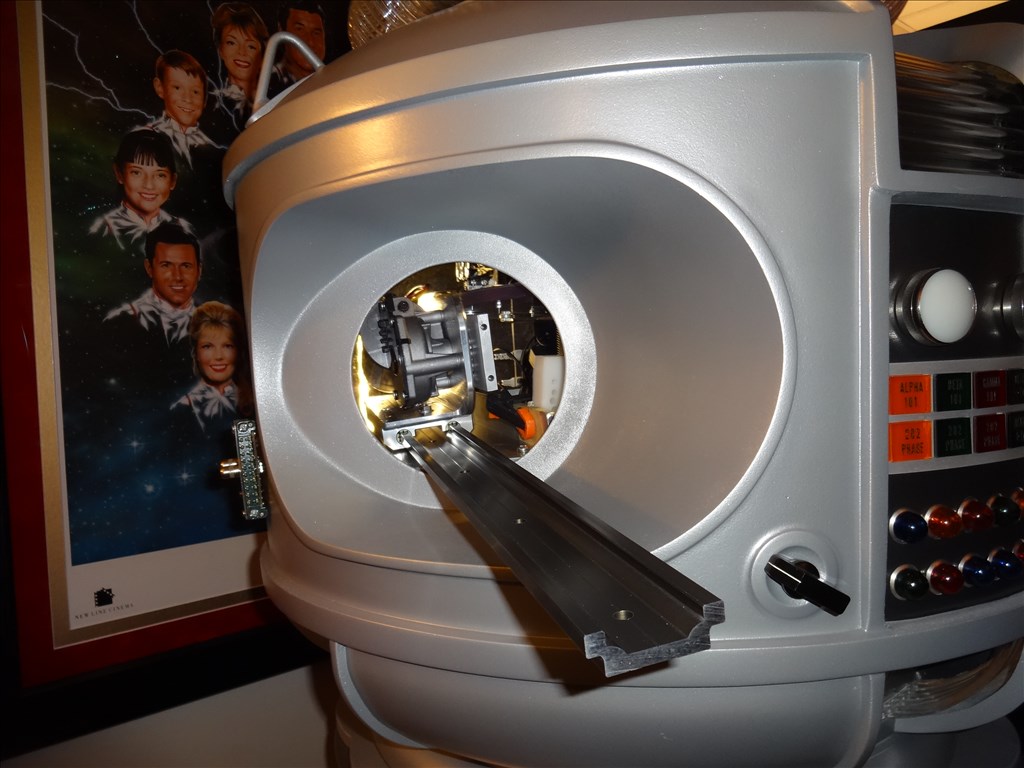
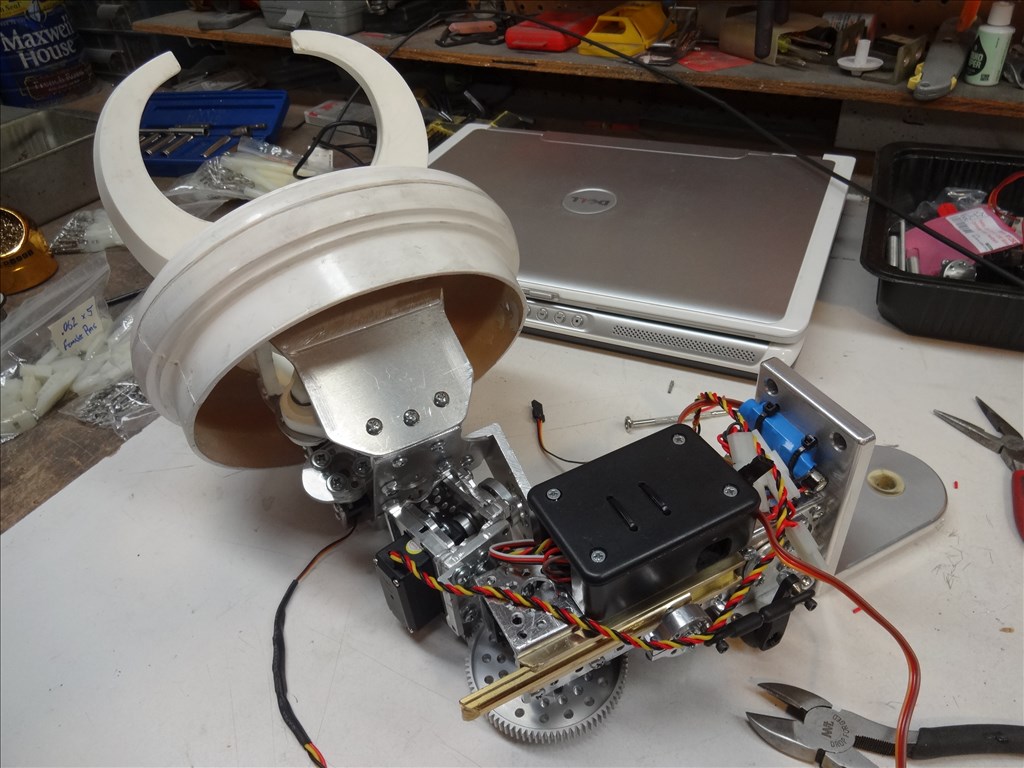
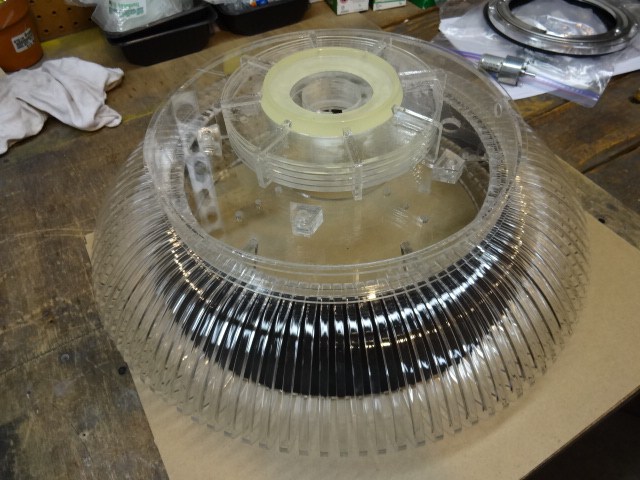
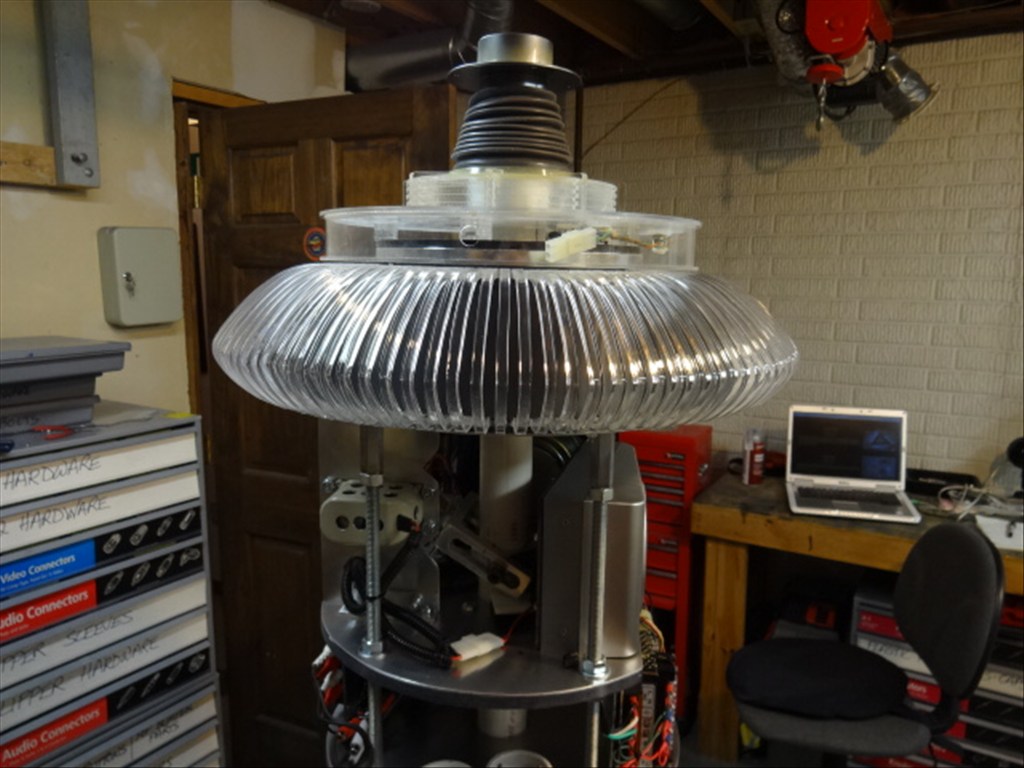
Here's the finished kit sitting on top of the Collar and ready to start mounting and wiring
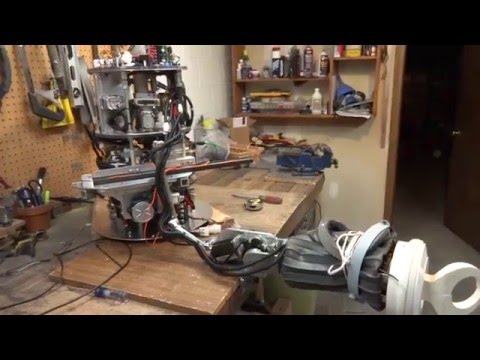
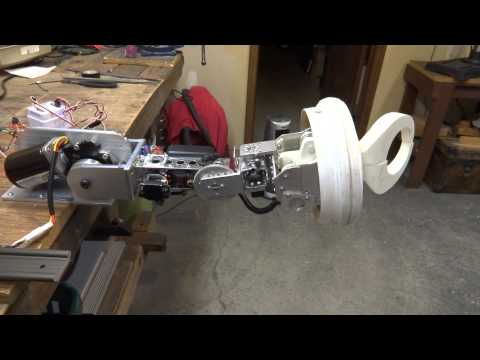
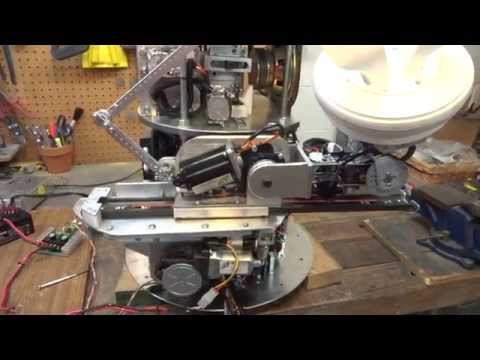
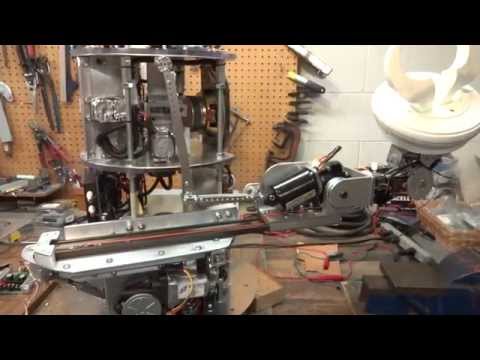
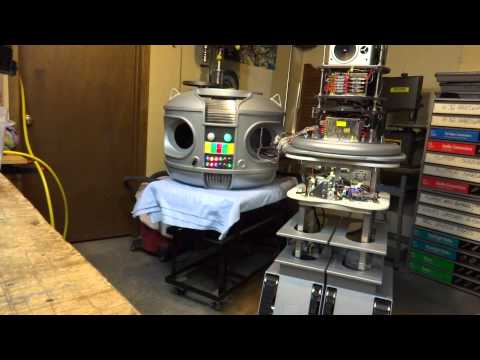
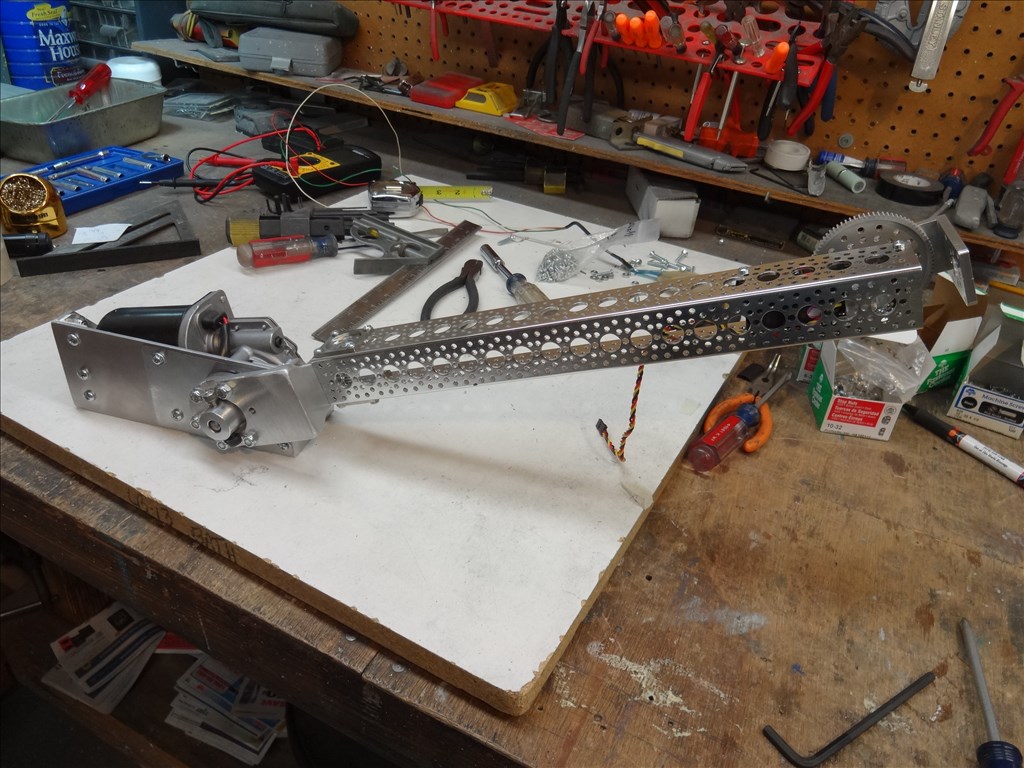
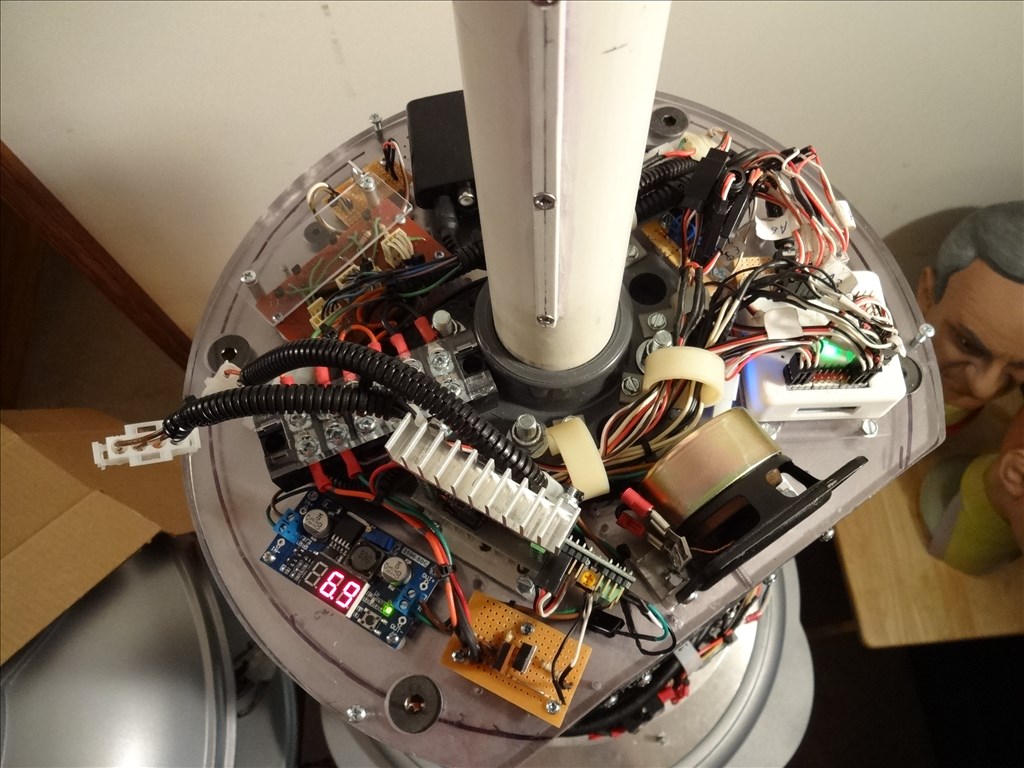
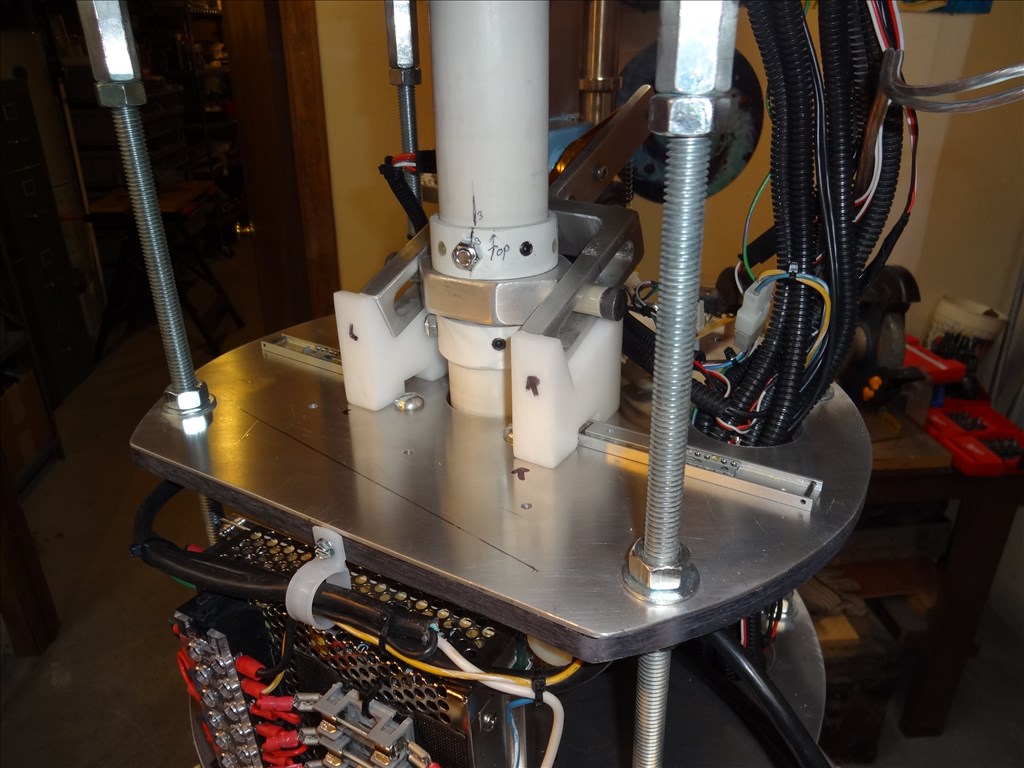
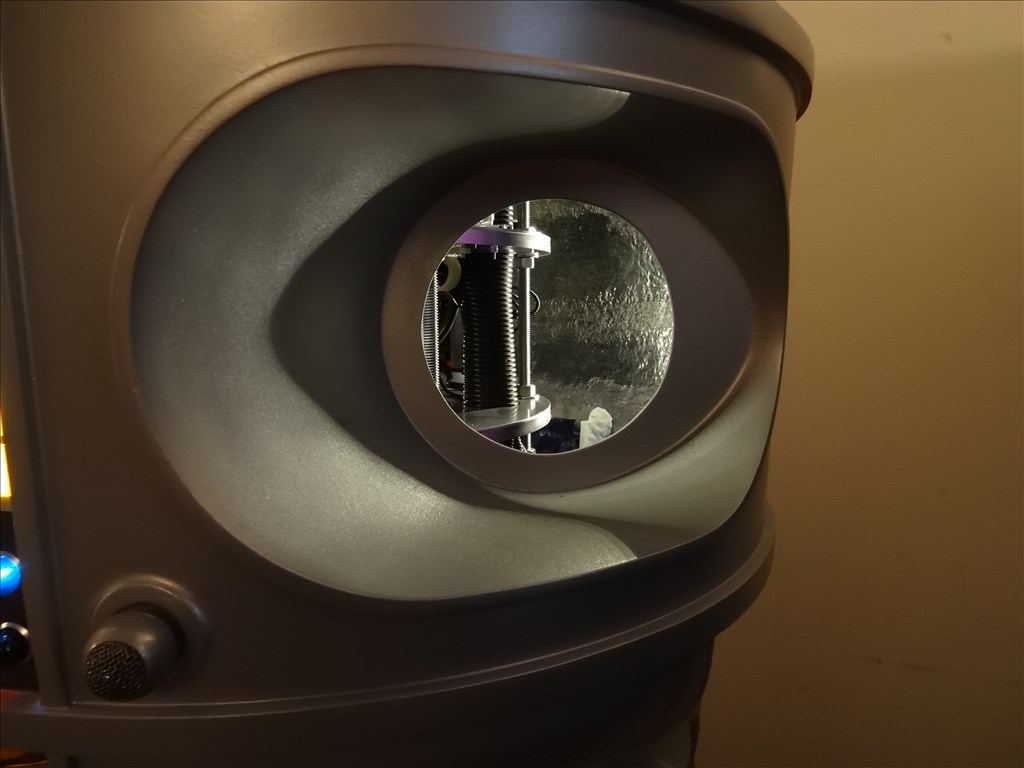
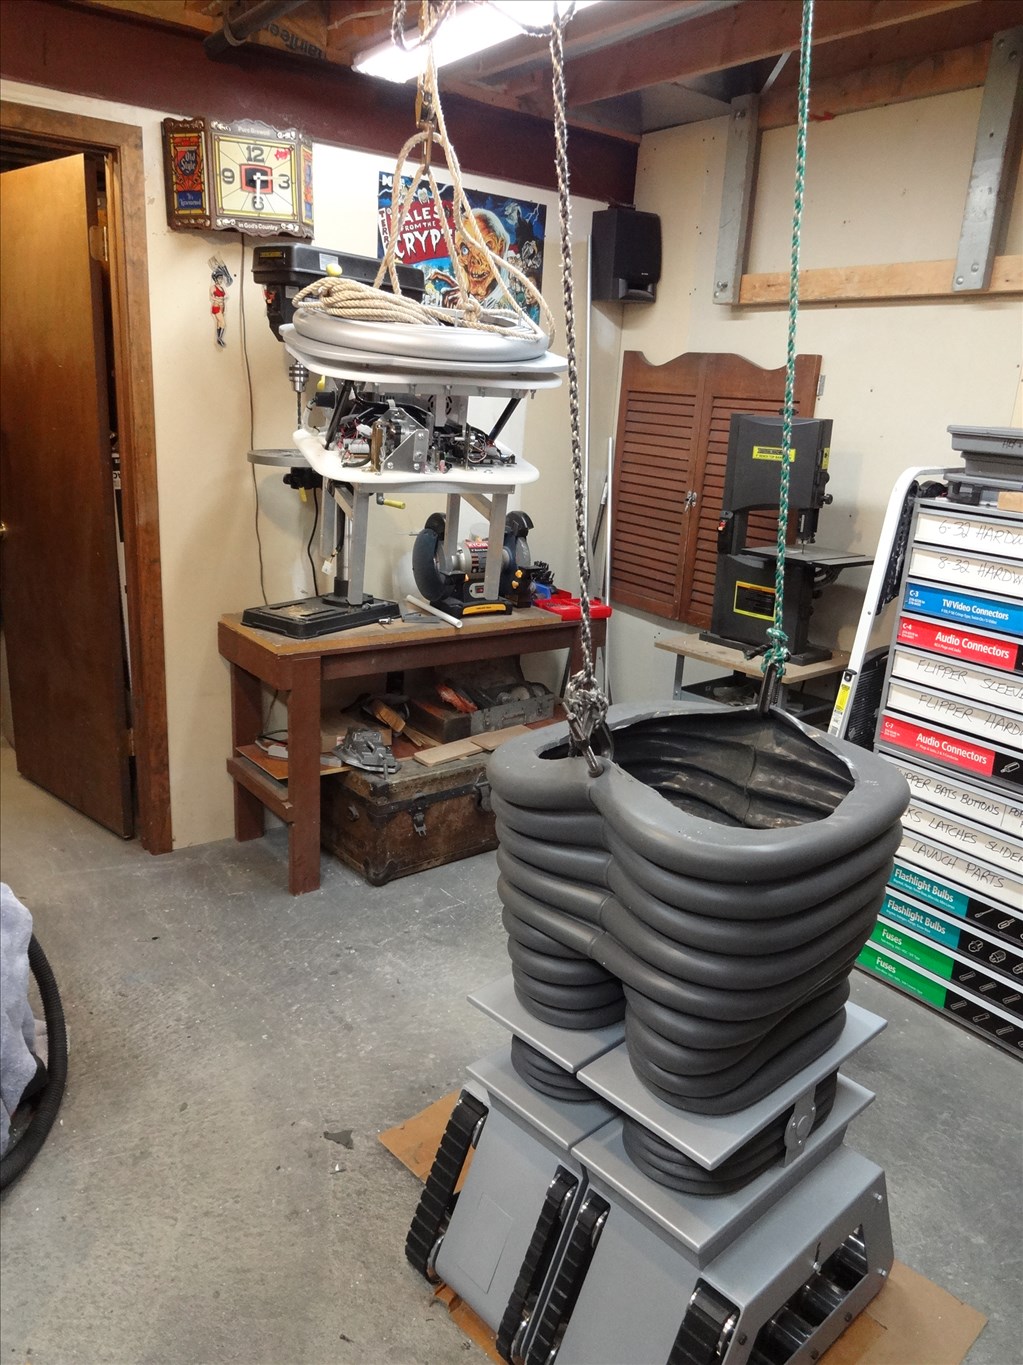
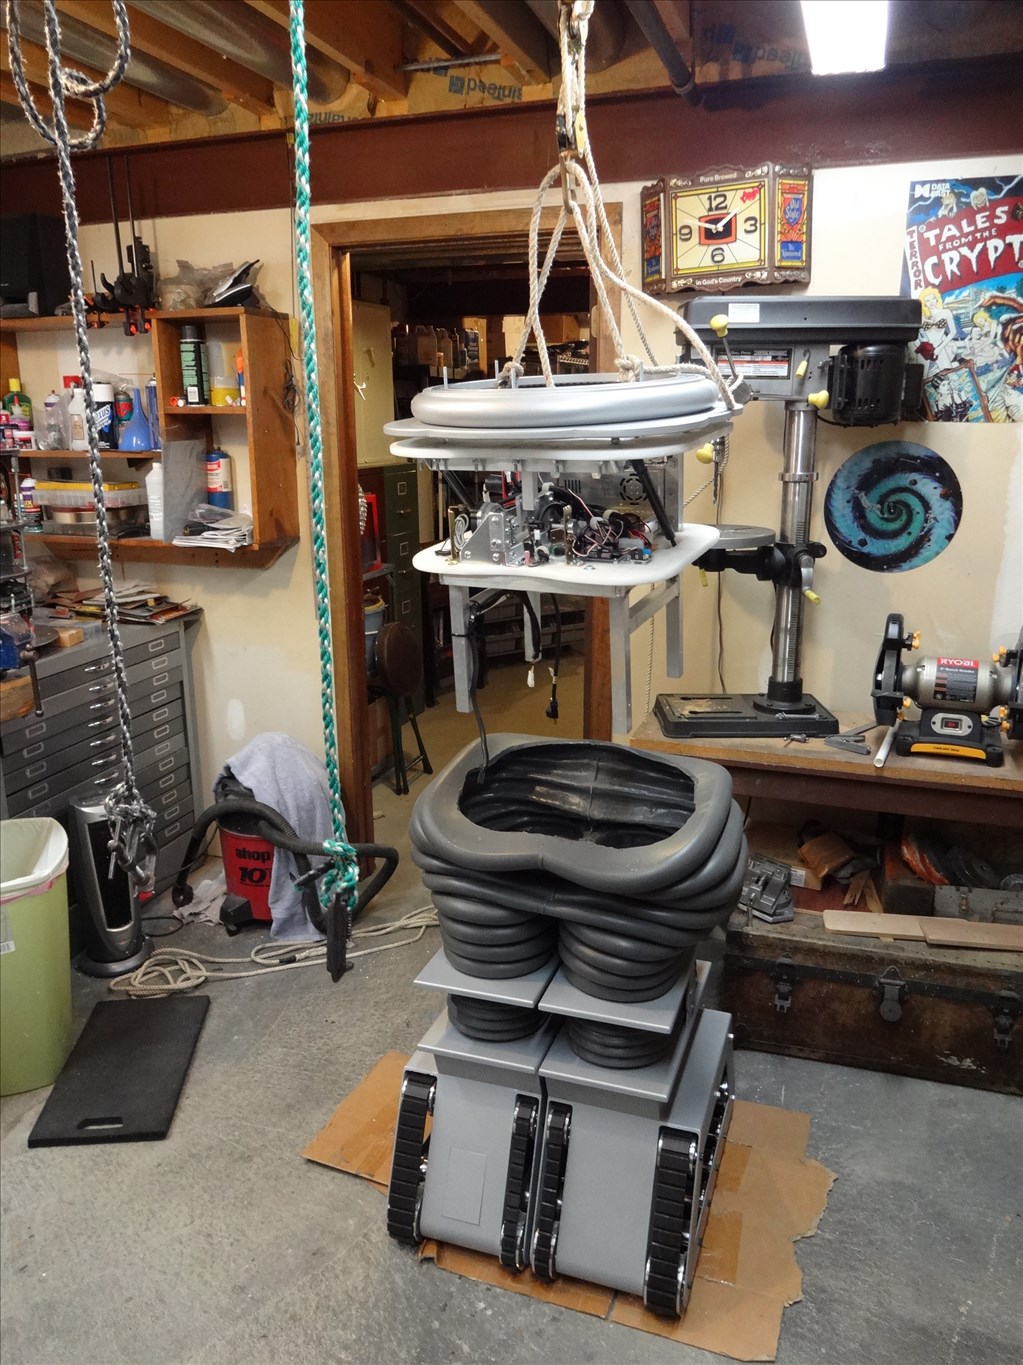
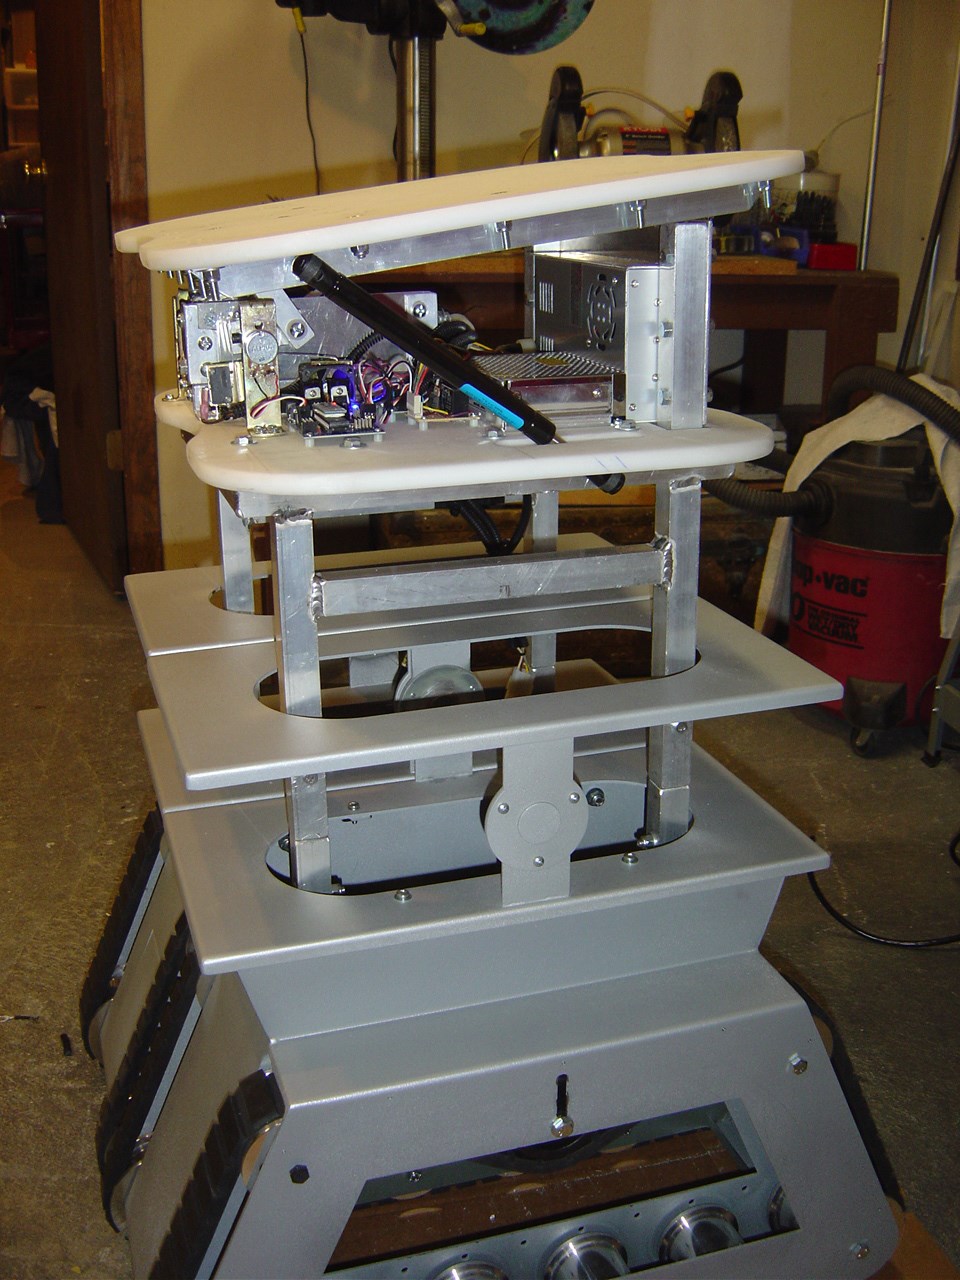
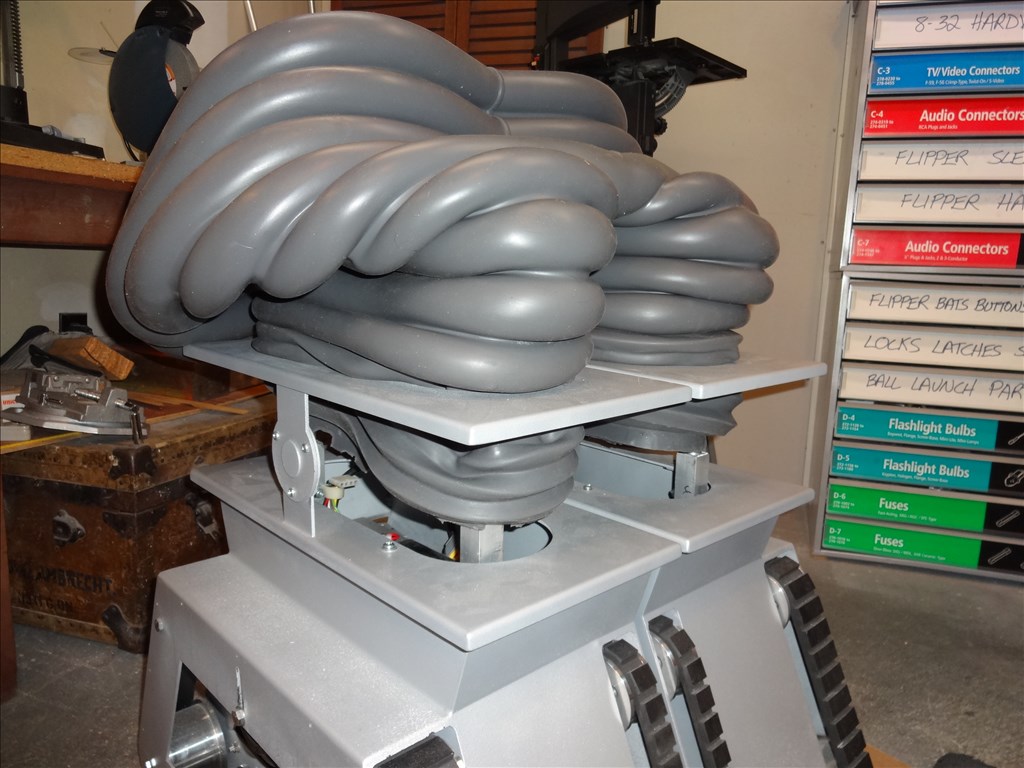
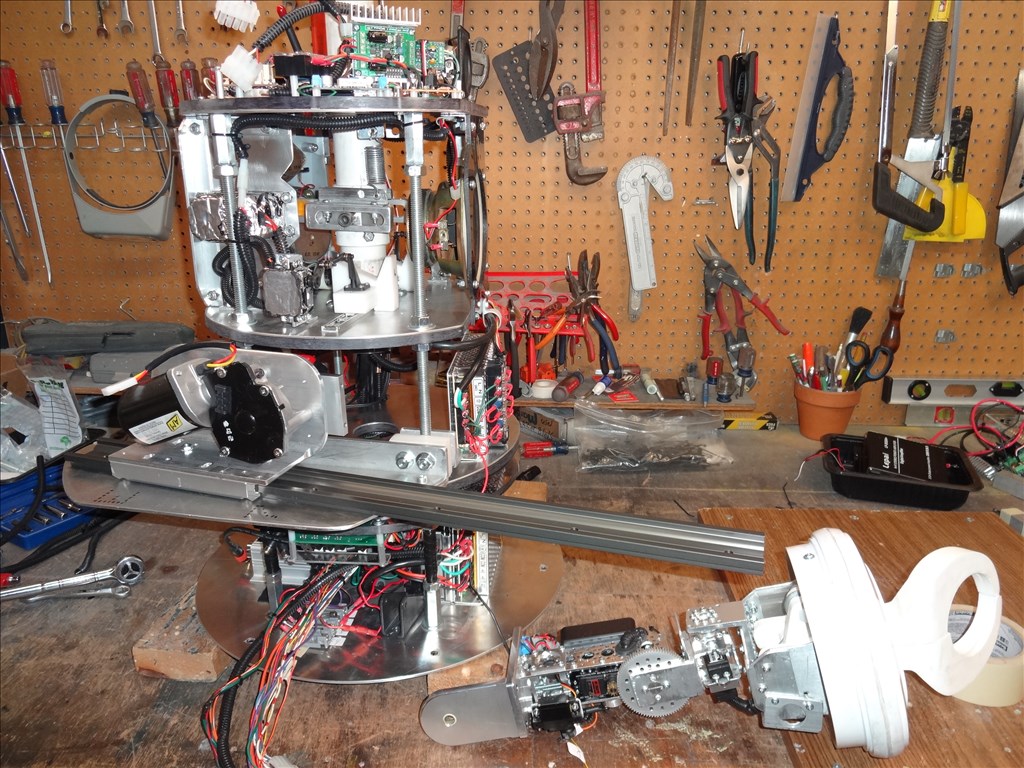
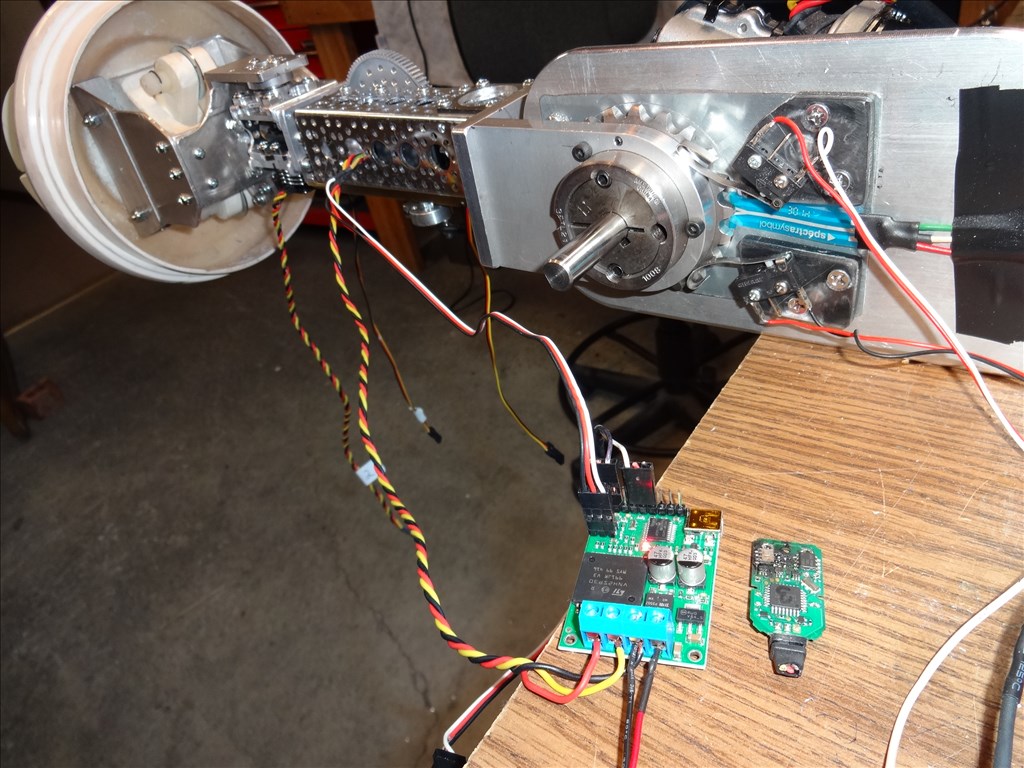
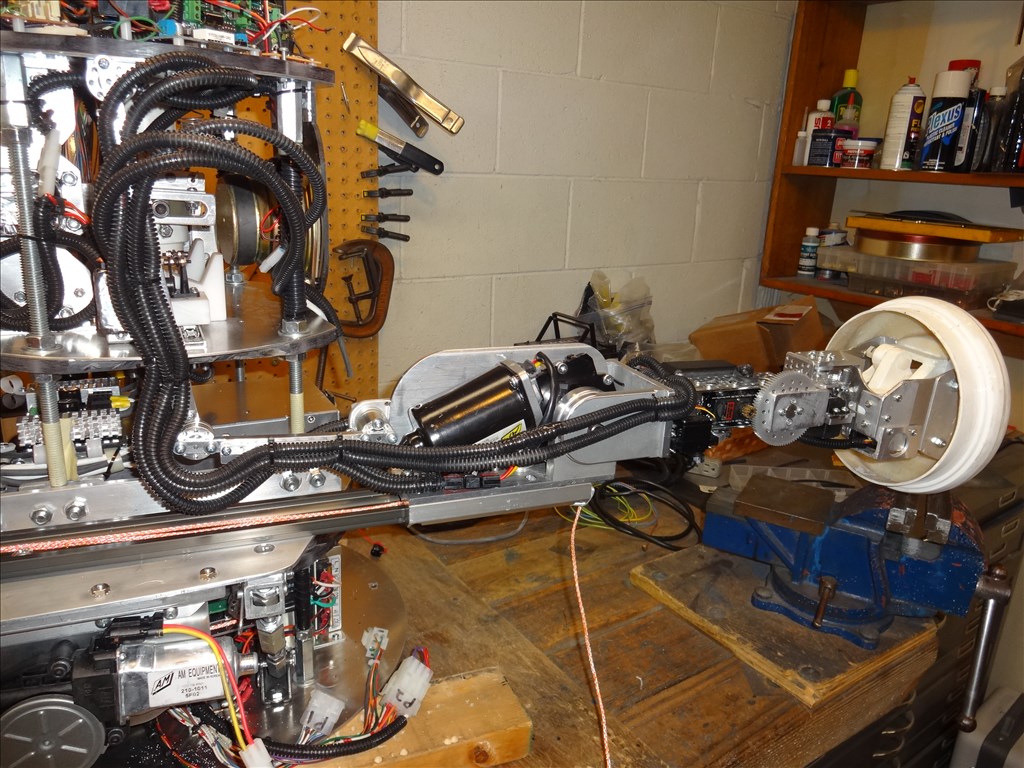
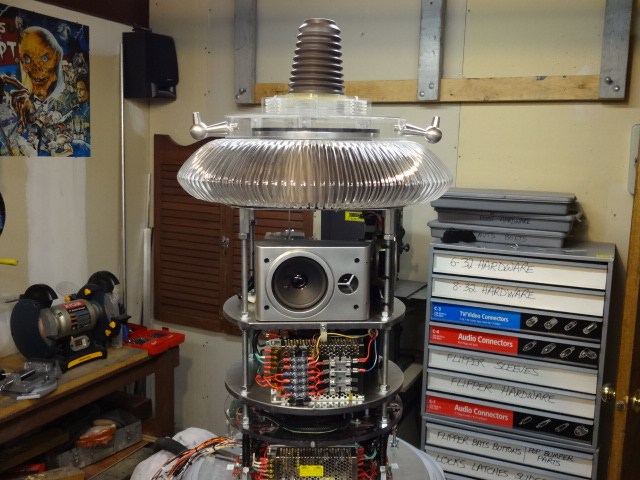
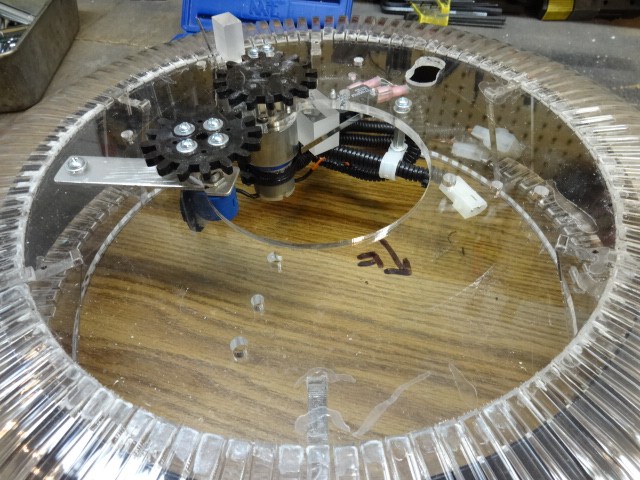
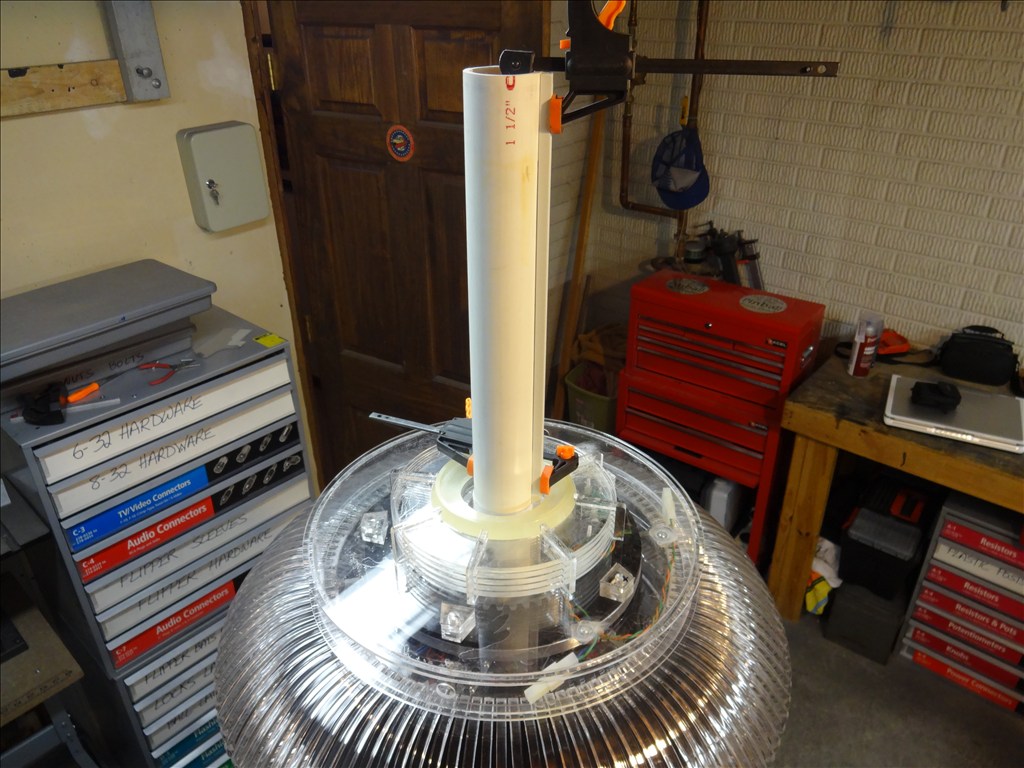
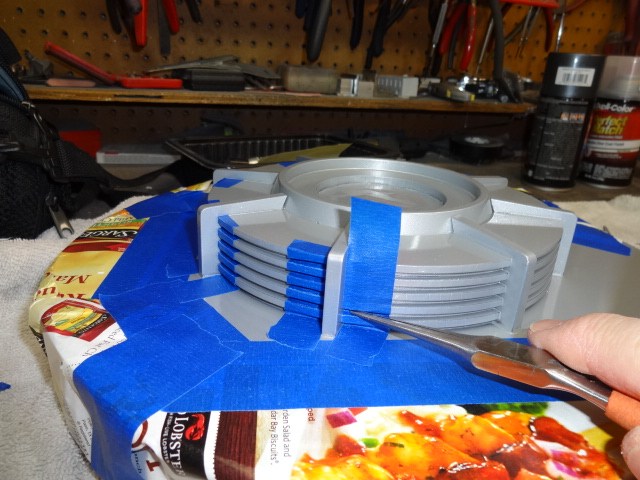
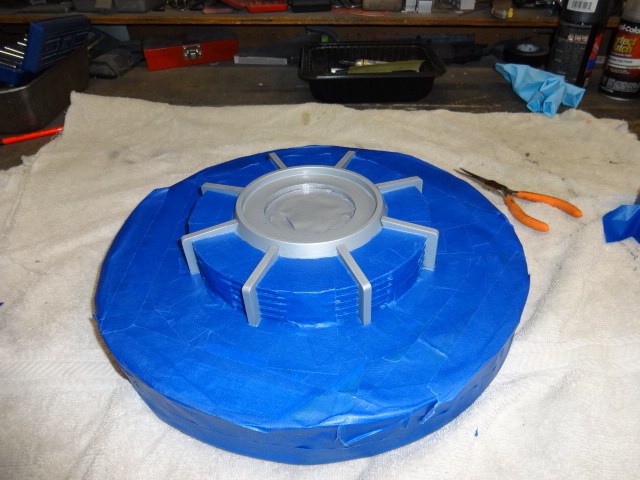
A test fit of everything in it's soon to be final resting place
He looks like a sad puppy with his ears dropping
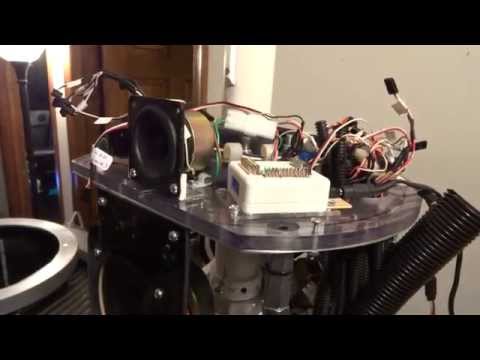
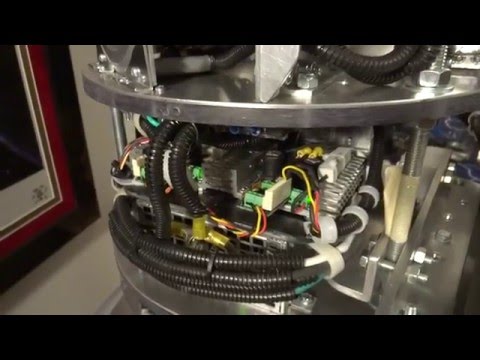
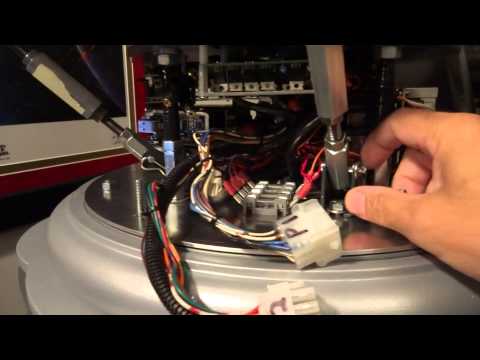
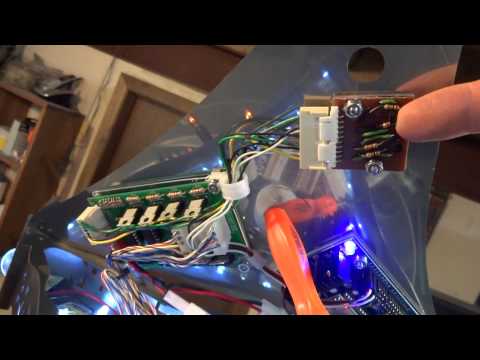
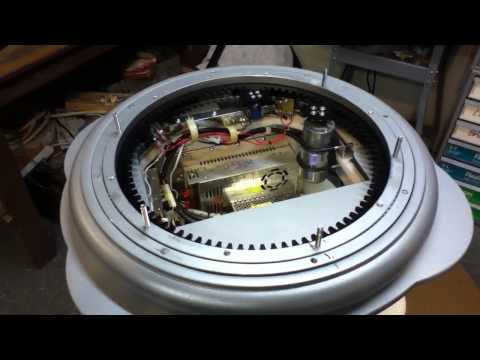
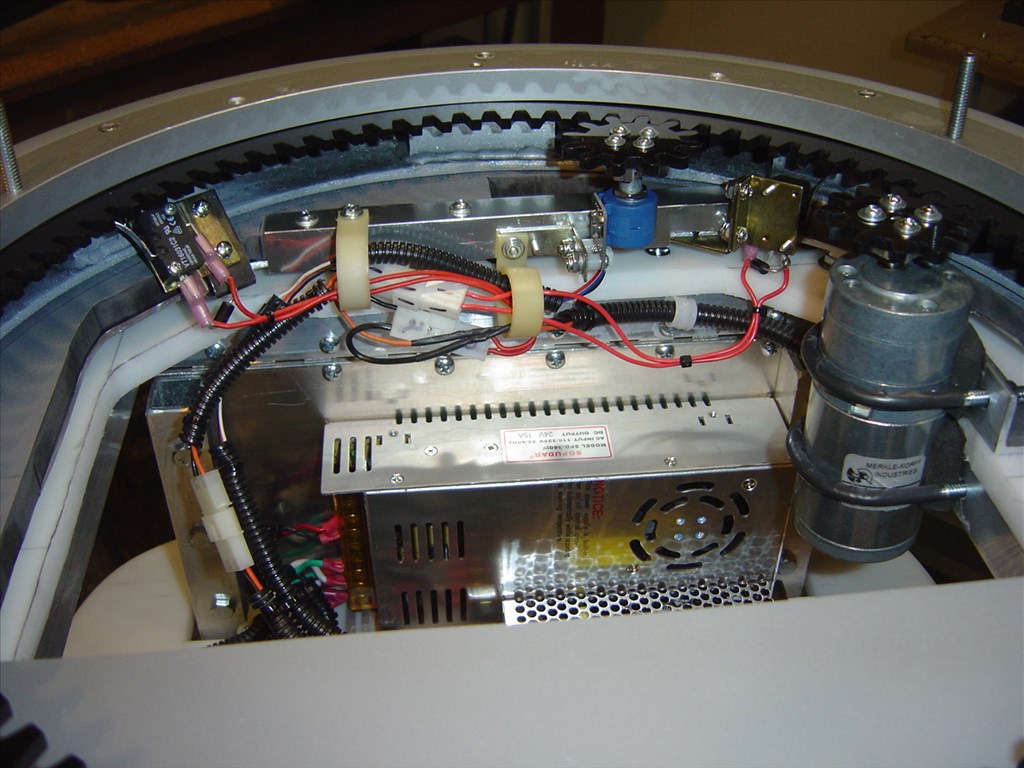
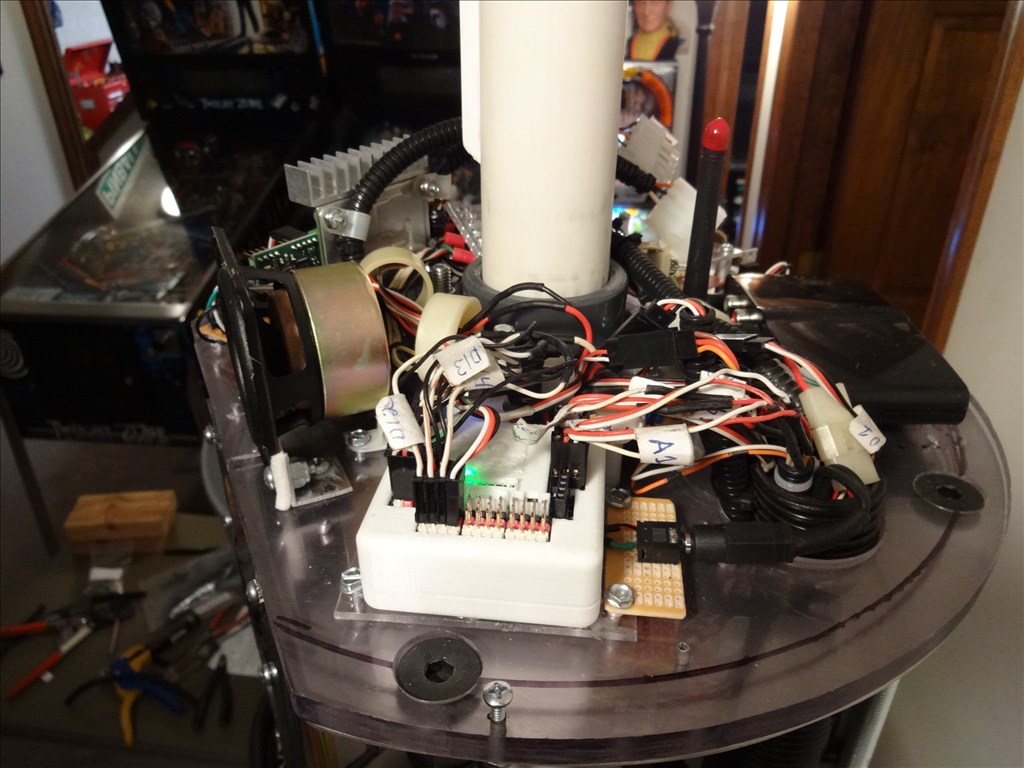
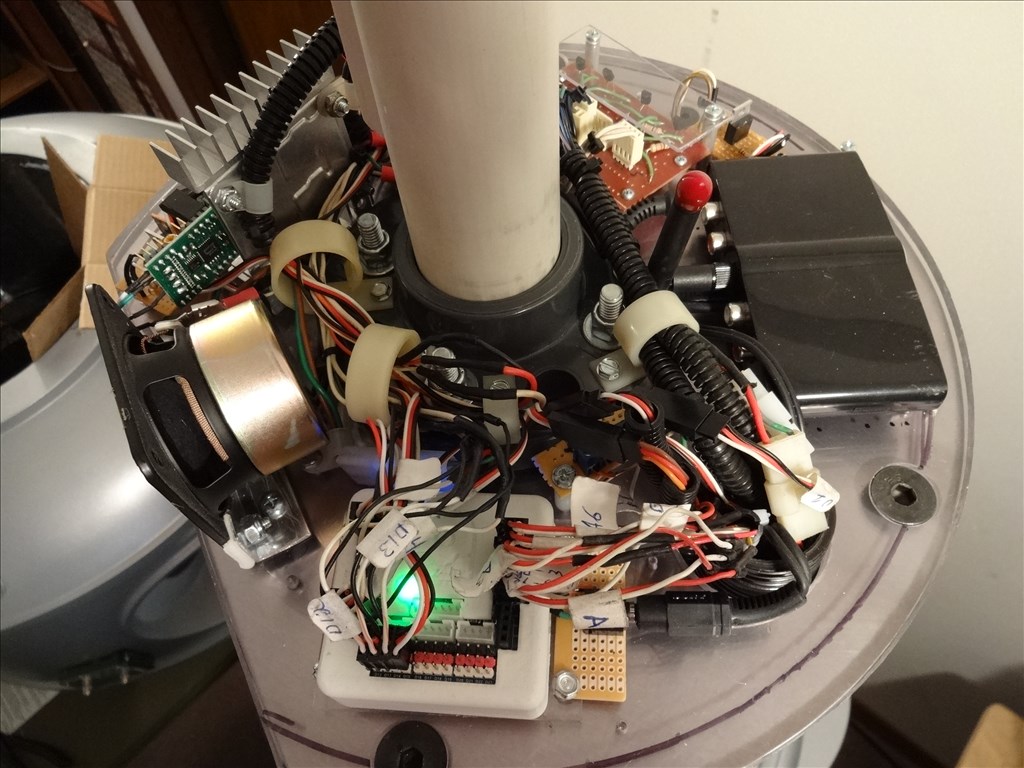
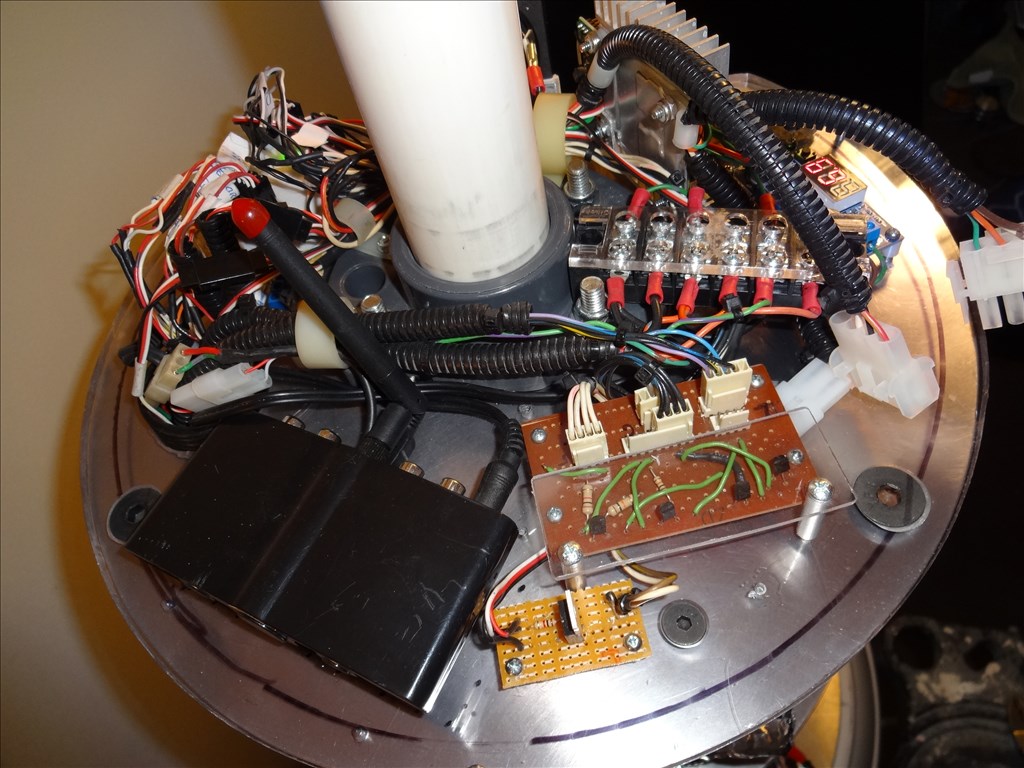
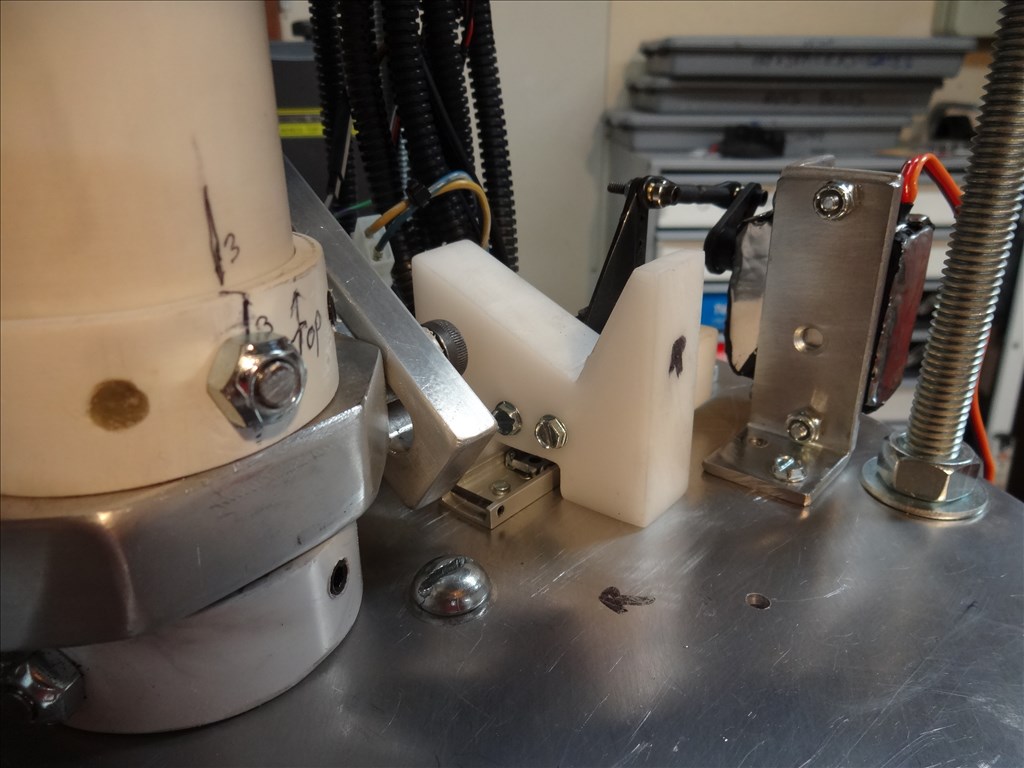
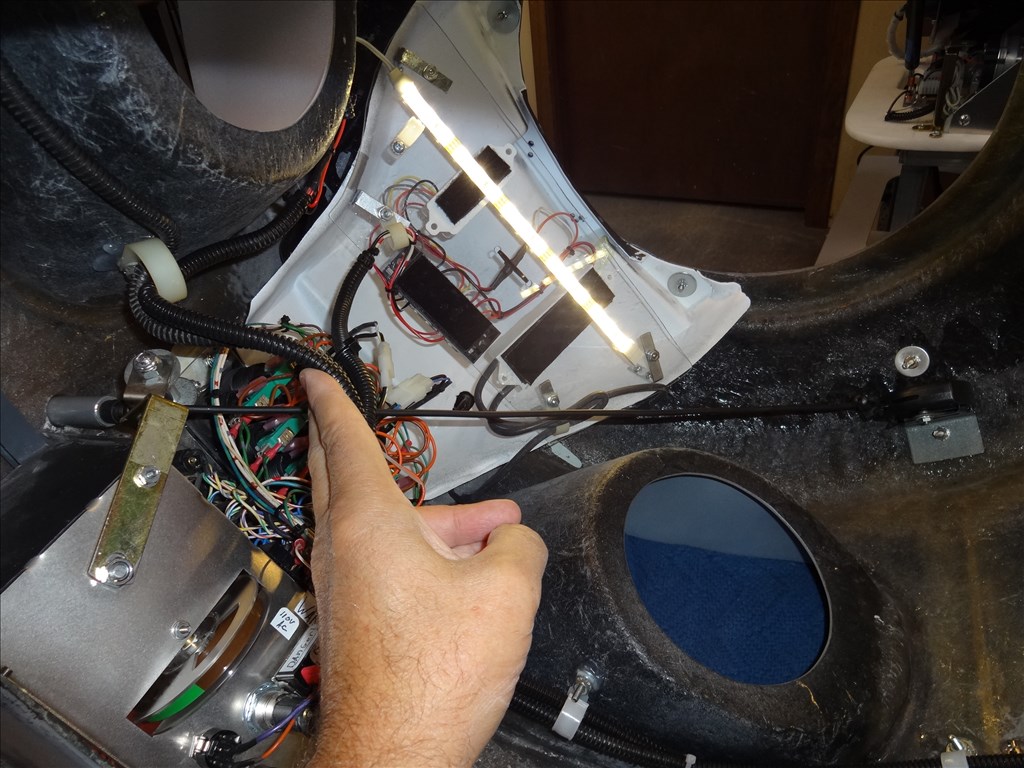
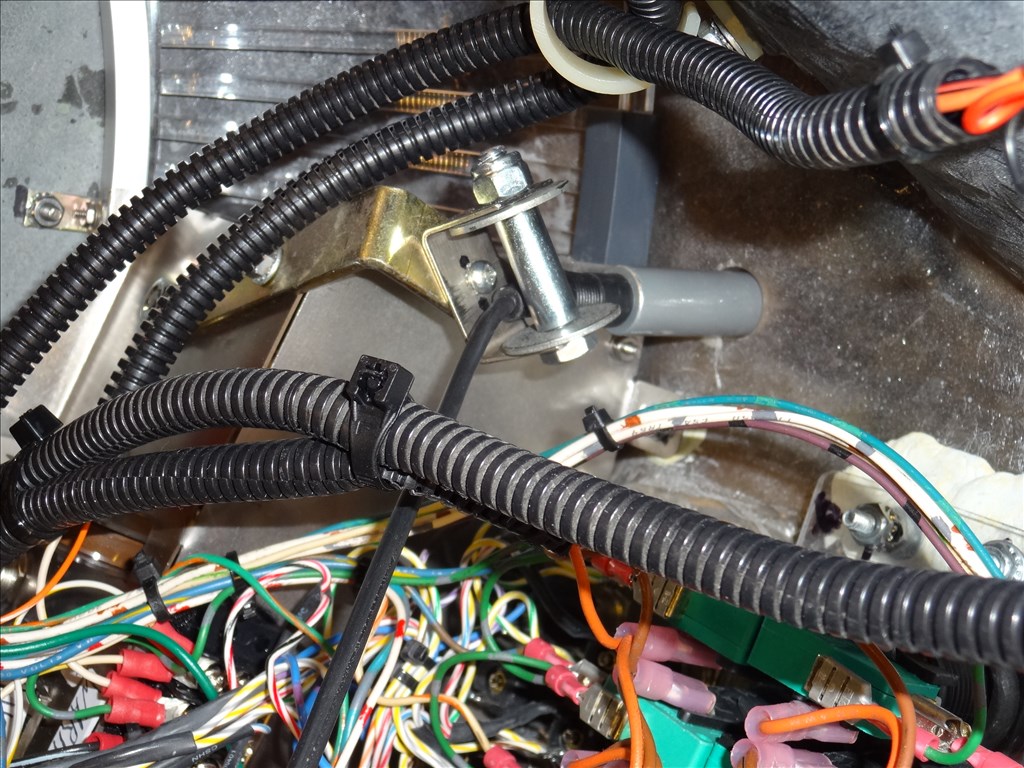
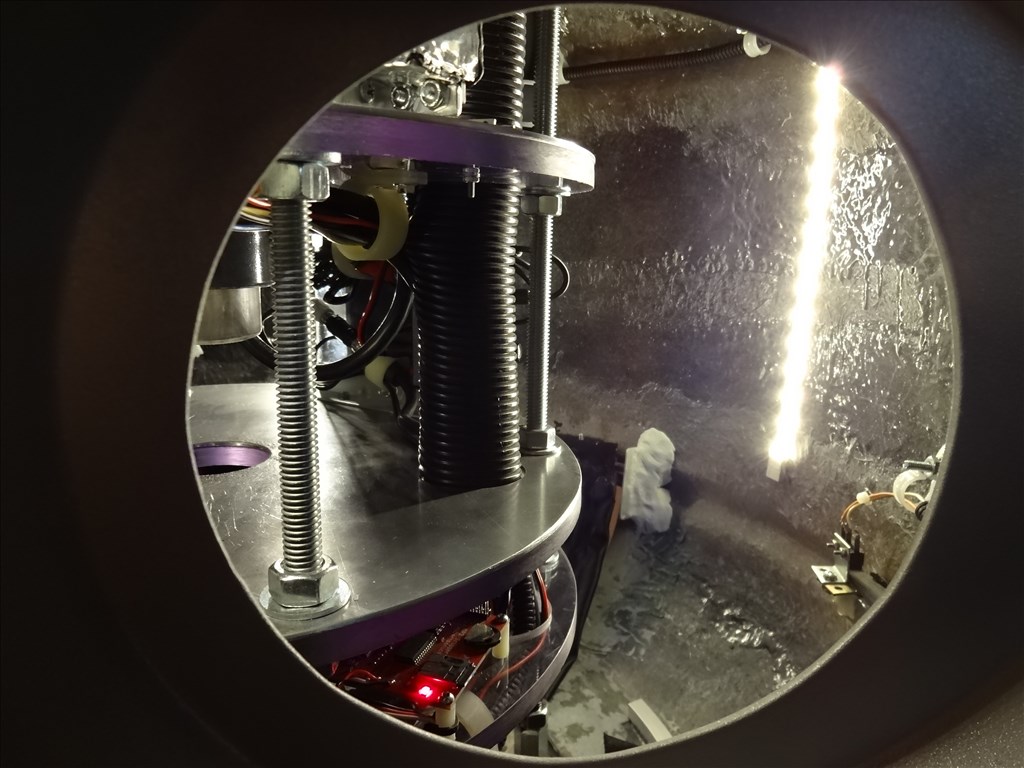
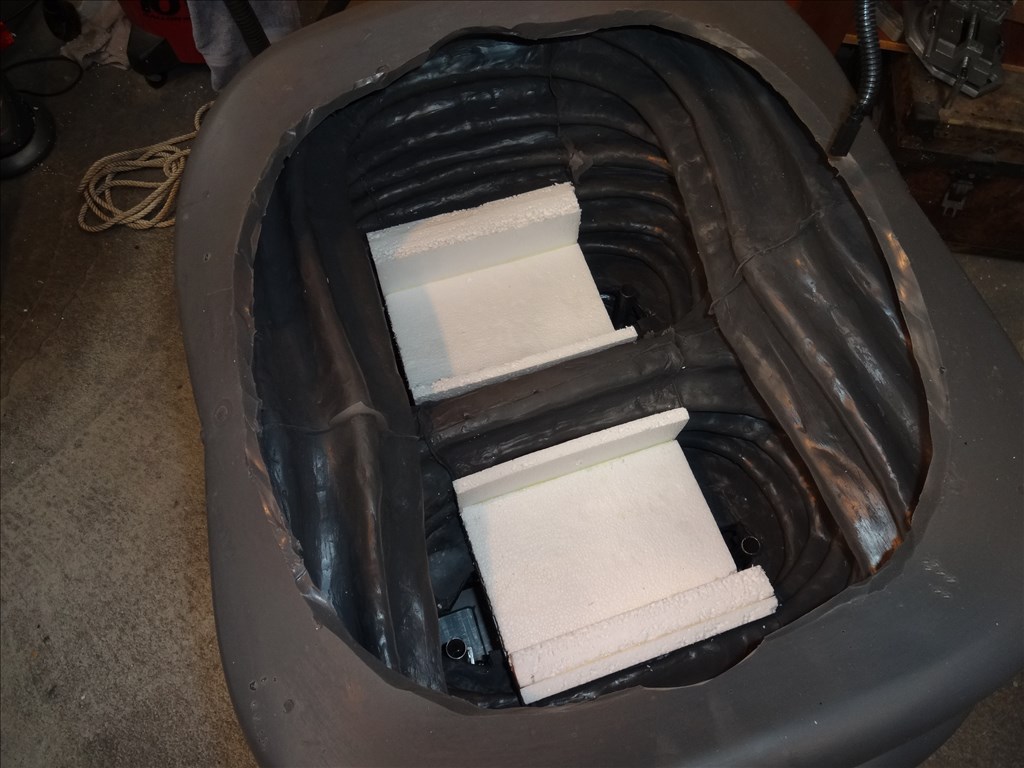
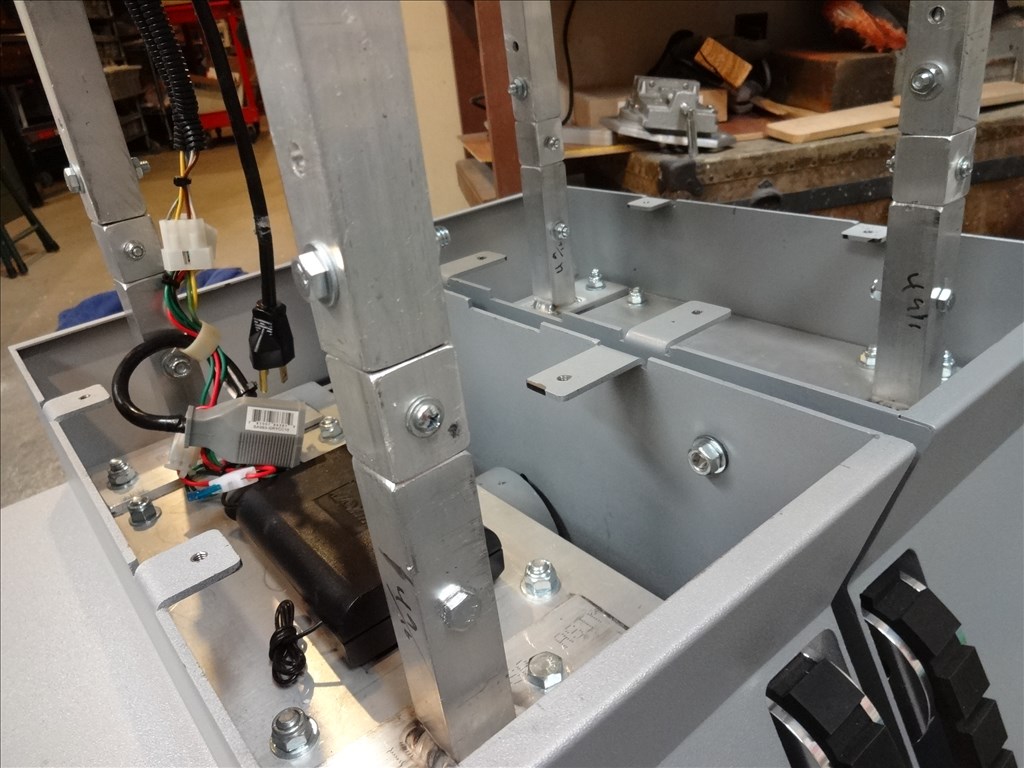
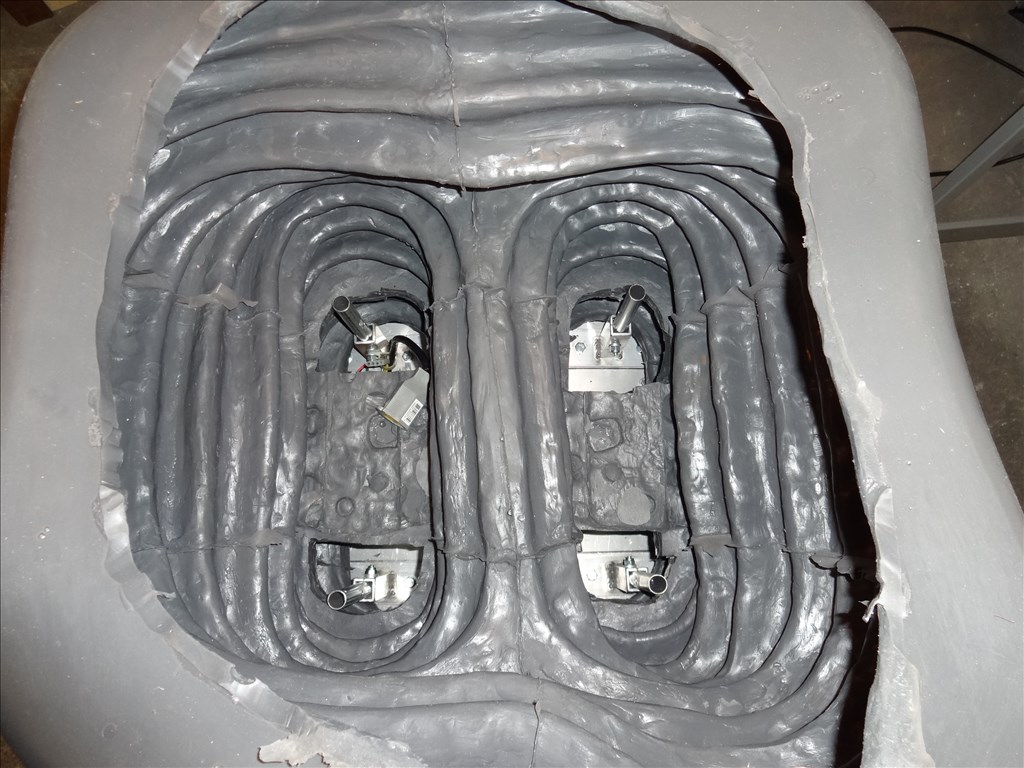
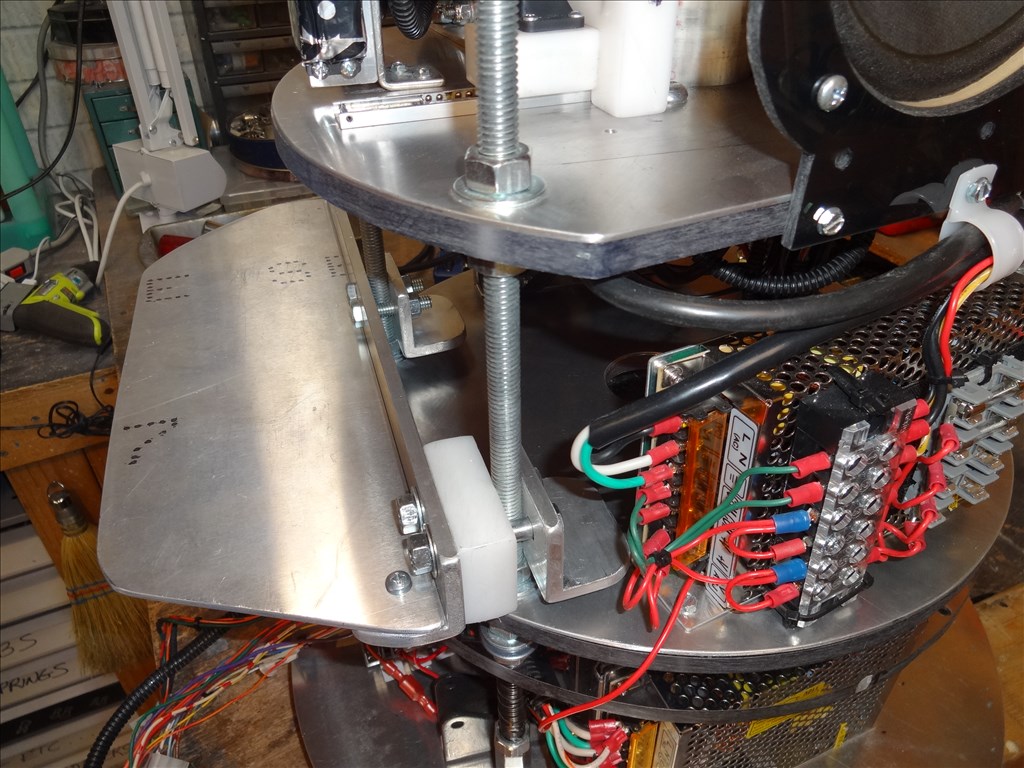
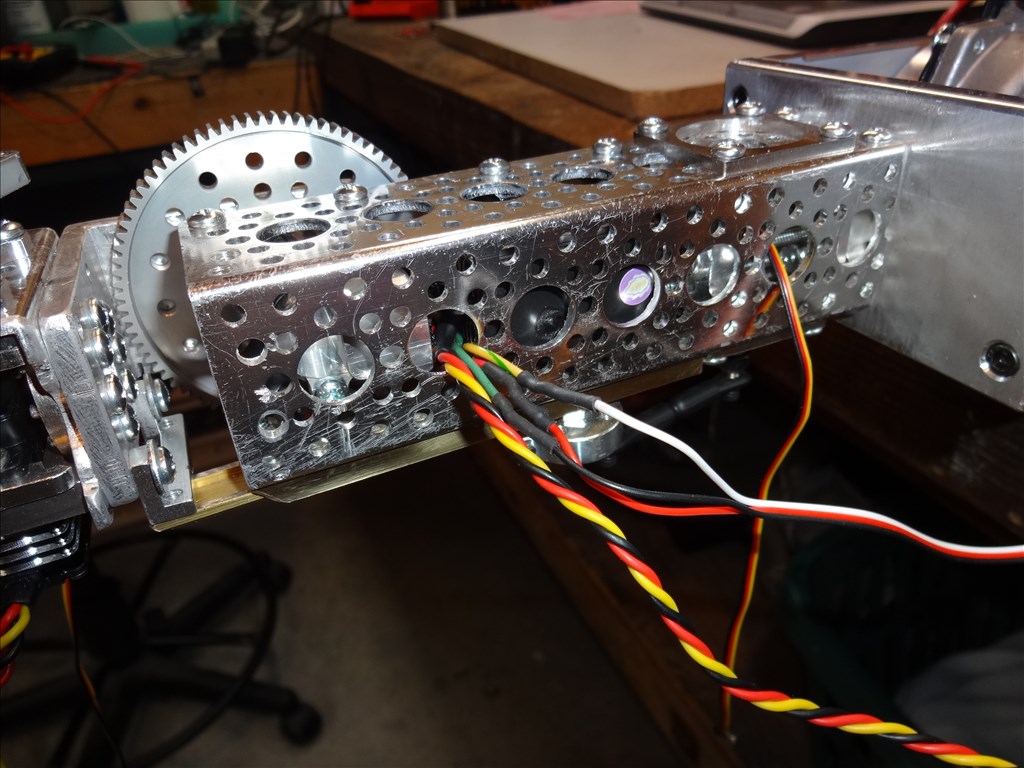
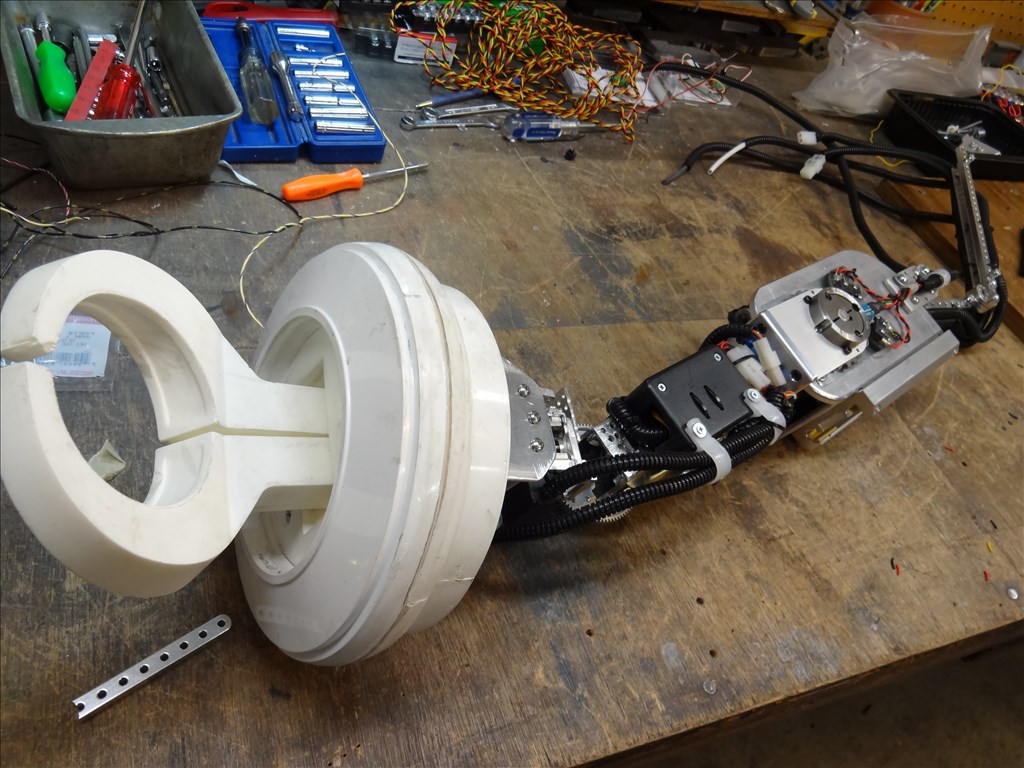
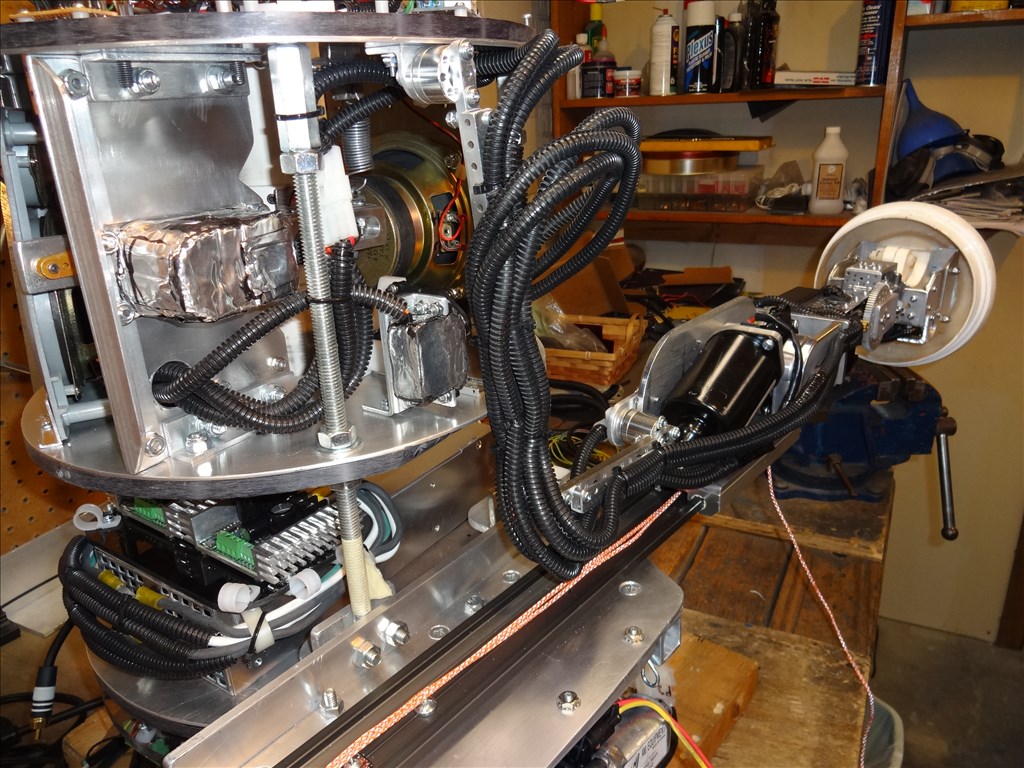
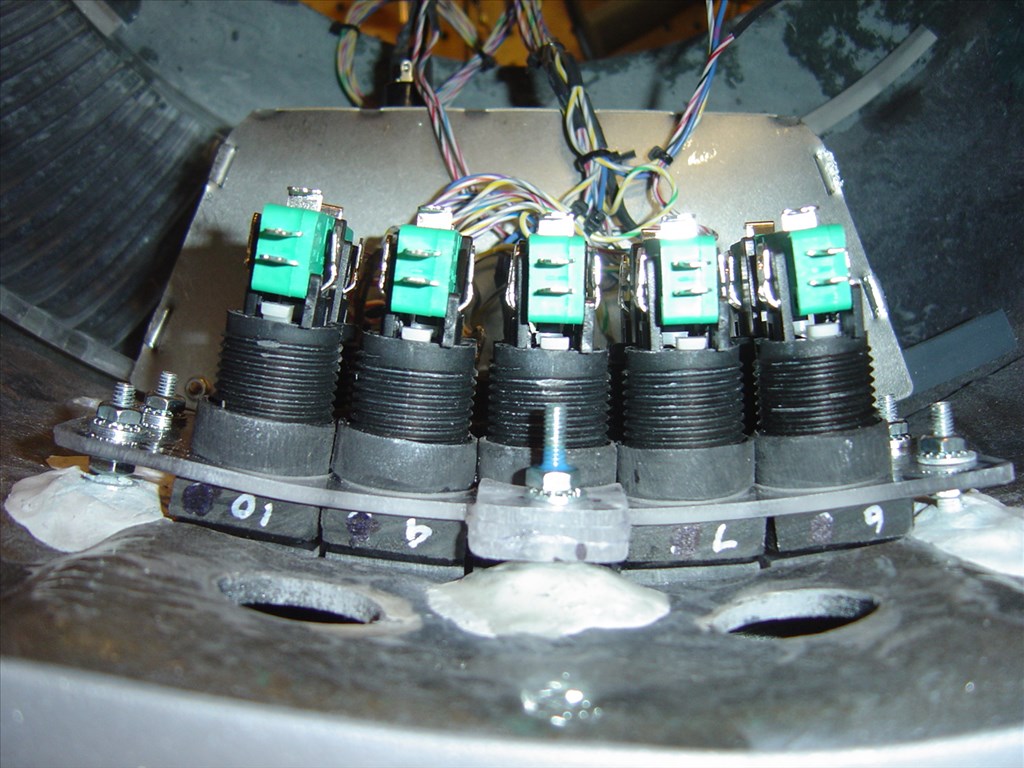
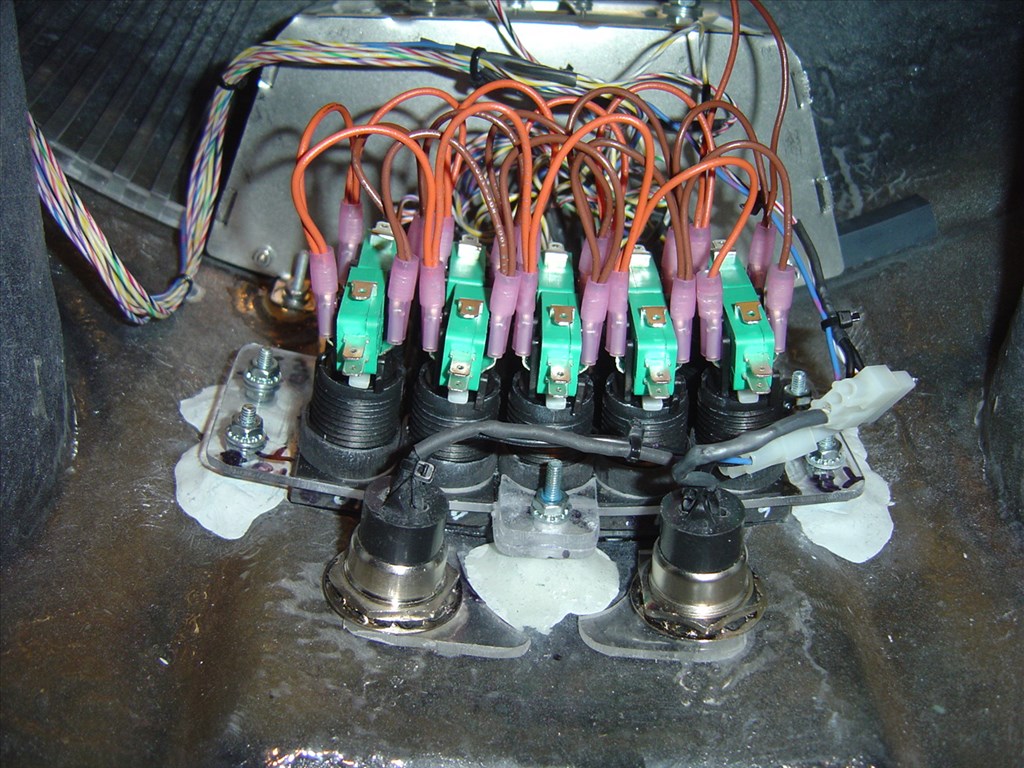
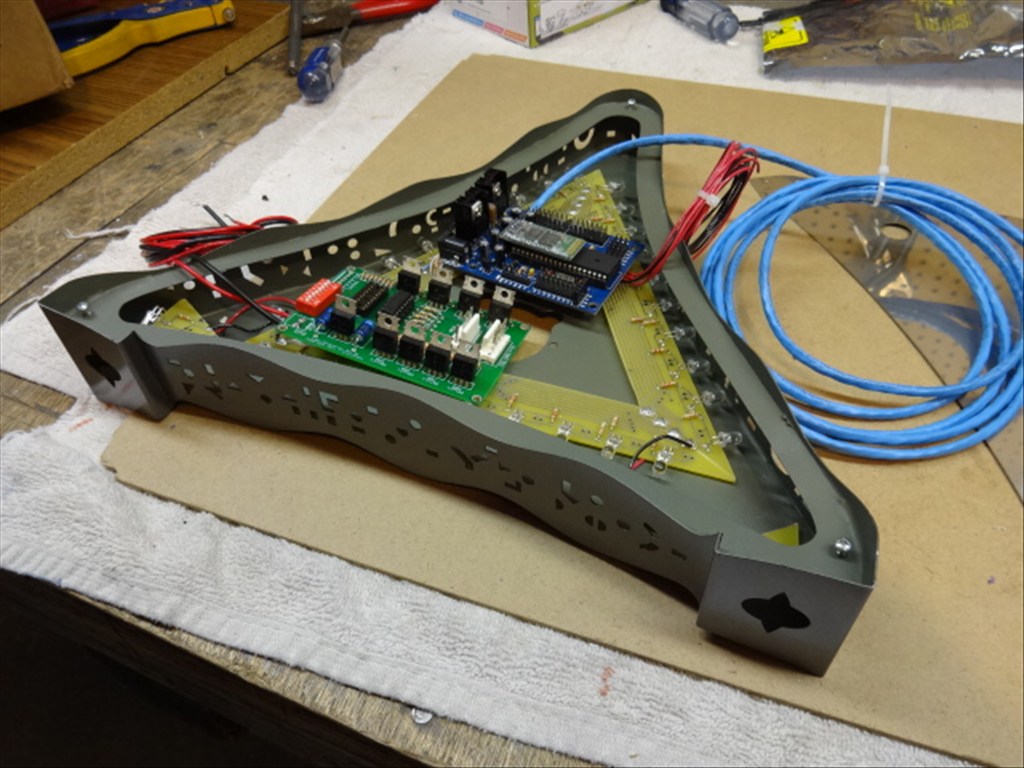
The Collar section interior wiring showing one limit switch laying flat by the motor and the other mounted with the leaver sticking into the radar section above. No room for all the gears pipes, motors to lay both flat!
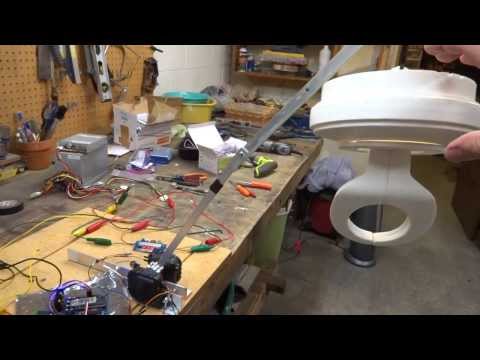
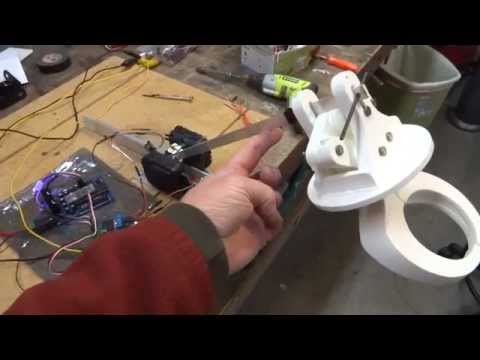
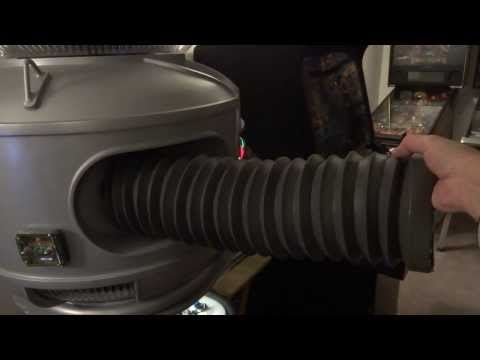
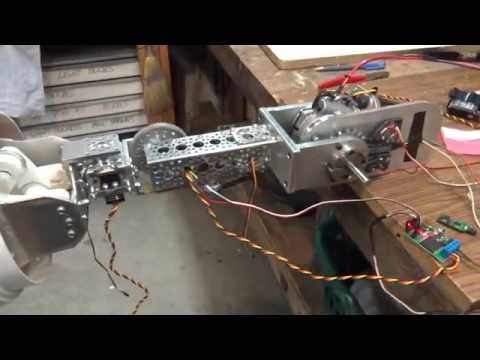
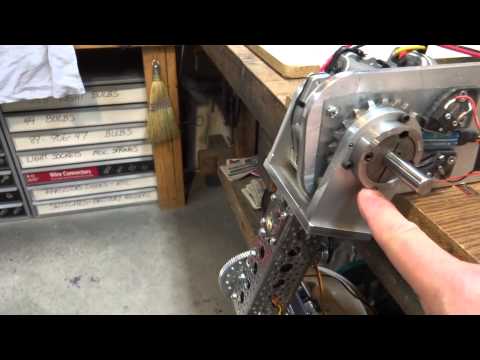
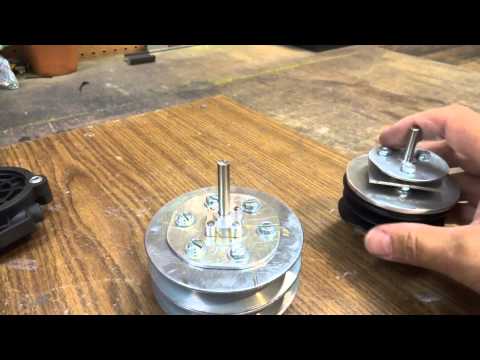
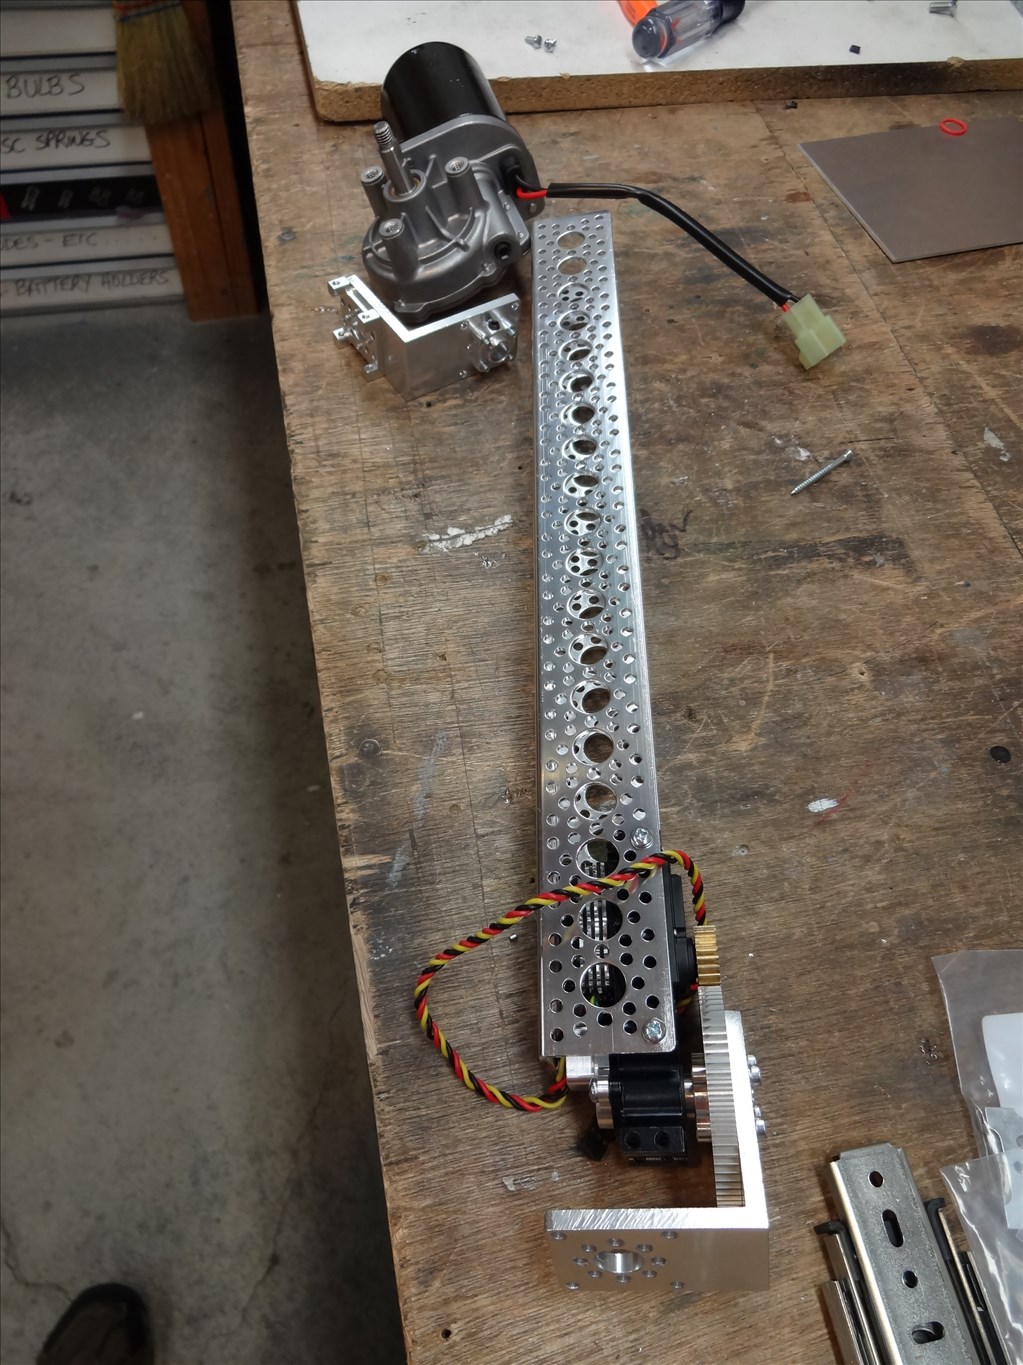
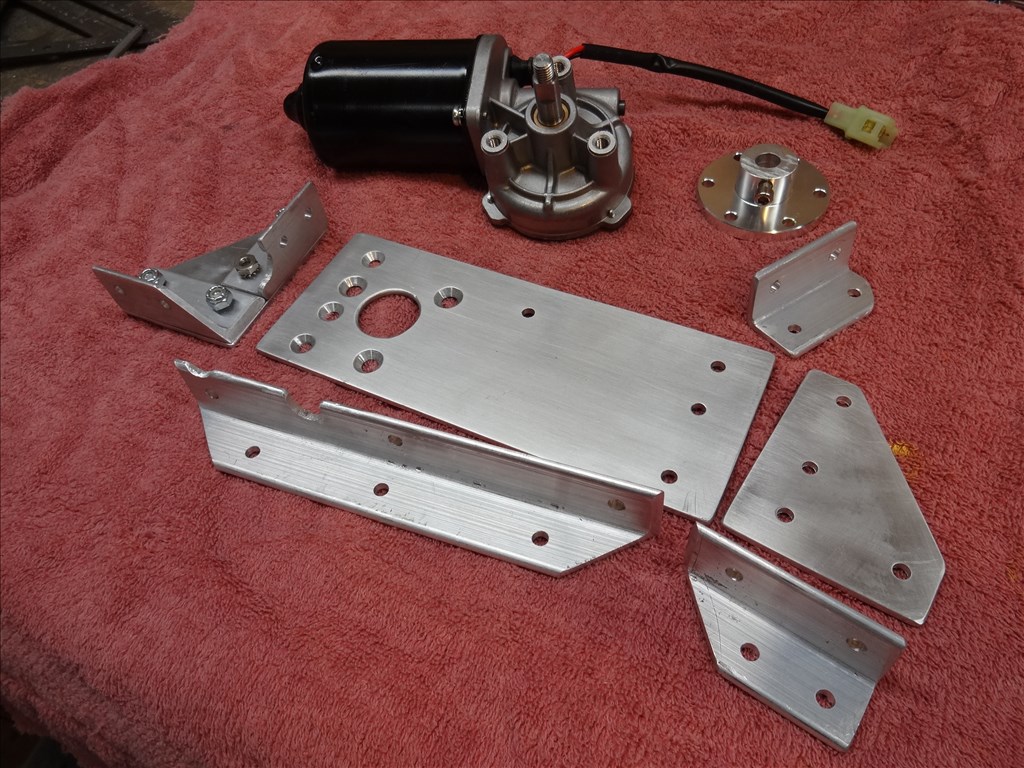
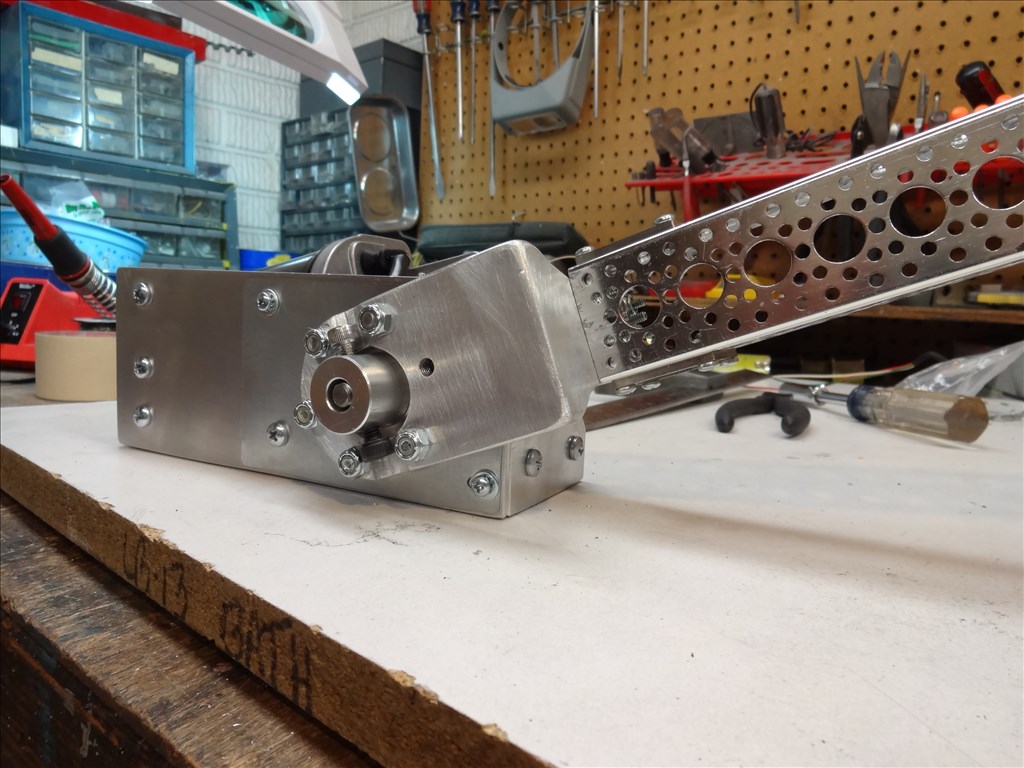
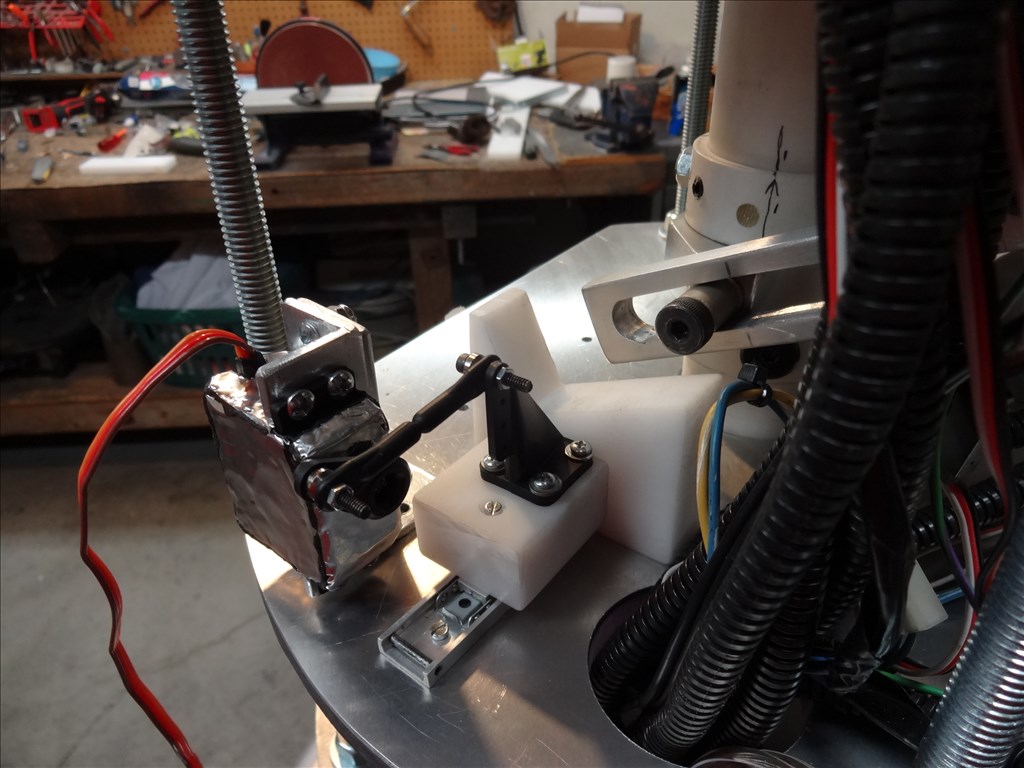
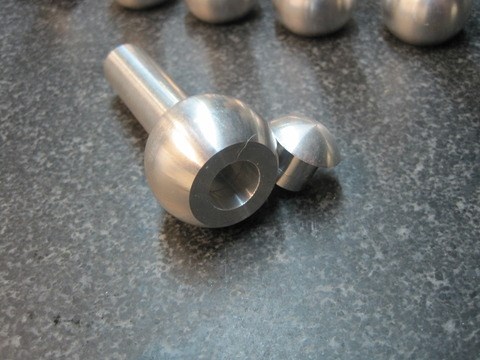
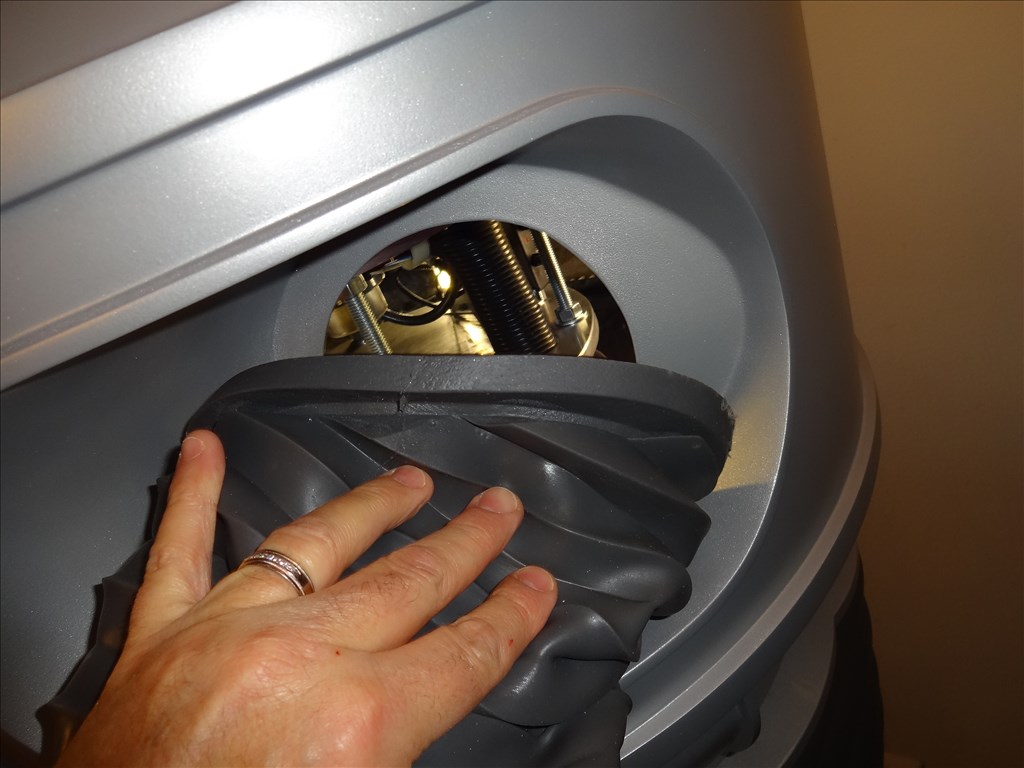
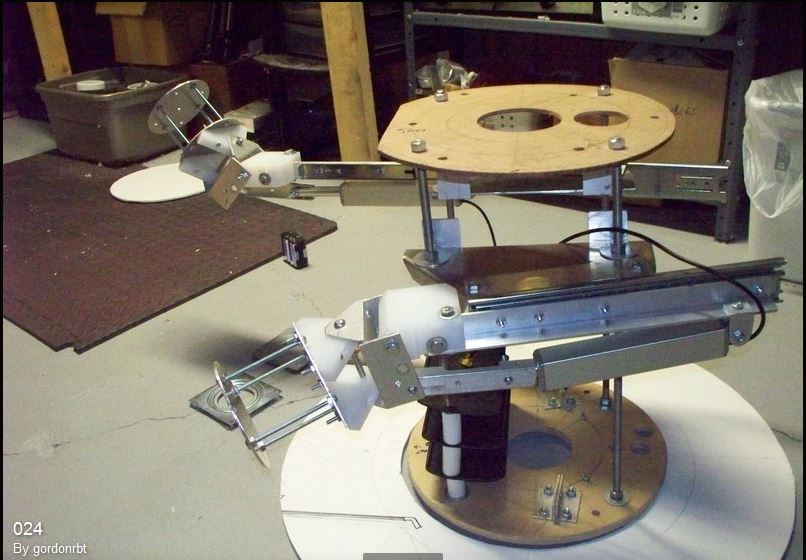
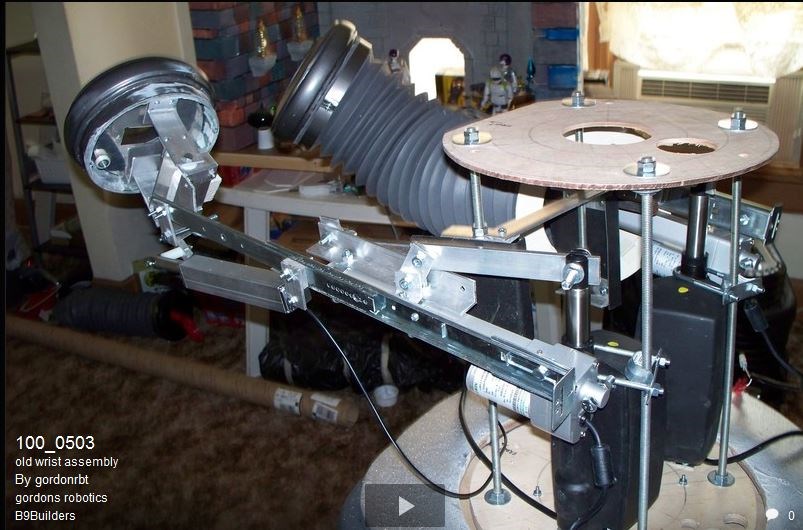
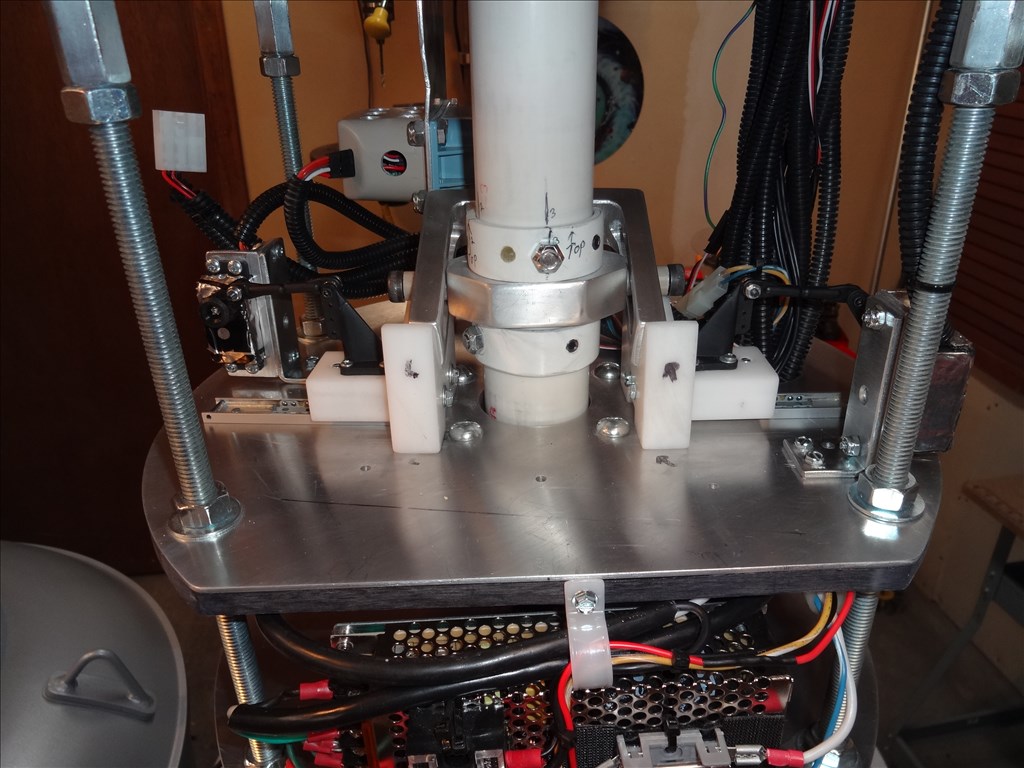
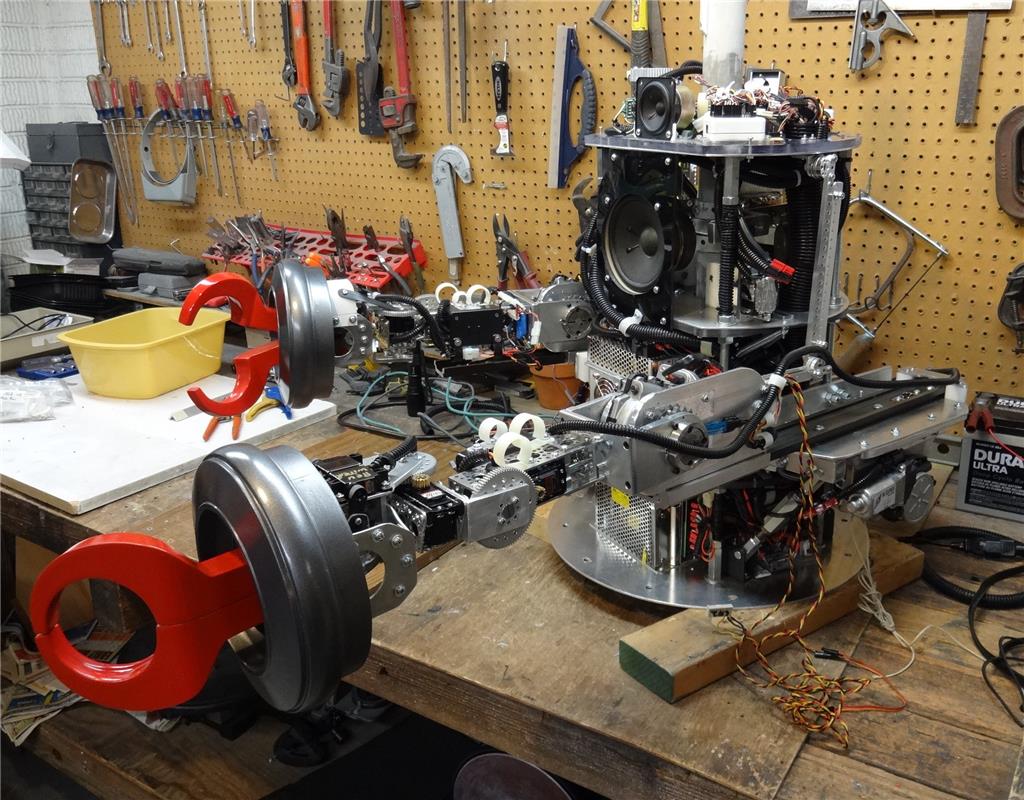
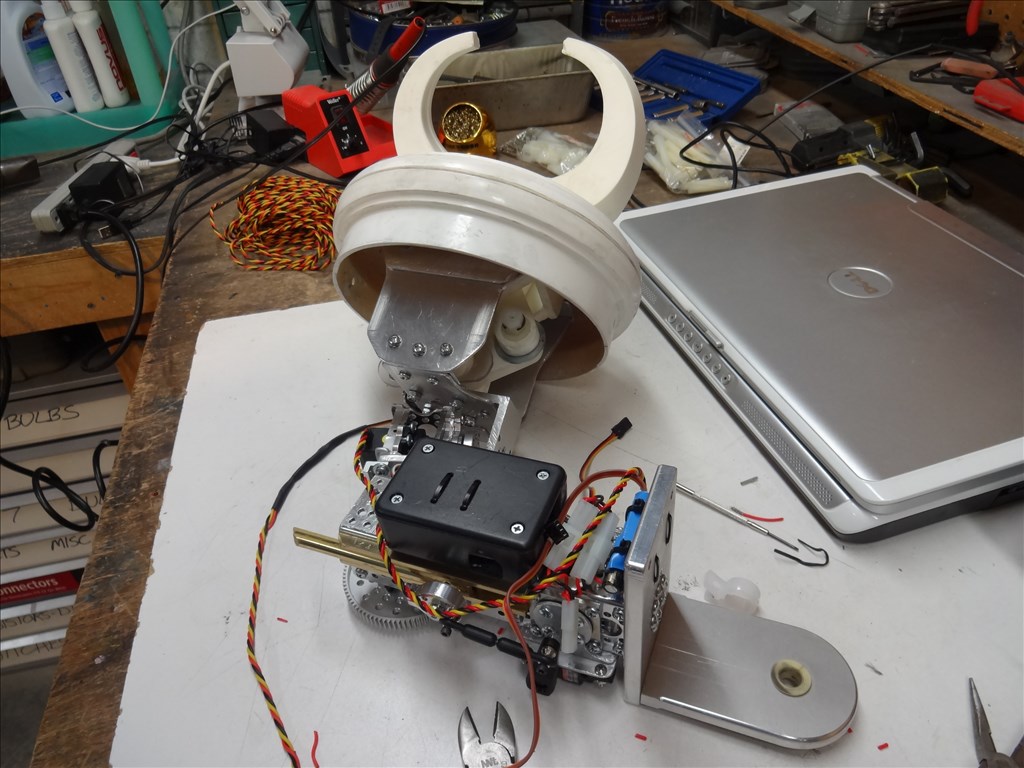
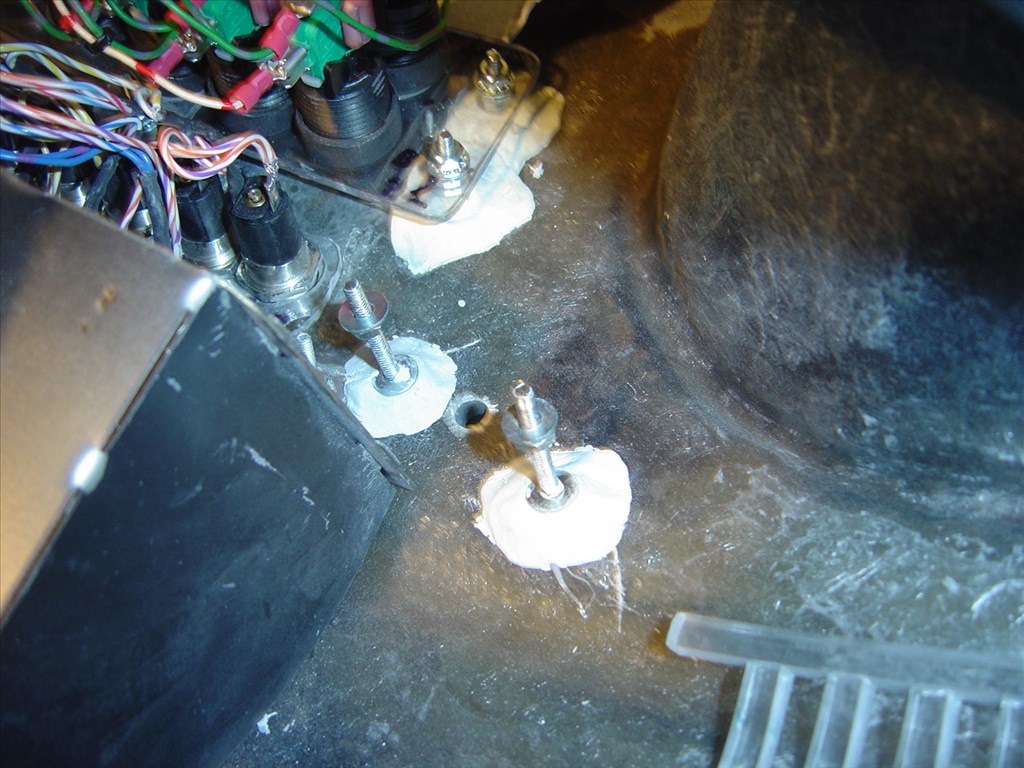
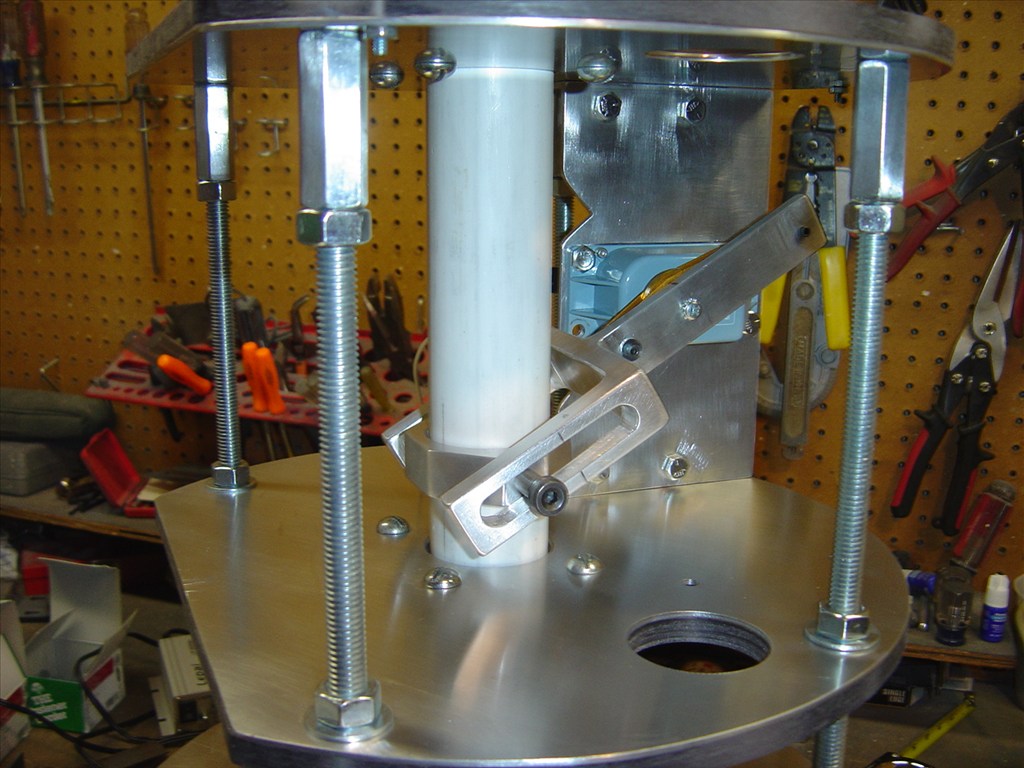
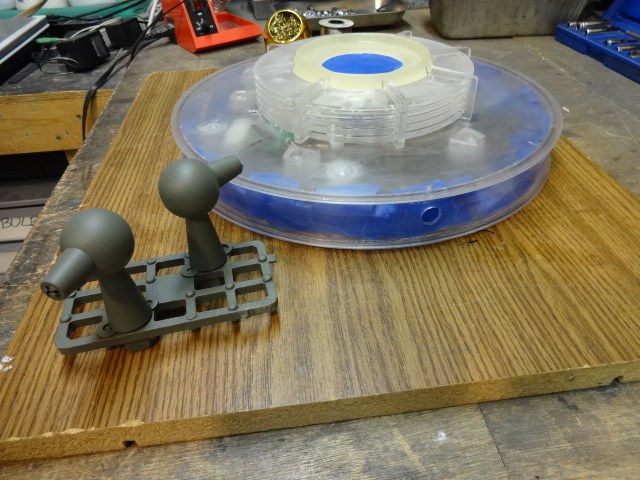
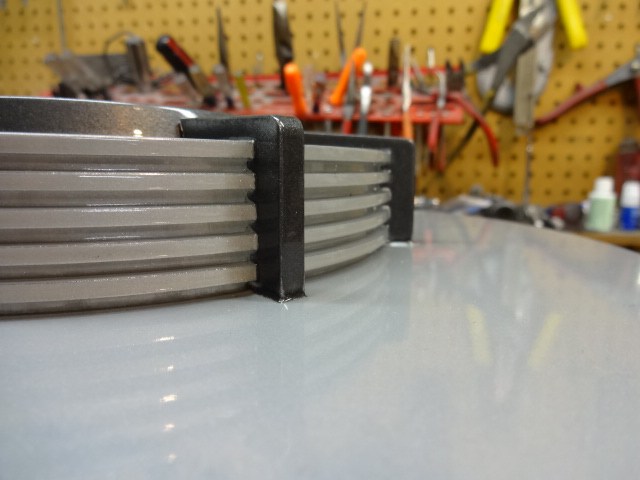
Here's a pic of the bubble Lifter servo with the Wishbone and sliding collar brackets I built using a band saw, Drill Press and a file. I do not have the rings attached to the lifting post yet that the sliding collar pushes on to lift the post
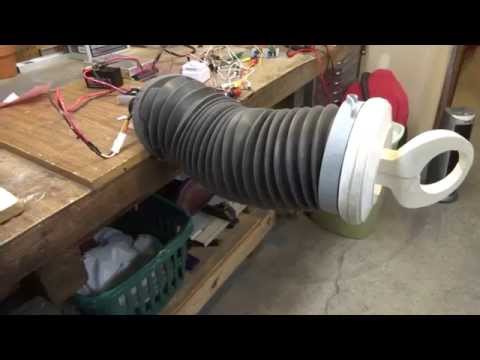
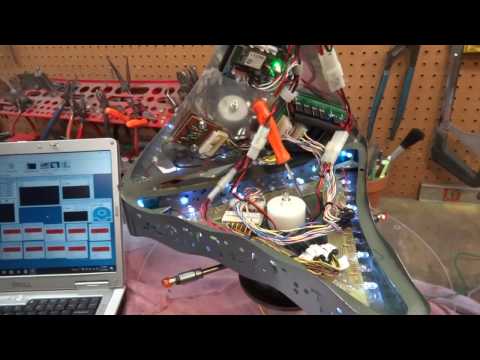
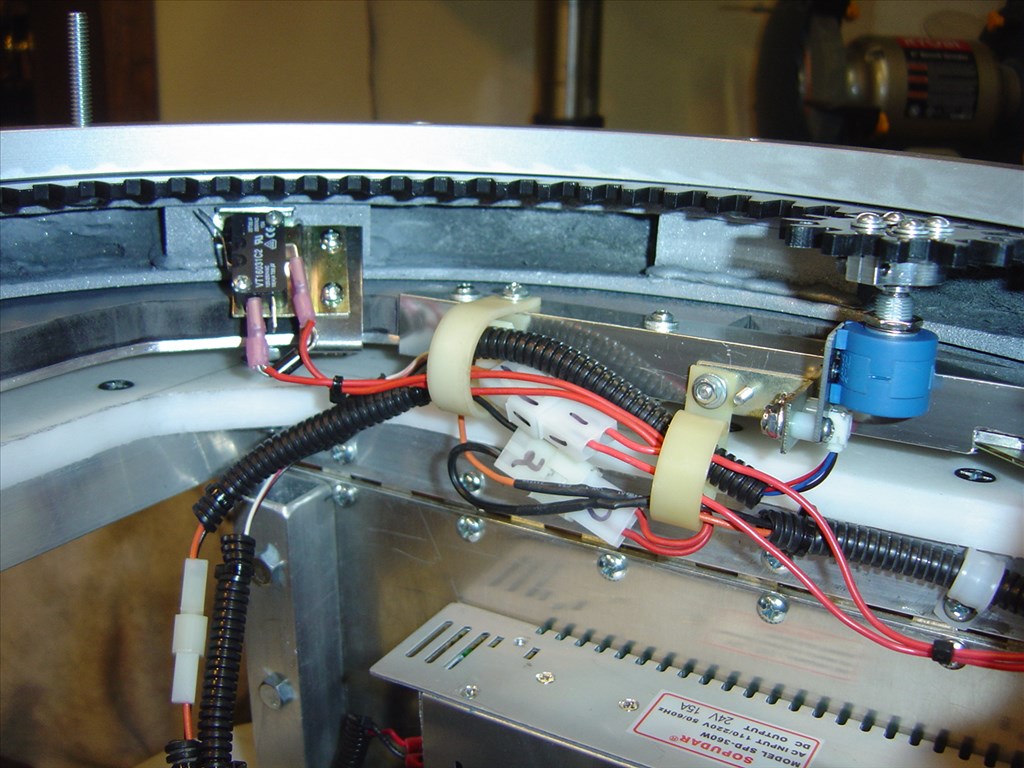
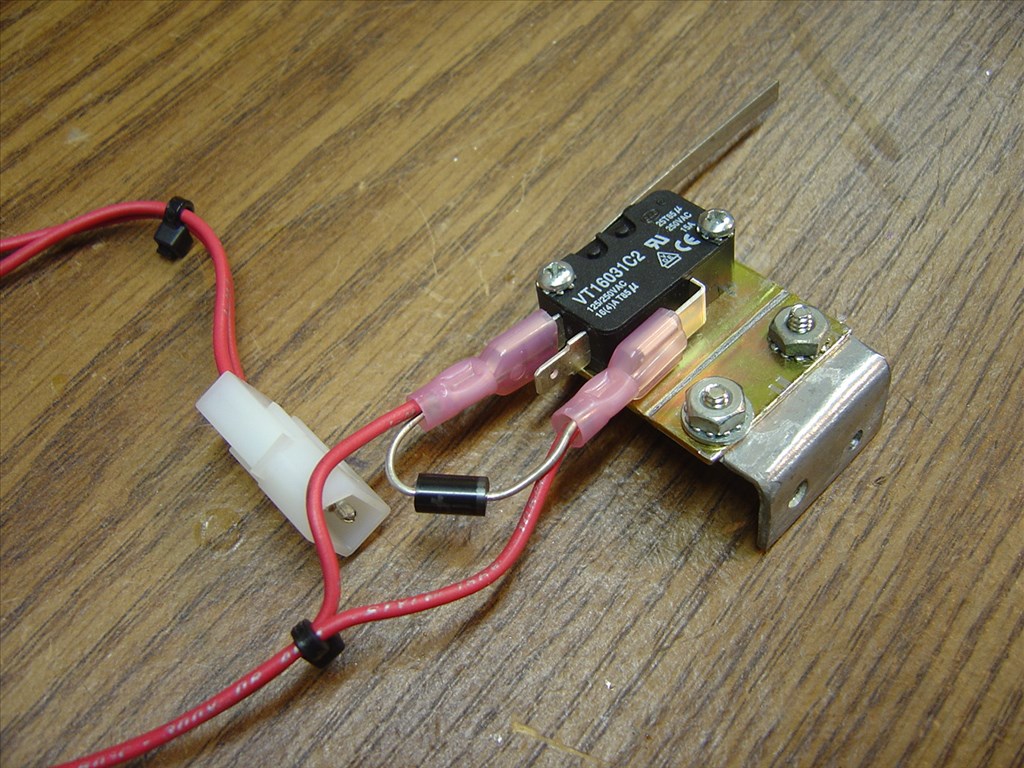
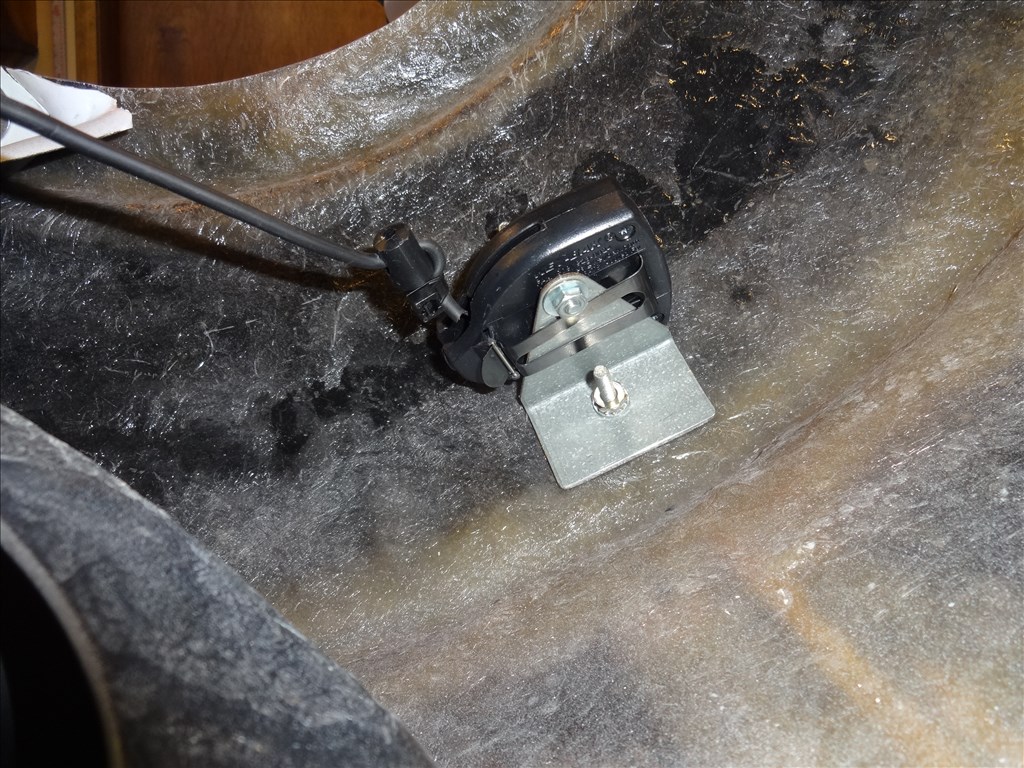
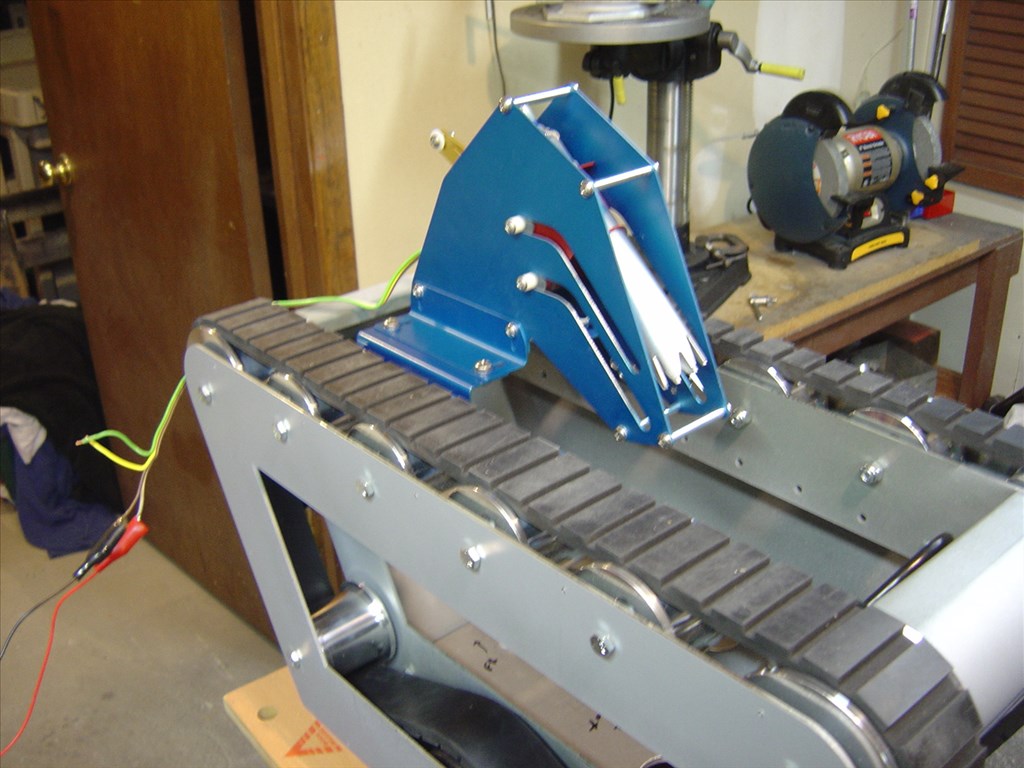
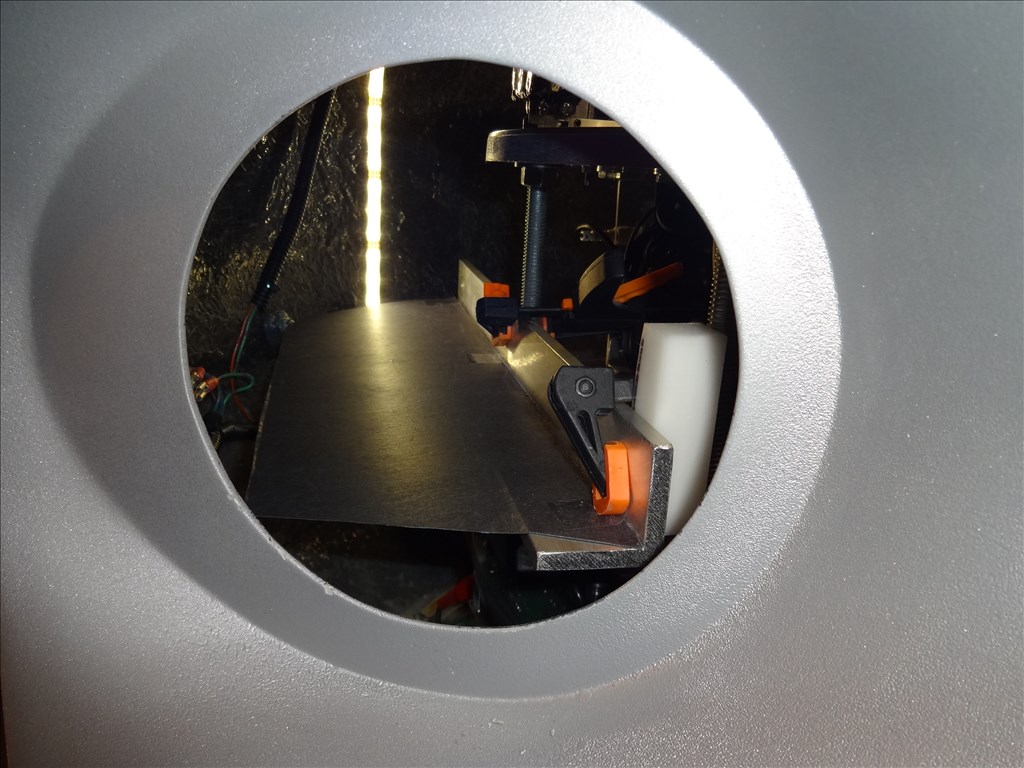
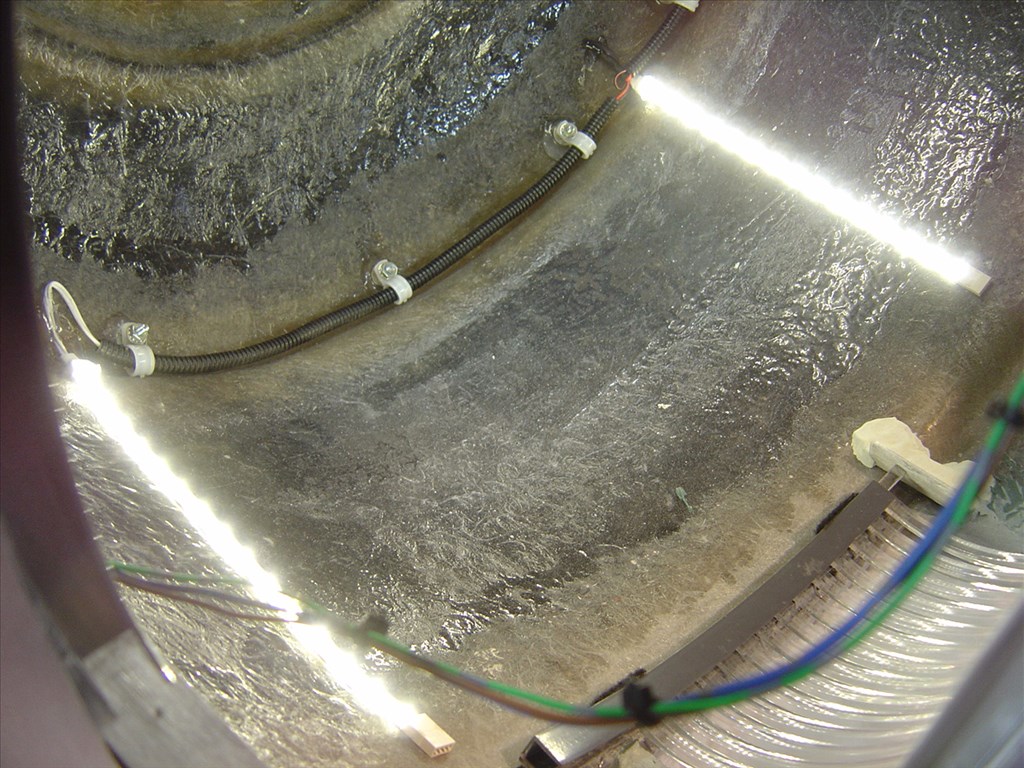
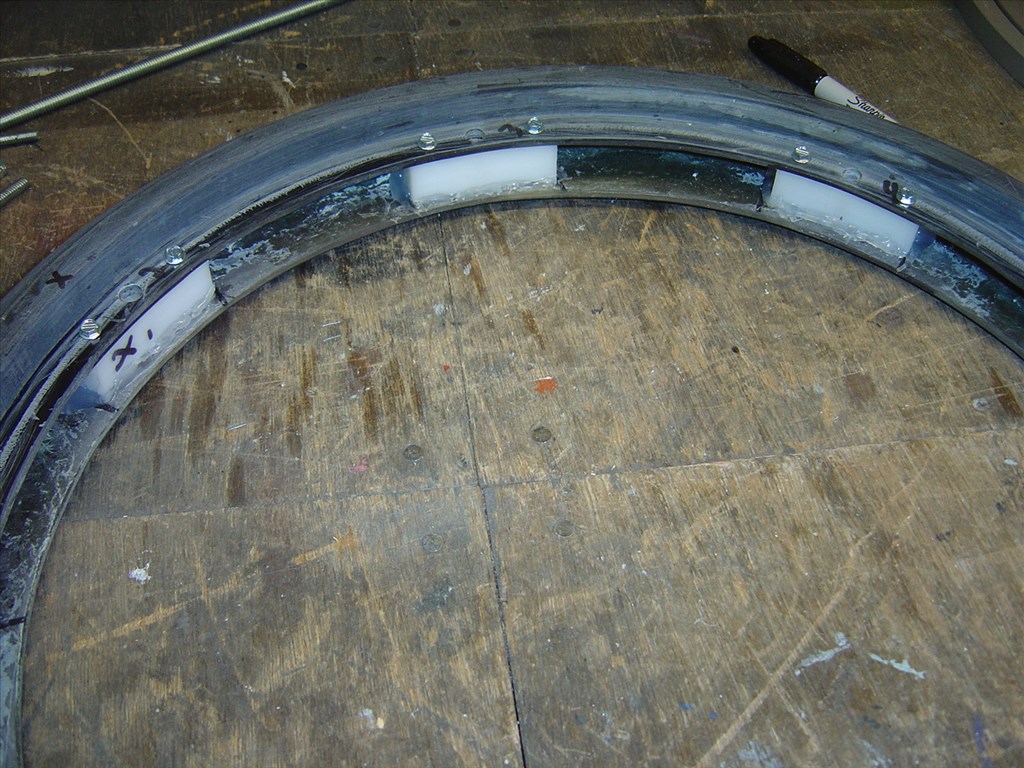
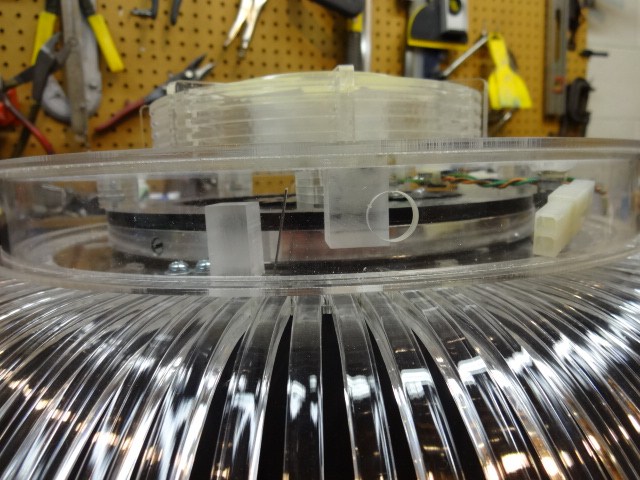
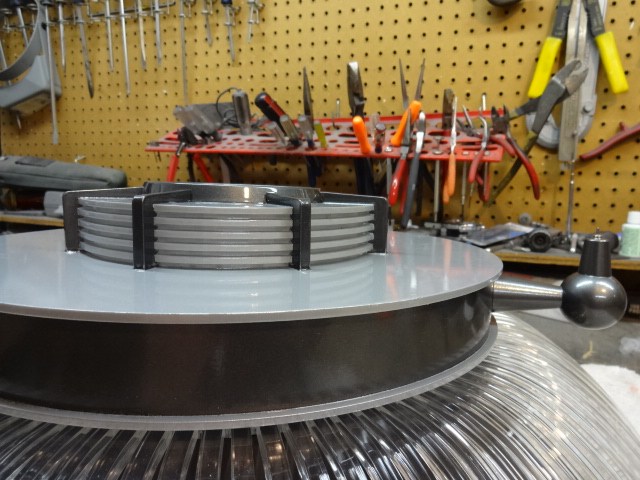
A side shot of the Radar Section with the vertically mounted limit switch and how it works. This method also works as a Stop Block to keep the radar from spinning if all else fails. There is also a stop block on the Horizontally mounted Limit Switch down below in the Collar
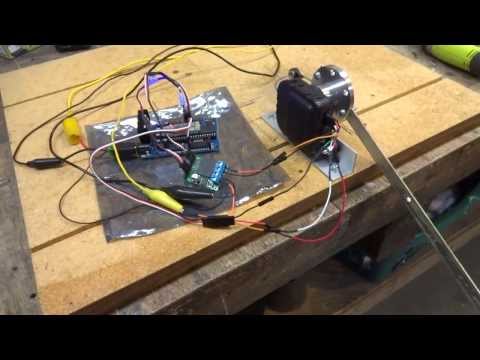
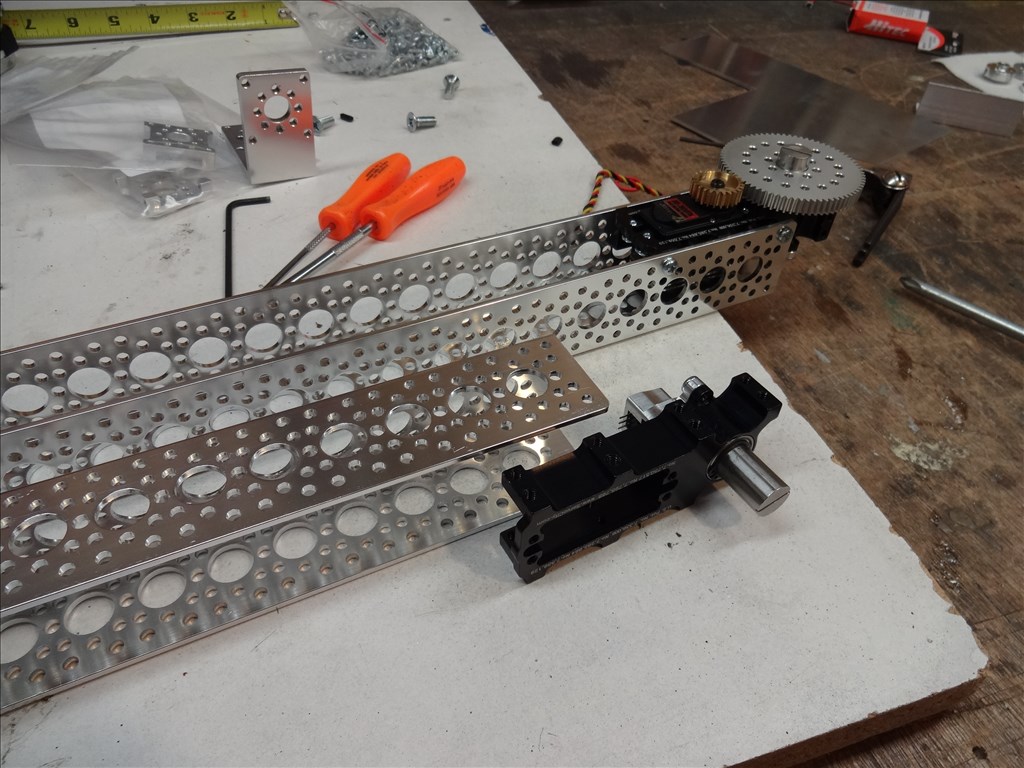
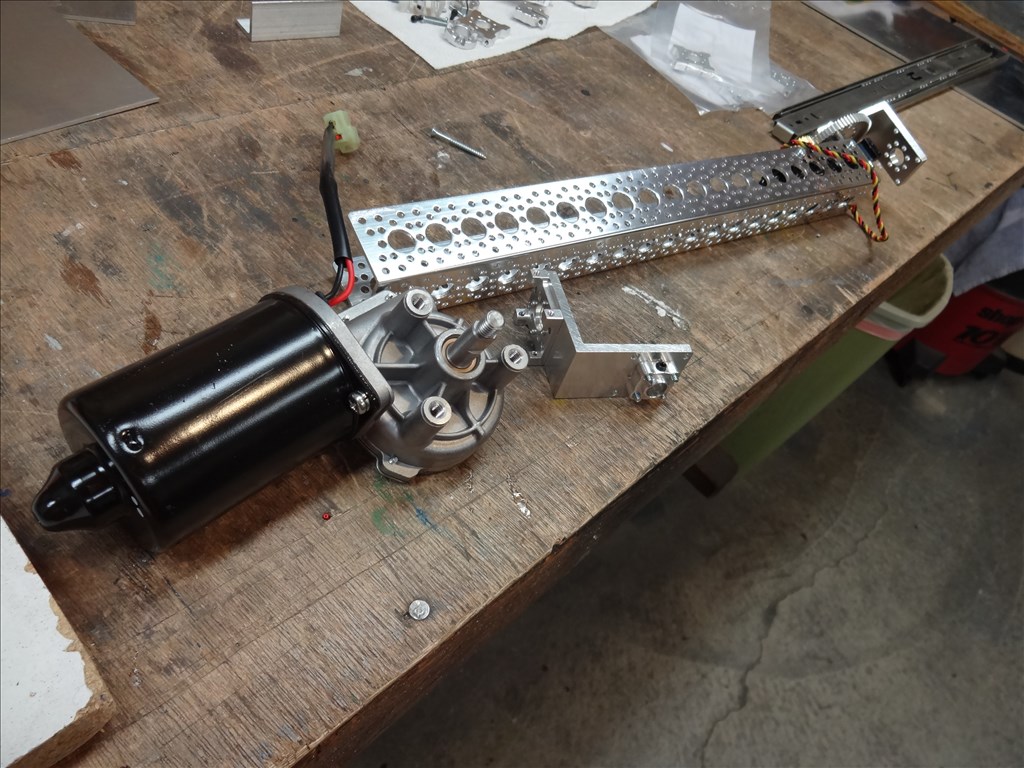
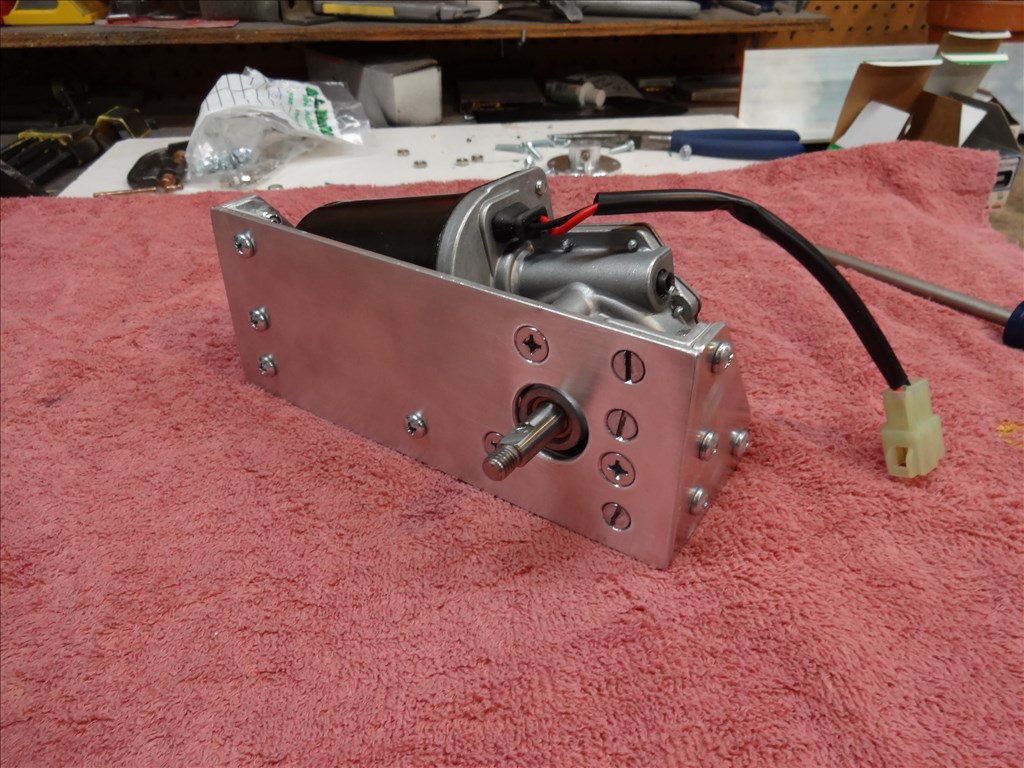
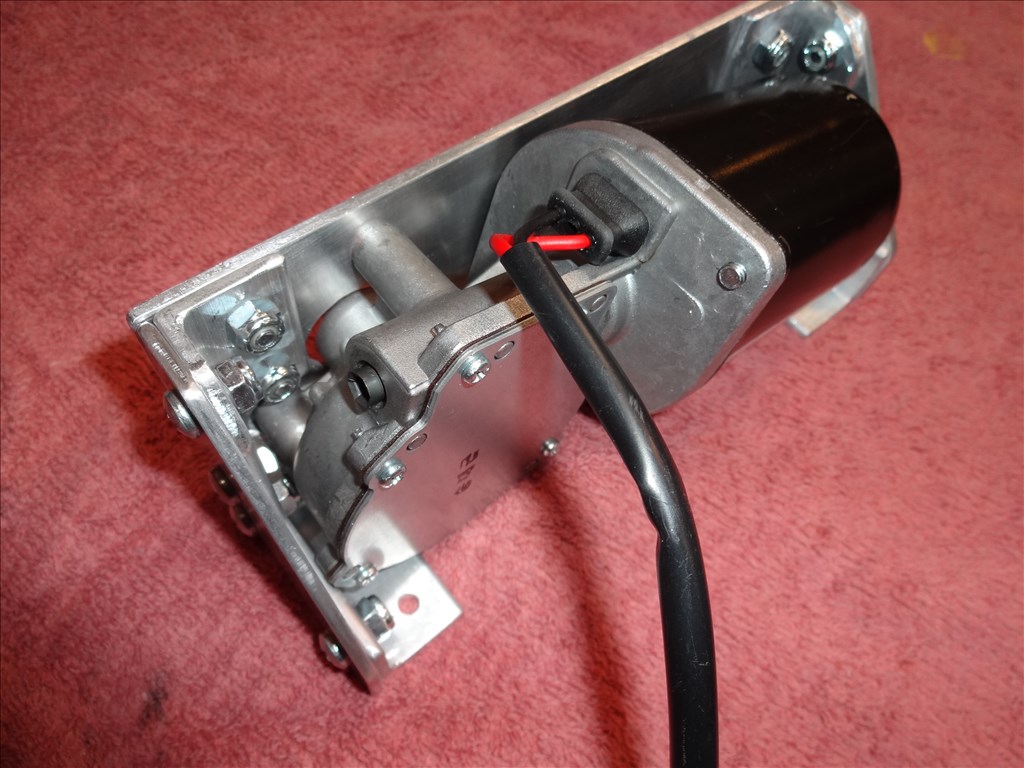
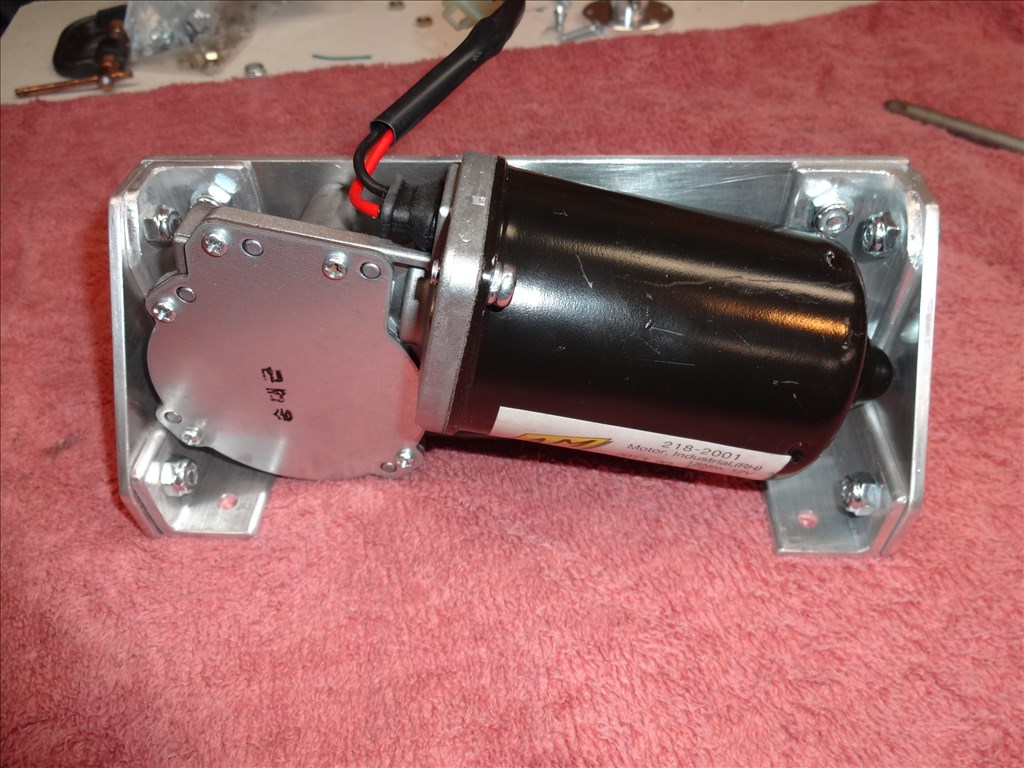
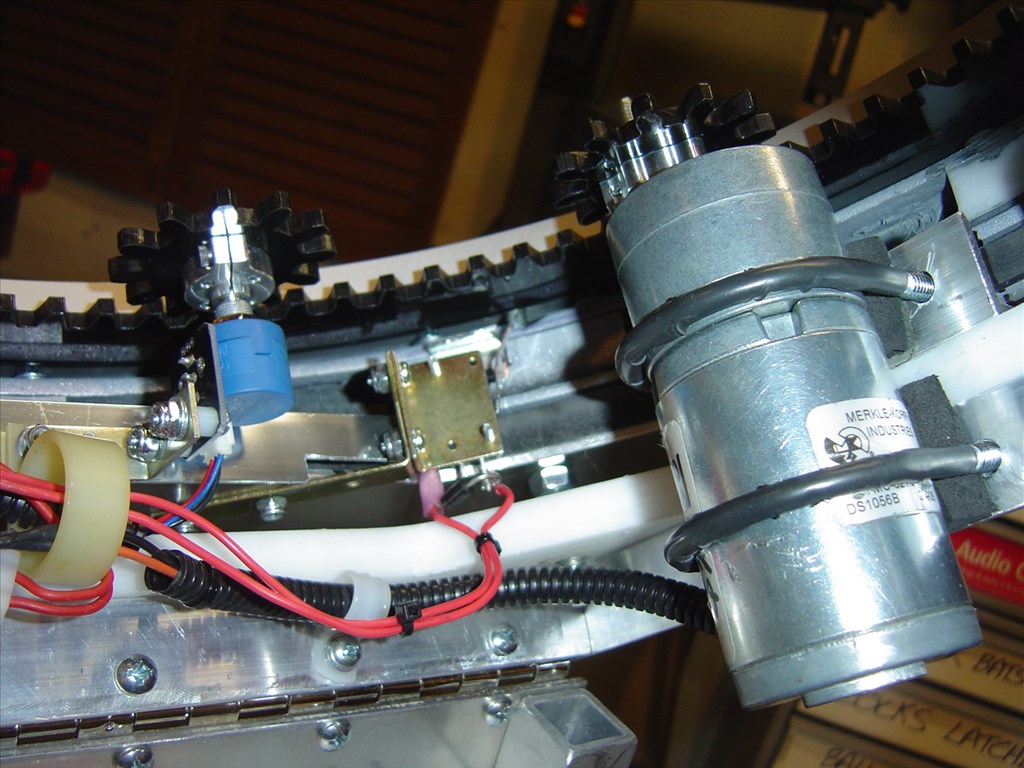
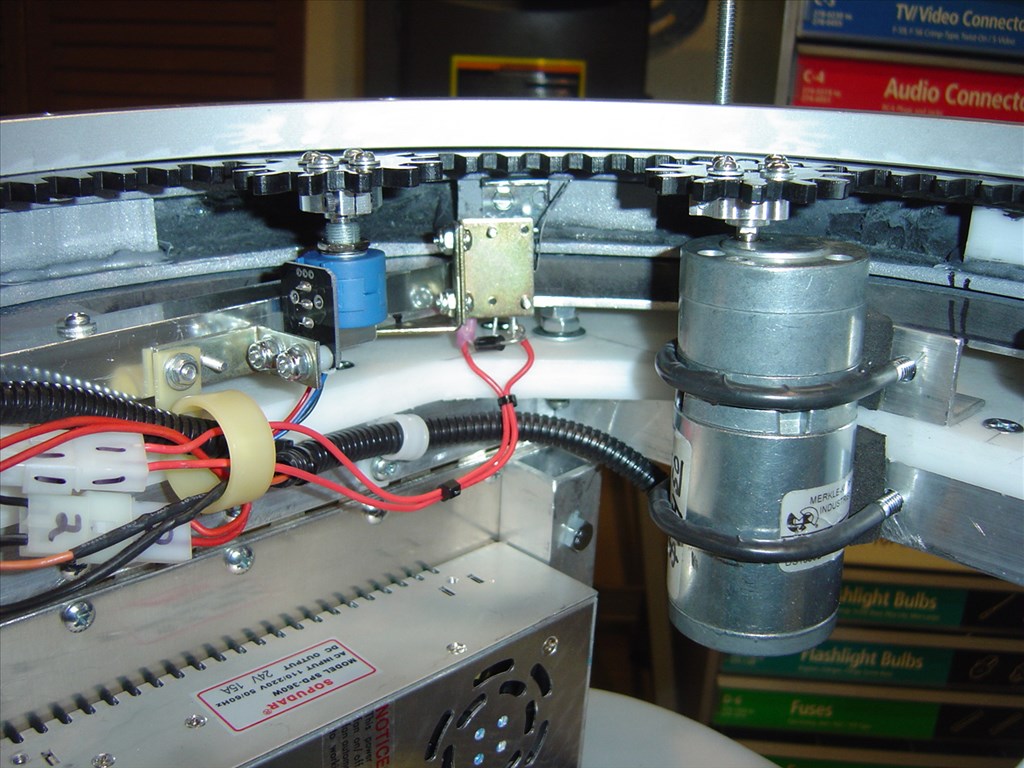
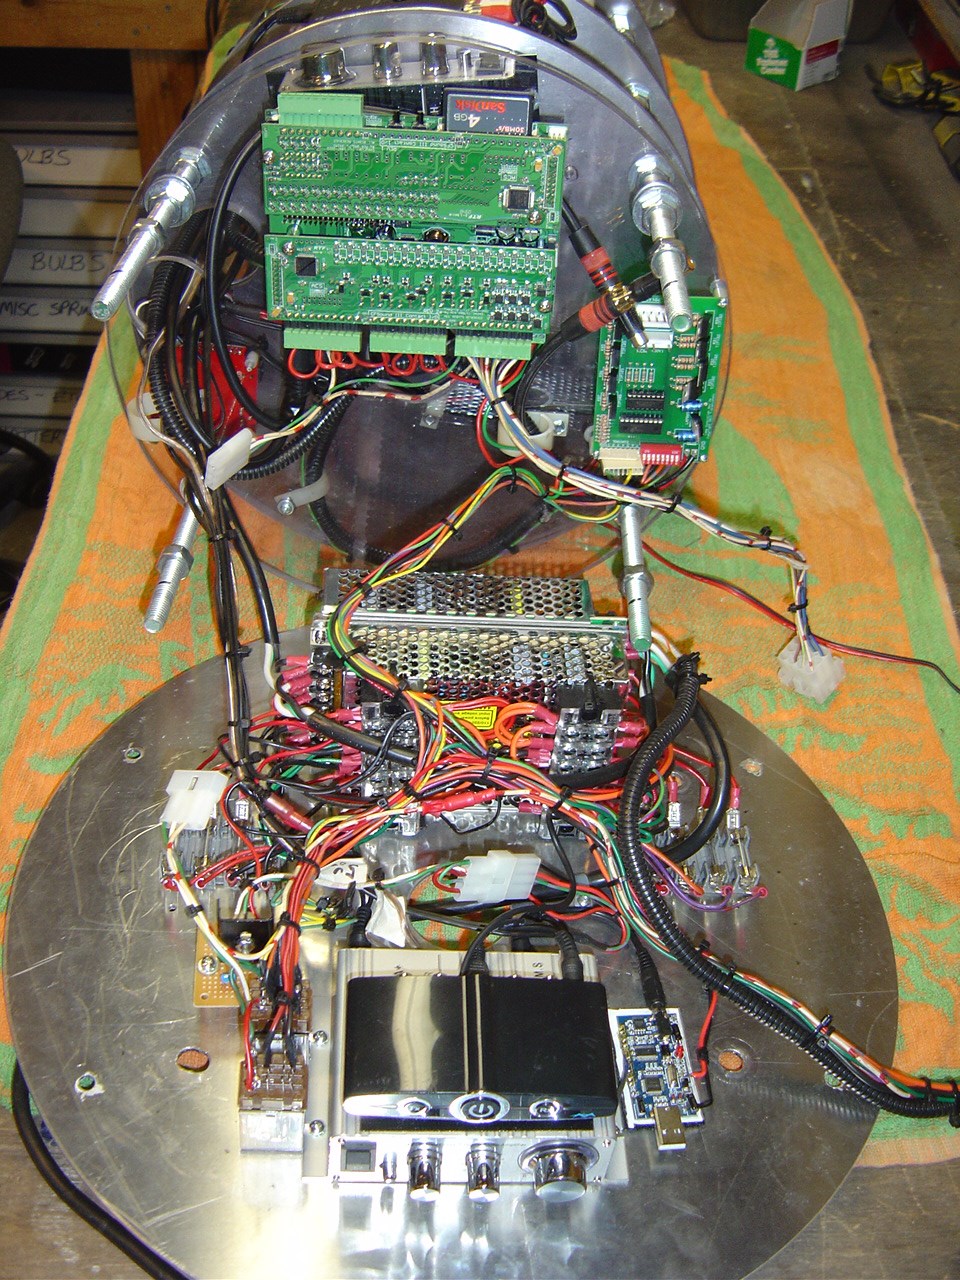
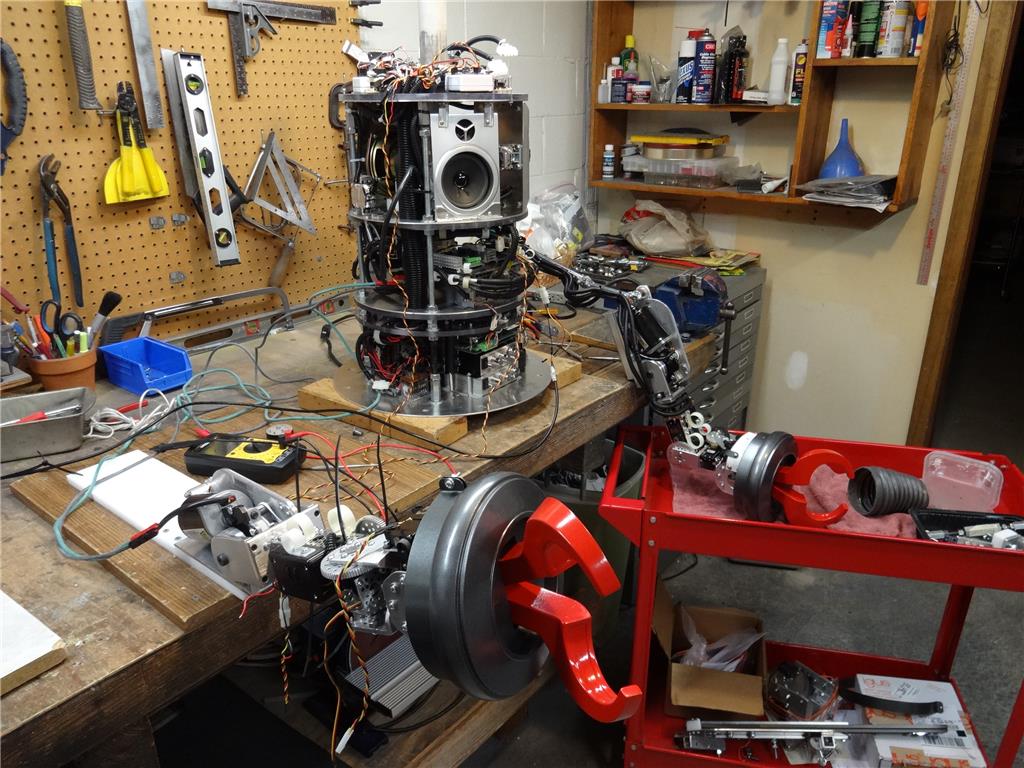
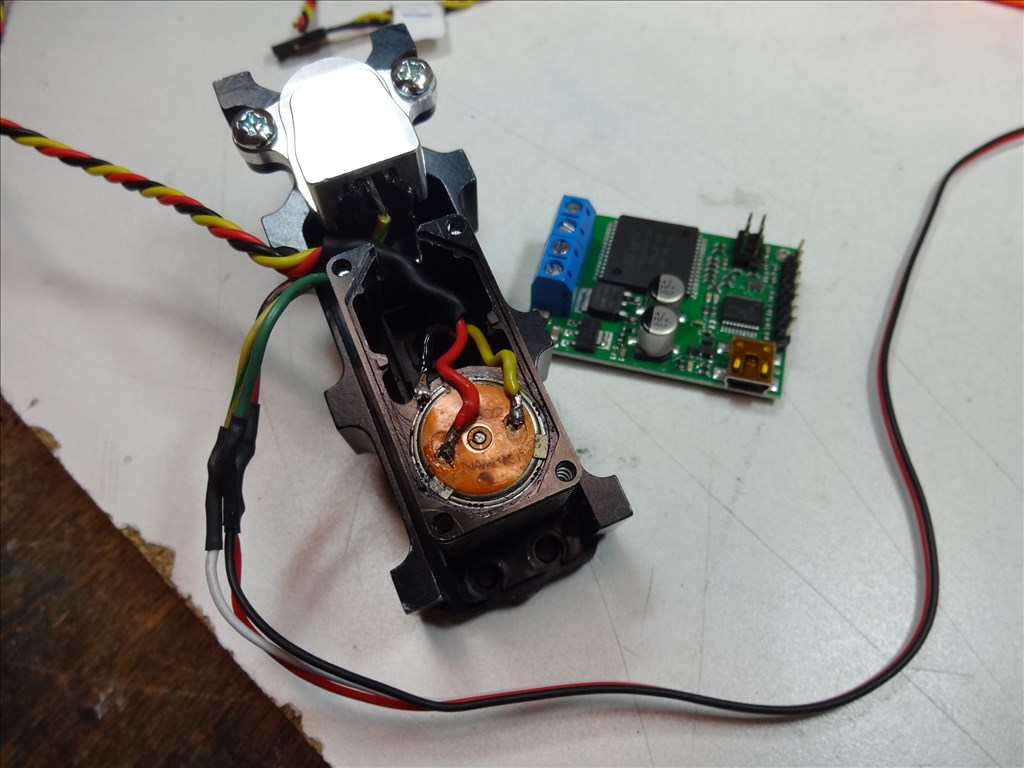
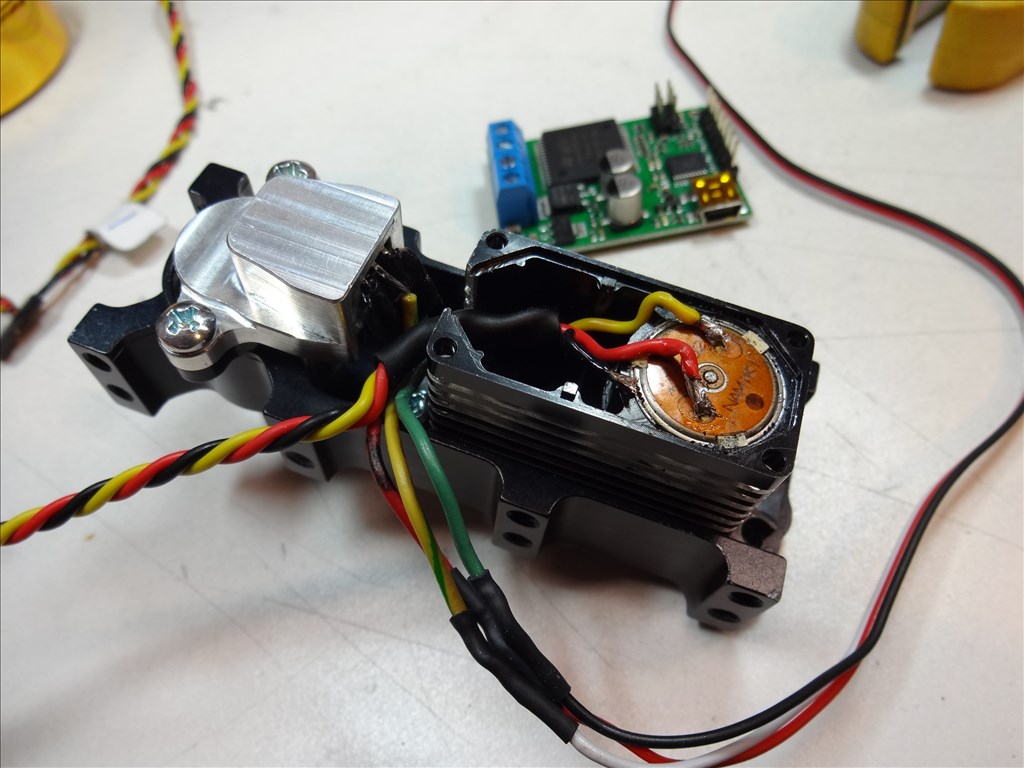
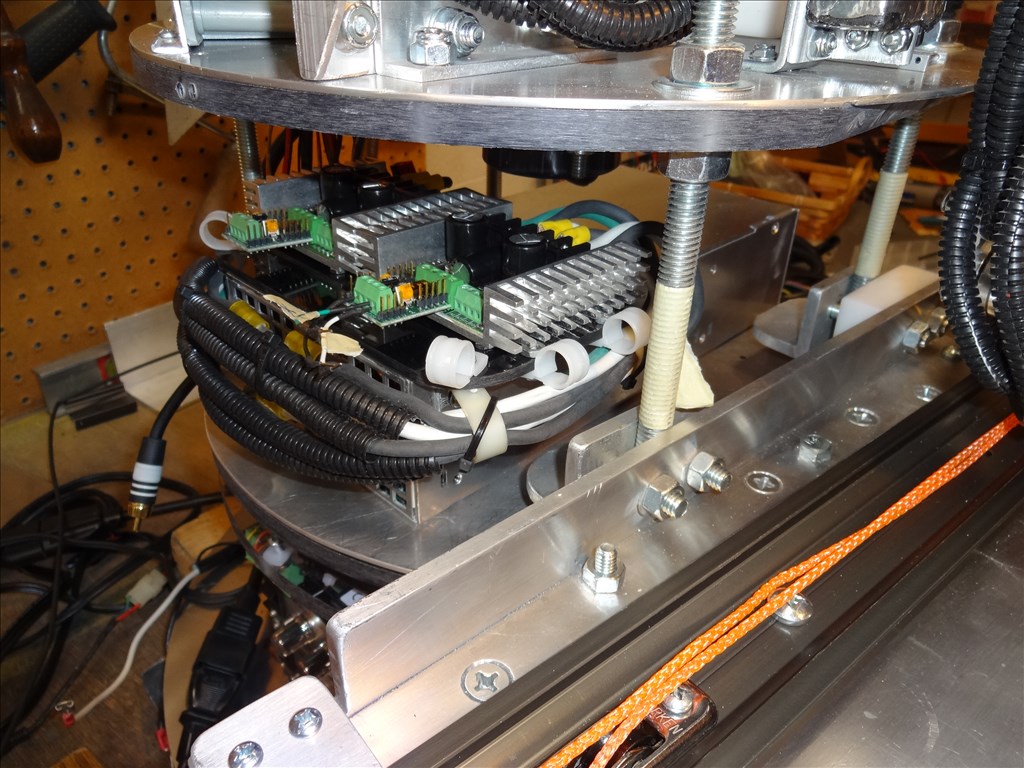
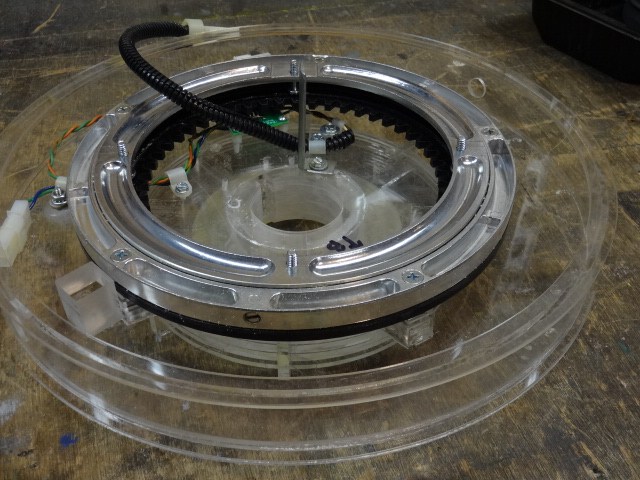
Here's a pic of the motor and feedback pot mounted. The Pot will tell EZ-B where the Radar is so I can have custom movement and stop points for rotation anamation
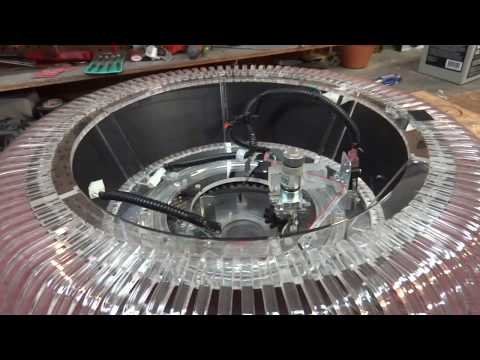
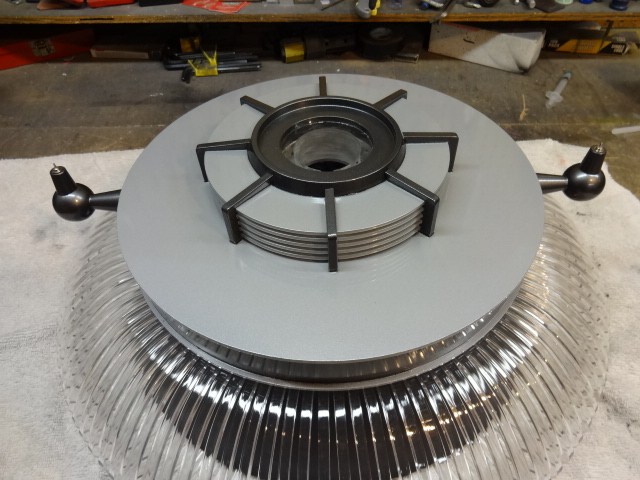
The underside of the finished Radar Section with the rotation gear and 9" Lazy Susan attached
Thanks for looking! Dave Schulpius
DAVE so far your project looks good,i do see it one very heavy robot
I see in photos you got a burns multiturn pot,
I use to have so many many of them,but i been selling on ebay and they went very fast,only keep a few for my self