
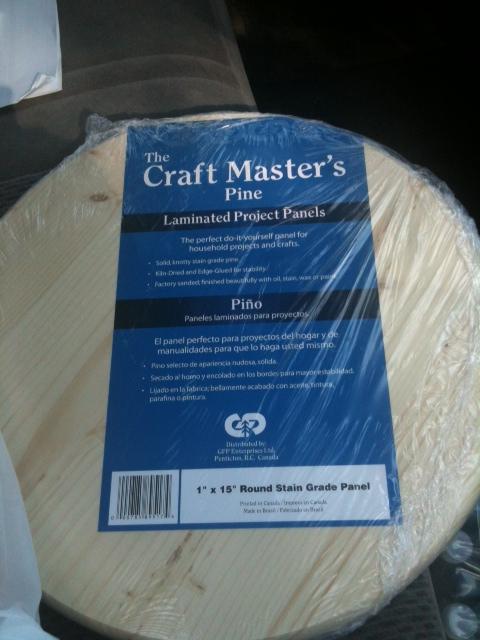
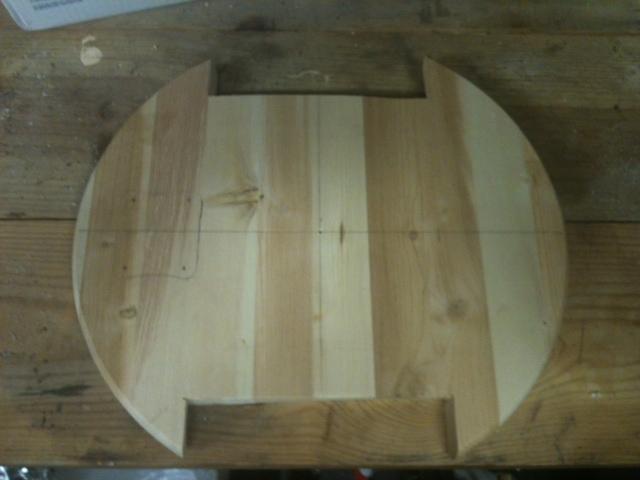
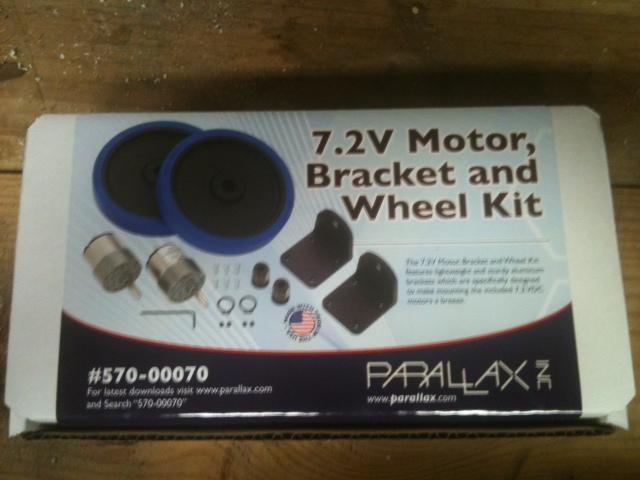


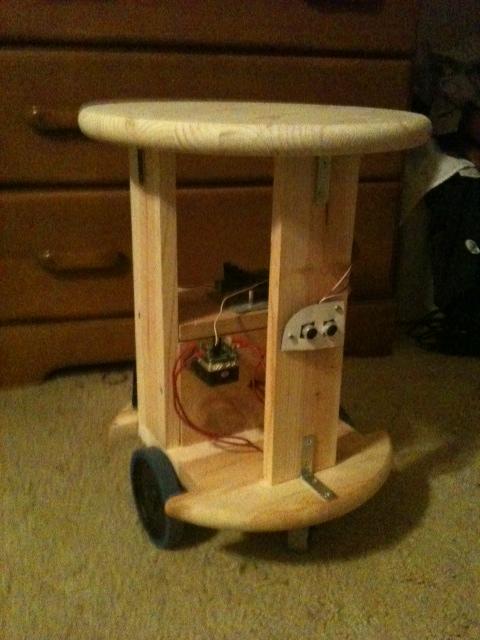
Well, after a month of waiting for parts, a week of building a base, and a week of runnning wires and reading your community posts to ensure I don't set something on fire, Dopey came to life and made a couple of complete circles in the middle of the room.
I've captured many pictures over the last two weeks, and while he won't win any beauty pageants, it has been fun, and in the interest of sharing the experience, I'll be posting some pictures and commentary over the next few days.
-John
By jdmarsh50
— Last update
Discover more robots
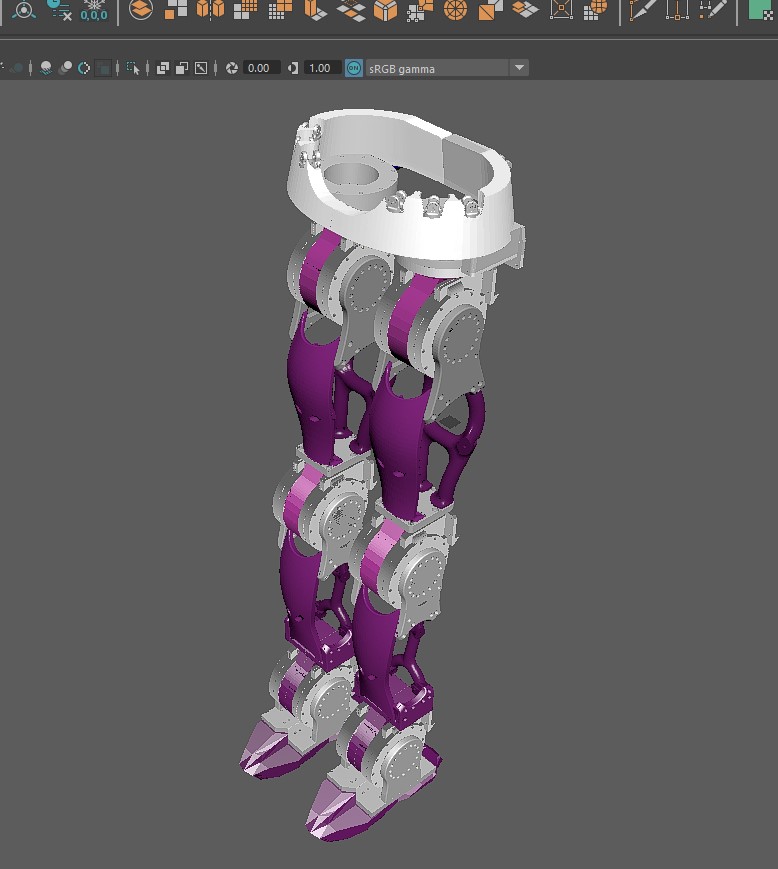
Animator28's AVA Advanced Visual Android
Human-size 3D-printable legs with parametric slew joints; 550 DC or NEMA17 steppers via adapter; L298N/EZ-B/Arduino...
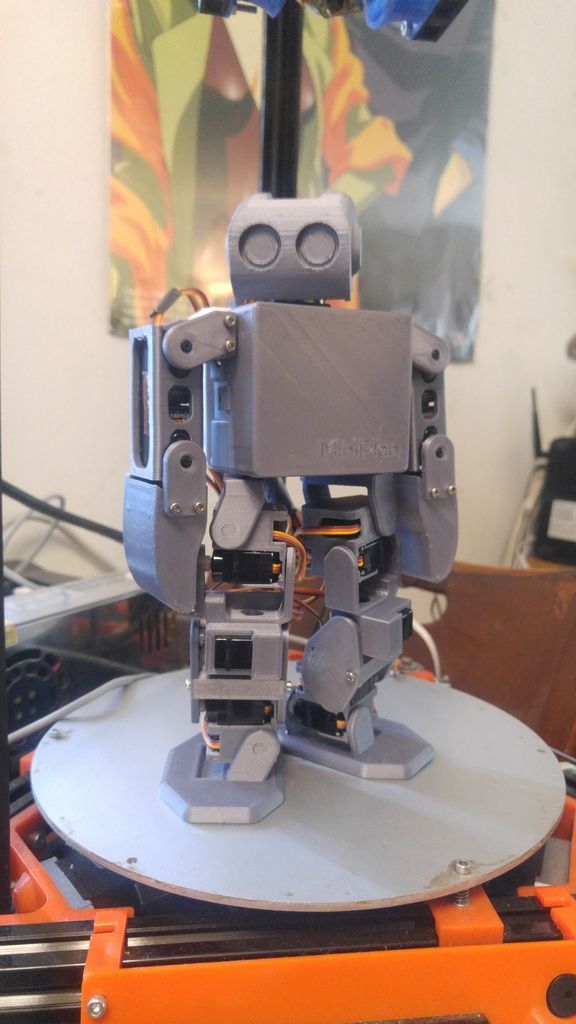
Kenny's Humanoid #3, The Miniplan
3D-printed humanoid built on a FLSun Kossel Mini Delta from Thingiverse, photo build progression and upcoming motion...
Robot56's Astromech Droid
Build a full-size astromech droid from styrene and 3D-printed parts; dome uses a security mirror with a 2"...

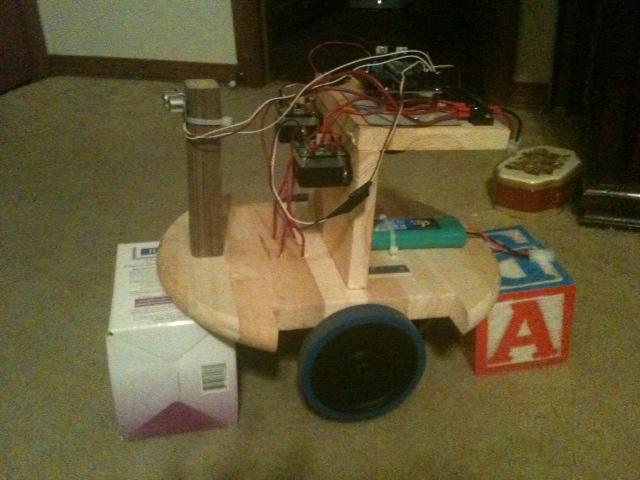
Well, everyone in the house is sick, so I had some free time on a Friday night to tinker. I added 3 legs and an extra top. Looks good, but he is too heavy to move very well, at least on carpet. I'll try the hardwood floors and the driveway tomorrow before I tear him back apart. At least he is put together with L-brackets, which come apart pretty quick.
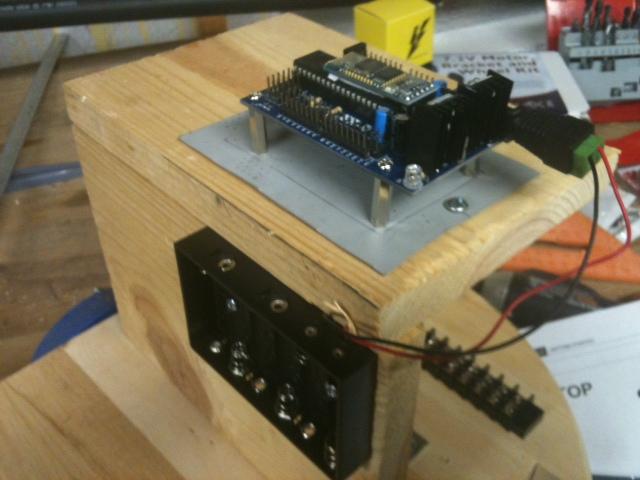
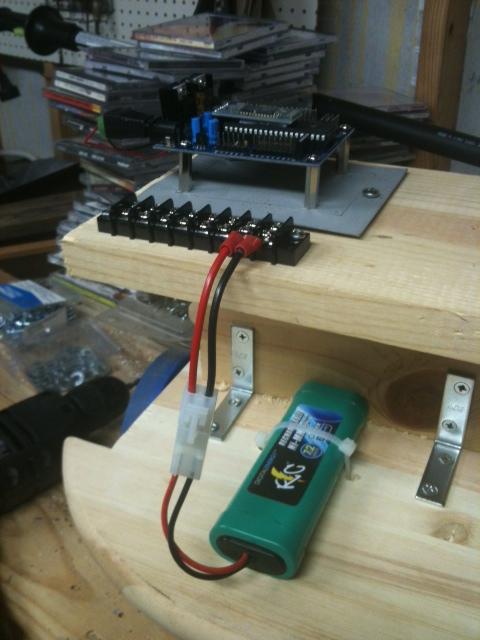
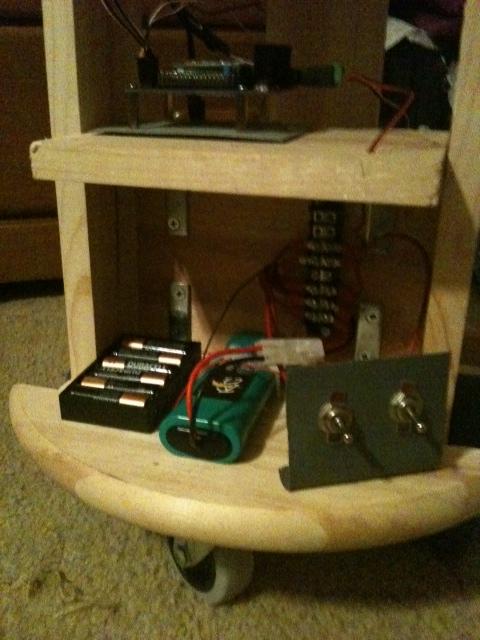
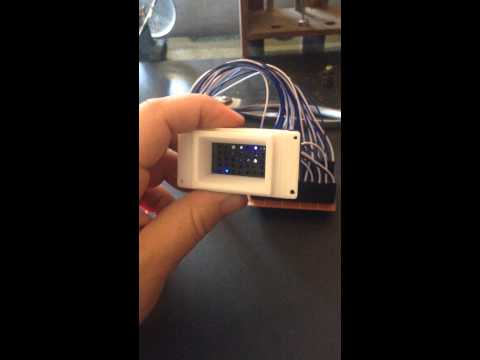
I also co-located all the power supply parts together into one area. Built a small panel out of sheet metal and added two toggle switches - power from the 6 AA batteries to keep EZ going, and the other powers the motor drivers.
-John
Impressive John...
I have been showing my students just how easy it is to get up and running with the EZ-B... keep putting up those pictures so I can show them what you're up too!
Wayne Technology Teacher in New Zealand
John, that is good looking. I used that same type of wooden base for my Leaf robot. But, for the rest of the body just some science fair foamboard. It is light. It comes in colors. Of course I had a cheap aluminum frame for strength. You may need some stronger motors or possibly a bigger battery.
Just a quick question. Does the bottom work fine without the top on it? If so, just lighten up.
Good Luck. It is a good start.
Mel
Thanks Wayne.
Hi Mel,
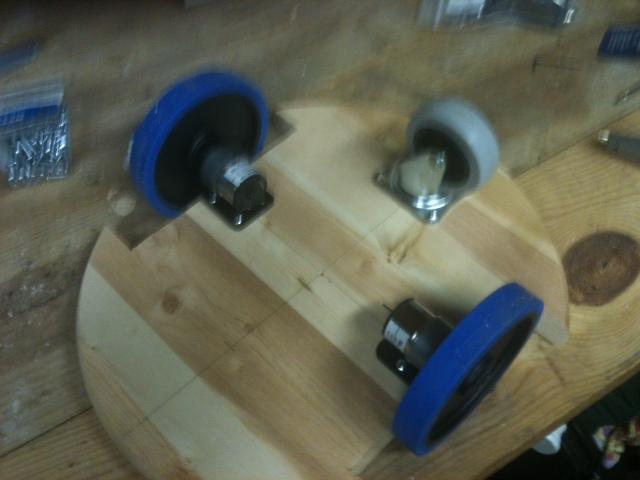
The bottom works okay. I am still playing with the wheel location and the placement of the front caster. Right now, the wheels are placed in the exact center, to allow him to turn on a dime (motors same speed, opposite direction). This caused me to place a caster in the front, in addition to one in the rear.
If the front caster is turned 90 degrees, he stalls, or takes a lot of power to push forward.
Tonight I am going to move the wheels forward a bit... maybe to the front, and see how he operates in dragging a tail caster around.
Also, I have a few pieces of lightweight white PVC tubing and have not ruled out a lightweight, schedule 80 frame attached to the wooden base.
I just want to get something solid so i can start learning the software. I know that I will upgrade the motors/wheels down the road into something that can carry more weight.
-John
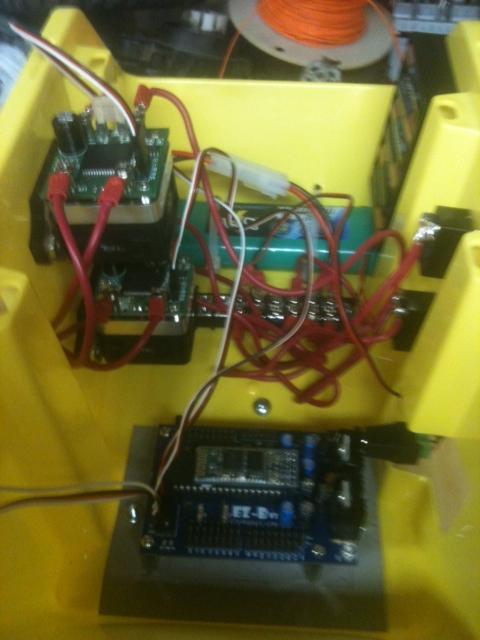
So, did some thinking this weekend about where I wanted to go from here. I think I'll end up with multiple bodies... the 7.2VDC motors I have now, plus a larger version using some PowerWheels motors left over from my daughters jeep. Also, I have seen mention of using 12VDC windshield wiper motors. So, I decided to take all the guts of Dopey and mount into a removable unit.
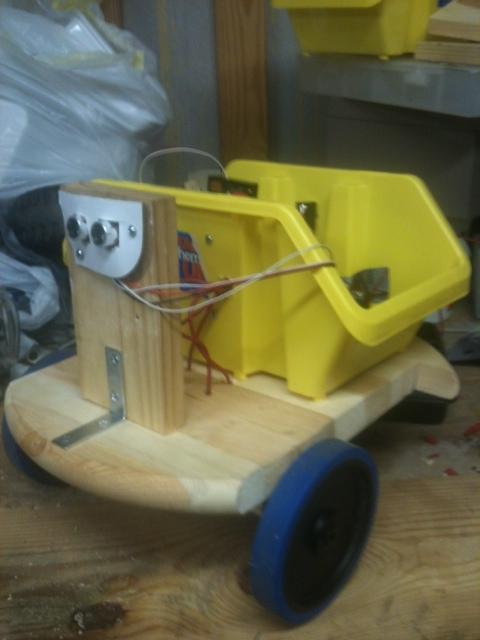
A stackable box from the dollar store turned out to be a good solution. I was able to mount all the components into either the floor or the walls... with the two power switches on the back.
Mounted on the back of Dopey, it only takes one single screw and four quick-disconnect wires to move the whole contraption to another body.
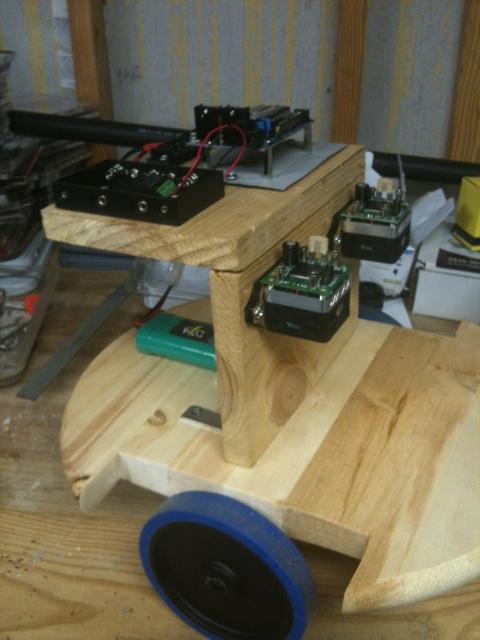
Had some time to put together another wood frame last night. I'll be mounting some 12VDC motors from an old power wheels jeep to this one...
-John
I had a bunch of those Power wheels motors years ago. I was going to make a 6 wheel drive rover. Your robot is looking cool. Power wheels motors will move a big robot. Then you add a GPS.
Hey John, that previous.picture.reminded me of a end table on wheels. You should throw a table.cloth.over.him and set him to move every.few.minutes a few inches. Each time your.guest turns around to get.their drink.they are wondering why their drink moved lol
I doodles this really quick. Why not have two wheels on each side very close together. They would hold all the.weight and your robot should have no problem balancing on them. Still keep your.casters.but.raise.them.so.when on a solid.floor there is a 1/4" gap , this will get rid of all the drag and binding you are getting and if the robot starts to tilt a little.the caster keeps it upright.=)