

So after building a 'bot with EzB/Mecanno (Boris), I'd decided to up my game a little. Enter, Boris V2!
(Forgive the not-HD quality of the photos, I forgot to check my camera settings >.<)
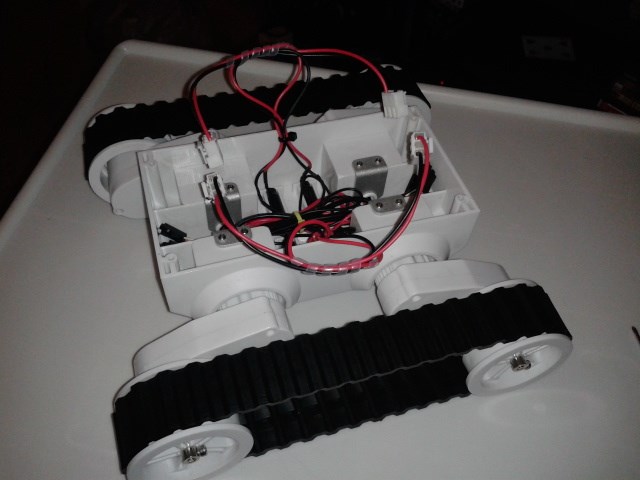

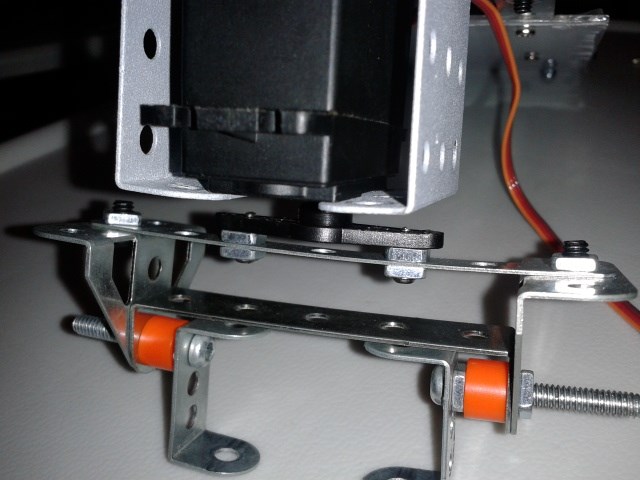
Dagu Rover 5, 4 motors + encoders. At this point, the channels are seperated off and the encoder wires are all secured out of the way.
By BillDerwent
— Last update
Discover more robots
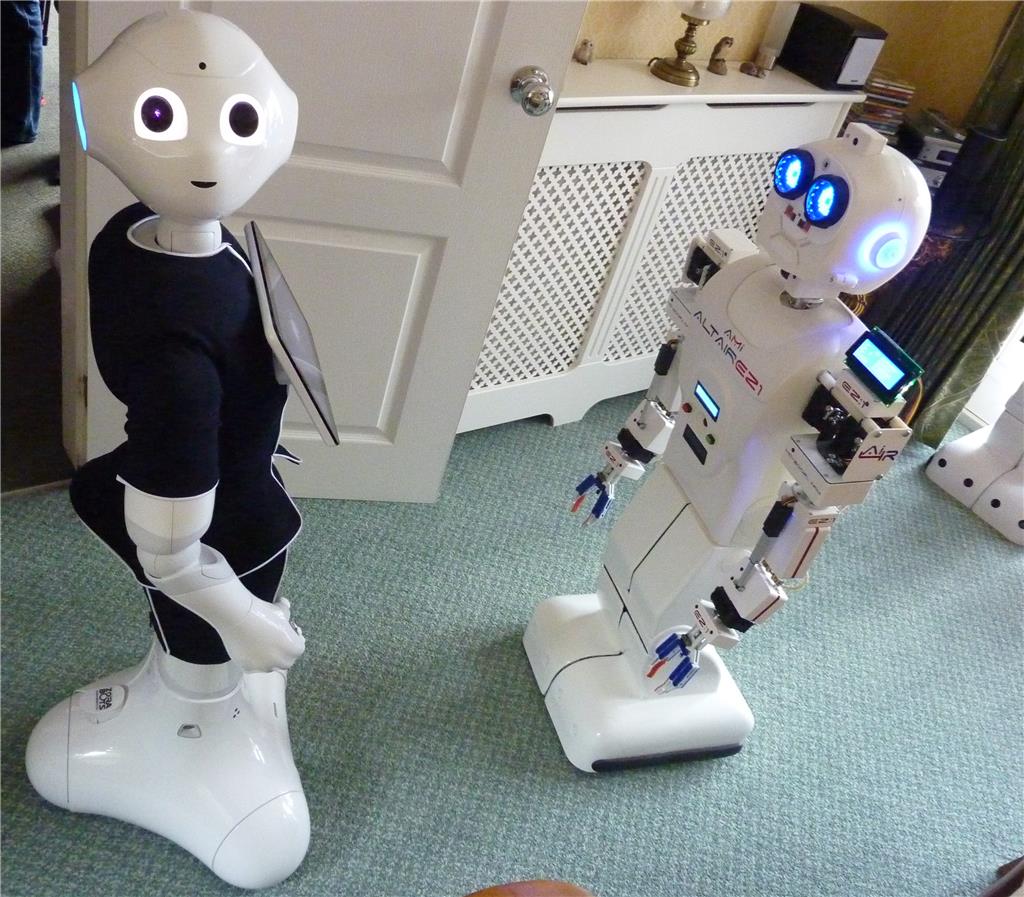
Toymaker's When The Altair Ez:1 Met Pepper
ALTAIR EZ:1 meets Pepper robot for a European documentary; film crew captures their friendly interactions and 'bot...

Halbinath's Traxbot - My First Robot
Customize an EZ-Robot with 3D-printed parts, Thingiverse files, photos and a YouTube demo; kit assembled and software...
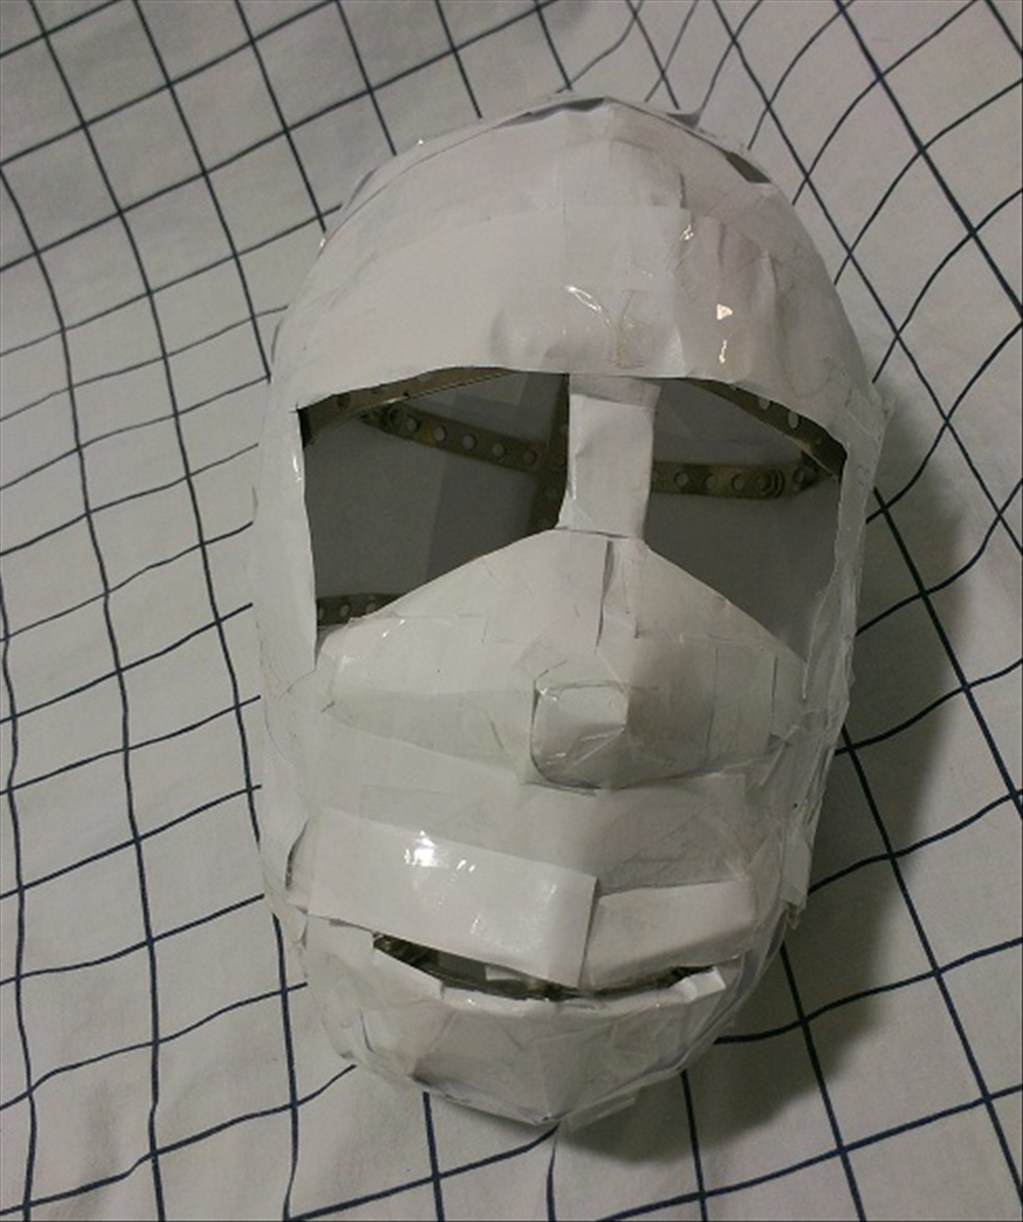
Cosplaying's Cheap Animatronics Head
Cheap realistic animatronics head project: real-size latex skin, EZ-Script mood system with random behaviors, budget...

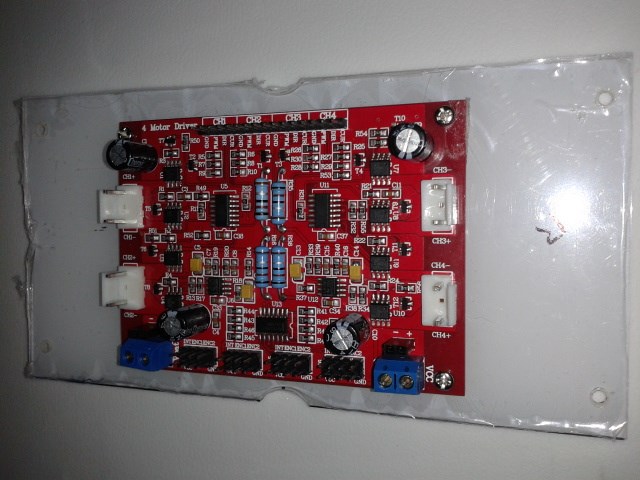
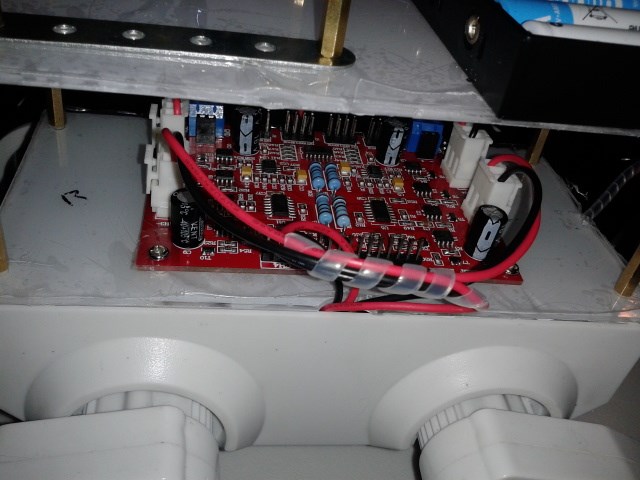
I opted for clear perspex (It still has it's scratch-proofing film on here, hence the scatty looking edges) as my mounting material. Cut and drilled, here is the dagu 4 channel motor controller mounted. The notches at the top (Boris' left side) and bottom (right) of the photo are for motor wires, and the barely visible notch on the left side (Rear) will be for the cables from the included battery pack.
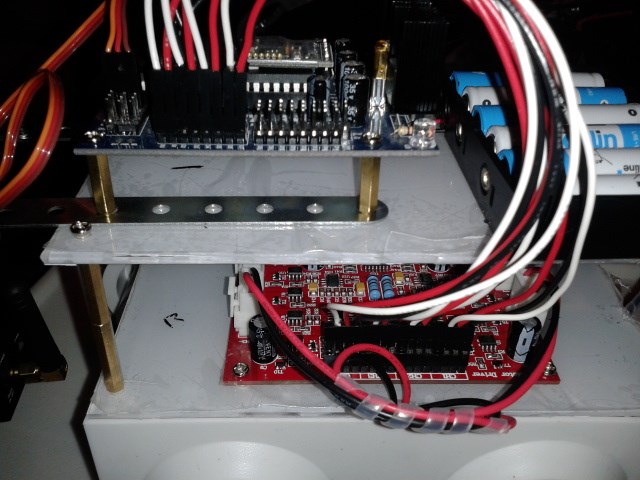
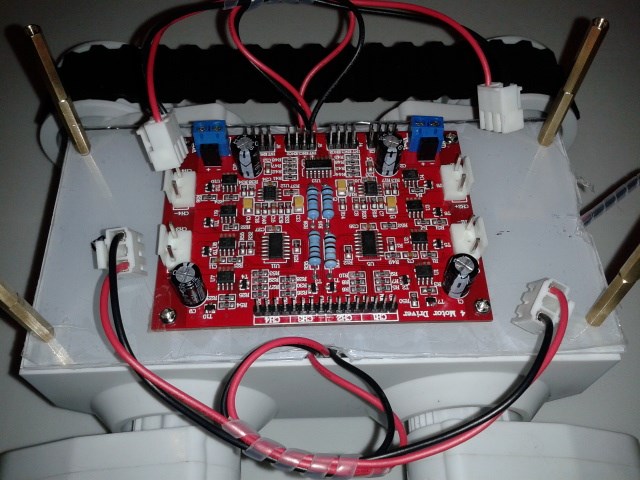
Here is the dagu board mounted to the main base. You can see the motor cables and the power cables coming from beneath. It's mounted via 4 brass spacers, which have another 4 screwed in the top to give enough clearence for the EzB plate which will go above.
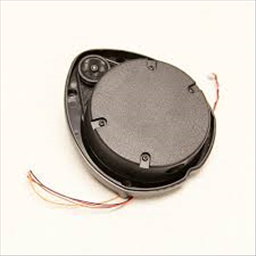
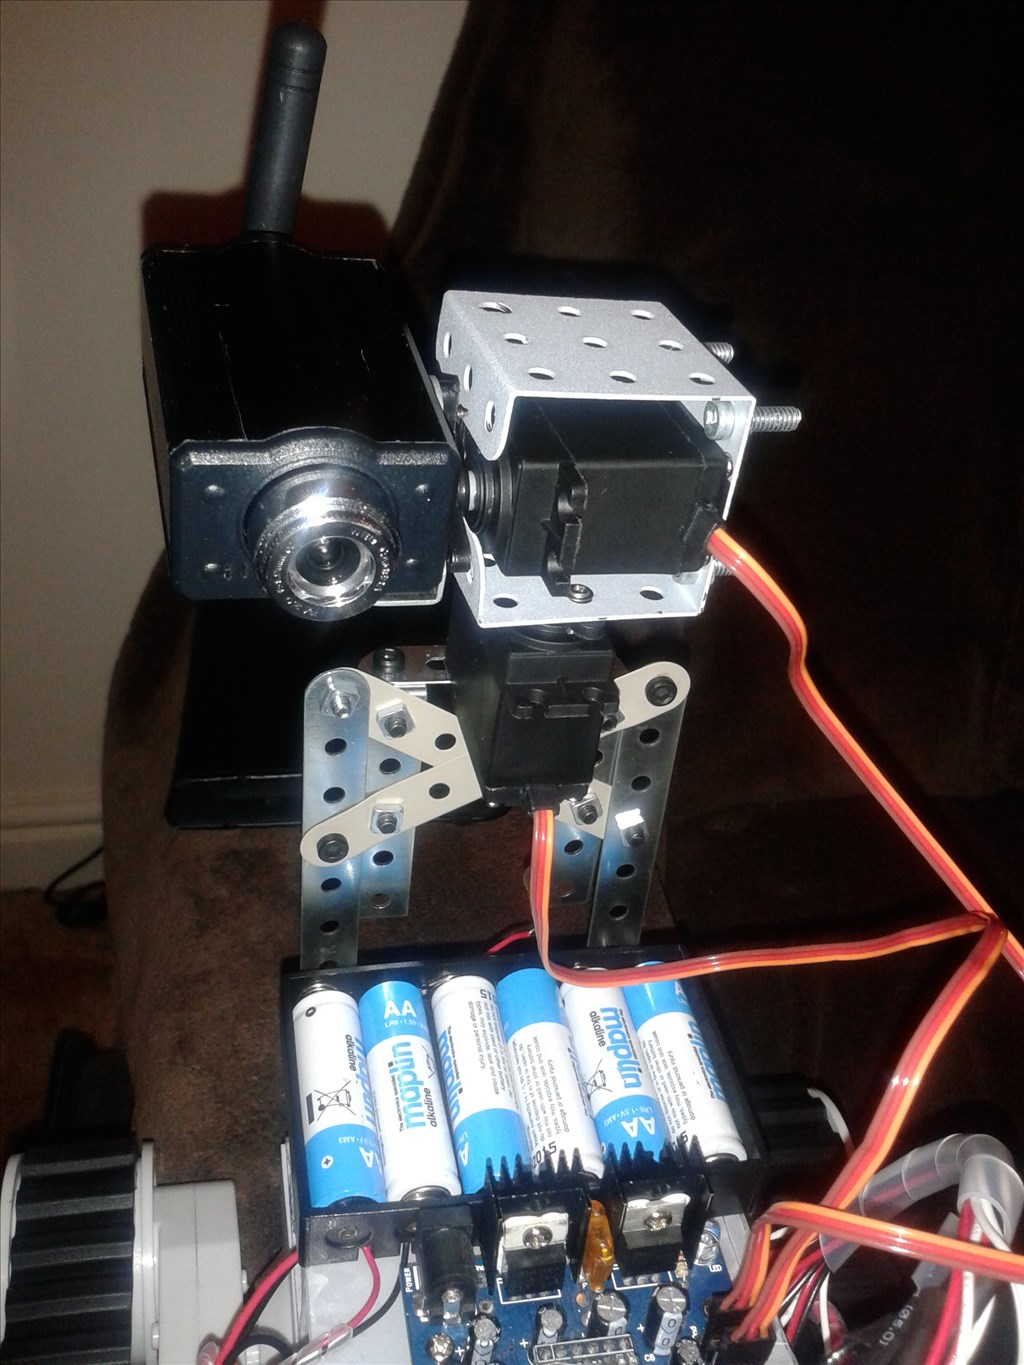
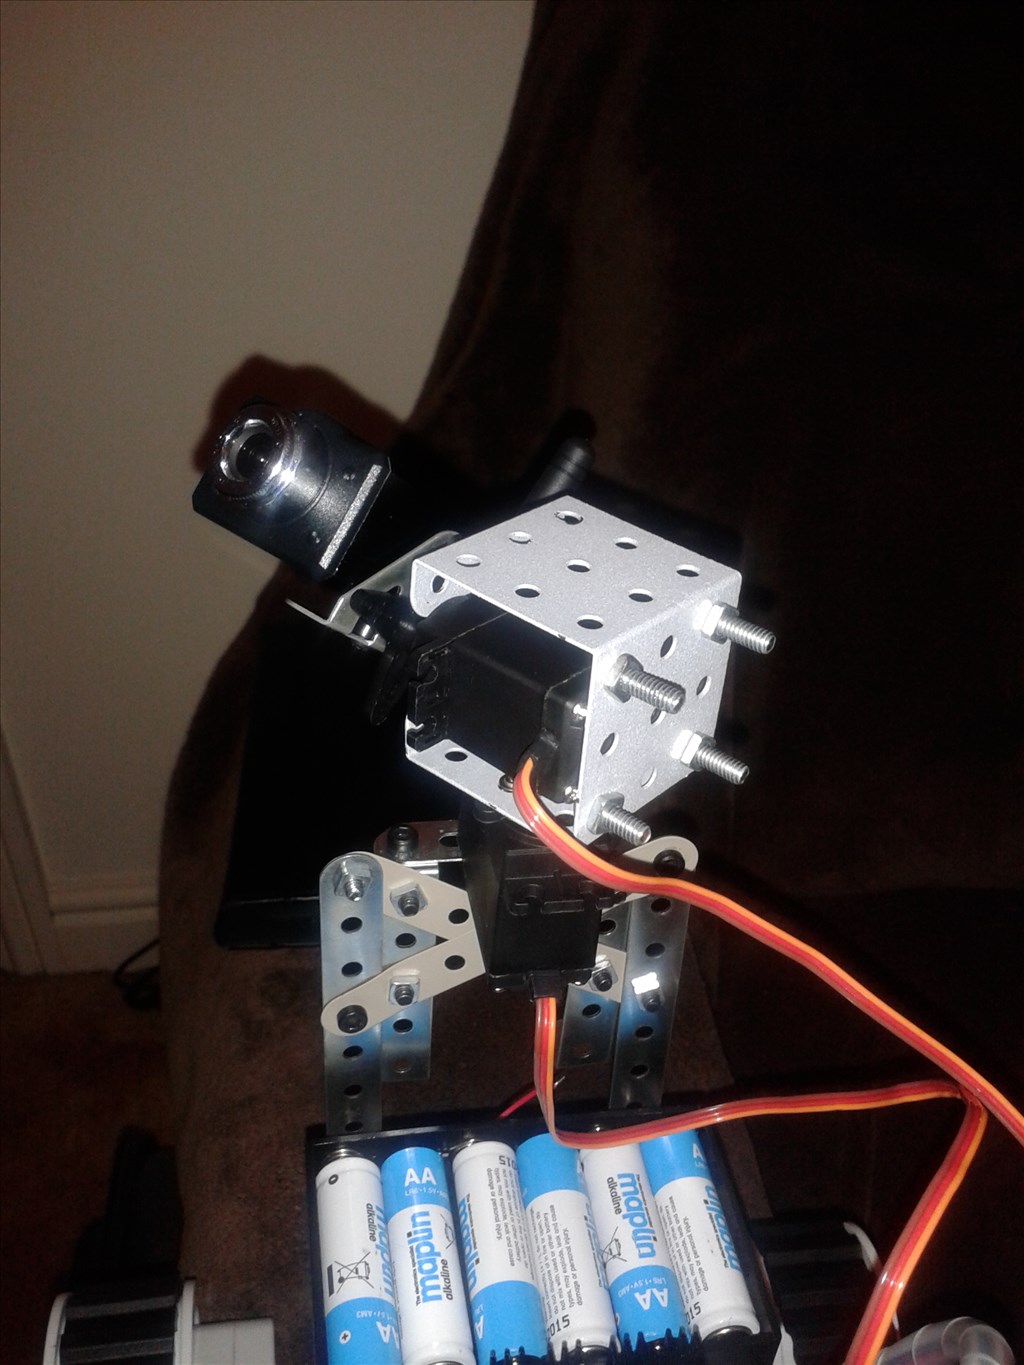
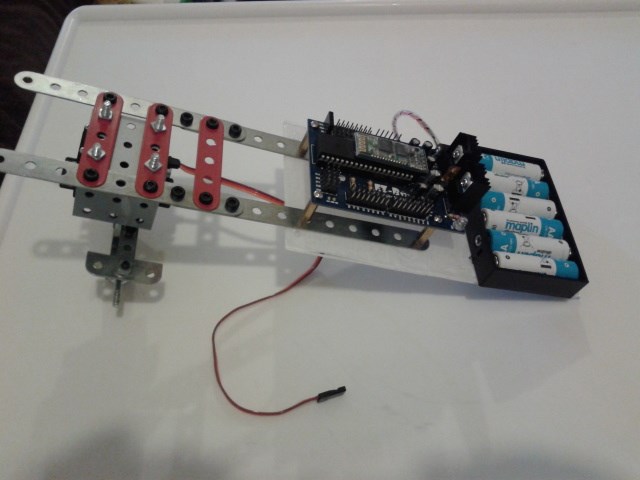
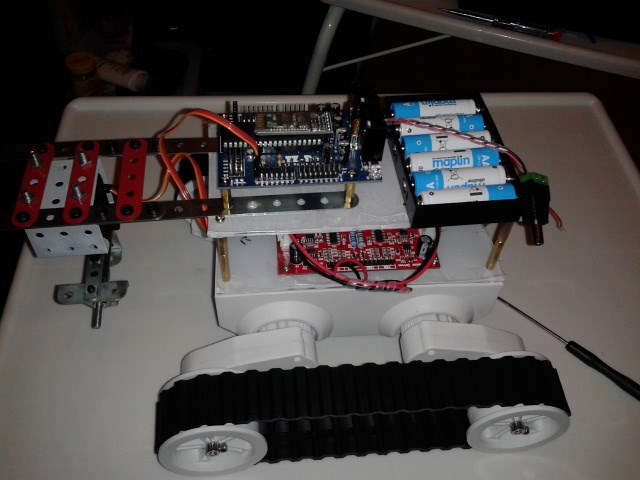
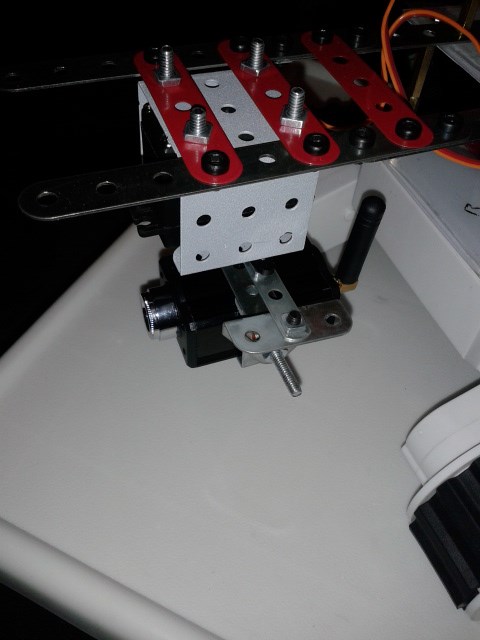
Here's the EzB plate. Battery pack, ezb, then an extension out of what will be the front, with a servo actuated mount for the ezb camera.
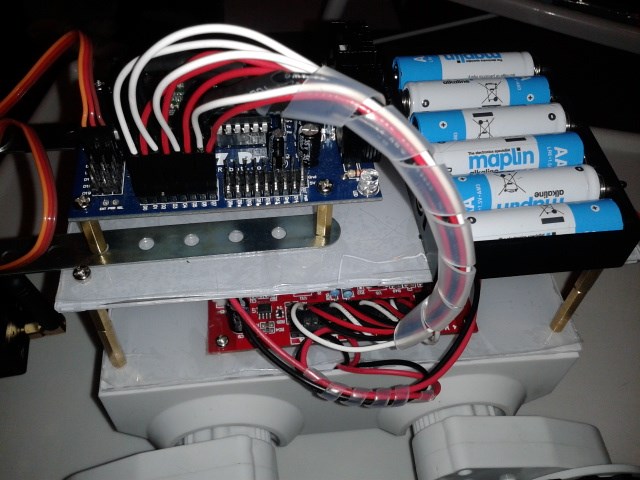
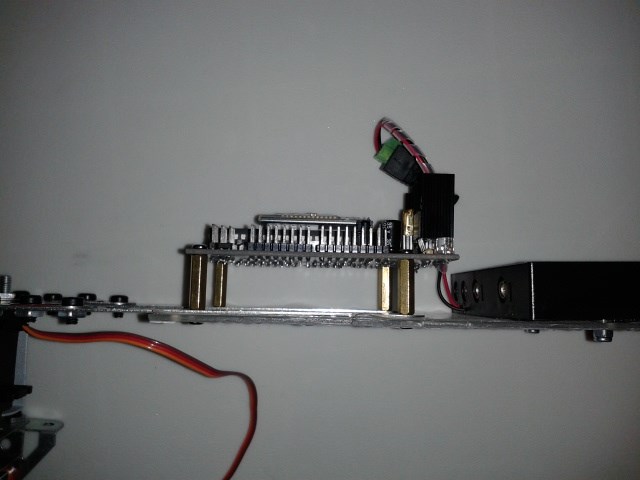
EzB plate mounted above the dagu plate. Secured to the brass spacers. The camera is mounted in the mounting bracket, with panning ability. I'd considered giving it tilt, but couldn't think of a neat design right now. That's on my future-list
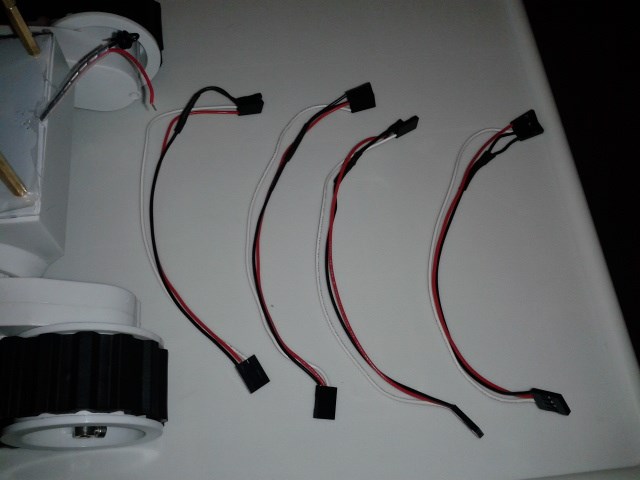
The EzB > Dagu cabling. I considered many different ways of doing this, including breadboards and jumper leads, but eventually decided not to bodge it. They consist of two 1x3 pin connects going to one 1x4 pin connector.
(Love spiral wrap!)
Nice work
wow....(speechless)
this is a really cool project.
You might just see a boris imposter soon!
I would like to see what you have done in ARC to use this controller.