


Hello, I'm new in this community and got my EZ-Board and Motorcontroller last week. After some problems in the Beginning I flashed the Firmware to the EZ-B and the ARC Software works on my Win8 Notebook with built in Bluetooth.
Now it's time for my first Project with the following Goals:
-Driving autonumous and with XBOX360 Pad that is connected to the Notebook -Wireless Cam in the head that should be modified to Pan/Tilt with Servos -Ultrasonic Radar -PWM dimmed LED-Eyes (one Colour or RGB) -Optional movable Arm('s)
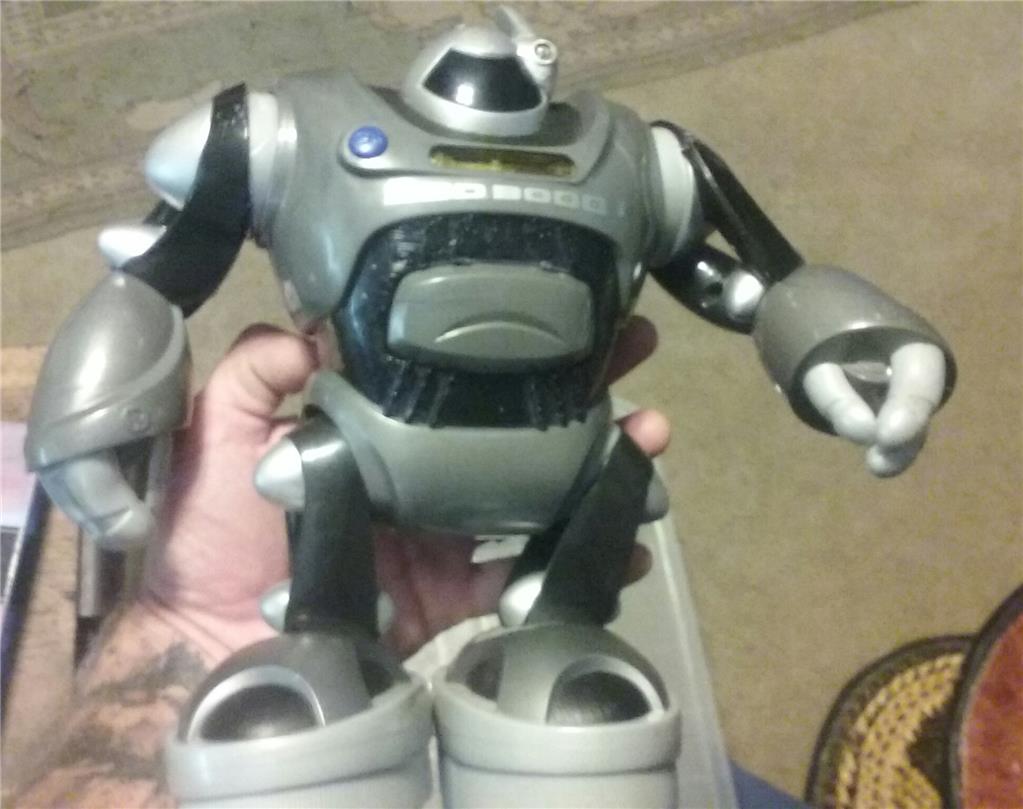
I looked around a little bit at home and found two candidates, a Omnibot 5402 and "Rolling Olli" from Dickie Toys. But even if the Omnibot has no batteridoor an Remote I don't want to destroy it, so I unscrewed the Rolling Olli and found out that is very good built and the right platform for the EZ-B.
I used the place in the Back of Olli to screw the EZ-B on. The Batteriedoor is under the robot and holds six batteries Type A, but I modified it to hold 7,2V RC Batterie-packs with Multiplex Connectors. So I can Use the Batteries from some of my RC-Cars and use my good chargers. I plan to cut off the Head and PanTilt it, so it can follow a red coloured Ball with his head. I also have Sharp IR Sensors that I could use for Radar till the Ultrasonics arrive from China.
I will add some Pics...here is a youtube video to see what Rolling Olli is:
That is not my one, my is Blue...but I got another one in Red for my little Daughter, she is 3 Years old and loves Robots. Her Favorits are not payable for me, she wants an asimo, HPR-4 or a Nao, but all of them aren't really cheap for a little kid's toy. ;-)
EDIT: I got cheap a second Omnibot5402 with Remote and Batteriedoor, but the tapedeck is away, so I have a Base for my next projekt, and also one Complete 5402 that is still very expensive when I look at the ebay prices.
Marc
Discover more robots
Lemon's Arc Upgraded
Ezang's Two Projects From The Past - Re-Mixed


That's a cool little robot Nice change from the 5402 too.
Welcome to the site by the way.
Cool bot, should work fine with the EZ-B, welcome to the revolution.
Cool! Welcome.
And by the way, there has been an update that lets you track multiple colors so it doesn't have to be a red ball.
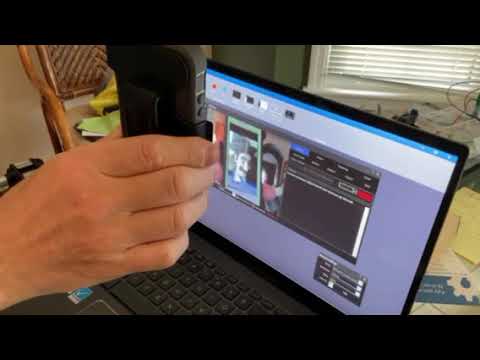
Today he has his first "walk"...no problems at all. He drives in the right directions without trying several combinations of the four ports between ez-b and motor controller. I wonder that the controll is not pwm when I use my 360gamepad...he always runs full power. But for the first run it was a.full success. Now begins the finetuning and control by webcam, and I have to cut up his head .
.
I will post some pics soon.
Marc
Yesterday I went to the cellar and found one of my old rc-cars that could be a ideal, waterproof drivebase for a robot...olli or omnibot. It's a "Robbe" "Rodeo 6x6x6", it's from the eighties and have been reproduced some years ago by "Reely" and named "Kayman". There is a nearly similar car from the manufacturer "Prafa", it was named Samba.
The gerabox has to be modified, because the speed is a "little high". ;-) But the platform is amazing, enough place to hold 12V batteries, power enough to transport even every Robot.
Marc
I've done some work...it was a small cut for me...buuuut a great cut for Olli. My background music while cutting was "Don't lose your head" by Queen from the motion picture Soundtrack of Highlander. ^^
On the Back of Olli you can see the ezb, I have to build a, acrylic cover to save ezb from damages.
After cutting of the Head Omnibot grap Ollis head and tried to get away with it...
...but then Ollis brother caught Omnibot and saves his brothers head.
Now the head had to be fixed again with Pan-Tilt servos.
Marc
EDIT: I have fixed the head with two servos, but the mechanical part is a bit shaky, I have to add some parts for more stabilty...pics come soon.
I also got my ordered 50pcs RGB LED's with common cathode, now I have to solder a little amp that can handel two or more RGB LED's on thre PWM Ports of the ezb. I will put them into the eyes, to show emotions or feedback of cam tracking...yellow=searching objekt, green=got objekt, red=objekt not found or something like that.
The cam will be installed in the lower part of the silver stripe of the head, between/over the eyes.
In the Body of olli is a thing that looks like a ~1" magnifier, I will cut it off and put in a fitting ~5W led-lenser. Or I will use a multi led lenser and put 50% visible white and 50% ir led's in so I can switch between visible light and invisible ir light...but when you hear the sound of ollis chains than I need no ir led's because stealth is not one of his his strengths.
OK, I found a 100% fitting cover for the back of olli to protect the ezb. It is one half of a 3,5" HD Transportcase, it's thin, clear and stable enough to do that job.
Here a pic of the neck:
He looks around...
One problem that I have to fix is that the head movement is a bit shaky, I have to make it more stiff.
ToDo: higher Neck-Stiffness, RGB-LED Eyes
Marc
This little Olli robot guy in pretty cool looking. He is surprisingly large. A picture by himself you would imagine it would be half the size. Good job so far I will follow this one for sure.