


-636113389122355023.jpg)
-636113389180472117.jpg)
-636113389229237163.jpg)
-636113389290829174.jpg)
-635785172055556250.jpg)
-635785172158993750.jpg)
-635785172247743750.jpg)
-635785172413525000.jpg)
-635785172535868750.jpg)
-635539160746588750.jpg)
-635539160942370000.jpg)
-635539151418620000.jpg)
-635539151686276250.jpg)
-635506236904022500.jpg)
-635506236982460000.jpg)
-635541830861718750.jpg)
-635541830952968750.jpg)
-635542009881406250.jpg)
-635542010005625000.jpg)
-635542010164062500.jpg)
-635542010239375000.jpg)
-635550292359666250.jpg)
-635550292425760000.jpg)
-635550292762791250.jpg)
-635550292882166250.jpg)
-635588389714074531.jpg)
-635588389830012031.jpg)
-635588389903605781.jpg)
-635588390025480781.jpg)
-635740342543525000.jpg)
-635740342848525000.jpg)
-635740343052275000.jpg)


-635654945956718750.jpg)
-635654946193593750.jpg)
-635654944503750000.jpg)
-635654944608125000.jpg)
-635654945569687500.jpg)
-635654945677031250.jpg)
-635654945774843750.jpg)
-635654947723906250.jpg)
-635649848340668750.jpg)
-635649848423325000.jpg)
-635649848495512500.jpg)
-635649848636293750.jpg)
-635649848698012500.jpg)
-635648558878637500.jpg)
-635648558955200000.jpg)
-635648559038168750.jpg)
-635751639905293516.jpg)
-635751639972481016.jpg)
-635751640035137266.jpg)
-635608349000797500.jpg)
-635608350446578750.jpg)
-635608350539860000.jpg)
-635608350602672500.jpg)
-635611773195797500.jpg)
-635611774051735000.jpg)
-635611774942985000.jpg)
-635611775598766250.jpg)
-635611775696110000.jpg)
-635611775779235000.jpg)
-635609741260641250.jpg)
-635609741333610000.jpg)
-635609741411735000.jpg)
-635609741477828750.jpg)
-635614157409705000.jpg)
-635614252981416015.jpg)
-635614253073603515.jpg)
-635614253146416015.jpg)
-635614265943447265.jpg)
-635629208523613281.jpg)
-635629208617050781.jpg)
-635629208700644531.jpg)
-635629208828769531.jpg)
-635629208897675781.jpg)
-635629208978769531.jpg)
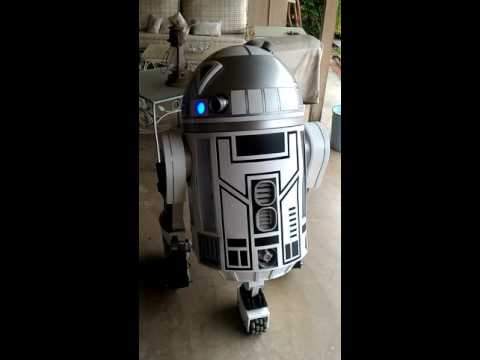
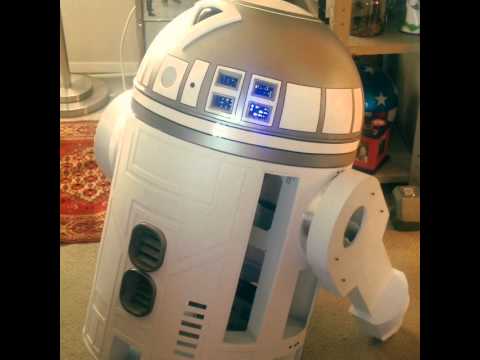
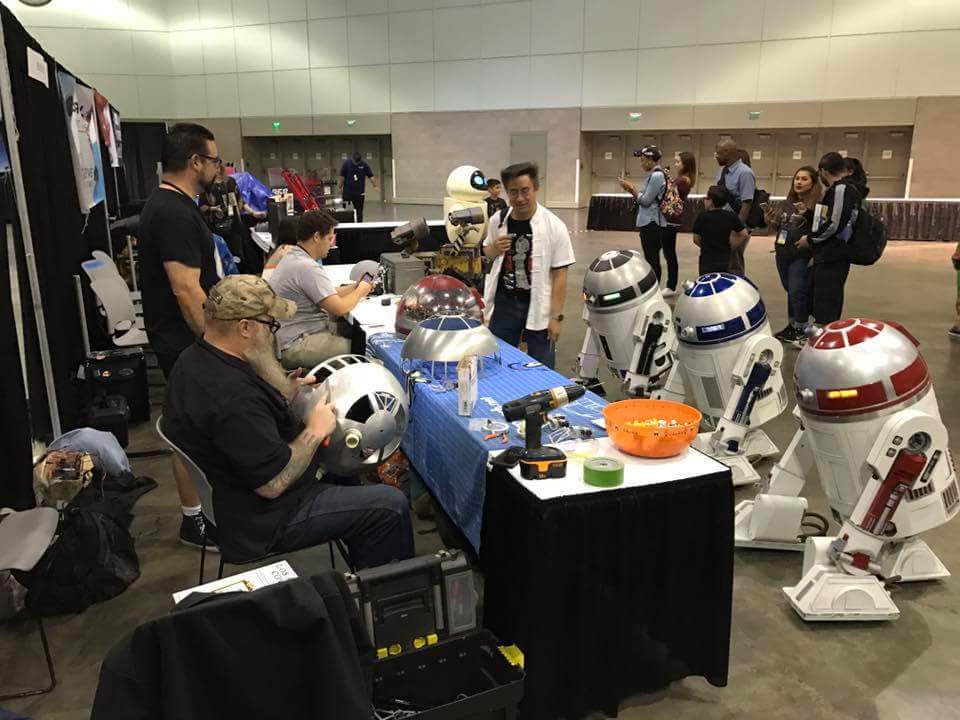
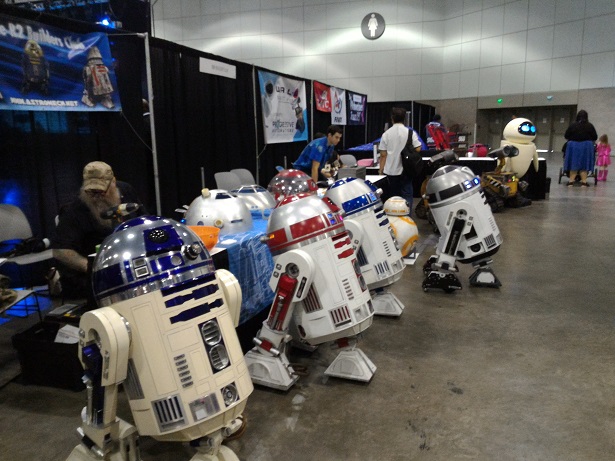
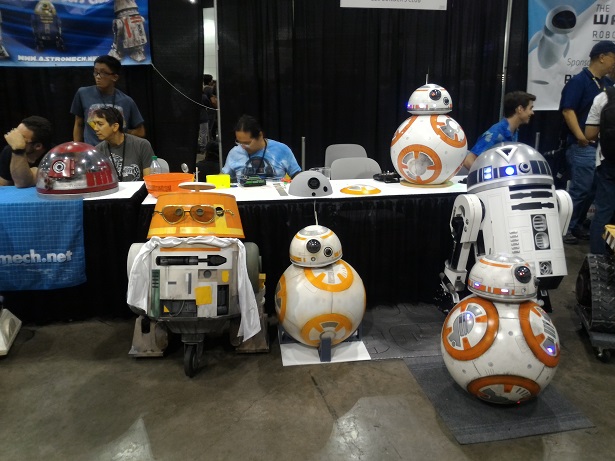
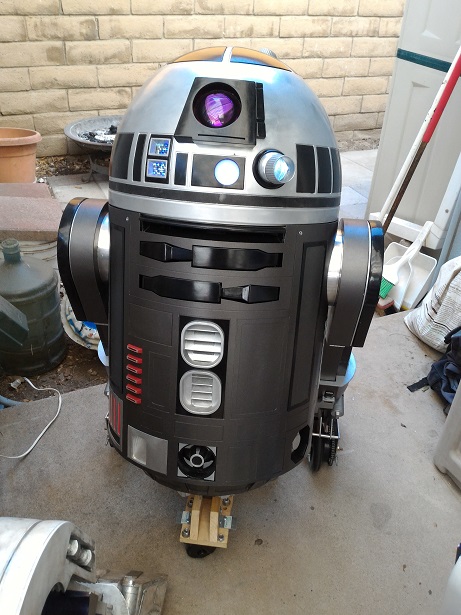
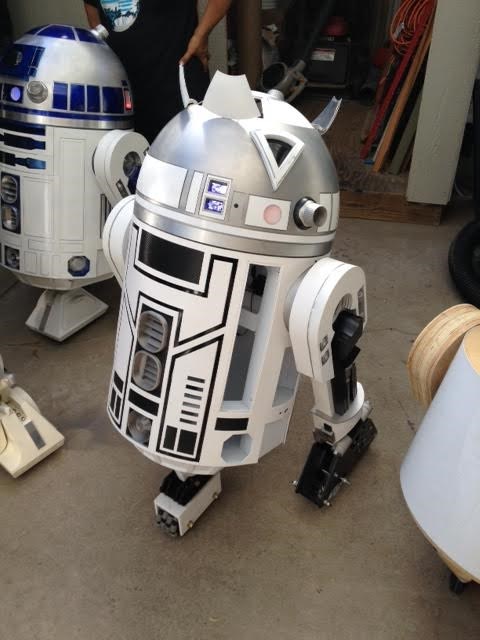
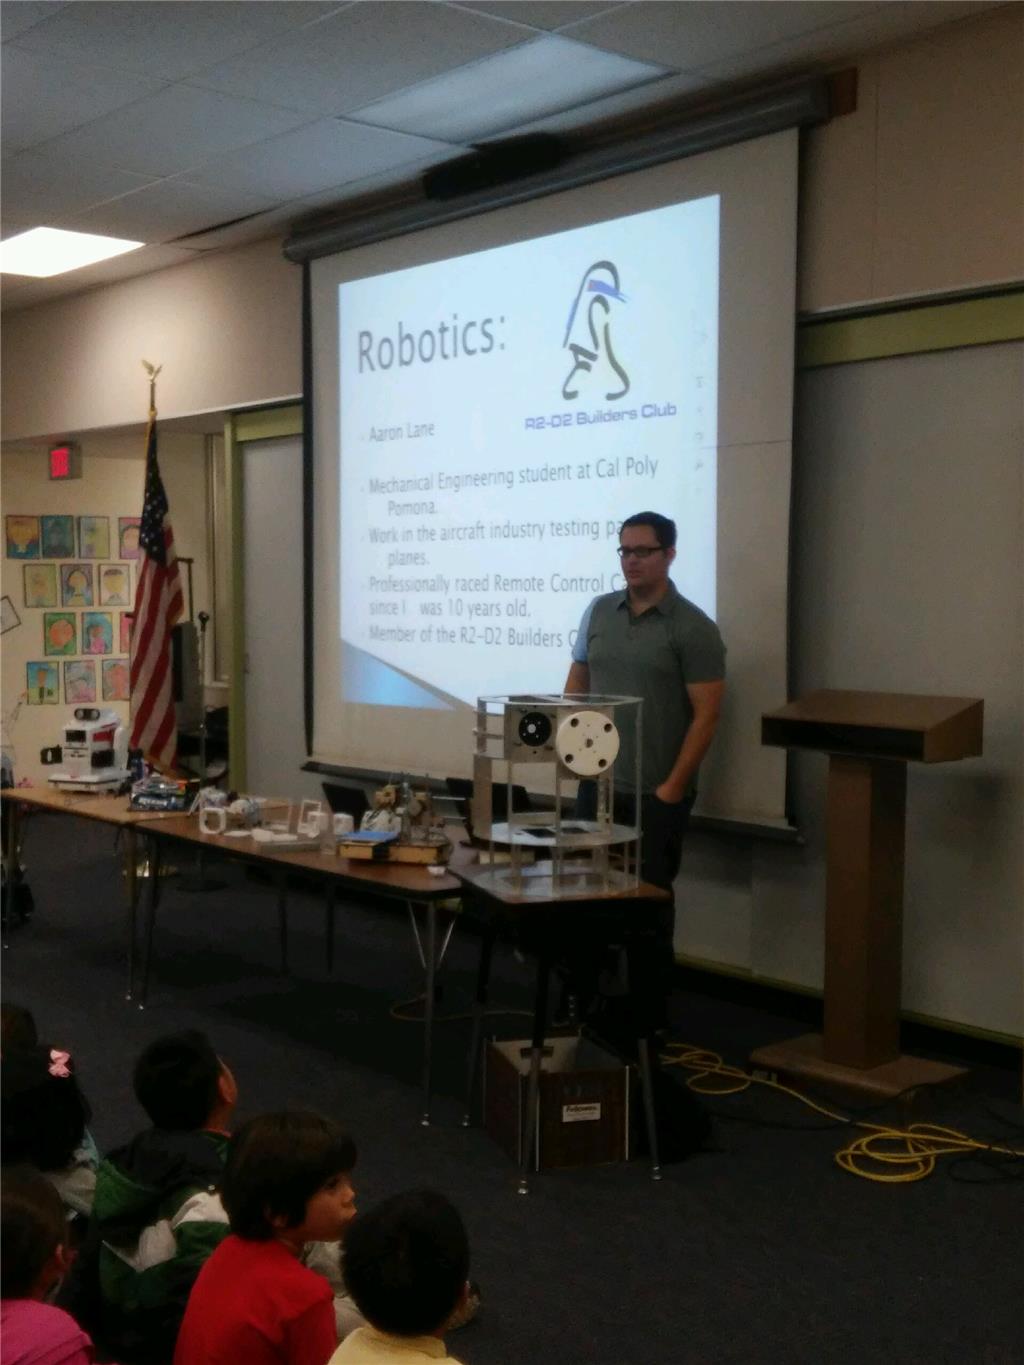
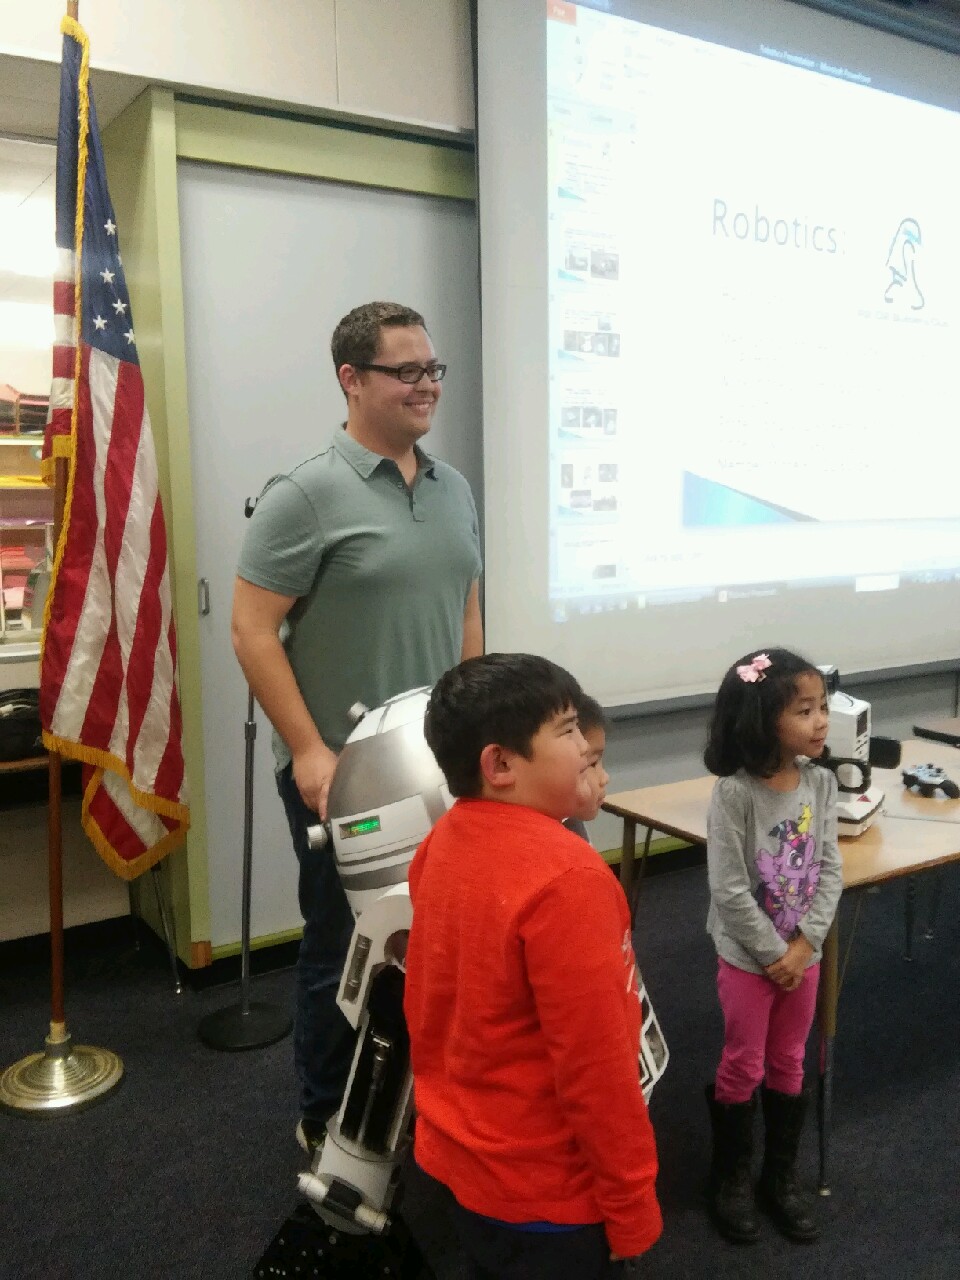
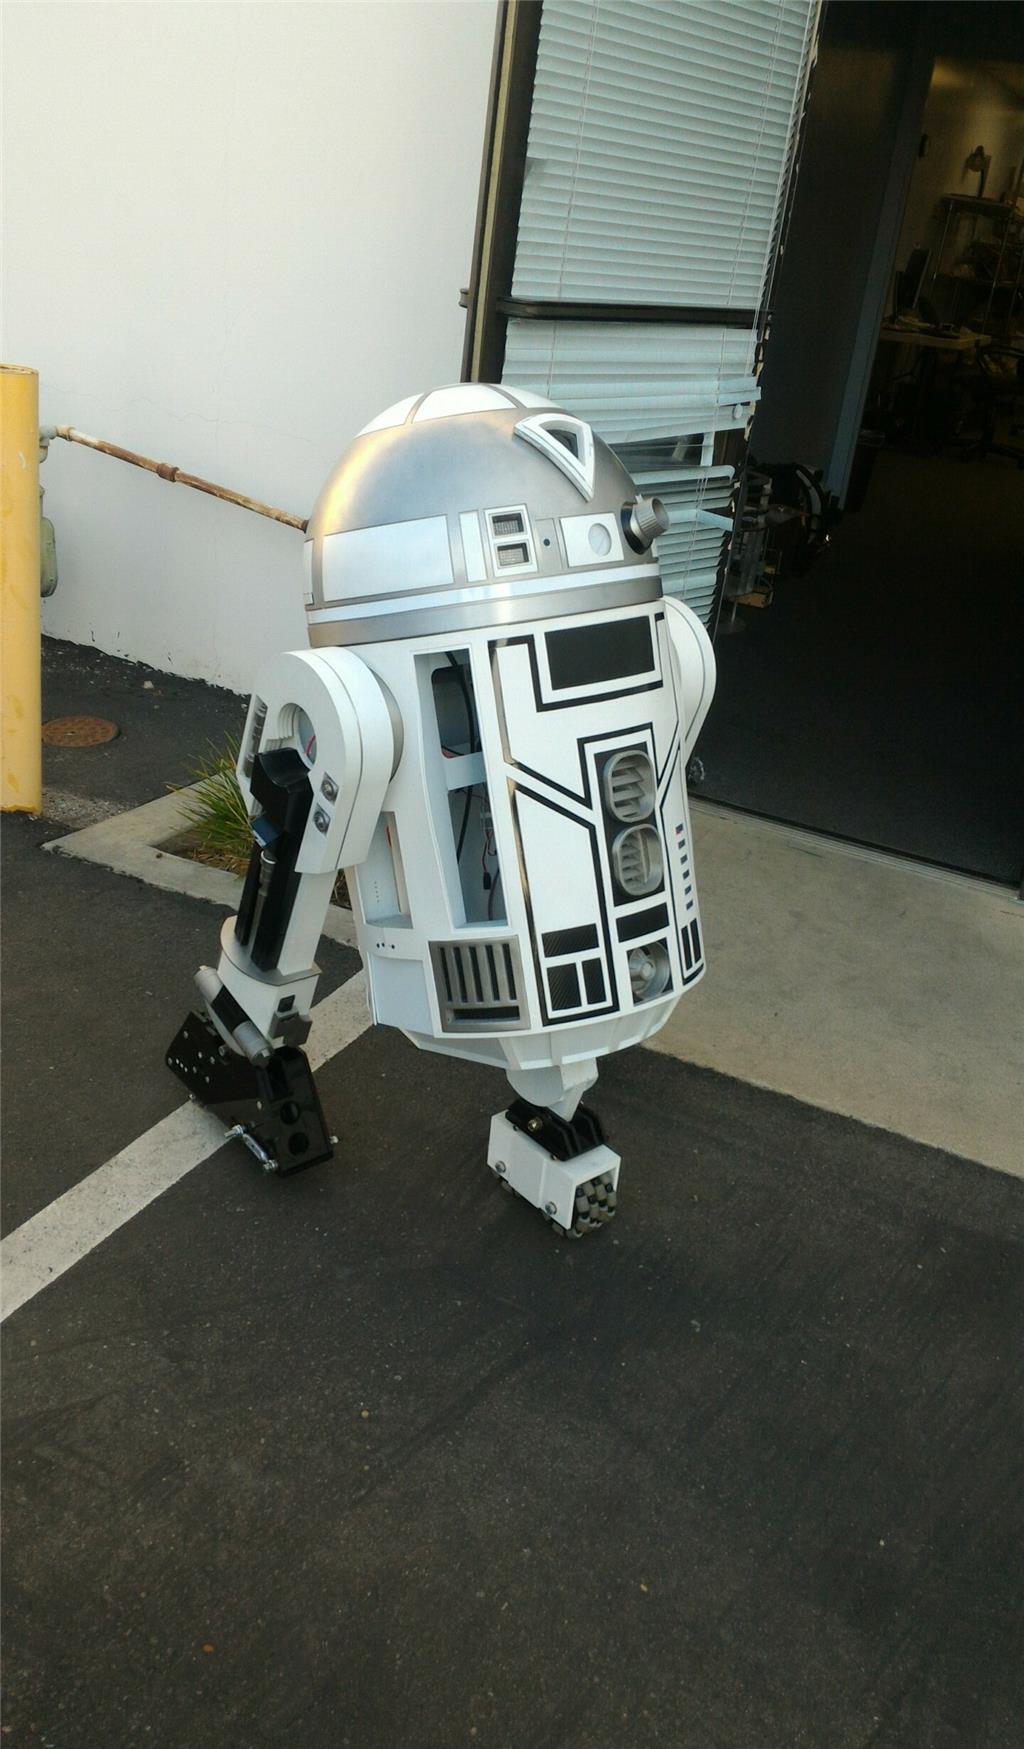
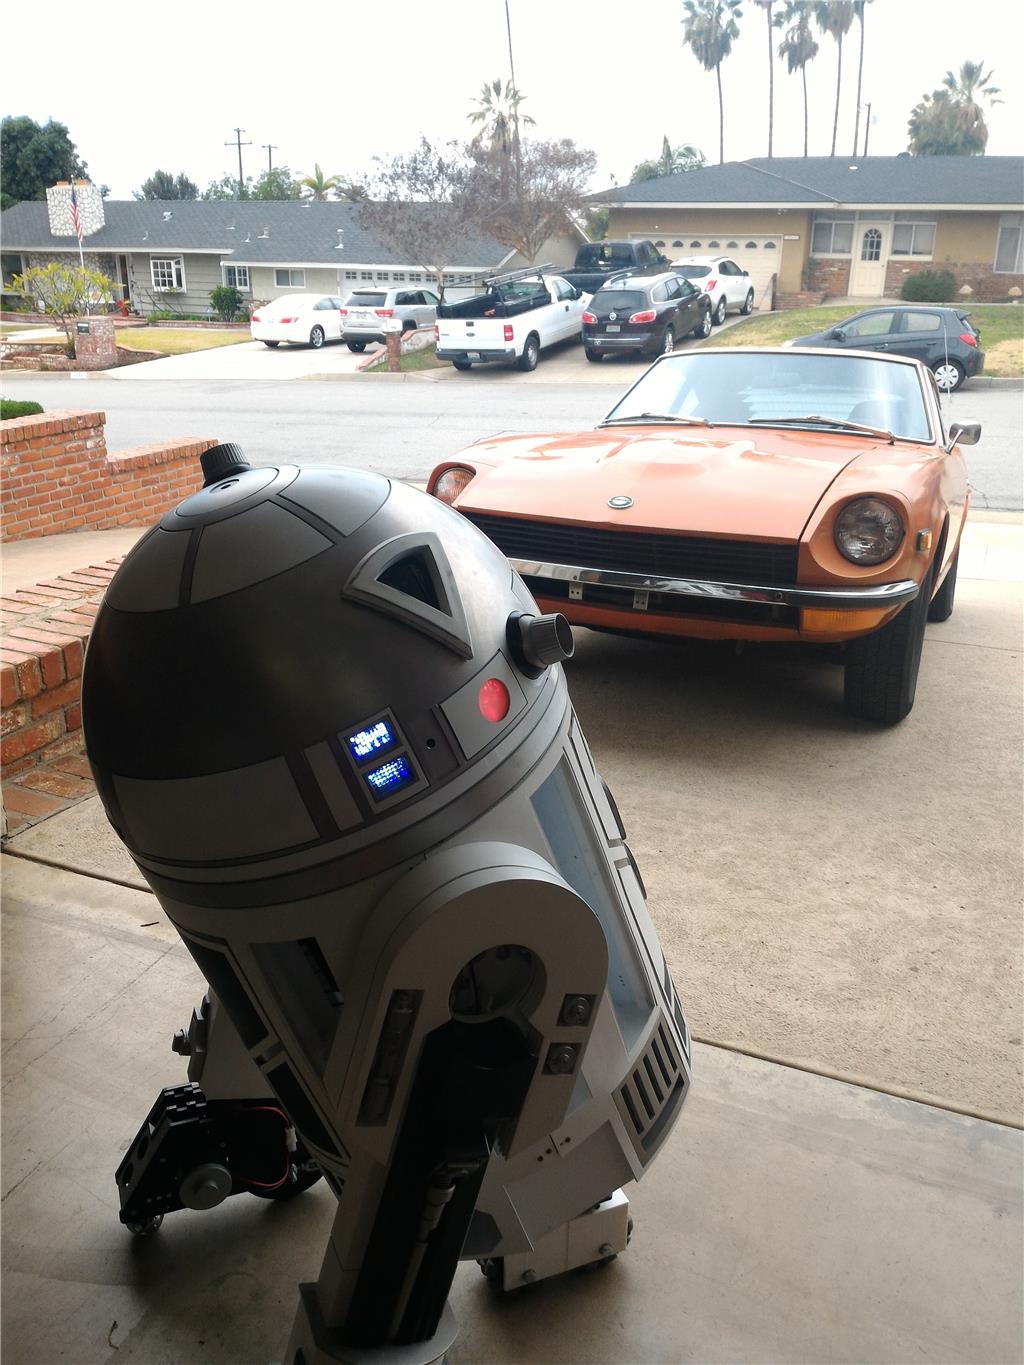
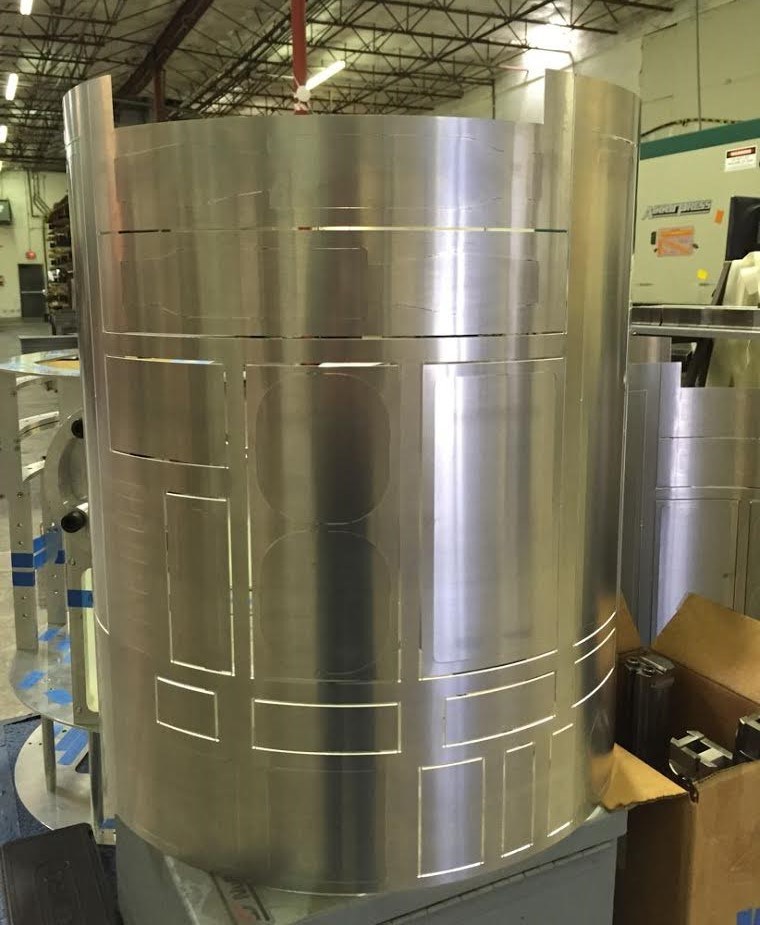
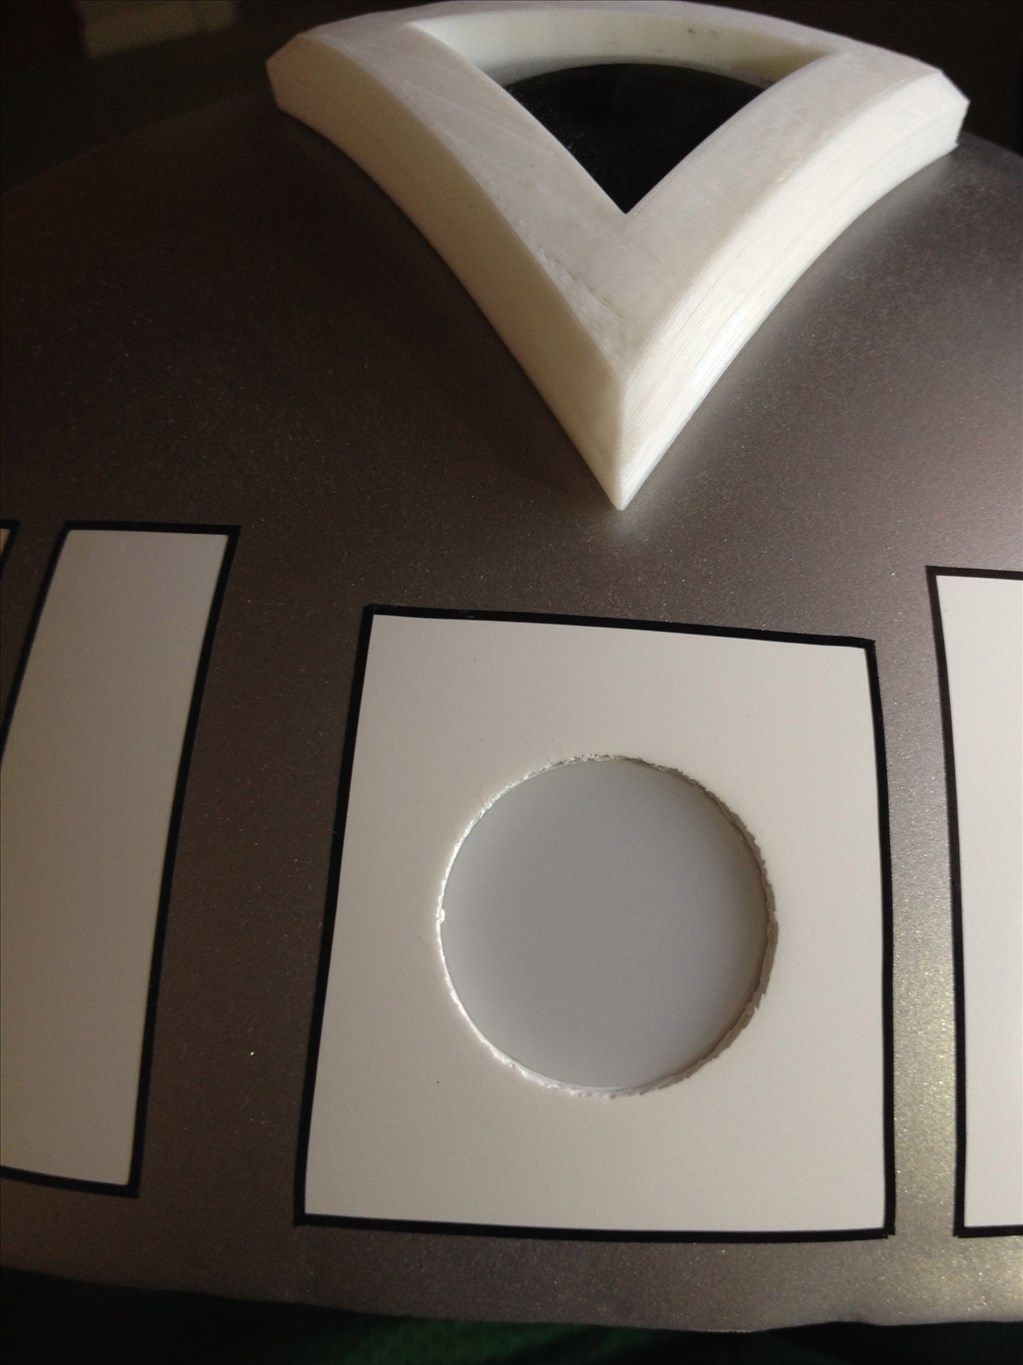
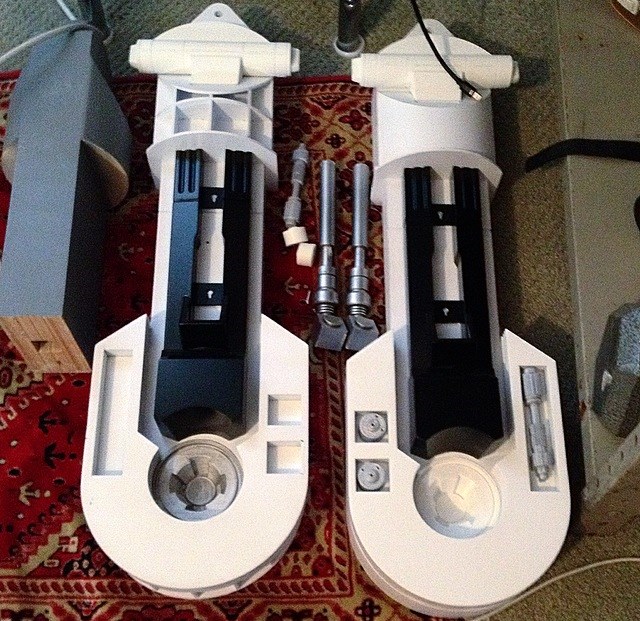
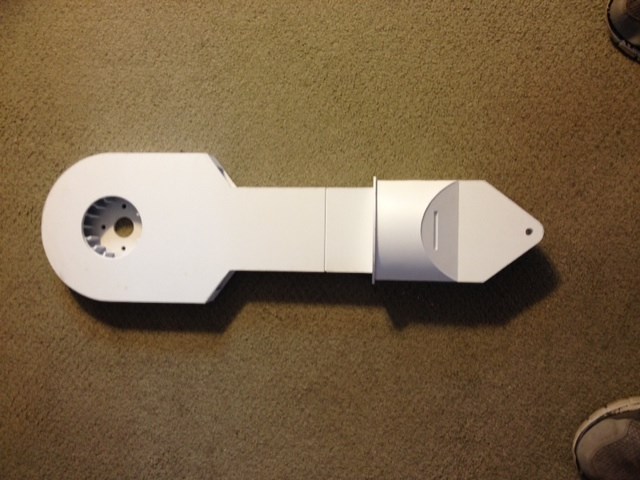
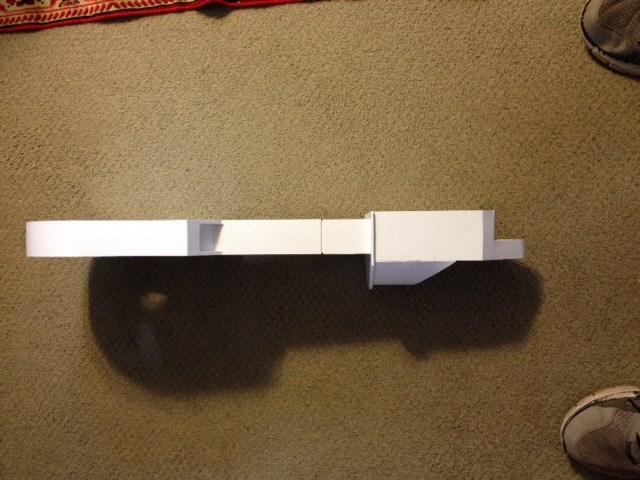
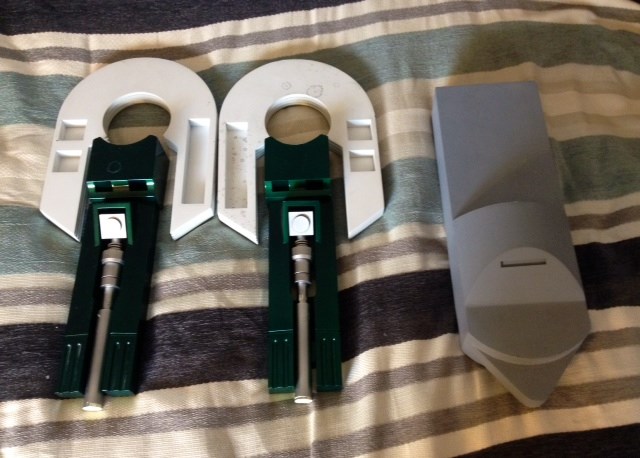
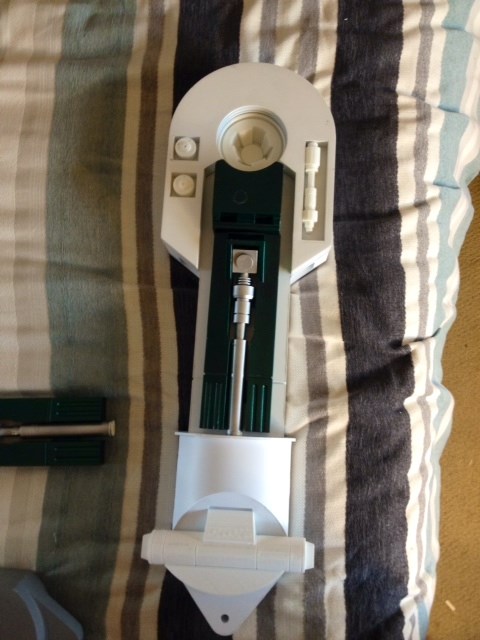
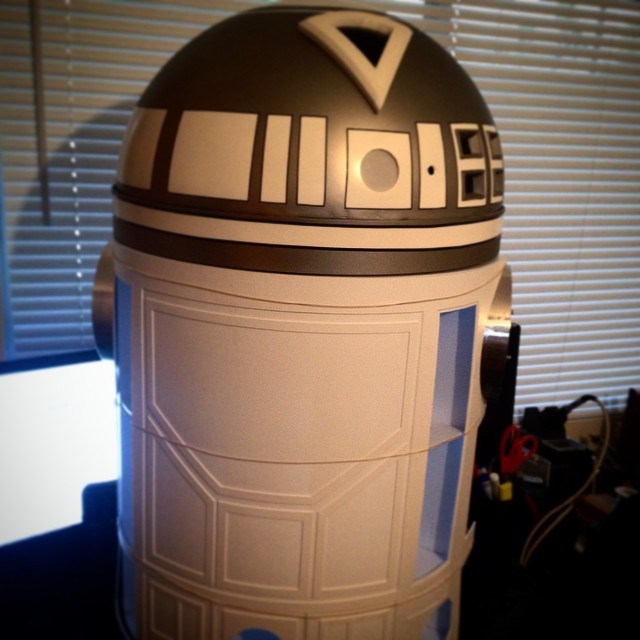
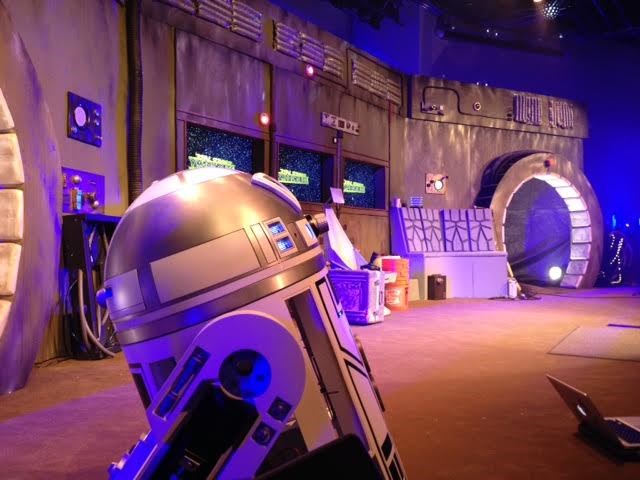
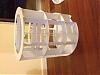
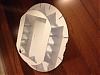
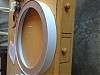
Hello everyone so i have begun building my full size astromech droid! I know that this project is going to take a long time but I feel it will be worth it in the end. My droid will be built from styrene and 3d printed parts. The dome is actually a security mirror but requires a 2" riser made from a floral craft ring and styrene cover.
I wil be loading larger and not sideways photos soon.... stress
By robot56
— Last update
Other robots from Synthiam community
Rz90208's First Look At Fud2
Bot FUD2 current build photo showing the robot's latest configuration
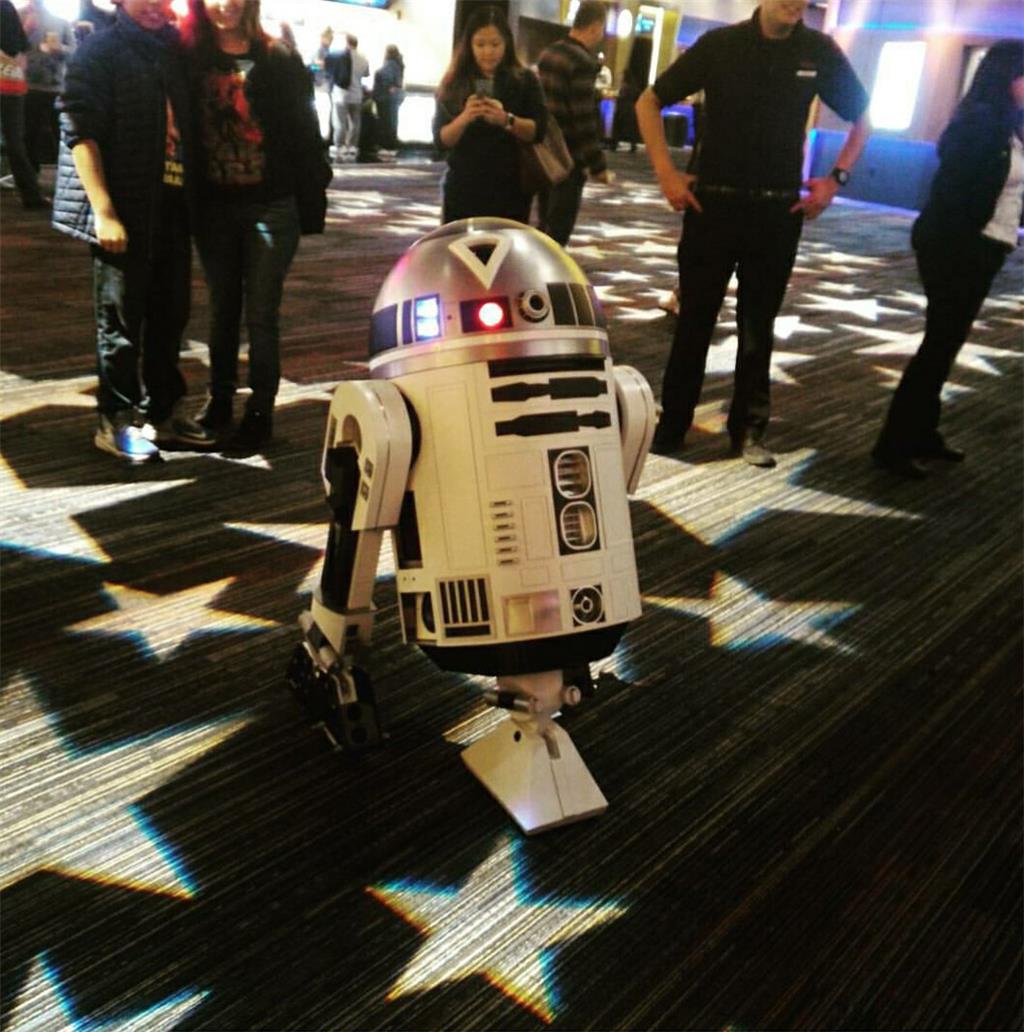
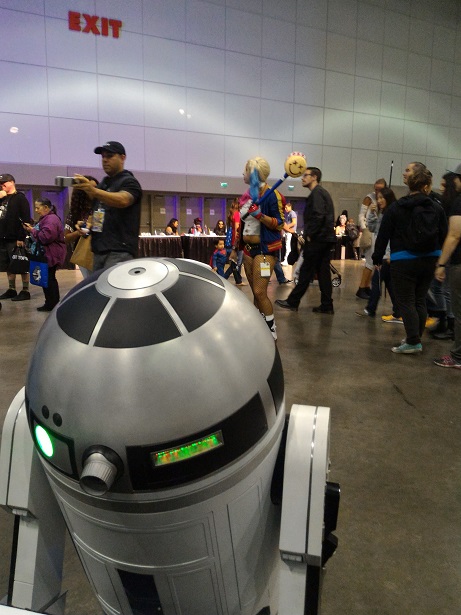
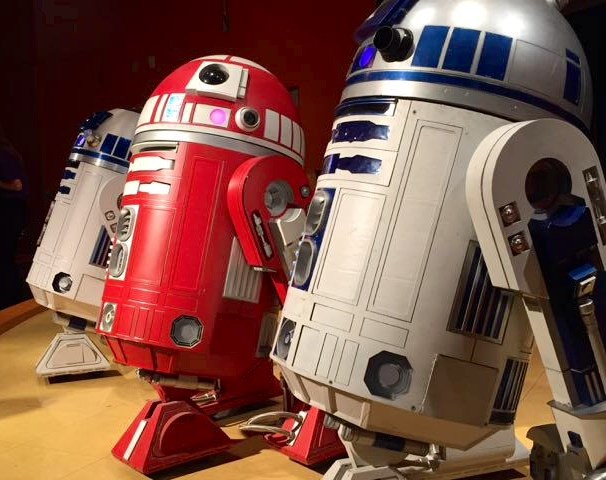
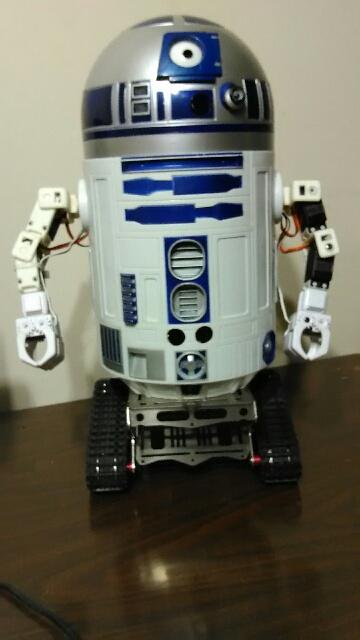
Andy's Walmart R2d2
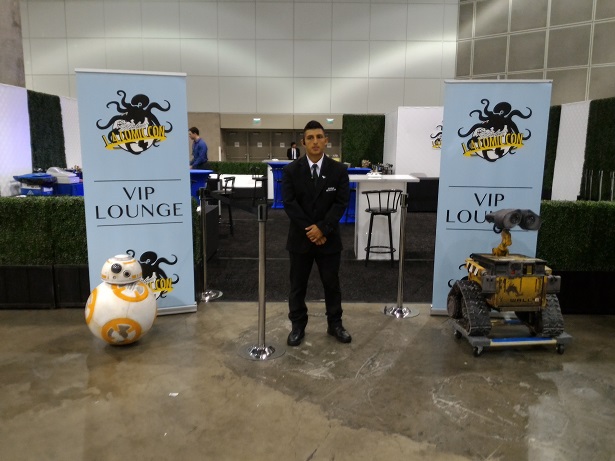
Convert a Walmart R2D2 into a functional droid with LED panels, camera, servo-driven dome, motorized legs and 3D-printed...
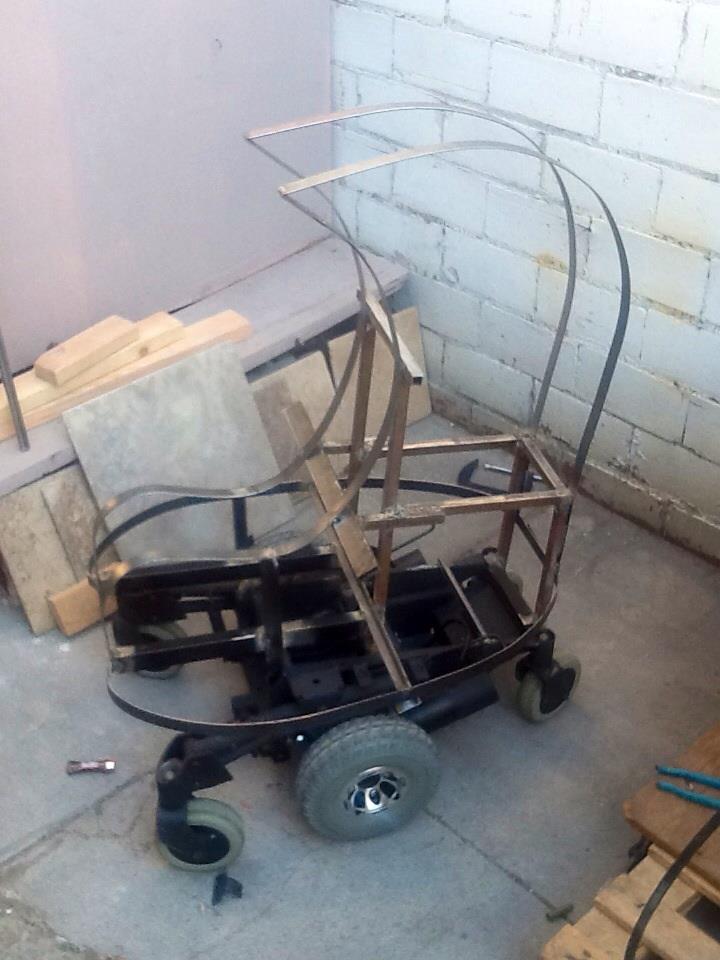
Sleenard's Ampdroid S1
Welded robot frame prototype mid-build with contour pieces and planned aluminum platforms; next steps include head and...

Looking good so far, keep it up. We are all here if your motivation runs low (as it can do with big projects) :-)
thats very cool
I actually have a CNC cut styrene frame on order to do this same thing. It certainly takes a lot of parts to build one of these things accurately, and a long time to accumulate them.
I have found acquiring a dome to be the hardest and most expensive part.
I am in a rut on my half scale build I'm making from wood(scratch). We'll have to see who does better. Mini or life size!
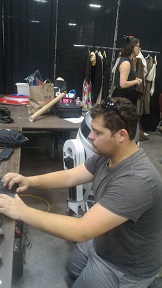
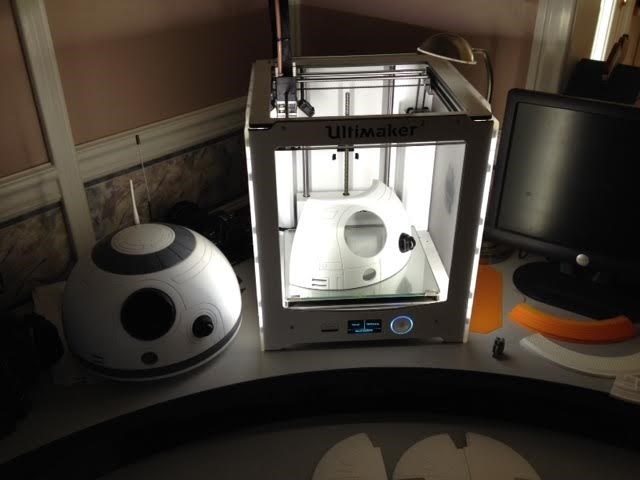
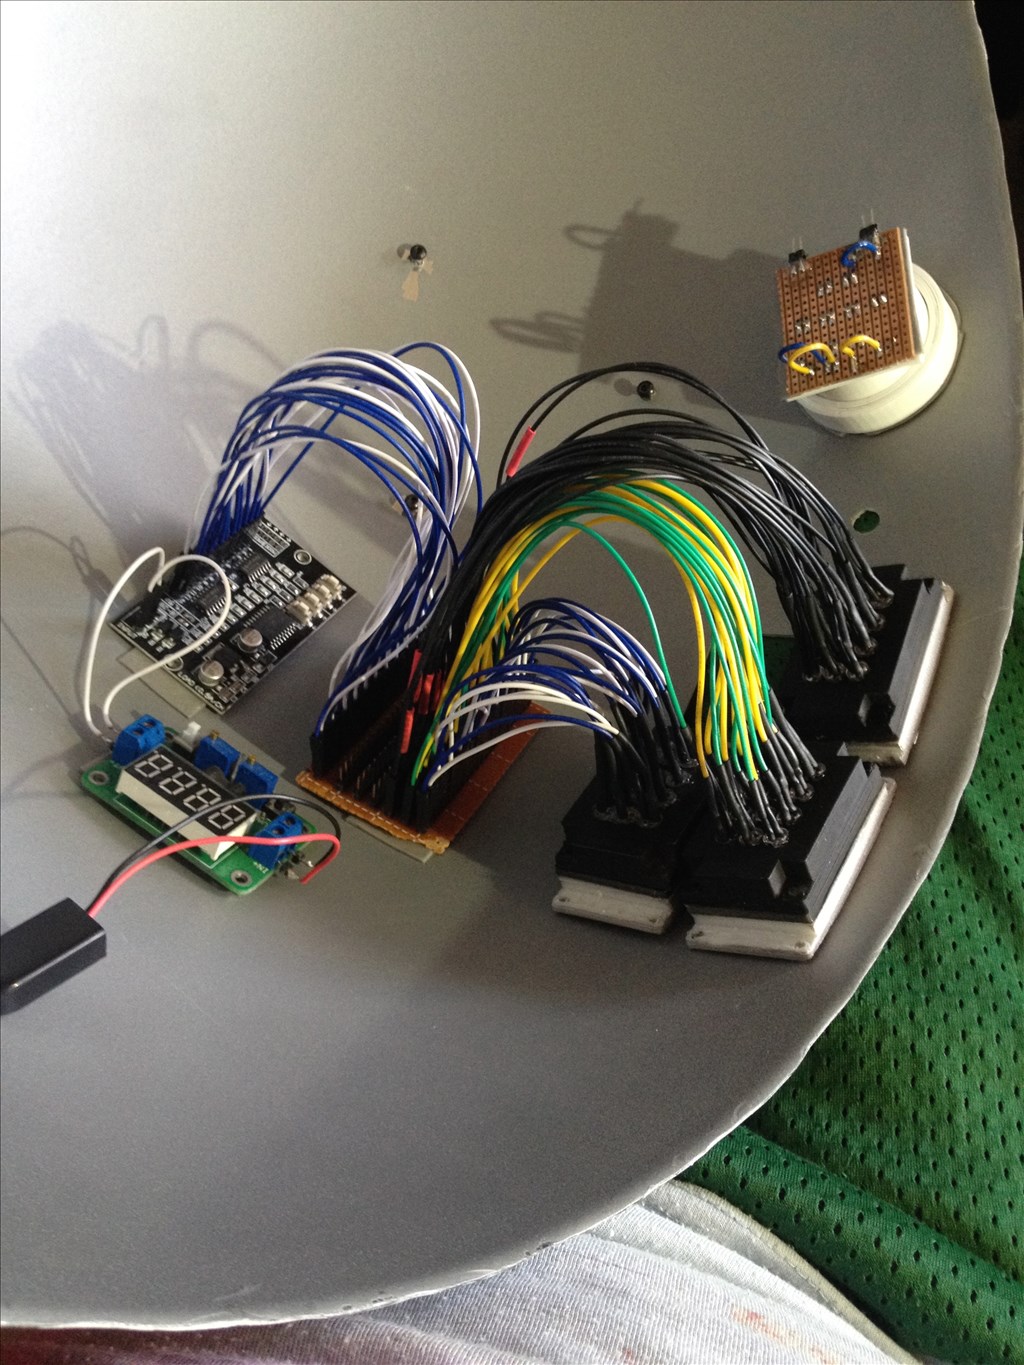
Thanks guys! There are so many parts and little details to these droids... Luckily I have a 3d printer and have access to most of the pieces as an .stl
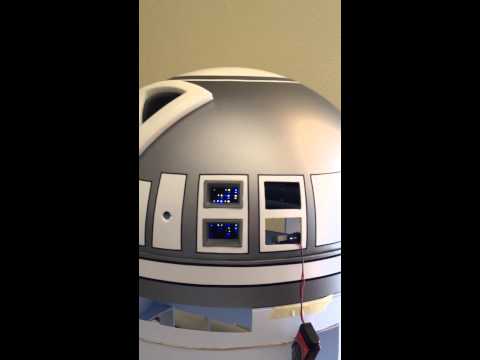
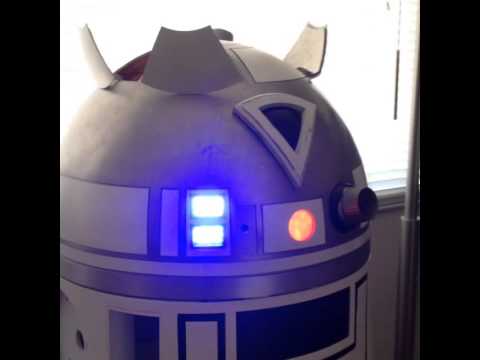
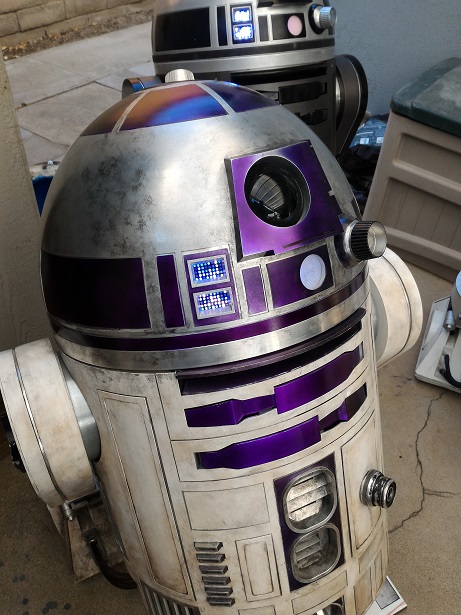
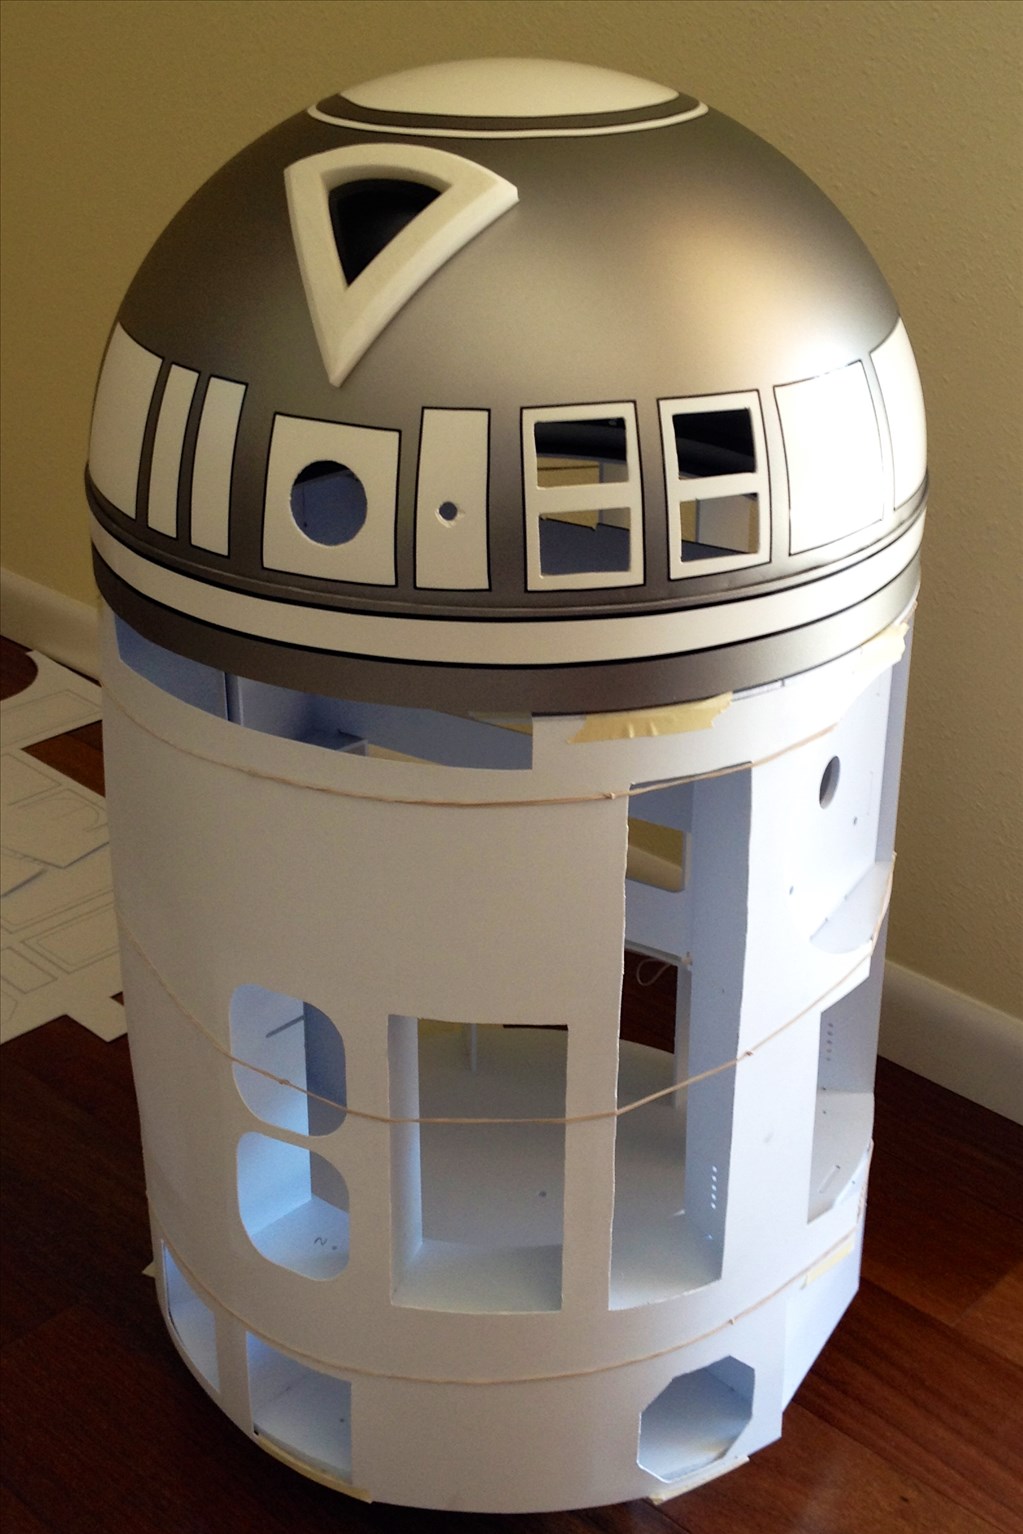
Obtaining a dome is by far the single hardest part. An astromech's dome is actually an ellipctical/egg cross section and makes it impossible to go out and buy something accurate (unless its made in a club members parts run). I told myself however that I am going to do this astromech my own way and if there were small differences like the dome being a raised hemisphere that it wouldnt be the end of the world. i nabbed the dome for free from work because they were going to throw it away... its a hemisphere unfortunately but the price sure makes up for it lol in time when there is a run of domes available i will pick up a couple.
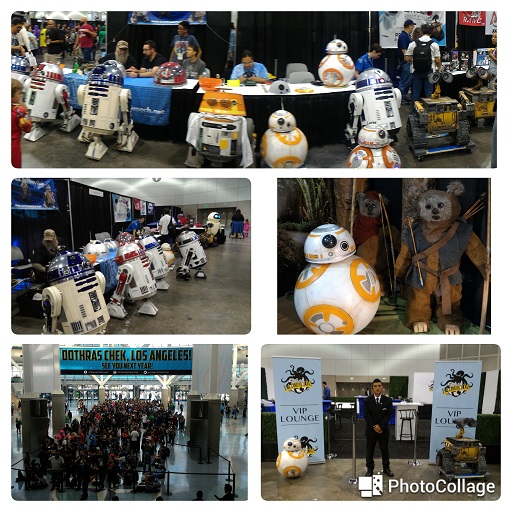
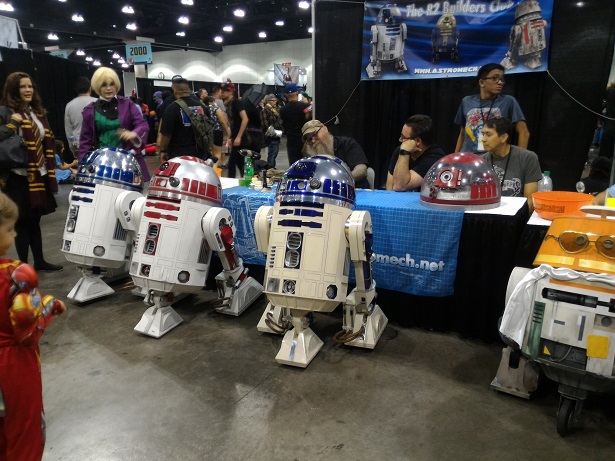
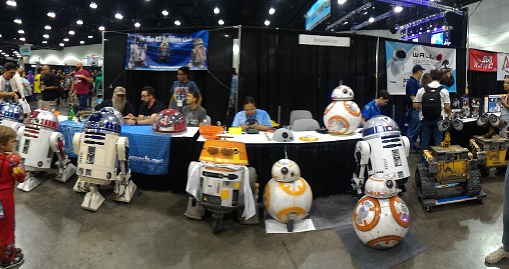
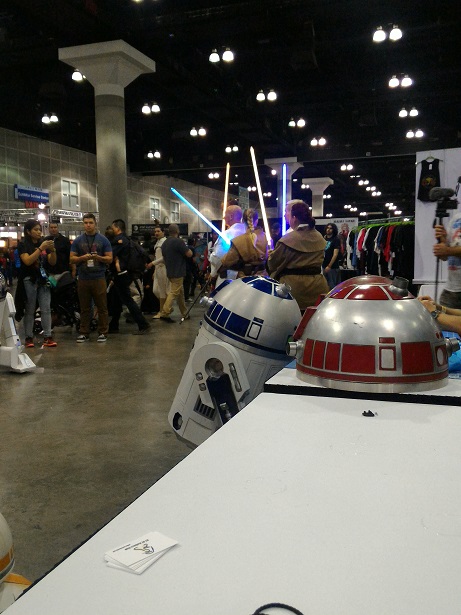
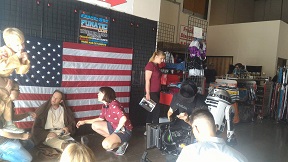
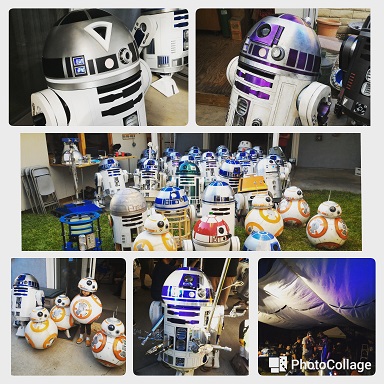
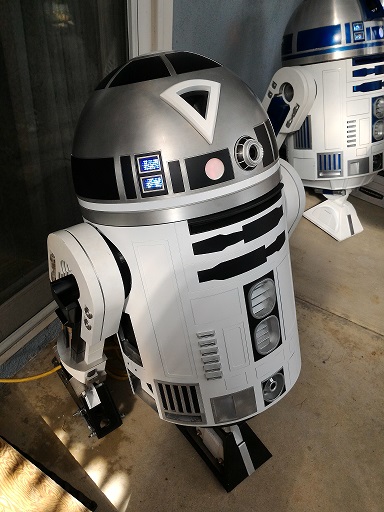
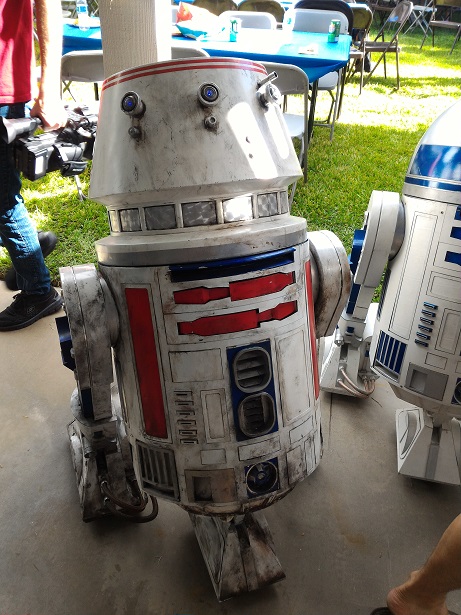
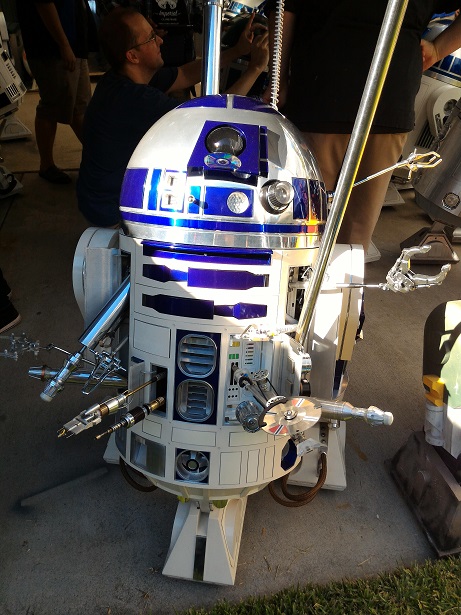
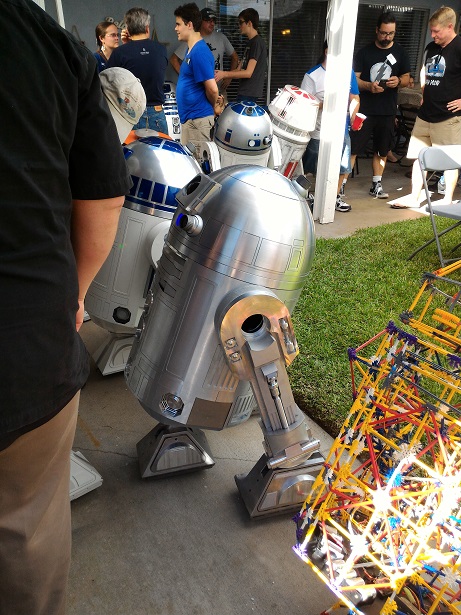
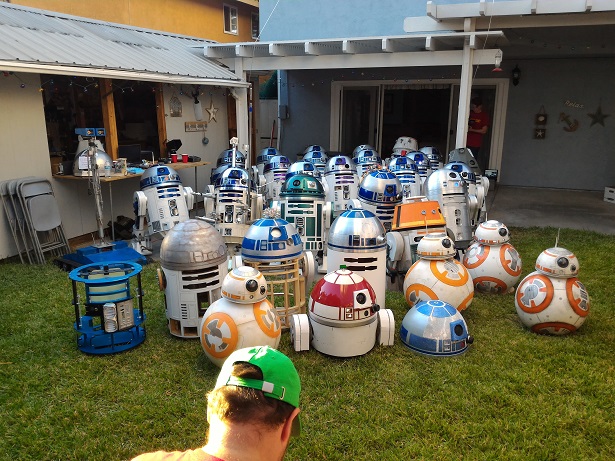
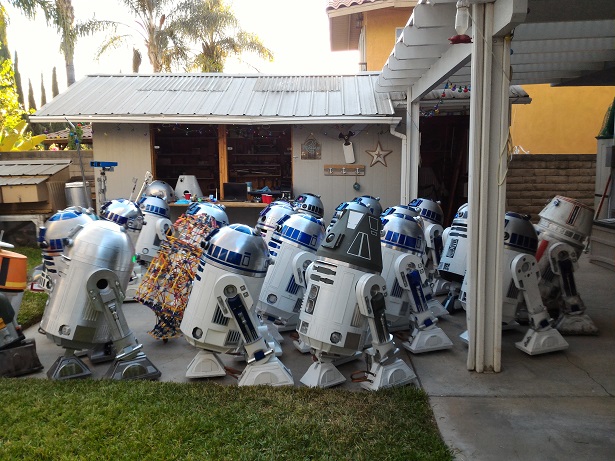
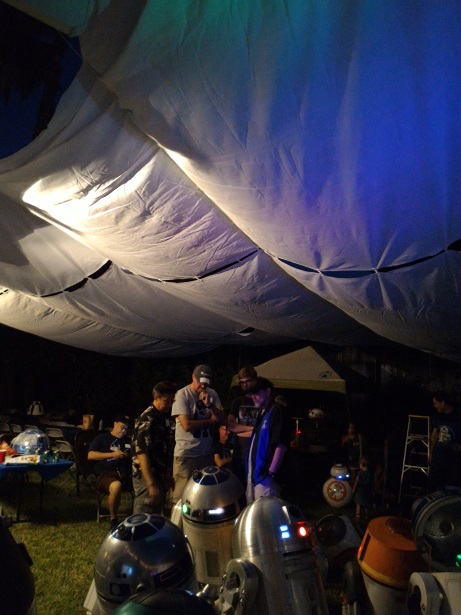
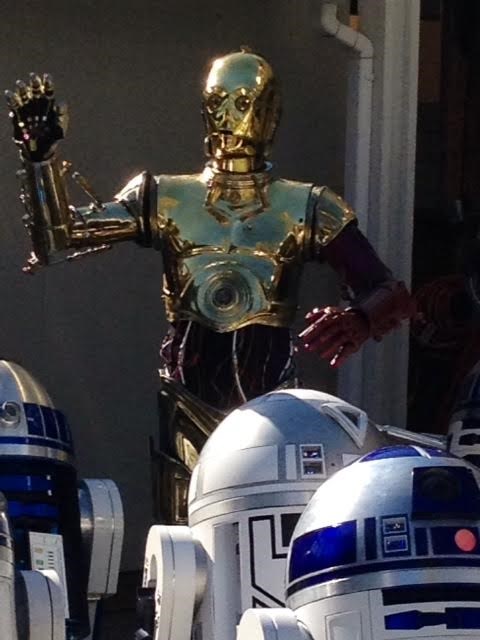
There is actually a gathering at the end of september for all of the astromech builders in southern California. My hope is to get the dome automated and rotating around with camera tracking and sounds by that time. Im sure some of them have never seen Ez-robot! many are just completely remote controlled and are essentially a giant rc car... There are plans for mine to be fully autonomous but that wont be for a while
Large robots and large plans use up large amounts of time and moo-la in order to get done. Glad to see another member get started.
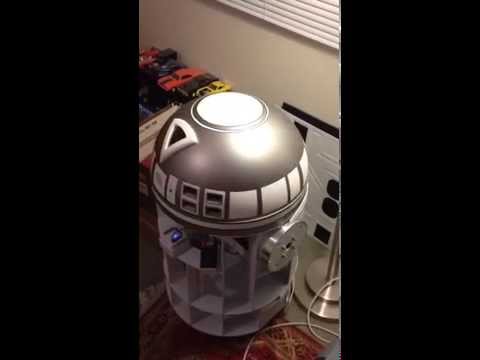
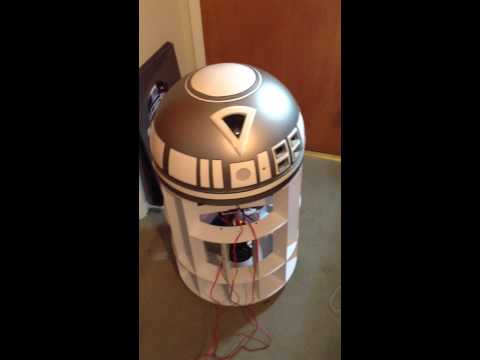
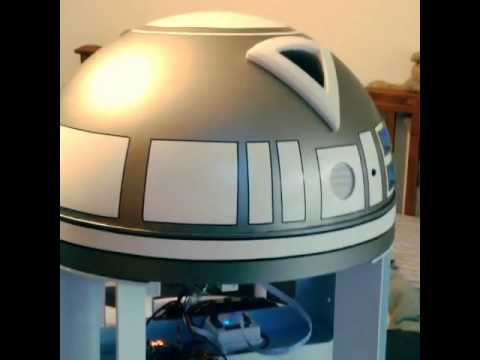
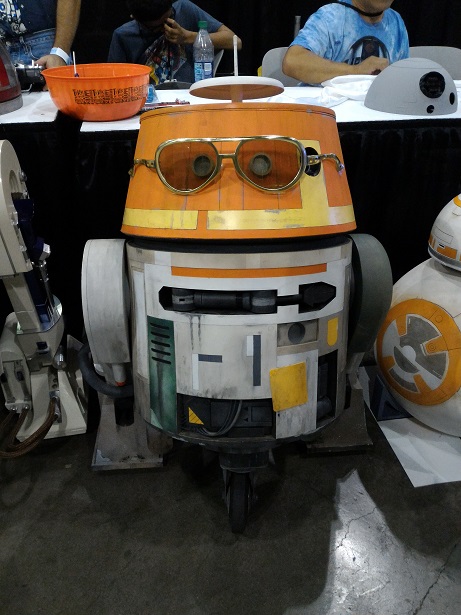
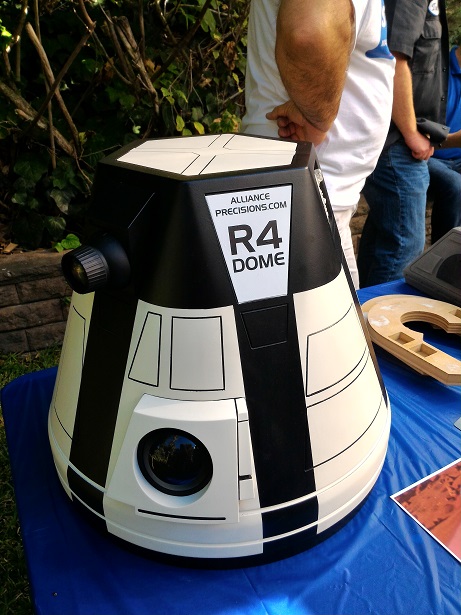
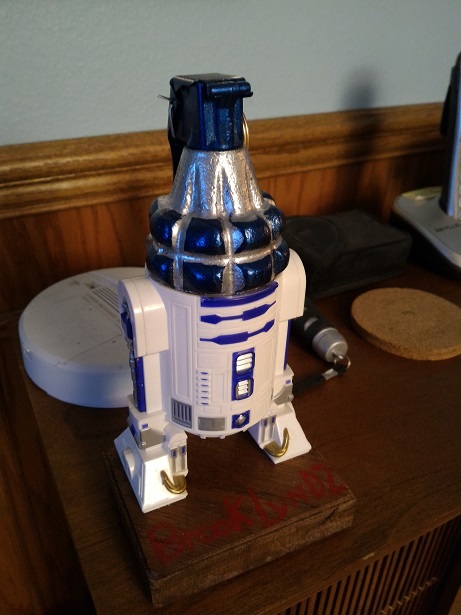
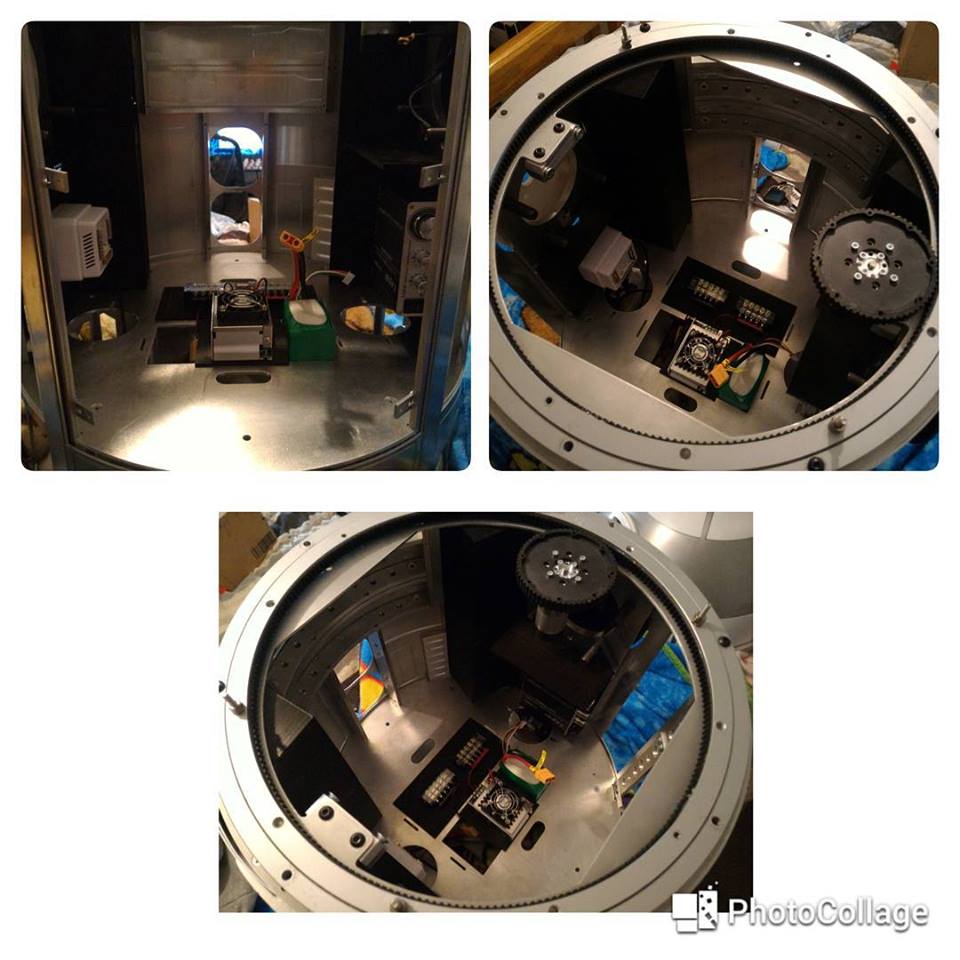
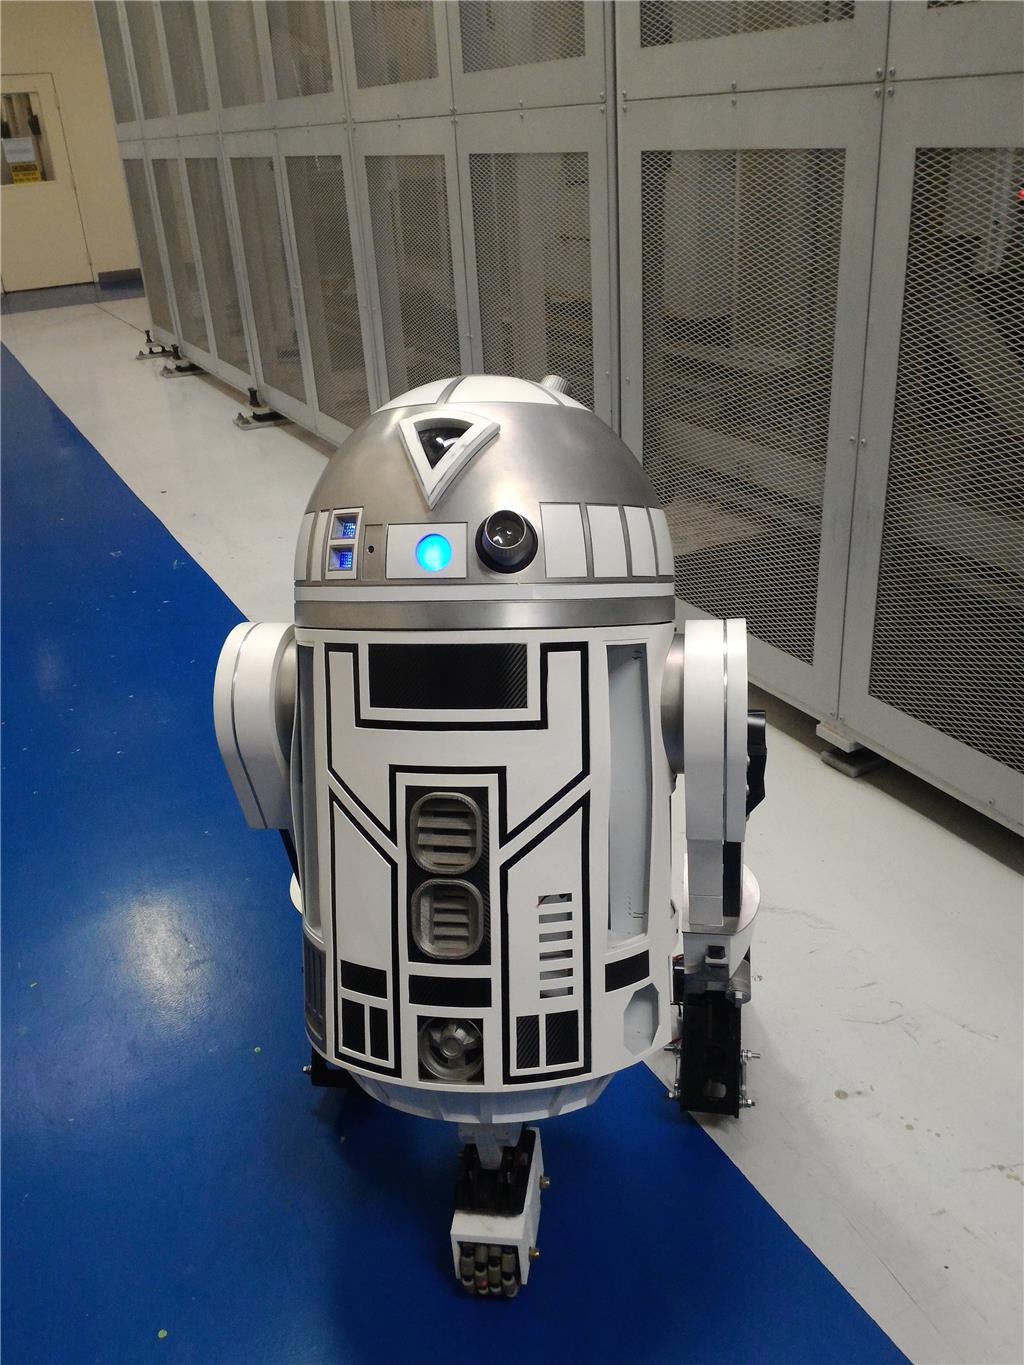
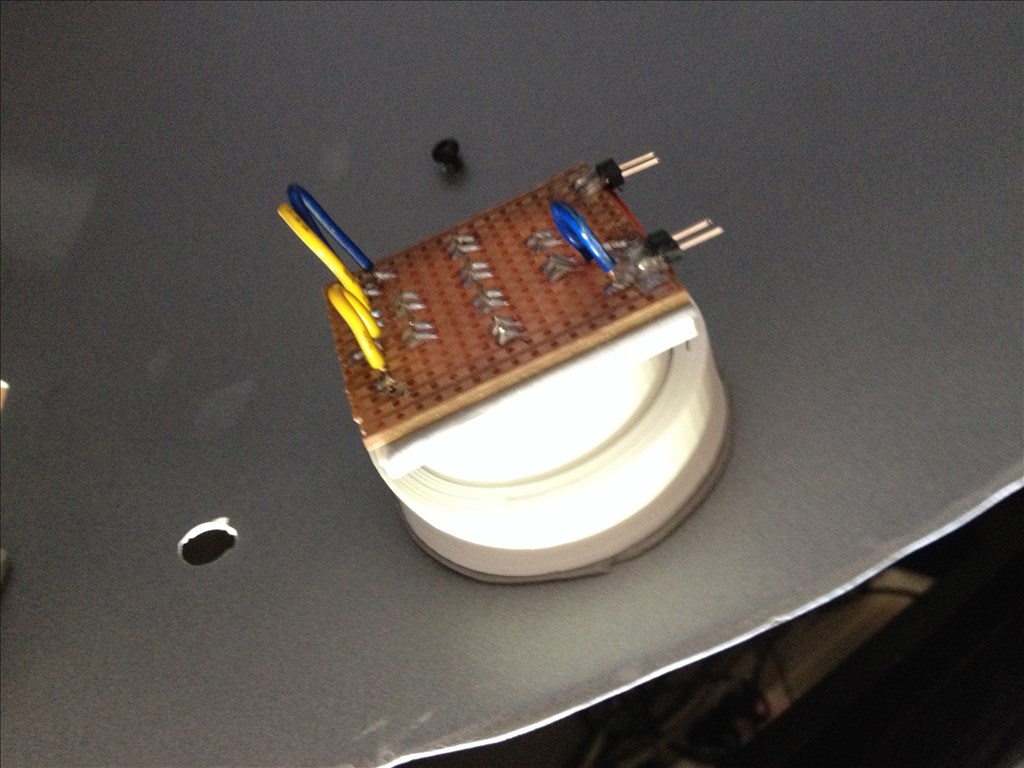
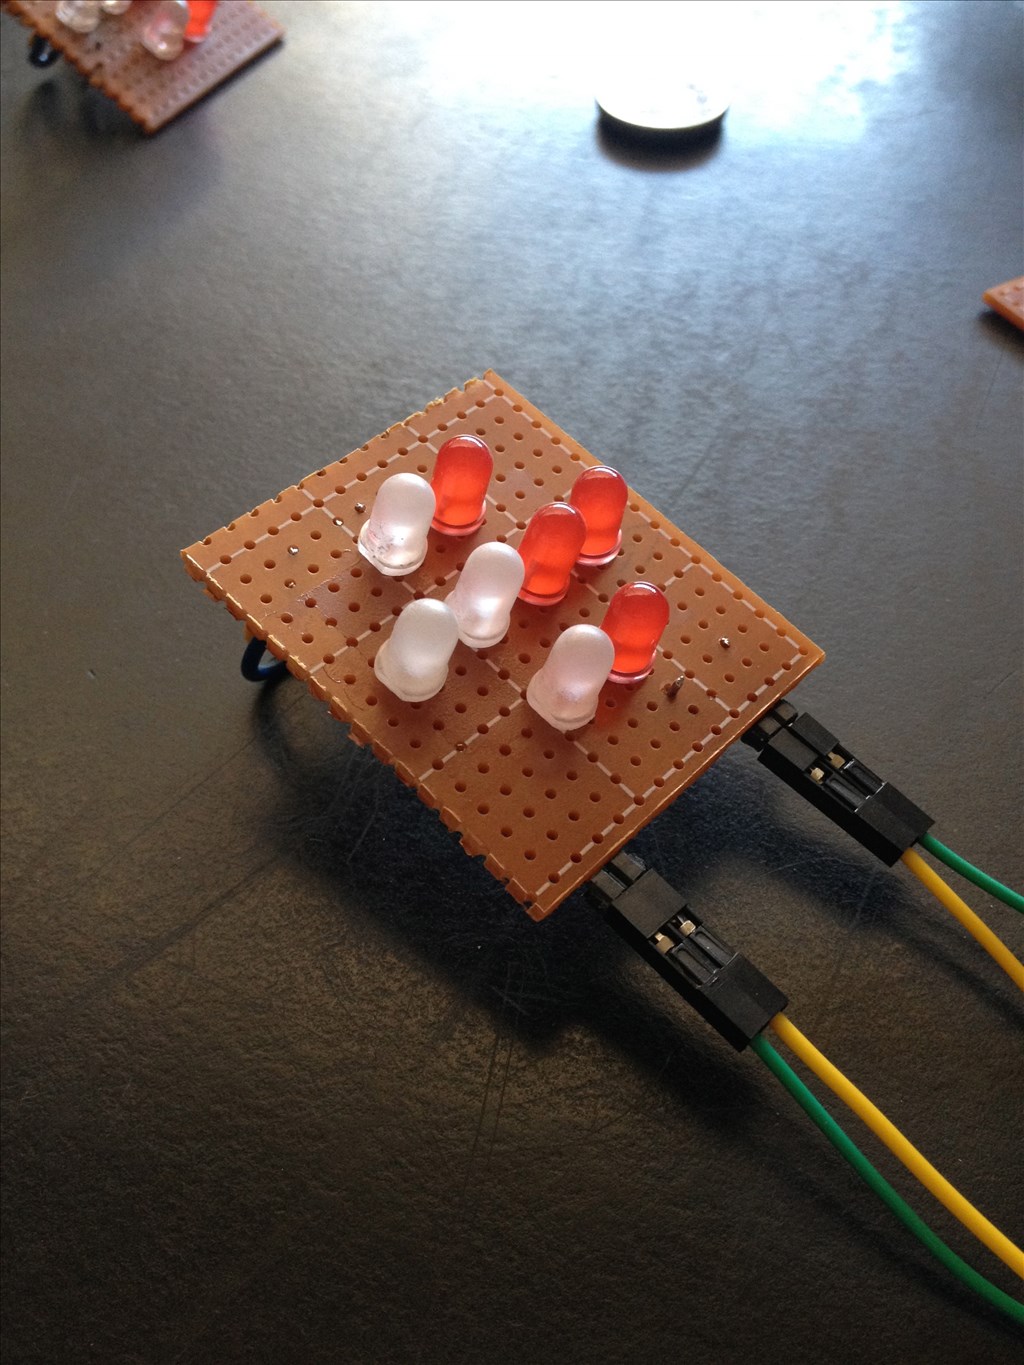
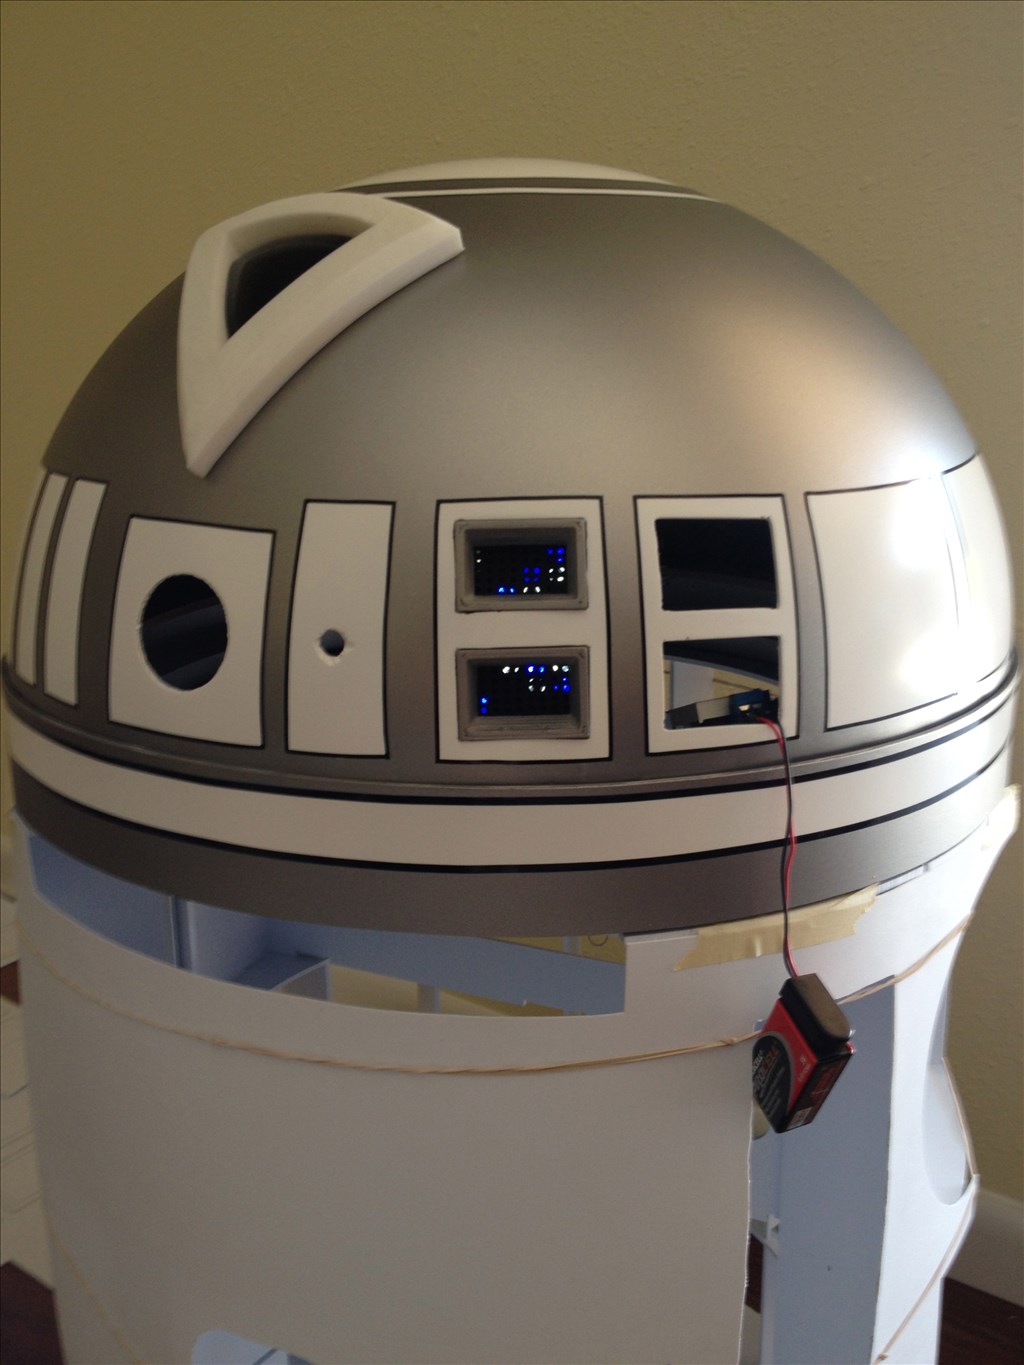
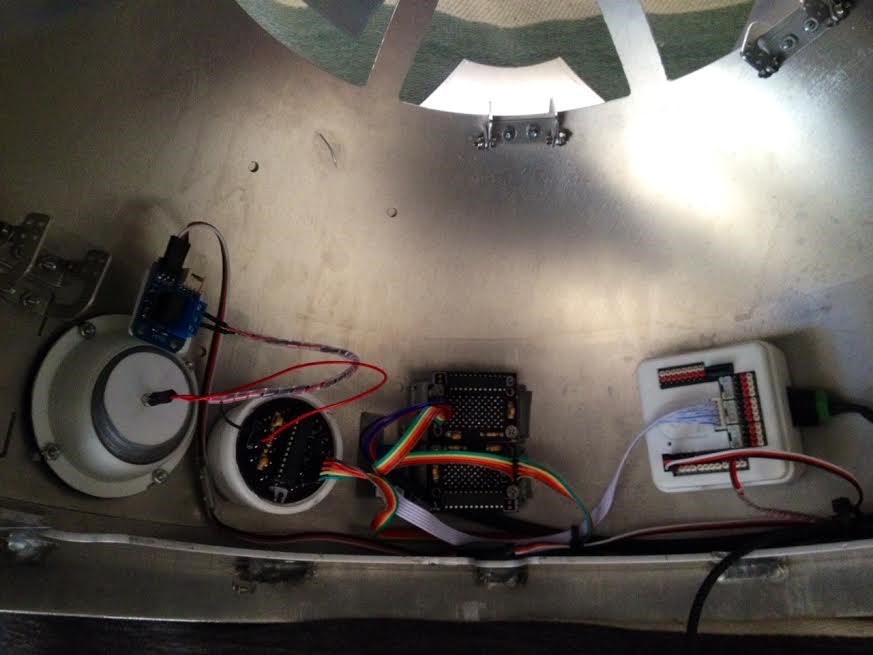
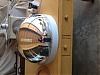
The dome is all painted up came out decent and even got a chance to mount 2 out of the 4 data lights!
How did you do your dome? Looks great!