
Hi heres a few pics of my first robot project it's a bit rough around the edges and I'm afraid its another Wall-e!
Most parts are the same as DJ's build but I added a few tweaks of my own.
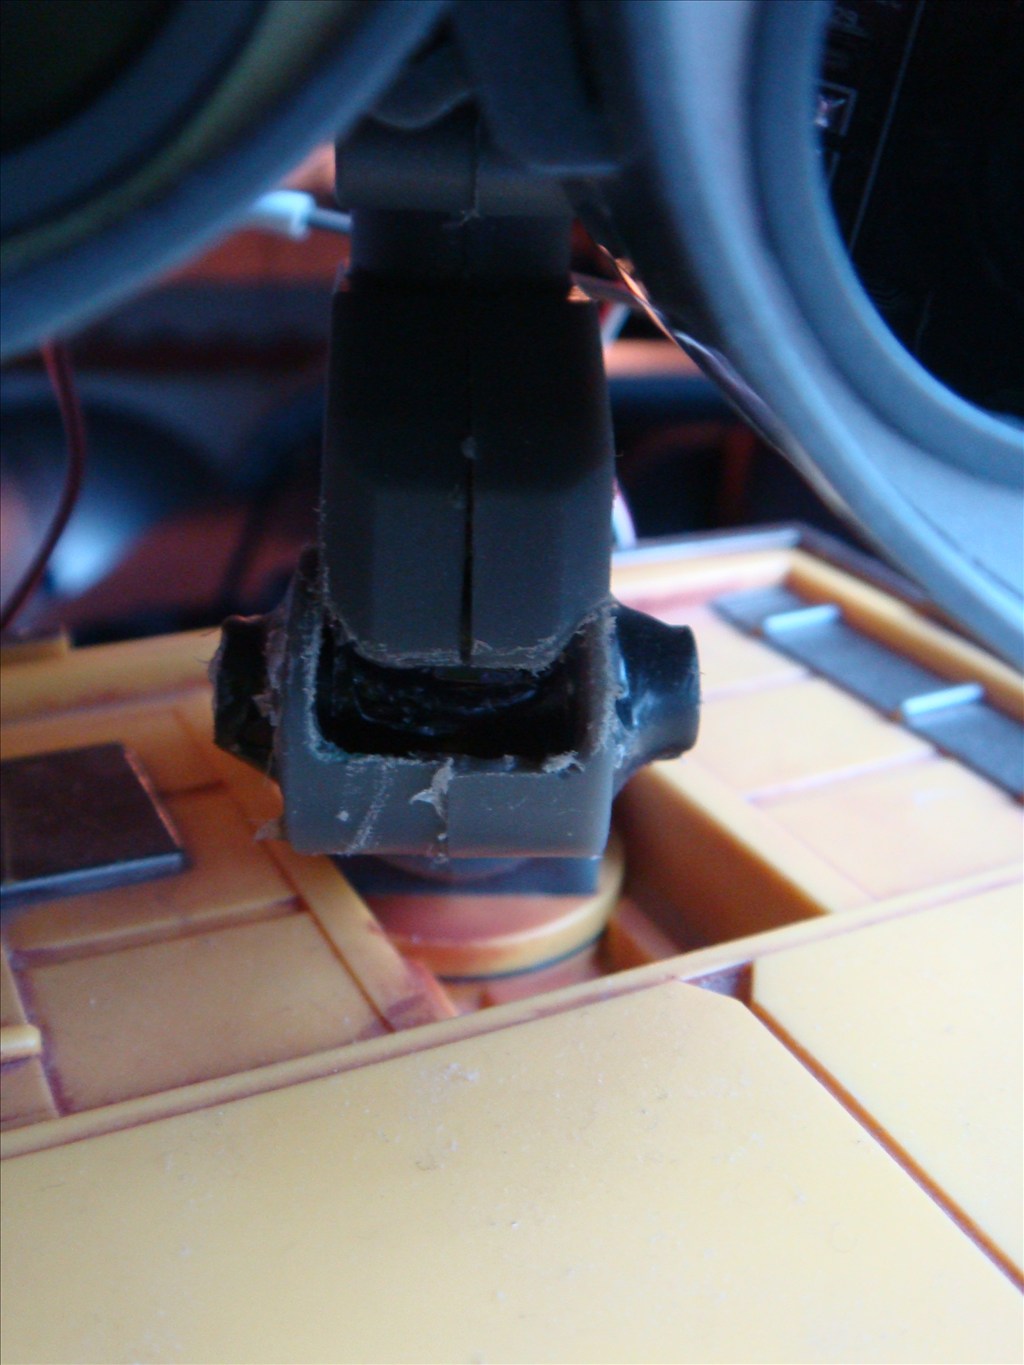
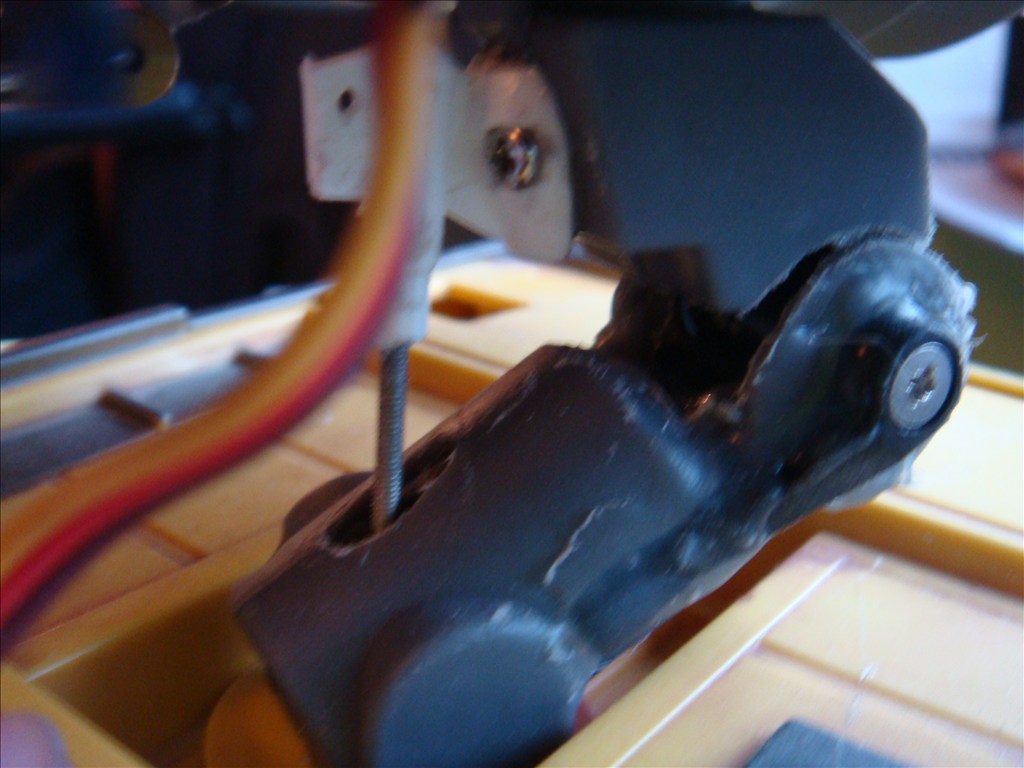
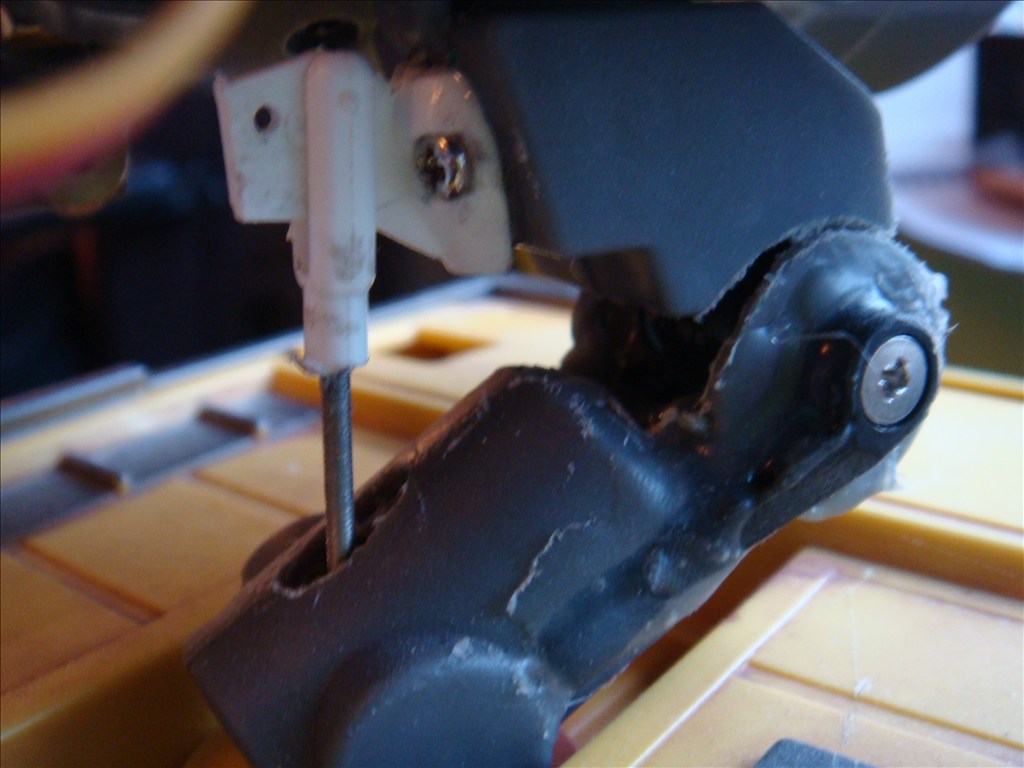
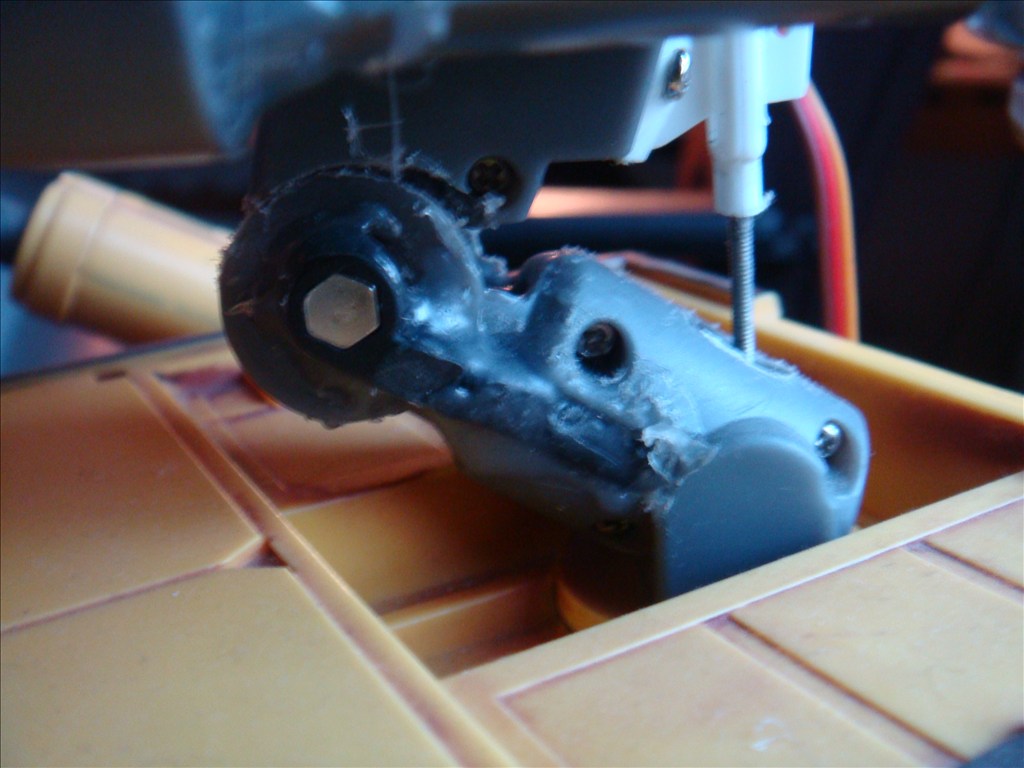
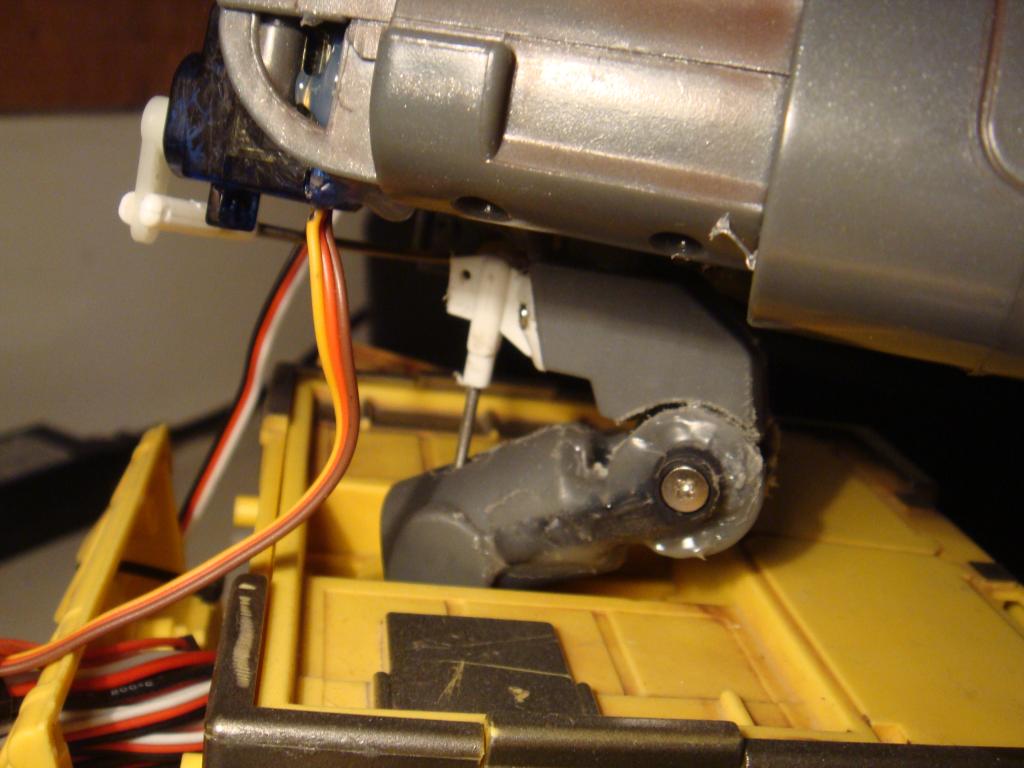
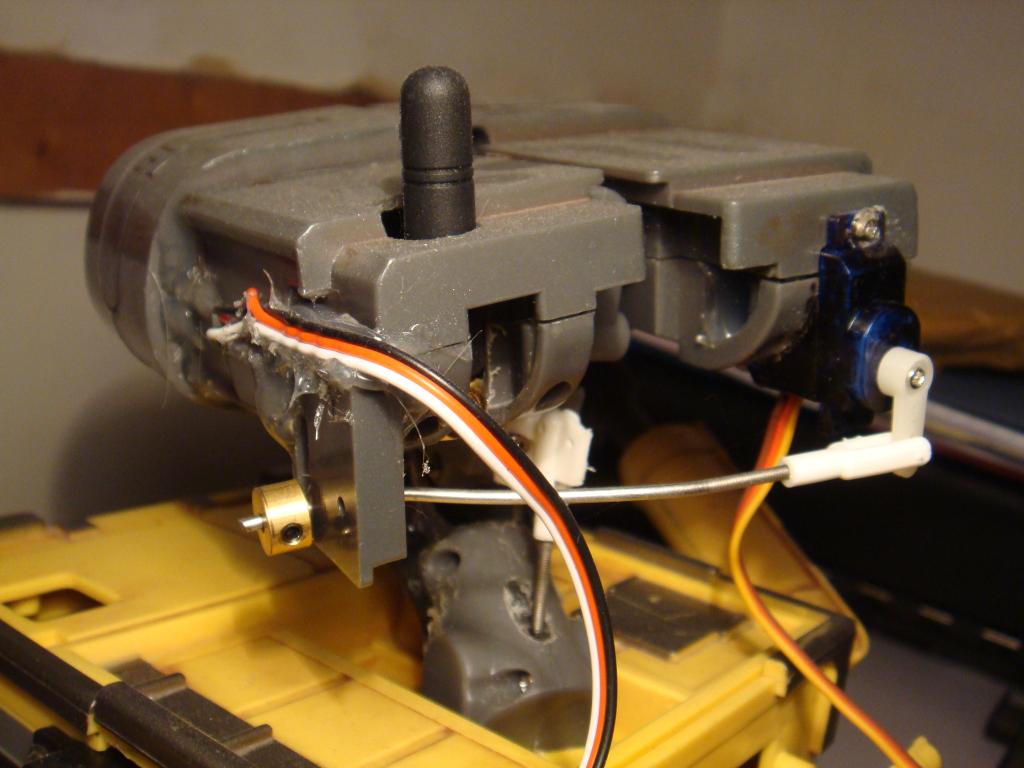
First off I wanted to keep the neck looking as close to real as possible and found that the hinge that came with the camera would make a good fitting joint, it also meant I could use a push rod through the centre of the neck and keep the stock pivot for the head to turn left and right.
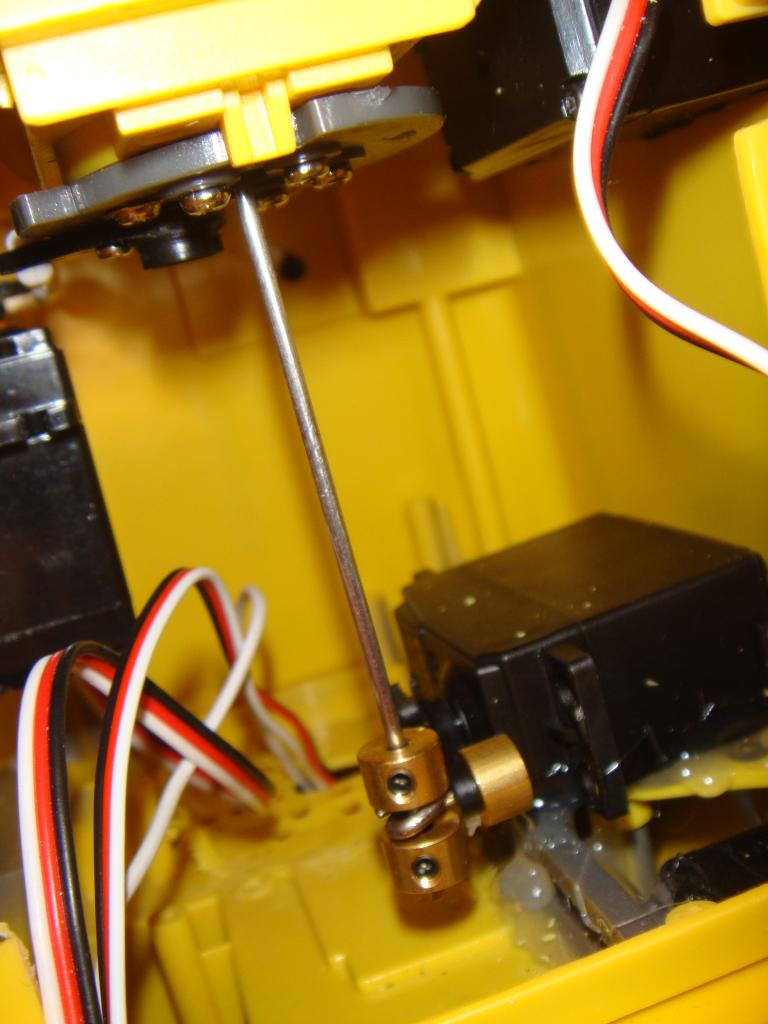
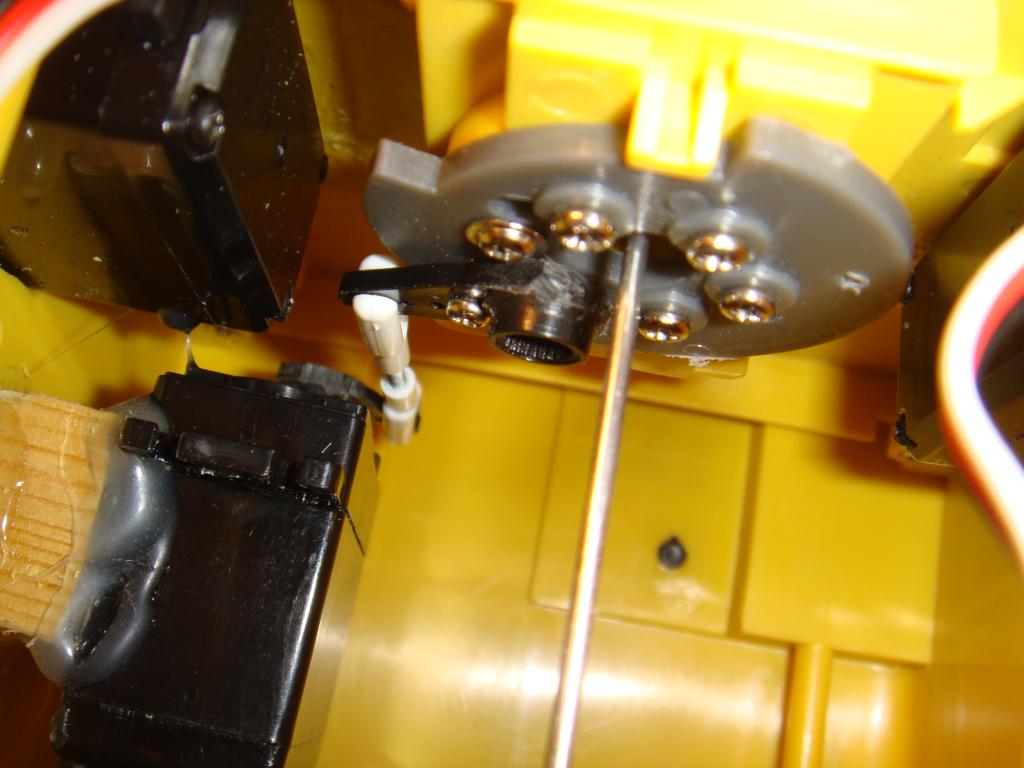
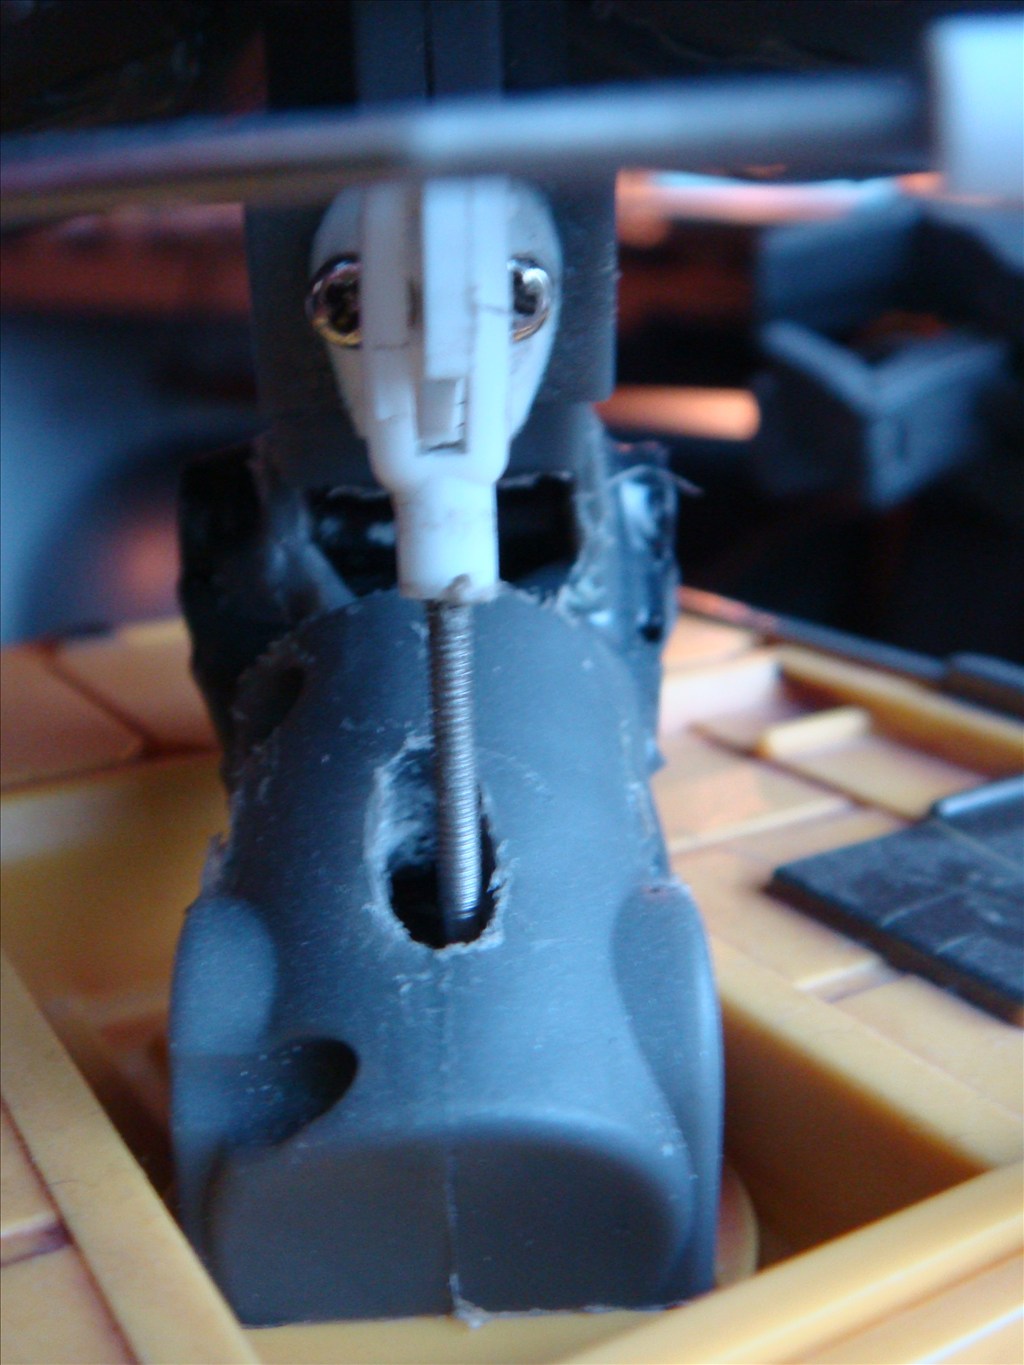
Next up was I also wanted to keep the movement in his "eyes" so that I could add expressions etc so I got a small micro servo and mounted it in the back of one of the eye pods with a pushrod across to the other one.
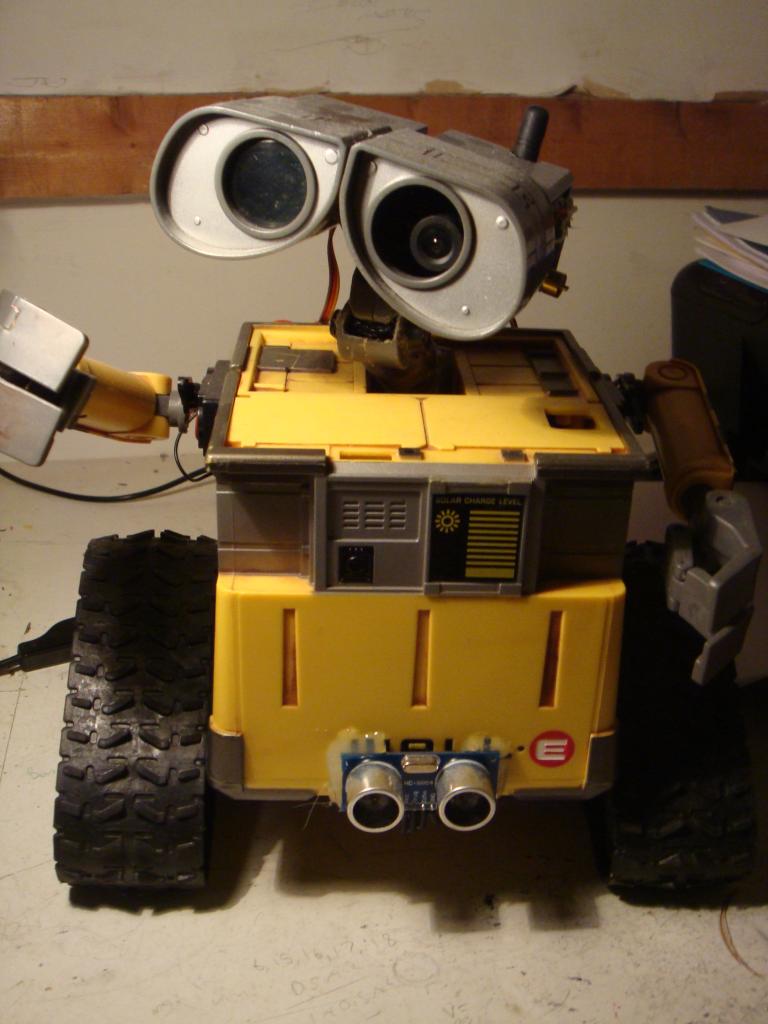
And there you go, happy wall-e...
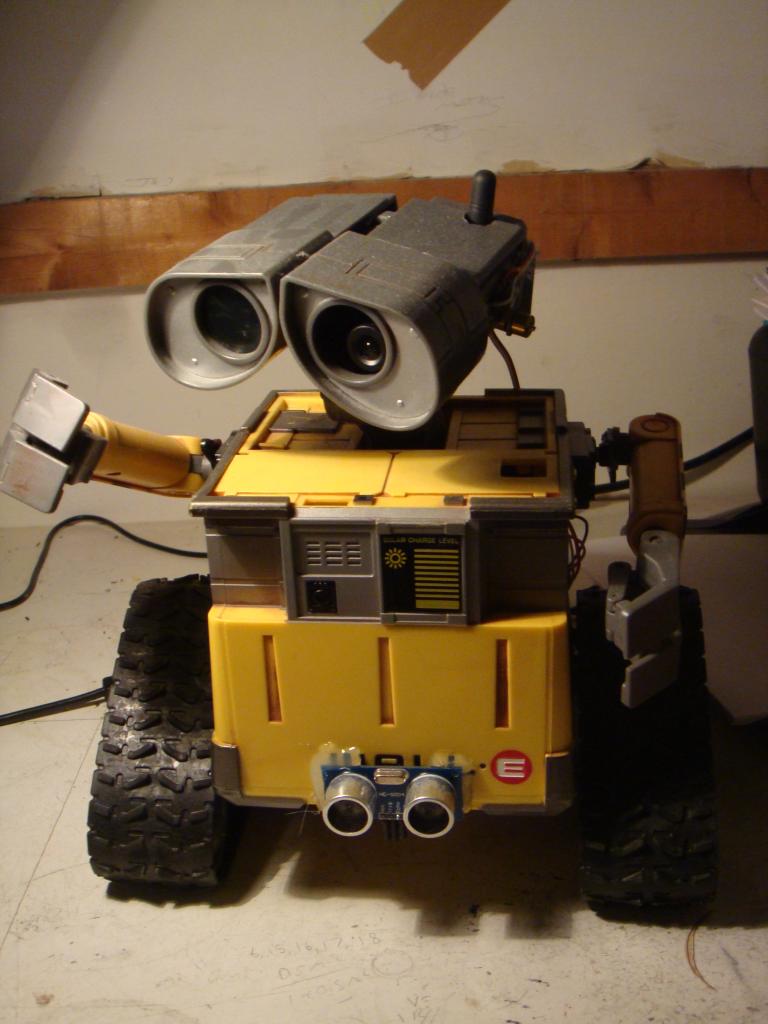
... and sad wall-e!
With all the push rods and servos inside it didn't leave me much room for a battery but it does squeeze in with the ezB mounted on its back.
My next project is to learn some more of the software side of things as I have a gyro/accerometer/compass module that I need to get working using i2c...
Hope you like it
Tom
Discover more robots
Stonewolf's Here It Is So Far.

Tameion's Lawrence The Butler

Looks good to me!
:D
Good work. Welcome to the EZ Robot Community
Cool work!
Love the creativity. If you're running out of inside space, try using the underside if you're not planning to go over rough terrain. Maybe a Lipo cable tie wrapped there.
Thanks for the feedback, yeah thats a good idea about trying a lipo underneath. The wall-e projects on hold at the moment though as I've got to get my i2c senor working and I'm a bit stuck at the moment with it but I'm sure I'll get there in the end.
Could you possibly post a few more shots of the neck joint, I would like to see it in more detail how you actually fitted the camera hinge in the neck. Thanks in advance!
I love those tiny blue servos. I use them all the time. Love what you have done with WALL-E
@WMoecke Thanks, I'll get some pic's of the neck tomorrow for you, I basically just took the neck apart then cut a slot for the hinge to fit in with a dremel. I removed one of the plastic washers from the hinge also to reduce the resistance so the servo wouldn't be under too much strain. I wasn't sure if it was going to work so I did it pretty roughly, if you took your time and repainted the hinge to match it could look a lot better than mine!