OK EZ Robot community, I've been a little absent for the past few weeks and that's because I received My Solidoodle 2 Pro. [Edited out because JStarnes1-XLRobots has sold his with all of the grunt work put in, case and filament.]
After seeing @jstarnes Solidoodle, I was inspired to buy mine and started saving up forgetting entirely about the good old U S of A and the Federal Tax Return. So after putting some money back to do some painting and flooring in the kitchen I had enough for an SD2 Pro and some supplies.
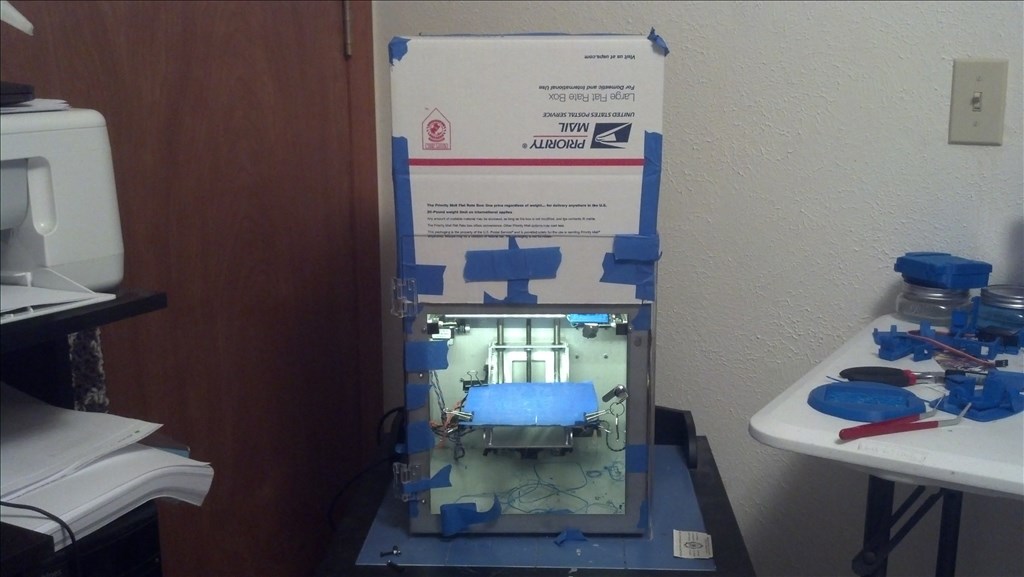
Here it is out of the box, as I got it.
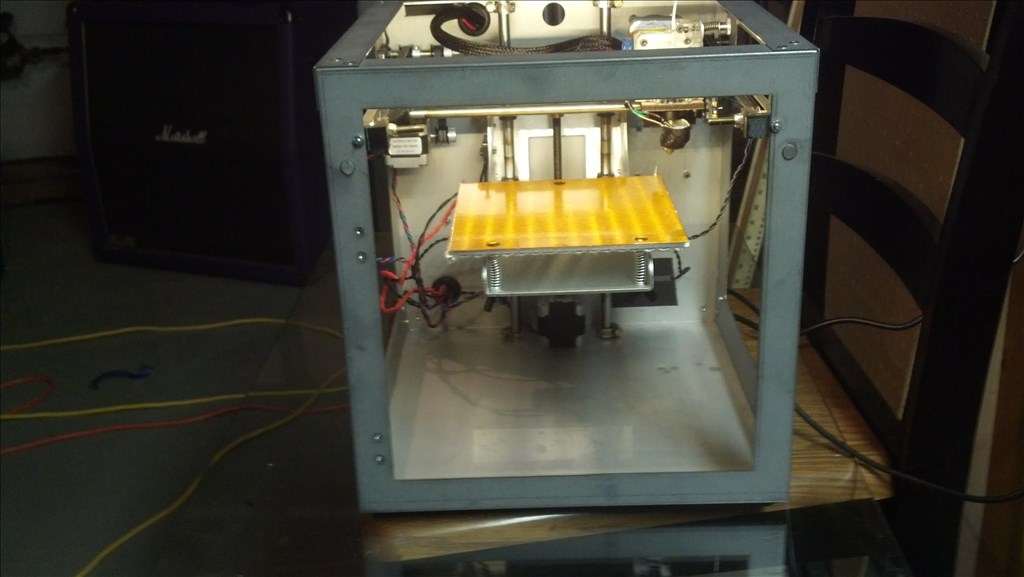
Here it is today.
I started out trying to set it up in my basement. Being in Ohio that was not working out. Simply too cold. So my ever awesome girlfriend suggested setting thing up in the office area of our master bedroom. So that's where we're broadcasting from today and probably for a while. The printer is now connected to my desktop on a good fairly stable stand.
OK Out of the box I had the slightly warped aluminum bed. Exactly like Jstarnes had. But I had already anticipated that so went and got 3 6x6 mirrors encased in cheap plastic frames at Family Dollar or Dollar General for $6. (I always confuse the 2 and they are basically side by side where I ususaly shop. Sorry I can't be more specific.) The frames simply unscrewed and I had my glass beds. (I've still only used 2 of them.) So I added my glass and adjusted the Z screw to lower the bed and then leveled it out. Not being from NYC, I didn't have a Metro card but I am having great luck with the cover torn of zig zag kutcorners cigarette rolling papers. They're under $2 almost everywhere. (Must be 18 or older in the US so, for you youngsters out there, be prepared for some odd looks when you ask mom and dad to get you a pack of these.) [Update 06/24/2014: I've found the instructions insert from Tranformers Construct Bots to be my tool of choice for this now. They are a little flimsy but doable and just a hair thinner.]
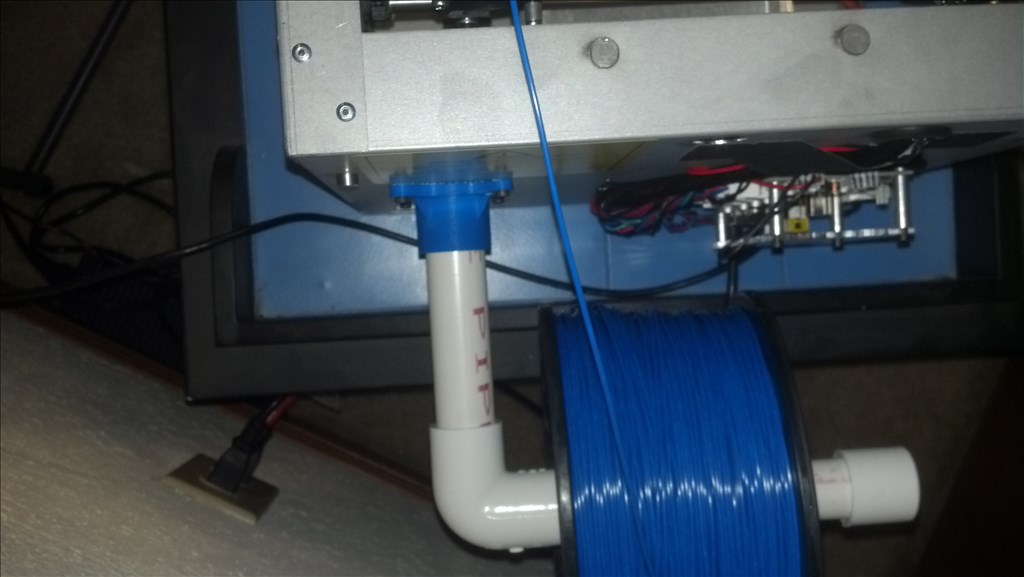
Out of the box my spool mount was damaged from shipping so I made a makeshift one to print a replacement. This time I tried just on glass and I couldn't get it to stick. So I added 3M Blue painters tape and it went a little something like this.
-635311777718089098.jpg)
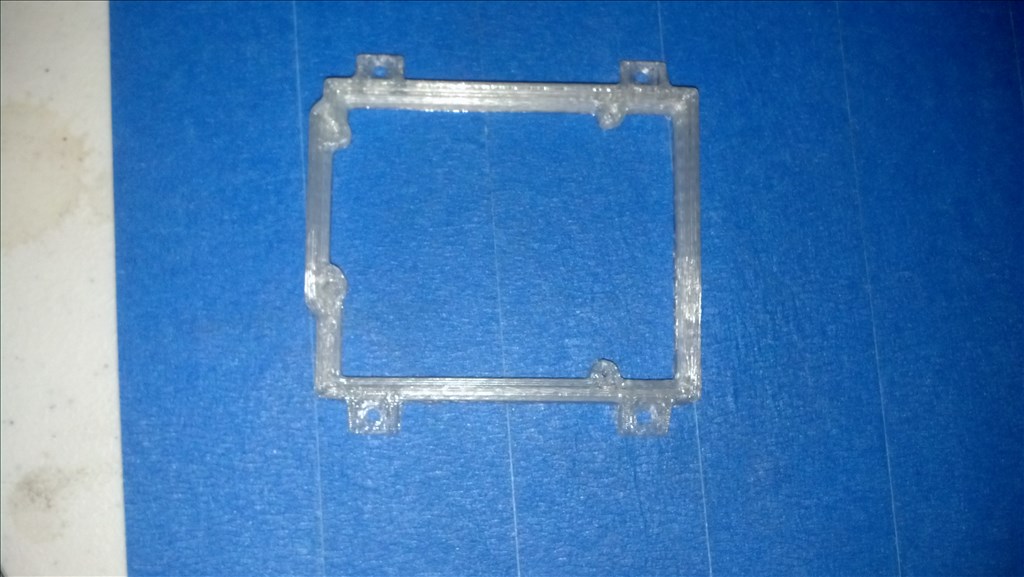
That's an in process shot of my first successful print. I used a brim on this one just to help insure the part was usable when it was done. I ended up with this.
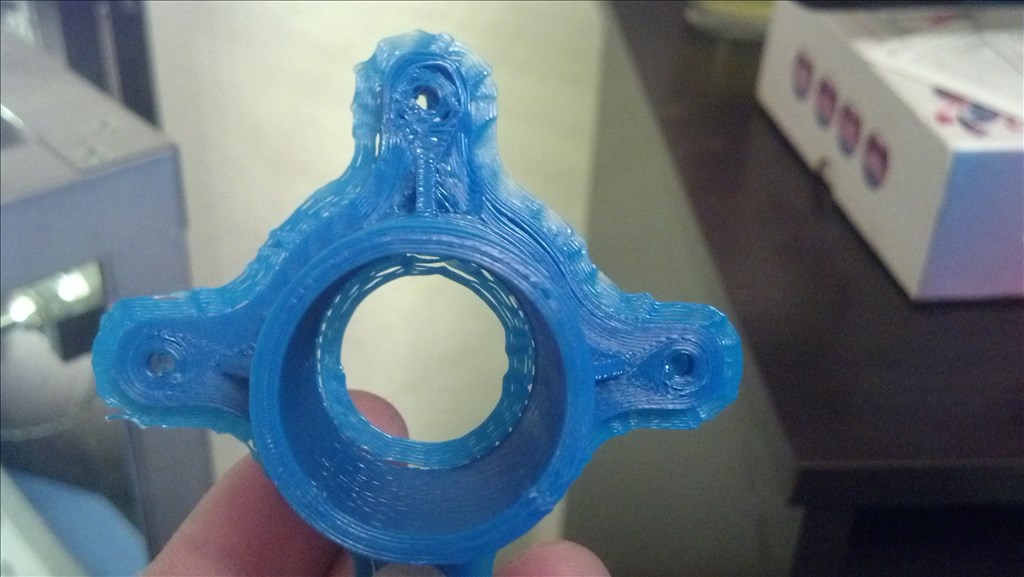
Trimmed off the brim and got this.

And installed it like so.
Then I printed a simple scraper.
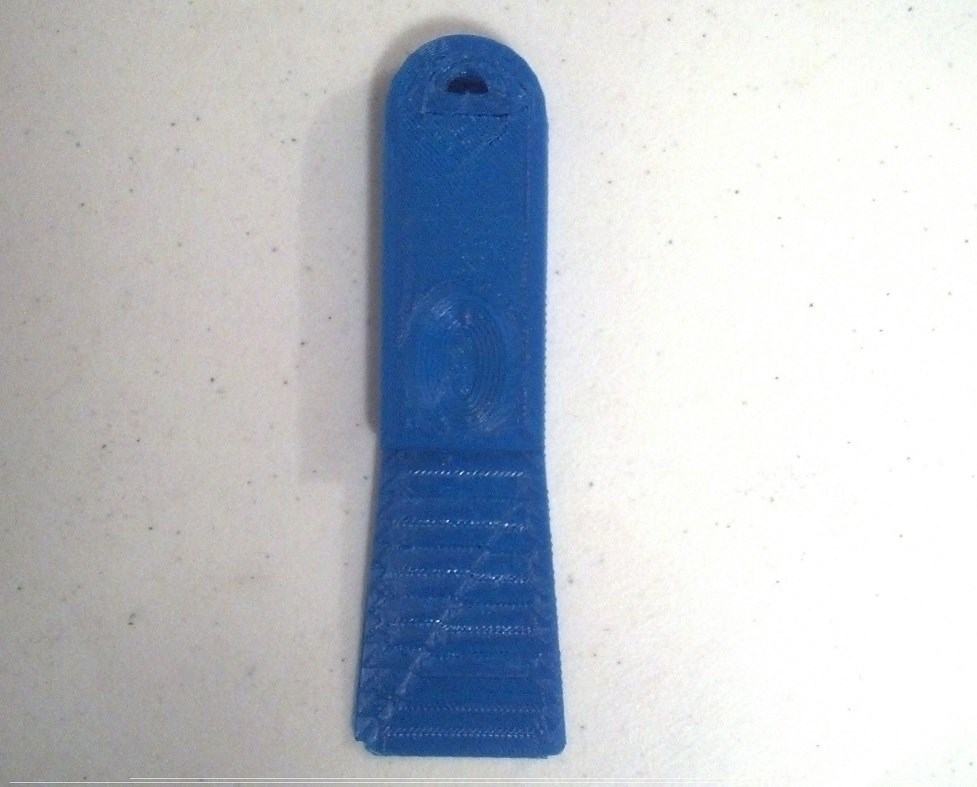
These were at .3mm with ABS. You'll notice that they look pretty sloppy. My extruder had a lot of wobble in it so I printed a part that was supposed to fix that and as I went to install it I noticed the screws for the teflon blocks that sandwich the bar were very loose so I pushed my teflon blocks where they needed to be, tightened the screws properly and my head wobble was gone.
Next I started having issues with parts sticking. So I got frustrated and switched to PLA. I printed a few things with PLA just to dial the printer in better and do some experimenting.
I printed a few EZBits, Standard Vertical servo backs and arms and the camera shroud. I had to take the case off of my camera to get it inside the shroud. I should have used support material when I printed it so one side is really thin.
I didn't take any picks of the servo pieces because I broke most of them forcing them together. I made these while calibrating the printer so, they weren't the best parts.
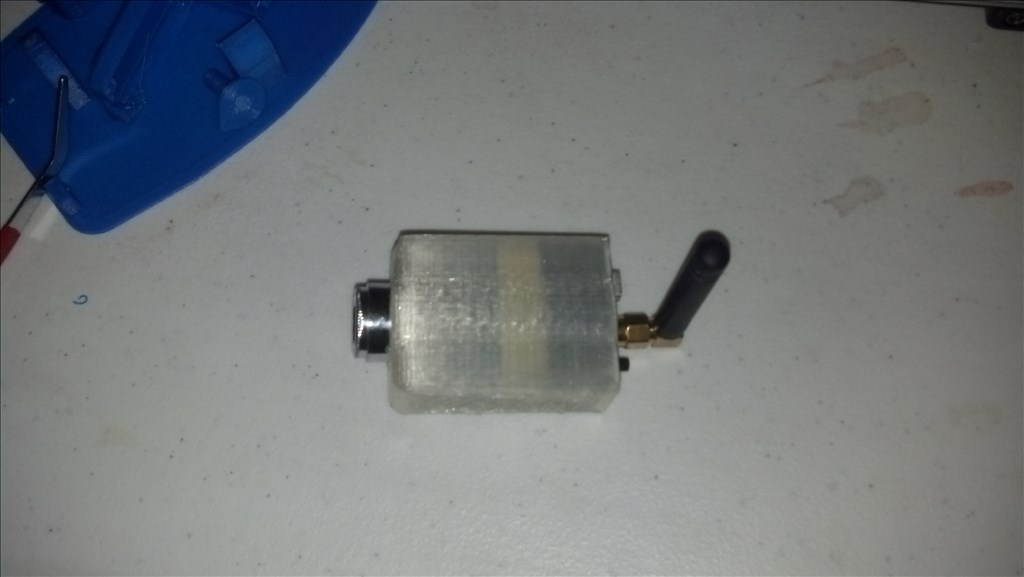
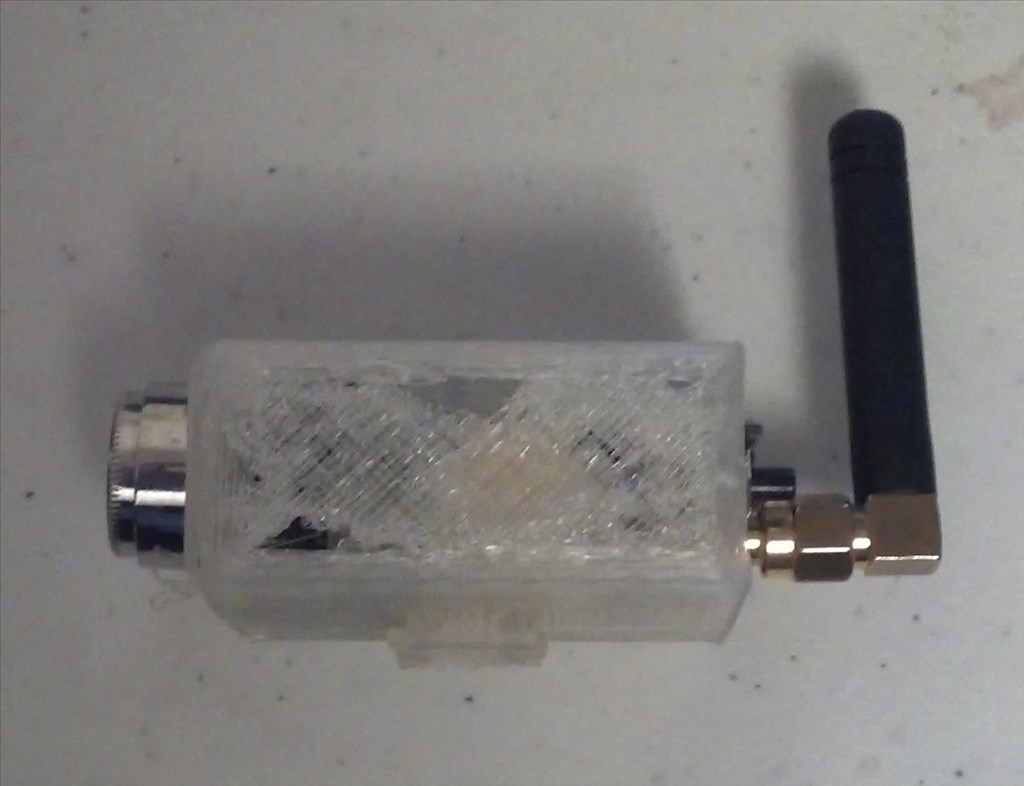
I also printed a bumper/mount for my Arduino Uno.
Then I went on to the next post.

Thanks for even more tips.
I'm making more of a 3 than a 6. (Available parts ya know ) I've got it together but I only have 2 HD servos so it won't "stand" without assistance. It will hold position and "lay down" from that position just fine. I'm using the 6AA battery pack that came with my V3 kit so that's some extra weight. It looks like it was meant to have 2 lipos inside the body and the EZB was to go on top.
But I've been printing some other EZ Bits I want to put a little more time in with my EZThree and get some pics and vids to make a thread then move onto those other things.
Oh and while I'm here, I want to shout out to my pal Jay from the UK. He was having issues getting the EZ Bits to print so, I just want him to know not to be discouraged. It can be done. I didn't have much trouble at all. Sure, they ain't the prettiest parts but, they're working. If you need any help I'll try my best. I know we have different printers but a lot of the core concepts are the same. I'm happy to help.
I also should mention that I ran all of the EZ Robot stl files through netfab and, of course, printed the repaired versions. I can't believe I haven't mentioned netfab yet. For those who don't know, netfab is a program/web service that examines stl files to make sure they are 3D printable. If not it fixes them and you can export/download the repaired part as a new stl. You pretty much want to run every file you're going to print through netfab. I personally use the PC version and not the web service. Google netfab.
If I had to brake down 3D Printing into almost simple steps it would be.
Living in the city, I haven't had the opportunity to verify step 7 so I can't say that you necessarily need it but, a little blind faith never hurt anybody, has it? Besides, do you know how hard it is to impregnate a chicken? It takes a lot more to get them drunk than you'd think.
Where in the world did you get the little square connector. The tiny one? I looked all over and I did not see it. could you give me a link?
Thanks,
Hey MovieMaker,
If it's the one I think you're meaning, it is the connector that joins DJ's body to the arms .... It is in ARC from memory. Select JD as an Example Project and then go into the parts section ... it should be in there.
Cheers,
J
I'm pretty sure it's the Male Horizontal Connector. I'm at work now but I'll verify that when I get home. But Jay is correct. it's in the EZBits. Go to the details of the part and it will have the stl files there. @jay- I actally just printed the ones you're refering too. they are the female connnector. They're still on the print bed actually.
Thanks Guys, I will try this.
Sorry, I did not see it.
It is THIS one. I can't find it anywhere.
Thanks!
Agian I'm not a ez robot staff member but I believe that they are changing which items are in the library. They are changing designs to have the ez robot logo on them. You should also be able to see them on thingiverse
I don't see it. What is it called?