OK EZ Robot community, I've been a little absent for the past few weeks and that's because I received My Solidoodle 2 Pro. [Edited out because JStarnes1-XLRobots has sold his with all of the grunt work put in, case and filament.]
After seeing @jstarnes Solidoodle, I was inspired to buy mine and started saving up forgetting entirely about the good old U S of A and the Federal Tax Return. So after putting some money back to do some painting and flooring in the kitchen I had enough for an SD2 Pro and some supplies.
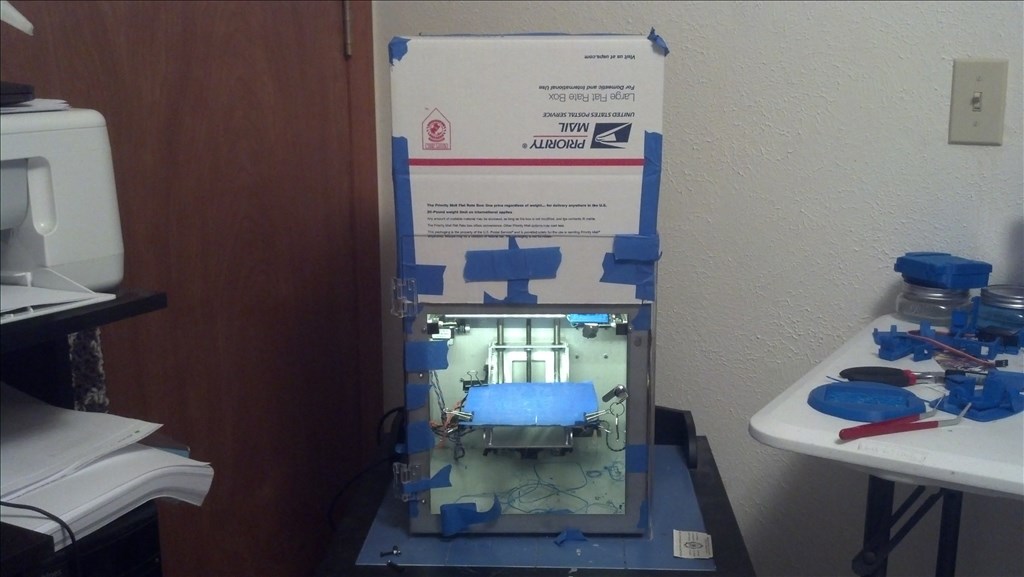
Here it is out of the box, as I got it.
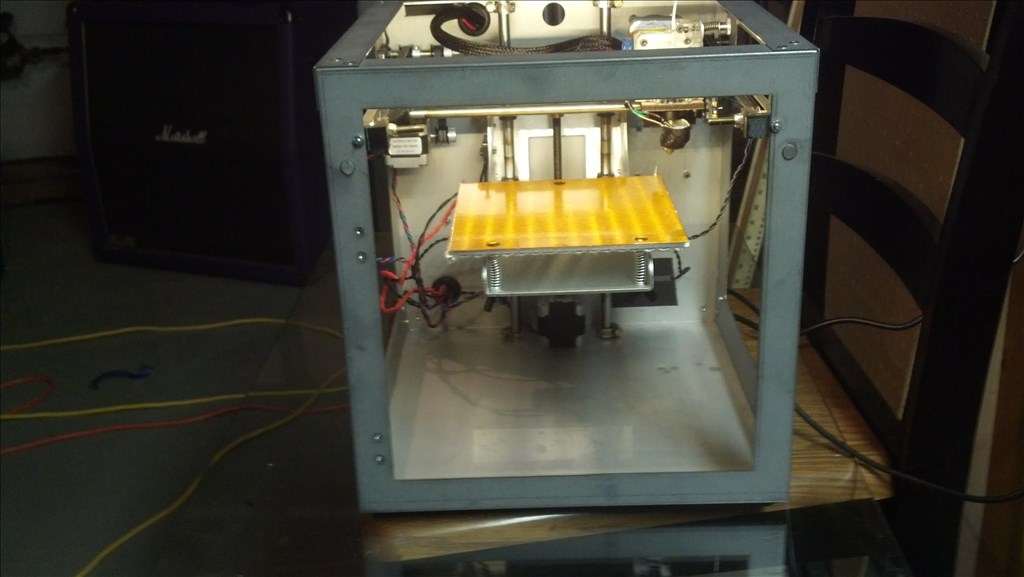
Here it is today.
I started out trying to set it up in my basement. Being in Ohio that was not working out. Simply too cold. So my ever awesome girlfriend suggested setting thing up in the office area of our master bedroom. So that's where we're broadcasting from today and probably for a while. The printer is now connected to my desktop on a good fairly stable stand.
OK Out of the box I had the slightly warped aluminum bed. Exactly like Jstarnes had. But I had already anticipated that so went and got 3 6x6 mirrors encased in cheap plastic frames at Family Dollar or Dollar General for $6. (I always confuse the 2 and they are basically side by side where I ususaly shop. Sorry I can't be more specific.) The frames simply unscrewed and I had my glass beds. (I've still only used 2 of them.) So I added my glass and adjusted the Z screw to lower the bed and then leveled it out. Not being from NYC, I didn't have a Metro card but I am having great luck with the cover torn of zig zag kutcorners cigarette rolling papers. They're under $2 almost everywhere. (Must be 18 or older in the US so, for you youngsters out there, be prepared for some odd looks when you ask mom and dad to get you a pack of these.) [Update 06/24/2014: I've found the instructions insert from Tranformers Construct Bots to be my tool of choice for this now. They are a little flimsy but doable and just a hair thinner.]
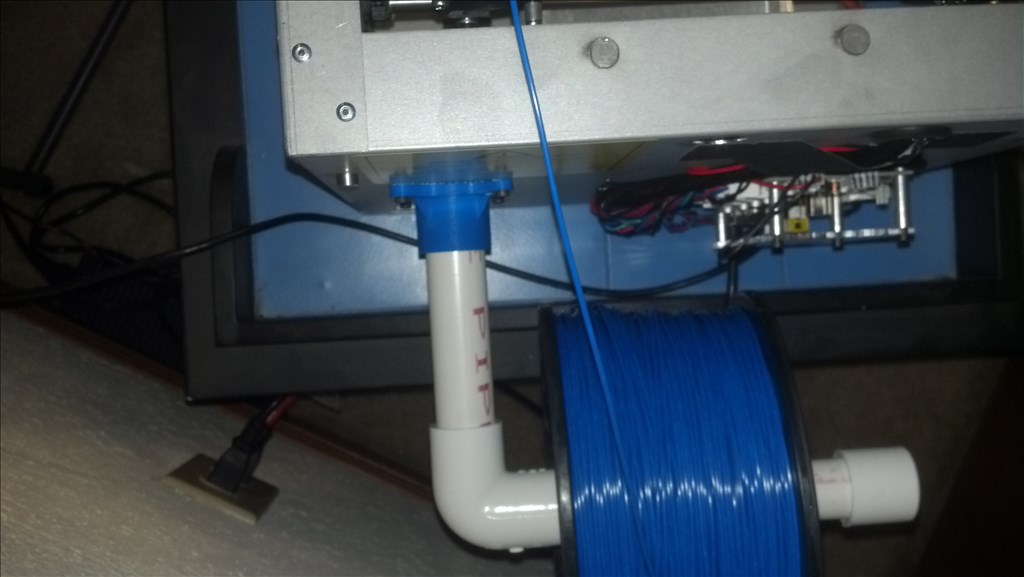
Out of the box my spool mount was damaged from shipping so I made a makeshift one to print a replacement. This time I tried just on glass and I couldn't get it to stick. So I added 3M Blue painters tape and it went a little something like this.
-635311777718089098.jpg)
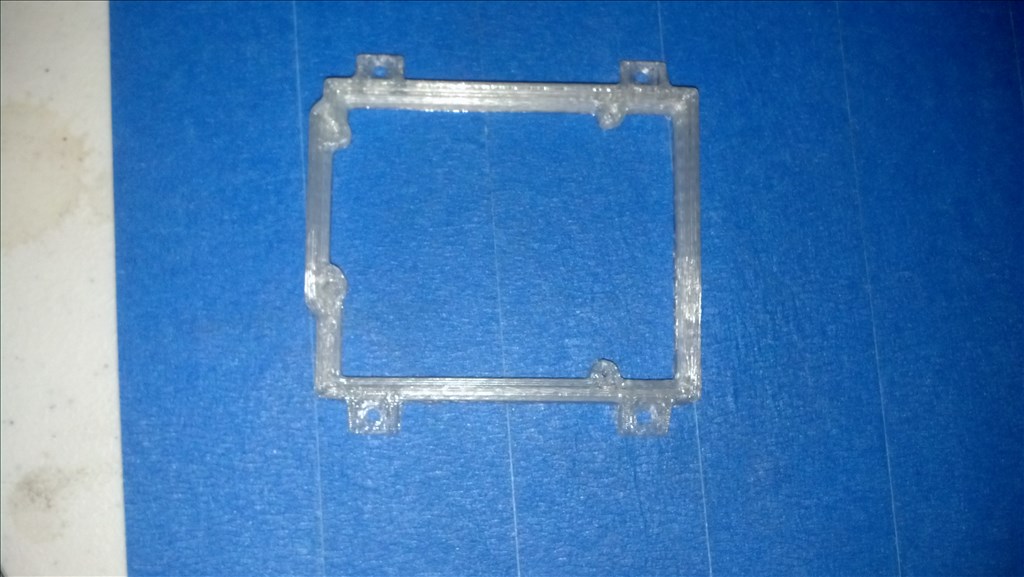
That's an in process shot of my first successful print. I used a brim on this one just to help insure the part was usable when it was done. I ended up with this.
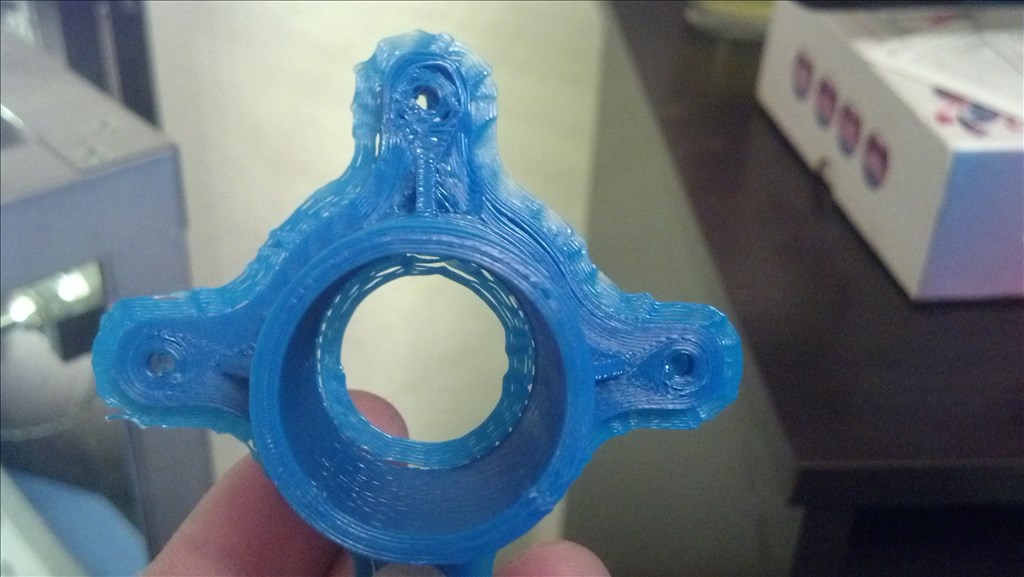
Trimmed off the brim and got this.

And installed it like so.
Then I printed a simple scraper.
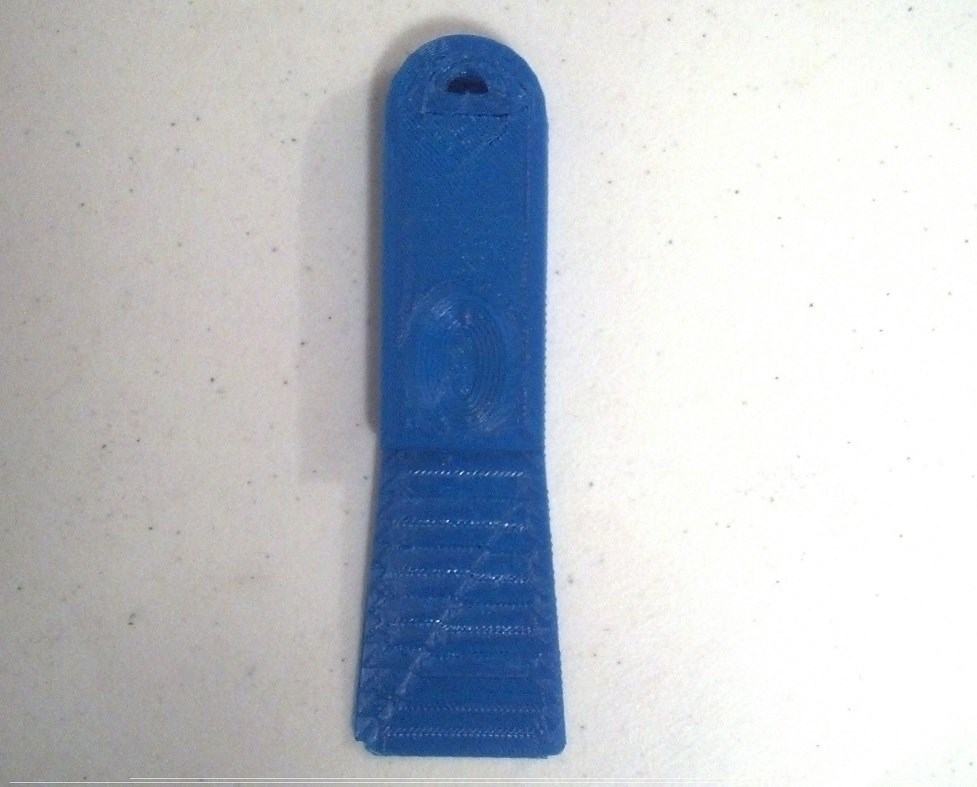
These were at .3mm with ABS. You'll notice that they look pretty sloppy. My extruder had a lot of wobble in it so I printed a part that was supposed to fix that and as I went to install it I noticed the screws for the teflon blocks that sandwich the bar were very loose so I pushed my teflon blocks where they needed to be, tightened the screws properly and my head wobble was gone.
Next I started having issues with parts sticking. So I got frustrated and switched to PLA. I printed a few things with PLA just to dial the printer in better and do some experimenting.
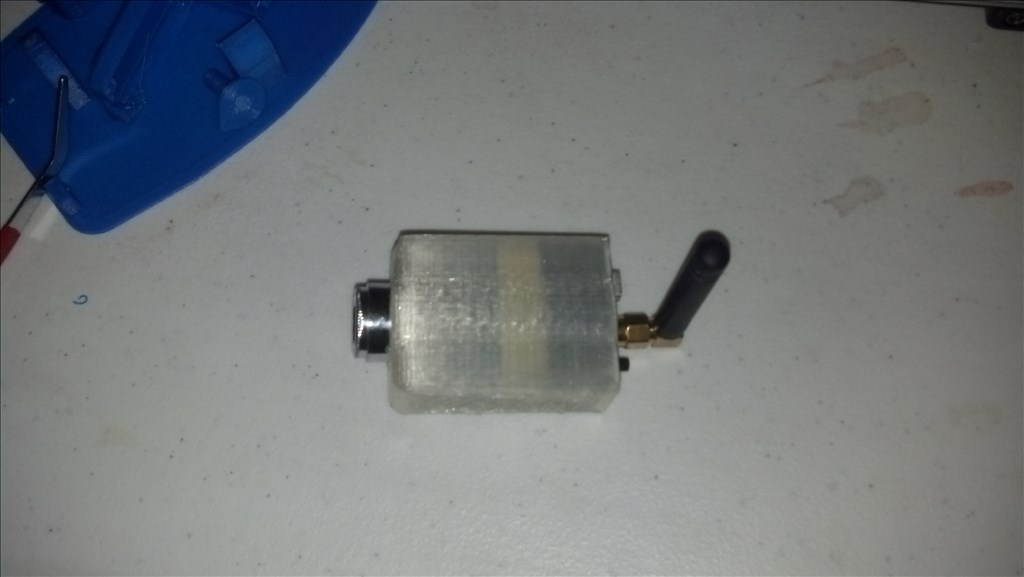
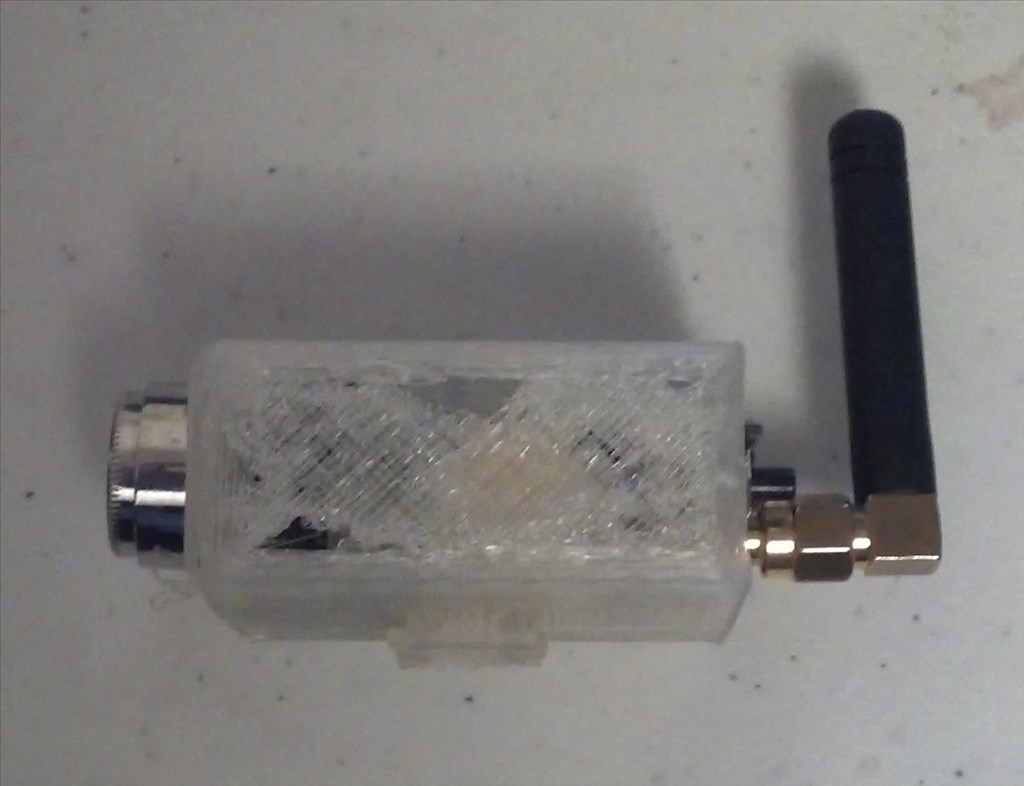
I printed a few EZBits, Standard Vertical servo backs and arms and the camera shroud. I had to take the case off of my camera to get it inside the shroud. I should have used support material when I printed it so one side is really thin.
I didn't take any picks of the servo pieces because I broke most of them forcing them together. I made these while calibrating the printer so, they weren't the best parts.
I also printed a bumper/mount for my Arduino Uno.
Then I went on to the next post.

I have no idea what I'm looking at
It is called the female Ez-clip. I guess they make a male version of it also. It would be nice to have both.
But, of course I have NO idea where to find them.
that is the male clip. if you load up ARC, select design, find the horizontal servo in the library and look at the details. it has all of the stl files there. one for the L bracket and that little male adaptor. I cant remember if I had to repair it or not.
@josh is correct, they are going to change. I'd like to think that the connector size will remain unaltered though. but yes, they are changeing so I probably wont print any more ez bits until the library update. I do have some more to show off, I just got to take some pics and ,aybe a vid or 2.
I saw where it was described. But, when I went to download it, I could not find out HOW to do it. It said this part is not for sale right now.
could someone just simply upload the file for me?
Thanks!
OK, we seem to be miscommunicating so, I'll walk you through it.
Load up your ARC Software on your computer.
At the top click Project, then click Design.
That will bring up the Design Screen. Click the triangle next to the Library Manager Button, then select Servos.
Wait for the bits to load and locate Standard servo Swivel. Then click the Little Blue "i" icon. Its underneath the shopping cart icon.
That will bring up the Info Screen. Scroll down to Horizontal Connector Male and click the Save STL Button.
I'm sorry I was calling things by the wrong names. I was at work so I didn't have ARC at hand to verify.
Also if you don't have the servo Swivel, Click the Library Manager Button. Then click Sync Now. it will download all of the current versions into your ez-bit library.
Hope that gets you what you need. Oh, BTW I did have to repair it in netfab before printing it.
Yeah netfabb is a good idea. Also preview the object after netfabb. I once had netfabb screw a model up a tiny bit and had to redo it.
@Thank You, Double OH (007)!
Not a problem Maker I had the same issue when the EZ-Bits first came out. I figured that my be the case so I took those shots real quick to help explaine. Let me know how your progress goes.