handy03
USA
Asked
— Edited
-635569392728732500.jpg)
Robot Arm
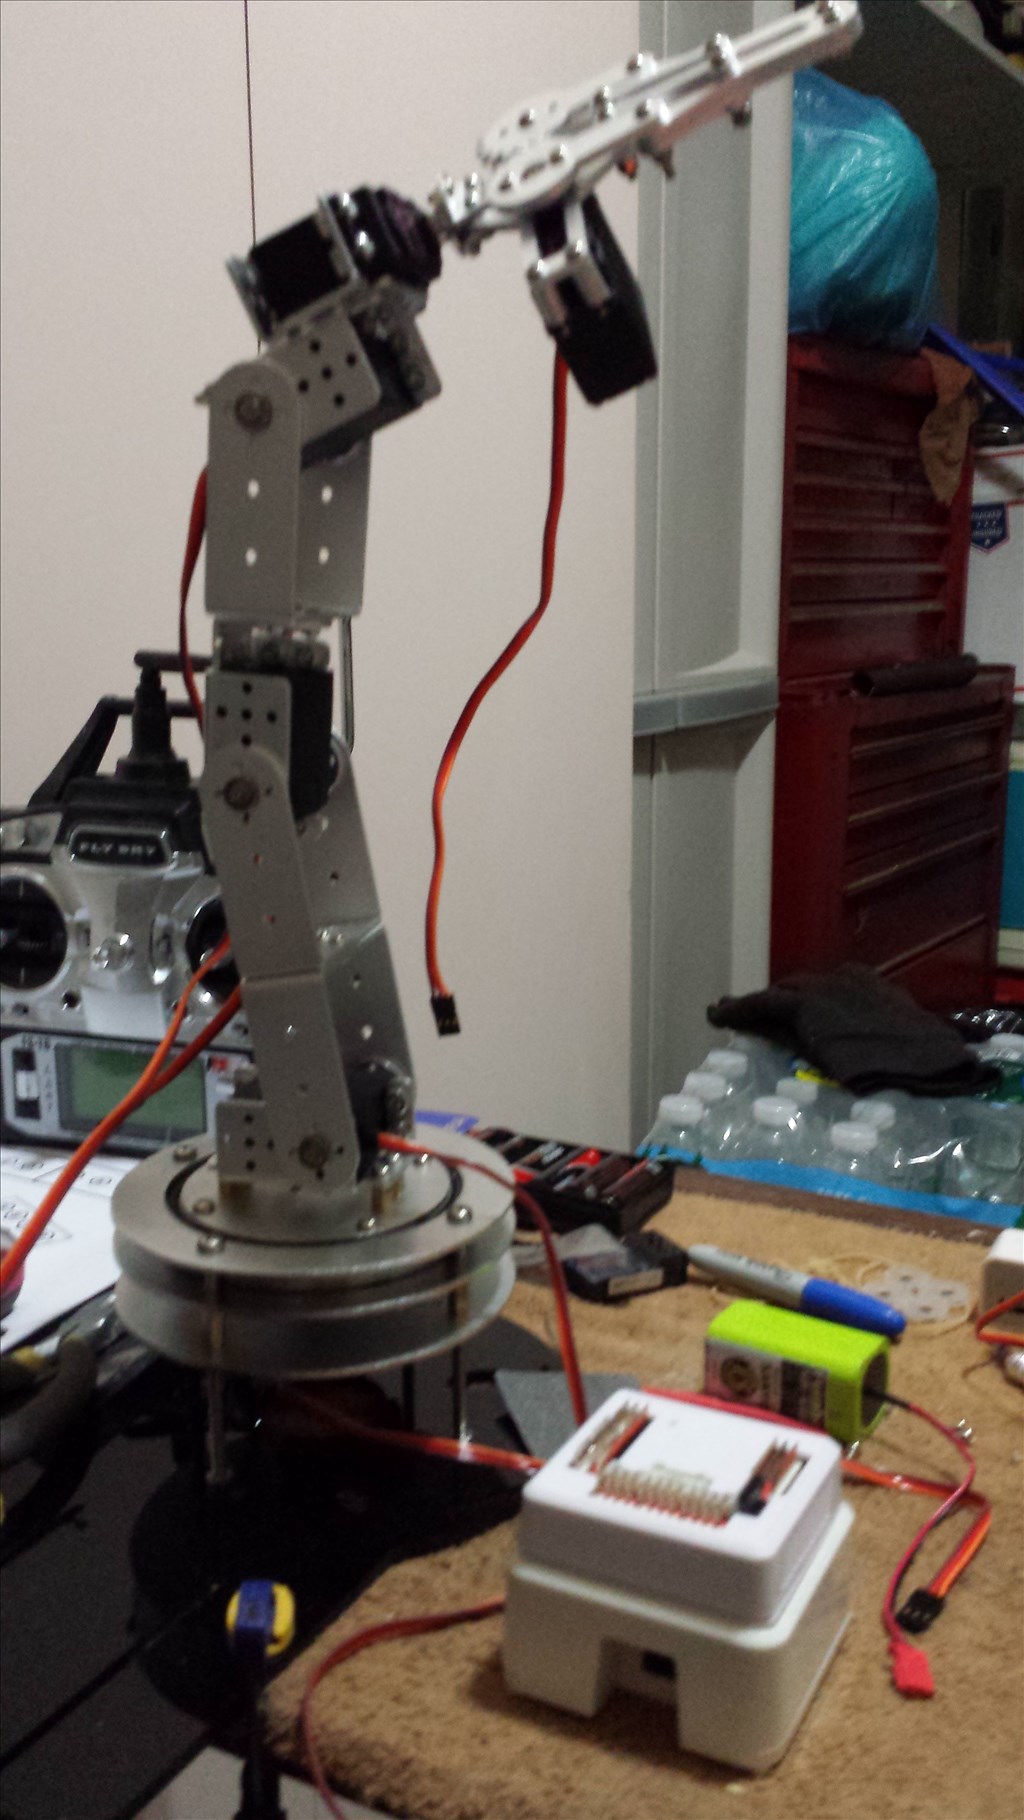
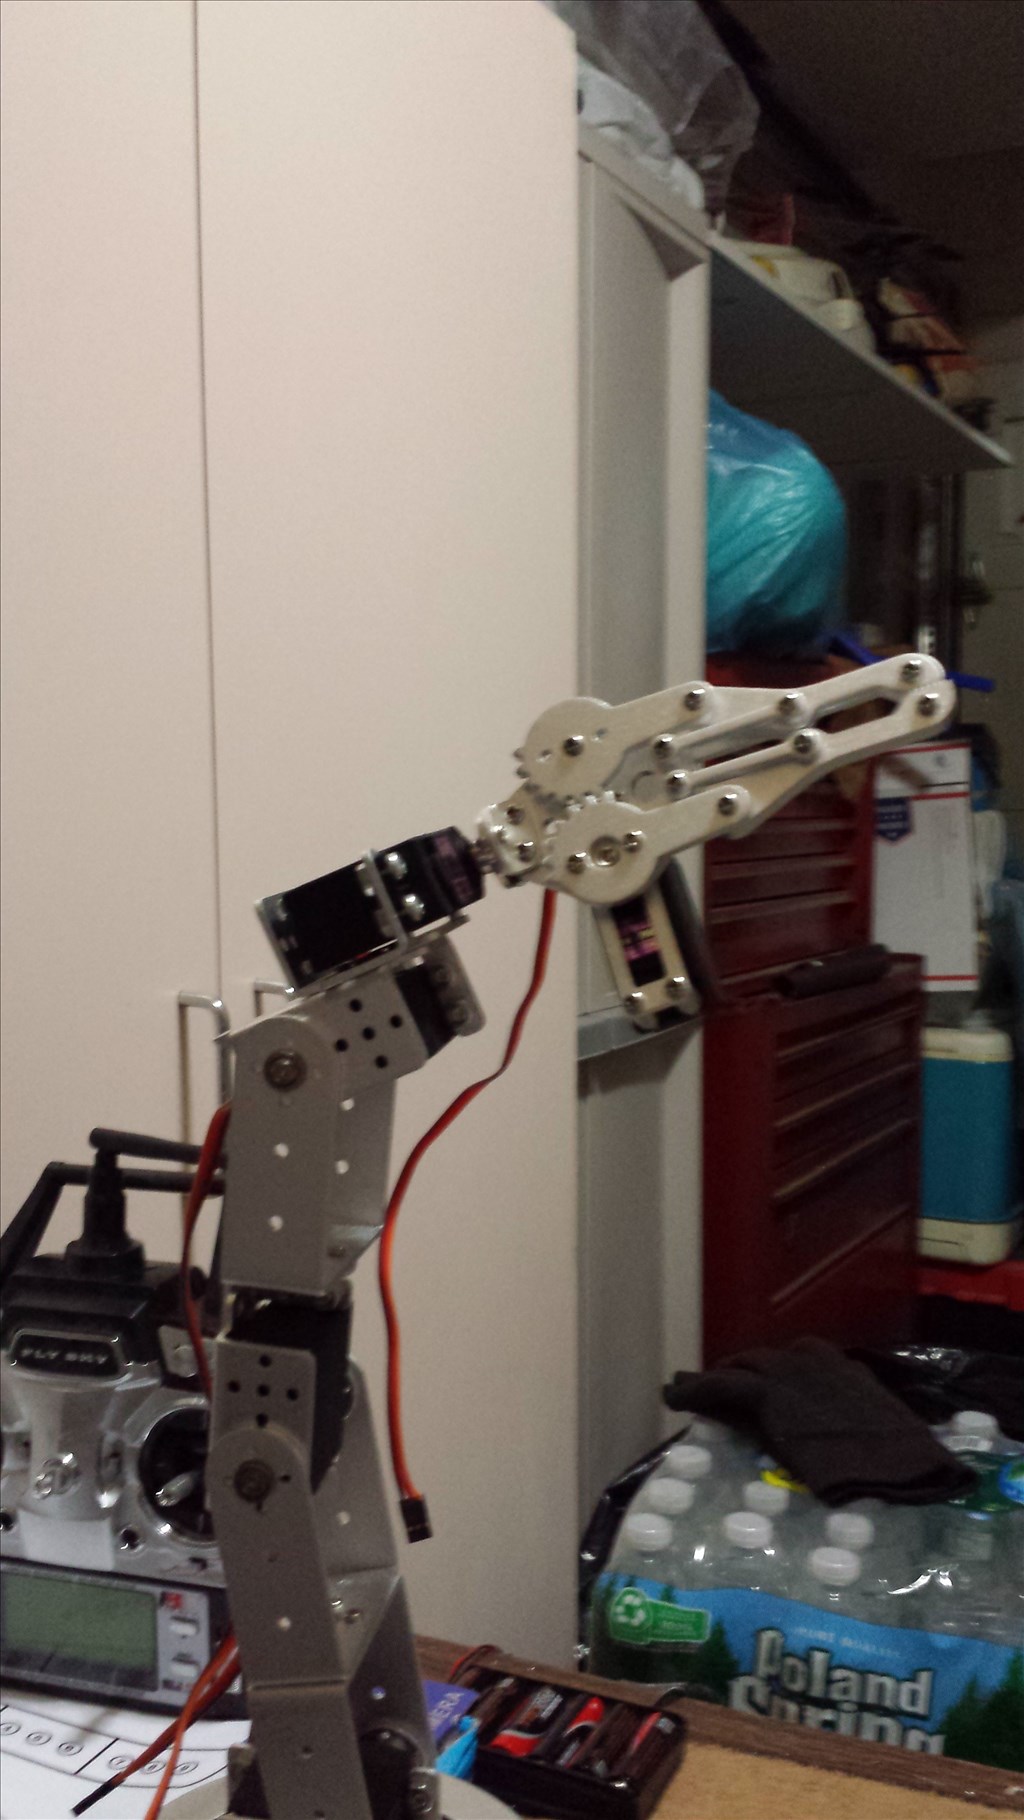
Hi all trying to get a robotic Arm Clamp Claw to work. I have look at the tutorials and I still cannot make it work . I have been working late and not have the opportunity to get back to you all. I will appreciate any help that I could get. I will post a few pictures.
Thanks to all john


There is no plug and play option for controlling a robotic arm... Doesn't matter what platform you are using... There is no out of the box solution... Fortunately the ezb makes it a little easier.... First couple of questions are very important.
Lets start with this...
If not much and no are your answers, then we have some work to do... If yes, are you aware of the Auto Position control in ARC?
Also, buy some rechargeable lipos or niMh batteries instead of using alkaline... AAs won't work very well with servos...
I have a little knowledge of the servo auto positionI went into the virtual robotic and laid out all my servosbut I did not know how to save everything this software is new to me
handy start whit one servo at the time.you can choose vertikel or horizontal. can you make a printscreen what you have sofar
@handy03.
Hi there. To help you on your way, there is a lesson on using servos that might help you getting started.
I have also supplied a link here that gives you some more details about using the Auto Possition control which may help you out with the arm.
Also another thing that will help you along the way that you may not be aware of. Every control in the ARC software has little question marks in the top right corner that gives you details of how that control works. These are a great help when your starting out.
@ handy03, If you are new to EZ Robot start by following everyone's advise to look at all of the tutorials and even go thru all of the lessons in the Learn Section. Even though they may not relate directly to your Robot Arm, you will gain an insight into how everything works. After that a good place to start with your arm is to open up an Auto Position Control. Here's a screen shot of my Robotic arm.
Add a picture of your arm and place your servos around the arm with the "Add Servo" button, in the lower right hand corner. In the upper right corner of the window, you will see "New Frame" click on that and name a "position" you want the arm to move to. I started by creating a frame called "Rest". I'm going to assume you have all of the servos connected to your EZB. So now power up and connect to your EZB. Click on "Port Edit Mode" in the upper left hand corner, select servo and a window will open, click on the port you have that servo connected to and save that. That window will close. Now, if you click on the "Realtime Update" button, that servo is going to move to 90 degrees, you can now move the servo to the position you want it to be in when in the "Rest" position. Repeat this for all of your servos, so that they are all in the position you want for a "Rest" position.
From here, to make a new "position", I always start with the arm in the "rest" position, select a "New Frame", name it and then move the arm into that position. Once you have a few frames then you can move to making an "Action" or use these to create command controls.
I hope this helps you to get going, let us know how you make out.
thank you all for the feedback I will be working on it over the weekend and get back to you all thank you have a good day p_s I want to thank you all for helping me out
Your very welcome. It can be a bit daunting first starting out (trust me, I know ), but we will help get you there. Just start off slow, using one servo at a time to find out how to make them move and also testing that they all work. Once you figured out how they work, then you can move in to the next stage of using the Auton Position control. It's the whole walk before you can run thing
 .
.
I've got a bit of time, so to help get you started, here's the first steps to test the servos and get them moving.
Make sure you battery is fully charged and the right voltage for the servos your using. (As Richard mentioned, LiPo'ss or niMh batteries are the best to use).
Connect a servo to any digital port on your EZ-B ensuring it's connected the right way around.
Load a new ARC project.
Connect the EZ-B to the project using the connection control.
Click on the "Project" tab on the top of the menu ribbon of ARC. Then click "Add" on the control button on the ribbon menu.
Click on the blue "Servo" tab.
Click on "Vertical Servo" to add the new control.
So now we will set up the servo with these simple steps.
Click on the little gear icon on the "vertical servo" control.
Click on "Port" and select which digital port your servo is connected to. Then click on "Close".
Now, on the Min and Max tabs, the numbers should read "90" which is the default setting. Left click and hold the mouse button down on "90" on the "Min" setting, and move your mouse down and up. At this point the servo should physically move. Change the min number to 50 and release the mouse button. (The minimum setting is 1, and maximum is 180).
Now do the same on the Max setting and chance the 90 to 150.
Press save, and the servo settings are now saved.
Now You can click and drag your mouse on the number, and the servo will move.
So give that a go over the weekend, and check out the tutorials also, and once your happy with that, then you can have a play around with the Auto Possition control. Good luck and post back if you need any more help.