
smiller29
Can The Iotiny Be Made Into An Openai Chatbot Connected To ARC?
Can the IoTiny be made into an OpenAI Chatbot connected to ARC? My thought is yes based on everything I have seen on this site so far but I still have a few questions I hope can be answered.
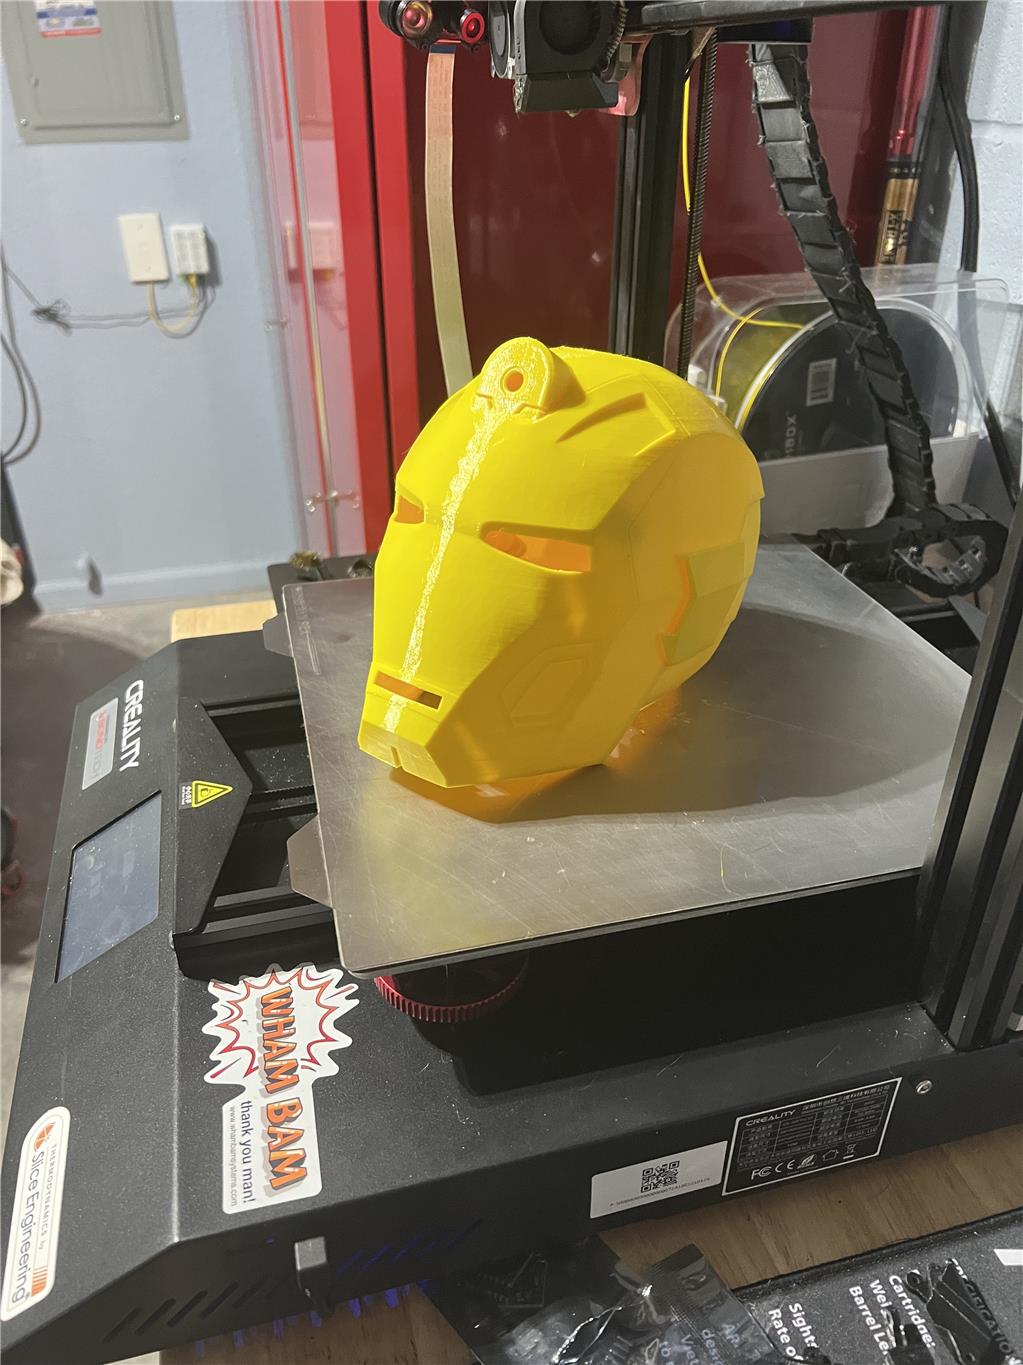
Goal is the following: Make a Robot head using the IoTiny connected to ARC over wifi with a EZ Robot camera attached to it and a speaker for audio out. Two 3V LED’s connected to the ADC ports to make the eyes light up and some type of LED/RGB setup for the mouth to to come on this.
I want to use the following skills
- Openai Chatbot robot skill with audio out going to the speaker on the IoTiny.
- Bing Speech recognition robot skills taking audio commands from a headset to the ARC PC.
- Camera Cognitive skills
Here are a few of the questions I have
Does the IoTiny speaker out need to have and audio Amp added to it like stated by Jeremie "There is no DAC breakout on the IoTiny but you can solder to the left side of C11 if you'd like to run the audio to your own amplified circuit". Or can your just add a TDA2030A Audio Amplifier Module to the existing speaker pins?
For the mouth I want to be able to do something like the following on the IoTiny also.
Check out the following video: https://www.youtube.com/shorts/M9N4cfYbx5A
This is a project Derek Levesque and what he used was MAX7219 Dot Matrix Module 32x8 4 in 1 LED Display Modules for Arduino Raspberry Pi Microcontroller with 5Pin Wires and then created some nodejs/raspberry pi (ubuntu) code like the following. It looks like I would need to EZ-Robot I2c 8x8 RGB module the question I have is there a way of programming it to do the same type of thing based on the OpenAI’s Response?
So DJ/Jeremie or anyone else, I would love to hear your comments.
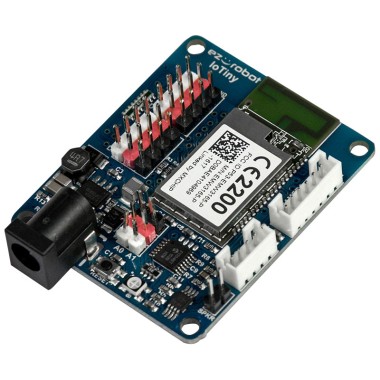
Related Hardware (view all EZB hardware)

It’s pretty wild that the robot head looks like Ironman
@smiller29 ,
Why yes! If you don't convert it to using AC power that makes things a little easier.If you see on my video at mark 23:20 of Part 1 video I simply wire in a common plugin 5V wall wort converter into the battery compartment. Just don't do that and leave the batteries power everything as is. As you probably already know, there are three AA's in the lower compartment that run the clock and it's animations at 5v DC. From there I have a 5 volt DC to 1.5 volt DC buck converter that powers the clock movement. If you want to keep the clock battery powered just ignore all that. However I do not know how long the batteries will last using my mods. Keep me posted if you move ahead with this project.
Your current project has turned out great! I Am Iron Man!! LOL.