
smiller29
Can The Iotiny Be Made Into An Openai Chatbot Connected To ARC?
Can the IoTiny be made into an OpenAI Chatbot connected to ARC? My thought is yes based on everything I have seen on this site so far but I still have a few questions I hope can be answered.
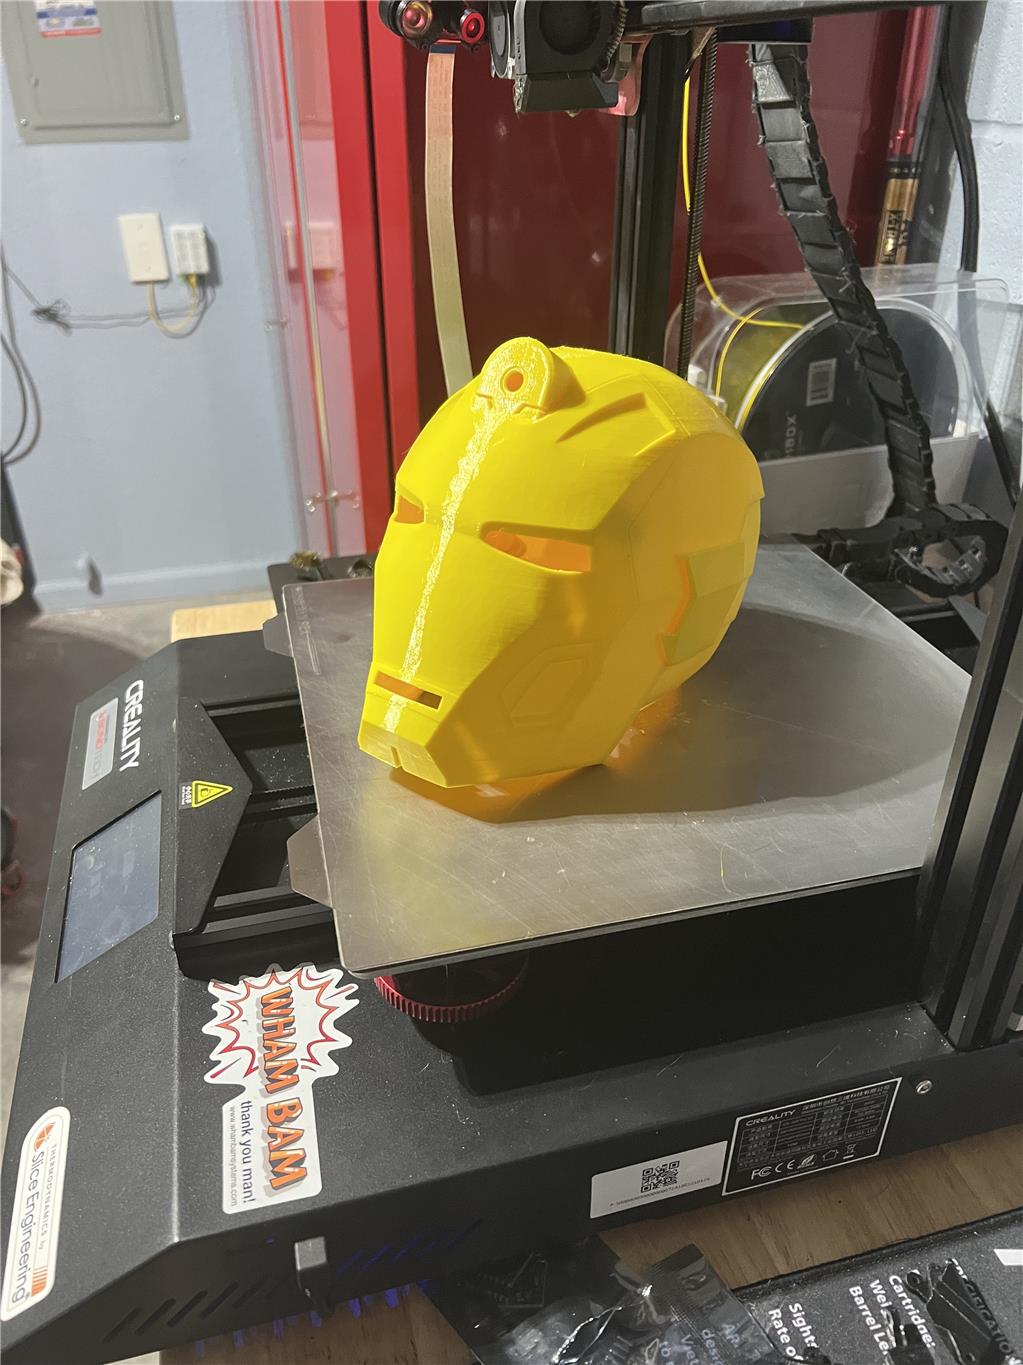
Goal is the following: Make a Robot head using the IoTiny connected to ARC over wifi with a EZ Robot camera attached to it and a speaker for audio out. Two 3V LED’s connected to the ADC ports to make the eyes light up and some type of LED/RGB setup for the mouth to to come on this.
I want to use the following skills
- Openai Chatbot robot skill with audio out going to the speaker on the IoTiny.
- Bing Speech recognition robot skills taking audio commands from a headset to the ARC PC.
- Camera Cognitive skills
Here are a few of the questions I have
Does the IoTiny speaker out need to have and audio Amp added to it like stated by Jeremie "There is no DAC breakout on the IoTiny but you can solder to the left side of C11 if you'd like to run the audio to your own amplified circuit". Or can your just add a TDA2030A Audio Amplifier Module to the existing speaker pins?
For the mouth I want to be able to do something like the following on the IoTiny also.
Check out the following video: https://www.youtube.com/shorts/M9N4cfYbx5A
This is a project Derek Levesque and what he used was MAX7219 Dot Matrix Module 32x8 4 in 1 LED Display Modules for Arduino Raspberry Pi Microcontroller with 5Pin Wires and then created some nodejs/raspberry pi (ubuntu) code like the following. It looks like I would need to EZ-Robot I2c 8x8 RGB module the question I have is there a way of programming it to do the same type of thing based on the OpenAI’s Response?
So DJ/Jeremie or anyone else, I would love to hear your comments.
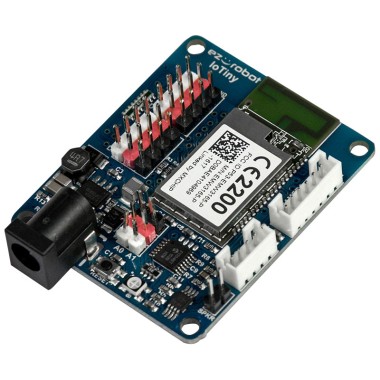
Related Hardware (view all EZB hardware)

@Jeremie I agree, there is a little porting tick to make the stock system perform surprisingly well. I didn't try anything like you show above, just a simple box.
ex1: You could solder a small amplifier board's input to C11 and GND and the amp output to a larger speaker (or to the IoTiny speaker up to 0.5W). The IoTiny SPKR pins would be empty in this case.
ex2: You could solder a small amplifier board's input to the IoTiny SPKR+ and GND and the amp output to a larger speaker (or to the IoTiny speaker up to 0.5W). This method would further boost the audio from the onboard 0.3W amplifier, which would be louder but more static would be present.
ex3: Leave the IoTiny speaker as-is on the SPKR pins and amplify the audio the old-fashioned way with porting
@Perry right on, good idea! I'm curious if you have any pics of it. I'm interested!@Jeremie Here is what I did in my inmoov. Just a simple box for the 2 ohm speaker. Made a huge difference.
Thanks @Jeremie for the explanation. I tried both your example 1 & 2 on a EZB and did not like the results of #2. Like you said, poor sound and static. I ended up #2 and soldered in a pig tail to the proper points on the EZB board and plugged in a 20w amp to it. Gave booming and clear sound.
Your porting box is a wonderful idea. I can validate that this really works! I did do something like this on a Bradford Exchange Nightmare Before Christmas Cuckoo Clock that I redid the sound system on. When I got it I was very disappointed with both the sound quality and the music it played. However unlike you, I did upgrade to a new small speaker and a new amp. After trying a couple different speakers I ended up using a full range laptop speaker. By doing this it really amplified the sound and had a lot better quality. Here's the link to Mouser and the final speaker I used: Speakers & Transducers 3.2 cm (1.3") fullrange speaker, 150 20000 Hz, 220 Hz, 24-5W
I guess my point is that I used the small space inside the clock to enhance the sound like you are doing in your porting box that you've designed. However, even with the new amp and nicer speaker that I used my sound was underwhelming until I placed the speaker inside the clock.
Here are a couple pictures and videos if the process and result if anyone is interested.
Here is the build video:
Here is the result Video:
@smiller29, Sorry. I guess I kinda hijacked your thread with my project above. I did however want to point to the speaker I used and validate how sound can be enhanced in many ways.
@Dave, All good man BTW I got this clock for my wife for Christmas so who knows I may use your project!
Well I ended up using the Sound servo (EZB) skill for the mouth on along with a script to control the LED's and it seems to work really well. There is a link at the bottom to view a video of it working. I now have OpenAI ChatGPT3 working, Bing Speech, Camera and Face tracking working and it seems to be working very well. I also did not have to add an amp the I just added a 2" speaker and got the sound output I needed.
The following was the script I used:
Video of it working
Hey Dave on your clock mod is there anyway to do it without needing AC power?