smiller29
The Birth Of The XR-1 DIY Robot
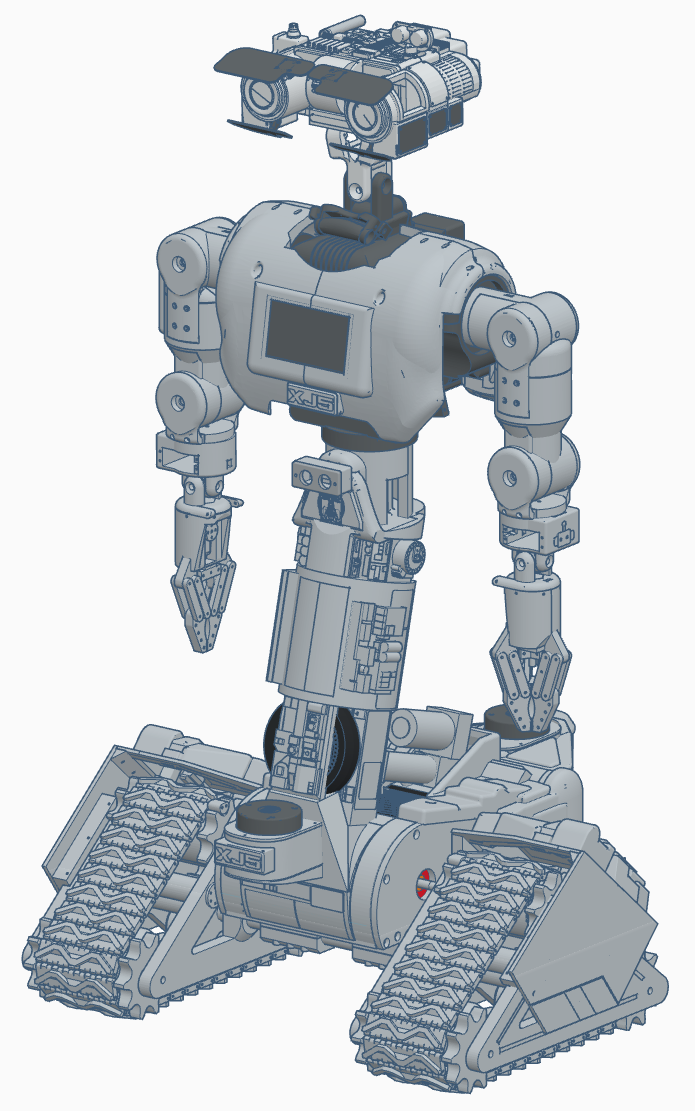
Introducing the Updated XJ-5: A New Class of Hobby Robots
The XJ-5 robot platform, available at Robots Builder, is known for its user-friendly design, emphasizing accessibility and ease of assembly. Designed to make robotics more approachable, the XJ-5 is meticulously engineered for simple 3D printing and assembly using standard components such as servos and bearings.
Our objective is to simplify the building process so that enthusiasts and robot hobbyists of all skill levels can engage in constructing their own robots. We've dedicated significant time to perfecting the design, enabling users to quickly progress to the exciting tasks of programming and teaching their robots using Synthiam's ARC software. The XJ-5 is highly customizable, featuring a variety of hands and heads to allow personalization of each creation. To foster a collaborative and open community, we're proud to announce that the XJ-5 is entirely open source, inviting users to contribute, modify, and share their innovations globally. Get ready to embark on a journey of creativity and exploration with the XJ-5!
For more information, check out Robots Builder.
As a creator of the XJ-5 and our other XR series, I will be utilizing the Synthiam ARC platform for robot control, and I hope others here will join me in developing an ARC project to support the XJ-5 robot. As of January 9th, 2024, we have started posting files for 3D printing. Meanwhile, we are developing documentation and updating the website, so please check back regularly.
My goal is to develop a walking, talking, listening, and seeing robot the size of a small child using ARC and its various features. As I progress, I will be sharing more about my efforts here.
Now, let's delve into the project, focusing on the new and improved XR1, the XJ-5, which I have been designing and building over the past year.
As a young enthusiast, I loved the movie Short Circuit and was inspired by the Johnny 5 robot, motivating me to create a similar robot. Although not a direct replica of Johnny 5, it embodies some of its iconic features. About a year ago, DJ suggested opting for a robot with wheels or tracks over a bipedal robot due to the complexity of achieving stable walking, a challenge I am familiar with from our XR2 project. But that's a story for another time.
Now, in May 2025, I've nearly completed the assembly and will soon start implementing ARC and the AI brain I've been developing to enhance ARC support. Expect more updates soon.
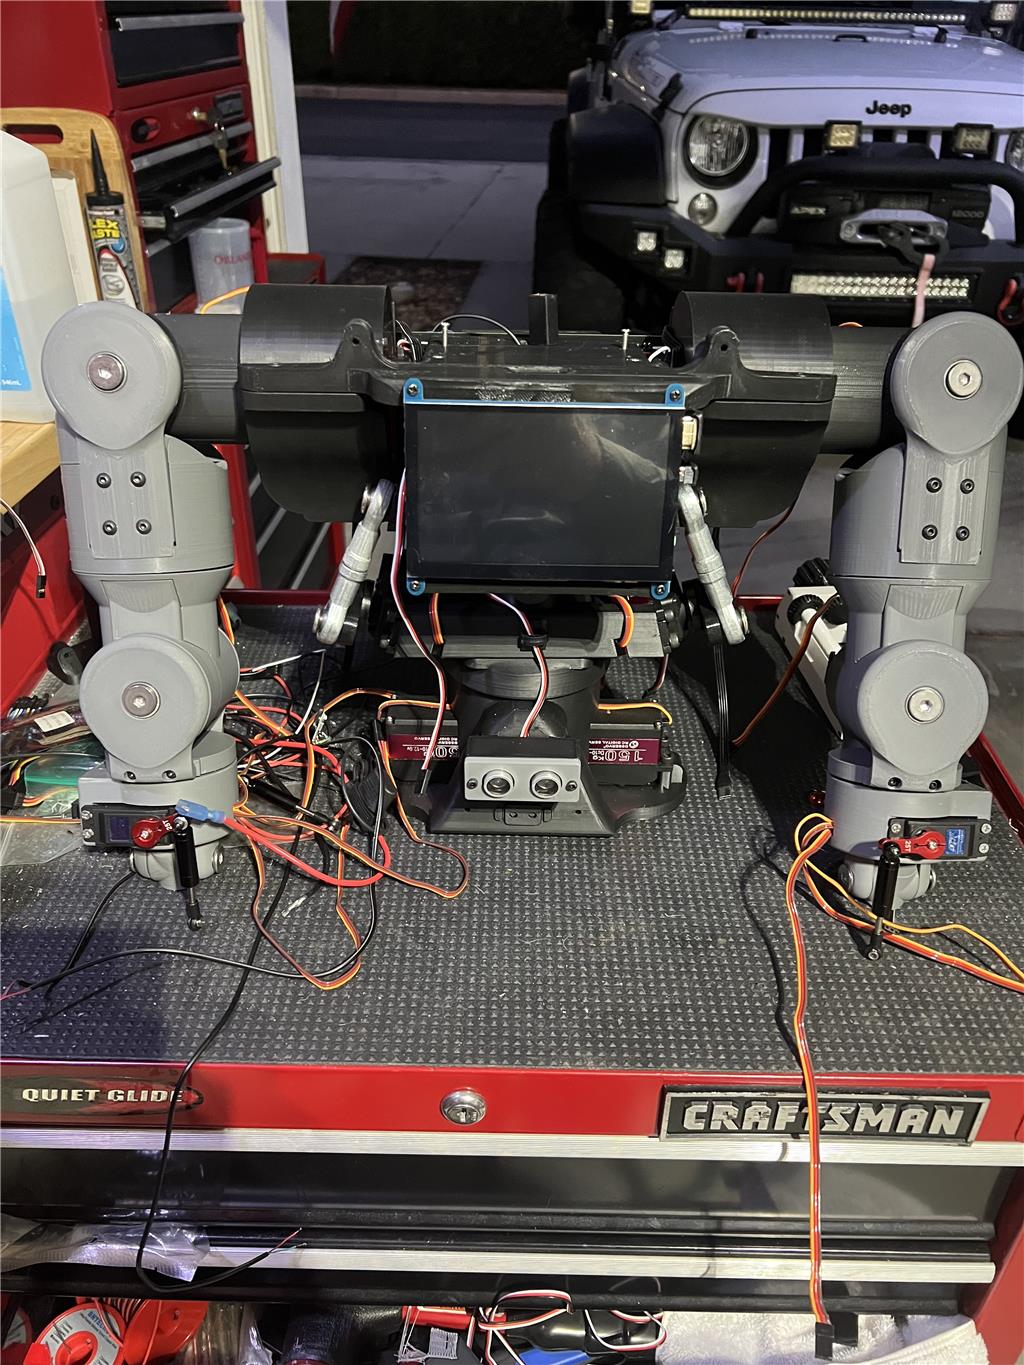
I have started building the robot's torso from the hips up, as shown in the pictures below. The shoulders are not entirely installed because I'm awaiting the arrival of the correct screws. Please excuse the messy workbench.
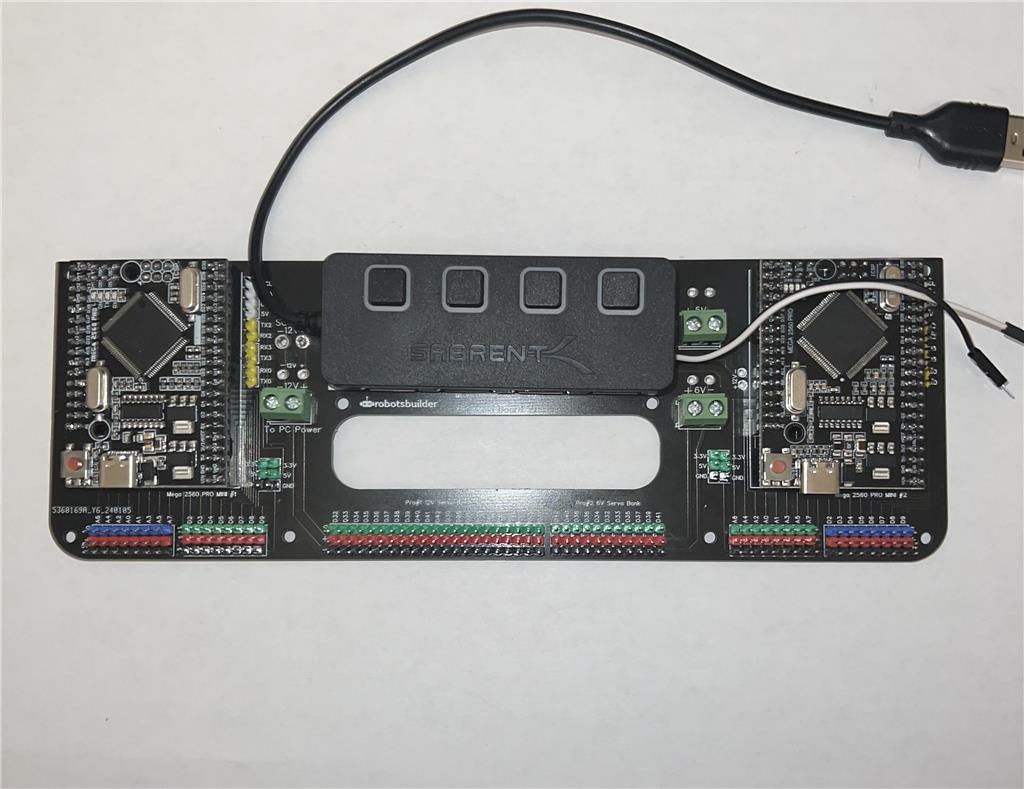
To support the robot, I've designed a set of custom boards with ARC firmware that will connect to the onboard PC, located in the chest area.
The above board will be mounted on the backplate between the two shoulder sockets and connected to a USB hub linked to the PC. Two additional USB cables, alongside servo power, run down to the boards in each hand. The USB camera and headboard will connect to the PC's other two USB ports. ARC will operate headlessly on the Windows 11 Pro PC using RDP for remote connectivity. Additionally, there's an MPU connected to the main board, which I plan to leverage with ARC.
I've added the shoulders and arms down to the wrists, ensuring they are strong and capable.
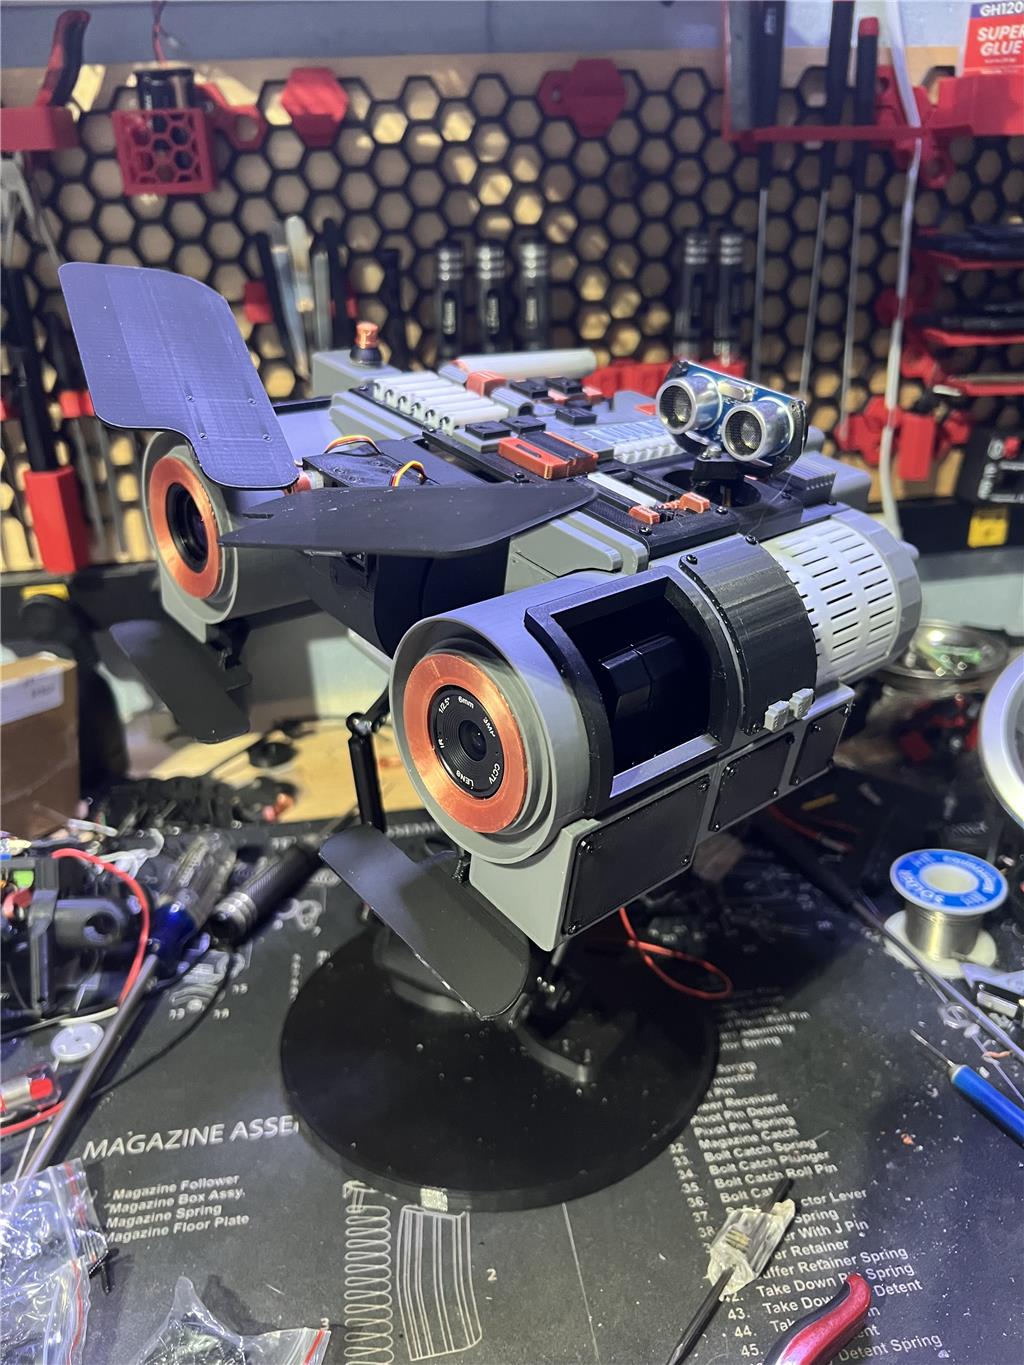
I've decided to create a Johnny 5-style head for my build featuring two cameras. Here's the completed head. I've included six more servos for the eye flaps, bringing the total count to 50 servos. The design incorporates a directional mic array and ultrasonic radar for enhanced audio and visual capabilities. For sound, two speakers are mounted in the head with an audio amplifier.
I've also opted to integrate a 5-inch touch display into the XR-1, as shown below.
This display will offer additional options for operator interaction using ARC remote controls.
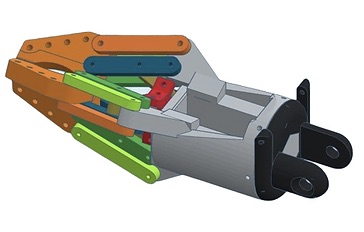
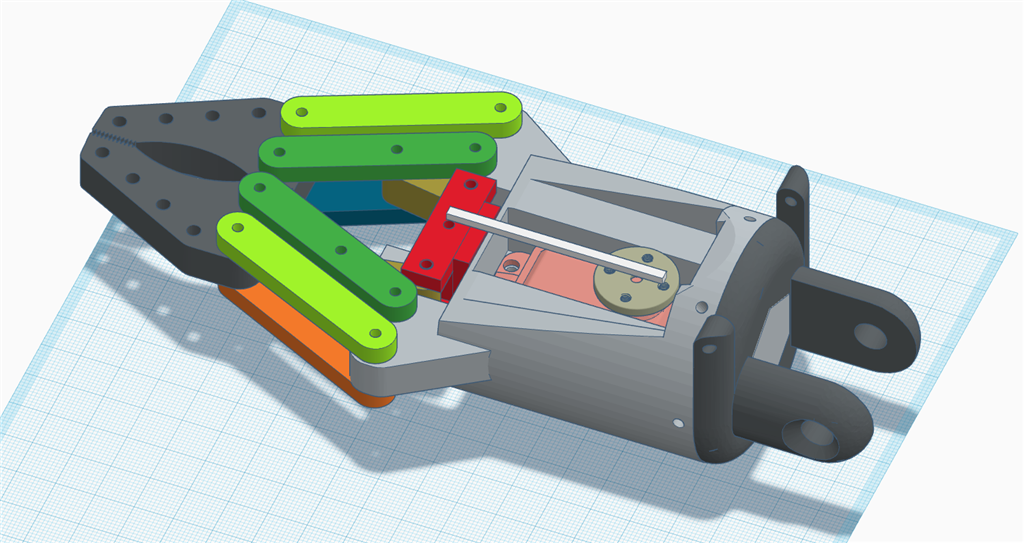
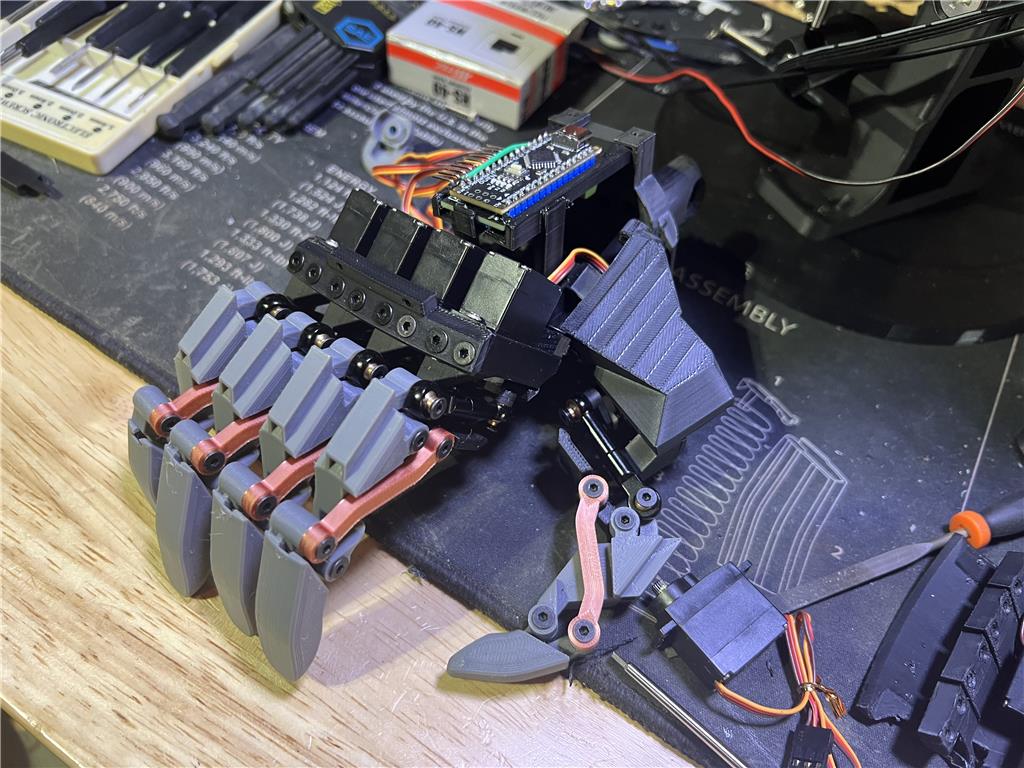
I've created both two and three-finger claw grippers and human-like hands, providing versatility in interaction for the XR-1.




So DJ If I am understanding you that you are recommending the Rplidar (A1) out of all the ARC supported options?
I’m recommending any of the supported lidar combined with the better navigator as I said above.
*edit; just make sure it works with the NMS. The rplidar a1 works with NMS and is good. It’s what I use. You can learn all of this faster by reading the page I provided and following the video tutorials. All I’d be doing is repeating what’s already there.
Thanks I read all that and the related links Your conformation helps DJ with product choice. I just need to figure out where to mount it on the above track design. I would think it should be located on the lower section of the robot to the front but I can't see a way to give it a 360 view. I need to think about this because this is a real nice solution and I would love to have it built into this robot.:)
So What do you think about this location? I need to make space for it and add some protection for it.
It’s 360 degrees. So you can block part of it, but not over half of it. The more data points the more accurate. Mounted in that position will not perform at all.
it spins and gets distances in 360 degrees.
you can block less behind it by mounting it higher. Or have one in front and one in back.
So if it has at least 180 degree scan area above the tracks on each side would that work? Also how high off the floor should it be scanning?
Height from floor depends on your environment.
As for blocking - thats hard to say. I wouldn’t block directly in front. But it’s okay to block a few degrees behind.
@athena give @smiller tips on where to place a 360 degree lidar rplidar a1