
Step 2. EZ-Builder ADC controls.
With you ARC project open on your computer, clicking on "Project", "Add controls", then "ADC" from the menu ribbon, you will be presented with three ADC controls to add to your project.
ADC Graph.
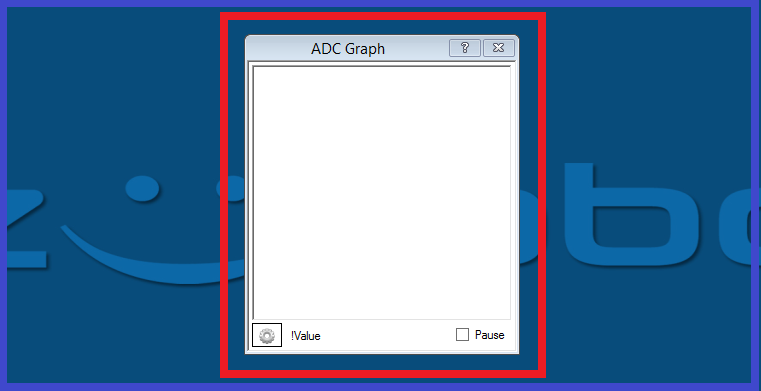
This control will show the ADC voltage in a historical graph. The input voltage can be between 0 volts and 3.3v. A demonstration of this control can be found in step 6.
ADC Graph Configuration Menu.
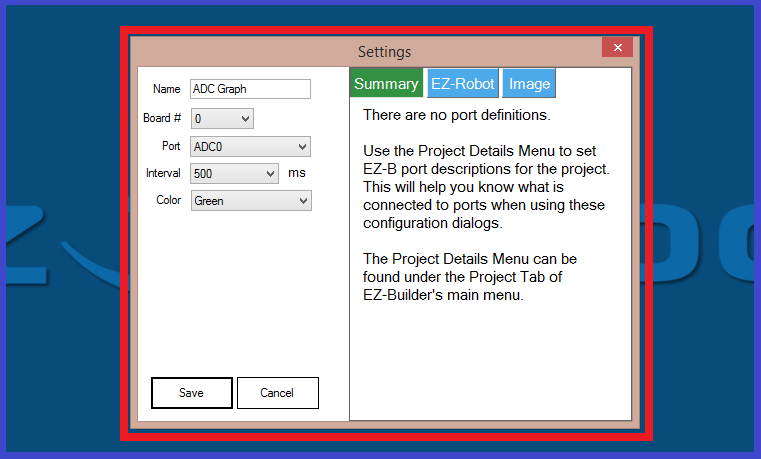
Name: Where you can rename your "ADC Graph" control.
Board #: Select board number your EZ-B (found in the "Connection Control" configuration menu).
Port: What EZ-B analog port you wish to use.
Interval: Select the amount of time in milliseconds between sensor reads (100 being the quickest, and 60000 being the slowest).
Colour: Select the colour of the graph lines displayed in the control window. (Current choices are Red, Green, or Blue).
ADC Meter.
Displays the ADC (Analog Digital Converter) voltage in a VU (volume unit) meter. The voltage can be between 0 and 3.3v. A demonstration of this control can be found in step 7.
ADC Meter Configuration Menu.
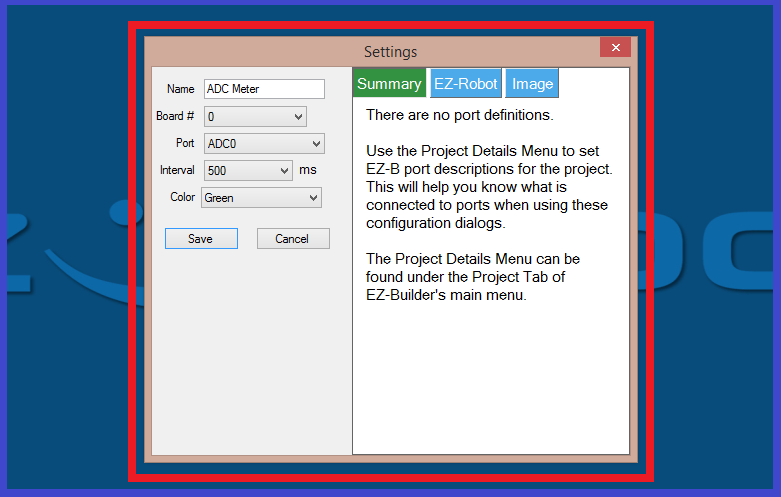
Name: Where you can rename your "ADC Meter" control.
Board #: Select board number your EZ-B (found in the "Connection Control" configuration menu).
Port: What EZ-B analog port you wish to use.
Interval: Select the amount of time in milliseconds between sensor reads. Settings are 100 being the quickest for fast sensor detection (more processing power), and 60000 being the slowest for slower sensor readings (uses less processing power).
Colour: Select the colour of the VU meter displayed in the control window. (Current choices are Red, Green, or Blue).
ADC Value.
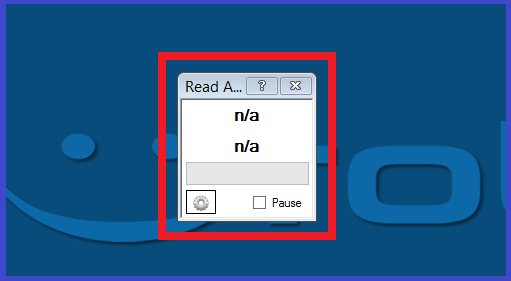
This ADC control will display a numeric value and voltage from the selected ADC port chosen that is chosen from the configuration menu. A demonstration of this control can be found in step 5.
ADC Value Configuration Menu.
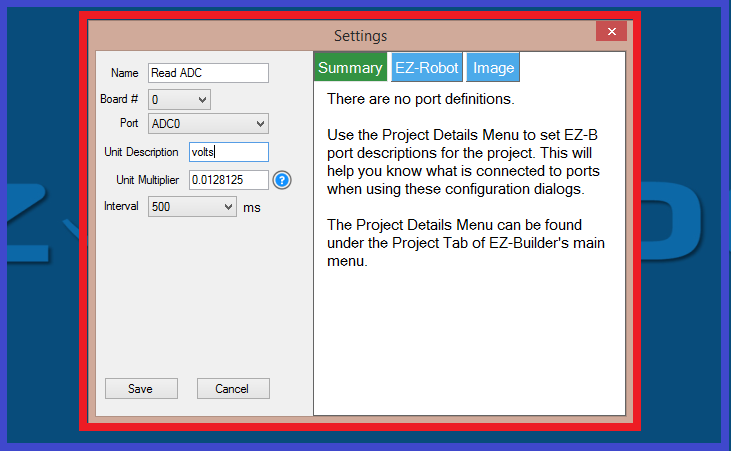
Name: Where you can rename your "ADC value" control.
Board #: Select board number your EZ-B (found in the "Connection Control" configuration menu).
Port: What EZ-B analog port you wish to use.
Unit Description: Change the name of the unit description displayed in the "ADC Value" control window.
Unit Multiplier: This is used by the value of the ADC reading to calculate the desired scale. If you are using an EZ-B v3, and wish to display voltage, the multiplier value would be 0.0196. If using an EZ-B v4, the multiplier value would be 0.0128.
Interval: Select the amount of time in milliseconds between sensor reads. Settings are 100 being the quickest for fast sensor detection (more processing power), and 60000 being the slowest for slower sensor readings (uses less processing power).

can this detect the audio for a jaw movement on a robot?
If you have a analog audio level sensor (has a microphone) hooked up to the ADC you can detect the strength of audio levels.
You may be able to run the audio from the speaker breakout on the EZ-B v4 or IoTiny to an analog pin, I've never tried it but in theory it would work. It's a 3.3V audio amplifier. Although, it might mess up your audio if you still want audio going to the speaker. Worth a try I suppose.