
Synthiam Support
Creating Frames By Moving The Robot Arm Servos
Add Servos
The Auto Position needs to be configured with servos for your robot. These are the servos that the Auto Position will control.
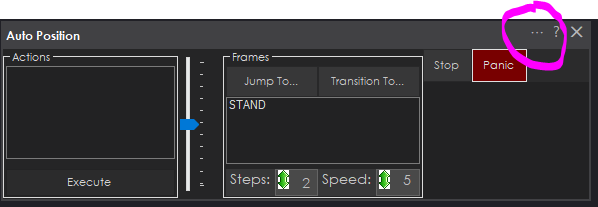
Press the configure button on the Auto Position robot skill
The configuration screen will load. Next, we will add the servos to the display that represents where the servos are on the robot. Generally, adding an image of the robot is useful so you can place the servos where they are on the robot.
This is an optional step that you can skip if you do not want to add an image of the robot.

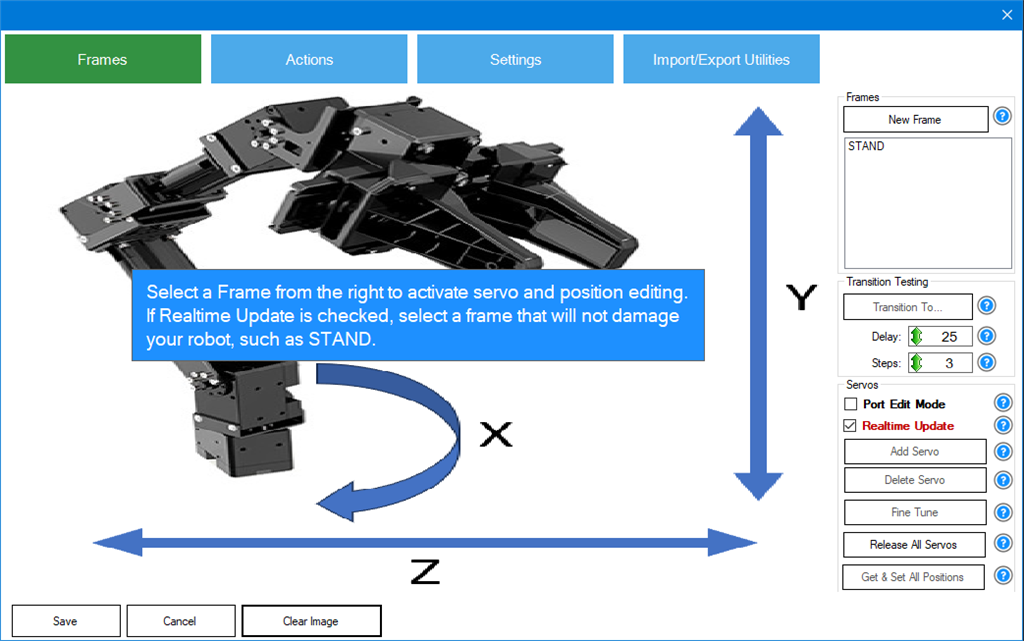
Now we will add servos that we will drag ontop of existing servos of the robot in the image. This makes it easier to understand what servo we're manipulating. Select the STAND frame. This is the default standard frame that we will use to add the servos. The servos will be on all frames, but we need one frame selected to begin.

Press the ADD servo button, select the port for the servo, and drag it ontop of matching servos in the image.

When you're done adding the servos, uncheck the Port Edit Mode. This will prevent the servo boxes from moving and only displays positions instead of the port.

Now you will have servos representing every servo of your robot that the Auto Position will control.
