-636459989693042832.jpg)
-636459989943960739.jpg)
-636459990485479714.jpg)
-636459980560649389.jpg)
-636459975718038038.jpg)
-636459969210457653.jpg)
-636459967995726605.jpg)
-636459970865108143.jpg)


-636465120384538626.jpg)
-636465113490053830.jpg)


-636475595612490698.jpg)


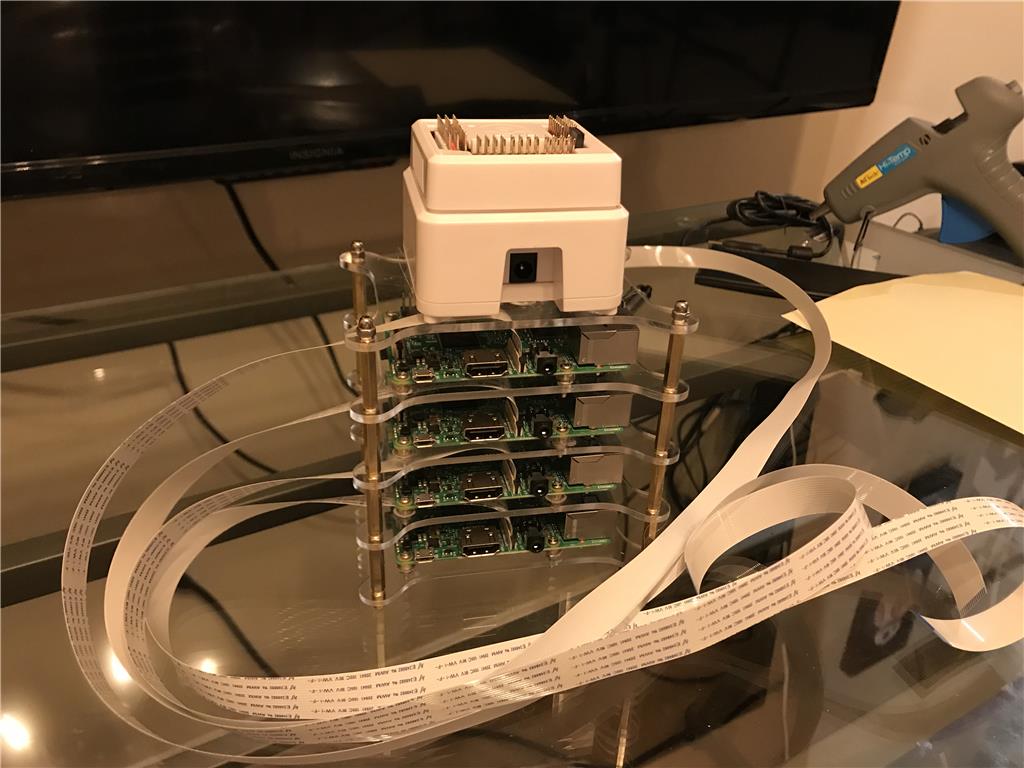
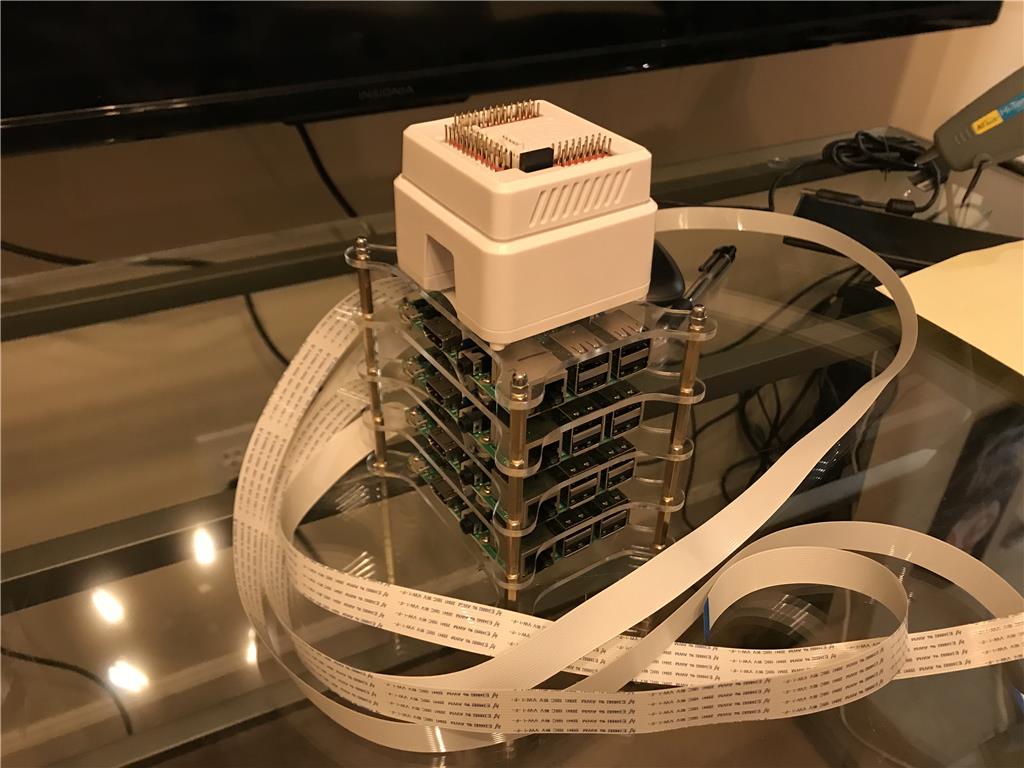
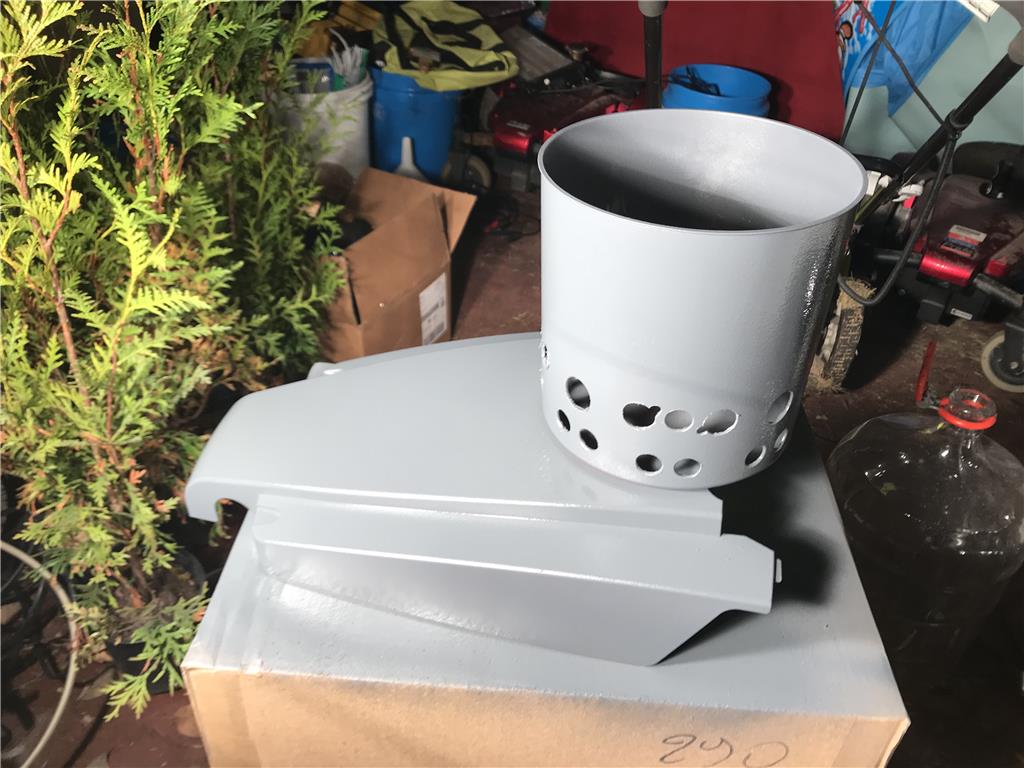
Here is the current look of this project, Super cool update, magpi magazine wants to feature this build with steps how it was done , !

By jstarne1
— Last update
Other robots from Synthiam community

Zxen's My First Robot: Eve
Robomannequin Eve: She's my first.

Jstarne1's Diy Airsoft Mech Warrior From A Rad Robot Video...
Mod a toy for FPV airsoft mech warrior battles with basic how-to tips and photos to build confidence and get you...
Linux's New Desktop For Modification To Installation In To...
Refurbish Emachine PC into quad-core 8GB system with 4TB storage, projector, WiFi and power brick for Omnibot 2000,...

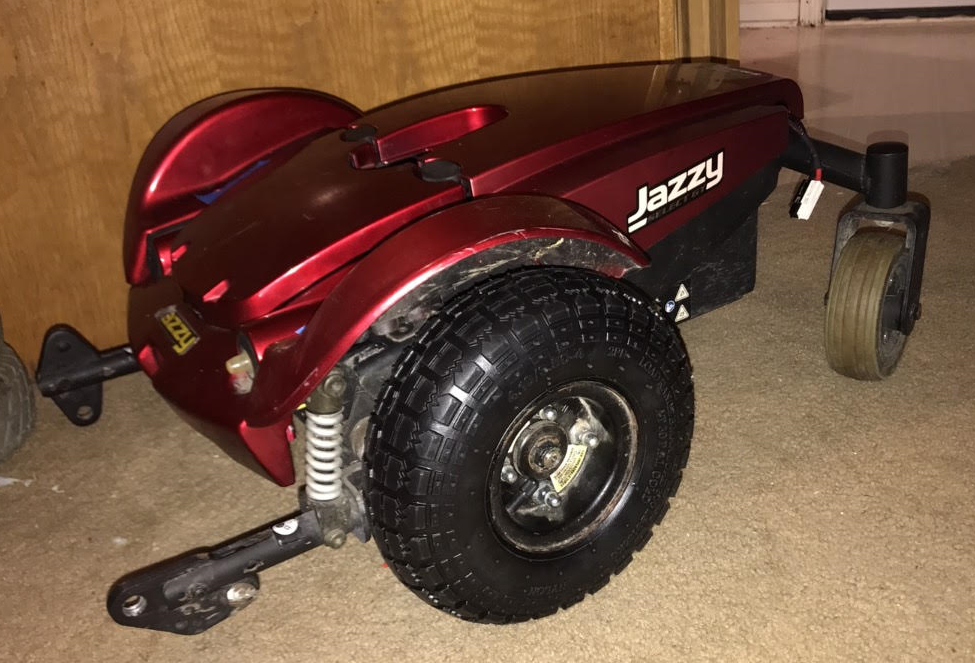
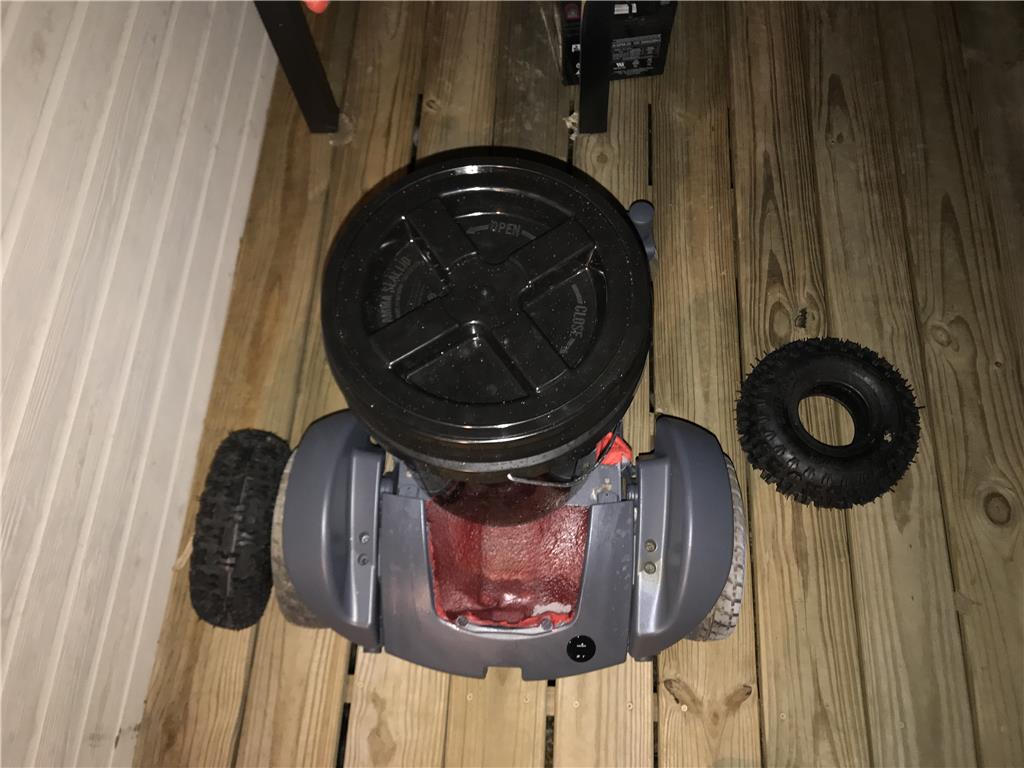
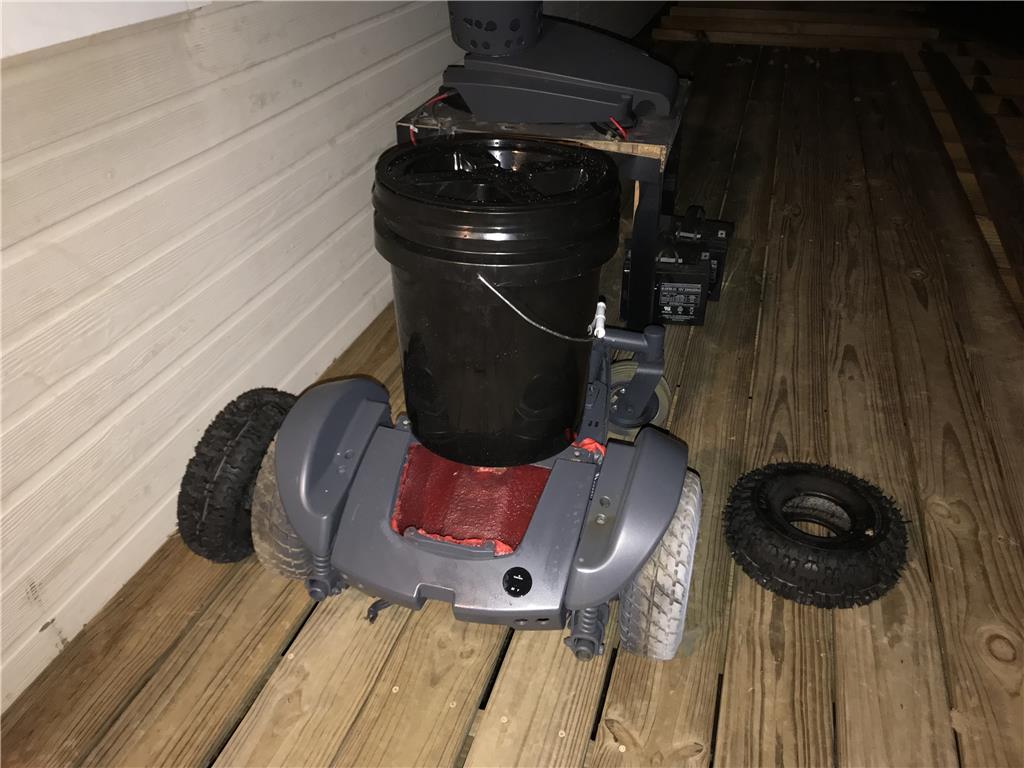
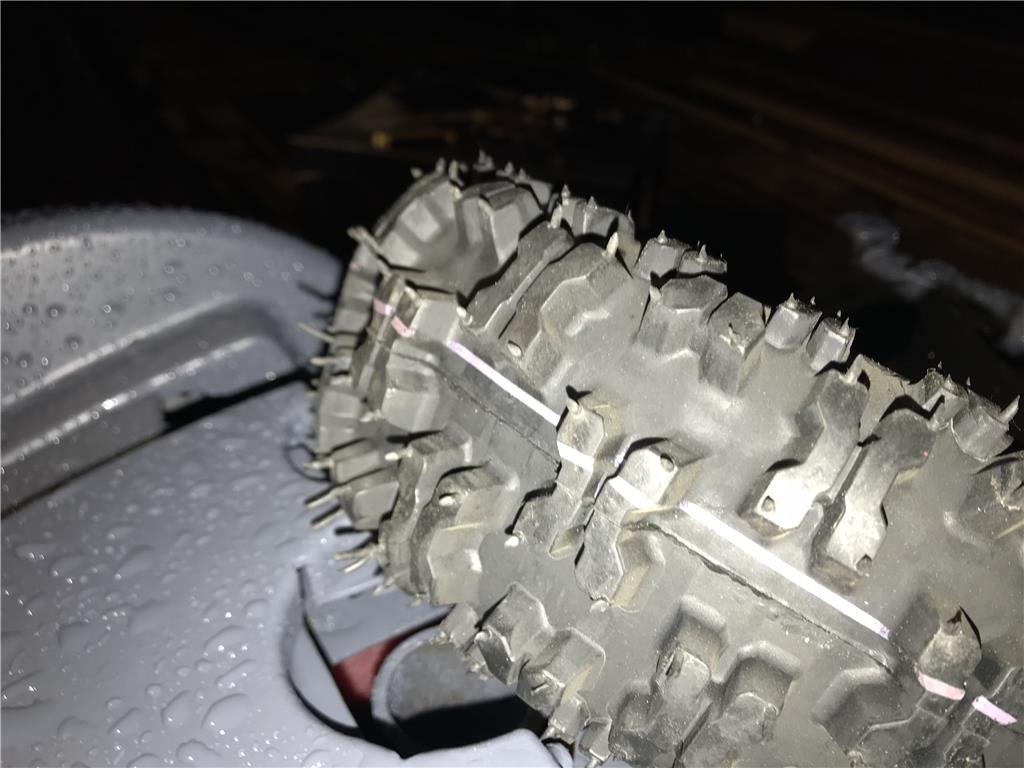
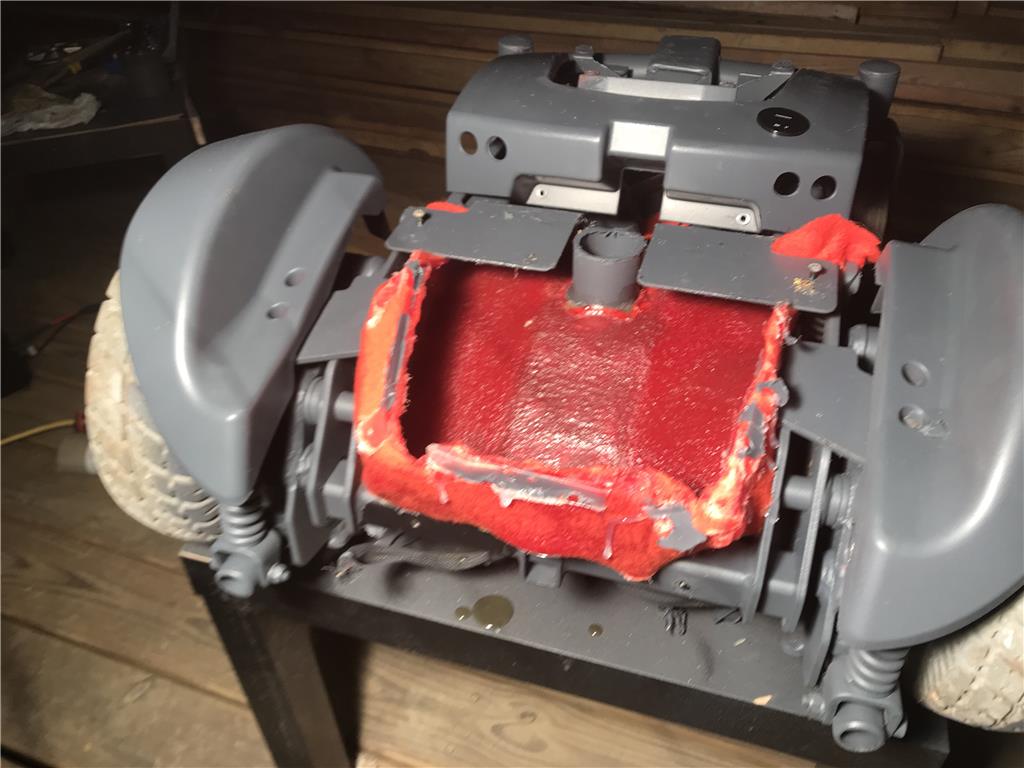
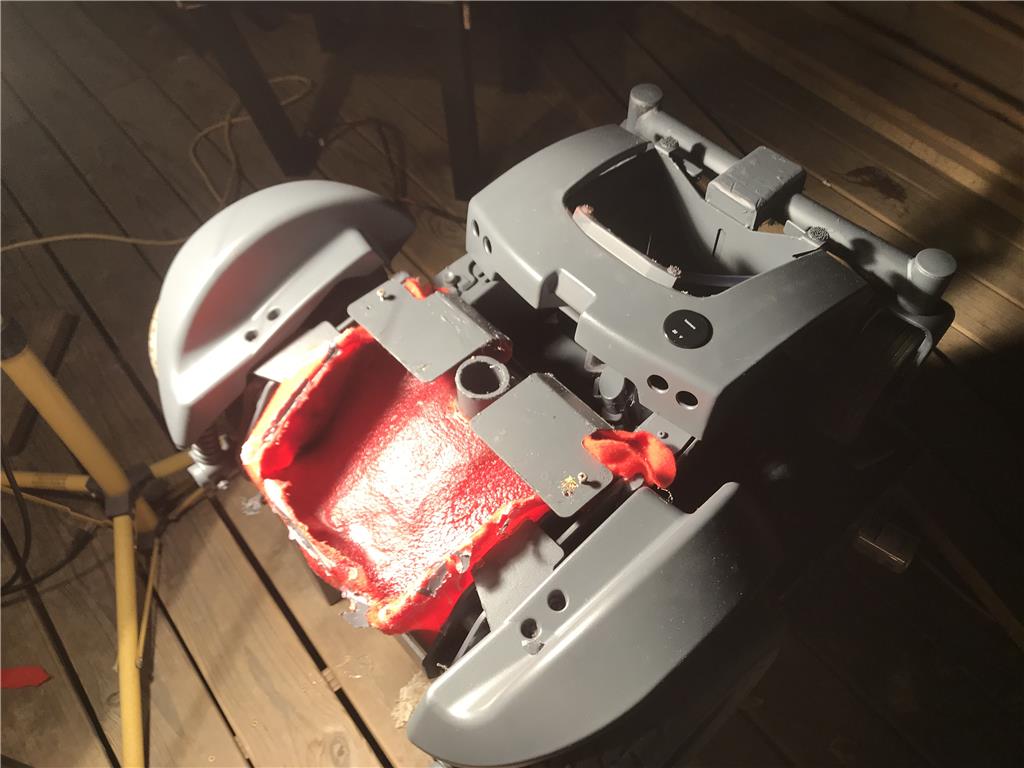
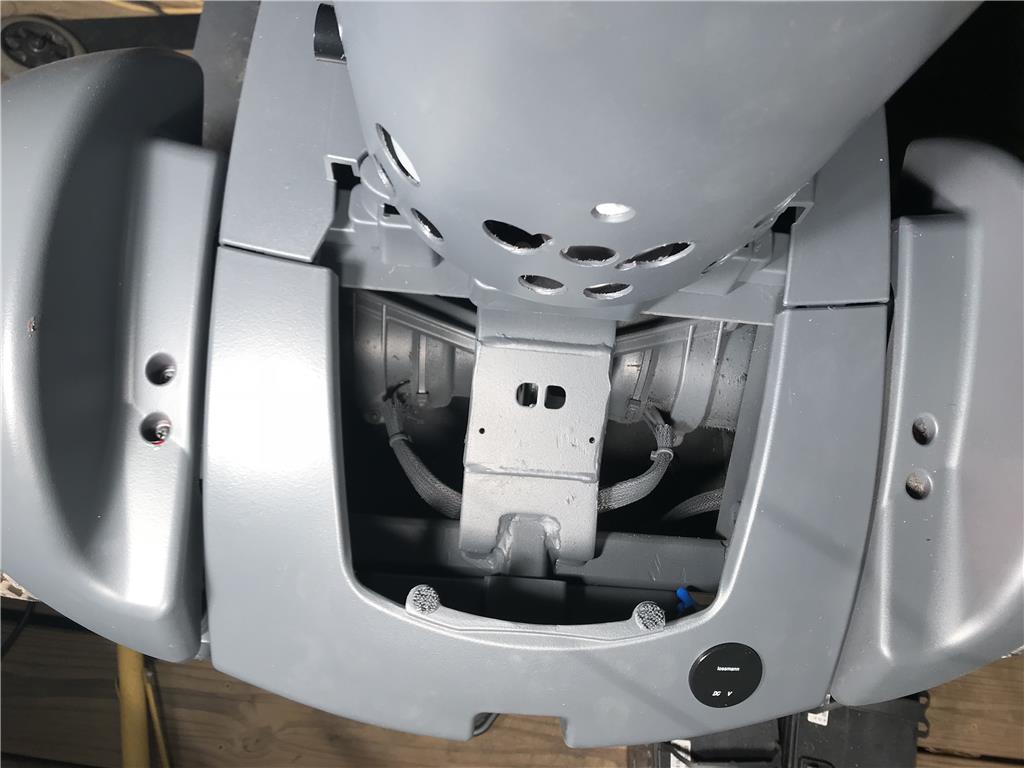
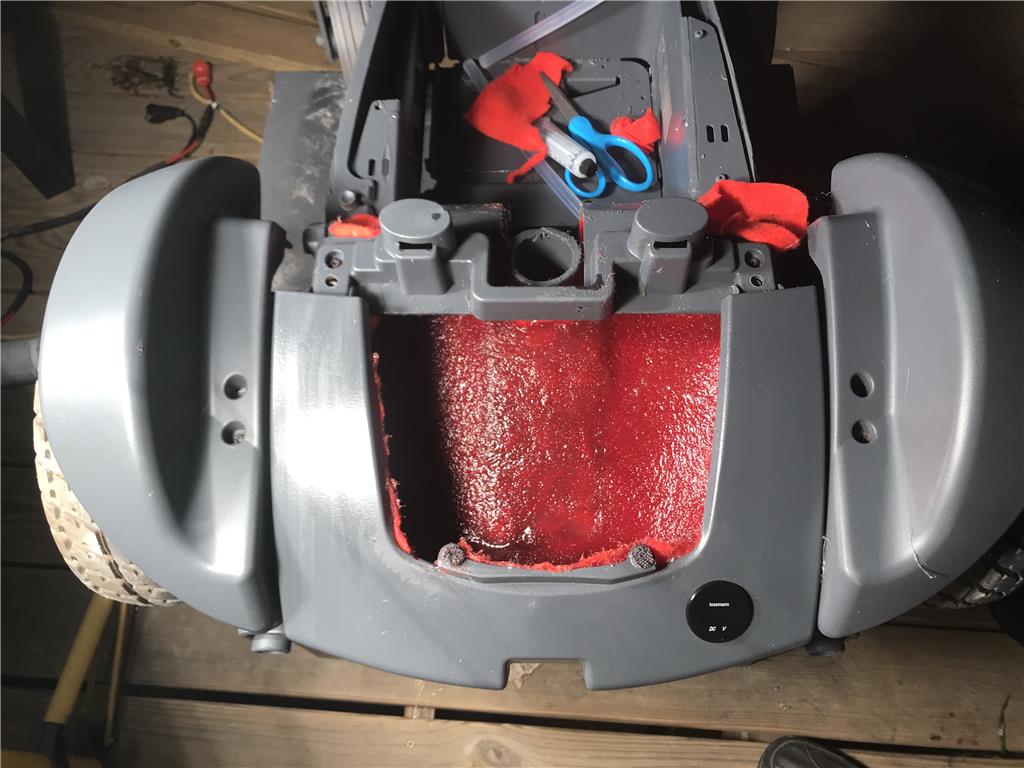
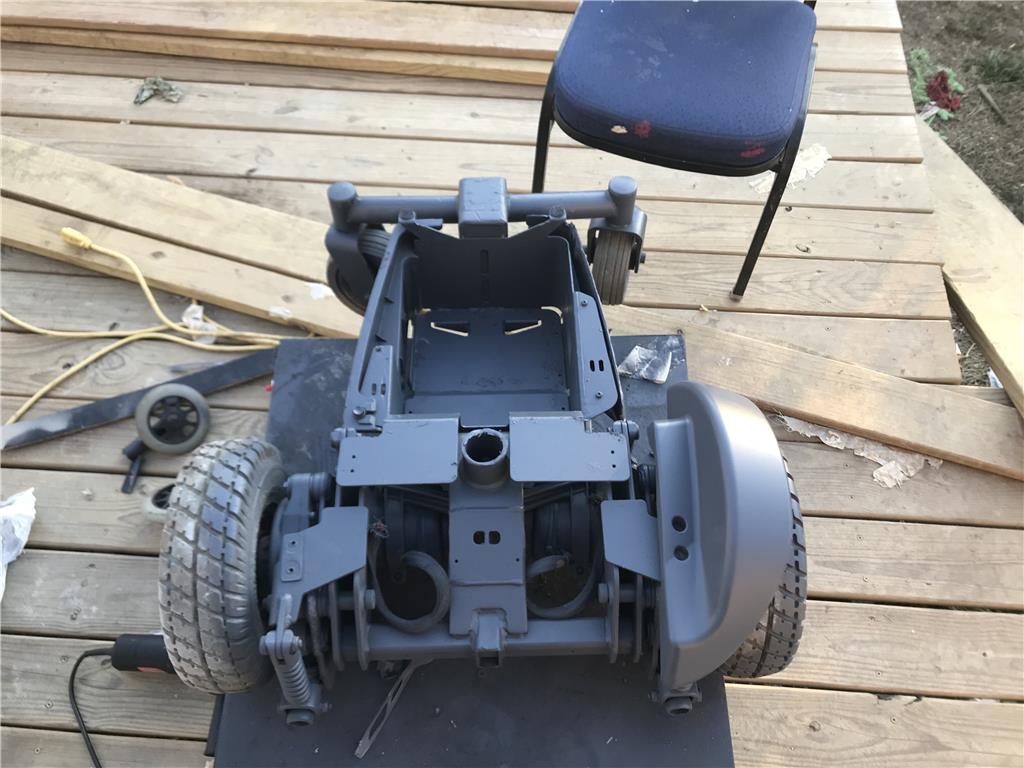
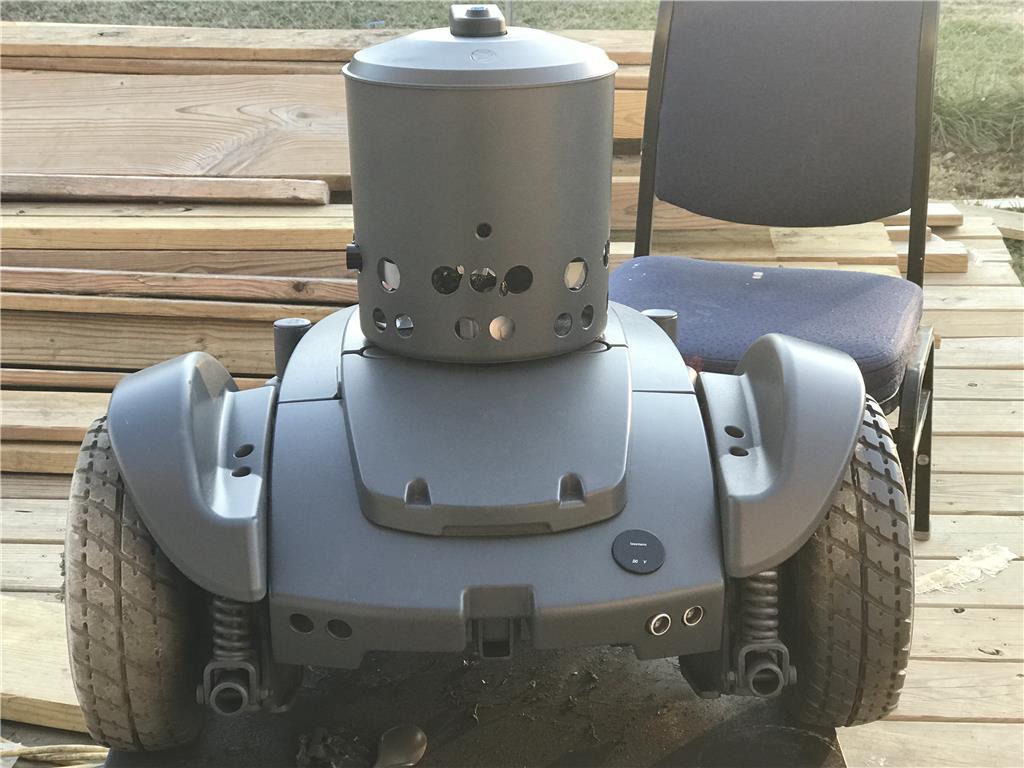
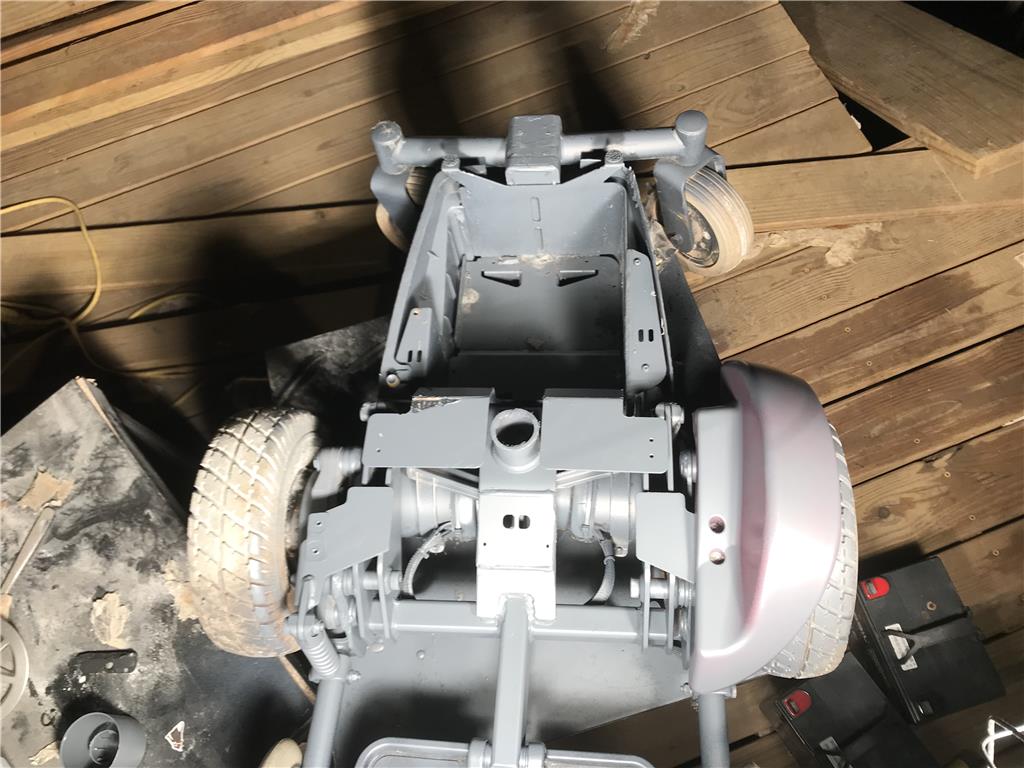
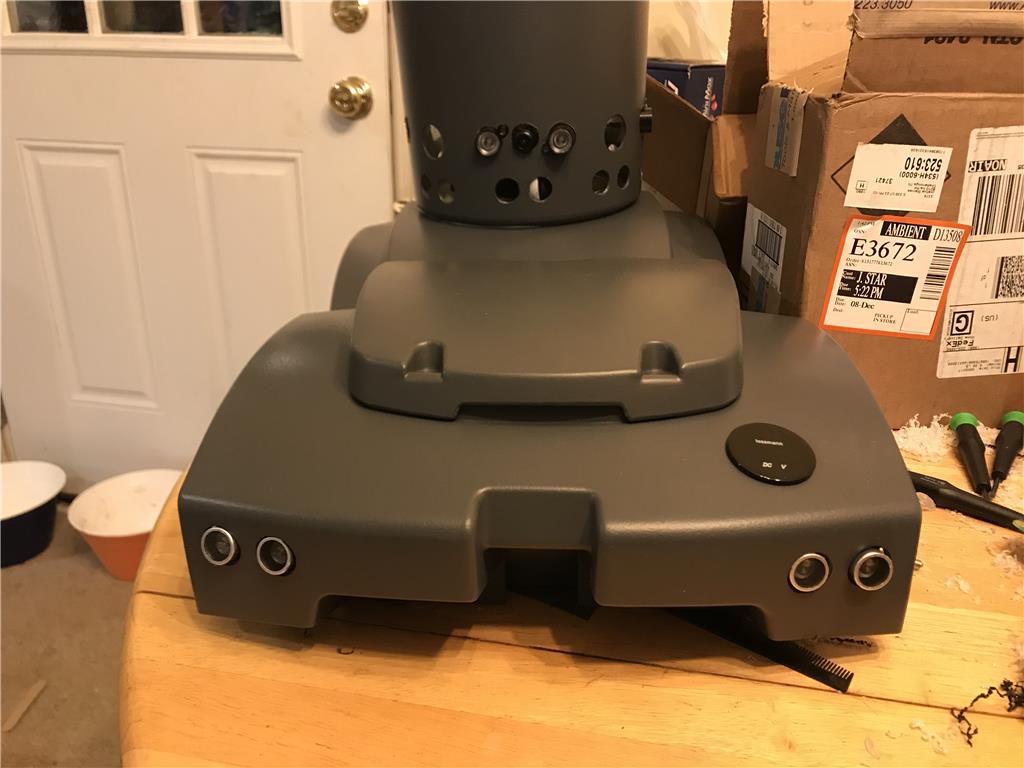
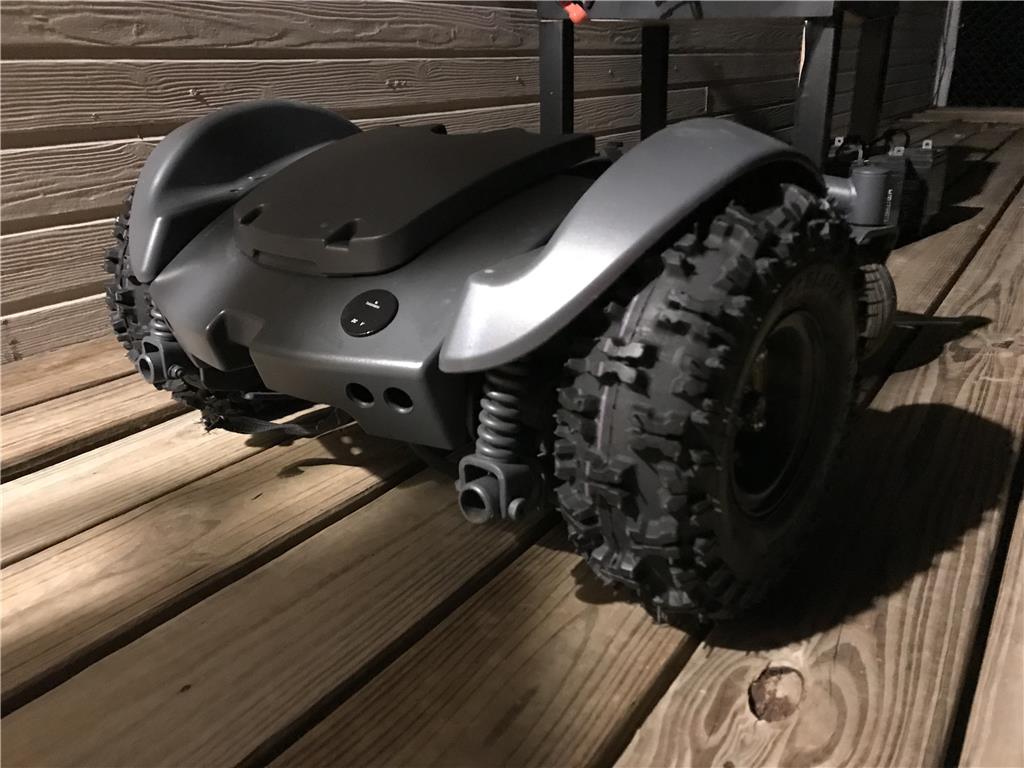
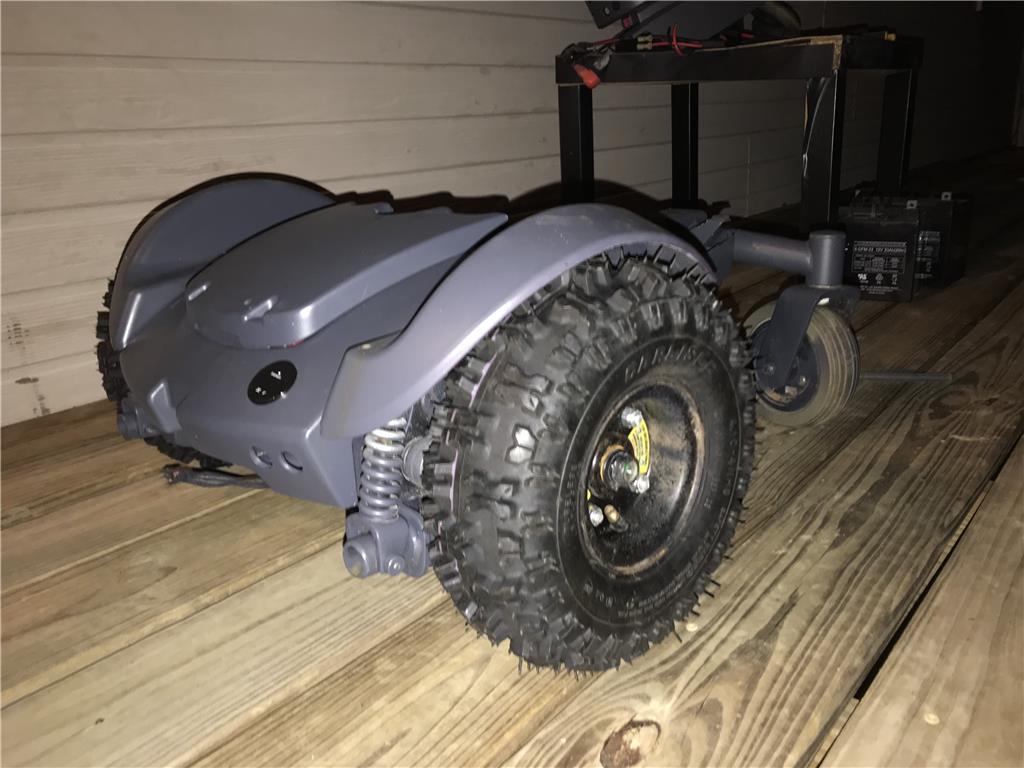
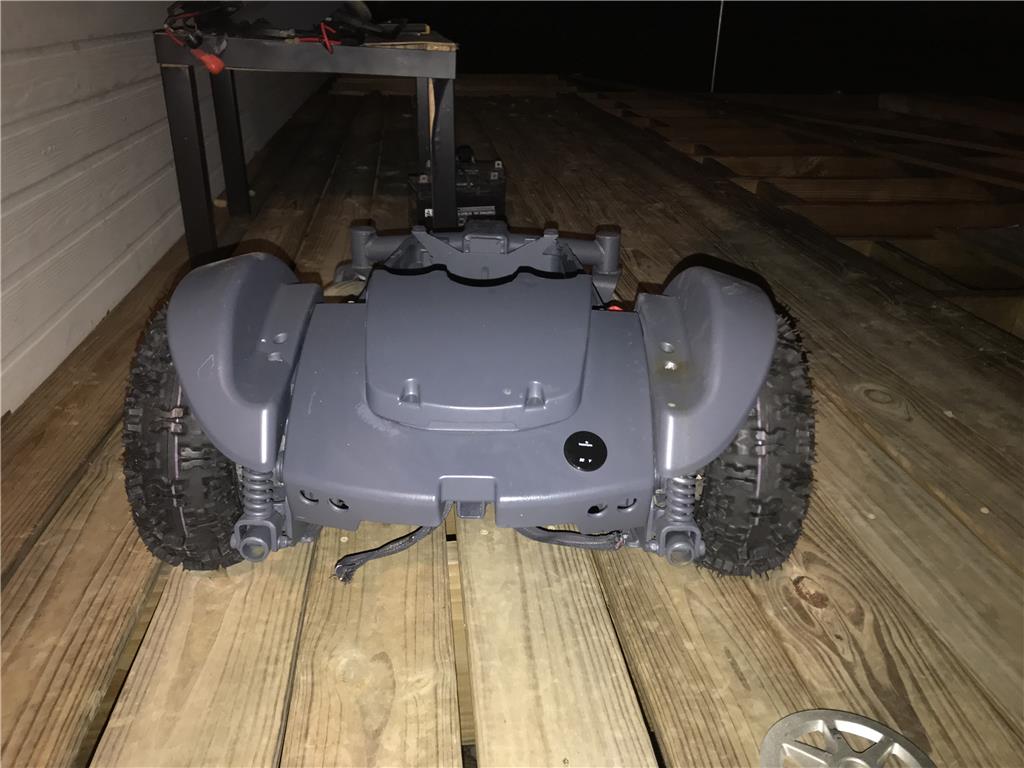
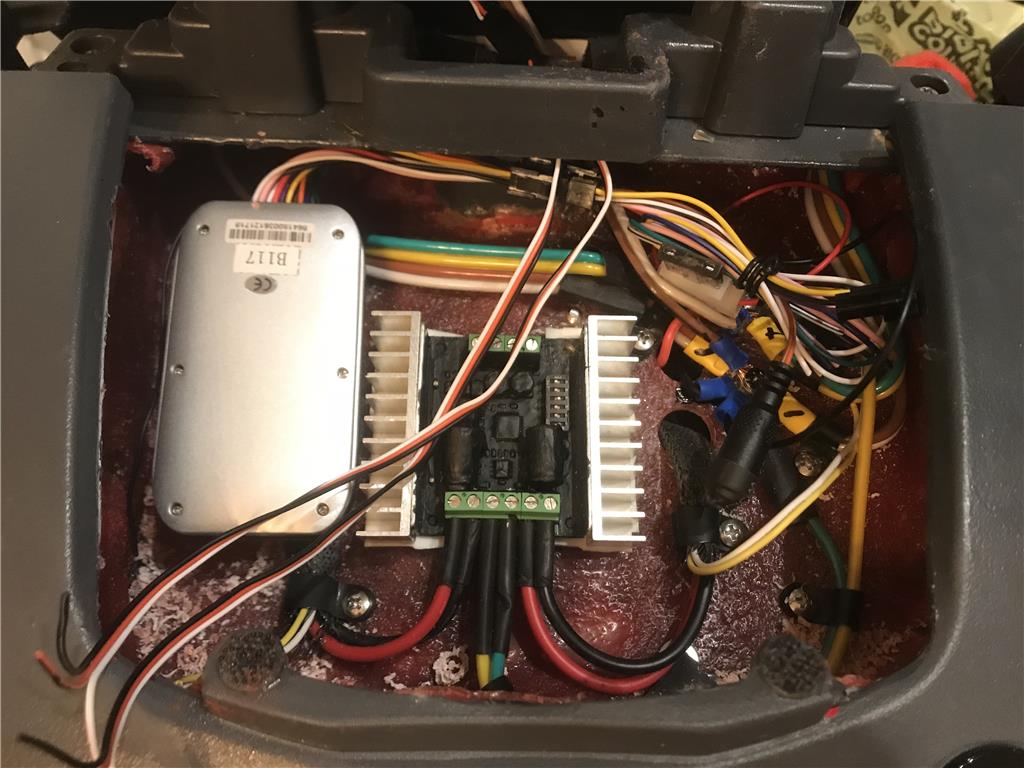
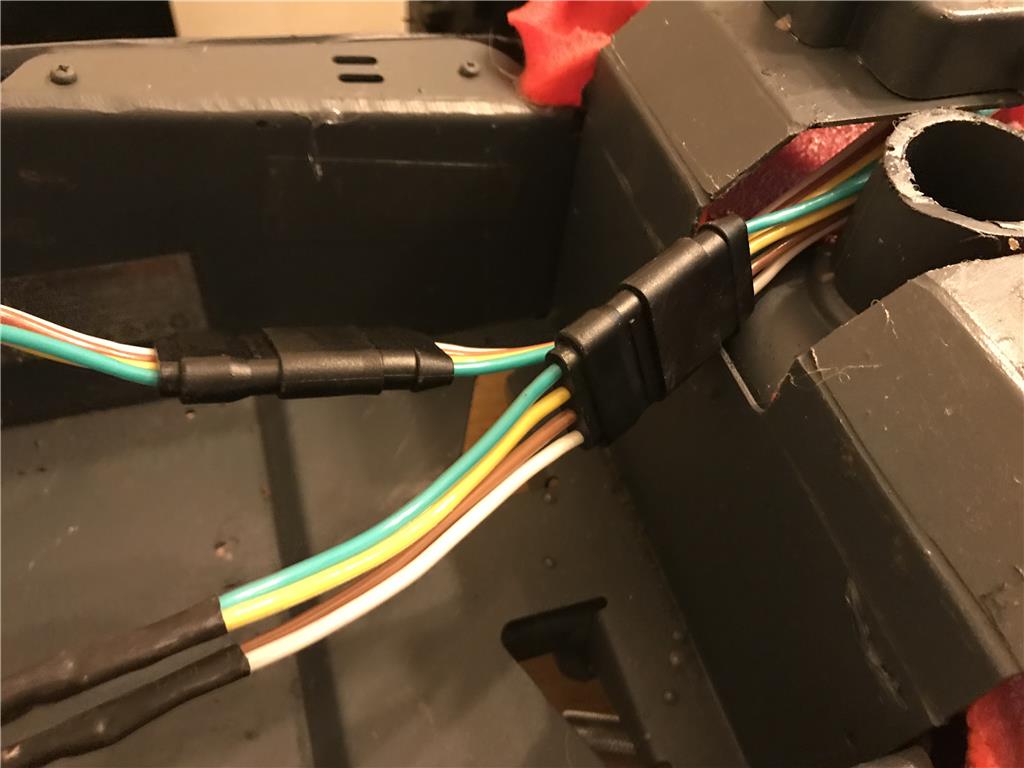
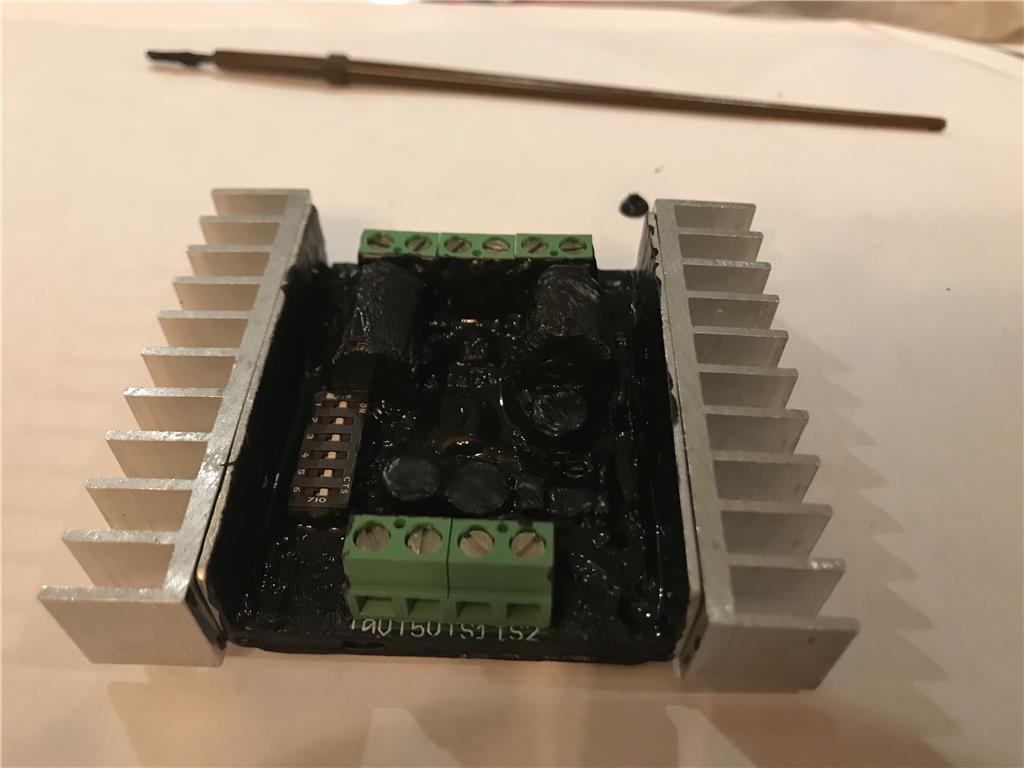
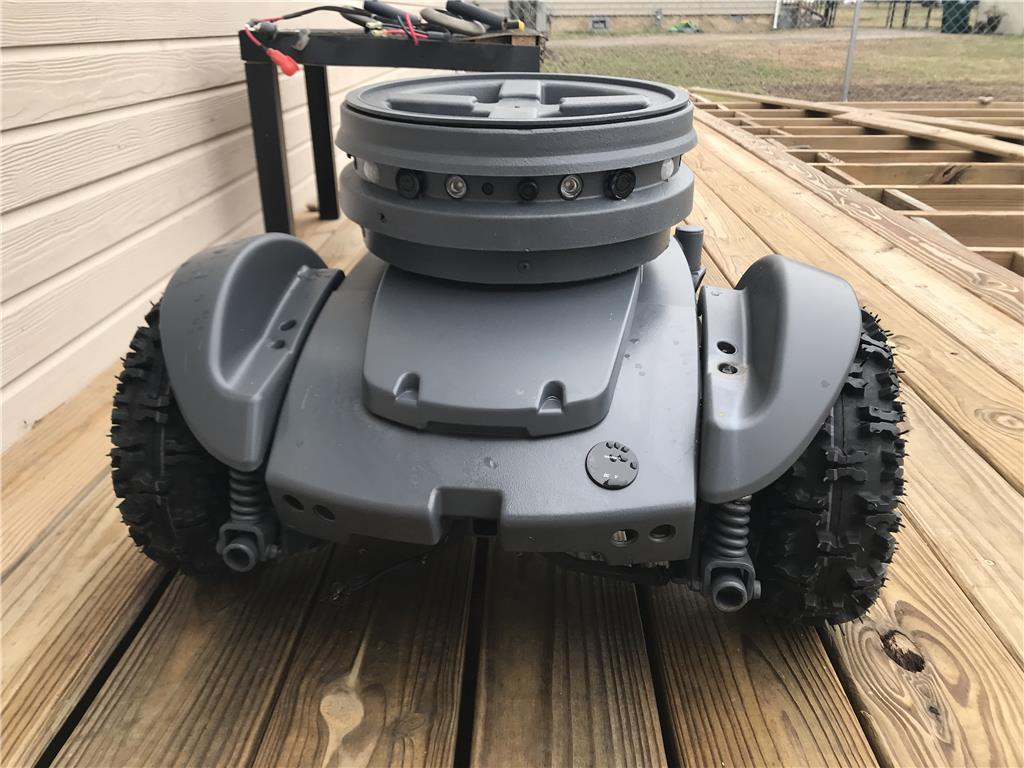
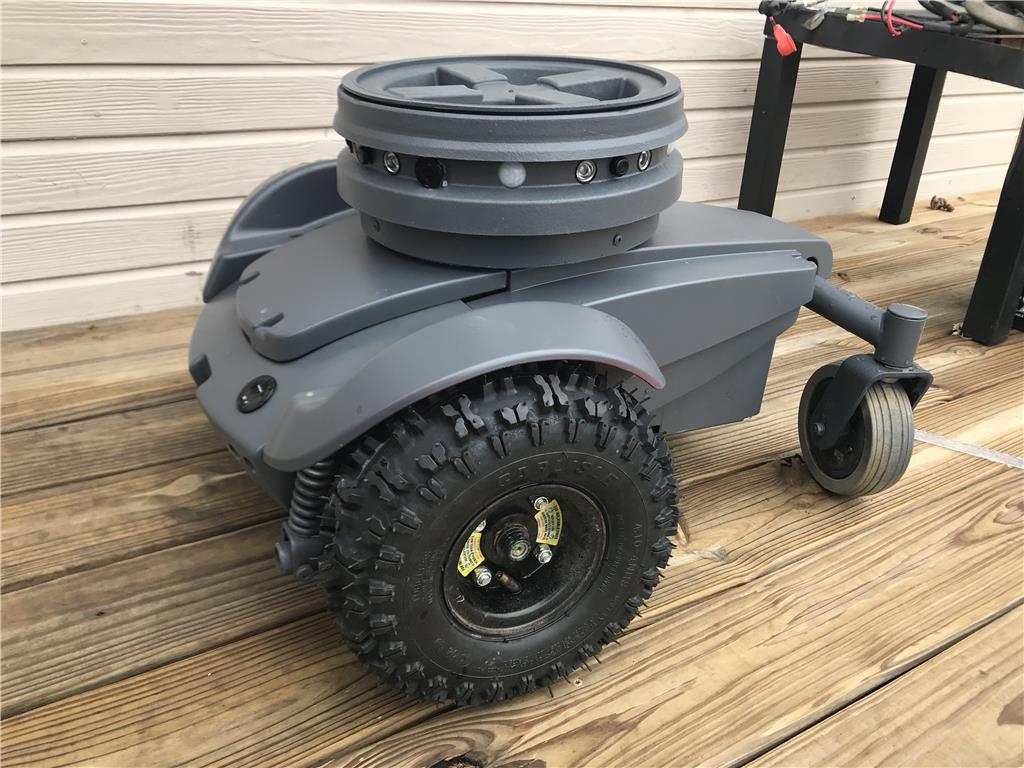
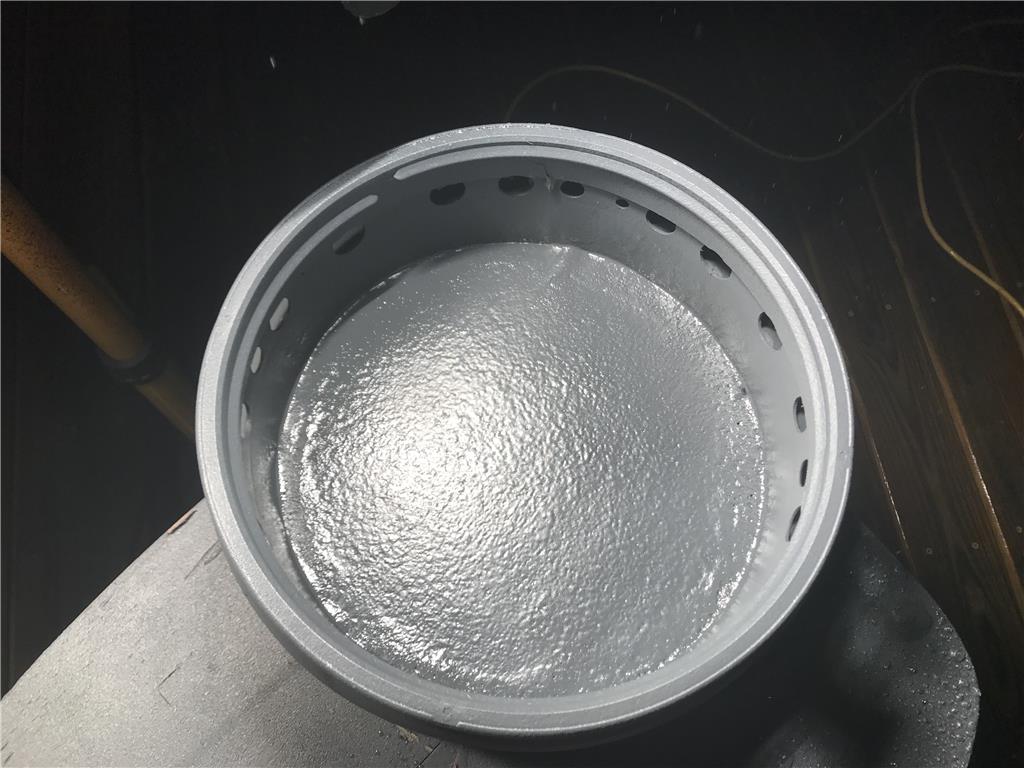
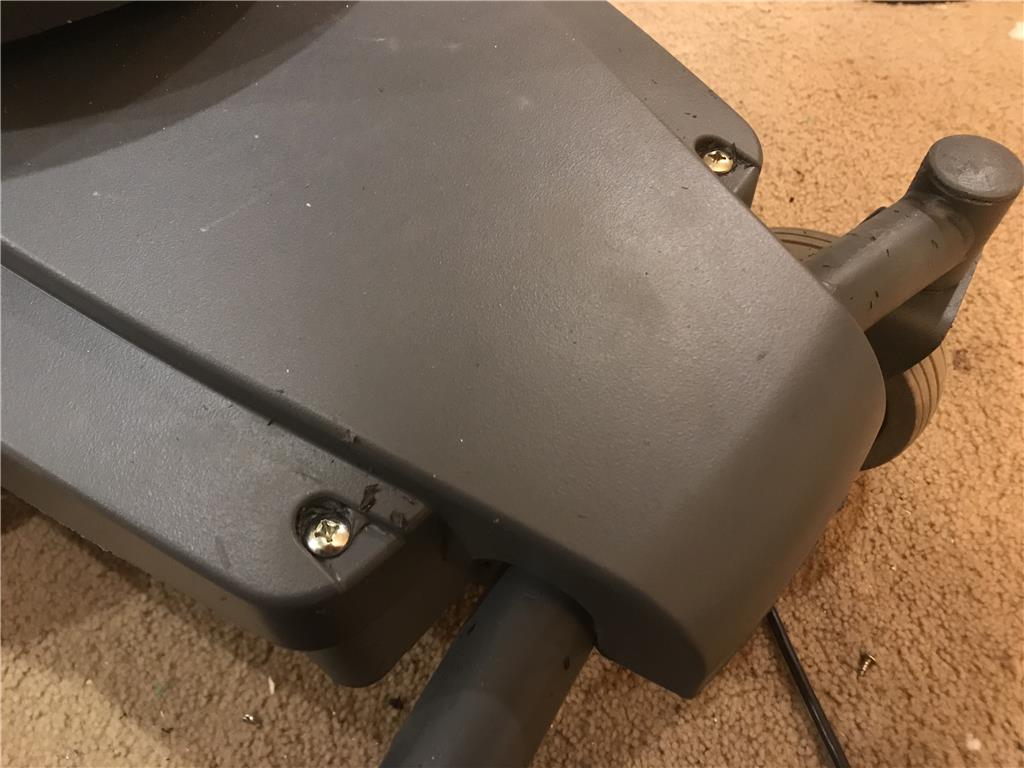
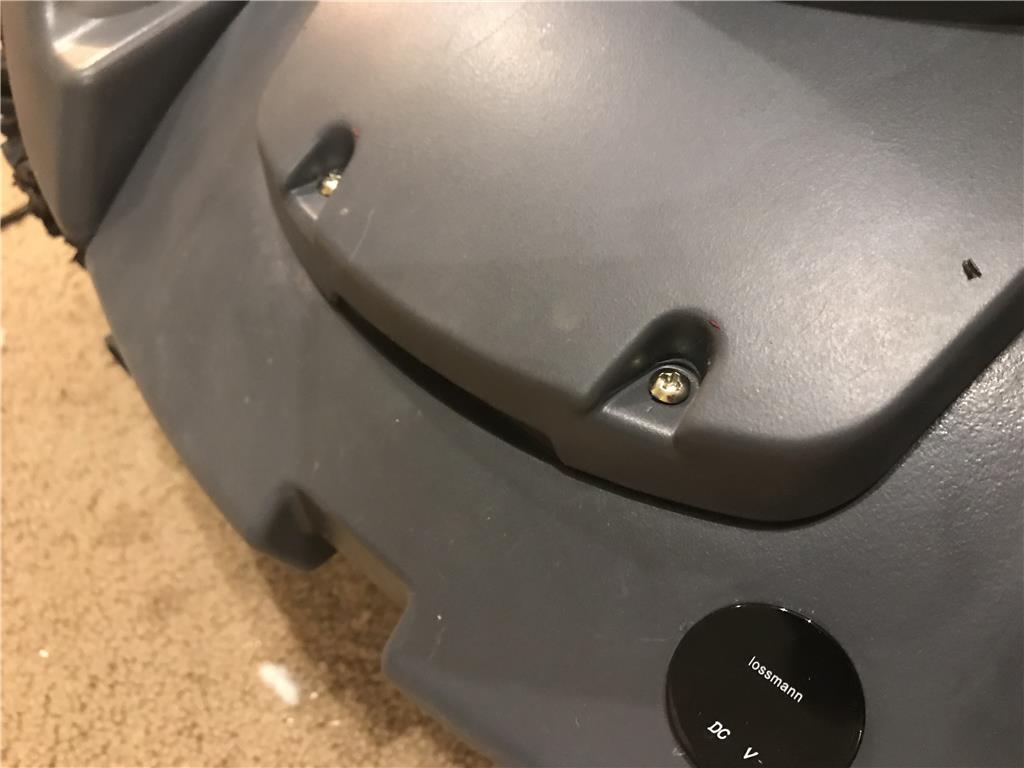
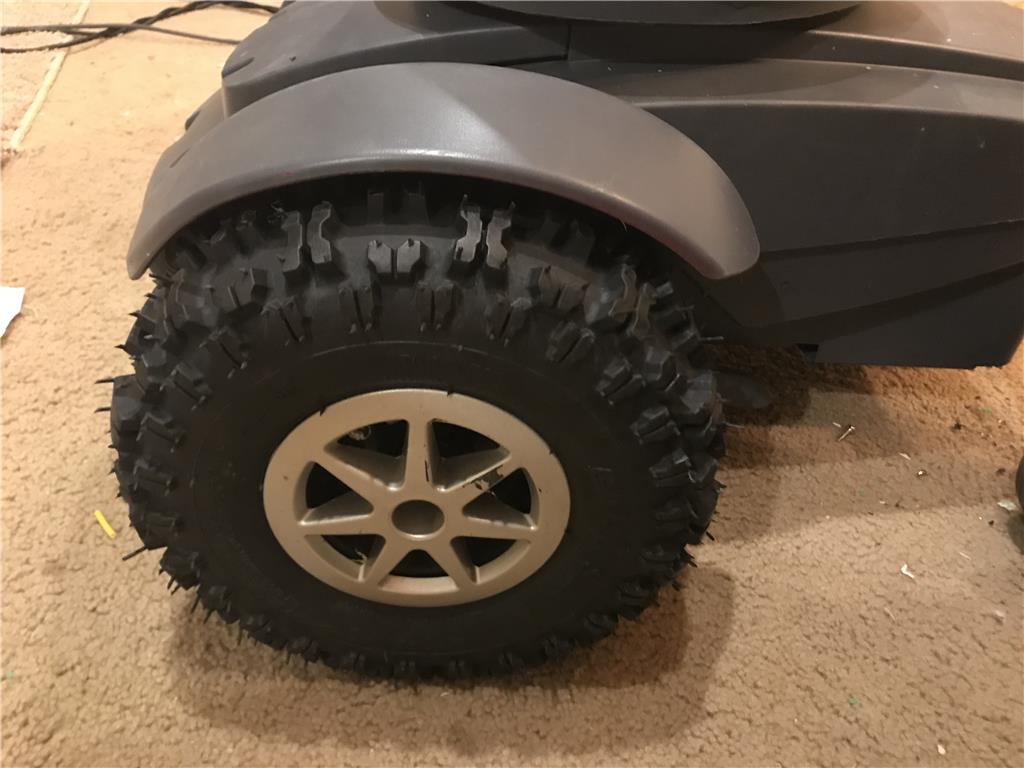
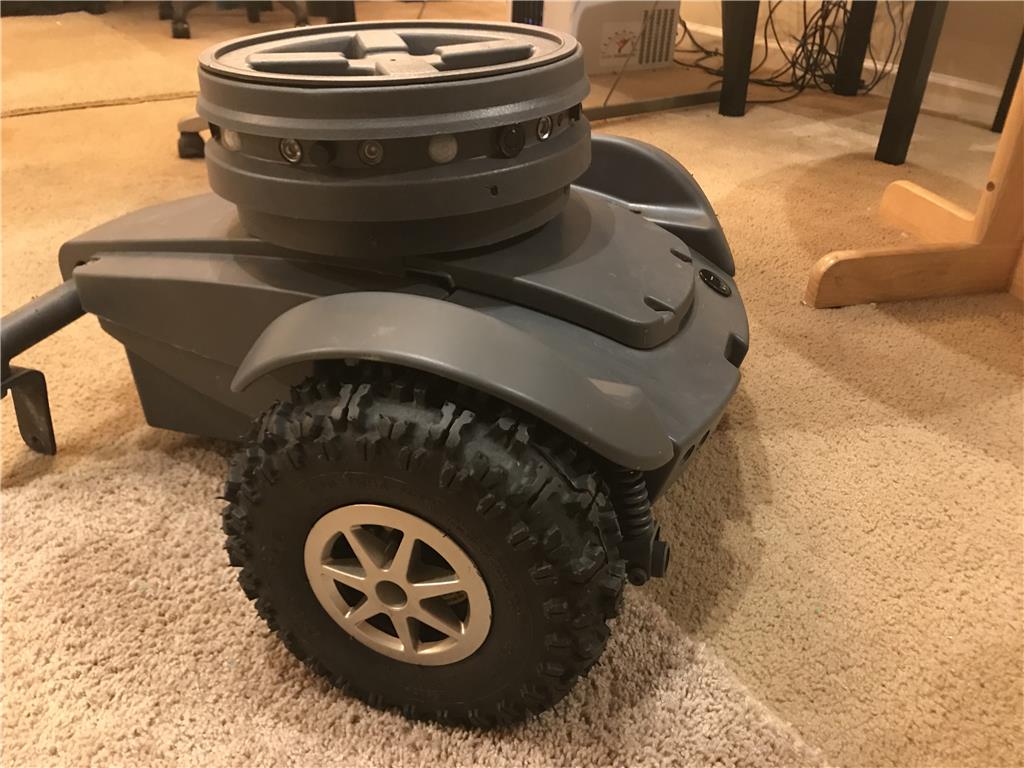
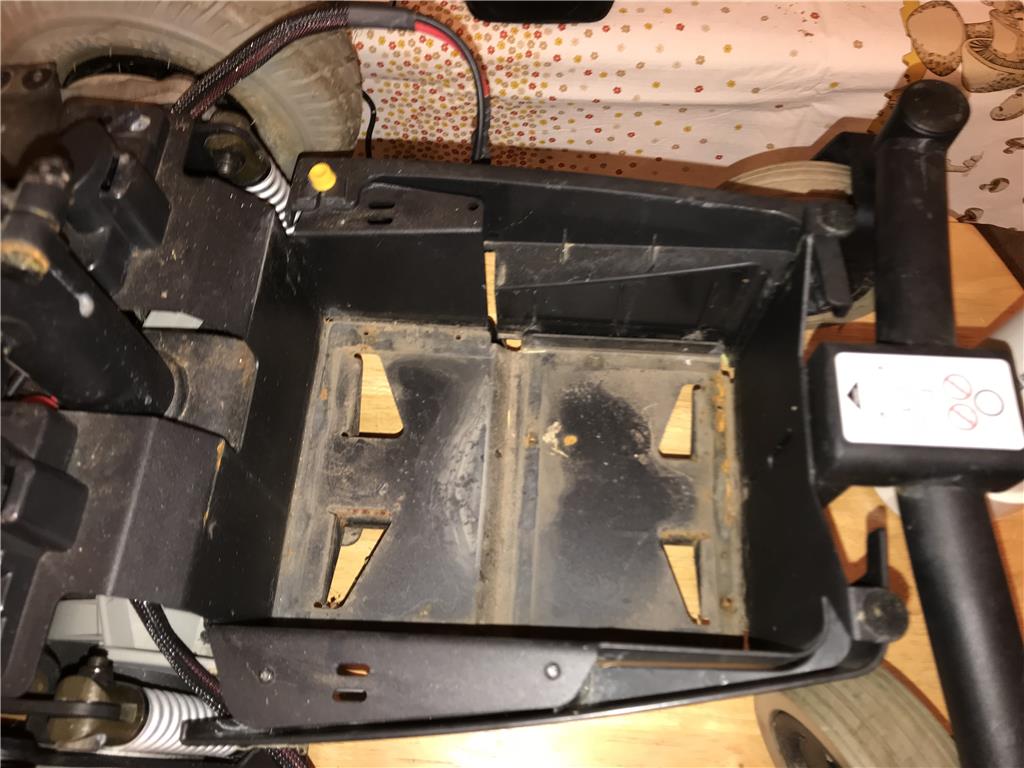
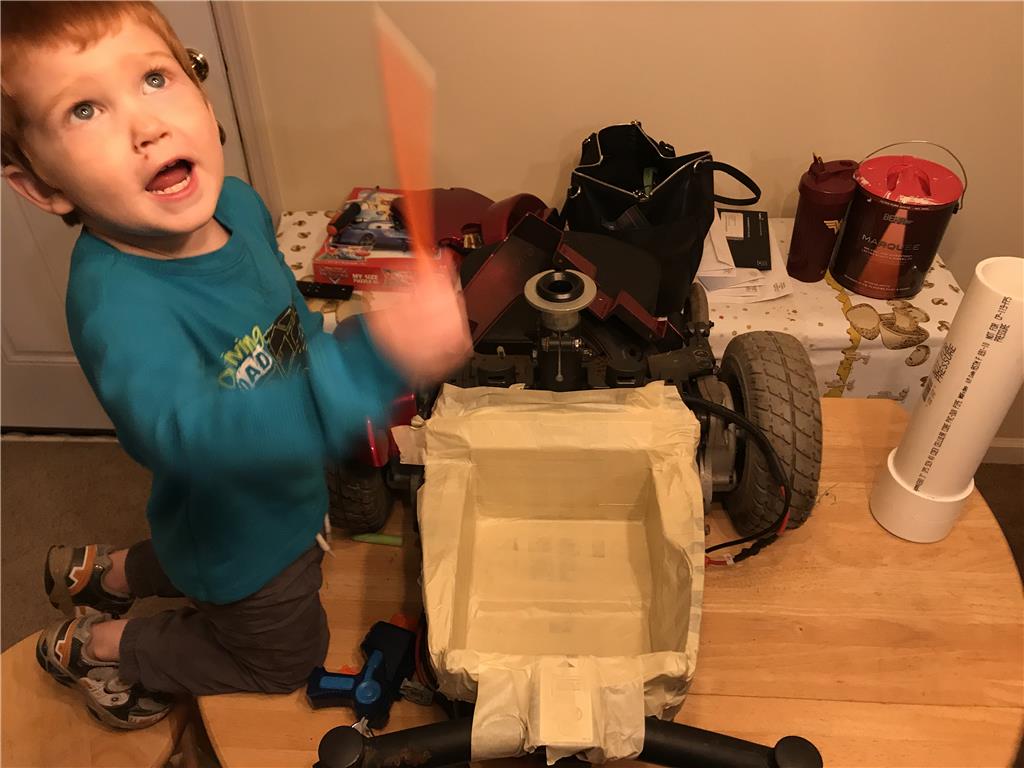
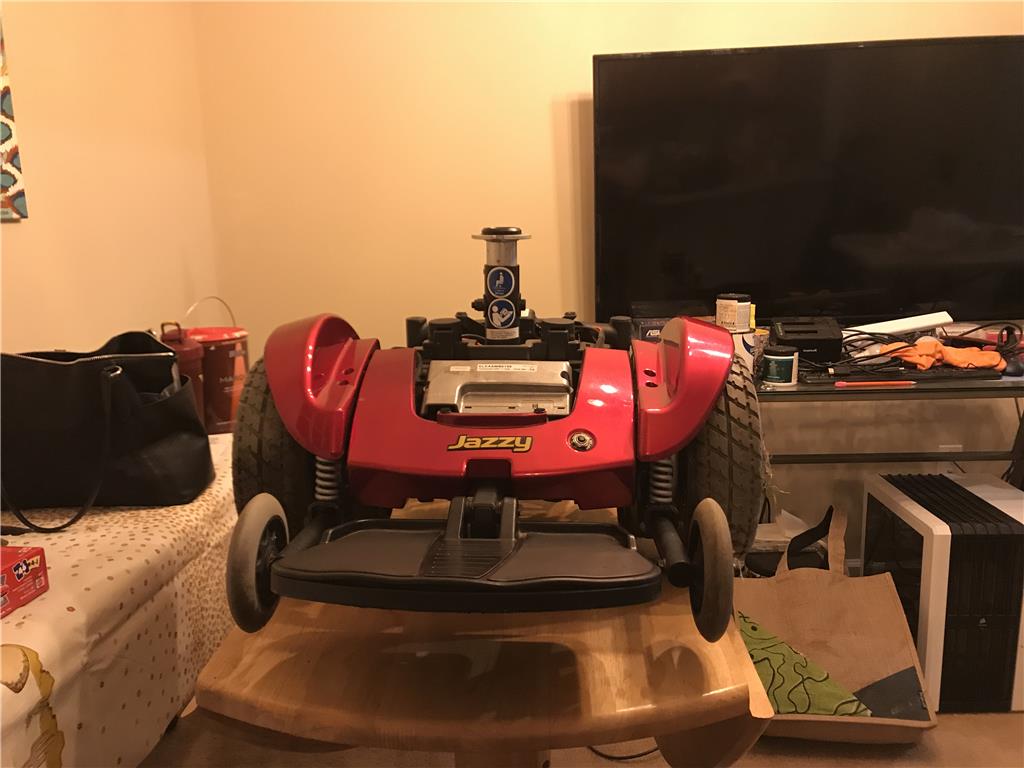
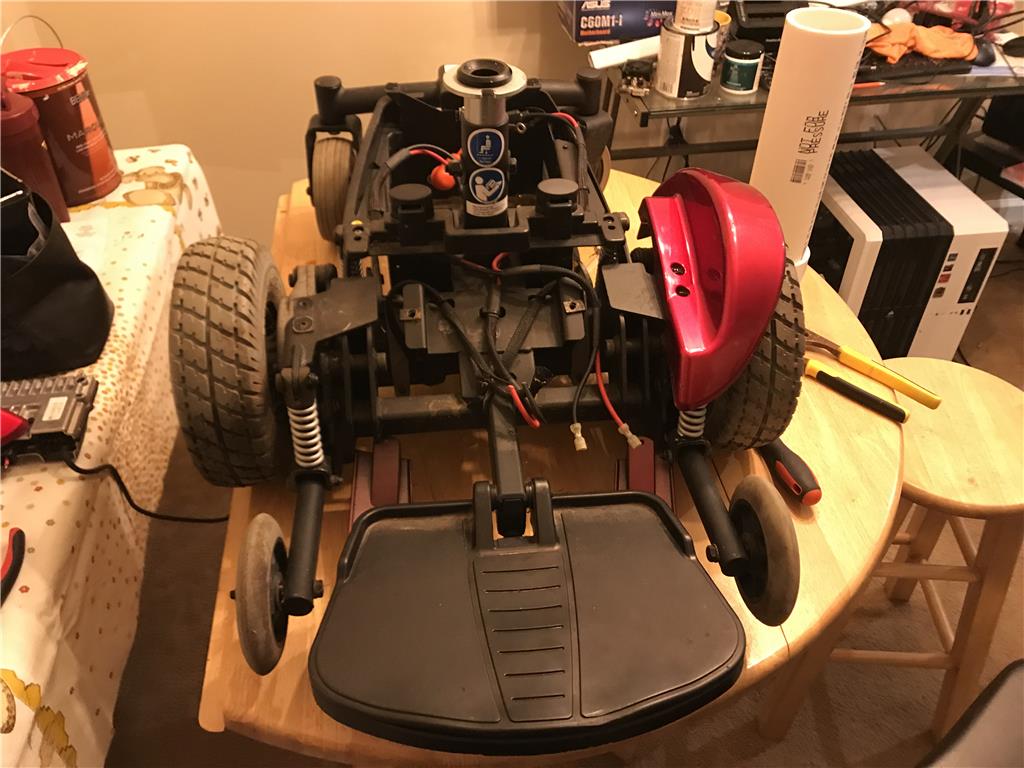
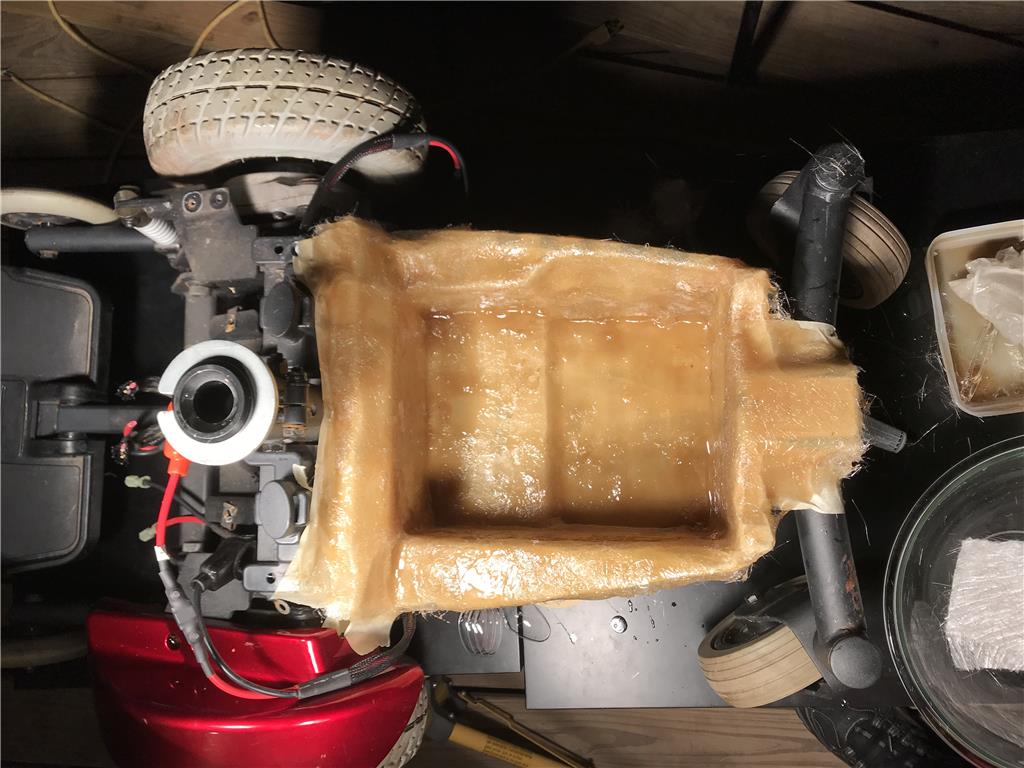
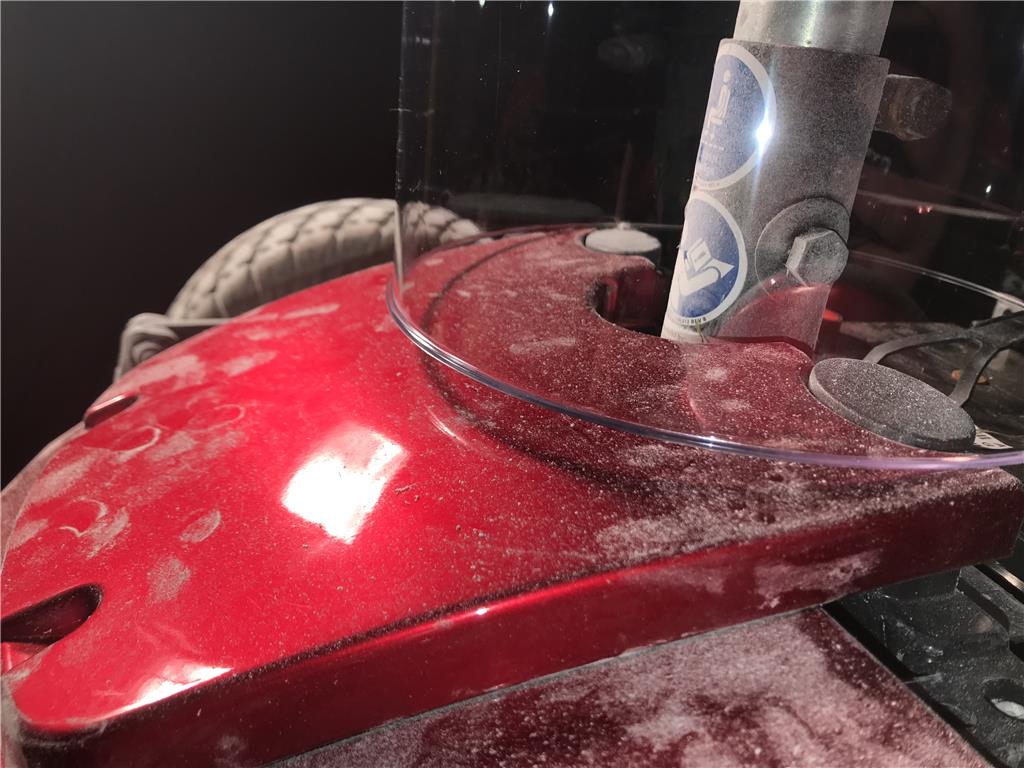
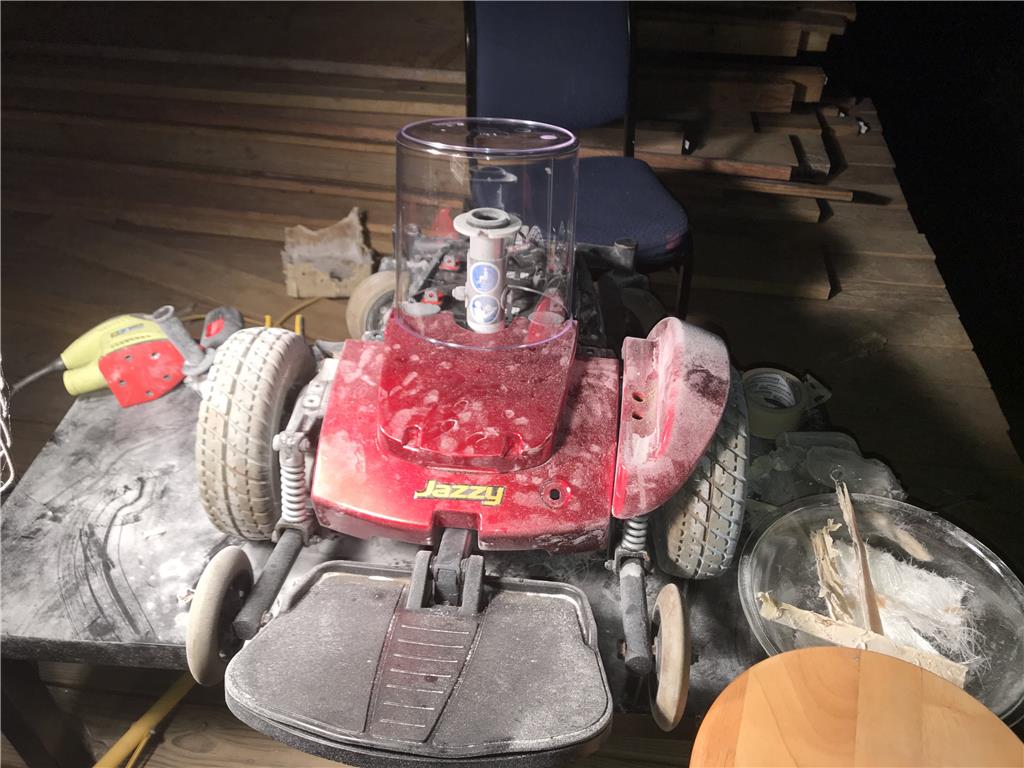
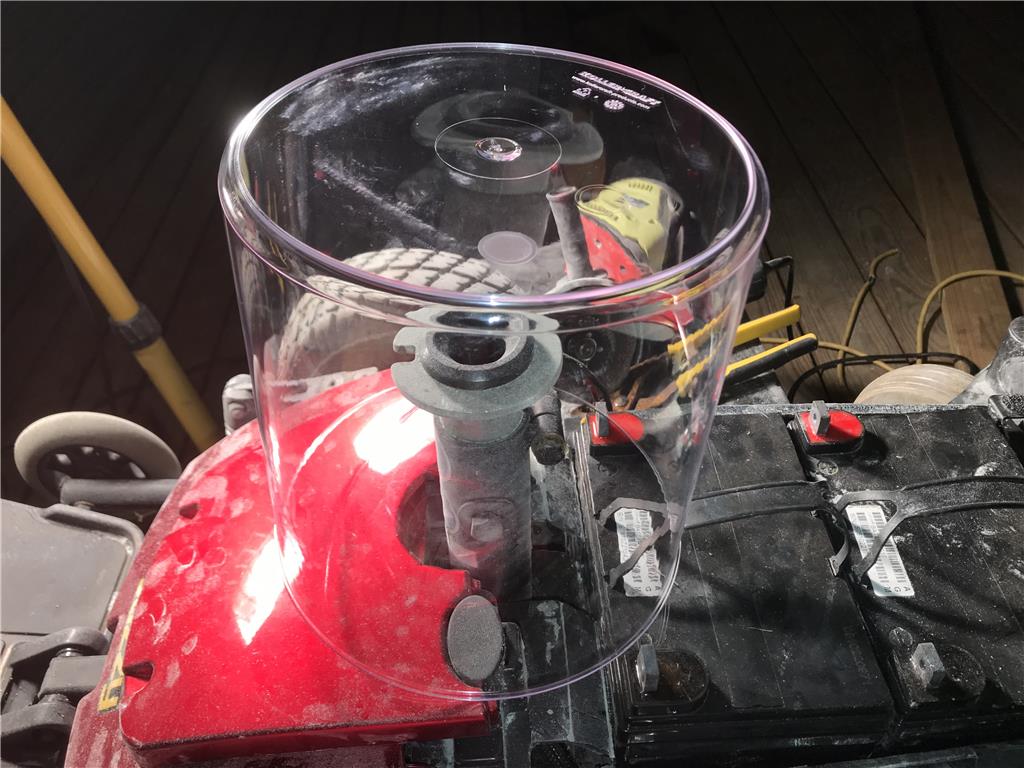
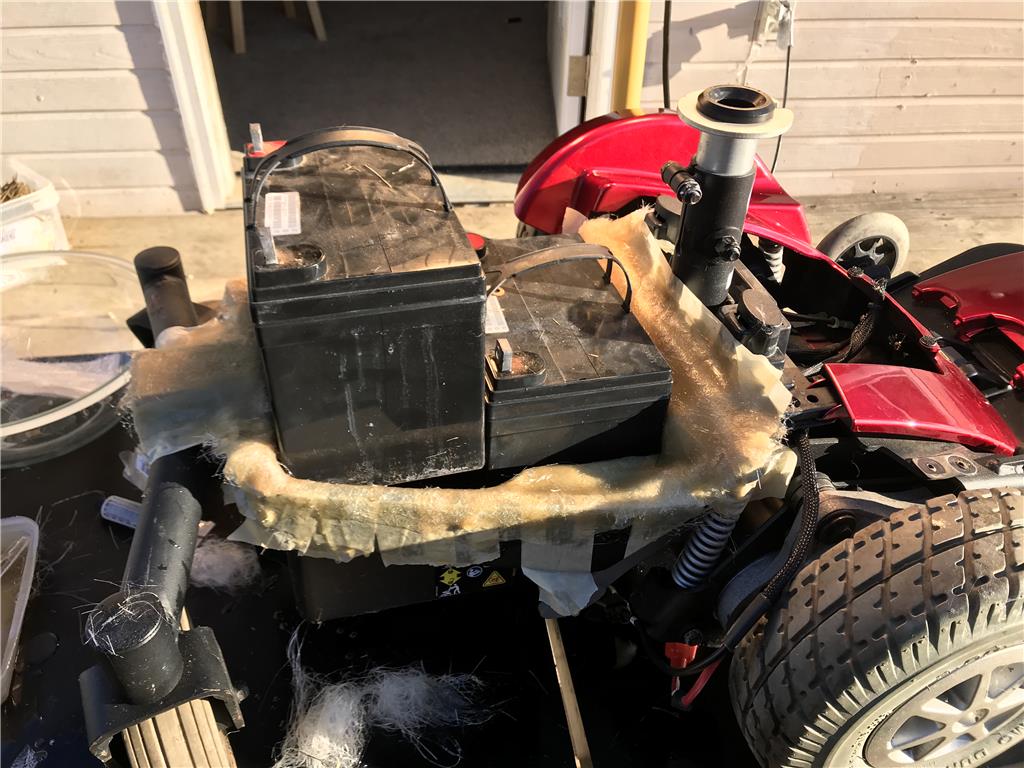
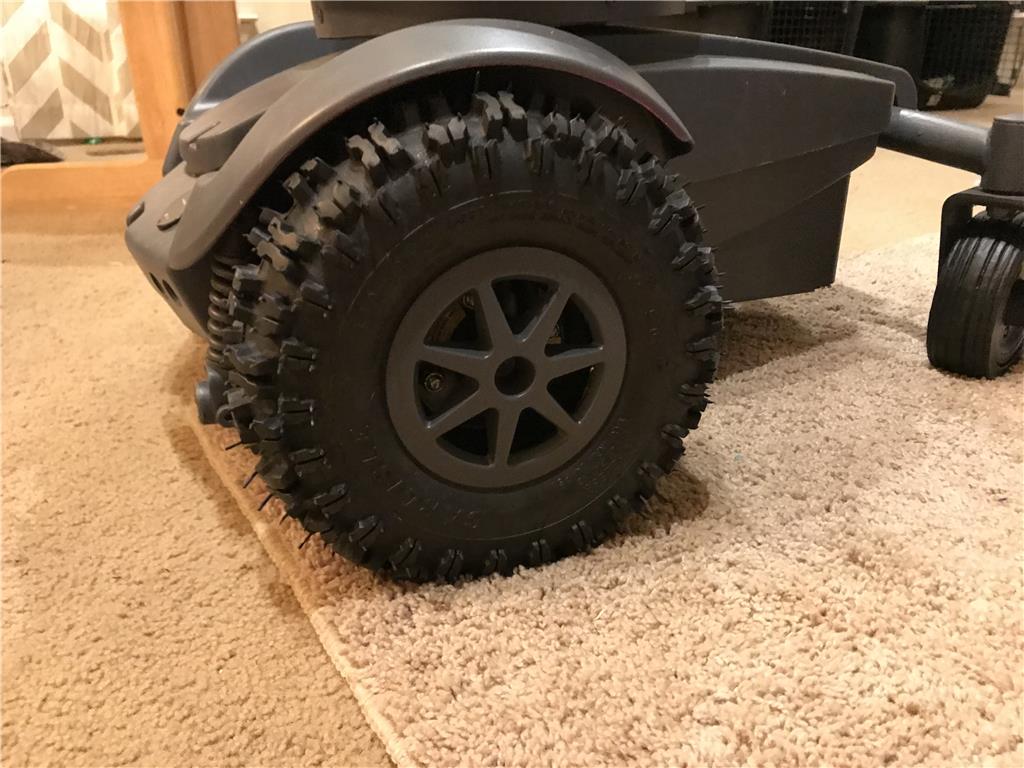
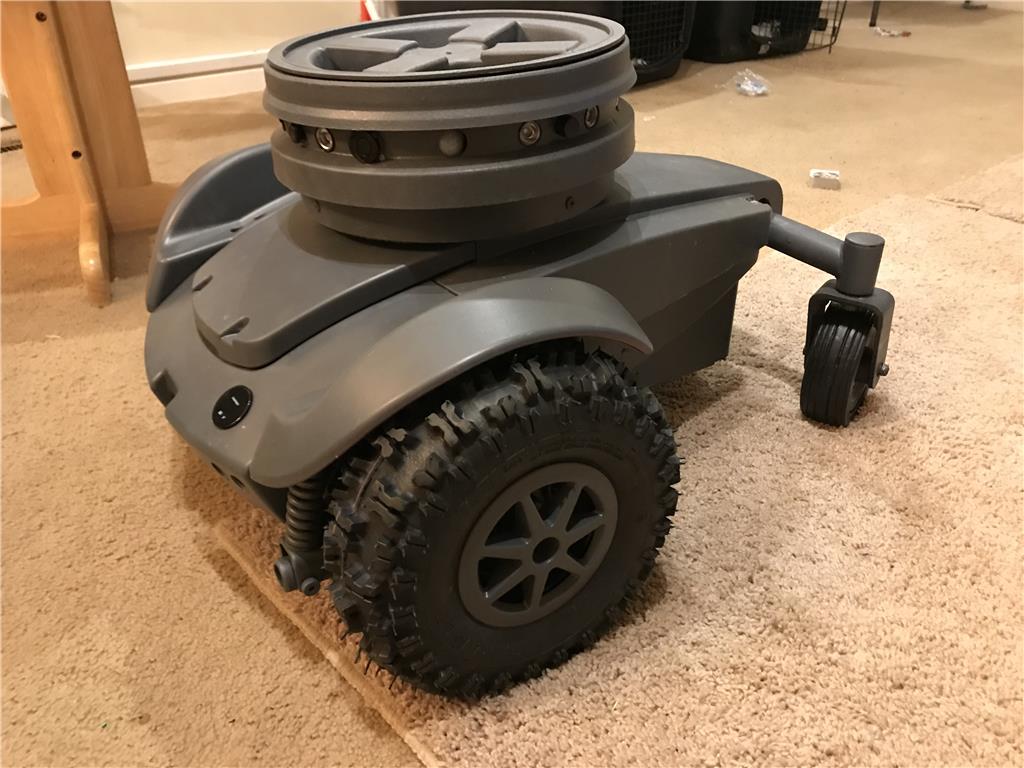
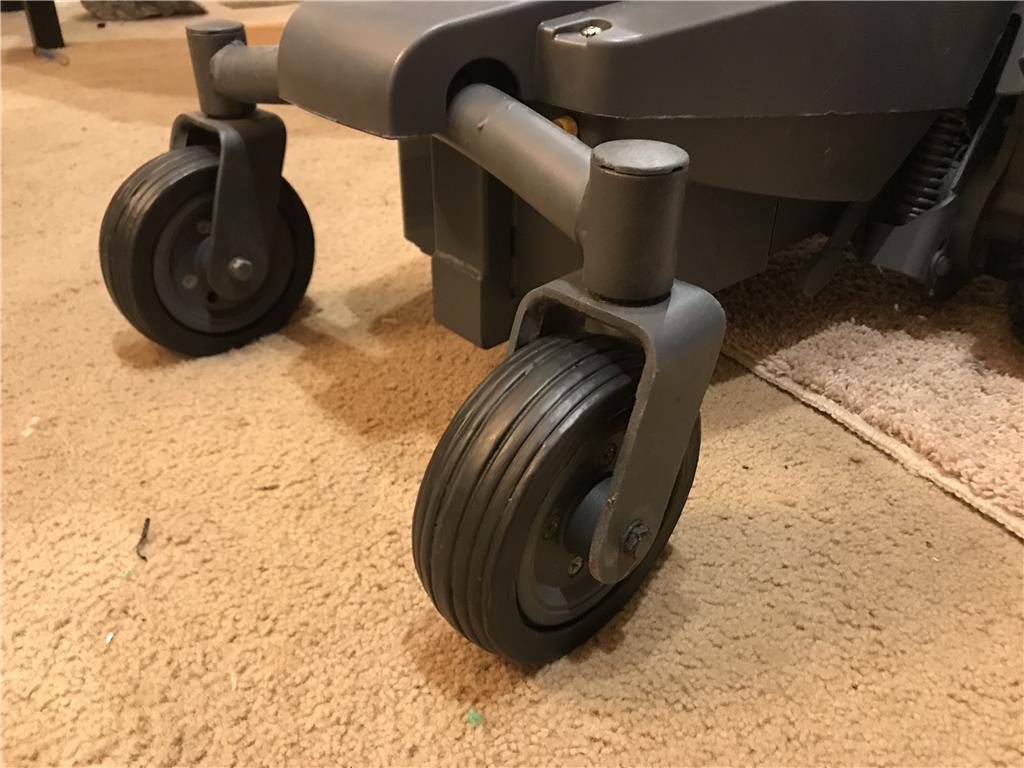
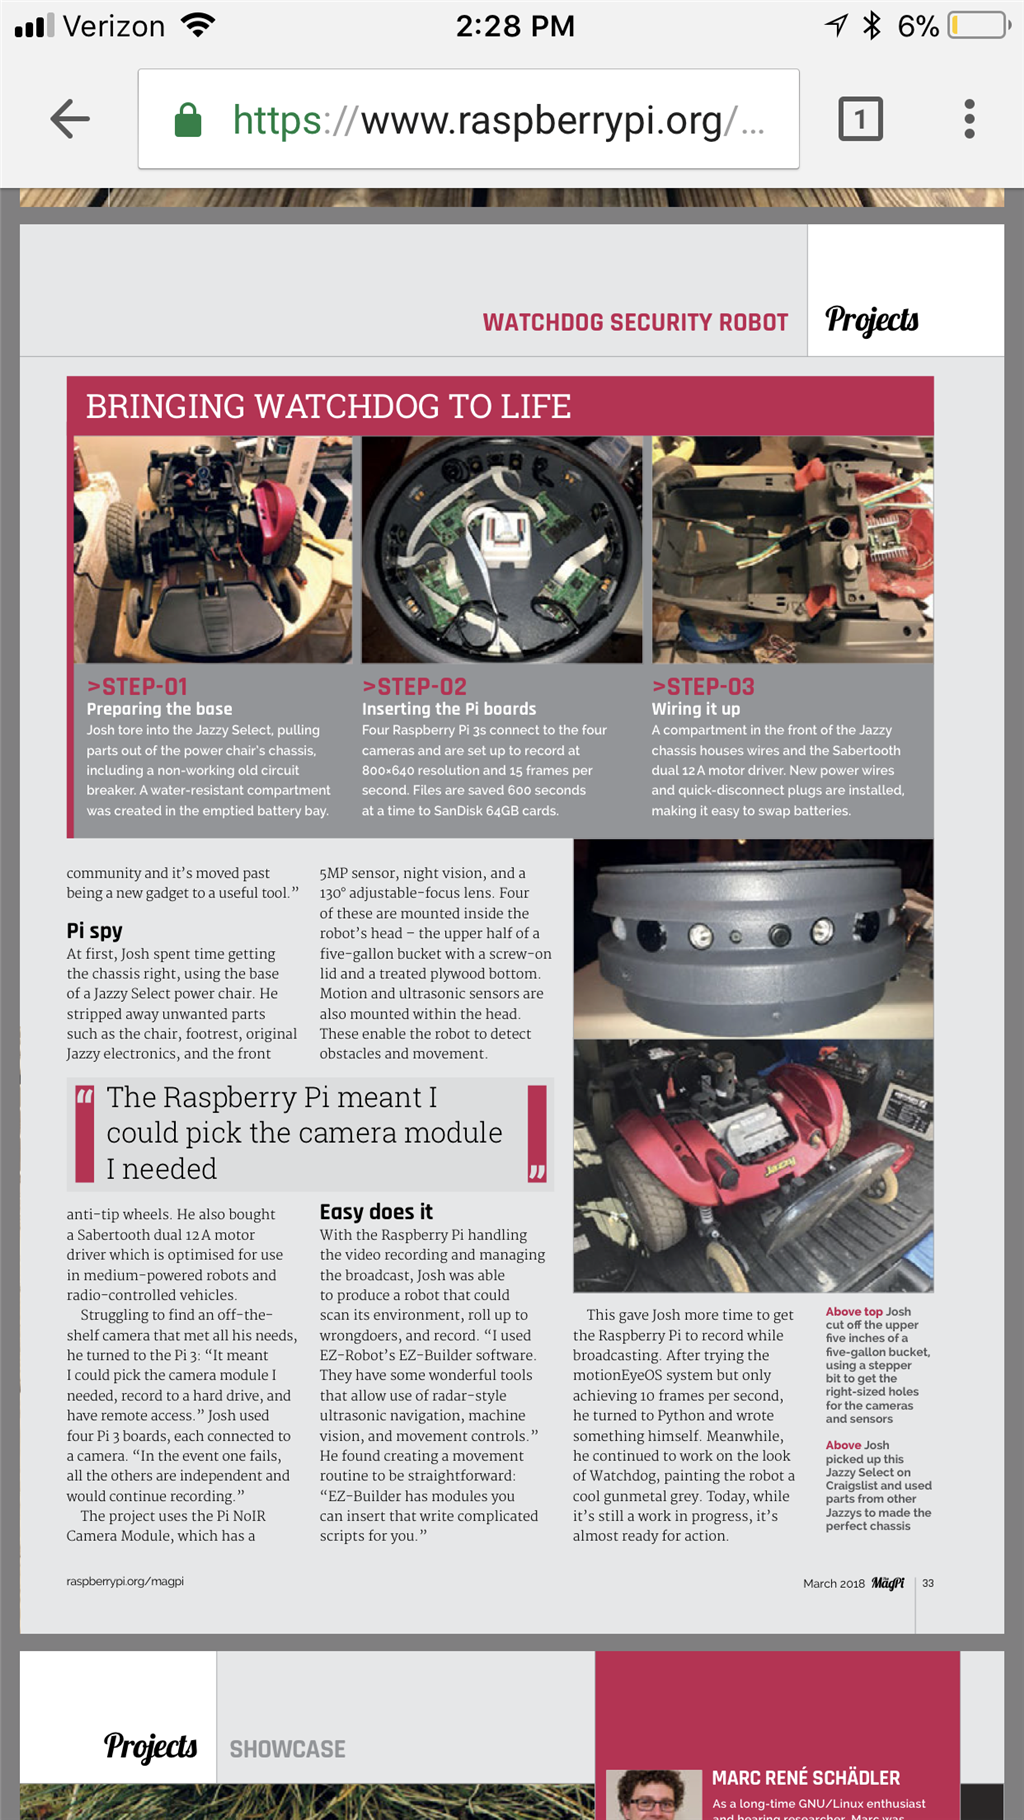
I have picked up a few Jazzy power chairs and pulled the seats off of them. I will further remove stuff that I don't need. I have seen people hack the original motor controllers but I feel like I am better just selling the original on Ebay and buying one made for DIY building instead. My first power chair base project I used a Sabertooth 2x12 ,but I do have a couple other generic controllers I picked up that may work just fine. I will post some pictures, thoughts, goals and parts I have to work with so far. Any input is cool.
You have two threads with a similar subject (wheel chairs). Which one you will keep updating ?
I dont see the second one , Are you talking about the power chair thread? Because thats not for specifically my projects but general ideas for power chair robots. Thats a free for all discussion.
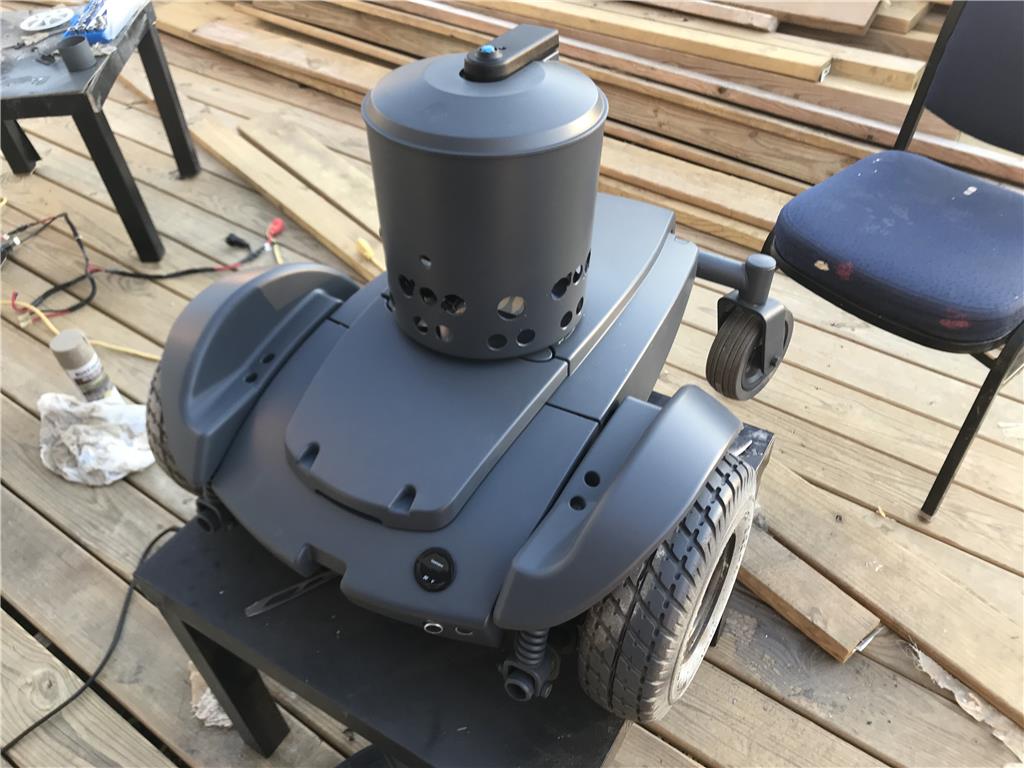
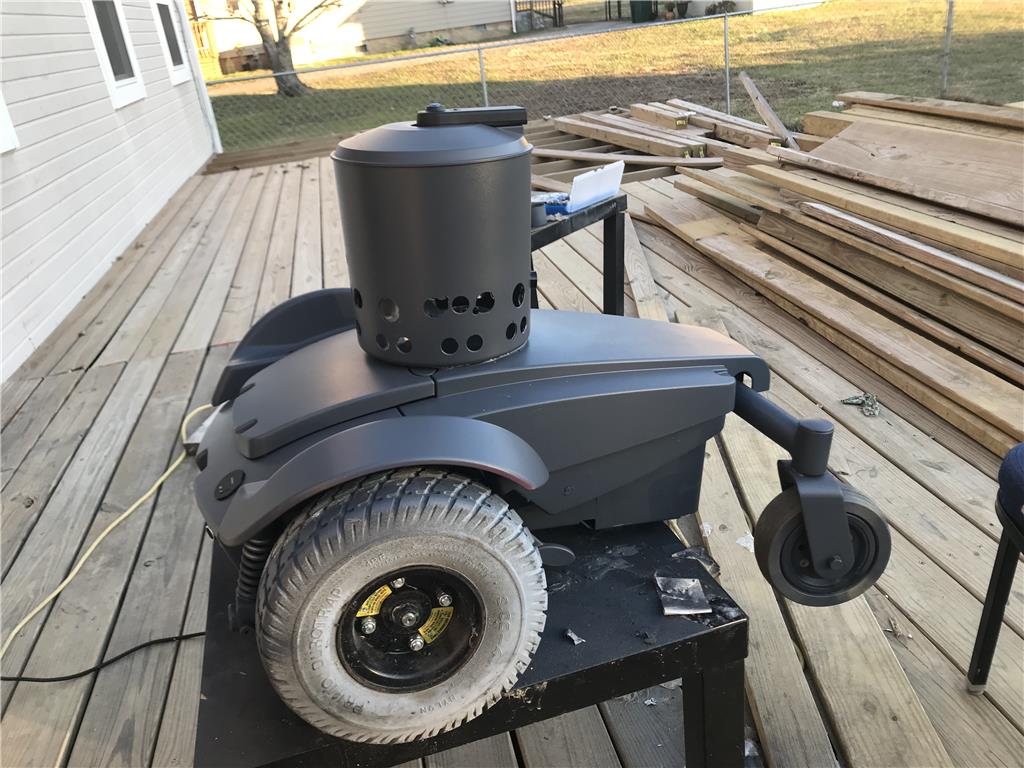
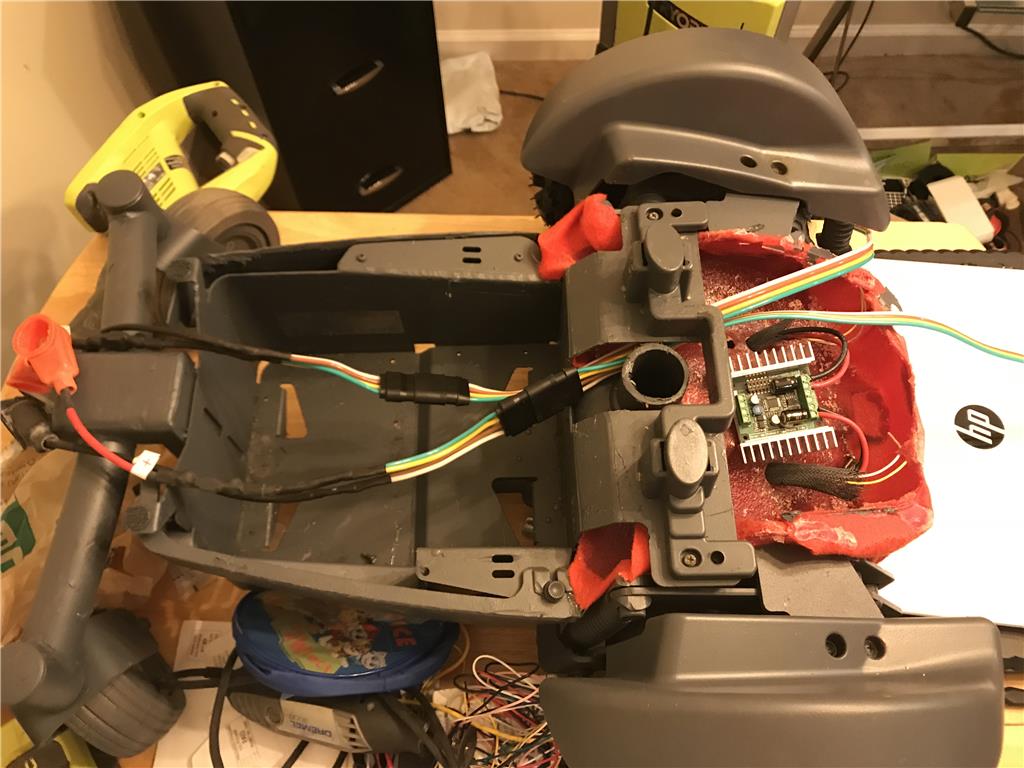
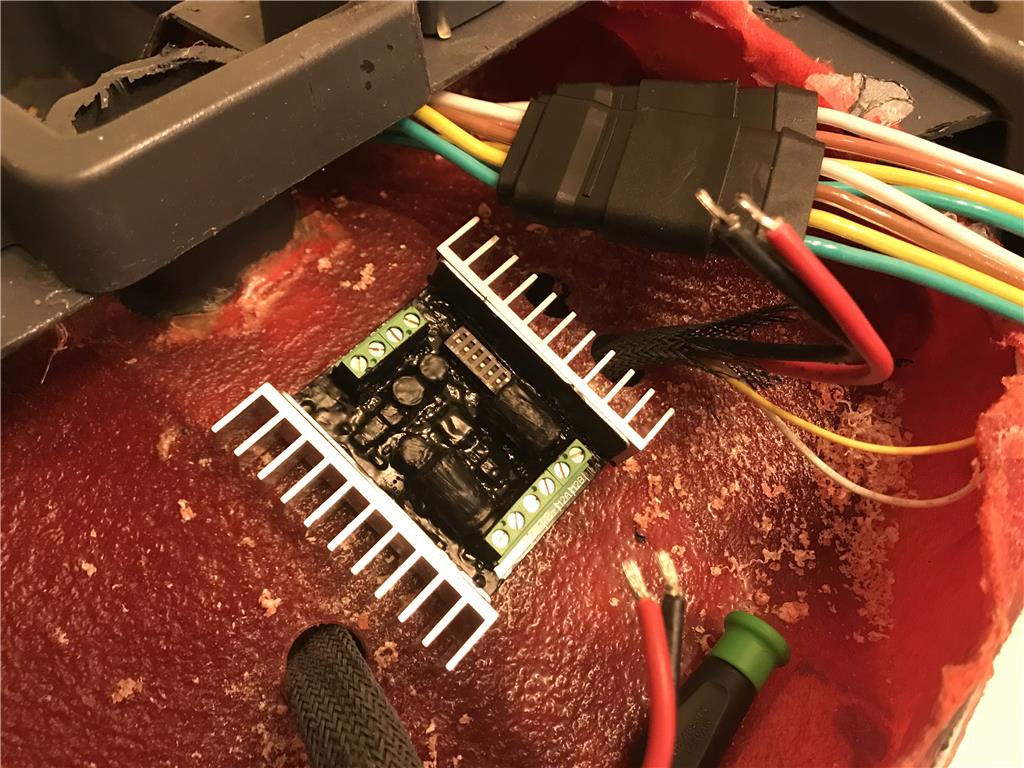
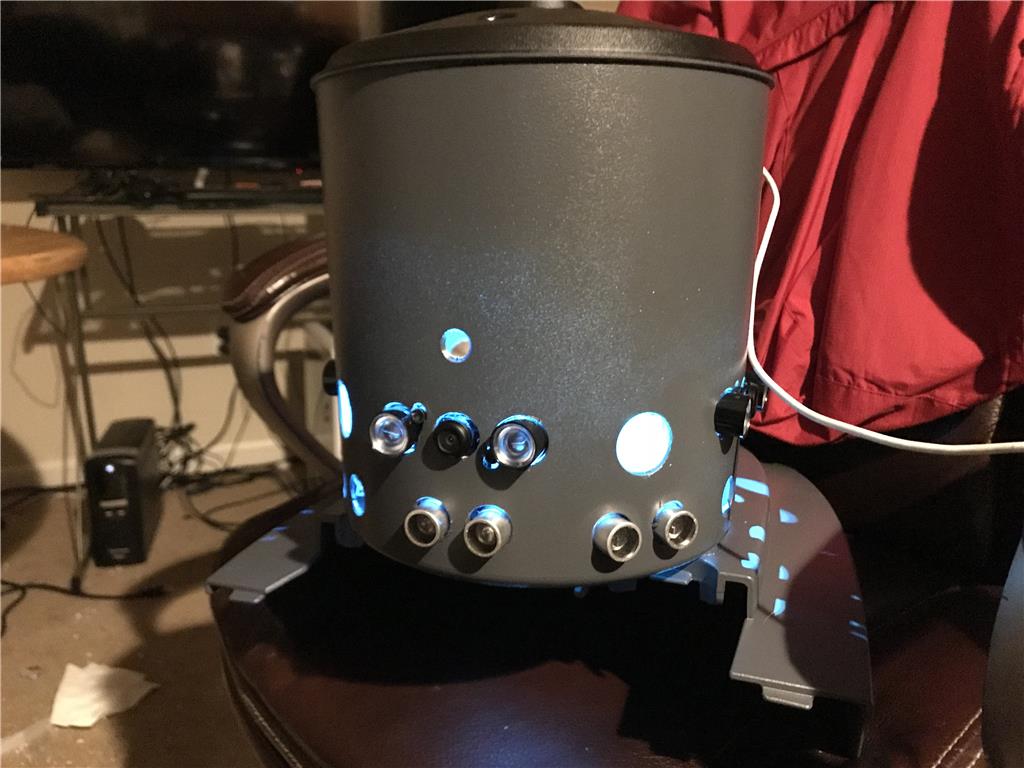
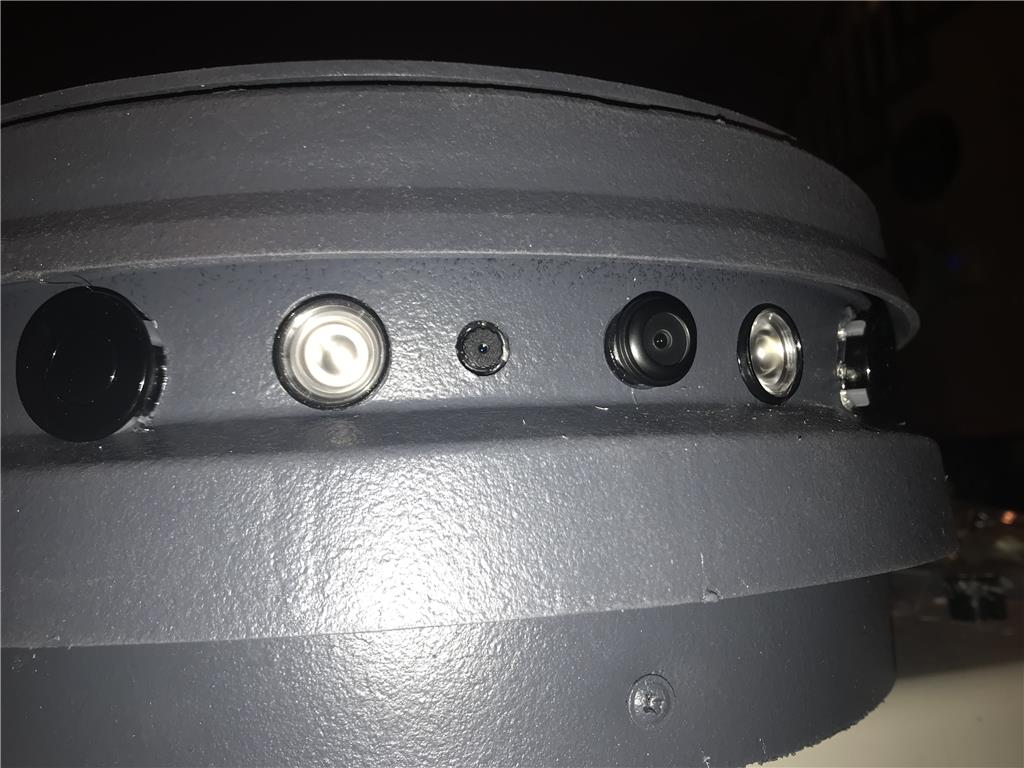
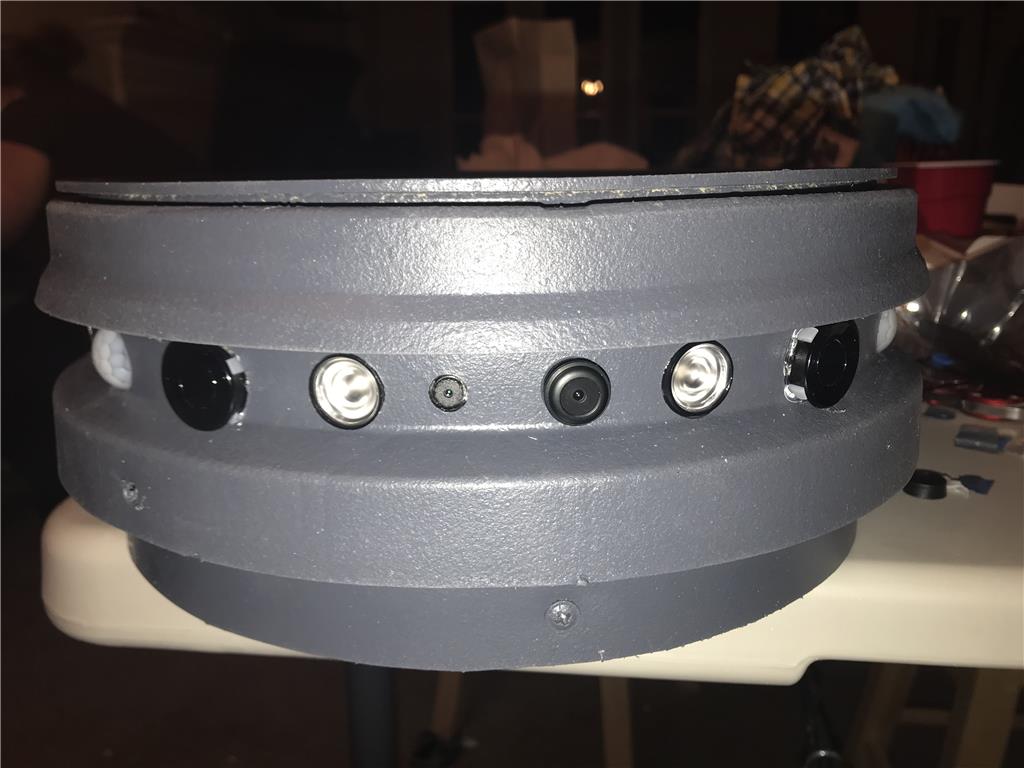
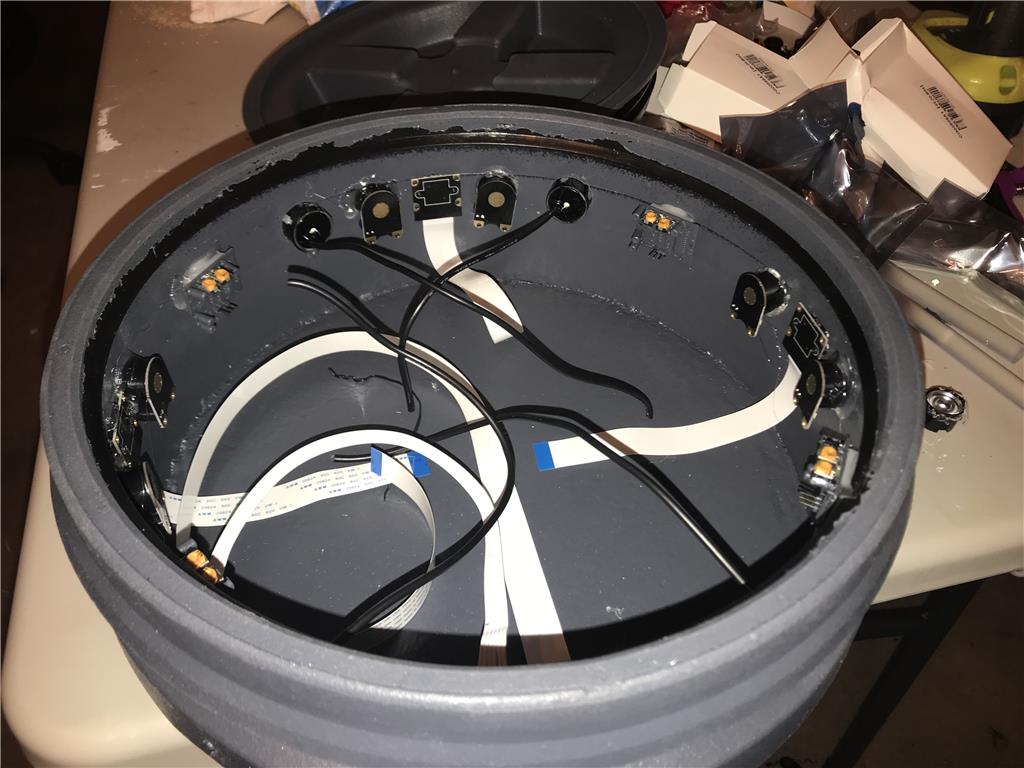
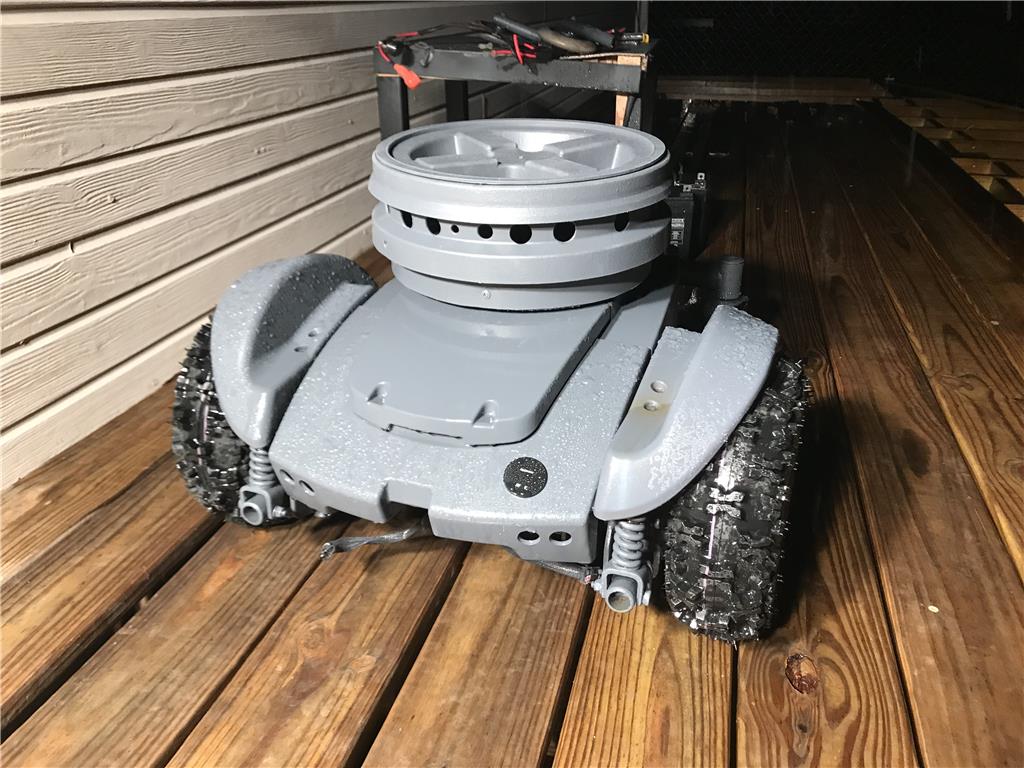
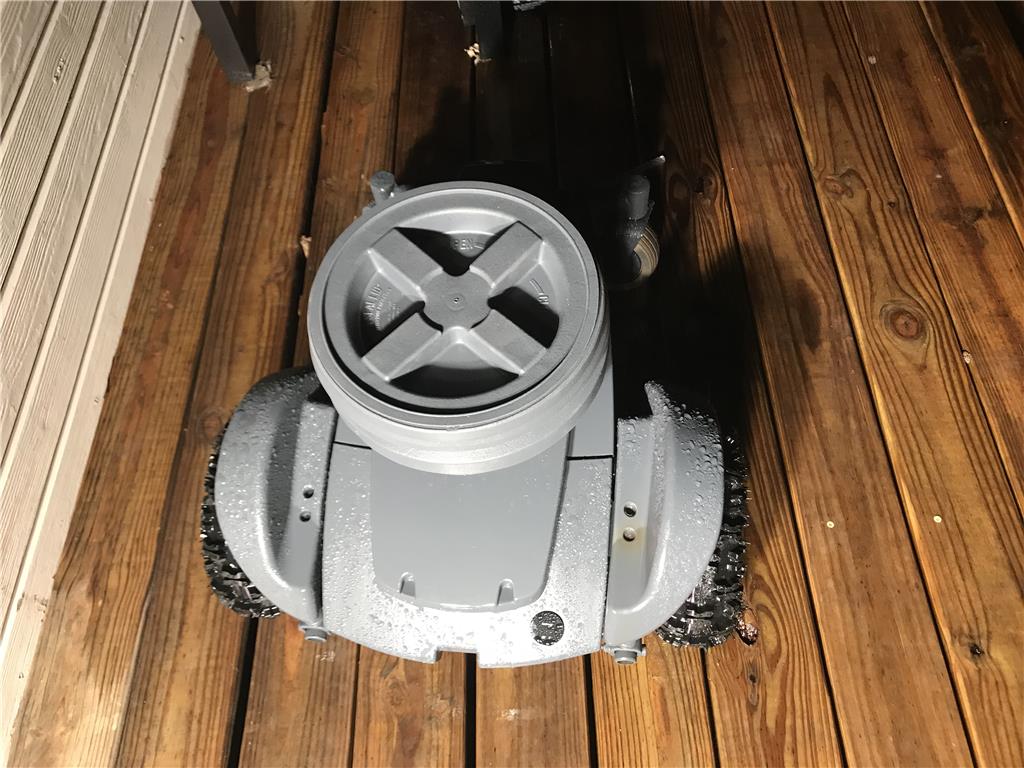
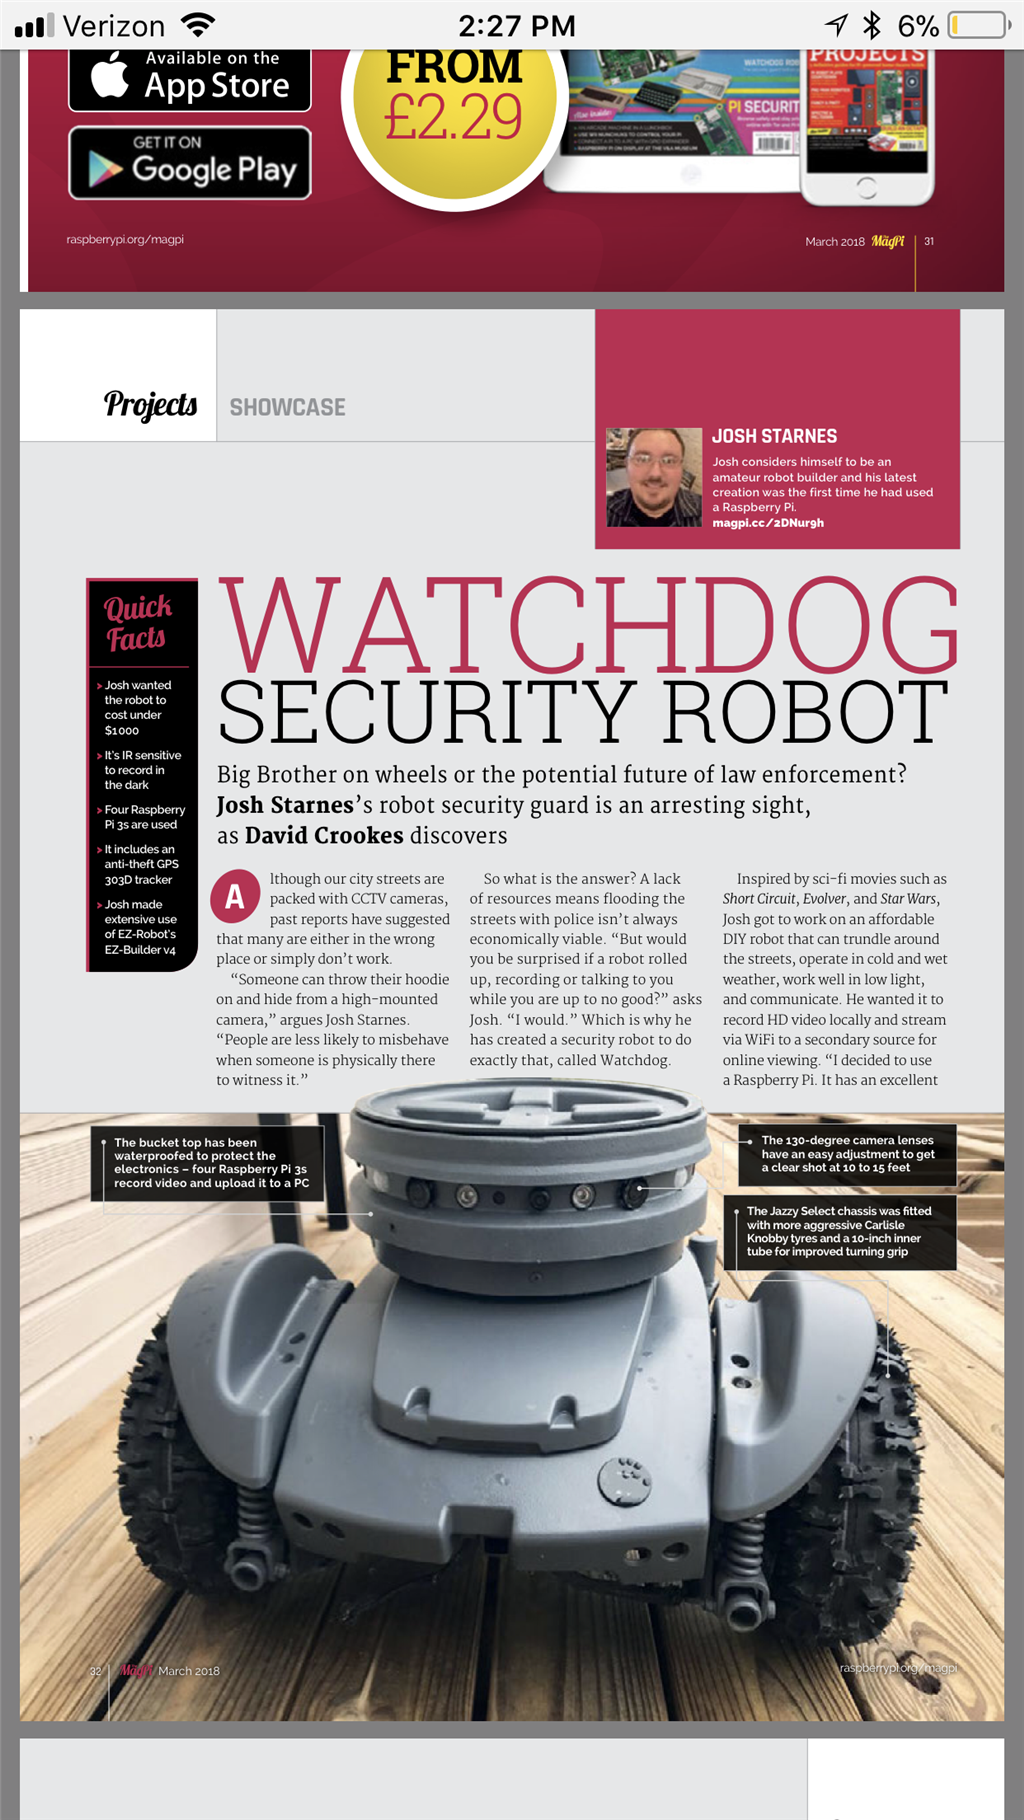
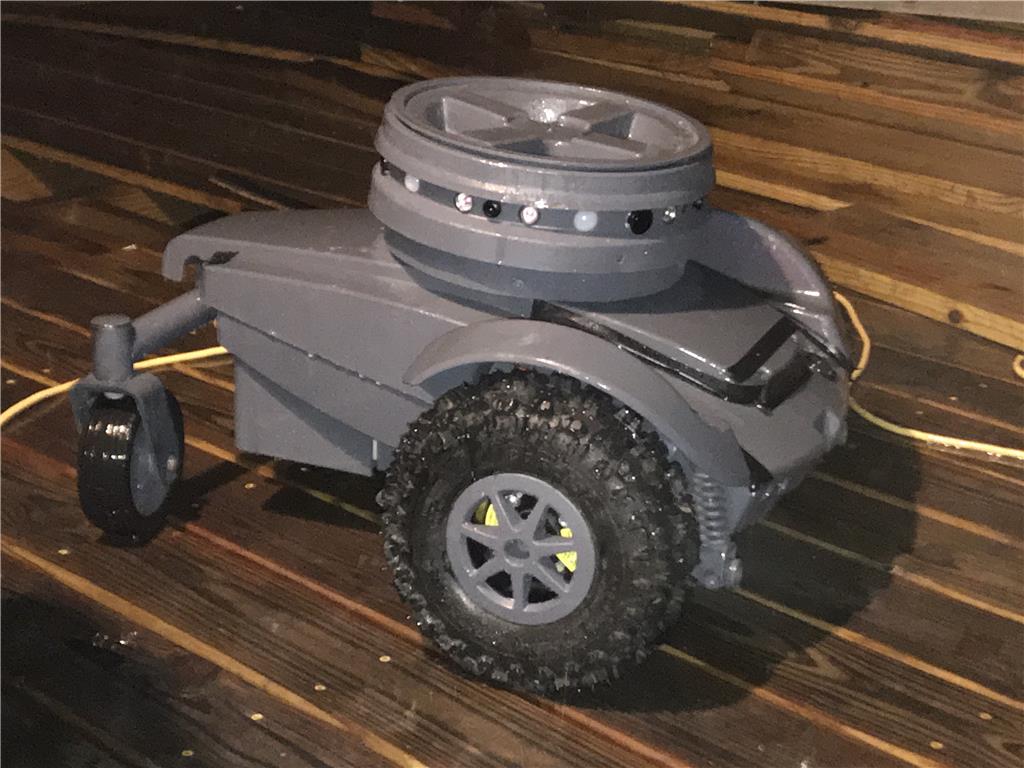
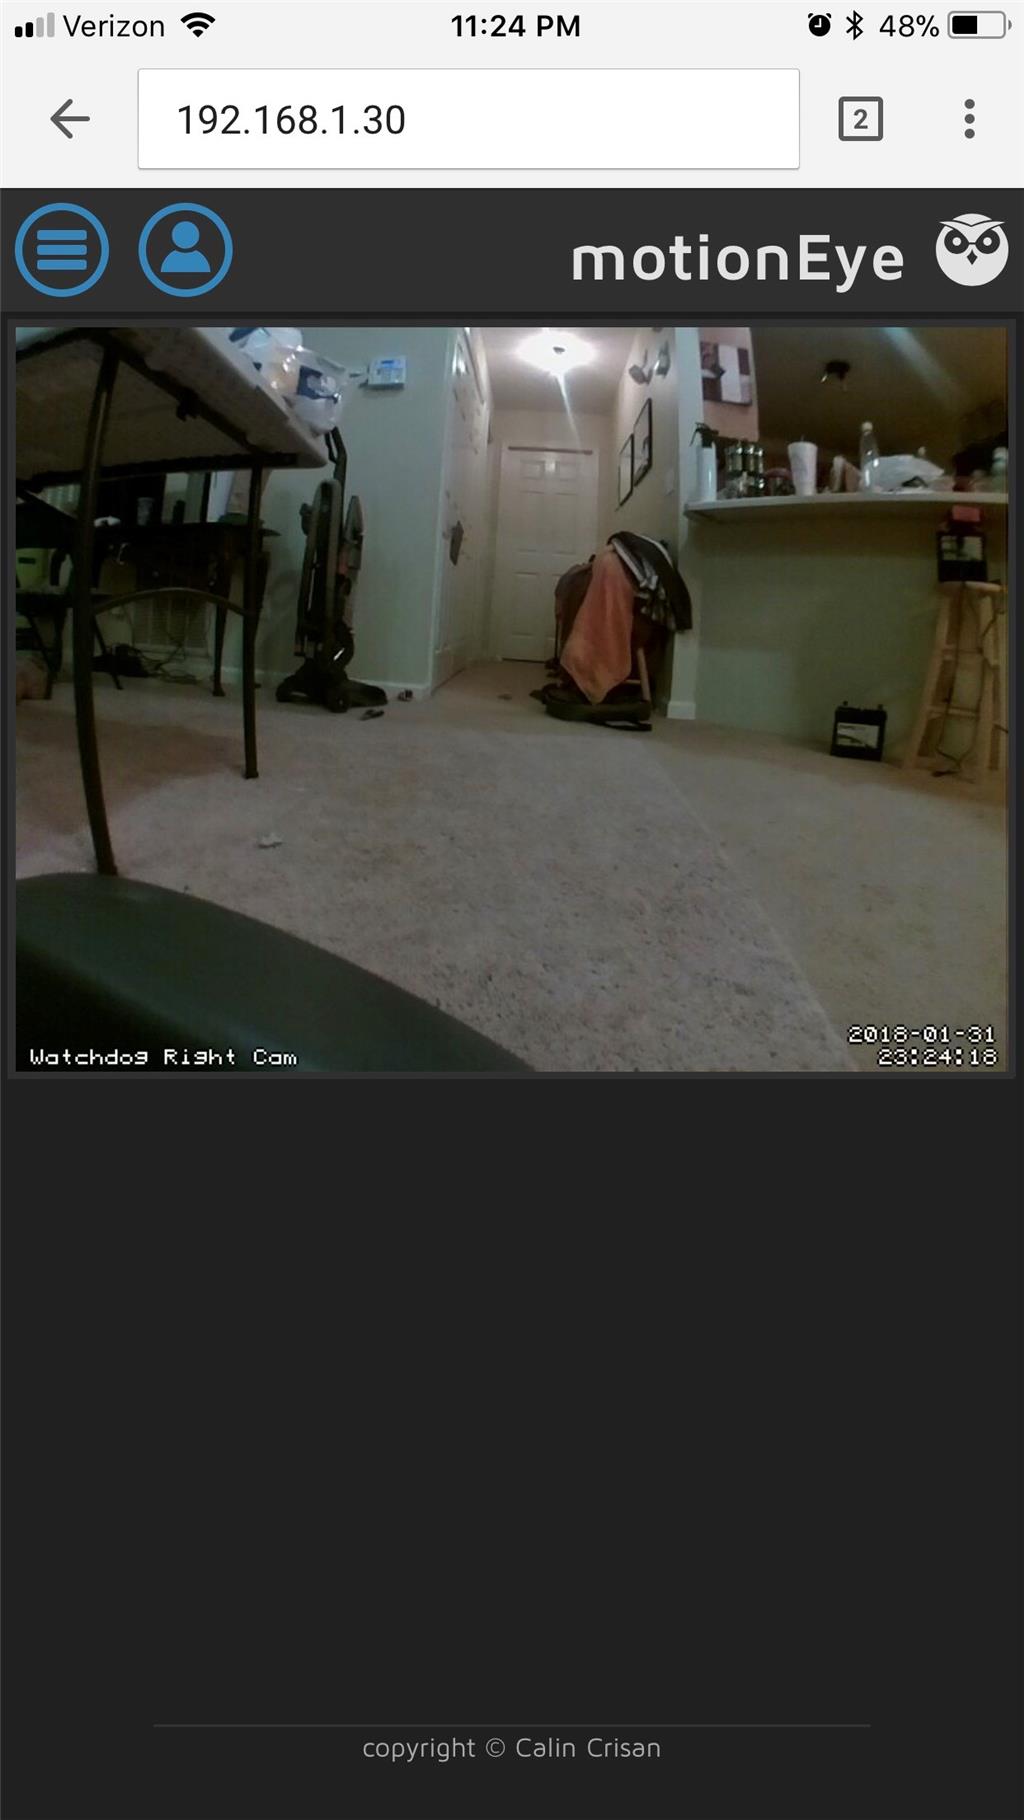
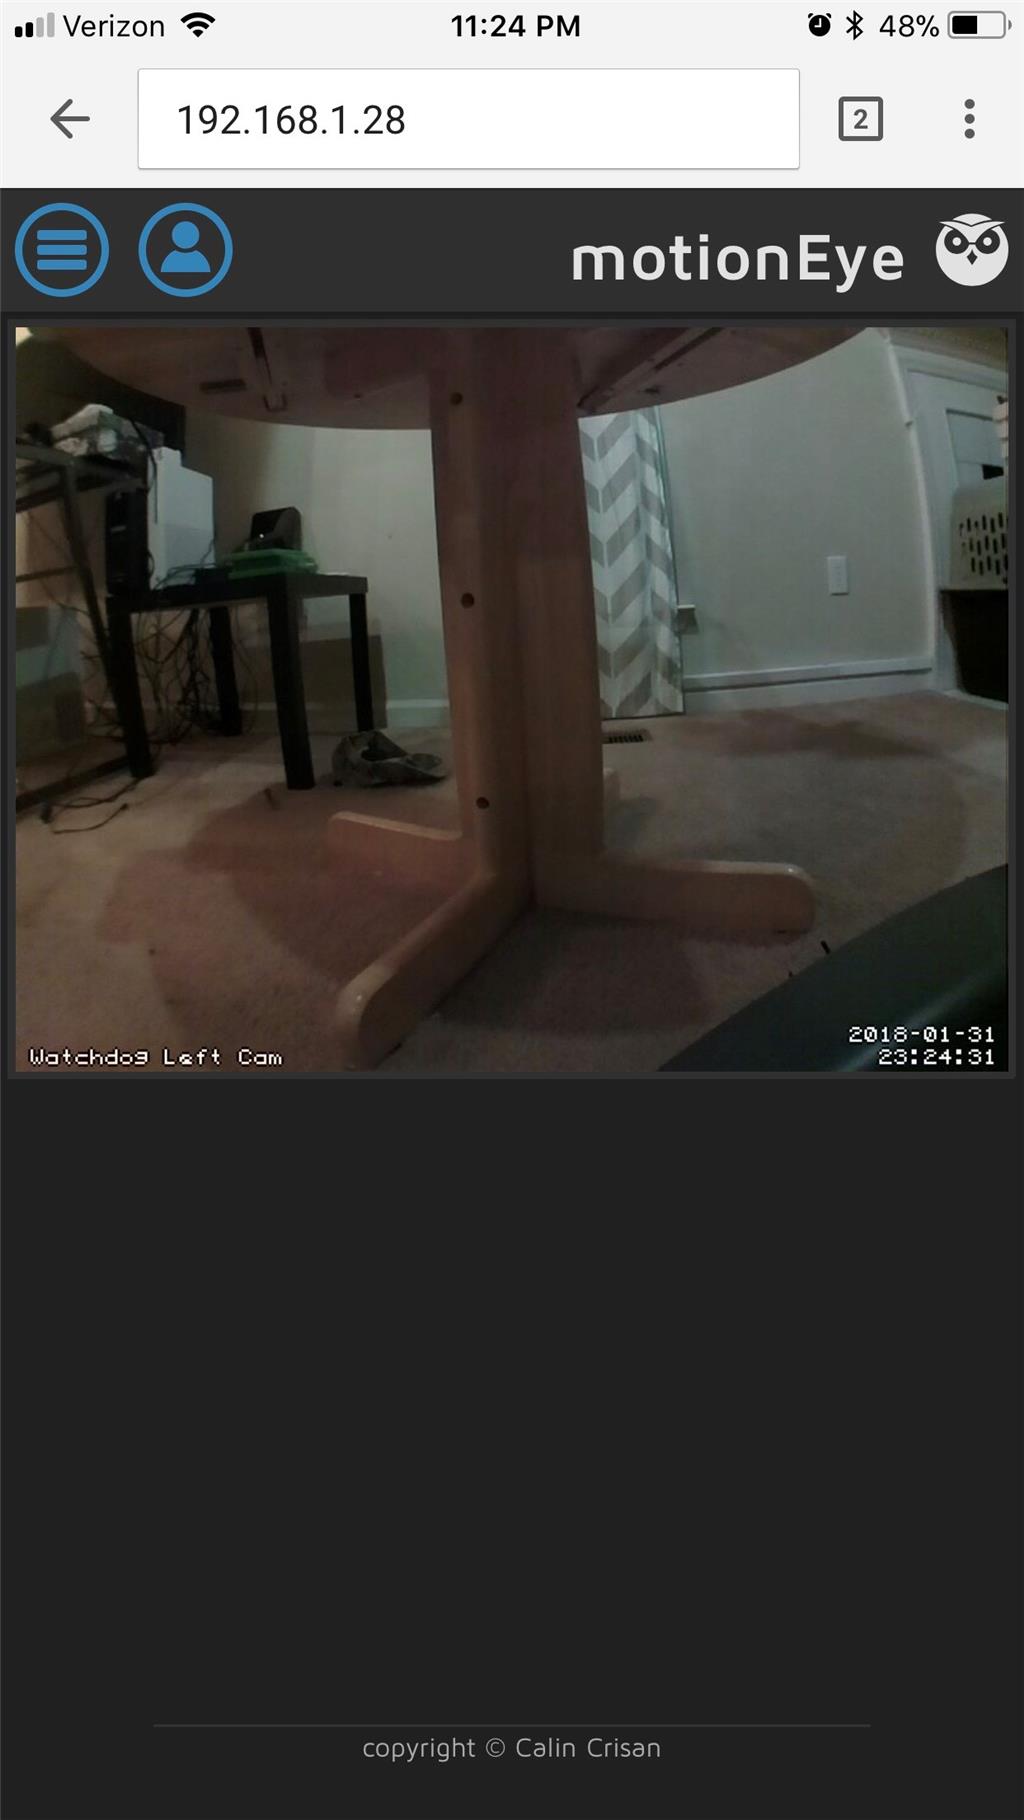
This is a Project showcase for the Outdoor Security robot build.
I missed the "Project showcase" tag.
General Goals
a mobile platform that can patrol a set routine
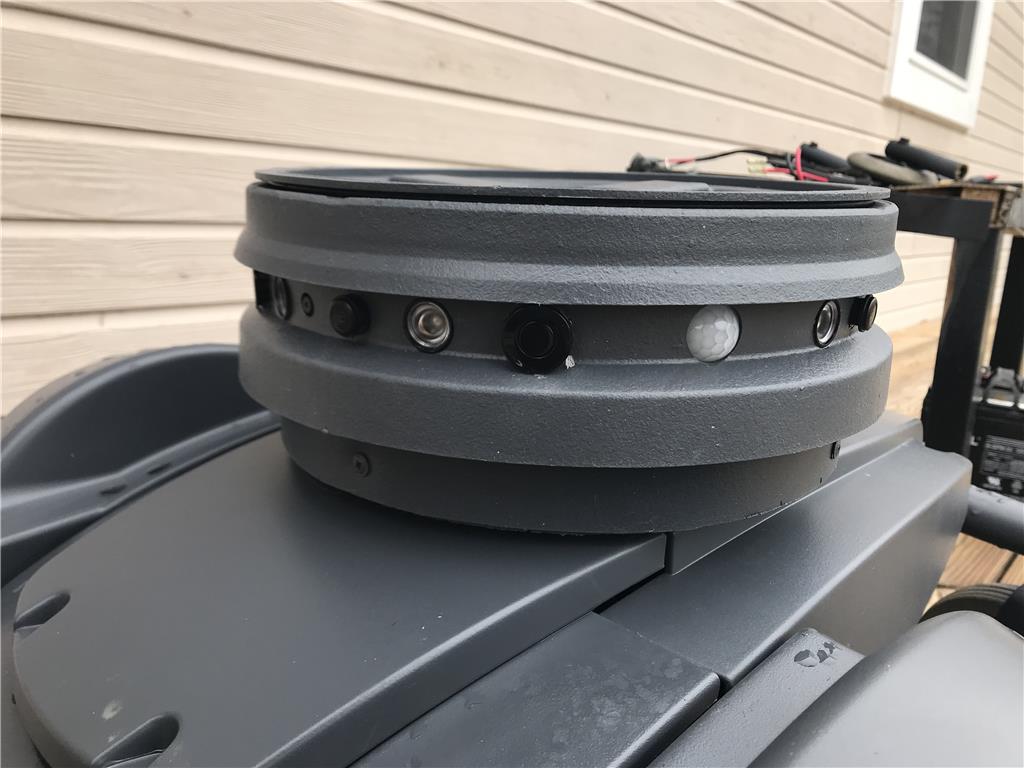
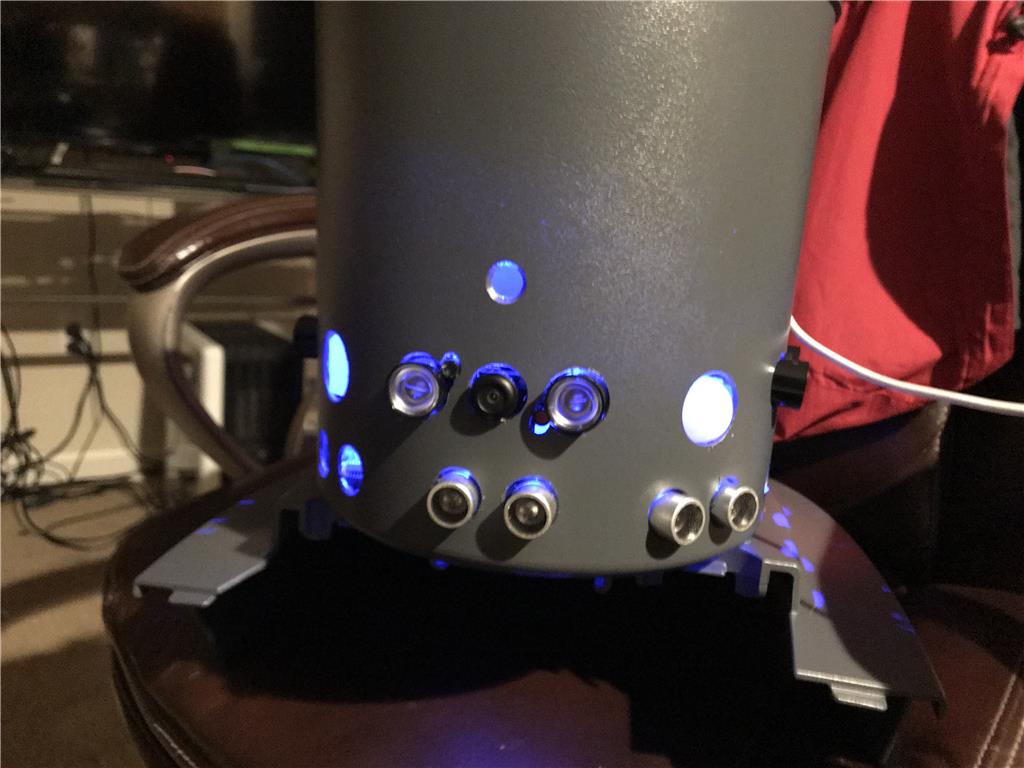
Motion tracking , robot turns towards movement and tracks that object/ person
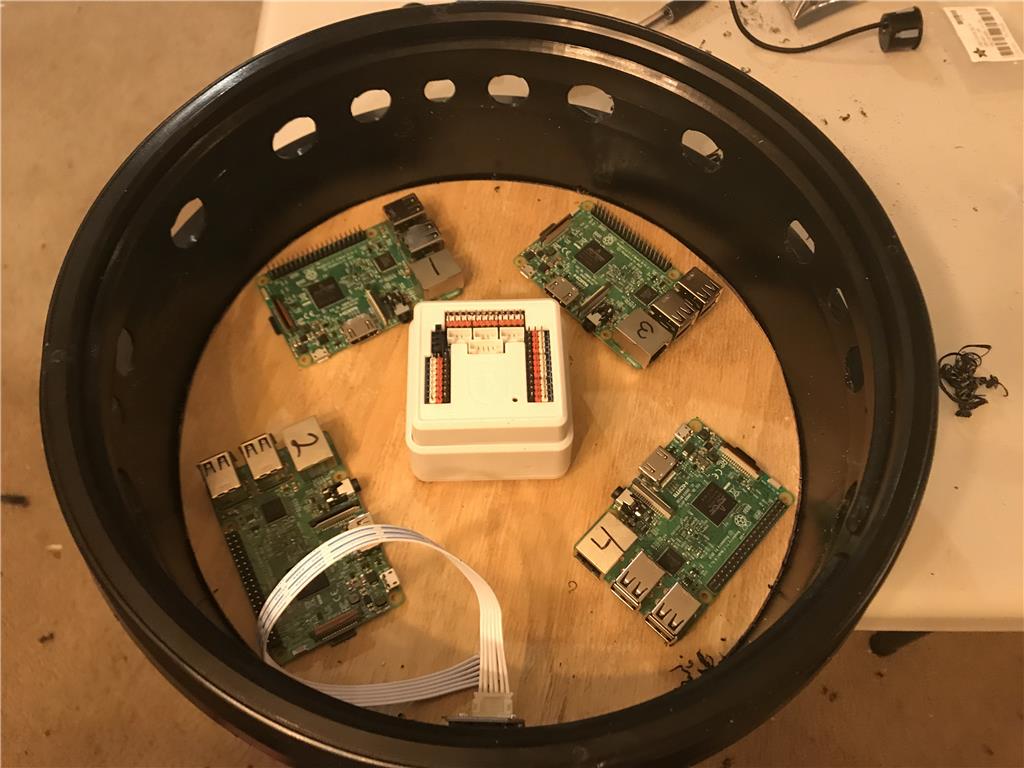
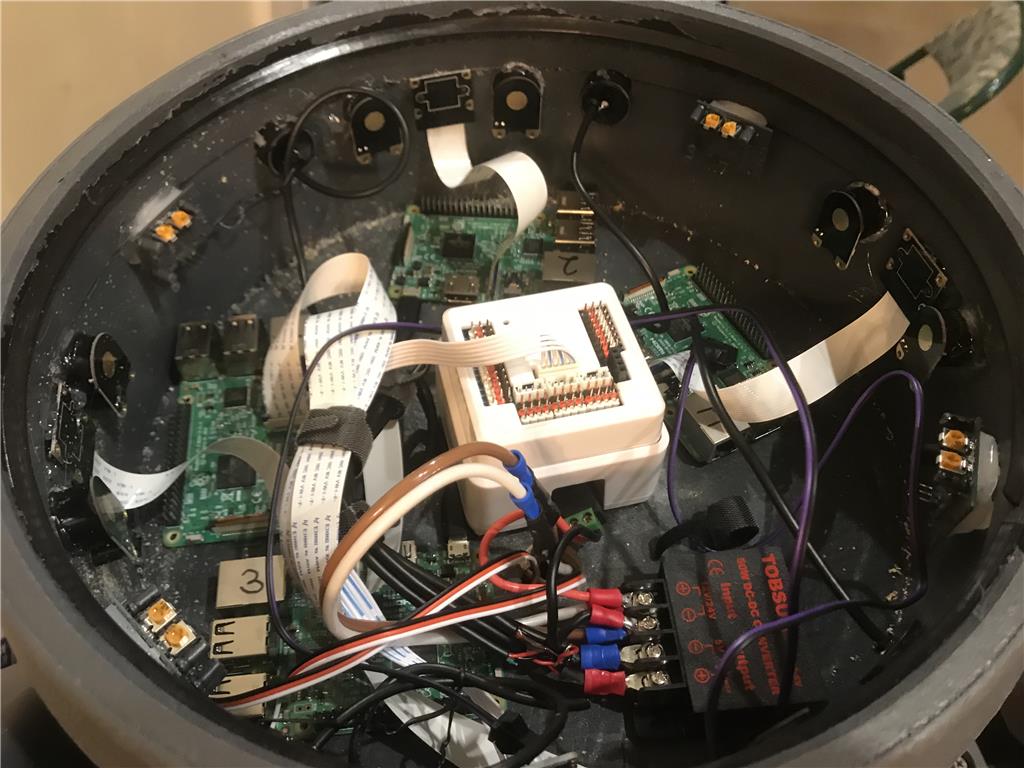
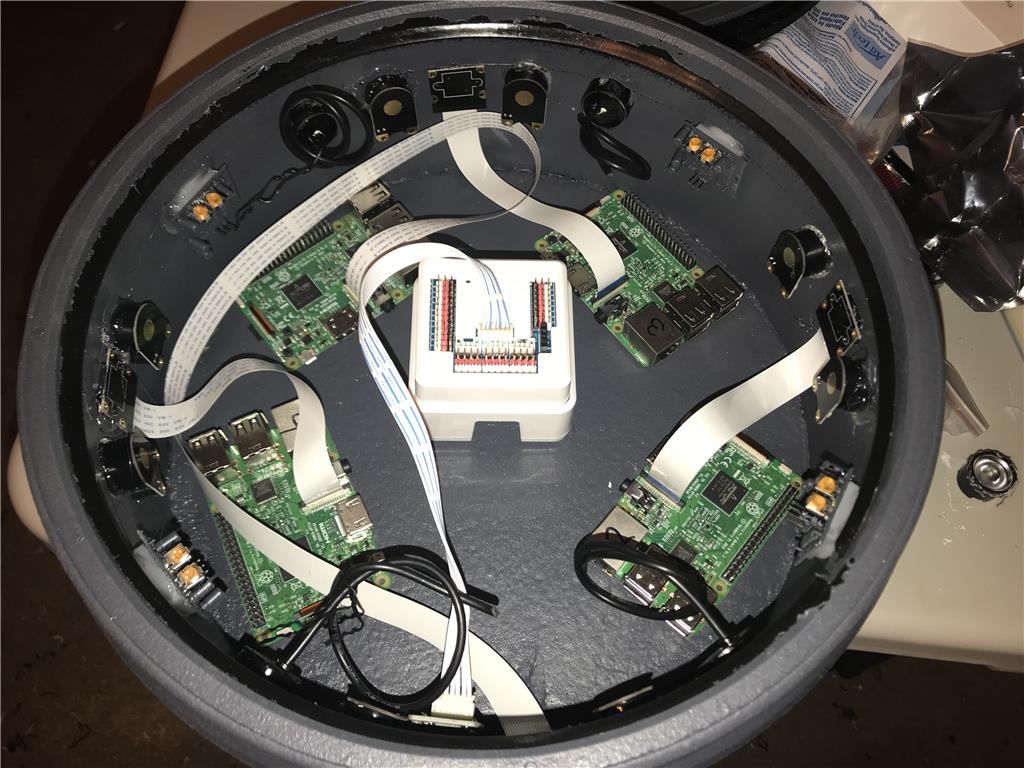
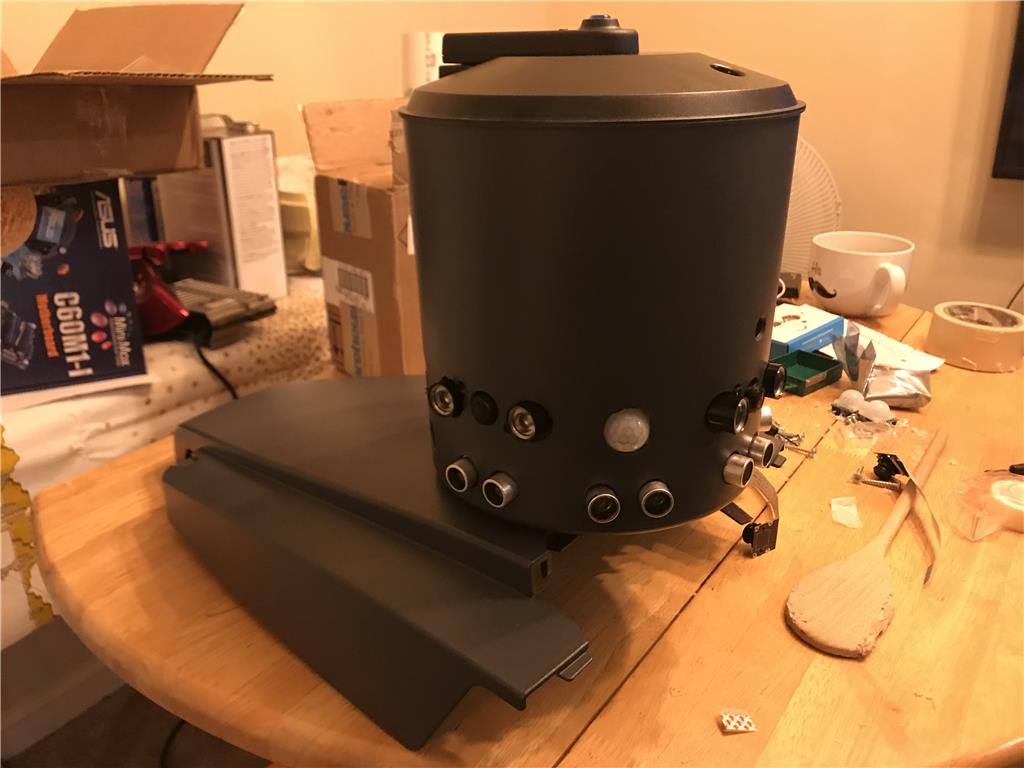
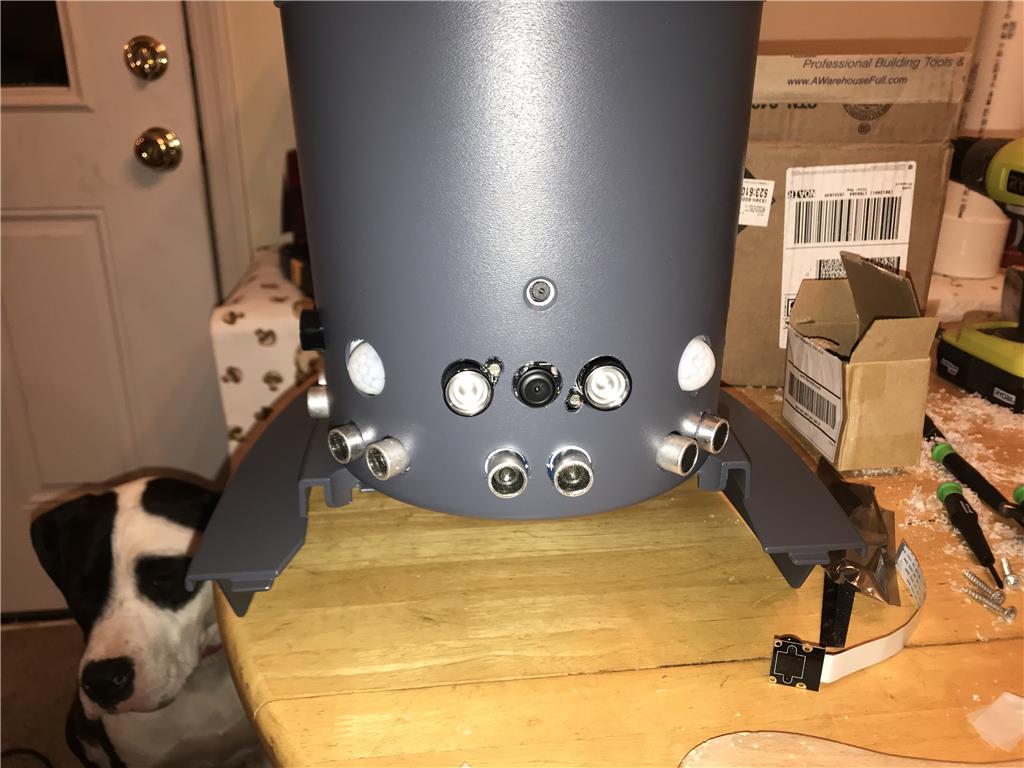
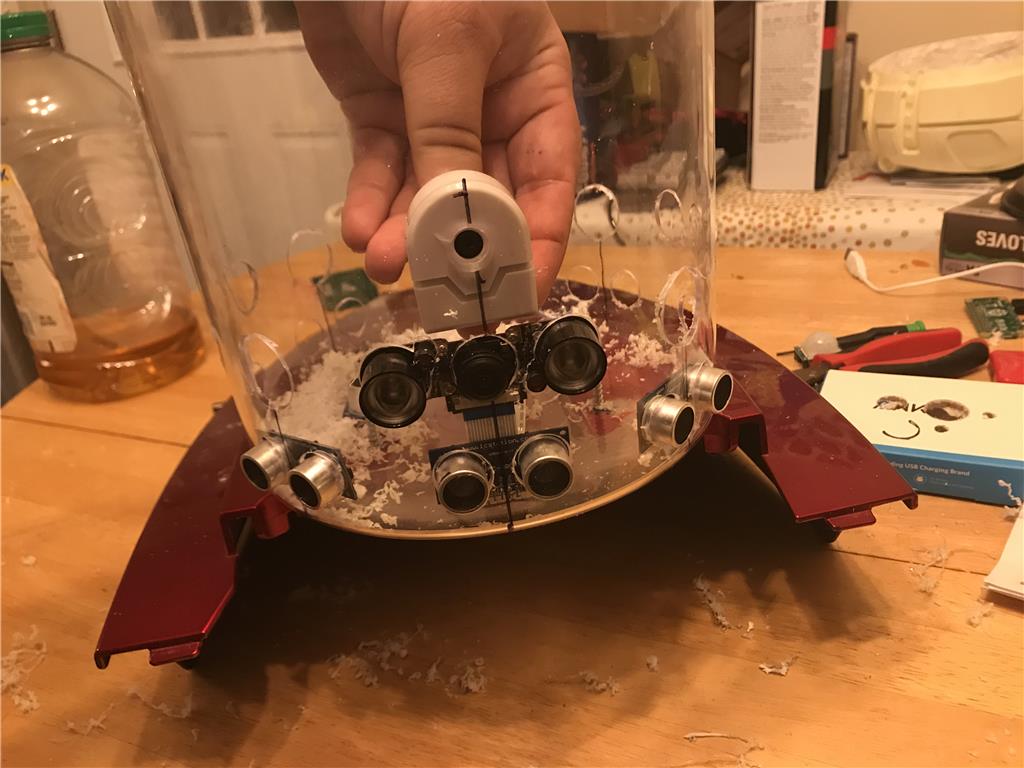
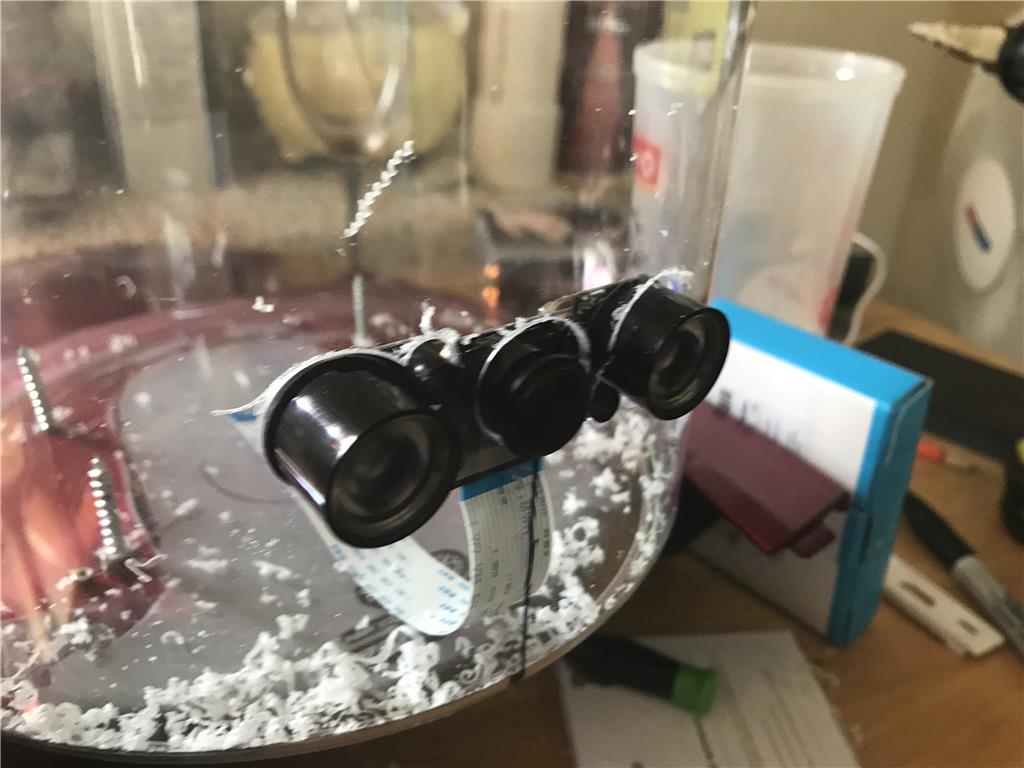
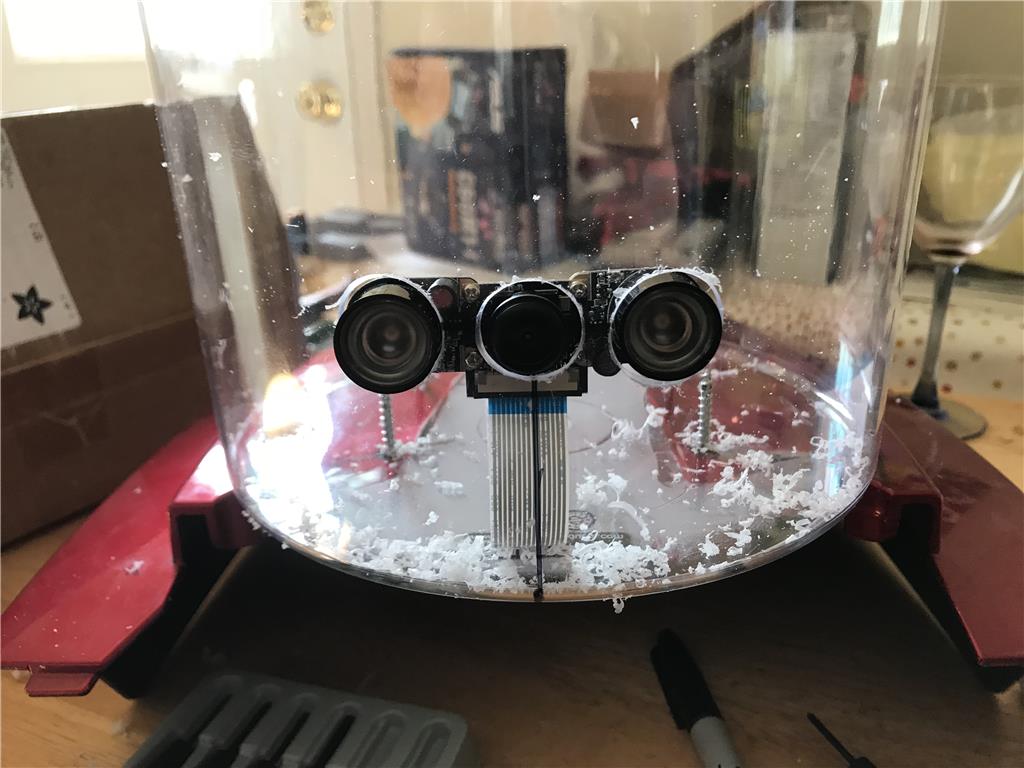
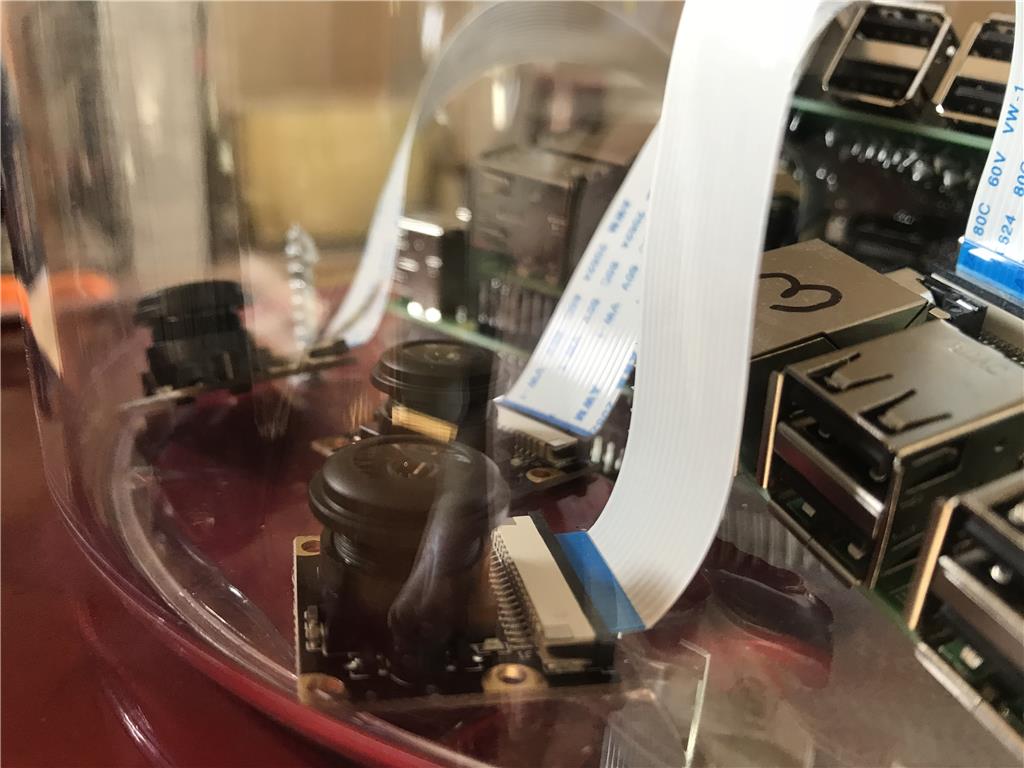
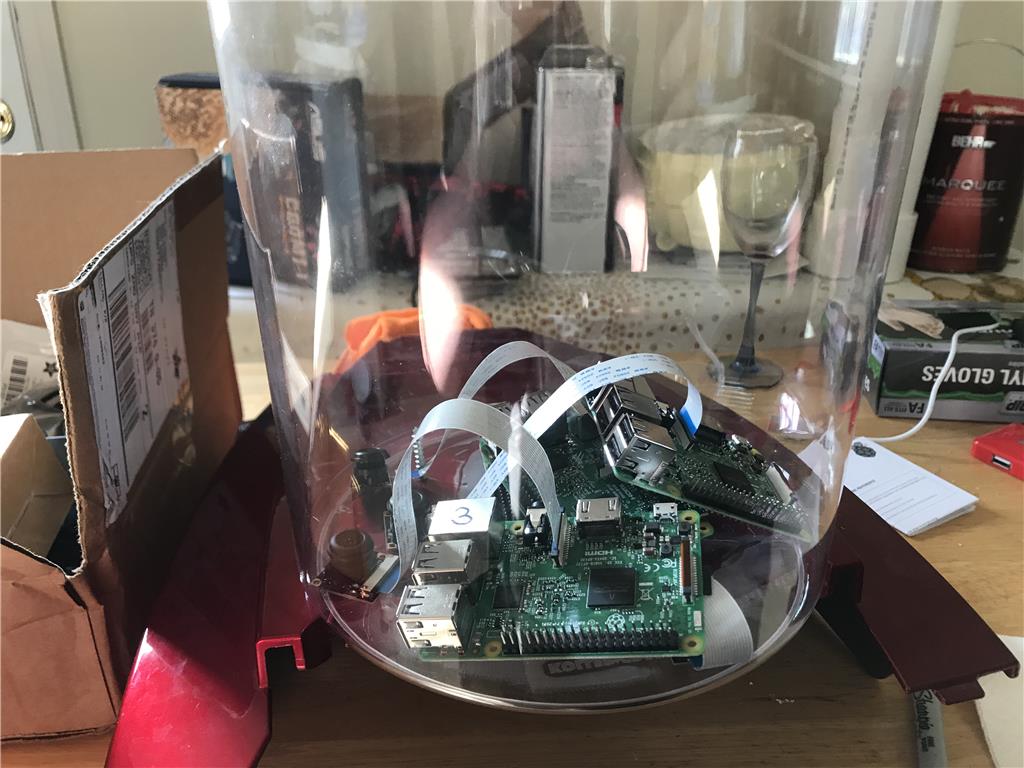
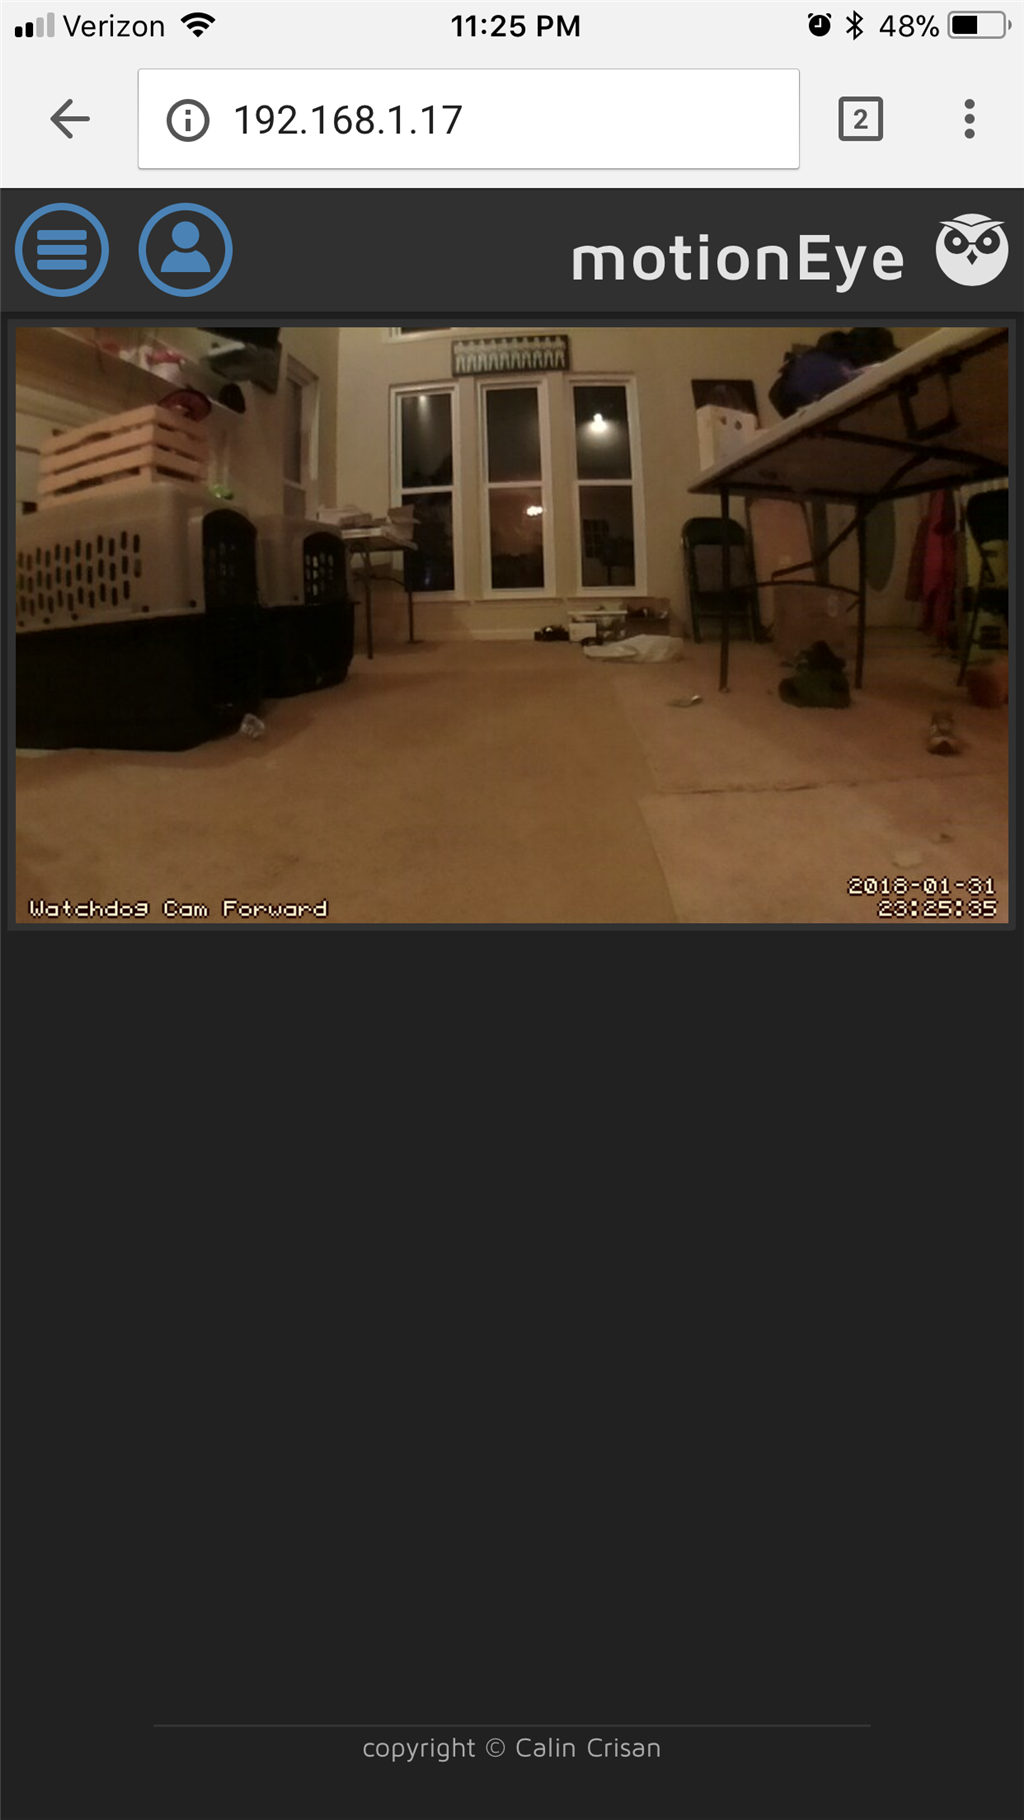
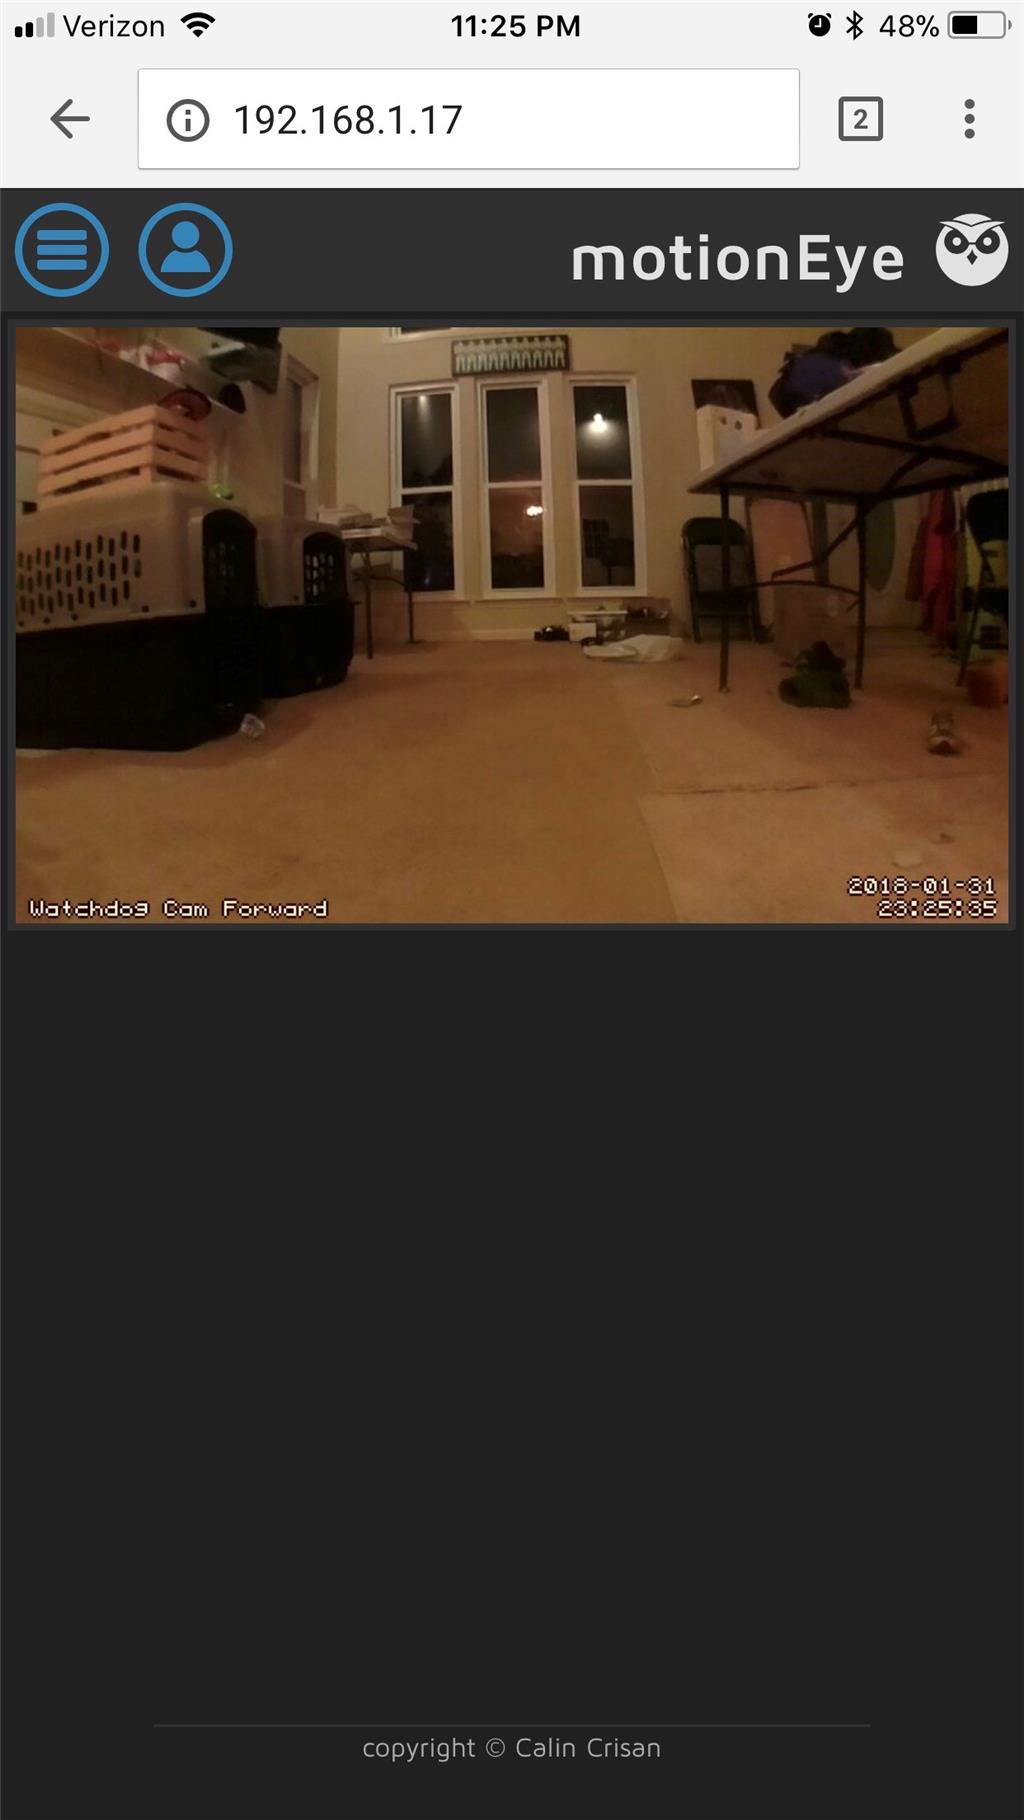
3-4 cameras recording 24 / 7
run without outside power for at least 12 hours, but the goal is excess of 24 hours.
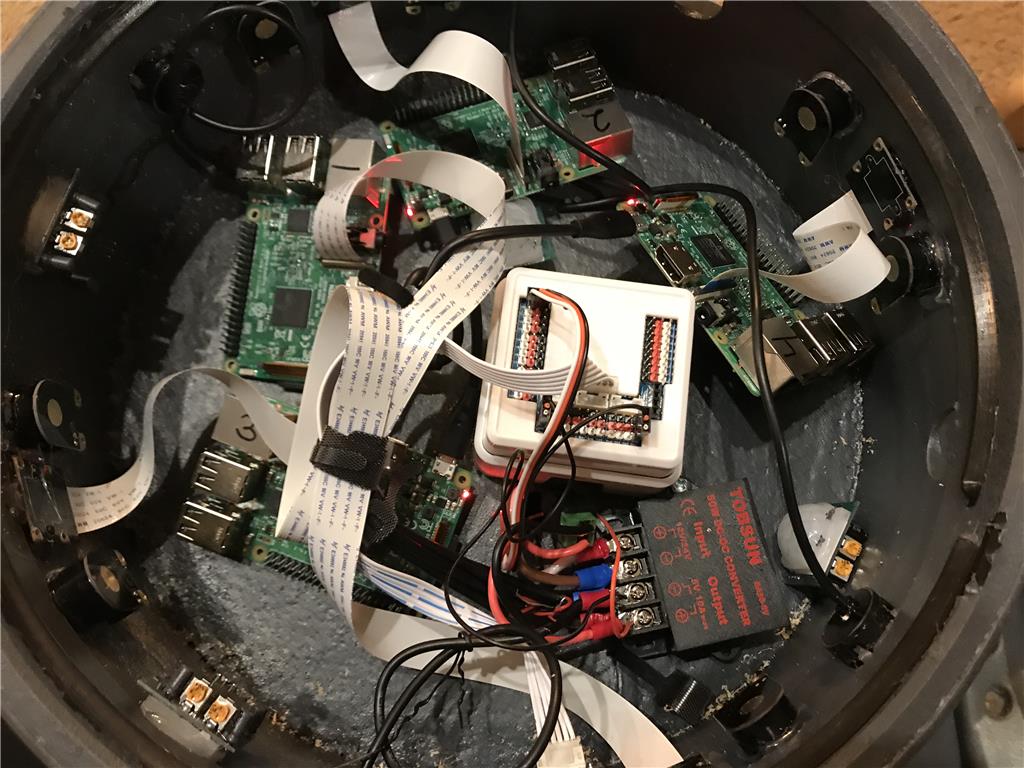
-Even in the even the robotic size of the electronics fails or the battery runs dead, there is a backup that keeps the cameras on and recording.
-Recording both locally on the robot itself and also wireless video sent to a recorder that I will probably setup with another raspberry pi.
Live access to the cameras over the internet
1 tb hard drive dedicated to every camera, covers recording in HD for at least a rolling month. Recordings in 10 min intervals.
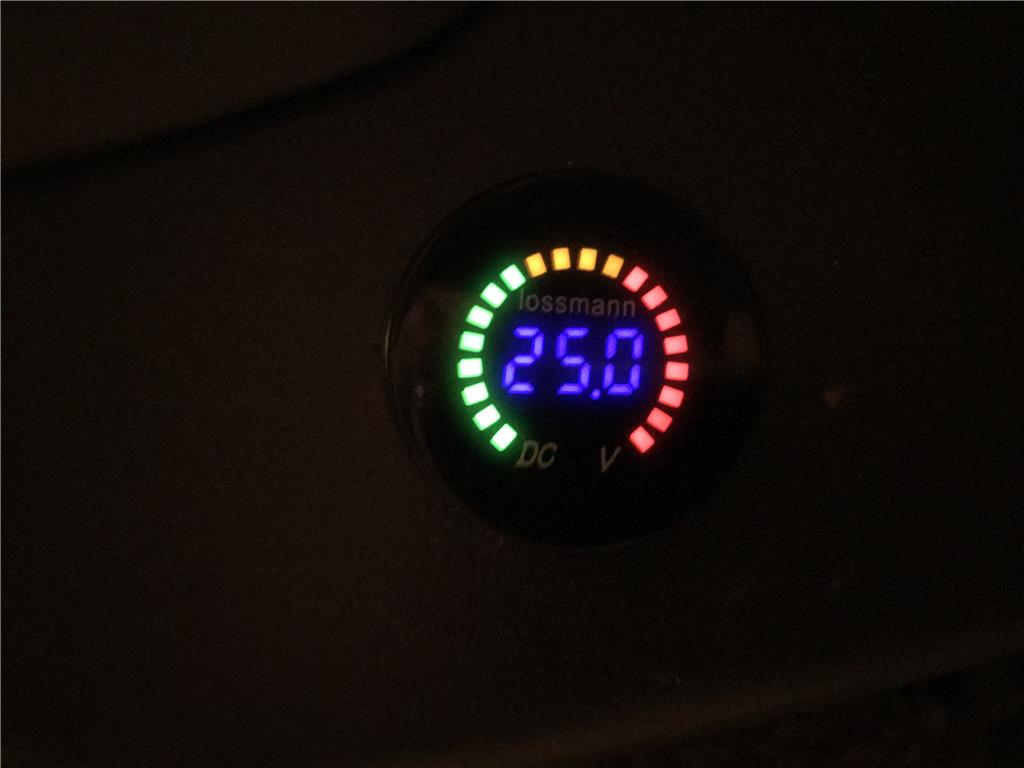
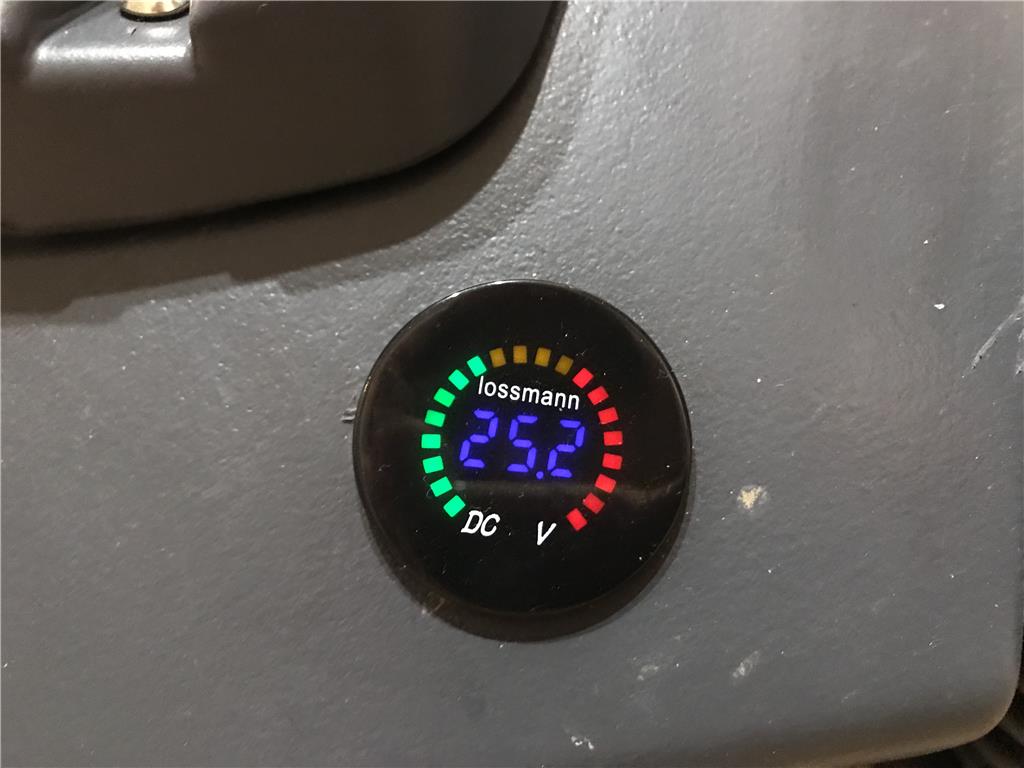
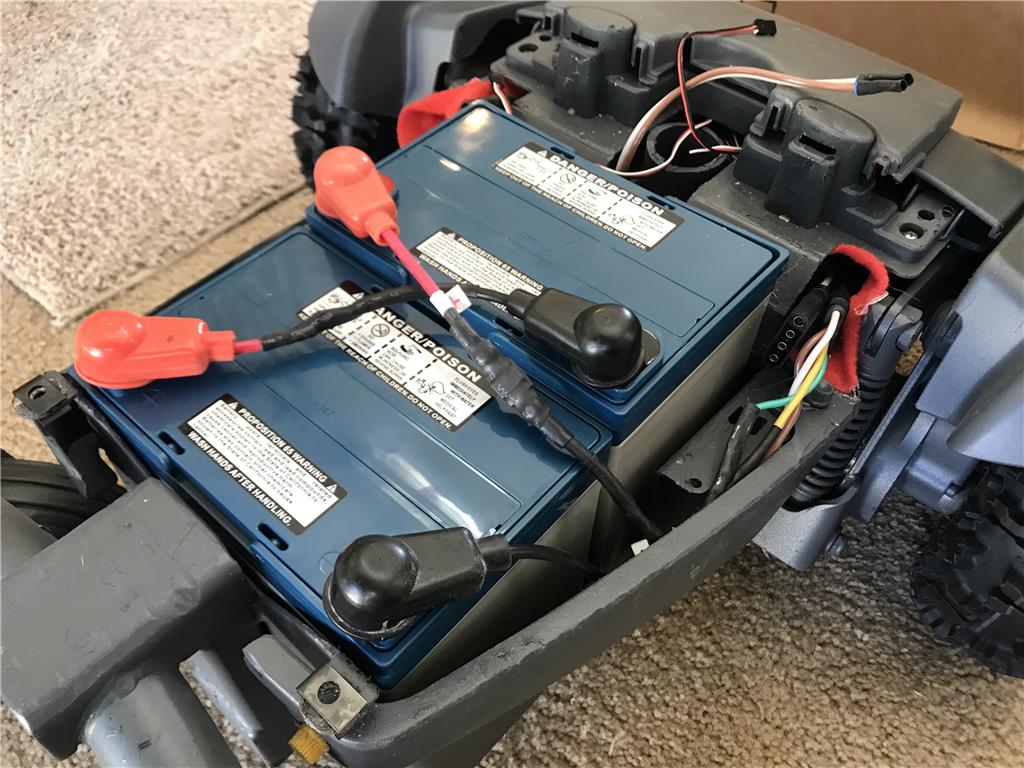
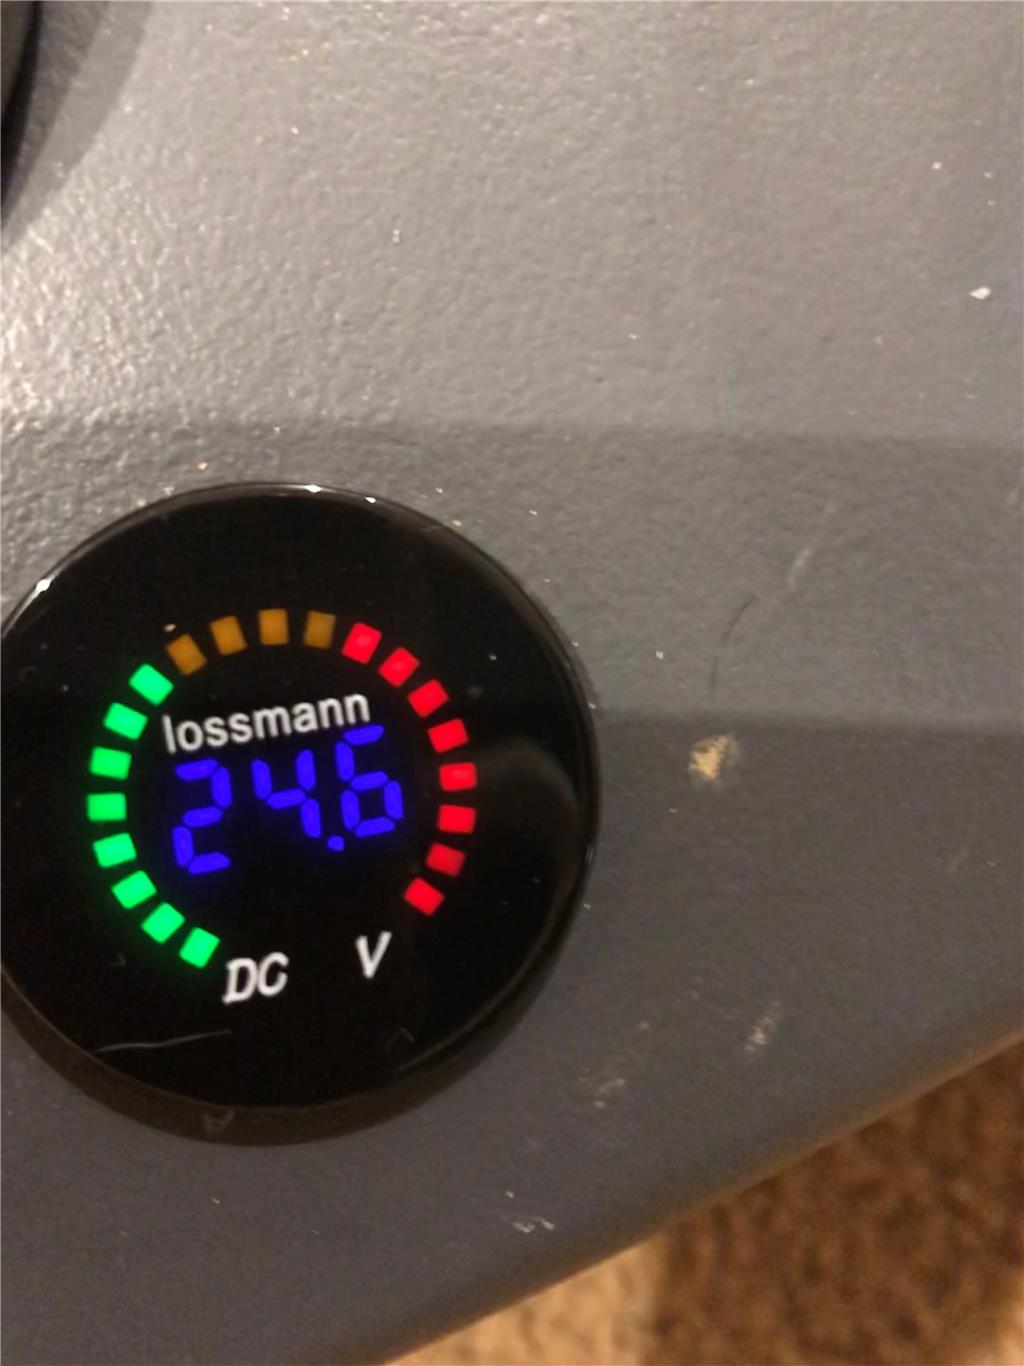
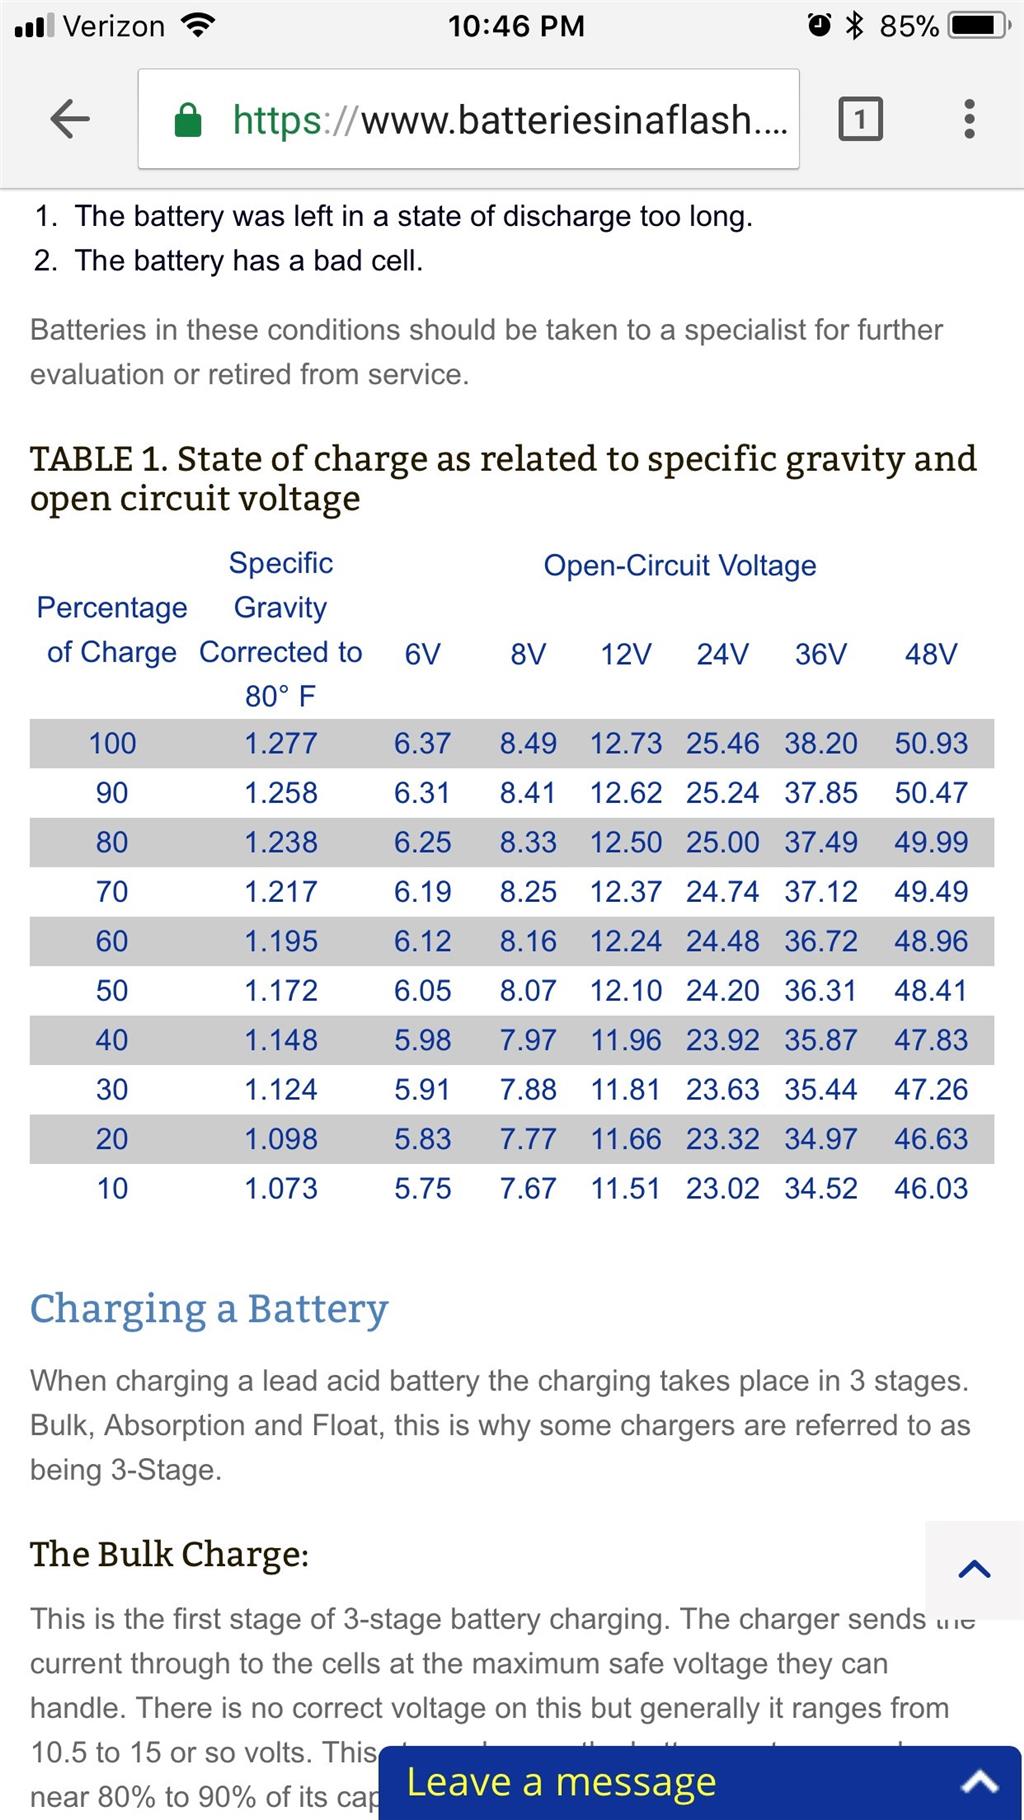
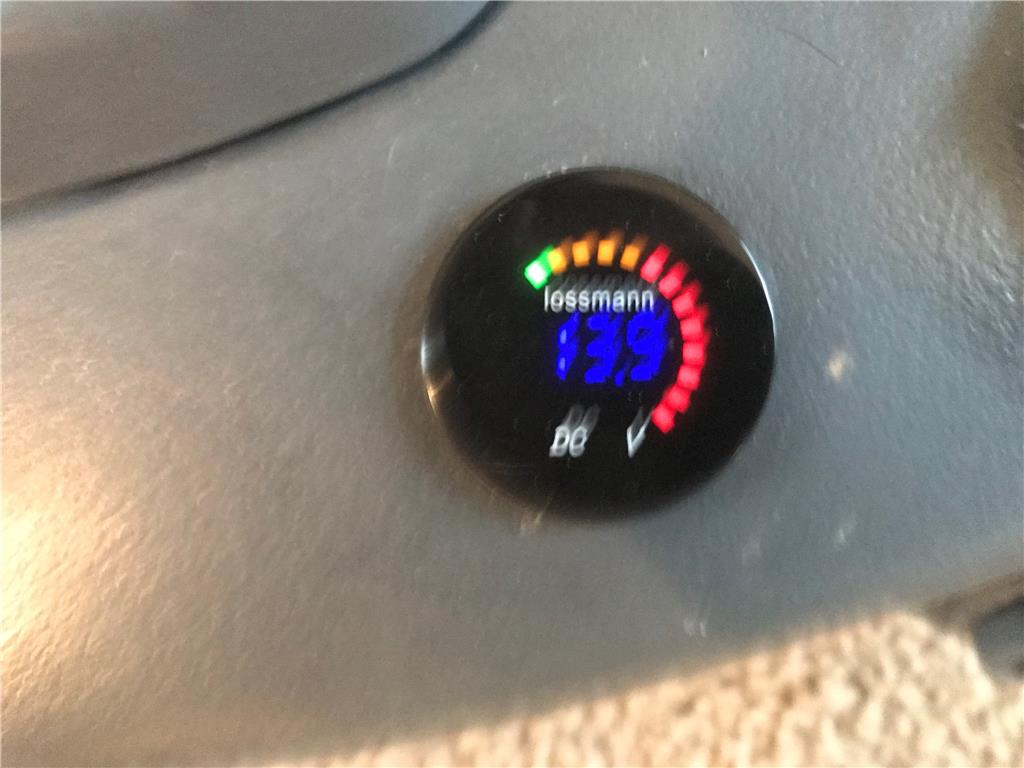
-Dual battery setup, one battery for the drive wheels , motor controller and ezb Lithium battery 10,000 mah packs for each camera
-Safety Stop switch that cuts power to motor controller in the event of an emergency, but everything else still records.
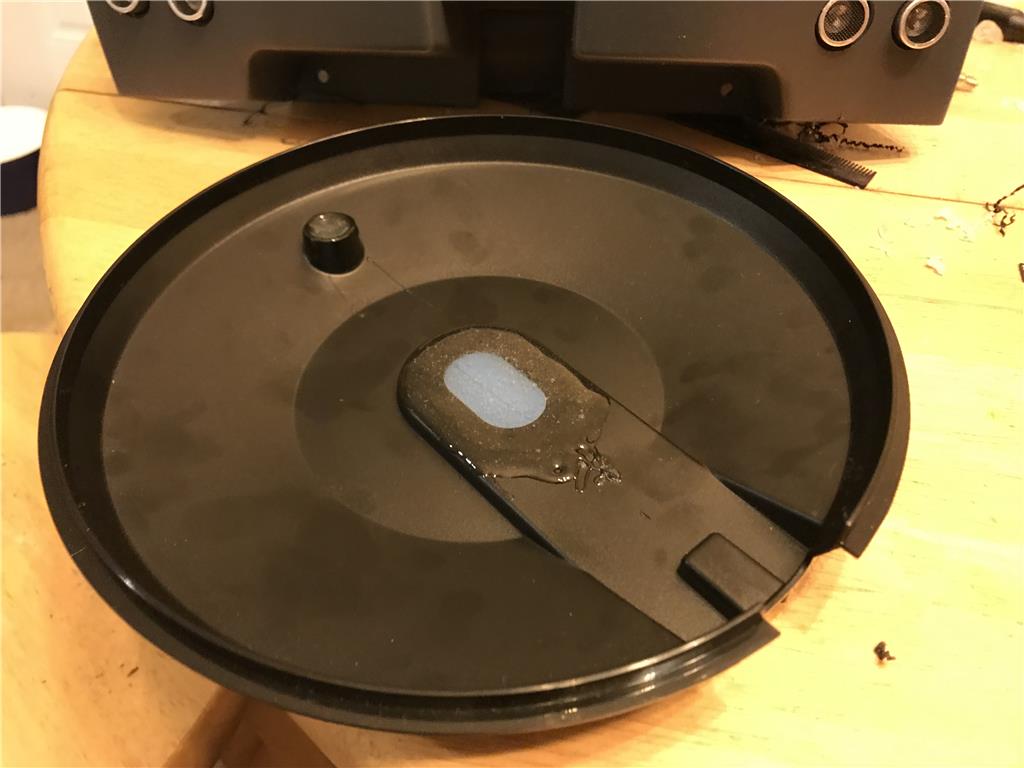
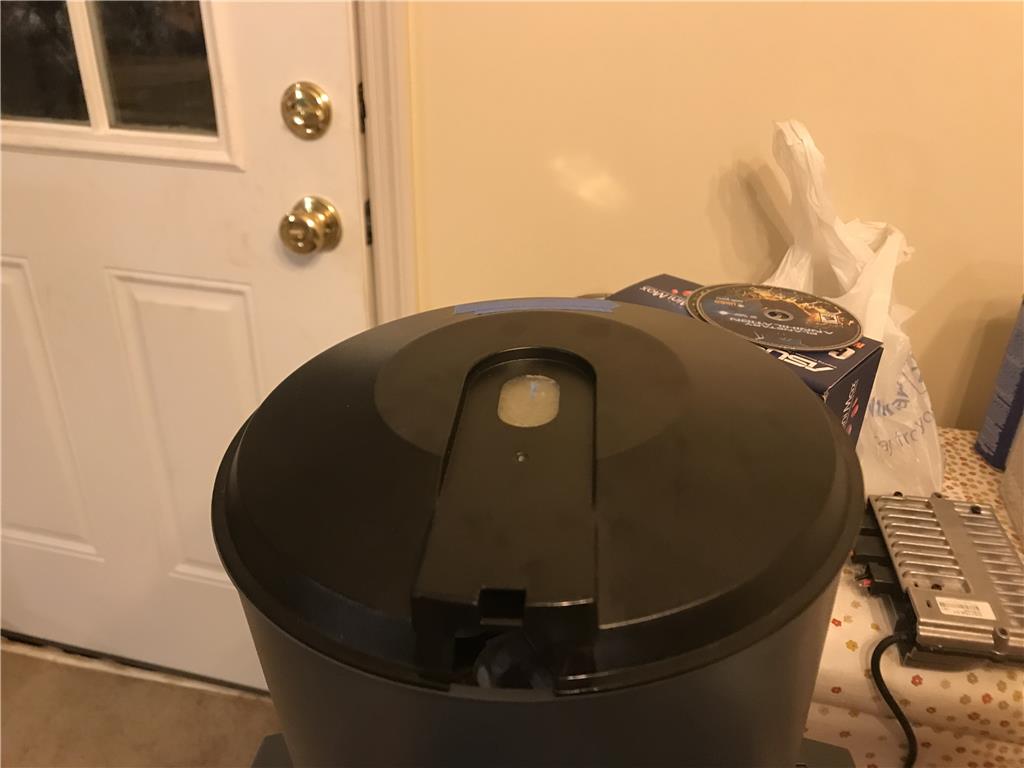
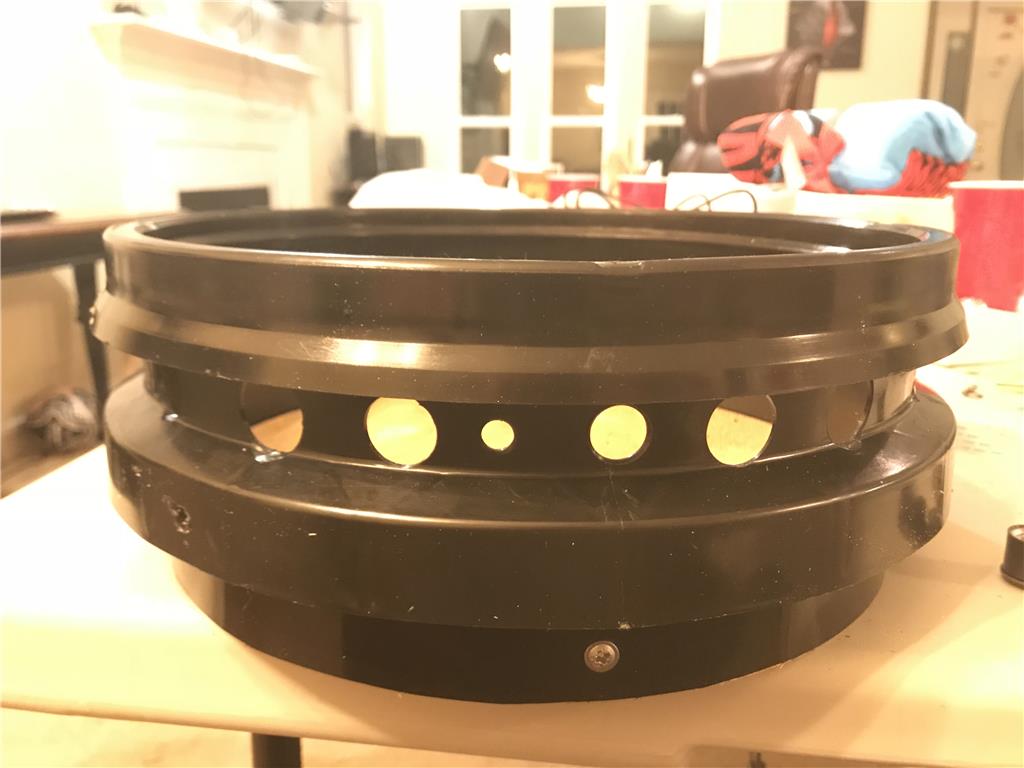
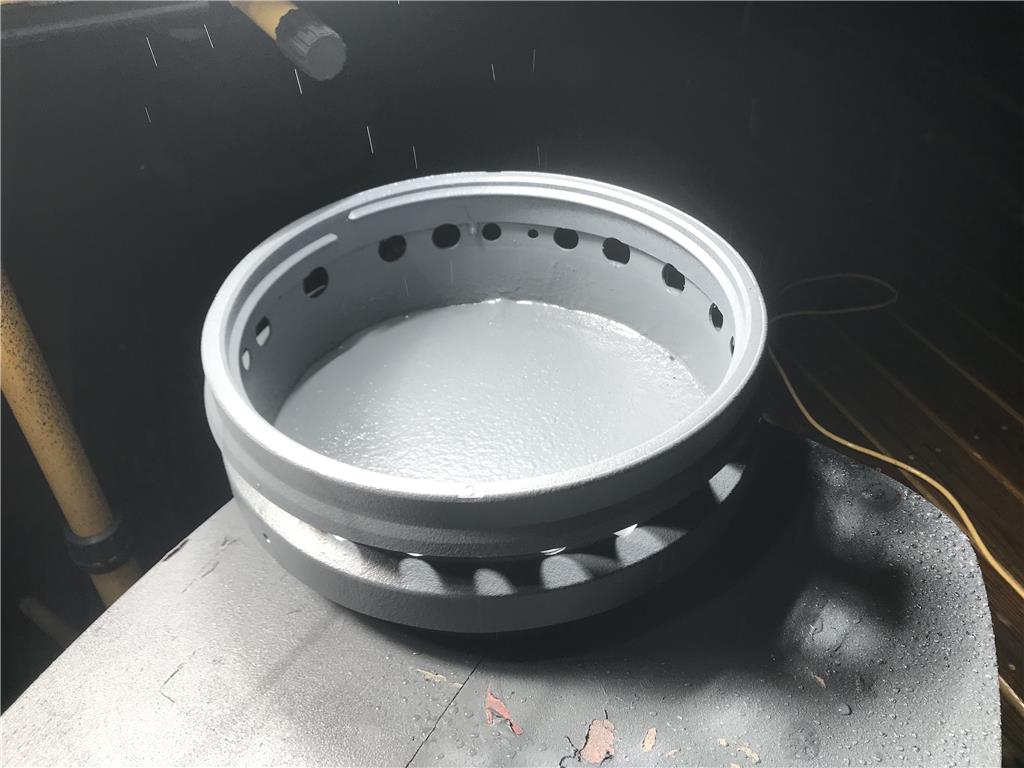
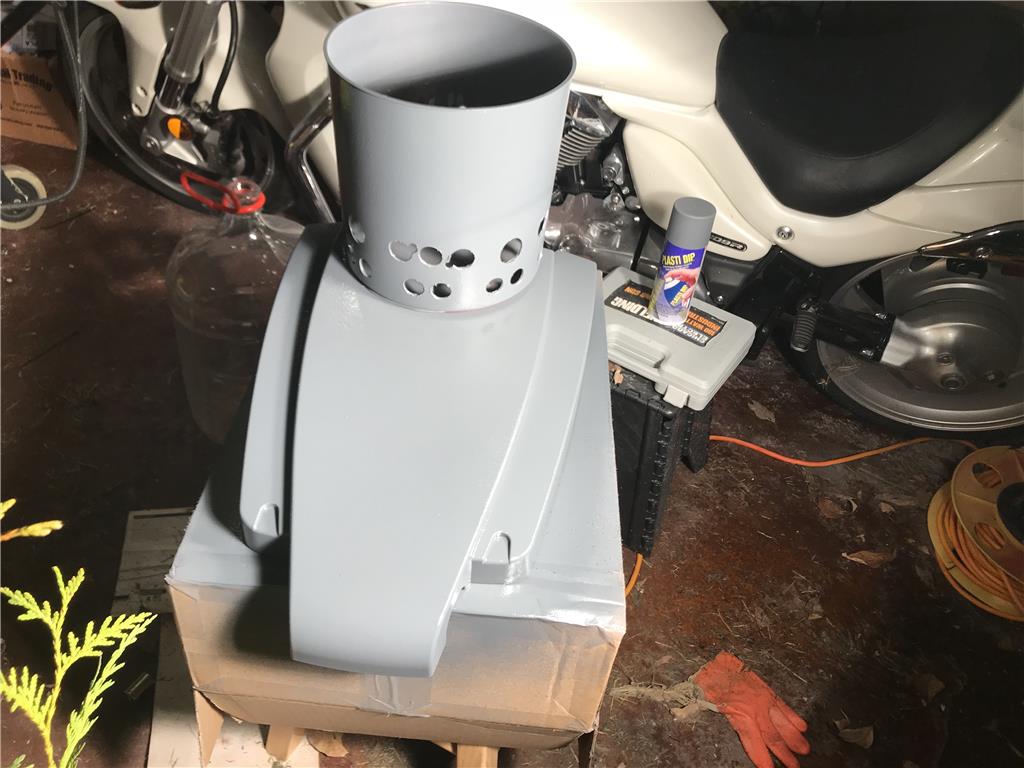
-Create a water resistant area protected from spashing and weather for the electronics
-make some kind of seal where the panels come together
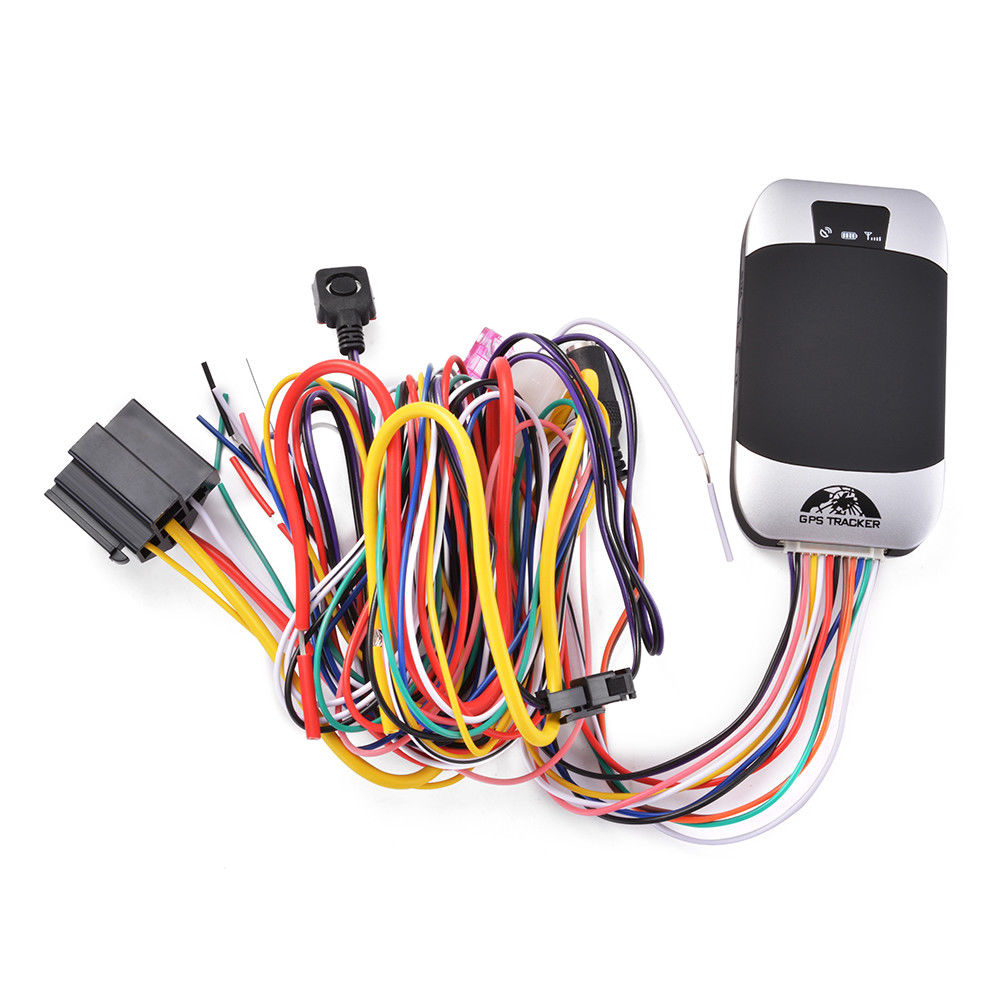
-GPS geofence alarm and active tracker
GPS tracking unit, with built in battery so it tracks even if the main battery is removed.
https://www.ebay.com/itm/232479396529
No IR Raspberry Pi 5mp camera with 130 degree lense