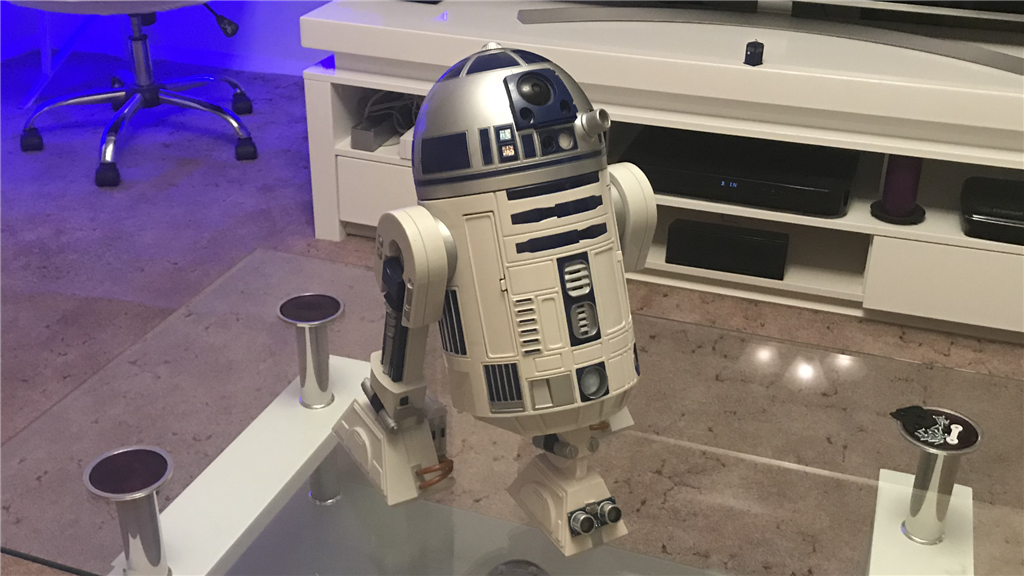
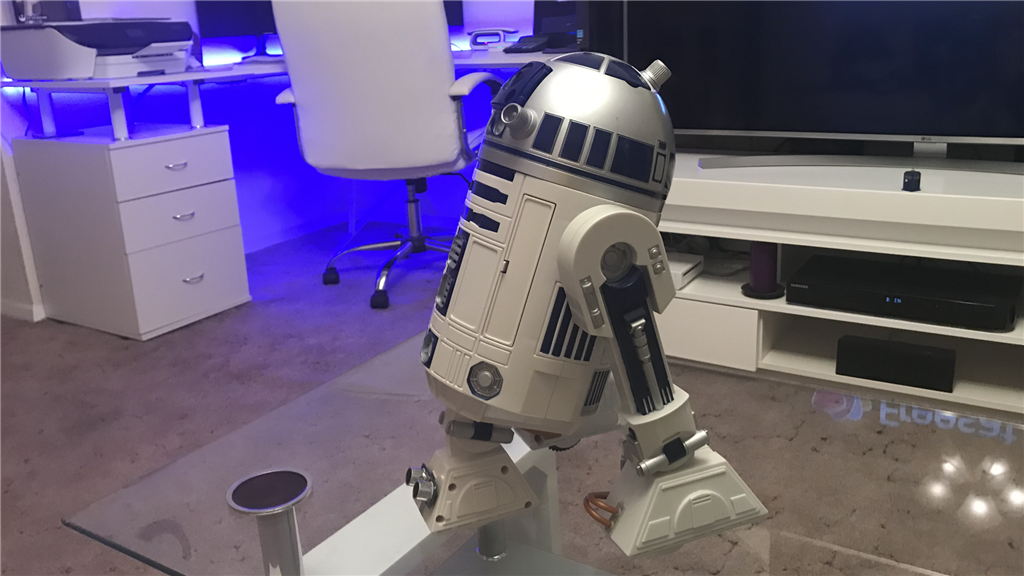
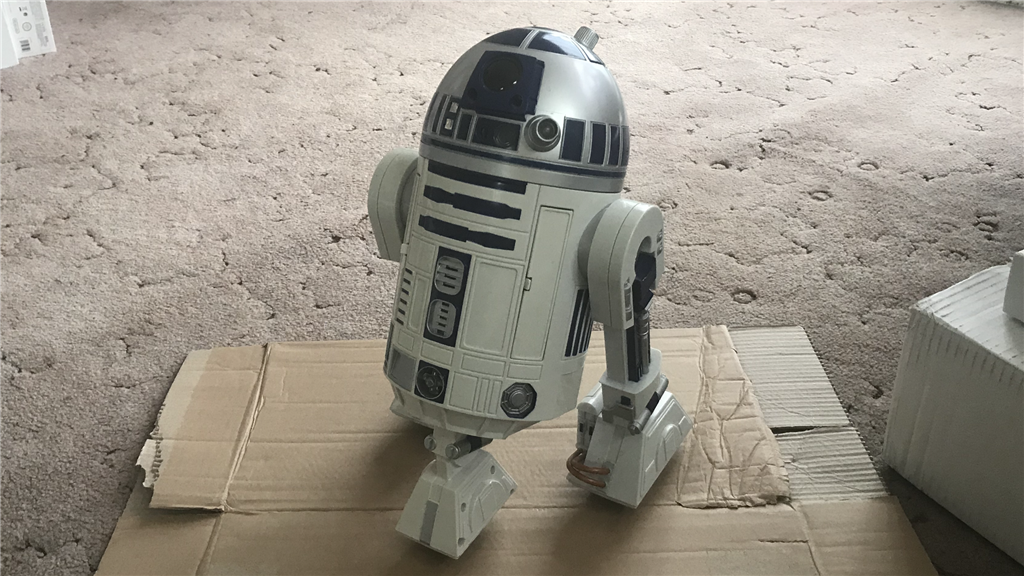
R2-d2 Hasbro Toy Hack

Steve G

United Kingdom
robot video thumbnail

User-inserted image

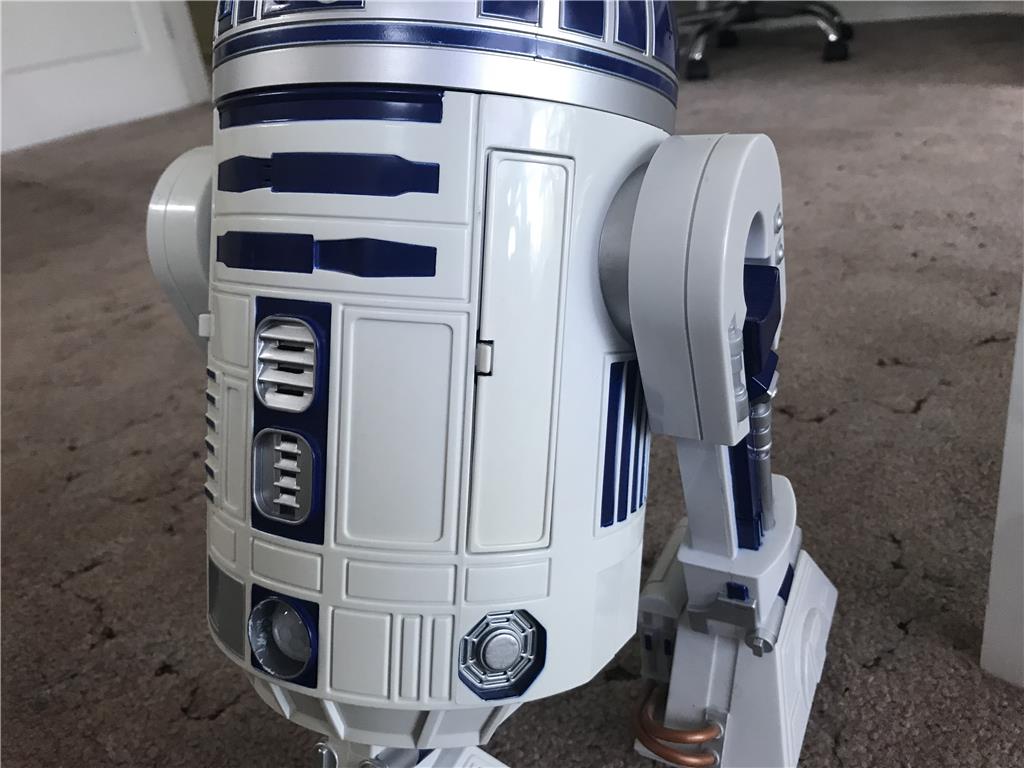
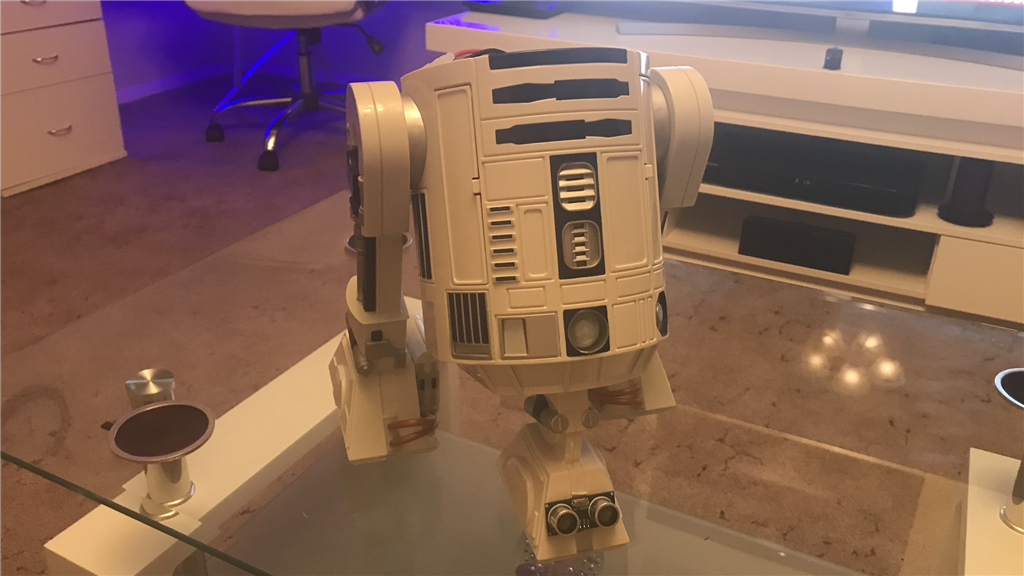
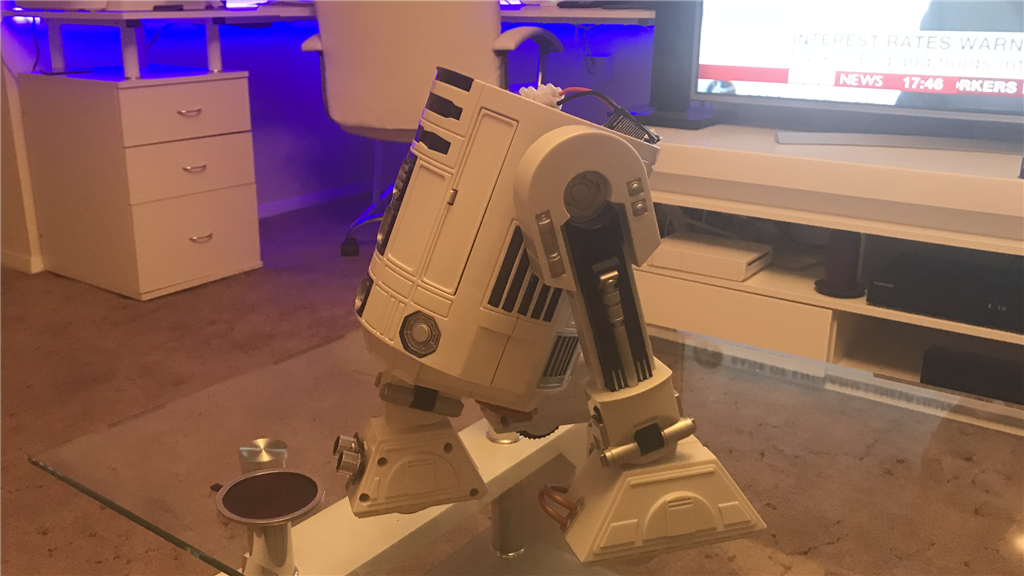
So, it’s been a while since I’ve had the screwdrivers and soldering iron out for fun, so figured I’d start a new project and share it with you guys. What I’m working on this time is a toy hack rather than a scratch build, and for this I’ll be using the R2-D2 Interactive Astromech Droid from Hasbro.

For those of you who don’t know, this was released in 2002 and was fully voice controlled (no smart phone or R/C controllers). I purchased this off eBay a couple of years back and after finding out that the voice recognition wasn’t that great (not for me anyway), I was going to do an EZ-Robot conversion similar to what DJ and a few others did... but, as some of you know, I ended up scratch building a full size droid instead so it got packed away and forgot about it.

Recently my girlfriends granddaughter has shown an interest in robotics so I have started helping her out and introducing her to EZ-Robot. While searching for robot bits and peices, I can across the little droid and have set about giving him a new lease of life and make him better than he ever was using a EZ-B v4/2 dev kit and a few sensors etc.

Here goes. Enjoy. ;)

By — Last update

ARC Pro

Upgrade to ARC Pro

ARC Pro will give you immediate updates and new features needed to unleash your robot's potential!

United Kingdom
#1  

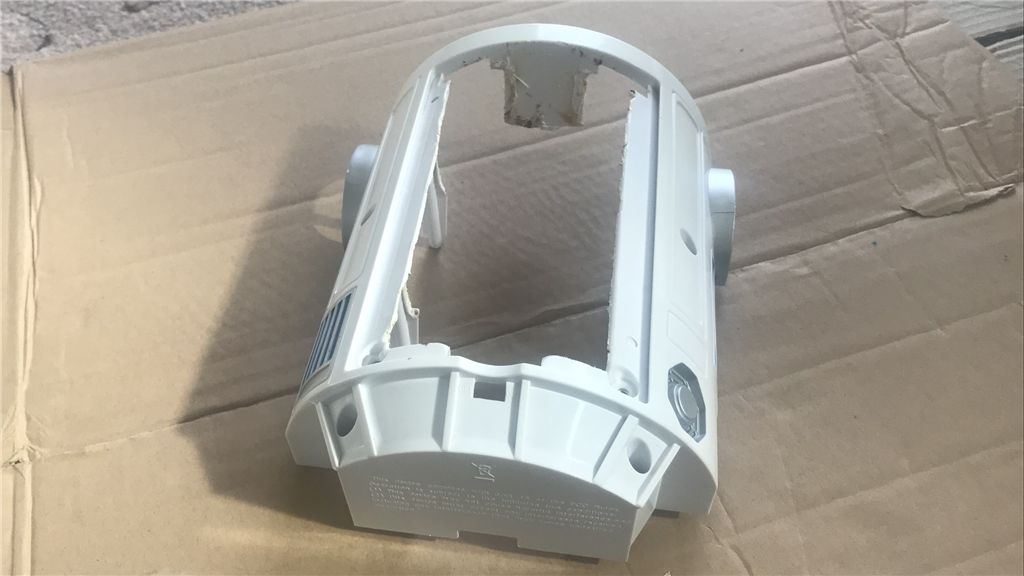
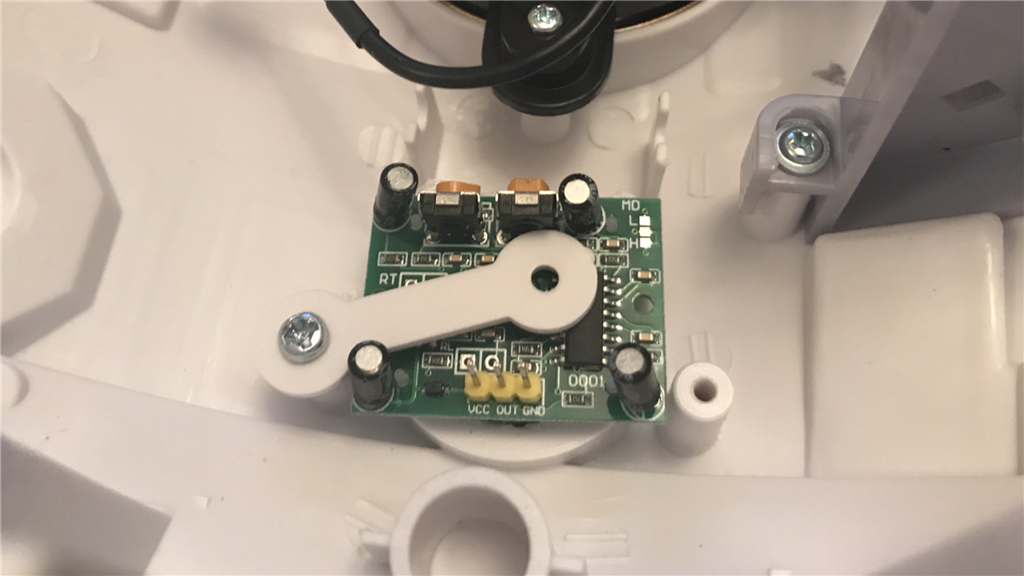
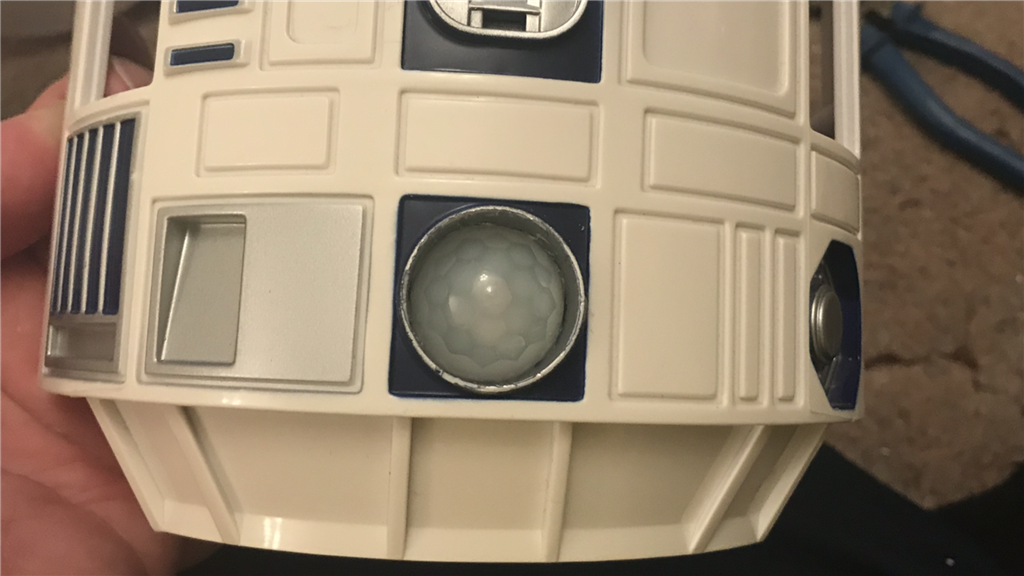
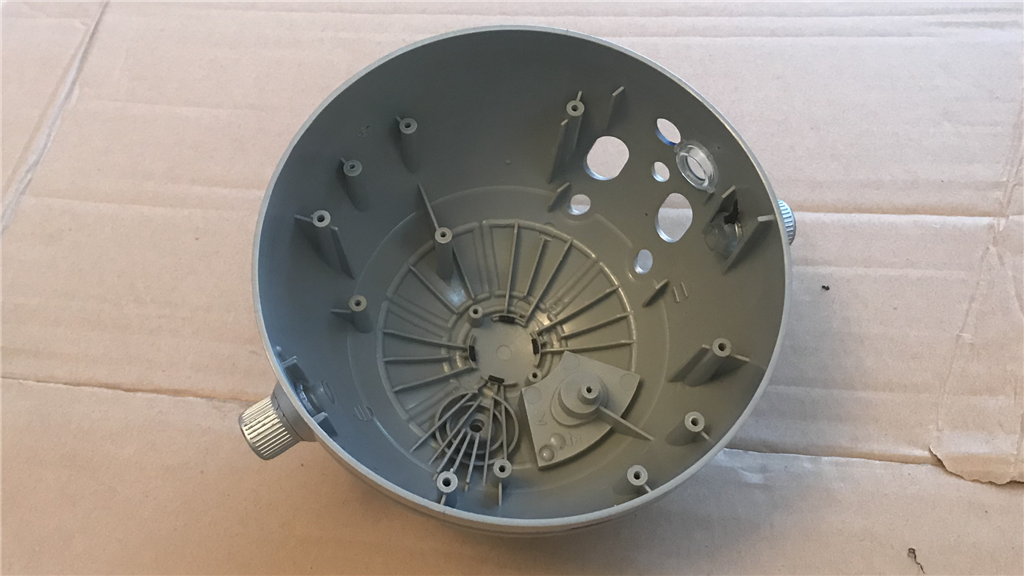
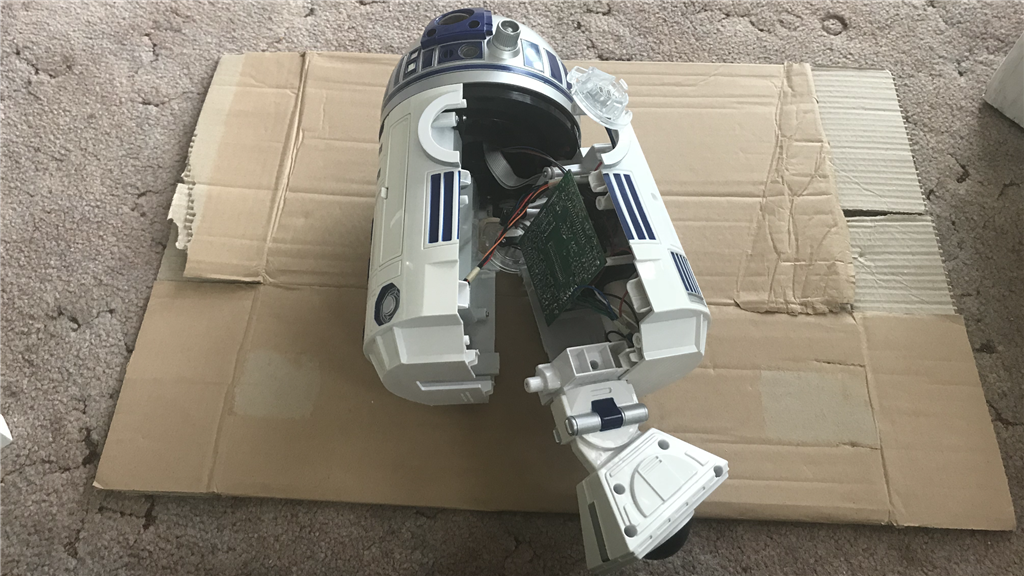
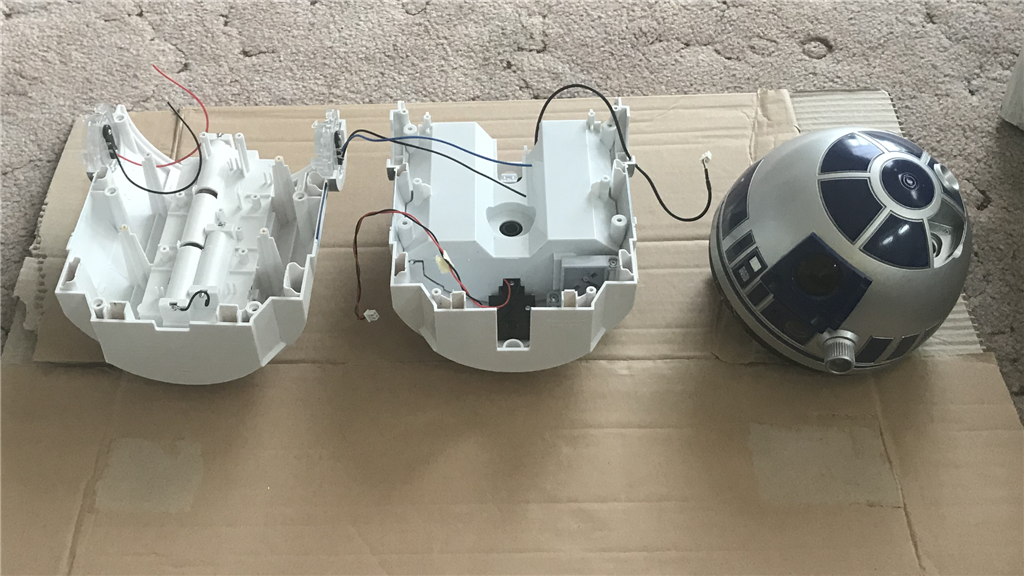
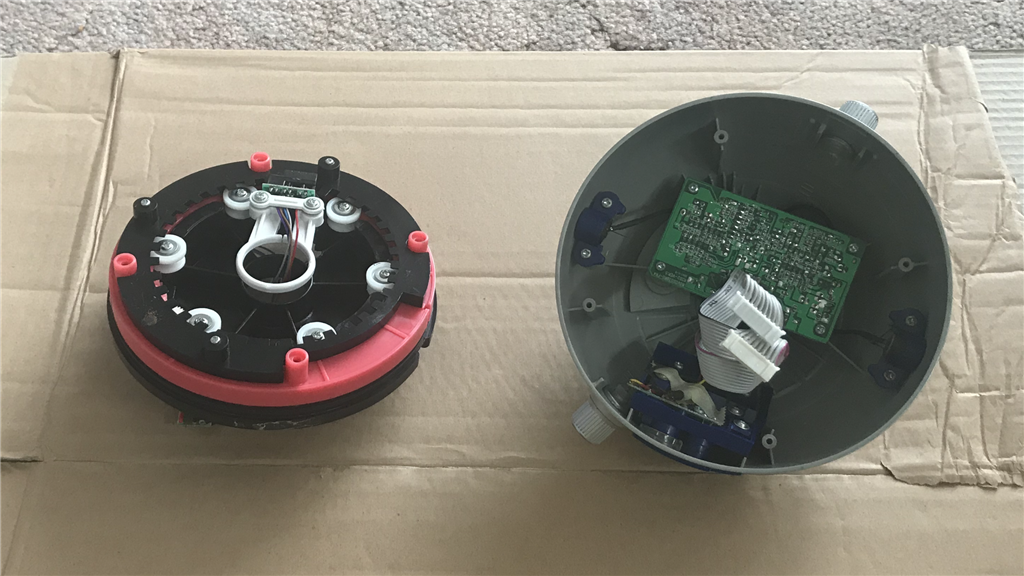
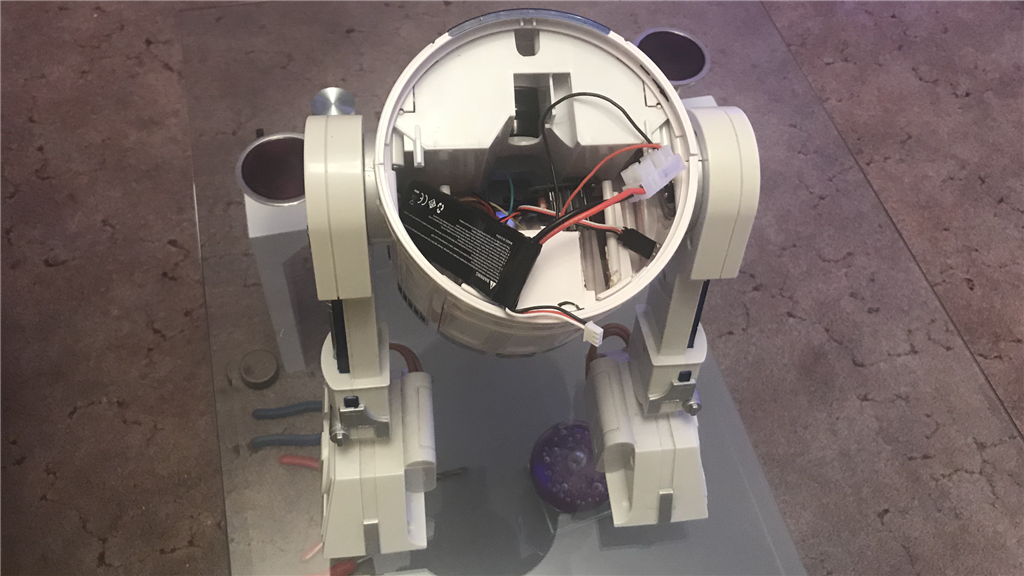
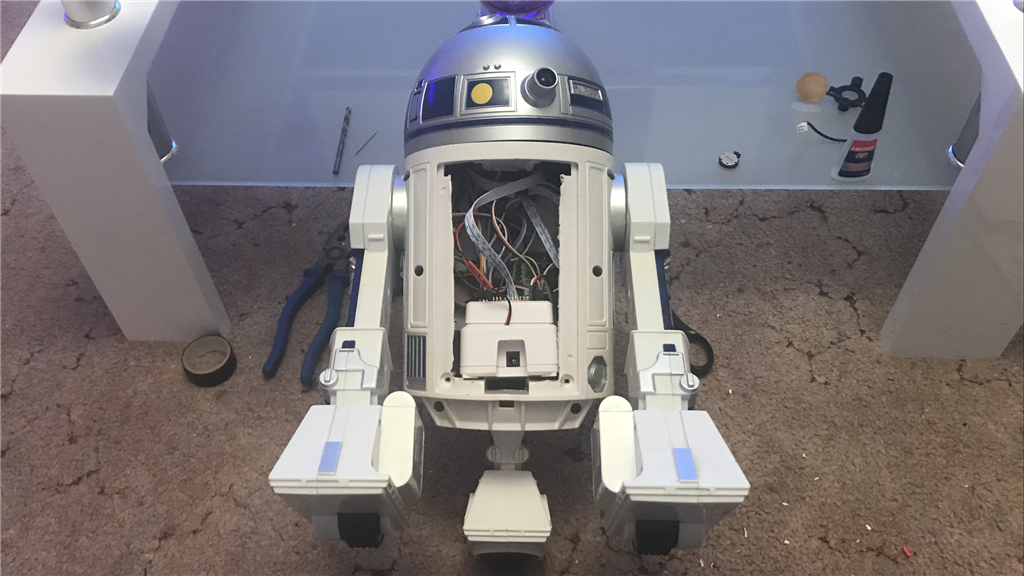
So, screwdrivers at the ready and R2 has now been stripped down...

User-inserted image

User-inserted image

User-inserted image

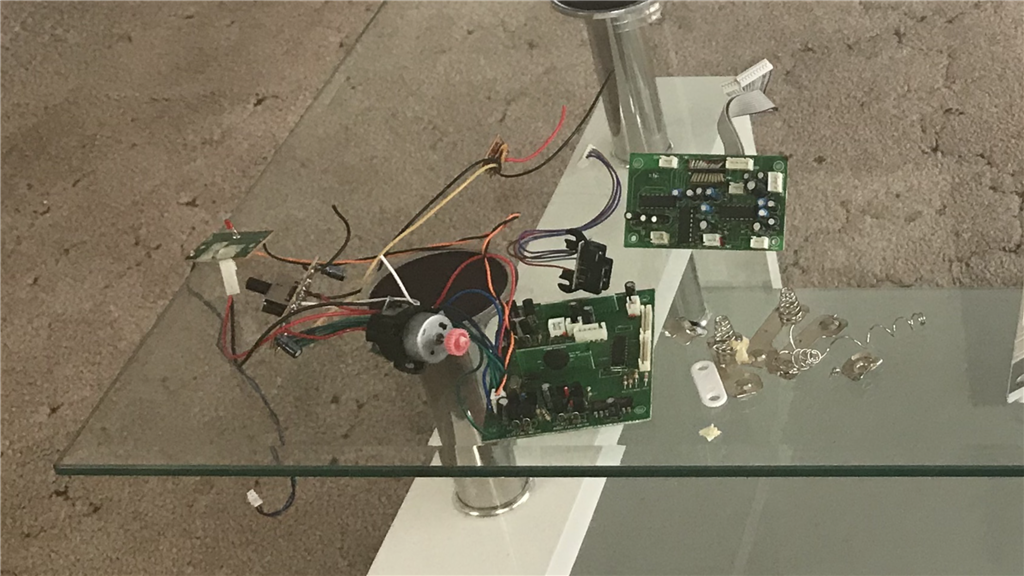
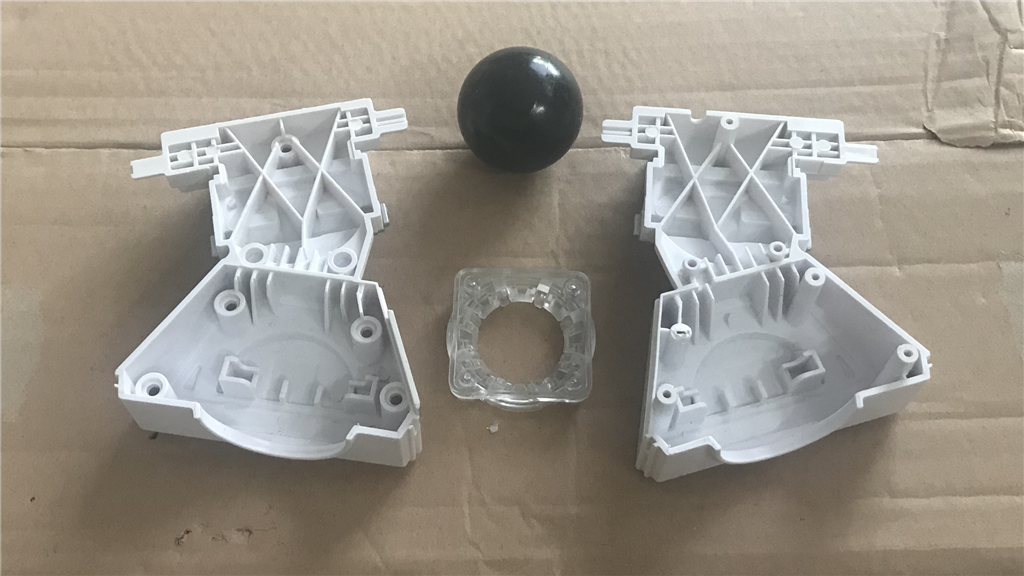
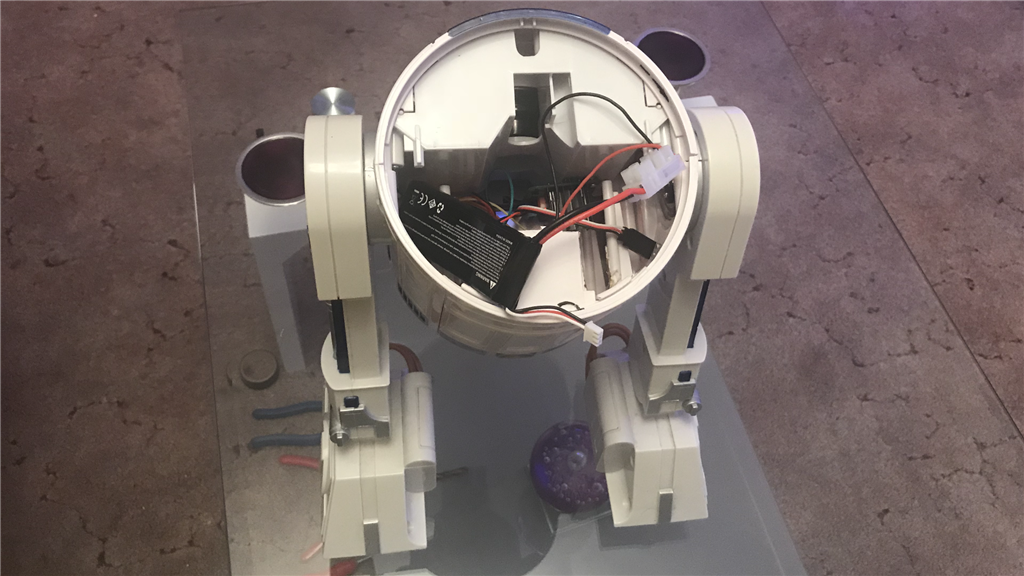
And gutted...

User-inserted image

That’s the easy bit done :).

United Kingdom
#2  

Thinking about where to start, I figured I’d start with one of the important bits... making R2’s head turn.

The Dome Slip Ring.

The first place I started was with the dome rotation....

User-inserted image

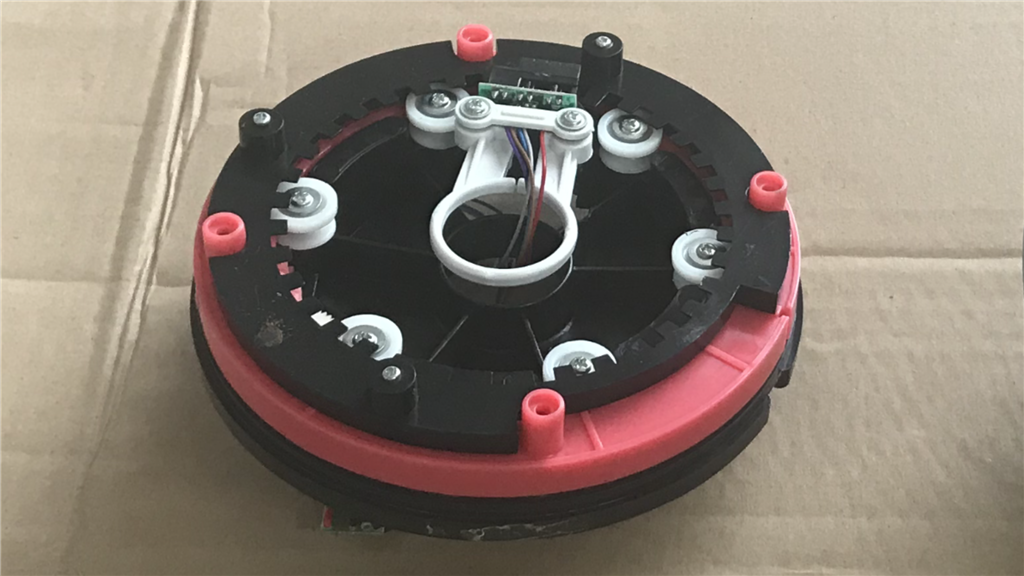
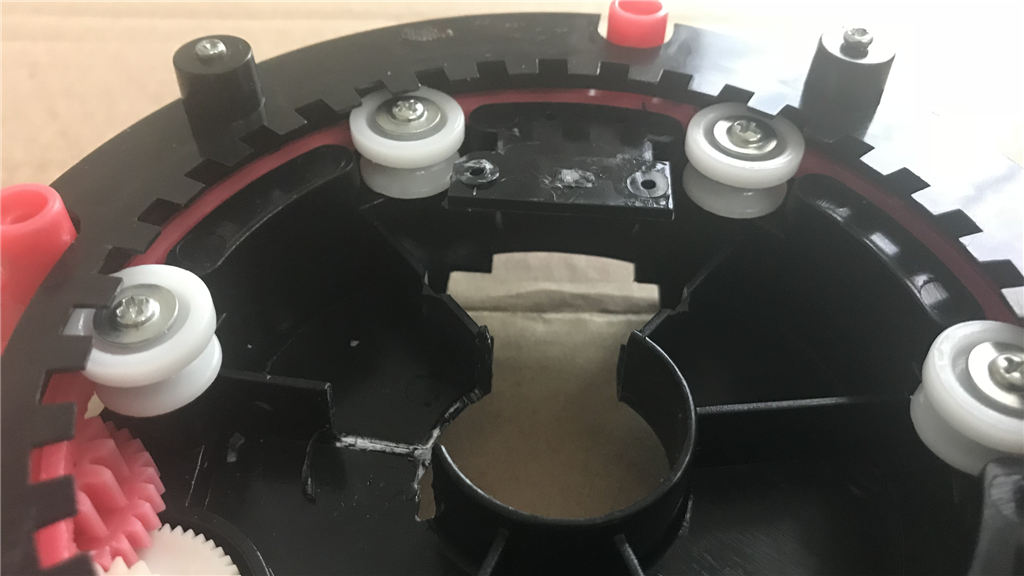
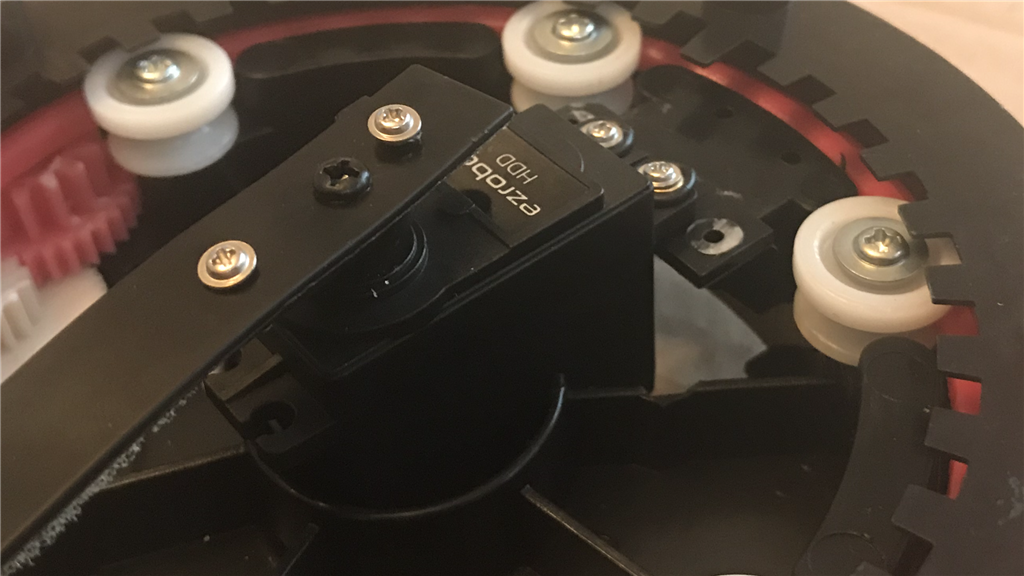
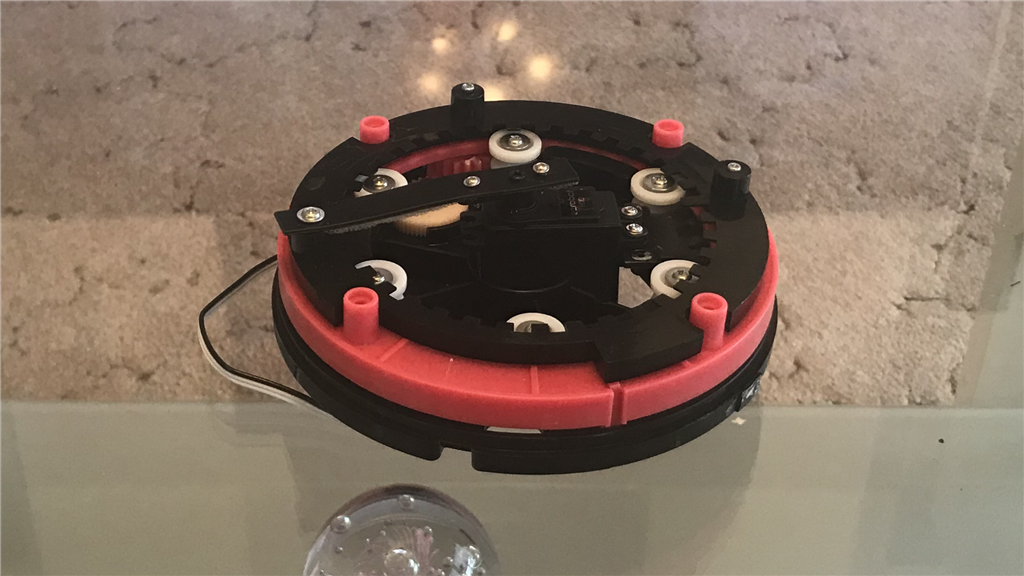
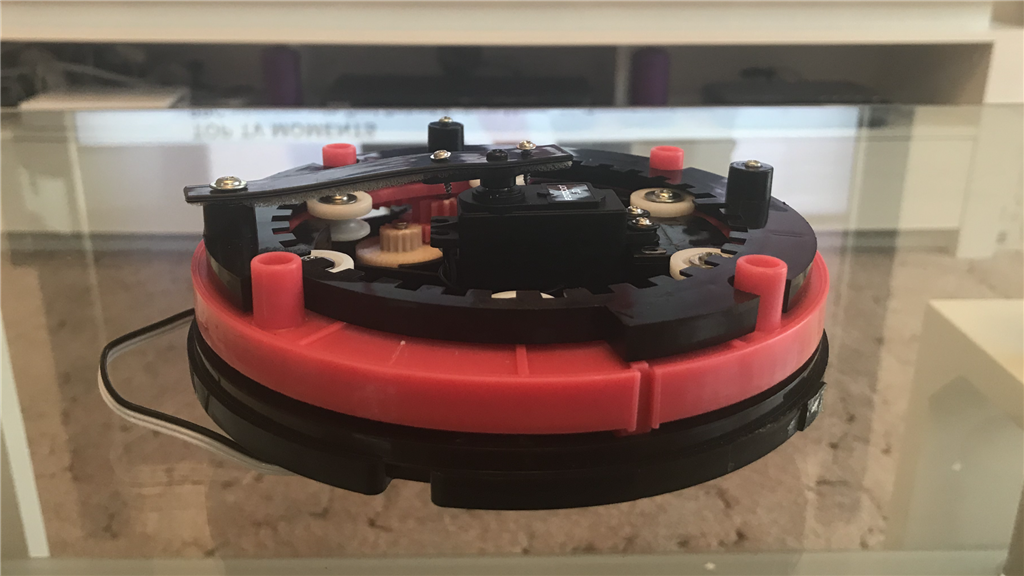
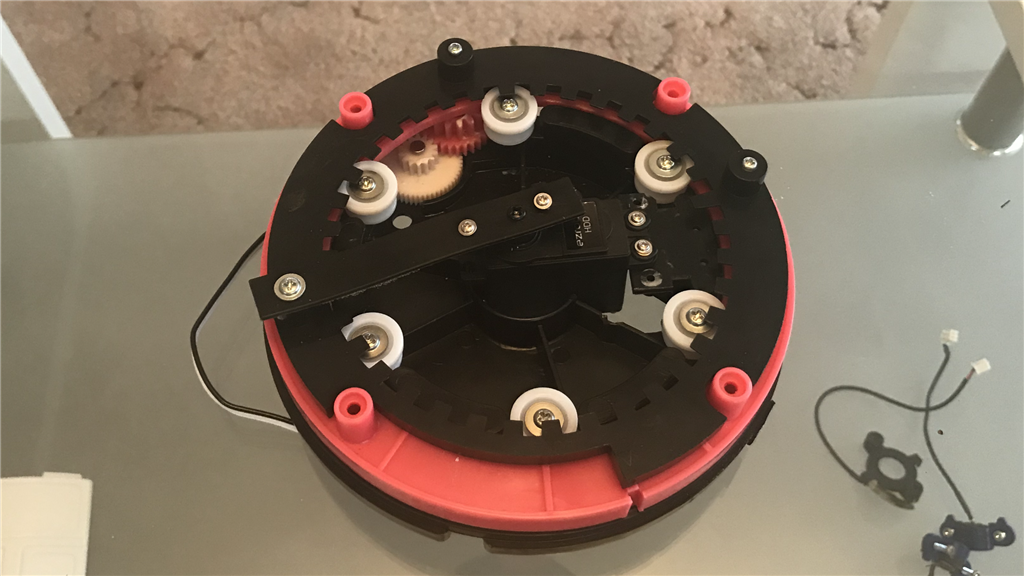
So with the original DC motor and optical position reader sensor removed, I found a nice little place to install a HDD servo (little bit of plastic cutting required)...

User-inserted image

User-inserted image

In the battery compartment, there is a black plastic flap which separates the AA batteries from the D cell batteries. This made a great servo arm extension which I screwed to the dome slip ring. Then with a quick successful test connecting the servo to an EZ-B, it could be put aside for now...

User-inserted image

User-inserted image

User-inserted image

Next job, the dome itself.

United Kingdom
#3  

The Dome.

User-inserted image

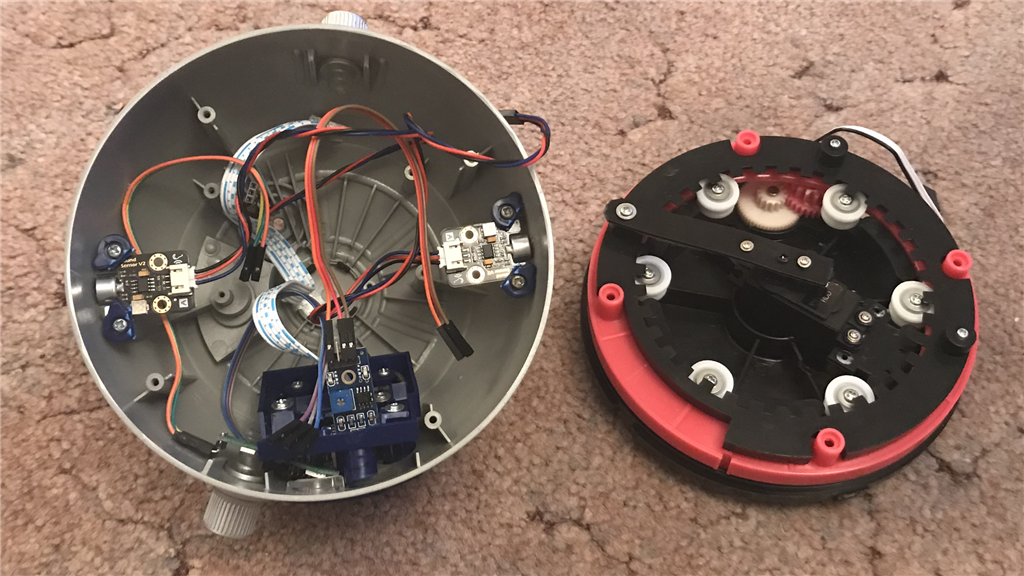
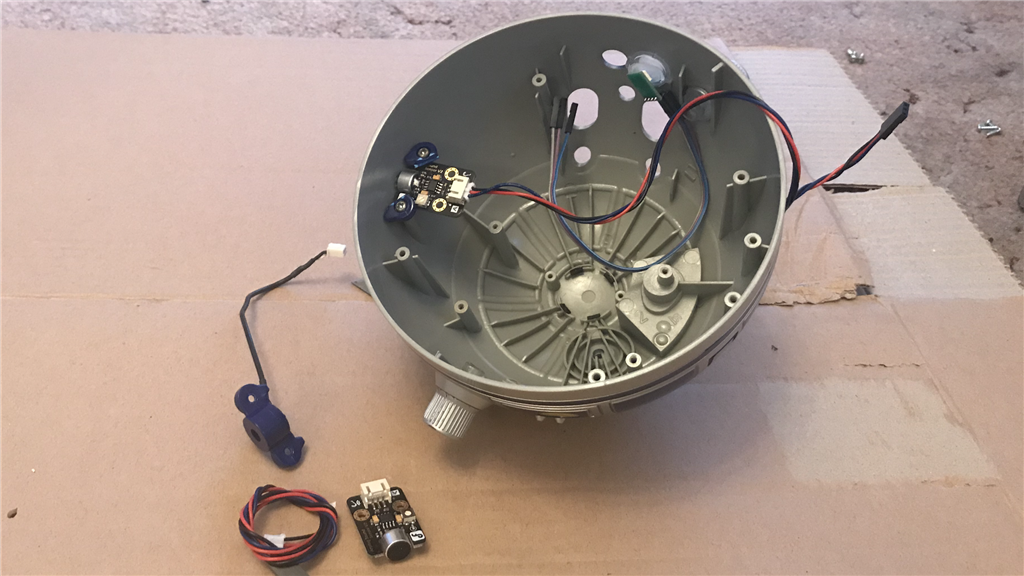
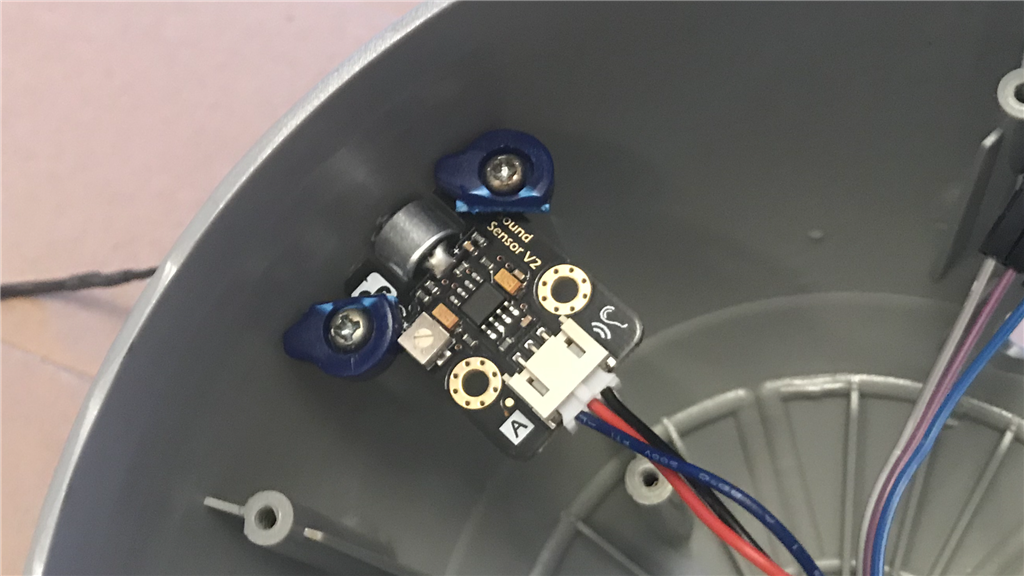
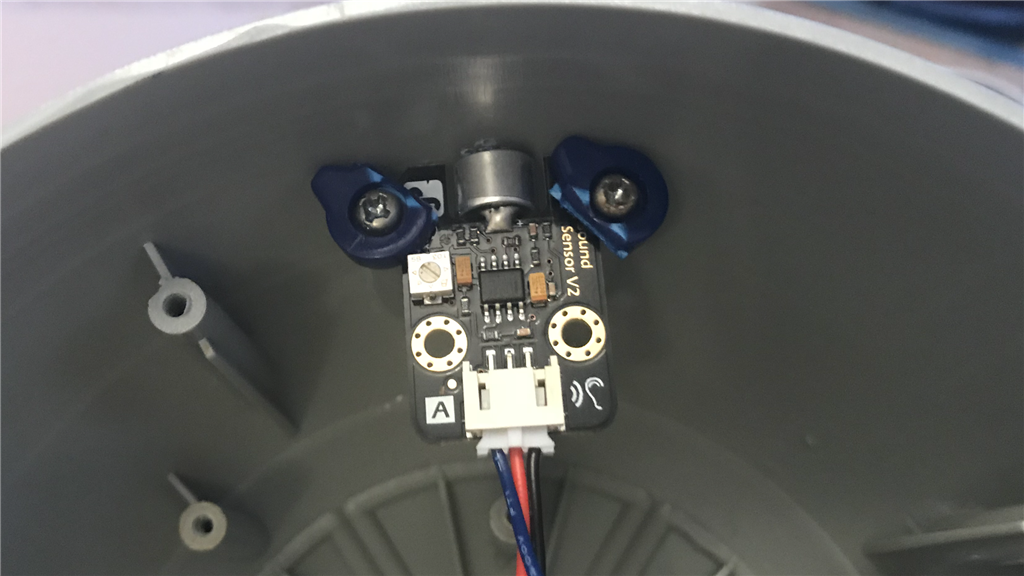
With the dome already stripped out, it’s time to put some goodies back in. First off, replacing the original sound sensors with new ones...

User-inserted image

User-inserted image

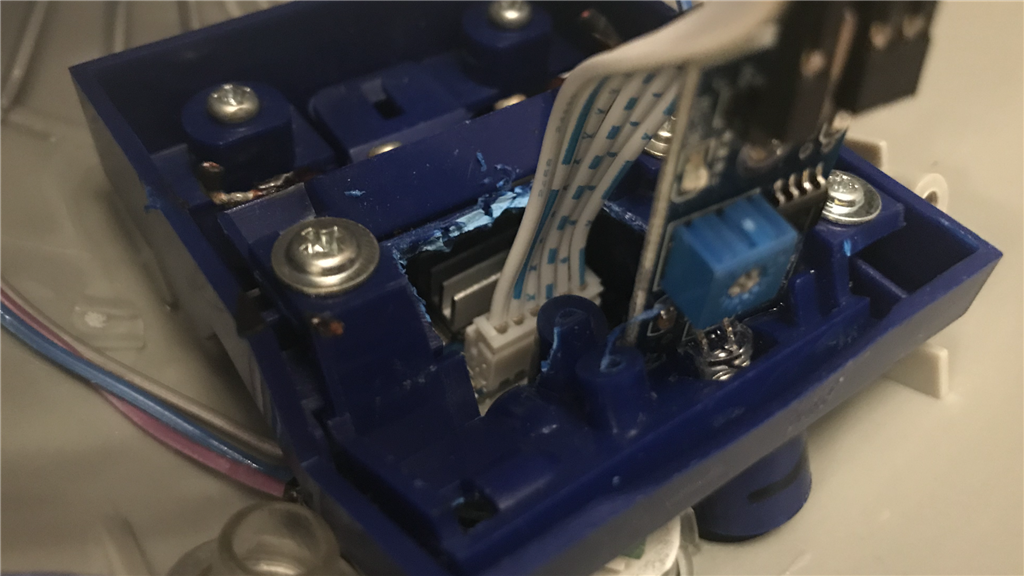
Using the original sound sensor mounts, I cut off the screw hole grommets and used them as washers to secure the new sensors...

User-inserted image

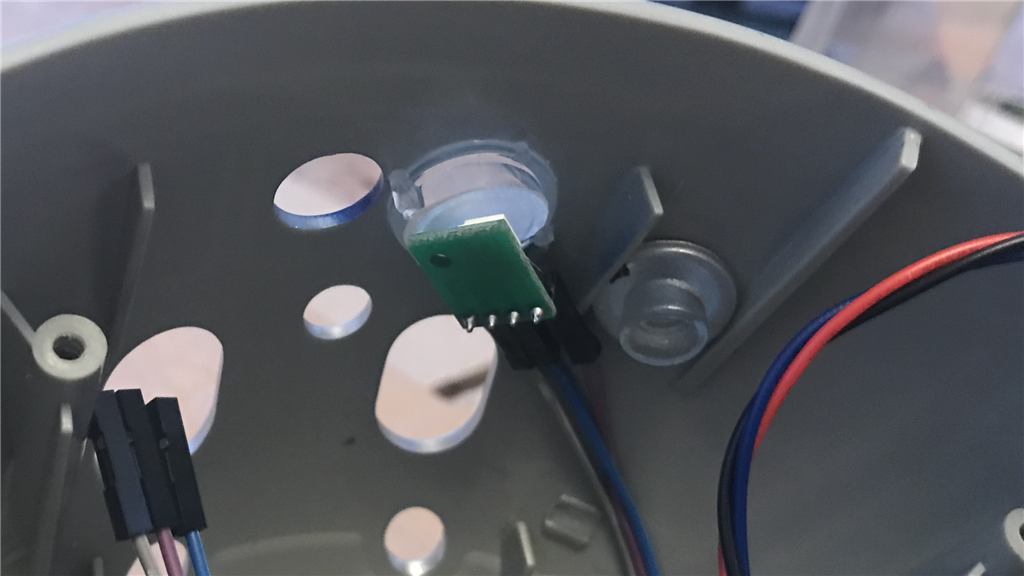
Next job was to fit an RGB LED behind the front Process State Indicator, only using it as a bi-colour board using the red and blue diode pins (and ground of course) for originality. I also put a small peice of paper inside of the lens to defuse the light...

User-inserted image

More to come.

United Kingdom
#4  

The Dome (cont).

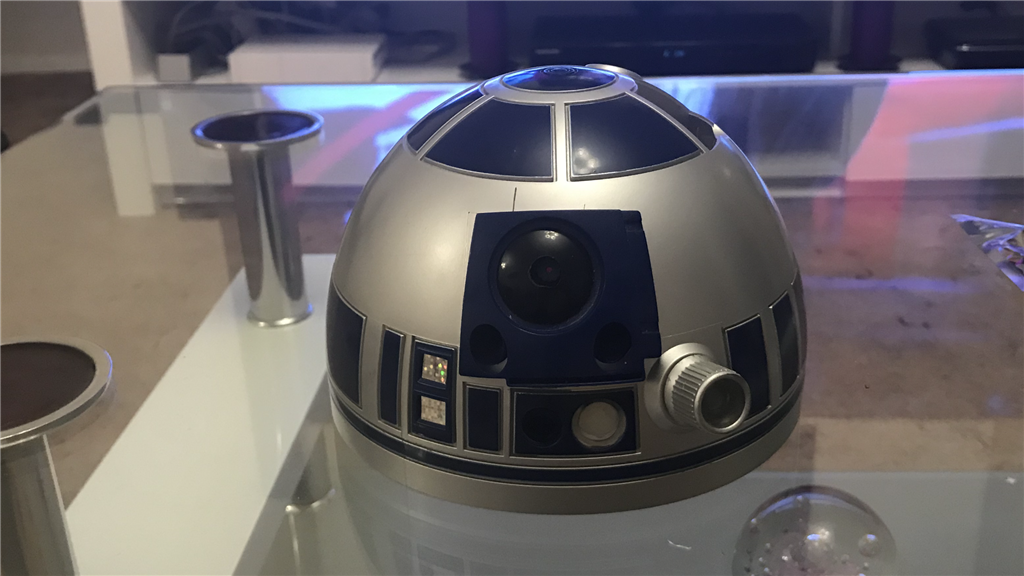
Next job on the list was to fit the EZ-Robot camera. DJ added a camera to his build where he cut a panel out of the dome and mounted the camera to a servo for up/down movement, which was really cool. I decided to go a different way as I didn’t want to cut into the dome on mine so I mounted mine in the eye panel.

I removed the inner and outer eye panels, cut a hole into the dome (this will be covered by the outer panel later), then mounted the camera. I cut a hole through the inner eye panel, thread the camera cable through, and fixed the inner panel to the dome...

User-inserted image

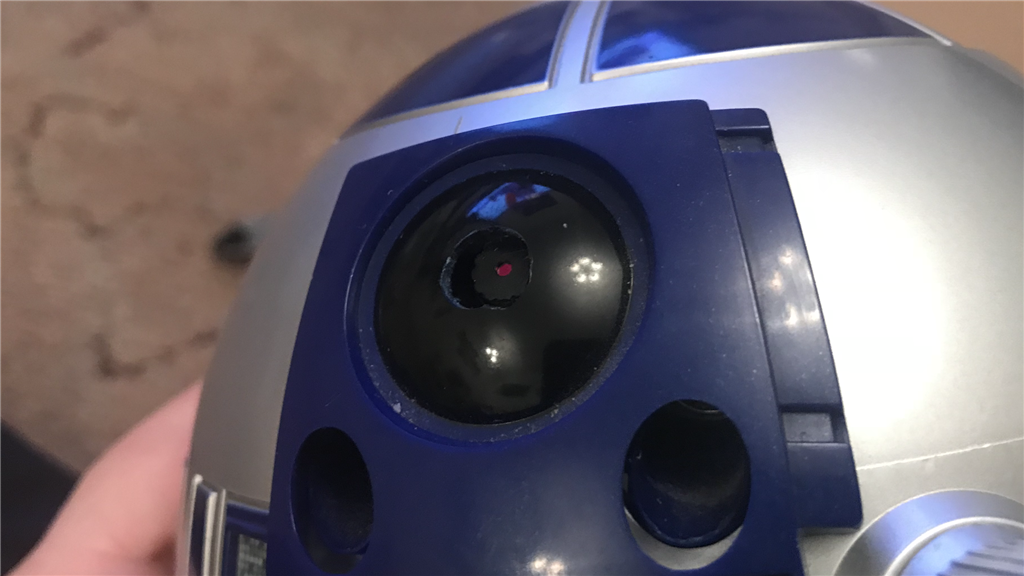
I then drilled a hole through the centre of the eye piece, just large enough for the camera lens to fit through. I fitted the outer eye panel to the dome then tested the camera with an EZ-B to make sure the lens wasn’t obscured. With the black eye piece and black camera lens, the drilled hole is not really noticeable...

User-inserted image

User-inserted image

A couple more finishing touches for the dome was to add an analog light sensor just under the eye, and fitted another RGB LED behind the Holo Projector lens. This will be wired up as red and green and will flash (sound response) when R2 speaks.

User-inserted image

Final job was to fit the dome to the slip ring. I fed the wires through a gap in the slip ring, leaving enough length of wire in the dome for when it rotates. Then it was all screwed together and tested. Here’s a quick test demo video of the dome...

That’s me done for the day. I’ve made a start on the body, but will finish that tomorrow.

PRO
Synthiam
#5  

Smart way to mount the servo for the dome! That’s way better than what I did with a water bottle lol

United Kingdom
#6  

Thanks DJ. I kinda liked the bottle idea though, very MacGyver’ish, lol. ;)

United Kingdom
#7  

So made a lot of progress today. Main job to start with was to finish the body.

Rear Panel.

Didn’t have my Dremel to hand today, so with an old soldering iron, I cut out the battery tray to make some room...

User-inserted image

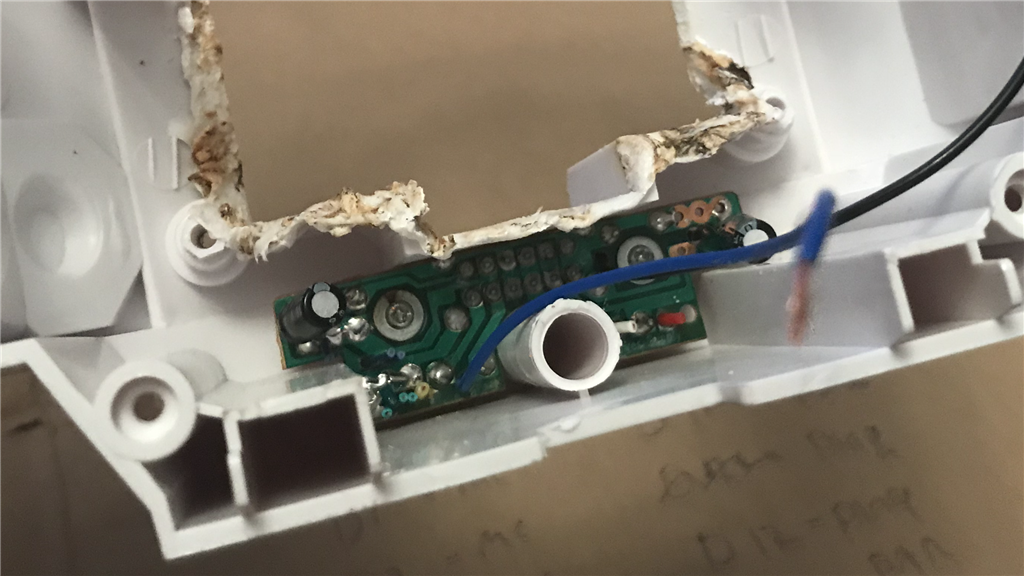
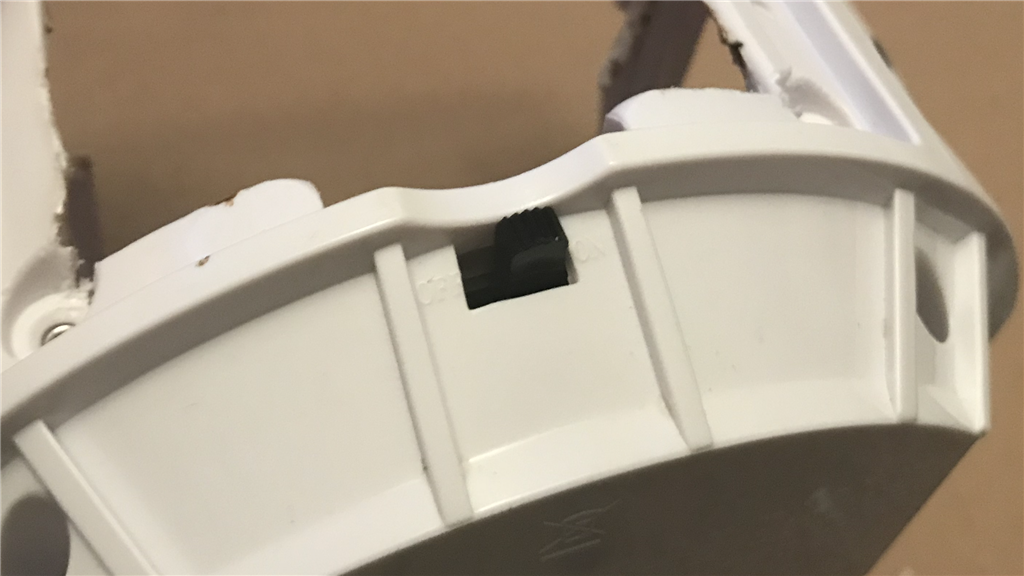
I managed to use the original power switch, tested what wires were on the switching circuit, cut away the rest, and fixed up the battery harness to it...

User-inserted image

User-inserted image

Front Panel.

Where the wheel lock button was located, it turned out it was just the right size for a PAR sensor. Old school tec I know, but will be useful when R2 is on sentry duty in low power mode...

User-inserted image

User-inserted image

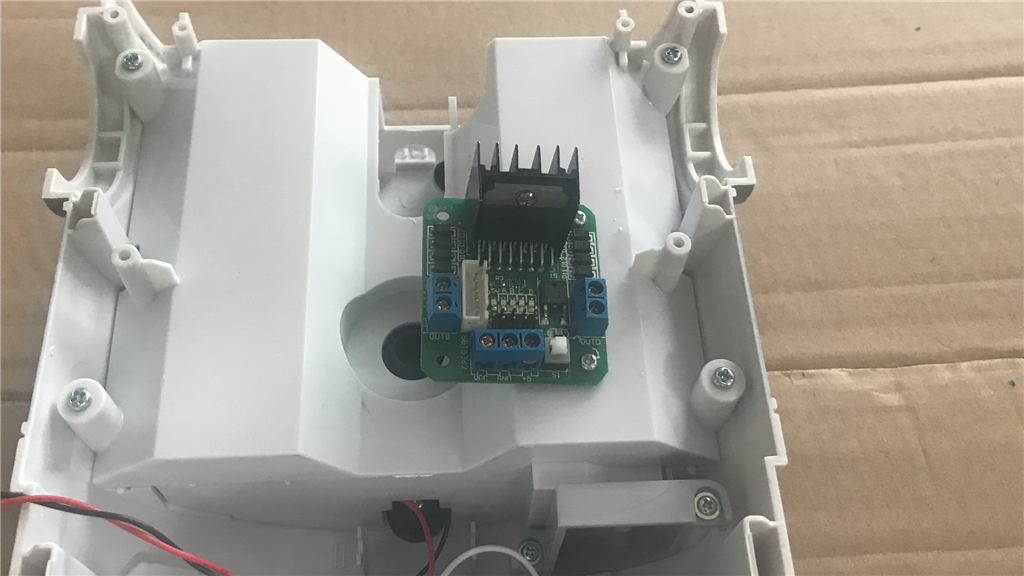
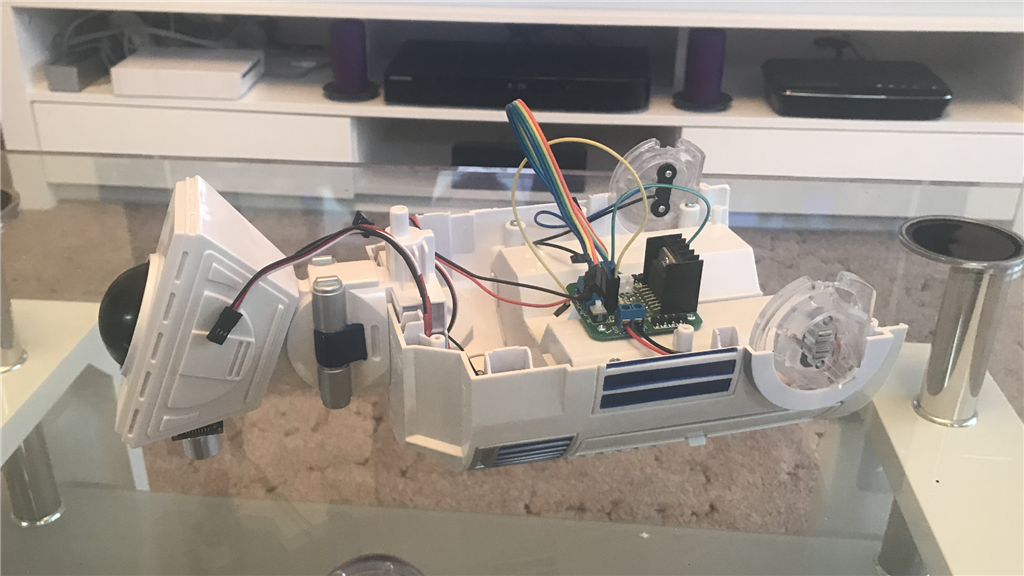
Then on the the motor controller. Using an L298 H-Bridge from EZ-Robot, I screwed it to the front panel...

User-inserted image

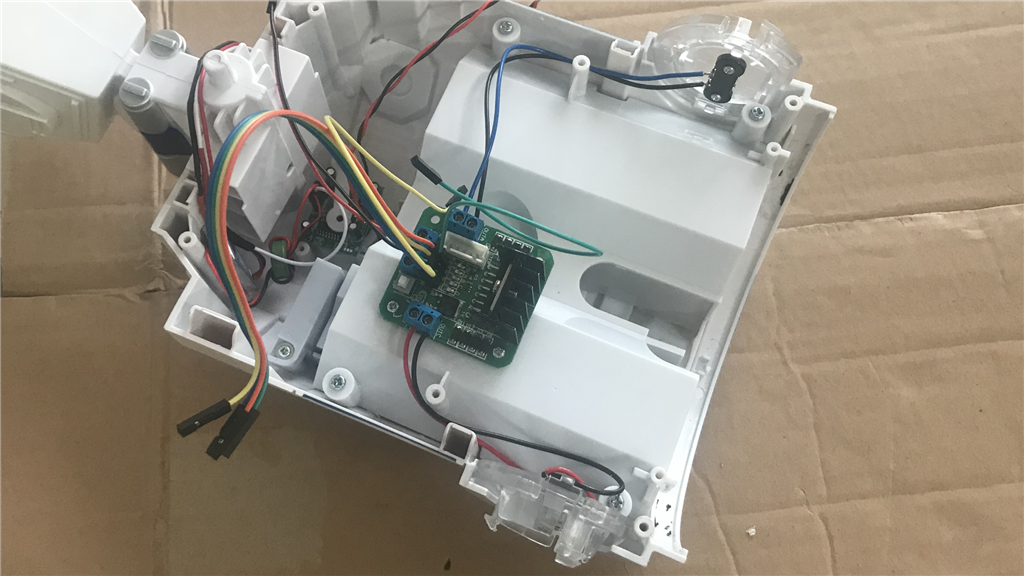
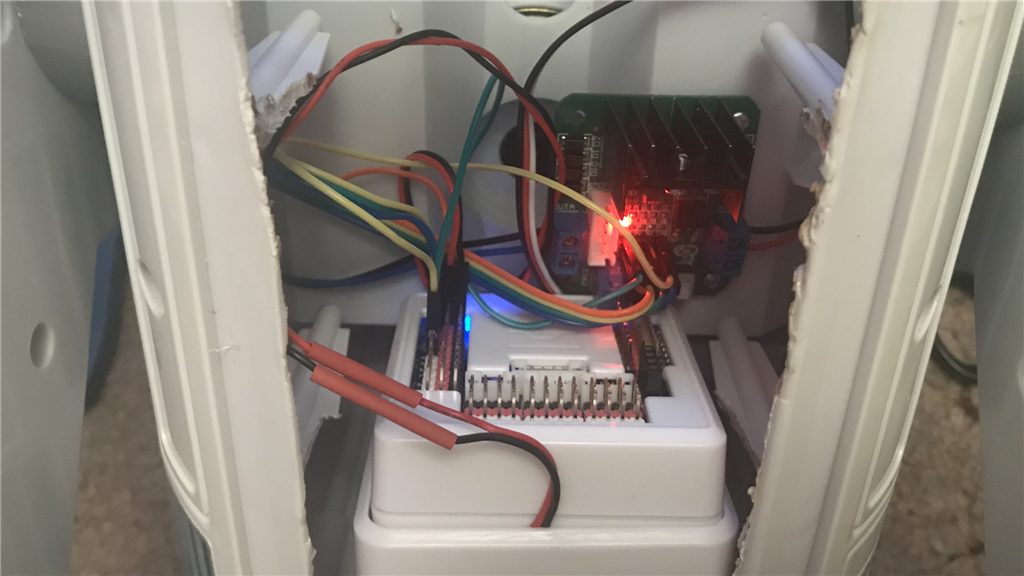
Then connected some wires. I went for the 6 wire PWM setup and will use the 4 Wire H-Bridge with PWM control in ARC...

User-inserted image

More to come soon.

PRO
Synthiam
#8  

Have you thought about putting the camera on a servo to look up and down? I found that the camera facing a static angle was difficult to use. Because i could only see up (people) or down (the ground), but not both. So i added the servo

United Kingdom
#9  

@DJ.

Lol, I did seriously think about it after seeing yours, but had second thoughts because I didn’t really want to cut in to the dome and wanted to keep it looking as original as possible (that’s my excuse anyway, lol) I’ll see how it goes and may have second thoughts down the road.

I actually got the lil fella driving around earlier. Man alive does that bad boy move on full PWM, lol eek. Had to ramp it down to 50%. I’ll post an update later on.

PRO
Belgium
#10  

start looking good.are you going to use the sound detectors too ? i love to see how it works.

United Kingdom
#11  

Hey Patrick. I used sound sensor before on K-9 and E4-B4. They are not that great, but they do work. Yes I am using sound sensors in this build as well (see post #4).

#13  

Cool work! I need to upgrade an R2 unit to go along with my EZ Robot C3PO.
United Kingdom
#14  

@mcsdaver

Thanks buddy. Funny, just browsing the forum the other day and came across your C3P0 thread. Very cool.

United Kingdom
#15  

Centre Foot.

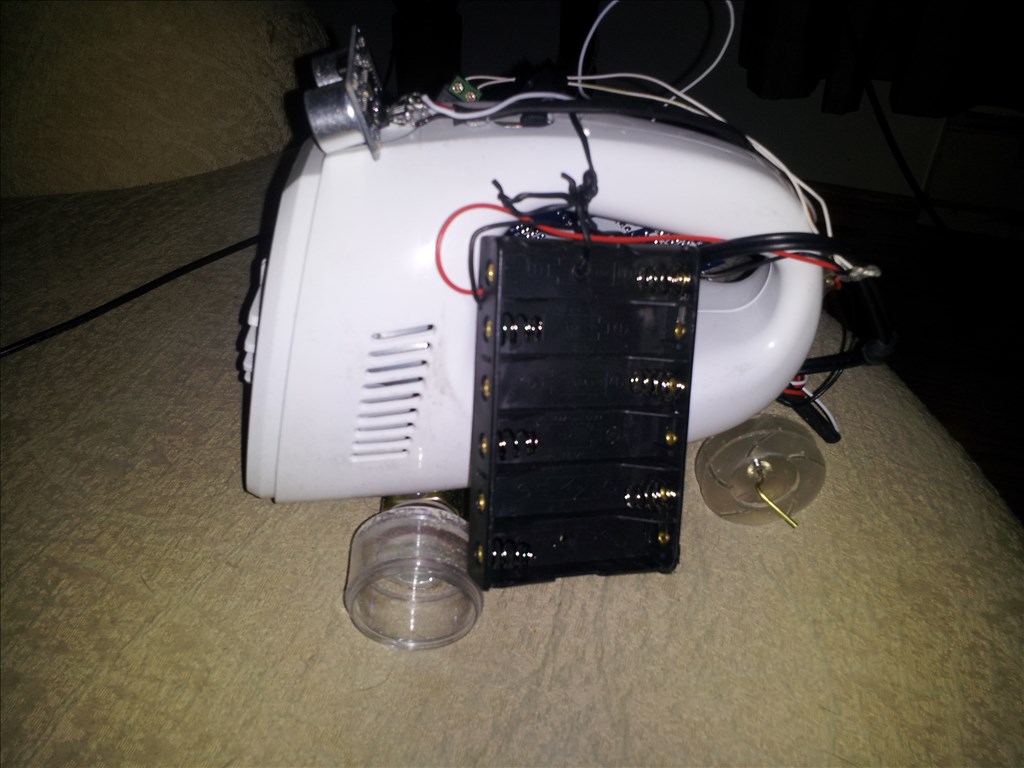
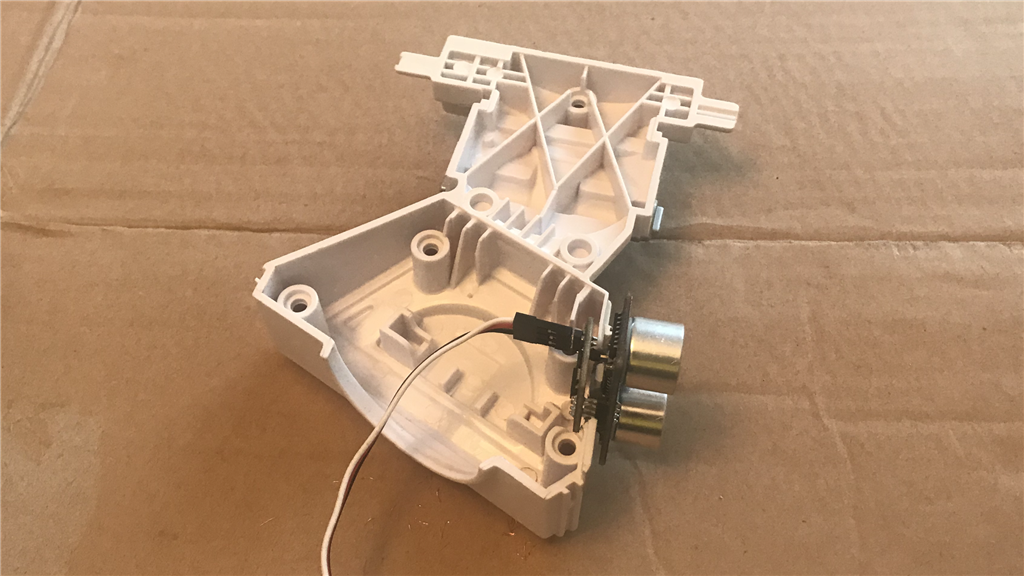
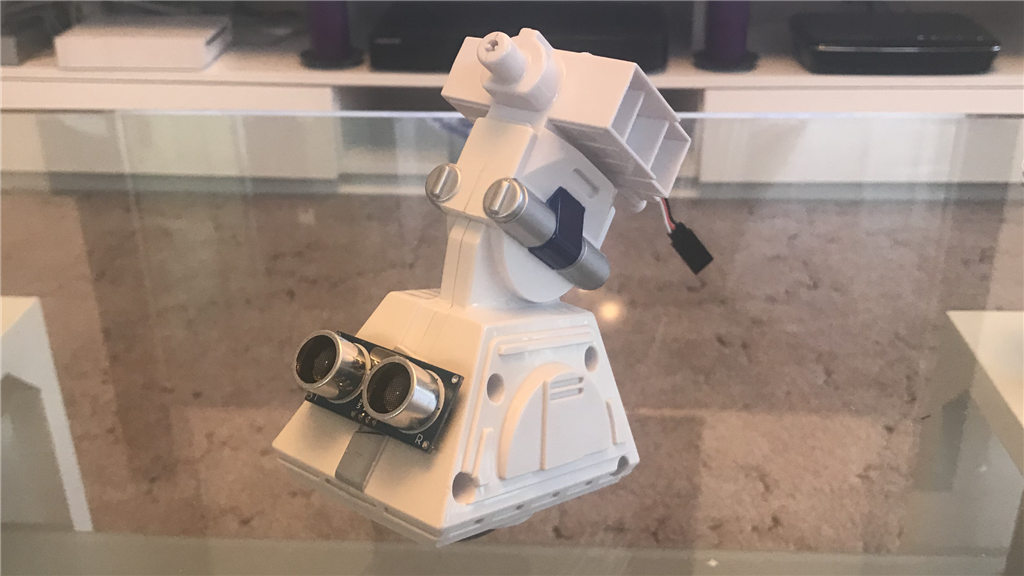
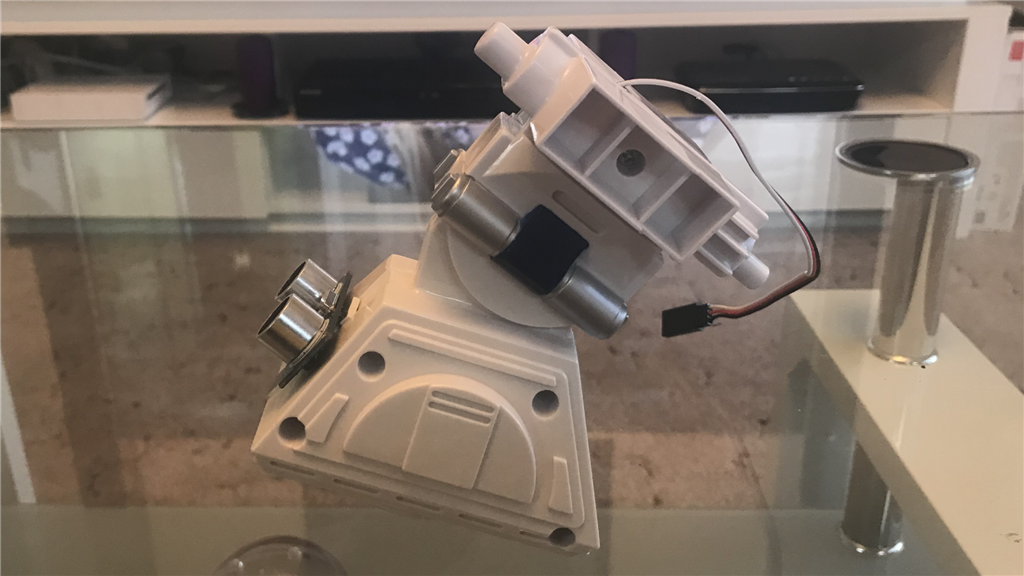
So after starting work on the body, I needed to do a little work on the centre foot. Not a big job but wanted to fit a ping sensor for obstacle avoidance...

User-inserted image

User-inserted image

User-inserted image

User-inserted image

I may look in to covering the ping sensors PC board over with something. Anyway, I fitted the centre leg in to the body the hooked up the H-Bridge to the EZ-B...

User-inserted image

User-inserted image

User-inserted image

United Kingdom
#16  

Test Drive.

With the H-Bridge connected up to the EZ-B, I temporarily fitted the body panels together and fitted the legs...

User-inserted image

User-inserted image

User-inserted image

Then gave the little guy a test drive to see if everything was hunky dory...

Happy with the test, I connected the rest of the servos, sensors and camera the the EZ-B, fitted the dome, and secured the body panels...

User-inserted image

User-inserted image

User-inserted image

Doesn’t look that much different from when I started... on the outside that is, lol. So with R2 back in one piece, it’s time to call it a day for now and crack on with his ARC project tomorrow.

PRO
Belgium
#18  

you are one fast robot builder.wow

United Kingdom
#19  

Thanks Patrick. There’s not really a lot to it. The hard part was already done, ie, the body was already made, lol. Truth is that I had a couple of days free so used them to do the R2 mod.

Cheers Ron. I have to say it really has been fun. I missed doing this kinda stuff. Bit rusty on ARC though, but it’s coming back to me. And thanks again for posting the video. It was good seeing your R2 in action. :)

United Kingdom
#20  

Small update.

Not much to say this time round as I’ve been working on ARC for most of the day. There are a couple things I wanted to mention though.

Speaker.

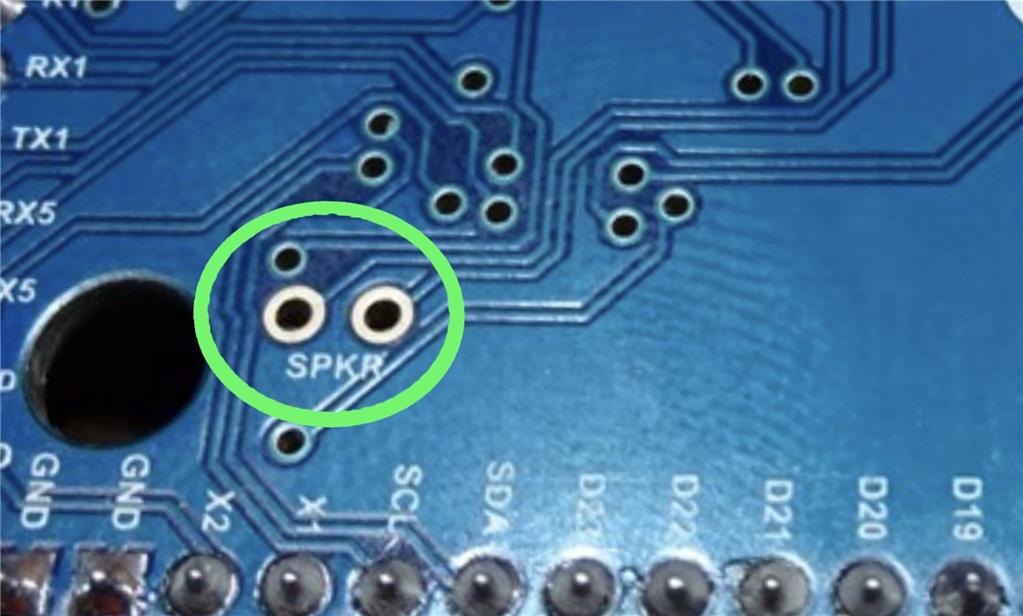
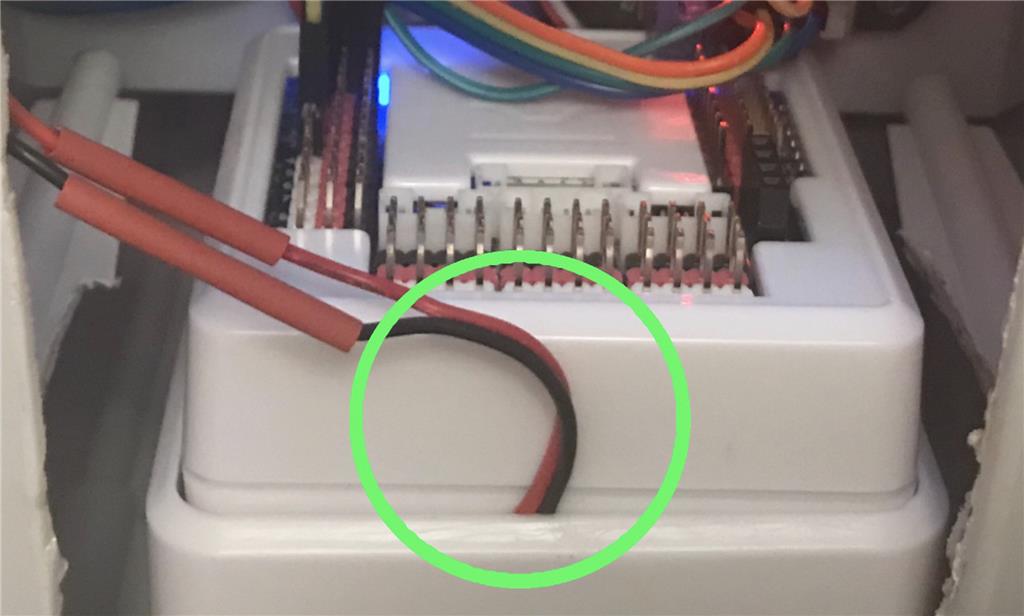
I have used the original speaker that is fitted inside of R2’s chest area. For any newbies reading this, what I did was to remove the EZ-B casing and tiny speaker, soldered a couple of wires to the SPKR terminals (pictured below), reassembled the EZ-B casing and connected the wires to R2’s speaker wire...

User-inserted image

User-inserted image

The SPKR terminals are amplified through the EZ-B so you can hook up a non amplified/non powered speaker to these. The amplifier on the EZ-Bv4, and also on the IoTiny, is made for an 8 ohm load, and a speaker rated for 0.3W. For wiring up an amplified/powered speaker, different terminals must be used and full details can be found using the following link...

https://synthiam.com/Community/Questions/5681

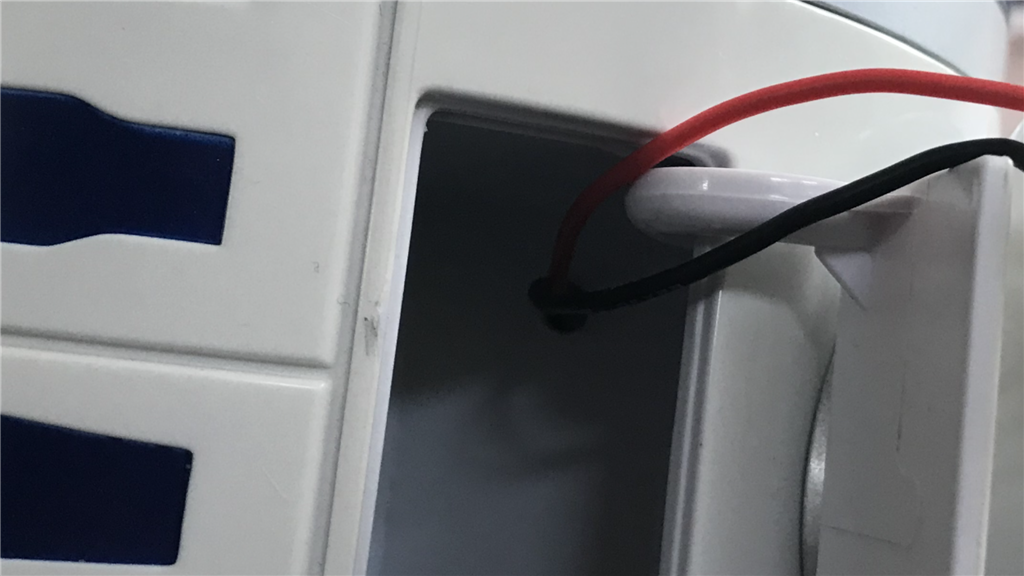
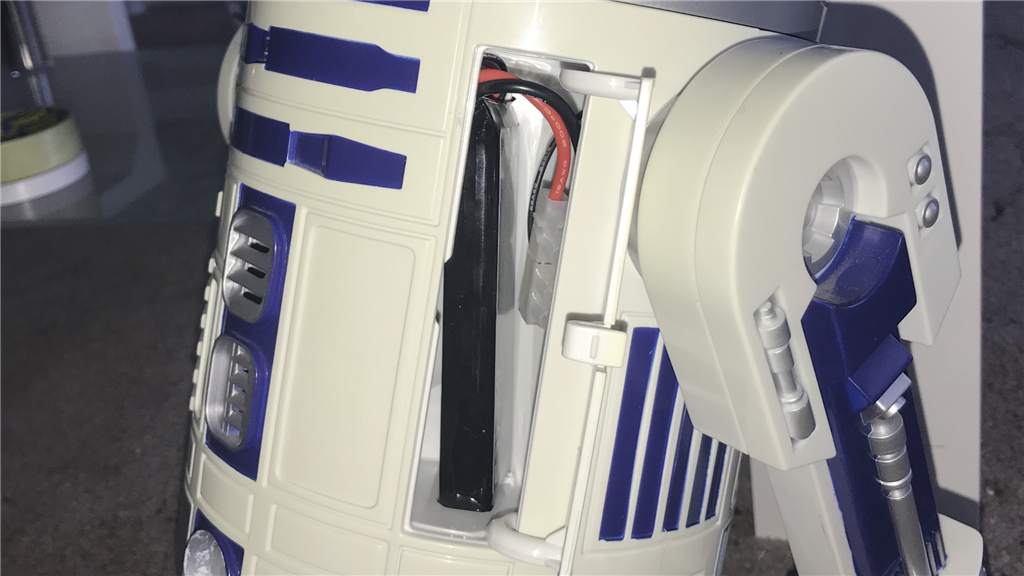
I have a small modification to make on R2. This model has two opening flaps, one containing a beverage holder, and the other is meant to hold the interactive voice command card and telescopic arm for the dome sensor. It turns out that this compartment is the prefect size for the LiPo battery’s I am using, so tomorrow I’m going to drill a hole through the compartment wall, feed the power harness through and connect the battery. I’ll take and post a couple of photos when it’s done.

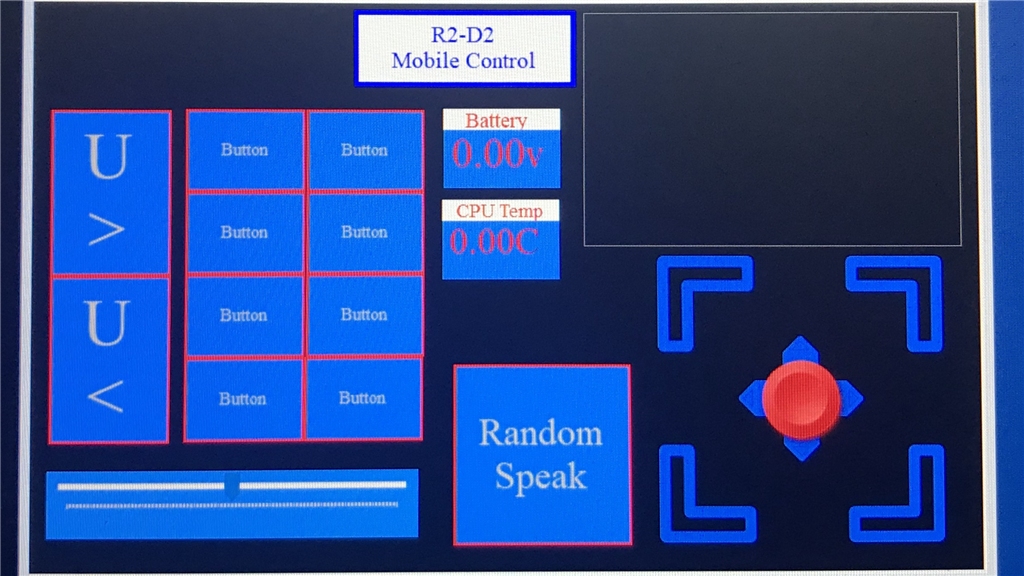
So I’m about half way through doing what I need to on ARC (or there abouts) and started to make a mobile app. Nothing special in the looks department, just went for a simple looking but user friendly UI...

User-inserted image

Once R2 is fully up and running, I’ll post a demo video. :)

United Kingdom
#21  

Still cracking on with ARC, setting up R2’s controls etc. But after watching @Andy Roid’s video of his lil droid having a boogie, it inspired me to post a short video of mine having a dance.

What do you reckon Ron, an Astromech Droid Dance Off, lol :P...

PRO
Belgium
#22  

haha the screaming sound is great.

PRO
Synthiam
#23  

Haha I love it! That’s some serious progress, dude. You’ve only been at it for a couple of days and he’s already rock’n!

United Kingdom
#24  

@nomad

I know, right. That scream always makes me laugh. :D

@DJ Hehe, glad you like it. Yeah once I got started on this project... I just couldn’t put the tools down.

#25  

Steve G, I love it, great work! Steve S

#26  

Looks like he is ready for..... "Dancing With The Stars"..... SUPER VIDEO !

Ron

#27  

Great work. lol at the scream!

United Kingdom
#28  

Thanks for the lovely comments guys. :)

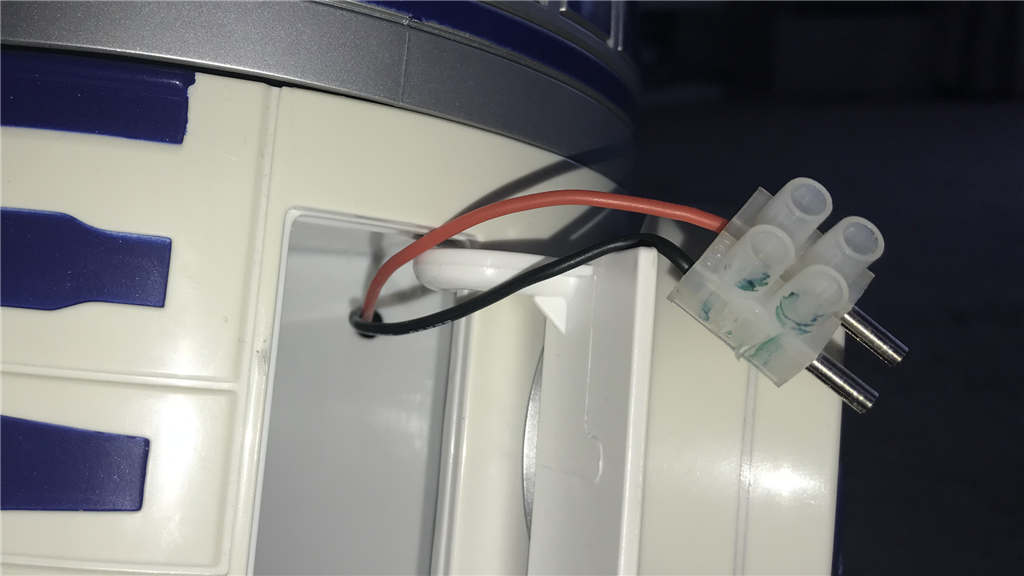
Small update. In an earlier post, I mentioned about relocating the battery. Finally got a bit of time today to do it (although it only took 5 mins). Opened up the utility flap and drilled a hole then traced the wires through...

User-inserted image

User-inserted image

Screwed on the connector plug, plugged battery in, and put it in the nicely sized compartment. Job done...

User-inserted image

User-inserted image

User-inserted image

A nice simple job that’s quite effective and convenient (saves unscrewing the back plate every time I need to change/charge the battery).

United Kingdom
#29  

Hey guys.

Been working on R2’s ARC project over the past few evenings and trying a few things out. Pretty much sorted out his mobile app, although I may create some new button designs and change the UI design, and I’ve been playing with some of the newer ARC features to see what I could effectively use with R2.

So I threw together a short video showing off some of his functions... drive controls, speech recognition and a couple of other goodies.

Hope you enjoy.

I followed the original toys idea of the Do you remember... feature and made some improvements by adding random R2 speech, custom movements and better sound bites. Unlike the original, I recorded and edited several sound bites from each of the characters and put them into a GetRandomUnique() script, so every time you say Do you remember...), one of 4 or 5 phrases of that one character will be played.

And if you are reading this before you watched the video... SPOILER ALERT, yes R2 now has the ability to speak English. I got playing with the new AIML and Bing S/R controls and had to incorporate them into R2’s project. I’ve been building up a personal AIML library over the past couple of years so currently copying them over to use with the EZ-AIML control.

Anyway I’ll post another video soon demonstating R2’s new sensor array.

#30  

Hi Steve, Thanks for sharing all the features of R2. It is great to hear and see all the interactions and abilities. I got a kick out of the switch to English. It was a fun build to watch. A super build!

Great to see you back making cool stuff again.

Ron

PRO
Belgium
#31  

Nice long video.the r2d2 is great.love the voice.

United Kingdom
#32  

Really pleased you enjoyed the video guys. I have to admit that I hasn’t 100% convinced at first about having R2 speak English, but adding the beeps & boops with the voice afterwards kinda worked. Then using Bing and AIML won me round a bit more. :)

United Kingdom
#33  

I think R2 has a secret dark side. A little bit more fun with this crazy droid. Enjoy...

PRO
Belgium
#35  

there is that screem again .haha:D the sound is really good.

United Kingdom
#36  

Pleased you enjoyed the video guys :). Weather is still pretty rubbish where I am so had some time to play.

#37  

This is really awesome!

I'm a complete noob when it comes to this but I have the Hasbro R2-D2 and was considering hacking him. Is it possible to just change:

A: Original voice recognition phrases? ex. Change "Hey R2" to "Hey BB-8"

B: Change his sound fx responses?

Basically hacking and using the current software/hardware without installing new ones?

Again, I don't really have experience with this but thought it would be a fun project!

Thanks!

United Kingdom
#38  

@Maverick96.

Thanks for the comment. So answering your questions...

A.) To change the existing speech recognition software on the existing hardware would be a difficult task and from what I know, you would need specialized equipment to do so, it it’s actually possible.

B.) To change the existing sfx and phrases would be equally difficult to do for the same reasons mentioned above.

As you mentioned that you are new to this, trying to customise the original software would be an extremely difficailt task for you to perform, in no impossible. The best solution is to do the modification I and others did, and replace the original circuitry with an EZ-B v4/2 or an IoTiny. Then you can get to use some of the many tools available in ARC to make your R2 so much better than it is now, and that includes making up your own speech recognition phrases, and adding your own sound fx and phrases like I did.

#39  

Quote:

Thanks for the comment. So answering your questions...

A.) To change the existing speech recognition software on the existing hardware would be a difficult task and from what I know, you would need specialized equipment to do so, it it’s actually possible.

B.) To change the existing sfx and phrases would be equally difficult to do for the same reasons mentioned above.

As you mentioned that you are new to this, trying to customise the original software would be an extremely difficailt task for you to perform, in no impossible. The best solution is to do the modification I and others did, and replace the original circuitry with an EZ-B v4/2 or an IoTiny. Then you can get to use some of the many tools available in ARC to make your R2 so much better than it is now, and that includes making up your own speech recognition phrases, and adding your own sound fx and phrases like I did.

Thank you for your feedback. I appreciate the honesty!

I noticed you did a K-9 build which is awesome. I am a huge fan of the Baker doctor and K-9 so my logic was to try to take and use R2-D2's interactive insides and repurpose them into a K-9 unit. Possibly using this RC K-9 toy. I have no prior experience but love to try new things so I was thinking sticking with R2's software/hardware would make it easier which doesn't seem the case! :)

#40  

If you don’t mind the question Steve G, if I were to try and convert the RC K9 mentioned above, would the IoTiny work? any benefits to using EZ-B instead? Thanks?

United Kingdom
#41  

@maverick96.

Yes, the IoTiny would work great with an R/C K-9 hack. The only benefits of using an EZ-B over an IoTiny is more digital and analog ports, so it would really depend on how many ports you would want to use.

For example, 2 servos for the ears, 2 servos for the neck (up/down, left/right), and an L298 motor controller for drive control which would use 4 digital ports, would use up all 8 of the IoTinys digital ports, unless you used 2 continuous rotation servos instead of a motor controller which would then leave you 2 spare digital ports.

In a nutshell, it really depends on how far you want to go with your modification. :)

PRO
Belgium
#42  

hey steve G

is this comtrol or control ?

User-inserted image

#43  

Quote:

Yes, the IoTiny would work great with an R/C K-9 hack. The only benefits of using an EZ-B over an IoTiny is more digital and analog ports, so it would really depend on how many ports you would want to use.

For example, 2 servos for the ears, 2 servos for the neck (up/down, left/right), and an L298 motor controller for drive control which would use 4 digital ports, would use up all 8 of the IoTinys digital ports, unless you used 2 continuous rotation servos instead of a motor controller which would then leave you 2 spare digital ports.

In a nutshell, it really depends on how far you want to go with your modification. Smile

Thank you. With this K-9 there is no head/neck movement. Much like the Hasbro R2, it is controlled by two wheels in front with a free spinning wheel in back. It does have the laser gun that can be extended and retracted which I would like to control with voice command.

With the IoTiny, can the voice recognition/command be used on a internal mic in the K-9 unit or is it through the iphone/tablet?

Also, like Hasbro R2, I was looking to have K-9 have such voice command features as the dance, sentry, etc. Are these types of things available through ARC?

Thank you again for your help.

United Kingdom
#44  

@maverick96

Quote:

With the IoTiny, can the voice recognition/command be used on a internal mic in the K-9 unit or is it through the iphone/tablet?

Voice recognition cannot be used with the mobile app on Android or iOS devices, so has to be used with a Windows device (PC, Laptop or full Windows tablet).

The microphone has to be connected to the Windows device running ARC. The only way to have an internal mic in the robot is to also have an onboard computer. But this can have its own issues...

1.) Noise from the robot, (drive motors, servos etc), can interfere with recognition causing phrases not to be heard or cause false positives (robot noises can be interpreted as phrases and the robot would do thinks you don’t want it to).

2.) You would need a special type of microphone known as a Far Field or DSR (distant speech recognition) microphones, meaning that your voice can be heard from across a room.

Your best bet would be to use a wired or Bluetooth microphone connected to your computer running ARC. The following tutorial I have linked to below maybe of help to you, specifically the final step.

Speech Recognition Tutorial

Quote:

Also, like Hasbro R2, I was looking to have K-9 have such voice command features as the dance, sentry, etc. Are these types of things available through ARC?

Yes, all of these features are available through ARC. My R2 project only uses ARC to do all the features you quoted.

@nomad

C o m t r o l (Comunication control Lol, just kidding, it was a spelling error. ;)

#45  

Quote:

bile app on Android or iOS devices, so has th be used with a Windows device (PC, Laptop or full Windows tablet).

The microphone has to be connected to the Windows device running ARC. The only way to have an internal mic in the robot is to also have an onboard computer. But this can have its own issues...

1.) Noise from the robot, drive motors, servos etc, can interfere with recognition causing phrases not to be heard or cause false positives (robot noises can be interpreted as phrases and the robot would do thinks you don’t want it to).

2.) you would need a special type of microphone known as a Far Field mic meaning that your voice can be heard from across a room.

Your best bet would be to use a wired or Bluetooth microphone connected to your computer running ARC.

Very helpful feedback. One more question if you don’t mind. Again a noob but the unit currently runs on 4 AA batteries. Can I use this power supply to run the IoTiny or would I need a different battery/power source?

United Kingdom
#47  

@maverick96.

Again, it really depends on what kind of modifications you want to do. In a nutshell, you could’ power the EZ-B or IoTiny off the 4 AA batteries, but I wouldn’t recommend it as you will forever be changing the batteries and only get limited run time, especially if you add servos. Rechargeable LiPo batteries are a much better option.

I think the best thing for you to do, is to start your own forum thread, share your ideas, questions etc of what you want to achieve, post some photos of what you have, and the kind of work you want to do or feel capable of doing. From there, you can get some great feedback from myself and some of the great members here to help you along the way. For example, your asking about power requirements which at the moment can’t really be fully answered as we don’t know what modifications you want to do. Once we establish that, we can talk about power.

I’ve posted another tutorial link I wrote below, that talks about different power supply’s that you may find useful. :)

Amps, Volts, Power Converters and Power Supplies

#48  

Quote:

gain, it really depends on what kind of modifications you want to do. In a nutshell, you could’ power the EZ-B or IoTiny off the 4 AA batteries, but I wouldn’t recommend it as you will forever be changing the batteries and only get limited run time. Rechargeable LiPo batteries are a much better option.

I think the best thing for you to do, is to start your own forum thread, share your ideas, questions etc of what you want to achieve, post some photos of what you have, and the kind of work you want to do or feel capable of doing. From there, you can get some great feedback from myself and some of the great members here to help you along the way. For example, your asking about power requirements which at the moment can’t really be fully answered as we don’t know what modifications you want to do. Once we establish that, we can talk about power.

I’ve posted another tutorial link I wrote below, that talks about different power supply’s that you may find useful. Smile

Thank you sir. Just getting the intial thought juices flowing to see if this would be a project to undertake. :)

I will definitely start a new thread if I decide to do the modification. I think it could be a fun side project!

Thanks for your time!

United Kingdom
#49  

No problem. I think it would be a great fun project to get you started. I hope you go through with it. It’ll be nice having another K-9 project here. I started with little knowledge of robot building but jumped in head first and built a full size K-9 (link below) as my very first EZ-Robot build. It was a fun build and learned a lot.
Good luck. :)

Full Size K-9 2.0 Project

Unknown Country
#50  

long fan DJ Sures knows me slightly as well. I have an R2 unit all he does when you tur him on is a few beeps the dome turns a few times and thats it. tried resetting  nothing works. I want to do rebuild the R2 unit using your methods. On a budget I have a ultra sonic sensor, Access to a 3d printer but what is your parts list for others to follow in your foot steps?

PRO
Canada
#51   — Edited

Hello @harunobumadarame

When I did my live hack, I used the same thing as DJ: IoTIny, EZ-Robot 7.4V Lipo, and the EZ-Robot L298 H-bridge. I also used a small H-bridge for the head rotation motor.
Here's my live hack video if you're interested

*EDit: Ooops I lied I used an EZ-Bv4, but I could have used an IoTiny!
PRO
USA
#52   — Edited

Hello Steve G, can you share your r2d2 project? Thank you and love what you have done and built.

Where did you get that bi color board red and green?

PRO
Synthiam
#53  

@Sproket, click on usernames to see what apps and content they've published publicly. Here's steves: synthiam.com/User/Profile/Steve-G  Just click on APPS and look for yourself what's available.