


I have no clue yet to as what to name my bots, but I do know someone should probably ban me from EBay! I will end up with 3 total when it's all said and done.
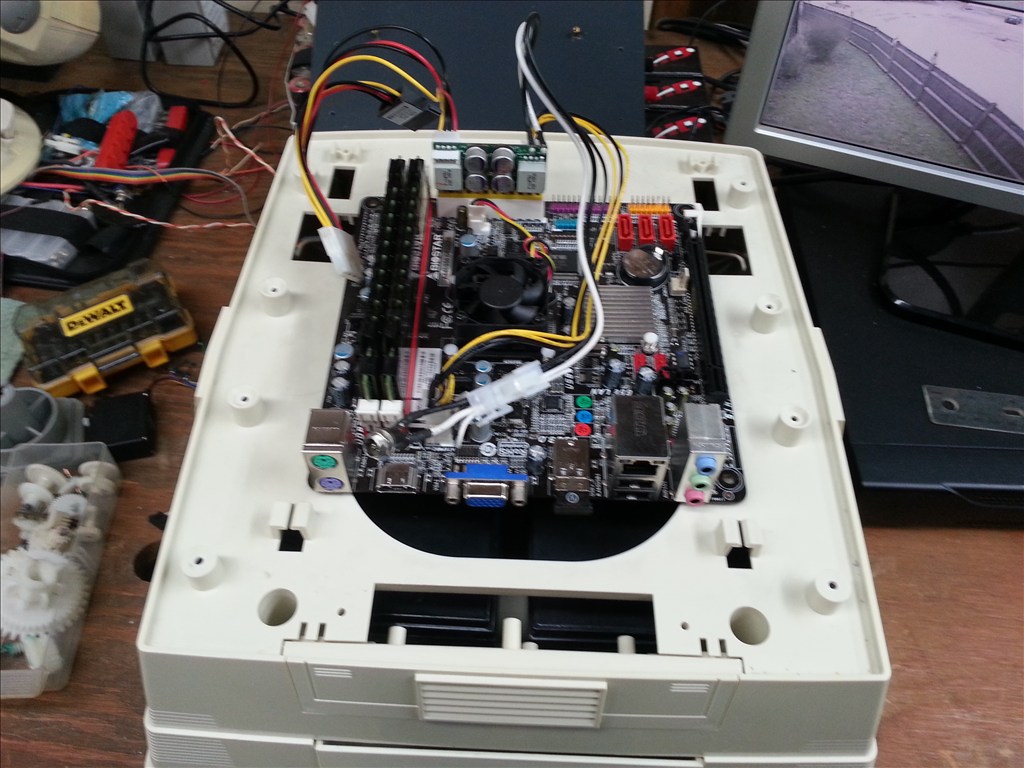
Okay so what I want to do with at least two of the bots is to add a Mini ITX setup, one I already have which runs windows 8, 8gb ram, and a 120gb ssd. I figured that the 3rd omnibot 2000 I can use for parts or whatever..
For powering the onboard pc's I figured that using a pair of 12vdc 7 amp batteries should be enough to run the pc for at least a couple hours? There will be another battery to run the EZ-B as well as other electronics. IS there enough room in the base for the batteries?
I would love to get some input on this project, as I mentioned in another post I also have a CNC Mill which I have recently started using again, and even though I am not that good with it(It's been a long time), I would think I can fabricate some parts if need be. I usually use either 1/8" or 1/4" think pvc plastic for milling.
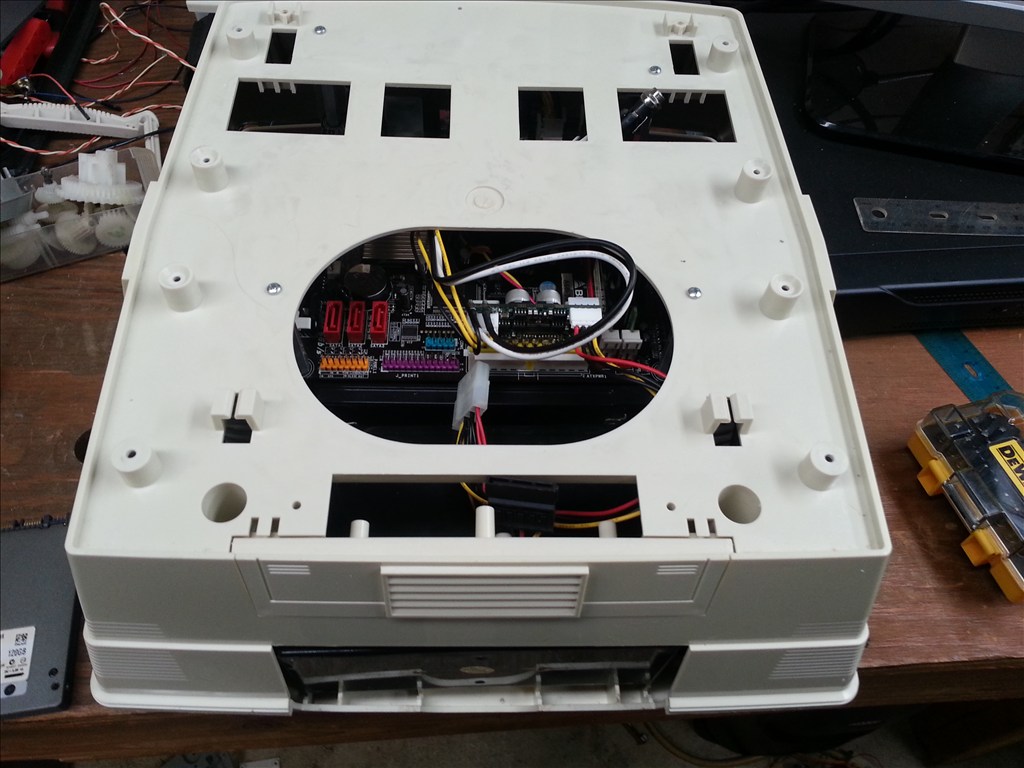
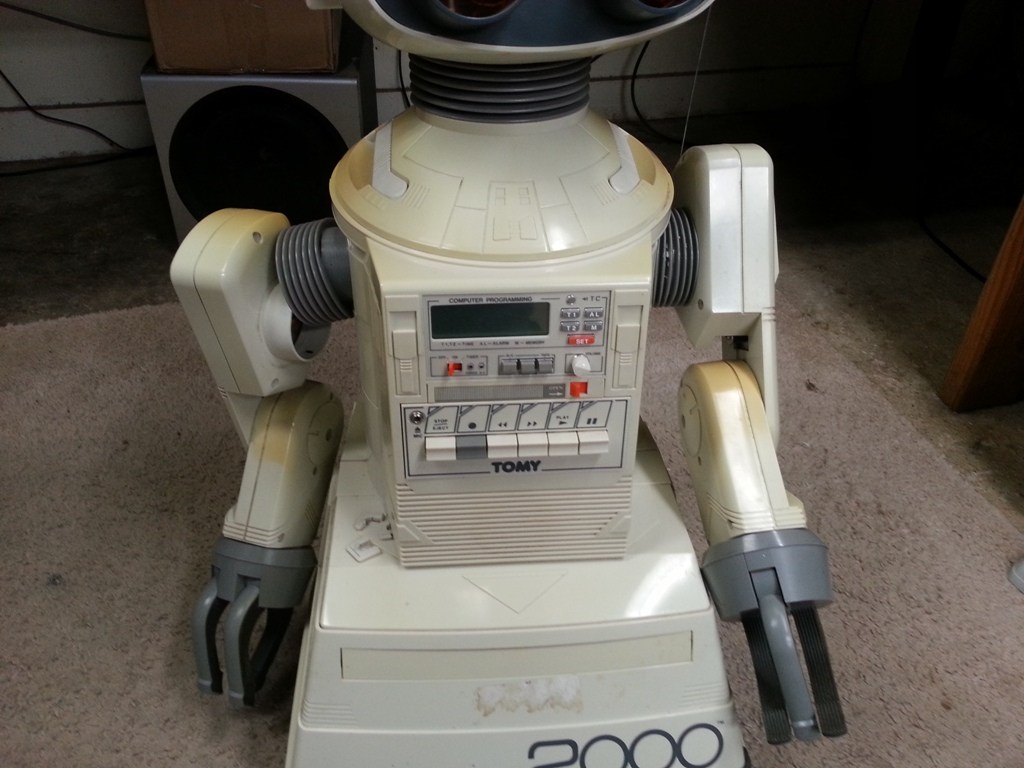
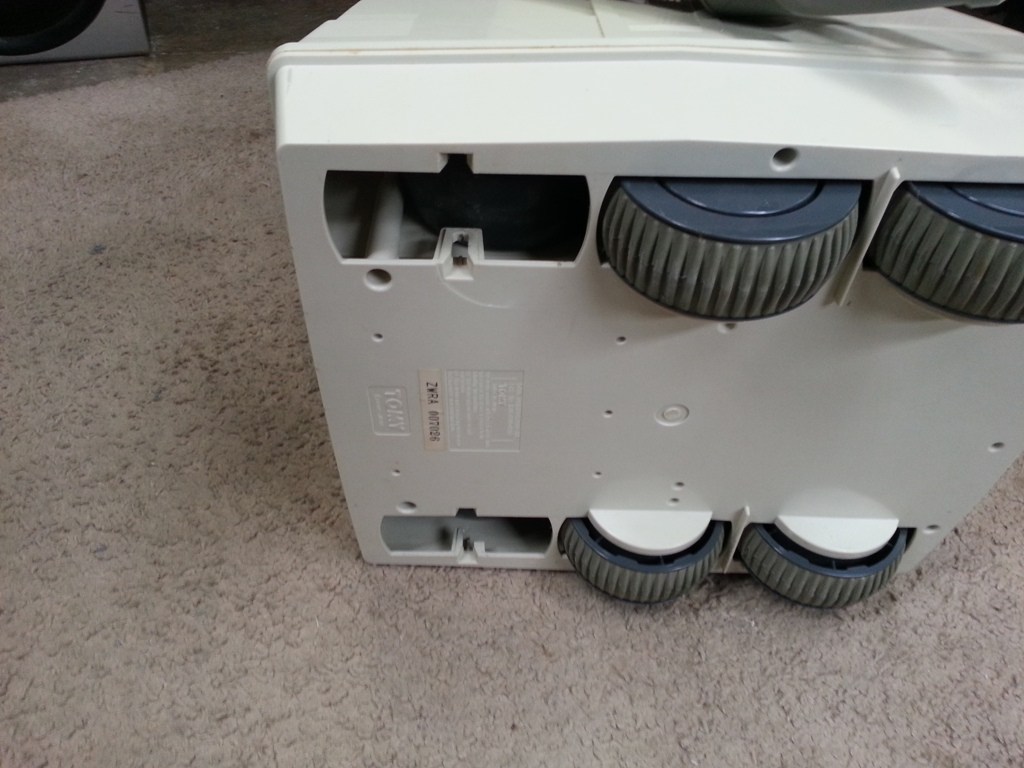
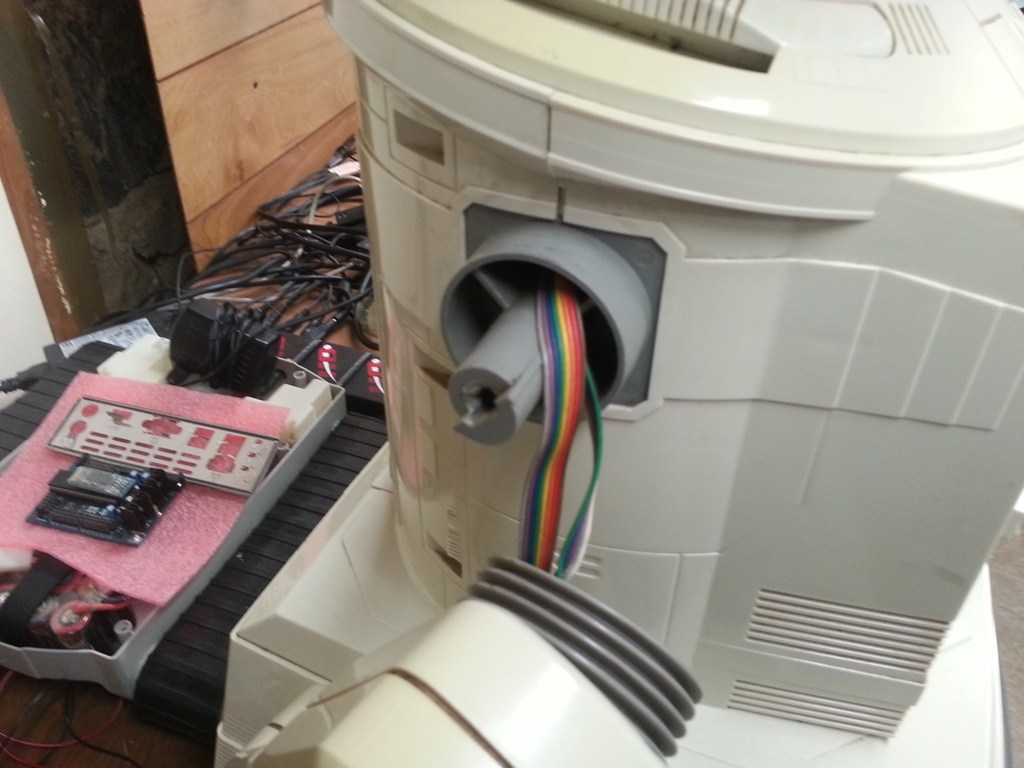
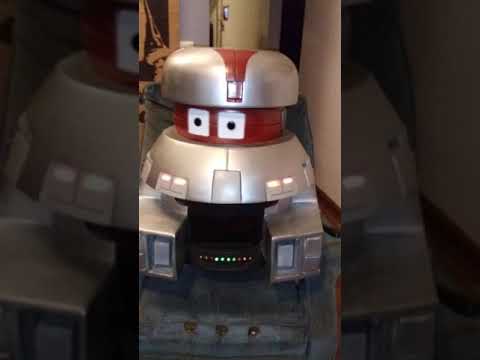
Today I received my first Omnibot 2000, one of it's arms is broken and the first thing that happened is that it smelled so bad that it was taken completely apart and is currently in the dishwasher. I think it was living at a kennel with a bunch of dogs for the past few years, loaded with hair and all sorts of interesting things. I had to change after it was that bad.
A couple the things I want to do:
- Get rid of the gears and motors in the arms and replace them with decent servos, maybe something like the Power HD 1501MGs?
- Motor controller for each robot is going to be L298 based.
- Single Microsoft USB Lifecam HD camera on each robot - I found that the tracking on these is fantastic compared to the one that comes in the EZ kit, especially where lighting is an issue.
- Servo Pan/Tilt for the head, maybe using Lynxmotion servo brackets?
There's a bunch of stuff I am still working on but most of the items I mentioned above I already have on hand.
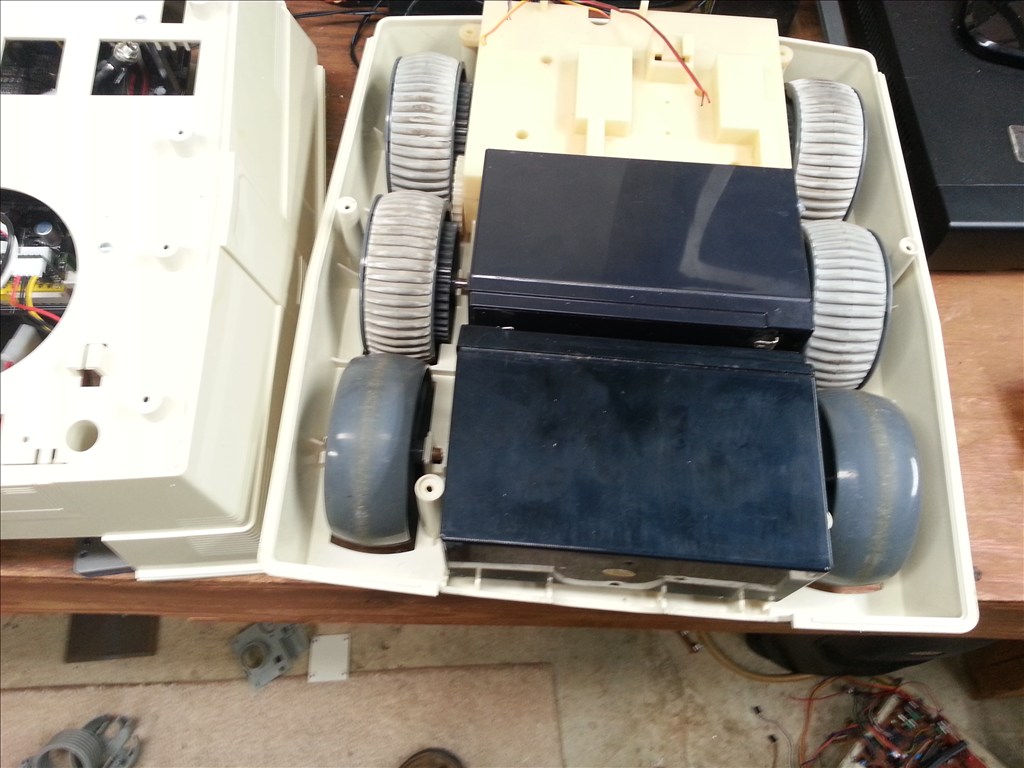
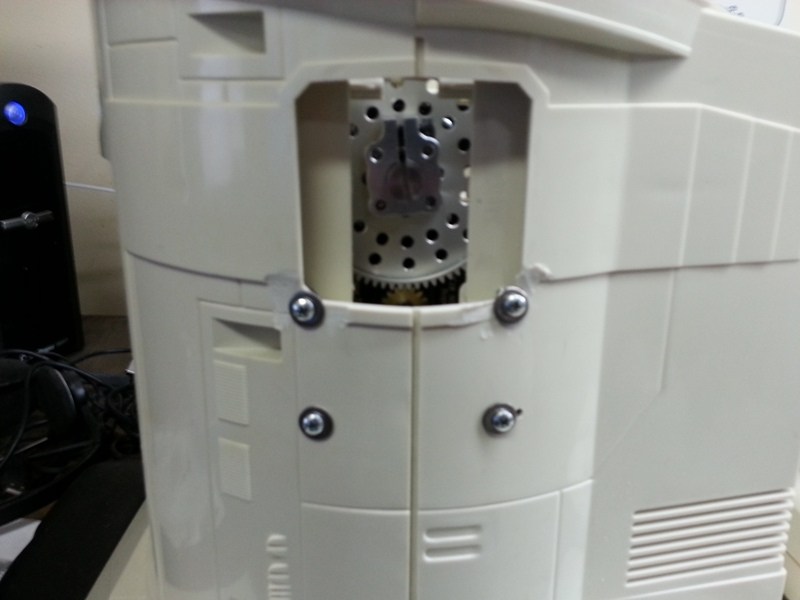
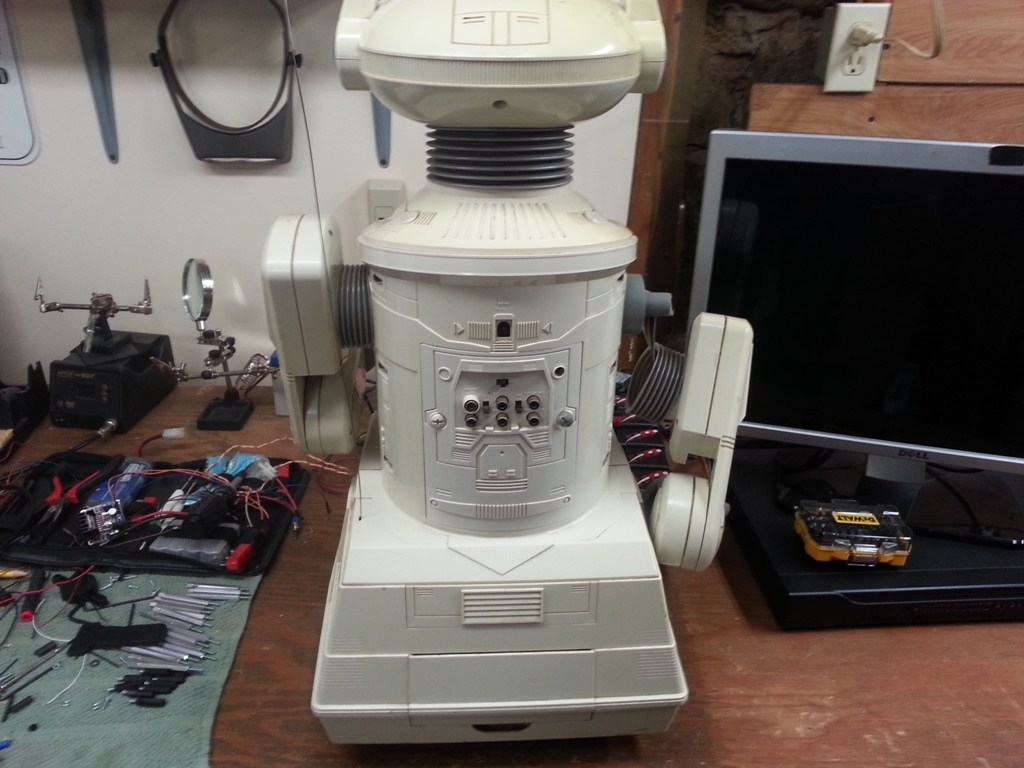
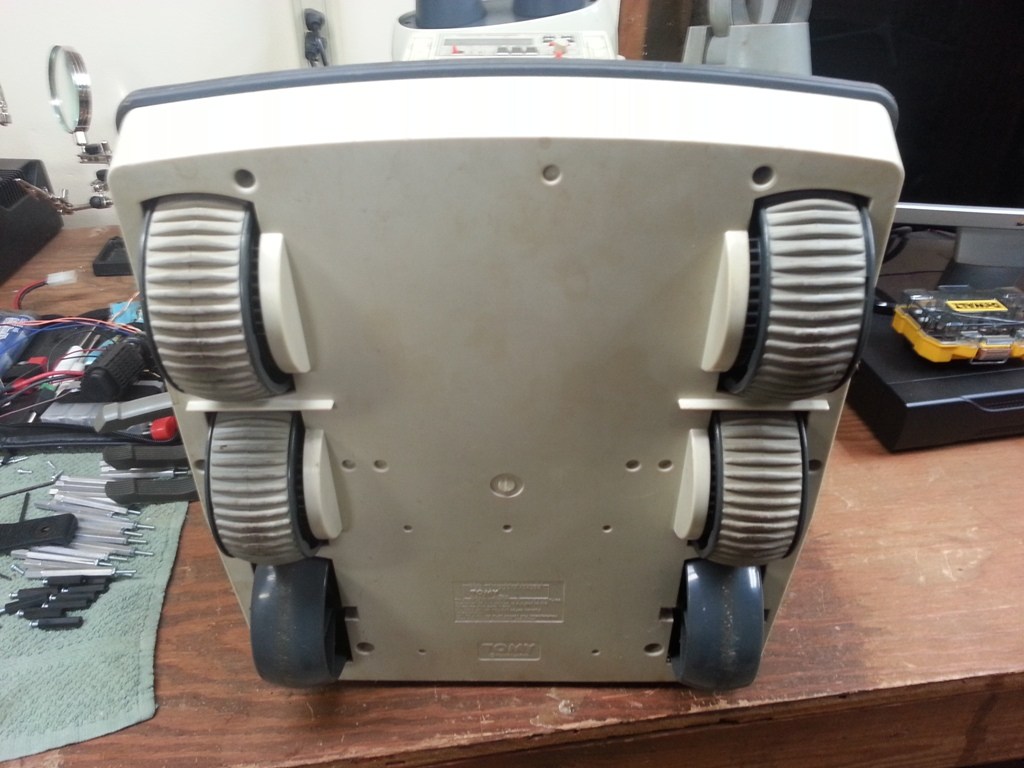
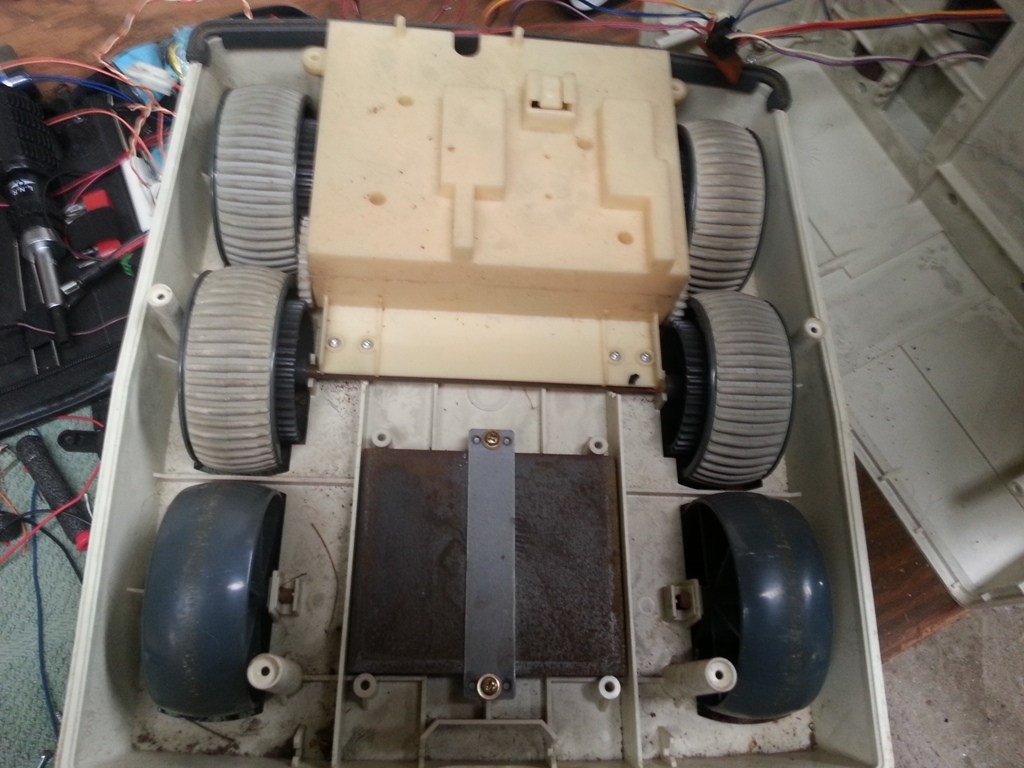
Here's a couple of pics of the 2000 I got today:
Discover more robots

Markthebotbldr's BB-R2 (Baby R2)
Kashyyyk's VINCENT From The Black Hole

Ahh, my favorite place!, Thanks!
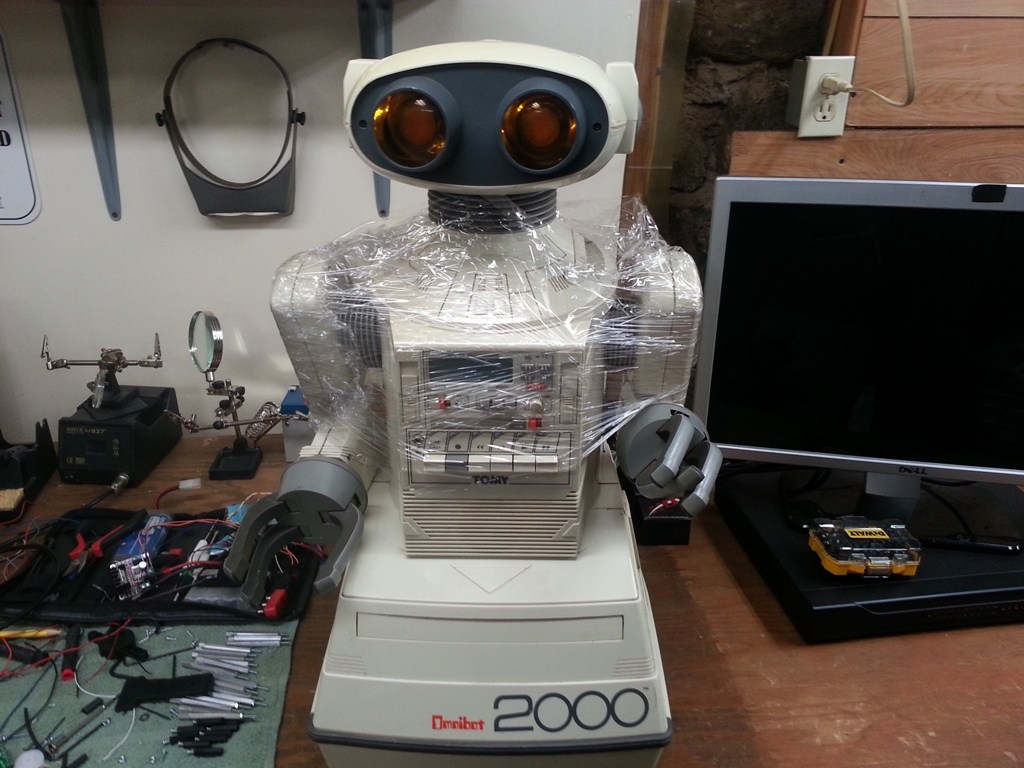
FINALLY a little progress, i'm waiting for a couple parts orders I should see this week. I decided I wanted to mount the spg400a's inside the body, so far I have one side almost done, just waiting for a few parts to make it stronger, but this is basically how the shoulders will go..
Did you add a feedback pot on the shaft at the back,very important or speed and torgue will be way off
most of the SPG models you can have them add pot instead of doing it your self
all gearboxes or servo's have a feedback on the servo it needs to be removed and the 3 wires longer and add a feedback pot to final gear,its always on the final geat going to a arm or wheel or horns .
look at the SPG i do see there is a change the pot is under the metal hub,.so you will be ok,check if there is 6 wires from servo,3 for RC control to the EZB and 3 going under the aluminium hub most likely it is
Hello,
The SPG400A's I purchased as kits, already had the servos(PowerHD 1501MG's), they include a trim pot with the kit, so I only had to 'slightly' modify the servo: remove the servo trim pot, modify the servo for continuous rotation, make a notch on the servo body to run the wires for the trim pot through, then solder the trim pot that was included with the kit, it really works good..
Yes thats only way to do it,i design gear boxes ,continuous rotation you dont need a pot or 2 2.5 k resistors with center tap on any other type you need it,its called closed LOOP system on continuous rotation its called open LOOP SYSTEM
from photo i couldnt tell,and didnt know you new about it
looks good so far ,i guess you will add aluminium i said to the plastic ,so it wont stress under load
ALSO one you get both servo boxes install,i would add a plate or angle aluminium to connect both together,one good reason is easy mount a servo for the head panning if you want
That's exactly what I am doing once I have both gearboxes installed I was thinking I could use threaded rods to put between the gearboxes, so I could adjust easier, but I also have some angle aluminium on the way, which would make a better mount for the head pan.. Just waiting for the parts...