


I have no clue yet to as what to name my bots, but I do know someone should probably ban me from EBay! I will end up with 3 total when it's all said and done.
Okay so what I want to do with at least two of the bots is to add a Mini ITX setup, one I already have which runs windows 8, 8gb ram, and a 120gb ssd. I figured that the 3rd omnibot 2000 I can use for parts or whatever..
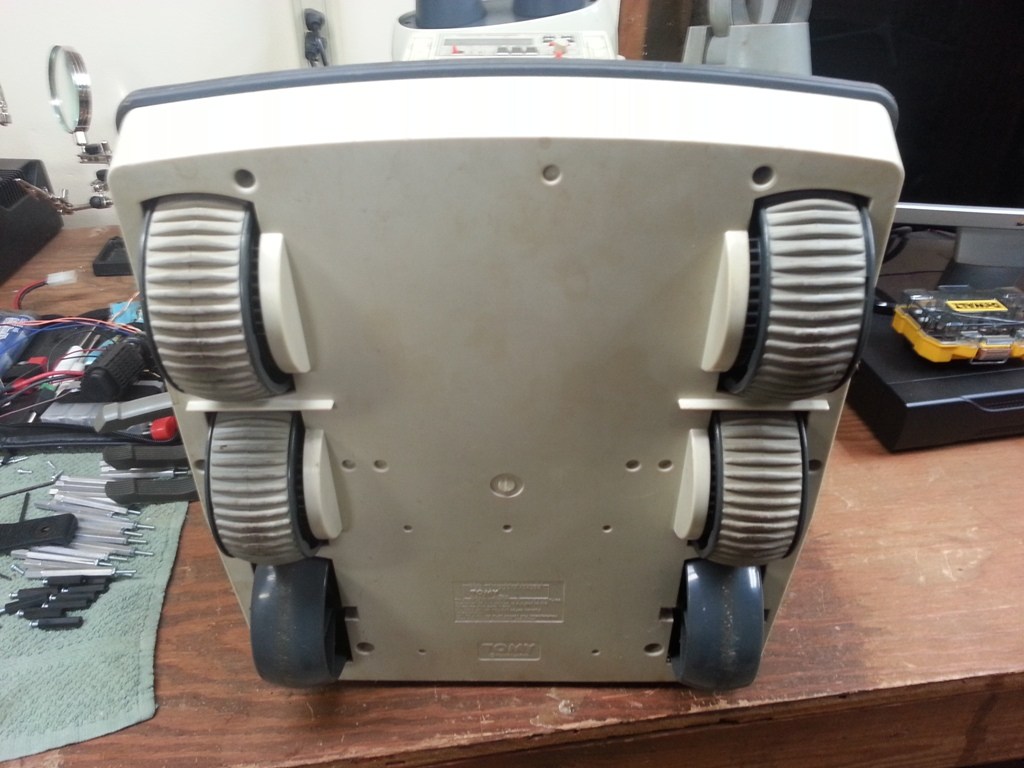
For powering the onboard pc's I figured that using a pair of 12vdc 7 amp batteries should be enough to run the pc for at least a couple hours? There will be another battery to run the EZ-B as well as other electronics. IS there enough room in the base for the batteries?
I would love to get some input on this project, as I mentioned in another post I also have a CNC Mill which I have recently started using again, and even though I am not that good with it(It's been a long time), I would think I can fabricate some parts if need be. I usually use either 1/8" or 1/4" think pvc plastic for milling.
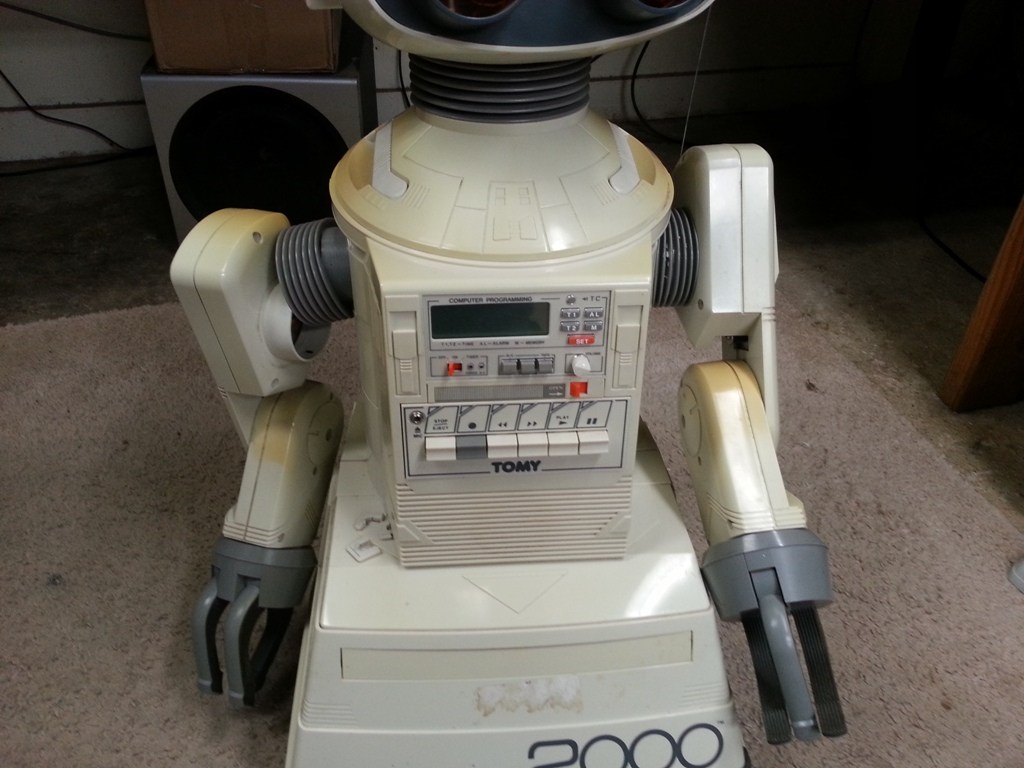
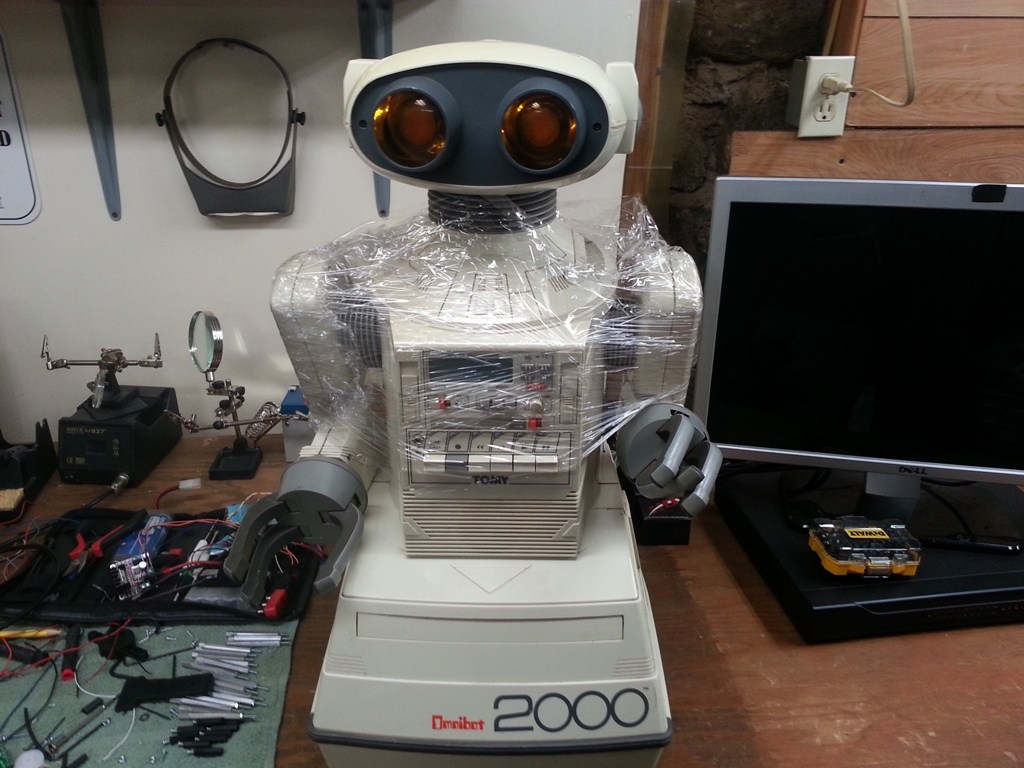
Today I received my first Omnibot 2000, one of it's arms is broken and the first thing that happened is that it smelled so bad that it was taken completely apart and is currently in the dishwasher. I think it was living at a kennel with a bunch of dogs for the past few years, loaded with hair and all sorts of interesting things. I had to change after it was that bad.
A couple the things I want to do:
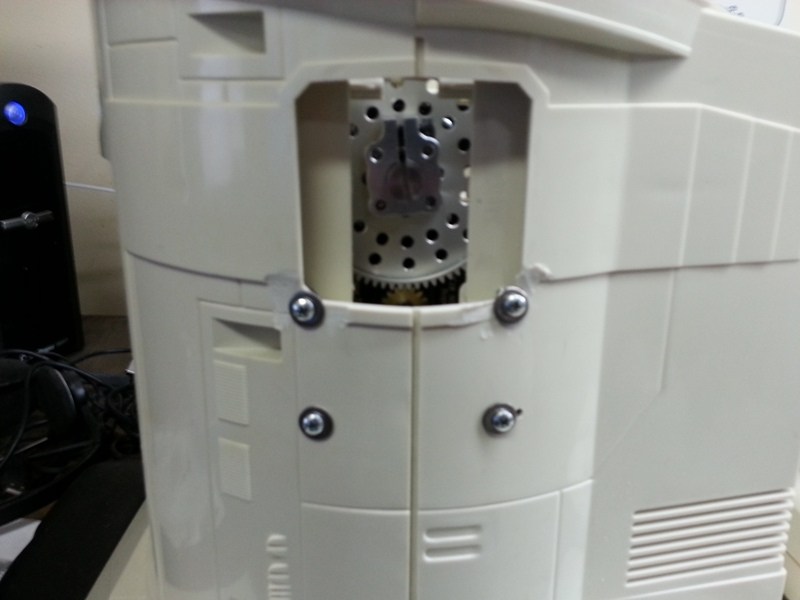
- Get rid of the gears and motors in the arms and replace them with decent servos, maybe something like the Power HD 1501MGs?
- Motor controller for each robot is going to be L298 based.
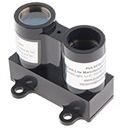
- Single Microsoft USB Lifecam HD camera on each robot - I found that the tracking on these is fantastic compared to the one that comes in the EZ kit, especially where lighting is an issue.
- Servo Pan/Tilt for the head, maybe using Lynxmotion servo brackets?
There's a bunch of stuff I am still working on but most of the items I mentioned above I already have on hand.
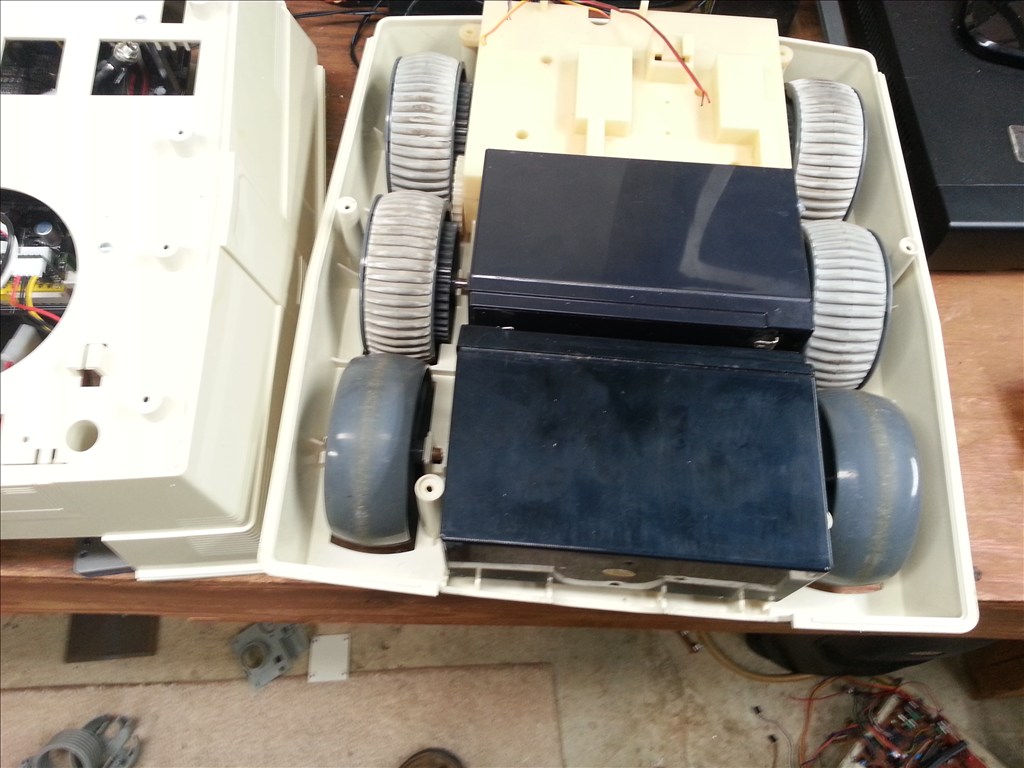
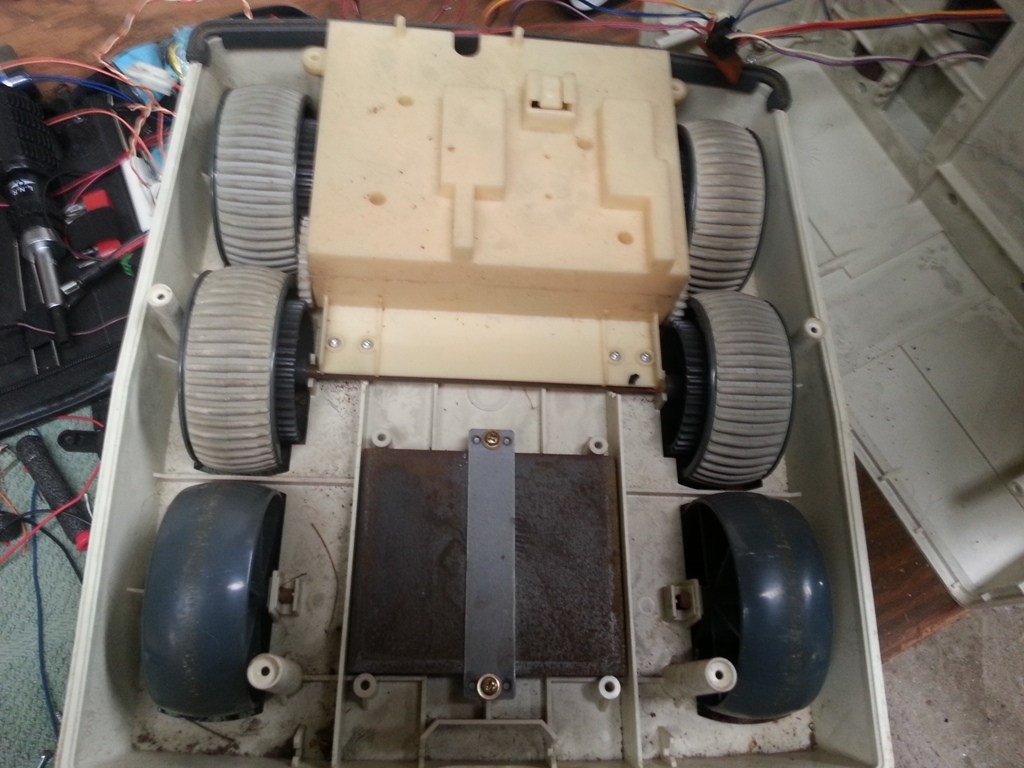
Here's a couple of pics of the 2000 I got today:
Discover more robots
DJ's Robophilo
R2D2's Robot Navigator

Nice robot to hack! So you will have three of these? I like the way matt converted the head on his omni, so i recommend to check out his thread on he forum. Dont throw away any parts, somebody might still have a use for them P.s if you ever have an omnibot 2000 to sell in parts, post it on the forum. I know jstarne is looking for arms and i am looking for a part of the head and base....
Yeah I was supposed to stop after this one, but I just couldn't resist getting the two other ones, this way at least if I need spare parts I have them on hand. I am looking at a couple threads, matt's included for ideas on the pan/tilt head, some of the gears I took out of it today looked like they were about to crack apart, and some of them have teeth missing....
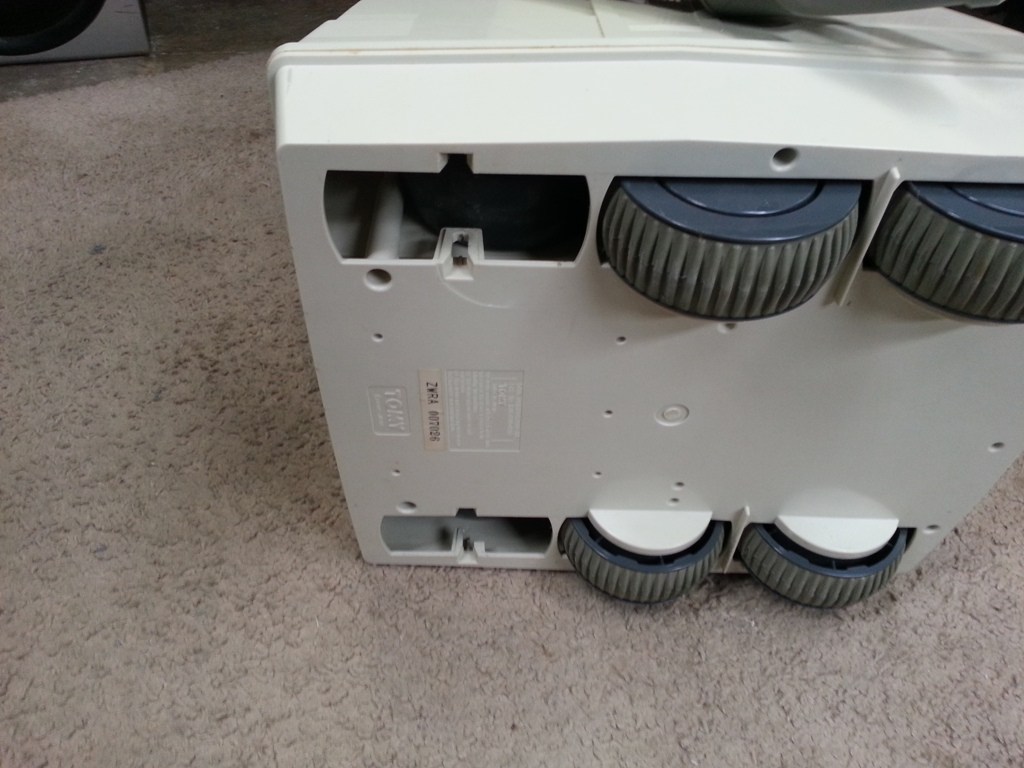
Well the second omnibot I purchased arrived today, and unfortunately it did not make the trip very well and the result is the motorized arm on this one is broken as well , crap! so that's two with broken arms. Also the back wheels are broken off and stuck inside(not the ones that drive the robot). The other arm is broken as well, lastly the head is also broken. I thought I could use this as another robot, but it's looking like a parts bot more and more.. So I think my Ebay buying days for this stuff are over, the packing was horrible on this.
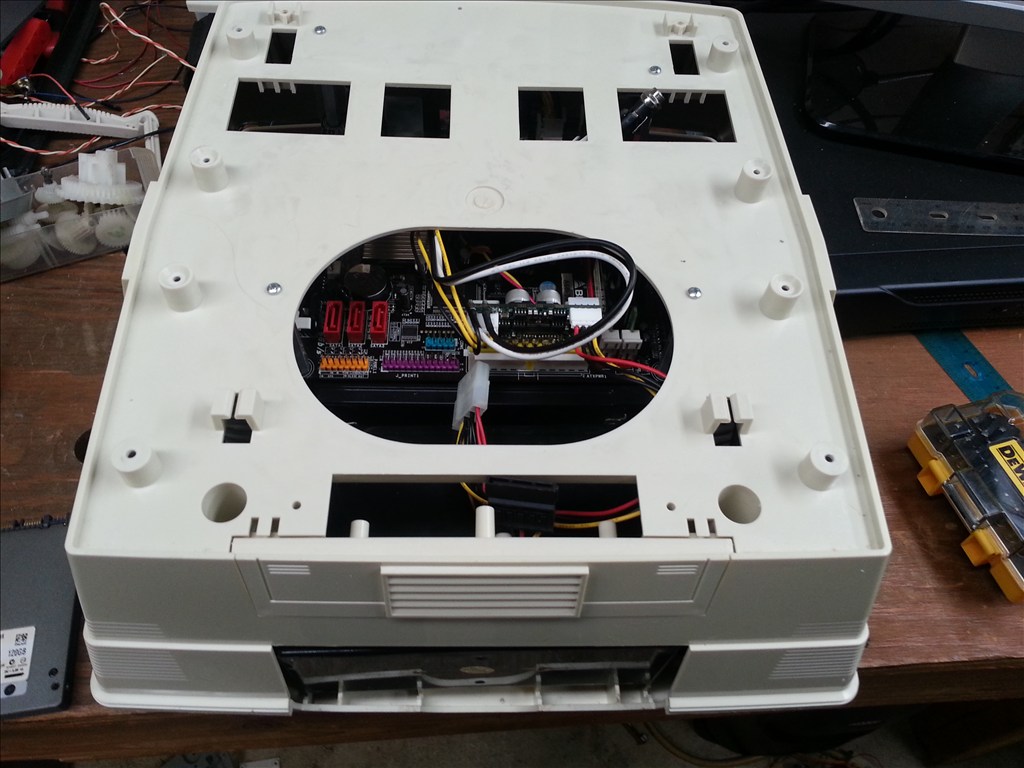
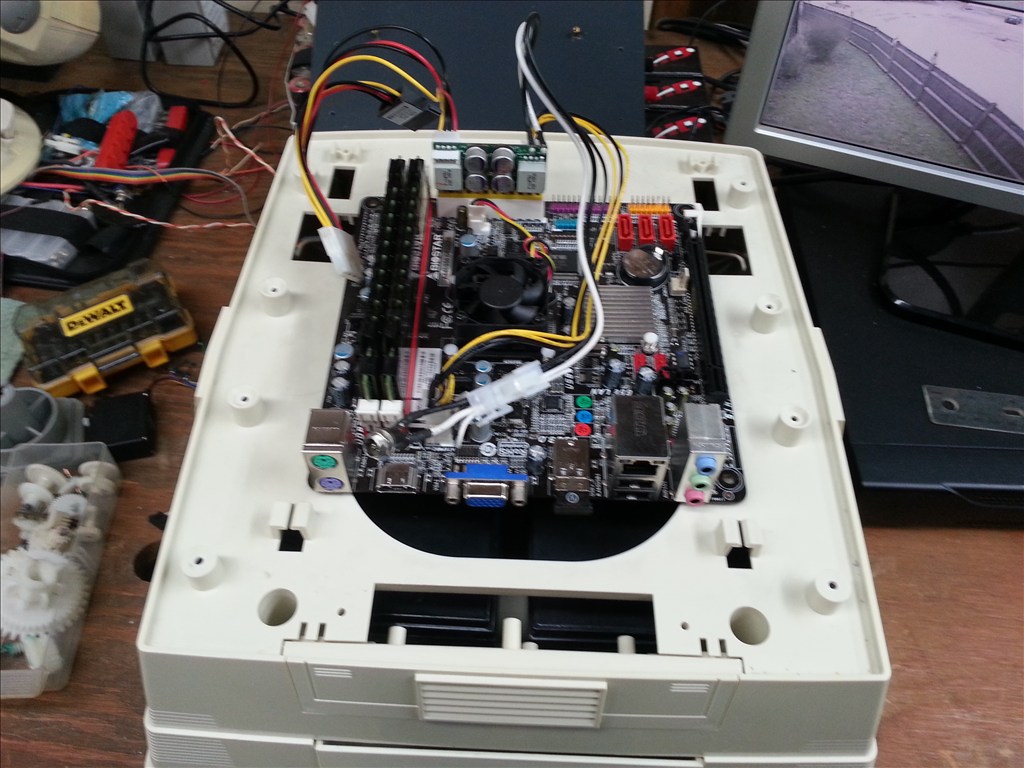
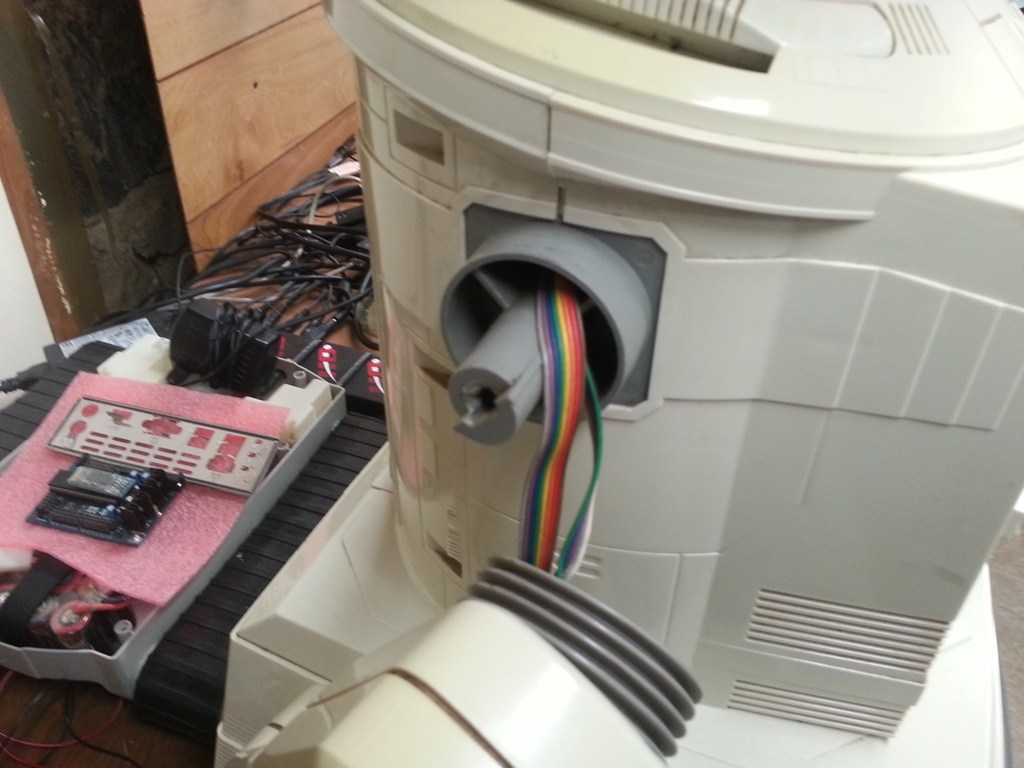
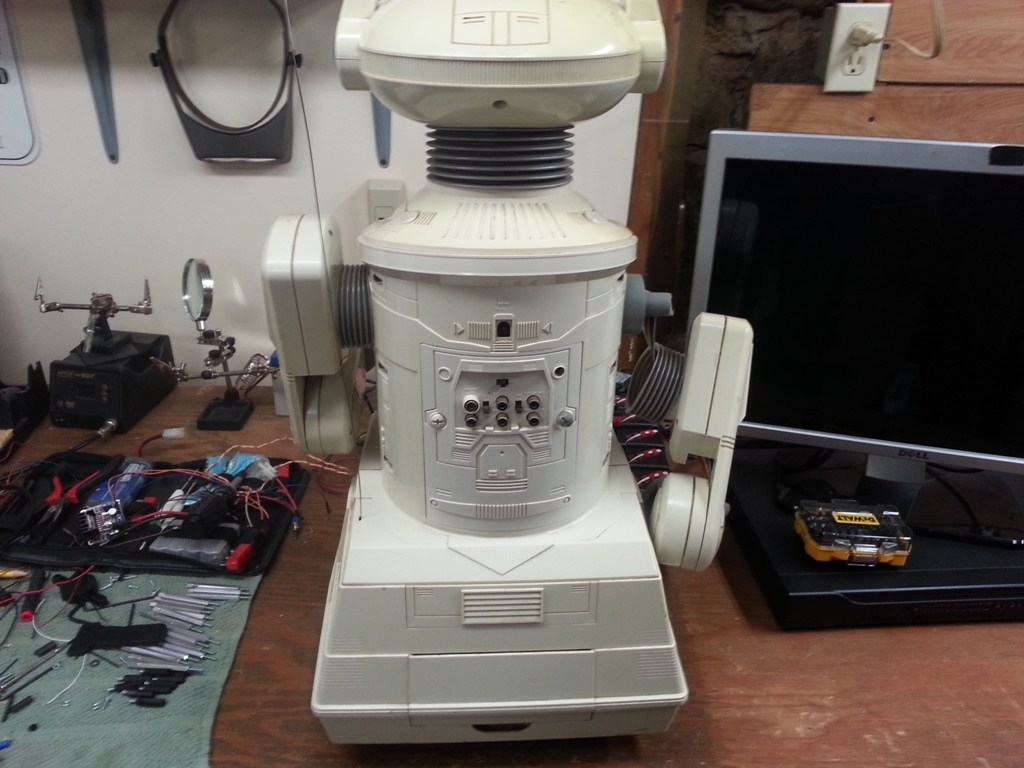
Okay so back to the first bot, I am trying to decide where to place the two 12v 7a batteries and the mini-itx motherboard, and so far this is all I could come up with. I really don't need to get to the motherboard once it's all done, but it would be nice to be able to get to it without taking it all apart:
The part of the robot that goes over the motherboard, I added 3/4" spacers so that it go over the top without hitting the motherboard..
Ideas?
Its a shame some people just dont know how to wrap items right. I had a lot of tomy robots coming over from the uk, and most were damaged during transport due to poor packing.
Tell me about it, after going back and fourth with the seller they at least gave me a partial refund, it just sucks that the last bot I am waiting for also has broken parts, and it was taken apart already so i'm sure parts are missing. I guess either it's going to be lots of hot glue or something..... Maybe start a 'omnibot 2000 swapshop'
3 Omnibot 2000's
I'm still trying to find one that I can afford Keep hoping to luck out and find one at Goodwill or on CraigsList CHEAP !
Have fun with them.
Keep hoping to luck out and find one at Goodwill or on CraigsList CHEAP !
Have fun with them.
Well actually it's starting to look like 2 1/4 at this point, you really have to watch people, especially when your looking on EBay, I am starting to think that the same garbage is going from person to person, one of the bots I have went around 4 times, maybe people were trying to get a complete setup by getting different bits here and there, but I am going to guess that broken arms are the common thing on EBay..