
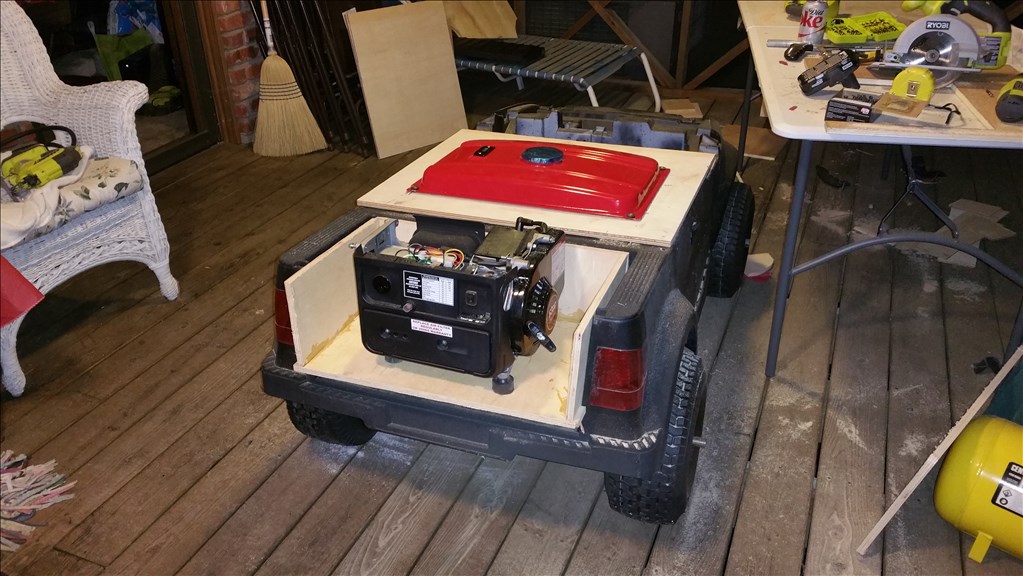
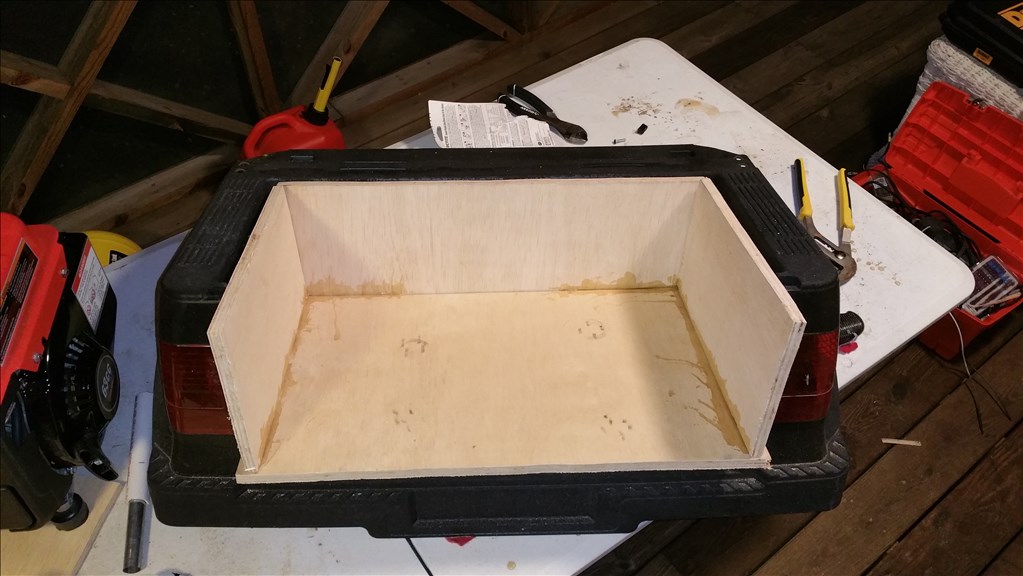
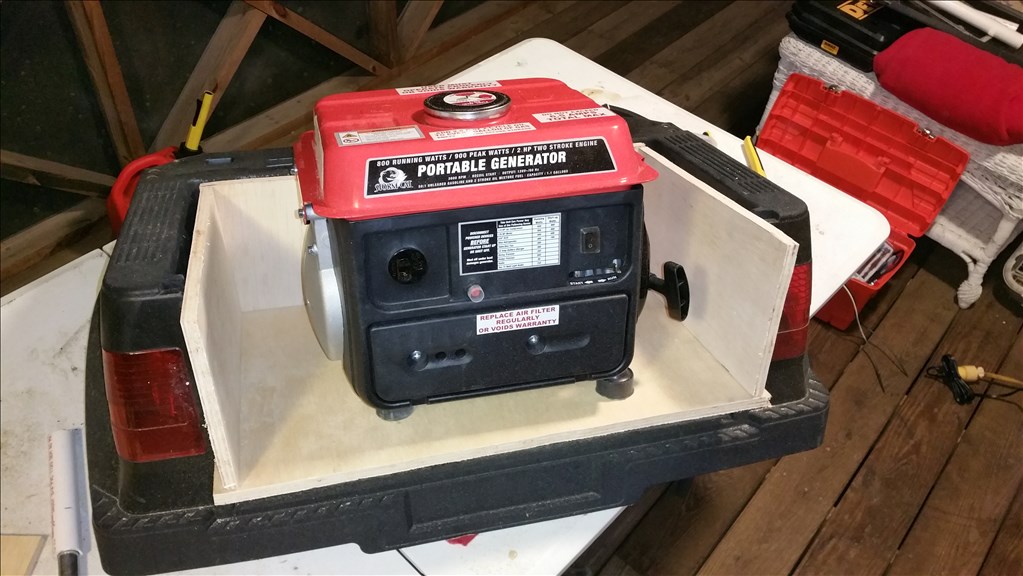


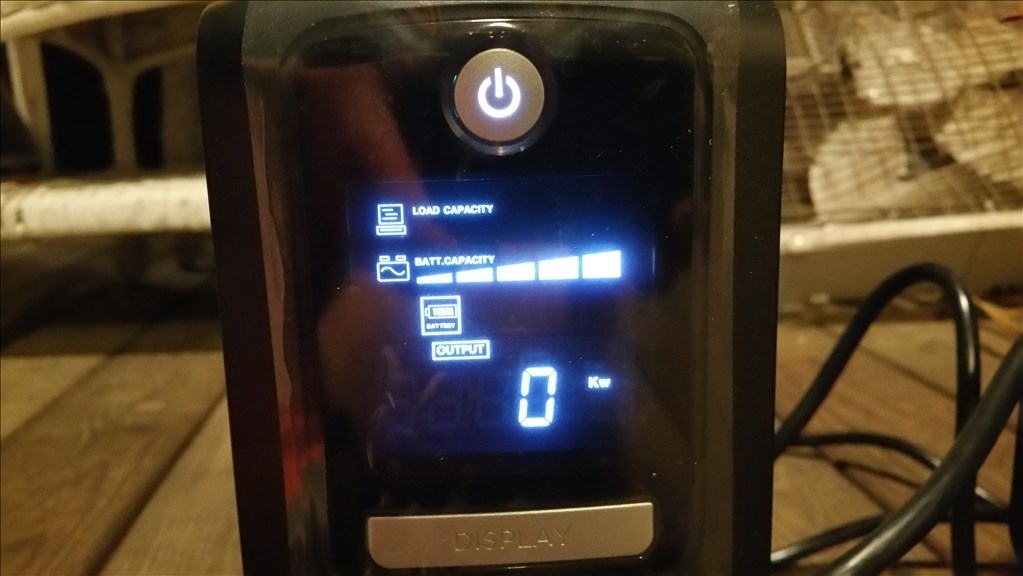
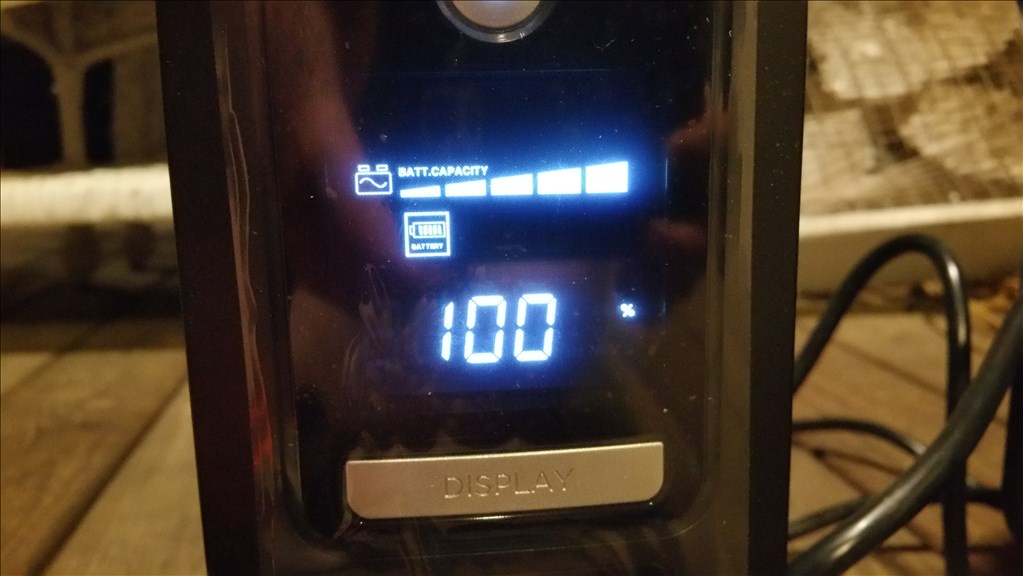
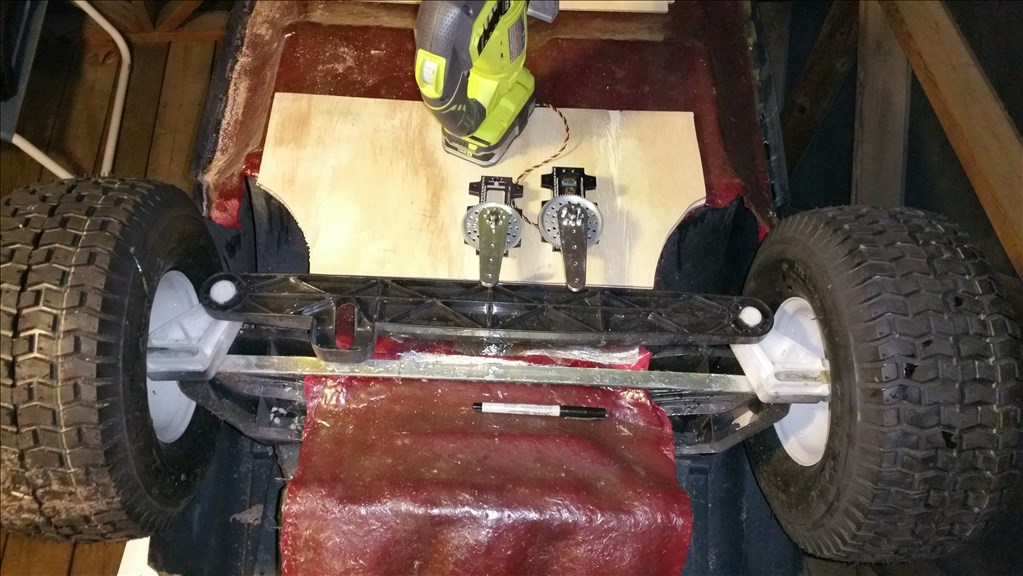

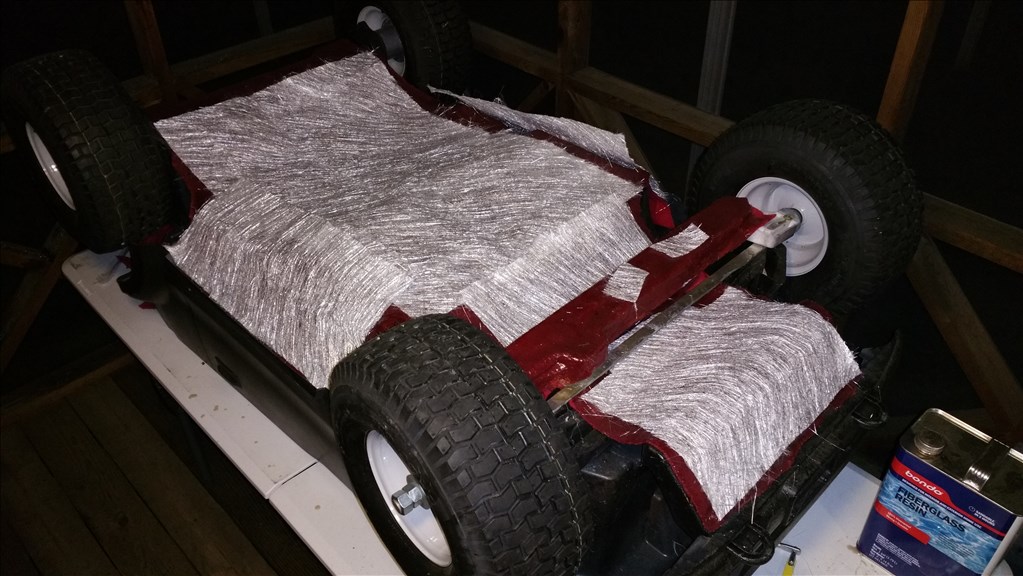
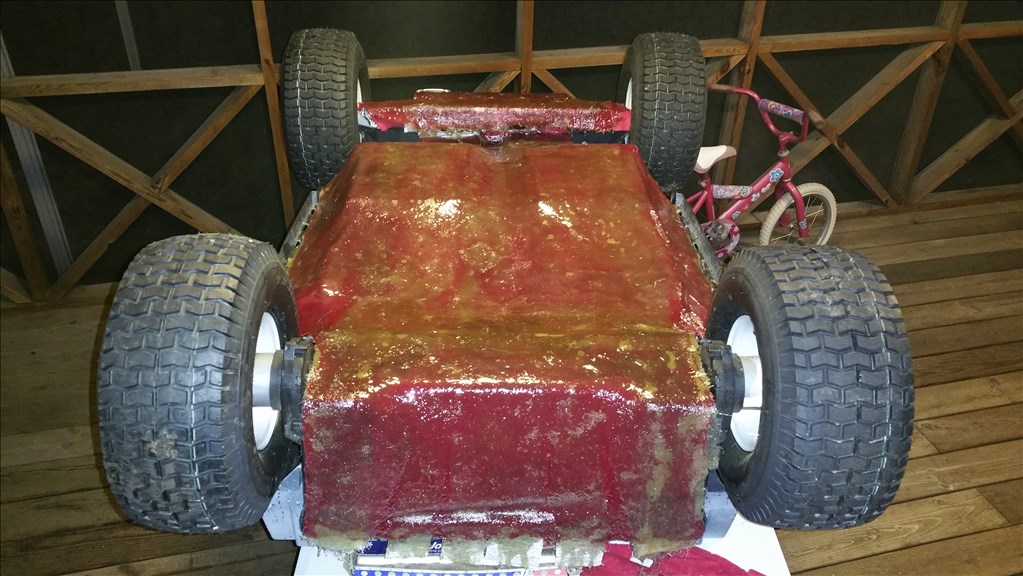
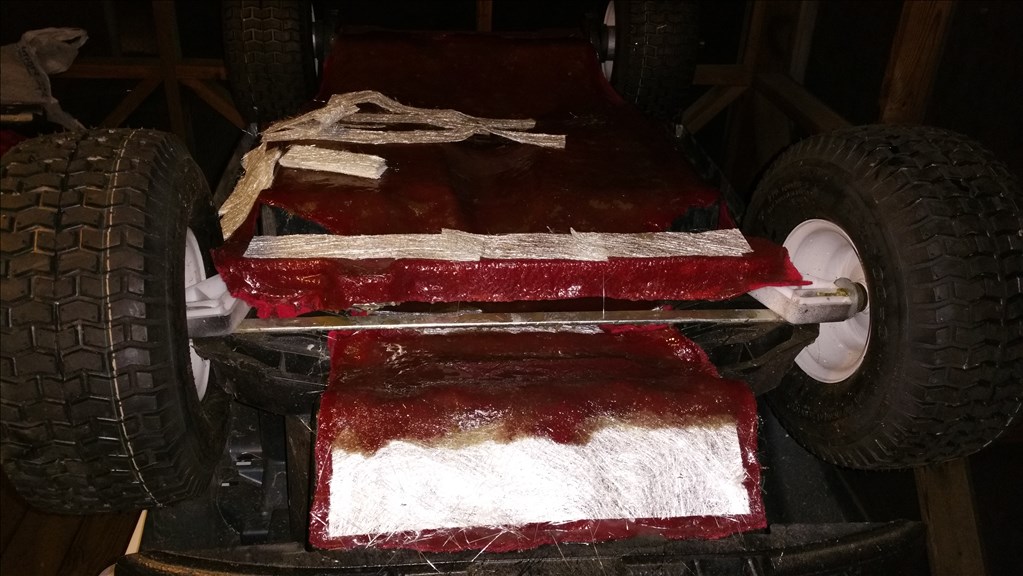


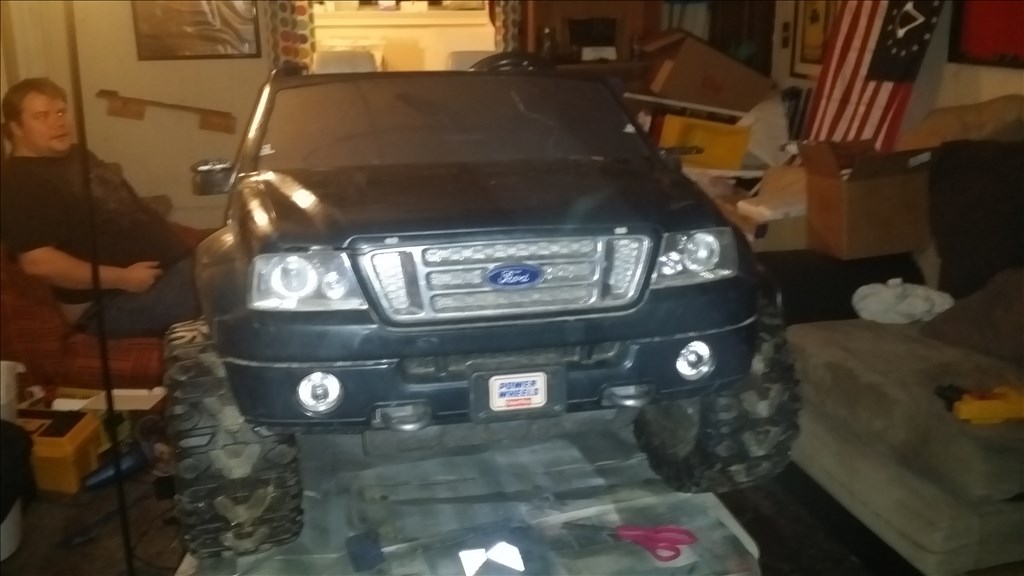
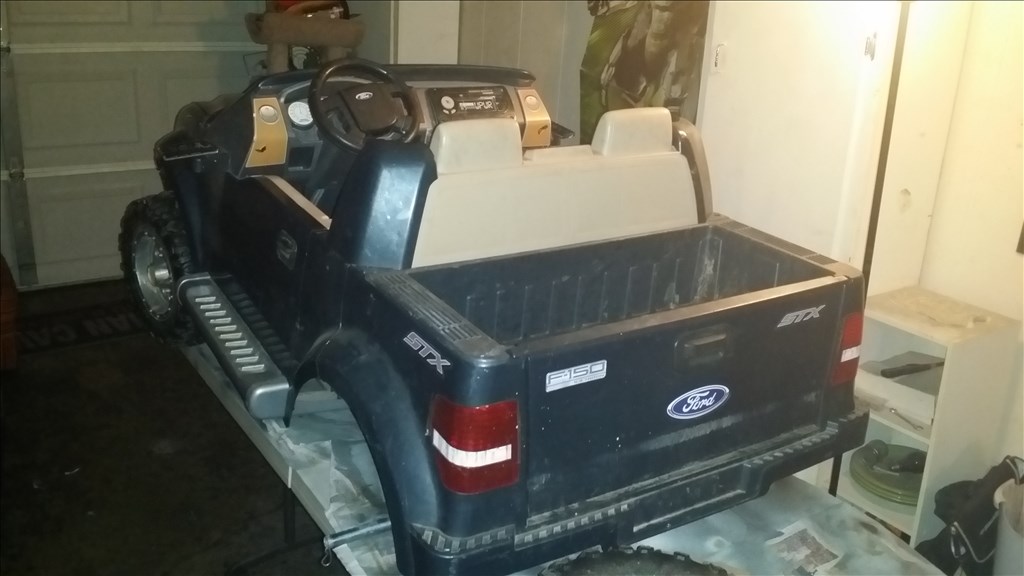
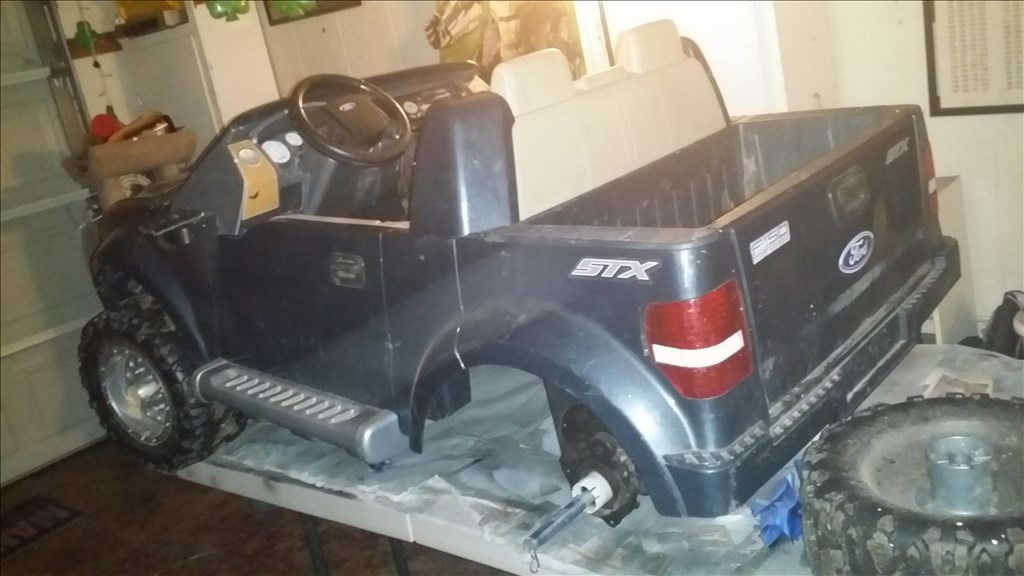


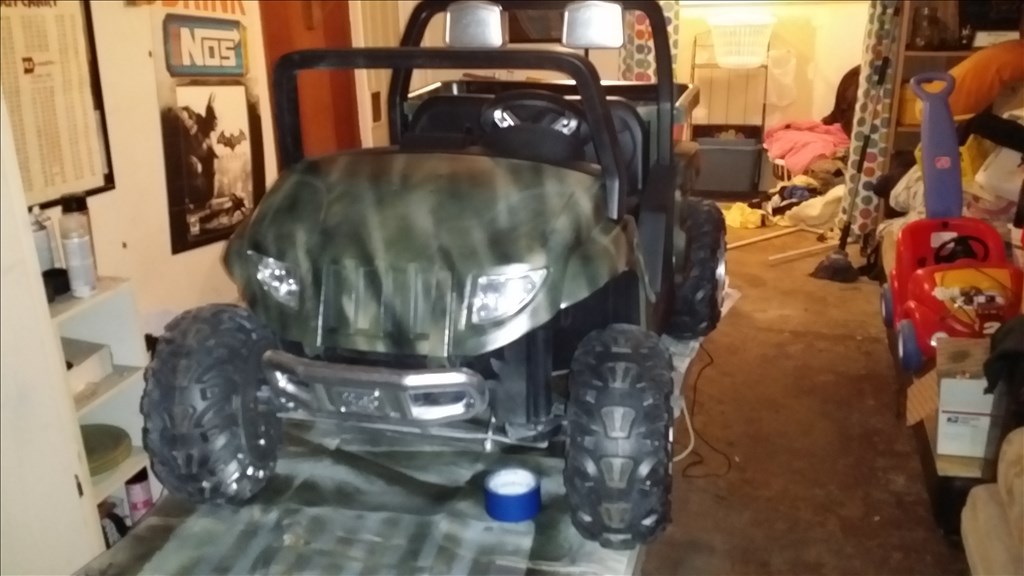
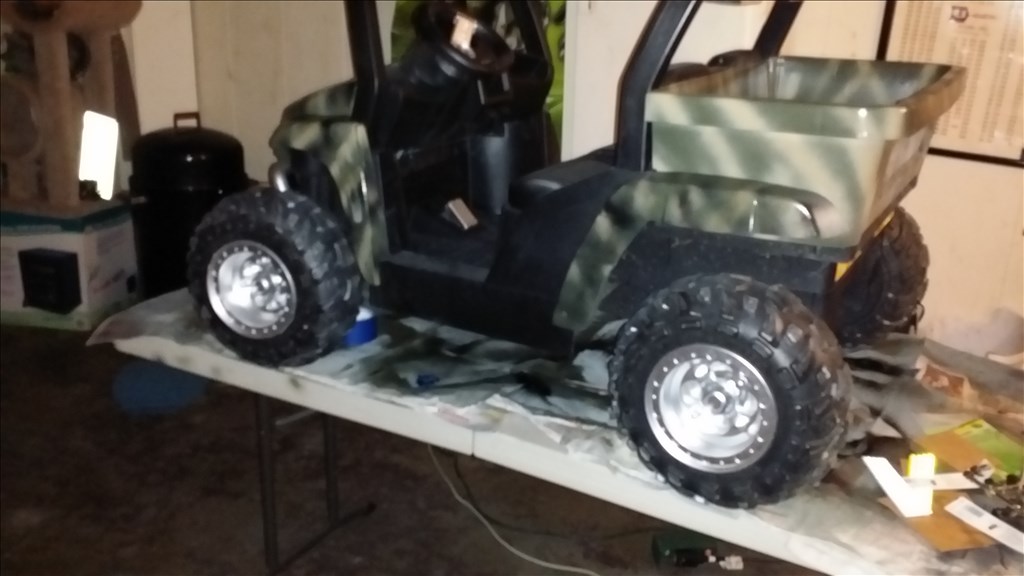
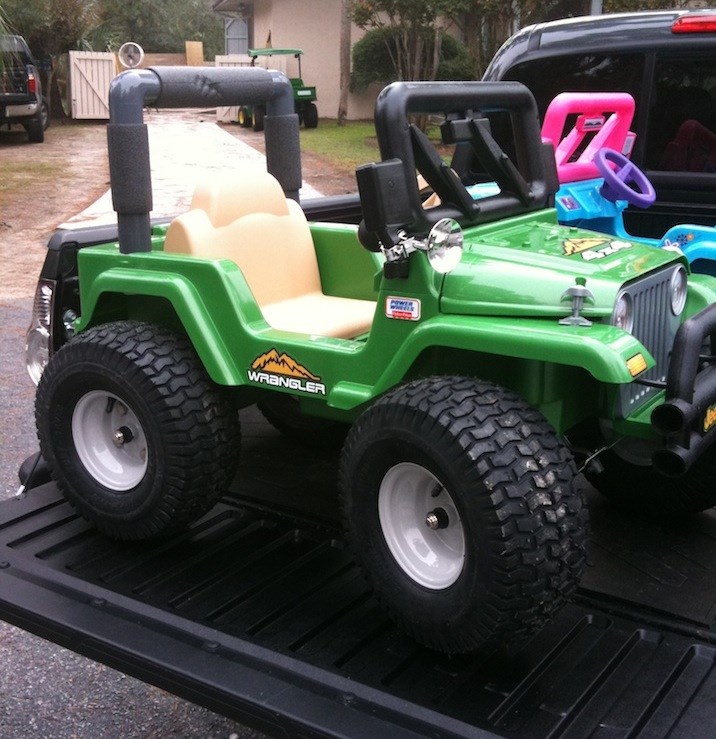


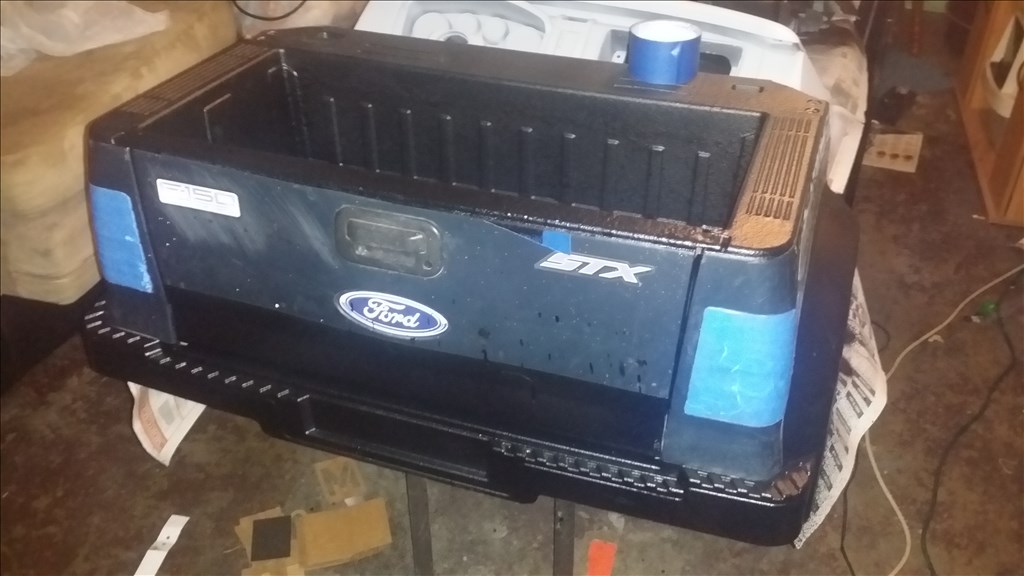
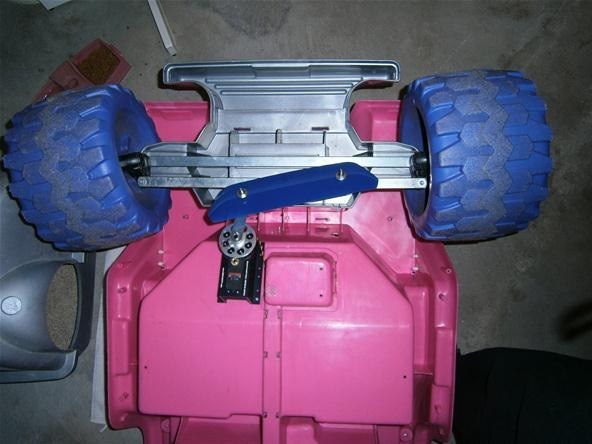
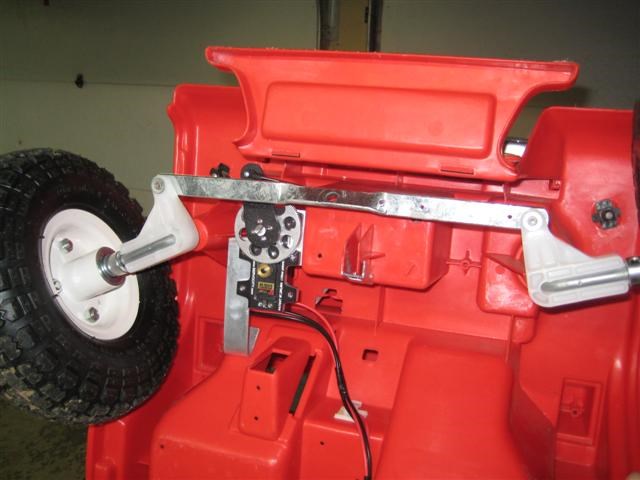
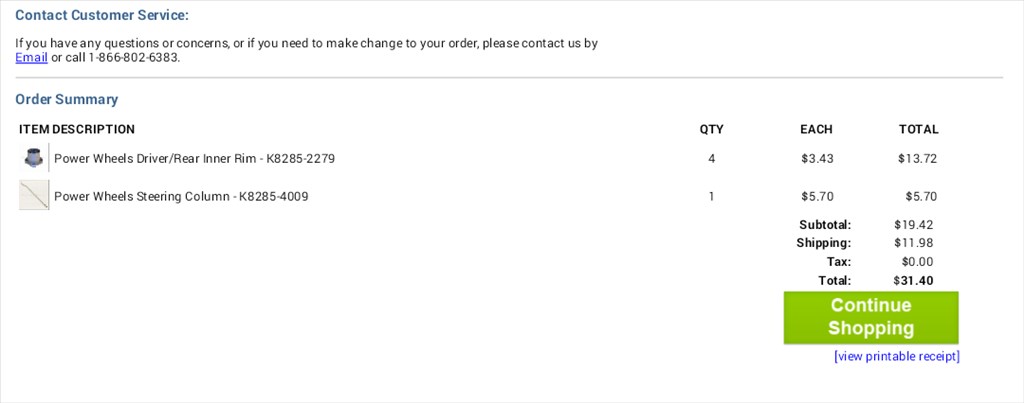
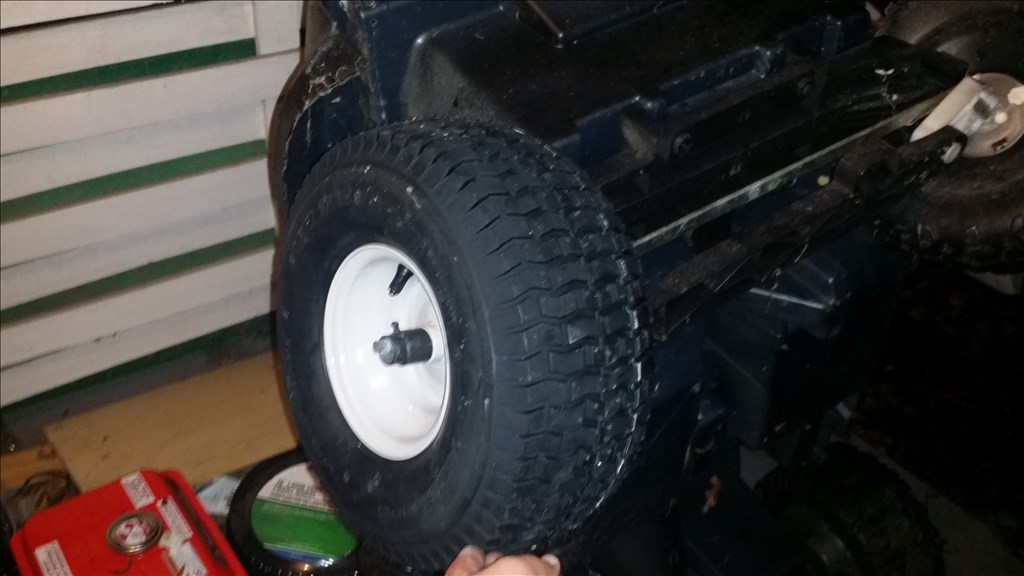
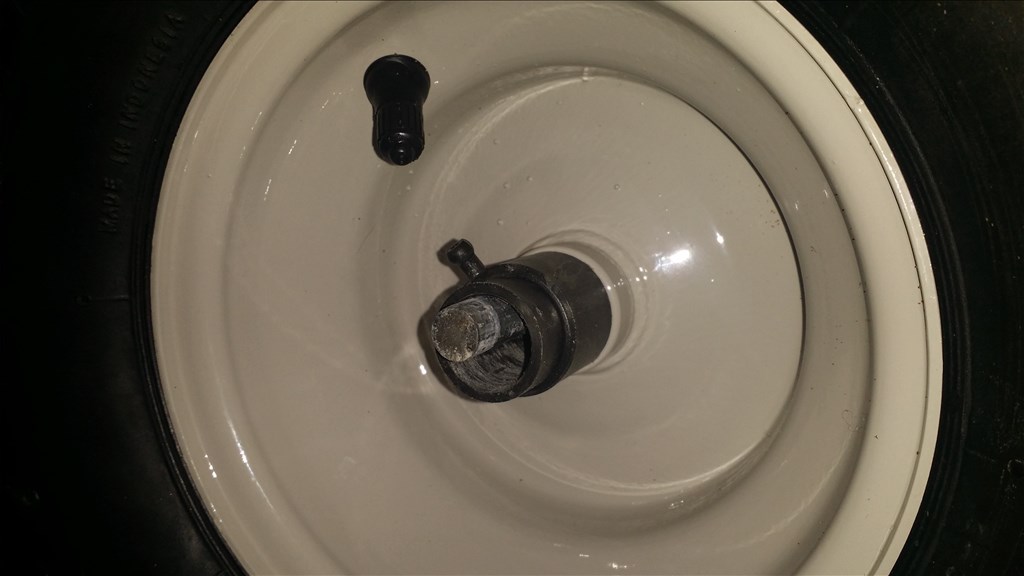
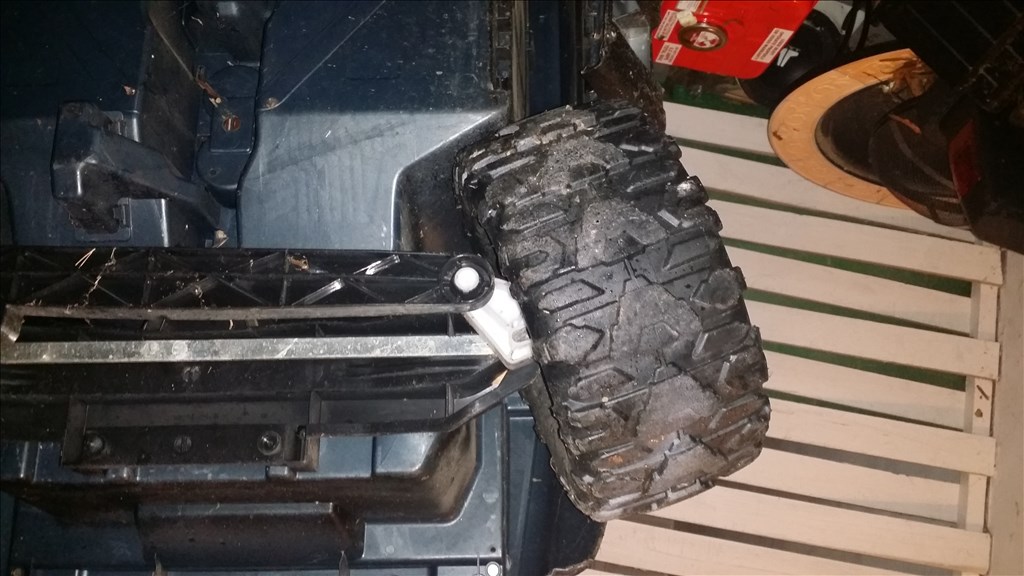


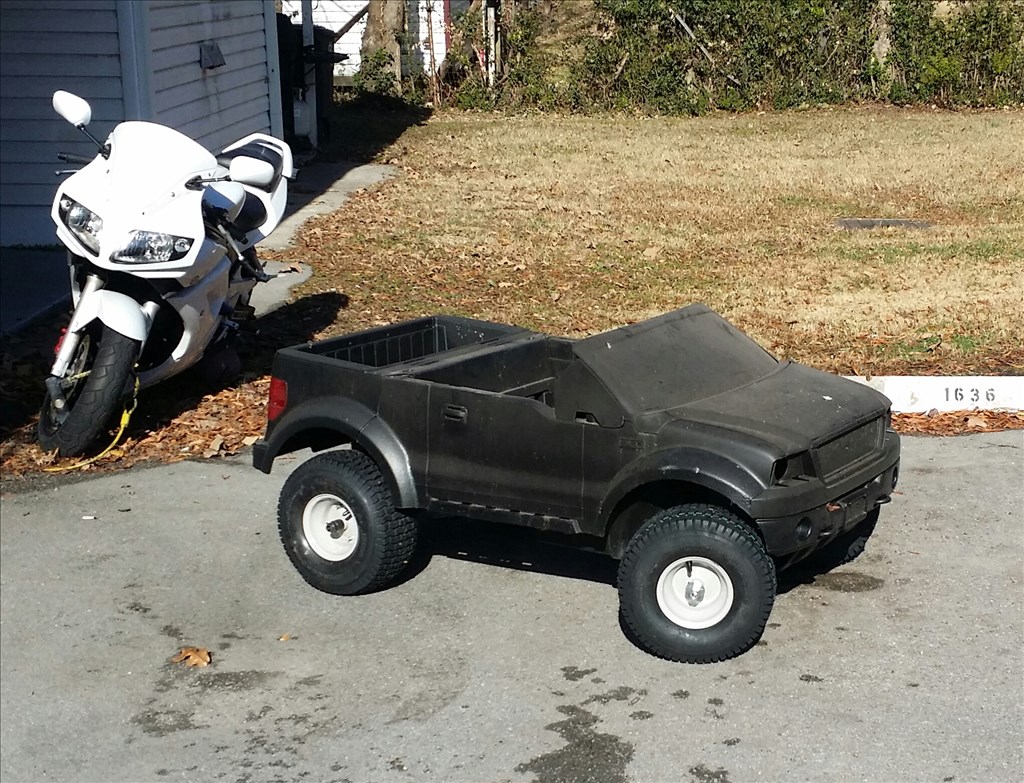
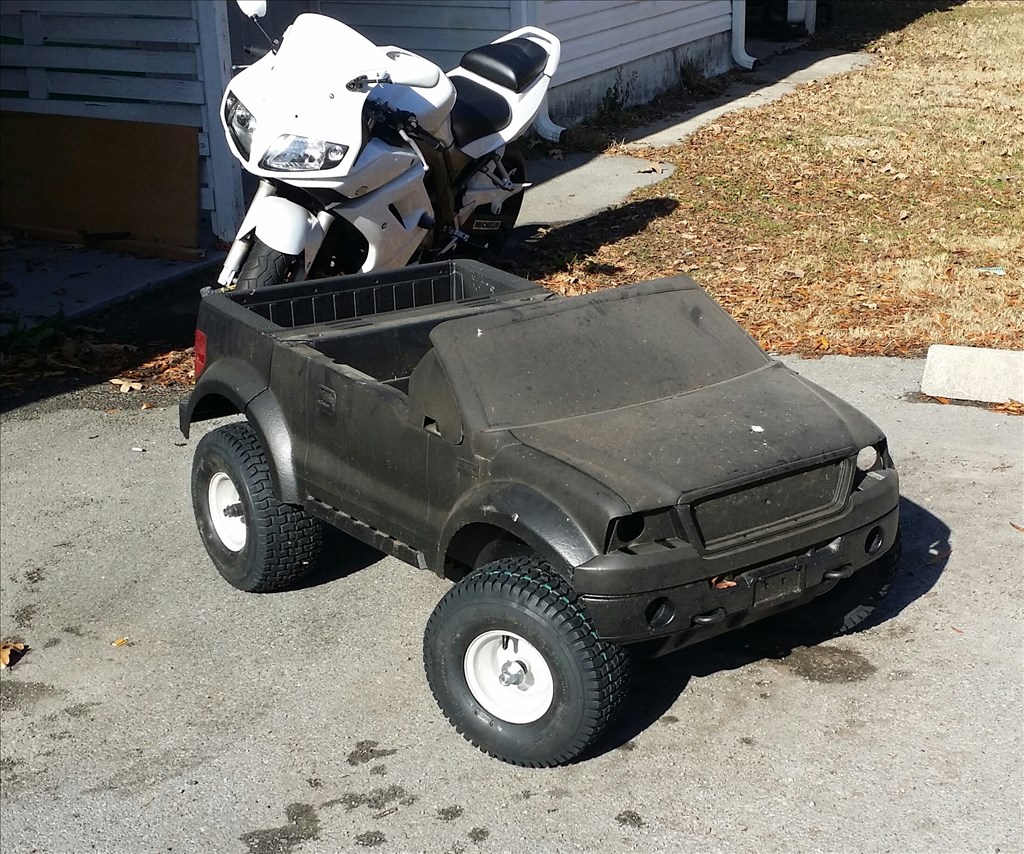
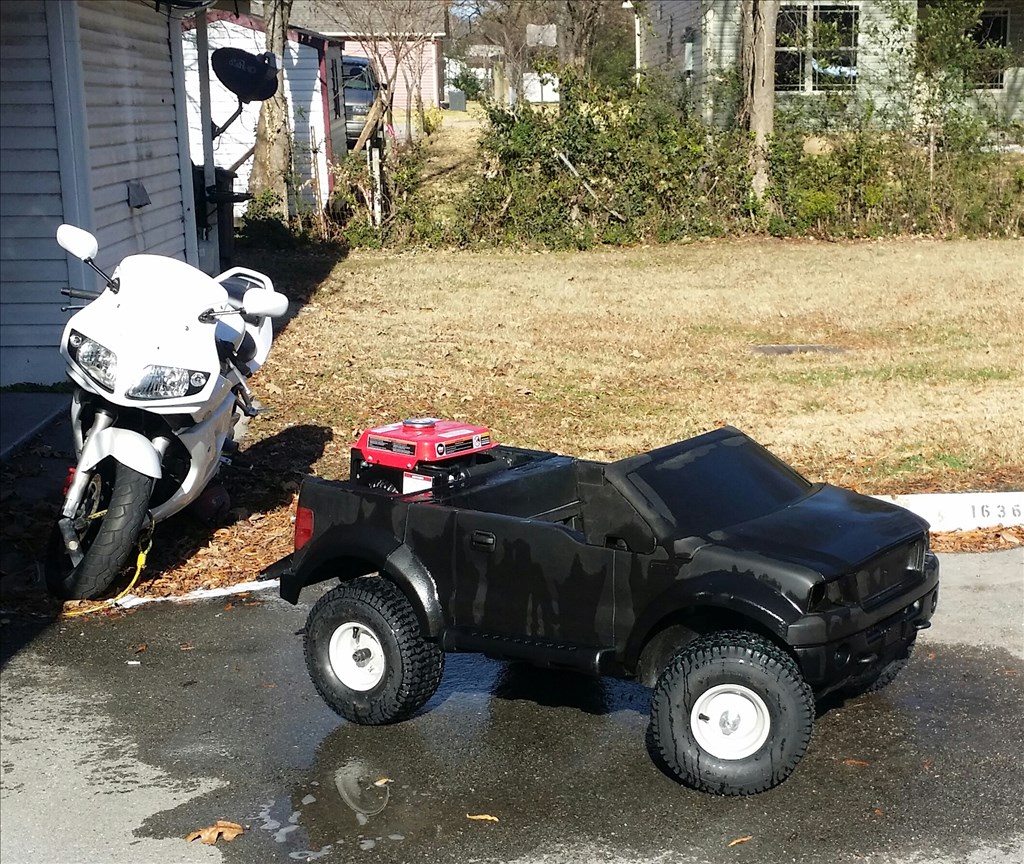


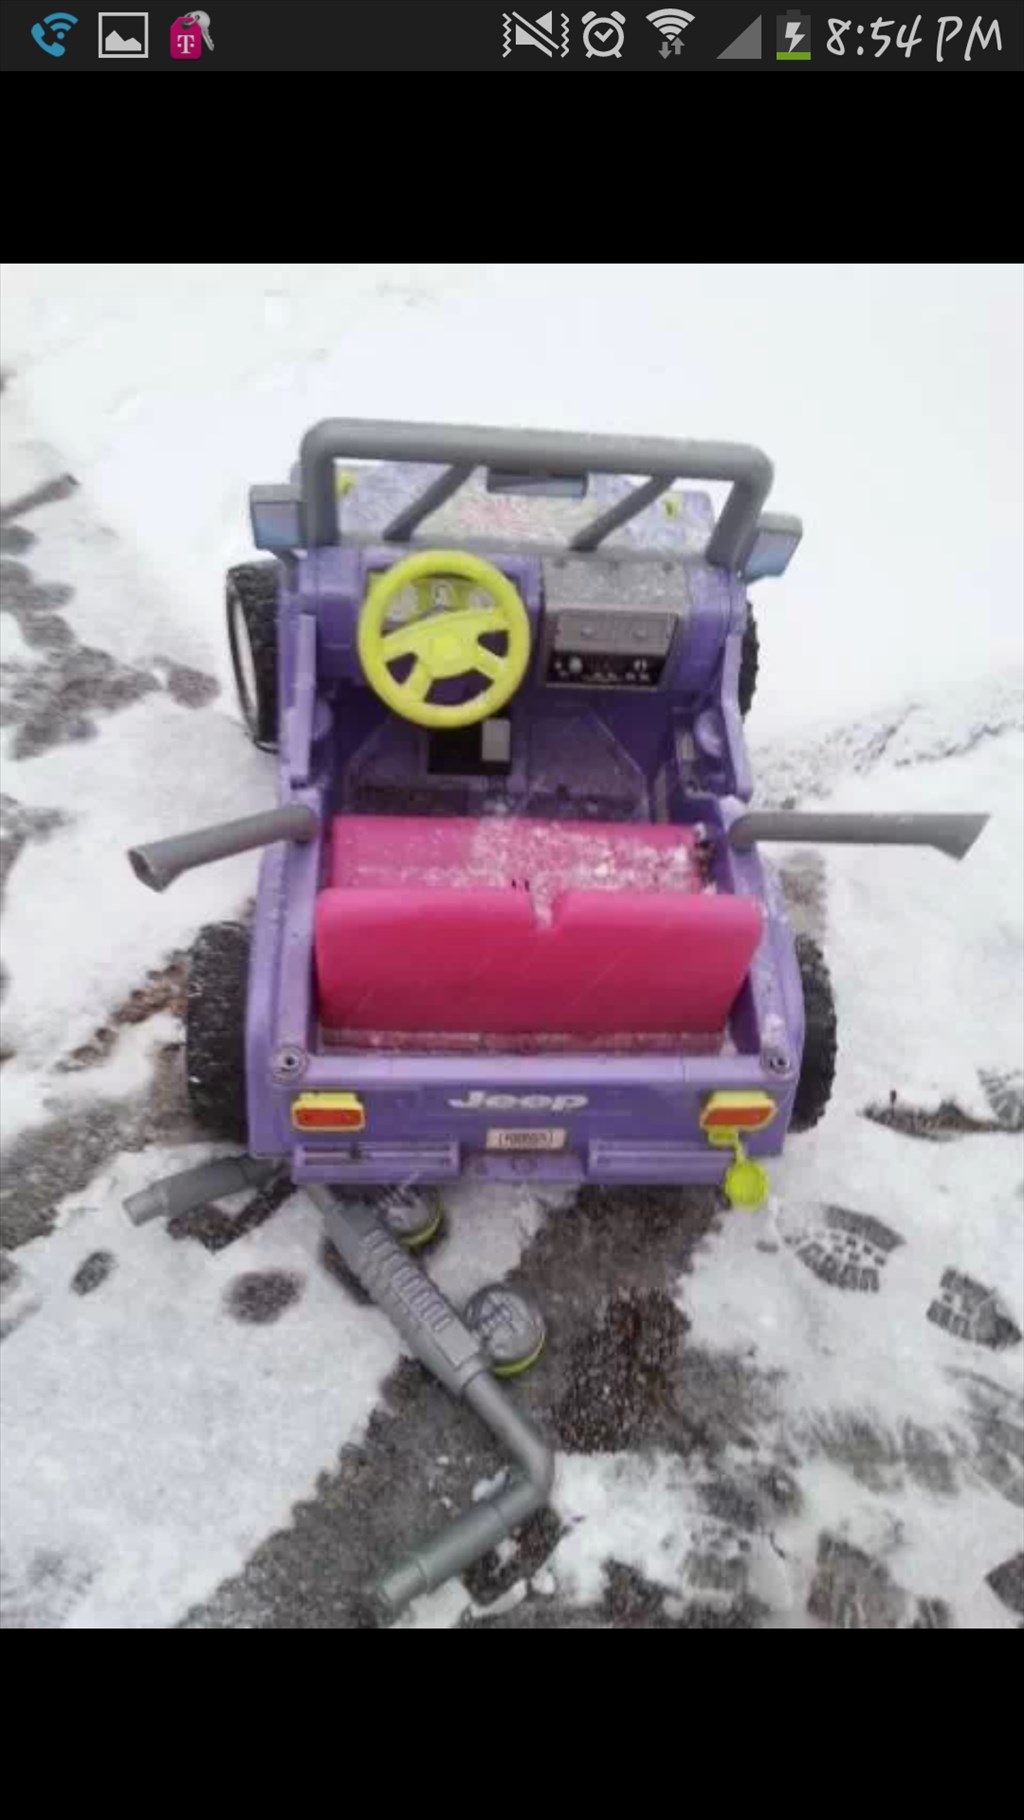


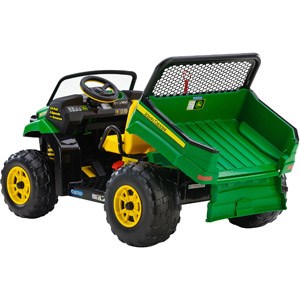


Hey Community , i really don't do enough fun projects. As you may notice many of my projects have a utility function. Squeegee mops, jarvis vacuums, smart marine fish tank is... well smart lol. So this is just for fun and I hope others enjoy it. I have already contemplated using it as a demonstration tool to get kids interested in technology. . Dang it! This is just for fun , ok I'll try not to get to serious with this. My friend Marty was talking about being able to drive the power wheels around while his kid was in it around the neighborhood. Or if his kid was driving and got to far he's just a button click away from stopping it. We found a free power wheels that had seen some rough years and we gave it a complete makeover. It looks better than new, new Gel cells from power sonic , smart charging and more. I gave it a cool high grass stripe camo.pattern and gave it to his son for his birthday. I'll post a couple pics. He's on the fence about doing the further mods so i searched craigslist.org for another power wheels that had been loved a little too hard. Searching for something with space and power I wanted I set my heart on a f150 , Toyota 4x or jeep 4x4. I didn't find a 4x4 model but f150 was the next best as it had dual gearboxes with rs585 motors. Also a good gel battery and charger was included. Here come some pics...
Discover more robots
DJ's Omnibot 2000
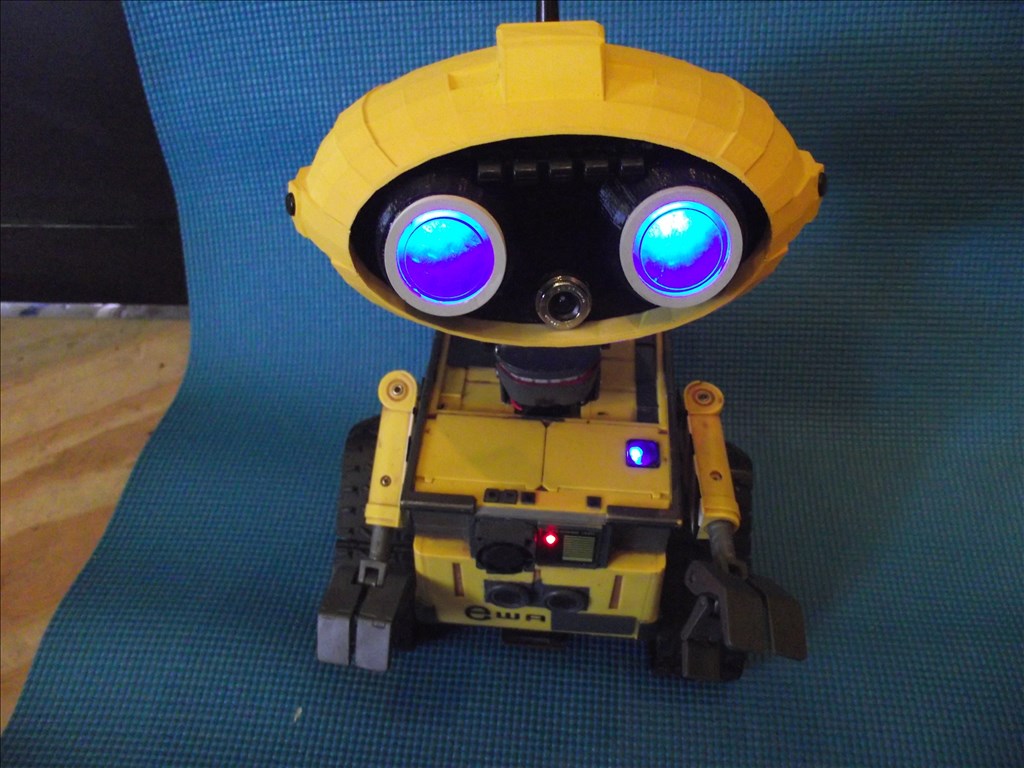
Rb550f's Meet Ewa

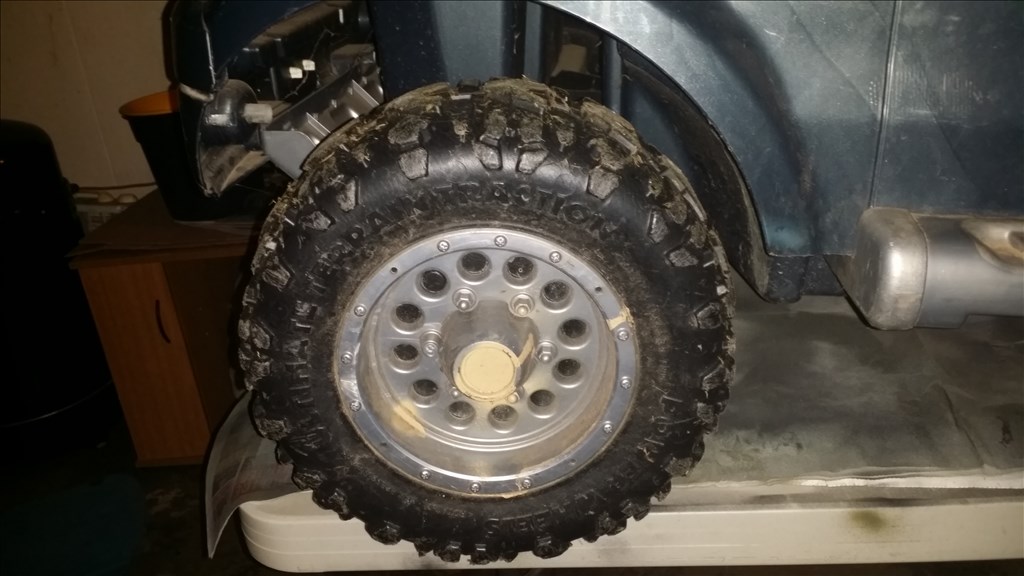
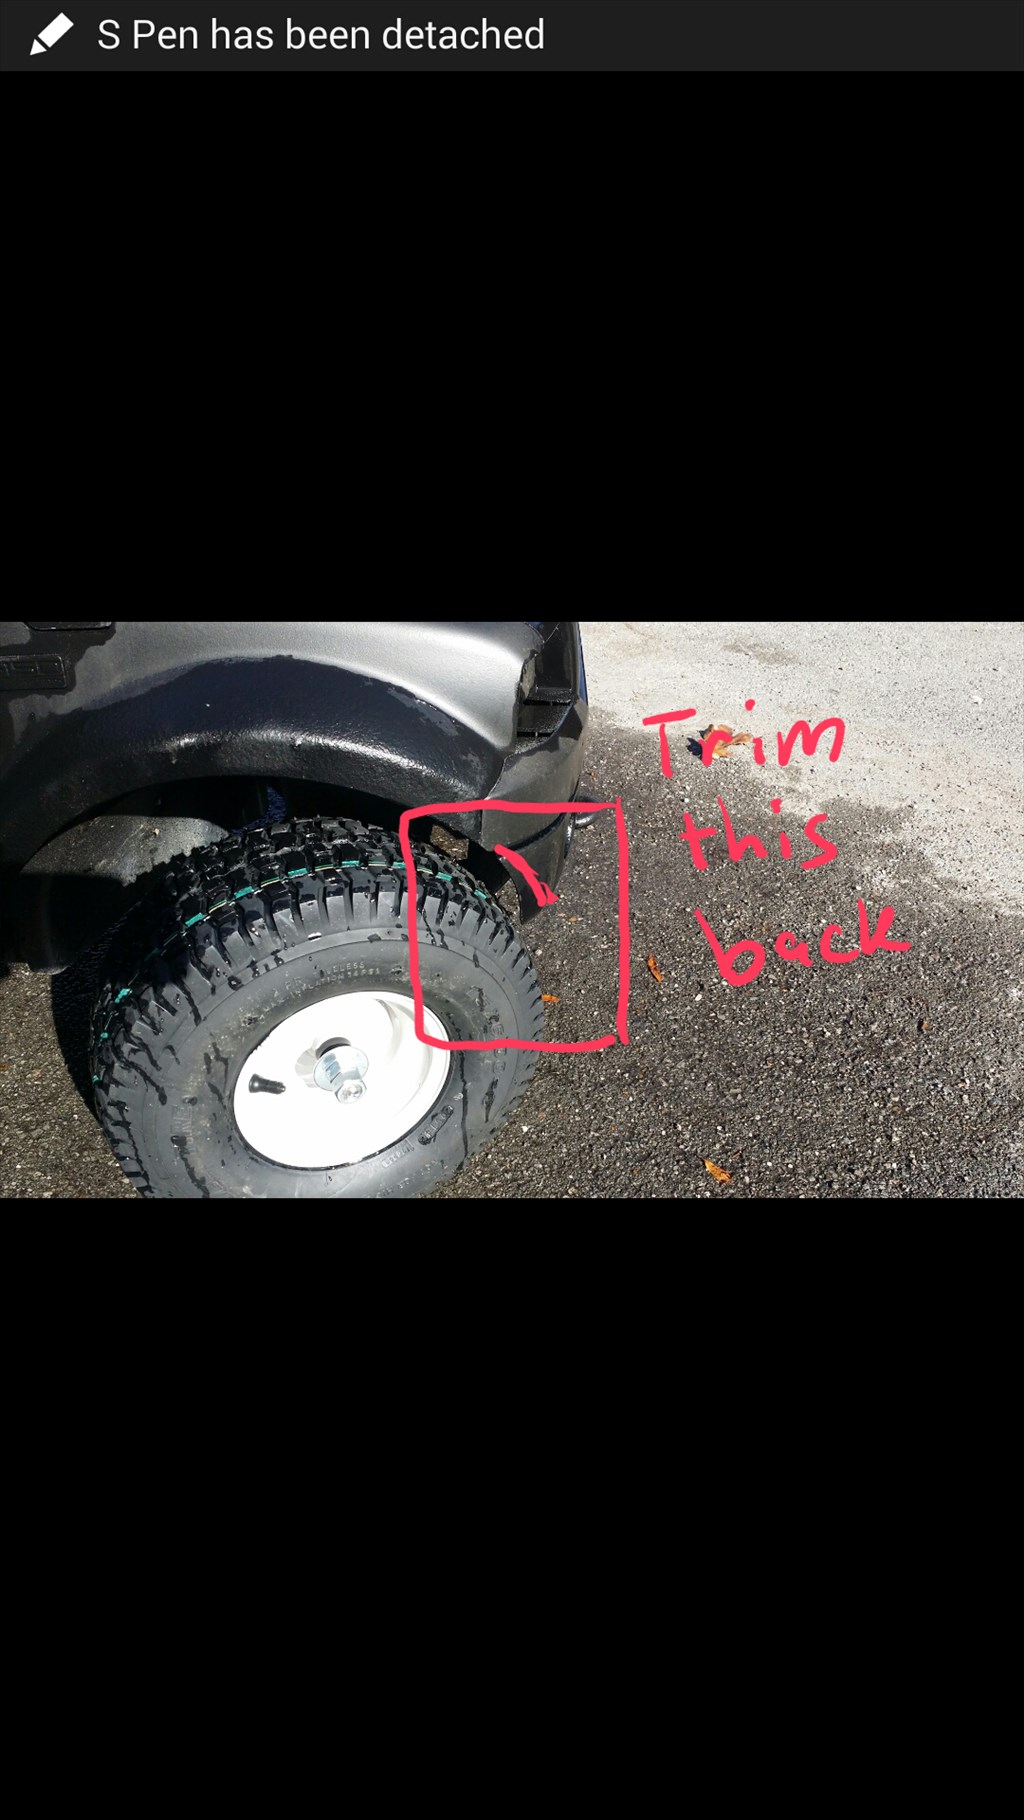
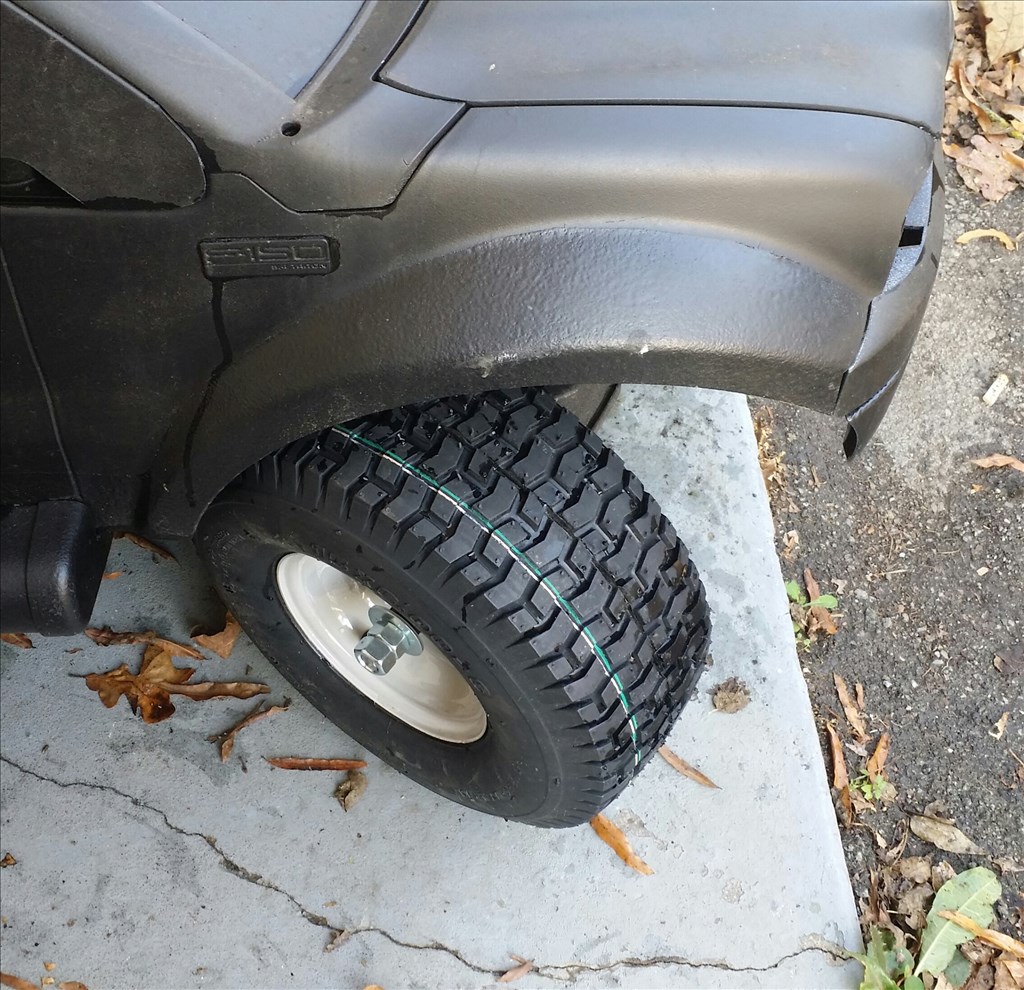
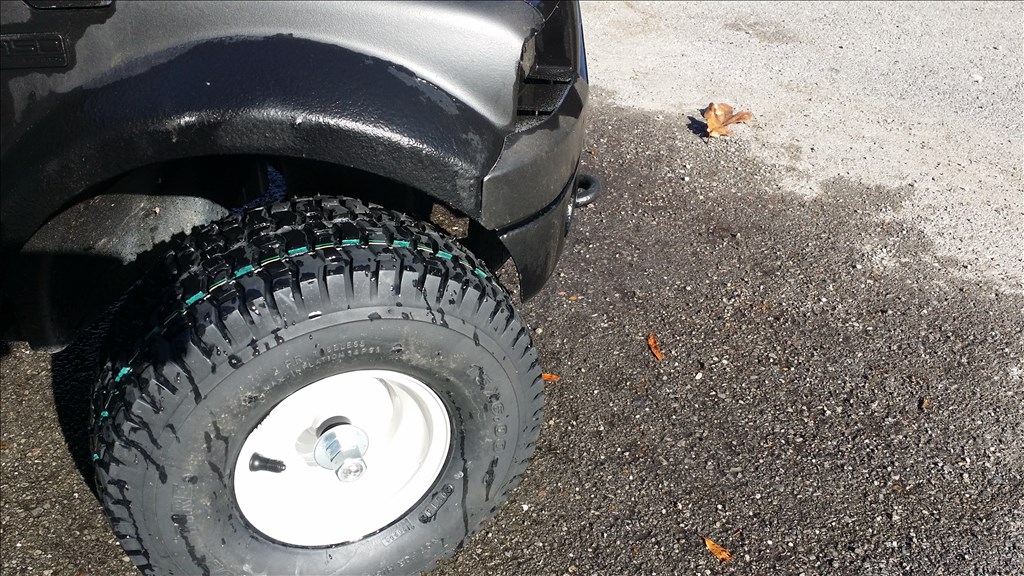
Man thats gonna be bad ass! Check out www.highlifter.com Throw some outlaws on that bad boy maybe even a lift kit! lol
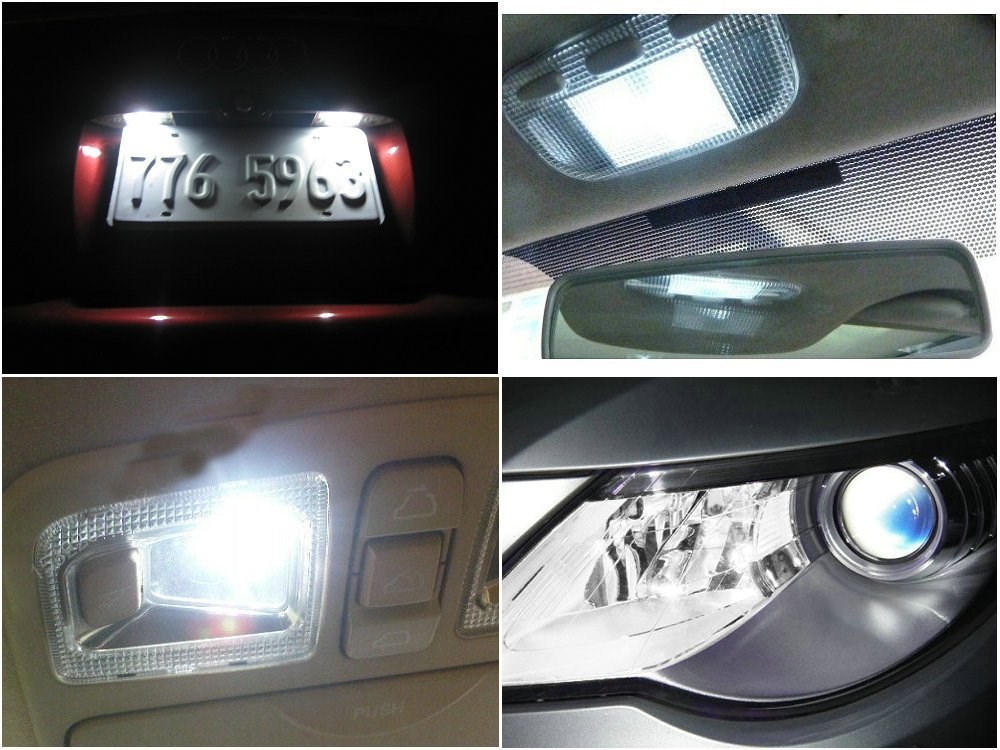
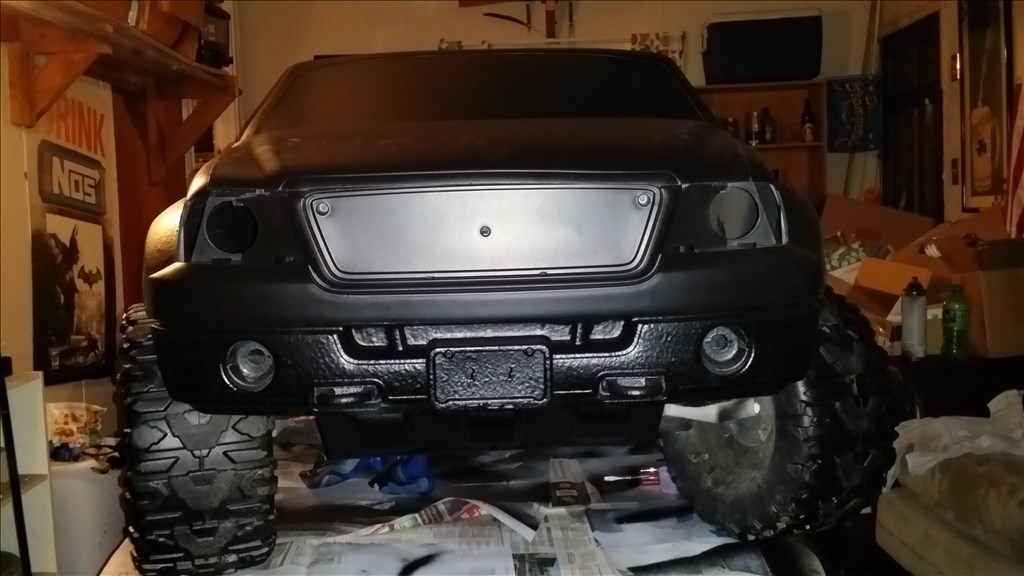
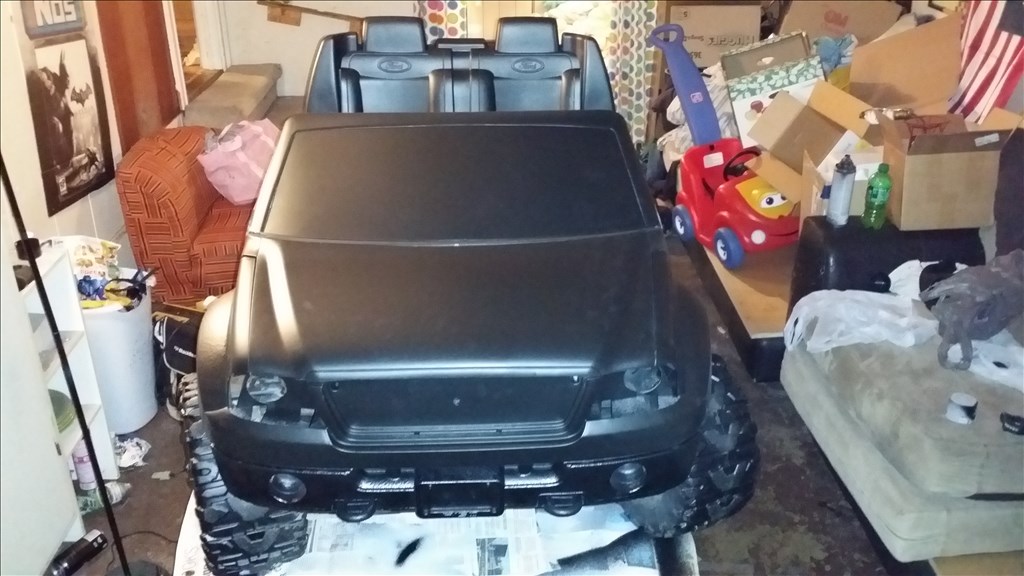
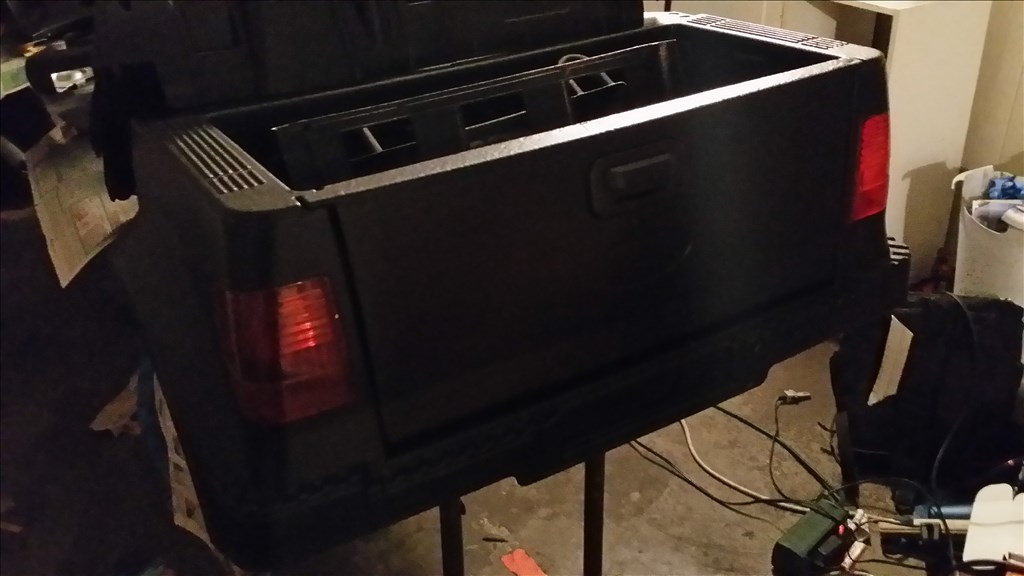
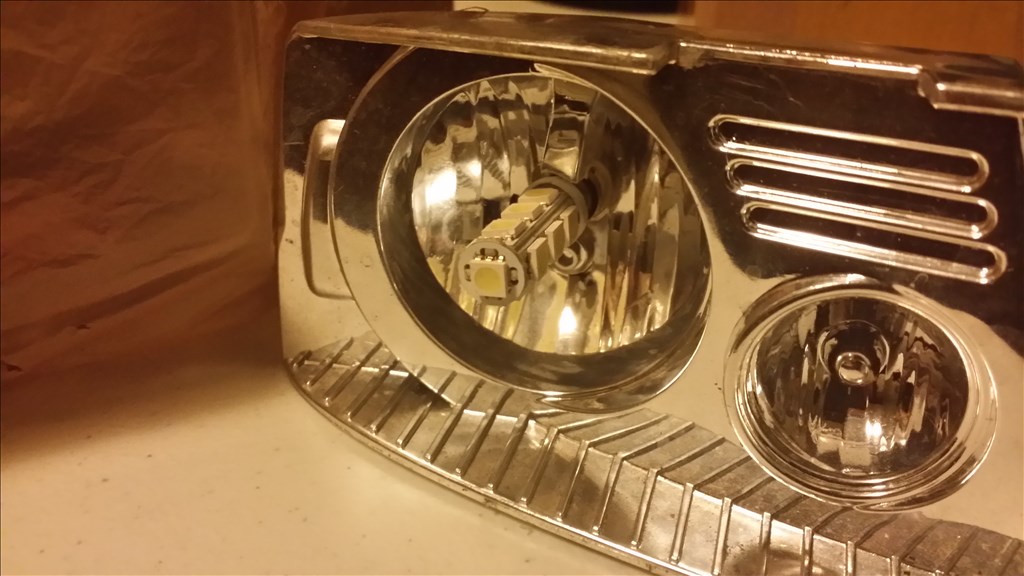
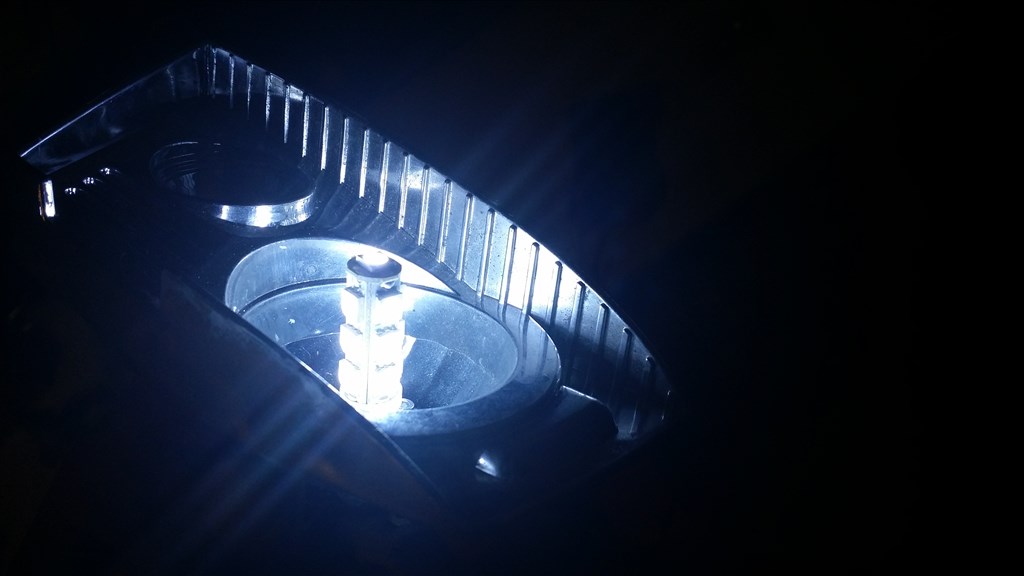
Wow, nice lines & lights.
Did you do that all in one day or just post all the posts in one day? You're a busy guy.
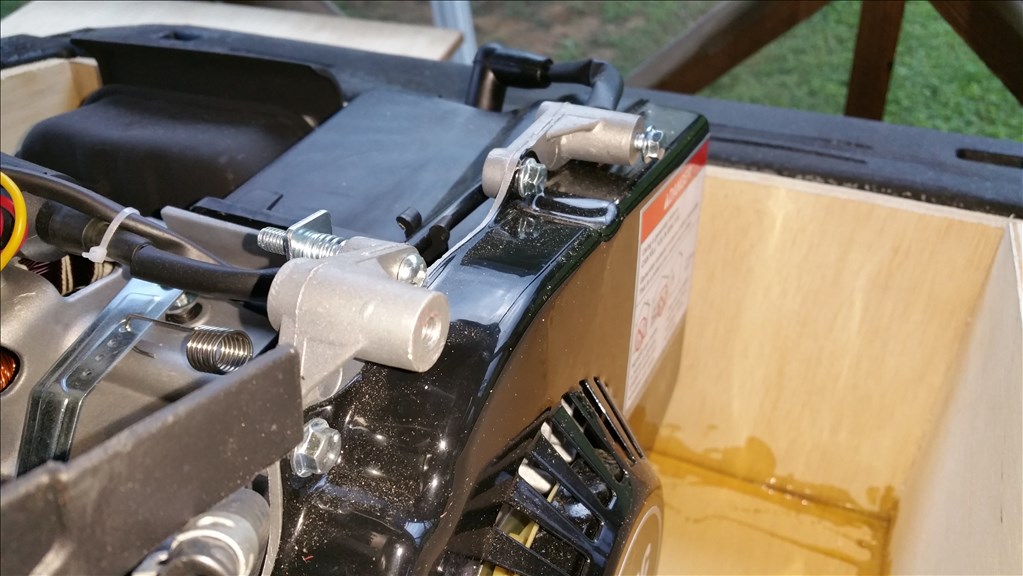
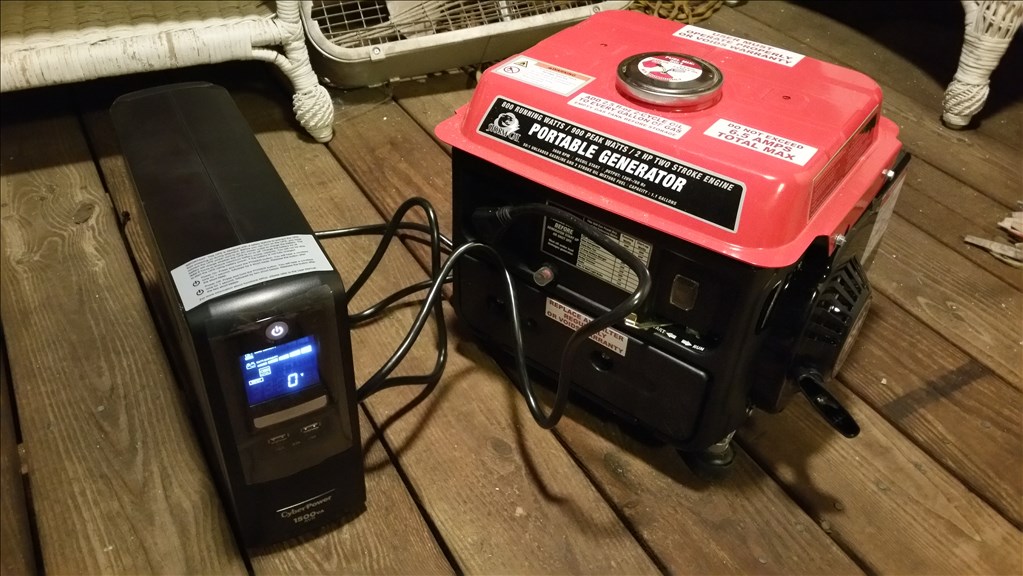
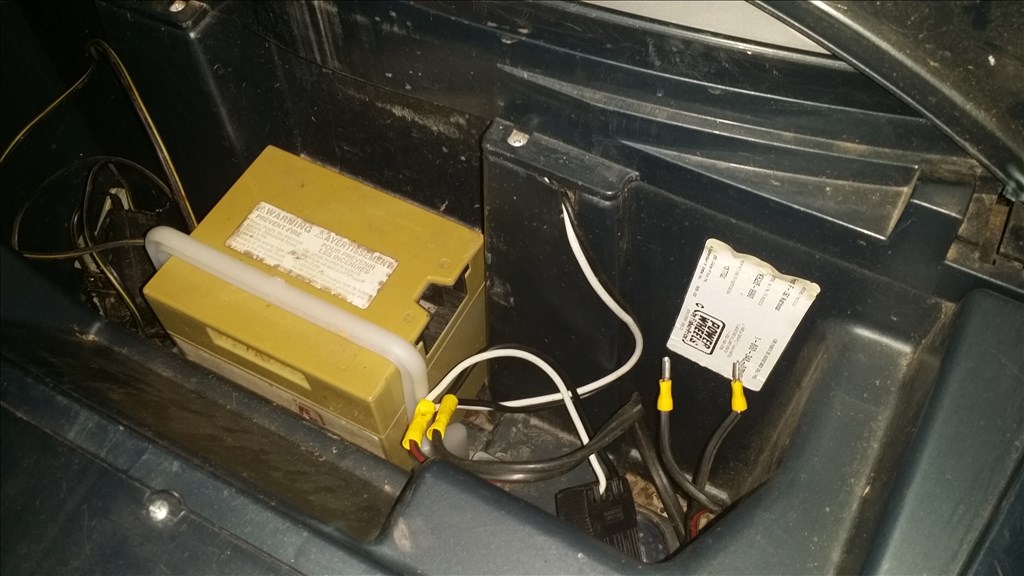
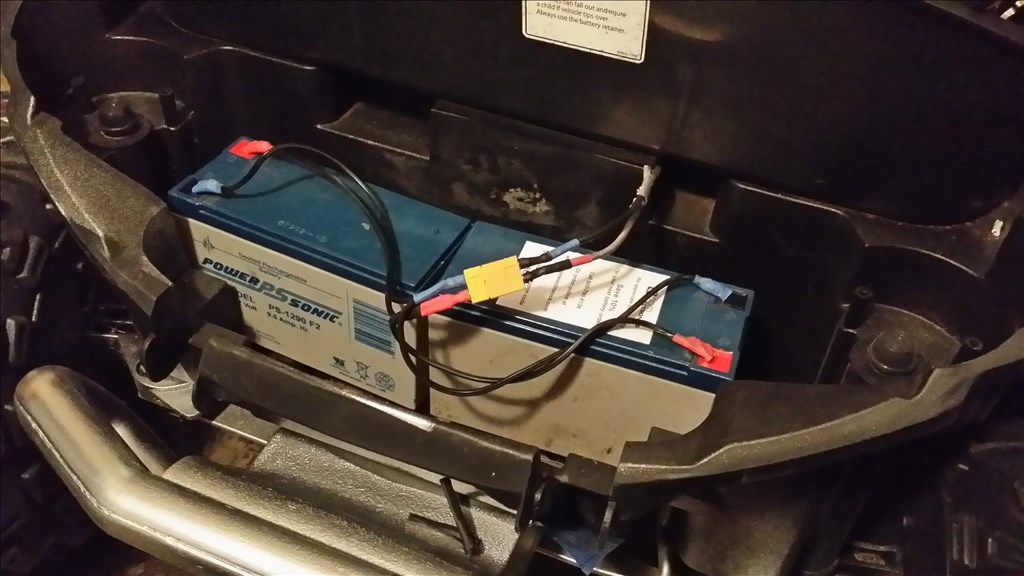
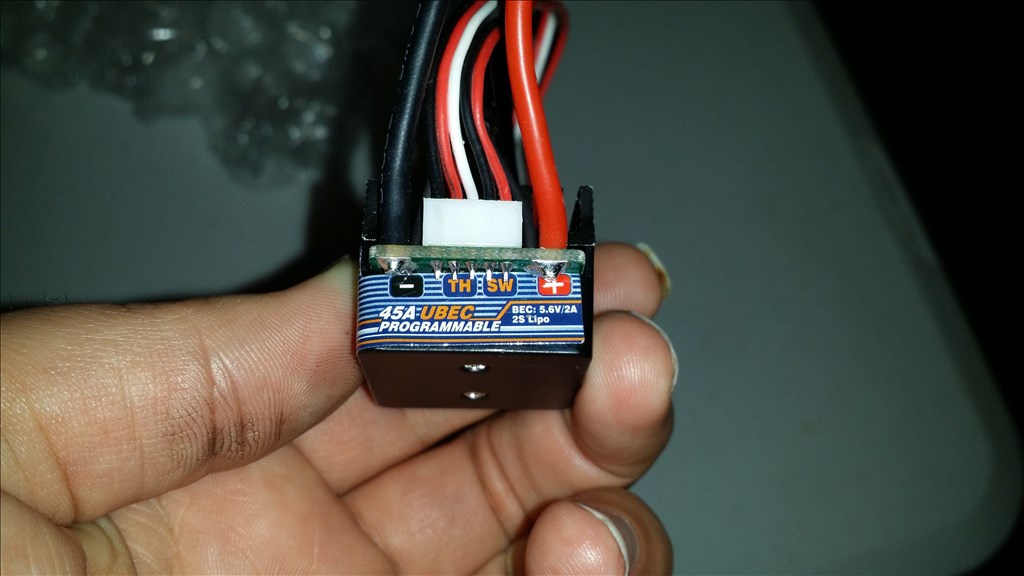
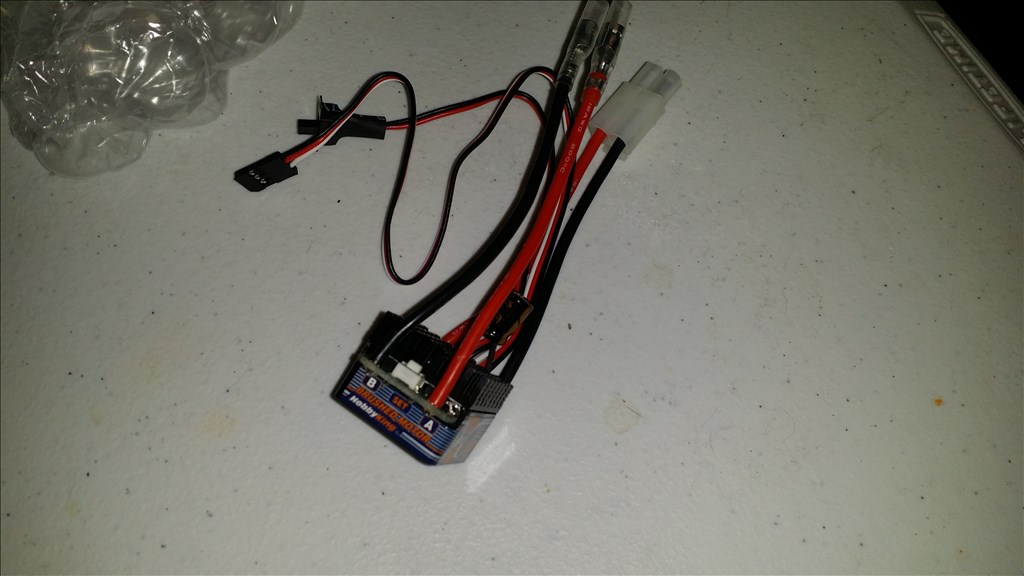
That was two evenings , there's lots of drying time involved which makes things go slower. The electrical takes a couple hours to solder up all the wires and install new batteries , I'm working on it more today.
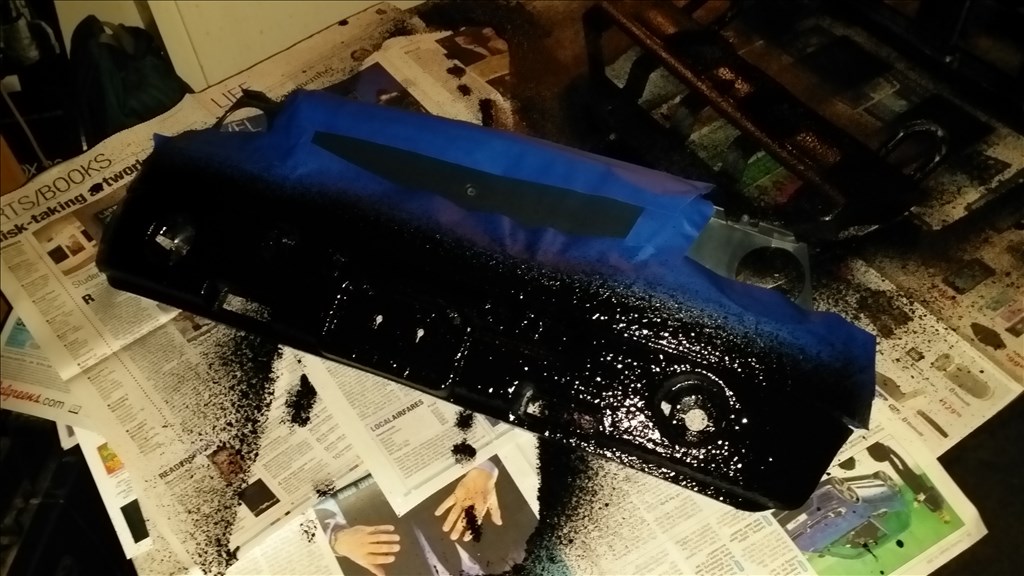
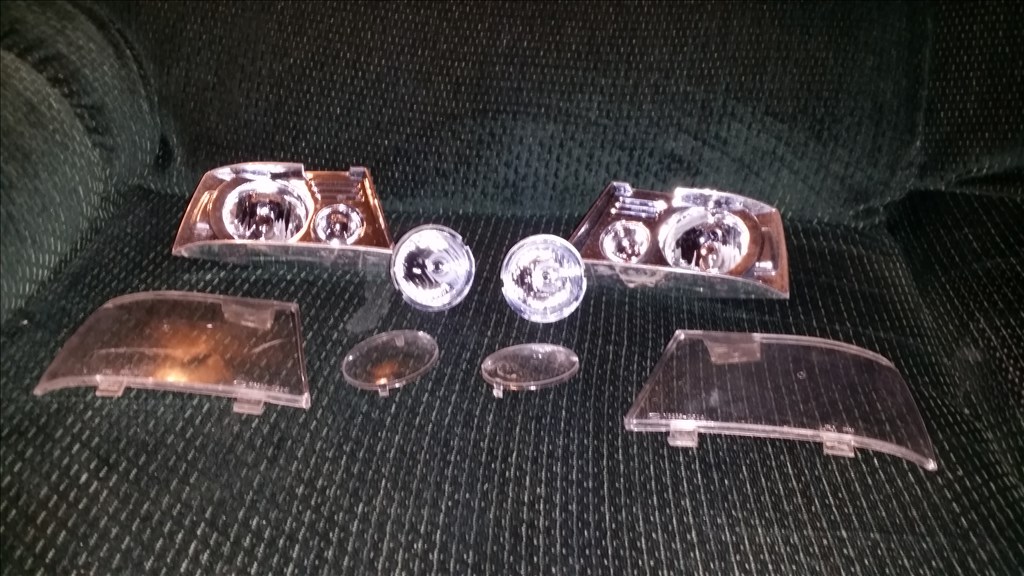
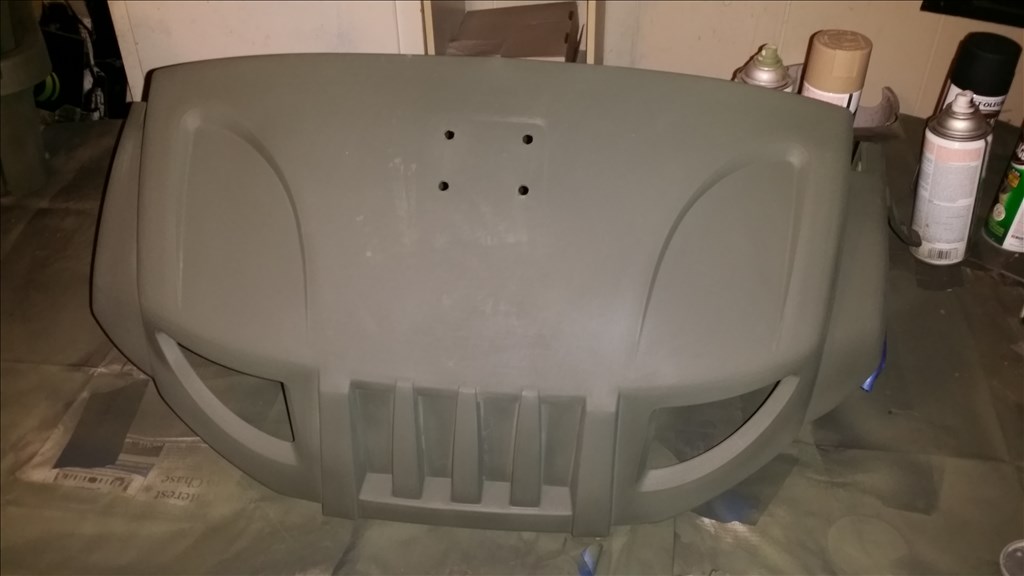
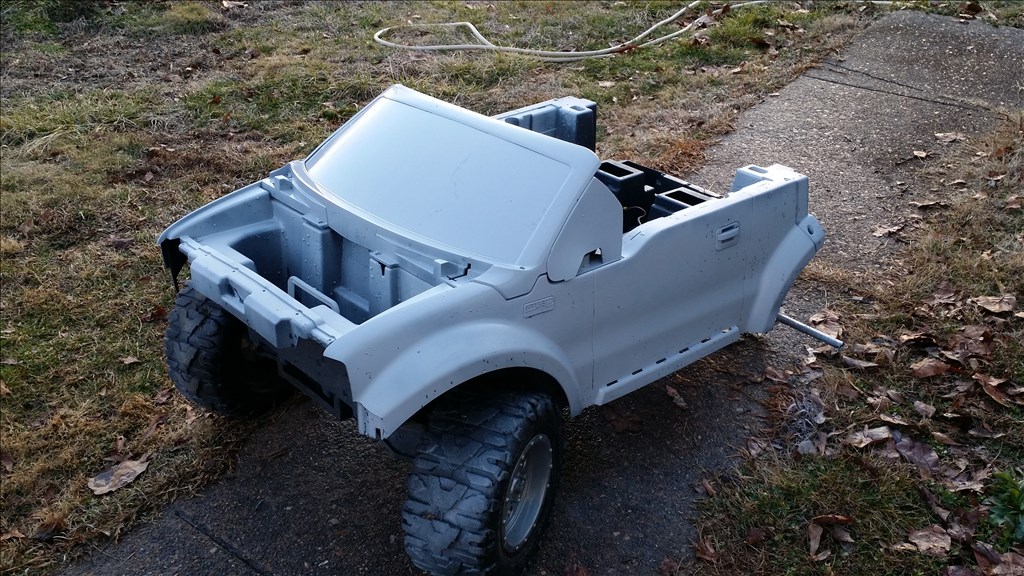
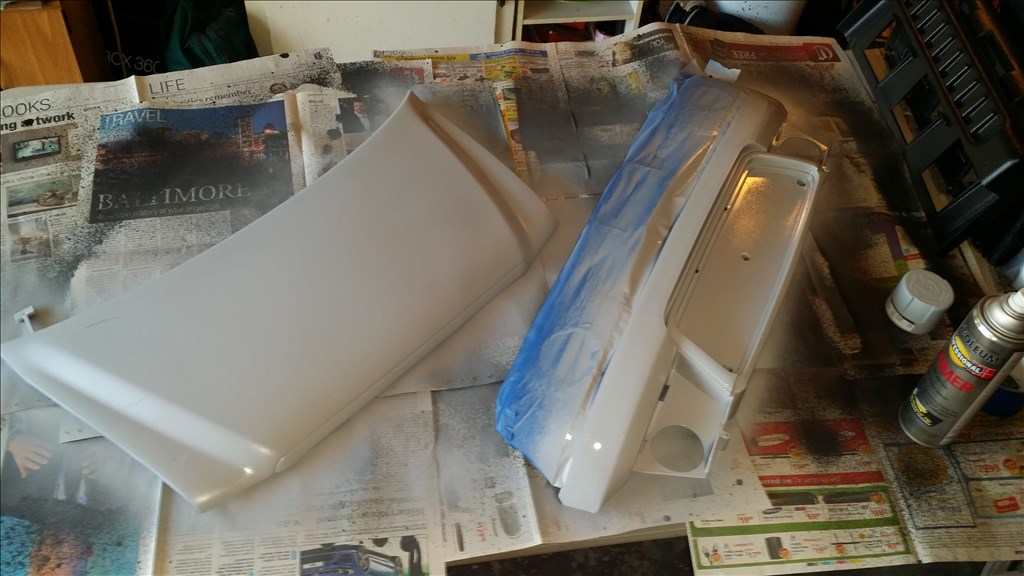
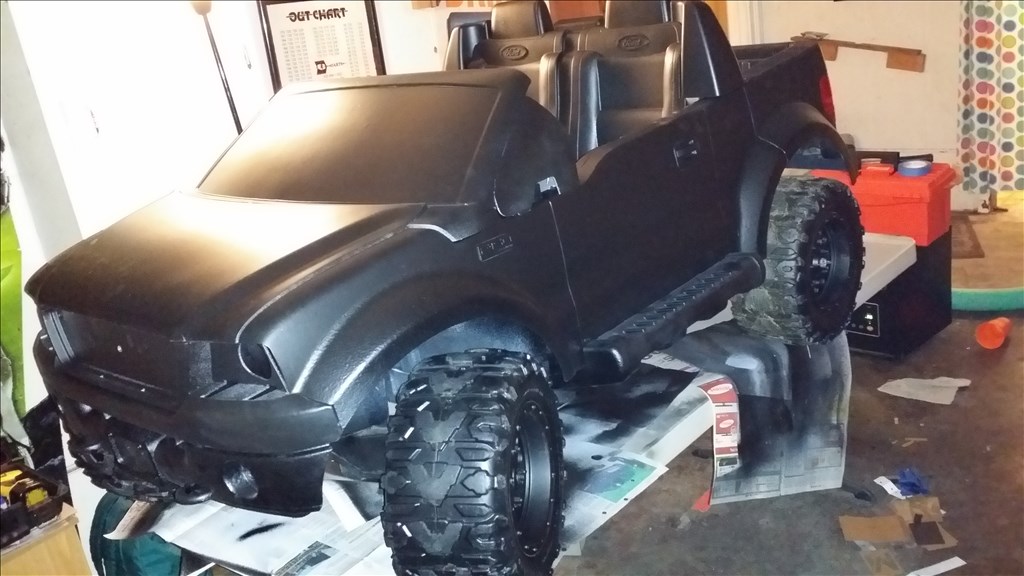
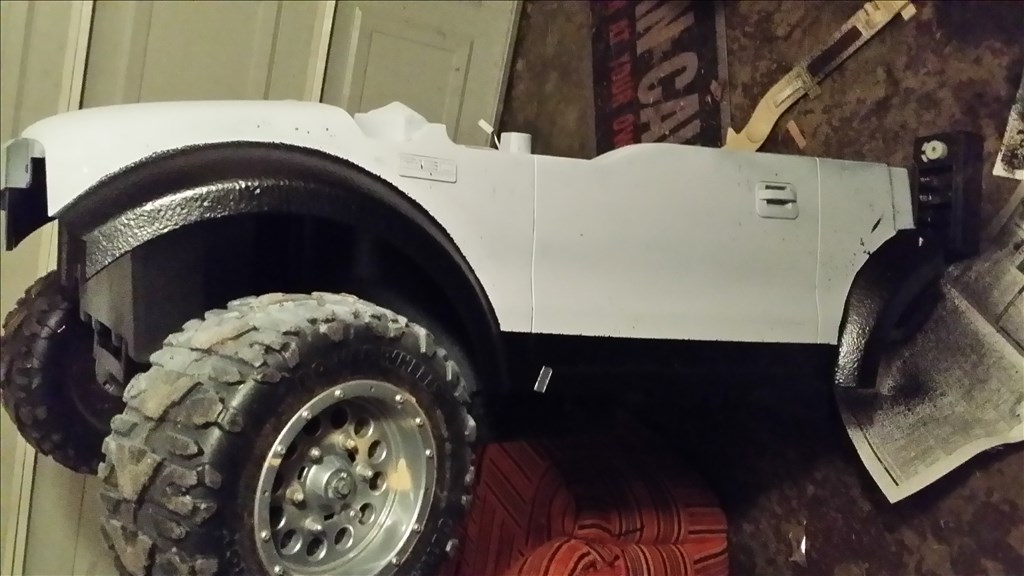
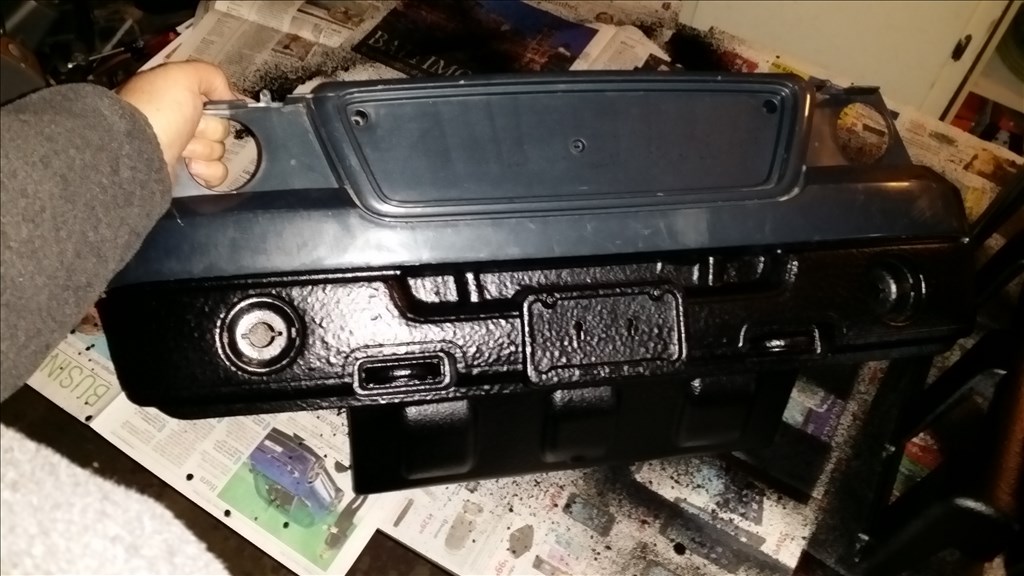
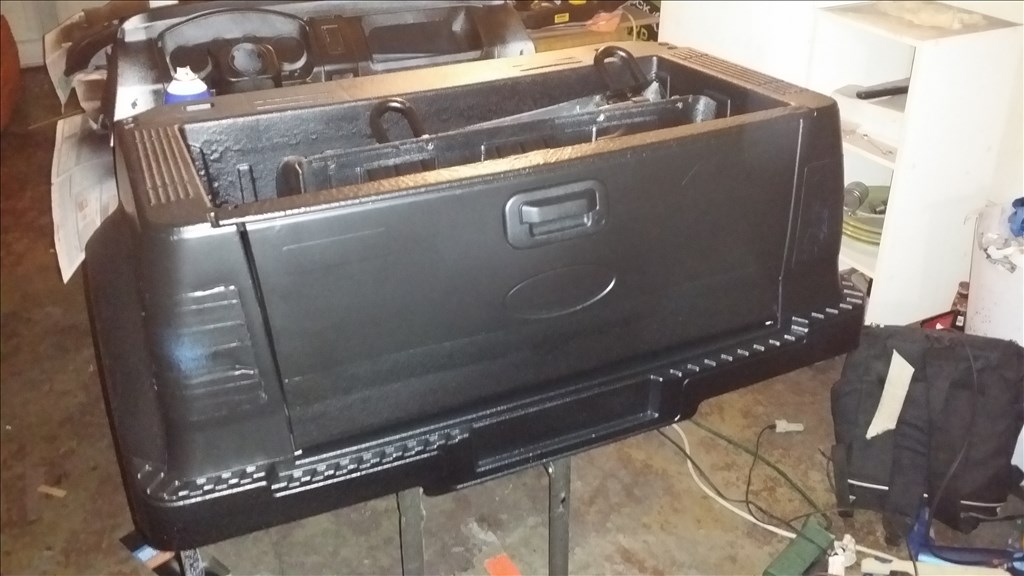
Today the rubber coated parts have hardened and look good. Now I'm priming the plastic parts so i can see major imperfections easier. I will sand them and then move to paint.
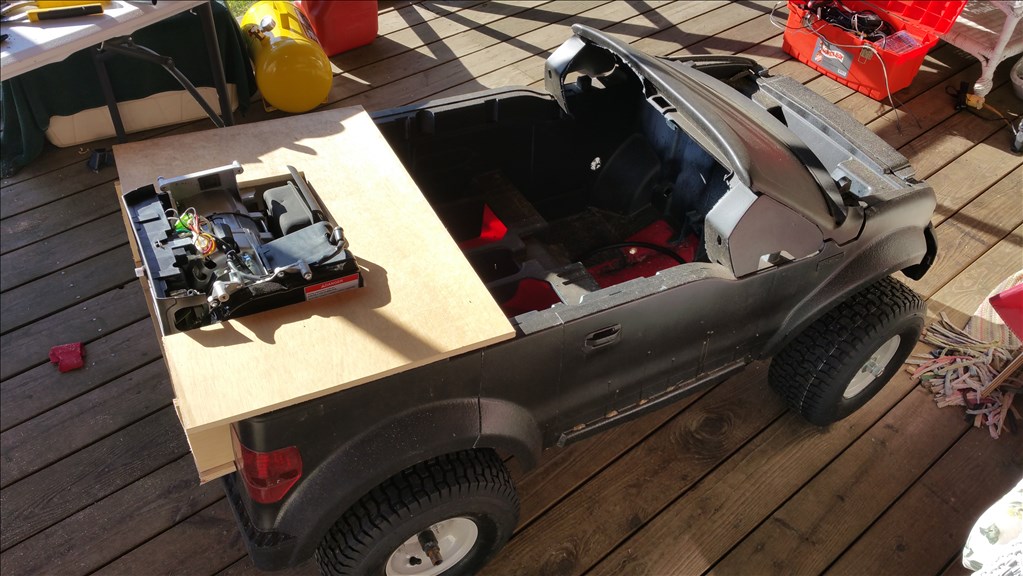
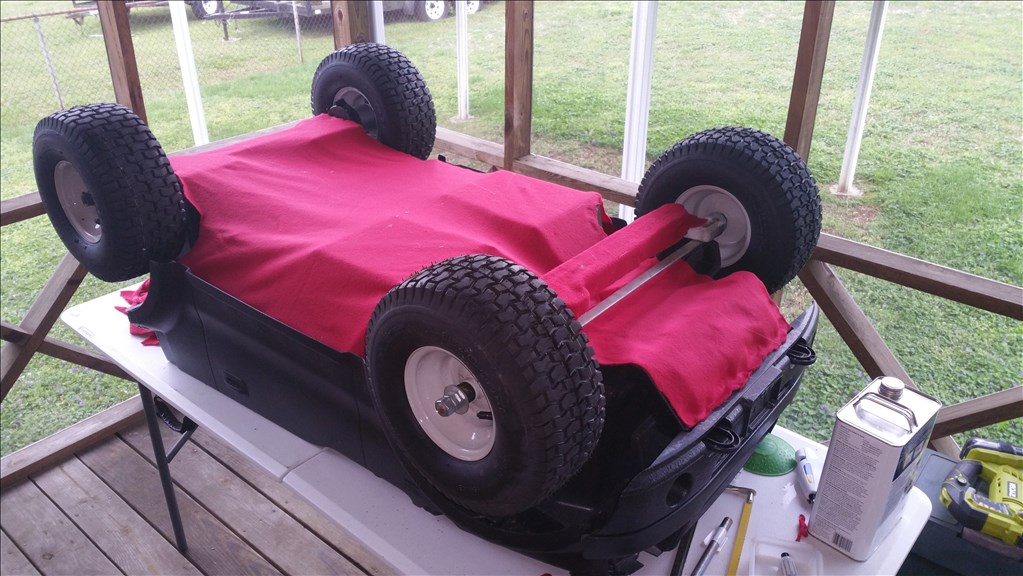
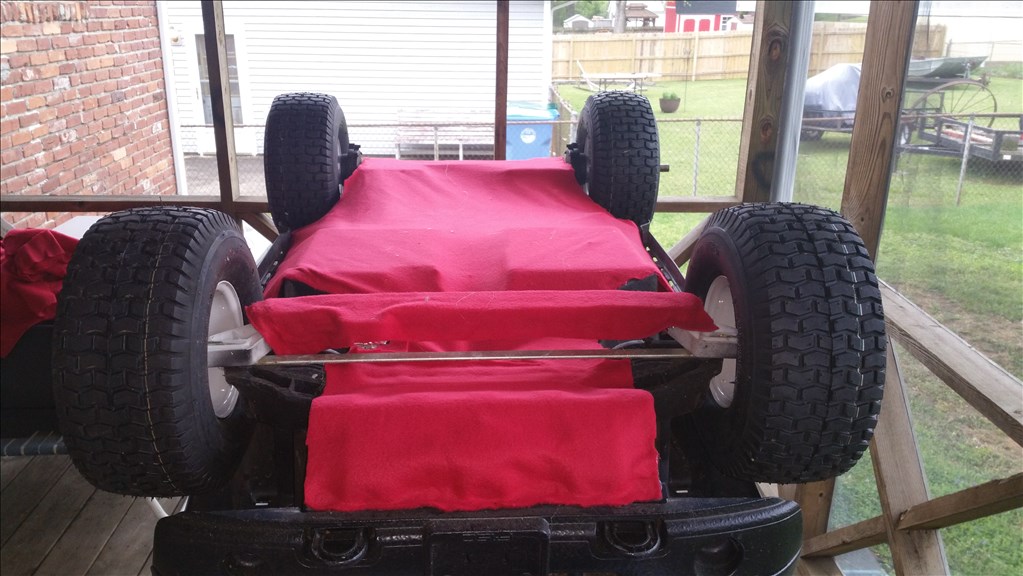
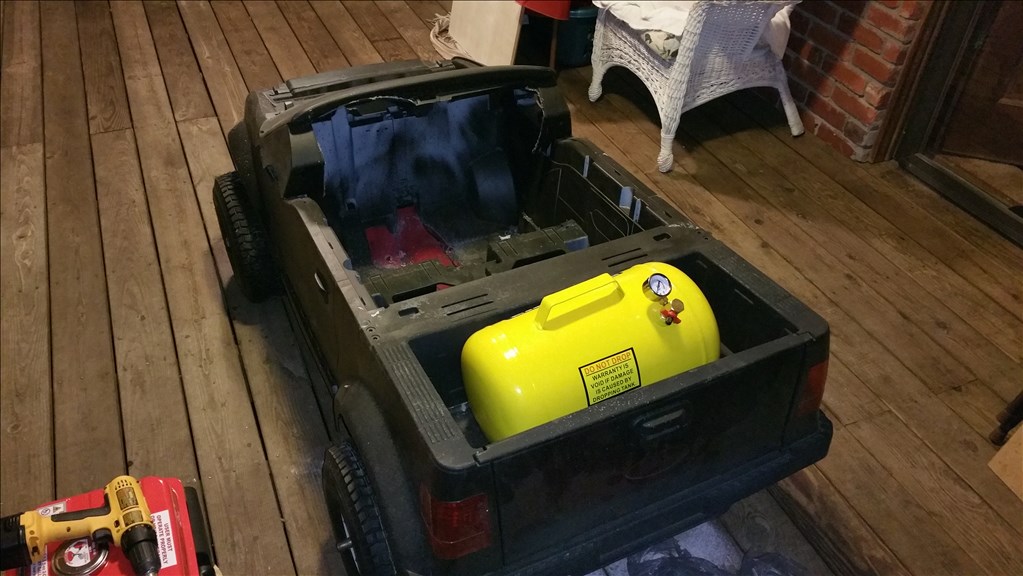
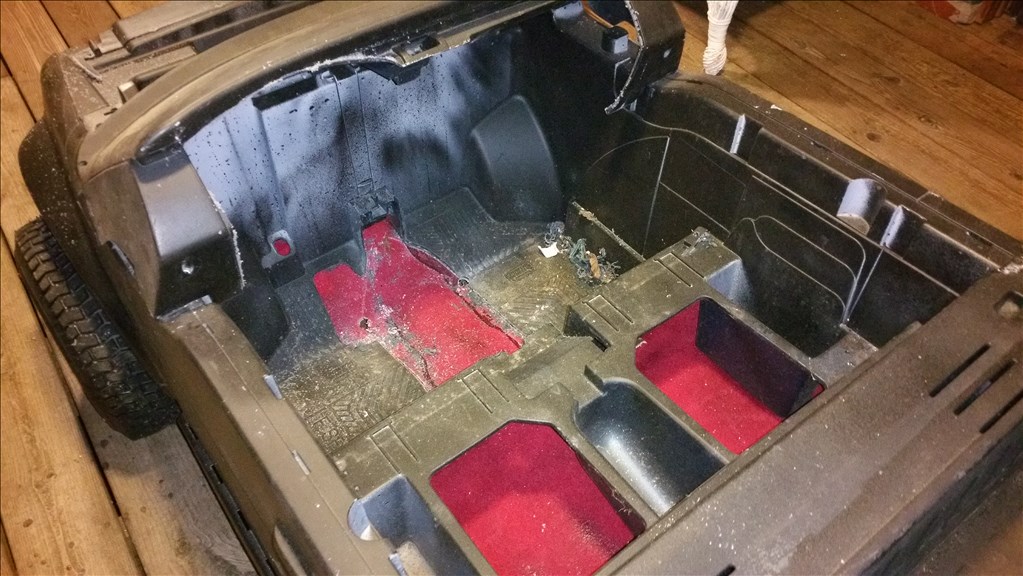
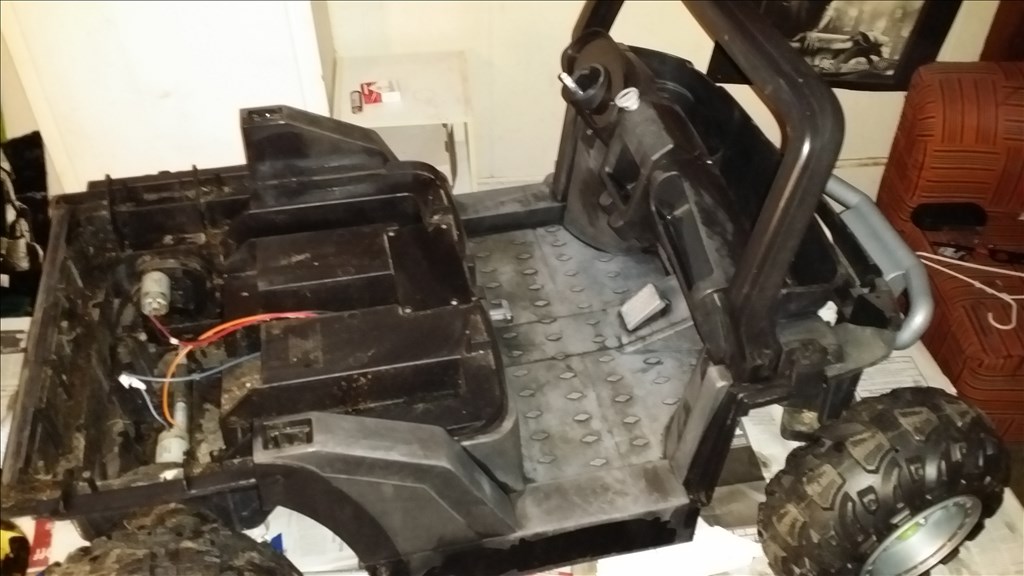
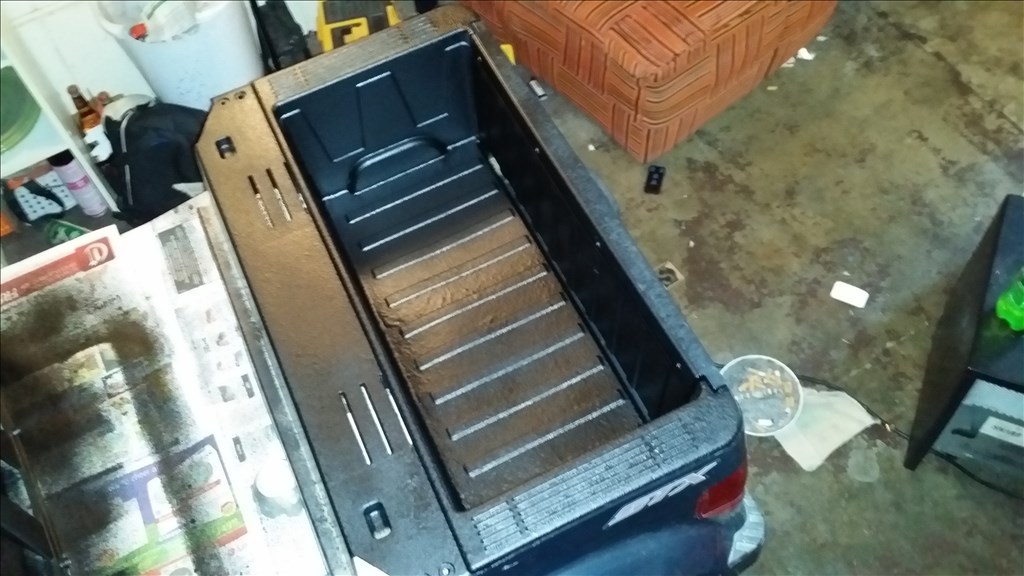
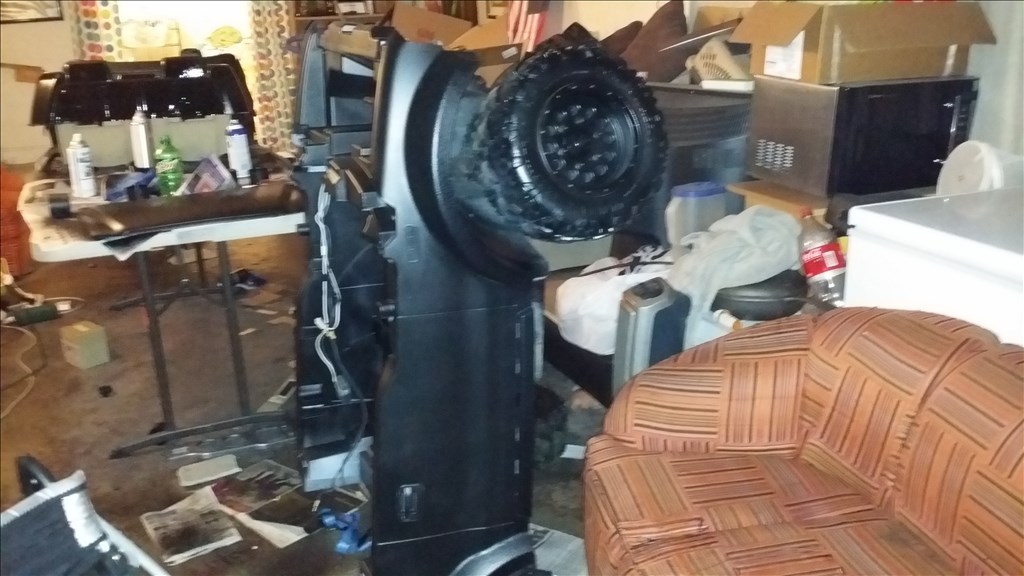
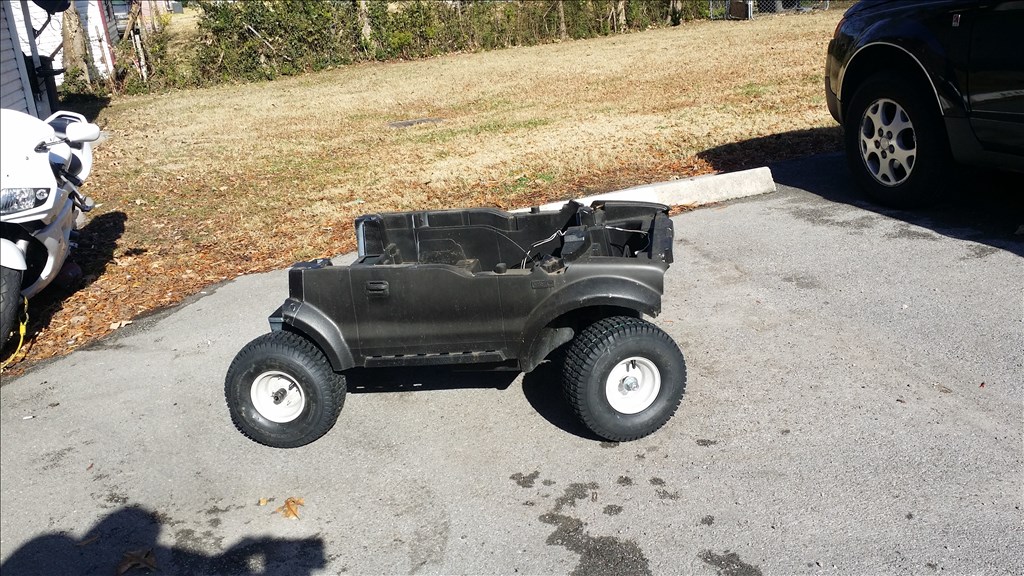
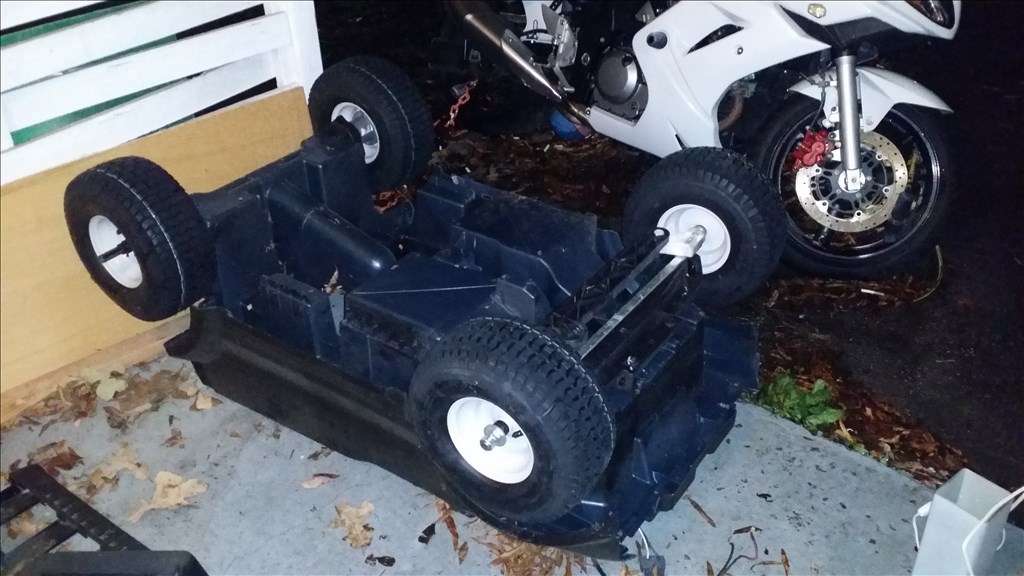
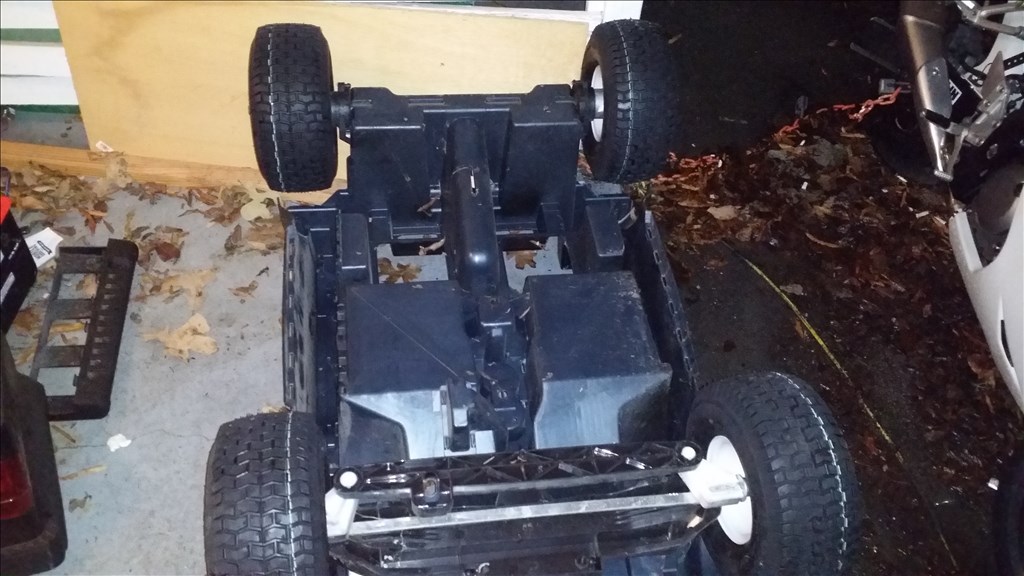
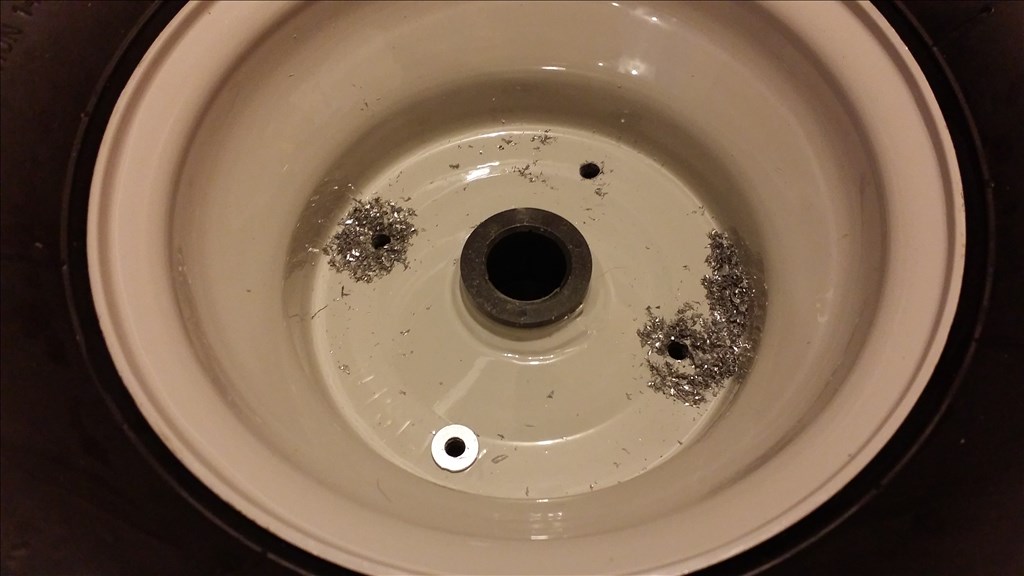
I pulled the frame outside and washed it with hot water and dish soap. Then drilled a few holes in the floor so it's easier for any water to drain out.
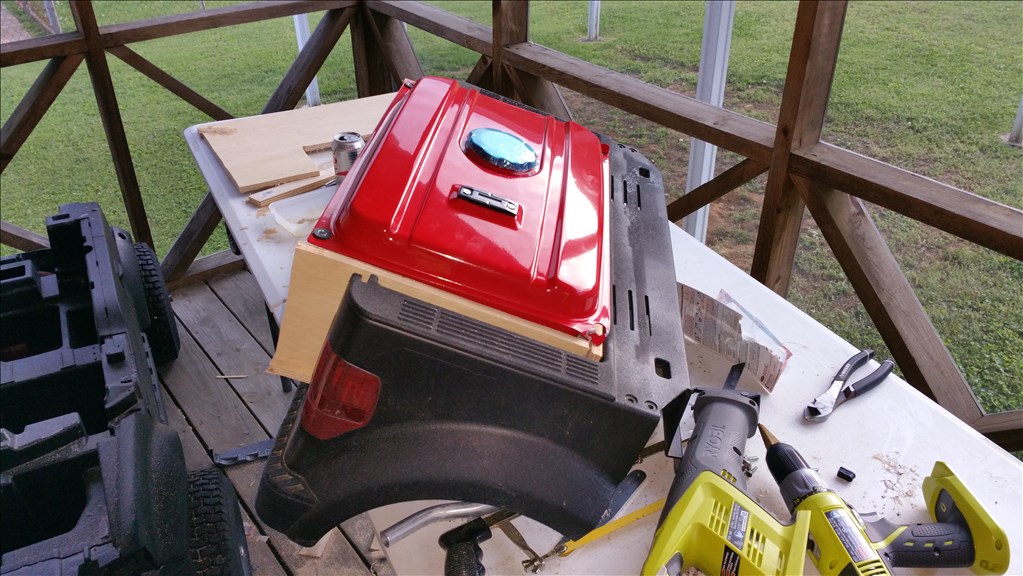
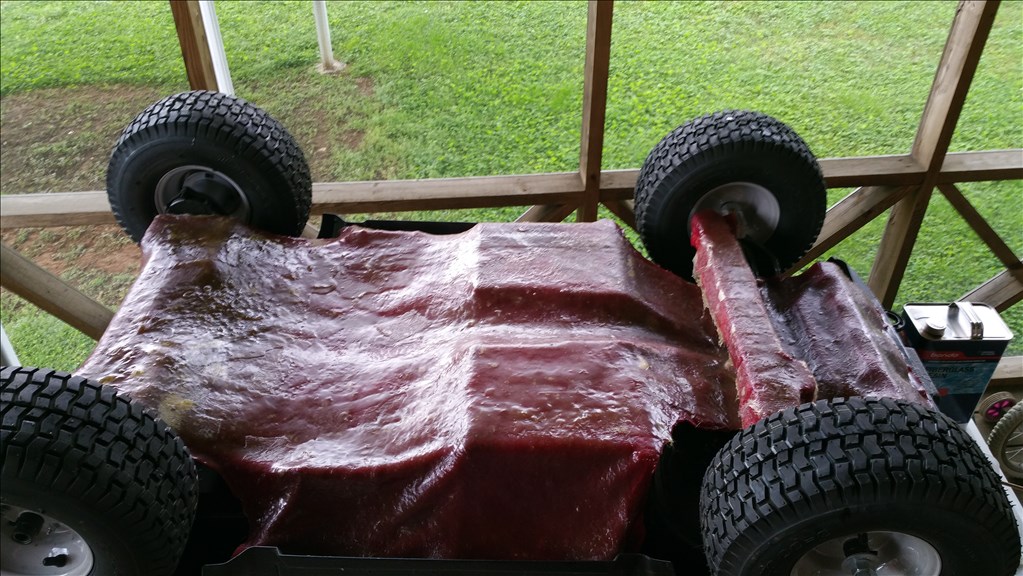
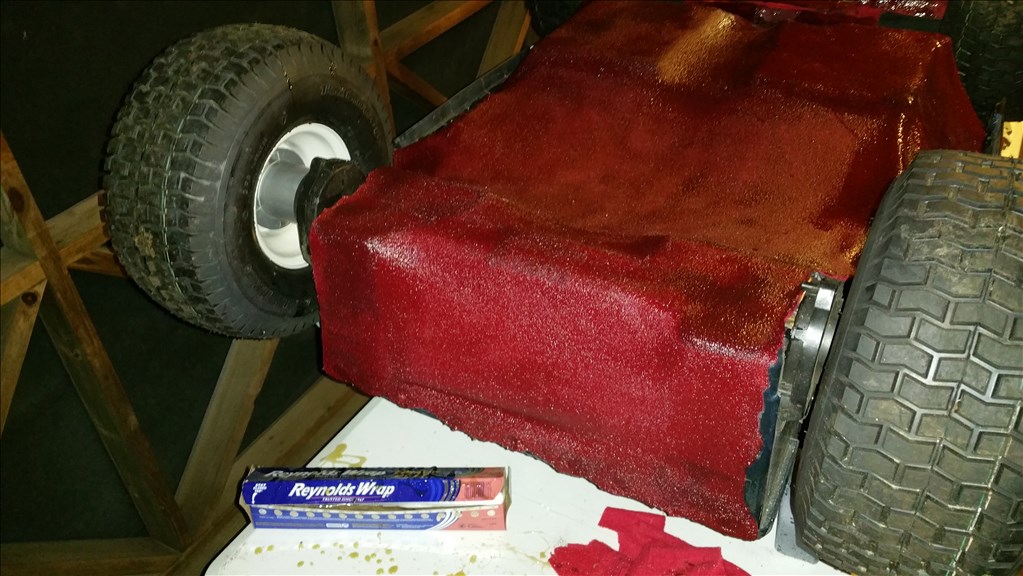
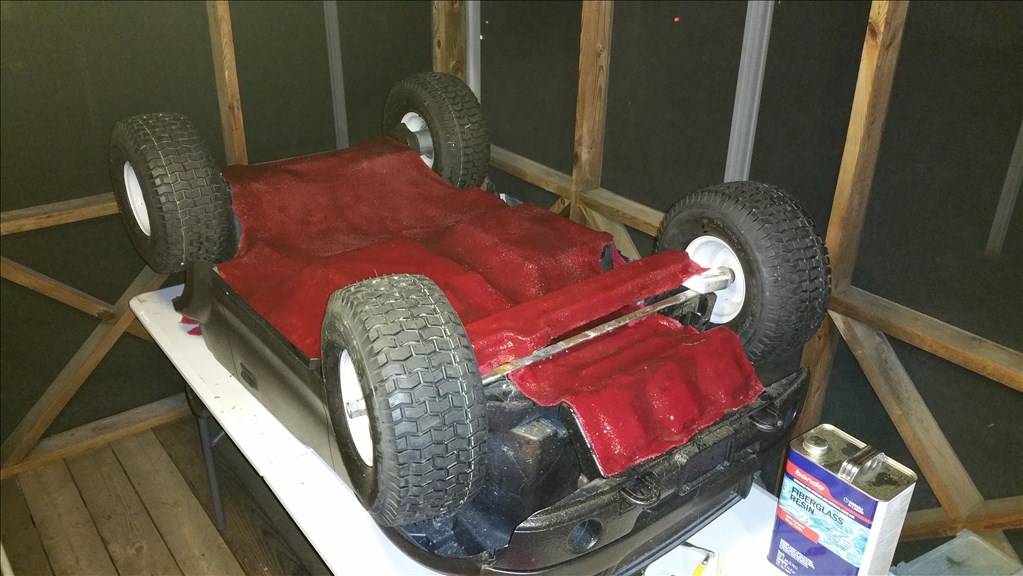
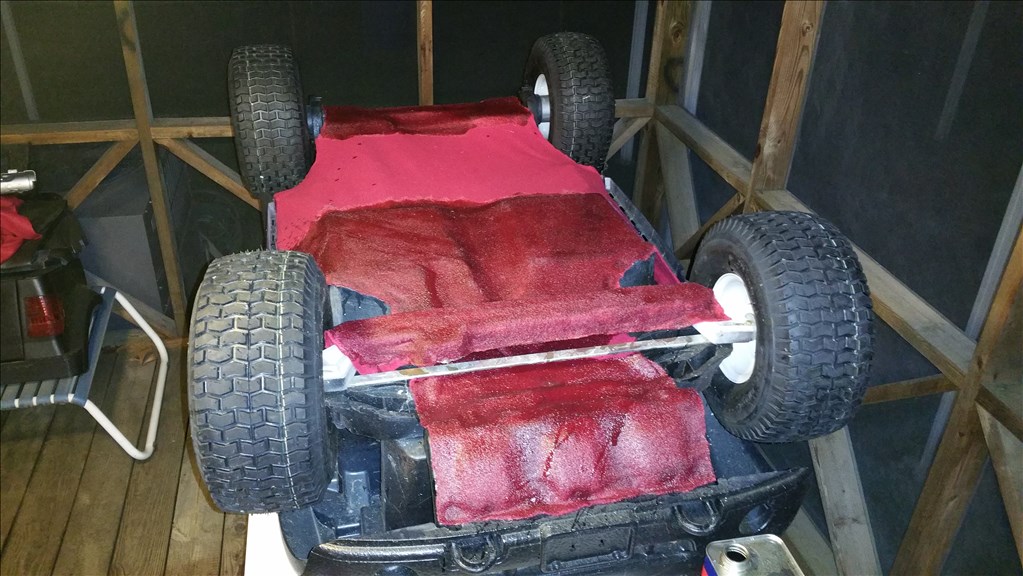
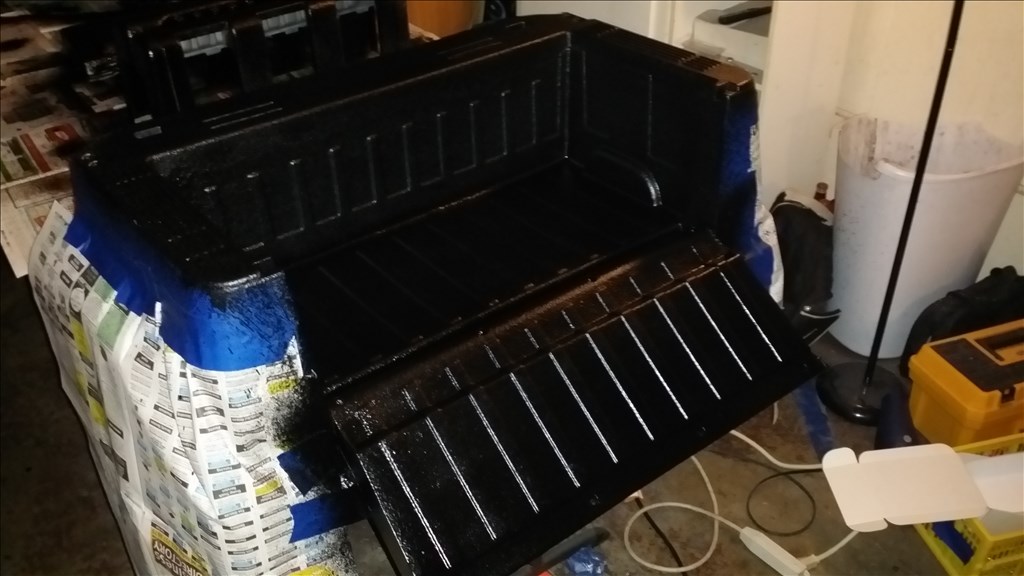
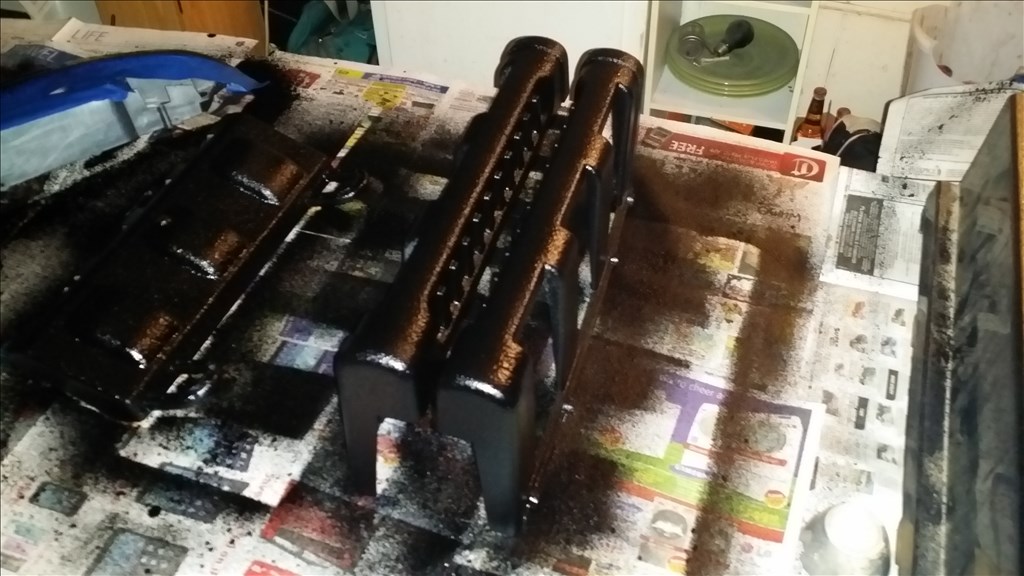
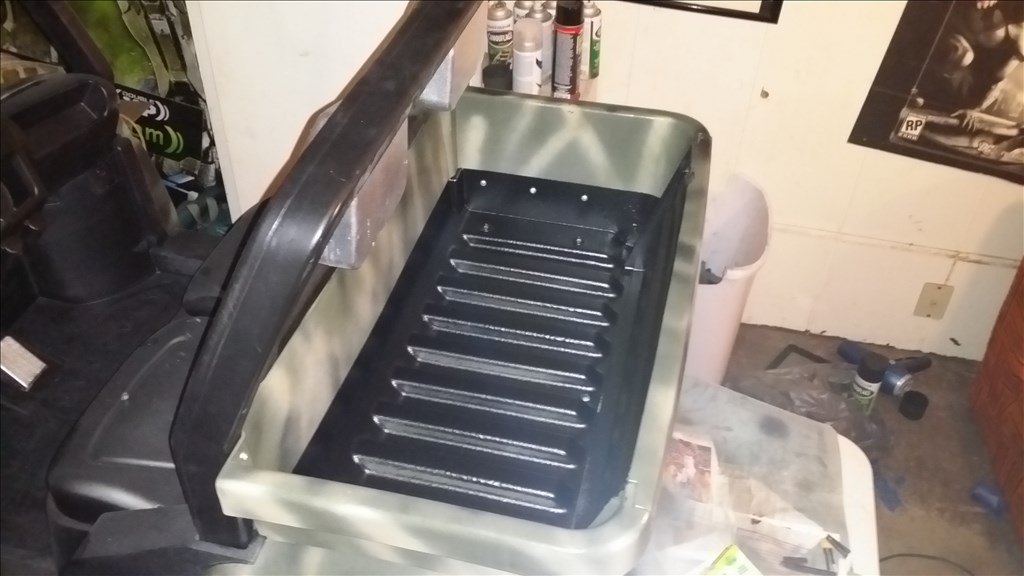
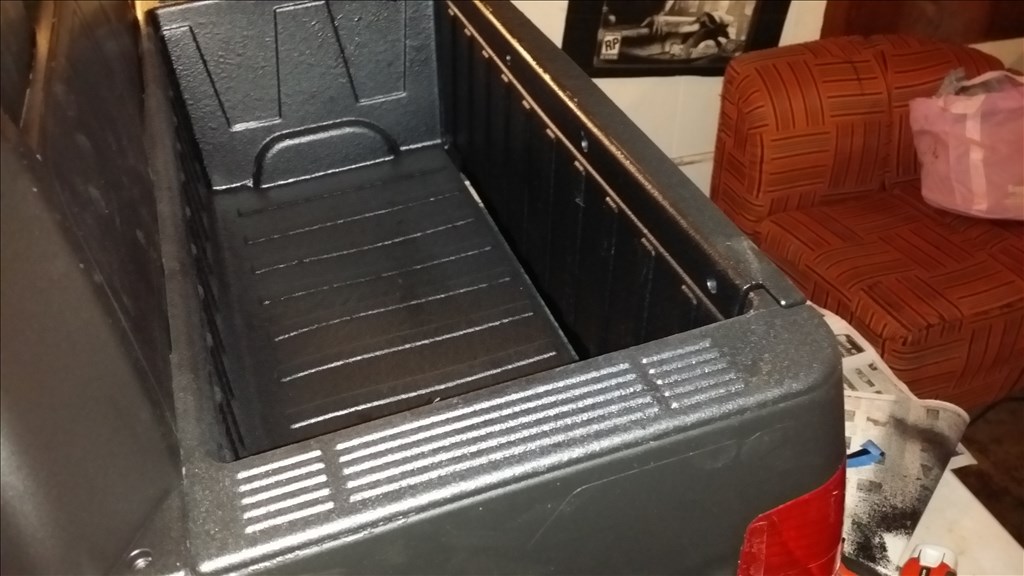
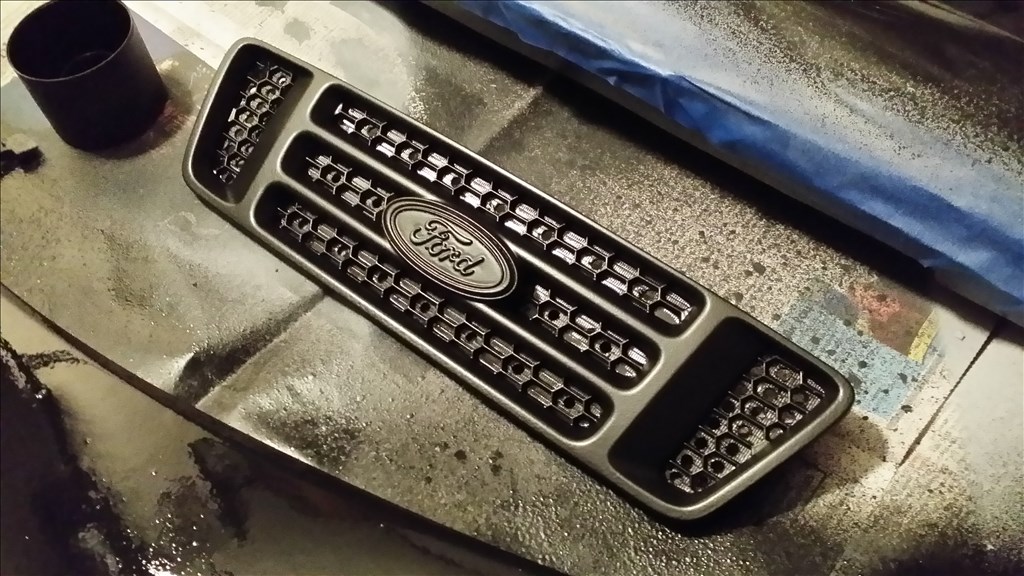
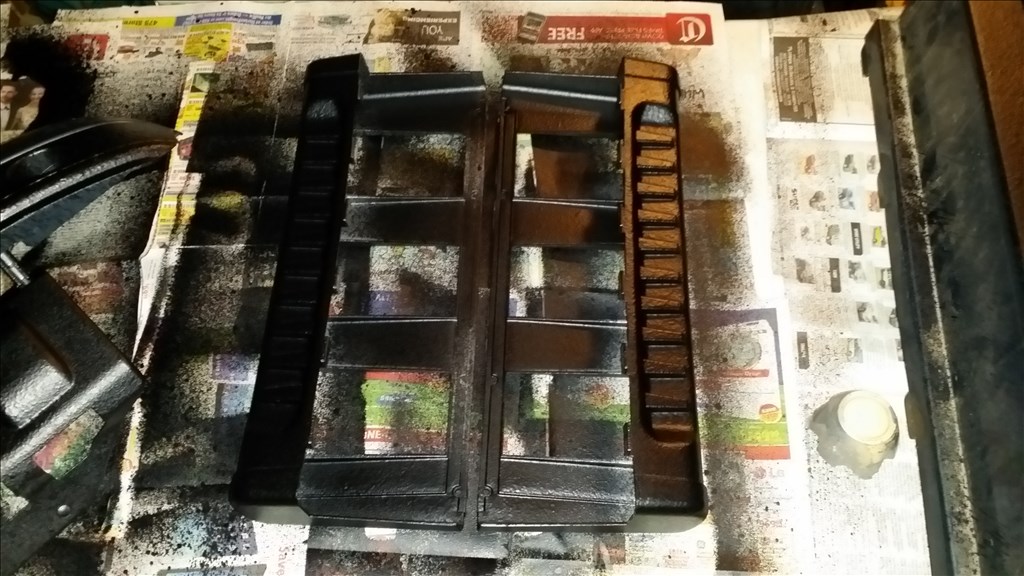
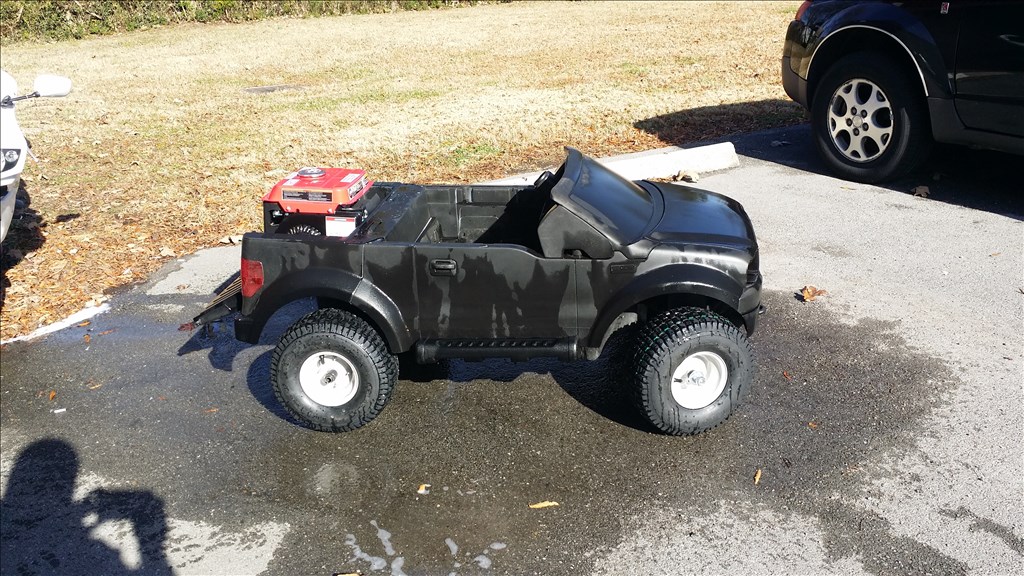
Here's the finished parts with rubber coating.
Looking good! I think this could be an awesome project. What about a robotic driver too?
Adult Power Wheels Racing
First robotic contestant?^^
https://www.youtube.com/watch?v=rNY9Dx617N8&feature=youtube_gdata_player
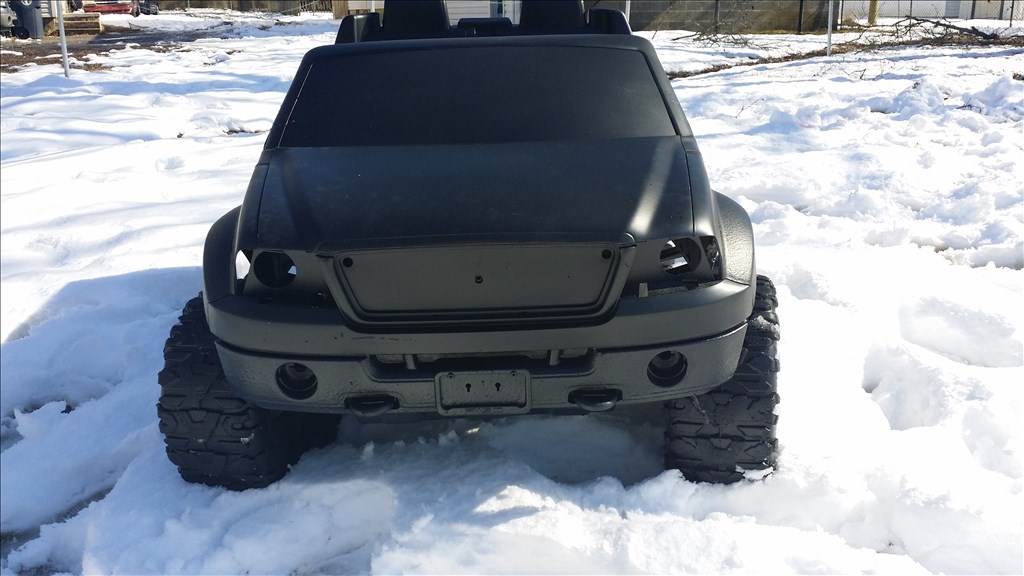
Plastidip option looks simple.
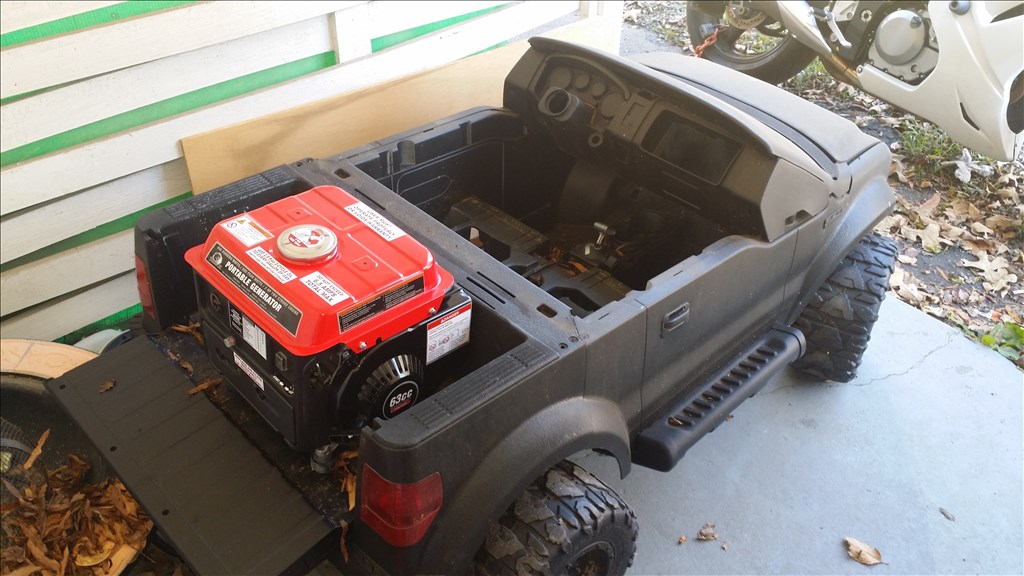
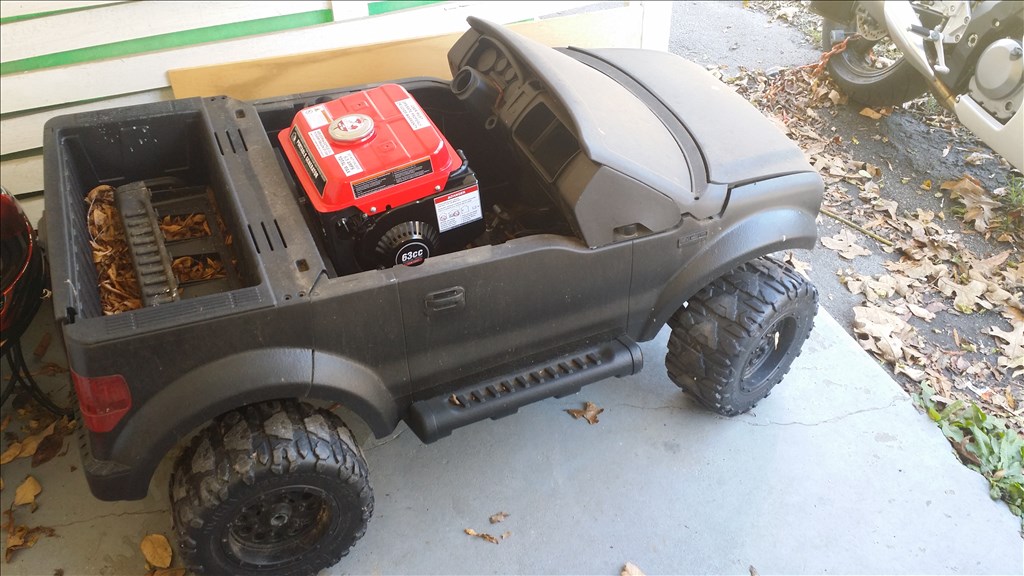
I am considering different options but I think stealth looks really cool too.
@Technopro , lol I have no intention of riding this thing lol. The sport of adults riding them looks like I need to sign a waiver, get a tetanus booster shot and buy some life insurance lol. I will enjoy it at a.safe distance through a PC or android device lol.
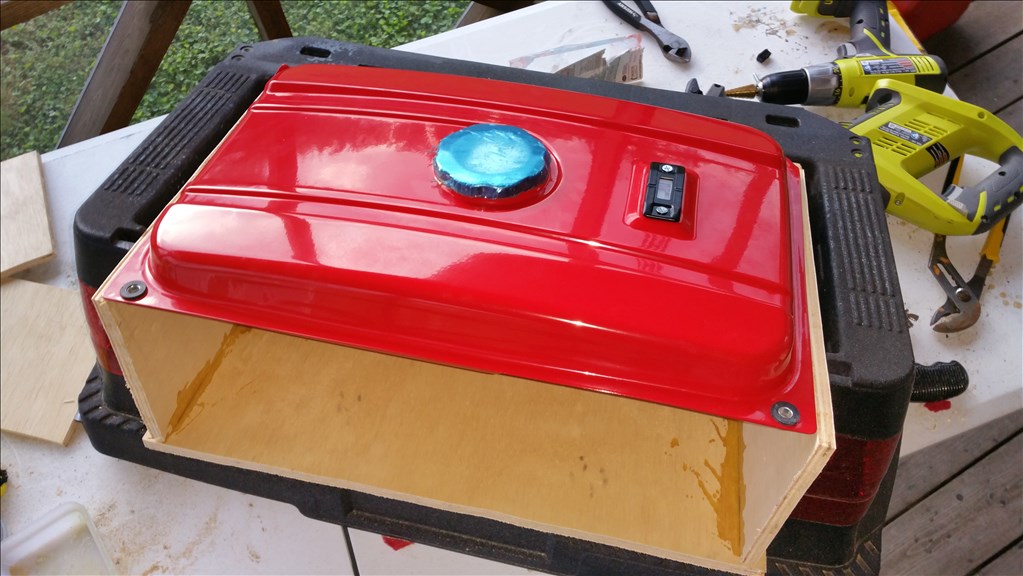
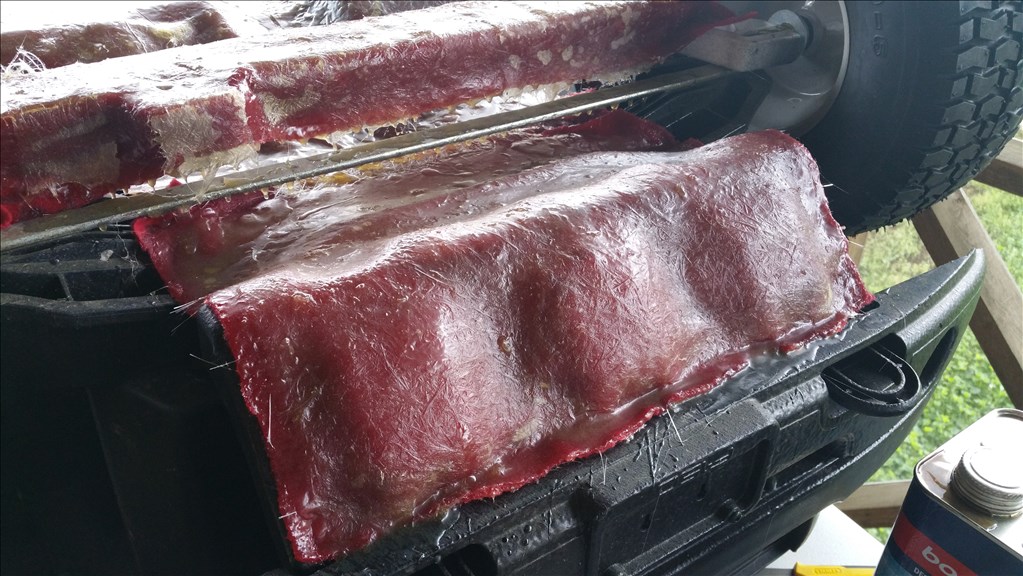
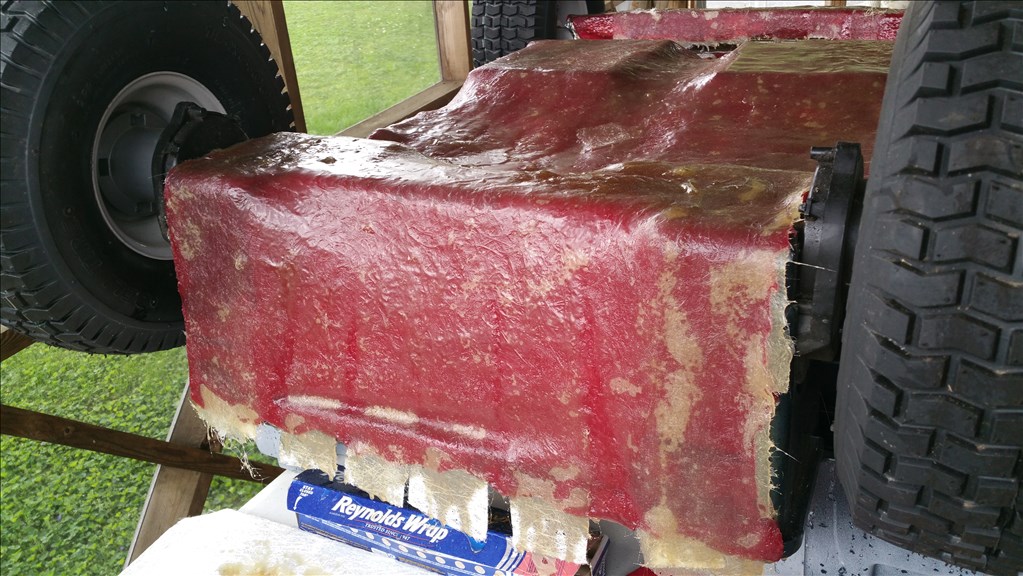
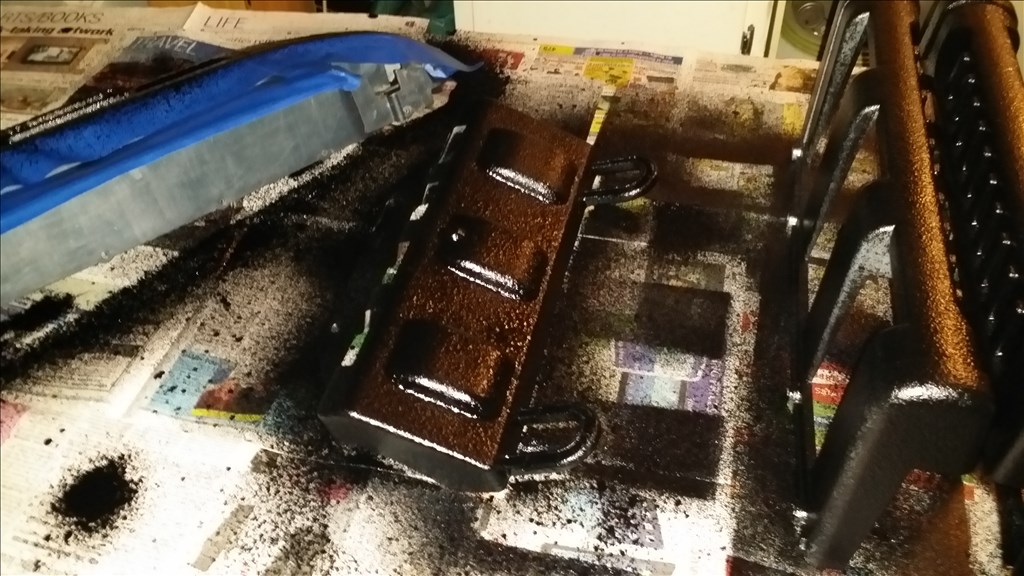
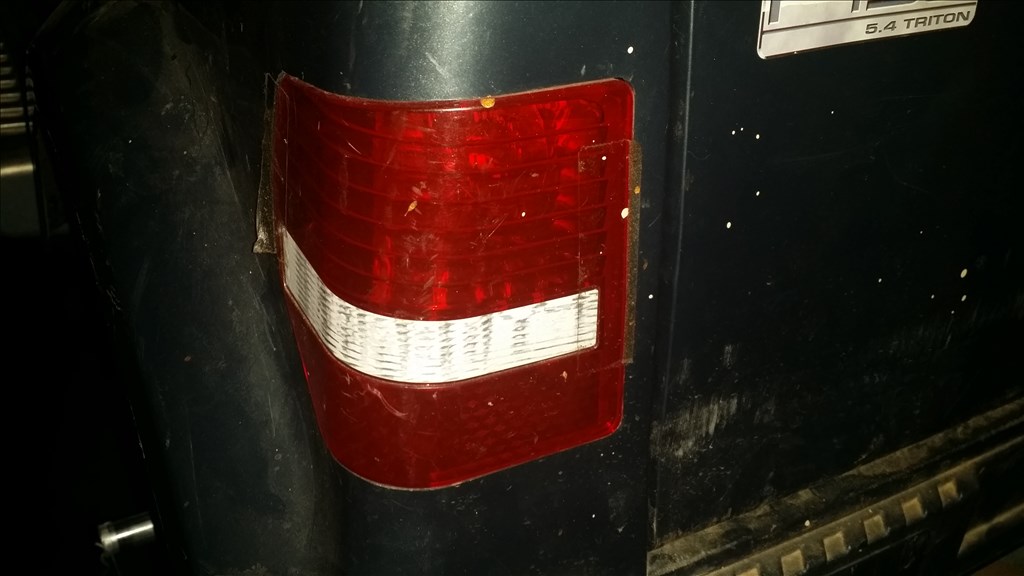
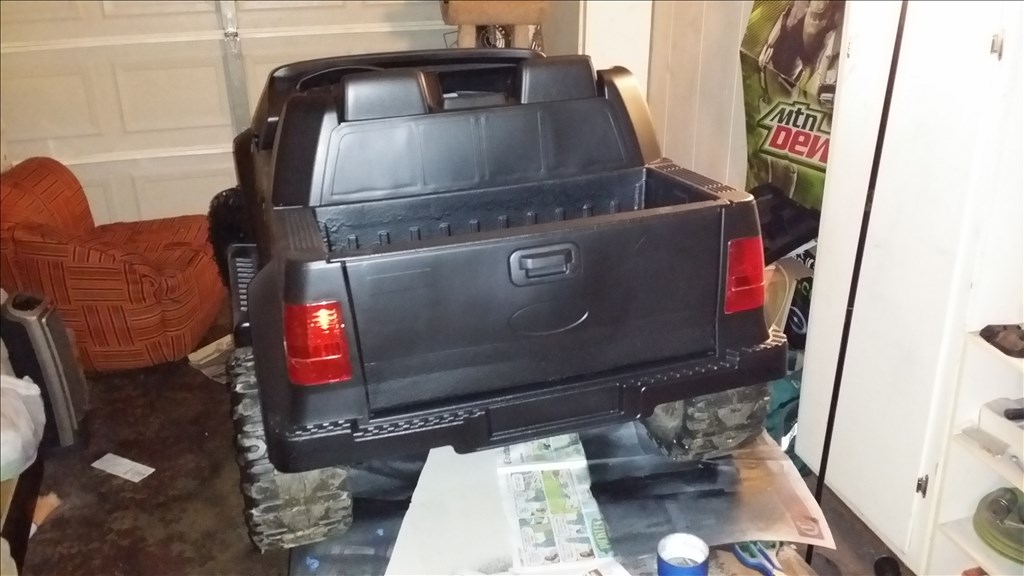
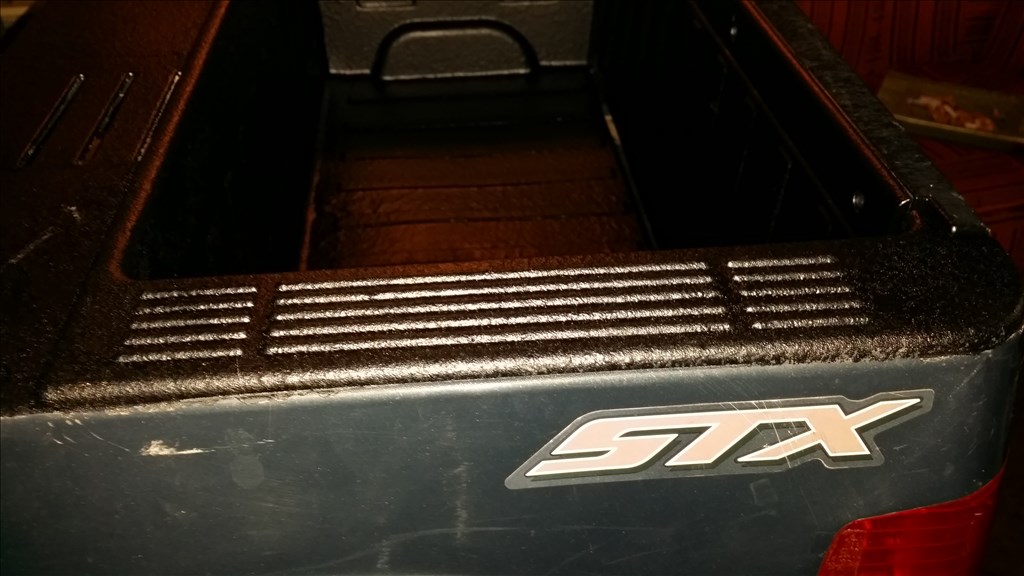
Taped off and rubber coated the reason bumper and part of the tailgate that looks like it rubs against something. I want to cost the areas most likely to get scuffed with this hardy thick rubber.
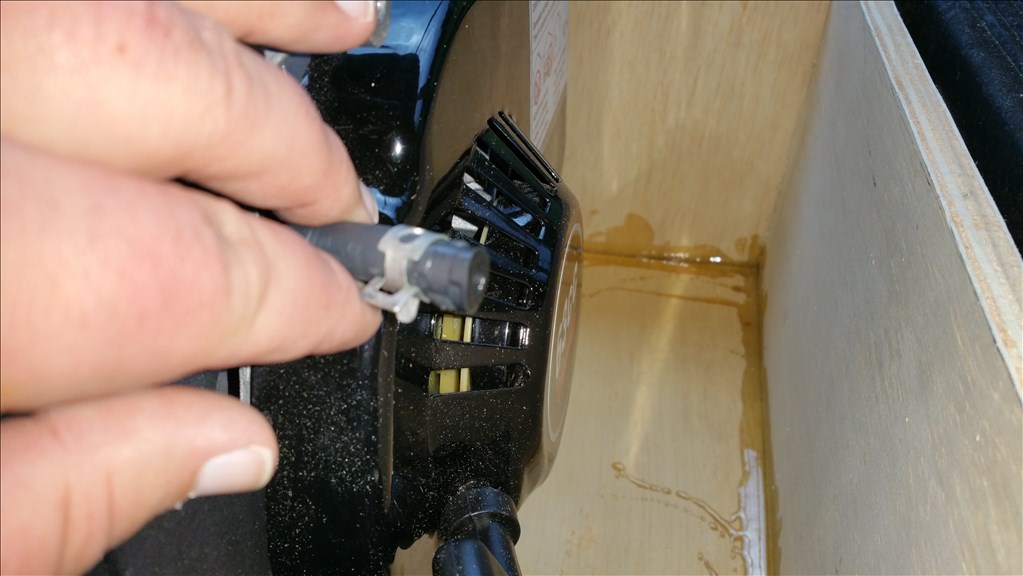
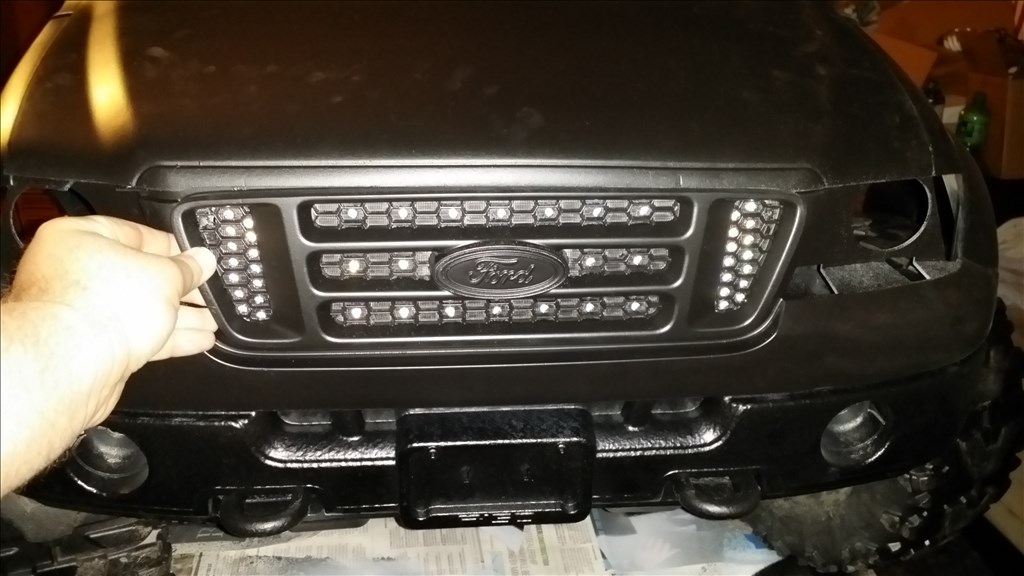
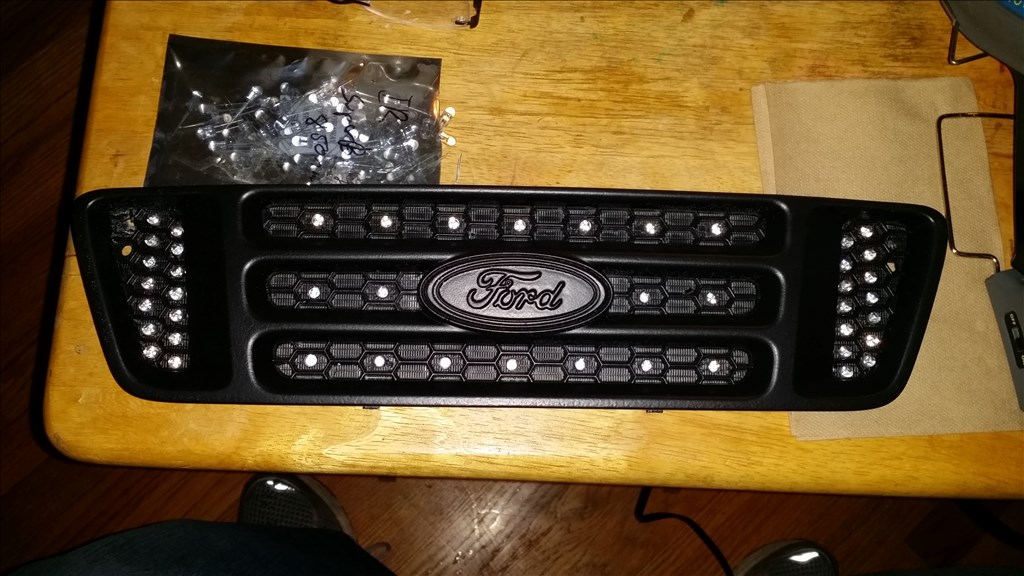
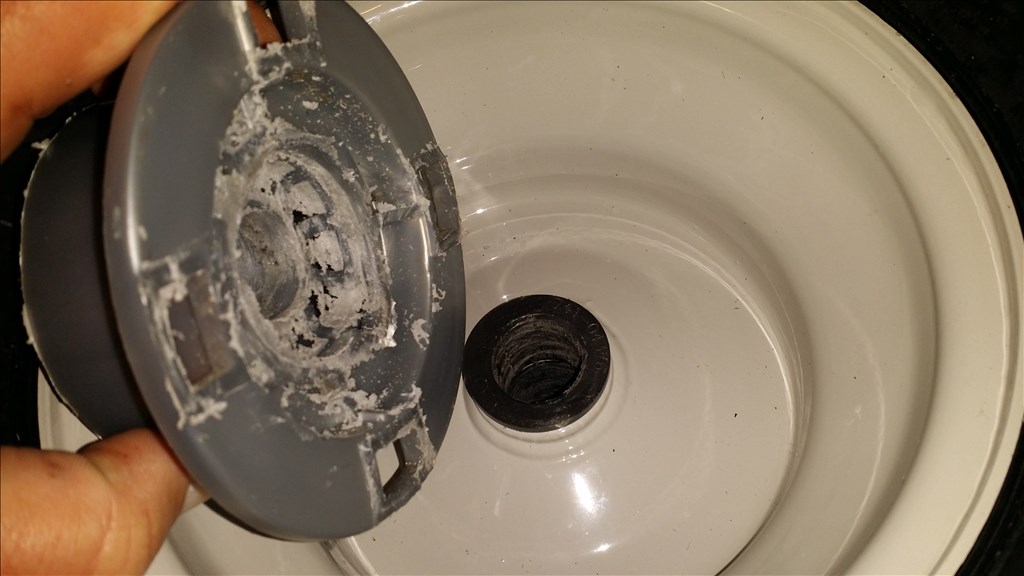
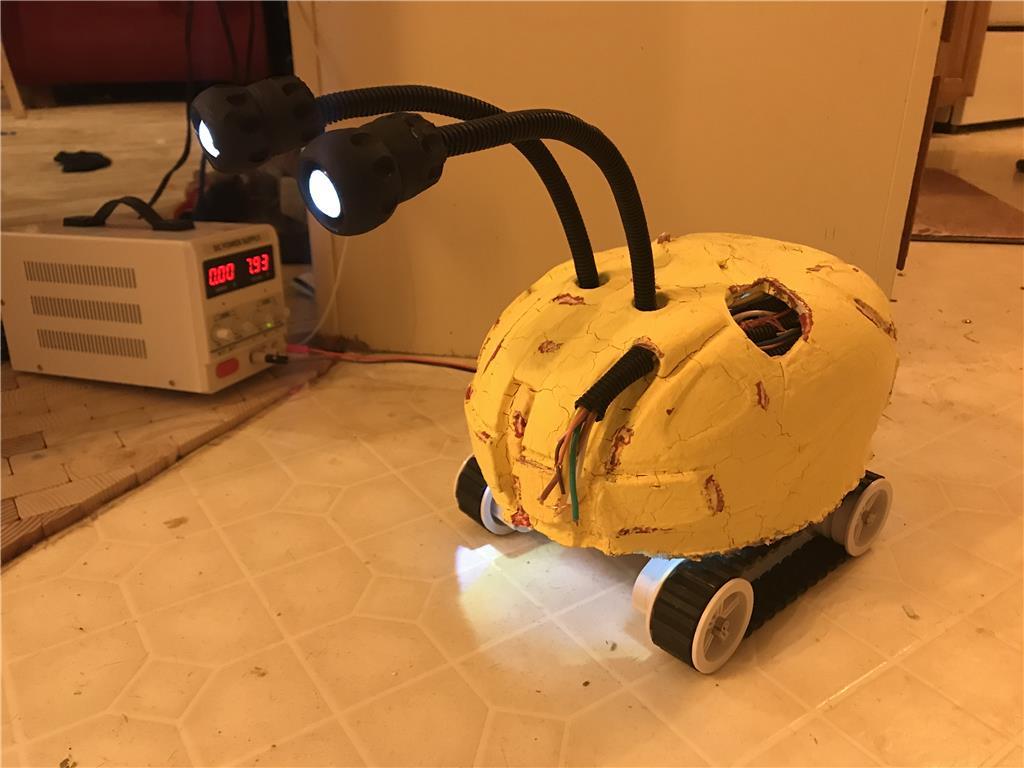
Holes are drilled for the 850nm IR Leds. I believe this is 48 leds scattered.