


cE9s4PsOgeBQIORwjd5!~~60_1-634818020230156250.jpg)


BO)Lupuc4g~~60_35-634706297915000000.jpg)
LupbT6!~~60_35-634706298769375000.jpg)


C5j!~~60_35-634655044863125000.jpg)


C5j!~~60_35-634659603510781250.jpg)


C5j!~~60_35-634651704046230469.jpg)
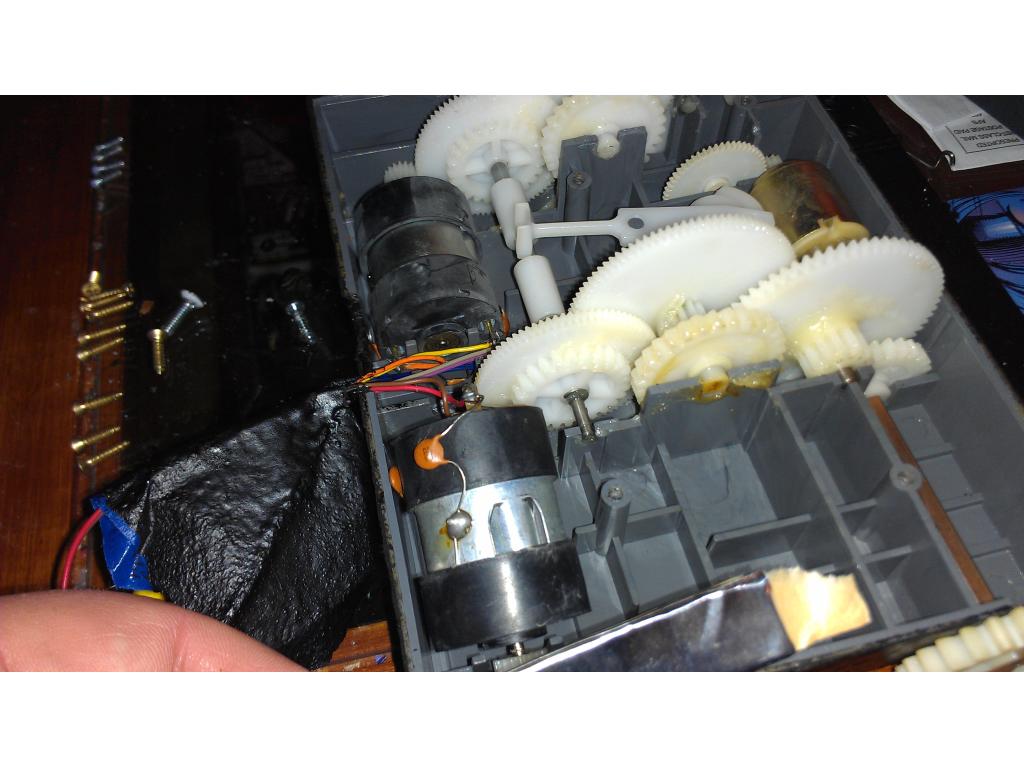
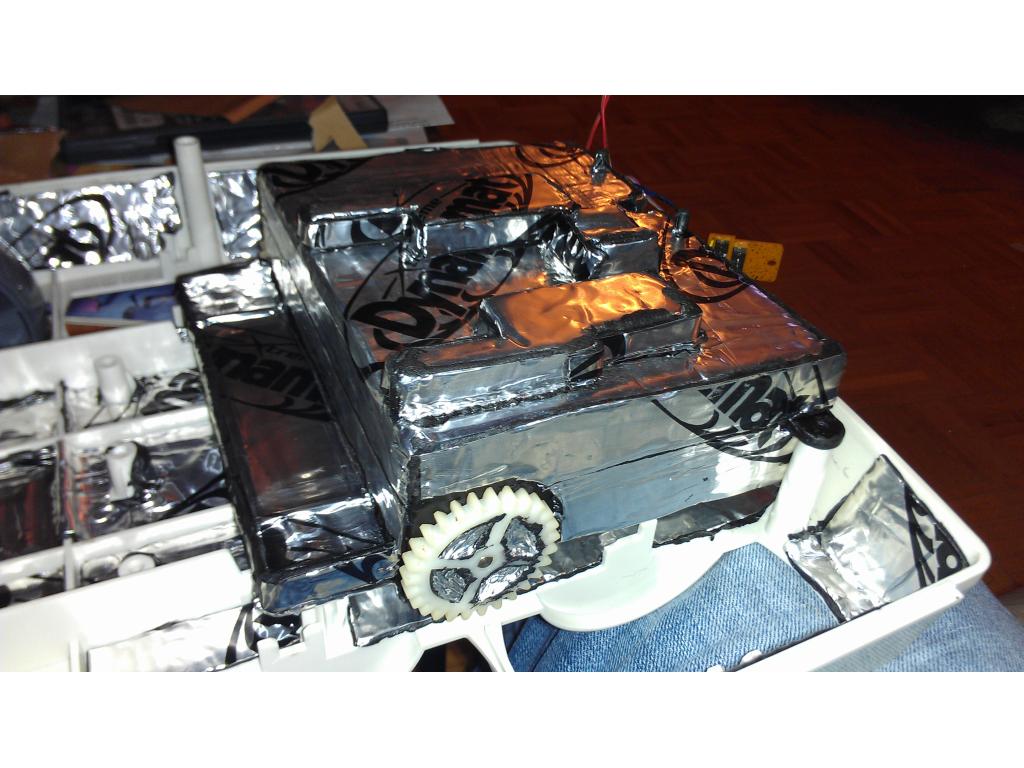


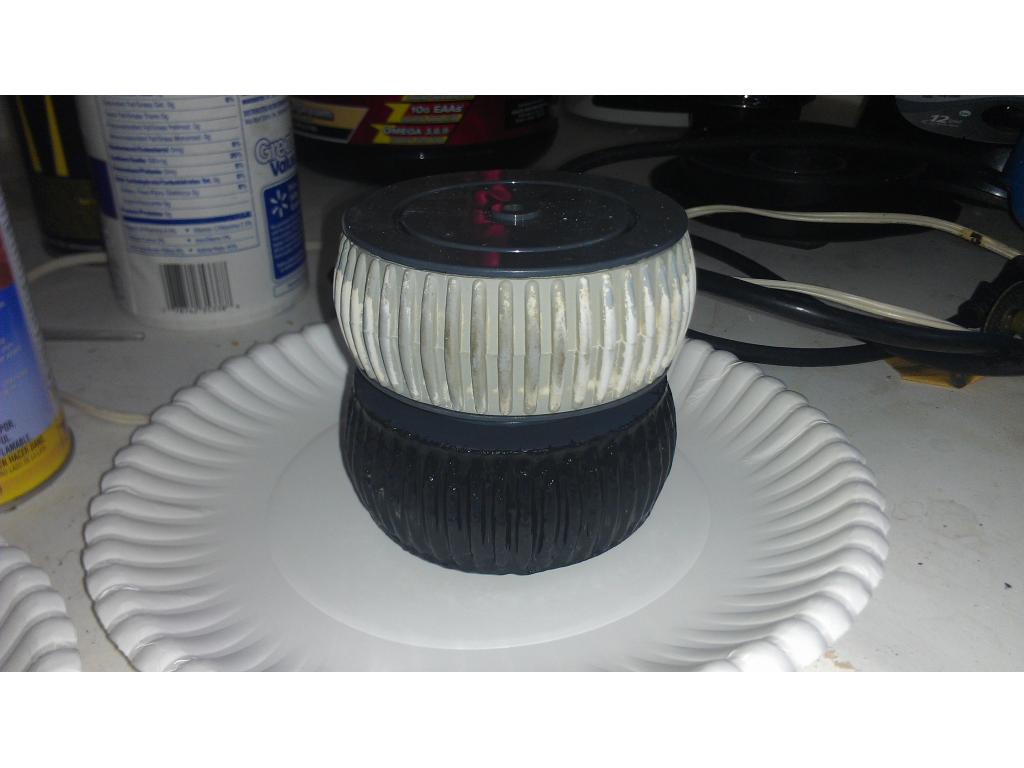
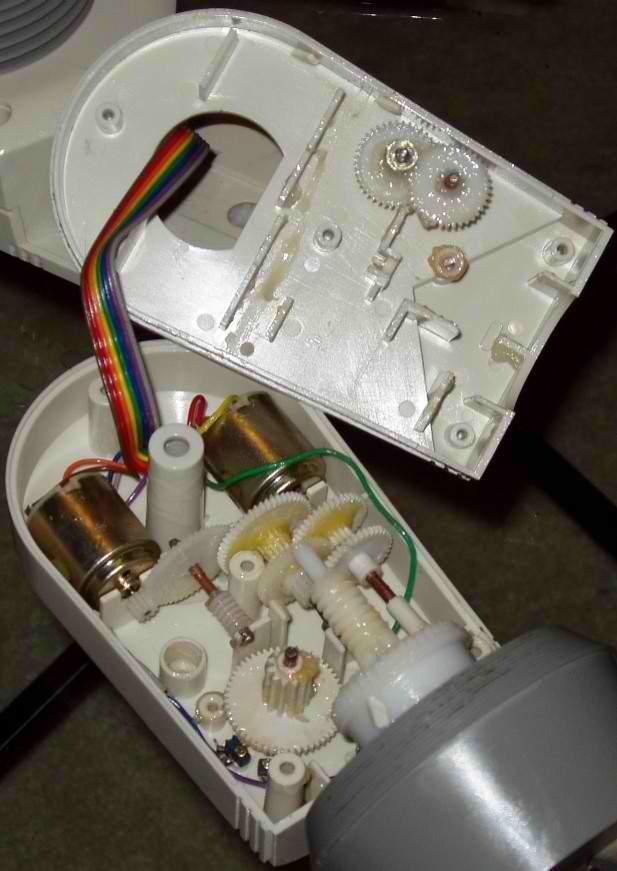

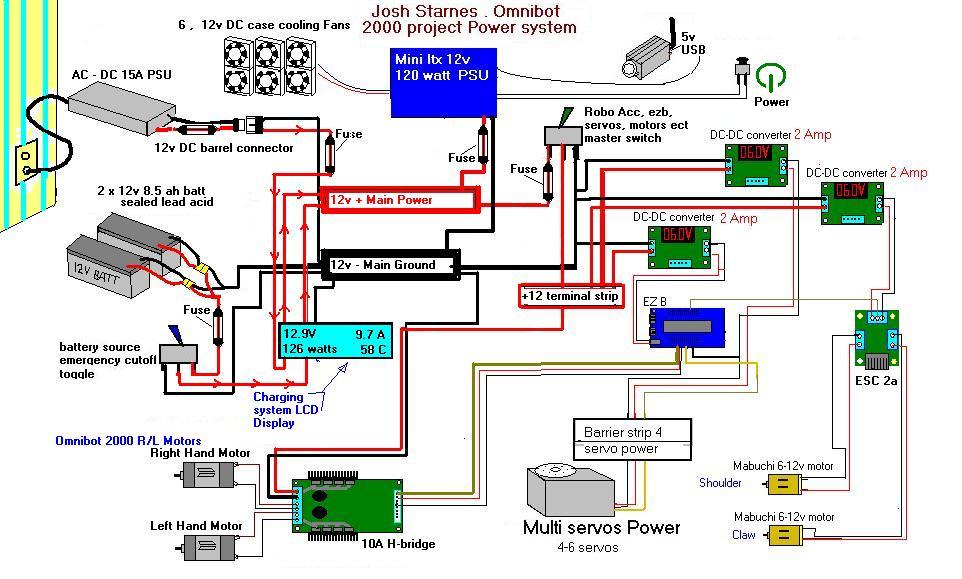
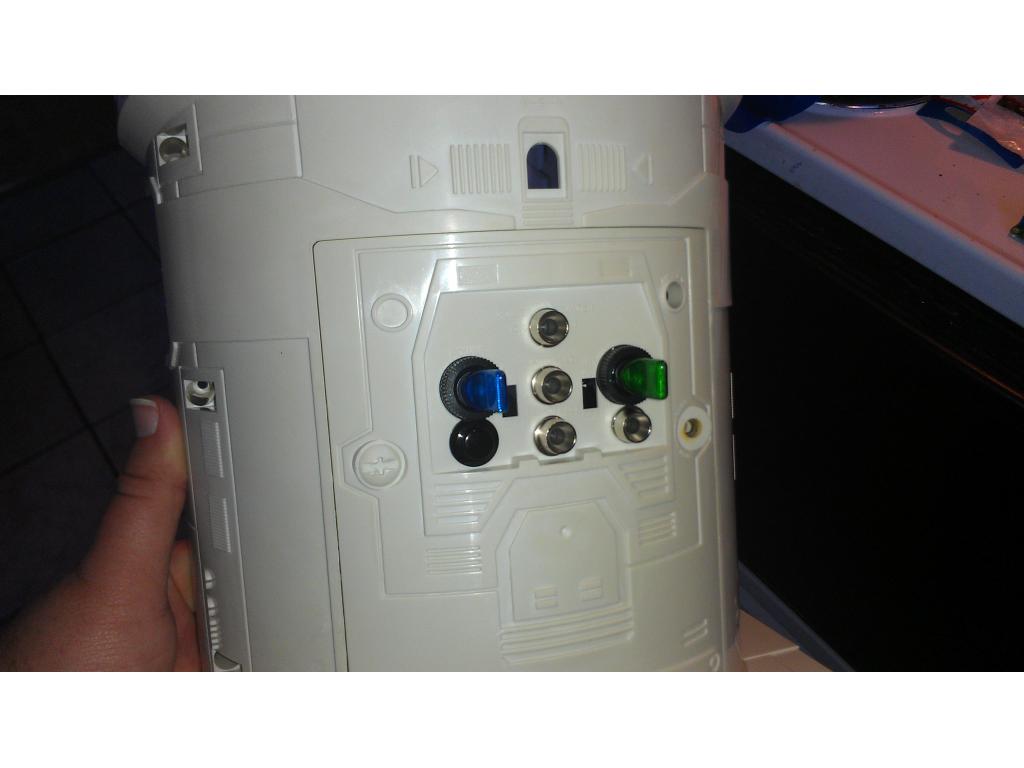


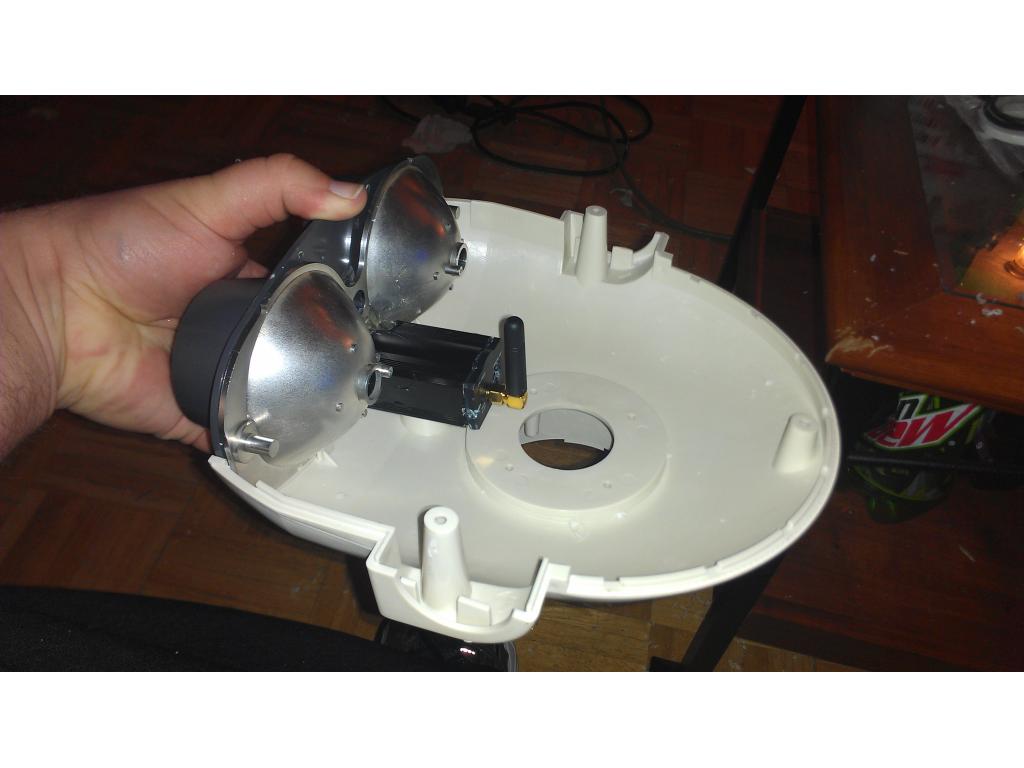


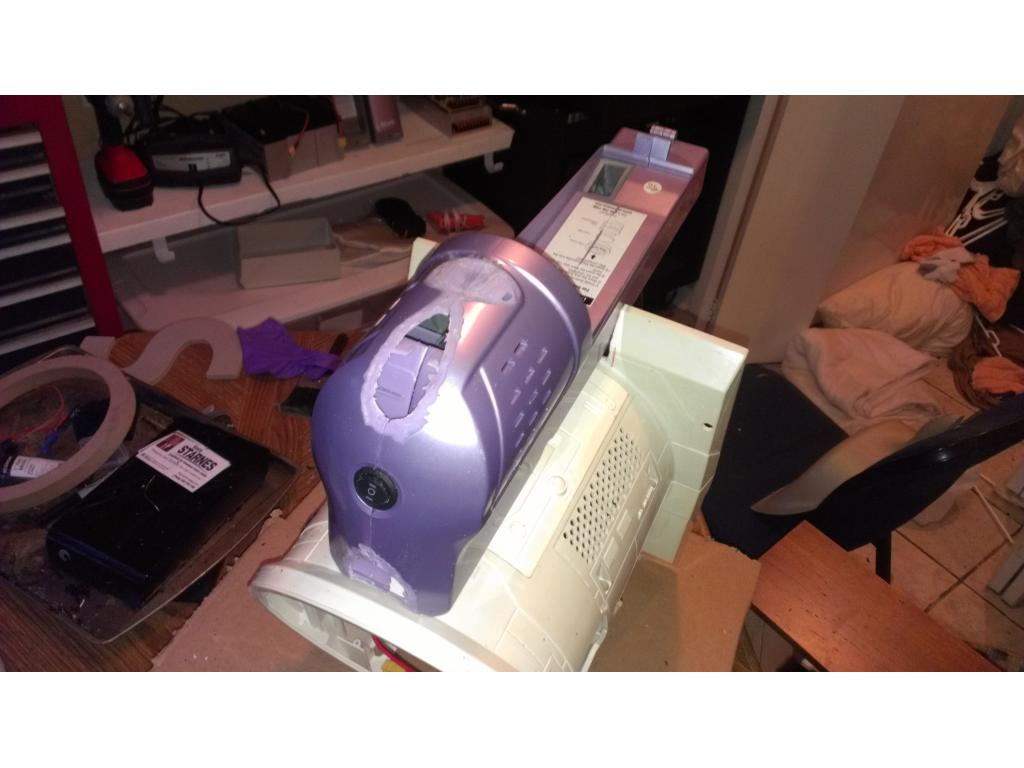


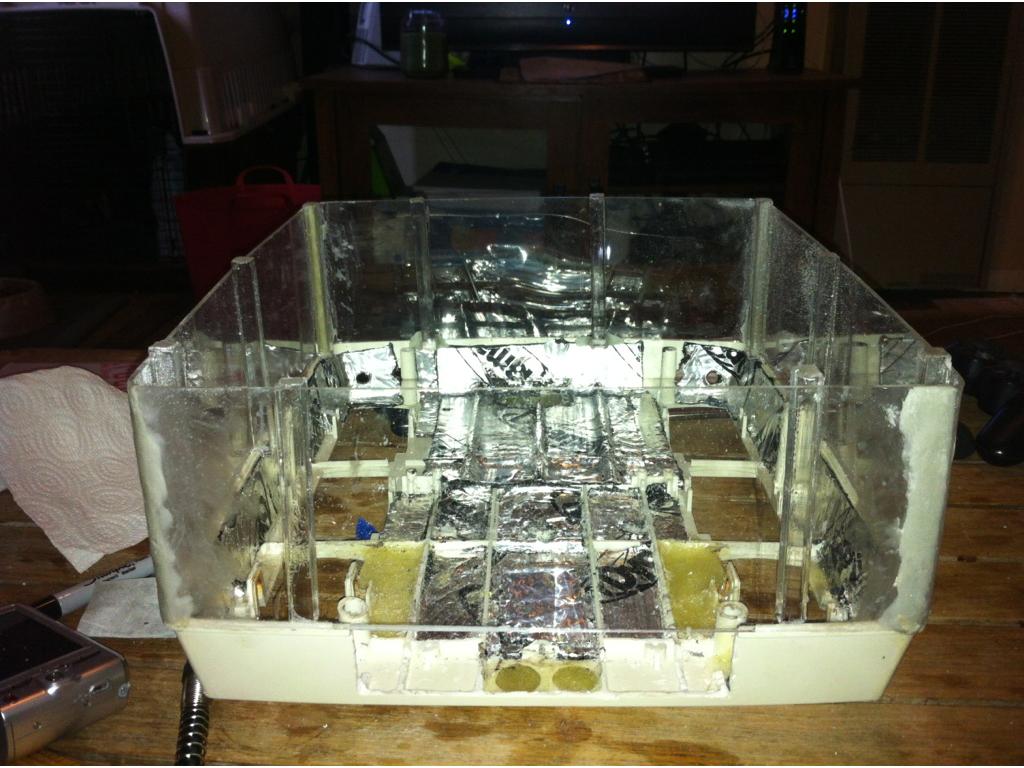
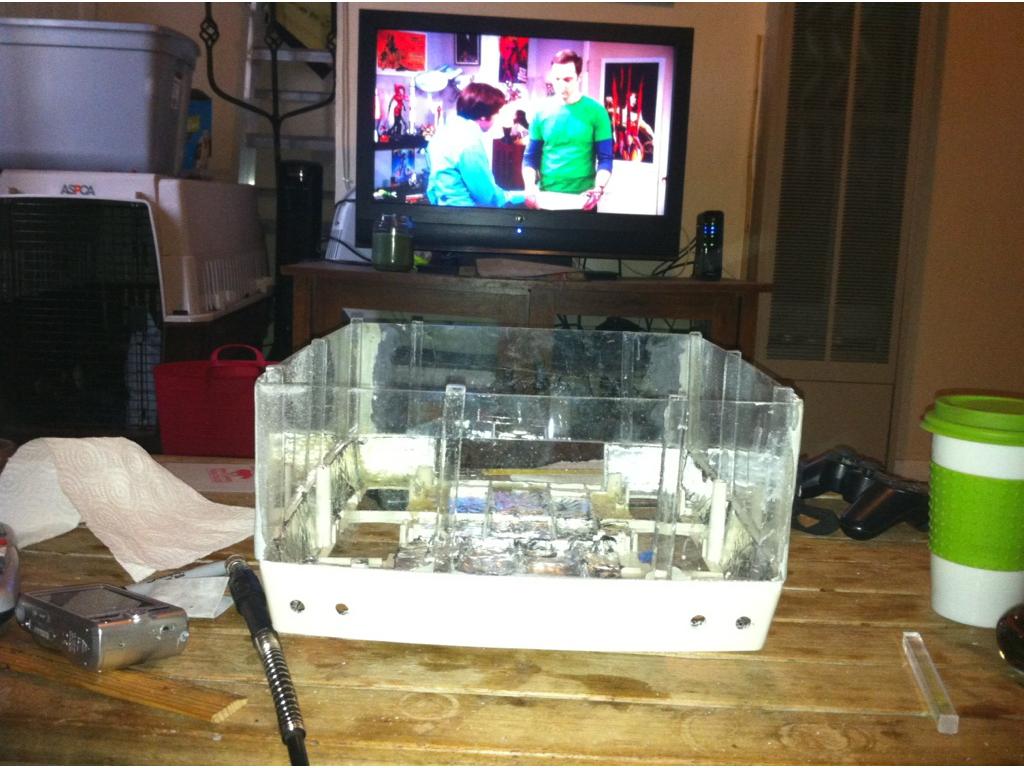


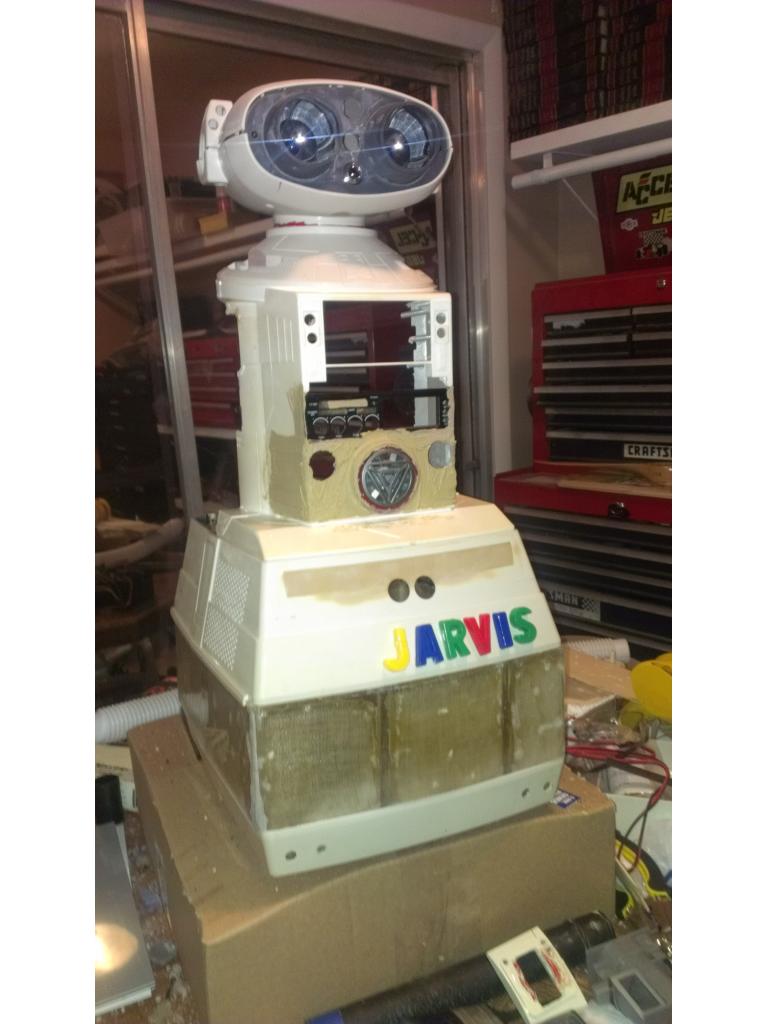
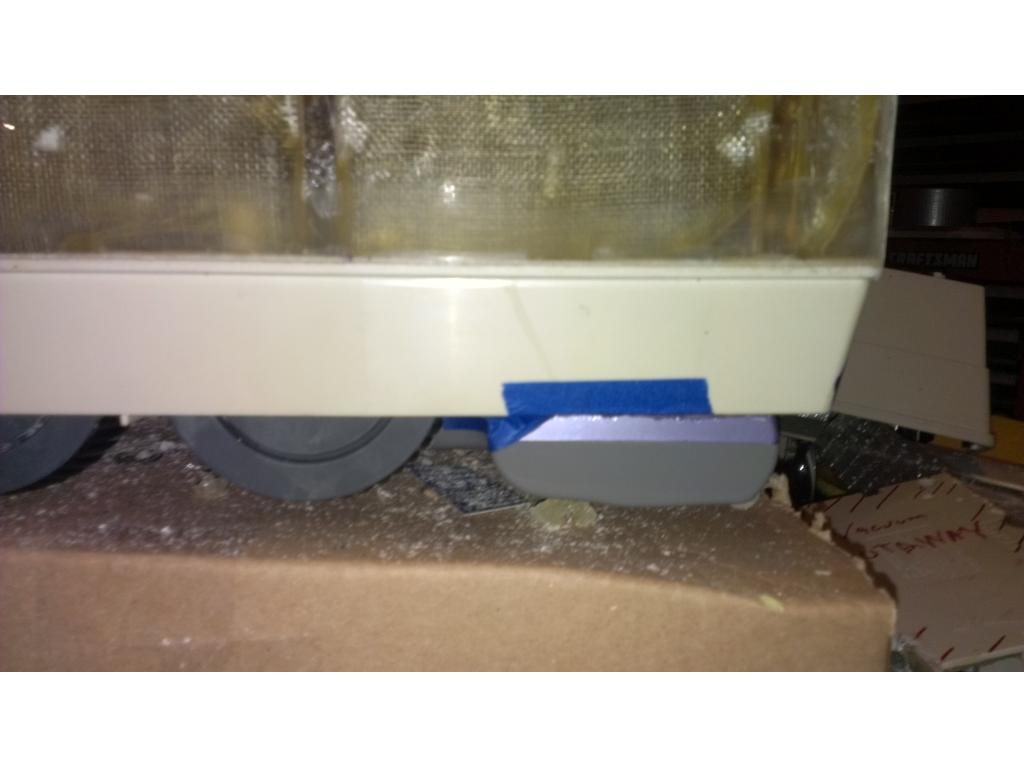


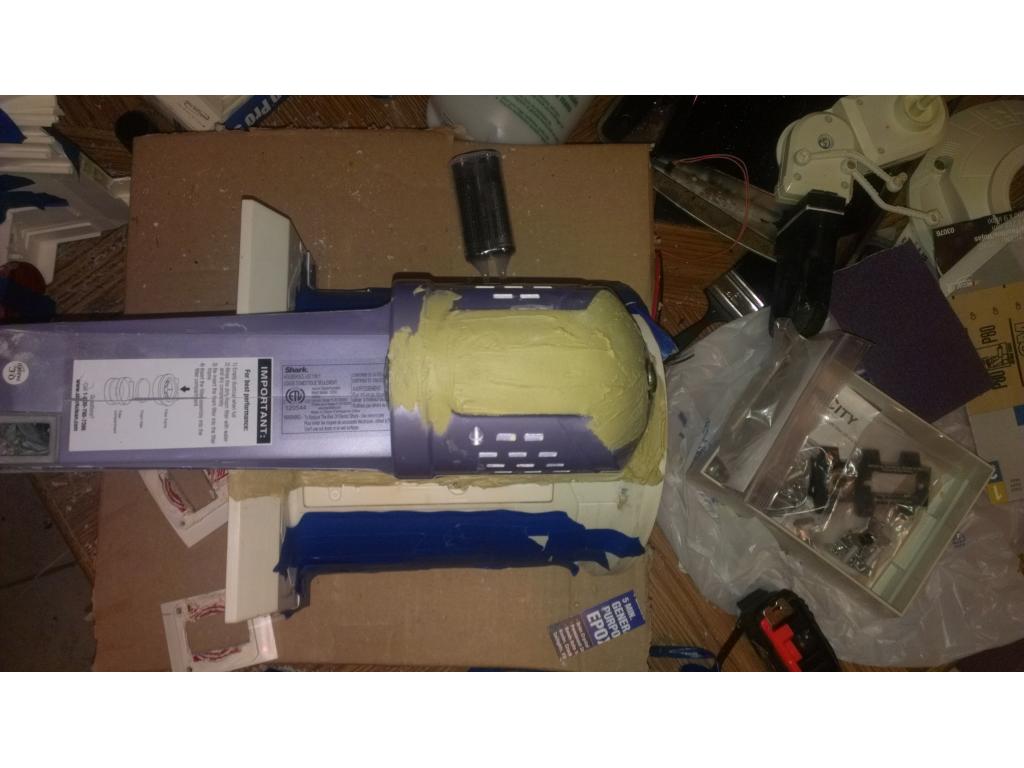
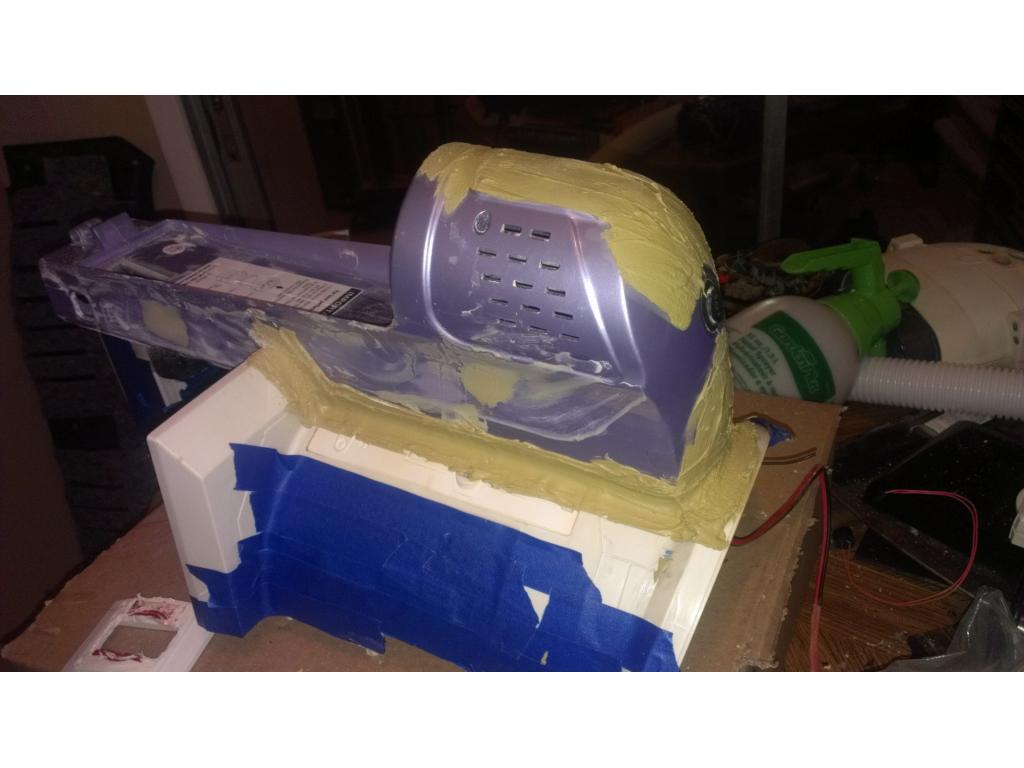
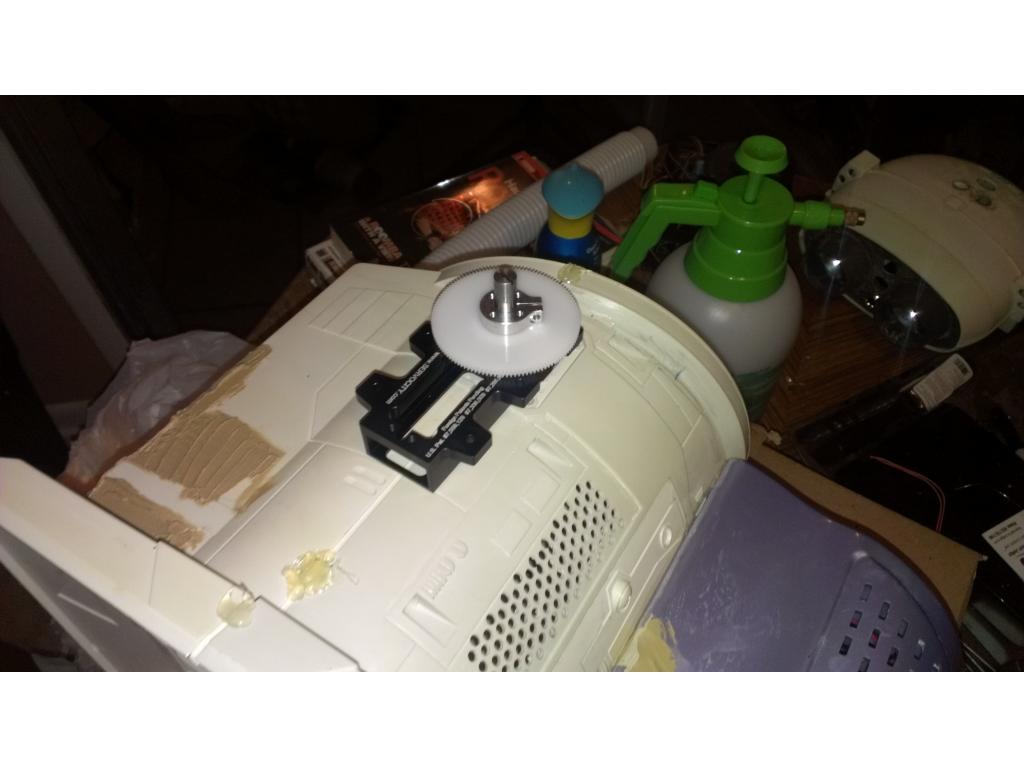
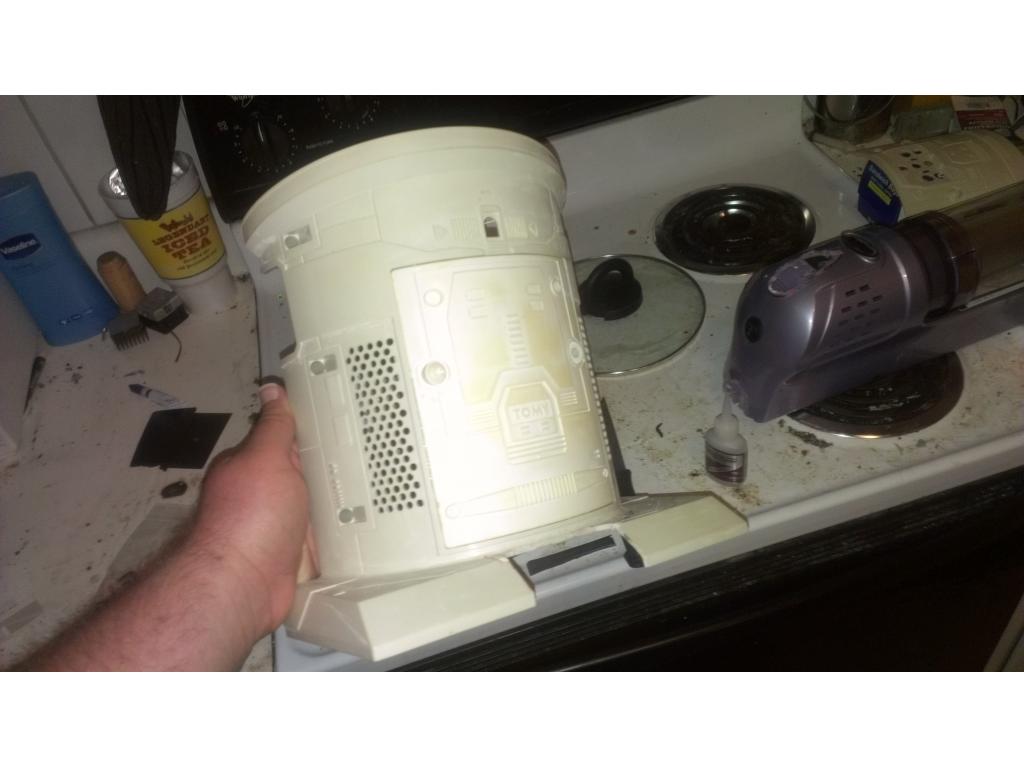
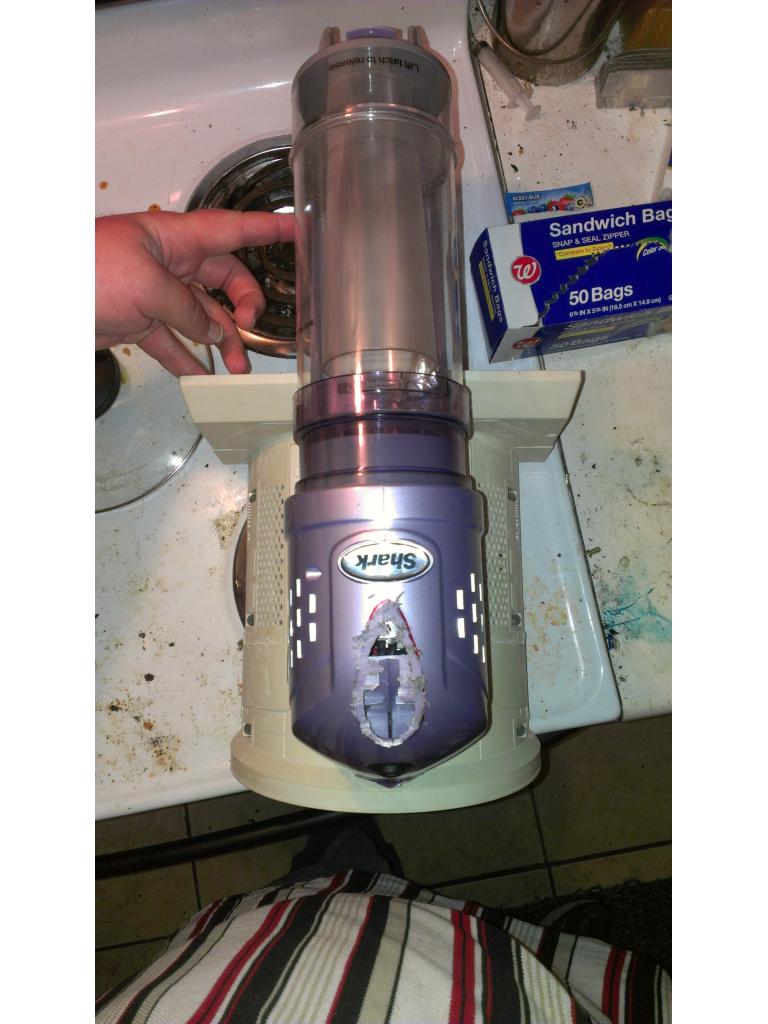

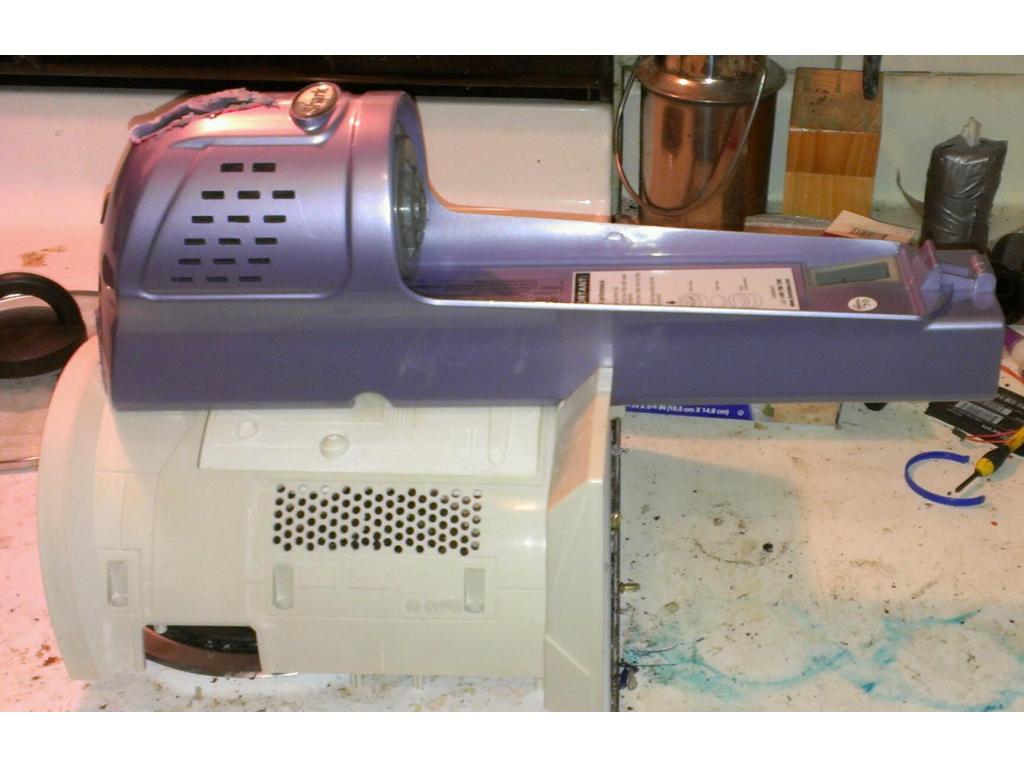


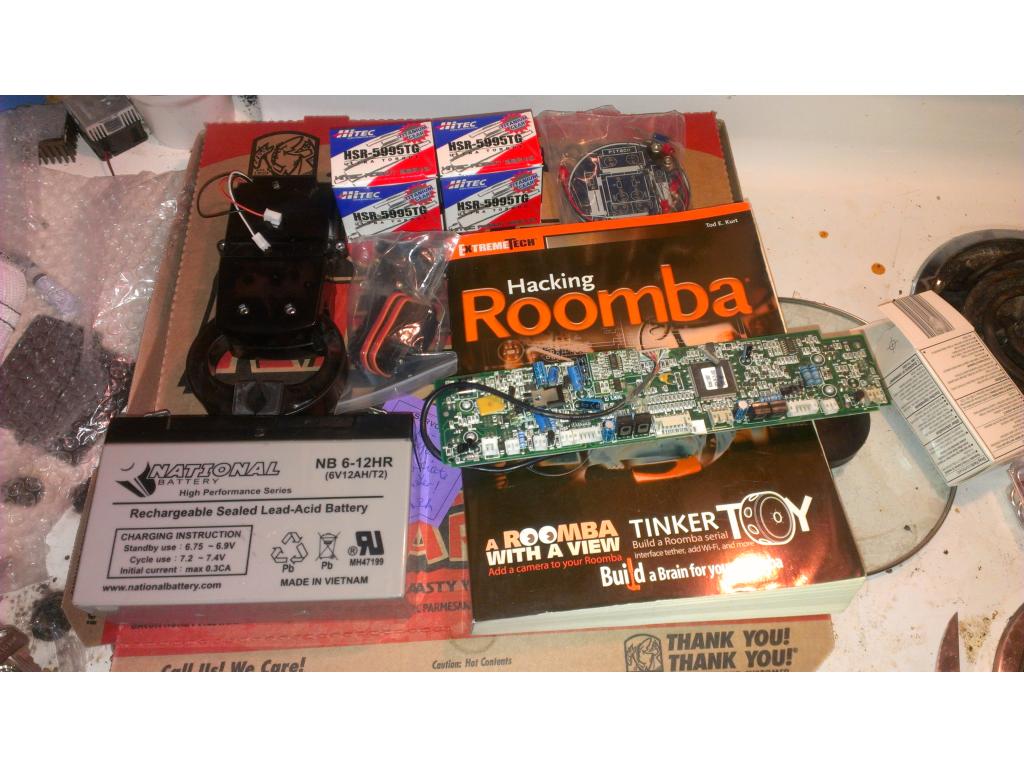


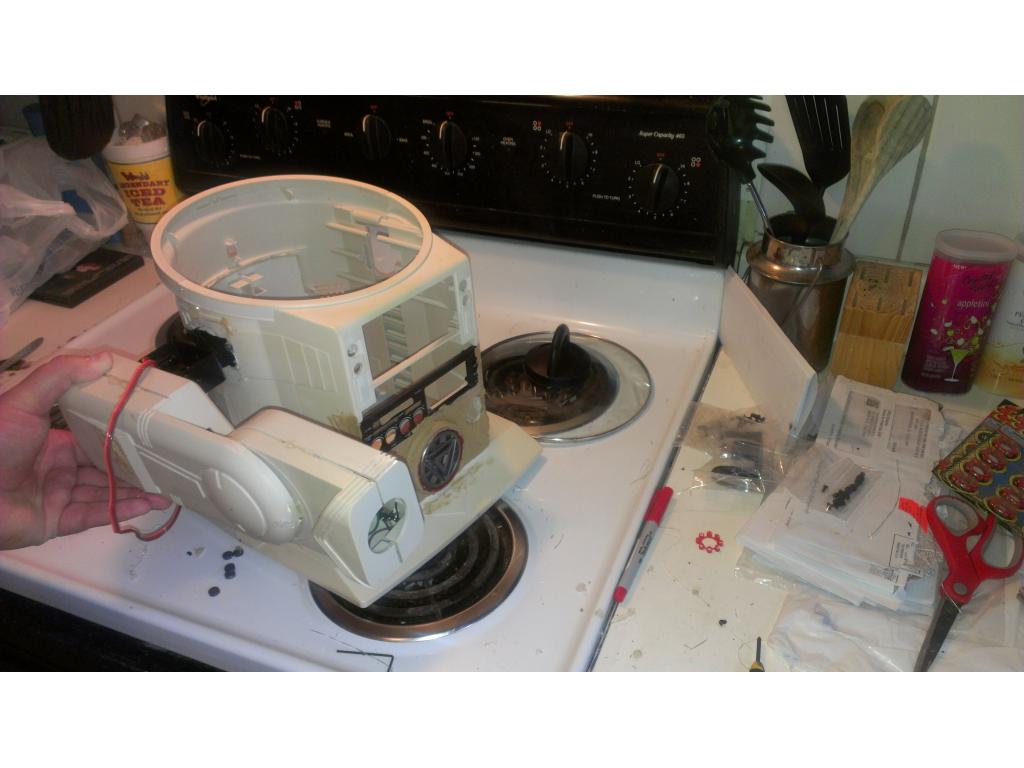


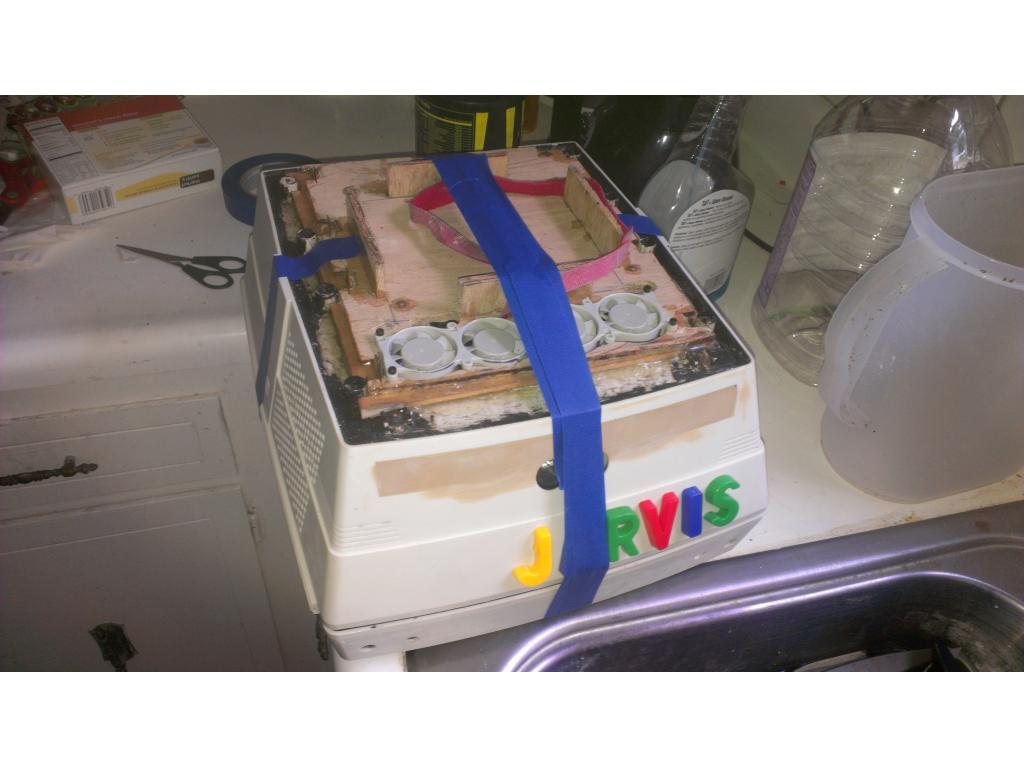
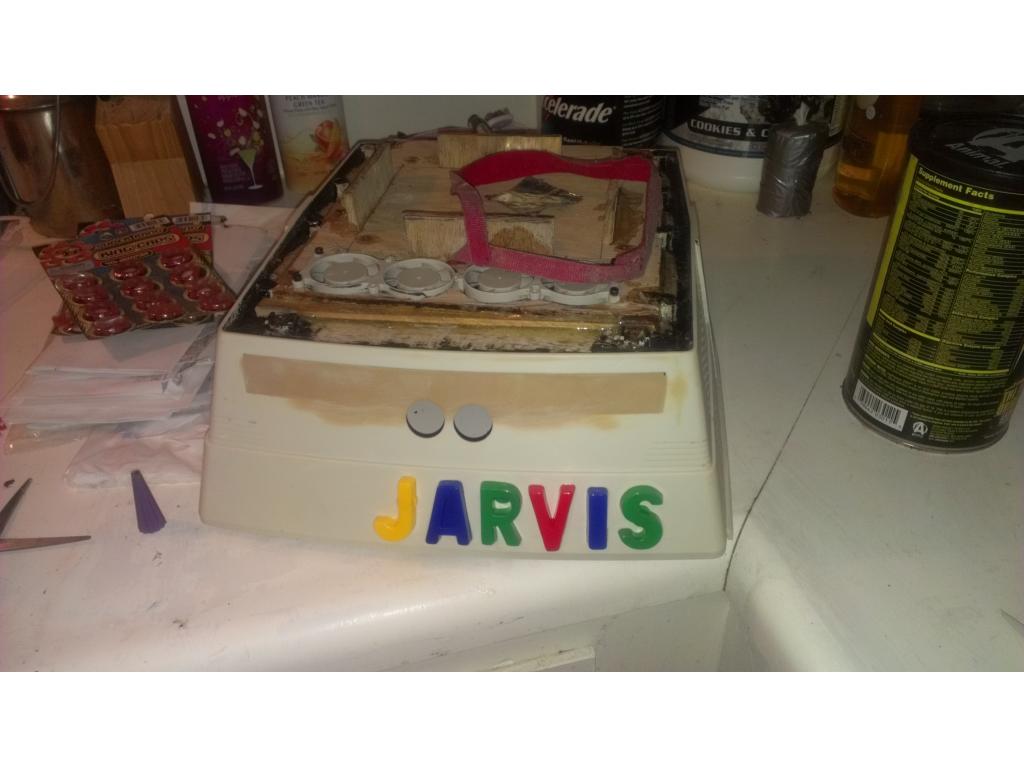
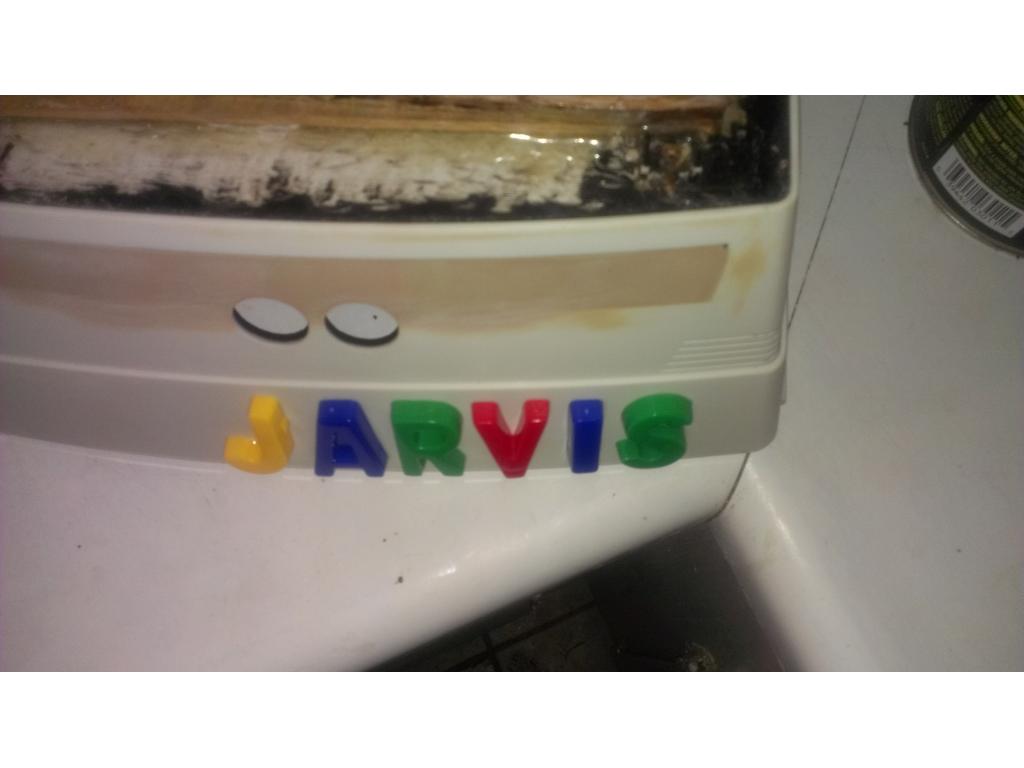

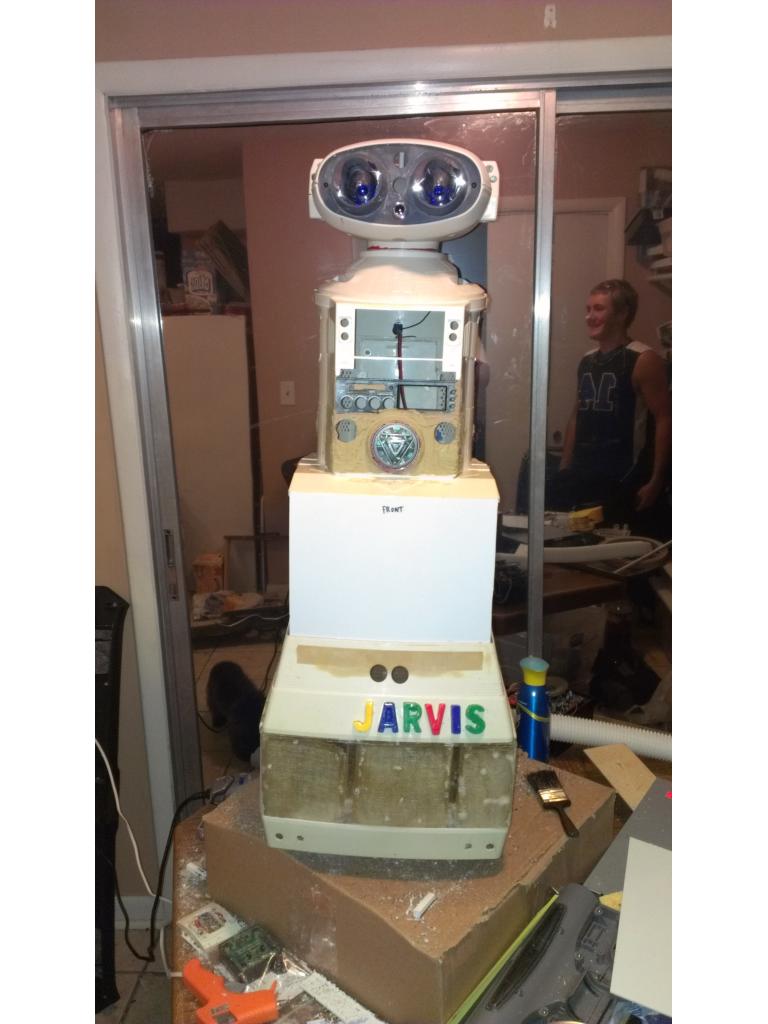

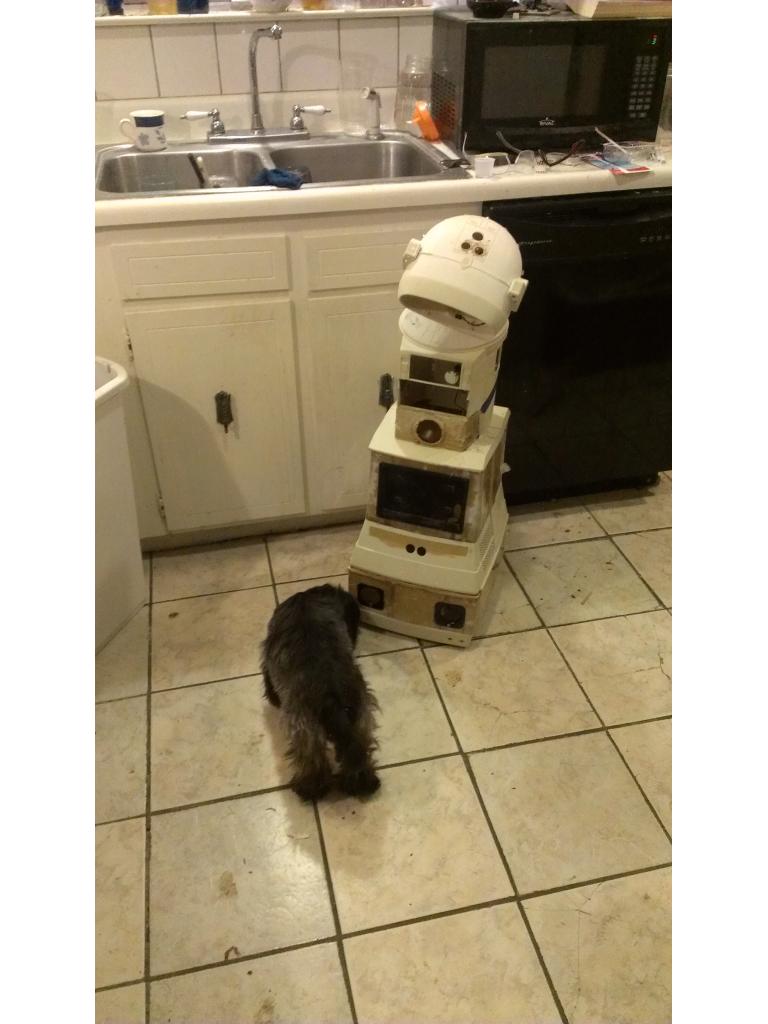
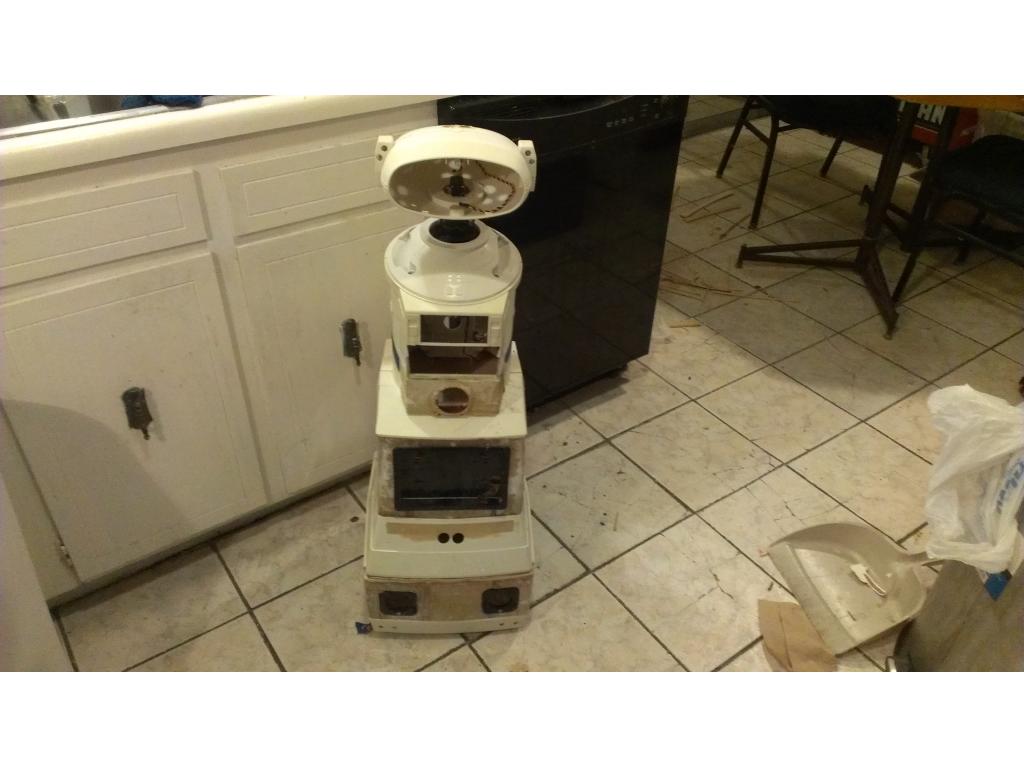

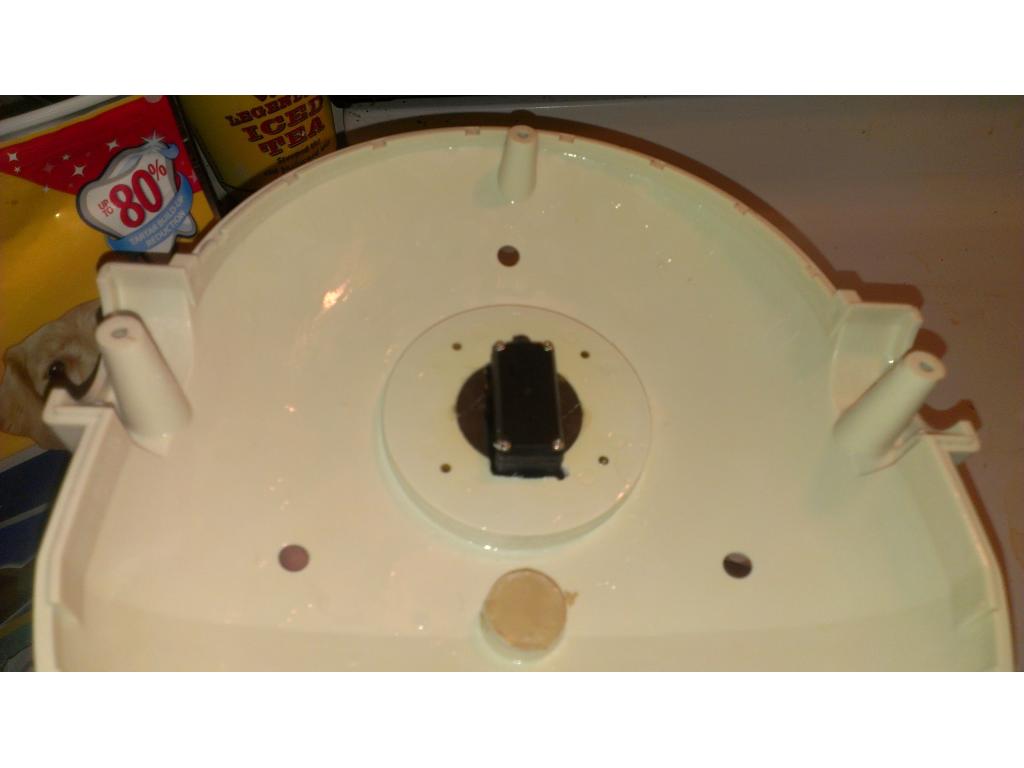
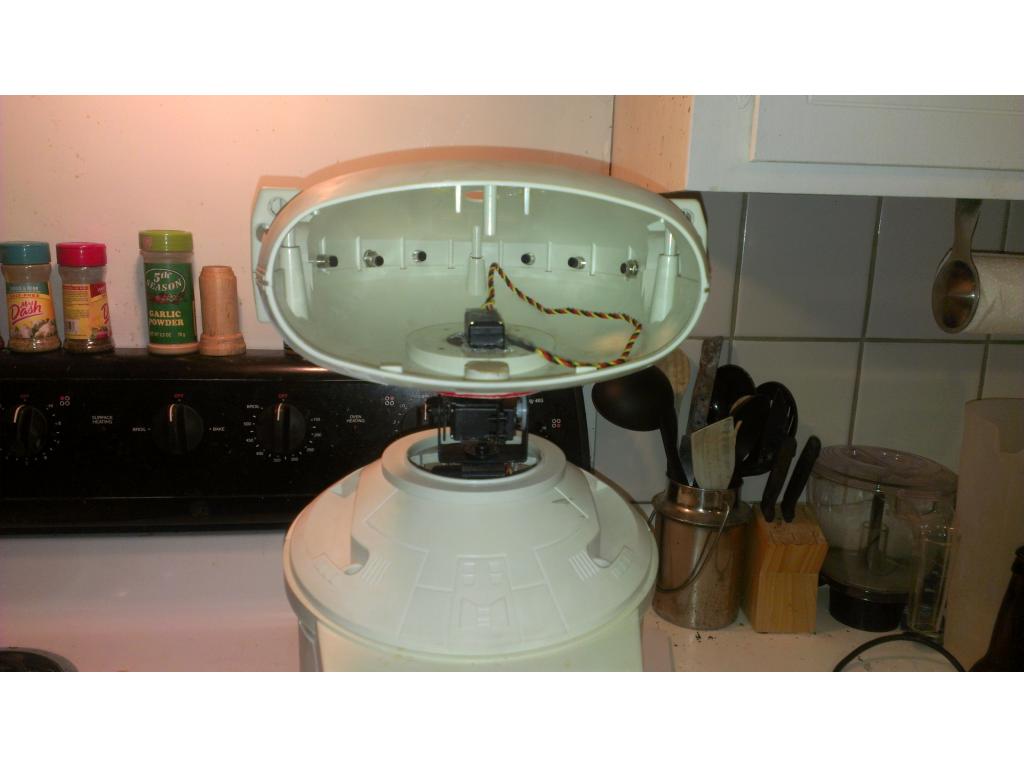

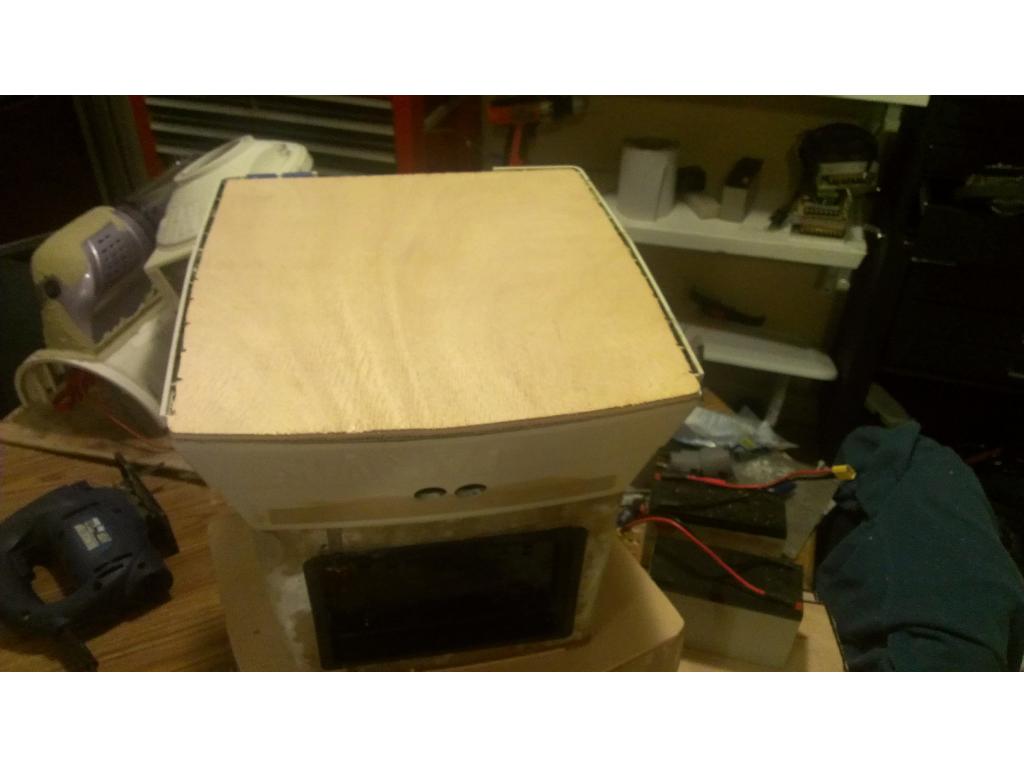
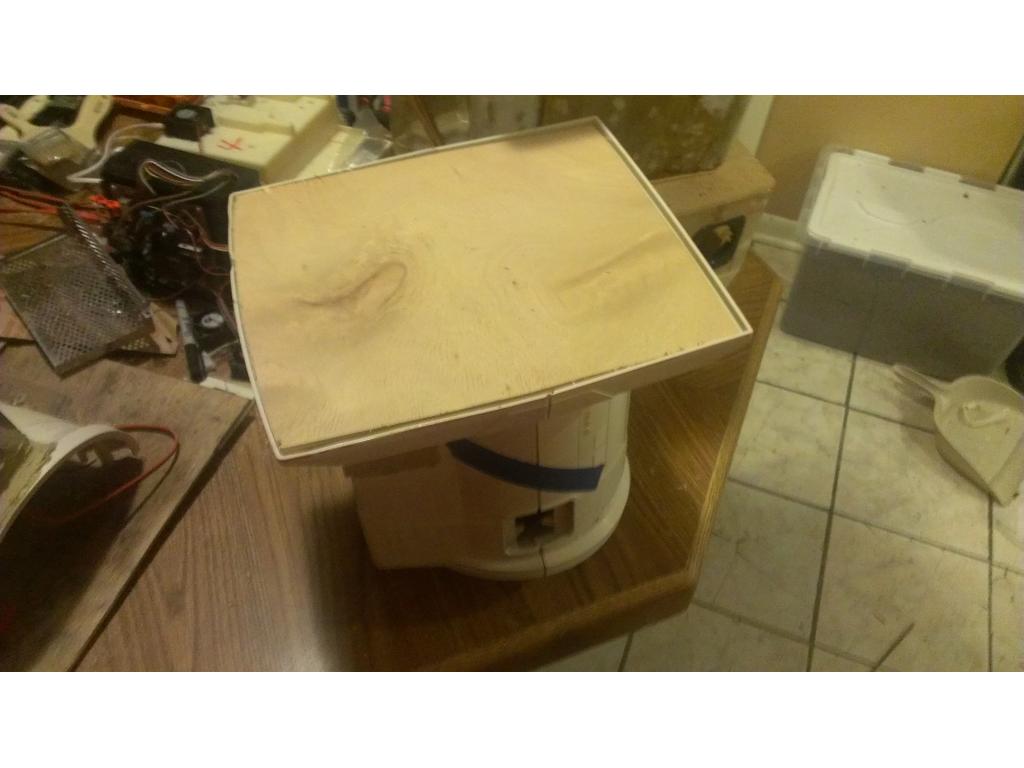

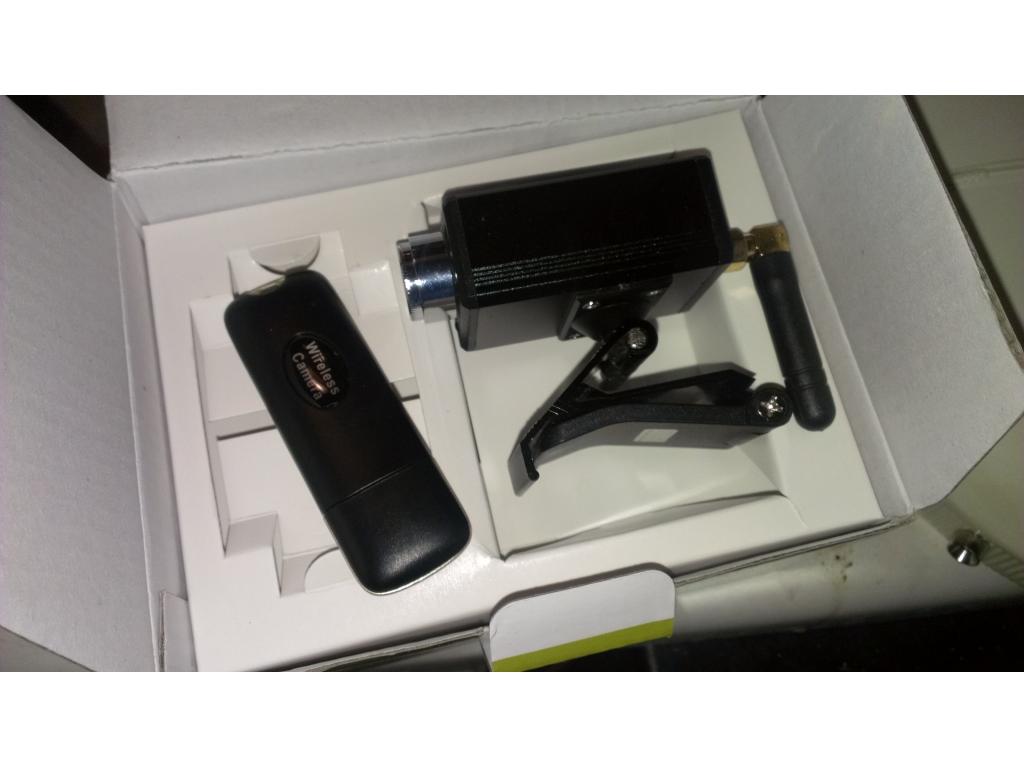
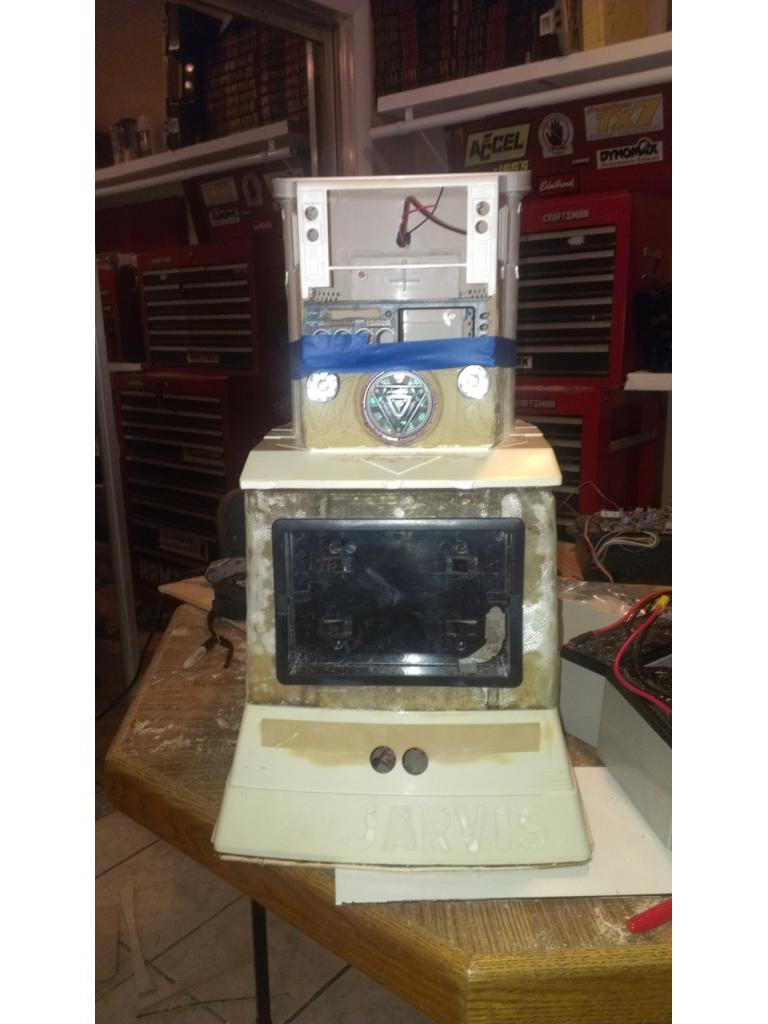

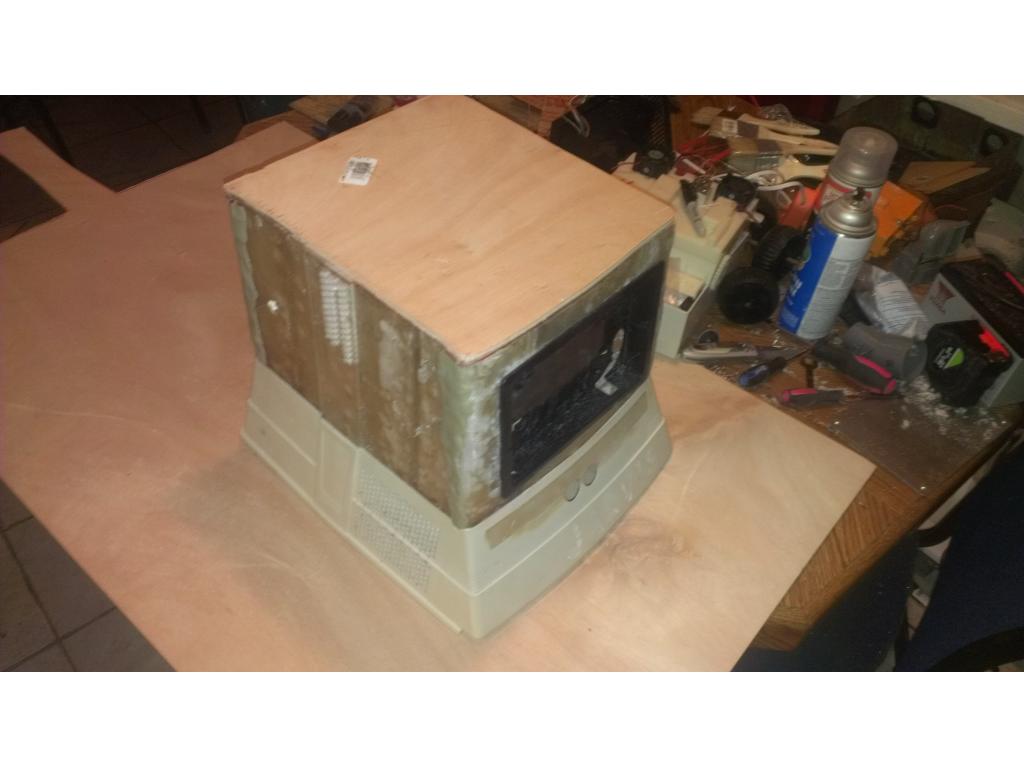


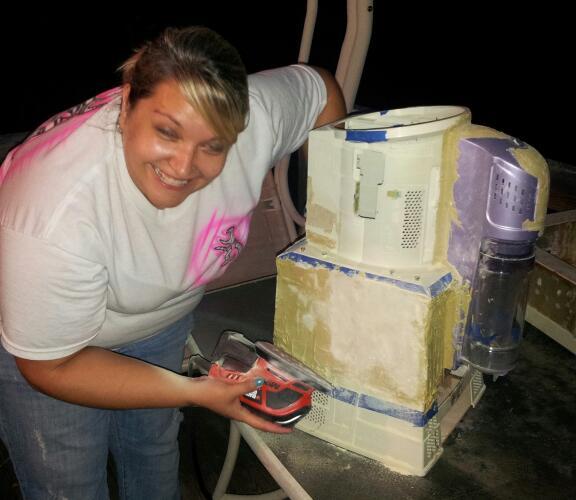

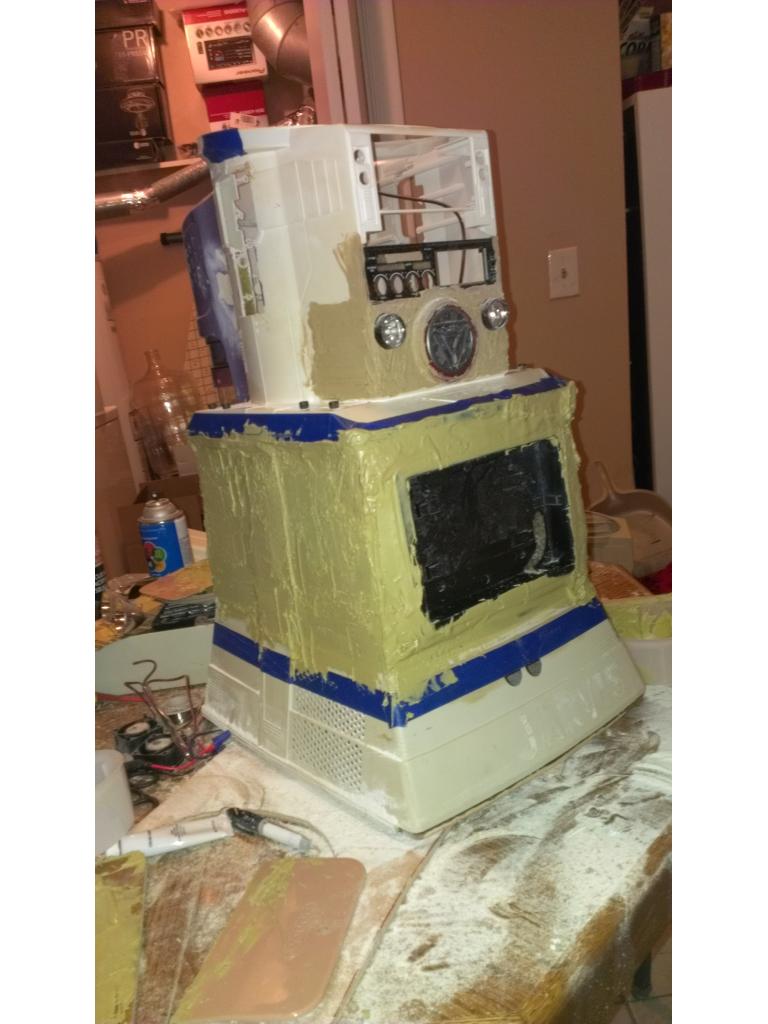
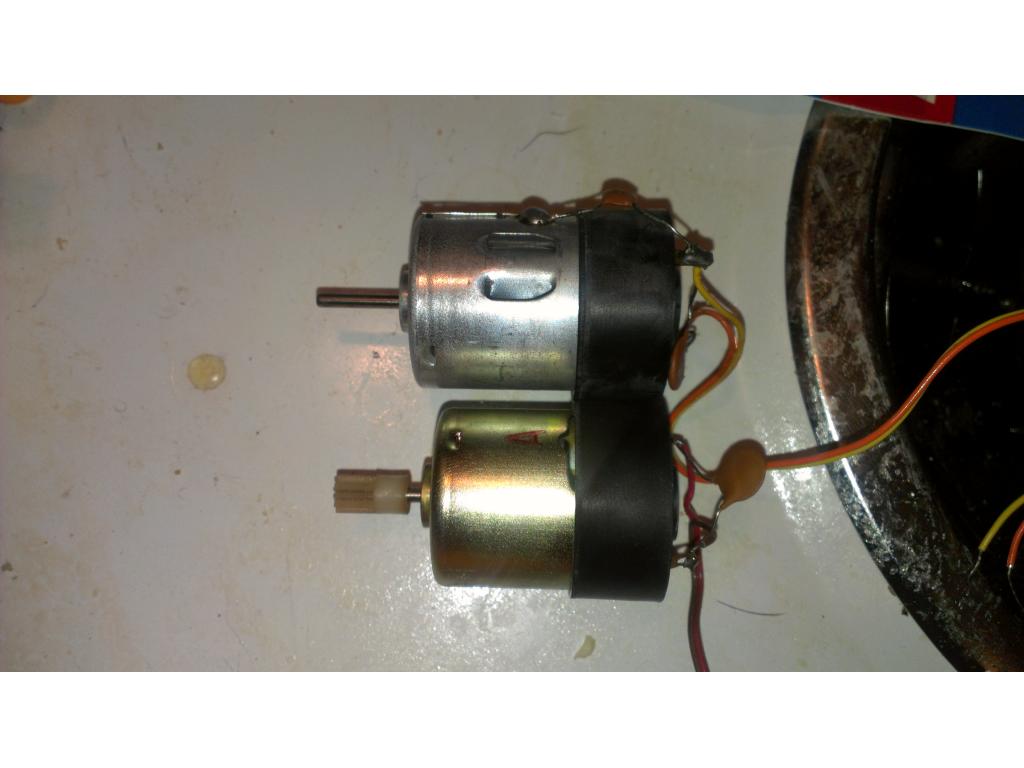


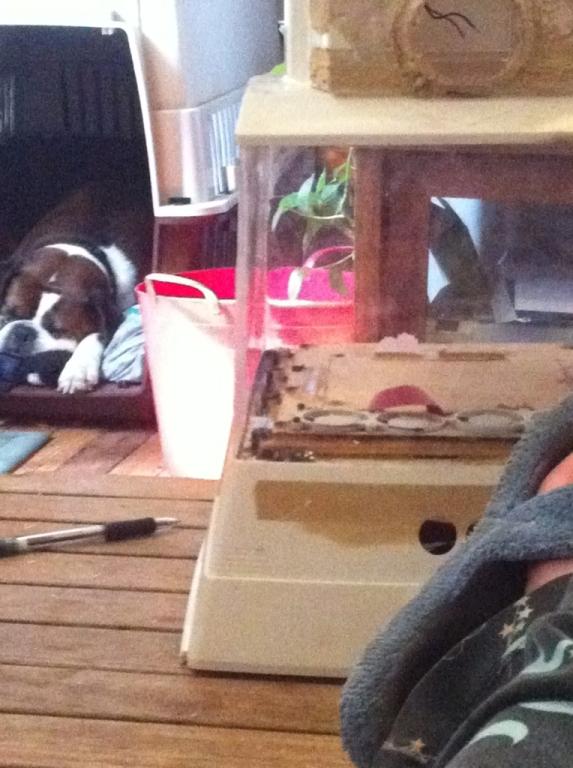


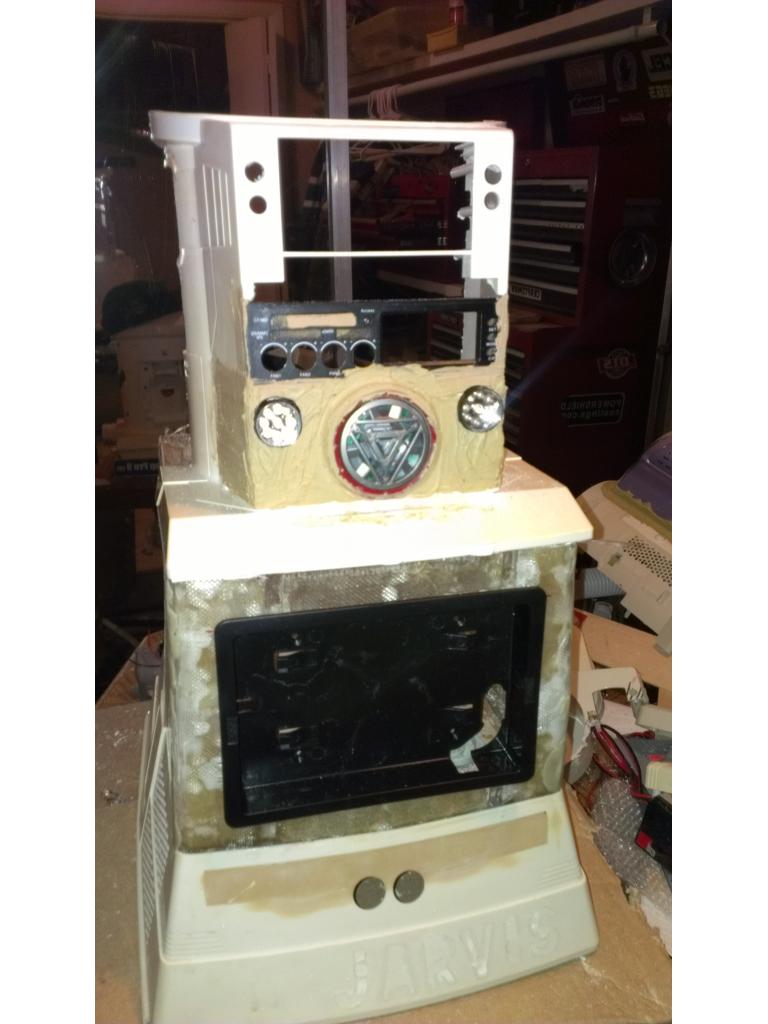


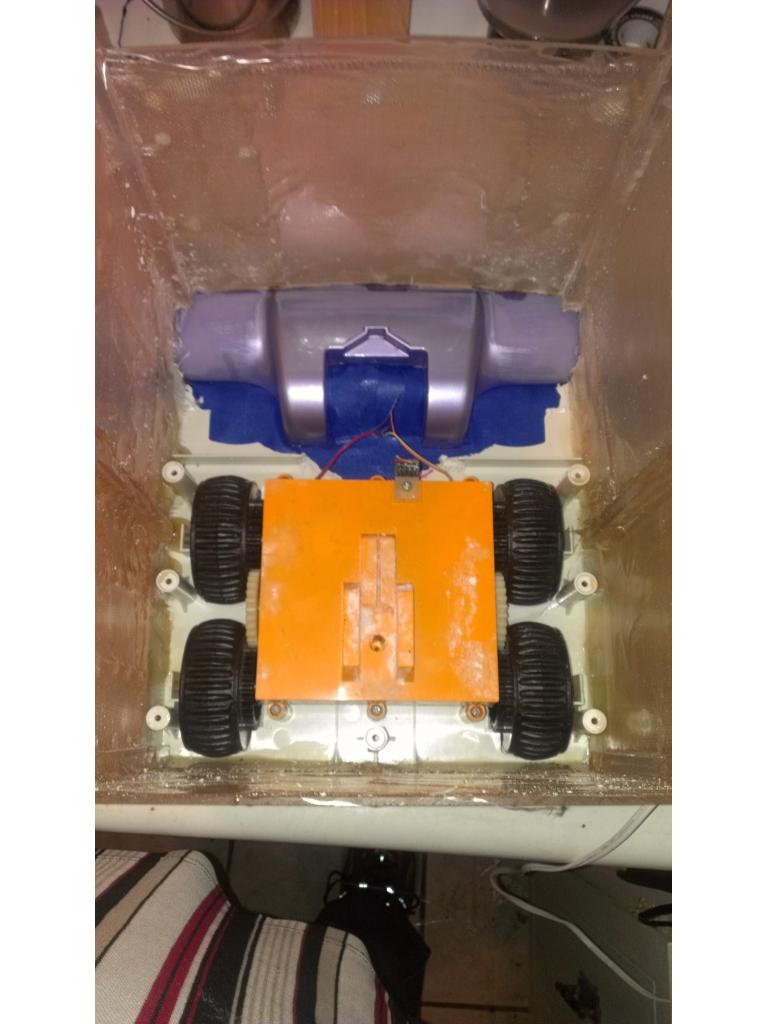
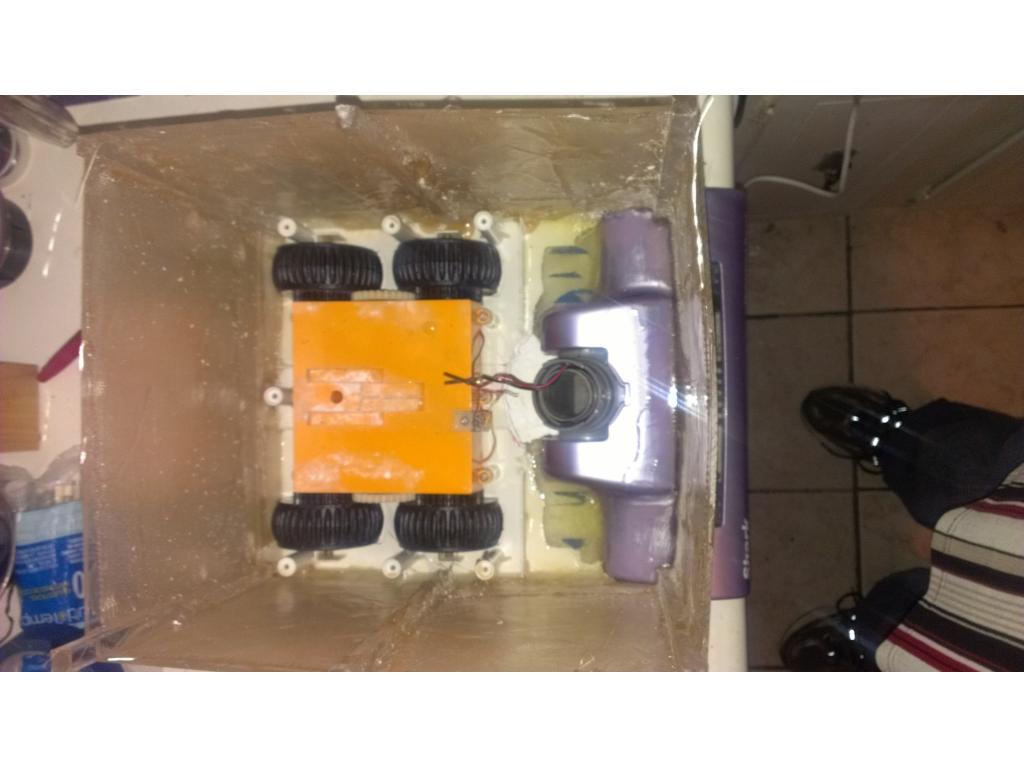

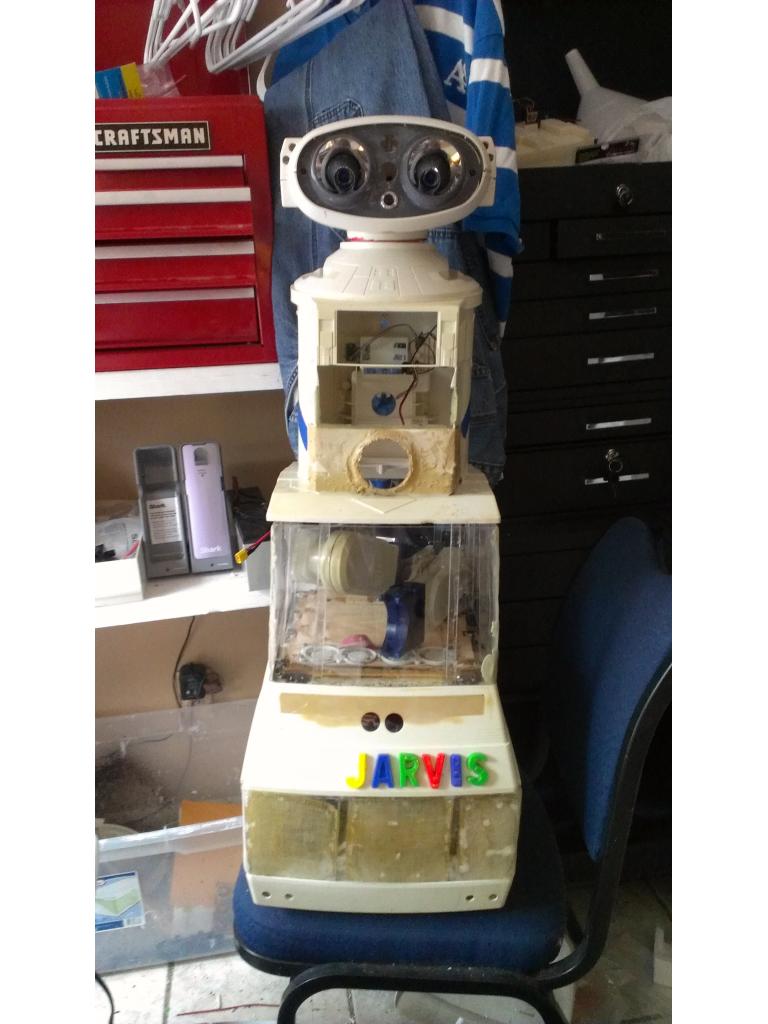
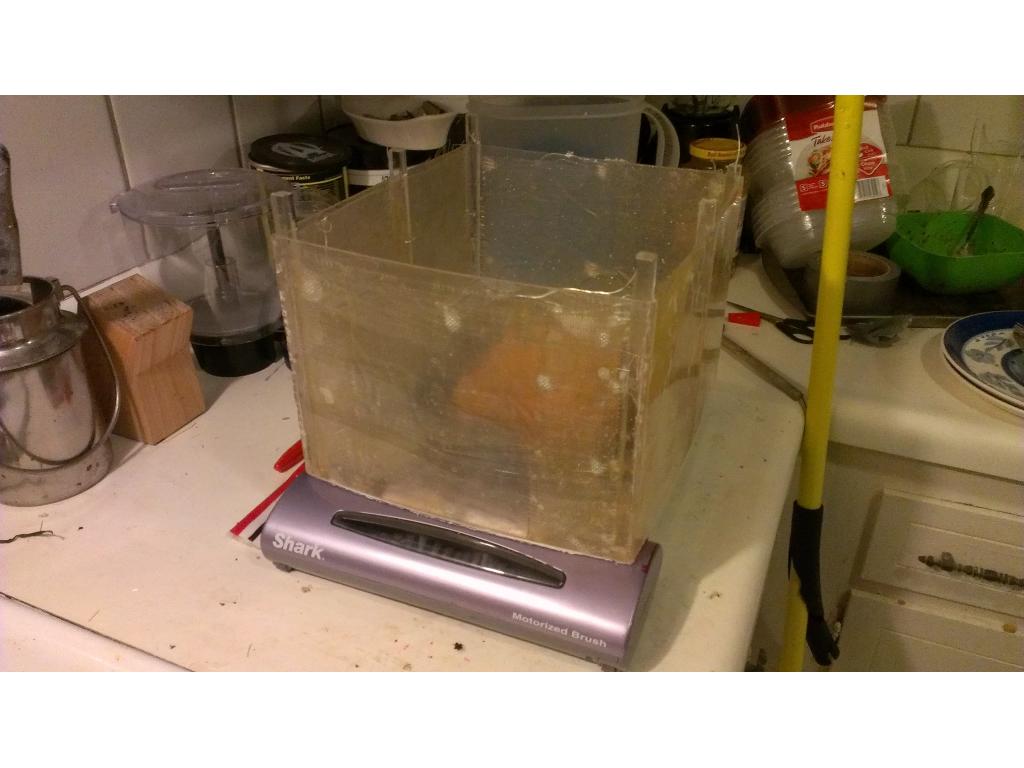
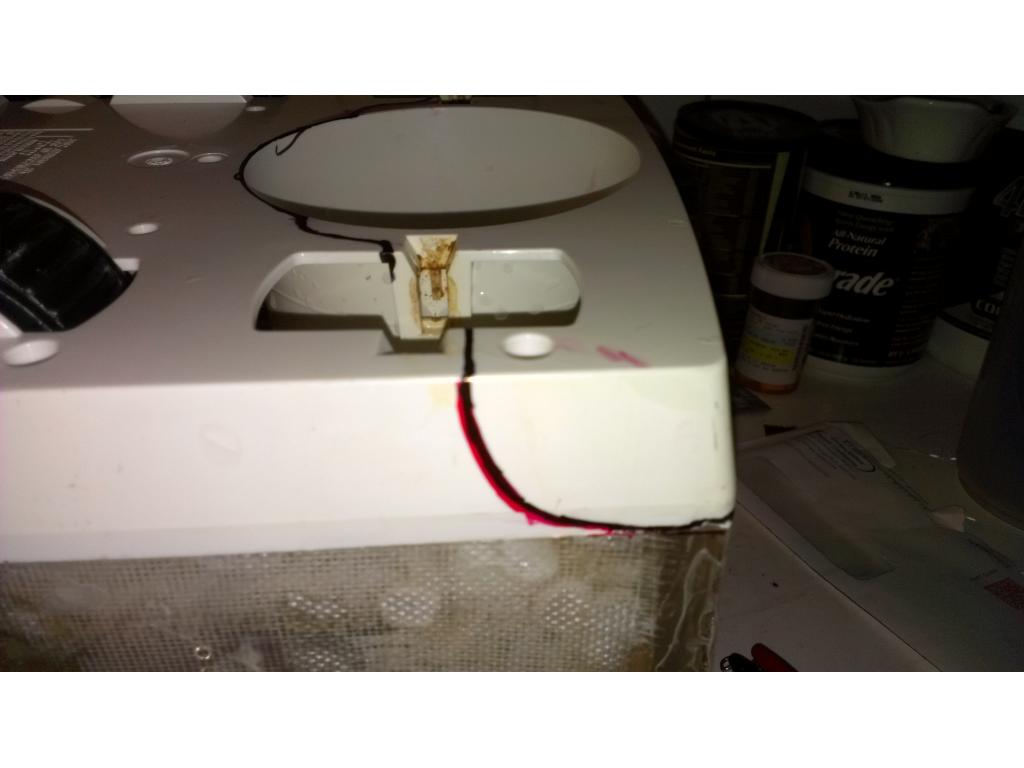

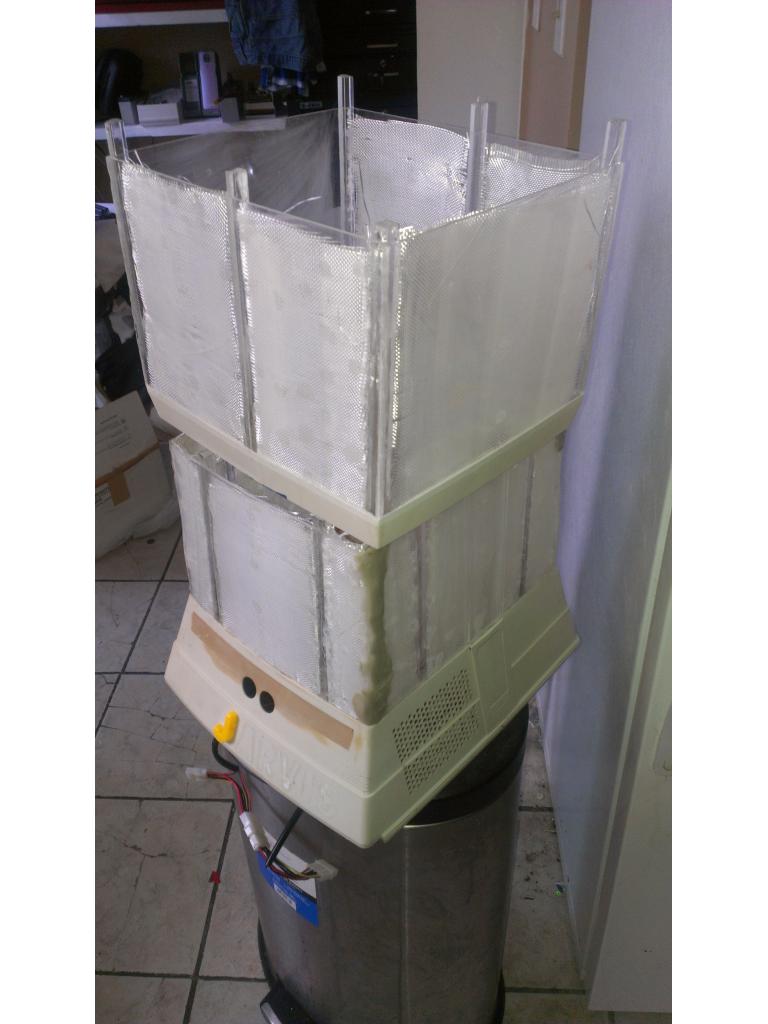


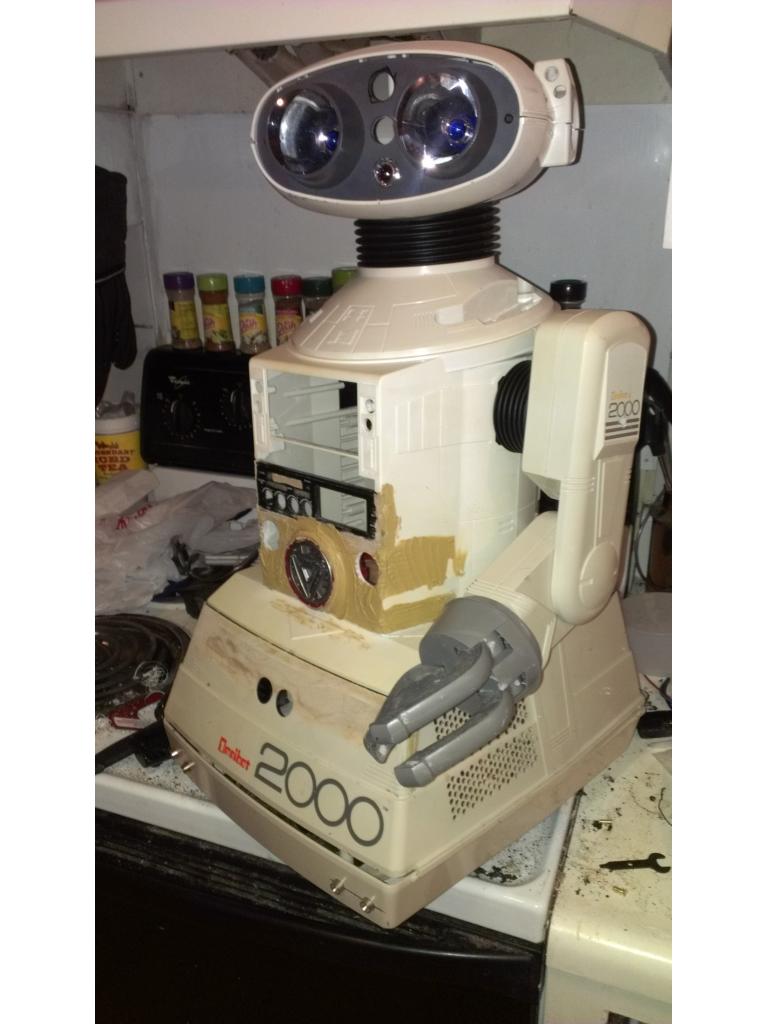

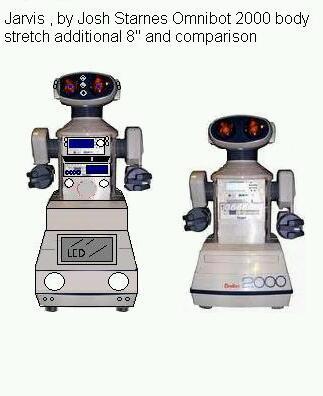
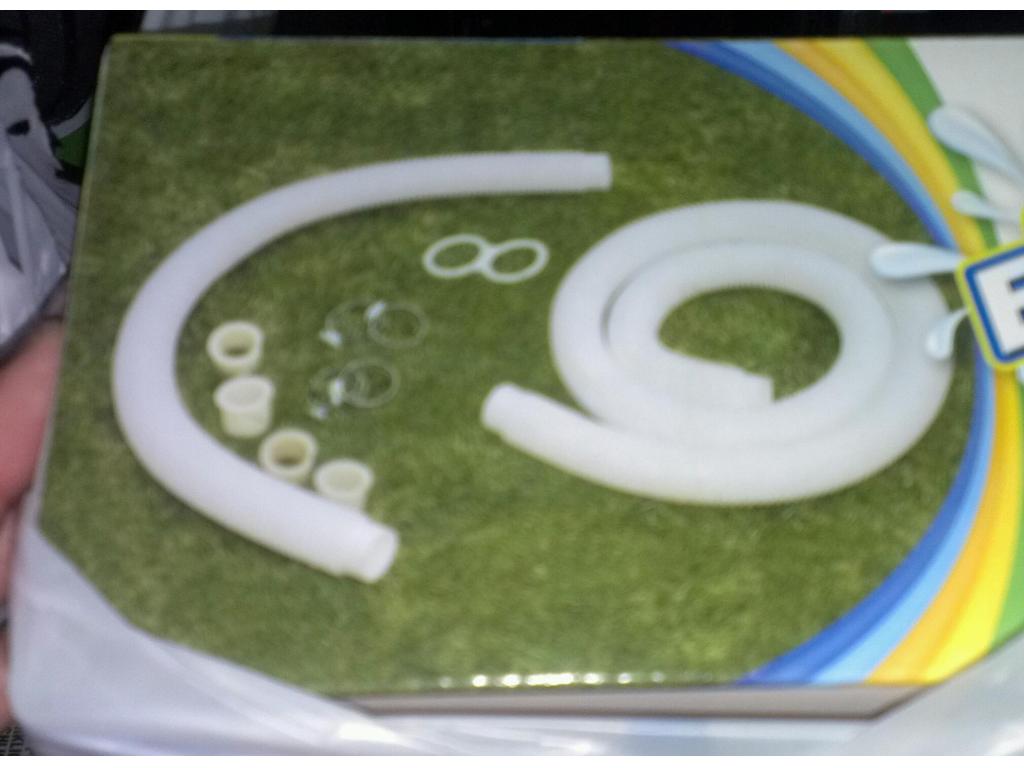


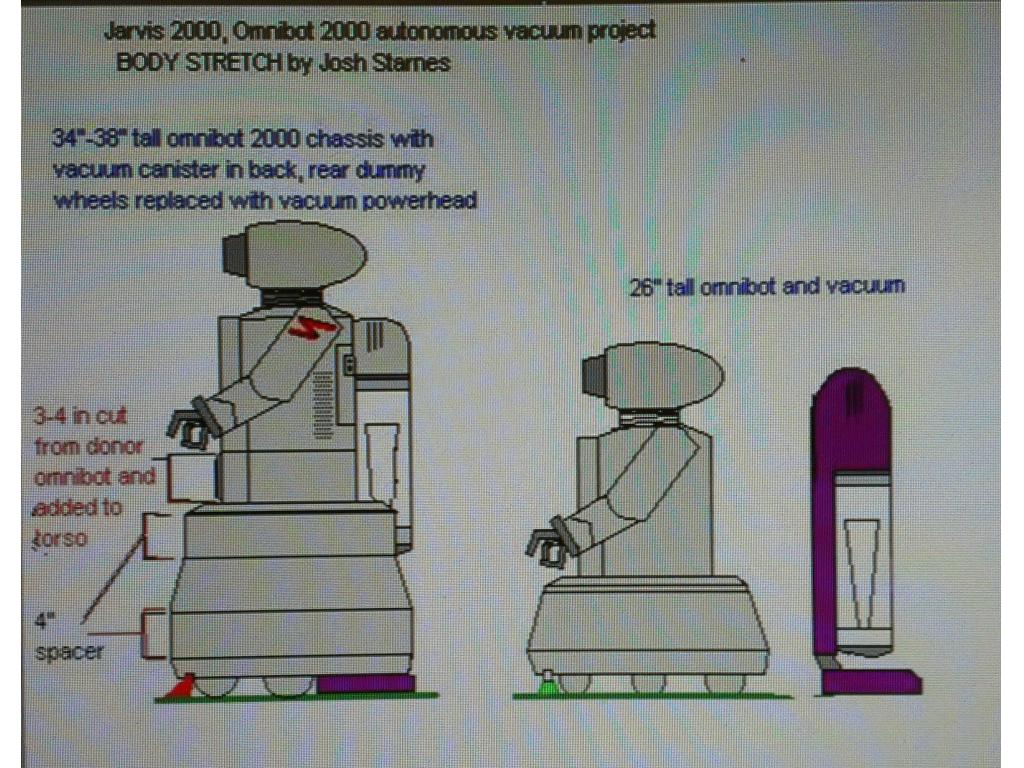


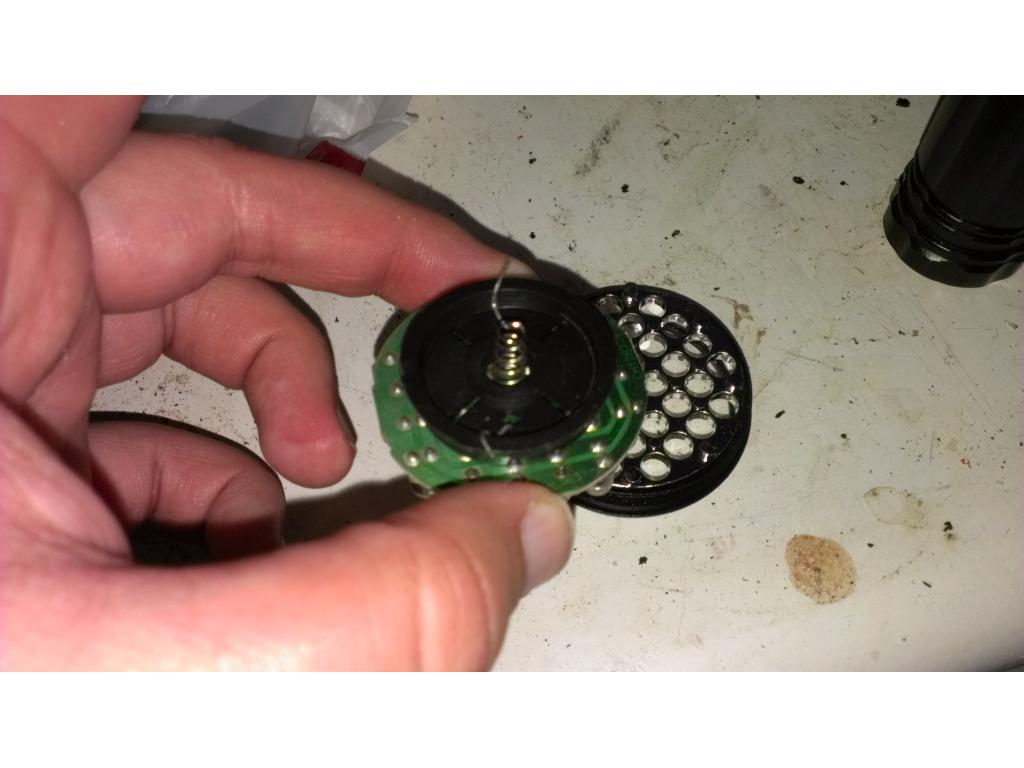


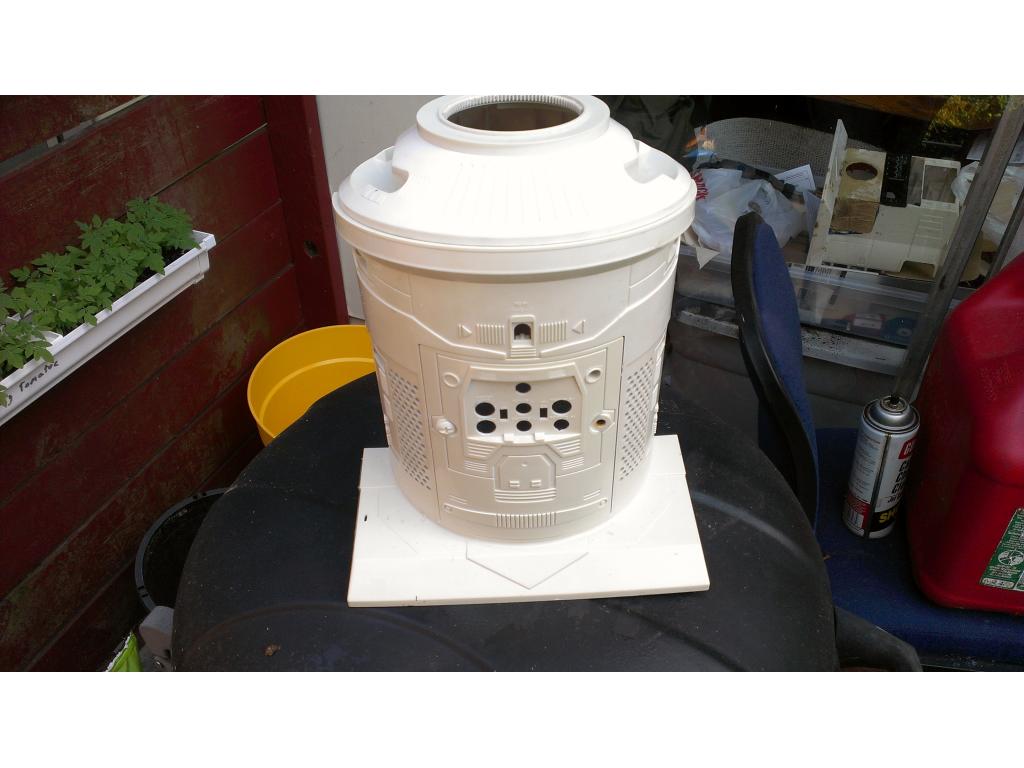


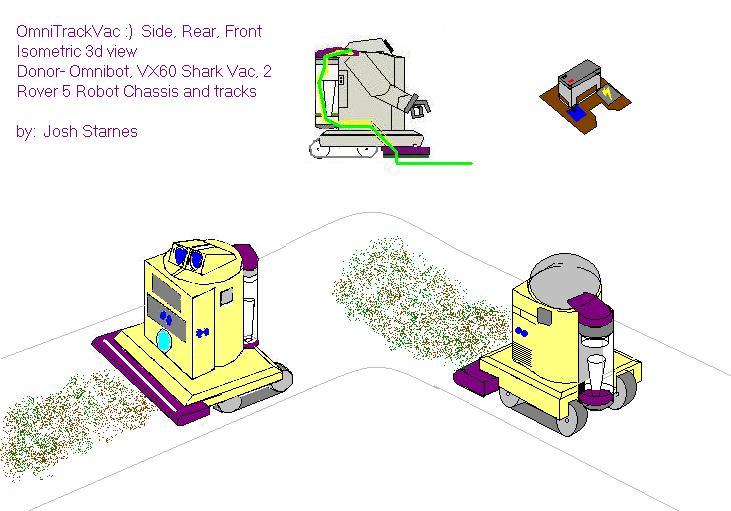
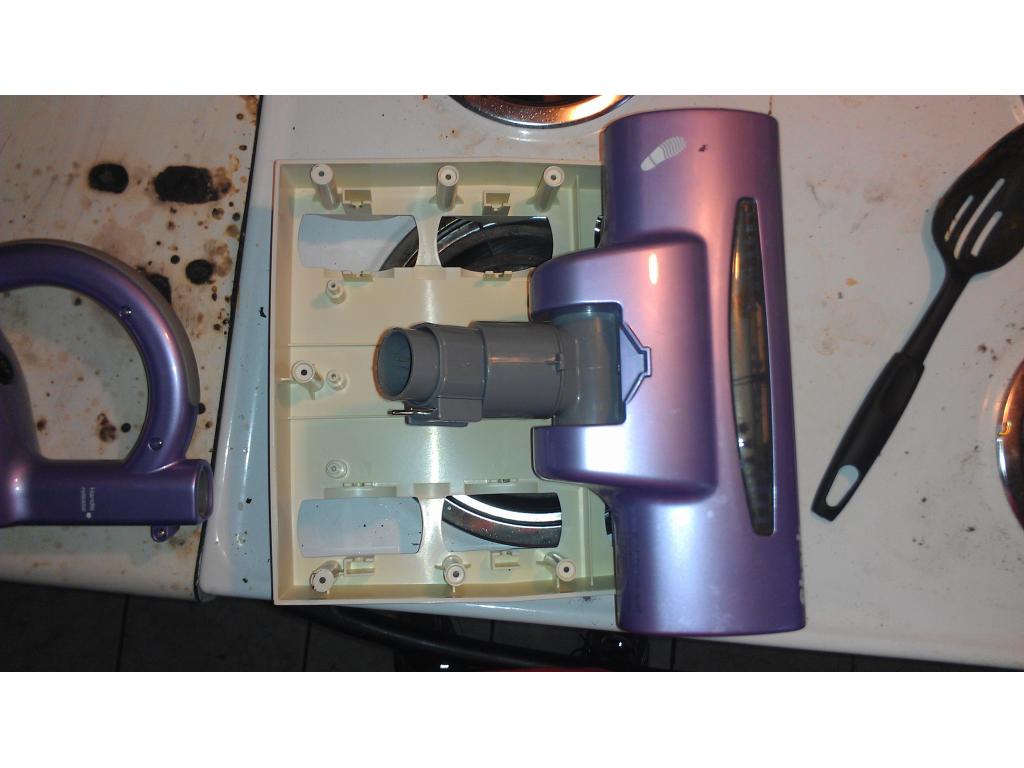

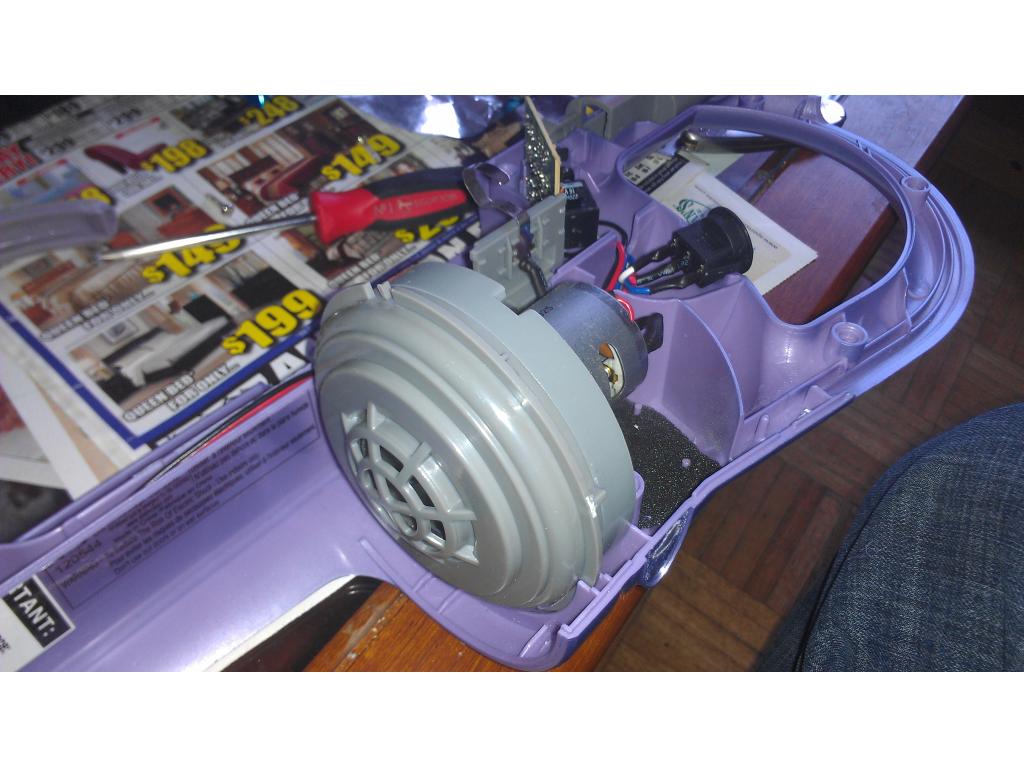
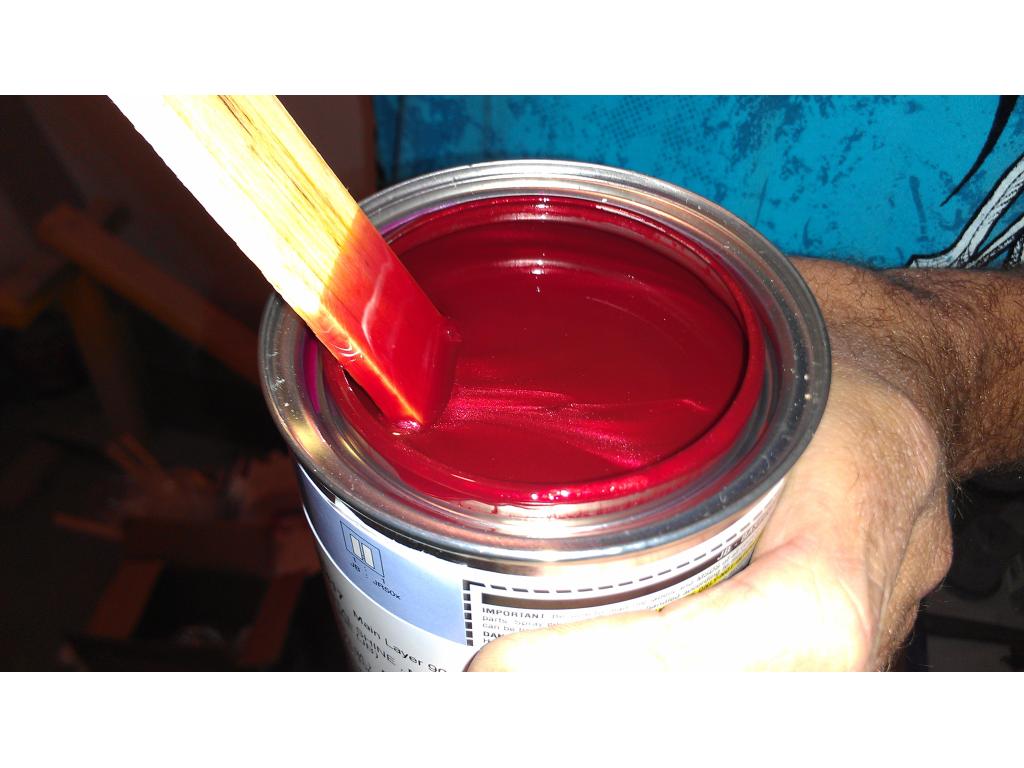

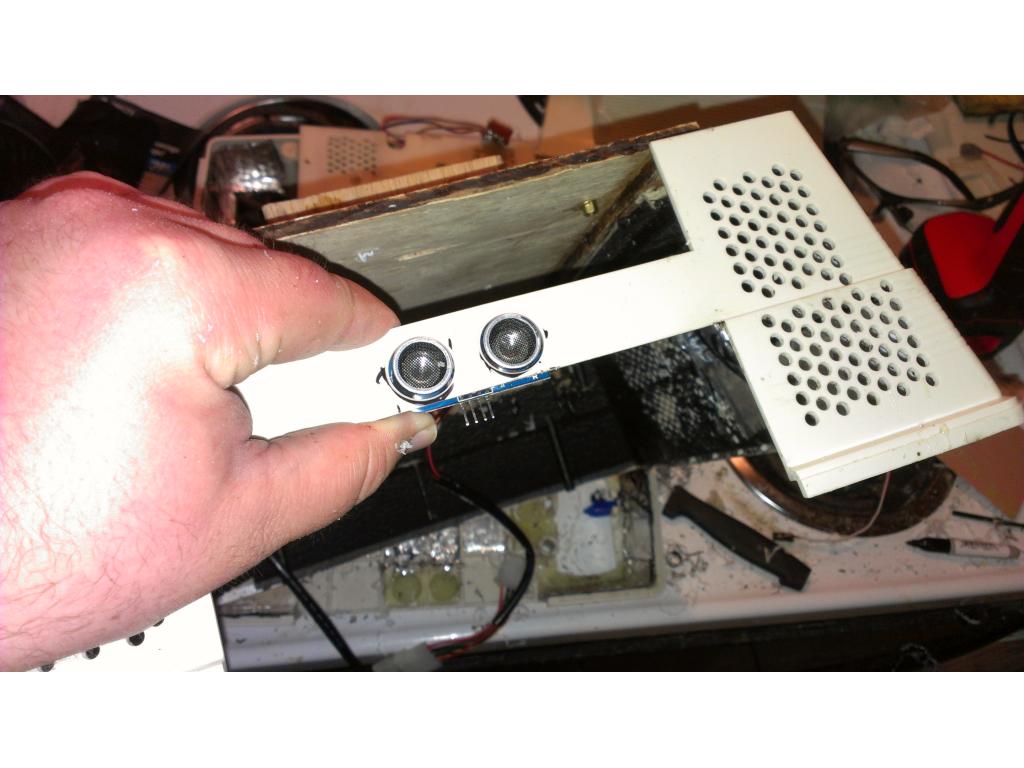
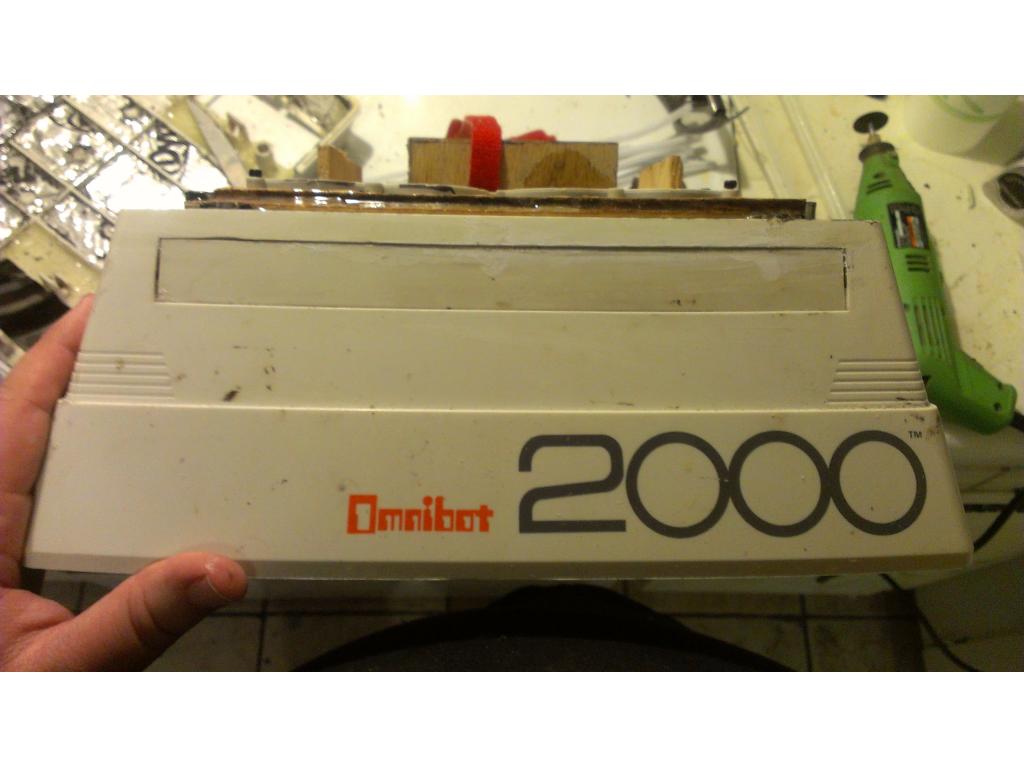
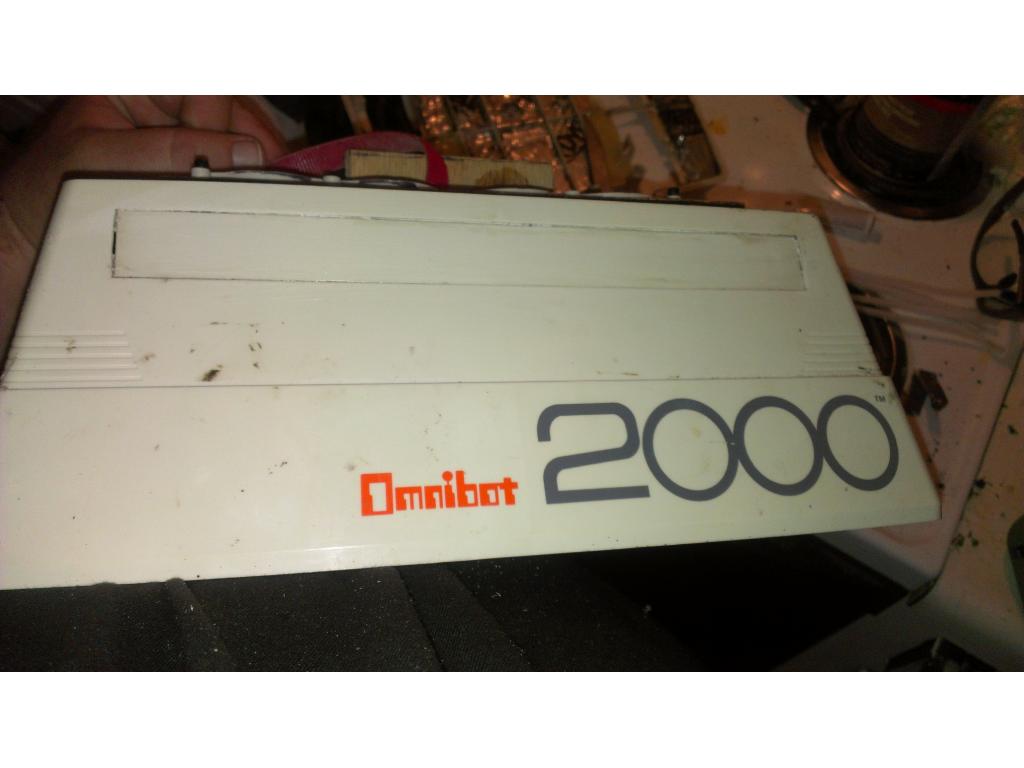
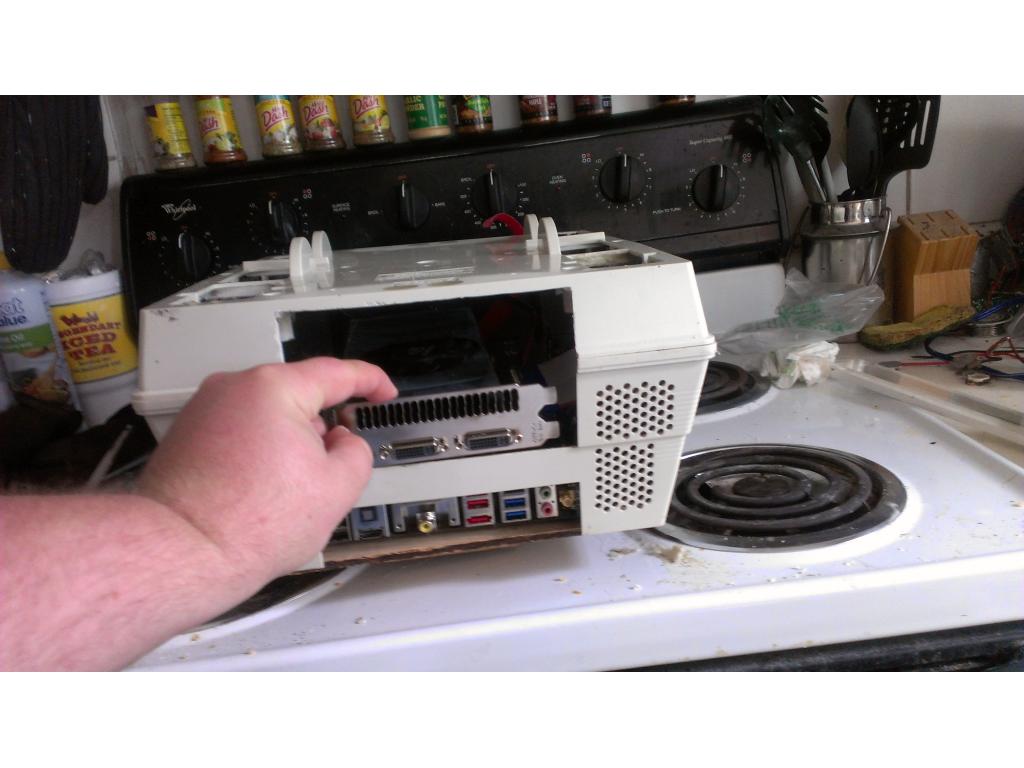

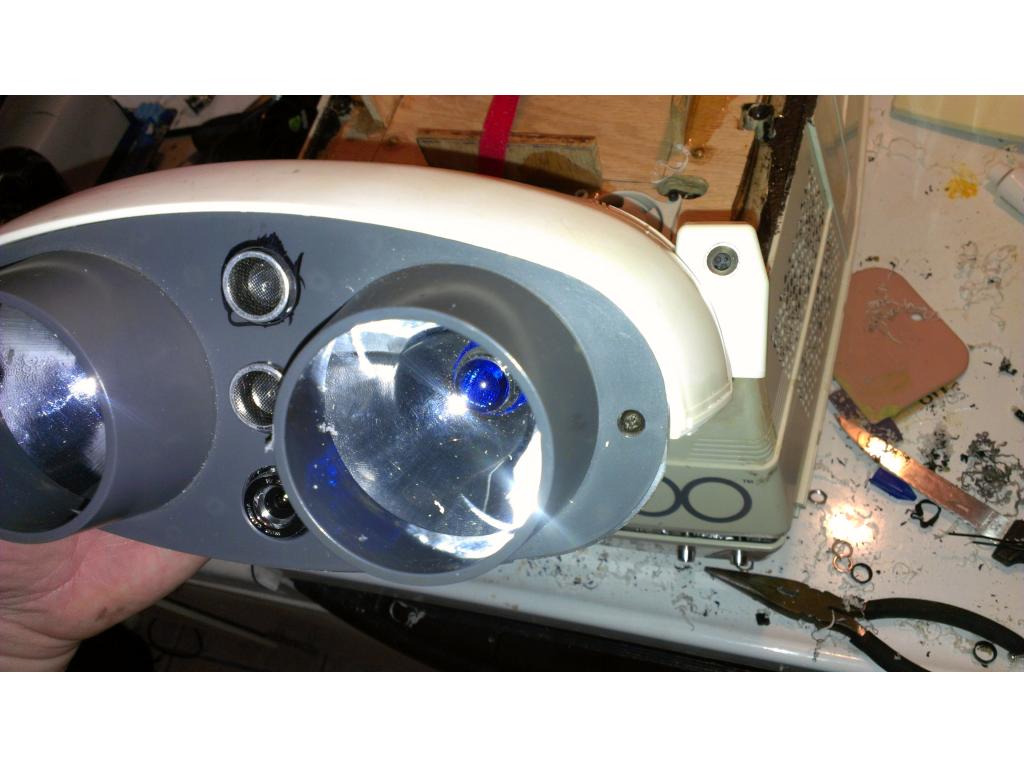


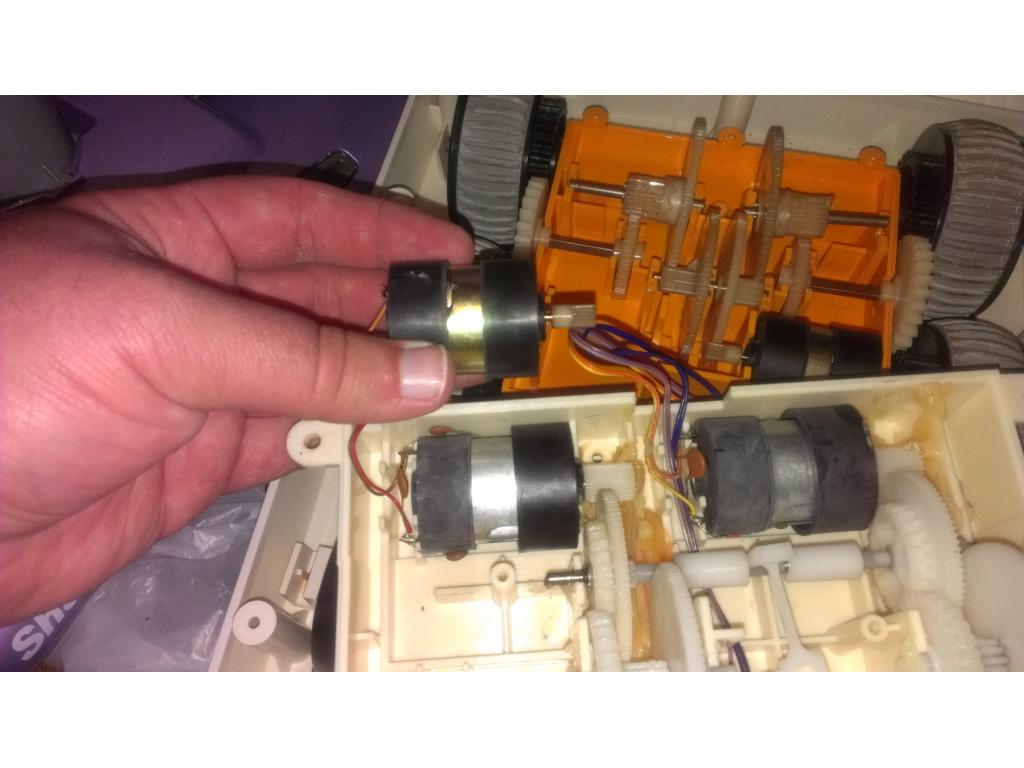
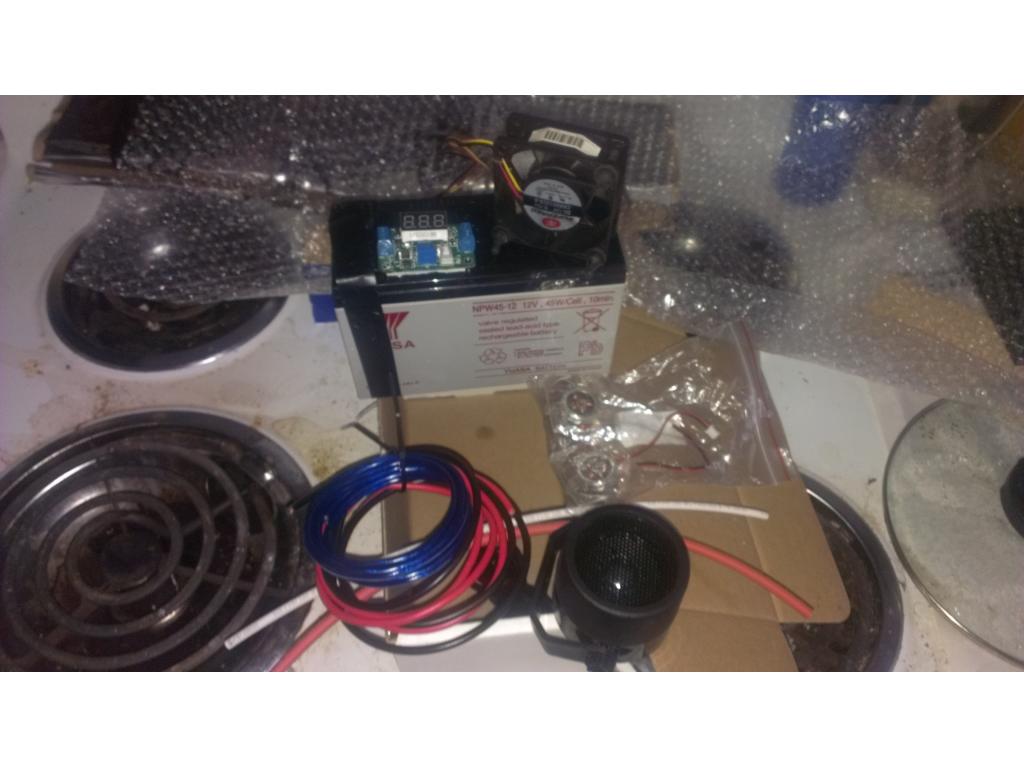


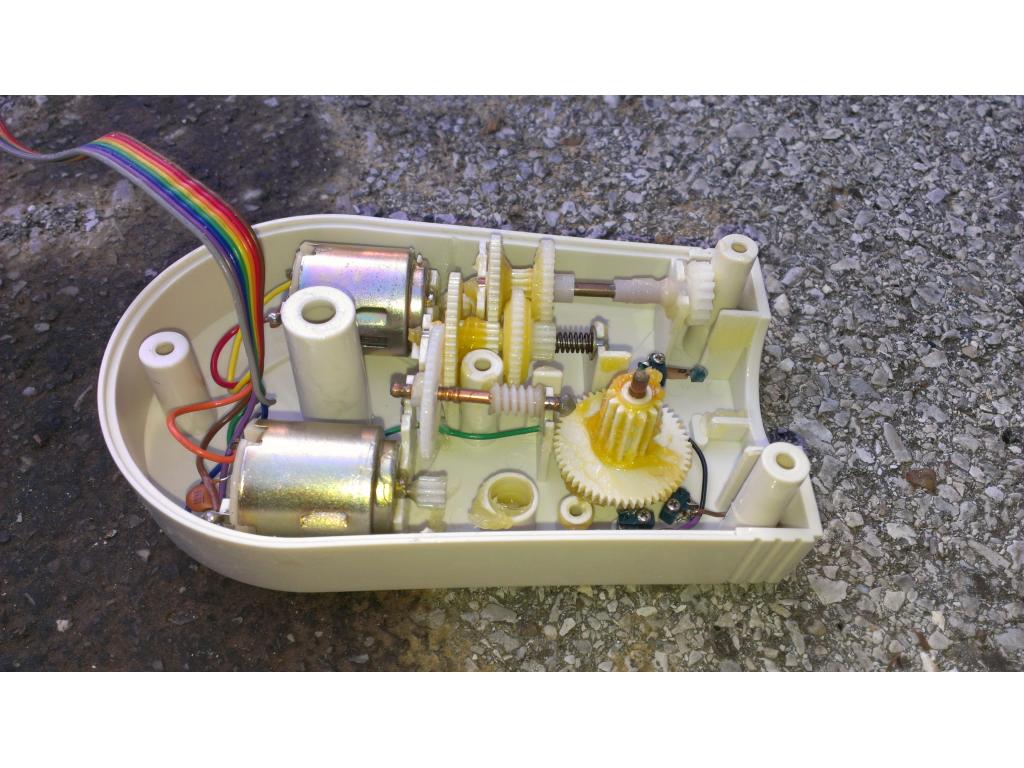


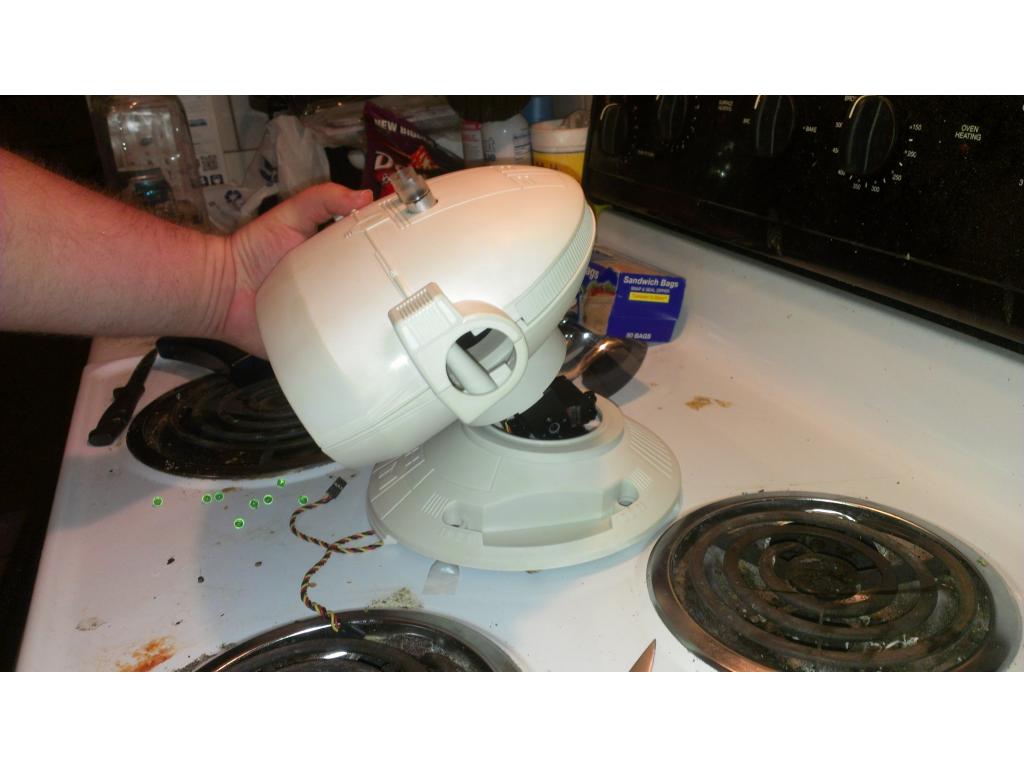
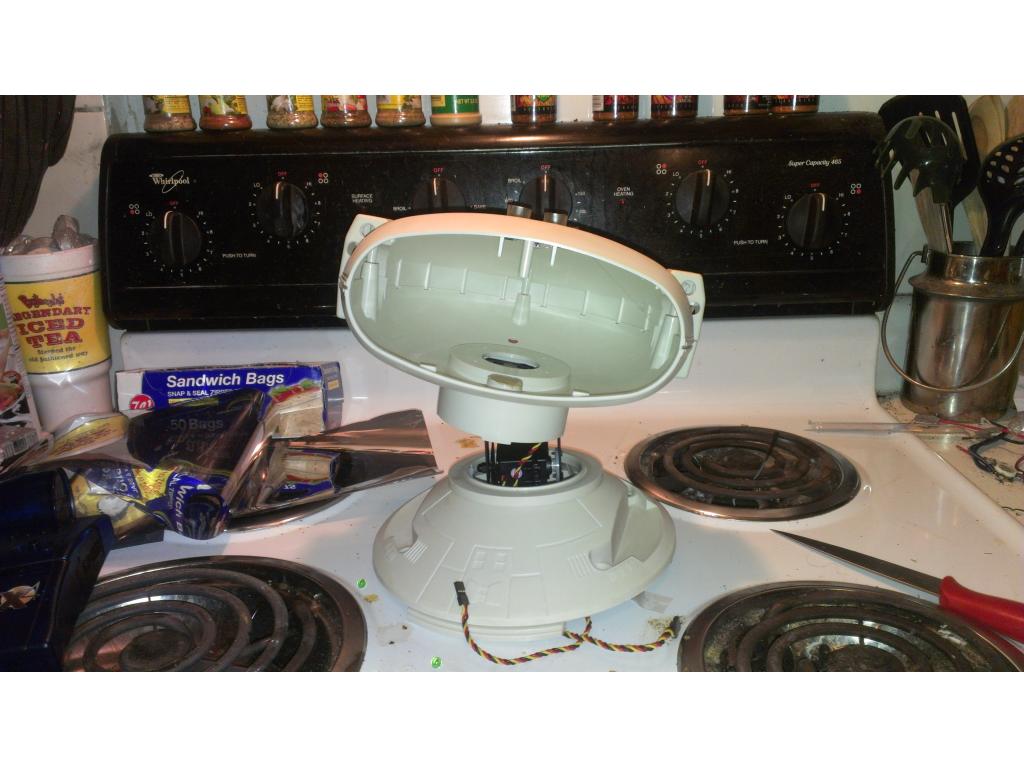
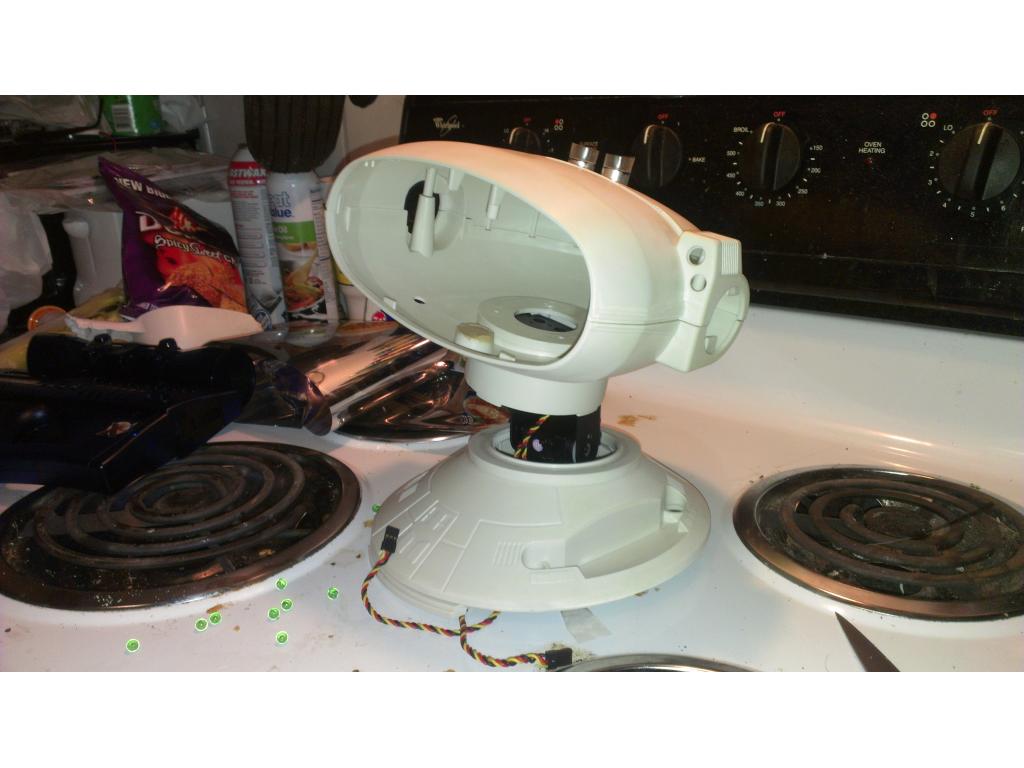

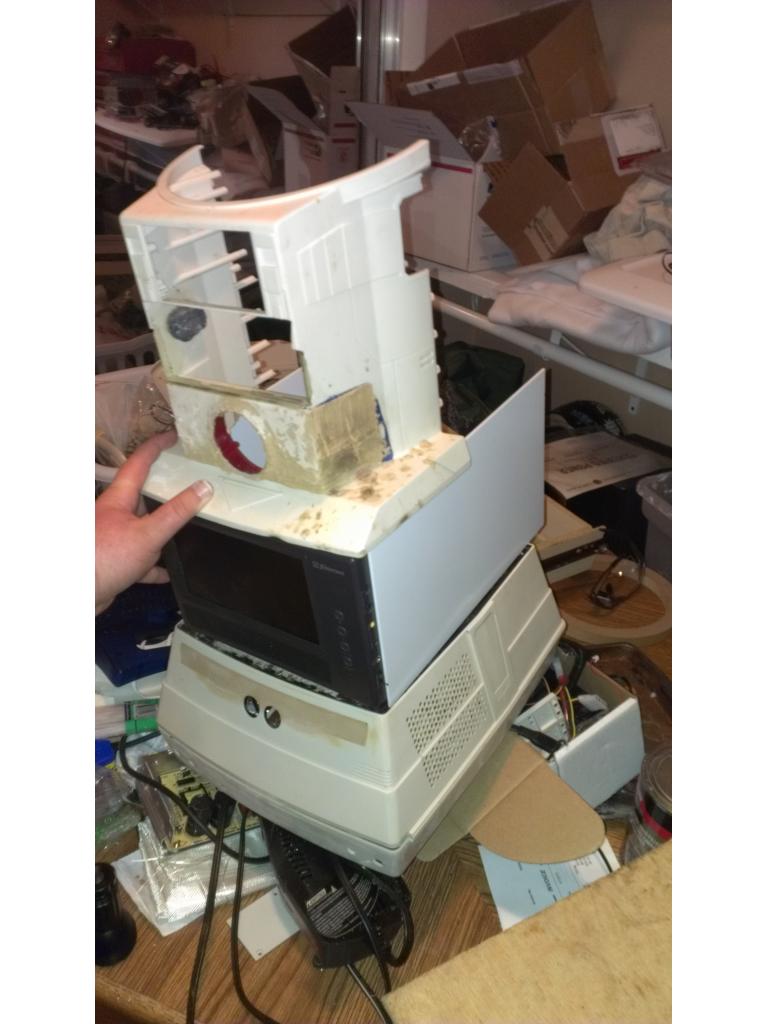
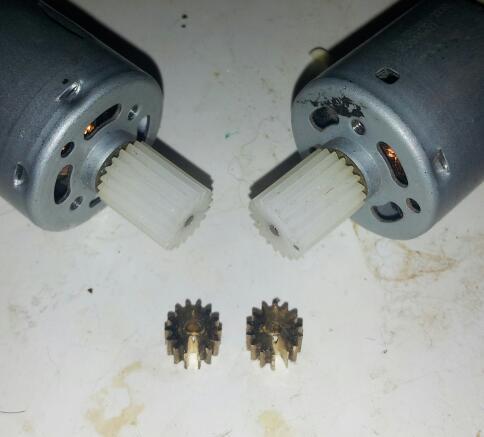
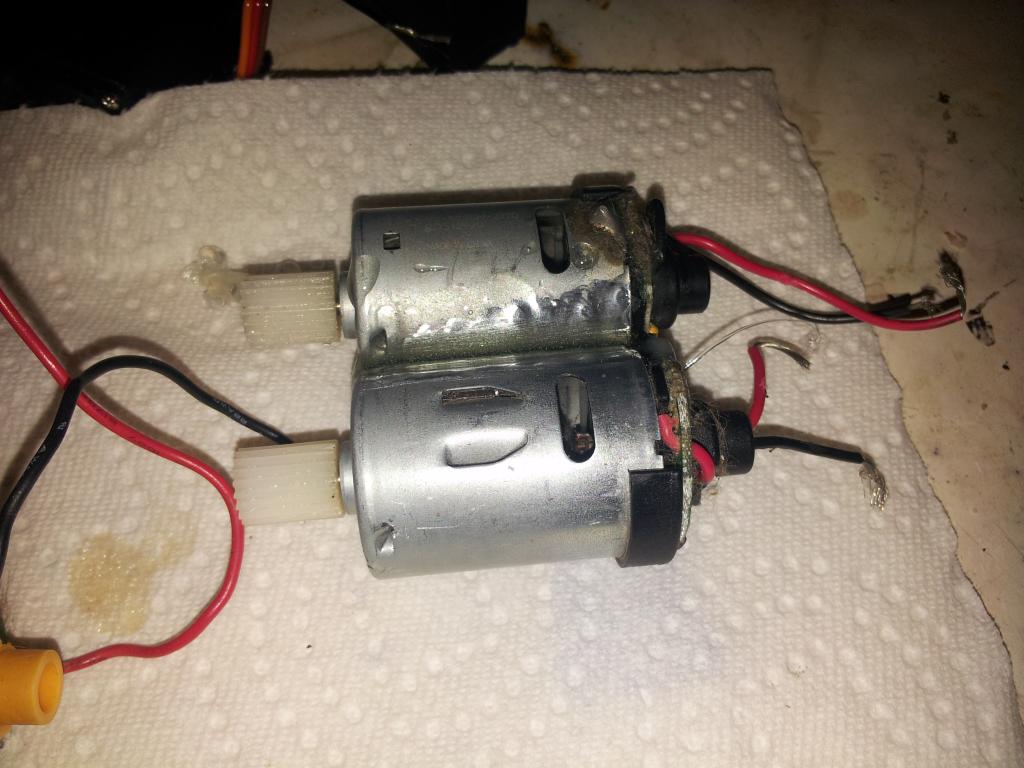
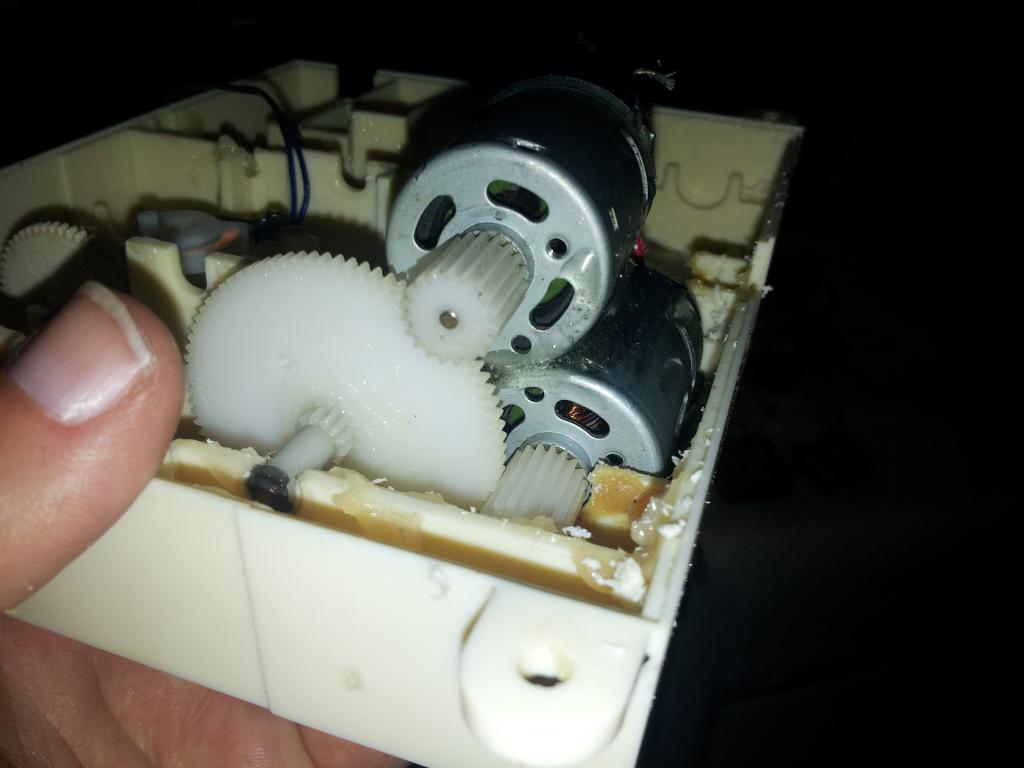
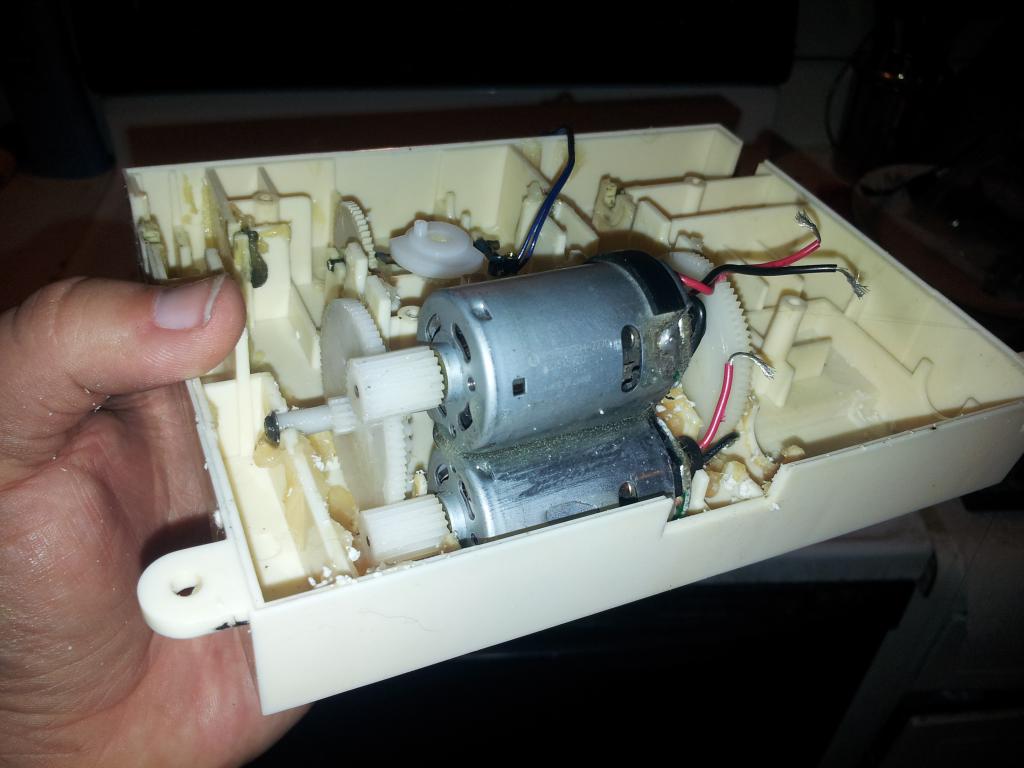
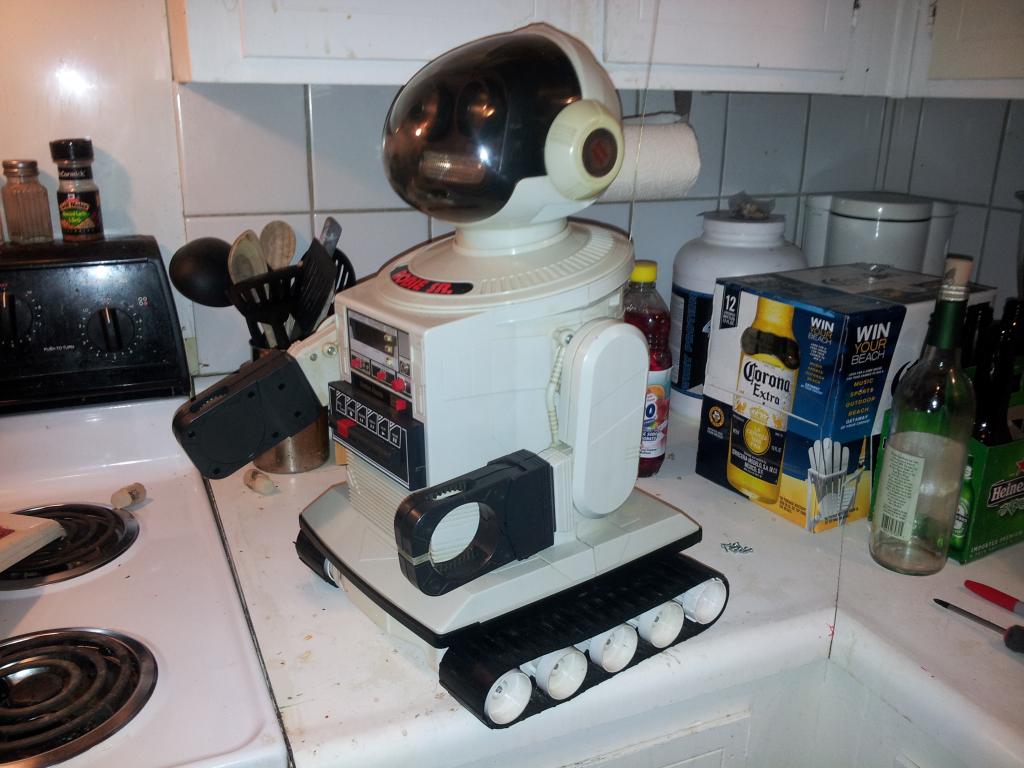
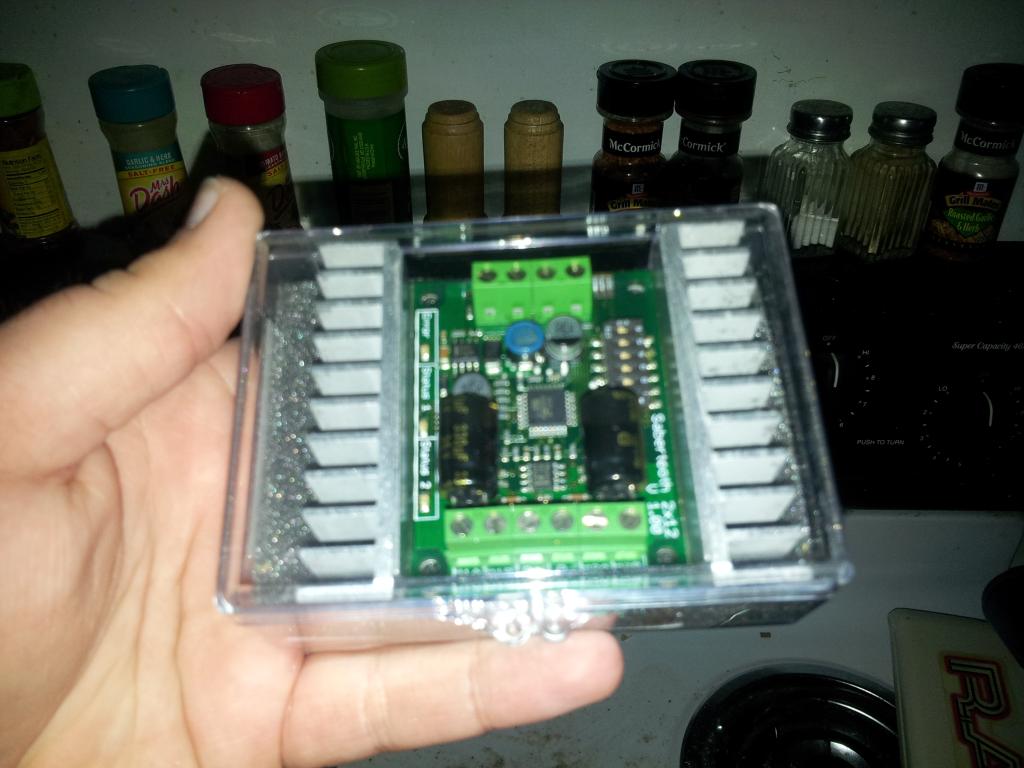
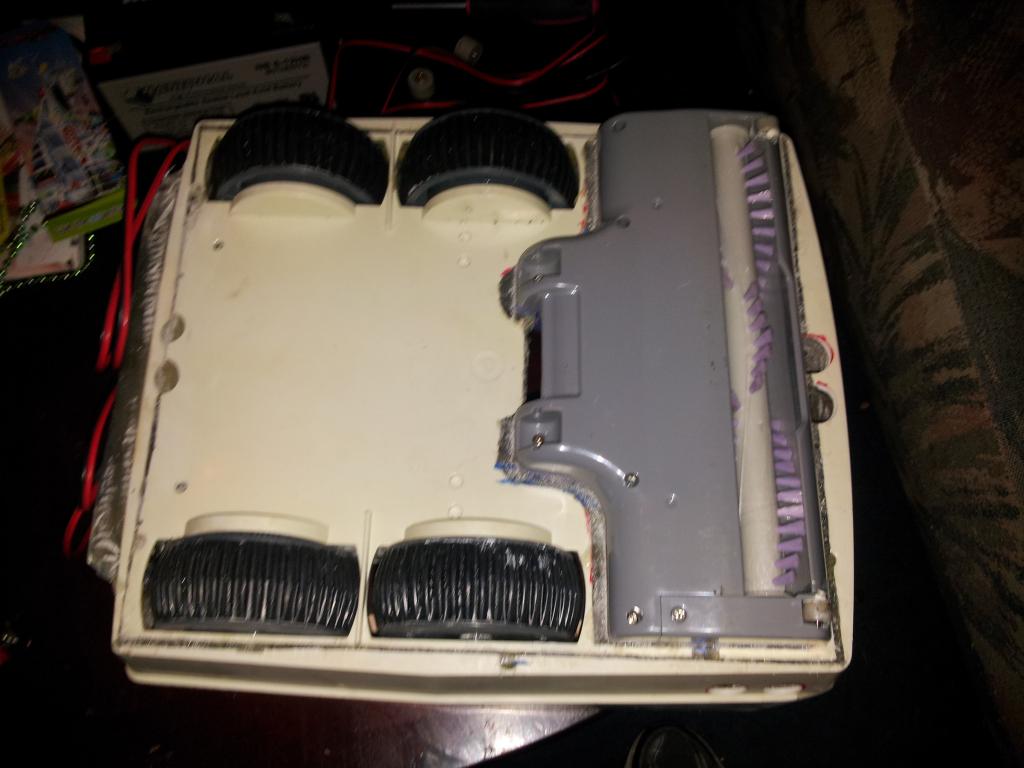
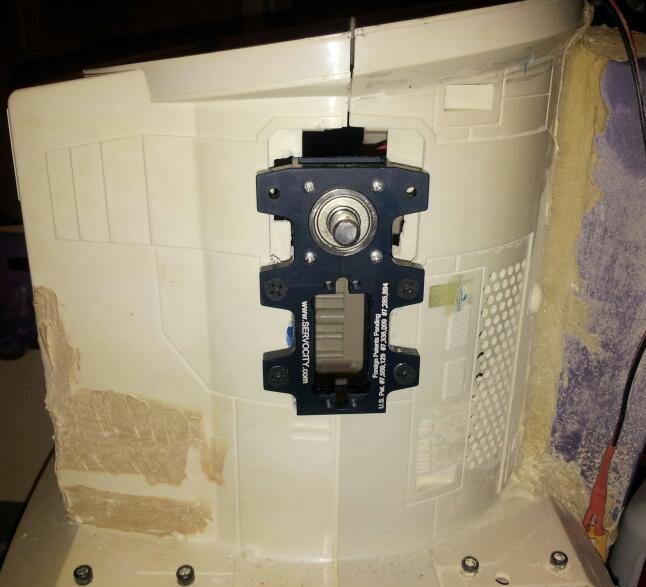
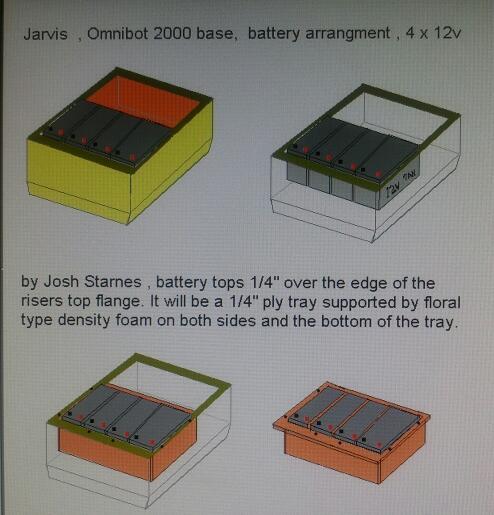
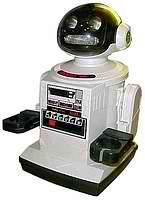
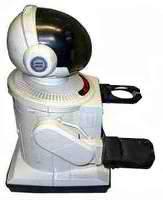
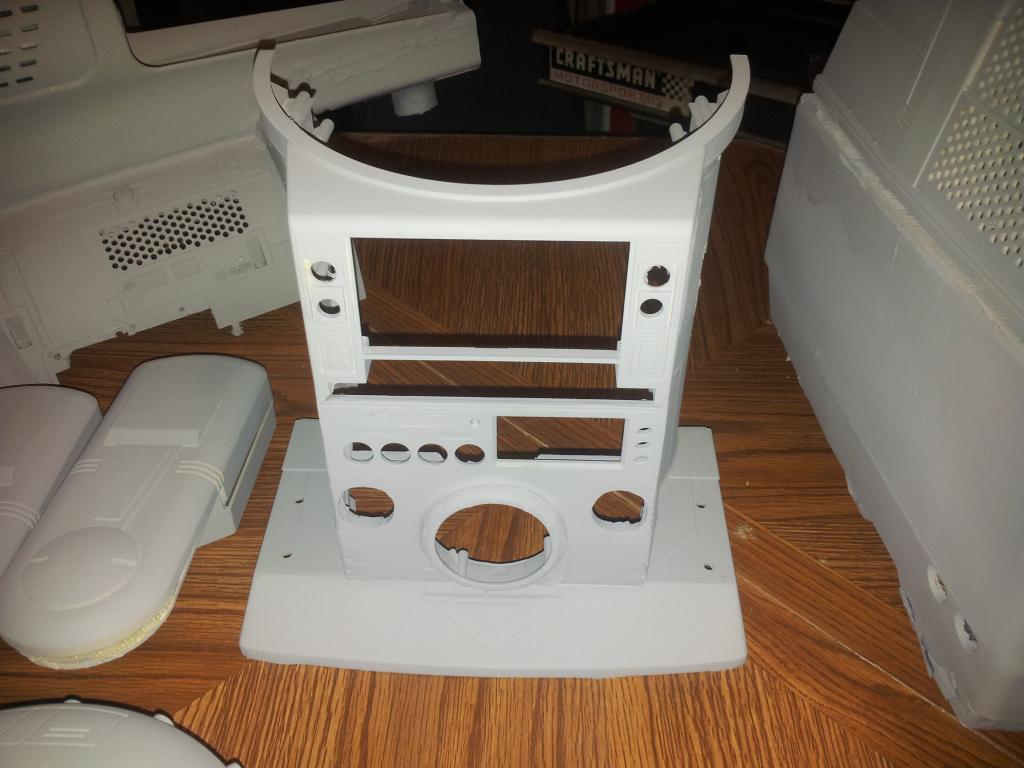
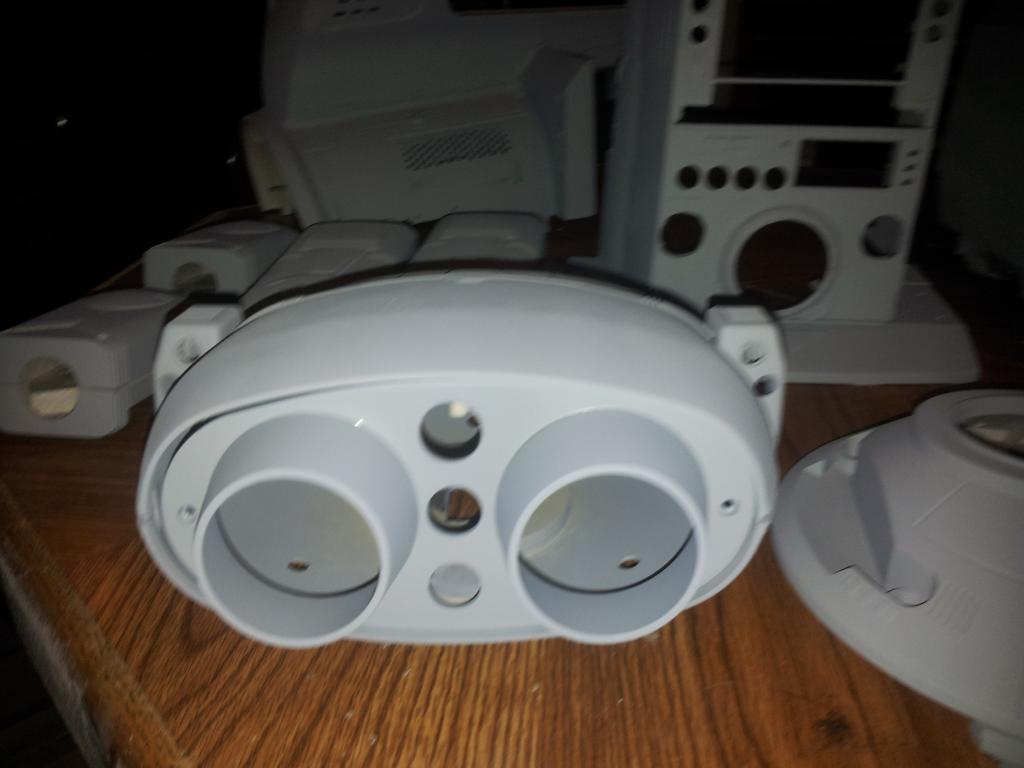
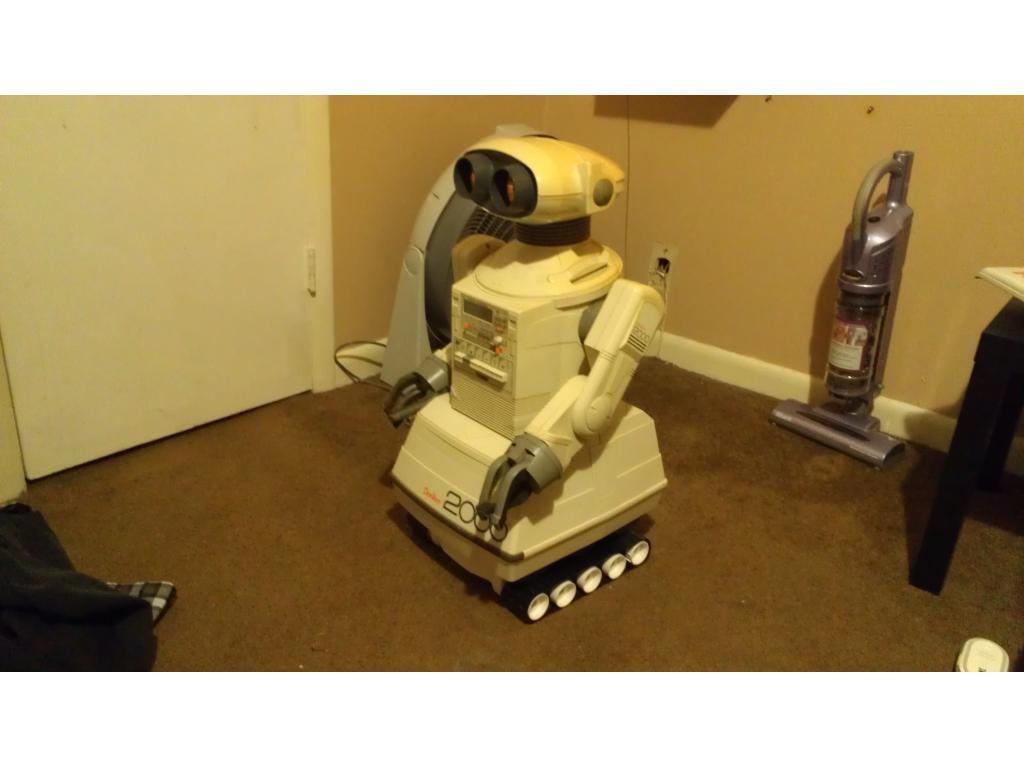
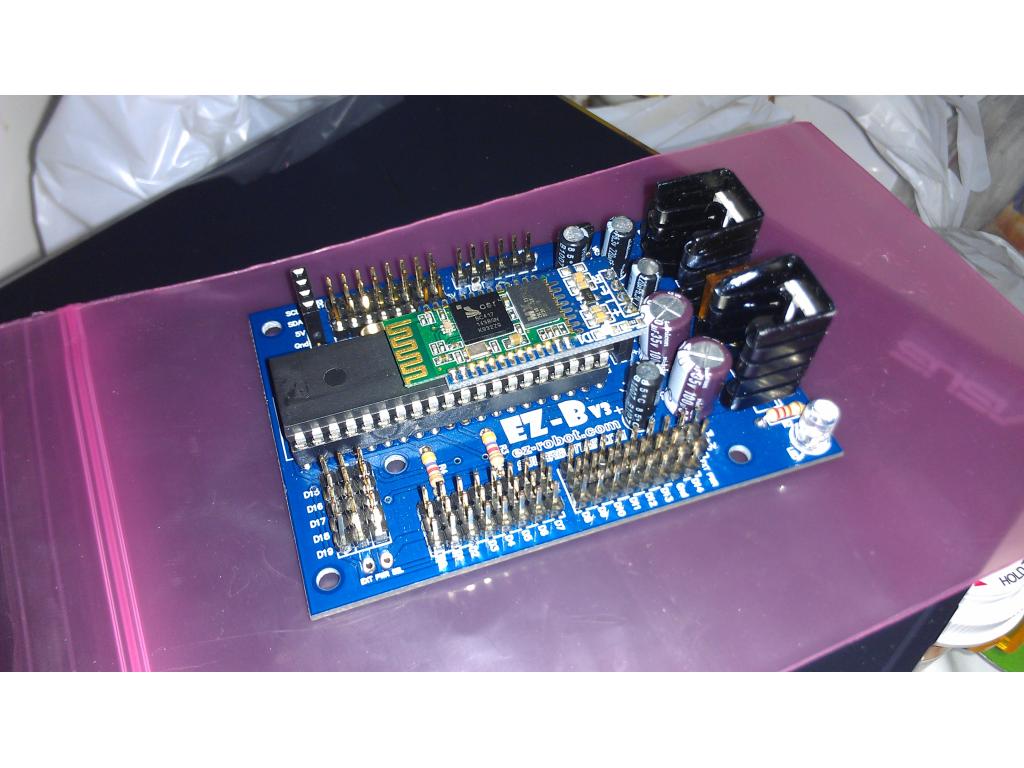
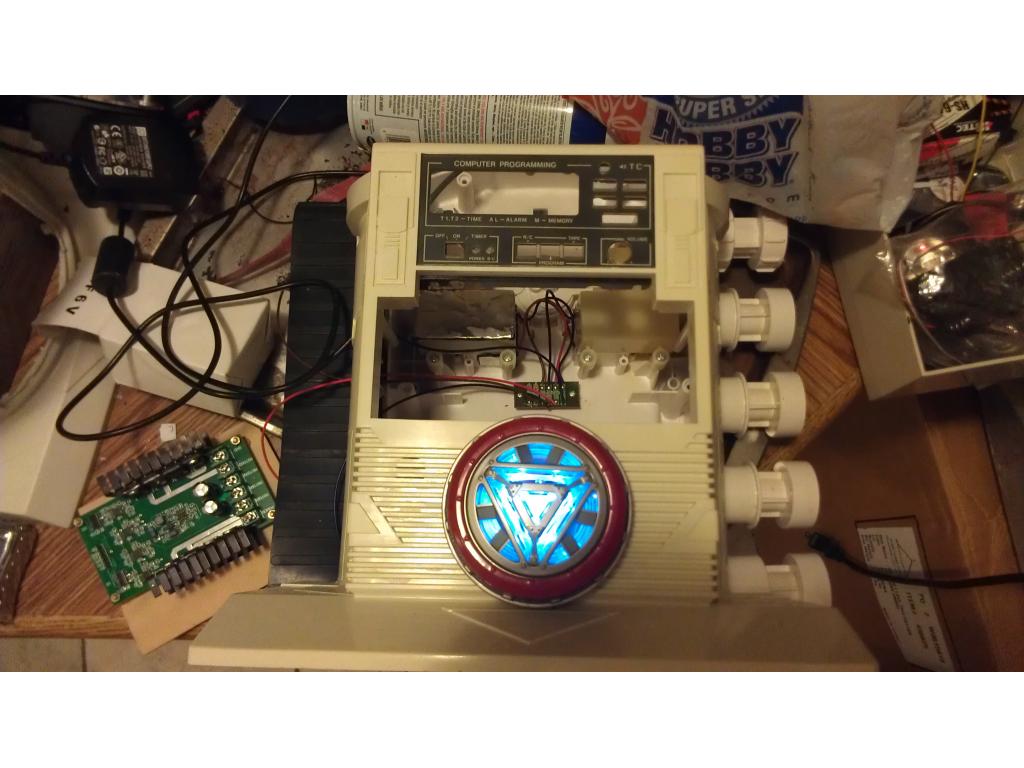
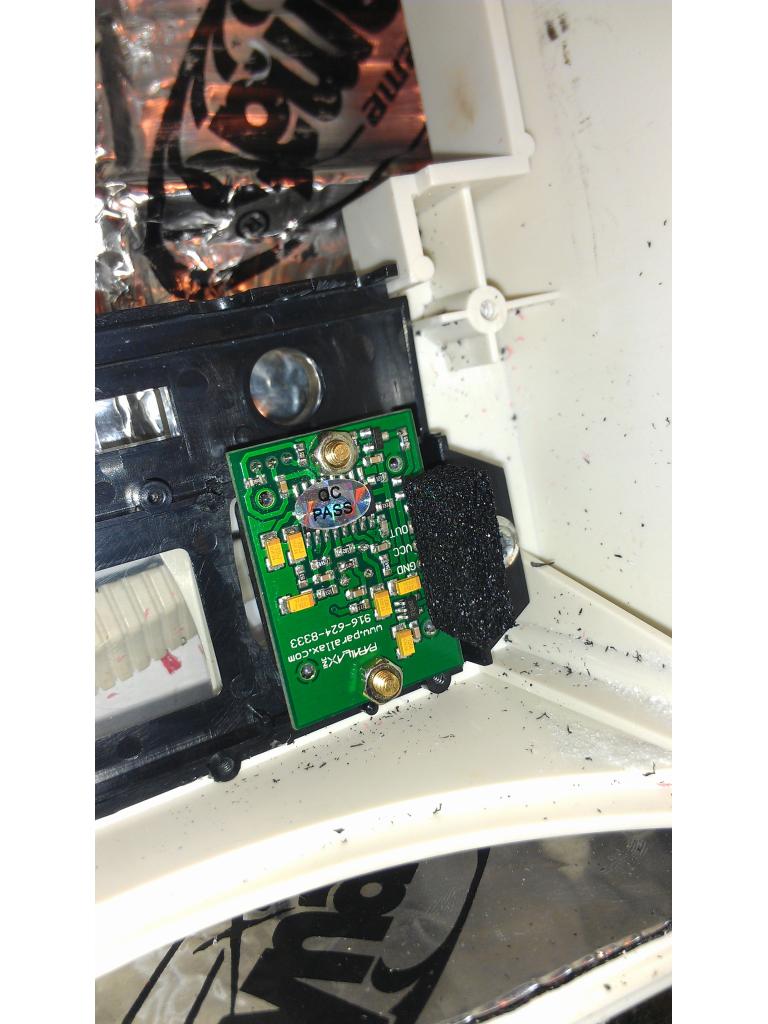
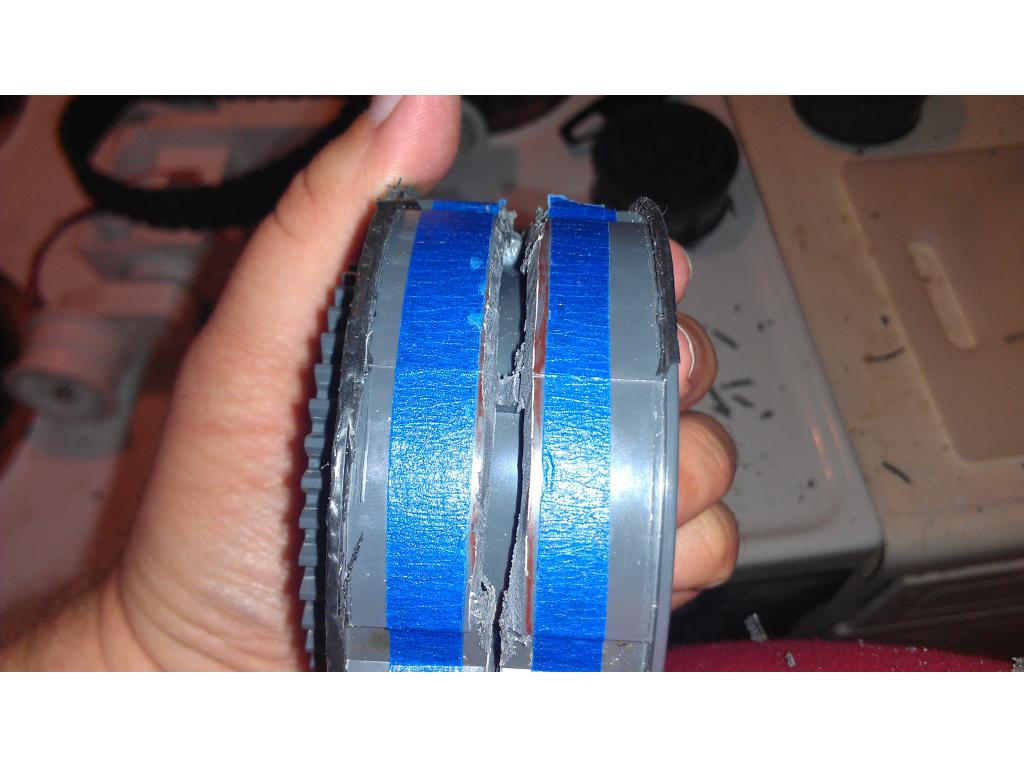
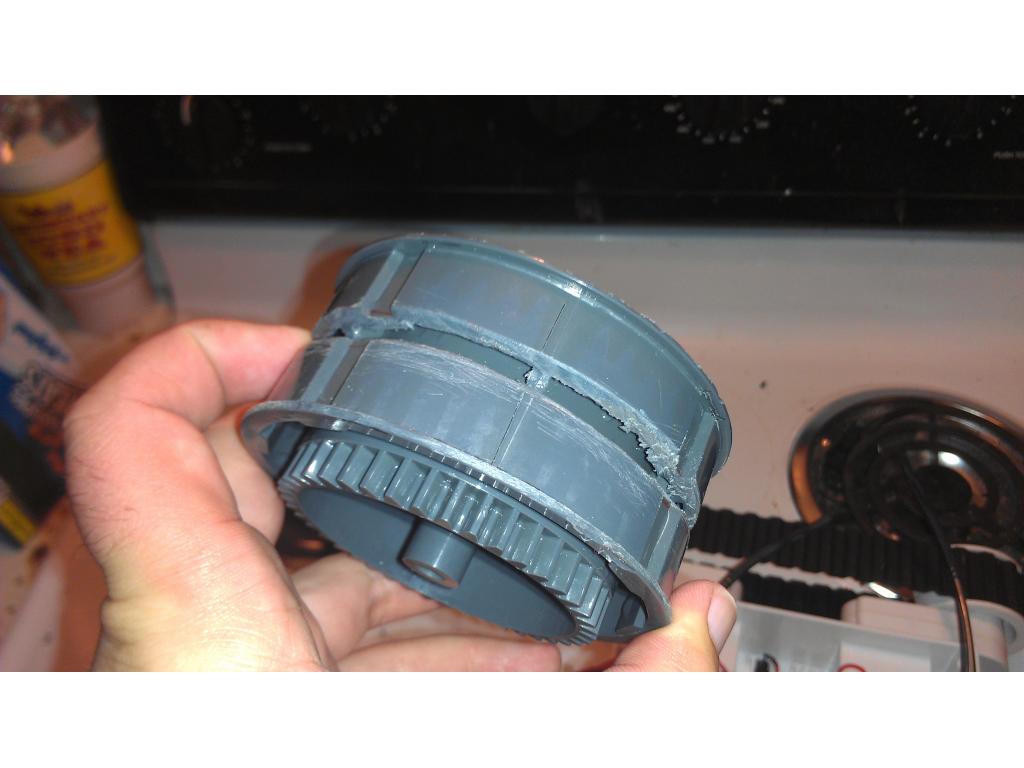
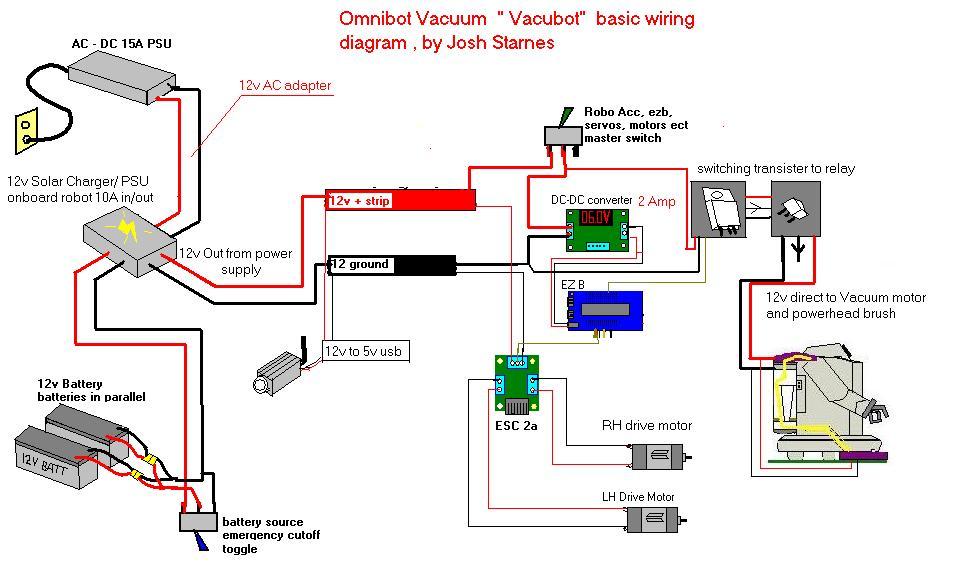
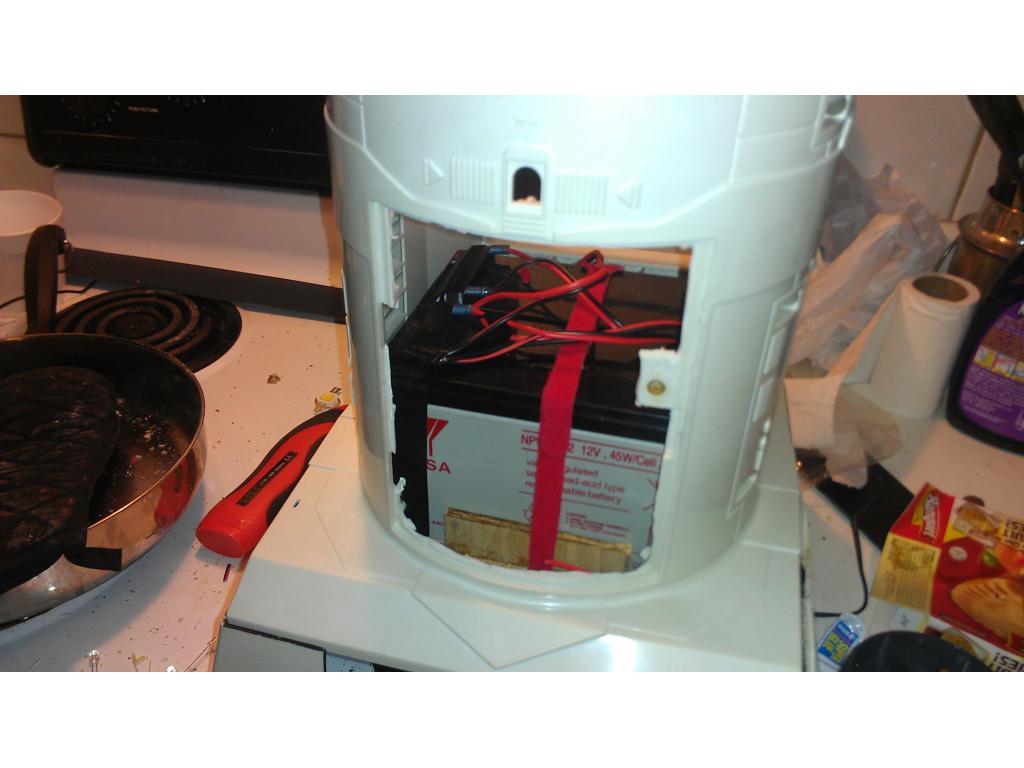
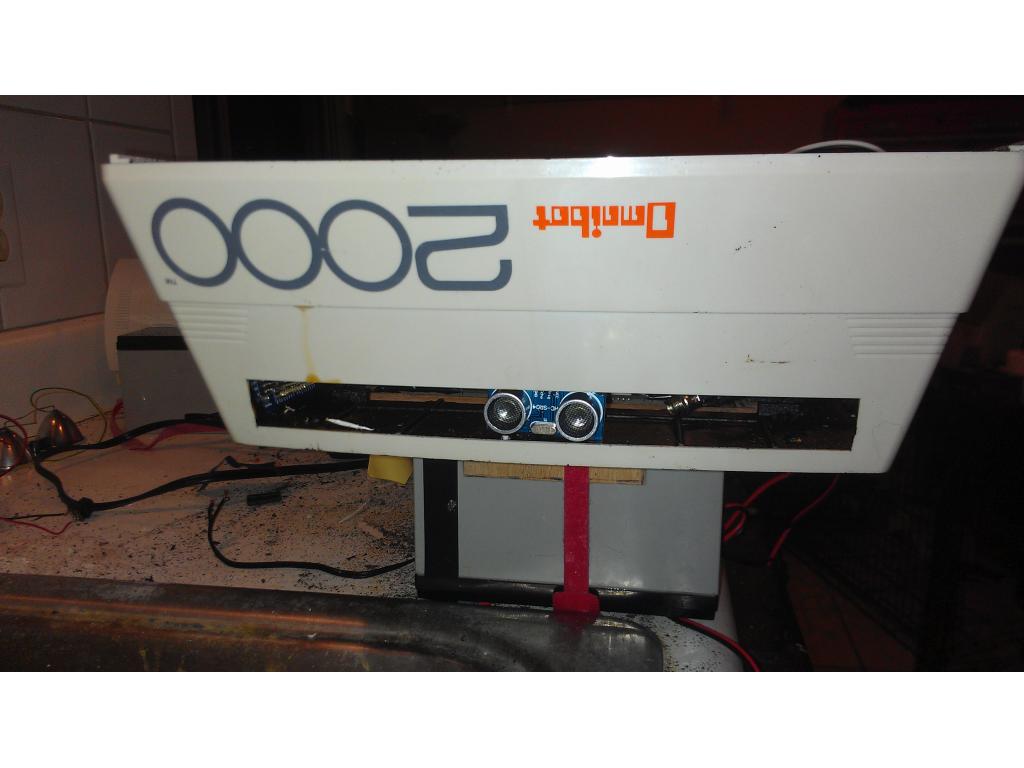
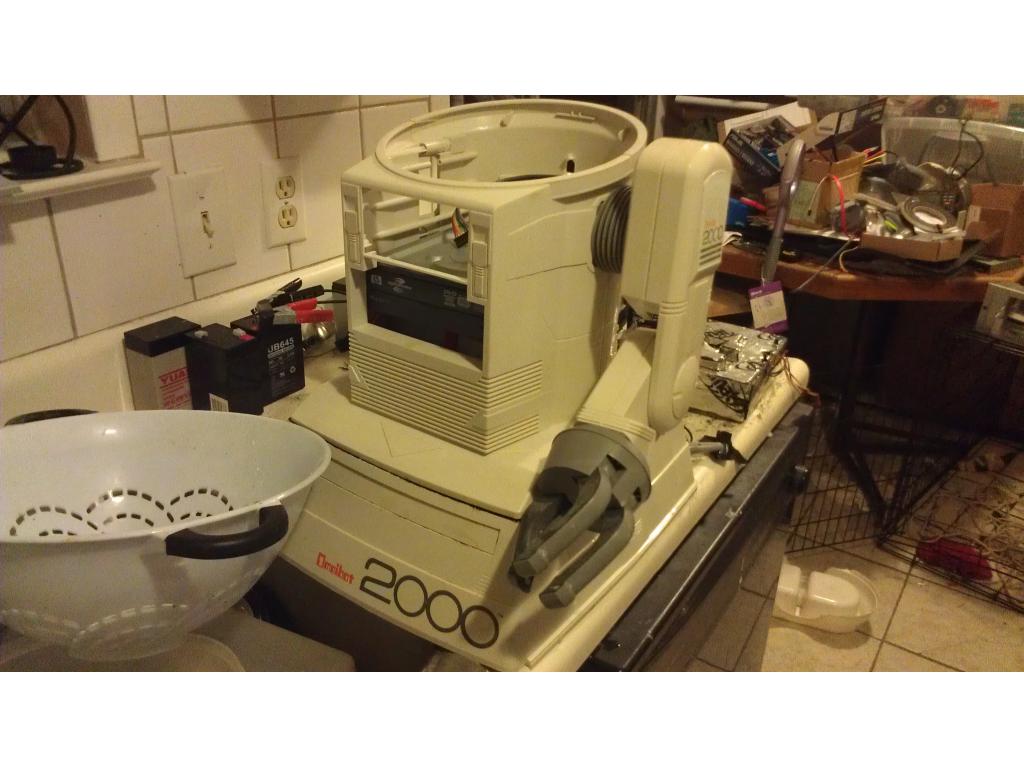
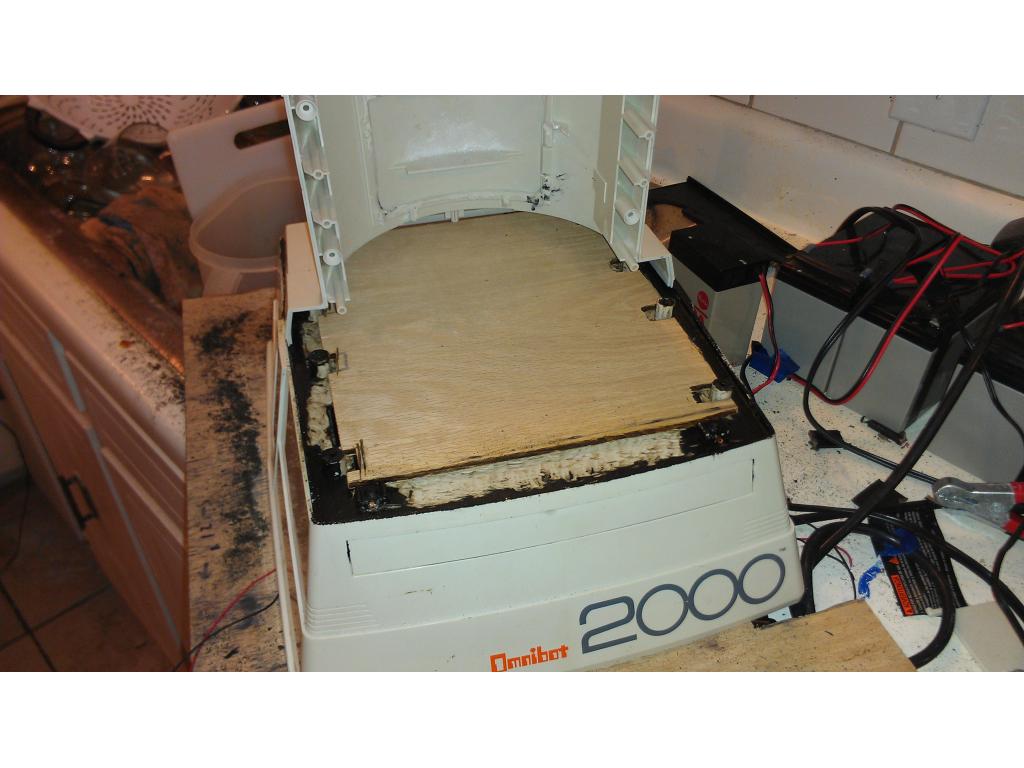
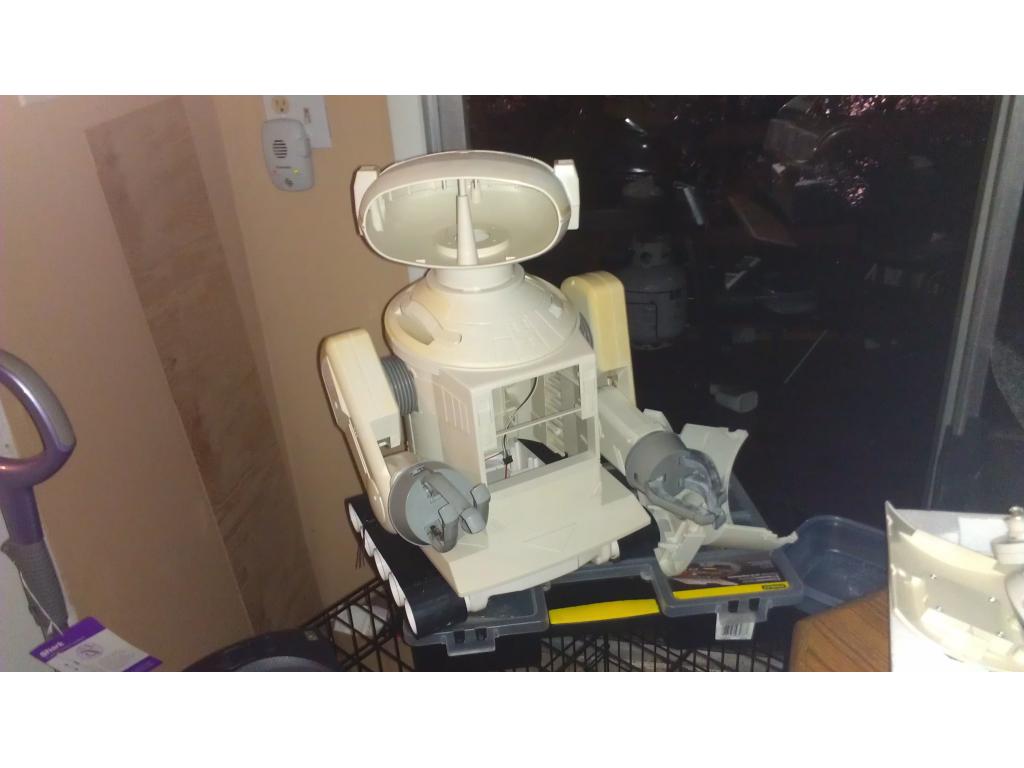
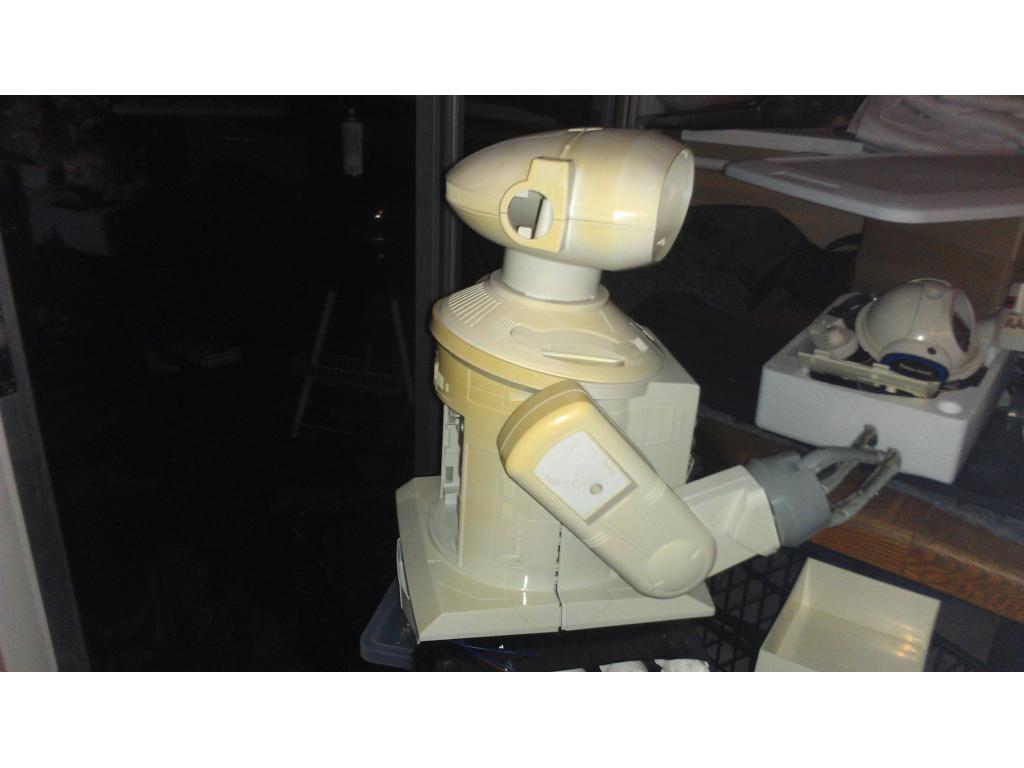
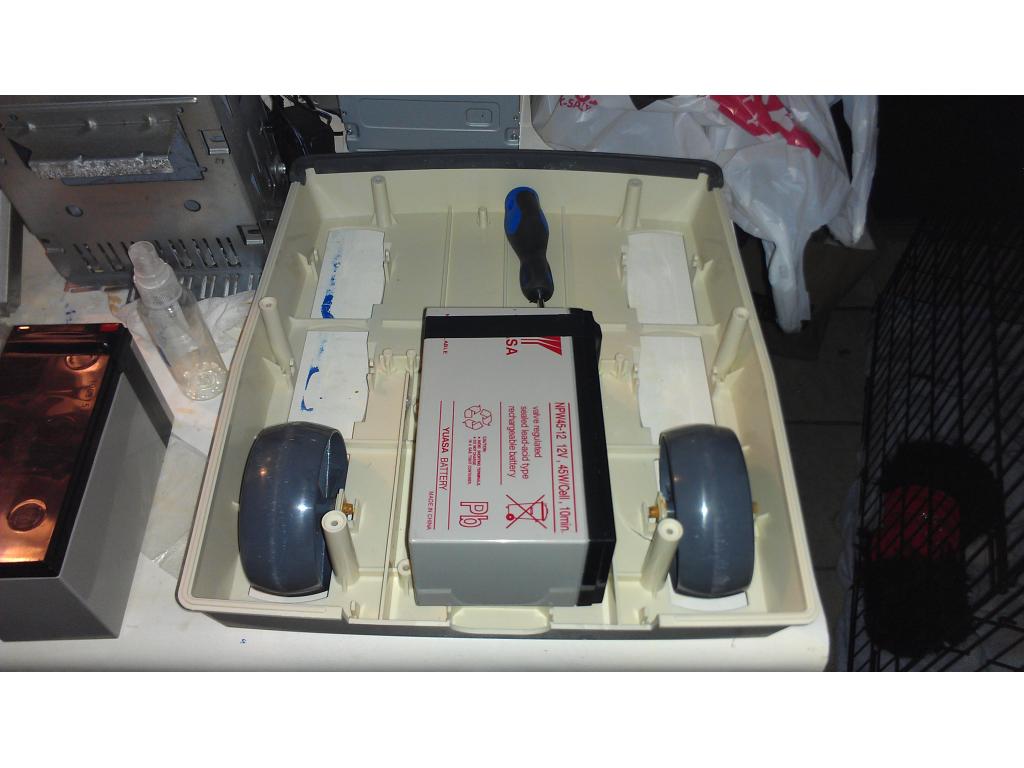
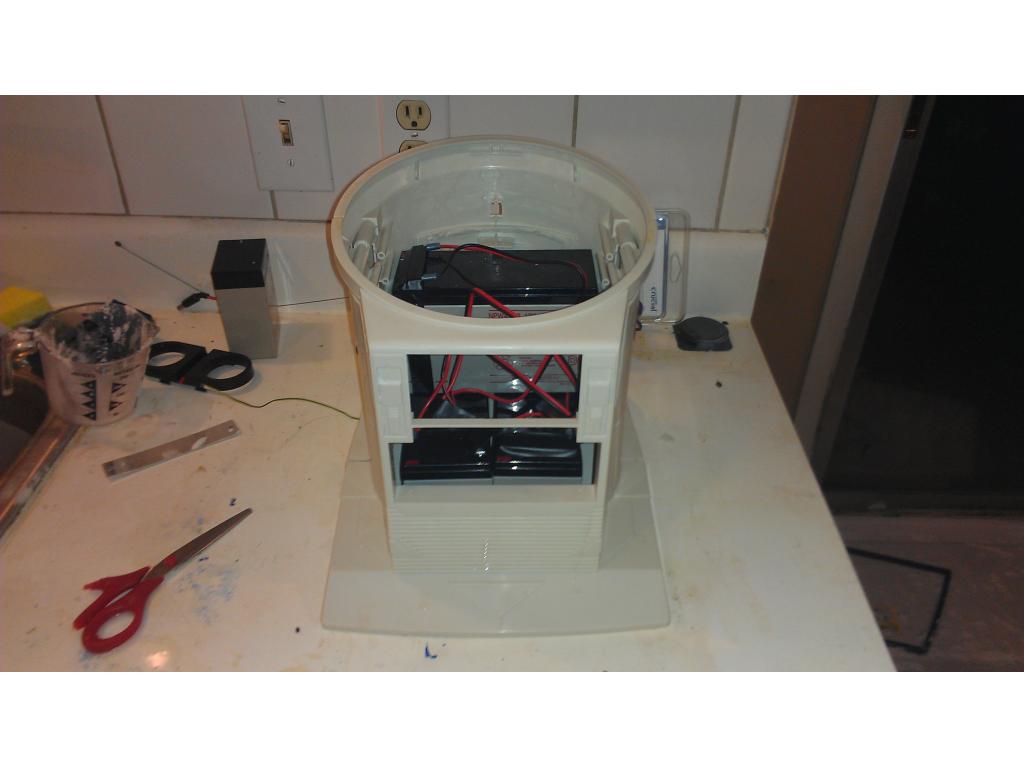
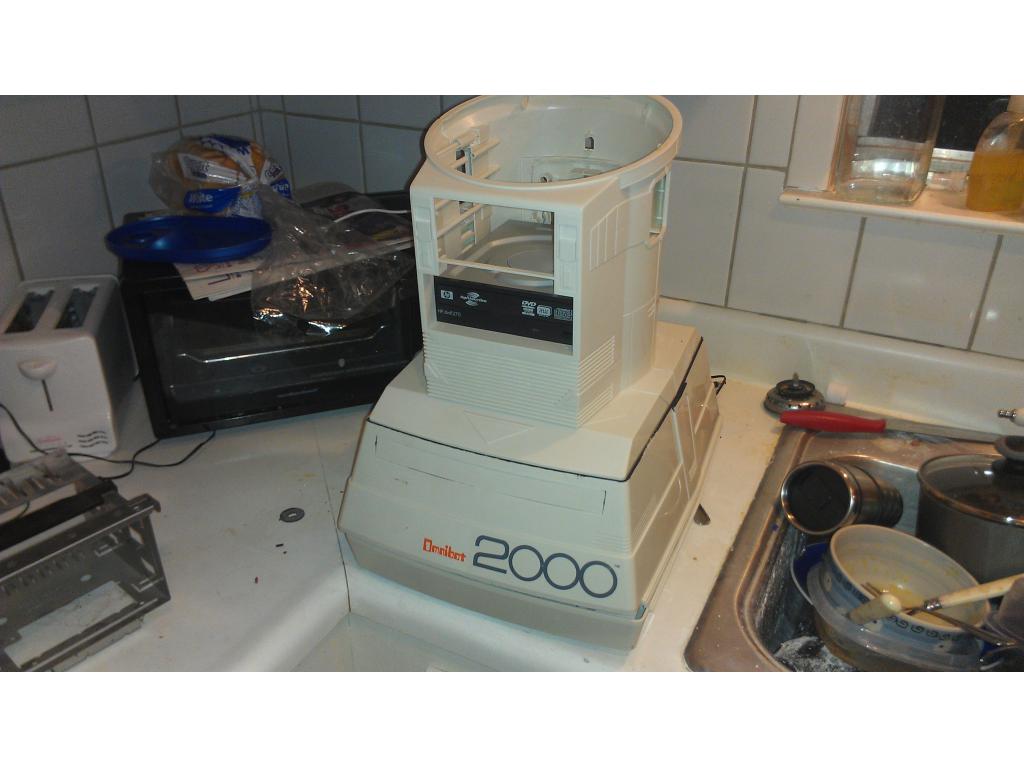
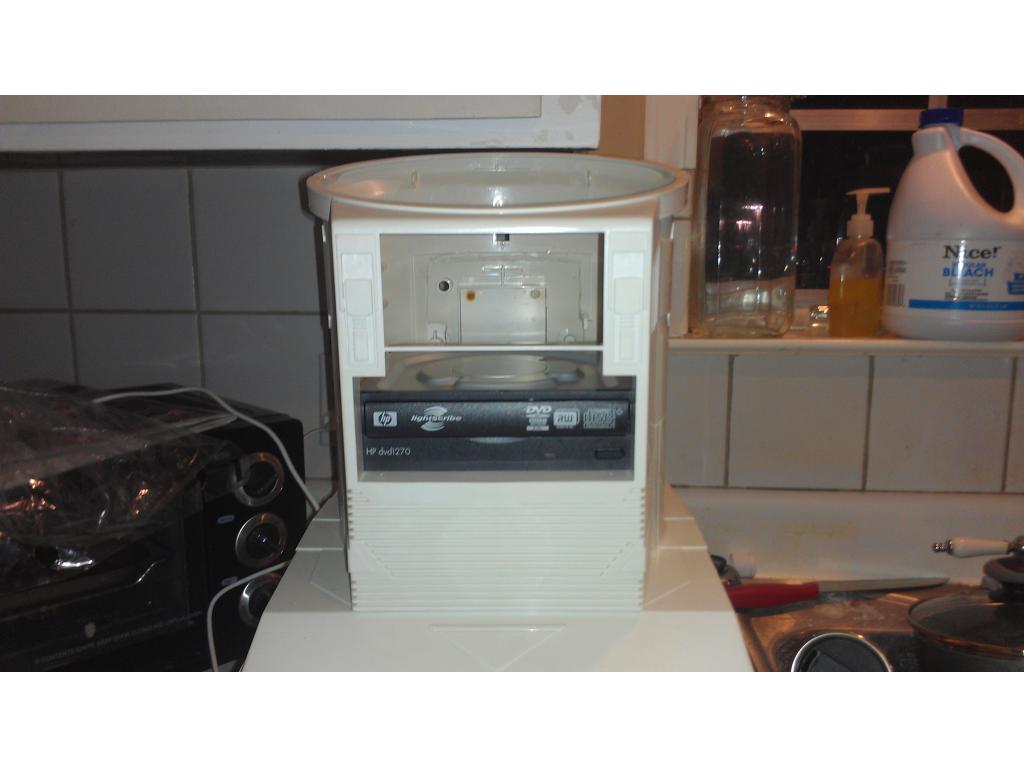
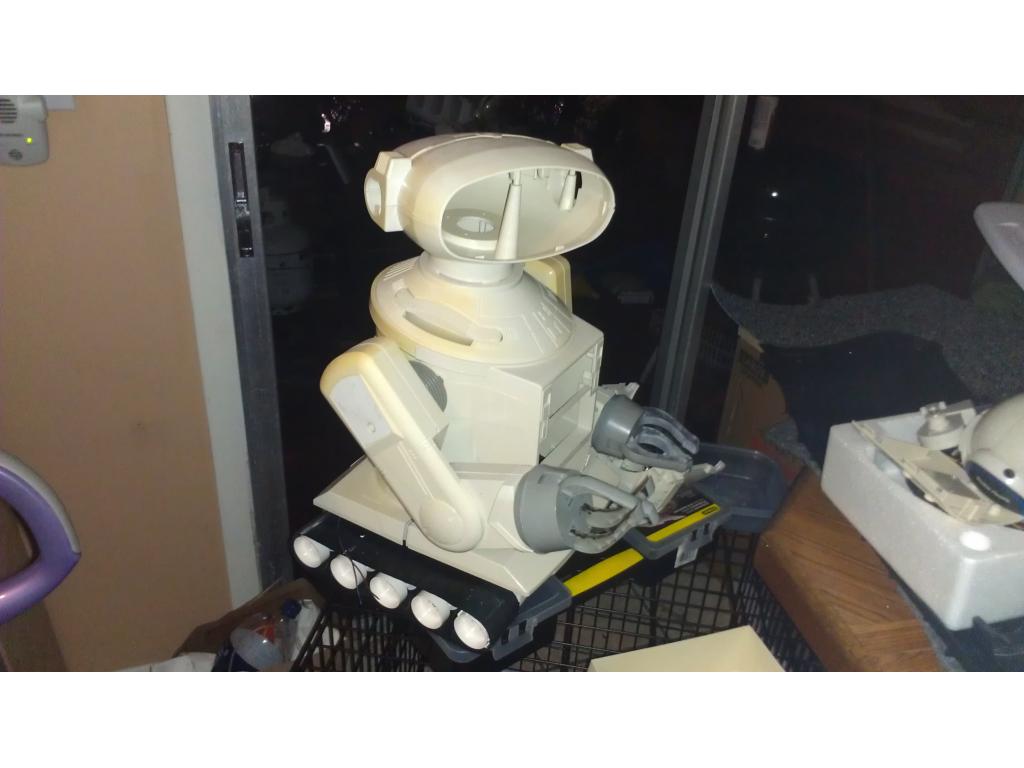
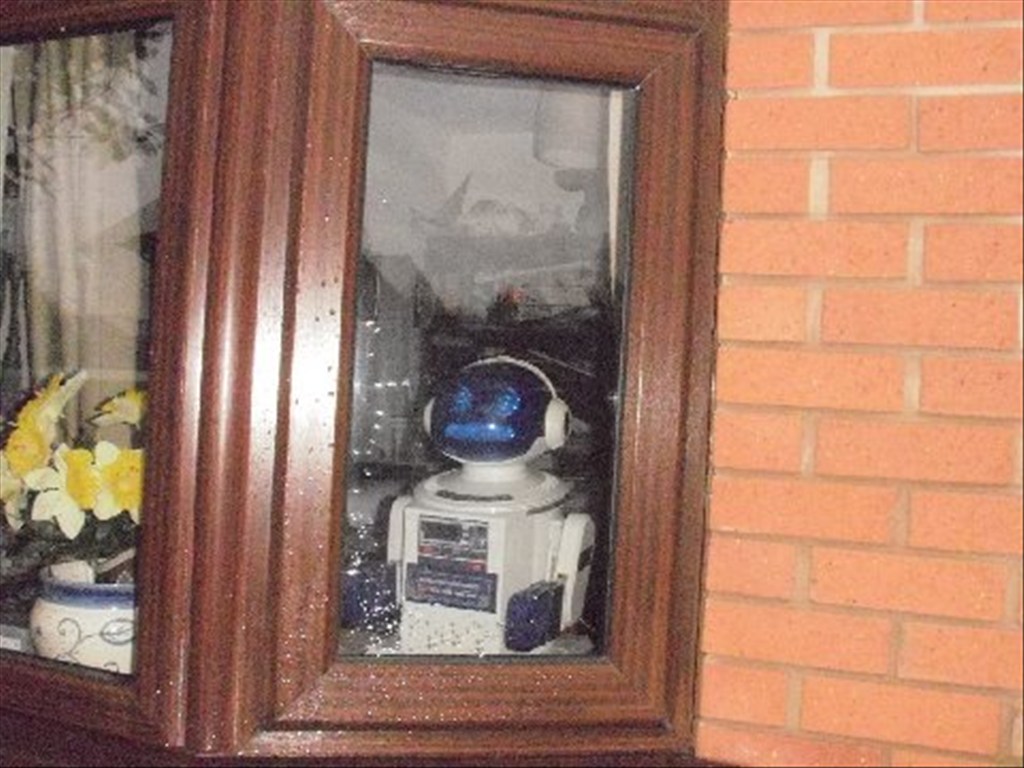
This project has evolved some , the basic rundown is I'm modding two Omnibots , one a regular the other a larger 2000 model. I will have two ezb kits , rad base idea was thrown out because of so much noise but could go back on the table if the omnibot drivetrain is too weak to pull it.


By jstarne1
— Last update
Discover more robots
Rich's Project Hearoid.
Refurbish Hearoid with EZ-B: autonomous 24/7 self-charging robot with pan/tilt camera, image tracking, servos,...
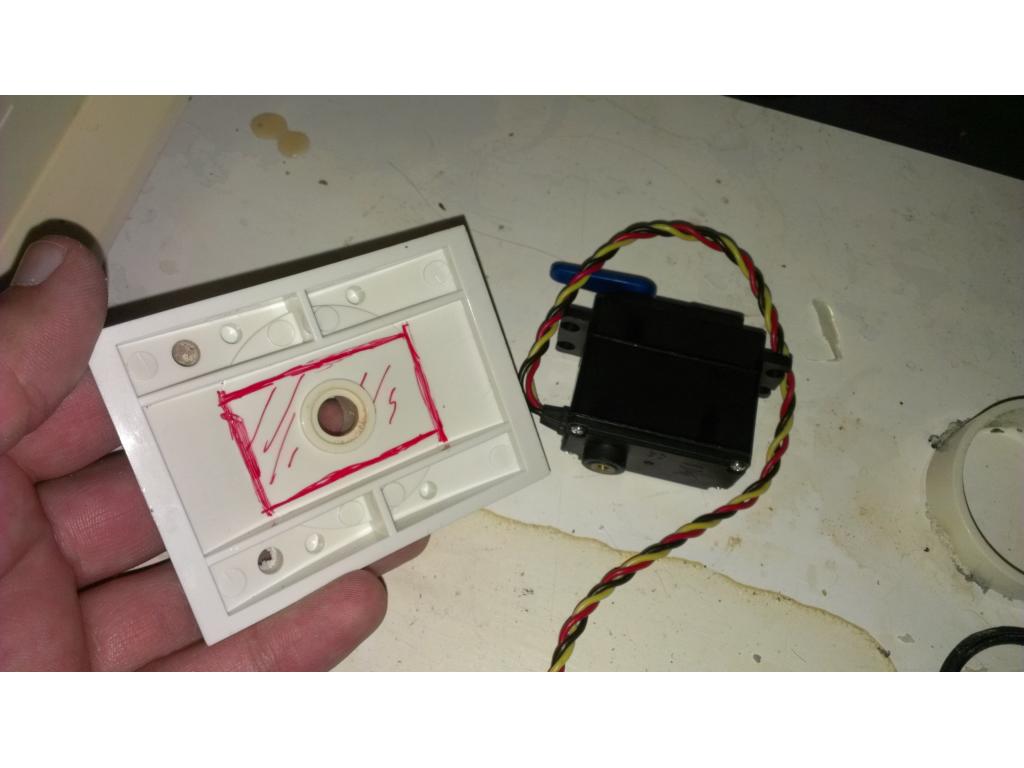
Jdebay's What Should I Do?
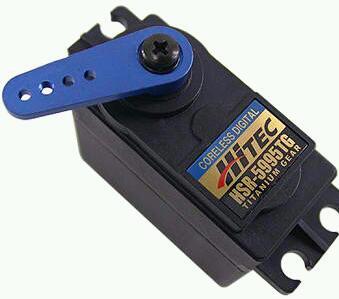
Decide whether to wait for a replacement servo or use a faulty servo as a placeholder to fine-tune your JD robot's...
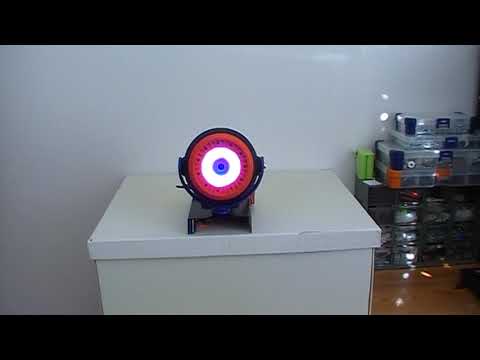
Cem's Eyepod Using Neopixel & Ardiuno Nano, Conrtolled Via A...
Control NeoPixel ring via Arduino Nano and EZ-B IoTiny, script servo motion for Perry's 3D eyepod; troubleshooting iris...

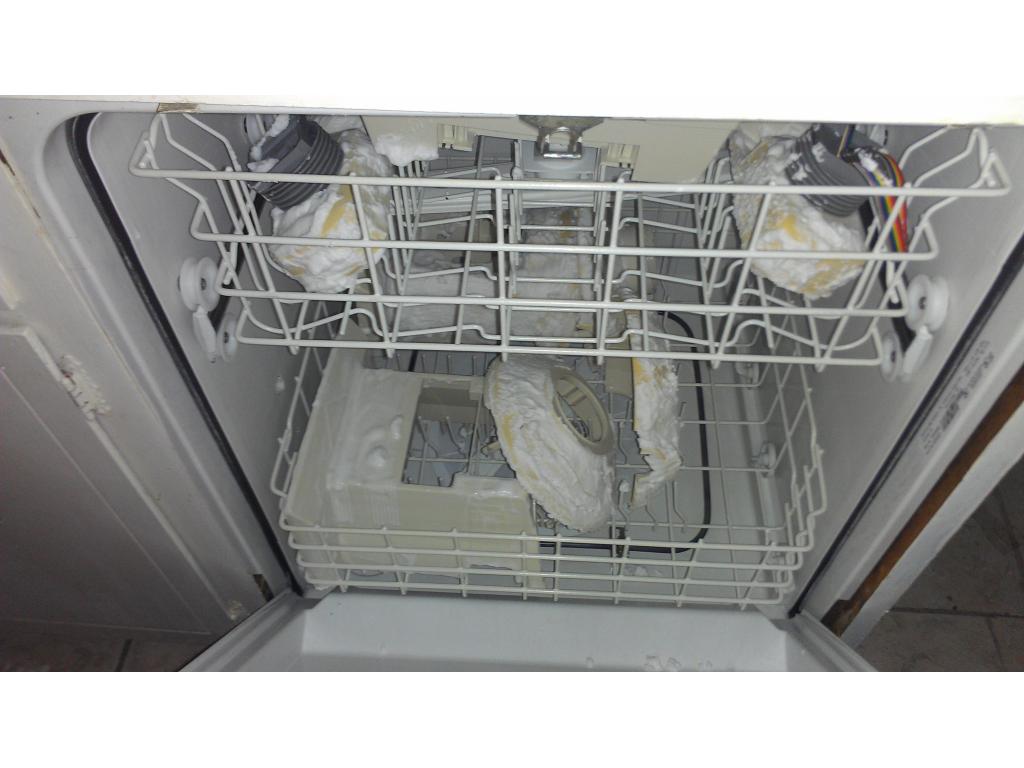
i have all tiles on my floors,so when i get a chance,looking in to a design to clean and wash mine i know my girlfriend will love that
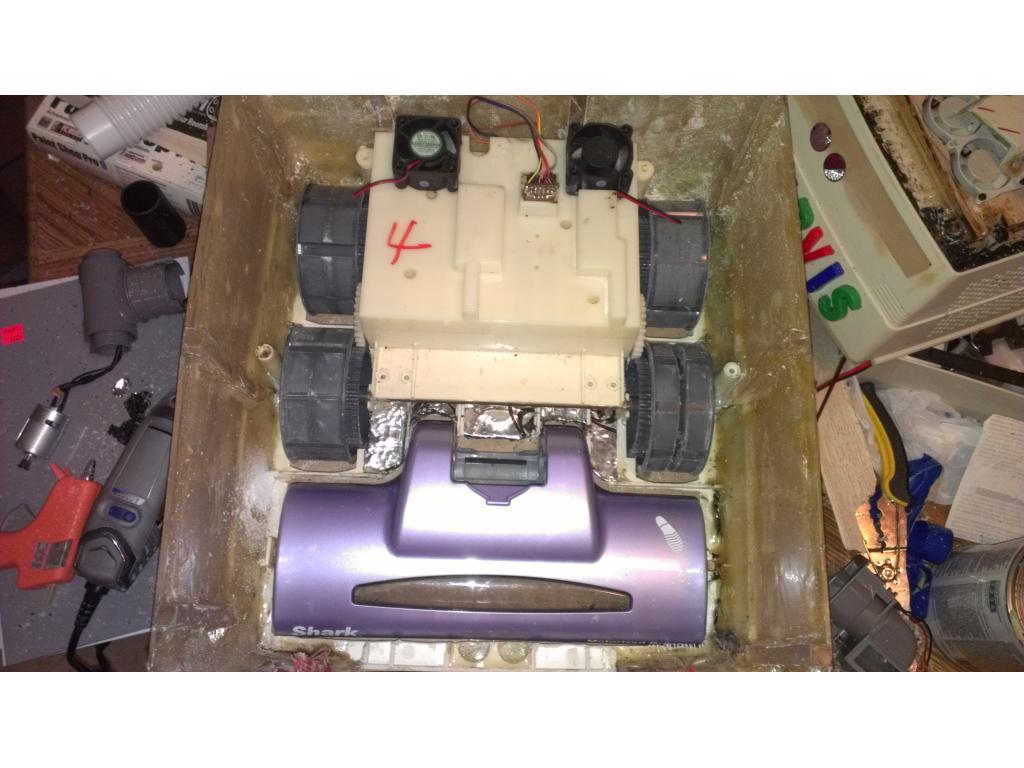
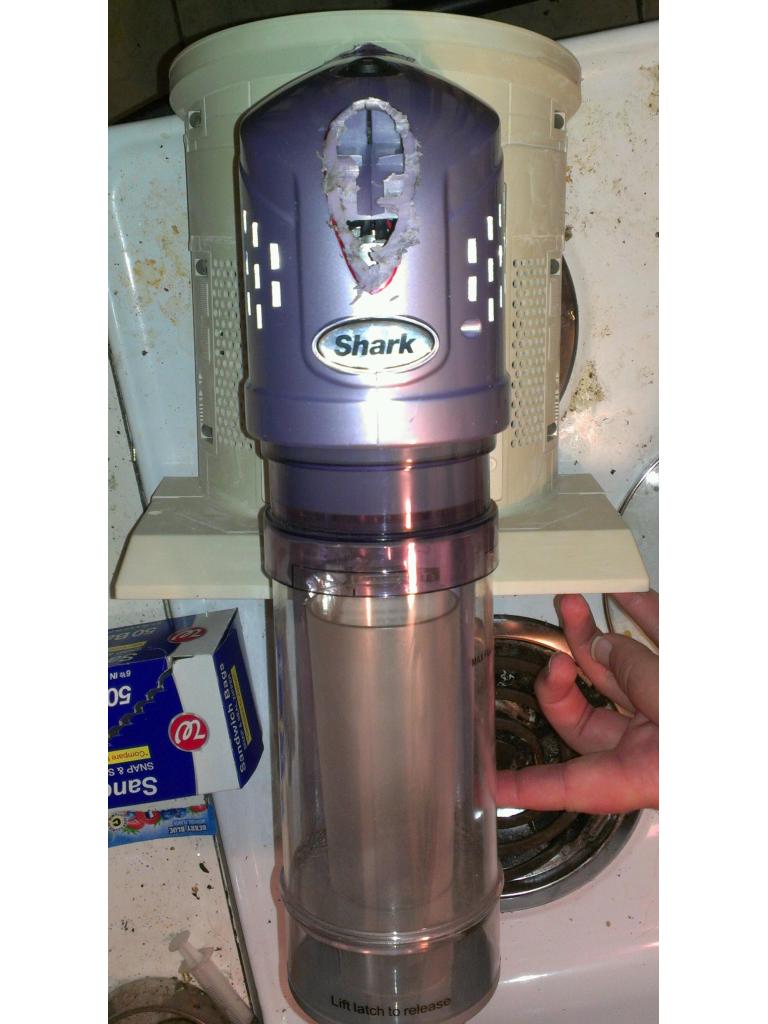
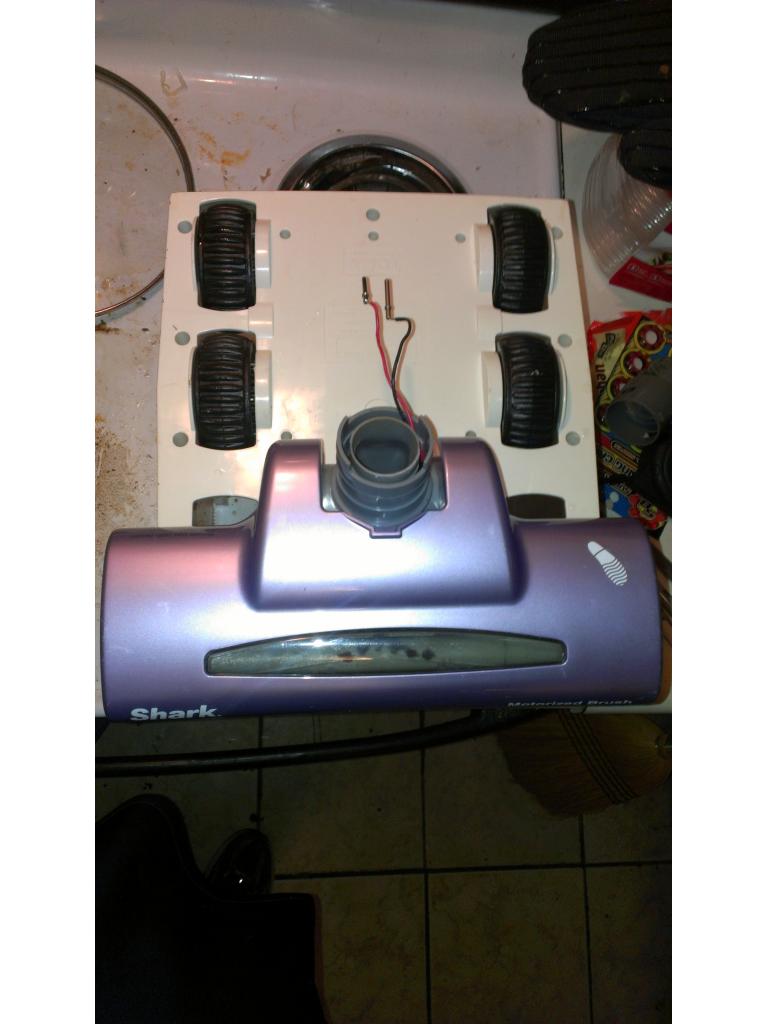
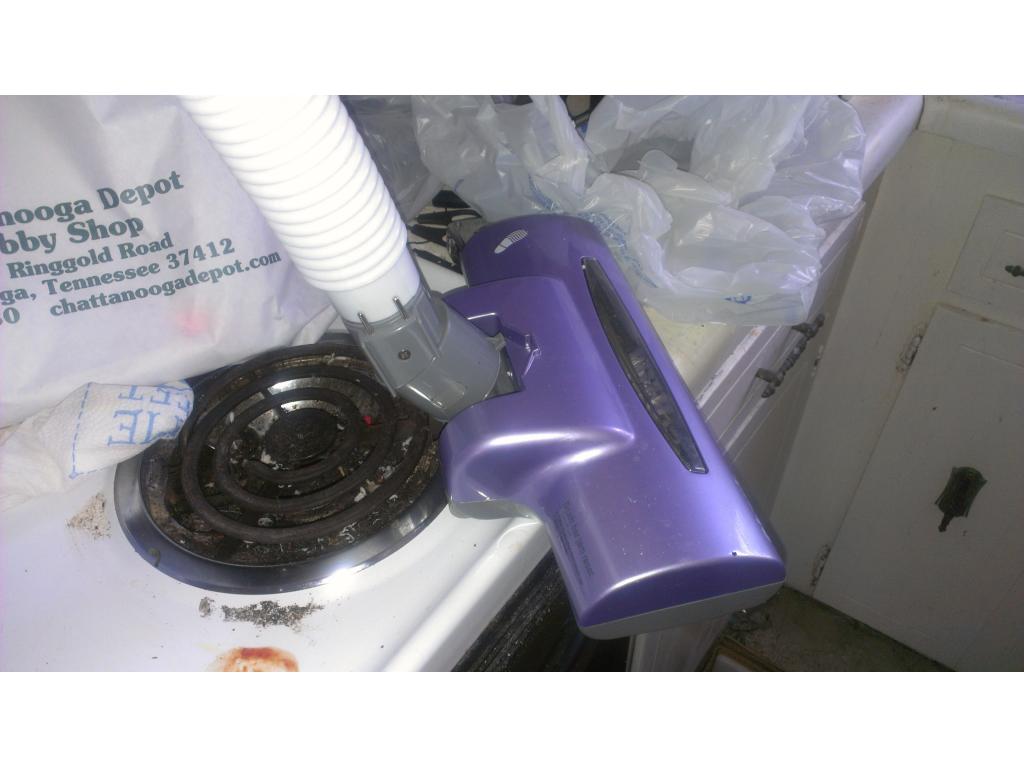
I'm obviously not there just yet but I'm thinking of that too , having a sqweegy of some kind behind the brush and maybe a liquid sprayer or steam sprayer as well. Most likely I would use the shark cordless steamer for that as well lol. Unless anyone has any better idea
@ kkeast. Thankyou for watching and your support , the greatest form of flattery is imitation , so I'm definitely good with you utilizing design ideas
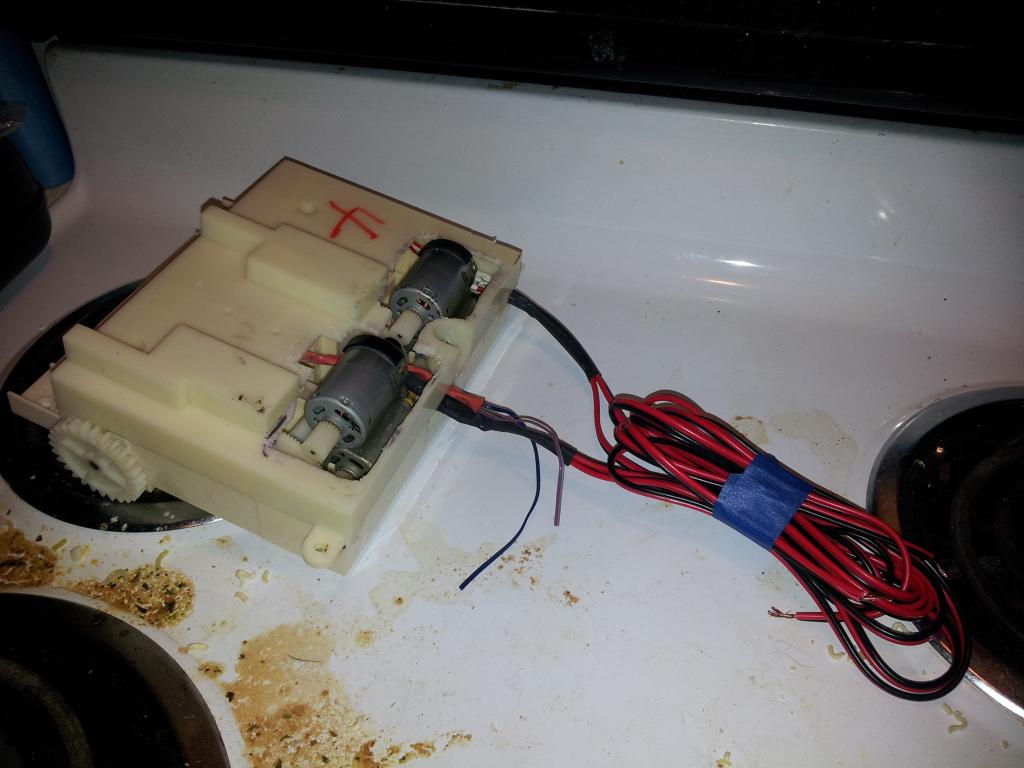
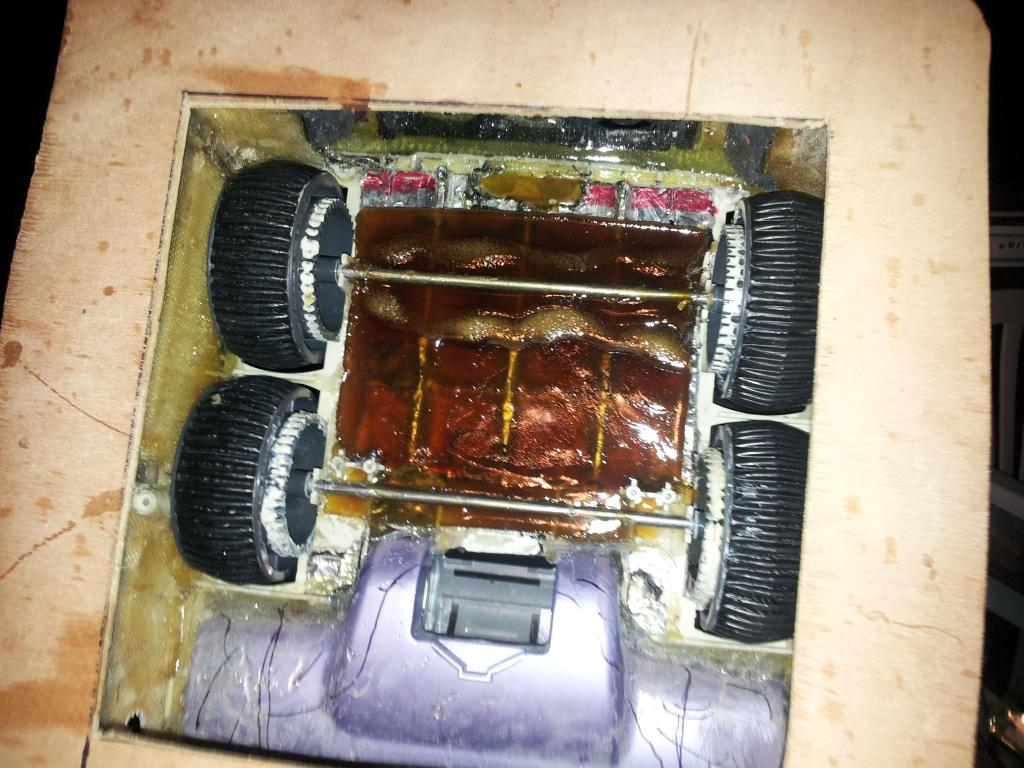
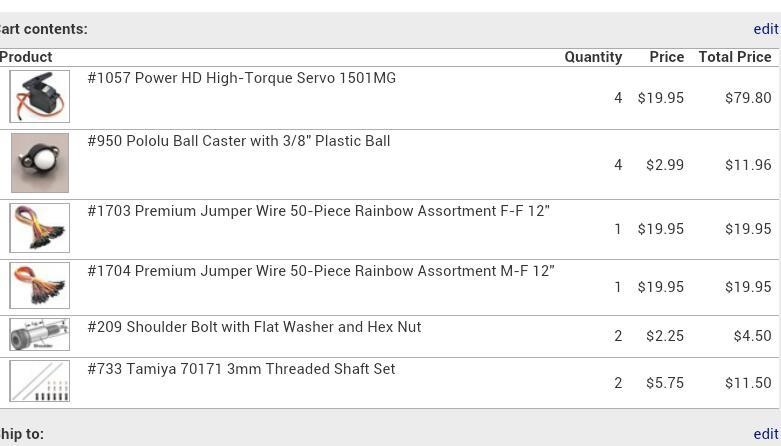
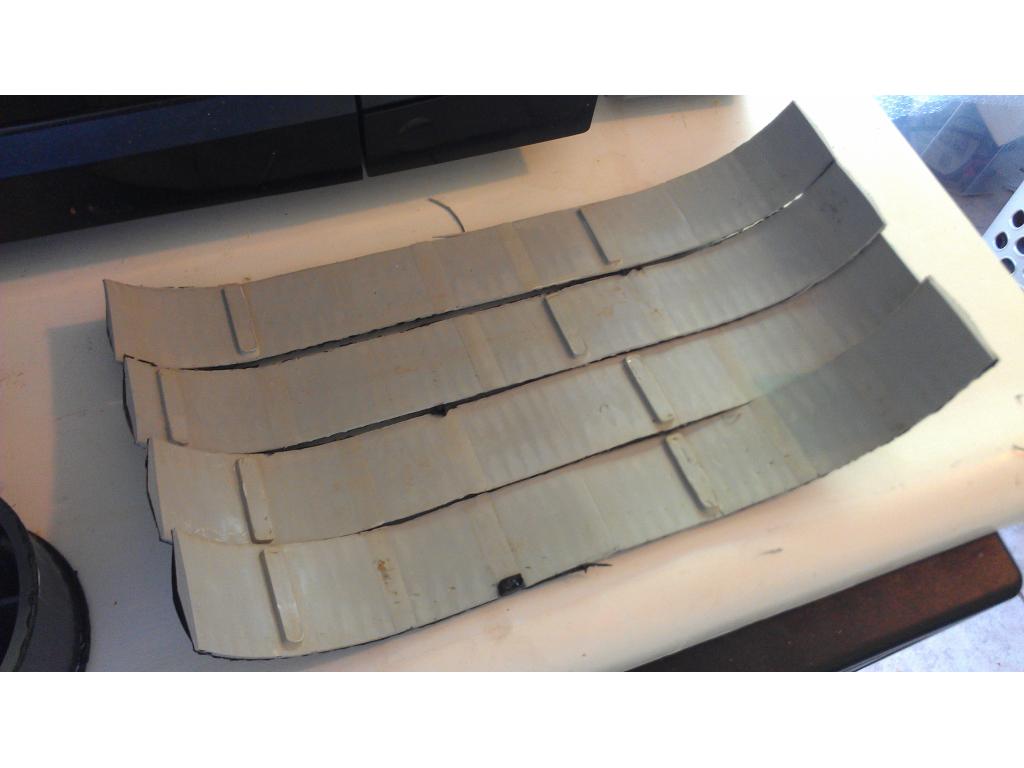
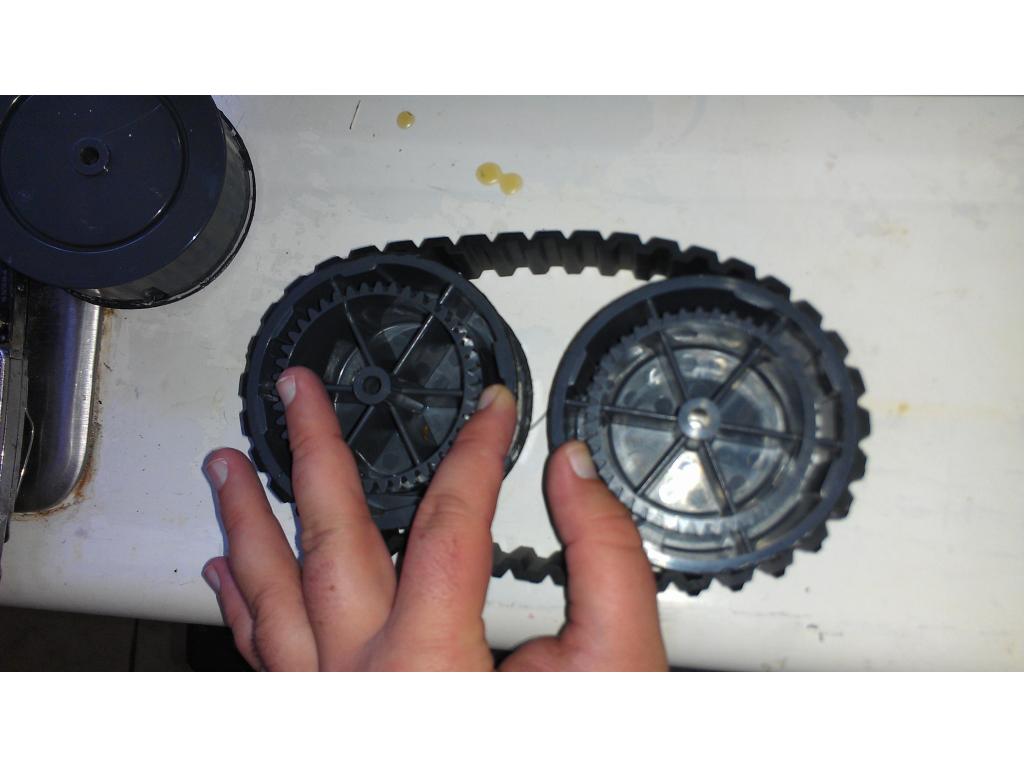
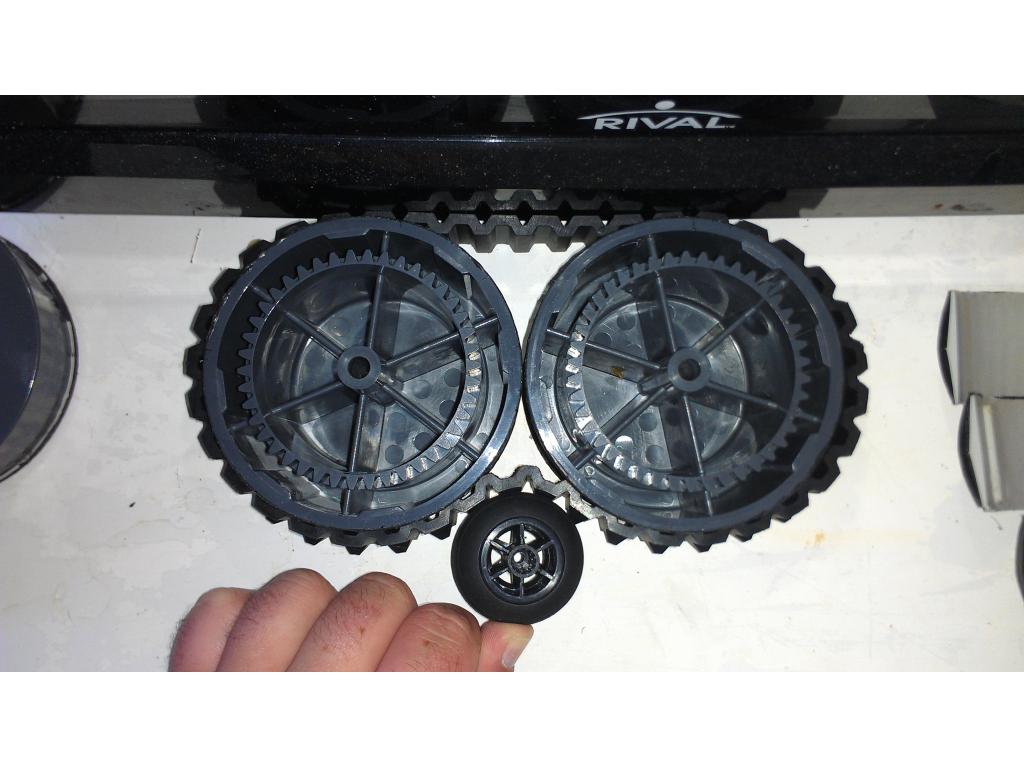
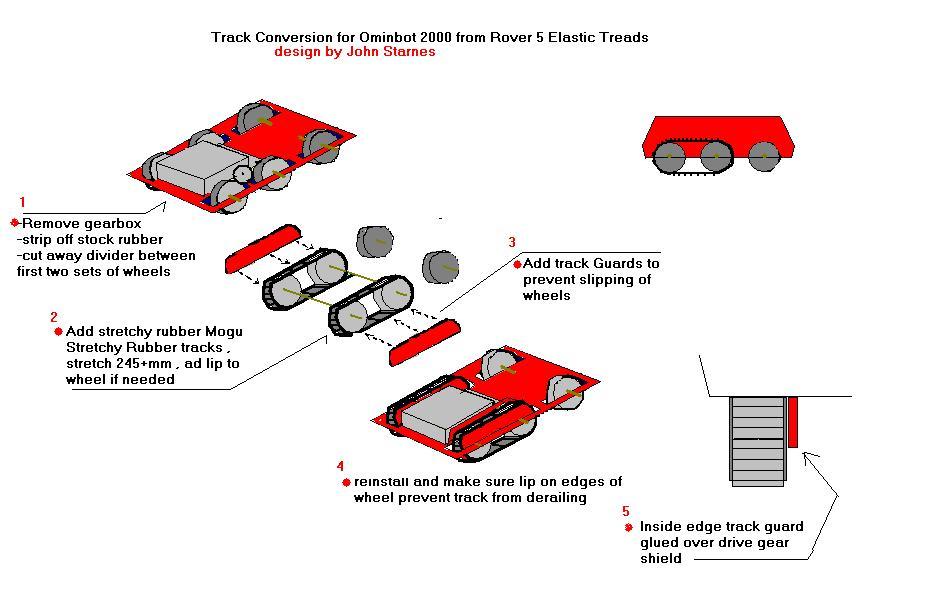
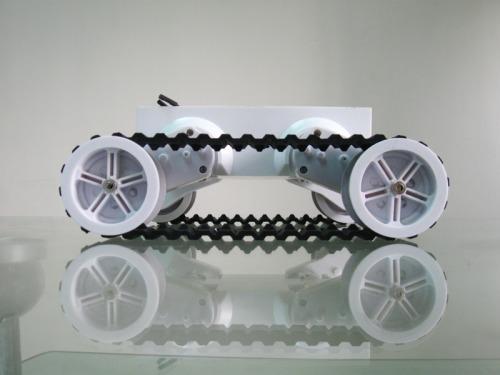
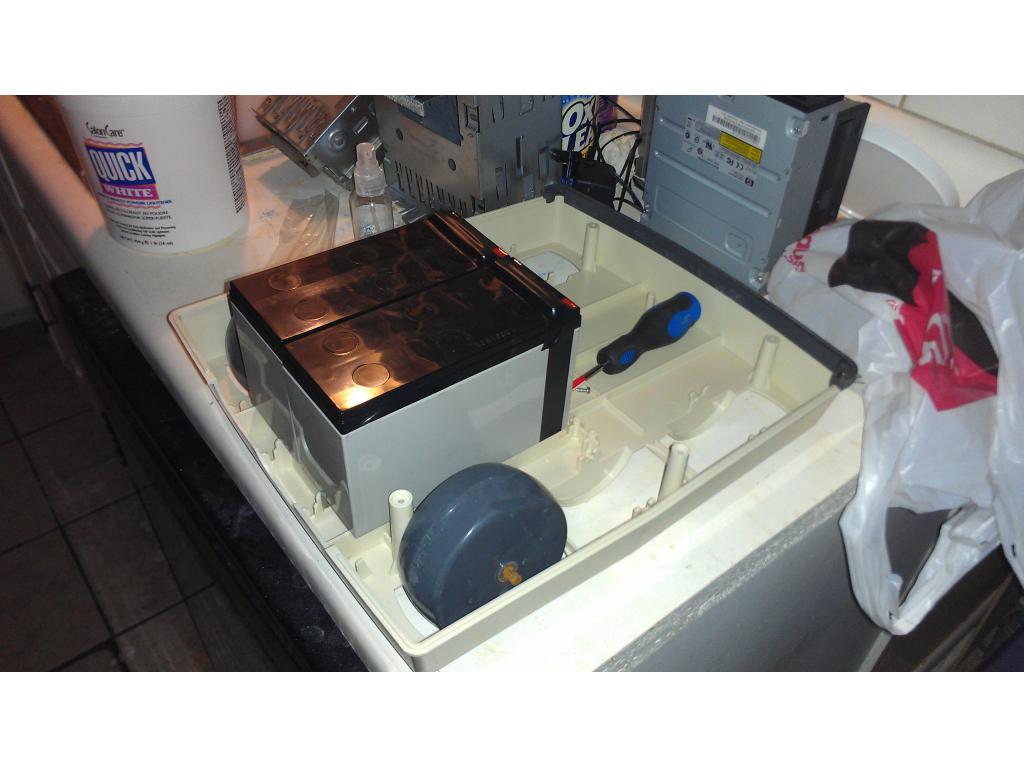
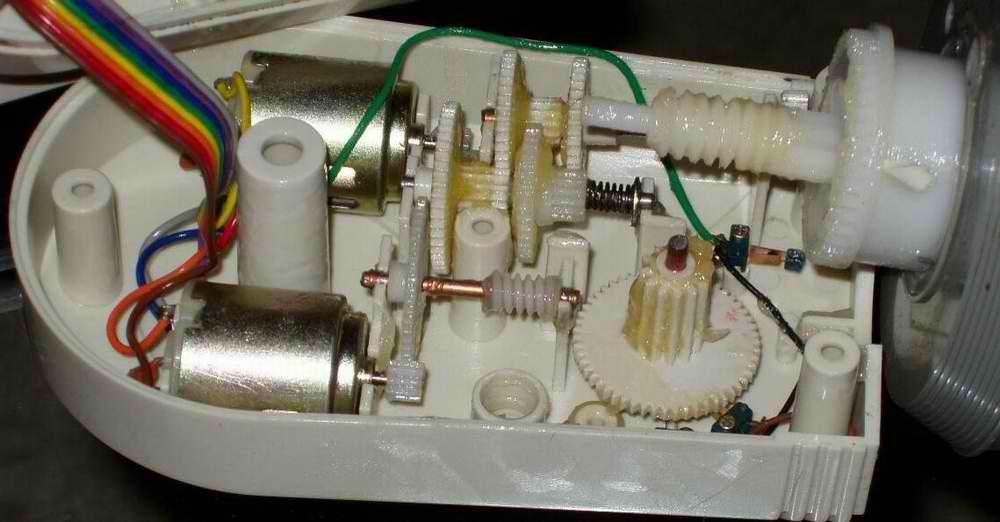
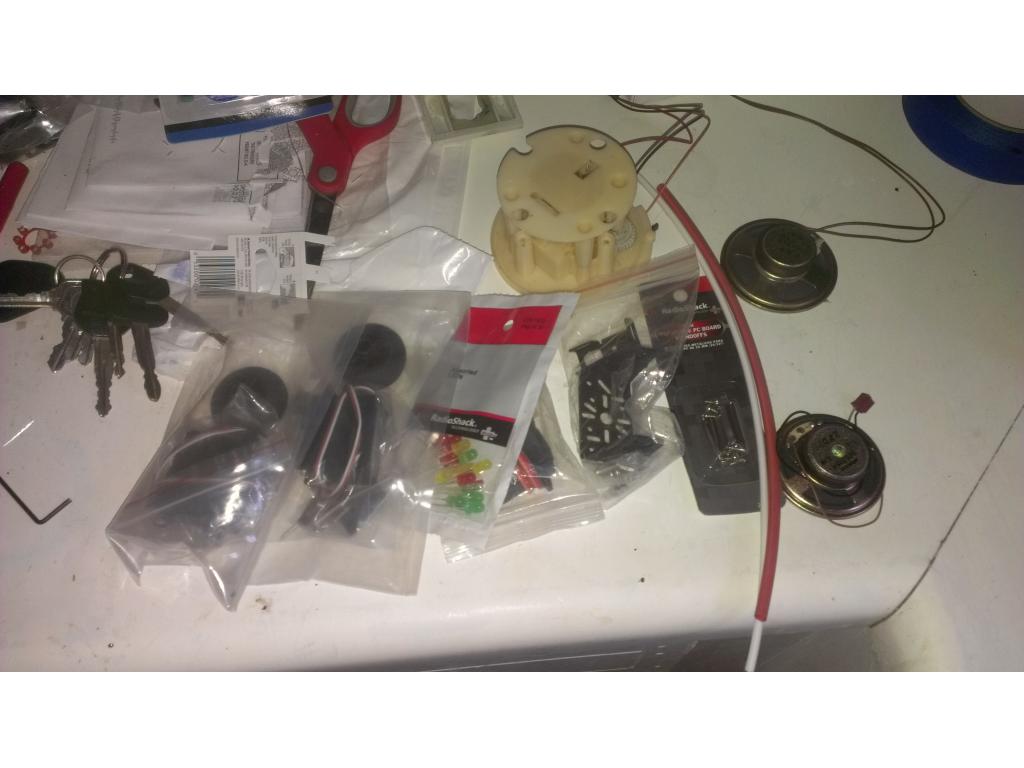
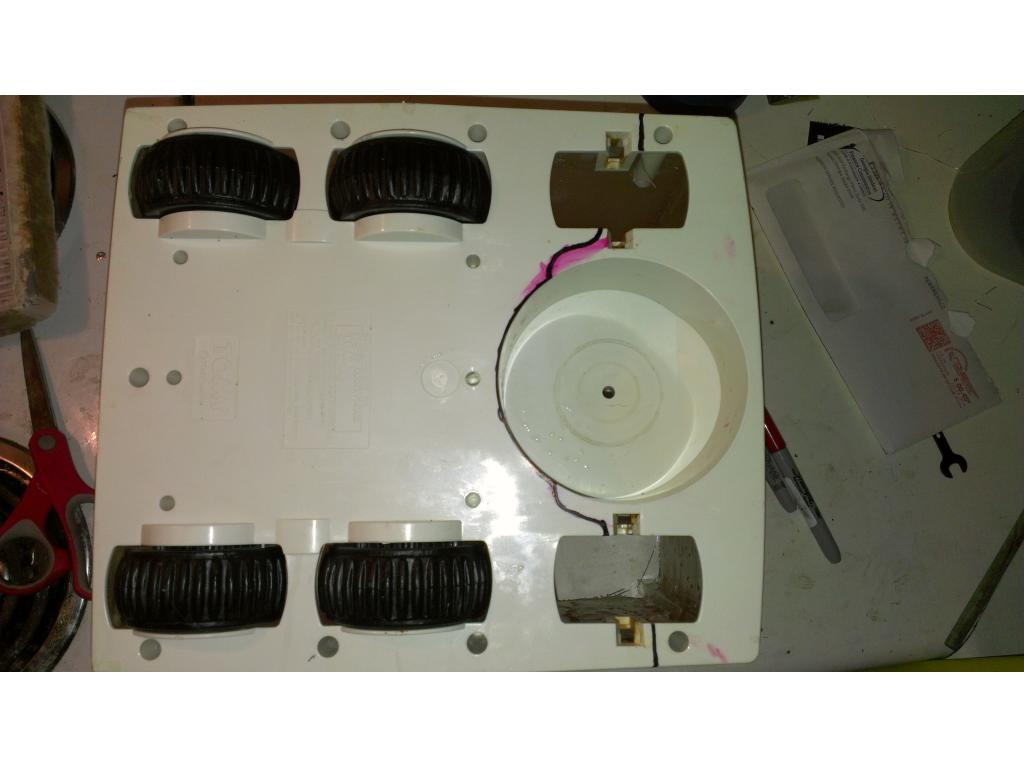
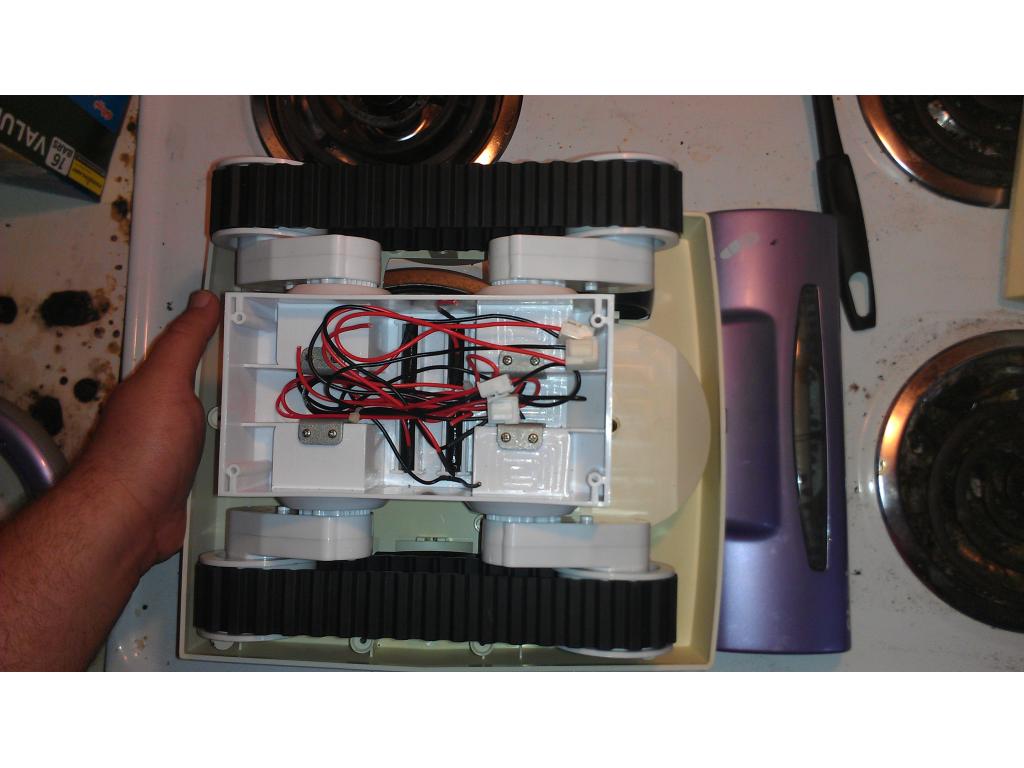
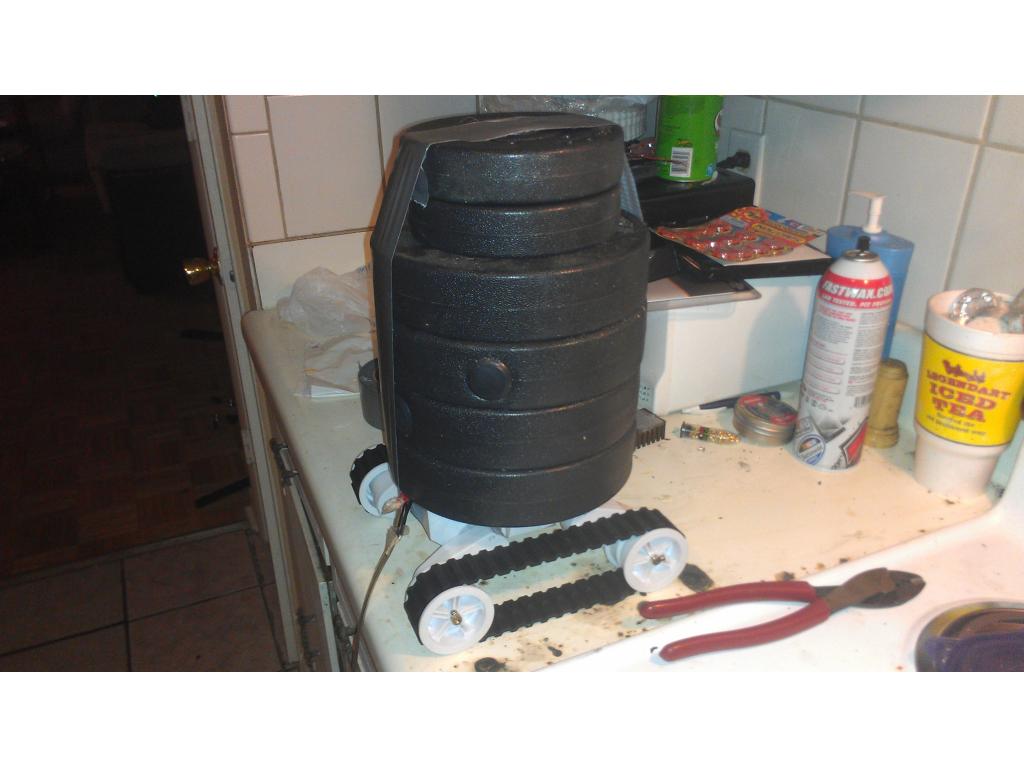
Since I'm not using the Dagu rover 5 robot chassis (i have two) after these test I have two up for grabs , I will stick them on eBay if noone says they want one. I would sell them for 30 each , unmodified like New in the original box.
i am going to use the swiffer design,since i have extra one and looks very easy to attached swiffer doesnt take much current also
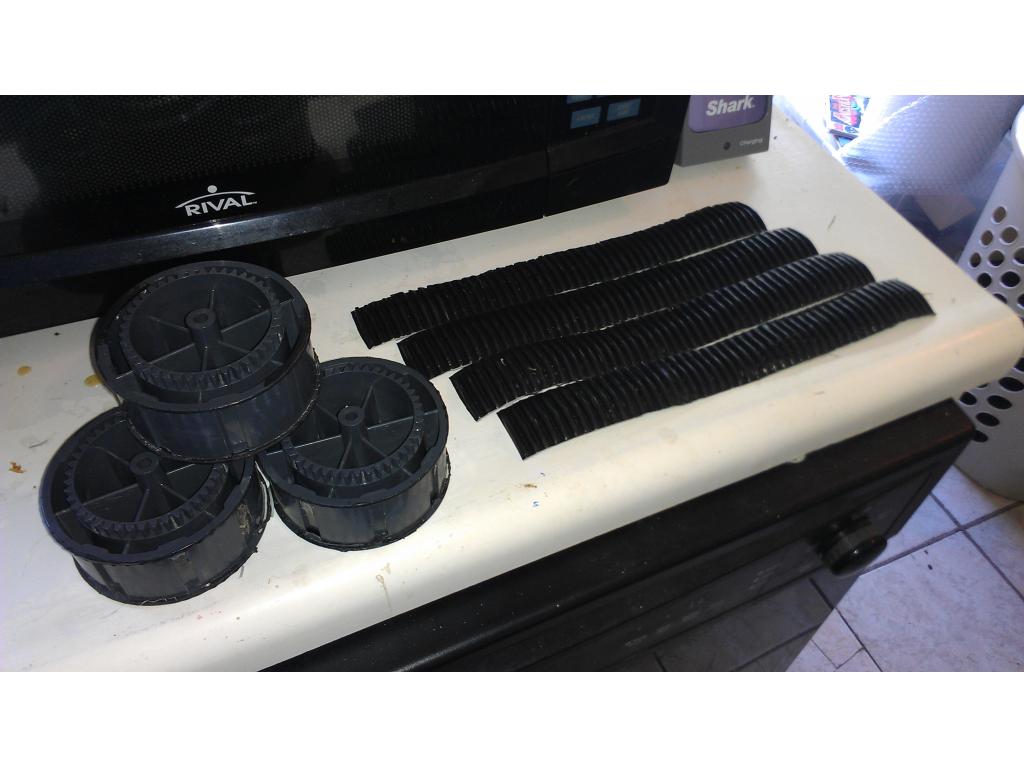
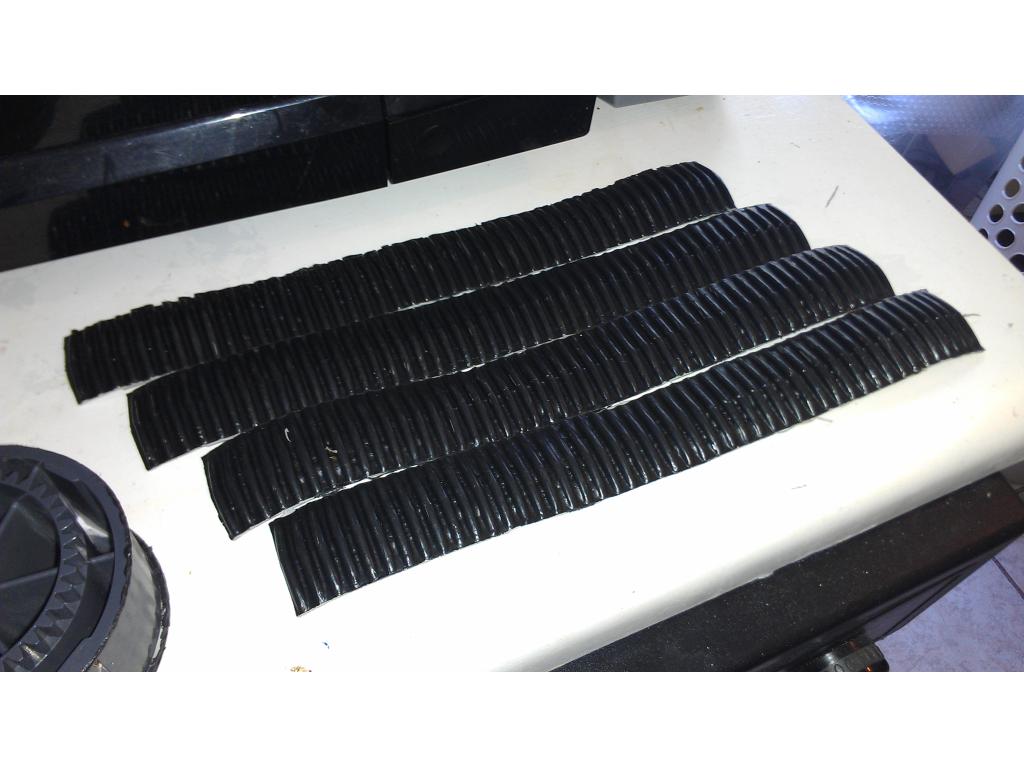
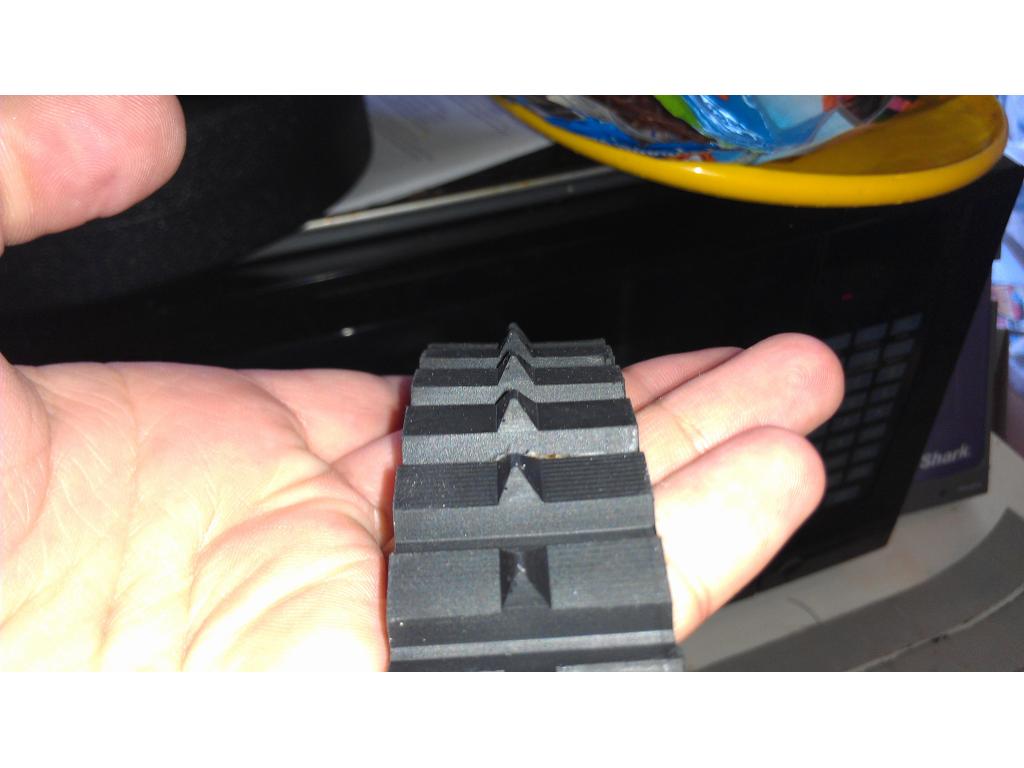
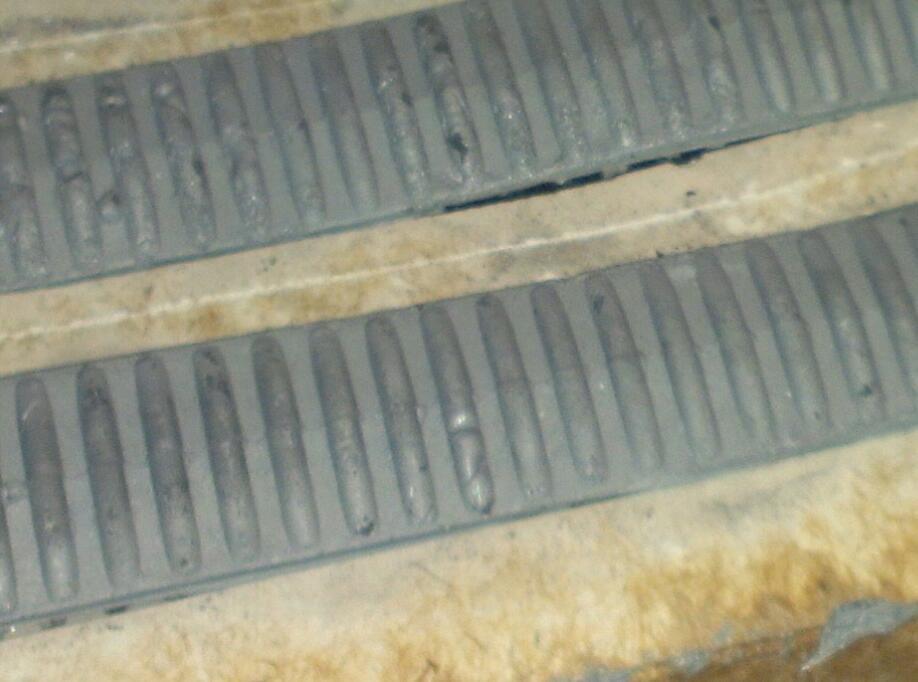
Are the Rover 5 tracks one piece? Or are there links like a roller chain?
@Josh,
I will take one if you don't mind!
email me if that is cool: [email protected]
thanks!
v/r
Kevin
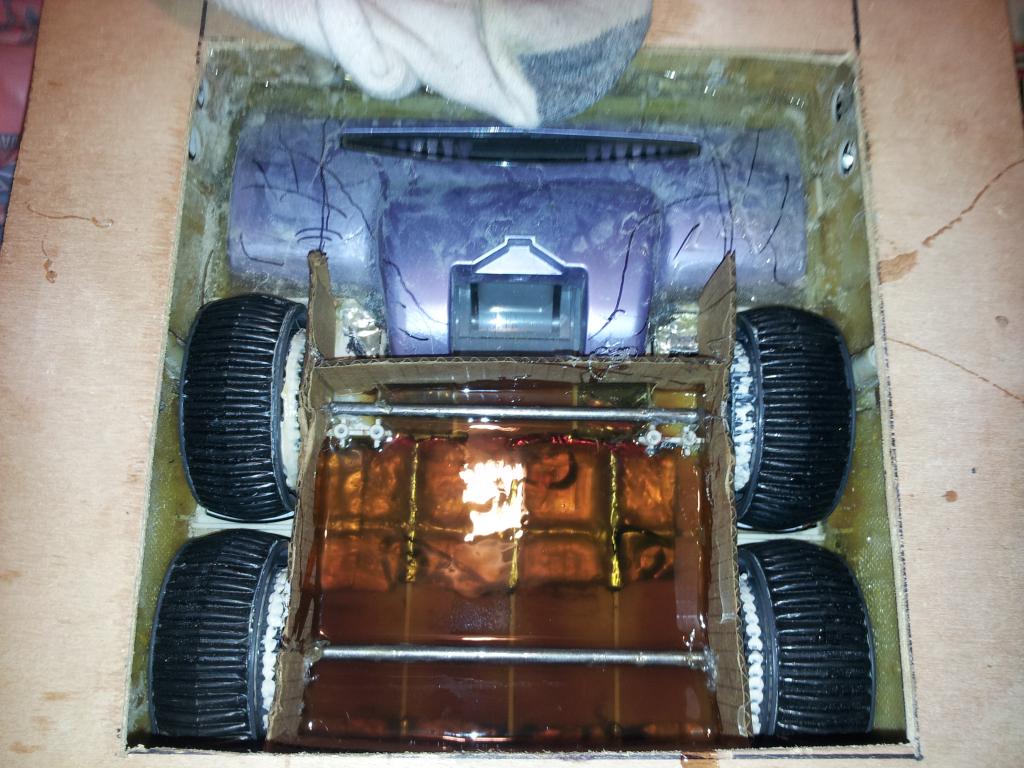
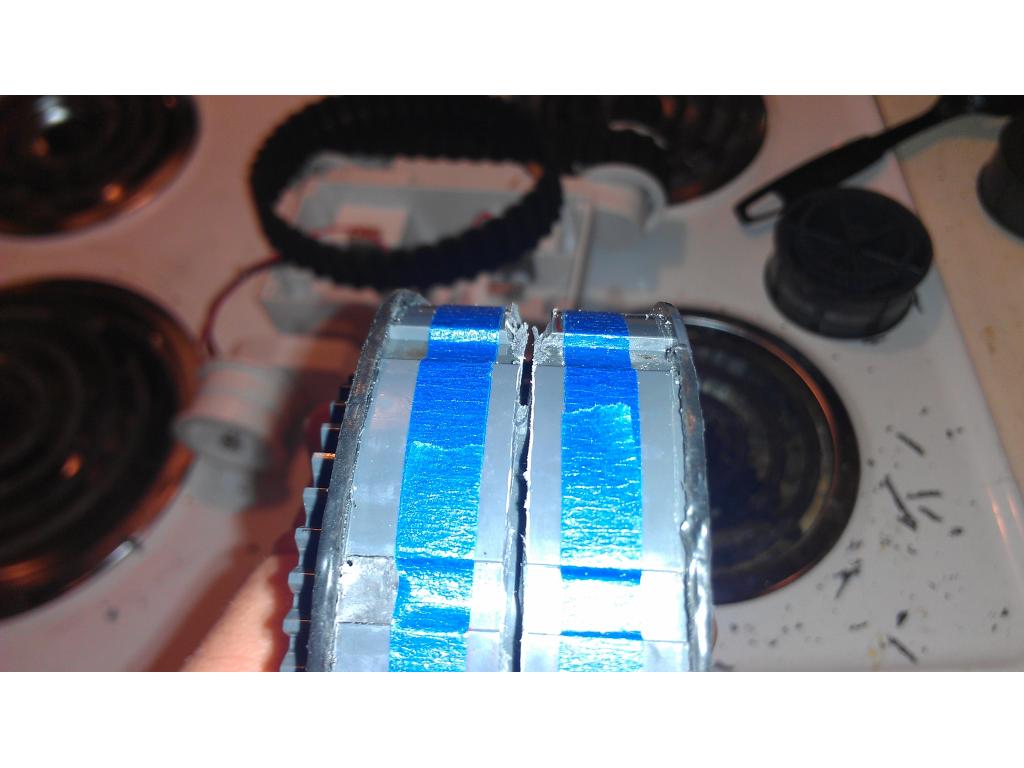
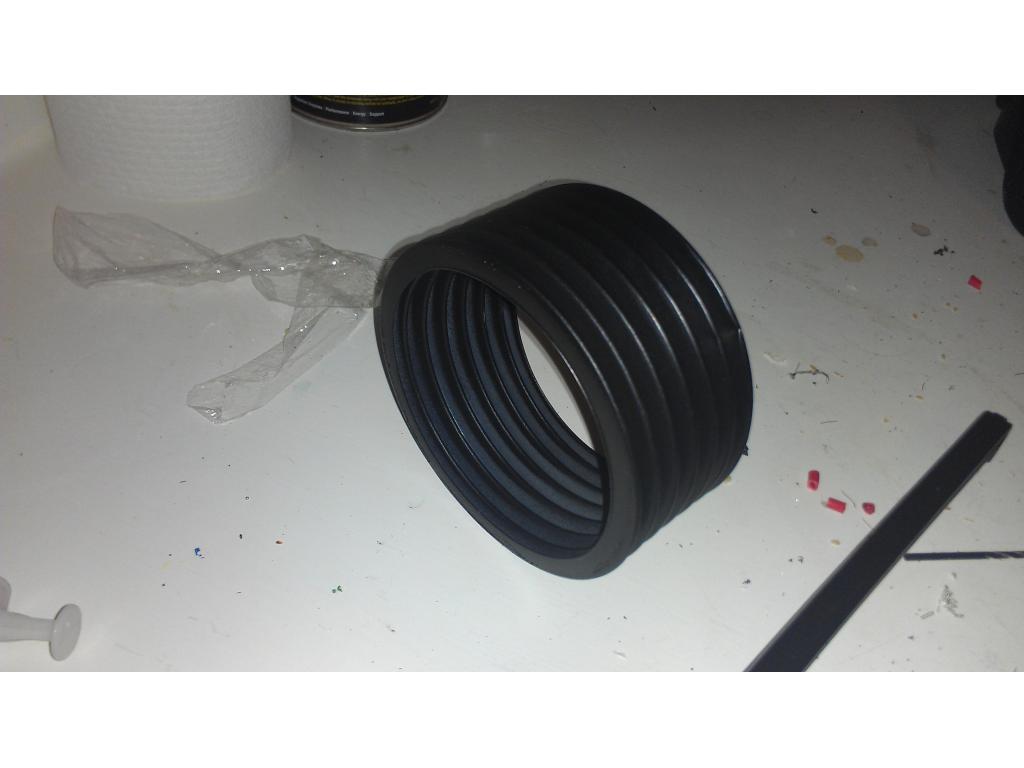
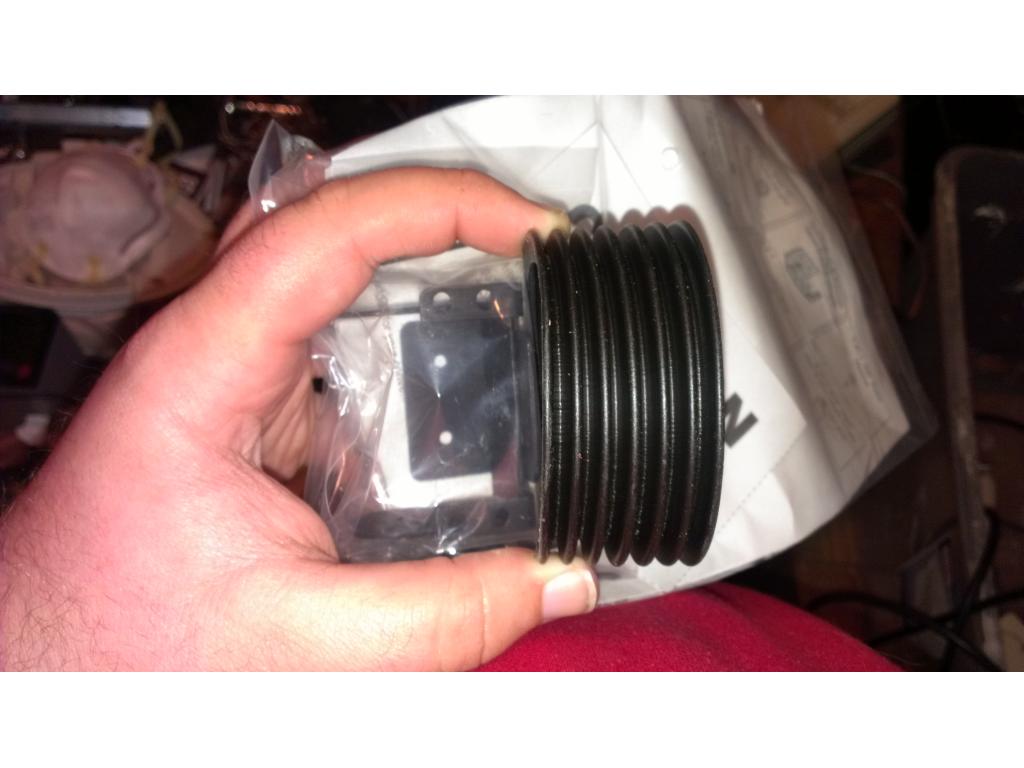
N David , they are one piece and.they stretch.like they are made of latex.
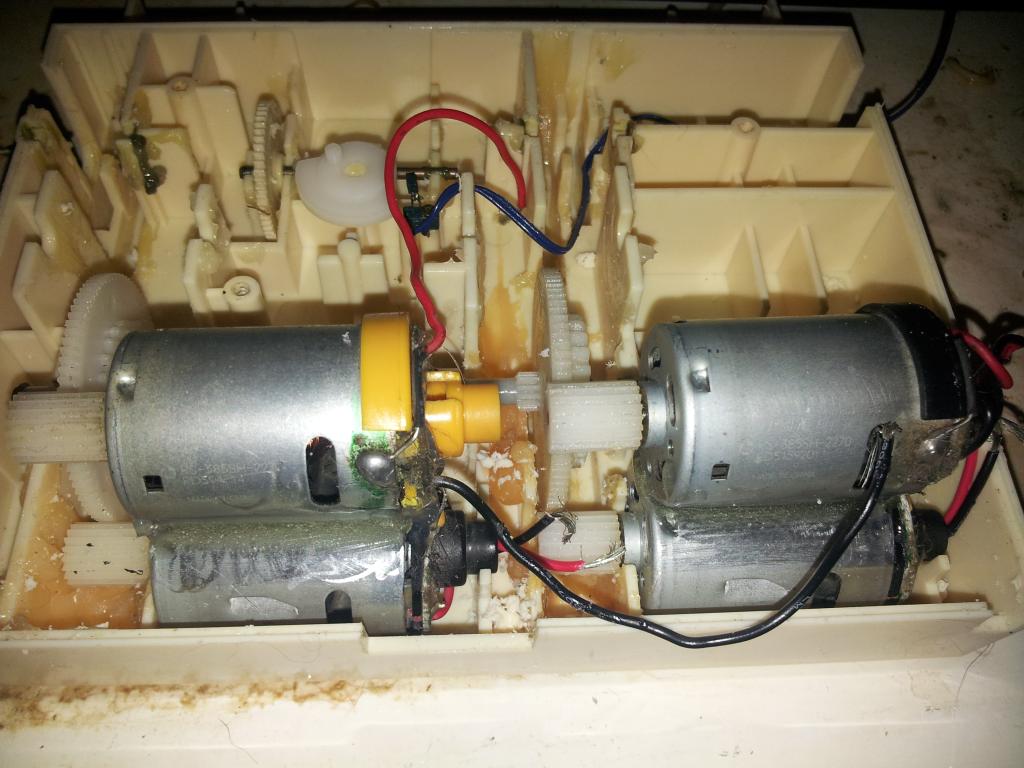
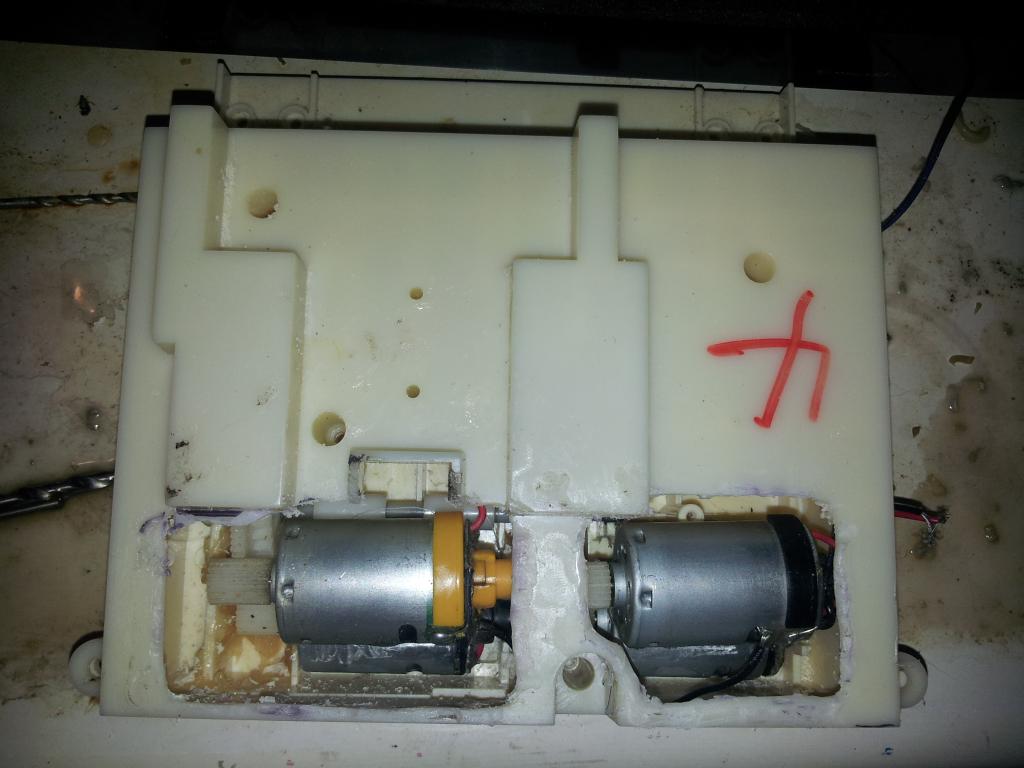
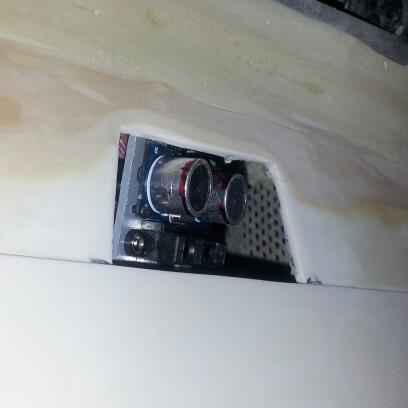
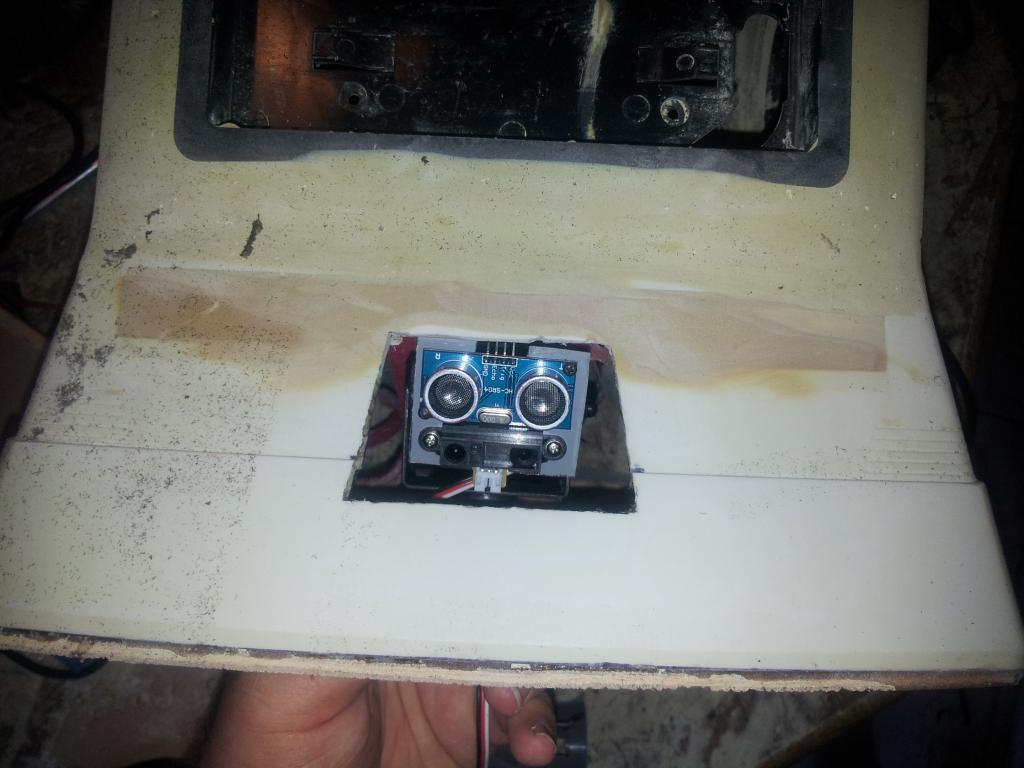
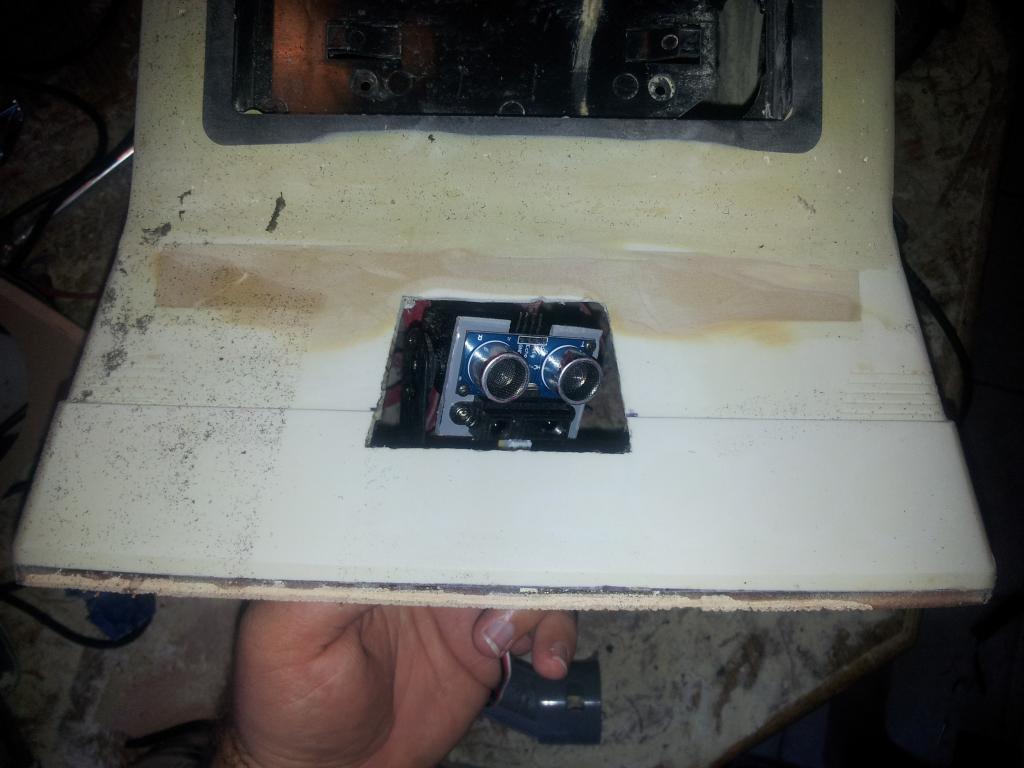
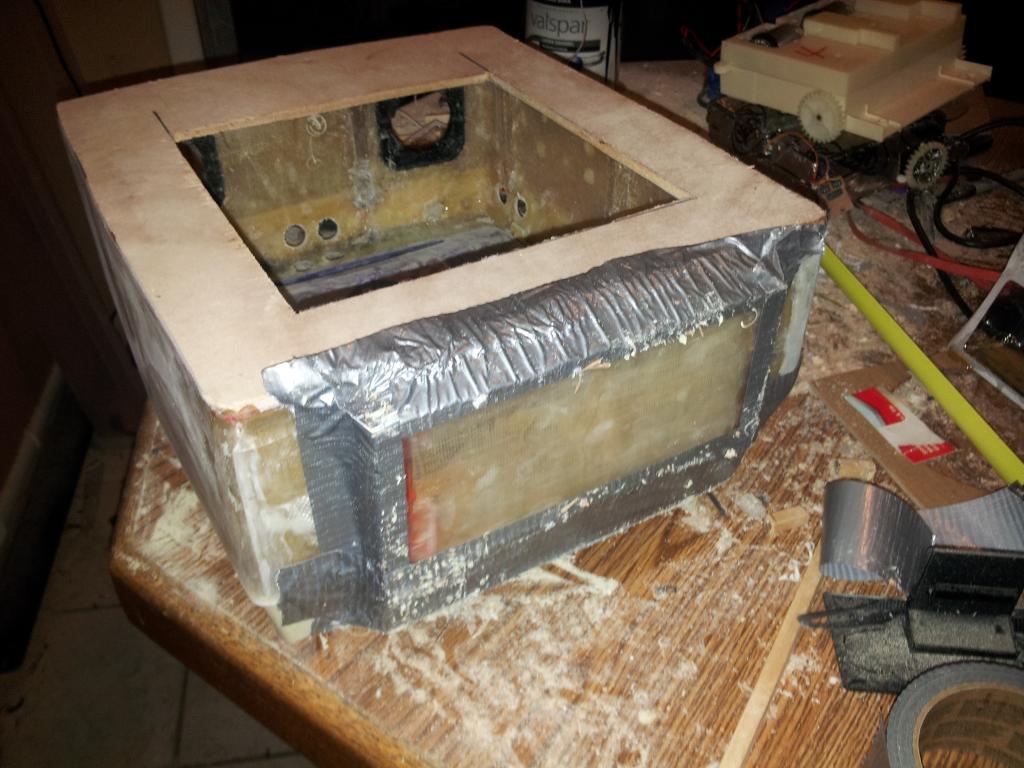
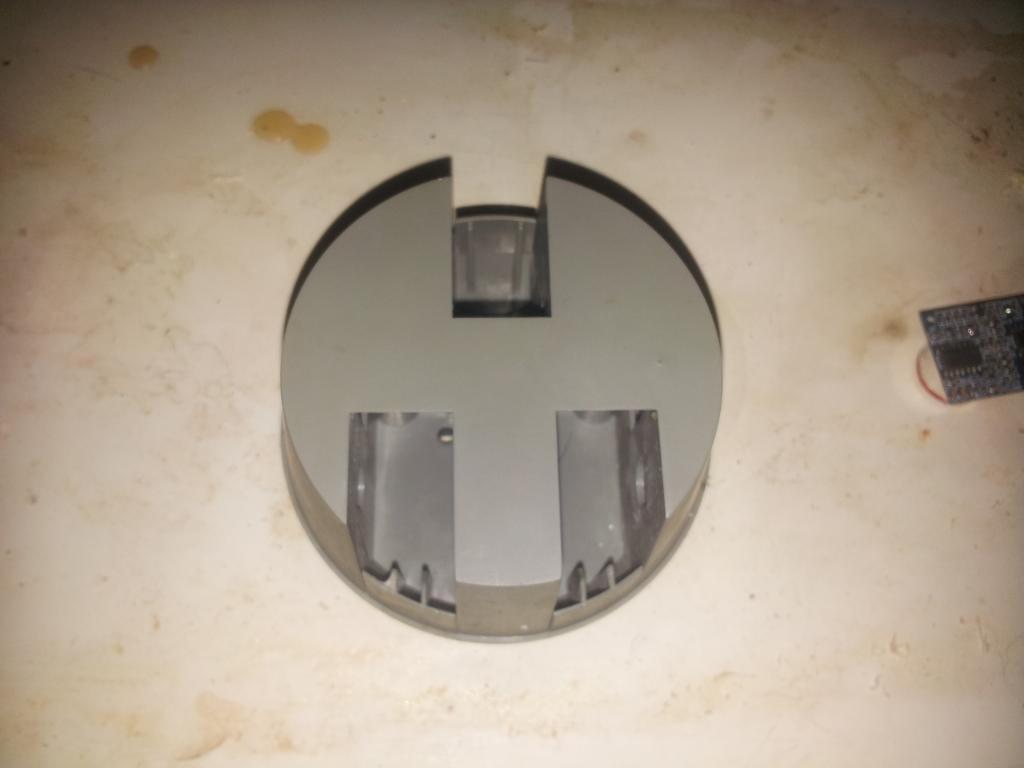
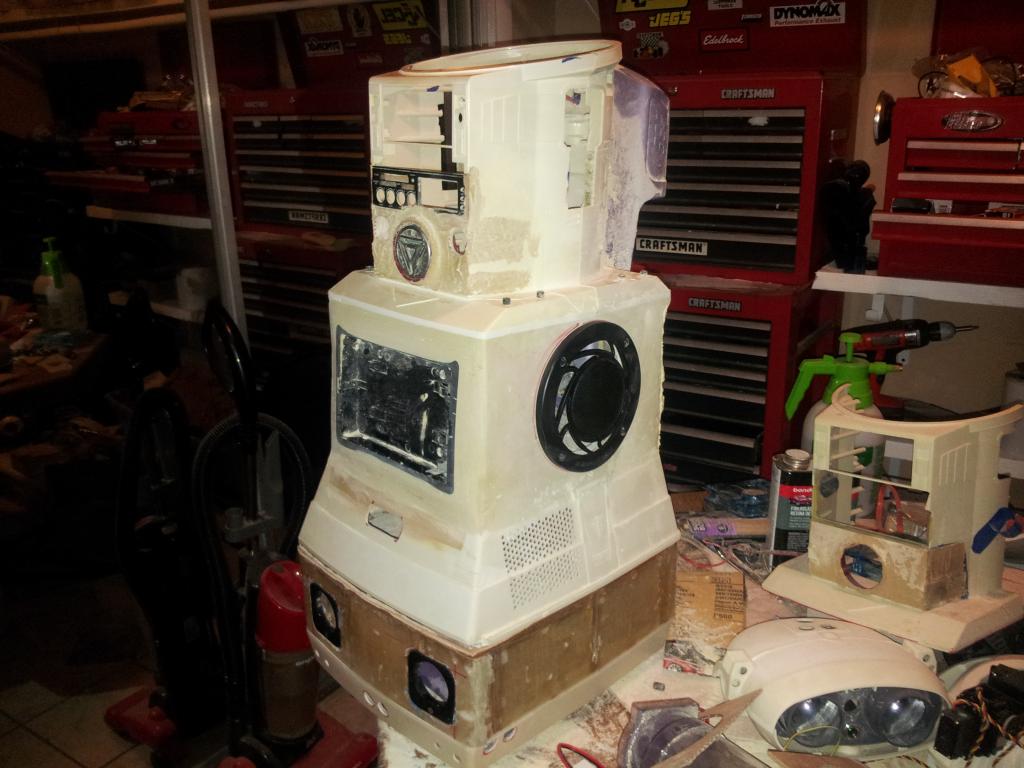
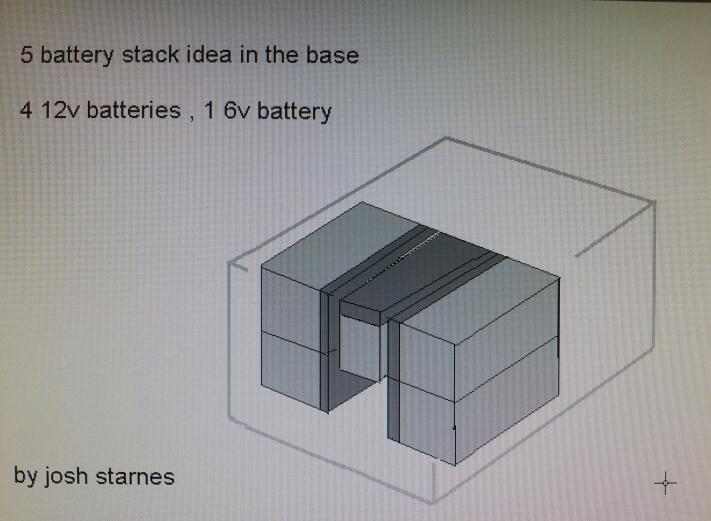
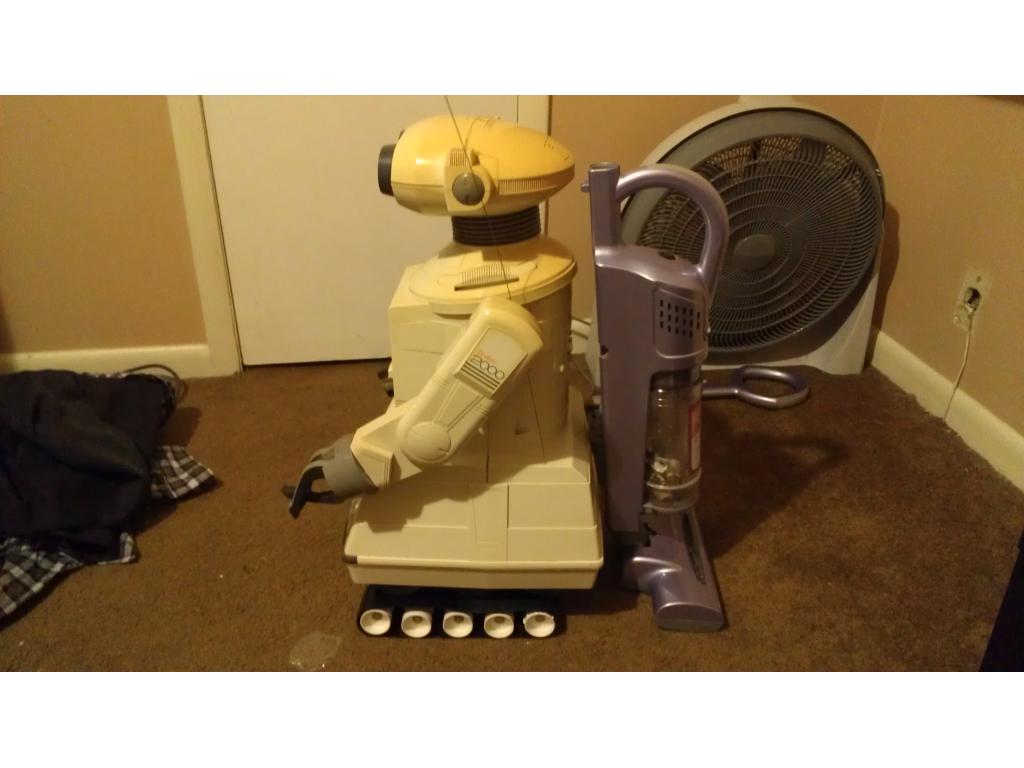
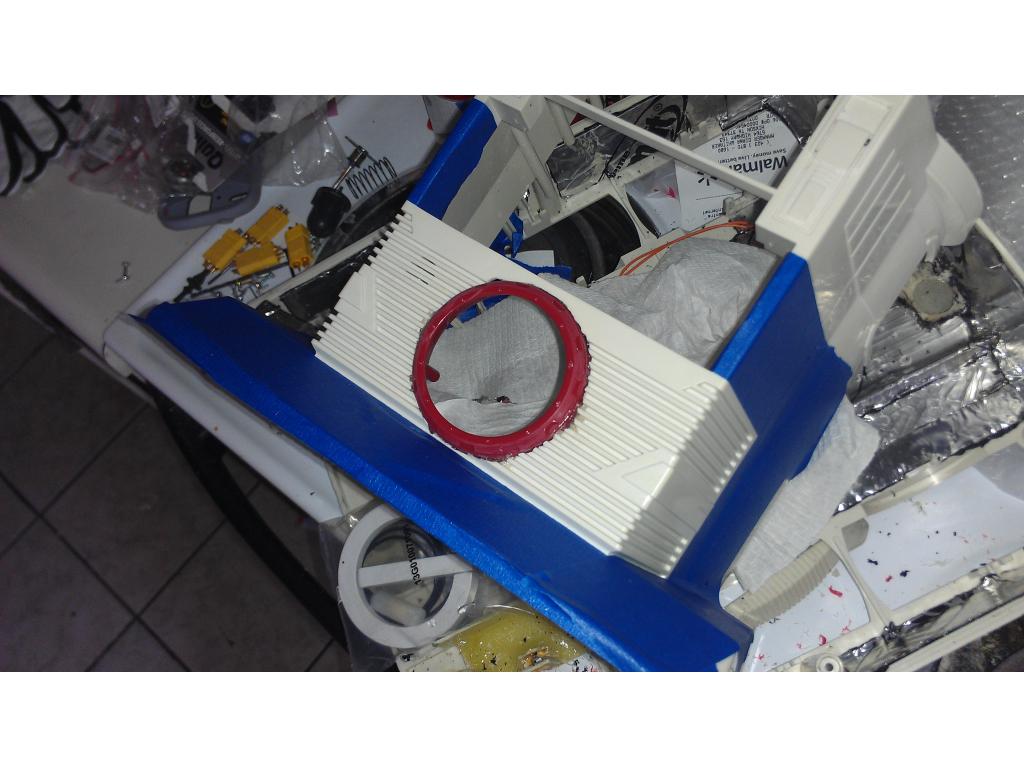
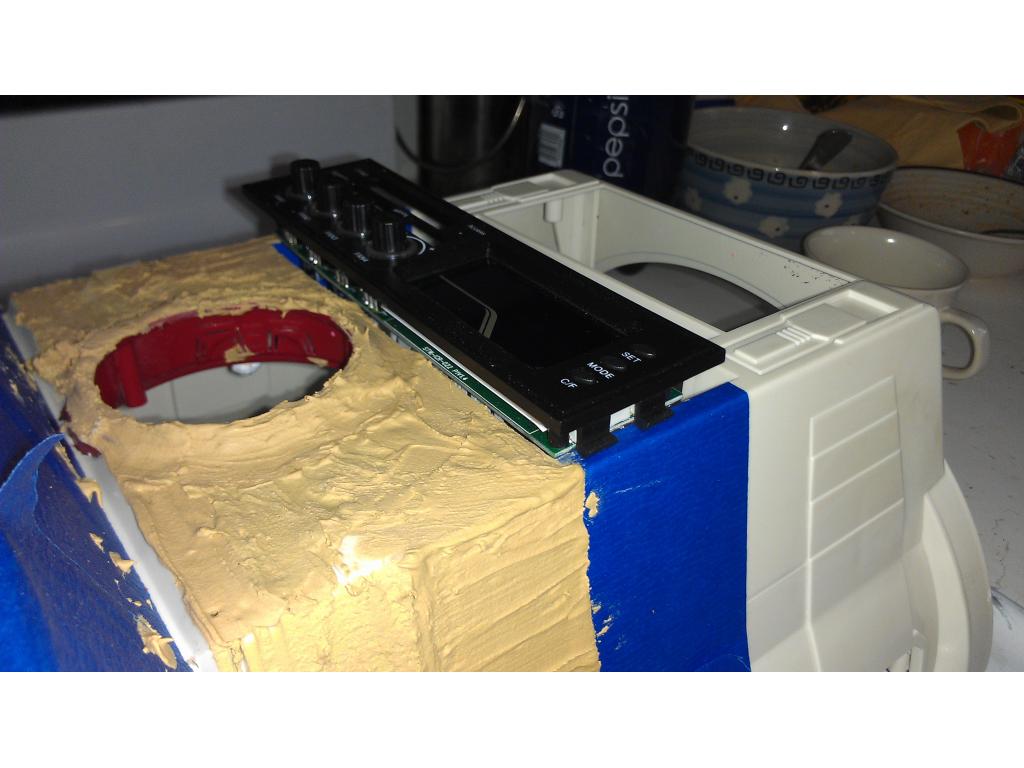
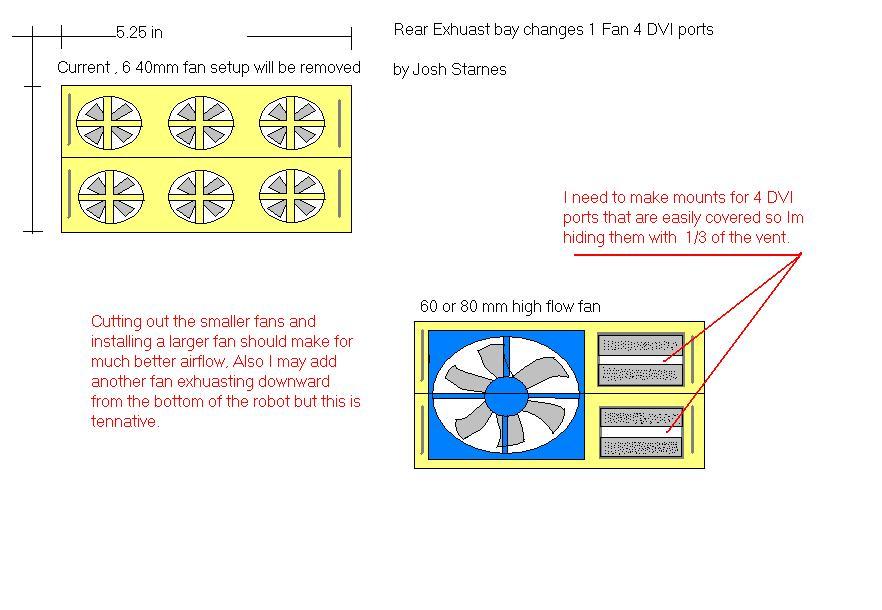
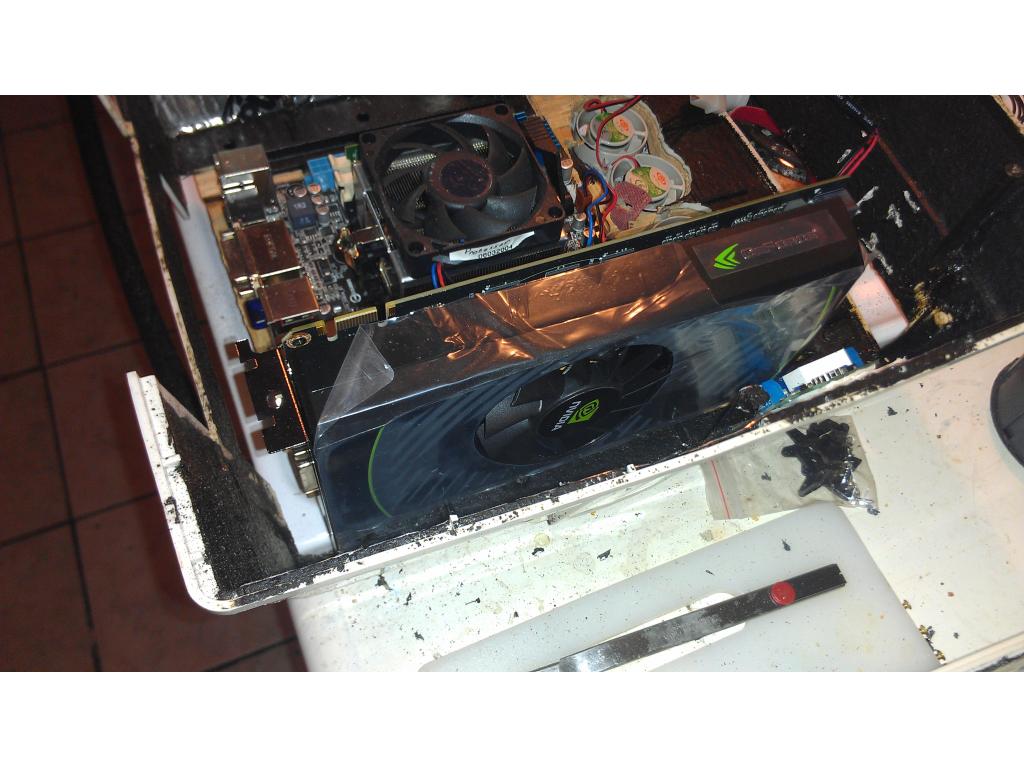
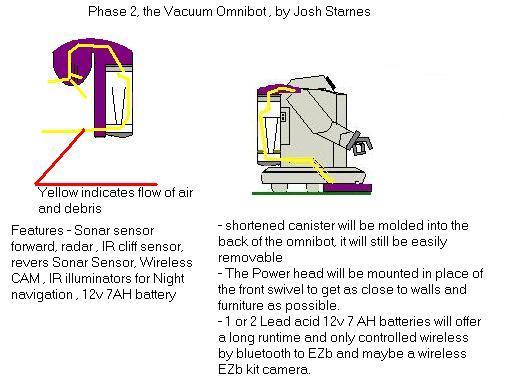
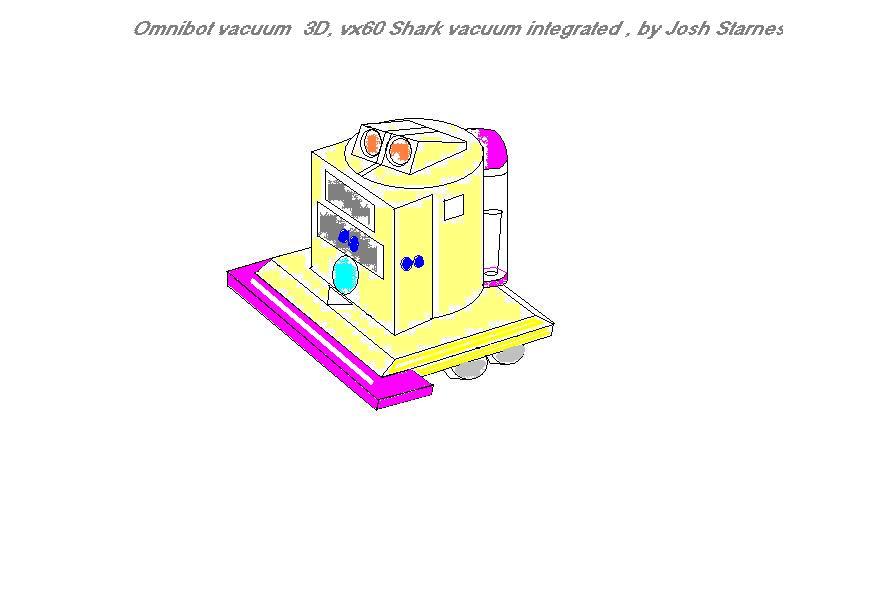
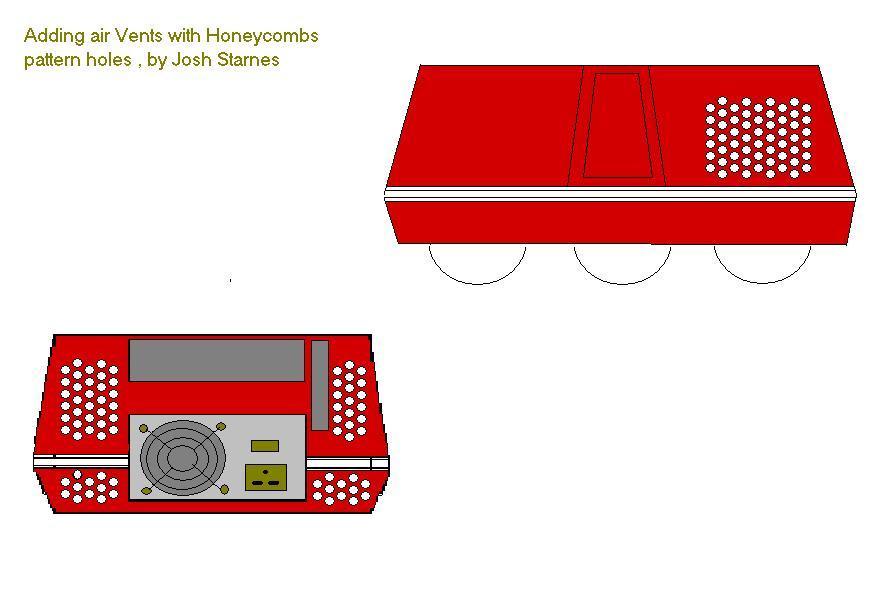
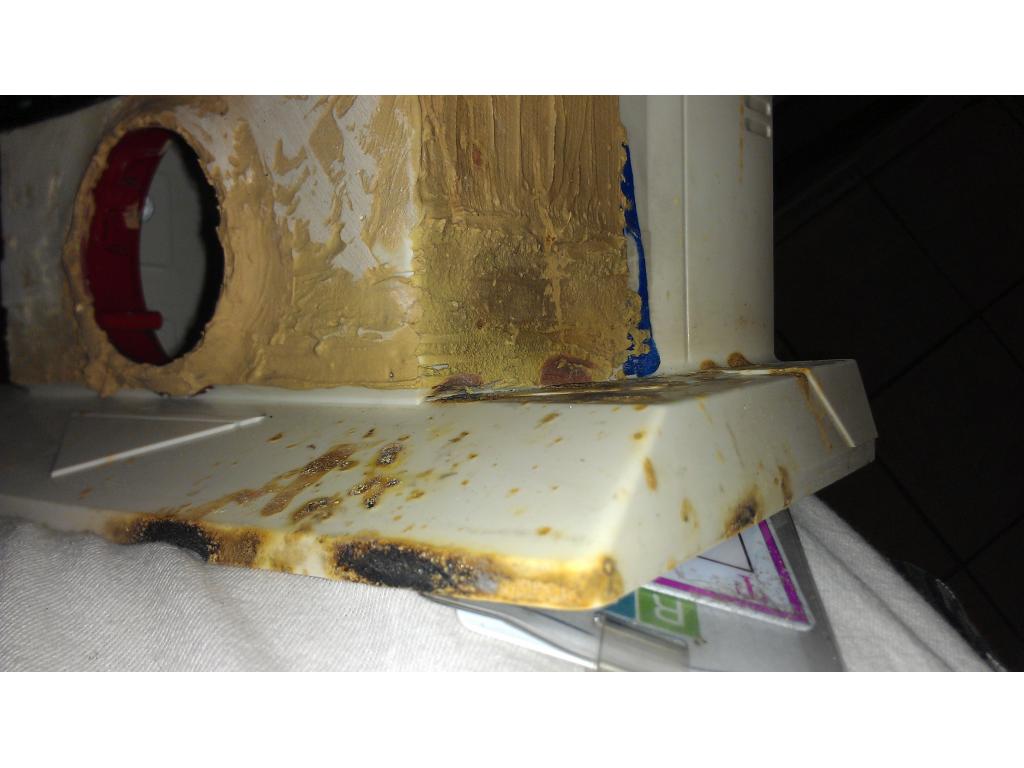
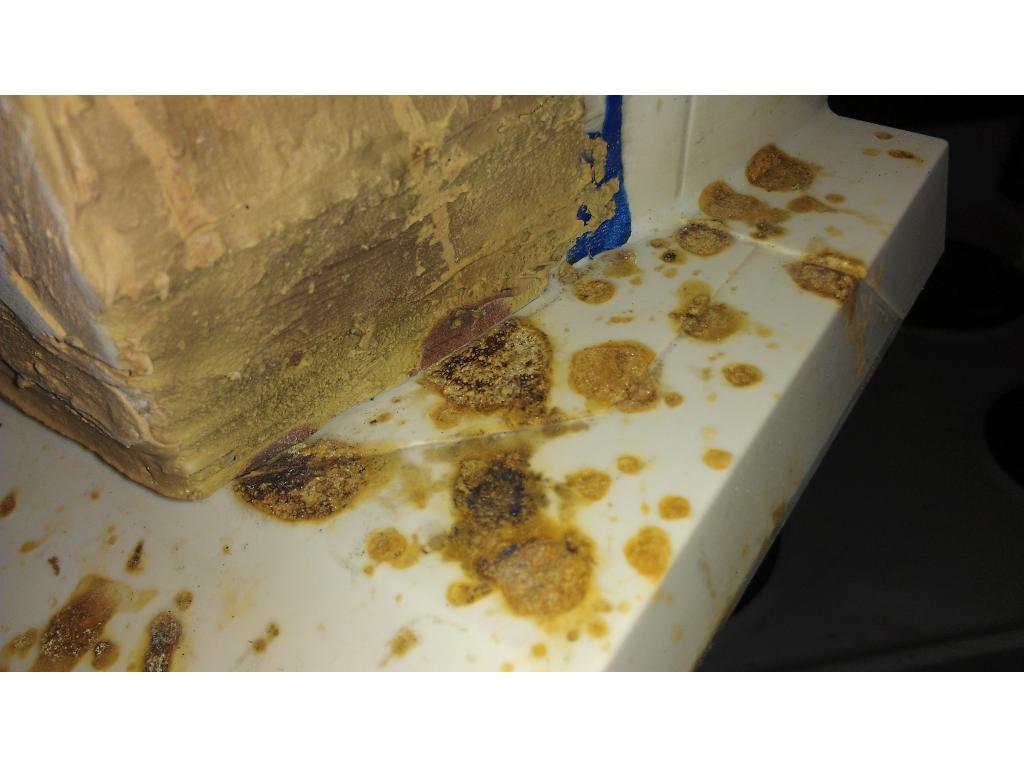
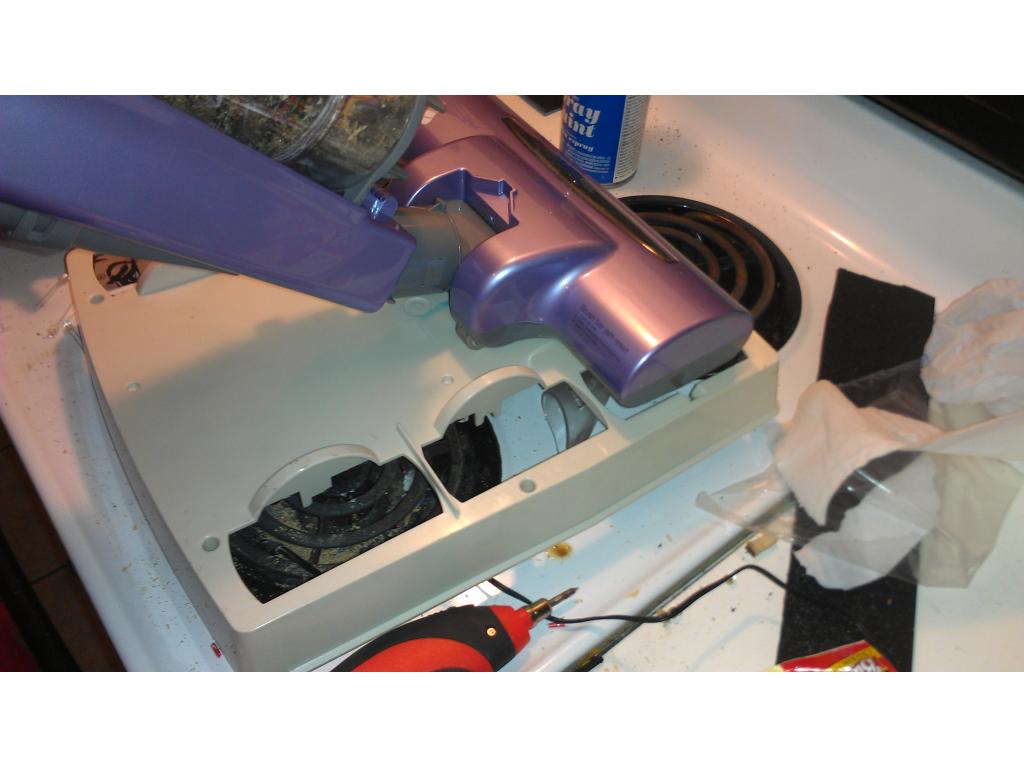
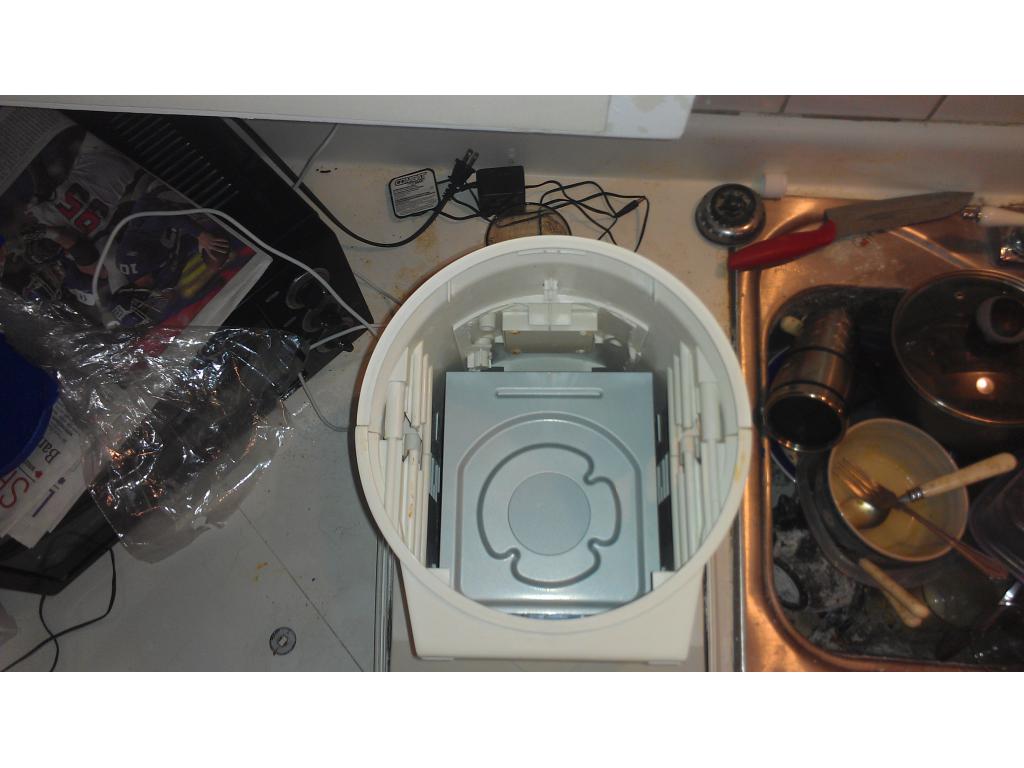
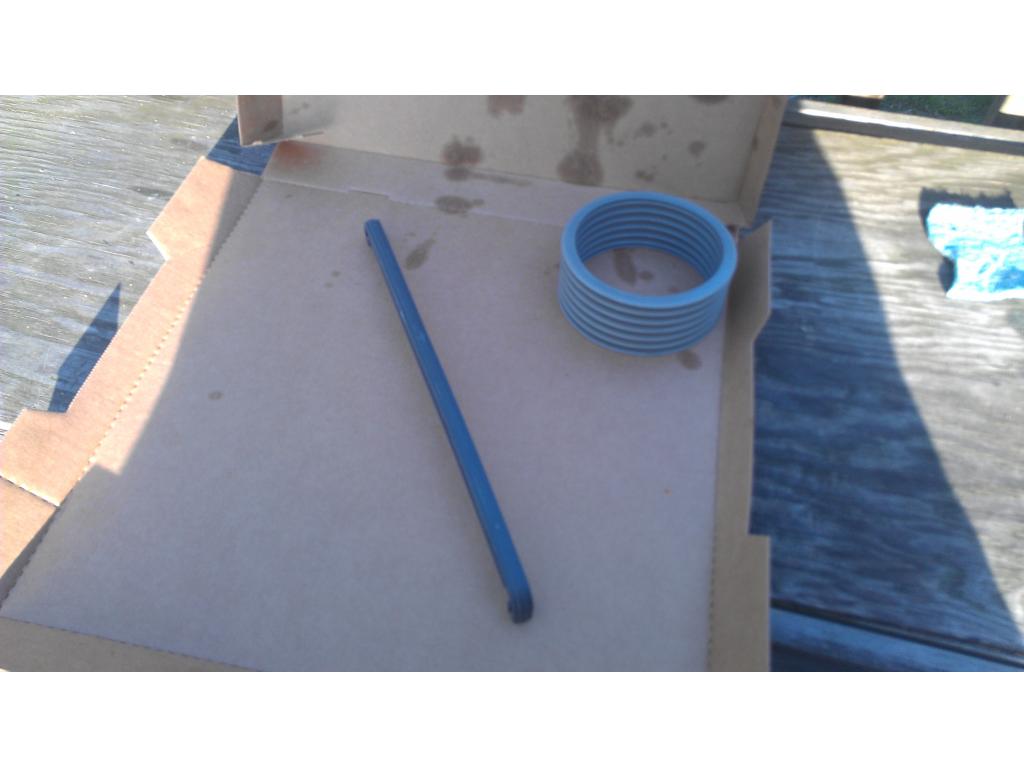
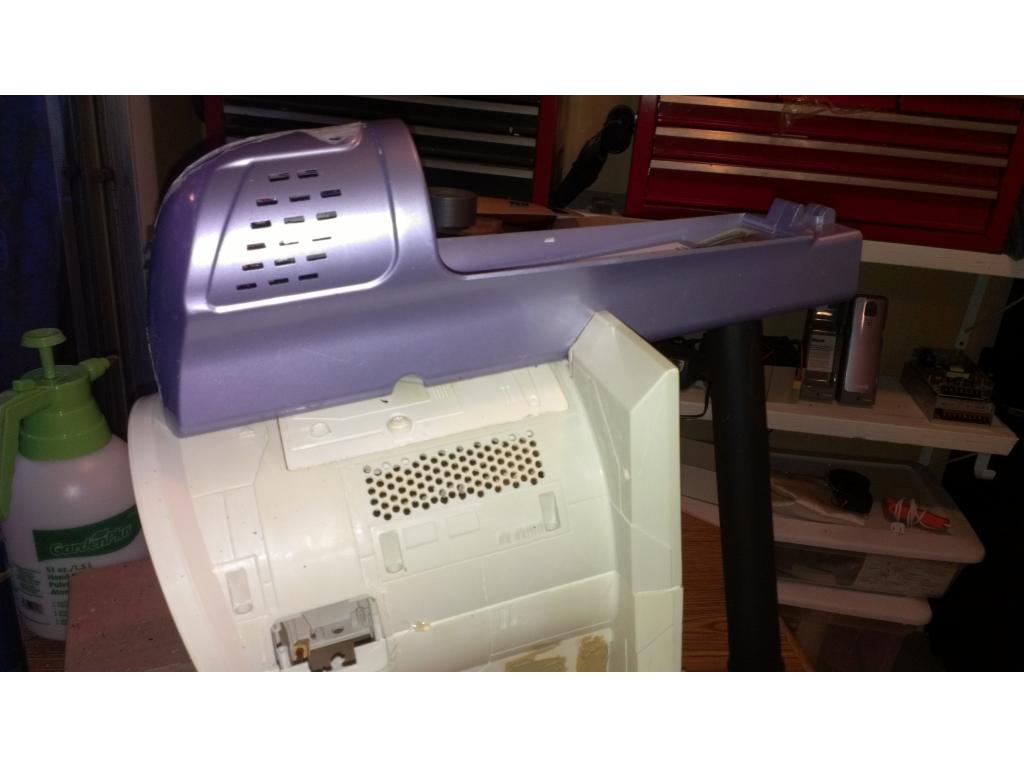
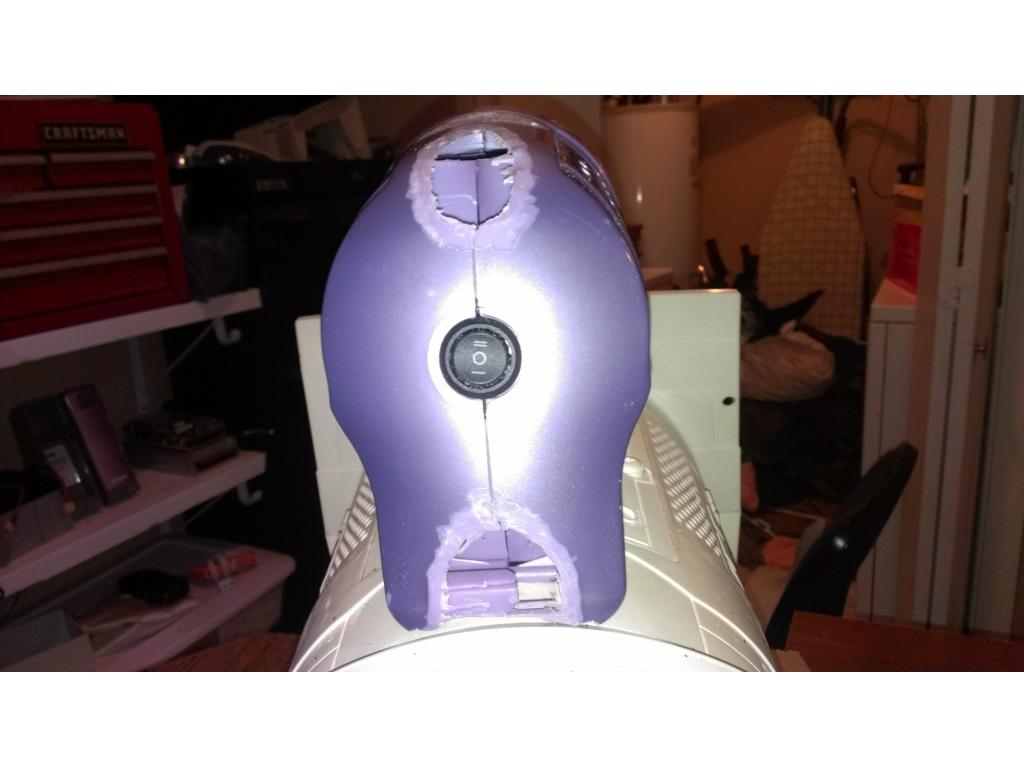
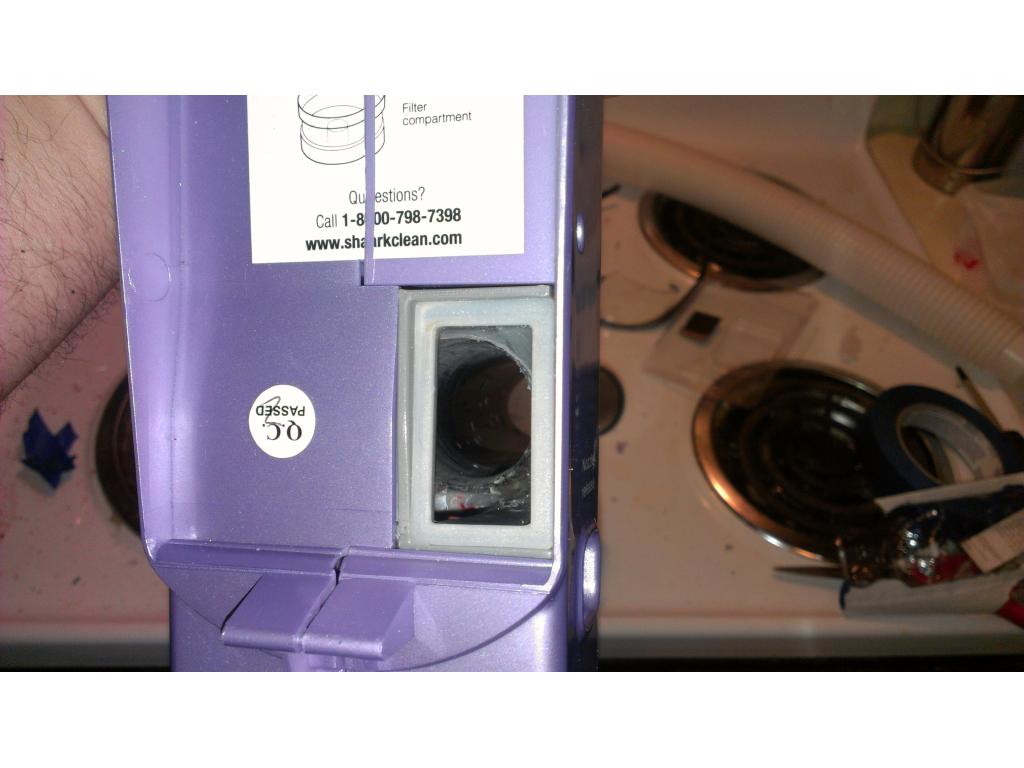
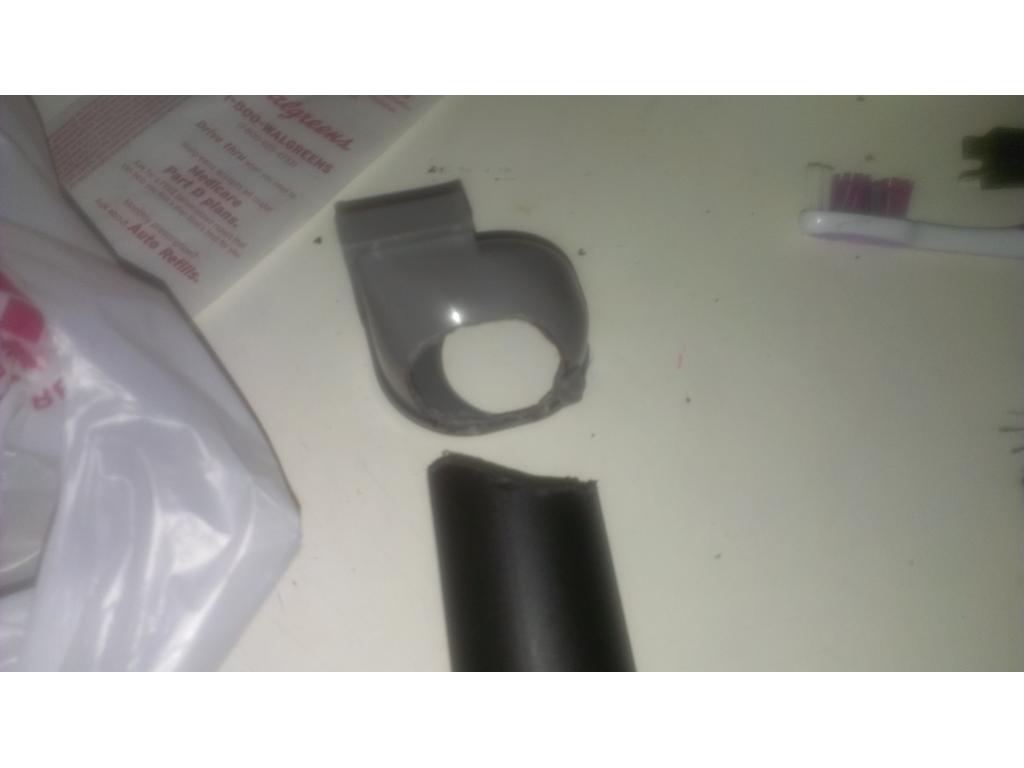
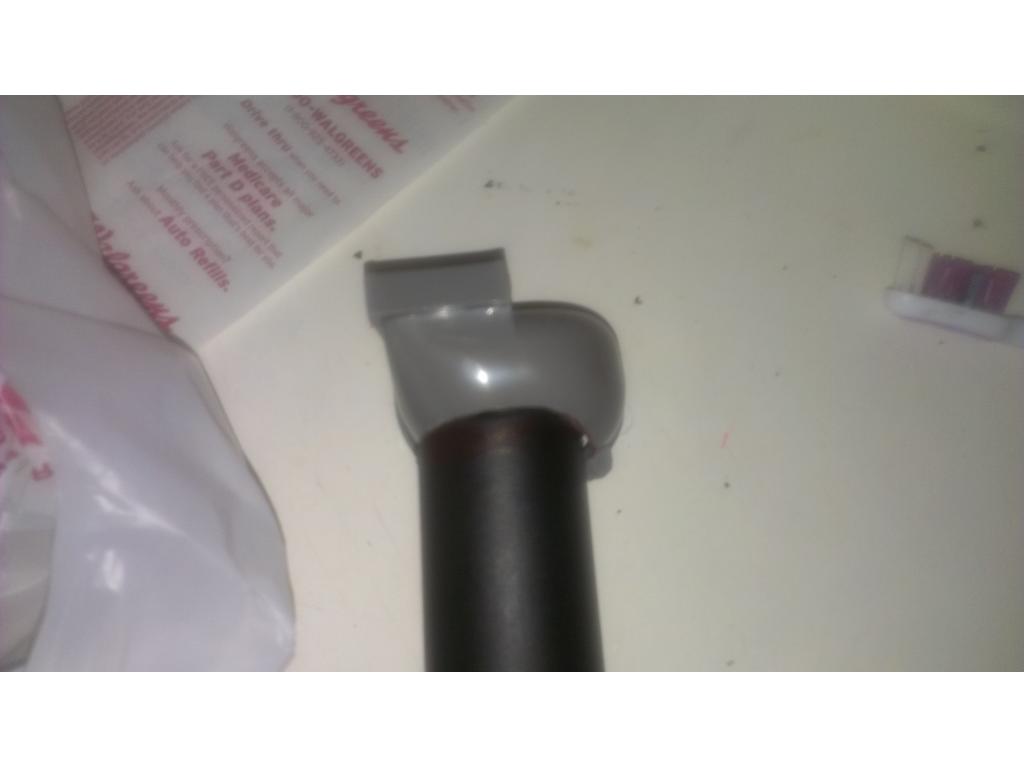
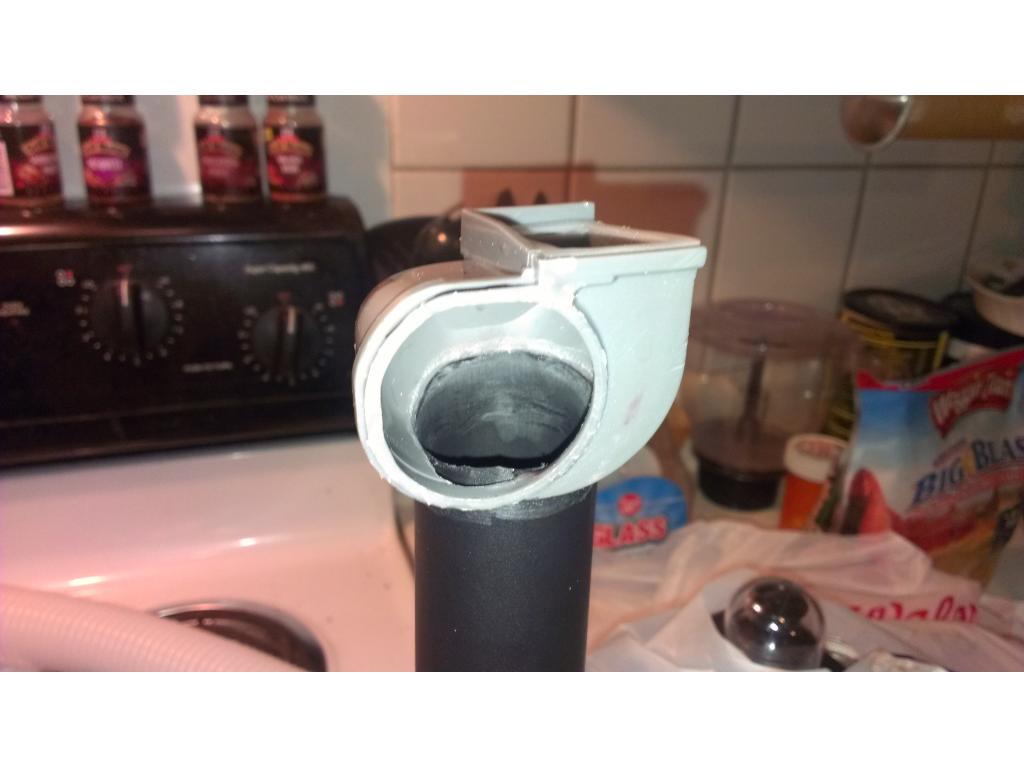
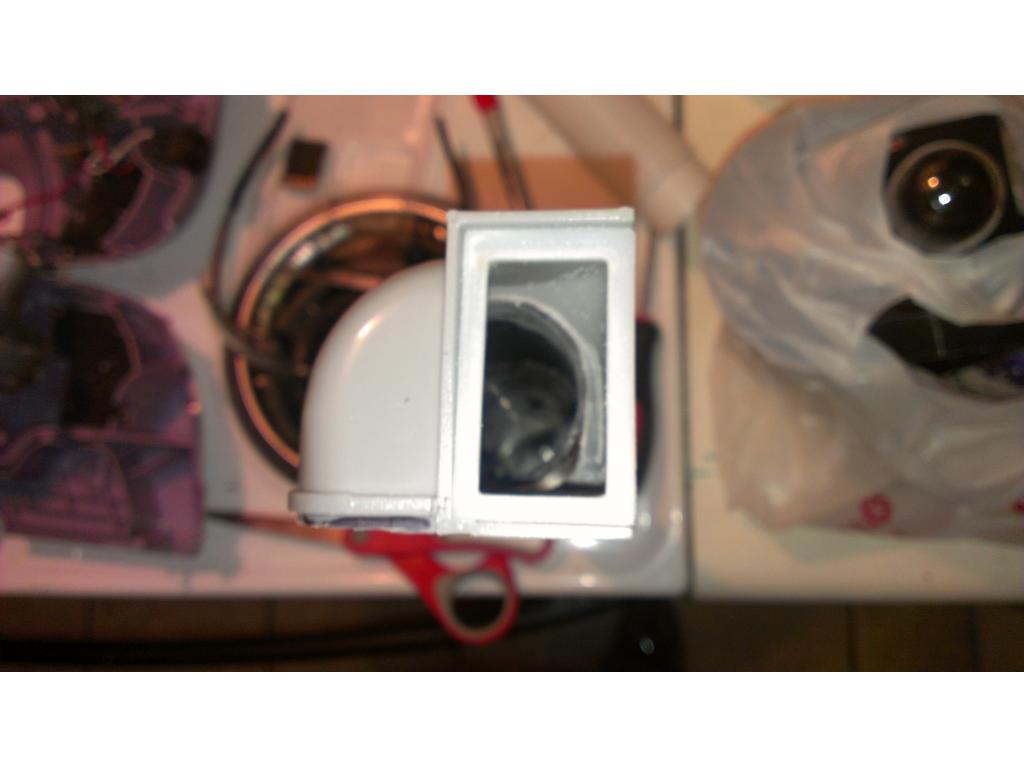
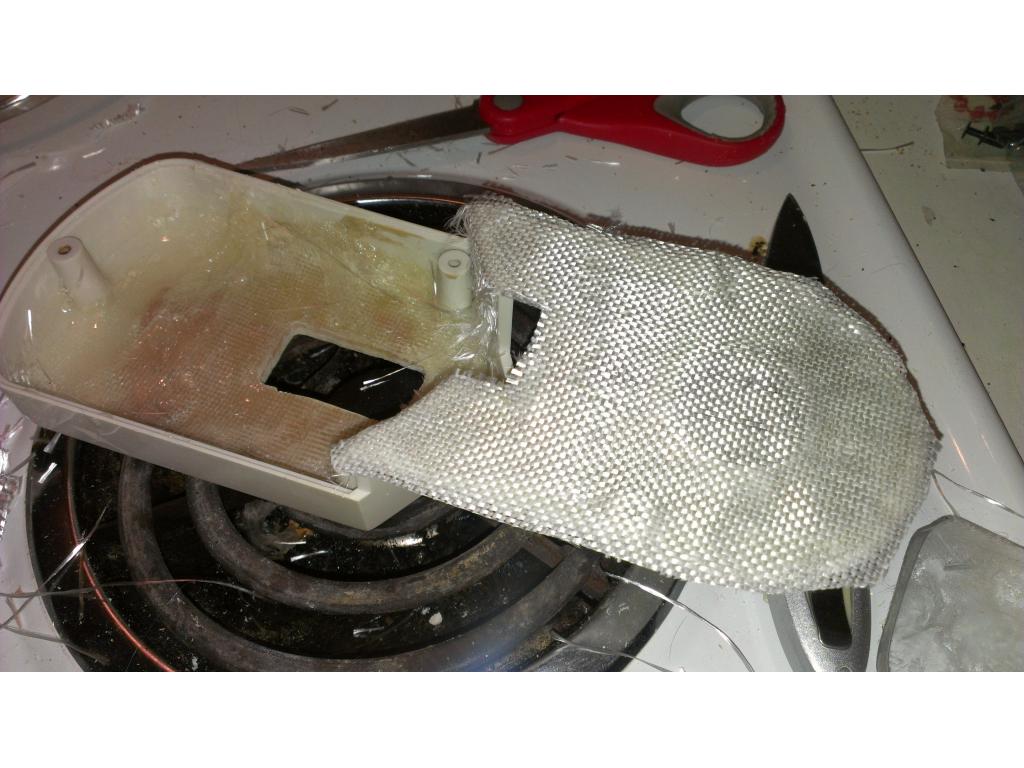
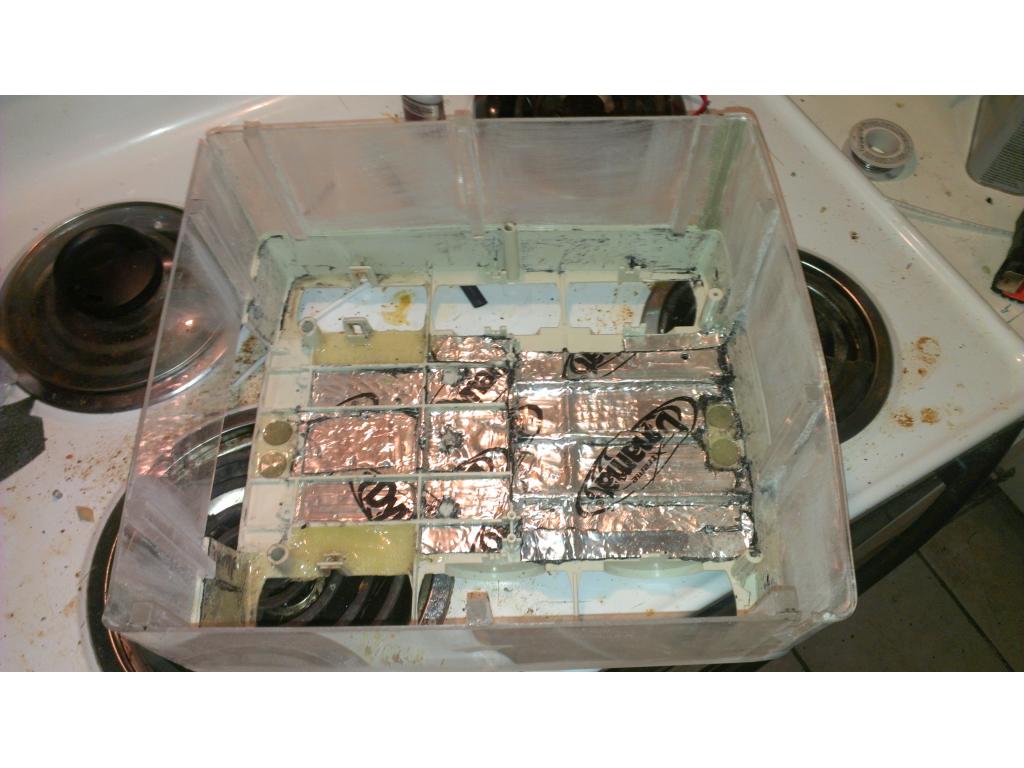
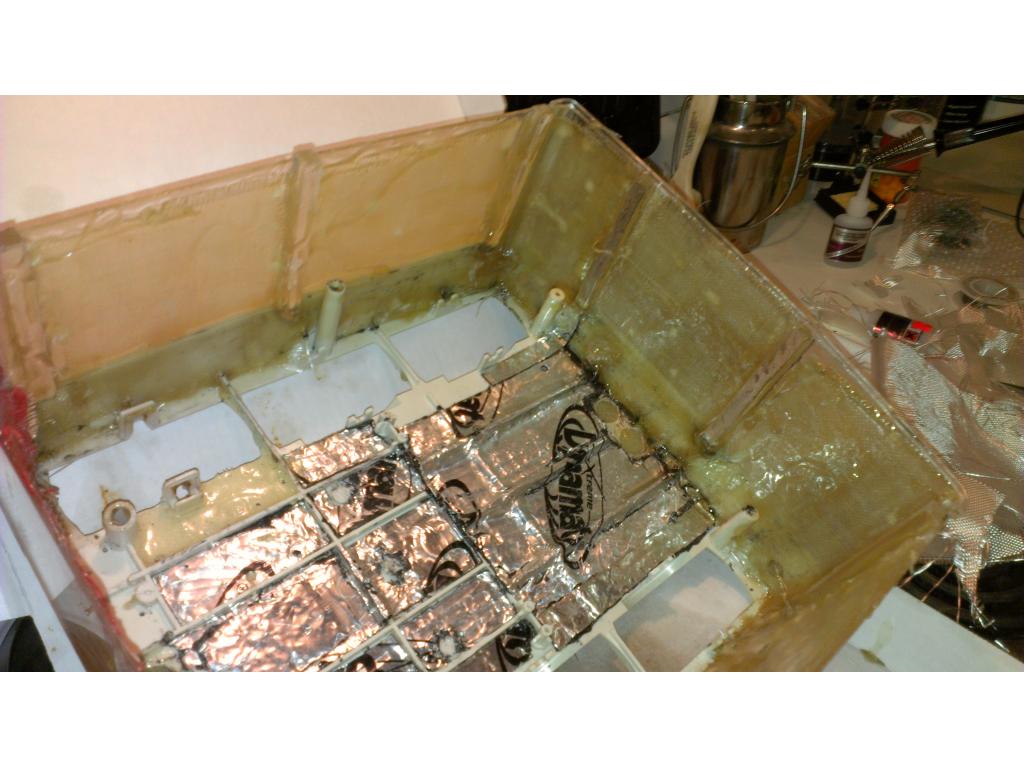
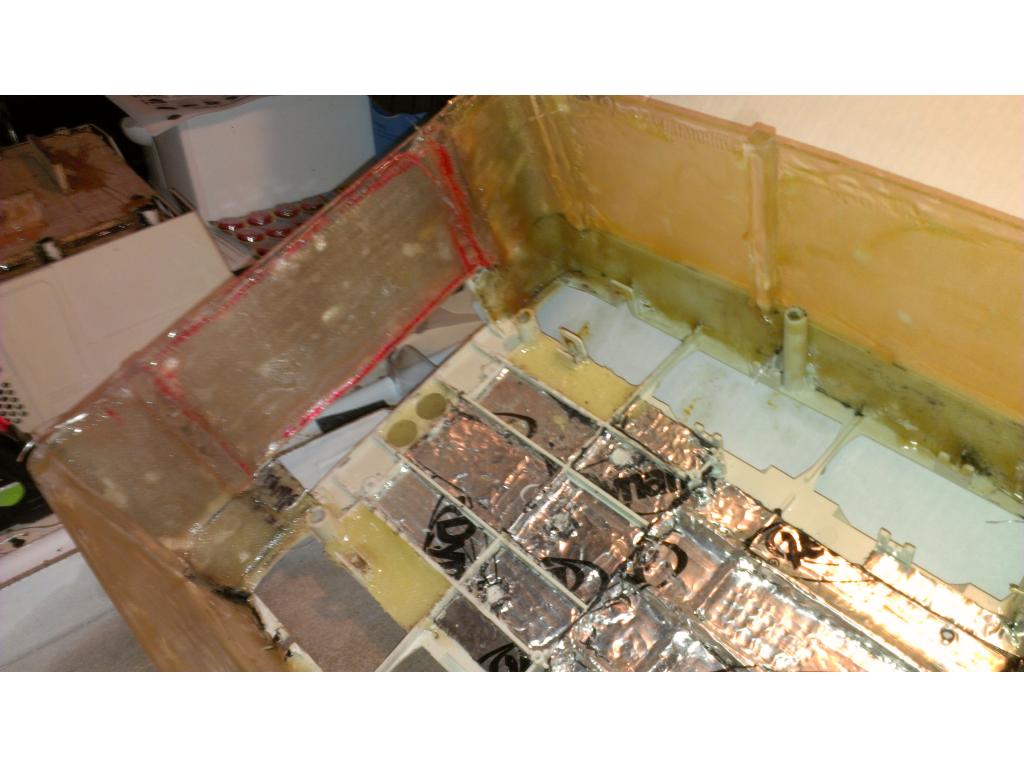
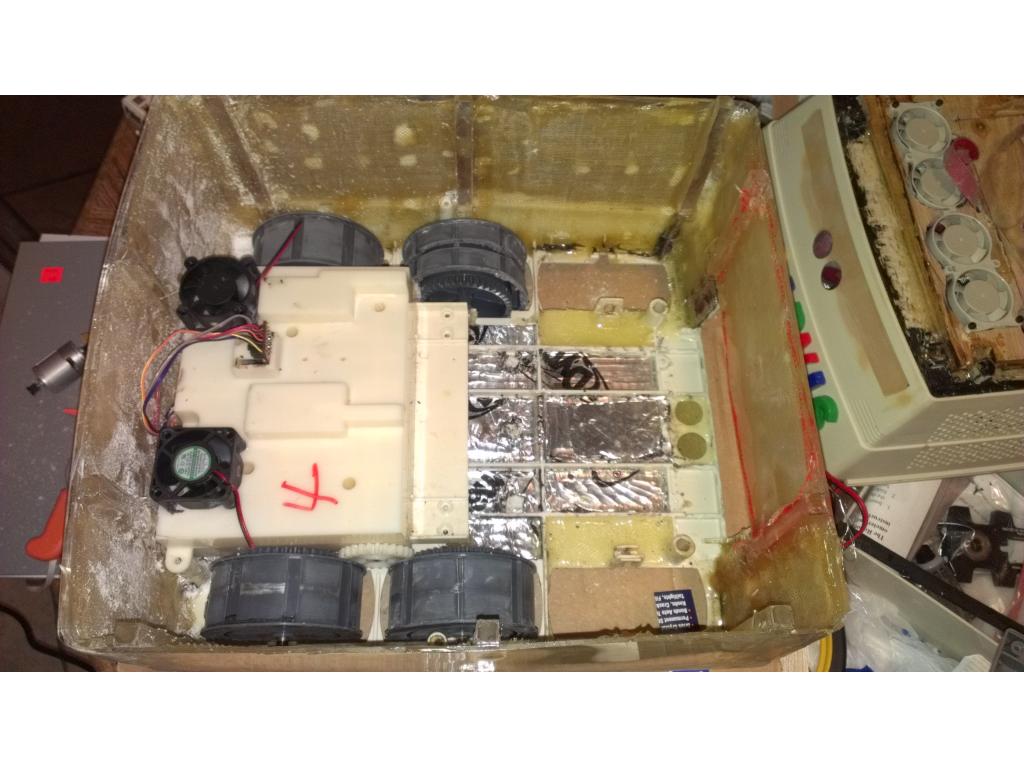
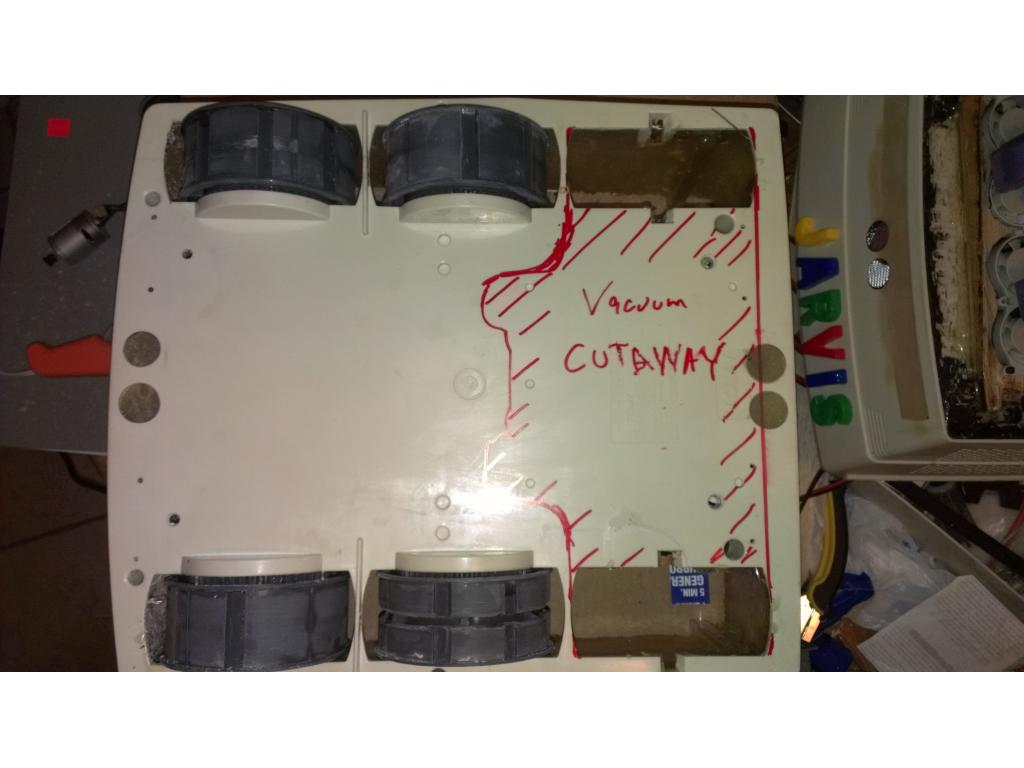
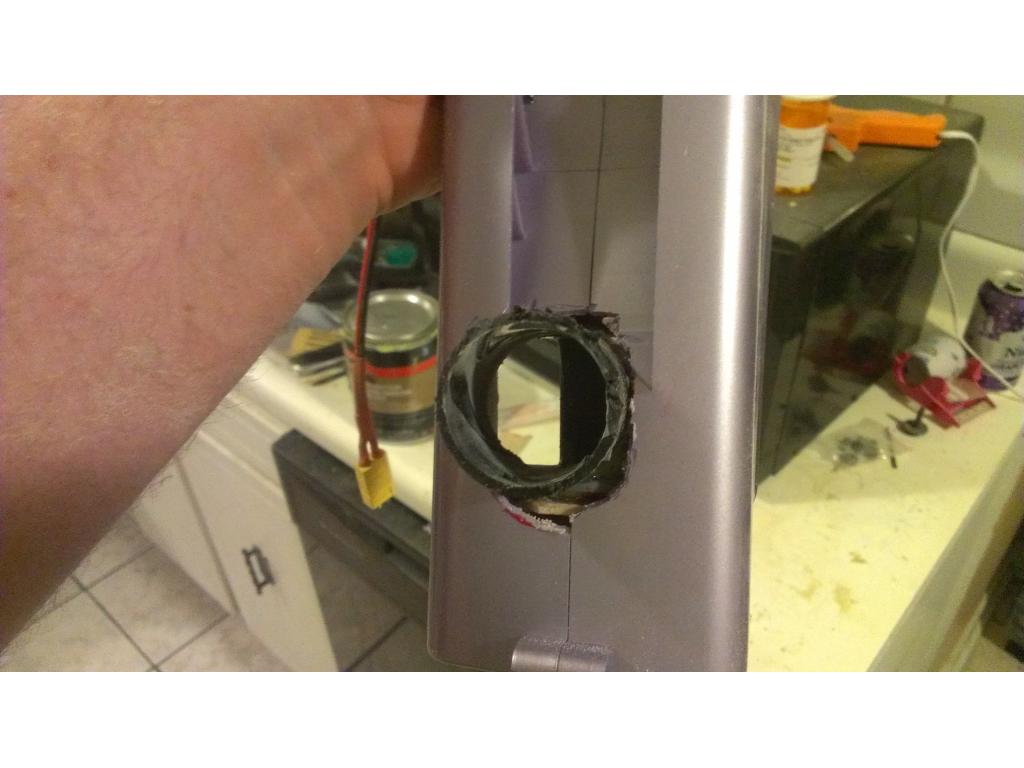
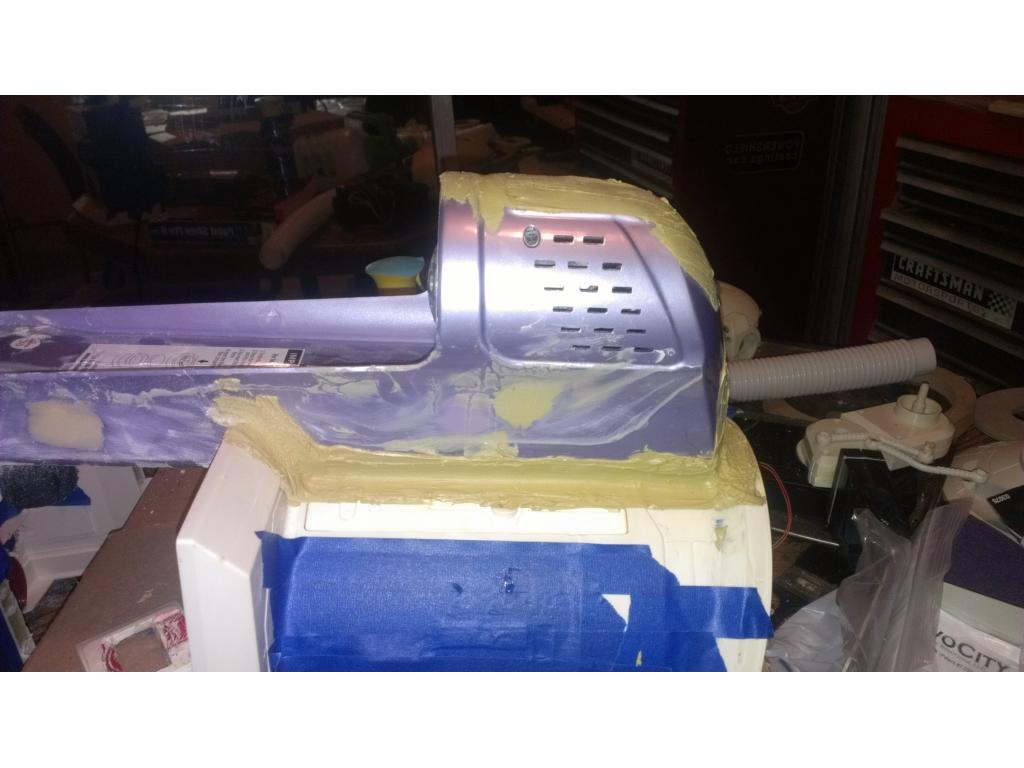
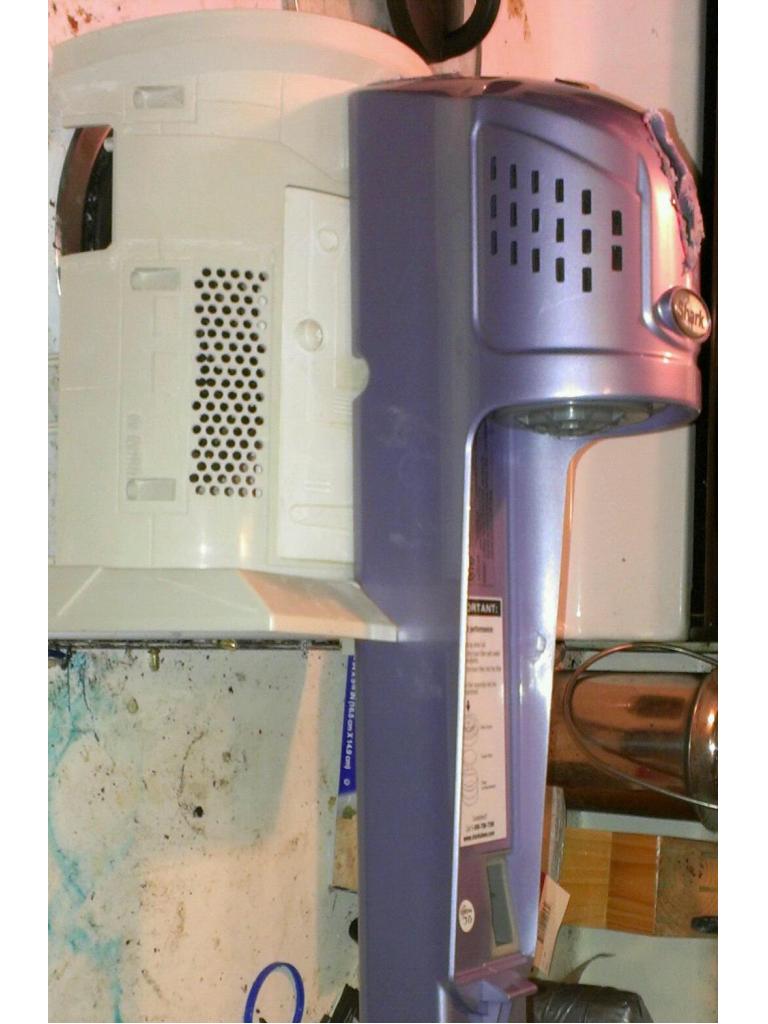
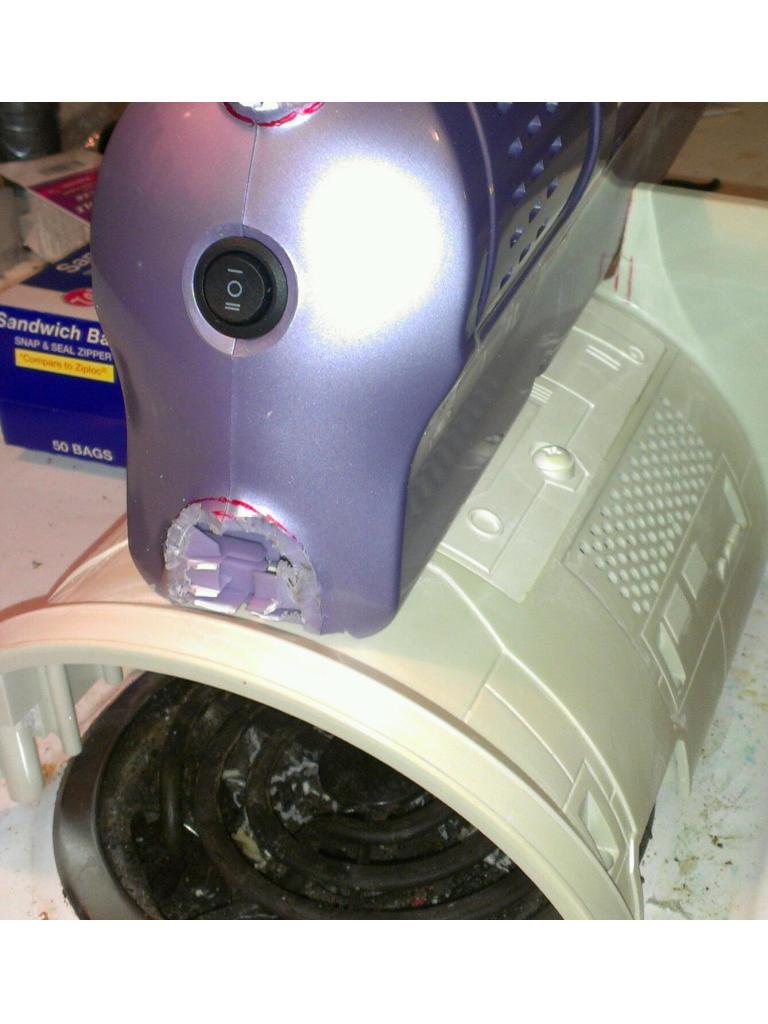
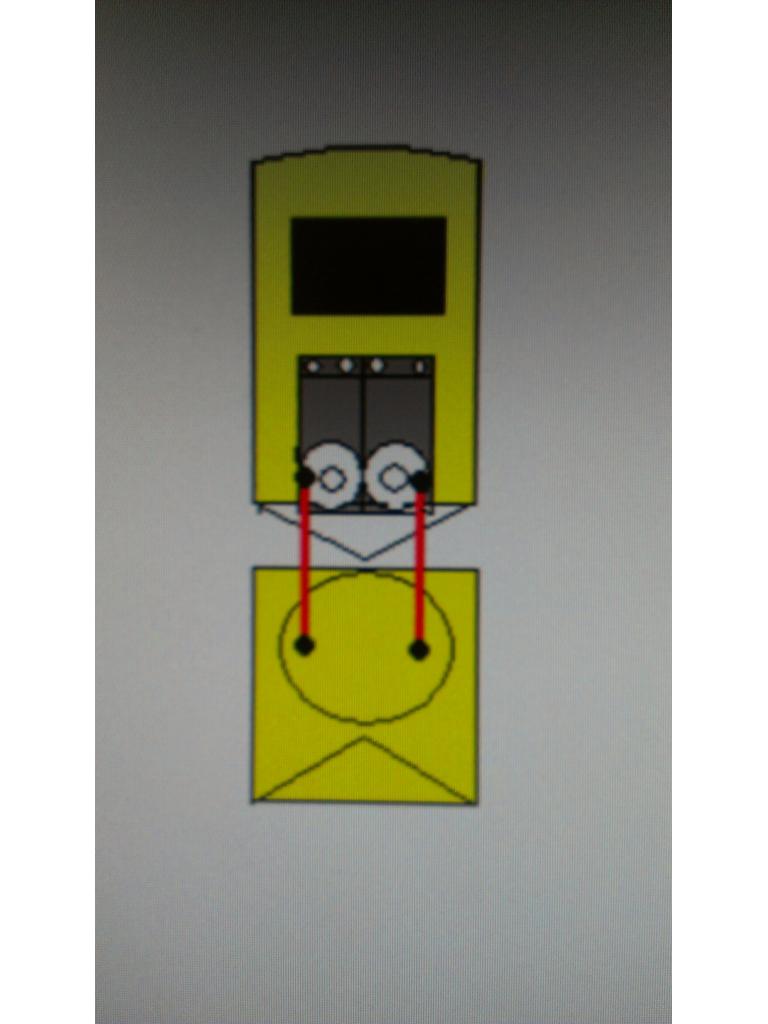
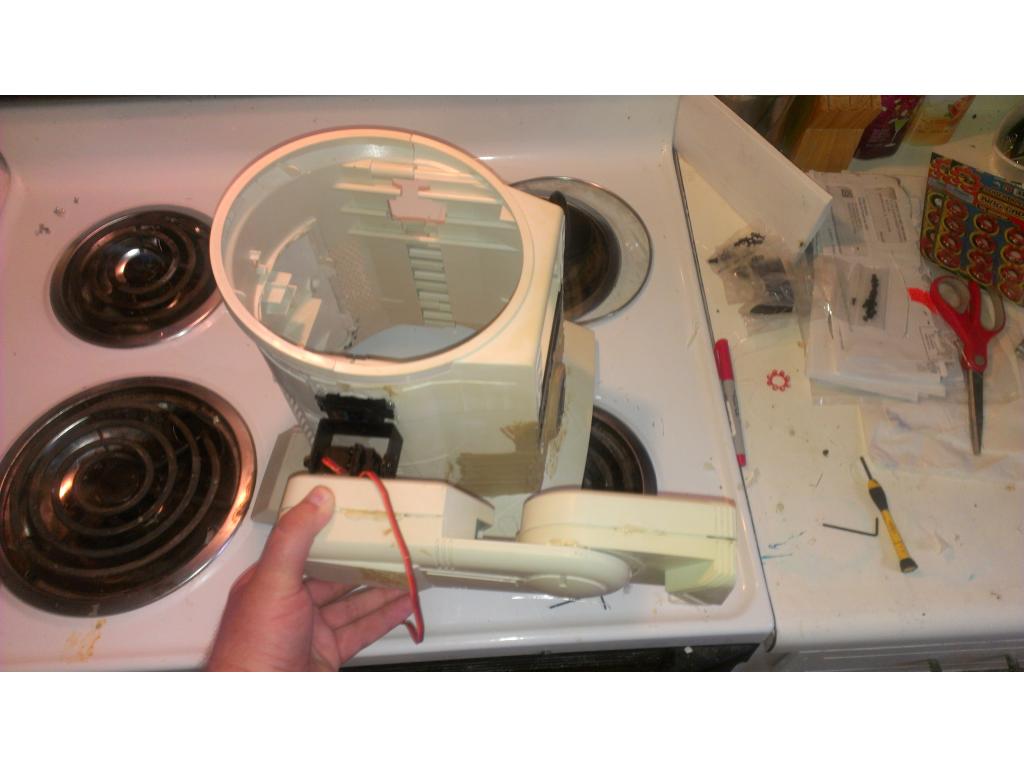
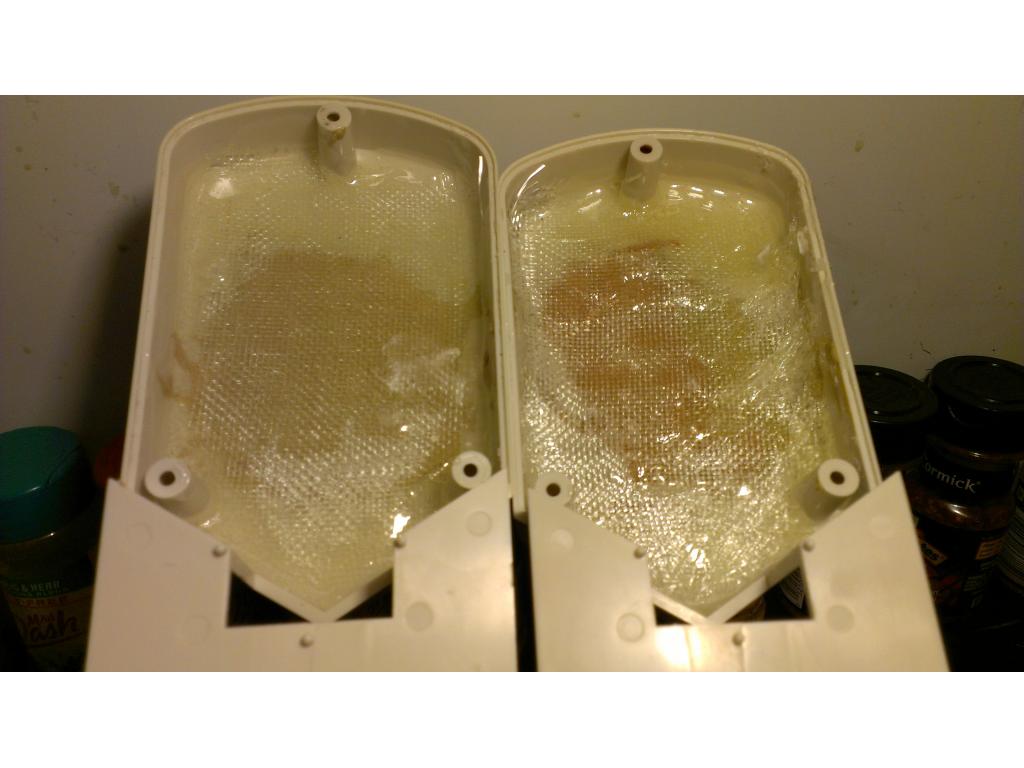
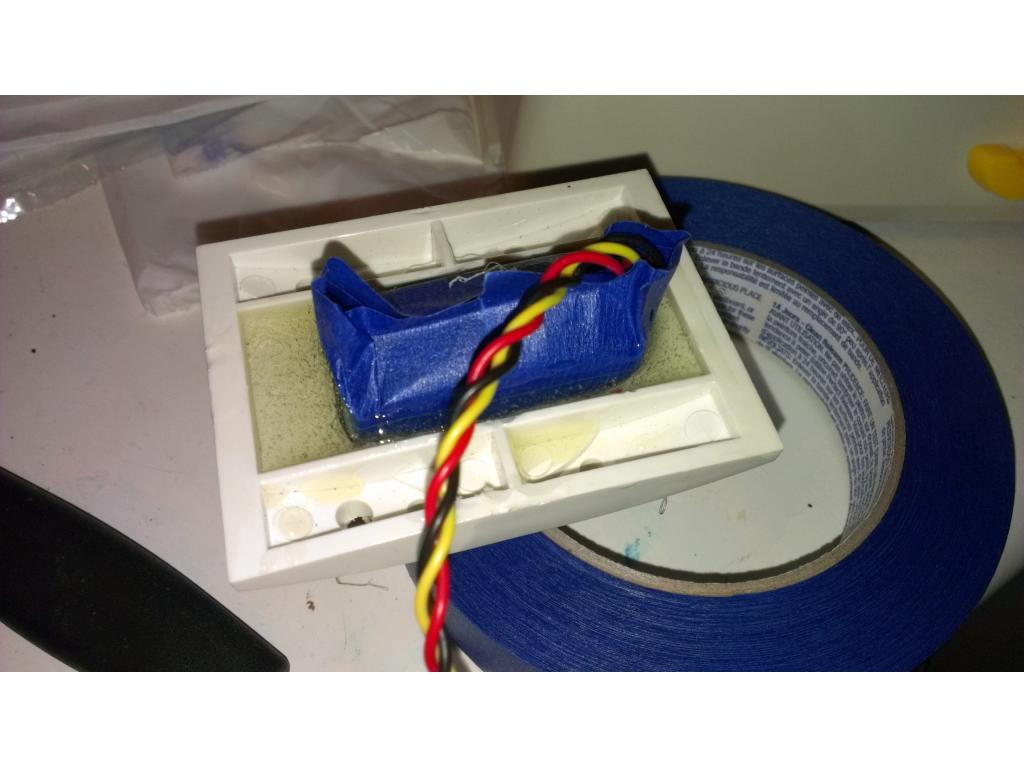
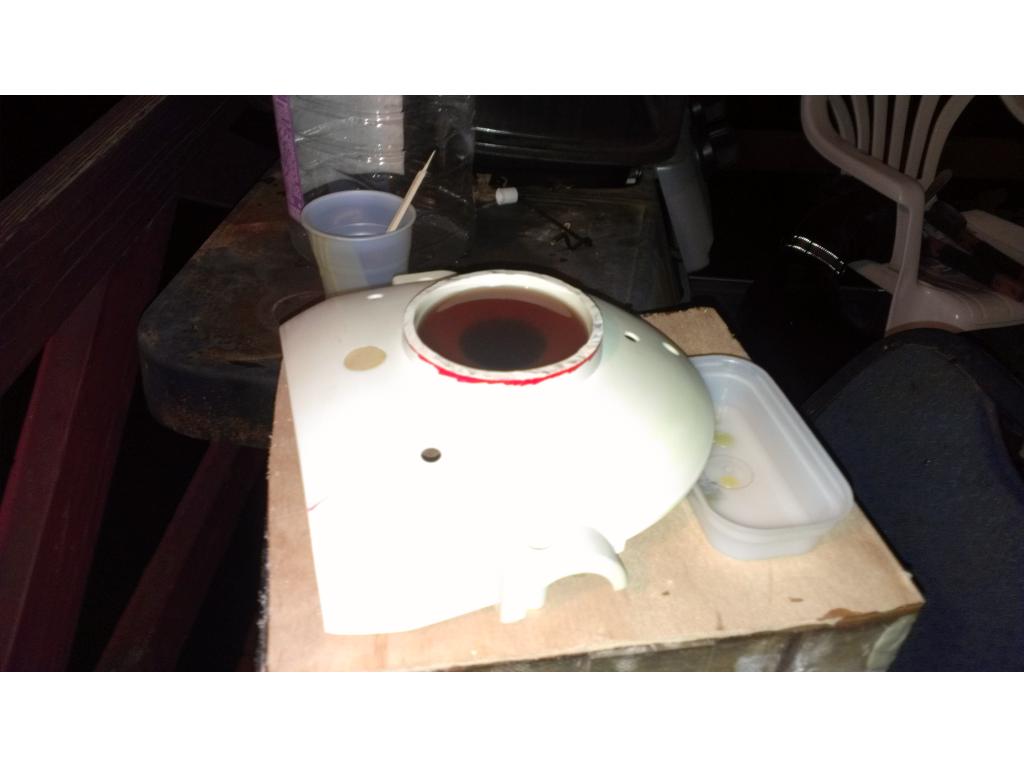
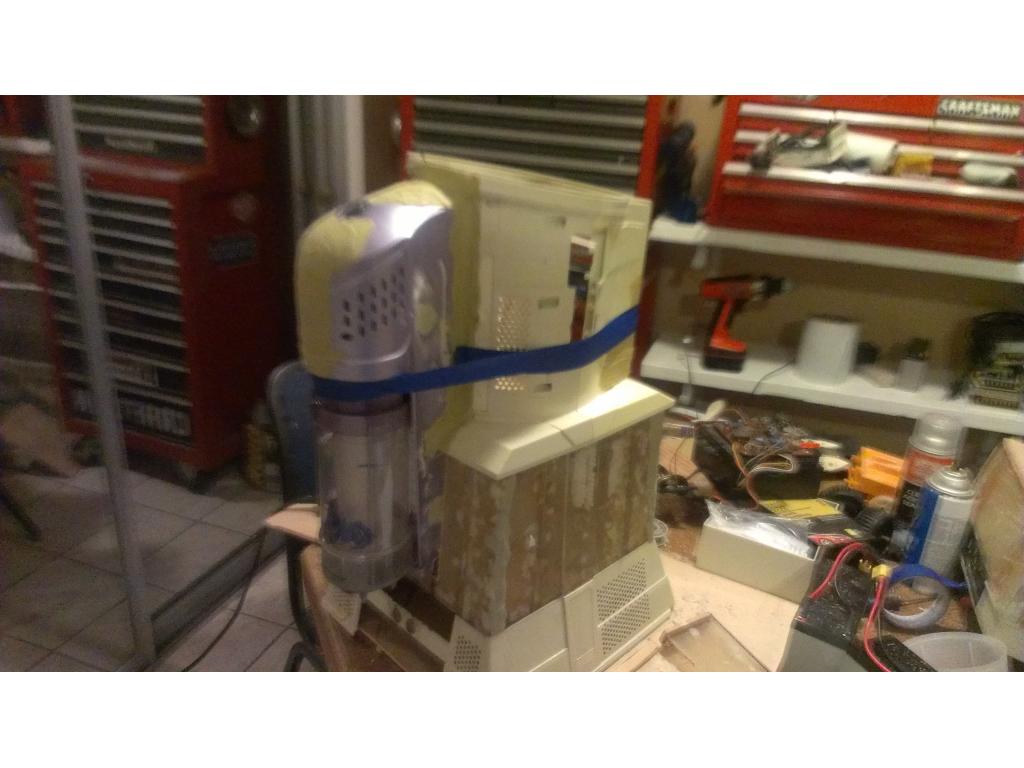
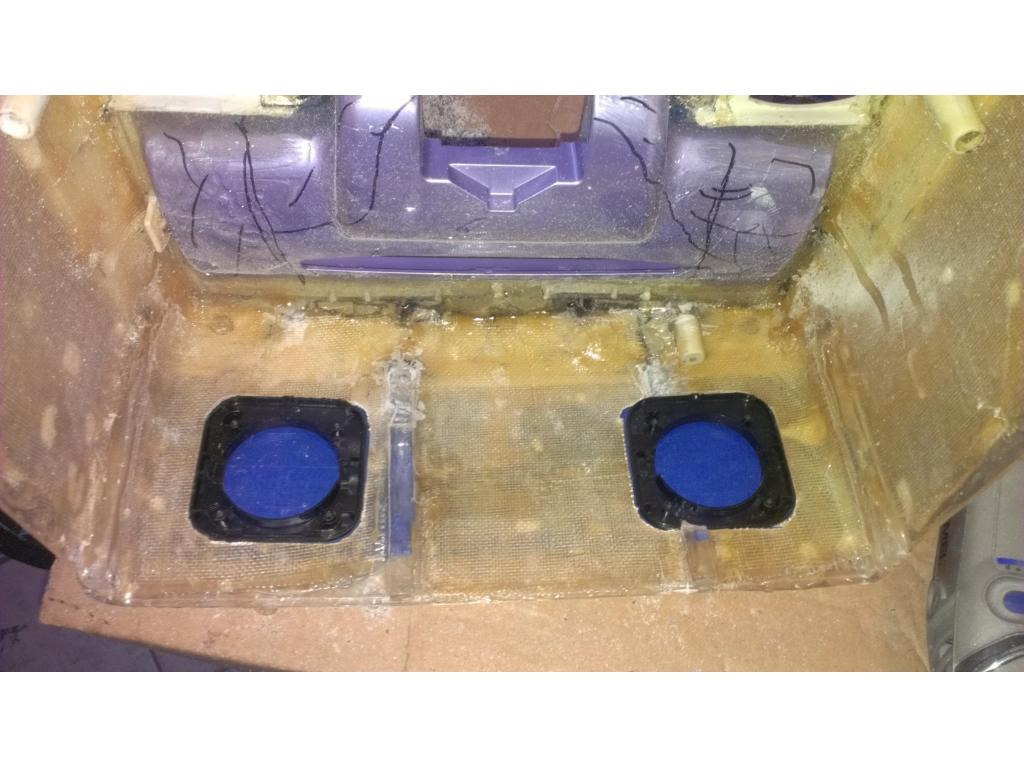
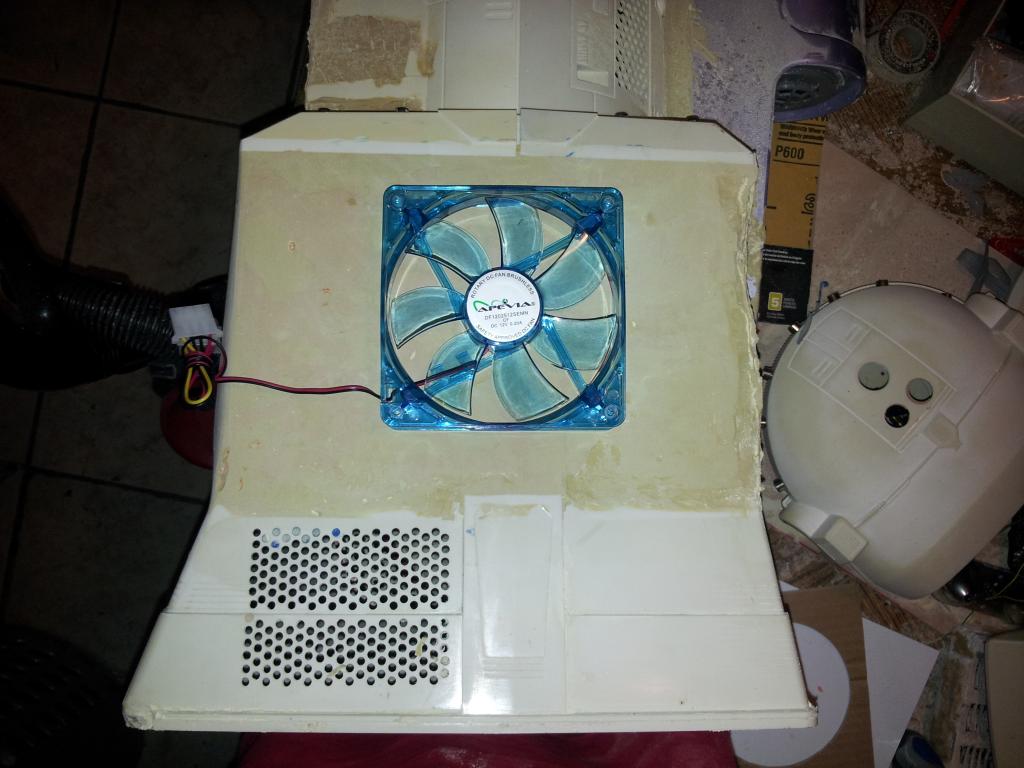
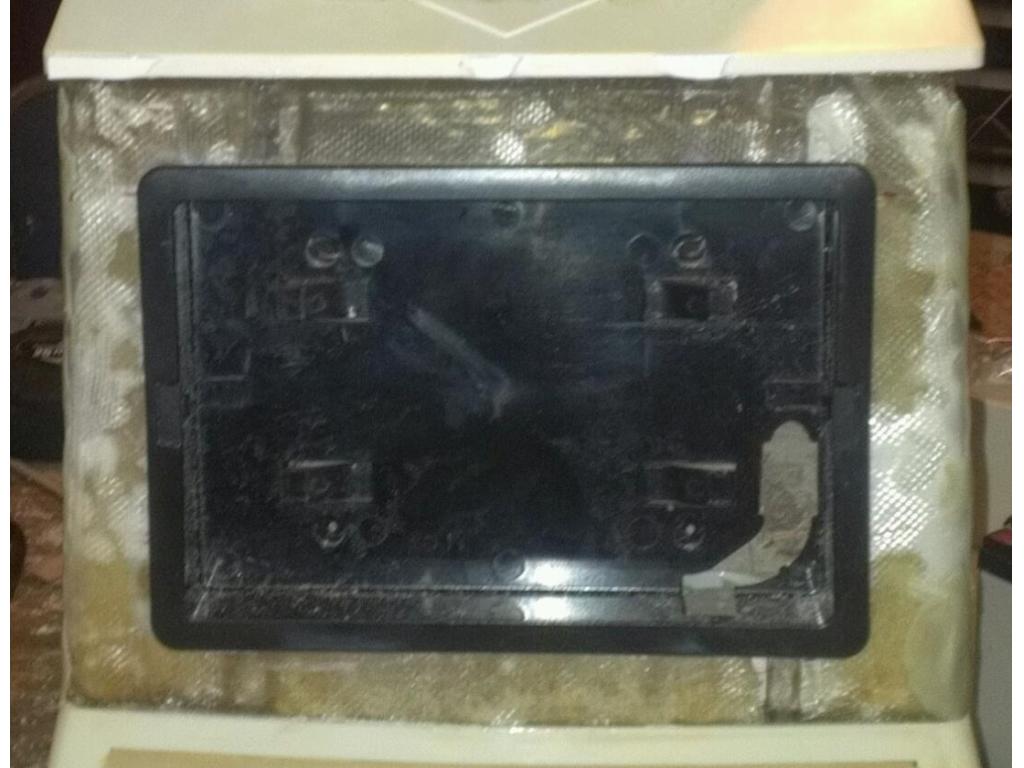
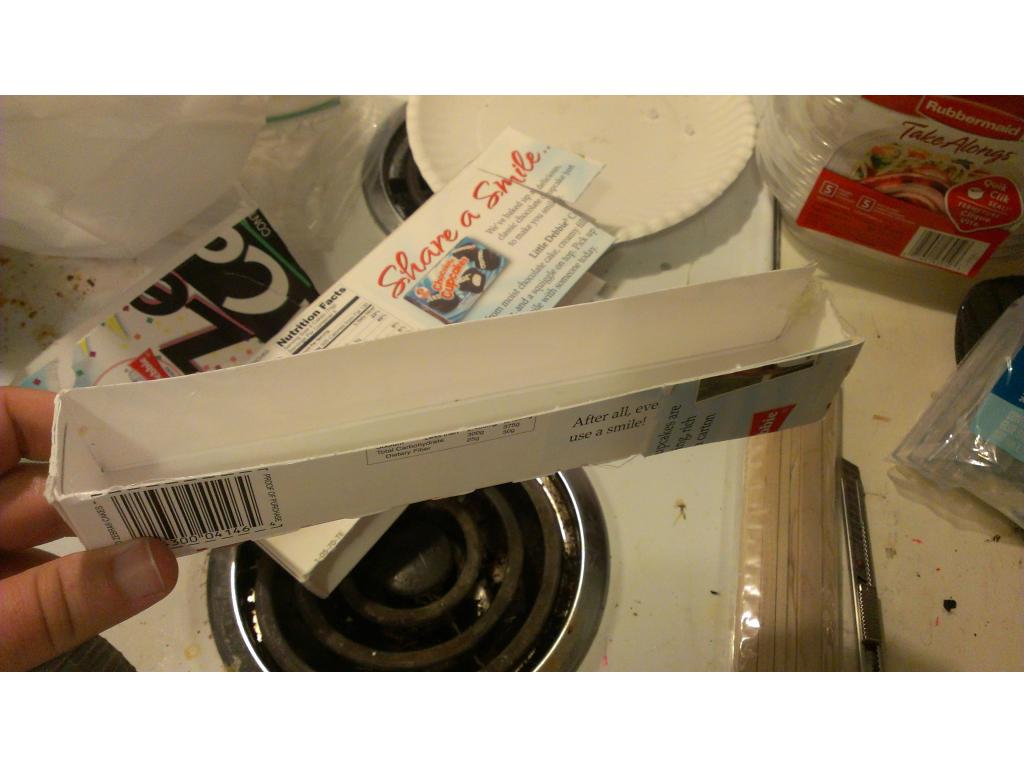
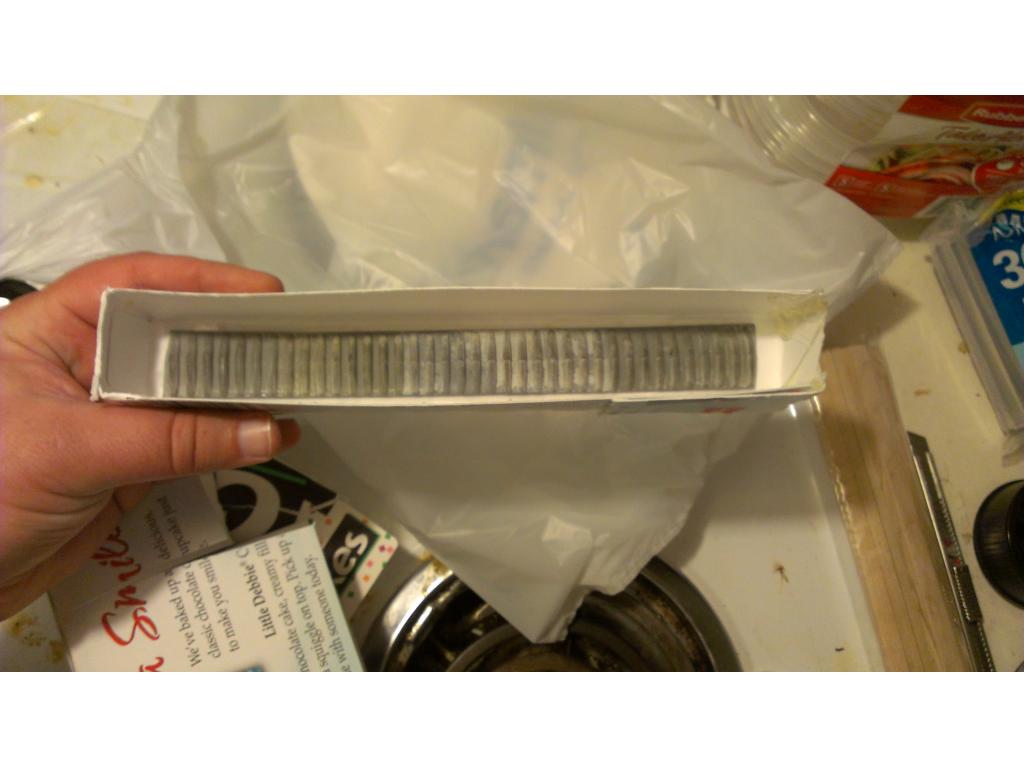
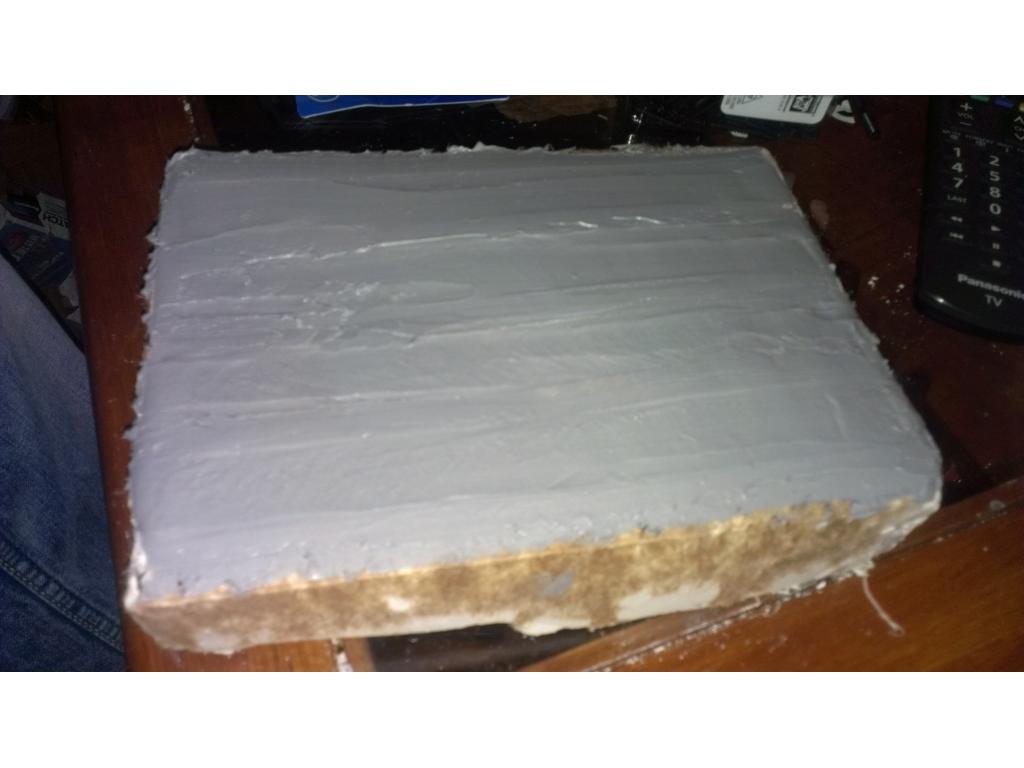
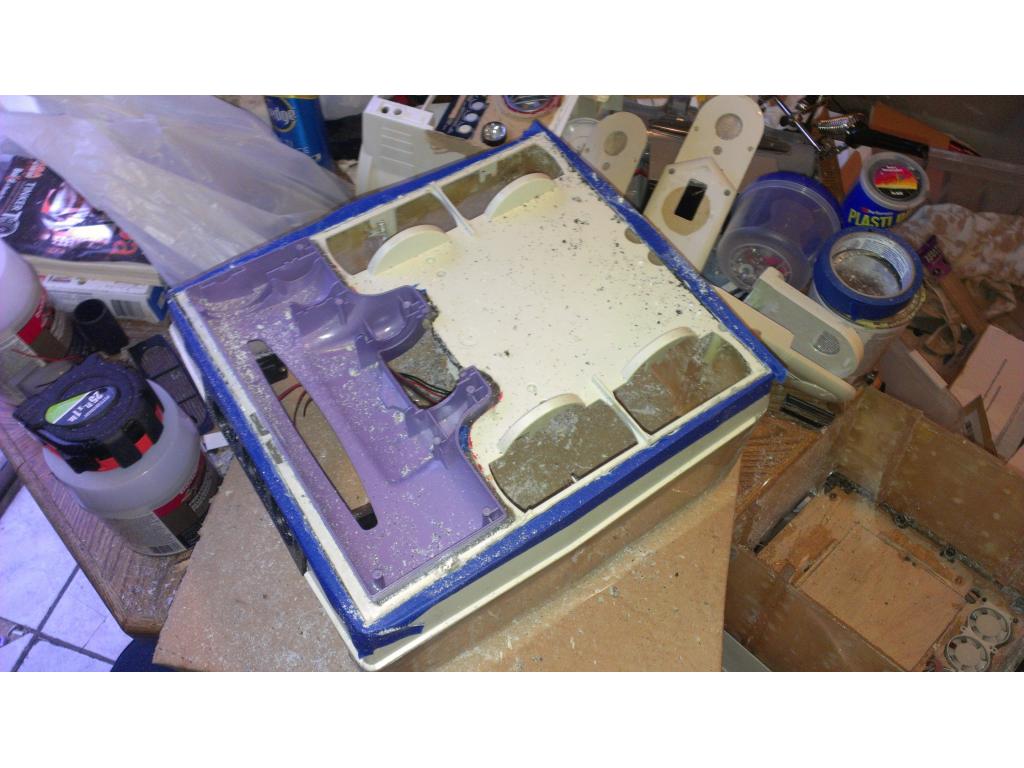
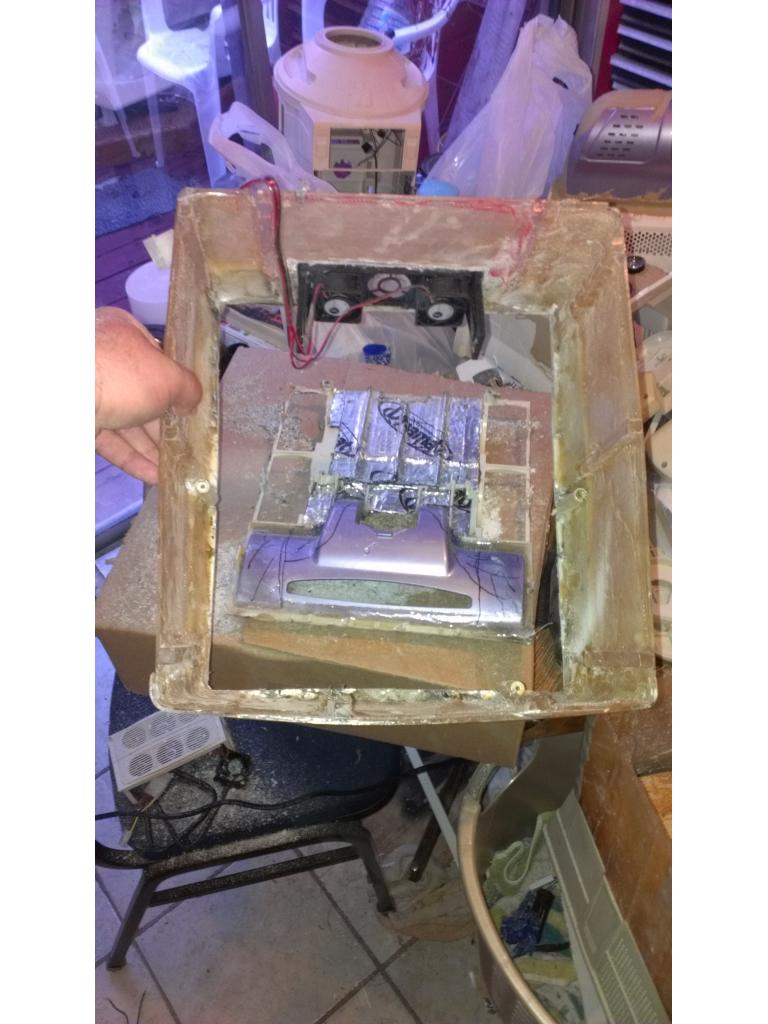
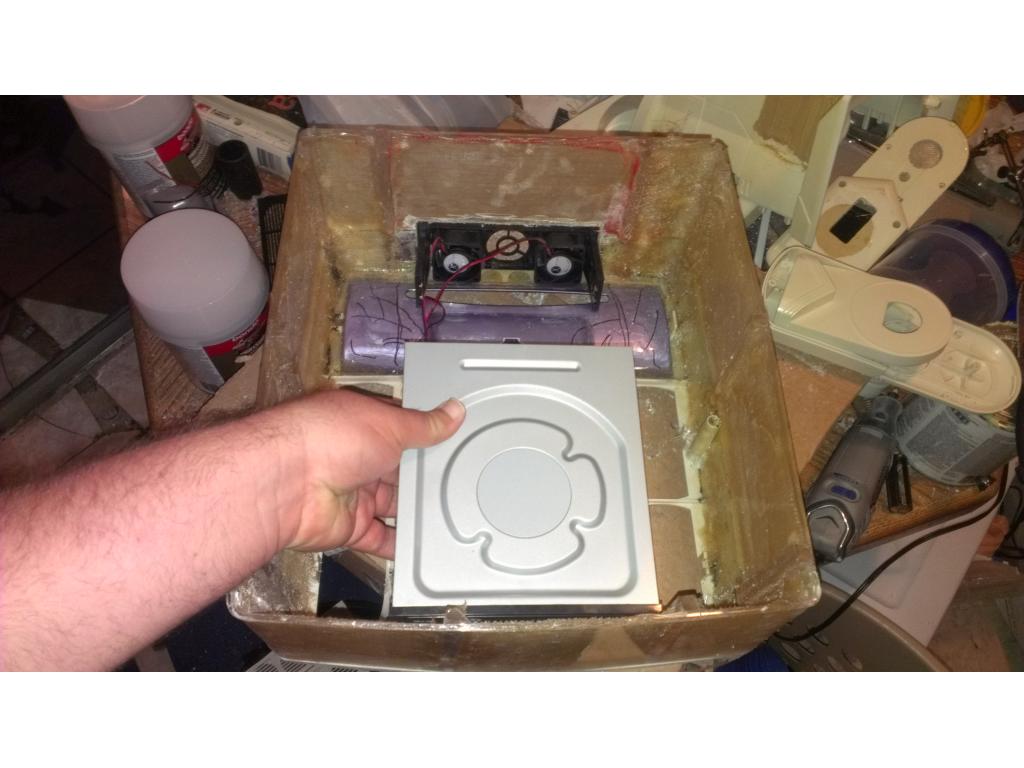
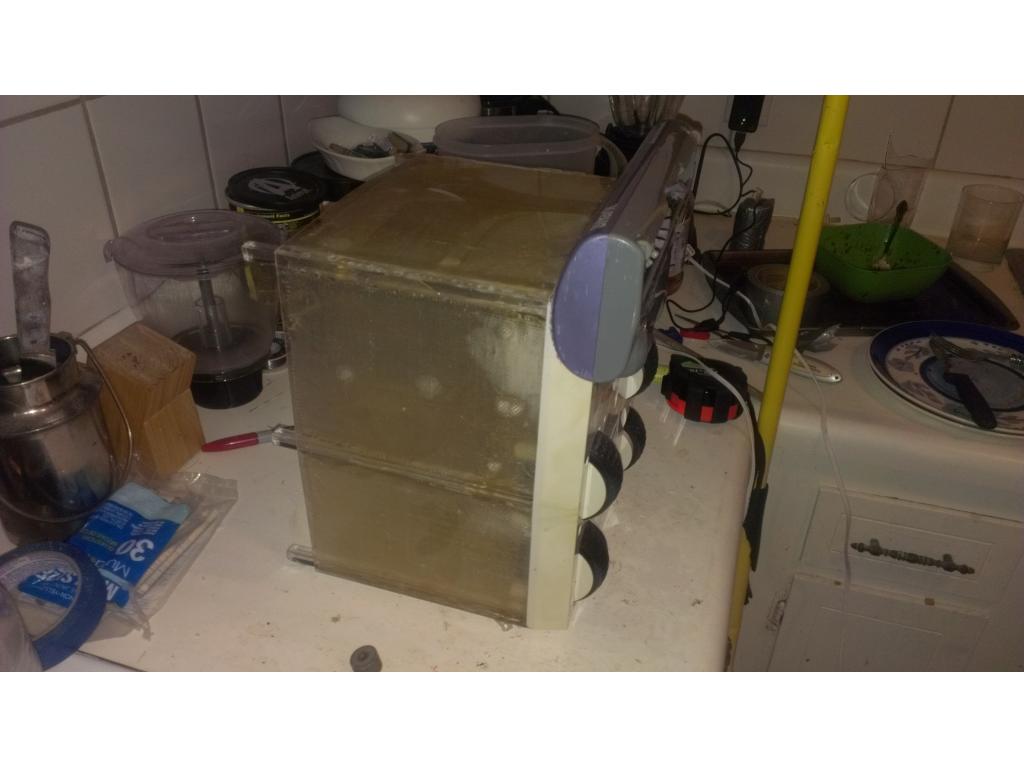
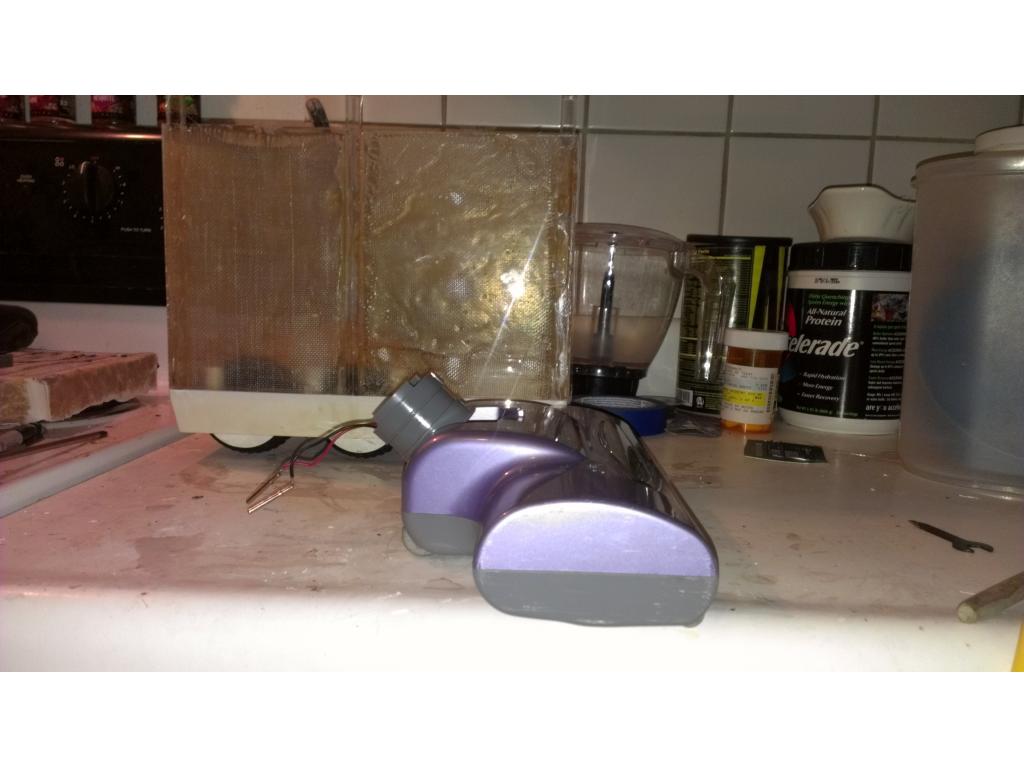
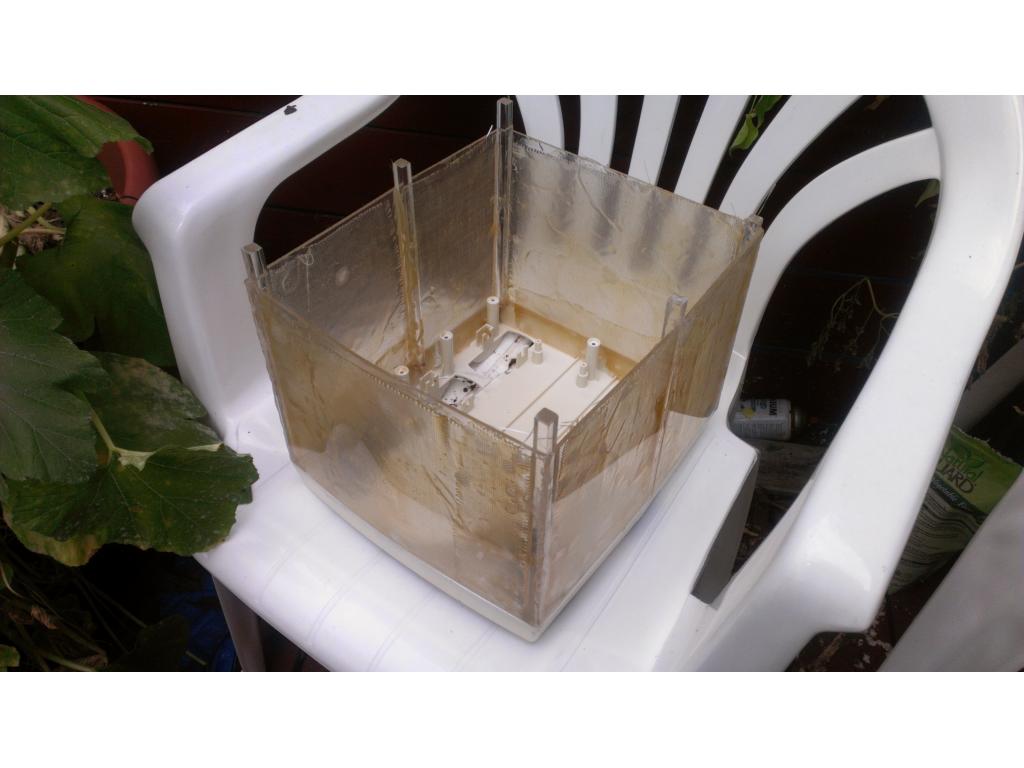
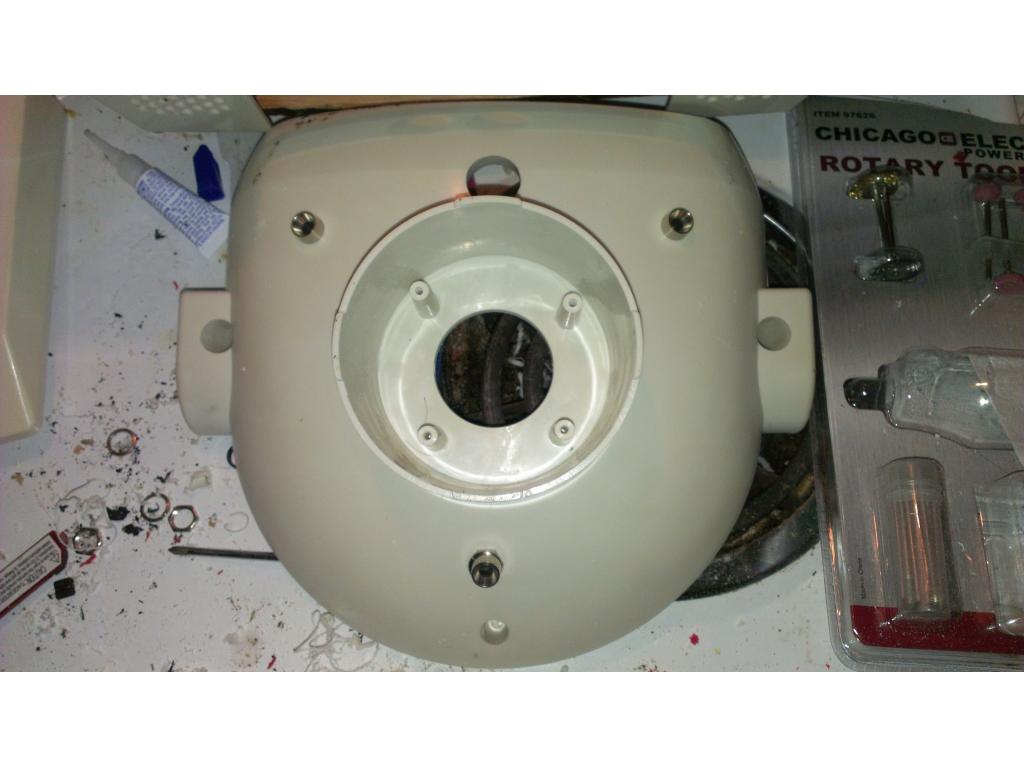
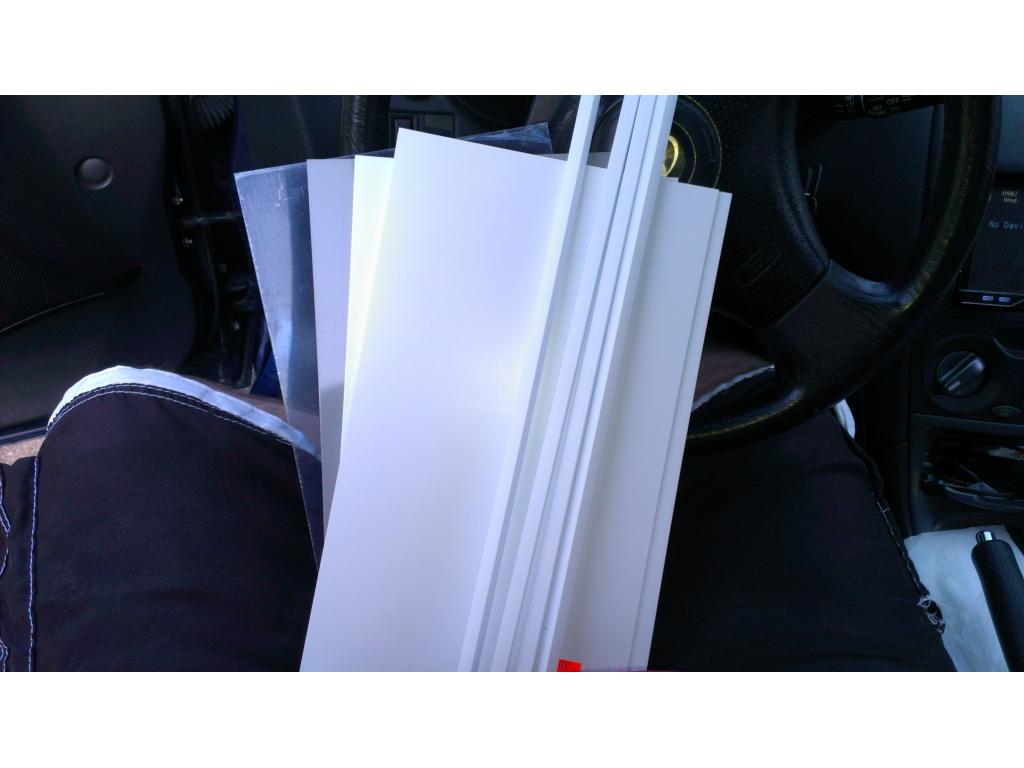
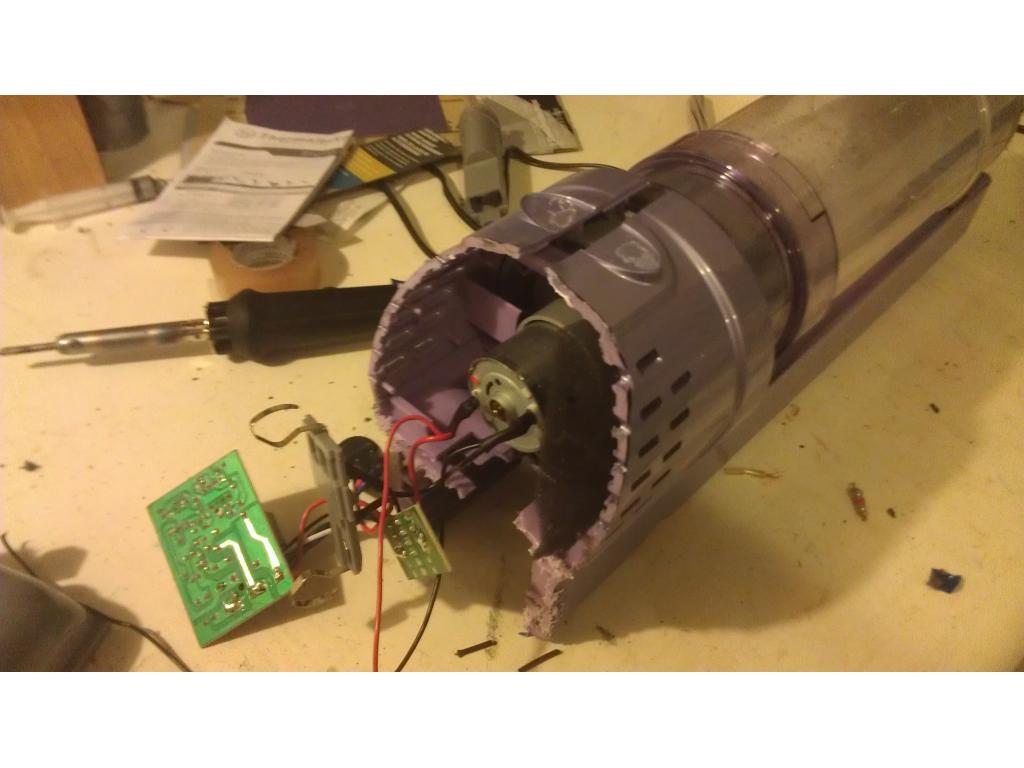
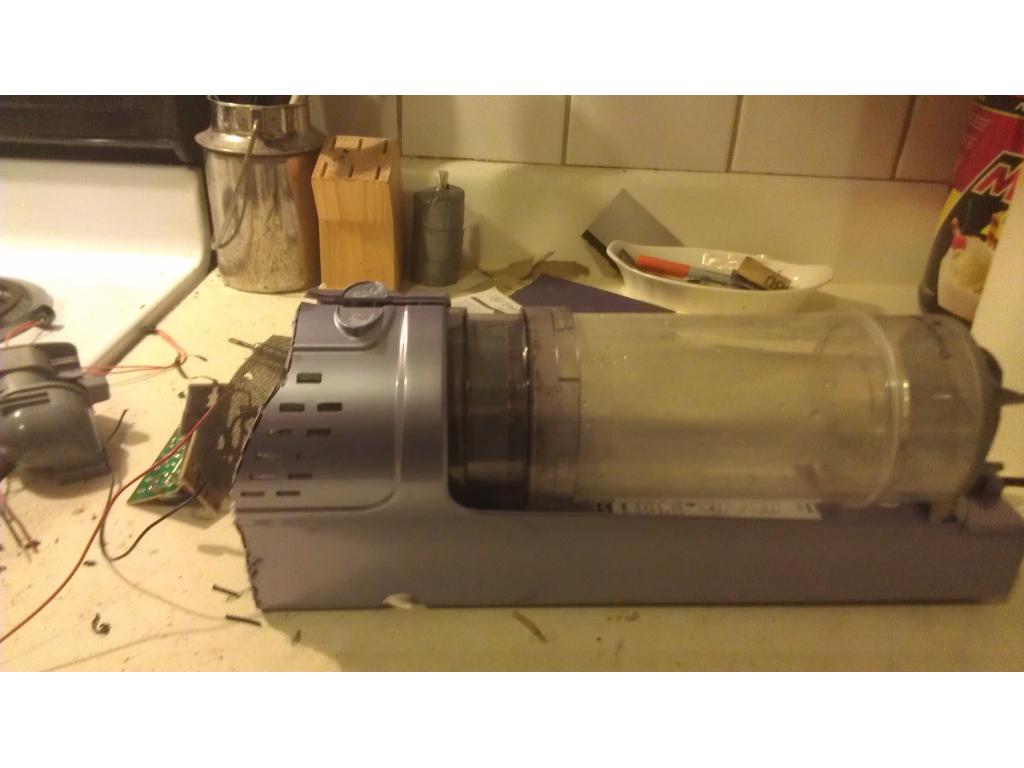
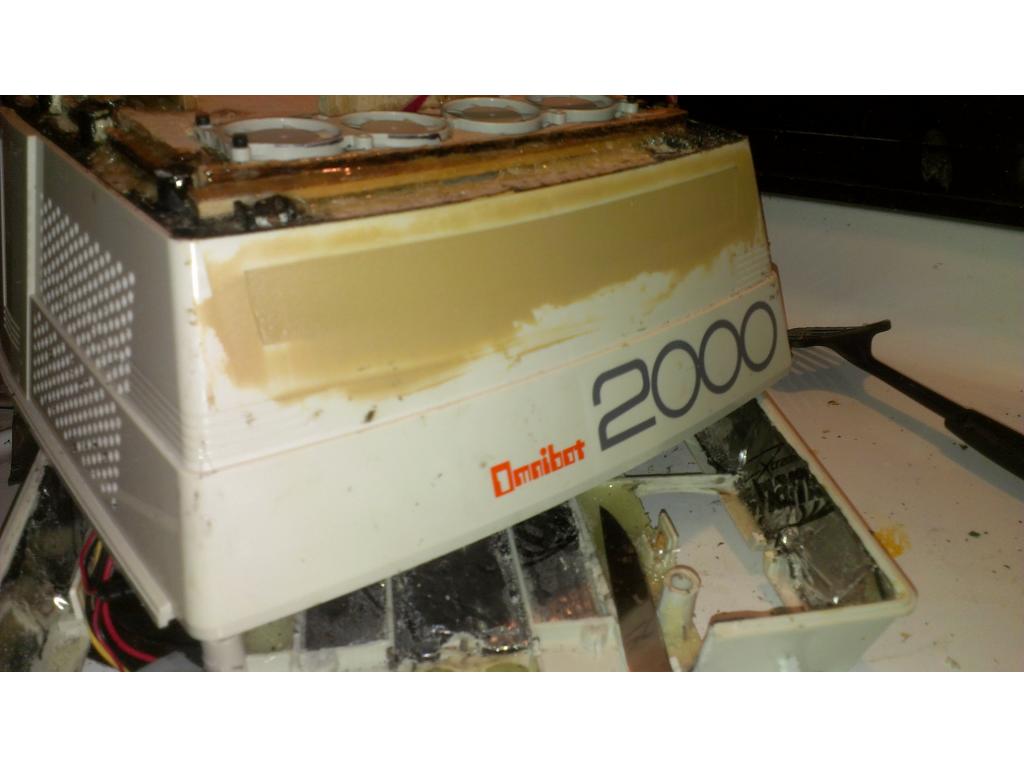
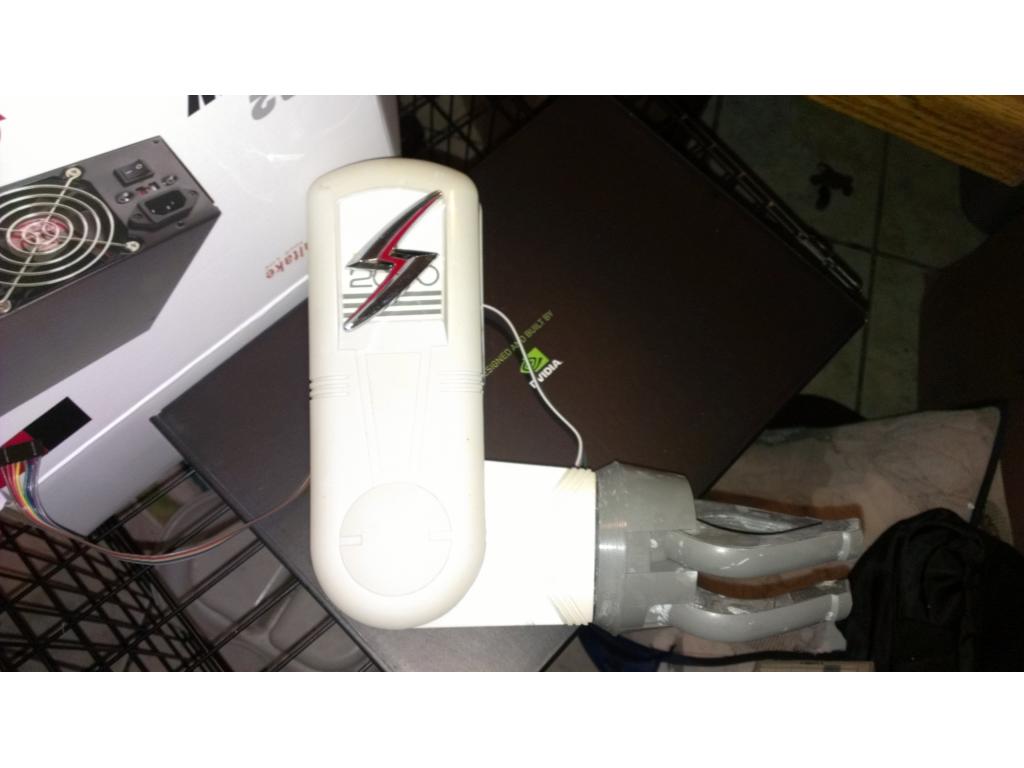
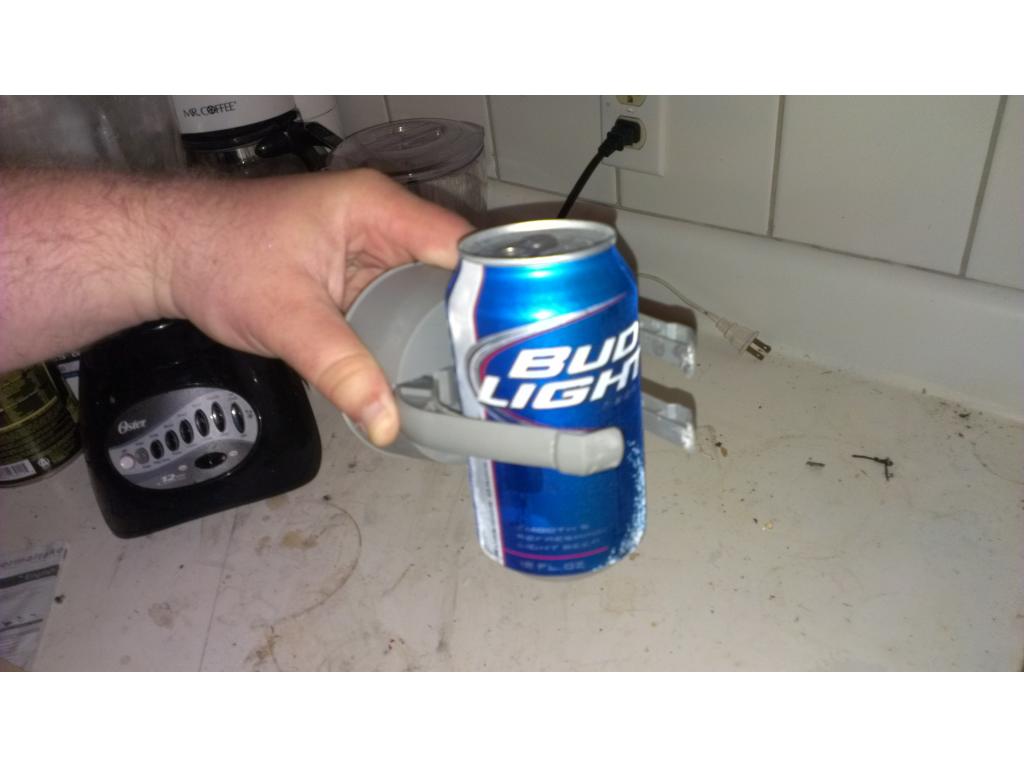
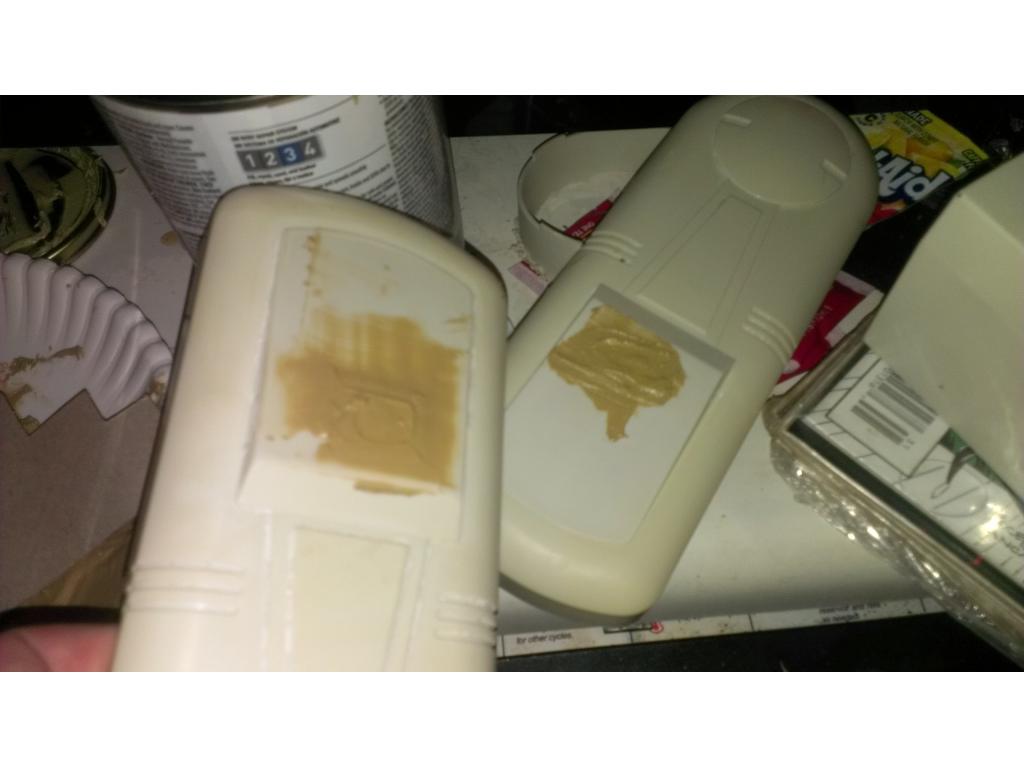
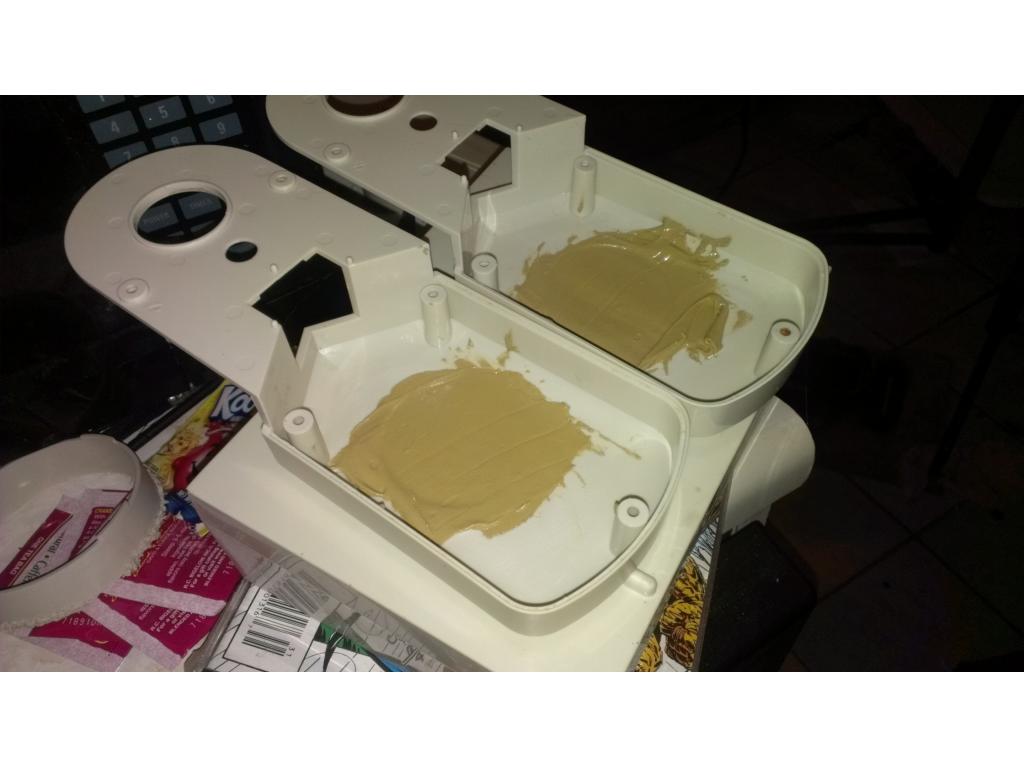
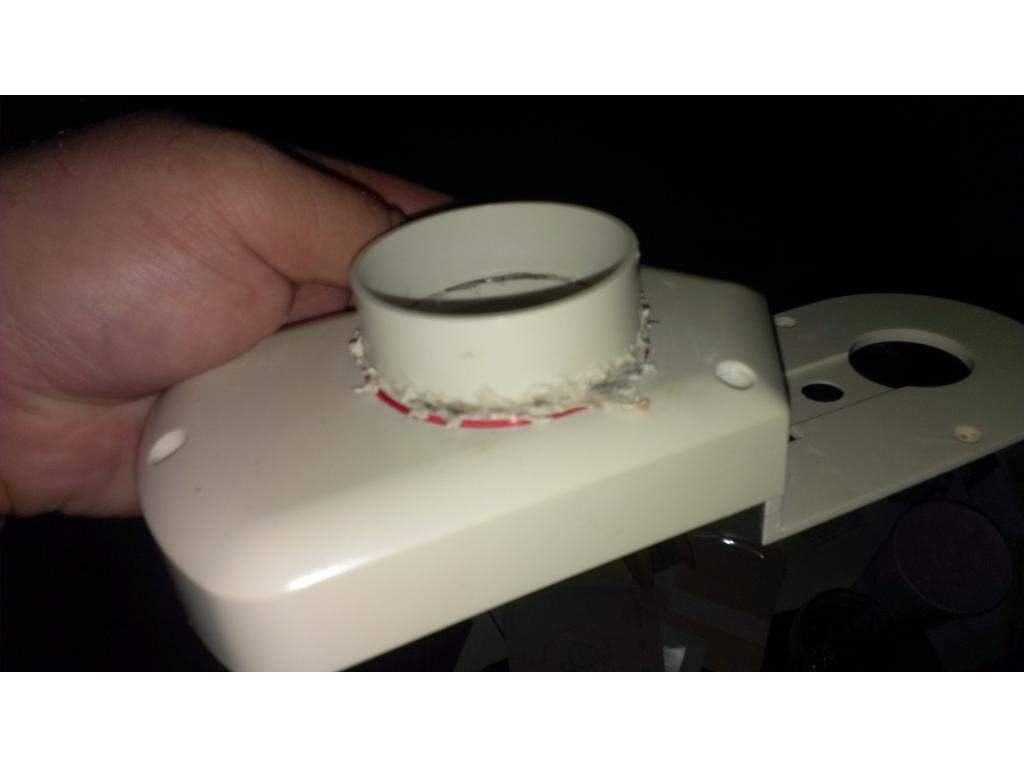
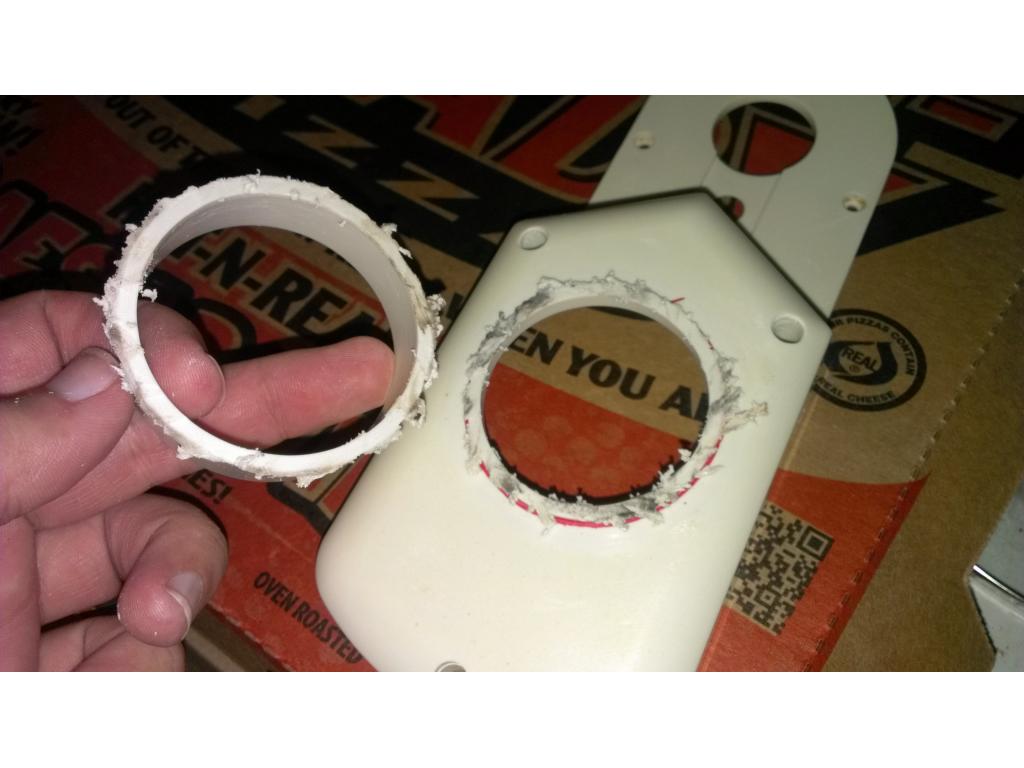
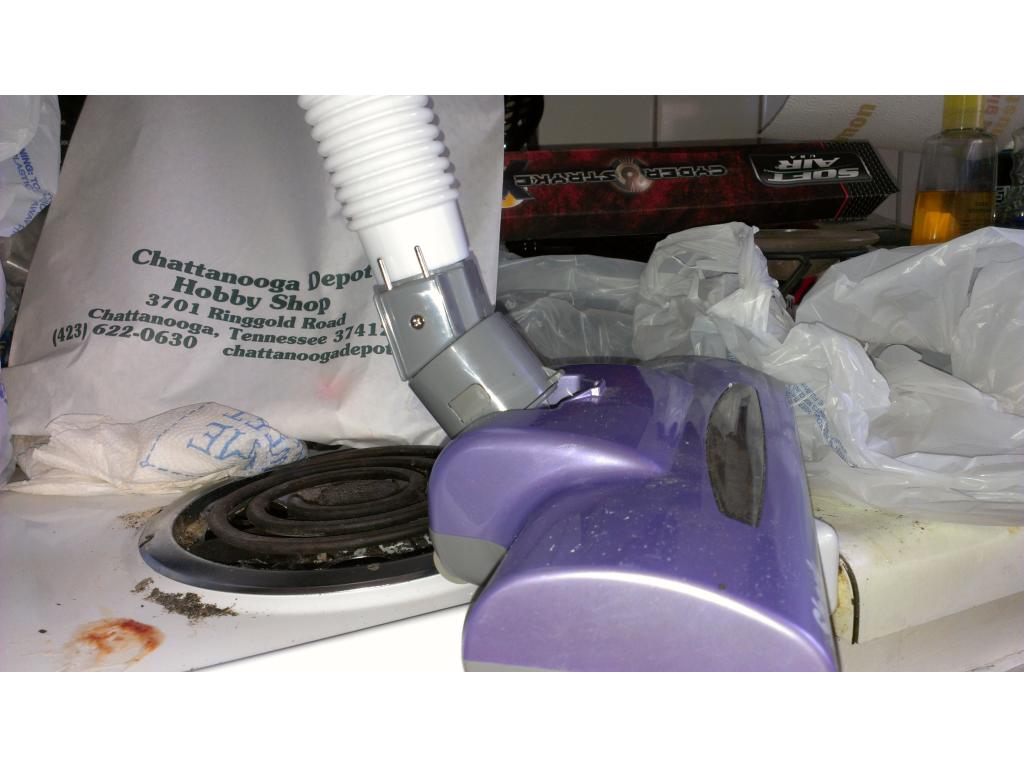
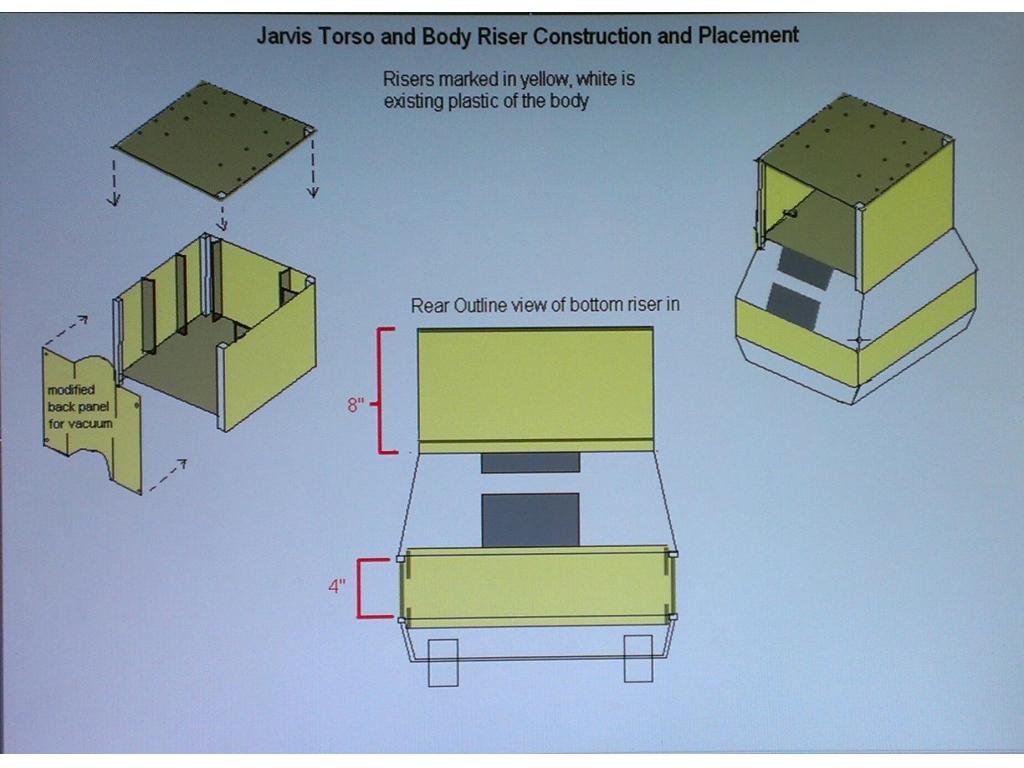
I took a night off for the sake of planning , I want to filter the exhaust of the vacuum , maybe.route it inside the torso and have a vent that releases the filtered air? Hmm , if this works well I may get another vacuum and do a similar mod to the big omnibot 2000 as well . I may post better details based on.measurements and Photoshoped pics to see what it looks like.
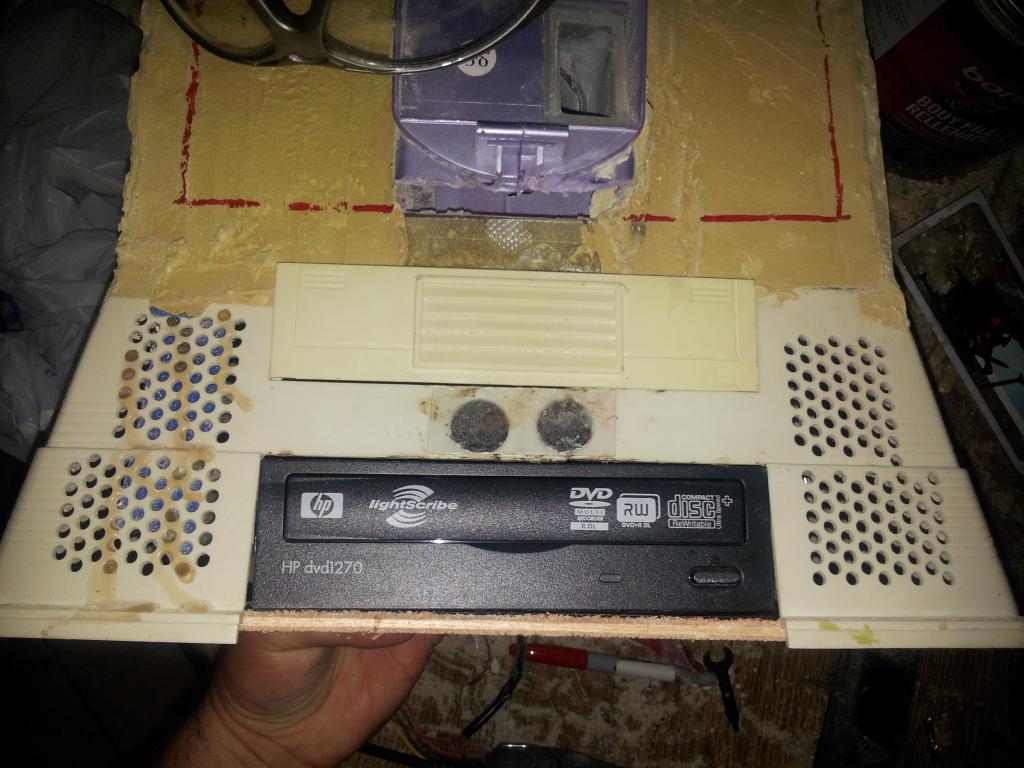
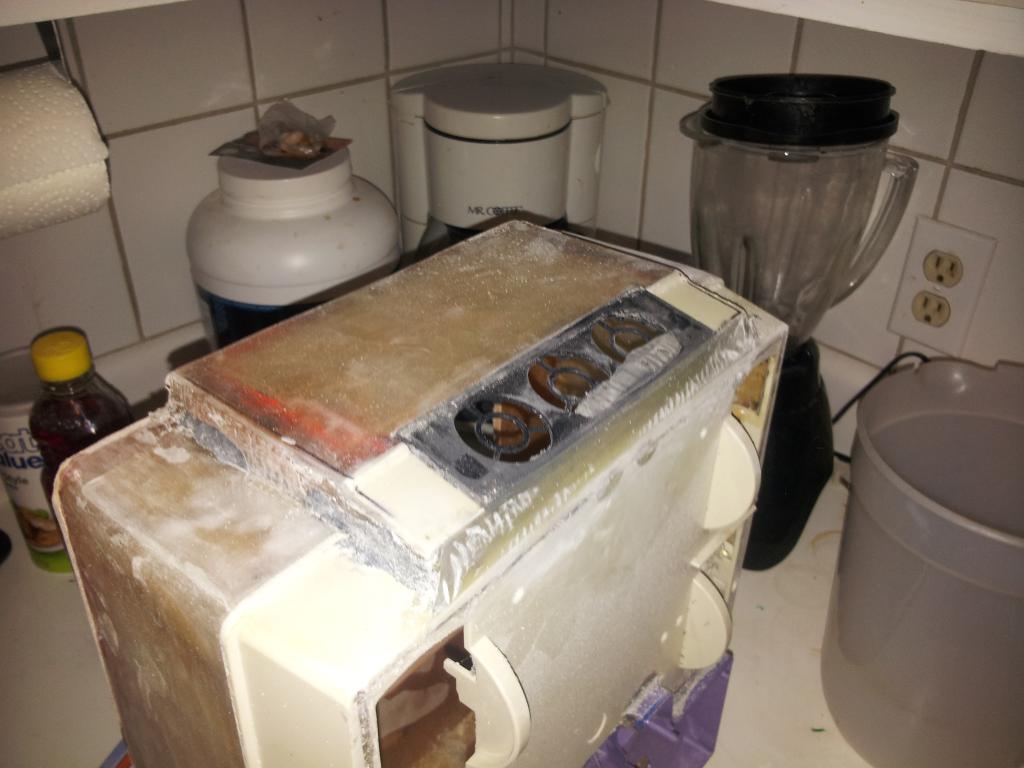
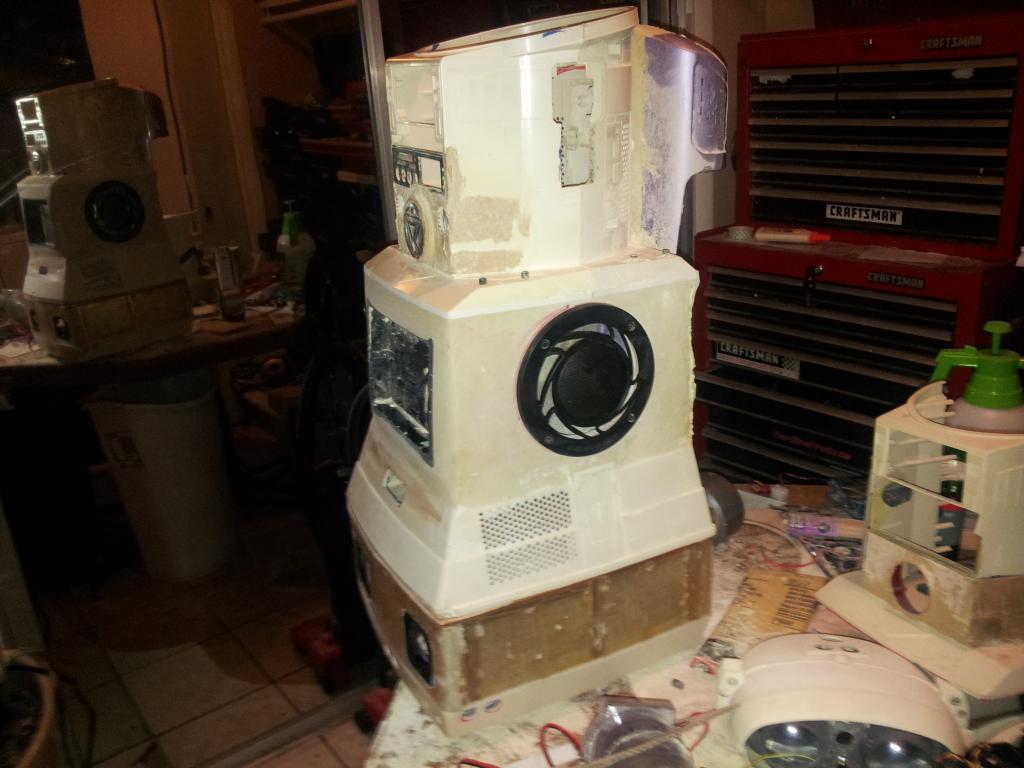
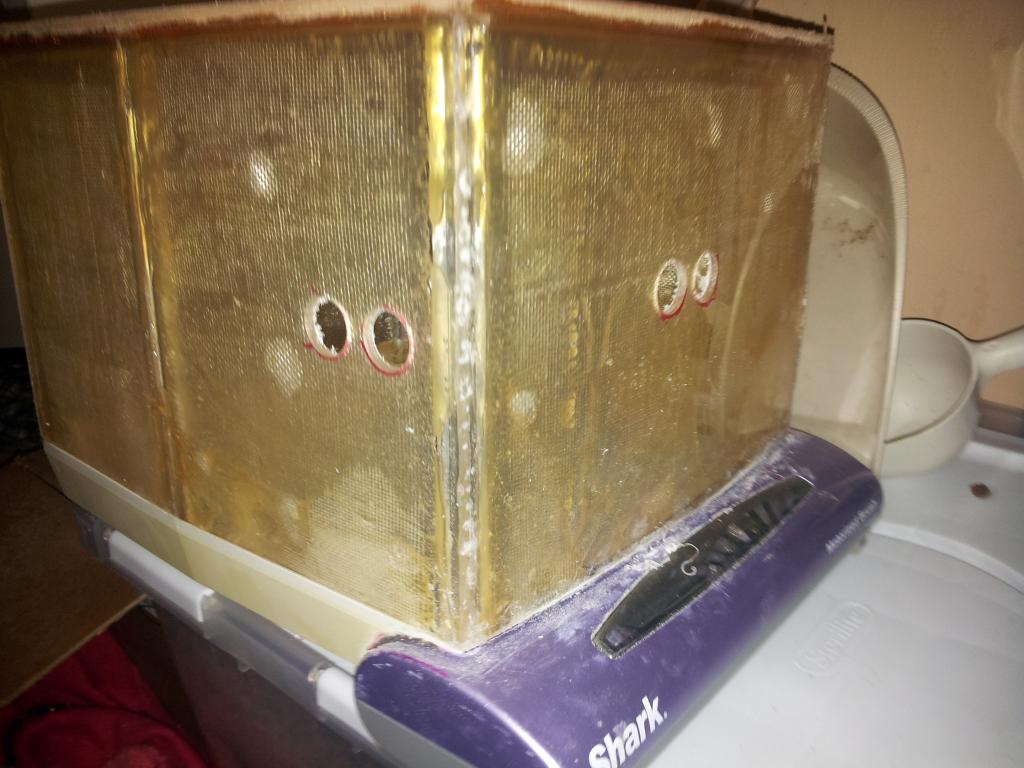
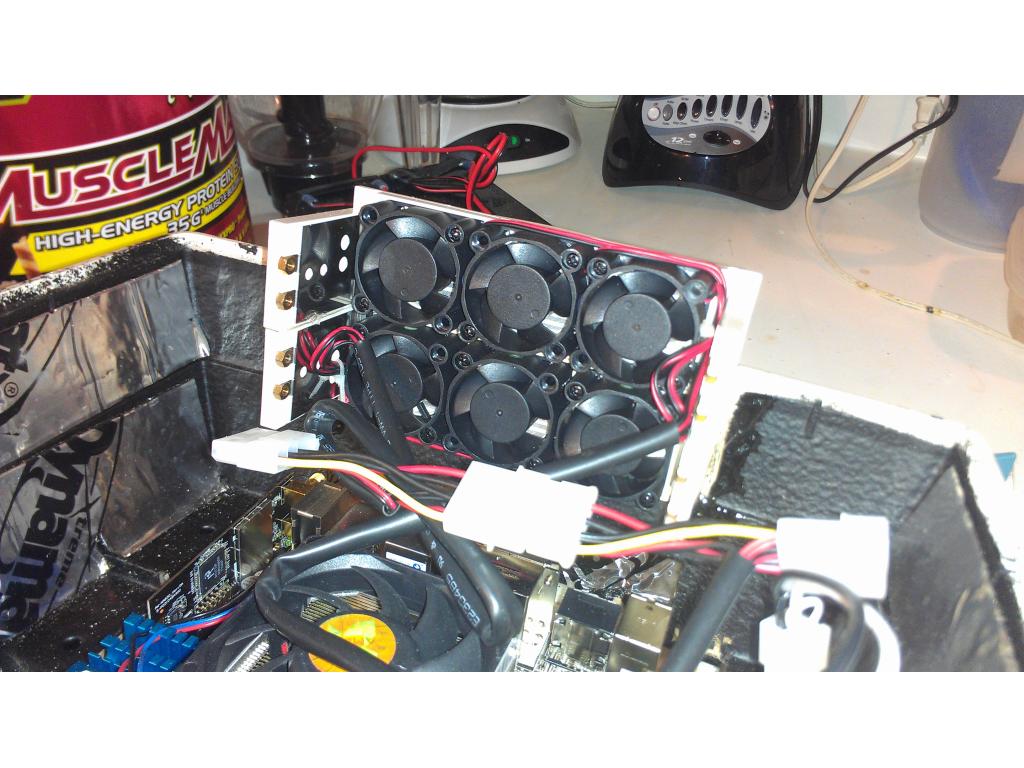
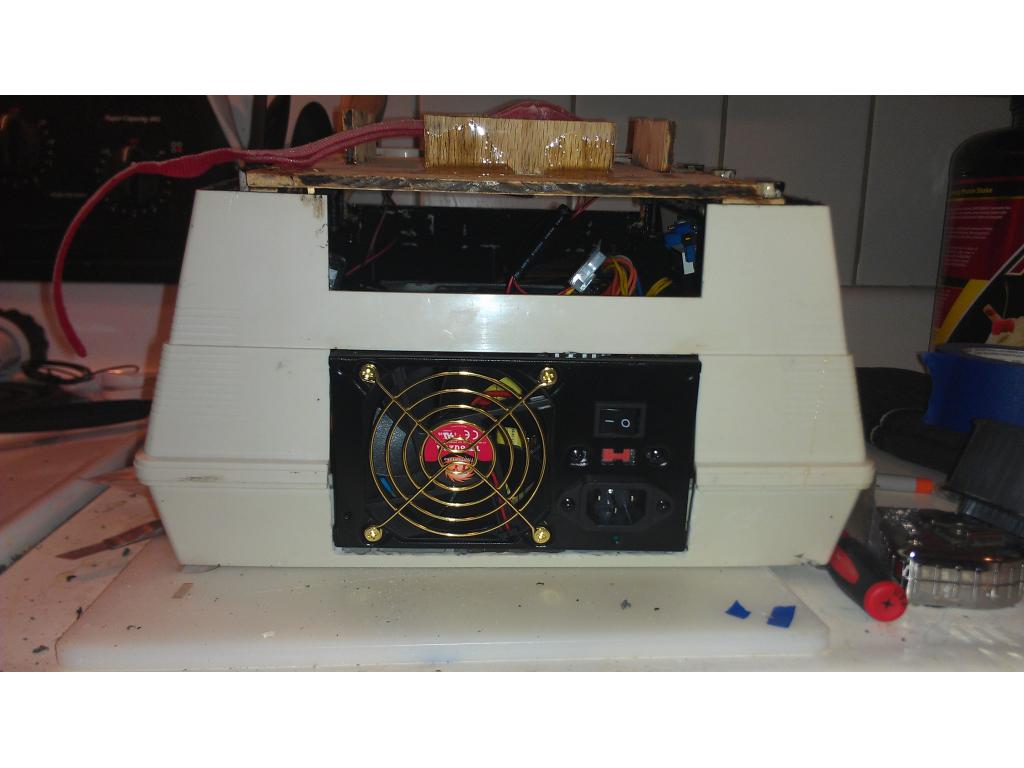
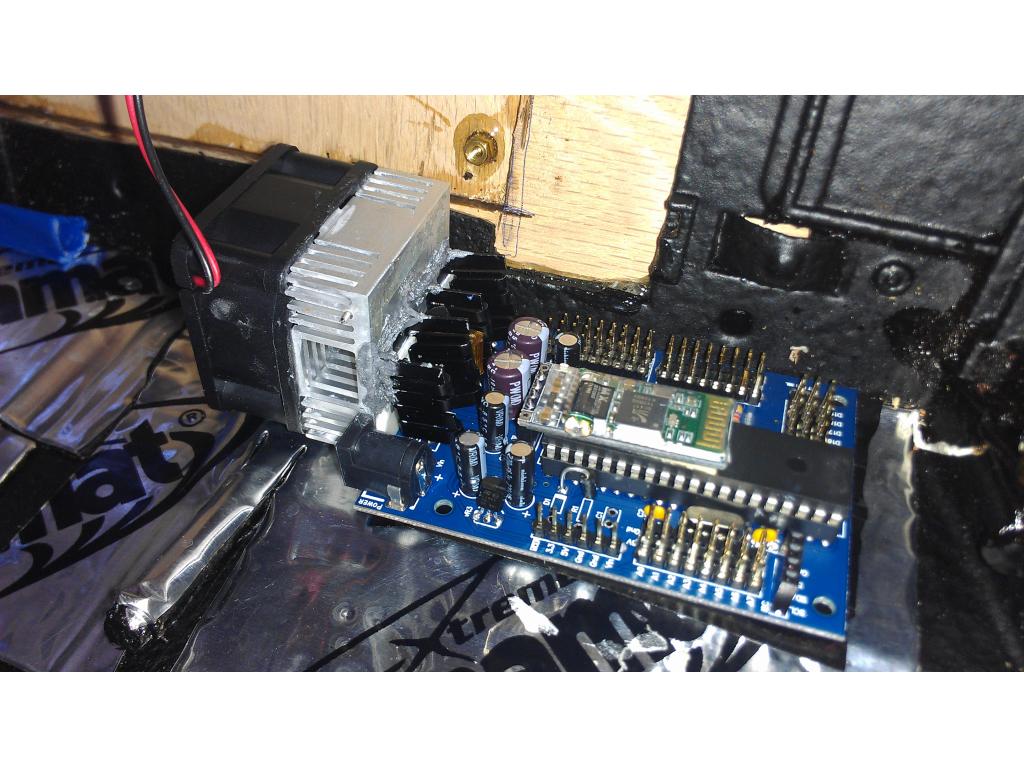
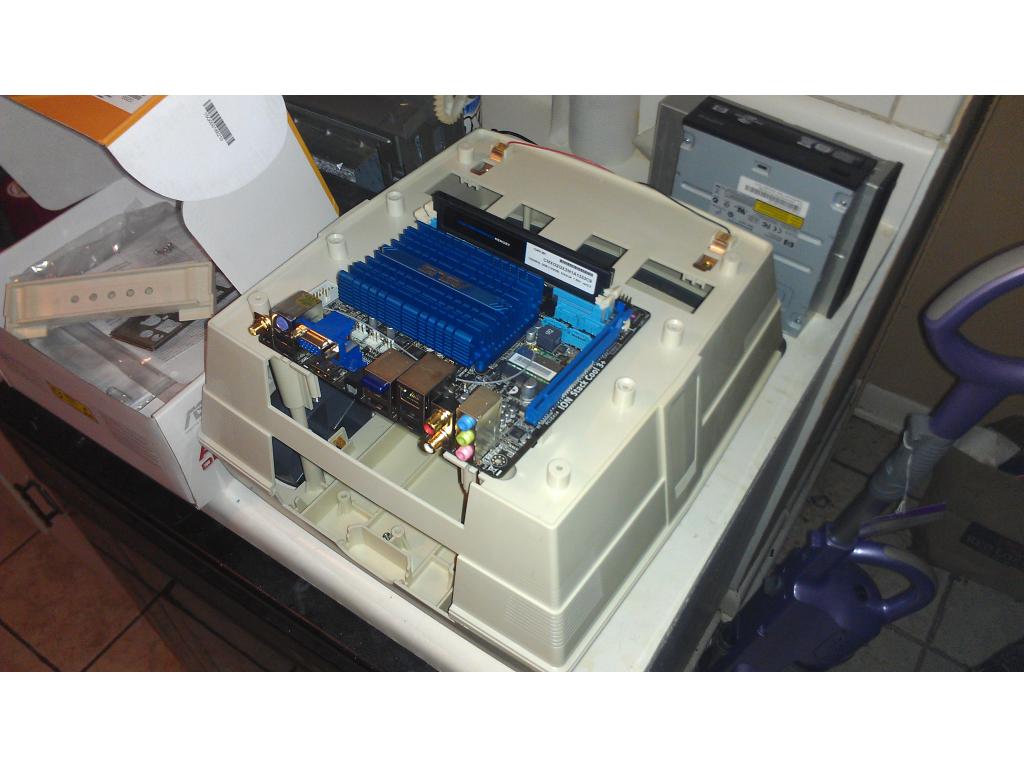
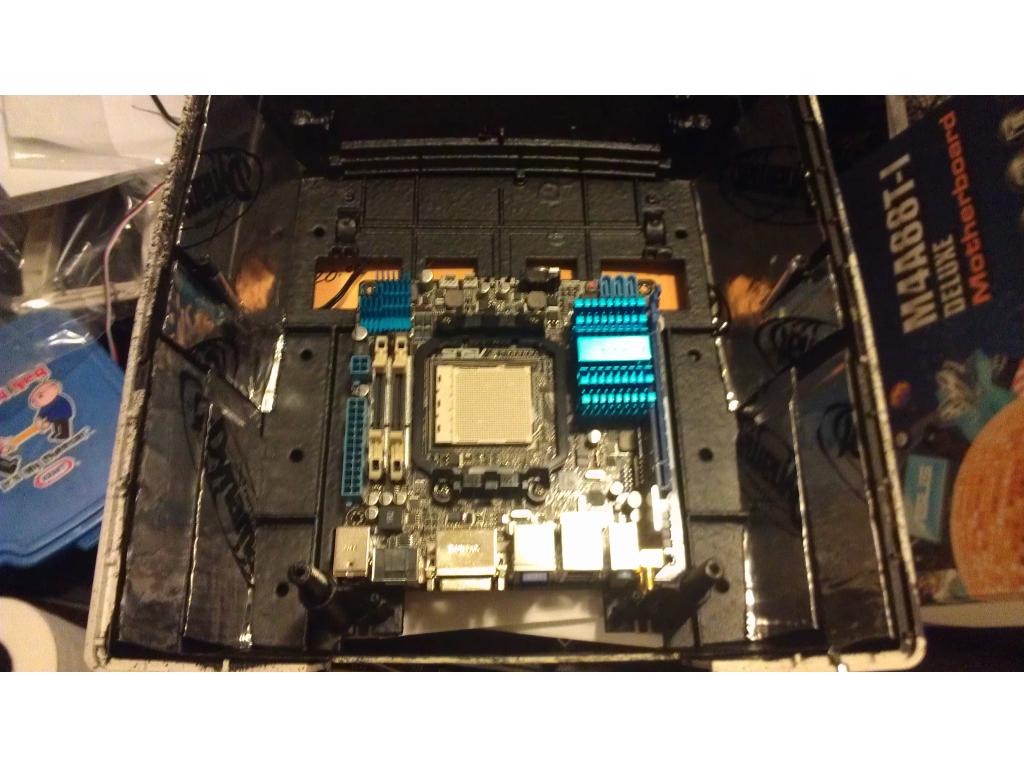
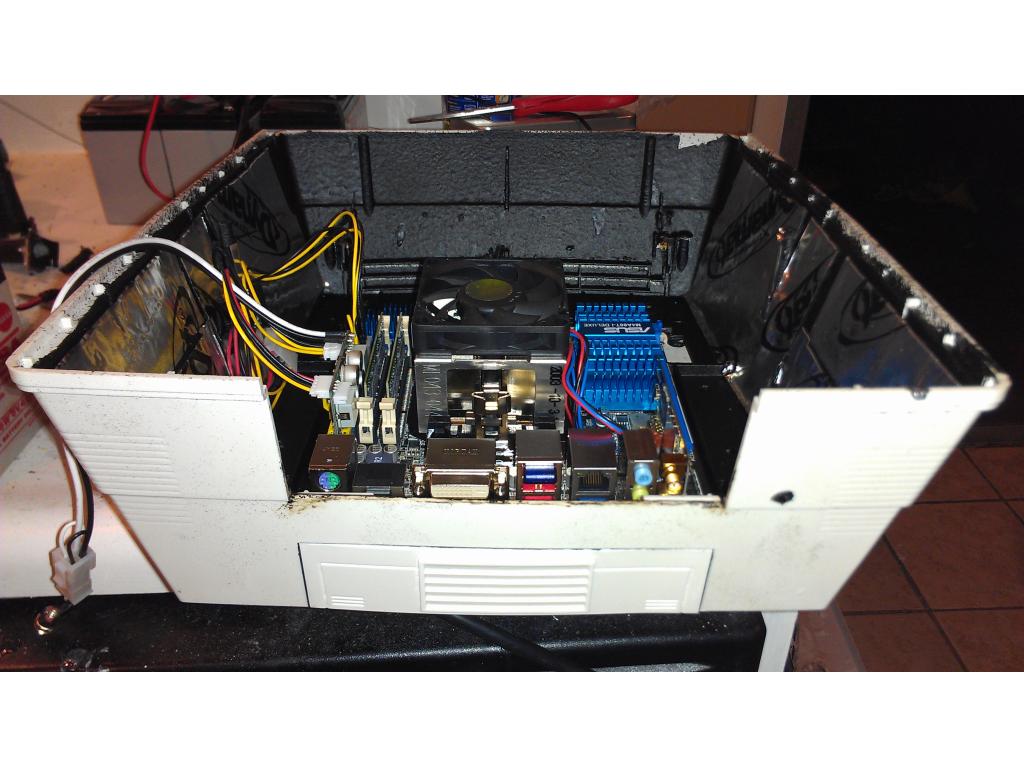
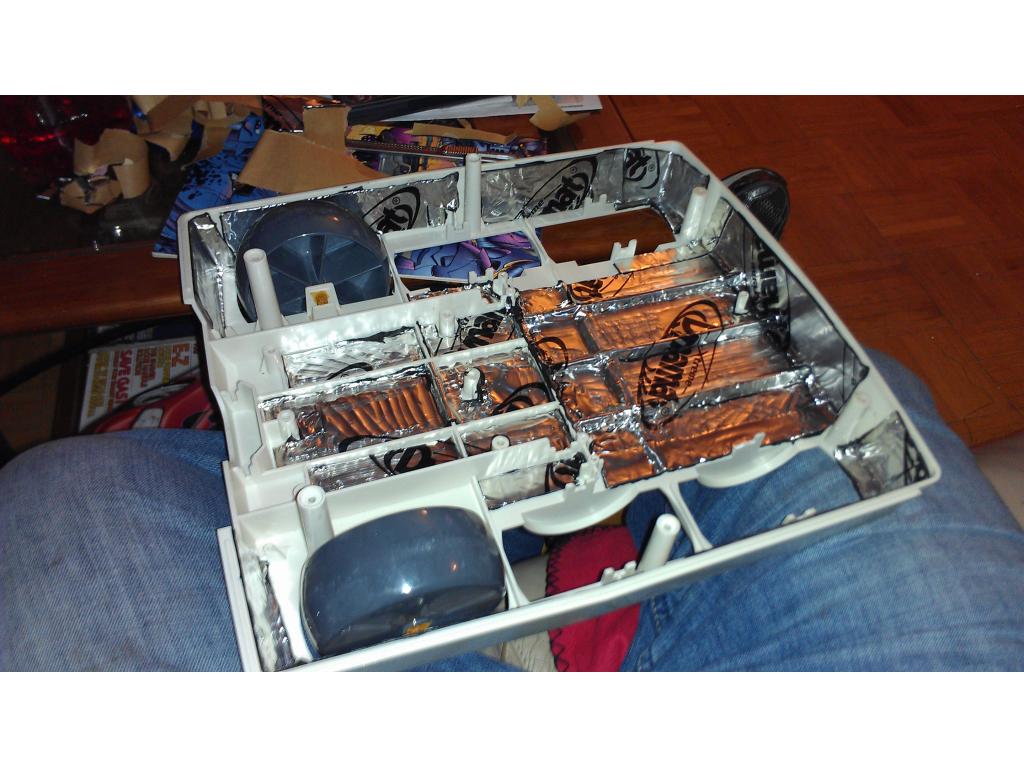
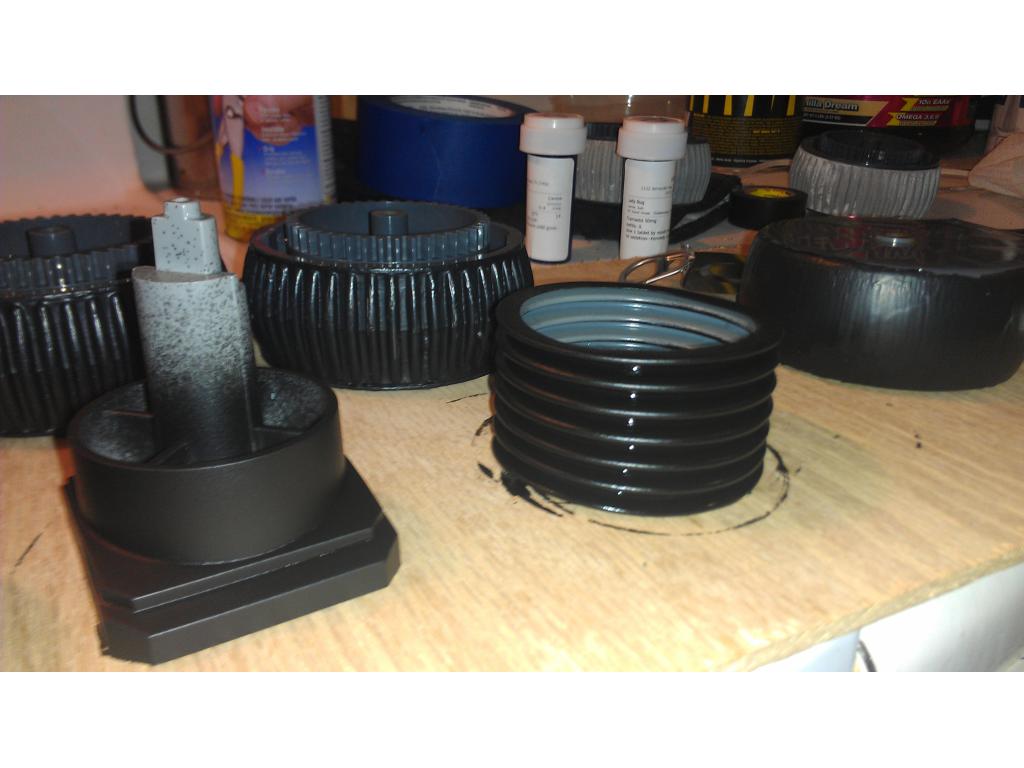
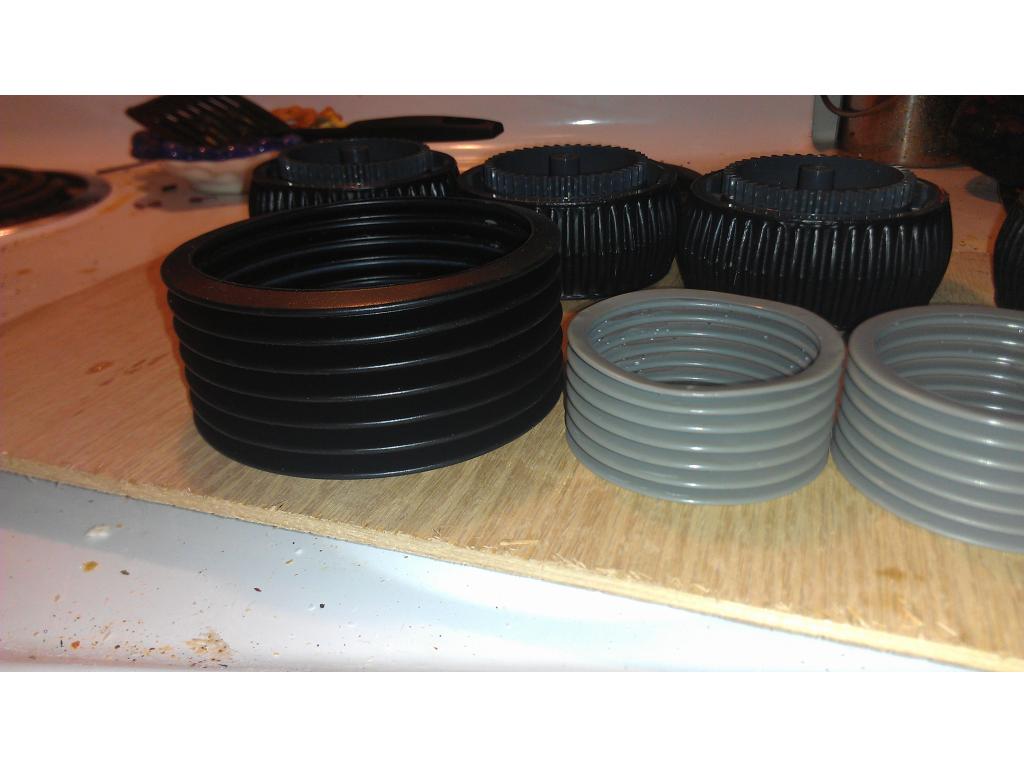
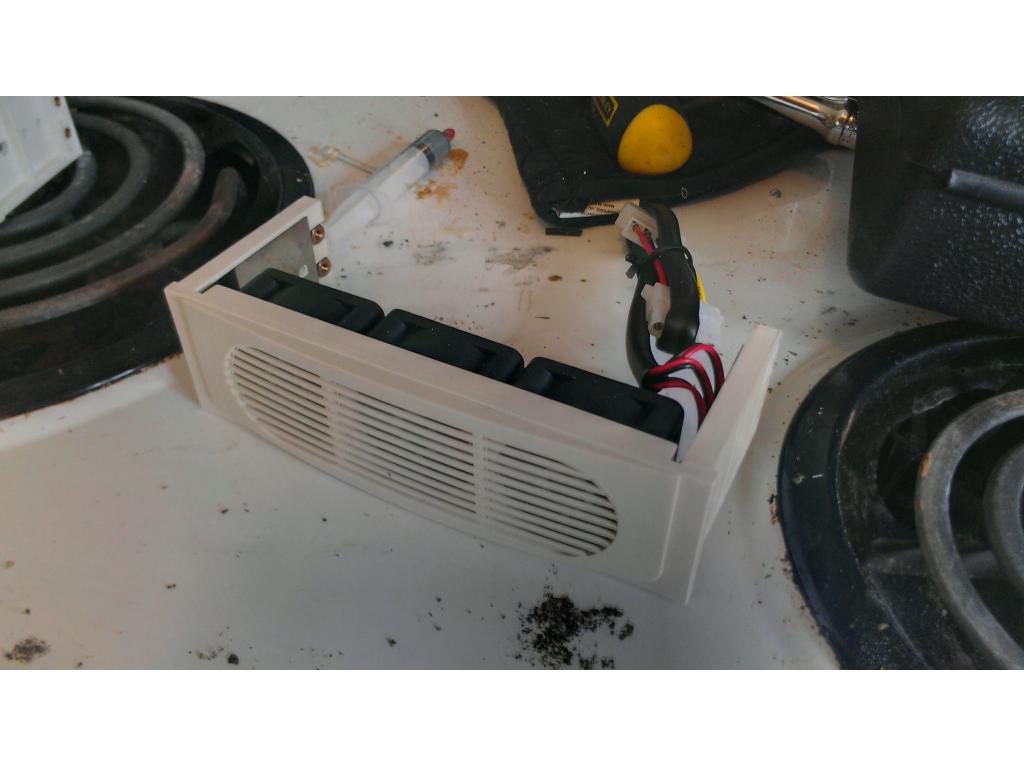
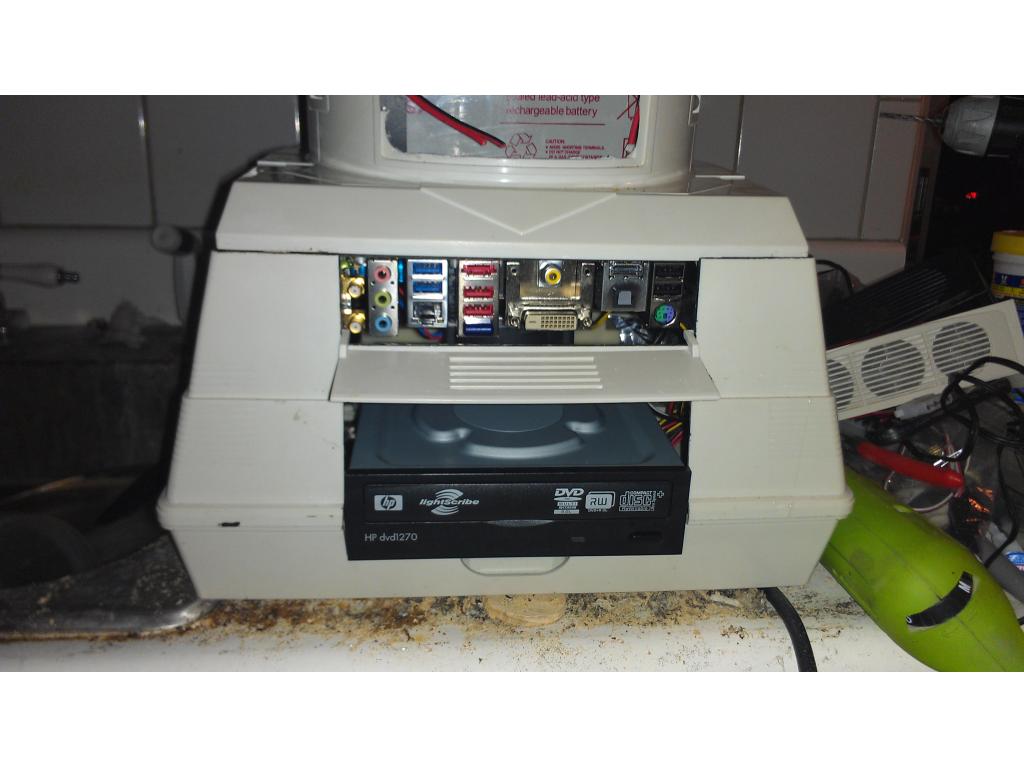
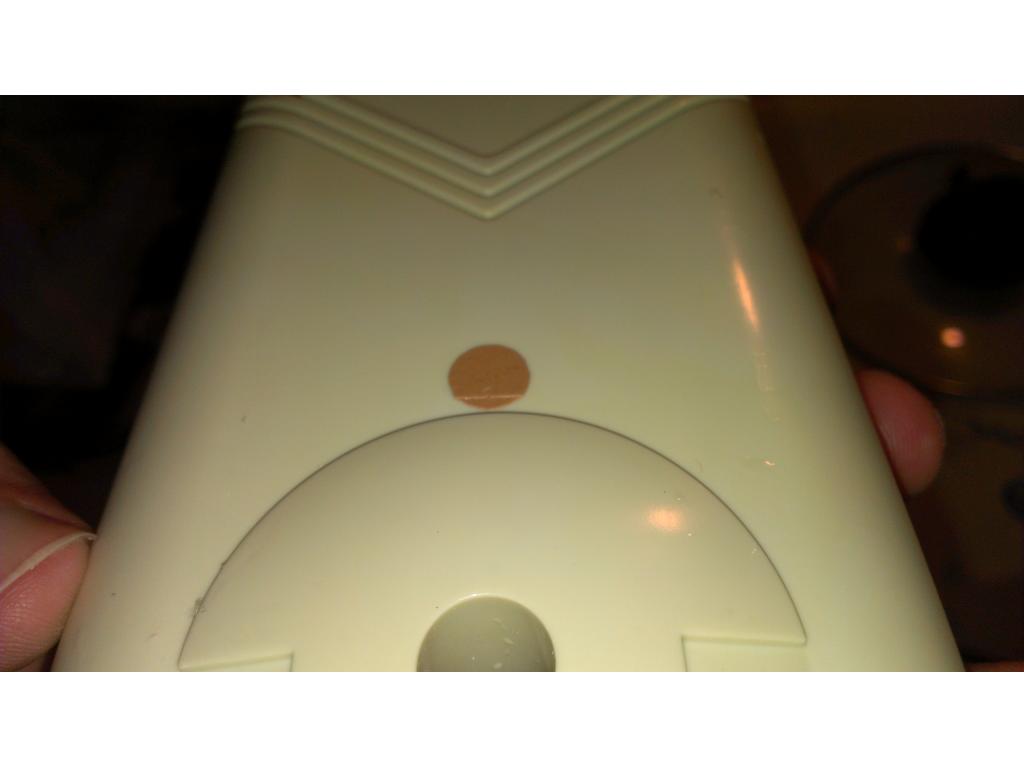
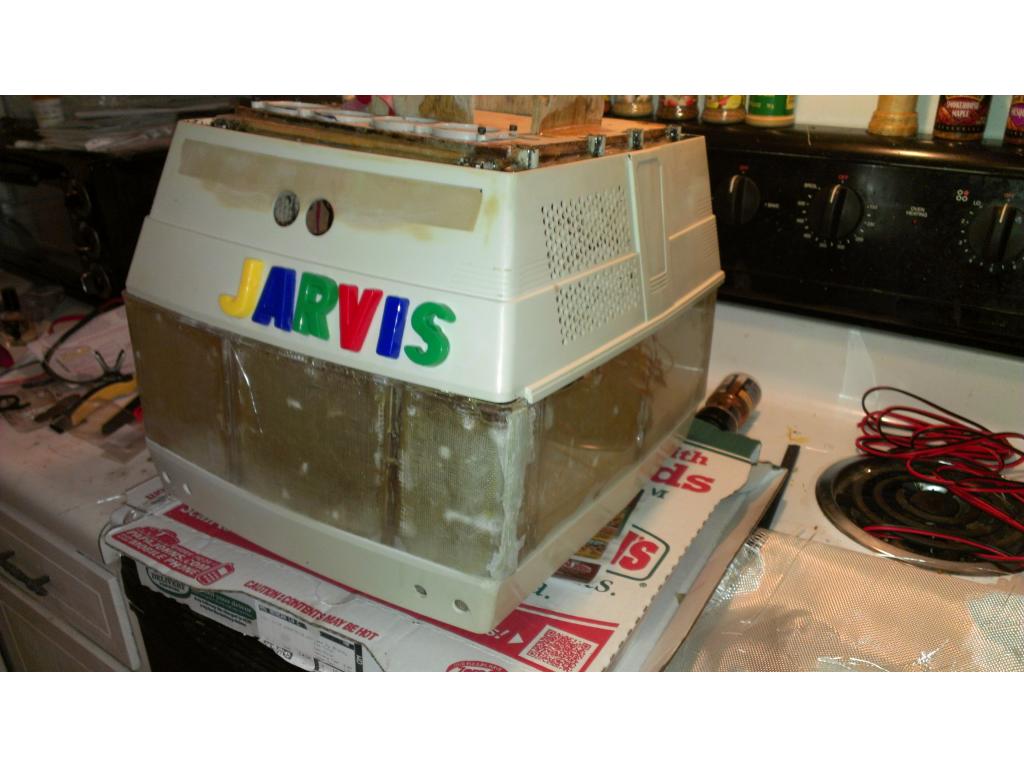
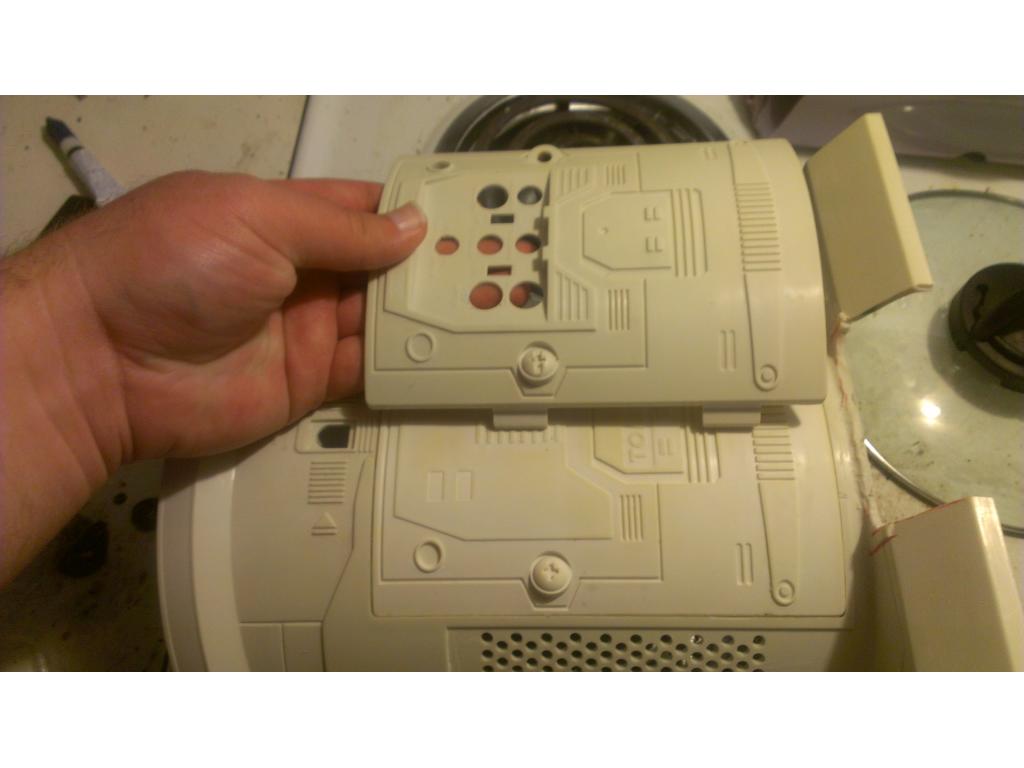
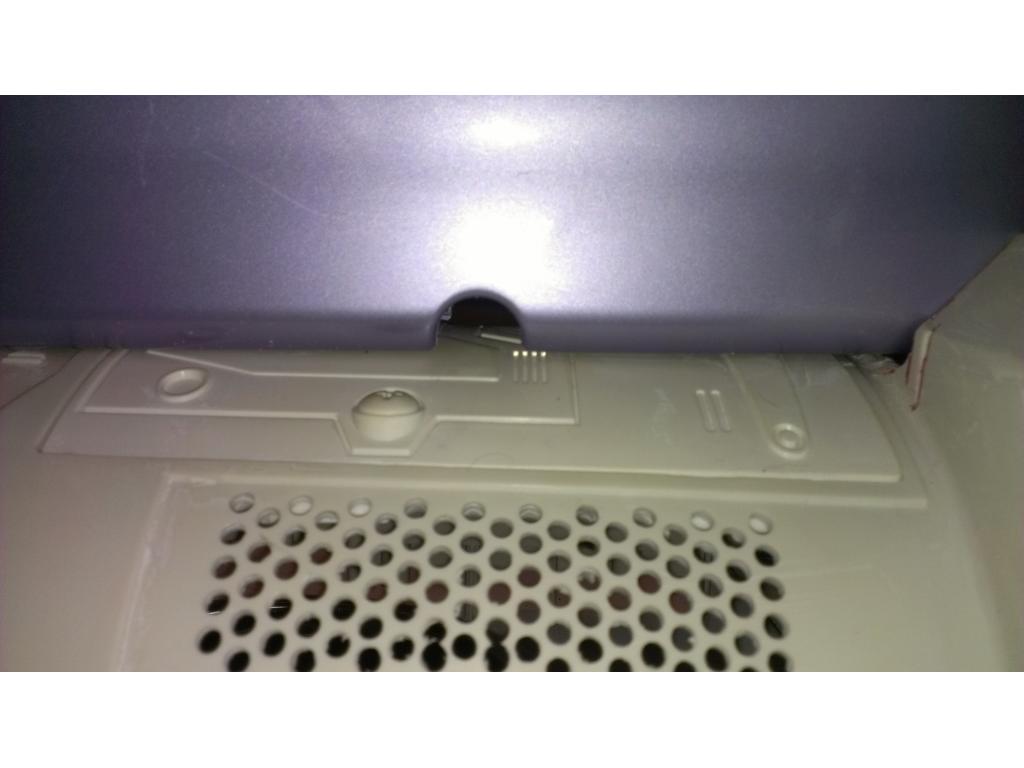
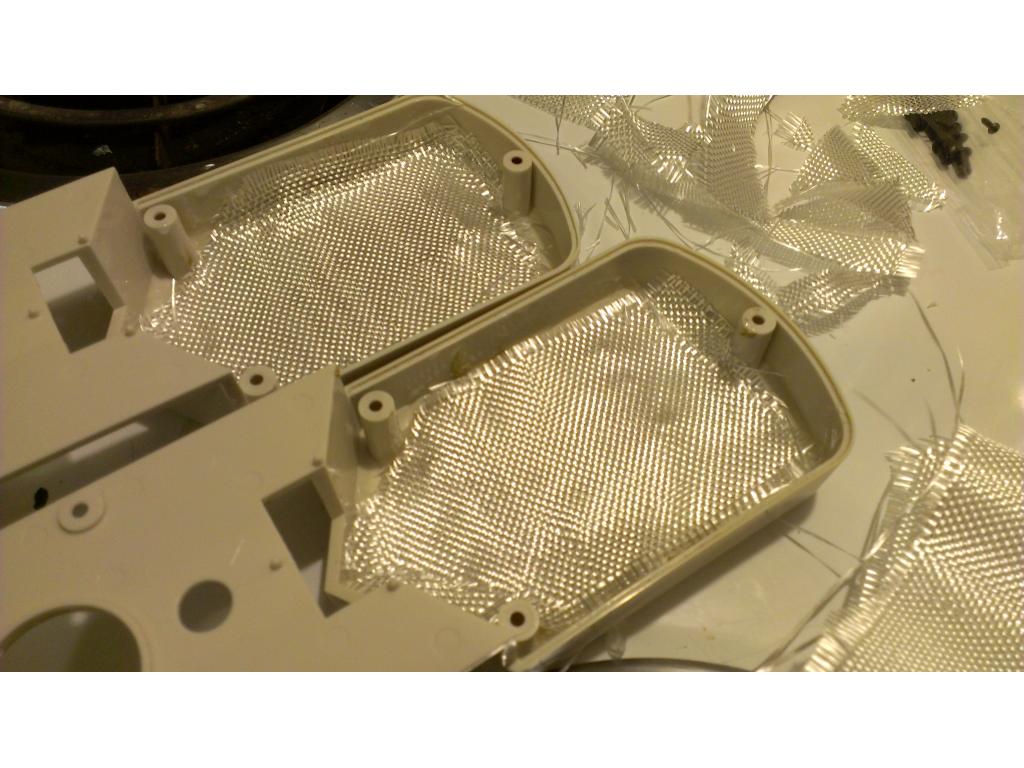
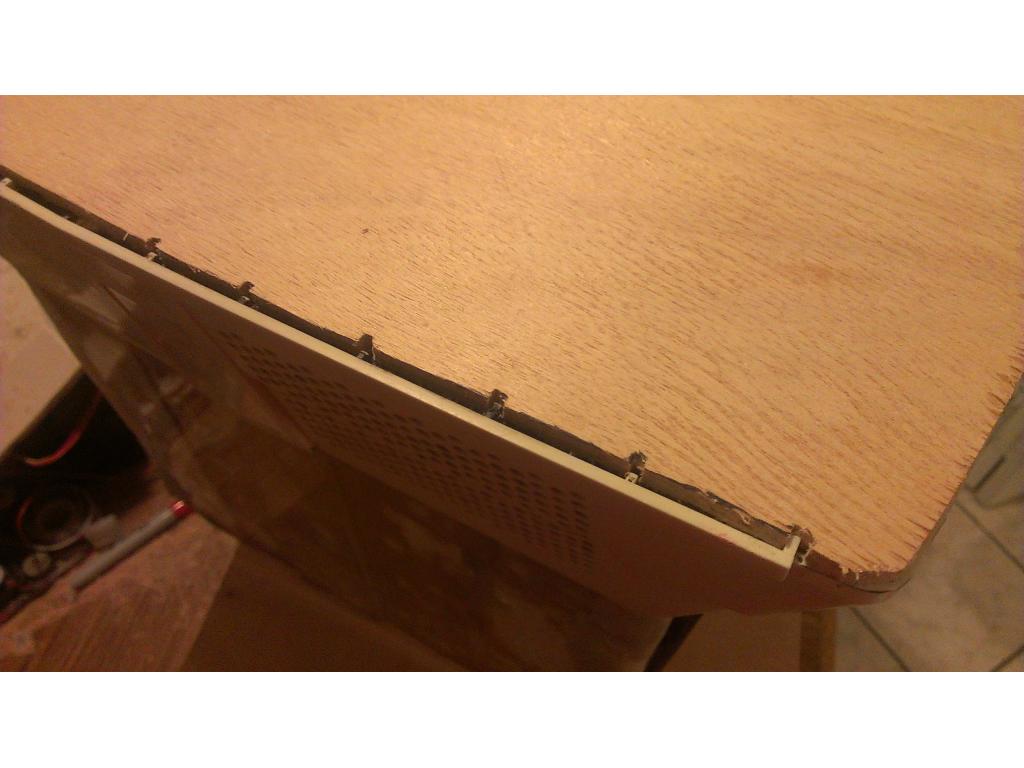
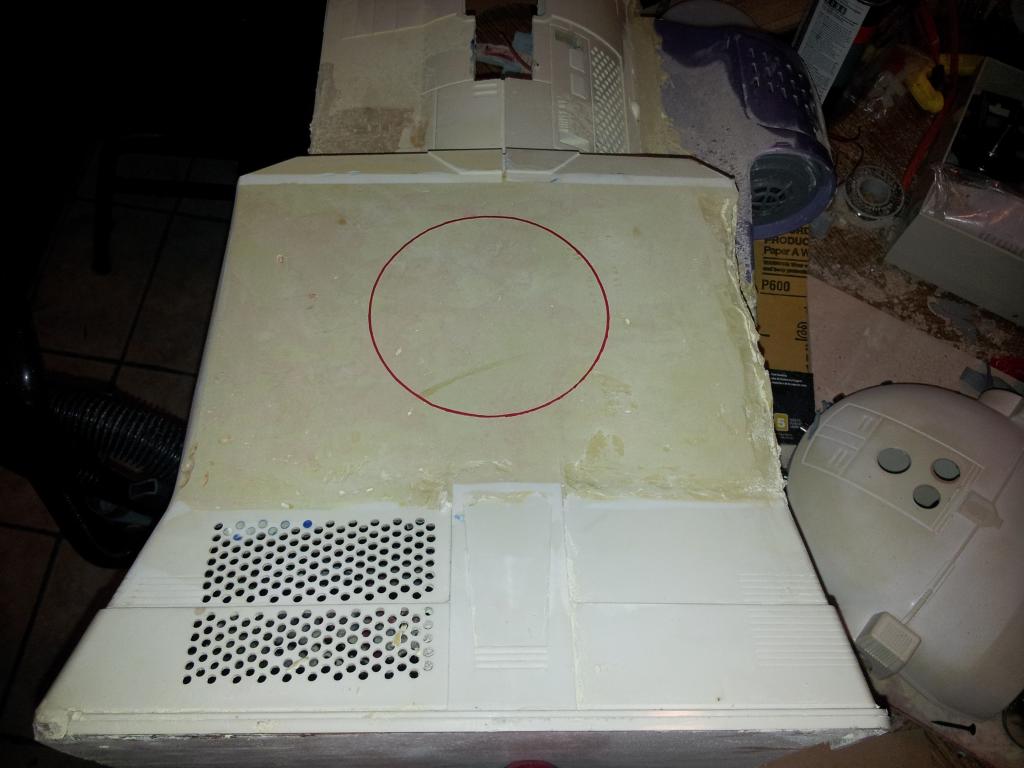
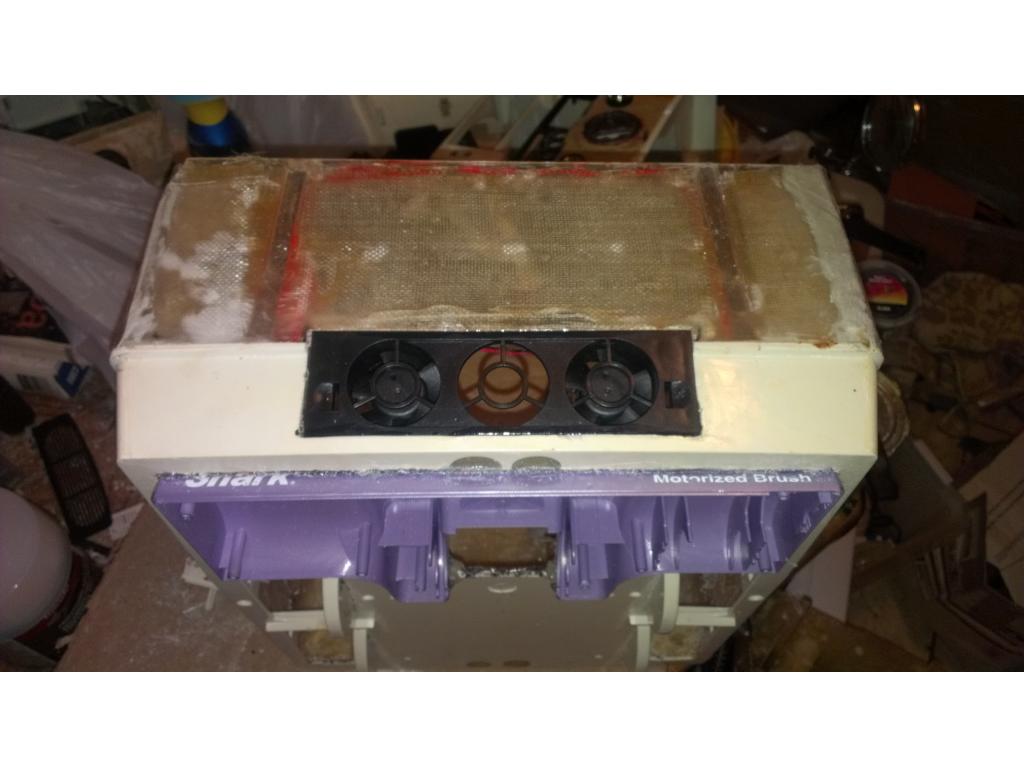
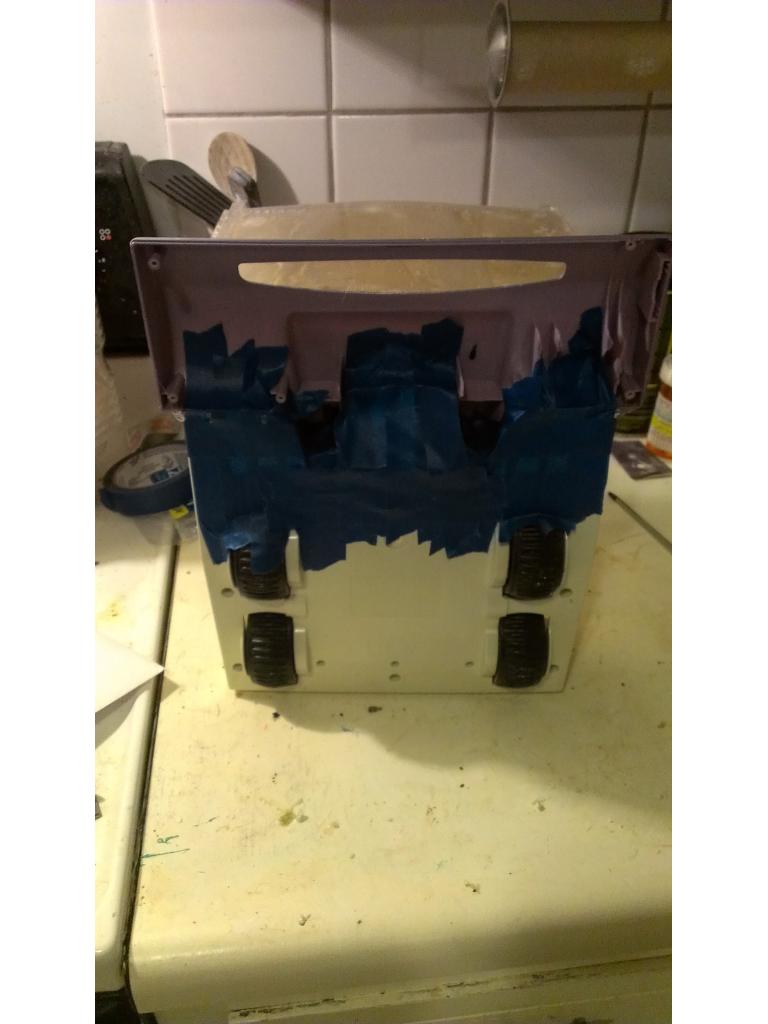
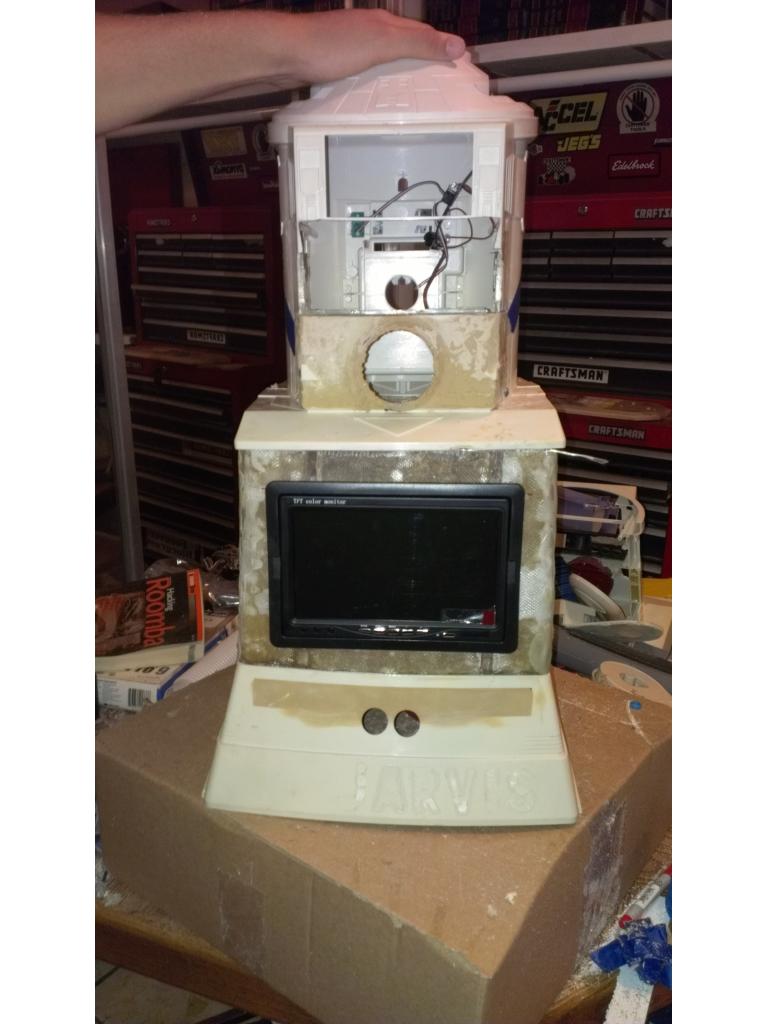
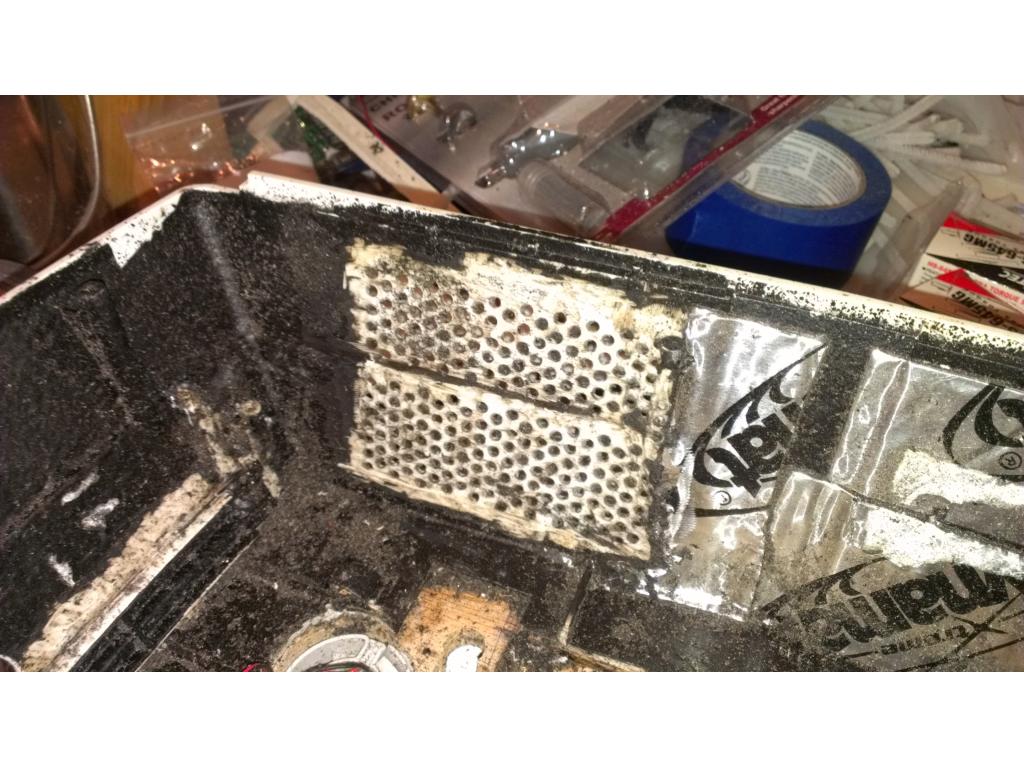
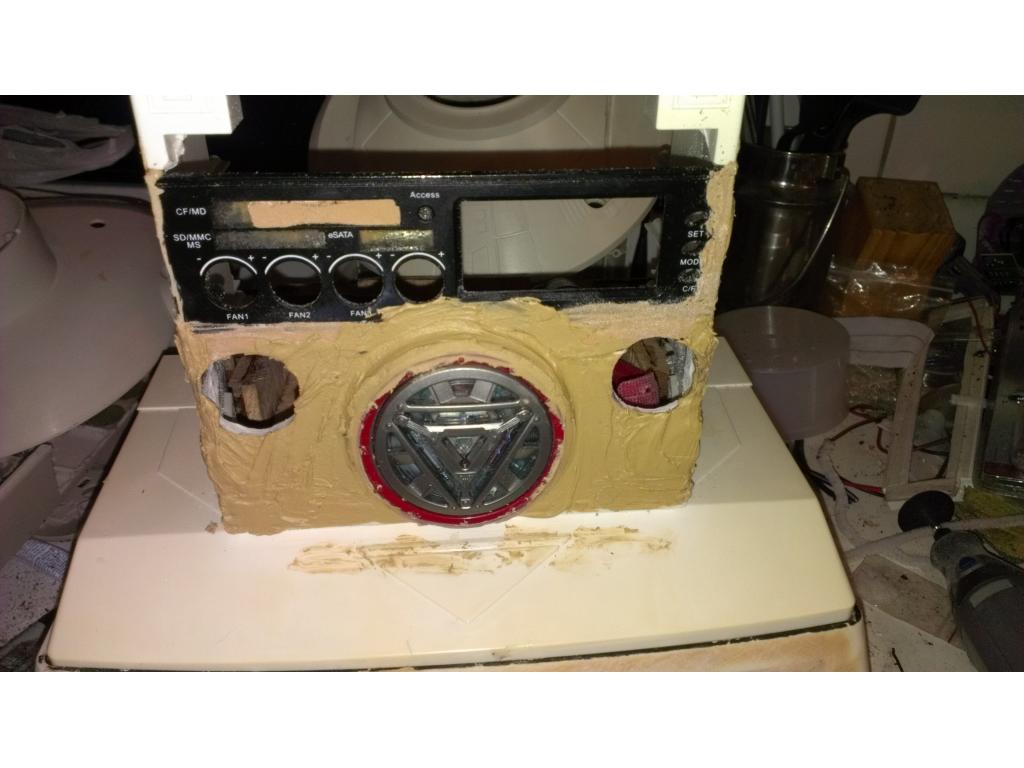
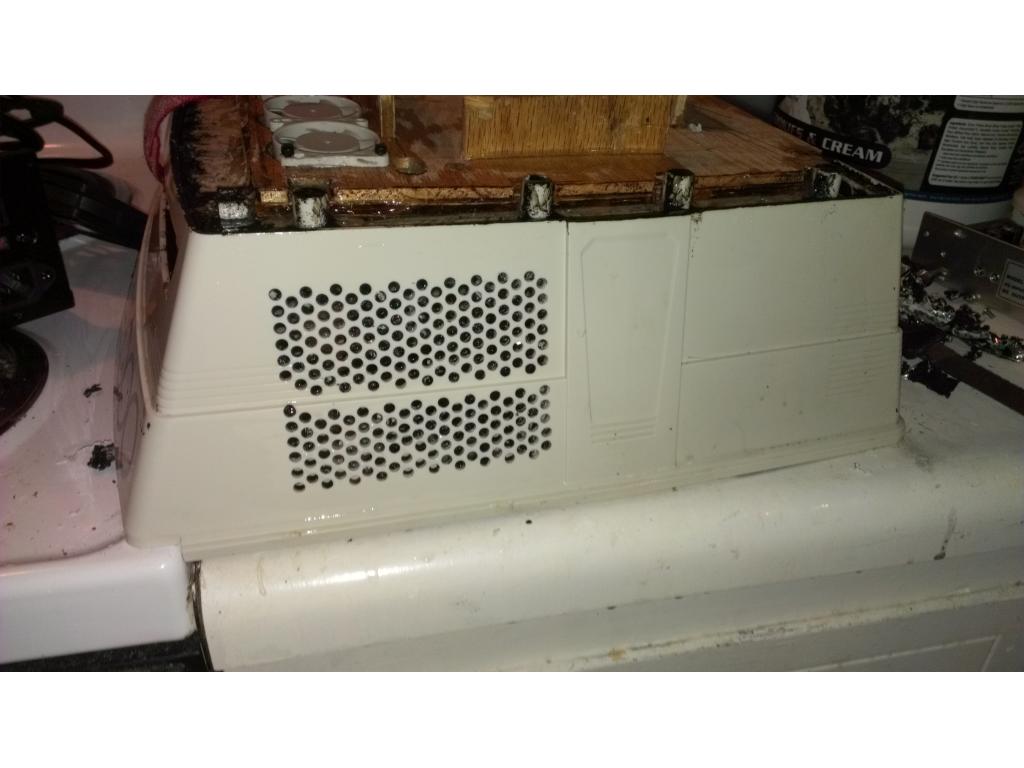
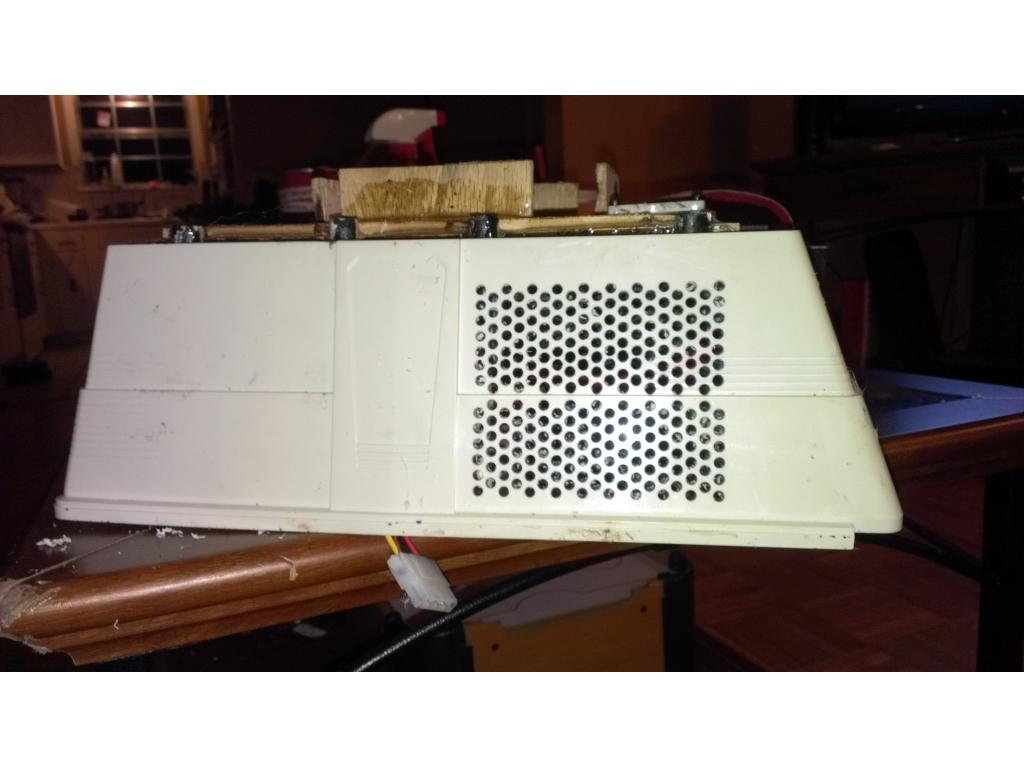
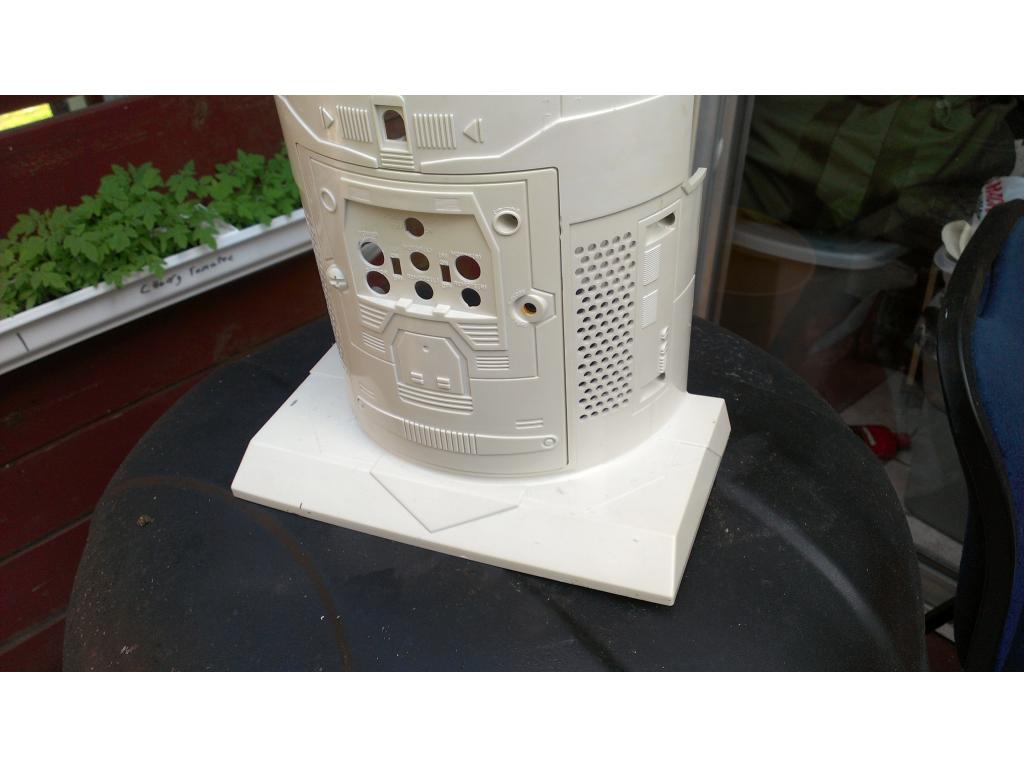
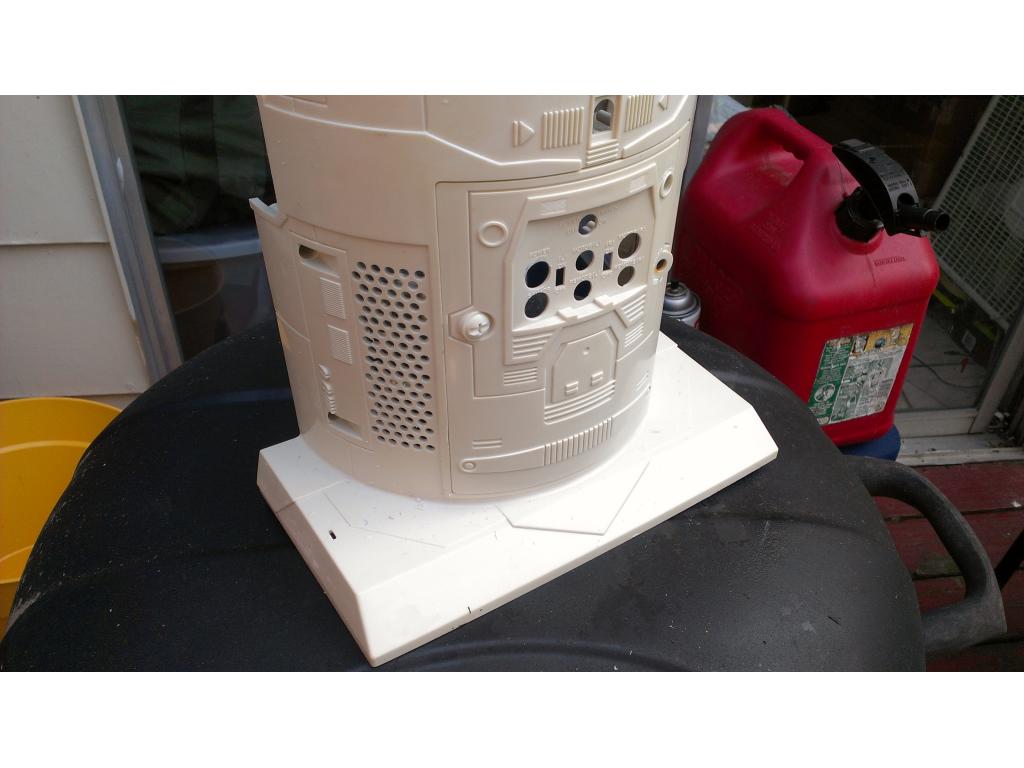
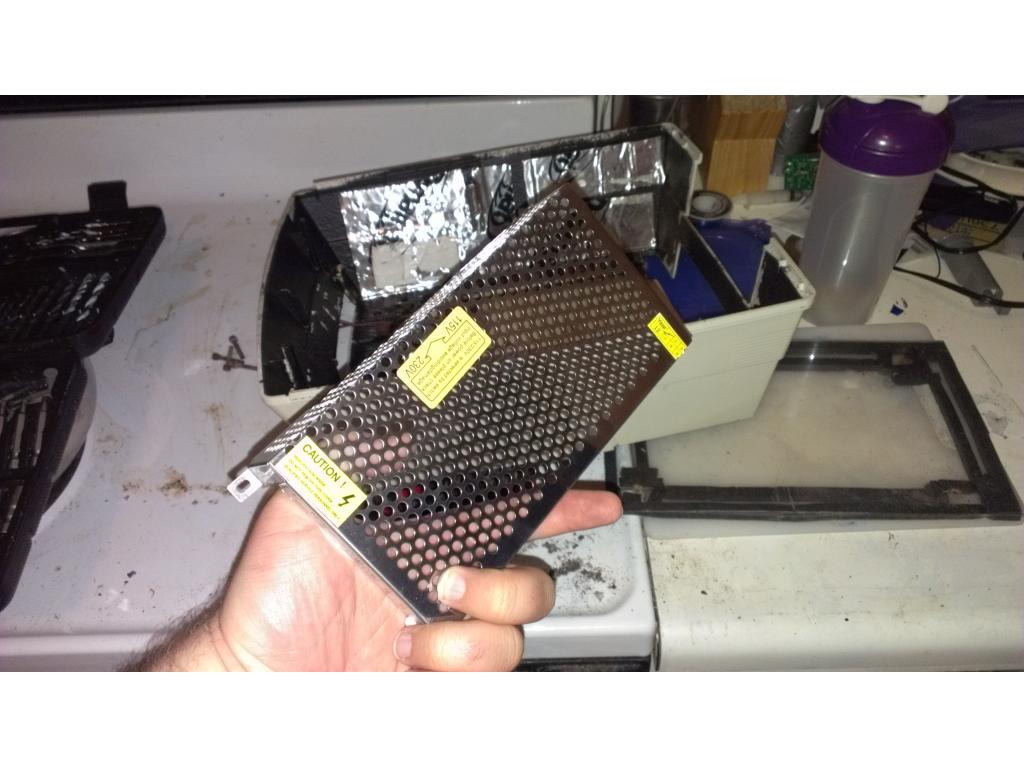
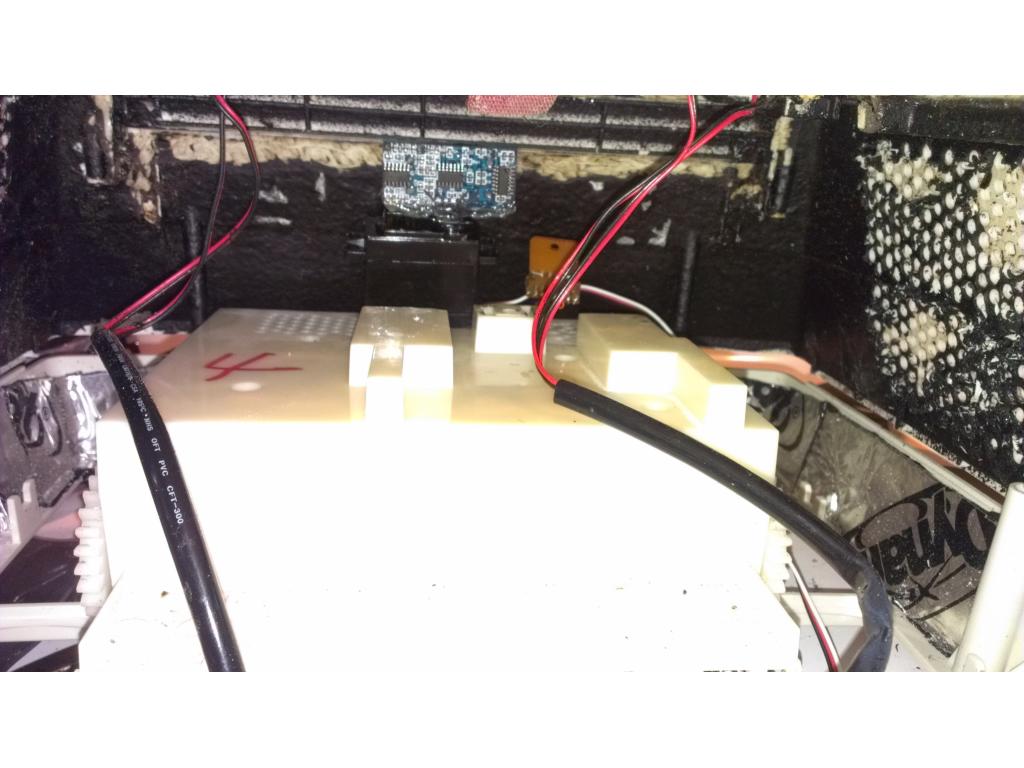
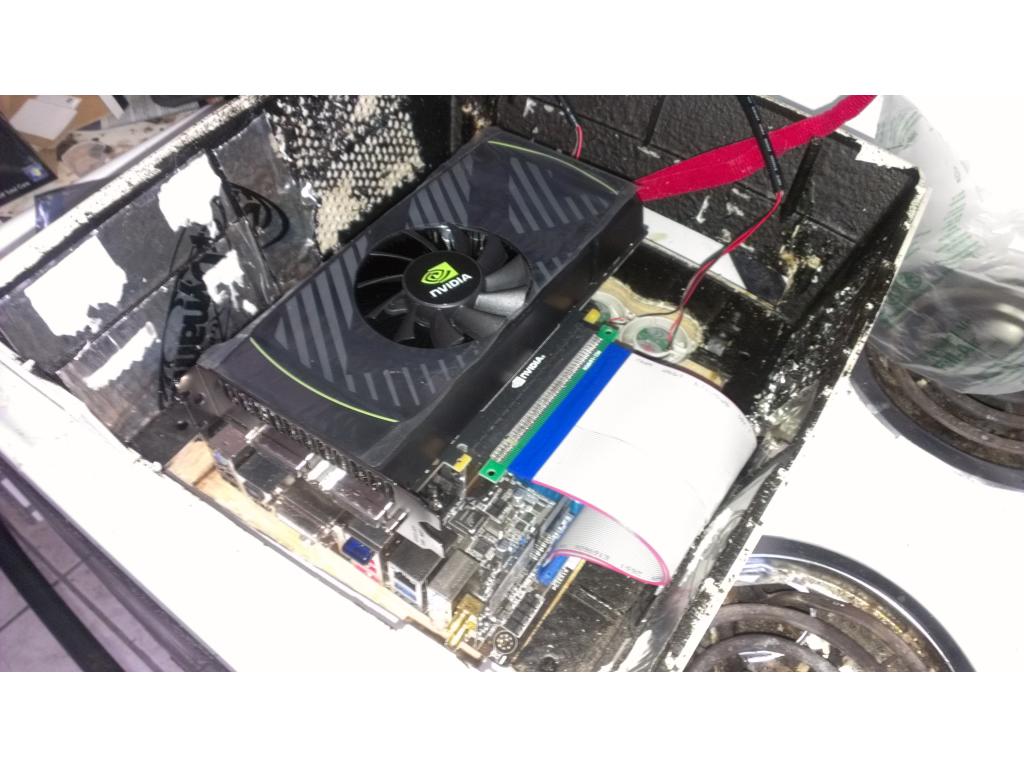
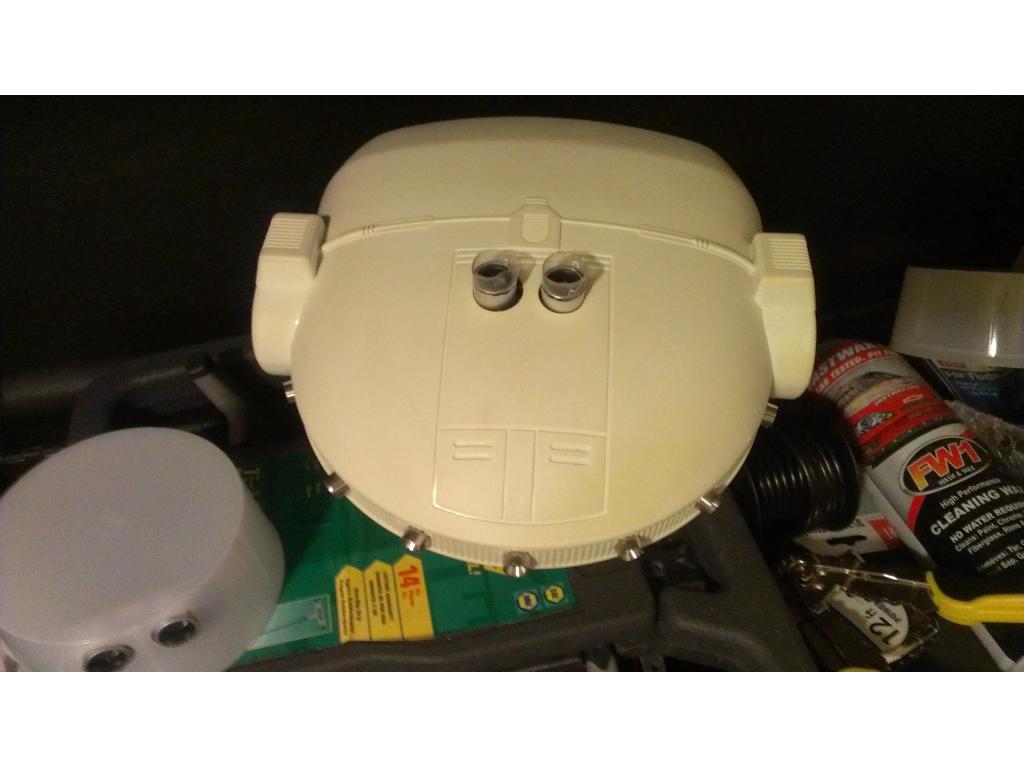
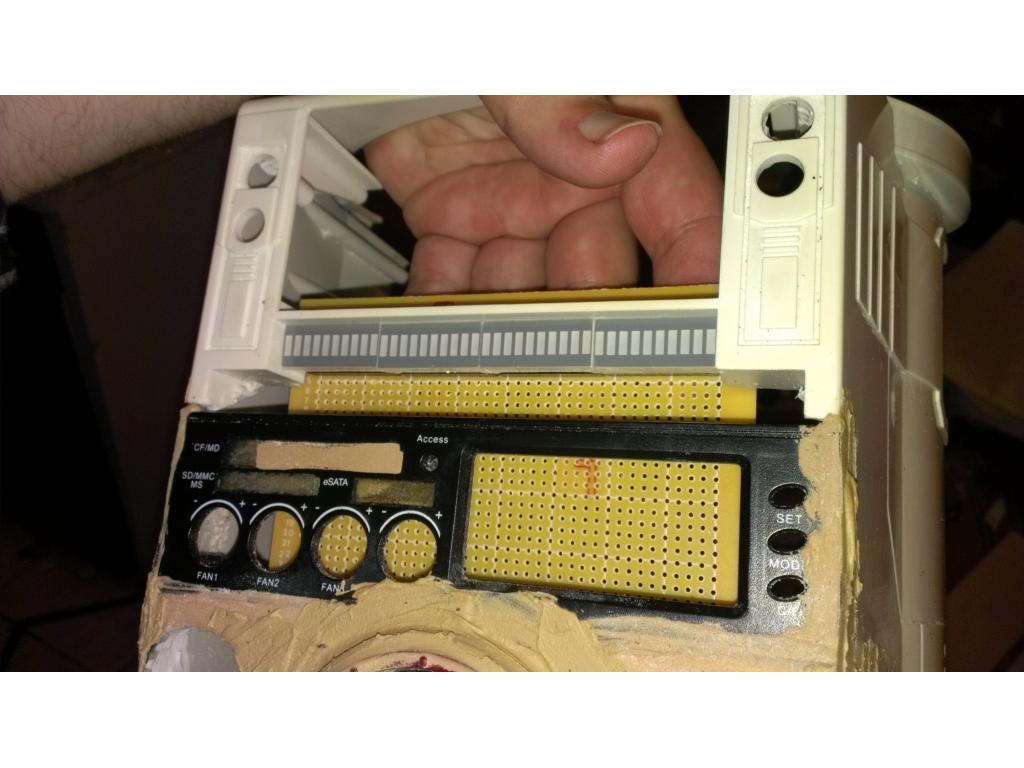
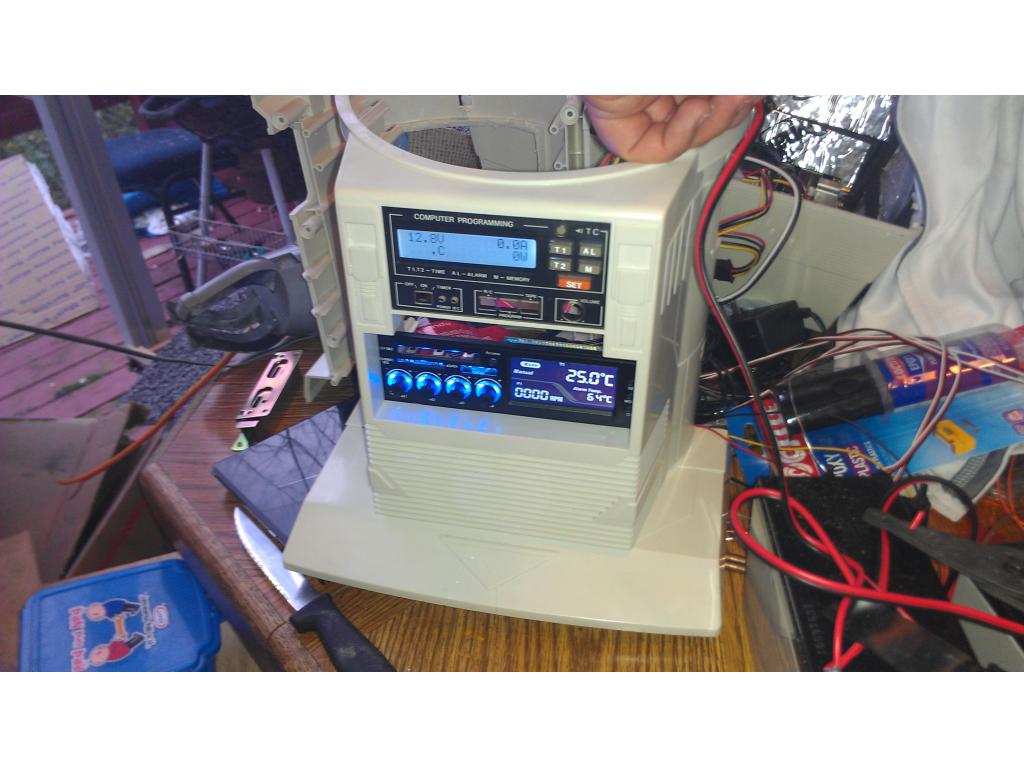
Much needed venting modifications , How to !
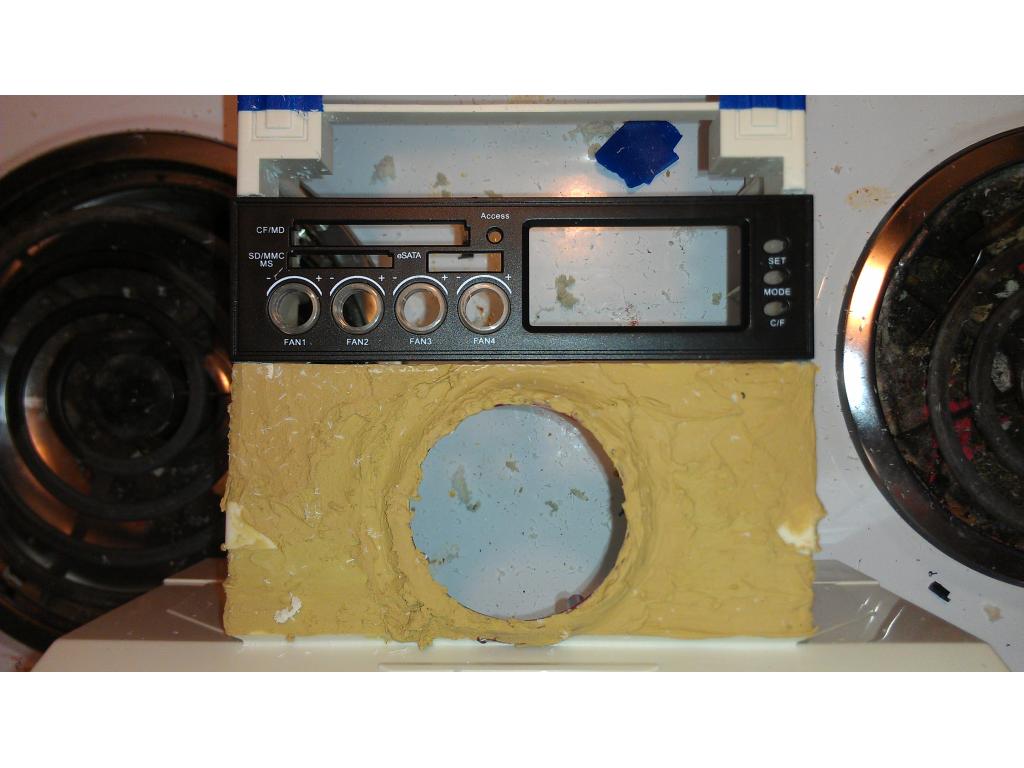
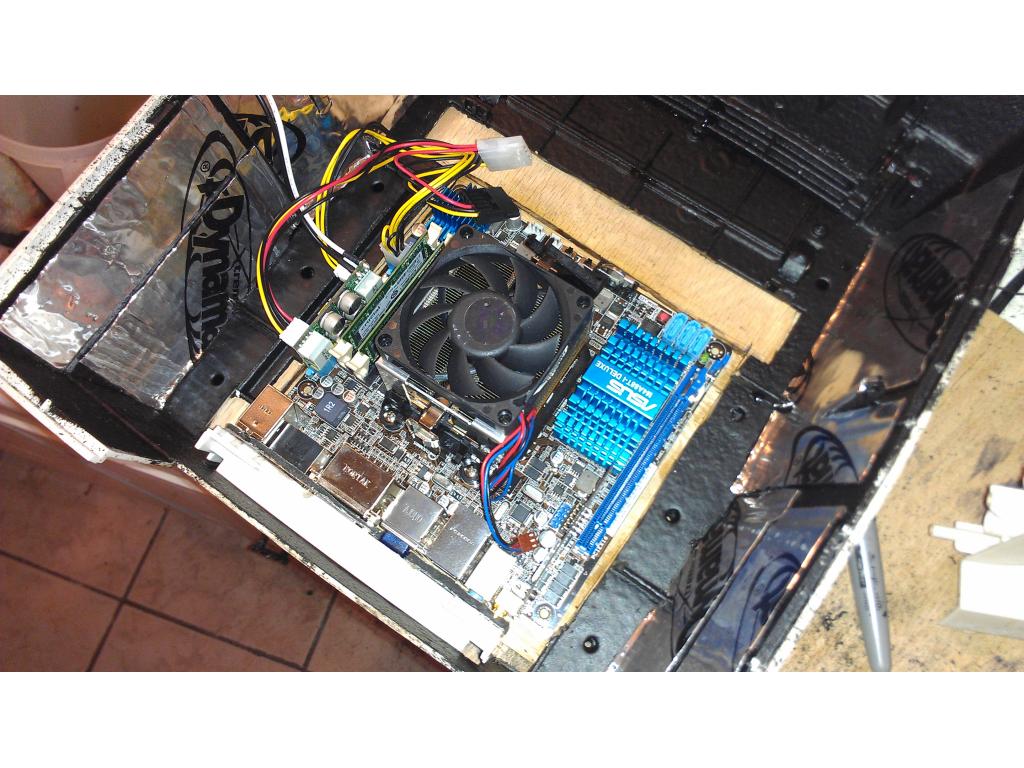
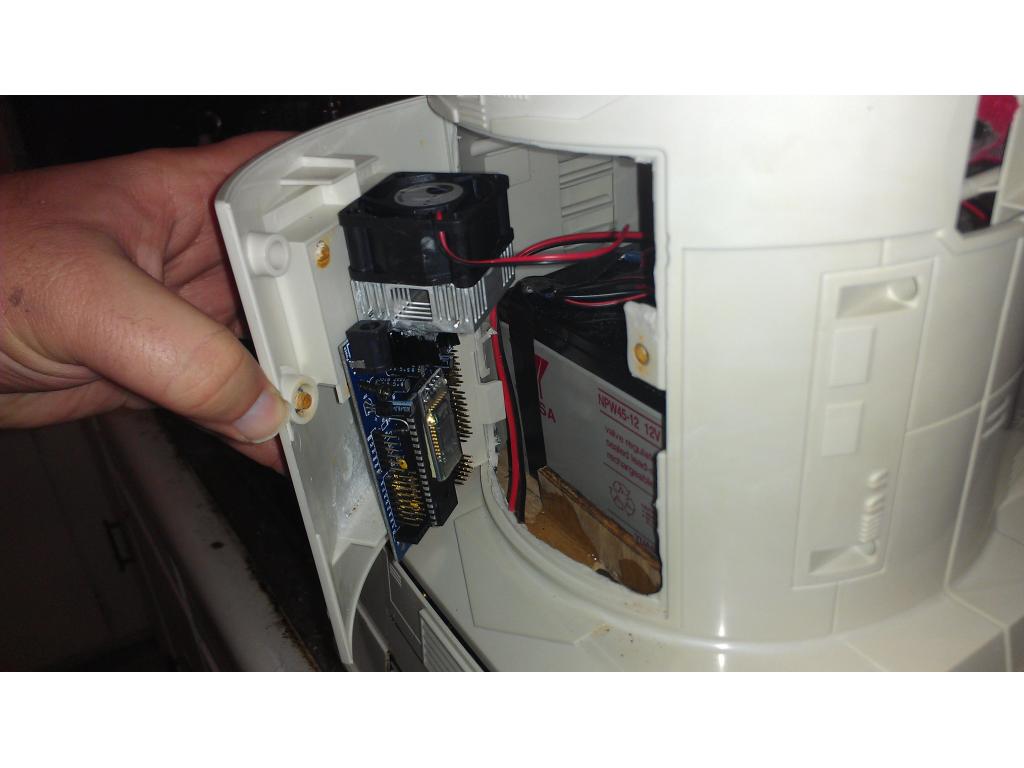
Most robots need venting to maintain proper temperature. Fact is the hotter electronics get the more watts they draw and in some cases can overheat. For the.longevity of your equipment you should plan to add proper venting. Venting can be done neatly and in such a way you blend them into your project, this is the standard size most the electronics industry uses.
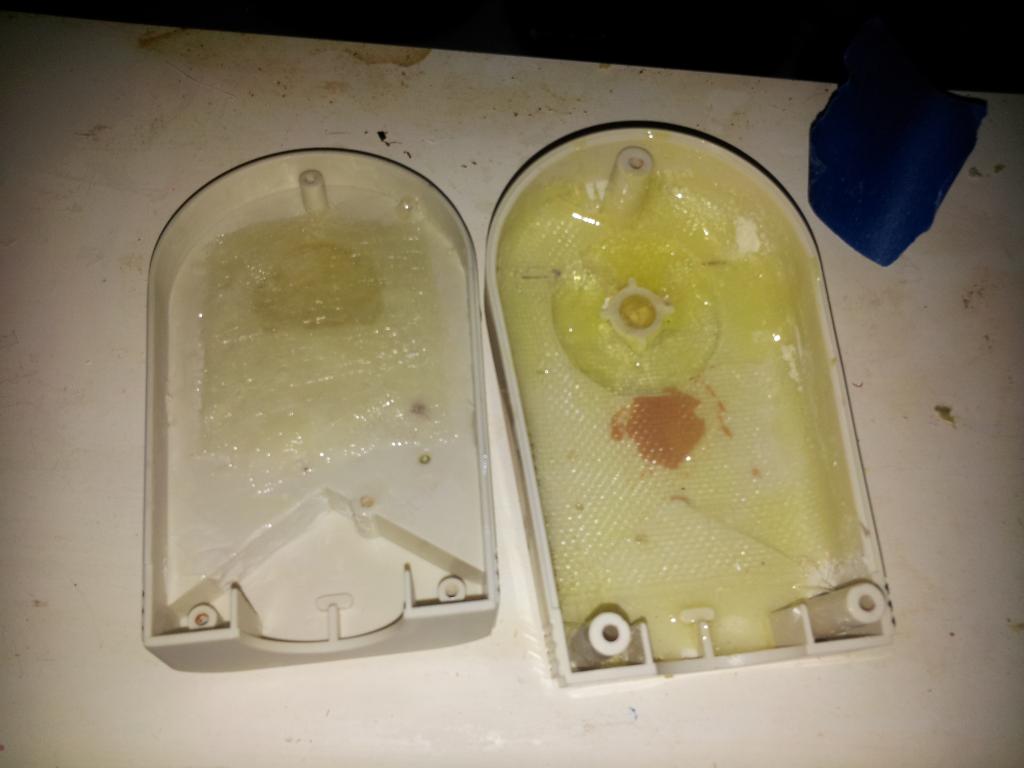
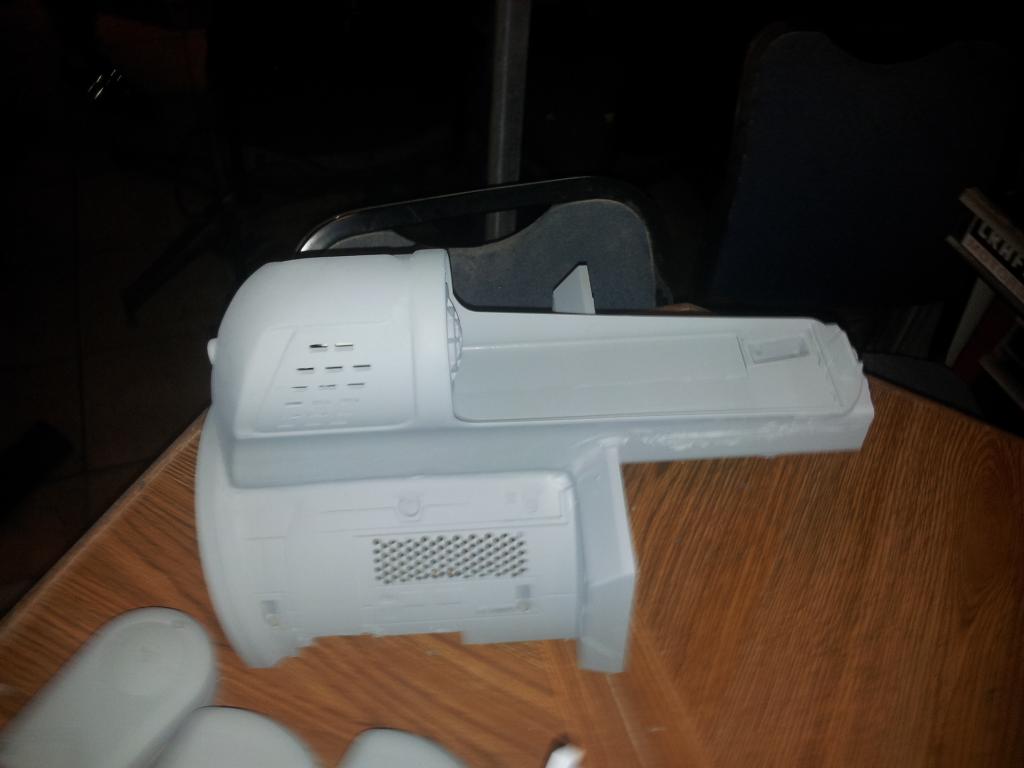
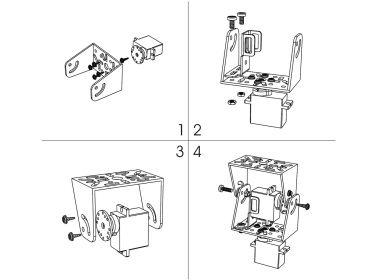
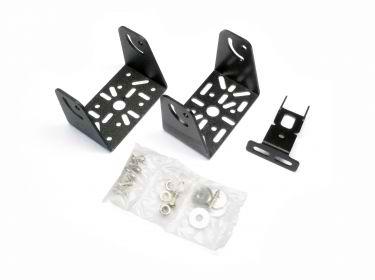
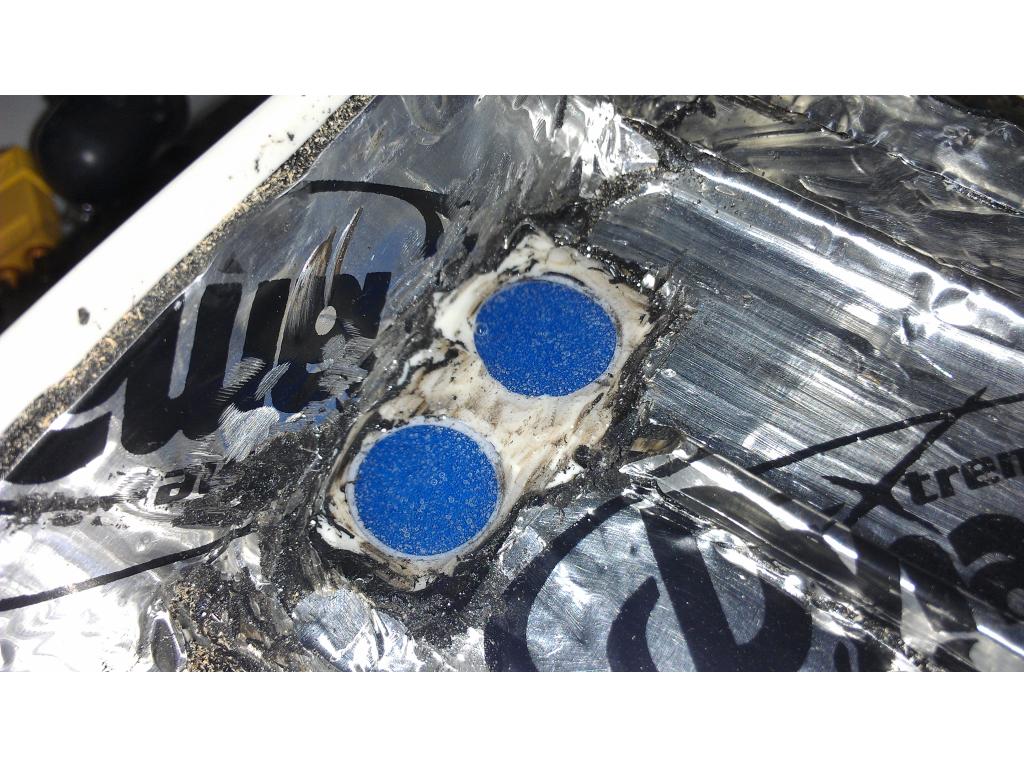
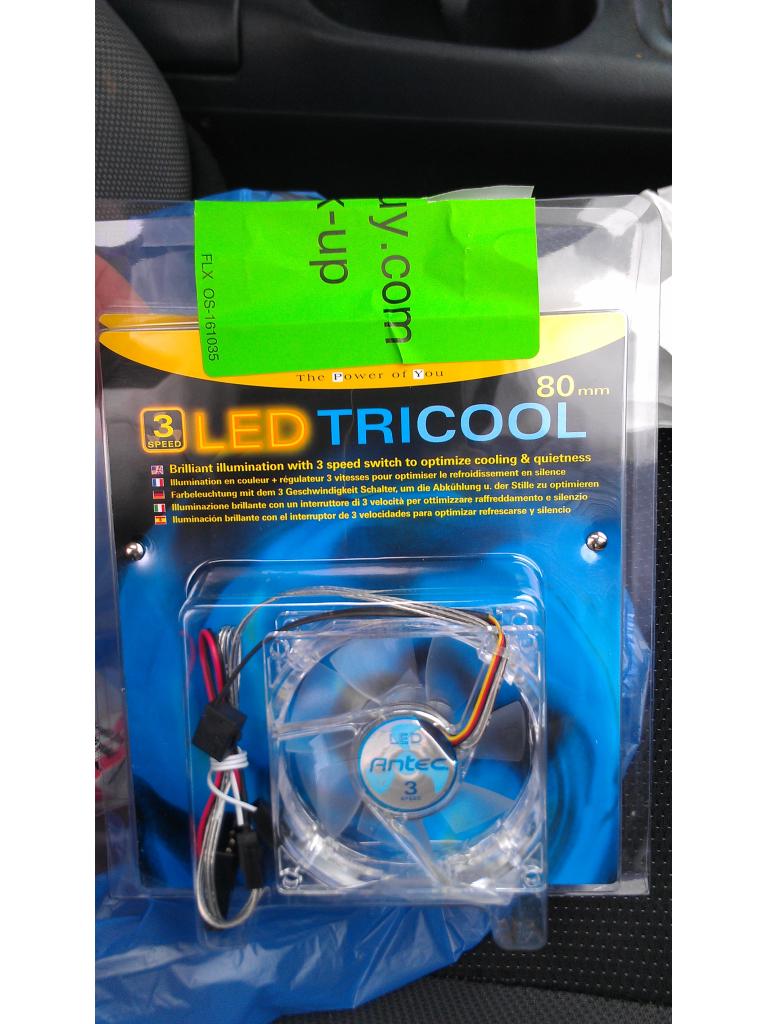
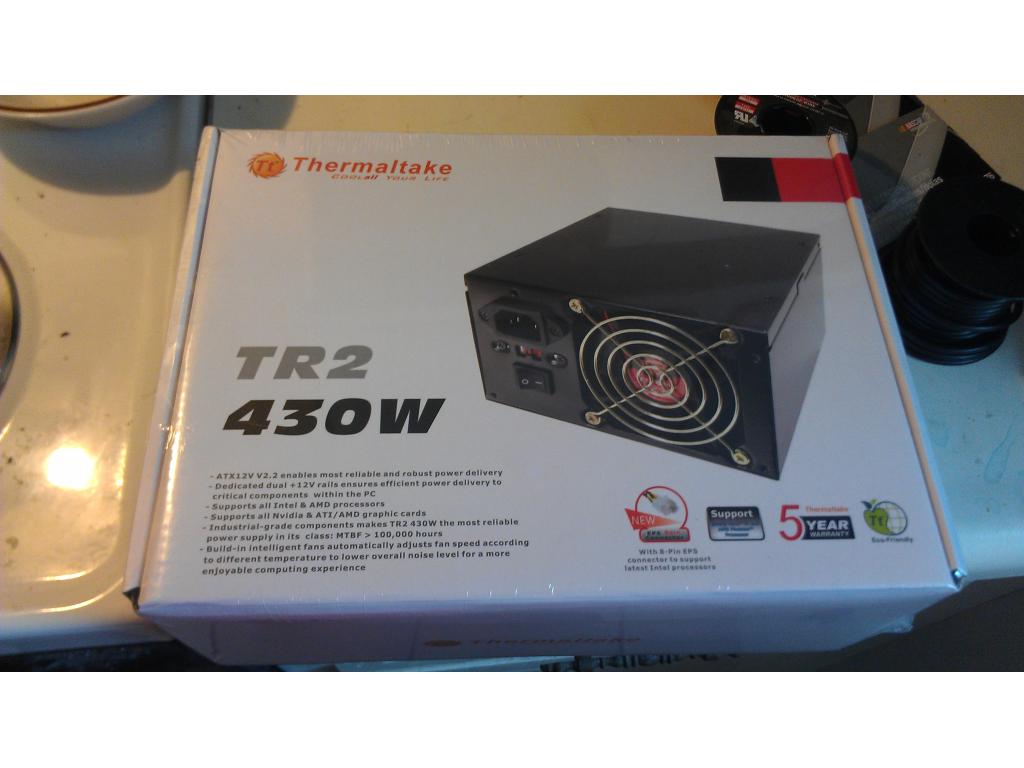
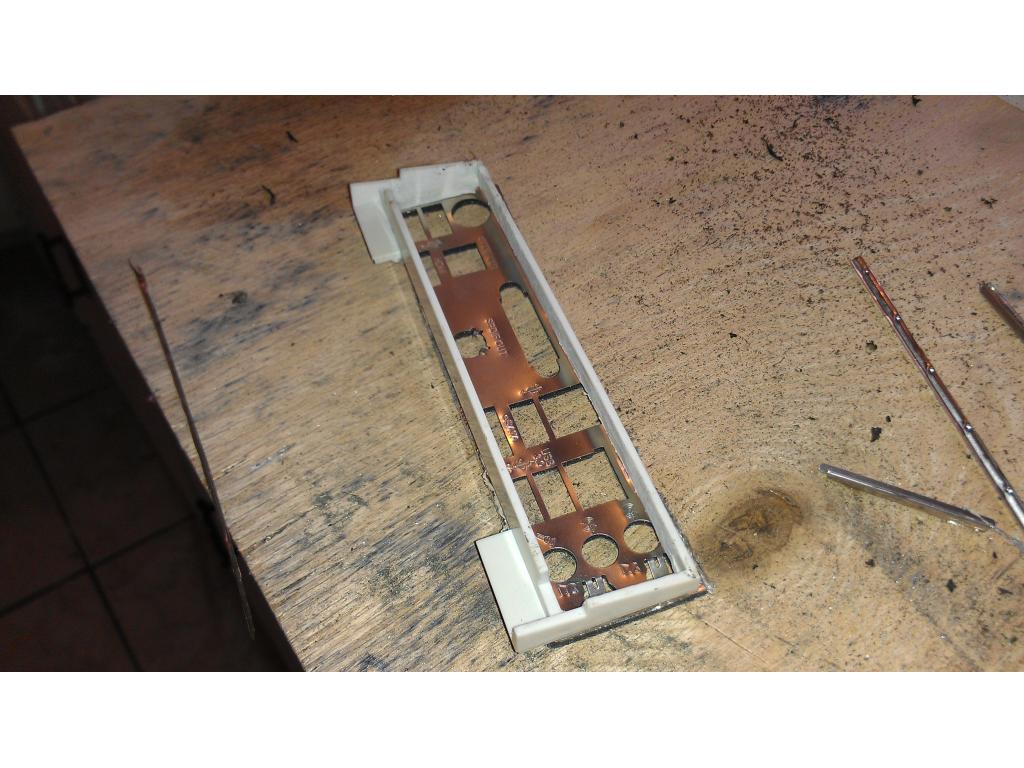
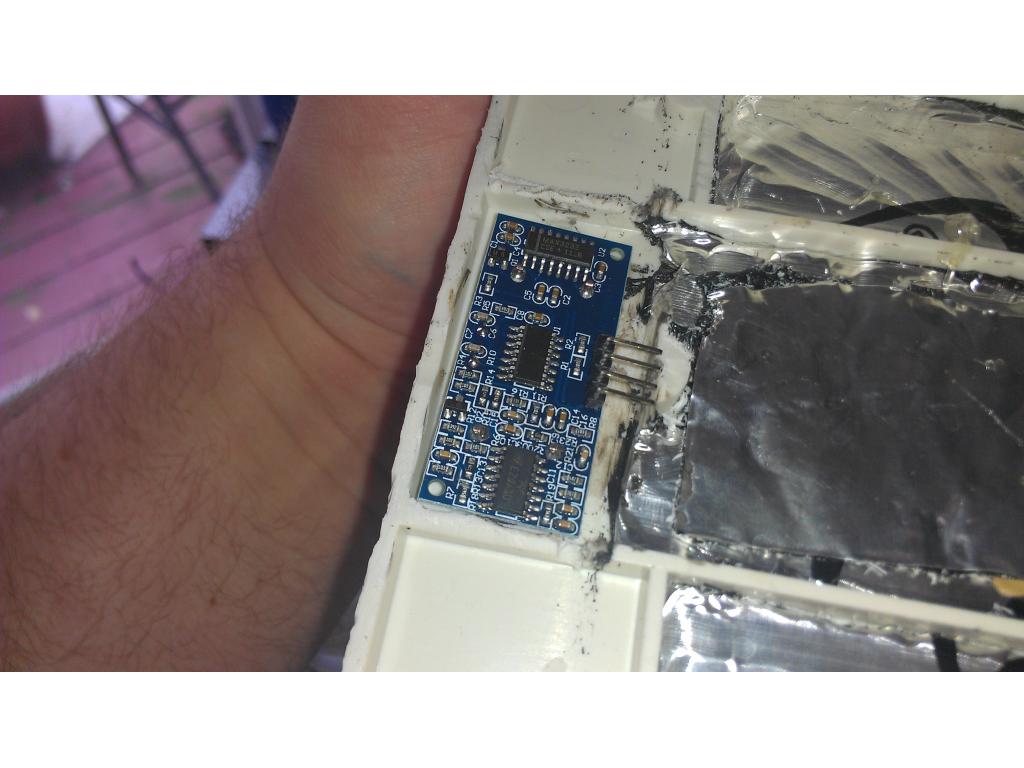
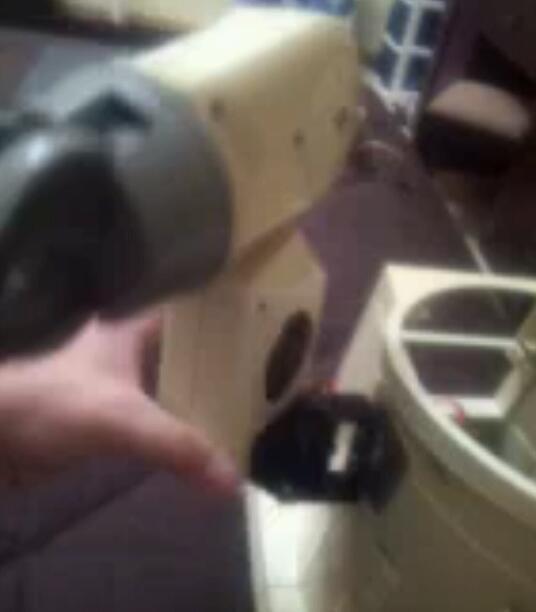
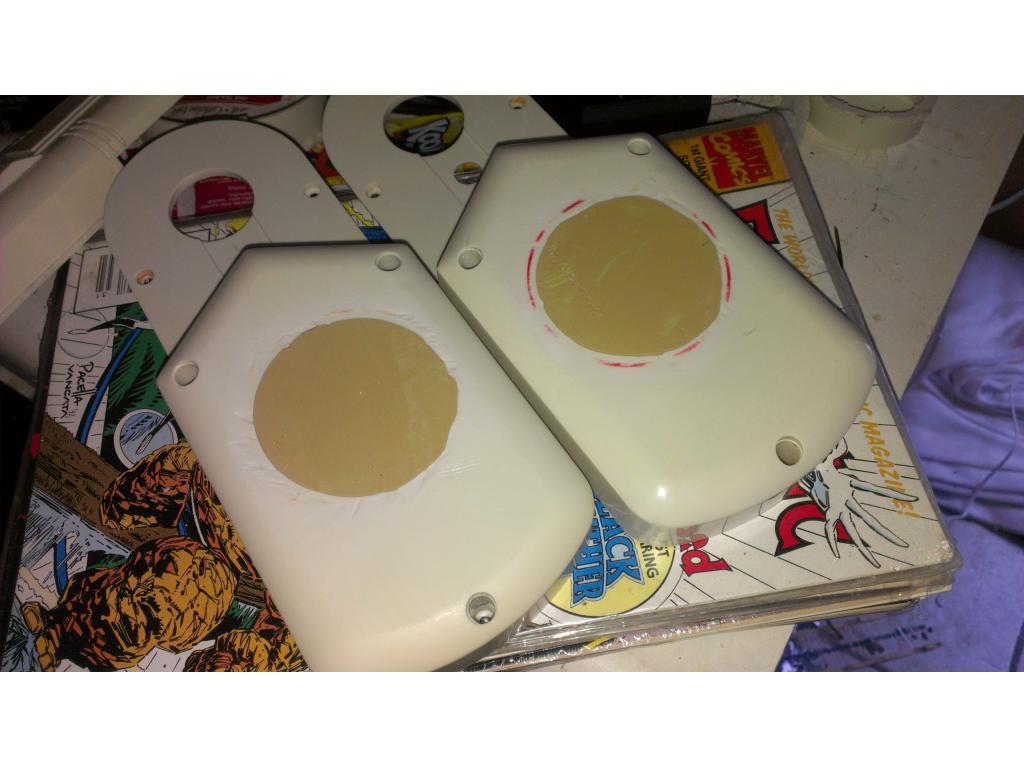
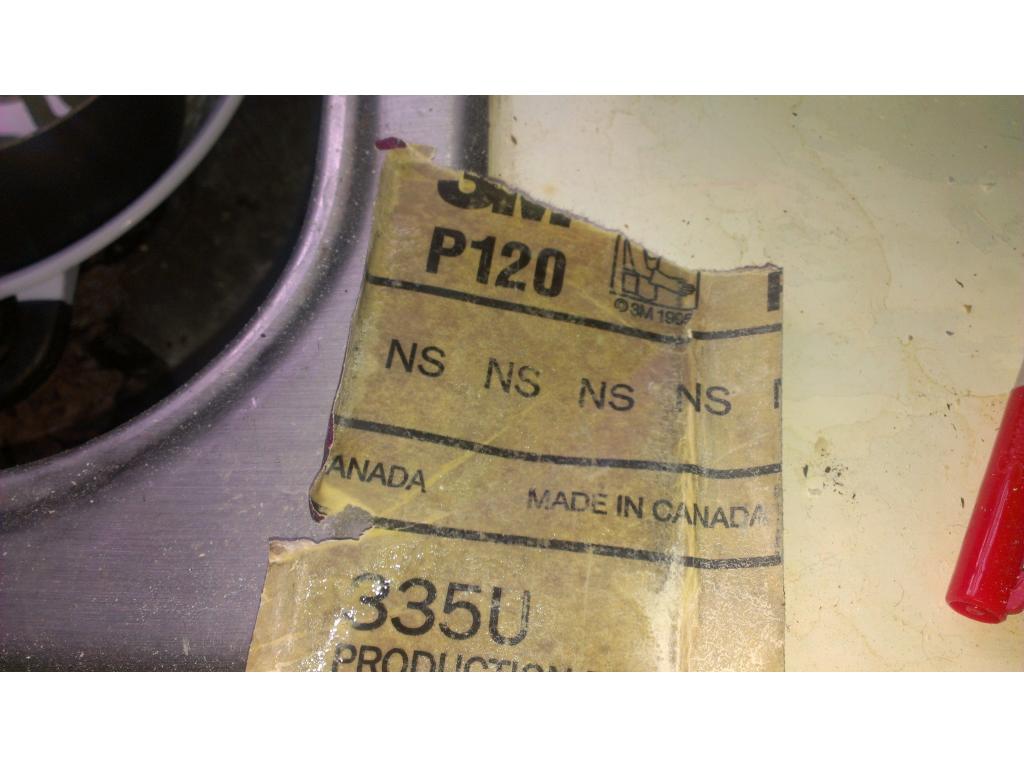
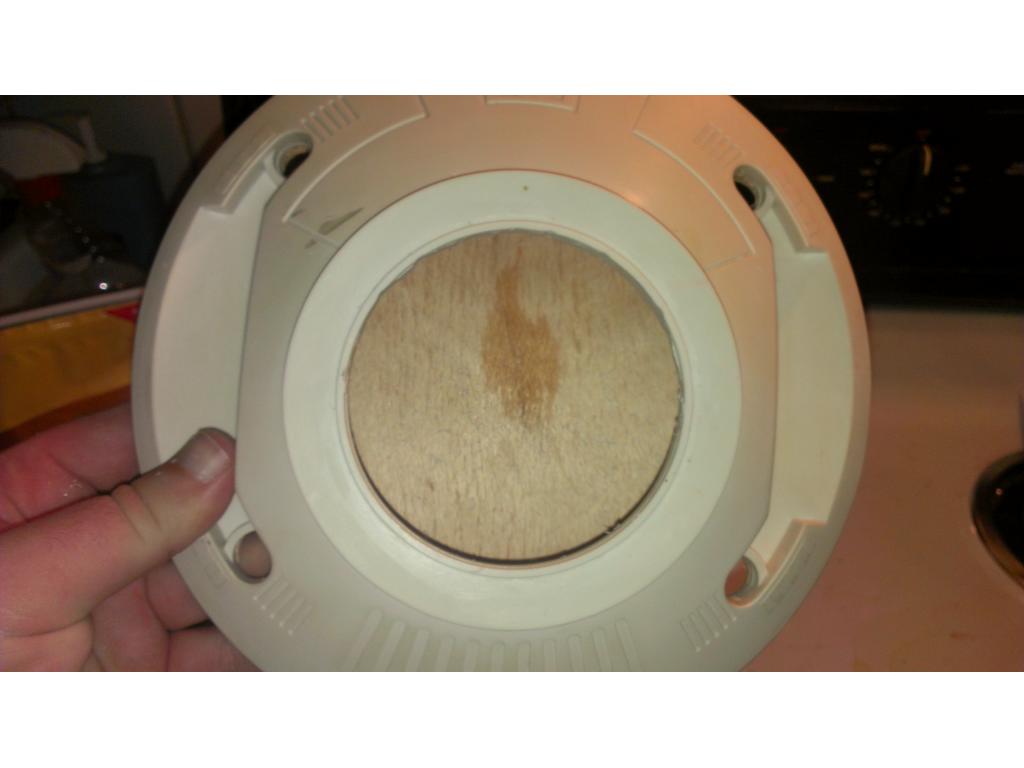
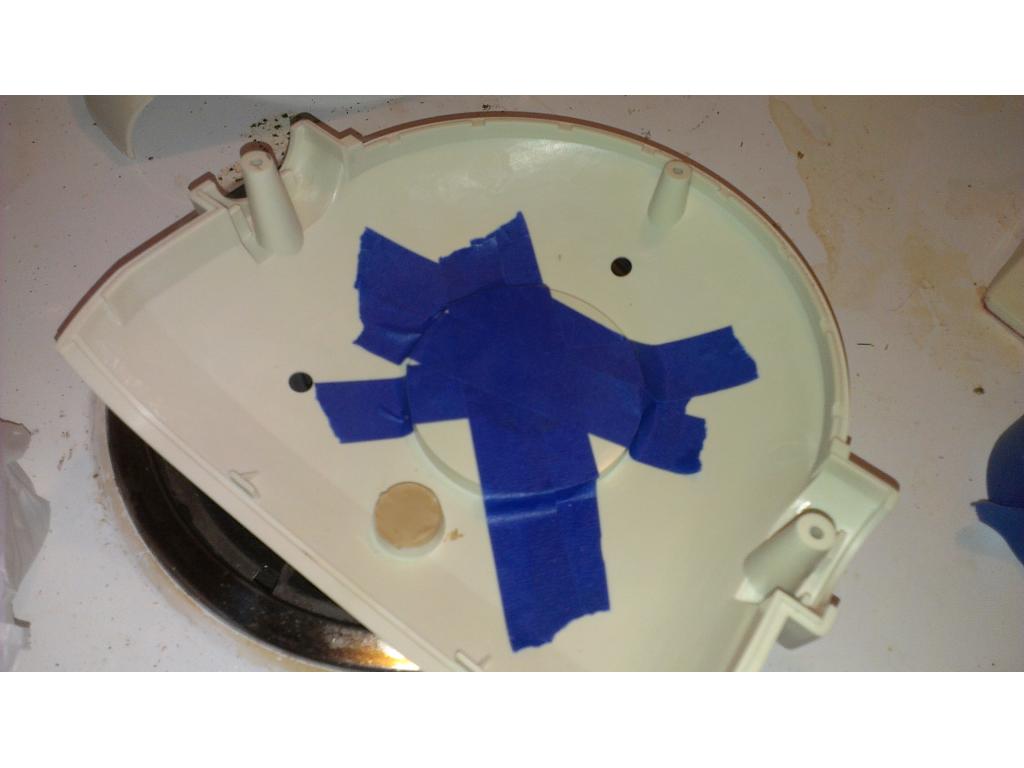
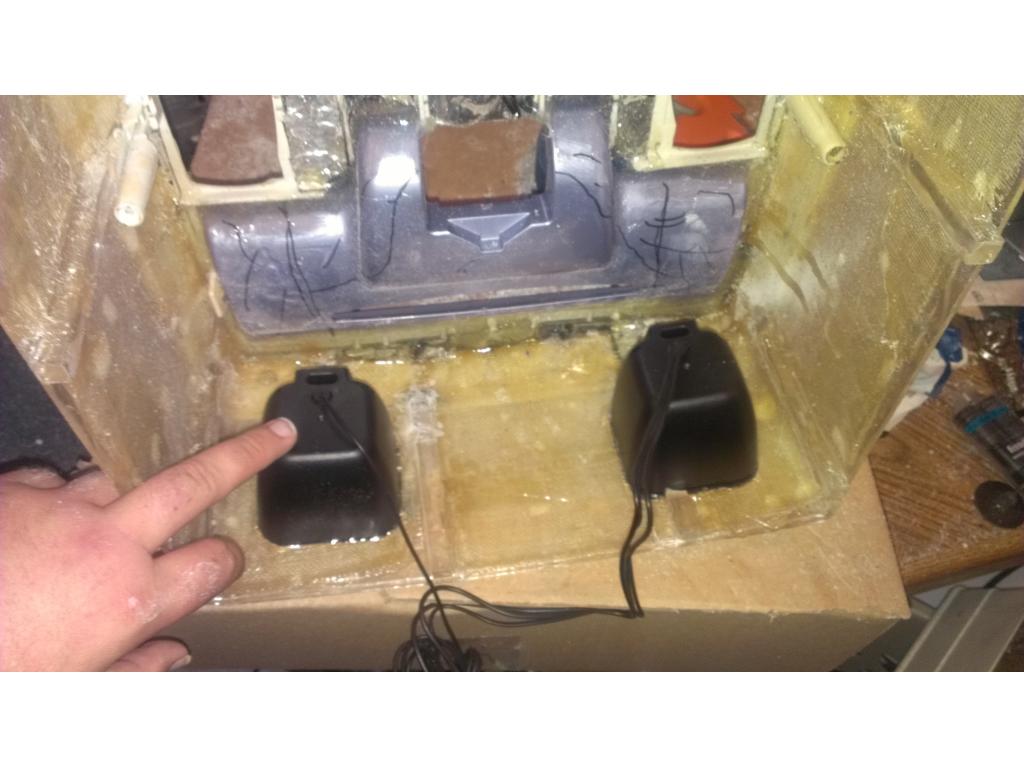
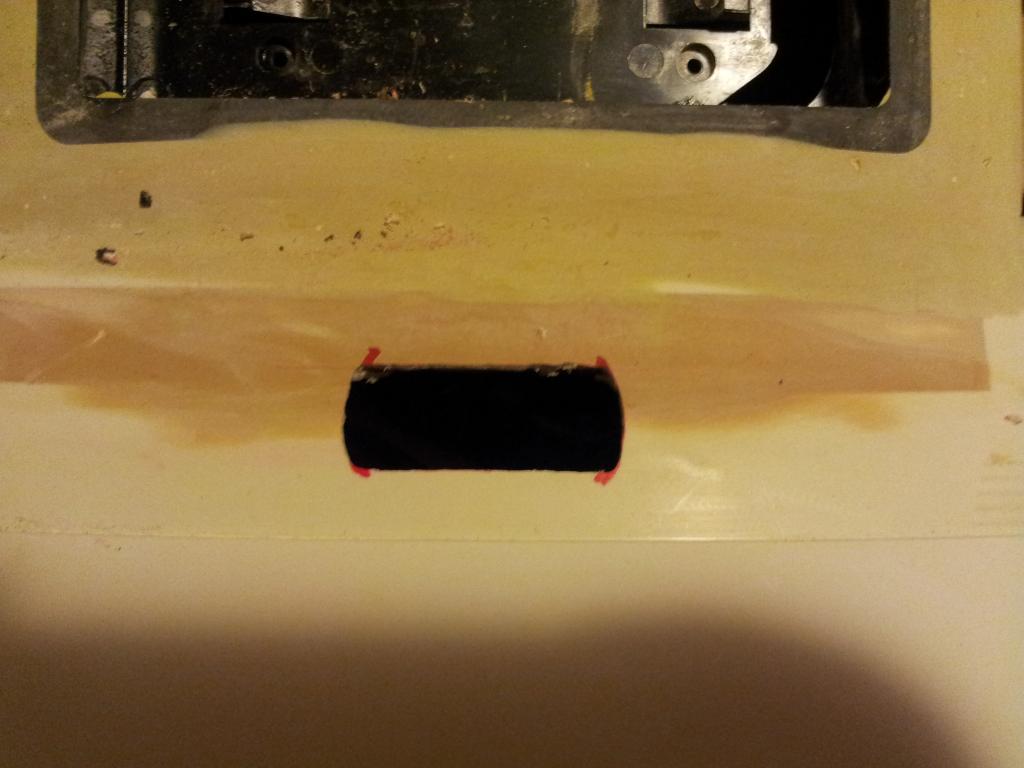
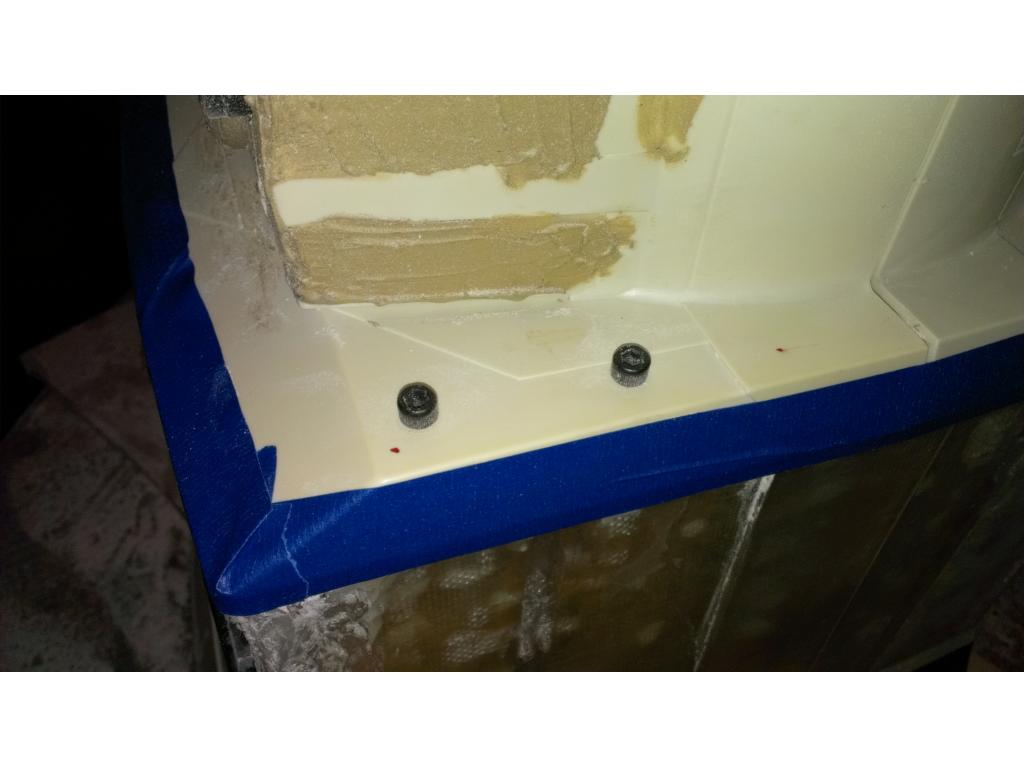
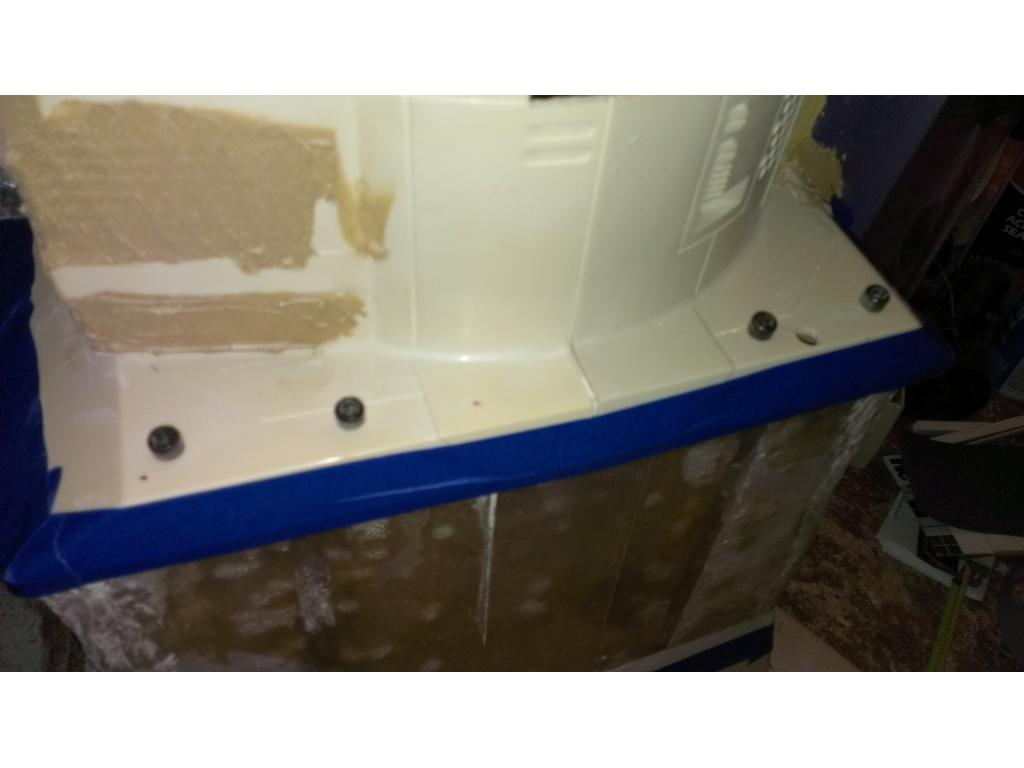
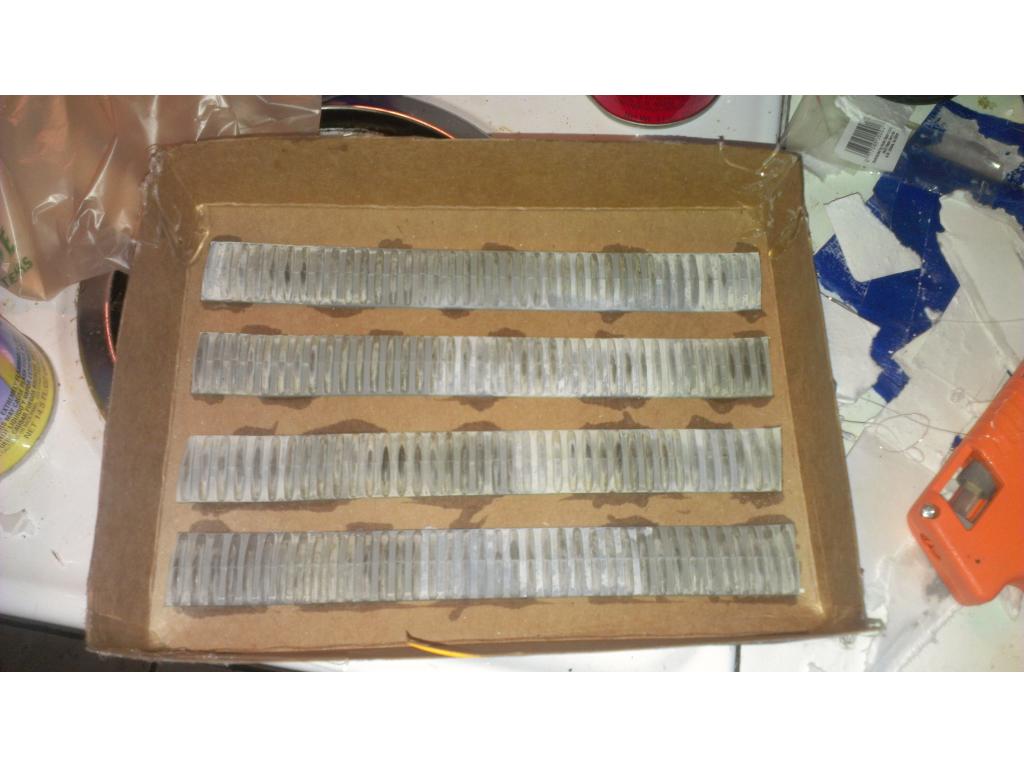
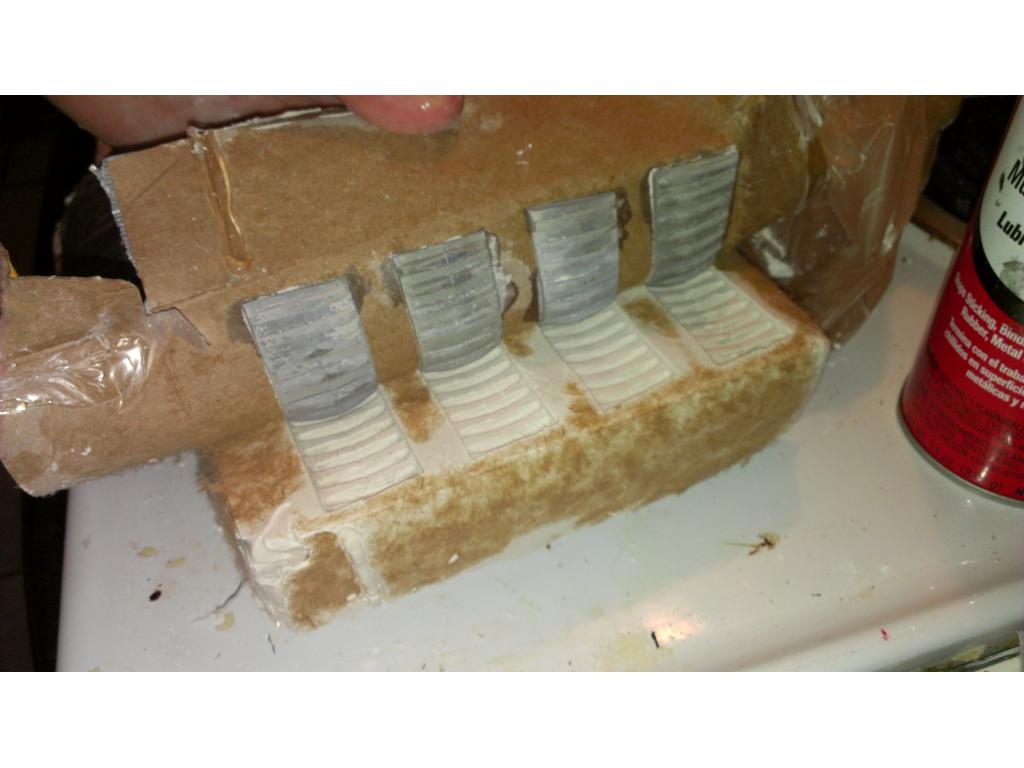
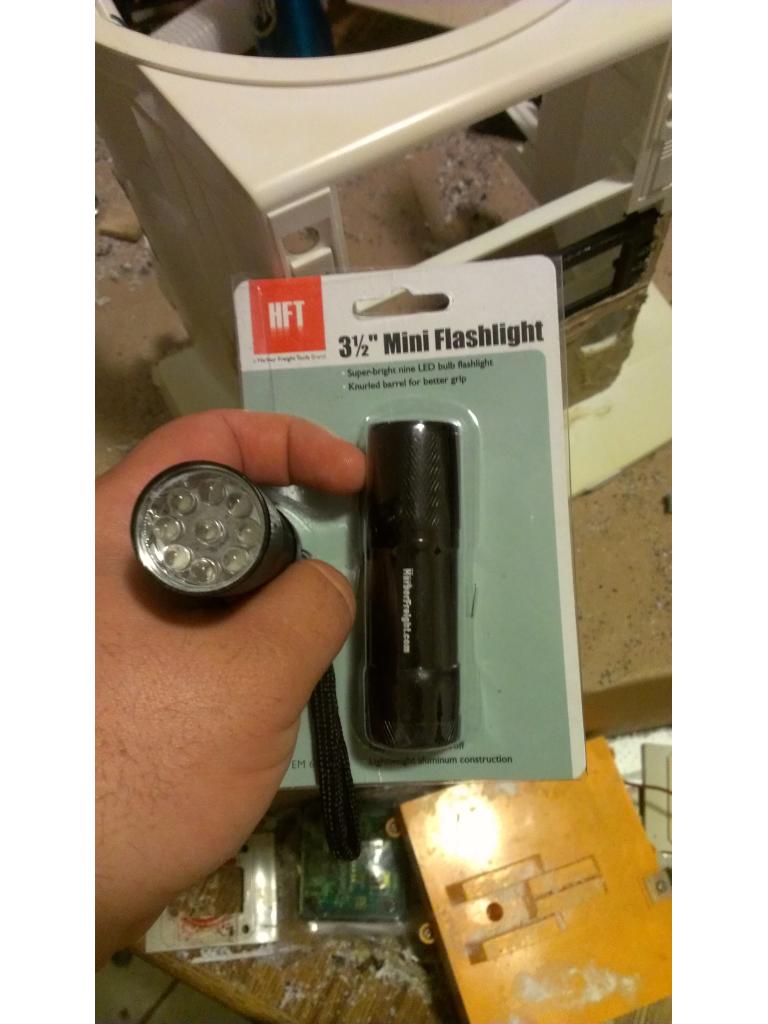
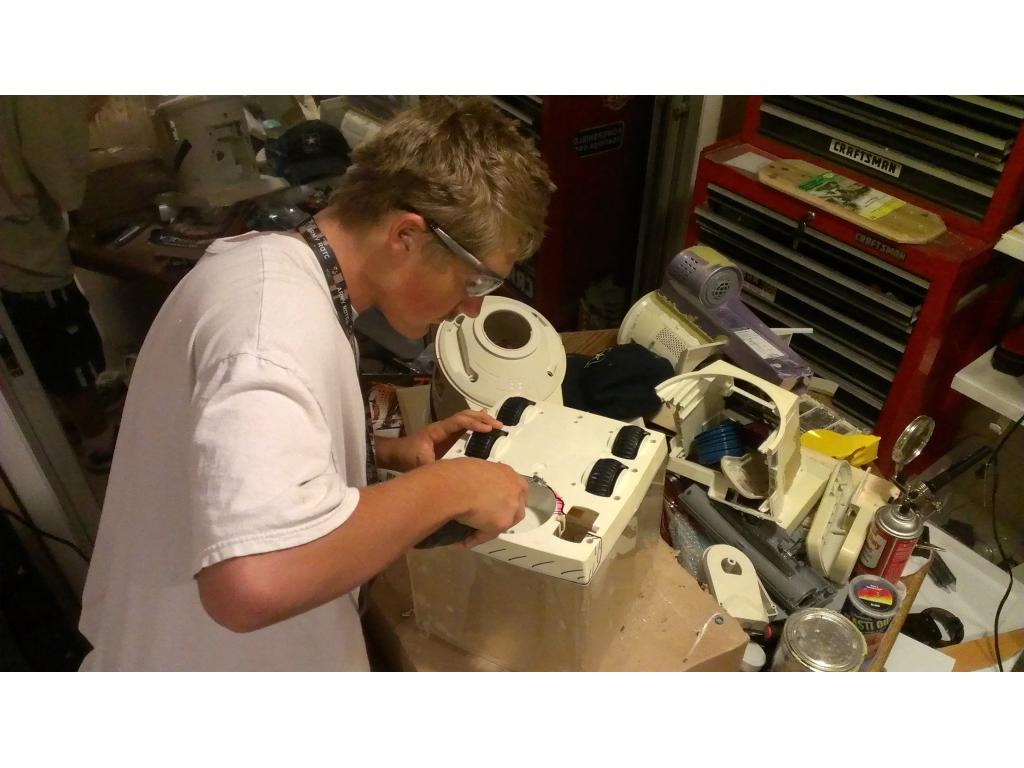
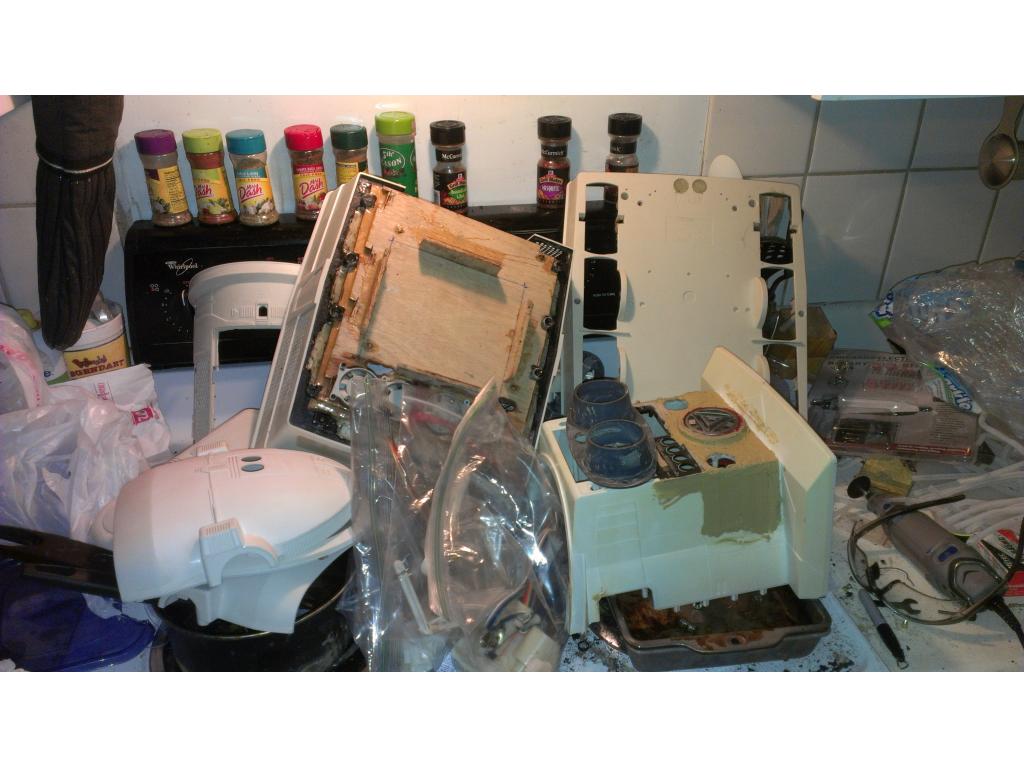
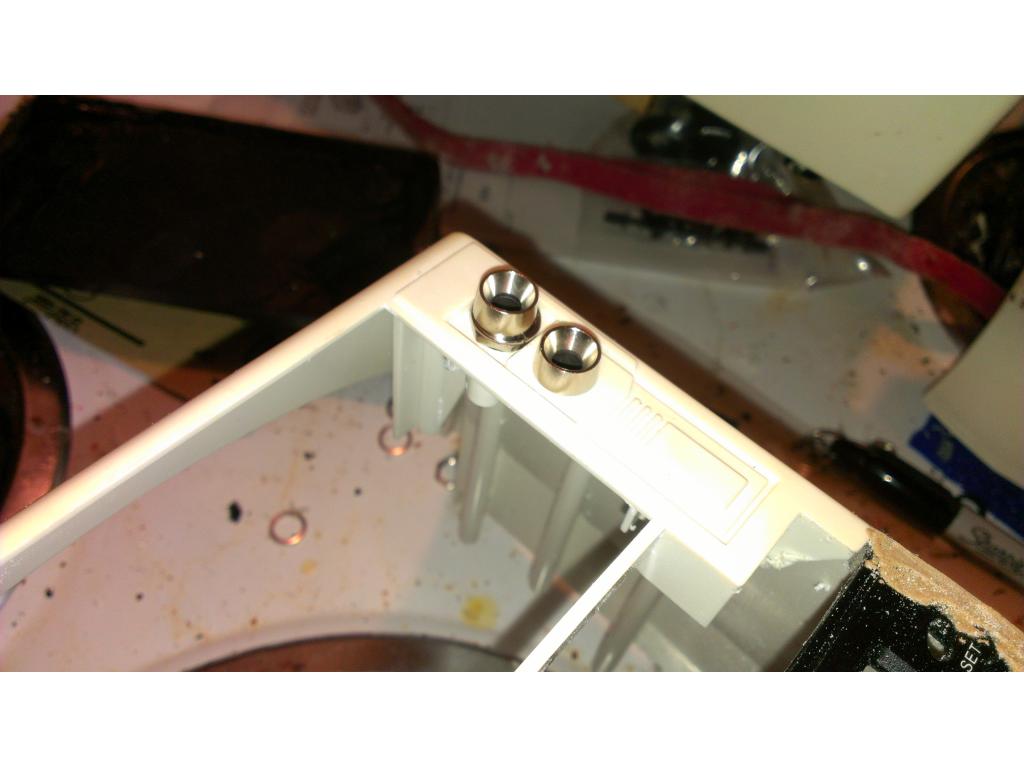
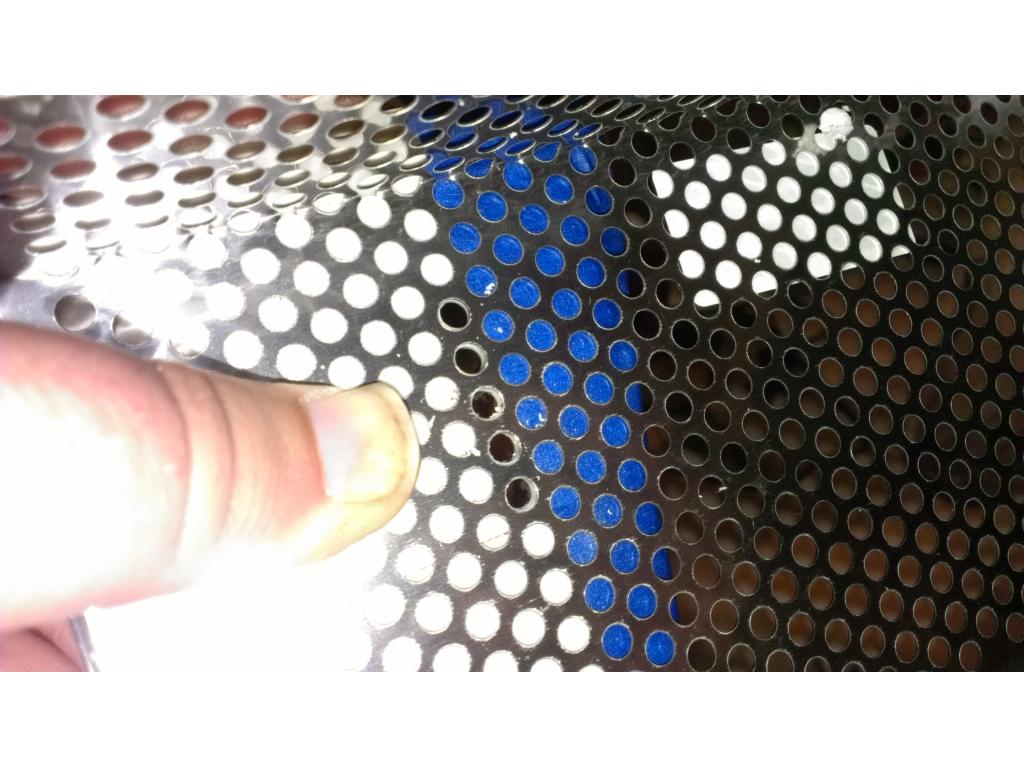
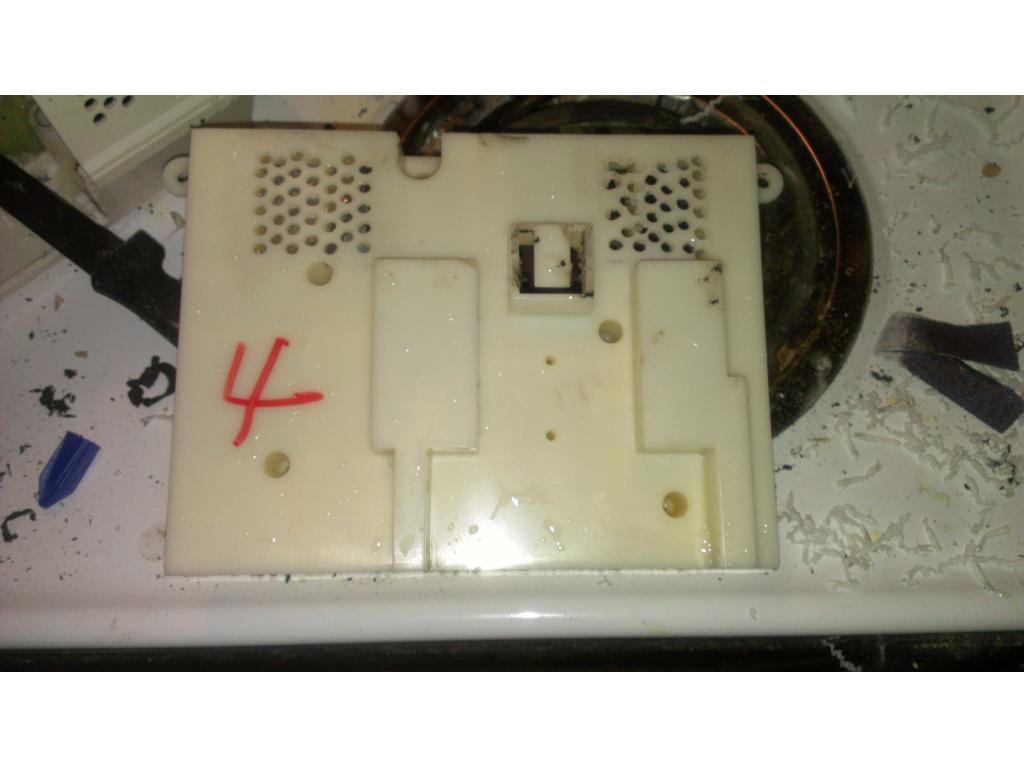
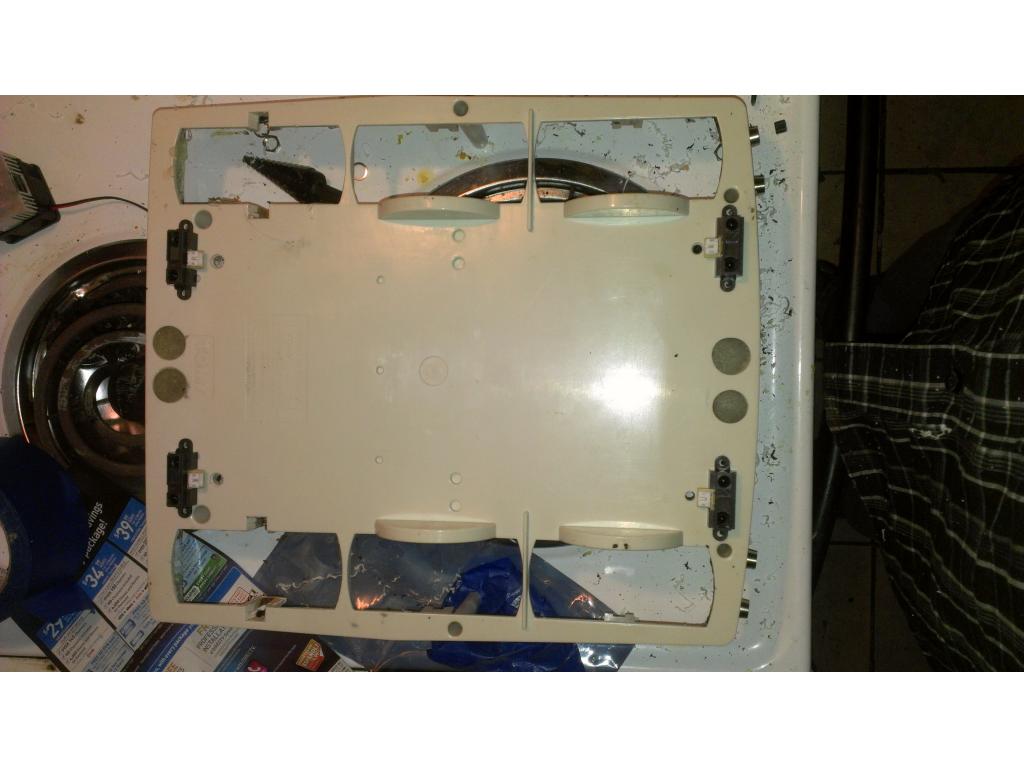
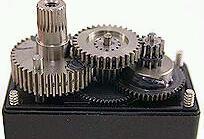
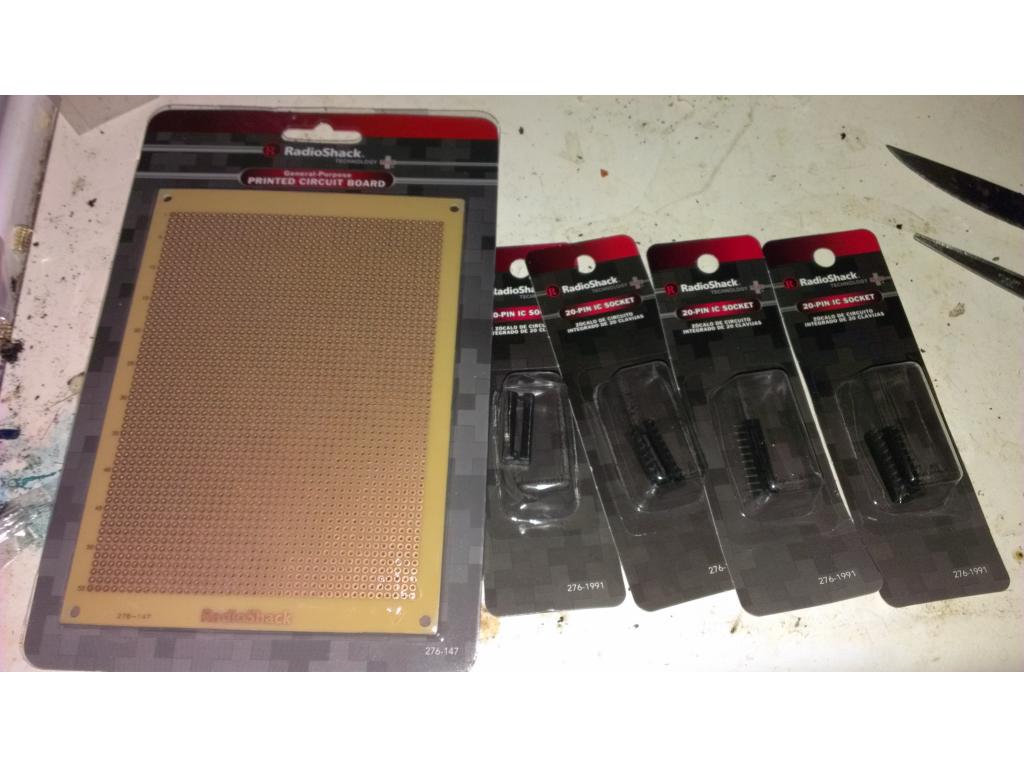
Step one! Find a power supply or case that has the standard honeycomb pattern vents. Also pick out a drill bit that will slide through the hole but its super important there is zero play.
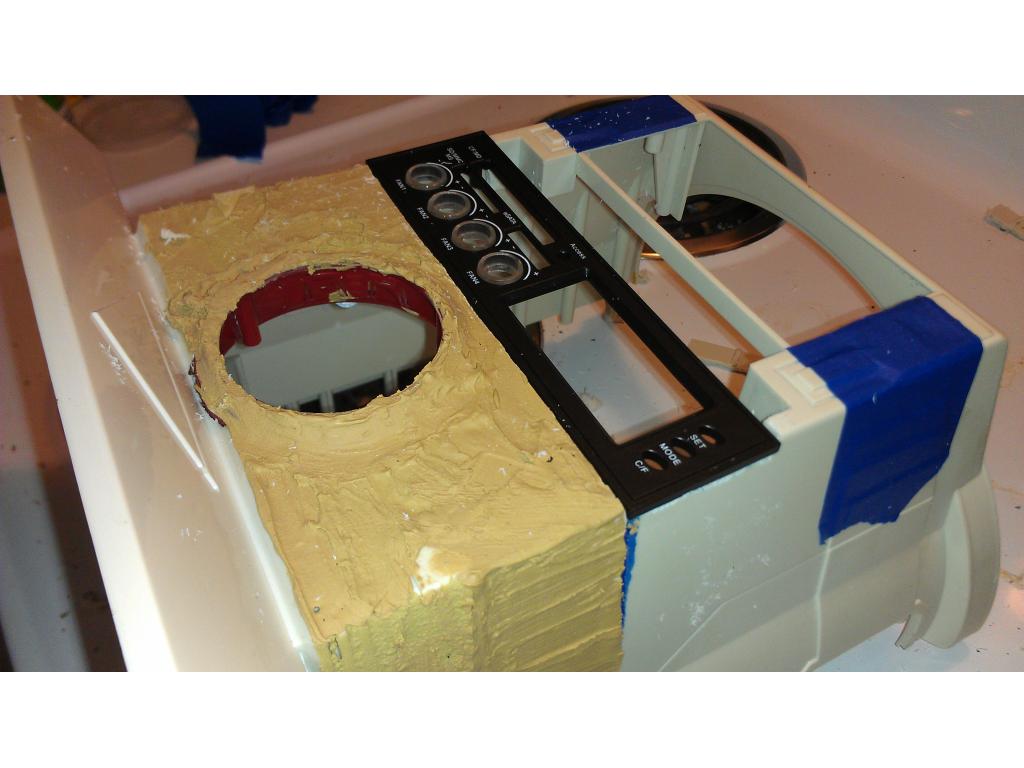
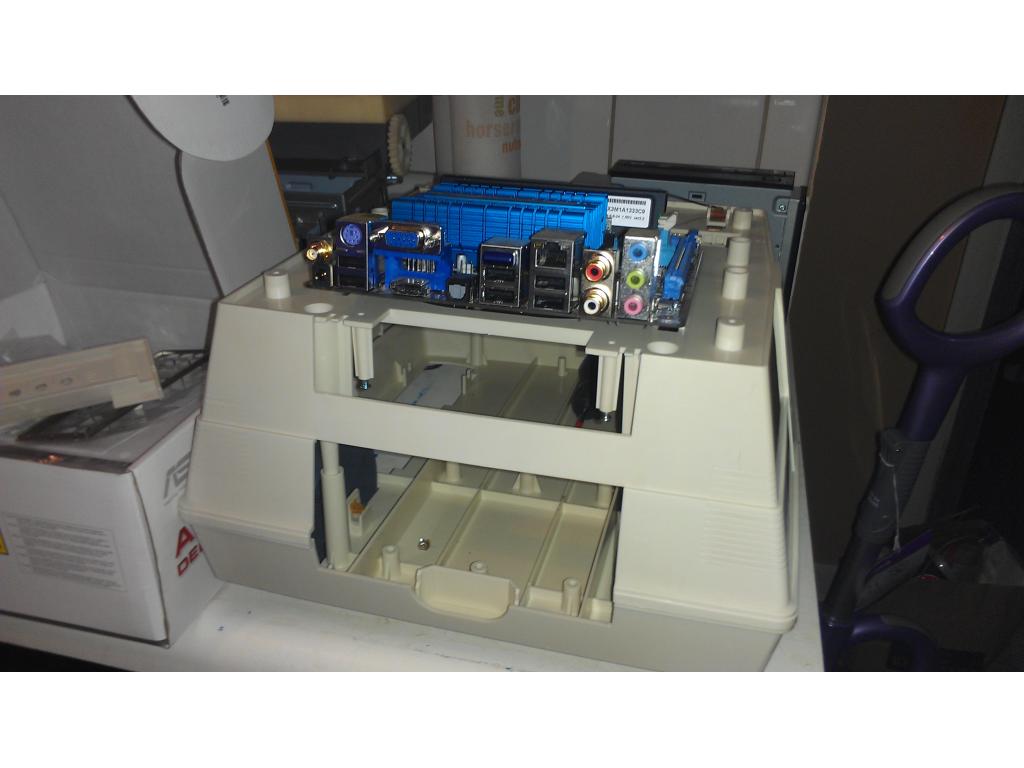
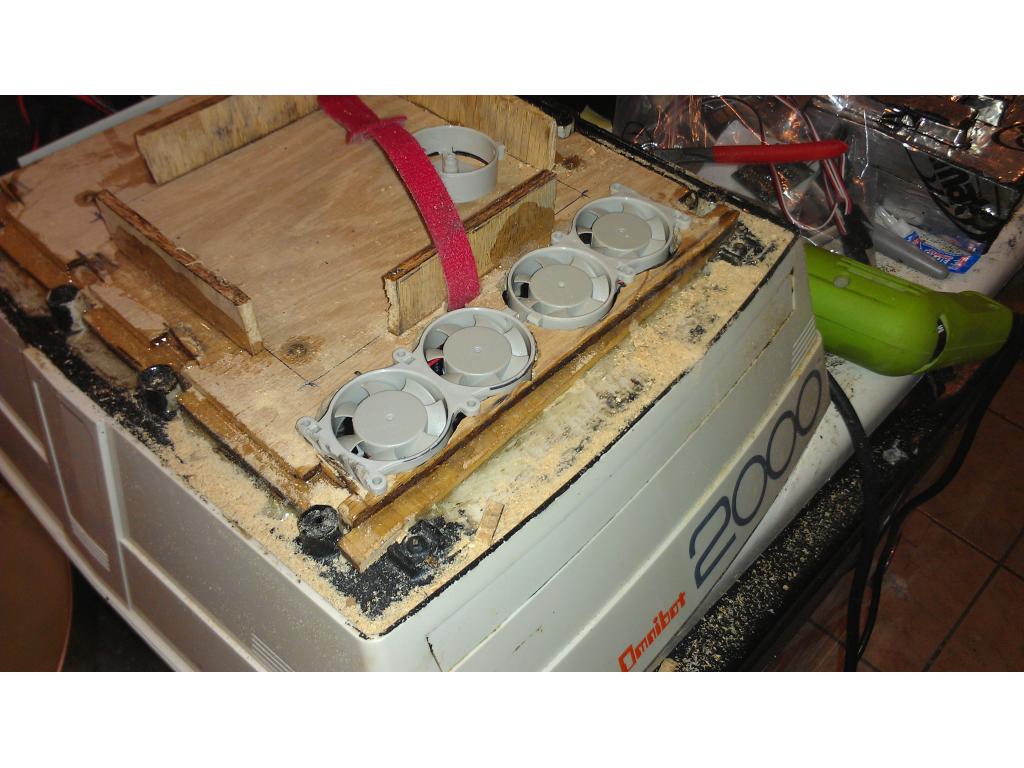
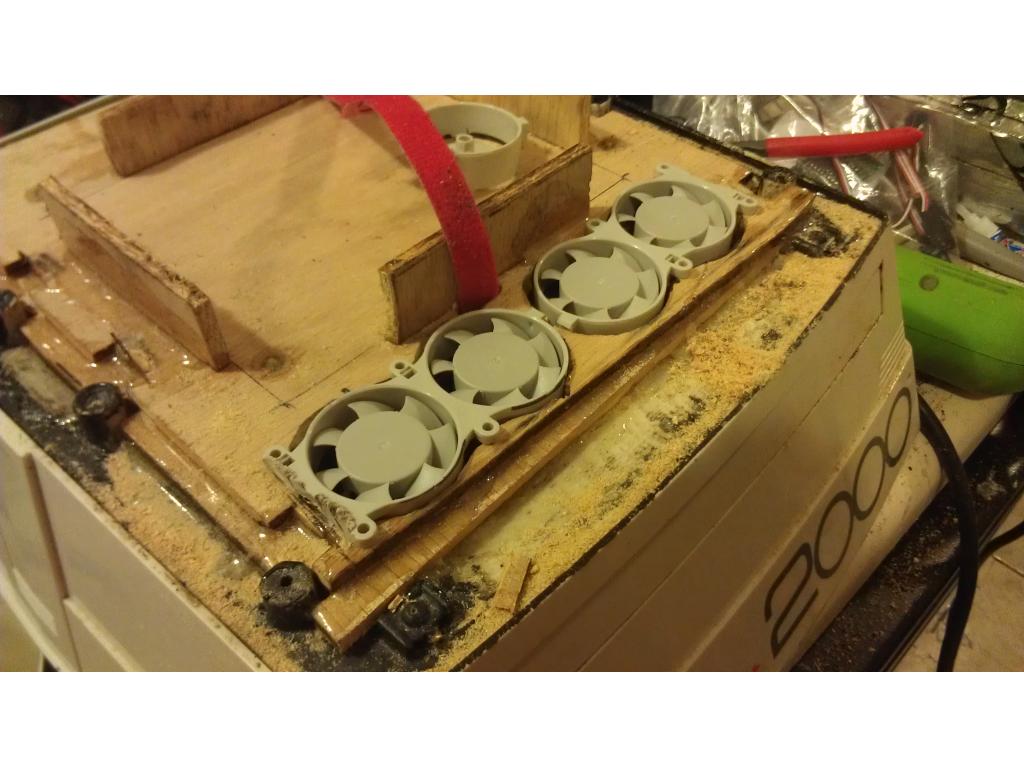
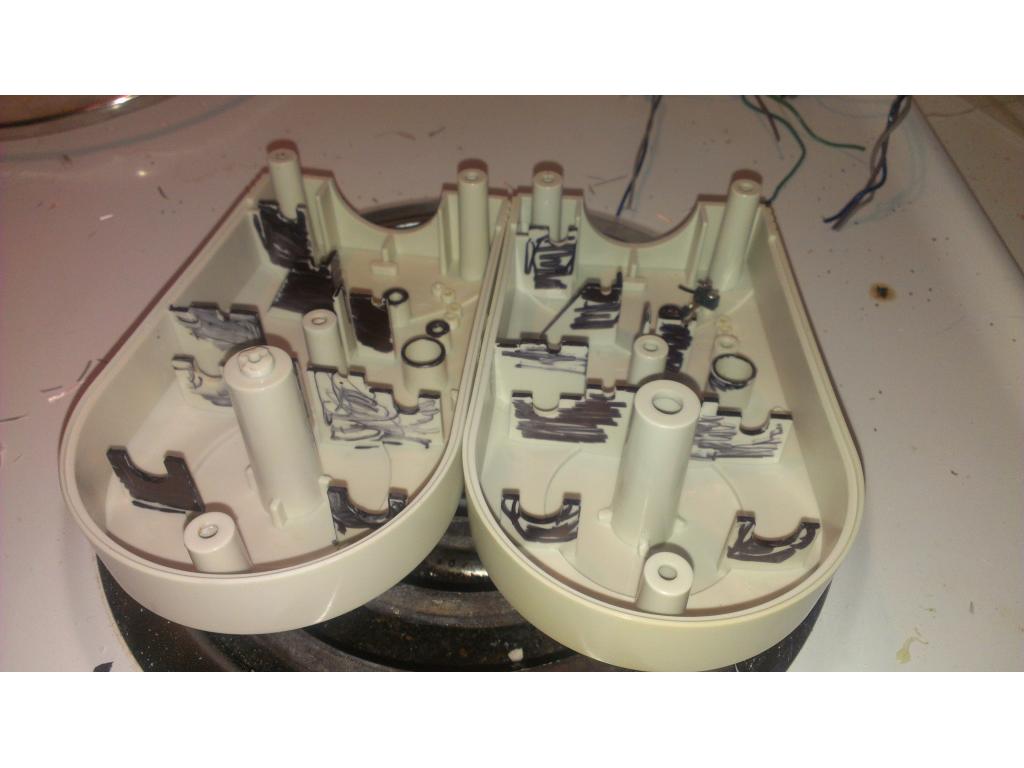
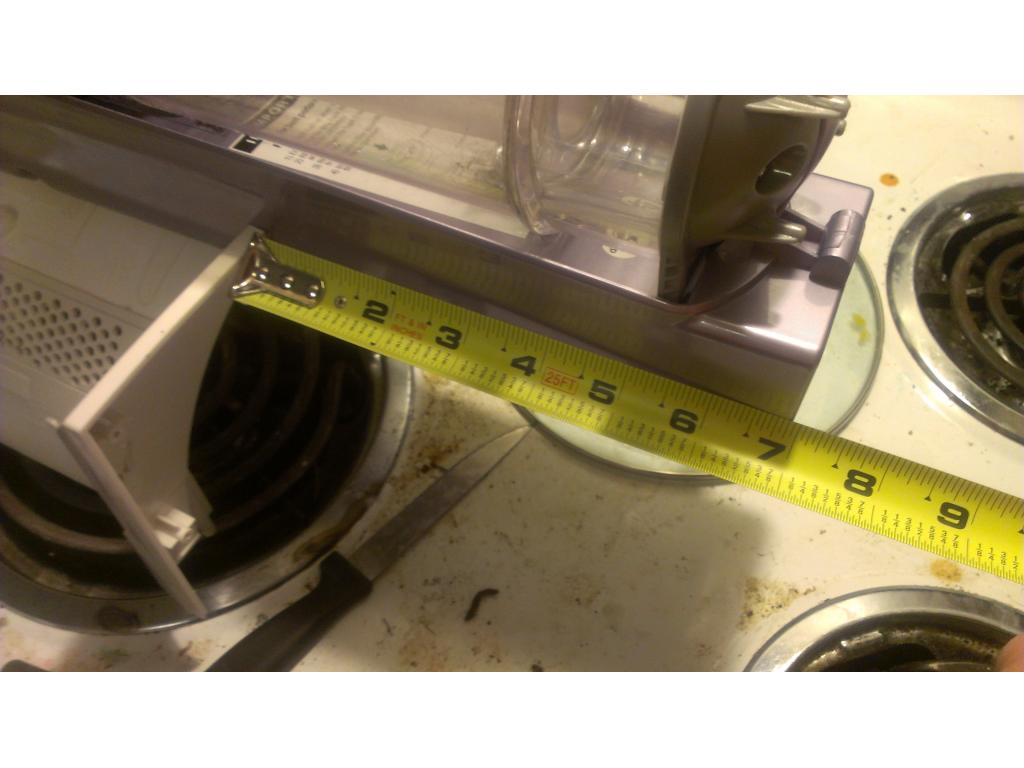
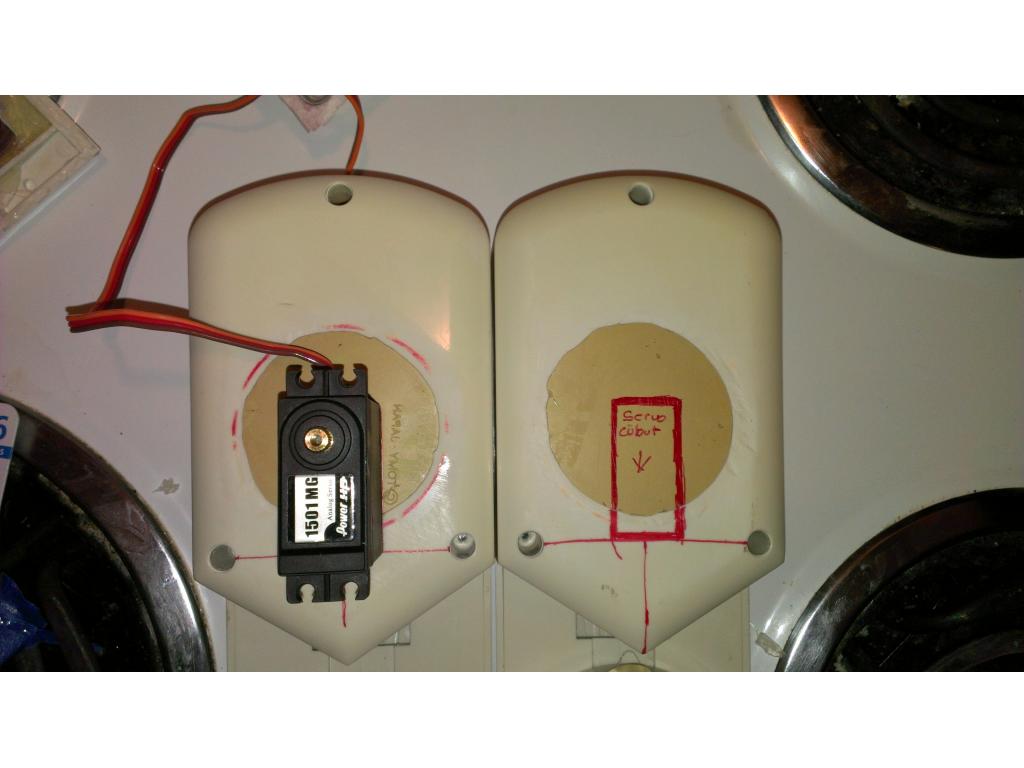
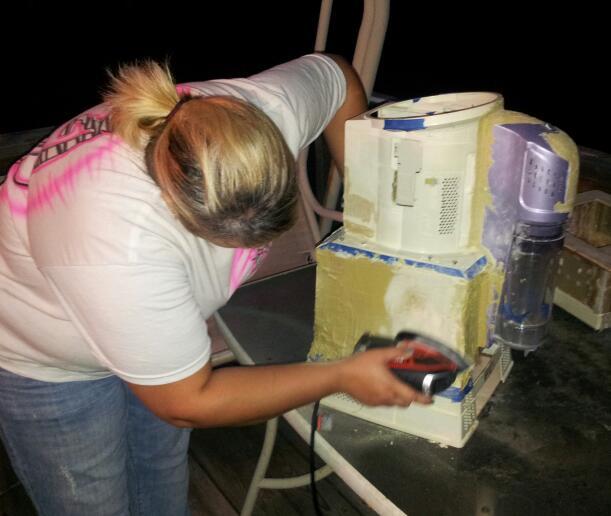
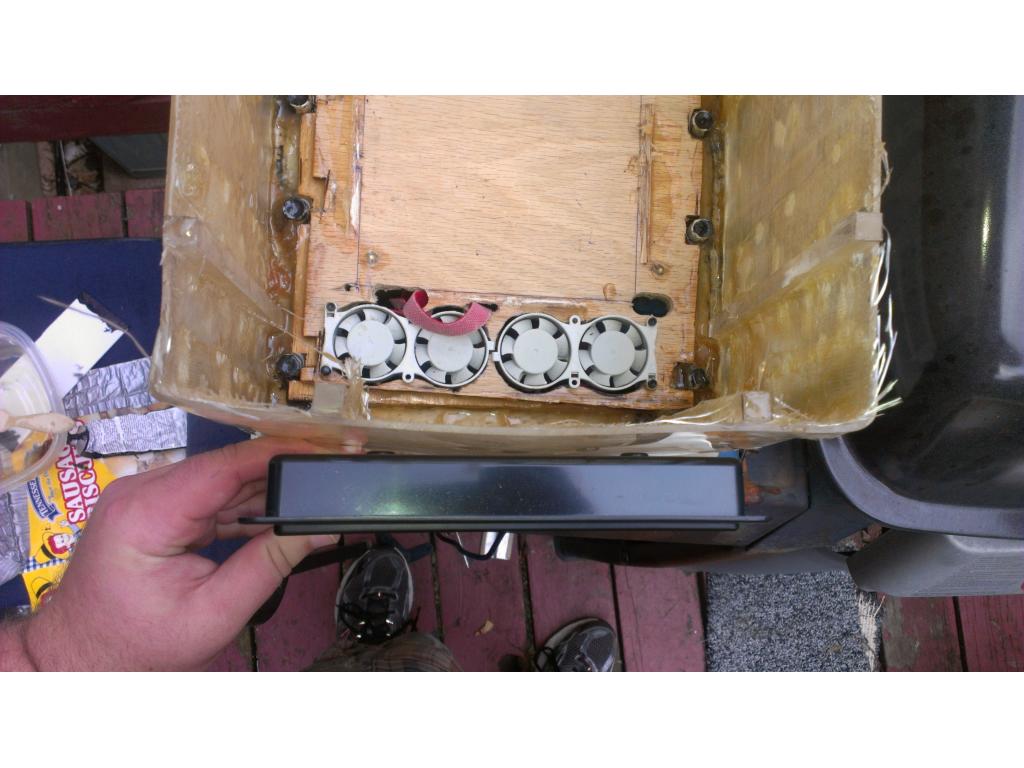
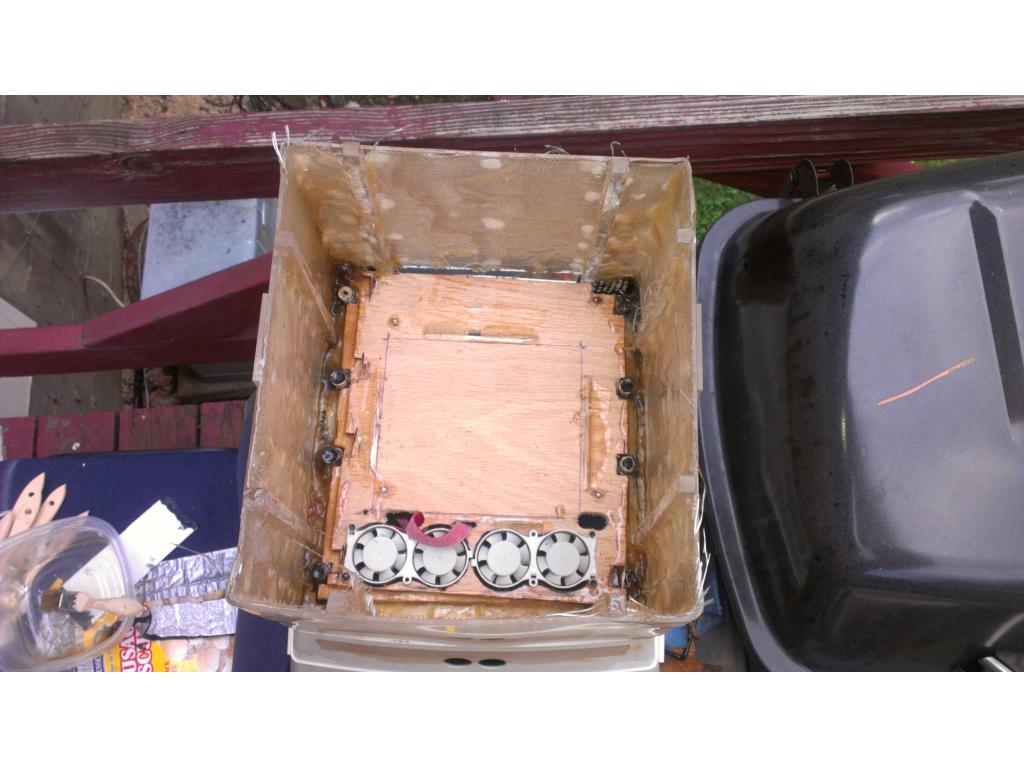
Second step - use vents modestly , they only.need to be slightly larger than the fan that will be drawing air through. , find a good place for your fan on the inside of the case.
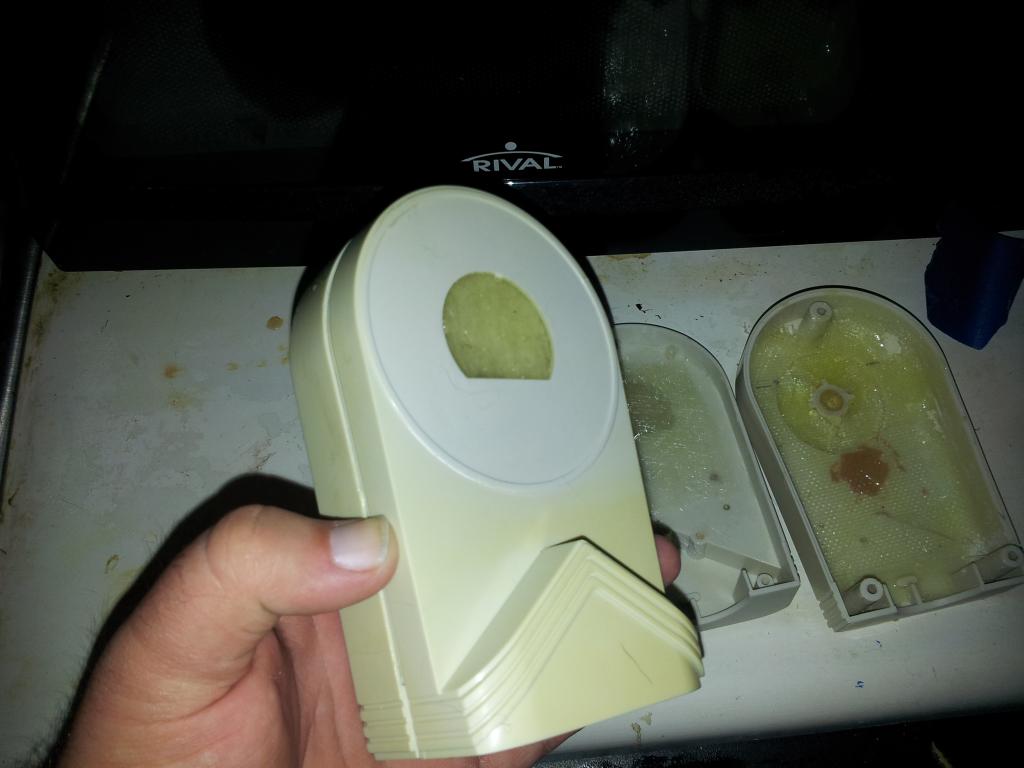
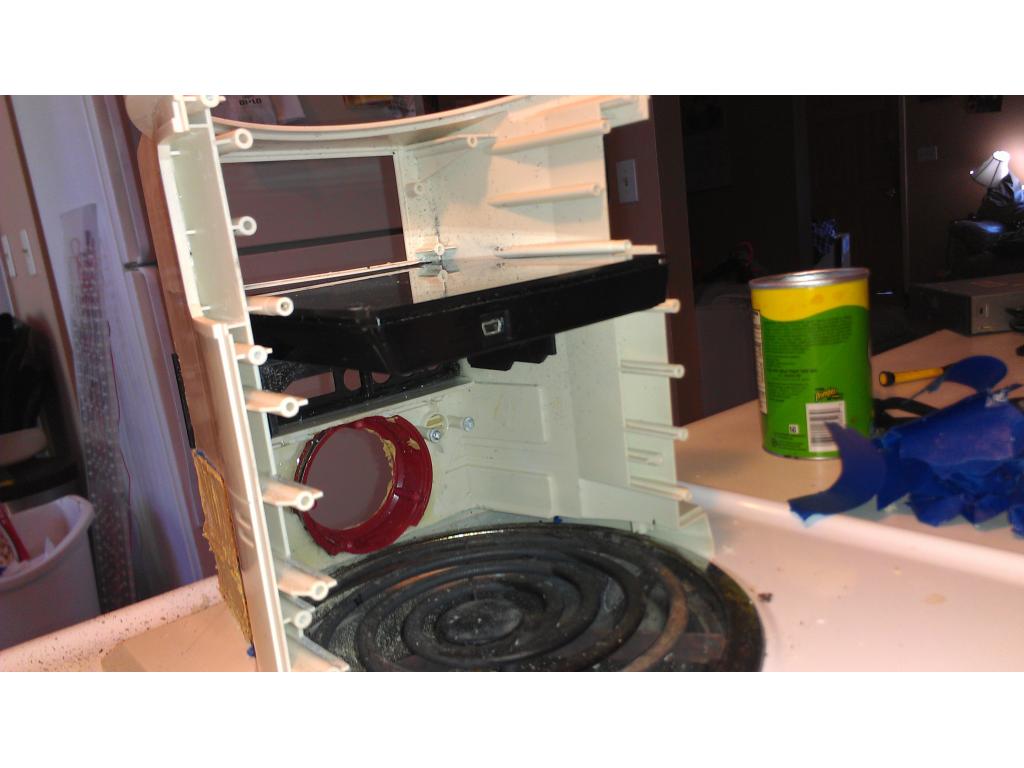
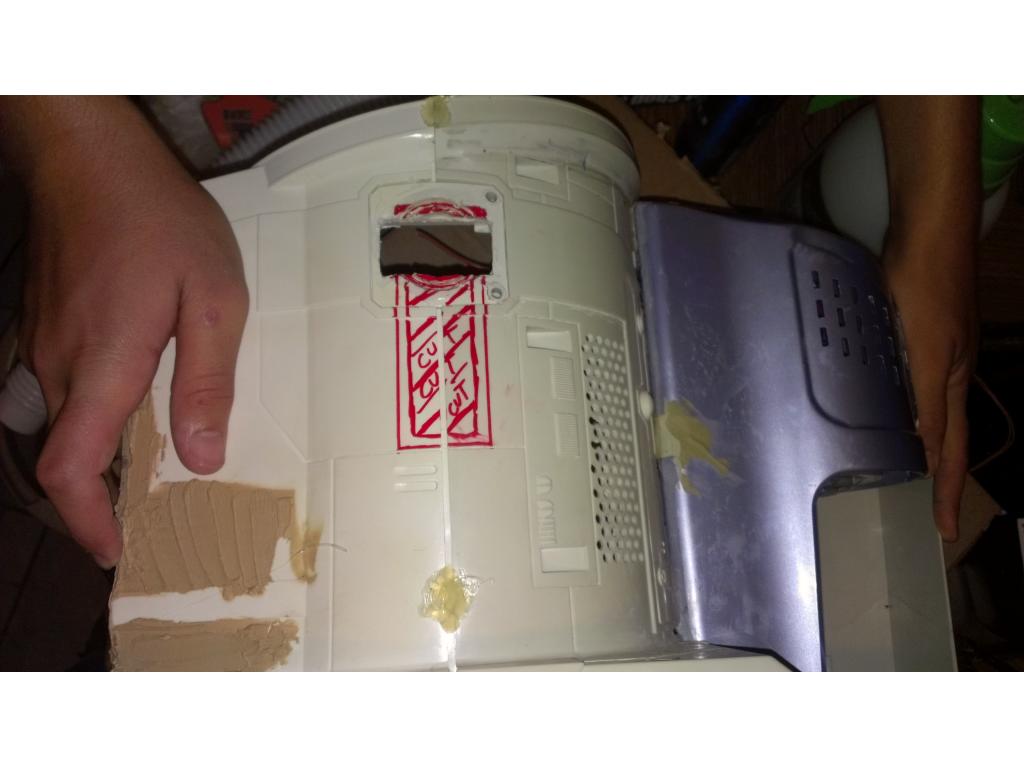
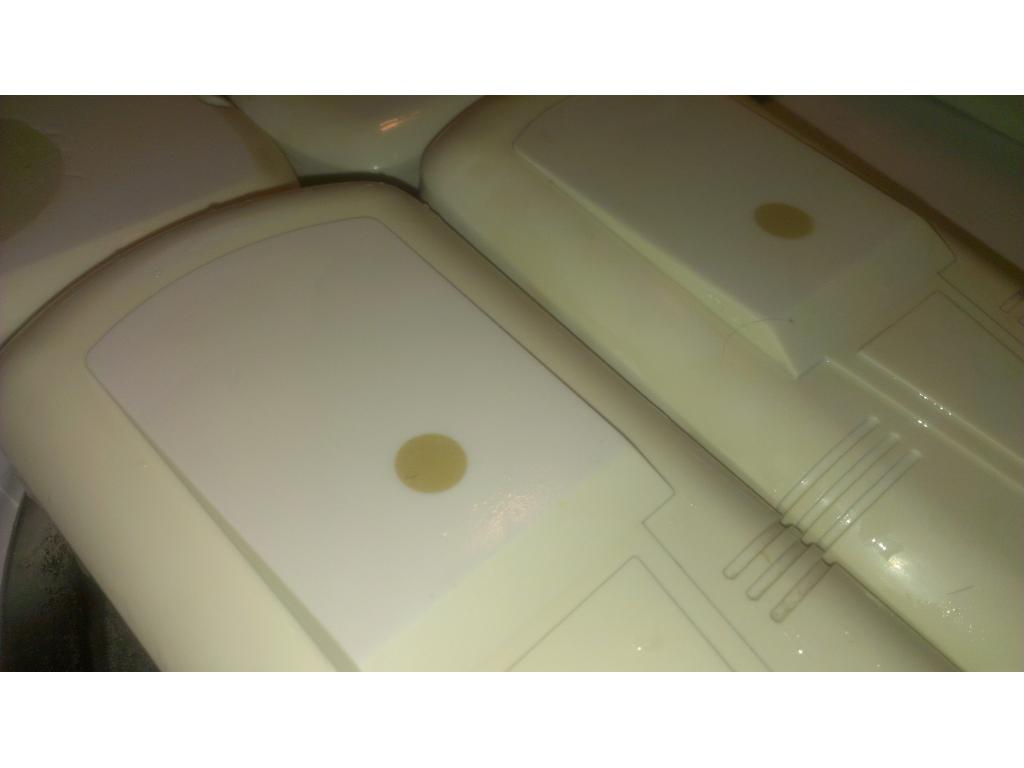
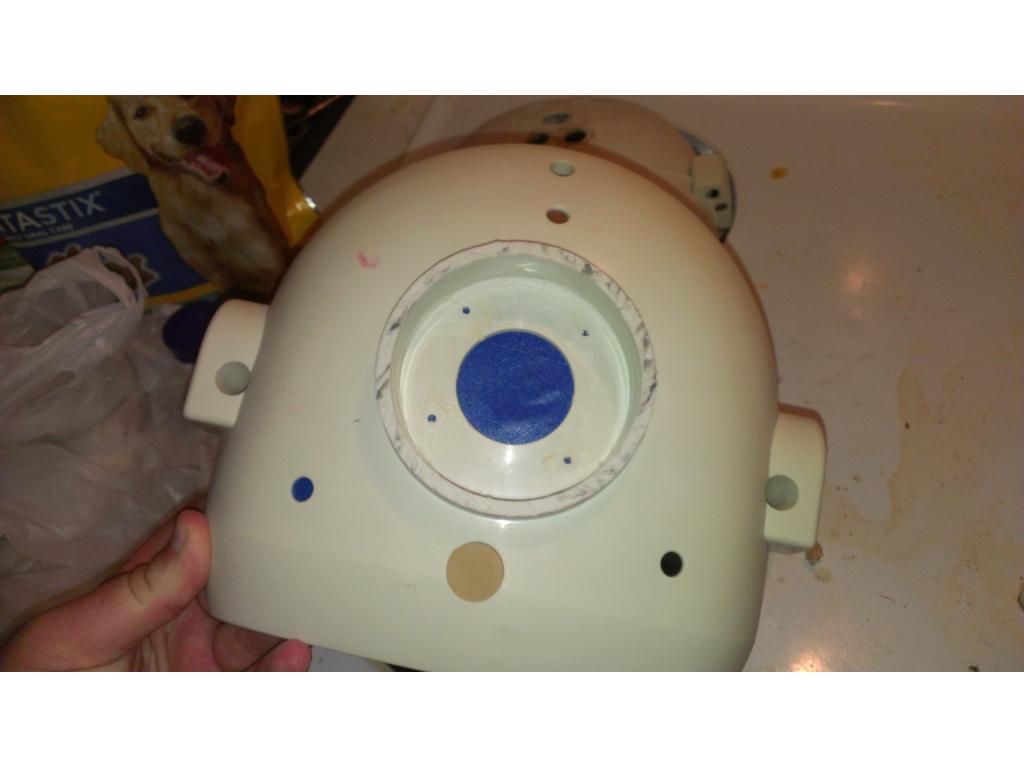
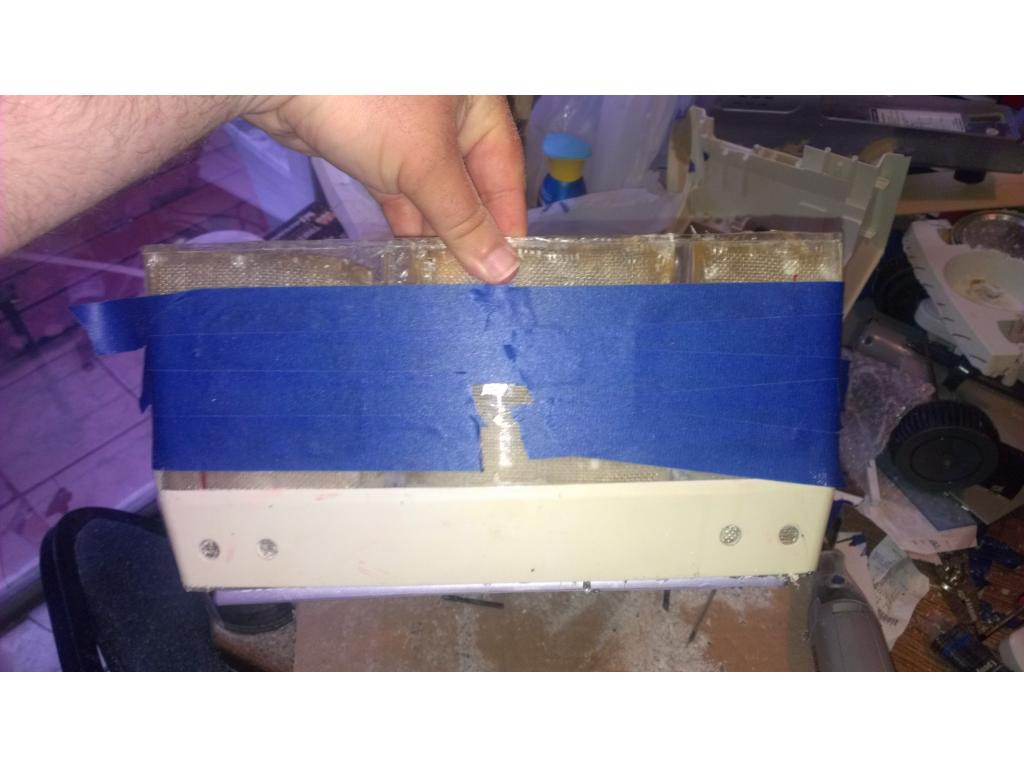
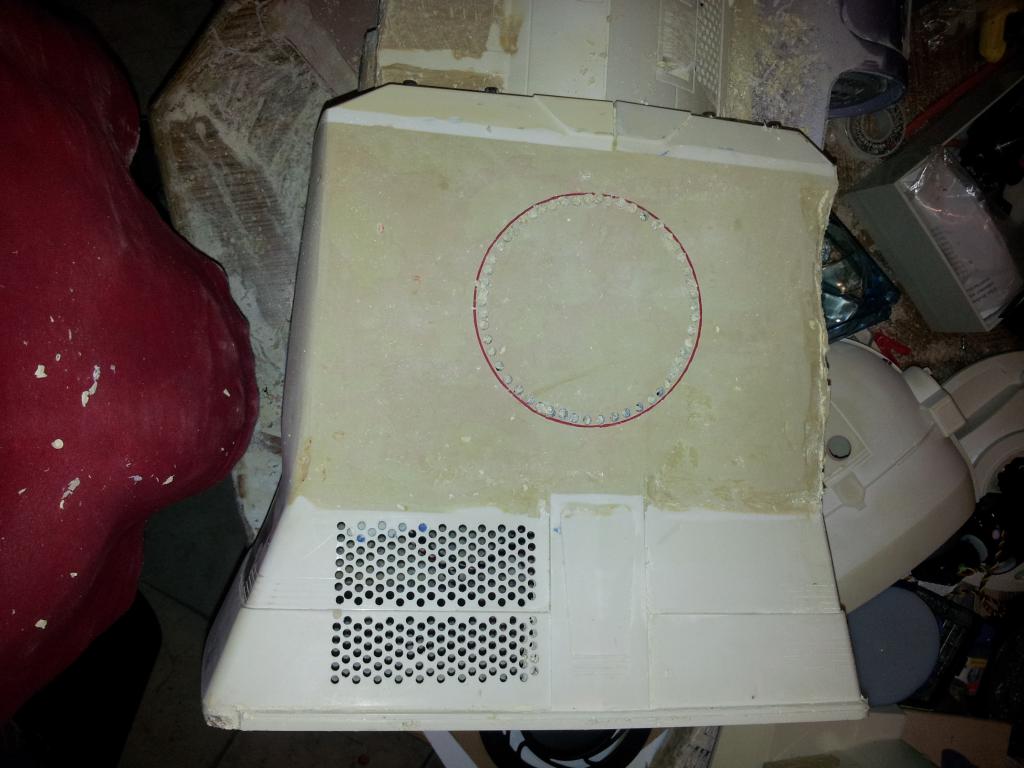
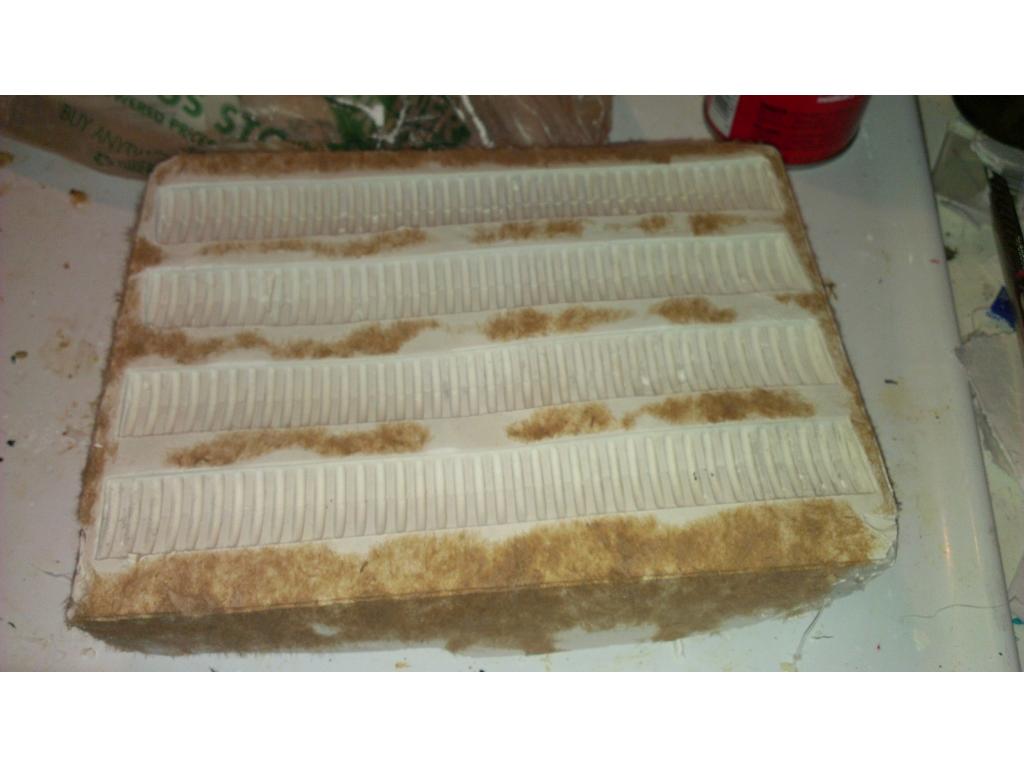
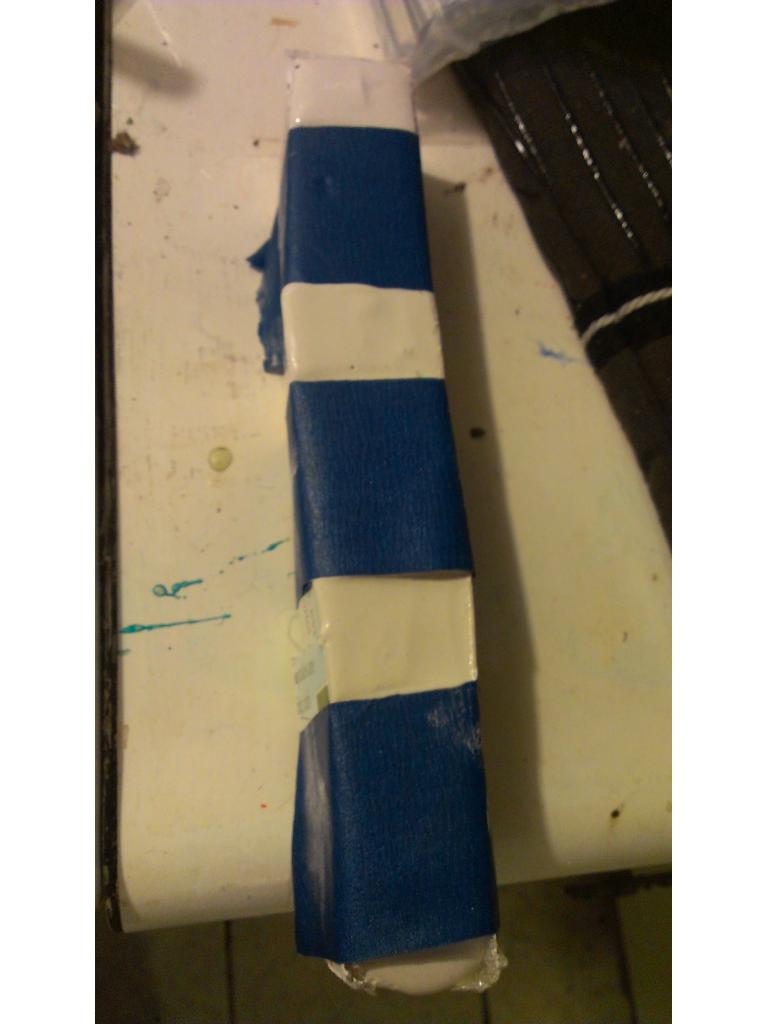
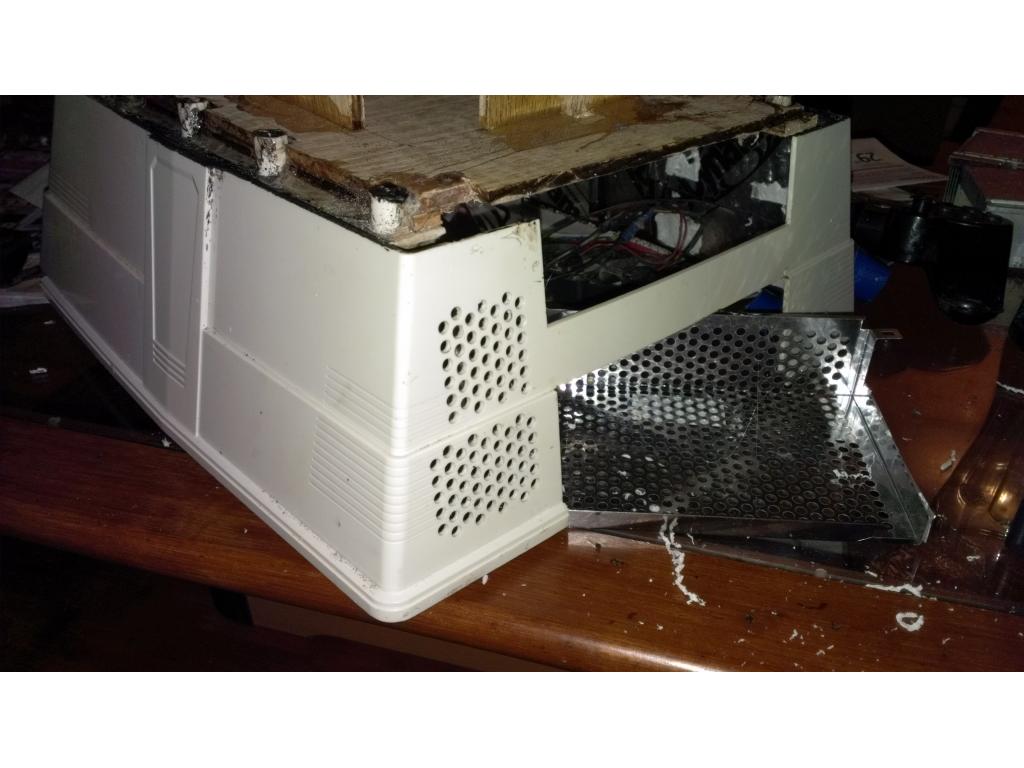
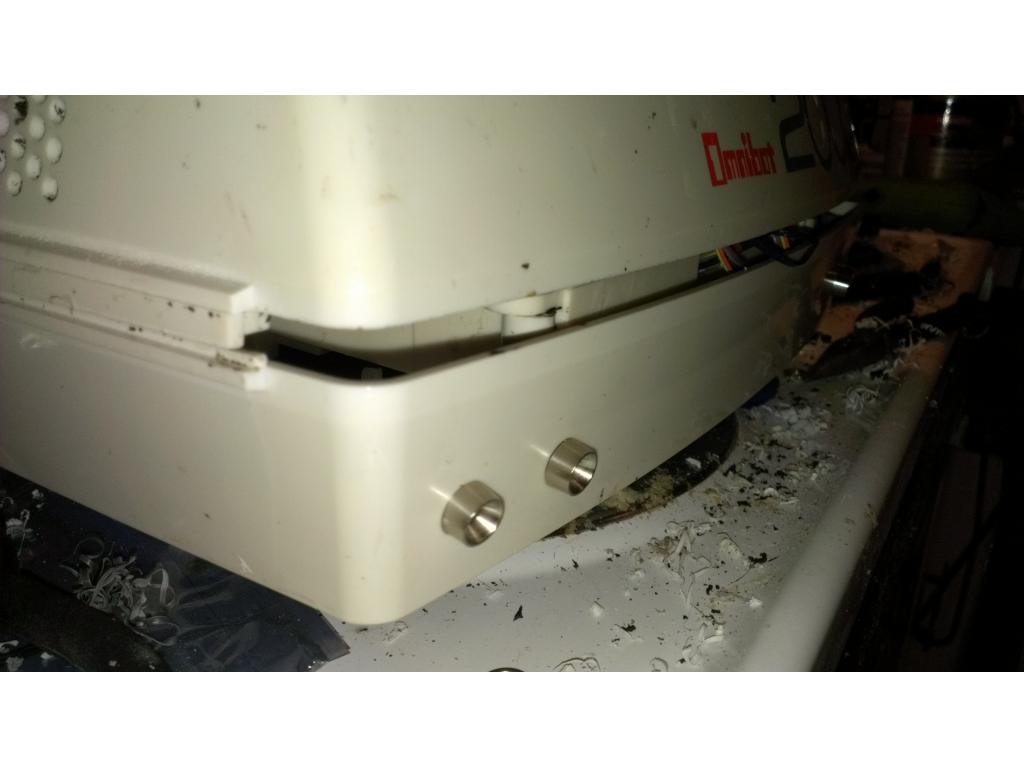
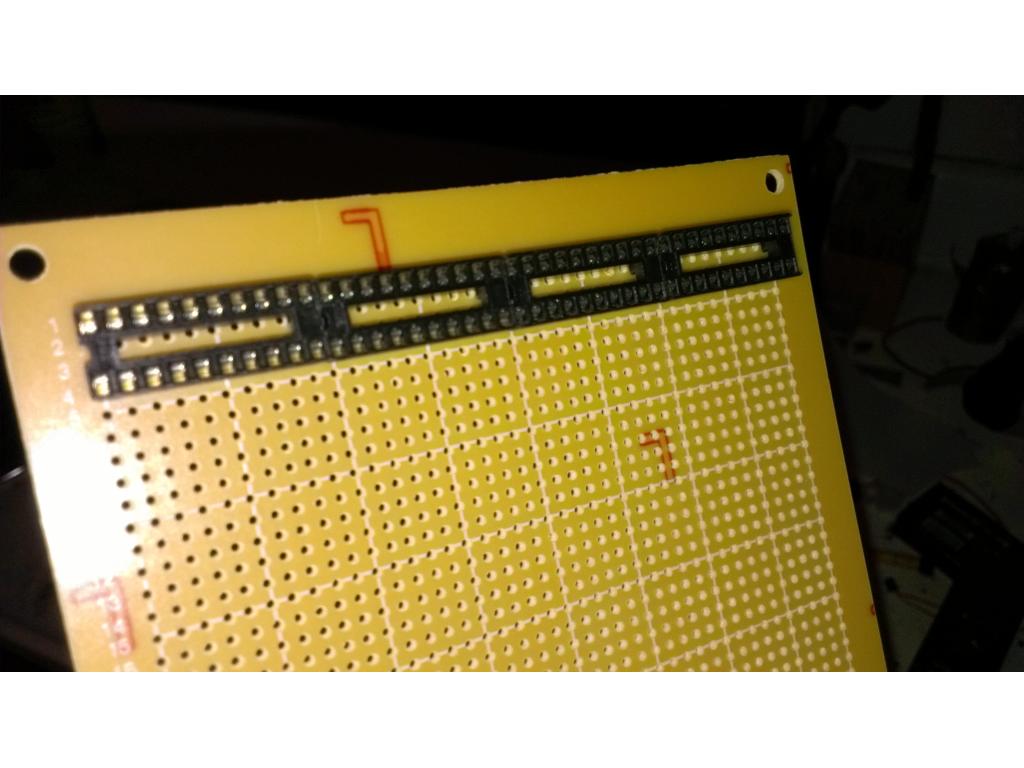
Third- like up your honeycomb template over where you want your vent , be sure to count the rows left to right and vertically so you won't have any stray holes accidentally drilled. sing masking tape works well I'd you need to make more than one vent.
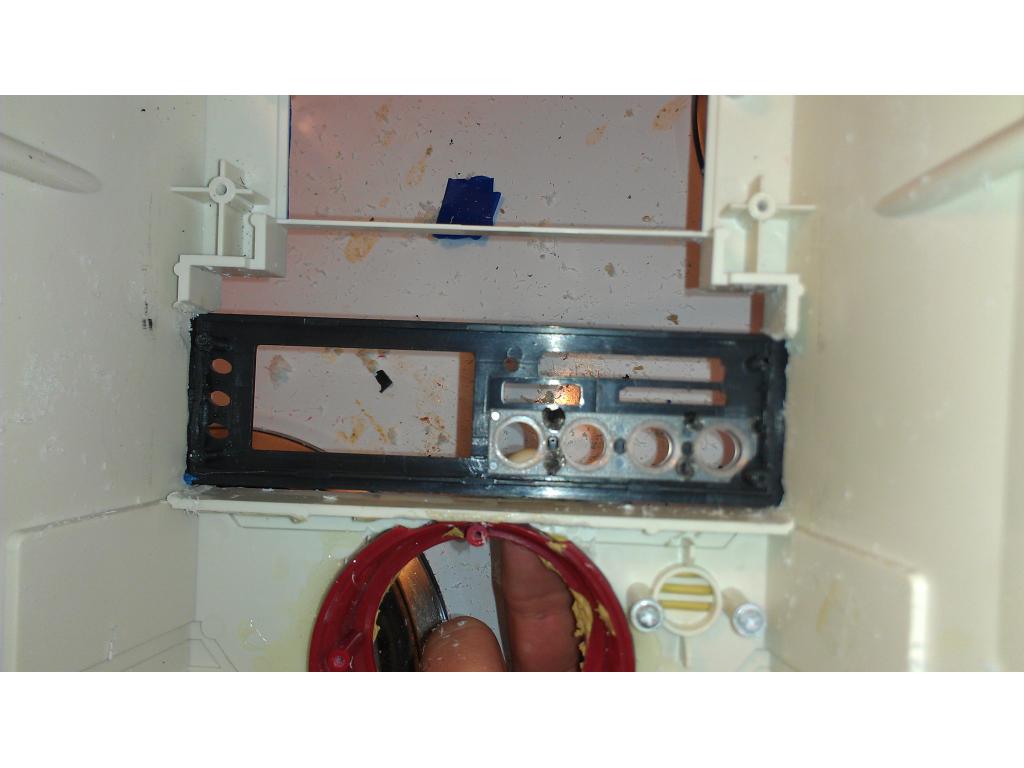
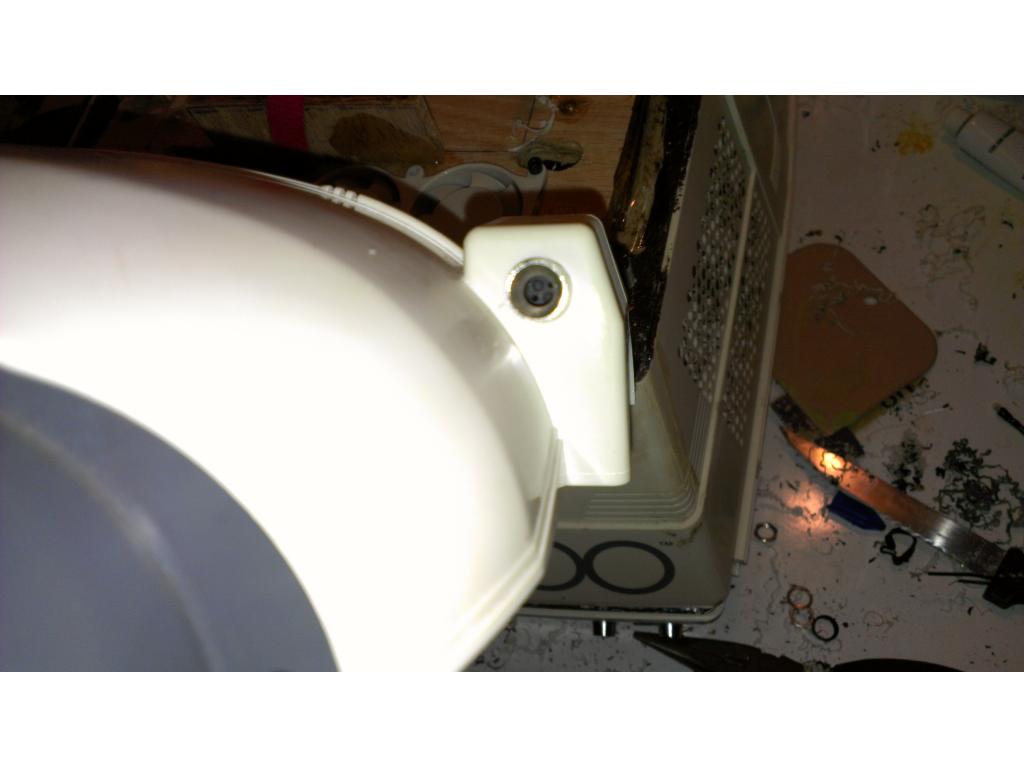
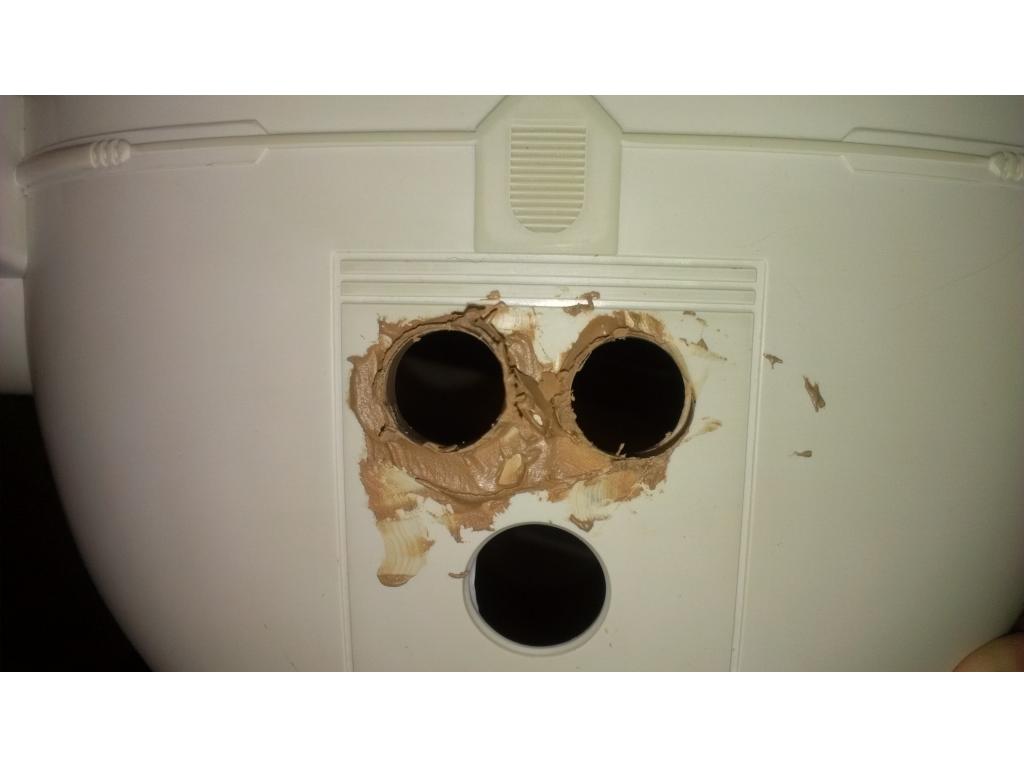
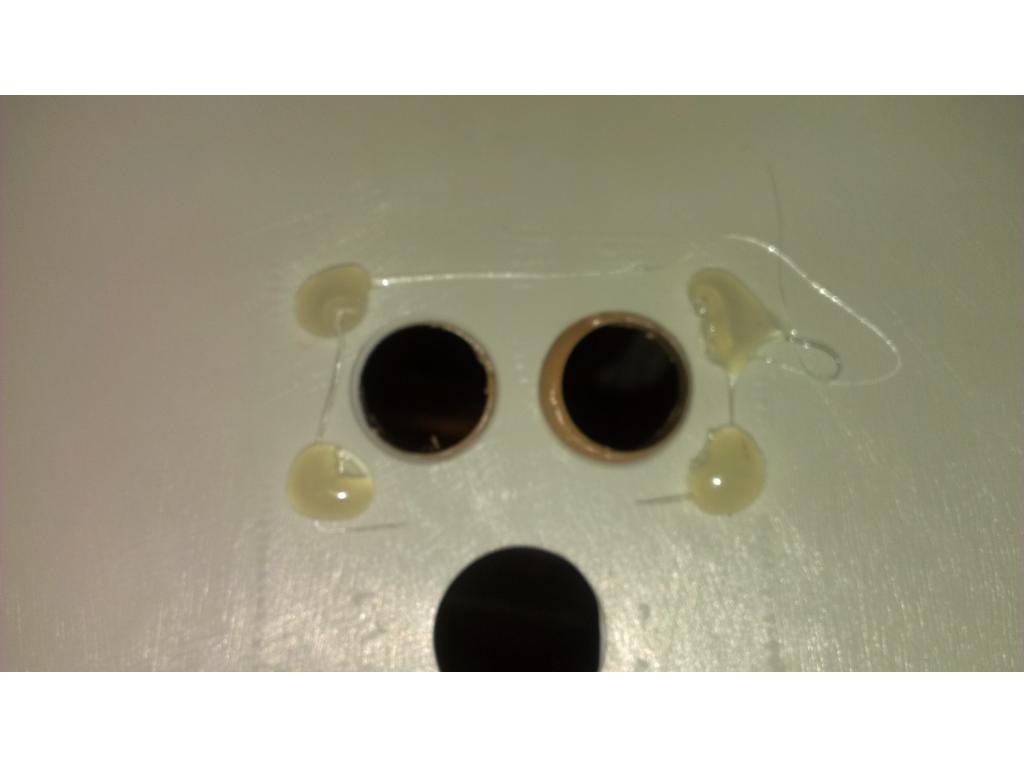
Fourth step- carefully line up.the holes to be horizontal against any edges on your robots body. Hot glue it in place with several large gobs. Don't worry these pop right off si smooth plastic. Drill your rows of holes and make your desired pattern.
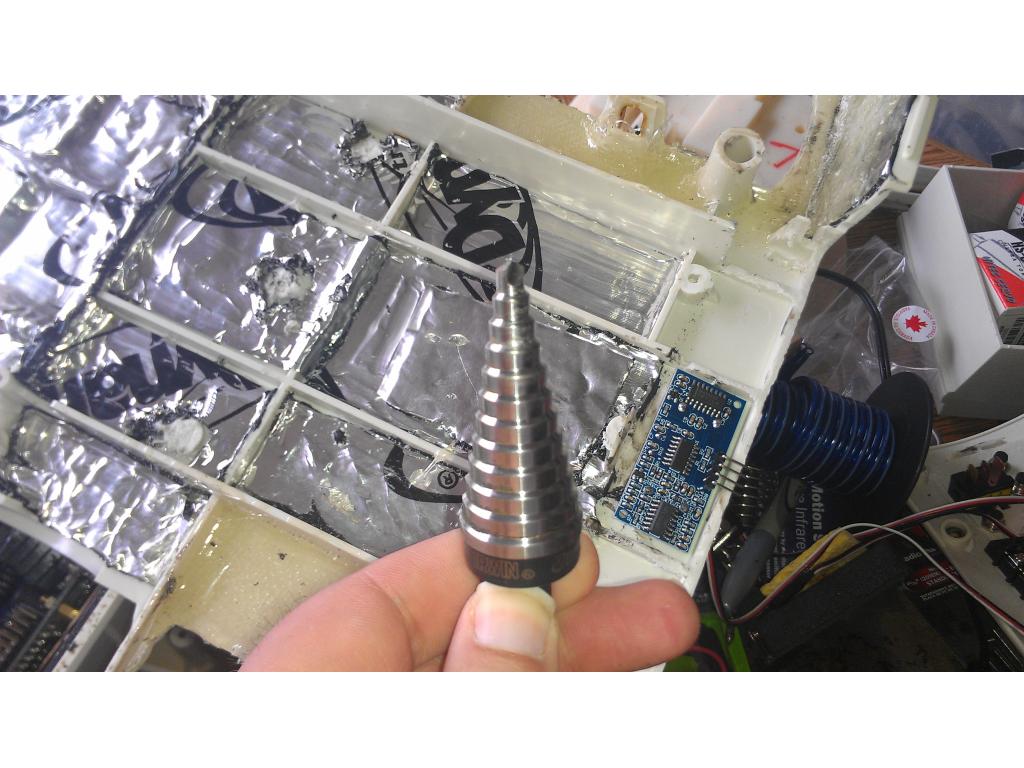
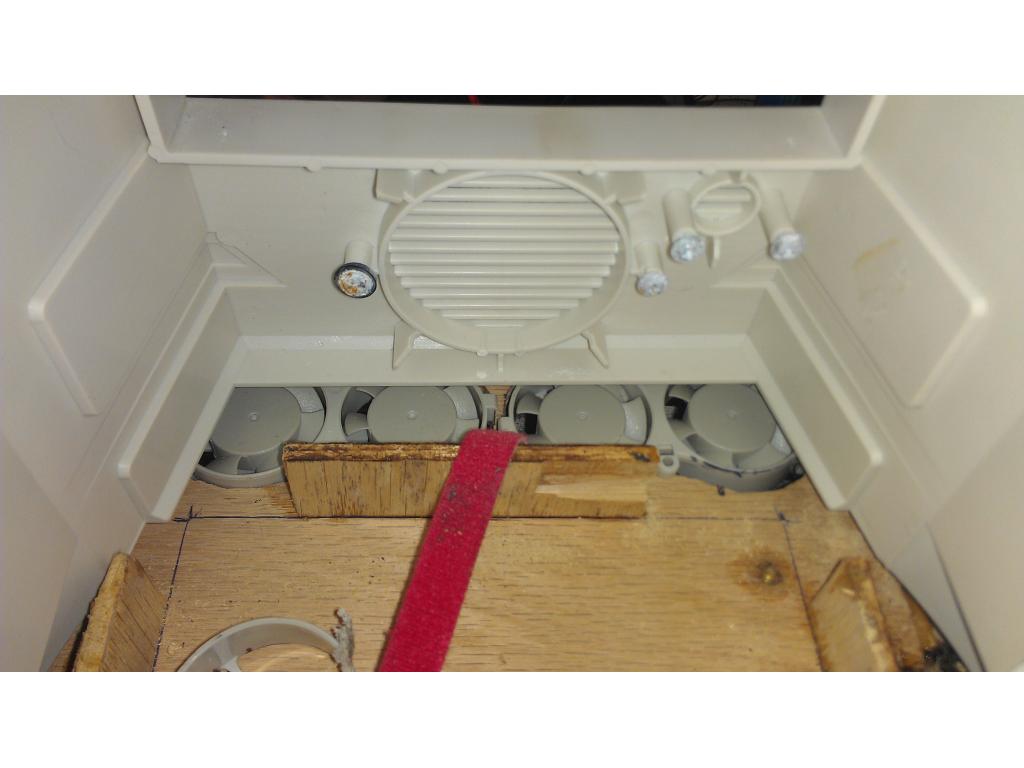
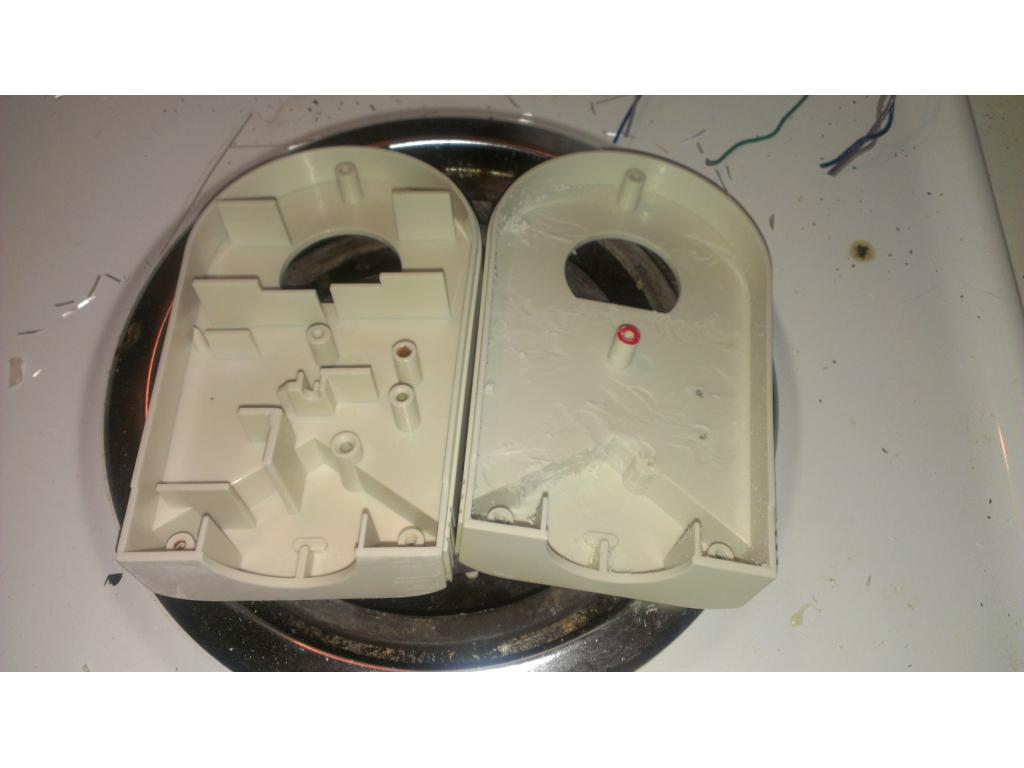
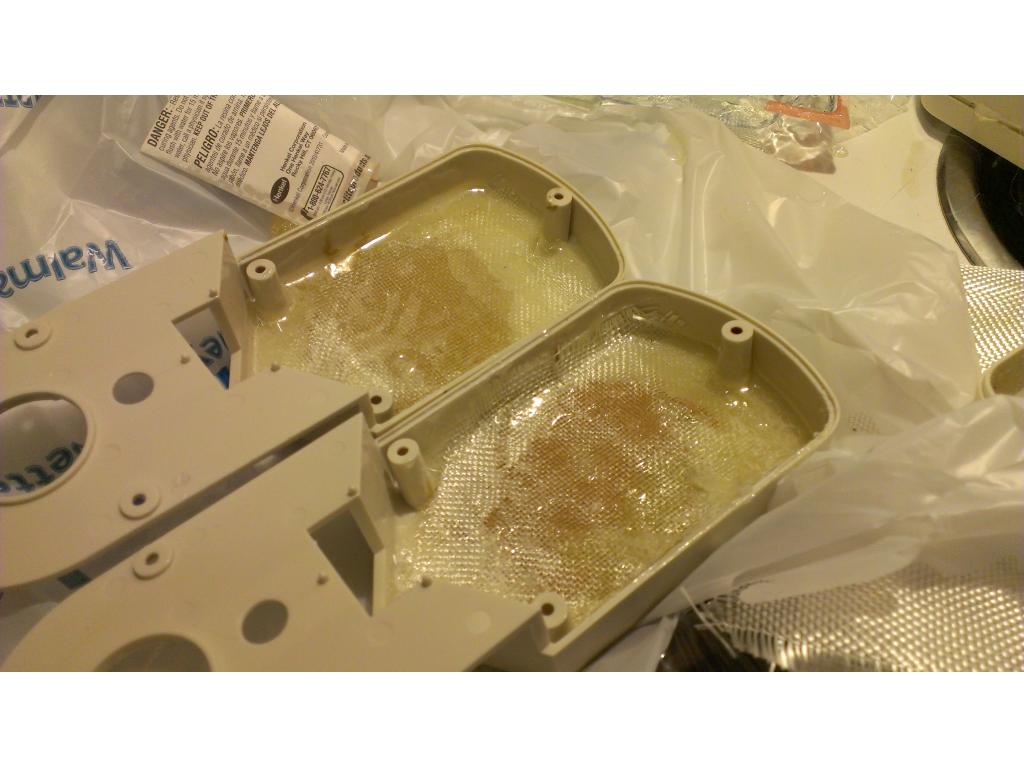
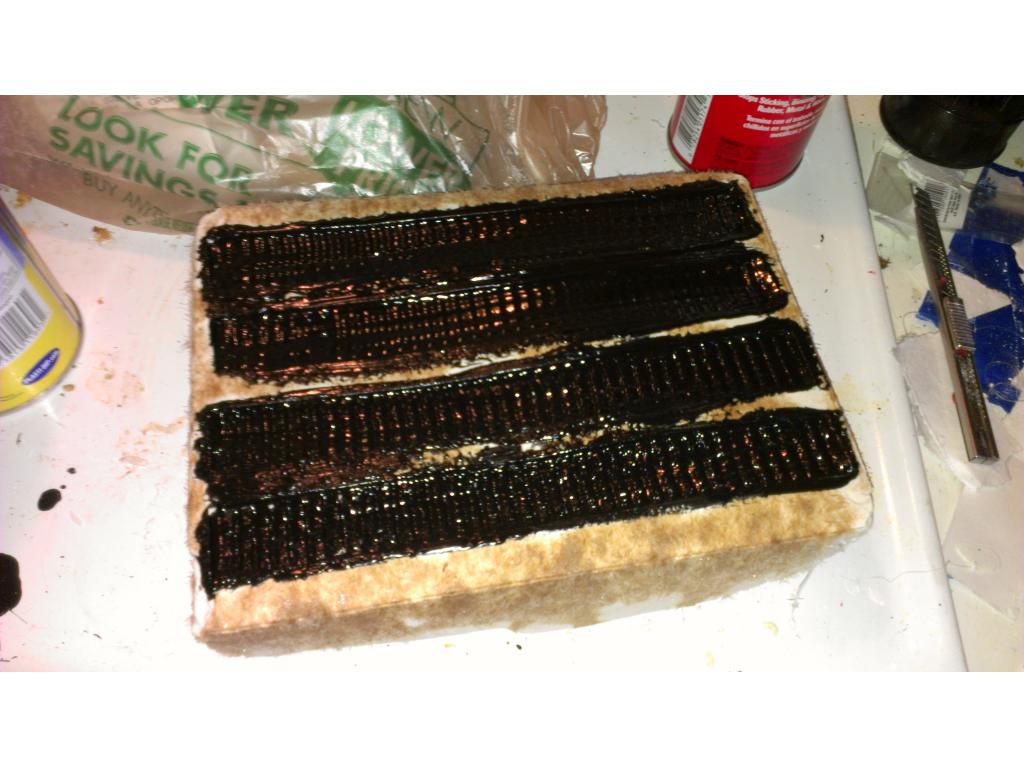
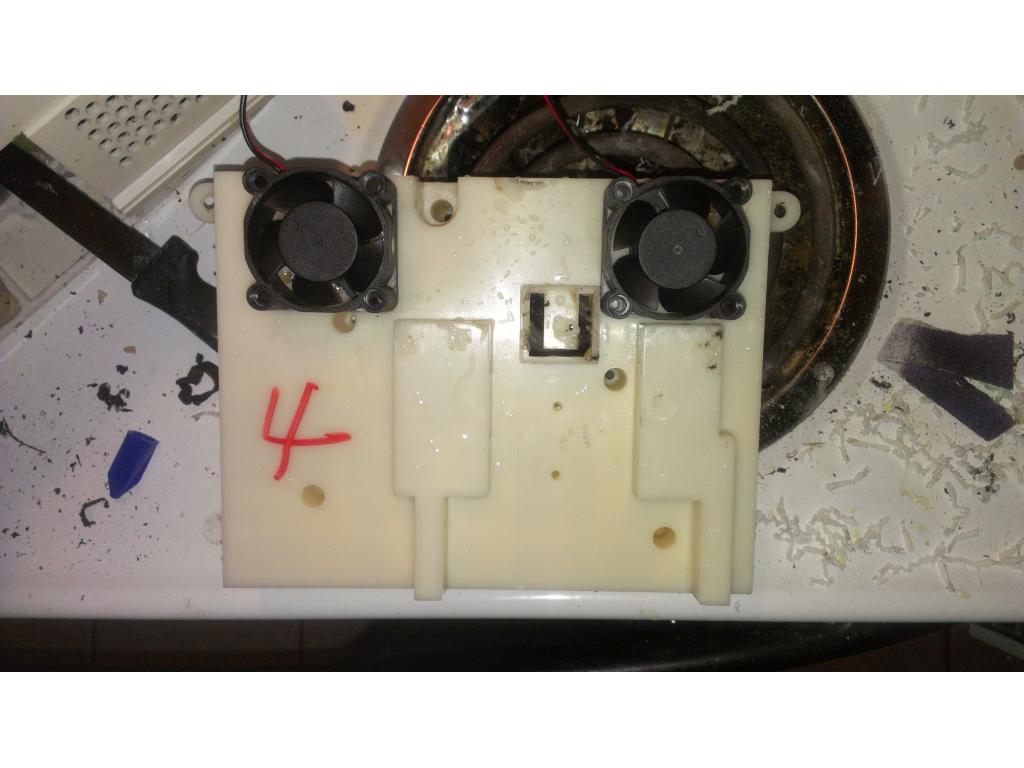
Extra step! For those who want max airflow , on the inside of the case you are venting you can UAW a unibit or counter sink bit to make a cone shape on the vent on the inside , this decreases resistance and is proven in increase airflow by 15 percent (that's a lot guys) so you get the most out of your tiny fans...

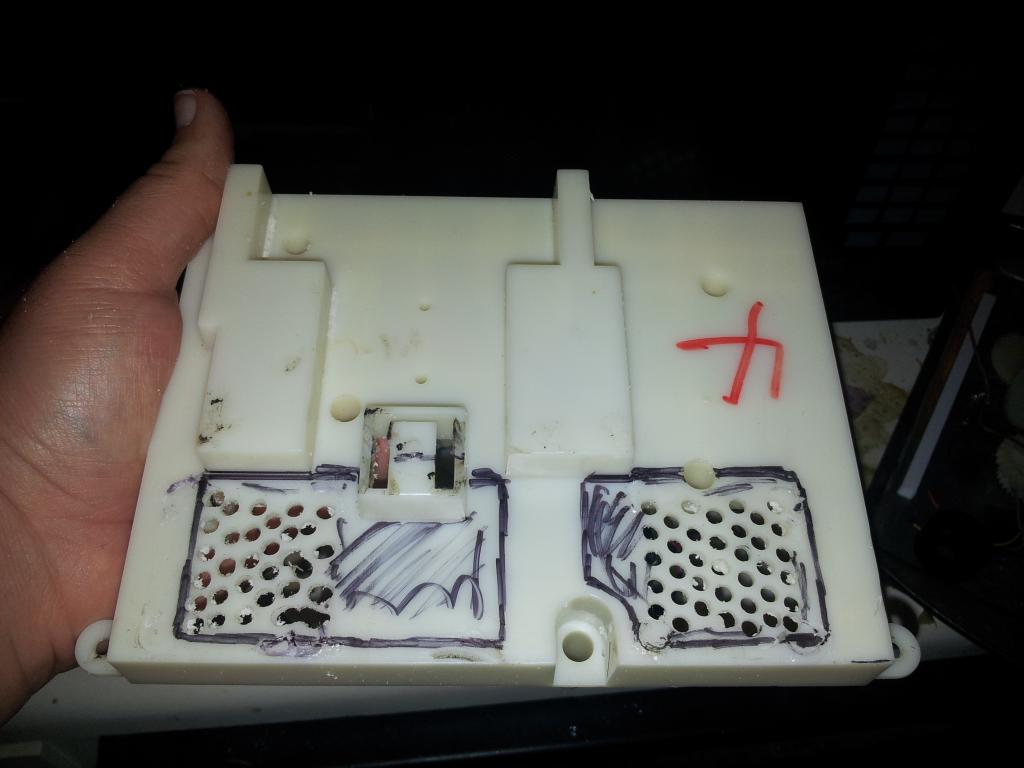
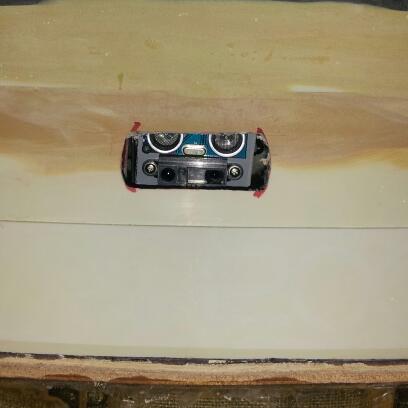
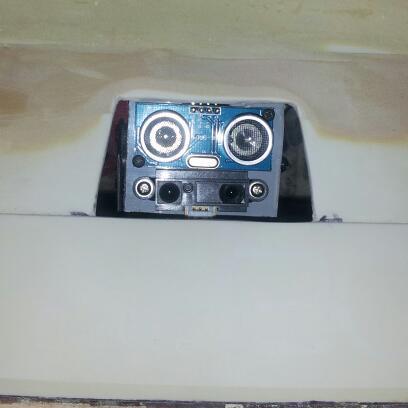
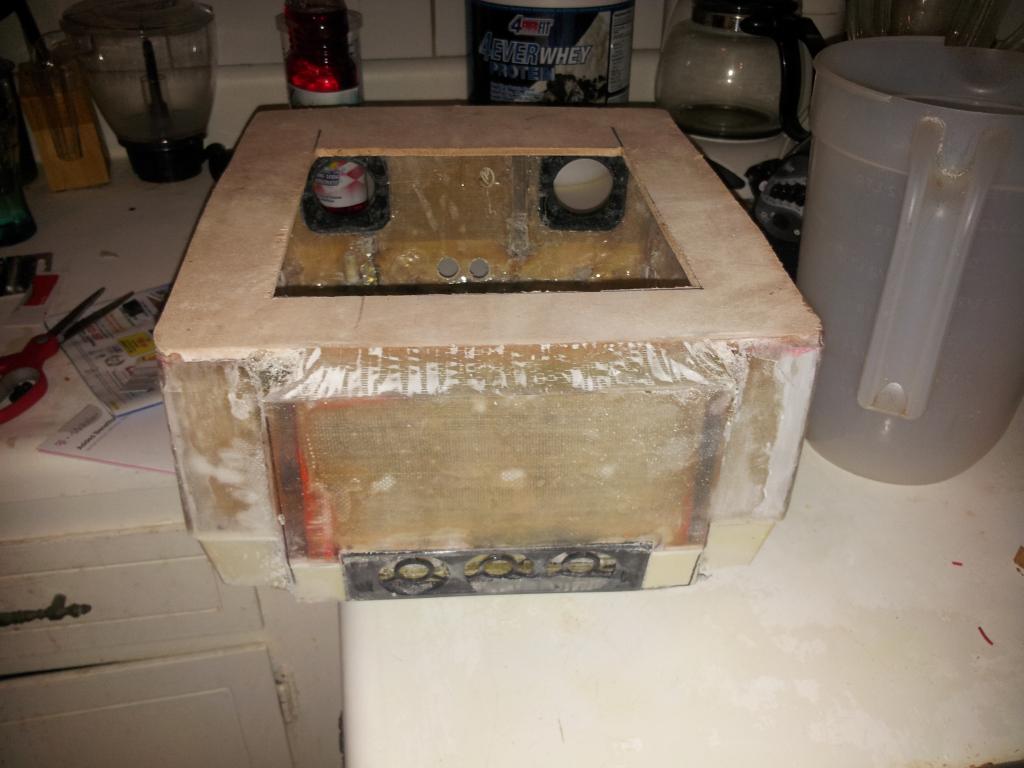
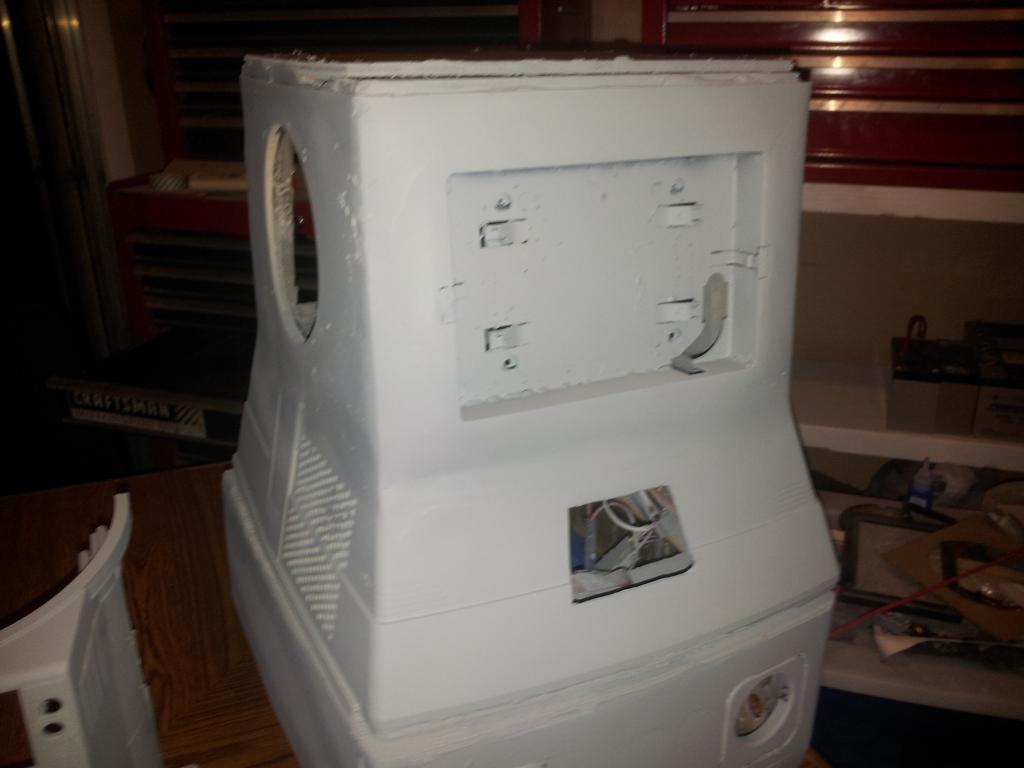
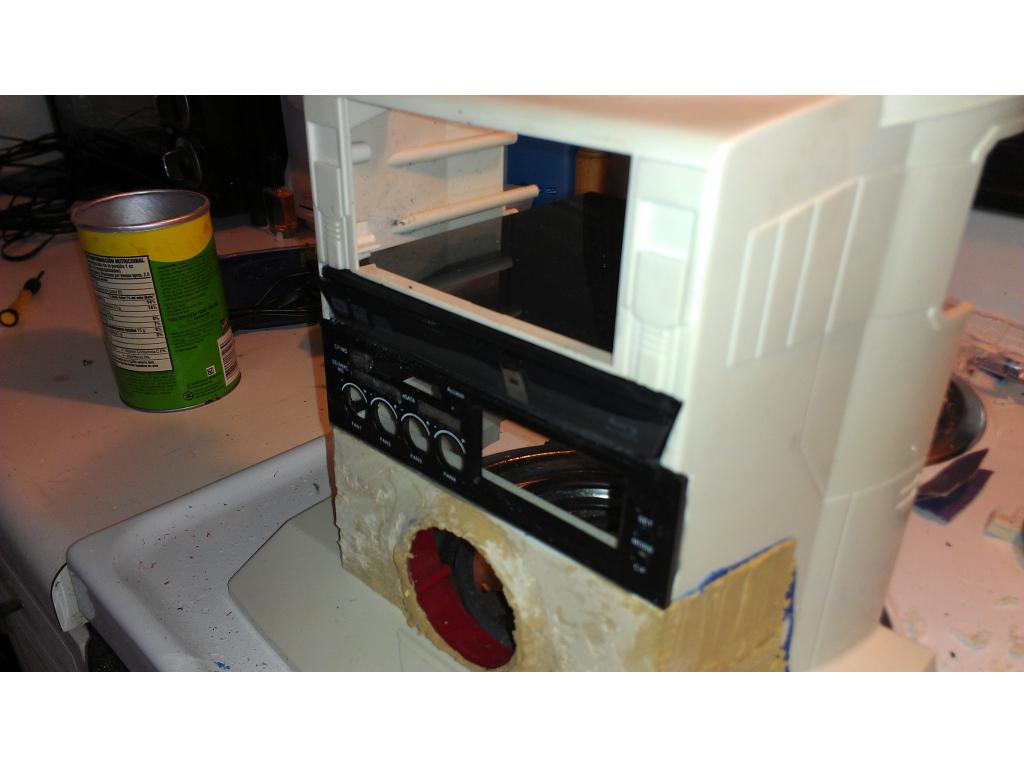
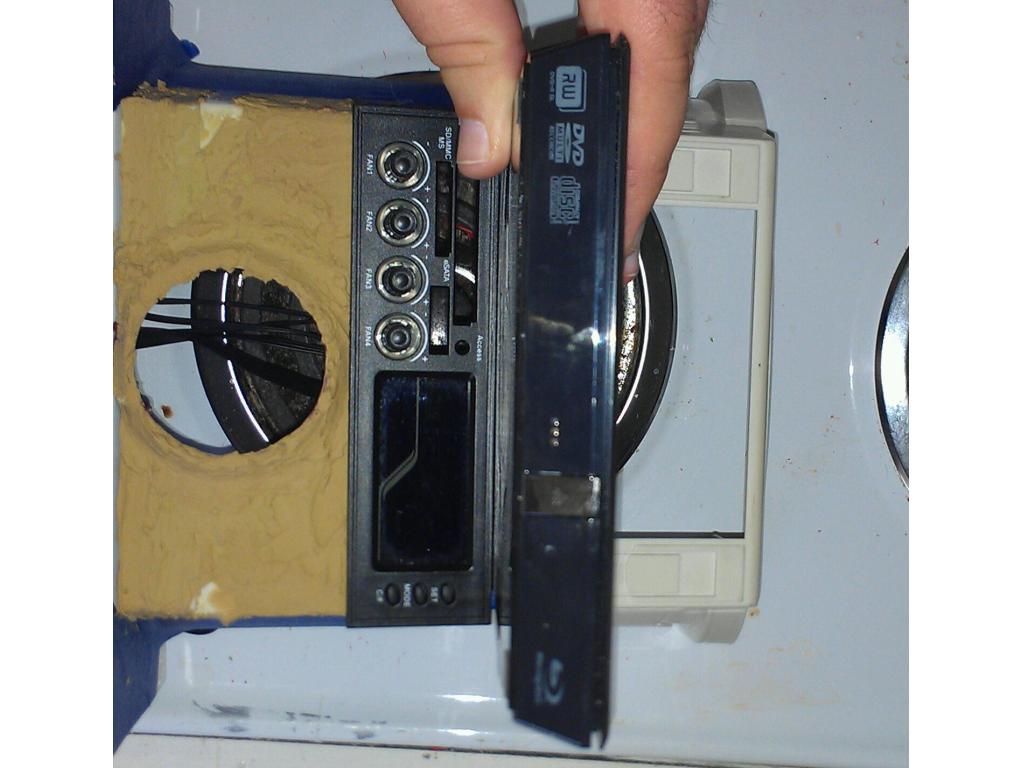
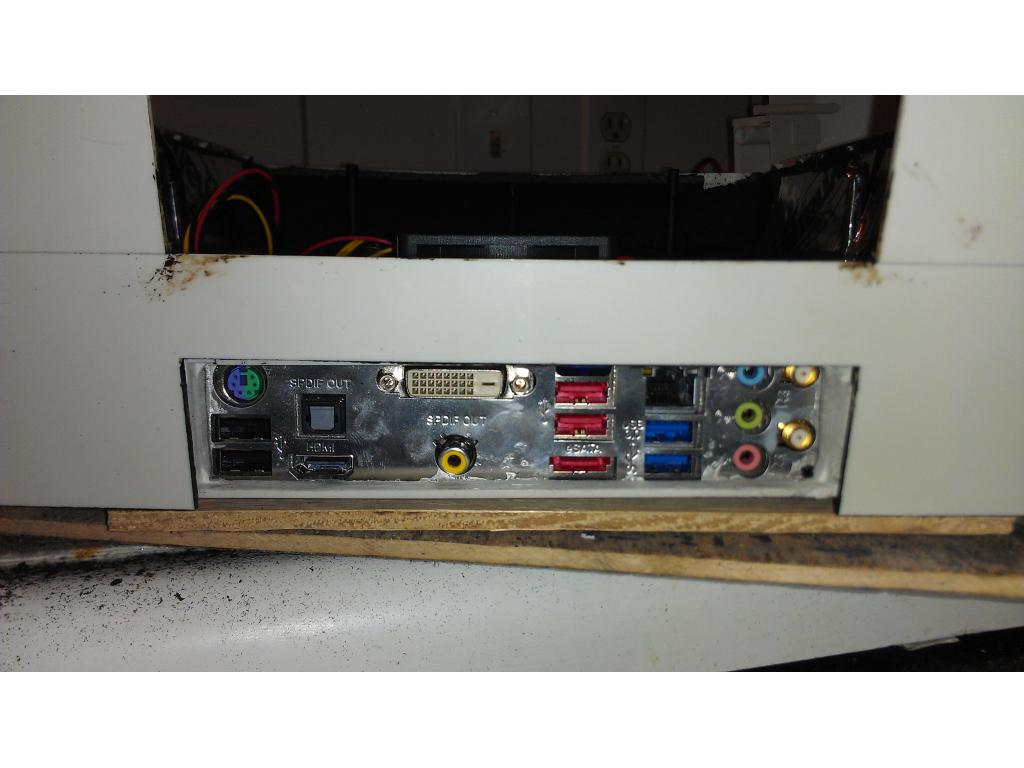
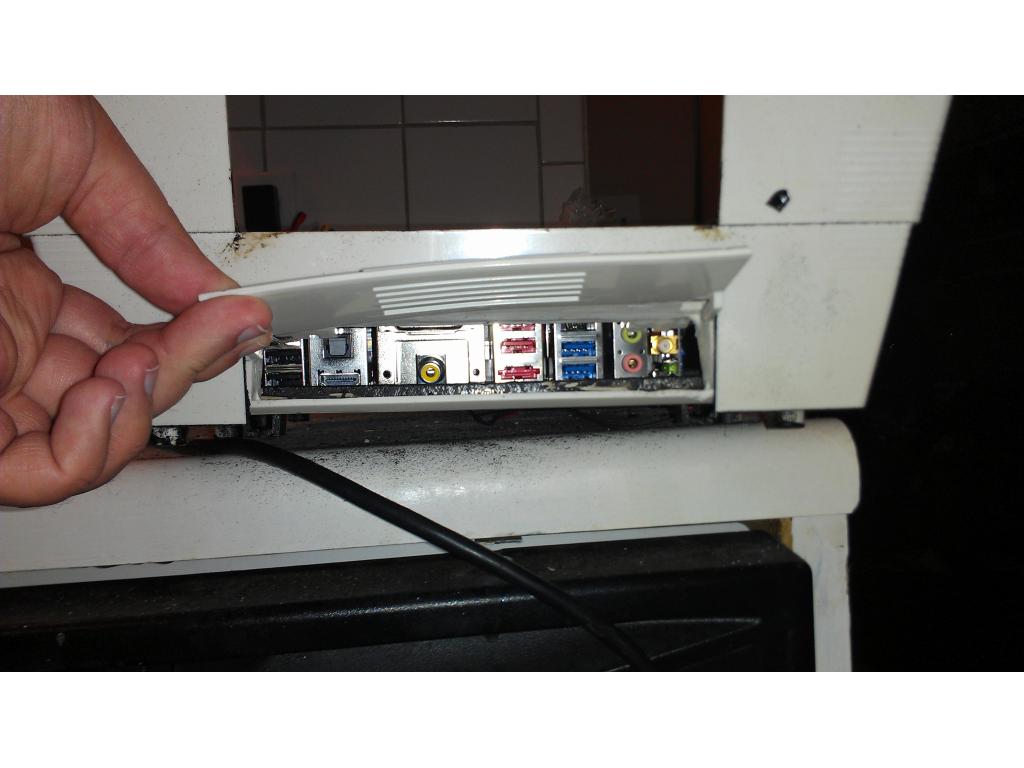
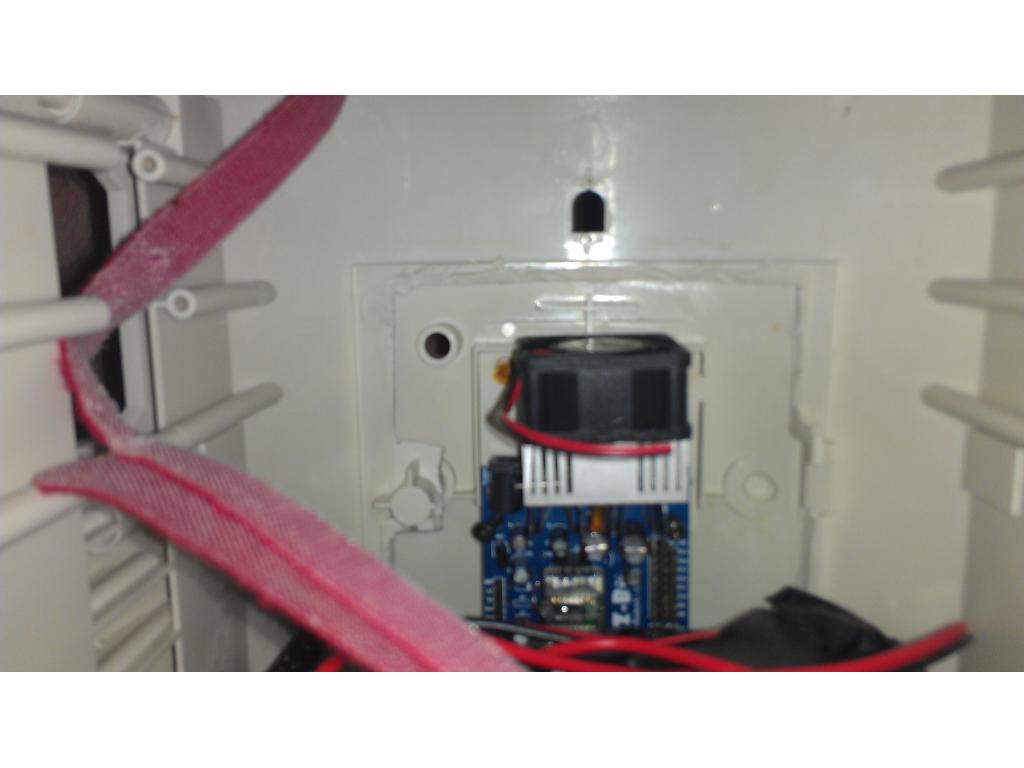
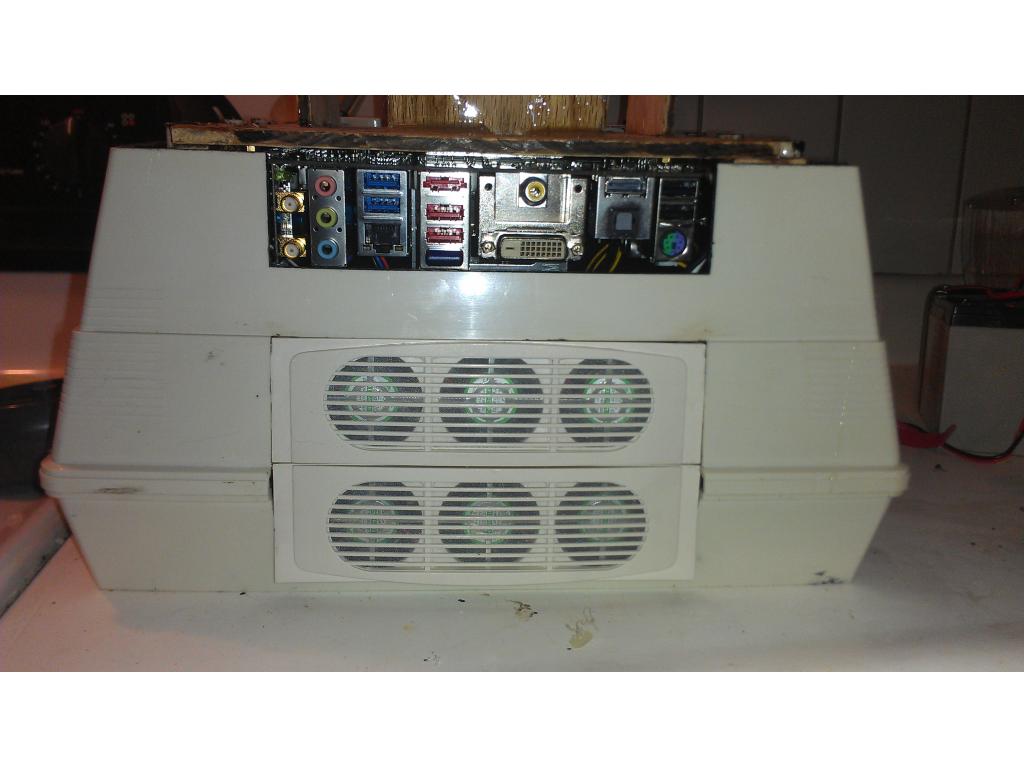
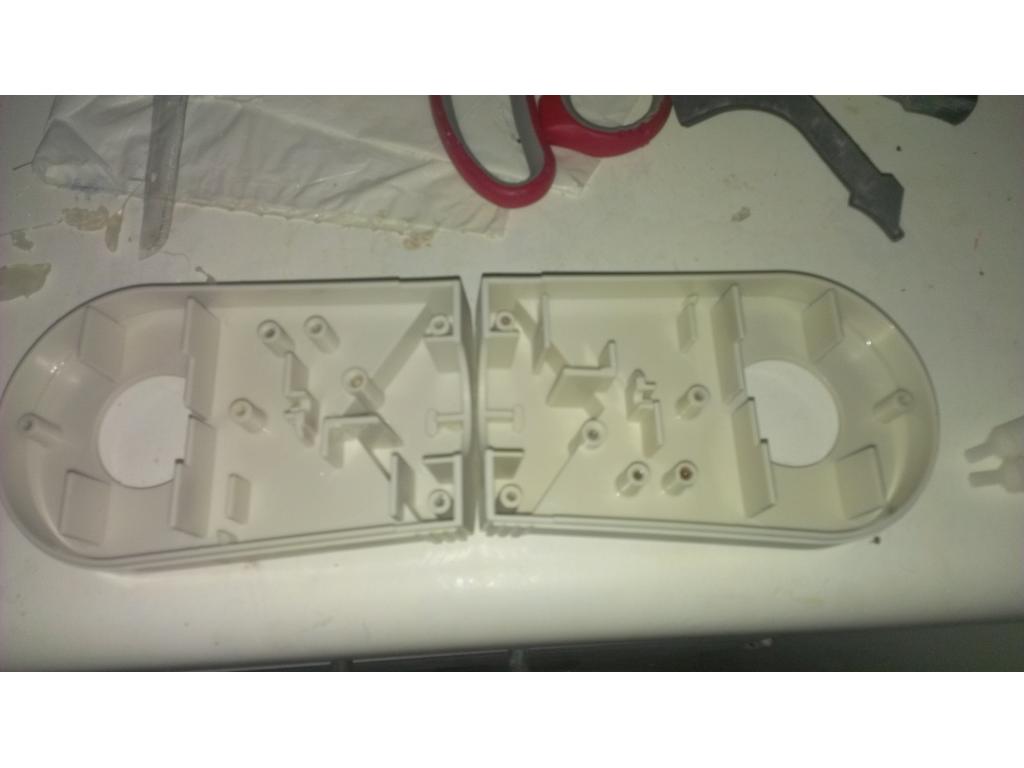
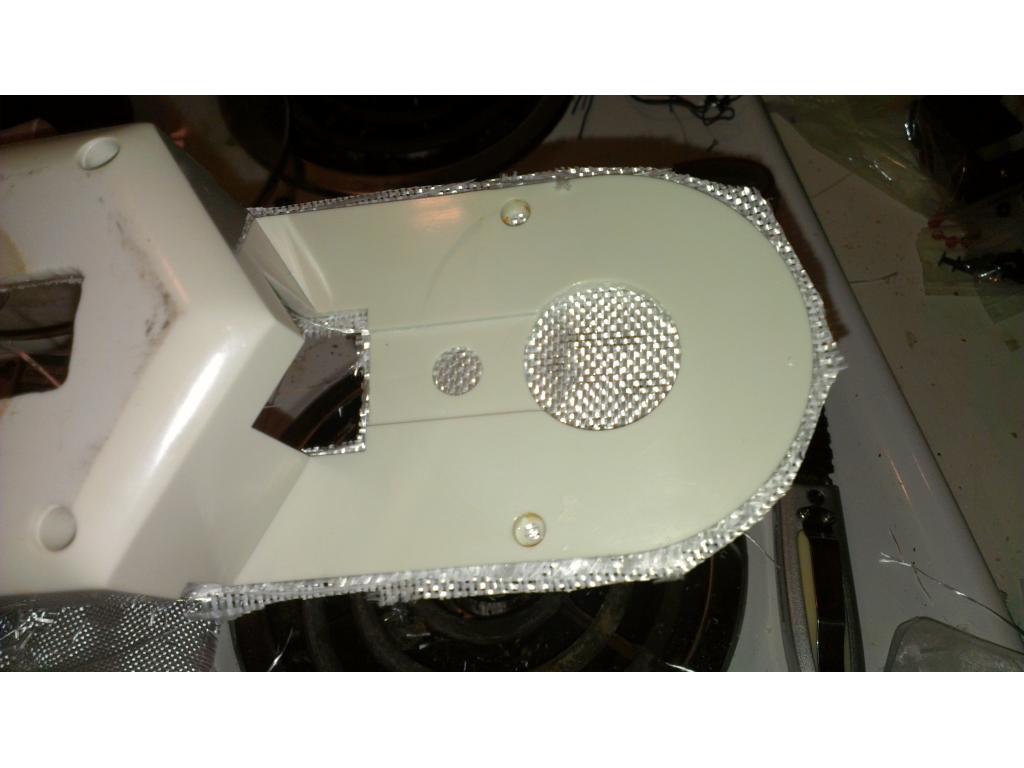
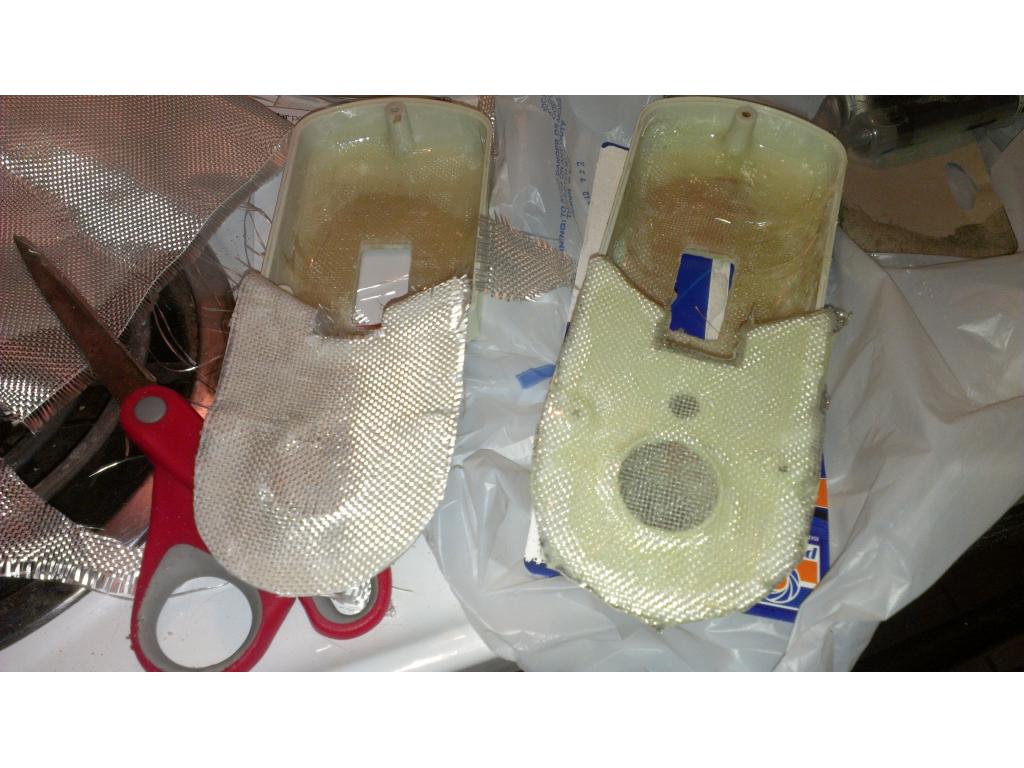
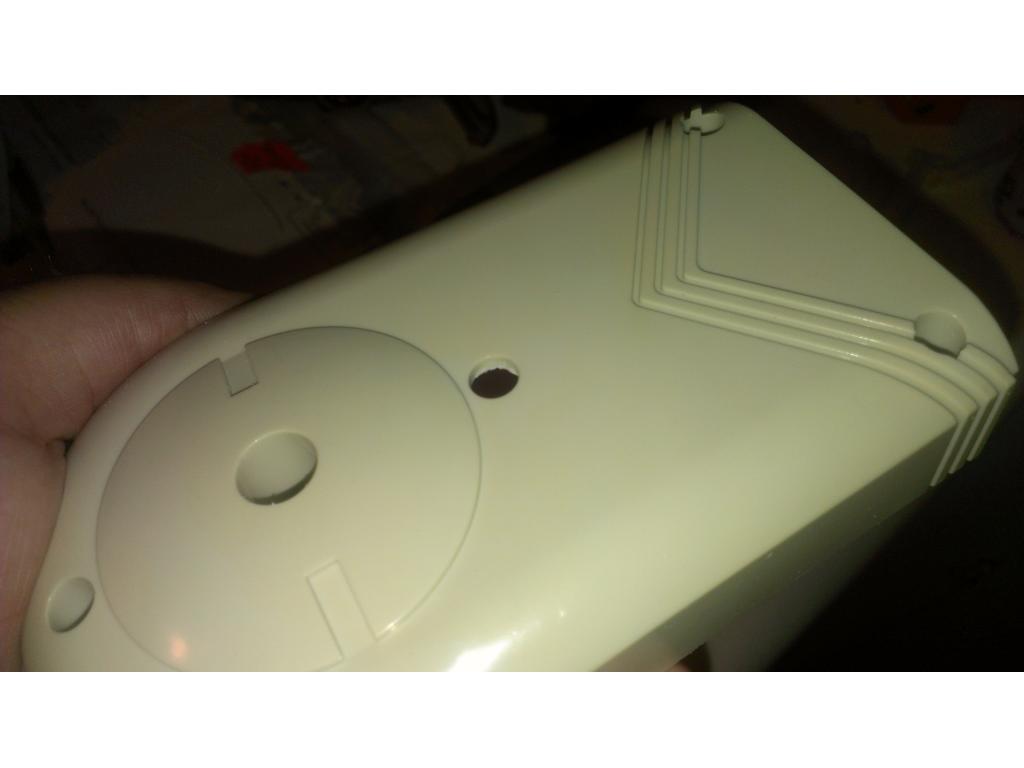
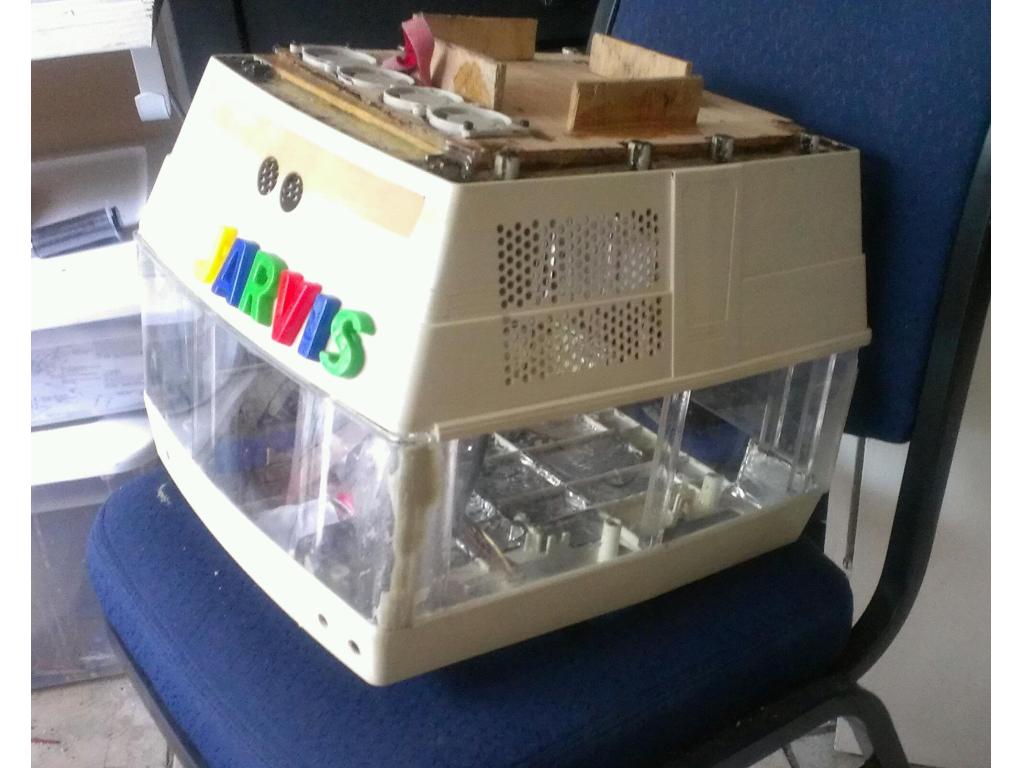
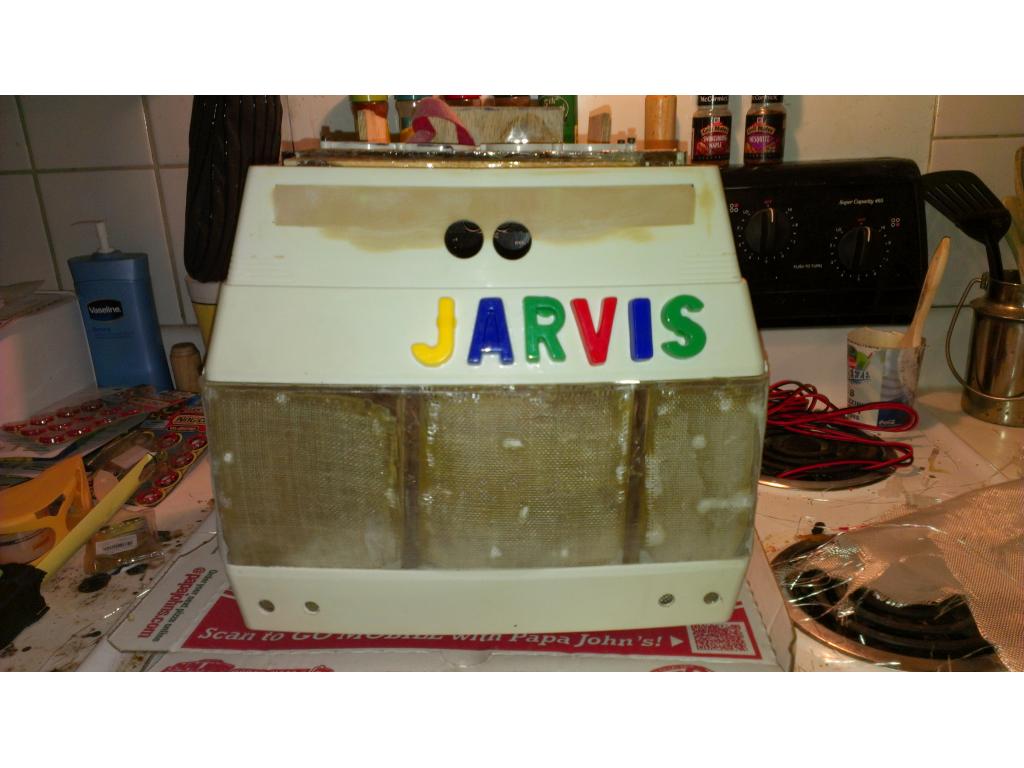
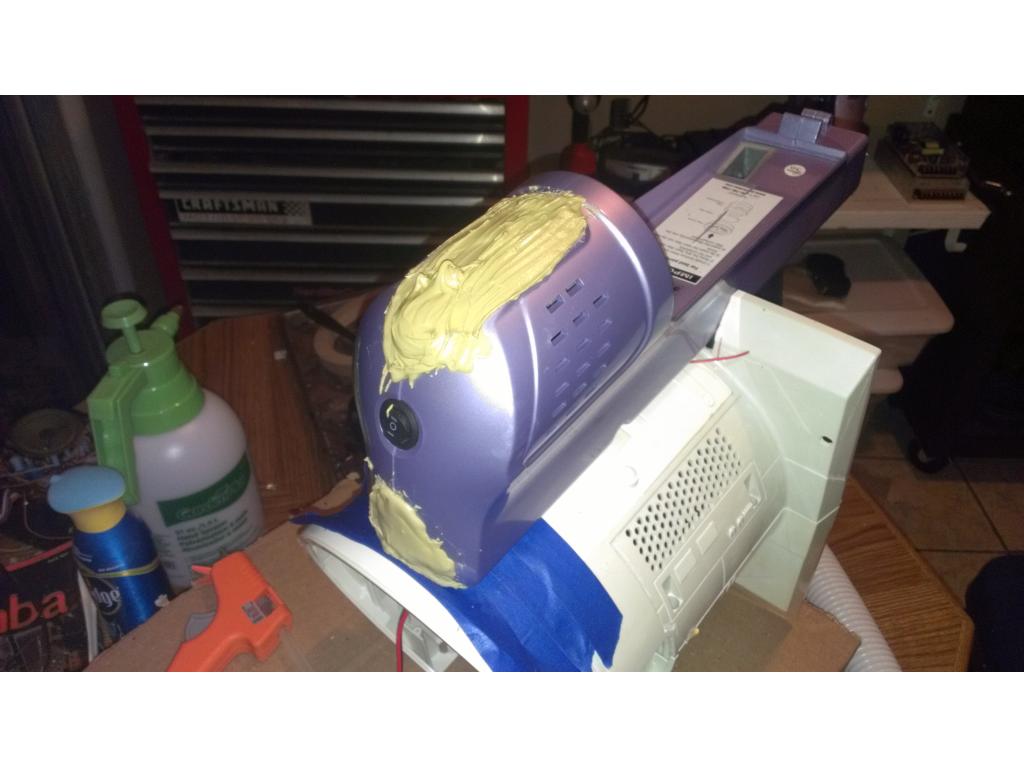
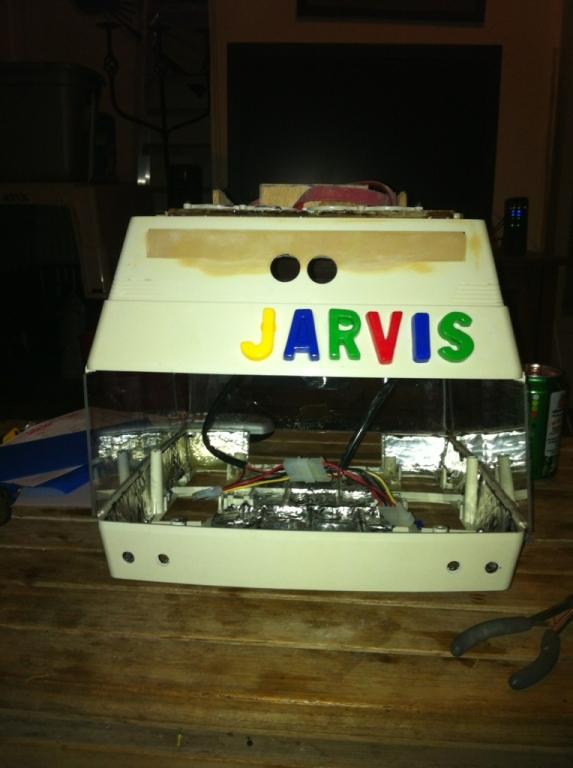
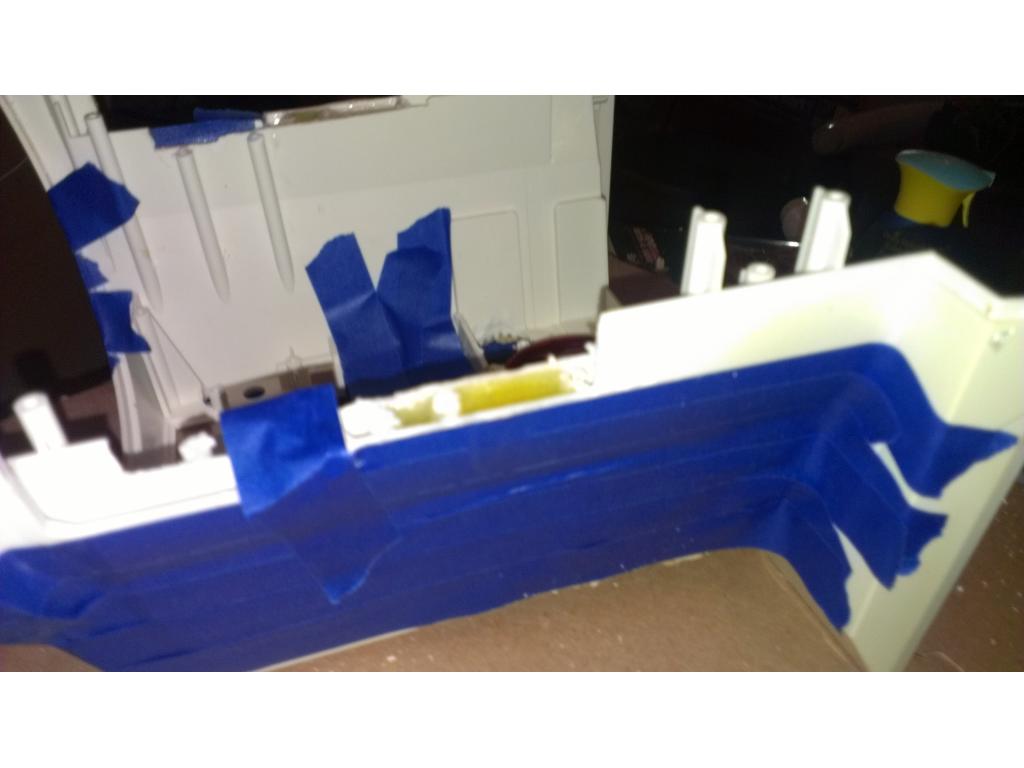
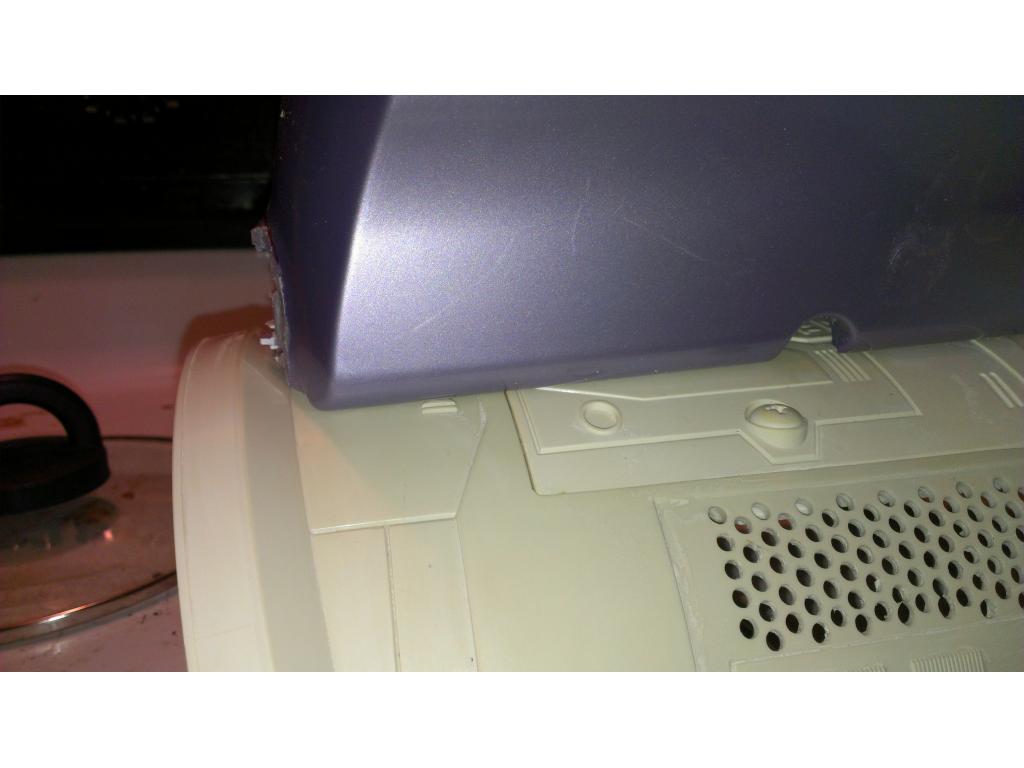
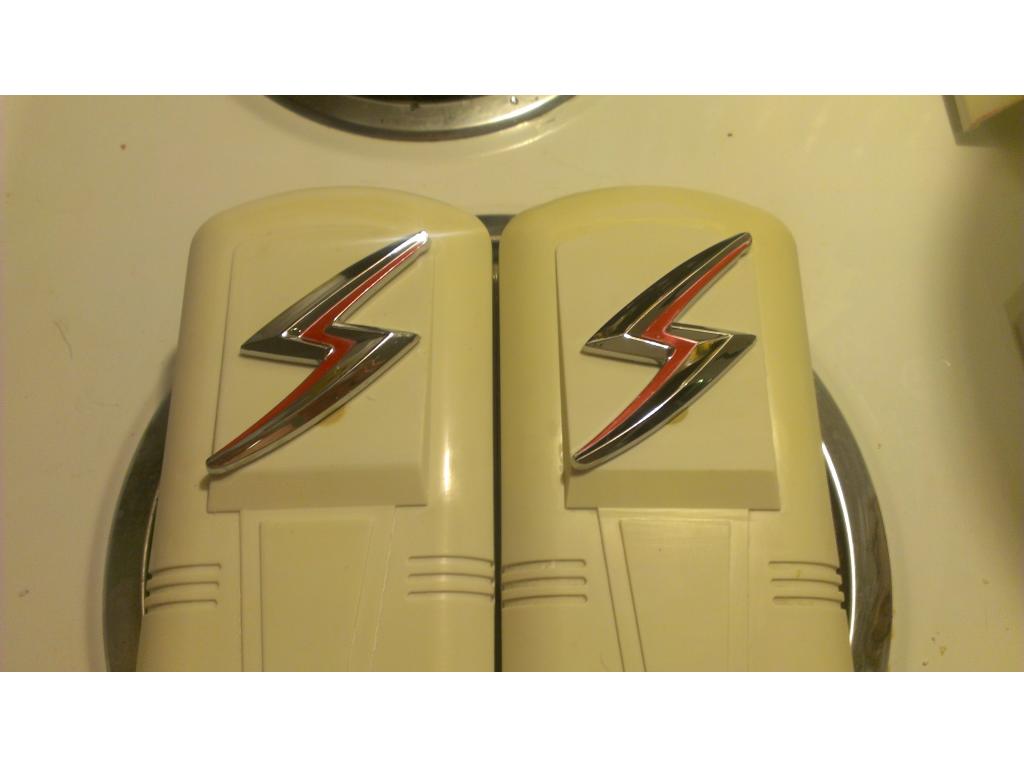
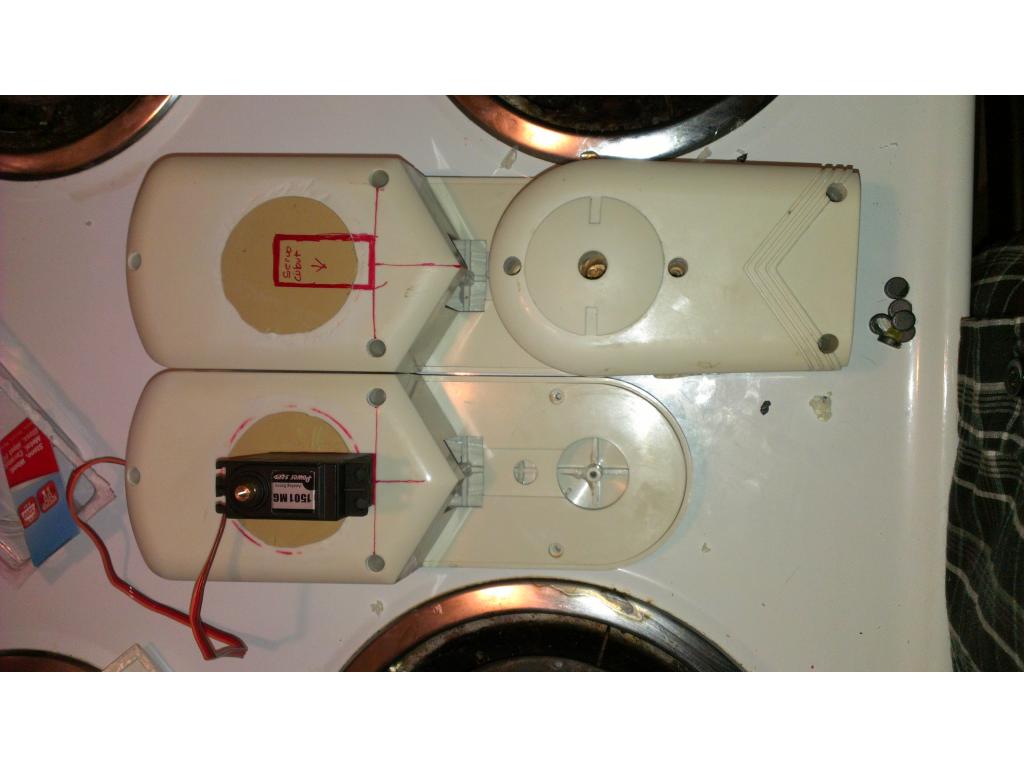
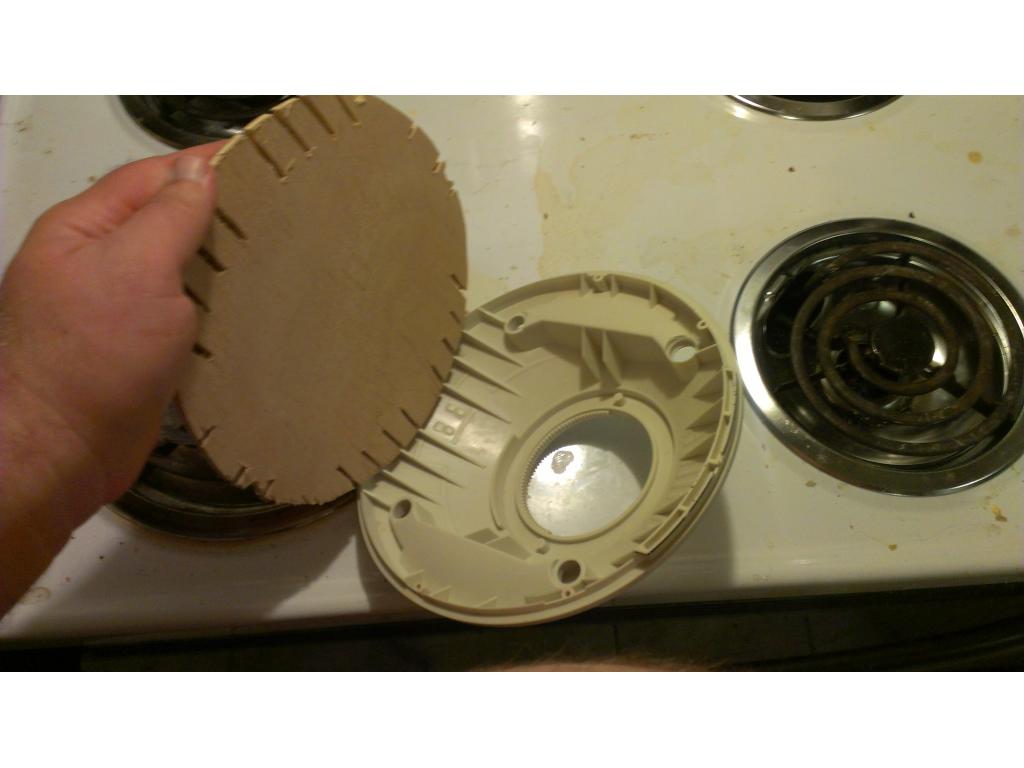
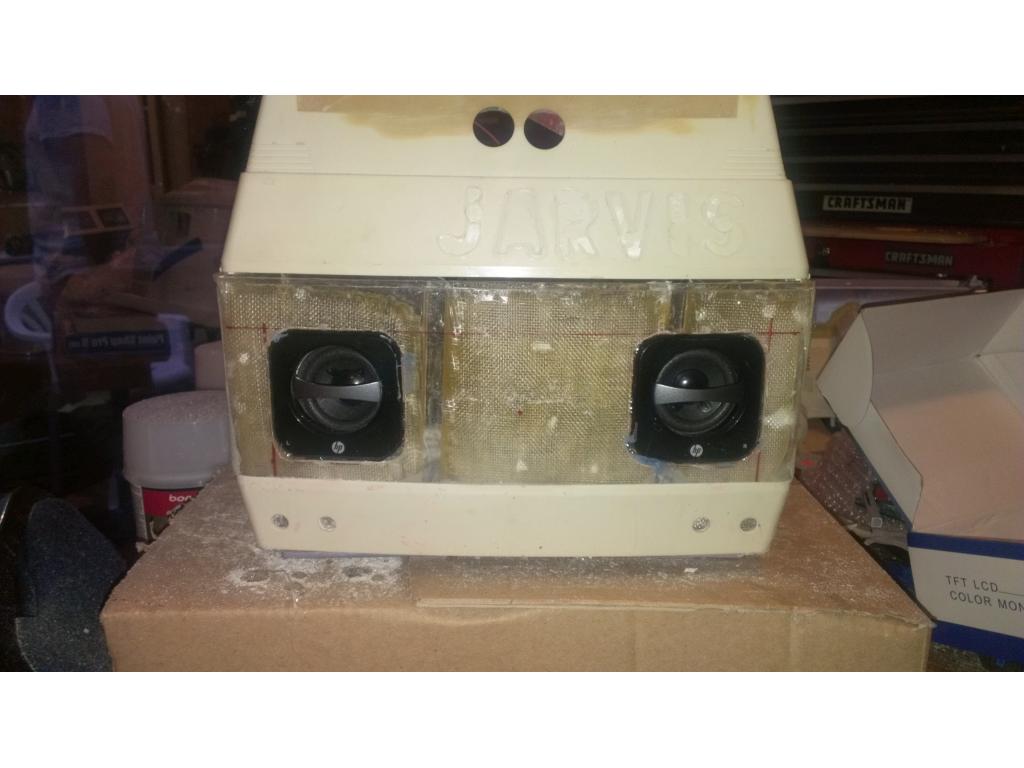
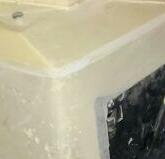
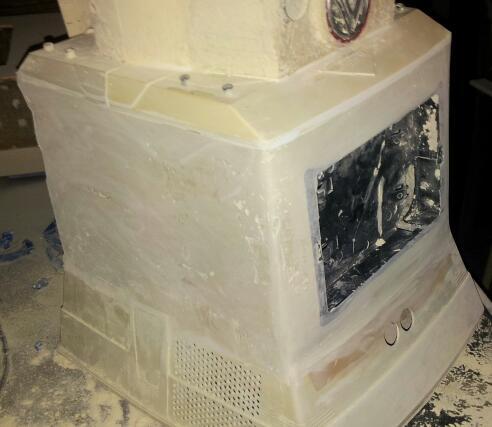
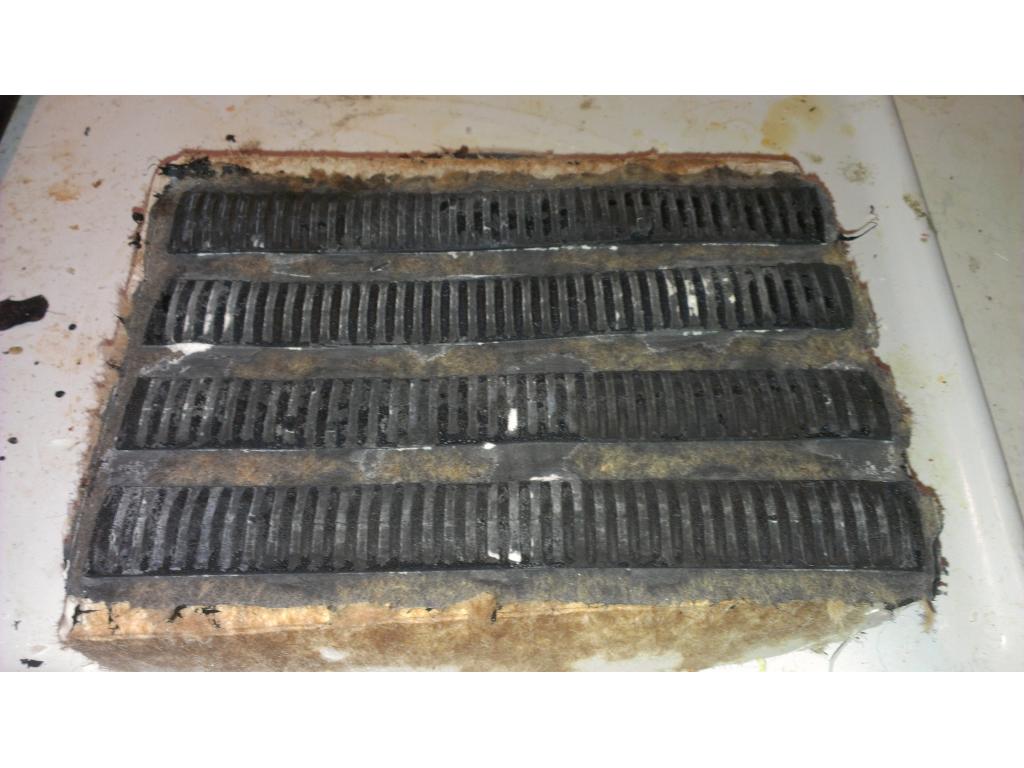
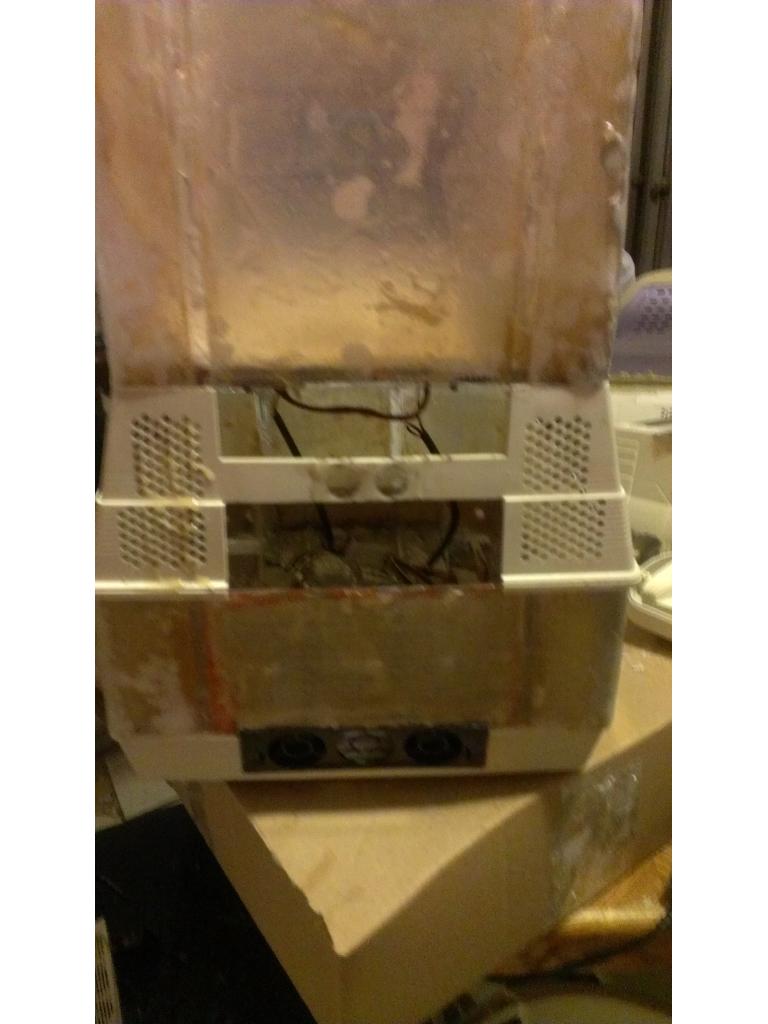
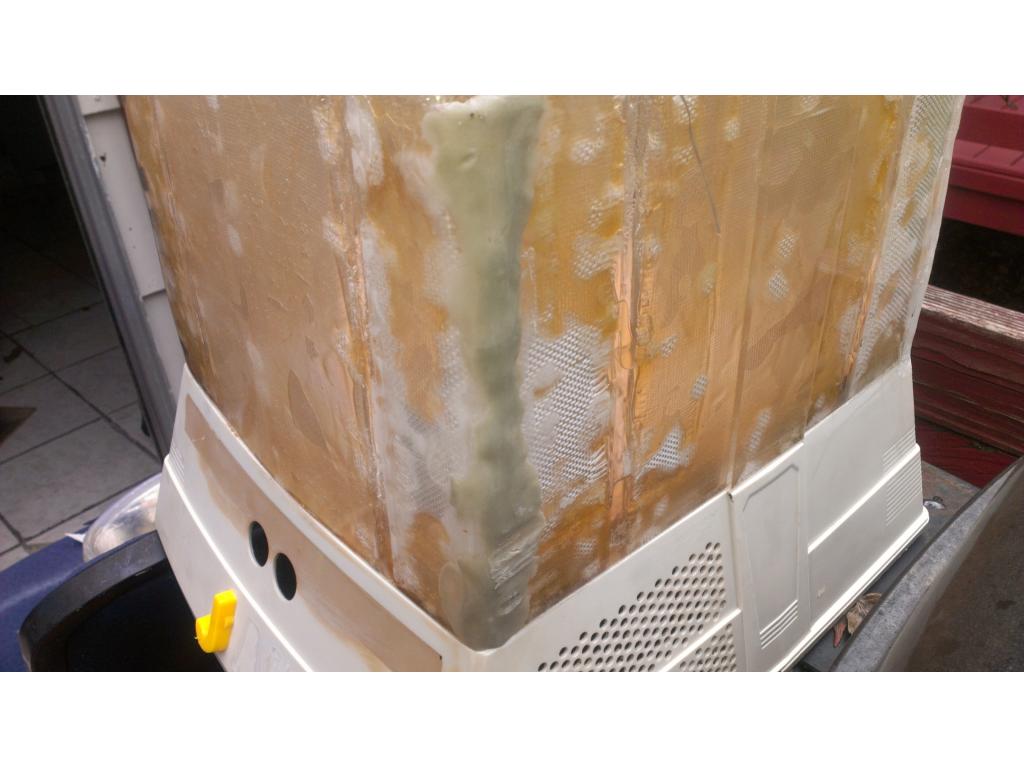
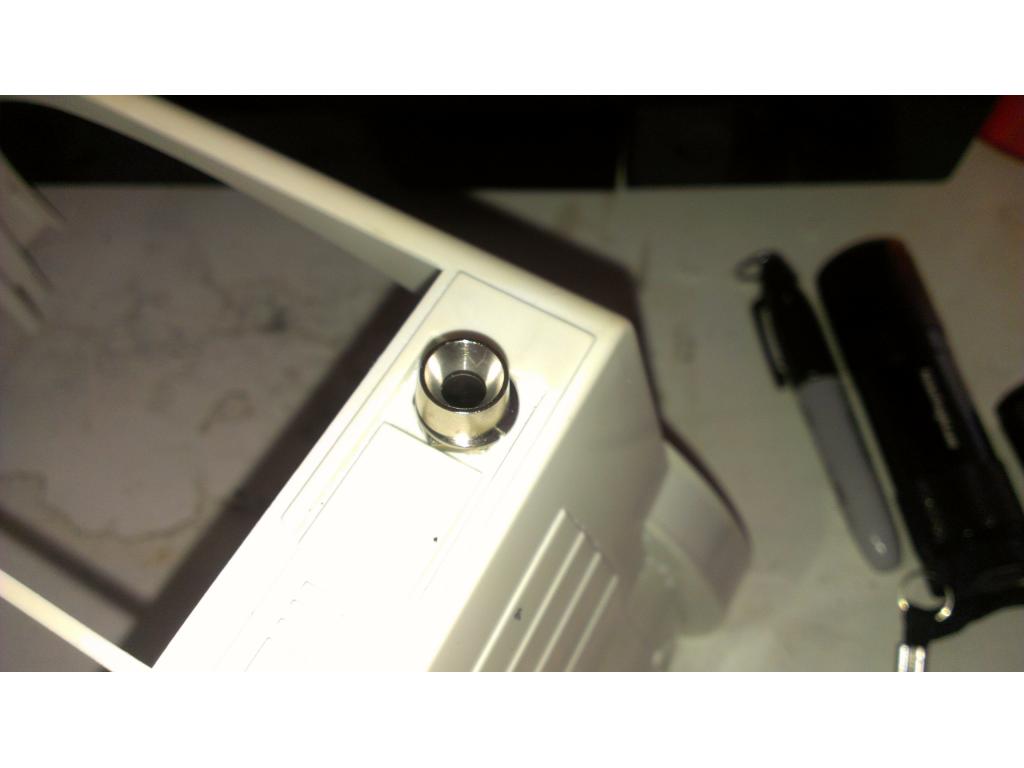
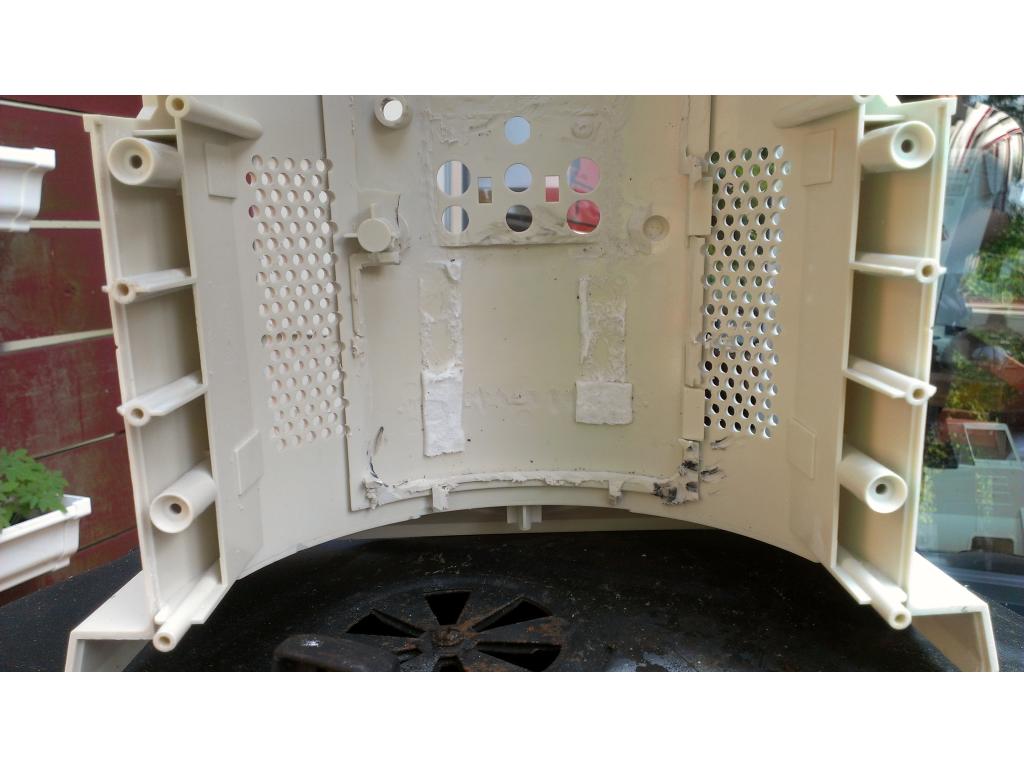
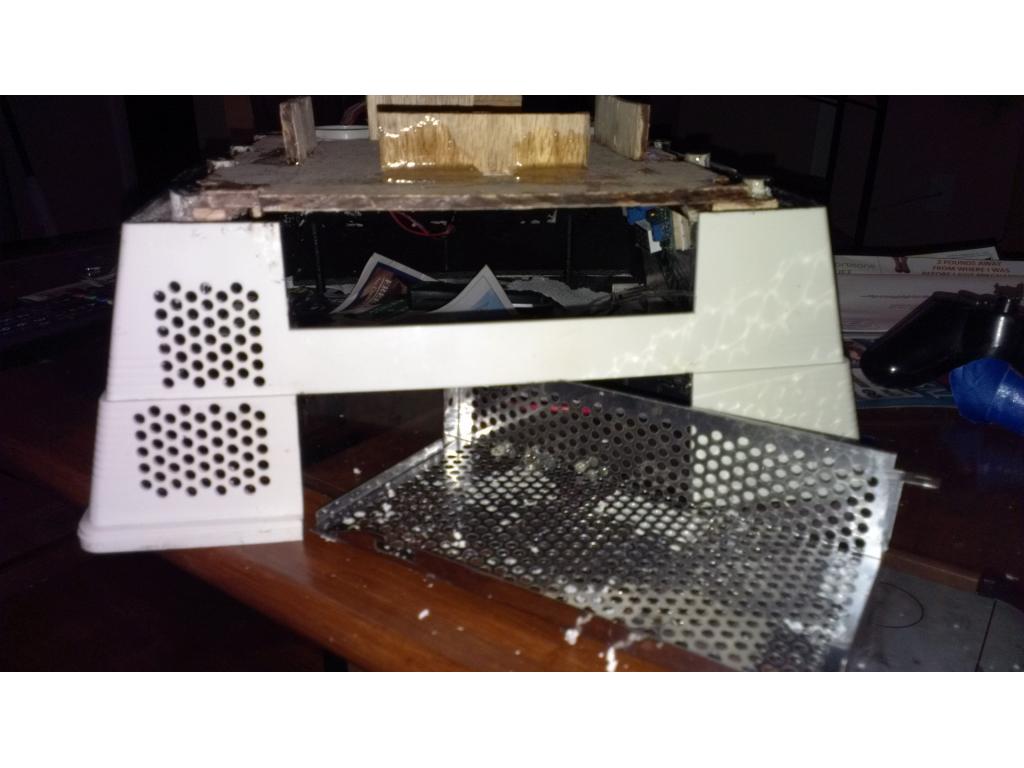
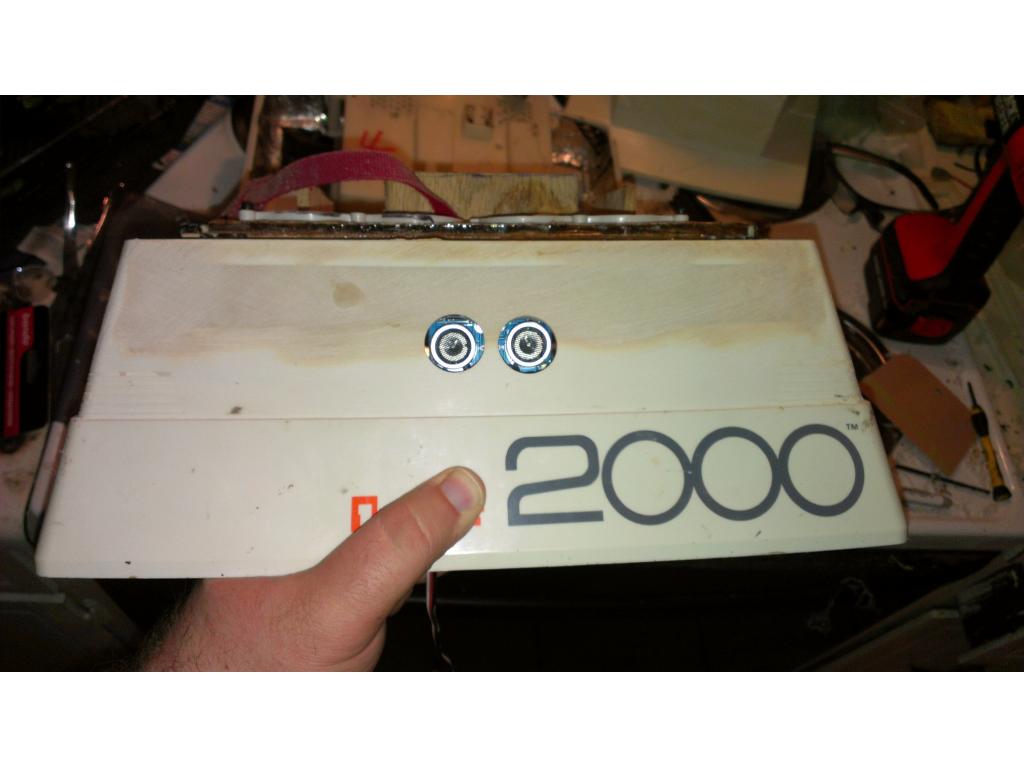
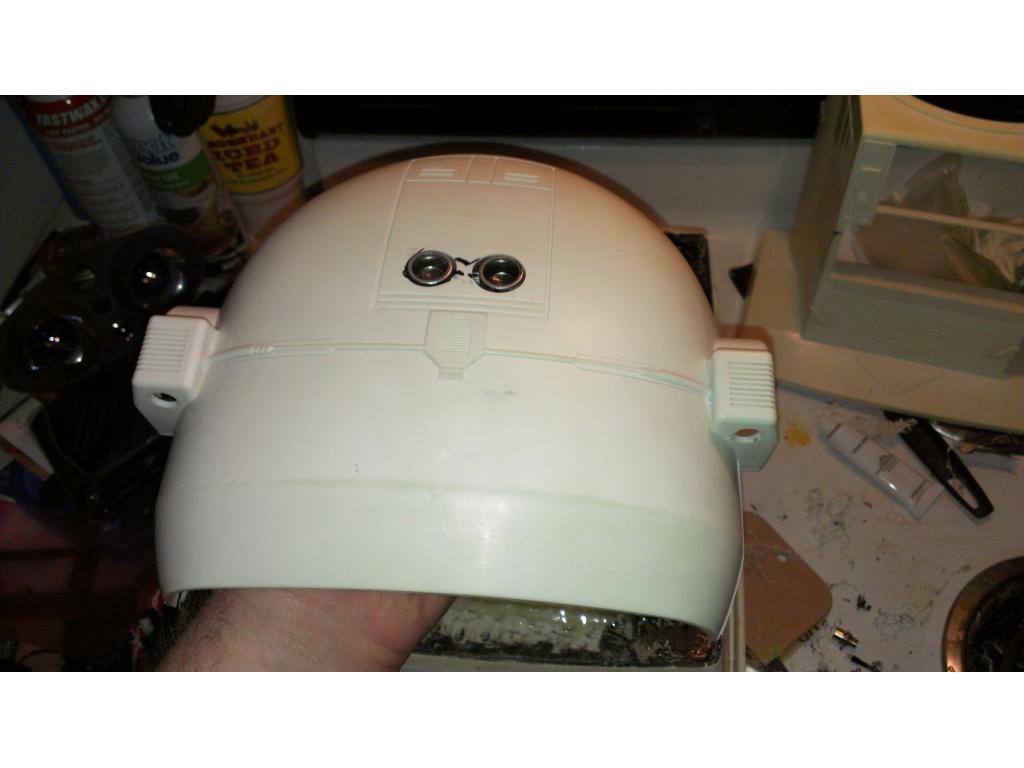
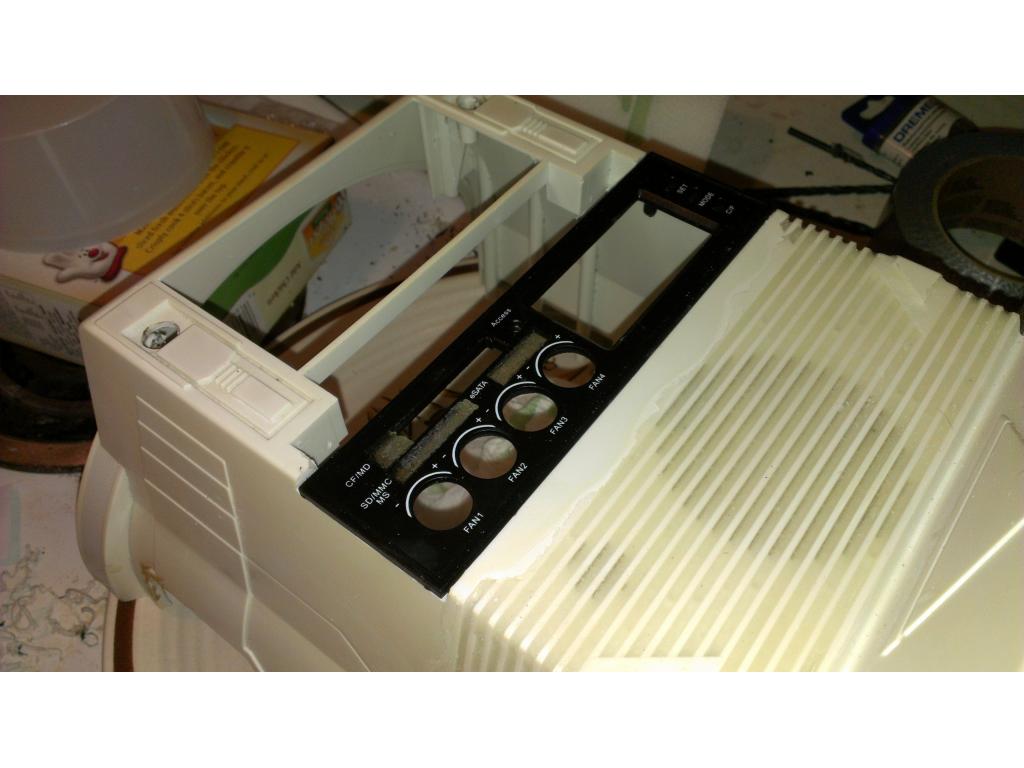
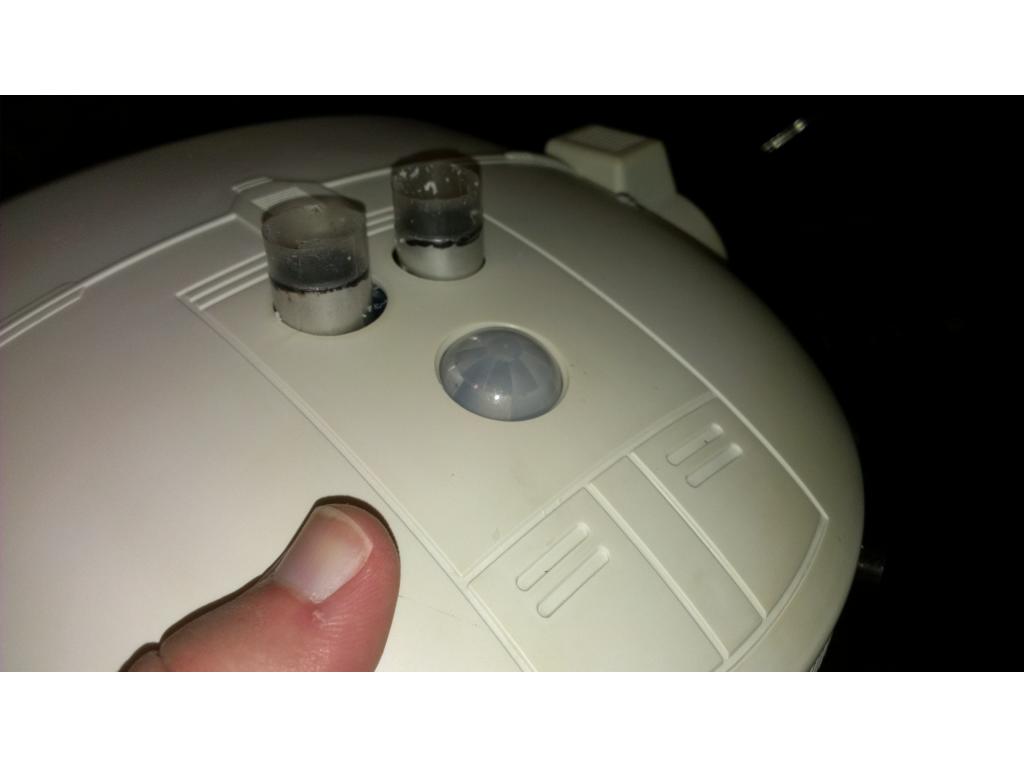
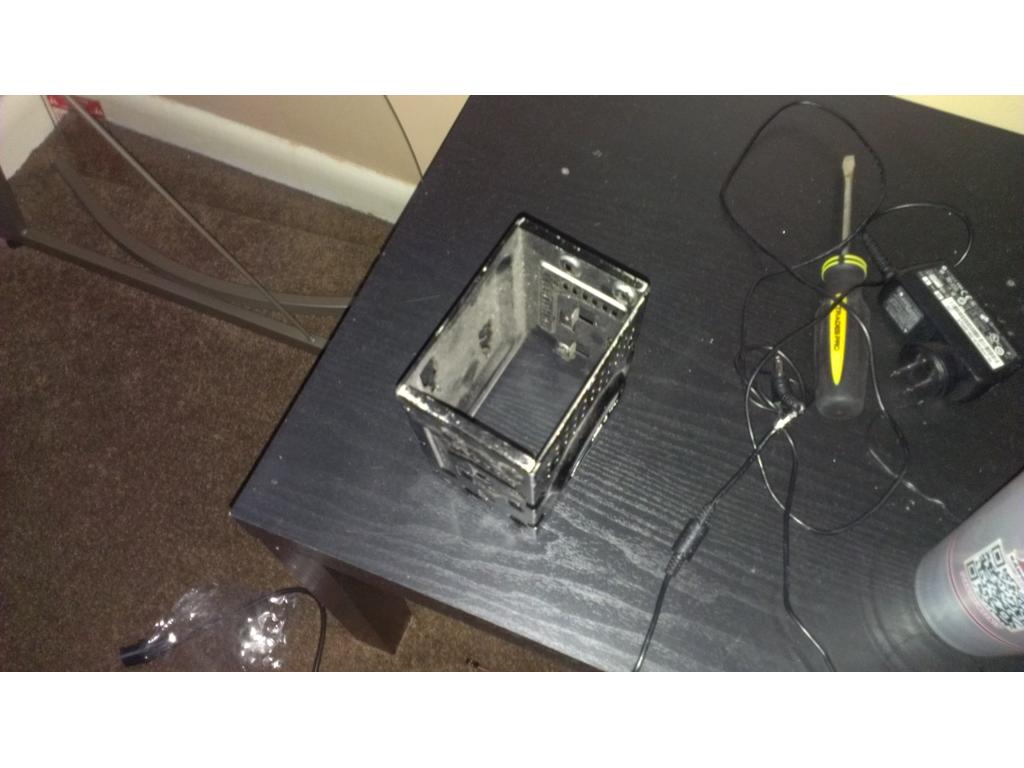
OMy biggest challenge is making the left and right side appear to perfectly match , fortunatly this pattern provides a optical illusion , as long as there are the same amount of rows horizontally and vertically your eyes don't pick out that they really are not the same and maybe not.perfectly aligned the same.... This turned out really well I think .
.
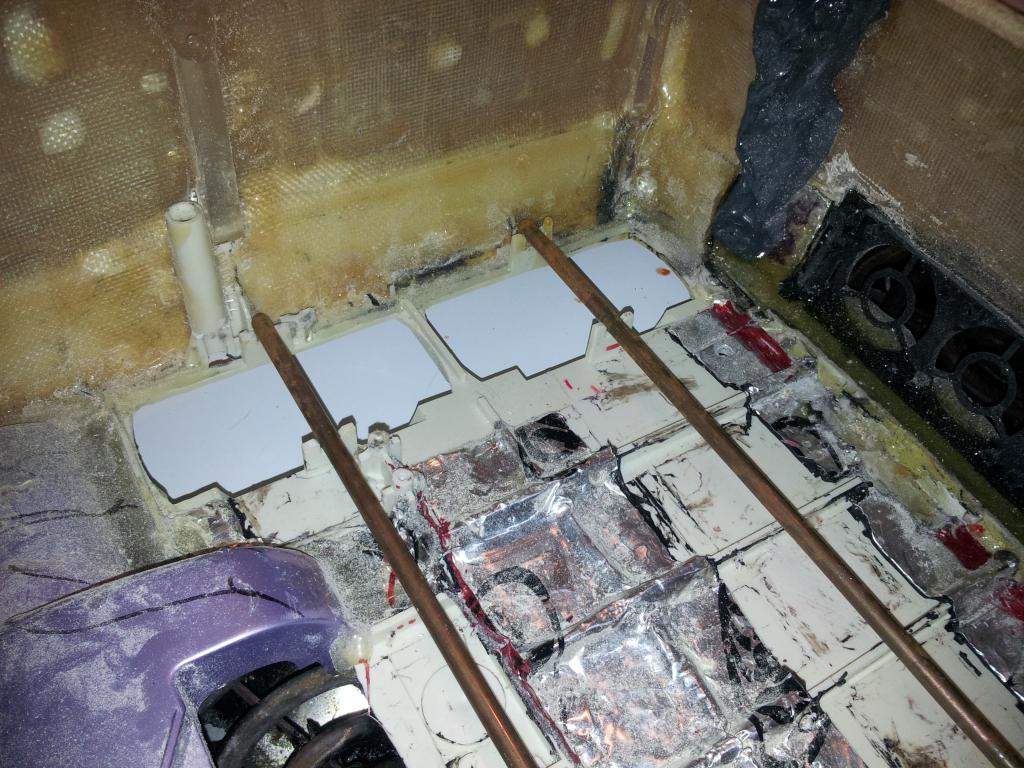
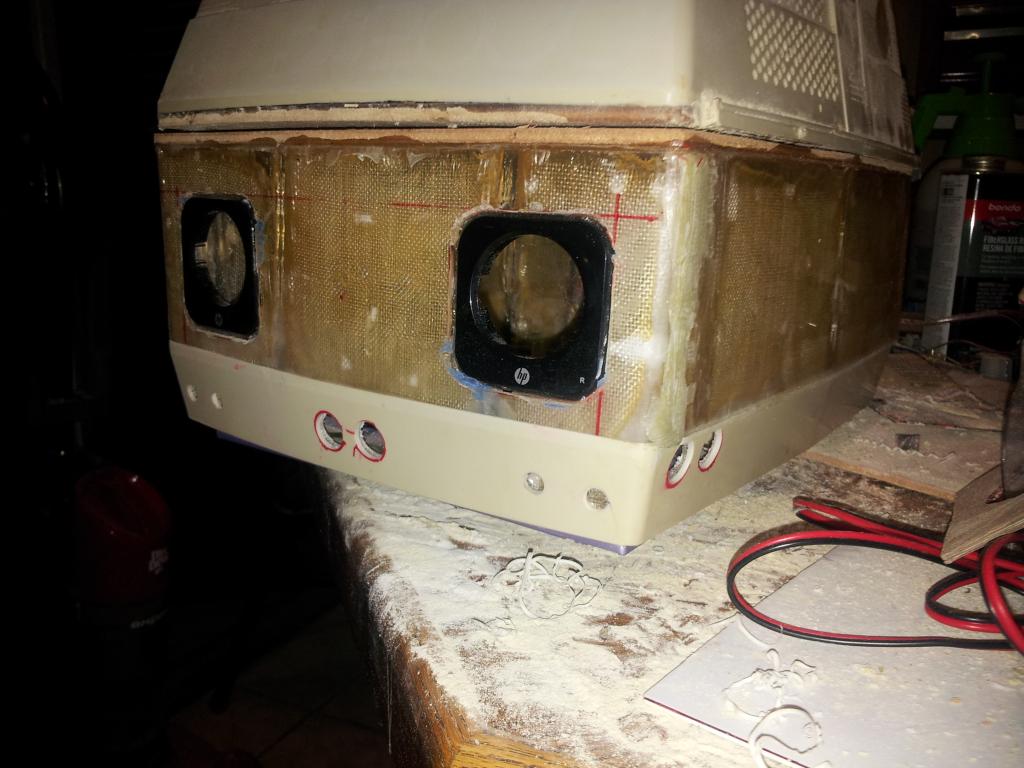
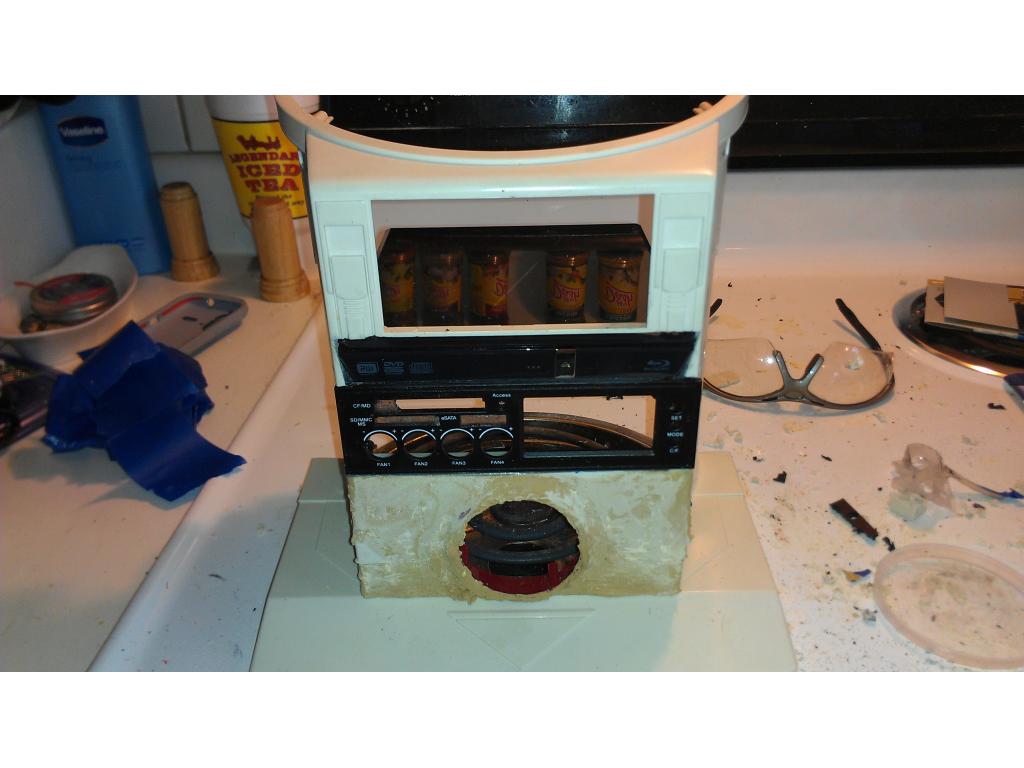
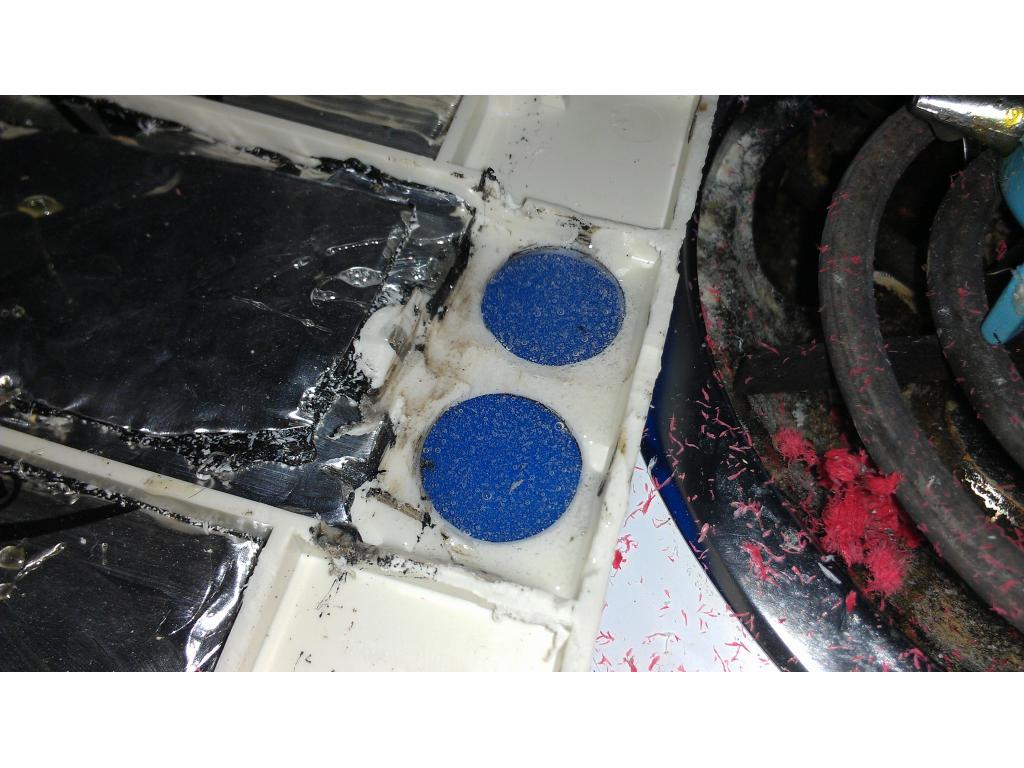
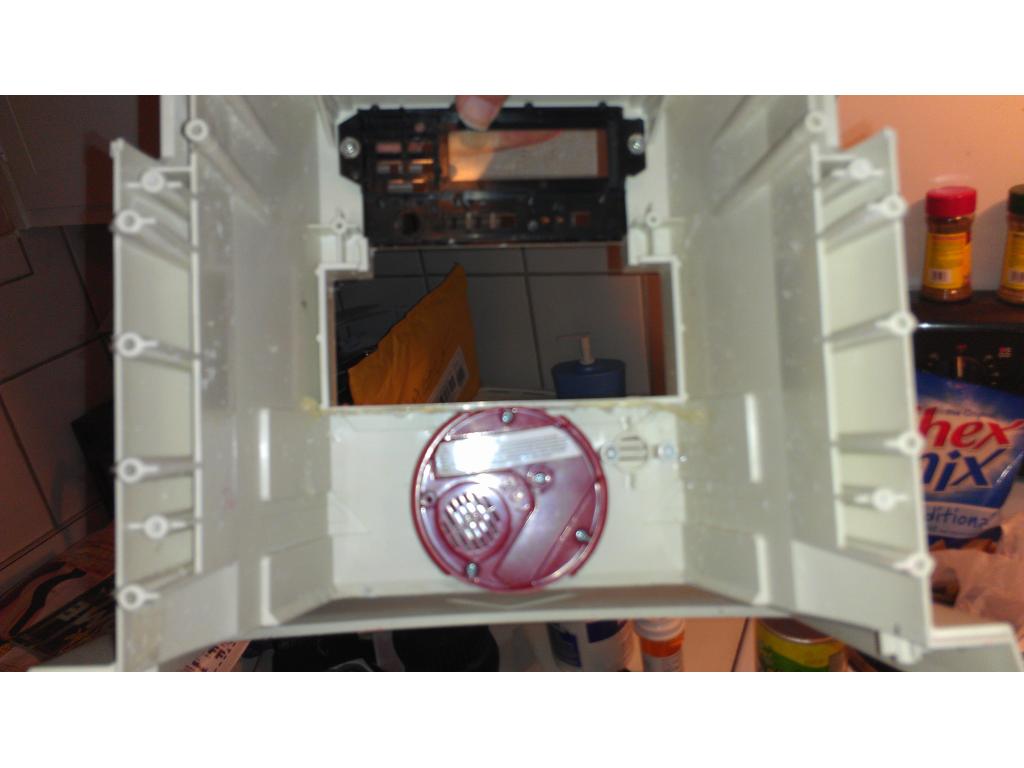
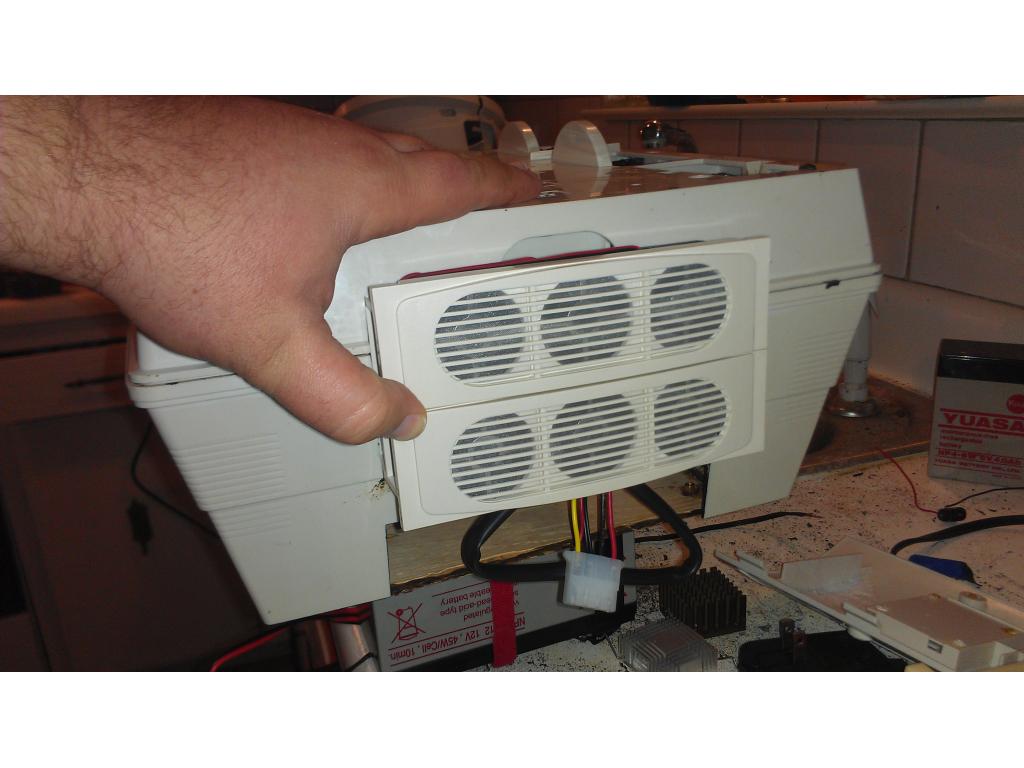
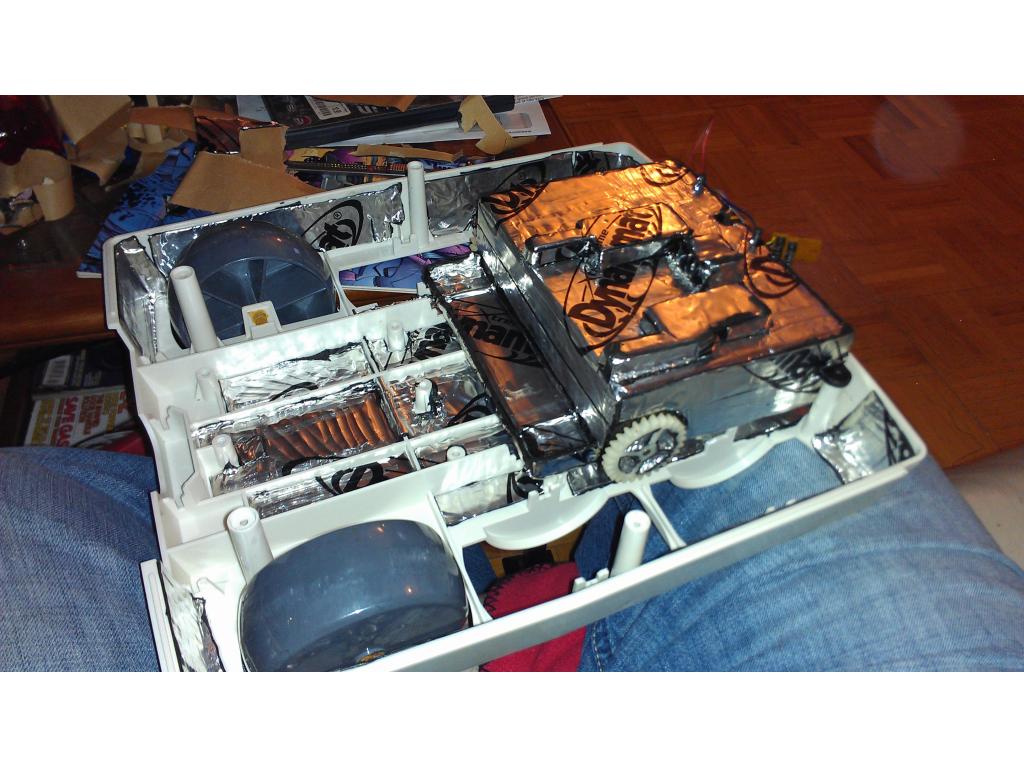
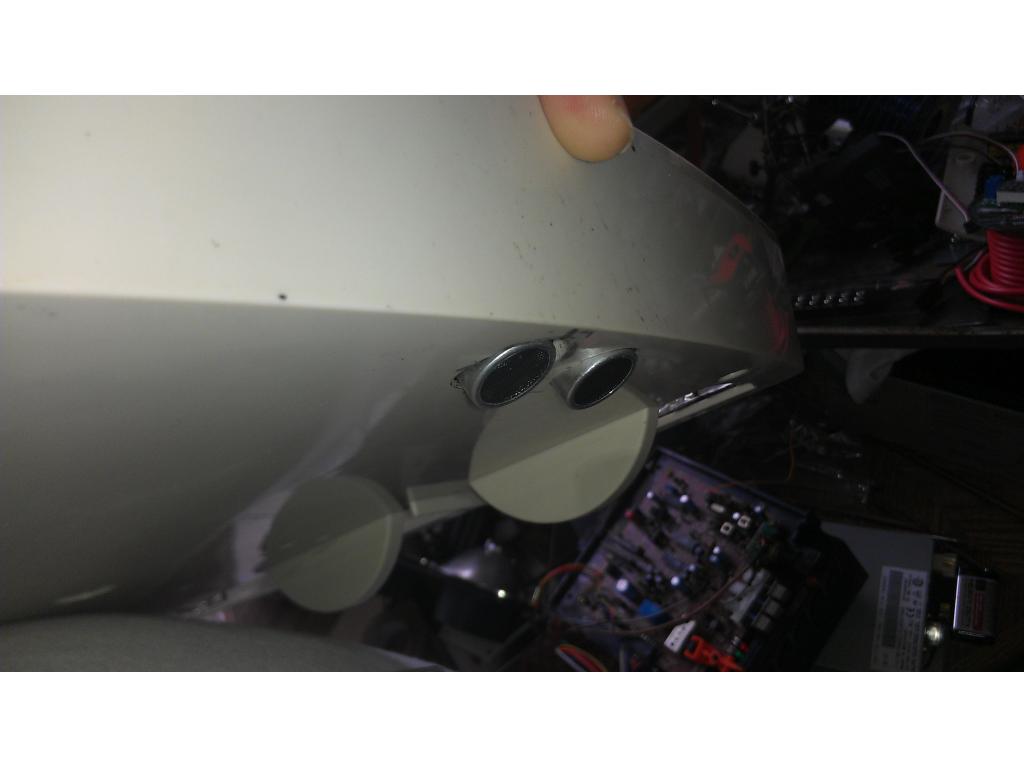
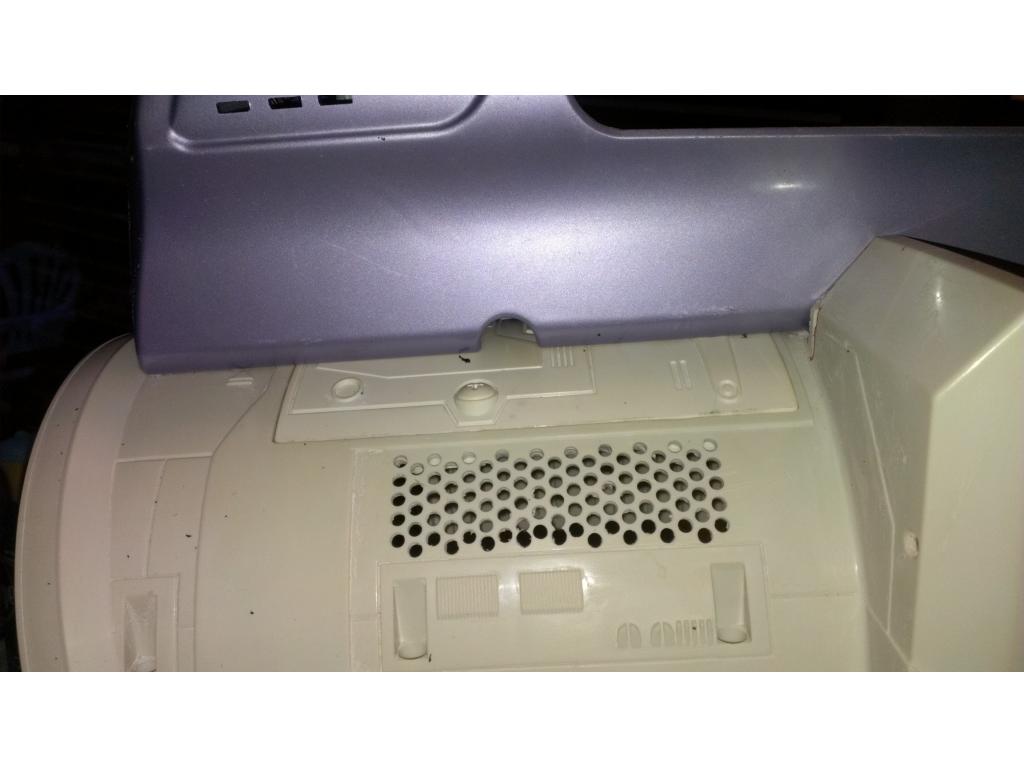
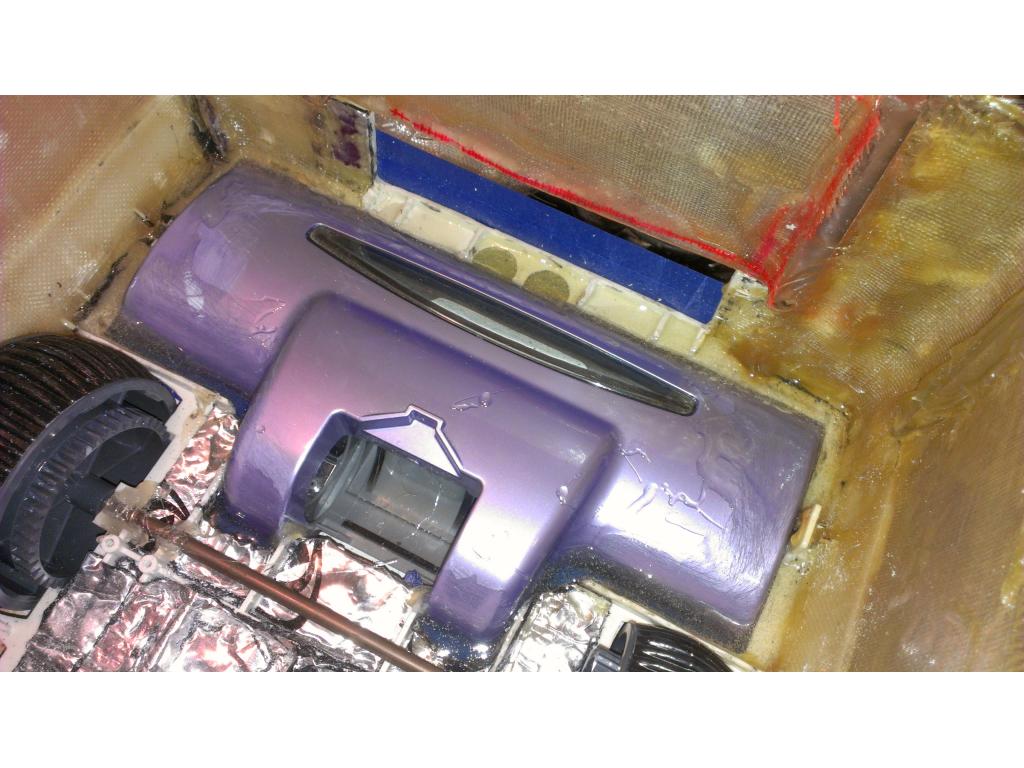
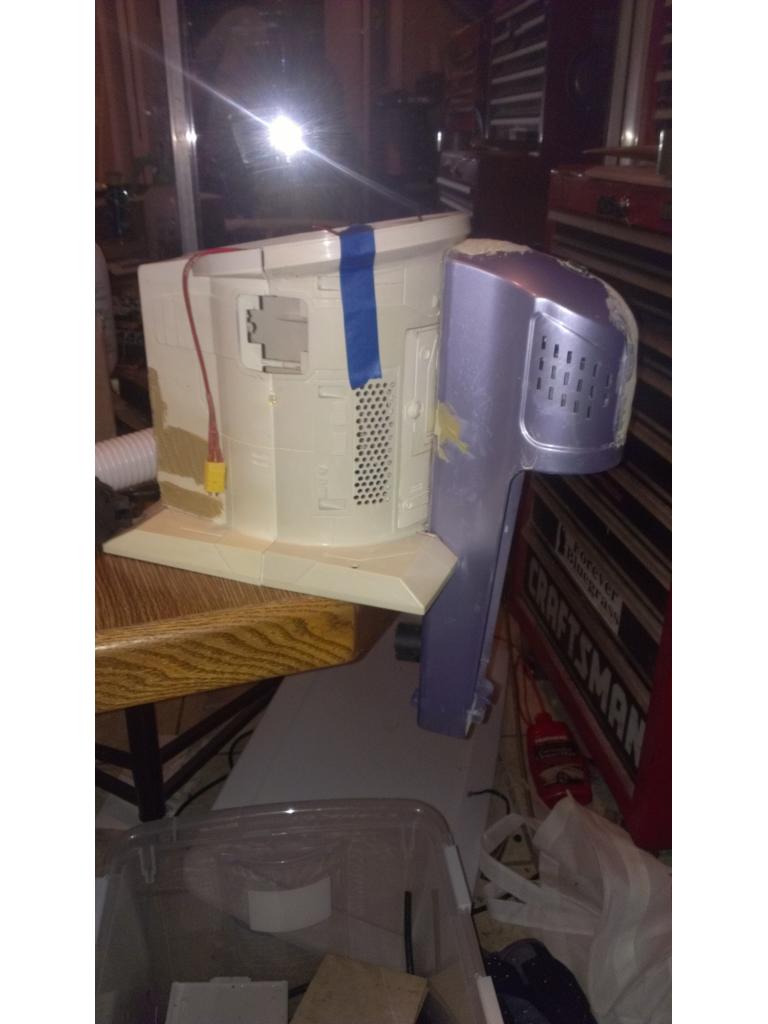
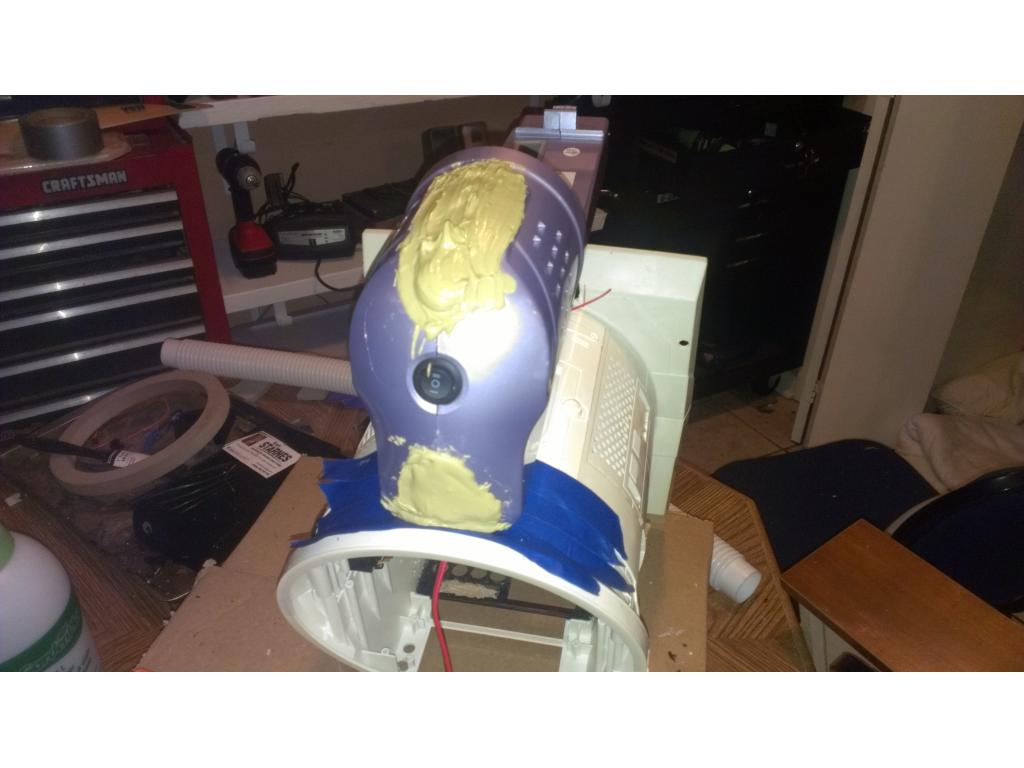
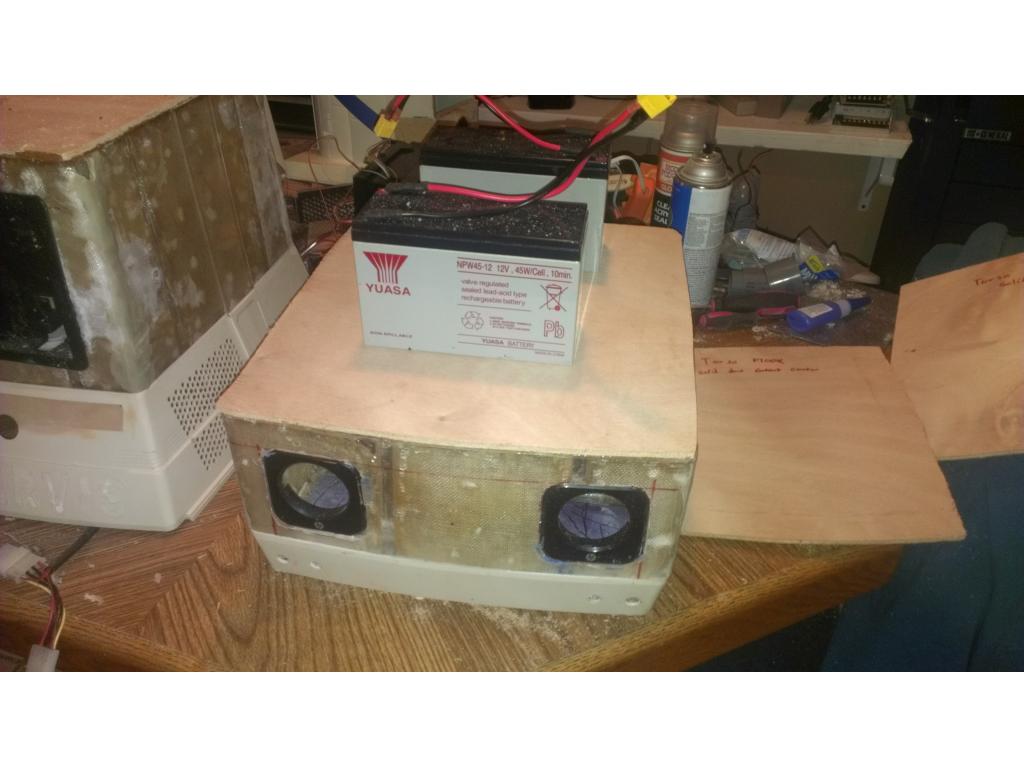
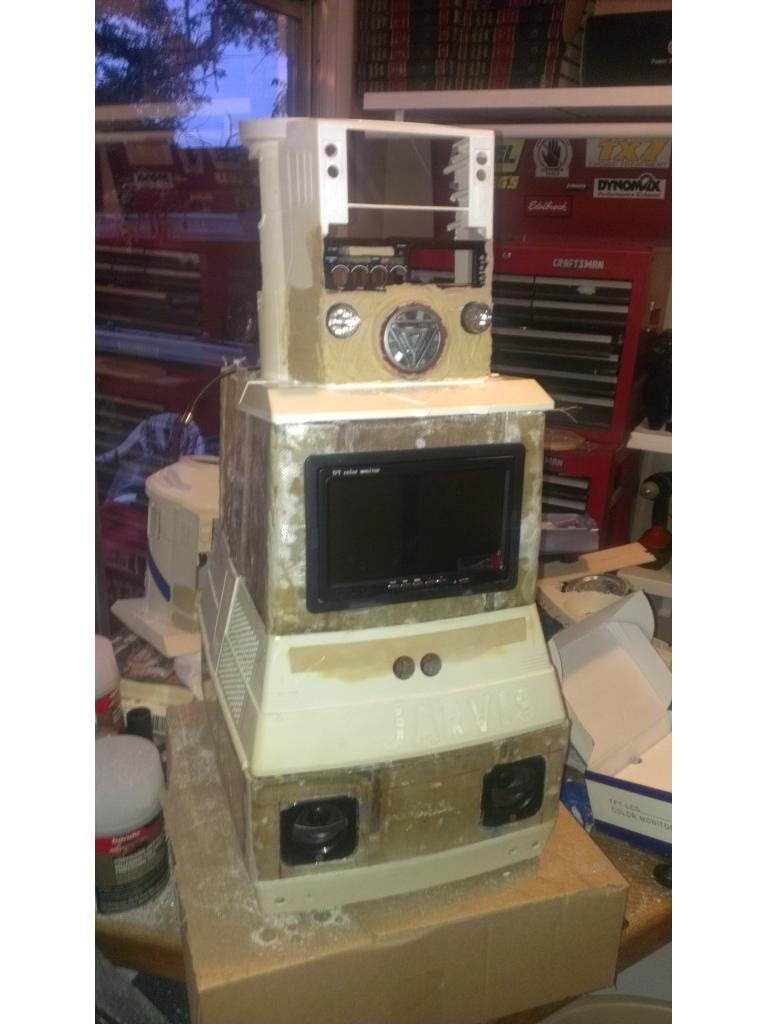
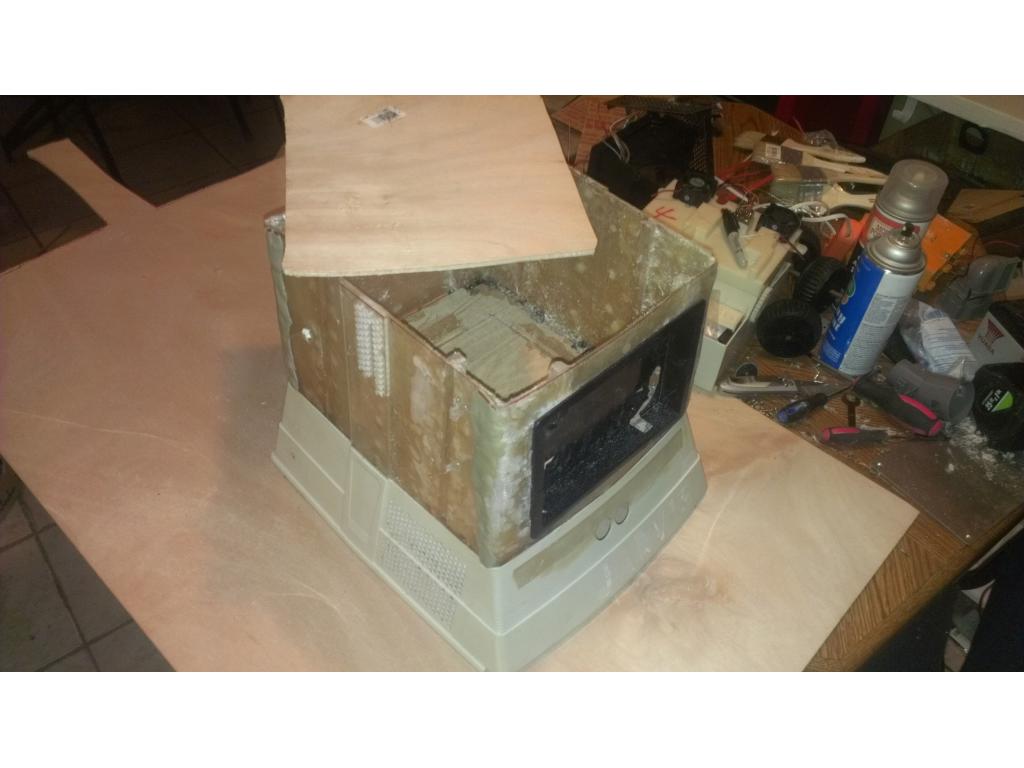
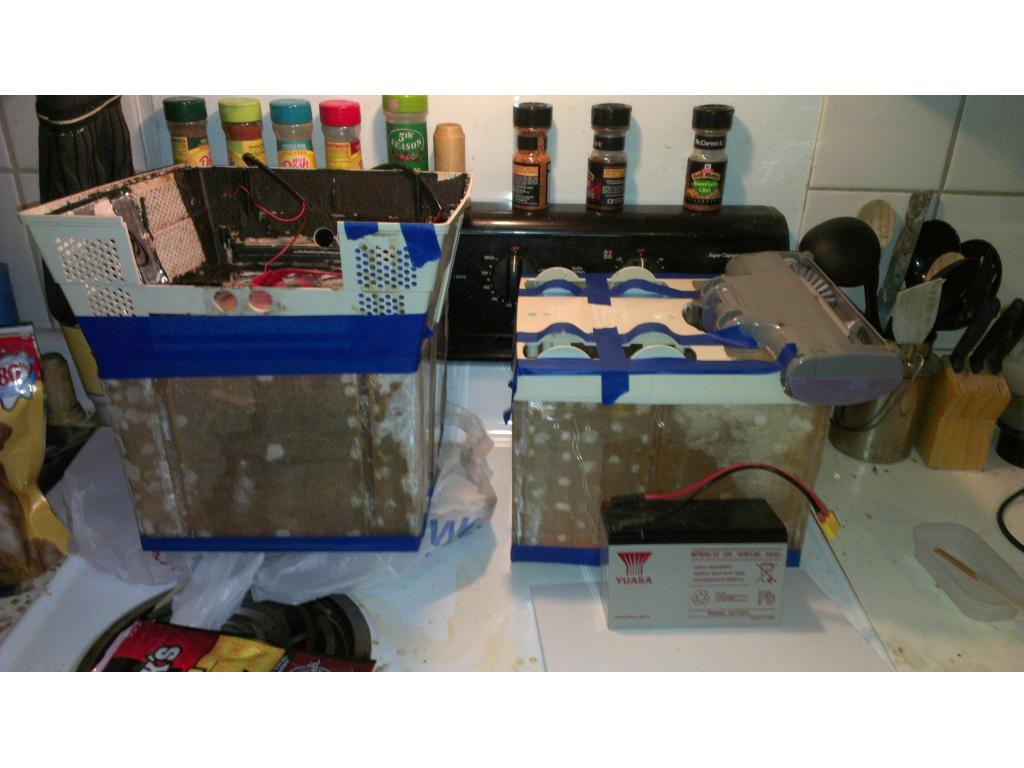
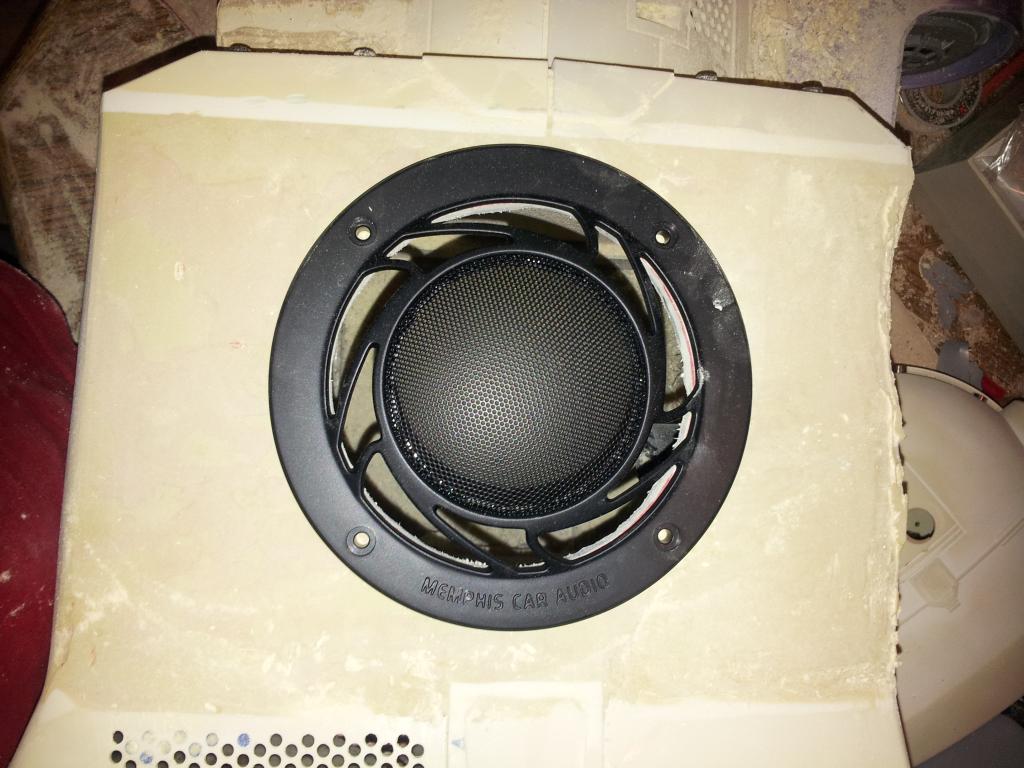
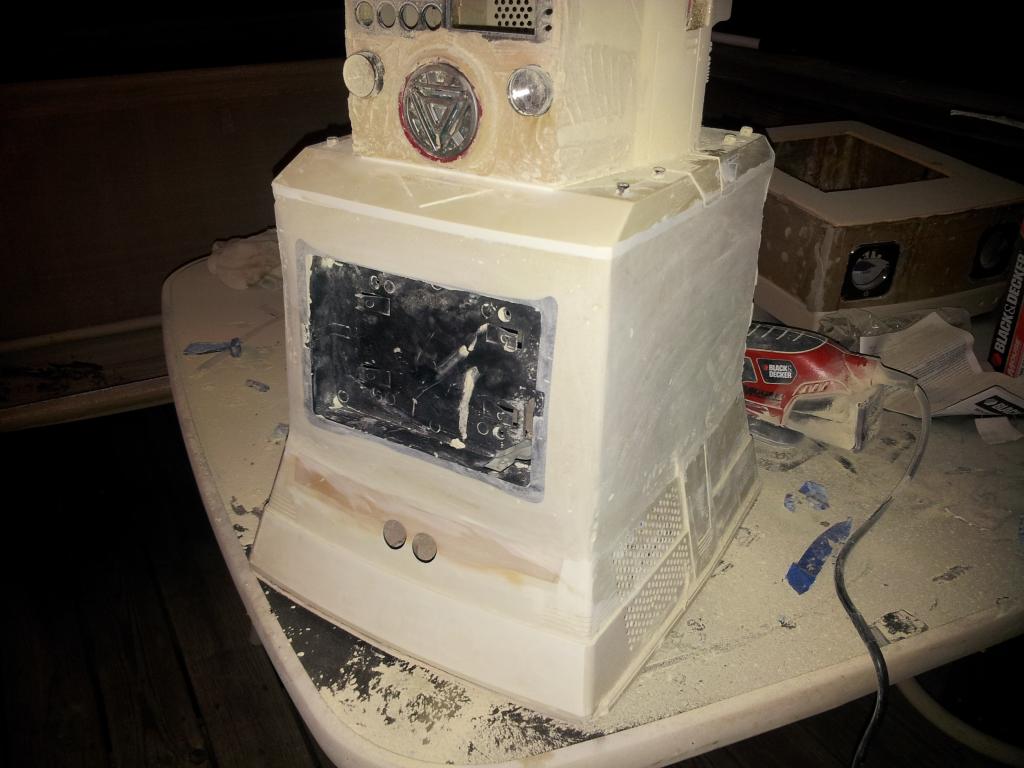
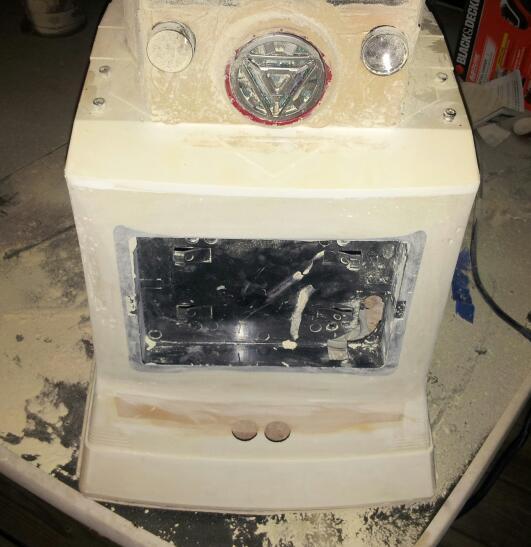
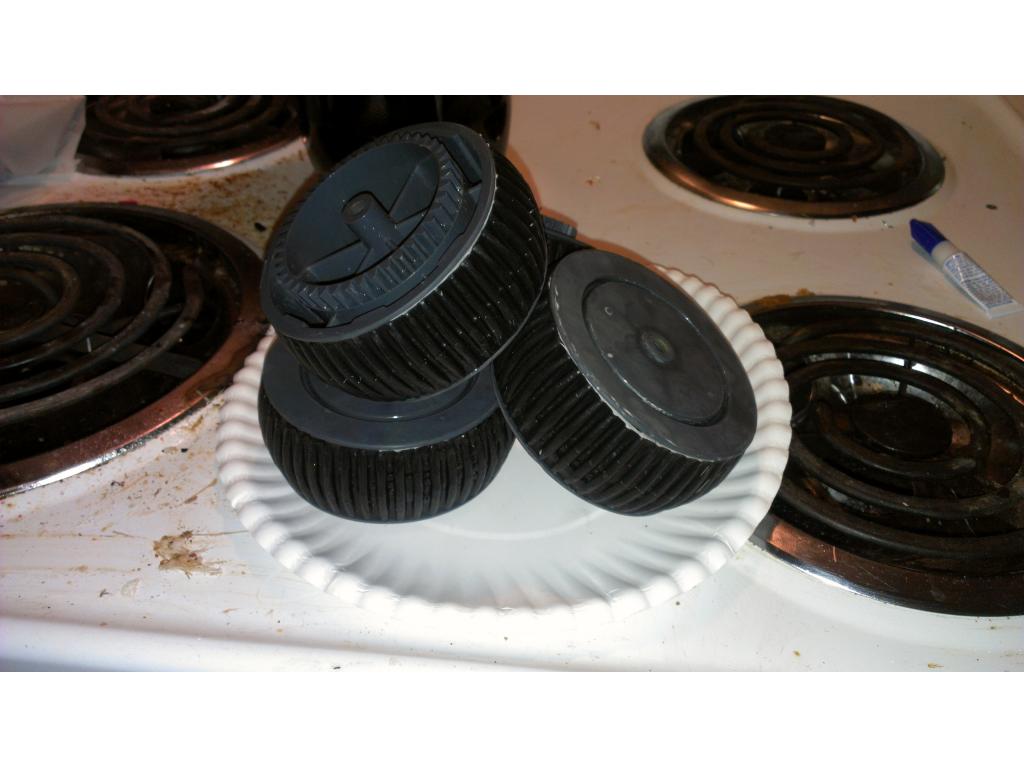
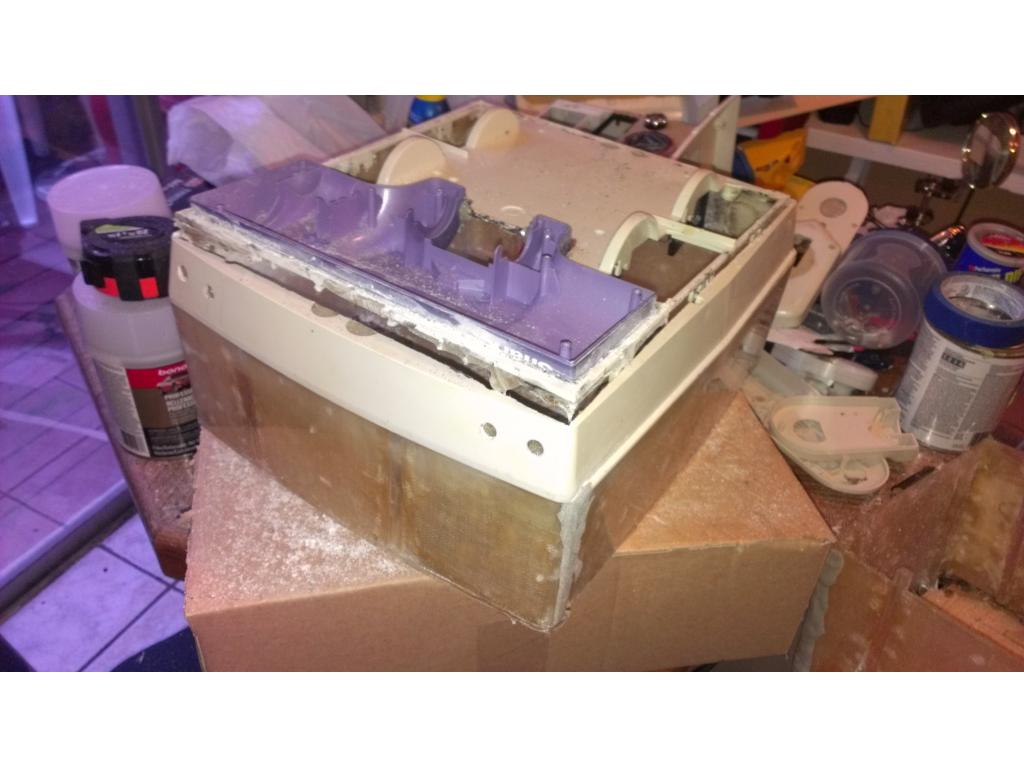
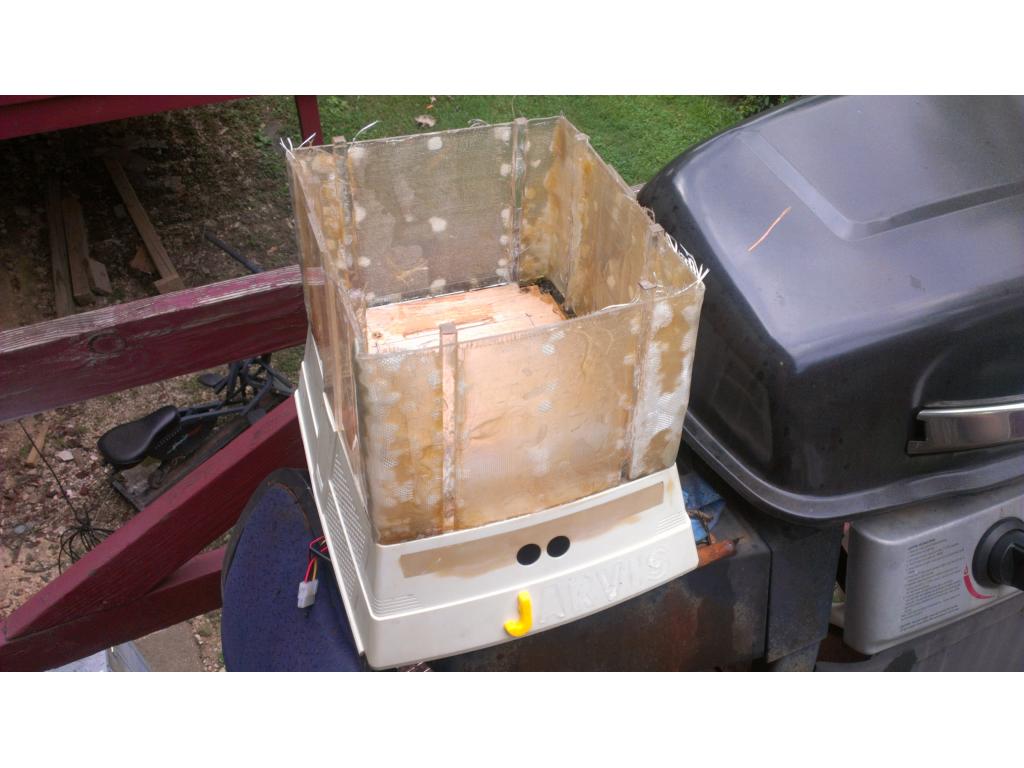
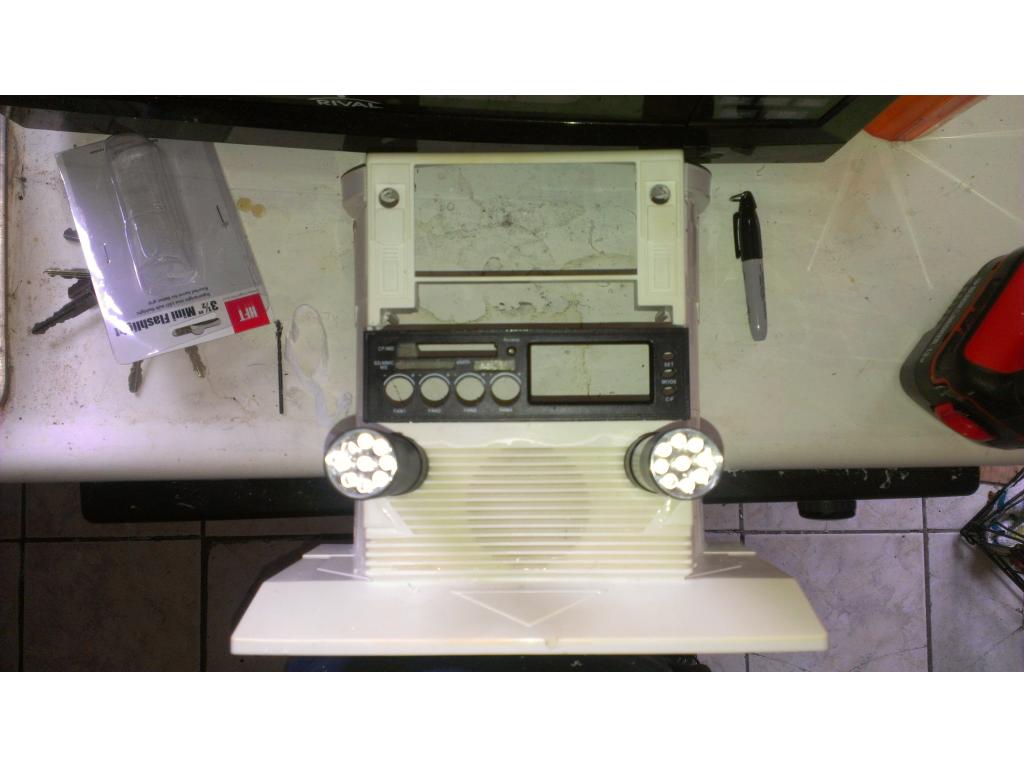
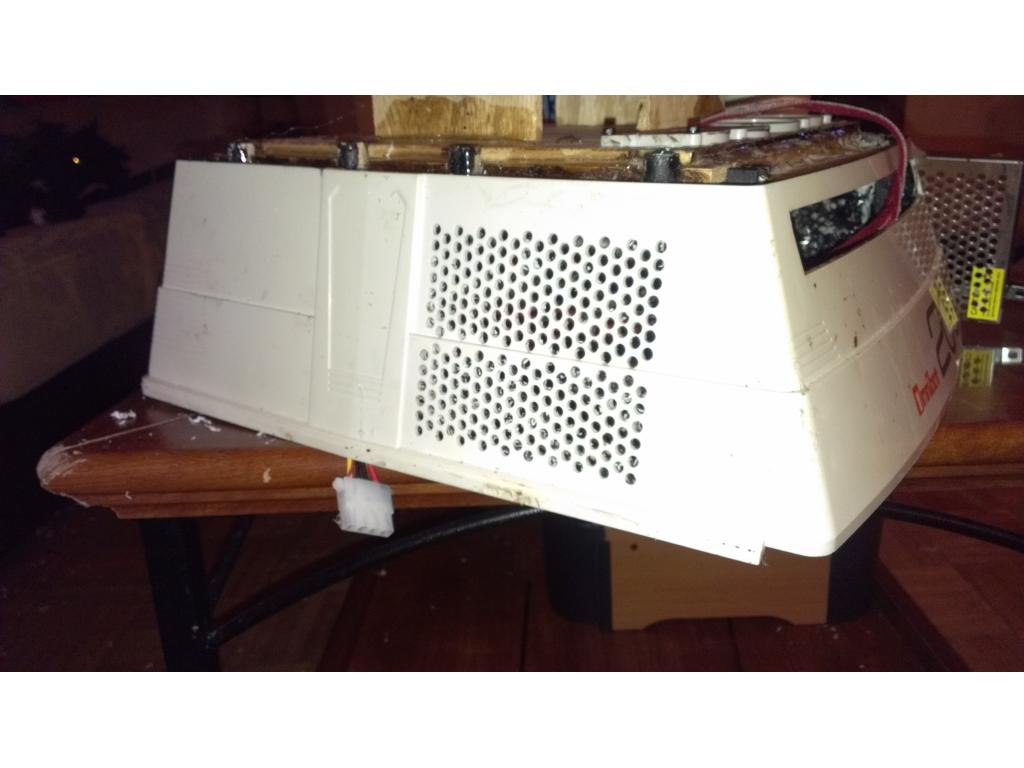
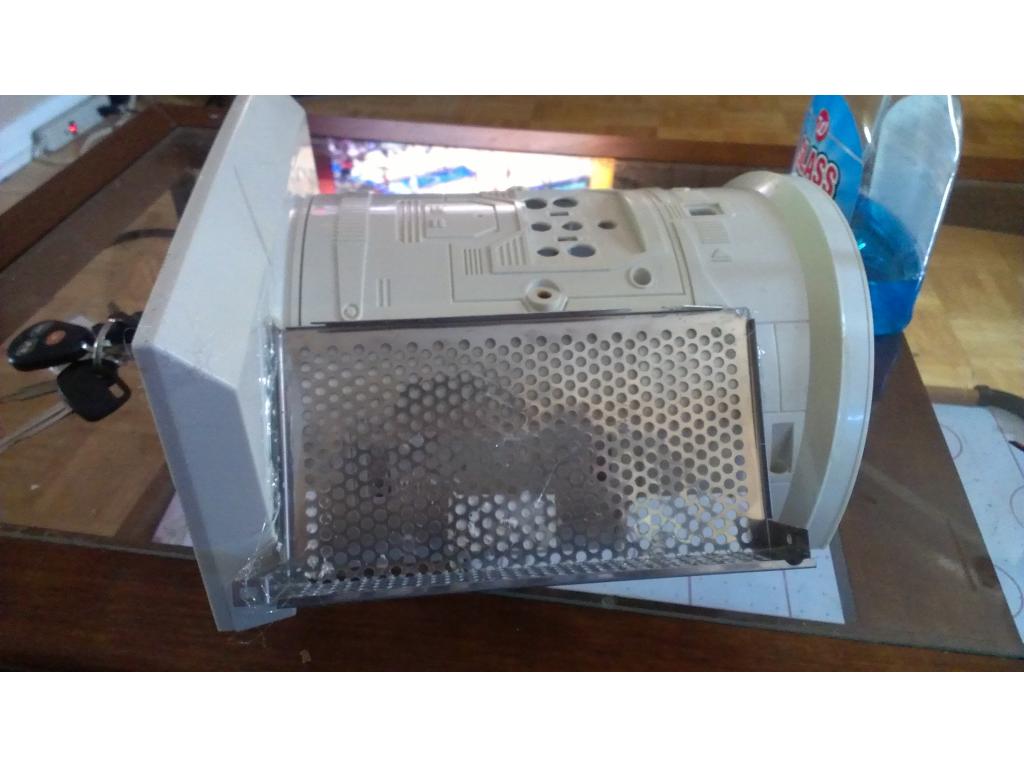
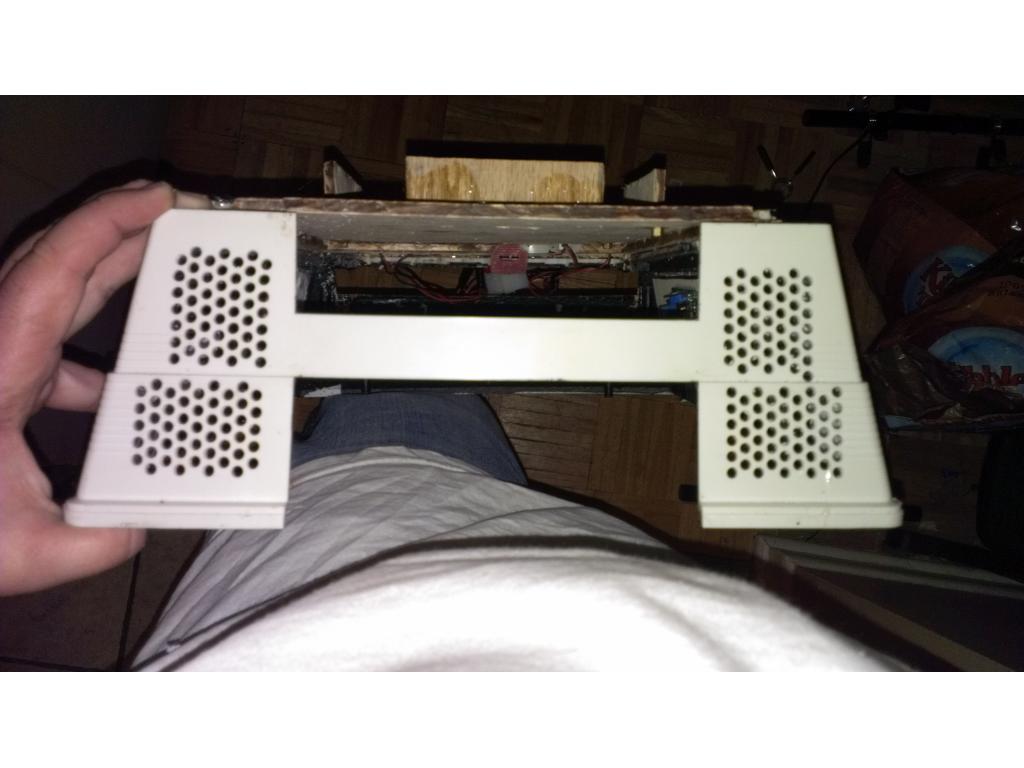
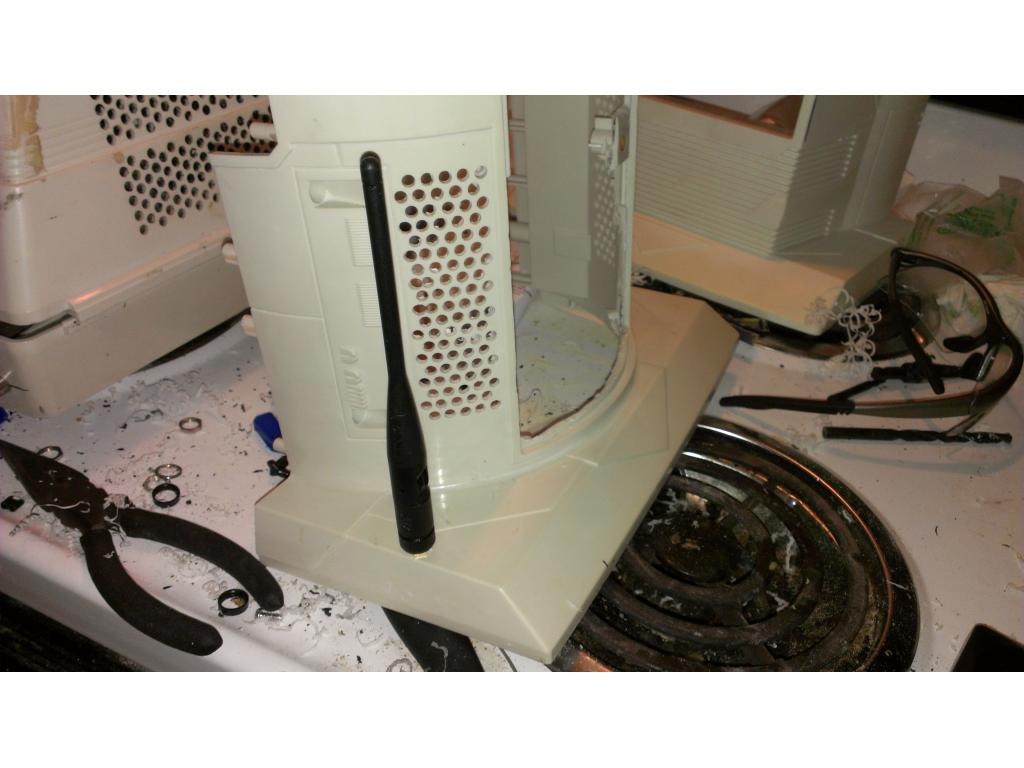
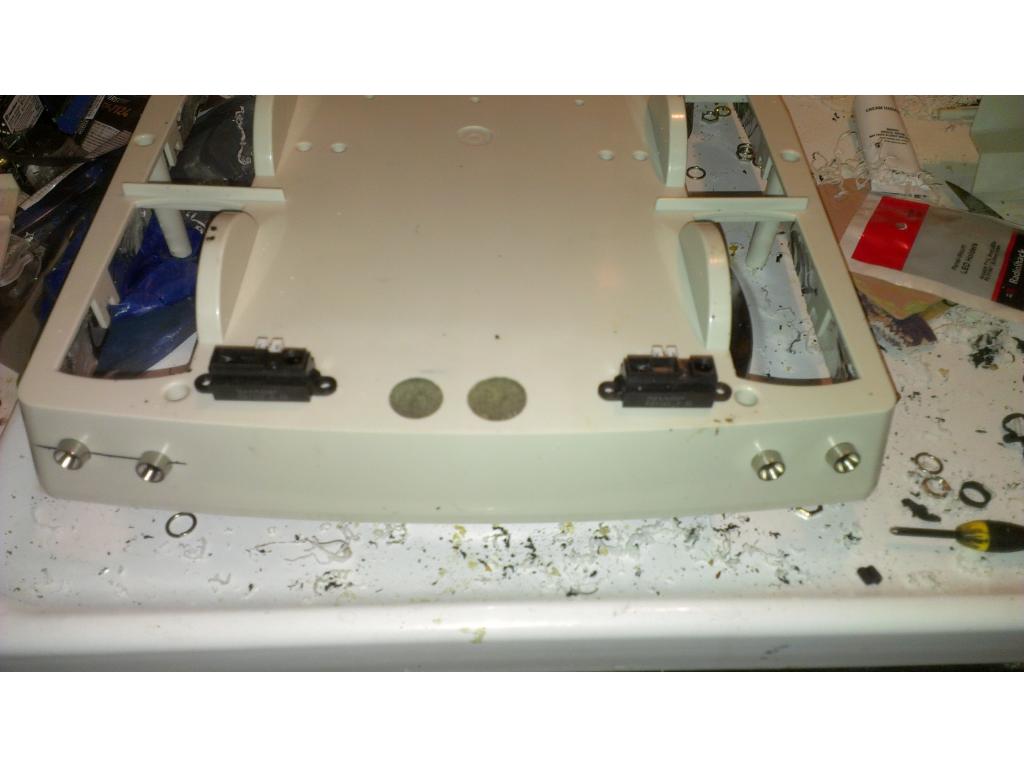
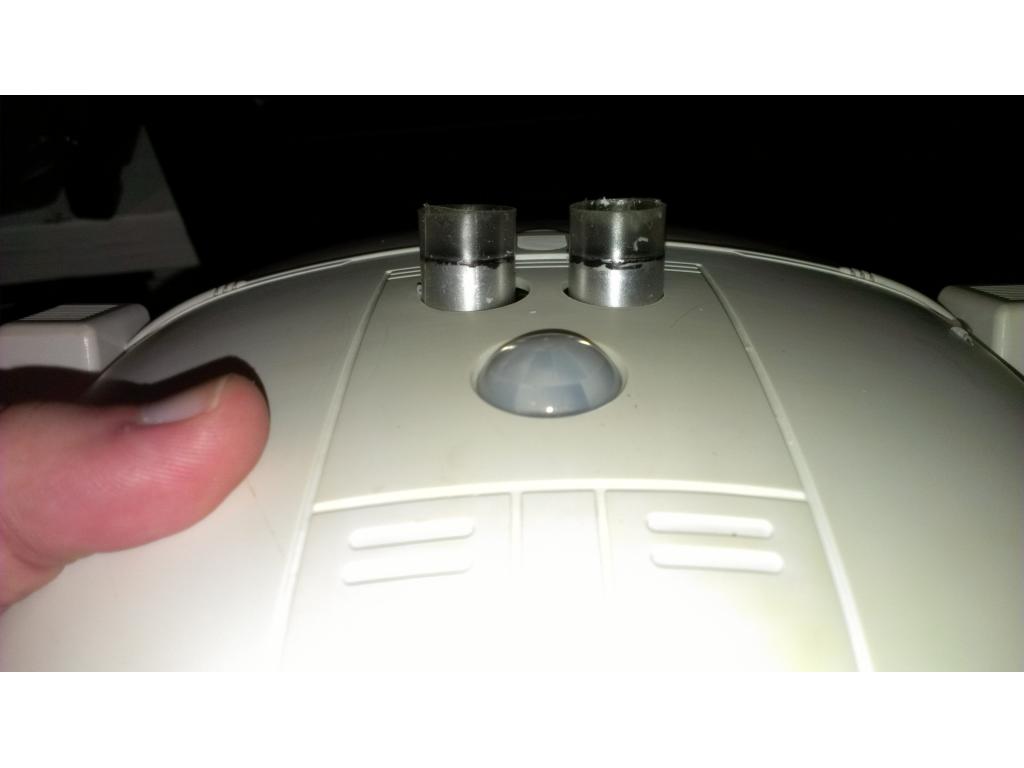
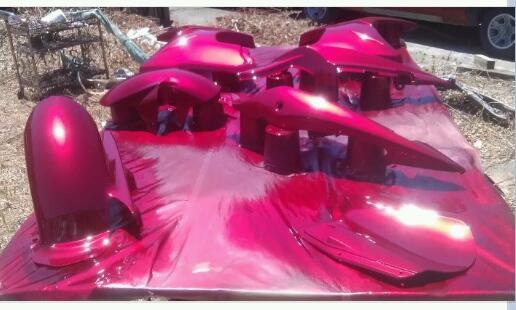
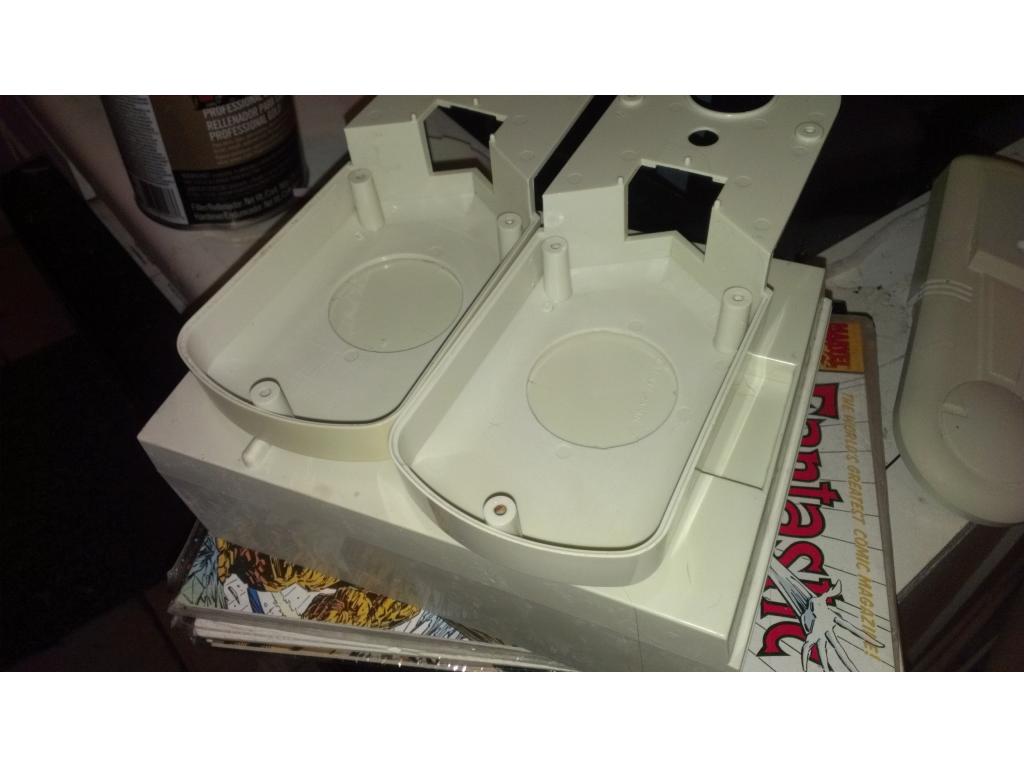
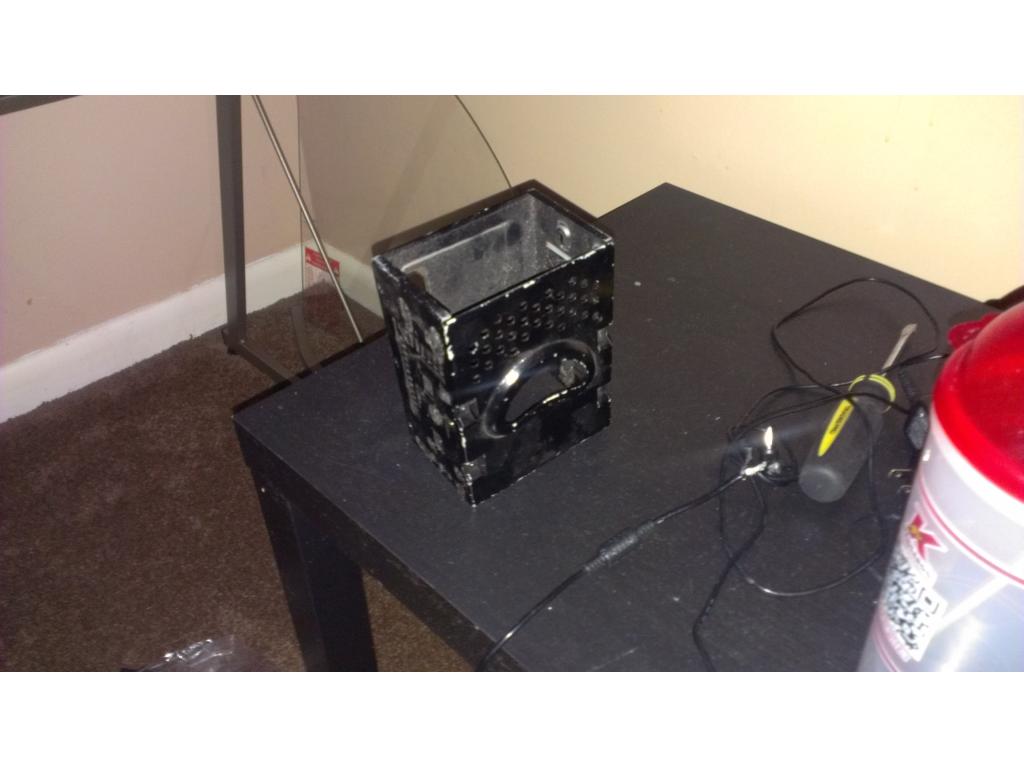
Ok here's the final product of the rear vents , I was really sweating this and gritting my teeth hoping I would make a dumb mistake as this would be visible.lol . I will do a couple on the sides as well as I need a 4 reasonable sized intake vents. What do you guys think?
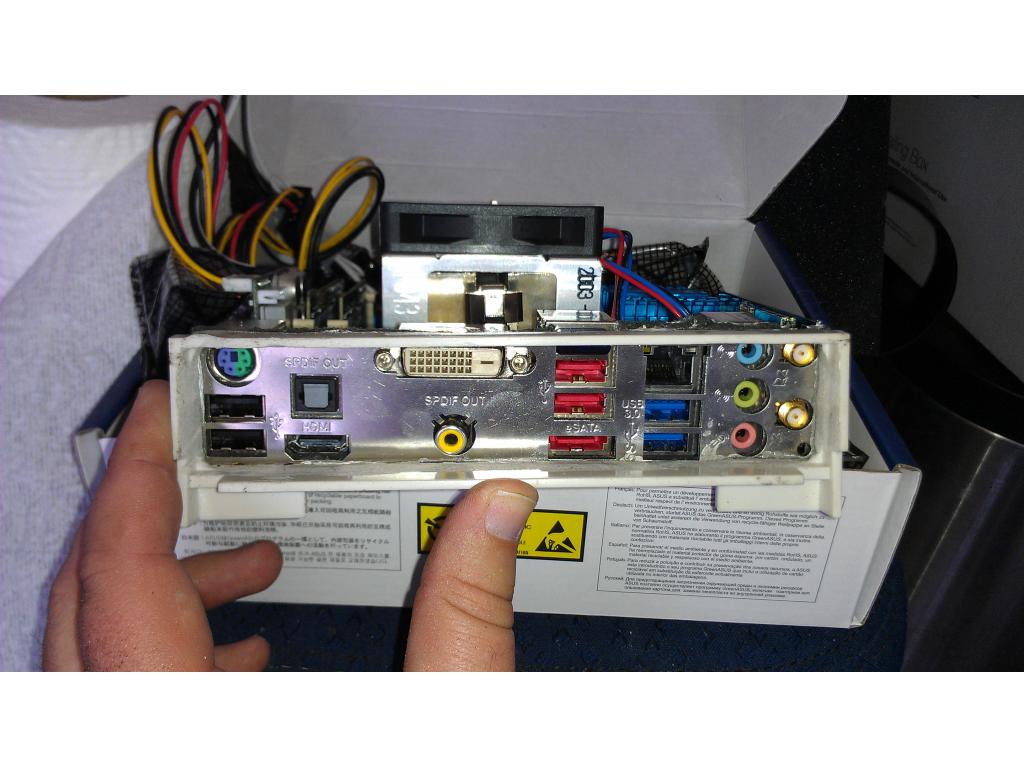
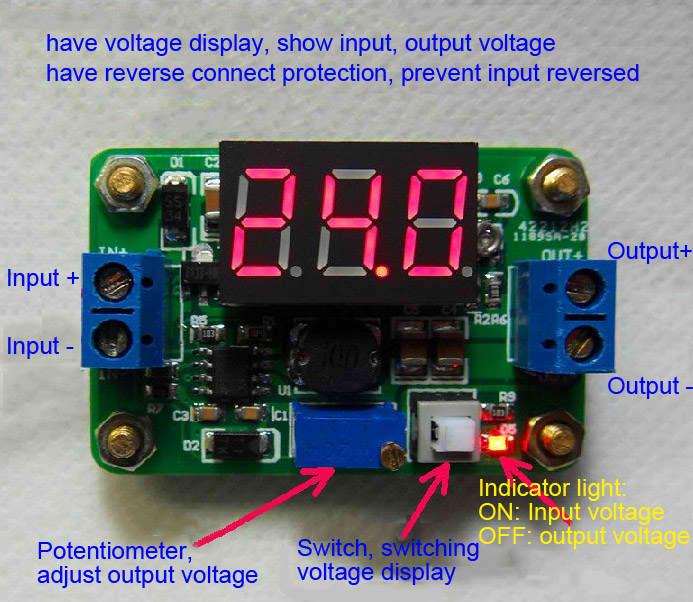
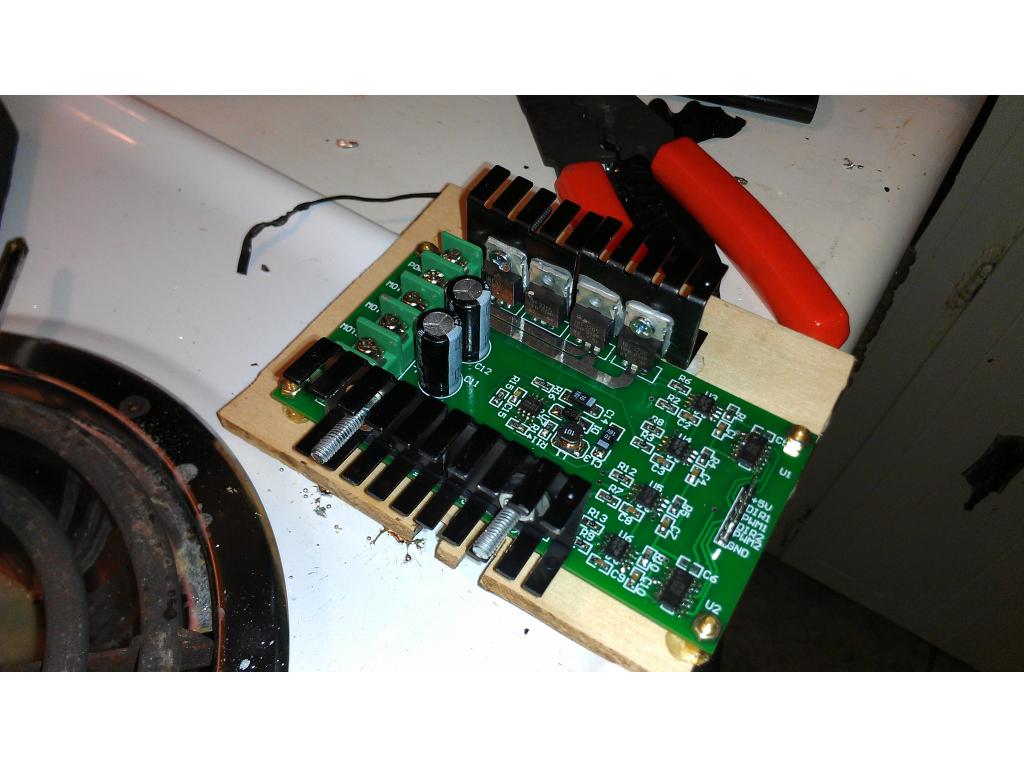
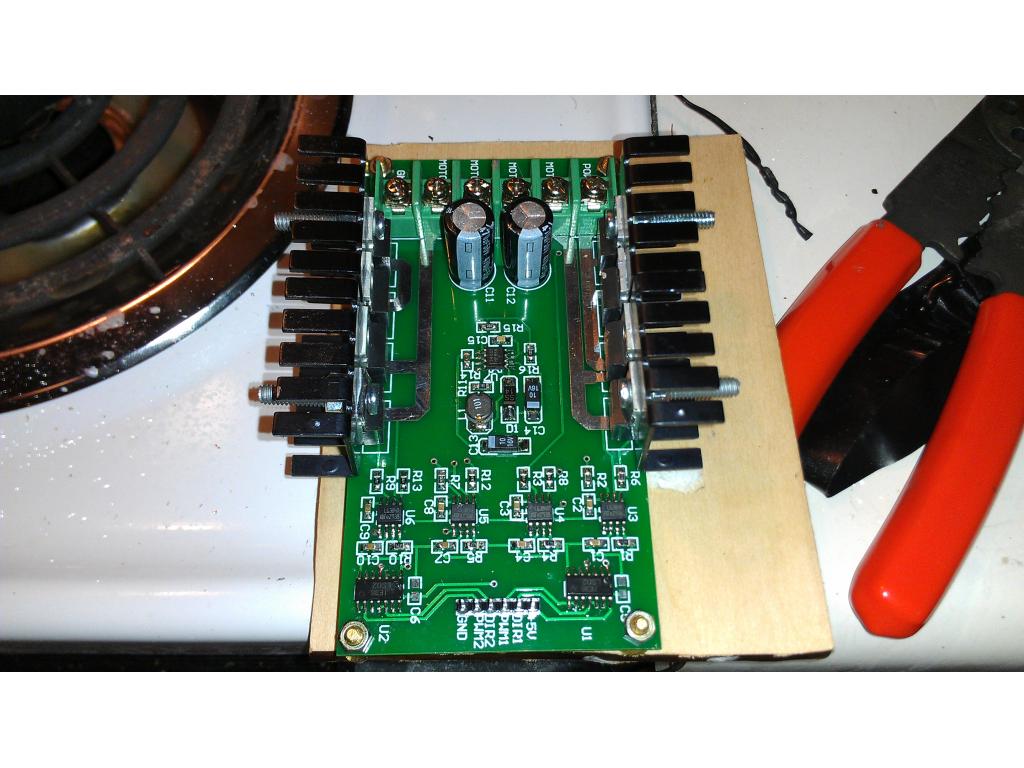
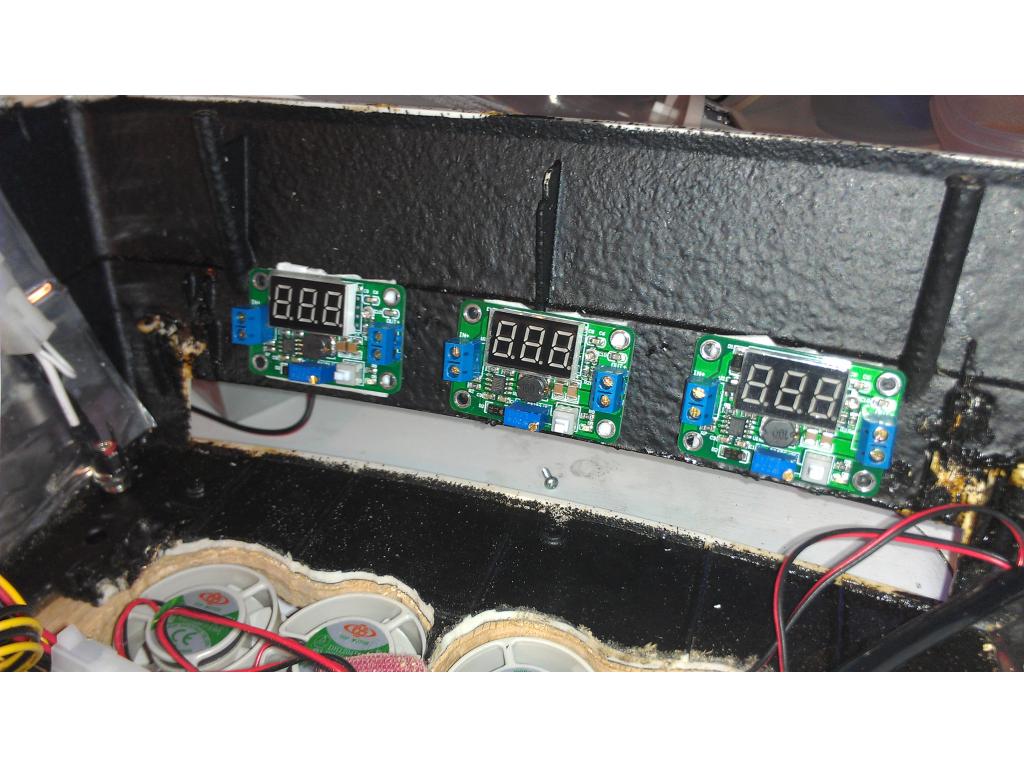
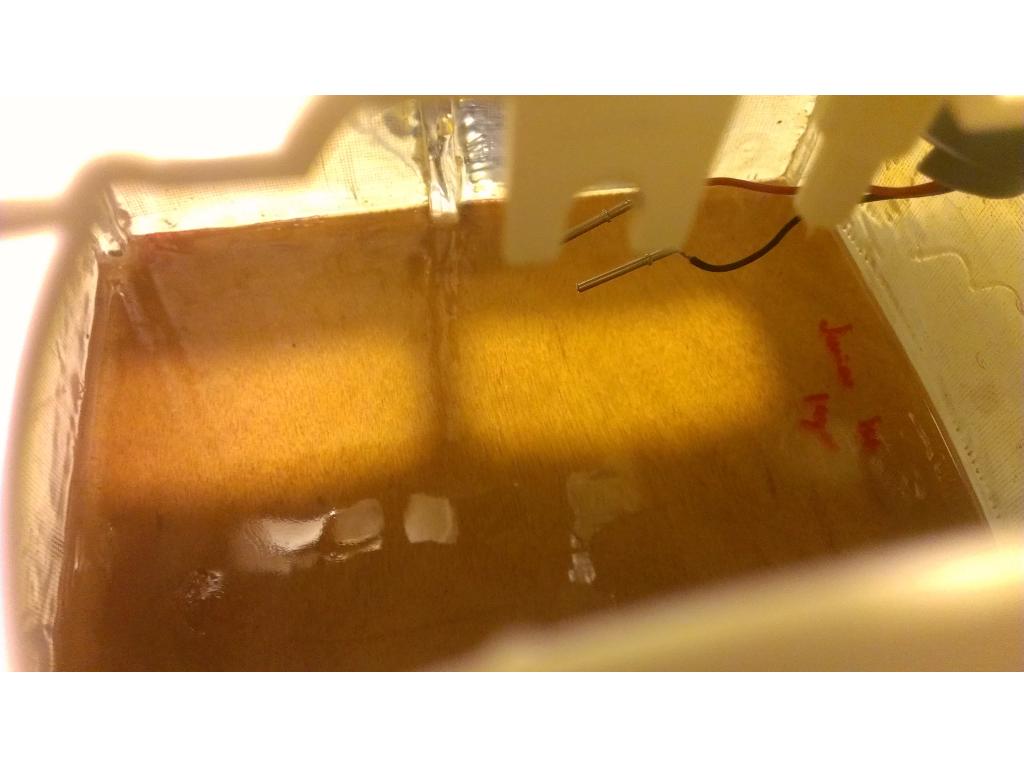
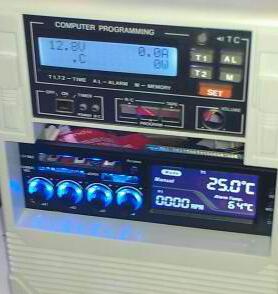
venting mostly depends on how much heat there is,if using a ITX board you need some venting,some motors might need venting and regulators what i do since i have equipment is to measure and monitor the temperature of inside of the robot design and add as needed on motors its very good idea to add a temperature cutoff circuit to it,fairly easy to do with simple diode as a temperature device and comparator circuit,motors over heat,sometimes of beening on to long,or stall conditions
JOSH it looks good,i use them also as templates