
For my first project so I don't stuff up a toy I have decided to use Lego for my body. This means that I won't have to master any specialised tools and my project will be $50 cheaper than if I bought a Verbot.
I am going to build a hollow body out of lego and drill some pieces to make a nice friction fit for the servo attachments. I have tons of Lego blocks from when I was younger so I don't have to fear wrecking any pieces. I plan to have two wheels at the base, two arms and a rotating head. Any suggestions on how attach the servos effectively to the body to make sure that they don't fall out. I would also prefer that I can reuse the servos for later project so I would prefer not to make any permenant attachments. The beauty of this project is that I can alter the body and remove parts with great ease. I will upload photos and videos as I progress.
Thanks
Liam
Discover more robots
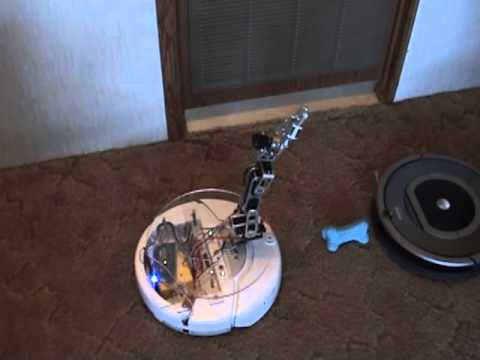
Robot's Irobot Create With An Arm
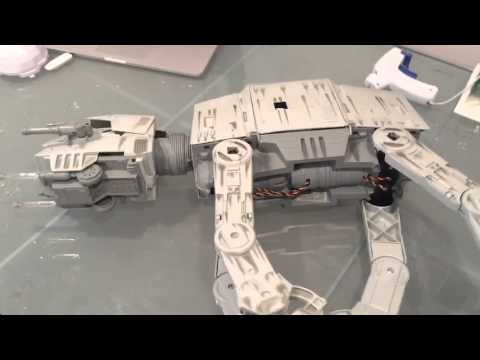
DJ's Imperial AT-AT Walker Robot - The Force Is With Me!

Hehe you know what? Hot glue gun ... Seriously!
I don't know how many times using a hot glue gun has saved me. I get something together and i realize it needs to be moved or tweaked.
Now, it wont' be the strongest hold. Meaning, you can't give it to any children to bash around haha.. But it will sure withstand the prototyping phase.
PS, most all of my robots are assembled with hot glue gun. People may laugh, but it works!
I haven't been able to make any robot without my trusty old hot glue gun cool
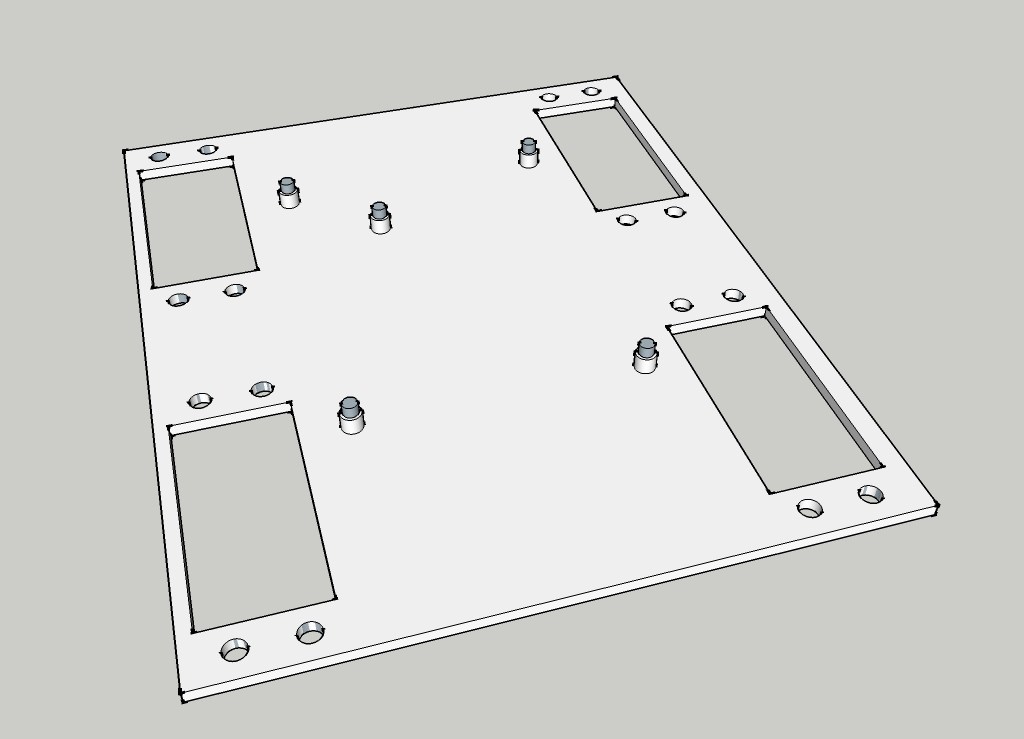
Here is the general layout of my robot.
The image didn't seem to work so here is a link.
www.flickr.com/photos/66937157@N08/6088233664/in/photostream
Your layout is pretty basic but perfect, if you want to attach the servo's just make lego around the servo and glue it in using hot glue.
Did you mean to use Modified Servos for the hands?
That's going to be a cute bot! Reminds me of the bot from jetsons, but a male version.
Don't mind this post
I probably should of added a scale but to give you a general idea it will probably be two EZ-B boards across and one and a half tall (not including the head.)