
Hello again,
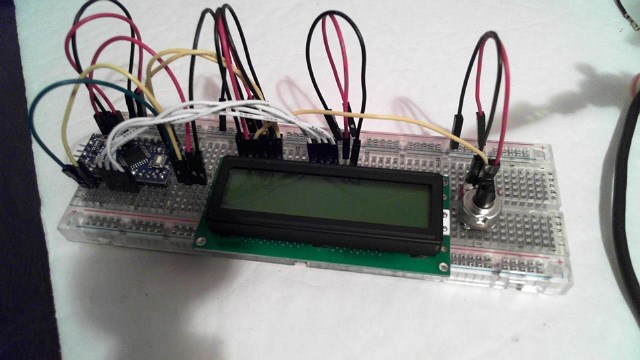
I have created an LCD Display for the EZB4.
This is a very cheep and easy project.
You will need
1 LCD display ( my code is set up for 2 line 16 char display) here are 5 of them for about 10 bucks USD
1 Arduino ( any model will work but i recomend the Pro MINI)
Here is a listing of them on ebay
Oh here is the wiring . again I am using the pro mini . this is showing and UNO board. the pin outs are the same.
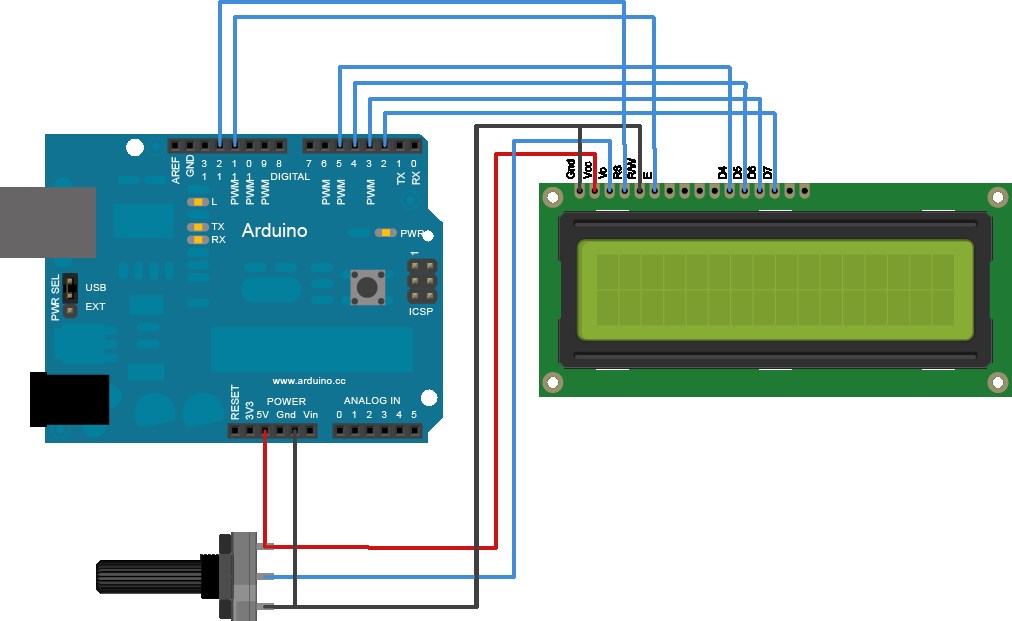
To wire your LCD screen to your Arduino, connect the following pins: LCD RS pin to digital pin 12 LCD Enable pin to digital pin 11 LCD D4 pin to digital pin 5 LCD D5 pin to digital pin 4 LCD D6 pin to digital pin 3 LCD D7 pin to digital pin 2 Additionally, wire a 10K pot to +5V and GND, with it's wiper (output) to LCD screens VO pin (pin3).
Arduino code:
// LCD and Arduino to EZB4
// Project Created by Luis A. Vazquez
// www.dragontear.com

#include <LiquidCrystal.h>
String content = "";
LiquidCrystal lcd(12, 11, 5, 4, 3, 2);
void setup() {
  Serial.begin(9600);
  lcd.begin(16, 2);
  lcd.setCursor(0,0);
  lcd.print("EZB4 LCD Display");
  lcd.setCursor(0,1);
  lcd.print("By DragonTear");
}
void loop() {
  readSignalFromComp();
}

void readSignalFromComp() {
  if (Serial.available()) {
  delay(100);
  while (Serial.available() > 0) {
  int temp = Serial.read();


  Serial.print("Debug:");
  Serial.println(temp);

  if (temp == 17){lcd.clear();}

  if (temp == 18){lcd.setCursor(0,0);}

  if (temp == 19){lcd.setCursor(0,1);}

  if (temp > 31){  lcd.write(temp);   }

    }
  }
}
EZ-Builder Script
UartInit(0,2,9600)
UARTWrite(0,2,17, 18, "Hello From" , 19 , "EZ-Builder")
The control codes are:
17 - to clear the screen 18 - Move cursor to line 1 19 - Move cursor to line 2
I hope this was complete and self explanitory, but if not please ask , I am willing to help.
Discover more robots
Nomad's Using Robosapien V2
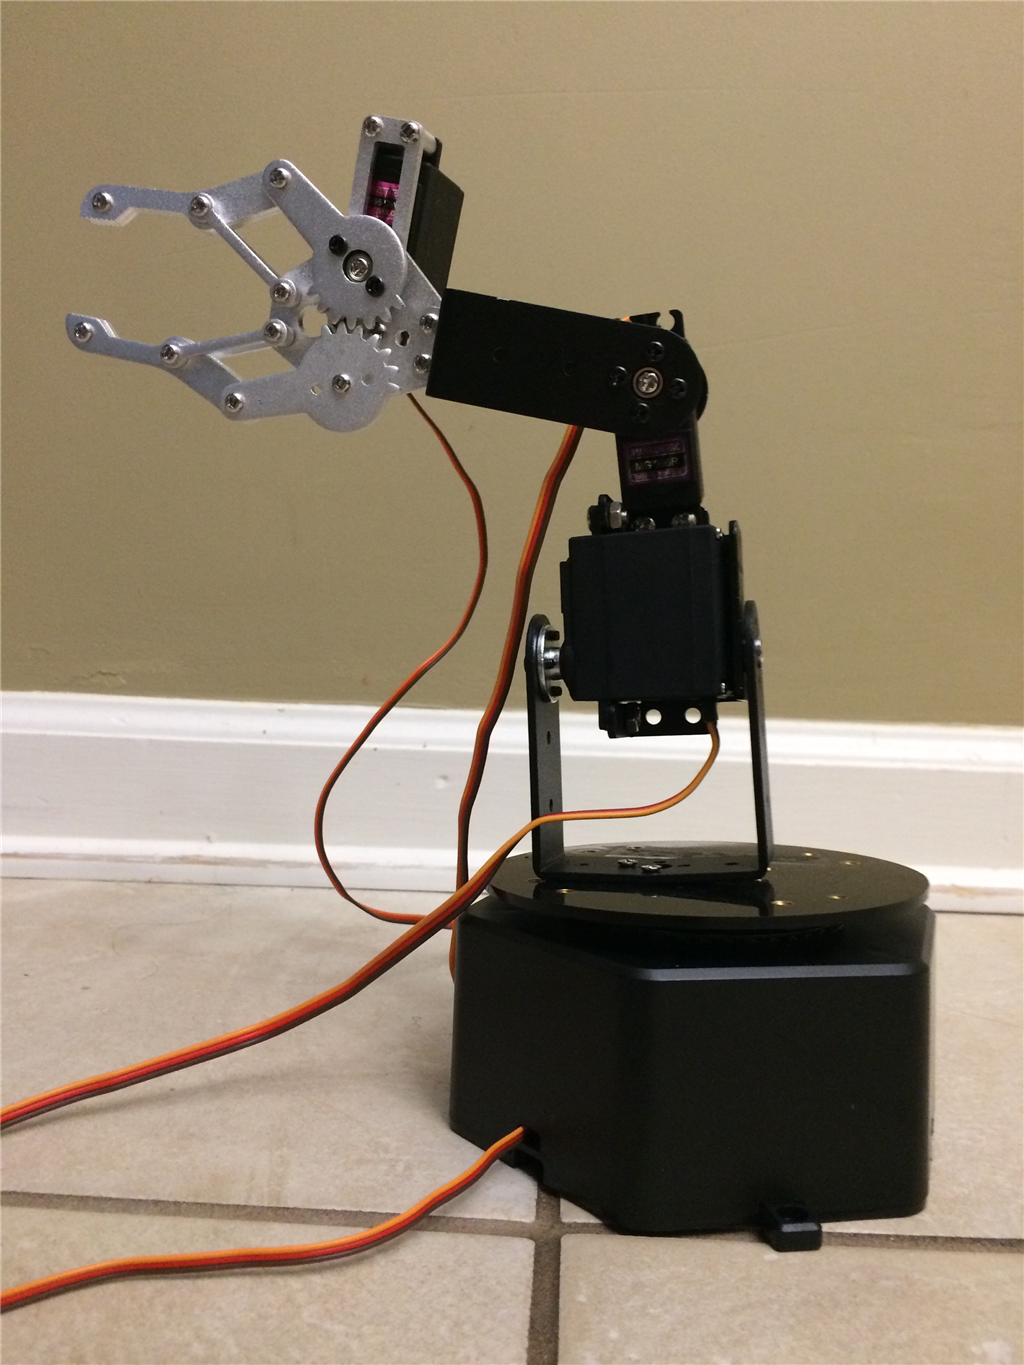
Ezang's My New Robot Arm On ARC

I2c is the smartest. Because there will never be interference and it's much easier to let the hardware do the work, unlike mqtt
Ok so @DJ you would suggest I look into connecting arduinos or other micros via the I2c bus? I can have multiple nodes on I2c correct?
You bet. Each arduino would be an i2c Slave mode. 127 devices can be chained.
And it's fast!
Thanks @DJ that sounds familiar, I hadn't used the I2c bus too much in previous arduino/pi projects.
I am still looking into mqtt for some other uses, perhaps through a plugin as we've been discussing here https://synthiam.com/Community/Questions/9646 , for easy integration into openHAB and some other systems I have running in the home.
I recently bought the EZ dev kit and am eagerly awaiting my recent omnibot purchases to get going on my first project!