


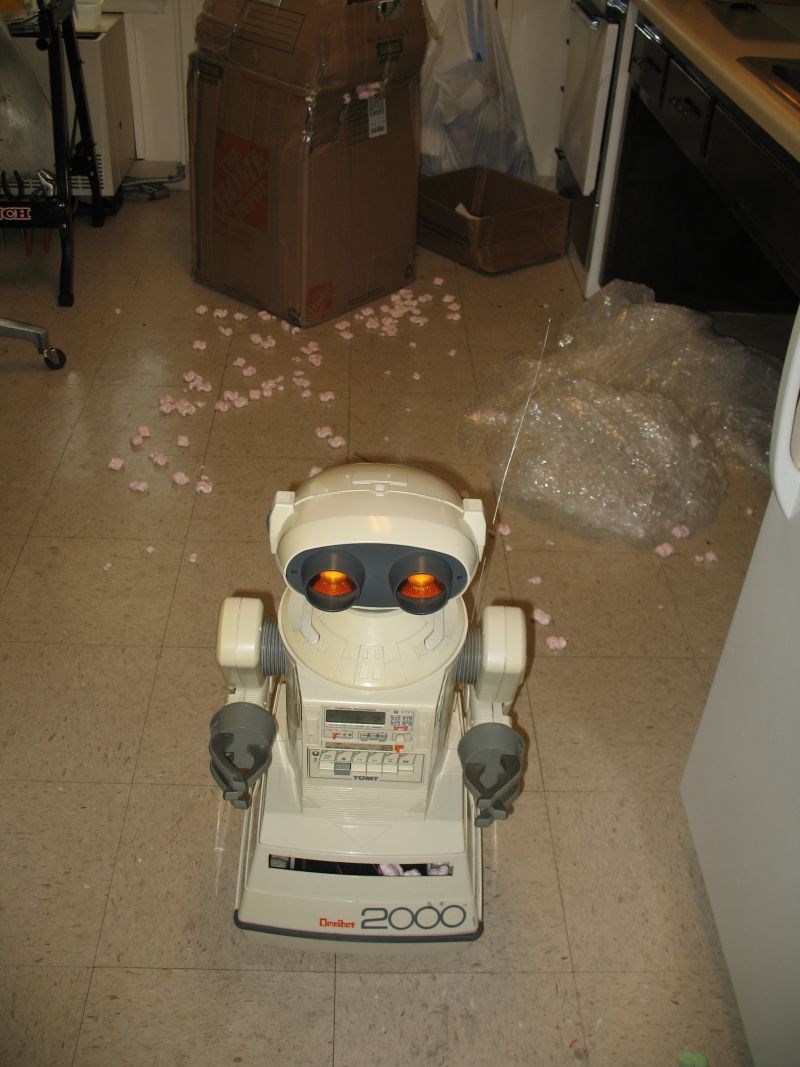
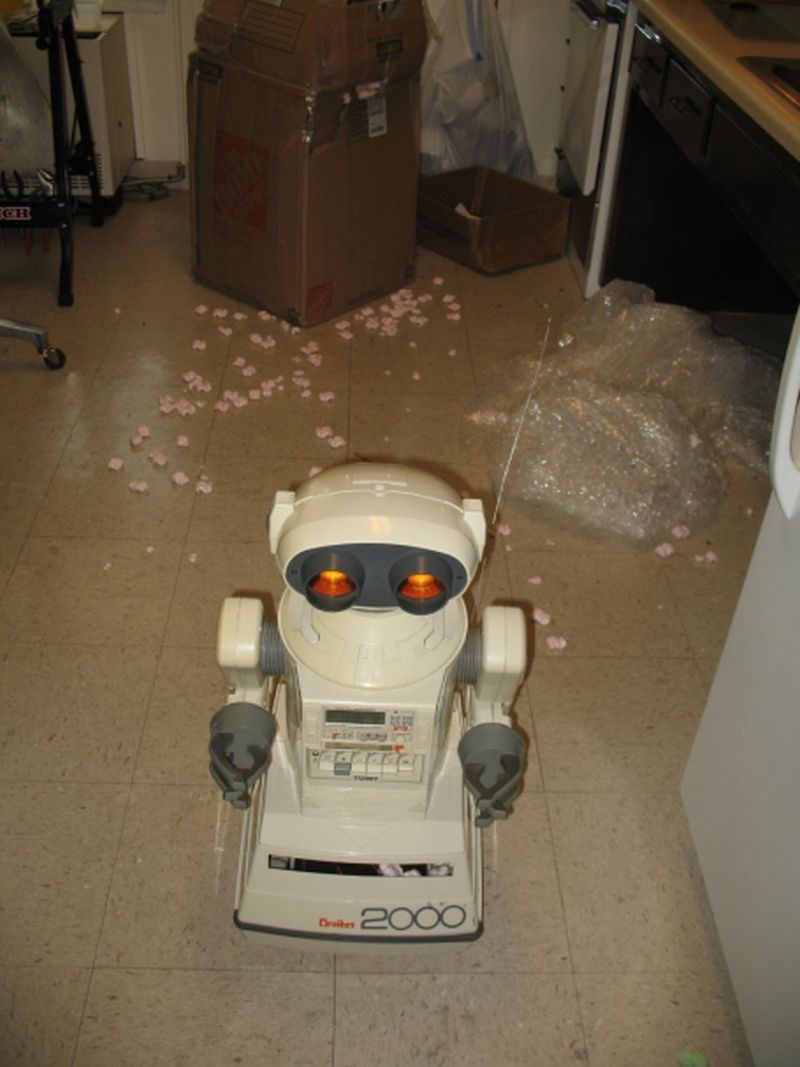

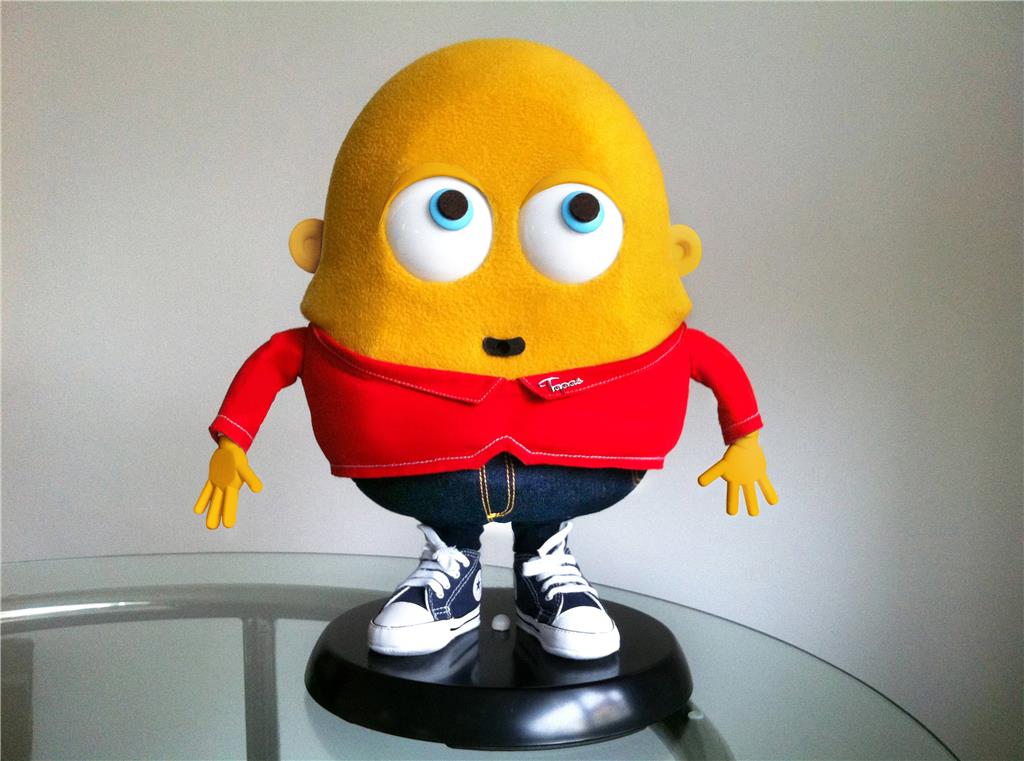
Just got my ominibot in for my Sunshine Project!
** I was going to give an actual realistic account of every step of the construction of the project. But, when I looked back, it seemed to be a collection of Negative thoughts. So, I have forgotten all of the Negative thoughts and have edited them out. It is sort of like having a baby. It is painful at first , but once the baby is born. Or, in the case of Frankenstein, "It's Alive!" "It's Alive!" , you forget all of the pain and behold your new creation. So, I will simply record the steps that worked and NOT the ones that didn't. Many times after finishing a project and making all the mistakes, I learn how NOT to do certain things.**
:-)
Good news, I have made arrangements to buy some parts over the next two months. I hope to find that the parts that I am buying will include enough for me to put this all together.
God Bless All of You that will follow and Support me in my journey.
Sincerely,
Mel Addison
Discover more robots
Buratino's Tappie
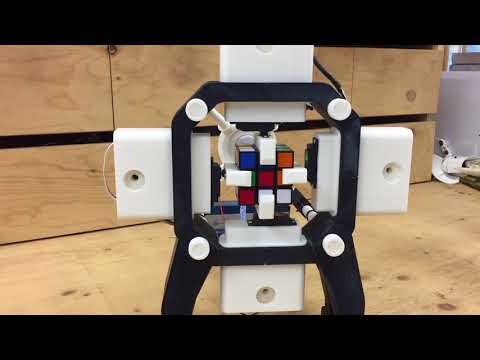
Bhouston's Rubik's Cube Solving Robot


That is a bummer Mel. I will be following your build. Can't wait to see how it goes.
The cost "420" would have been a roadblock for me when i see that price on anything used it makes me wonder about the sellers
Thanks, Guys for your support.
:)
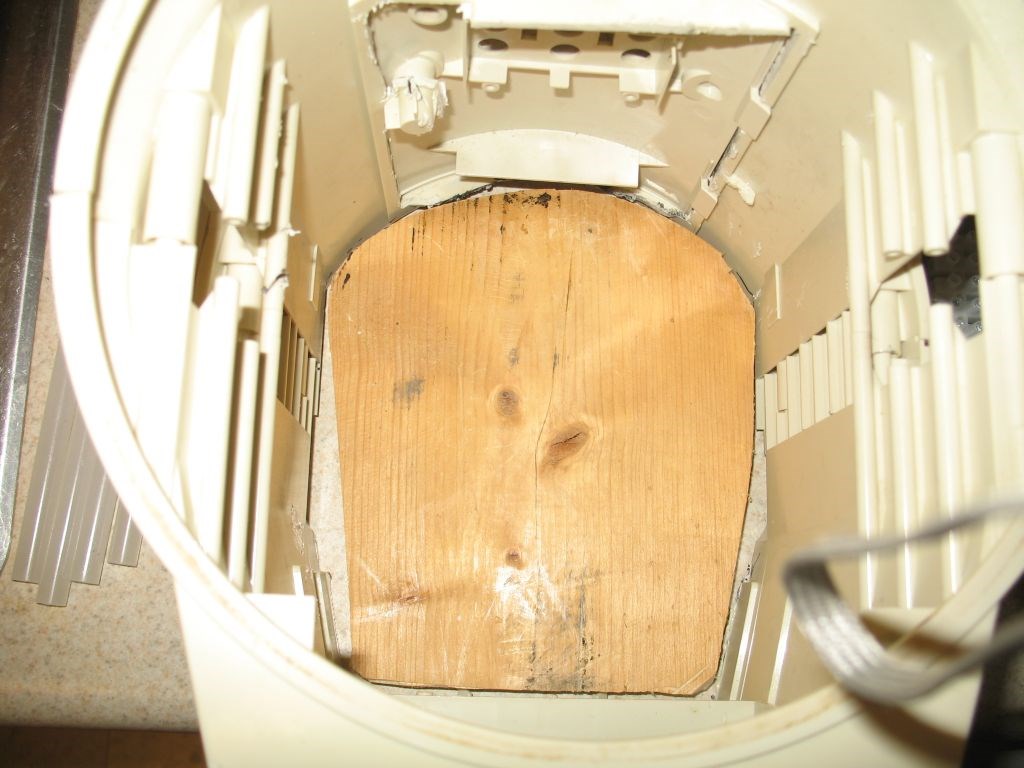
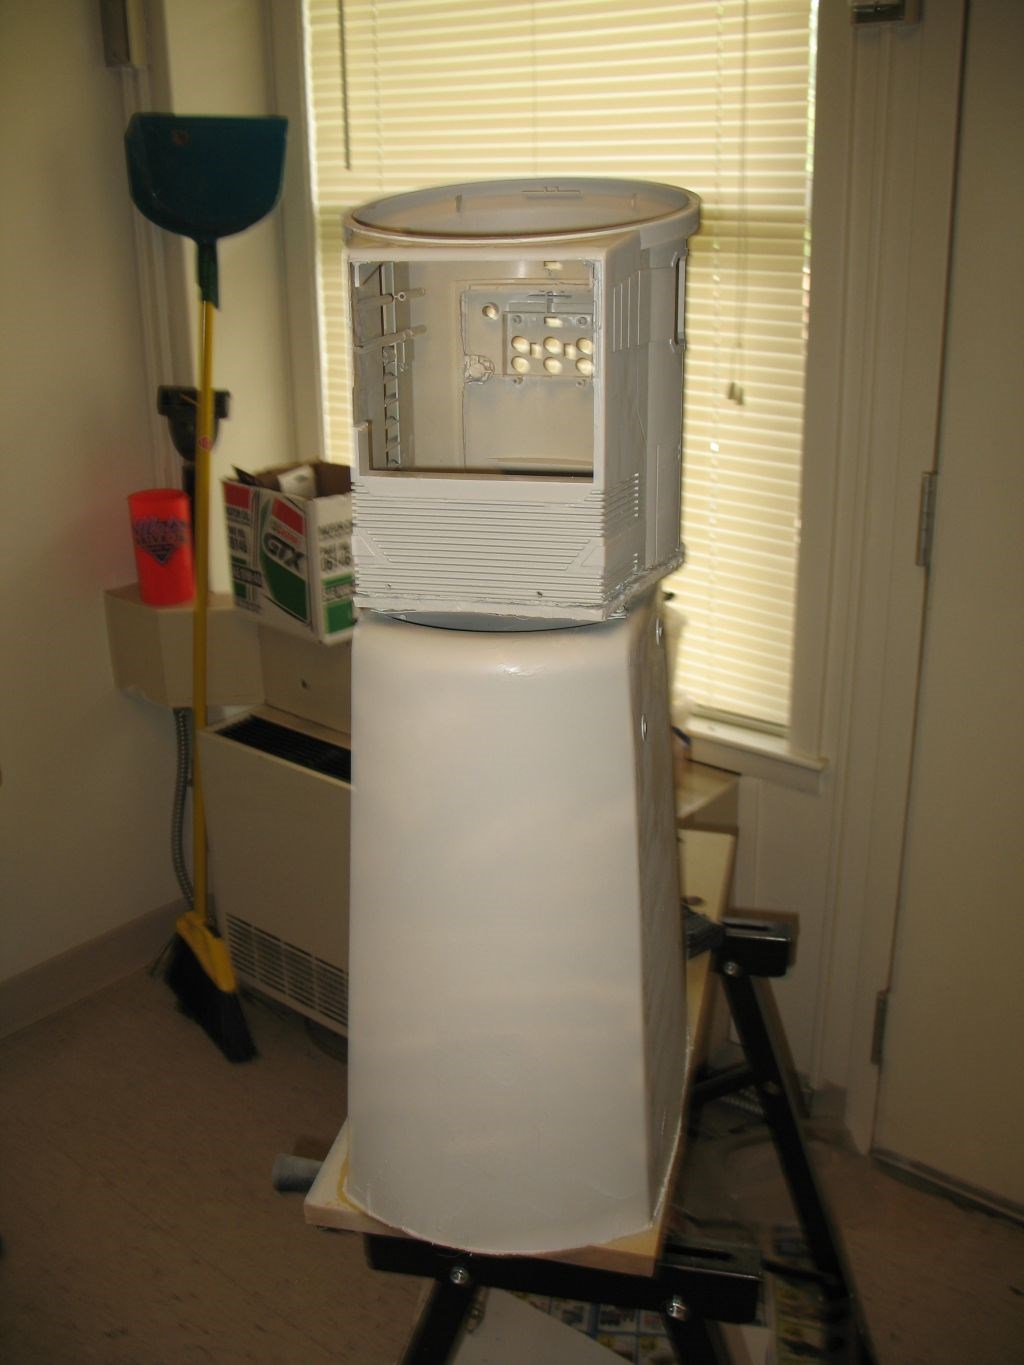
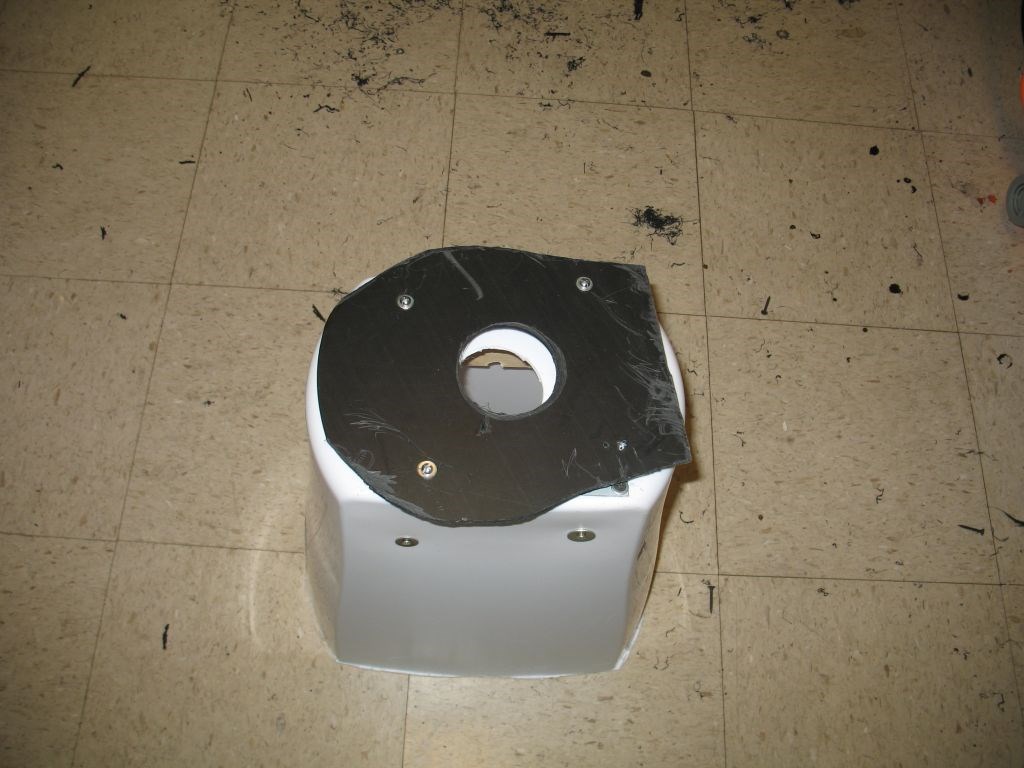
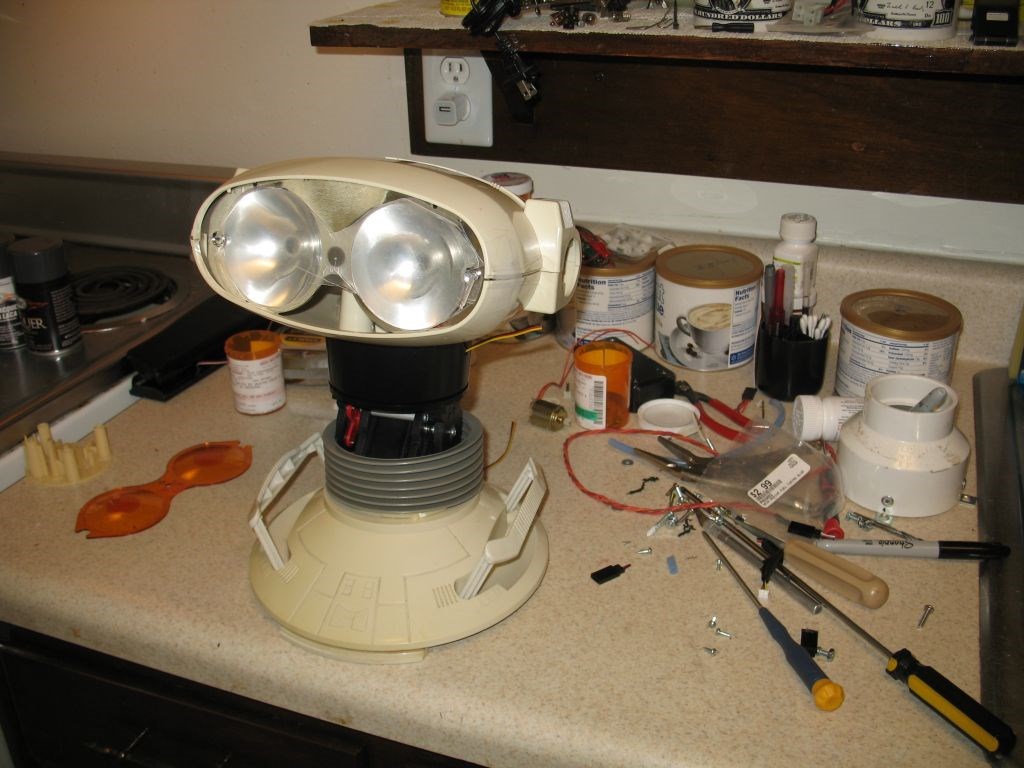
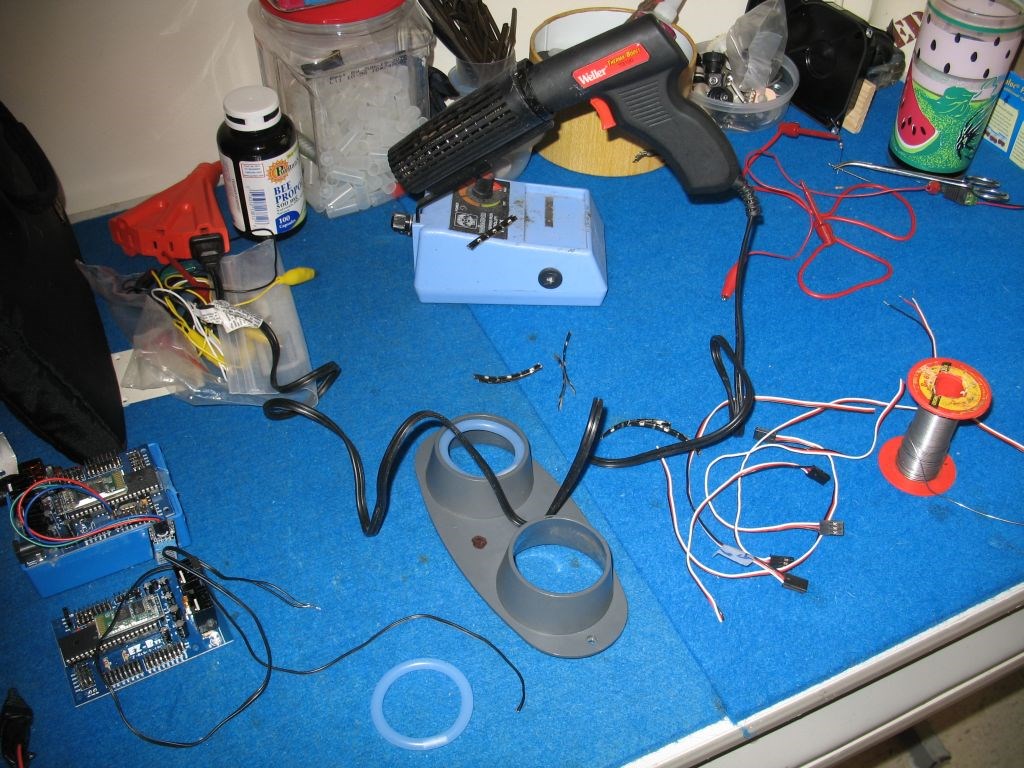
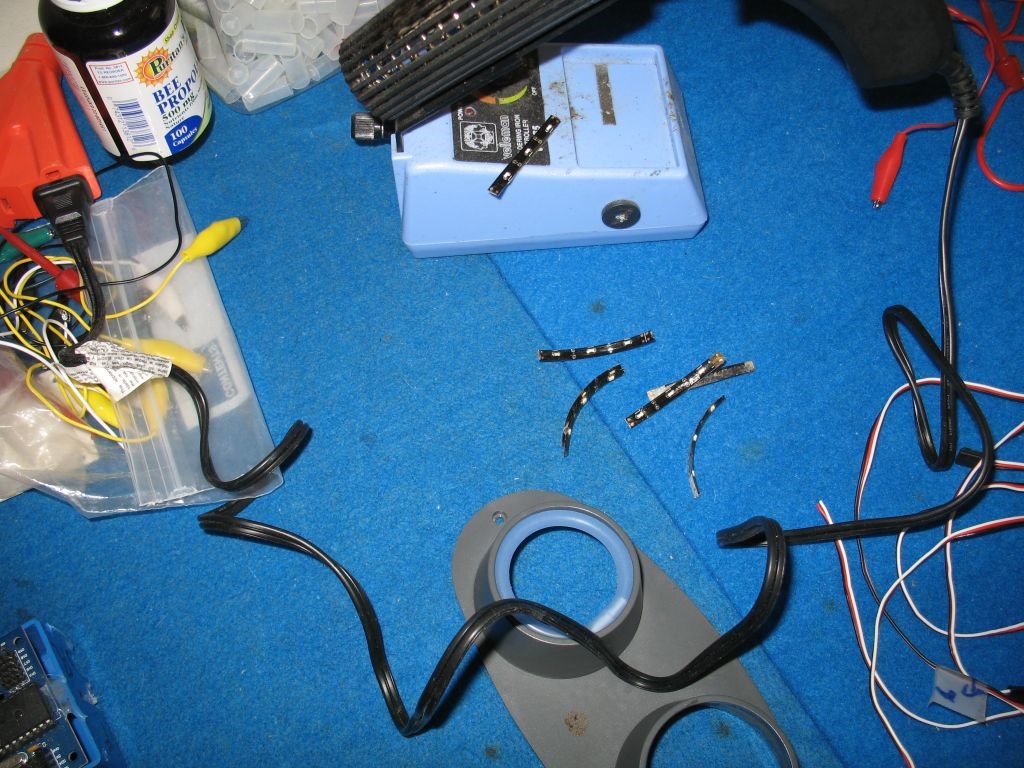
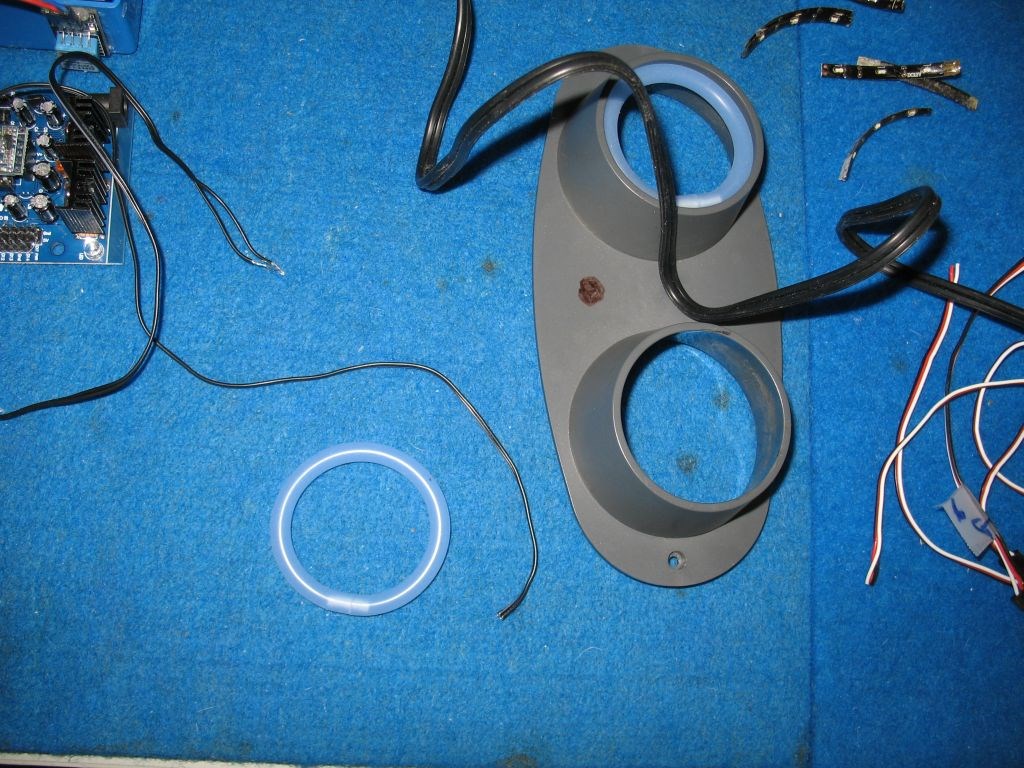
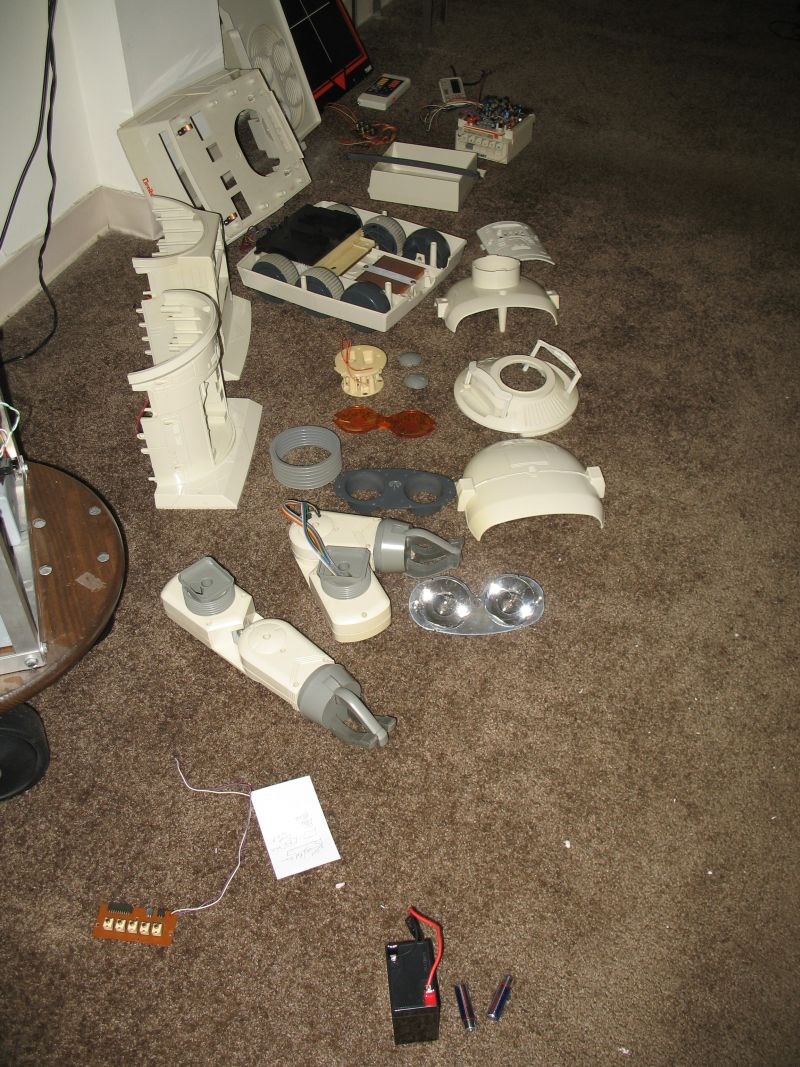
OK, here is step 1 finished.
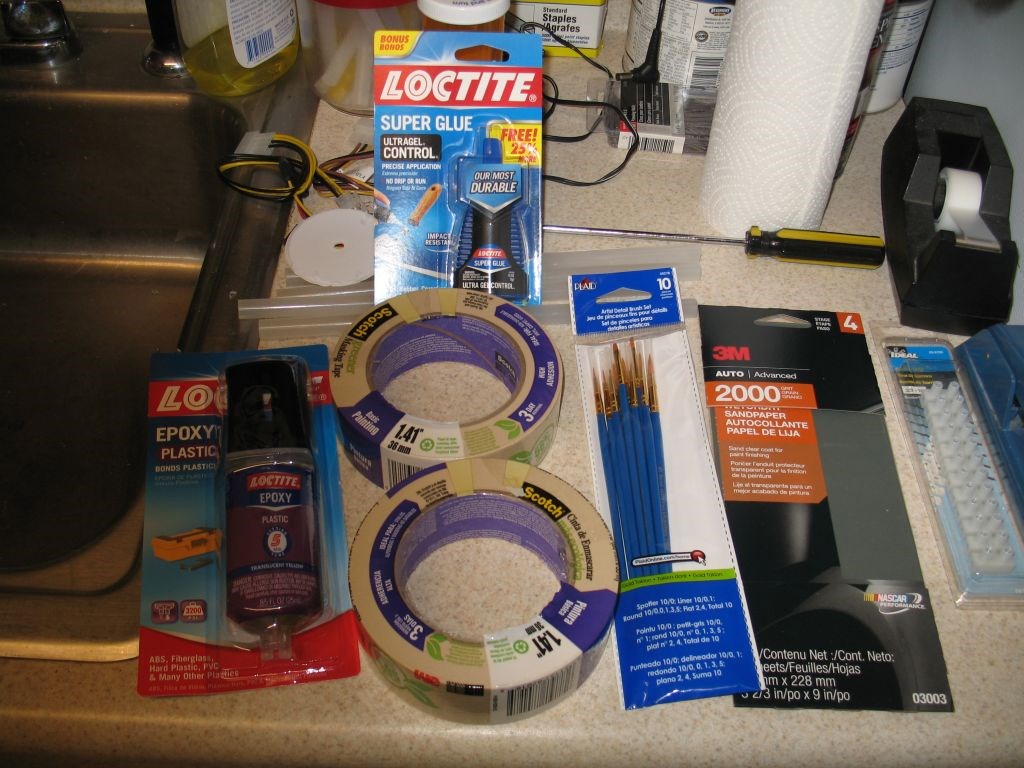
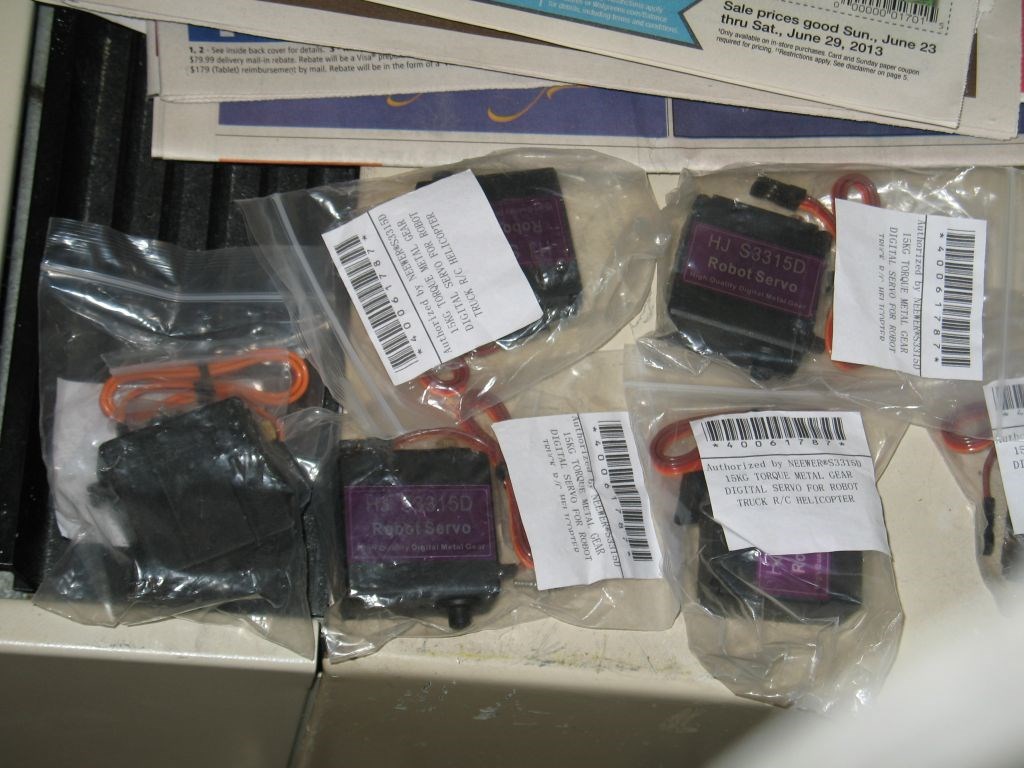
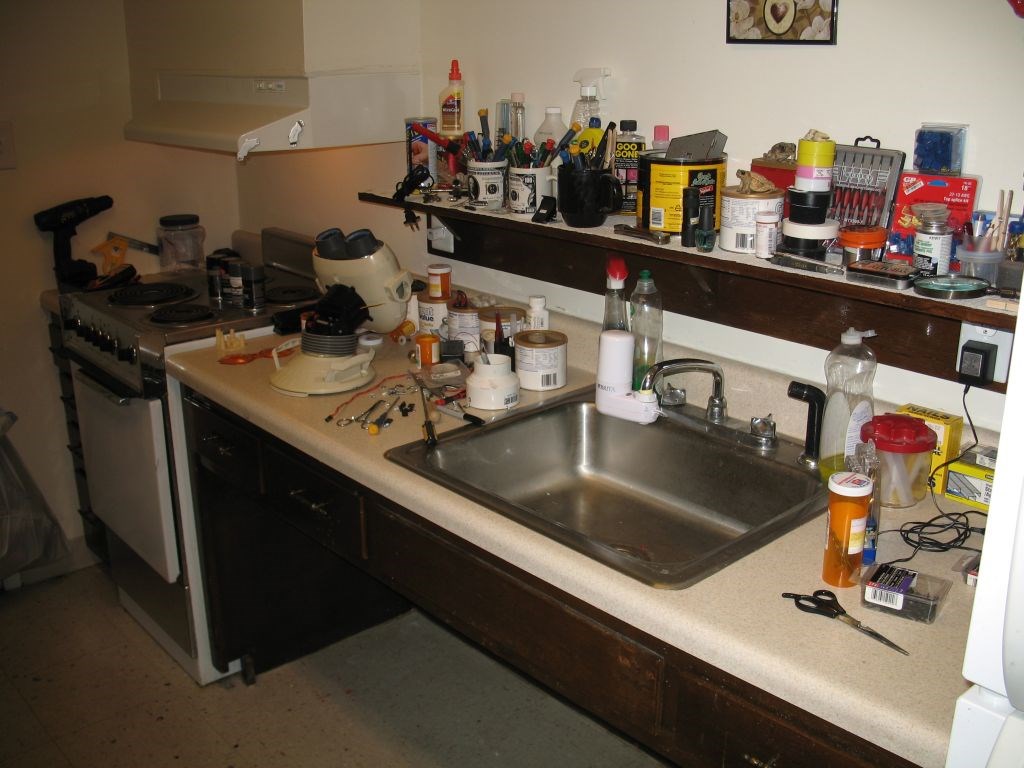
I got a lot of parts in.
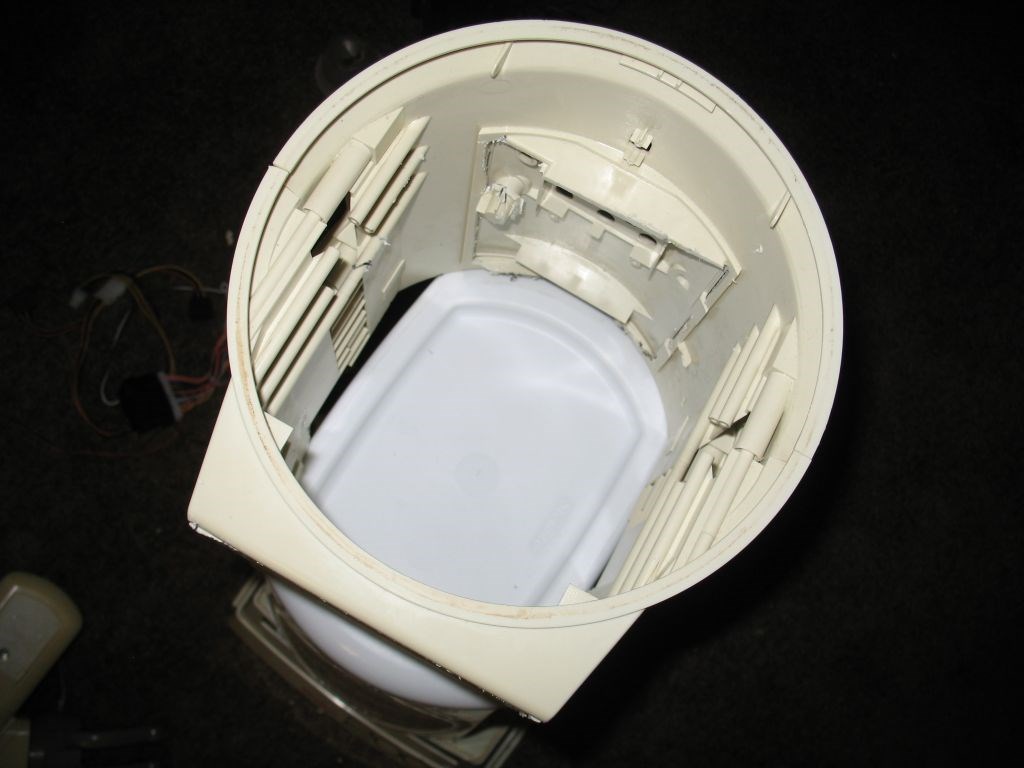
I am searching for a trash can . . . . .
Wow, that's too bad about the damage but it's great you got a partial refund. If you didn't I would have suggested a very bad review.
Naw, I gave him a 100% review because you don't mess with people where they eat. I had a problem. He fixed it. So, although he is not too happy, he gave me a partial refund.
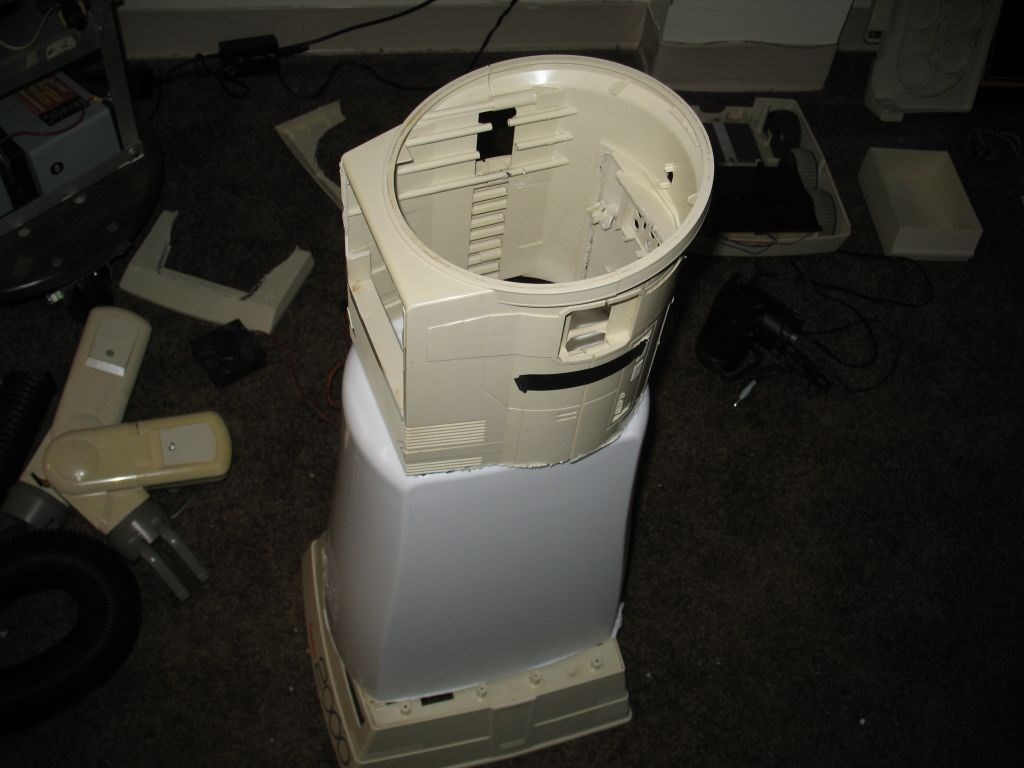
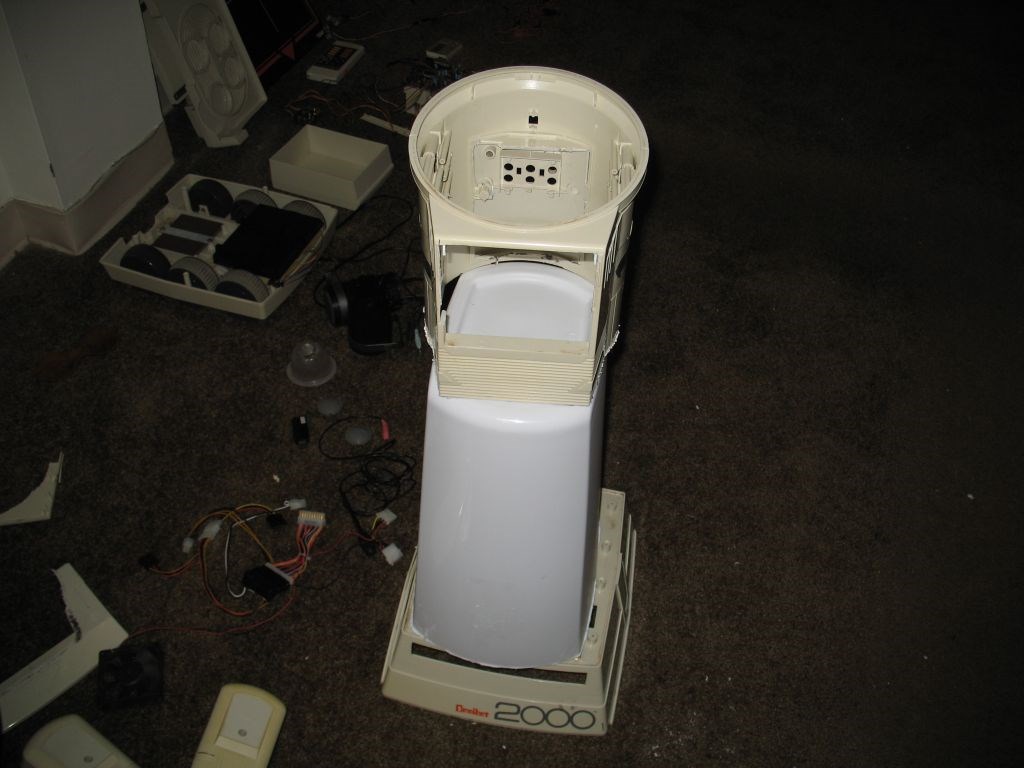
Guess What? I took both robots BOB and Marti completely apart. I am using the Base off of Marti to complete Fred#2 which is a turtle-bot. I gained the base and I have been learning ROS on my QBO robot. So now, I have just about everything I can think of to complete the turtle-bot. Fred1 will be resurrected as Fred2 and then I will change his name to Freddie.
Now, when I did that, I also got some Extension cables for the servos, microphone, speakers, some sensors,notebook, ac adapter,two blue LED eyes,Nose and lips (Which I won't use),blonde wig,two cameras. two extra servos, a pan and tilt that might work on Sunshines head, and TWO EZBs so I don't have to buy any. Aint that GREAT? I will know Tue if I won the mimoimo monitor. If I did, I have a monitor that is work $185 for less money. If I don't , I have more money to spend on more stuff to put into Sunshine. Either way I go, I win!
Thank All of the forum members for your support in this project.
:)


