


-634974074855781250.jpg)
-634974075002031250.jpg)
-634974075348281250.jpg)
-634974075906250000.jpg)
-634974076093750000.jpg)
-634974076263593750.jpg)
-634974904682656250.jpg)
-634974904810156250.jpg)
-634978127365781250.jpg)
-634978127536562500.jpg)
-634978128046093750.jpg)
-634978128198437500.jpg)
-634978128871093750.jpg)
-634978253971406250.jpg)
-634978254227031250.jpg)
-634978254415468750.jpg)
-634978254571093750.jpg)
-634978255874843750.jpg)
-634978256025156250.jpg)
-634978380732343750.jpg)
-634978380897500000.jpg)
-634978381839687500.jpg)
-634967031845625000.jpg)
-634967032284687500.jpg)
-634967033279375000.jpg)
-634967034264062500.jpg)
-634967034602187500.jpg)
-634967034824218750.jpg)
-634967034932812500.jpg)
-634967035040312500.jpg)
-634967035215468750.jpg)
-634954106306562500.jpg)
-634954106467968750.jpg)
-634954107063437500.jpg)
-634954107253750000.jpg)
-634954107416875000.jpg)
-634954107579062500.jpg)
-634954863071093750.jpg)
-634954864847187500.jpg)
-634954865047500000.jpg)
-634954865249375000.jpg)
-634954866326406250.jpg)
-634955967993593750.jpg)
-634955968285468750.jpg)
-634955969057656250.jpg)
-634955969230000000.jpg)
-634961961068750000.jpg)
-634961961667656250.jpg)
-634961961979218750.jpg)
-634961962171718750.jpg)
-634966920820781250.jpg)
-634966920927187500.jpg)
-634966921405625000.jpg)
-634966921508437500.jpg)
-634966254285625000.jpg)
-634966254761718750.jpg)
-634966255153437500.jpg)
-634966255502968750.jpg)
-634966256650937500.jpg)
-634966256854687500.jpg)
-634966257558281250.jpg)
-634966257746718750.jpg)
-634966258163750000.jpg)
-634966067328750000.jpg)
-634966068045000000.jpg)
-634966068766093750.jpg)
-634979120024531250.jpg)
-634979121039375000.jpg)
-634979121191875000.jpg)
-634979122585781250.jpg)
-634979122849843750.jpg)
-634982661826220703.jpg)
-634982662011787109.jpg)
-634954100905156250.jpg)
-634954101097343750.jpg)
-634954101331718750.jpg)
-634954101791875000.jpg)
-634954102047343750.jpg)
-634954102225312500.jpg)
-634954102518750000.jpg)
-634954102695000000.jpg)
-634912695324931640.jpg)
-634881857145156250.jpg)
-634899524197255860.jpg)
-634899524412343750.jpg)
-634899524565830078.jpg)
-634905744360322265.jpg)
-634905744808828125.jpg)
-634952517295312500.jpg)
-634952518096250000.jpg)
-634952518363593750.jpg)
-634952519087500000.jpg)
-634952519325625000.jpg)
-634953296065625000.jpg)
-634953296478750000.jpg)
-634953296688906250.jpg)
-634953297970781250.jpg)
-634948929860781250.jpg)
-634948930568593750.jpg)
-634948931050156250.jpg)
-634948931338125000.jpg)
-634948931513750000.jpg)
-634948932129062500.jpg)
-634948932351562500.jpg)
-634930608073125000.jpg)
-634930608951250000.jpg)
-634930610537968750.jpg)
-634948774508906250.jpg)
-634948774728125000.jpg)
-634948775394531250.jpg)
-634948775567031250.jpg)
-634948776015625000.jpg)
-634948776181875000.jpg)
-634948777227343750.jpg)
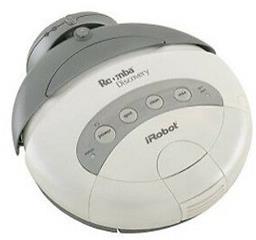
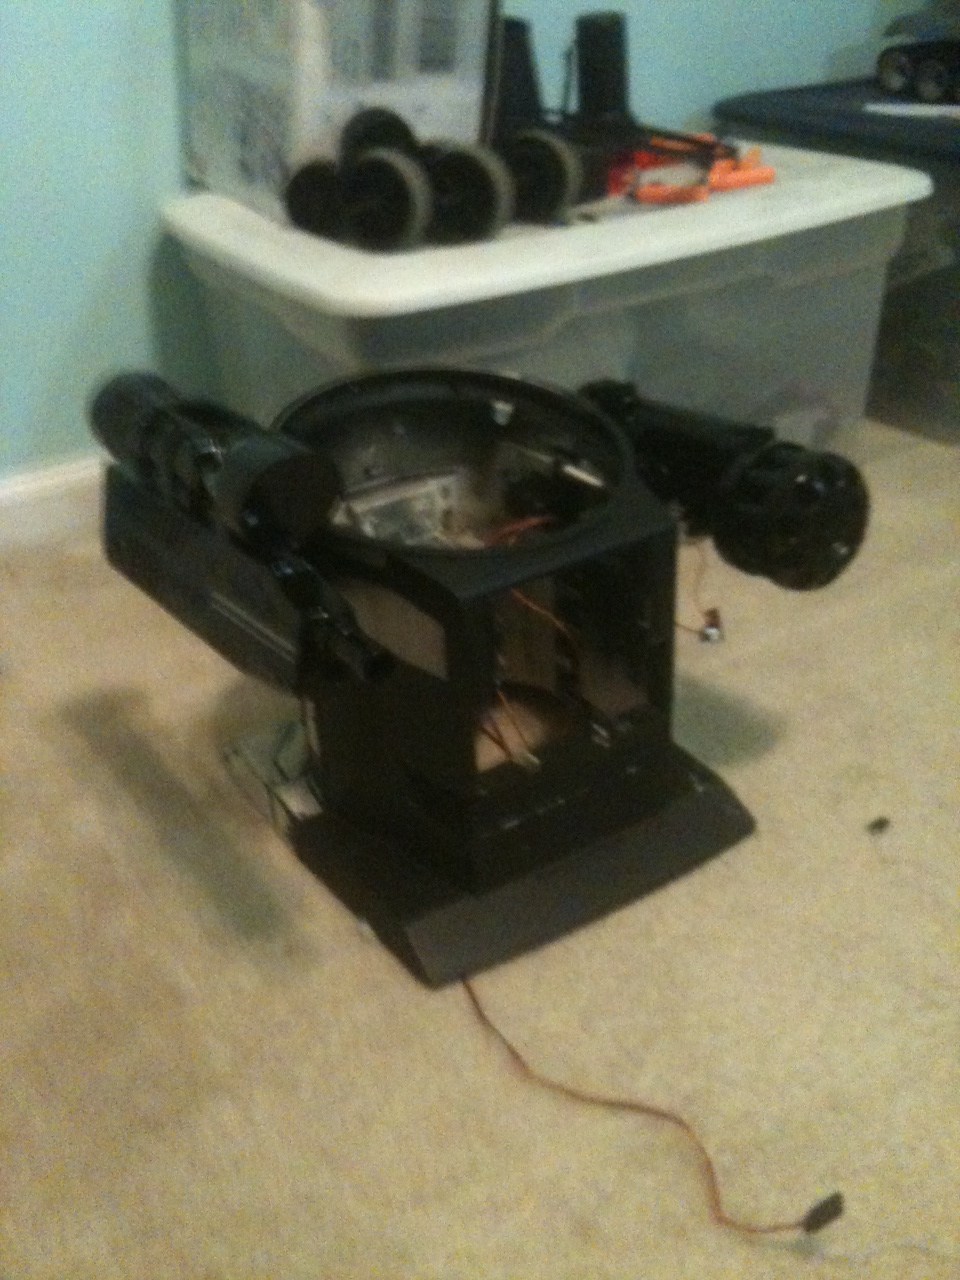
Since my original work on BOB (Bret's OmniBot) I have worked on a couple of other robots and now Bob is feeling left out. So it is time for an upgrade. Soon he will become Gunslinger Bob and sport some killer weaponry. Thanks Josh!
By bret.tallent
— Last update
Discover more robots
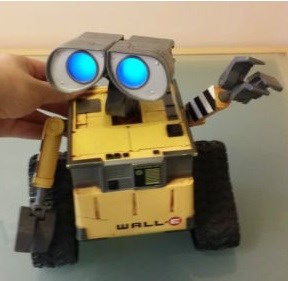
Therat's My Own Wall-E
Learn the ez-robot platform to build RC ground and flying drones and a DIY WallE using a Roli kit and a newly won...
Hoolagen1's Update To My Wall-E
SparkFun MP3 Trigger installation photos and new body tilt plus forward/back and left/right motion controls
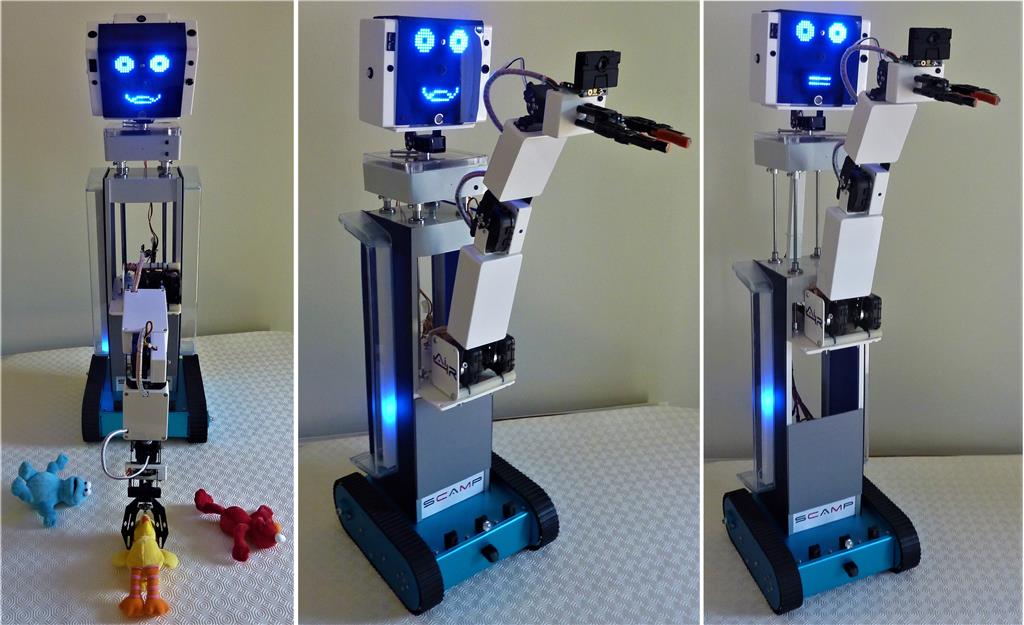
Toymaker's The Latest ALTAIR Robot - SCAMP
SCAMP Assist-Drone: low-cost telepresence robot for elderly and disabled with telescopic reach, object fetching, Alexa,...

I think Bret is gonna do a white camp like paint scheme
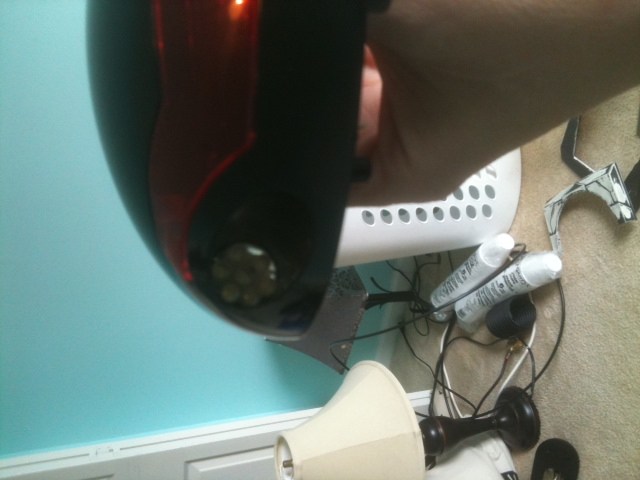
I was, but I think I am going for the intimidation factor rather than the camo factor. I did get my camera mounted, much like Josh - in the same place at least.
Then I drilled some holes in the headlights to mount ultra bright LEDs for real head lights! I am not going the IR route, I want light haha.
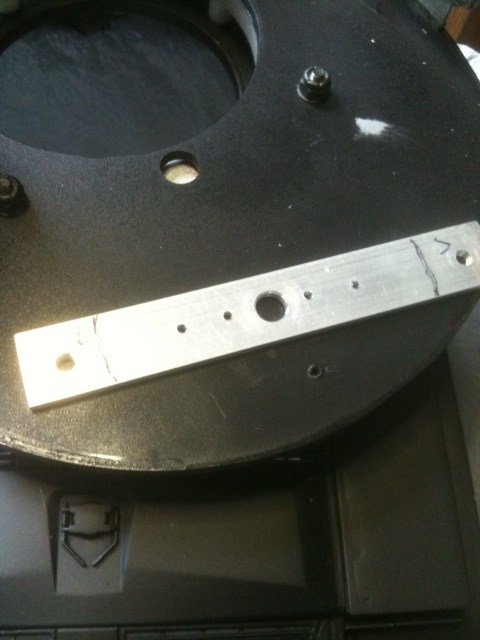
What to do when you mess up a part you are working on and don't have a replacement? Make one. I was drilling out the head lights for Bob and ruined one of them.
-634966254285625000.jpg)
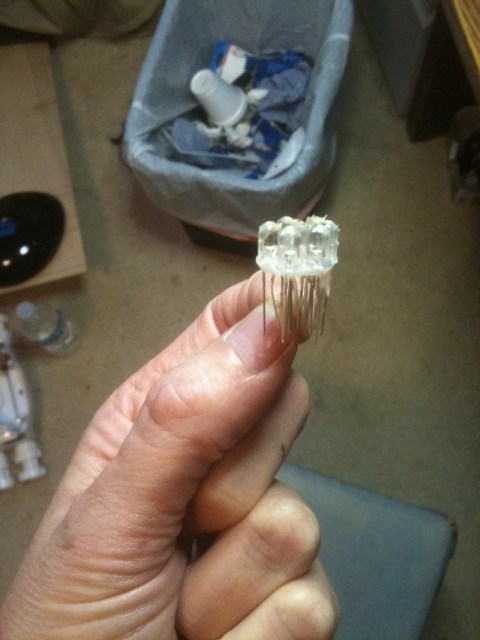
So I drilled a pattern in some 1/4" ABS-634966254761718750.jpg)
Greased it up with some lithium grease and pushed my LEDs into it.-634966255153437500.jpg)
Then I took my dental cement and started to work.-634966255502968750.jpg)
It is methylmethacrylate and a curing powder. Add the powder to a mixing cup and dropper in the methylmethacrylate until you have a soupy substance. The thinner the mix the more penetrating it is and longer working time you have. Thicker builds more quickly but also has less working time.-634966256854687500.jpg)
You need to use glass and stainless for mixing and applying as it will adhere to EVERYTHING else. Just drip the soup onto whatever you want to bond/build up.-634966257746718750.jpg)
It cures in minutes and you can push the whole thing out. The grease helps it to release.
Then just trim it up with a sharp knife or razor blade and there you go. Another headlight for Gunslinger Bob.Dental Cement can be found on Ebay and is great for fast work, filling or bonding.
Ah so you put something on the ABS first before the dental cement. I was wondering how it didn't stick then I looked closer at one of the pictures to see the smudge around it. I thought it was excess dental soup wiped up. This is a good idea to keep in the mental toolbox. Thanks!
Got my new head lights wired up and they are pretty bright and work really well.
Then I replaced the red LEDs in the eyes with Ultra Violet LEDs.
Wow, that looks great! I love your method of making a new headlight out of dental cement. I've gotta remember that one. It would be great if you could get it in different colors. If not I wonder if color could be added somehow without messing up the chemistry. Clear would also be great. What did you have around the top of the ABS to keep it's form? Looks like silicone or Vaseline.
I don't know if you can get it in colors or not. I have seen it pink before so maybe. Yeah, that was some grease - vaseline works great too.
Another thing, as I was wiring up my lights I put some yellow heat shrink over the wires and use a sharpee on that to identify them.
and here is my cooling fan for the EZ-B I secured it with screws and dental cement.
On the other side of the mounting surface for the EZ-B is my 3.3V buck regulator for my Lasers and LEDs. It takes 12V and gives dual outputs at both 3.3V and 5.5V so will work well for me.
Here is my rear panel (covers EZ-B) with my voltage monitor in it so I can easily see how many volts I have left. I also did some flat black and silver accents on the gloss black.
Here are some more pics of the flat black areas.
-634967035215468750.jpg)
Note on the lower chest how I filled in some of the grooves. I used dental cement for this too.Amazing! Great work. I think deep down you want to be a dentist.