
cfernandez
USA
Asked
— Edited
Printing Jd
I had purchase a EZ-B developer kit about 1 year ago. I was able to build some basic robots and had a blast. I wanted to build something more solid, so my wife gave me 3D printer for fathers day. I have downloaded the STL for JD Humanoid and I have started to print some of the parts. I have a Da Vinci 3D a printer and am wondering how many cartridges it will take to print the hold robot?
I am using the XYZprinting PLA Filament Cartridge, 1.75 mm Diameter, 600g, Nature to print.

Looking at JD, I'm going to take a punt and say that you'd likely use less than a single cartridge, and certainly no more than 2, to print him.
A lot will depend on the orientation of pieces, and your choice of raft, supports, infill rate and layer thickness. Most slicer software will estimate the amount of material use as well as the time to print based upon your settings, so I'd recommend grabbing the .stl files, slicing each and adding the totals.
Depending on your bed size you'll likely want to import more than one of the smaller stl's at a time into the slicer software (for instance print both feet at once) and look at the combined material usage for those components for better estimation.
Disclaimer: I'm also new to 3D printing so everything I say may be (and probably is) wrong. But that's the great thing about our community here, there's a huge brains trust who can correct my mistakes
I have an XYZ Printer as well. My guess is a little more than 1 cartridge. I printed 1.5 heads, 1 main body, and several brackets with one ABS cartridge. I printed a couple of other things as well, so I didn't really track my usage.
I would start with small things, like brackets. I would also highly recommend 3rd party software Simplify3D, it has greatly improved my print quality. Don't forget to calibrate the bed as well, it also make a big difference but can be pain to adjust to tolerance.
I would recommend printing the items for a lever servo first to see how the quality prints and, especially the servo hub area of the print. And also the female slot of the servo cover. Test to see if you can slide a male ez-bit piece in and out of the slot without breaking it.
I have the XYZ Junior 1.0 printer. It can only do PLA, but been a nice start into 3d printing. I too had to make a minor Z axis adjustment, and all was fine. ,Ive tried printing a few parts like the camera body halfs and one of new the JD Hip parts. Not too bad. The camera parts needed some trimming to be able to fit together. the hip part, not so lucky. the printers sd card indicated an error and started messing up the part when almost completed. Other parts did just fine. Nice starter printer though. Have been printing so many little items, I have actually gone thru the entire first reel, and had the printer only a couple weeks now .
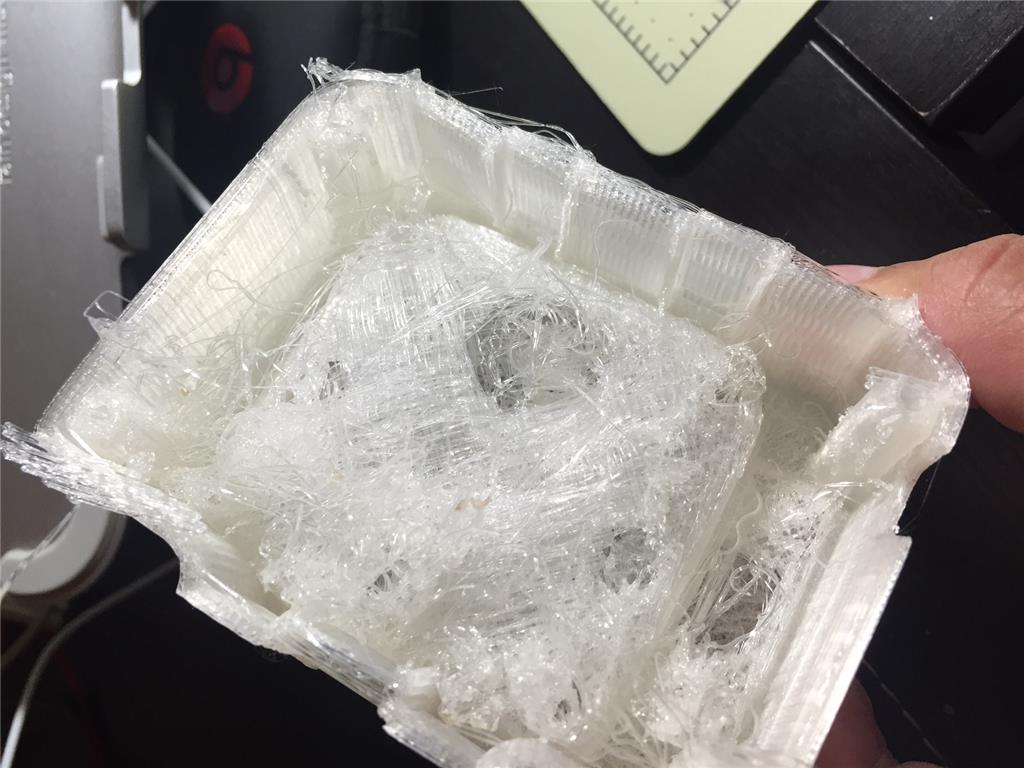
Thank you for the reply, I starting printing yesterday and it was an epic fail. I believe my bed is not calibrated correctly. The printer just made a mess. 1st time I did not put enough glue 2nd time I used enough glue, but was a worst mess.
I called support and spend over 1 hour on the phone, then finally the hung up on me. I did some research and think I can figure out how to do it myself.
I was doing some research last night did find quite a few people talking about the Simplify3D software. I plan to purchase the software today and try it again.
You are right, I will start with the smaller pieces and check the quality to make sure it will work at the end.
ugh, man... i feel your pain. If it helps at all, know that we have all gone through the heart ache of 3d printing. To make it worse, during the development of Revolution, ez-robot had a full-time staff member hired simply to monitor 3d printers while we printed samples before injection molding. It was not a pretty sight...
I will tell you that there is hope at the end of the tunnel. Over the next few months, you will learn to feel and understand the printer - almost like a Buddha you will become . Once it "clicks", you just get it and can predict of a print will be successful right away.
I have a funny sheet of paper that used to be on my wall for my first 3d printer. It read... SUCCESSES/FAILS and i added checkmarks to each category. If you can guess, the FAILS category had a ridiculous number of checkmarks.
Oh - one more thing... Always print with RAFT
If you can, print with SUPPORTS as well
I generally don't print with supports because it takes a lot more effort to clean up the mess. But when you do, the prints usually turn out better.
No matter what you choose about SUPPORTS, always always always use RAFT.
XYZ has several videos on YouTube that will walk you through calibration of the bed. One thing that the videos did not hammer home for me, was you need to be very patient and it works better (for me anyway) to make one small adjustment at a time, then run the calibration again and keep repeating until you get the bed to a successful calibration set. Doing it as quickly as possible so the bed stay warm helps move the process along.
When I first watched the videos it made it look like "Oh, I just start spinning knobs and via magic it will align correctly." And that's not how it works. Or I'm just not good at adjusting knobs, one or the other, lol
Simplify3D will have a learning curve as well, their website has links to their you tube videos that show different features. My best advice for anyone is start slow. With each print I try to learn something that helps me improve my next print.
Oh and don't print if it's storming or if it might. Otherwise you'll have a very sad face when the power flickers and the printer resets.
The bummer with the XYZ Junior is that it willl only use its own slicer software, cant use third party suff. Dont know if the other XYZ printers are like that though. I still like it. Just ordered more PLA today from them(again, can only use their pla sadly).