
Jedi Legend
USA
Asked
— Edited
I need help to upgrade my Meccano Meccanoid Robot, it is a robot kit, and I've had the robot for a while. I want to upgrade the microphone, maybe have a led sound activated mouth, and maybe working hands with servos. Please help, how can I maybe upgrade the internal microphone and maybe add hands?
Related Hardware (view all EZB hardware)
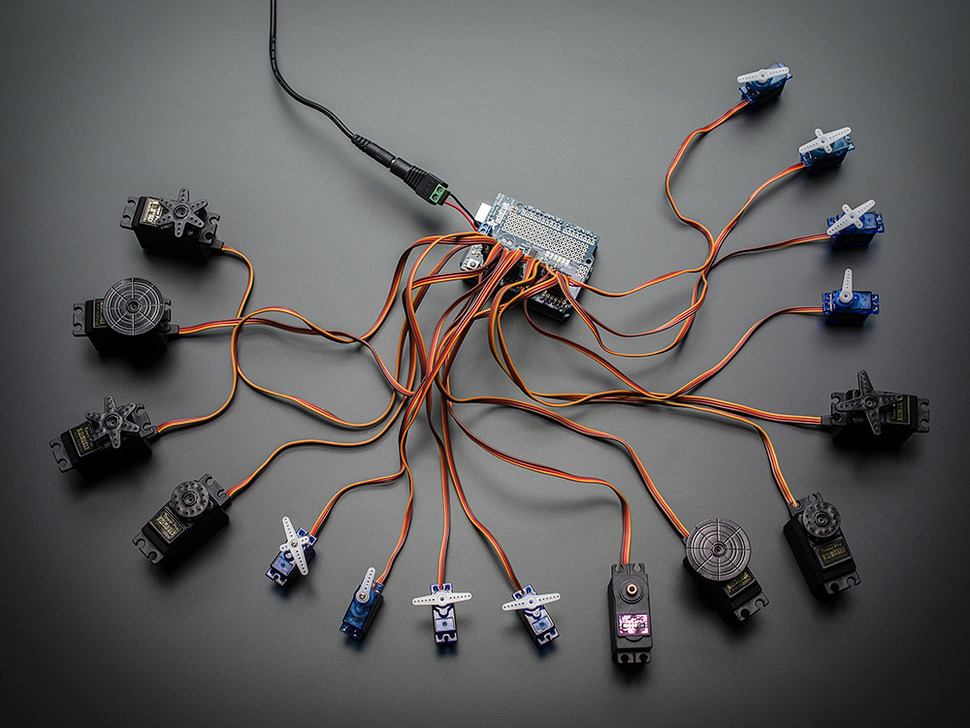
Arduino With PCA9685 Servo Controller
by Adafruit
Control PCA9685 servo breakout with Arduino Uno using Synthiam ARC and EZB firmware; servo shield support and programming tutorial.
USB
Servos
16
Camera
Audio
UART
✕
I2C
ADC
✕
Digital
✕

I don't have specific 'related hardware', so the hardware listed is not mine, I just chose it to submit this request. I just need ideas or specific items I can buy to maybe upgrade my robot, thanks.
Upgrading your Meccano Meccanoid robot can be a fun and rewarding project. Here are some ideas and components you might consider to enhance your robot:
Microphone Upgrade:
LED Sound-Activated Mouth:
Working Hands with Servos:
Control System:
Programming and Integration:
Additional Sensors:
Remember that modifying your Meccanoid will require some electronics knowledge and possibly some mechanical modifications. Always ensure that the power requirements of your new components are compatible with your robot's power supply, and take care to safely integrate any new electronics.
Before purchasing any components, plan out your upgrade, determine the compatibility with your existing robot, and ensure you have the necessary tools and skills to carry out the modifications. If you're new to electronics and robotics, you might want to seek help from online communities or local maker spaces.
hi commandbitzen
witsh meccanoid do you have ? the big one or the short one . i prefer the short one . for the LED mout led its an easy way . use the signal port on a ezbv4 or iotiny and use pwm control , with a script . also do you have a printer? there are some parts , for a meccanoid to print like a mouth piece .
I have the big version, the 2.0. And for the mouth, I was just looking for maybe an led board I can buy, that had like that digital led screen look, and reacts to the sound produced by the robot. It can be anything honestly, but I was maybe thinking something like that, a digital led board. I do not have a printer, but I could just mount the board another way.
hi jedi legend
what are you using as servo ? and controller ?
Just the basic board and servos that come with the robot kit, I haven't bought any newer servos
I think most people who upgraded their Meccano robot changed the servos. Only because the stock servos are quite weak. But to get started, I made a tutorial years ago on using the standard servos: synthiam.com/Community/Tutorials/Control-Meccano-Meccanoid-16220/1
also if you search for meccano on the main community page. There’s a few posts of robots that people made. You’ll find good details there too.
You can control the servos with an arduino but as DJ pointed out they are quite weak. If you replace the servos though don’t throw the old ones out as they monitor their position so they are quite useful if you are building something like a puppet controller for another device like a robot or robot arm.