
cem
United Kingdom
Asked
— Edited
Inmoov Head
My InMoov Project.
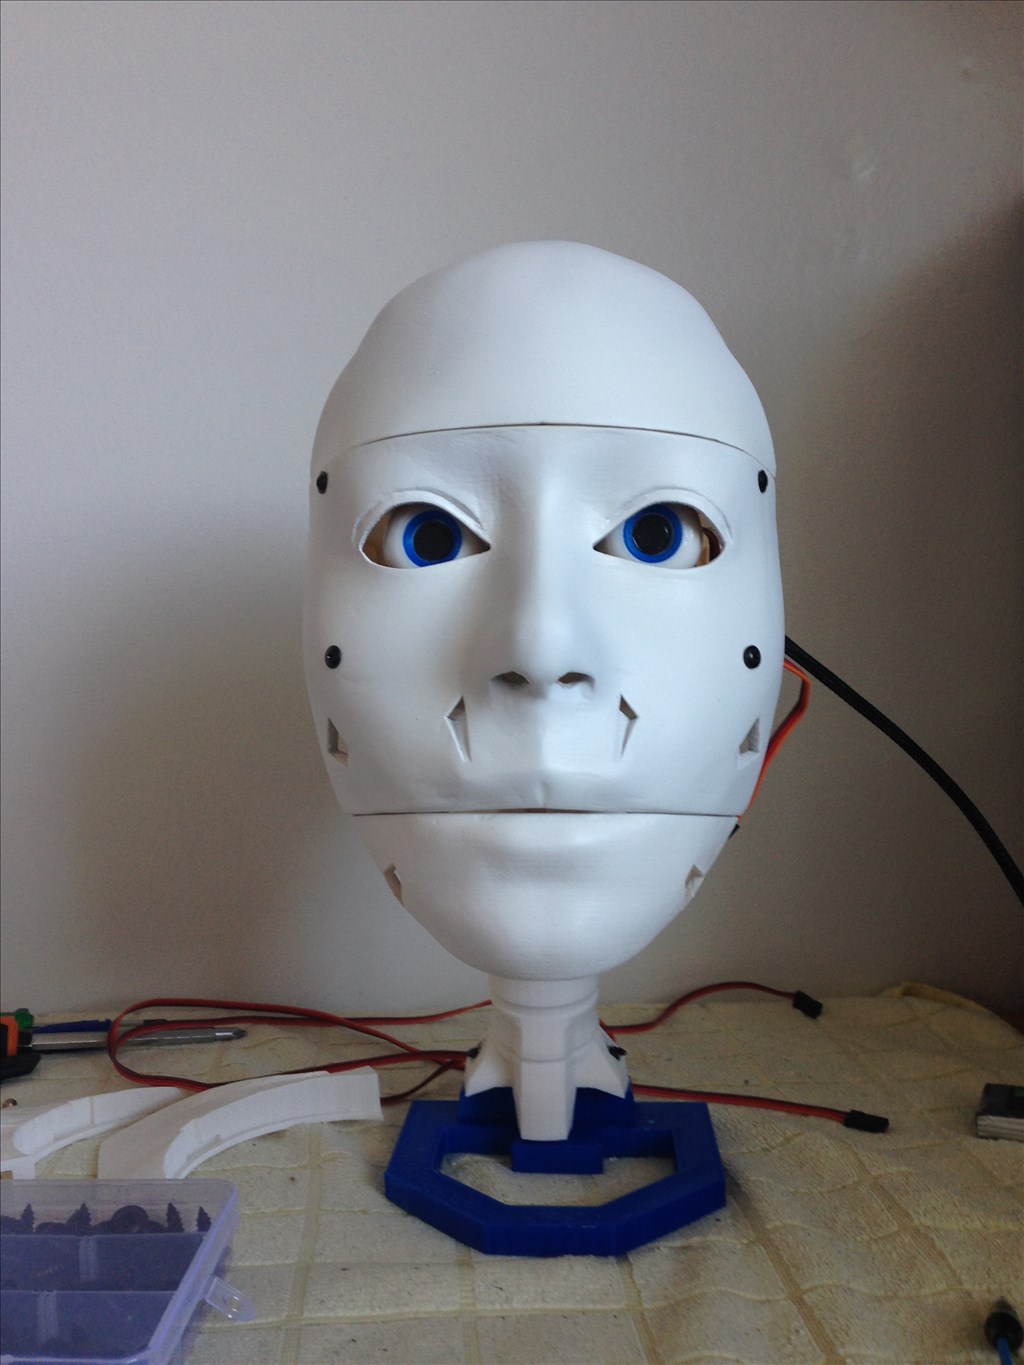
Its taken about 3 weeks with breaks in-between and have nearly finish the head, also getting use to 3D Printing! As I brought my first 3D Printer to start this project ( FlashForge Dreamer ).
Man getting the eye mechanism setup correctly with the 3 servos is a really pain!
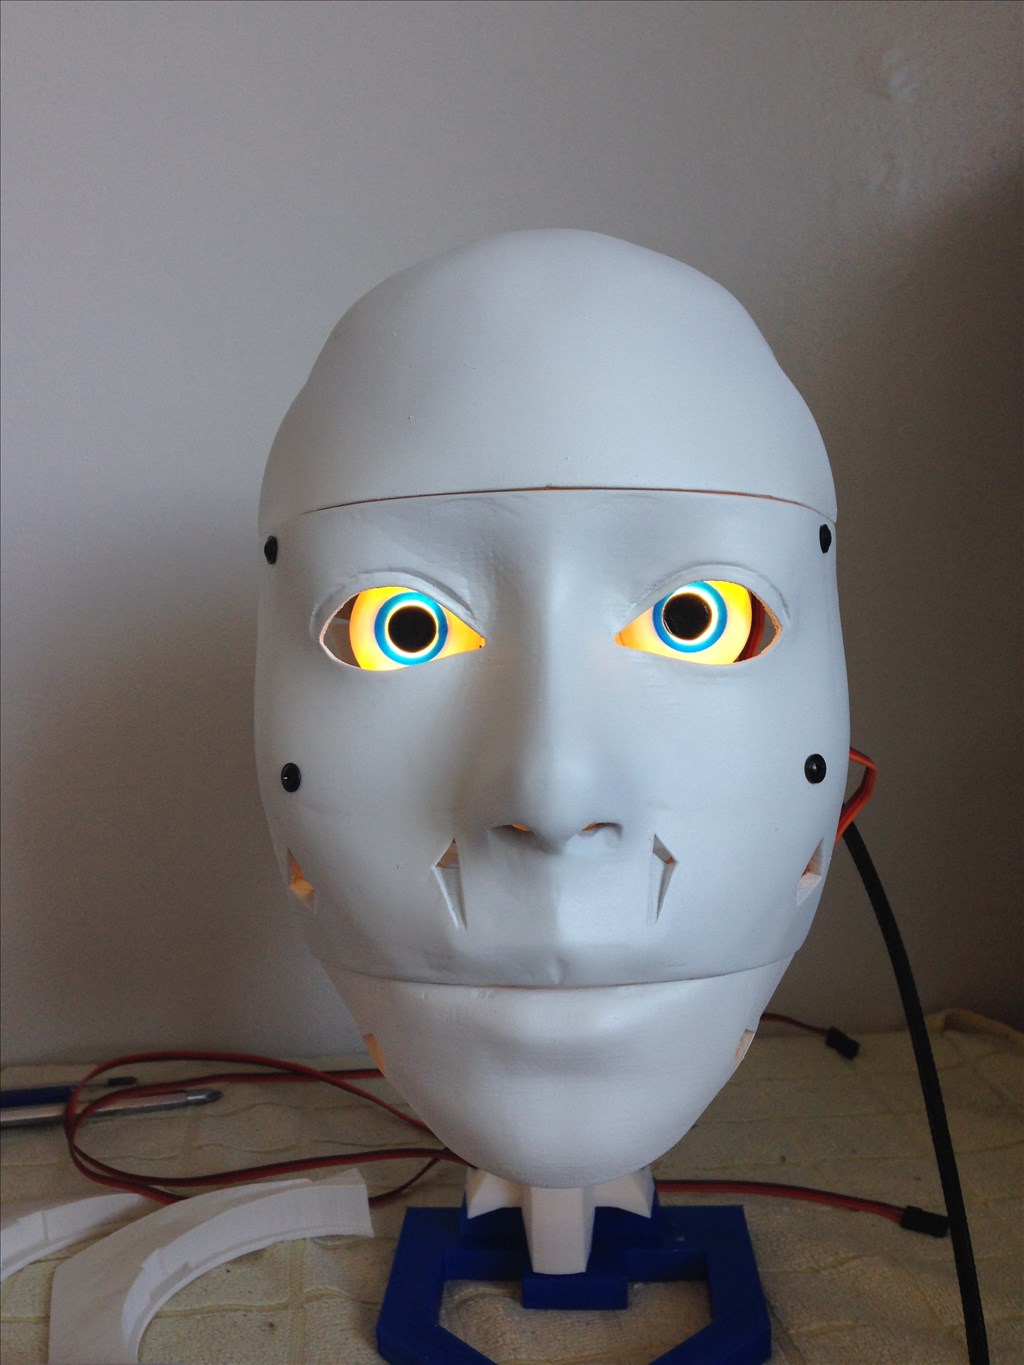
I though I would put LEDs behind the eyes, to come on when Inmoov is activated, but I'm not sure about it?

very nice head.you improve it alot.
@cem You did a great job, Looking forward to see a video in action. I also had problem to fit the eyes mechanism. Still I'm not satisfied with it. I think I'm going to fit in some lego parts.
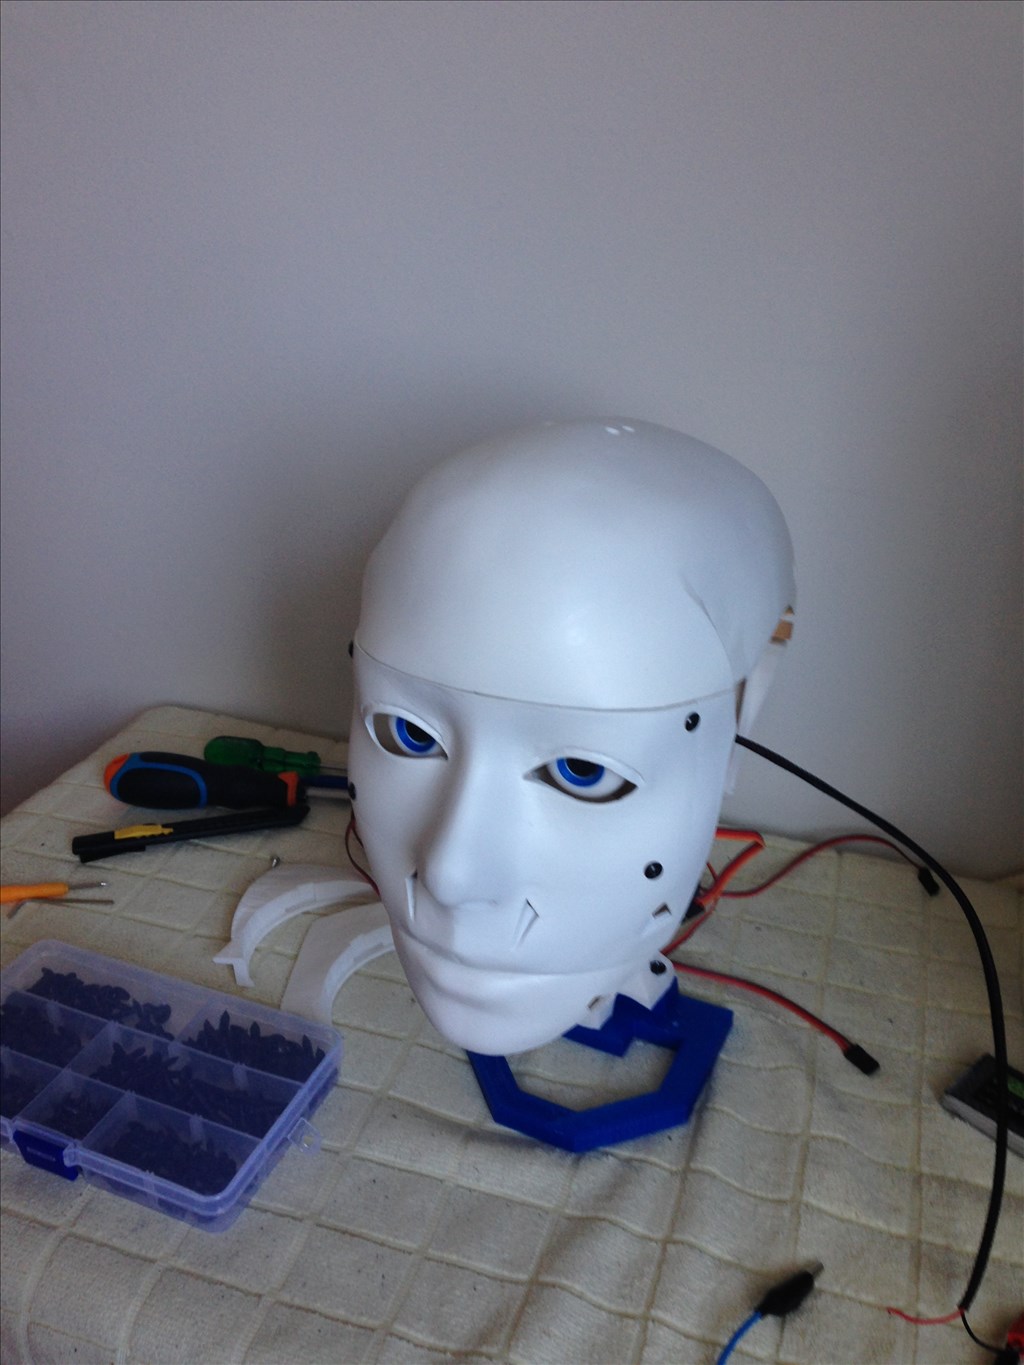
Hey CEM, you have done a fantastic job on the head. I thought about merging the eyeglasses to the upper face but couldn't figure out a way to get to the eye servos if I had an issue in the future. Can you show a photo of the side of the head so I can see how the ear and ear holder are attached to the face on yours?
I like the idea of the LEDs behind the eyes. Looks great.
In looking at your photo more closely it looks like there is a very fine line around the eyeglasses piece. Is this piece removable? If so, dang fine job! Great fit and finish.
Wow - that IS a nice head. Are those your modifications? If so, I need to print them!
DJ, while mine isnt as clean as CEM's I did pretty much the same thing by first mounting the skull pieces and then applying a Acetone/ABS mixture to fill in the cracks. From there, I sanded down the extra ABS which left it with minimal lines. I repeated until the lines were gone and the head was smooth. From there I started on the face. Again, CEM did an amazing job and obviously has more patience than I
Yep, I did the same thing, I got a bit carried away with filling in the joints. After using acetone and ABS, I used a filler Premier paint and then a Enamel white paint. Yesterday I had an accident and the head fall off the desk, and InMoov suffered a fracture skull.
Thanks for the comments! Cheers, Chris.
Oh No! Sorry about that cem. Hopefully it is repairable.