Asked
— Edited
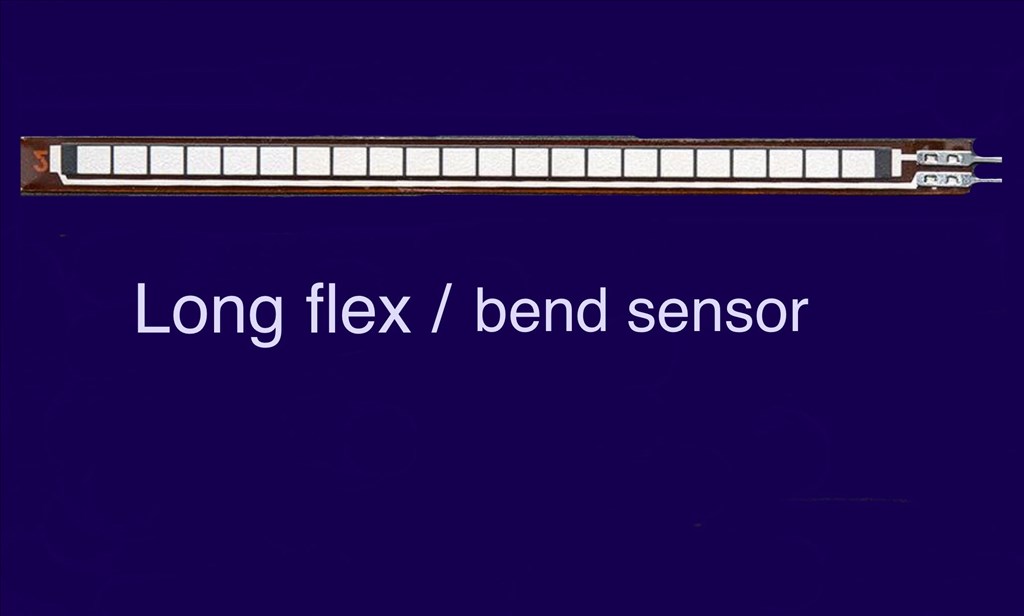
Has anybody used, or know if these can be used with the EZ-B v4? And if do, how do they connect? These flex/bend sensors would be great if they worked with the EZ-B and ARC. Not much information on power, but they can be used on analog or digital (although I think analog would be better).


The idea I had for these was to place them inside of a rubber or foam bumper of a tracked or wheeled robot, and act as a bumper sensor. When the bumper touches something like a door frame when the robot is turning, the flexing of the sensors would would trigger a script to stop motors, reverse, and re-track to avoid the obstical with a script.
These apparently work with Arduino, so they should work with an EZ-B.
I know it will work on an ADC port, but not sure how to hook up or what value to use for the pull-up resistor.
I think you just connect between signal and ground with a resistor on the signal side but not completely sure.
@jeramie? Are you reading this?
Alan
You won't need to use a resistor with this flex sensor as it is basically one big variable resistor... It simply connects to the analog signal pin and ground pin of the ezb... When you flex it you will see the analog value change in proportion to the amount of bend...
Not sure why you would want to use it as a crash sensor, though... This is cheaper and has a built in pull up resistor to make it plug and play to the ezb's digital ports...Crash Sensor
Thanks for the replies Alan & Richard.
I was thinking of using these to put inside of K-9's side bumpers. The front ping sensor works well for front object avoidence, but there has been a couple of times where when he takes a corner turning in to another room, as he turns he sometimes hits his side panel on the doorframe, and has cracked one side of the blue acrylic panel.
Although a good idea of using the micro switches Richard, I would have to use a row of them (maybe 5 or 6 per side), but using these flex strips I would only need one per side that could monitor the whole length of the bumper. That's the idea anyway.
I forgot to say in the last post in regards to using resistors, in the item description it says about using a "pull up" resistor, but in a link explaining how to connect it, it uses a force sensing resistor as an example and says to use a "pull down" resistor which contradict each other.
In both discriptions, it assumes using a 5v Arduino analog connection so I was thinking what Richard said about it not needing a resistor on the v4's 3.3v signal pins. You can see why I'm a little confused. I have ordered 3 of them so I guess a little testing will be called for.
SpectraSymbol has some real nifty stuff. I'm using their round Softpot on my B9 arm to send position and speed info to my Kangaroo/Sabertooth. It works great and I was a true skeptic at first. I hooked it up to the ADC port on the EZB and when I would run my finger around the pad I could watch the reading change in ARCs ADC monitor control. Very cool and they are rated to last for over a million uses.
If you want to use this sensor you should really read some tutorials and reviews on how people are using them and about any problems they are having. I'm sure Richard R has good intention with his advice but I think is a bit off. If you go to Sparkfun they always have good feedback and real use advice on the products they sell. I was looking over a tutorial there on this sensor and they recommend using a resistor and give a good explanation of why. It looks like you will need to feed the sensor 5vdc through a Pull Up resistor and tie it in between the top pin of the sensor and the ADC sensor pin of EZB. The bottom pin of the sensor goes to ground. Here's a short sample of that tutorial:
Here's how to hook it up to the ADC port of an Arduino useing a Pull Down risistor but it's the same on the EZB:
So go over there and read all about using this sensor. There's lots of information. Here's some links to make it easy for you. Make sure to read all the reviews. Thats where you're going to find most of the practical information on how to use this sensor and how to avoid or overcome any problems.:
www.sparkfun.com/products/8606
www.sparkfun.com/tutorials/270
Datasheet
Here's a tutorial on how to hook it up to the ADC port of an Arduino useing a Pull Down resistor but it's the same on the EZB:
Tutorial on hooking up to an Arduino
Thanks for the info and links Dave. I'll check them out.
I edited my post with more info. Have a look now.
Have fun, Dave