
Asked
— Edited

3D Print Jd Head
hi
has anyone printed a jd head?my question is ,how do you print the head on the printbed?
thank you
Related Hardware (view all EZB hardware)
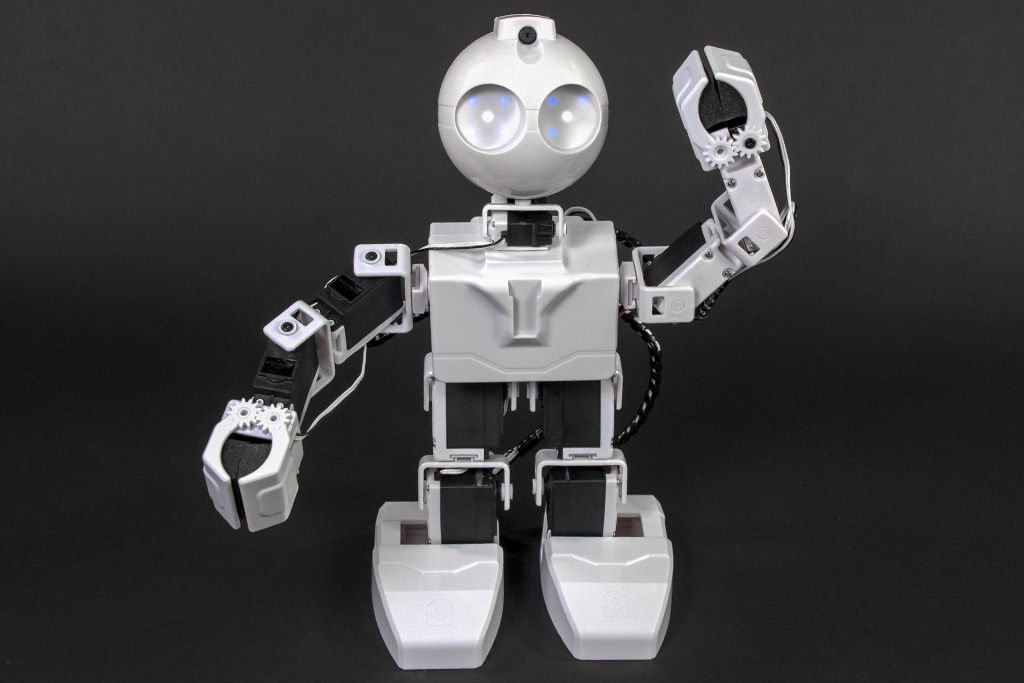
JD Humanoid
by EZ-Robot
JD humanoid robot kit - WiFi-enabled, 16 DOF with metal-gear servos; easy, fun, educational, available from the EZ-Robot online store.
Wi-Fi / USB
Servos
24
Camera
Audio
UART
3
I2C
ADC
8
Digital
24
Related Robot Skill (view all robot skills)
File Manager
by Synthiam
Displays files currently open for reading by scripts, shows only read-opened files, helps diagnose read/write locks and file access errors.

hey mickey
thanks .havin lots of ffun.xD
this printing is dangerous addictive:p.
@Normad 6R Told you so, what next the torso or the waist. LOL Bruce-e thinks he will have a new friend soon.
hey nallycat
the torso would be a good start.need to look how all fit together. good thinking off brucexD.
@Nomad 6R to fit the torso parts together, and as long as you are using PETG you boil water in a long enough pan to hold the edge of the torso parts and you hold the edge with the dove tails into the water wait about 30 to 40 seconds and remove from the water using a hammer put the dove tails over the slots and lightly hammer the dove tails down into the slots, you get a perfect fit. you join the parts together using Weldon 3 by wiping the joint with a brush. this is a very strong bond.
nallycat
thanks for the tip.i still use pla for the moment.
test part
Normad PLA is not acrylic but PETG is and you can glue it with any acrylic glue. have you watched Will Huff's Droid Bartender build. it is PETG and you can join parts together using a soldering iron. you are wasting your time using PLA on a large robot, get yourself some PETG and start making inmoov parts. I would not use PLA for anything used in robotics. If you printer can be used with ABS then start using that, save the PLA for owl sculptures.
okay abs will be .petg is to expencive here . 80 euro's per 1 kilo + chipping almost 100 euro's