

-634918751738750000.jpg)
-634918752058906250.jpg)
-634918752417968750.jpg)
-634918753328125000.jpg)
-634918753552812500.jpg)
-634919384849687500.jpg)
-634919385116250000.jpg)
-634921282099941406.jpg)
-634921282607519531.jpg)
-634921285303984375.jpg)
-634921286081347656.jpg)
-634921286592539062.jpg)
-634921286894394531.jpg)
-634921287070869140.jpg)
-634917821569140625.jpg)
-634917822546923828.jpg)
-634917822752392578.jpg)
-634900401634345703.jpg)
-634912687919804687.jpg)
-634912688173408203.jpg)
-634922231866093750.jpg)
-634922232032812500.jpg)
-634922232710625000.jpg)
-634939426884531250.jpg)
-634941099600468750.jpg)
-634941163205781250.jpg)
-634941163592031250.jpg)
-634941164157343750.jpg)
-634941164341718750.jpg)
-634941924885156250.jpg)
-634941925538281250.jpg)
-634941925705468750.jpg)
-634941925862812500.jpg)
-634922980927968750.jpg)
-634922981092500000.jpg)
-634930603620000000.jpg)
-634930604267656250.jpg)
-634930607122656250.jpg)
-634937753237500000.jpg)
-634937753531250000.jpg)
-634937753872500000.jpg)
-634936811644843750.jpg)
-634936811841718750.jpg)
-634936812280156250.jpg)
-634936812576718750.jpg)
-634936812777343750.jpg)
-634892840812441406.jpg)
-634881851798437500.jpg)
-634888436524687500.jpg)
-634888436834531250.jpg)
-634888437341093750.jpg)
-634888438173750000.jpg)
-634888439034531250.jpg)
-634892832319306640.jpg)
-634892833816953125.jpg)
-634892834249091796.jpg)
-634892834434267578.jpg)
-634892834808886718.jpg)
-634892835278447266.jpg)
-634892835590283203.jpg)
-634942812445937500.jpg)
-634942812734375000.jpg)
-634942813123437500.jpg)
-634942813315625000.jpg)
-634942813599062500.jpg)
-634942814779687500.jpg)
-634942815003593750.jpg)
-634942815713906250.jpg)

-634943735723437500.jpg)
-634943736305937500.jpg)
-634943736485156250.jpg)
-634943737022343750.jpg)
-634943737185312500.jpg)
-634973207973593750.jpg)
-634973208133750000.jpg)
-634973208281406250.jpg)
-634973208663125000.jpg)
-634973208818281250.jpg)
-634973208953281250.jpg)
-634973209073125000.jpg)
-634973209337656250.jpg)
-634973209688906250.jpg)
-634973036686250000.jpg)
-634973036806562500.jpg)
-634973037173906250.jpg)
-634973037551562500.jpg)
-634973037657812500.jpg)
-634973037990000000.jpg)
-634973038105156250.jpg)
-634973038811406250.jpg)
-634973039078281250.jpg)
-634958526087812500.jpg)
-634958526257812500.jpg)
-634958526471093750.jpg)
-634958526682968750.jpg)
-634972882420156250.jpg)
-634972882651406250.jpg)
-634972882767343750.jpg)
-634972883194375000.jpg)
-634972883309062500.jpg)
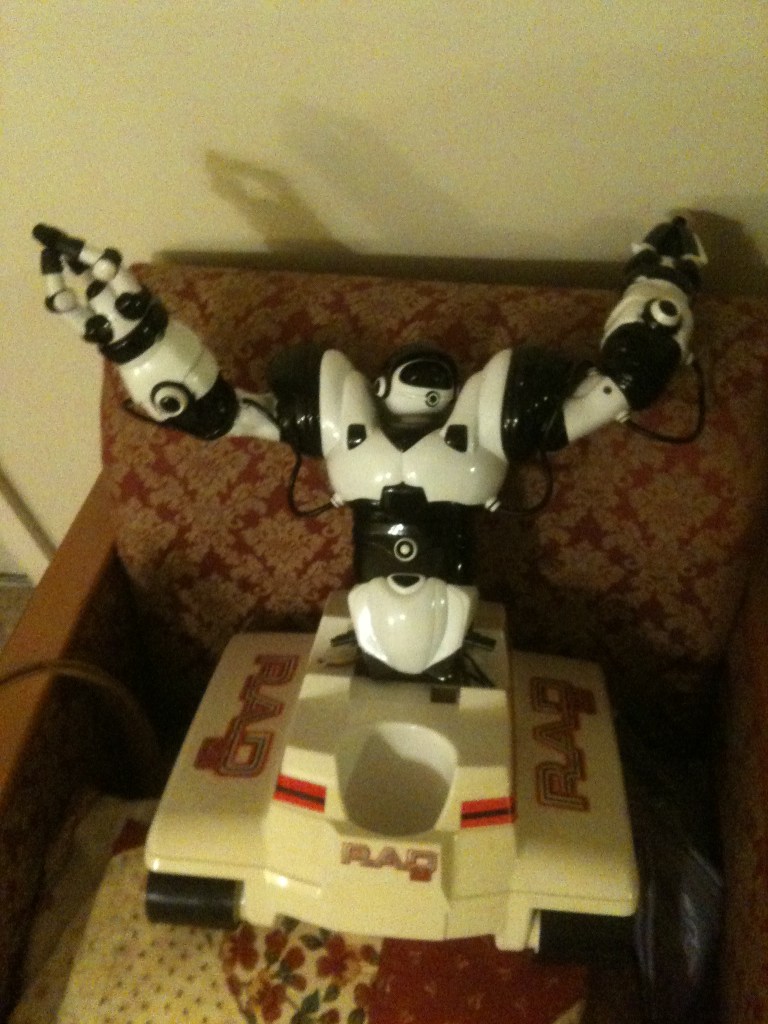
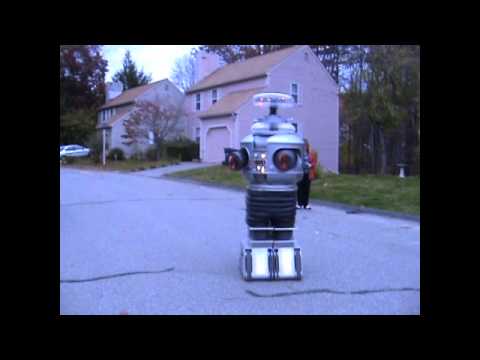
I posted this in the wrong section I guess, but here is a link to my newest bot - RoboRAD. I am combining a RAD 2.0 base and a robosapien.
By bret.tallent
— Last update
Discover more robots
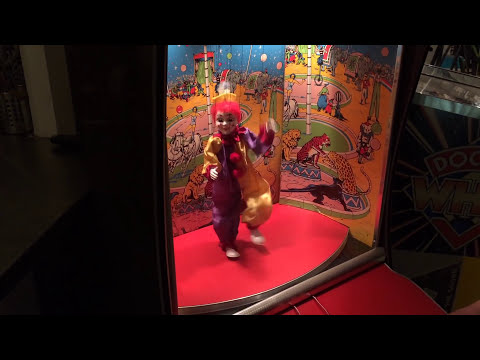
Dave's Bimbo The Clown
EZ Robot revives classic amusement games with DJ's Bimbo The Clown-fun retro entertainment and creative community...
DJ's Tomy Omnibot
Tomy Omnibot V1 on Synthiam - a fun, expandable robot platform for adding sensors and custom programming.
Gwen4156's The G-Bot (Gwen's B9 Robot Project) Gets His...
G-Bot outdoor test: handling lag and ramping issues, tips to use wireless controller and prevent tread snags, successful...

More is coming for this guy right? Pretty cool looking bot.
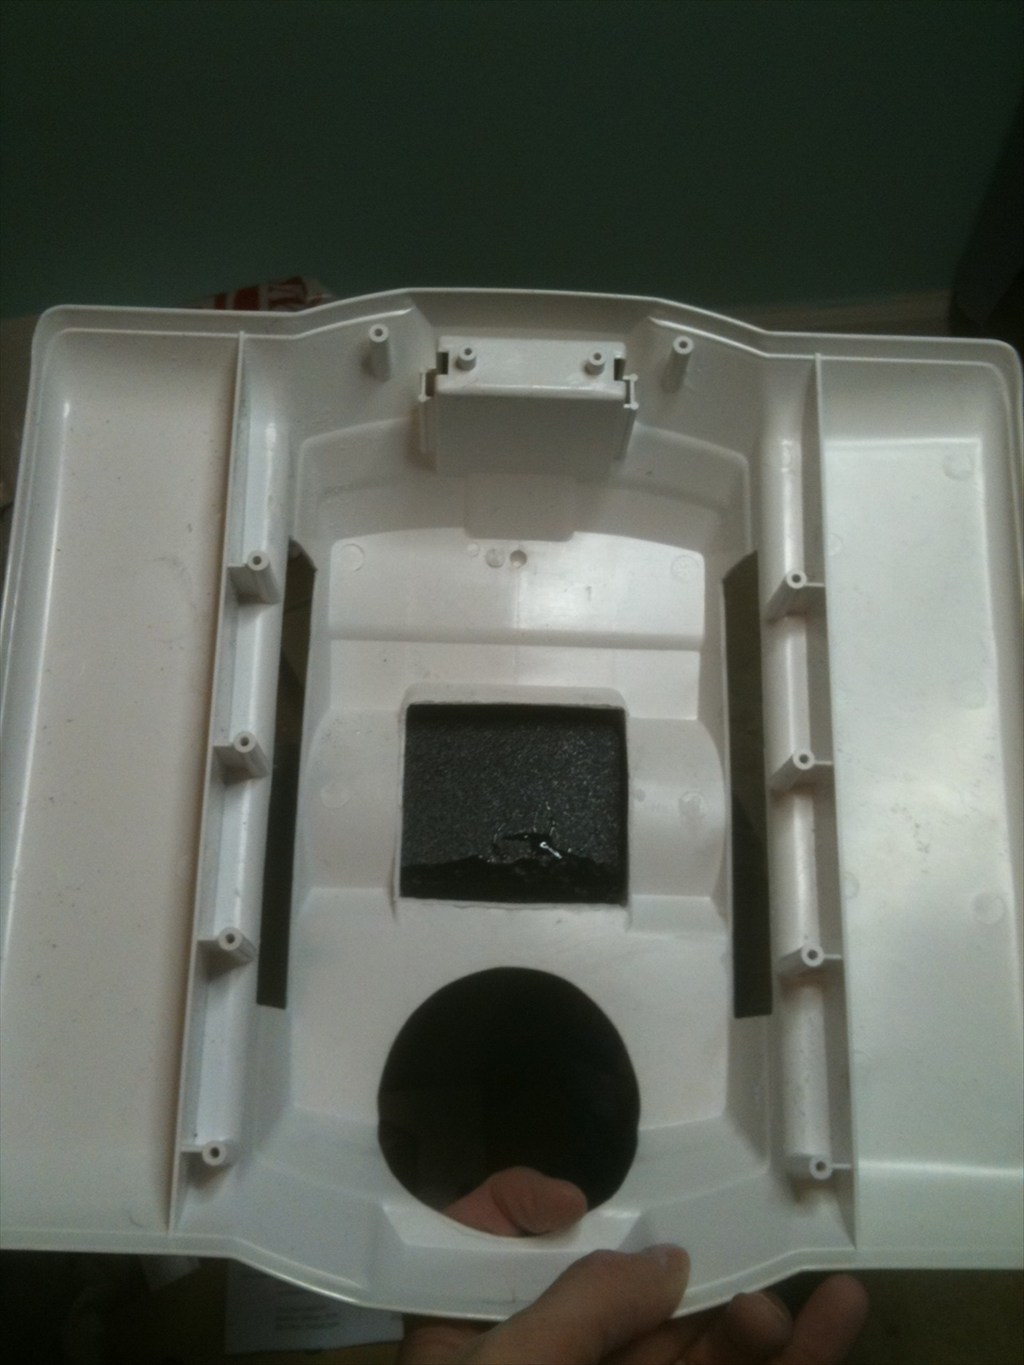
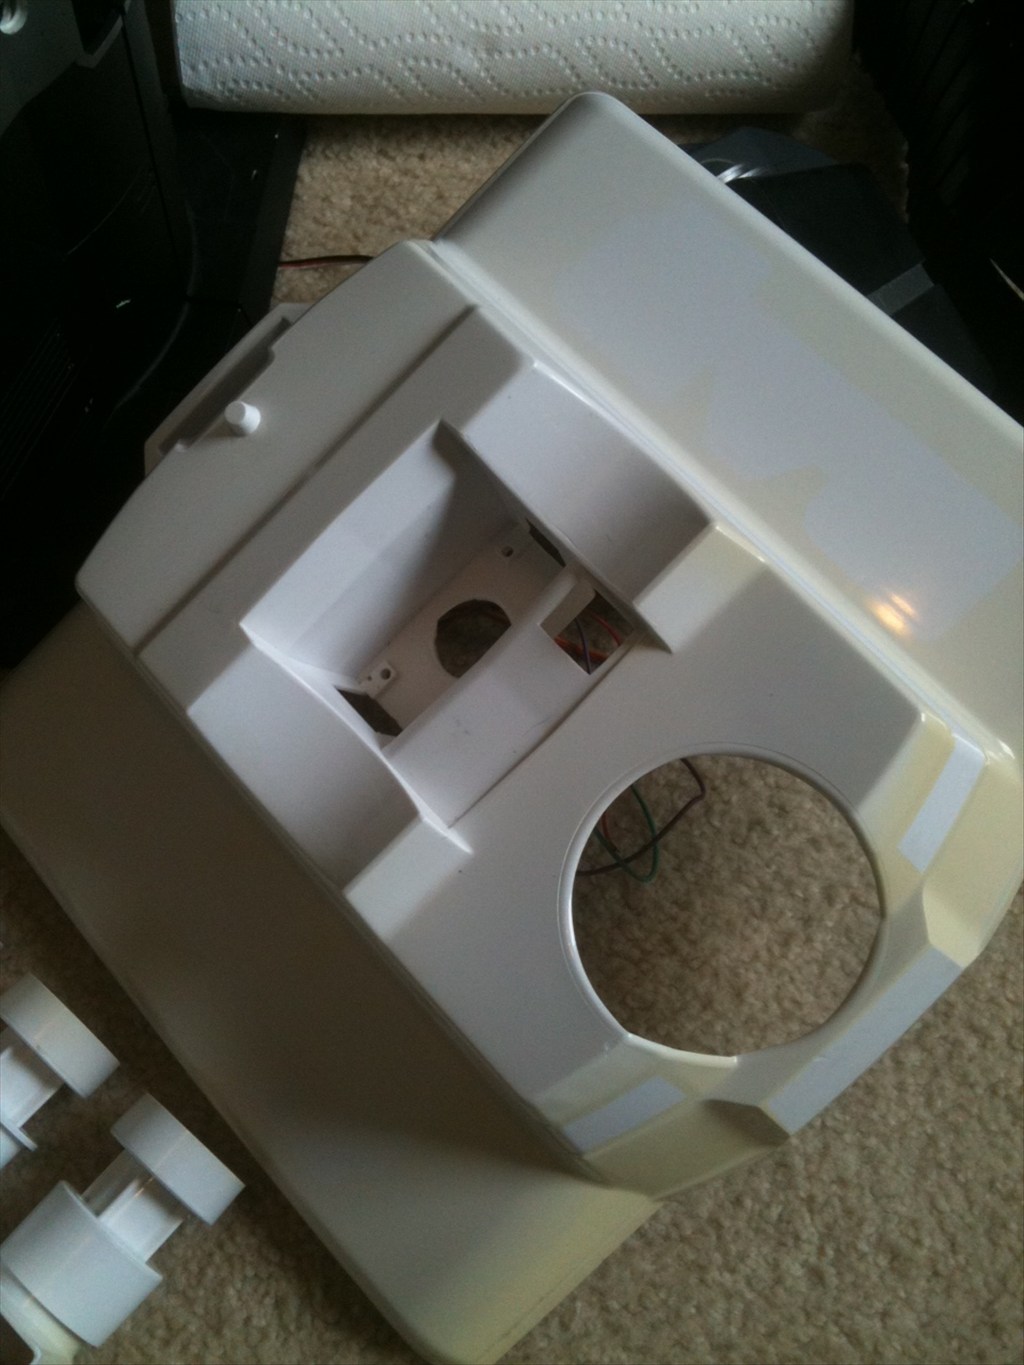
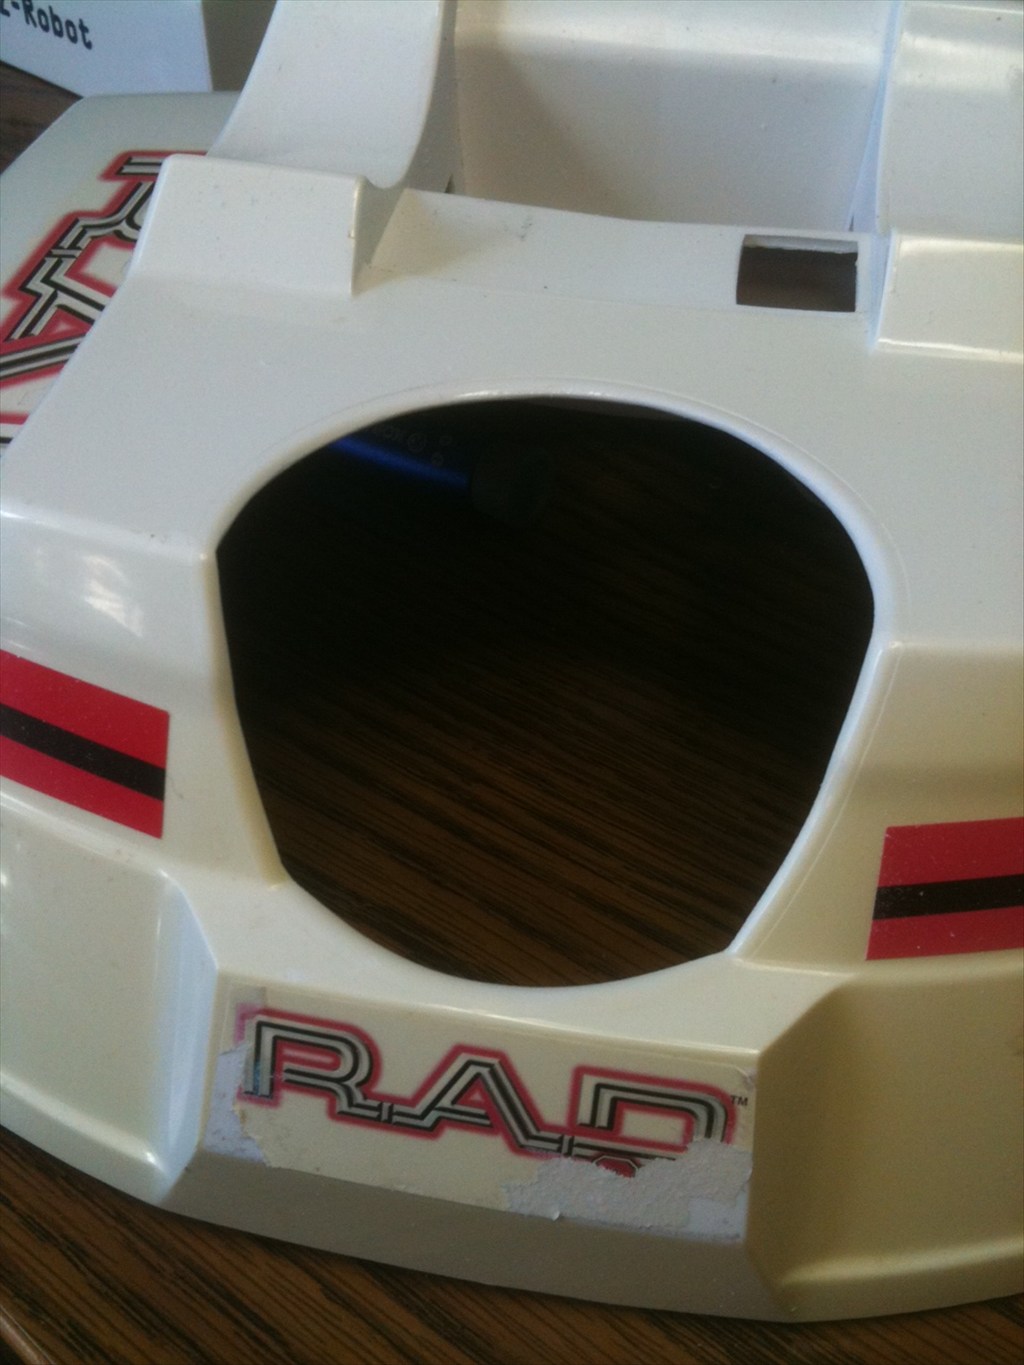
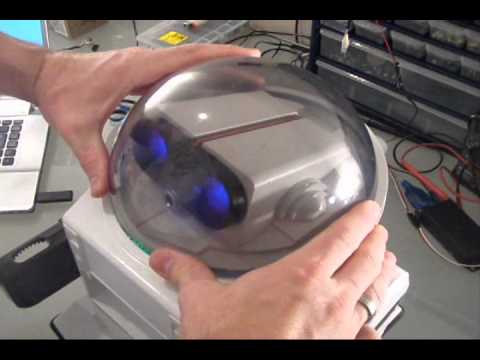
Since I am waiting on parts for Gunslinger Bob I had some time to get back to RoboRAD. Here are some pics of the plasma ball install. I cut the hole the same size as the ball. I taped it into place the way I wanted it and used bondo to fill in the front area where the cup holder dipped so low. Then I could use this as a good mounting point for the ball. I painted part of the ball with blat black paint so you couldn't see through to the insides, and used black RTV silicone to seal around the opening.
I had cut down the base of the light to maximize space.
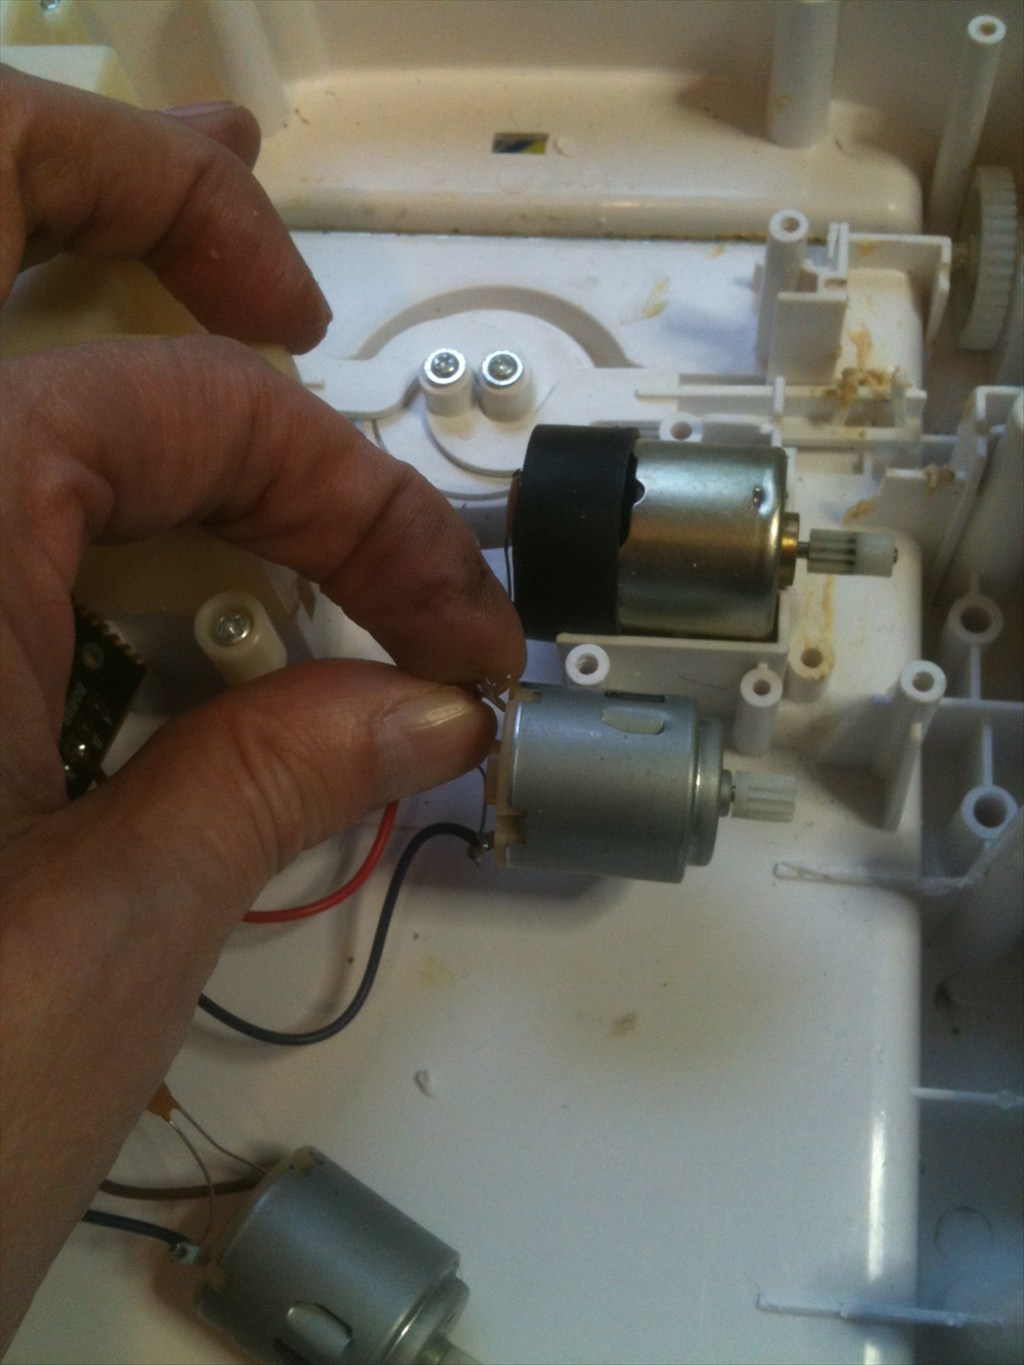
I also got the camera wired up and ready to go. Just got to do some touch up paint on the base of the robosapien where it attaches to the RAD base, then I can start on some upper body assembly.
OK thanks BRET i will do the about the same too on mine,need to place so the laser show will go through the ball,plus can dance or move to sound
Also on mine i have blue light ring around the bottom of the plasma ball,hope to show that part.
its a blue fluorescent light using the high voltage from the plasma ball.
that pole i made one like in school,for got the correct name i think its called graff,its been awhile
only remember name after the guy who first design it
Painting it black sure made it look just that more natural on the over all scheme.
So I painted the dental cement that connects the robosapien to the rad a nice flat black.
Then I mounted a servo horn to my camera servo with some tiny screws.
-634973037173906250.jpg)
THen I strengthened that with dental cement - it is not going anywhere.-634973037657812500.jpg)
Then that attaches to the tilt servo.-634973038105156250.jpg)
And I attached my tilt servo with more dental cement. NOw my camera pan/tilt is ready to go. I notched out the chest piece and back piece to go around this servo.Okay, I mounted the EZ-B to his back and added a step down transformer to go from the 12V to the 6V the Robosapien needs.
Then I mounted the camera and put the torso back together.
LOOKING cool BRET,mine i found out my camera fits inside it
Wow Bret, all that work is really paying off. I love the camera sitting where it is. Kinda looks like a Cyclops robot.