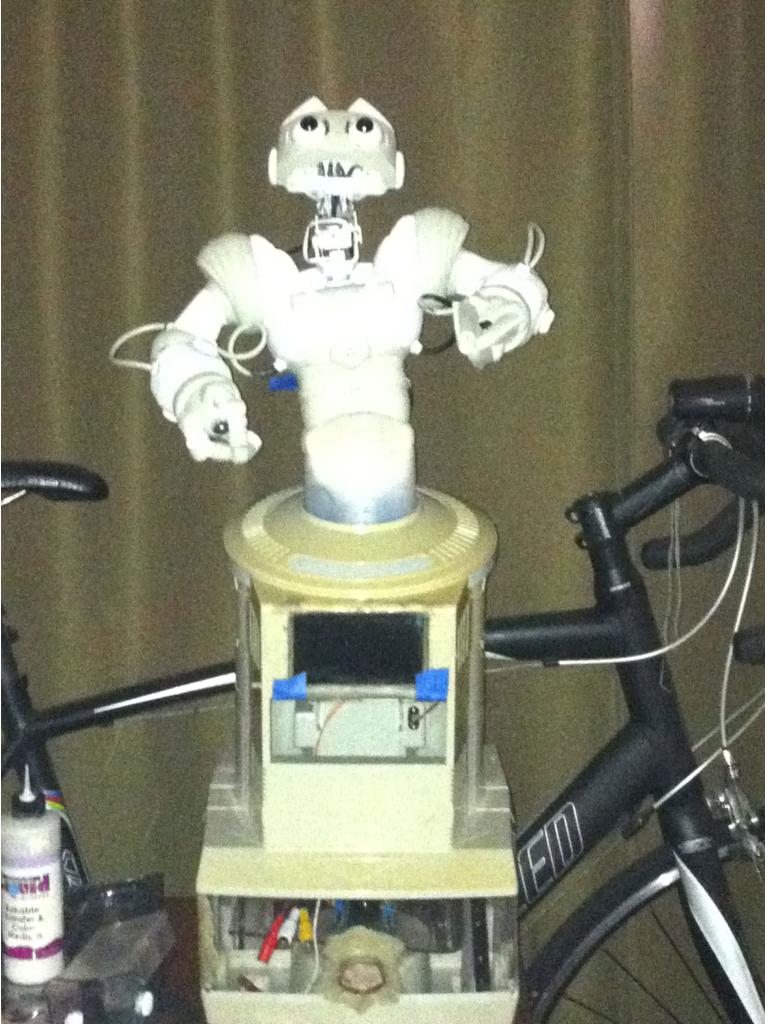
I am using a hearoid omni bot base. - The base will house: need some new treads if anyone has any ideas of where to get.
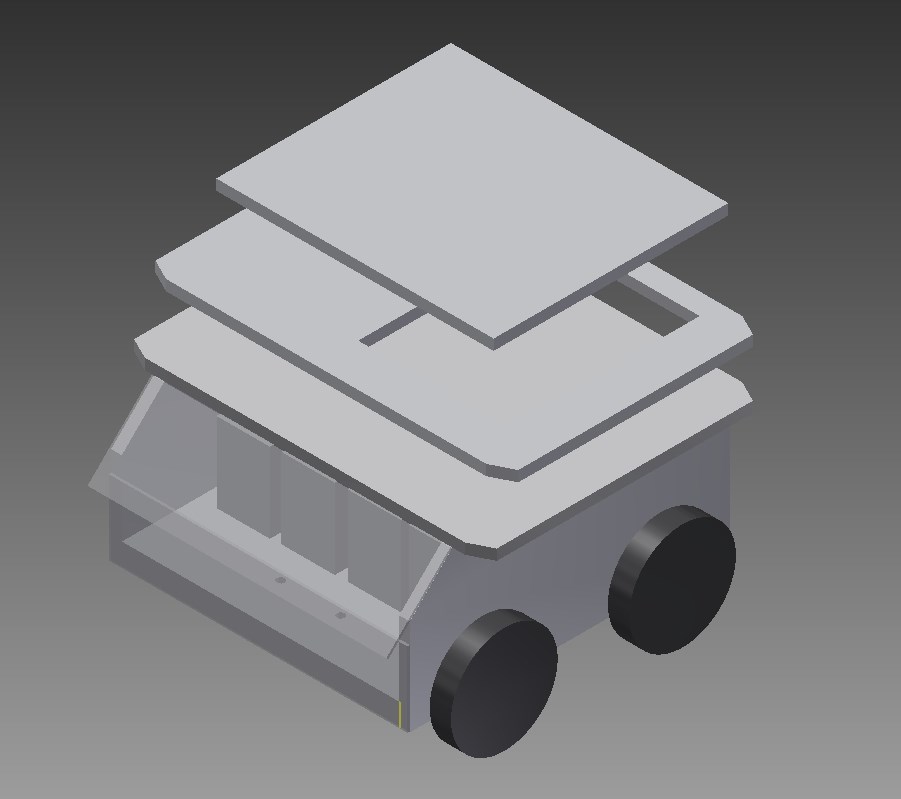
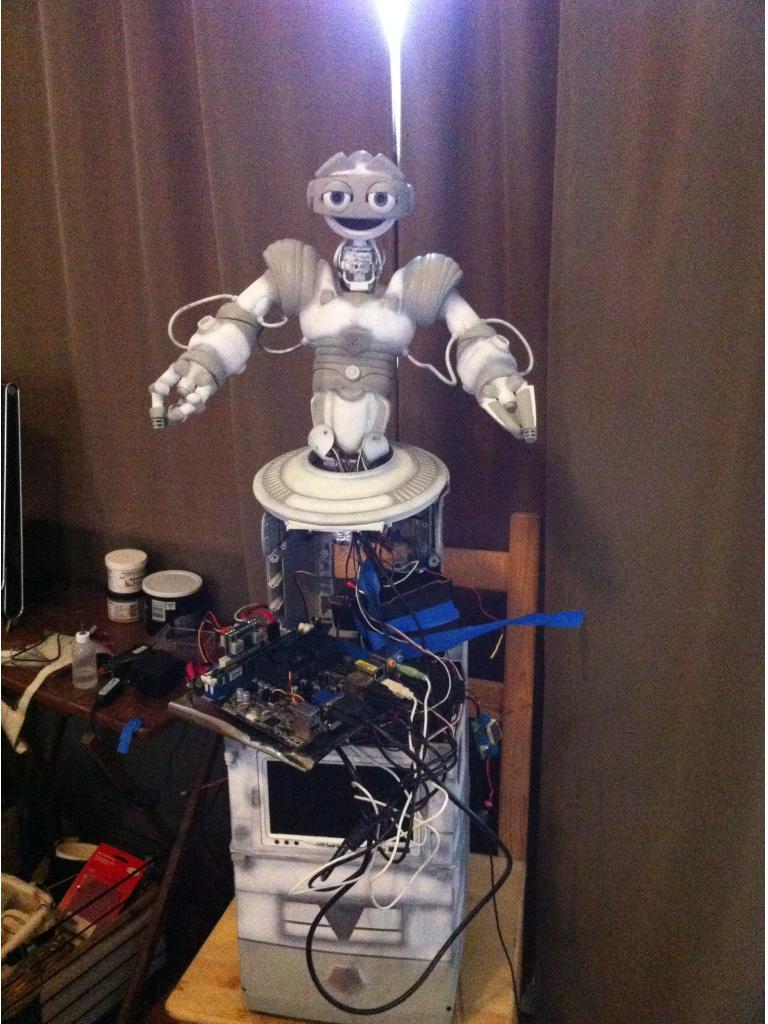
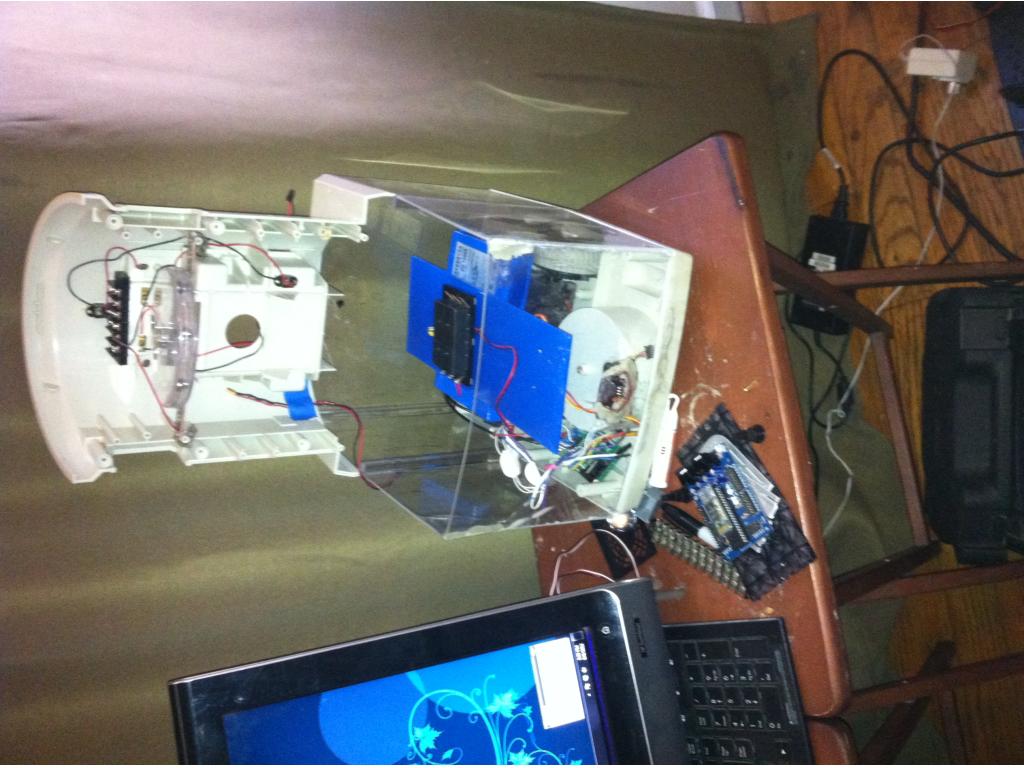
mini itx, https://www.newegg.com/Product/Product.aspx?Item=N82E16813157228 8gb ram, 120gb ssd - had to raise the base 3" to accommodate the mini itx.
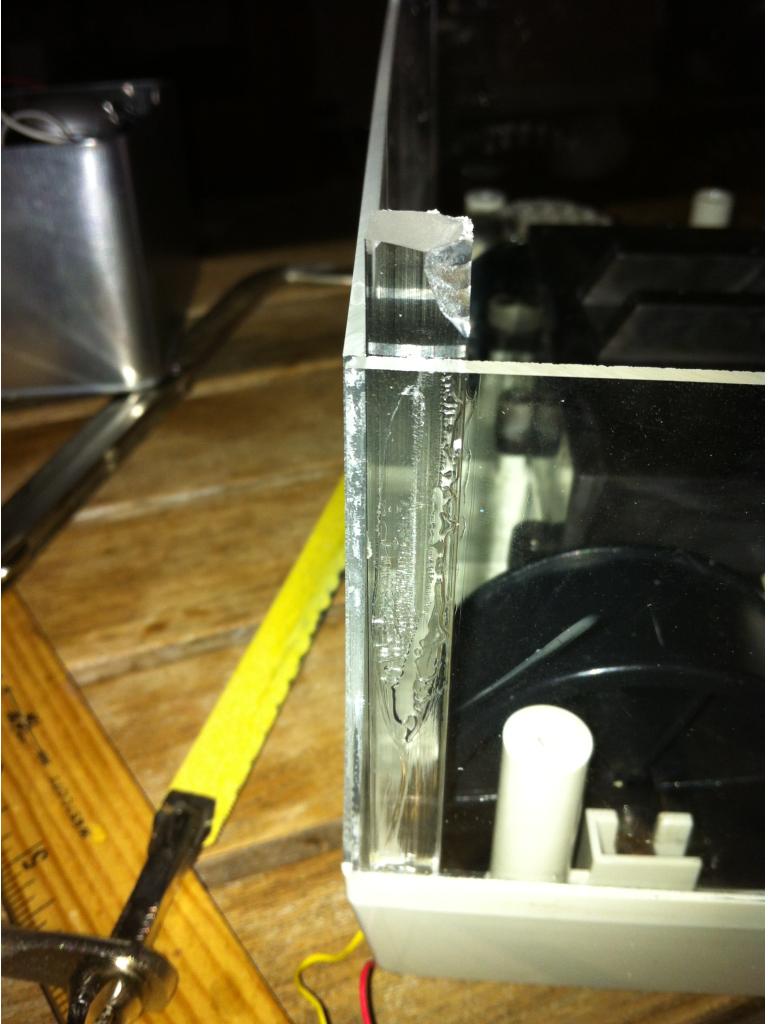
This method, cost me $14.86, without the solvent solution. I had that from a previous display case project. It is kind of expensive like lose to $30. Now to bond them is easy and very strong, but I do recommend that you have help. It is hard to hold it in place and place the solvent along the seam. I went to taps plastic and they have videos online.
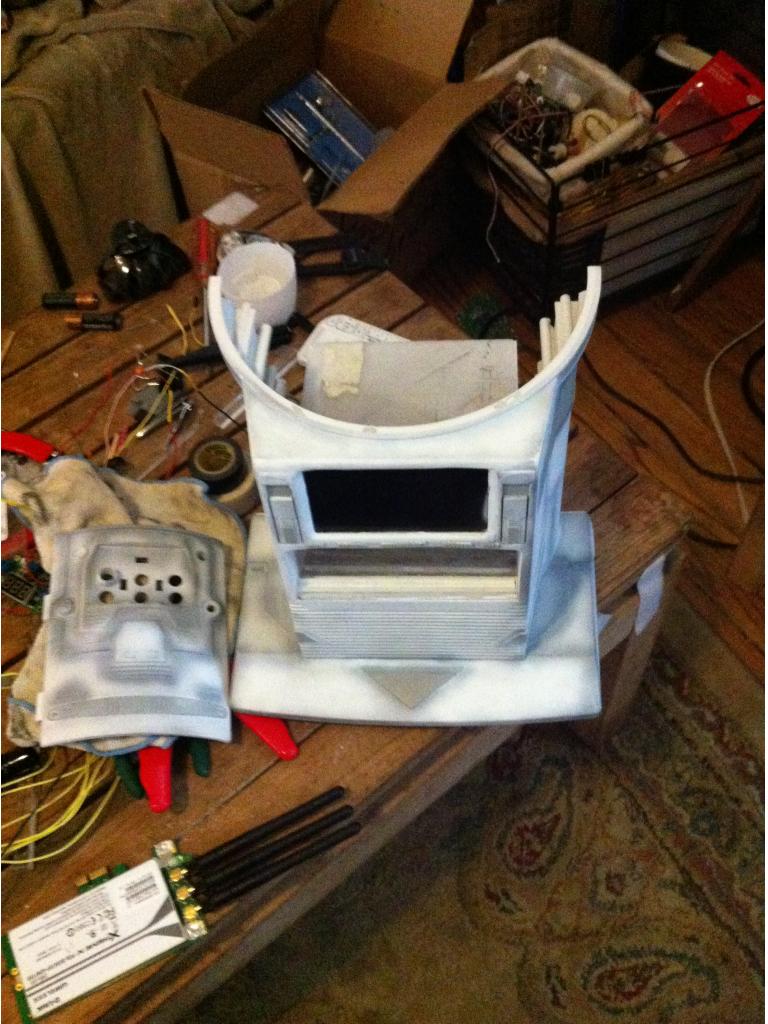
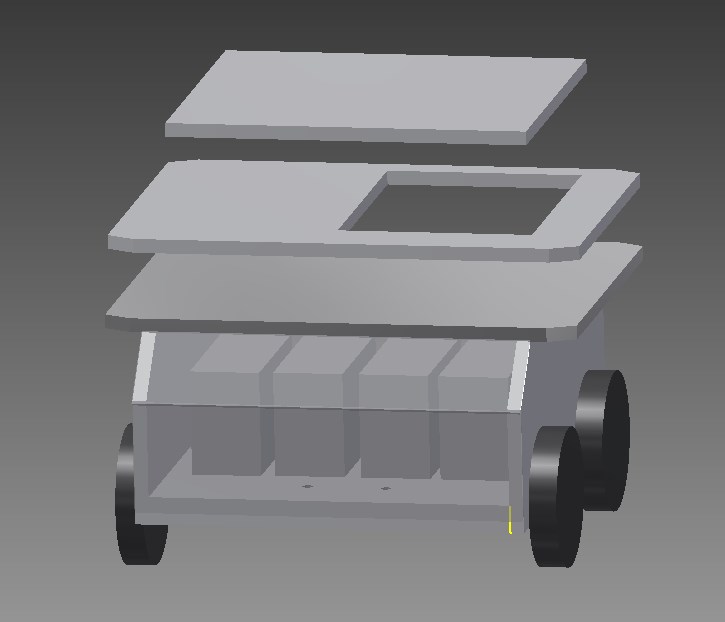
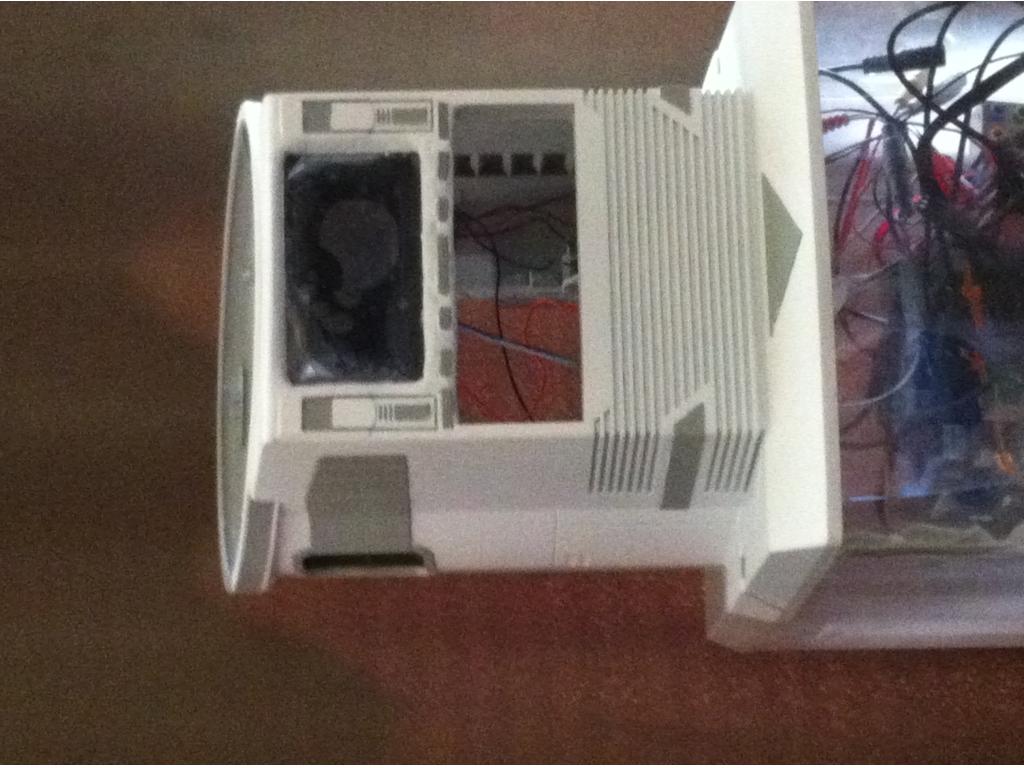
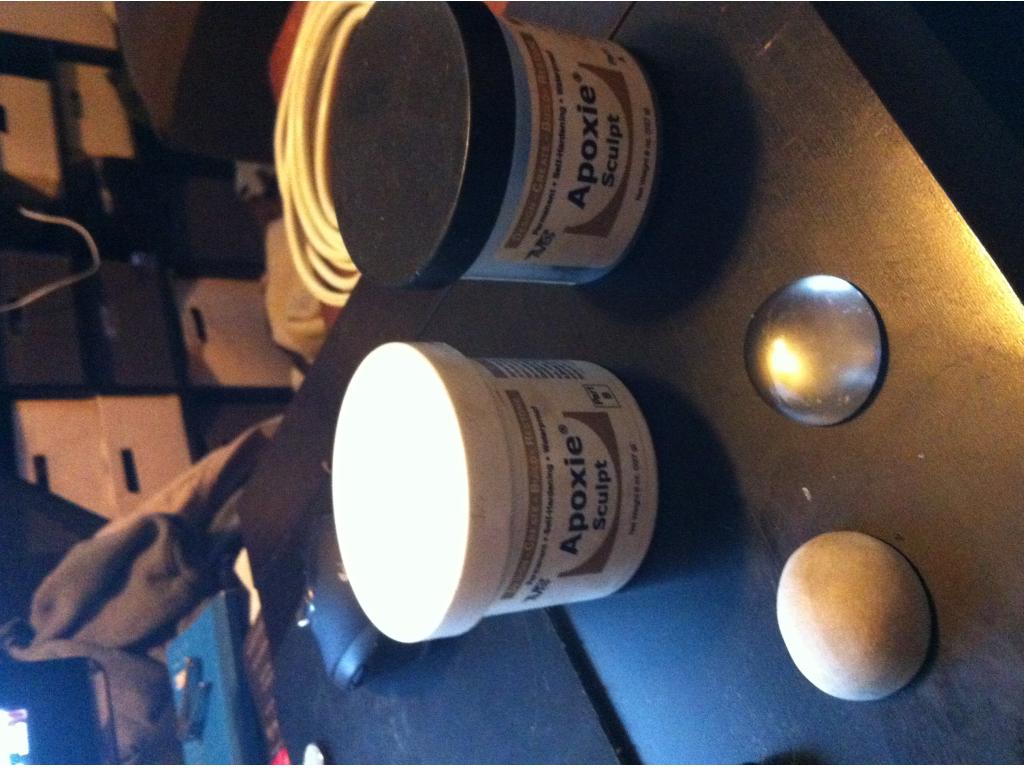
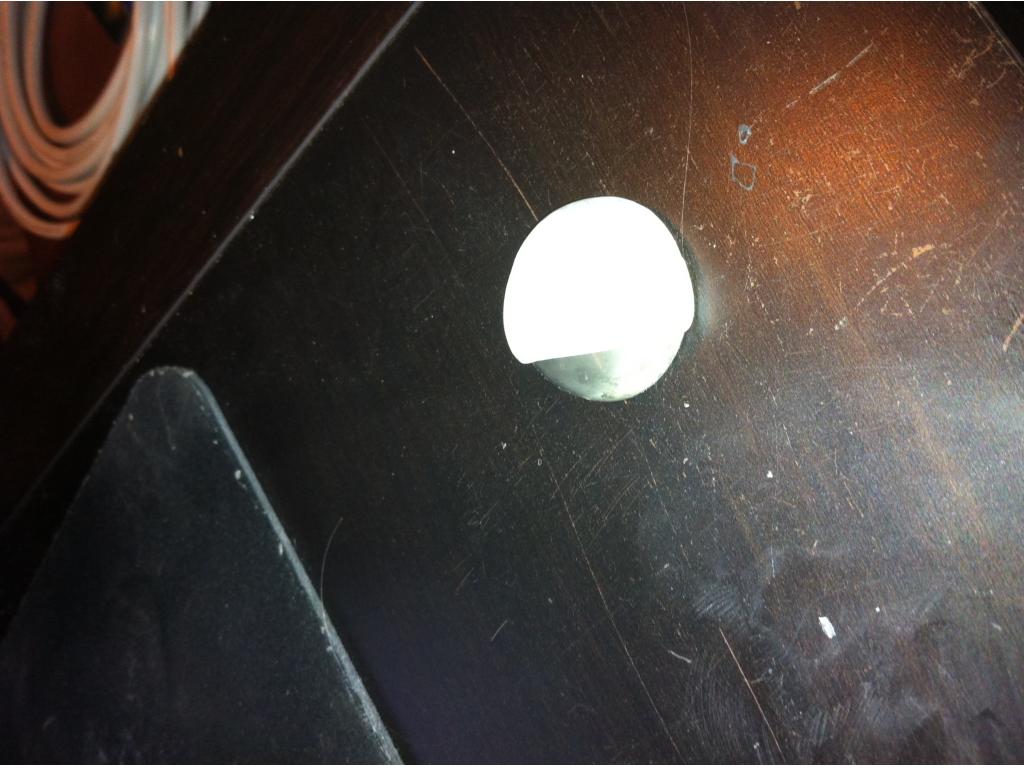
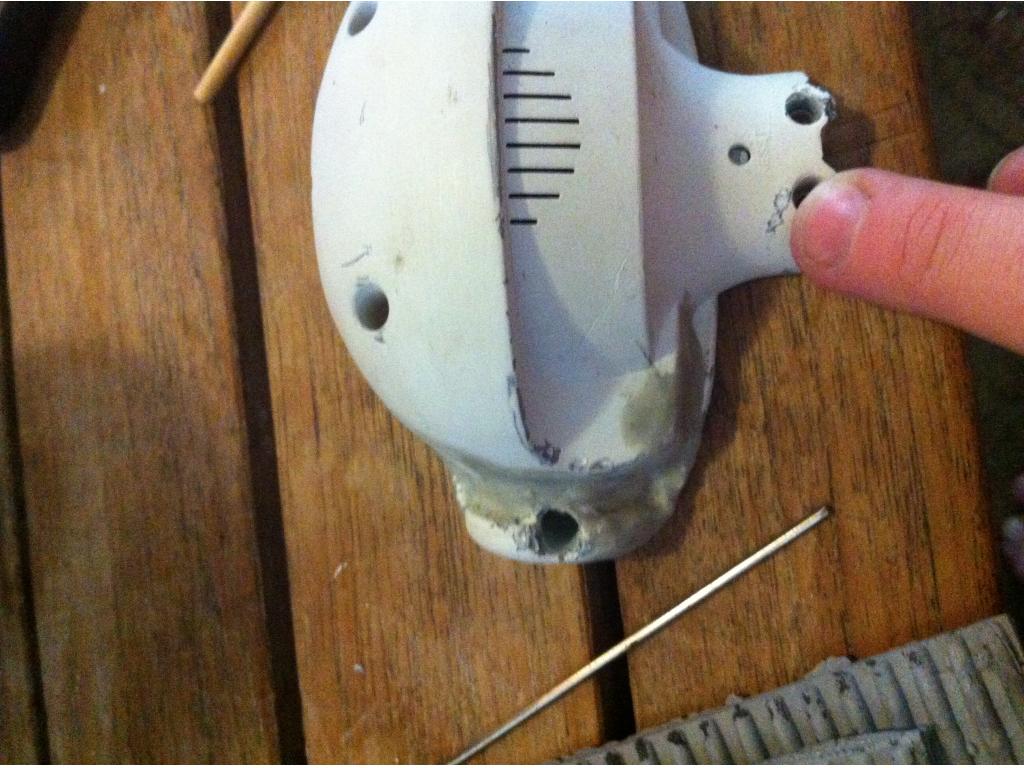
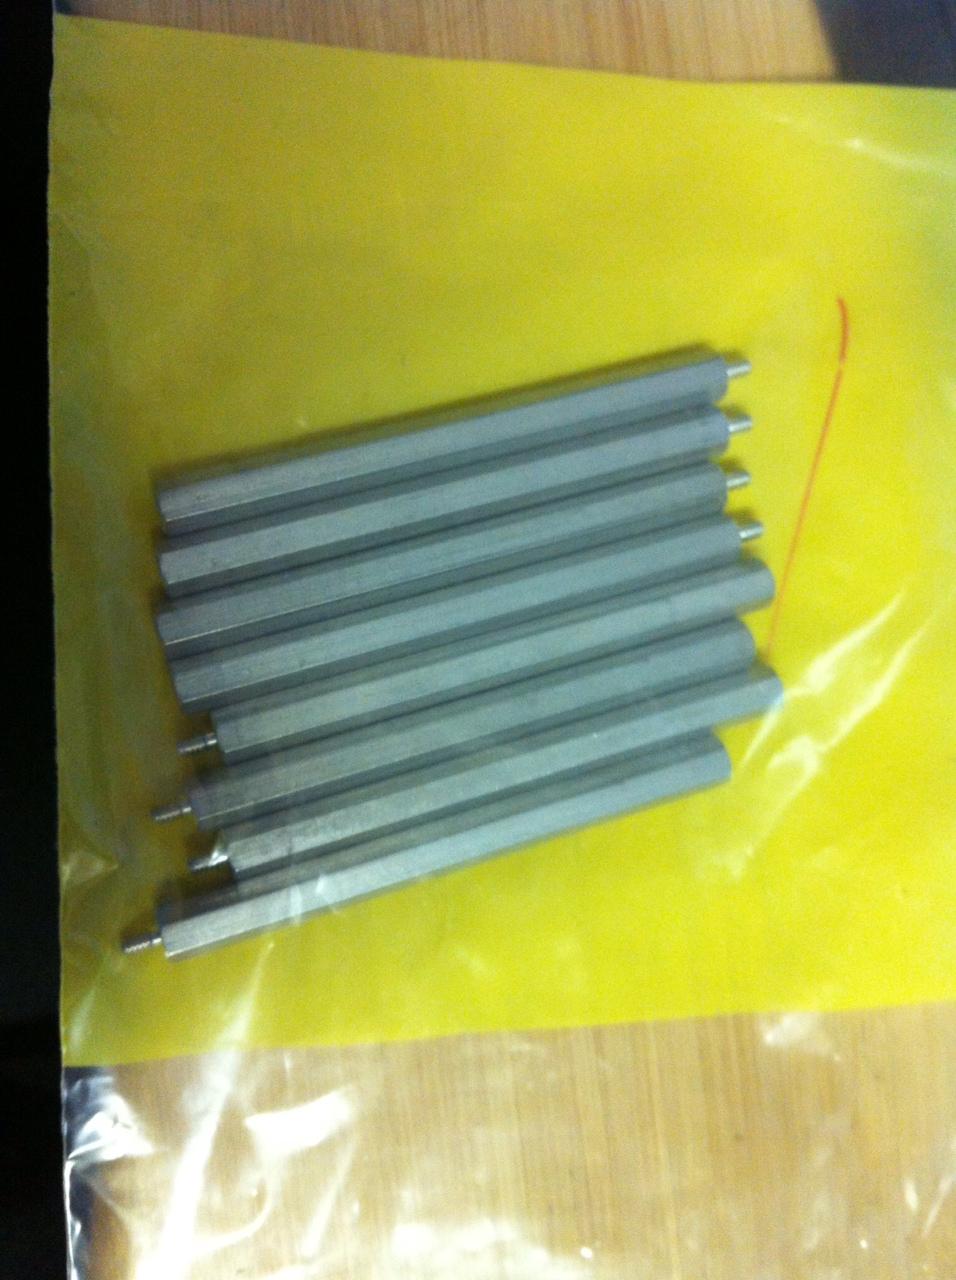
I used acrylic plexi glass, had them cut to size. Did the sides in pieces to go along with the slight curve in the body. Just two pieces. The front needed to be curved a bit so I used a heat gun and got the end hot. (I have a mission style coffee table with slats. Stuck the hot plexi glass in the slat and bent until I got the curve I wanted. I used the acrylic solvent to attach it to the hearoid base, then to each other. I used a " square plexi rod, measured out how big I needed and scored it all the way around with a pvc hand saw then snapped it. Almost perfectly clean every time but some uglies in the process. But inside so I don't really care. I used the solvent to place these inside as support attaching to both base and acrylic pieces. I did this waited about 15 mins then put a cutting board on top with a 39.4lbs statue and moved it a bit, tried to be gentle since it is supposed to cure for at least 24 hrs. I will go in later and fill any gaps with a sculptable epoxy. I plan on painting the base. I did drill out the hole in front for the ir sensor and the light sensor. (Took this from ottobot and will use the little cover for the outside of it. Already molded it in. I also have two little ir object sensors I took that I plan on putting on the from right corners. I need to finish digging that out.
ez-board, h-bridge all hooked up
batteries (Batteries and power still have not been decided.) I got this power supply per robotmakers suggestion. https://www.amazon.com/gp/product/B003DXV9O2 I understand hooking it to motherboard, ssd, etc. then the three wires that come out to power ground and ignition or switch. But it has this jumper thing that I am not sure about. Advice welcome.
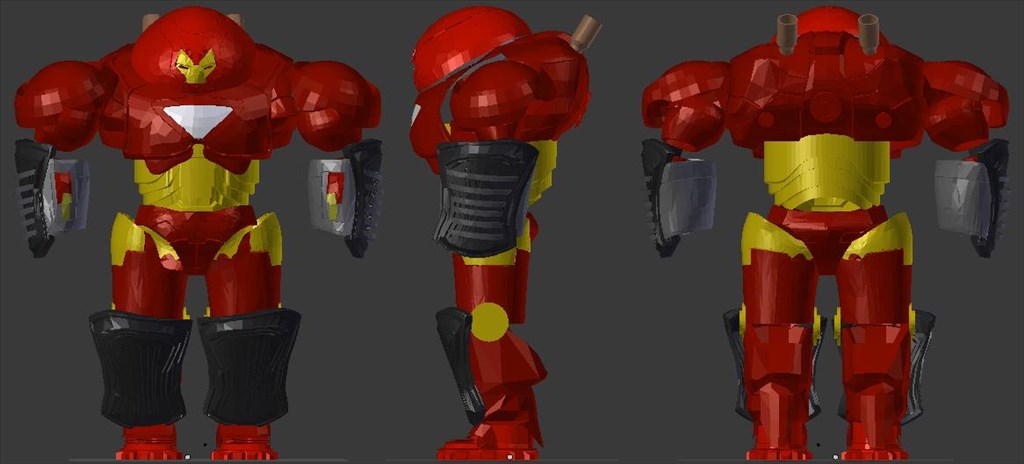
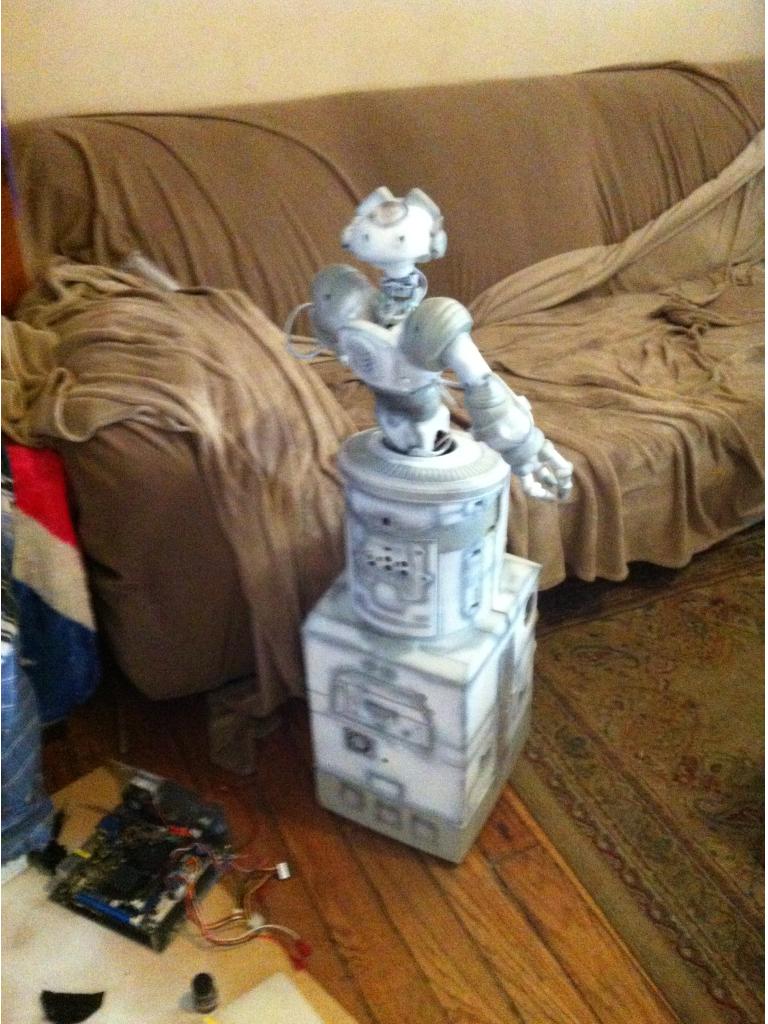
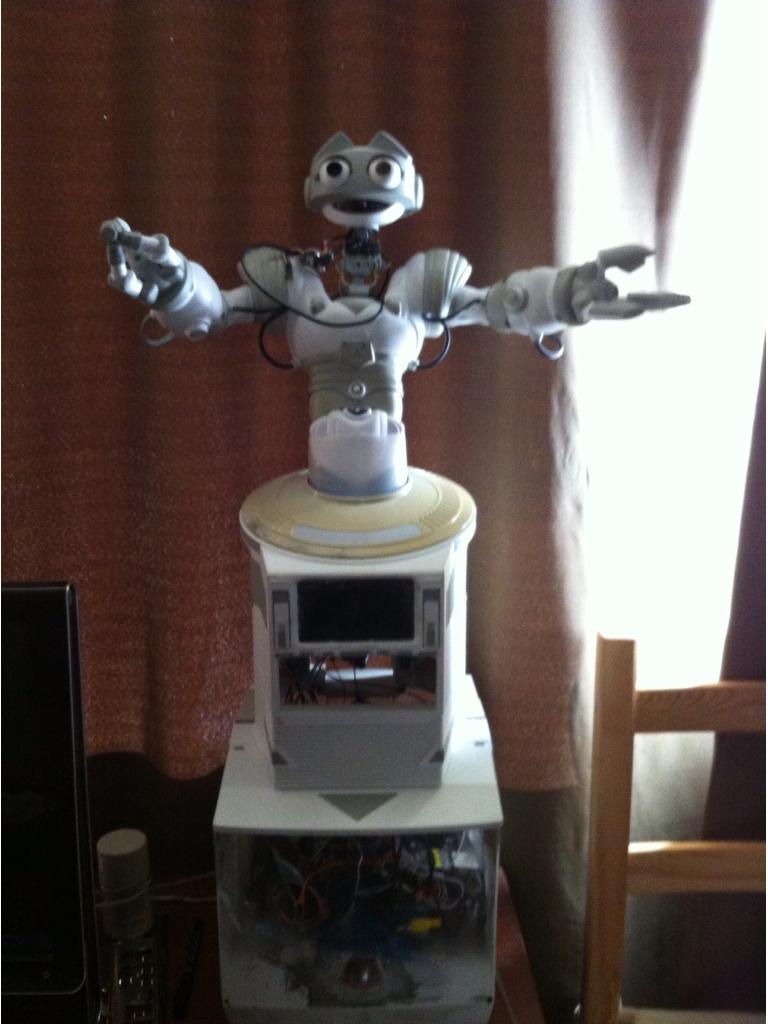
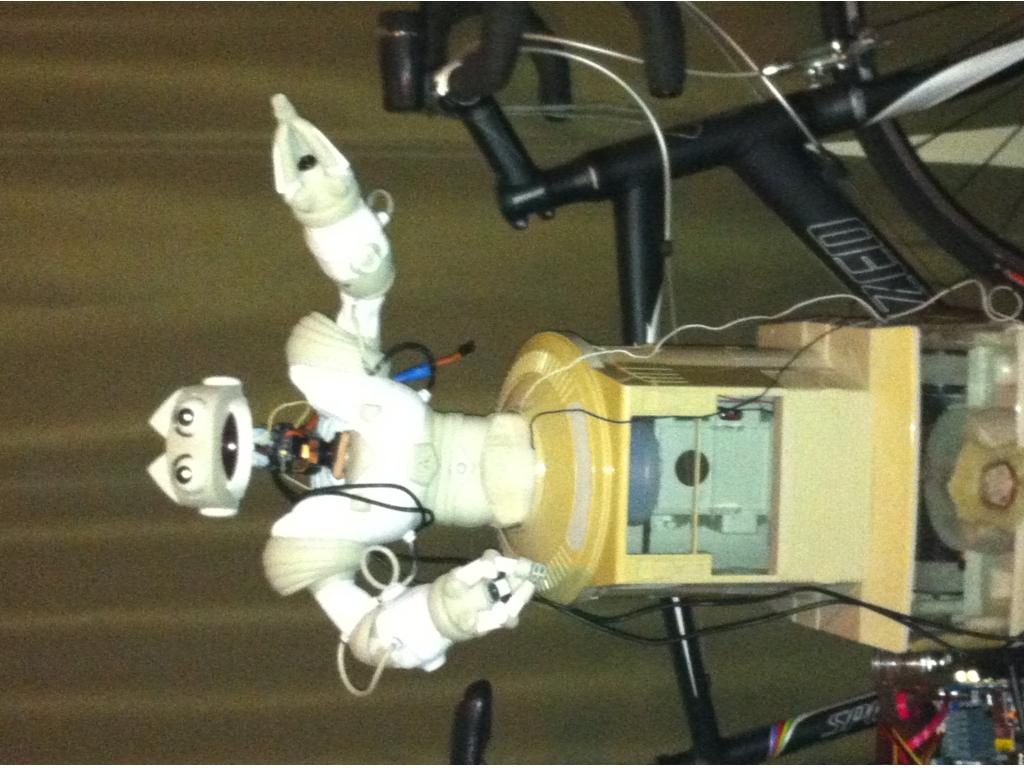
Eventually the torso will be ungraded to a different one once I figure out the whole arm thing but in the meantime I am going to use robosapiens torso and thanks to DJ he made that really easy for me by integrating Robosapien. Woo hoo.
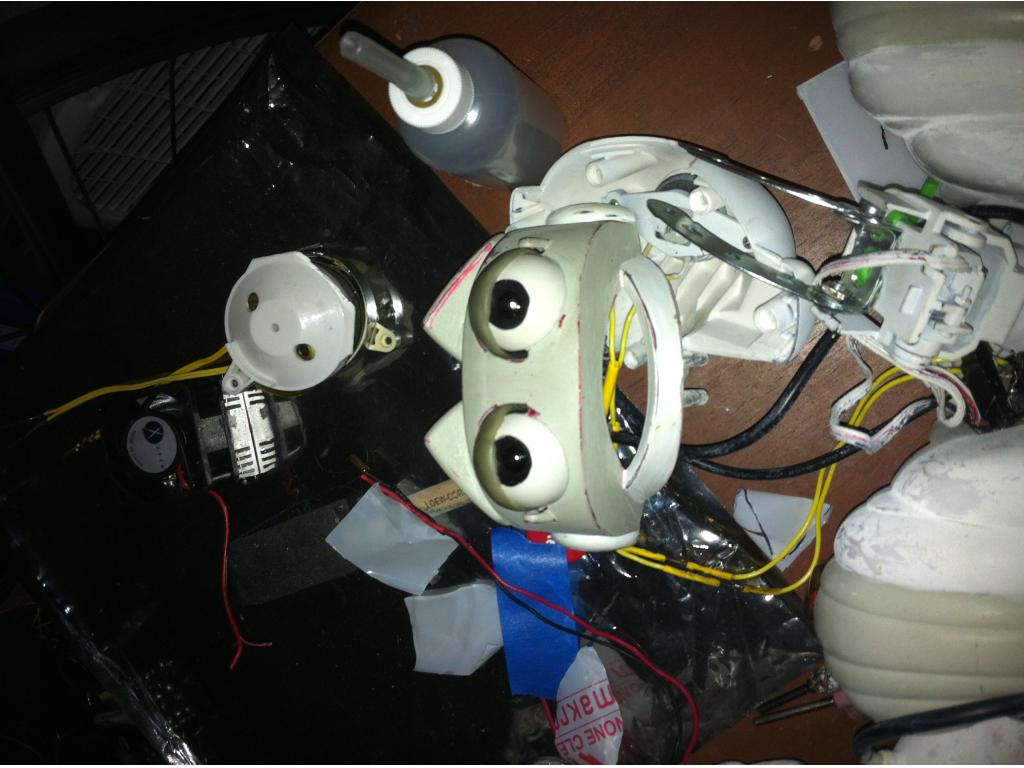
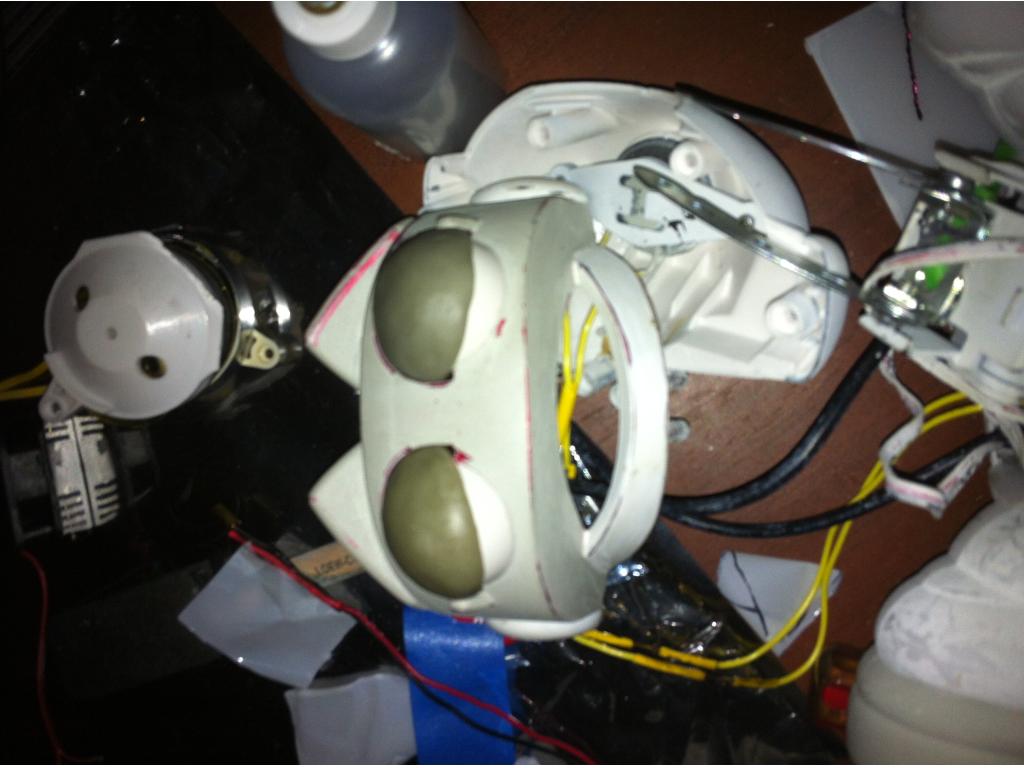
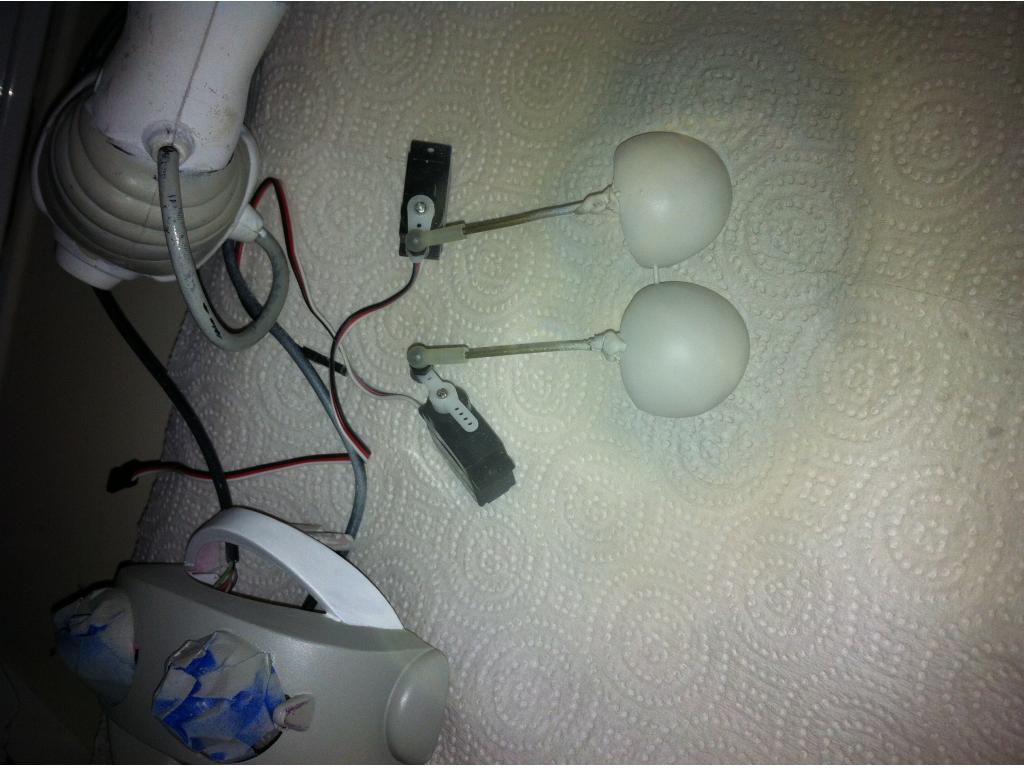
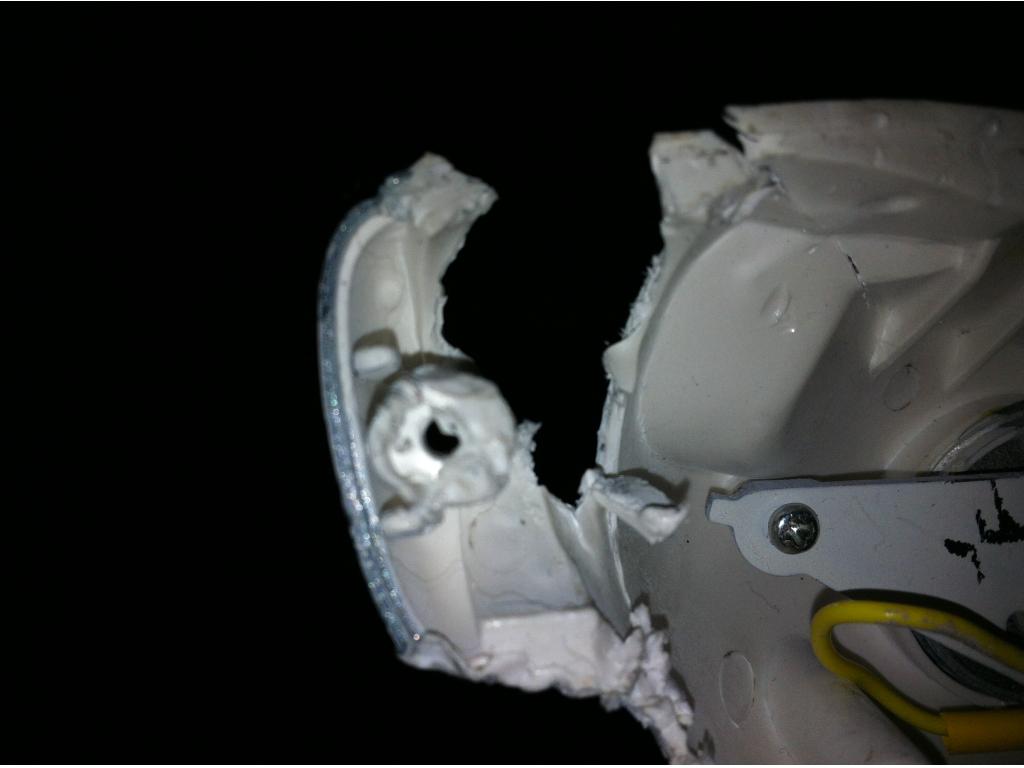
The head from an Ottobot. I poked his eyes out and am putting in two cameras. I have one already and it fits great. Head will probably be too small once I upgrade arms.
I have ordered and waiting for shipment from China. The other camera, pan and tilt brackets with some heavy duty servos with metal gears, and the little screen.
Was thinking of a little keyboard for little things but will remote in when big things need to happen.
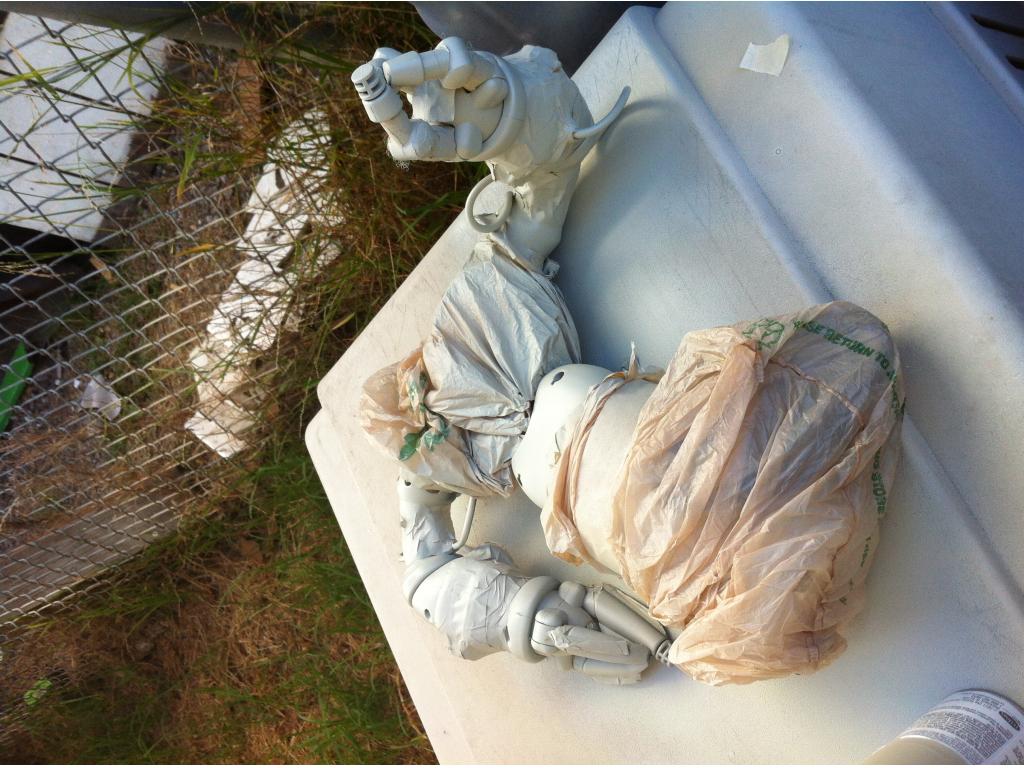
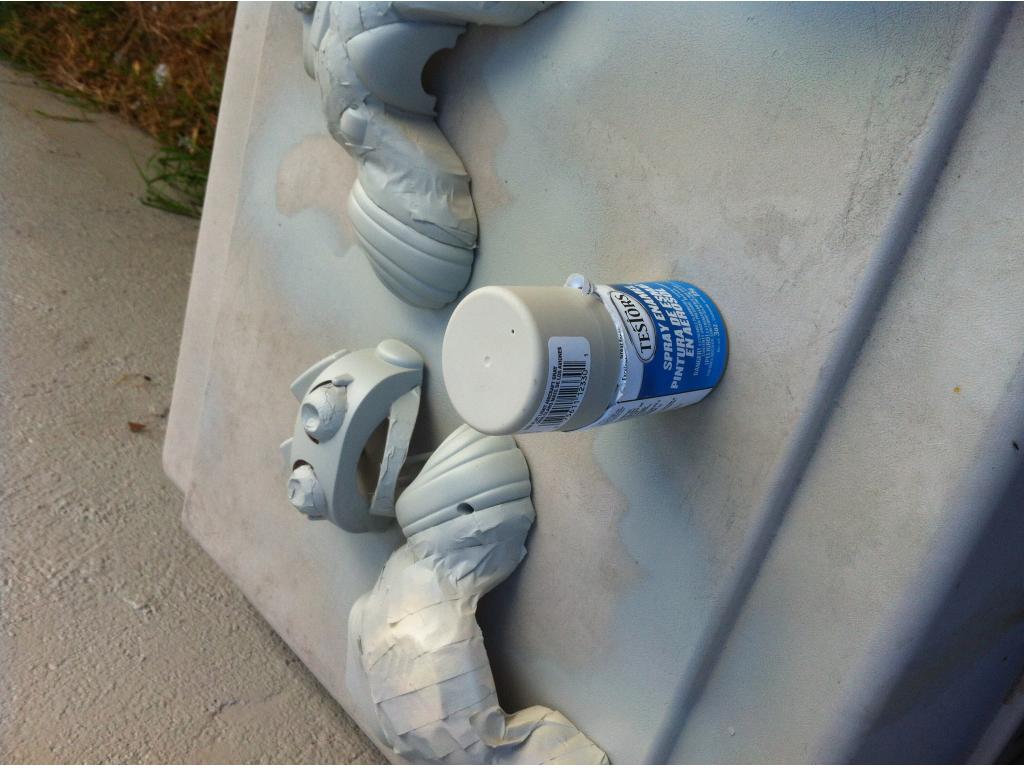
He will be grey/white or black/white in the end. Haven't completely decided. Leaning toward a grey/white look though.
Still need to figure out: Lighting Speakers - I have two from robospaiens. Then a third that was already on the hearoid base. Plus a little one in the head of ottobot. I am going to connect that one to robosapien so when he turns on he'll yawn out of the one.
Power is really my next big one. Trying to wait until I am more settled so that I can better judge how much power I will need.
I am thinking of ai software, was recently introduced to that Denise. OMG. I am still drooling. But I also have looked at leaf, more programming than I really want I think. I am no programmer. I also looked at Ultra Hal but lacking in many ways. DJ thinks a EZ-B version of an AI may be in our future but I am way too impatient to wait.
Other robots from Synthiam community
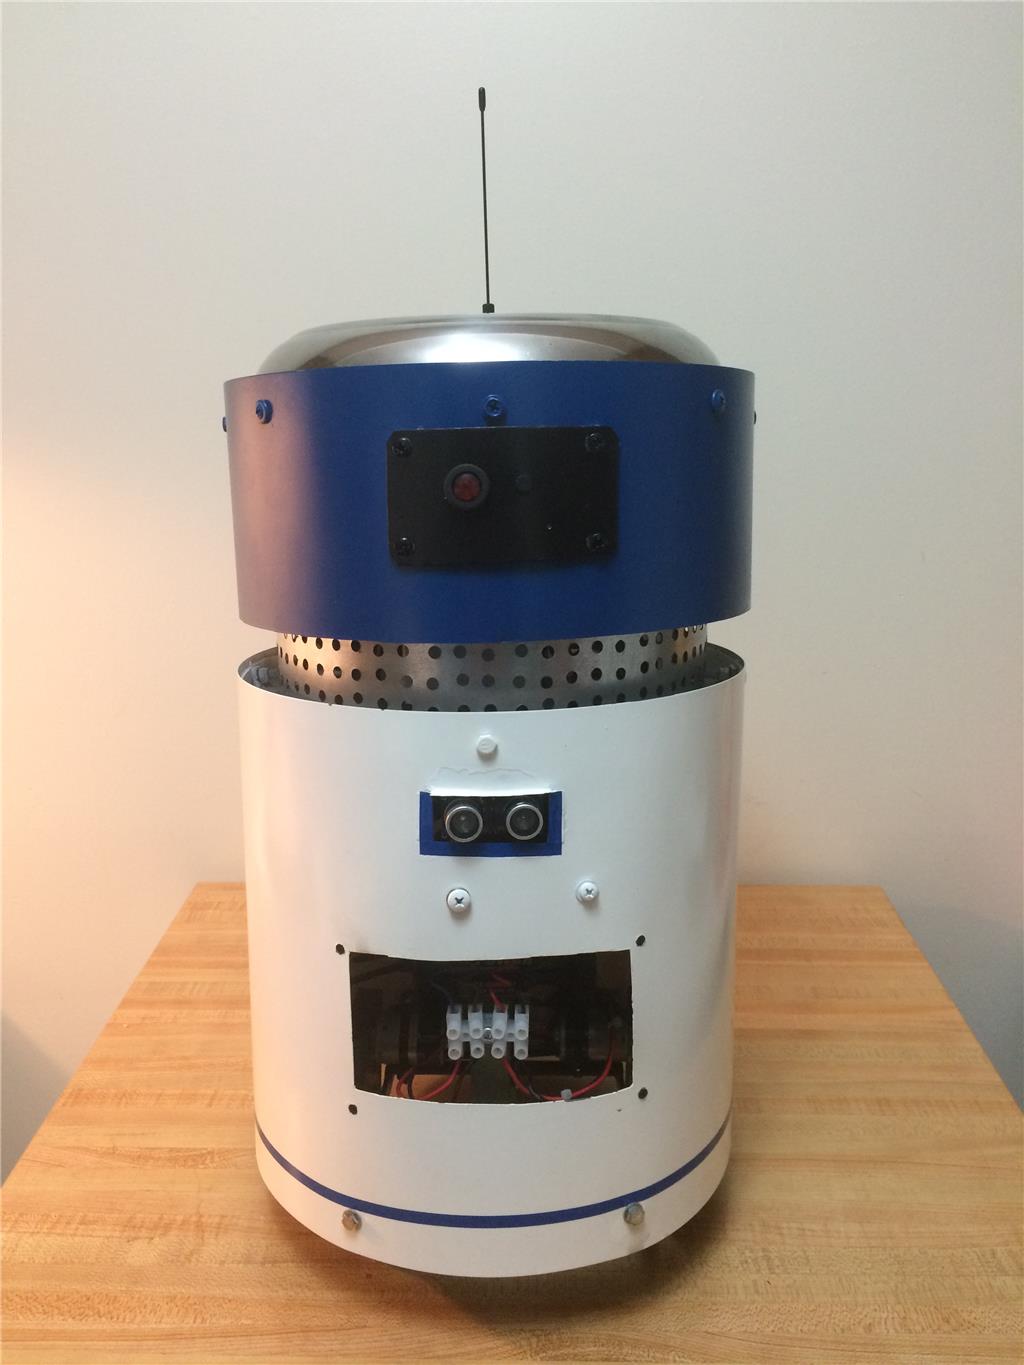
Mikej's My First Robot: Ubm1
Intellamicrorobotics's Meet @Arti_Robot
-634823693586132812.jpg)
-634833267676093750.jpg)
-634833267899218750.jpg)
-634833269127656250.jpg)
-634833269319218750.jpg)
-634833269574062500.jpg)
-634833270124843750.jpg)
-635019910467392578.jpg)

-634767667799482421.jpg)

Yeah I think the biggest reason is that they ship right away from China and generally they wait a few days before shipping in the US.
No... I have no idea what his name will be. I don't really like Frank. I am hoping that once he gets moving that it'll come to me. If not I will probably hold some contest on my website. Any suggestions?
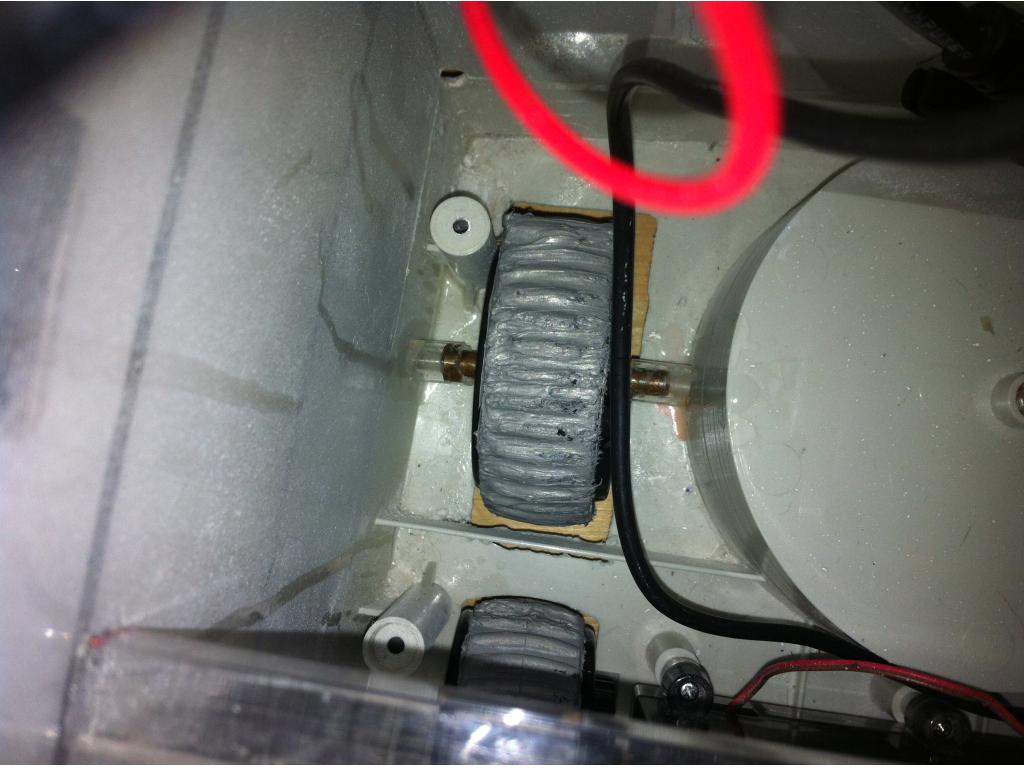
Yay! I got my motors. Took 10 days from the day I ordered which isn't bad. I ordered some pills from amazon on the 20th, shipped from KY and got them today as well.
Waiting on these have kind of been holding me up a little. So anyone have any suggestions about dampening vibration? We are using this for a hexacopter.
Moon gel
Gel pads (Moongel or similar), Dynamat, Silicone, double sided sticky foam pads or Rubber all work well.
@sfoy...hooray for the motor arrival now your YTBN bot can move...and that means....a VID!....Its hard to figure out a name for your own creation, sometimes our children are named even before their born and some children are often named months after their born.......and some of us ahem have more then one name under "certain" circumstances YTBN...yet to be named...which is the same name I have given to my young sailing friend's new refurbished 24 foot sailboat because he too has yet to figure out a new name..go figure
Rich I was looking up pics and saw that some people completely covered their servos in dynamat. I didn't really see it on motors. It looked like they more covered the entire area with the stuff. Would it be safe to cover it?
Thanks irobot. He can't move yet. So far he is just a cad drawing we at least his new base is. I have made it from cardboard but it's really just for spacing.
Now that I have the motors though, I have size the holes and decide where I want them and then get it cut. Yay!
Possible high temperatures and cooling are the only reasons why I wouldn't use it on a motor, but that's only really an issue if the motors are being used close to their limits. Or just do it the other way around and cover the mounts or holes so it'll dampen vibrations between motor and mount.
If your trying to keep motors from making noise you can try a floating mount. Wherever you decide to mount , leave a 1/8 " gap and fill it with RTV Gasket maker silicon. Its a mild adhesive but can peel off when pulled. I've used it to dampen hard drives and servos too. Only put silicon around points of contact so your motor still gets air and try to face any air vents on the motor outward and uncovered.