
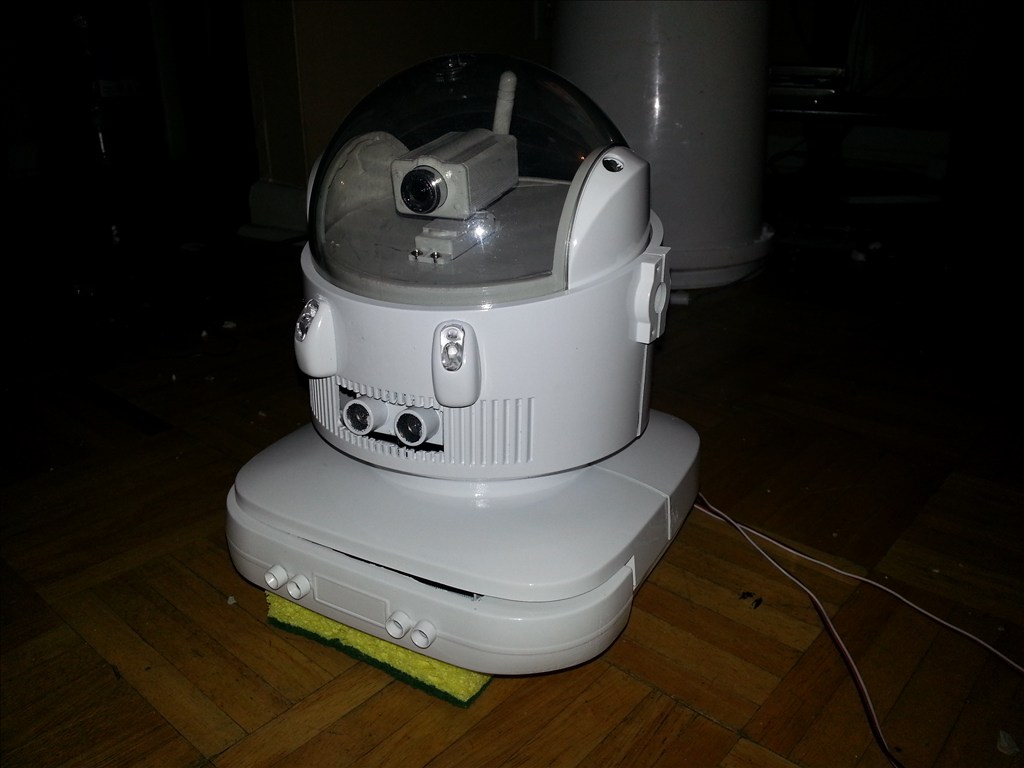
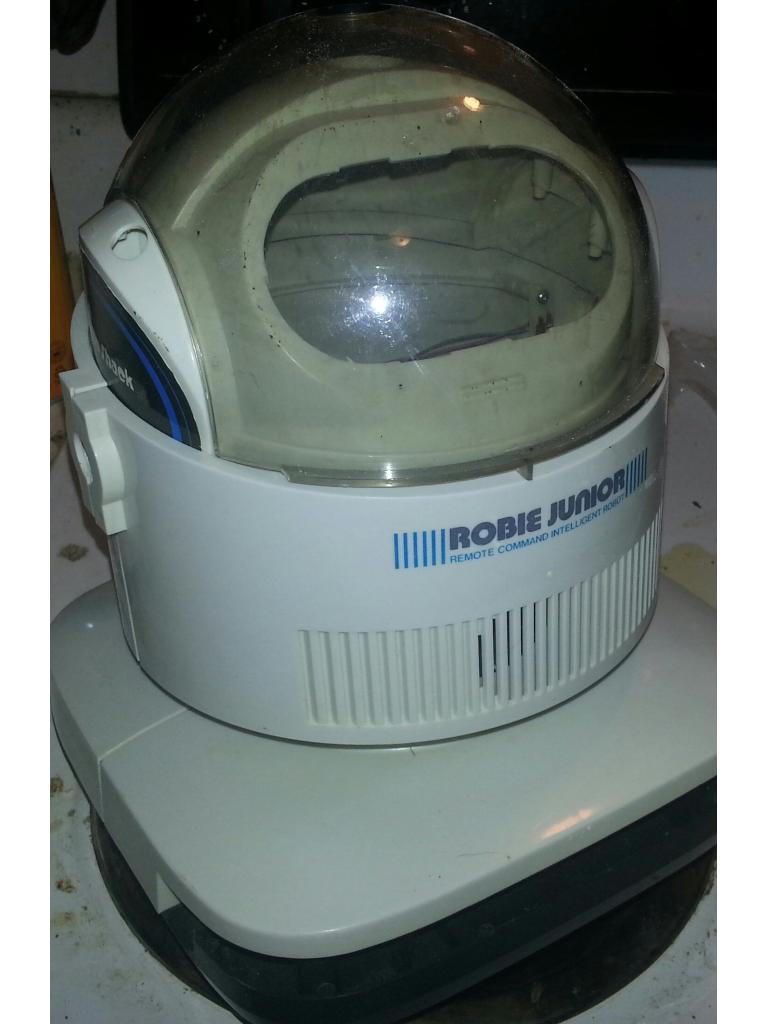
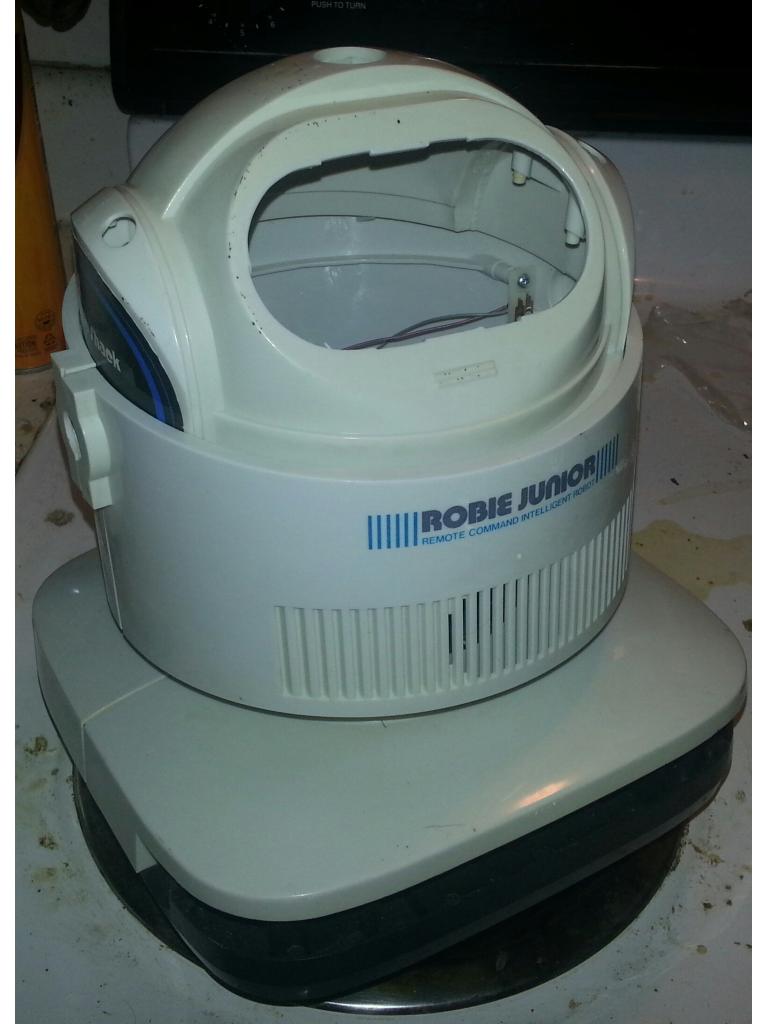
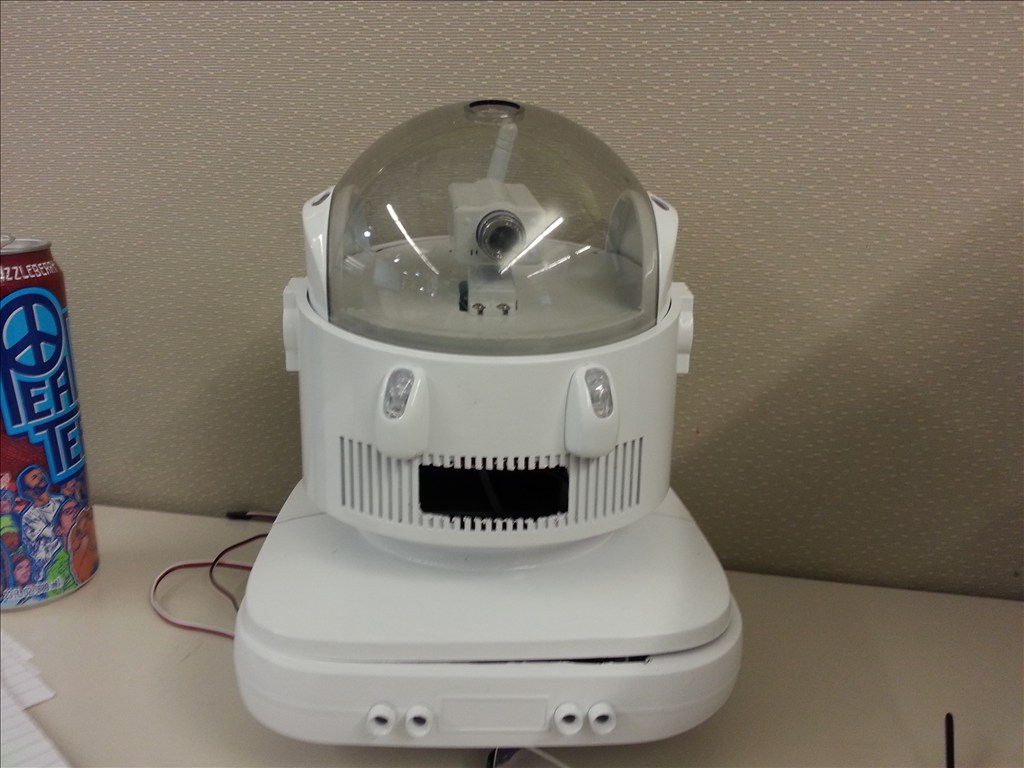

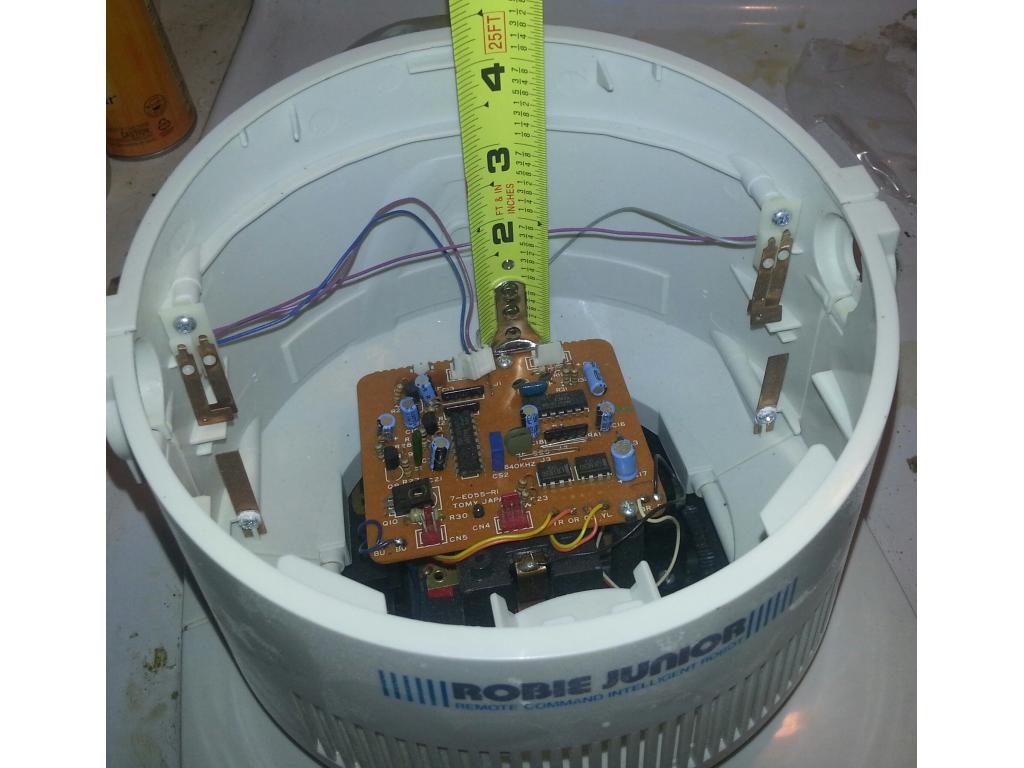


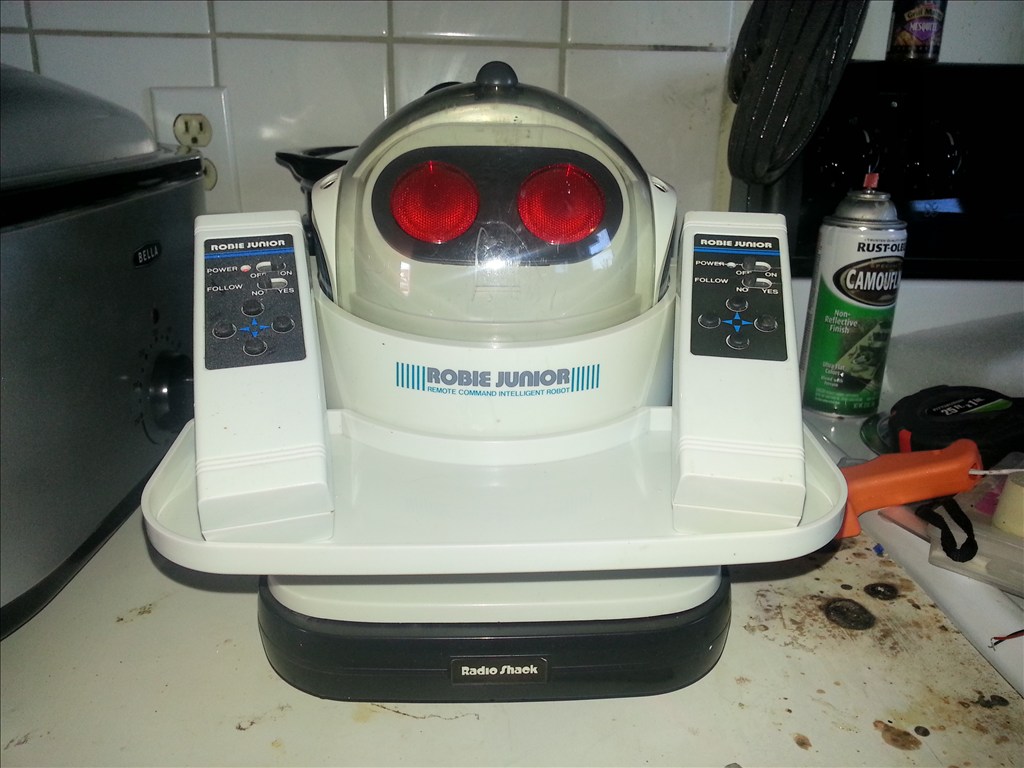


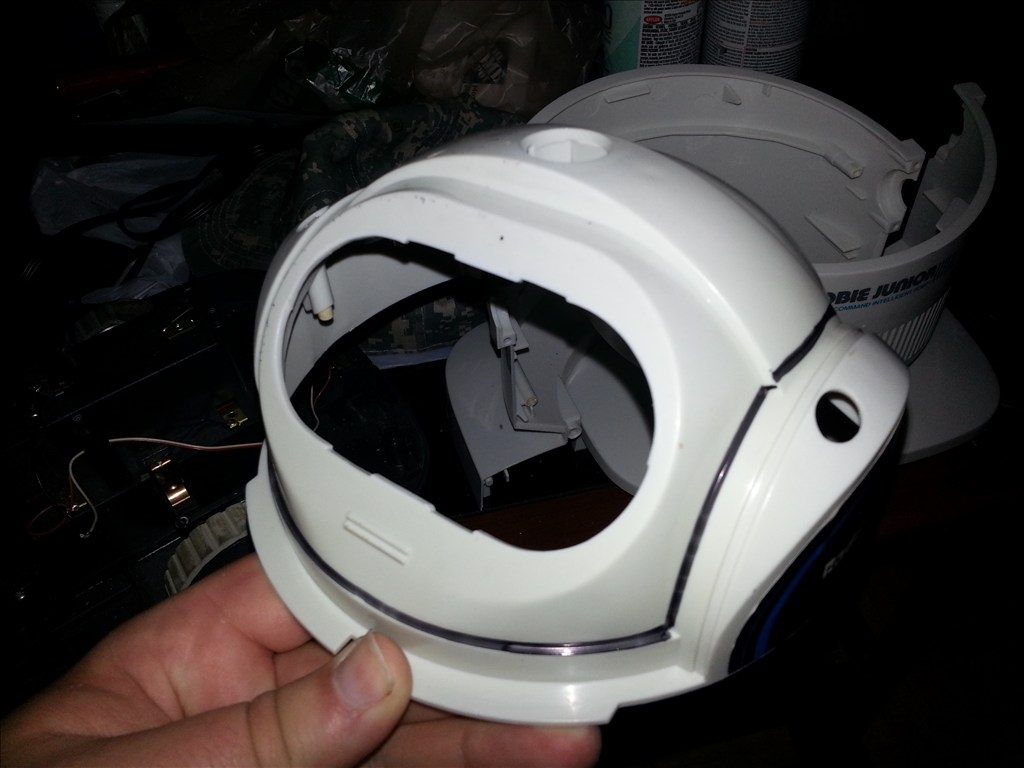


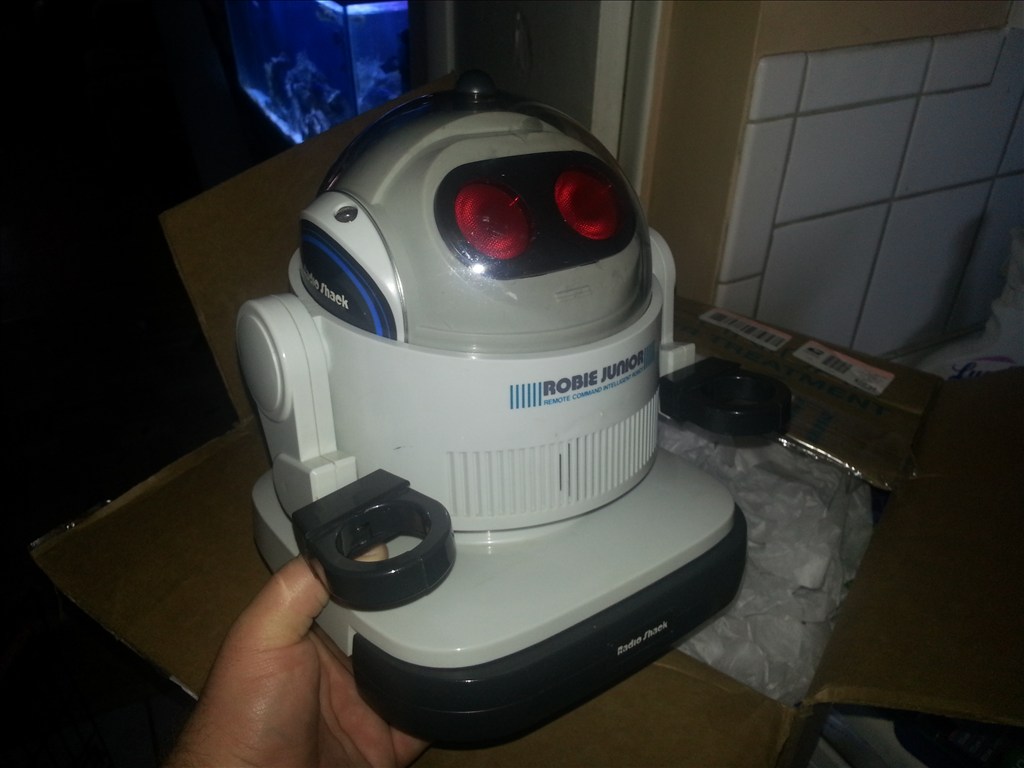
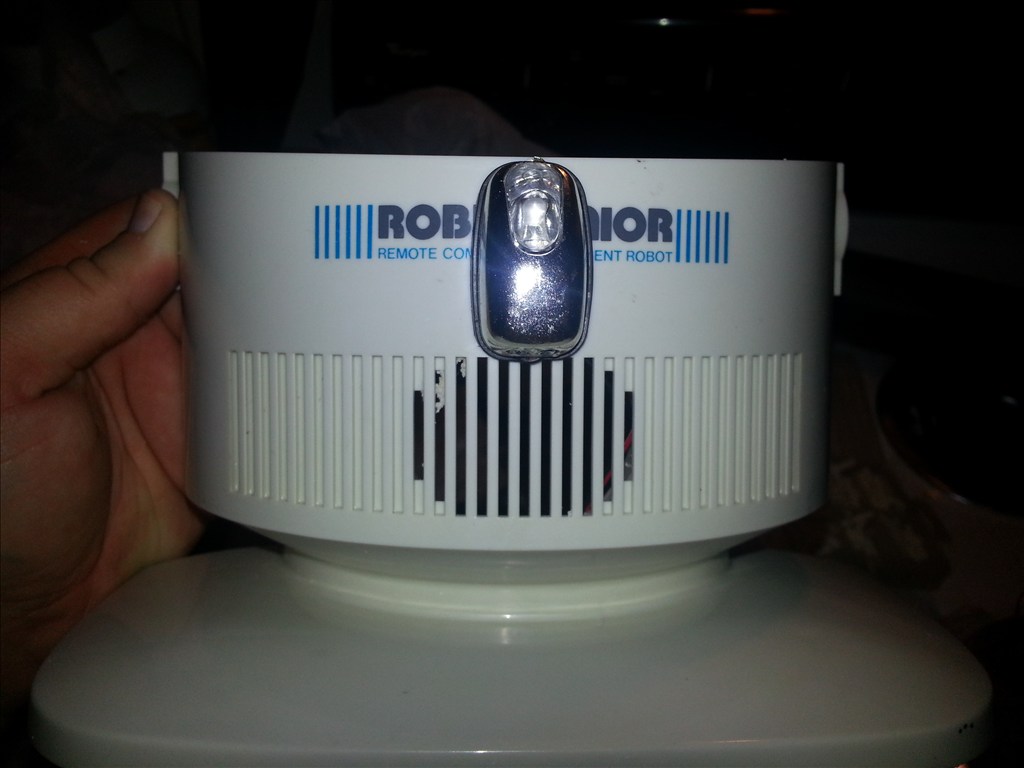


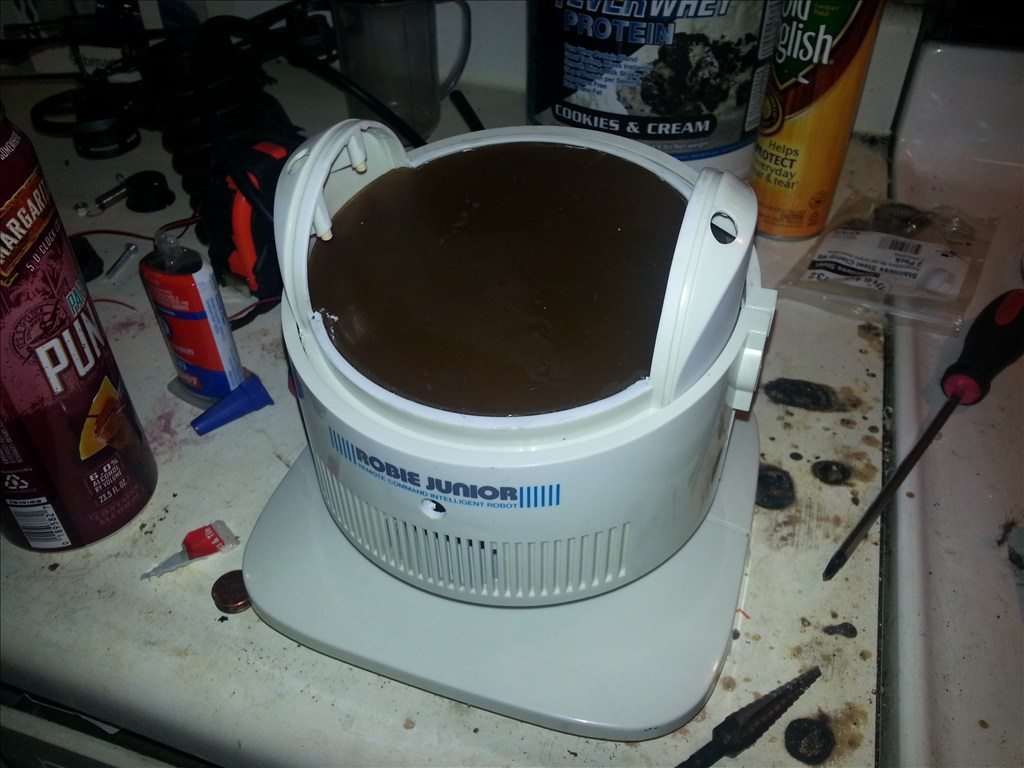


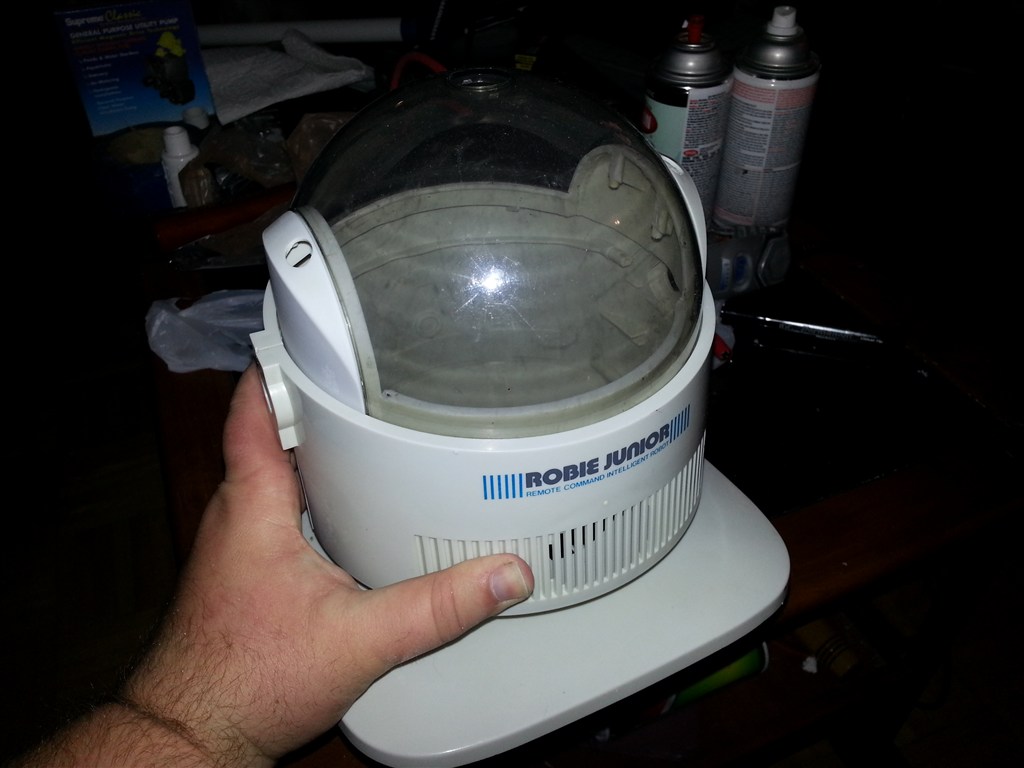


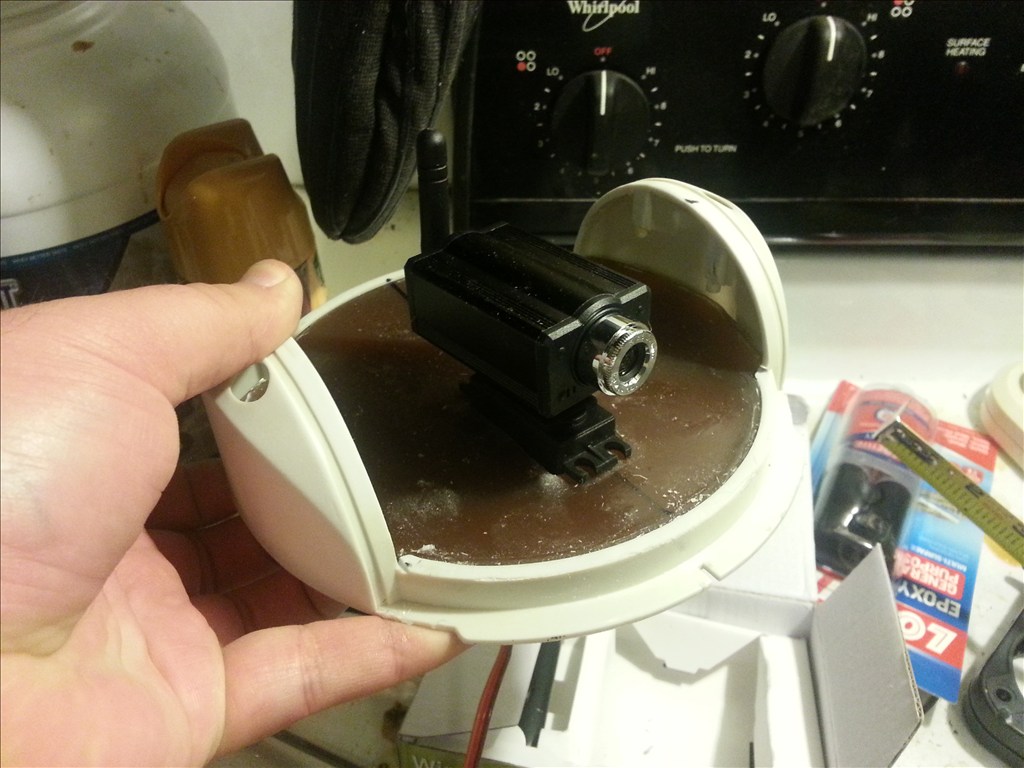
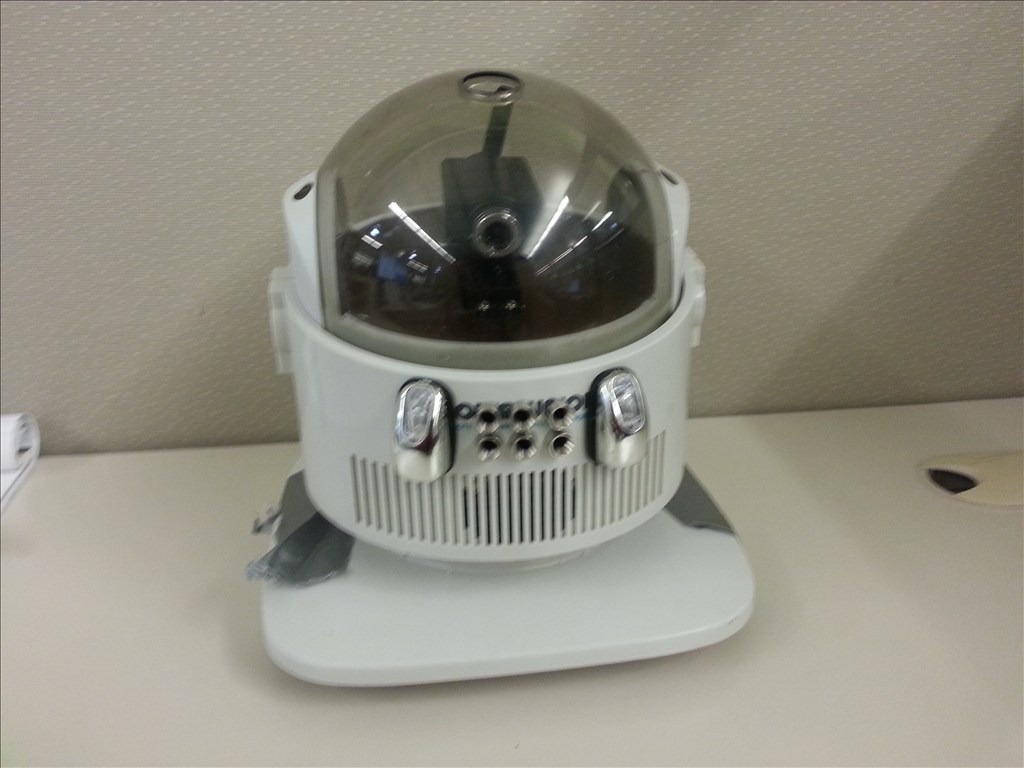


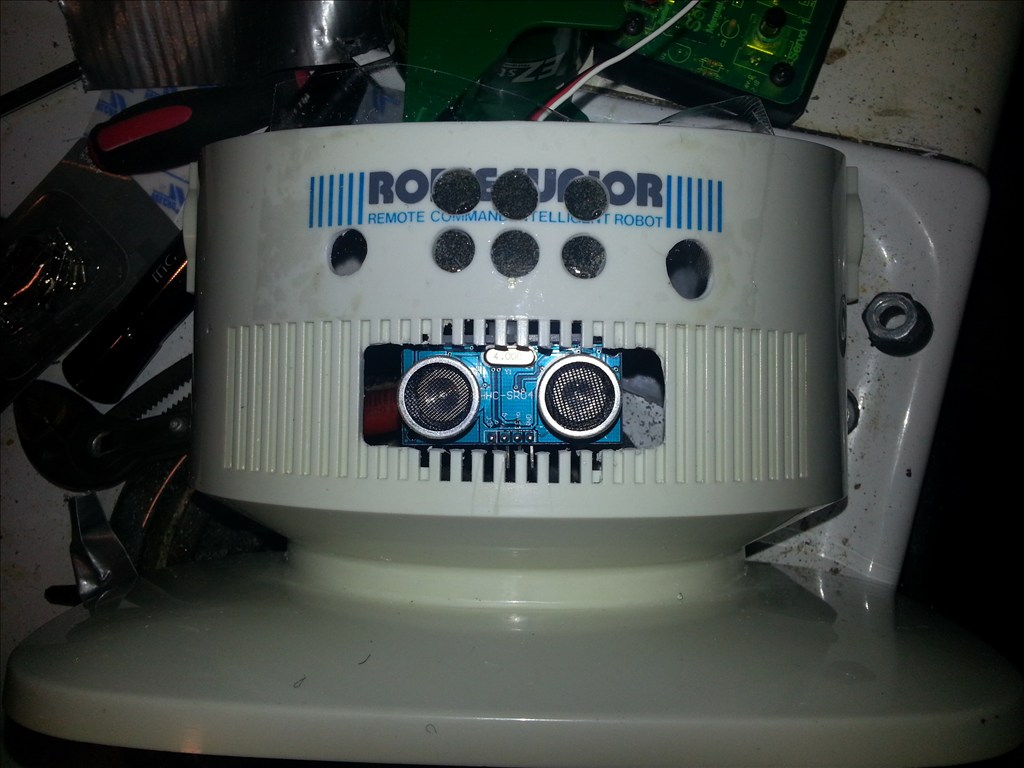

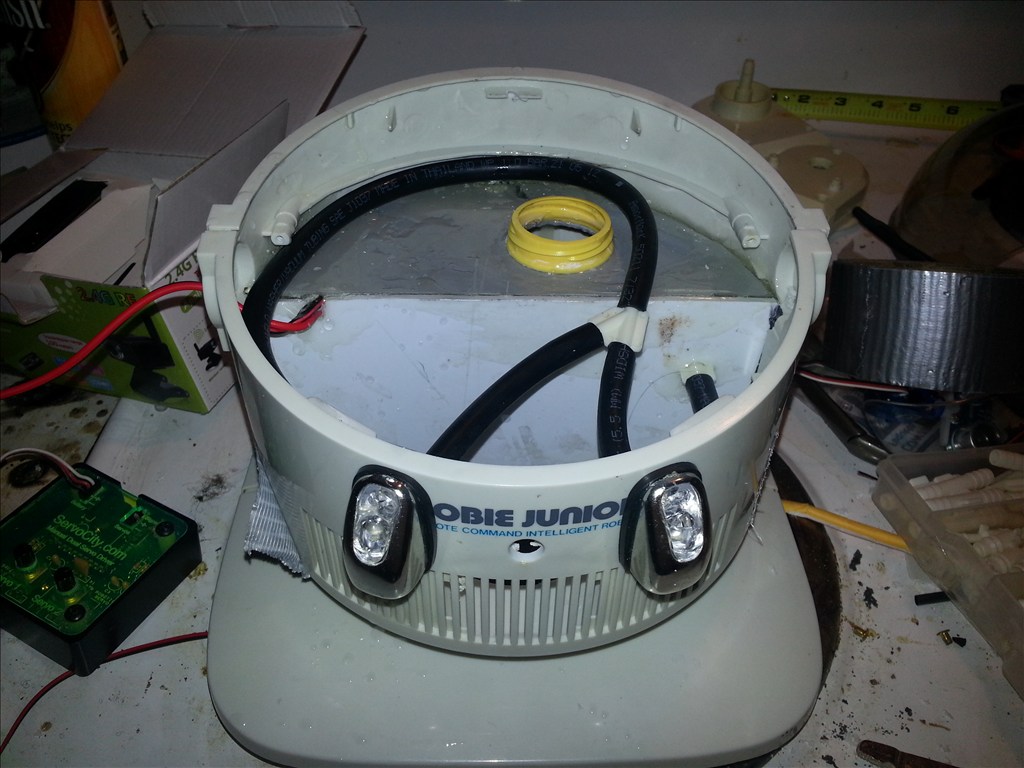

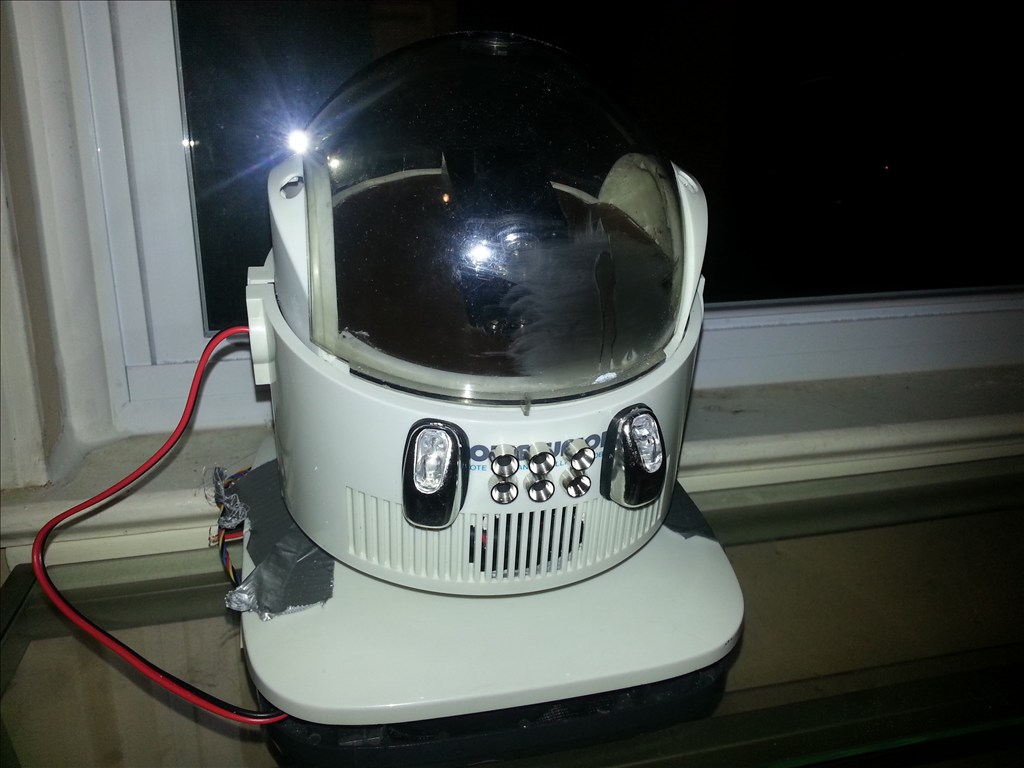


This is a simple project that hopefully I wont over complicate. Since he Squeegee needs to get as close to furniture and the toilet and bathtub as possible this my be a challenge. After all we spend most our time trying to get our robots to avoid the objects in the room. Im giving new life to a radioshack robie jr rc controlled robot.

By jstarne1
— Last update
Discover more robots
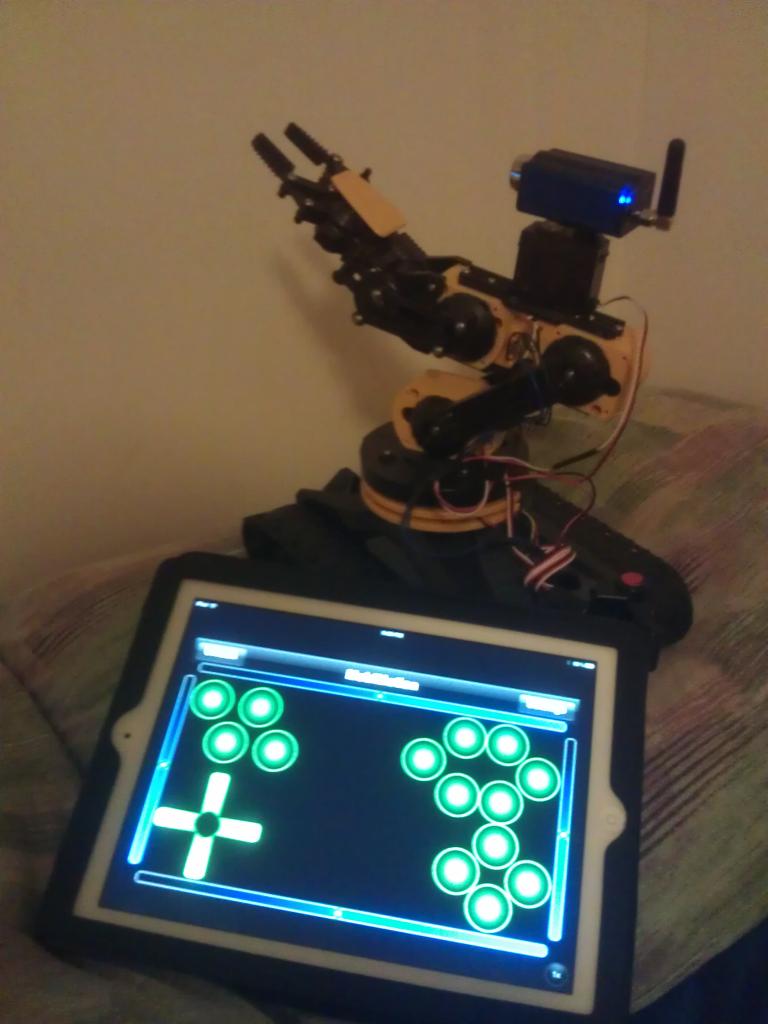
J's Robo Arm
Control a second robot arm from an iPad with the MobiMotion app-drive via accelerometer or joystick; photos show the...
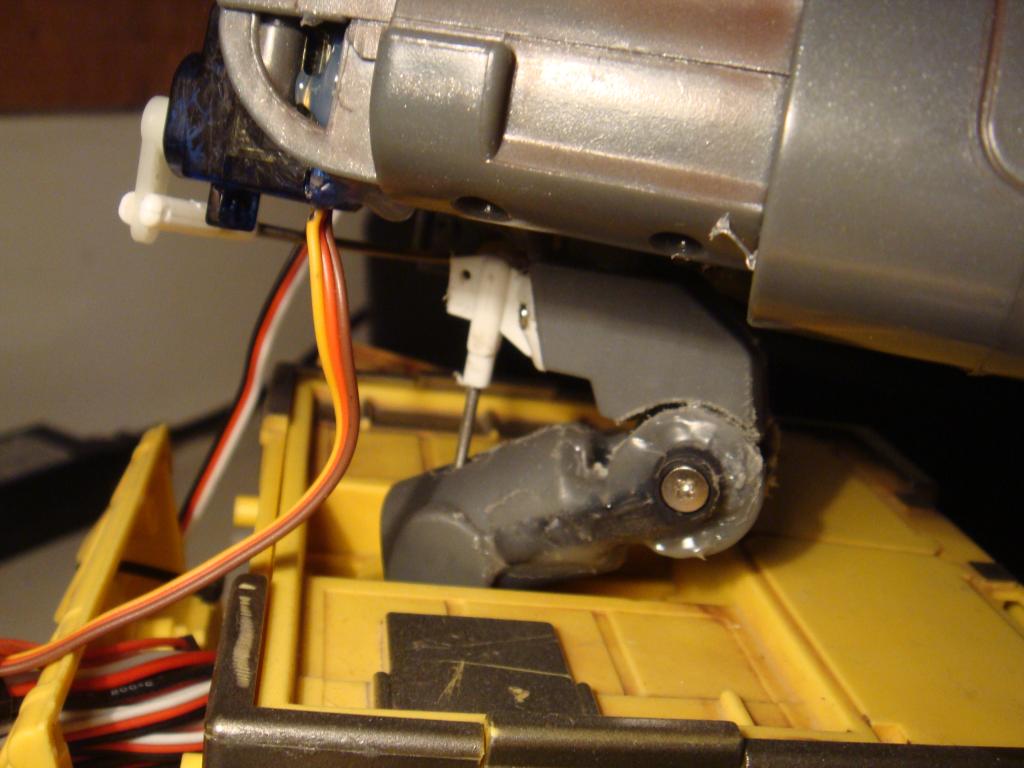
Tombrookyo!'S Another Wall-E But With A Few Different Bits
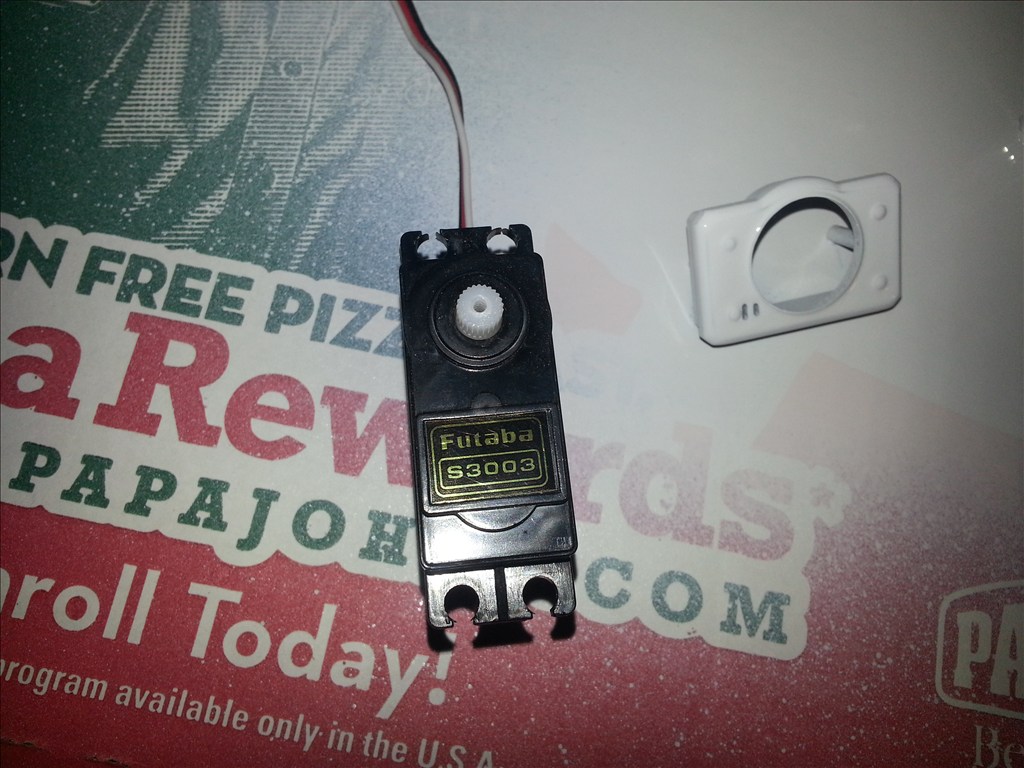
Wall-E style robot build with servo-driven expressive eyes, hinge neck using a pushrod and stock pivot, ezB on back, I2C...
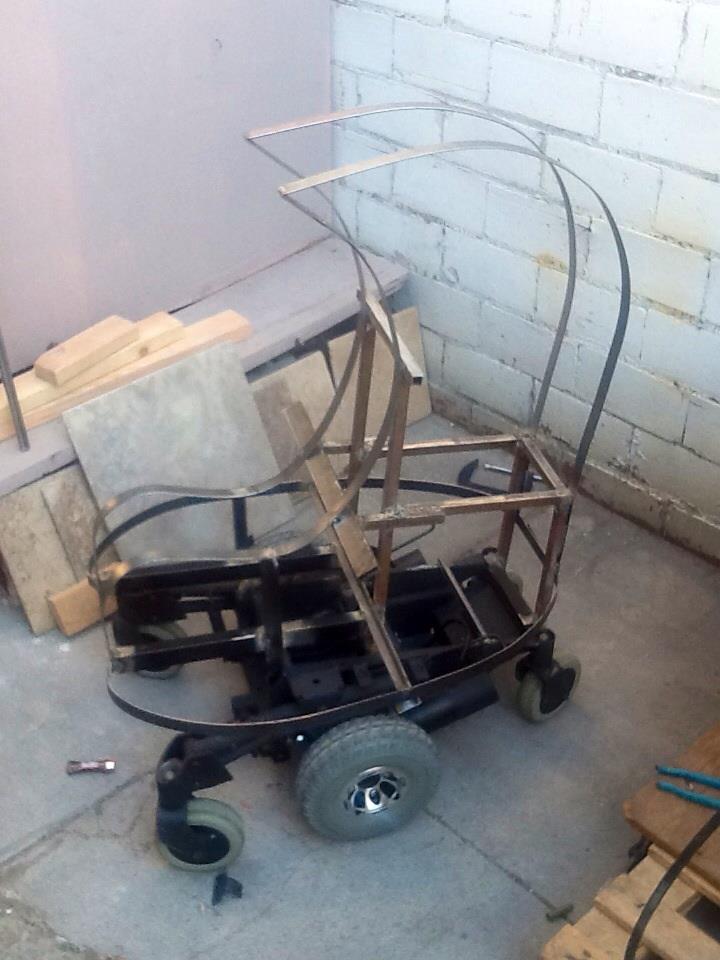
Sleenard's Ampdroid S1
Welded robot frame prototype mid-build with contour pieces and planned aluminum platforms; next steps include head and...

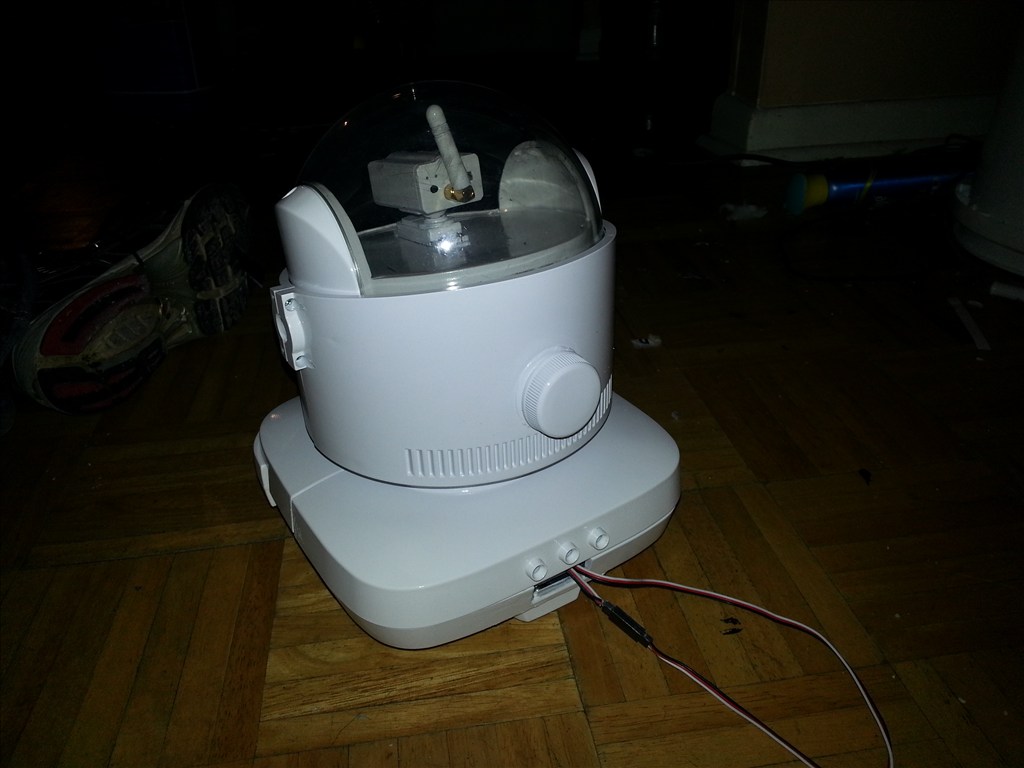
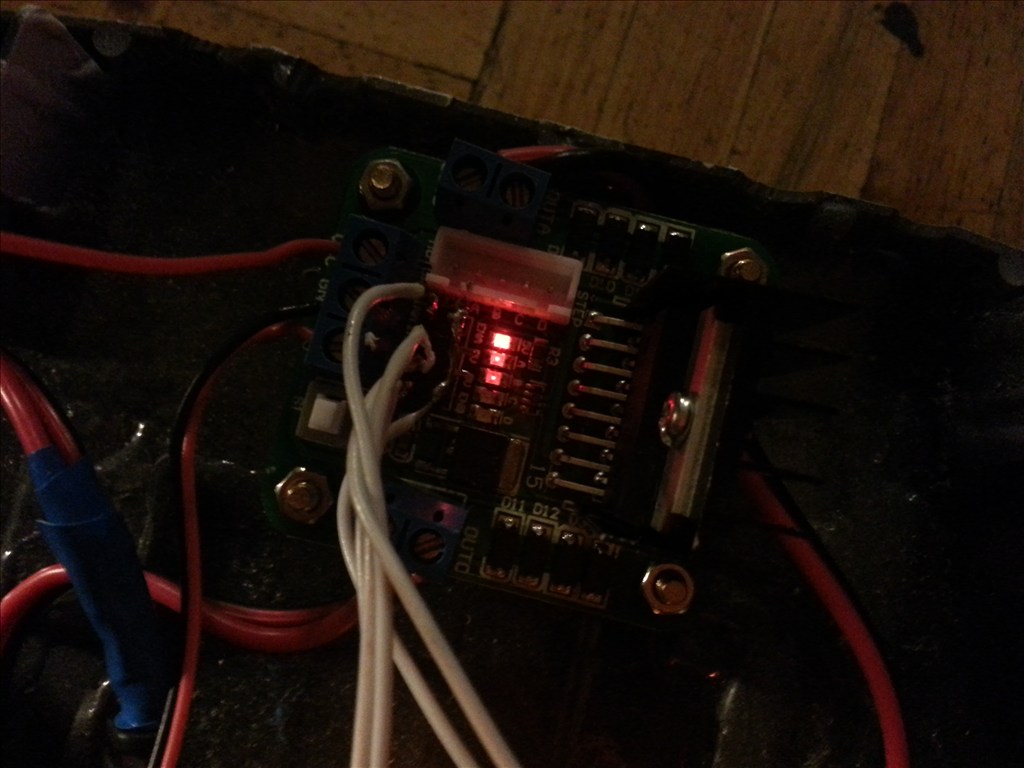
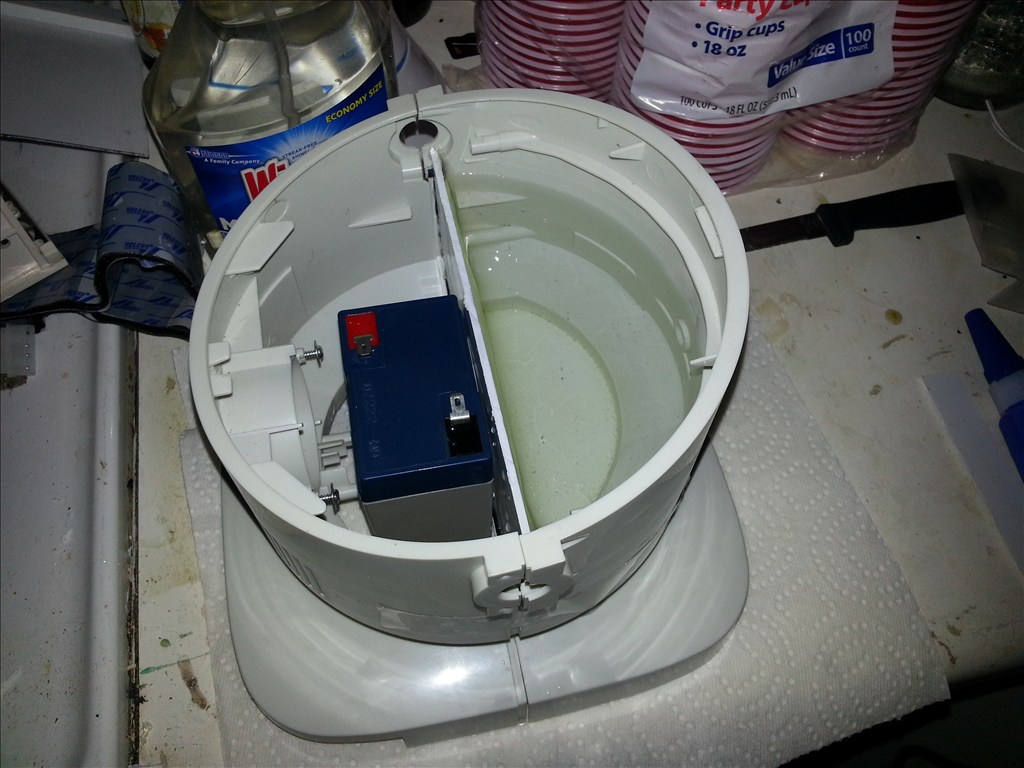
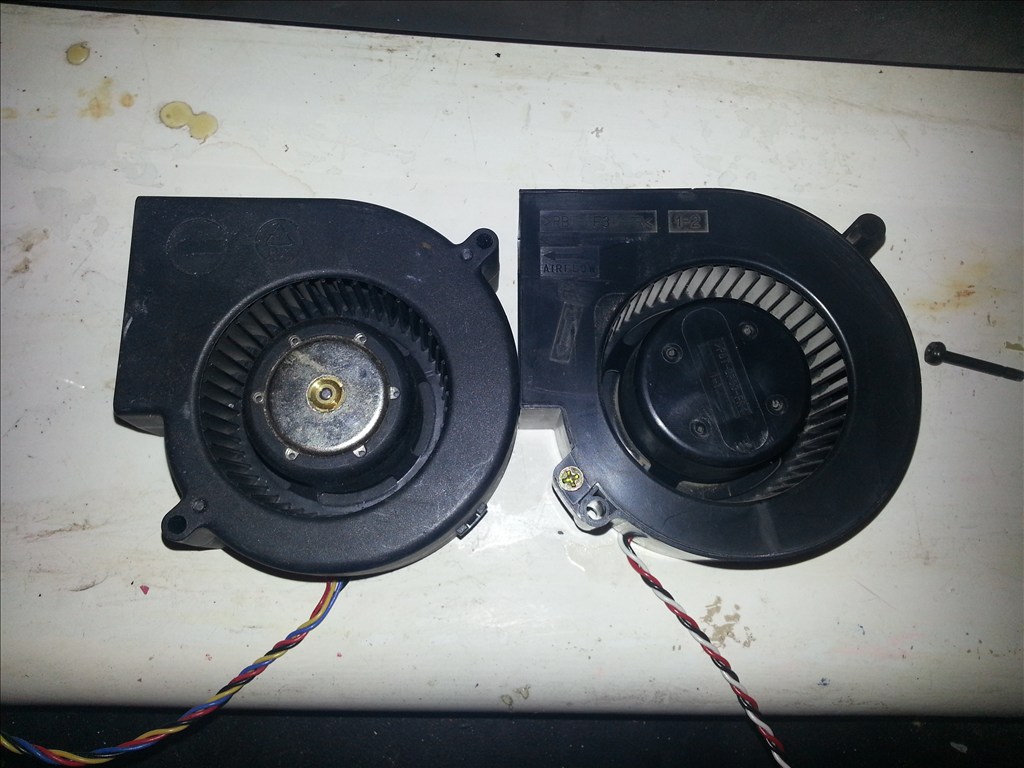
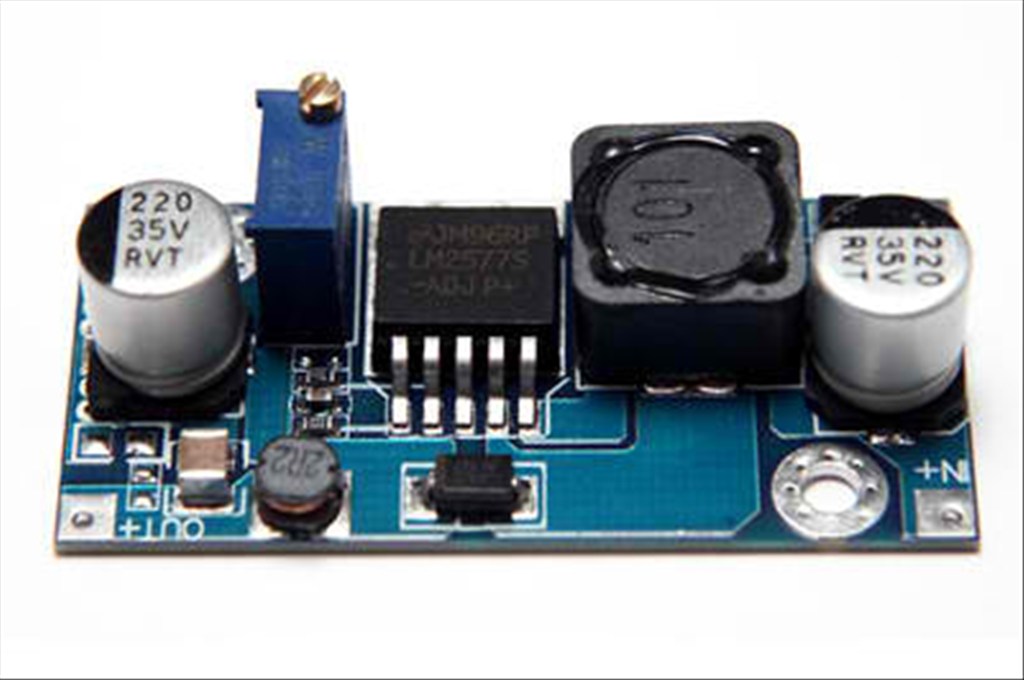
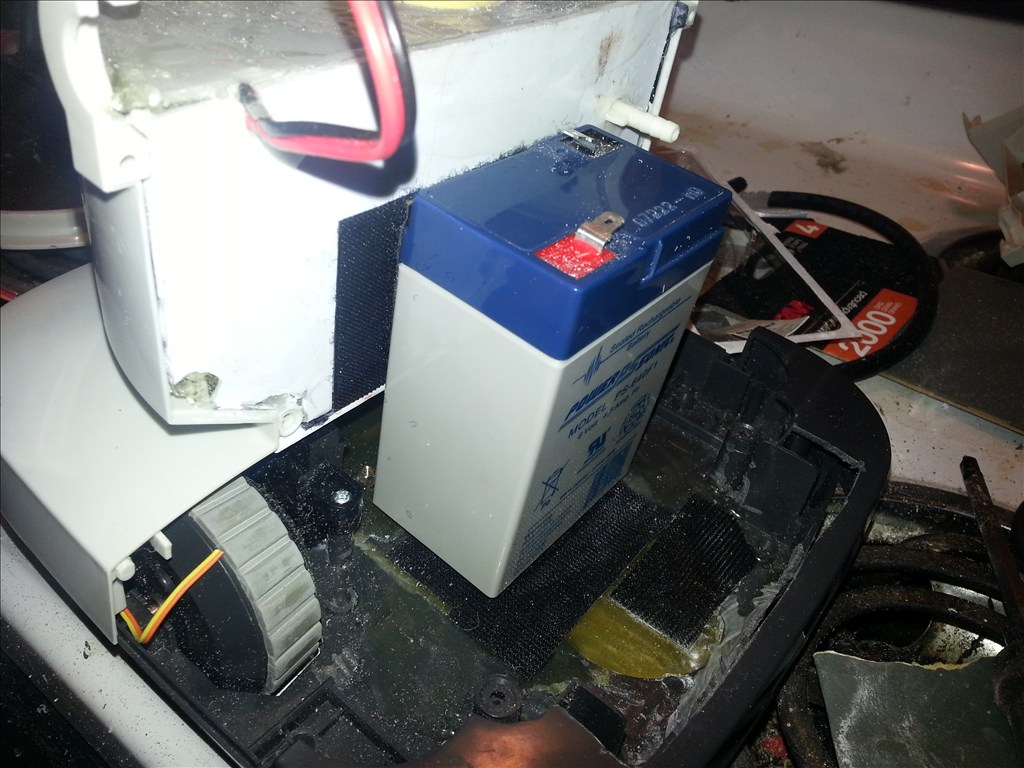
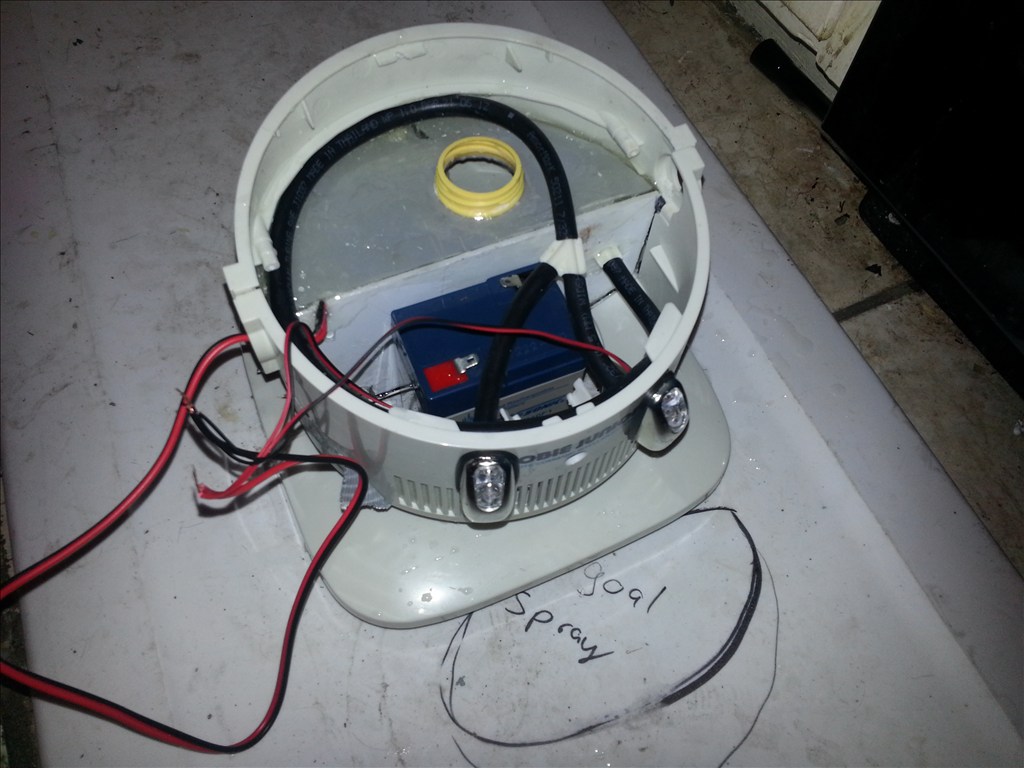
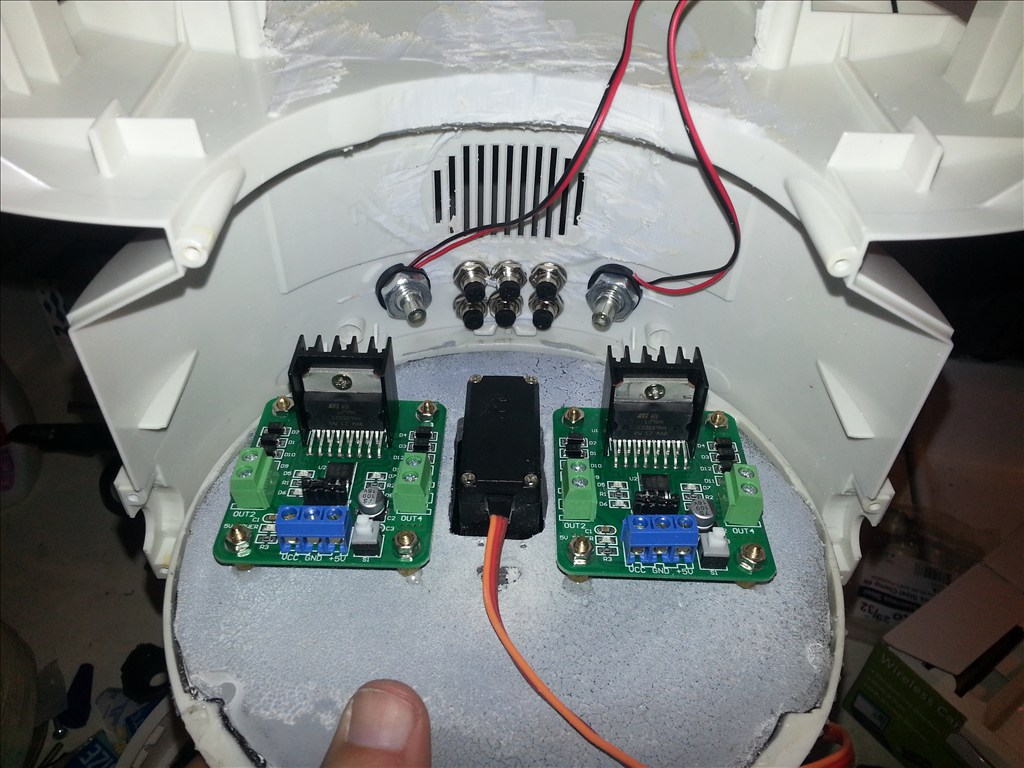
To bring the voltage up to where I need im going to use a lm2577 based board that claims to be good for 3 amps output but the blower only draws. 1.6 and after voltage hike around 1.9 amps.
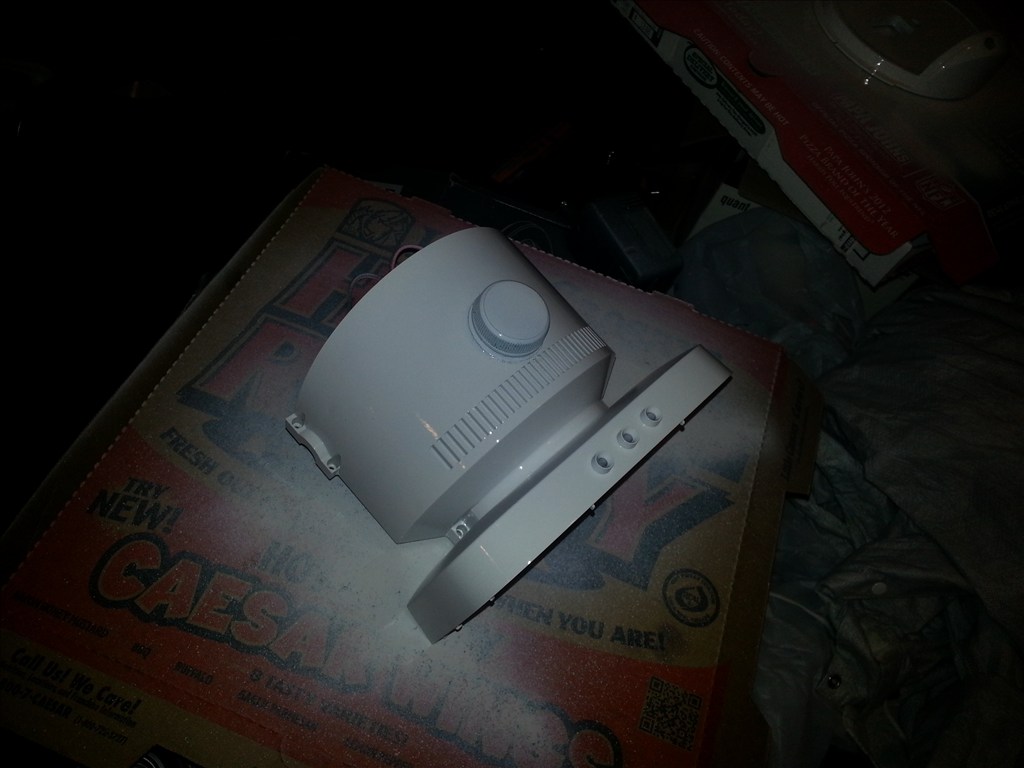
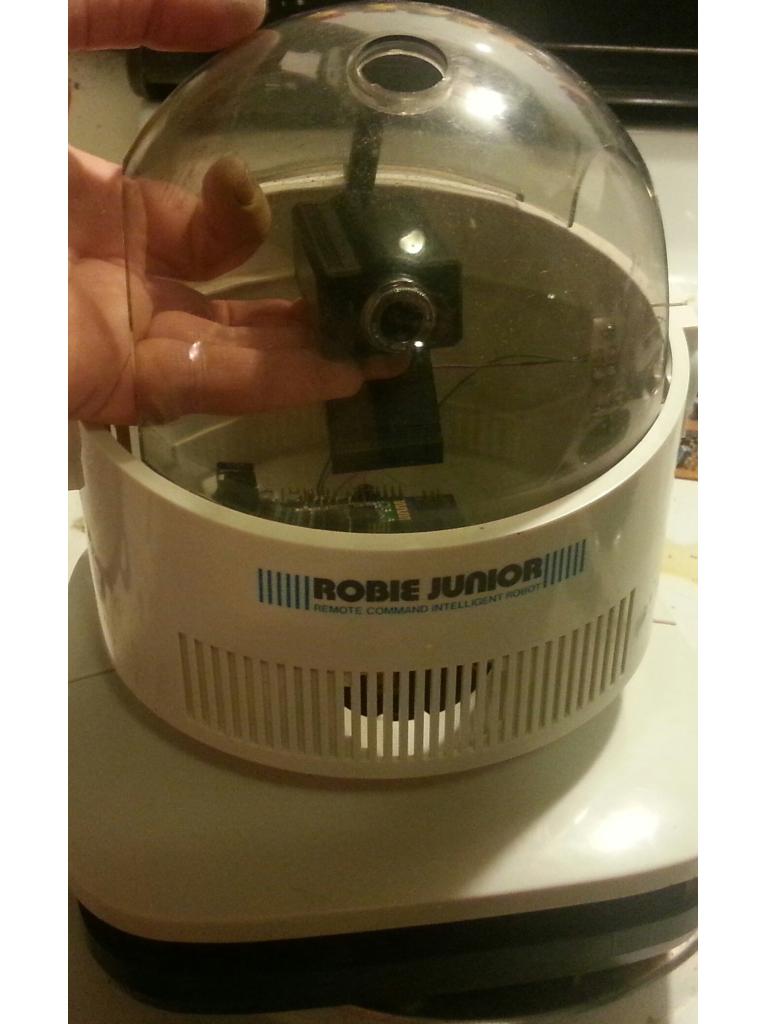
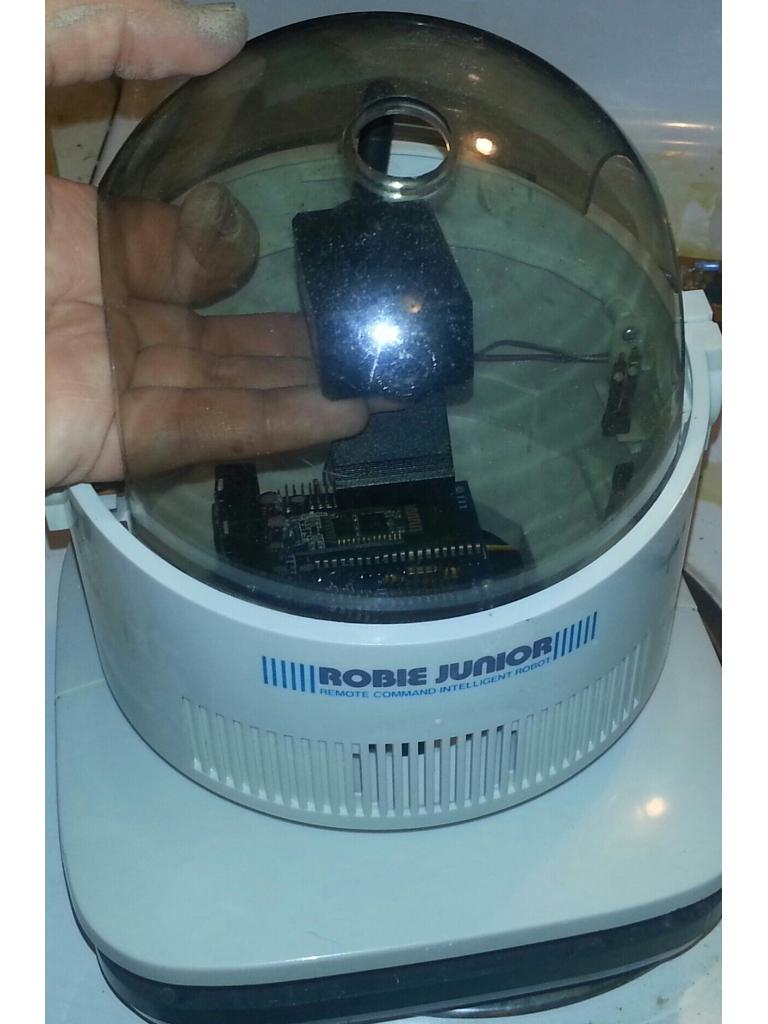
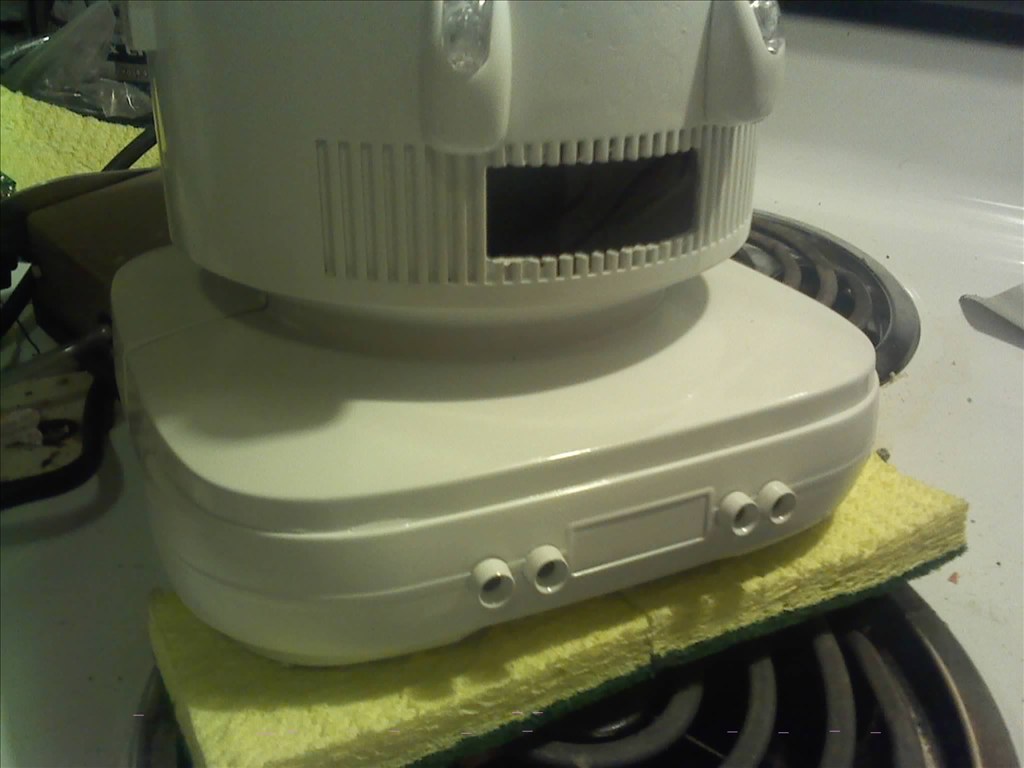
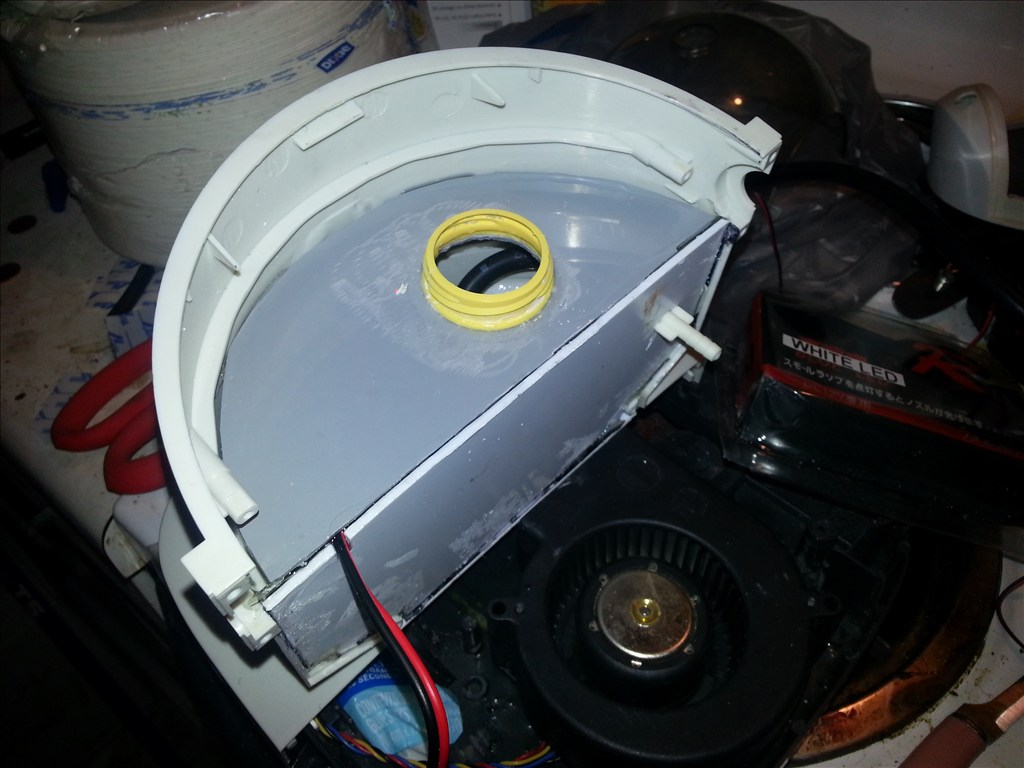
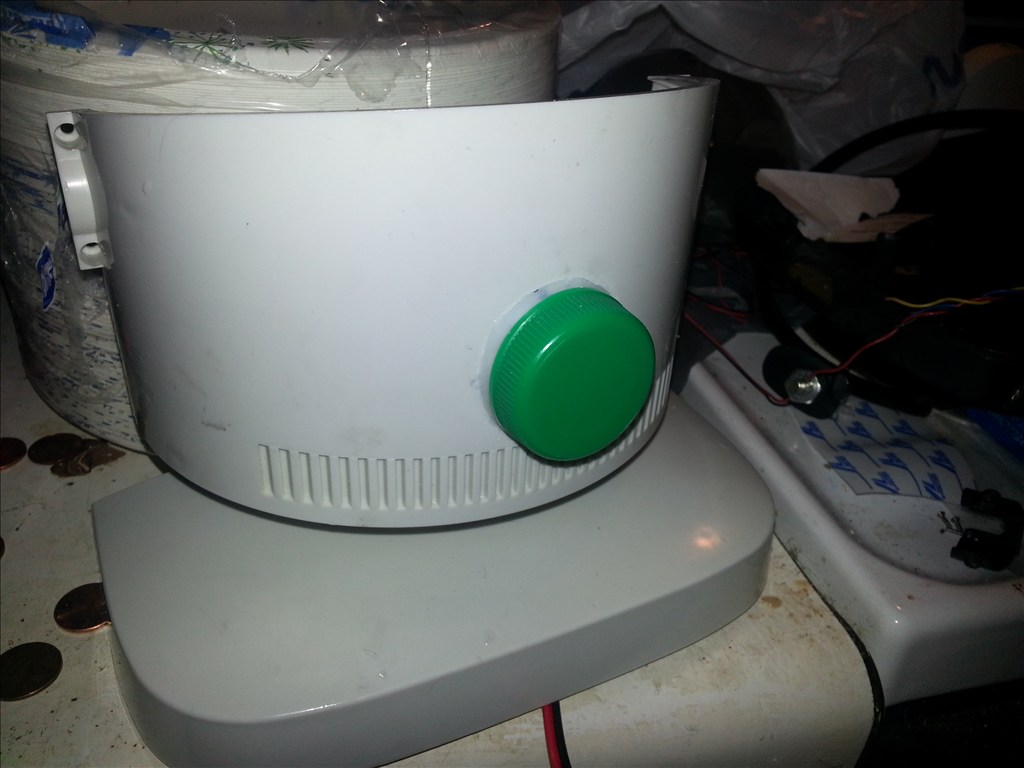
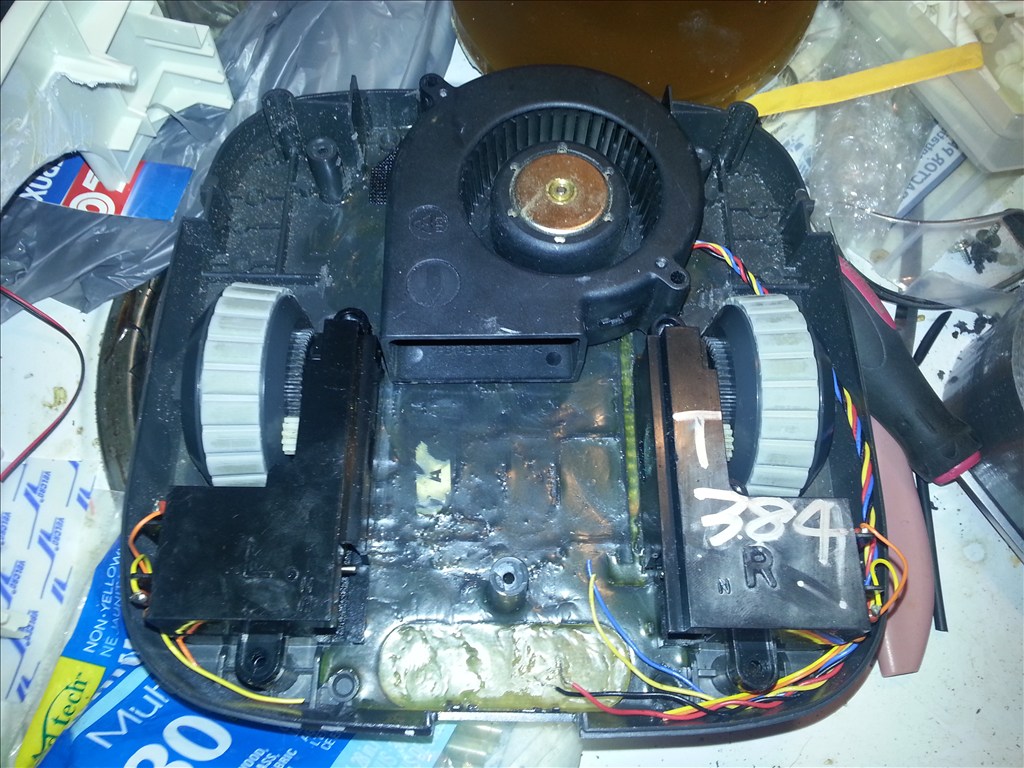
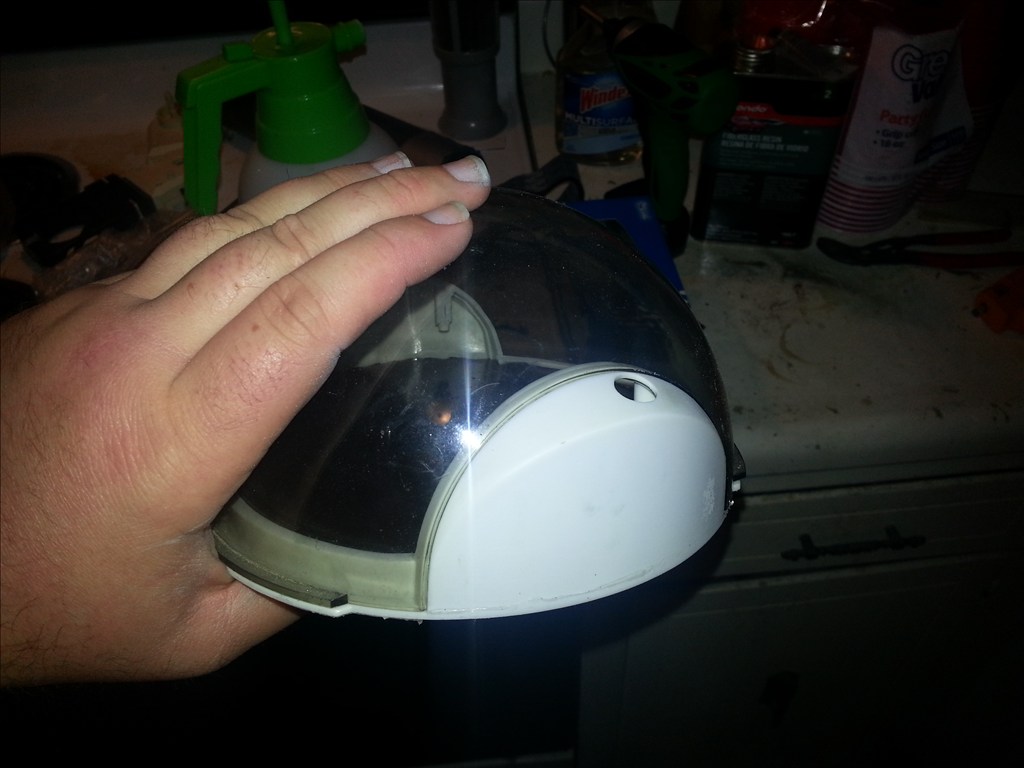
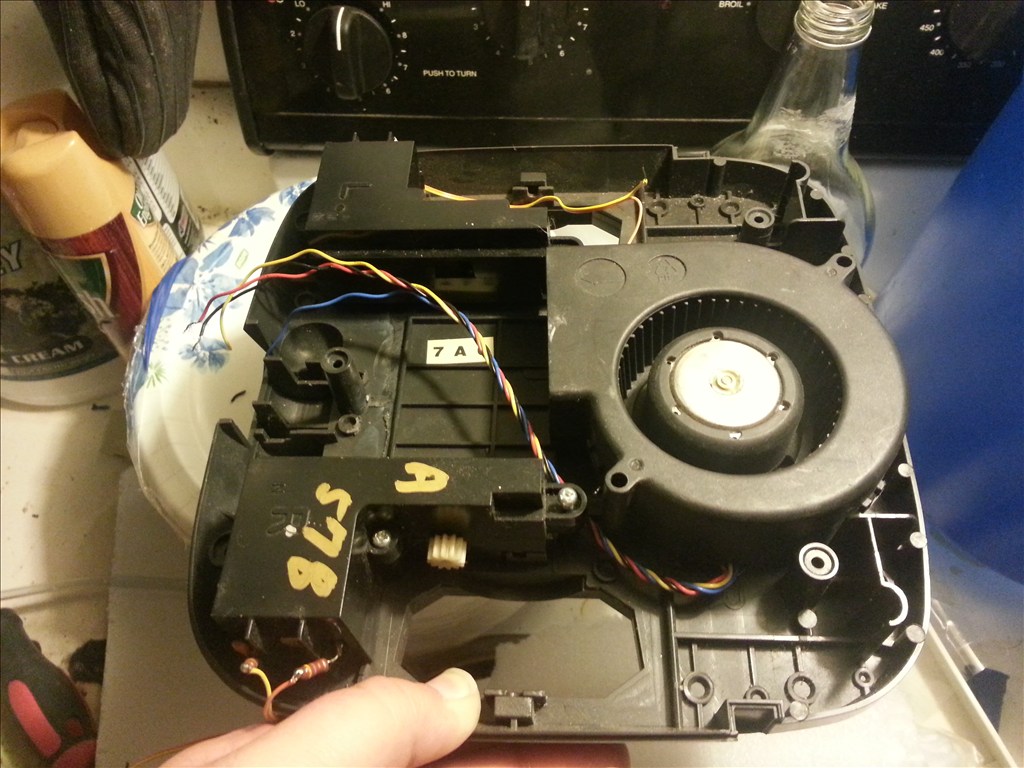
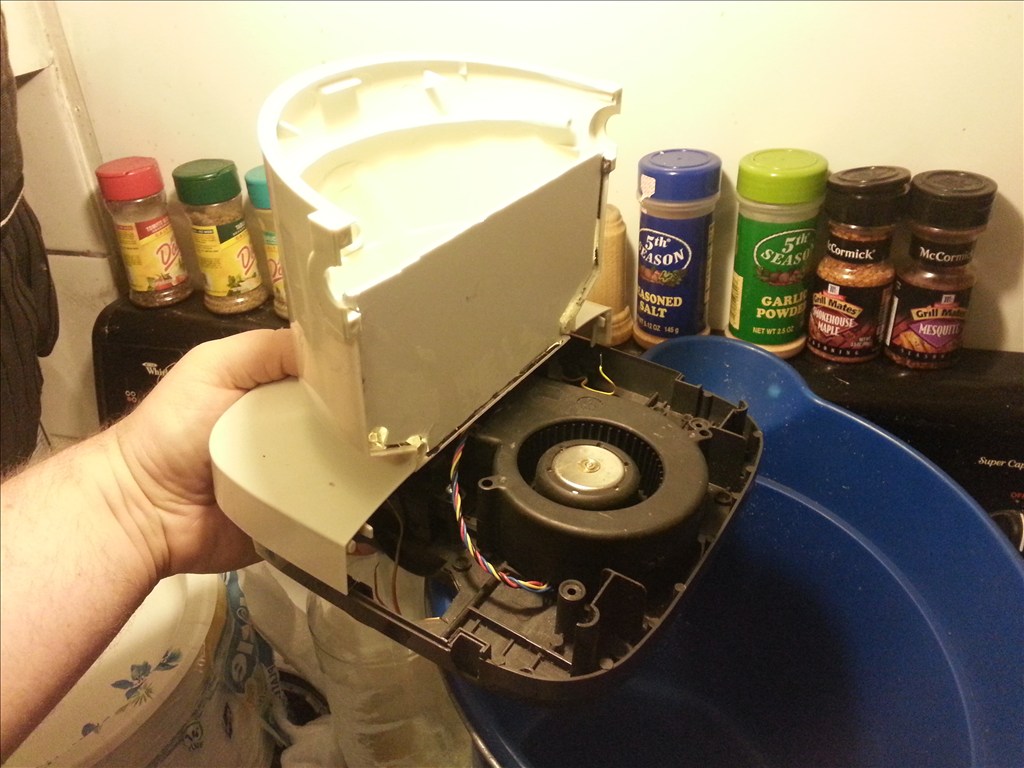
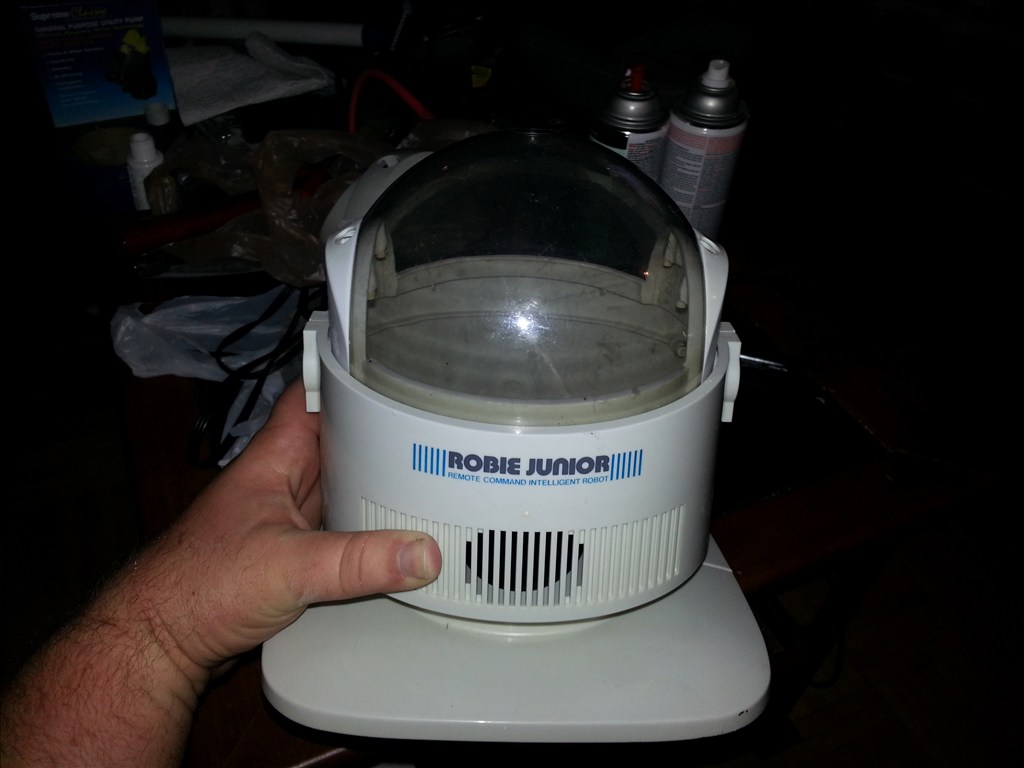
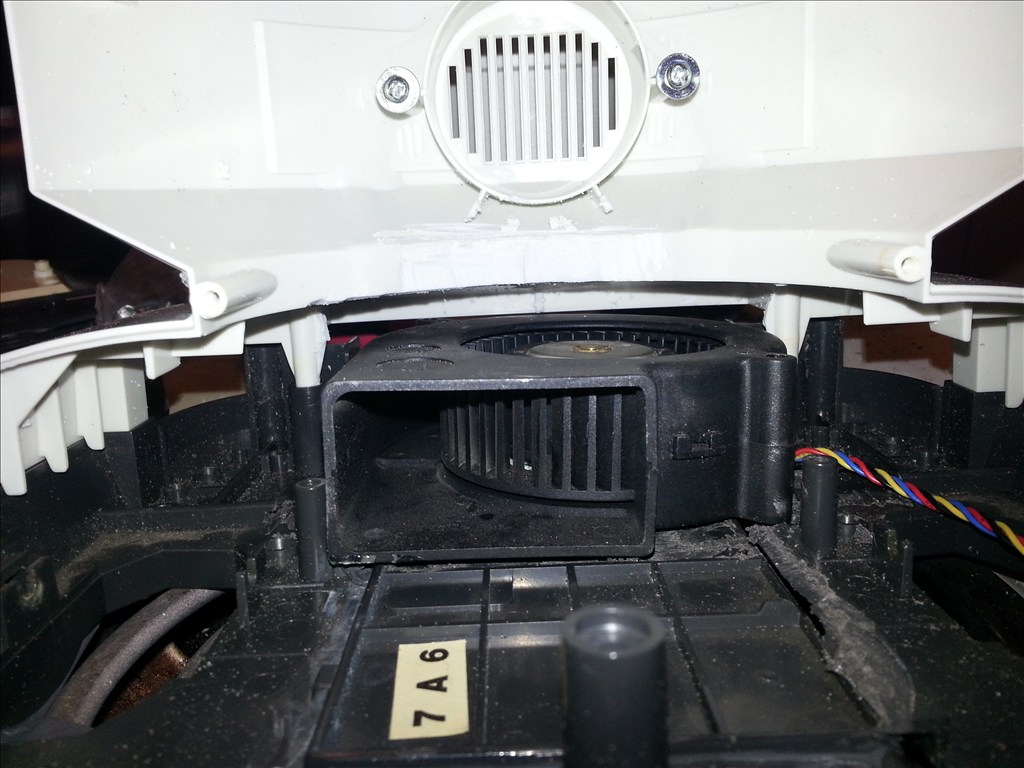
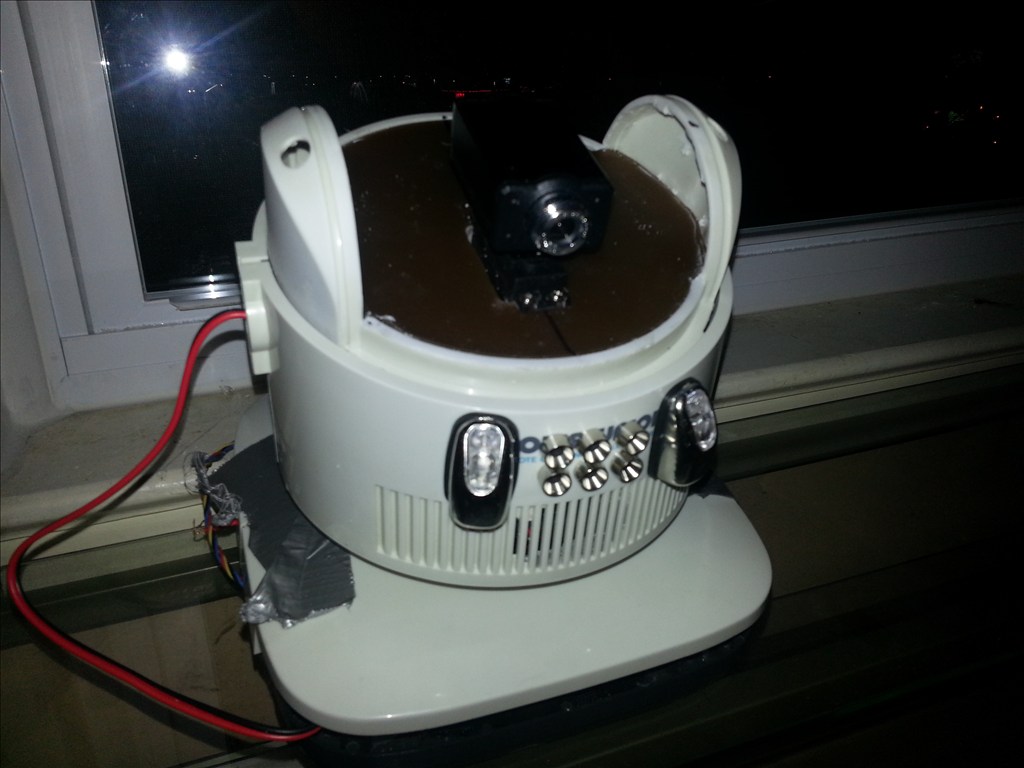
That fan looks like it was meant to be there.
Yea once agian I got lucky on the design fitting just right. Even though this is a simple project that I will have working in a few days it should really spank some of the retail robots you can buy. Specifically the scooba and the newer scooba like bot from I robot.

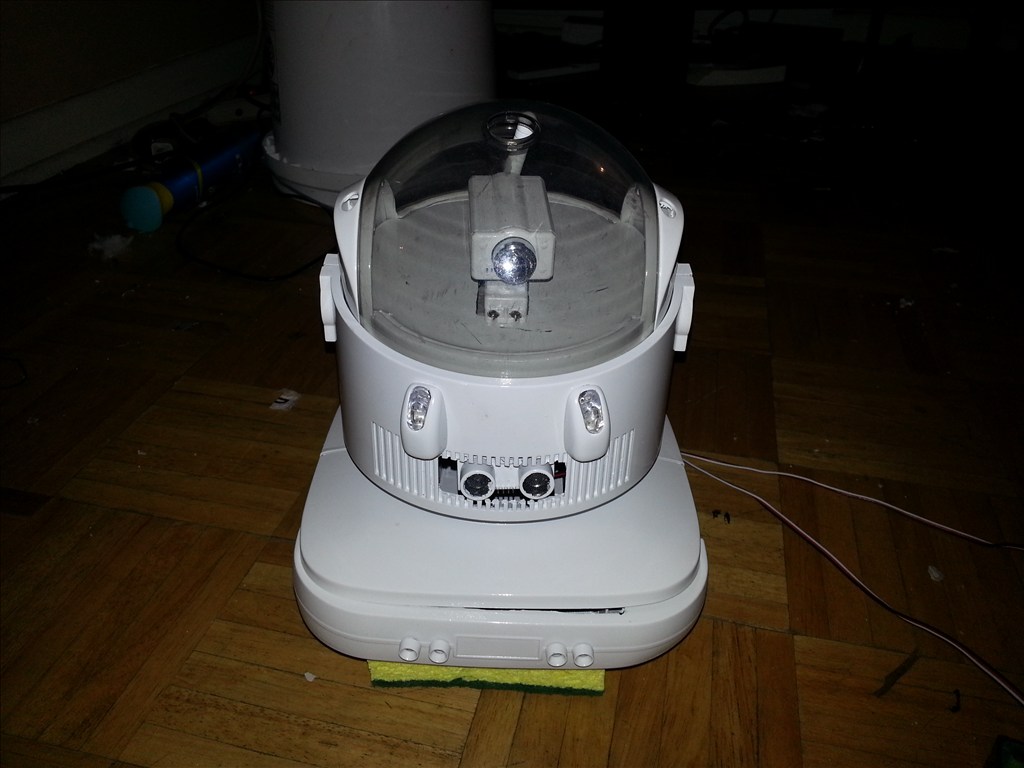
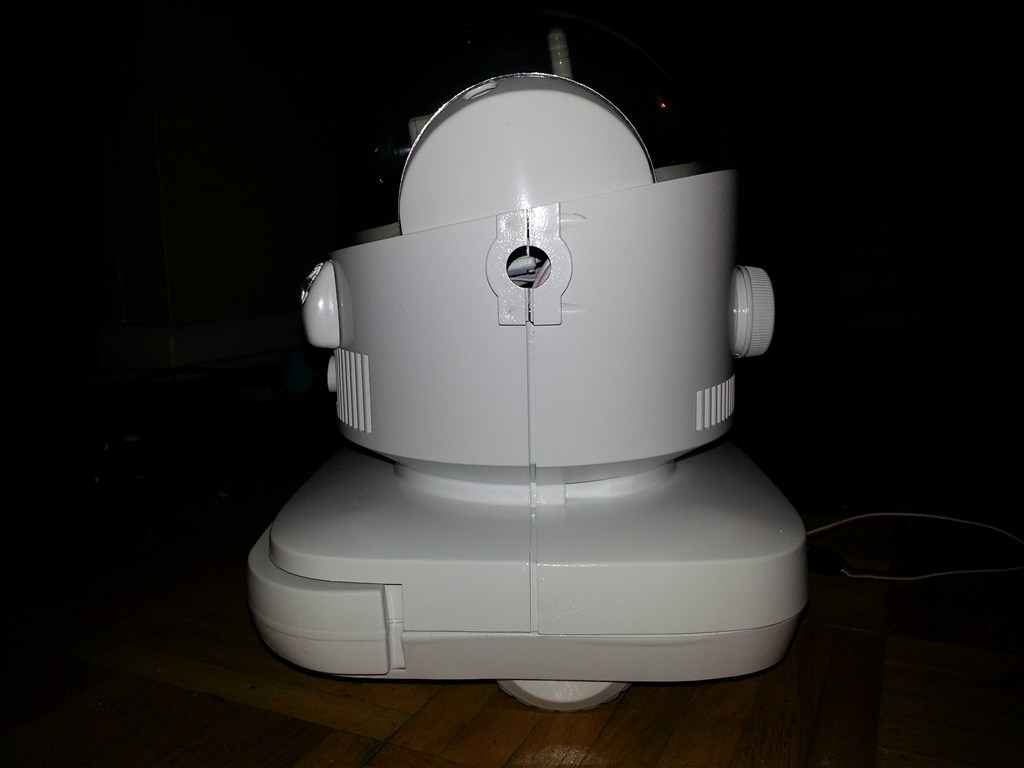
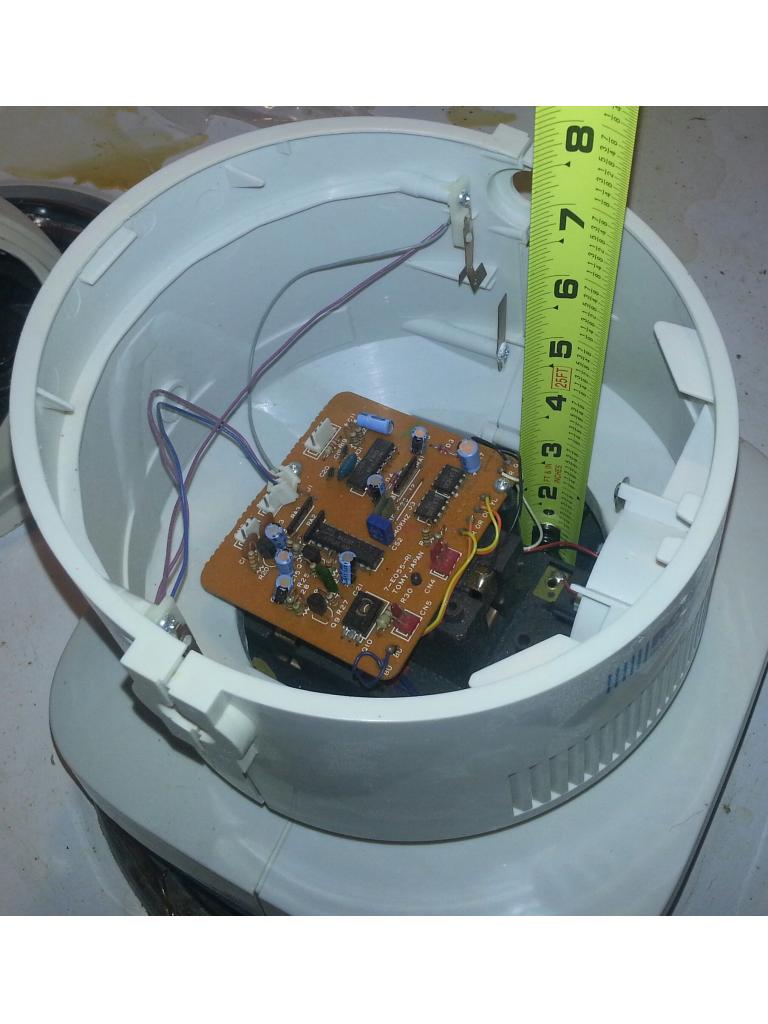
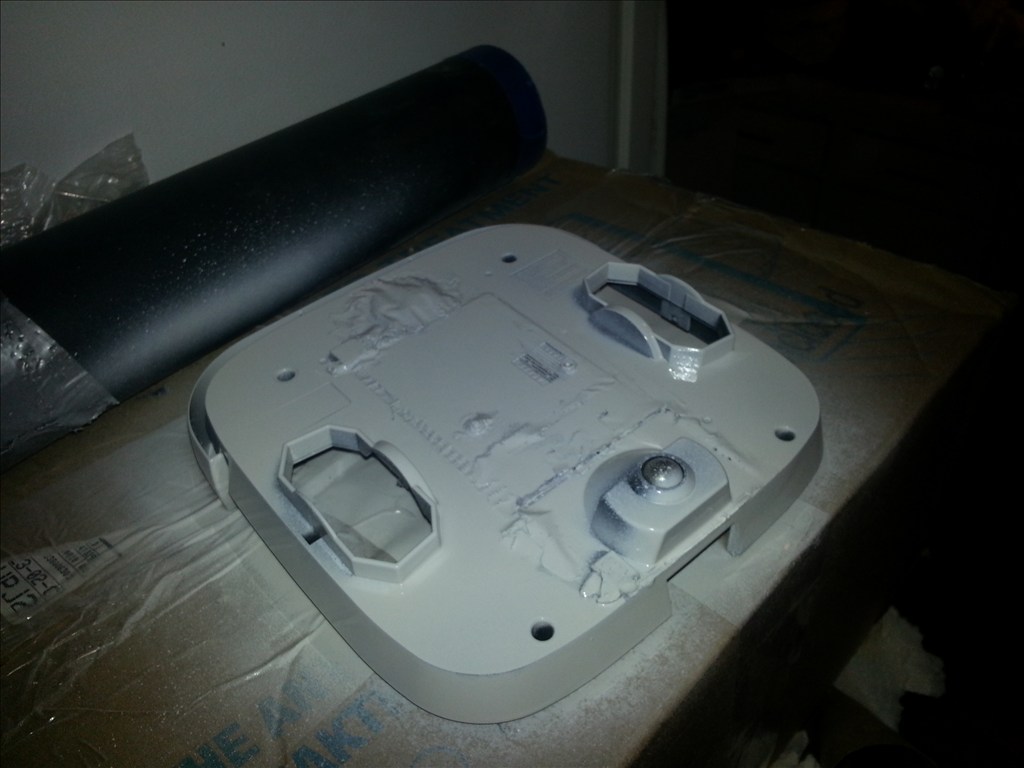
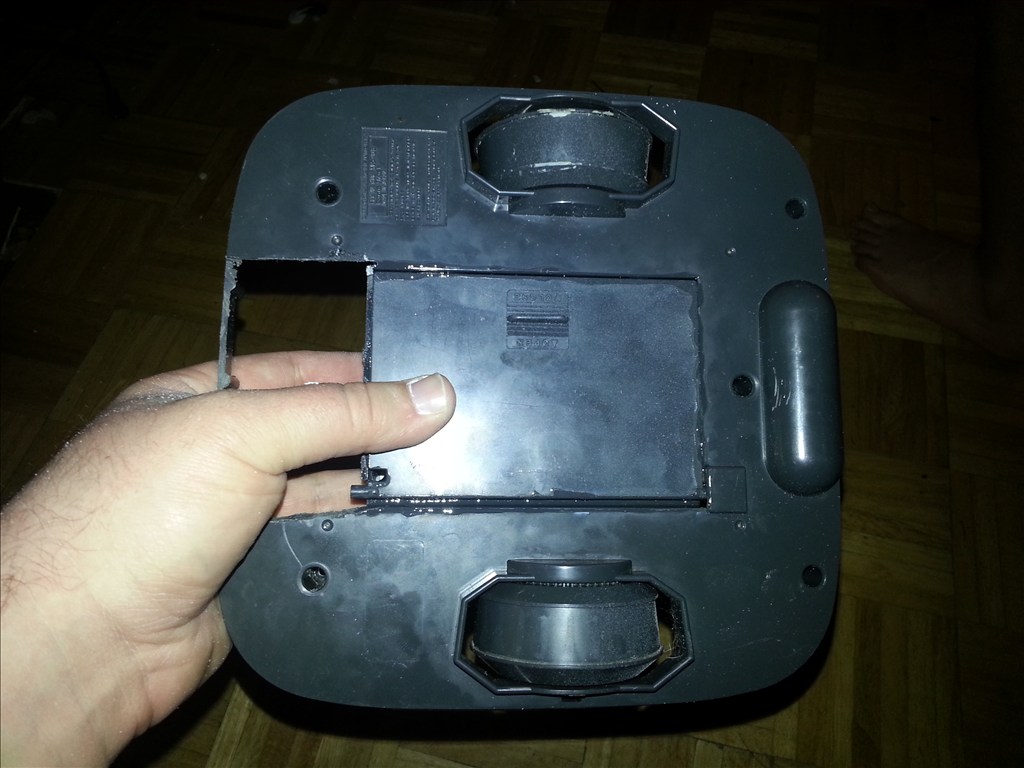
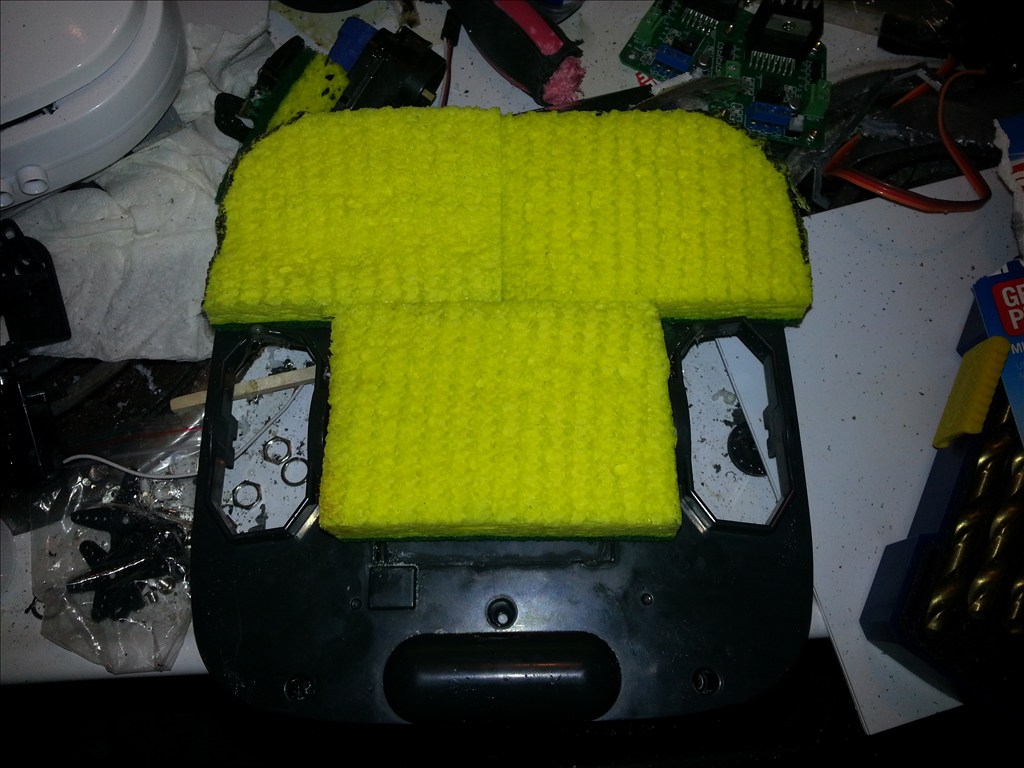
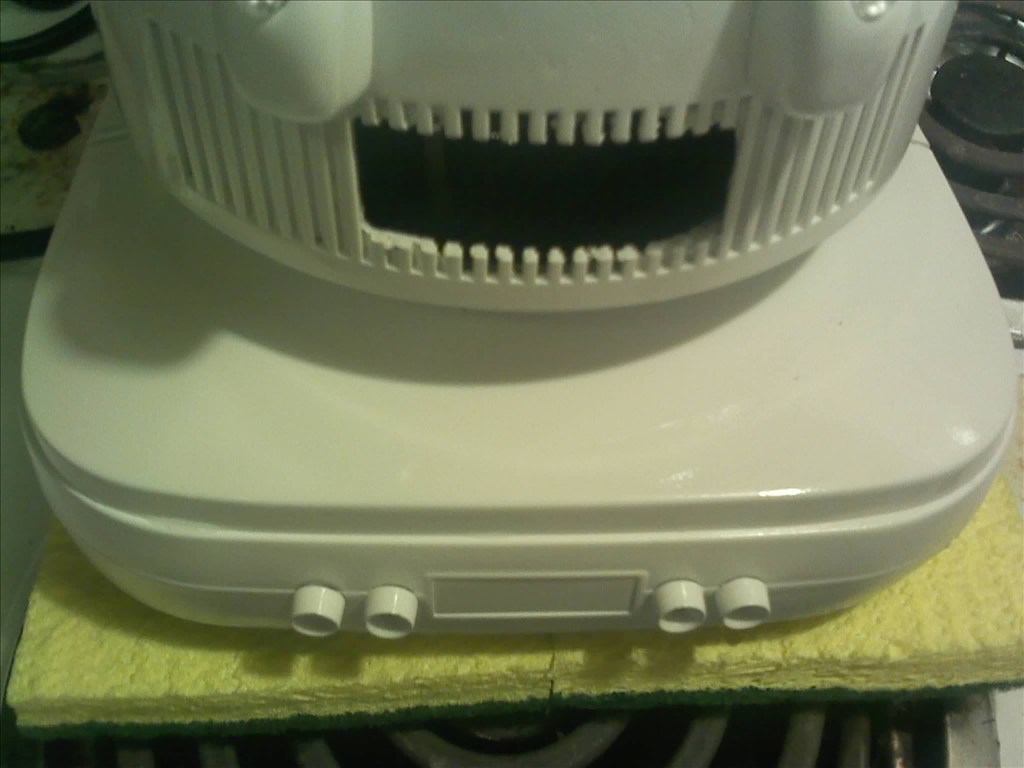
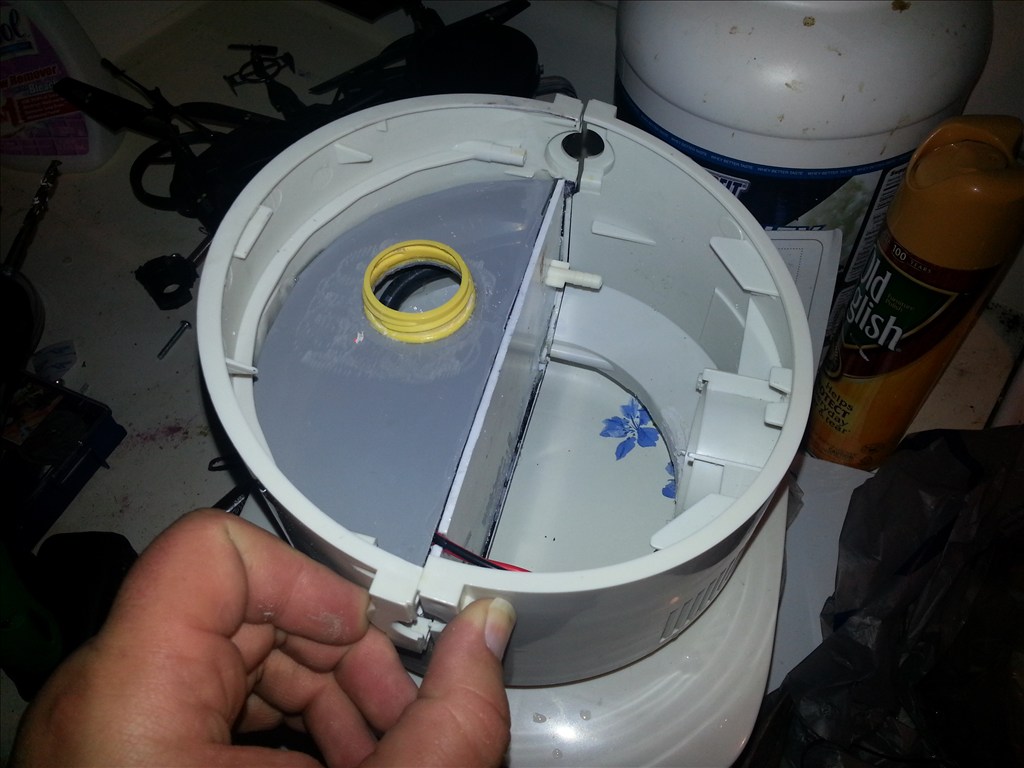
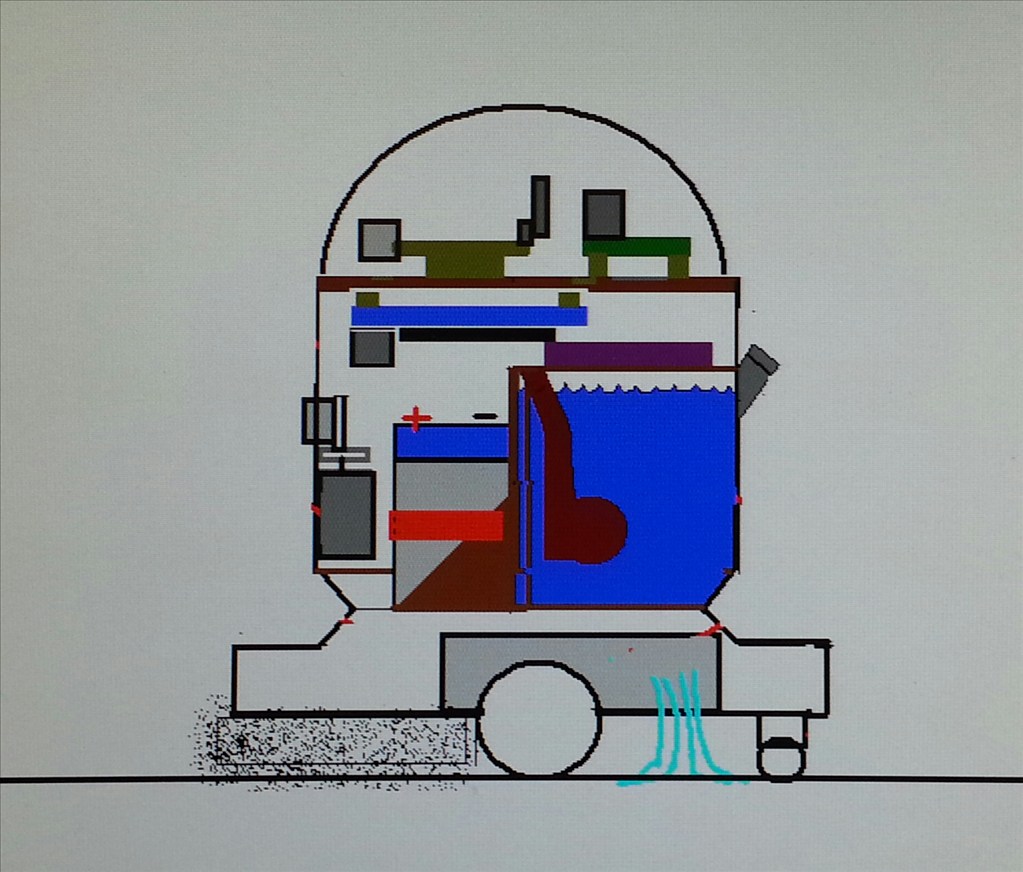
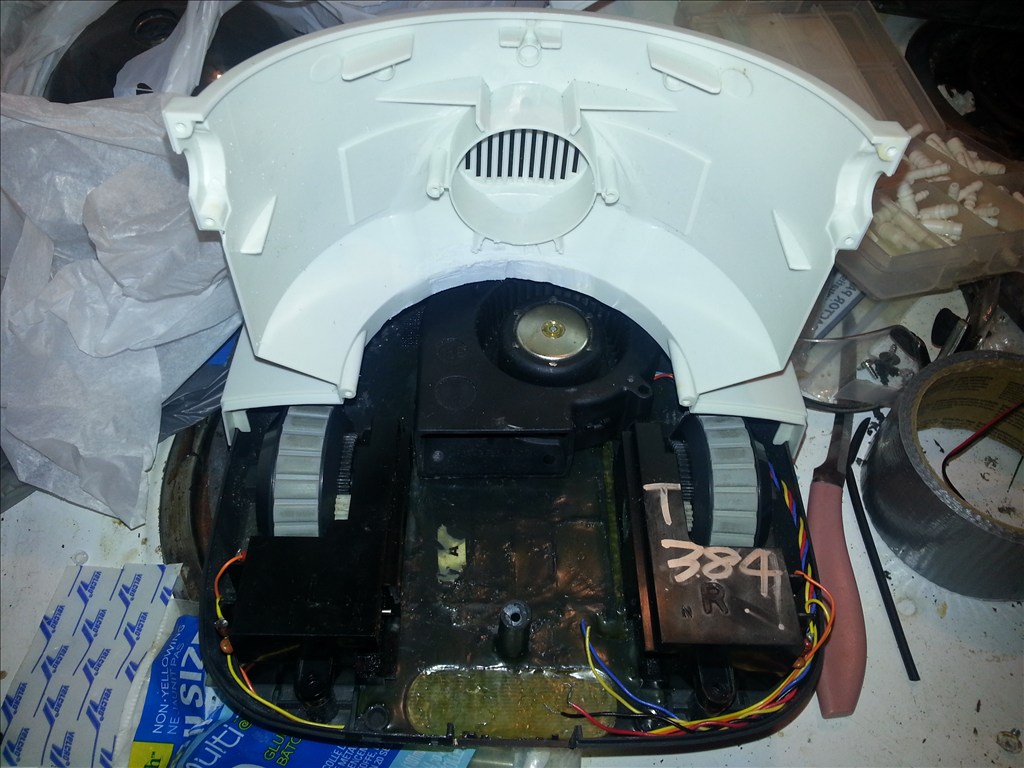
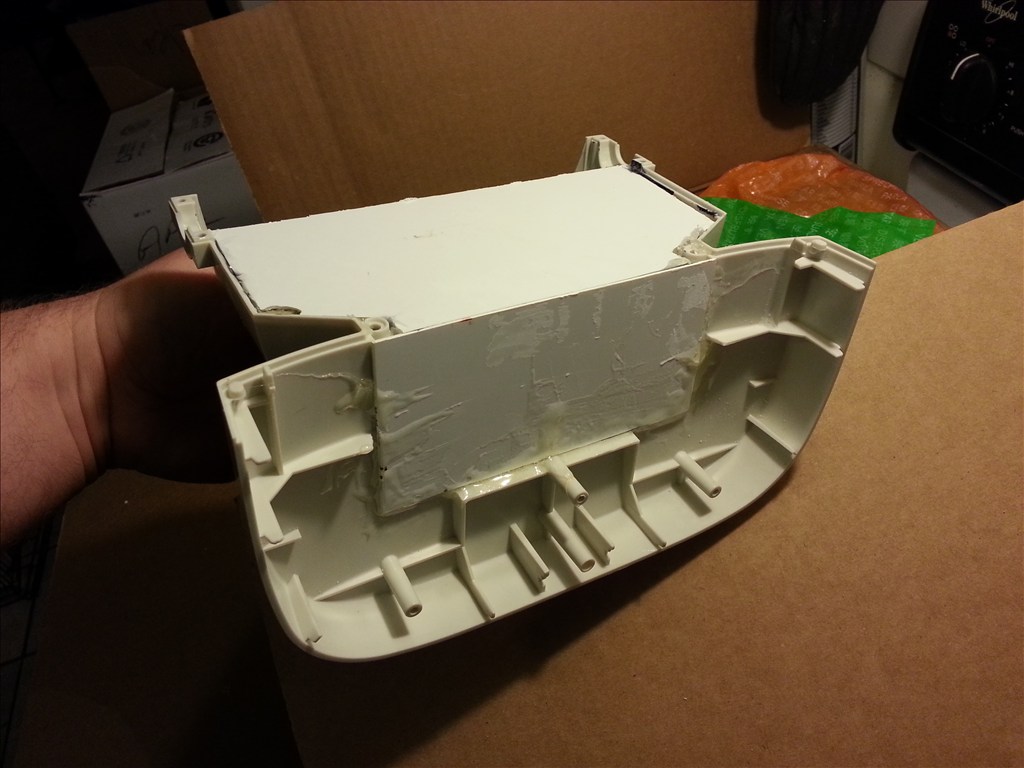
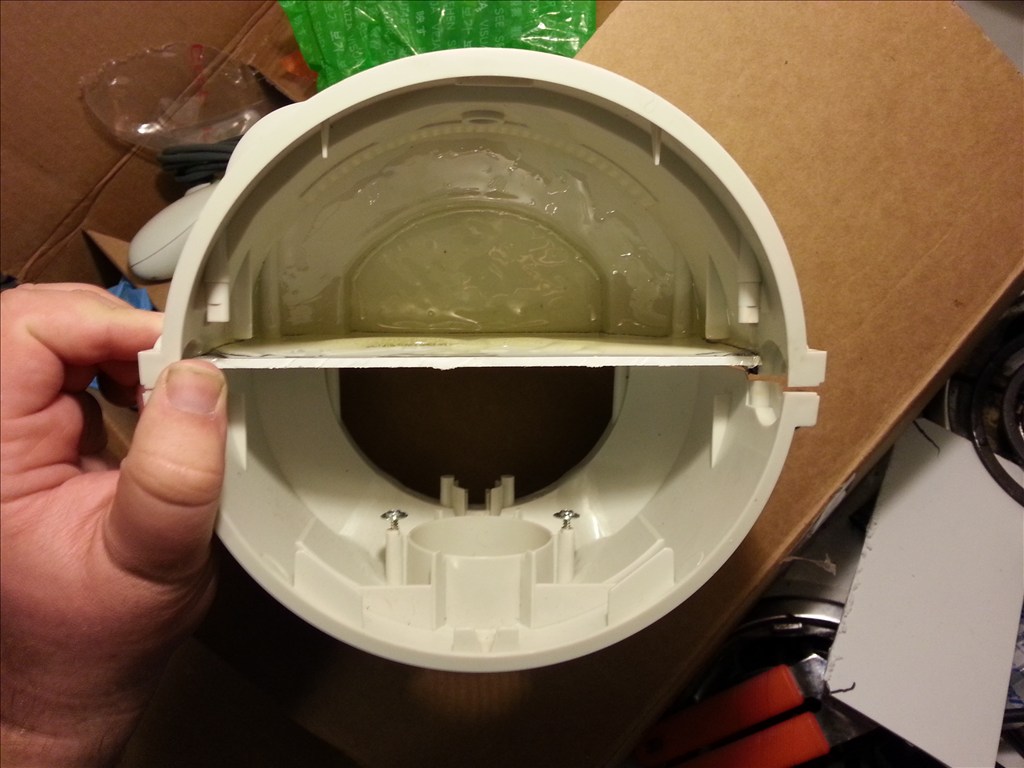
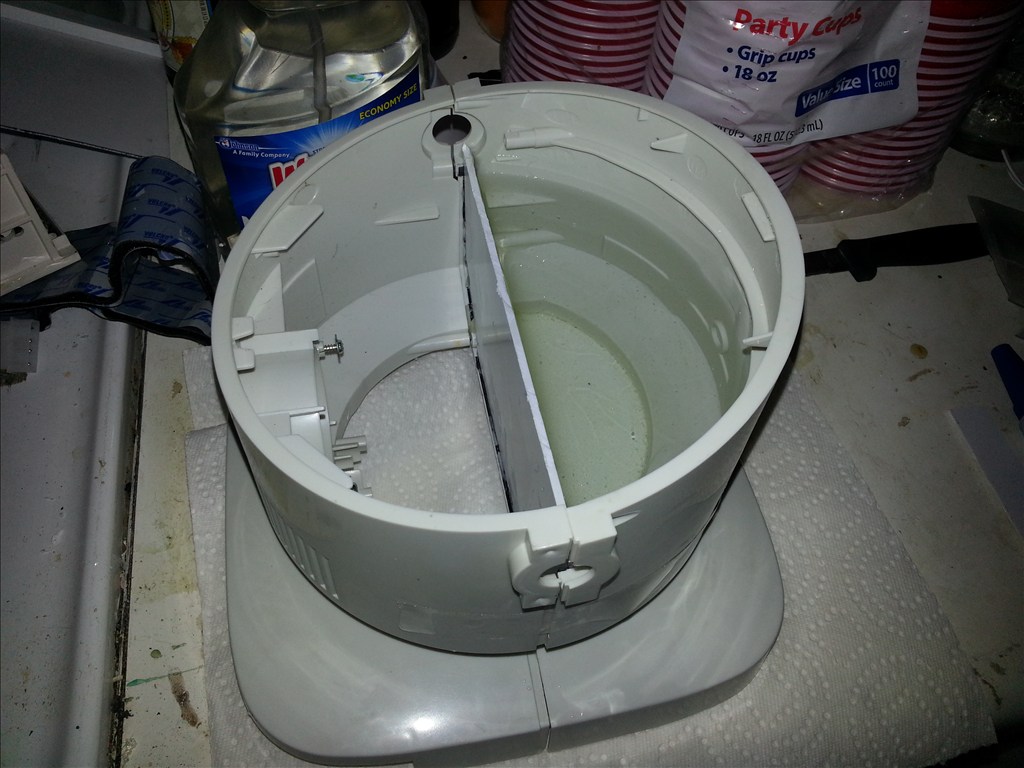
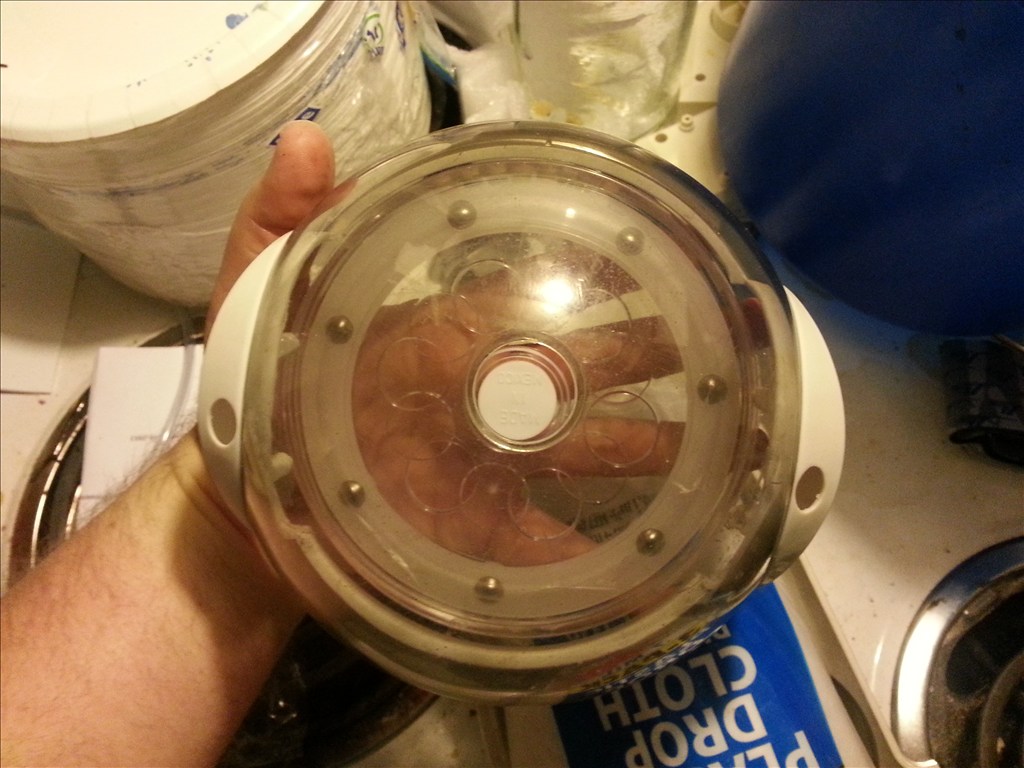
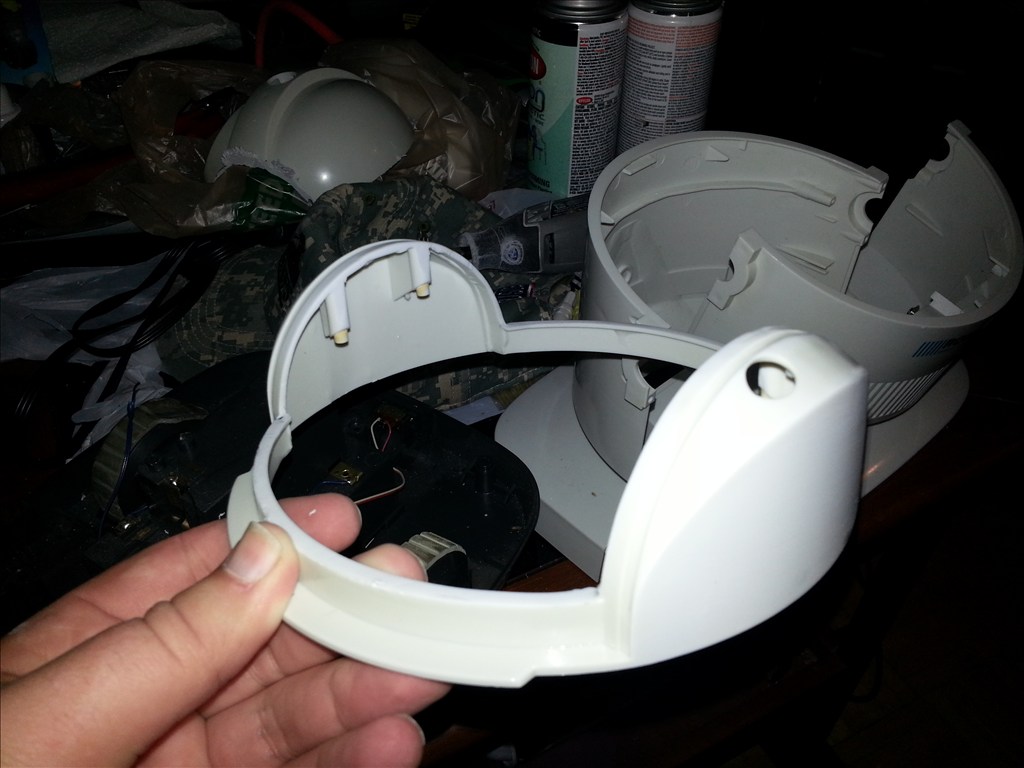
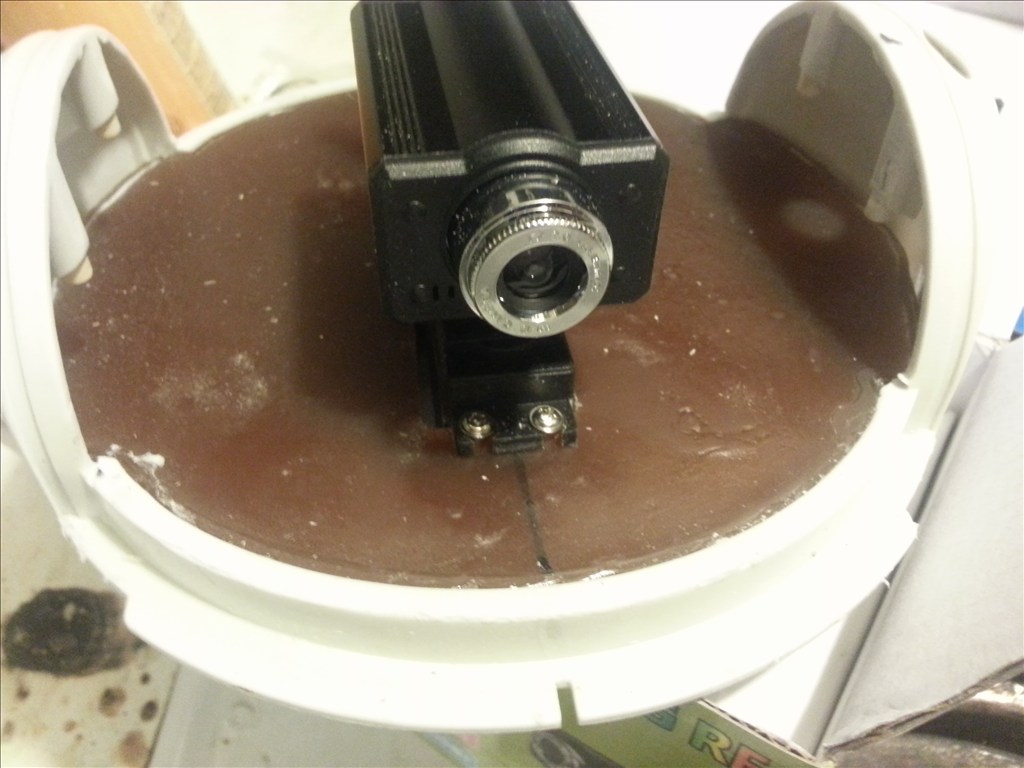
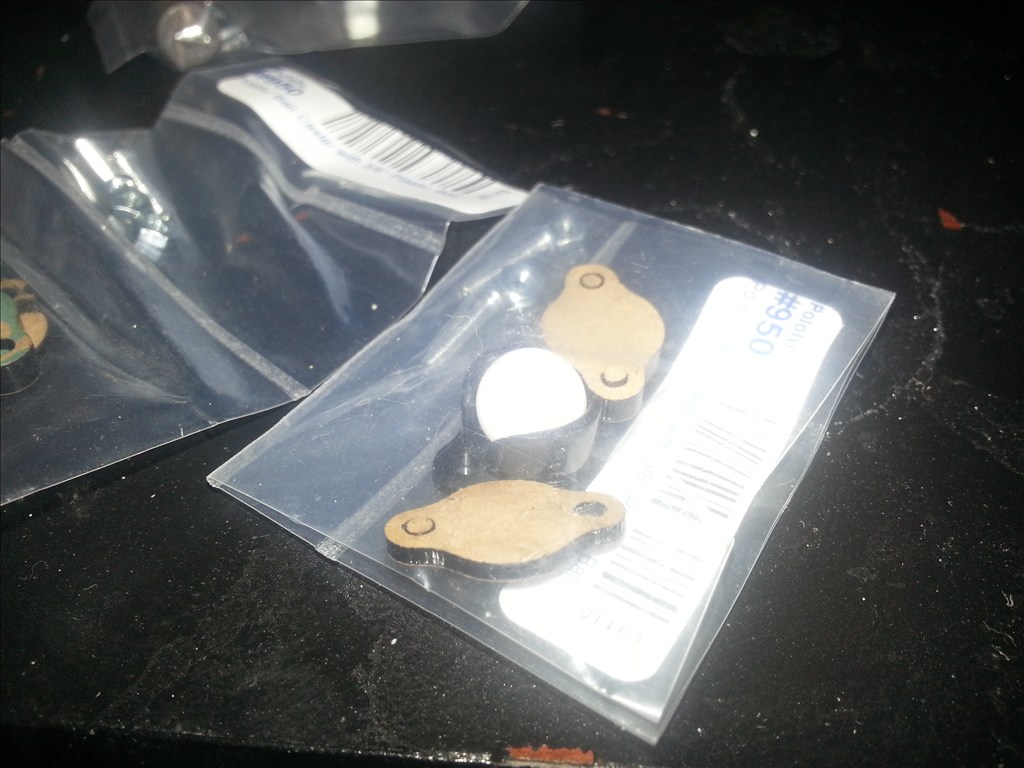
With the fan inside I wanted to check clearences. Looks like I need to shave 1/4" so every thing fits in the front half.Brett sent me this lazy Susan bearing. I might take it apart hmmm test fitting and theres a tiny gap.
Wow! Moving really quickly and looking good Josh! You might have to buy up all the Robie Jr.s out there and convert and sell them! haha The Starnes Squeegee matic!
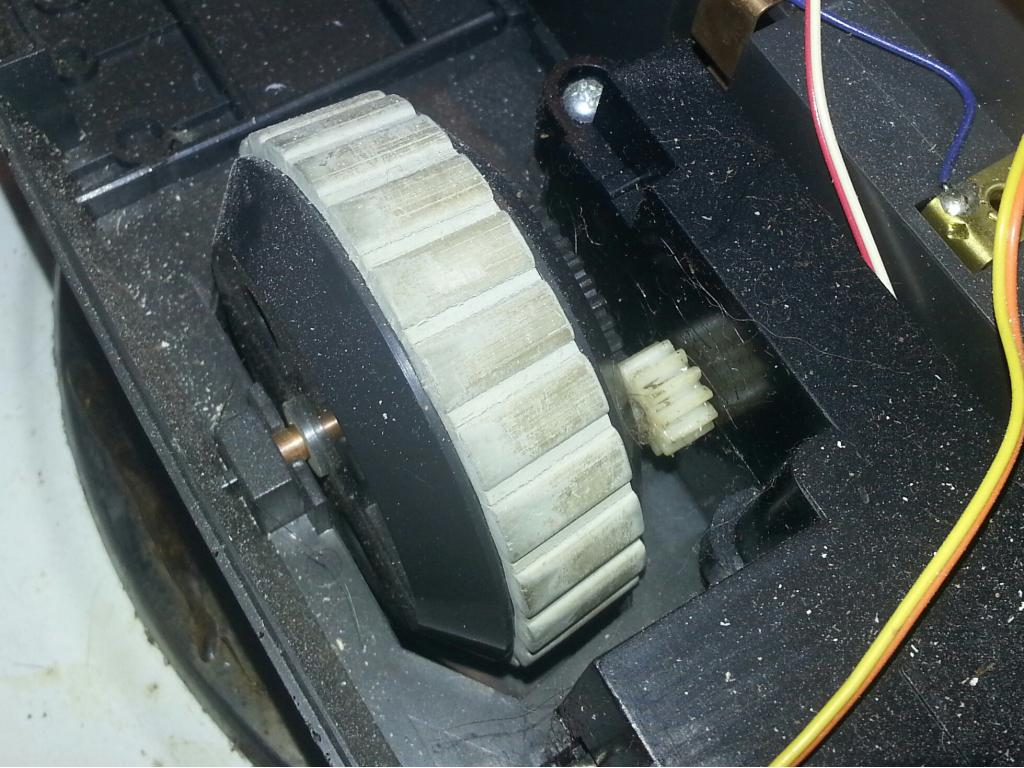
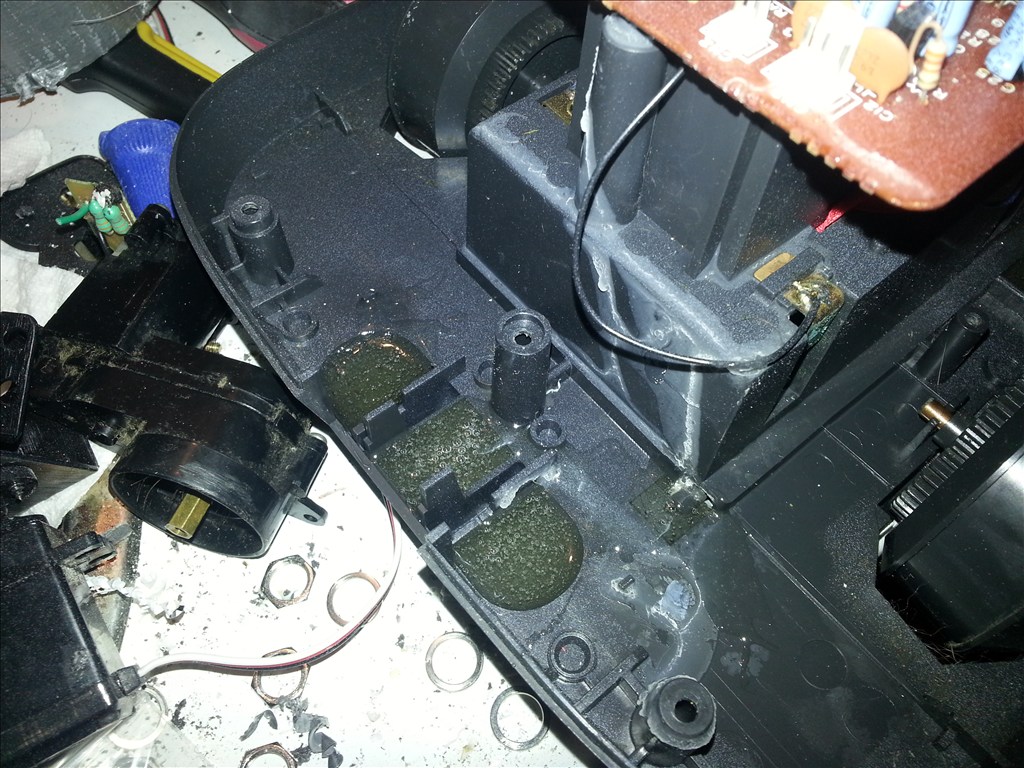
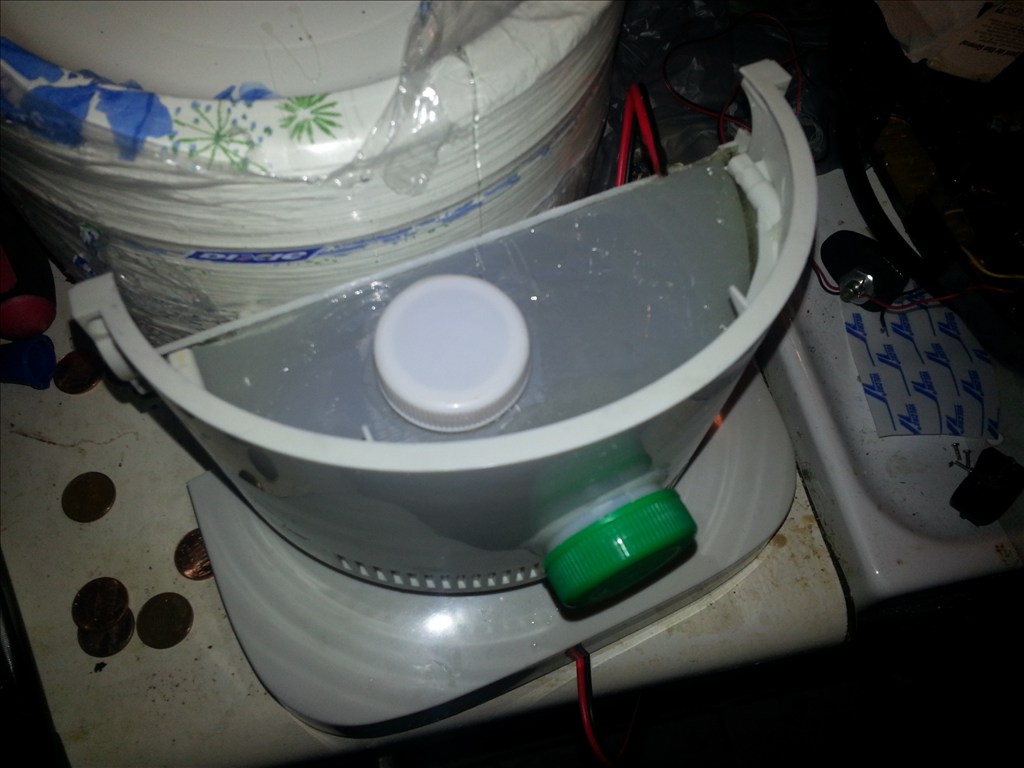
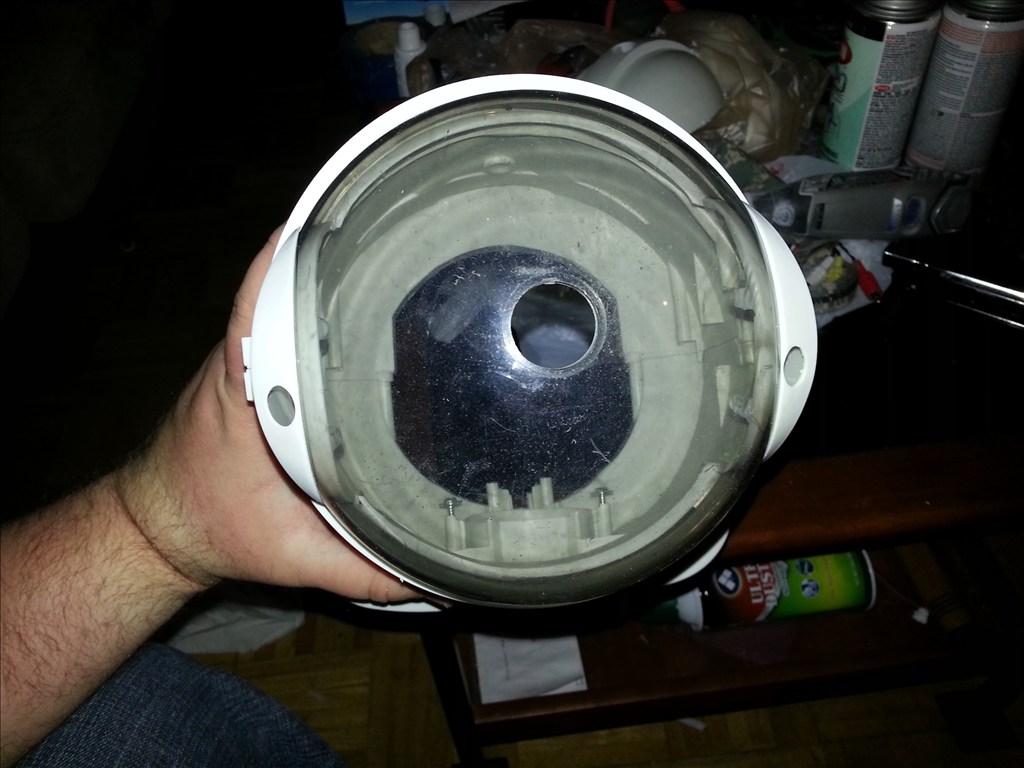
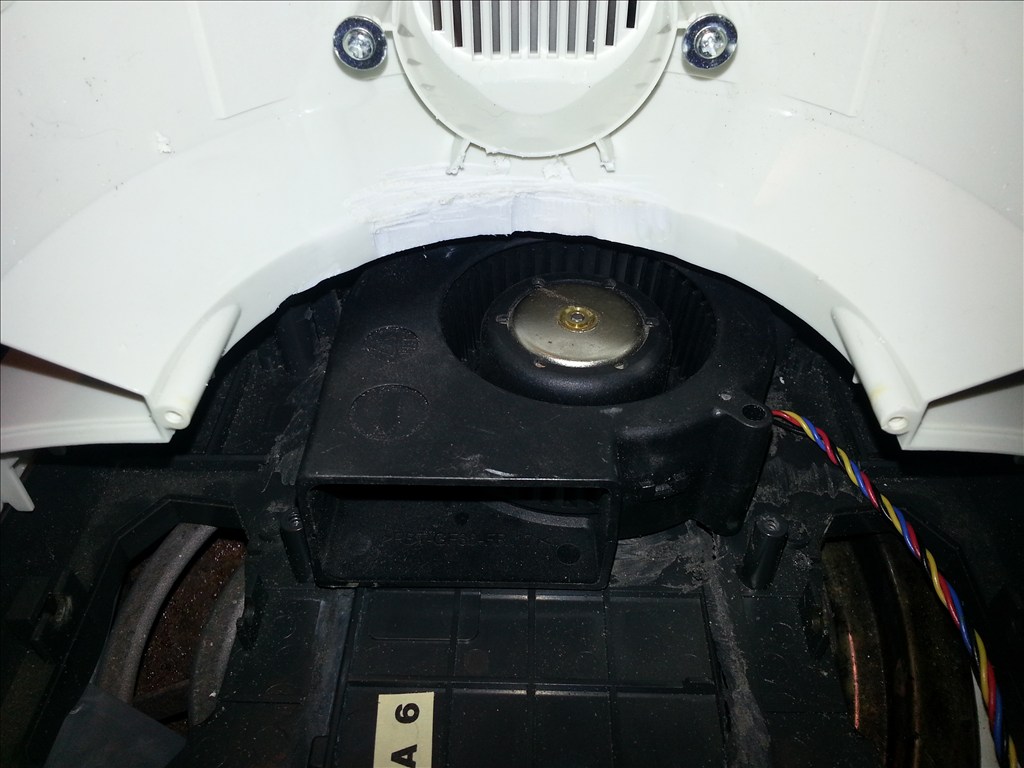
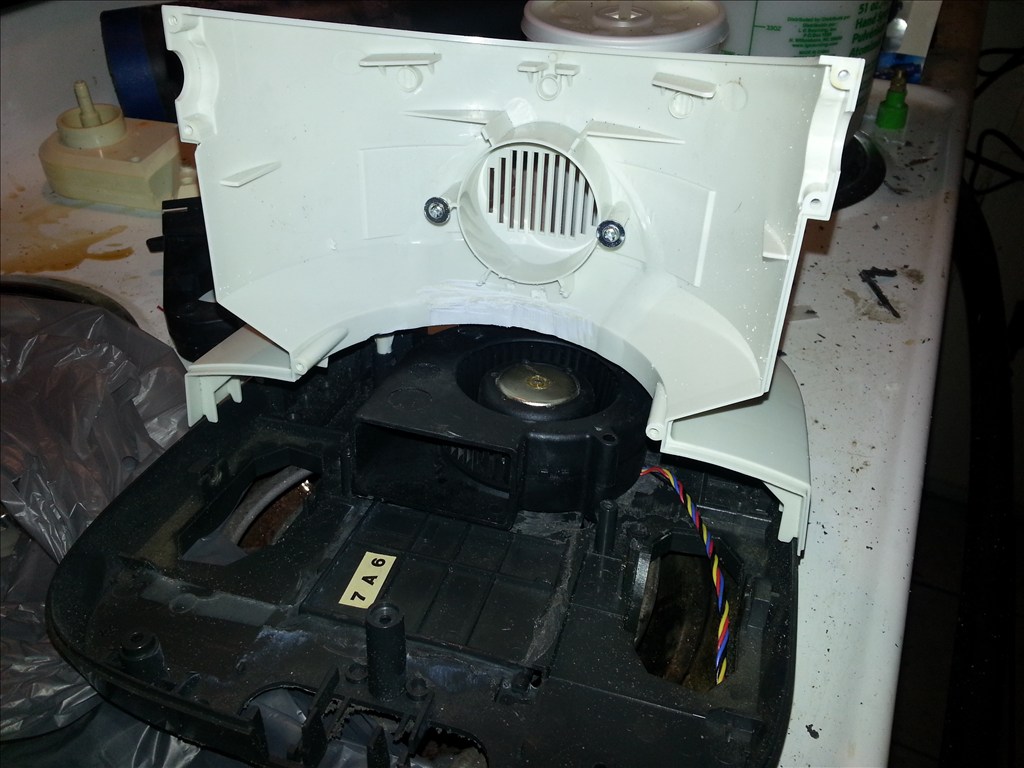
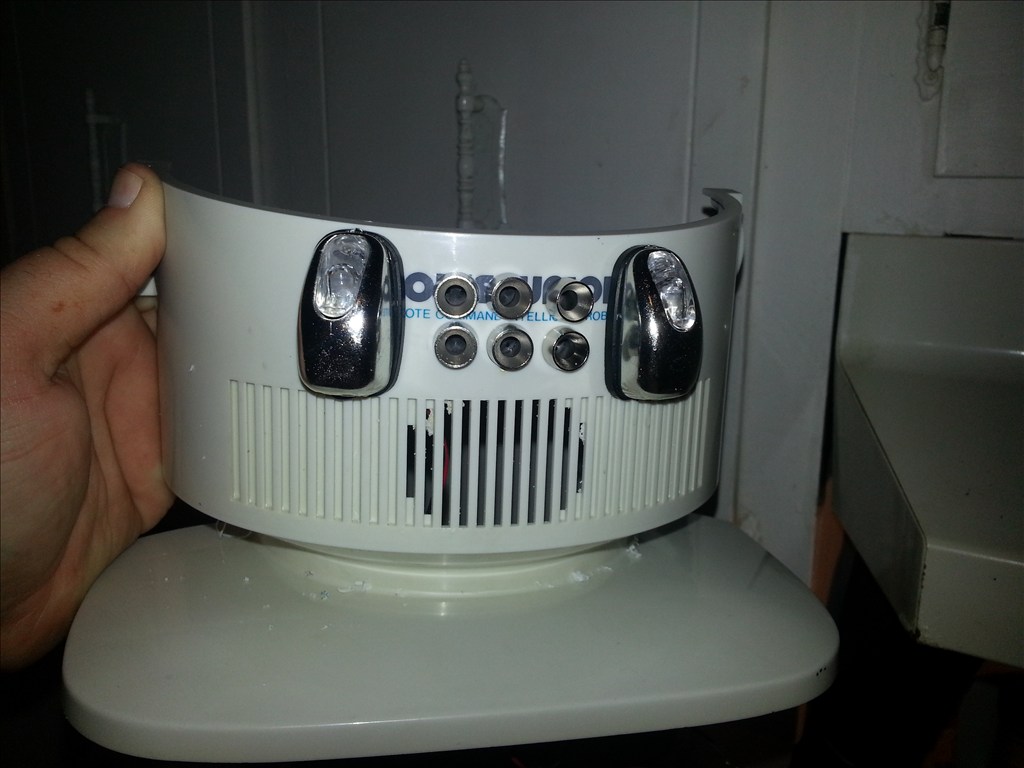
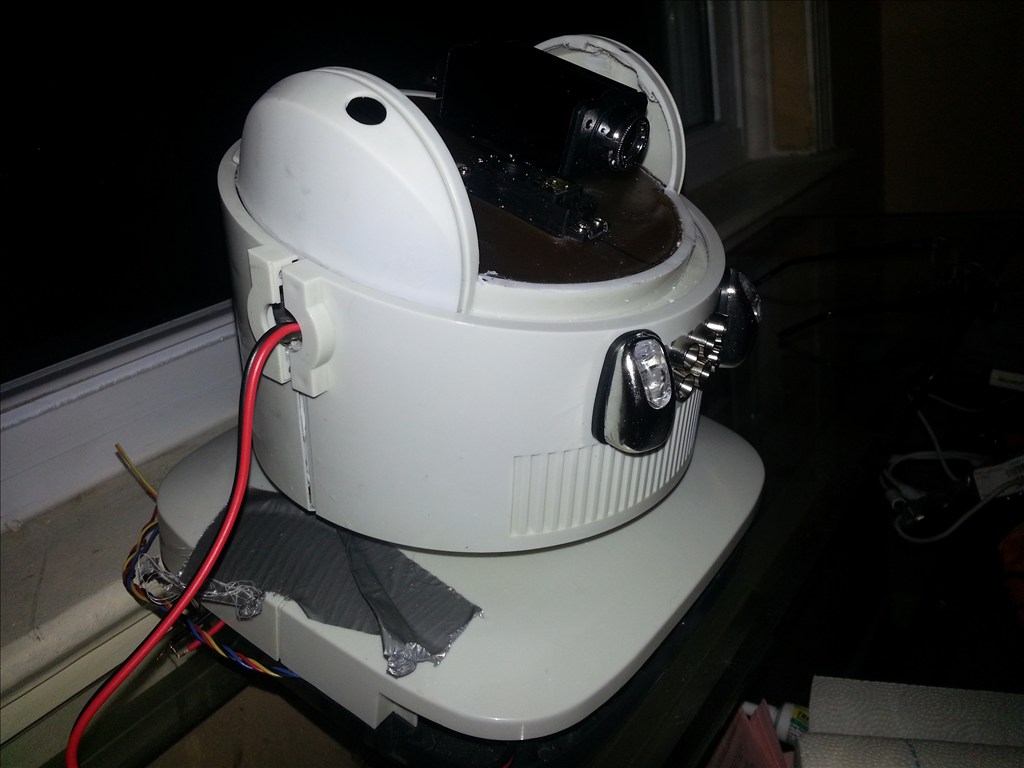
Thanks man! I had to "make a little room" for the blower. I trimmed 1/8" off the bottom and remove 1/4" tab from the top.
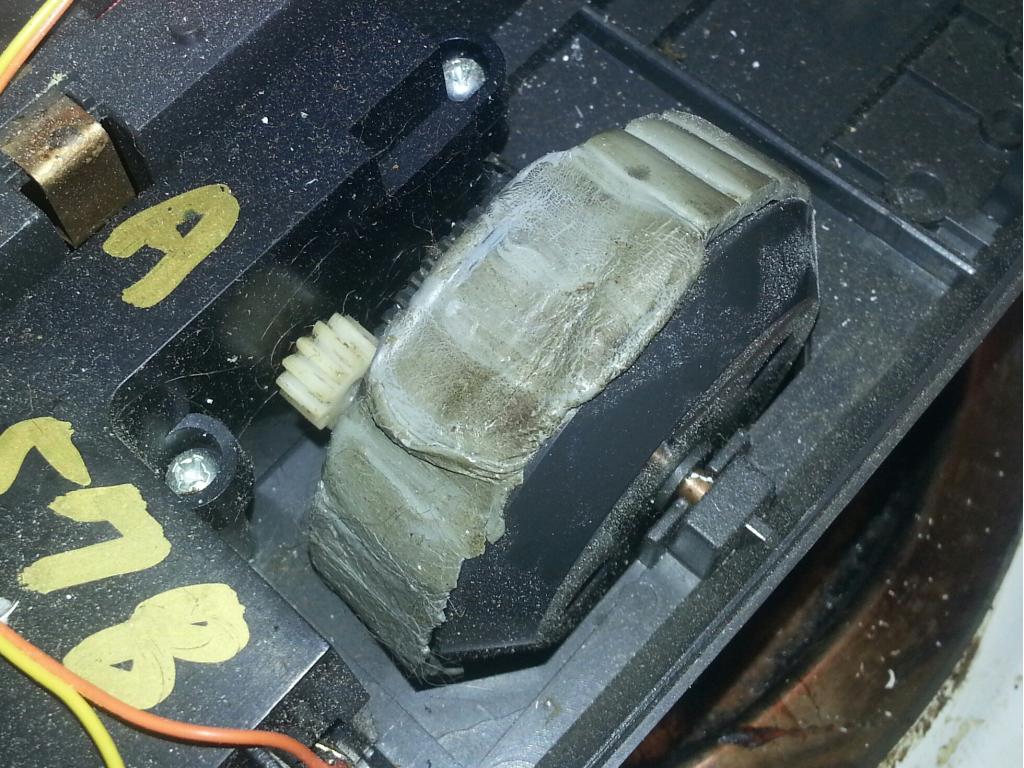
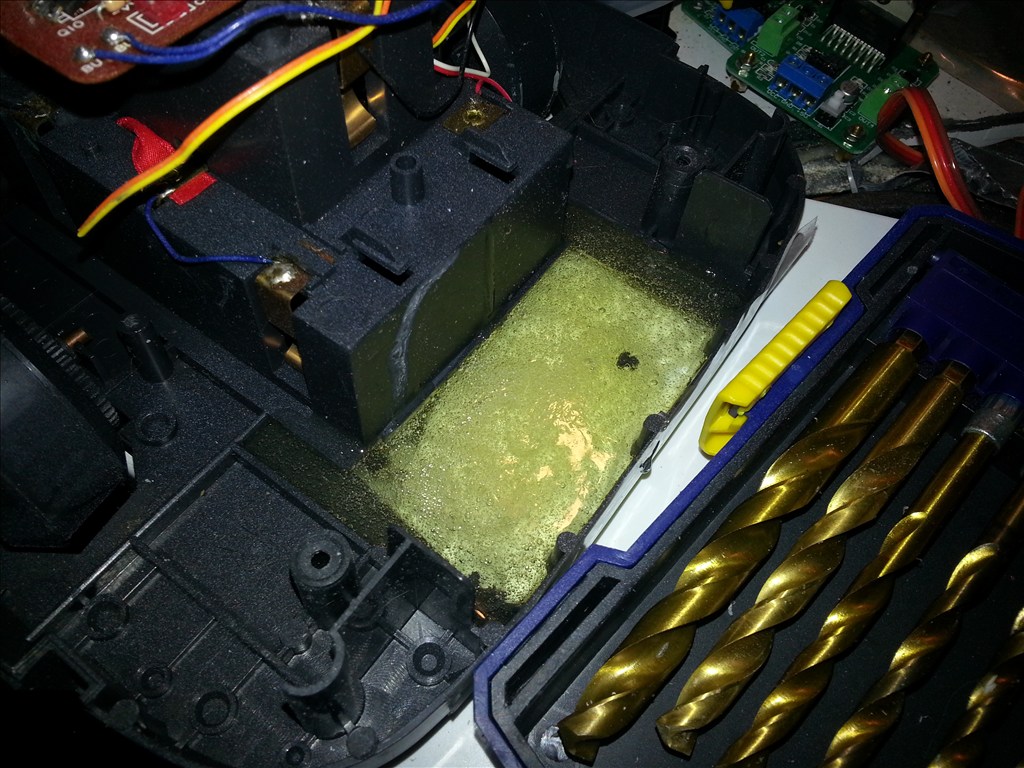
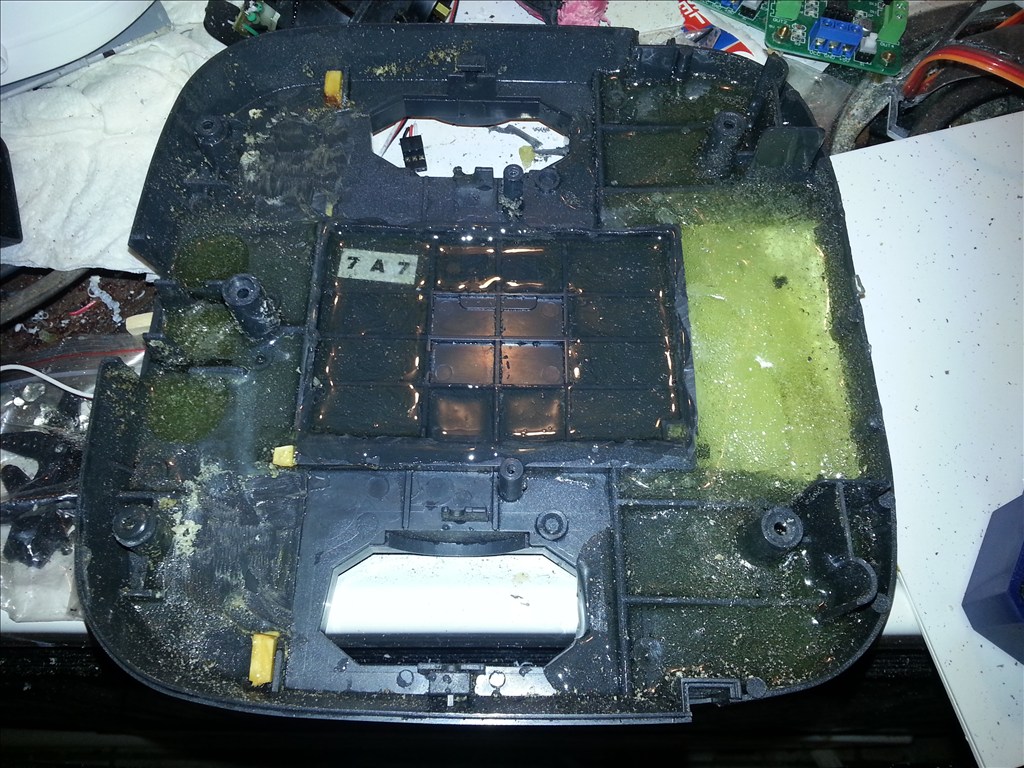
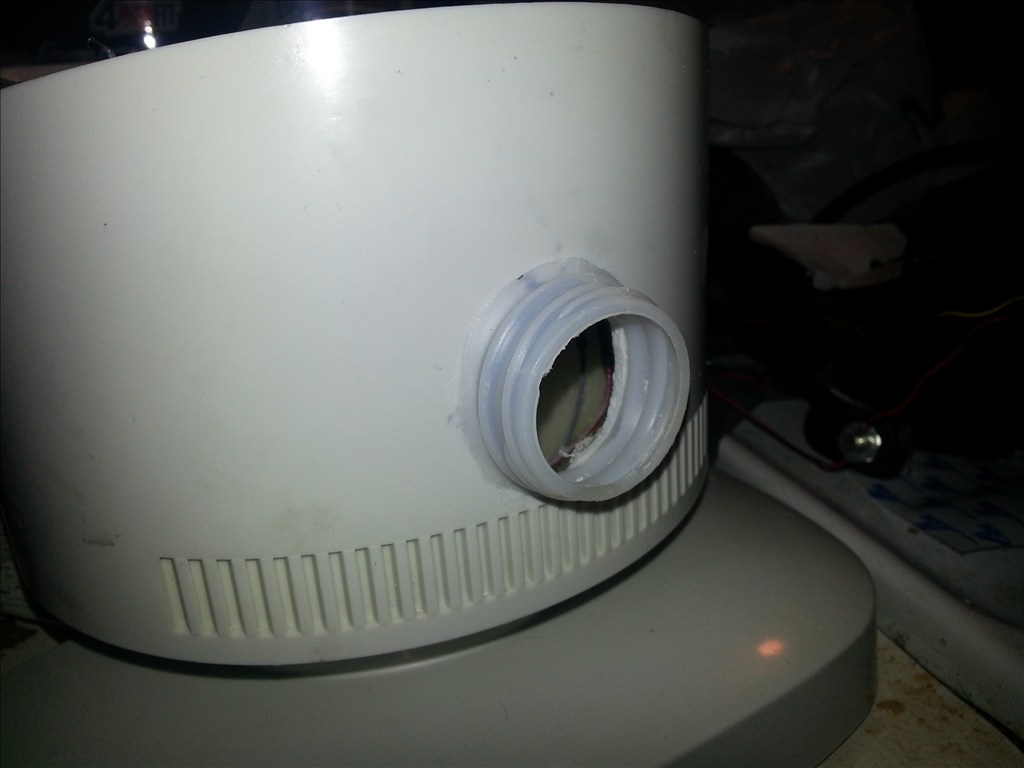
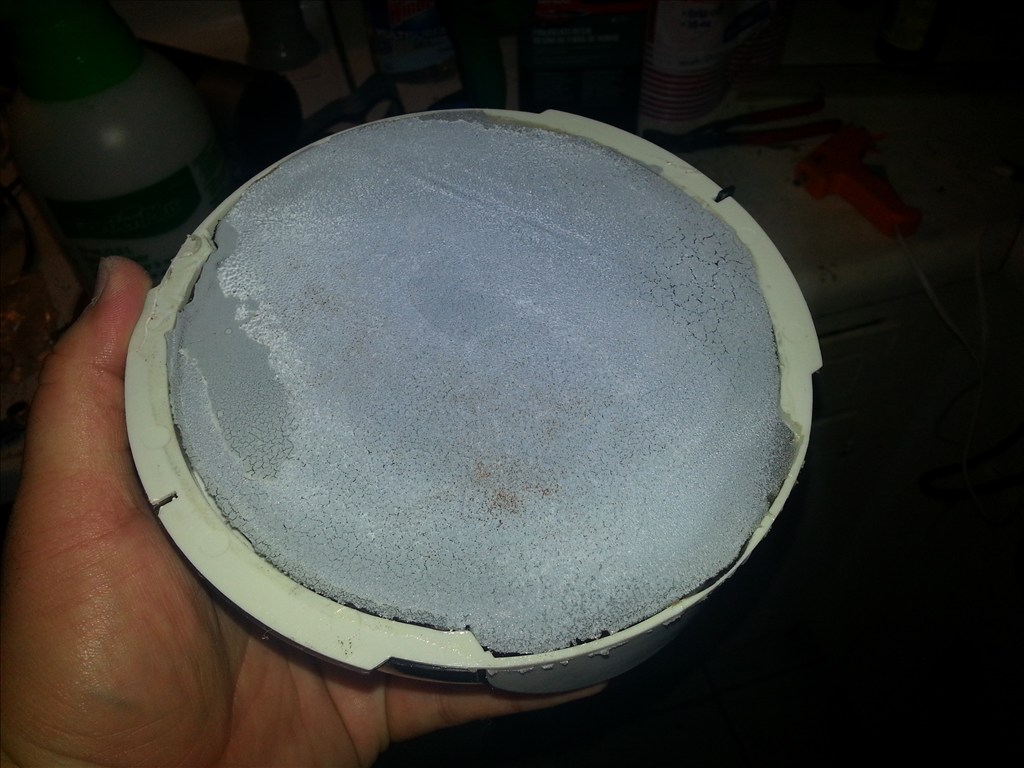
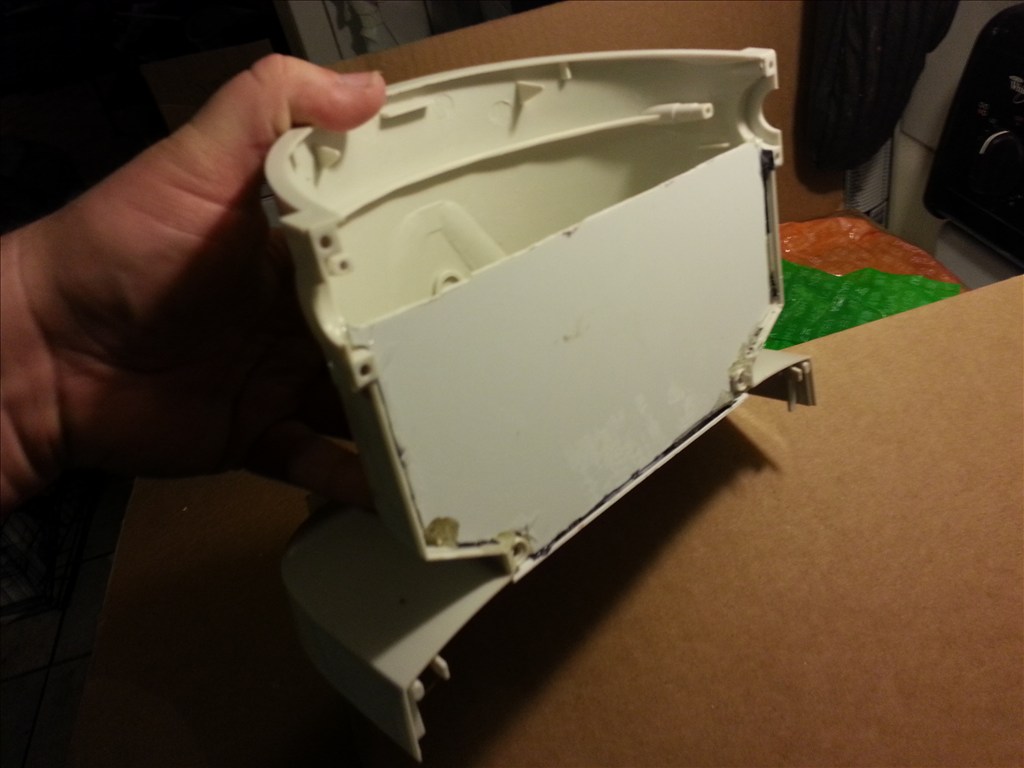
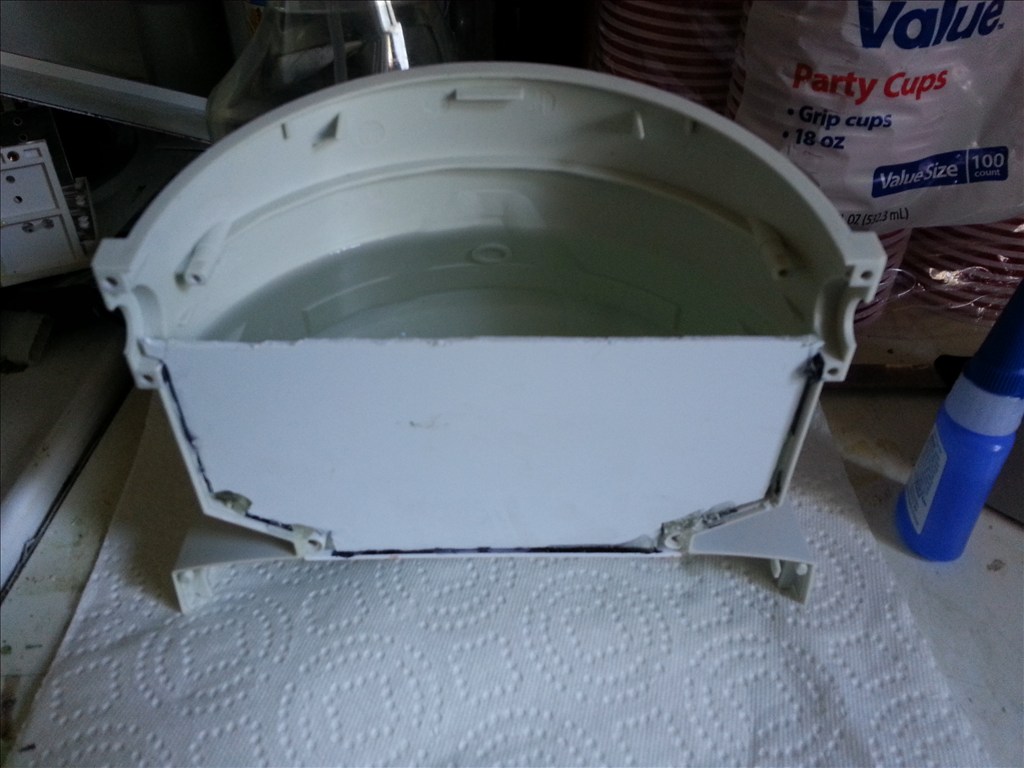
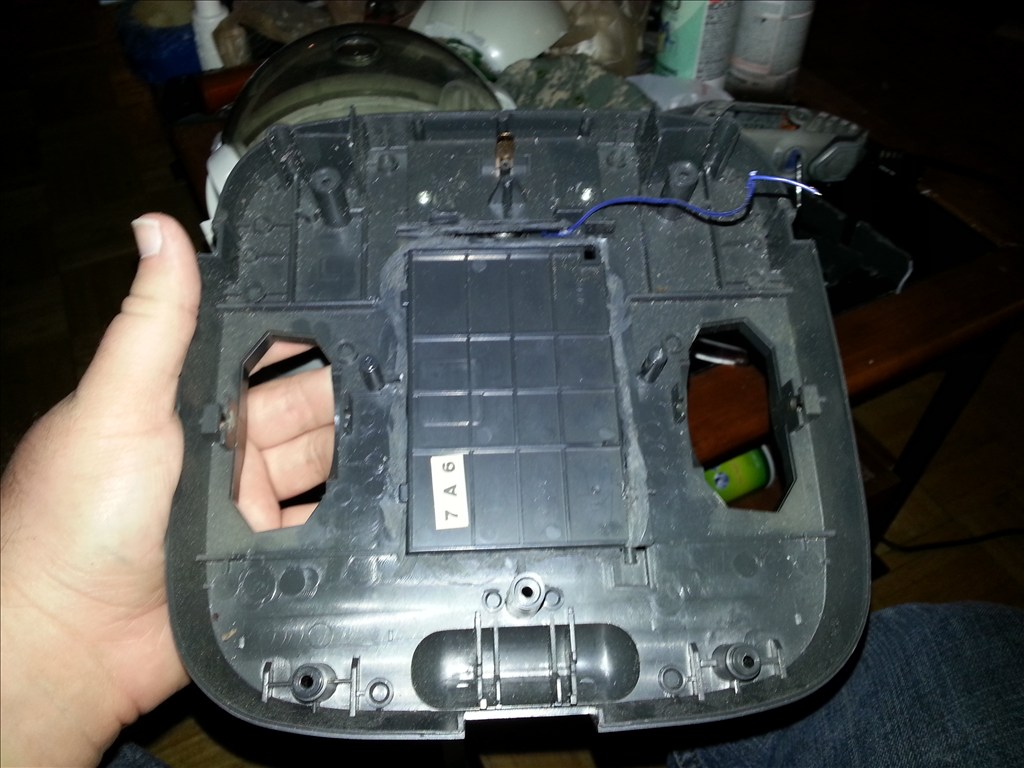
After clearing away plastic I made plenty of room for both the blower itself and also a air duct which I still must make to direct air to the back and angled down.
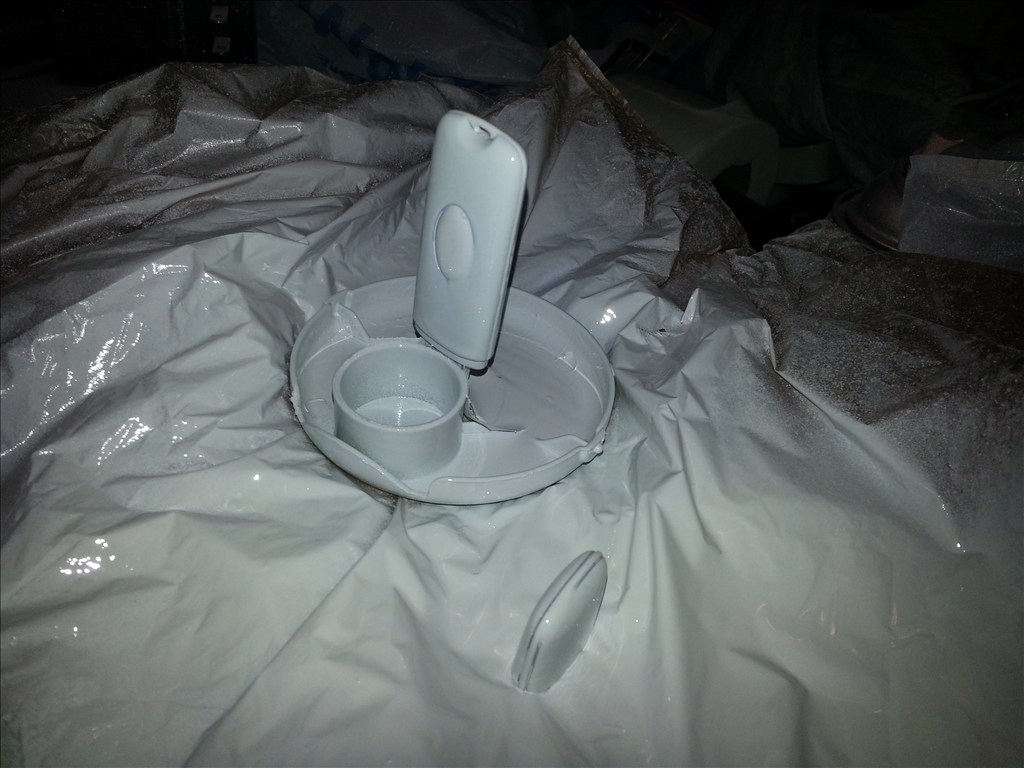
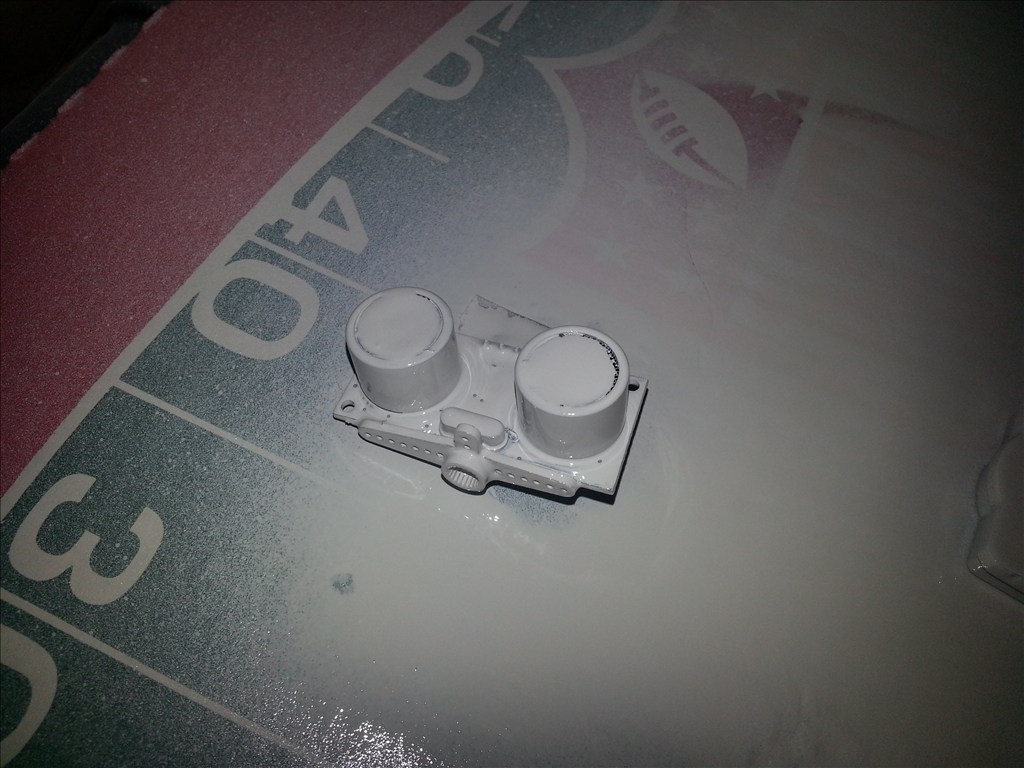
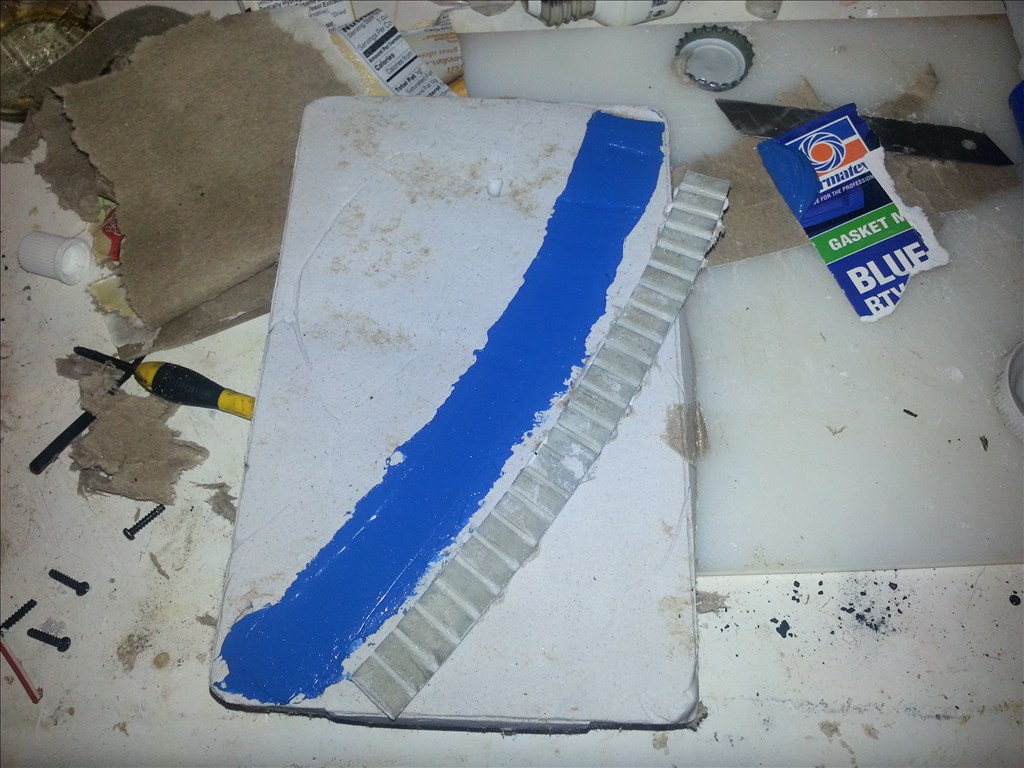
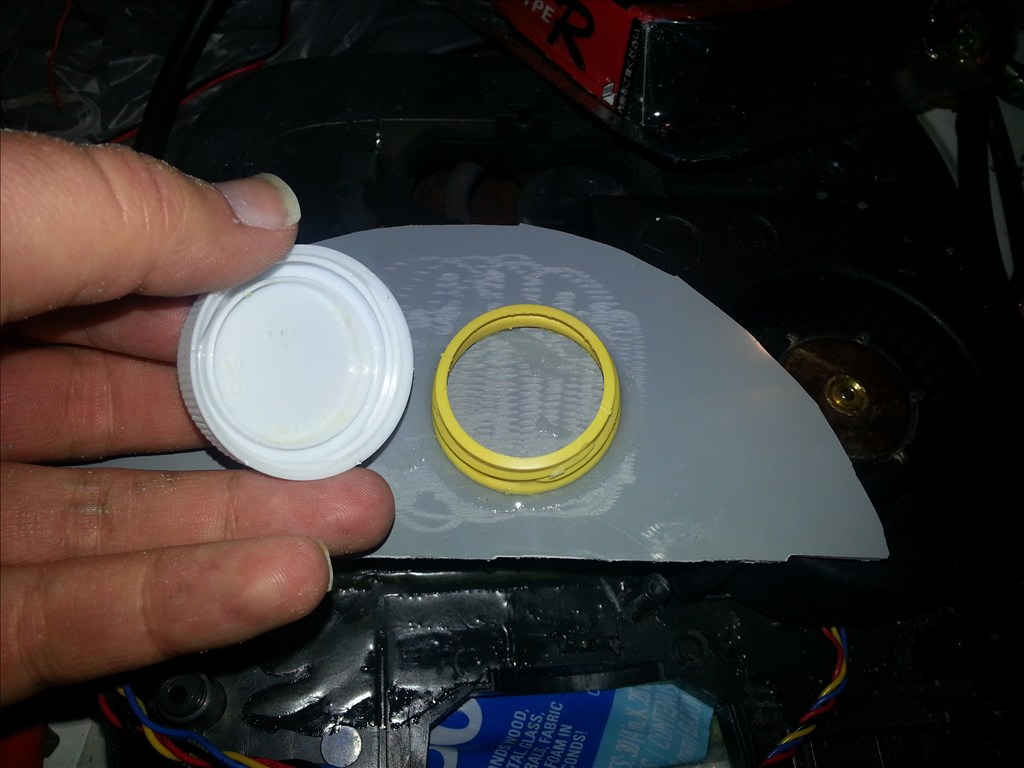
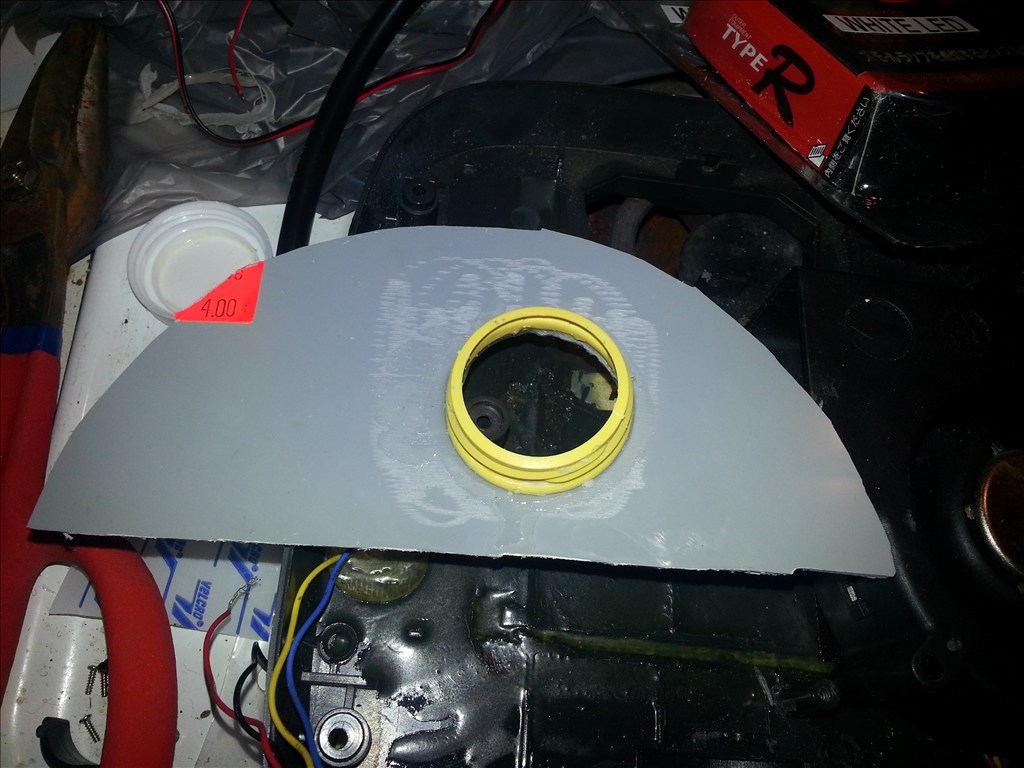
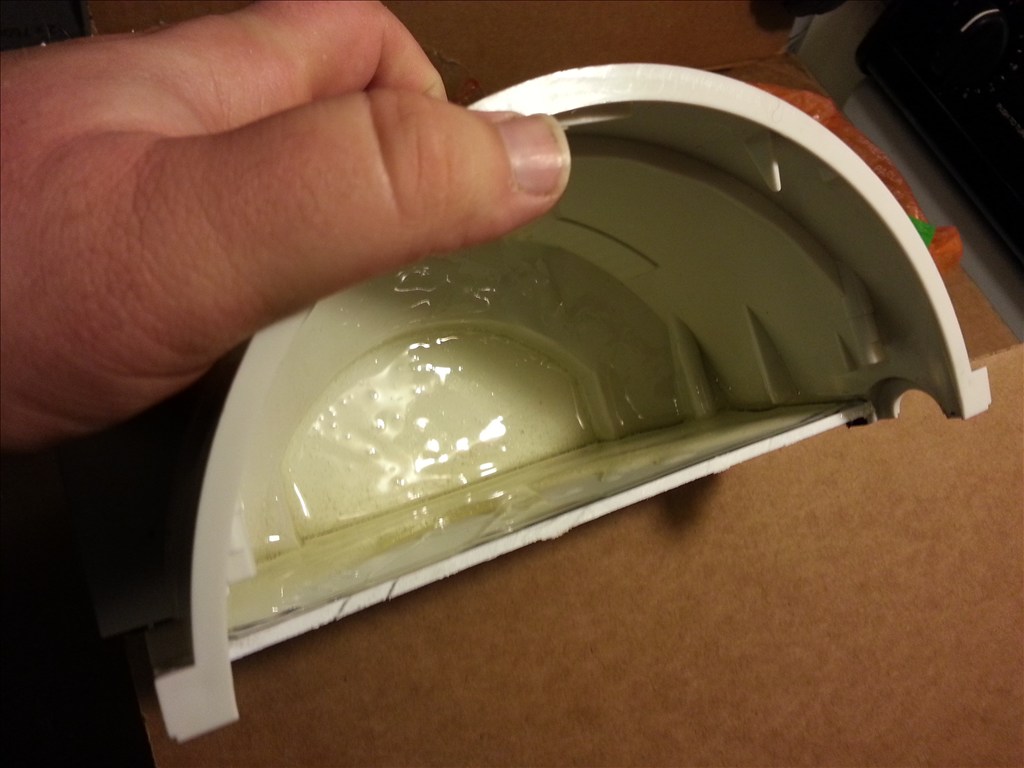
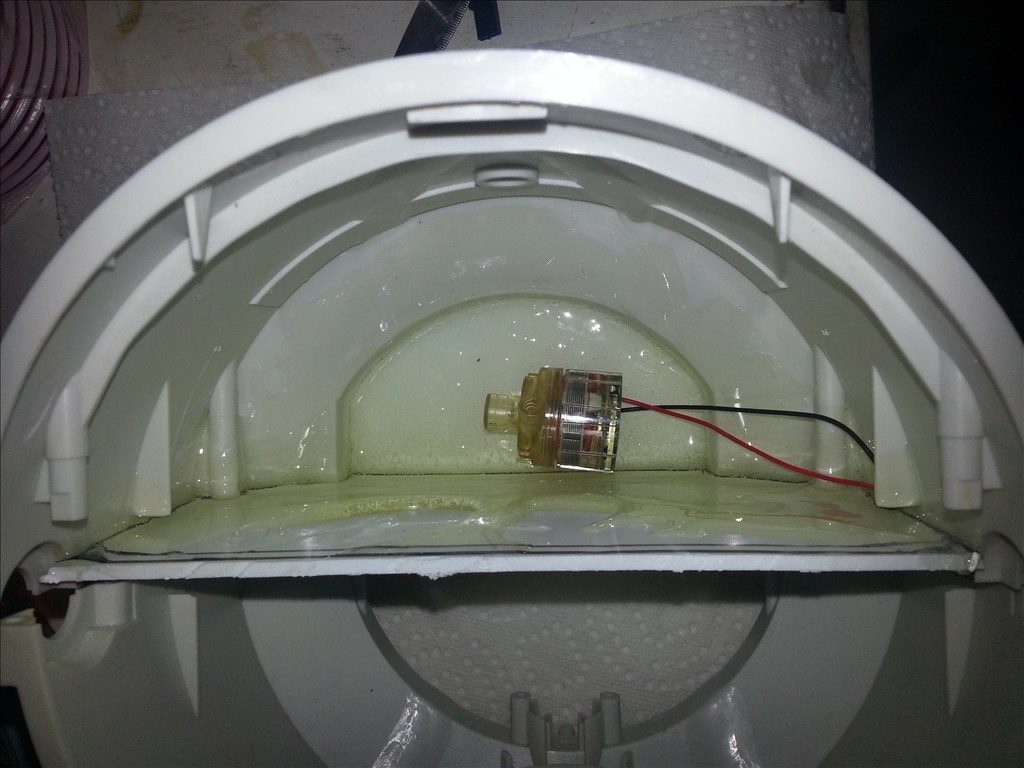
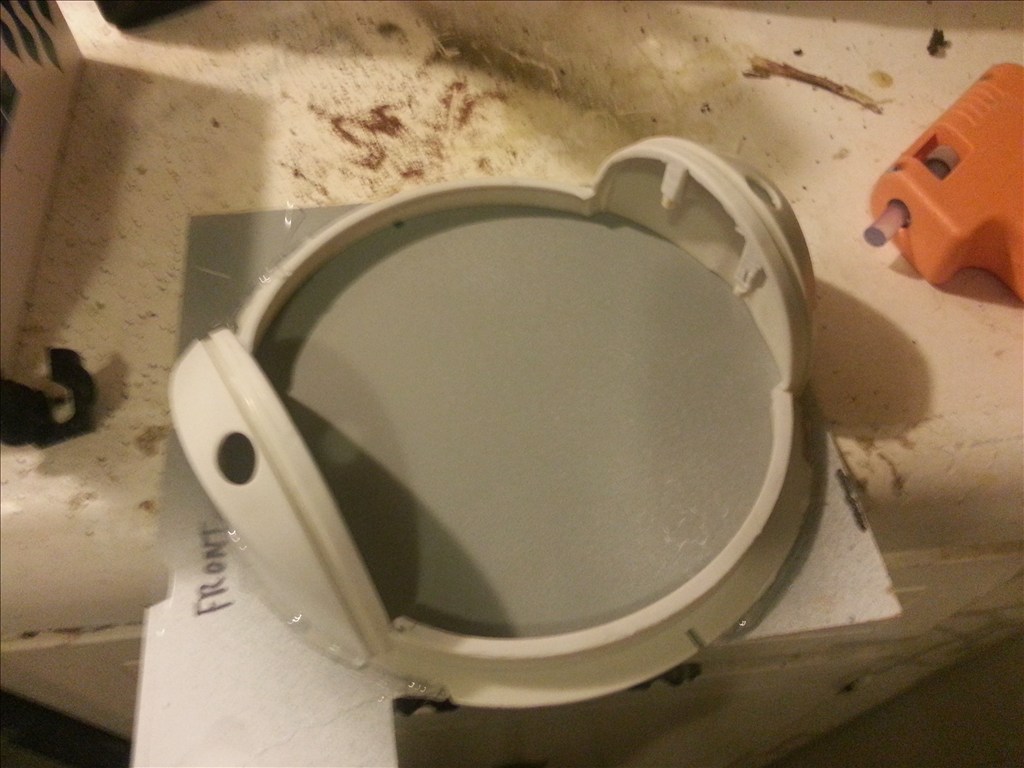
Now its time to fill some holes. I opted to use cheap fiberglass polyester resin for this. I backs small holes with tape and large ones with a plastic sheet.