

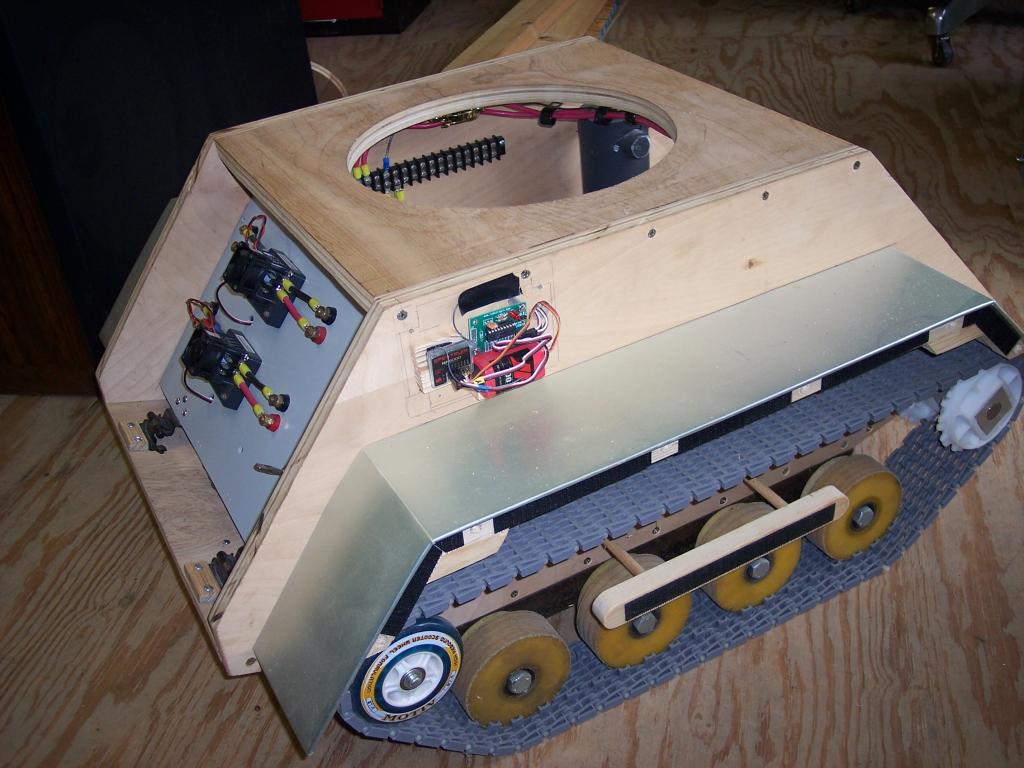
Hello, My name is Rex and I am building a large robot. His name is Magnus. He is 6 ft. tall and will weigh around 300 lbs. He has wheelchair motors driving tank treads. He looks similar to the B9 robot that appeared on the old TV series called Lost in Space but , I claim no ties to Lost in Space. I will post more pictures soon. I was very excited when I found the E Z Robot kit. I want to order but have some questions. Looking forward to discussing all kinds of topics here.
Best regards,
Rex
By rgordon
— Last update
Discover more robots

Lsradets's EZ-Inmoov Robot Head
EZ-InMoov robot head with Synthiam 3D-printed parts and EZ-Robot electronics, programmable via Synthiam ARC for...
Rgordon's Magnus The 6 Ft Robot
Magnus: a 6 ft, 300 lb humanoid using wheelchair motors to drive tank treads; builder exploring E Z Robot kit and...
R2D2's Robot Building
Build a 2.5-3 kg butler robot with ez-b: 15kg continuous wheel servos, 2-axis head, arm servos, 3 Ping + Sharp IR...

That looks great so far. I am building a full size version of the B9. Yours will look like his cousin. I am sure that we will run into some of the same issues with weight, size of parts, etc. I intend to have fully articulated arms, claws, rotating torso, the works. I bought a case of surplus windshield wiper motors for most of the movements. I also have wheelchair motors to drive him.
If it is any help, I bought these motor controllers for the drive motors, at Jstarne's suggestion. controllers
For the rest of the motors, Brett.tallent steered me towards these relays. relays
I will be setting them up as H bridge relays for forward and reverse.
It looks like we are about at the same stage of development. My build is about half way done, and I am trying to figure out how to control it as I go forward. I bought one EZ-B board and have been experimenting with it. I will need a second one before all is said and done.
I have to get some pictures online soon. I look forward to seeing more pictures of yours as you progress.
Also, I love the clothes dryer drum. One of them did catch my eye a long time before I built my torso. I did contemplate starting with one of them.
Any way, good luck. If I can be of any help, just ask.
relays not so great to control motors,first the draw alot of current ,then sometimes make a chatter that wont control the motors correct best way is a h-bridge with feedback or use mosfets that draw very little current to turn them on,plus higher current ,small size and costs
my next big big project is full size AI johhny five robot,located a few parts so far,like special tracks and eye lens that open like in the movie,his lips using VU meter,just like in the movie i do have full size stage prop for ideas and how to paint him full size johhny five design
the link i have there is the plans for it when ready
@Danger!
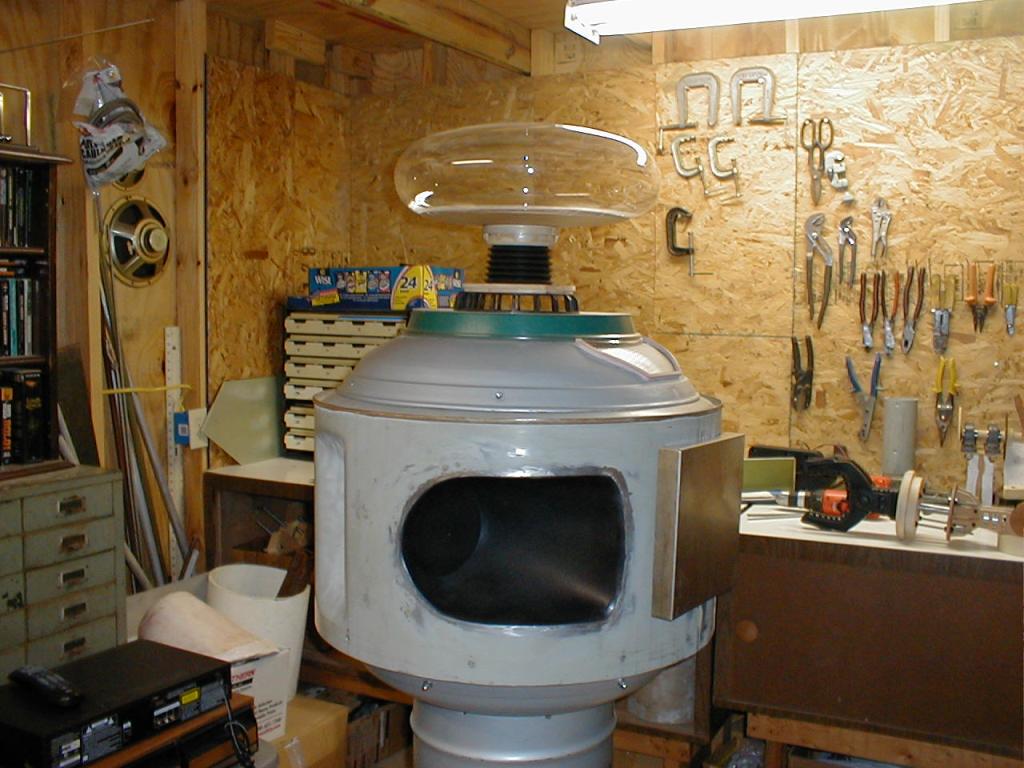
The dryer drum has its pros and cons.
PROS: Good and sturdy, easy to cut, right size and shape.
CONS: Weighs 14 lbs. even after trimming some off the bottom, blocks radio signals.
The top and bottom domes are covers from roof attic exhaust fans. They too are a little heavy. Not that it matters much about the weight; the wheelchair motors have plenty of pulling power.
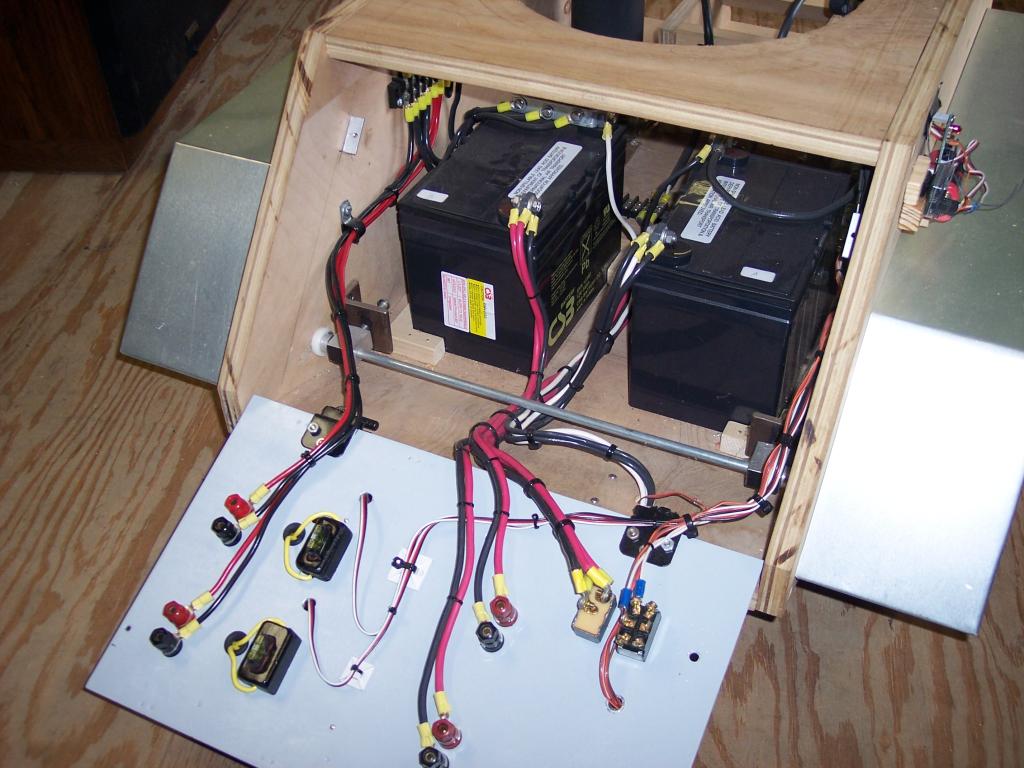
Since I did not want antennas sticking outside all over the place, what I have decided to do is use the top dome as a mold and cast a replica out of fiberglass. Hopefully then I can place all my items with antennas inside the dome area. There will be the EZ-B (which I will order as soon as my bonus check arrives), two 12 channel remote control relay boards, and another R/C receiver to control the waist and neck and other items. The base already uses a Spektrum DX6 2.4 GHZ transmitter and BR6000 Bot Receiver R/C system (3000' range).
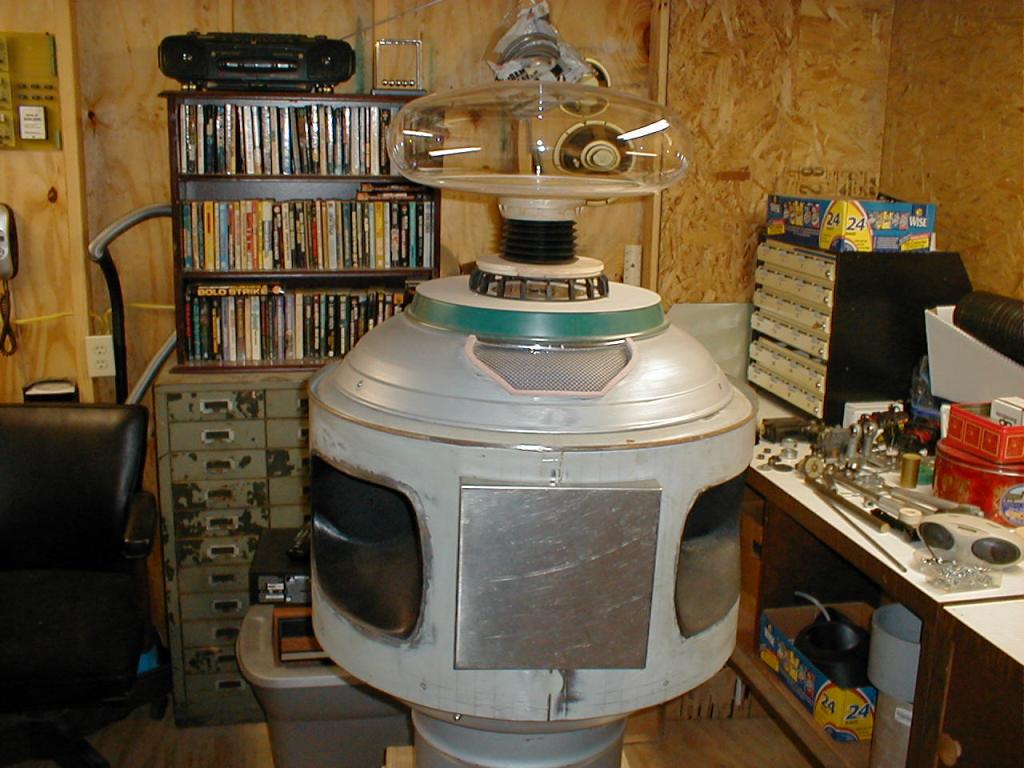
For the head area I did purchase the Plexiglas bubble from Fred Barton "The Robot Man" for $330 dollars. However, I am doing something completely different than the B9 brain. I'll have a few pictures soon.
I found a really neat 24 LED Cylon type eye to use:
"Cylon Eye"
What I really need is help finding out how to hook up and use the Optional XBee/Synapse/WiFi Long Distance Communication that is mentioned in the EZ Robot Kit features list.
Anyone who has done this please contact me. I would like to know how to do this. I wonder what the range is for it and if it will penetrate maybe a couple of walls.
Thanks for all the positive comments.....
Project Magnus
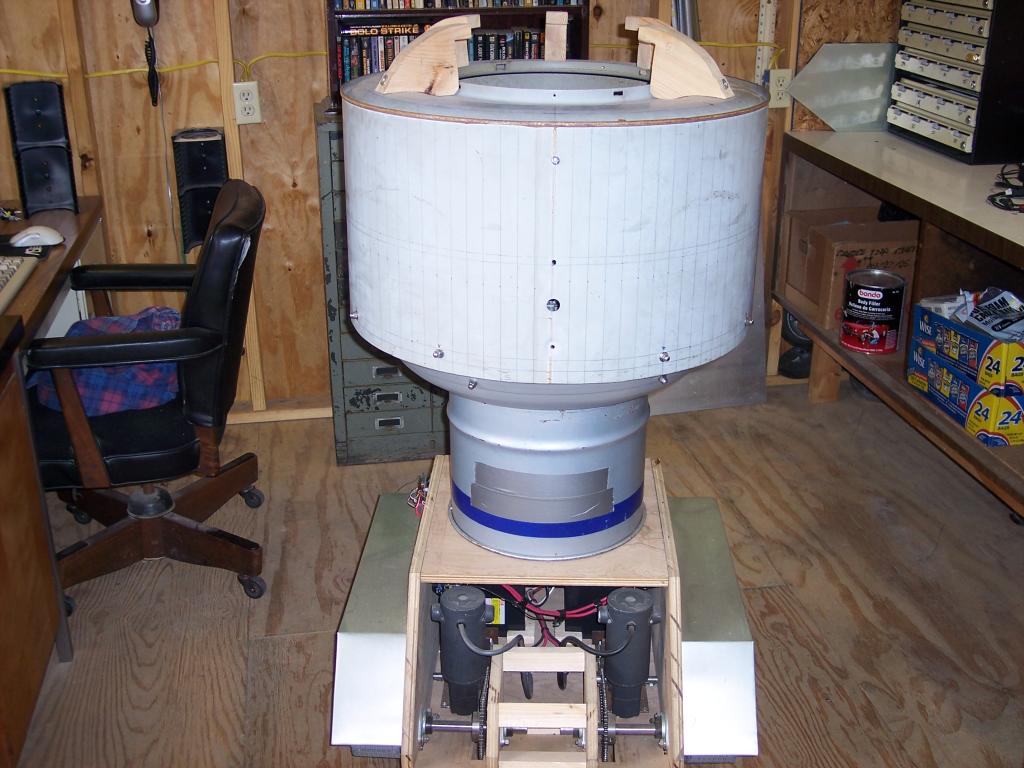
Torso Construction:
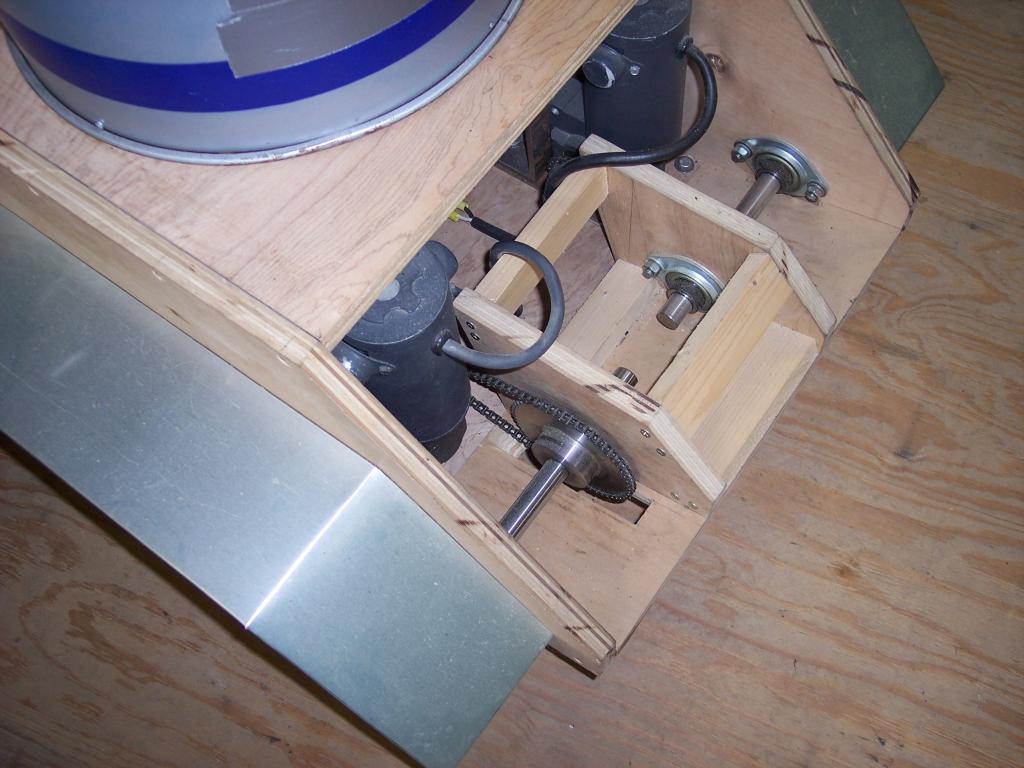
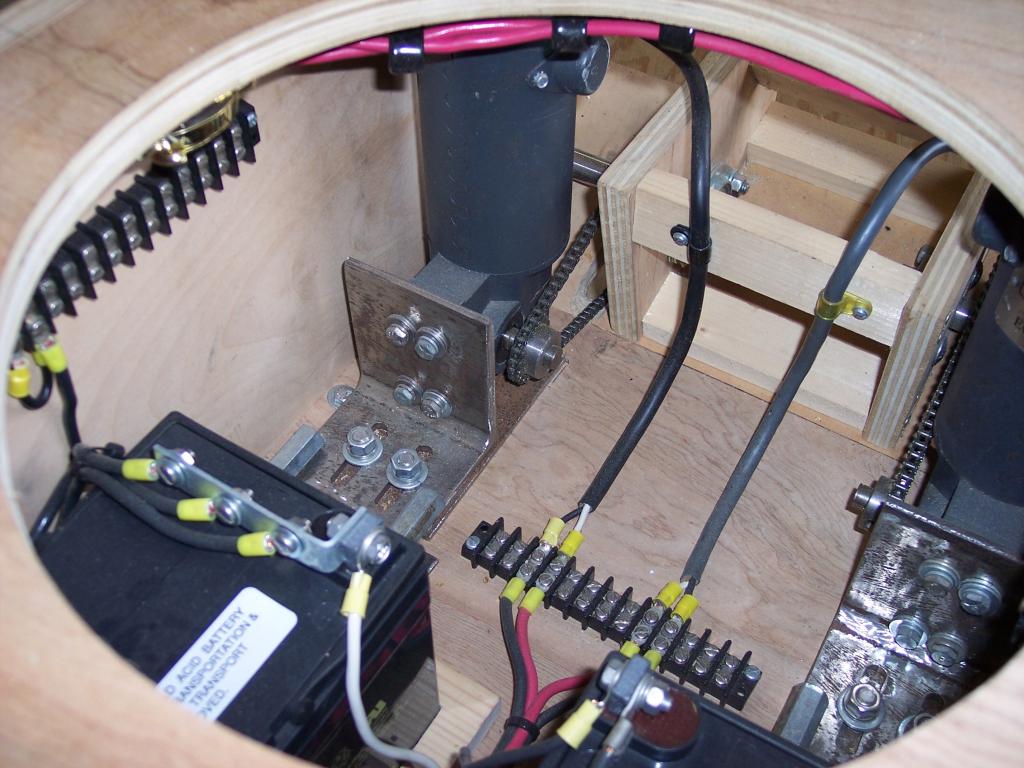
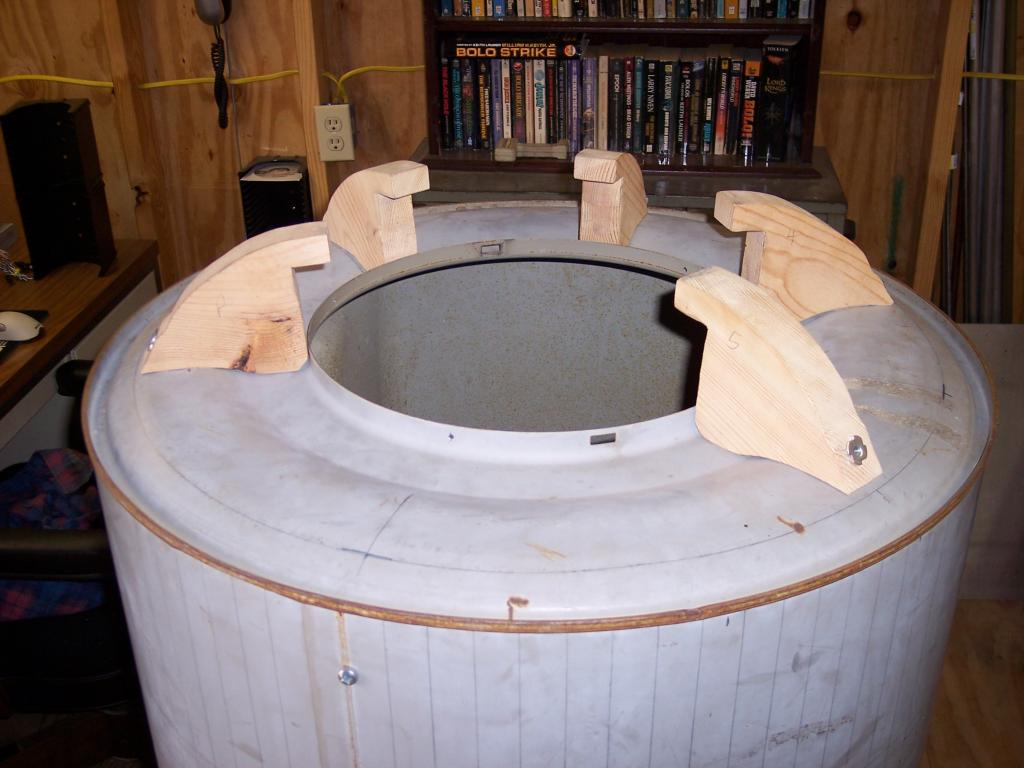
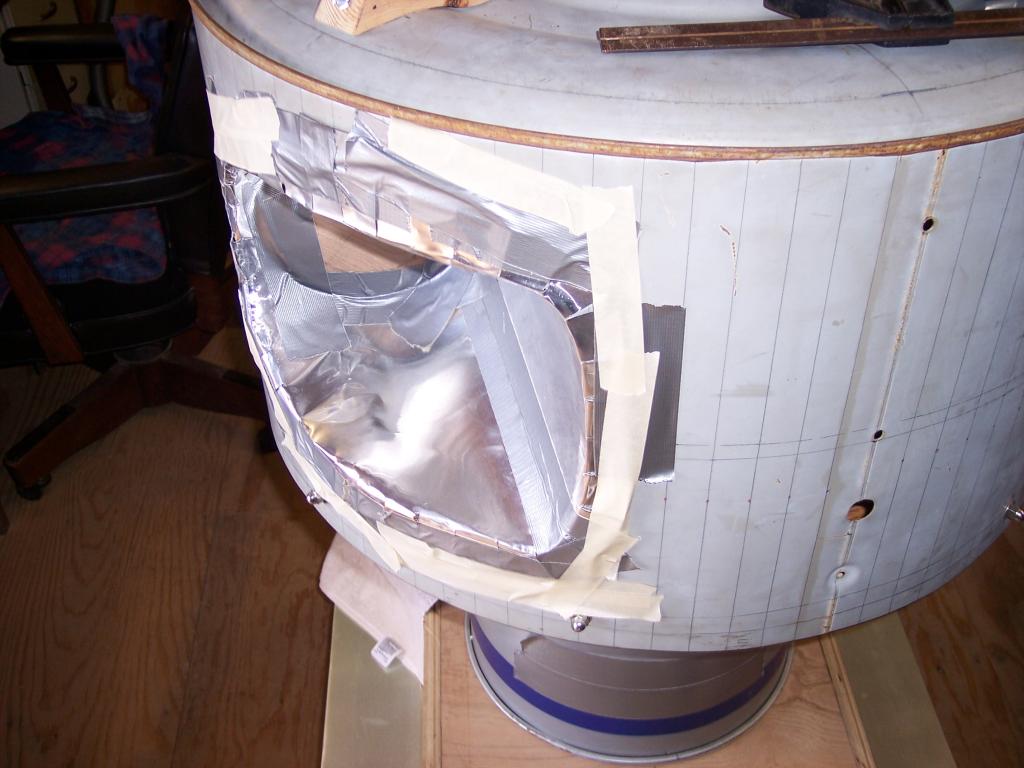
The torso is made from an ordinary clothes dryer drum. I cut off one end so it could slide over the central control shelves. I then cut out a 1" wide wooden plywood ring to fit inside the drum where I had cut it so that the drum would keep its round shape. The wooden blocks on top are to support the upper dome and keep it from flexing. The upper and lower domes are metal roof attic fan covers.
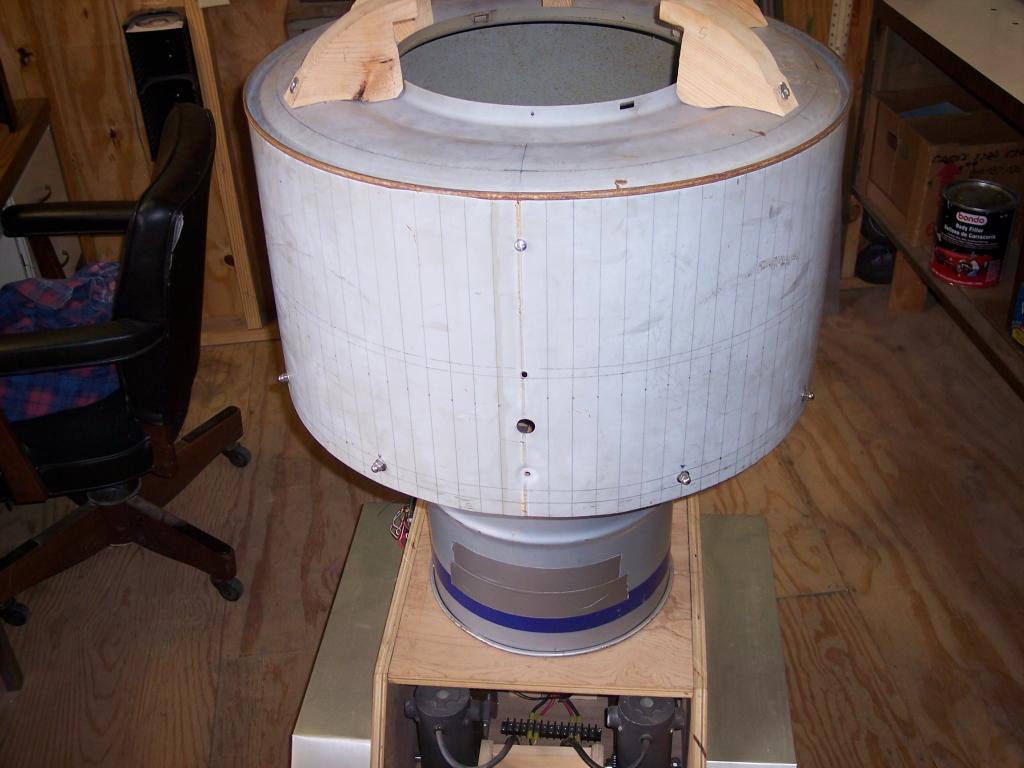
Cutting the arm holes:
I used a carpenters square and marked equidistant lines all the way around the torso, starting at the dead center of the front so I would have reference lines when cutting or drilling holes. I then cut out the arm holes.
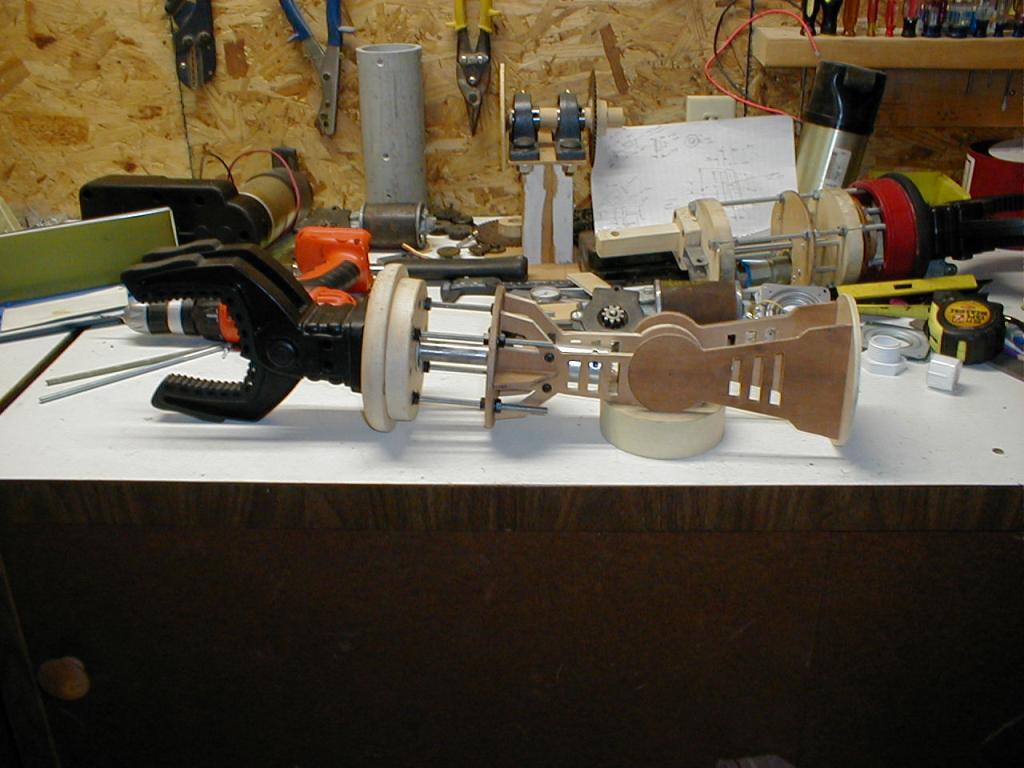
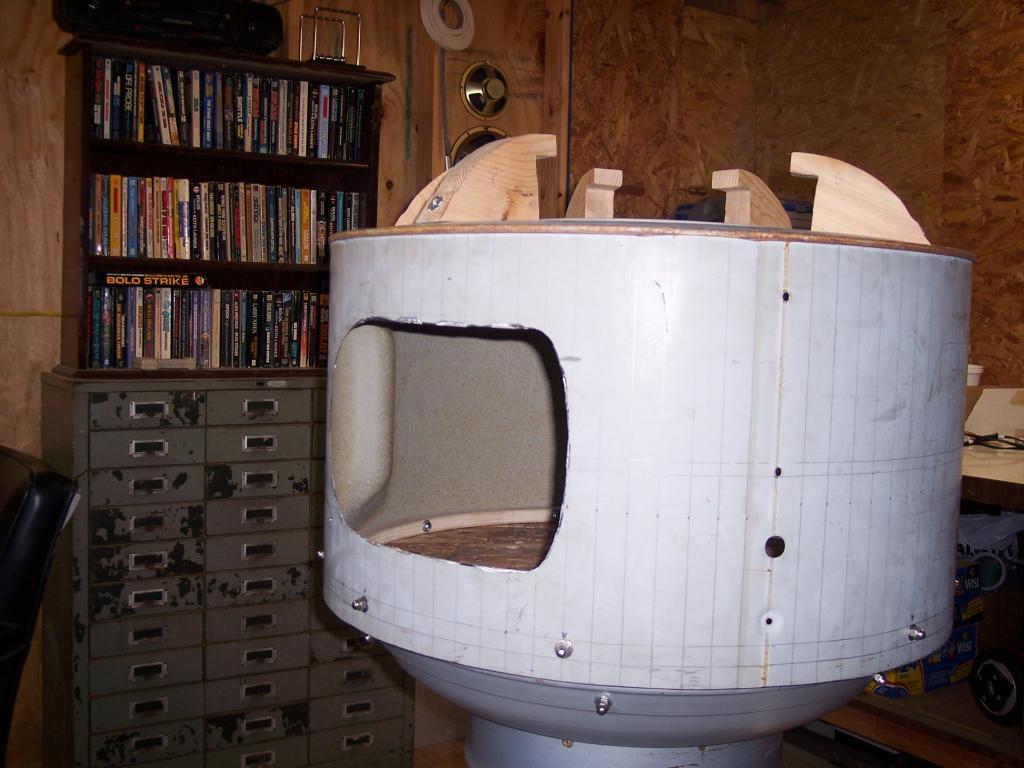
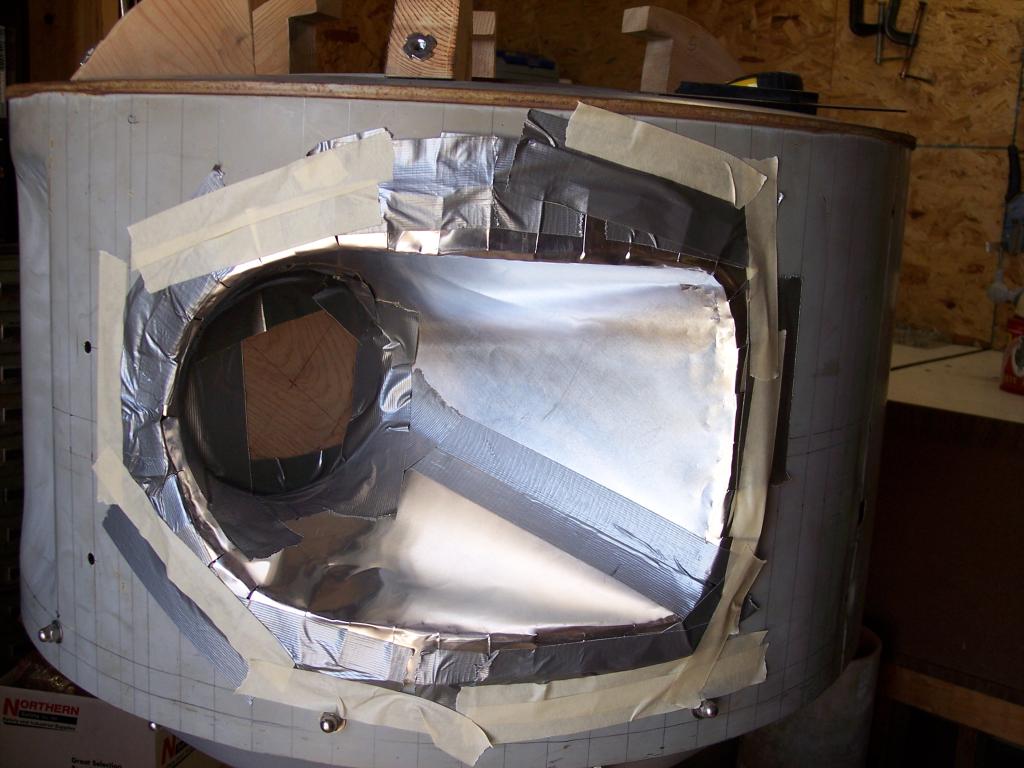
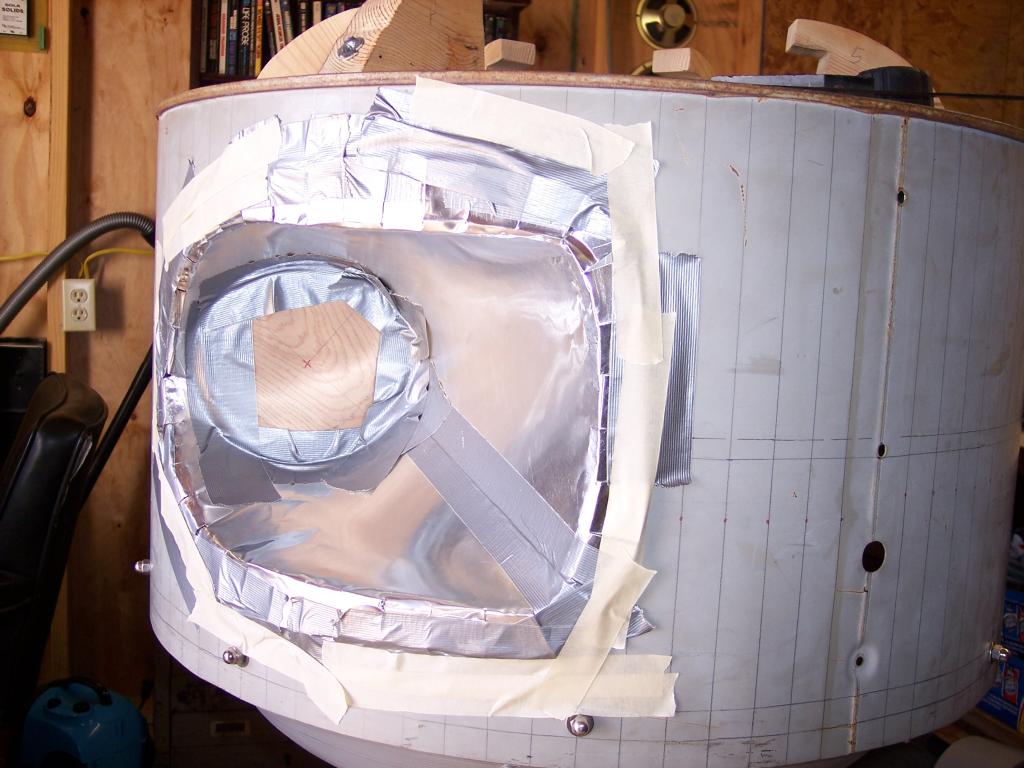
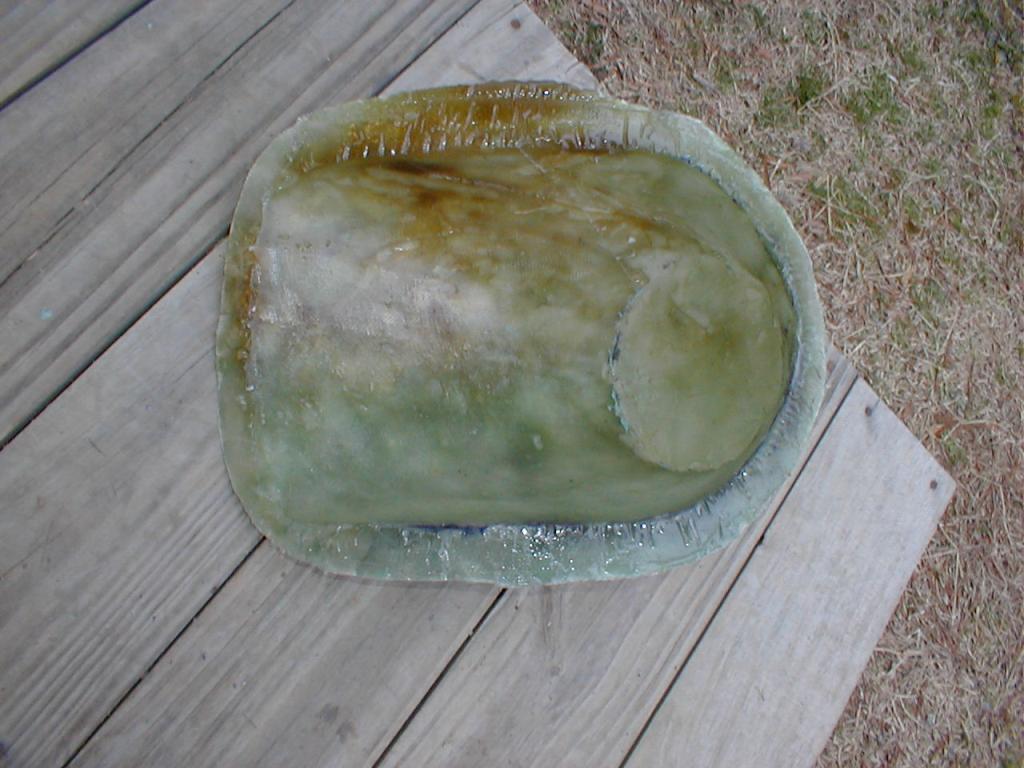
Making the arm sockects:
Next I scratched my head awhile until I could figure out a way to make the arm sockets. I decided to use roof flashing and make something like a funnel. Then I cut out a wooden circle to place inside the arm socket. Then I just inserted the funnel into the arm hole until it was touching all the way around the hole. Then I used a marker to mark the funnel inside the torso around the hole perimeter. After taking it back out I cut the excess flashing from the funnel leaving about 1 inch of material beyond the mark. I made cuts-every so often- around it up to the line so that I could form flaps that I could use to tape it to the torso. After making sure that it fit like I wanted, I removed it and made a small plywood platform with 12" tall legs and cut a hole in the plywood so the arm socket would hang down through the hole. I then filled the arm socket with Plaster of Paris and let it harden for a day. After popping it out of this crude mold, I sanded and sanded and sanded....did I mention sanded? After it was nice and smooth, I covered it with petroleum jelly to serve as a mold release. I then covered it with fiberglass. After it hardened, I trimmed the edges and installed it into the torso arm hole using Bondo filler to attach it to the torso. I sanded till it was nice and smooth and the edges blended in with the torso. Then I primed it with truck bed liner paint.
More pictures soon....
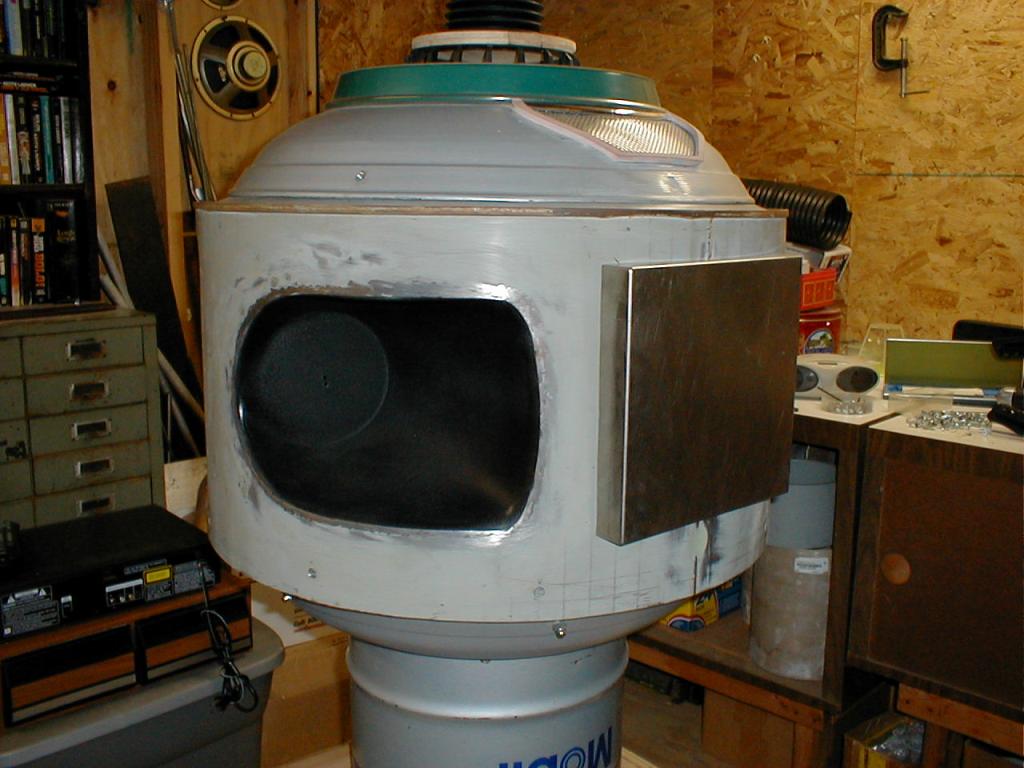
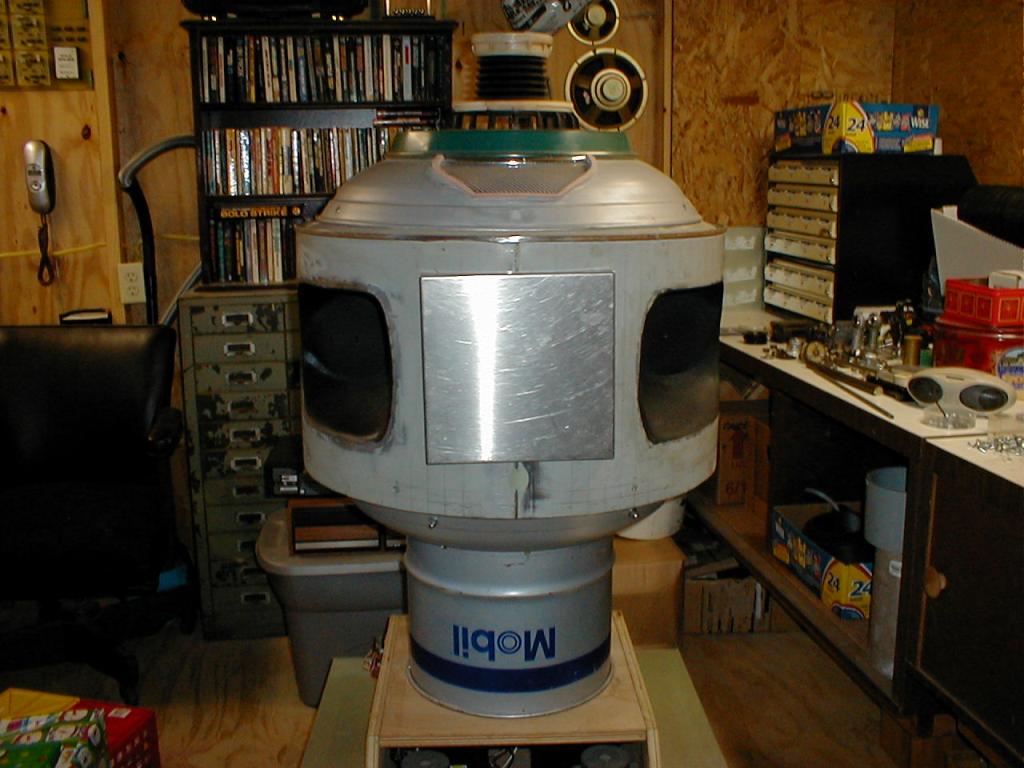
Project Magnus:
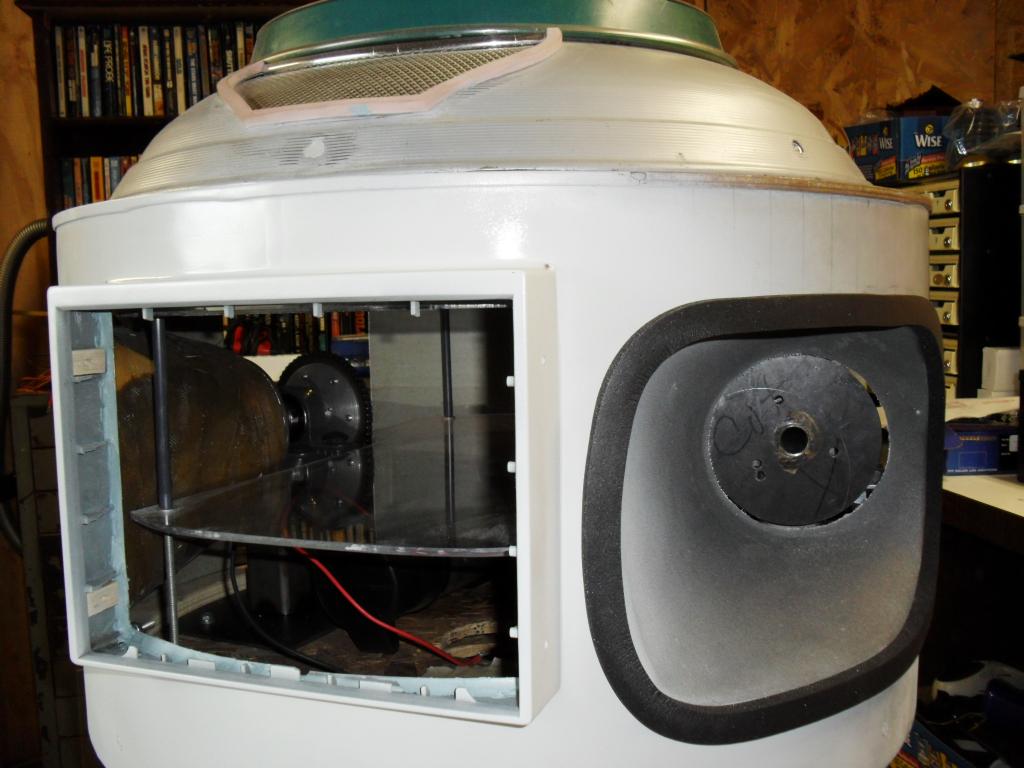
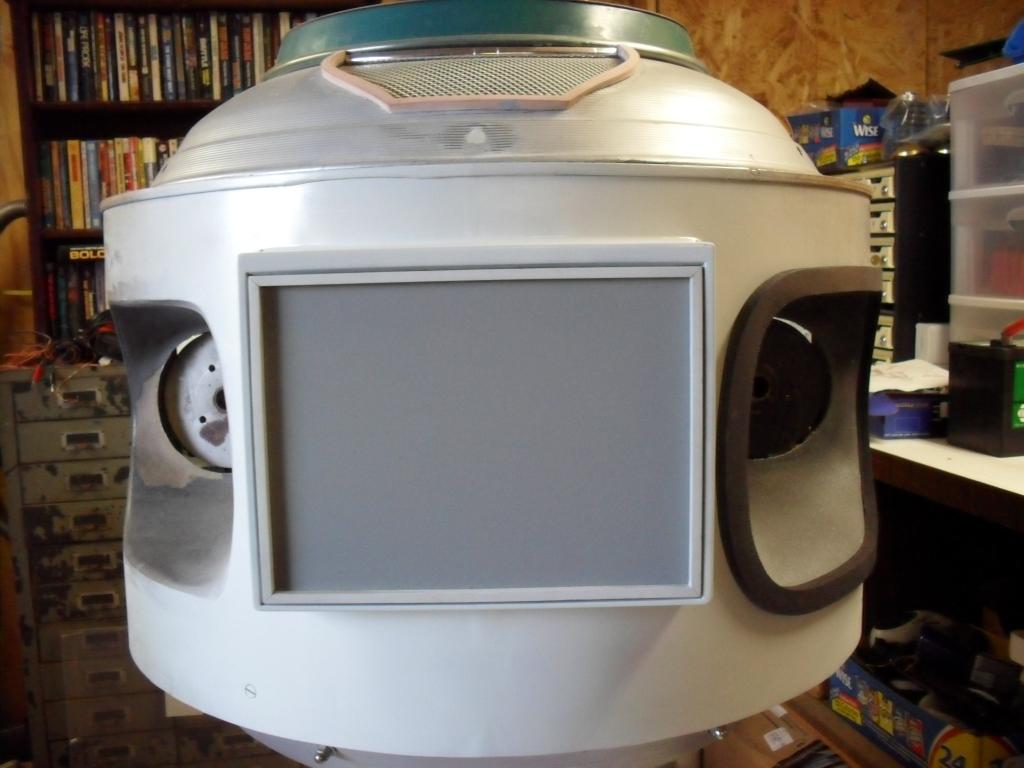
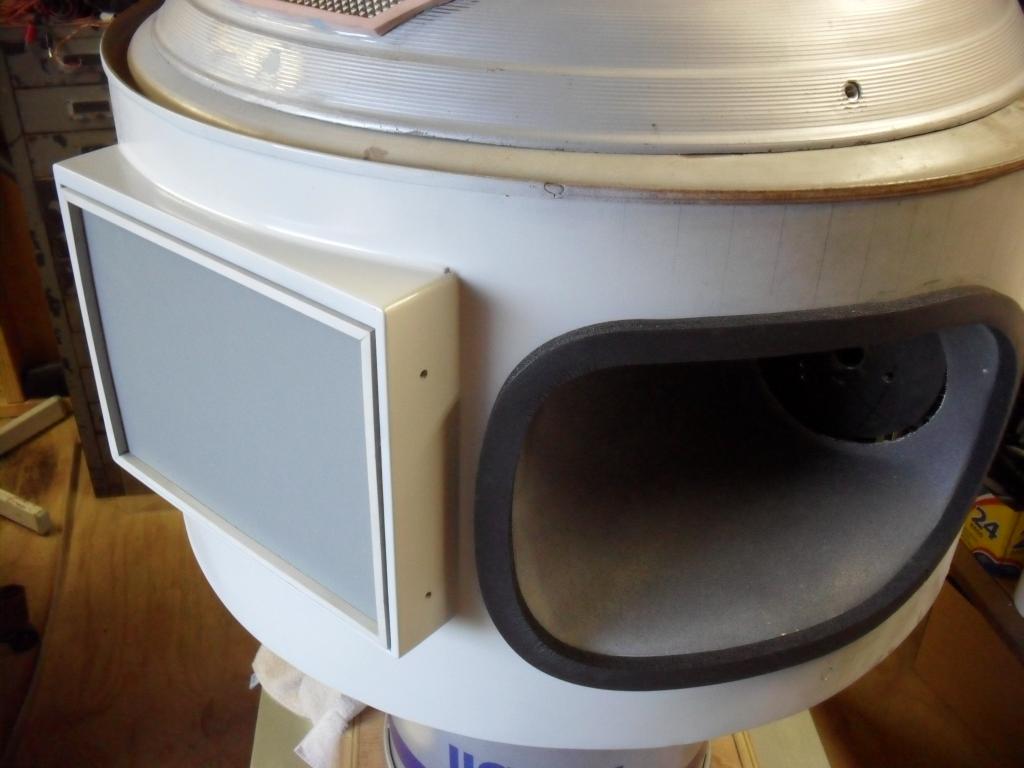
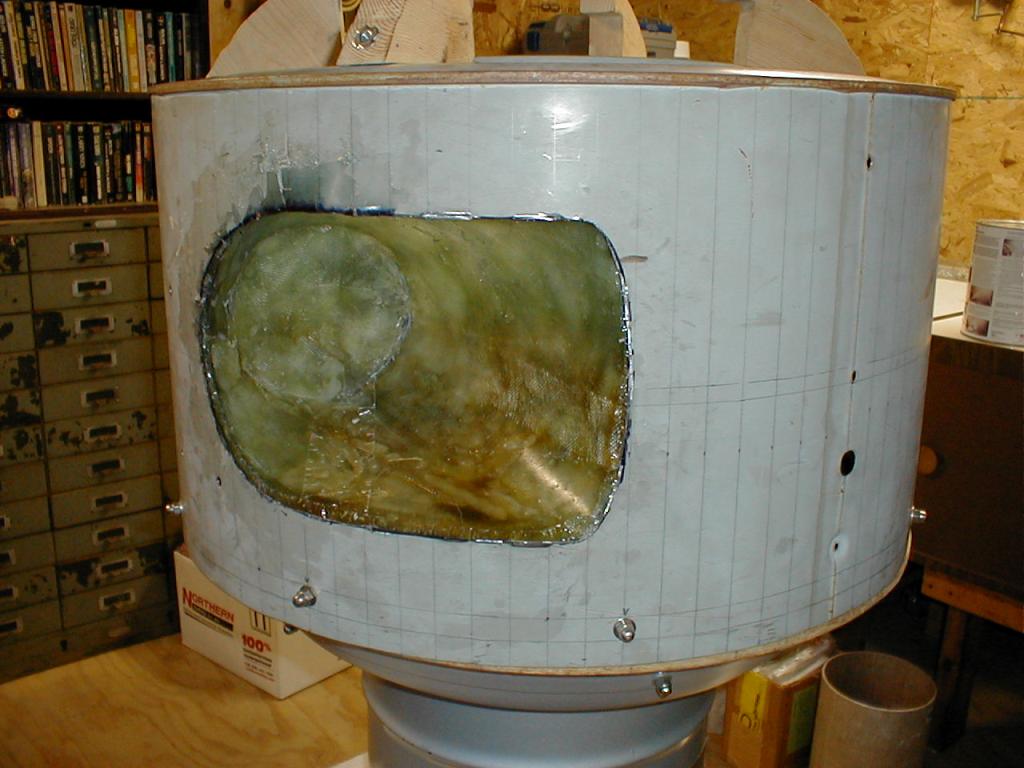
Chest Control Panel:
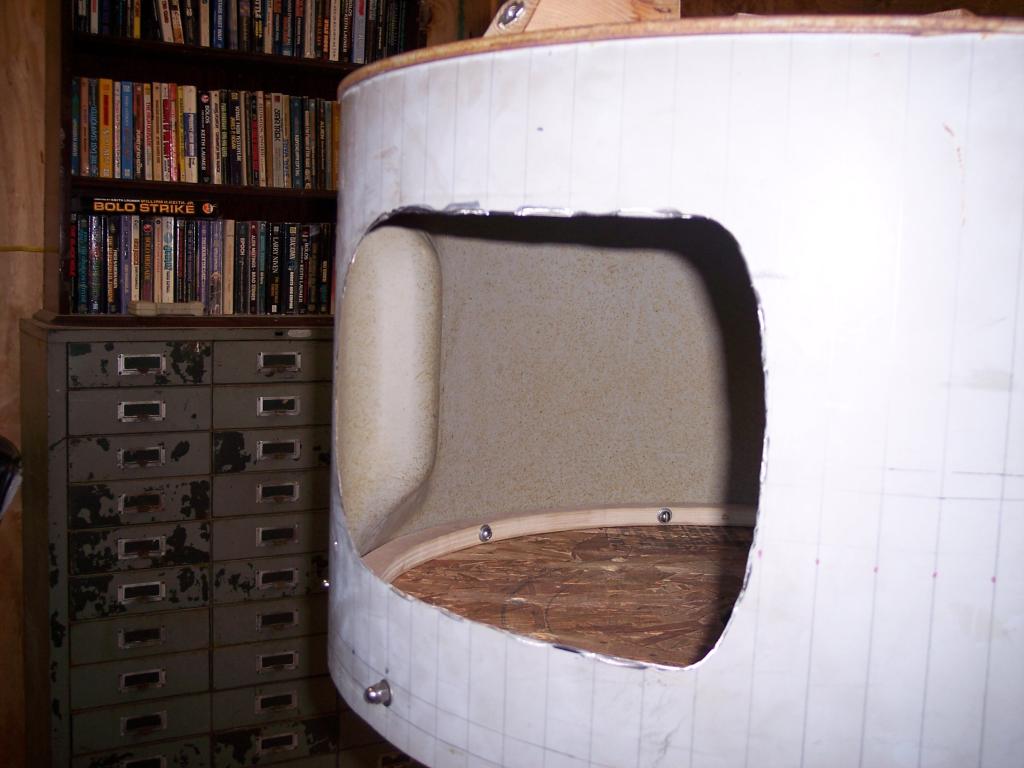
I tried several ideas for a chest panel. I wanted to be able to open it up to work on things so I abandoned the metal panel. To much trouble to cut and adapt to what I wanted. I looked around a long time trying to find something better...something simpler...and as I was staring at my work bench I saw the plastic parts bin where I kept all my screws and fasteners...eureka! There it was! Quickly I removed all the little plastic drawers and cut out the web that the drawers slide into. I left a short length of web around the inside edge.
Next I cut out a thin metal plate to fit snugly inside the recessed area. I used square plastic tubing to form a sort of frame around the plate and epoxied it on. Next I cut a hole in the torso 1/2" smaller all the way around so the plastic parts bin would overlap the edge of the hole.
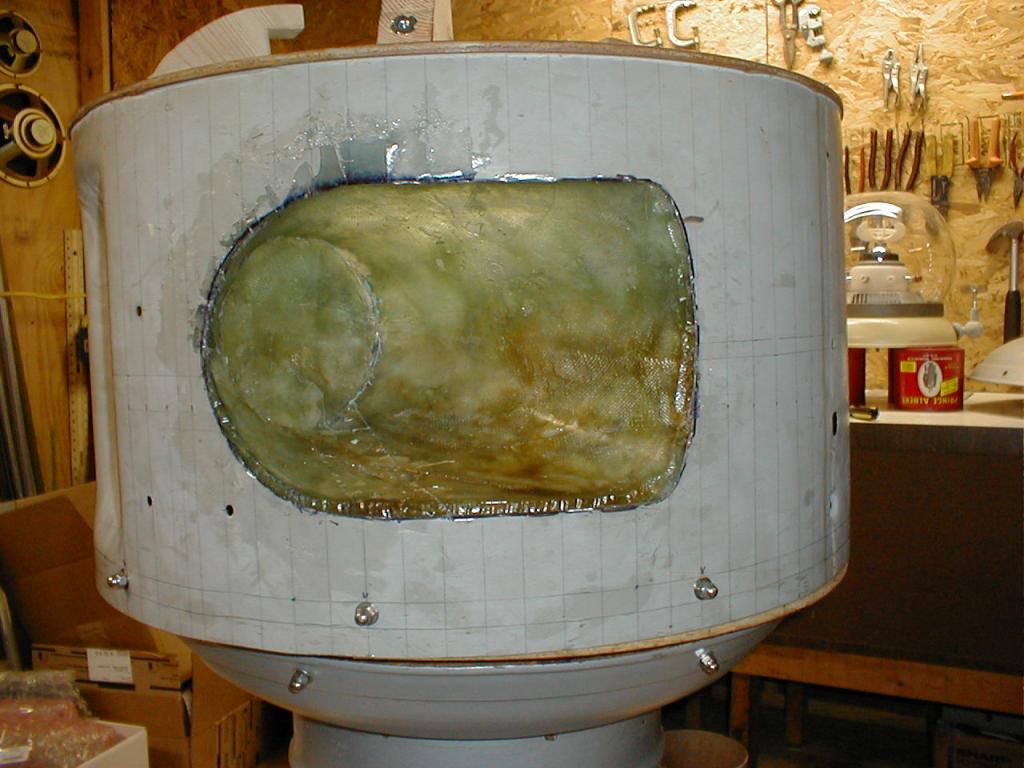
Then I used hot glue to fasten (4) wooden block spacers just inside along the plastic walls. I set it down over the hole and evened it up so it was square with the hole edges and marked where the spacers touched the torso. I drilled holes in the torso at these points and fastened the whole thing to the torso with dry wall screws. This was just to get the whole thing secured and tight against the torso in preparation for the next step. (The screws will never be taken out.)
Next I used Bondo to seal around the edges (inside and outside) and blended it in with the torso, put a little primer on it, and presto! A chest panel.
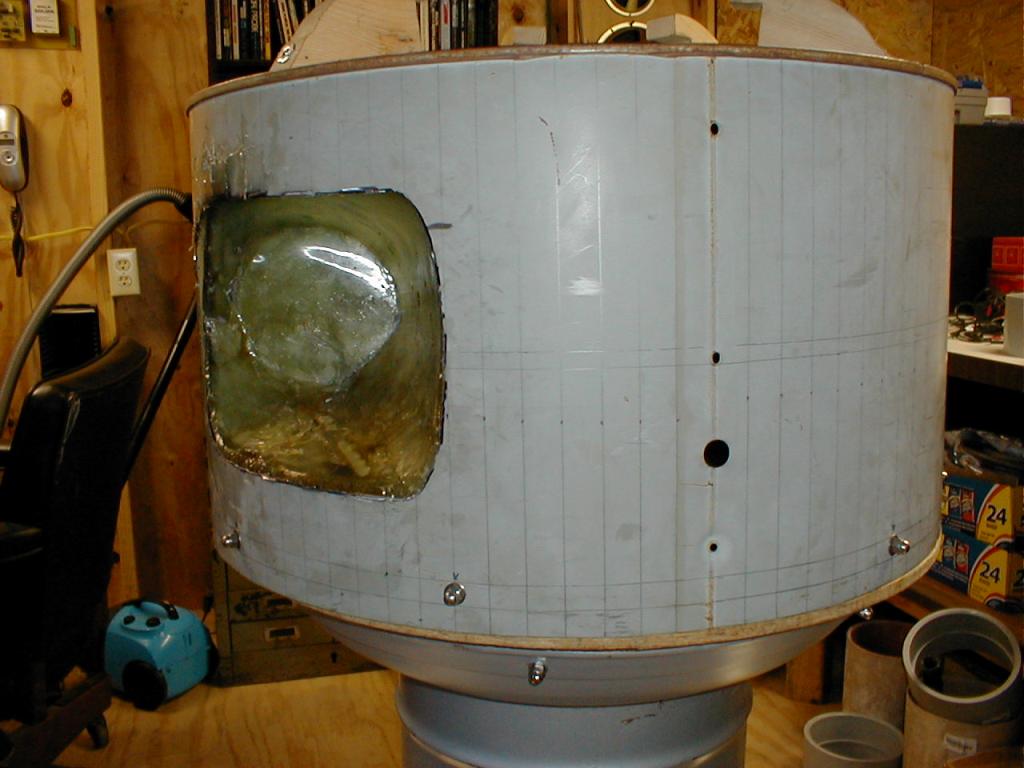
Then I needed to be able to secure the metal chest panel to the plastic bin and make it so it was removable. So, I drilled four holes; two on each side and then hot glued wooden blocks to the back of the metal chest panel so they would line up with the holes. I marked, drilled and tapped threads in the wooden blocks. I wanted to use machine screws to hold it in place but, I didn't like the way the screw heads looked so, I cut the screw heads off. Then I took plastic wire nuts, the kind you would normally use to connect two wires together, and cut the top off of them (sort of looked like little knurled plastic caps now). I epoxied the wire nut caps onto the screws. So now it does not look so drabby.
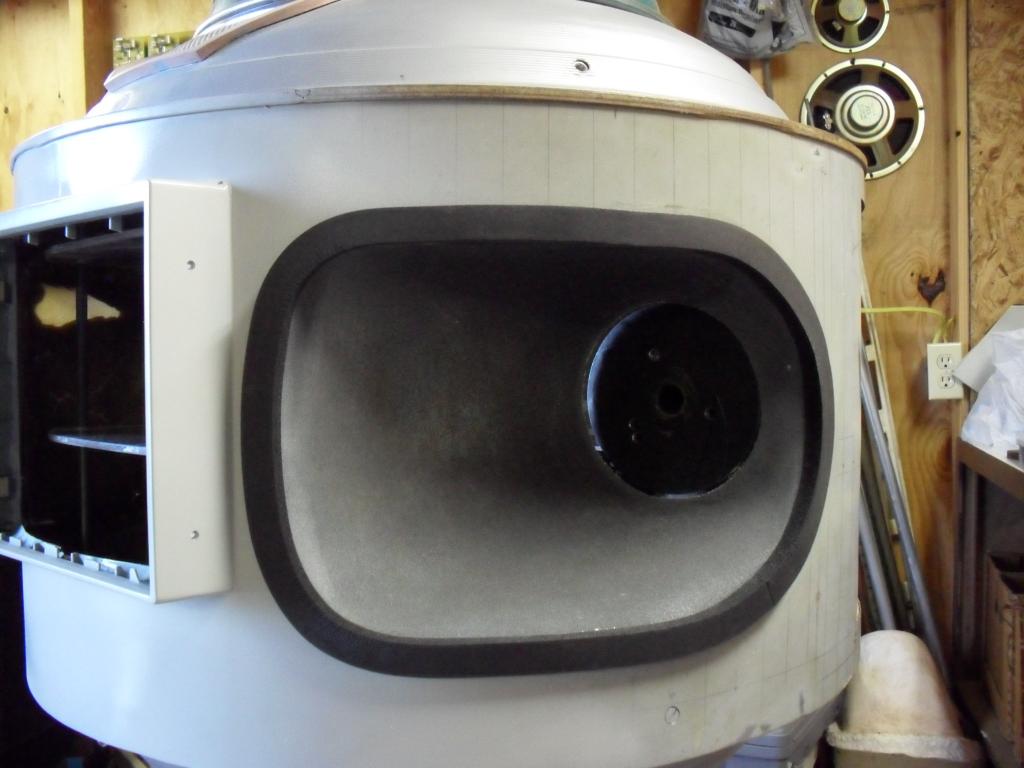
The black ring around the arm socket was a test to see what trim rings would look like. Trim rings are next.
I am afraid that I cannot help you with the Wi-Fi questions, but I am sure that someone here will know. Here is a link to how I built my torso. Since these pictures, I have put in the arm sockets, and almost completed a Bondo skim coat over everything. I did the arm sockets in a similar way to yours. I put sheet metal forms into the holes, then just fiber glassed the inside right onto the torso. When it had hardened, I pulled the sheet metal out.
I should update my pictures, but I am close to finishing the sanding and painting. I will probably wait until I do that.
Torso
Wow...that looks like a lot of work. I went the lazy way. I wish I had done what you did mainly because the metal torso blocks all R/C signals. I hoping the fiberglass dome idea I talked about earlier will work.
Man...I can't wait to get to the cool stuff...the electronics and control system! Be so glad when I finish the mechanical part.
I feel your pain...sanding...endless sanding
Something I want everyone's opinion on in the near future is a color scheme. I can't decide what colors to use when I finally paint all his parts. What I might do is post a sketch with numbers pointing to different parts and ask everyone to help me decide what would be a cool color scheme to use. We''ll see.
Thanks for your support.
Another milestone for Magnus. I ordered my EZ-B Kit and the Xbee XSC 900 with the support boards needed for long range control. Yeah!!!!!! Can't wait till it gets here!