


I was working on a generic transforming robot but I used styrofoam and few other design flaws so it got scrapped. Mostly because @Technopro made a cool post about some R2 D2s and it inspired me. I just bought a small garbage can that's pretty much R2 shaped so I'm going to use some of the cool info from those vids and make my own little R2ish bot. The can is about 18 inches high.
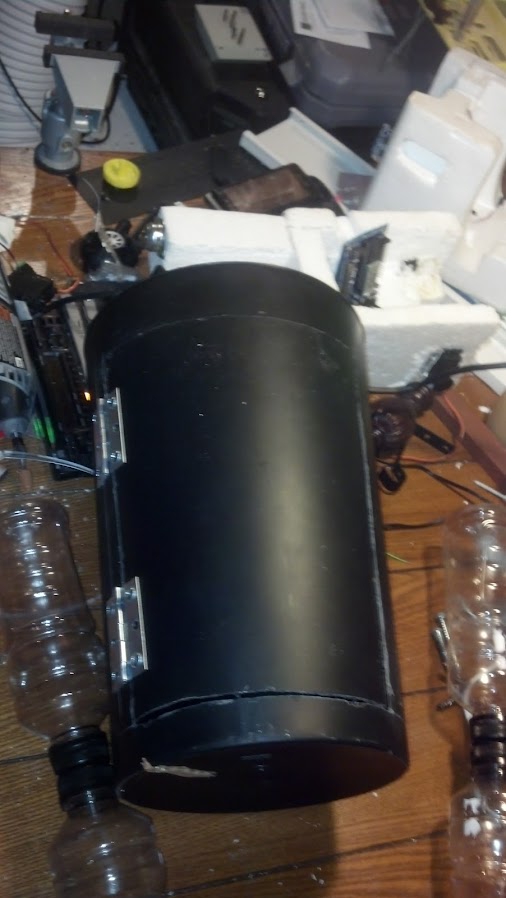
First I'm going to cut a door panel into it. Simple dremel cut and add hinges. I'm going to make 2 cardboard circles to put into 3 sections. I only have 1 US ping sensor so I'm still deciding if I should put it in the head or chest.
I want to make the legs and get it mobile first. I've had a tendency to rush my projects but they were always intended to be temporary. I'll be keeping E2 so I'm going to take the time and do it "right". So expect questions.
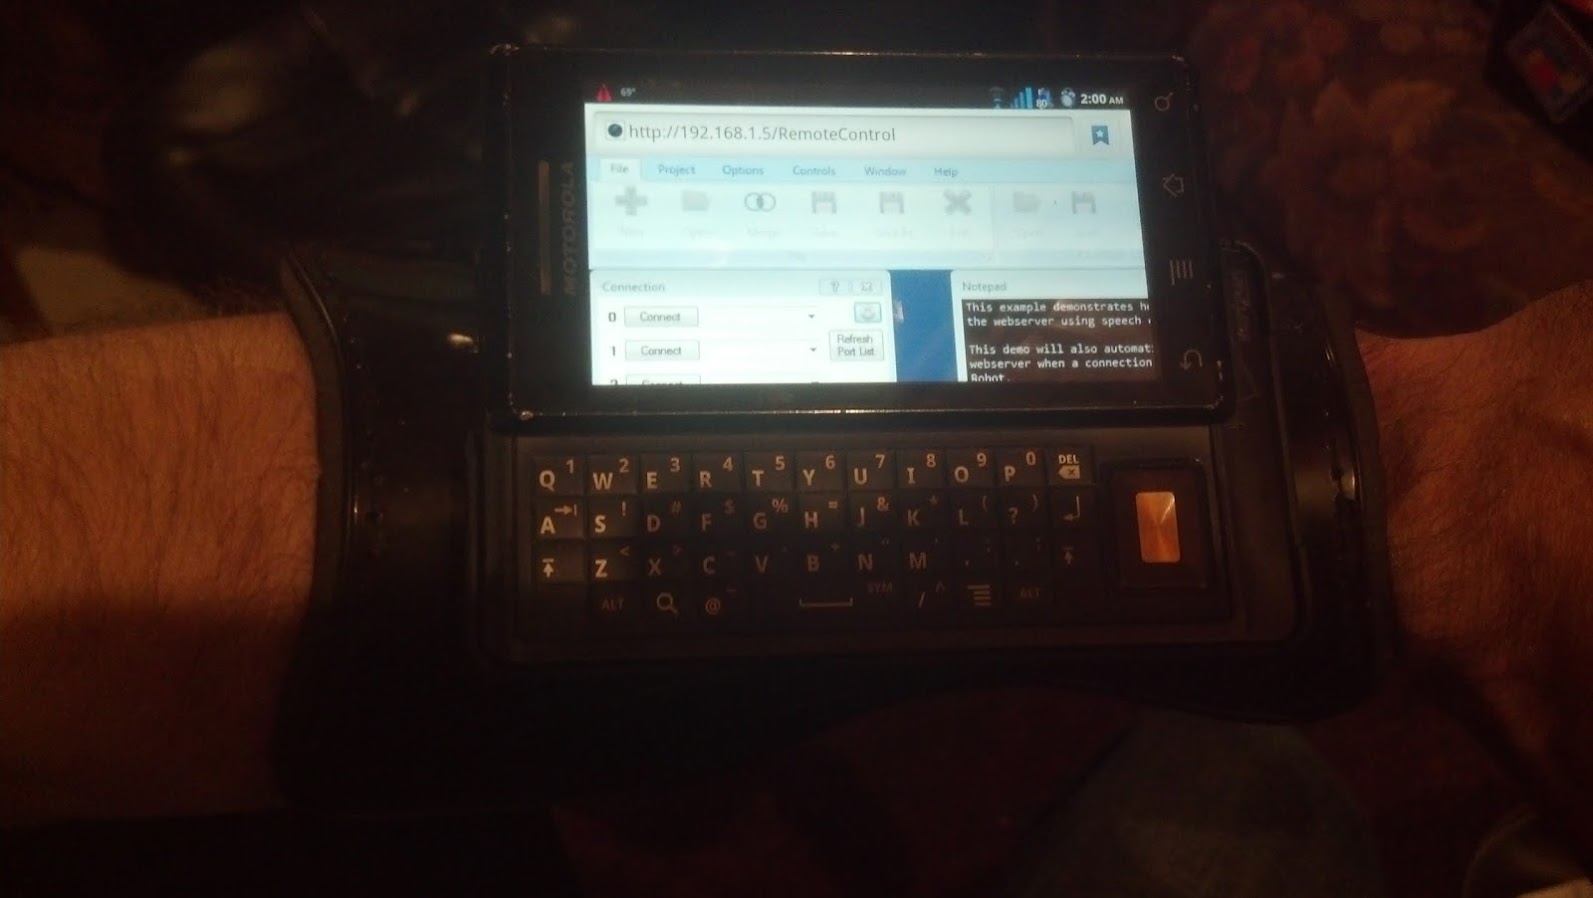
I also have an old Droid that I almost disassembled for parts. Super extra special thanks to @Techguru for reminding me that it was still a functional device. I was in this super research and study mode and have been ripping apart all kinds of things and harvesting them for parts to experiment with. So I was going to rip it apart for the sensors and screen. The truth is I probably would have ruined it. He also hooked me up with 2 docks and some mounting goodies.
I'm going to rip off the movies and make it into a forearm control pad type thing. I'm a big believer of a few simple concepts. "Today's science fiction is tomorrows future." "Good artists borrow, great artists steal." "If you can't bedazzle them with brilliance, baffle them with BS." The last one is more for fun
I also want to take a cue from @jstarnes1 and heavily document it. I love how he let's you into his mind and explains what he does like he was teaching a class or something. So, while I'm not as knowledgeable as him, I hope to at least let you into my mind. Maybe you can stop me from some fatal mistakes the way Alan did.
I'll keep you posted. Thanks for being awesome.
Discover more robots

Oakmot's Chloe Project
DJ's Drd 3D Printable Robot

Yep. I've thought of that. Thanks though, but the junk yard in me has come up with something I rather quite like. If it fails me, I'll probably be doing just that
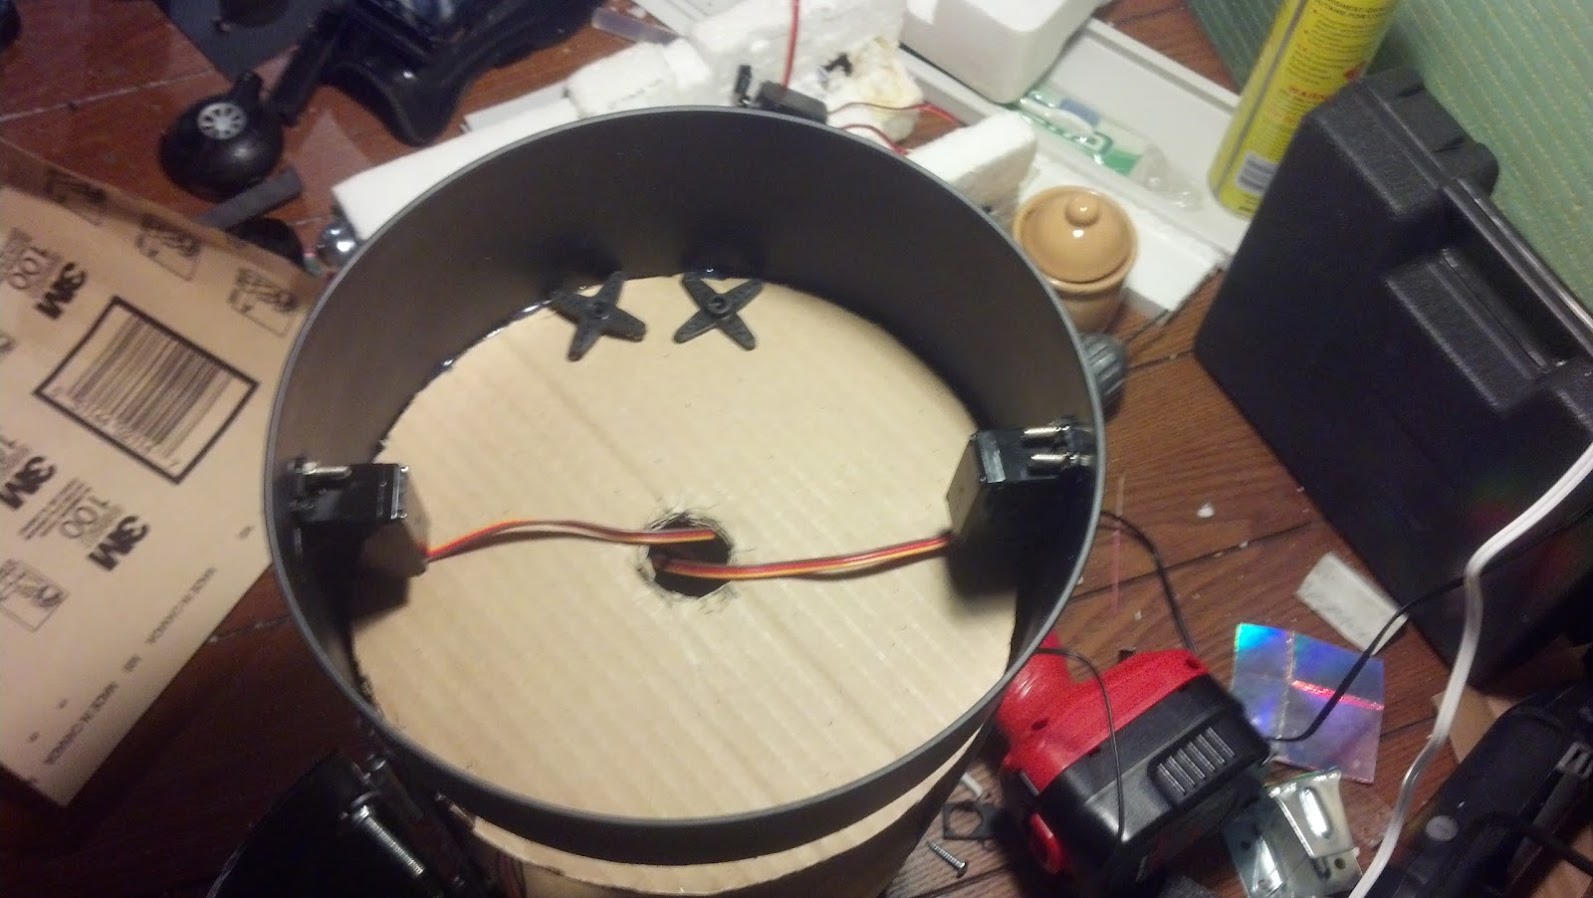
The plan is to pretty much use servos at the shoulder, or would it be hips? Anyway, servos as shoulders and ankles, modified servos in the feet for motion. I'm starting with 2 legs and adding the third retractable leg later. So I've saved space for it.
I did decide to put the ping sensor in the chest. (I only have one.) I've got a few ideas on the head now so it's a matter of what parts I find first. I haven't decided on a paint scheme or design yet but due to choices I've made I am most likely end up painting it.
I also plan on doing some hardware upgrades as well. I've use nuts and bolts I have just laying around so my selection isn't ideal. So I'll be swapping little things like that out here and there.
I'm going to do some work on it tonight so I'll post my results.
OK. I got a little done yesterday. I'm going to do it in phases. Phase 1 in which Doris get her oats.... No that's not right. Phase 1: Carry That Weight/Drive My Car. Not a lot will be permanent in Phase 1. I want to get the legs mounted. I'll definitely add ankles in the future but I want to test the leg strength and I want something to play with. I have to go get a few things tomorrow to complete Phase 1. Wire or servo cable extensions, nuts and bolts.
First I'll show off the control pad a little.
My Old Droid and the cover Alan sent me. I can't thank him enough.
Strapped and mounted. Connected to ARC via the HTTP Server control.
Access panel cut and hinged. Circles partially glued in.
Shoulder servos almost mounted.
Legs V1.0: Regardless of appearances, E2 is not sponsored by Powerade. I have them joined by bolting the caps together. Advantages and reasons for this? By twisting them where the caps meet I can position them independently for alignment and adjustment purposes. It's been a problem I've had with all of my previous projects so I figured I'd implement a solution. (You see guys, I am learning. )
)
I also have little access panels cut into the upper shoulders so I can mount them. I've found the PA bottles great to work with and the plastic is fairly thick and durable. Being plastic I still don't want to bend them too much. Rough tests suggest they will support the body. If not I have a few ideas (and parts) for fortification. I'm just trying to make it as EZ as possible.
I'll take pics of the caps and panels features for my next post.
As always Input Accepted Thanks for your interest.
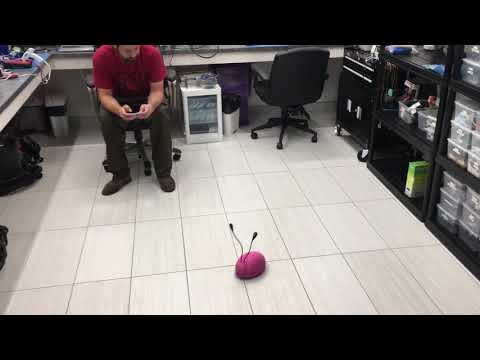
More Updates: I made a video this time. While I'm waiting for it to finish uploading, I'll give a short breakdown. I made some shoulder reinforcements/attachments to help with strength and mounting. And a small break down of how I have the upper and lower legs joined.
This next video shows why I need the screws for the servos. It also show a need for ankles, feet and/or that 3rd leg.
I ordered some servo extensions so I can hook the Modified Servos up to the EZB.
Ebay - 10 x Futaba extension cord cable female lead for RC airplane servo
E2 took a couple spills last night. The only damage was, I stripped the inner thread, the one where you would screw an arm or horn into. Gears and everything are fine so it's usable for something else just not a shoulder. I have a new servo coming. Sure I could have probably just got the gear/post but it was a good excuse to increase my inventory.
I also have enough parts to make a couple more sets of legs just like these so I'll be able to make upgrades and swap them out. This is going to be handy when I start developing ankle/feet.
If someone could answer a few questions for me, that would be great. I'm thinking of getting rods to run through the lengths of the legs for support.
Can I just stick them in [----][----]? Will that provide support or just weigh it down?
I can thread them a little on the the ends and I'm sure that will help. -[----][----]- I just want to make as few holes as possible. Of course I could also find "caps" for the tops of the shoulders so the rod won't be exposed/visible.
With all of the weight being on the servo, horn, bracket and inner wall, would running a rod through the center of the leg even matter? Once again just adding unnecessary weight.
Here's a generic diagram of how it's assembled.
An image in regards to my questions.
Thanks in advance for your input.
Small update: One of my leg servos got stripped so I ordered a new one. Good News/Bad News. It didn't work, they gave me a refund and told me to keep it. So I took my first servo apart today. Woo Hoo!. I dis and re assembled it and got it semi functional. It has some sort of alignment error in the gears somewhere. I didn't bother to examine too deeply to see if its the case, pins, or gears. Better news? I only needed the top gear where attachments are placed so I swapped those and now I have a perfect one and a crappy one as opposed to 2 crappy ones.
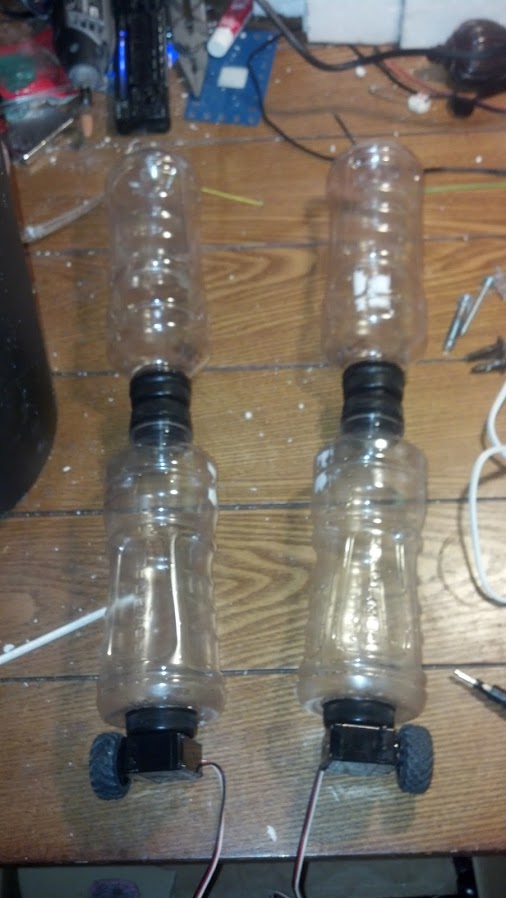
I'm just a little proud of myself. I fixed my servo and got some spare parts for free. I'm prototyping some wider stronger legs, Juice bottles this time. I have one done and I hope to get it all together by weekends end. I'm going to need bigger wheels. I'm using the one that come with the EZ Complete. (Side Bar: I'm considering ordering a whole new setup with the new EZB. It's a great value considering all that comes with it so, it's hard to pass up on.) I'm also working on swiveling the head left and right.
I'll take some pics and maybe a vid and post at the end of the weekend.
Wow! Your making good progress. I find your legs very interesting. Not sure how sturdy they'll be but in due time we'll see.
@Technopro Yeah, I'm thinking the same thing. I just can't seem to get a good, tight connection with the leg and servo. I think I may need to get metal servo horns.
Anyone care to chime in?