Hello Everyone, This is a Pi Powered ( and possible I will add a panda or Atomic Pi for remote access, camera monitoring ect.) That counts as a robot right?? Anyways here are the live build videos, and they will be edited and voiced over for better viewing pleasure.
https://www.youtube.com/watch?v=pkVLRD-Z1Bg&t=110s The Unboxing Video
https://www.youtube.com/watch?v=O4rPIx51_Kw&t=3747s First Video Time 30 min
https://www.youtube.com/watch?v=ZY5F3PtgCAM&t=11868s Second Video Time 3hr 53min
https://www.youtube.com/watch?v=goefI2MQuoY&t=13985s Third Video Time 4hr 11min
https://www.youtube.com/watch?v=KLOb_zIBF7E Fourth Video Time 4hr 15min
By jstarne1
— Last update
Other robots from Synthiam community
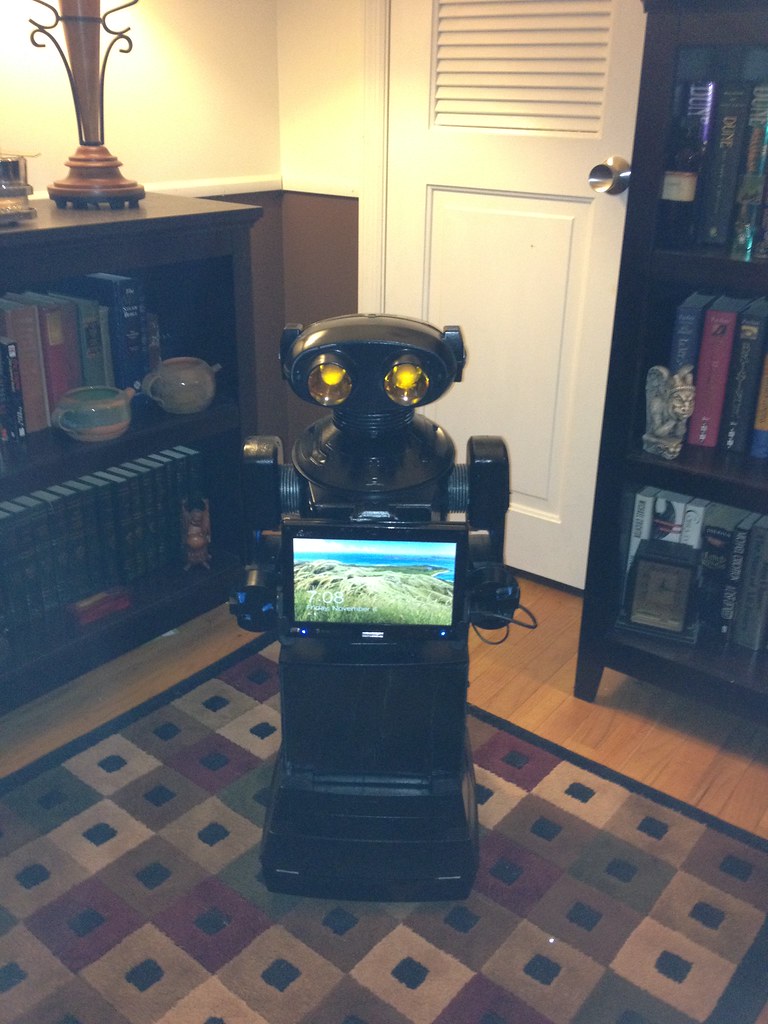
Confoundedhound's Modified Omnibot 2000
Refurbishing an Omnibot 2000 with new paint, +8" height, Asus t91mt netbook, and planned EZ-B controller - open to...
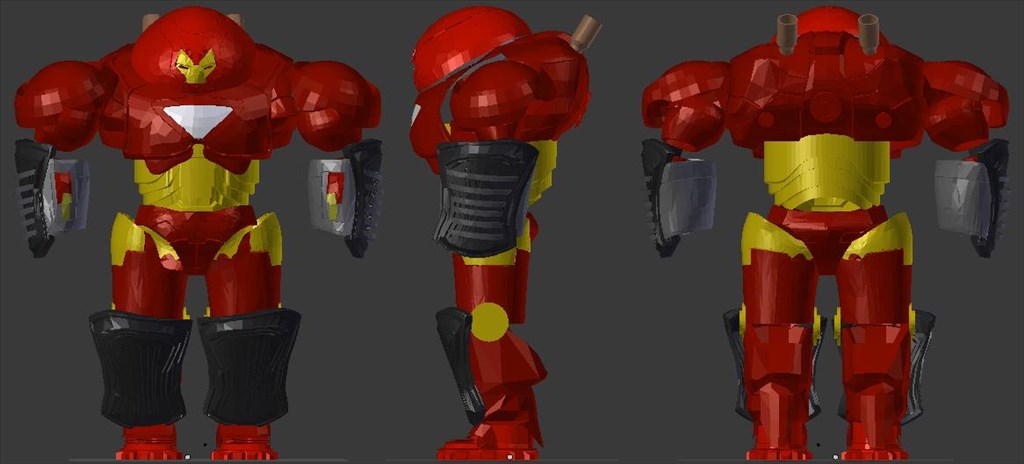
Jstarne1's Hulkbuster Ironman Suite , Lighting, Sound...
Custom Hulkbuster Iron Man suit with servo helmet lift, glowing repulsors, sound effects, 3D fit measurements and...

Wayno's Cartoon Robot Into A Real Robot
Transform words into cartoon "Wordtoons" and bring them to life as real robots using the EZ Robot Kit.
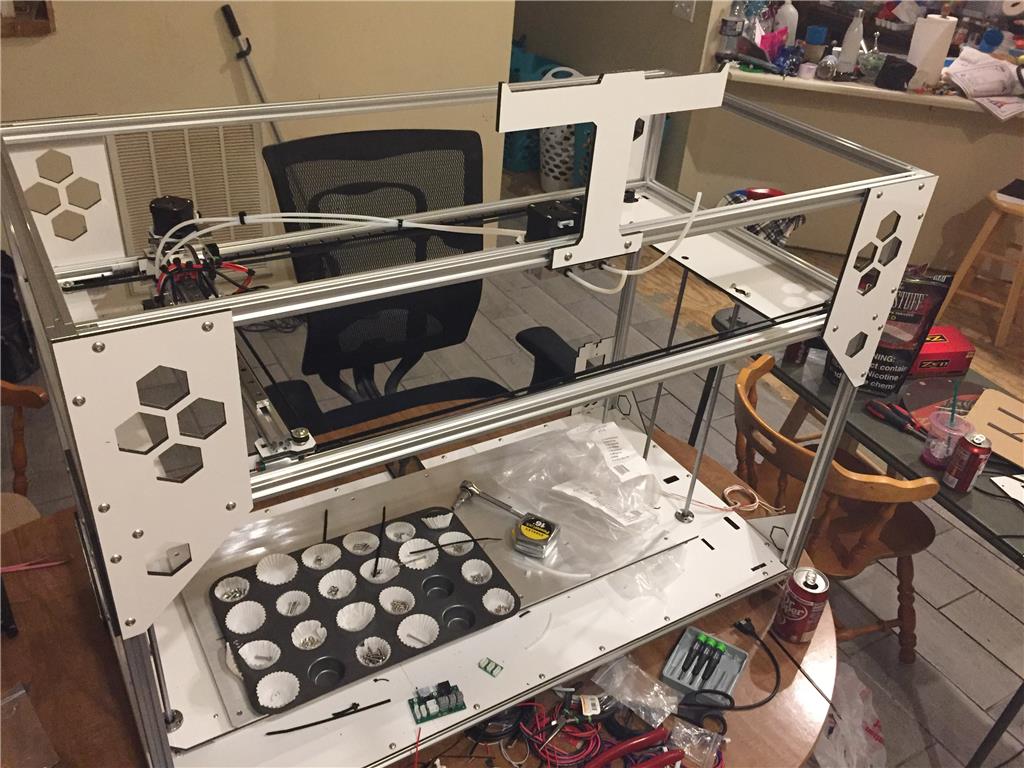
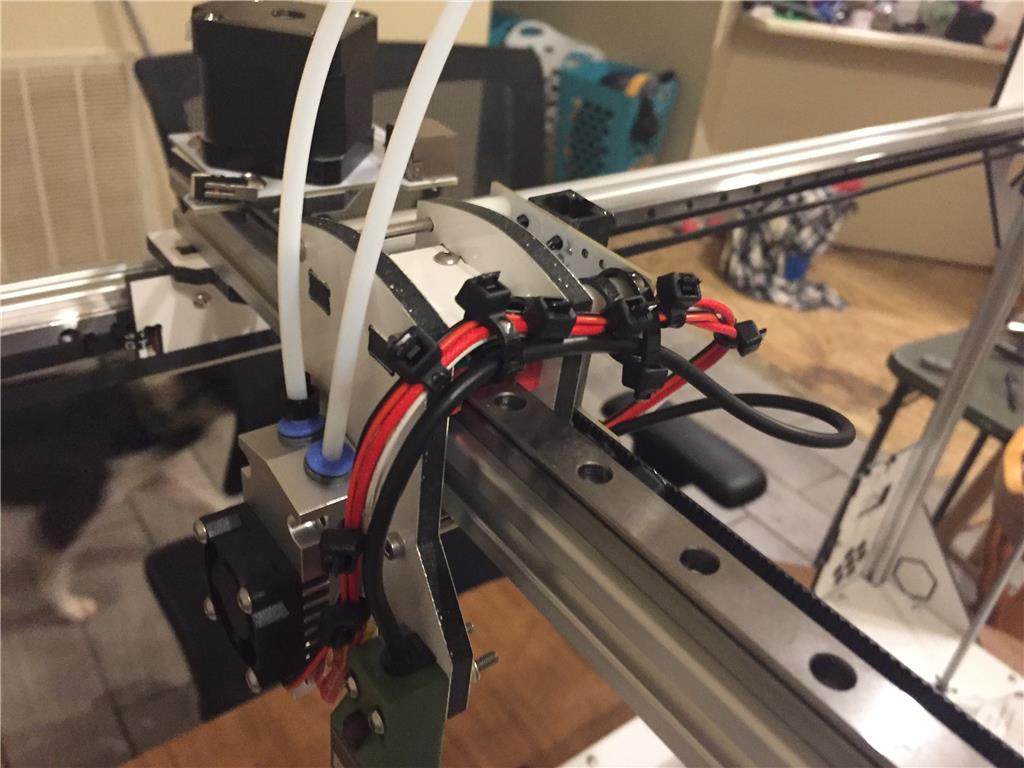
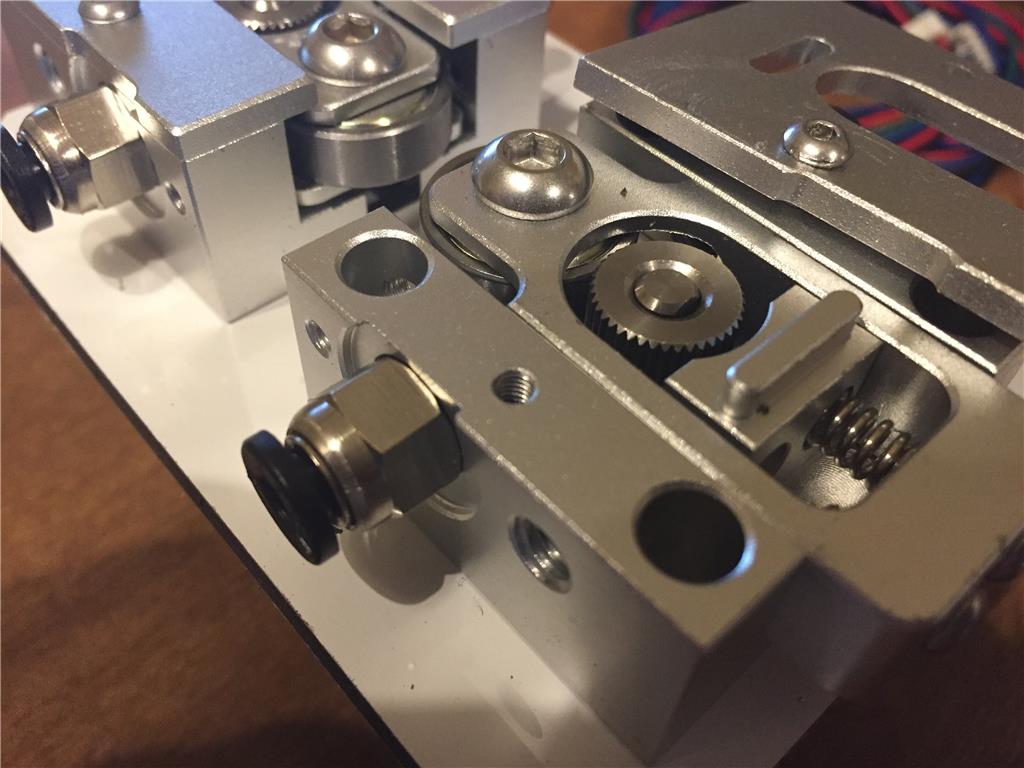
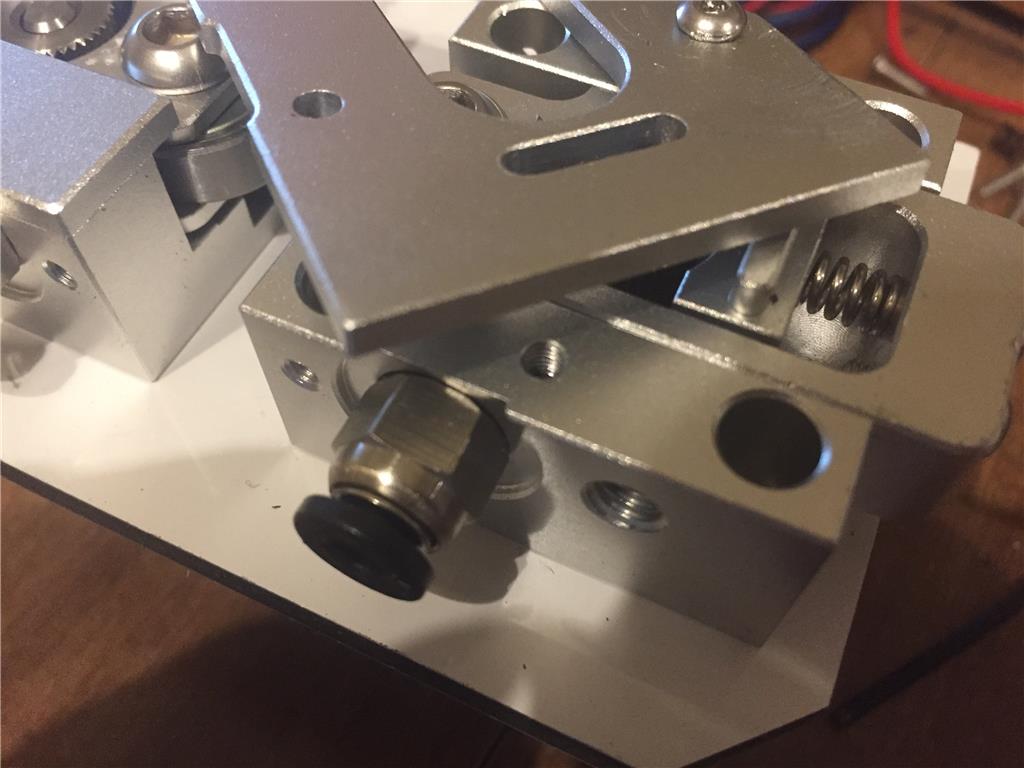
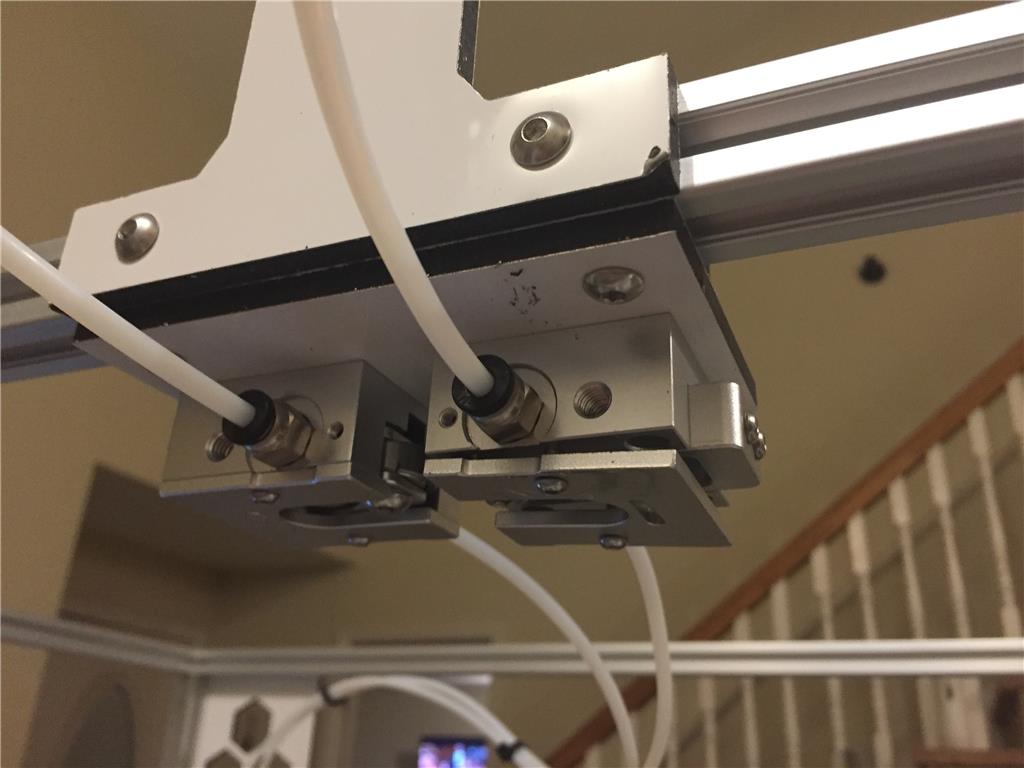


Progress Pic after the 4th video
Looks cool!!!! What do you plan to 3d print first?
Looking good Josh...I hope you get it up and working soon!
Have you had anymore time on getting this completed?
Hey Will, I know this reply took forever,but I have been cramming for school, the end of the month is the end of my semester and I have 6-8 essays to write and a exam. Anyways about the build. I stopped at the electronics because once I fired up the Orange Pi and LCD screen I only had half the screen showing and the touch screen did not work at all. If I plugged the LCD into other devices like my laptop it worked. SO... I complained a few times about the issue and 2-3 weeks later received a replacement screen and orange pi to try again as clearly there is an issue with one of them. So once I am comfortable with my headway on the schoolwork I will get back to the 3D printer build. It is pretty close to being ready to print though. Fingers Crossed!
Also they also sent me shorter screws for the bowden extruder block so I was able to screw it down enough to look right. I did pick up some white wire loom wrap to unify the two filament tubes that were hanging freely and the various wires going to the gantry as well.
Hey Josh good luck with school! Hope to see some more live hacks once you're done.
Glad you got some of the replacement hardware figured out, it's gonna be awesome seeing this monster print!