


Hello everyone
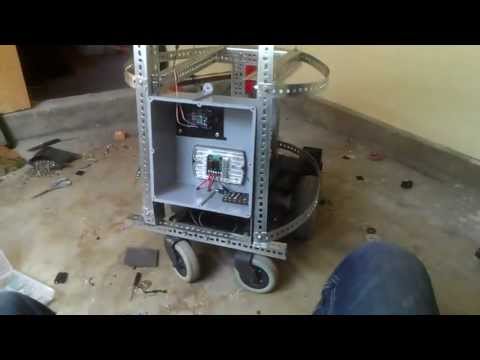
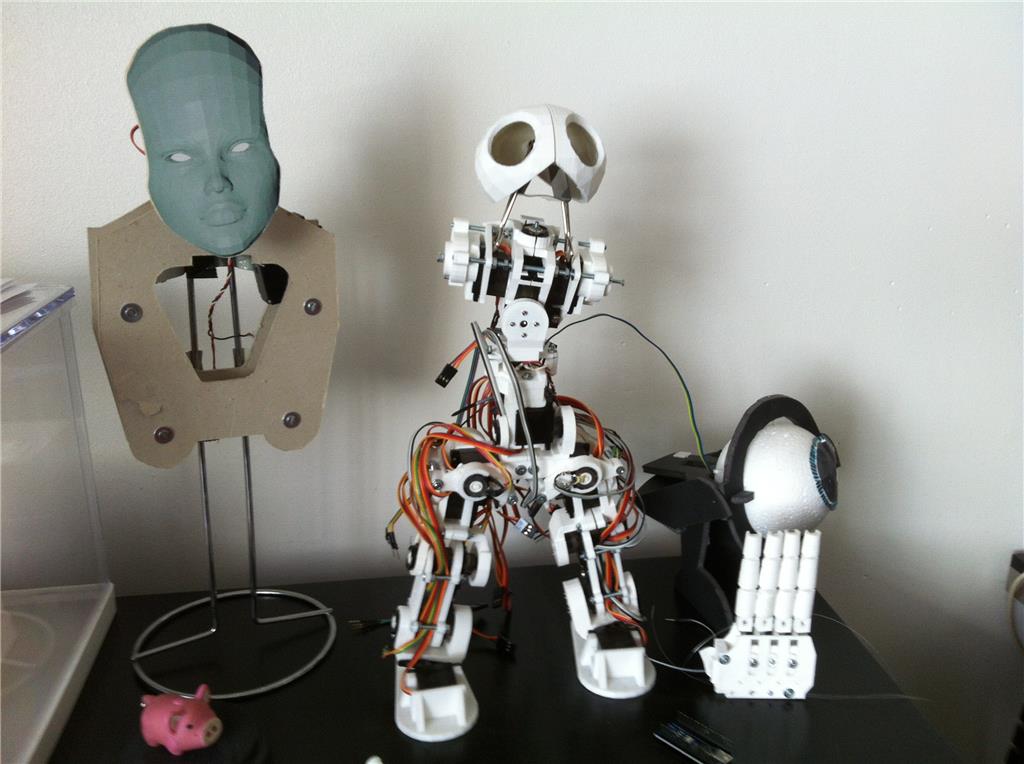
I am building a robot to help me get my amplifier on and offstage. I plan also to allow people to take control of the robot's head over the internet during the show. this would allow them to experience being onstage with us. They should be able to communicate with us thru the robot afterwards. I am planning on 3d printing a cool shell for him after he is functional and try to market him.
Anyway, I have collected some pieces, namely
- invacare pronto sure step m51 - power wheelchair
- Sabertooth 2X25v2
I am ready to overide the wheelchairs set-up and install the sabertooth while I wait for the EZ-B any nuggets of advice about unhooking the batteries, etc.
thanks!
here is the first day of the build pictures with some info https://imgur.com/a/MzeXd
By Sleenard
— Last update
Discover more robots
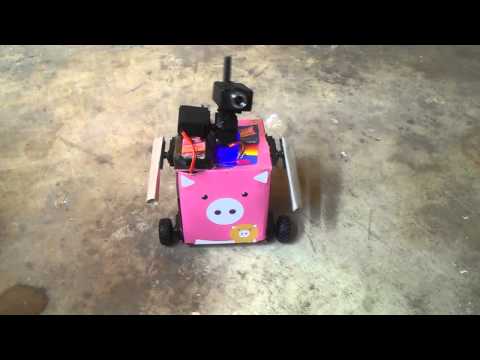
R2D2's Robot Sphere (But Call Me Rs)
Robot draws a sphere with low-cost servos and a retractable arm housed in a reinforced 28cm PVC Christmas ball for...
Buratino's Basilio
Basilio 45cm 3D-printed walking robot with 26 DOF, external potentiometers for pose capture, seeking EZB/EZ Robot...
Ezang's My New And Improved Talk Servo
Enhanced ARC Talk Servo with Arduino Arc software for improved servo control and seamless Arduino integration

sorry here is the link <iframe class="imgur-album" width="100%" height="550" frameborder="0" src="https://imgur.com/a/MzeXd/embed"></iframe>;
Sorry!<a href="https://imgur.com/a/MzeXd">HERE</a>is the link
hmm. hopefully you can get it
Try searching the forum for 'wheel chair', There a a few threads on this subject. I personally can't help you but I know others are either doing it or working on it.
BTW here is the link @Snee posted
https://imgur.com/a/MzeXd
This is actually the link to the pictures
I can imagine a shell for this dude would be huge for a 3D printer to make. I'm pretty sure your better off doing a custom fiberglass shell. Its not that difficult , you can even use foam as a base and cut it out with a hot wire cutter. I'm guessing you are going to have a small PC like a netbook onboard so you can just control it from a tablet or smartphone?
@jstarne1 thanks for checking it out! Yes I saw a netbook at best buy for like 300 It seems powerful enough, but it is running windows 8 which looks really not cool to me. I run windows 7 64bit. does EZ B run on windows 8?
I was thinking of 3dprinting out cool scale-like plates or (heat bending/carving white cutting boards) and riveting them together kind of like samurai armor but you are right that might be overly complicated. What kind of foam would you suggest?
@antron I have been lurking heavily on the wheelchair forum search results!